Detailed guide on how Braindance works in Cyberpunk 2077. Learn the basics of this gameplay mechanic and master the Edit mode to find clues!
This guide is up-to-date for Cyberpunk 2077 Update 2.3
This article contains minor spoilers from the first Braindance mission in Cyberpunk 2077, but if you are here, you are obviously up to that point and are looking for some tips, so read ahead, there is no danger of spoiling the future story for yourself!
Table of contents
What is Braindance in Cyberpunk 2077
In the year 2077 Braindance is a way for people to escape reality and live someone else’s live, even if for a short period of time. This is a special kind of a virtual reality in which you follow a recording of someone else. Kind of like watching a movie, but the experience is much deeper, more personal and realistic.
Braindance is a unique mechanic part of Cyberpunk 2077. It allows you to experience everything a host feels, hears or sees. This is a tool that you can use to research crime scenes, spy on someone’s actions and the environment around them and more.
Braindance is a key part of several main missions in the game and it is a complex mechanic, but learning how it works, will unlock new possibilities for you to play through different segments of the game and potentially reach previously undiscovered areas and events in your playthrough.
Braindance missions usually have a core object for you to complete and one ore more additional objects that may make your mission take into a different direction, make it easier or otherwise alter your experience after you are done with the Braindance.
In the following segments of this guide I will give you a few tips and pointers from the first Braindance mission without actually spoiling the fun for you.
The basics of Braindance
The reason you enter Braindance in the world of Cyberpunk 2077 is to find clues or solve a puzzle or a mystery usually. It serves you as a tool to get through a mission.
Braindance in Cyberpunk 2077 works on the most basic level as a simple recording. You, put the equipment on your head and watch a recording. Usually it is from the perspective of a single person.
It may be an actor or actress performing for your pleasure or you may be investigating a crime scene and trying to discover how and why the person whose Braindance you are watching got killed.
There are two parts of a Braindance session :
In the Playback Mode (aka Normal Mode) you watch and listen to what happens from the perspective of the person that is the “hero” of this Braindance recording. In Normal Mode the image is clear and you simply watch a video in VR.
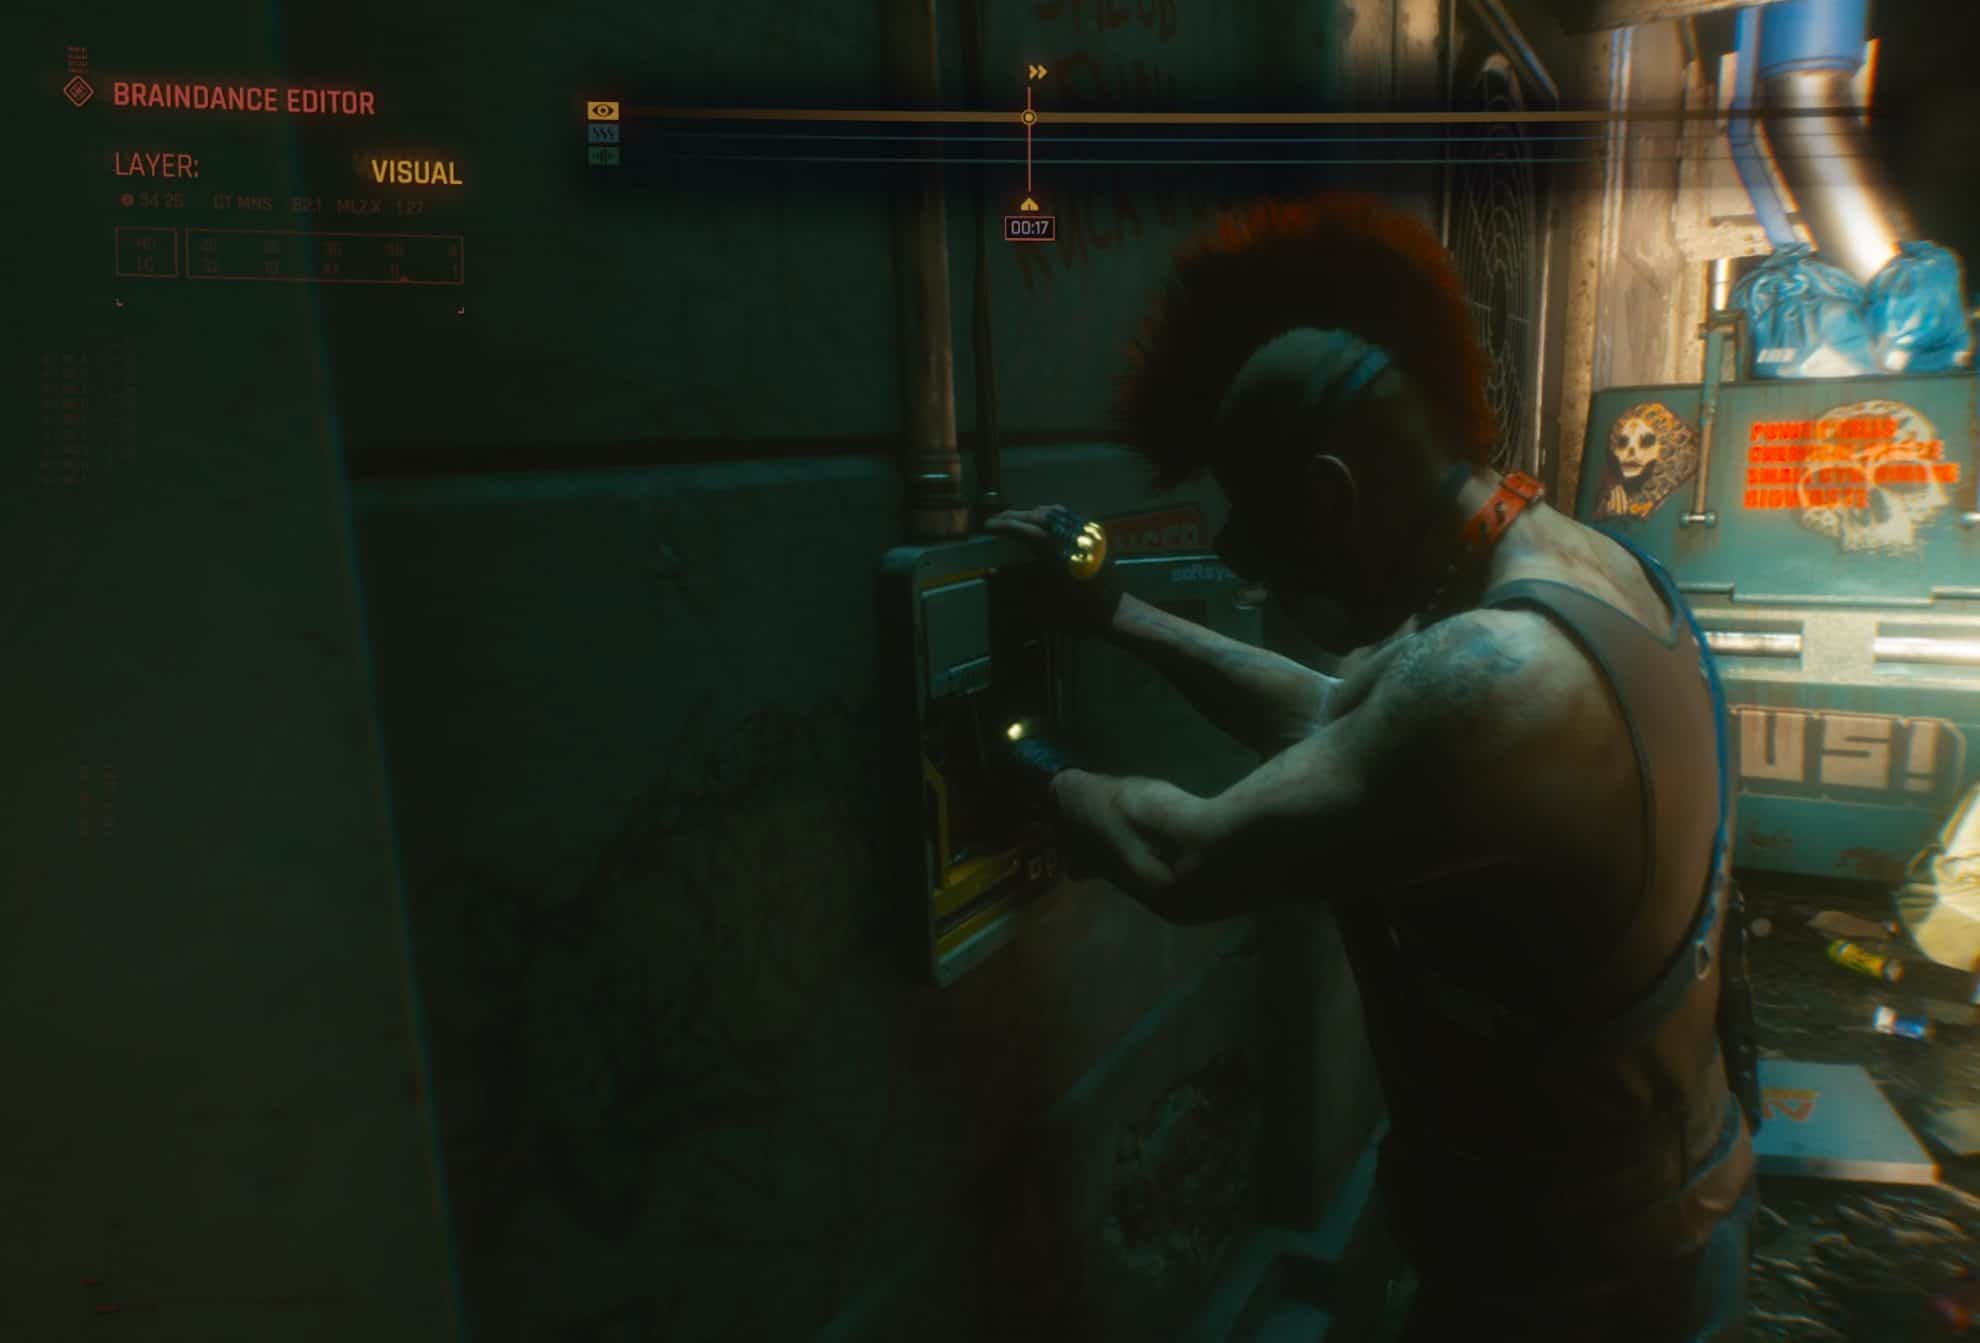
The Edit Mode (aka Anaysis Mode) allows you to get into details, move the camera around and explore the recording in a much deeper level to find out clues that are otherwise impossible to catch or spot in the Normal Mode. In Edit Mode the screen gets fuzzy and blurry with various parts of it lit up to show you potential clues and interesting things to focus on.

It’s not a bad idea to first watch the full Braindance recording in Normal Mode before you switch to Edit Mode and start looking for the clues. It will be of help to know what actually happens before you start investigating instead of piecing the clues together one by one.
You can fast-forward or rewind backwards through the Braindance recording. The longer you keep the button pressed, the faster the arrow will move across the timeline.
For your convenience the shortcut commands are displayed in the bottom right corner of the screen during the whole time, shown in the image below.
For PC players using a Mouse and Keyboard the default shortcuts for Braindance are:
- SPACE – Play / Pause the recording
- [Hold] E – Fast Forward through the recording
- [Hold] Q – Rewind the recording backwards
- [Hold] R – Restart the recording. This one does not remove any clues or progress made so far. It just brings you back to the beginning of the recording
- TAB – Enter and Exit bewteen Normal and Edit Mode (Analysis Mode)
- L-SHIFT – switch between the active layers. Only available during Edit Mode
The Braindance UI
There are several key elements displayed during a Braindance session. Here is what the Braindance UI consist of:
Braindance UI in Playback Mode doesn’t have much to show for itself. In this mode you simply play and pause the recording and watch (potentially enjoy it, based on the contents).
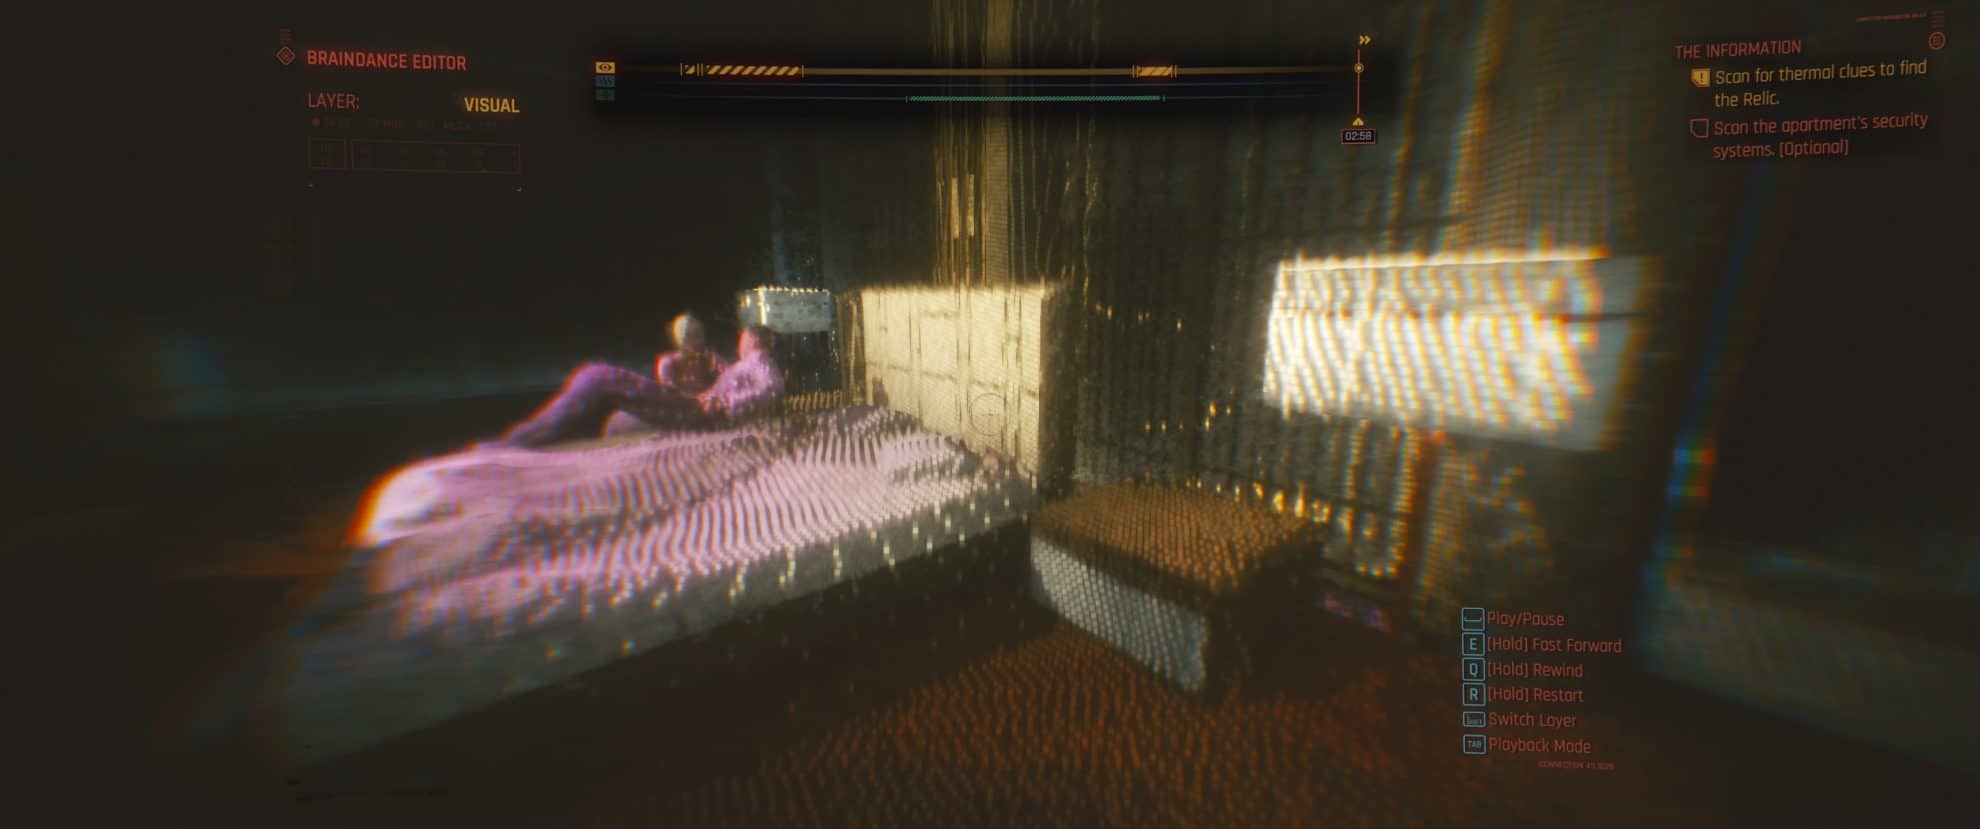
The Edit Mode Braindance UI is where it gets fun! The UI here has a ton of new elements and I will explain below how each one works and what to use it for.
In the top middle of your screen you see three layers:
 Visual Layer (on the top, orange color) allows you to spot visual clues.
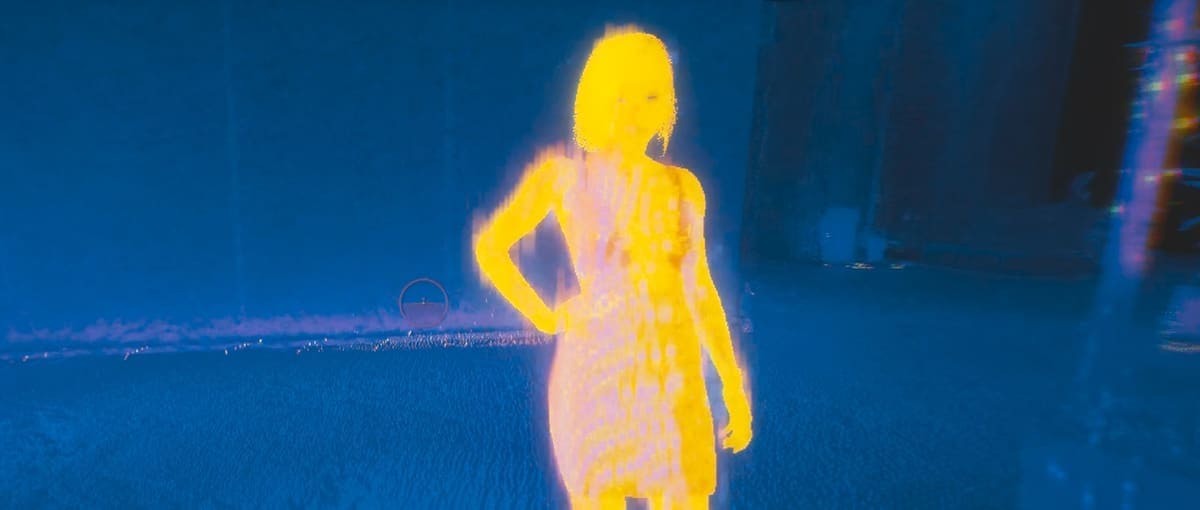
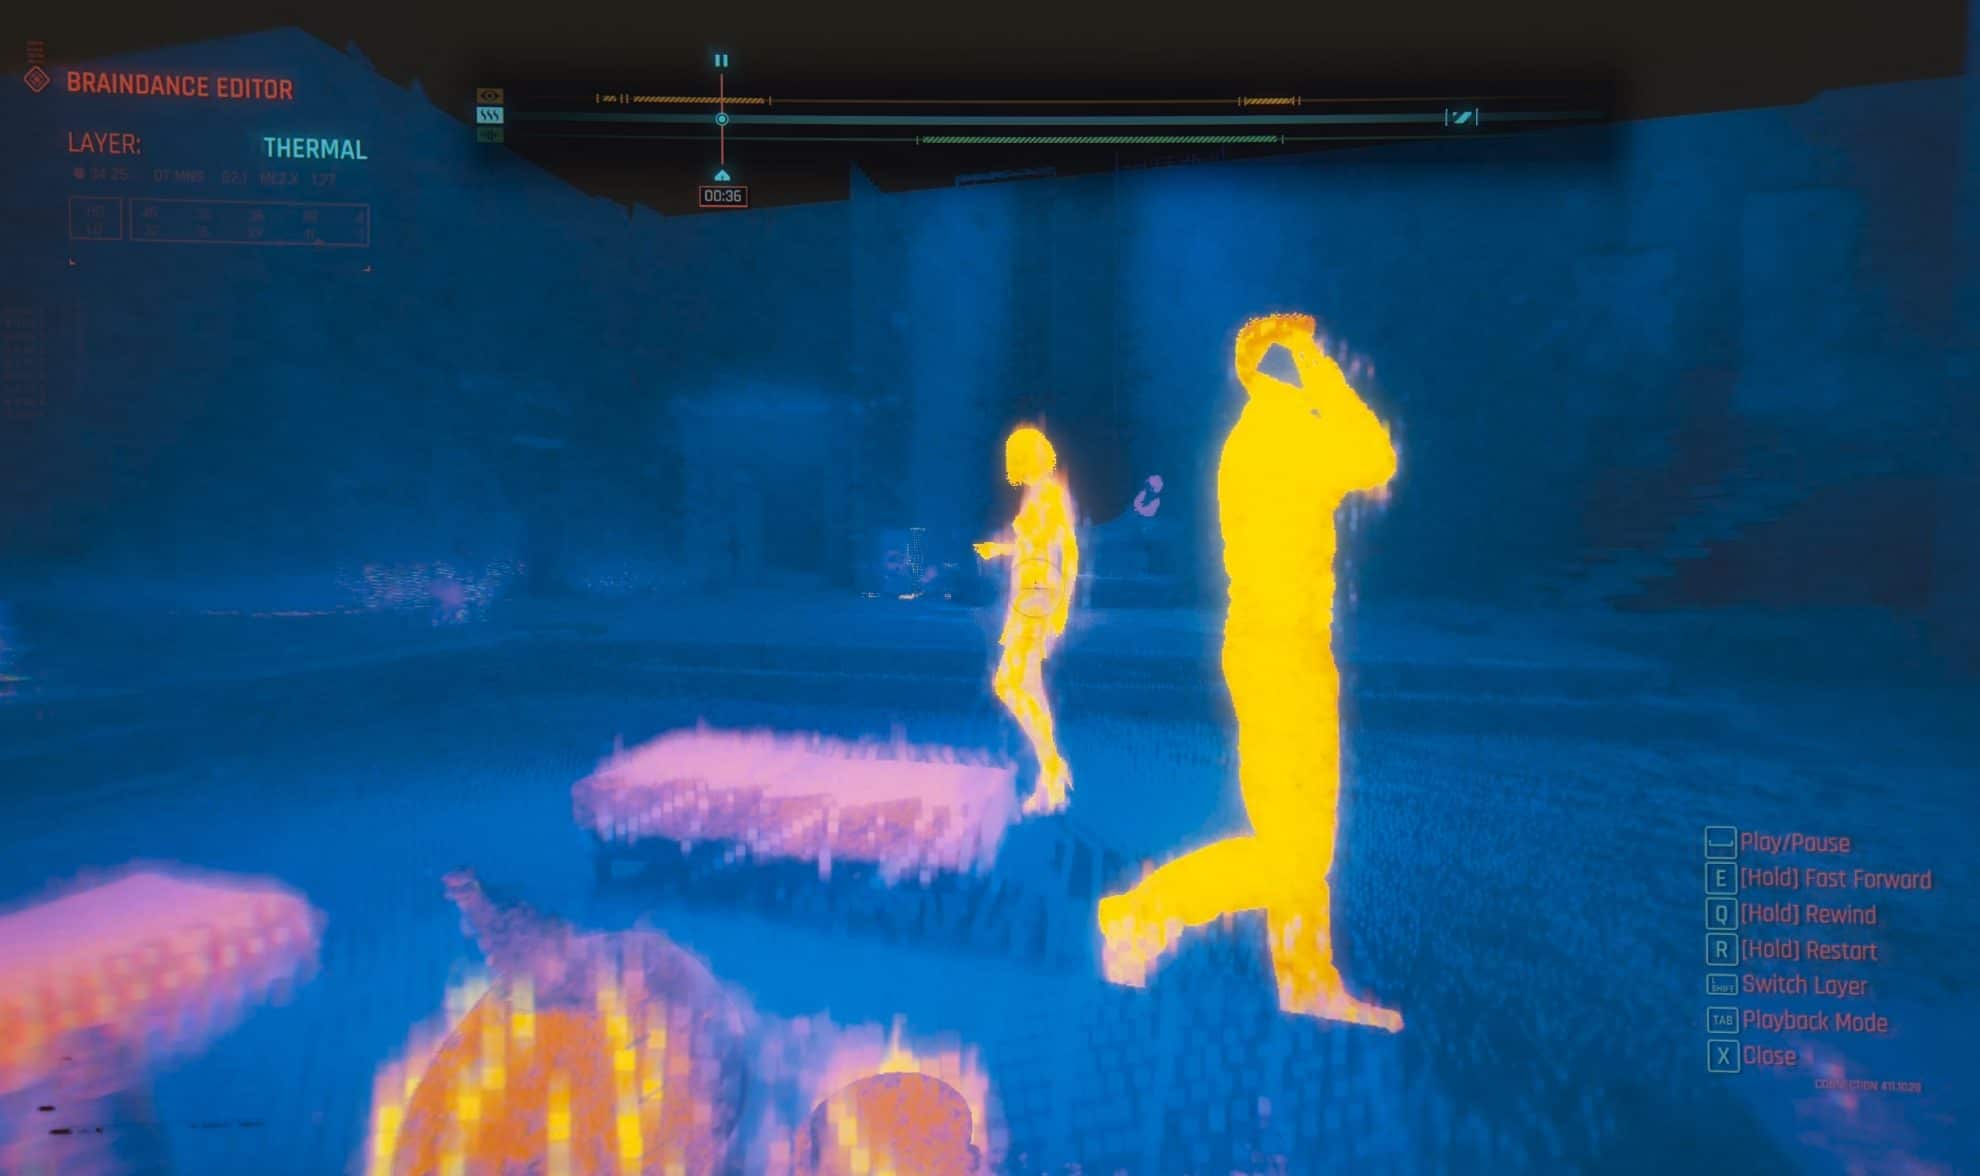
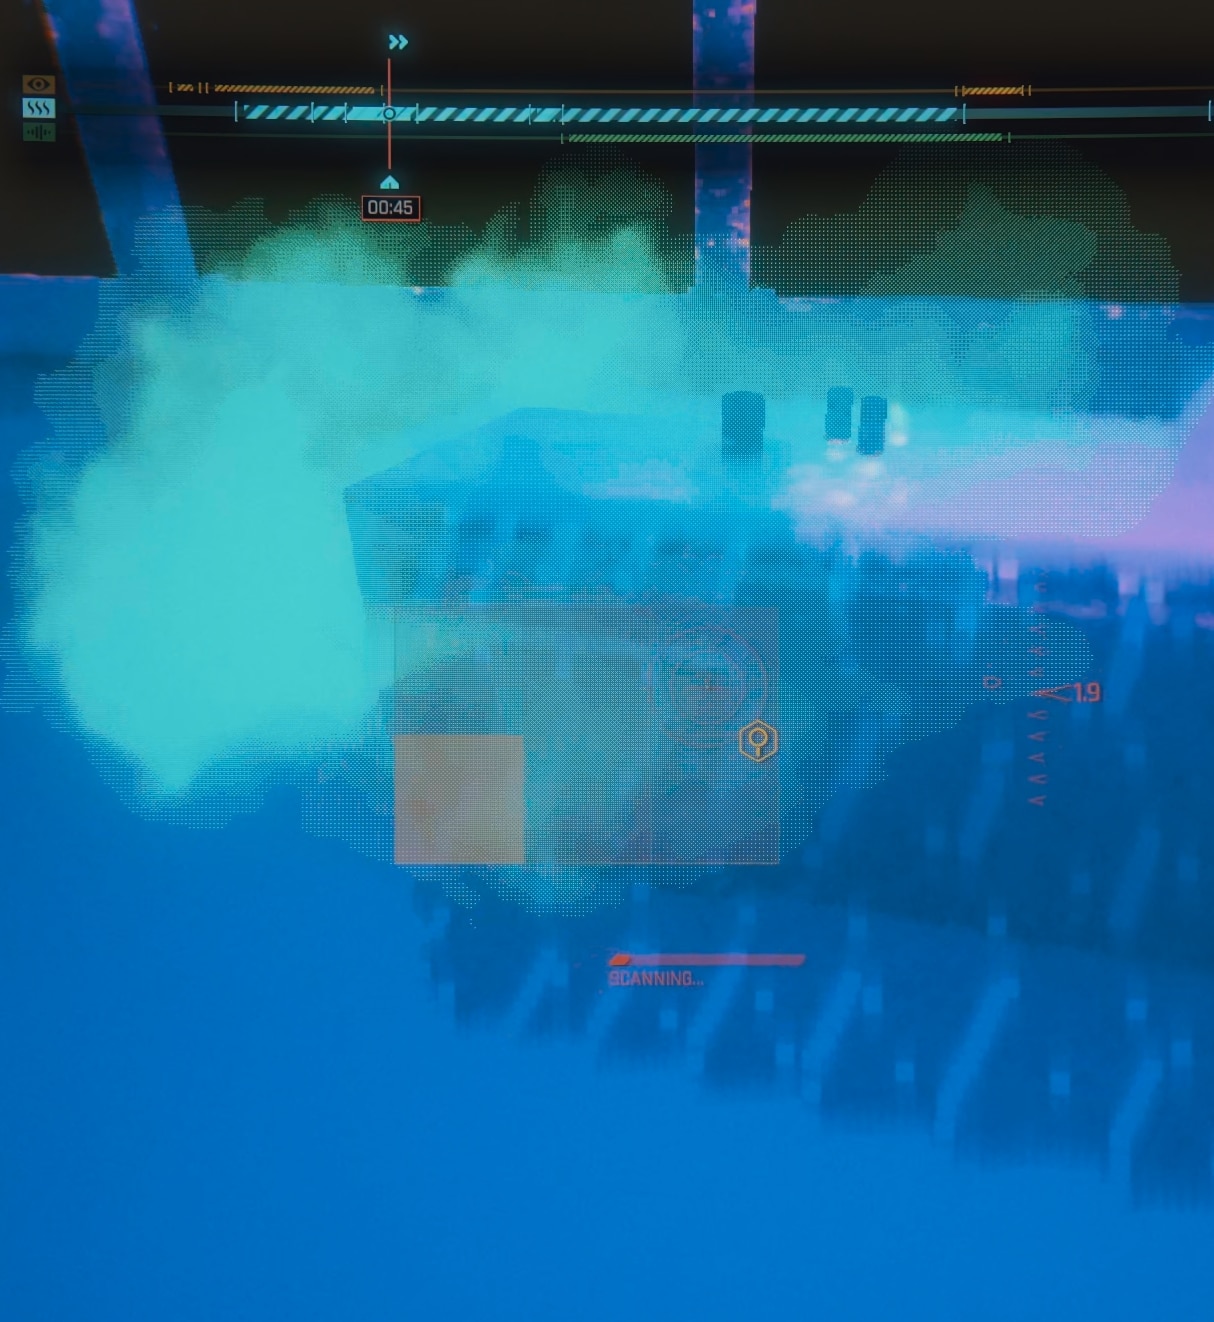
 Thermal Layer (middle one, blue color) allows you to find and analyse sources of heat or cold.
 Audio Layer (bottom of the three, green color) allows you to focus and listen to a conversation that would be otherwise unavailable for you to hear.
When a clue becomes available, it is marked with a bold segment on the timeline in the appropriate layer. In the example on the image below there is a Visual Clue, displayed in the Visual layer, and I am currently on the Audio Layer.

How to find clues and work with layers during Braindance
The three layers are used to discover different types of clues during a Braindance session in Cyberpunk 2077. Scan the objects that glow in a specific color based on the mode you are in to learn and discover clues from the recording. To scan something, simply hover over it with the reticle and wait for the analysis bar to fill up.
While you analyze the recording in Visual mode, you will see the clues in Orange contour. If the target is already scanned and analyzed, it will appear with a blue(ish) fill instead of orange.
The Thermal mode will highlight objects for you in orange or light blue, depending on their temperature.
The Audio mode will show you a green circular visualization of an audio source.

Clues appear only if the person, whose recording you watch, is near them. Then you can switch to the proper layer and check them out (scan, analyse, discover).
The Job Mission Walkthrough
This section of the guide contains spoilers for the first real Braindance mission in Cyberpunk 2077 – The Job. It follows right after the tutorial Braindance mission, which we have seen several times in pre-release demos and trailers.
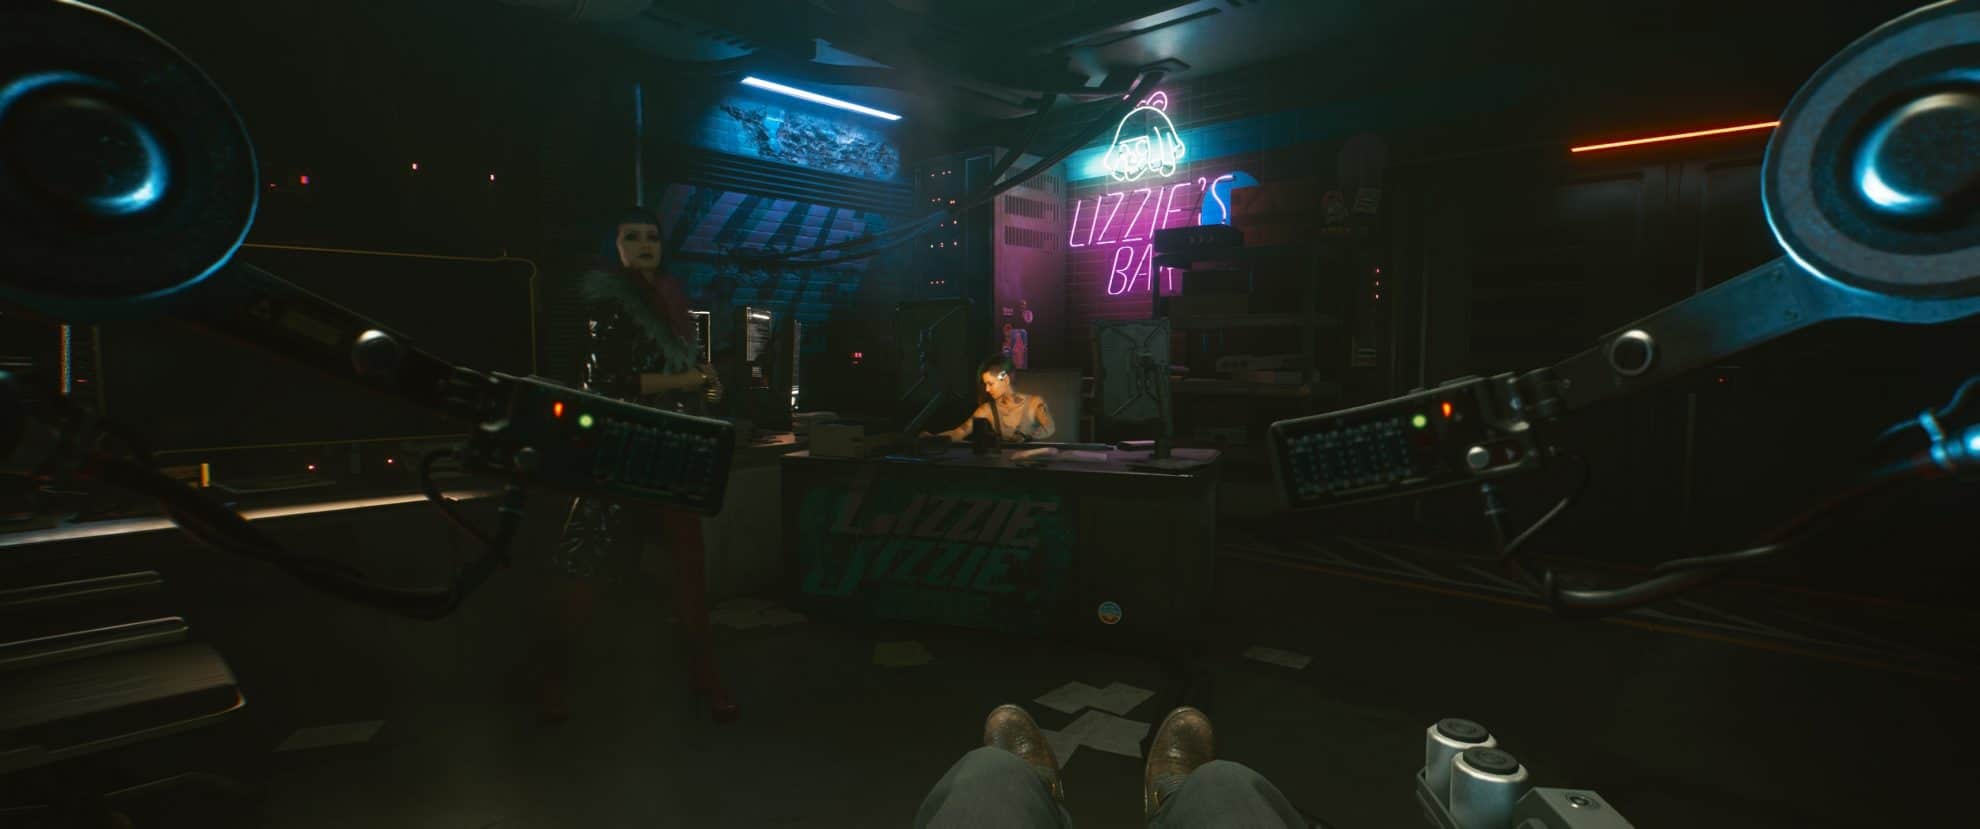
You meet with Evelyn at the Lizzie’s Bar and she then introduces you to Judy, who is arguably the best Brain Dance editor in Night City. Your taks is to watch a recording and spot security systems around the area, because later you will have to infiltrate there and complete the actual mission.
The objectives of the Braindance mission The Job are:
- Examine the braindance in Analysis Mode to find the Relic
- (Optional) Scan the apartment’s security systems
- (Optional) Watch the whole recording from Evelyn’s point of view
As I said earlier in the guide, it is best to first have an idea of what you are watching, so sit through the recording and watch it from start to finish in Playback Mode.
For the actual task for this mission, you need to do the following and please note that you have to actually be at the proper time stamp in the time line for the clues to be scan-able:
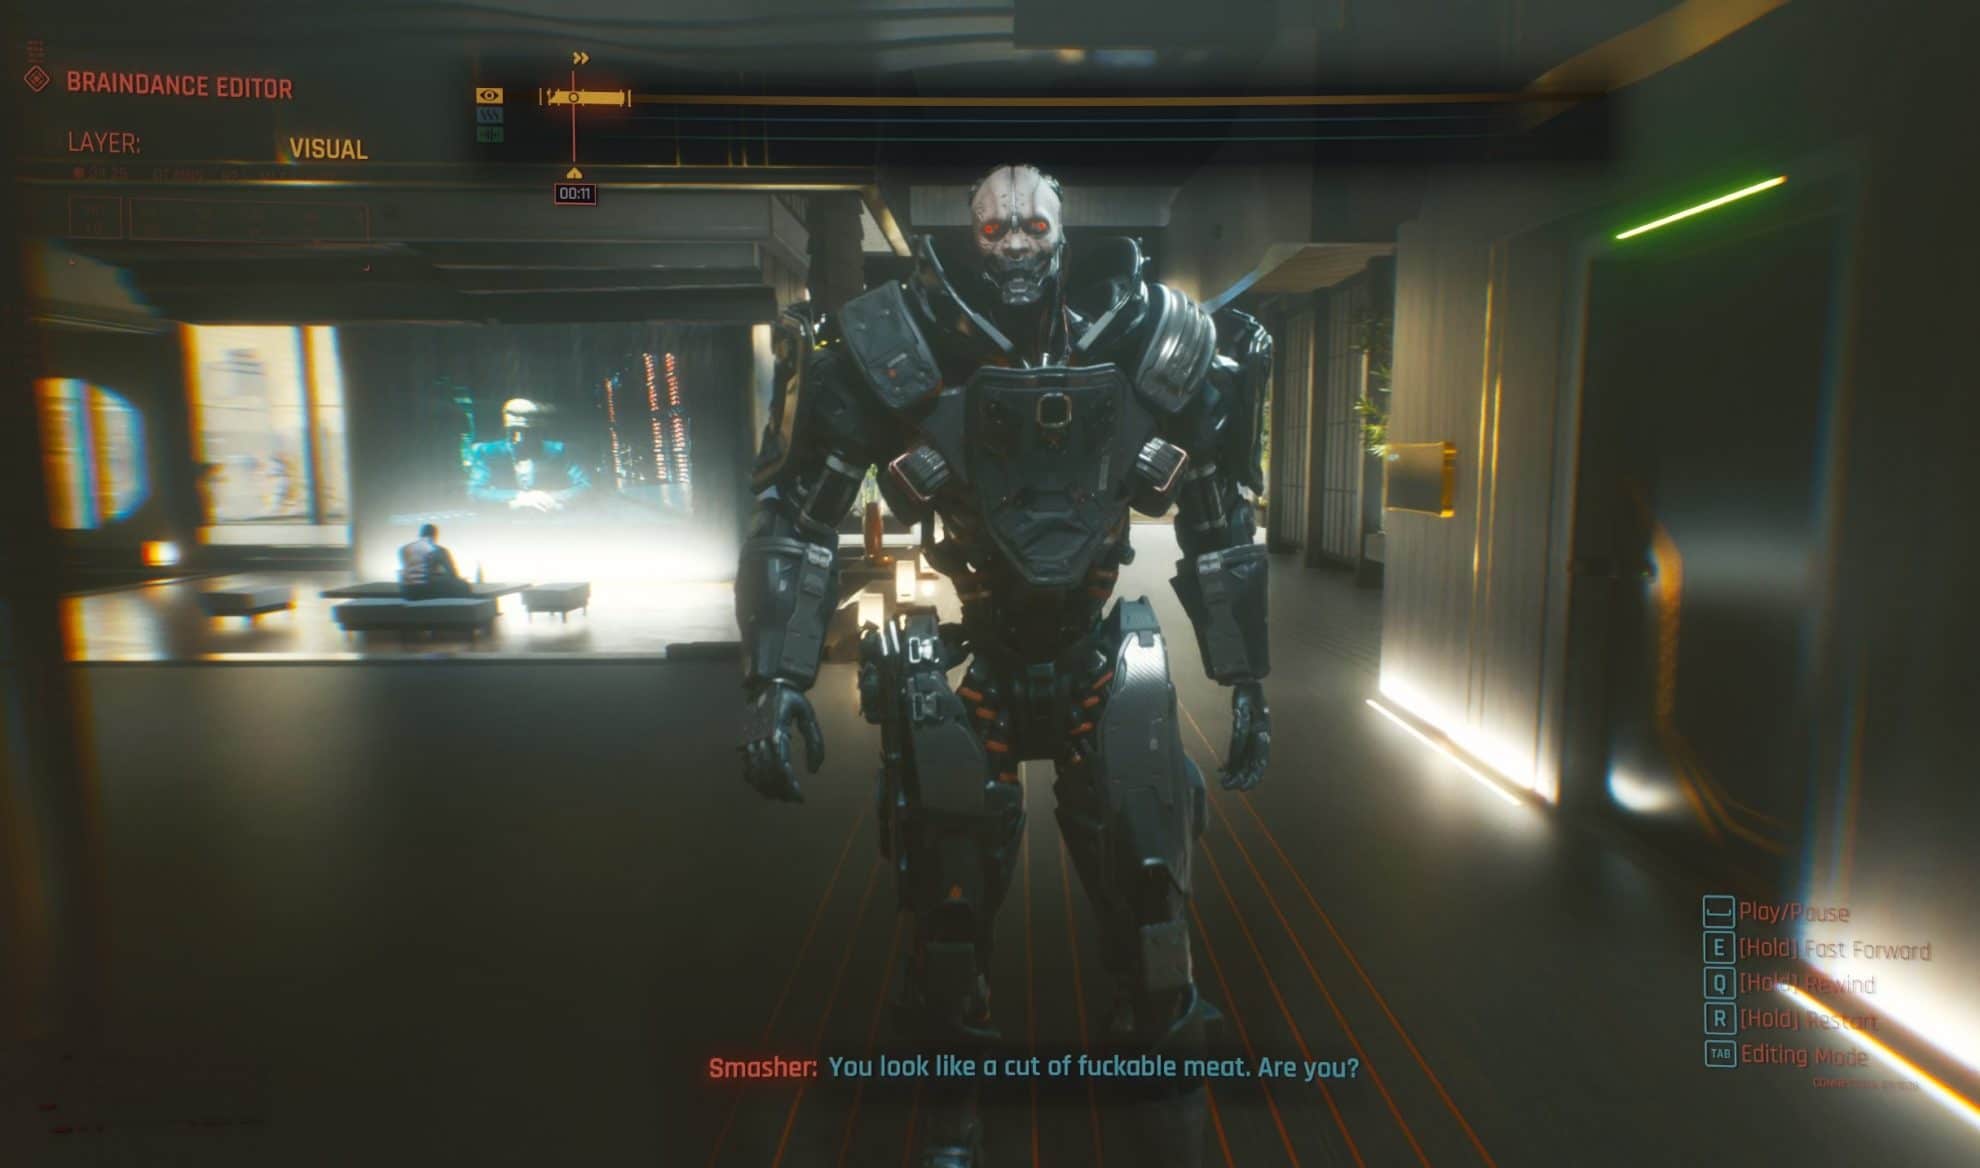
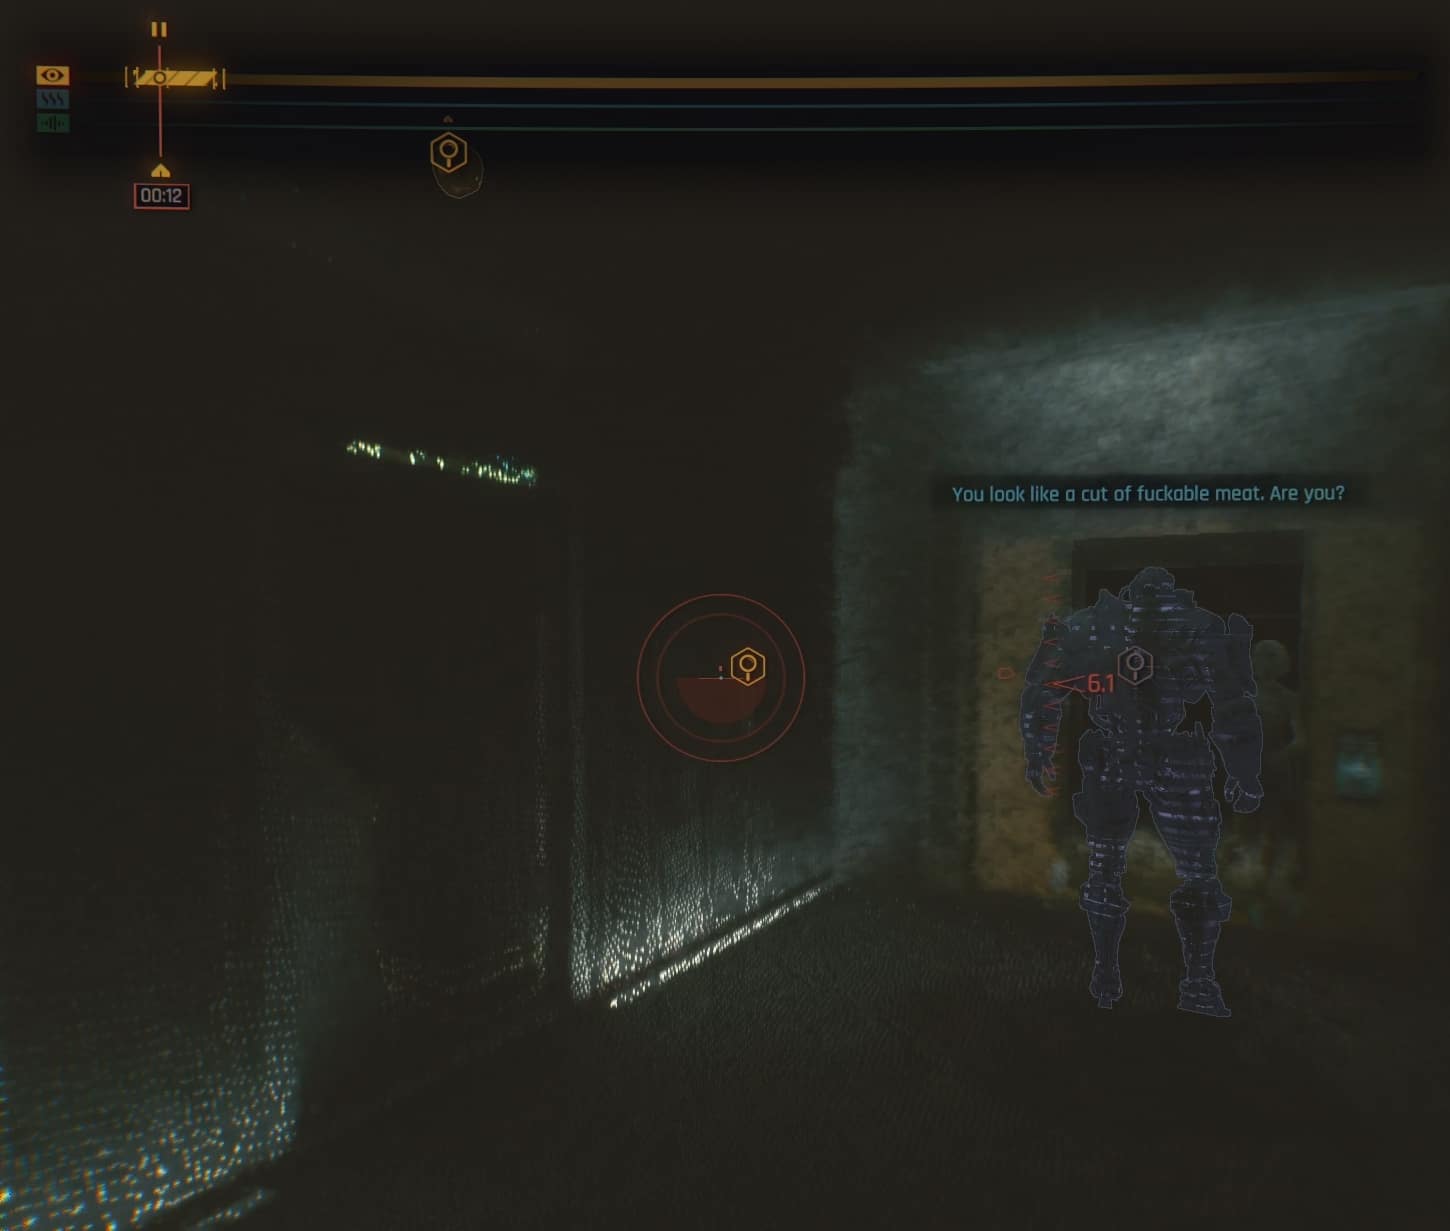
- (Visual) Scan Adam Smasher (the cyborg guy that meets you at the entrance)
- (Visual) Scan the vertical elements around the entrance door – one on the left and one on the right.
- (Visual) Scan the motion sensor cameras – one on the wall to the right from the entrance and one above the TV.
- (Visual) Automated turret on the ceiling between the TV and the entrance
- (Visual) Scan the data pad.
- (Audio) Scan Yorinobu’s phone while he talks on it to listen to his conversation.
- (Audio) Scan the TV.
- (Thermal) Scan the glass on the table.
- (Thermal) Scan the Fridge.
- (Thermal) Scan the Secret Safe.
- (Thermal) Scan the Air Conditioner in the later segment of the recording.
This whole braindance recording plays trough the eyes of Evelyn, so everything becomes available when she is in proximity to it. The list above is roughly in a proper order, but not 100% accurate as I forgot which ones I did after which ones. You are safe if you go by layers anyway.
That’s my Braindance guide for Cyberpunk 2077. I hope you found it useful and helpful! In case you have not picked up your Cyberpunk 2077 Digital Goodies, check out this guide I made to see where and how you can get your free awesome gear.
Another very important part of the game you need to learn fast is what Street Cred is and how it works in Cyberpunk 2077. This secondary leveling statistic will unlock unique paths, options, equipment and choices for you!