If you don’t know which class you want to try first in Outriders you are in the right place. This guide’s focus is on condensing the information on the existing Outriders classes into one helpful resource. We’ll be talking about the strengths of each class and generally cover what they’re capable of as well as a show you a few quick Builds!
Table of Contents
Outriders features four classes: The Devastator, The Pyromancer, The Technomancer and the The Trickster. While there are some overlaps in what each class can do in terms of traditional RPG-like roles, they will handle differently from class to class.
While we do talk about it here, we won’t be covering the mod system in depth. This will be covered extensively in a dedicated Guide to Gear and Modding. Here it’ll just be used as means of conveying some starter builds.
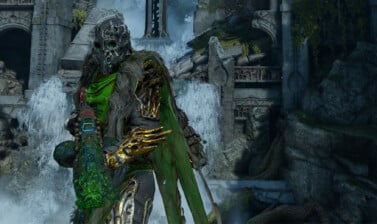
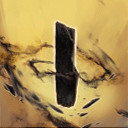
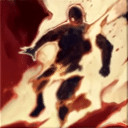
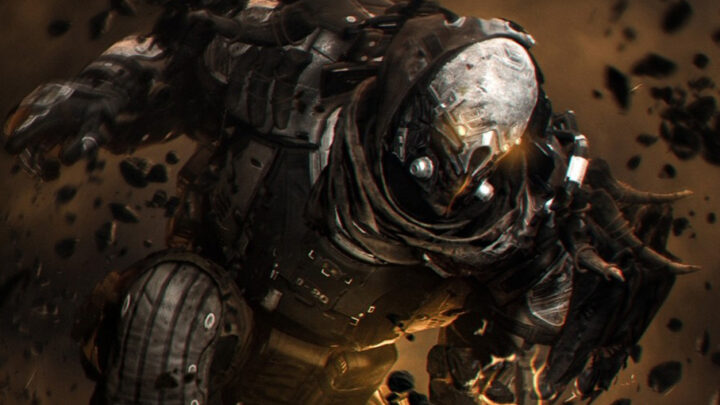
The Devastator
The Devastator is your quintessential tank or close-range bruiser. While an ability to make yourself the enemies focus hasn’t been showcased, there’s a good chance you’ll be their focus anyways as you’ll be jumping into the fray and staying in causing plenty of damage. This class has a high focus on Immobilization, Damage Mitigation and Area of Effect (AoE) Damage.
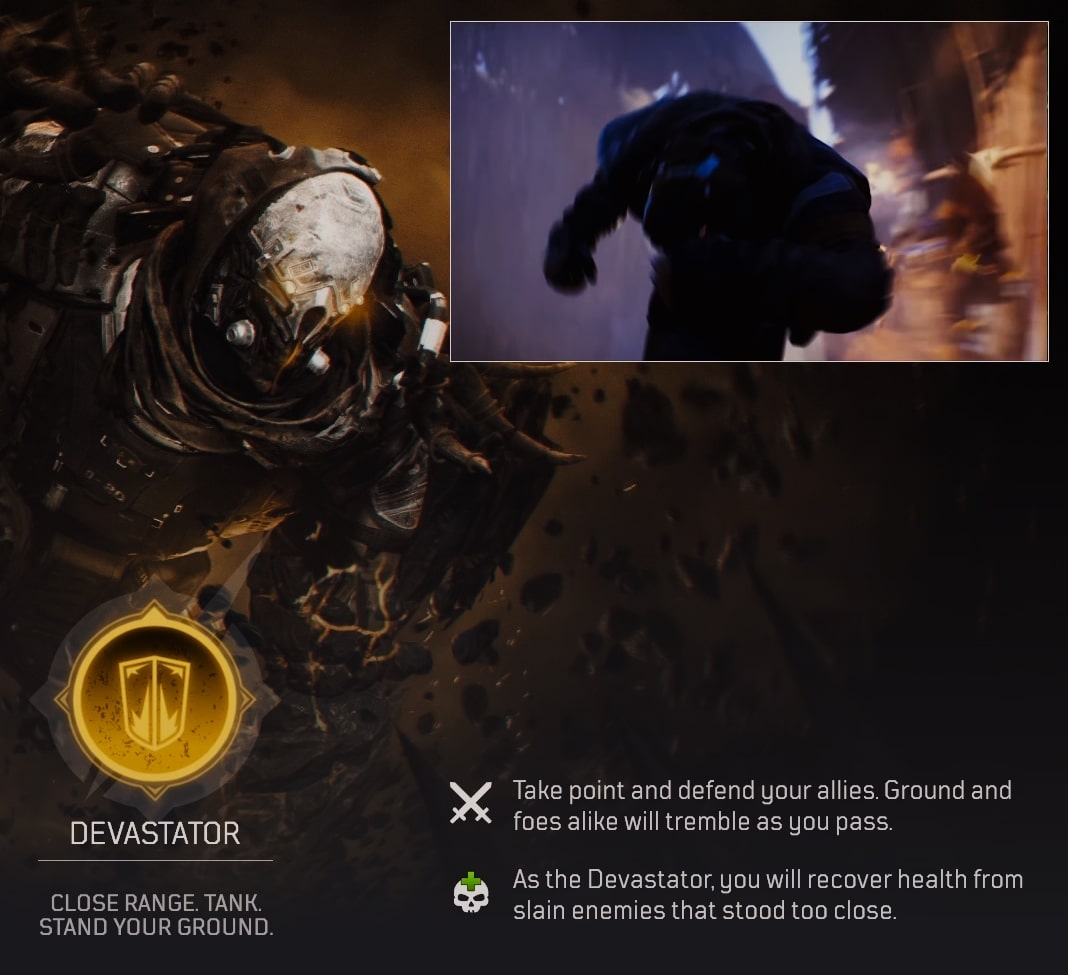
Each Class in Outriders heals in its own way. For the Devastator you’ll be healed any time an enemy dies in close proximity. This adds to the tanky bruiser play style, rewarding you for jumping in and staying in.
Abilities and Descriptions
Below is a list of the Devastator’s Skills in the order in which they unlock during gameplay.
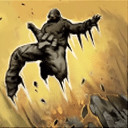
Earthquake
Releases a shock wave, dealing Seismic damage and interrupting targets in front of you.
Earned at level 2.

Golem
The Devastator fortifies themselves, reducing incoming damage by 65% for 8 seconds.
Earned at level 3.
Gravity Leap
The Devastator leaps into the air and hovers for a few seconds. You can optionally target an enemy and recast to slam down on them to dealing AoE Seismic damage to the targets and nearby Targets, interrupting them.
Earned at level 4.
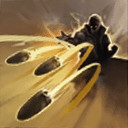
Reflect Bullets
The Devastator projects a force field, stopping bullets from hitting any ally behind it and preventing damage. On Recast or expiration, you will launch the stopped projectiles at nearby enemies.
Earned at level 6.

Impale
The Devastator Impales a few nearby enemies, dealing damage and interrupting them. On a Lethal Hit, enemies are speared by a Stone spike, granting Bonus Armor and Health Regeneration for 9 seconds.
Earned at level 9.

Tremor
The Devastator releases a series of explosion around them in a medium range. Each explosion deals damage and drains health from enemies.
Earned at level 13.

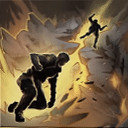
Boulderdash
The Devastator charges forward, dealing damage and interrupting all enemies in their path. At the end of the charge, you smash the ground dealing damage in a small radius.
Earned at level 17.
Endless Mass
The Devastator releases an Obelisk, which pulls enemies towards it.
Earned at level 22.
Skill and Mod Combinations
Outriders’ Skill and Mod systems are both quite diverse, there’s a lot of good pairings that exist for both offensive and defensive situations. That said, with what is available in the Early Game, here’s my favorite setup with what I could find. Check out the full Devastator Class Guide when it releases for more information.
Assault Tank Build
While the Devastators early skills focus more on mitigation rather than damage, the mitigation skills can be modded to inflict some kind of damage. This build will let you do just that, be warned though the delay with one of the skills can take time to get used to, but it can also make for a strong burst of damage.
Skills: Earthquake, Gravity Leap, Reflect Bullets
Mods for Earthquake: Ground Crush
Mods for Gravity Leap: Bloody Crush, Human Comet
Mods for Reflect Bullets: Bullet Acceleration, Auto Reflect
Ground Crush and Bloody Crush boost the damage of Earthquake and Gravity Leap respectively. Devastator seems to lack any kind of major buff or debuff that most classes have, so you make do with a sizable base damage increase. Blood Crush adds a bit of extra damage, causing Gravity Leap to inflict Bleed on everything it hits.
Bullet Acceleration adds more damage to the reflected shots, and since you can’t end it early, it’s very likely to end up a huge burst of damage if you jump in before activating it. Auto Reflect makes it so you’re not locked out of dealing damage in other ways while the skill is active, at the cost of it no longer giving damage immunity, instead being just slightly weaker than Golem for damage mitigation.
If this is your new favorite class, check out the full Outriders Devastator Class Guide to learn how to play this class to its highest potential and find out what are the best builds for each skill tree.
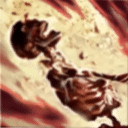
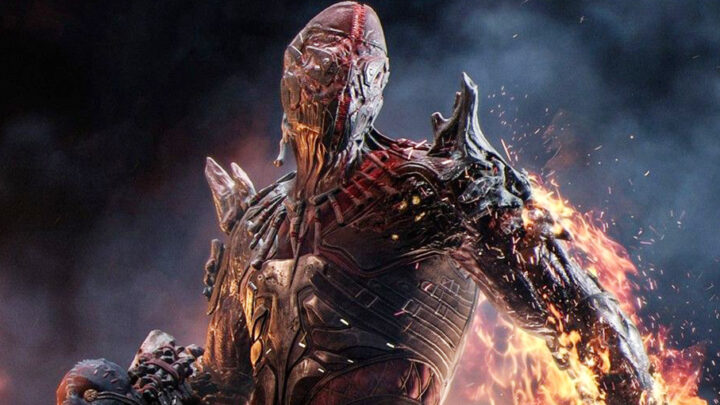
The Pyromancer
The Pyromancer is a close to mid range class, one that falls close to the typical Spellcaster Archetype. Your entire goal and purpose is to make the world burn. You have plenty of abilities that cover close and mid range both offensively and defensively. The Pyromancer has a high focus on Damage Over Time (DoT) and Area of Effect (AoE), with the option to be a bit more bruiser-like as well.

Each Class in Outriders heals in its own way. For the Pyromancer you’ll be healed any time an enemy dies while afflicted with a Burn. This allows you to maintain a safer distance while still getting plenty of healing.
Abilities and Descriptions
Below is a list of the Pyromancer’s Skills in the order in which they unlock during gameplay.
Heatwave
The Pyromancer creates a fiery wave, dealing damage and burning enemies in its path.
Earned at level 2.

Feed the Flames
Select and pull and enemy towards you. The enemy has its health drained and is afflicted with Ash and Immobilized.
Earned at level 3.
Thermal Bomb
Target an enemy to inflict damage, Ignite and Interrupt. If the target hit by Thermal Bomb is killed while still under its effect, the enemy will explode and deal damage in a large area.
Earned at level 4.

Overheat
Deals damage to all enemies in a large radius and Interrupts them. If the enemy is afflicted with a Burn, damage is increased significantly while consuming the Burn status.
Earned at level 6.
Volcanic Rounds
The Pyromancer replenishes and charges their current Magazine with Igniting rounds. These rounds Inflict Burn, ignore armor and can pierce. The effect lasts until you empty the magazine, Reload, or Weapon Swap.
Earned at level 9.

Ash Blast
Creates an anomalous blast, afflicting enemies in a large radius with Ash and Immobilizing them.
Earned at level 13.

F.A.S.E.R Beam
Projects a beam that deals damage, Inflicts Burn and Interrupts the target and a small radius around you.
Earned at level 17.
Eruption
Creates a volcanic Eruption under a selected target. This Eruption deals damage to the target and other in a small area near the target.
Earned at level 22.
Skill and Mod Combinations
Outriders’ Skill and Mod systems are both quite diverse, there’s a lot of good pairings that exist for both offensive and defensive situations. That said, with what is available in the Early Game, here’s my favorite setup with what I could find.
Pyro Nuke Build
This setup focuses on taking advantage of Overheat’s large range, using other skills to setup your burns, while also generating a ton of Anomaly power. There’s lots of burning, fire, and explosions; What else could a Pyromancer ever want?
Skills: Heatwave, Thermal Bomb, Overheat
Mods for Heatwave: Tidal Wave, Burnt-Out
Mods for Thermal Bomb: Wildfire, Fire Frenzy
Mods for Overheat: Phoenix Force
For Heatwave, the Tidal Wave mod gives you a second cast of it, letting you burn, and more importantly debuff enemies both more easily. Burnt-out is the mod that makes it a debuff, making enemies hit by it take an whopping 35% more damage. This combined with Overheat’s mod gives this build some massive burst to crowds.
For Thermal Bomb, Fire Frenzy is used to get a second charge. This allows Thermal Bomb to more easily and reliably blow up groups as well as Ignite them. Wildfire enables it to ignite, allowing easier use of your Passive and even more setup potential for Overheat. Thermal Bomb isn’t great for bossing, unless the boss happens to have adds, so feel free to Swap with Feed the Flames and mod for Health Drain instead in that situation.
The Overheat mod is HUGE in terms of the potential boost it gives. Even at a low level, you can already get up to a max of 220 Anomaly Power, if at least 10 enemies are on fire when you cast it. This number will scale up with gear, but it already has insane potential. This is why it’s also important to have two charges of both Thermal Bomb and Heatwave, to take advantage of this bonus after setting up. If you wanted all the charges to get extra damage, you can also charge in and use a Sprint Melee to Ignite a group then Overheat for the boost and go right into casting.
Check out the full Outriders Pyromancer Class Guide to learn not just the basics, but how to master the class, how to prepare for EndGame and what are the best builds for it.
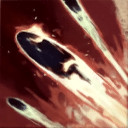
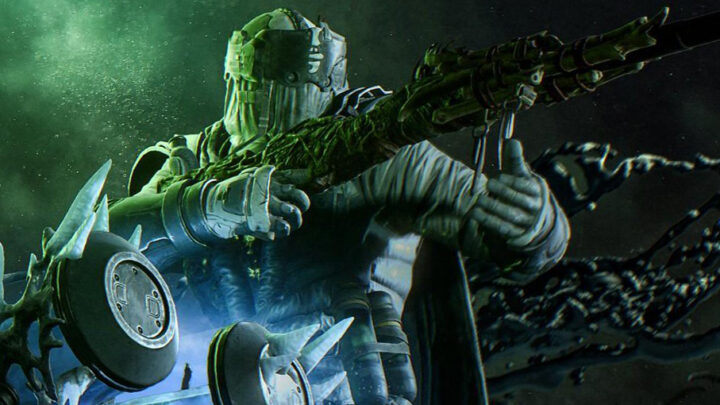
The Technomancer
The Technomancer is a long range support class, having access to both a direct heal and plenty of artillery. The Technomancer is best compared to a Traditional Summoner Archetype, offering a good mix of everything from DPS to Support. This class focuses on Crowd Control, Damage over Time (DoT) and Area of Effect (AoE) damage.
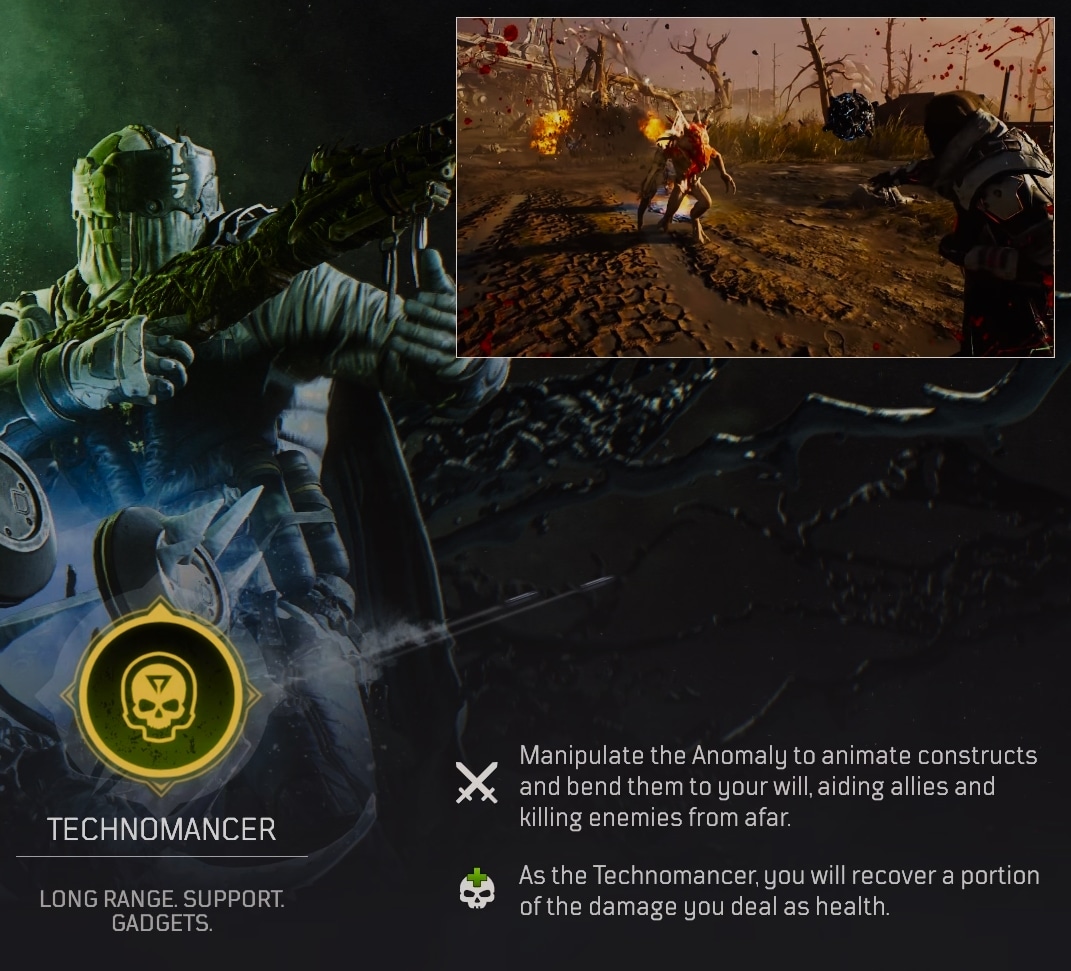
Each Class in Outriders heals in its own way. The Technomancer heals by simply doing damage. All Weapon and ability damage will heal them, letting them keep the pressure on the enemy. The Technomancer also has access to an AoE Healing skill.
Abilities and Descriptions
Below is a list of the Technomancer’s Skills in the order in which they unlock during gameplay.
Scrapnel
The Technomancer throws a shrapnel bomb, dealing damage and interrupting enemies in the blast radius.
Earned at level 2.
Cryo Turret
The Technomancer places an automated Cryo Turret. This turret will deal damage and Freeze enemies. The deployable’s health will drain over time and as it takes damage; but can be healed by Fixing Wave.
Earned at level 3.
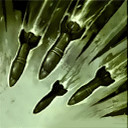
Pain Launcher
The Technomancer places an Ordinance device which releases a barrage of missiles in front of it. Each missile deals damage and interrupts in a small AoE.
Earned at level 4
Blighted Rounds
The Technomancer replenishes their magazine with Decay-charged rounds. These rounds inflict toxic and spread your weapon damage in a small area around the target. This effect lasts until you empty the Magazine, Reload or Weapon Swap.
Earned at level 6.
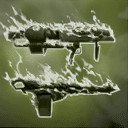
Tool of Destruction
Press the Skill to call forth a rocket launcher, capable of dealing high damage and interrupting.
Hold this skill down to call forth a Minigun capable of dealing sustained damage. Skilled ends when ammo is depleted or on Weapon Swap.
Earned at level 9.

Fixing Wave
The Technomancer activates a Healing Gadget. This instantly restores 33% of max health to all Players and 50% of max health to all of your turrets.
Earned at level 13.
Cold Snap
The Technomancer deploys a gadget that inflicts Freeze on all enemies in a large radius.
Earned at level 17.
Blighted Turret
The Technomancer deploys an automated turret. This turret will deal damage and inflict Toxic to enemies hit. The deployable’s health will drain over time and as it takes damage; but can be healed by Fixing Wave.
Earned at level 22.
Skill and Mod Combinations
Outriders’ Skill and Mod systems are both quite diverse, there’s a lot of good pairings that exist for both offensive and defensive situations. That said, with what is available in the Early Game, here’s my favorite setup with what I could find.
Scraptech Build
This Setup relies on making use of your AoE skills to clear groups effectively. Between Scrapnel and Pain Launcher, you can tear through groups very quickly. Blighted rounds is capable of putting in some work as well with the right weapons.
Skills: Scrapnel, Pain Launcher, Blighted Rounds
Mods for Scrapnel: Fine-Tuned, More Traps
Mods for Pain Launcher: Freeze Barrage, Rain of Pain
Mods for Blighted Rounds: Spare Mag
More Traps does exactly what it sounds like, giving you another charge of Scrapnel. If Desired you can even drop Spare mag and go for three of these via a second version of the mod in a different slot. Fine-tuned increases their explosion and trigger radius, making it a more potent AoE skill.
Rain of Pain is essential for this skill, as it knocks off a large portion of its cooldown. It has some of the best area coverage in a Technomancer Skill, barring weapons with mods that make your shots ricochet being used with Blighted Rounds. Freeze Barrage is more of a utility choice, you can just as easily go for more range or more damage if you really need the extra clearing power. This also setup up for Scrapnel to clean up what doesn’t actually get killed.
Spare Mag for Blighted Rounds is optional. You could swap it with Critical Analysis, which boosts your critical damage. It could also be swapped with one of previously mentioned mods for Pain Launcher as well. However, Blighted rounds is both good AoE and single target damage, so it feels like a must have in a lot of cases. Between the natural spreading of both Toxin and weapon damage, it’s very hard to pass up.
To maximize your experience with the class, be sure to read our in-depth Outriders Technomancer Guide. In it you will learn everything there is to know about the class and what are the best builds to spec into for the early, midgame and endgame.
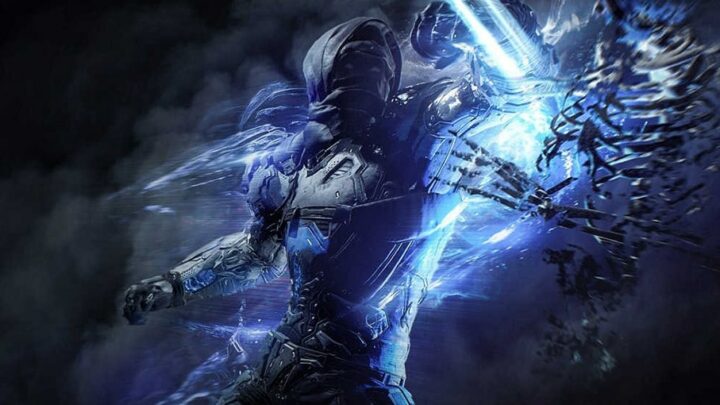
The Trickster
The Trickster is a mobile class and focuses on a hit and run play style. They manipulate space and time to weave in and out of combat. With their powers focusing on time and space, The Trickster is a DPS focused class with a healthy amount of crowd controlling abilities. A lot of their damage is Area of Effect (AoE) focused, with a weapon buff that helps in single target situations.
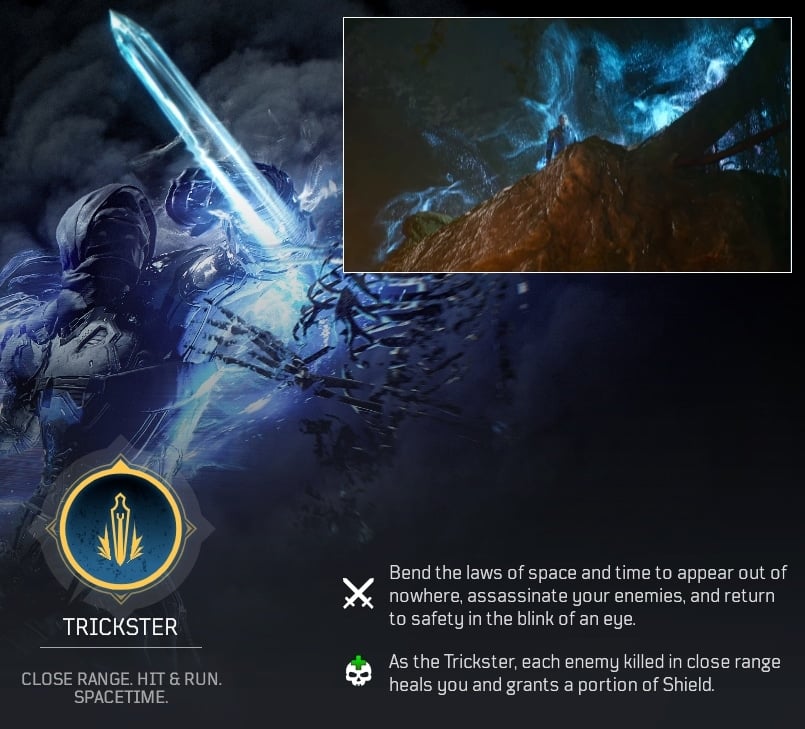
Each Class in Outriders heals in its own way. For the Trickster you’ll be healed any time you kill an enemy in close range. You will also get a portion of your Shield up. The shield does decay however, which encourages you to stay in the fight to maintain it.
Abilities and Descriptions
Below is a list of the Trickster’s Skills in the order in which they unlock during gameplay.
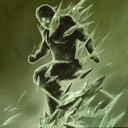
Temporal Slice
The Trickster slices in front of them with a Temporal Blade, dealing damage and Interrupting enemies. Enemies will be afflicted with Slow if not killed.
Earned at level 2.

Slow Trap
The Trickster deploys an anomaly field, slowing enemy movement and projectiles inside it. This field last 10 seconds.
Earned at level 3.

Hunt the Prey
The Trickster teleports behind an enemy, gaining a small shield bonus.
Earned at level 4.

Twisted Rounds
The Trickster replenishes and empowers their current weapon magazine with anomaly-infused bullets, increasing your Firepower. The effect lasts until you empty the magazine, Reload, or Weapon Swap.
Earned at level 6.

Cyclone Slice
The Trickster creates a whirlwind of anomalous blades around them, dealing damage in interrupting targets in a small area around them.
Earned at level 9.

Borrowed Time
The Trickster marks a location at their feet and gains a shield for 28 seconds. When the skill is recast, the Trickster will return to their original location.
Earned at level 13.
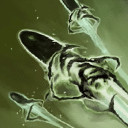
Venator’s Knife
The Trickster throws a temporal knife at an enemy, ricocheting between up to 5 enemies. Enemies hit are marked, taking double damage on the Trickster’s next hit and becoming Slowed.
Earned at level 17.

Time Rift
The Trickster releases a shockwave that suspends enemies in the air for 3.5 seconds and inflicts Weakness.
Earned at level 22.
Skill and Mod Combinations
Outriders’ Skill and Mod systems are both quite diverse, there’s a lot of good pairings that exist for both offensive and defensive situations. That said, with what is available in the Early Game, here’s my favorite setup with what I could find.
Hybrid Assassin Build
The Trickster is a class that has both high burst and high sustained DPS. This setup takes advantage of that to the fullest, or at least to the fullest the early game allows. It’s focused on staying mobile while still doing damage via both weapons and skills.
Skills: Temporal Slice, Hunt the Prey, Twisted Rounds.
Mods for Temporal Slice: Slasher, Cut Loose
Mods for Hunt the Prey: Dance of Death, Radiation Jump
Mods for Twisted Rounds: Strong Twist
The Temporal Slice mods are what give you a fair bit of your sustain. Slasher is the go-to for damage in my opinion, two uses of Temporal Slice will almost always do more damage than simply adding bonus damage. Cut Loose makes it so whether you have one charge or two, it comes back quicker after they get used.
Hunt the Prey because a very reliable DPS boost with this pairing of mods. Dance of Death gives it more uptime by lowering the cooldown. Radiation Jump applies Vulnerable to the targeted enemy, making them take more damage.
Strong Twist on Twisted Rounds significantly boost your single target DPS. In the Case of bosses however, it tends to be better to shift more mods toward this skill. Grabbing Additional Mag and/or Blue Blood for longer lasting bonuses and healing that doesn’t rely on adds can be a game changer for bosses.
For a lot more detailed and in-depth look into the class, check out the dedicated Outriders Trickster Class Guide and Best Builds. There you will find everything you need to know about the class and more!
Which Outriders Class Should you Play First?
So with the overview of the classes out of the way, let’s talk about which of the classes make for great starting characters. While you can’t switch between classes on a single character, you can at least be confident on whether or not it will be rough on you or not as you go through the early game.
For me personally despite it not being my favorite to play, I’d recommend Devastator as the top choice, especially while solo. While early on into World Tiers and the story it’s not a Damage powerhouse, once you start getting gear with Mods you get a ton of durability AND damage. Which quite honestly, the other classes just don’t provide early on.
The second recommendation is Pyromancer. While this class’s early skills aren’t super amazing, you do get access to a few AoE skills and at level 6 you get Overheat. Using Overheat in combination with your other skills and previously mentioned Weapon Mods that can spread fire, you become a powerful force to be reckoned with.
Conclusion
Outriders has some pretty interesting classes. At the time of releasing this guide, the demo has recently gone live. While the demo gives an opportunity to try all the classes available before launch, you miss out on the deeper parts of progression, where the classes begin to stand out from each other in certain roles.
I’m personally looking forward to when I can get into creating builds and fully building out a character. That’s sure to be a fun time. There’s already some fun skill combos in the Demo, and that just grows as progression continues into launch.
I’d like to thank Kevbottron for assisting me with farming these mods so I could put together the builds in this guide. I hope you all enjoyed this Outriders Classes Guide. I’ll be seeing you again, as there’s plenty to cover before and after launch. Stay tuned for the next one.
Looking for a community to be part of for Outriders? RubyRose also leads the Outriders branch of a multi-game Discord server that started with Anthem. Come and Join the Community as we build up in preparation for any Guild feature that may come to exist.
Follow RubyRose‘s extensive Outriders coverage here on VULKK.com as the game launches fully in April 2021. Get a head-start with the game by knowing some of the basic mechanics and some tips and trick which stay as far away from spoilers about the game as possible.
The next best thing you should read is probably the DOs and DONTs Outriders Beginners Guide full with tips and tricks to help you dominate on Enoch!
Outriders Class Guides and Best Builds
This is a list of individual Outriders Class Guides. Each guide goes far beyond the normal and generic overview of the class you would see anywhere else. RubyRose has done a lot of work, research and testing so that we can offer you here on VULKK.com the most detailed and informative guides for all four classes in Outriders.
Learn how to play the class, get the basics, build upon them as you level up and master your role and gameplay style to be ready for the EndGame. FInd out what the best and most useful builds are for each class and be ready for any situation and combat scenario People Can Fly and Square Enix have designed for you in the game.
Outriders Devastator Class Guide and Best Builds
Complete Outriders Devastator Guide explaining the basics of the class and sharing builds for early game as well as EndGame at level cap!
Outriders Pyromancer Class Guide and Best Builds
Complete Outriders Pyromancer Guide explaining the basics of the class and sharing builds for early game as well as the EndGame at level cap!
Outriders Technomancer Class Guide and Best Builds
Complete Outriders Technomancer Guide explaining the basics of the class and sharing builds for early game as well as EndGame at level cap!
Outriders Trickster Class Guide and Best Builds
Complete Outriders Trickster Guide explaining the basics of the class and sharing builds for early game as well as the EndGame at level cap!