This is a guide to the Outriders Chrysaloid Boss from the Forest Enclave zone on Enoch. Here you will find everything you need to know about the special abilities and attacks of the creature, all of the mechanics, phases and – of course – how to defeat the monster!
The guide contains light spoilers. Its goal is to help you defeat the boss easily, so keep reading if you’d rather not go into it completely blind or if you have already tried it and need a bit of advice how to beat it.
Heading Into the Forest Enclave
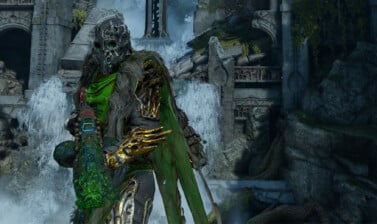
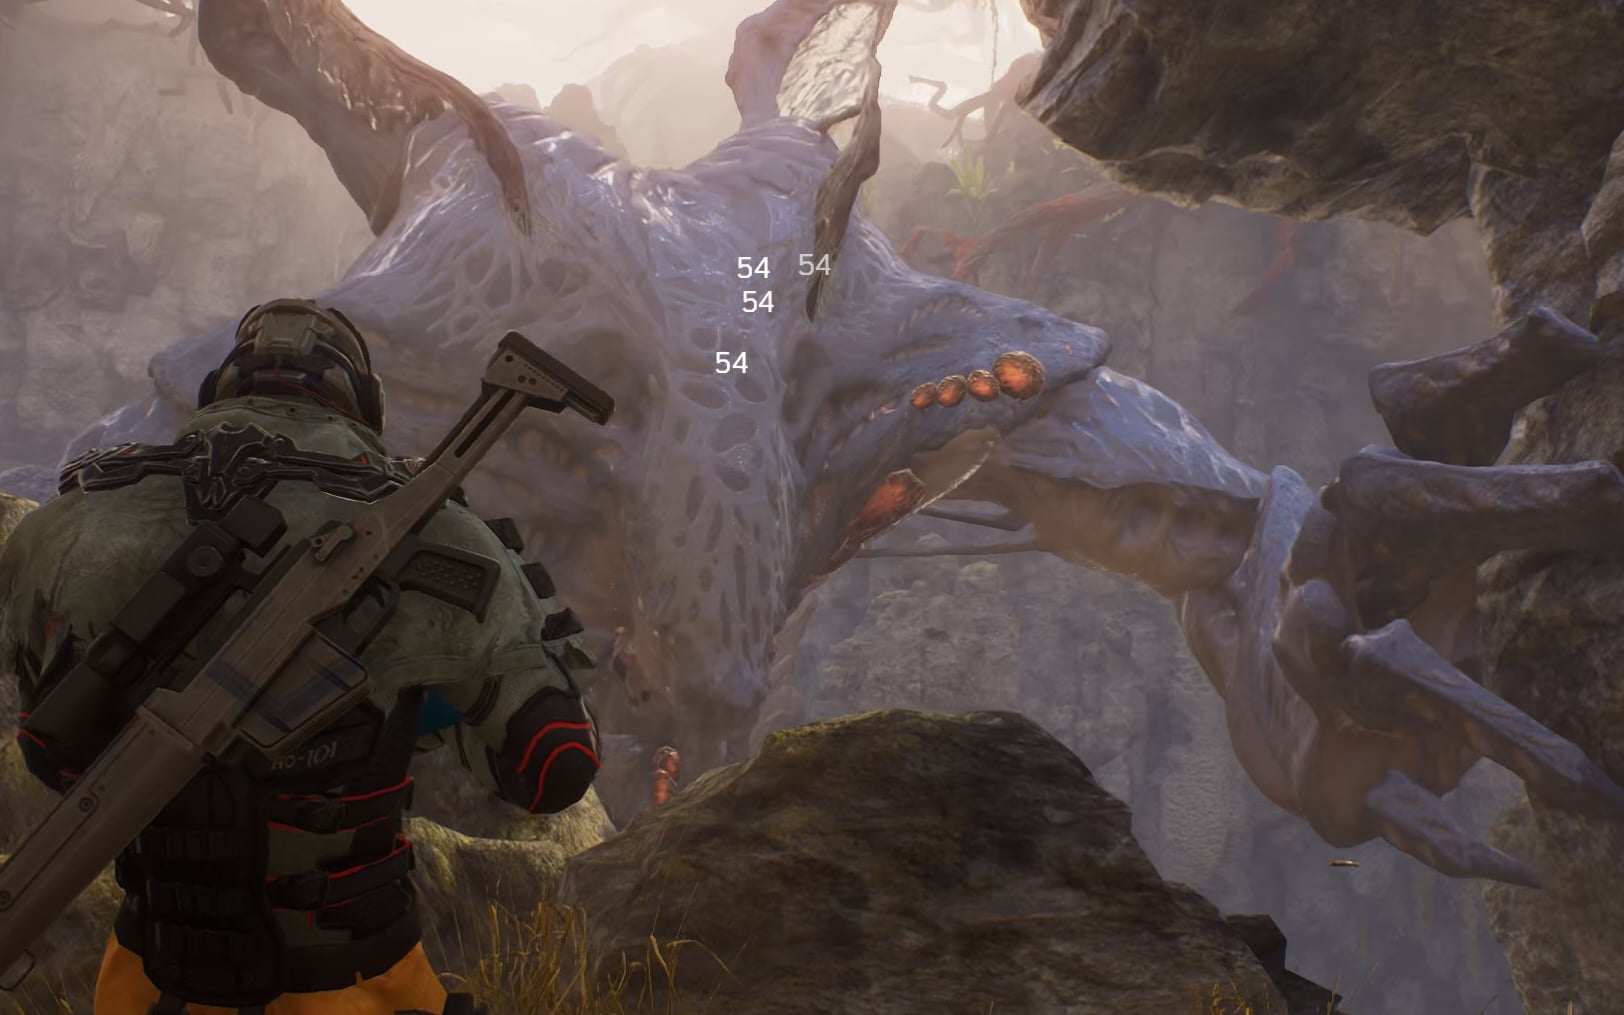
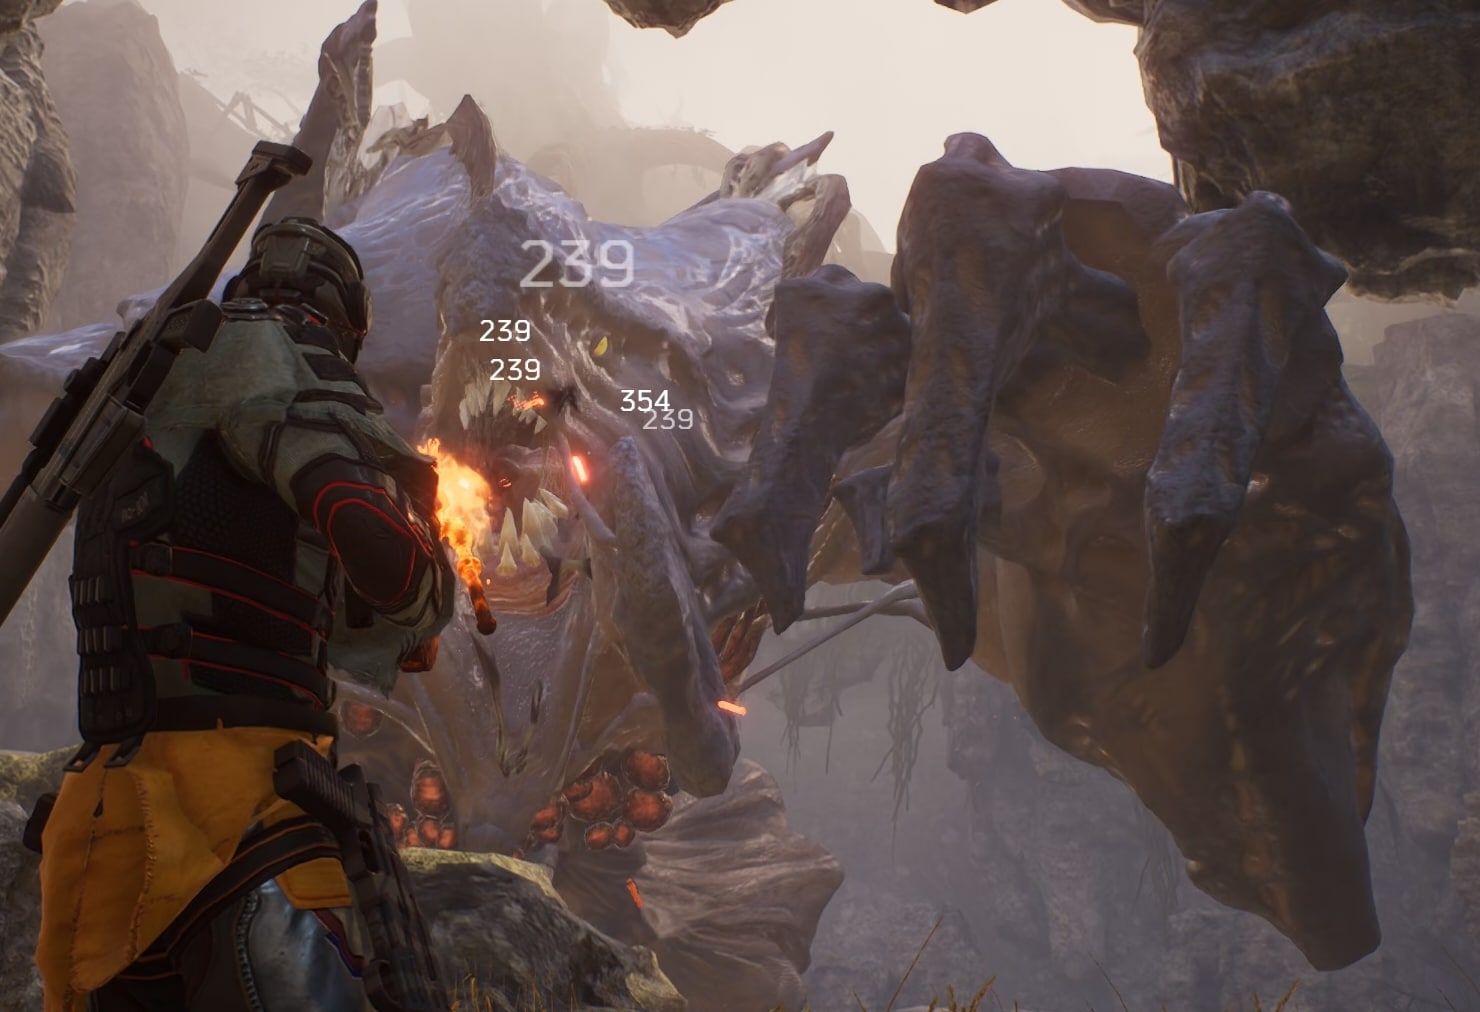
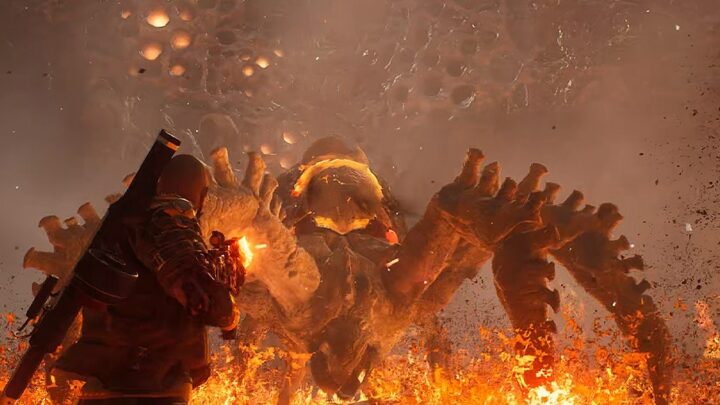
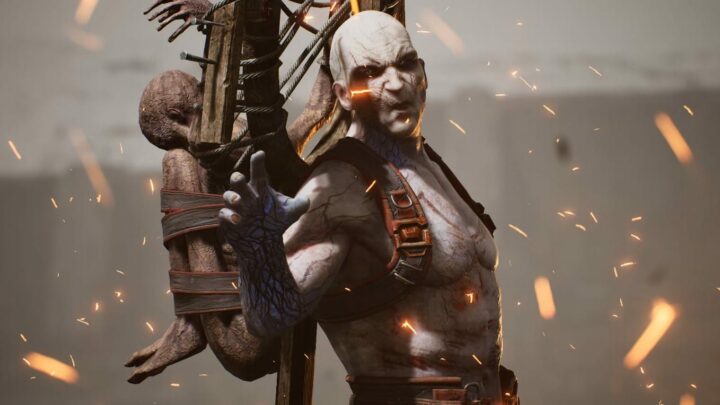
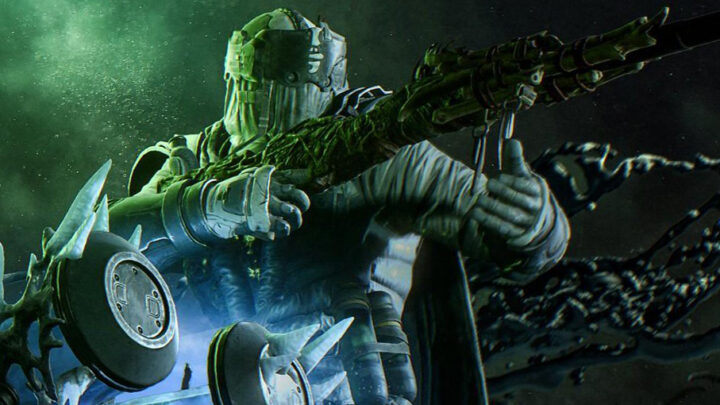
In Outriders the Chrysaloid is the fourth Major story boss of the game, fought in the Forest Enclave region of the story. This boss takes the form of a gigantic Monster (kind of looks like a badly mutated rancor).

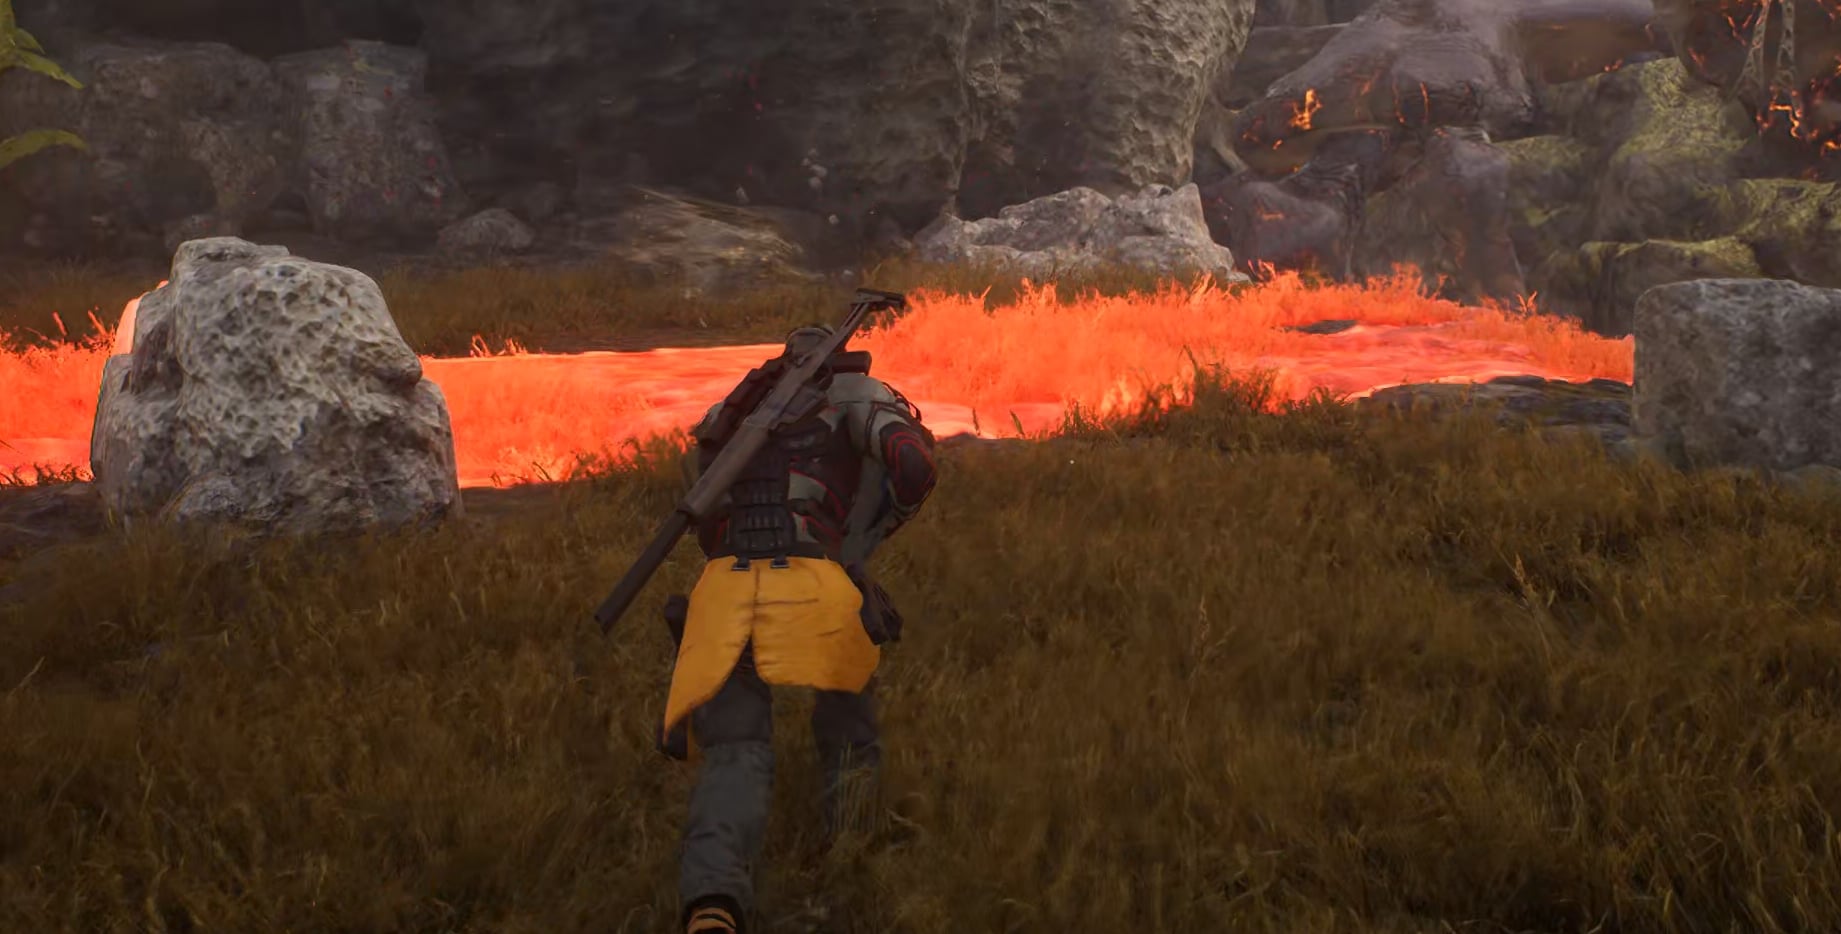
Upon Entering the Forest, your convoy will be attacked and thrown off course by the Chrysaloid, where your character will decide the best course of action is to take care of it.
You’ll be thrown into the “Mayhem” quest and land in an area with only a restock option. Use this time before entering the fight to make sure you’re properly prepared. If necessary, you can safely change your Story Point via the Game Lobby to access an area to swap your mods.
Preparing for the Chrysaloid Encounter
While the Chrysaloid isn’t a particularly dangerous foe once you learn its moves, it does have a ton of health to burn through and can do plenty of damage if you don’t evade its attacks.
Since the Chrysaloid is located outside of the arena for the majority of the fight, most skills that reposition you to the enemy will fail to work. Alongside this, shorter range skills like Temporal Blade only have small windows they can hit. So it’s best to avoid these skills for this fight.
Given the Range you fight at, you’ll also want to stick to Assault Rifles, Light Machine Guns, Standard/One-shot Rifles and Sniper Rifles. Opportunities to use Shotguns or SMGs and deal meaningful damage are low in this fight. Yes, the situation is similar in that regard to the Molten Acari boss encounter.
If you are wiping continuously on this boss, check if your gear is updated and upgraded. Gear and Mods in Outriders play significant role for your combat performance and success. Another option is to just lower the World Tier (the difficulty of the game).
Keep in mind that the higher the World Tier, the better rewards you get. Better read this guide to learn how to defeat the Outriders Chrysaloid boss and get nice powerful loot than to lower the difficulty, breeze through the creature and get worse rewards.
For higher World Tiers building your character properly is done mostly through the crafting system in Outriders. And our dedicated guide will help you learn how to best use your resources and get the most out of your current gear.
The Chrysaloid Encounter Guide
The Chrysaloid is the second boss to feature phases, though there’s only one major difference between the two phases and it’s not attacks.
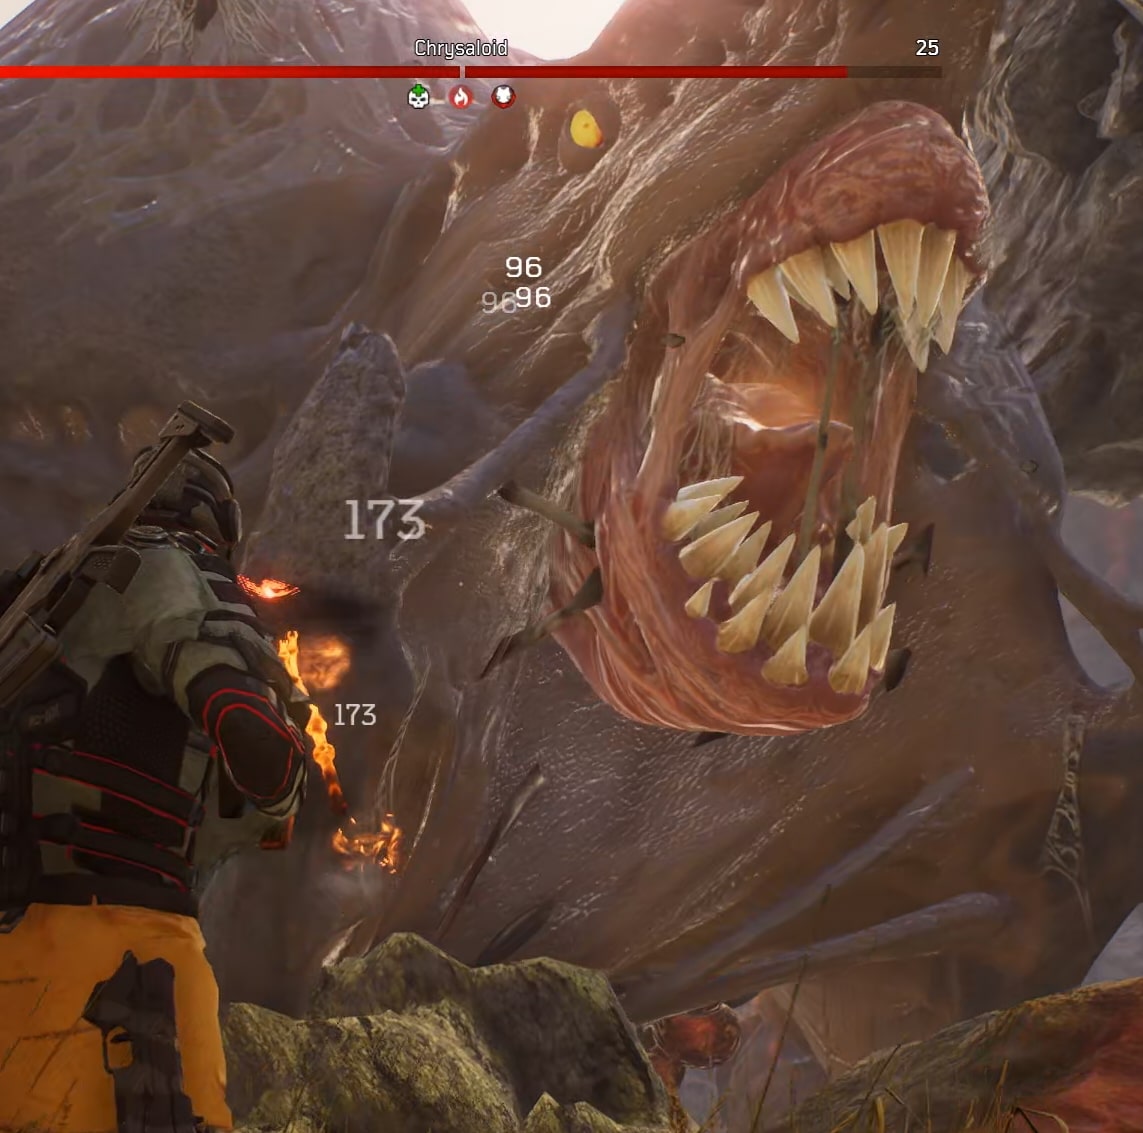
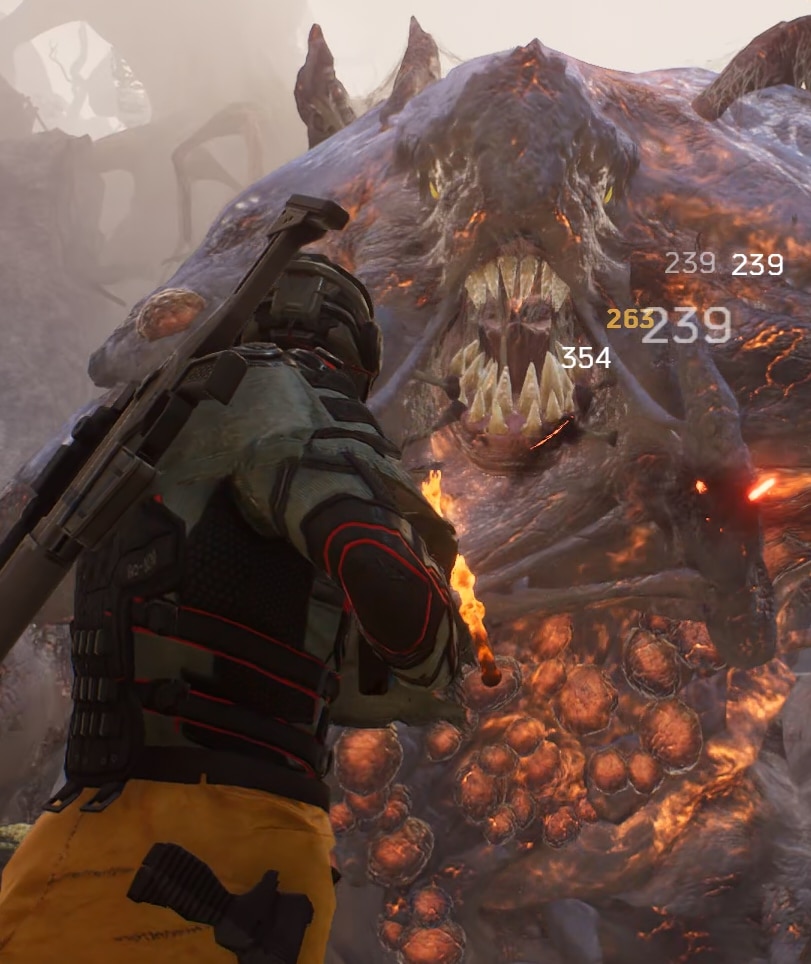
The Chyrsaloid’s weak point under their Mouth (on his belly). Though this weak point does move a fair bit, having means to apply a slow every so often will help quite a bit with hitting it consistently.
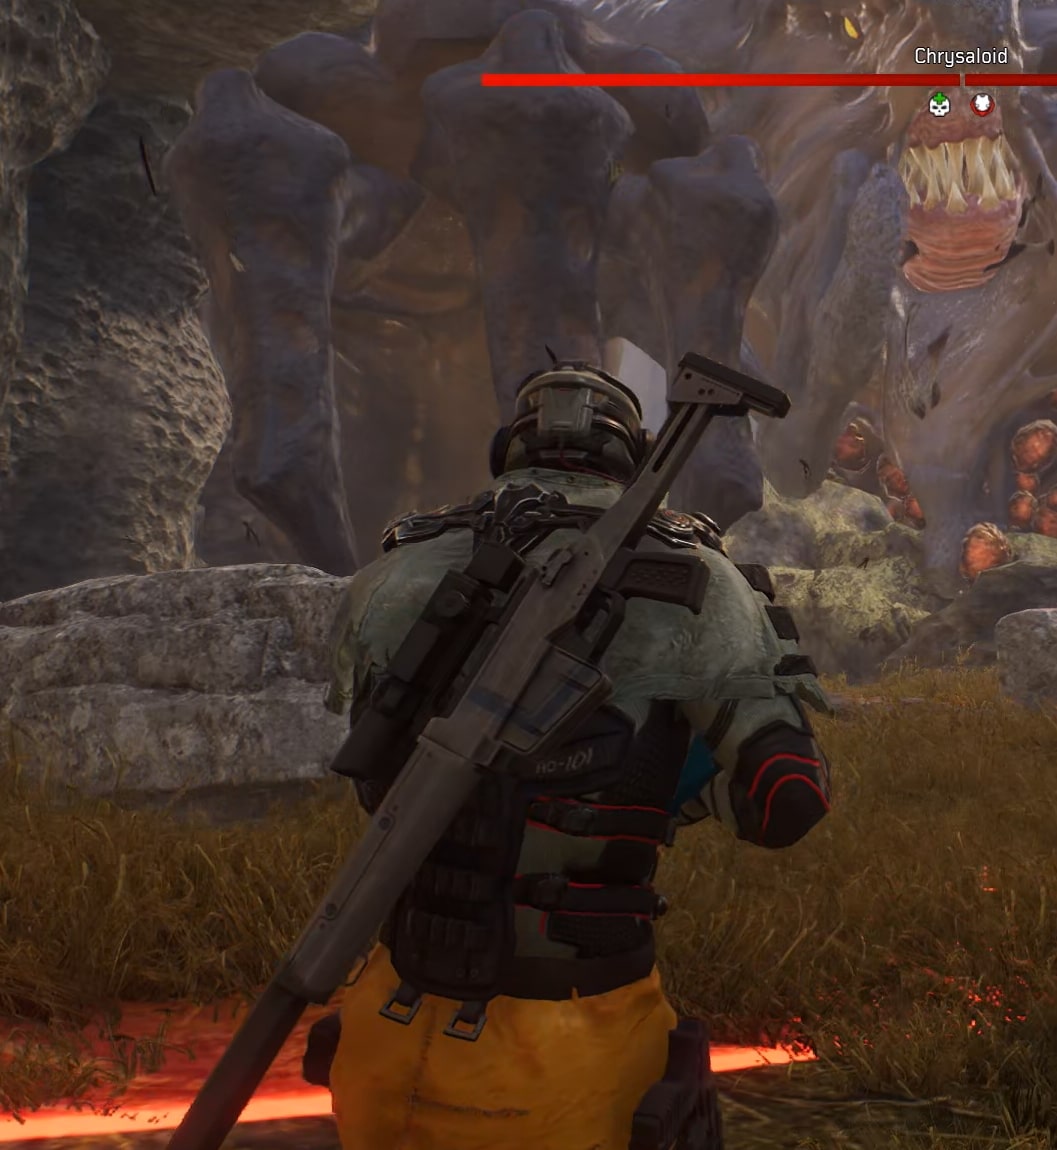
Phase 1: Entering the Arena
In this phase, the Chrysaloid has four attacks it will perform.
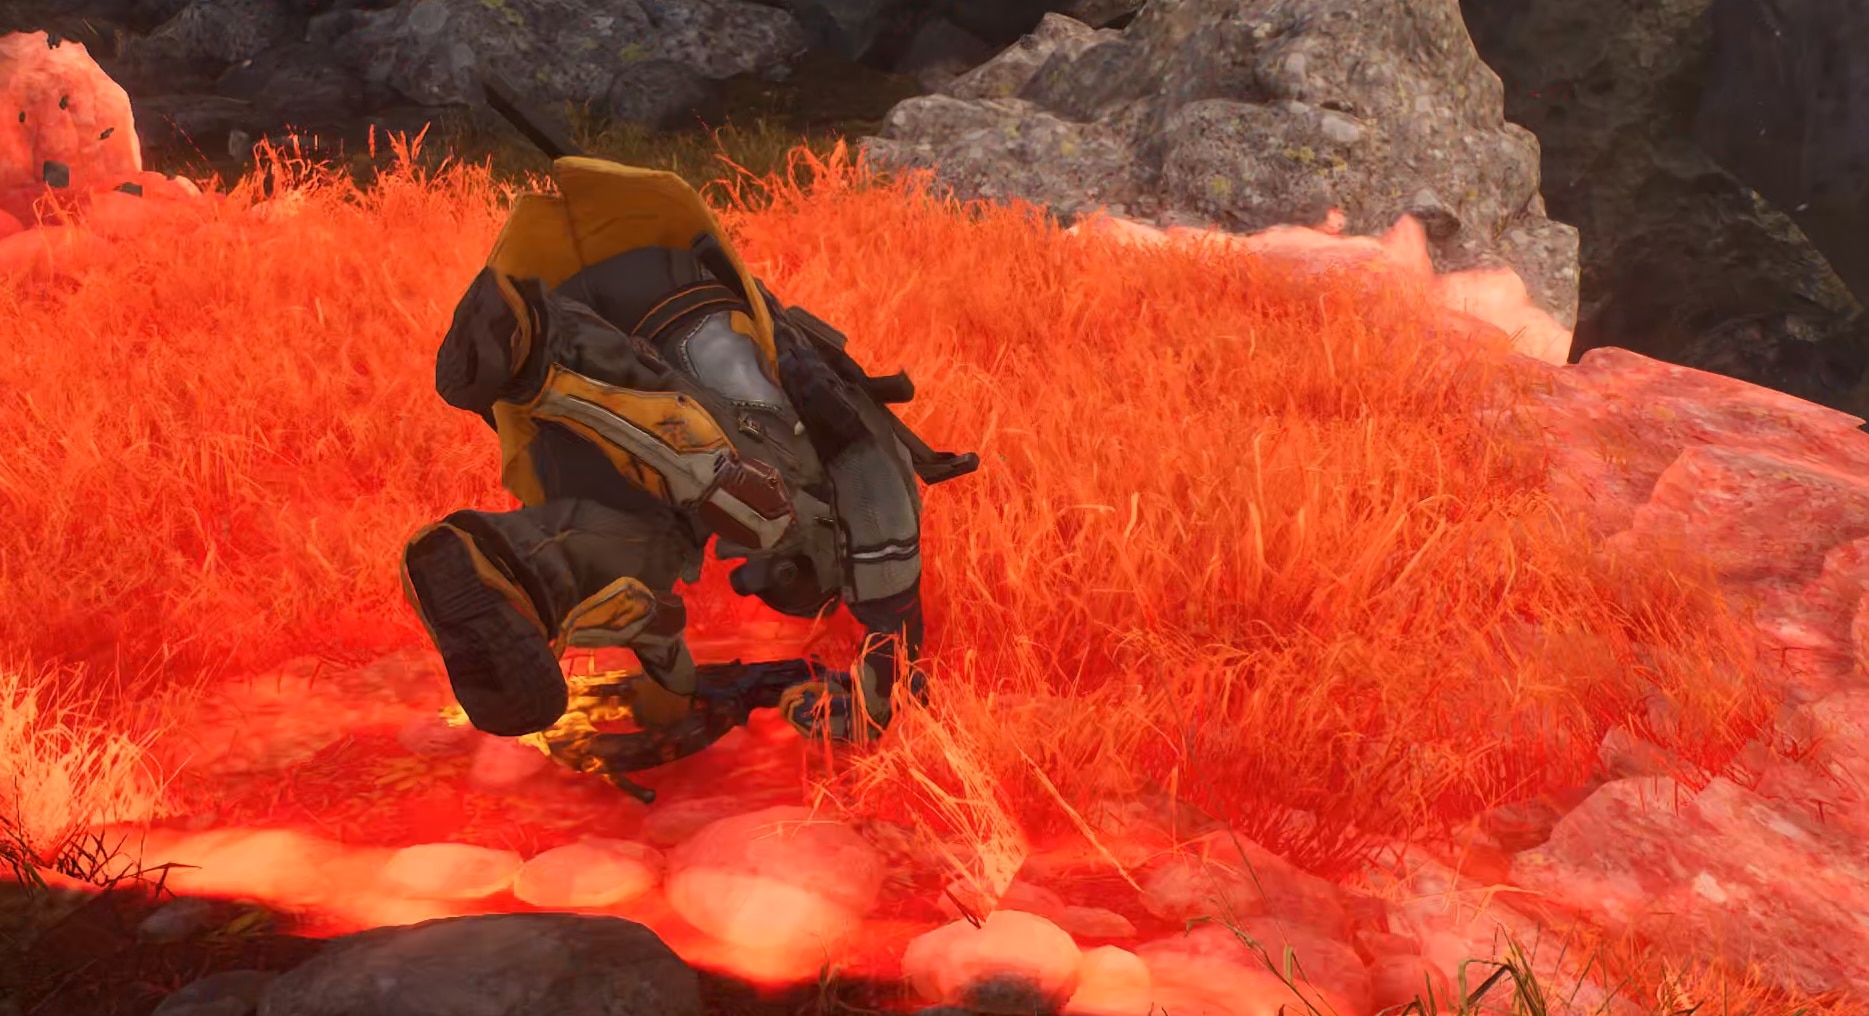
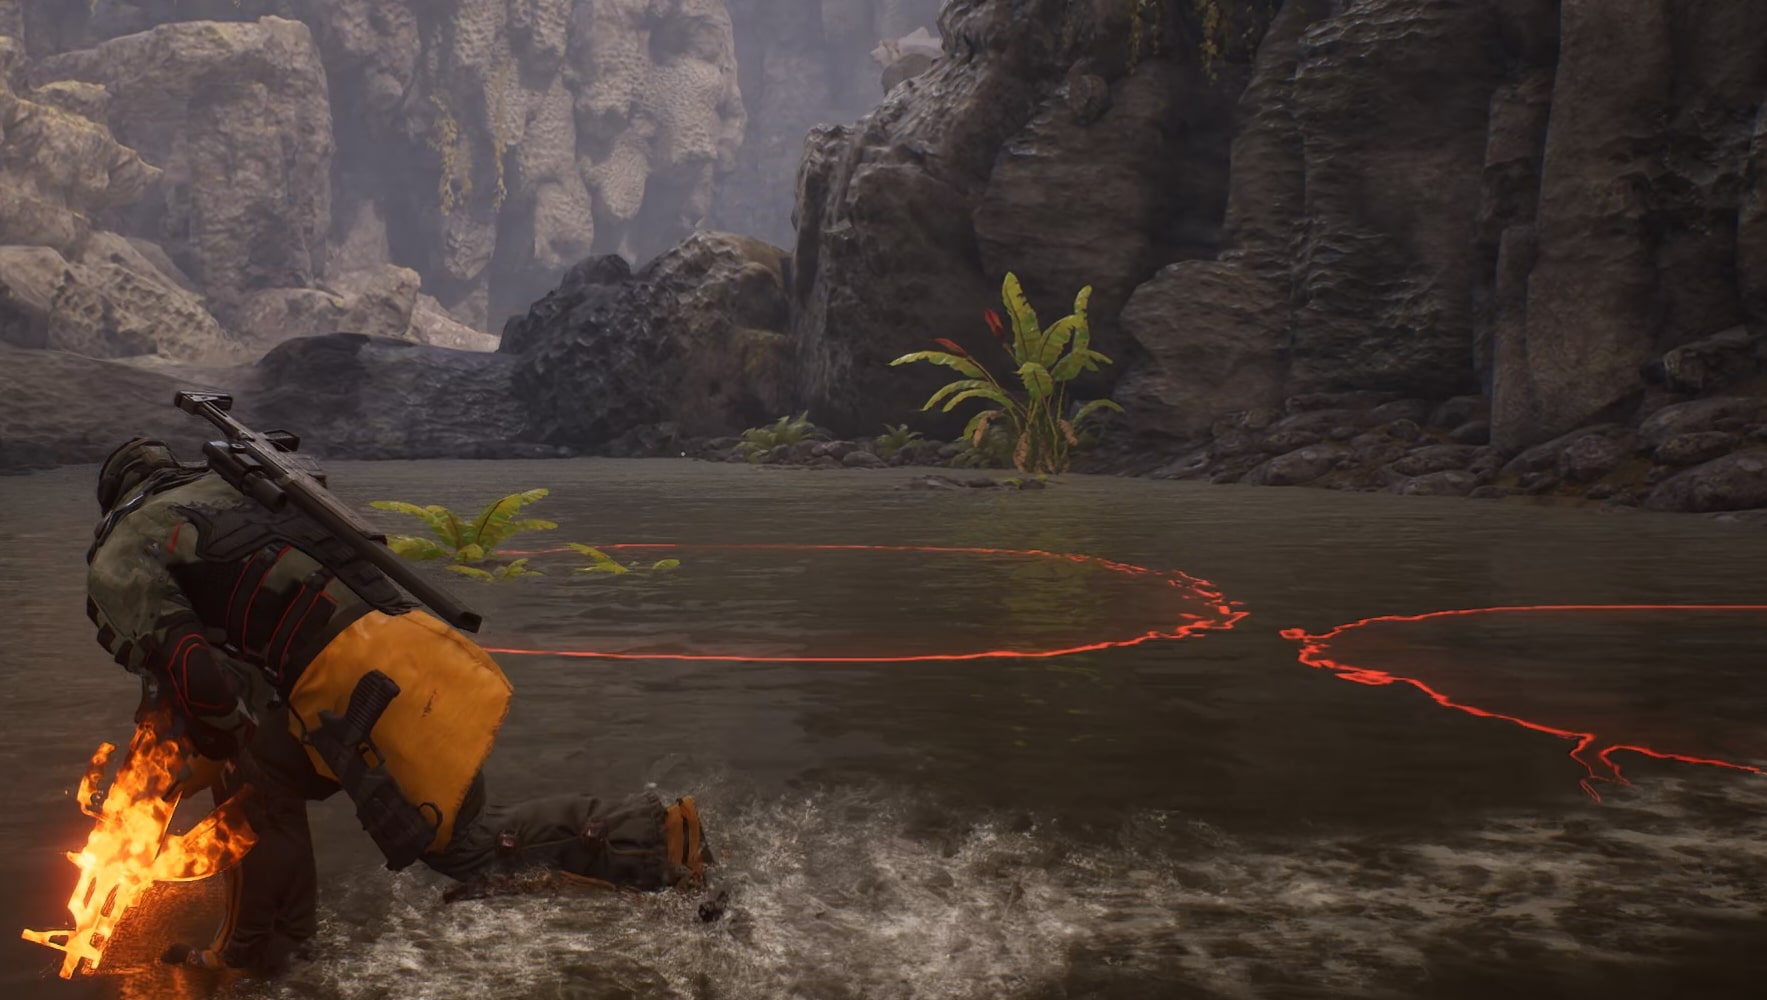
The first of these and easily the most dangerous, is Radiation Breath. The Chrysaloid will inhale, visible by the dust and debris being pulled towards it. It will also bow down its head noticeably. The preparation for this attack is quite long and gives you plenty of time to prepare for it.
It will then start at the side of the arena that has a nearby player and sweep the entire arena.
You can use the rocks as cover to avoid the damage and Vulnerable status effect it can apply. Alternatively, you can roll through it, but this is much much harder to perform.
The second attack is Claw Slam. The Chrysaloid will target a player and attempt to do an open-hand slam with it’s claw, covering a wide area.
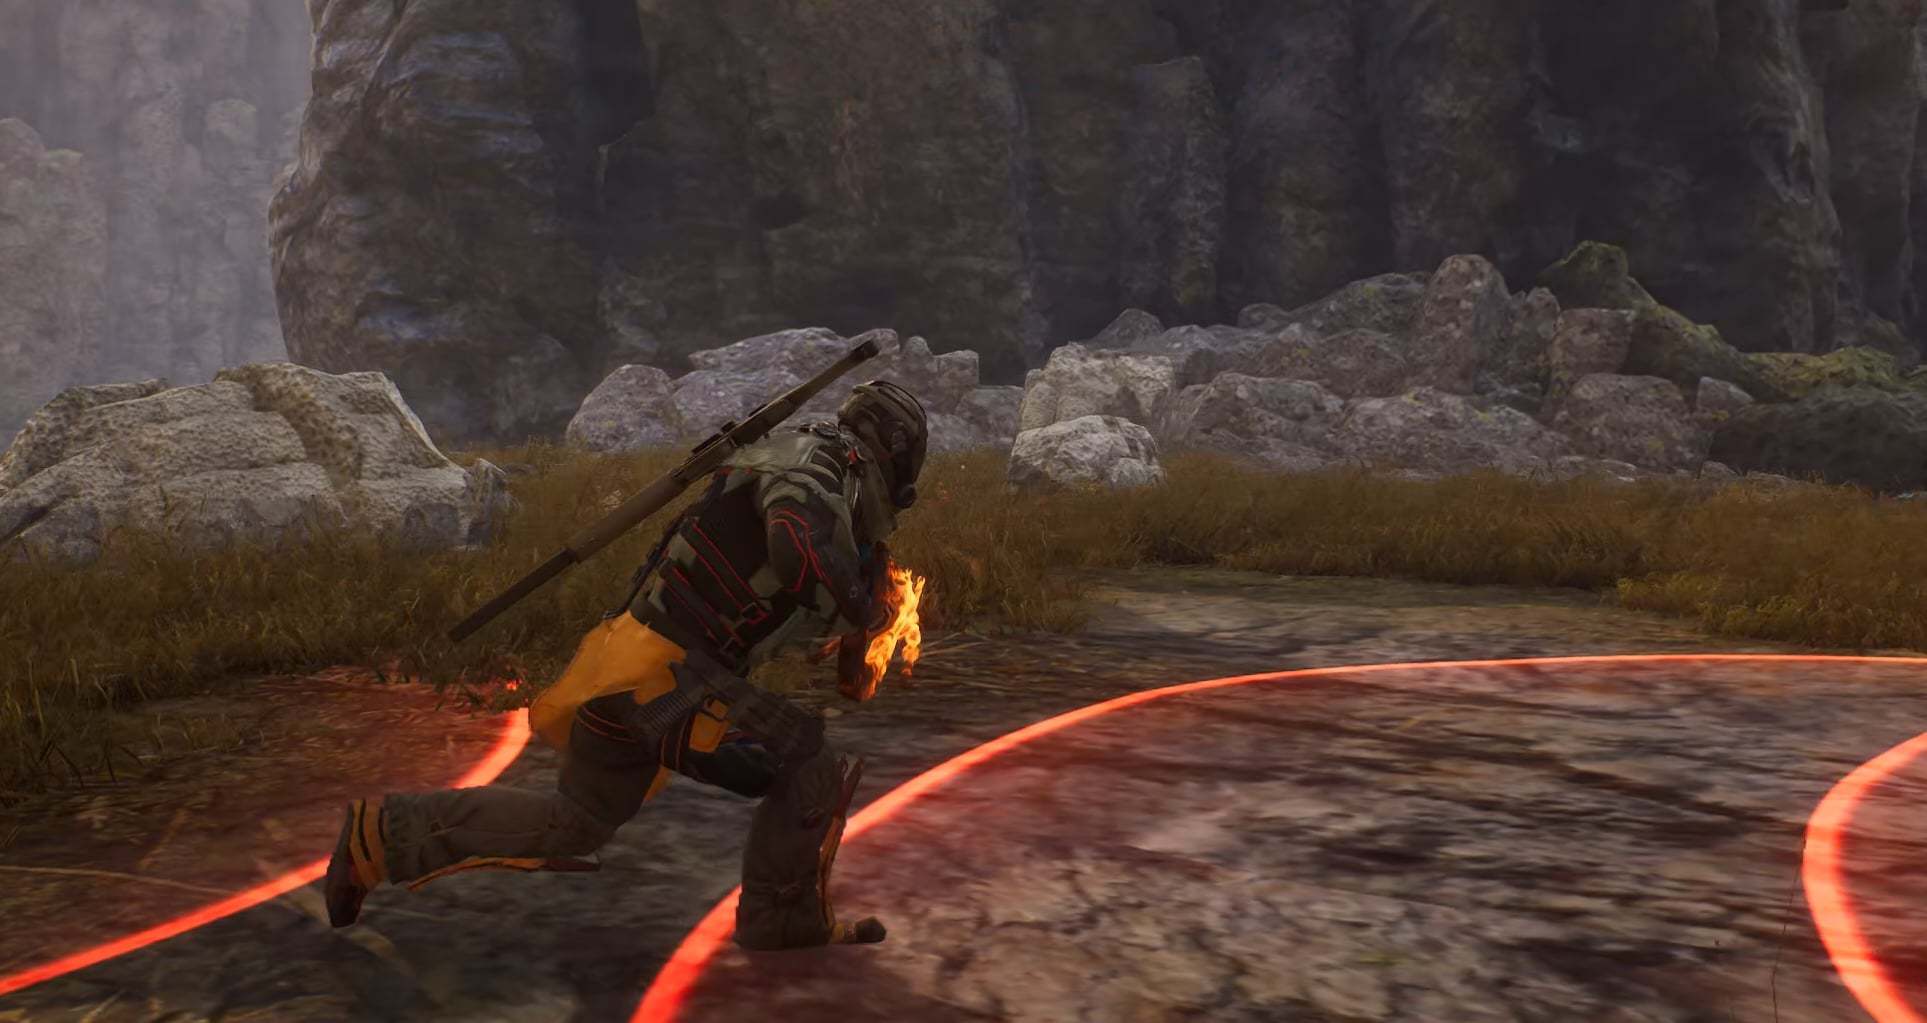
This attack can be dodged by simply sprinting out of the marked area most times. Due to the larger area, it will tend to barely hit you more often than not.
The Third attack is Fist Slam. The Chrysaloid will target a player and attempt a closed-hand slam with it’s Claw, covering a longer but thinner range than the Claw Slam.
This attack tends to be easier to avoid than the Claw Slam, as it’s a much smaller AoE and easier to roll out of. Simply running or rolling to the side will have you avoid it.
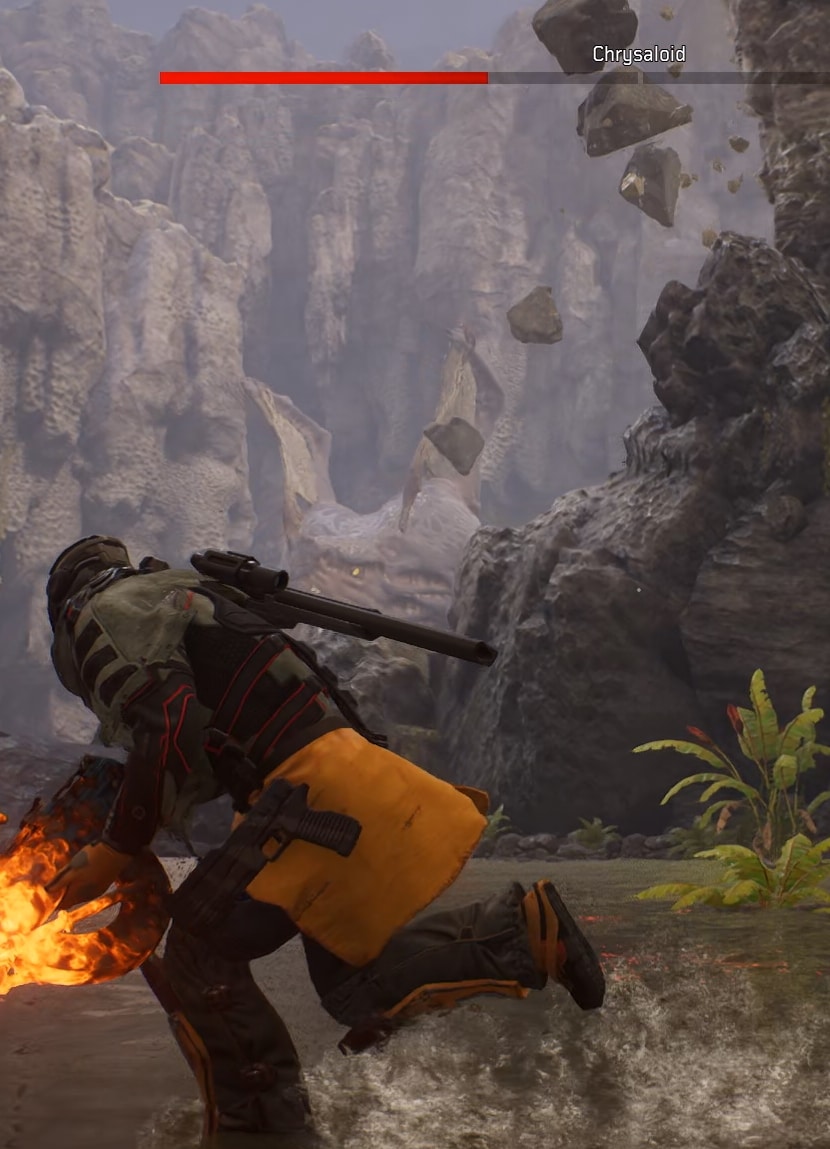
The Chrysaloid’s last attack is Boulder Toss. The Chrysaloid will hurl several boulders which will attempt to indirectly hit the player. The creature will rise up and bash the rocky formations above its head to cause rocks to fall onto the arena.
Due to the more random nature of this attack, it tends to be easier to avoid with constant movement.
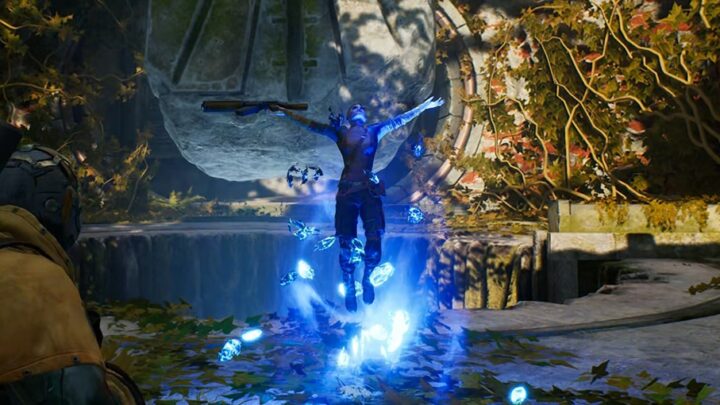
After 50% of the Chrysaloid’s Health has been depleted, the creature will climb up, its Health bar will disappear (stop shooting at this point) and a short cutscene will trigger, moving the fight to a different location.
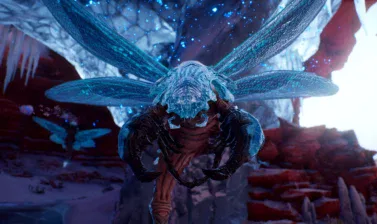
Phase 2: Strix Phase
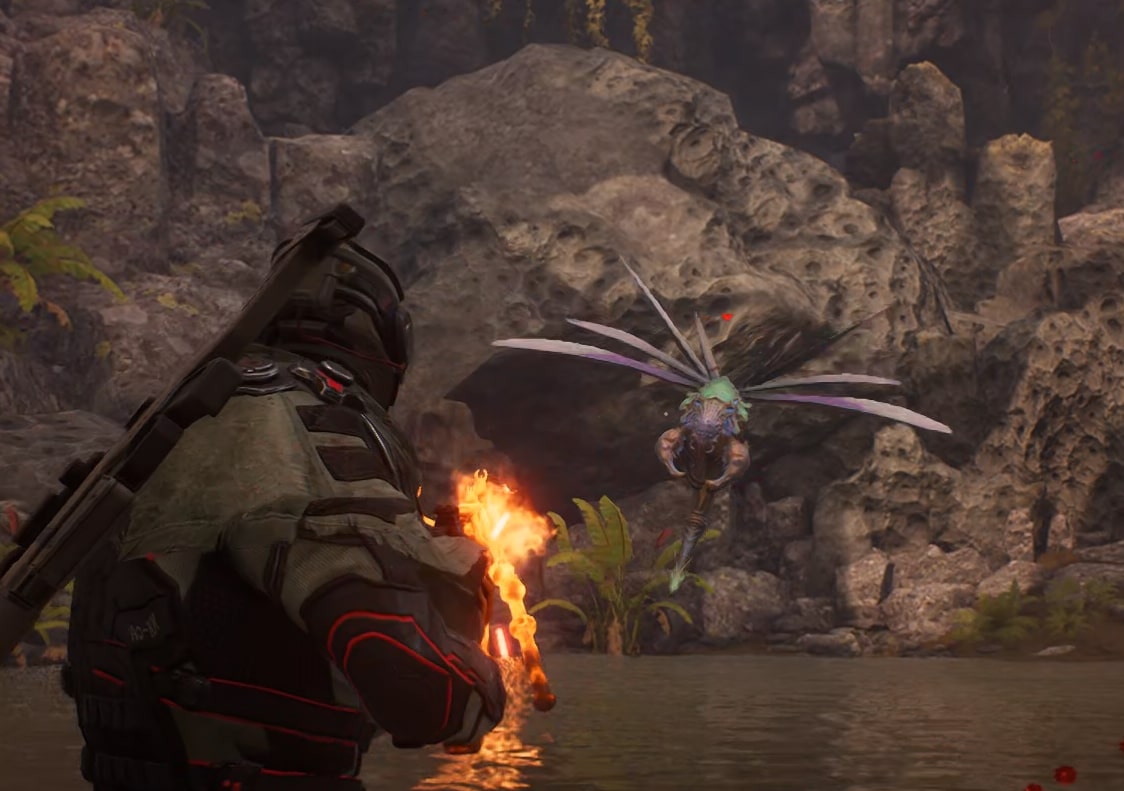
Phase 2 is more of the same attacks, this time with Strixes also being summoned. There’s no additional attacks or mechanics to existing ones, just adds to watch out for.
Given the Strix are ranged enemies, they can be particularly lethal, as Toxic is much harder to cleanse in this fight. There’s a very limited amount of Strix.
On top of Toxin, if you get caught in the Radiation Breath the initial hits and Toxin will be stronger. Make sure you get to cover for that attack in the second phase.
The Radiation Breath in this phase is much easier to avoid. It takes up the further half of the area and will once again mark the ground with red. The similar inhale animation also plays out before the monster performs this special attack.

When Chrysaloid climbs up on the side of the arena in the second phase, the Radiation Burn attack will mark the half of the arena that is closer to the boss .
In the second phase the Boulder Toss looks the same as in phase one, but here the markers where the rocks will fall are more clearly visible thanks to the water surface.
In this phase the Chrysaloid will move backwards and attempt to hide itself in preparation for this attack. You can still shoot it, during that time.
After the Chrysaloid’s health has been depleted, you’ll see a short cutscene of it collapsing on to the arena. Collect your loot and you can continue on your way.
This loot is also unique in the fact that it seems to drop a guaranteed Legendary Weapon on your first kill. It will drop standard loot for repeat fights which tends to be Rares and Epics.
I hope you found this guide on how to defeat the giant monster Chrysaloid boss in Outriders useful and helpful. Check out the rest of the Outriders coverage here on VULKK.com. We have a ton of guides and more coming. Always more coming!
Check out our guide for the Altered Bailey boss fight in Outriders to be prepared for its mechanics and have a solid strategy for it.
Outriders Boss Fights Guides and Tutorials
This is a list of guides for each one of the boss fights in Outriders. People Can Fly have developed interesting, challenging fights focusing mostly on players' skills and ability to read the environment.
Each one of these guides contains detailed information on all of the boss mechanics, special abilities and attacks along with tips and suggestions on how to avoid them. We also have useful ideas for you on how to prepare for each fight - which of your skills would be most useful and what guns to take with you against the bosses!
How to Defeat the Molten Acari in Outriders (Volcano Boss)
This is a guide to the Outriders Molten Acari Boss. Learn the boss' abilities and fight mechanics to defeat this monster fast and easy!
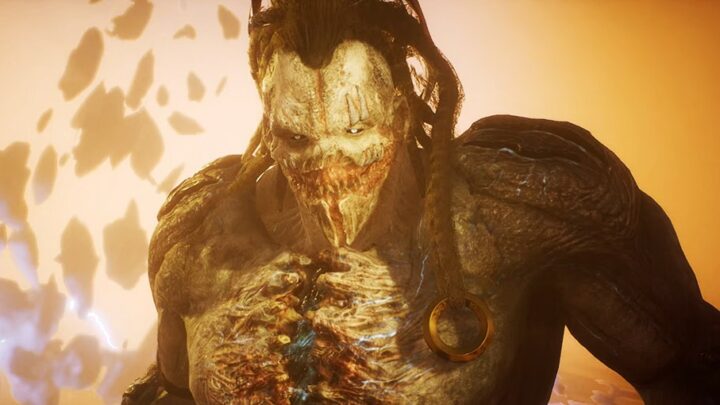
How to Defeat Moloch in Outriders (No Man's Land Boss)
This is a guide to the No Man's Land boss Moloch in Outriders. Learn the abilities and fight mechanics to defeat this Altered fast and easy!
How to Defeat Altered Bailey in Outriders (Ancient Ruins Boss)
This is a guide to the Altered Bailey boss in Outriders' Ancient Runes zone. Learn the abilities and mechanics to defeat her fast and easy

How to Defeat Yagak in Outriders (Utargak Boss)
A guide to the Outriders Yagak boss fight in Utargak zone - overview of the boss abilities and fight mechanics and strategy how to beat him
Outriders Final Boss Guide: Yagak (Caravel Zone)
Guide to the Outriders Yagak final boss fight in Caravel zone - overview of the abilities and fight mechanics and a strategy how to beat him
Outriders Class Guides and Best Builds
This is a list of individual Outriders Class Guides. Each guide goes far beyond the normal and generic overview of the class you would see anywhere else. RubyRose has done a lot of work, research and testing so that we can offer you here on VULKK.com the most detailed and informative guides for all four classes in Outriders.
Learn how to play the class, get the basics, build upon them as you level up and master your role and gameplay style to be ready for the EndGame. FInd out what the best and most useful builds are for each class and be ready for any situation and combat scenario People Can Fly and Square Enix have designed for you in the game.
Outriders Devastator Class Guide and Best Builds
Complete Outriders Devastator Guide explaining the basics of the class and sharing builds for early game as well as EndGame at level cap!

Outriders Pyromancer Class Guide and Best Builds
Complete Outriders Pyromancer Guide explaining the basics of the class and sharing builds for early game as well as the EndGame at level cap!
Outriders Technomancer Class Guide and Best Builds
Complete Outriders Technomancer Guide explaining the basics of the class and sharing builds for early game as well as EndGame at level cap!
Outriders Trickster Class Guide and Best Builds
Complete Outriders Trickster Guide explaining the basics of the class and sharing builds for early game as well as the EndGame at level cap!