Crafting in Outriders is used to level up an item, increase its rarity, upgrade its stats or swap one of its mods. The system is very flexible and should be used often. It is a key to your success not only in the early low levels, but in the EndGame as well! This guide will detail how crafting work and will explain every part of the crafting and show an example craft at the end to show the ways it can be used!
Table of contents
The Crafting Options in Outriders
Crafting in Outriders has five basic crafting options; Improve Rarity, Raise Attributes, Mod Gear, Swap Variant, and Level Up. Each of these options has its uses, and are useful throughout the campaign. However some will not be used often until the later stages of the game.
Improve Rarity
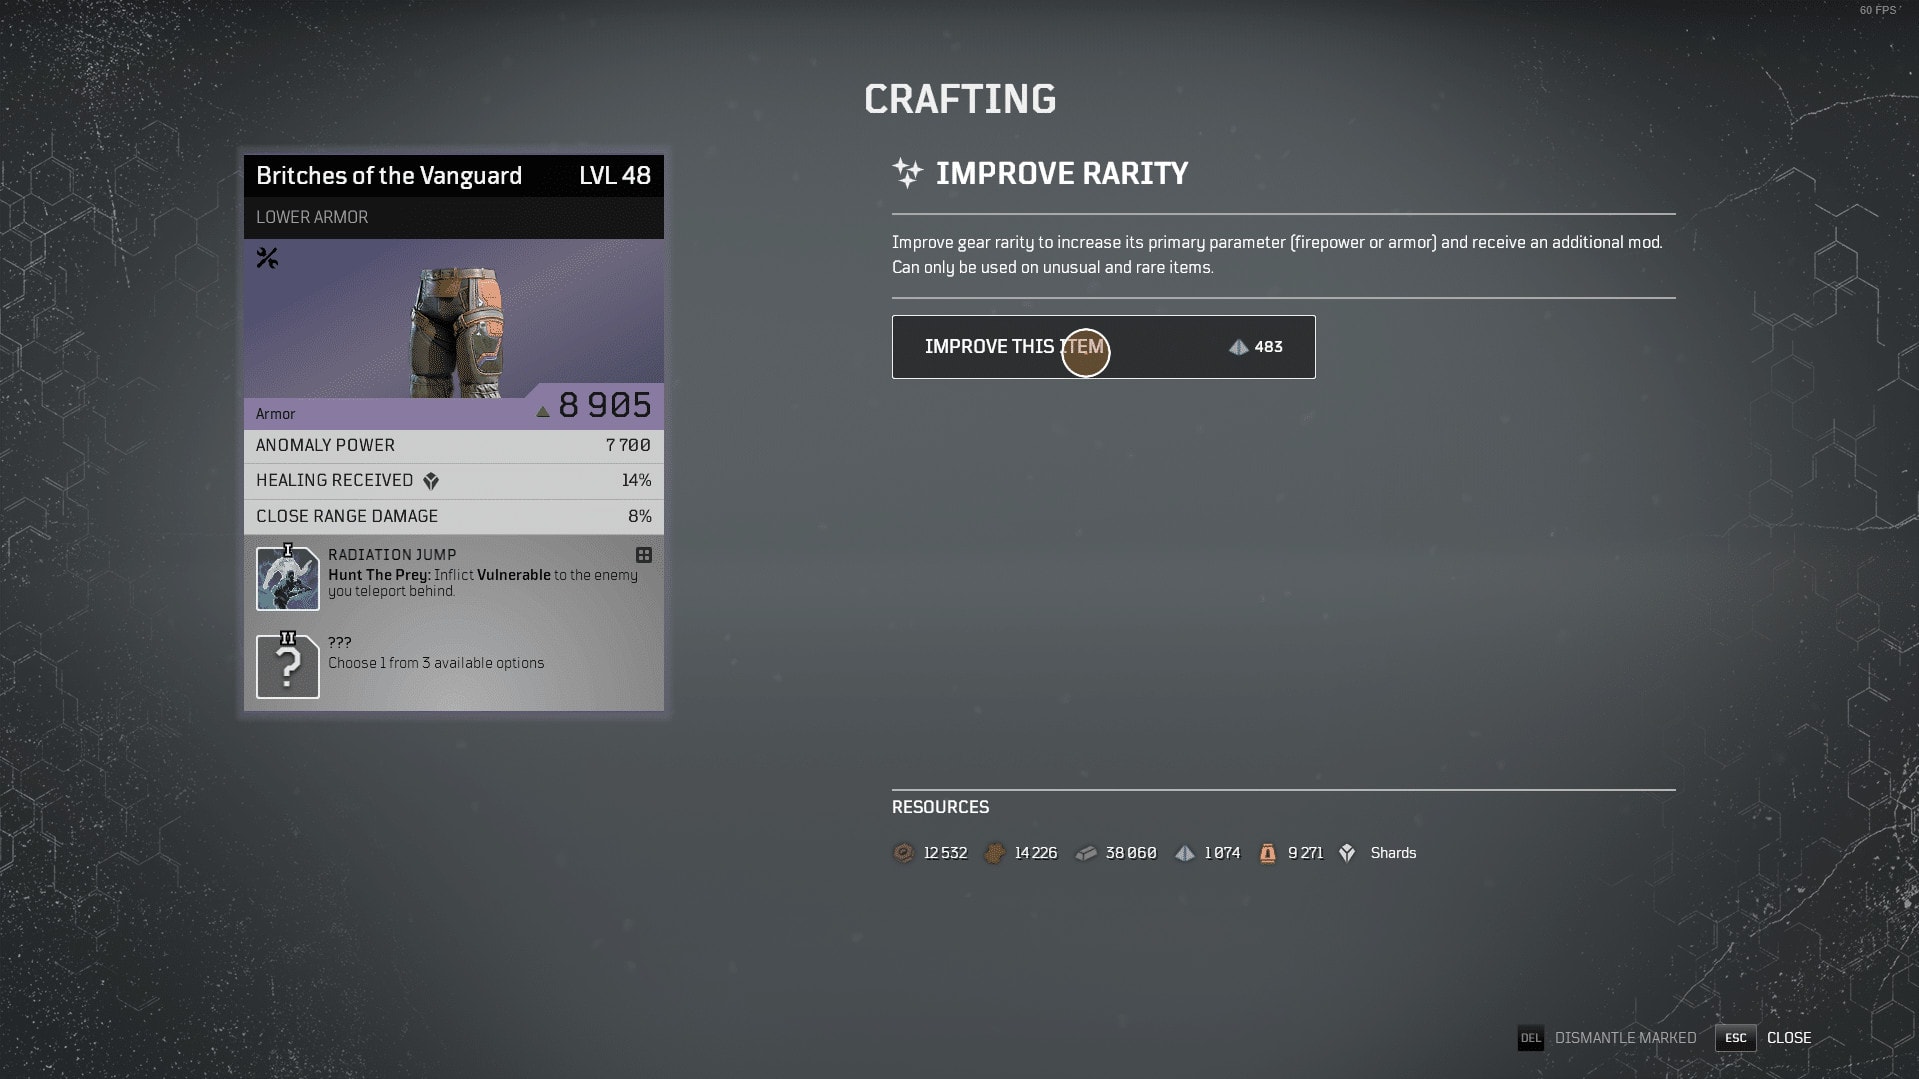
Improve Rarity is a crafting option available Unusual and Rare gear. As the name suggests, it will allow you to bump the rarity of an item to the next tier, capping at Epic tier. This improves its base stats and secondary stats.
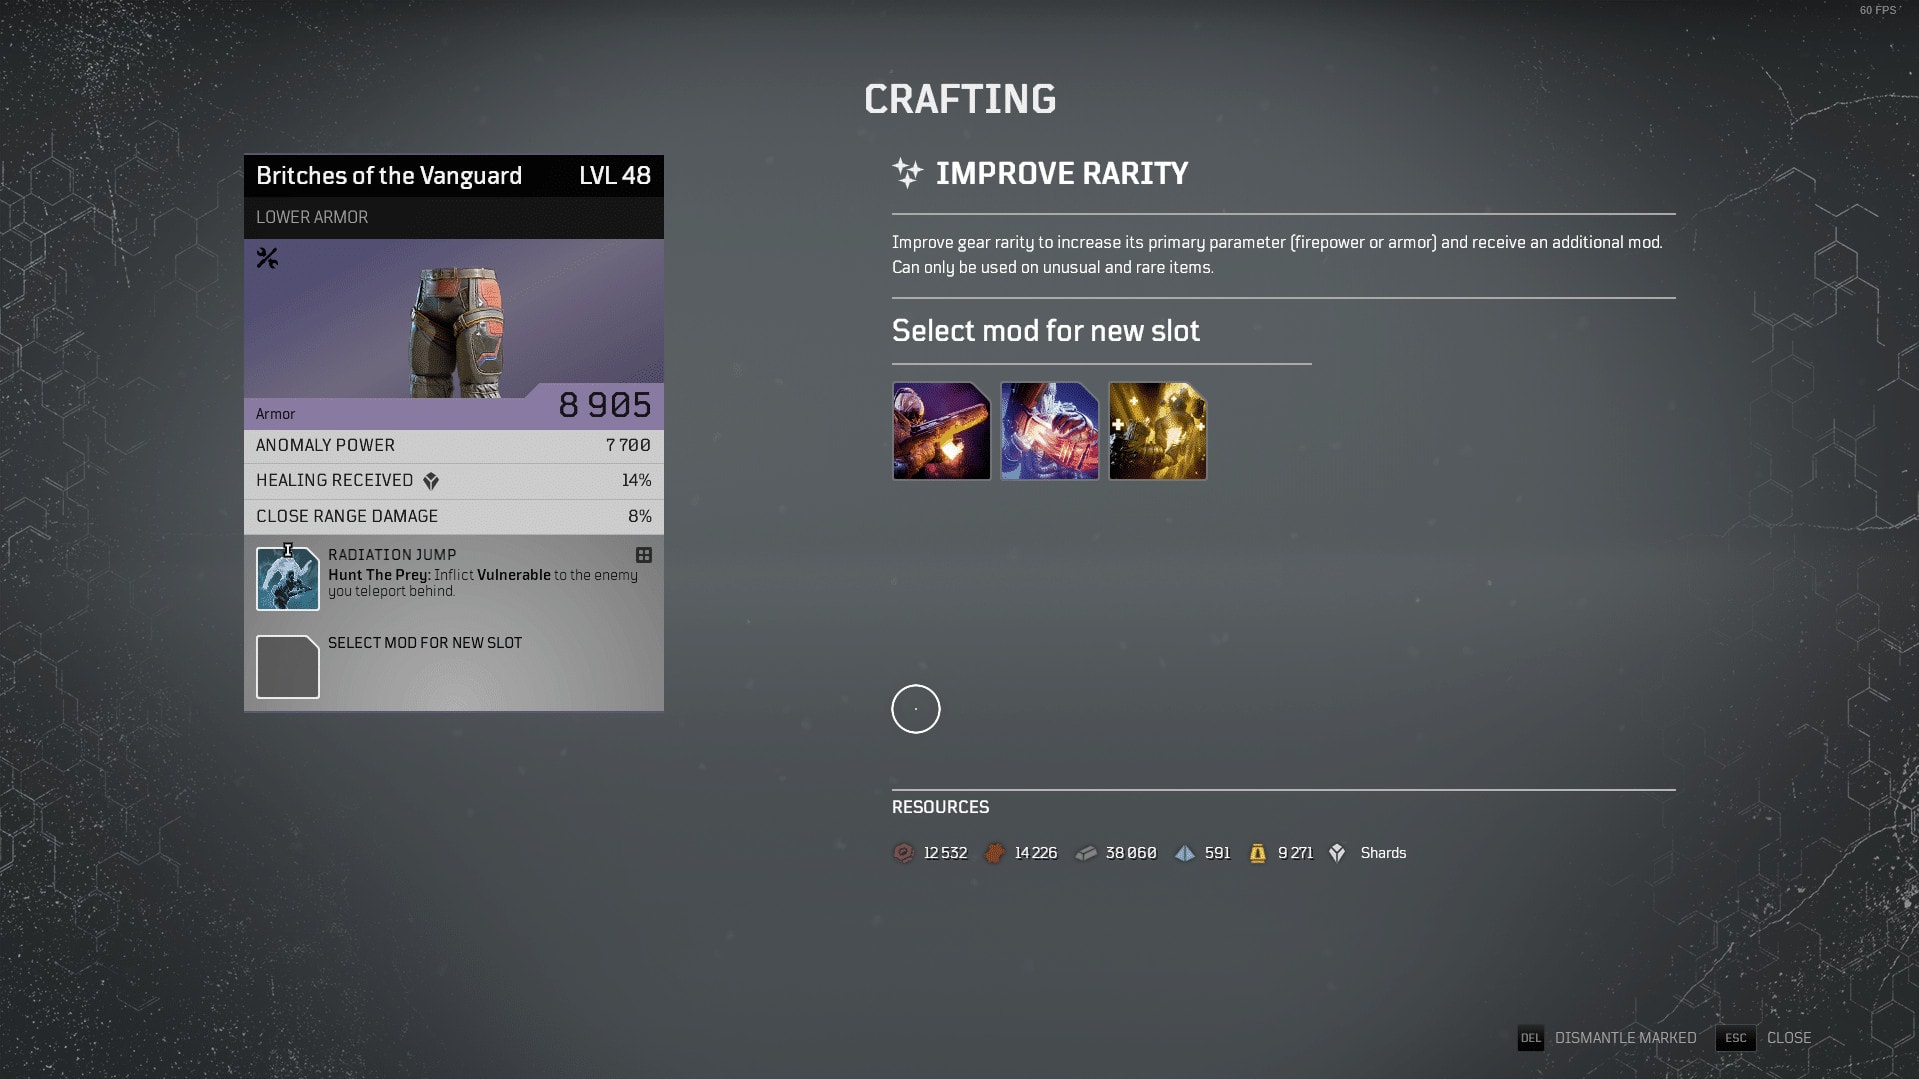
Each time you bump an items rarity up, on top of stat increases, you’ll also get access to mods of your choosing from a small set. When you upgrade to Rare and even again to Epic, you’ll be given a set of three mods to pick from. You can pick any of the three mods to be slotted into your gear.
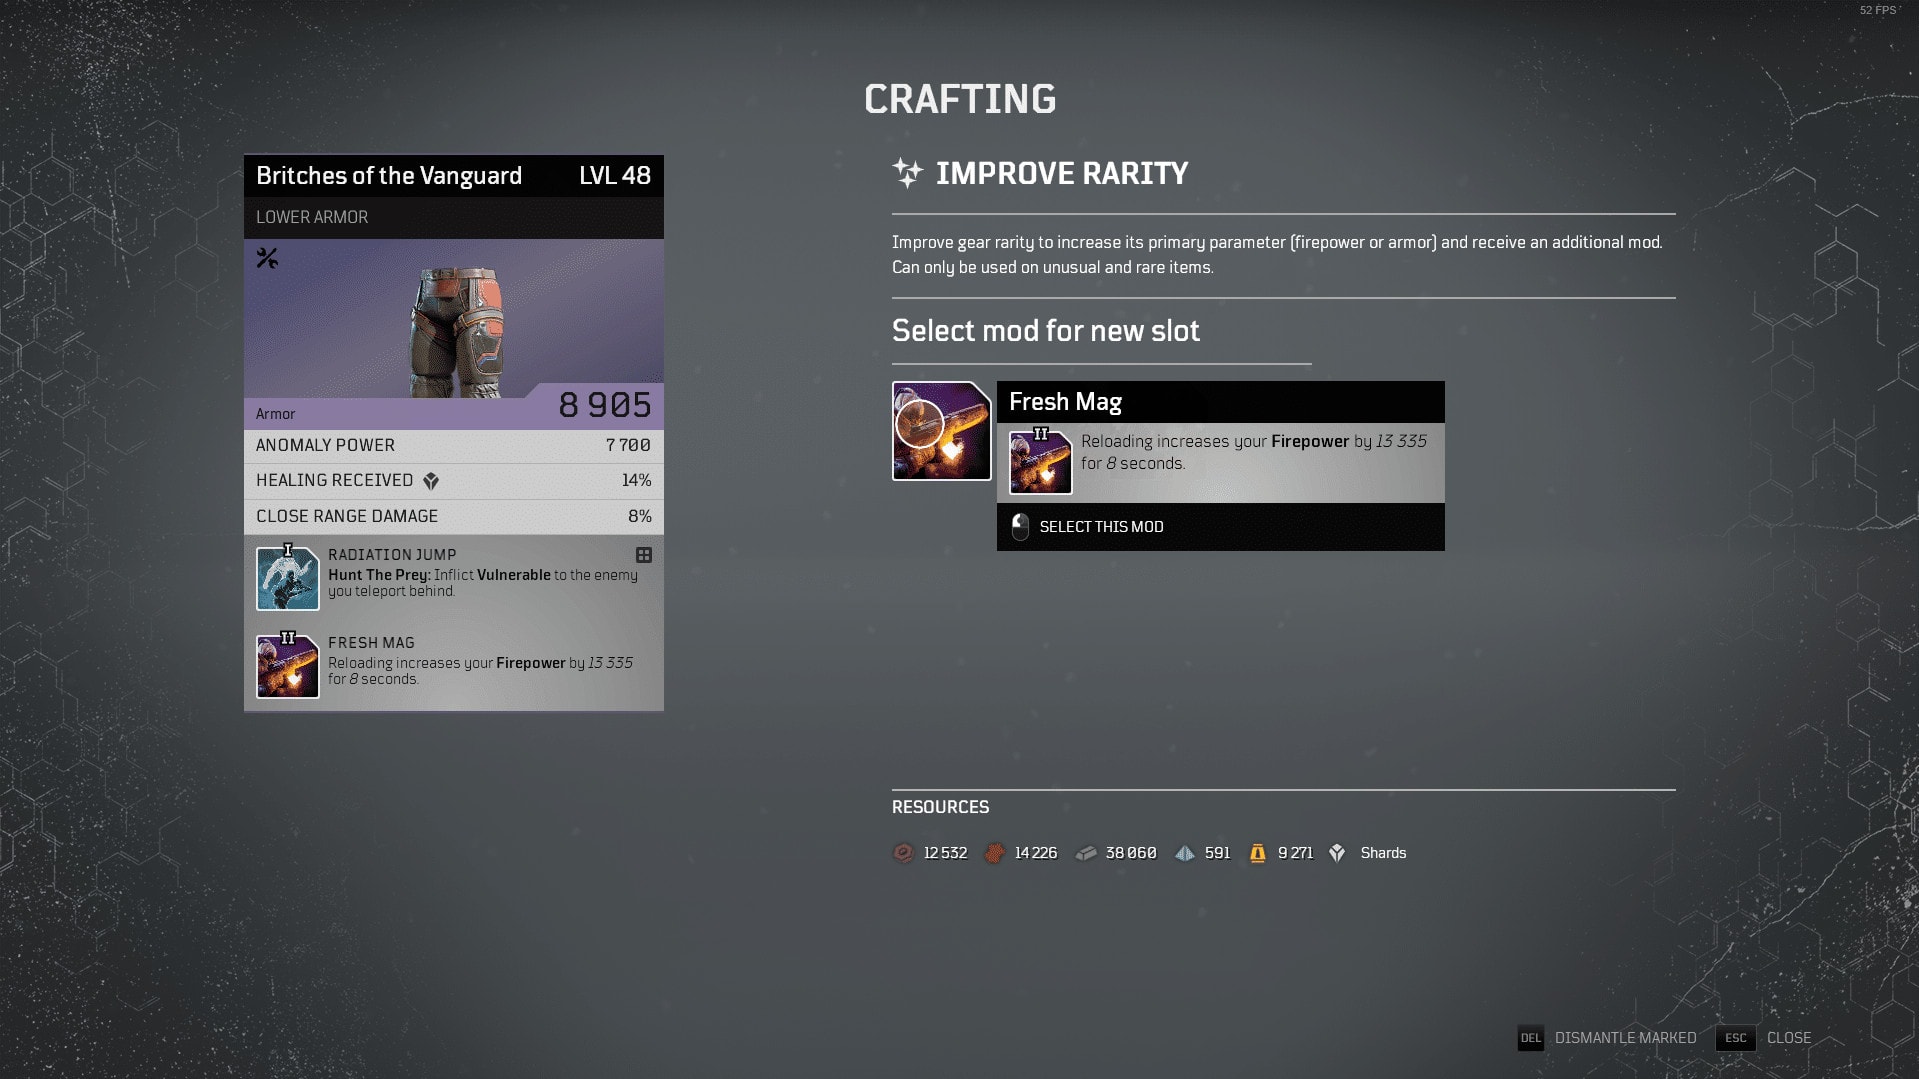
As opposed to the Mod Gear option, these can still be changed after selection and will work similar as if the item has dropped at that rarity. This can be useful in getting Tier I and later Tier 2 mods that you’re missing.
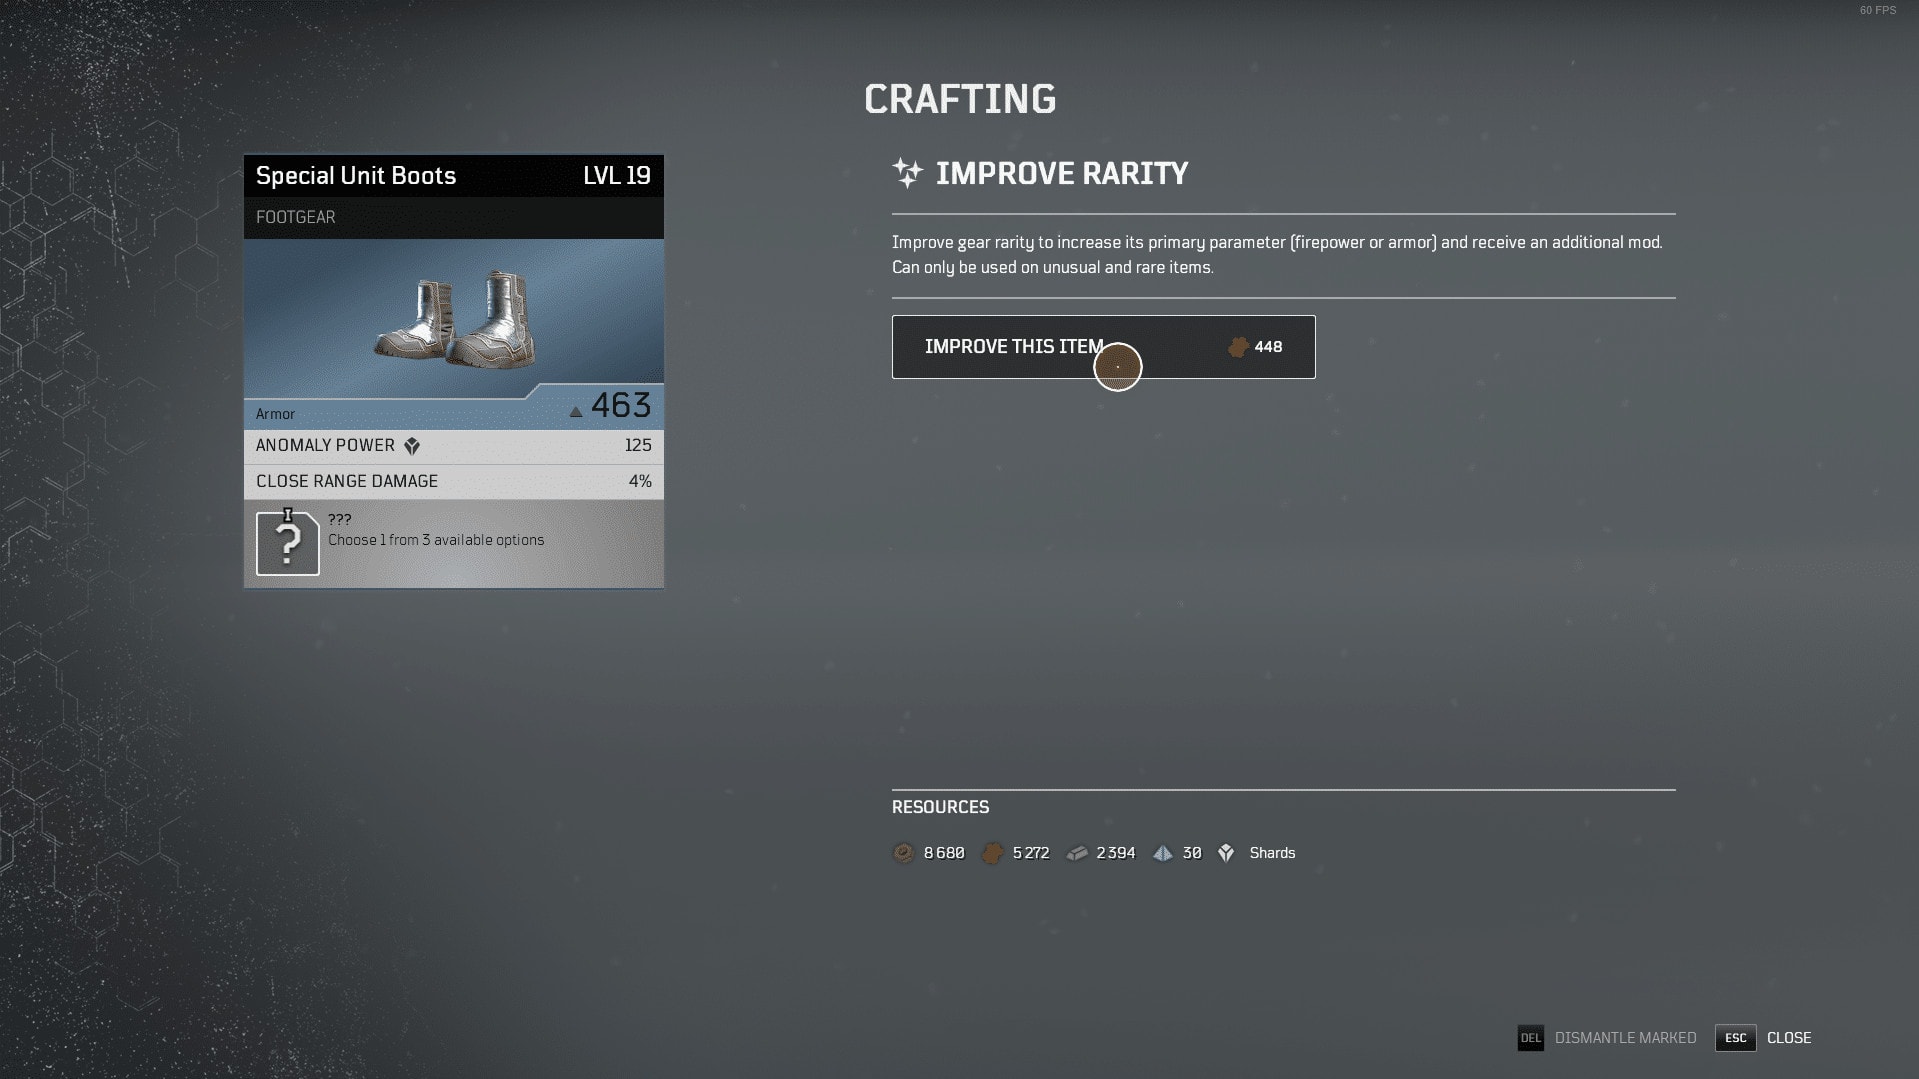
Upgrading from Unusual to Rare will only cost Iron or Leather, depending on the item. Upgrading from Rare to Epic will Cost Titanium.
Raise Attributes
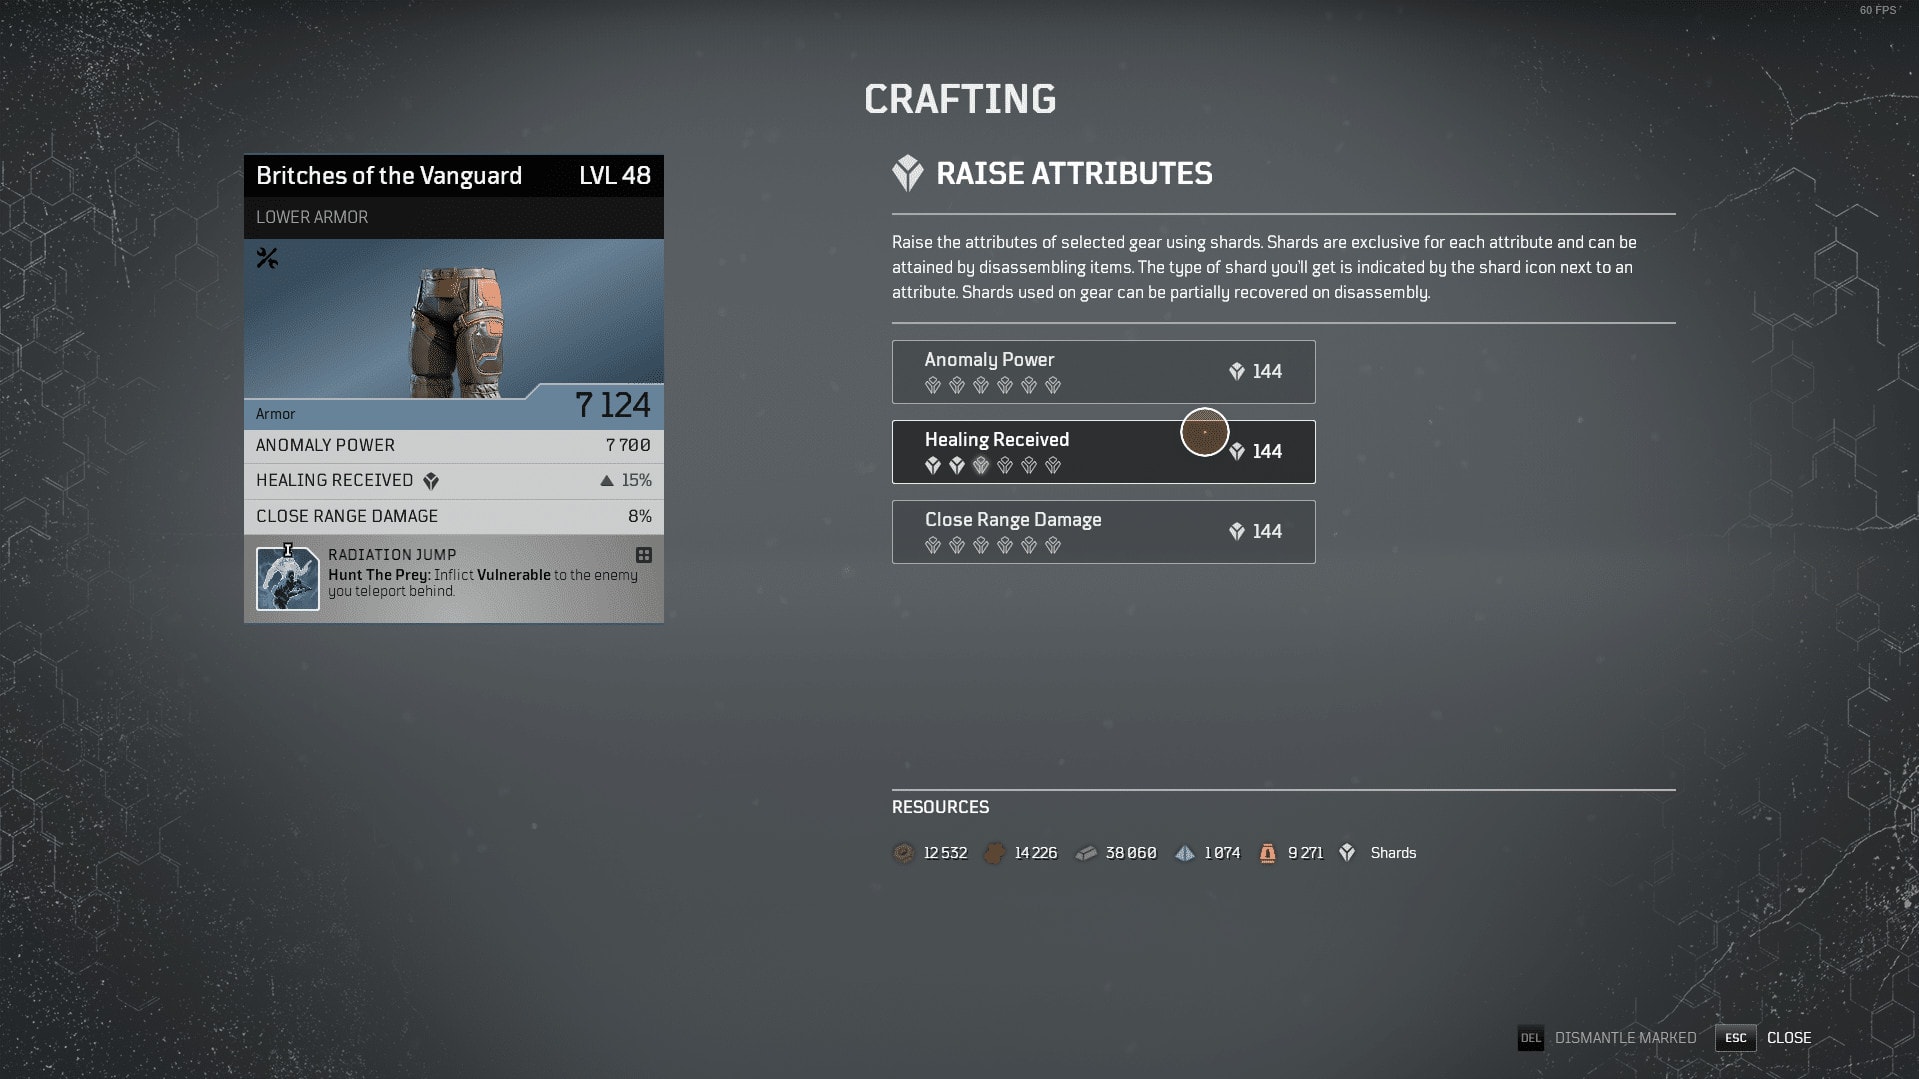
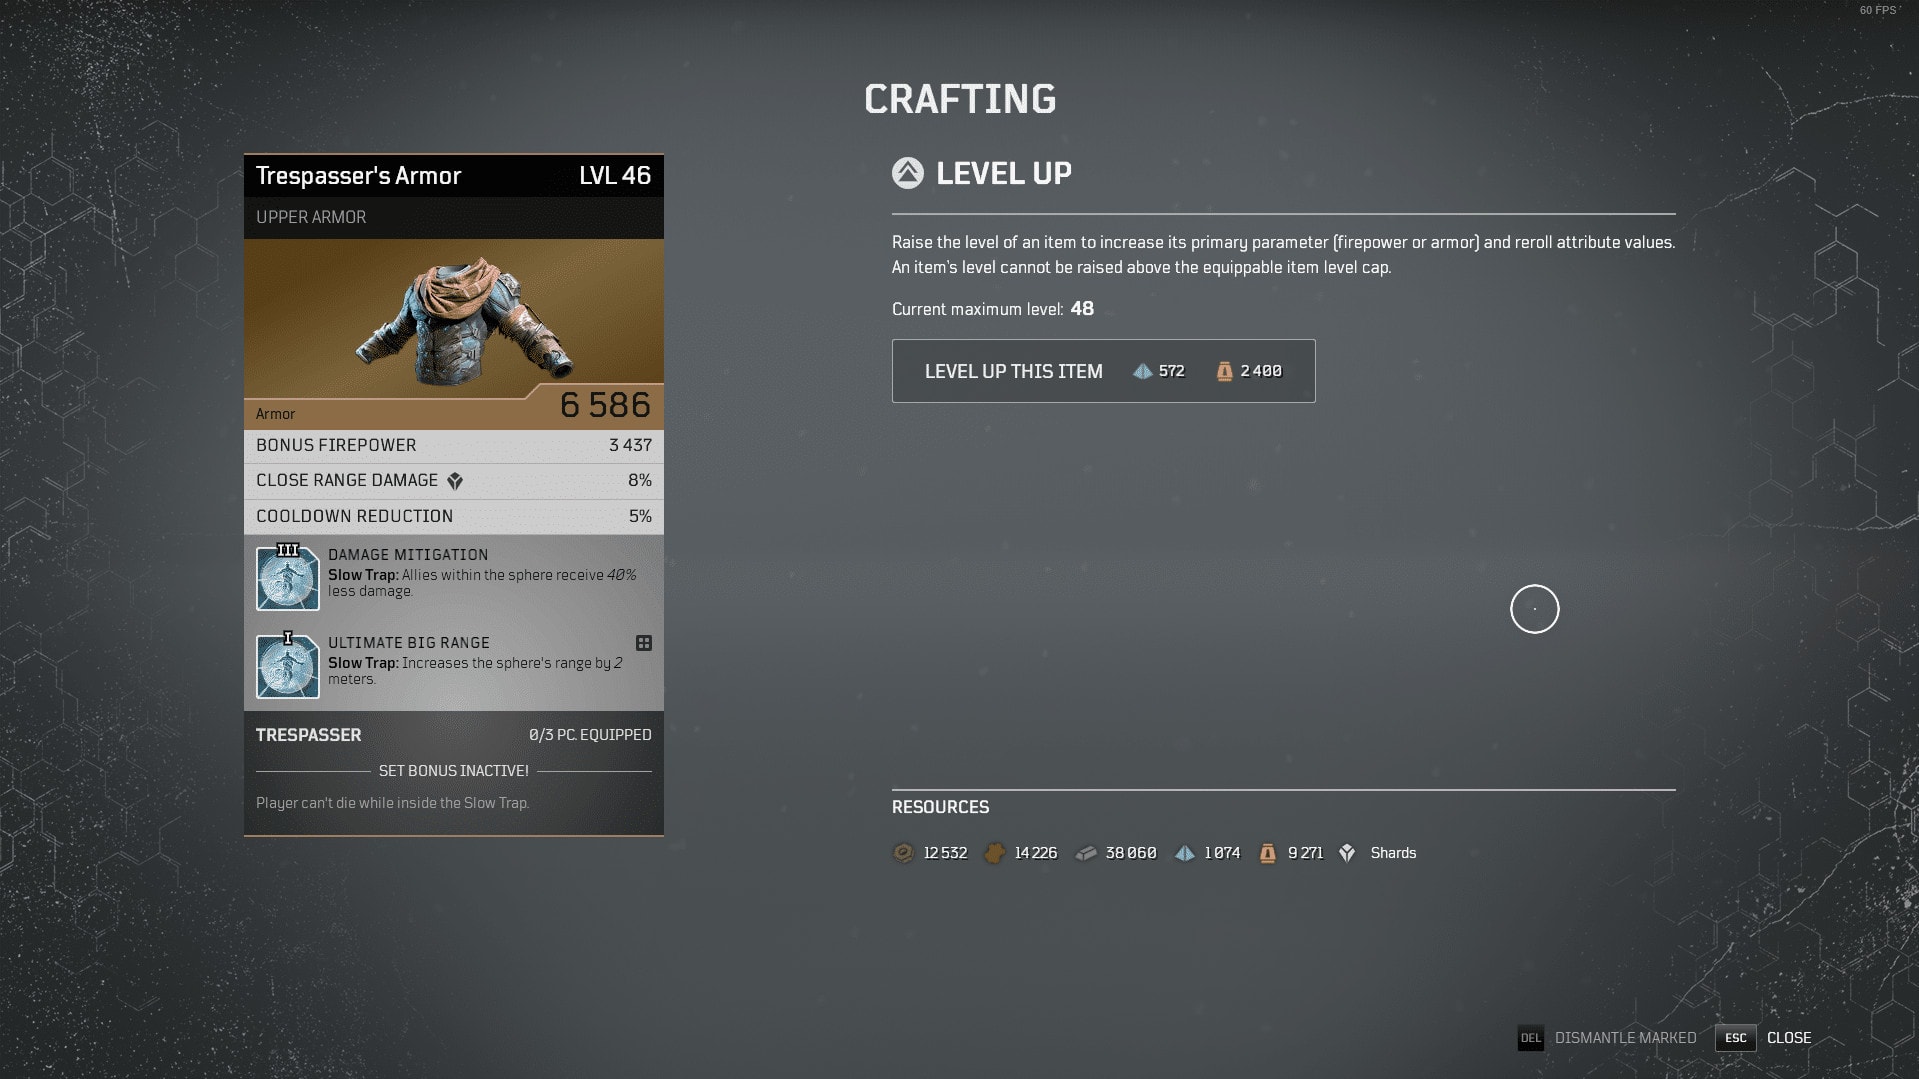
Raise Attributes is a Crafting option available to all gear of at least Unusual rarity. This crafting option allows you to increase the secondary stats of your gear. How high these stats go is based on your gear and which stat you’re increasing.
Raising an attribute will cost you Shards of that specific stat. These Shards are gotten from dismantling gear of at least Unusual rarity. Starting at level 11, gear will have two attributes, and at level 21 they will have three. Which attribute you get shards for is indicated by the shard icon next to its name.

You don’t need to be too cautious when using this crafting option either, as a all of the shards you spend on gear will be returned when you dismantle them. Though it really should be saved for the later stages of the game when these can make the biggest difference. In his case, the above image is the result of dismantling the item we craft later on in the guide as an example.
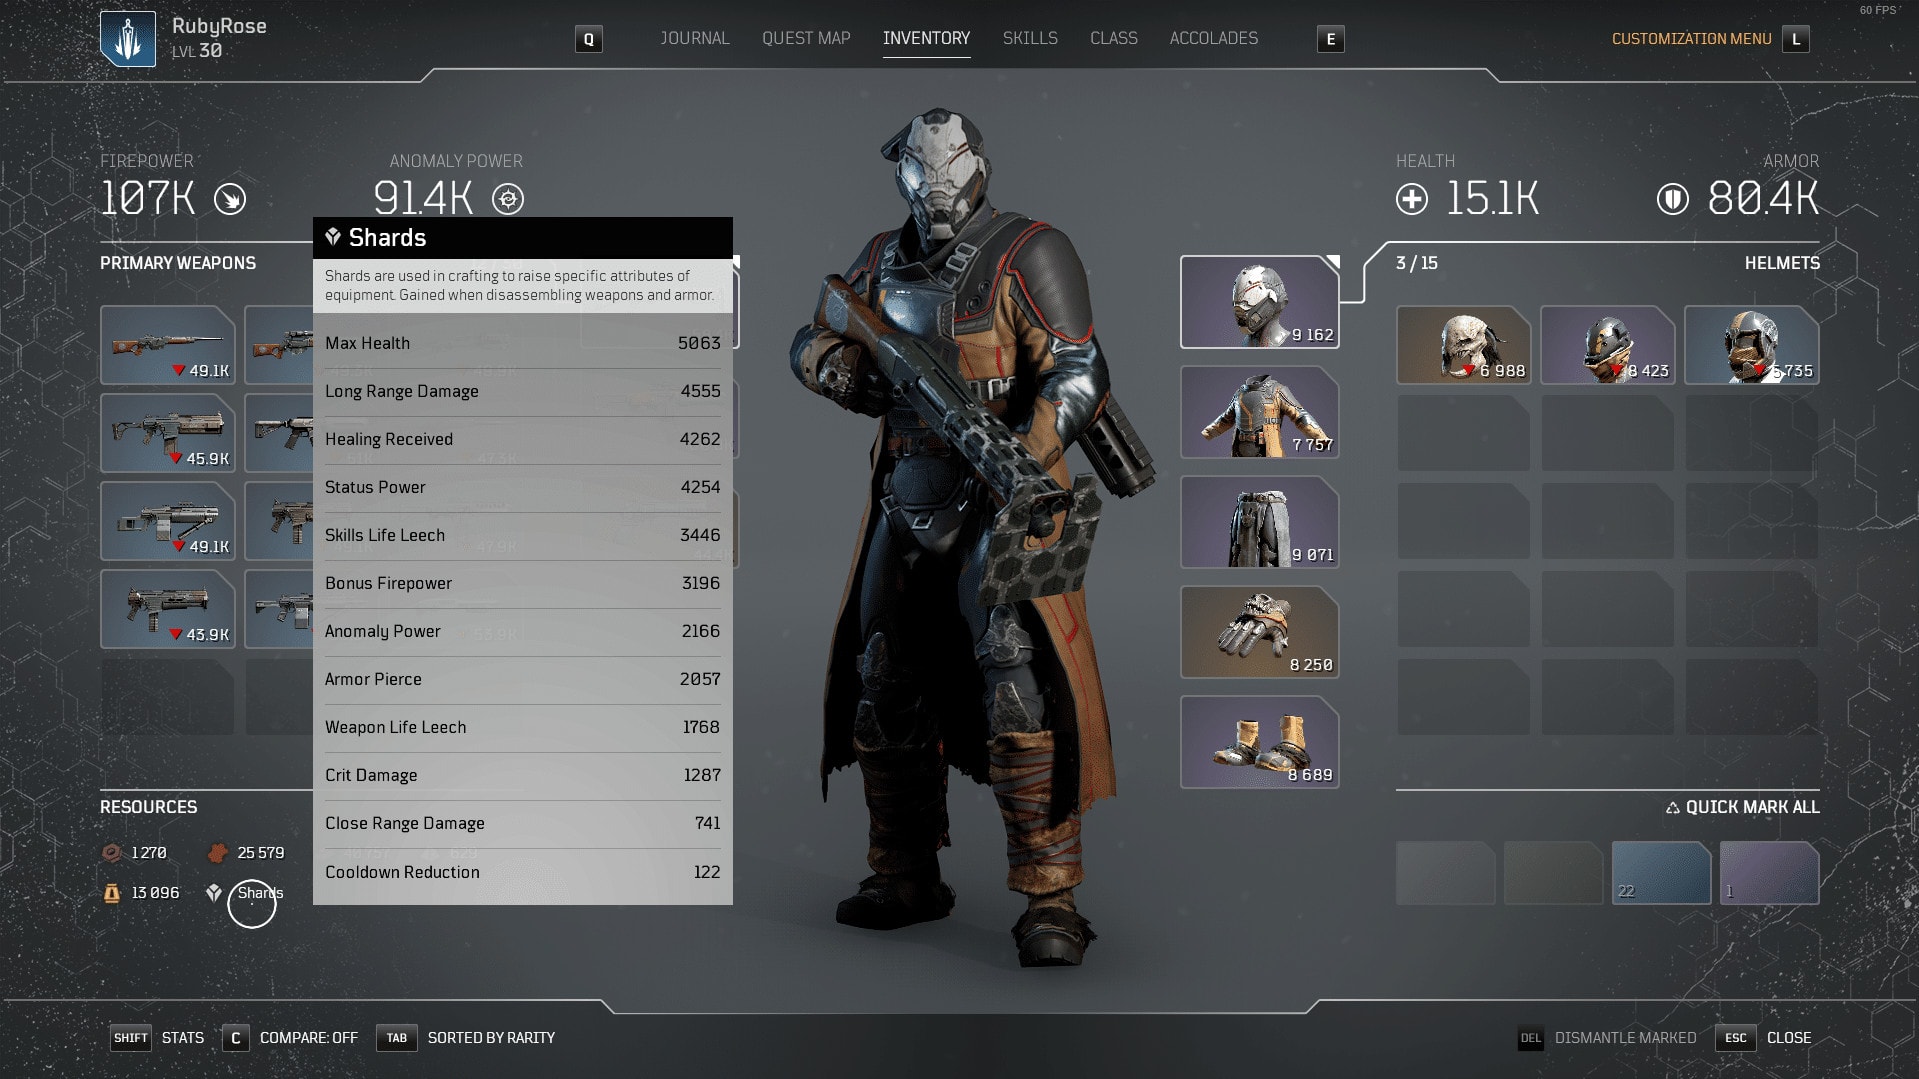
You can see what shards are available by hovering over Shards in the Resource panel under the crafting menu, or in your inventory.
Mod Gear
Mod Gear is a crafting option available to all gear of at least Rare rarity. This will allow you to freely swap one of your mod slots on each piece of gear. There’s no limits to the number of times you can swap, and you can apply any Mod you have collected from dismantled Weapons or Armor, depending on the item being modded.
Once a Mod slot has been changed, the other slot will be permanently locked and will be unable to be changed. Choose carefully when you’re applying a new mod.
As recommended in our DOs and DONTs Guide, you should get used to swapping mods often. It’ll be relevant for your whole journey on Enoch.
Swap Variant of Weapons
This crafting option is exclusive to Weapons. Most Weapon types have at least two variants. Most of these options will be a trade off between fire rate and ammo for damage. Legendary Weapons are locked to a specific variant
What variants are available is dependent on your level. However outside of this there’s no drawback to swapping variant outside of the weapon handling differently. It only costs a small amount of Iron, and is fairly cheap at all stages of the game. It’s also not a permanent chance and can be swapped at any time.
Which variants you use are personal preference and build dependent. Each has it’s own benefits and drawbacks. Below is a quick reference to the variants and their features
Assault Rifles
Standard is the most common variant for this weapon class. It’s the lowest damage, but highest fire rate. It’s one of two variants that are fully automatic.
Tactical is the next most common variant for this weapon class. It has the highest damage of all three variants, but a slower rate of fire due to firing in bursts. It’s still automatic similarly to the Standard Variant.
Sharpshooter is the rarest variant for the weapon class. It has the highest Critical Multiplier of the three and slightly higher damage over the Standard variant, but at the cost of fire rate and ammo. Unlike the other variants, this variant is not automatic and requires manual fire.
Automatic Shotguns
Slug is the more common variant for this weapon class. it features a larger magazine and higher fire rate at a trade off damage.
Narrow is the other variant of this weapon class. It features higher damage and Critical Multiplier in exchange for a smaller magazine and slower rate of fire.
Automatic Snipers
Standard is the more common variant. It has higher damage and a lower Rate of fire due to its burst fire pattern.
Full Auto is the less common variant. It has less damage, but fires fully automatically.
Bolt Action Snipers
Standard is the more common variant. It has a lower magazine capacity and rate of fire, but a significant boost in damage.
Lightweight is the less common varaiant. It has double the magazine and a higher fire rate, but a smaller magazine. After early changes it also has a higher Critical Multiplier.
Double Guns
Standard is the most common variant. It has the lowest damage but the highest fire rate and largest magazine.
Demolisher is the next most common variant. It has high damage, but the lowest fire rate of the variants.
Burst Fire is the least common variant. It has the highest damage and Crit Multiplier, but lower rate of fire.
Light Machine Guns
Standard is the most common variant for this weapon class. It sports the highest damage but a lower magazine and critical multiplier.
Stabilizing is the second most common variant for this weapon class. It has the smallest magazine, lower damage, and Highest rate of fire; but grows more accurate the longer you fire. It also features a slightly higher critical multiplier.
Suppressing is the rarest variant for this weapon class. It has the largest magazine but lowest accuracy and fire rate. Its damage is tied with the Stabilizing version but lack the increased critical multiplier.
Rifles
Standard is the more common variant. It has a much larger magazine at the cost of less damage, but also slightly higher Critical Multiplier.
One-Shot is the less common variant. It has a single shot magazine, but significantly high damage and a faster reload.
Submachine Gun
Standard is the more common variant. It has a slightly small magazine and lower damage but a much high rate of fire.
Tactical is the less common variant. It trades some of it’s rate of fire for higher damage and accuracy with a burst fire pattern.
Pistols
Standard is the most common variant. It’s fully automatic with higher damage and lower fire rate compared to the Full Auto variant.
Burst Fire is the next most common. It’s fully automatic and sports the second highest damage and second highest fire rate.
Full Auto is the next most common variant. It has the lowest damage, but highest fire rate of the variants.
High Caliber is the lest common variant. It has the highest damage, lowest fire rate and loses its fully automatic trigger.
Revolver while this is not a direct pistol variant, it’s included here as it does not have variants of it’s own. Revolvers function similarly to High Caliber Pistols. They have High damage, range, and accuracy; but a low fire rate and are not automatic.
Level Up Gear
The last crafting option is Level Up. As its name implies, for a small cost it will increase the level of your gear by 1 level, up to your current maximum based on World or Challenge Tiers. When leveling a piece of gear, you will increase the main stat (Armor or Firepower) as well as any attribute stats.
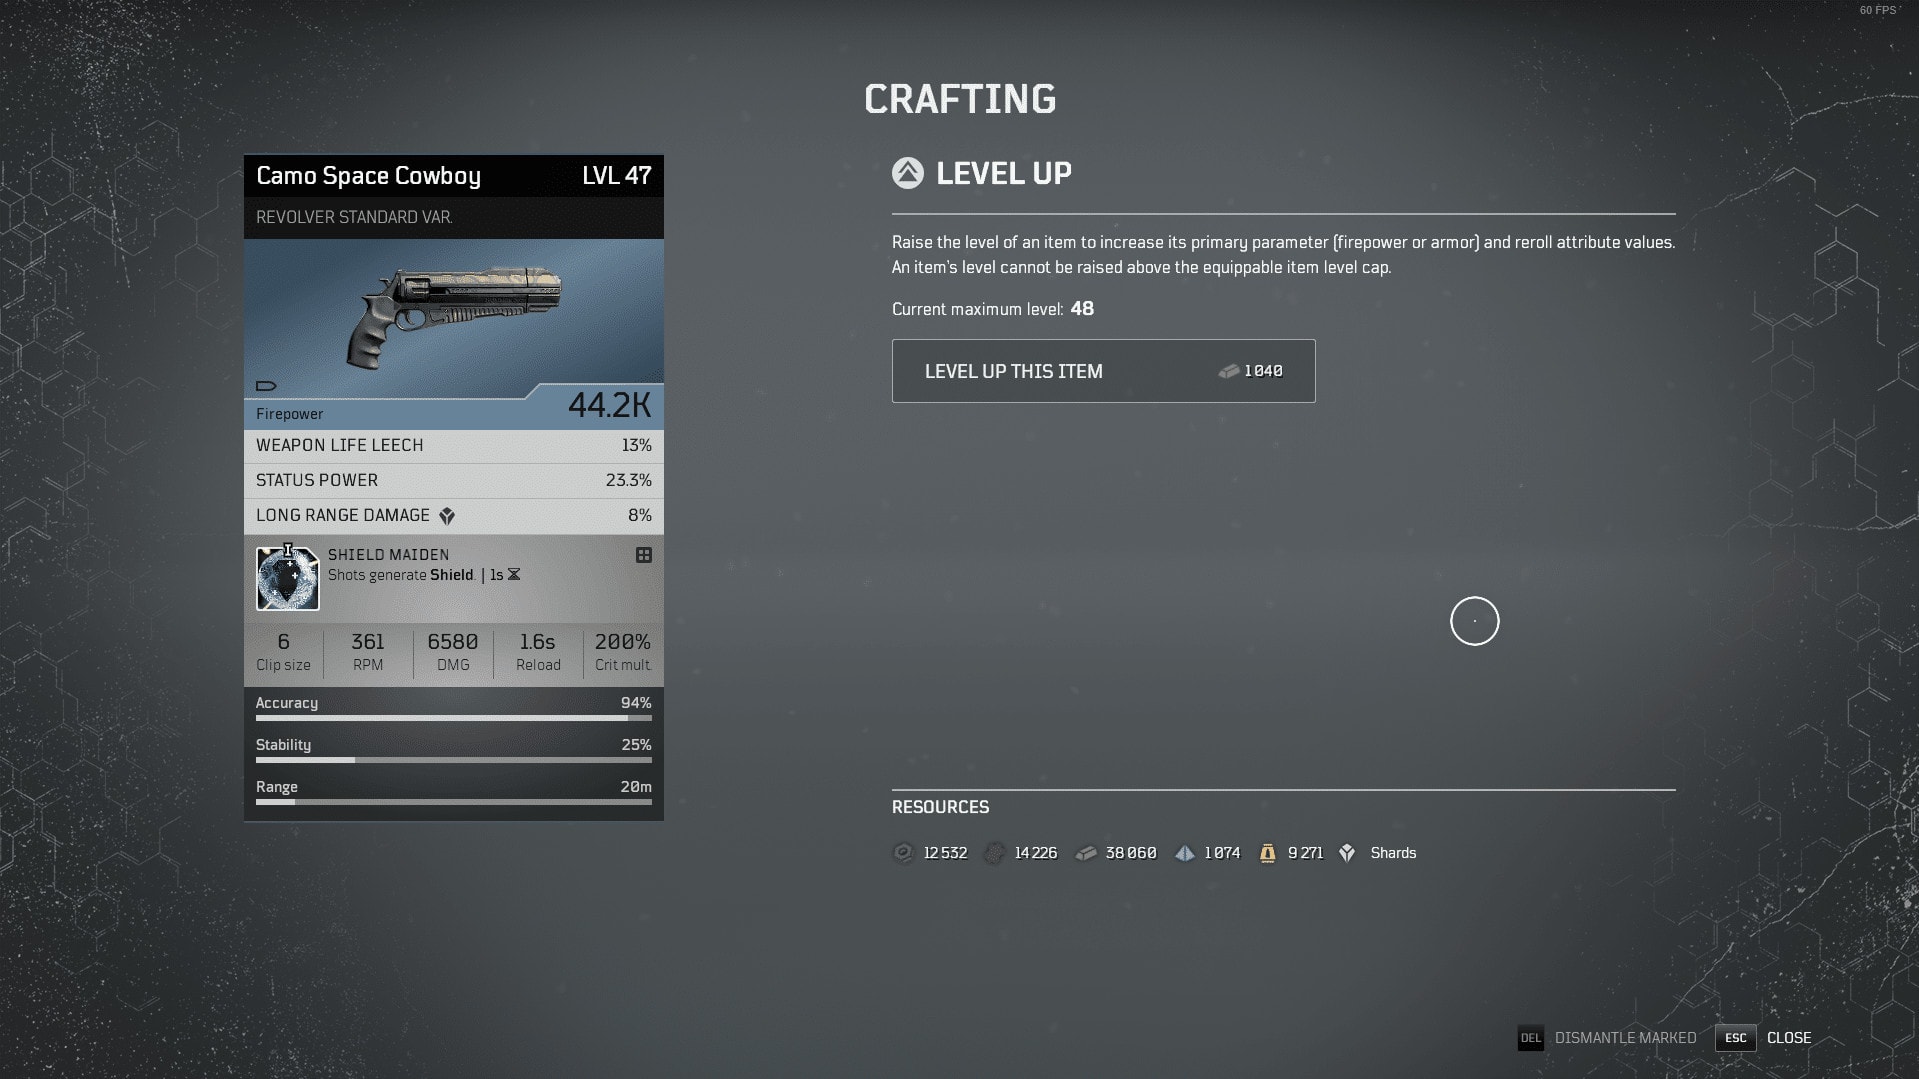
For the early game, and later for gear up to Rare tier, Leveling Up an item will Cost only Leather or Iron, depending on item. Epics and Legendaries will cost just Titanium to Level Up.
As you get deeper into Expedition Challenge Tiers, Epics and Legendaries will also start to additionally cost Drop Pod Resources, once you’re past level 42 or the cap of your highest World Tier.
Example Crafting Sequence
So to cap off the guide, we’ll do an example of what you can do to make a gear good enough to use, regardless of rarity. While it’s not guaranteed to be amazing, the end result will at least be useful to some degree, where you get a new mod out of it or strong enough to replace current gear.
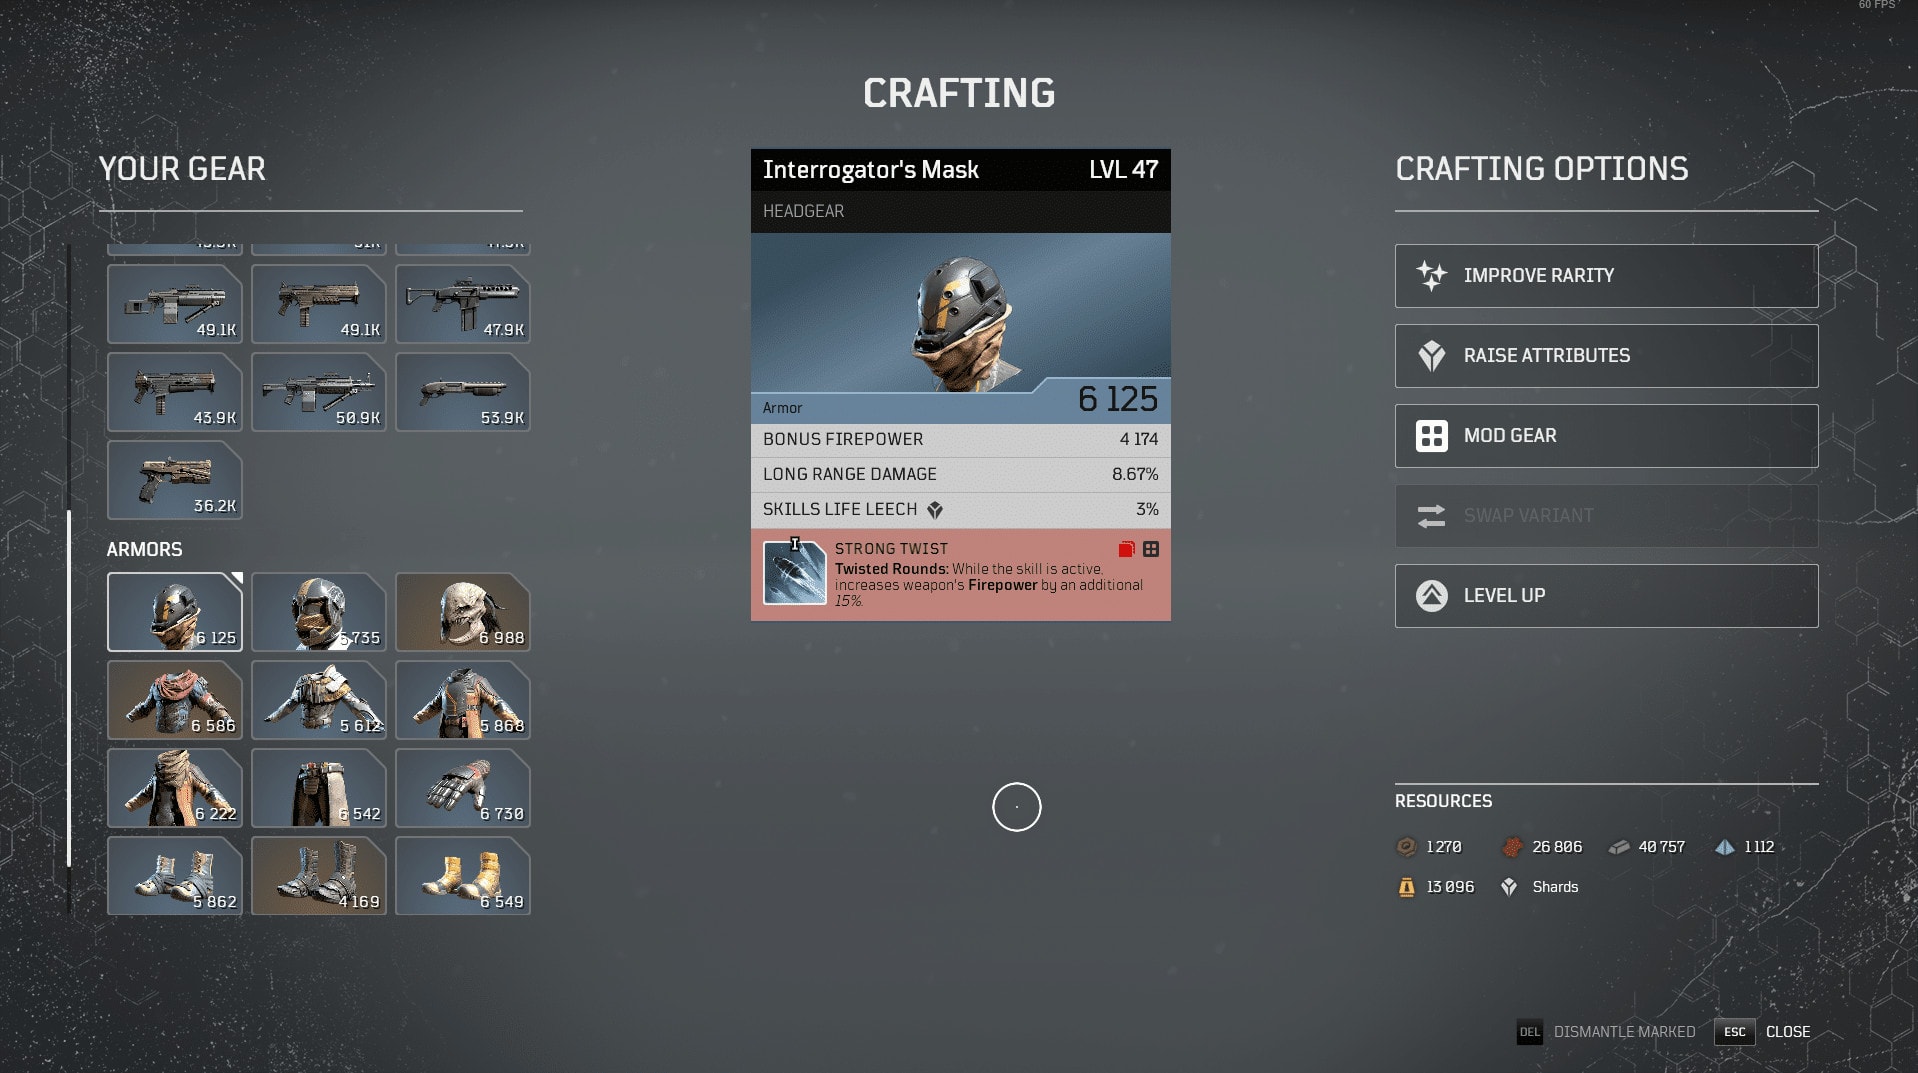
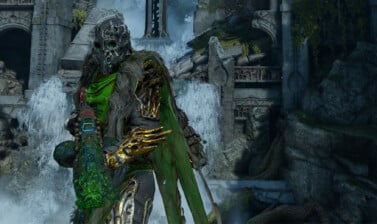
For this example, we’ll use this Helmet, since it has two stats we would want for our current Vanguard Assassin build, from our Trickster Class Guide and Best Builds.
Step 1: Level Up
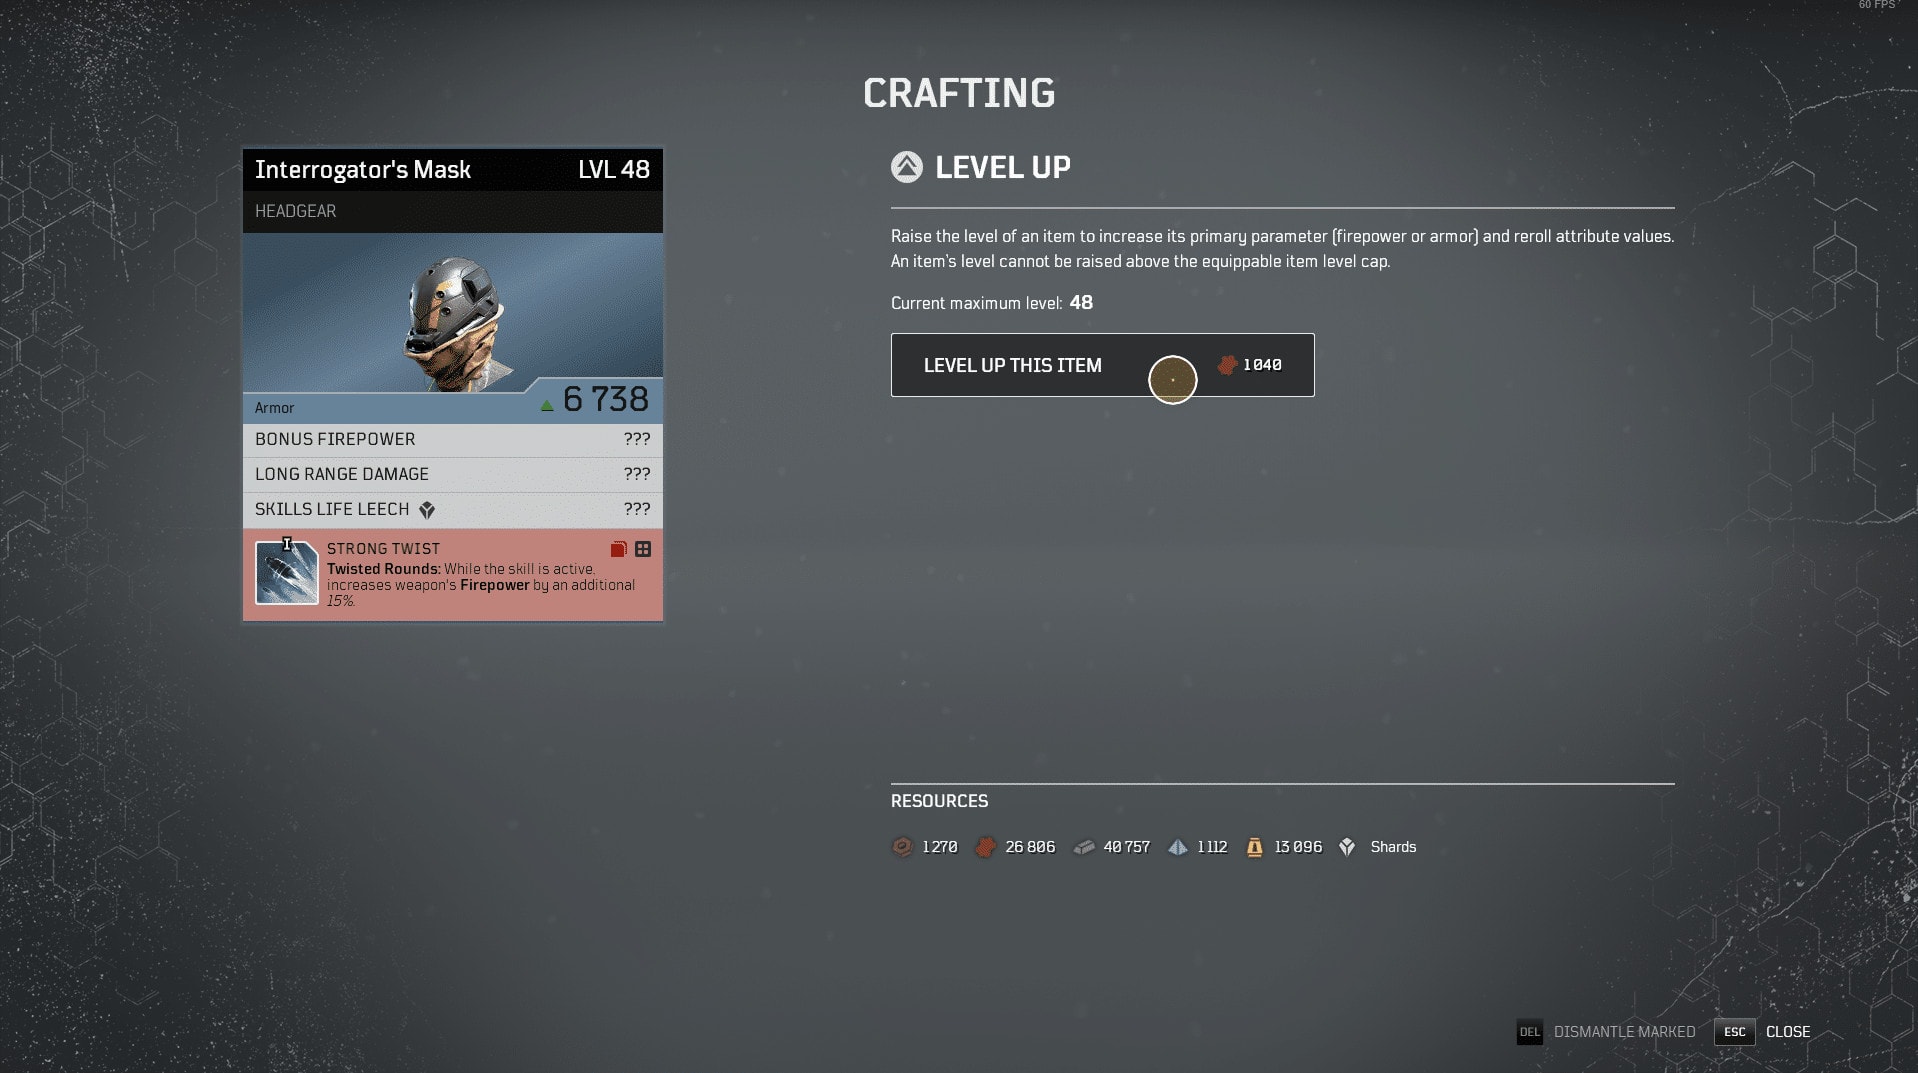
You should Always Level up an item first. This is doubly true so if it’s rare or lower, as it will never cost Drop Pod Resources, even in end game. In the case of the gear we’re working with, it’s already max level for us.
Step 2: Improve Rarity
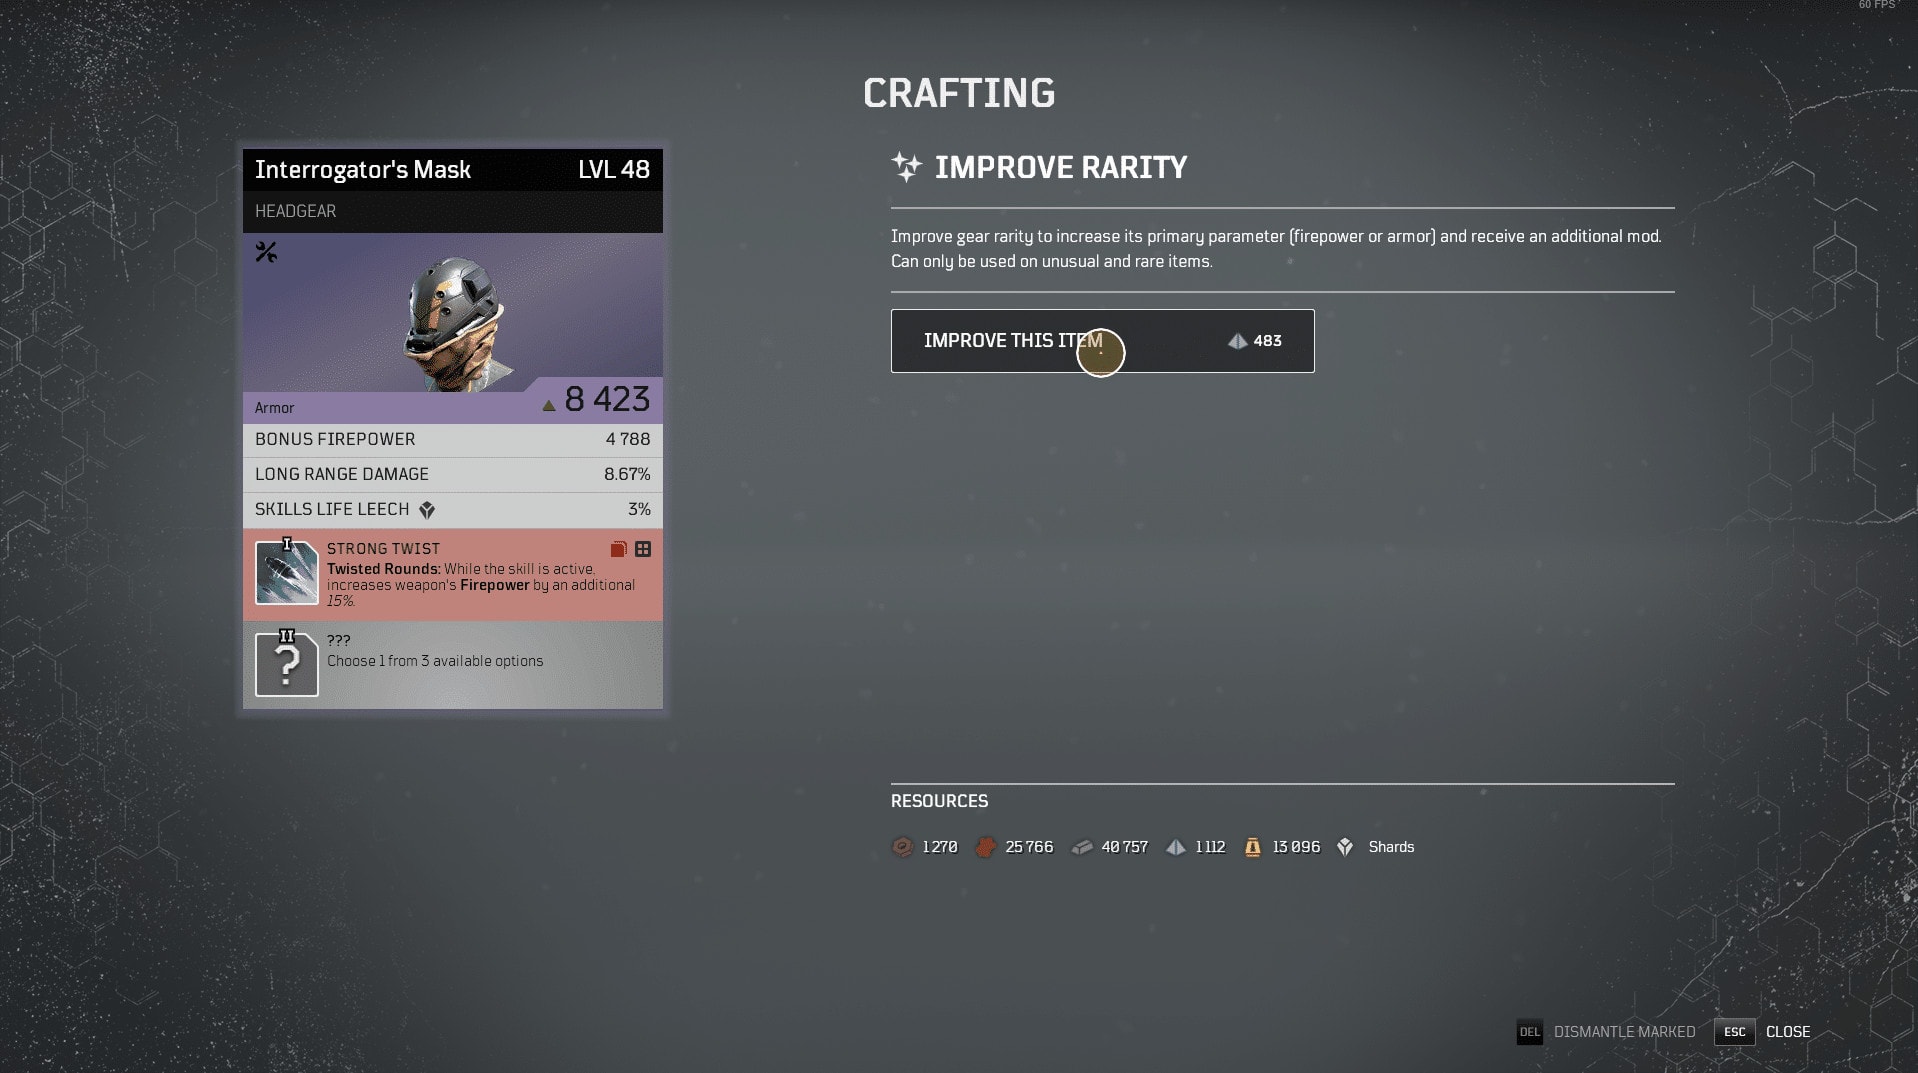
The rarity jump is next. While it’s cheaper at lower levels, it cost significantly less titanium to upgrade as opposed to leveling up. If you’re starting with an Unusual or Rare item, it will cost none to level up and only the amount to increase rarity. At Expedition levels, it will also save Drop Pod Resources.
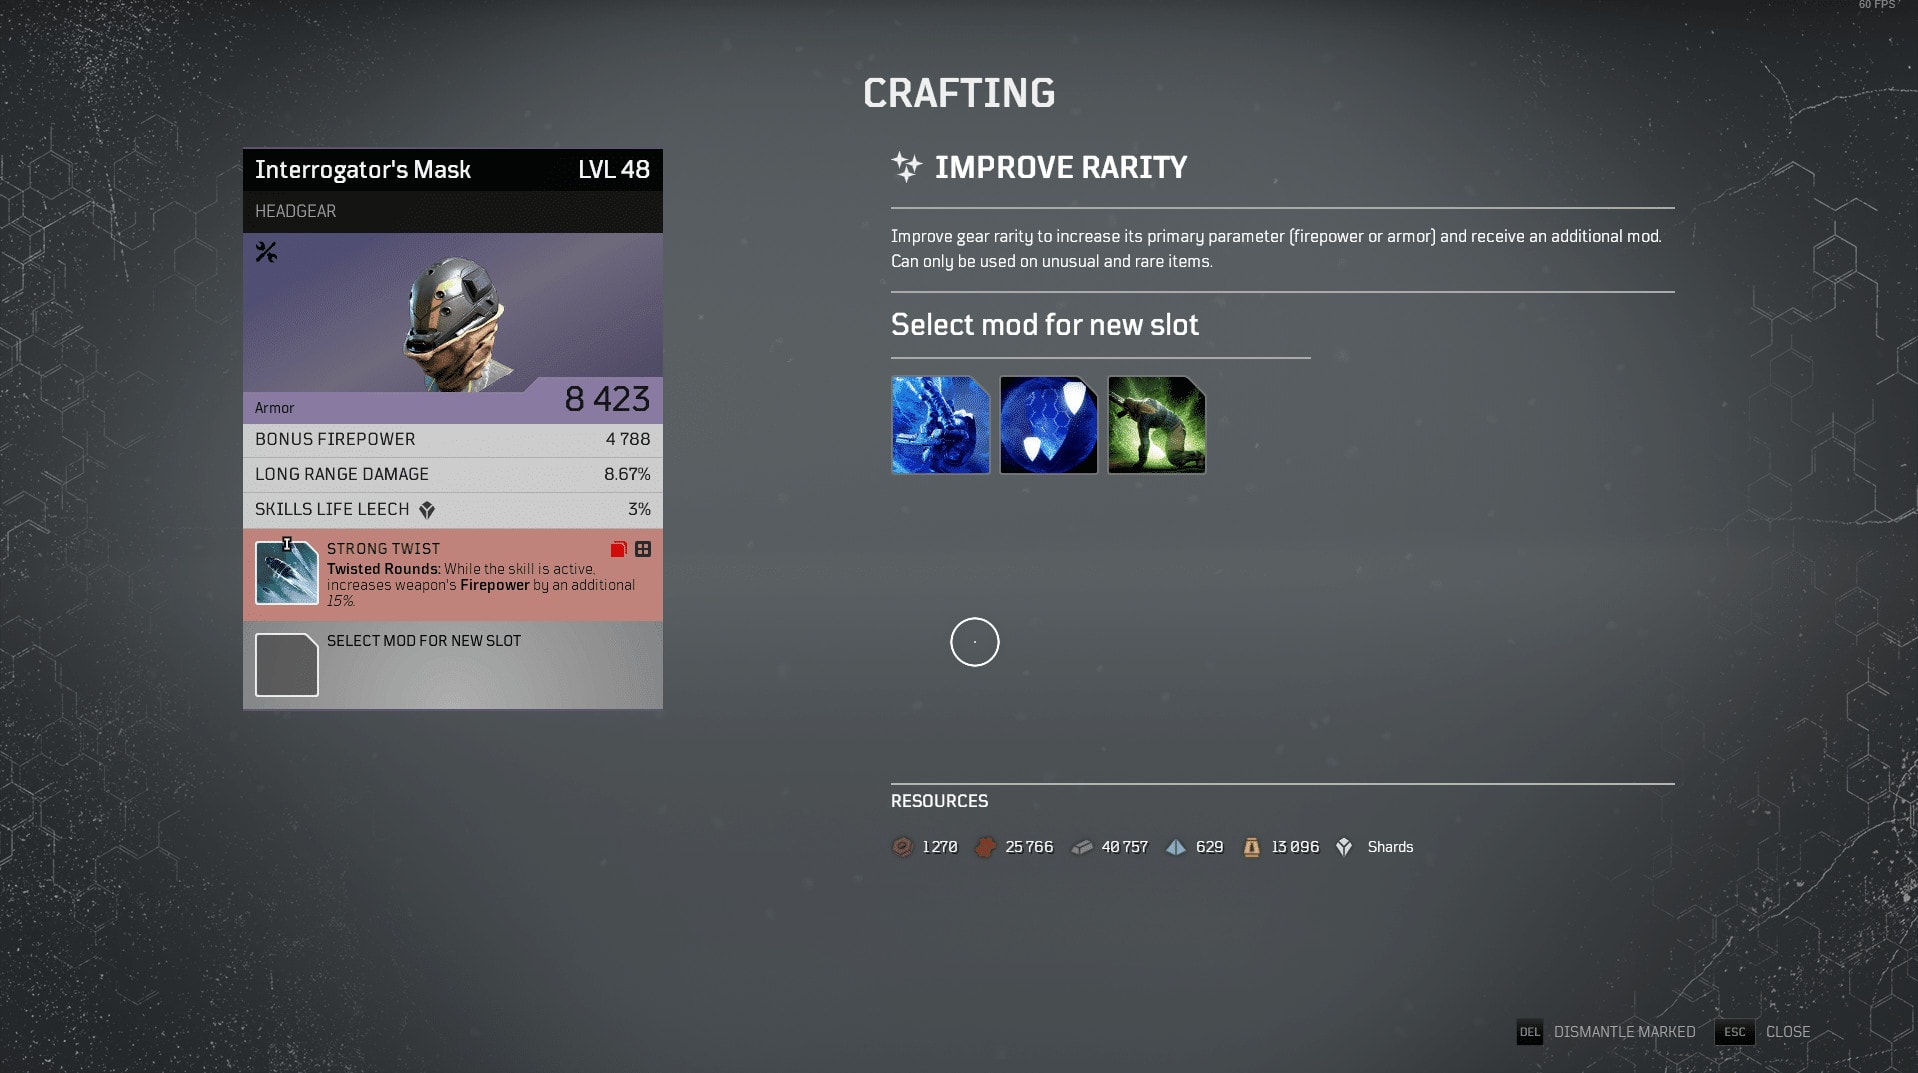
Upon increasing rarity, we’re given these mods as choices. Plate Dodge increases our Armor after rolling. Paragon increases the armor of our allies in close range. Savor the Feeble increases the duration of Weakness.
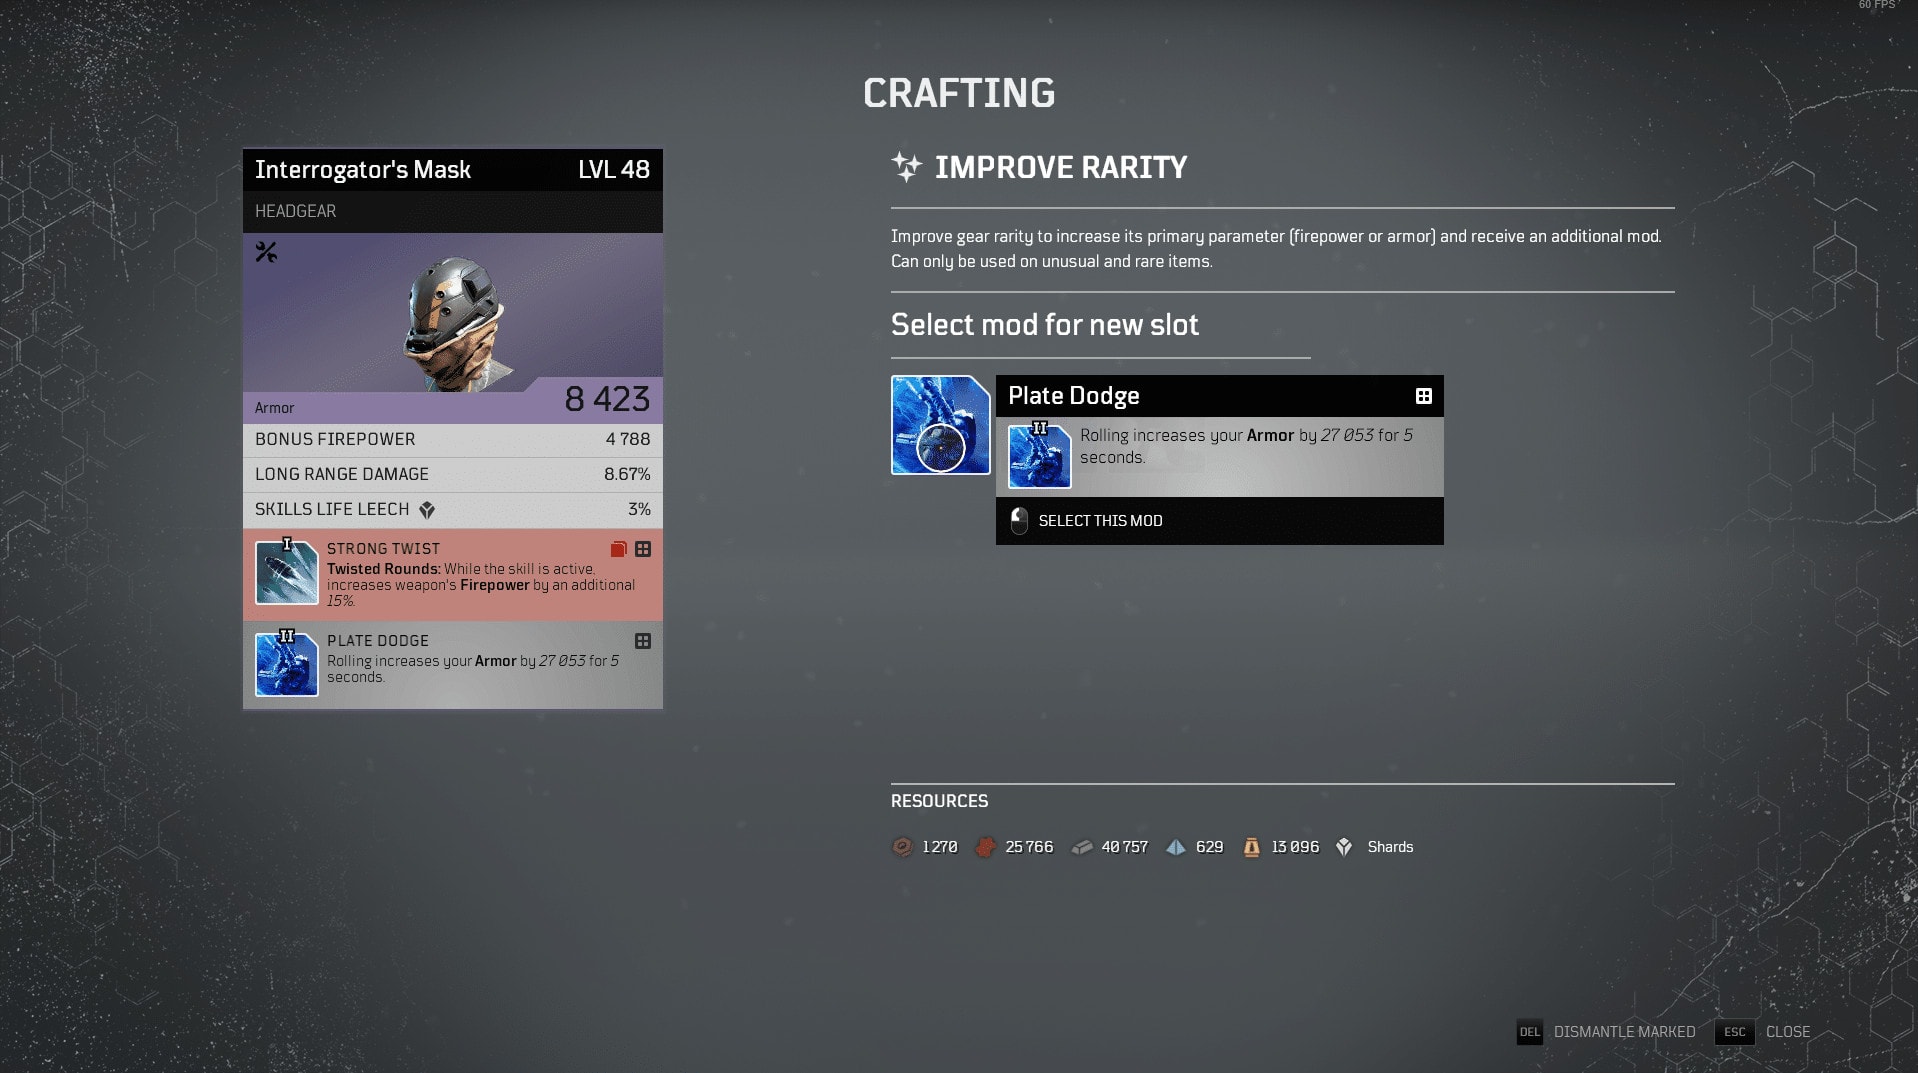
In our case, we take Plate Dodge for the time being since it’s consistently useful. We’re often solo which makes Paragon a waste and while we can apply Weakness, it’s not important to us.
Step 3: Mod Gear
Up next is Mod Gear. Here we can change the mods to be much more effective for our build. In this case we have Strong Twist, a T1 mod and Plate Dodge that was added through crafting.
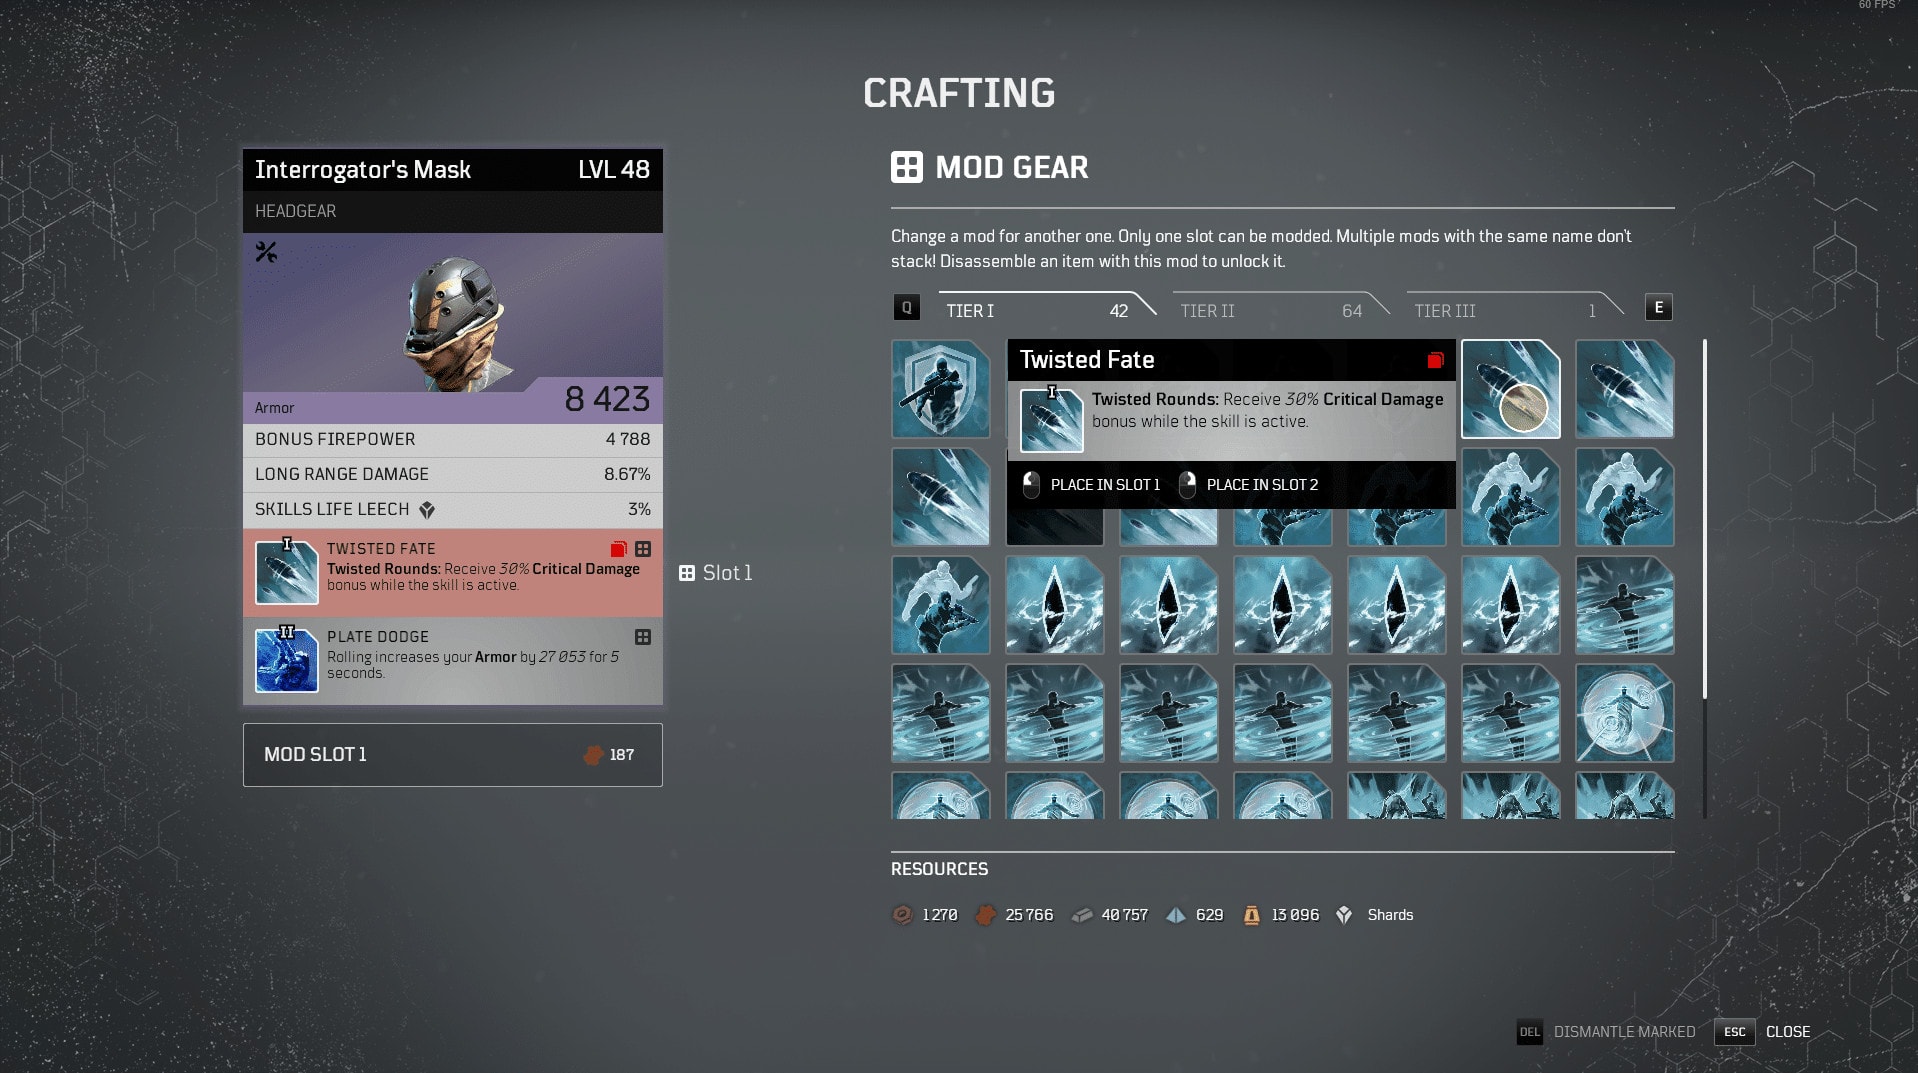
Plate Dodge is fairly useful and we could keep it and let out skill mod slot be flexible by not locking it and instead swapping it to another mod, or leaving it as-is.
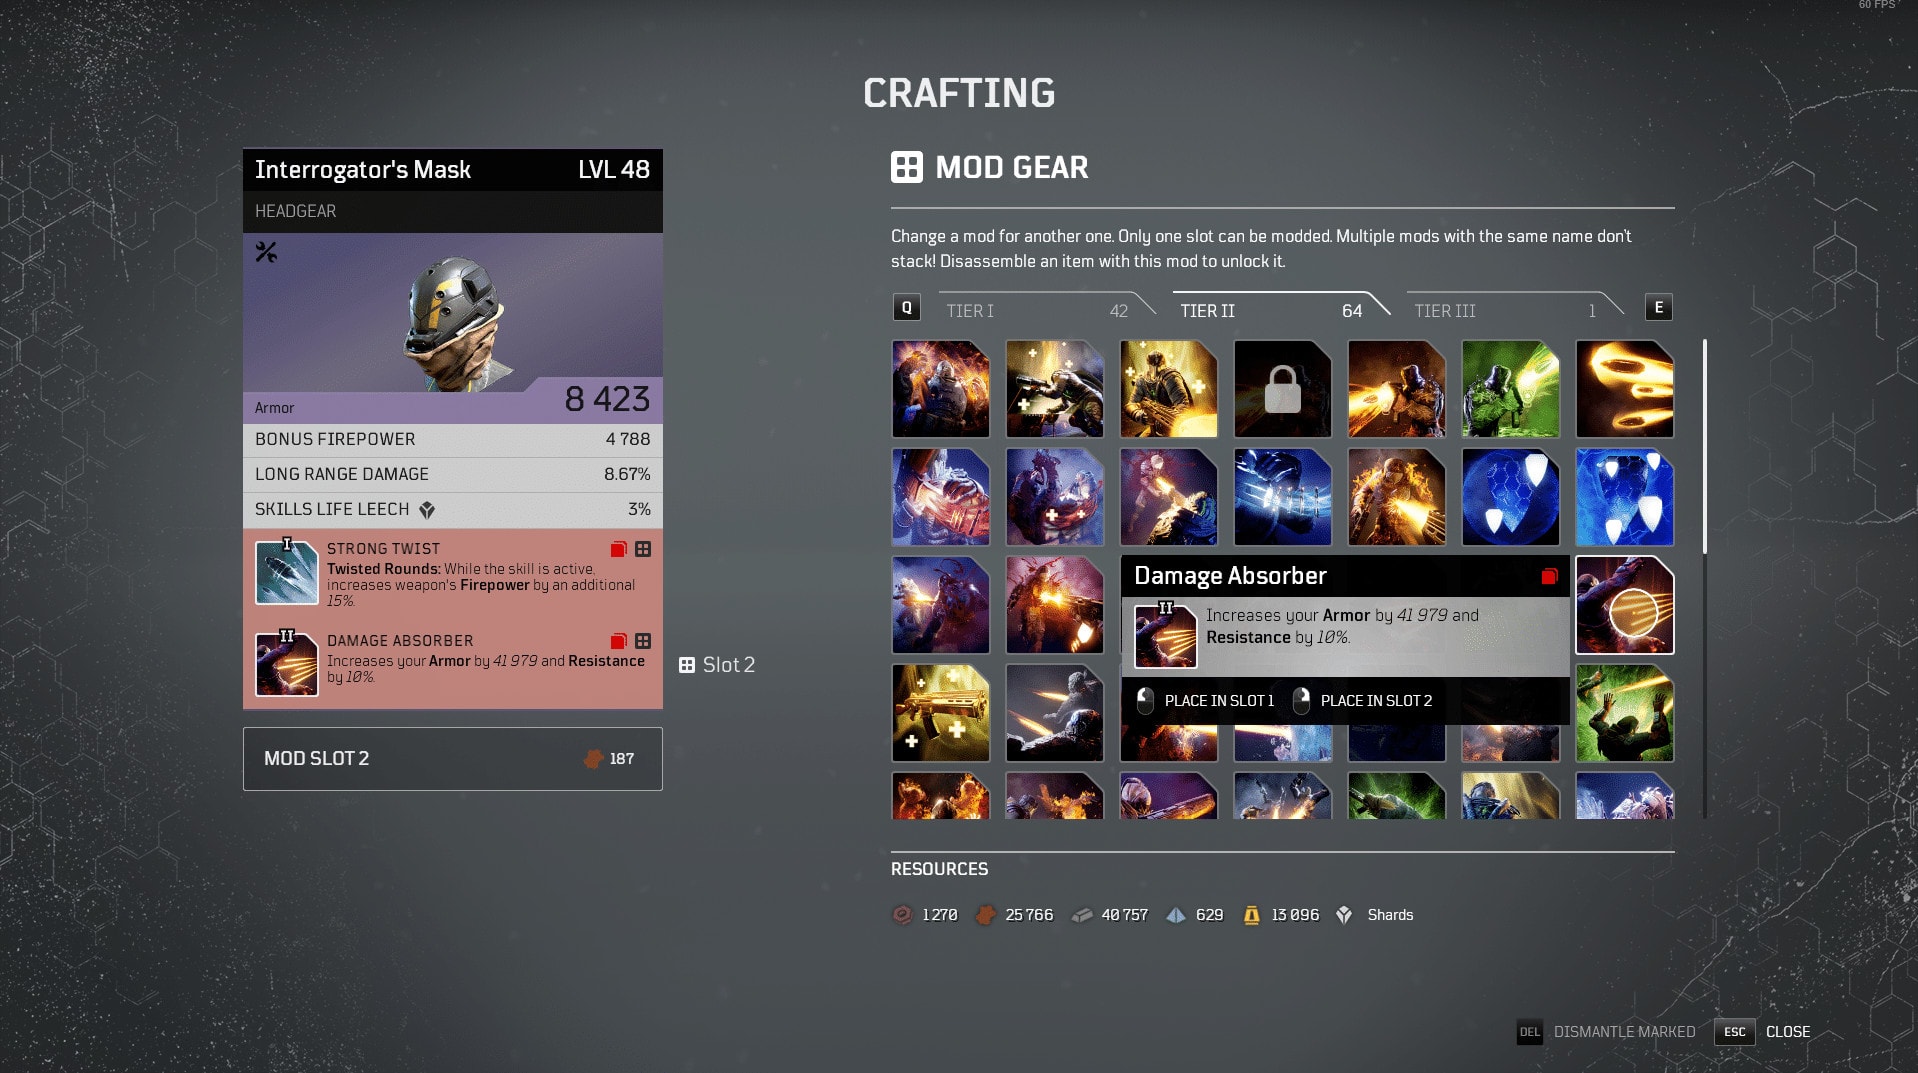
However, there’s options that are better than Plate Dodge for T2+ mods, so we opt to change that since Strong Twist is necessary for our build anyways. We have other gear we can shuffle mods around on to make sure we have our necessary skill mods. So we pick Damage Absorber, since it’s what’s on our current helmet and is worth keeping.
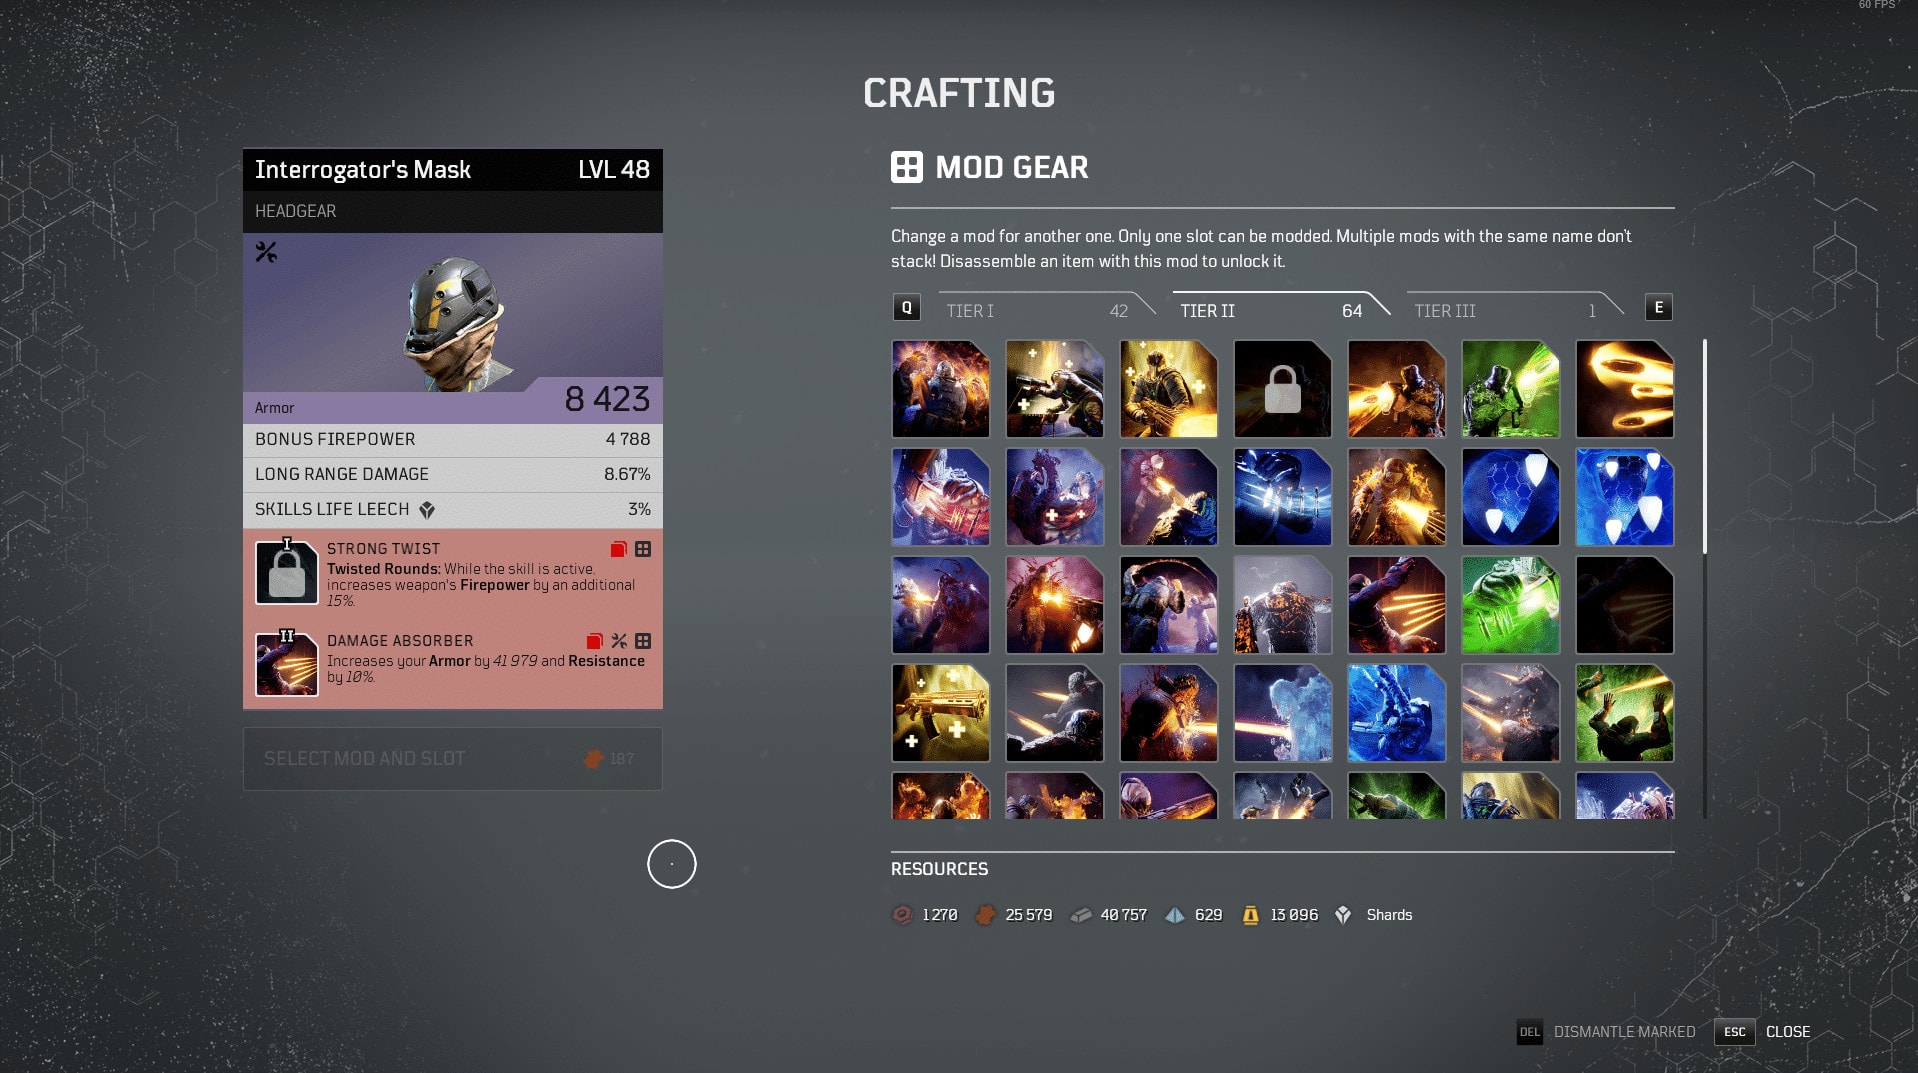
After swapping mods, the first mod slot becomes locked and this gear piece will always have Strong Twist. Again, since this mod fits out build, it’s significantly better to have the other slot be flexible.
Step 4: Raise Attributes
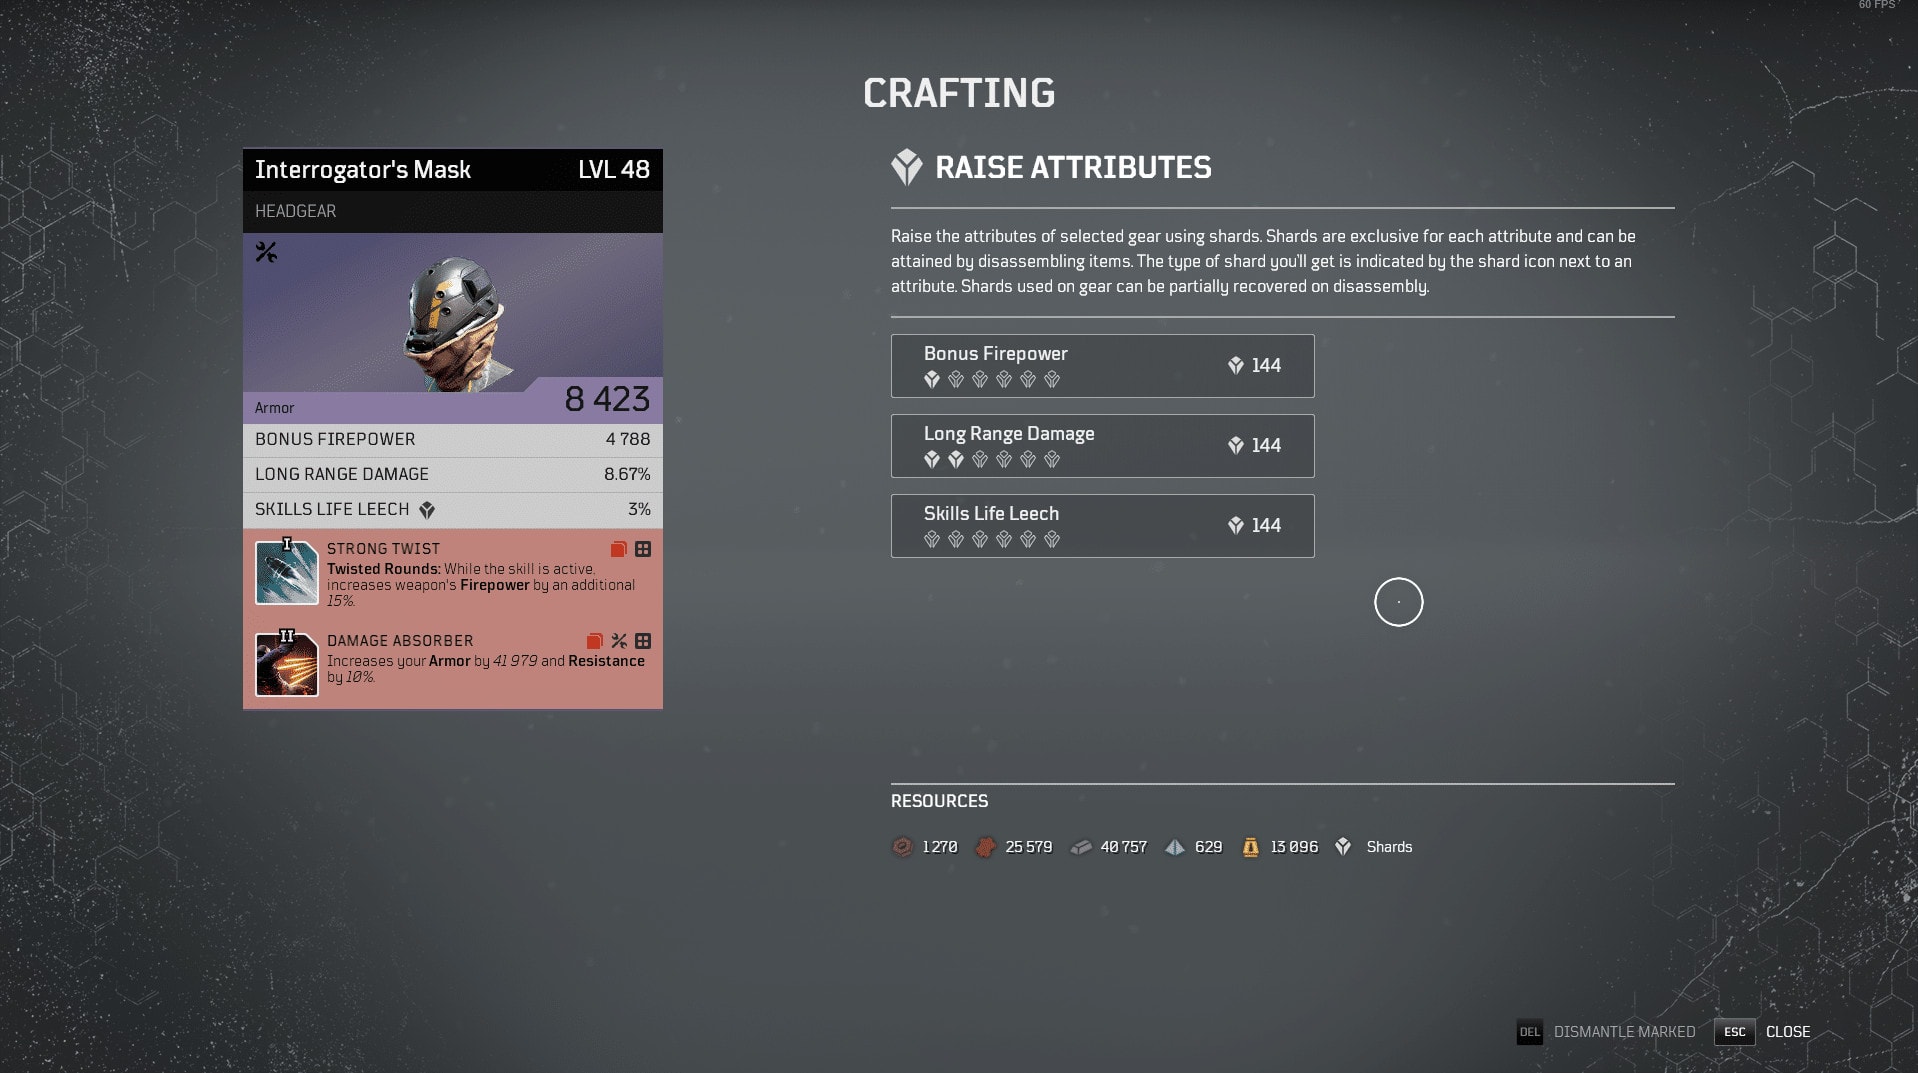
Now that the gear is in a place we’re happy with, we can raise the attributes as the final step. While it is slightly cheaper to do Attributes before leveling, costing 3 less shards, it’s not a big enough difference to justify doing it earlier. You get a full refund on the Shard you spent if you dismantle anyways.

In this case, since Firepower is necessary for out build, we max that one out. We also max out Long Range Damage, even though it’s slightly less relevant, as it could benefit a different weapon if we choose to carry a long range option. We could max out Skill Life Leech as well, but since it’d only proc from Venator’s Knife in our current build, it’s not super amazing nor reliable.
And with that, we’ve completed a crafting section.
Hopefully you’ve learned everything you need to know about Crafting in Outriders from this guide. If you have any additional questions or want to share your personal experience and tips, please leave a comment below.
There’s so much more for you to check out for this game in our Outriders coverage. Starting from Beginners guides, through Class Guides and Boss Guides, all the way to Expeditions and even more. And don’t forget to visit often for the latest Outriders News as well, of course!