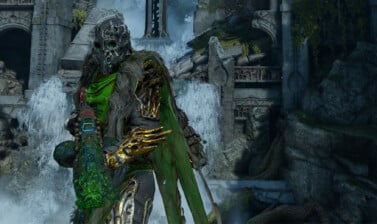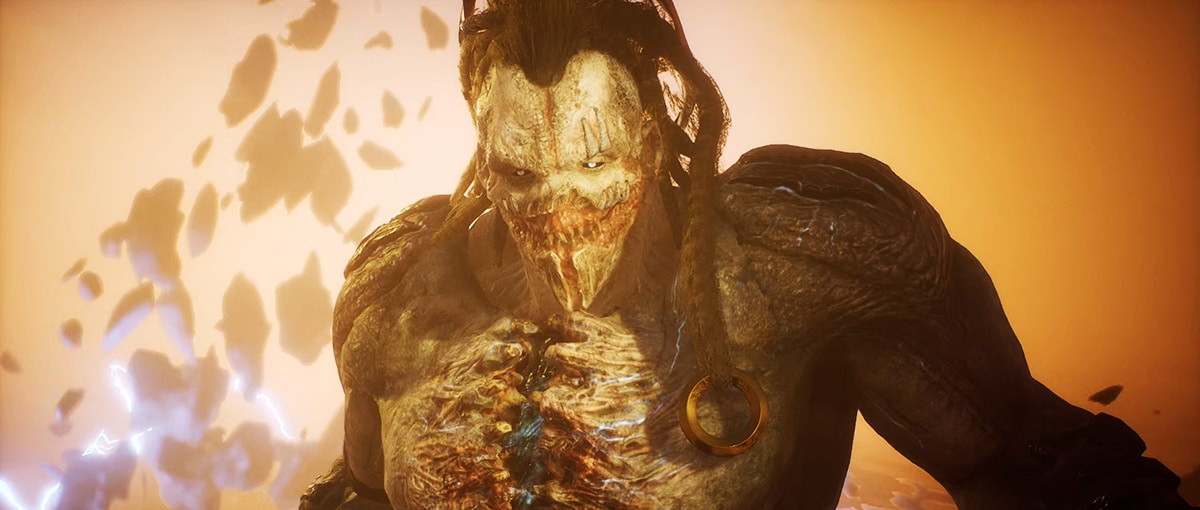
This is a guide to the Outriders Yagak – the final boss fight from the Caravel zone on Enoch. Here you will find everything you need to know about the special abilities and attacks of the creature, all of the mechanics, phases and – of course – how to (finally) defeat this Altered Feral!
Looking for the first encounter with the boss? Check out our Outriders Yagak first encounter guide that happens in the Utargak zone.
The guide contains light spoilers. Its goal is to help you defeat the boss easily, so keep reading if you’d rather not go into it completely blind or if you have already tried it and need a bit of advice how to beat it.
Reaching the Caravel
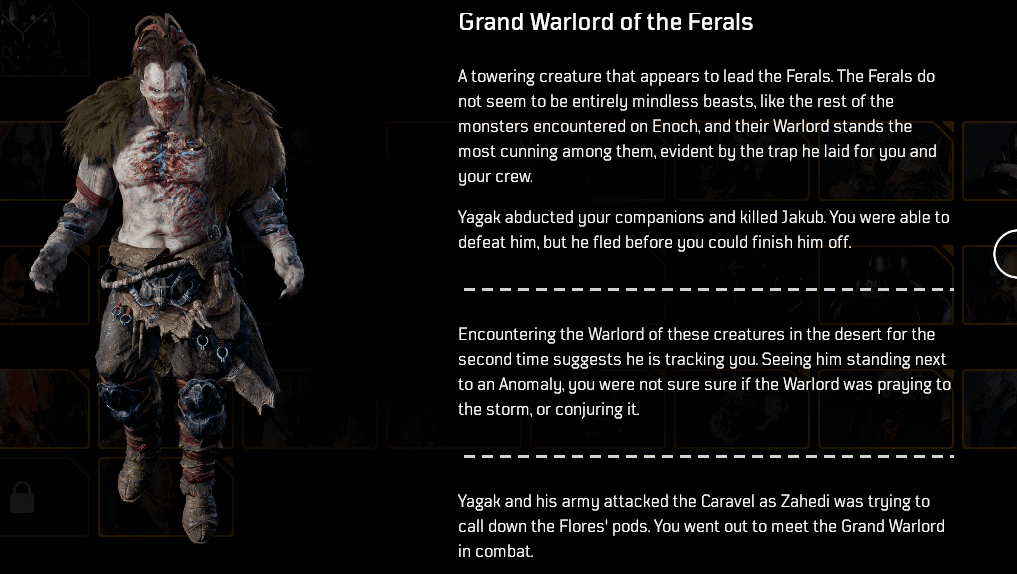
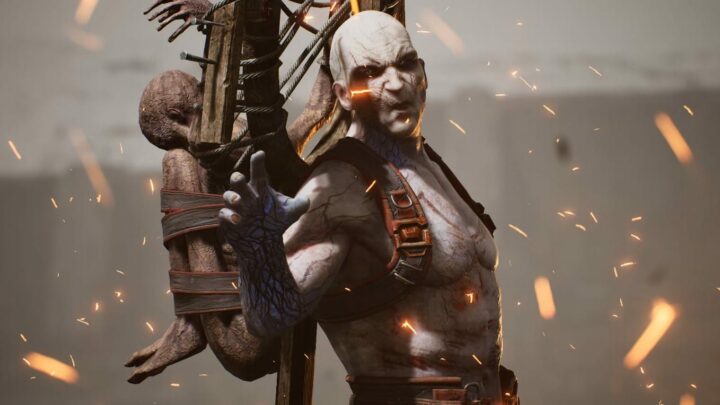
In Outriders, Yagak makes a second appearance, this time as the final boss of the Outriders story. This time he is fought aboard the Caravel. Unlike the previous Yagak Boss Fight, he wields the Anomaly against you, and in his later phase, a pair of Chain Hooks.
This mission leading up to this final fight has you escorting Dr. Zahedi to the Bridge of the Caravel, where he plans to use the last remaining Satelite Uplink to send codes and release some of the supplies from the S.M. Flores which is still in orbit around Enoch.
The “Humanity” quest will see you fending off Yagak as he and his Ferals attack the Caravel. If Yagak tears apart the Caravel, the Satelite Uplink will be vulnerable to the Anomaly. At this point, you’re in a room that has nothing but the gate you interact with to start the fight. However, much like the other bosses in Outriders, you can safely go to the Game Lobby and set a different Story Point to be able to prepare for this final boss encounter.
Preparing for the Final Yagak Encounter
This is a rough encounter, having two rather difficult phases. Dying in either will result in starting both all over, so it’s best that you prepare for the upcoming fight as well as you can. Unlike the previous encounter with Yagak, this fight is primarily Anomaly based, so Resistance will generally help you more here.
He’s much less mobile, so Slows and Immobility statuses in general are almost wasted here, though they are still helpful for the second phase to a small degree. Instead, since he’s fully harnessing his ability as an Altered here, Interrupts are very important for this fight.
You can do well in the first phase with any weapon type, though the second phase has a smaller arena, which limits the usefulness of Snipers. Assault Rifles and Light Machine Guns work well thanks to their higher ammo capacity.
If you are wiping continuously on this boss, check if your gear is updated and upgraded. Gear and Mods in Outriders play significant role for your combat performance and success. Another option is to just lower the World Tier (the difficulty of the game).
Keep in mind that the higher the World Tier, the better rewards you get. Better read this guide to learn how to defeat the Outriders Yagak boss and get nice powerful loot than to lower the difficulty, breeze through the boss and get worse rewards.
The Yagak Final Boss Guide
Yagak has two phases in this fight. While some attacks will carry over between phases, the second phase does become incredibly dangerous compared to the first.
Like his previous fight, Yagak’s weak point is still his head. Since he’s much less mobile in the first phase, slows and such aren’t as necessary. For the Second phase however, Slows can still be really useful for hitting his weak point as he will be a bit more mobile.
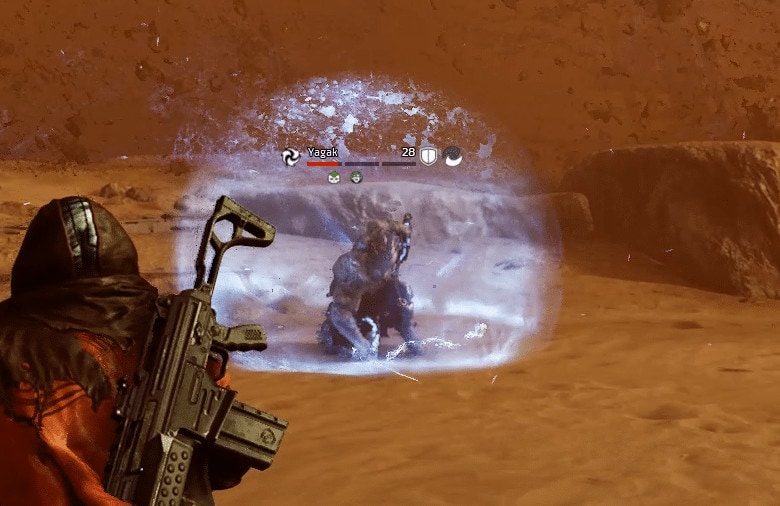
Phase 1: Caster Phase
This first phase, Yagak is primarily focused on attacking at range with anomaly powers. He does have a short range attack he uses on occasionally as well, but it’s not used often.
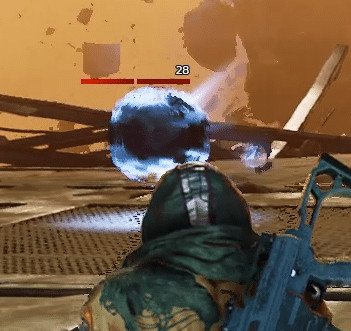
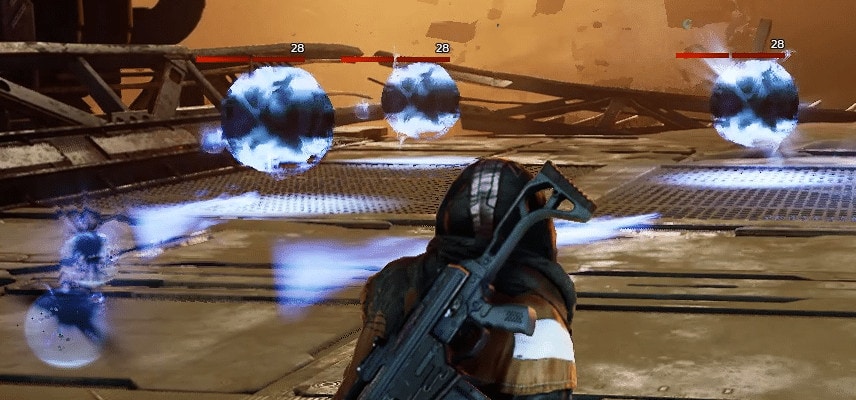
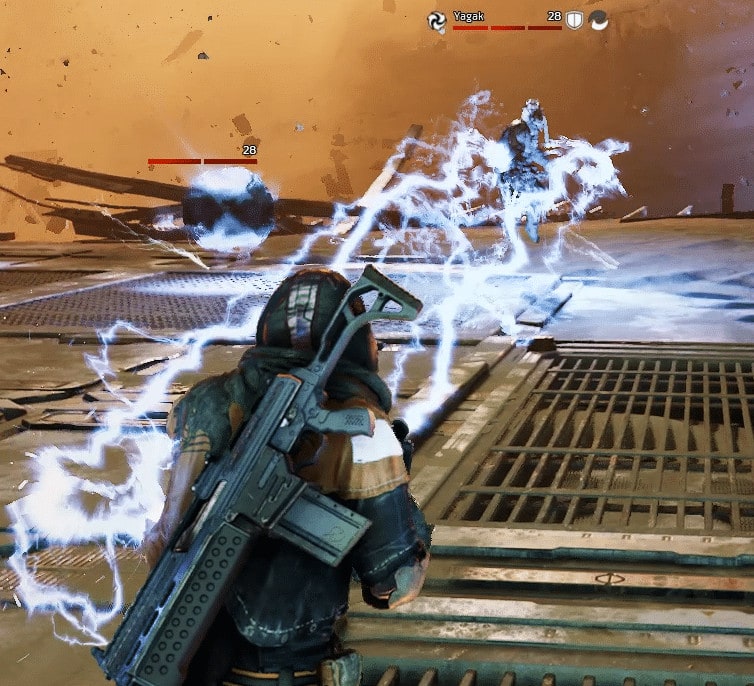
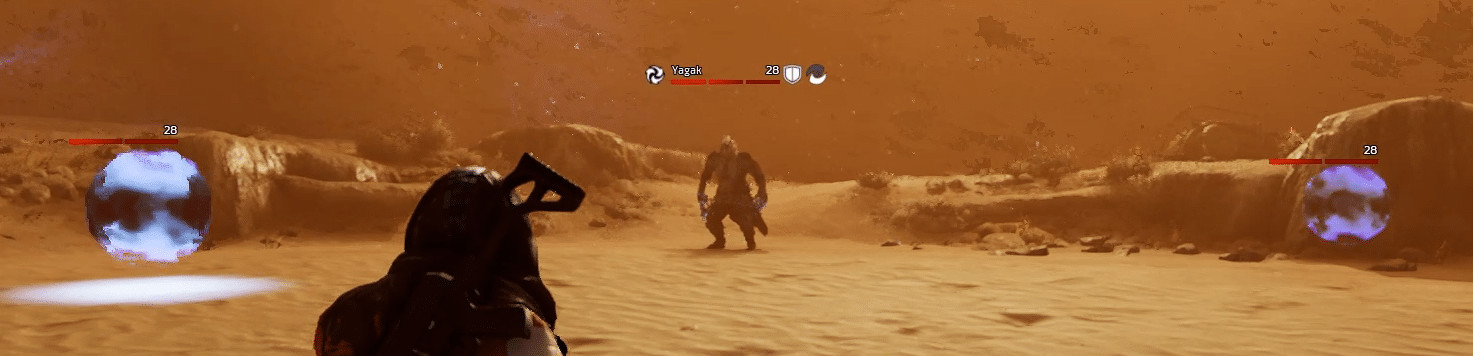
His first phase will always open with Anomaly Rifts. This attack has Yagak summon two Anomaly Rifts, which will periodically fire projectiles at you while they are alive.
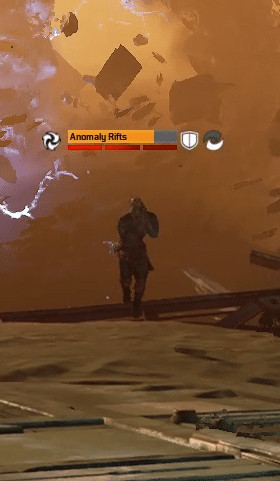
They are stationary and can be destroyed, though that have a lot of health and no weak points. Additional casts will add another pair of Rifts.
If you’re playing solo, it’s HIGHLY RECOMMENDED that you Interrupt, this ability. For a solo player this can be the largest source of incoming damage in this phase, as these projectiles deal fairly high damage and the more that exist means the more projectiles you have to avoid.
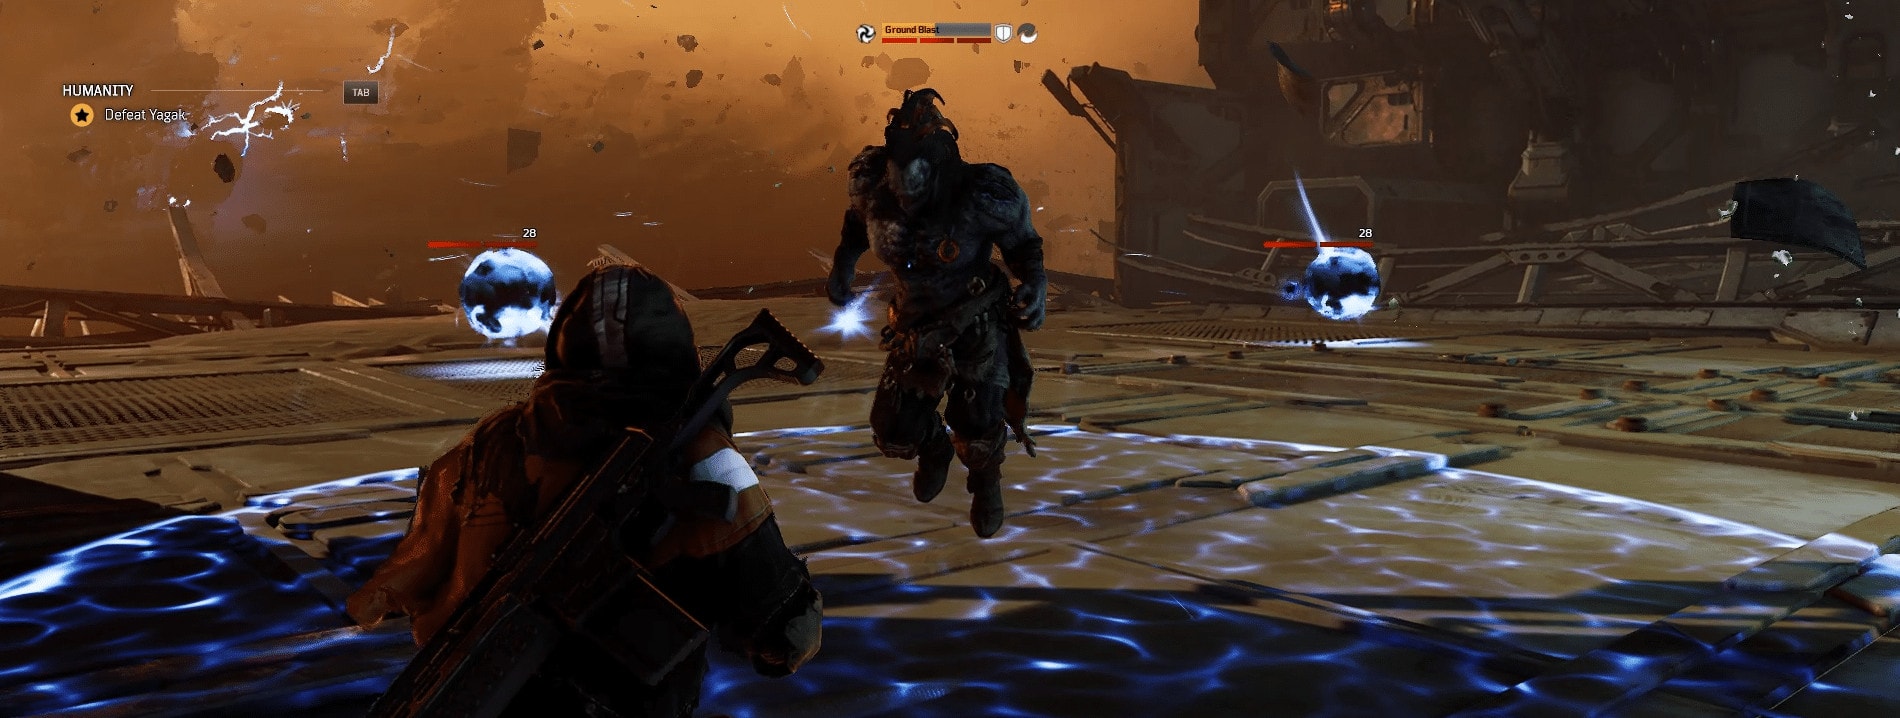
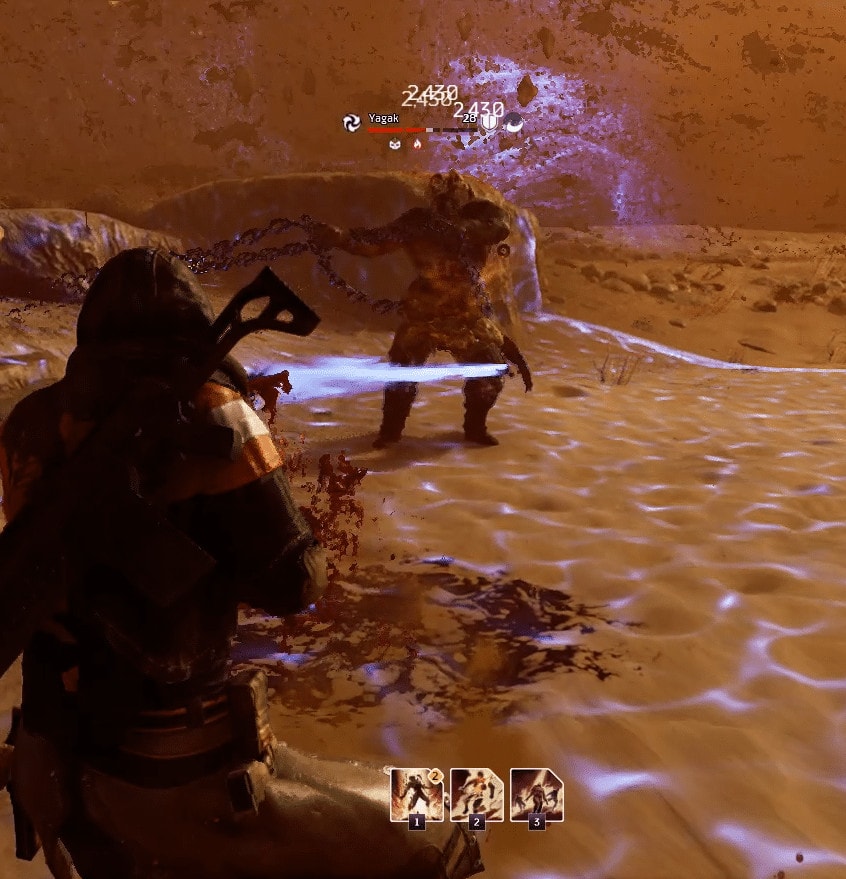
His second ability that he will usually try to hit you with is Ground Blast. This is the melee attack, so you will have plenty of warning that it’s incoming. He will move close to you prior to casting. When you see him moving towards you, you can just sprint at him and around his back to easily and reliably dodge this attack. You can also just sprint out of it if he catches you in the middle of it.
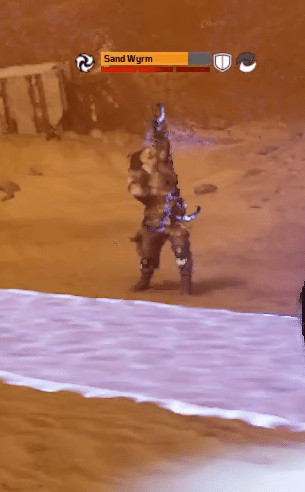
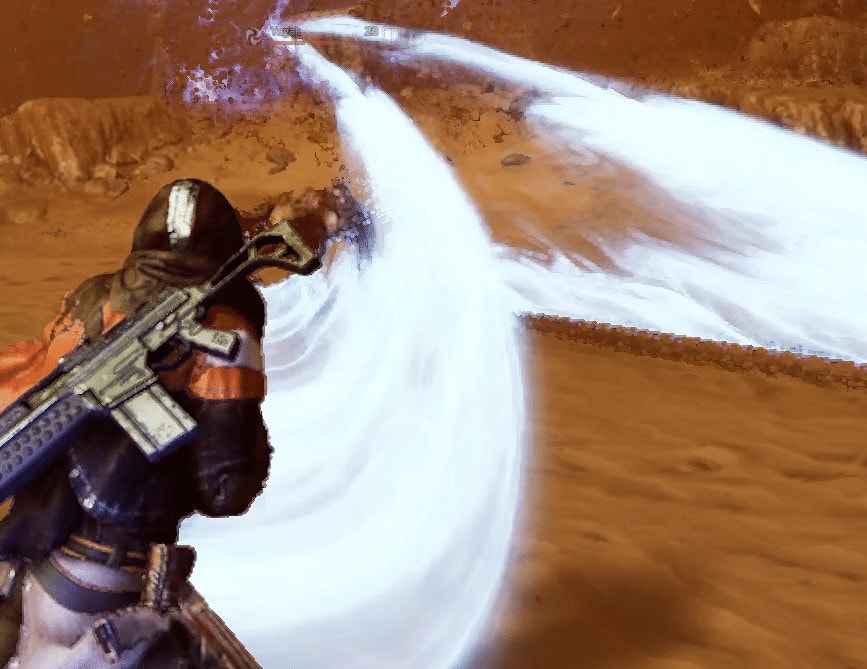
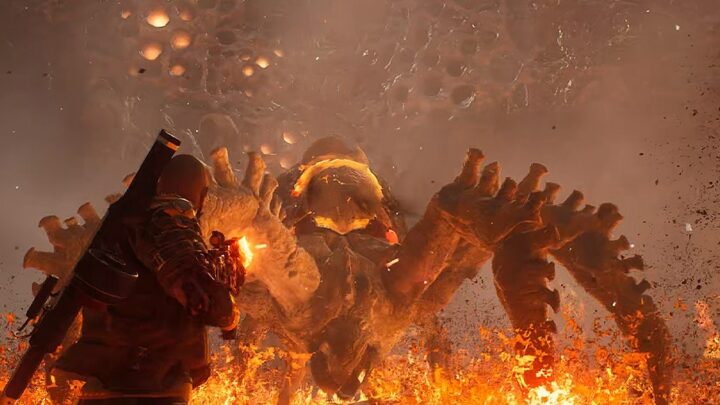
The third ability he can use is Sand Wyrm. Yagak creates a wyrm out of sand that will slam itself across the Arena. This attack becomes a free damage window, as it has a long cast time and covers a narrow portion of the arena.

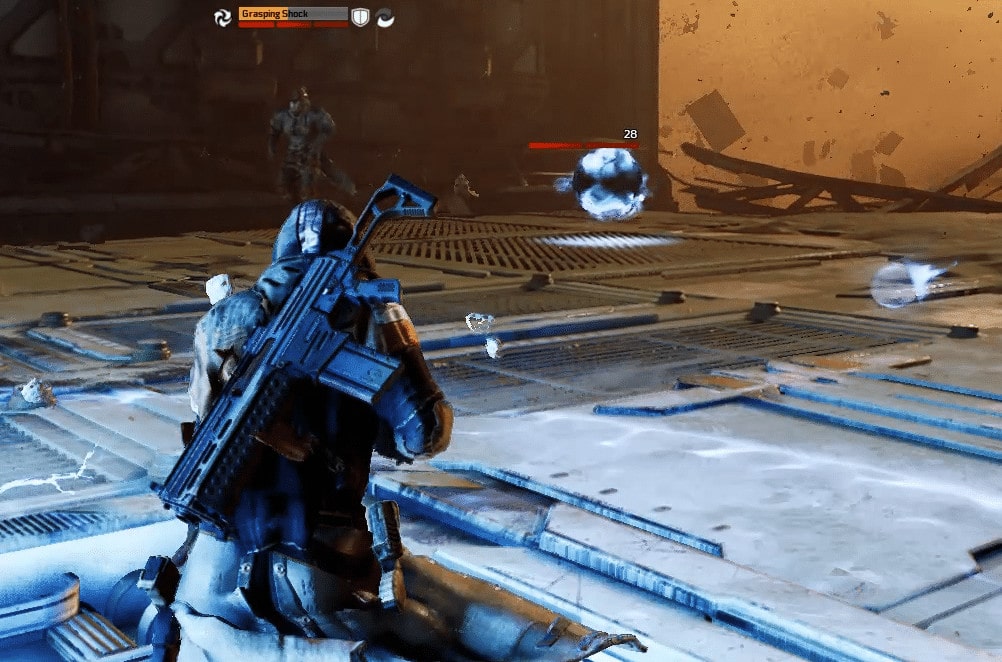
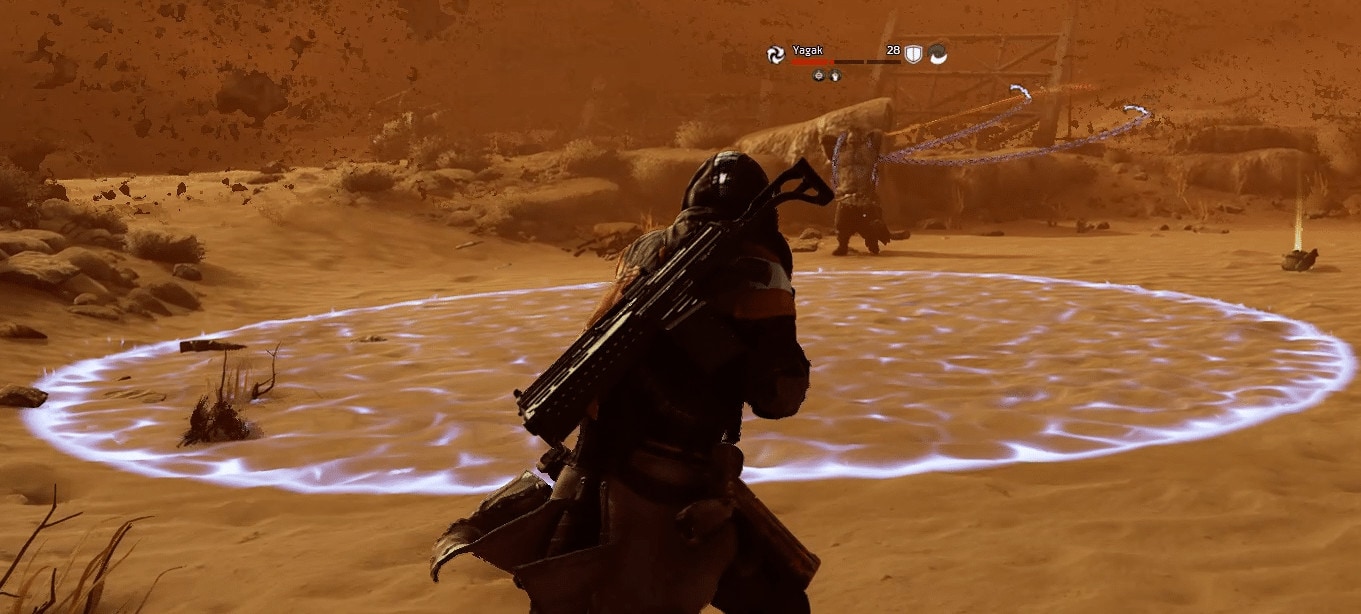
Yagak’s fourth ability is Grasping Shock. This is similar to Ground Blast, but cast at range. It can be dodged by simply sprinting out of the area created below you.
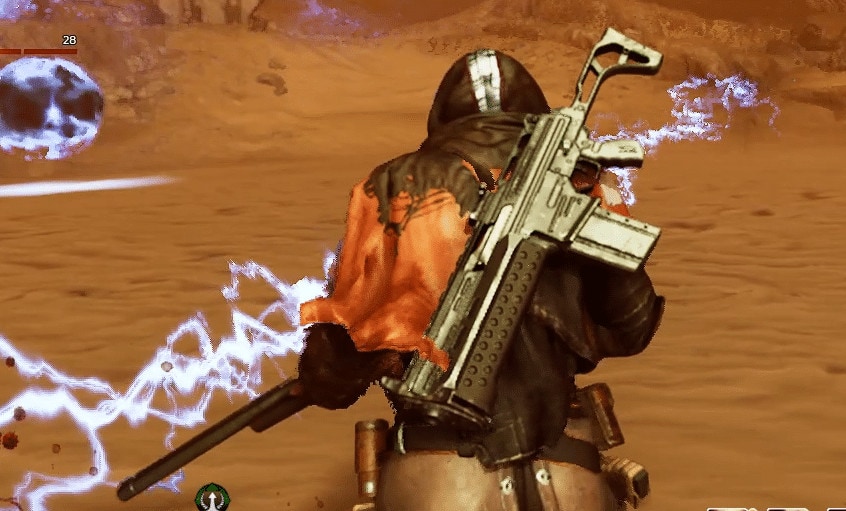
The fifth ability Yagak will use is Chain Lightning. Yagak sends out lightning at a target, and as the name applies, this attack can chain to allies within a short distance of you. It’s rare to see it actually chain, even in Multiplayer though.
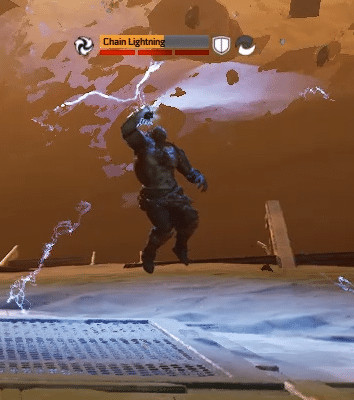
This attack cannot be dodged, so Interrupting it is highly recommended, when possible. It’s a very short window, so skills like Trickster’s Temporal Blade that have a delay on their interrupt can have a hard time interrupting it. Ranged interrupts should be used at close range for the best odds of interrupting.
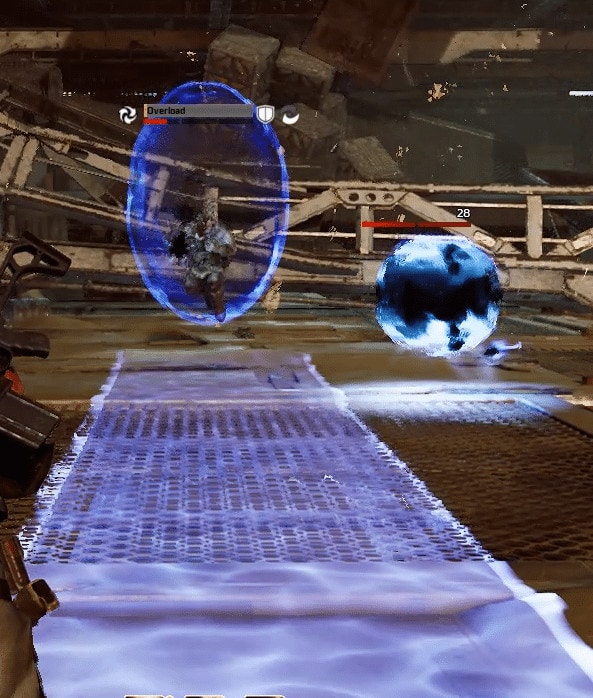
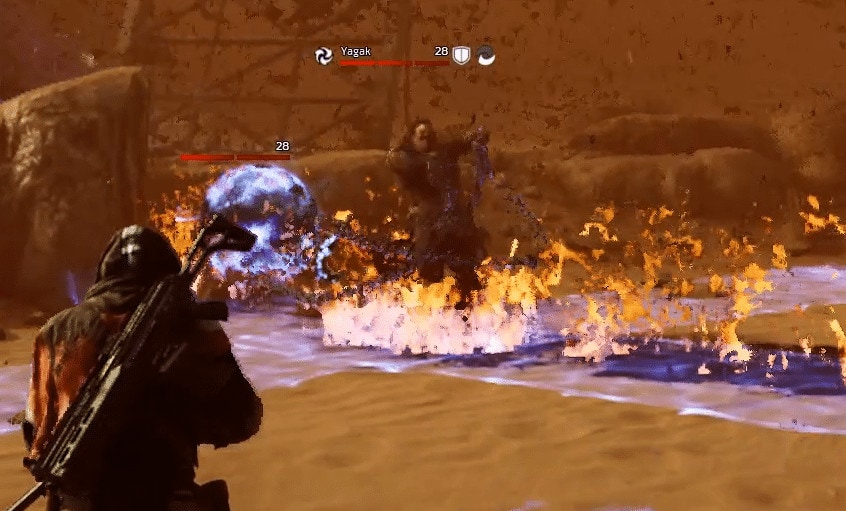
Yagak’s final attack for this phase is Overload, which he will not use until at least one-third of his health is missing for this phase. Yagak gets a Forward facing shield while channeling this skill. This shield cannot be broken. However, most skills can deal damage through it as it’s only intended to block bullets.
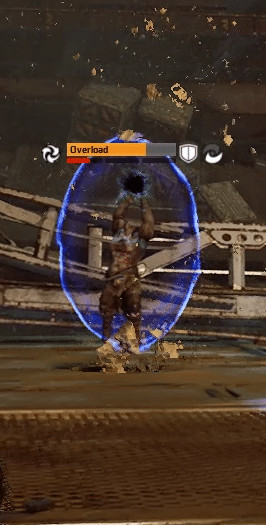
You won’t see the indicator for the attack until just before it’s cast. However if you keep your distance, a simple roll will prevent damage. Using a Movement skill like Trickster’s Hunt the Prey or Devastator’s Gravity Leap right as the cast completes can also prevent damage.
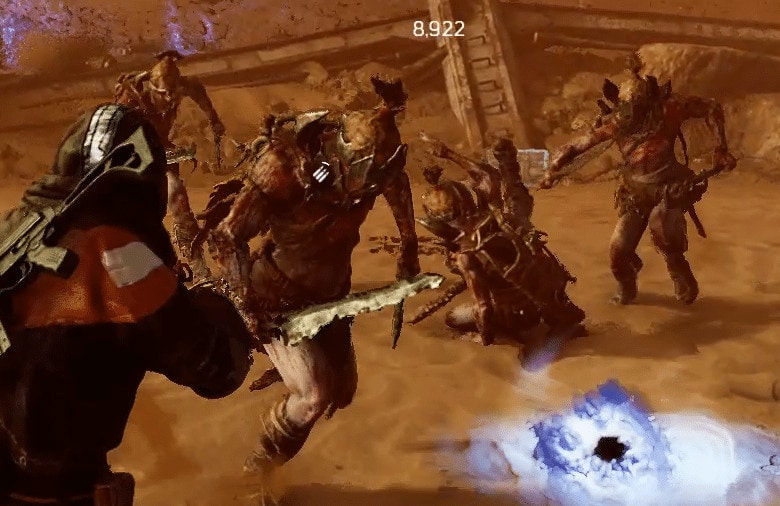
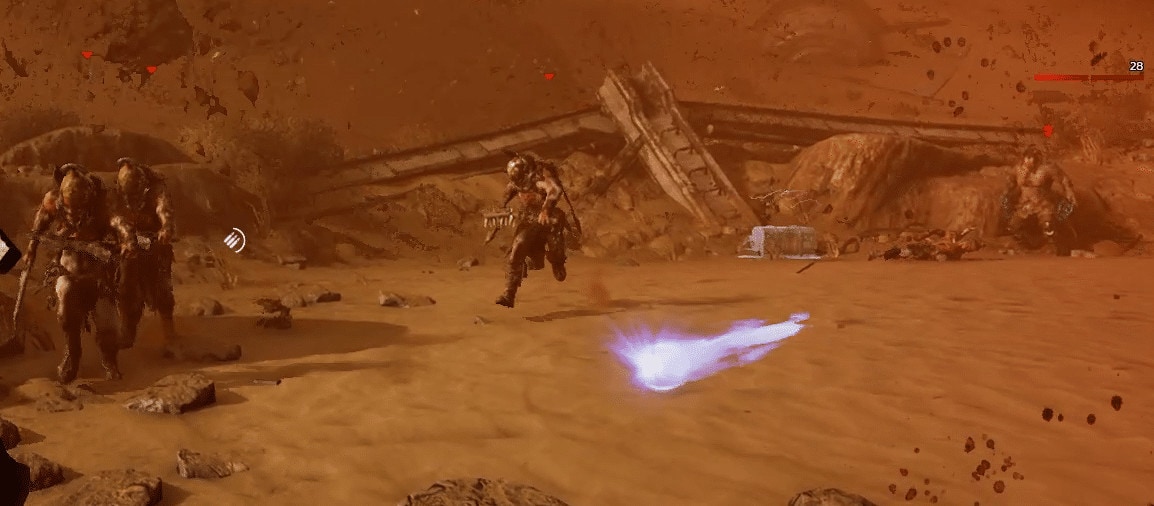
After depleting half of Yagak’s total health, you get a cutscene of Yagak retreating into the desert. You’ll be place on to a trail that has a few Ferals that you’ll have to fight through to reach the second phase. This trail also has a Restock Crate, make use of it to refill your ammo after dispatching the Ferals.
Phase 2: Chain Phase
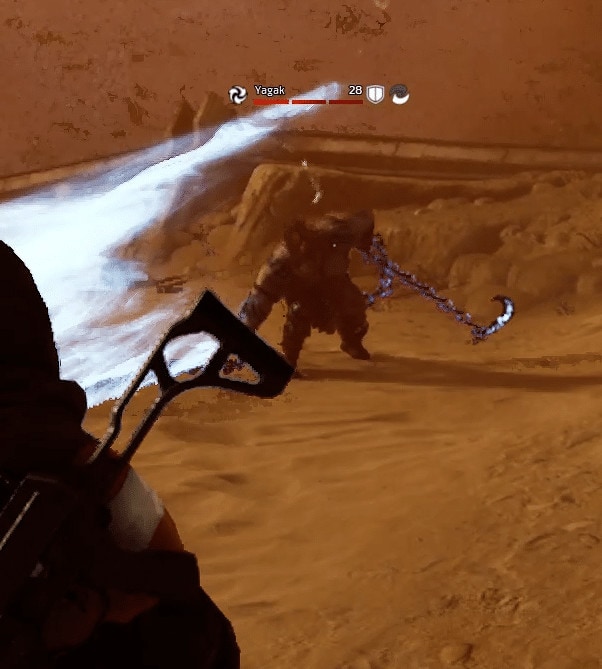
As you enter the arena, you be greeted with a cutscene showing Yagak with his new weapons, Twin Chain Hooks.
This phase start very similar to the first, as his first action will always be to summon Anomaly Rifts. As with Phase One, it’s highly recommended you Interrupt this skill.
His other returning skills from Phase One are Sand Wyrm and Chain Lightning, which function exactly the same. Sand Wyrm can still be dodged by simply walking out of the targeted area. Chain Lightning still needs to be interrupted to avoid damage.
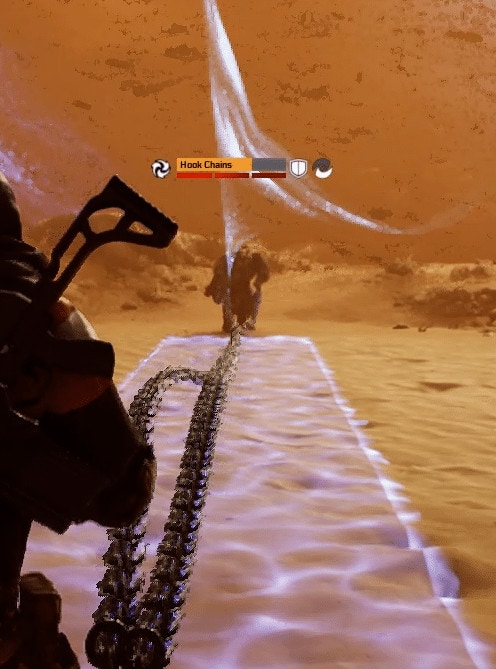
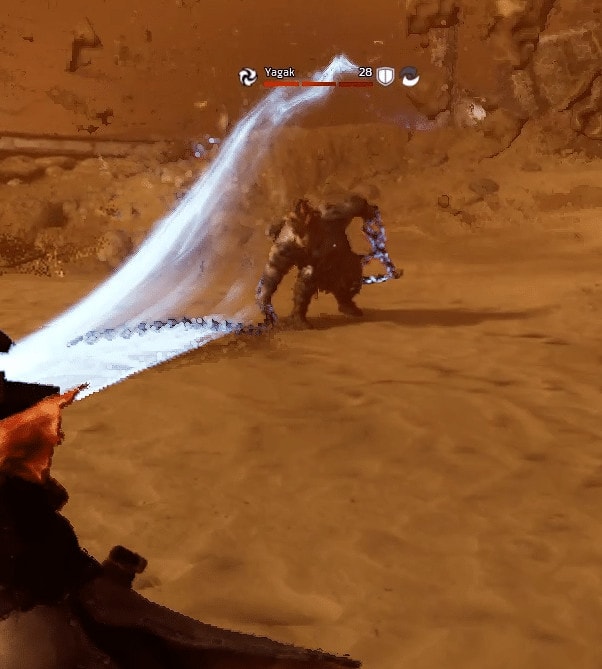
Immediately after casting Anomaly Rifts, he’ll attempt his first new attack if you’re still far away. This attack is Hook Chains. Yagak will swing his chains around, preparing to throw them in an attempt to hook you.
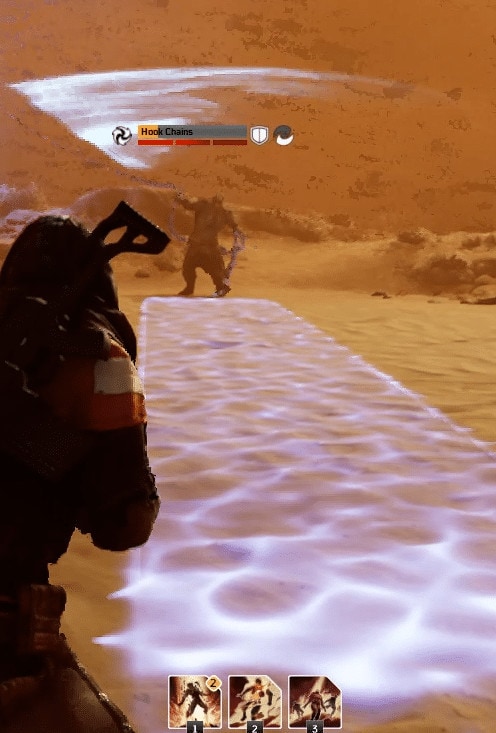
This attack will always lead in the direction your are heading. The best way to dodge it is to walk to one side, then dodge to the other side just before the cast completes. You can also stand still and take the free damage window, then roll to either side at the last second.
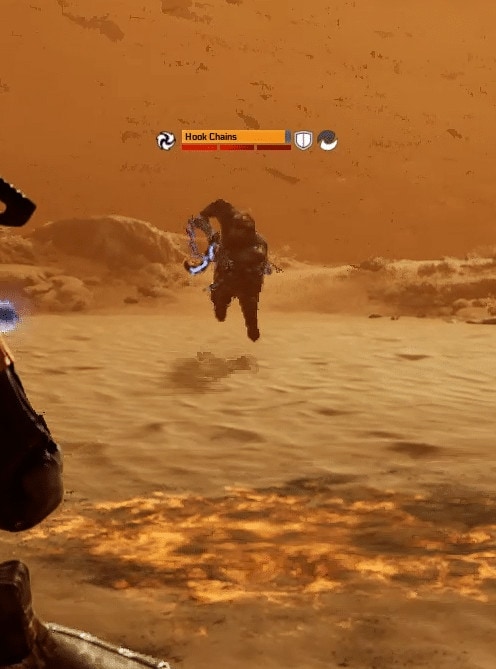
This attack is important to dodge, especially if he has any summons active. A successful hit means you’re stunned, meaning any adds or Rifts can get free damage in.
He’ll also get pulled straight to you, and you’ll have a hard time dodging any follow-up melee attacks.
If he misses he’ll only be near you, instead of on top of you. This will also deal damage in a small area where the chains hook the ground.
His next attack is Chain Combo. Yagak swings his Chains in a series of four swipes. These swipes each hit different areas in front of him and always follow the same pattern.
First, a swing to his right side, which hits the area in front of him to the right. You should dodge to your right to evade this.
Then, as swing of his left chain which his to the left of him, which a roll to your left should avoid.

Next a swing of his right chain directly forward. A roll to either side can avoid avoid this, though rolling to your right tends to be safer
Finally he swings both chains forwards then out. This can usually be dodged with a roll backwards.
Yagak’s next ability is Displacement. This is returning from his first fight, but this time he actually tries to teleport directly behind you. Which the initial teleport doesn’t appear to do damage, it’s always followed by one of two follow up attacks, which can both be used independently without Displacement.
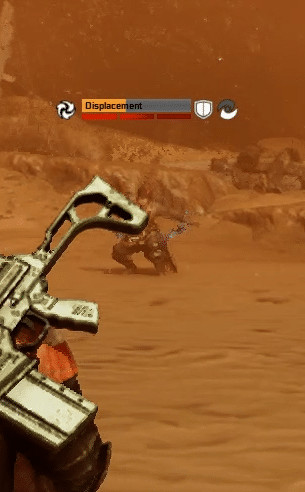
This version of Displacement does still have the trail that can be followed to so you can at least expect where his next attack will come from.
This first of these attacks is Chain Swing. This is not a channeled ability, and does not appear to be able to be interrupted. Yagak will swing his chain hooks in a large around around him for a short time.
This will then be followed by him slamming the chains in front of him, hitting a similarly sized area. This area will always be in your direction, but has a centered at a fixed distance in front of him.
The second of these attacks is Chain Cross. Yagak will slam his chains in a straight line to both sides of him, targeted on his teleport target. This is tend followed with them being slammed in the directions perpendicular to the initial areas.
In addition to these attacks, and similar to his Boss Fight in Utargak, he can protect himself briefly with a shield and Summon Allies.
Similar to that fight, it will also be four of the basic melee Ferals, though all four at once instead of in waves of two.
Be careful though, as the shield and there for his downtime will end shortly after summon these adds, where he can go back to attacking you and casting spells.
Upon depleting his health, you’ve finally taken him down for good. A cutscene will play, showing the struggle that’s been going on inside the Caravel during this time. This show’s Channa and Bailey fighting off Ferals as Dr. Zahedi is inputting codes to launch as many Drop Pods as he can from the S.M. Flores. As you exit the Caravel, you’re greeted by another group of Outriders that had apparently followed yours steps from when you left Rift Town.
When the Cutscene ends, you’re in a new established Outrider Camp. This camp will serve as your base of operations as you set out on Expeditions to recover the newly landed Drop Pods. Collect your shiny chest to get your final Guaranteed Legendary drop from a boss.
We hope you found this guide on how to defeat Final Boss Yagak in Outriders useful and helpful. Check out the rest of the Outriders coverage here on VULKK.com. We have a ton of guides and more coming. Always more coming!
Outriders Boss Fights Guides and Tutorials
This is a list of guides for each one of the boss fights in Outriders. People Can Fly have developed interesting, challenging fights focusing mostly on players' skills and ability to read the environment.
Each one of these guides contains detailed information on all of the boss mechanics, special abilities and attacks along with tips and suggestions on how to avoid them. We also have useful ideas for you on how to prepare for each fight - which of your skills would be most useful and what guns to take with you against the bosses!
How to Defeat the Molten Acari in Outriders (Volcano Boss)
This is a guide to the Outriders Molten Acari Boss. Learn the boss' abilities and fight mechanics to defeat this monster fast and easy!
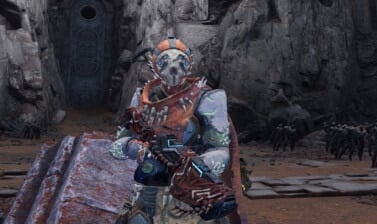
How to Defeat Moloch in Outriders (No Man's Land Boss)
This is a guide to the No Man's Land boss Moloch in Outriders. Learn the abilities and fight mechanics to defeat this Altered fast and easy!
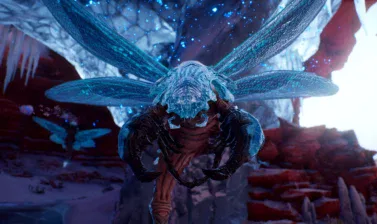
How to Defeat Chrysaloid in Outriders (Forest Enclave Boss)
This is a guide to the Chrysaloid boss in Outriders' Enclave zone. Learn the abilities and mechanics to defeat the creature fast and easy
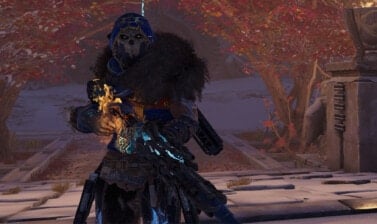
How to Defeat Altered Bailey in Outriders (Ancient Ruins Boss)
This is a guide to the Altered Bailey boss in Outriders' Ancient Runes zone. Learn the abilities and mechanics to defeat her fast and easy

How to Defeat Yagak in Outriders (Utargak Boss)
A guide to the Outriders Yagak boss fight in Utargak zone - overview of the boss abilities and fight mechanics and strategy how to beat him
Outriders Class Guides and Best Builds
This is a list of individual Outriders Class Guides. Each guide goes far beyond the normal and generic overview of the class you would see anywhere else. RubyRose has done a lot of work, research and testing so that we can offer you here on VULKK.com the most detailed and informative guides for all four classes in Outriders.
Learn how to play the class, get the basics, build upon them as you level up and master your role and gameplay style to be ready for the EndGame. FInd out what the best and most useful builds are for each class and be ready for any situation and combat scenario People Can Fly and Square Enix have designed for you in the game.

Outriders Devastator Class Guide and Best Builds
Complete Outriders Devastator Guide explaining the basics of the class and sharing builds for early game as well as EndGame at level cap!

Outriders Pyromancer Class Guide and Best Builds
Complete Outriders Pyromancer Guide explaining the basics of the class and sharing builds for early game as well as the EndGame at level cap!

Outriders Technomancer Class Guide and Best Builds
Complete Outriders Technomancer Guide explaining the basics of the class and sharing builds for early game as well as EndGame at level cap!

Outriders Trickster Class Guide and Best Builds
Complete Outriders Trickster Guide explaining the basics of the class and sharing builds for early game as well as the EndGame at level cap!