This Outriders Expeditions Guide will help you best prepare for the Endgame content with tips on how to fast climb Challenge Tiers and more!
This guide has been updated for the Outriders New Horizon Patch
Table of contents
What Are Expeditions?
To help you understand this guide better, we first need to talk about what Expedition are in Outriders. Expeditions are the Endgame of Outriders, where you’ll need to push your build to its limits to raise your Challenge Tier.
Some builds can be optimized fairly easily only needing a few stats and won’t require too much farming to get going. However keeping it optimized or as close to it as possible is what helps you easily push further and further into Challenge tiers.
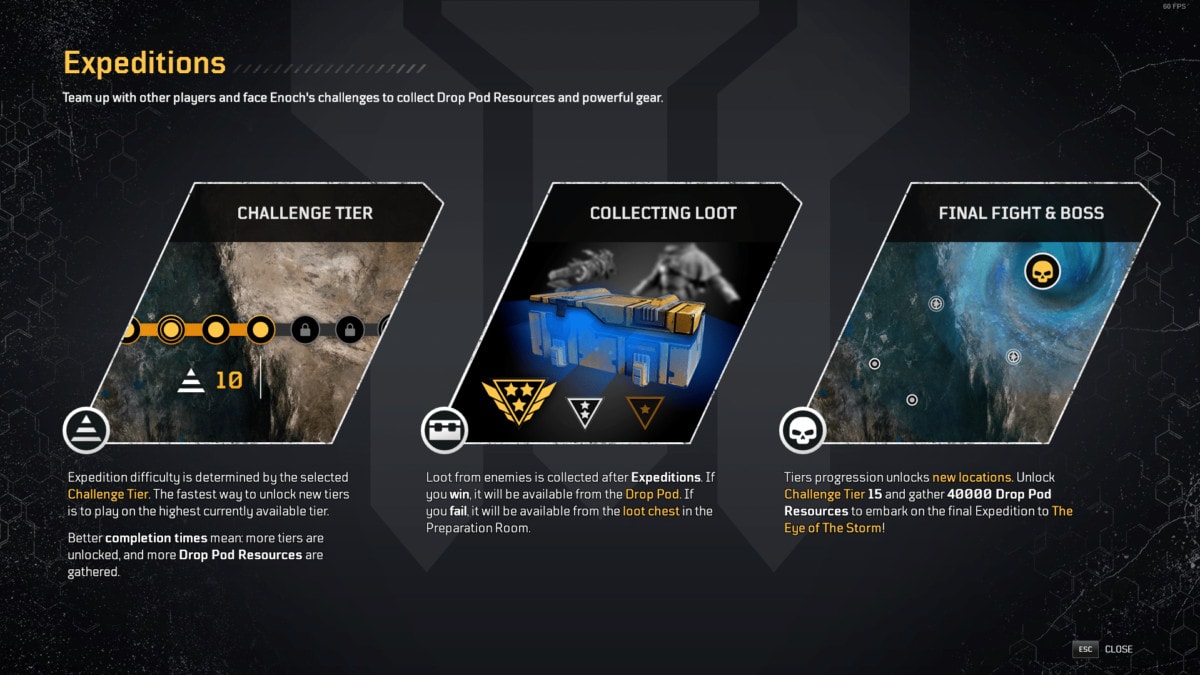
Expeditions use a system similar to that of World Tiers, however they’re called Challenge Tiers, or CT for short. These Challenge Tiers can only be progressed in Expeditions, and rely on you reaching certain minimum times, set by the developers.
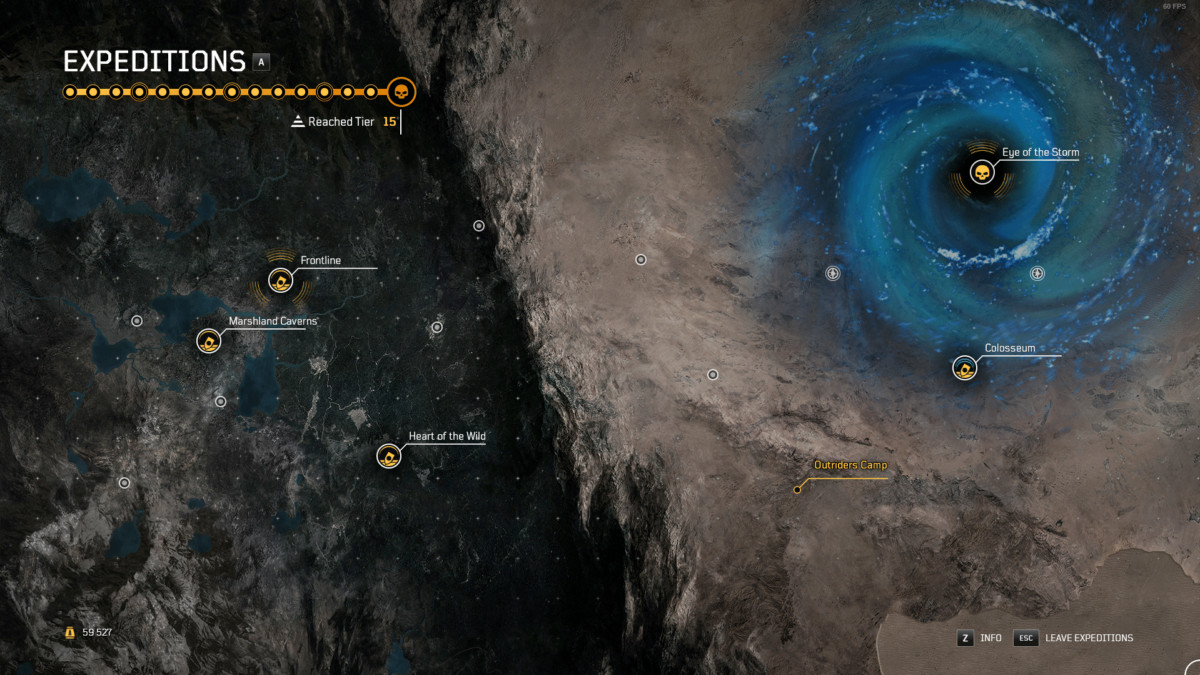
They’re selected from a Map, which displays up to four at random, which means you can’t just farm the easiest one over and over. So your build will need to be able to handle different situations to quickly ascend Challenge Tiers. There will be points where you will have to pause your climb and fix the levels and stats on your Gear, but for the most part up to Challenge Tier 10 should be smooth for most builds, optimized or not.
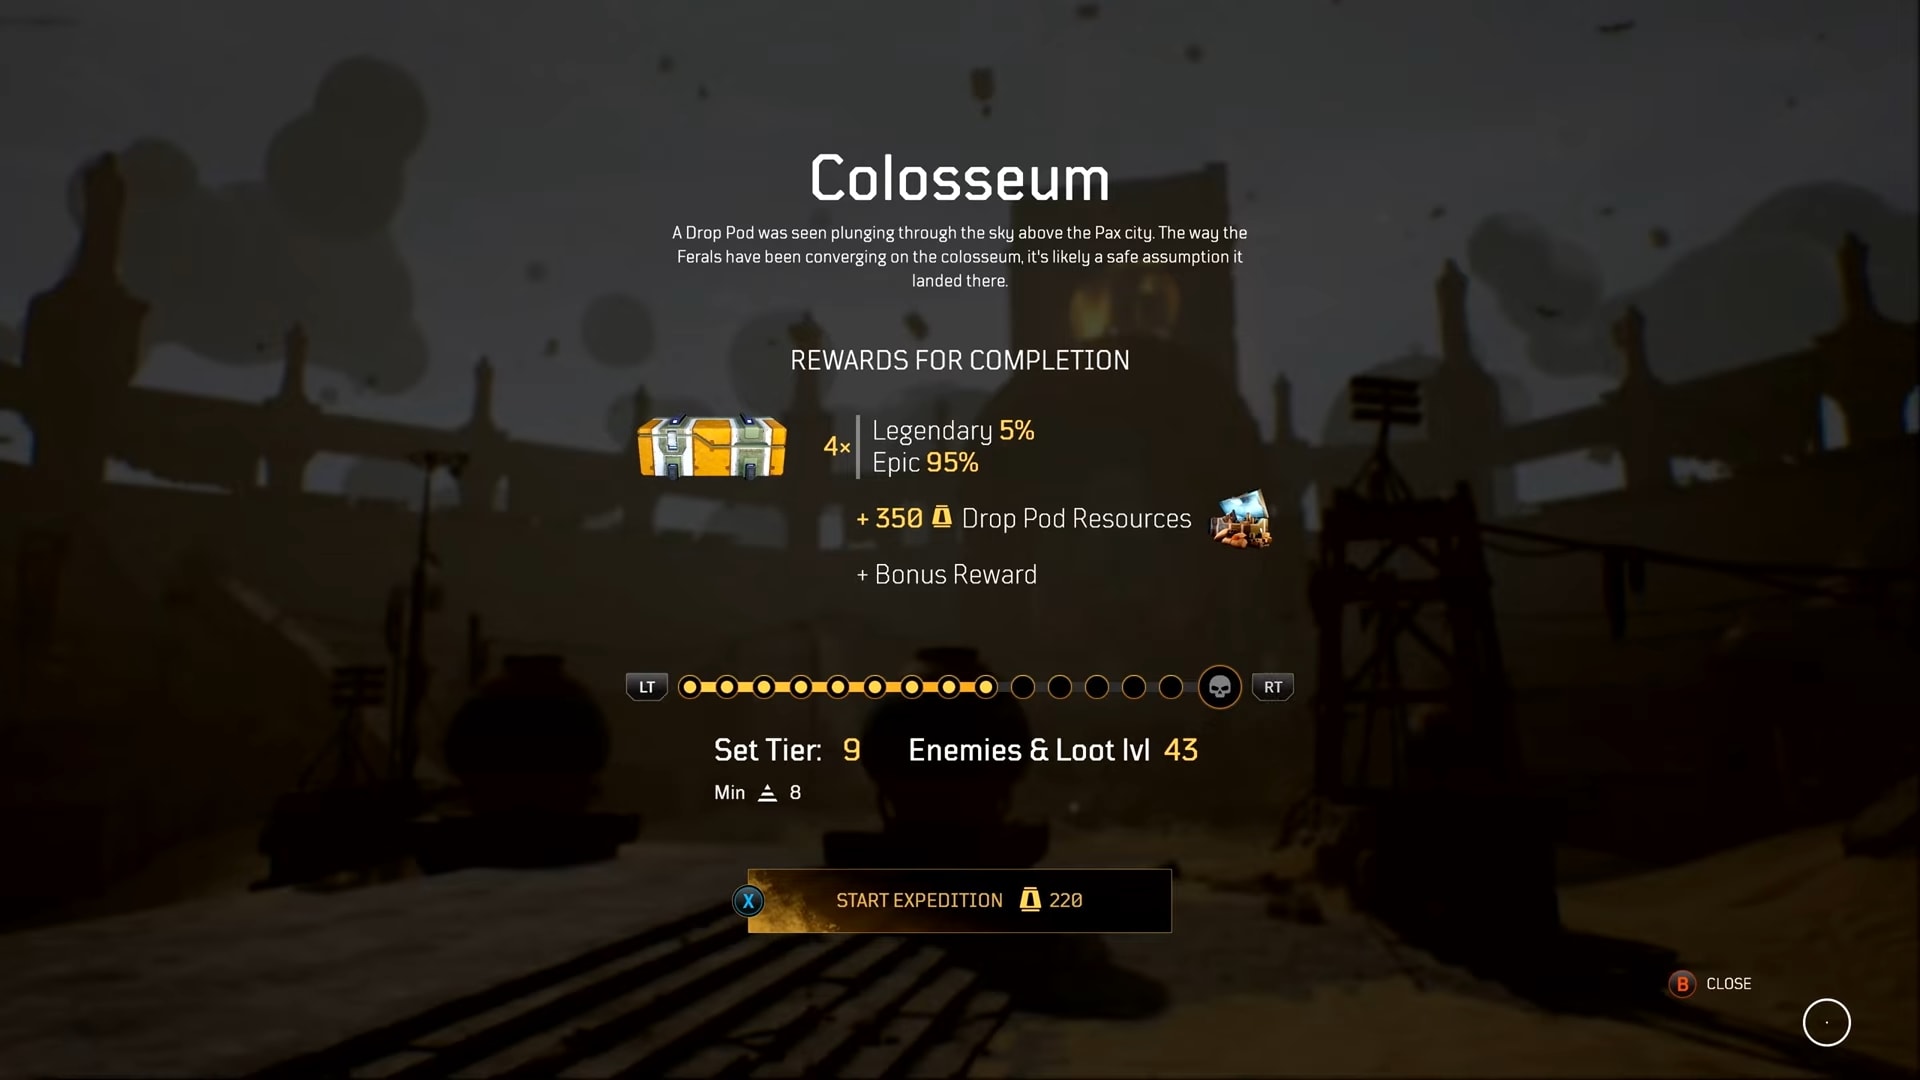
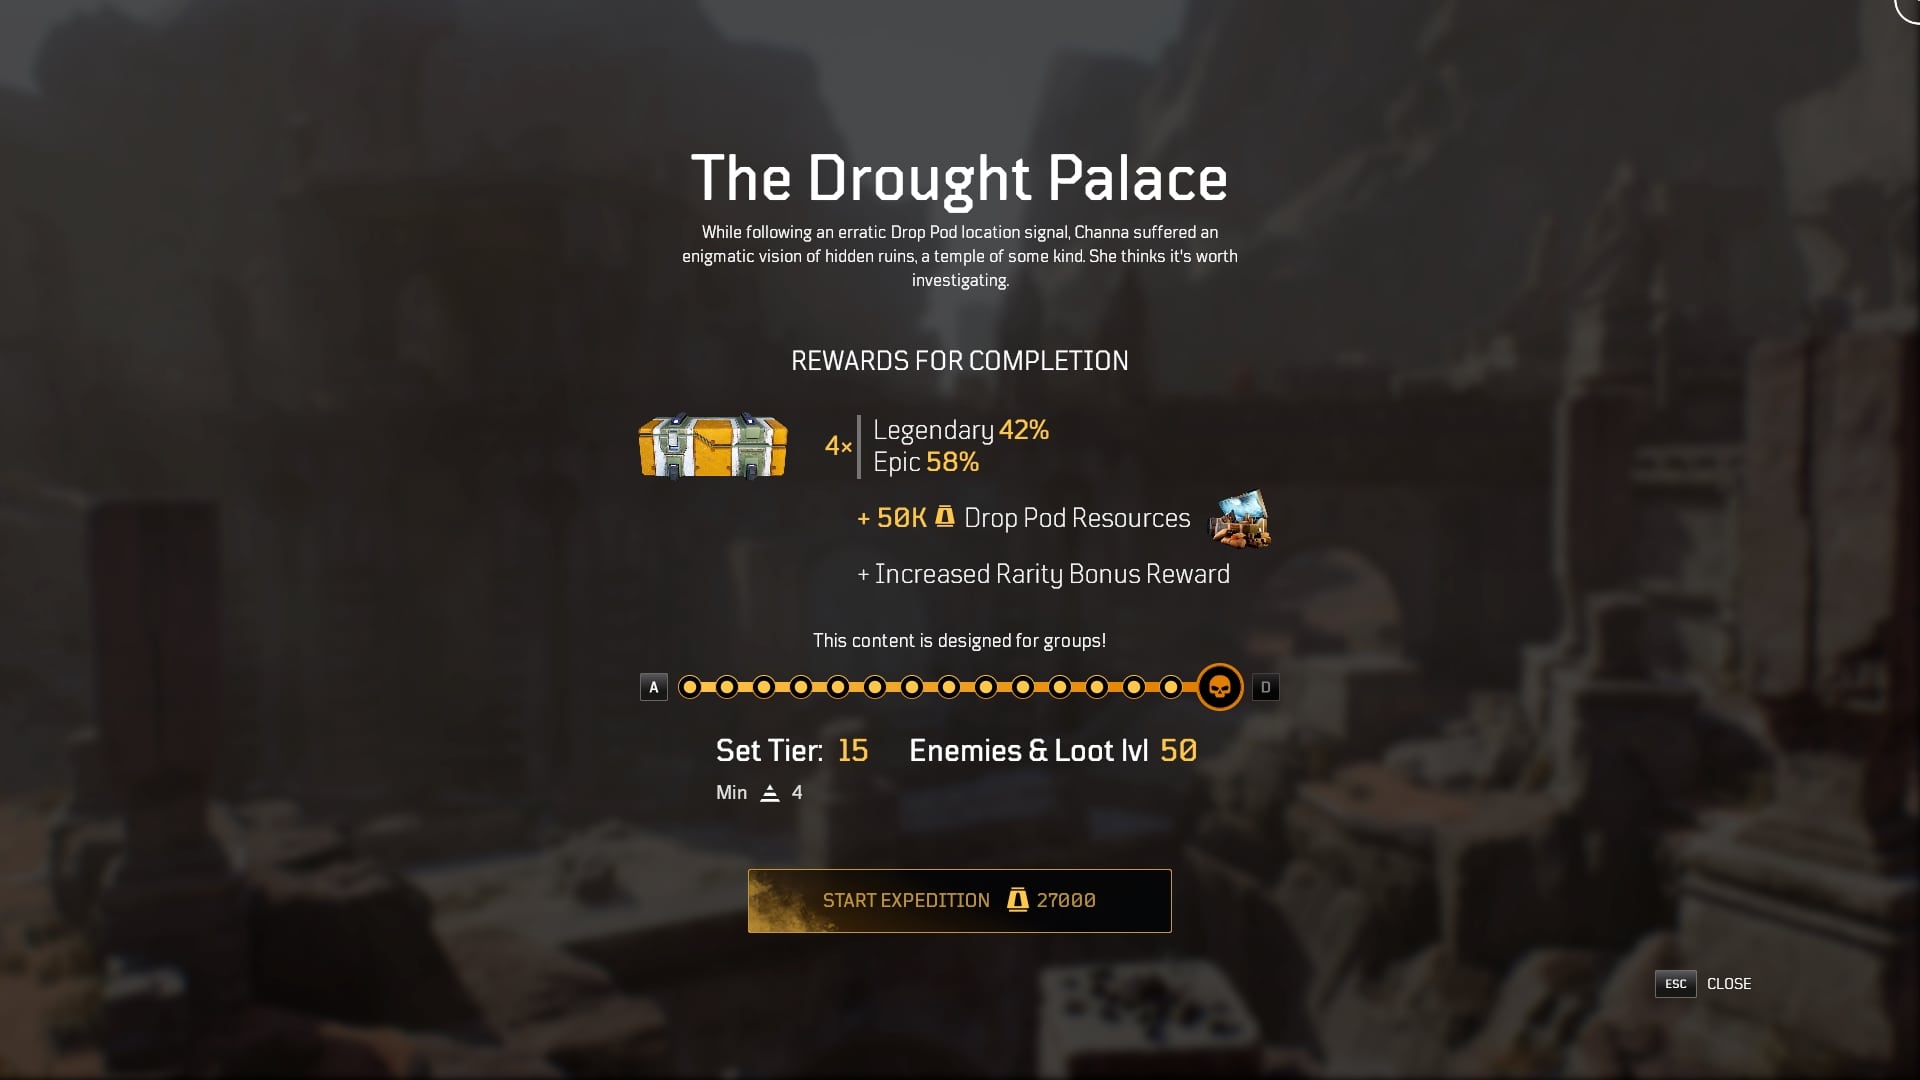
From this map any of the currently available options will be chosen. At CT15, Eye of the Storm will always be open and included in the available options, however it requires a high amount of Drop Pod Resources for each entry. The Nodes near the Eye of the Storm also have CT Requirements as well. The Drought Palace requires CT4, Colosseum requires CT8, and Scorched Lands requires CT12.
How to Best Prepare for Expeditions
Now there’s a lot of way you can prepare, all of them will involve grinding to some degree, but will make it much easier and smoother to progress in Challenge Tiers later.
How to plan your Build
While climbing Challenge tiers, it can be hard to switch builds, especially if you don’t have multiple builds planned in advance. Planning your build and sticking to it is the easiest way to climb Challenge Tiers, especially if it’s based on one that’s already proven to work up to Challenge Tier 15, like the builds in our series of build guides are.
Using someone else’s build can be an easy way to start out. Its also good to try your own builds once you get a better grasp on what Expeditions require. You may find a build that’s just as effective and more enjoyable for you. The enjoyment part is the most overlooked and arguably the most important part of any build.
When planning your Build, most classes will have two main routes to follow, Firepower-based or Anomaly Power-based. Both have their advantages and disadvantages. Both will also generally require Legendary drops, and we’ll talking about the ways you can quickly farm those soon.
Now that you’ve decided on which type of build to go for, you need to figure what mods and secondary stats you can use to best compliment the build. For mods, you can refer to our Gear and Modding Guide which lists most of the currently available Mods. For Bonus Stats, referring to our Class Guides will give you a good idea of what stats are ideal for different builds.
Make Use of the Pre-Expedition Legendary Farms
In specific here, we’re referring to Beast Hunts, Bounties and the Historian side quests. Completing all ten missions of each category gets you Legendary Items. These are a great way to get yourself any necessary Tier 3 Mods from set armor, or even armor sets you can can dump resources into to use as you progress.
Noah’s Beast Hunts
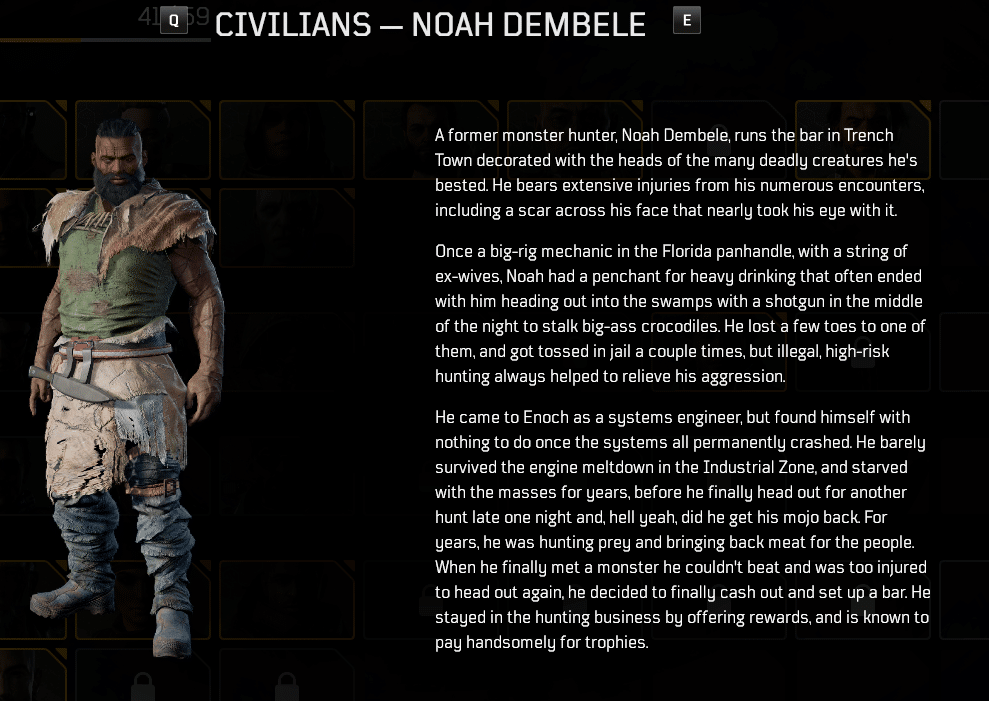
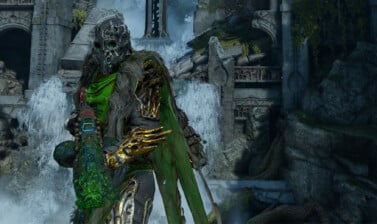
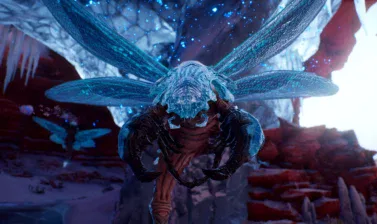
Beast Hunts will have you fighting ten Elite-class monsters to get a trophy to return to Noah Dembele. Each of these is a different type for the most part, with a few duplicates and very identical fights. Expect Crawlers, Brood Mothers, Behemoths and even a Scathian. Each of these Hunts will reward you with an Epic Armor piece, with the final one granting a Legendary Armor instead. This will always be an armor piece and will never be a weapon.
Ujio’s Bounties
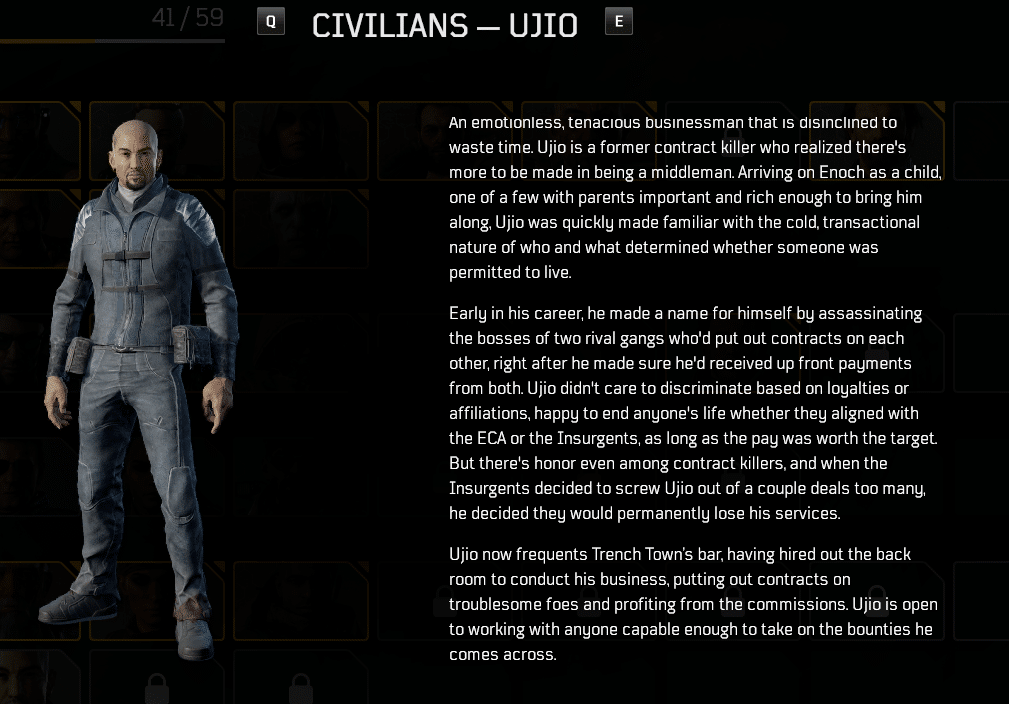
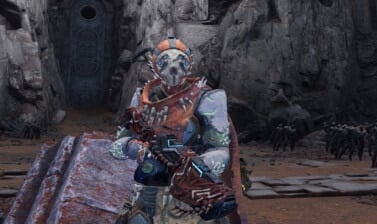
Bounties are similar to Beast Hunts, with each for being an Elite-class Insurgent foe that Ujio will pay you to take out. They all have unique sets of abilities, with some having particularly annoying ones. Most of the later ones will feature the very potent Aura abilities, buffing themselves and their allies. Each Bounty will reward you with an epic weapon, with the final one granting a Legendary Weapon instead. Like Hunts, this will always be a weapon and never an armor.
Madame Beauvoir’s Earthly Artifacts

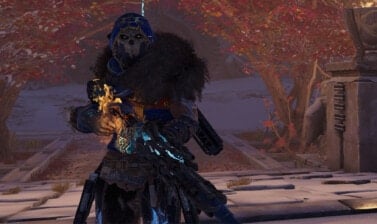
Finally there’s the Historian quests. These having you retrieving artifacts from Earth from varying sets of enemies for Madame Beauvoir. These usually having you fighting everything from Enoch’s fauna to Insurgents, and varies based on area. Each item collected will grant a Random Epic, with the final one Granting a random Legendary. This can be any Legendary item in the game, at least the ones that can be applied to your class. Armor and Weapons are both rewards from here, making it a bit of a gamble to do over the specific ones. These also tend to be easier encounters overall, so it balances out a little.
Getting the Most Out of Expeditions
So you’ve got your build, your gear and your mods. The only thing left is the Expeditions themselves. A lot of the speed of running these quickly comes down to knowledge. However we do have some tips and recommendations that can help you get through them faster, or at least pick the ones that can be done quickly and help you climb CT faster.
Pause at CT10 to Prepare for Higher CTs
Unless you’re being carried by a friend or some other co-op partner, CT10 is a good point to optimize your gear fully before trying to push further. After this point Tiago’s shop isn’t too pricey and you can get some really quick and easy legendaries.
After CT10 the Tiago’s shop prices spike, meaning it’ll cost more for those Legendaries. They’ll be easier to get later on once you can reliably run CT14 or CT15, but this is the last chance where most builds will be able to farm them relatively quickly. If you can’t reliably clear your highest Tier, or even the tier below it, it can be difficult to build up the Drop Pod Resources
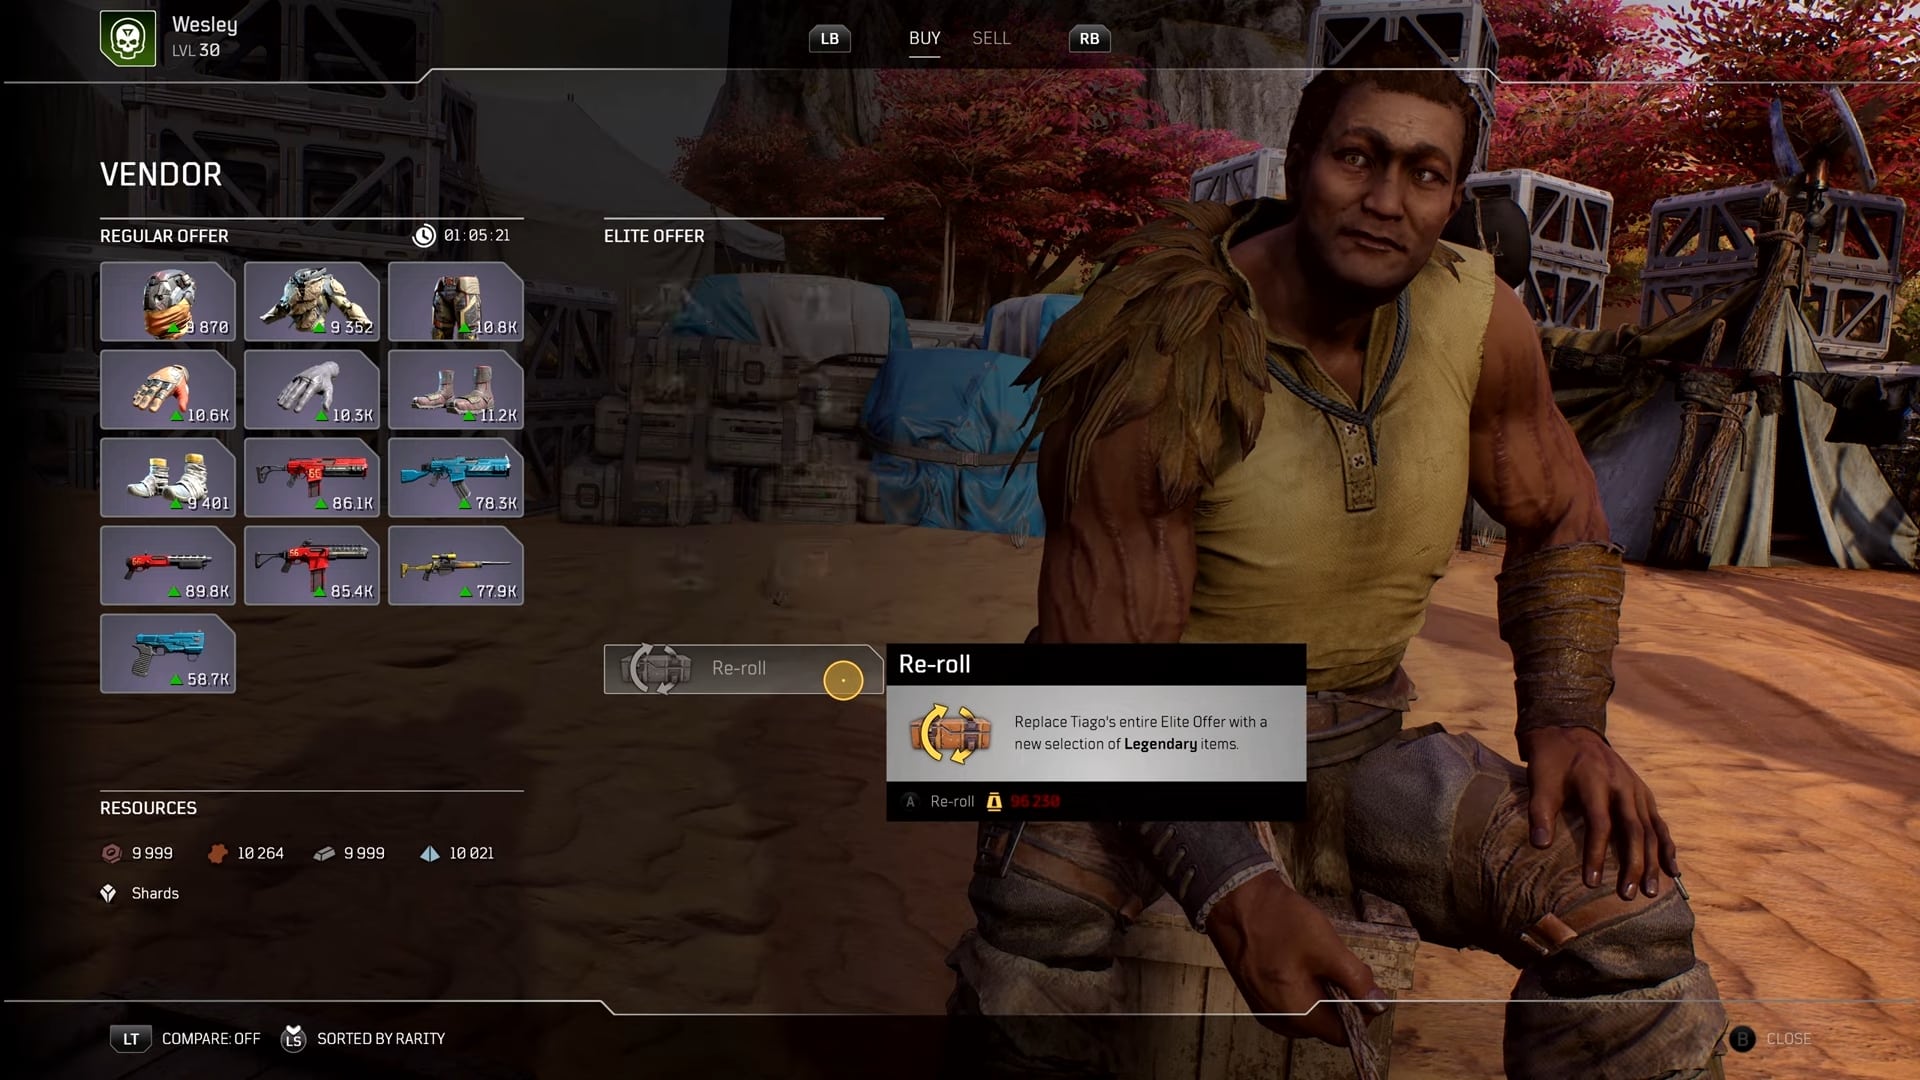
With the option to re-roll Tiago’s shop being added in the New Horizon Update, Tiago can be a good way to quick get access to necessary T3 mods for your build. It’s still a tedious and time-consuming process, which is why we recommend doing this now instead of at a higher CT. While you’ll get less Drop Pod Resources, the re-rolls and resulting gear will also cost less at this point
DPS Builds are for Farming Higher CTs
For anyone used to the Expedition Meta prior to the New Horizon Update where DPS was the be-all, end-all for getting your farm on and pushing to higher tiers that’s changed quite a bit with New Horizon. Now to push into higher CTs, you just need to be able to survive the Expedition, which is often easier than doing them quickly.
This works simply because Expeditions are no longer timed and give bonus rewards for Speed or DPS. It will take a bit longer to push through to higher CTS, but building defensively can make it safer and more consistent. Going for pure DPS just isn’t mandatory anymore.
Once you do get to higher CTs, like CT14 or CT15, you’ll want more damage. It goes without saying that having more damage will make things quicker, but you’ll also need to be able to finish off some of the bigger threats much more quickly if you’re severely lacking any kind of Leeching effect, whether it’s for your guns or your powers.
You shouldn’t be lacking any kind of Leeching, especially not Skill Leech. Every class generally has access to one or several DoT effects. Skill Leech can let these be a source of constant health regen, keeping you to topped off and preventing you from easily dying to harder hitting attacks.
If you want an idea of which sets you might want to build are to suit this mentality I’d personally recommend our Ignite F.A.S.E.R Pyromancer Expedition Build, The Cryomancer Tech Shaman Technomancer Build, the Harbinger Utility Tank Trickster Build, or the Blood Vortex Seismic Shifter Devastator Build. All of these builds are a bit more defensively focused, or can be setup to do so.
When Should You Consider Expeditions with an Entry Fee?
Since there’s been a change to the entry cost for these expeditions with the New Horizon Update, it’s best that we talk about these Expeditions and talk about the benefits vs the costs.
With the entry costs going up, it’s much better to only run Expeditions with an entry fee on a CT you can clear comfortably. Failing these can now set you back quite a bit of Drop Pod Resources, which early on means less Legendaries coming from Tiago’s Shop. Tiago will be the biggest help in getting strong builds up and running so it’s better to not risk your Drop Pod Resources unless you know for certain you can clear the mission.
If you can reliably clear them, regardless of CT you also gain a fair bit of extra Drop Pod Resources back on top of the entry fee being recovered. They are still however provide a lesser amount of Drop Pod Resources compared to the expeditions without the entry fees. They do however have an improved chance at granting higher tier drops. This will be important for CT9 and higher, where you’re able to start having reasonable chances for Legendary rewards.
So the Rule of Thumb here: Use Expeditions without entry fees to push CTs, Use Expedition with Entry Fees to farm whichever CTs you can comfortably farm.
Take Advantage of Highest CT You Can Reliably Farm
Resources are great, and up until point you perfect your gear you’ll be able to make use of any and all of them you get. Regardless of drop level, any weapon or piece of armor has the potential to be a god roll, assuming they have the right stats.
While you run Expeditions, always check your inventory after each run, success or failure. Any Rare item you get has the potential to be an upgrade. Weapons can always have their variant swapped, and armor is just armor. Mods are the biggest thing to pay attention next to stats, as those can make builds stronger and weaker depending on what you find.

Any Epics you get that aren’t an immediate upgrade, or at least not an upgrade without a mod swap, should be dismantled. The Titanium is more valuable than holding on to an okay piece of gear. Just let it build up, so you have plenty to upgrade items with if they have the right stats.
You can even take this a step further to make your progression even smoother, by holding to Rares with your desired stats. Have several copies of same gear slot with the same same stats will let you level and progress them up to a usable point as needed. Doing this before you go up in CT helps a lot, as the higher CT will be harder to farm.
Push Your Builds Limits and Practice the Expeditions
At higher CTs, it will take a bit of repetition to be able to get runs to go perfectly smooth. You need to know where enemies are going to come from, and just how much your build can handle. These won’t be learned in a just a couple runs.
Knowing where enemies are likely to be or spawn from can help you make the most of your ability usage. Learning the best times to use your skills helps a lot with clear speed, especially if you can make the most of them on every cast.
Limit testing your build will not only improve your skill overall, but also let you figure just how strong your build is. It’ll reduce any kind of stress from being at low Health or other similar situations and you’ll get used to getting out of them quicker and easier, maybe even avoiding them entirely.
Craft Your Way to Success
Finally our last big tip is to make heavy use of Crafting. It’s a very important system, especially for Expedition-level play. You can learn the best ways you can make use of the crafting systems in our Crafting Guide.
One of the biggest things is know which mods will make a bigger impact on your build. Sometimes dropping a Tier 1 ability mod for a Tier 2 mod that gives a damage boost can easily outweigh the bonus lost. So identify your core mods, which are typically the ones on your primary damage skill, and try to keep only those for climbing, as T2 mods can be just the right nudge a build needs to exceed expectations.
Just remember the Crafting Cycle: Level, Rarity, Mod, Attribute. This cycle can take any gear with the stats you want and make it a Best-in Slot piece of gear, regardless of level or rarity.