Guide on what Rebel Missions are in The siege of Paris DLC for Assassin’s Creed Valhalla. How to get them in Francia, what rewards they offer
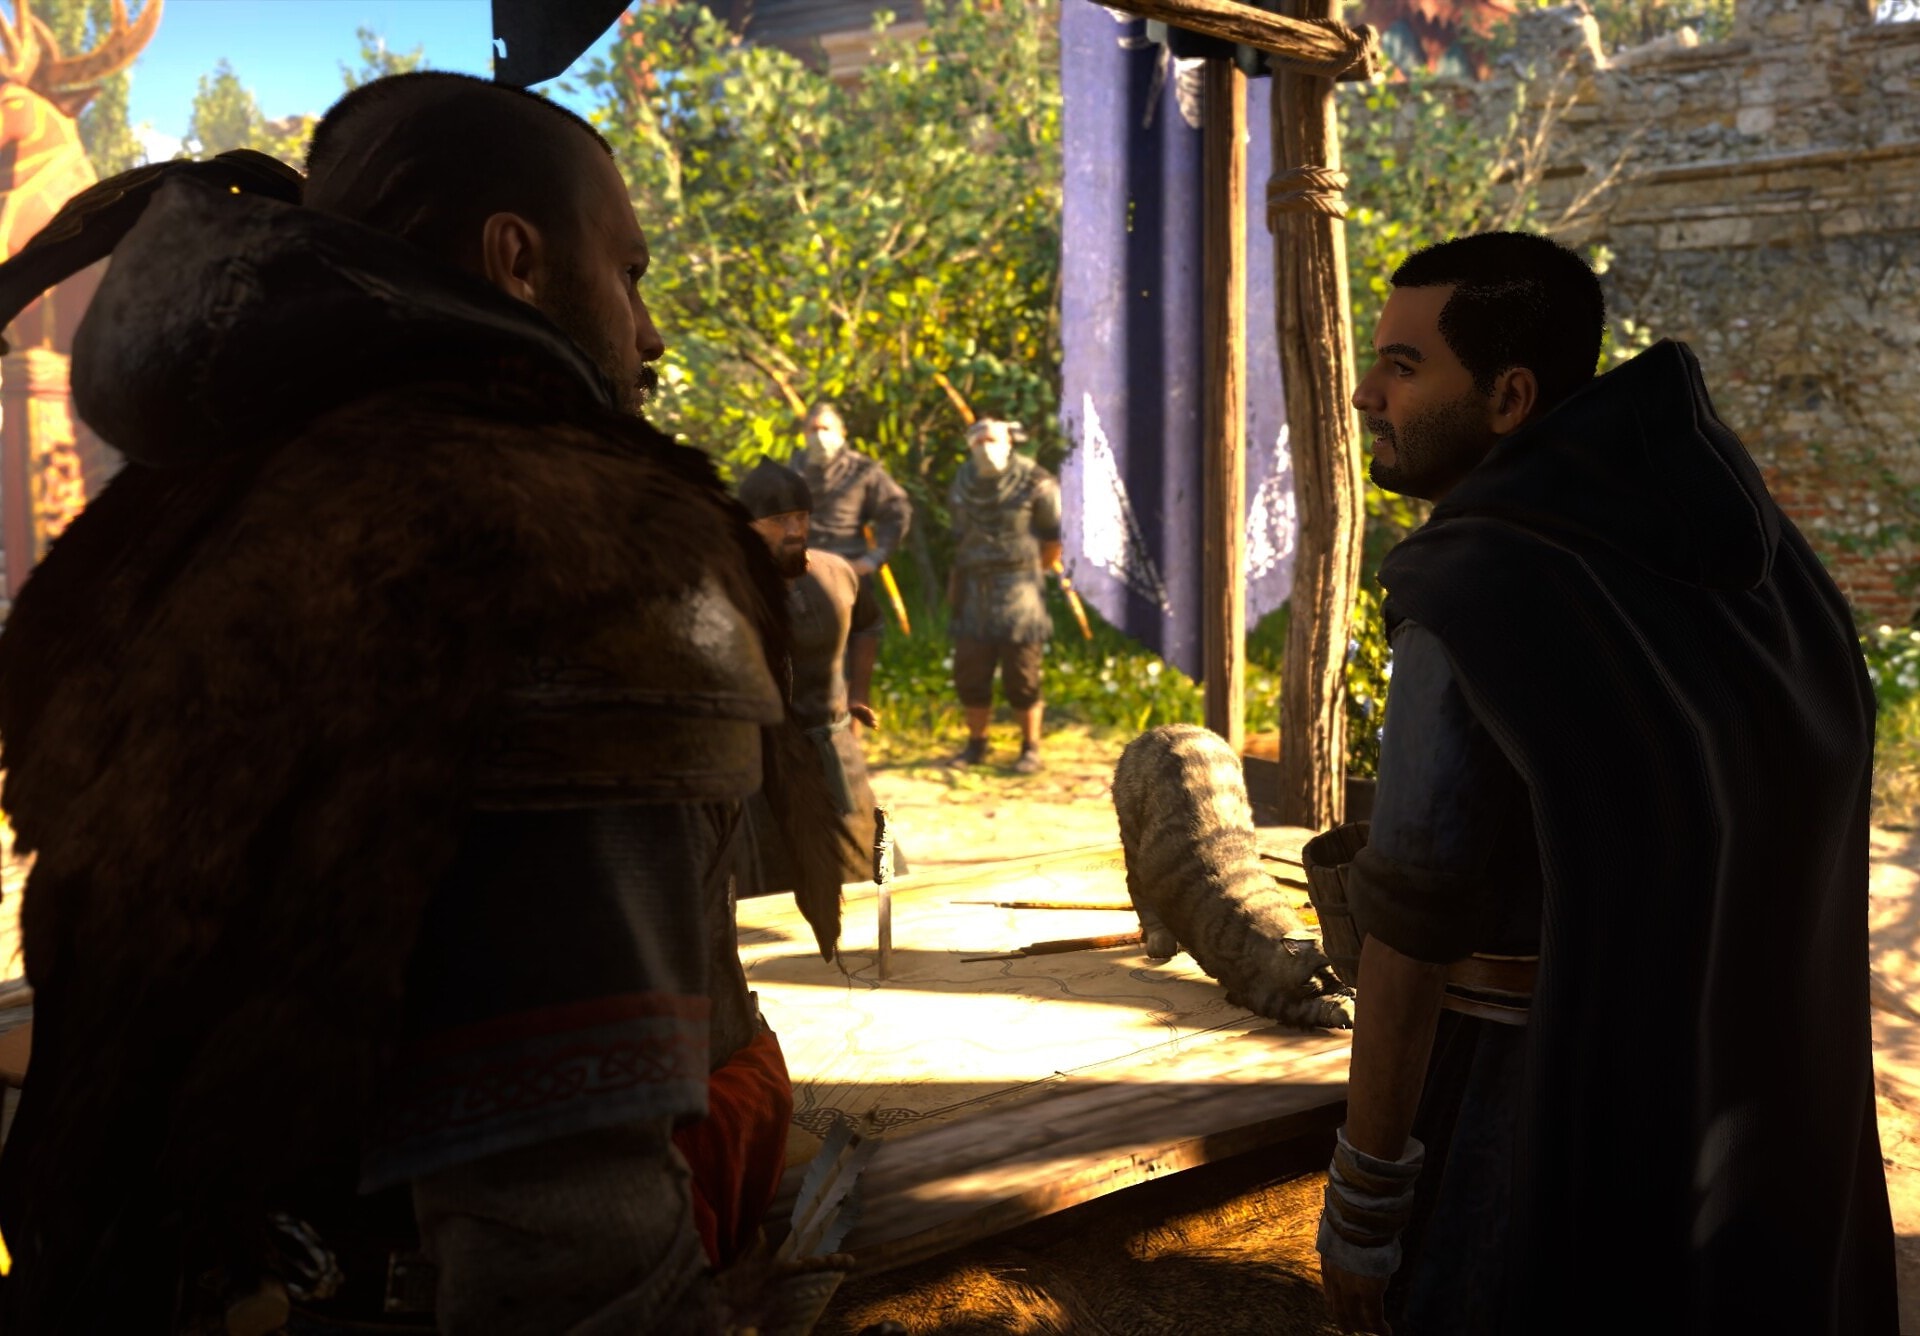
Almost immediately after you arrive in Francia, Pierre will ask you to stop by him and have a chat. He is in the middle of Melun, which serves as your base camp in Francia.
Pierre will give you a quest called “Vive la Resistance”. This marks the beginning of the Rebel Missions gameplay system in The Siege of Paris DLC.
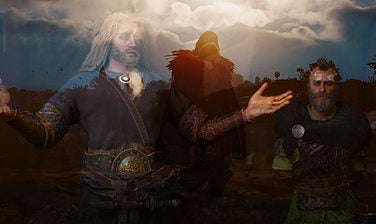
Talk to Pierre to get things started and he will tell you about his plans of Rebellion.
Table of contents
What are Rebel Missions in Siege of Paris DLC
The Rebel Missions in The Siege of Paris DLC for Assassin’s Creed Valhalla is a new gameplay system designed to provide you with simple and quick-to-do quests that reward you with new currency, which you can use to purchase special upgrades, gear and cosmetics from Pierre’s shop.
The Rebel Missions do not reward you with XP, so you cannot expect to level up fast through them. You do get XP for any defeated enemy while doing them at least.
The Rebel Missions system is a bit grindy, but if you are an experienced Viking, you should be able to get to the maximum Infamy Rank in about two hours. Maybe two and a half.
This is a secondary supplemental feature. It is currently only available in Francia and it will constantly provide you with some objectives if you are done with the story of the game and are wondering what to do.
How to get Rebel Missions
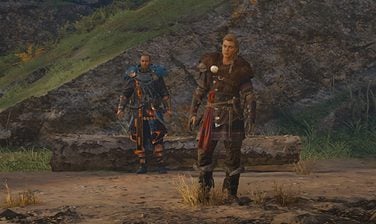
When you first arrive to Francia and complete the intro missions with Toka and Sigfred, Pierre will ask you to find him at the market place in Melun. This will be the first objective for the “Vive la Resistance” mission.
Talk to Pierre and agree to help him and his small band of loyalists.
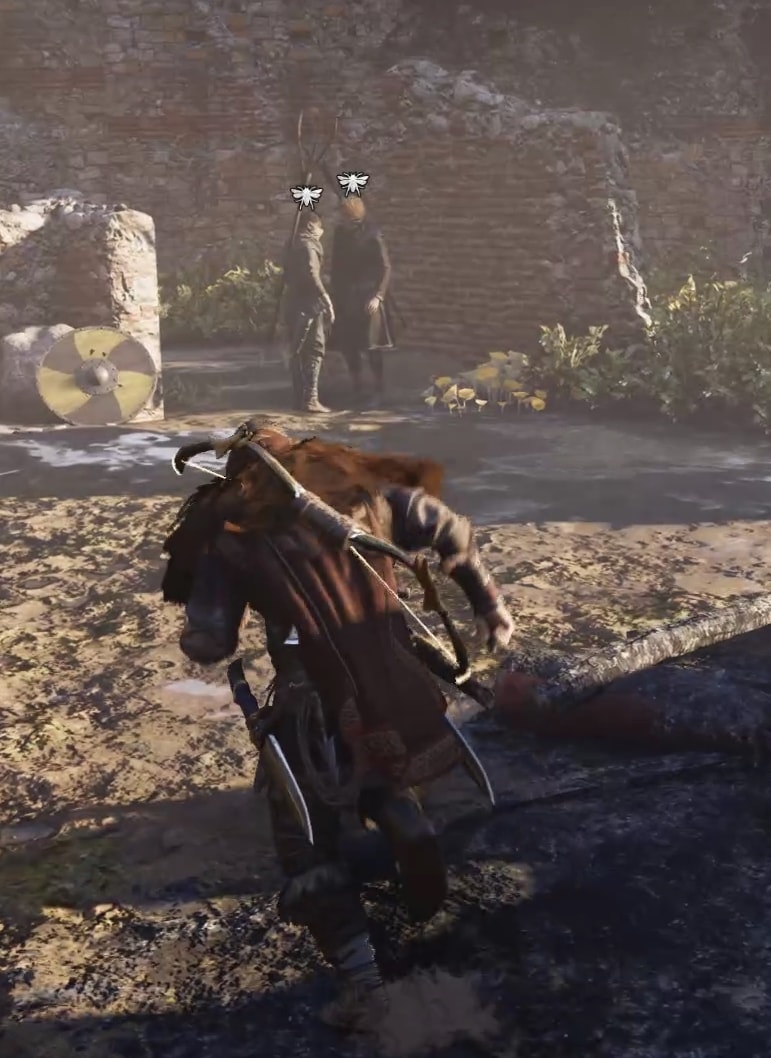
From this moment going forward you will be able to choose one Rebel Mission by speaking to Pierre or any of his Rebel Agents. Their locations will be marked with a grey moth symbol on the map of Francia.
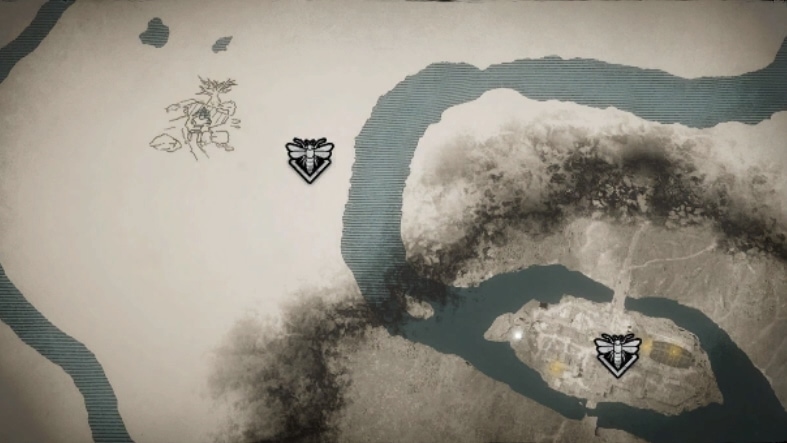
It doesn’t matter which NPC you speak to when picking up a new Rebel Mission or completing a previous one. They all serve as a “hub” of sorts for you to pick up new missions and hand-in completed ones.

You can only have one Rebel Mission active at a time. To pick up a Rebel Mission, speak to Pierre or any of his agents and when you open the Missions menu, select the mission you want to do and then click on the button at the very bottom to start it.
Every Rebel Agent you talk to will offer you usually two missions that are nearby and the rest can be anywhere on the map of Francia. If you set out to explore the map and activate the spawn points, distance will not be an issue for you. The map is not too large anyway.
When you accept a Rebel Mission, it will be normally tracked on your screen in the top left and it will display as a normal green/grey square icon on the map.
What types of Rebel Missions are available
There are two types of Rebel Missions – Assisted and Solo. They differ by how you complete them as well as the amount of currency (called Deniers) you can earn from them in the end.
Assisted Rebel Missions
In the Assisted missions you will earn less Deniers, but will have two NPC soldiers to assist you during the mission.
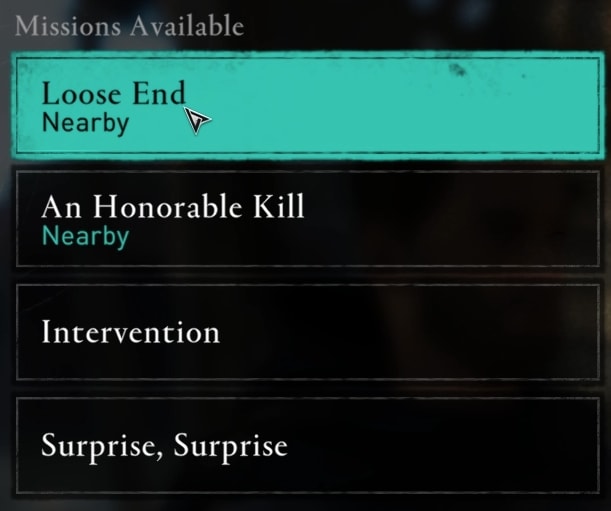
These are at the top of the missions list and in-game are labeled as “Missions available”. There will always be four missions and you can only pick one at a time.
The objectives of the Assisted Missions are always something related to stealing or discovering a piece of information or an item, defeating a target, clearing an area of soldiers.
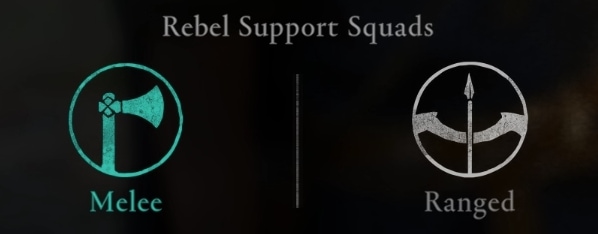
For the Assisted Missions you can select to receive help from two NPCs. You can choose whether these Rebels to be Melee or Ranged.
If you manage to keep one or more of these NPC soldiers alive by the end of the mission, you will earn extra Deniers – +50 per soldier.
The standard reward for completing an Assisted Mission is 150 or 200 Deniers and then you can earn additional 50 per allied soldier that survives.
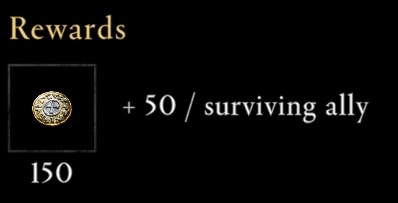
The nearby missions reward you with 150 Deniers, while the other ones may be further away, but they will reward you with more Deniers- 200.
The allies will usually be waiting for you near the area where the mission takes you and they will automatically join as soon as you go in.
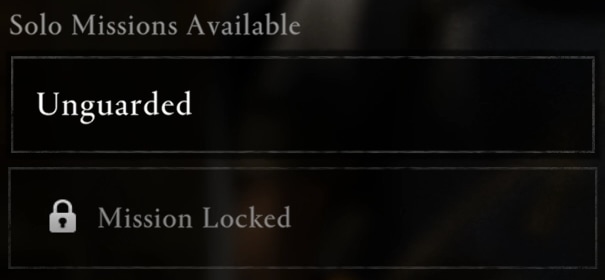
Solo Rebel Missions
The Solo Missions are locked at first. You will have to rise your Infamy Level to unlock them. More about Infamy later in the guide.
You get one Solo Mission at Rank 2 and two Solo Missions at Rank 3. You can still only do one at a time, but you will have a choice of what objective you want to do.
The Solo Missions are supposed to be tougher as you do not get support from ally rebels, but I found them to be much quicker and easier to do.
These missions also reward you better and have no penalty for losing an ally, because you will be alone.
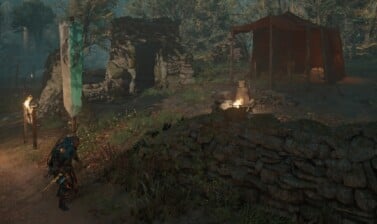
The Solo Missions are usually in forts, small camps or on the road. Your objectives can also vary, but usually follow the similar structure as with the Assisted Missions – defeat a target, clear an area, find an item or information. It almost always involves defeating enemy soldiers.
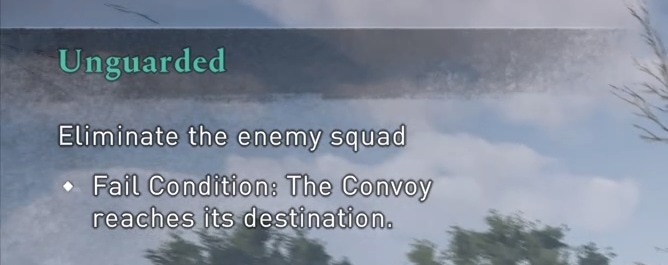
With the Solo missions the only way to not earn your bonus reward is if you fail the mission itself. Some of the missions, specifically the ones related to convoys, will fail on you if you waste too much time after you pick up the mission. When you pick it up, focus on it and go do it firs. This way you will never have to worry about failing it. The timer is more than long enough.
What you get from completing Rebel Missions
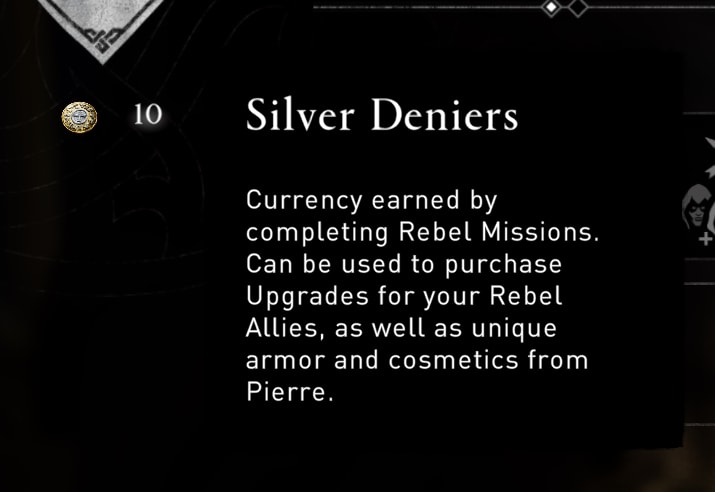
Completing Rebel Missions will reward you with Infamy and special new currency – Deniers, which you can trade with Pierre or his Rebel Agents for new gear, cosmetics of Upgrades for the Rebel Missions and the Ally Squads you hire to help you.

What is Infamy and how to earn it
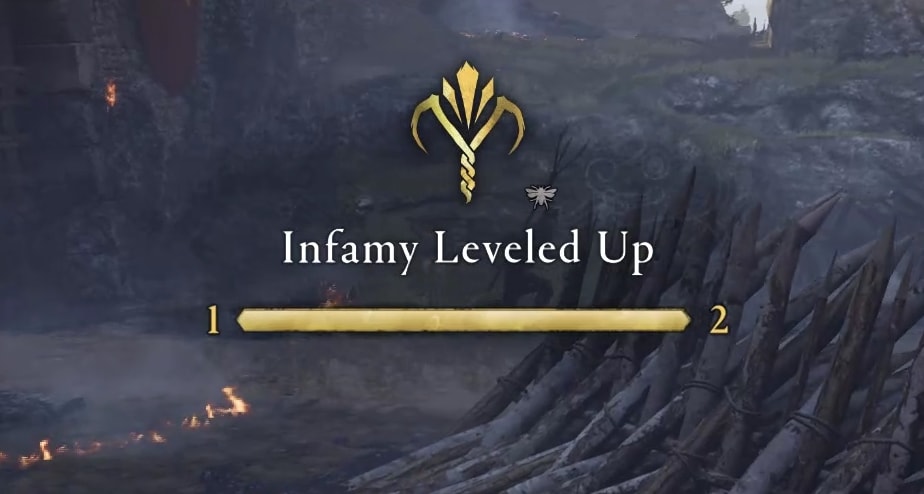
Infamy is a reputation you can earn with the Rebels organization in Francia. You start at Rank 1. As soon as you complete one Rebel Mission, you will jump to Rank 2. The maximum Rank you can get currently is 4.
The very first Rebel Mission you do will increase your Infamy rank from 1 to 2 (if you succeed in the mission, of course).
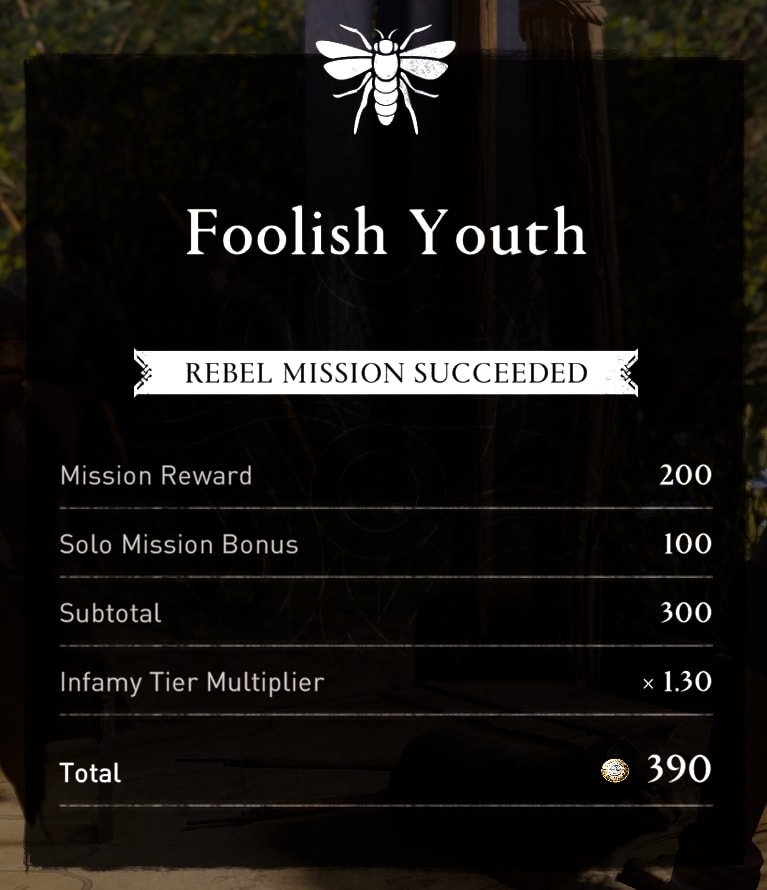
At Infamy Rank 1 and 2 you earn Infamy with a x1.00 Multiplier per mission. At Rank 3 your Multiplier will be x1.30 and at Rank 4 you will get a Multiplier of x1.60. This means that the higher your Infamy Rank is, the more Deniers you will earn from each mission completed.
What is the Infamy level cap and how long it takes to reach it
The Infamy level cap is Rank 4. You can earn this in about two hours of serious Rebel Missions farming. I did it in two and a half hours – doing one Assisted mission first and then only Solo Missions until the end.

If you set out to only do Solo Missions, for example, by the time you get to Infamy Rank 4, you will have over 7000 Deniers (I ended up with 7030 if my memory serves me well). This is more than enough for nearly all useful Upgrades, cosmetics and the new Gear set.
To reach Infamy Rank 3, you will need to complete seven Rebel Missions. To reach Infamy Rank 4 you will need to complete twelve Rebel Missions. Each mission can take between two and five minutes on average including traveling to the designated area and back to hand it in.
Each time you rank up, Pierre will have a few words to tell you before he offers you your next missions list. Each time you rank up, you also unlock new items and upgrades at Pierre’s shop. More on that further down in the guide. Keep reading.
Best way to do Rebel Missions for quickest results
I may have mentioned it once or twice in the guide already, but here it will have its own segment. What type of Rebel Missions you should choose to farm for maximum effect and quickest results.
To get as fast as possible and with littlest effort, choose only Solo Missions. They may be harder in theory, but at this point you are probably well equipped and experienced viking.
Even if you are not, these missions just give you more of the same – combat scenarios in which Eivor is pinned against a Golliath NPC or/and a bunch of normal NPCs. You have encountered this multiple times when exploring England and Ireland so far for sure.
All you need to complete a Solo Mission is to do the main objective. You do not need to keep any allies alive to earn bonus. Even with the bonus, the Assisted Rebel Missions will give you a maximum of 300 Deniers and that’s with the extra effort of keeping them alive.
If you do opt to play Assisted Rebel Missions, I suggest you go for the Ranged Assist Squads. They stay at a distance and let Eivor take the aggro almost all of the time.
You can opt to purchase additional Rebel soldiers to assist you during your missions, but this has little to no effect in terms of increasing the bonus earned per mission since you are paying upfront for the upgrade.
I personally found all of the Soldier Upgrades to be lacking in usefulness. You can do just fine without purchasing any of the Upgrades at all. You literally don’t need them. They are a “token sink” as I would call them.
What can you buy from Pierre
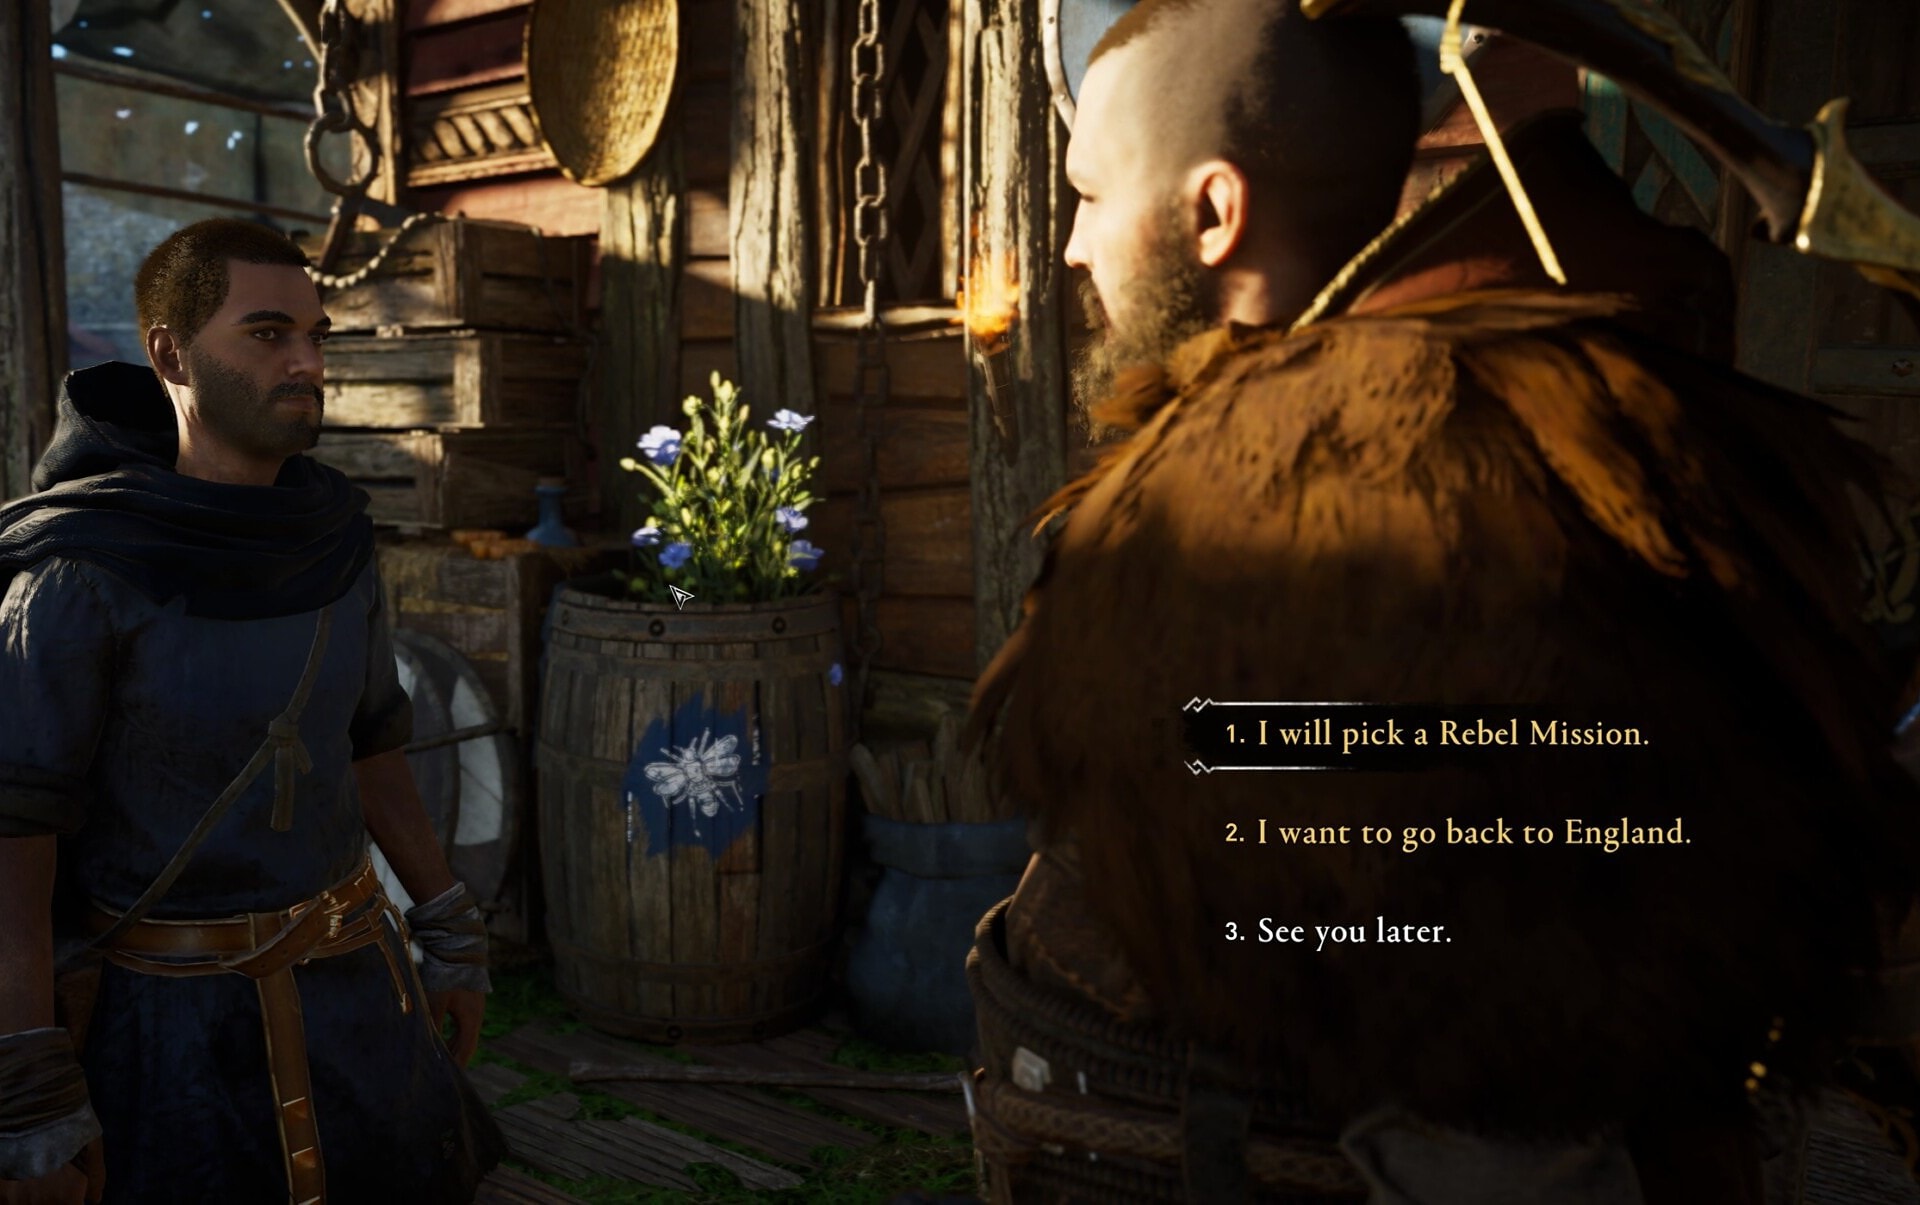
After you unlock the Rebel Missions as a gameplay feature, speak to Pierre and choose option number 1 to see the items he will trade for Deniers.
Pierre will offer you various goodies at his shop depending on your Infamy Rank. Each Rank you gain, will unlock new items from all sections – gear, cosmetics and upgrades.
Below is the full list of items you can purchase and at what Infamy level does it become available, split into several tables, depending on the type of item.
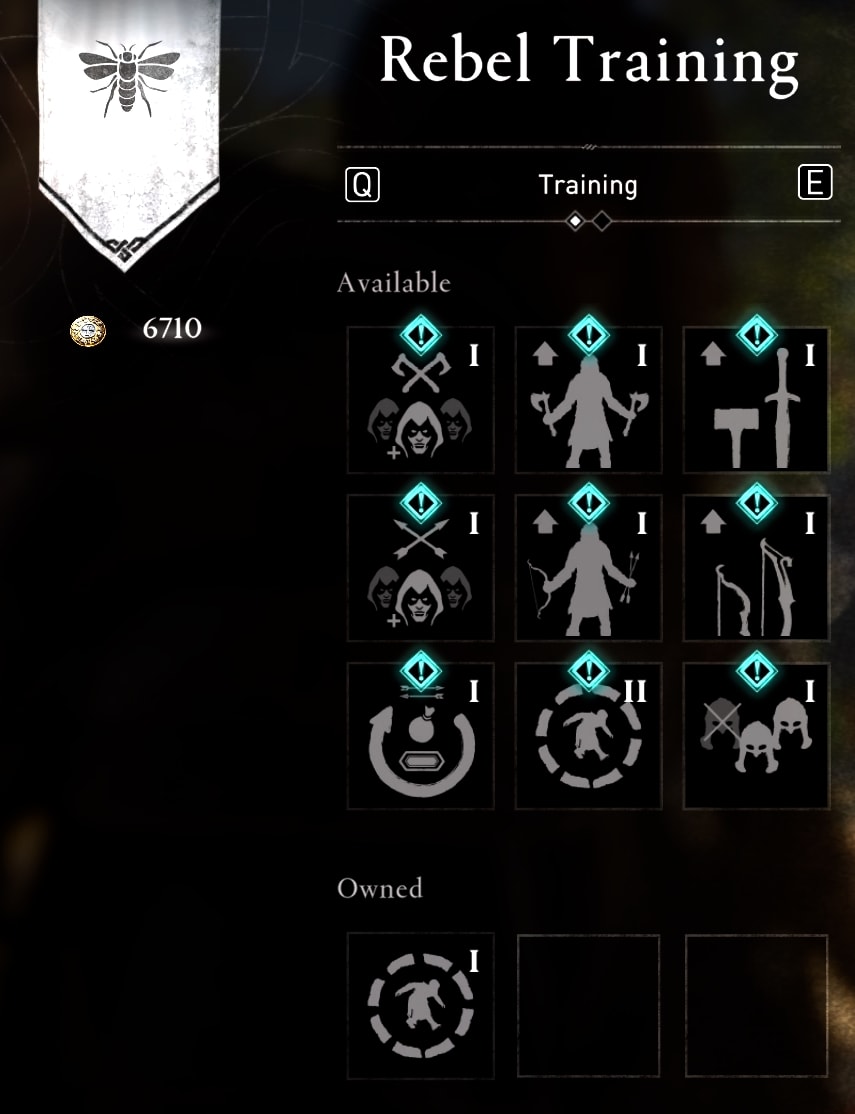
Training – Upgrades
The Training tab offers up to nice special upgrades that will only ever be useful for the Rebel Missions. Here is the full list and information on which tier becomes available at which Rank.
| Icon | Upgrade Details | Cost |
|---|---|---|
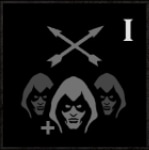
 | New Recruits Adds 1 Rebel Fighter to the squad Tier I unlocks at Rank 2 Tier II unlocks at Rank 3 Tier III unlocks at Rank 4 | 200 500 750 |
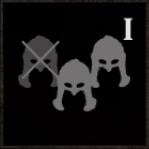
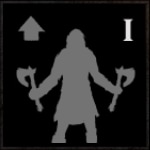 | Melee Training Upgrade 2/1/1 Rebels to Swordsmen, increasing the effectiveness of the squad. Tier I unlocks at Rank 2 Tier II unlocks at Rank 3 Tier III unlocks at Rank 4 | 400 600 750 |
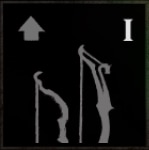
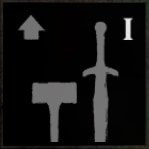 | Spoils of War Your Rebel Melee fighters train as soldiers, upgrading their pitchforks to spears/gain shields. Tier I unlocks at Rank 2 Tier II unlocks at Rank 3 | 400 500 |
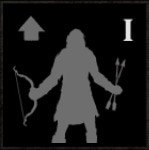
 | Ranged Reinforcements Adds 1 Rebel ranged attacker to the squad. Tier I unlocks at Rank 2 Tier II unlocks at Rank 3 Tier III unlocks at Rank 4 | 200 500 750 |
 | Keen Eyes Upgrade 2/1/1 Ranged Rebel attackers to Marksmen, increasing the effectiveness of the squad. Tier I unlocks at Rank 2 Tier II unlocks at Rank 3 Tier III unlocks at Rank 4 | 400 600 750 |
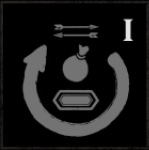
 | Stolen Equipment Your ranged Rebel attackers train as Archers, upgrading their slings to bows/flaming arrows/ Tier I unlocks at Rank 2 Tier II unlocks at Rank 3 | 400 500 |
 | Field Supplies Tier I: Accepting a new Rebel Mission fully replenishes your Arrows, Rations and Adrenaline. Tier II: Eliminating a target of a Solo Rebel Mission refills 1 Adrenaline Point. Tier III: Eliminating a target of a Solo Rebel Mission refills 1 Ration. Tier I unlocks at Rank 2 Tier II unlocks at Rank 3 Tier III unlocks at Rank 4 | 500 500 400 |
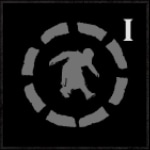 | Obvious Targets The perception radius of Solo Mission targets is reduced slightly/significantly. Tier I unlocks at Rank 3 Tier II unlocks at Rank 4 | 400 400 |
 | Friends in Low Places Reduce the size of enemy squads in Solo Rebel Missions by 1. Tier I unlocks at Rank 4 | 700 |
Shop – General
The general section of the Shop offers bow arrows and a ration.
| Icon | Item | Description | Cost |
|---|---|---|---|
 | Rebel Raven | Bird Skin Unlocked at Rank 4 | 500 |
 | Predator Arrows | Arrows for your Predator Bow. Available at nearly any vendor in the game. | 3 |
 | Light Arrows | Arrows for your Light Bow. Available at nearly any vendor in the game. | 1 |
 | Hunter Arrows | Arrows for your Hunter Bow. Available at nearly any vendor in the game. | 2 |
 | Rations | A portion of Rations to heal yourself. | 5 |
Shop – Runes
This section of Pierre’s Shop offers a selection of unique runes.
| Icon | Item | Description | Cost |
|---|---|---|---|
 | Life and Shell Rune | Armor Rune Unlocked at Rank 2 +11.0 Health +4.0 Armor | 400 |
 | Shadow and Assassin Rune | Weapon Rune Unlocked at Rank 2 +6.0 Stealth +2.0 Assassination Damage | 200 |
 | Bellatores Rune | Armor Rune Unlocked at Rank 3 Killing a target causes witnesses to back away in terror | 800 |
 | Warrior and Safeguard Rune | Armor Rune Unlocked at Rank 3 +1.5 Melee Damage +1.5 Range Resistance | 400 |
 | Rune of Haste and Finesse | Weapon Rune Unlocked at Rank 3 +1.3 Speed +2.0 Critical Chance | 200 |
 | Stalwar Deft Rune | Weapon Rune Unlocked at Rank 4 Increase Critical Chance when at 85% Health or higher | 800 |
 | Evasion and Feather Rune | Armor Rune Unlocked at Rank 4 +1.5 Evasion -1.0 Weight | 400 |
 | Chained Blunt Rune | Weapon Rune Unlocked at Rank 4 Increase stun after each hit (up to 10 times) | 800 |
 | Reaper Rune | Armor Rune Unlocked at Rank 4 Restore some health after a successful Assassination | 800 |
Shop – Gear
This is a brand new Armor Set, available exclusively from Pierre’s shop.
| Icon | Item | Description | Cost |
|---|---|---|---|
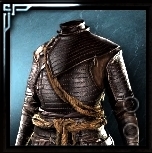 | Reaper’s Torso | Armor Set item Unlocked at Rank 4 | 750 |
 | Reaper’s Helm | Armor Set item Unlocked at Rank 2 | 450 |
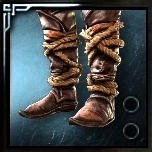 | Reaper’s Pants | Armor Set item Unlocked at Rank 3 | 400 |
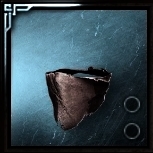
 | Reaper’s Cloak | Armor Set item Unlocked at Rank 3 | 450 |
 | Reaper’s Bracers | Armor Set item Given to you automatically at Infamy Rank 3 (in your inventory) | 0 |
I have a separate Guide on how to get Reaper’s Armor Set in The Siege of Paris DLC. Check it out for a more detailed overview of the set, its visuals, stats, perks and bonuses.
Shop – Cosmetic Schemes
A collection of cosmetic visual appearance changing items such as tattoos and hair styles.
| Icon | Item | Description | Cost |
|---|---|---|---|
 | Rebel Scheme (Head) | Face Tattoo blueprint | 750 |
 | Rebel Scheme Arms) | Arms Tattoo Blueprint | 300 |
 | Rebel Scheme Back) | Back Torso Tattoo Blueprint | 350 |
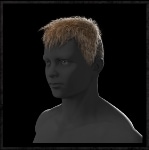 | Rebel Cut (Blond) | A Haircut Design. Apply at the Tatoo shop in Ravensthorpe | 200 |
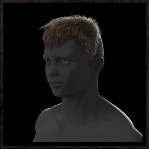 | Rebel Cut (Light Brown) | A Haircut Design. Apply at the Tatoo shop in Ravensthorpe | 200 |
 | Rebel Cut (Dark Brown) | A Haircut Design. Apply at the Tatoo shop in Ravensthorpe | 200 |
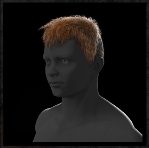 | Rebel Cut Auburn) | A Haircut Design. Apply at the Tatoo shop in Ravensthorpe | 200 |
This concludes my Guide to Rebel Missions in Assassin’s Creed Valhalla’s Siege of Paris DLC. The DLC is available as of August 12 and can be purchased separately or as part of the Season Pass.