Guide on New World Territory Standings and Reputations. Learn which bonuses are worth taking, when and why. We also included Priority lists!
Table of contents
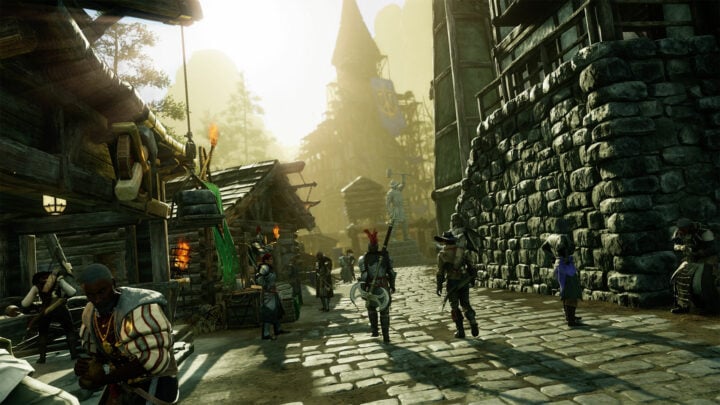
What is Territory Standing?
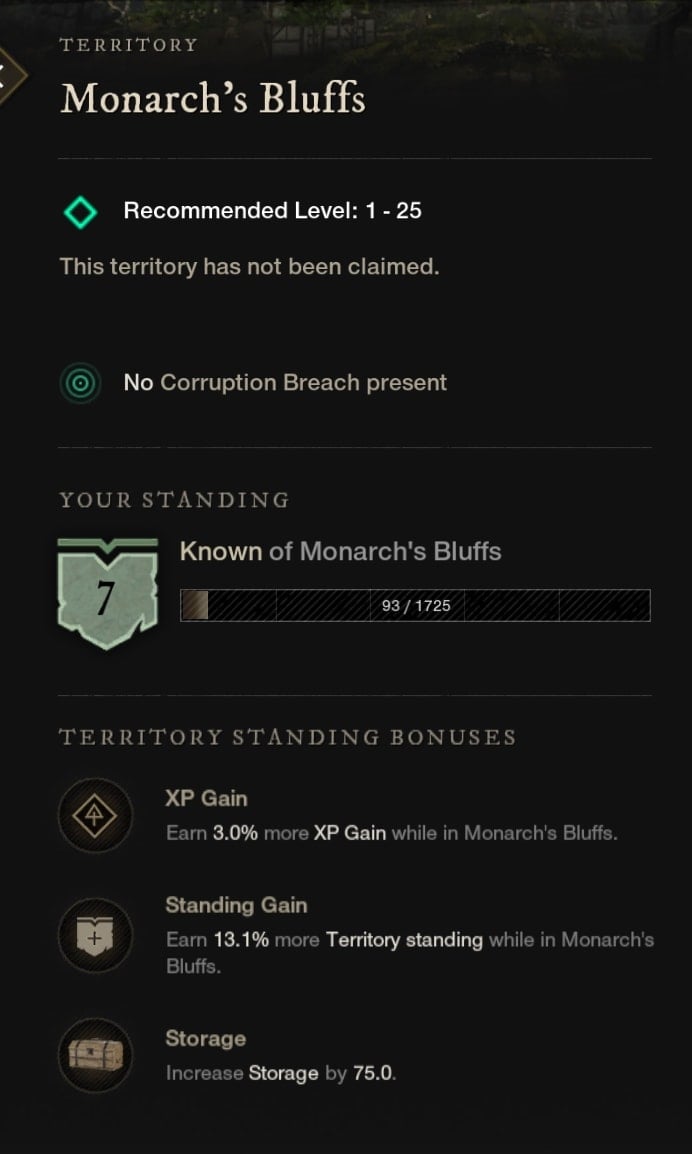
Simply put, Territory Standing function like a level up, but for each region in the game instead of your character or weapon. You gain it from defeating enemies, completing quests and even crafting while in the region.
Every task you complete and everything you craft or kill rewards a small amount of reputation. This reputation builds up and once you reach a certain threshold, your Territory Standing will increase. You can see your progress to the next Territory Standing Level by viewing the Territory on the World Map.
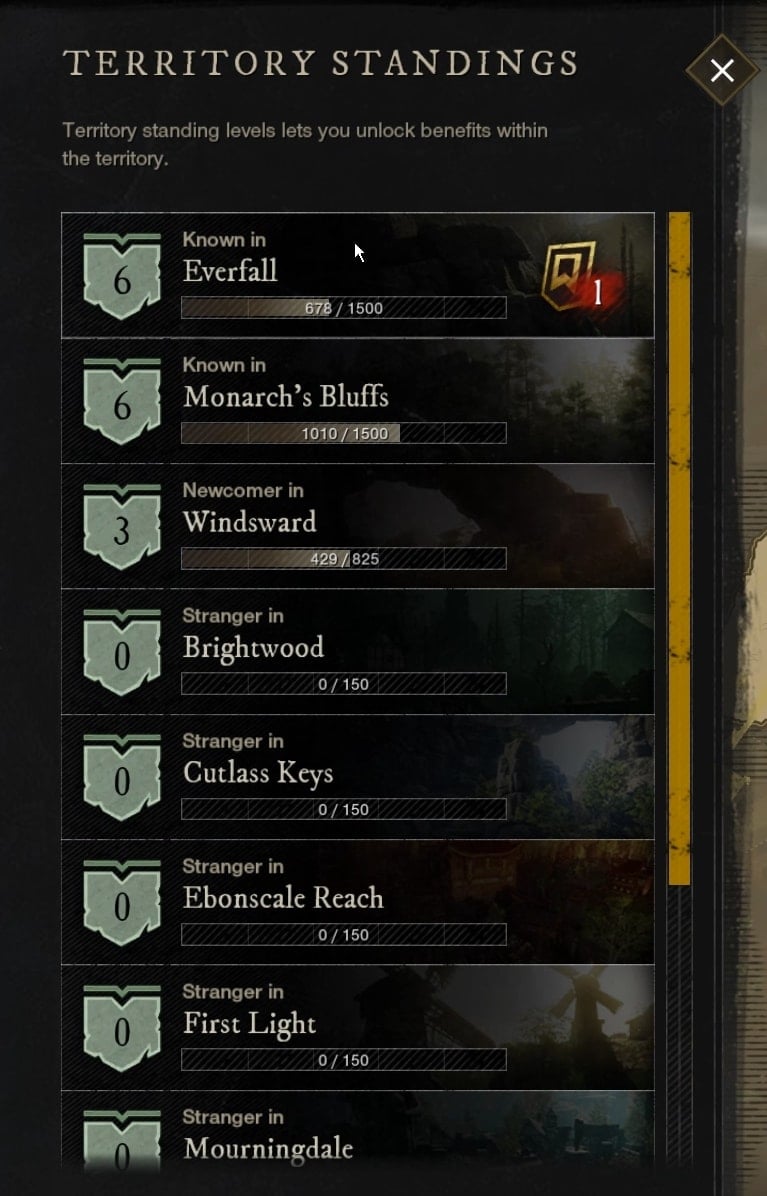
Every region has a cap of 300 Reputation currently, meaning you’ll get 300 total Reputation bonuses overall, though the actual number of unique ones is much smaller.
We’ll be covering ways to optimize these later in this guide, but first Let’s cover the available bonuses.
What are the available Territory Standing Bonuses?
As you increase your Territory Standing, each level of standing offers you a set of three bonuses you can choose from. These bonuses are all predetermined and appear at specific times throughout the Territory leveling process. There’s also a few tricks we’ll talk about when it comes to utilizing these points in slightly better ways.
Faction Token Gain
Faction Token Gain is one of the most niche bonuses available. It increases the amount of Faction Tokens you gain from completion Faction PvE and PvP Missions.
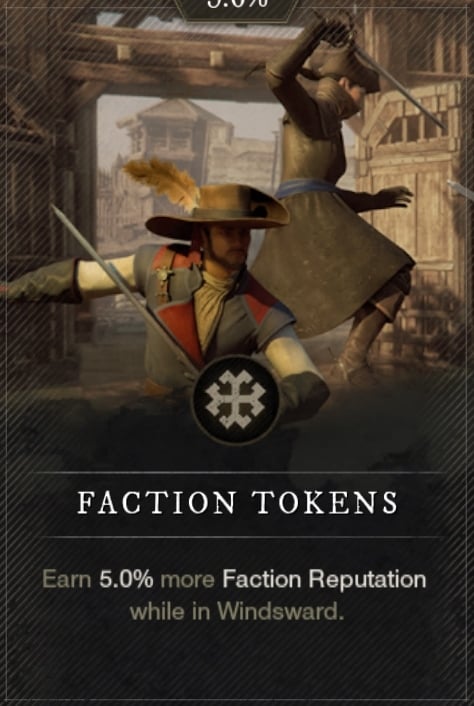
This is mostly limited to Crafting and Merchanting in the game. You’ll usually build up Faction Tokens fairly quick without this bonus, but it will help you get a few items that can have high value much quicker. Being Runes of Holding and Faction Gear.
Both of these can sell decently well early on into a server’s life, as Runes are needed to craft Satchels, to increase your carry capacity. Faction Gear is also a decent way to fill out your early gear with flexible stats that can be crafted on to them.
Gathering Speed
Gathering Speed is a nice general purpose bonus. This bonus increases your gathering speed, but not to an insane degree. It will help you early on before you get Steel Tools and make gathering a bit faster.
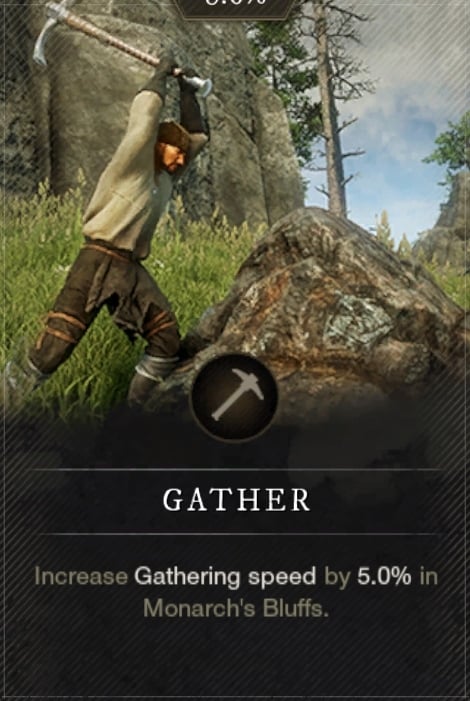
Early on, if you’re not lucky enough to come across Iron Ore or pickup much Sand Flux, You may not get Steel Tools all too early. This is where this shines the most, but can still be helpful in later areas where you’re mining Starmetal or Orichalcum Ores which can take a long time to mine without a similar tier of Pickaxe or higher Mining Level.
Housing Items
Housing Items are pretty optional. Having more space is always nice, if your goal is to show off your decor skills. However, outside of that, Housing Items don’t typically offer too much of value.
This will however afford you more space for Storage Chests while not limiting your decor abilties, letting you increase your maximum Storage in a town based on what chests you have and what tier your house is.
House Ownership
This one is exclusive to Standing Rank 10 within any settlement that has housing. This enables you to buy a house in the territory and is a mandatory and unskippable unlock. Houses can function like Inns, being a free recall on a timer, but you can also spend Azoth to reset this cooldown making them great for Gathering runs.
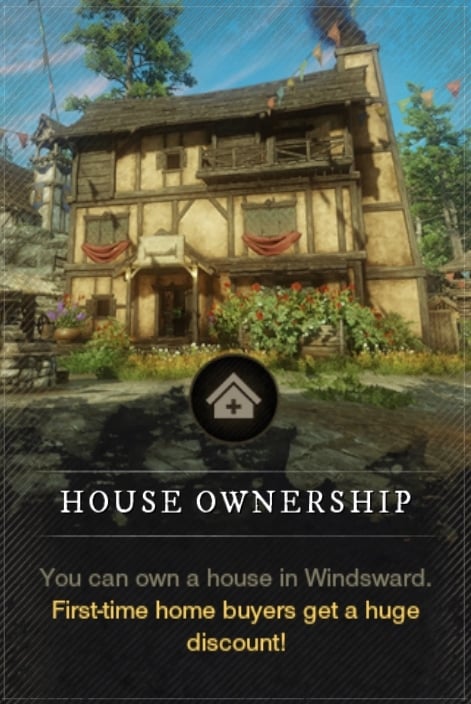
Despite being mandatory, you can make the upgrade fall into an earlier slot by not allocating your 9th point and waiting until you hit Rank 10 to do both. This trick also nets you an extra 25 Storage, which can be handy but we already grab as much of it as we can, so it’s worth doing most times.
Property Tax Reduction
Property Tax Reduction is one of those bonuses that can be useful if your Company is not controlling a Territory. It Reduces the weekly Property Tax applied by owning a house in a settlement. If your Company doesn;t control the Territory you’re in, they could easily increase their Tax rate to make you pay a high fee to keep your house. It can be worthwhile if you decide you want more than one house in an area for a second recall to that area.
It’s worth nothing that the higher your house tier, the more benefits you get from it, like a shorter Cooldown and the ability to place more Storage chests, expanding your Storage.
Standing Gain
Standing Gain, or the Standing Bonus that helps you get future Standing bonuses a bit faster. This increases the Reputation you gain with a Territory for everything that contributes to it from Crafting to Slaying Enemies.
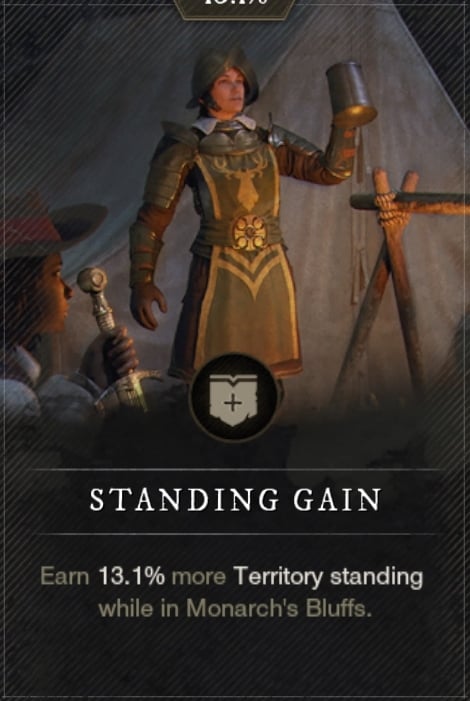
Overall, this one tends to be okay to grab early on. However the closer you are to your Standing Cap, the less useful it becomes.
Station Fee Reduction
If you’re planning to do heavy crafting of any kind in an area, I highly recommend grabbing this. While base crafting fees aren’t super high for most things, they do add up quickly, especially if bulk crafting or bulk refining items.
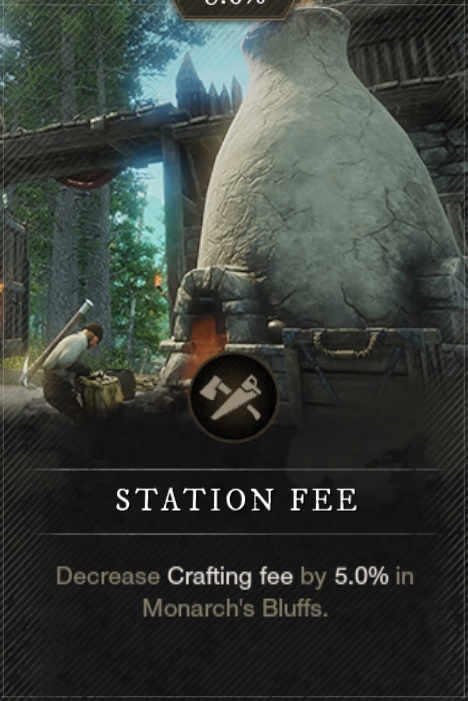
This is basically a two for one bonus, as it affects both Refining and Crafting stations fees. If Crafting isn’t a priority for you, you can save it for when other bonuses hit a point where you don’t feel like they’re worth grabbing anymore.
Storage Space
Always, Always, ALWAYS take this bonus when you can. This is the only bonus that doesn’t diminish with each upgrade and is useful even at later stages of the game. This bonus can add up to a max of 1600 weight capacity to your Storage, which is by no means a small amount of storage space.
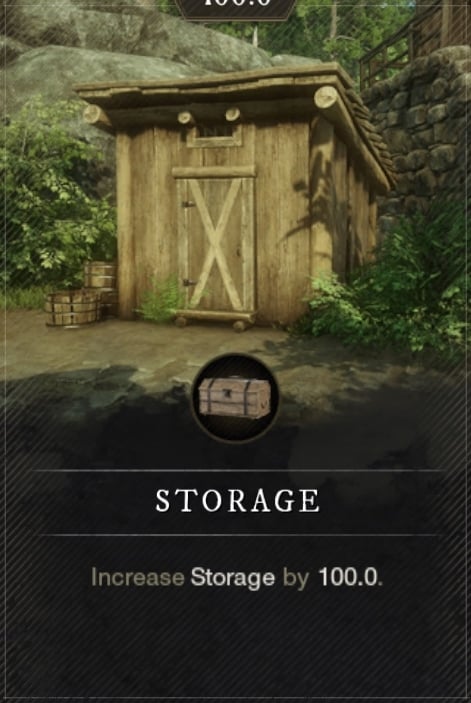
To put the weight in context, it’s well over 100 of the heaviest weapons and armor or well over 10,000 raw materials. Absolutely do not pass this bonus up. EVER.
Trade Tax Reduction
If you’re keen on buying or selling things via the Trading Posts, this bonus is for you. Getting reduction on a tax that can control how much or how little you can buy and sell things is always going to be nice. If you’re a crafter, or just looking to flip and merch items on the market, this will prove useful.
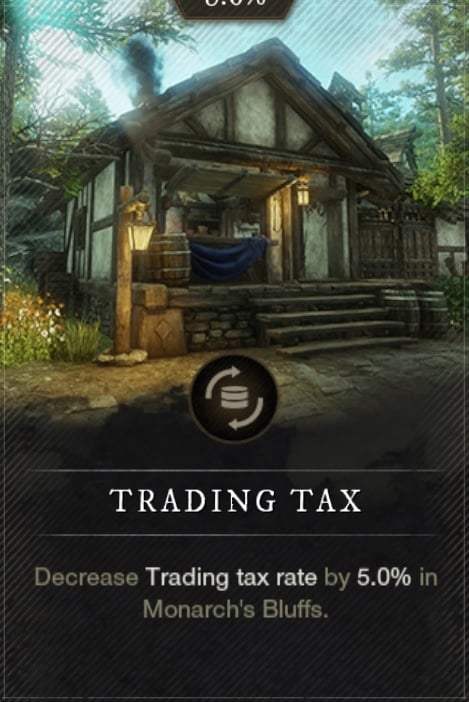
Even if you don’t trade extensively or often, this can still be helpful for reducing the price of those one-off listings or purchases that cost a ton. Given that the tax increases with the price and quantity of items, this is a great one to pick up.
XP Gain
Good for a single point, rarely ever more. While it does help with XP gain, by the time you work on Standing to get the bonus to a meaningful value, you’ll have outleveled most Territories. 3% Bonus XP is enough of a bonus for the small investment that is your first Territory point.

Since it always happens to be in the first set of three, it’s good to grab it then and just never think about it again. It scales so poorly, and since there’s no way to re-spec or re-allocate your Territory Standing bonuses at any point, any points spent on this become a waste the instant you hit the Level cap for your character.
Consult our New World Leveling Guide to find tips on how to do this faster, most efficiently and still earn/obtain everything you need along the way.
How to Best Prioritize your Standing Bonuses
There’s effectively three way to optimize your Standing bonuses. Which one of these options you pick depends on your goals and intentions for a territory, as well as how soon you want to act on them. We’ll be covering a balanced option that has everything at an even level by the end, with the exception of Storage; A Tradesman Focused setup, for all of you crafters and traders out there; and a Housing Decor setup, for those that wish to have their best house on display.
It’s worth noting here that maxing out a Territory will take a LONG time. We’re not talking weeks, but likely months for all but the most hardcore of players. Thankfully, by the time you end up getting that, you’re actually, getting very minimal bonuses so it’s not as unbalanced as it may seem.
As such I recommend following the priorities below, but pausing each one at 5 until you’re ready to dedicate more time to a region. Then continue to 20 and pause there until everything that goes above that is at 20. Rank 20 is the point where diminishing returns will start to hit much harder.
The Balanced Setup
Like all of the setup we’re going to feature here, this one will start off with taking the XP at Level 1. Here’s the priority you want to take grabbing thing until you hit the specified stopping point shown in ( ) next to the card. These may not cap out in order, since only 3 are available at any level, but this is the general priority to grab them in
- XP Gain (1, at level 1)
- Storage (64)
- House Ownership (1)
- Standing Gain (37)
- Housing Items (10)
- Faction Tokens (37)
- Property Tax (37)
- Station Fee (38)
- Trade Tax (38)
- Gather Speed (38)
This doesn’t max out the Housing Items at 20, but does still take 10 points into it, distributing the other 10 rather evenly. This should push most of your bonuses to around 37%, which is pretty nice overall. Diminishing returns make it a little harder to get much past these points, but we can still get decent effects by distributing points differently.
For Housing
This is going to be very similar to one above, but prioritizing housing over the smaller gains for other things. That said, Here’s the priority you want to take grabbing things until you hit the specified stopping point shown in ( ) next to the card. These may not cap out in order, since only 3 are available at any level, but this is the general priority to grab them in.
- XP Gain (1, at level 1)
- Storage (64)
- House Ownership (1)
- Housing Items (20)
- Standing Gain (35)
- Faction Tokens (35)
- Property Tax (35)
- Station Fee (36)
- Trade Tax (36)
- Gather Speed (36)
The main difference between this and the more balanced one, is slightly less of everything else, compared to getting the extra housing item space. This extra housing space lets you place more decor items, letting you get a higher rating for houses and ultimately giving you the best chance to have your House displayed.
For Tradesmen
This one drops Housing Items entirely as well as others to reach threshold for other areas. The priority also changes, favoring the Tradesman related bonuses over others.
- XP Gain (1, at level 1)
- Storage (64)
- Gather Speed (42)
- Trade Tax (42)
- Station Fee (42)
- Property Tax (42)
- Faction Tokens (37)
- House Ownership (1)
- Standing Gain (30)
We’re dropping Housing Items entirely alongside a few points from Standing Gain to maximize Gathering Speed, Trade Tax Reduction, Station Fee Reduction and Property Tax. This helps us gather faster, pay less when crafting or trading, and pay less to keep out house to be able to maintain it as a recall point even easier.
Standing Gain is one of the least harmful for us to reduce, as we do stop benefiting from it when Standing eventually caps out. We Want to boost Faction Tokens as much as we can still, but dumping more points from Standing Gain isn’t worth it. It’s far easier to just do more Faction Missions.
Hopefully you have enjoyed this Guide to New World’s Territory Standings system and have learned all of the perks and benefits it offers. Follow one of the above-listed priorities according to your character’s needs and goals and you will be one happy adventurer!
There are tons more helpful New World guides here on VULKK.com. Take a look at our Beginner’s Guides collection or master your skills in combat with our in-depth New World Weapons Guides and Best Builds.
New World Beginner's Guides
A collection of must-read Beginner Friendly guides for Amazon Games' MMORPG New World. Learn the basics of the game, how to level up quicker and easier, how combat works, which reputation perks to get first, what to do and not do as a new player in Aeternum!
New World Weapons and Abilities Guide for Beginners
This guide’s focus are weapons in New World. We’ll cover the Weapons and their strengths, weaknesses, and what each of their skill trees do!
New World Settings and UI Guide: What Should You Change
New World has a lot of typical settings, and some you might not expect. We cover the best options to help you in combat, traversal, and more!

New World Tips: the DOs and DON'Ts for Beginner Players
Beginner friendly guide for New World for the key basic mechanics. Includes DO's and DONT's and some great tips and tricks for new players!
How Combat works in New World - A Beginner's Guide
Guide on how combat works in New World, for both PvE and PvP with a tips and tricks that can help you always make the most of your abilities!
How to Level Up Quickly in New World - A Beginner's Guide
Thorough explanation of how to Level Up quickly in New World - types of quests, zones, strategies, tips and tricks to level most efficiently!
How Progression works in New World - a Beginner's Guide
Guide on how progression works in New World - all methods of progression explained with beginner tips on how to choose the best approach!
New World Store Guide and Items Overview
This guide will explain everything you need to know about Amazon's New World Store - what is it, how to access it and what you can purchase!