Guide showing how to find the Boudicca Tomb and solve all puzzles inside to grab the prize – two pieces from the Fallen Hero armor set!
Table of contents
How to find Boudicca Tomb
To be able to find and explore the Boudicca Tomb in Assassin’s Creed Valhalla you need to have your game patched to 1.4.0 or higher. You also need to have progressed as far as England. All you need is to reach it and build your settlement. This will allow you to explore all of the Tombs of the Fallen.
There is no fighting in this one. None at all. It’s just puzzles and parkour. It doesn’t matter what level your Eivor is, but having certain skills and/or abilities might be helpful to speed things up. This guide explains everything in great detail and doesn’t cut corners.
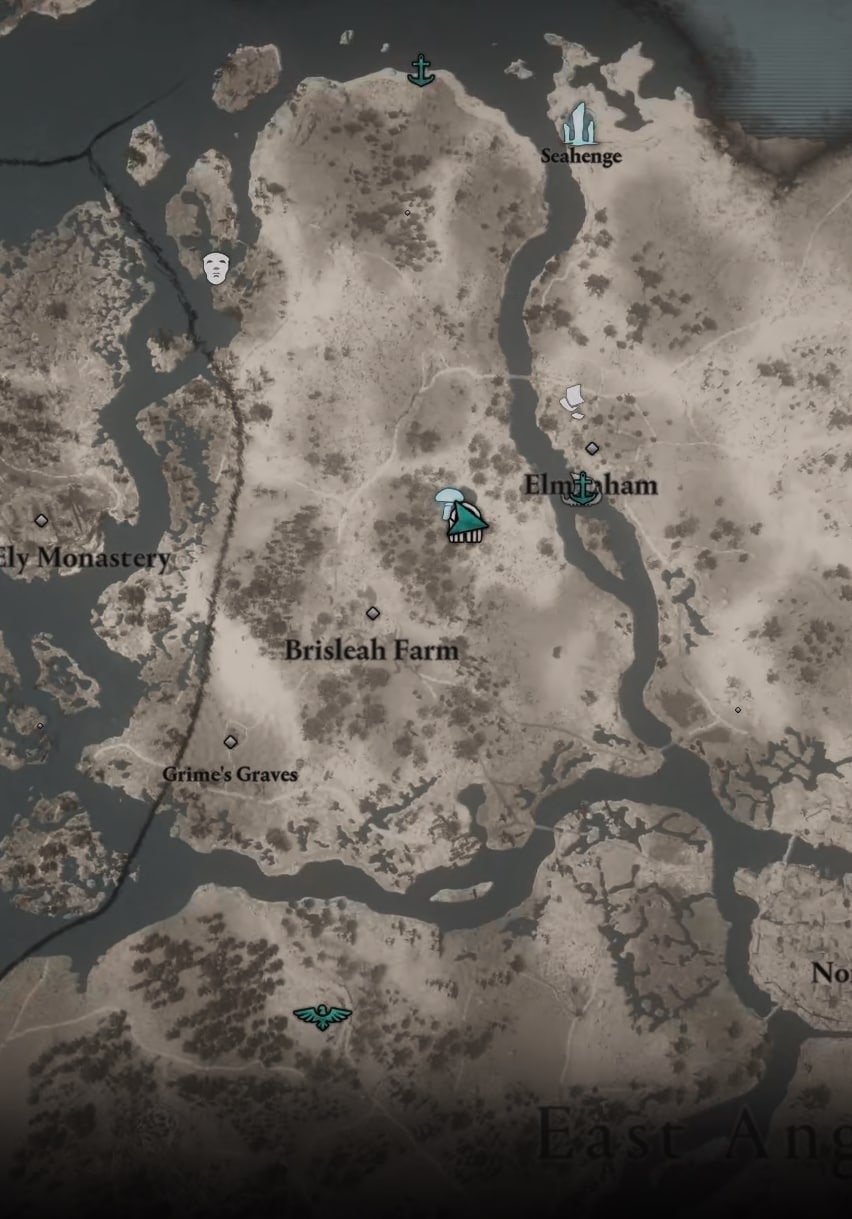
The Boudicca Tomb’s location is originally hinted at on the giant stone map in Manius’s Sanctum. If you don’t want to bother with yet another mini-puzzle, check the exact location marked on the map below.
How to solve the Boudicca Tomb Puzzles
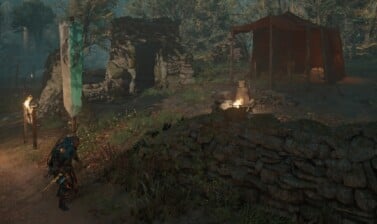
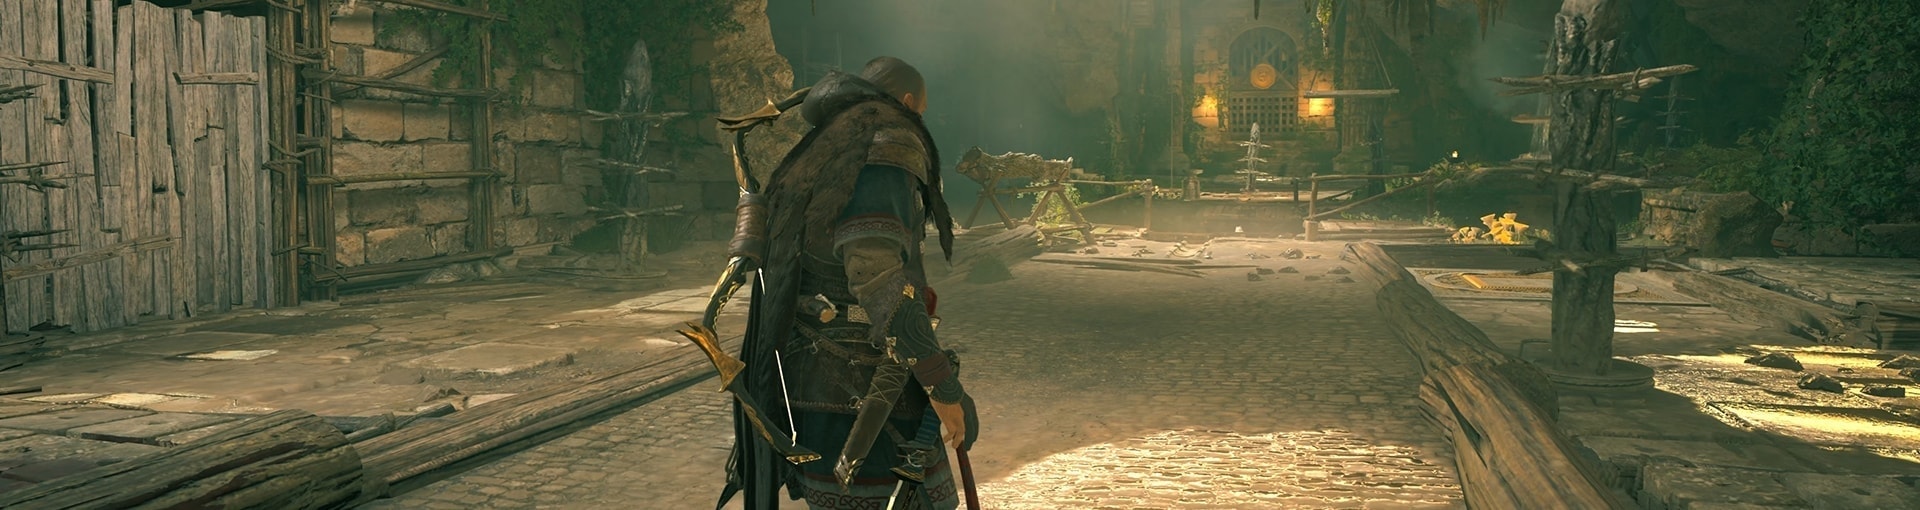
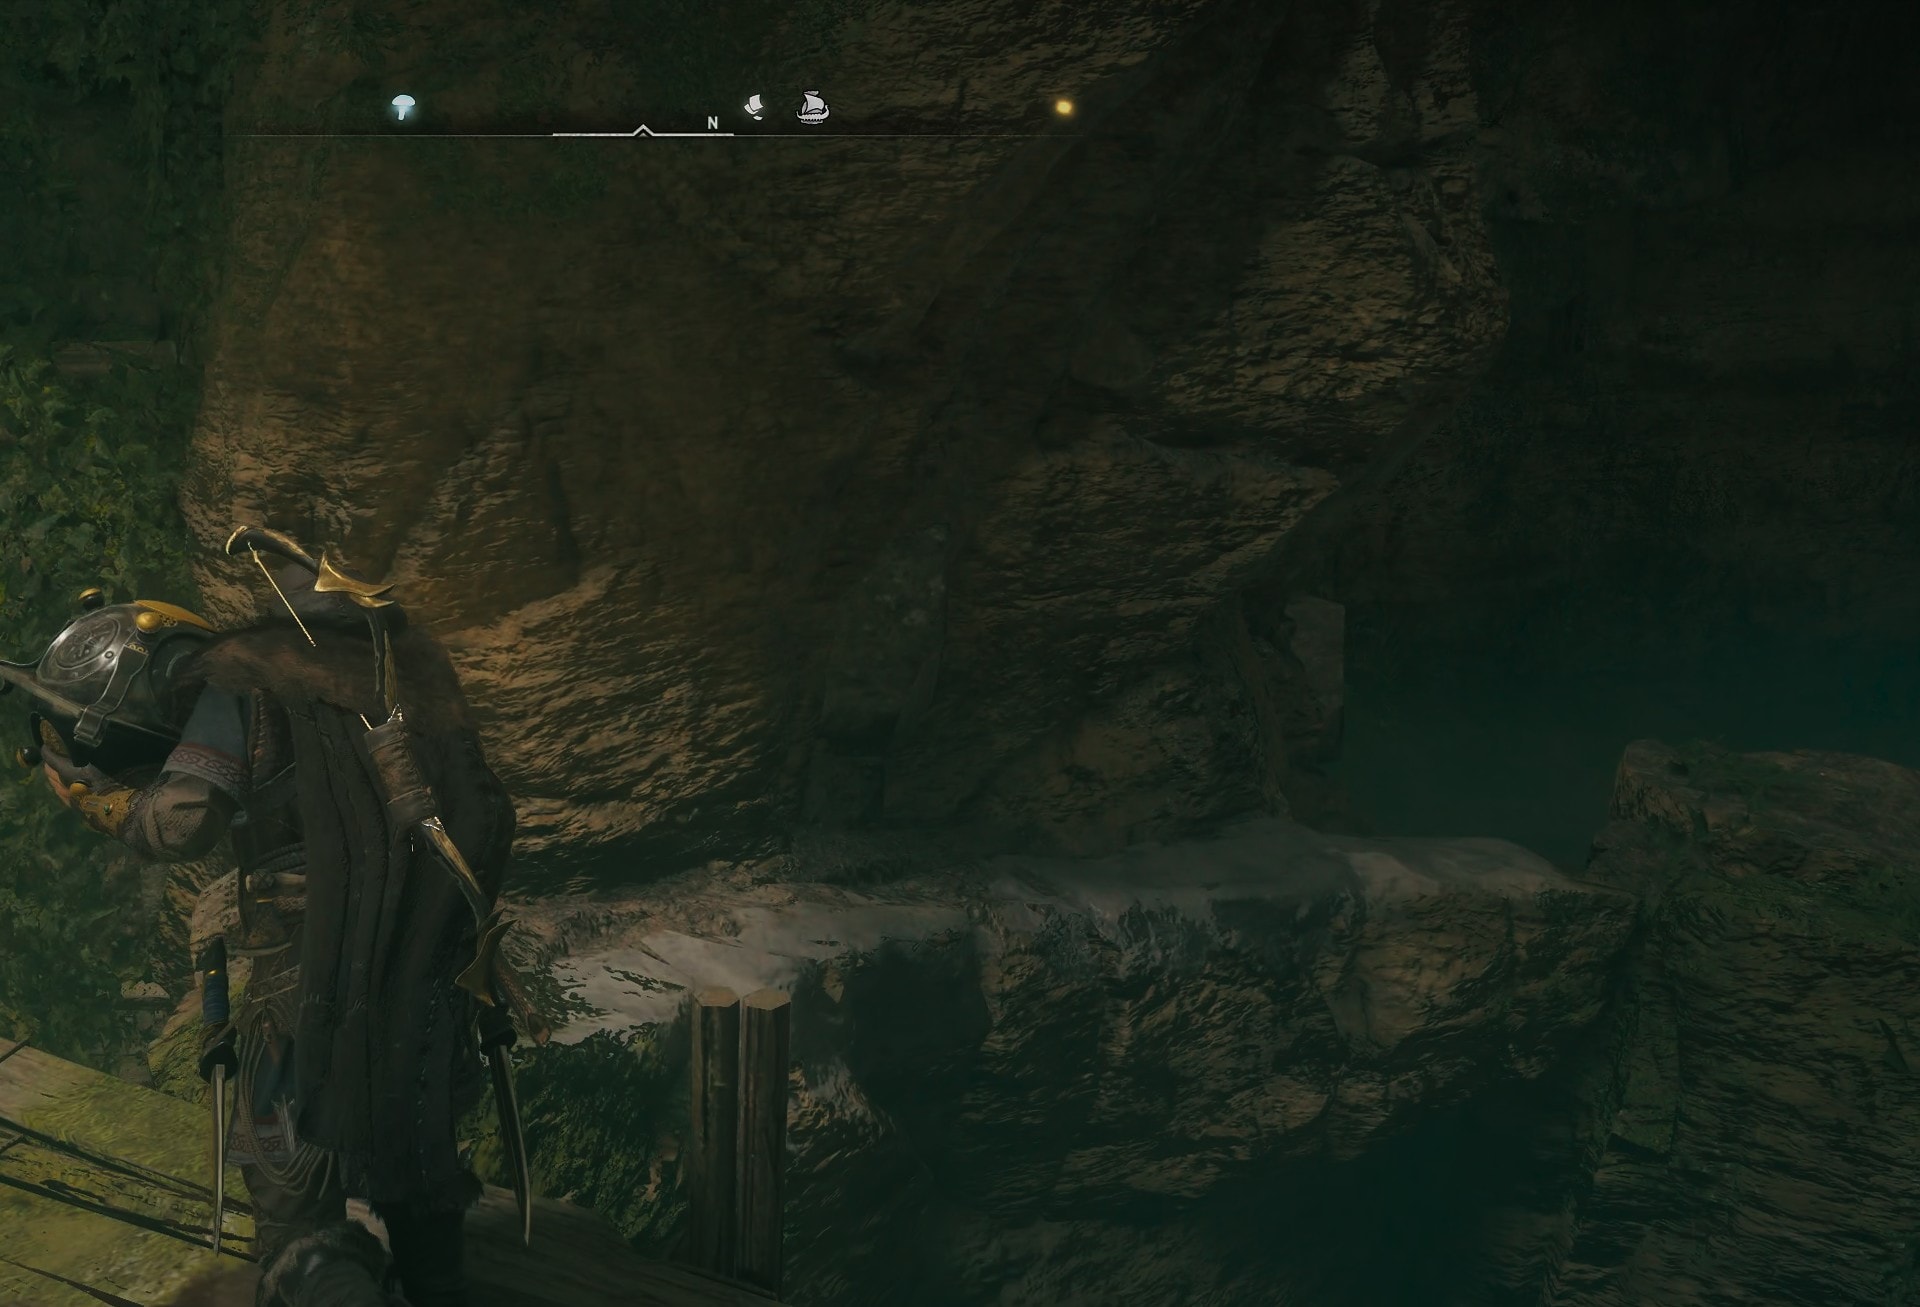
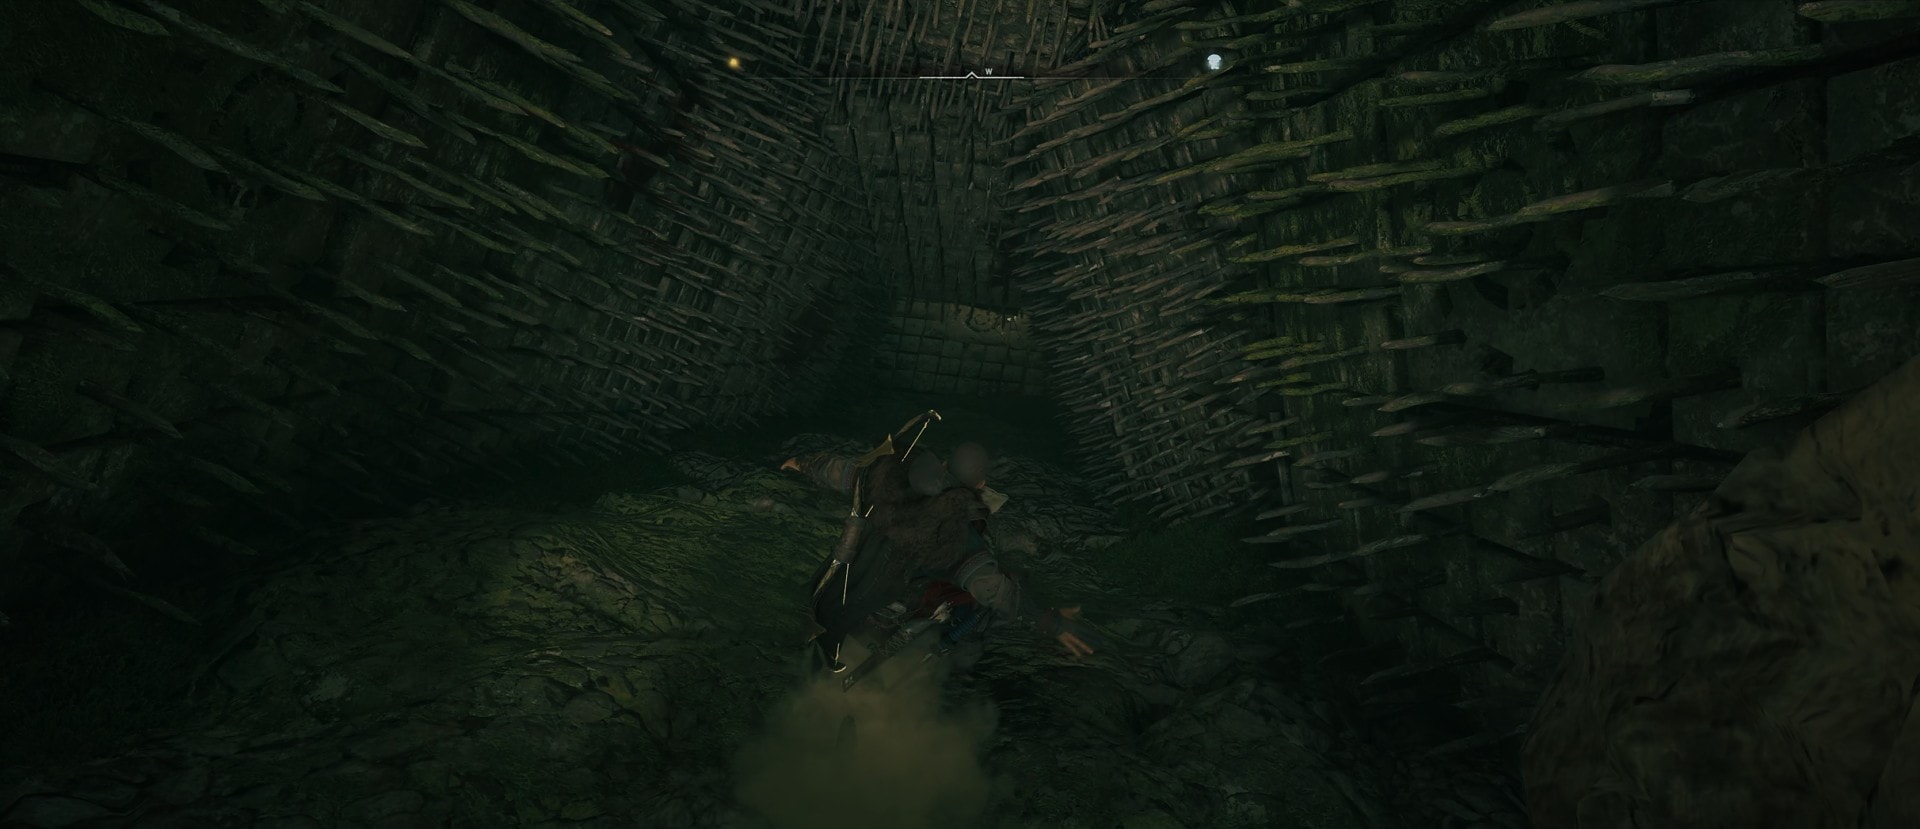
As soon as you enter, take the rope down to save yourself some time. Continue following the narrow path down. Don’t touch the spikes on the ground or on the walls. They are not nice.
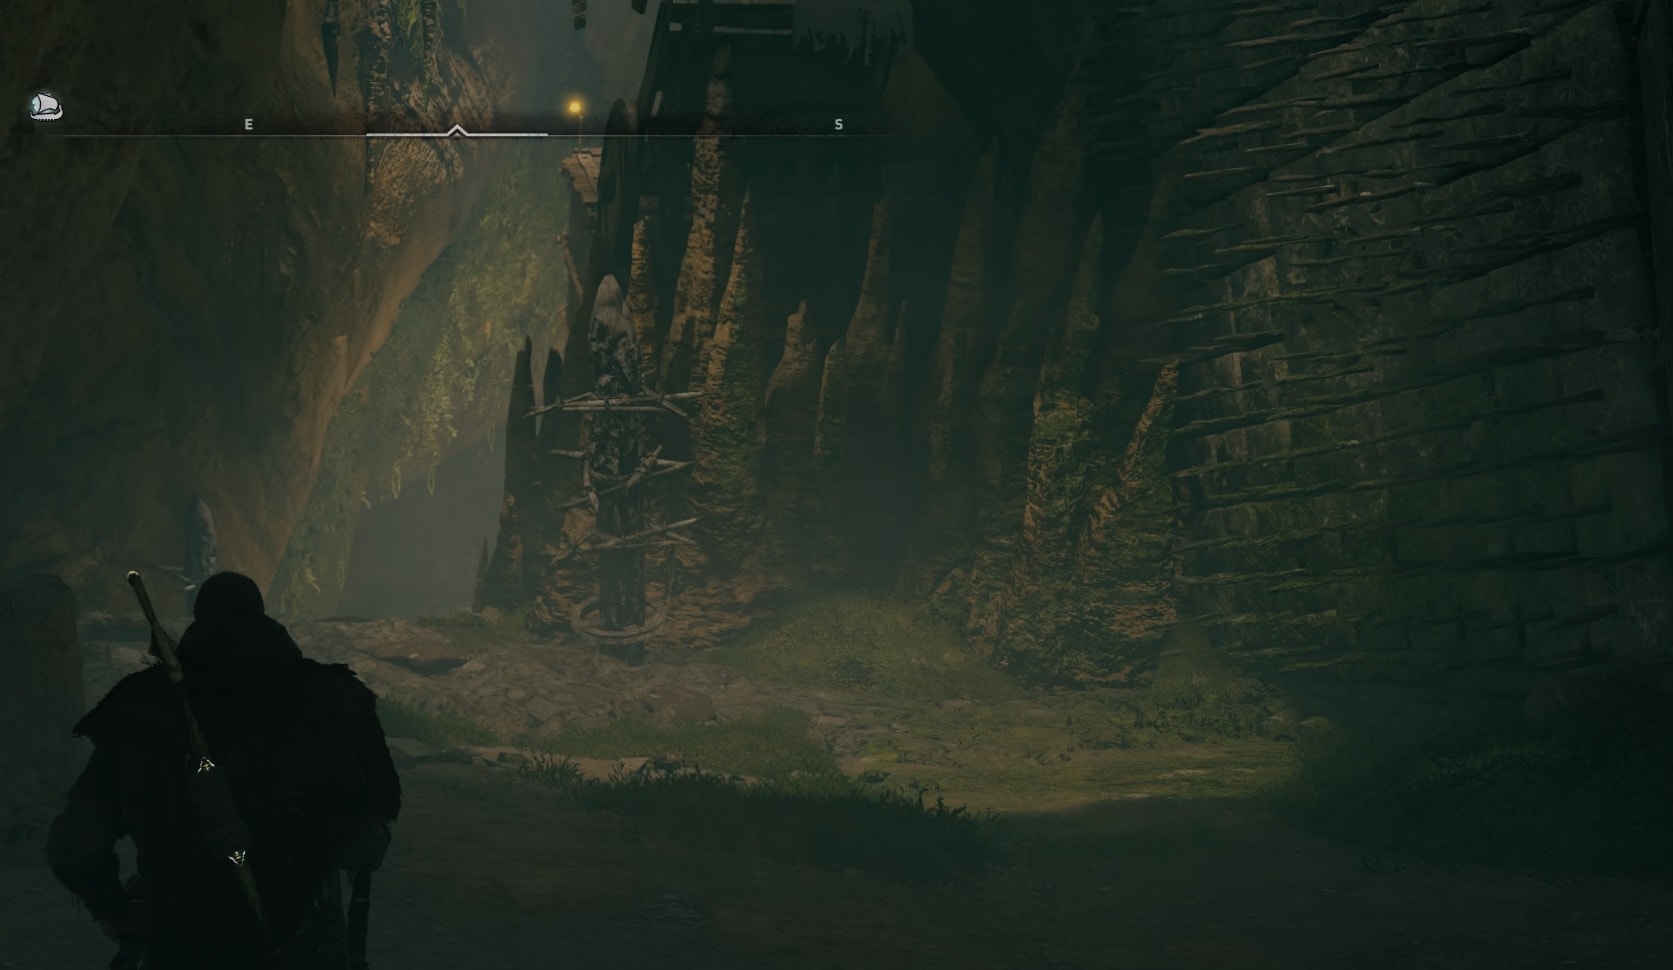
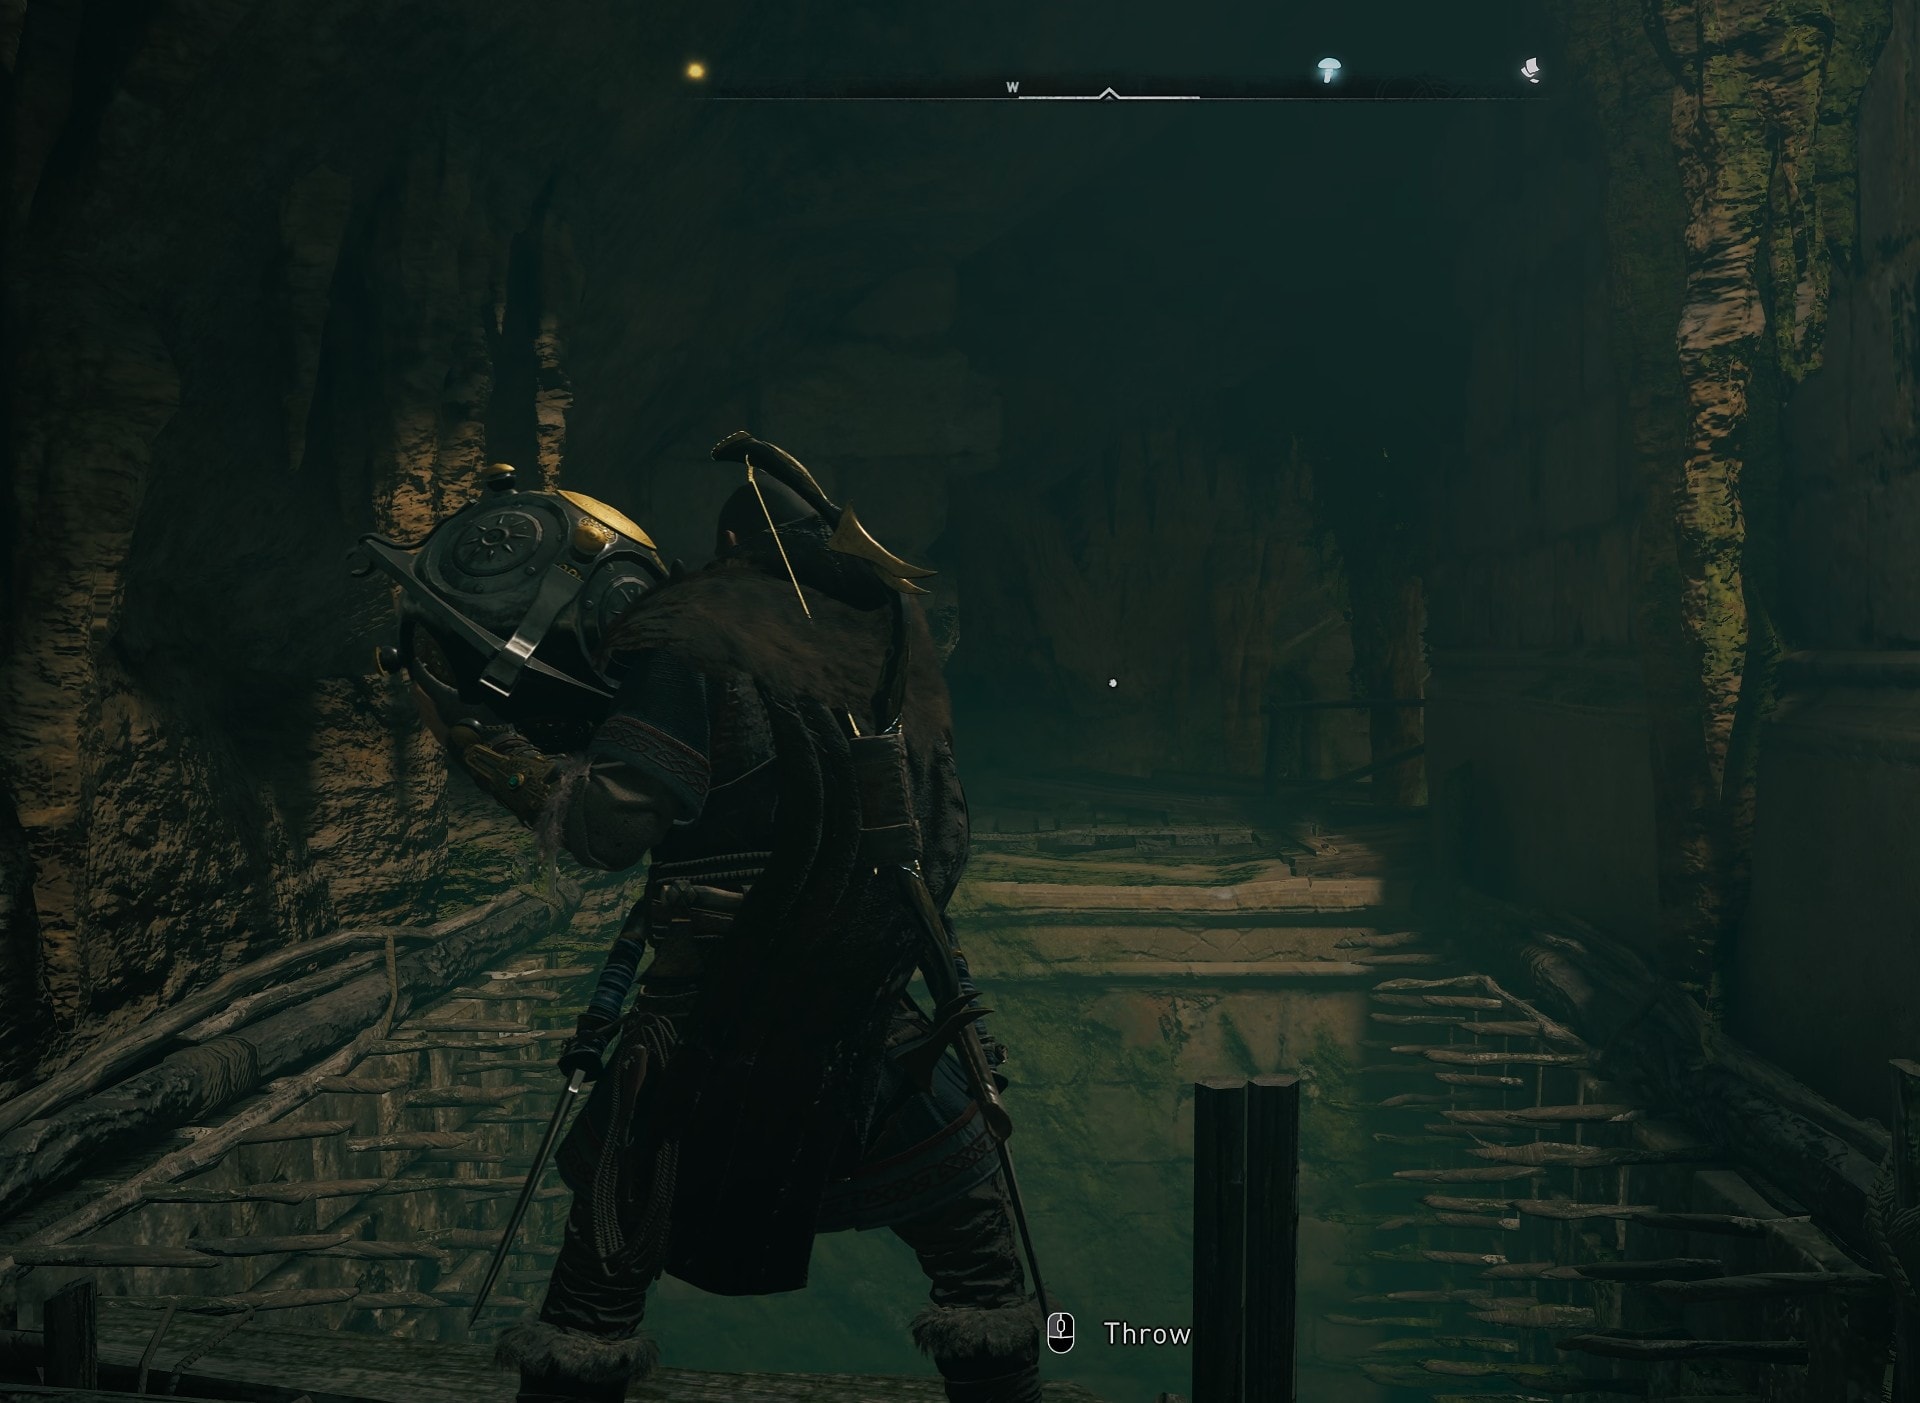
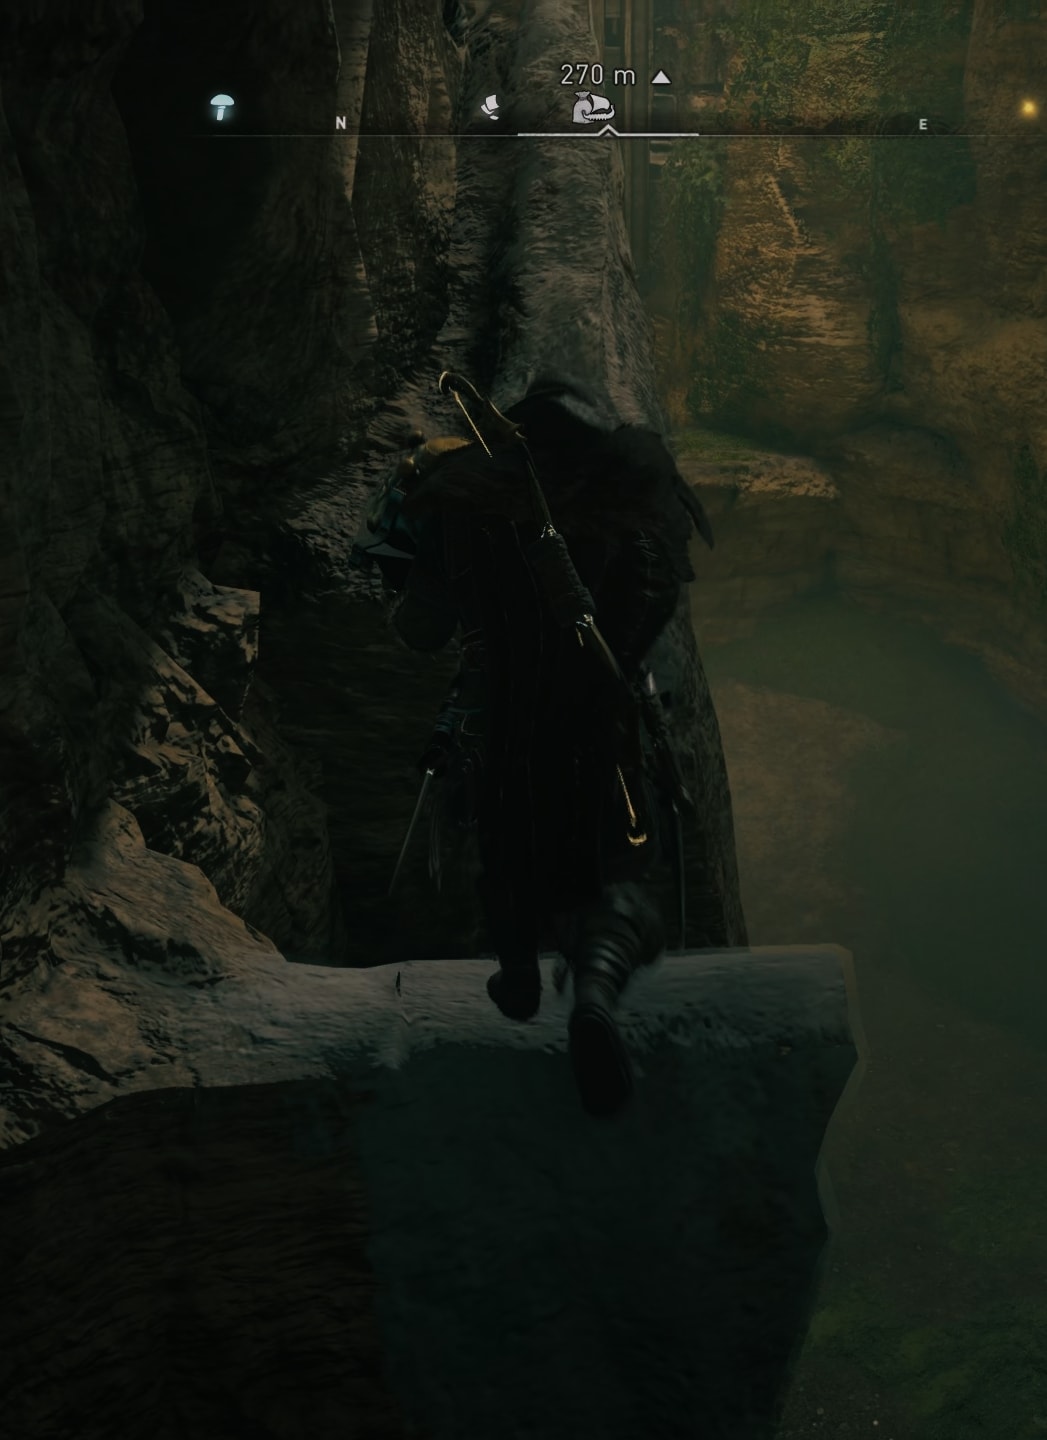
When you get to the edge, slide down, avoiding the pylons with spikes. Just move left and right slightly. At the bottom there is a spikes square, which are typical for these tombs.
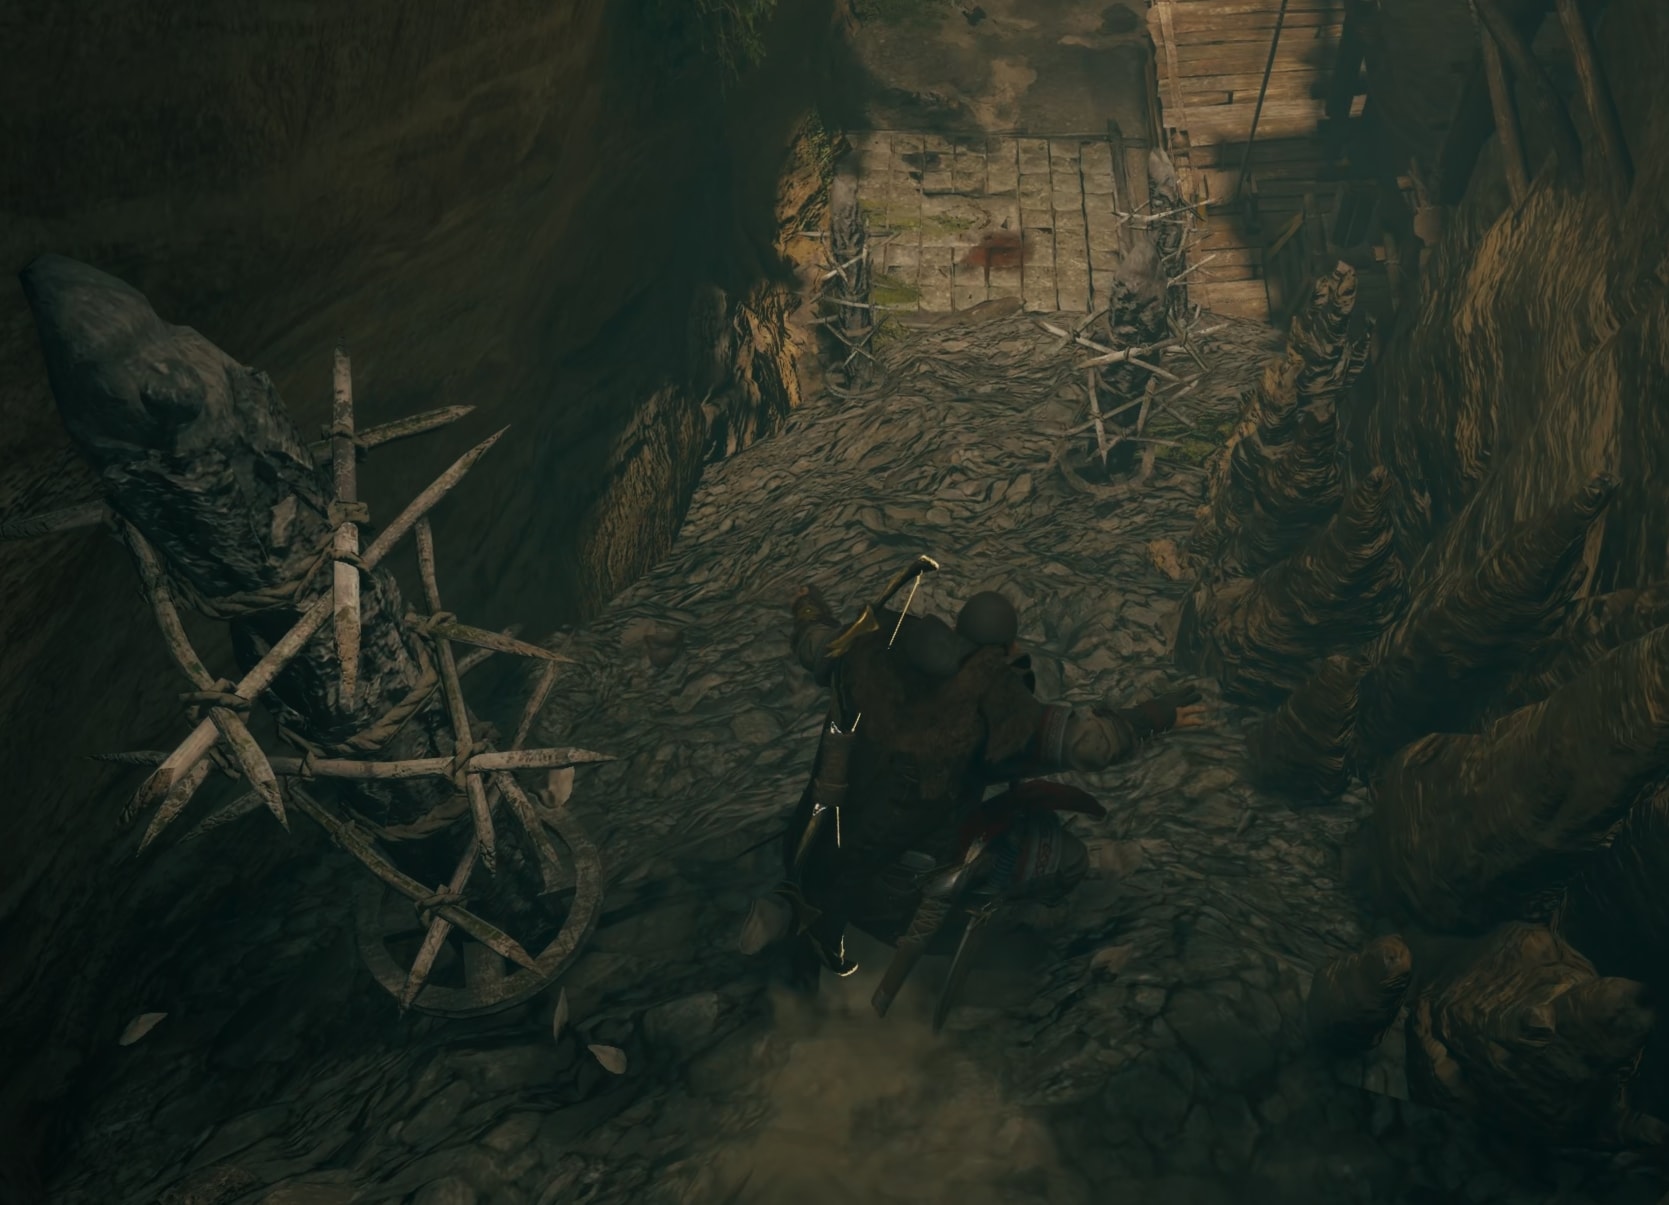
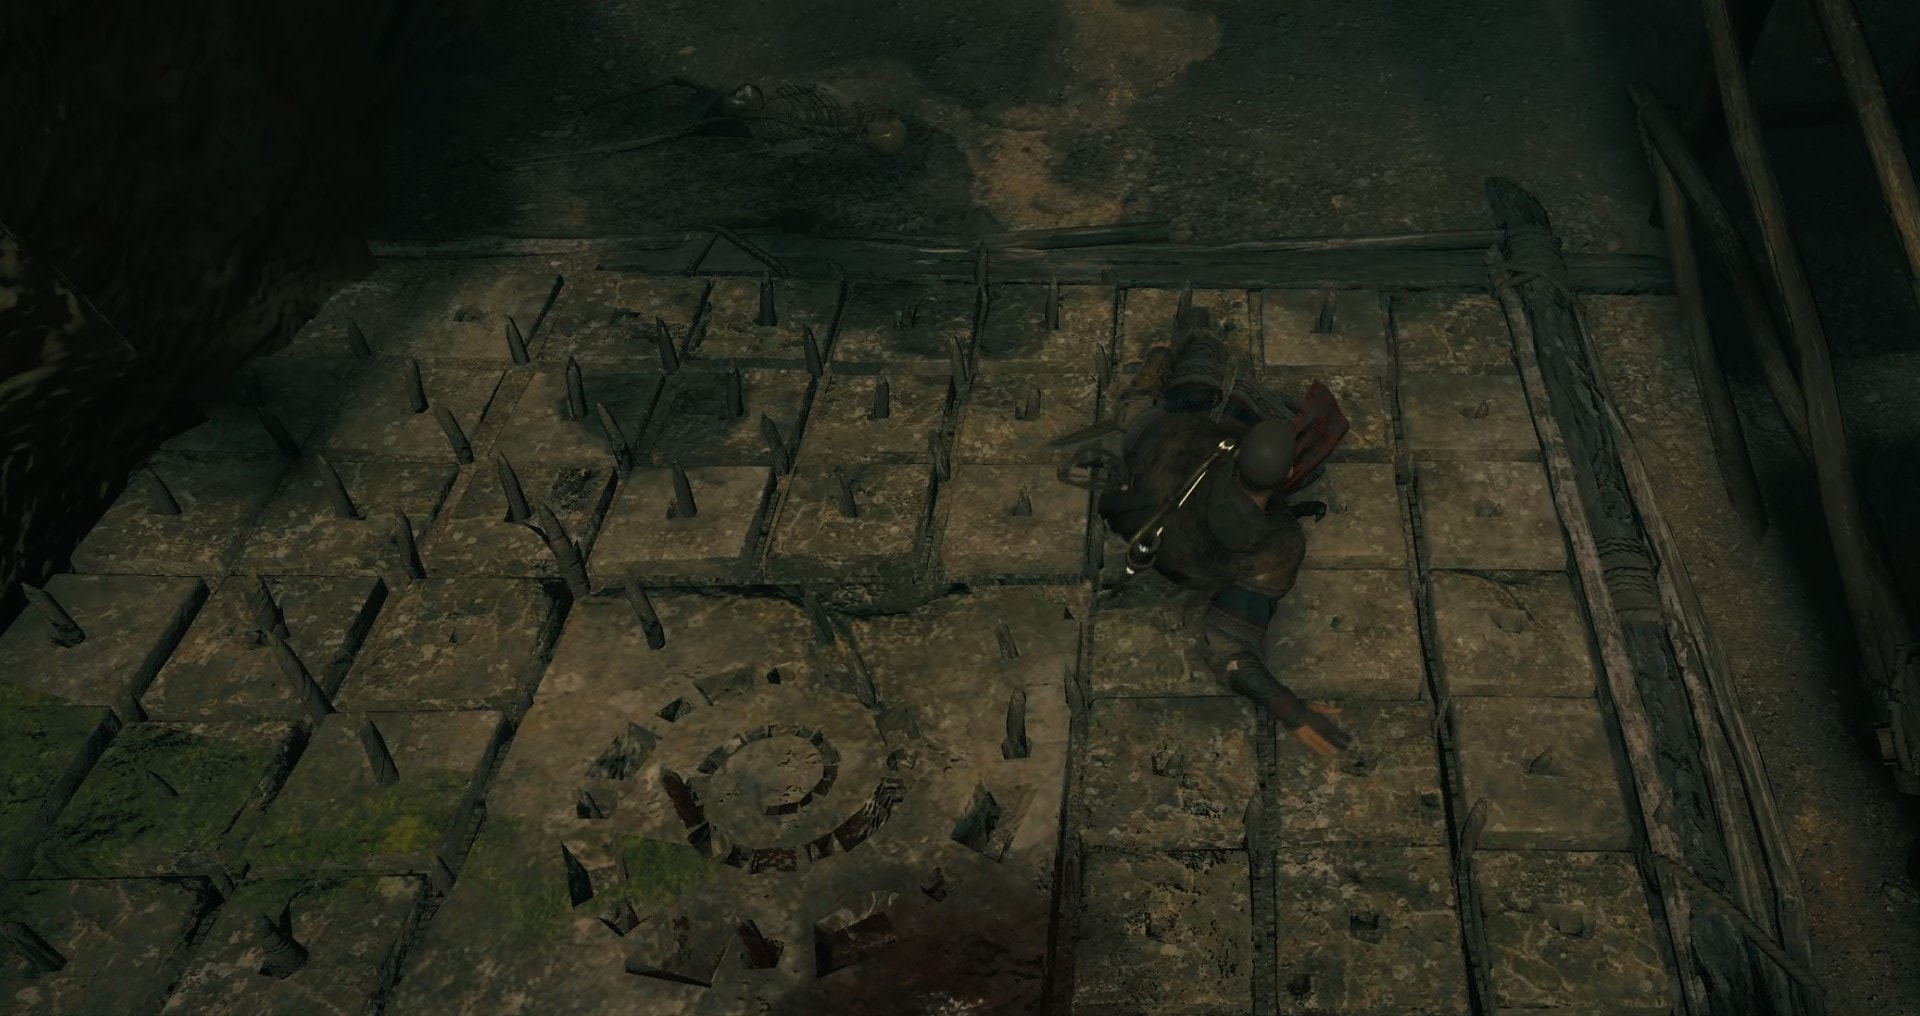
The spikes will show a little to “threaten you” a second after you step on them, but if you stay there any longer, they will rise up and hurt you.
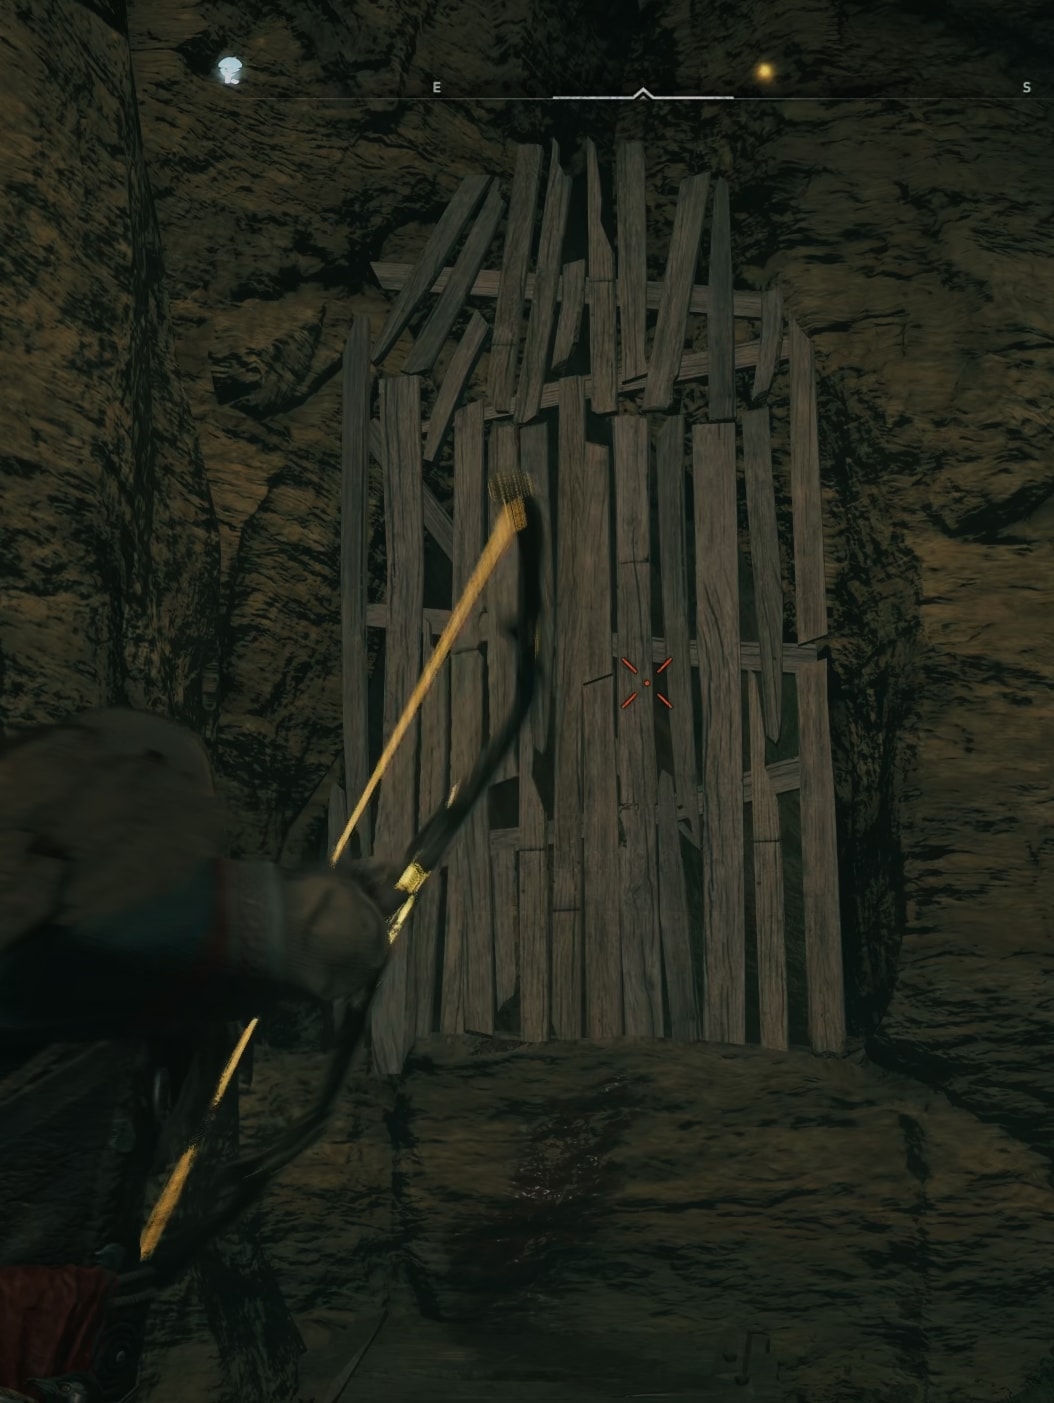
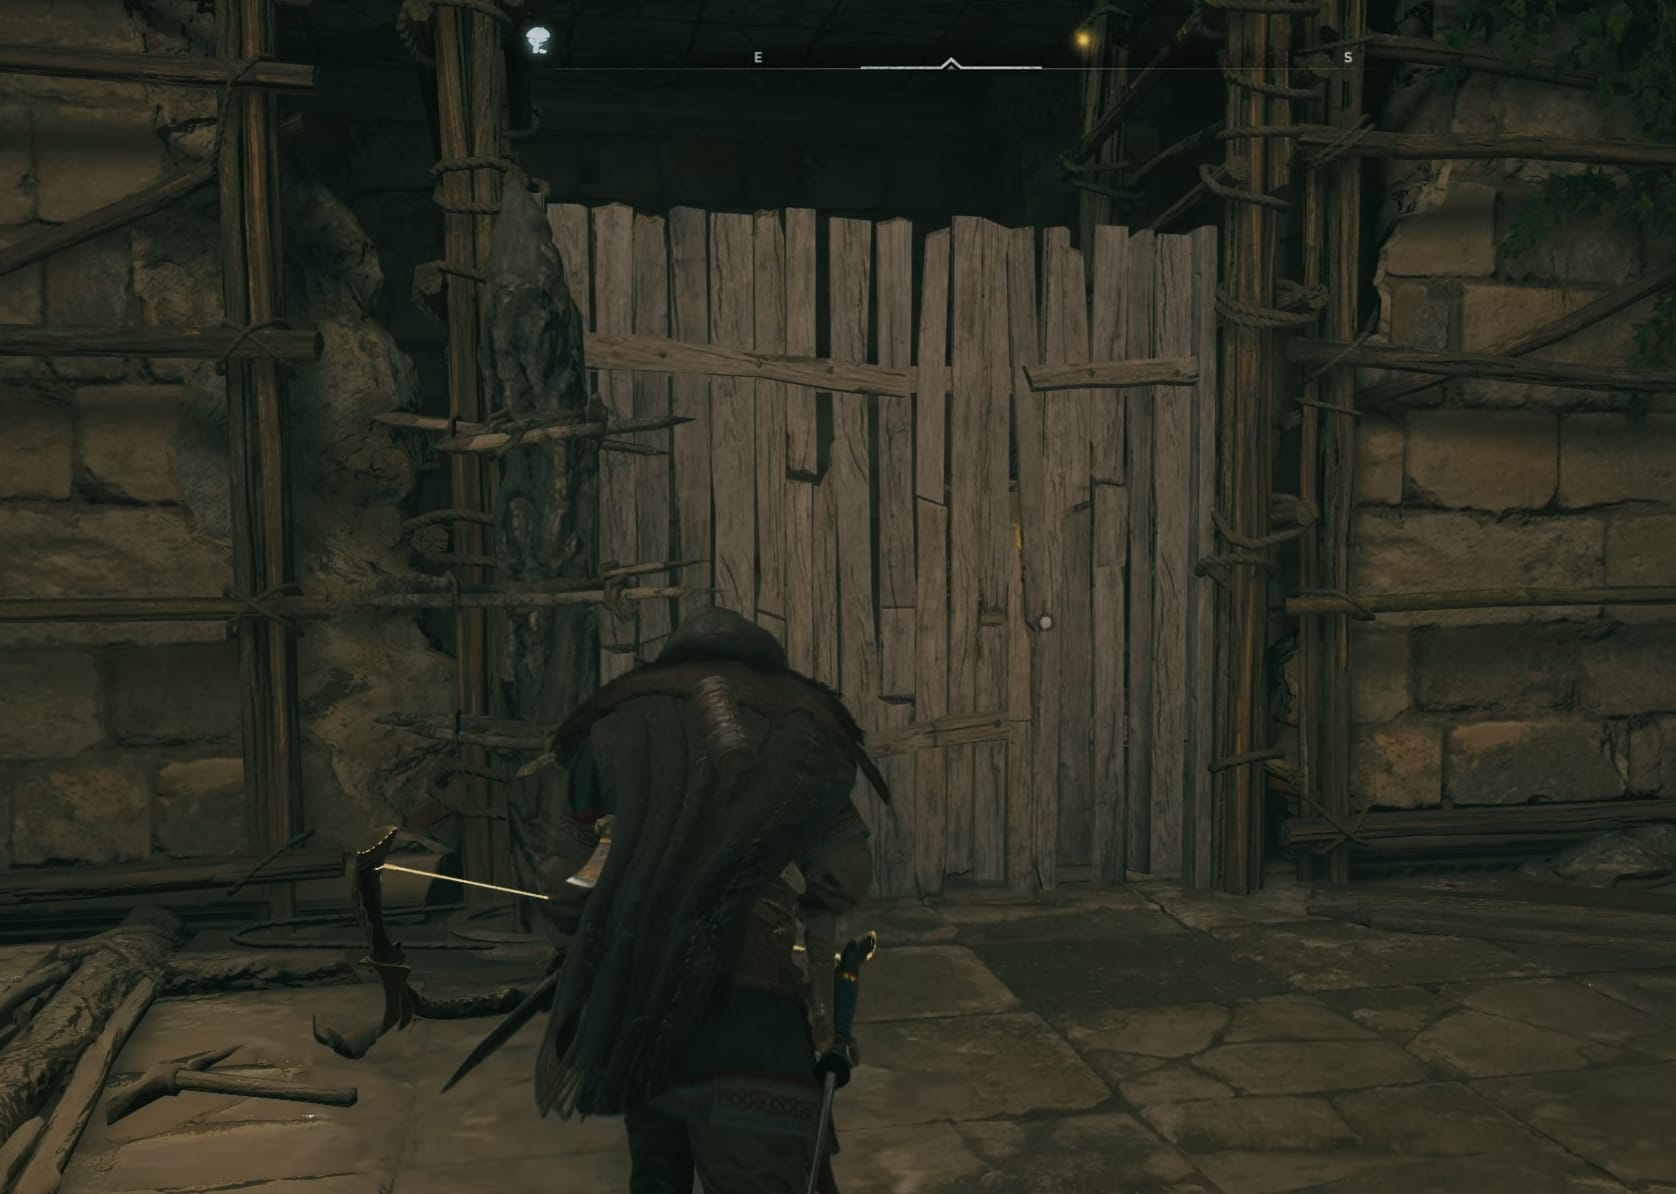
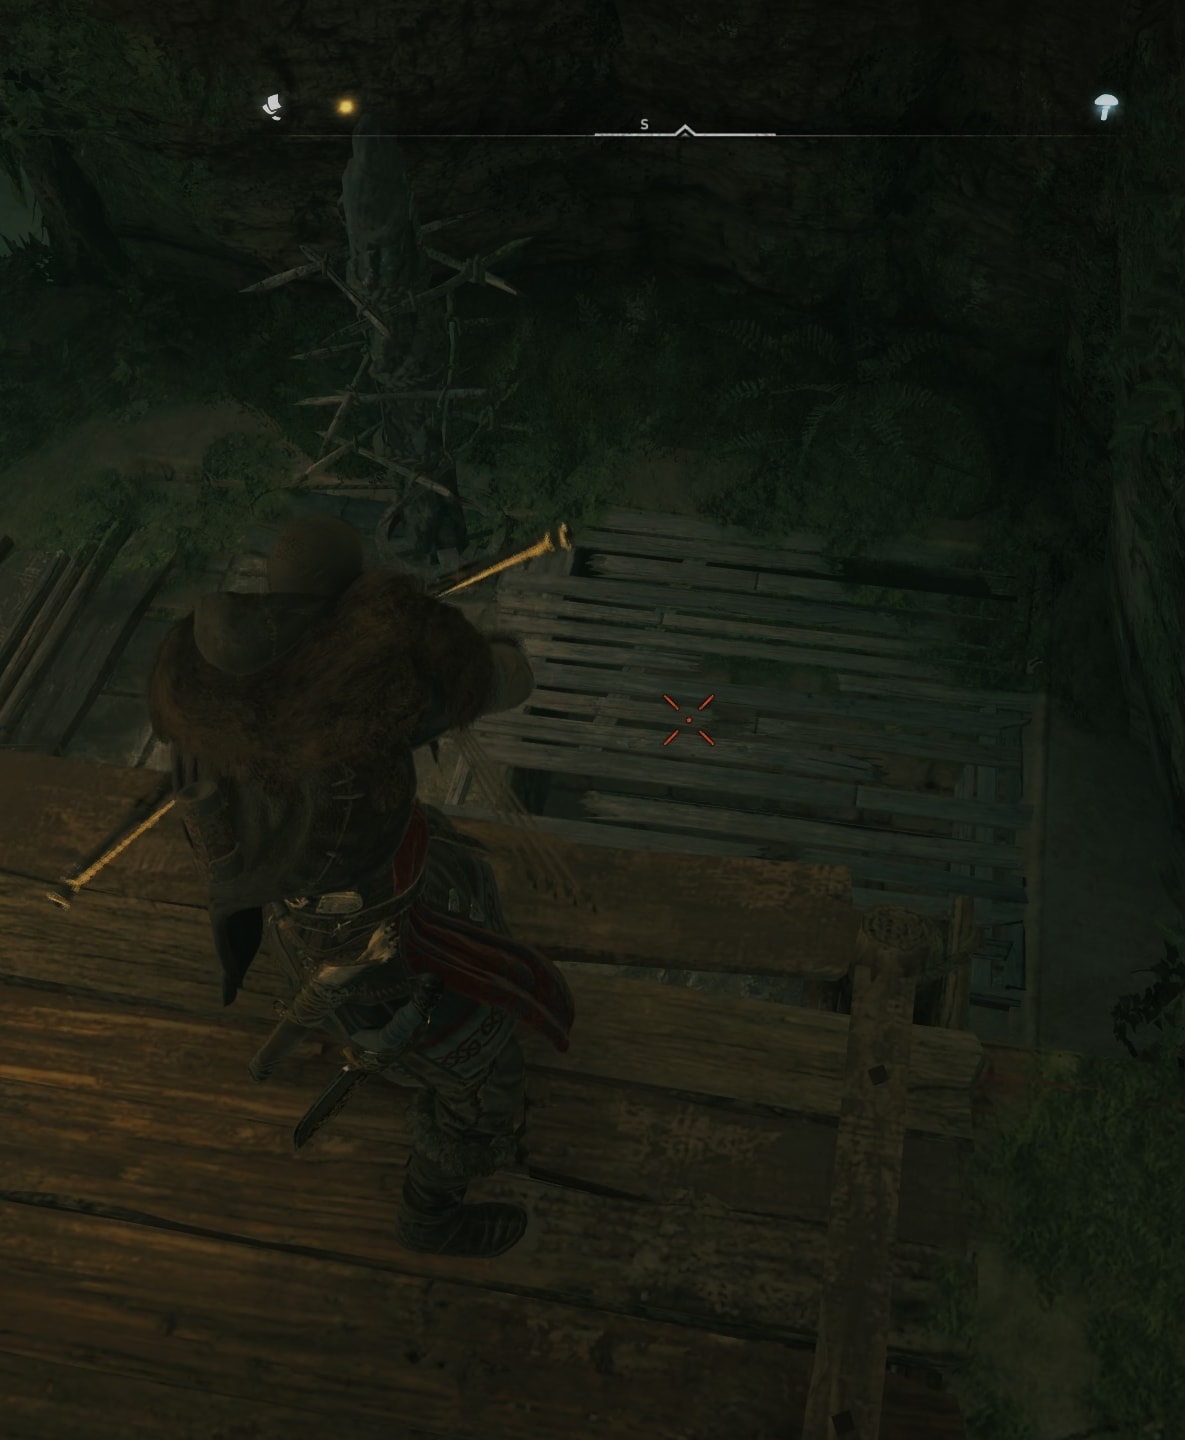
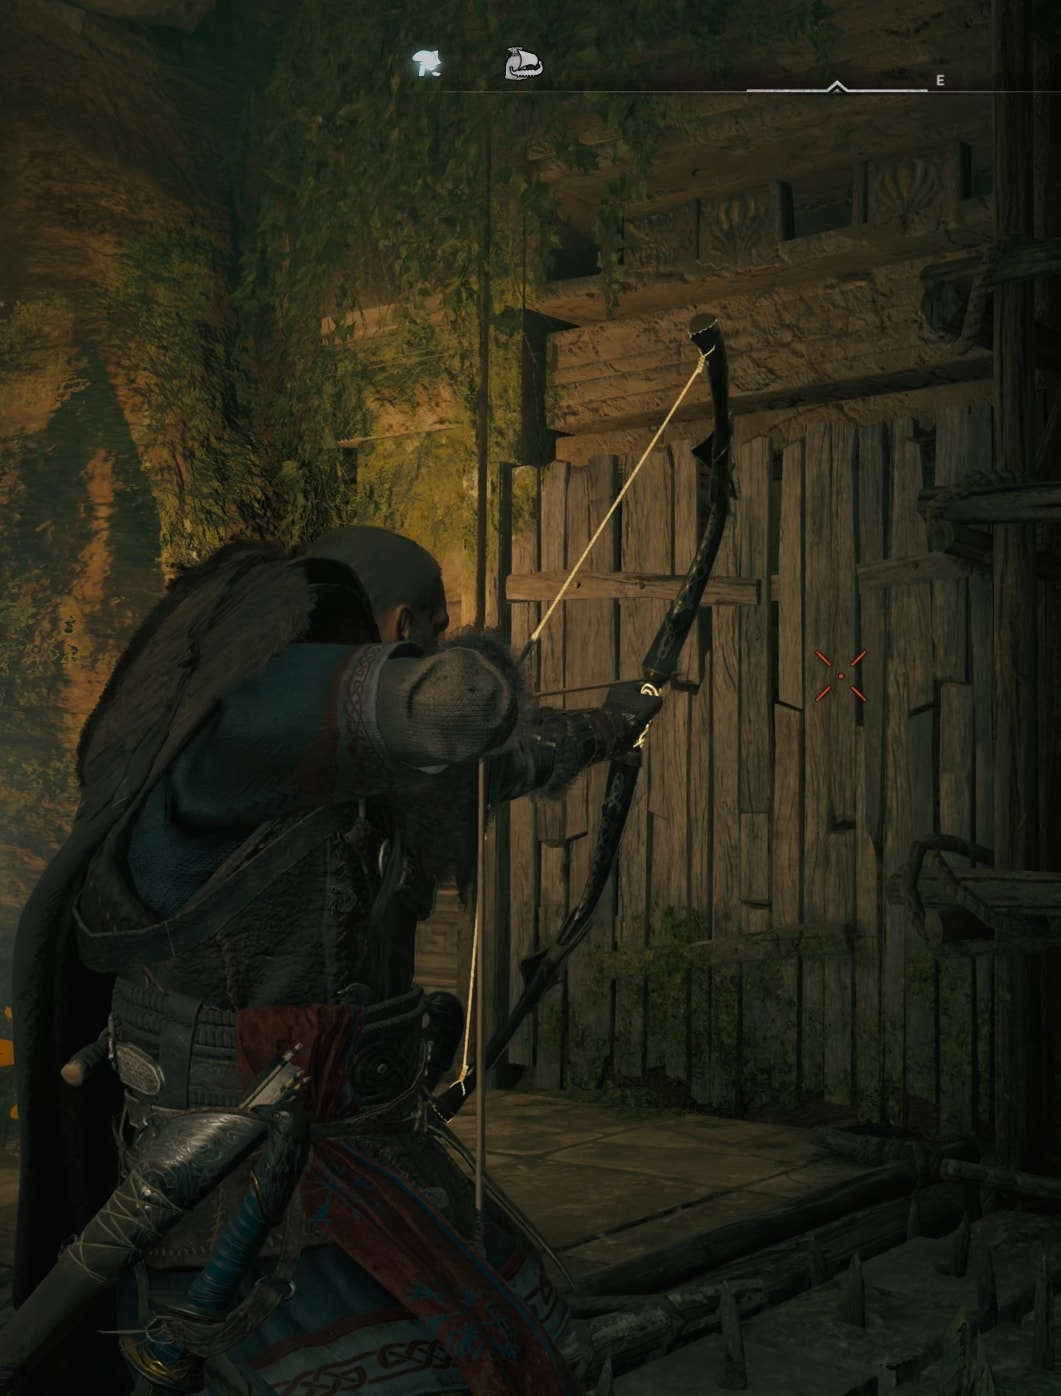
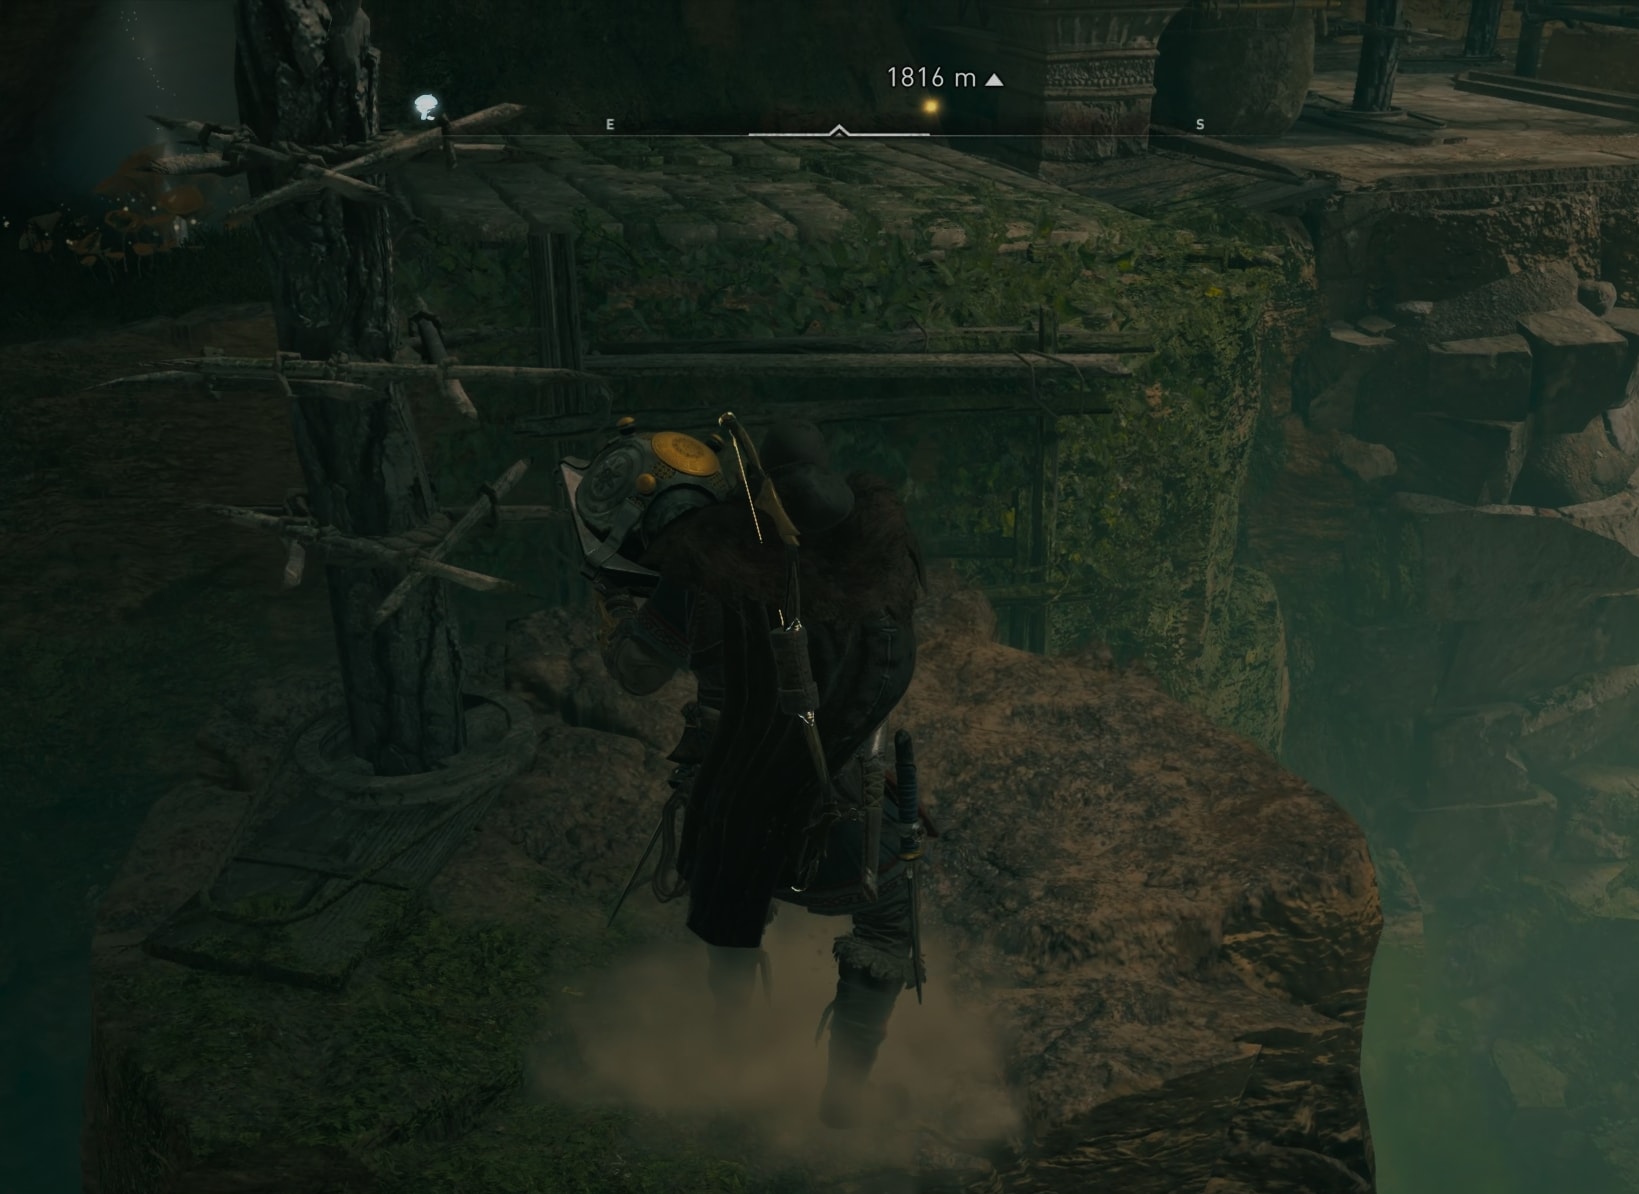
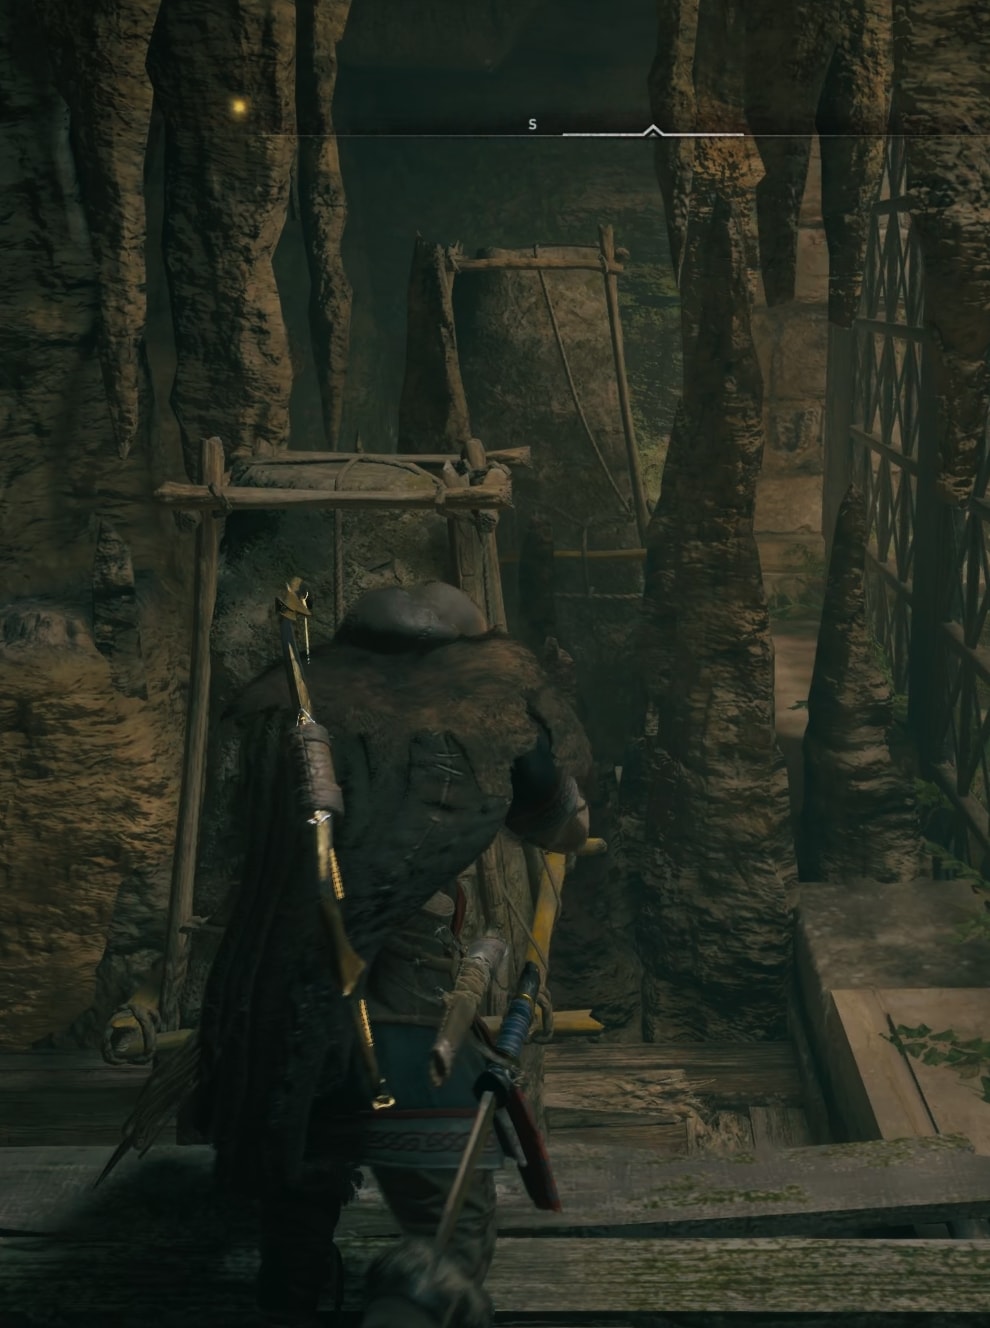
Facing south-east, find the wooden fence and break it with a melee or ranged hit.
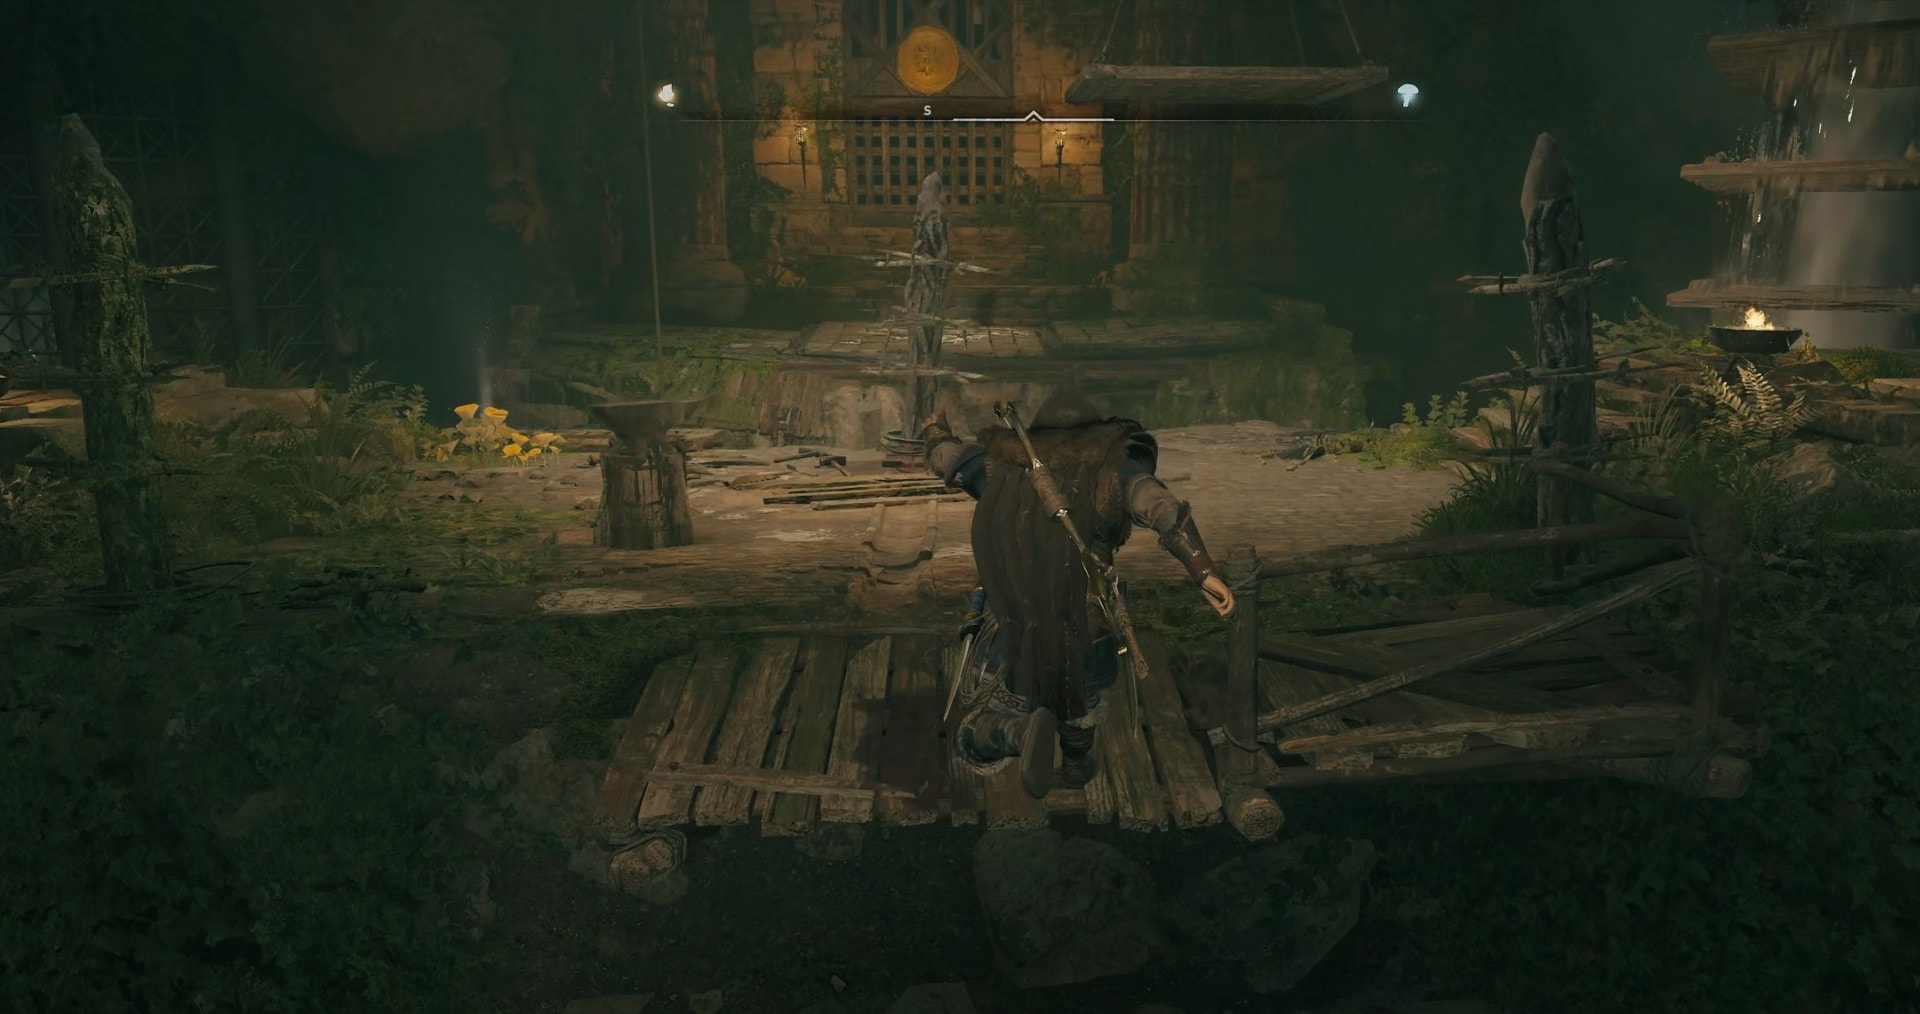
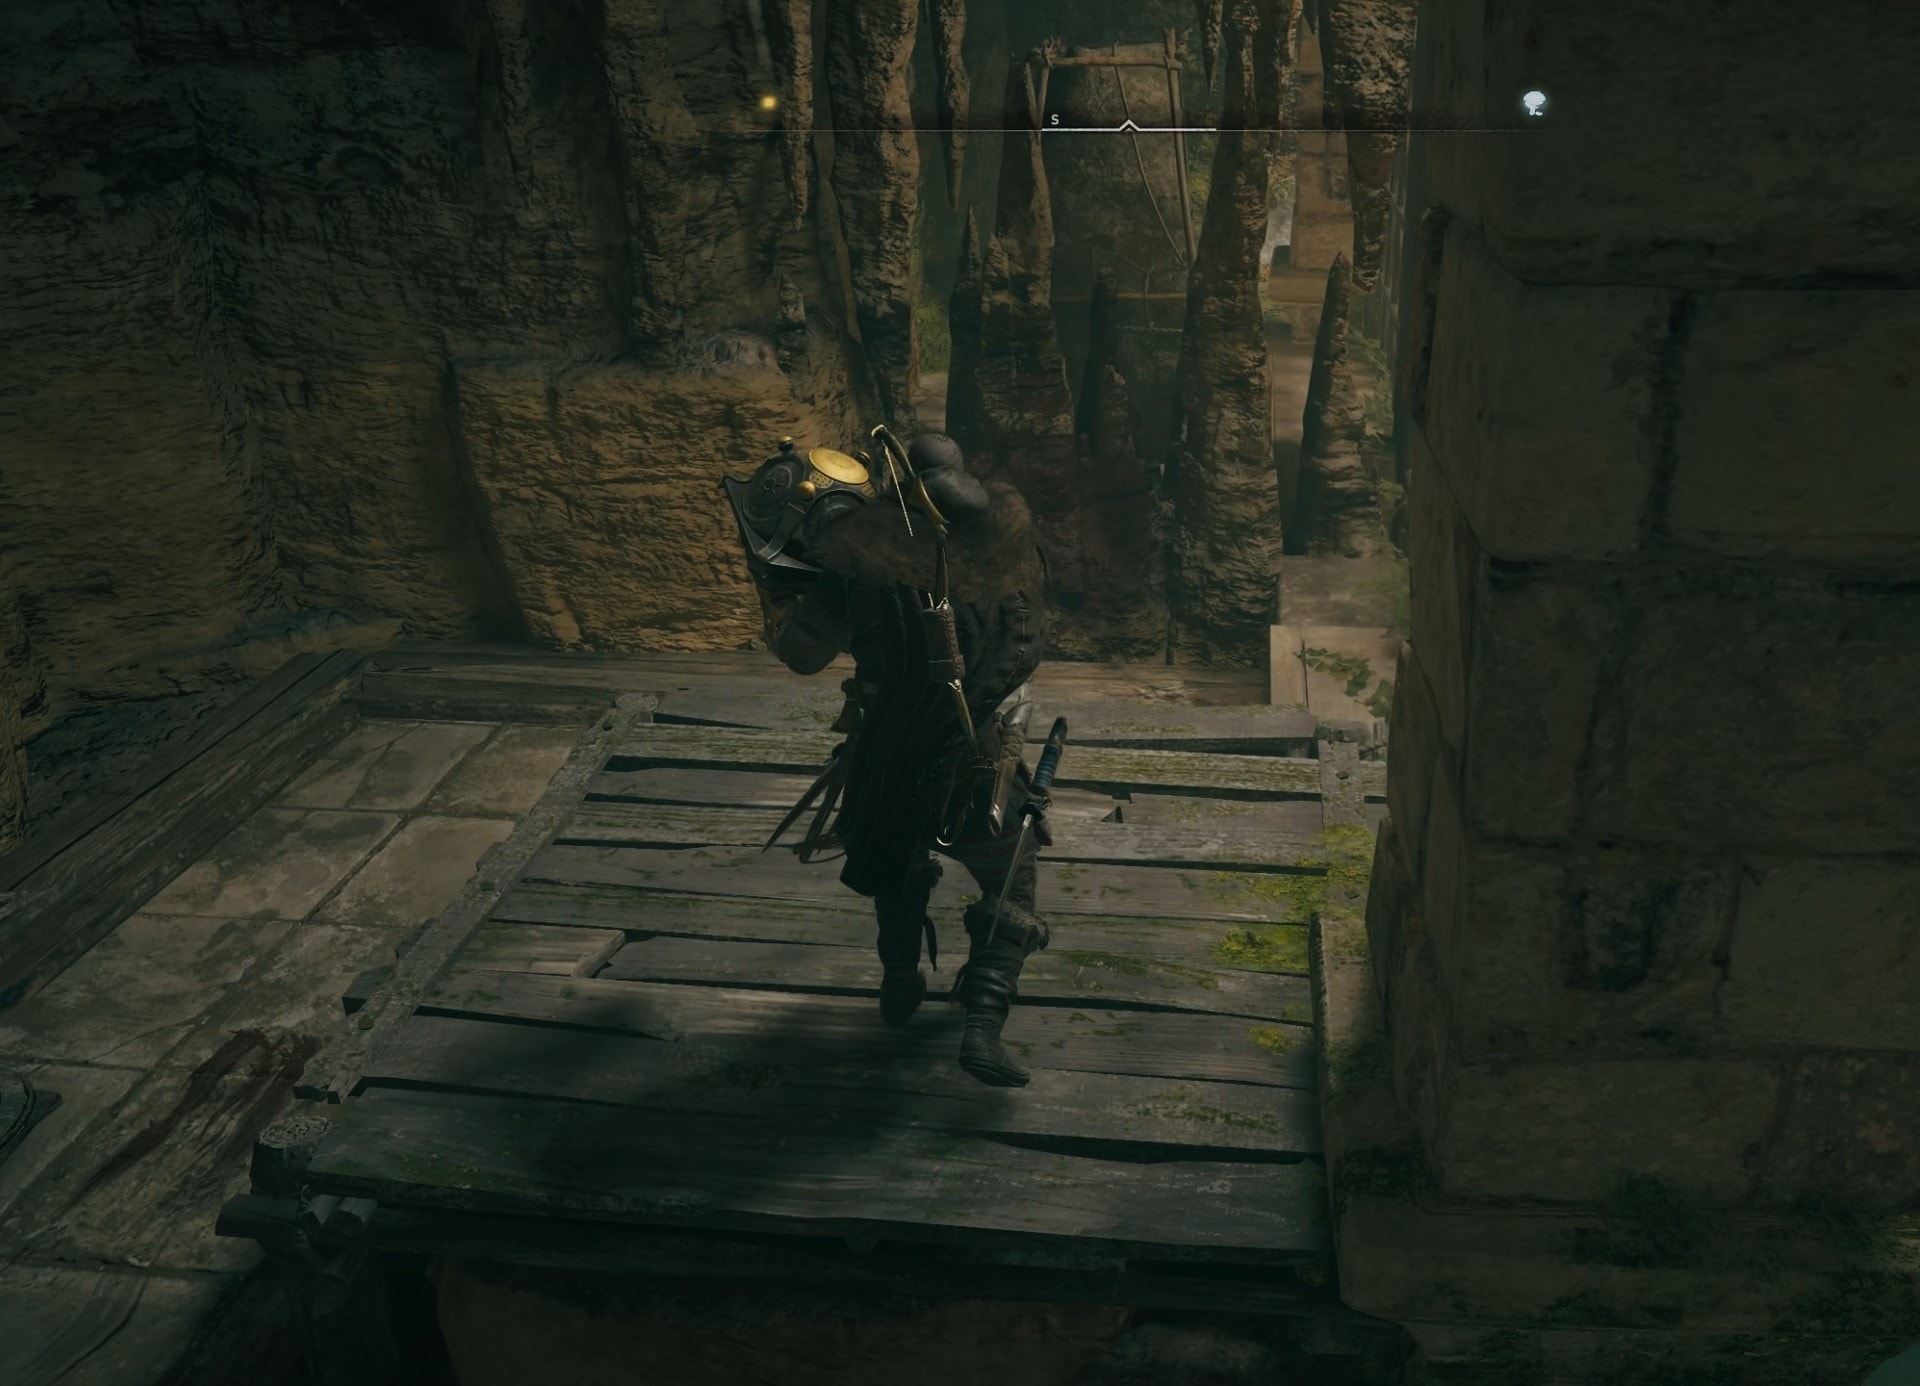
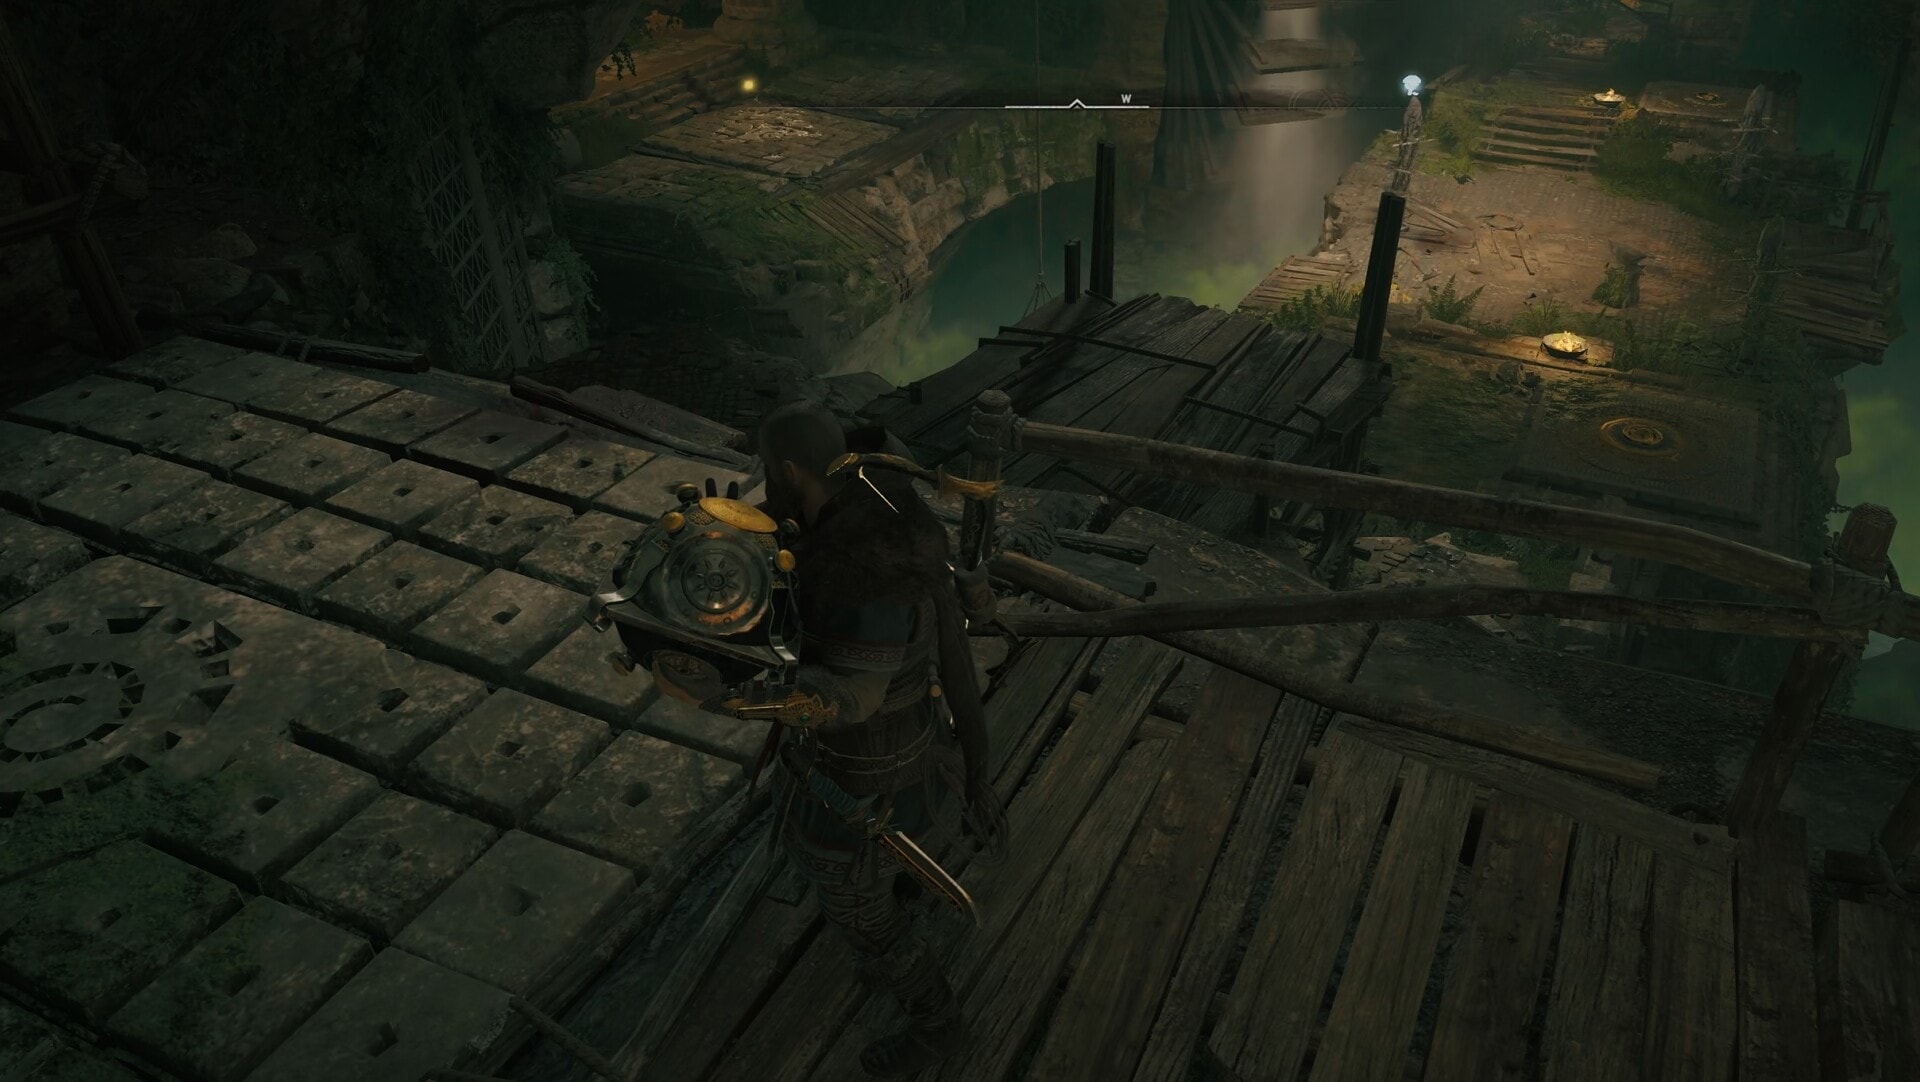
Continue to follow the narrow corridor. You will have to slide through a crack in the stone wall, run over a square-spikes on the ground and cross a giant hole by jumping from the ledge to grab to a wooden structure on the other side. Finally squeeze through the narrow crack in the wall to enter the big room with the puzzles.
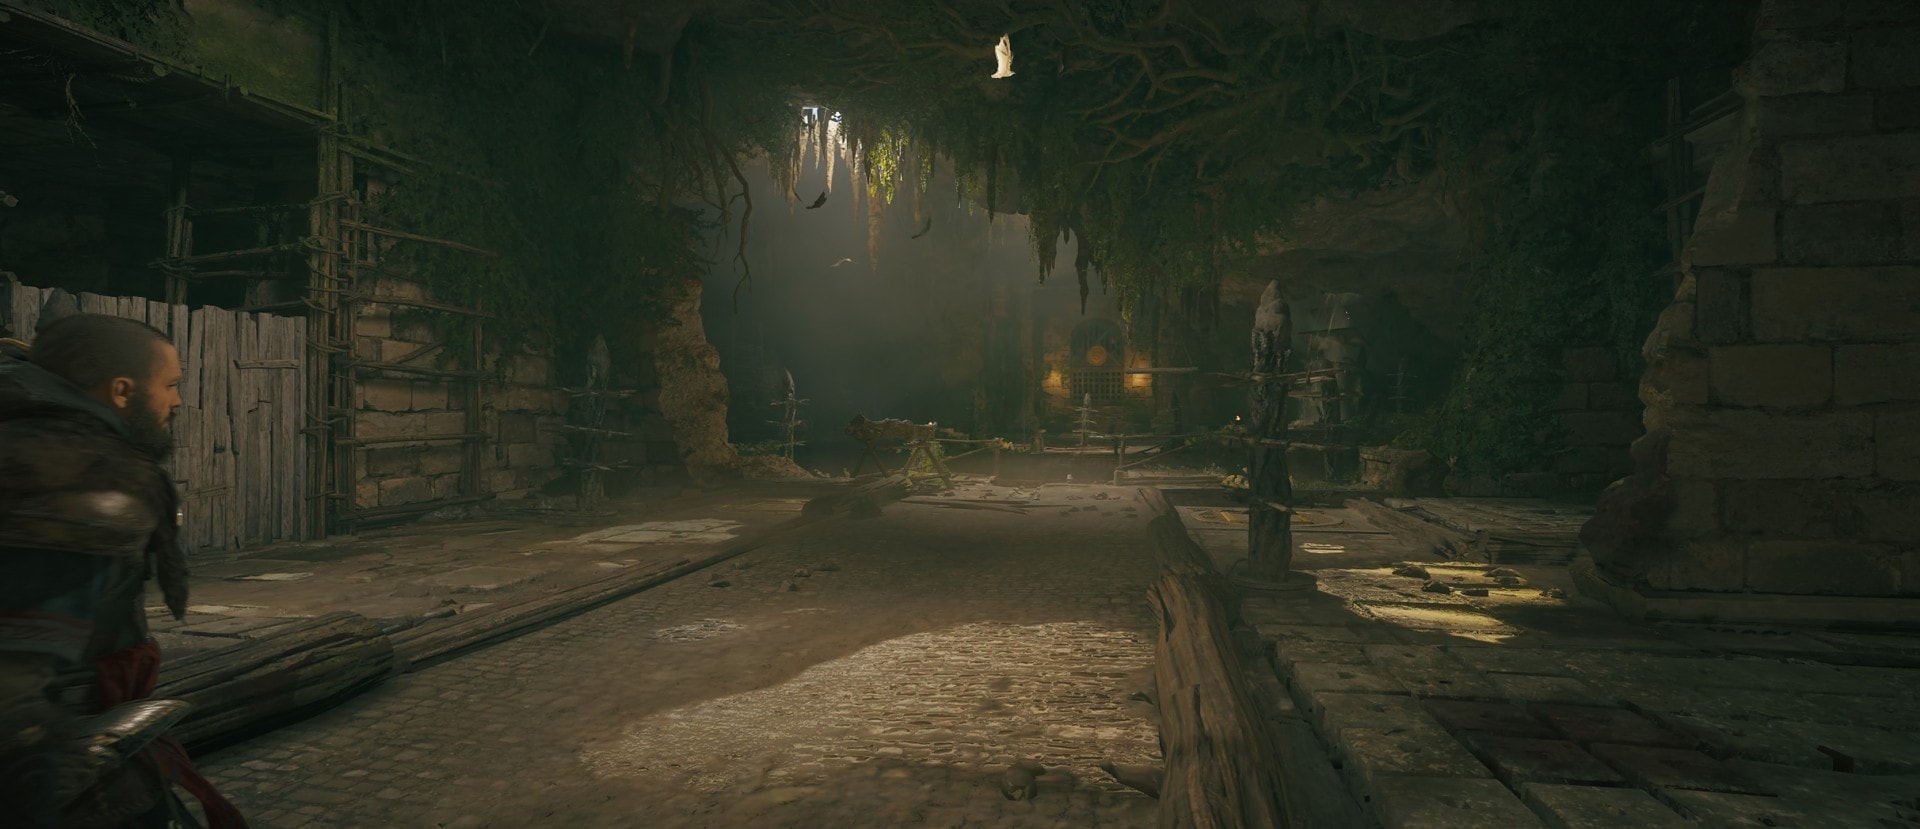
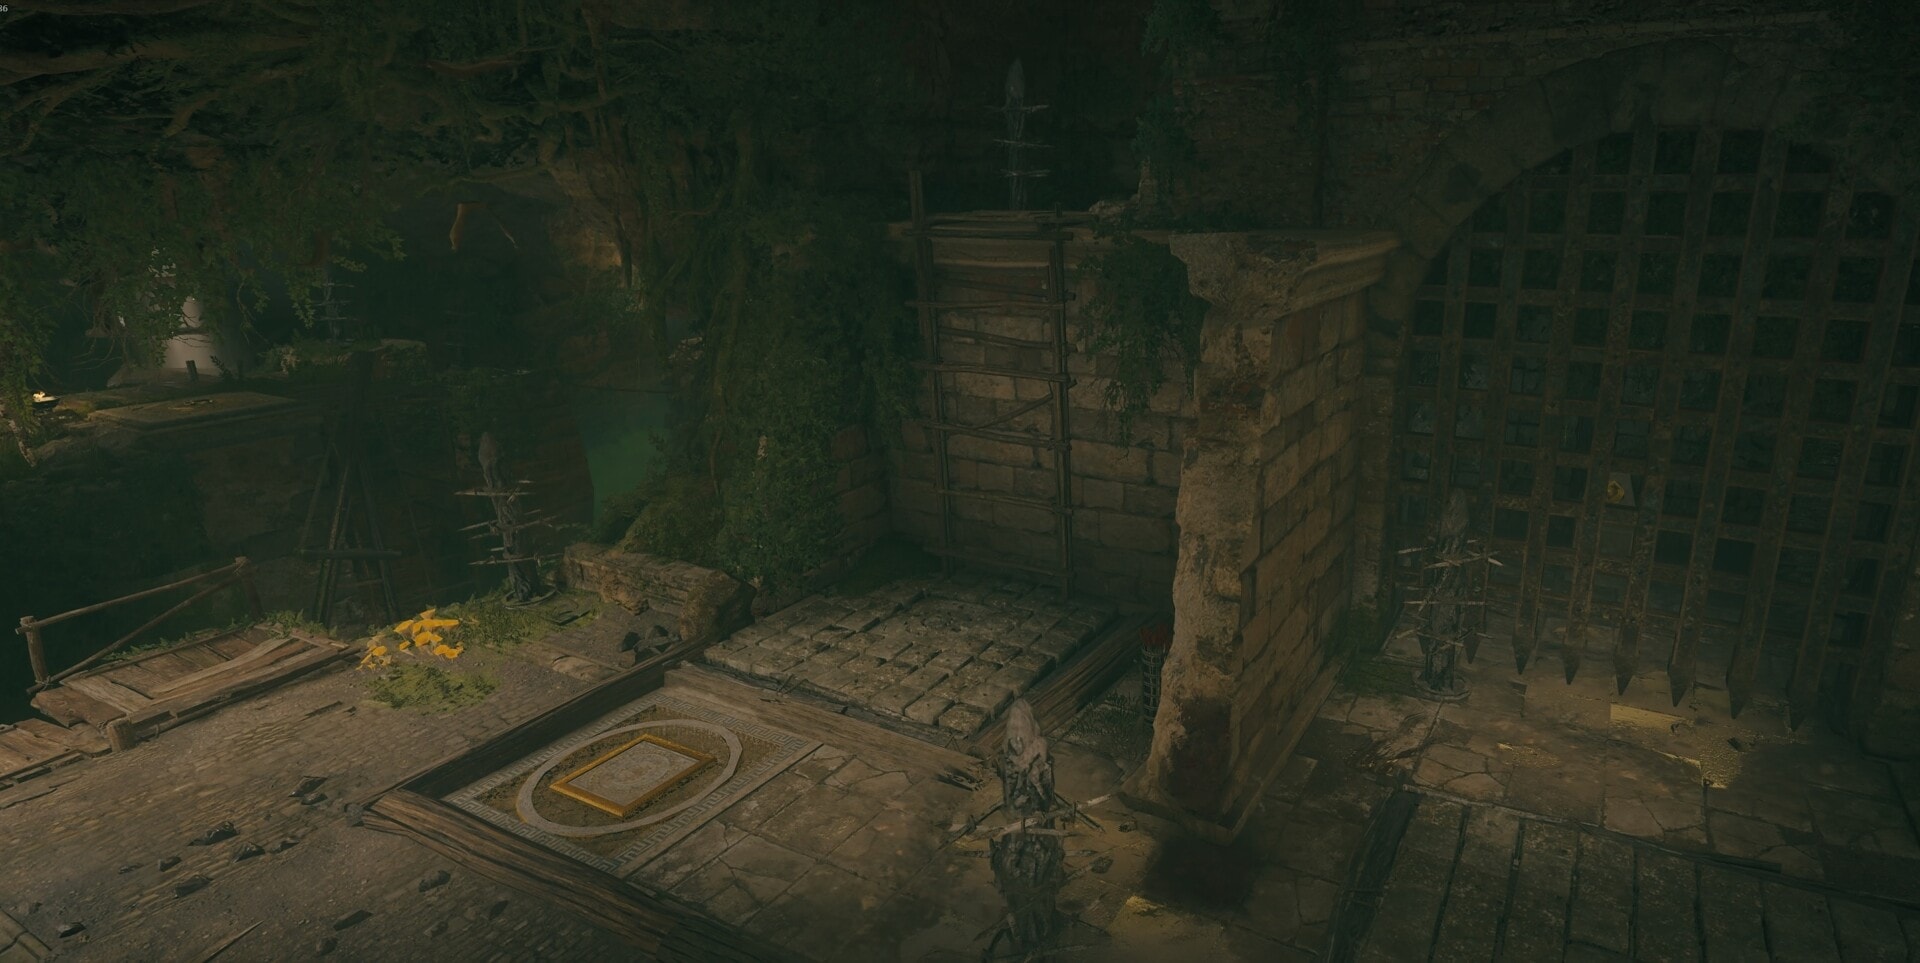
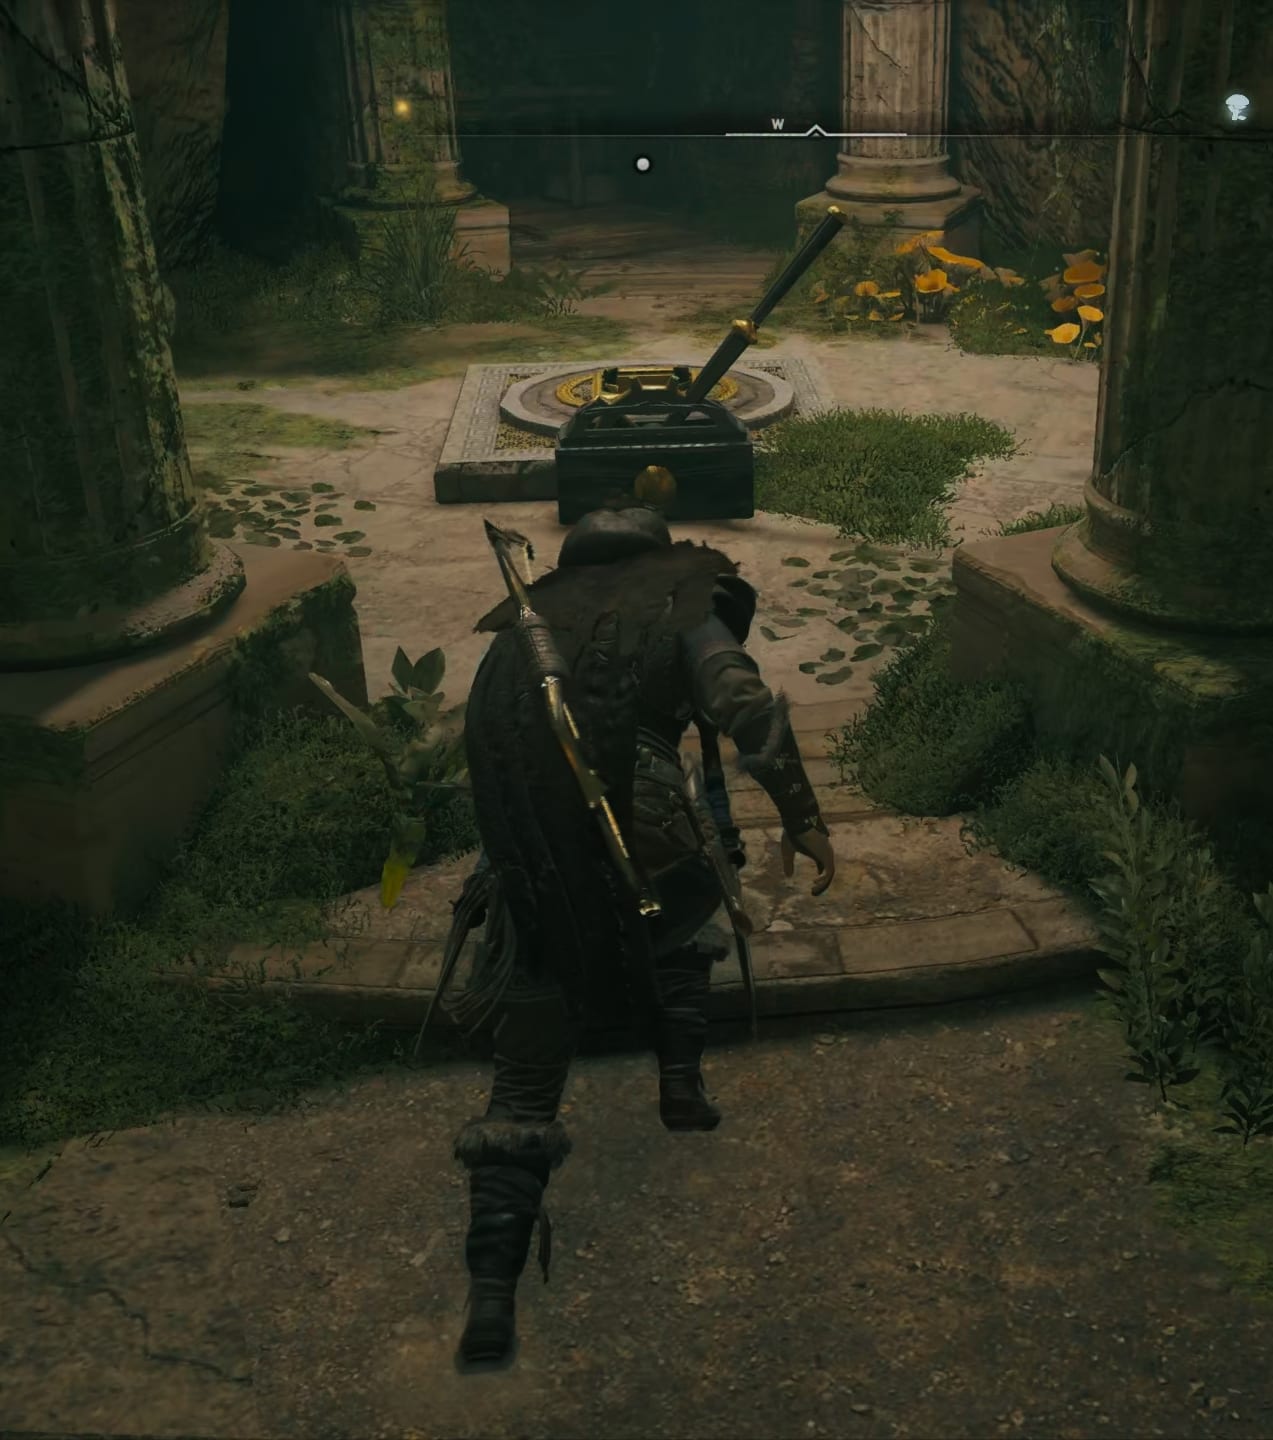
In the image above you see the big door you have to unlock. To do that you have to solve four puzzles – each one tasking you to move a heavy obelisk-like object or carry a smaller item to a dedicated location in this big room. Doing that four times will unlock the door and allow you to get the armor piece and see the final cinematic.
The big room is split in two parts with a big gap in the middle. Before the gap there are two puzzles. And after the gap there are two more mini puzzles. In the next paragraphs I will explain each one of these mini puzzles starting on the left side before the gap.
How to find and bring the left pylon
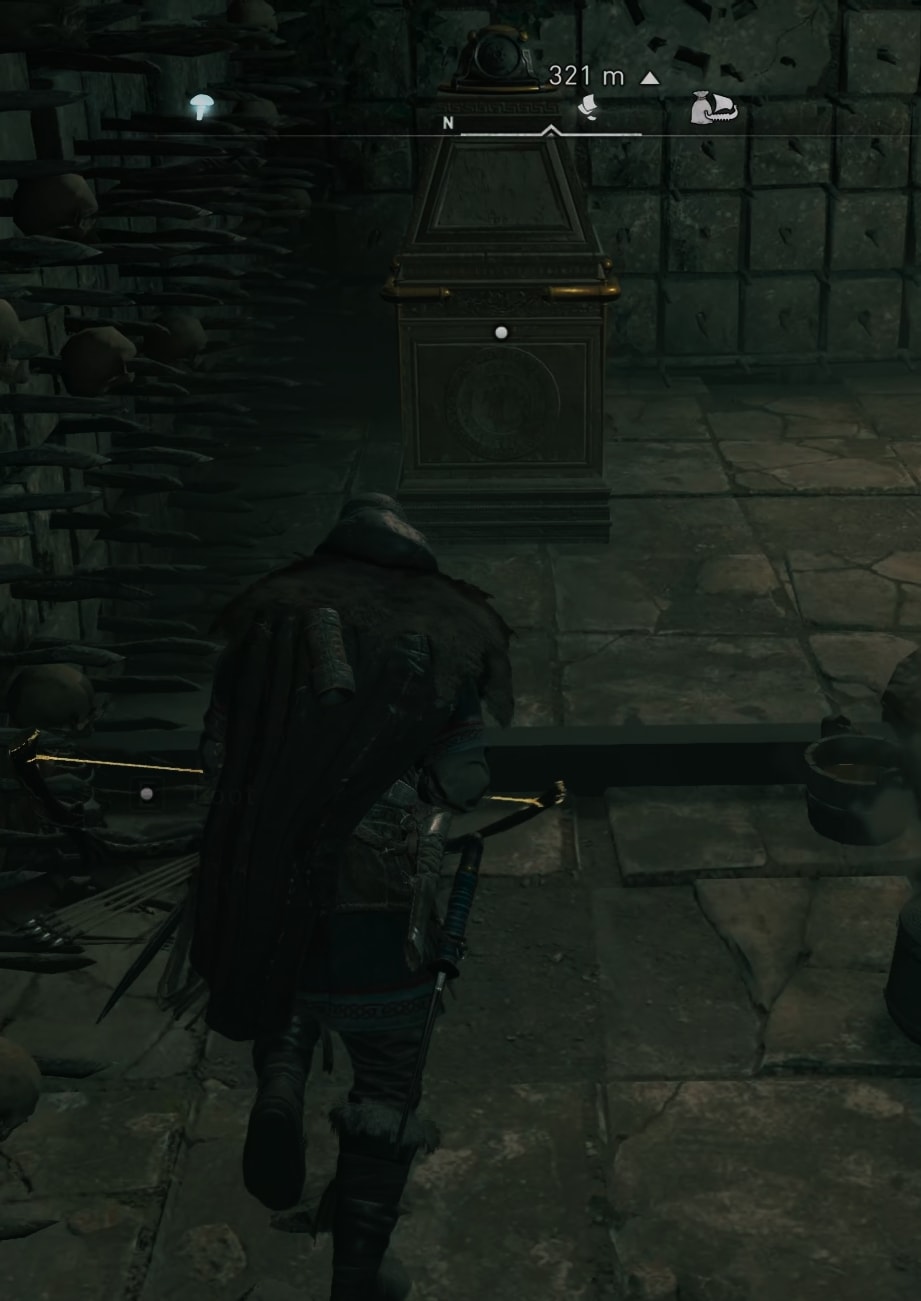
Turn to your left to start the first item puzzle. It requires you to find a square-shaped obelisk-like pylon and move it to the gold square shown in the image below.
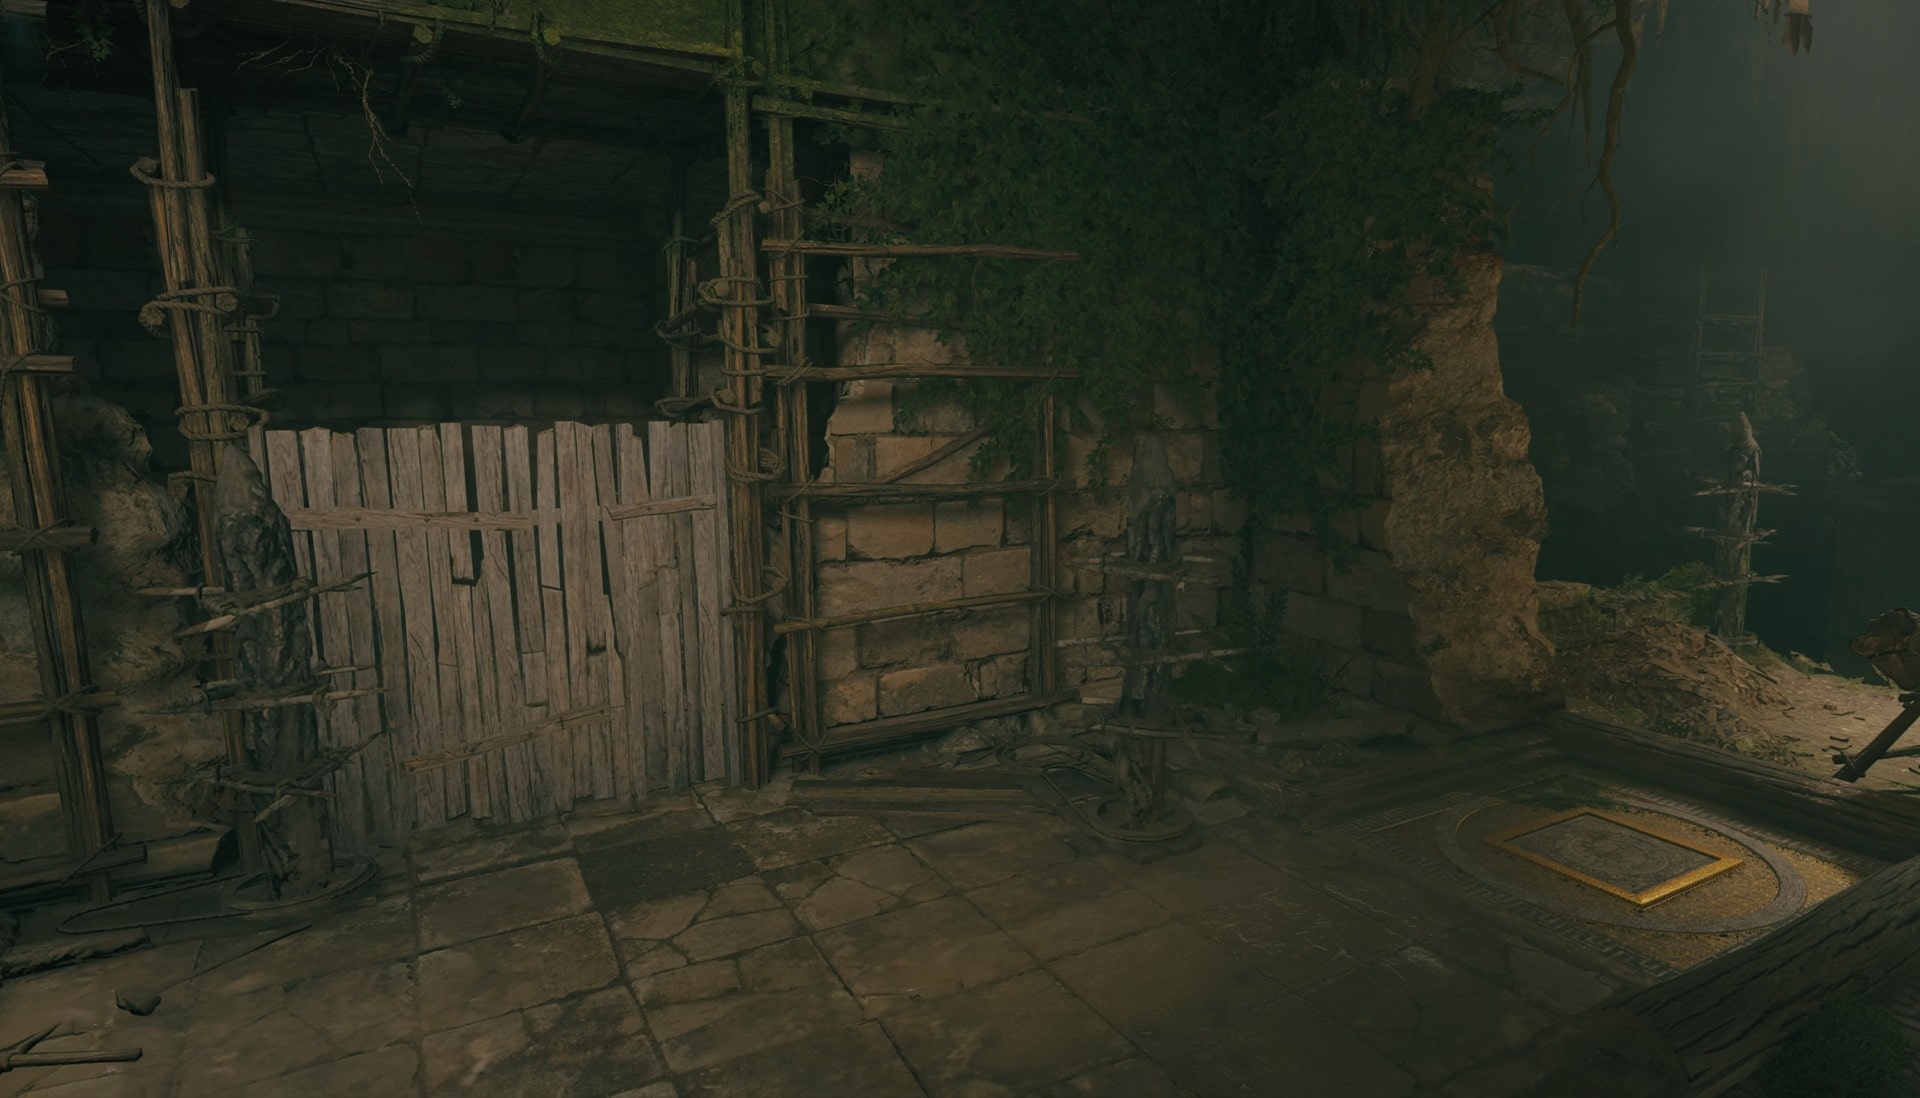
Break the wooden fence and enter that small chamber there.
Locate the pylon on your right and move it to the square symbol on the floor of the big room.
How to find and bring the right pylon
Next, time to find and place the heavy pylon on the right side.
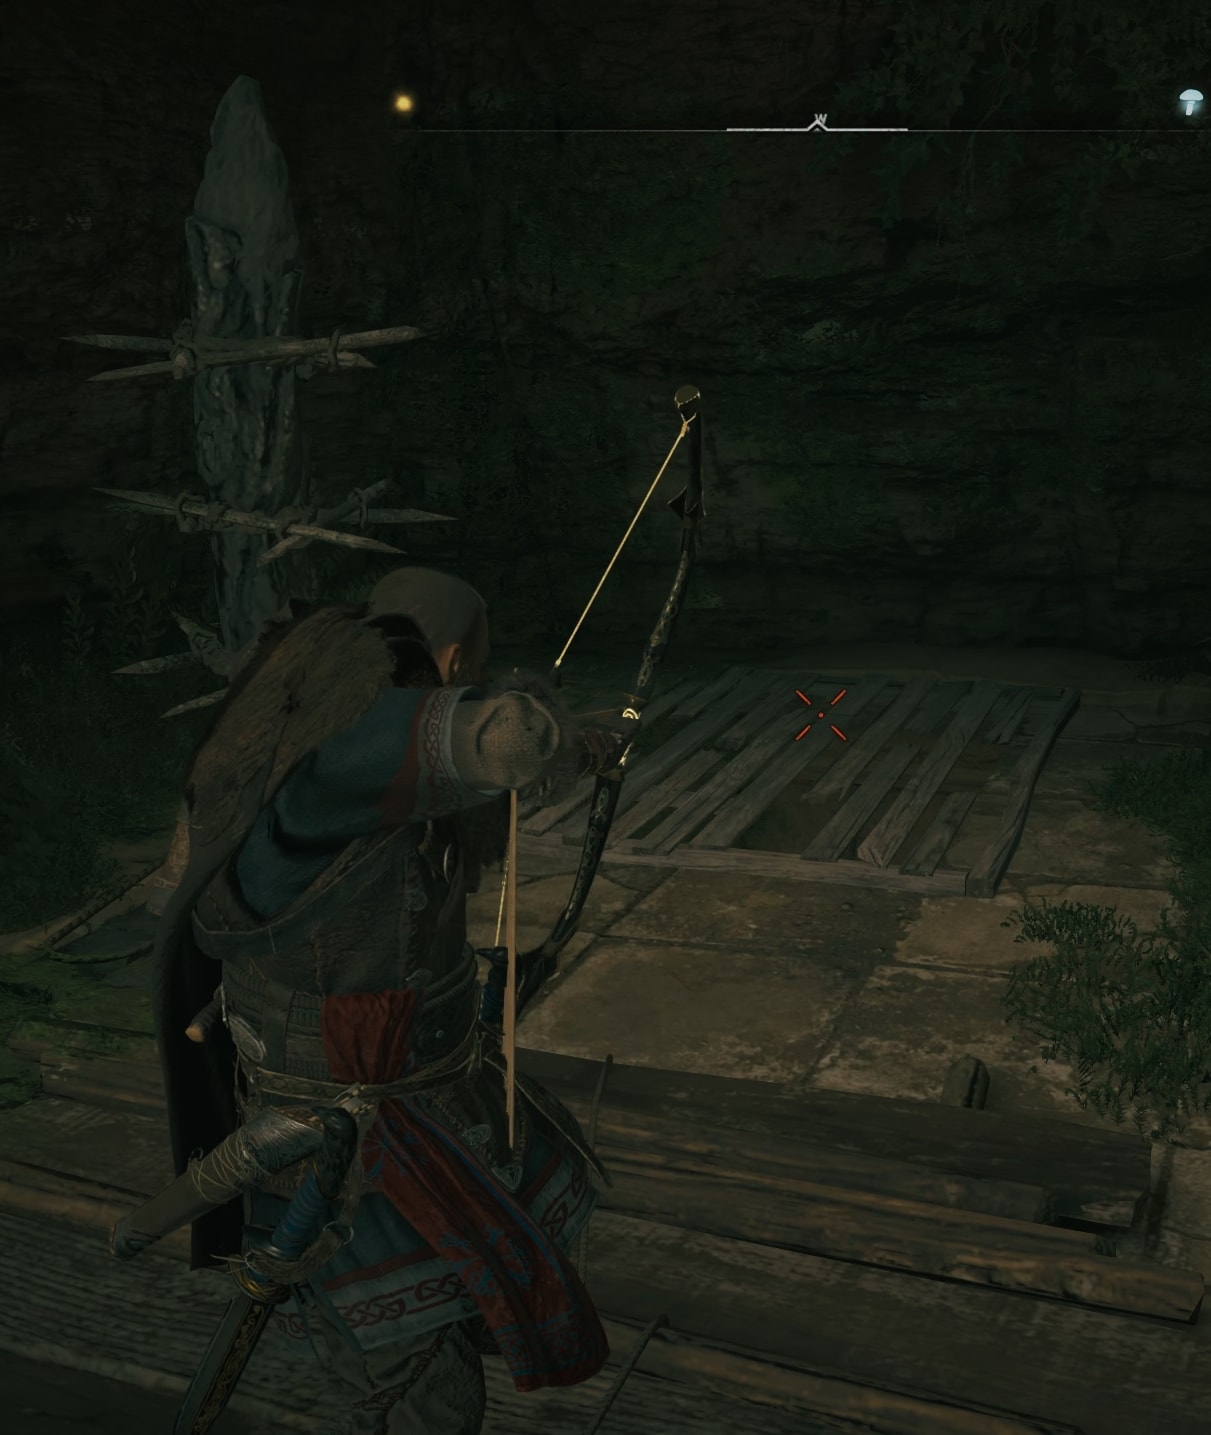
On this side climb up the wooden structure, blow up the weak wooden floor and turn to your right. to climb up some more.
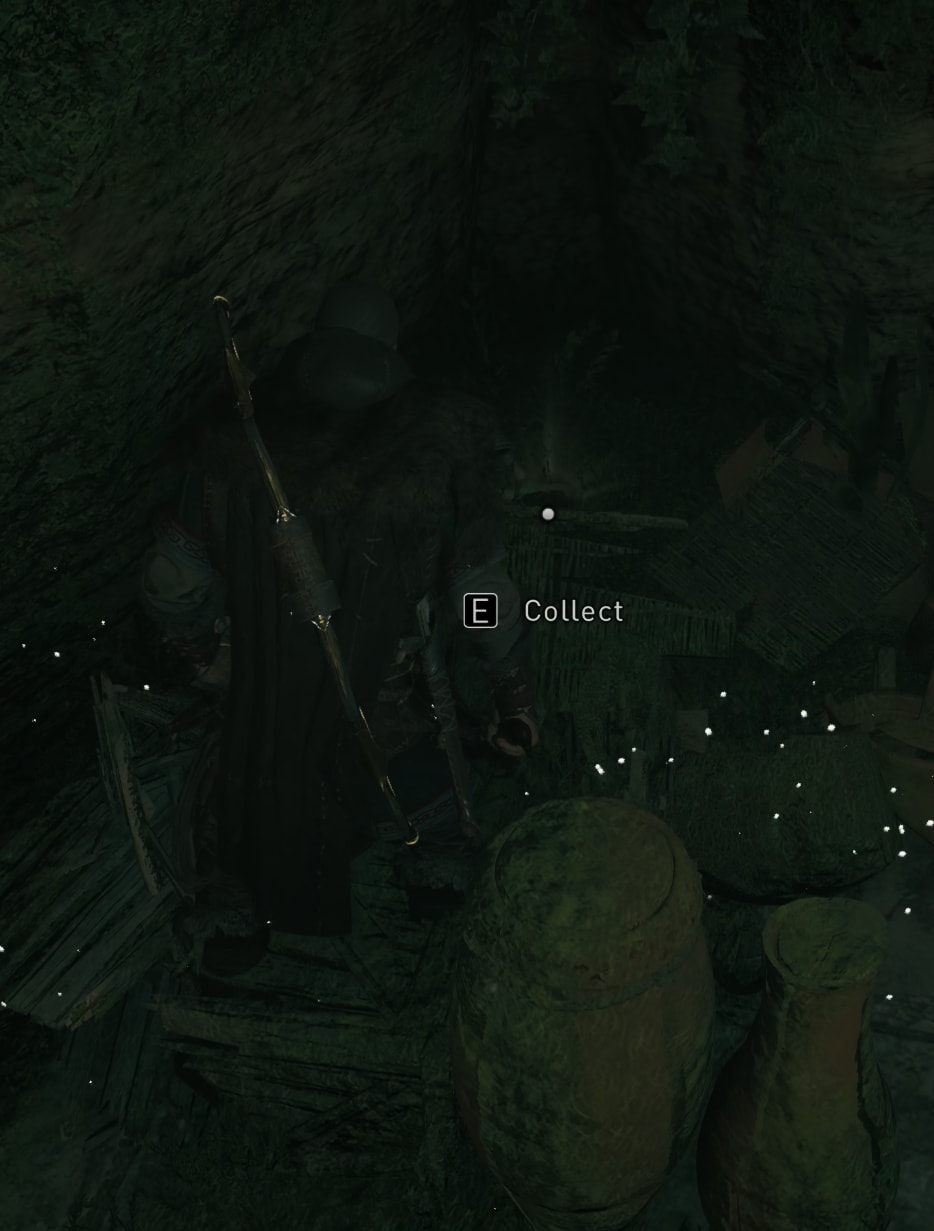
There’s an Opal behind the crates in the end of this small area.
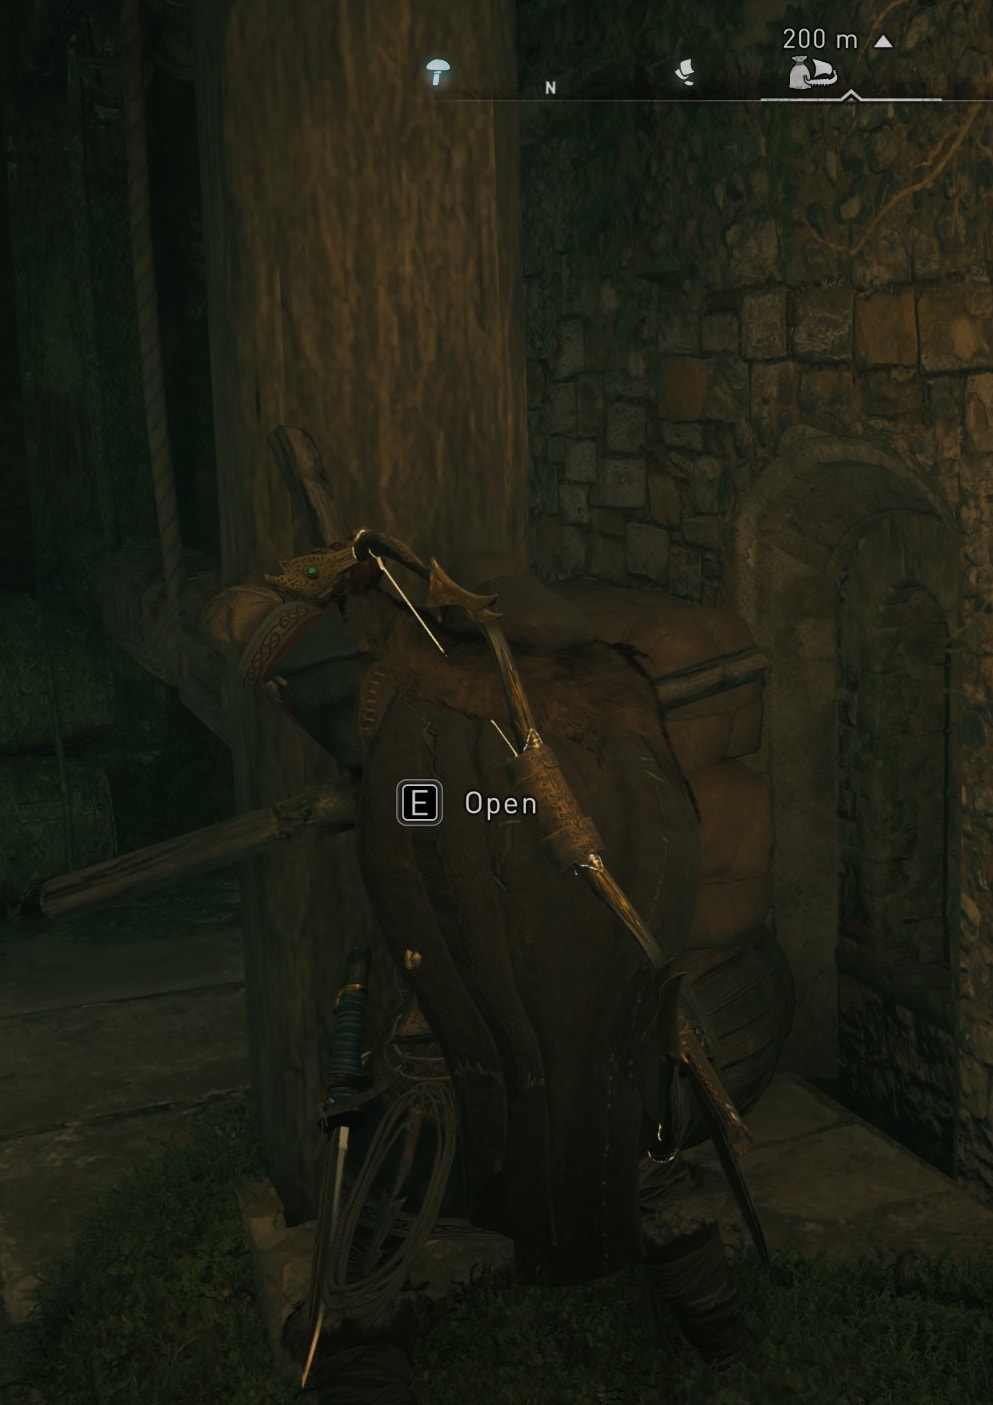
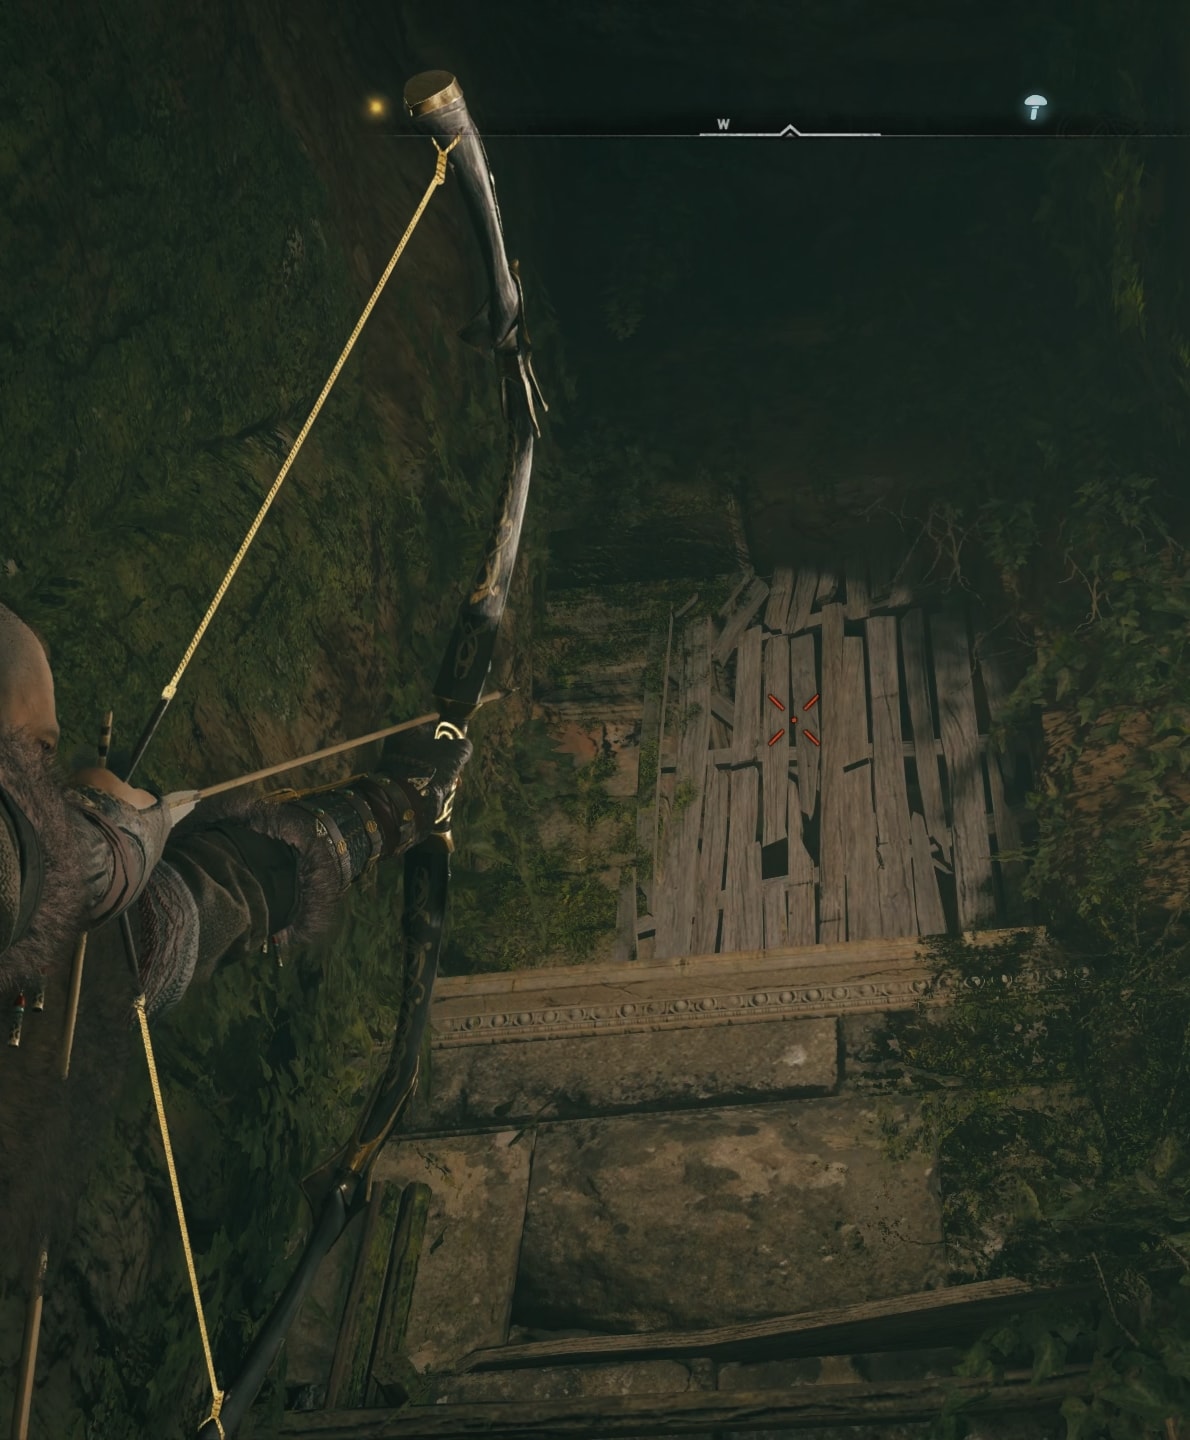
Turn back and on your left you will see a mechanism that will move a door you need to go through. Turn that wheel and see the door opening up on the lower level.
Break the wooden floor and jump down.
Move this pylon to the marked slot to solve this puzzle. Note that you can only move these on flat surfaces. You’ll need to do some “driving” around to move it past the spikes on the ground.
How to find and bring the third item (left side)
Cross the gap in the big room to get to the south section of it and reach the third and fourth mini puzzles.
After the gap there are two more puzzles with items you need to find and bring to the two slots.
On the left (east) side is a circle-shaped item you have to find and carry to its proper position.
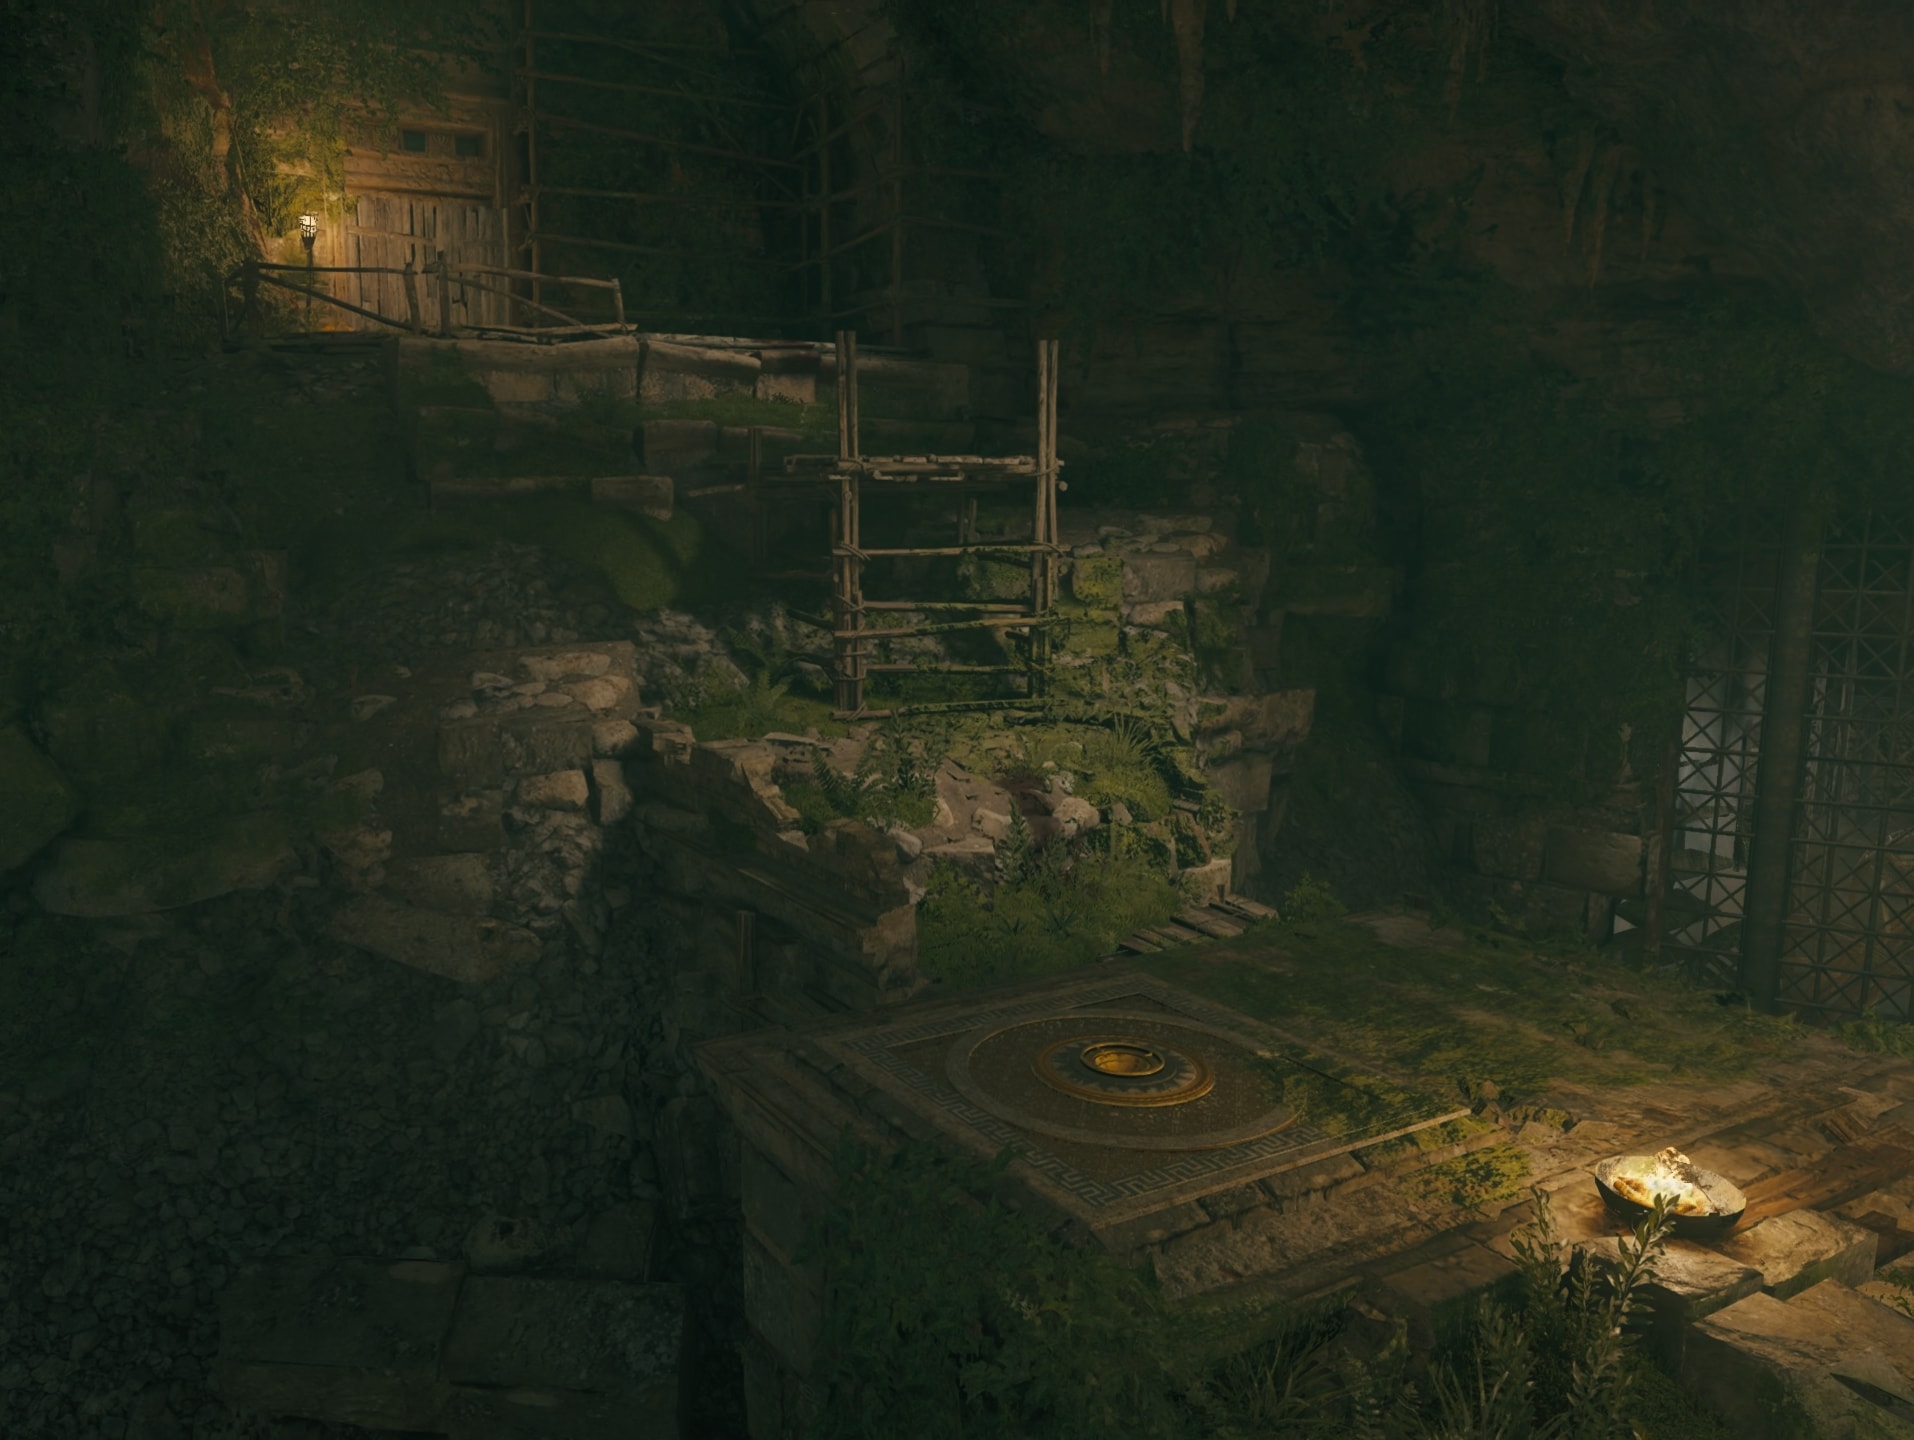
Climb up the wooden structures to reach the spot with the weak wooden fence and break it. Be mindful of the spikes coming from the ground in front of that fence.
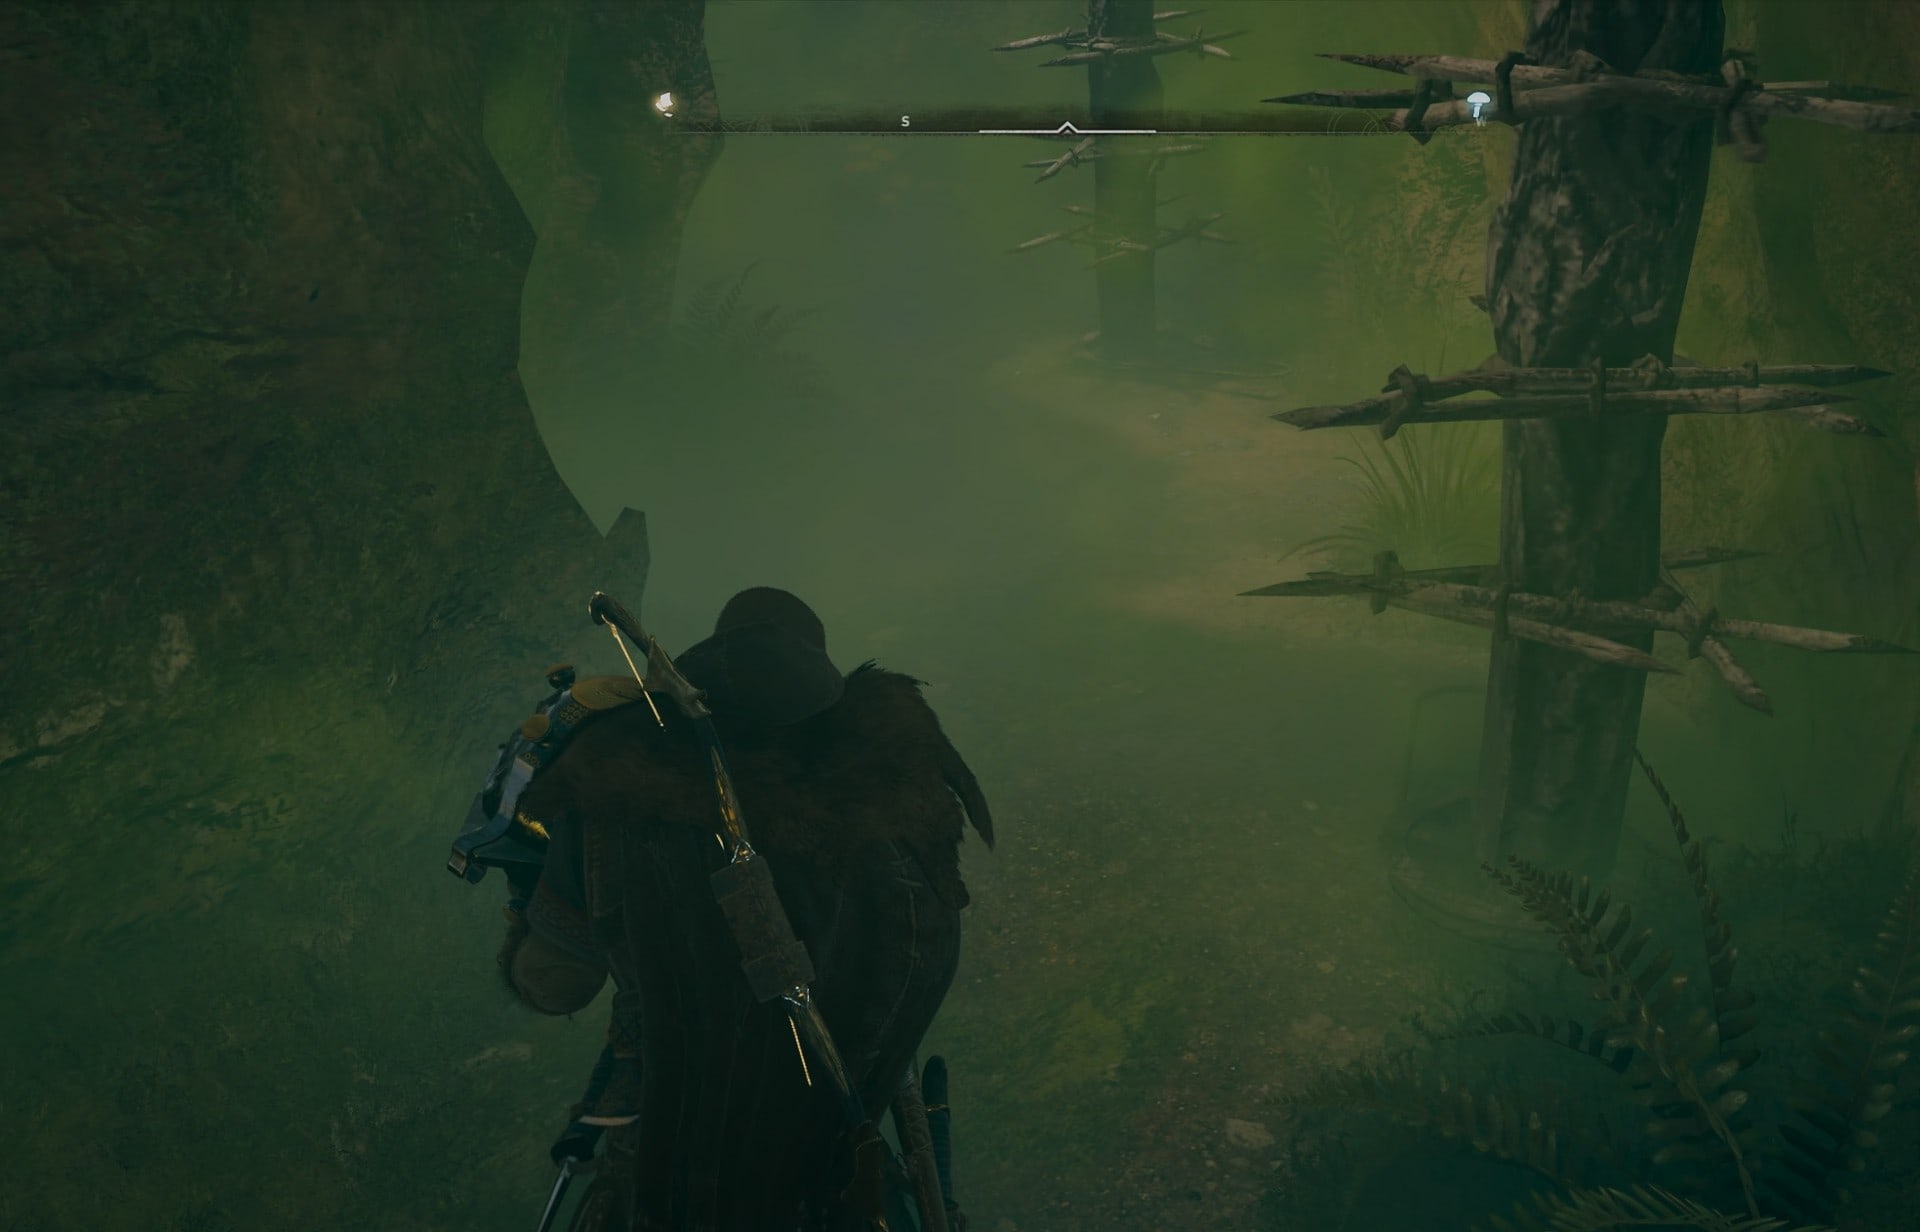
Follow the path that leads you to a big open cavern with poison at the bottom. You can throw a torch there to clear up the poison temporarily.
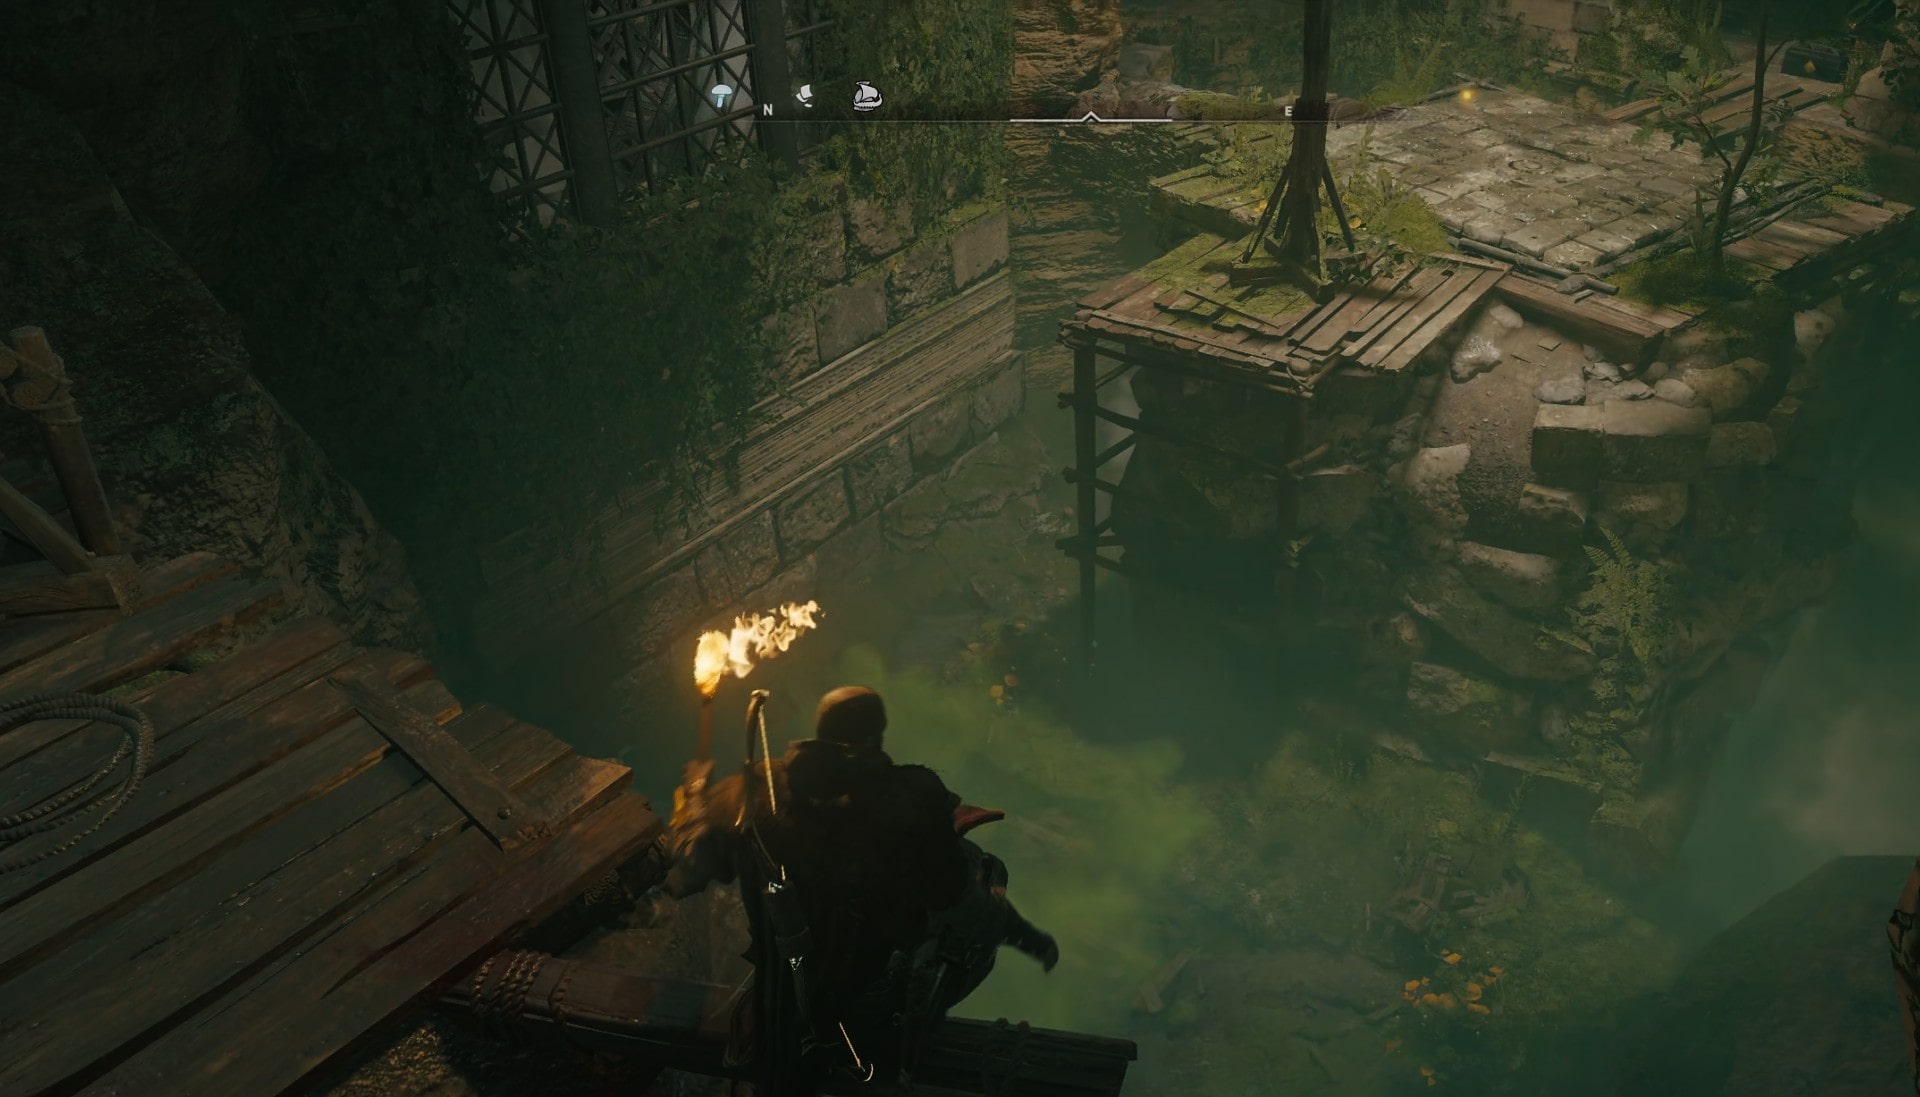
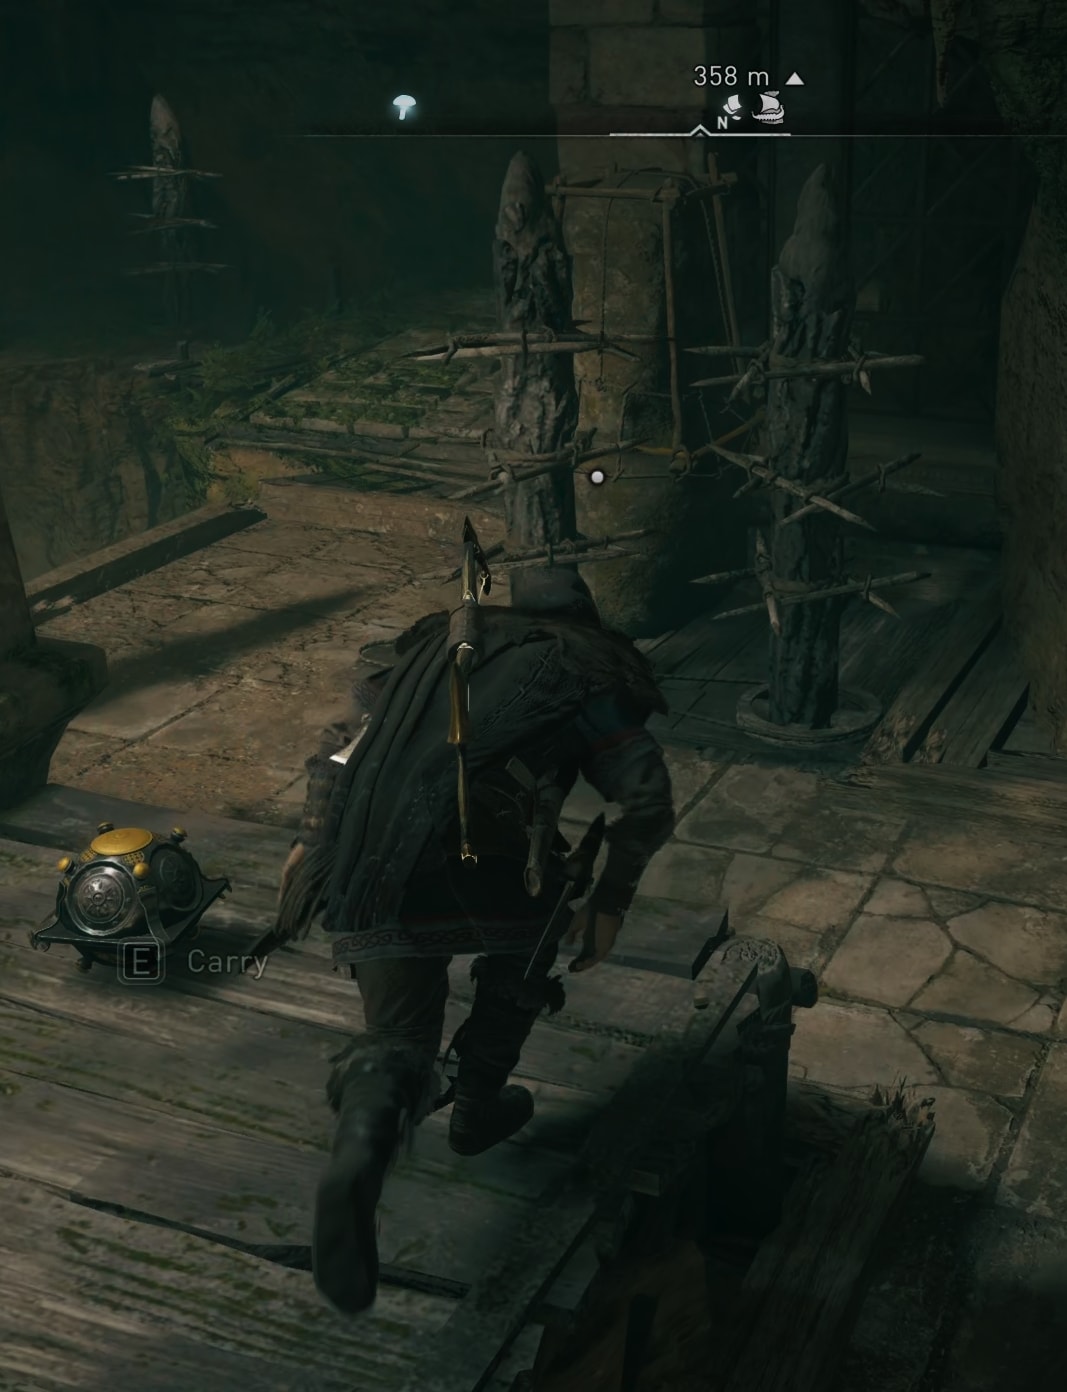
Take the rope to make it quicker and get to the platform on the other side. Get to the lever mechanism in the end. As you land down continue moving as spikes will come up from the ground a moment later.
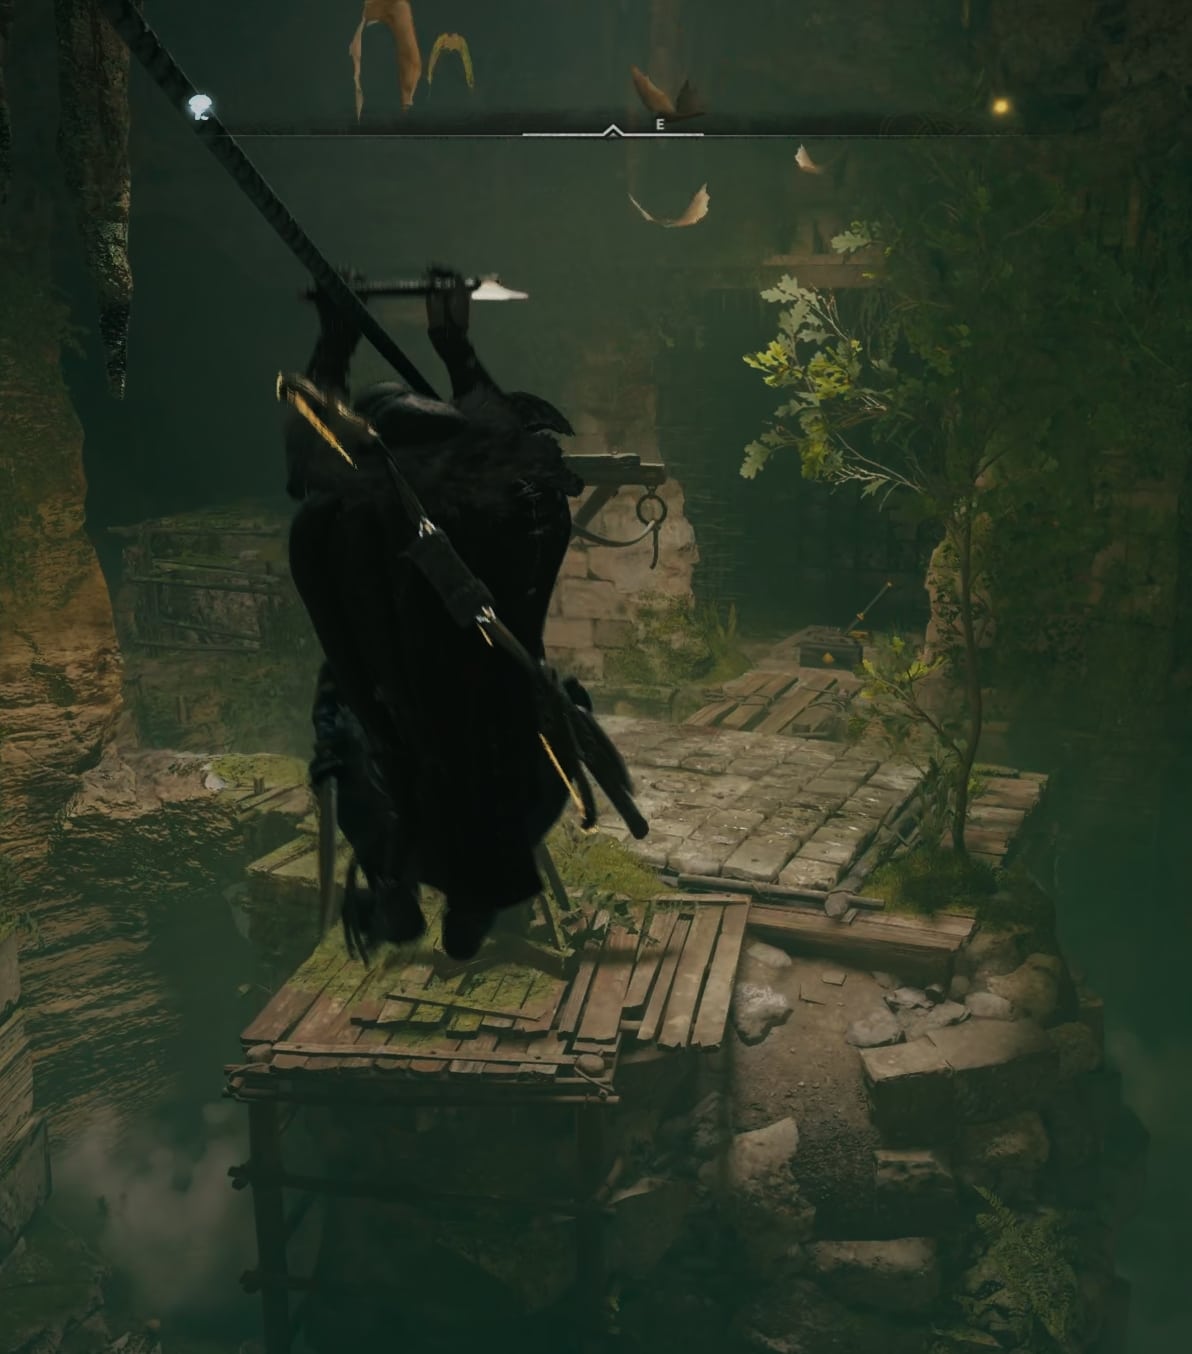
Interact with the lever to spawn the small item you need to carry back to the big room.
While carrying the item you will not be able to make big jumps or climb. As you turn back towards the way you came, look to your right. That’s the path you need to take now.
There are two easy jumps you need to make and then continue on hard ground. Always keep moving to avoid the spikes from the ground in between the jumps in this area.
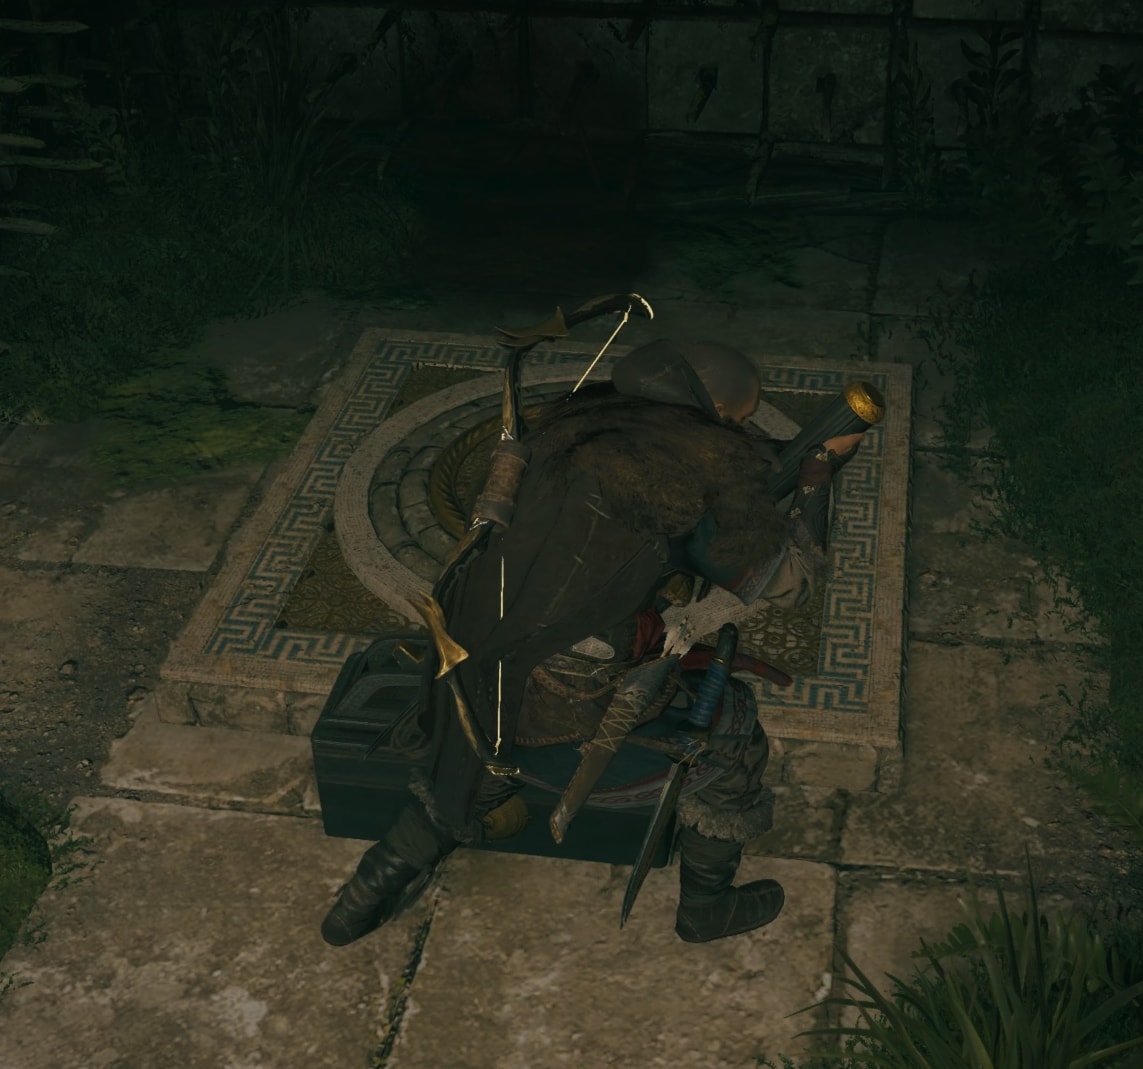
Reach the wooden platform (shown below) and place down the item.
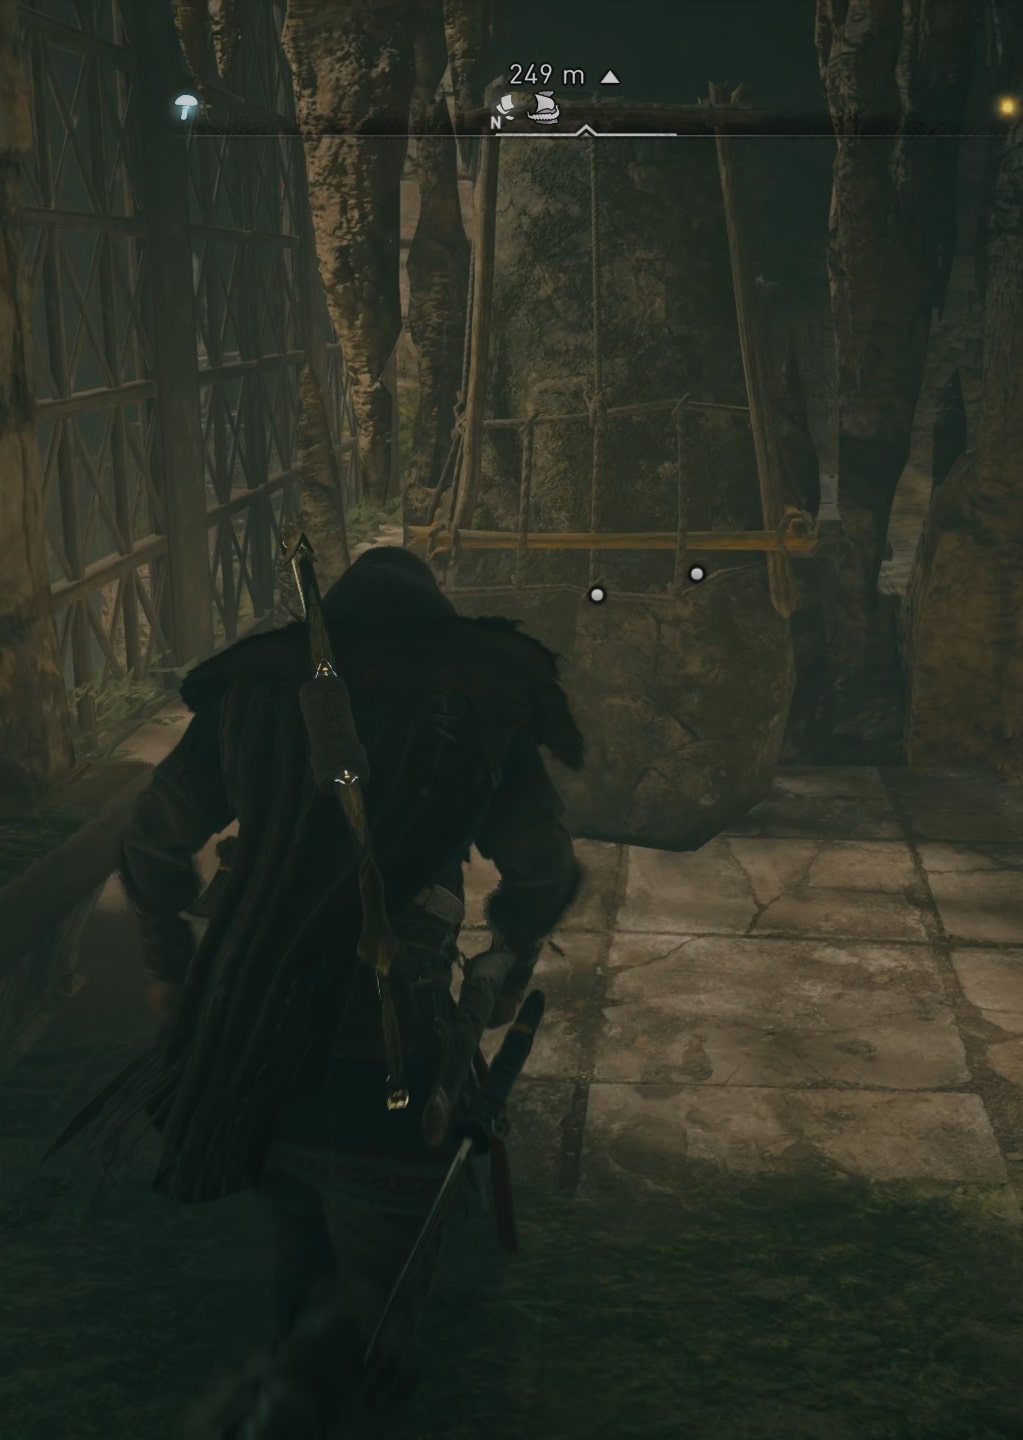
Turn around the go to the stone boulder sitting between the two spiked pylons.
Move and position it so when you pick up the item again you will be able to jump over the two boulders.
Place down the item again on the floor at the end of the corridor. Blow up the weak wooden fence up there:
Go back, move the boulder (or is it a menhir?!) closer to the stone ramp on the left side.
Use the stone ramp on the left side to get on top of the boulder while carrying the small item. Throw the item over there and climb up after it.
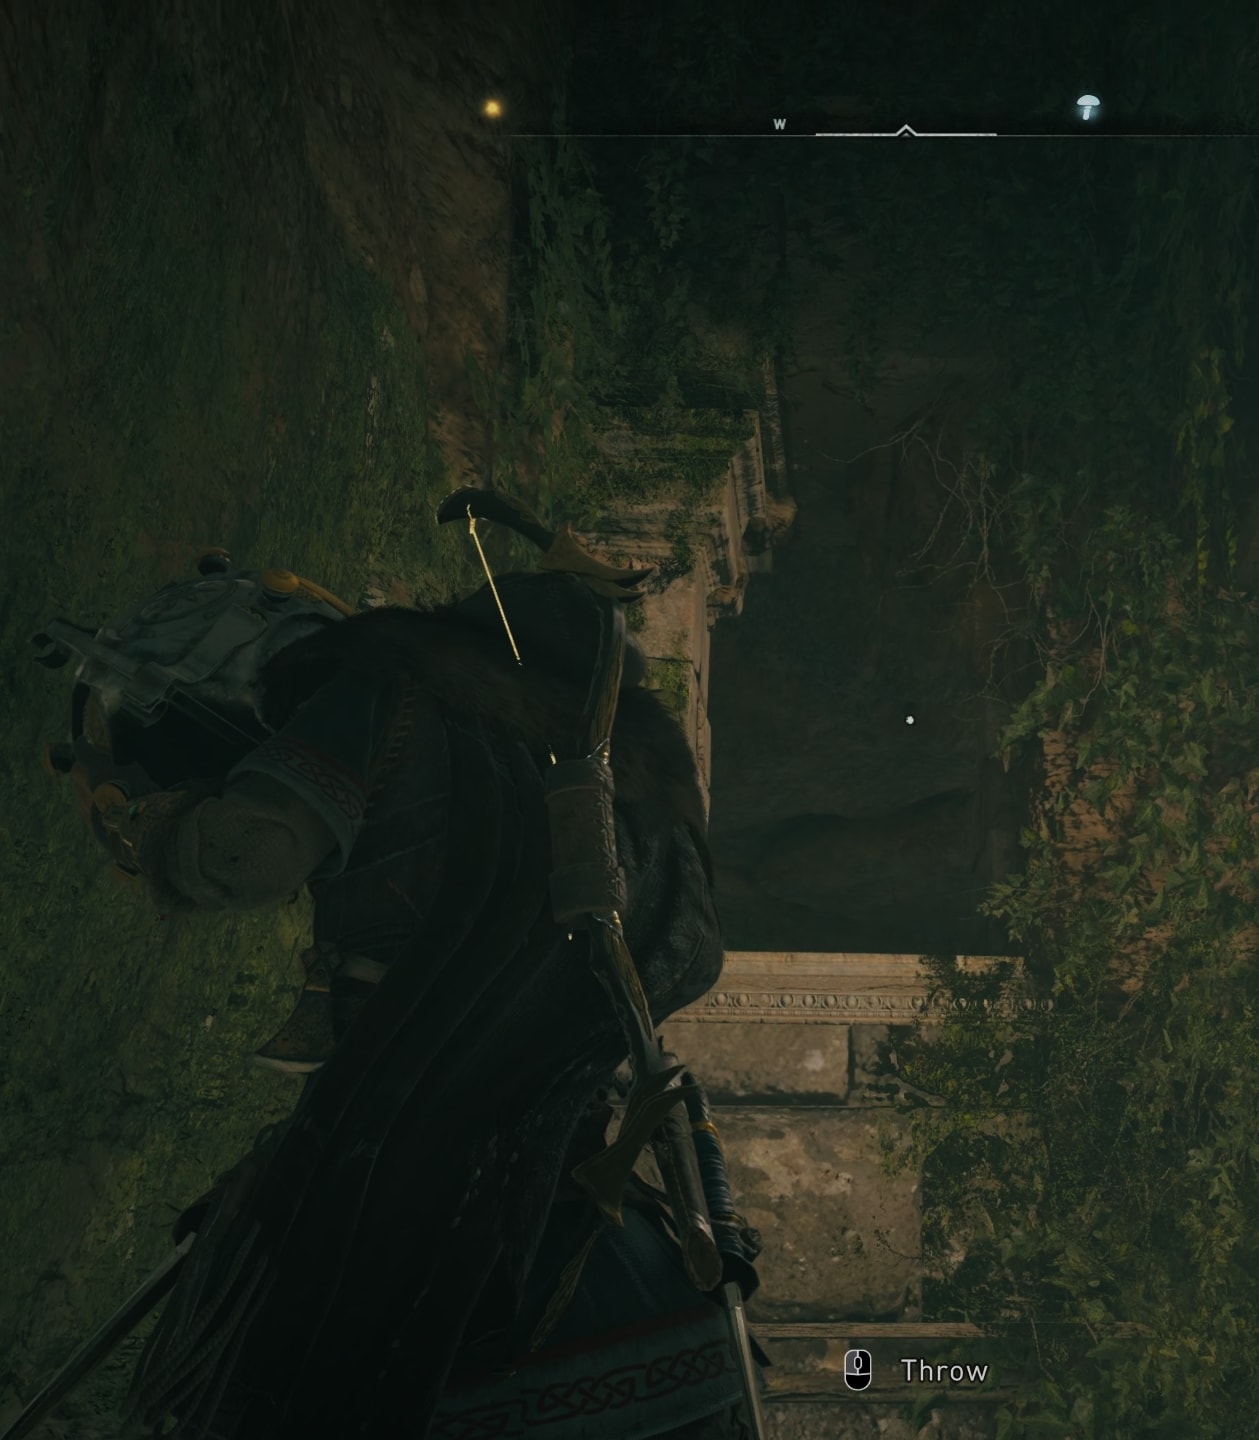
Carry it to the next area where you will have to throw it once again. Then jump over the hole in the ground with the many spikes.
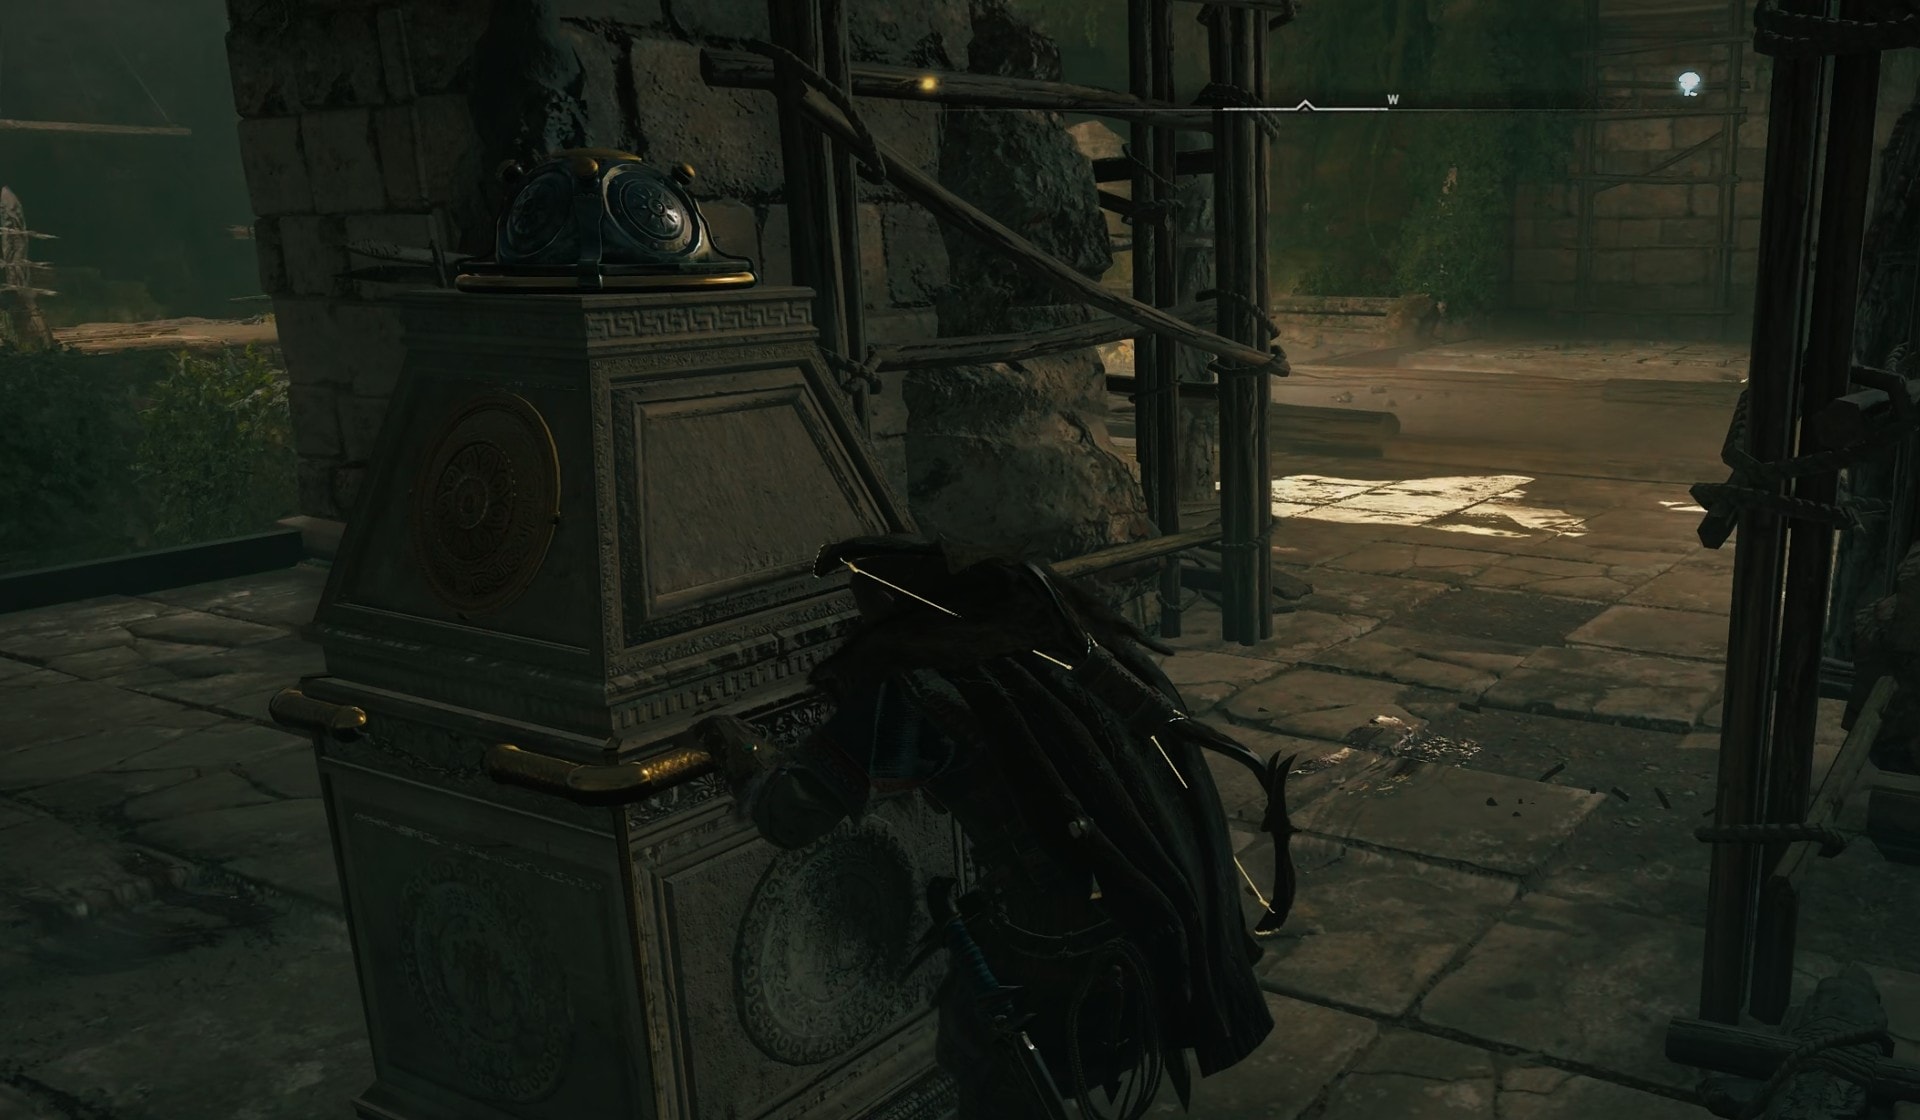
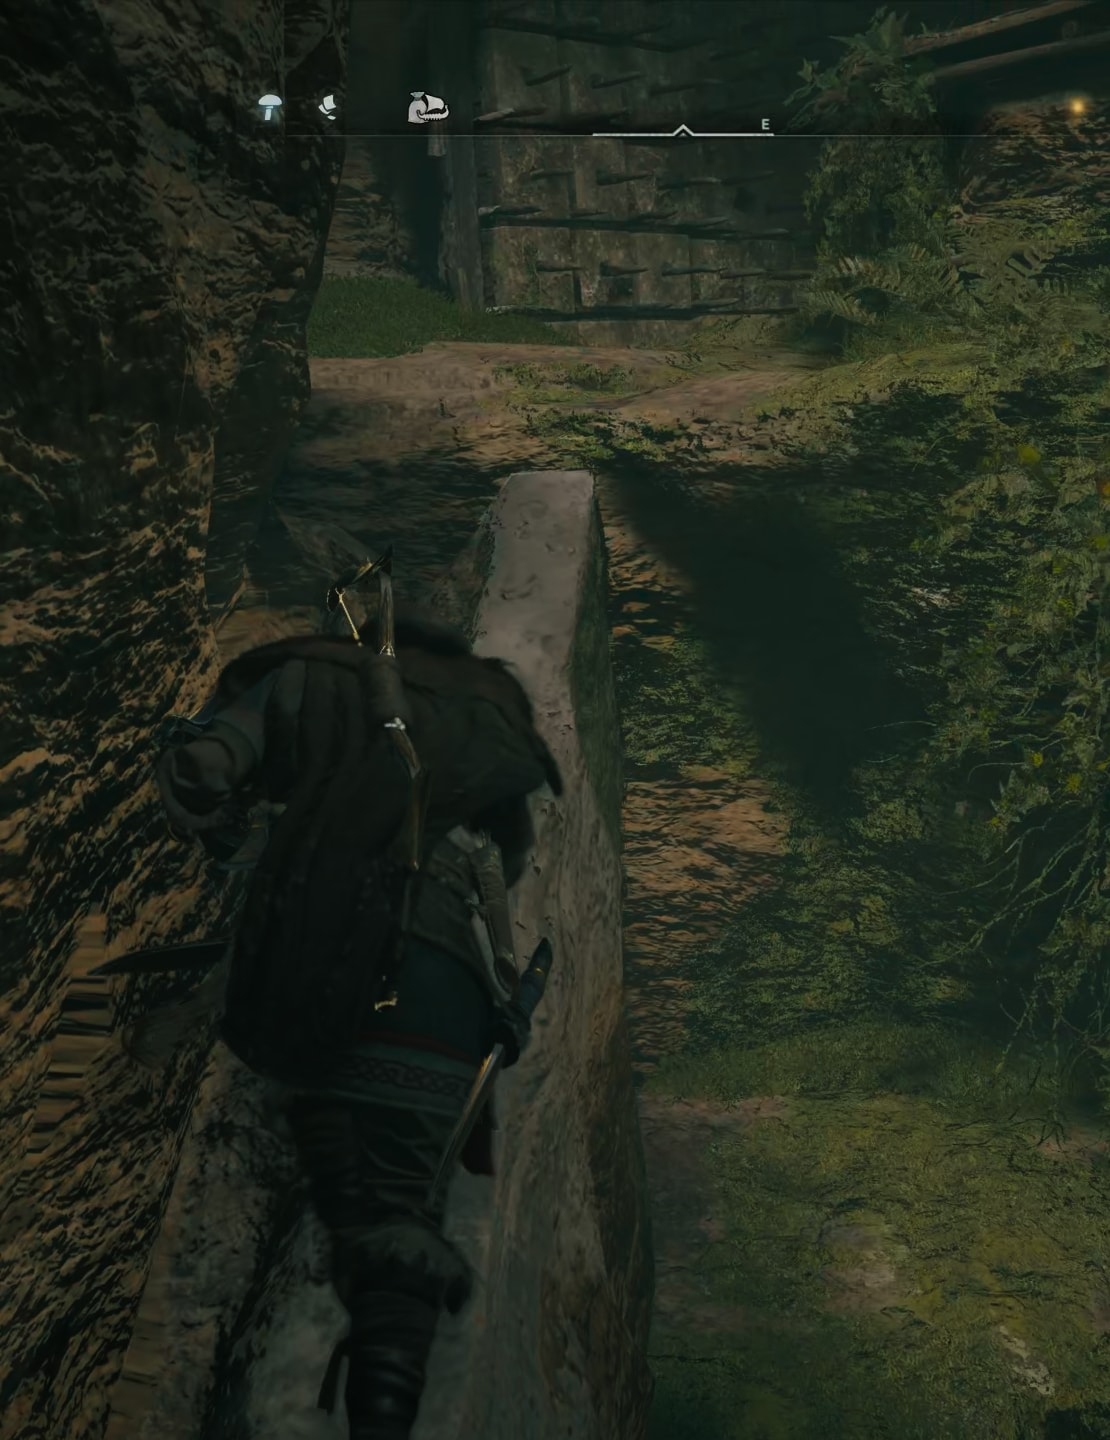
Follow the path, jump down and turn West to face this narrow corridor and go through it:
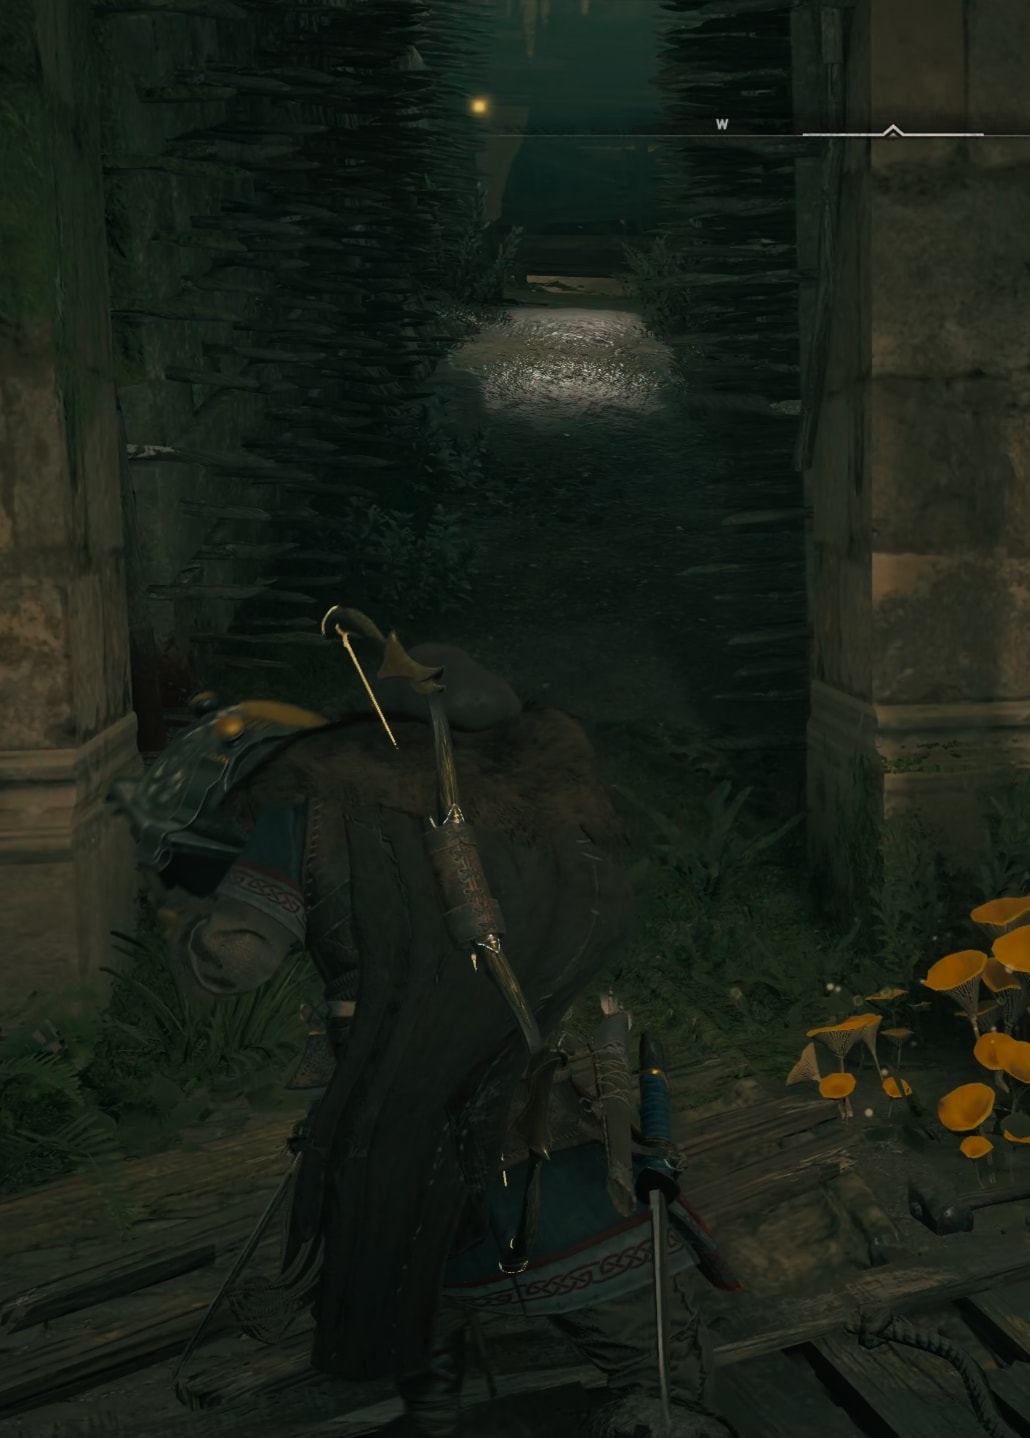
This will lead you back to the big room where you have to place the item on the marked slot. You see the slot in the image below – in the right edge of the image.
How to find and bring the fourth item (right side)
And finally another circle-shaped item you need to carry to the slot on the right side of the big room.

Follow the path leading you to the west from the marked location until you reach this ramp (image below). Slide down carefully.
At the bottom there’s a hidden spikes square. Don’t stand still when you get down. In front of you there will be a mechanism with a level to pull up the item you need to carry back to the big room.
You can’t go back while carrying it. Continue forward by sliding through the small gap on the west wall.
In the next segment of your path you will have to either throw a torch to clear up the poison or simply run quickly through it while carrying the item. The passage is not too long and is in one direction. Go for it. Avoid the spiked pylons.
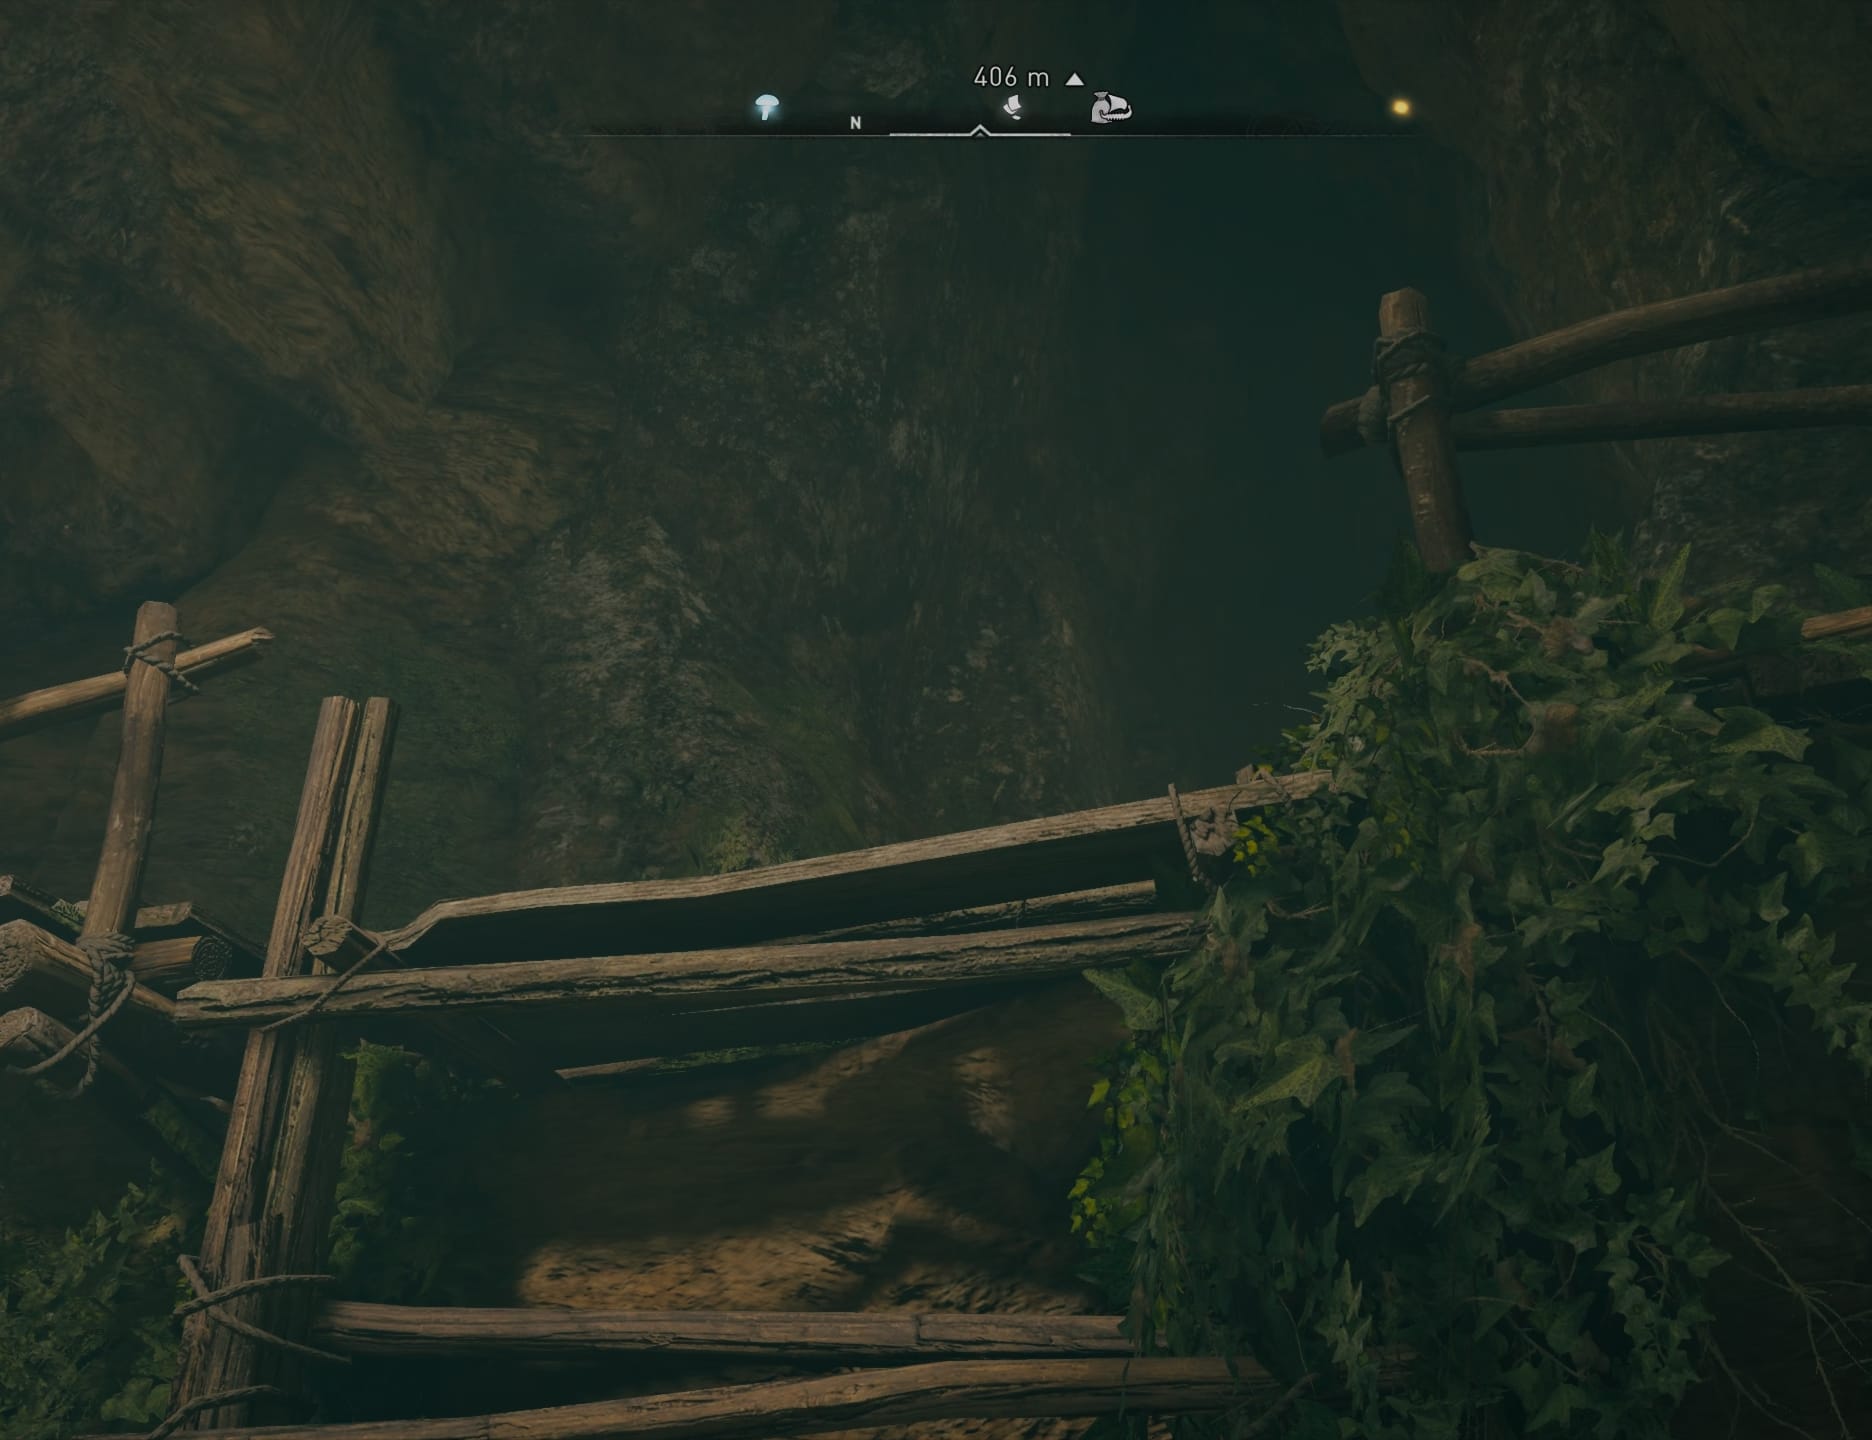
Continue to follow the path and climb up the stone ramp to get to the higher level:
From there it’s a quick and easy climb through stone edges and ramps to get to the top.
When you reach the gap. Throw the item up on the other side and jump after it.
More easy jumps coming.
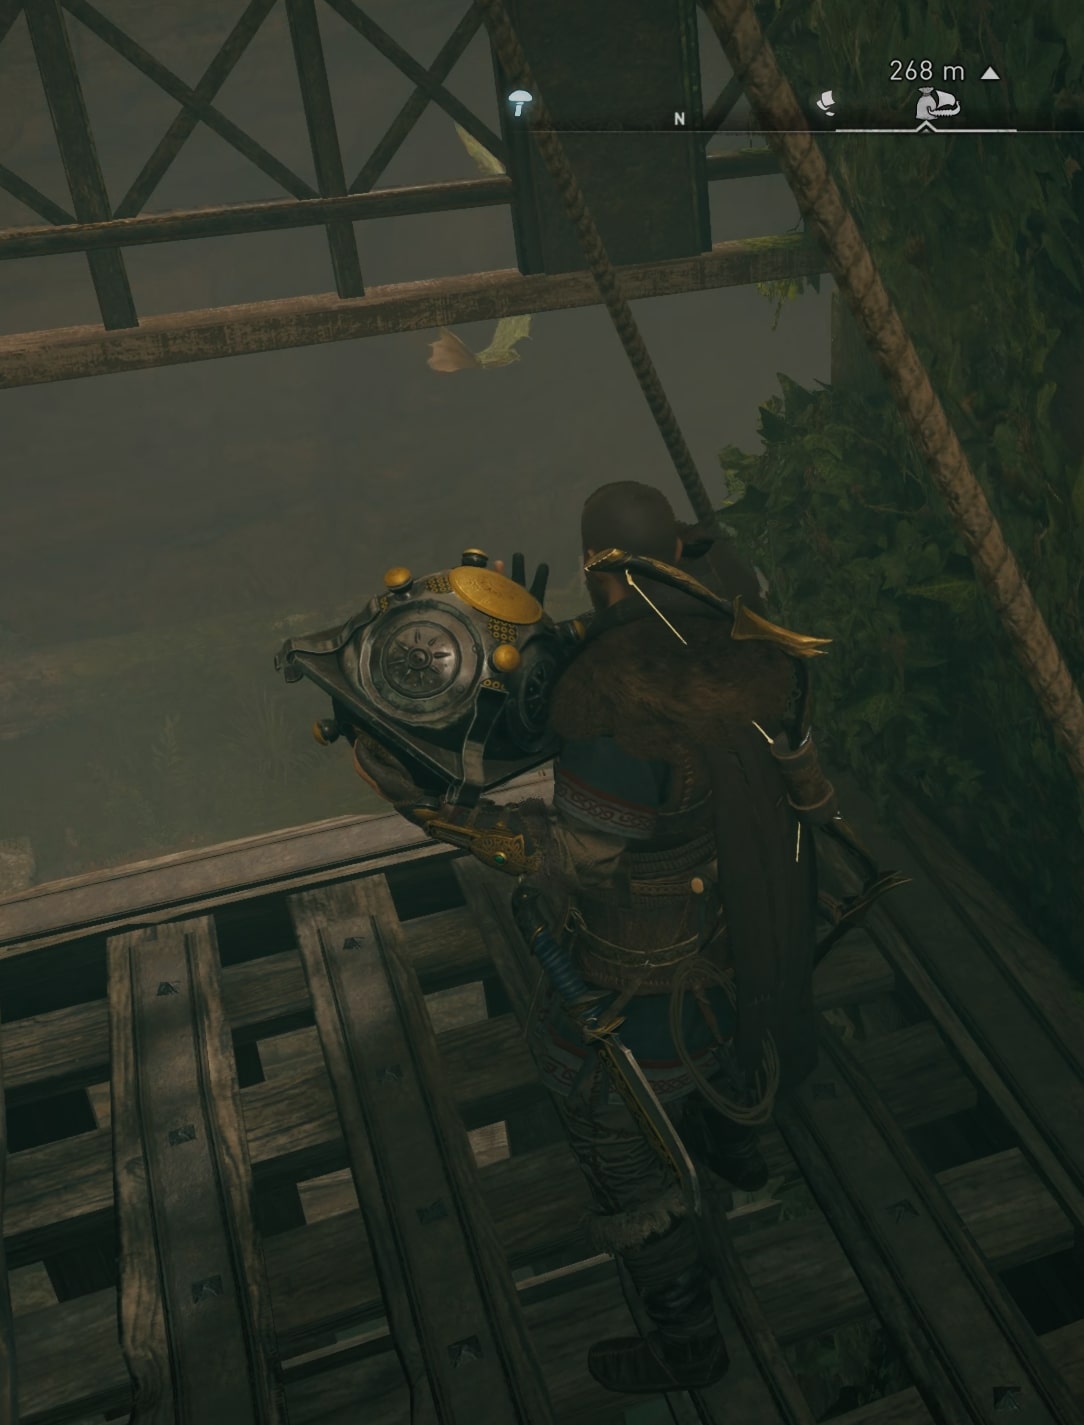
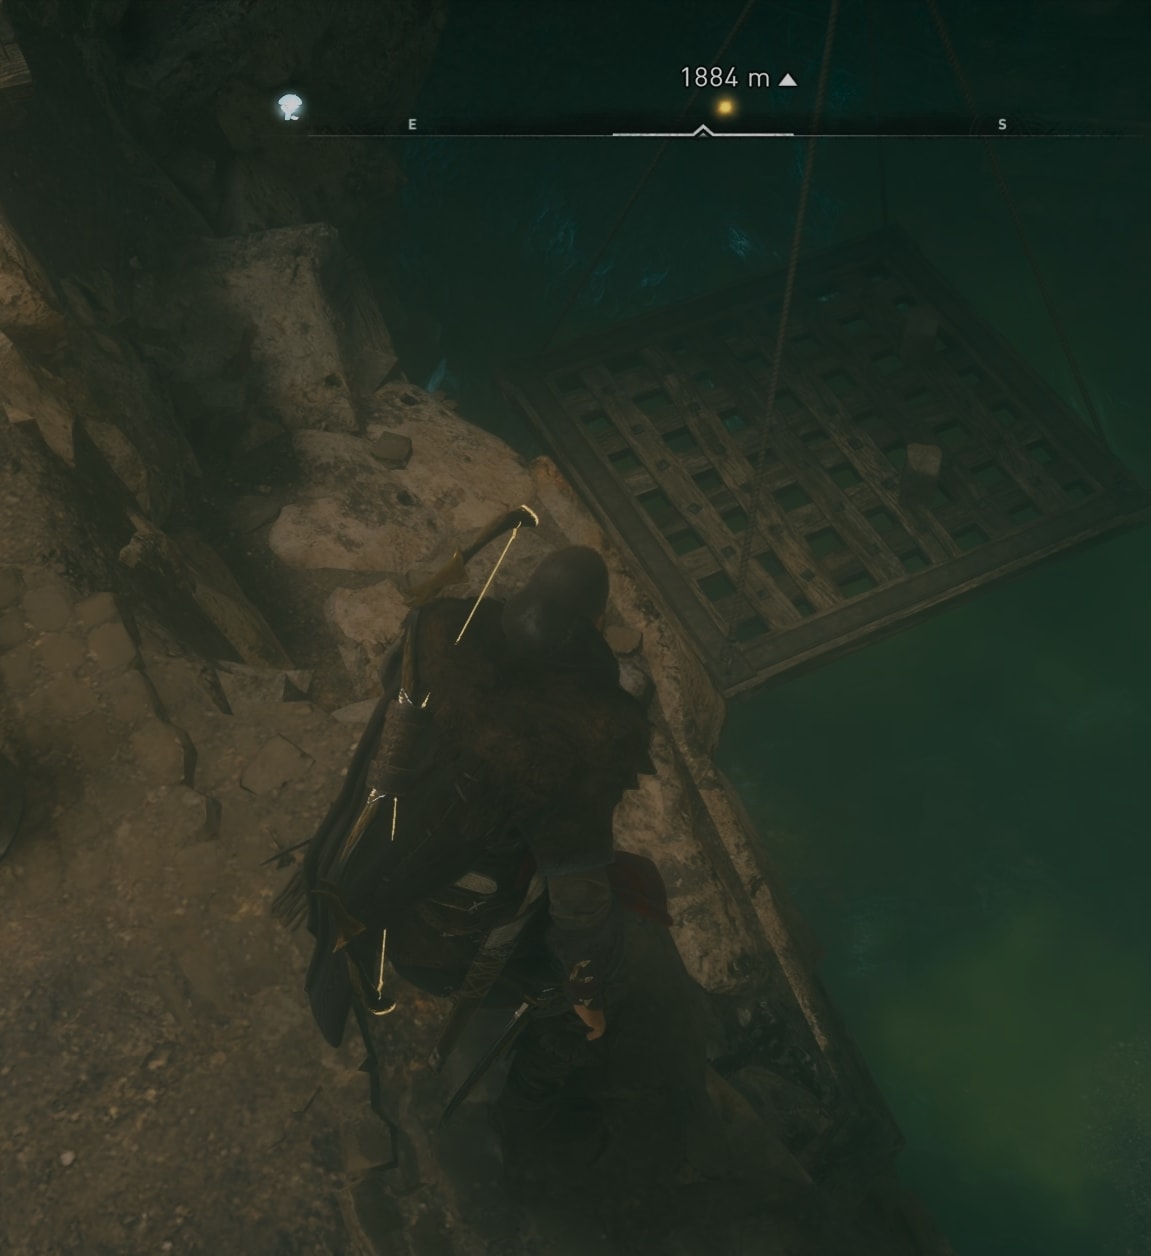
Jump on to the second metal cage. Your weight combined with the weight of the item will start bringing it down slowly. Image below is of Eivor sitting on the first cage and looking at the second one.
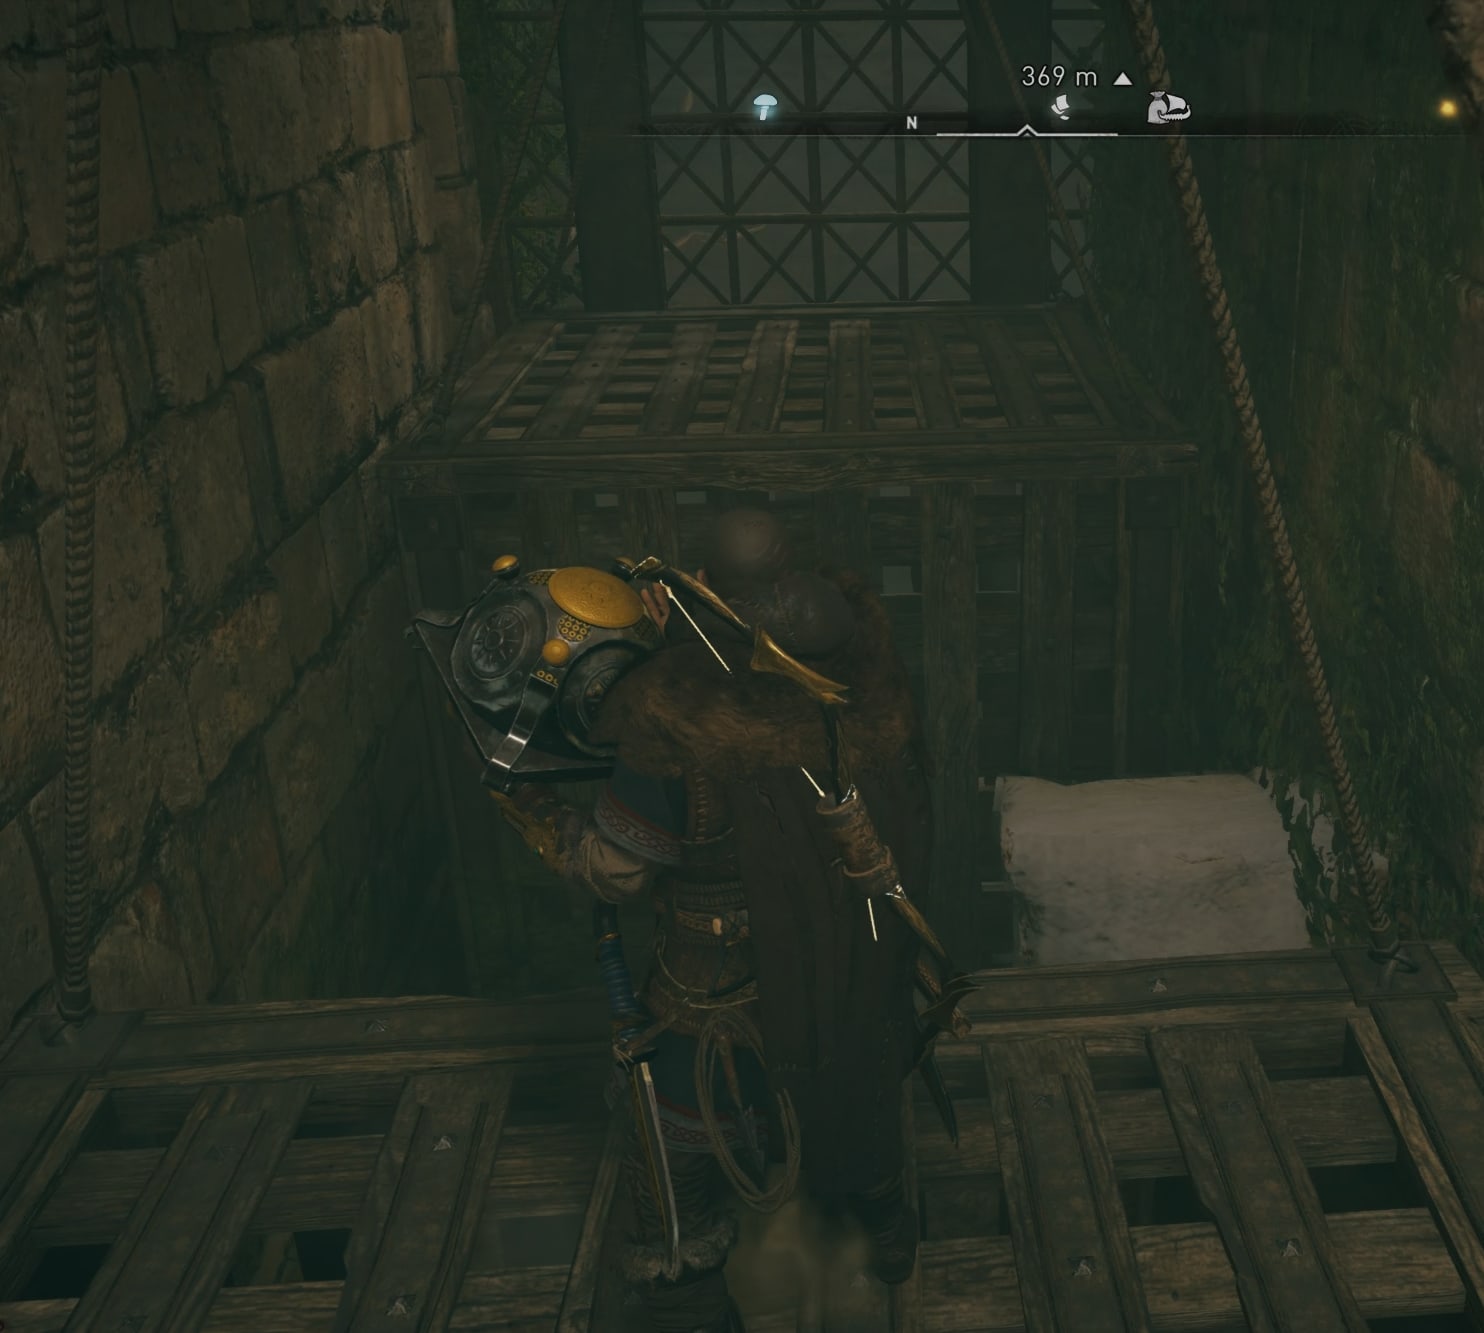
When the gap is big enough, jump down.
This is the big room. Welcome back. Turn to your right (east) to see the marked slot where you need to bring the item.
After you place all four items in their slots. the big door will open up with a short cinematic, allowing you to get to the final resting chamber of Boudicca.
How to get to the big door at the end
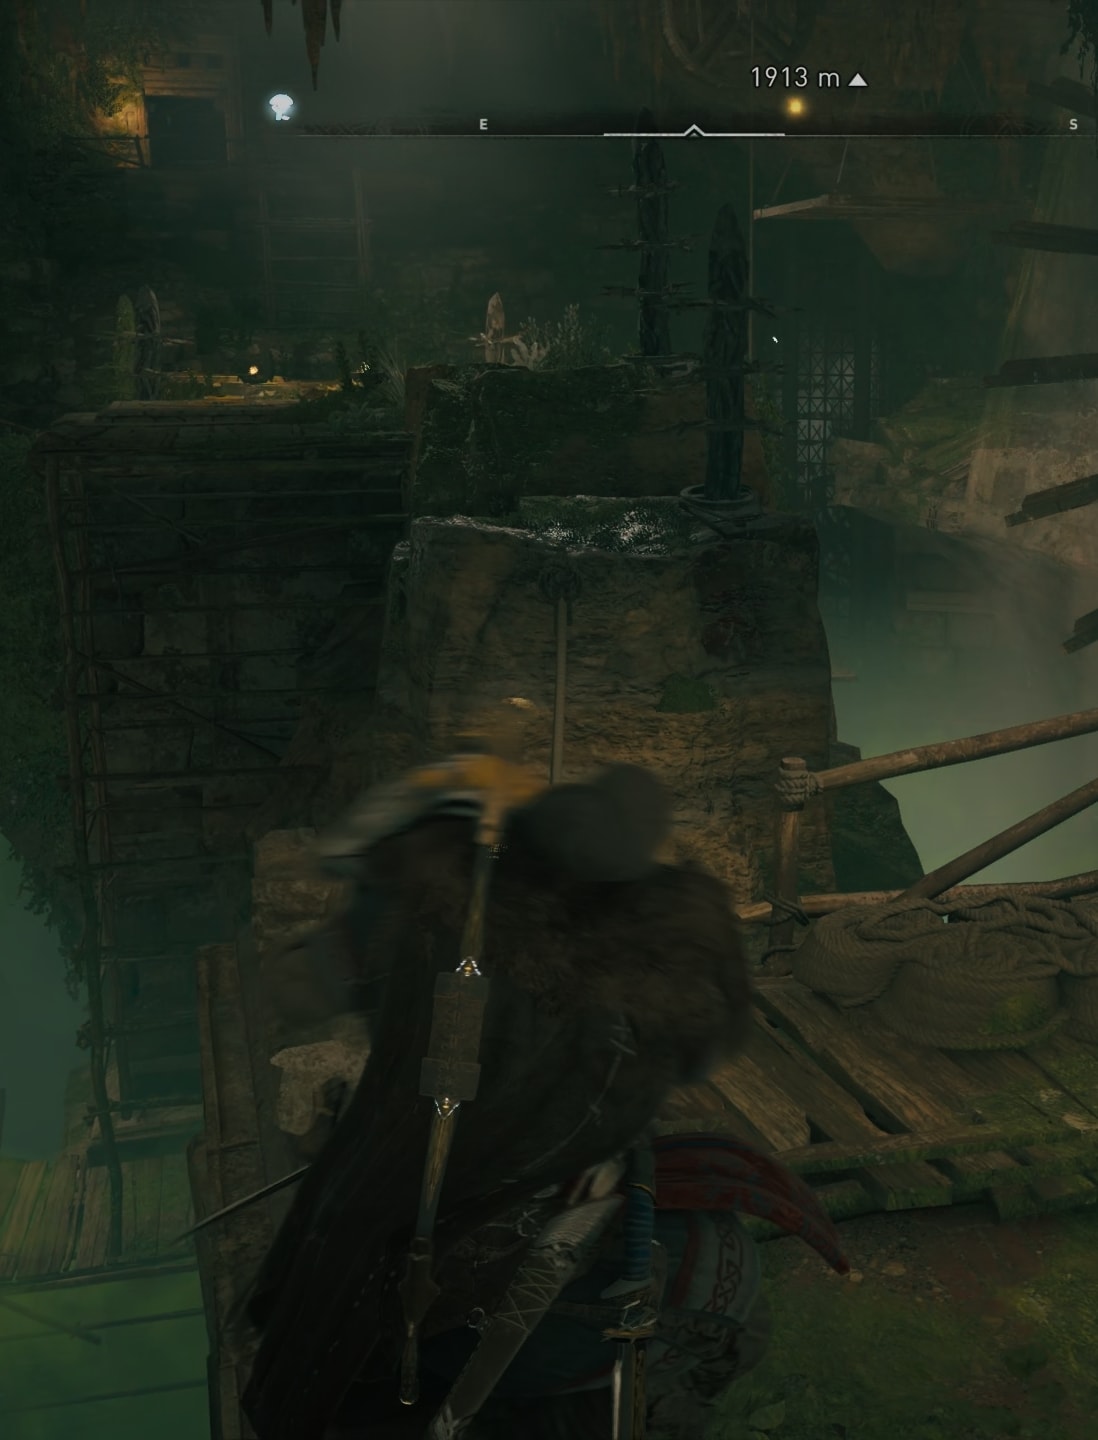
To get to the door, you have one more mini puzzle to solve. Jump down onto the platform and throw out the stone objects from it. This will allow the platform to move slightly up, even with you on it (I know, physics!)
Jump to grab the edge of the rock on the other side of the big gap. Yeah, I suppose that’s a second gap in the big room.
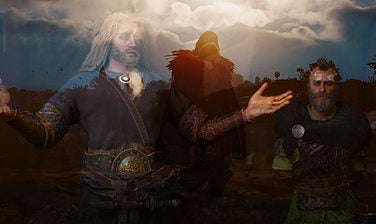
This is the end of the Boudicca Tomb. A short cinematic will play out revealing you the legend of this character.
Boudicca Tomb rewards
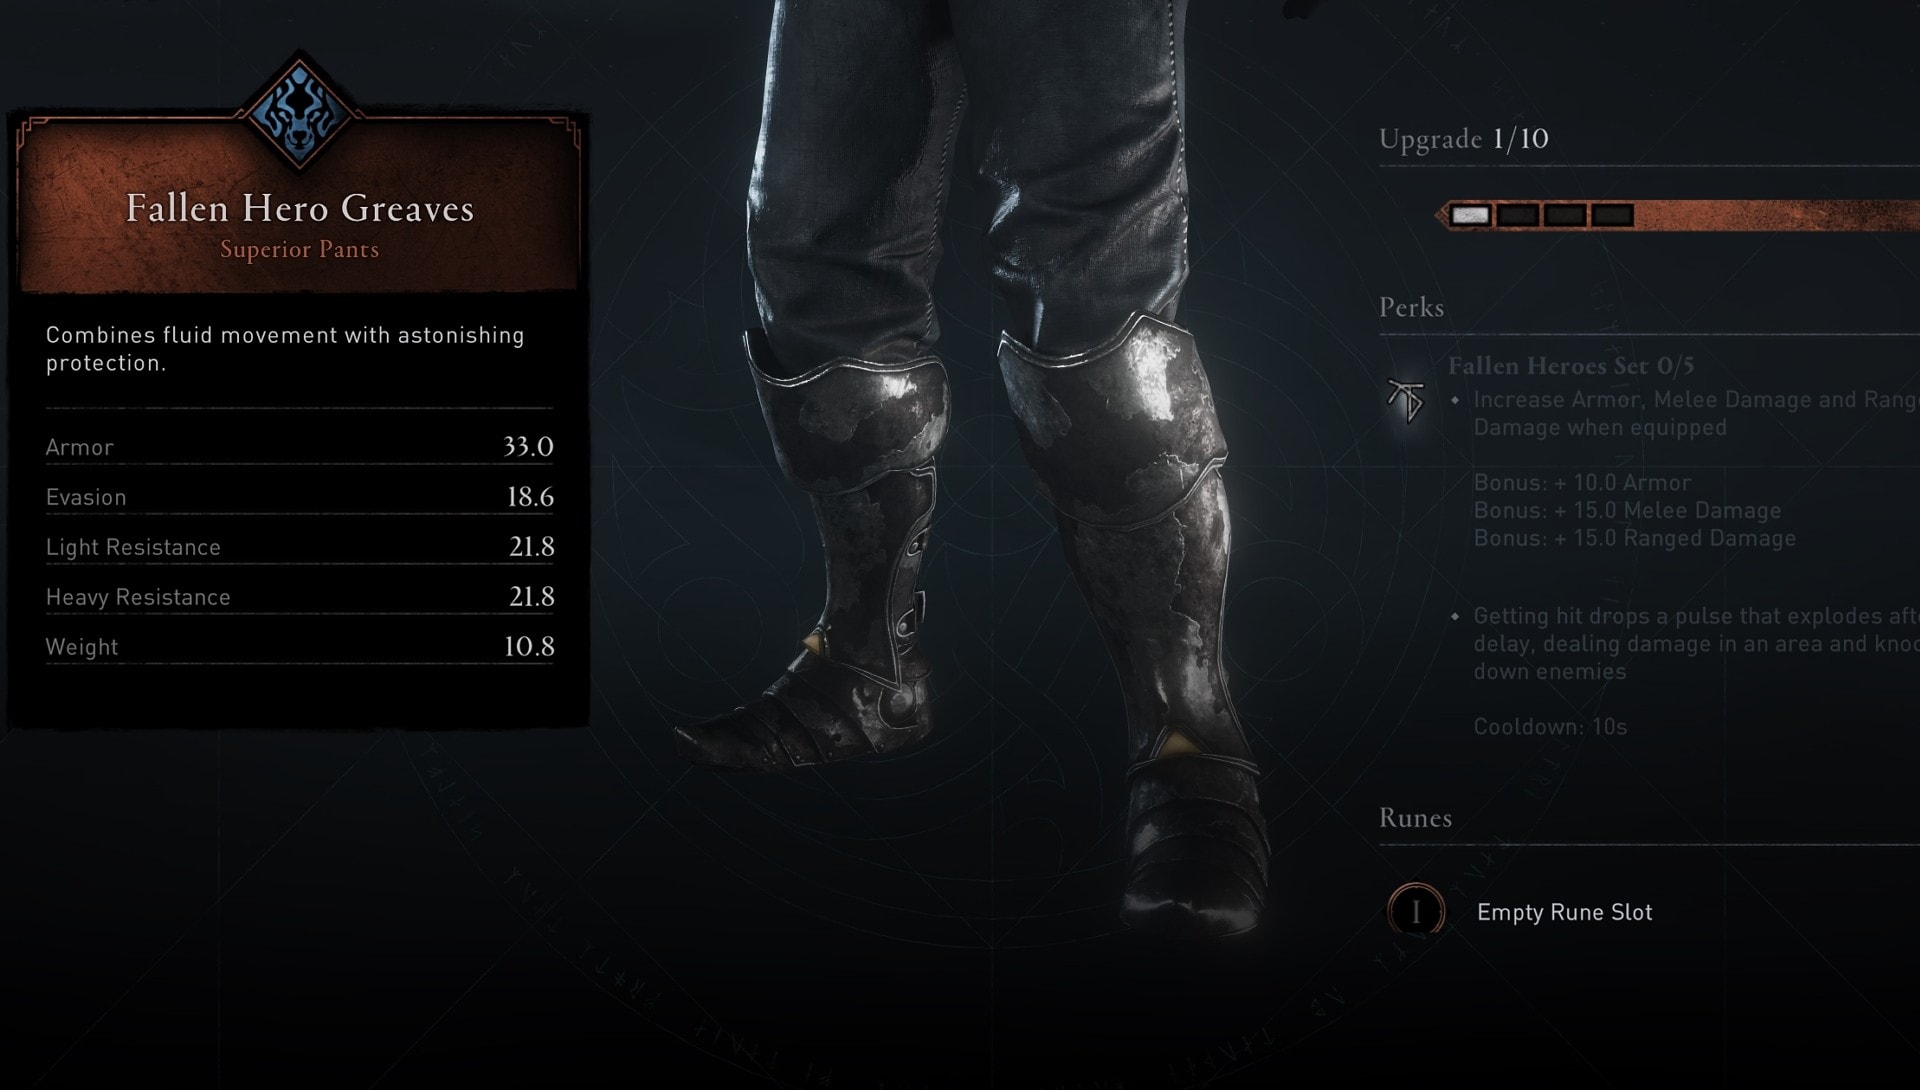
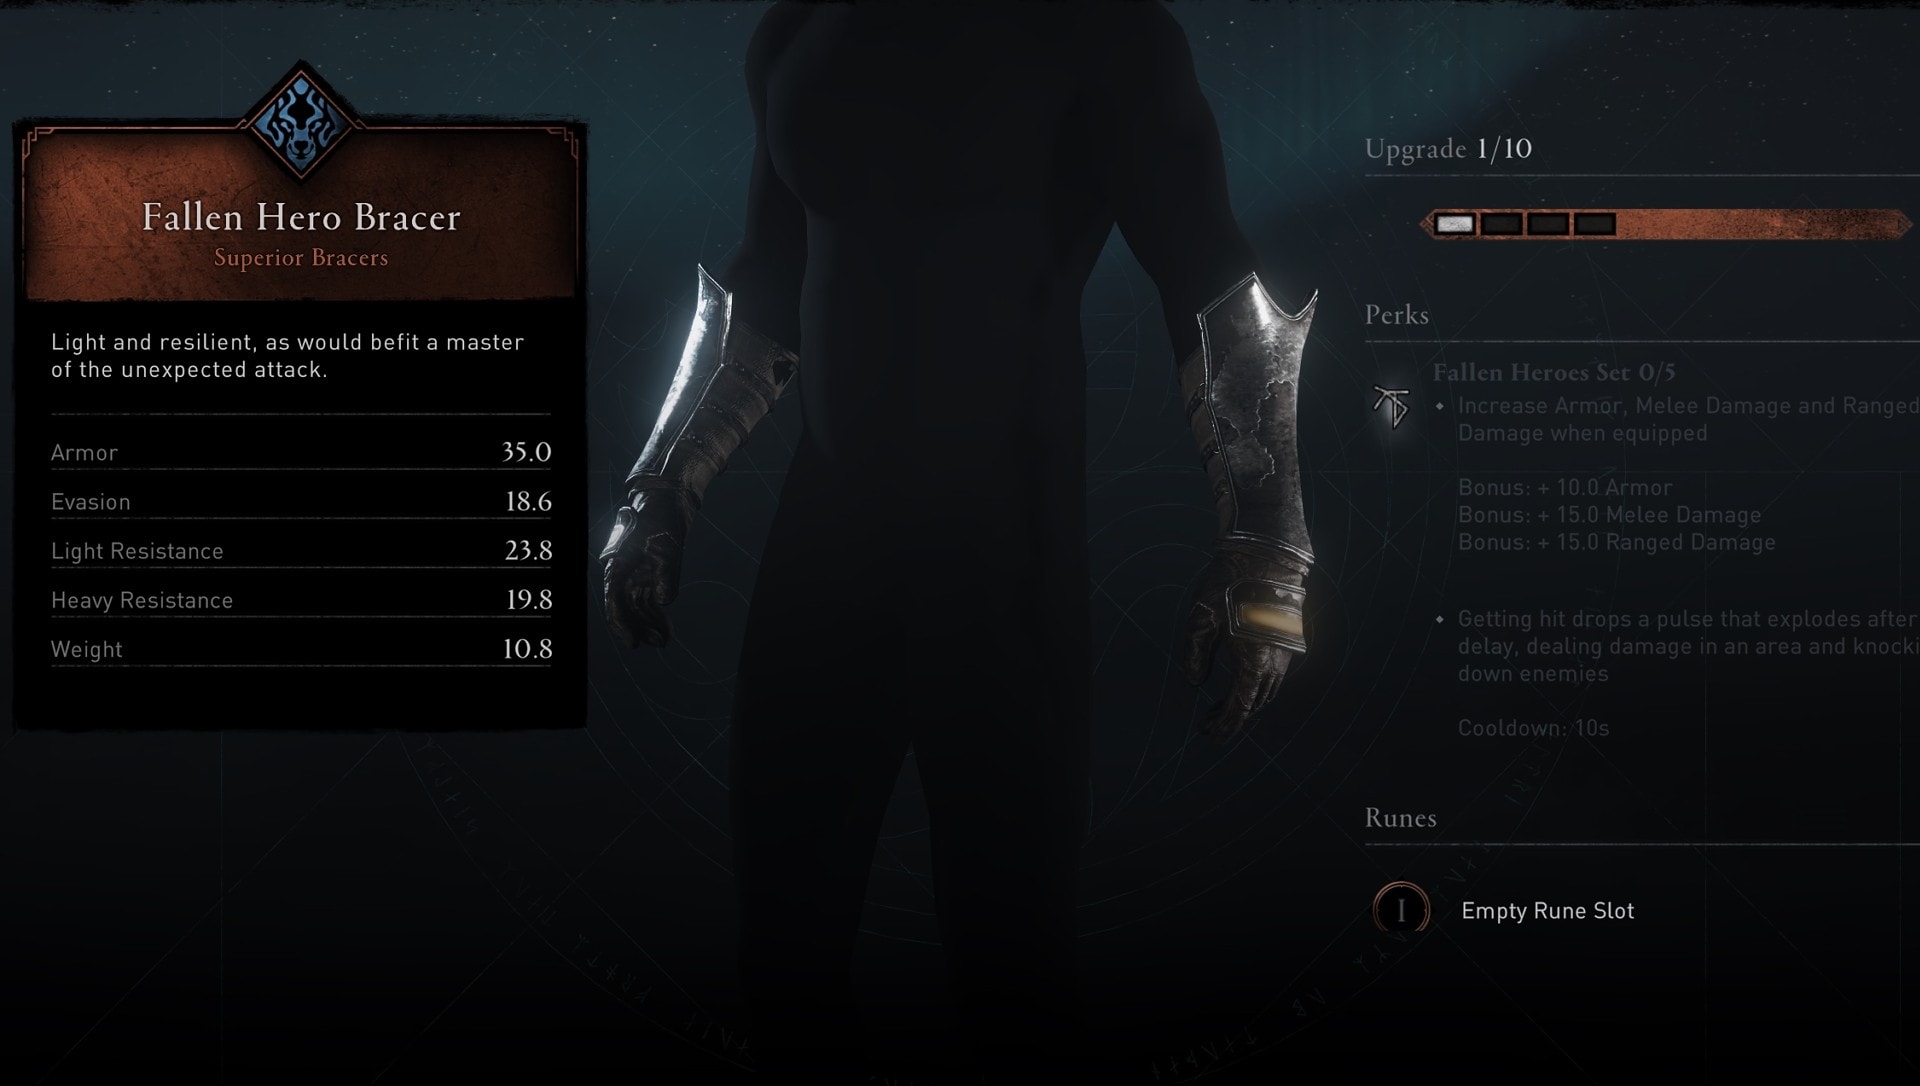
The best part – the Boudicca Tomb contains not one, but two chests with armor pieces in them. In the Boudicca Tomb you will find the Fallen Hero Greaves and Fallen Hero Bracers.
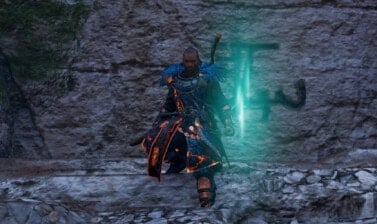
How to find the Boudicca Tomb Articact
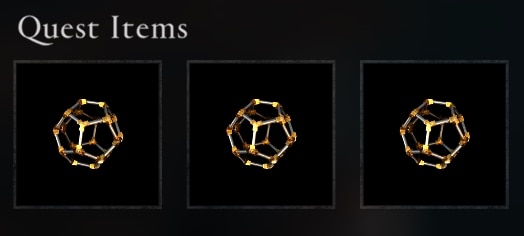
Last, but not least, the Boudicca Tomb Artifact! There’s a small gap in the wall in this final chamber you are in. Follow it and after a short passage you will get to the area where the Boudicca Tomb Artifact is.
There are three Tomb Artifacts in total – one available in each of the Tombs (except for the first one). They are always located in the areas after the armor chests.
This concludes my guide to the Boudicca Puzzle in Assassin’s Creed Valhalla. Check out the rest of my content on the Tombs of the Fallen and learn the exact location of each one of the Tombs.
The Tombs of the Fallen free content was released with Assassin’s Creed Valhalla Update 1.4.0 on November 9 2021.
Next up you can use my guide to find the Cassivellanus Tomb and solve the puzzles inside to get the next armor piece from the Fallen Hero armor set.