Cassivellanus Tomb Guide showing you how to find the dungeon and solve all puzzles inside to get the Fallen Hero Breastplate armor piece!
Table of contents
How to find Cassivellanus Tomb
To be able to find and explore the Cassivellanus Tomb in Assassin’s Creed Valhalla you need to have your game patched to 1.4.0 or higher. You also need to have progressed as far as England. All you need is to reach it and build your settlement. This will allow you to explore all of the Tombs of the Fallen.
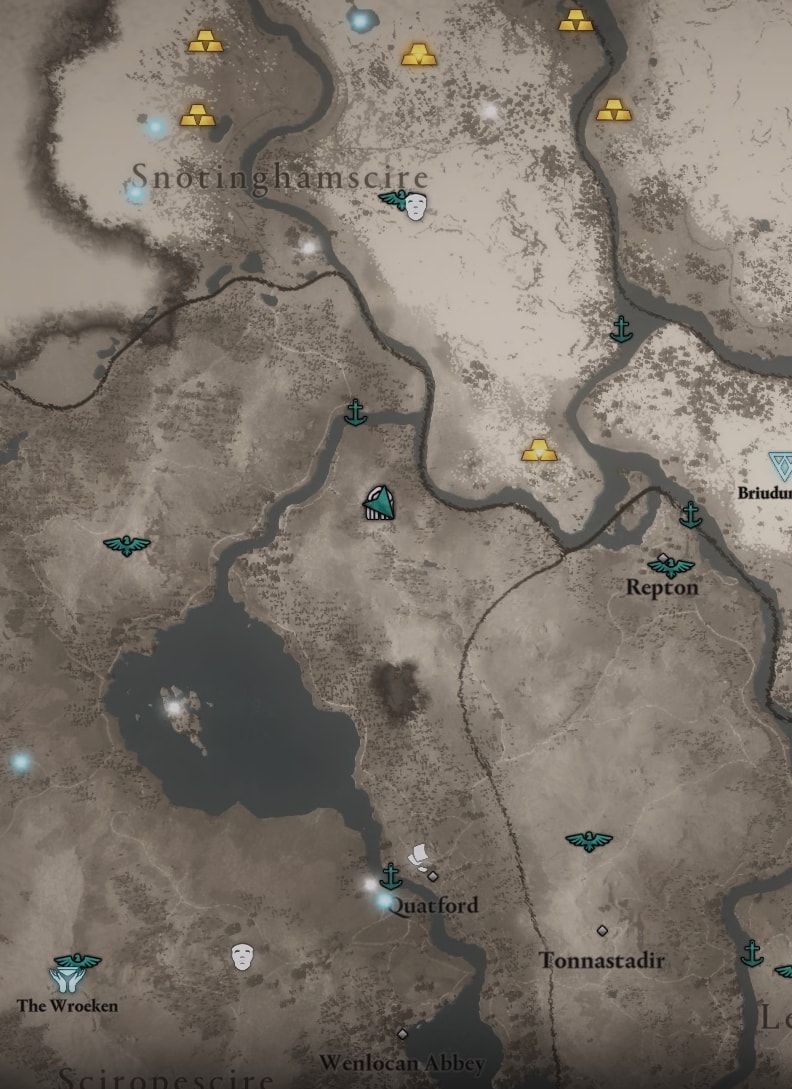
The Cassivellanus Tomb’s location is originally hinted at on the giant stone map in Manius’s Sanctum. If you don’t want to bother with yet another mini-puzzle, check the exact location marked on the map below.
The Cassivellanus Tomb’s entrance is in Sciropscire – west from Repton, between the Afon Hafren River and Trent River.
How to solve the Cassivellanus Tomb Puzzles
Please note that this guide assumes you have already gone through the Manius’s Sanctum and Boudicca Tomb. The mechanics are similar and that’s why I will not explain their basics to the letter like I did in my previous two Tombs of the Fallen guides.
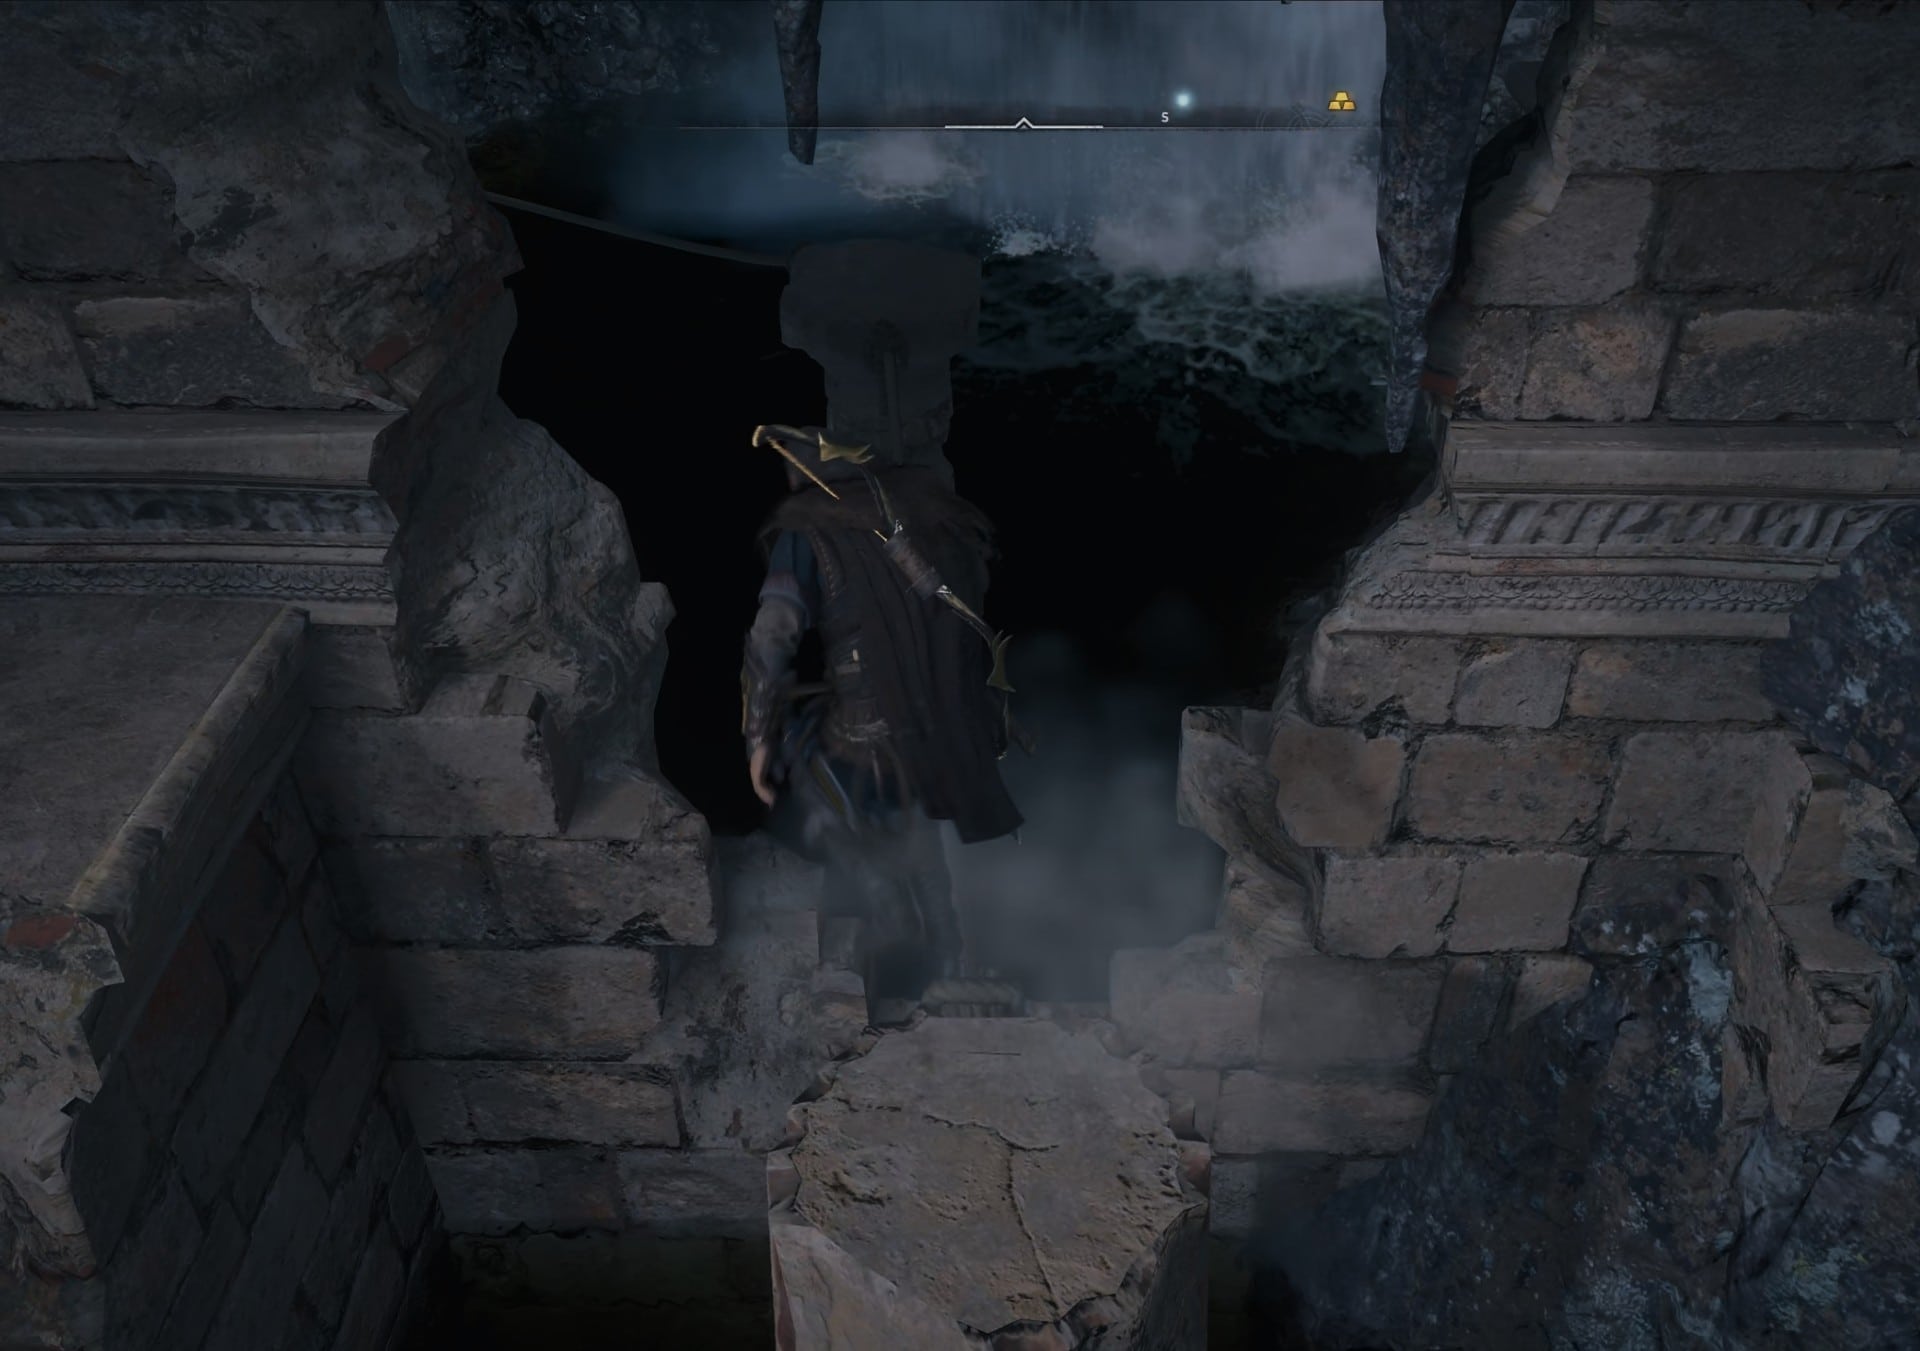
The first part is simply running and sliding in a narrow tunnel. Right after you squeeze through the crack in the wall there will be some Opal to your left. Don’t forget to pick it up.
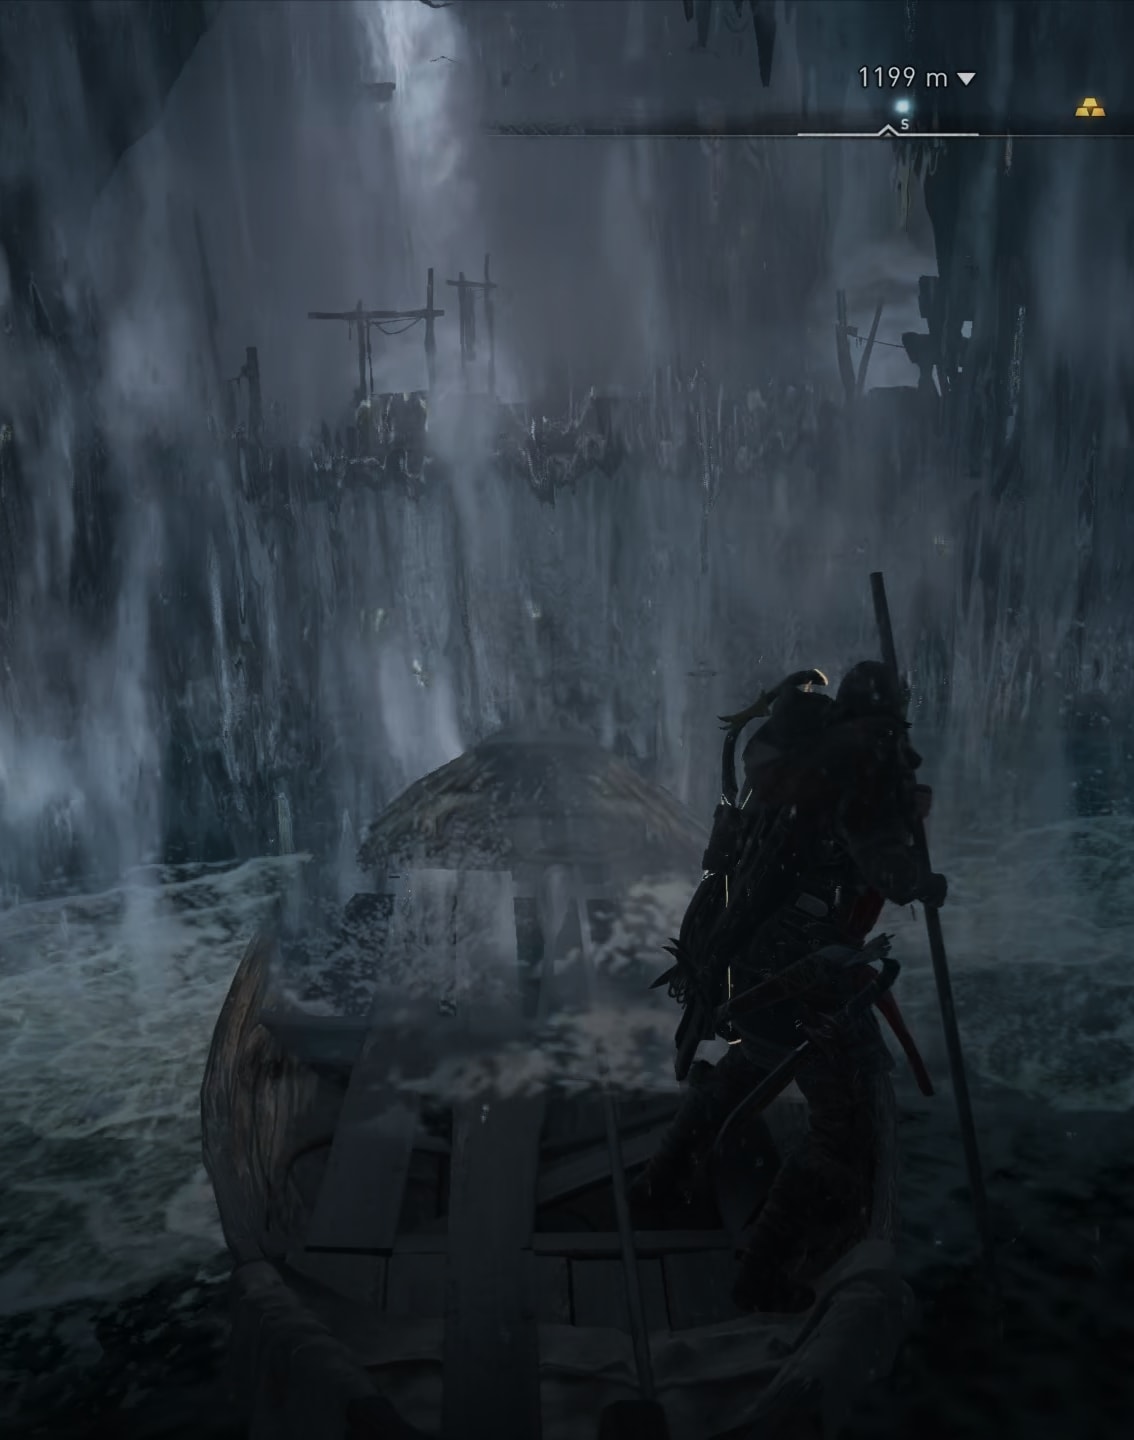
At the end of the tunnel there is a watterfall and after it you have to jump down. There’s a boat in the water below. You can take it.

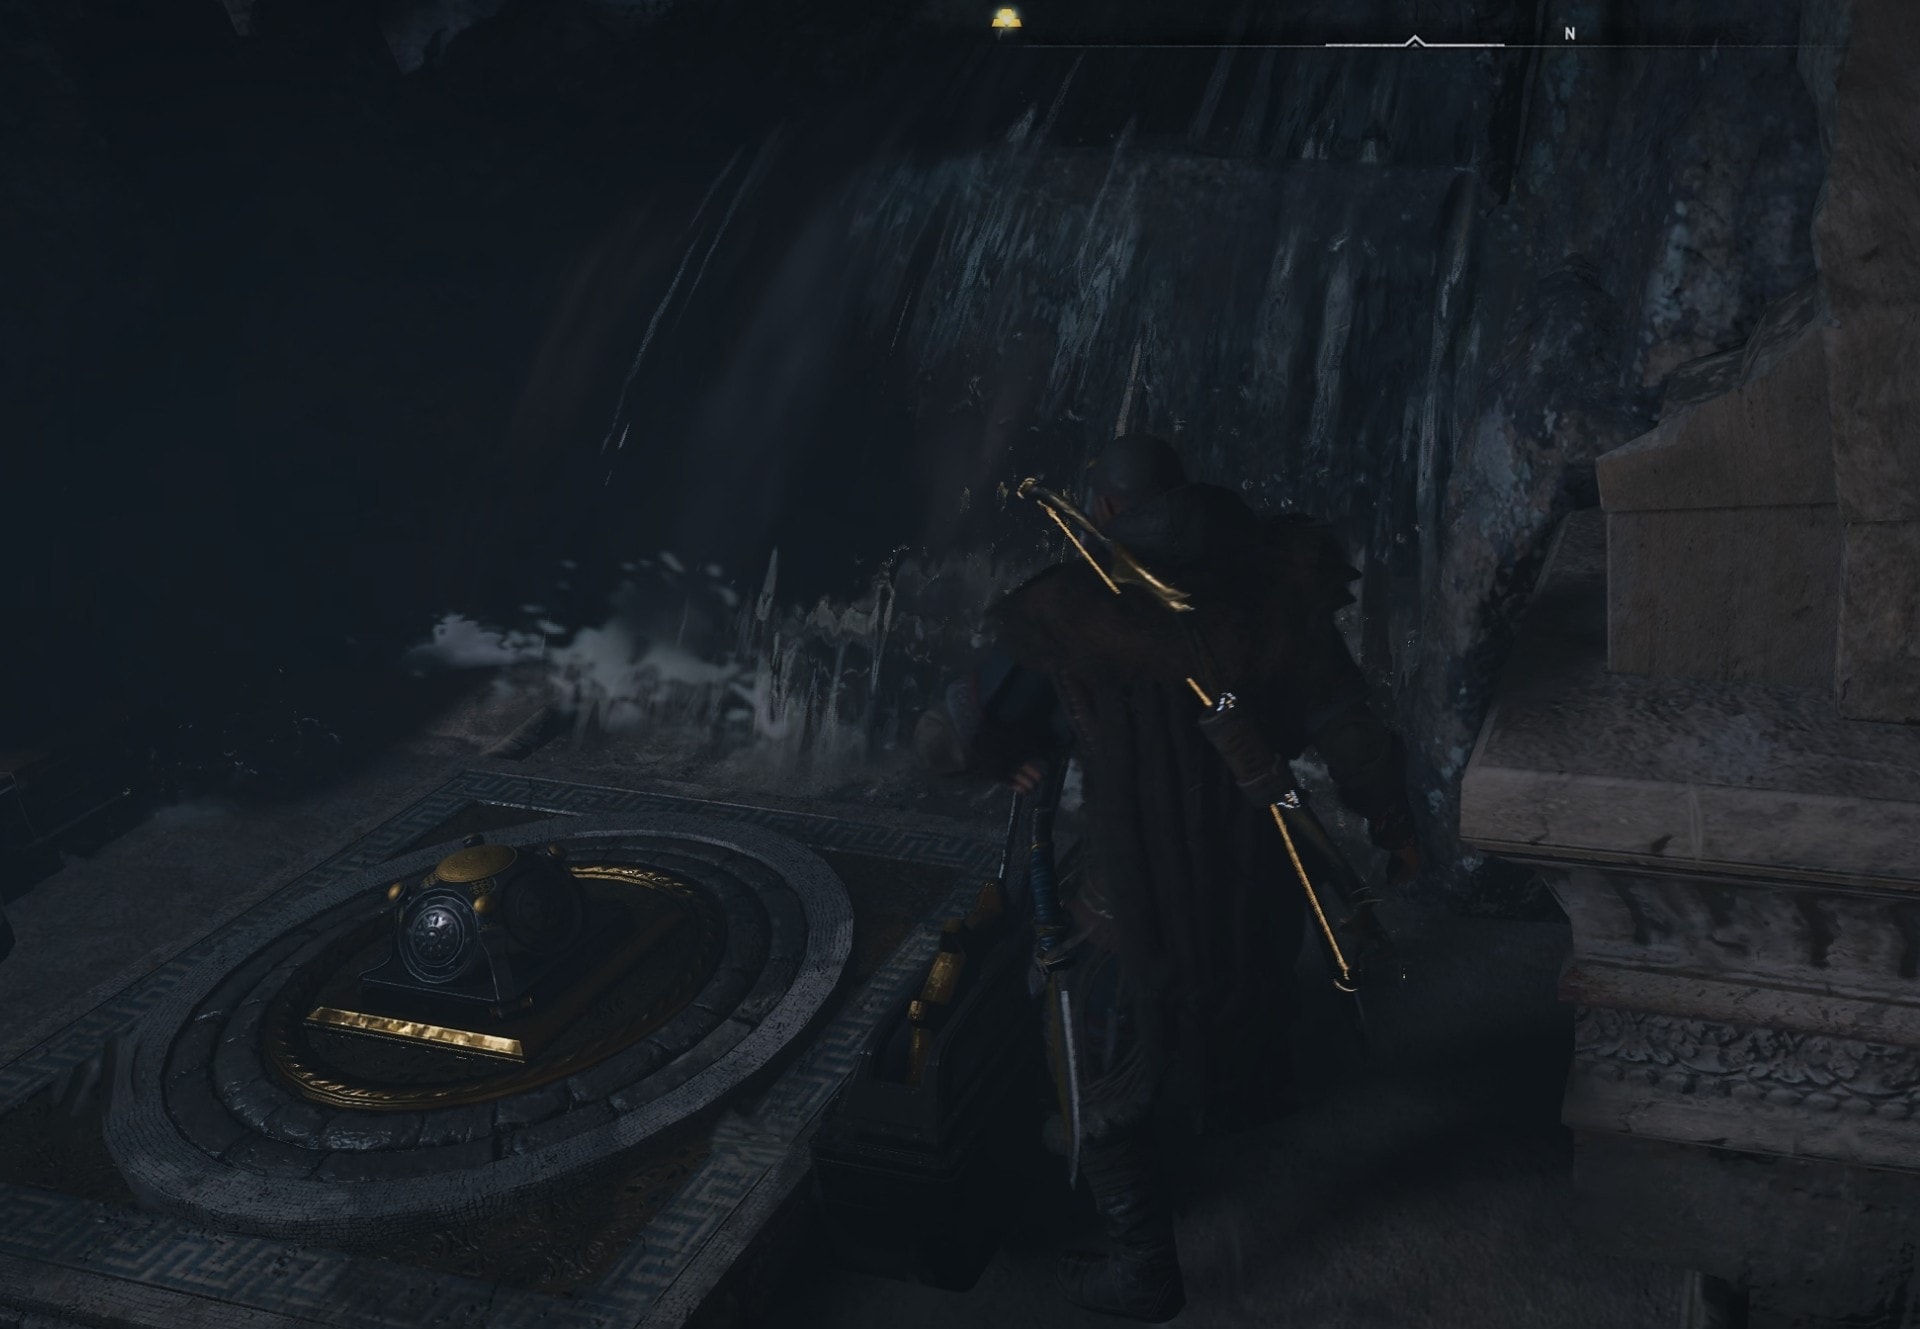
At the end of your short trip you will cross one more watterfall before you arrive at the big room where the puzzles are.
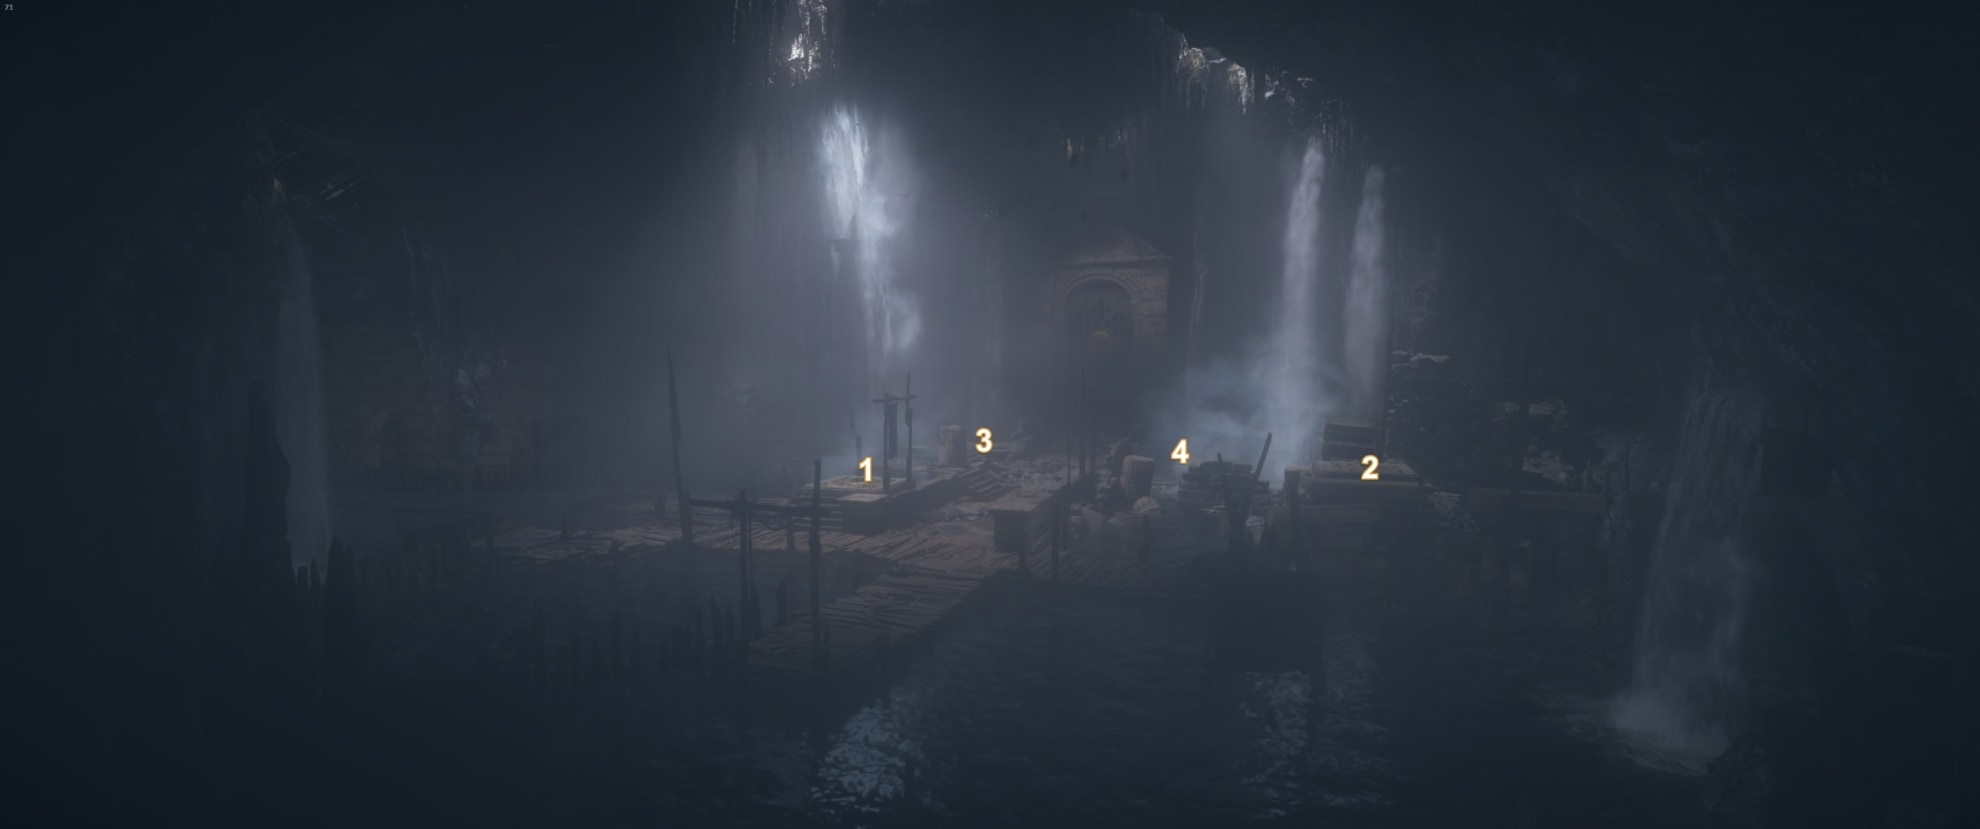
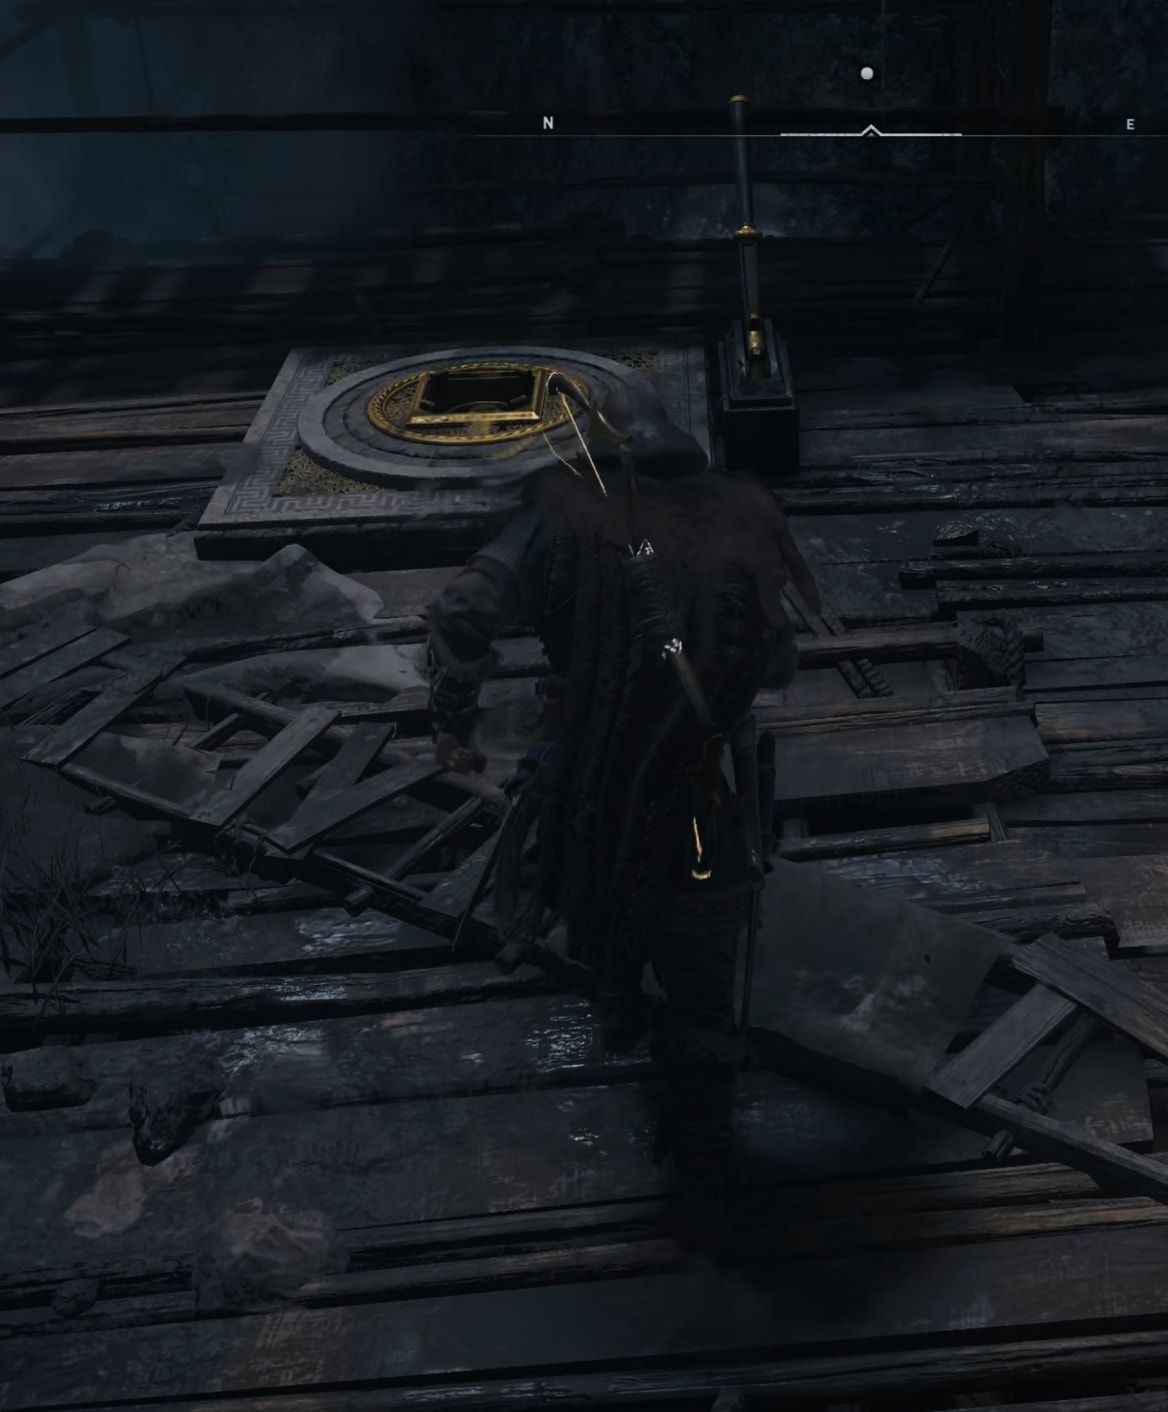
Similarly to the Boudicca Tomb, here you also have four puzzles to solve. This means you have to find two heavy pylons to move back to the square slots and two star-shaped objects to carry to the circle slots. I have labeled them from 1 to 4 on the image below. This is also the order in which you will complete them if you follow the guide.
Solving the first puzzle on the left side
We’ll start with the closer one on your left as you enter the room. Head to the east and run through the waterfall. You can make it quicker by jumping on the wooden beams in the water instead of swimming.
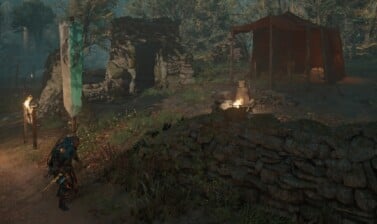
At the end of this path you will get to this location:
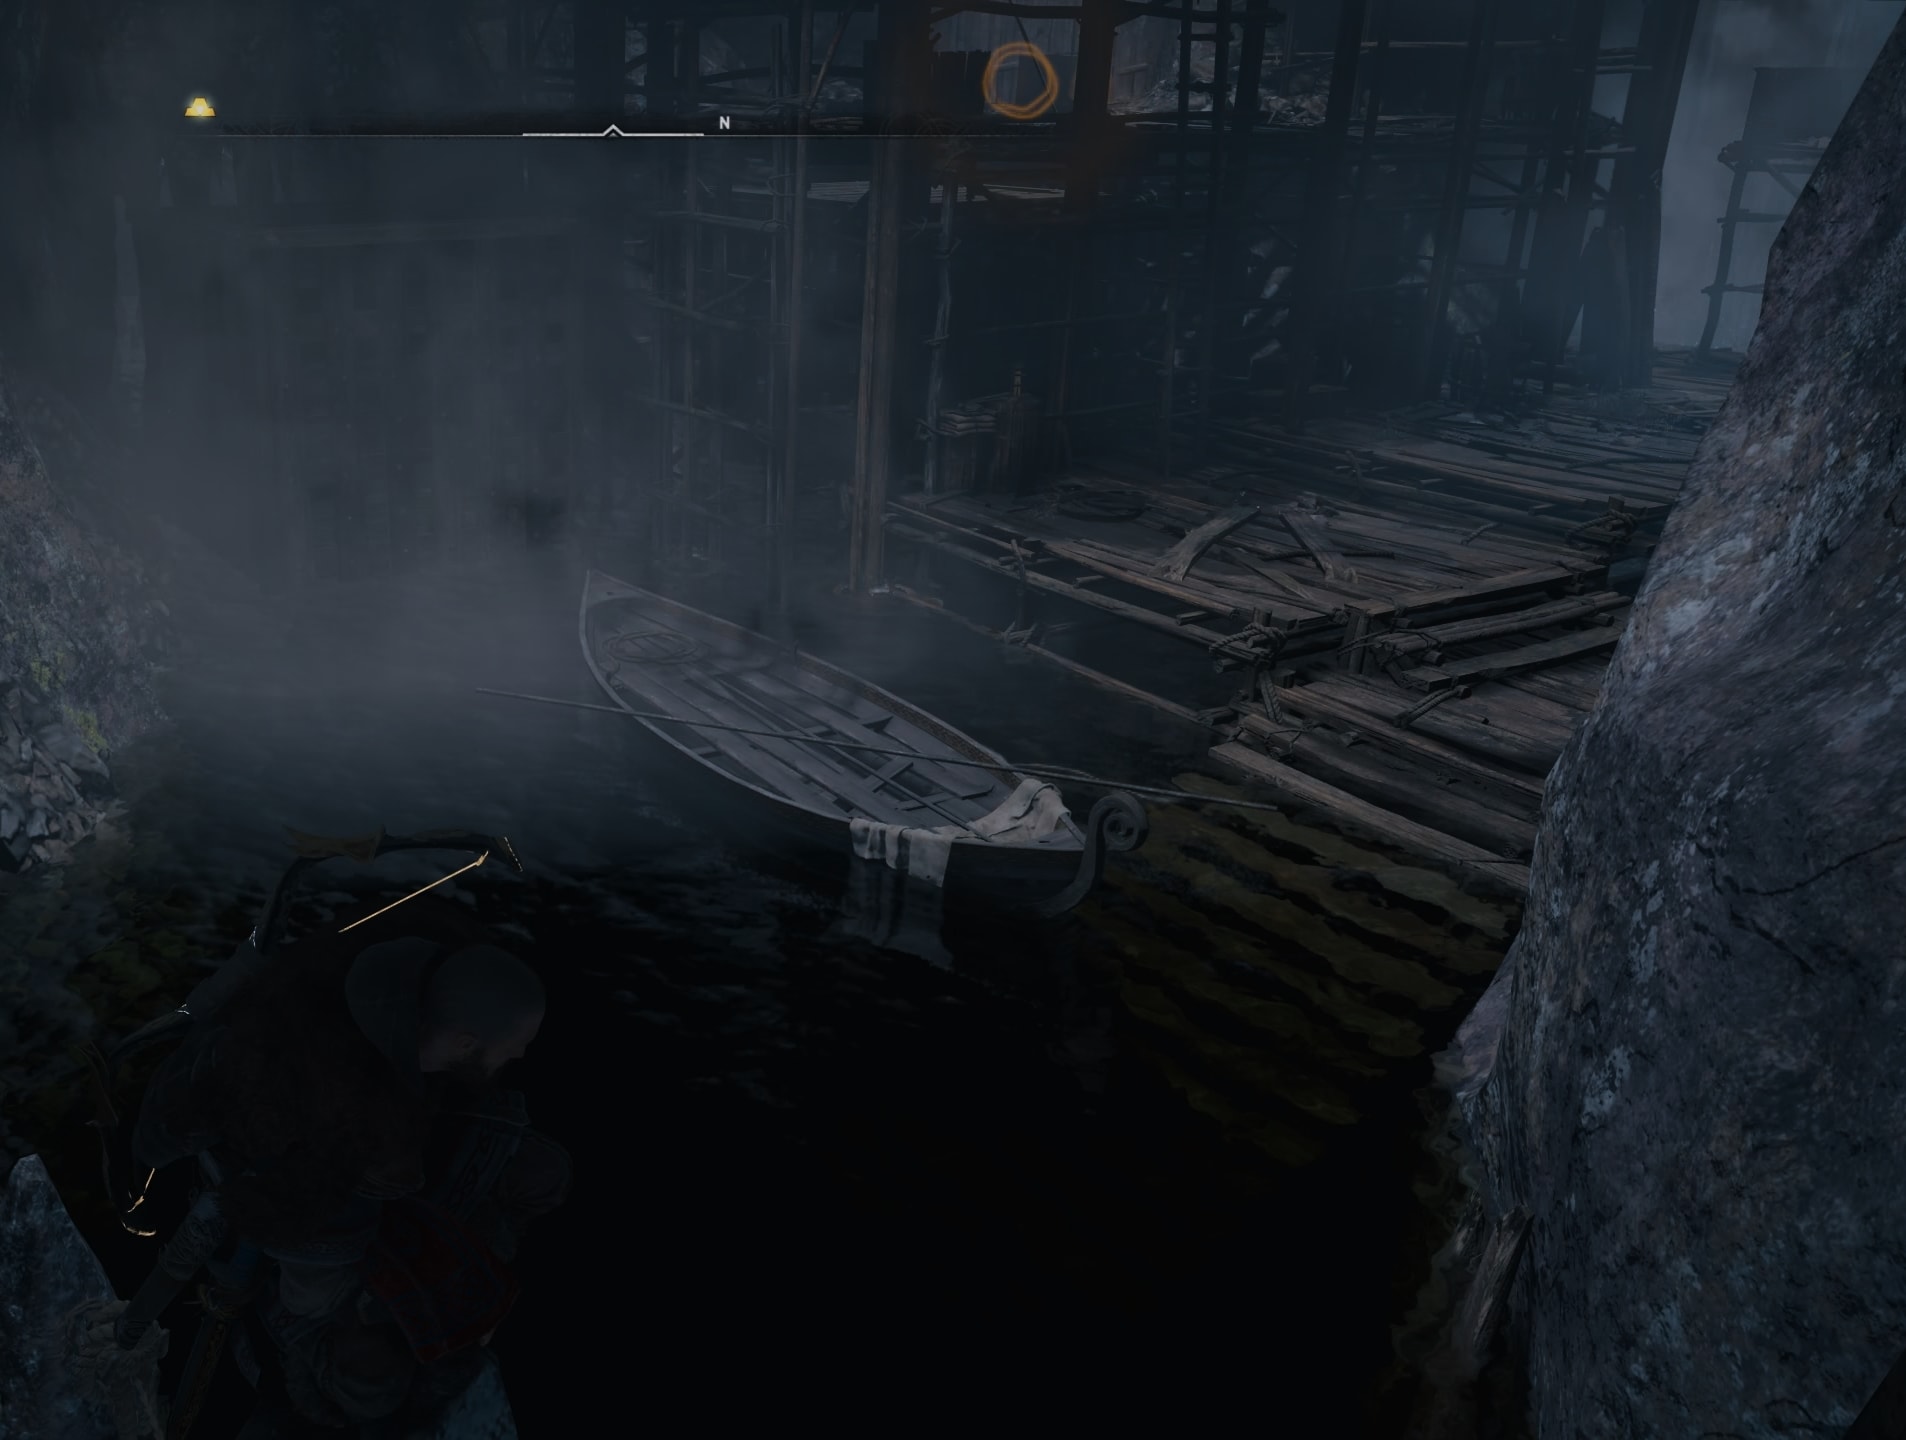
You need to free up the way for the boat to move forward as you will be carrying an object while driving the boat. First, though, get to the lever, pull it and pick up the object.
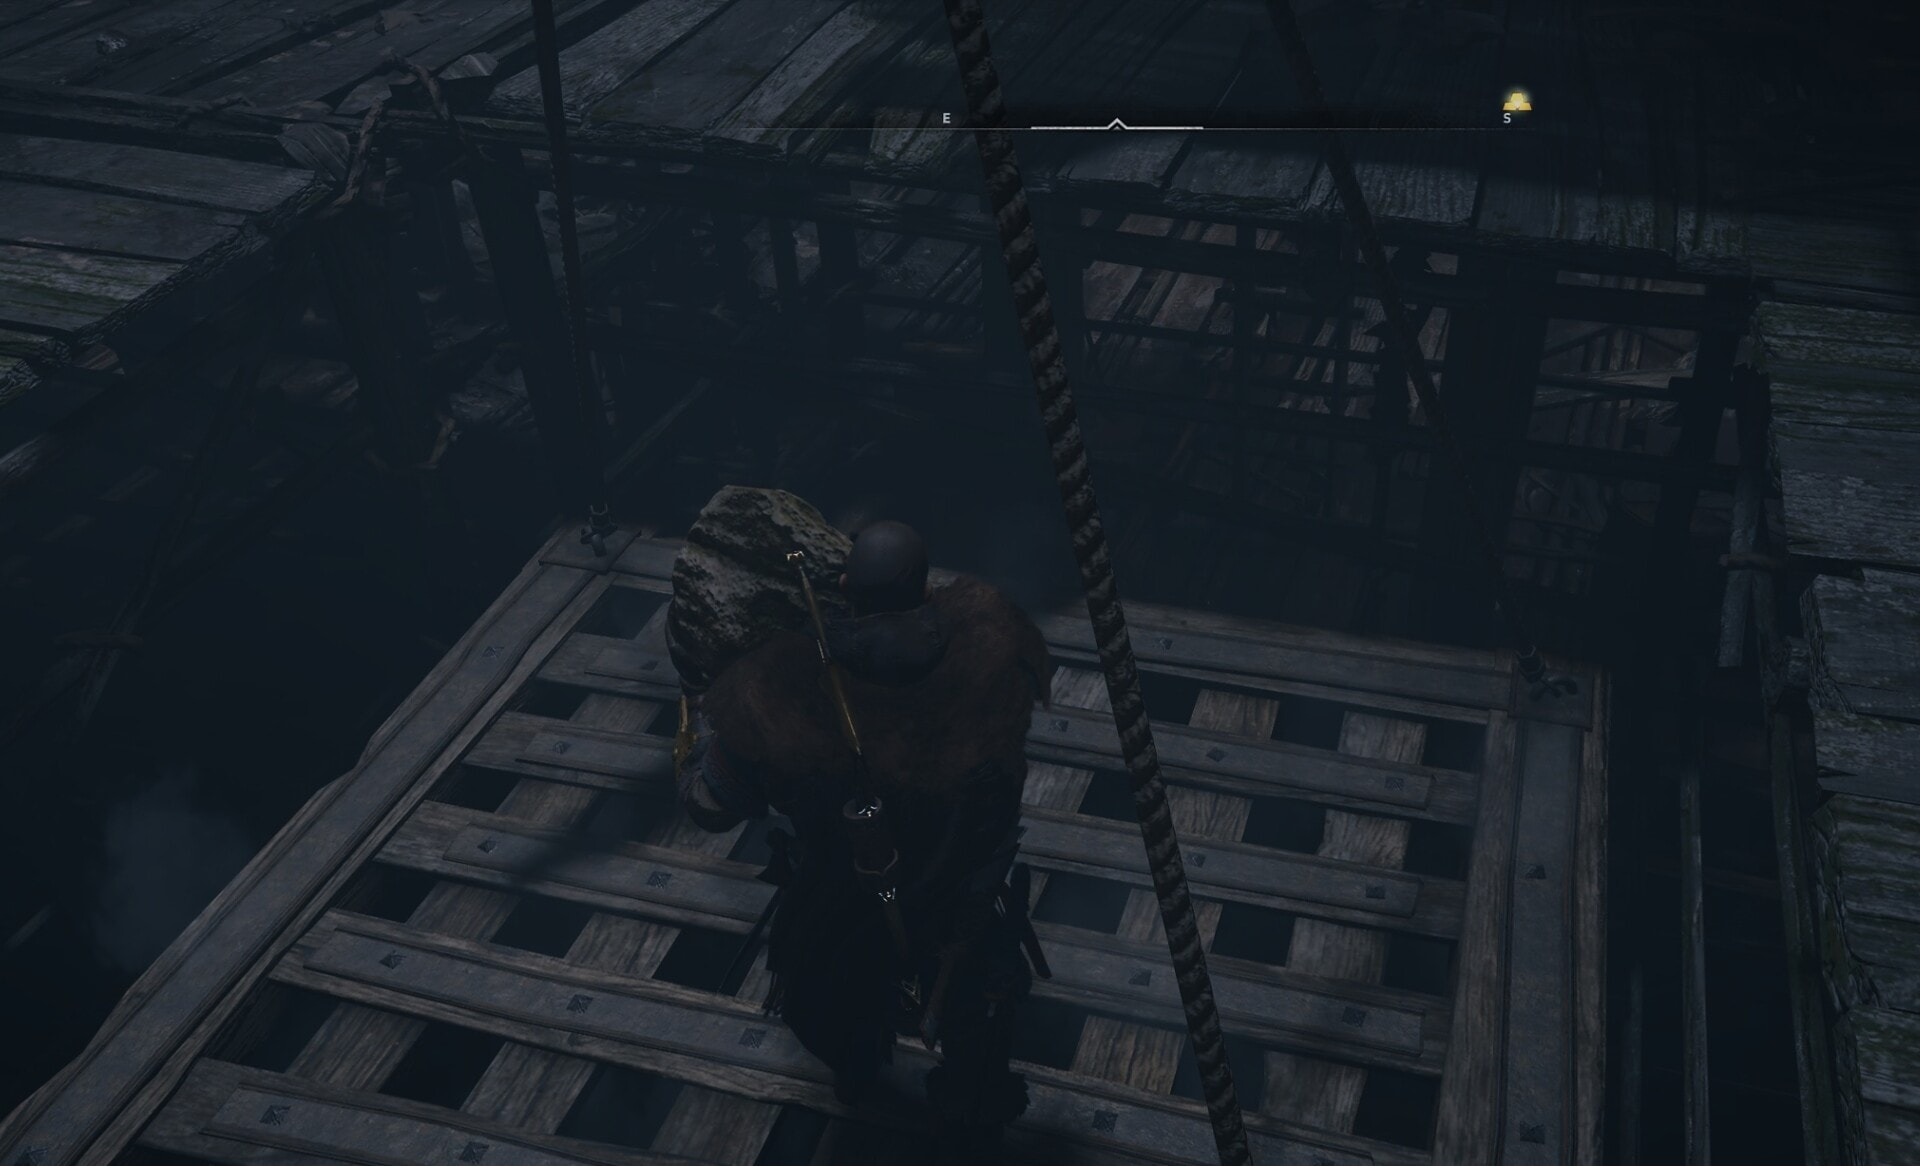
Carry the object to the boat and put it on it. Then climb up on the wooden structure to reach the wooden platform with the stone on it.

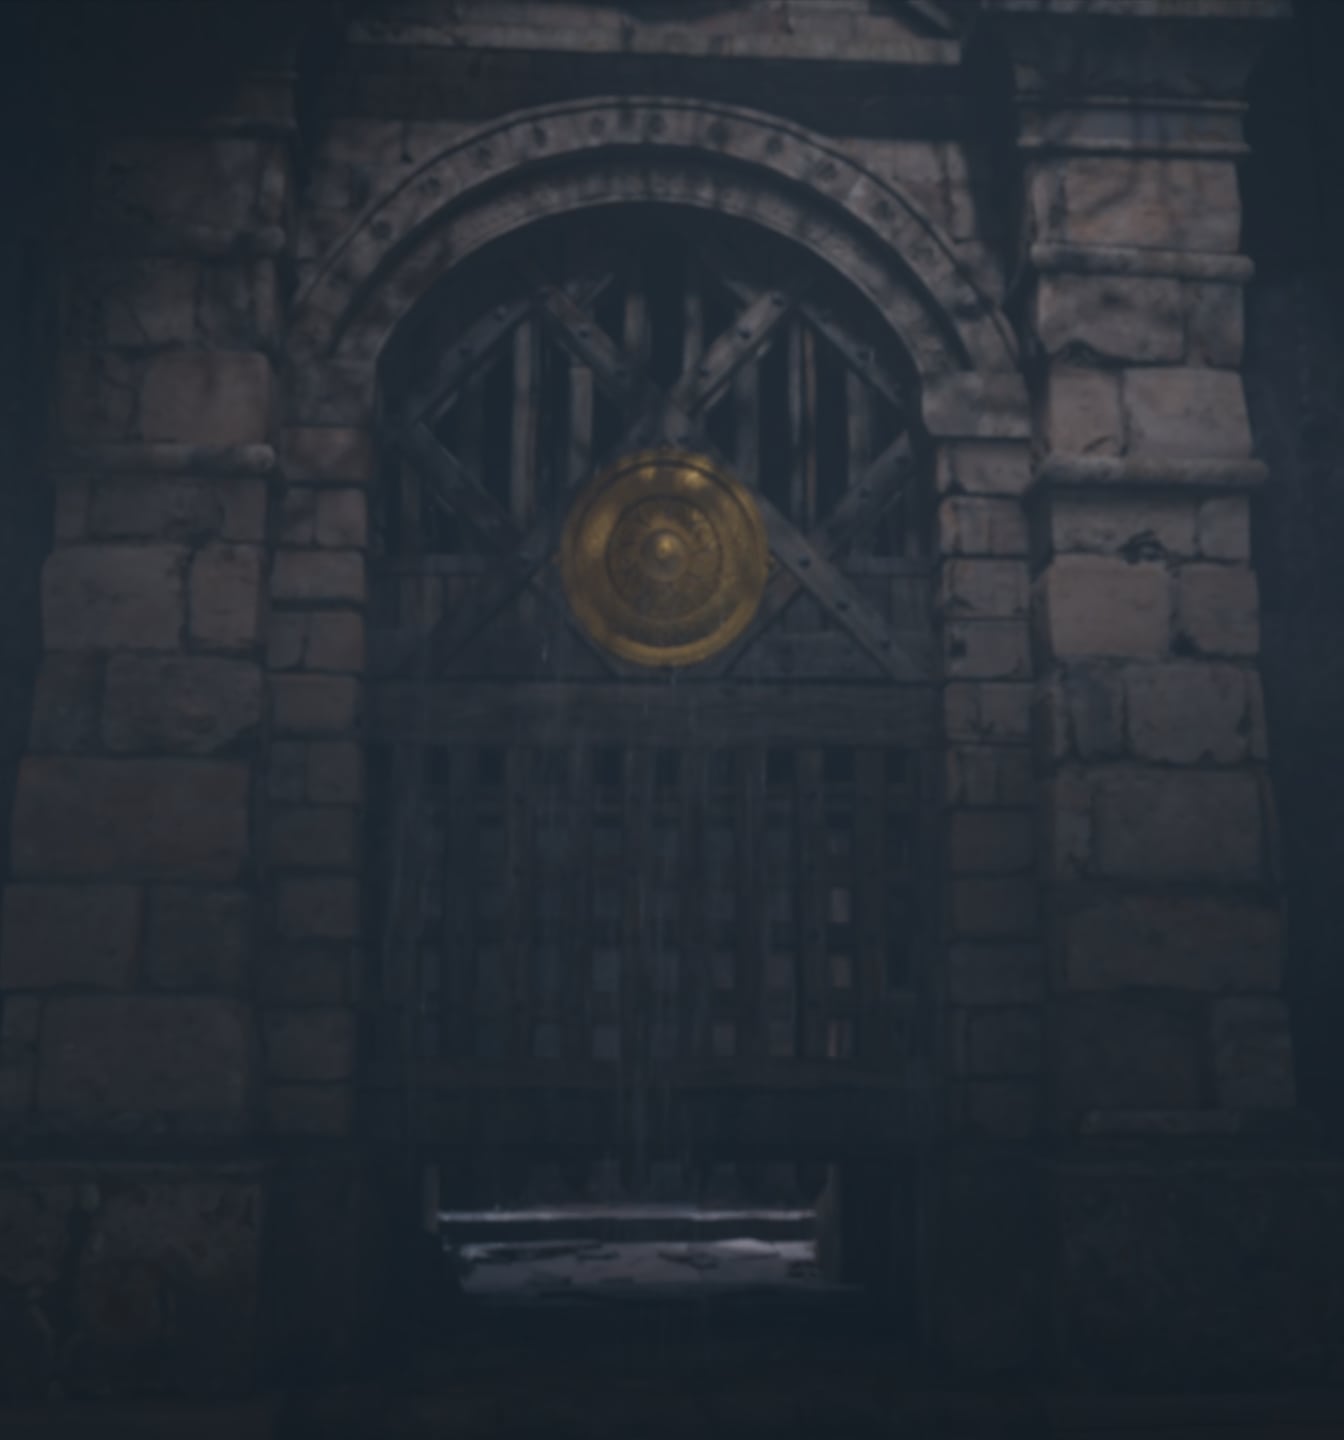
Throw this and any other stones you find in the area on top of the metal cage. This will cause it to go lower from the weight. The cage is connected to the door in front of the boat. Lowering the cage will lift open the door for you to pass through.
If you don’t put enough of the stones on top of the cage, it will go back up as you jump off it. You need it to stay down.
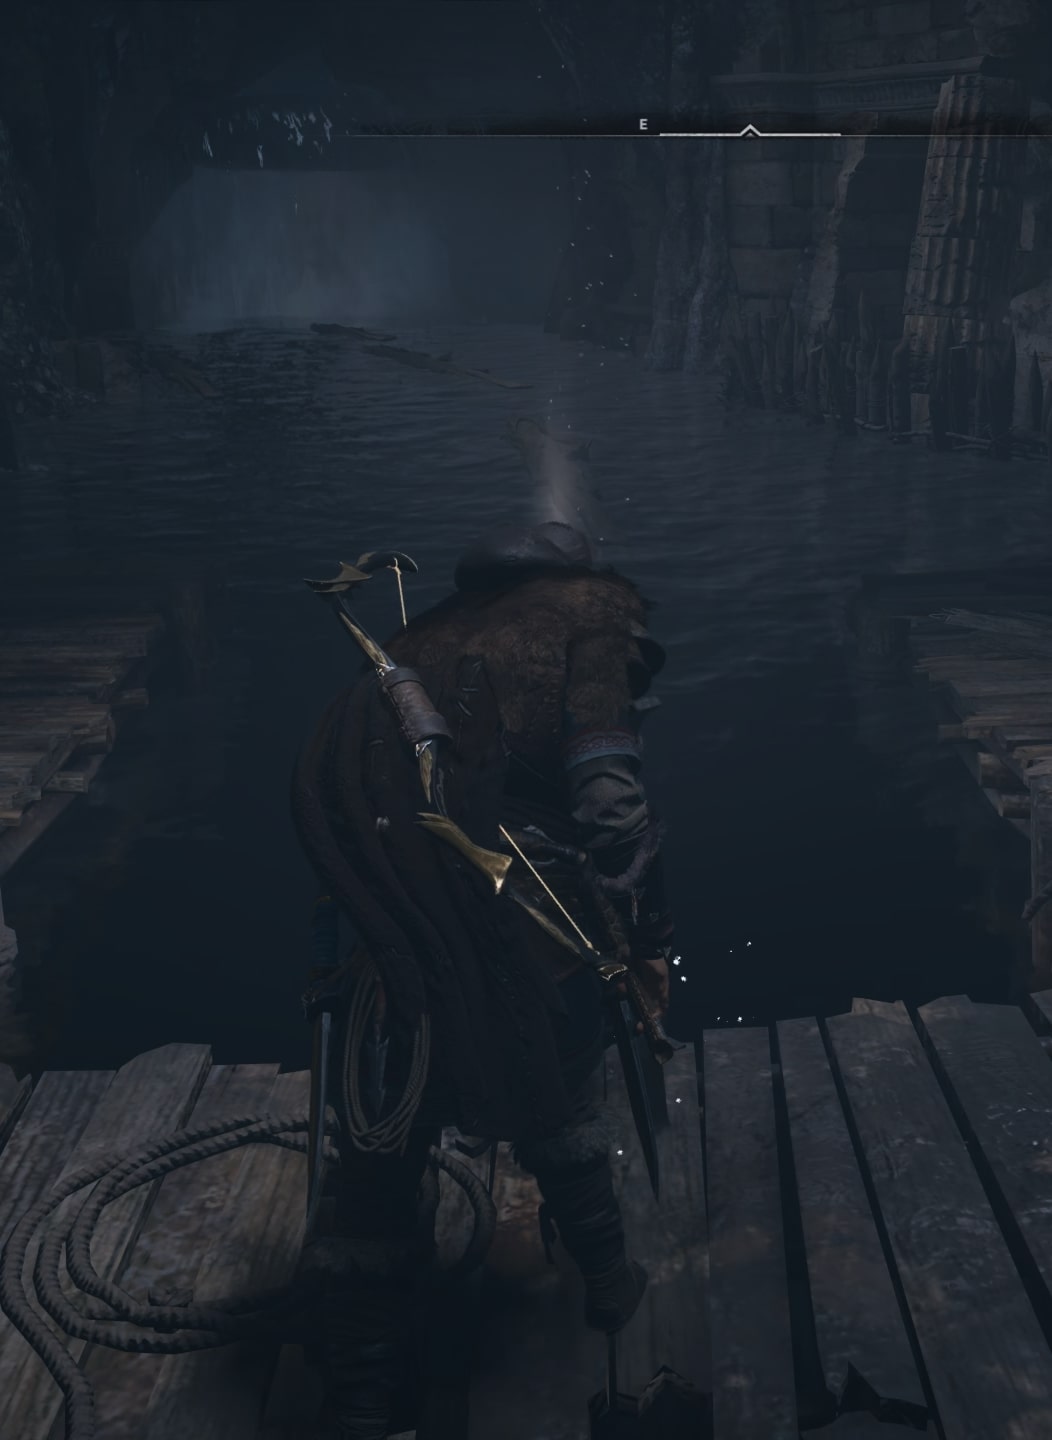
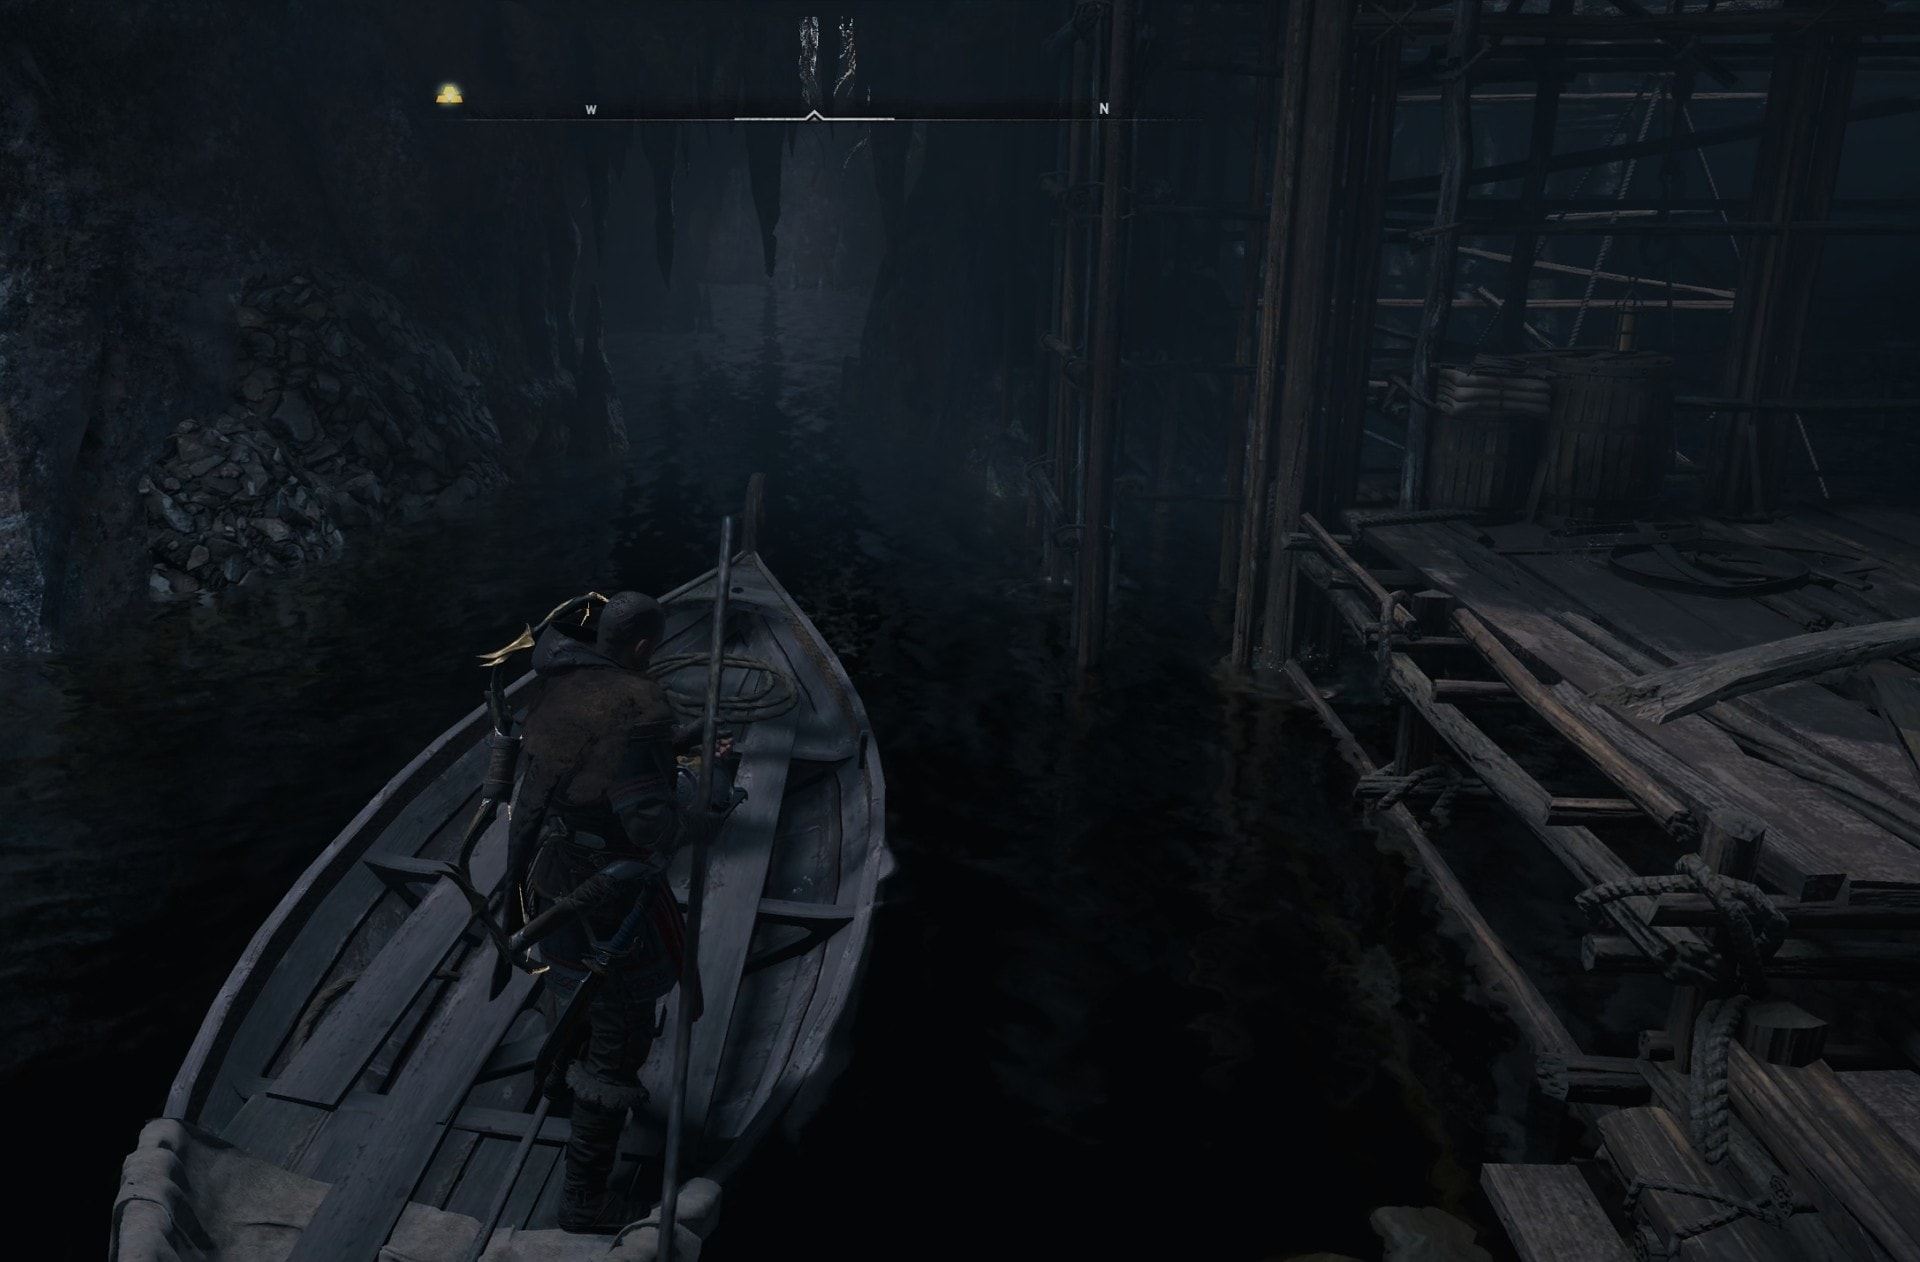
Get back to the boat and sail away! Go through the waterfall until you reach the wooden docks where you started this.
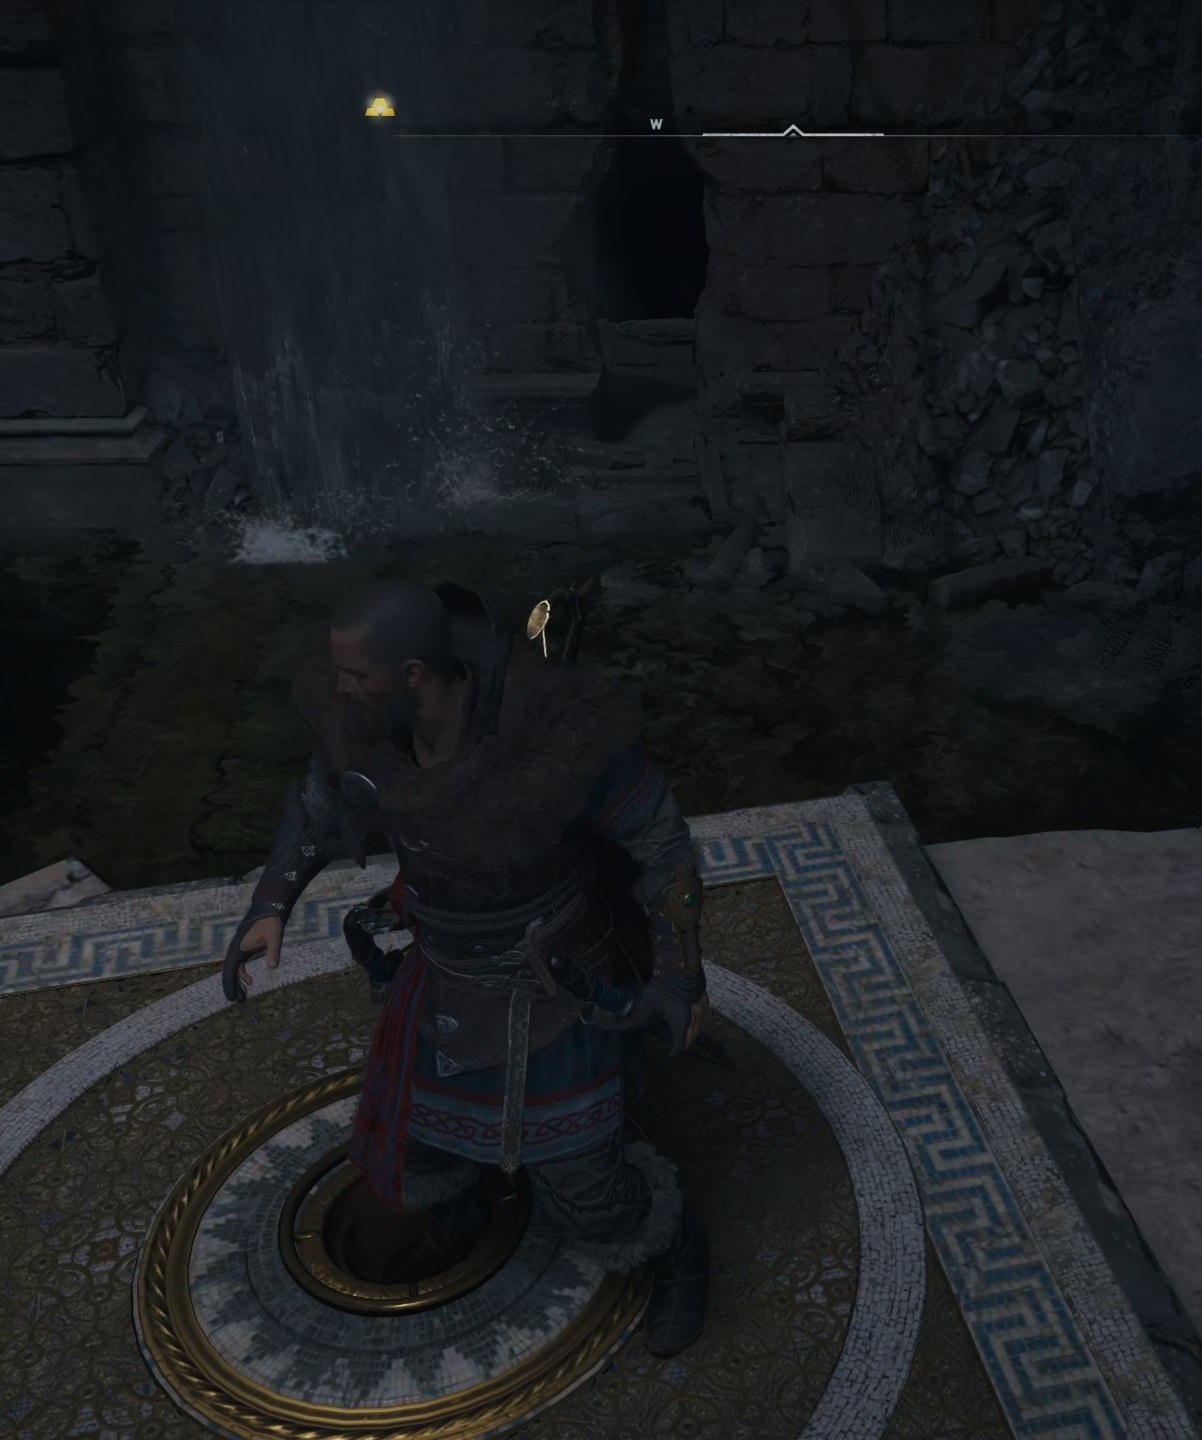
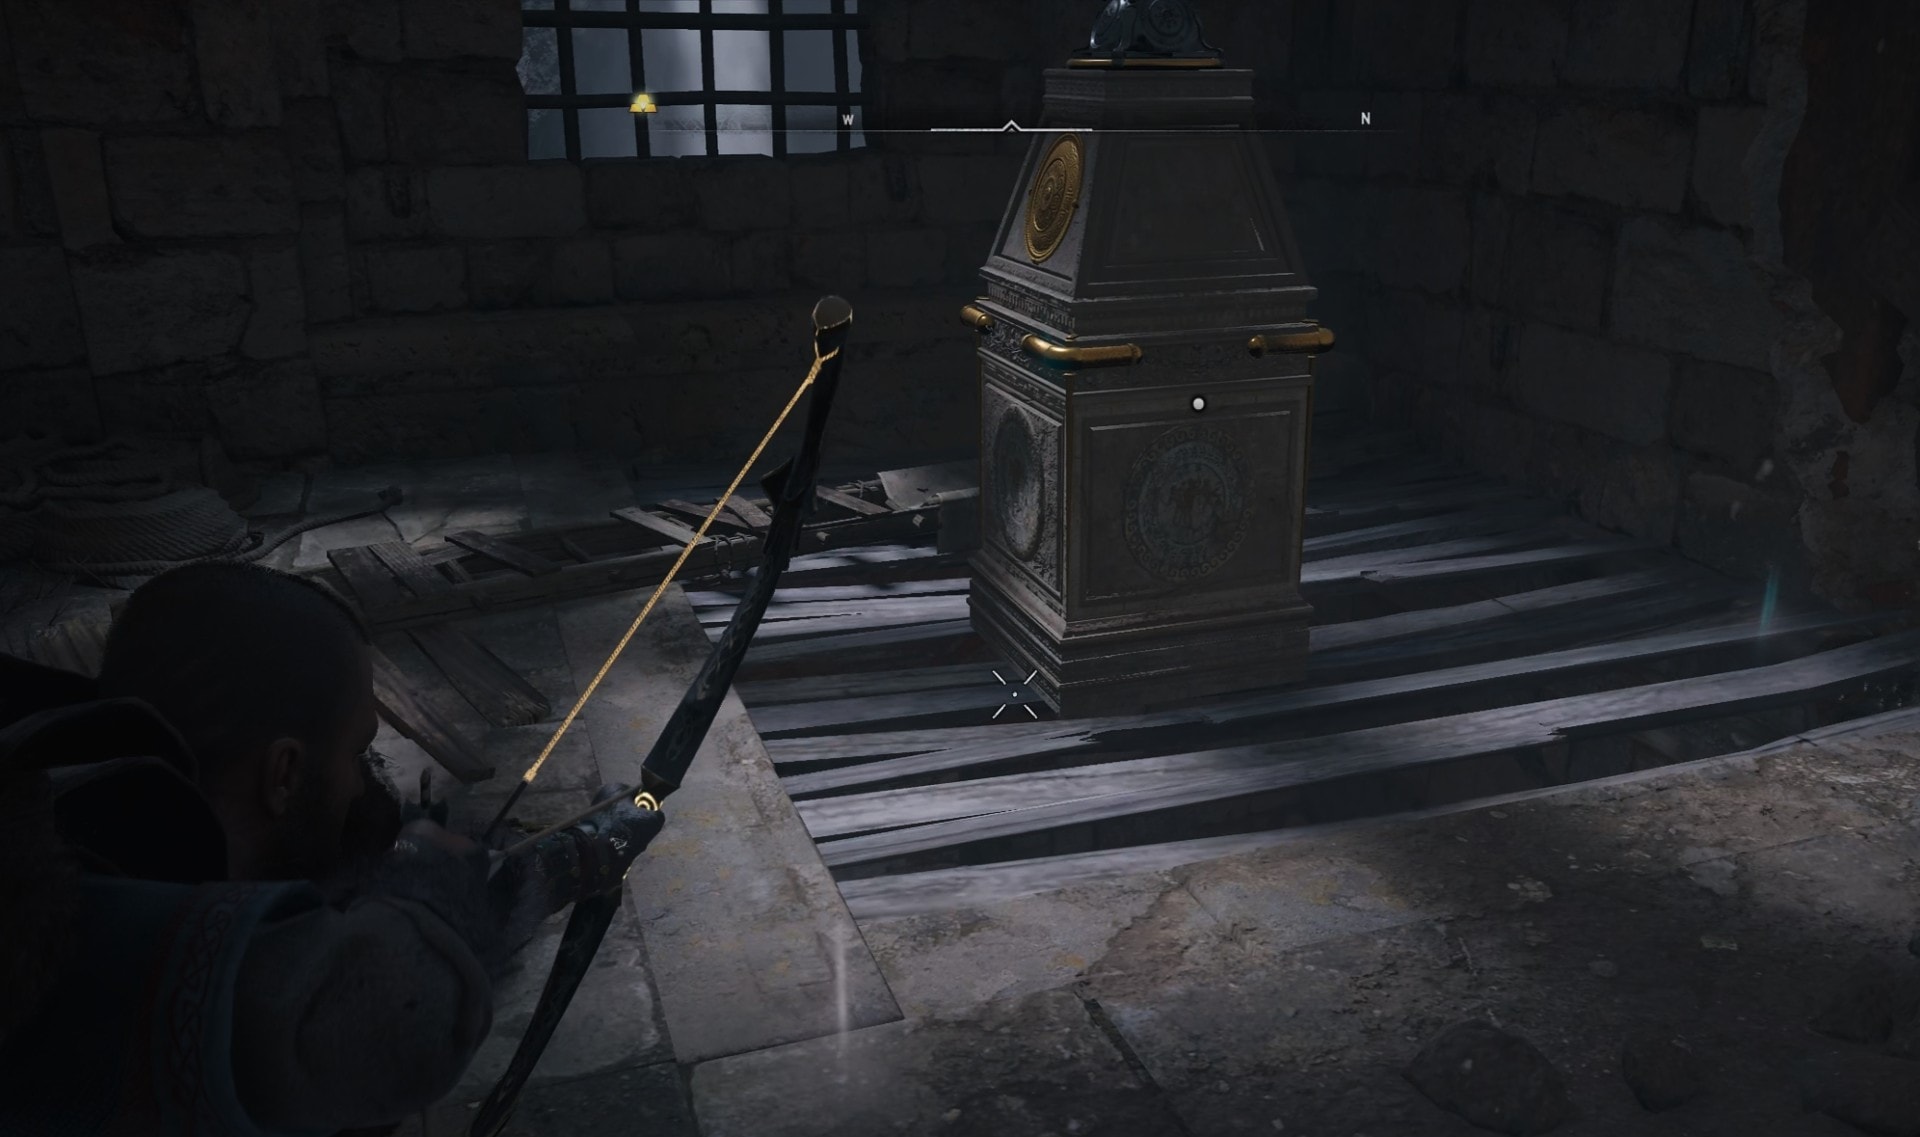
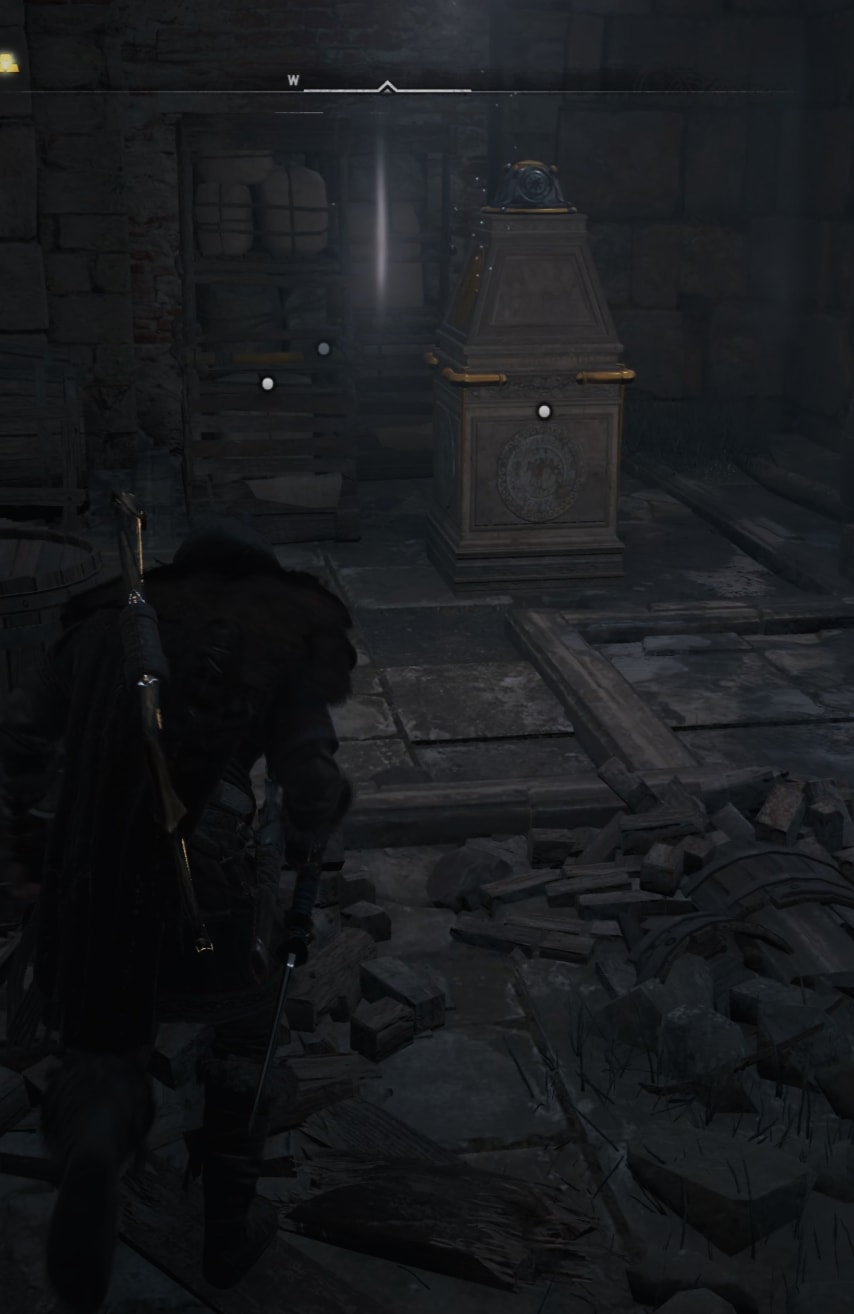
Pick up the object and carry it to the slot. Interact with the slot to put it in place and unlock the first puzzle.
Solving the first puzzle on the right side
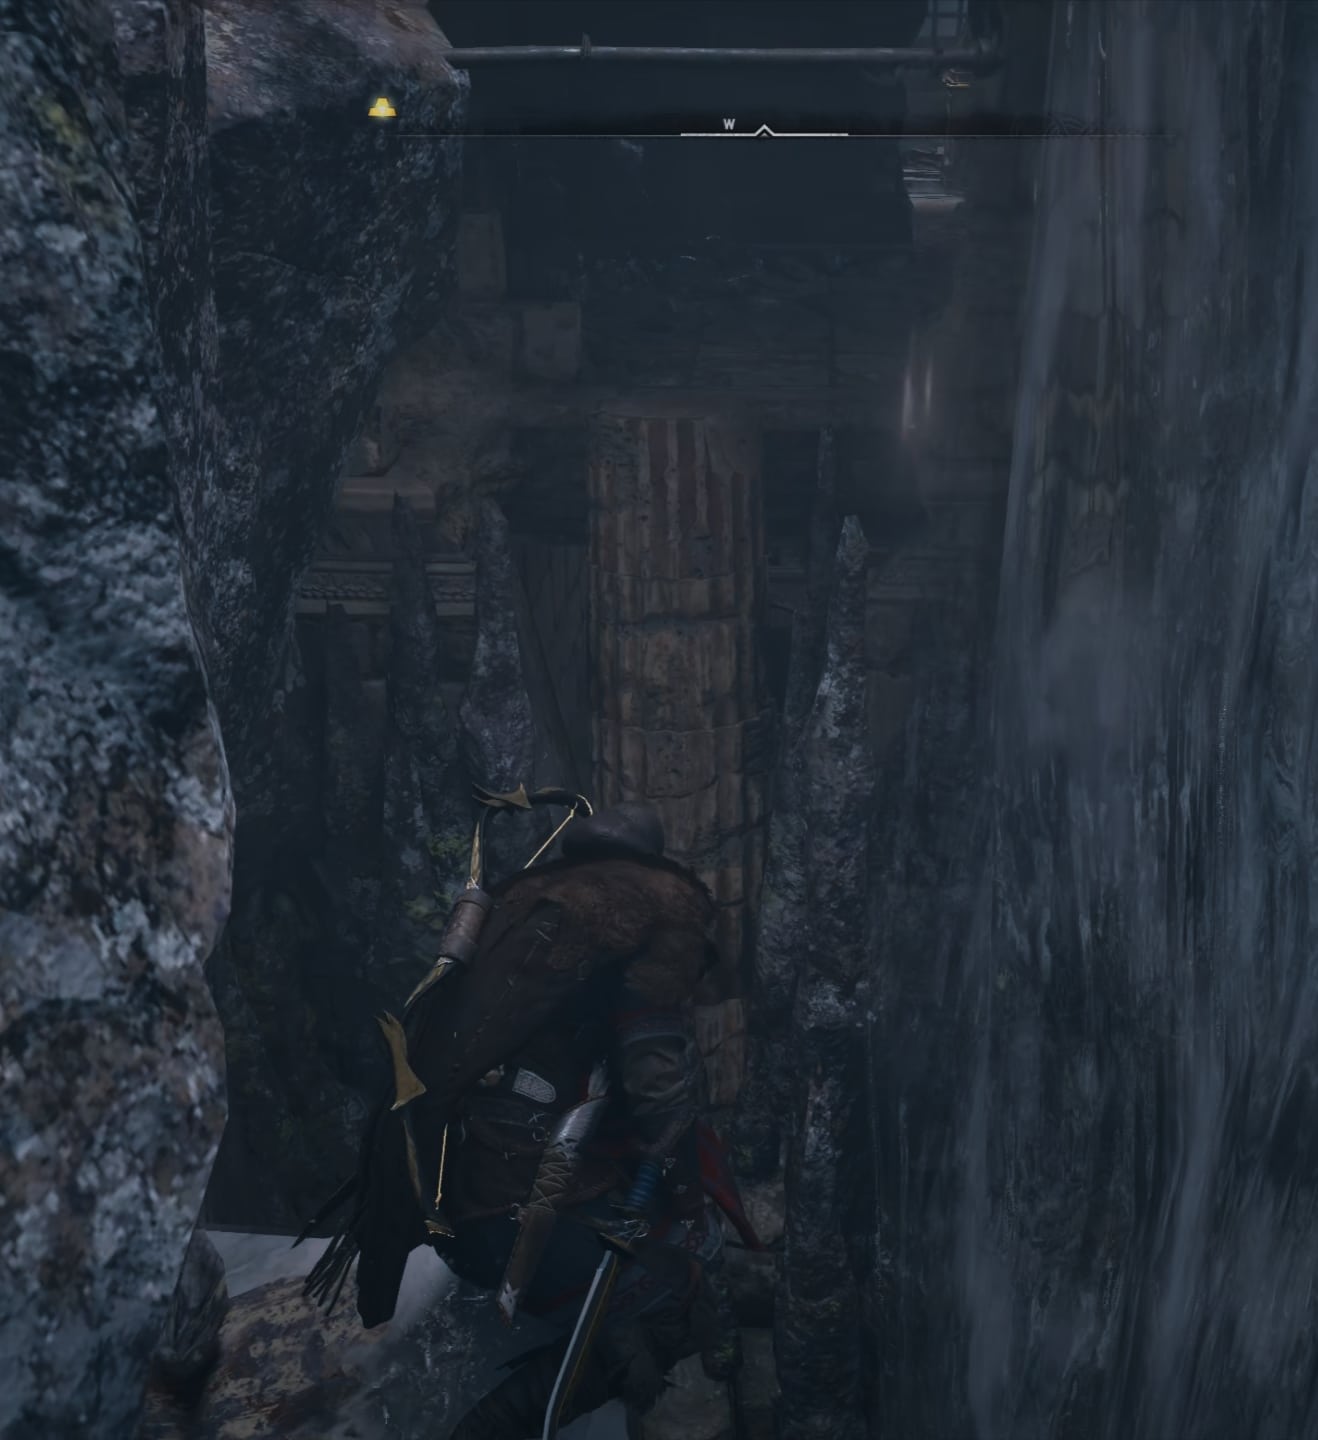
As you stand on top of the second slot location, turn to the west. You will notice the crack in the wall just next to the waterfall. Sneak through it.
On your right in the next area you will see the mechanism with the lever that will spawn the object you need to carry back with you.
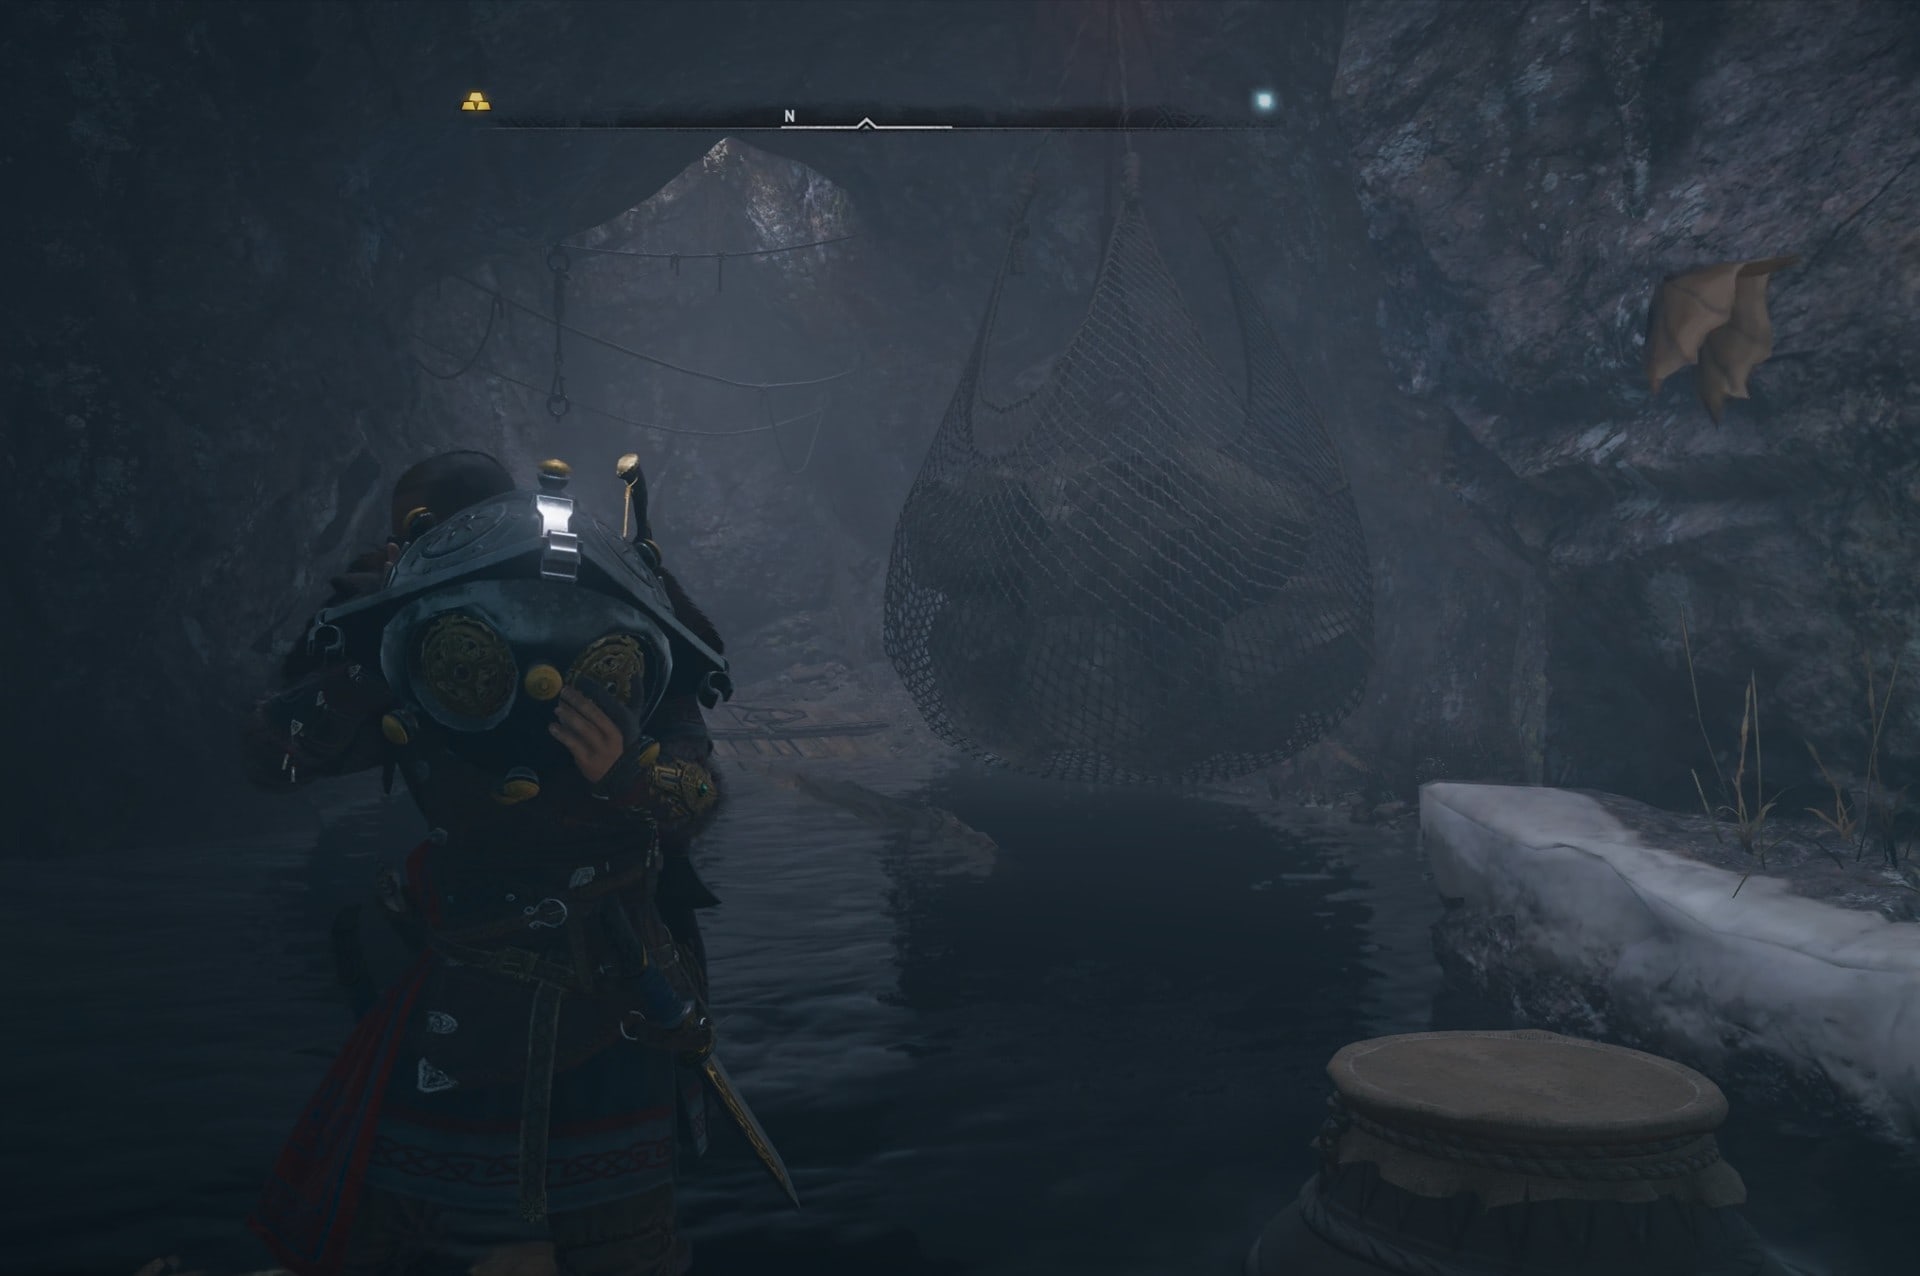
Don’t go back. Pick it up and continue west. Jump over the water. If you fall, you will drop the object. Just follow the path and stick to the narrow path along the right side of the stone wall.
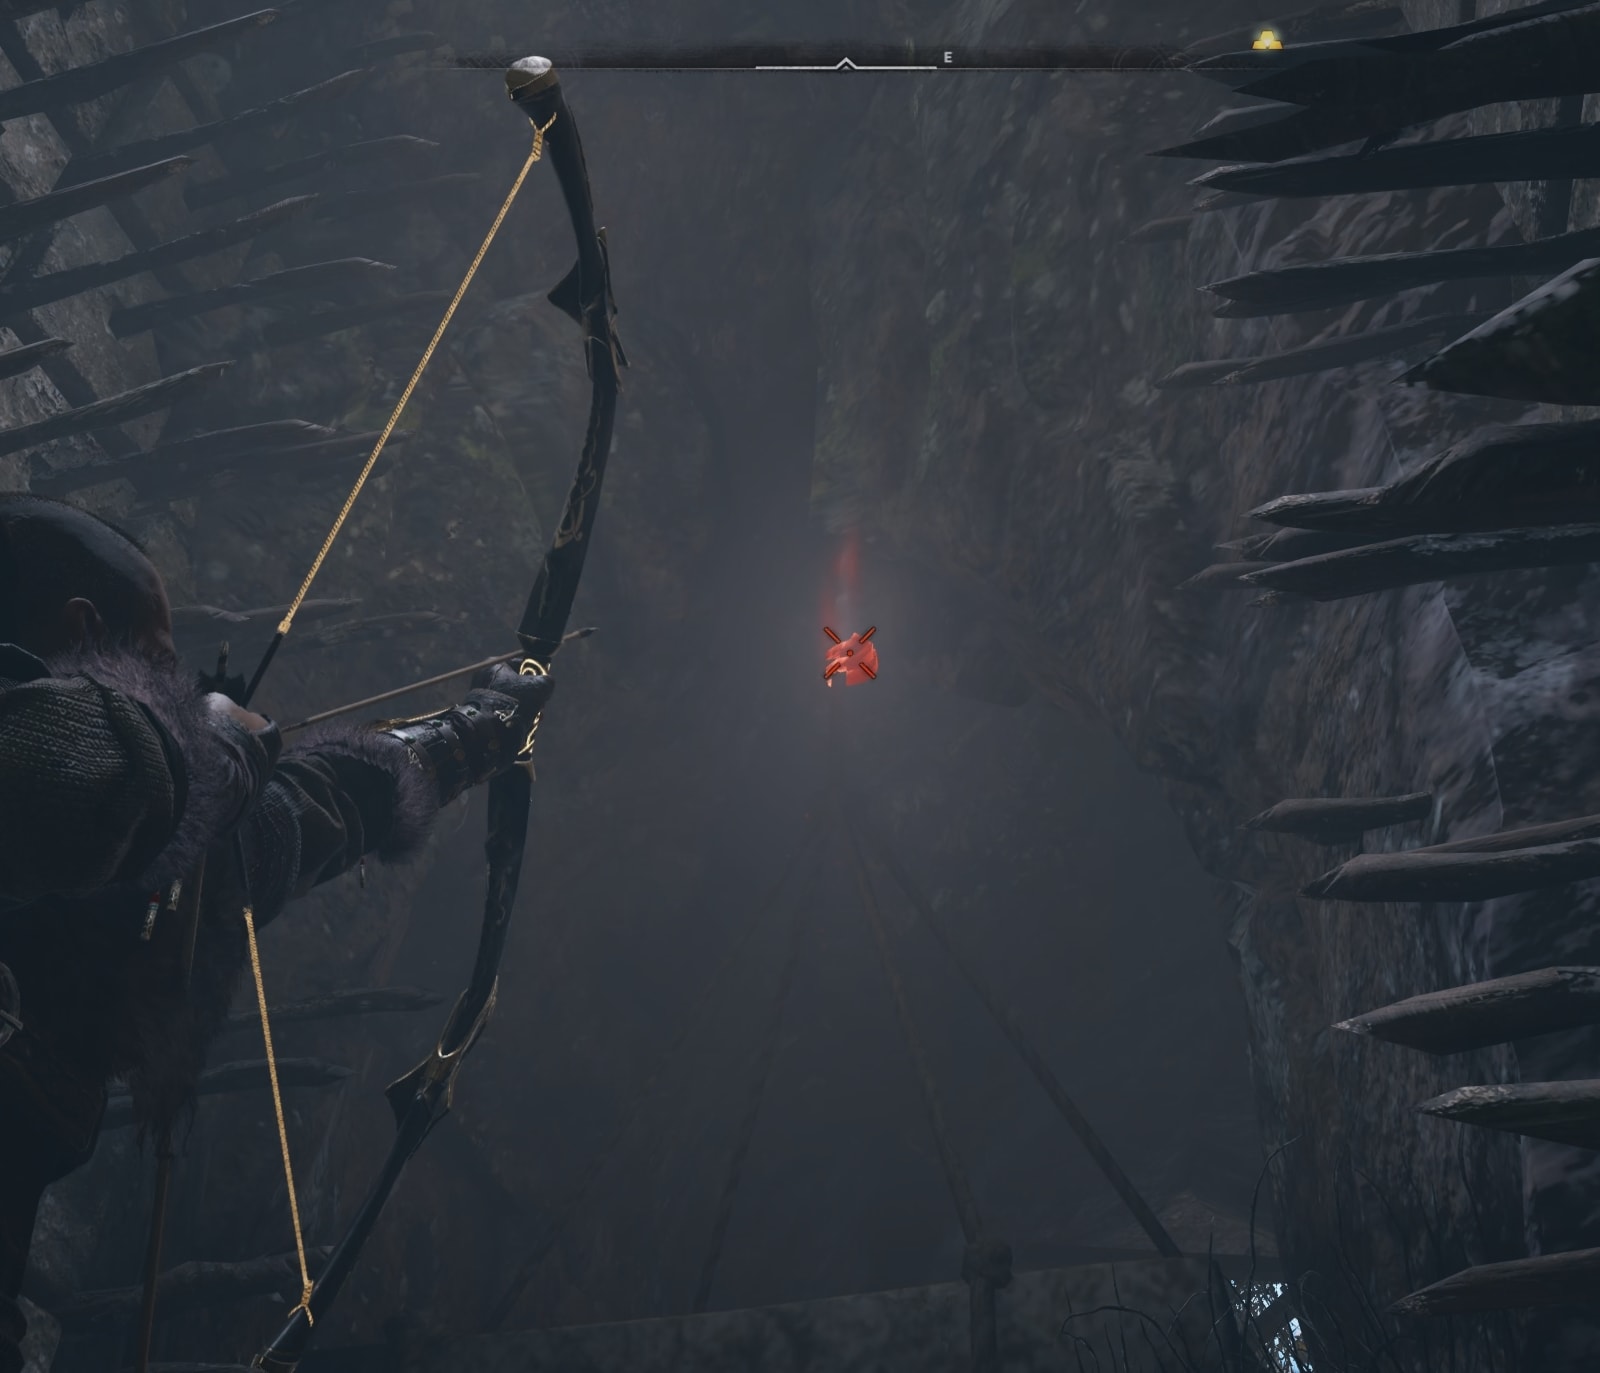
When you reach the wooden platform, put down the object and shoot an arrow to break the net with the stones that blocks your path forward.
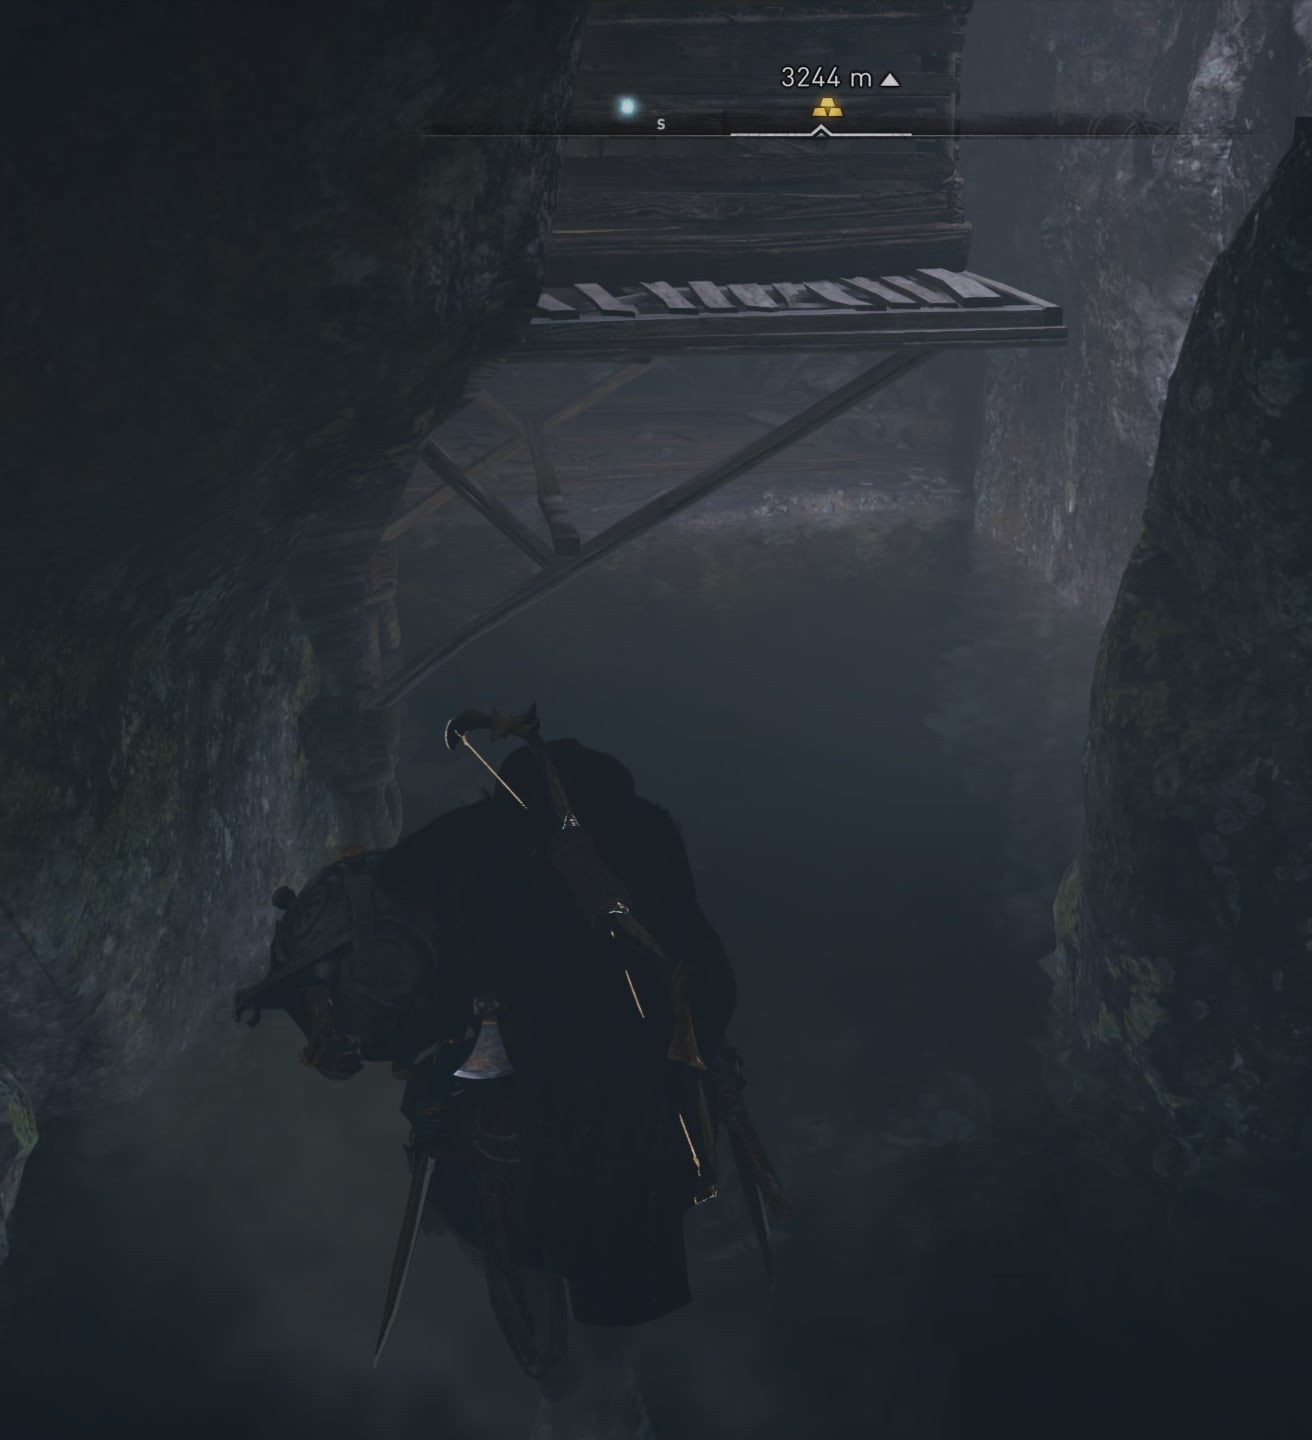
Moving forward sneak through another crack in the wall. When you reach another wooden platform, put the object on it and shoot the wooden platform up in the air to force the heavy stone blocks to fall down. This will create a path for you to move forward while carrying the item.
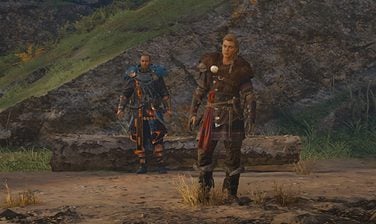
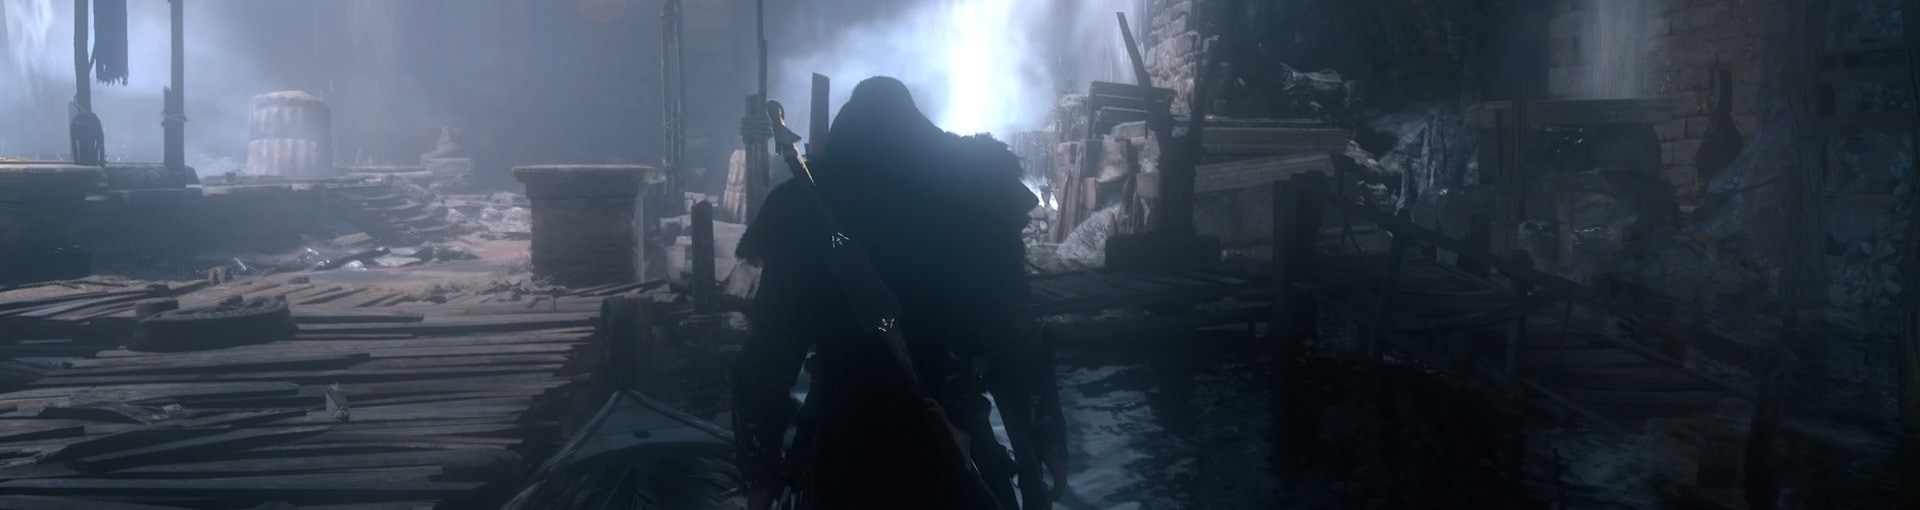
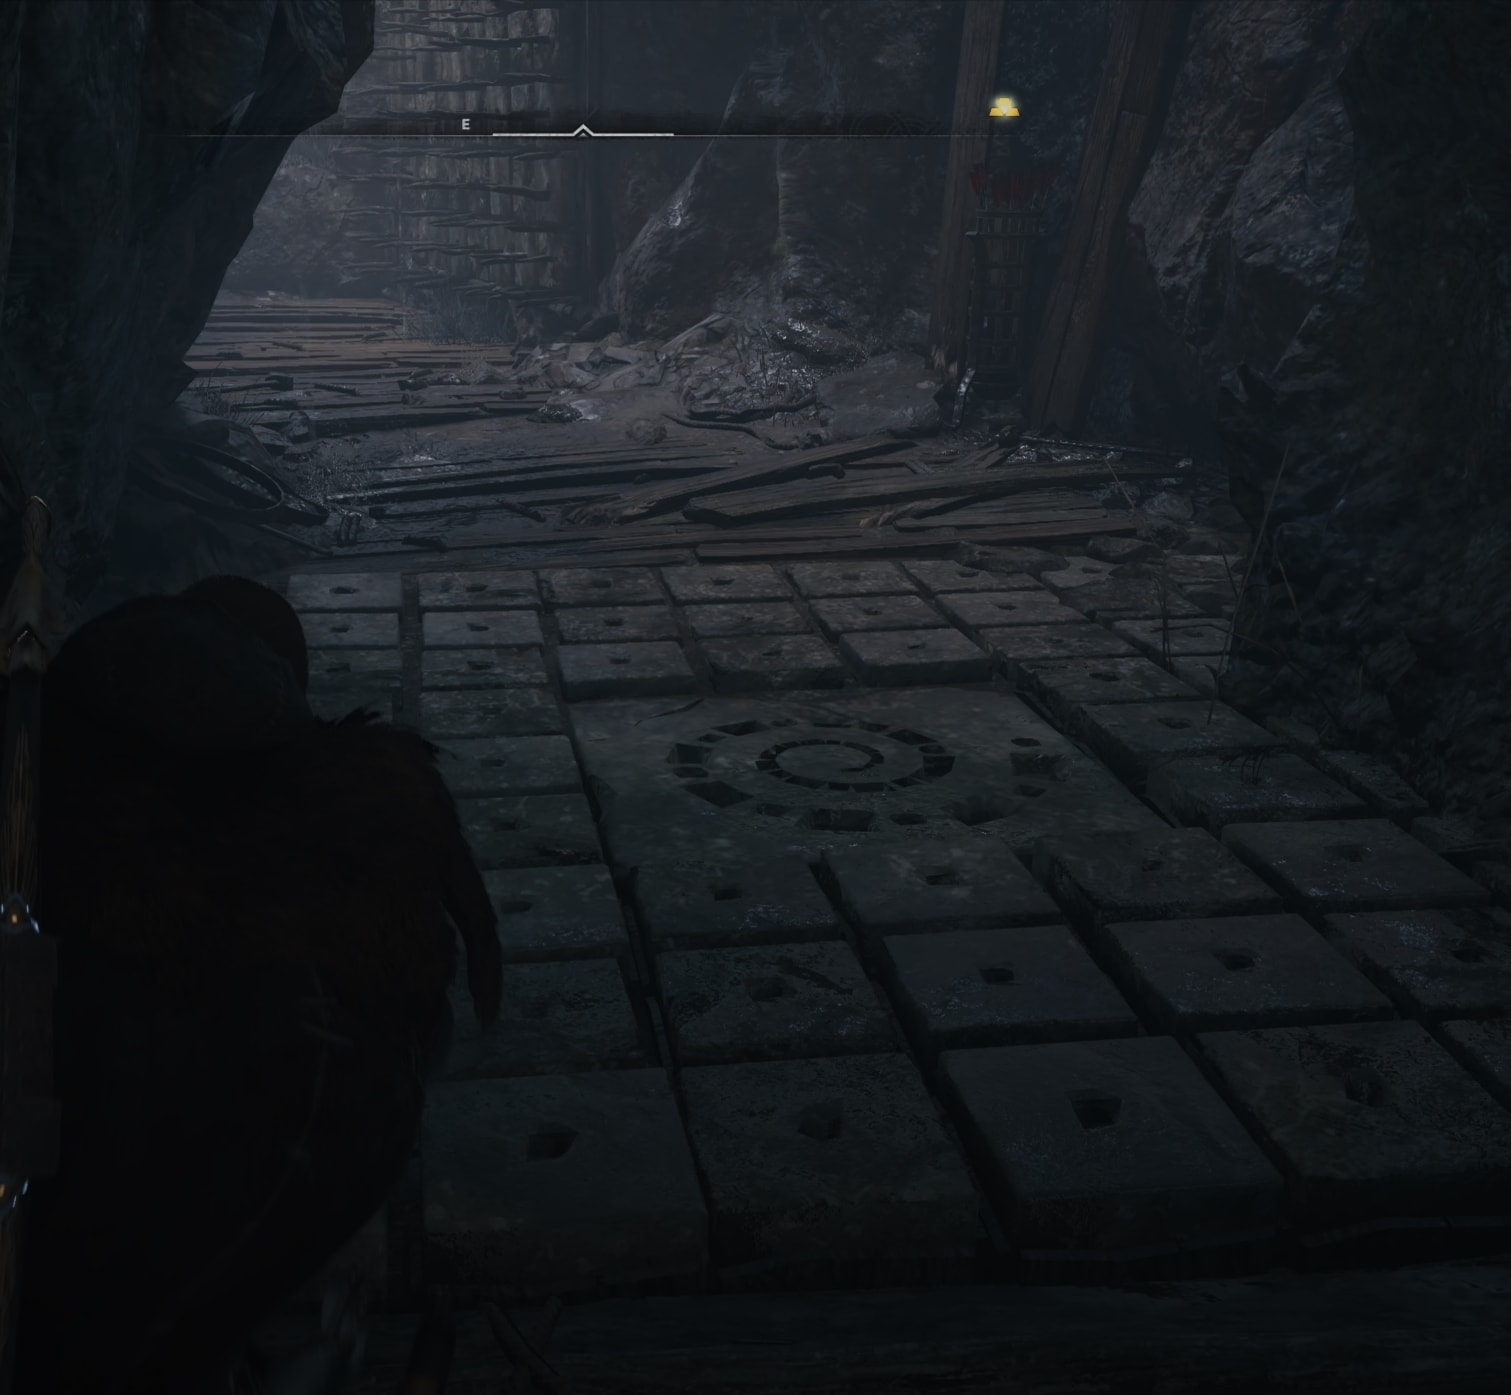
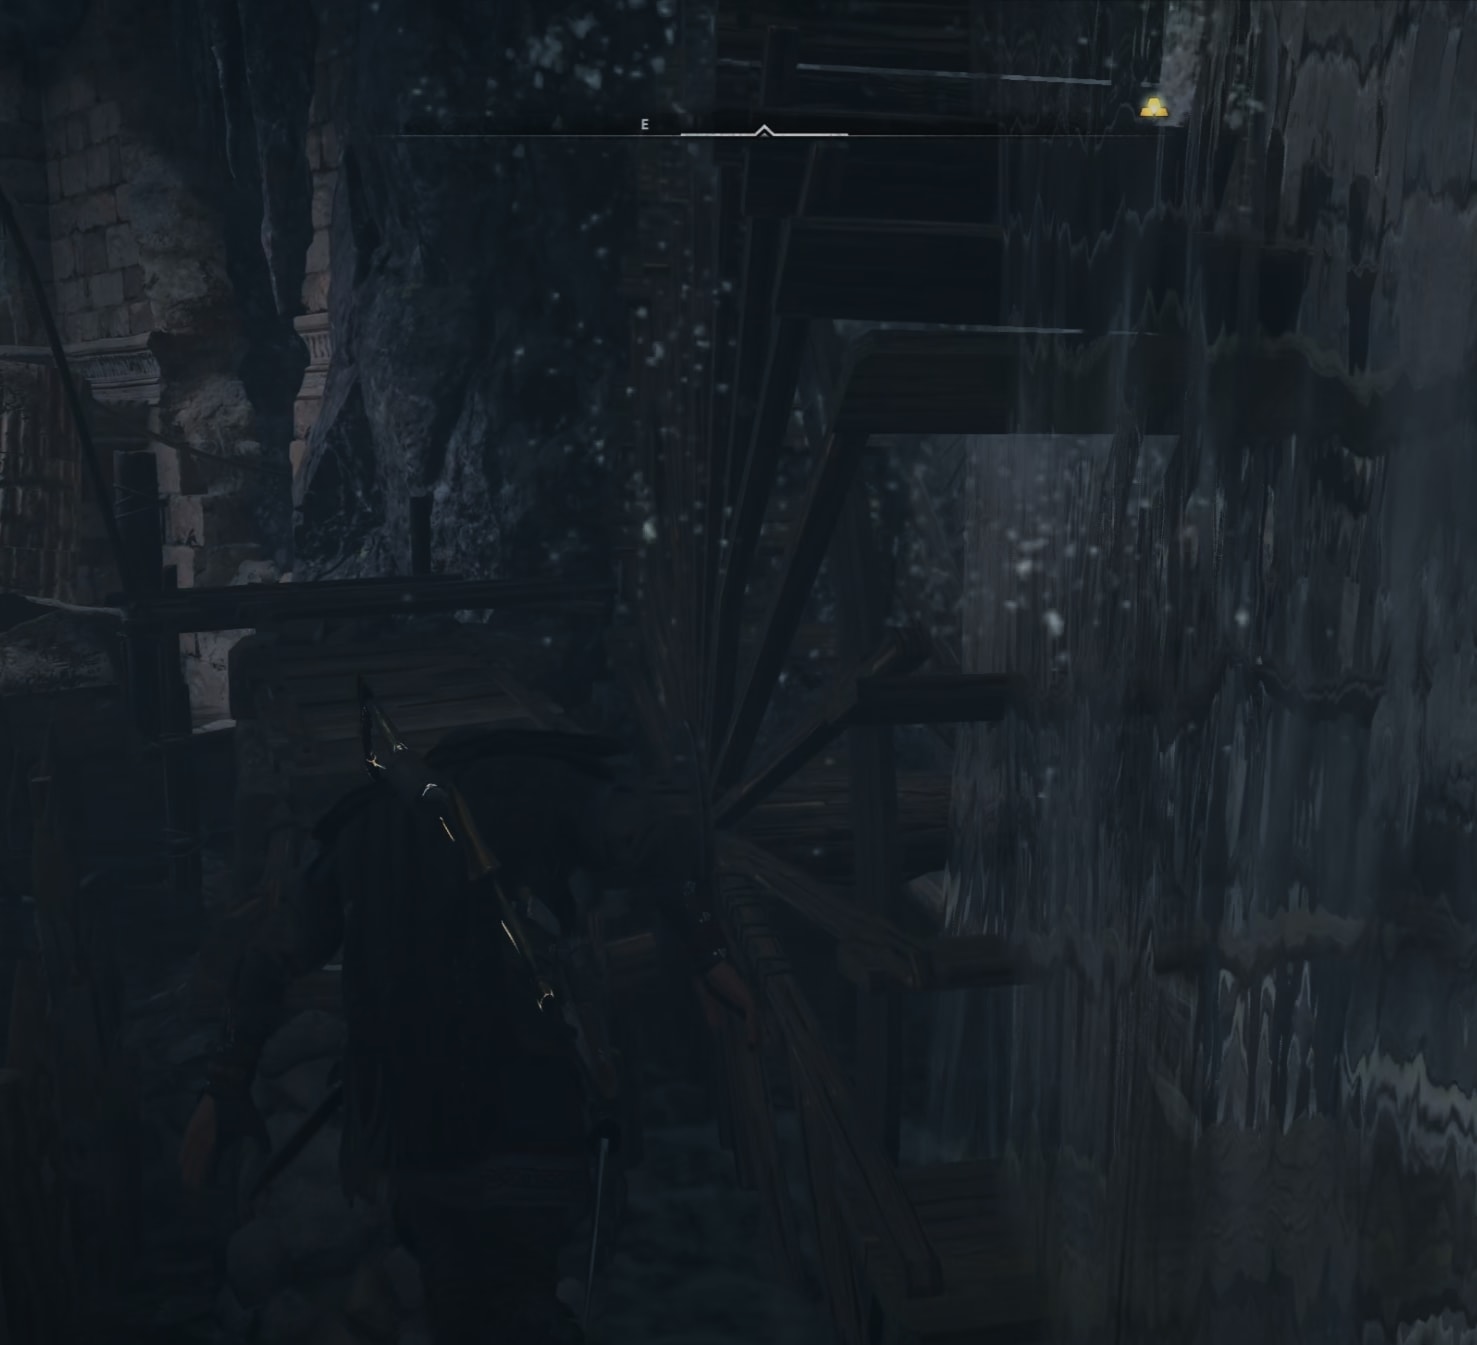
Next up is this area (image below). Nothing fancy here, just the usual spikes you want to avoid touching.
At the end of this corridor you will see a large stone block blocking your path. Shoot the rope to release the stone block and clear your way.
When you reach the brick wall with the movable object blocking the entrance to the next area, put down the object, clear the crates around and move the heavy one aside.
This is your last obstacle to get back to the big room and place the object on the second platform.
Solving the second puzzle on the left side
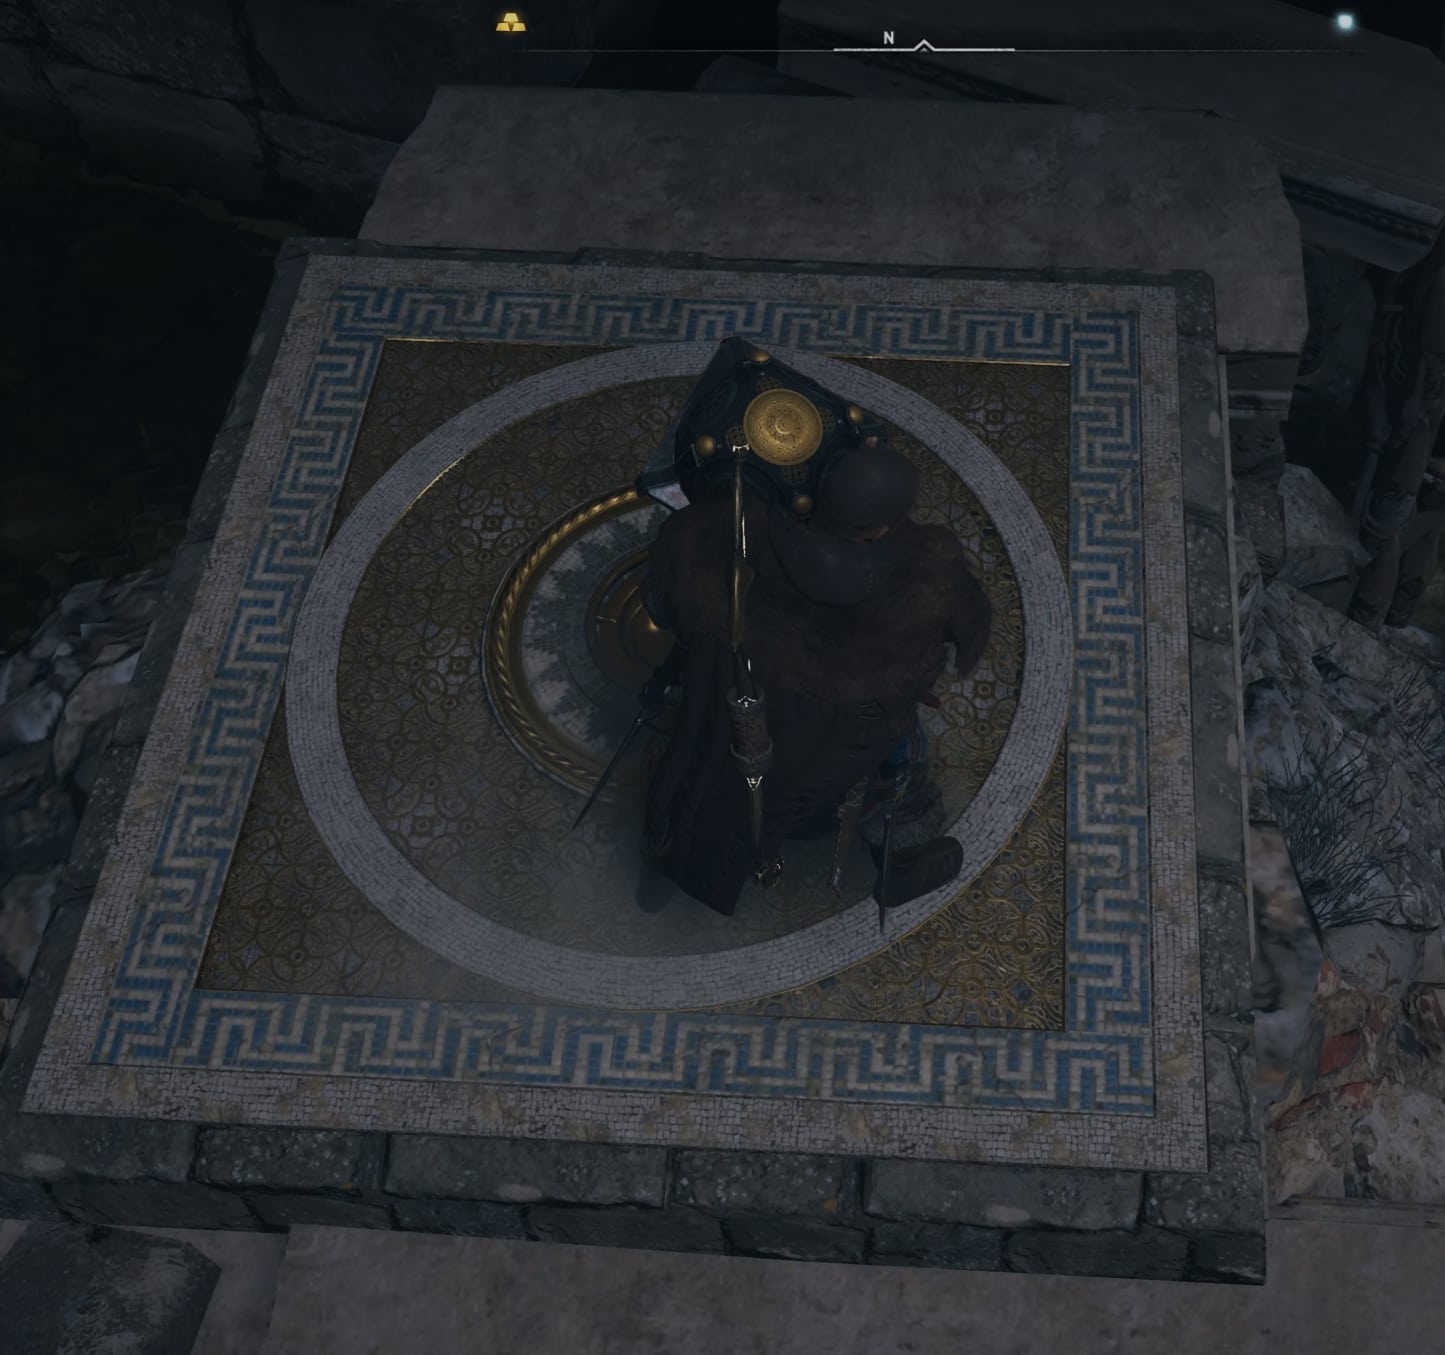
This one requires you to place a pylon on the square marker.
Start by going on the rope around the water wheel.
After you get past the water wheel, look for another rope-path to your right. You are actually getting inside that ruined tower that is right next to the square marker where you need to bring the pylon.
Climb up by following the path along the walls to get to this point high up:
Break the weak wooden floor boards to drop down the pylon.
There’s Opal downstairs, at the back side of that room. To move the pylon the its designated location where the marker is, you need to find a way to push it out of the ruins. Clear a path by moving around the large heavy objects to free up enough space to maneuver with the pylon around.
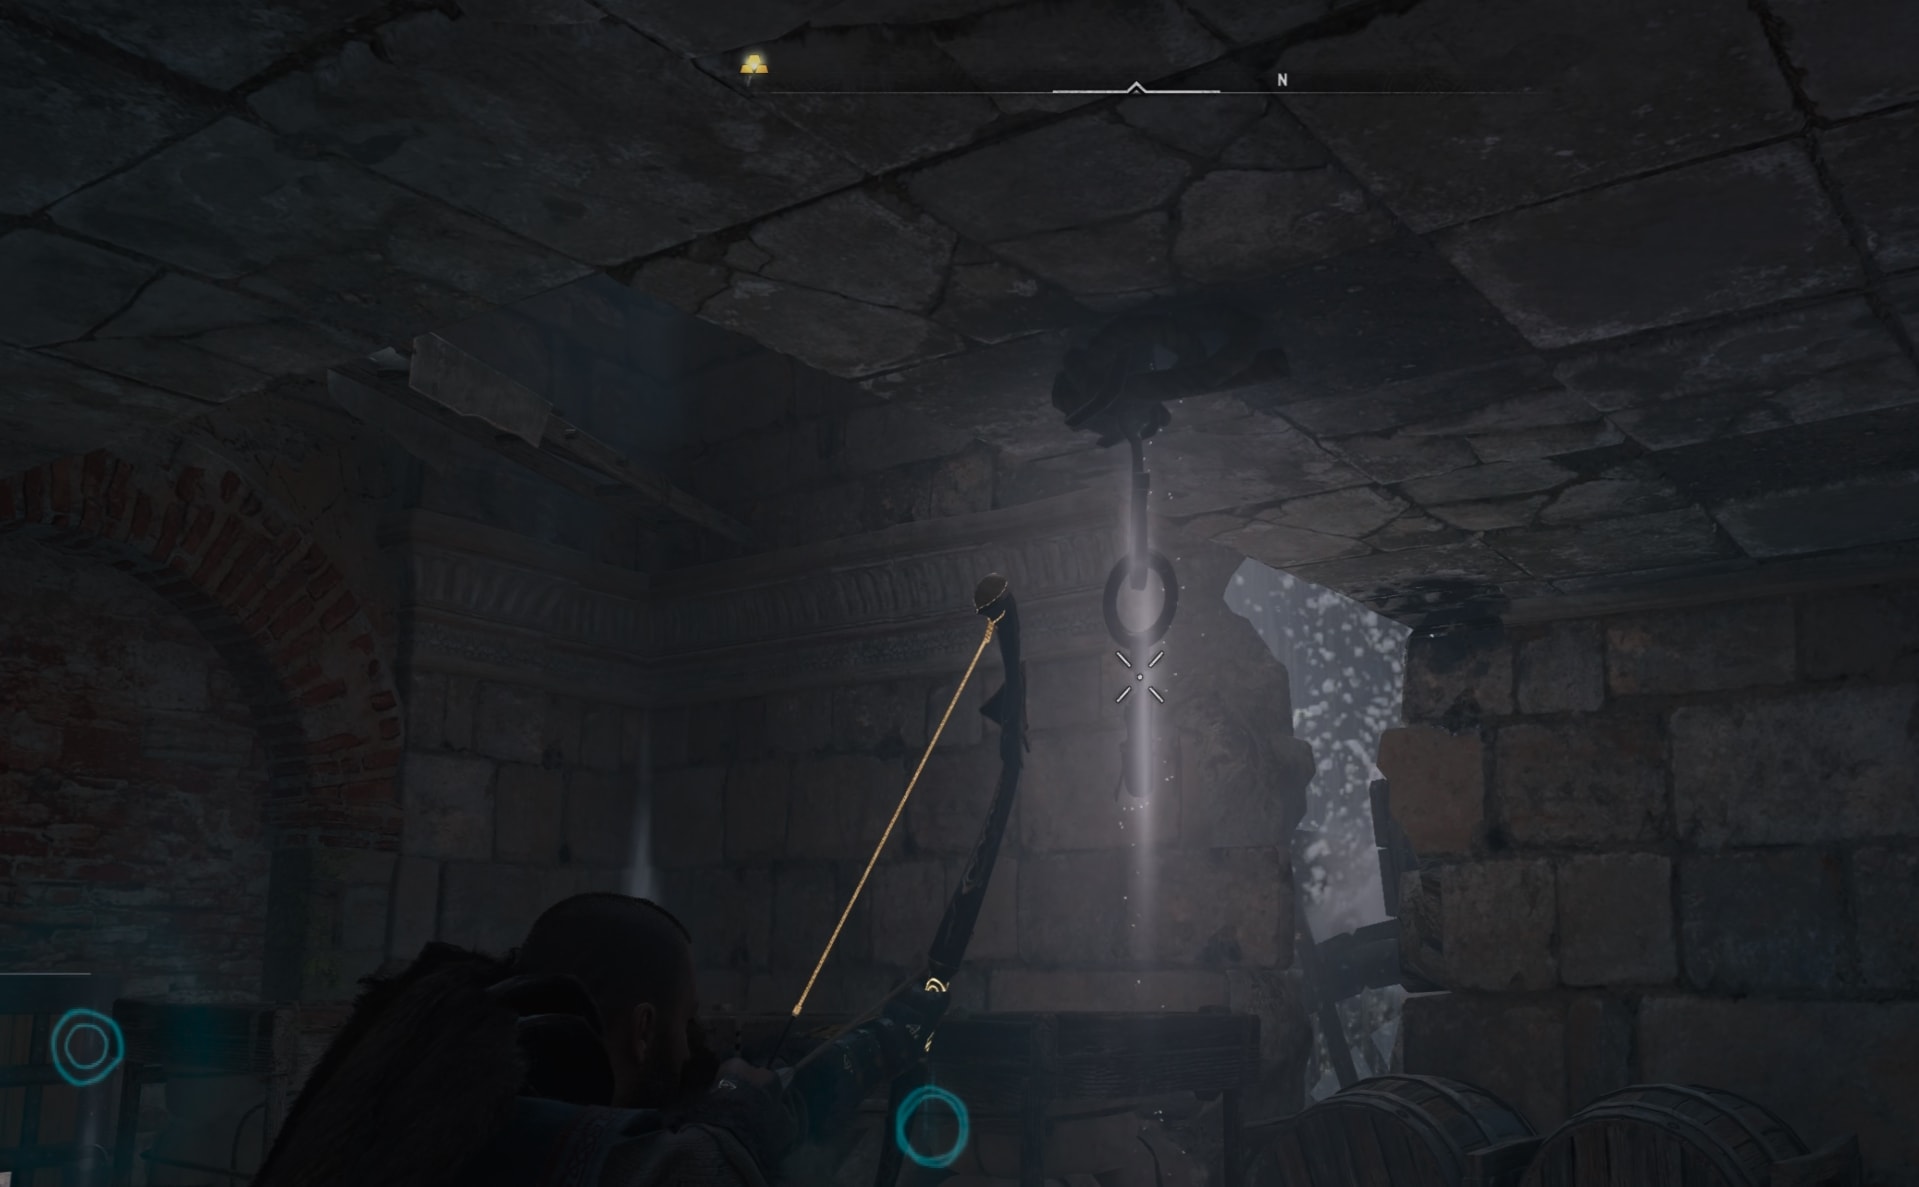
The door that you will reveal is locked. The key is in that very same room – hanging from the ceiling.
Push the pylong to its designated location and complete this puzzle.
Solving the second puzzle on the right side
The final puzzle is also the easiest, by far. Stand on the marker and look west.

Break the wooden fence that is behind the waterfall and go pick up the pylon. It’s right there.
Finally, move it in place and the big door at the end of the big room will be unlocked!
Cassivellanus Tomb rewards
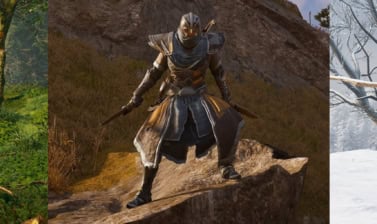
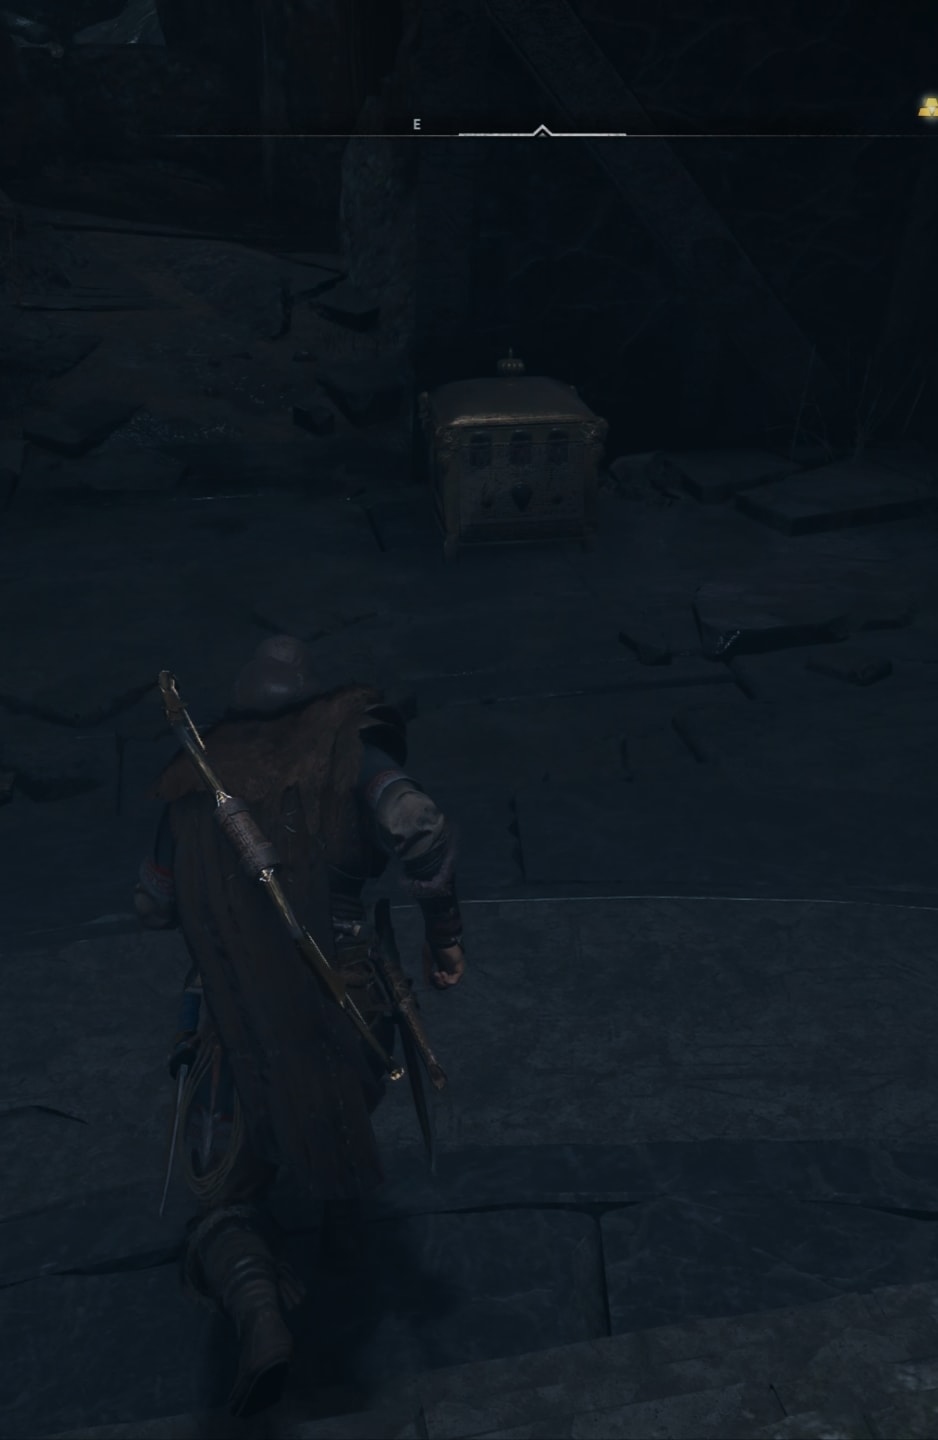
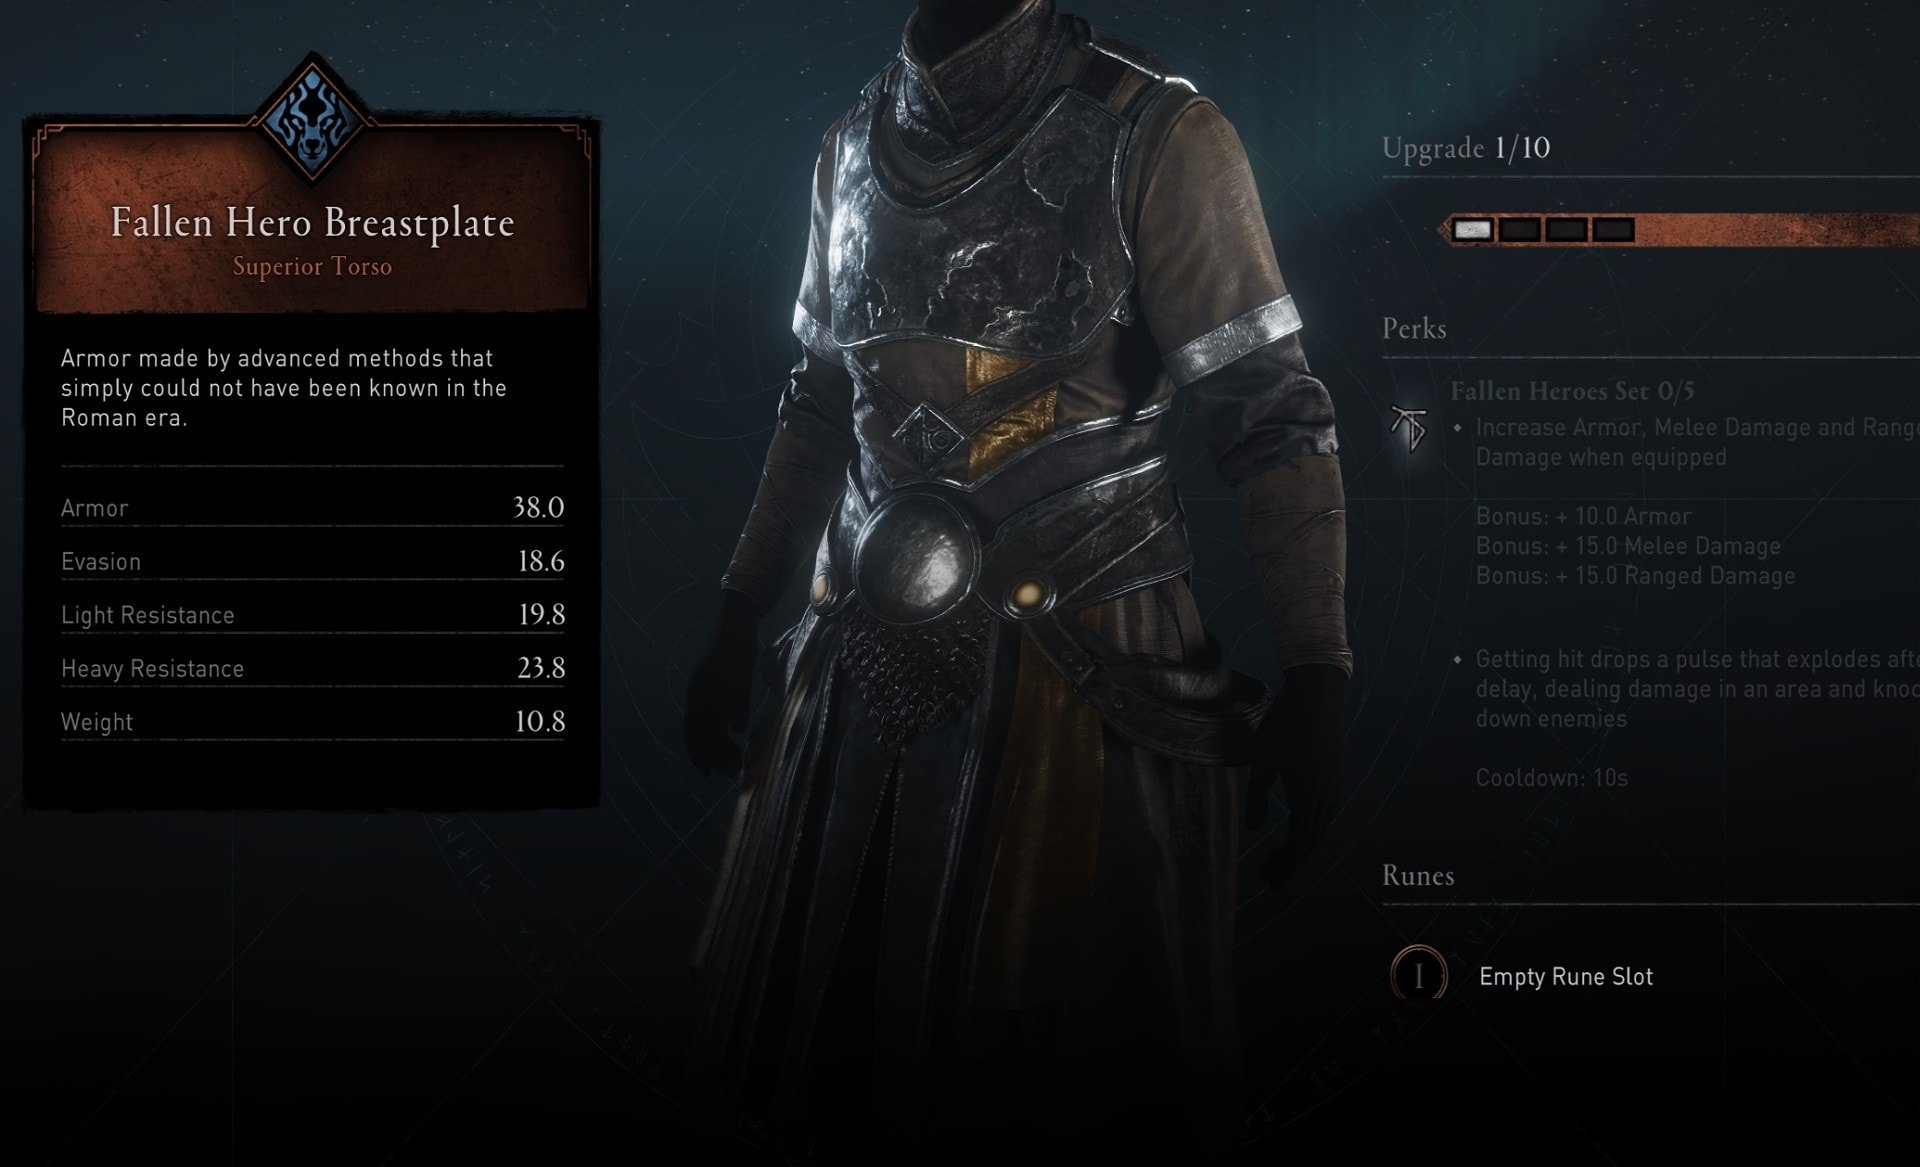
The reward for completing the Cassivellanus Tomb and its puzzles are some lore notes, some gold chests along the paths, a little Opal and – the best of all – a big chest containing an armor piece, part of the Fallen Hero armor set, newly available in Assassin’s Creed Valhalla’s Tombs of the Fallen!
After you walk through the big door and into the last chamber with the sarcophagus, a short animation will play out revealing the legend of Cassivellanus. The chest is in the east corner of the room.
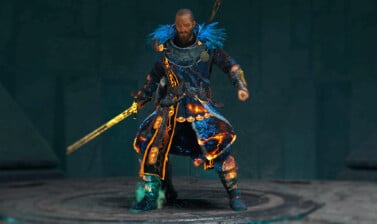
The item inside is the Fallen Hero Breastplate.
How to find the Cassivellanus Tomb Artifact
After you get the armor piece, the Cassivellanus Tomb is cleared and finished. But there’s one more item to pick up! The Cassivellanus Tomb Artifact. There is one of these in each of the Tombs of the Fallen.
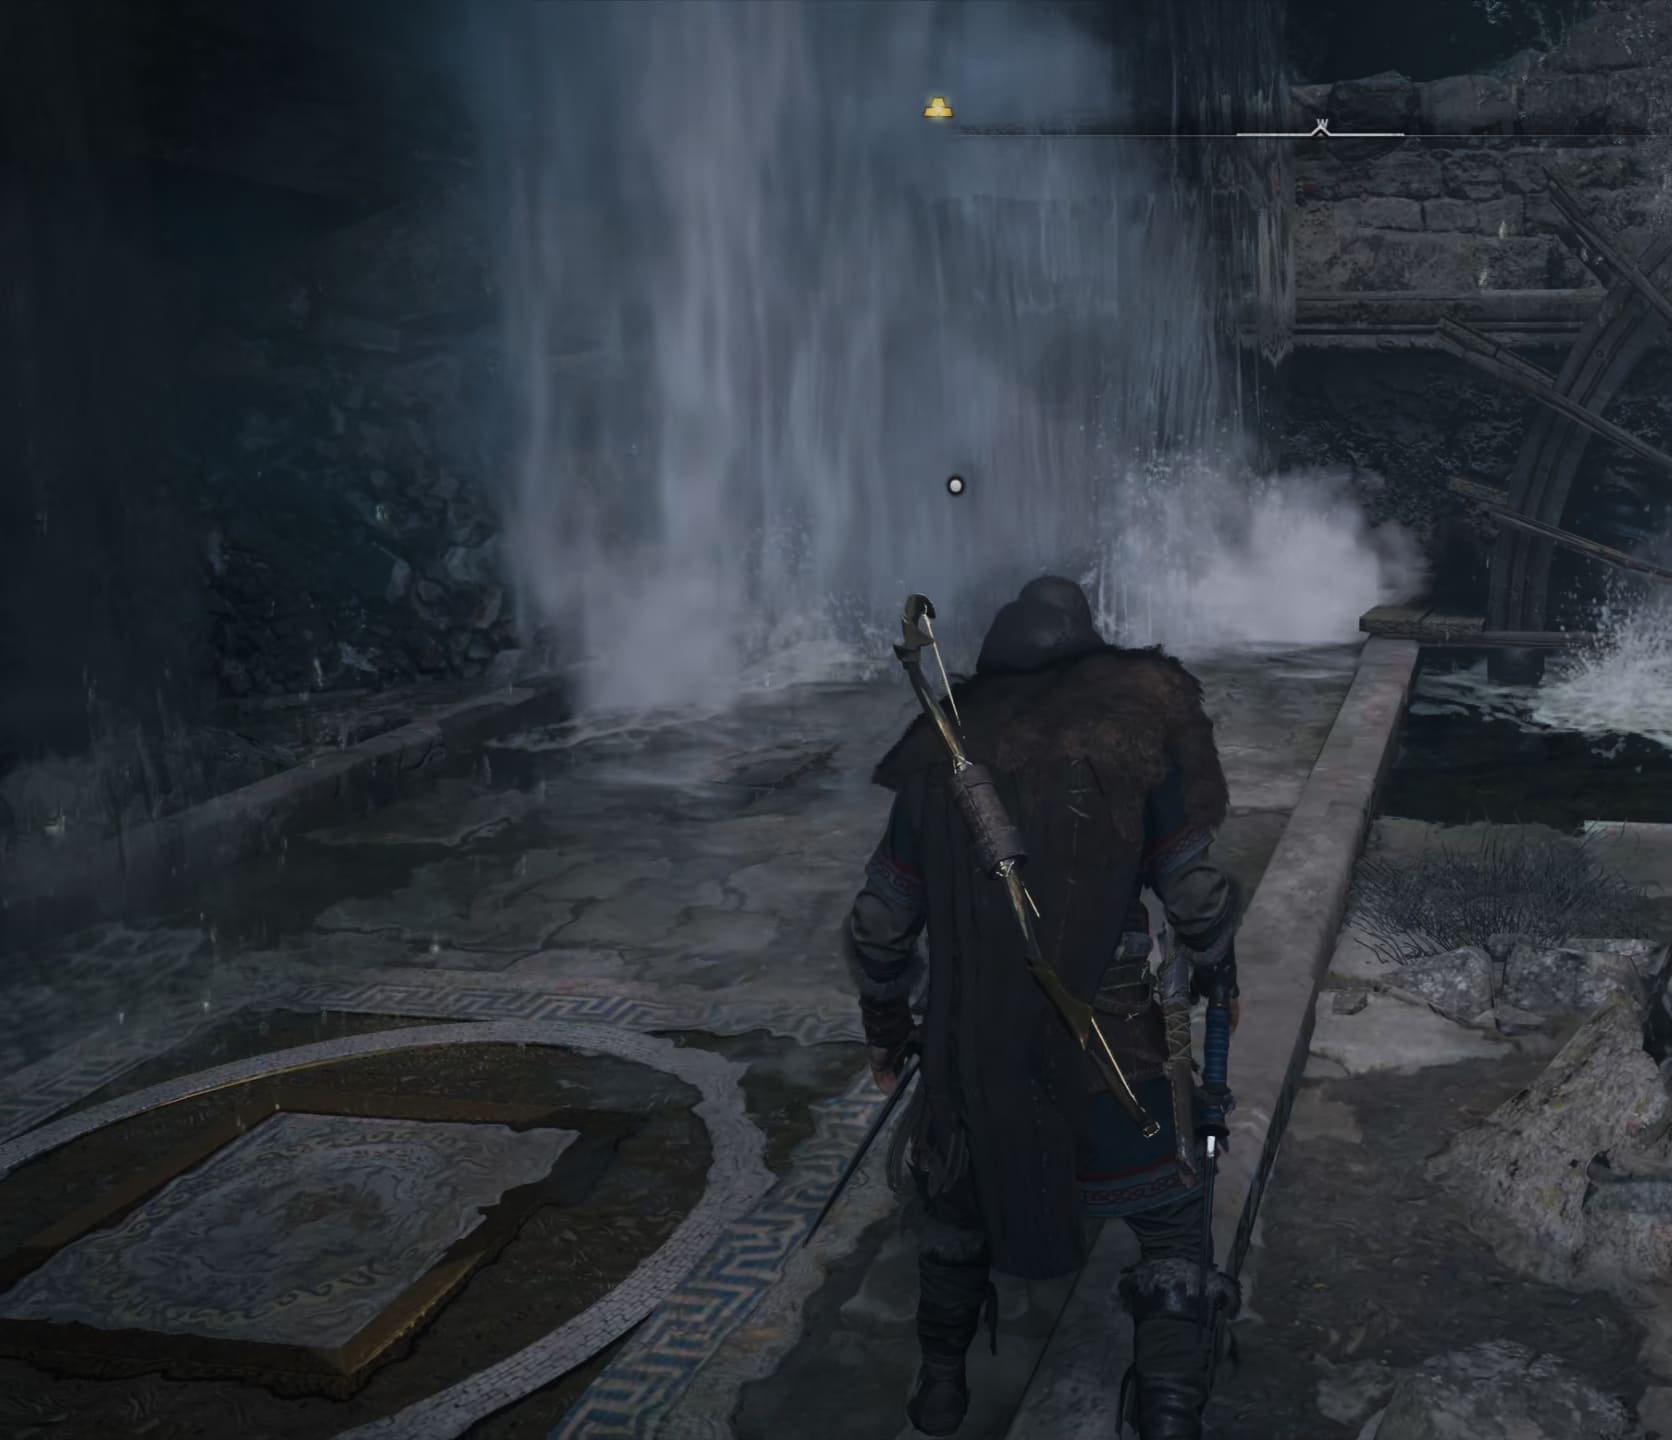
Head out and follow the path leading you up. When you return to the big room, carefully follow the rope to the other side of the broken bridge.
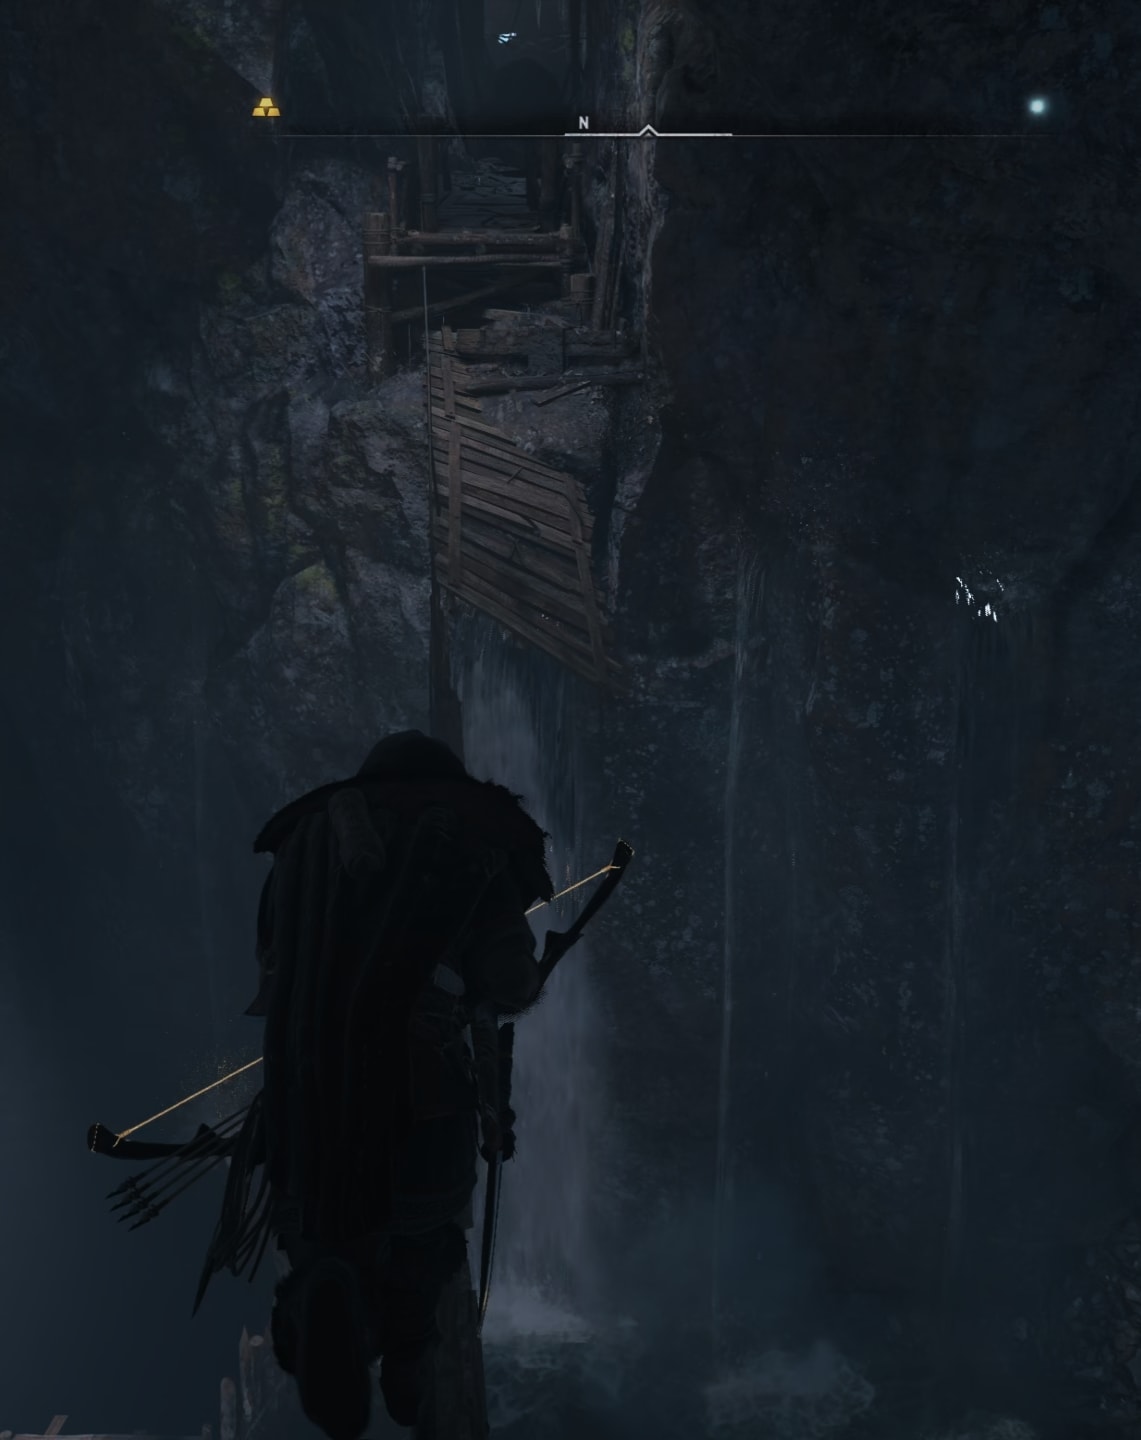
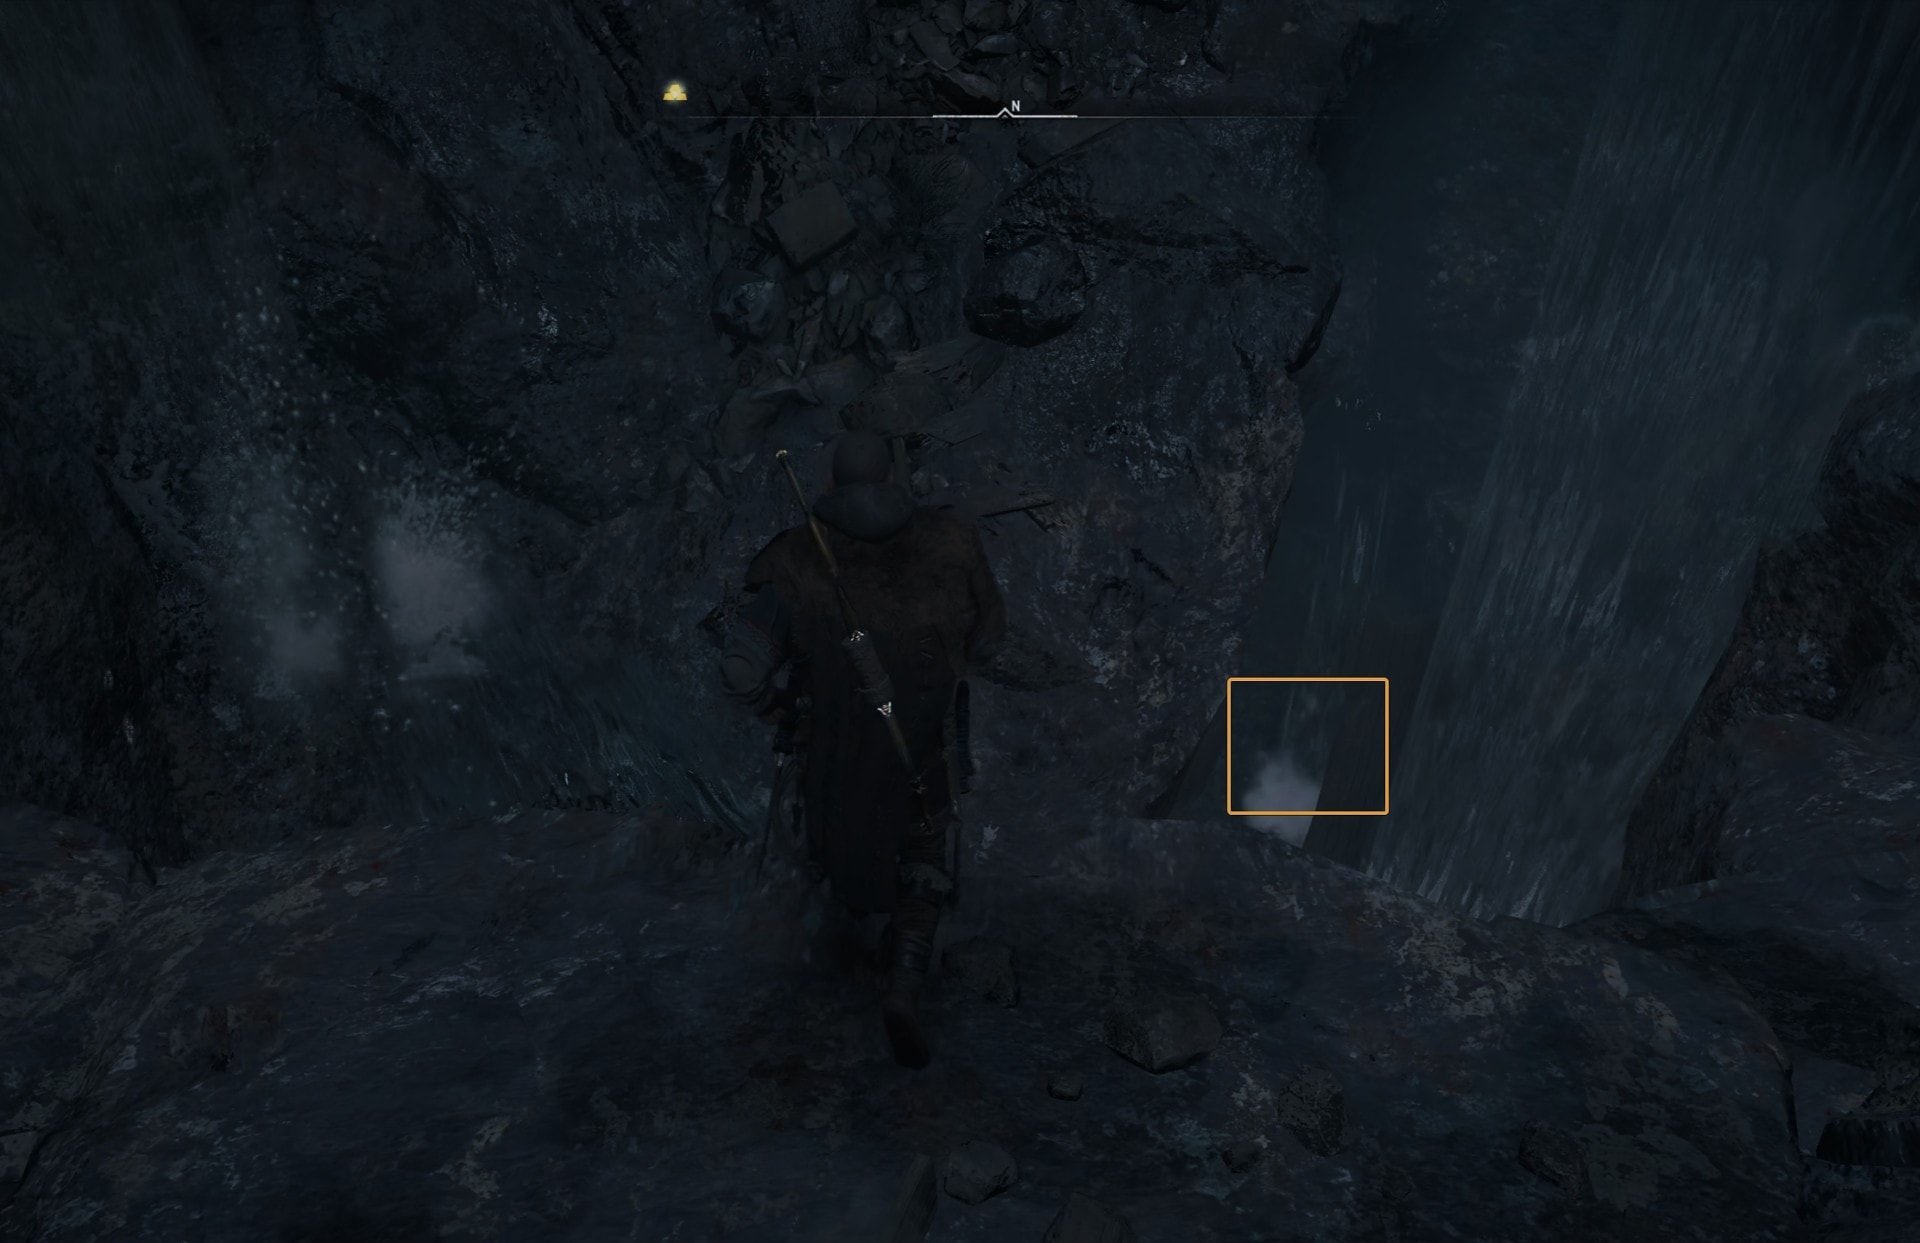
When you reach the upper rope, instead of taking it to slide down on it, manually jump down and follow the water stream.

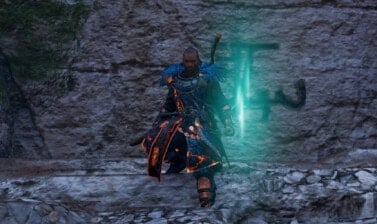
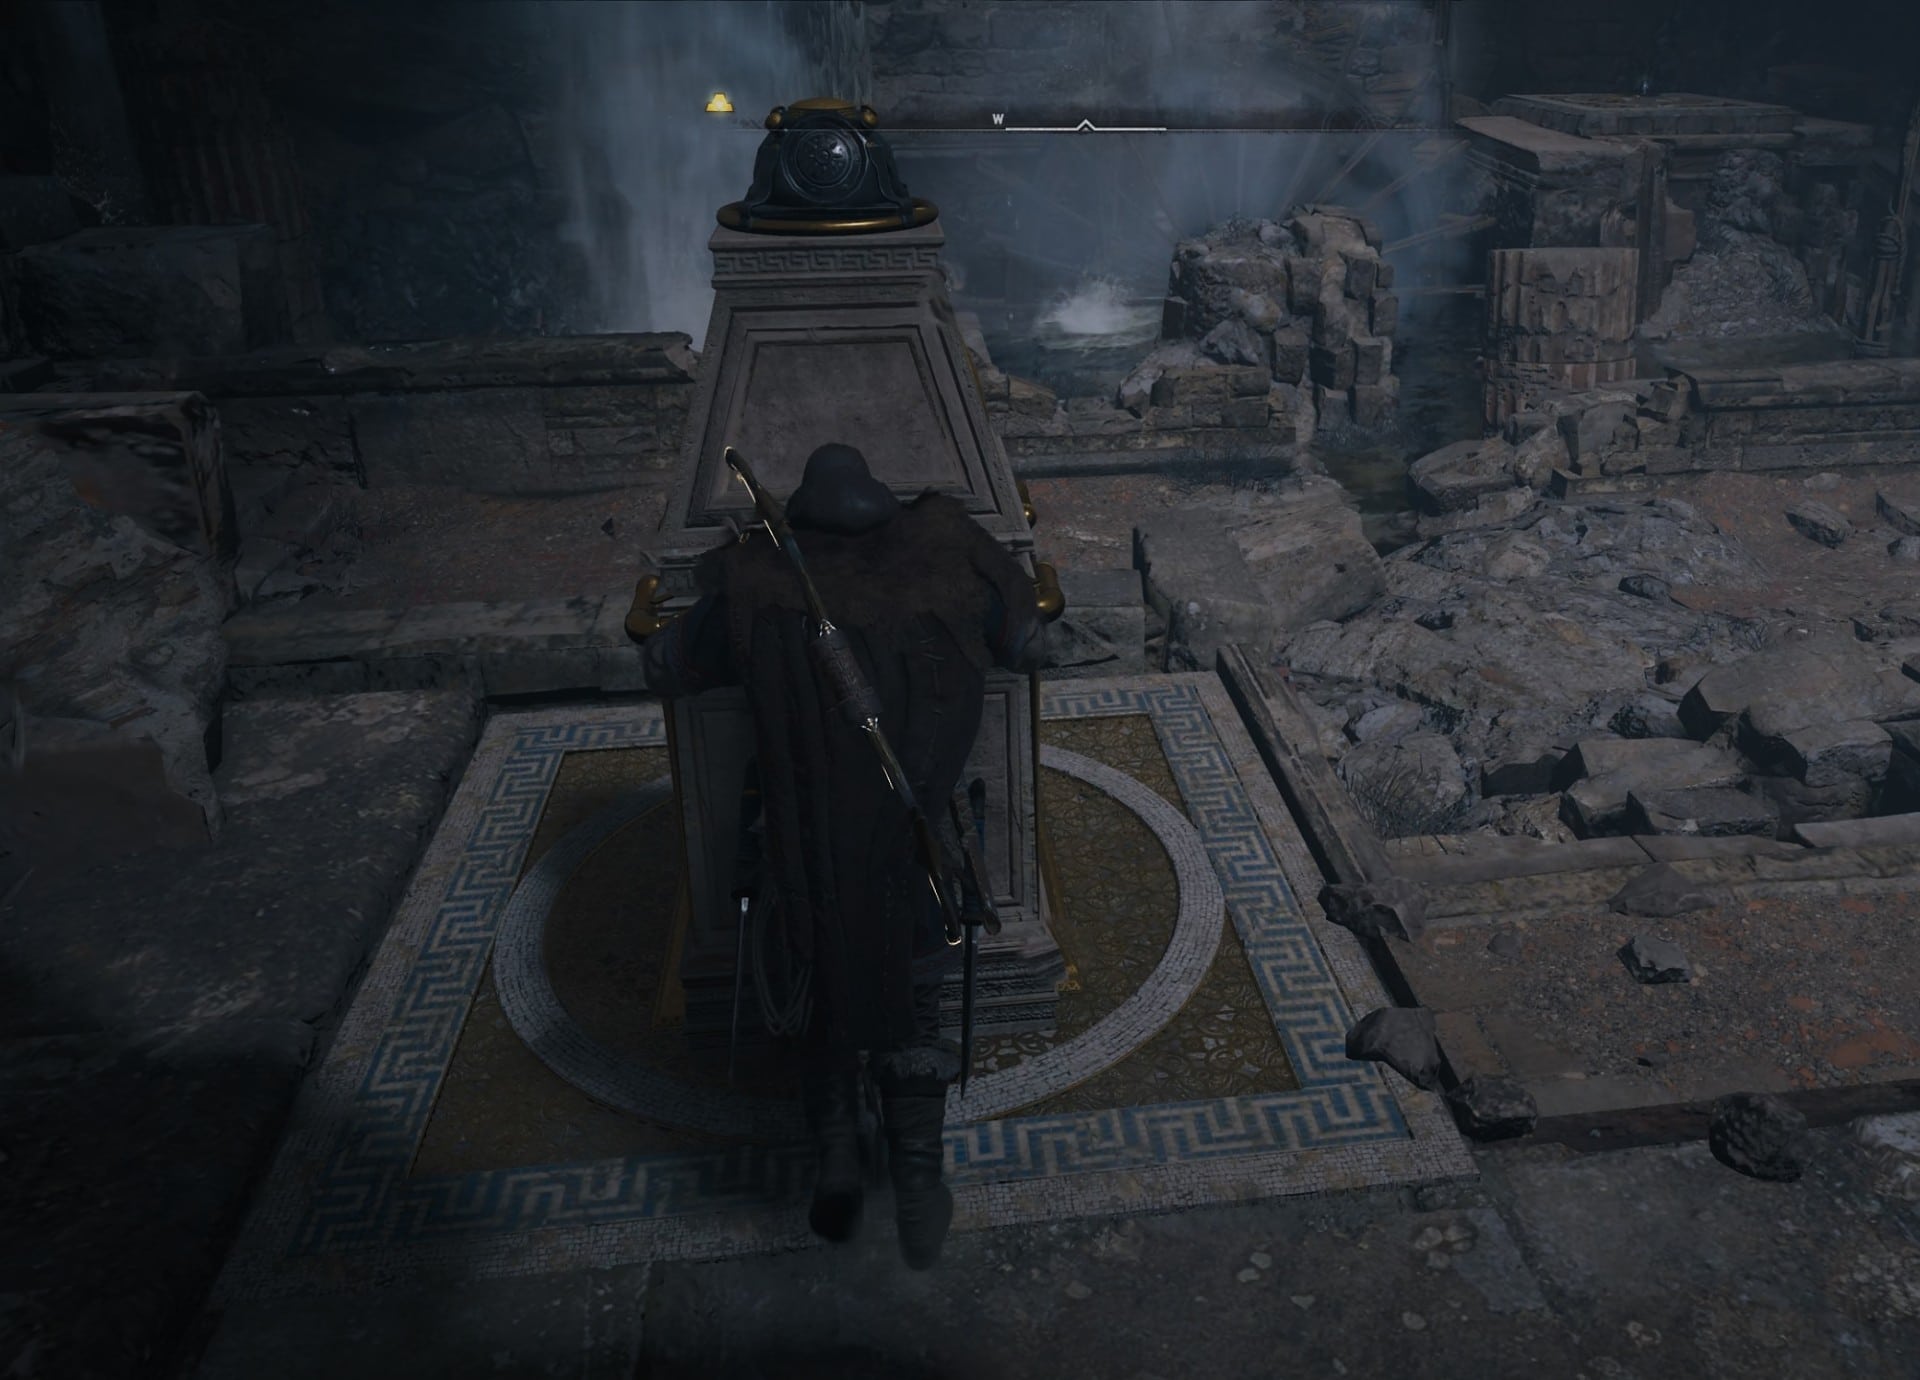
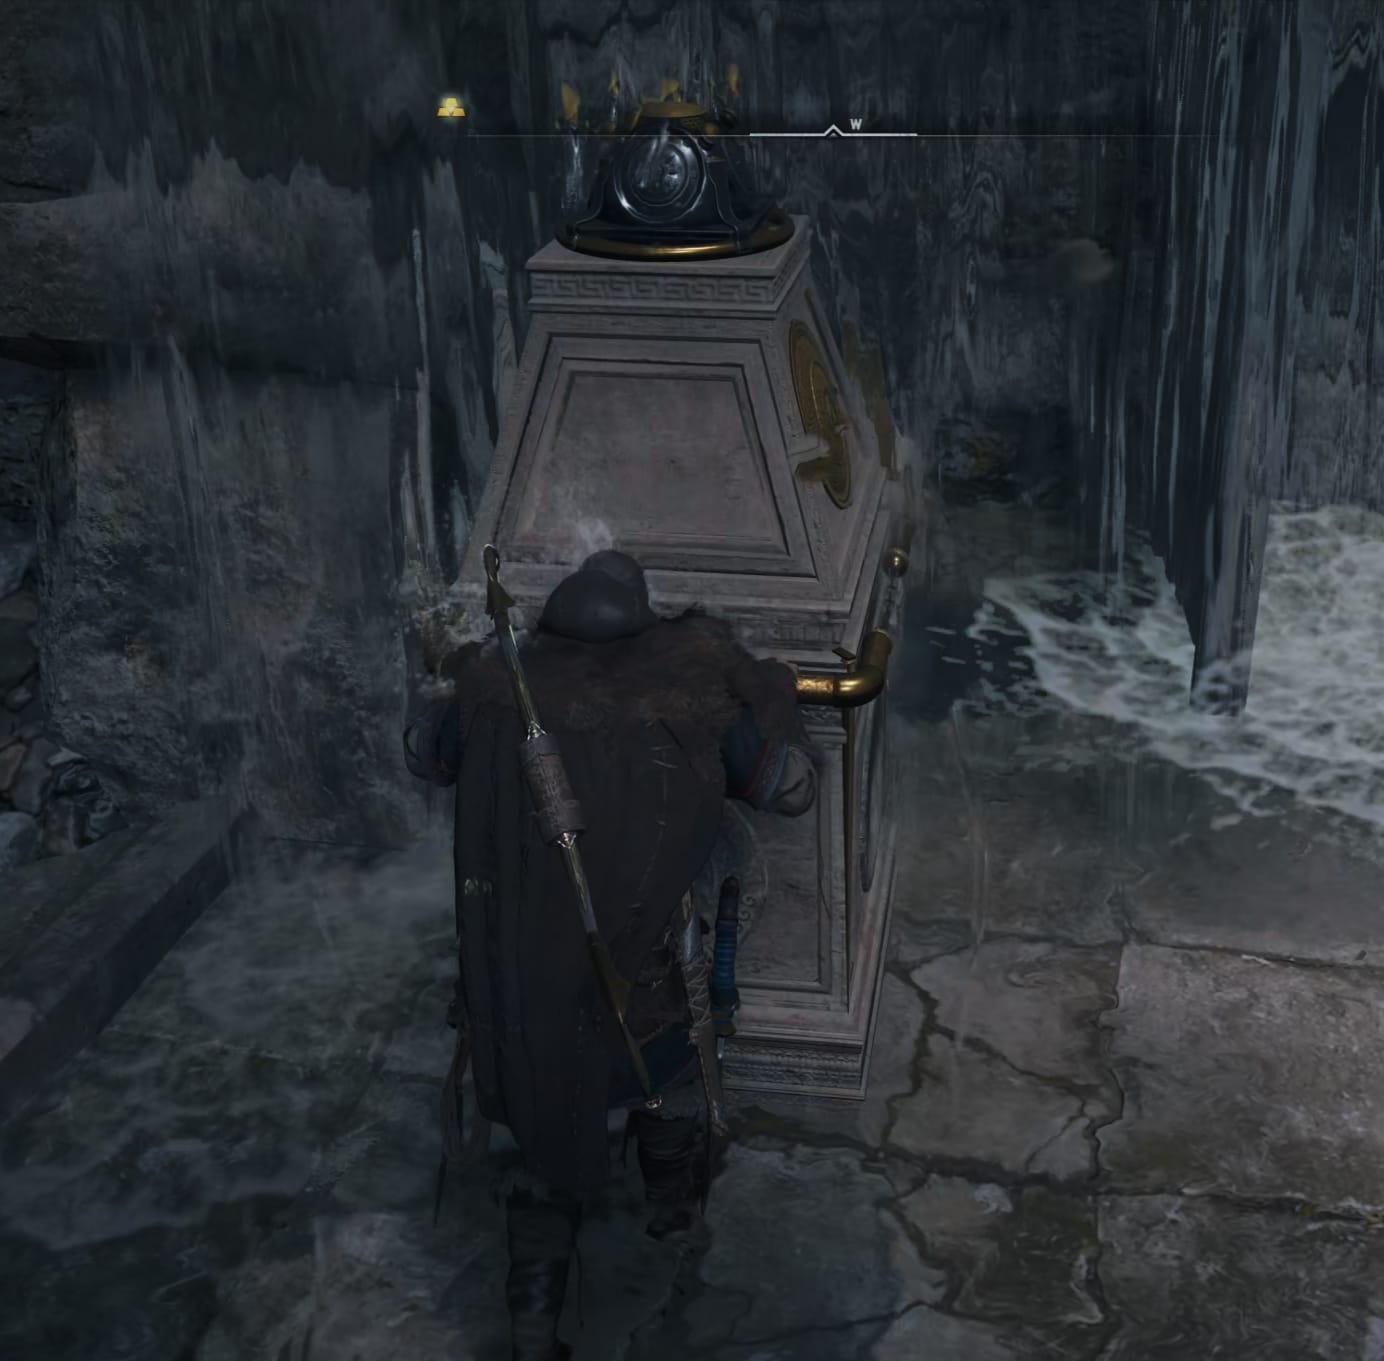
The Cassivellanus Tomb Artifact is down here:
There are three Tomb Artifacts in total – one available in each of the Tombs (except for the first one). They are always located in the areas after the armor chests.
This concludes my guide to the Cassivellanus Tomb Puzzles in Assassin’s Creed Valhalla. Check out the rest of my content on the Tombs of the Fallen and learn the exact location of each one of the Tombs.
The Tombs of the Fallen free content was released with Assassin’s Creed Valhalla Update 1.4.0 on November 9 2021.
The final one is now before you! Find the Venutius Tomb and solve all puzzles it offers to get the rewards available from it!