Venutius Tomb Guide showing you how to find the dungeon and solve all puzzles inside to get the Fallen Hero Helmet armor piece!
Table of contents
How to find Venutius Tomb
To be able to find and explore the Venutius Tomb in Assassin’s Creed Valhalla you need to have your game patched to 1.4.0 or higher. You also need to have progressed as far as England. All you need is to reach it and build your settlement. This will allow you to explore all of the Tombs of the Fallen.
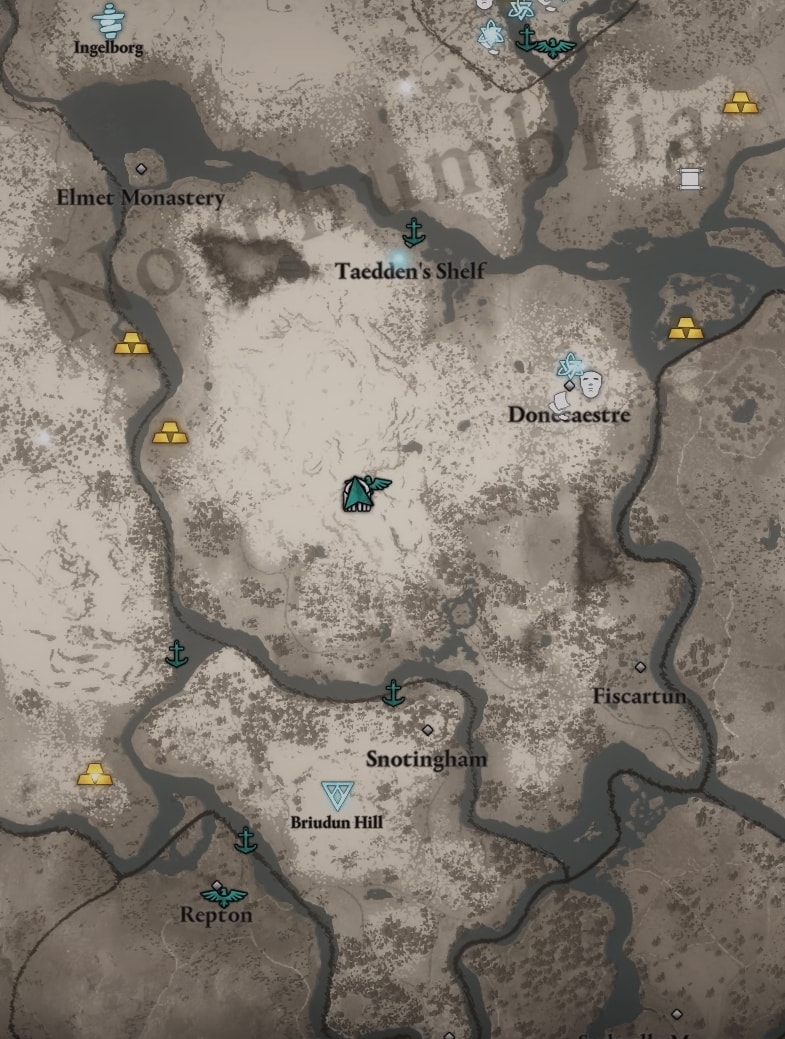
The Venutius Tomb’s location is originally hinted at on the giant stone map in Manius’s Sanctum. If you don’t want to bother with yet another mini-puzzle, check the exact location marked on the map below.
The fourth and final (for now) Venutius Tomb is in the northern parts of England – in Eurvicscire. It’s just north from Anlaf’s Lookout, which makes it very convenient for quick-travel.
How to solve the Venutius Tomb Puzzles
Please note that this guide assumes you have already gone through the Manius’s Sanctum, Boudicca Tomb and Cassivellanus Tomb. The mechanics are similar and that’s why I will not explain their basics to the letter like I did in my previous two Tombs of the Fallen guides.
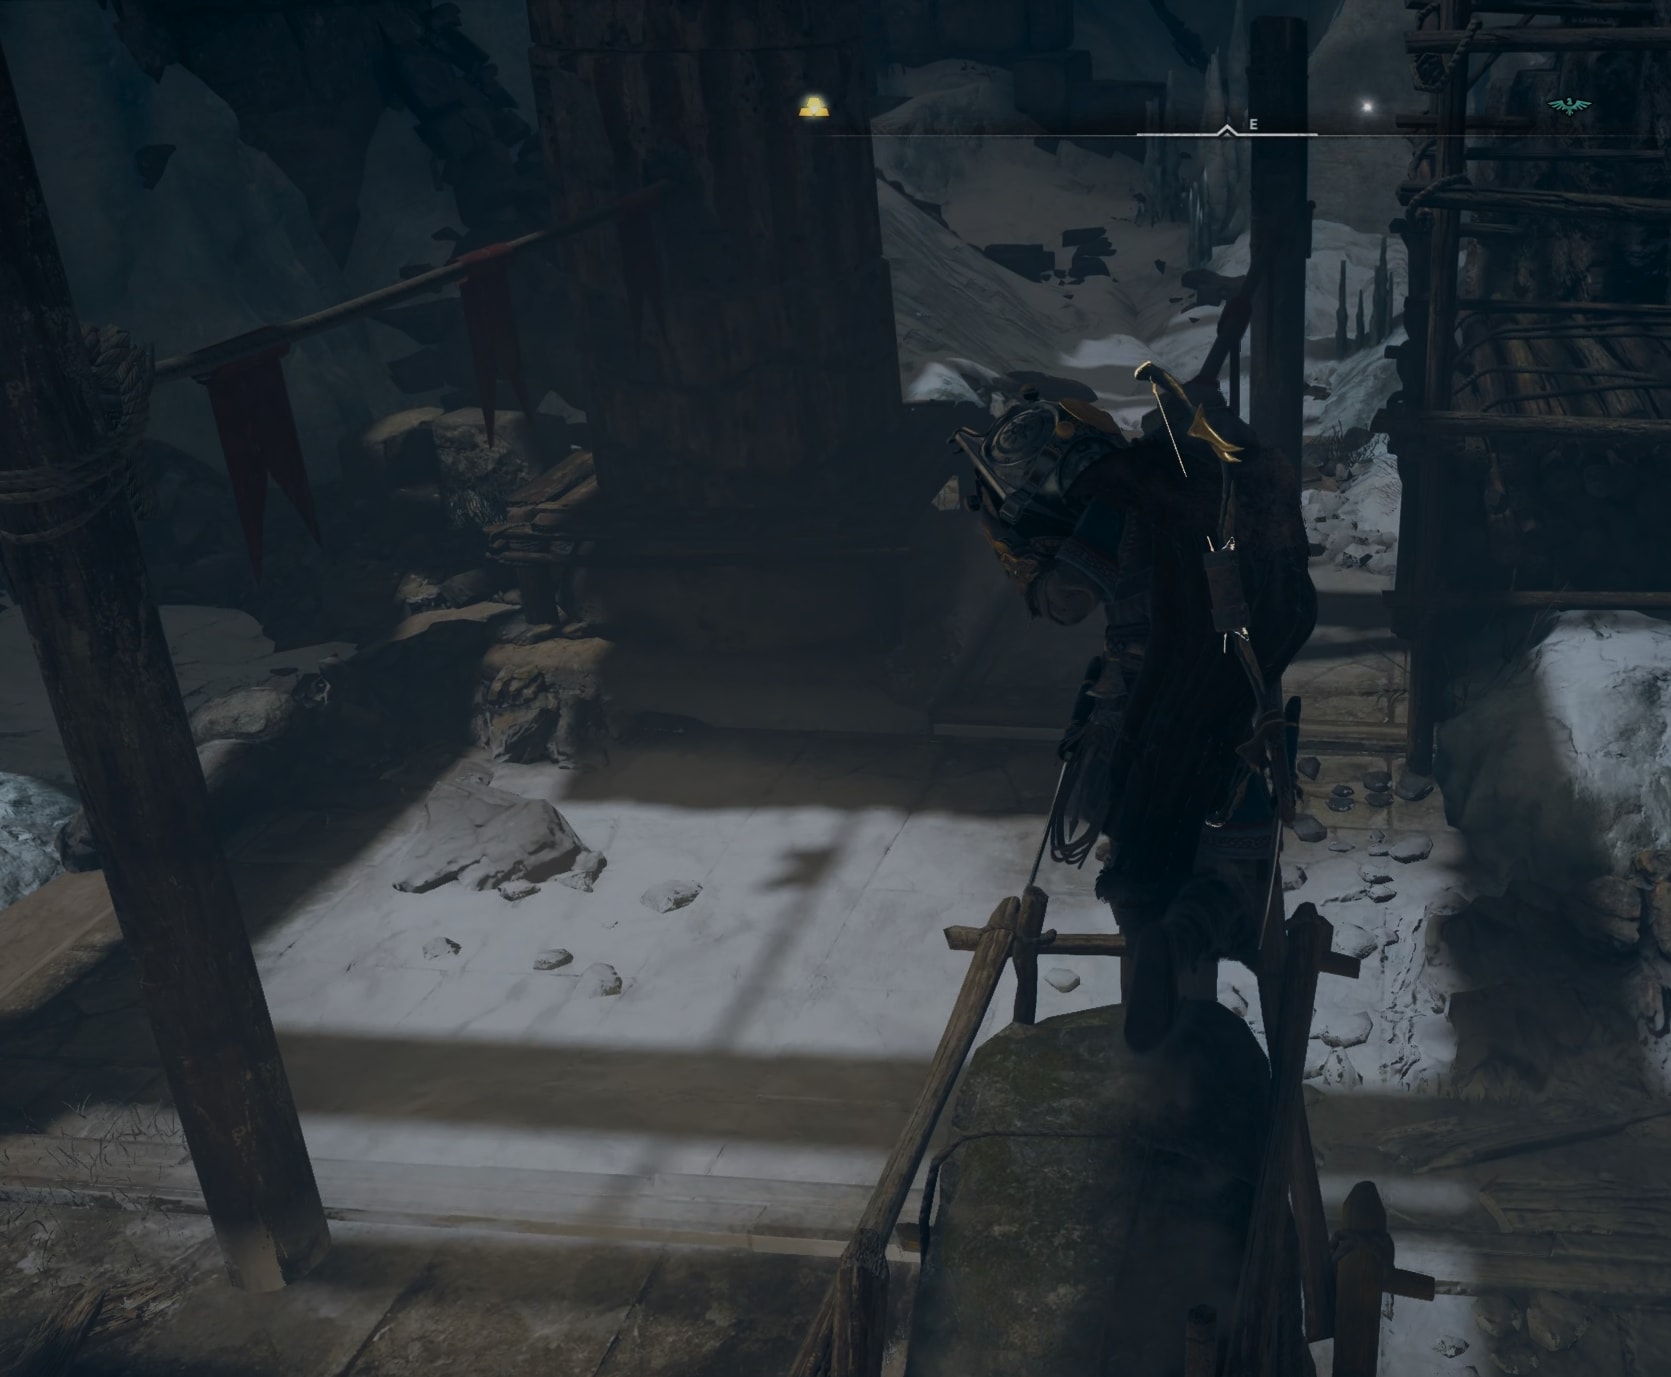
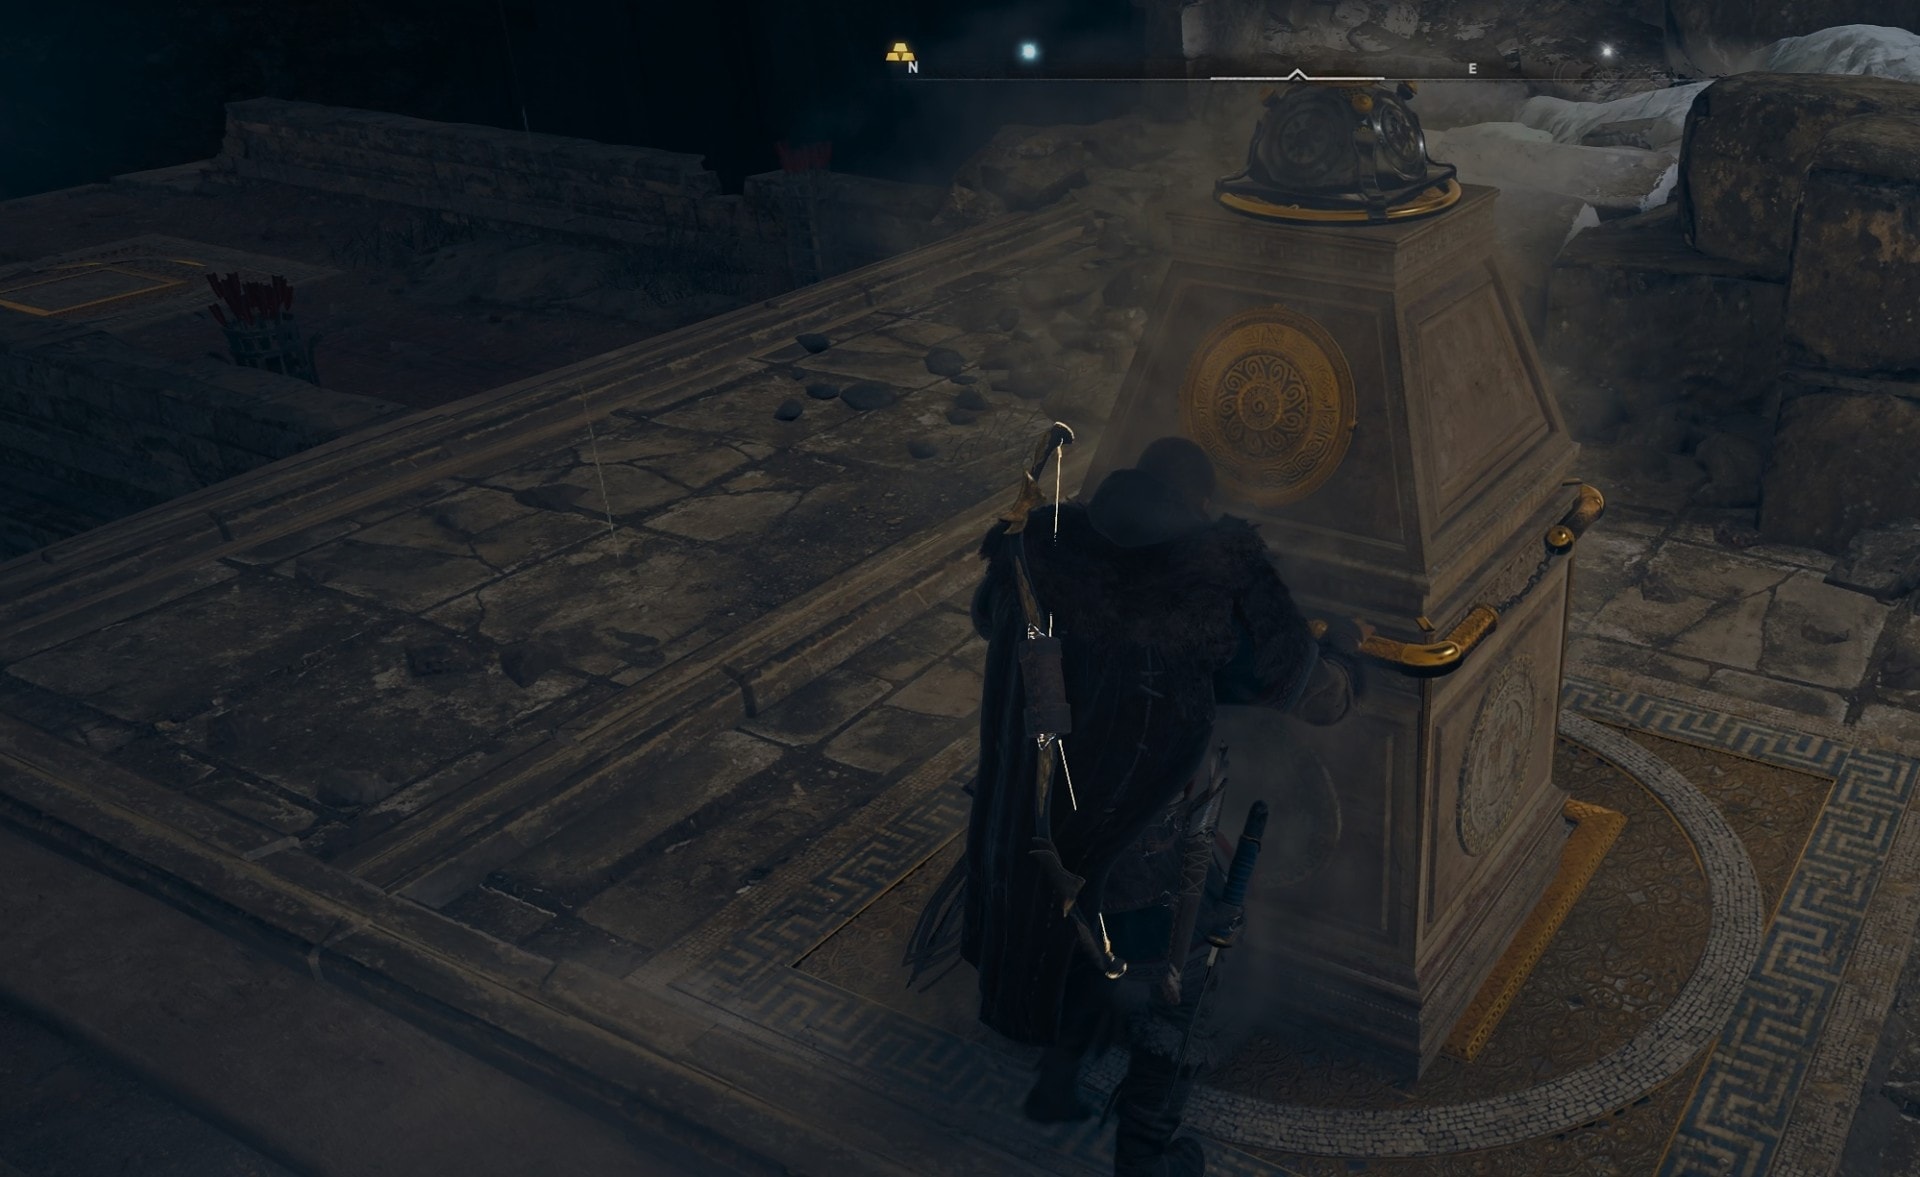
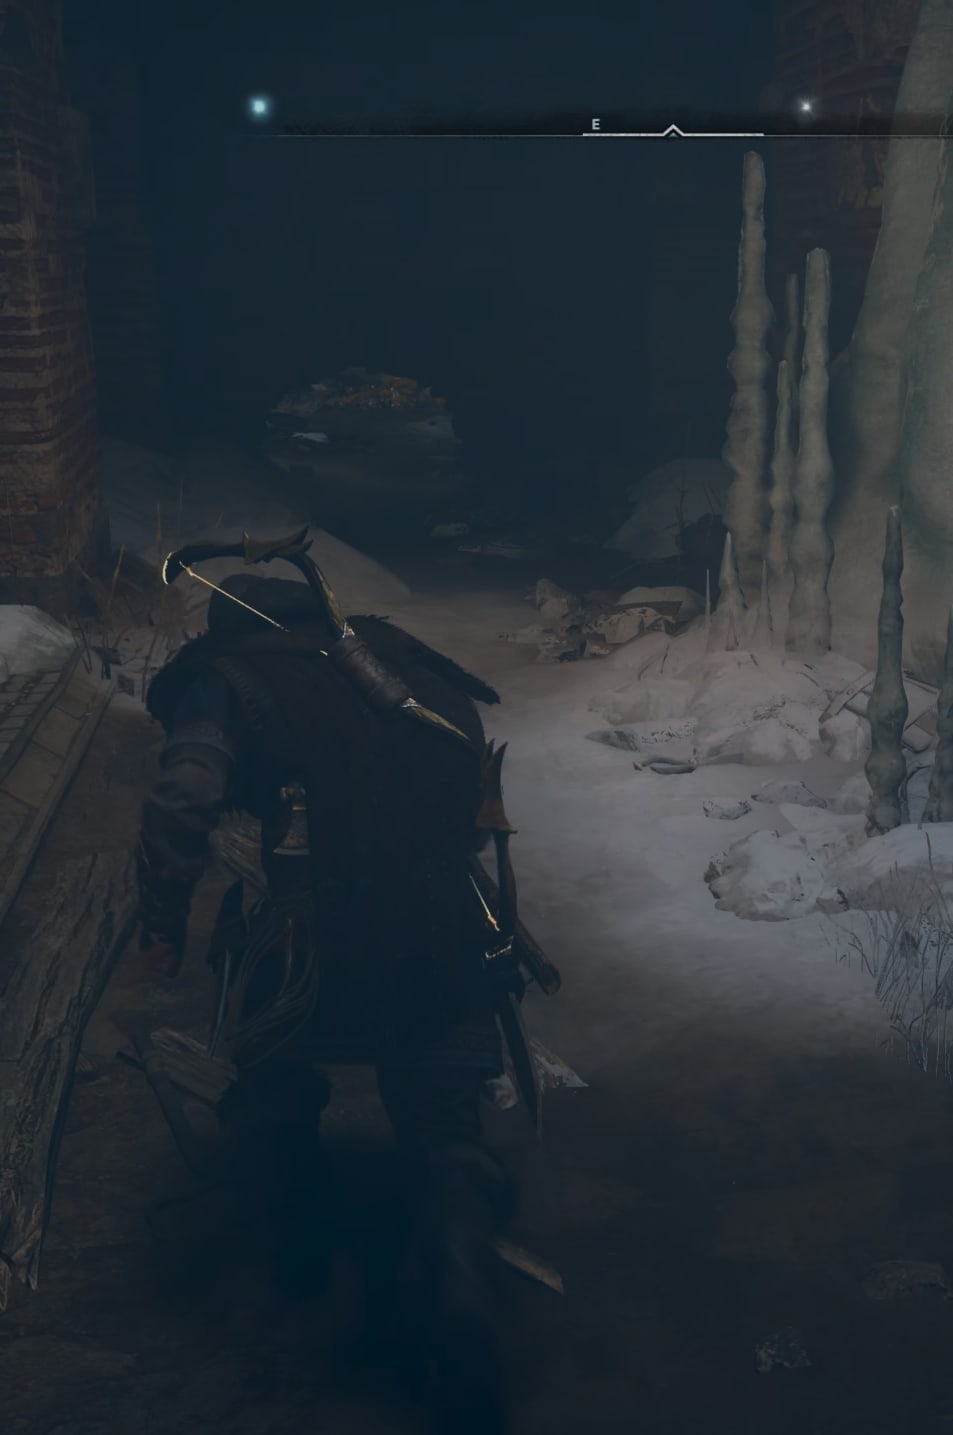
As usual, follow the path from the entrance leading you deeper underground via a long narrow tunnel.
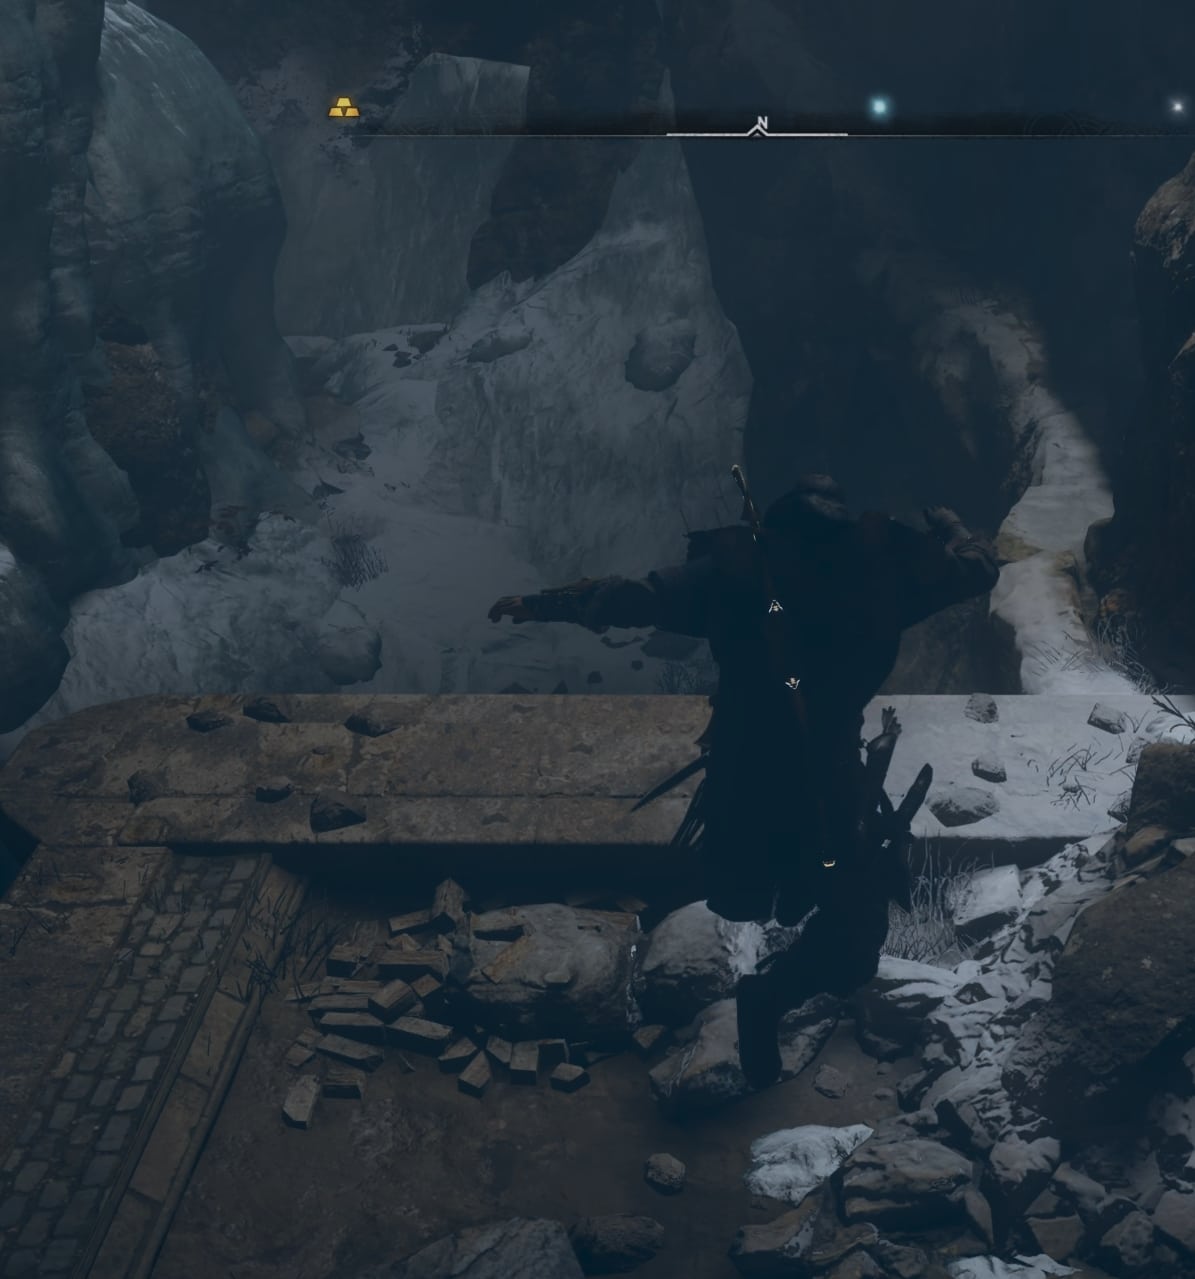
When you reach the edge, jump down, but don’t just fall. It will be quicker if you jump to the platforms below, not directly fall to the bottom of the cave.
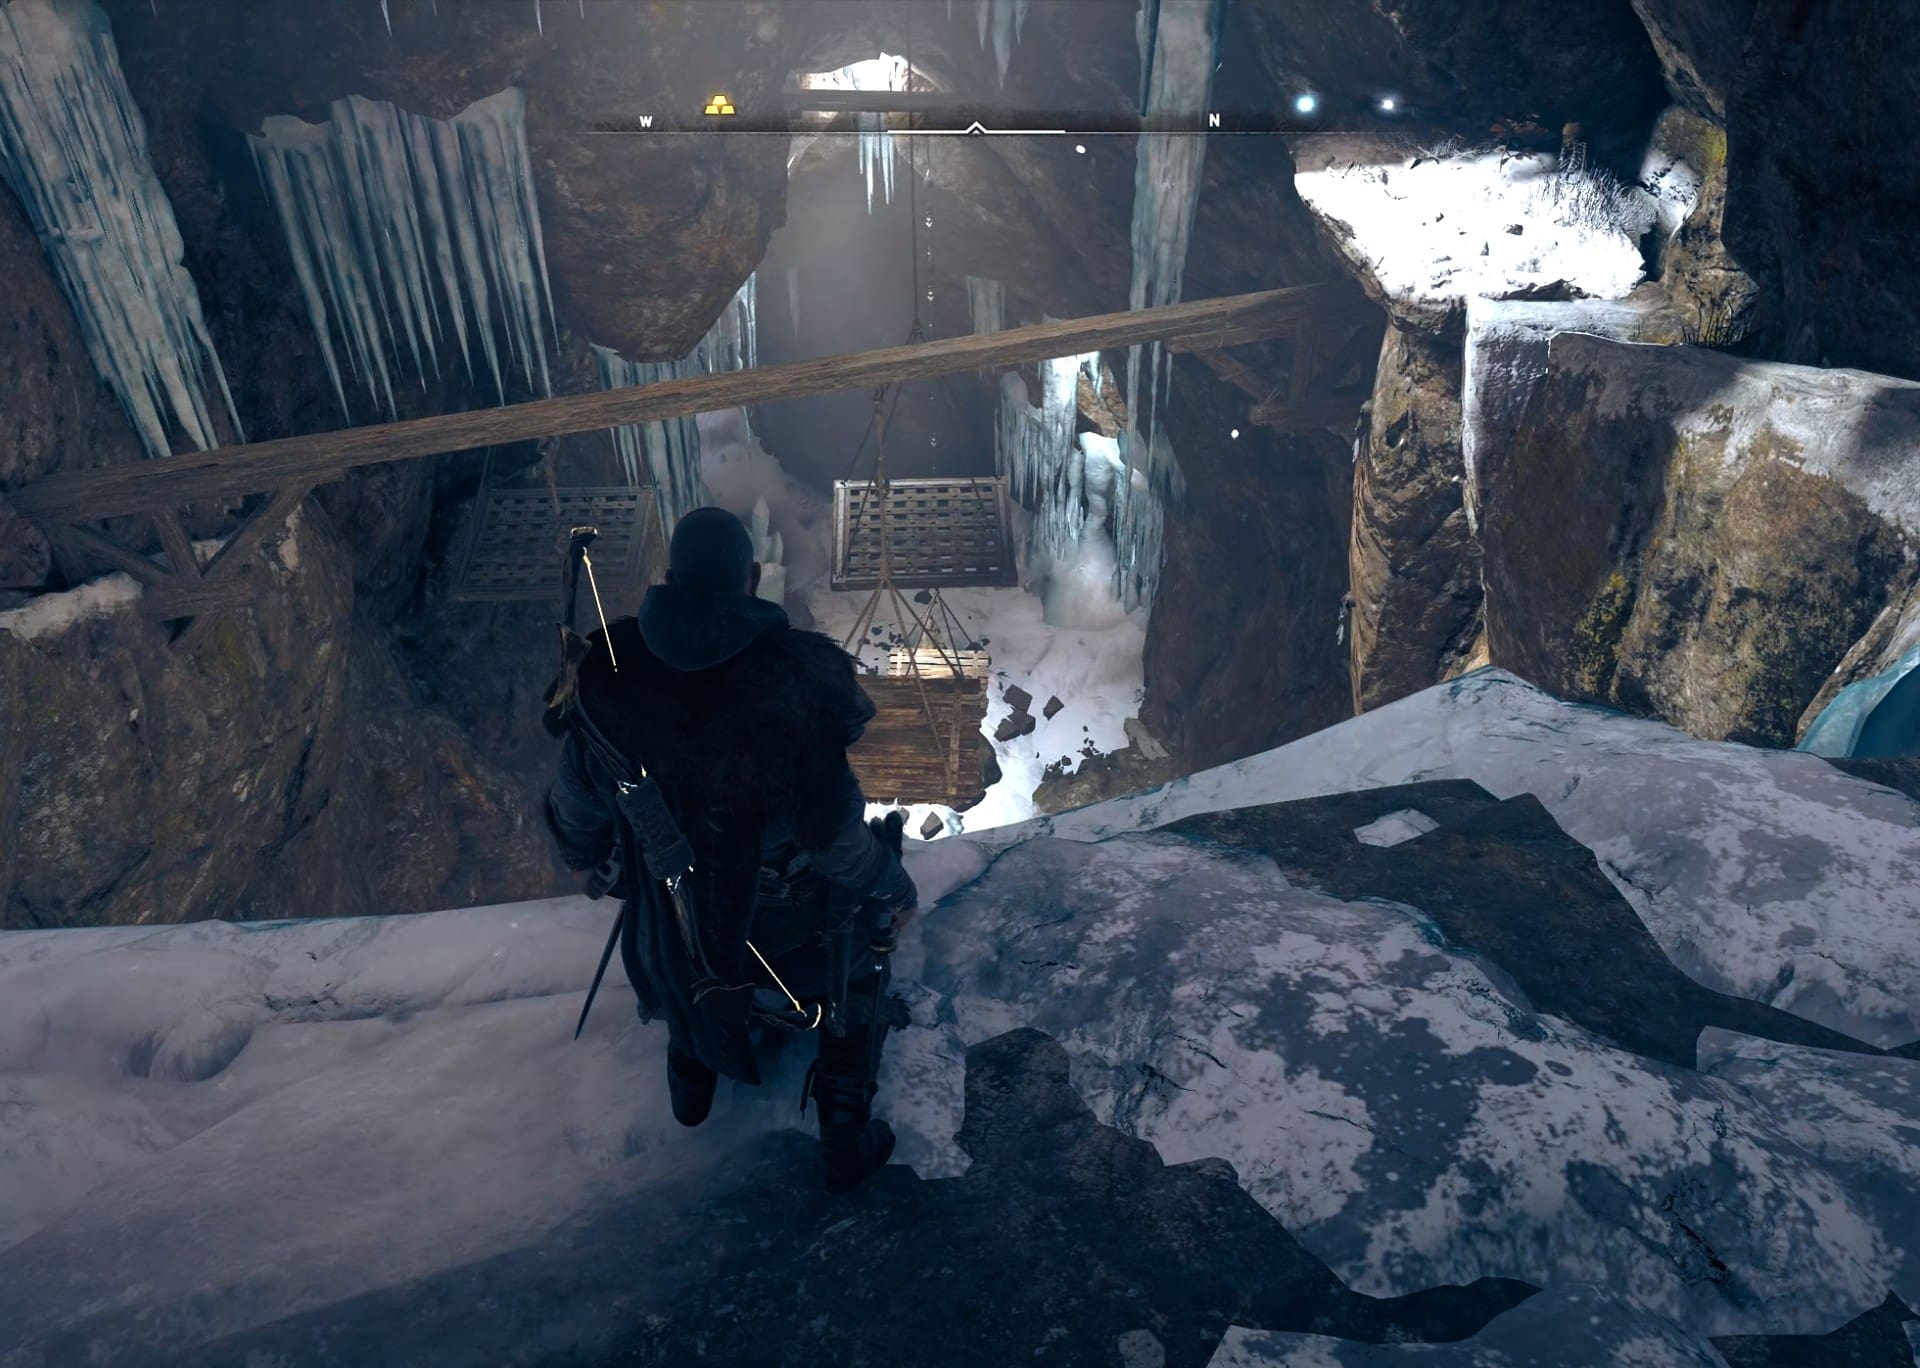
Take the rope and slide on it further down the cave. At the end of the slide there is an icy wall. Break it to reveal a treasure chest for some extra loot. Continue forward. Break the wooden fence to reveal the entrance to the big room with the puzzles.
As usual, there are four puzzles to solve in this big room. They involve carrying two small objects to the marked locations and pushing or pulling two large pylons to their marked locations as well.
Solving the first puzzle (carrying the object)
Jump down into what looks like a trench. Follow it to the end, leading you out of the big room, until you reach this small chamber with the lever and mechanism in it. Pull the lever, get the object and carry it back to the big room.
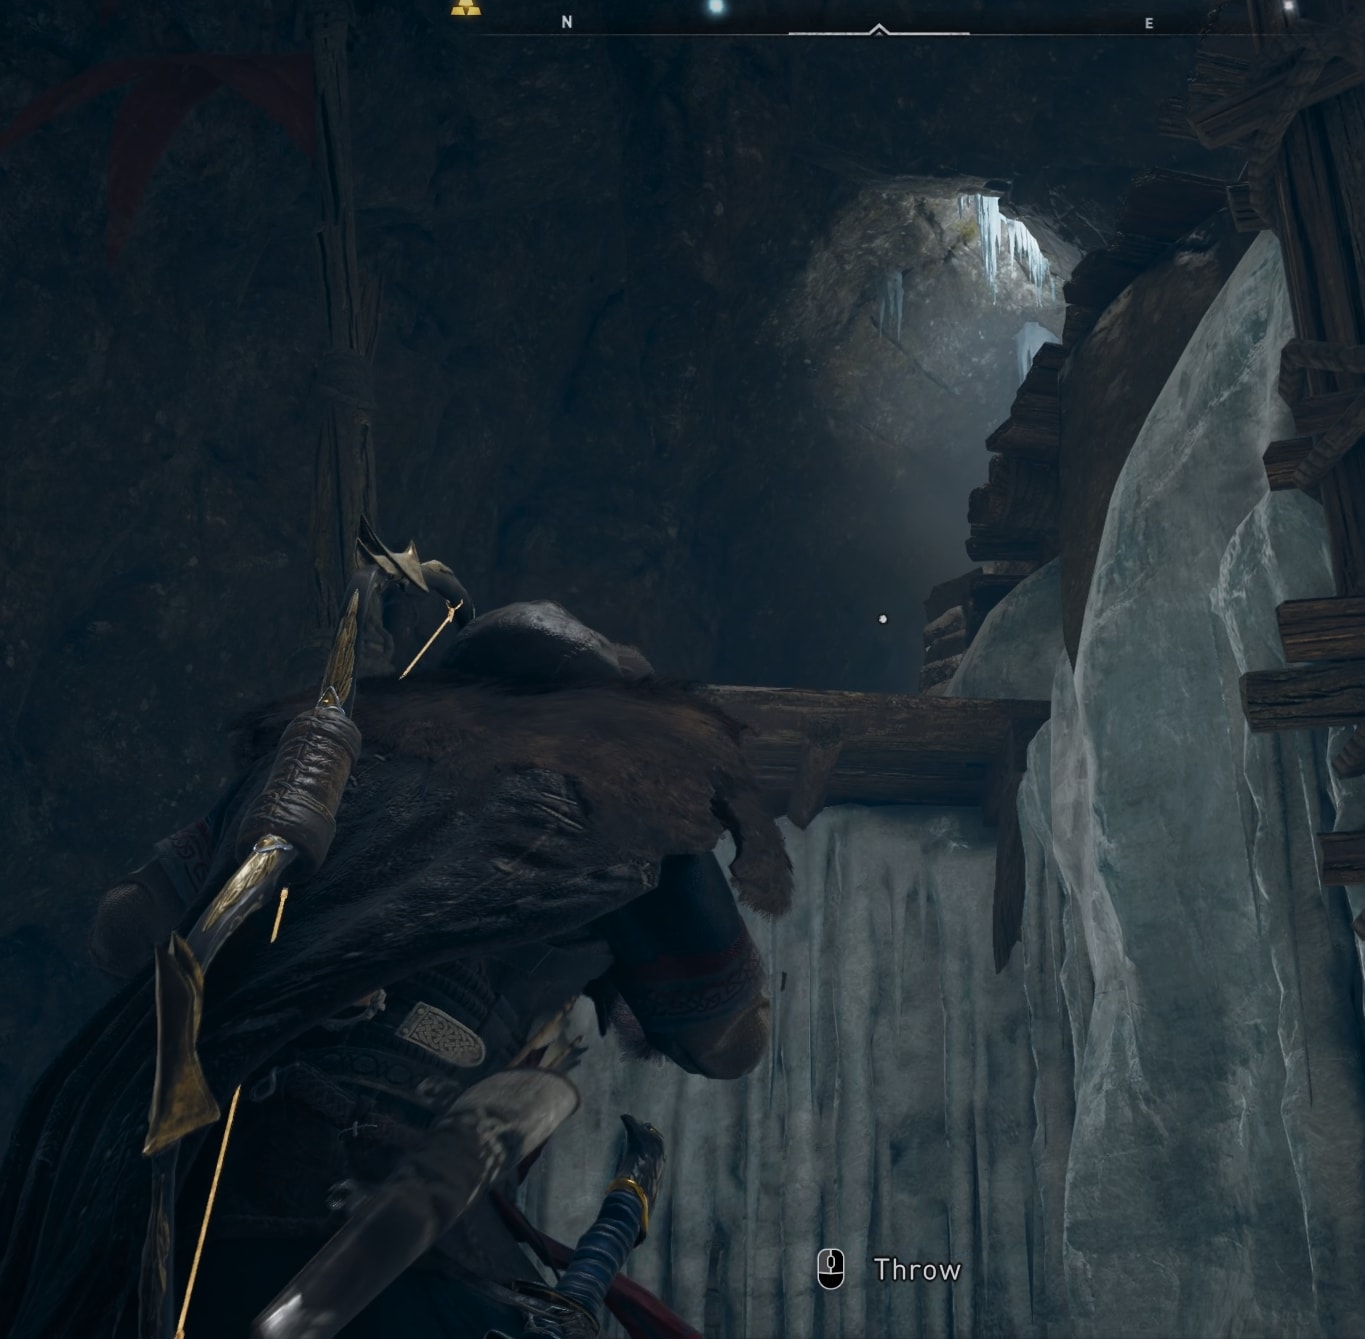
There’s Opal near the lever. Carry the object forward as you can’t go back where you came from. When you reach the wooden card (image below), climb it and throw the object to the upper floor then jump there yourself.
Climb up the wooden structure while carrying the object. At the top you will find yourself in the trench, where you started. Carry the object back to the location shown on the image below (bottom right corner of the big room, as viewed from the entrance).
Carry the object through the wooden ramp, then jump on the stone object you (move it so it creates a place for you to jump between the cart and the rope).
From the left rope, look up and jump. Follow the path up and do a few more jumps until you reach the location where you have to place the object.
When you get one level below the top, throw the object up then climb after it.
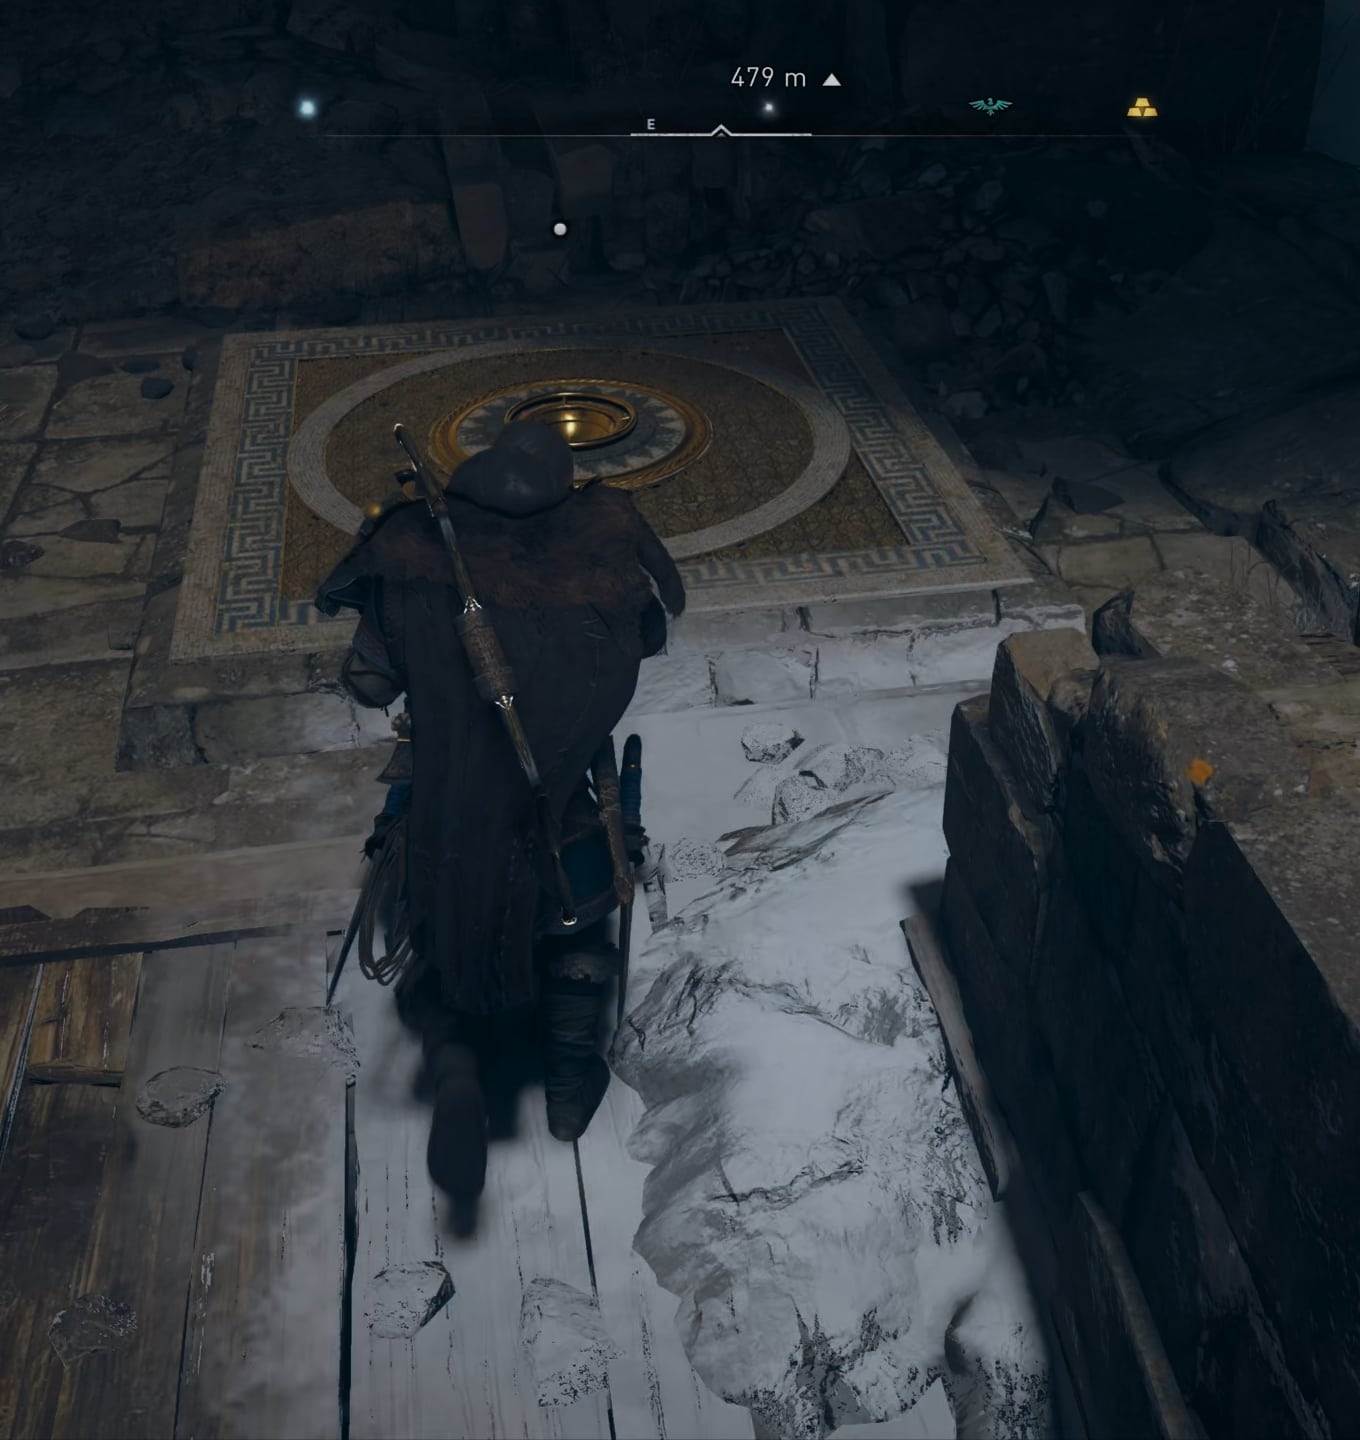
Carry the object to the marked with a circle location.
On the upper floor of the big room there are three more puzzles to complete. Each one of them has a pylon
Solving the second puzzle (top right)
This puzzle involves a pylon you need to find and push on top of the square marker.
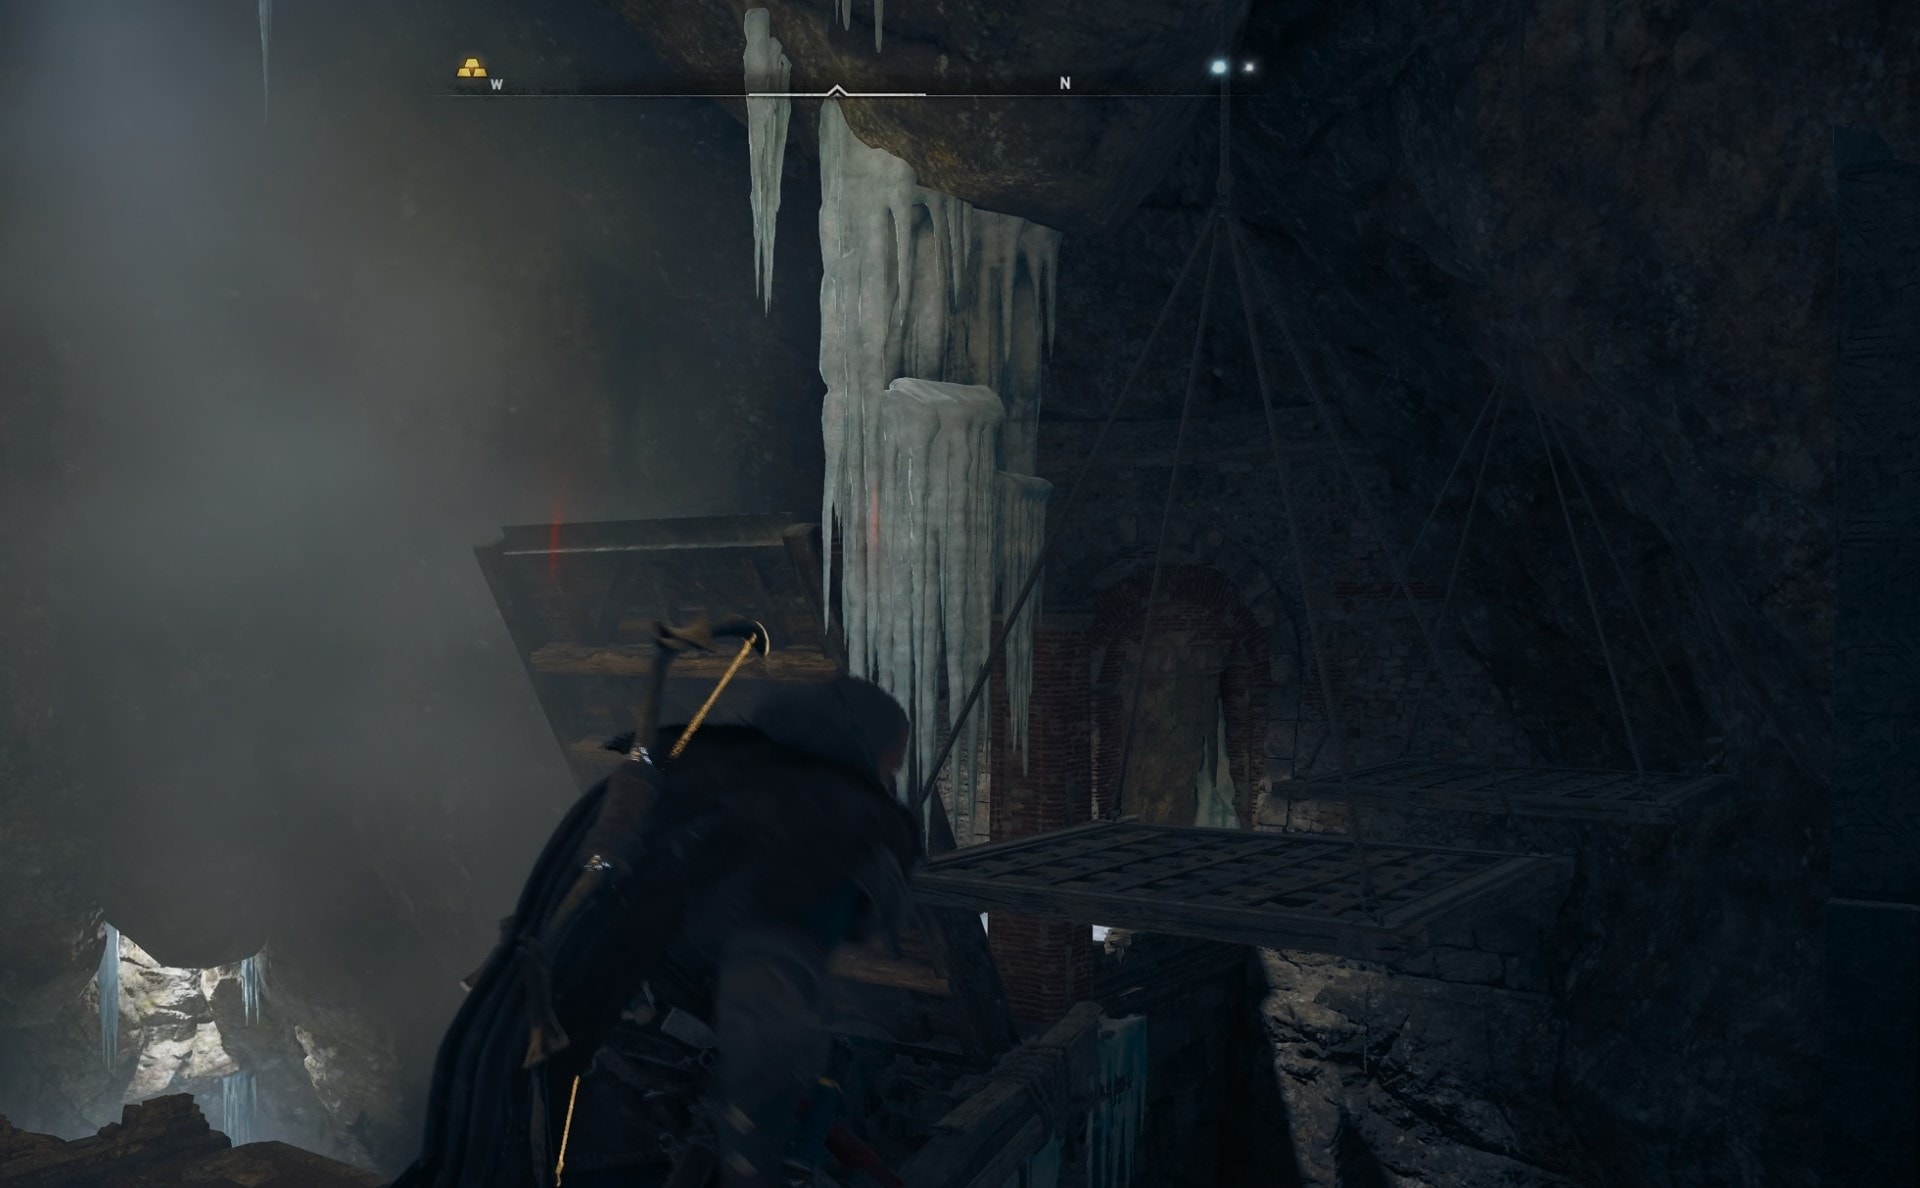
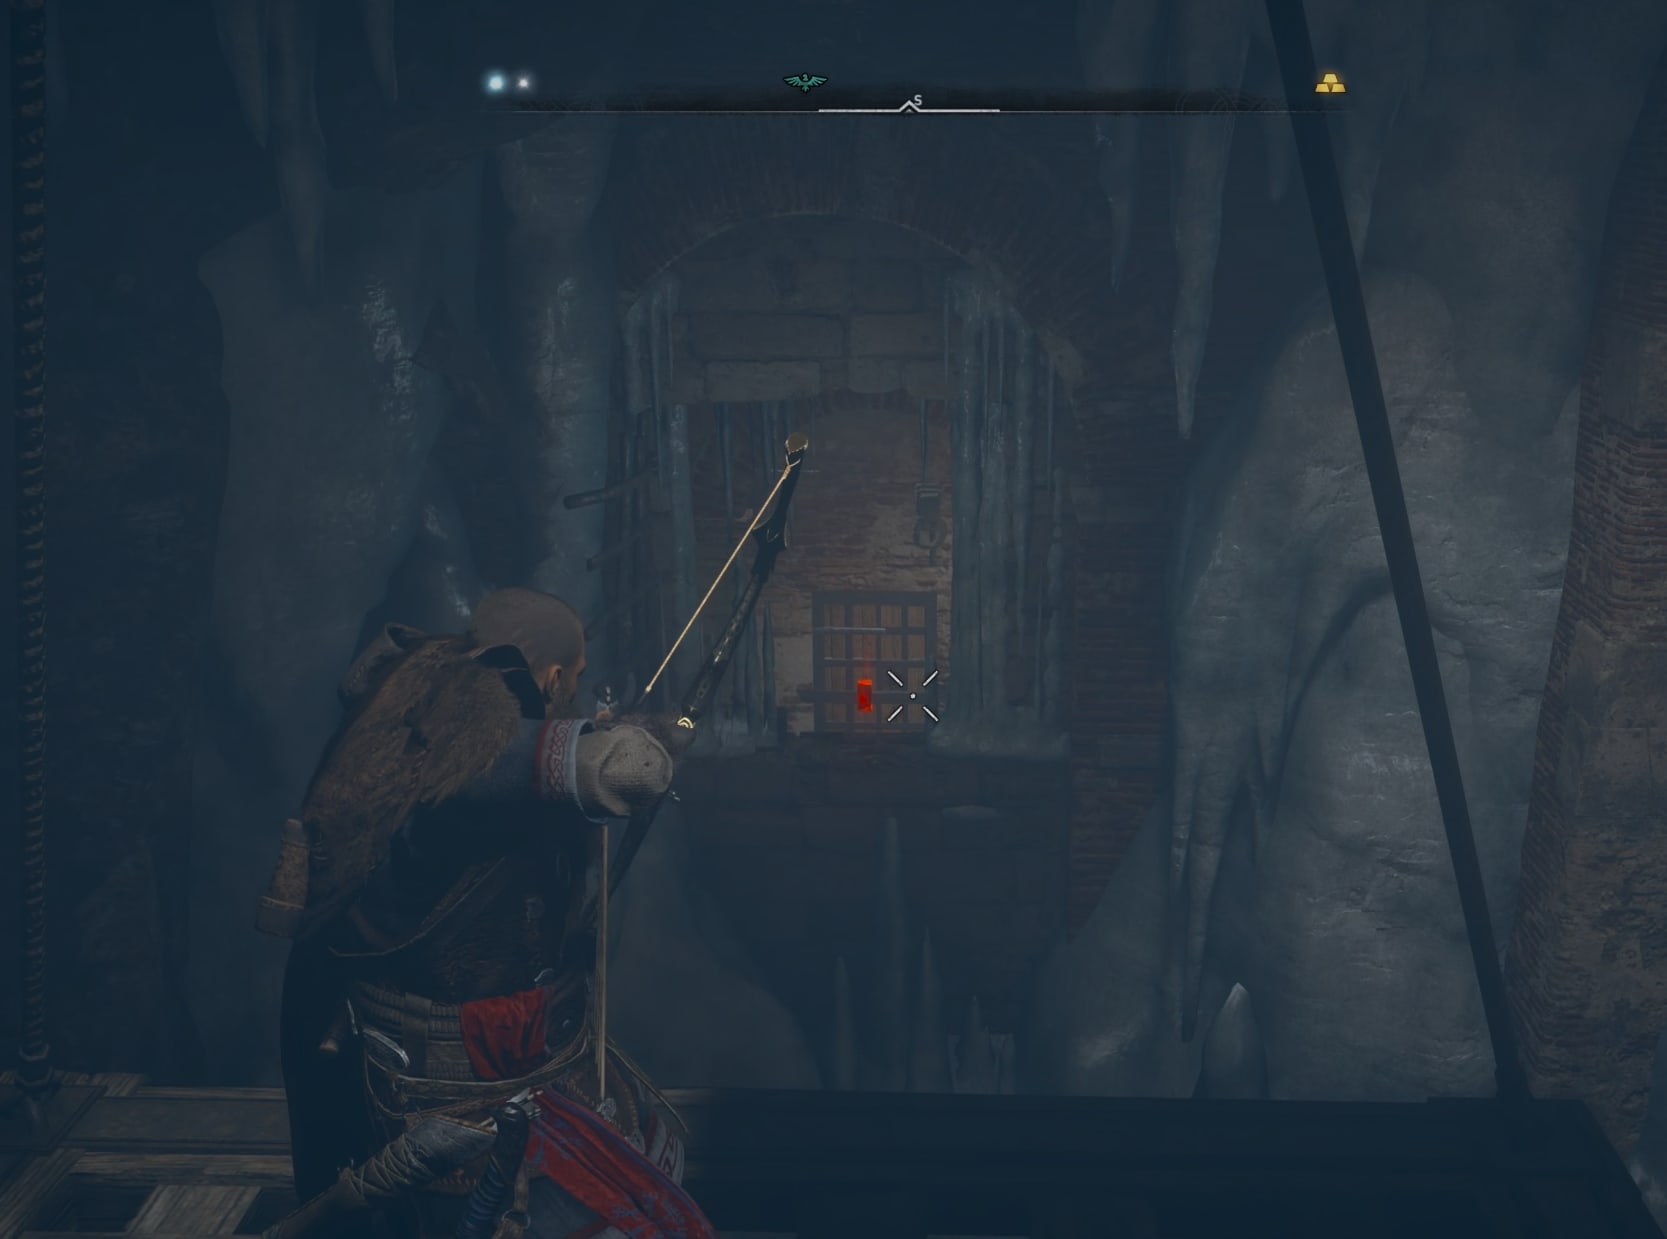
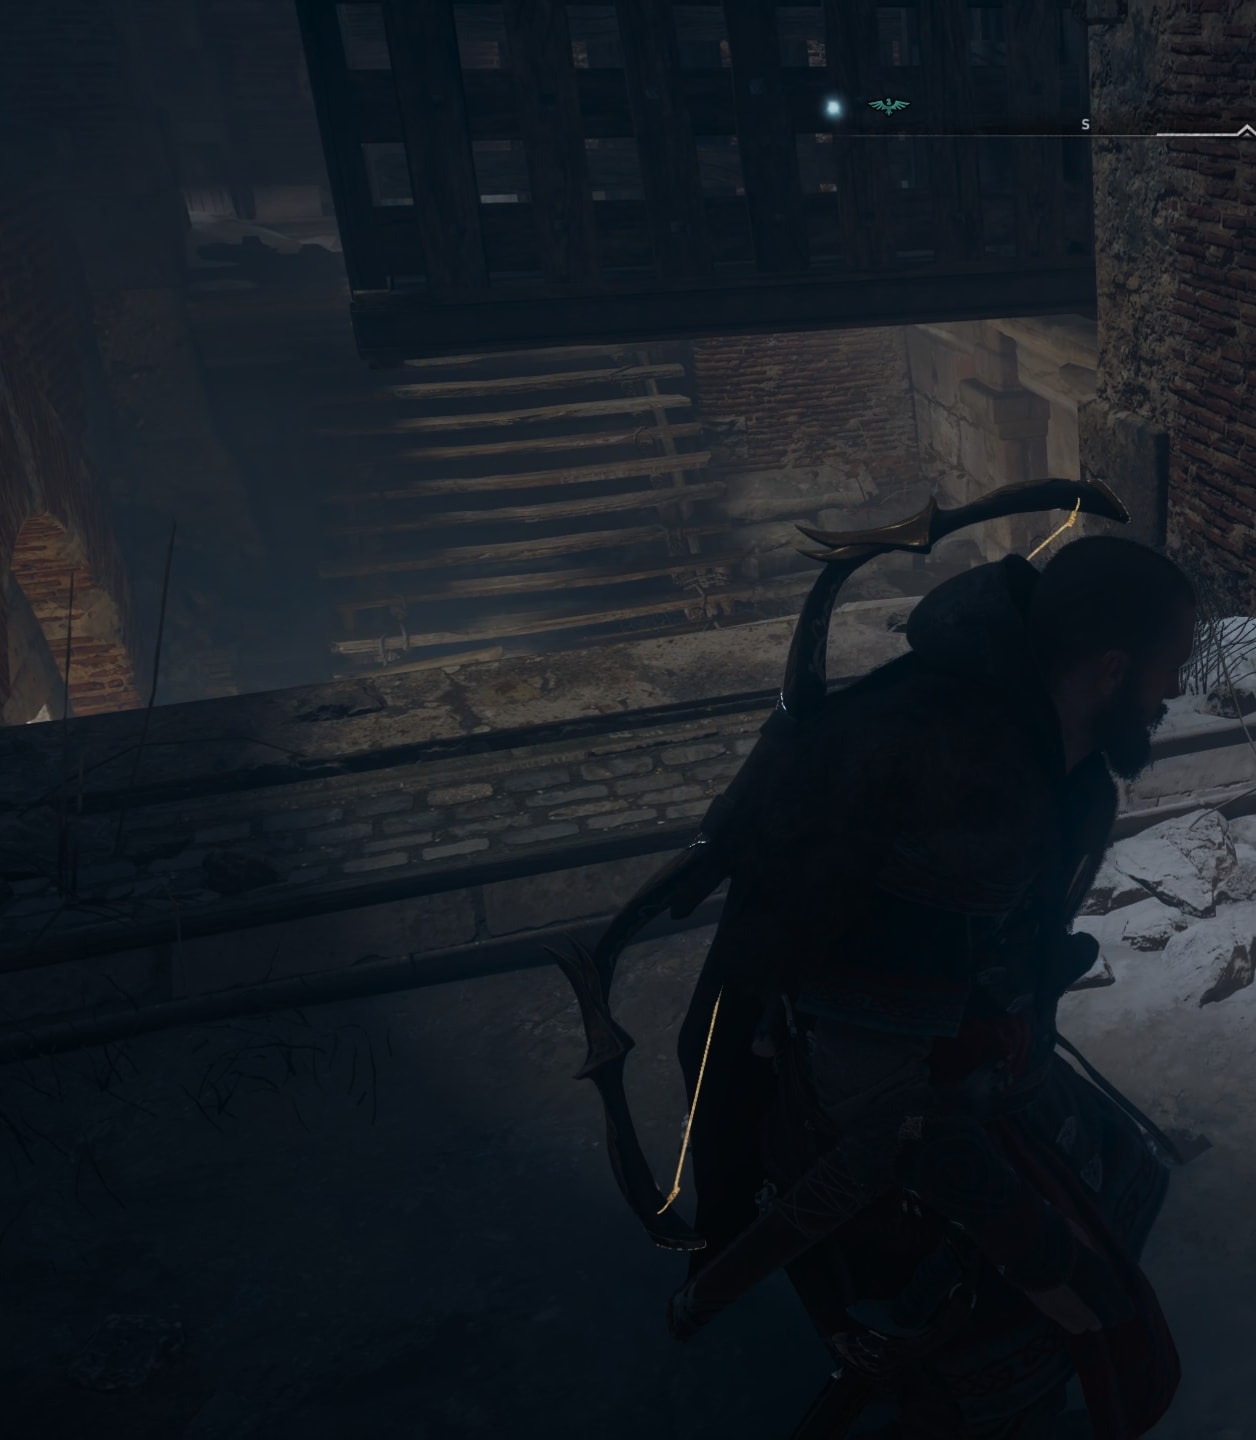
Use the hanging platform to jump to the other side of the lifted bridge.
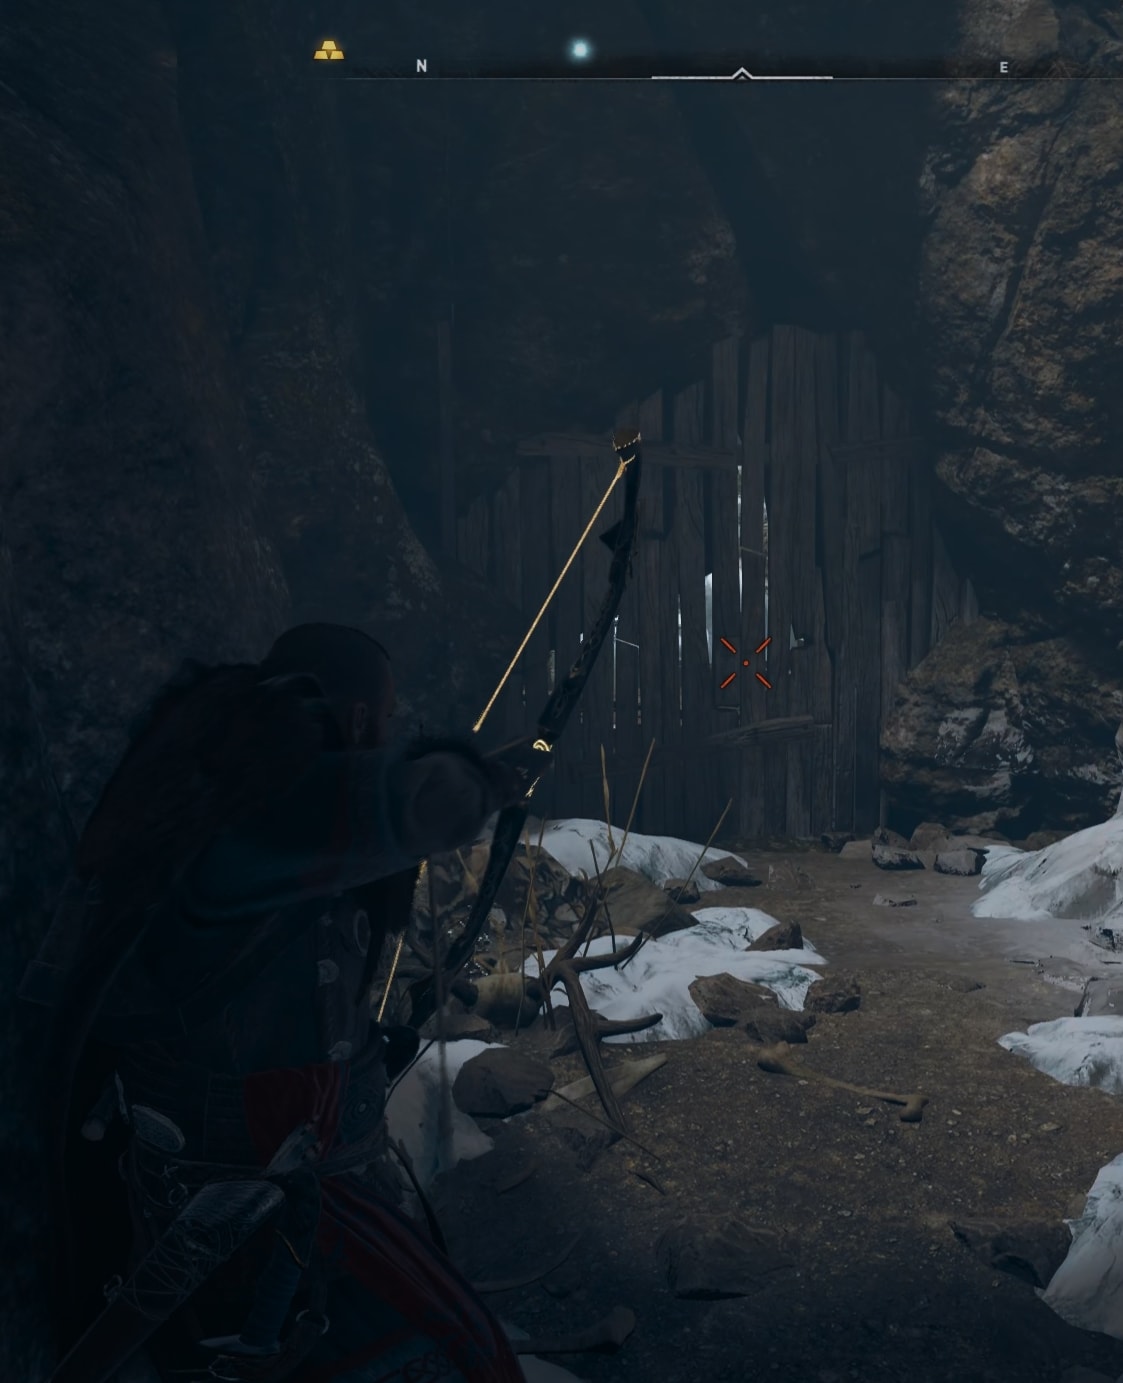
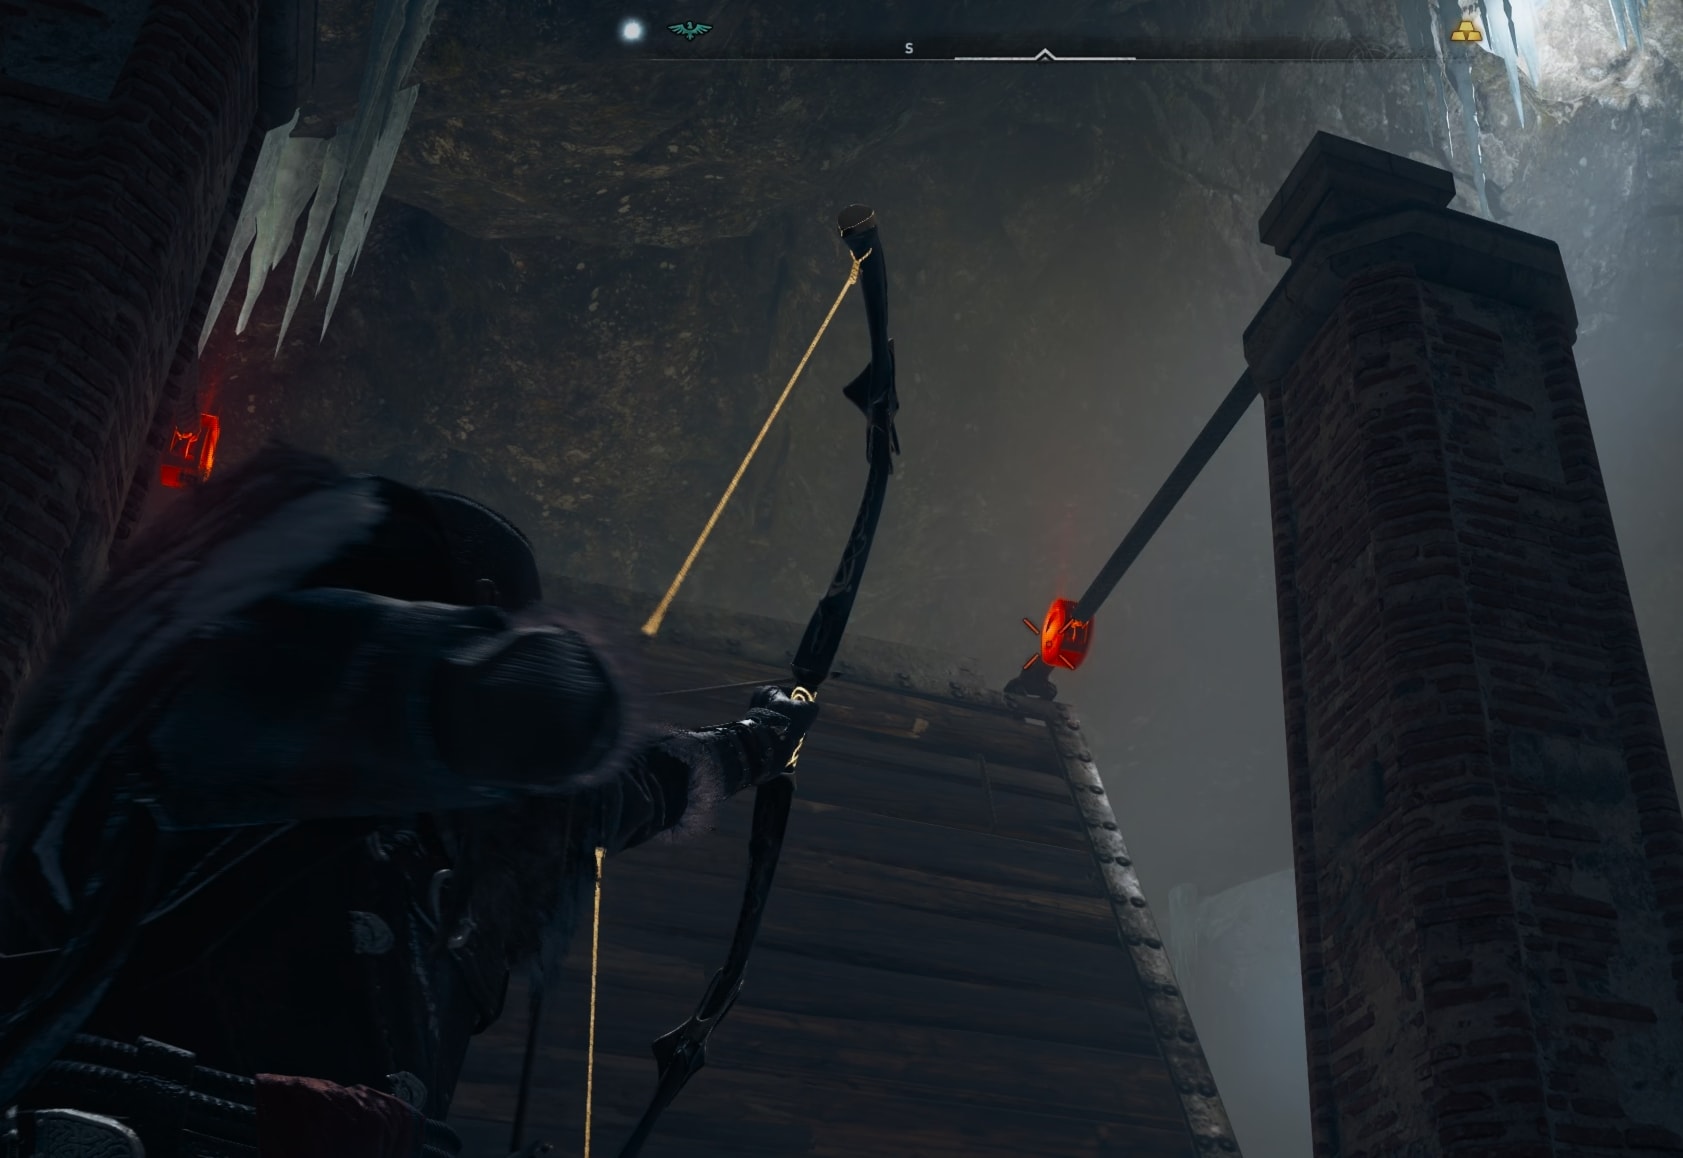
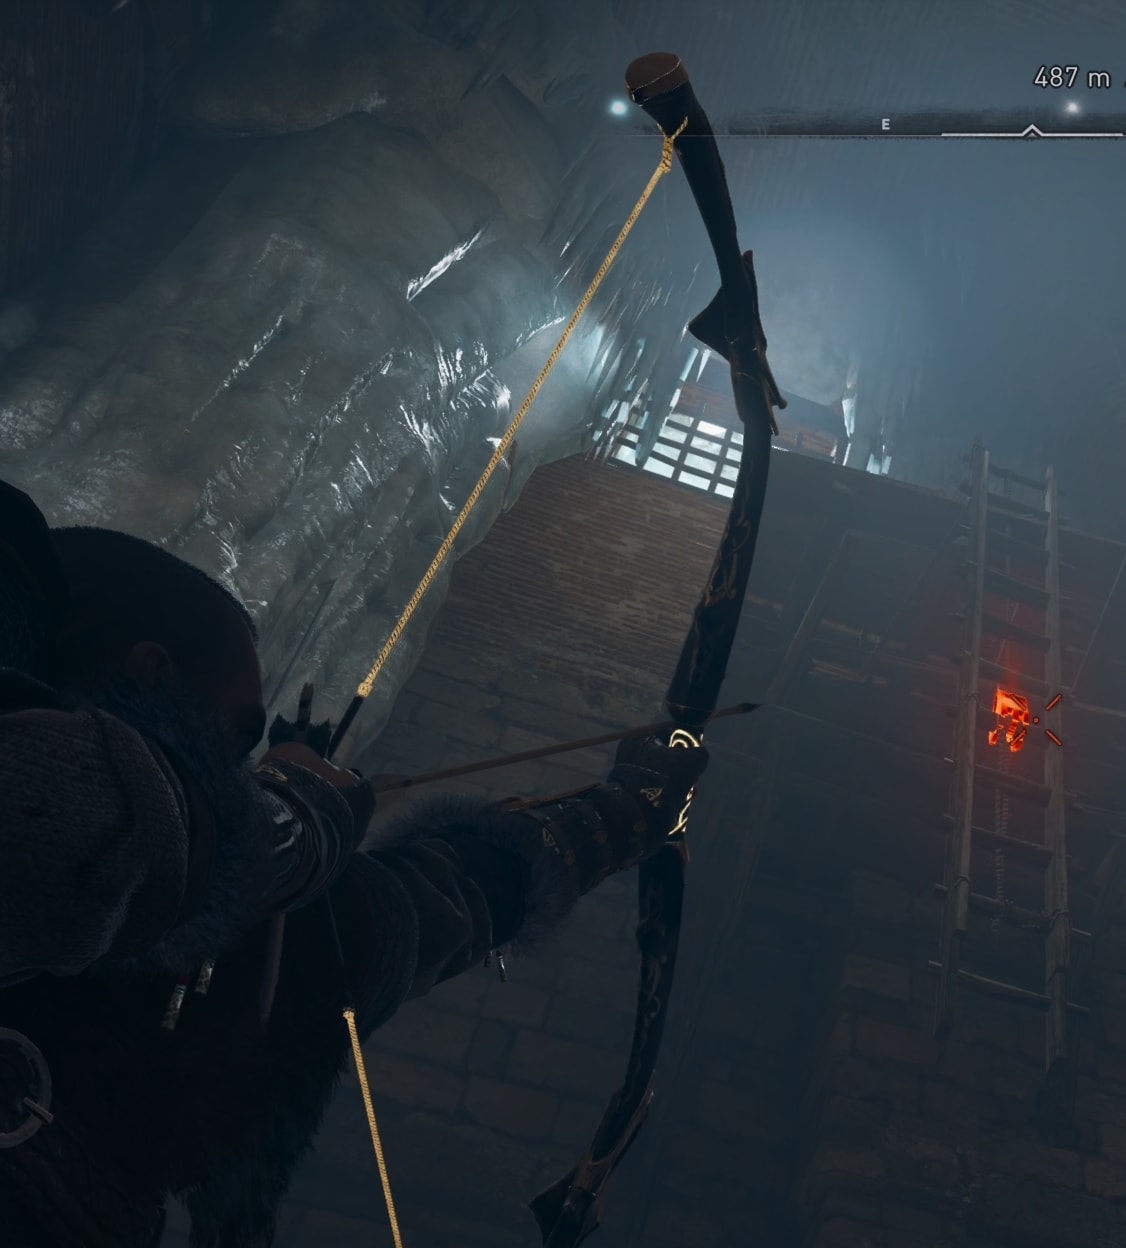
Shoot at the junctions to lower it down.
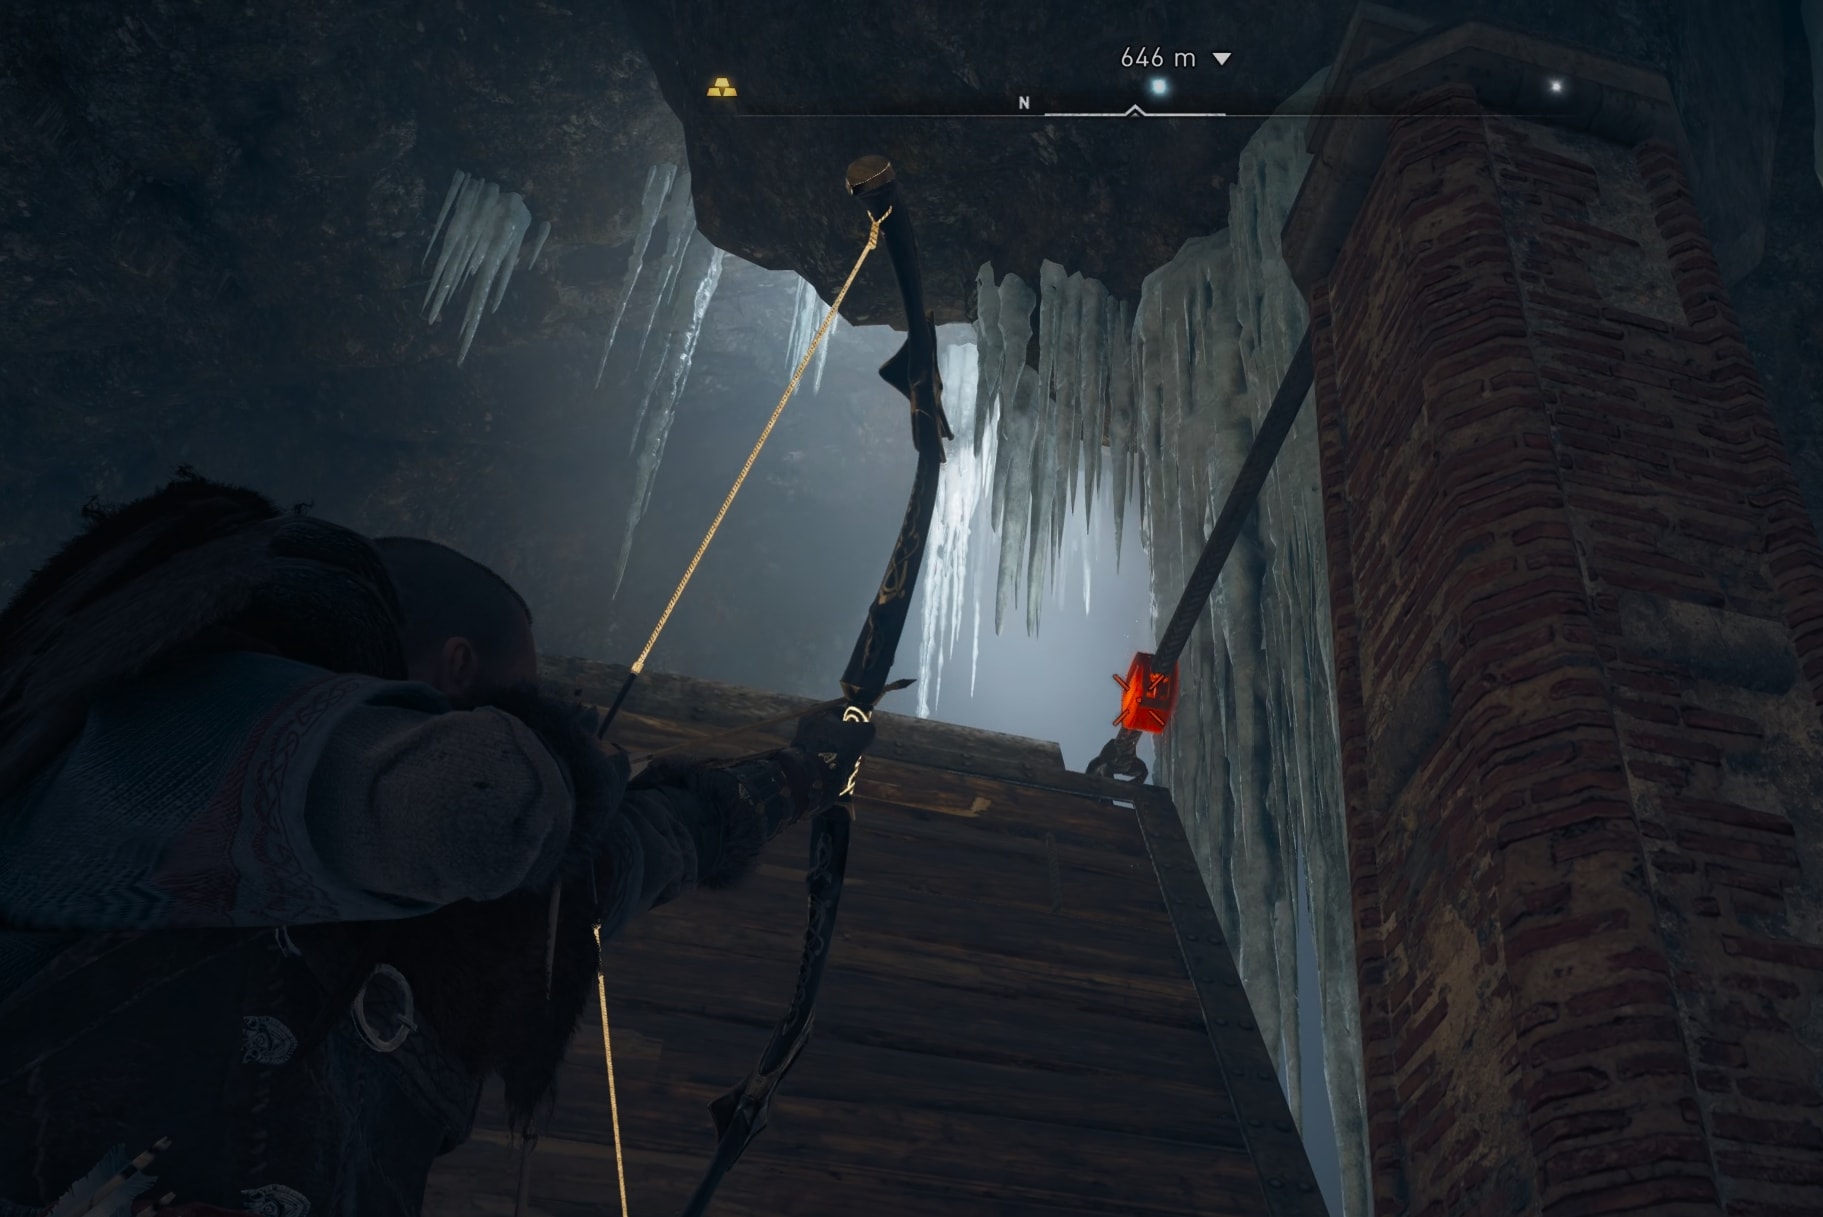
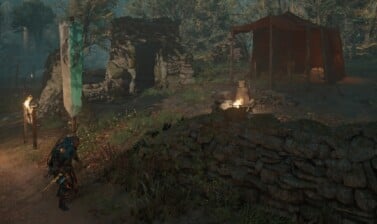
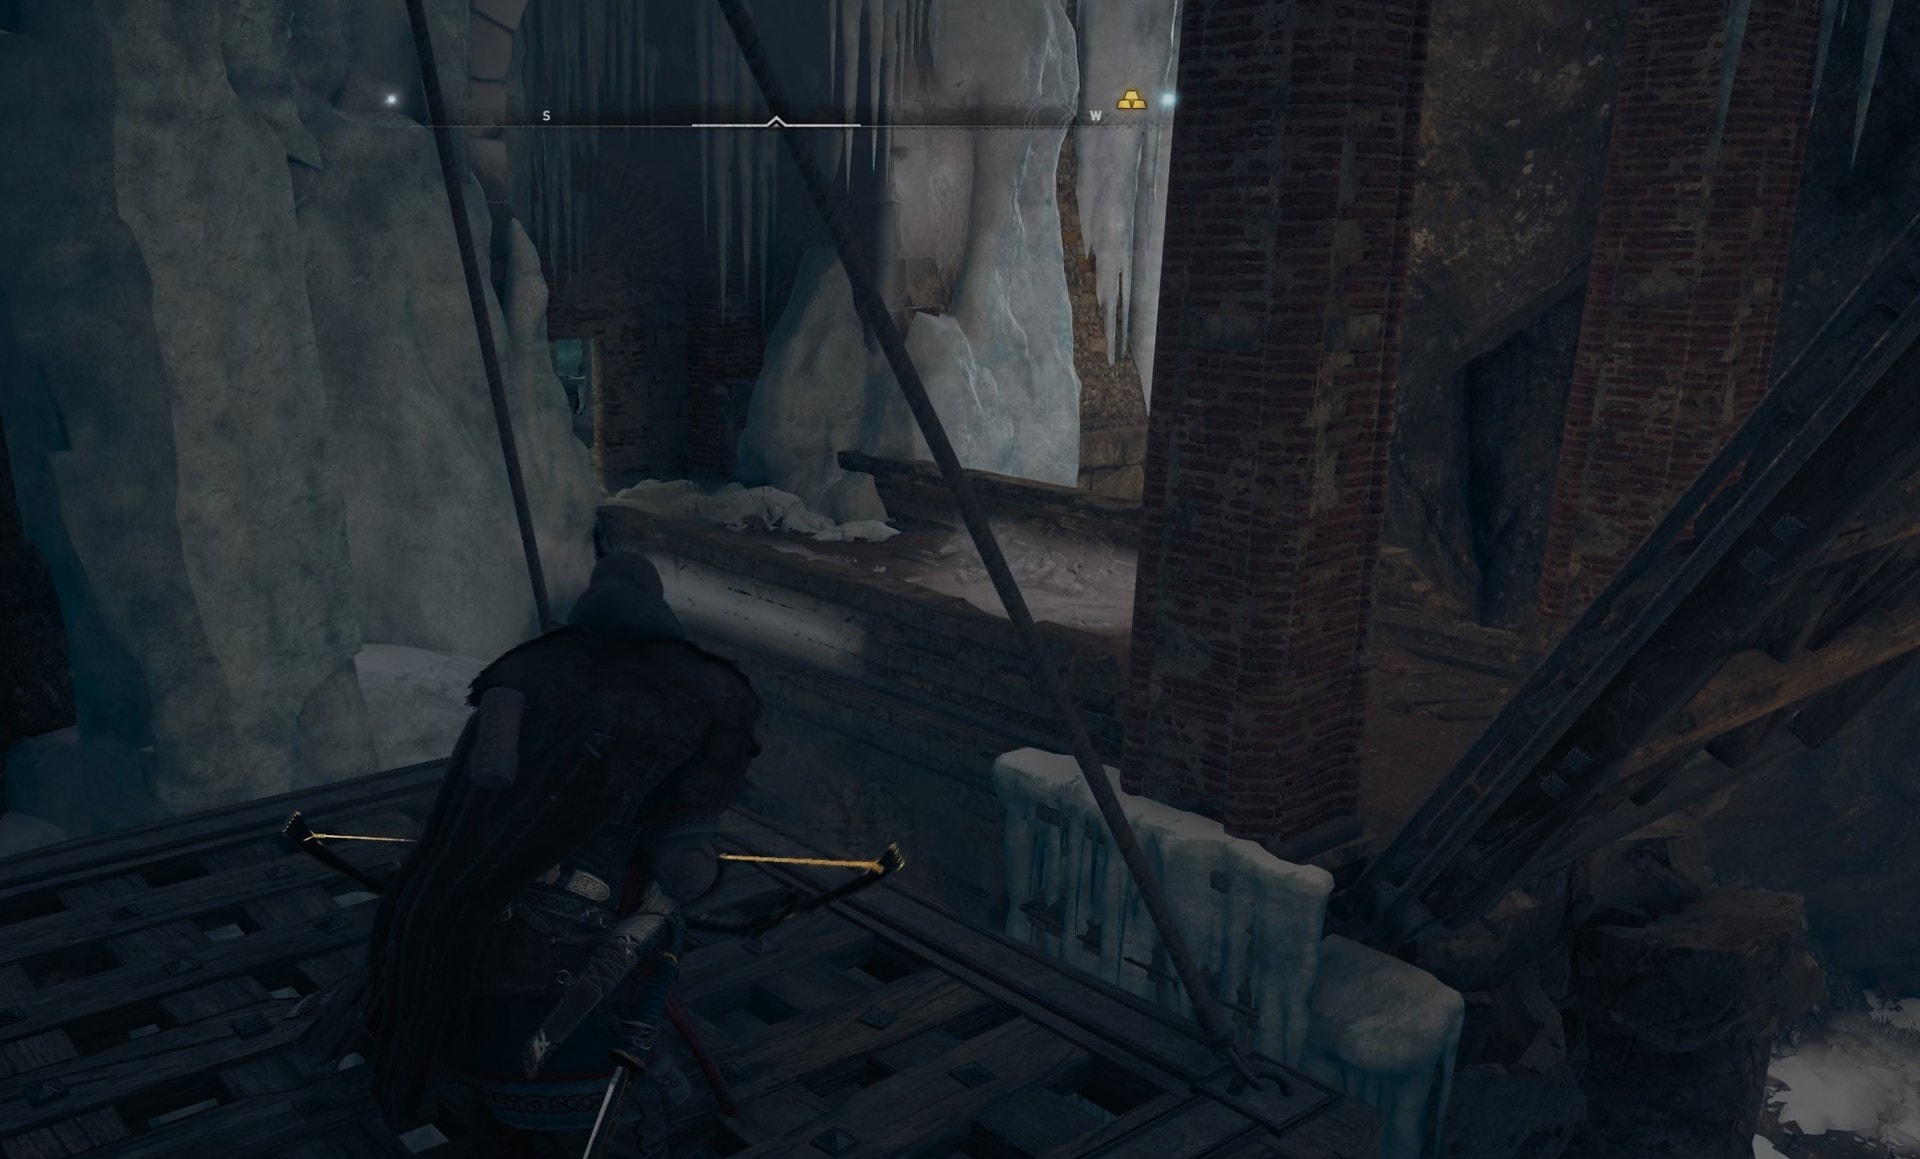
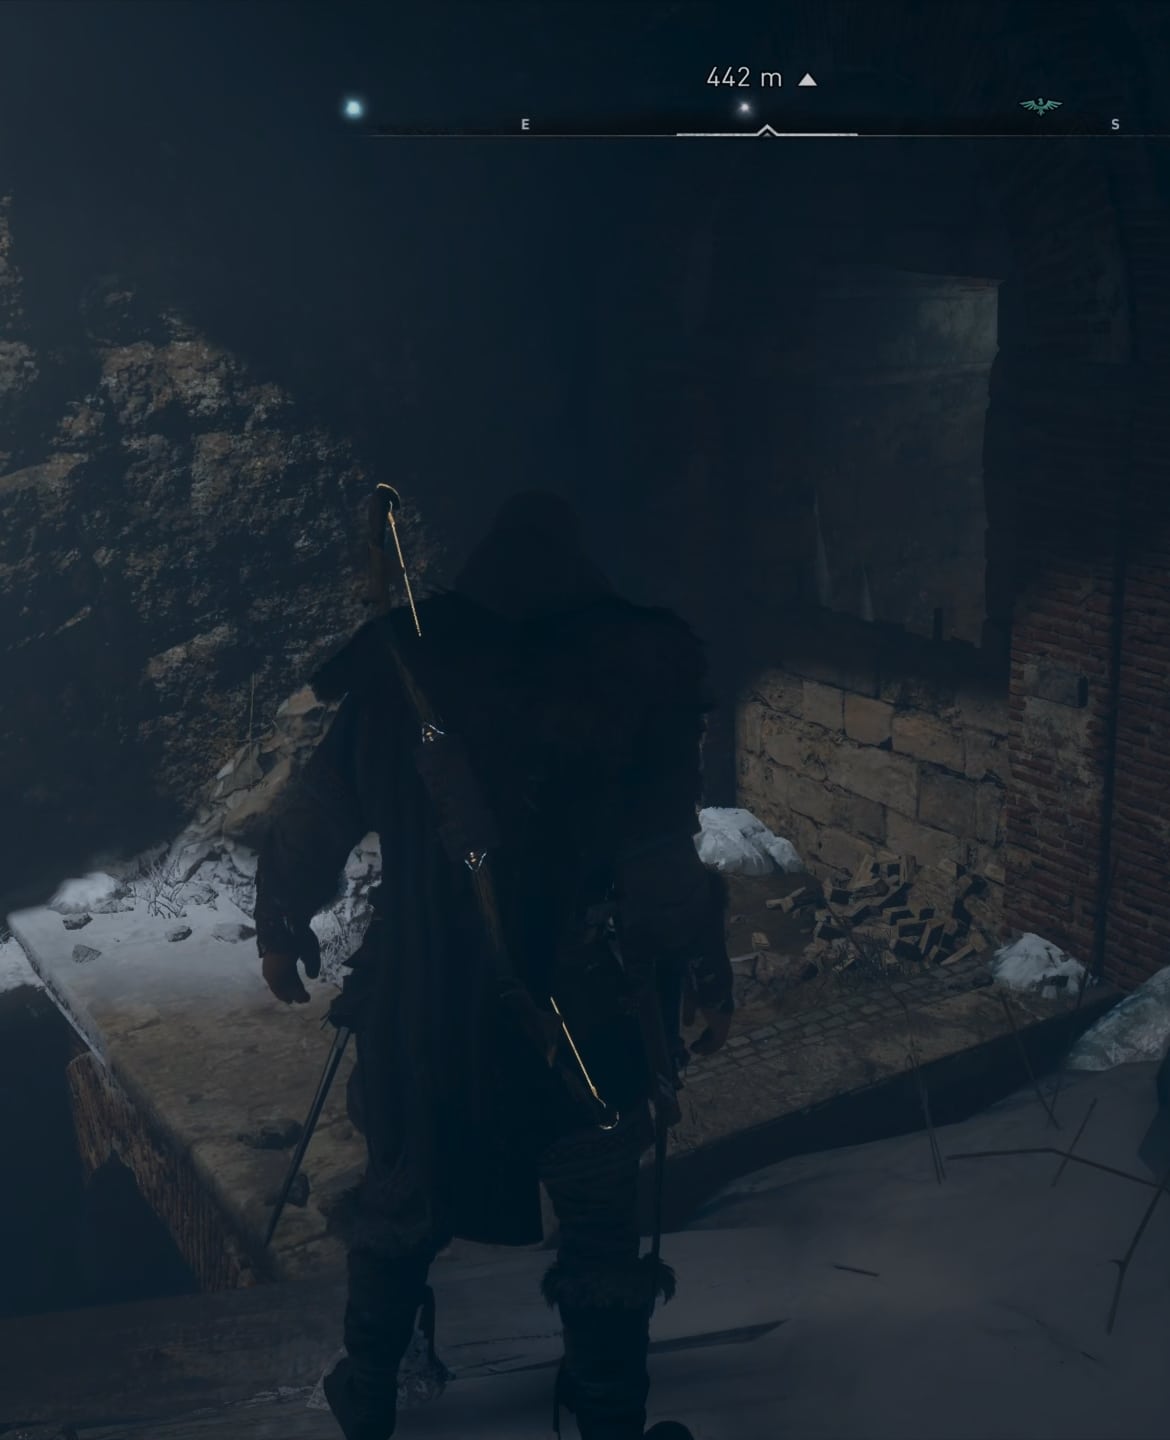
Turn south and follow the path inside the iced stone ruin. Break all of the ice and wooden walls to clear up the place for the pylon to be moved easily.
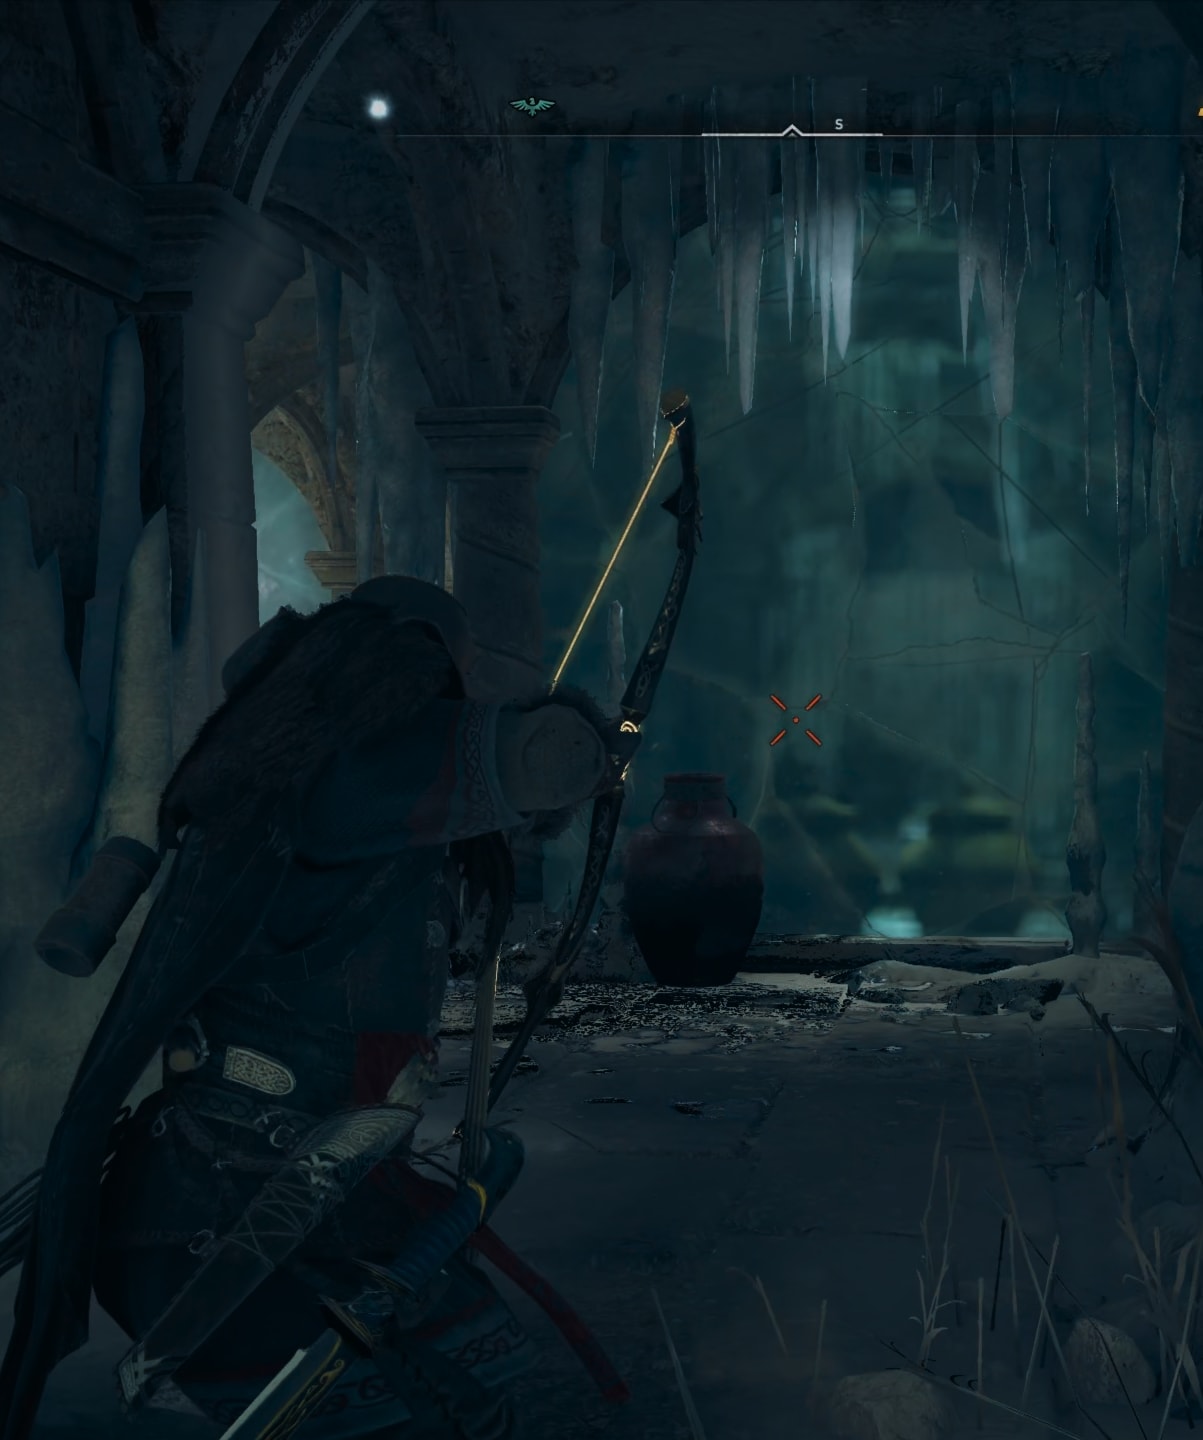
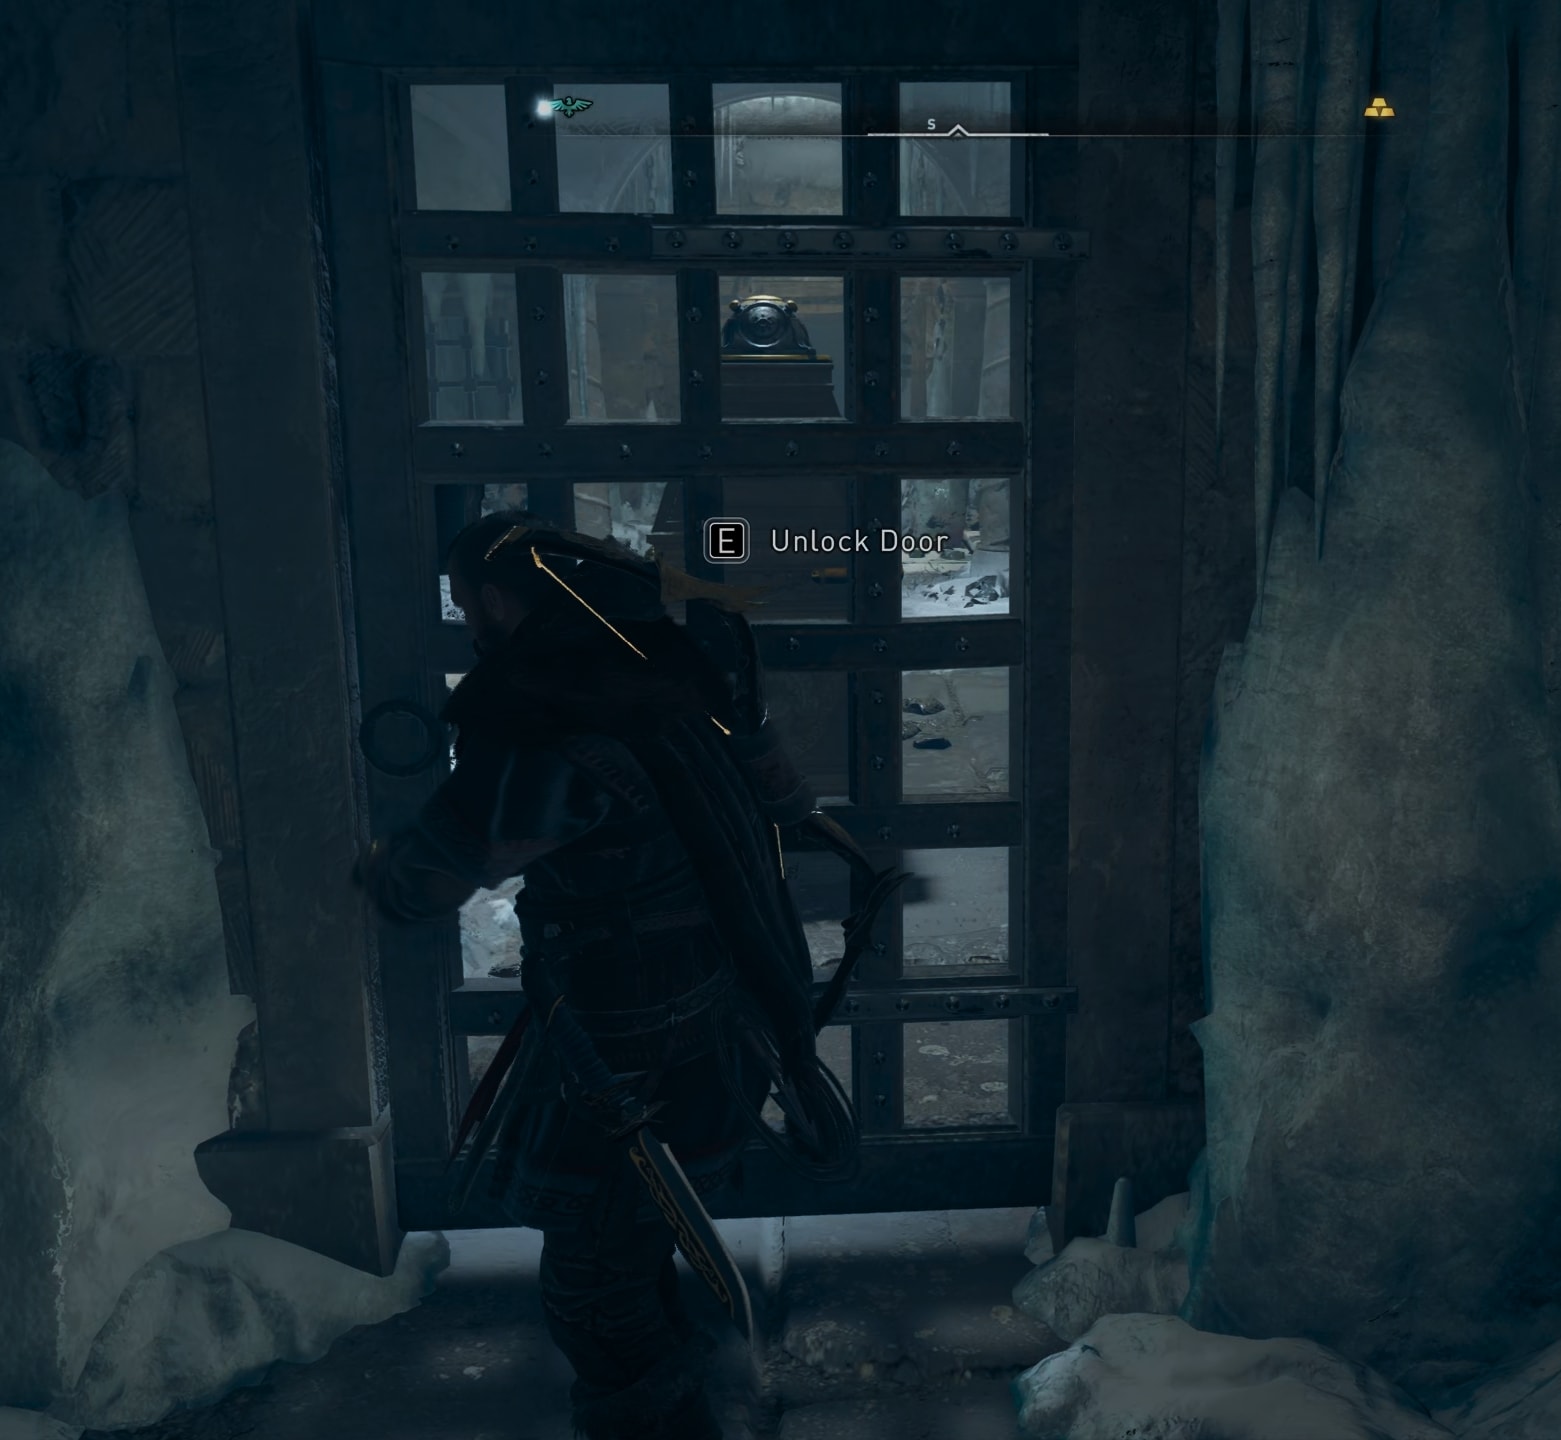
At the very south end of this mini labyrinth, you will find the pylon. To move it towards the big room you will need to unlock the locked door behind you first.
Behind one of the many icy walls you will reveal a hole in the ground. Jump down.
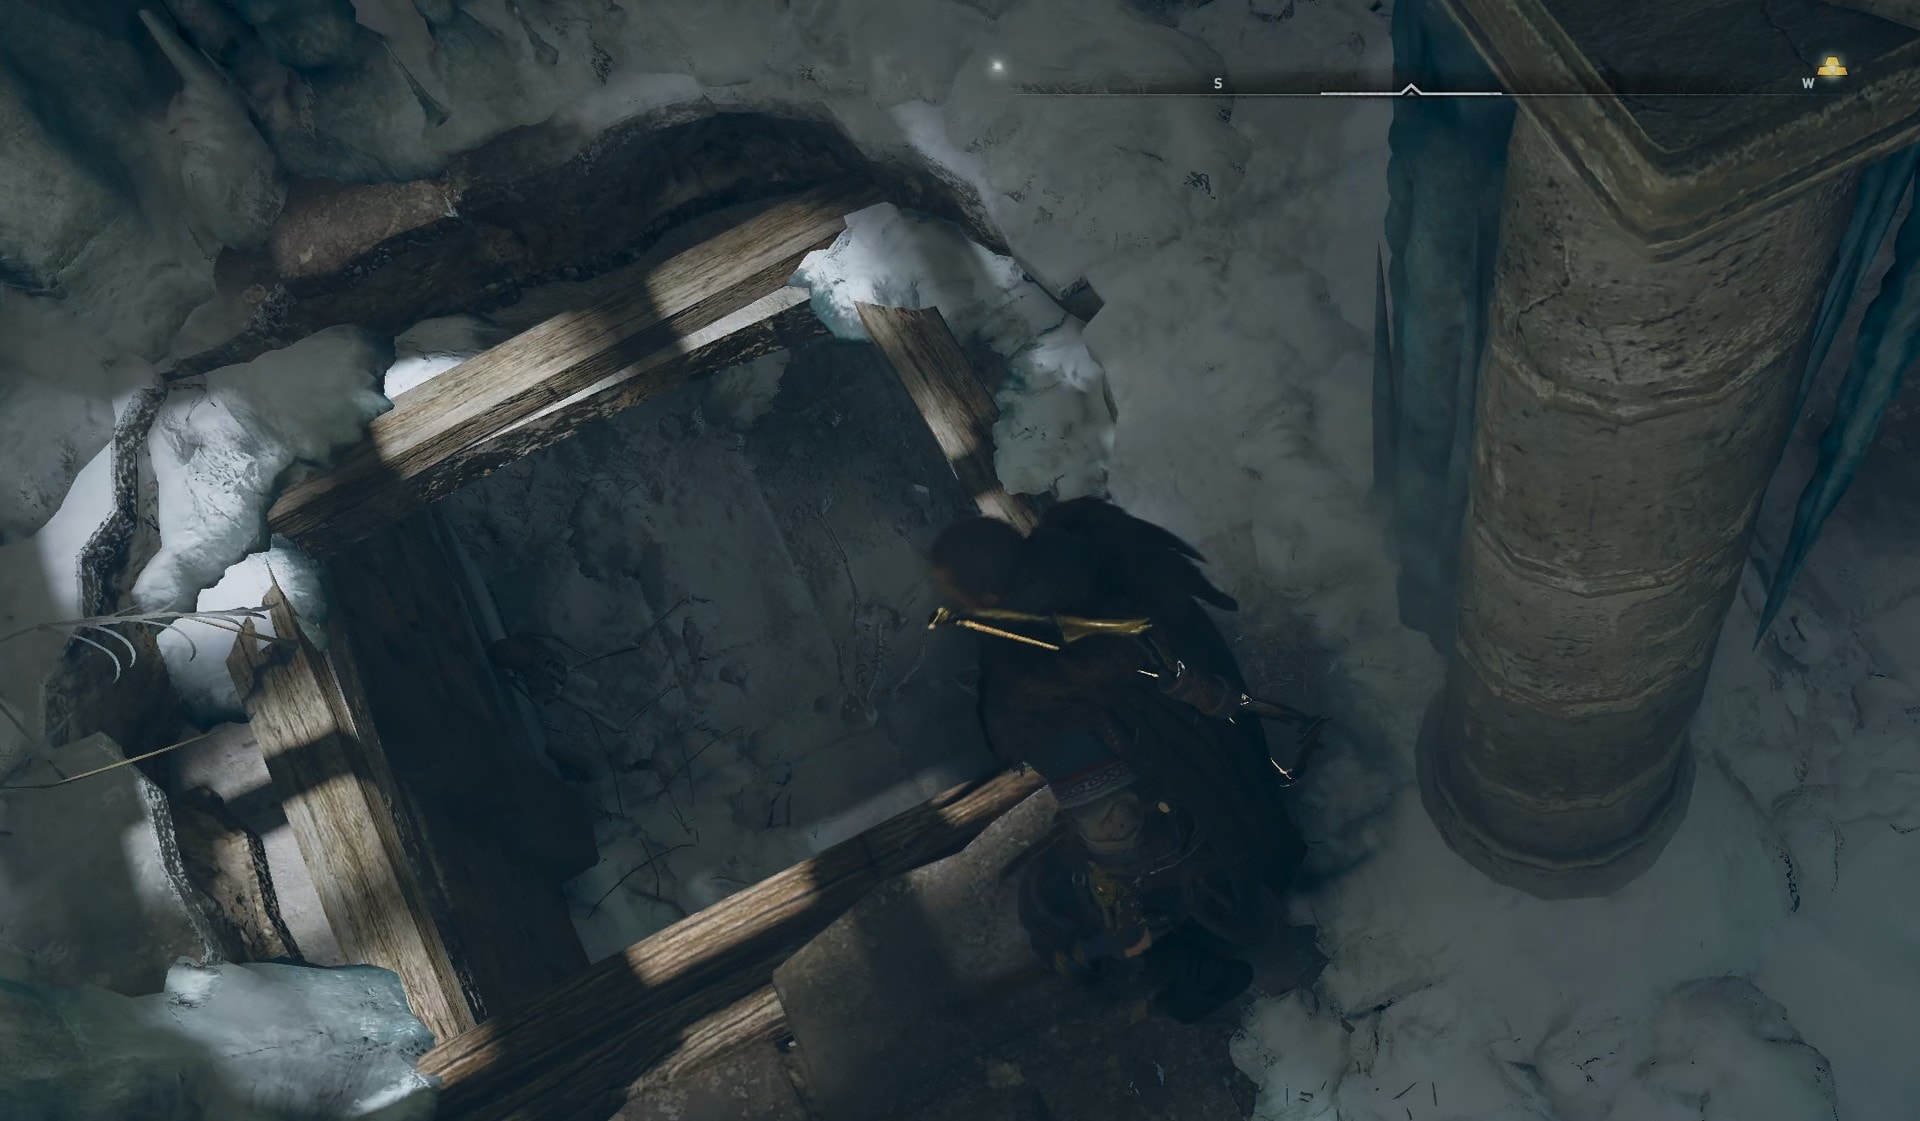
Run to the end of the tunnel avoiding the spikes.
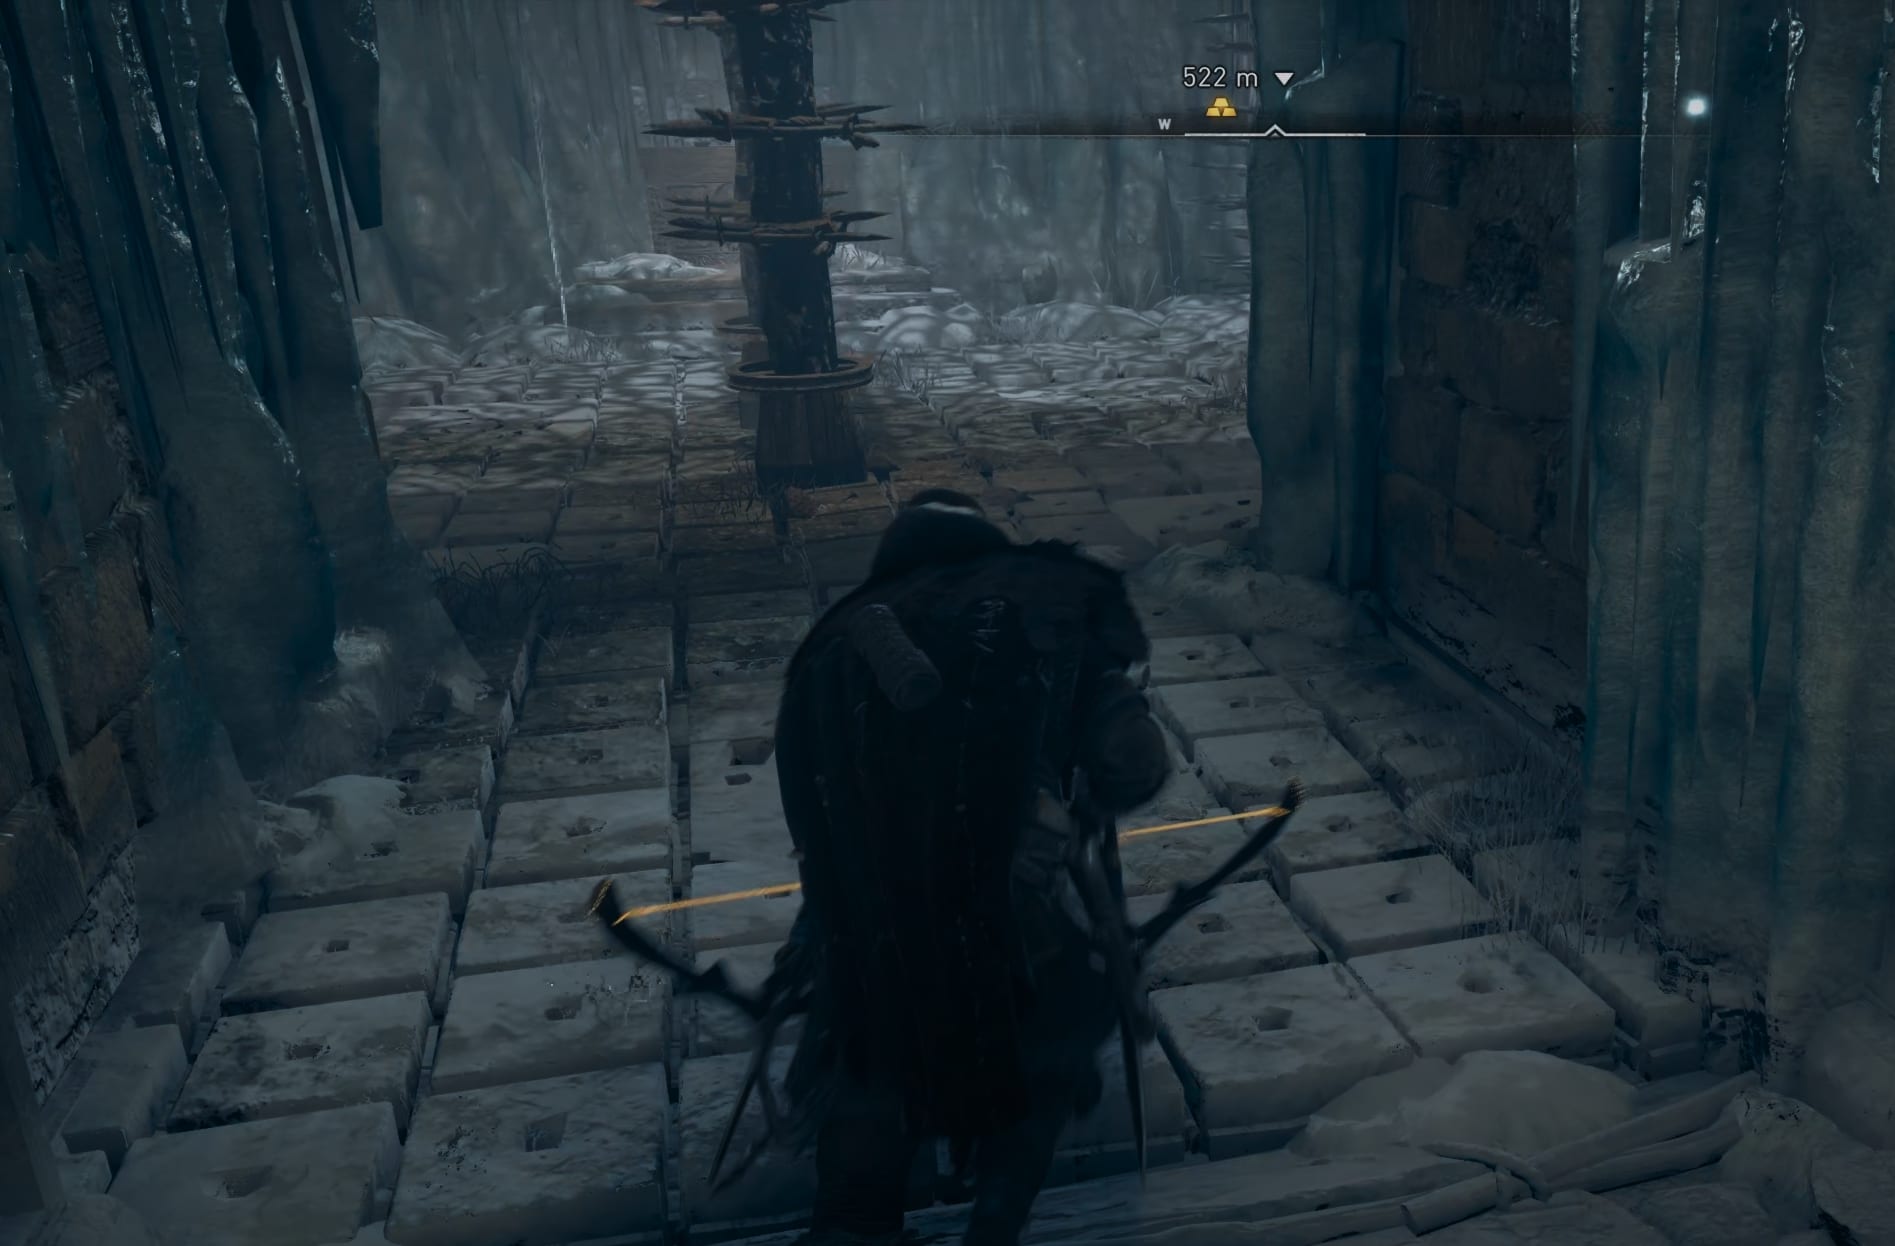
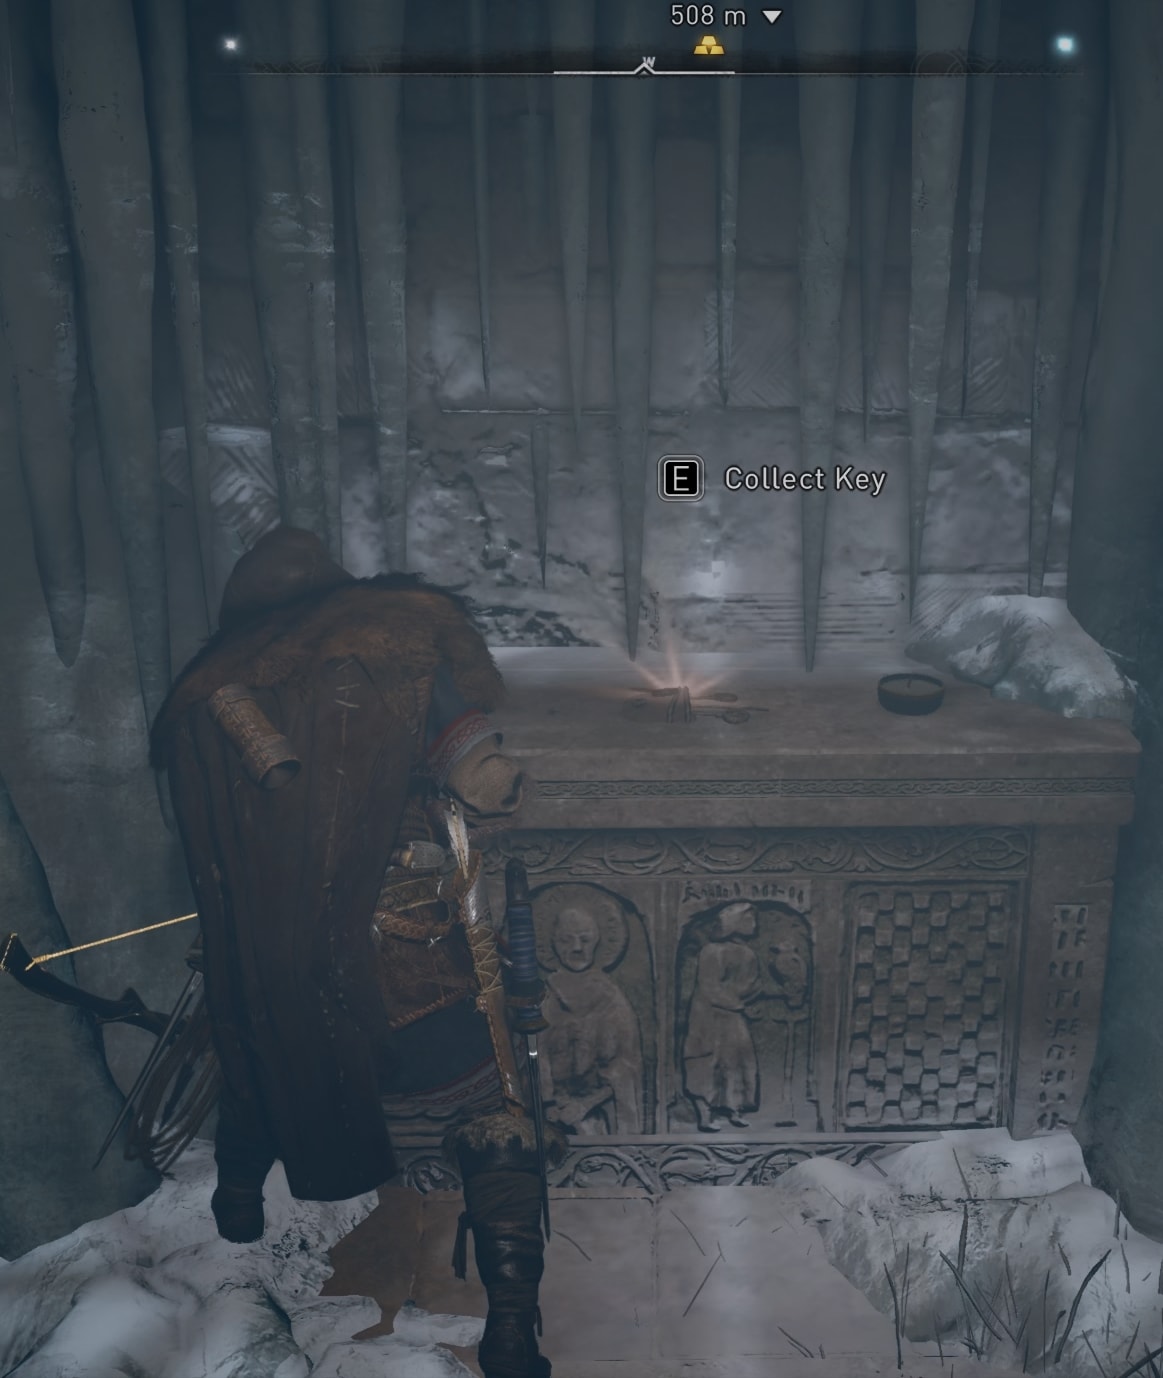
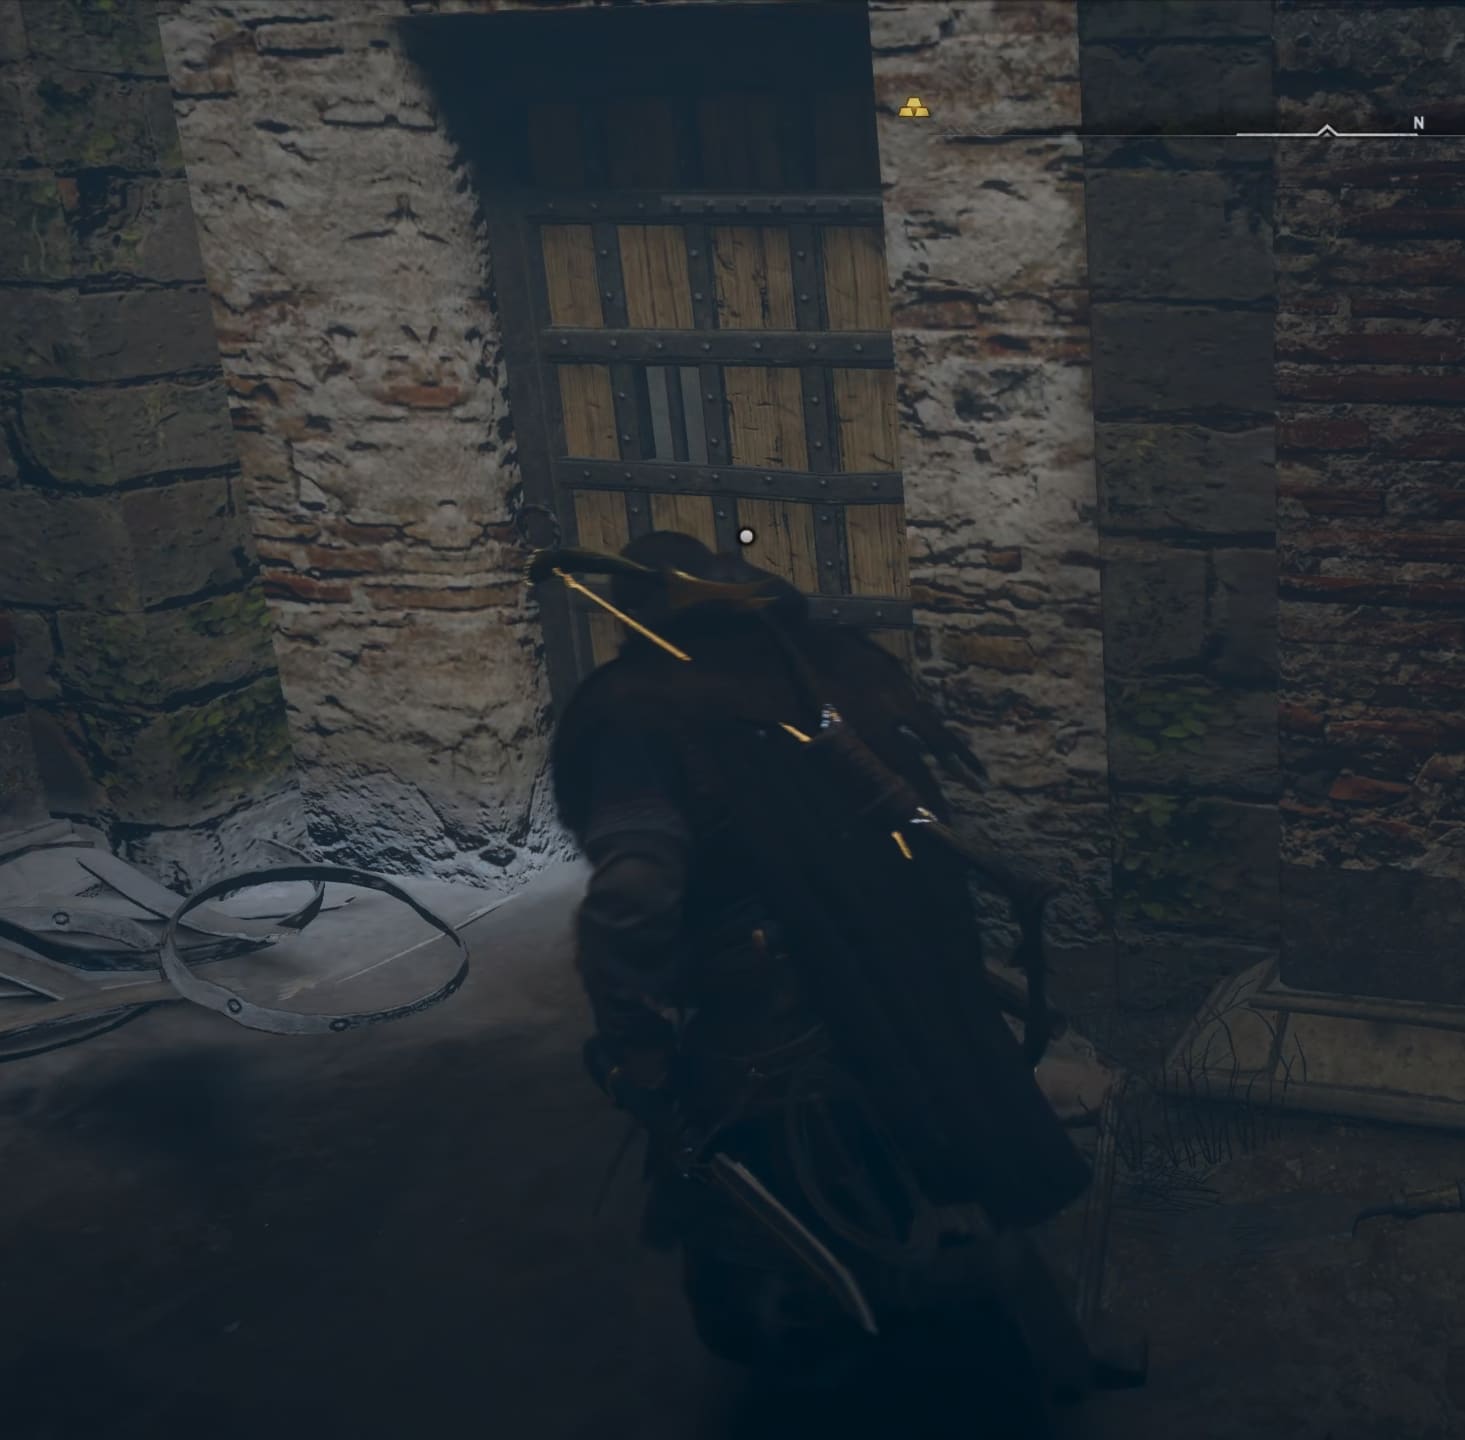
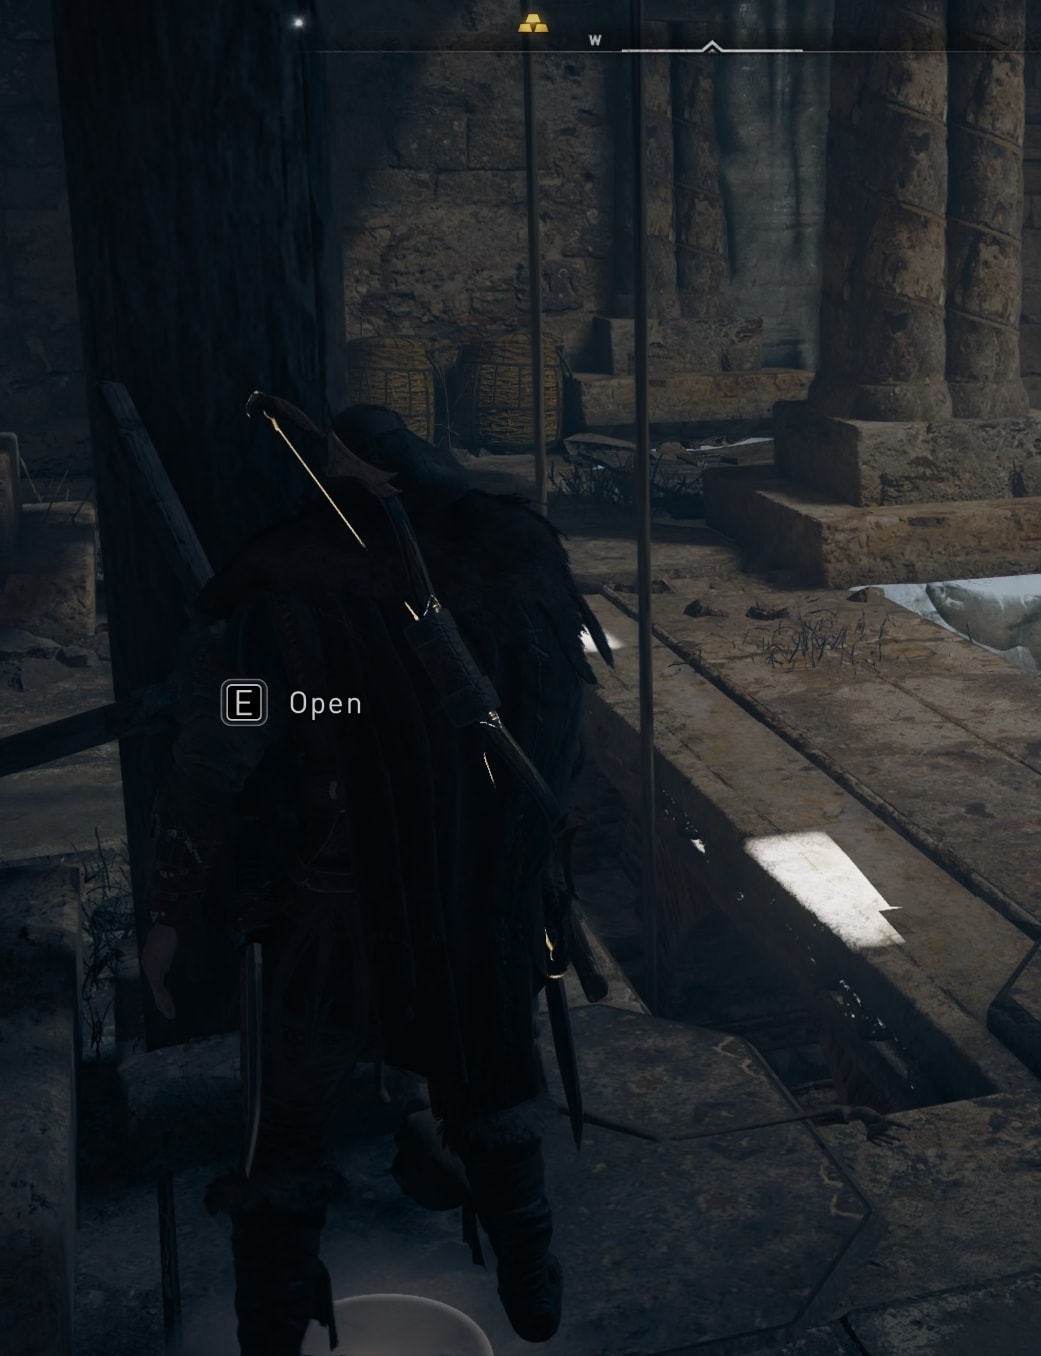
At the end you will find a stone table with the Venutius Tomb Key on it. Pick it up.
Head back and climb up to the upper floor where the locked door is. Unlock it to be able to push the pylon through it.
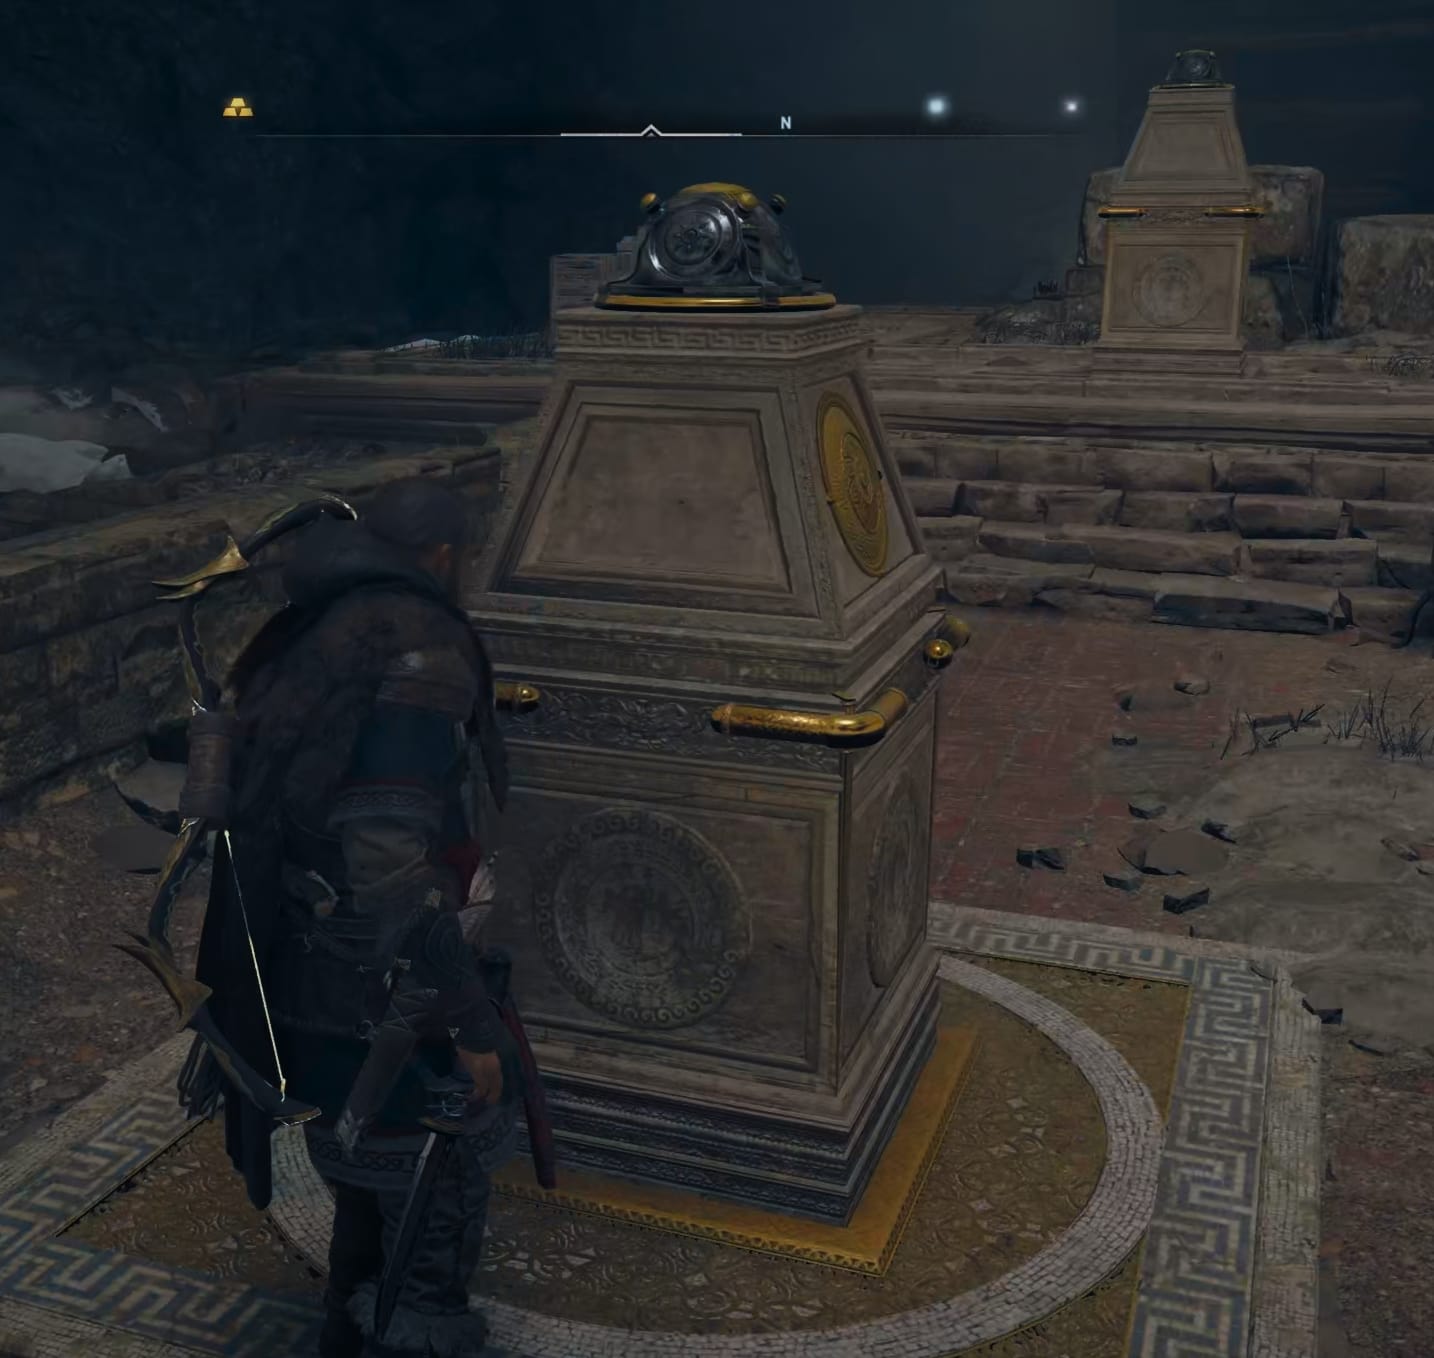
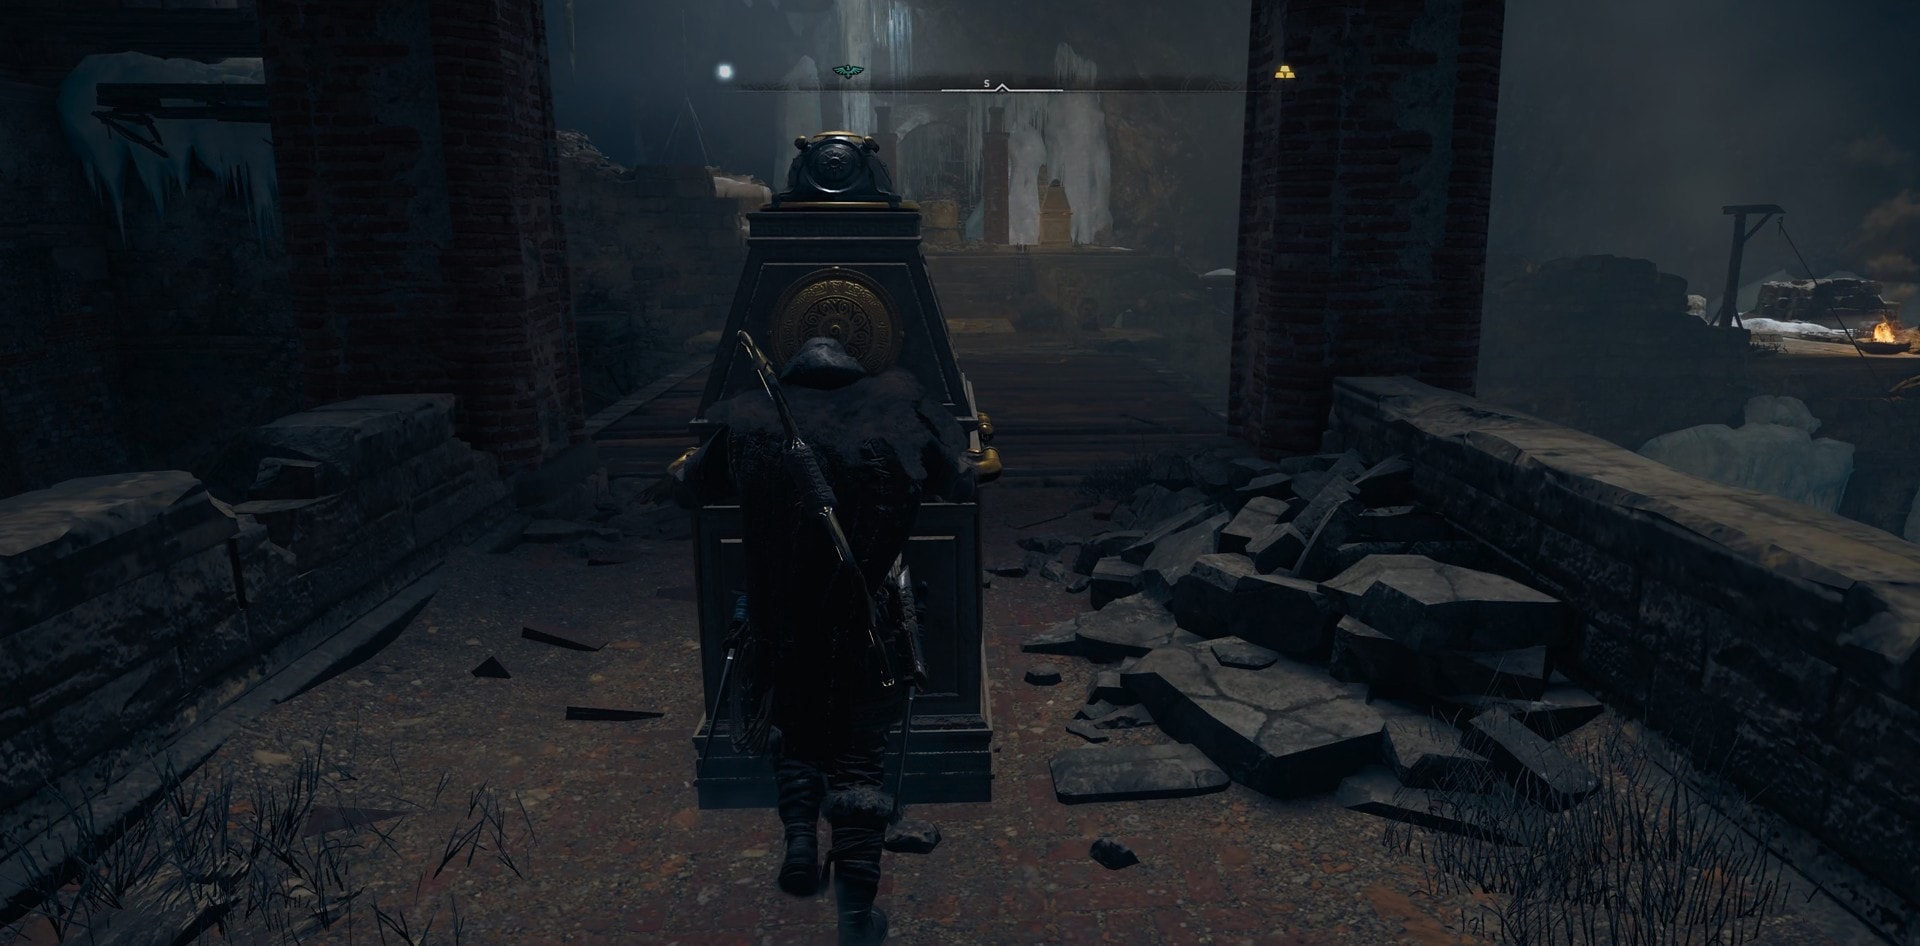
Remember that you can only push these heavy objects on a flat surface. There are quite a few obstacles in this room and you will have to navigate to all sides often to get through it. Push it all the way back to the big room and place it exactly on top of the square marker.

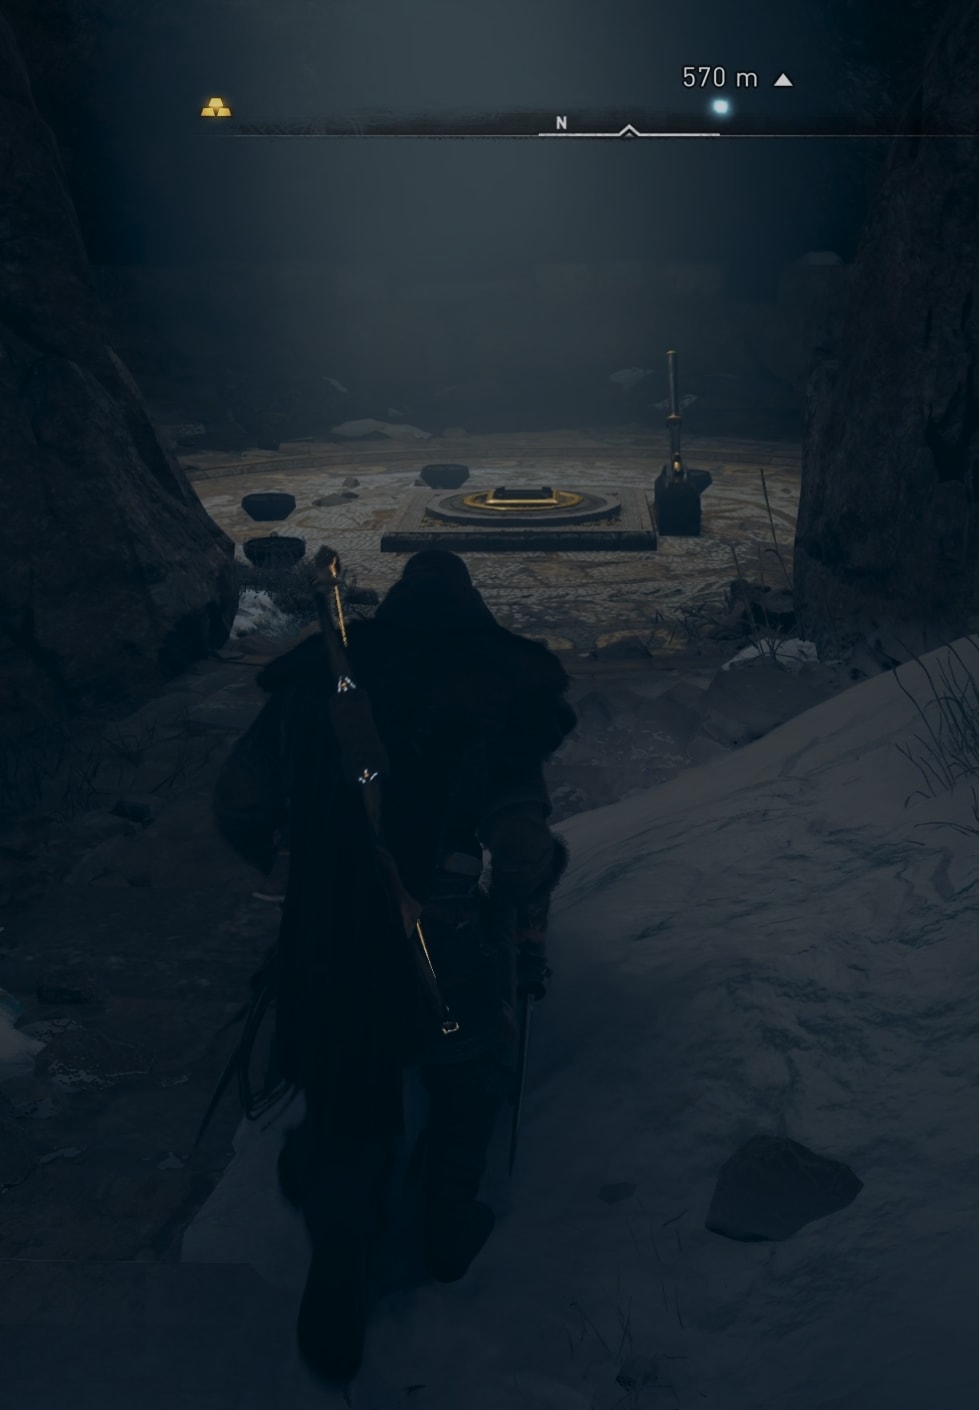
Solving the third puzzle (top middle)
This is the puzzle involving a pylon you need to put on the marked location on the north side of the hill.
As you complete the second puzzle, look toward the middle of the area (look north). The next puzzle’s pylon is waiting for you right in front of your eyes!
Push it around to its marked location and position it on top of the square.
Your final puzzle is in front of your eyes, again.
Solving the fourth puzzle (top left)
Head towards the big door and turn left to look towards north. Jump through the two hanging platforms to get to the other side of the lifted bridge.
Shoot at the red spots to free up the bridge and let it fall down. Then turn around and enter the icy ruin on the north side of the underground complex.
As soon as you enter the ruin, look to your right (east) and go through that opening in the brick wall.
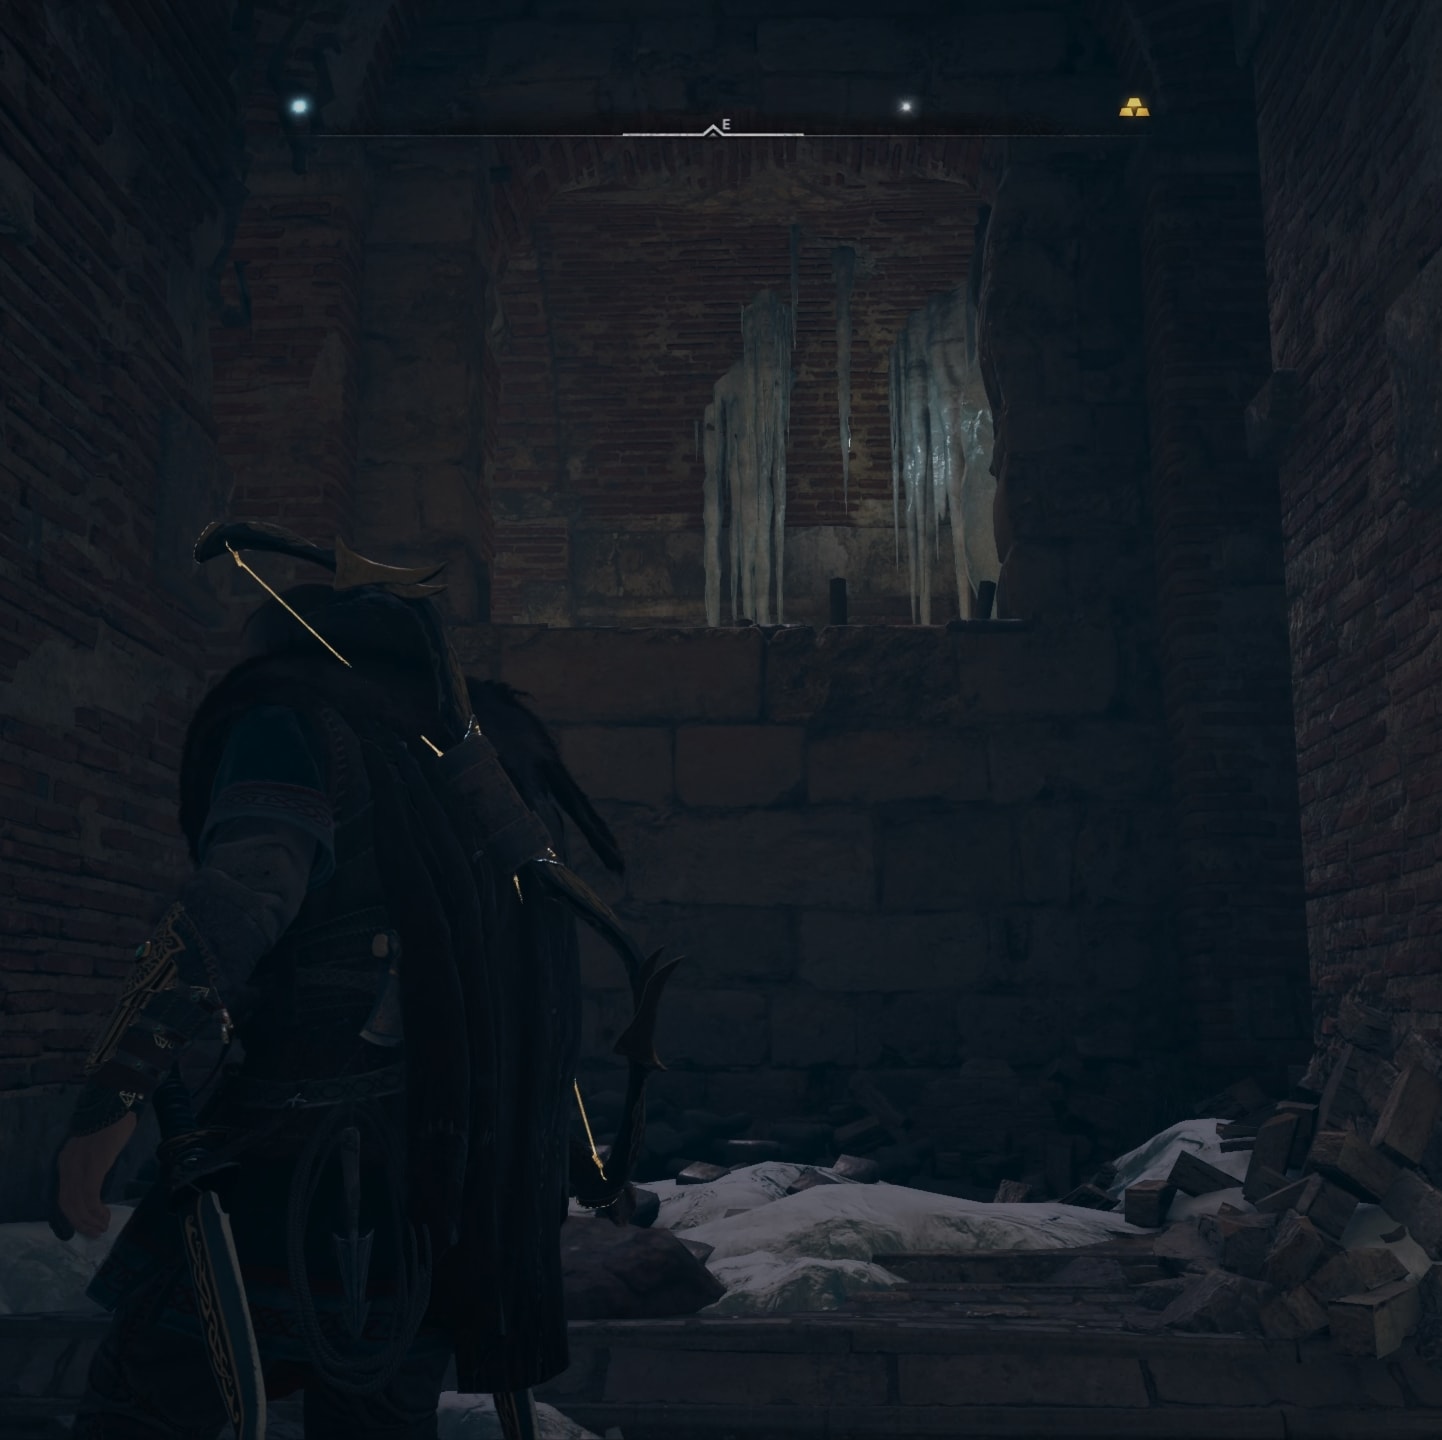
Follow the corridors until you reach this hole in the wall. Slide through it.
Again follow the path until you find yourself in the caves behind the ruin. Hug the wall on the right side and walk on that edge.
At the top you will stand on a wooden construction and will see a few hanging platforms in front of you. Jump through them until you get to this spot (image below). Shoot the blocking mechanism of the door.
Now, as the platform drops down, turn left and jump from it. Go through the opening in the wall (this is where you came from a moment ago).
Back in the ruins among the brick walls, follow the path until you reach the door that you just unlocked. It will be on your right hand-side.
Run to the other end of this next corridor and slide through the lower hole in the wall to get to the next area. That’s where the pylon is waiting for you!
In front of you there’s an opening to the next room. Leave the pylon there and go in. On your left there is a metal cage hanging up and a staircase below it. Take the stairs.
At the end of the stairs, turn right and jump through these obstacles to climb to the top. There is a big boulder there. Push it on top of the metal cage.
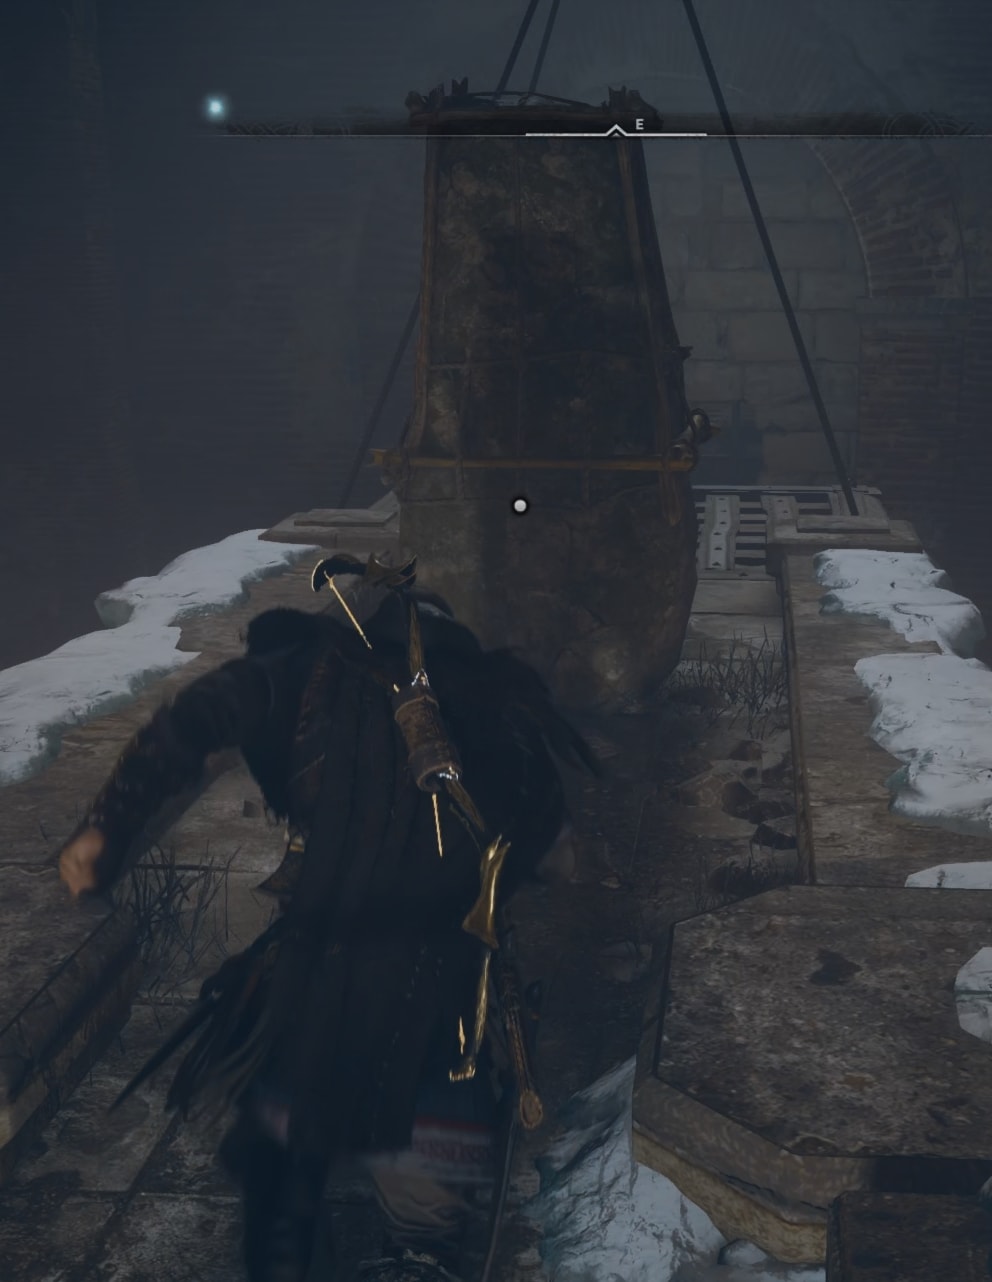
The metal cage is connected to the door that was blocking your path south where you need to move with the pylong. Now get back to the pylon and push it forward (south).
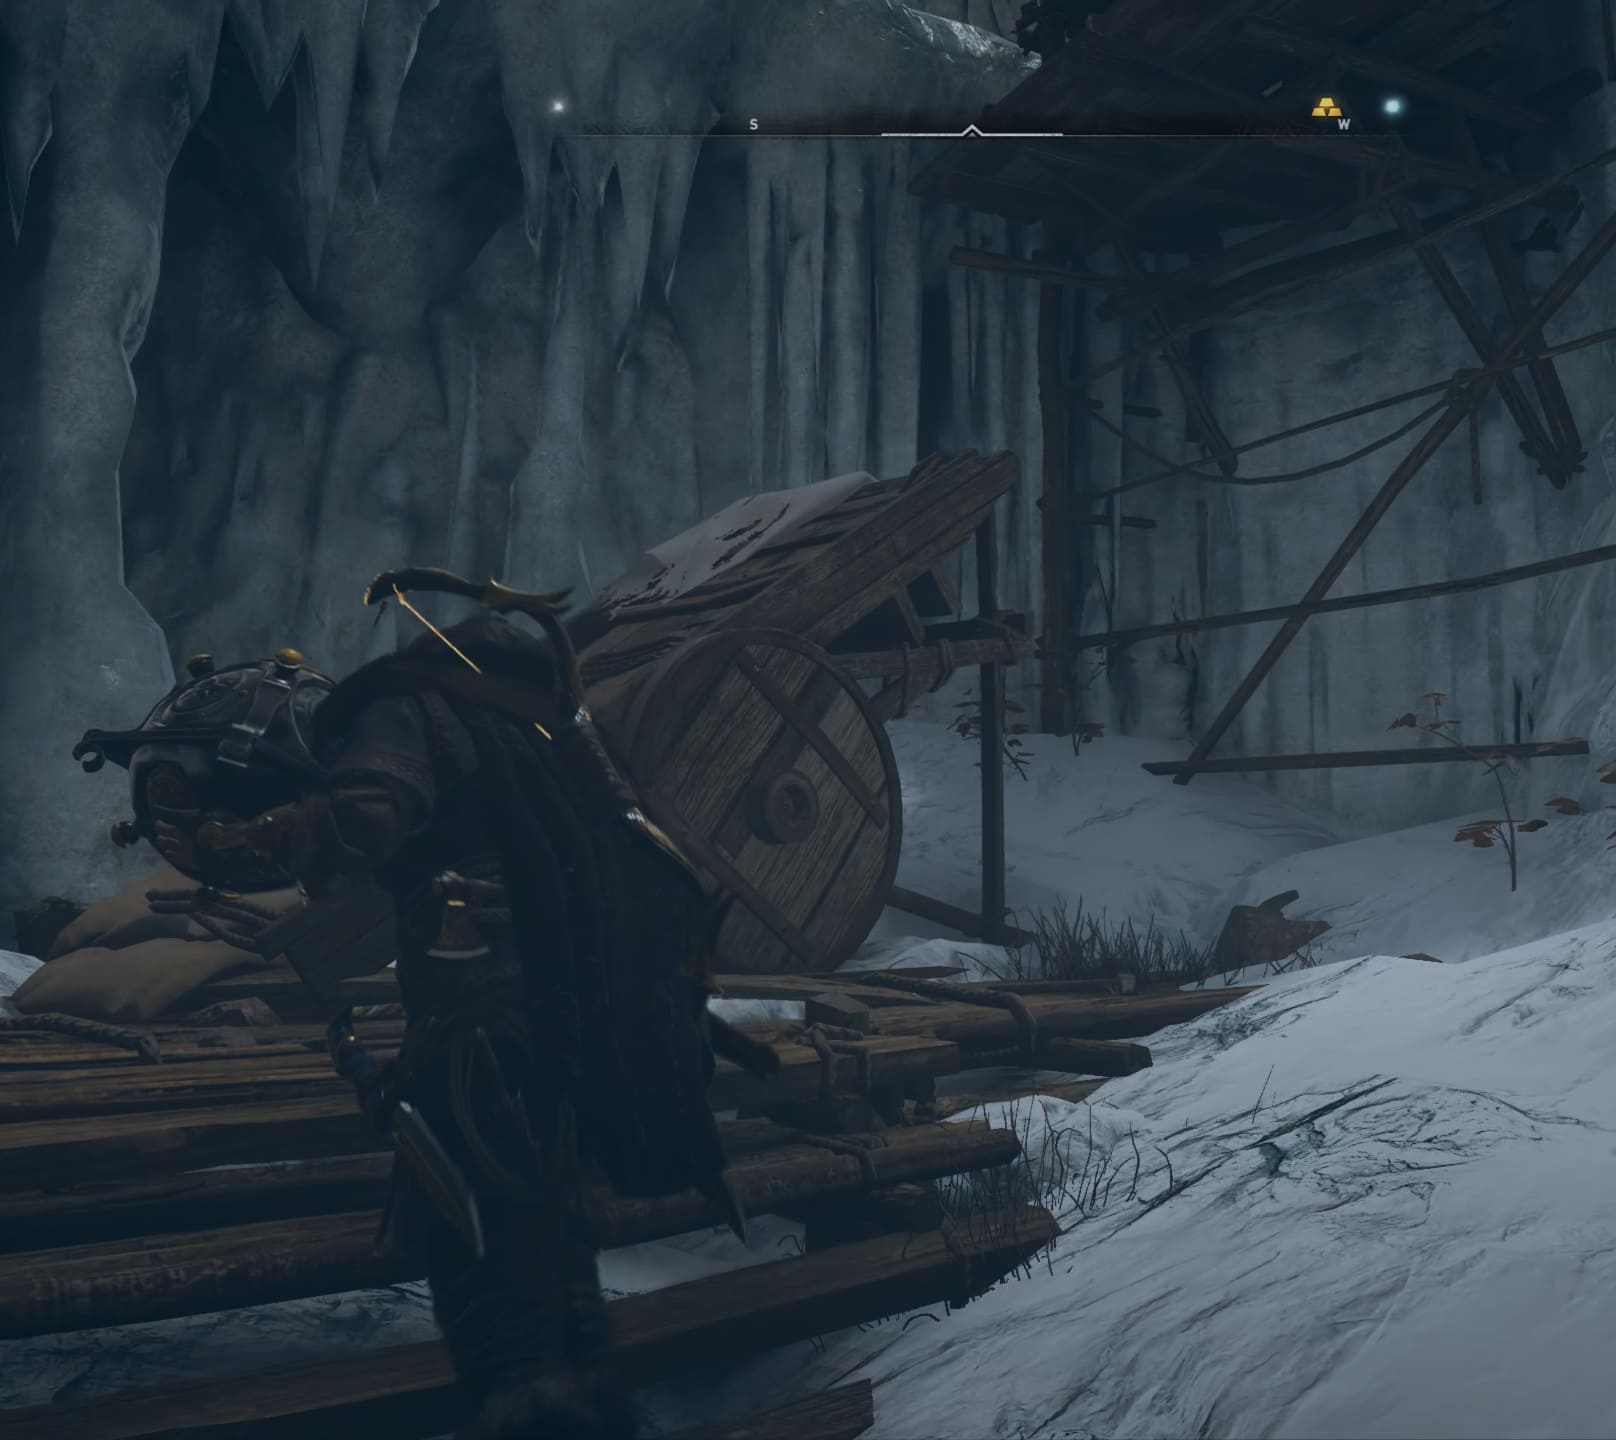
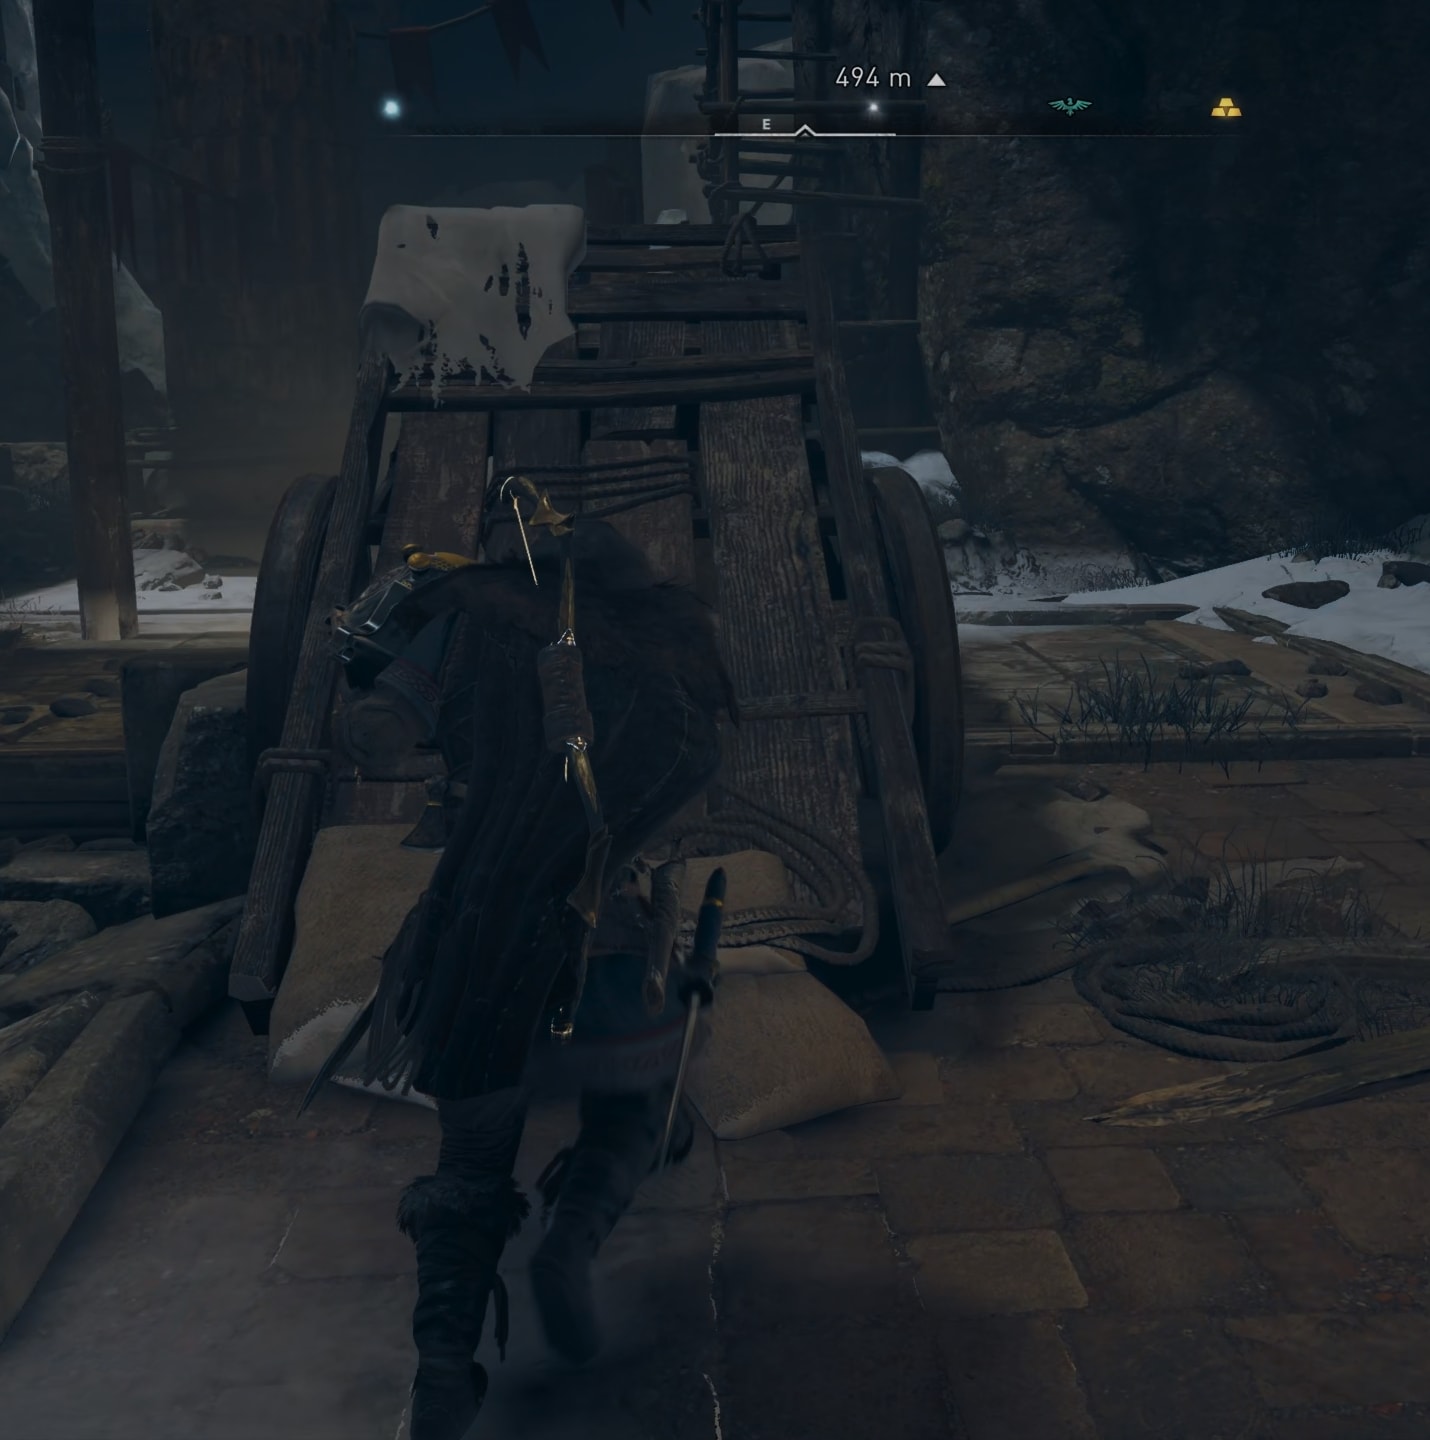
Eventually you will get to the room with the cart full of weed on the right side. Look up. There’s a wooden ladder to your left. Break the chain to drop down the ladder and position the pylon so you can jump onto the ladder from it.
Climb to the top. Interact with the locking mechanism that will lift up the metal door below and you will be able to push the pylon past it.
Now the path back to the big room and the marked slot is clear. Push the pylon to the middle of the square marker and the big door will finally open for you!
Venutius Tomb rewards
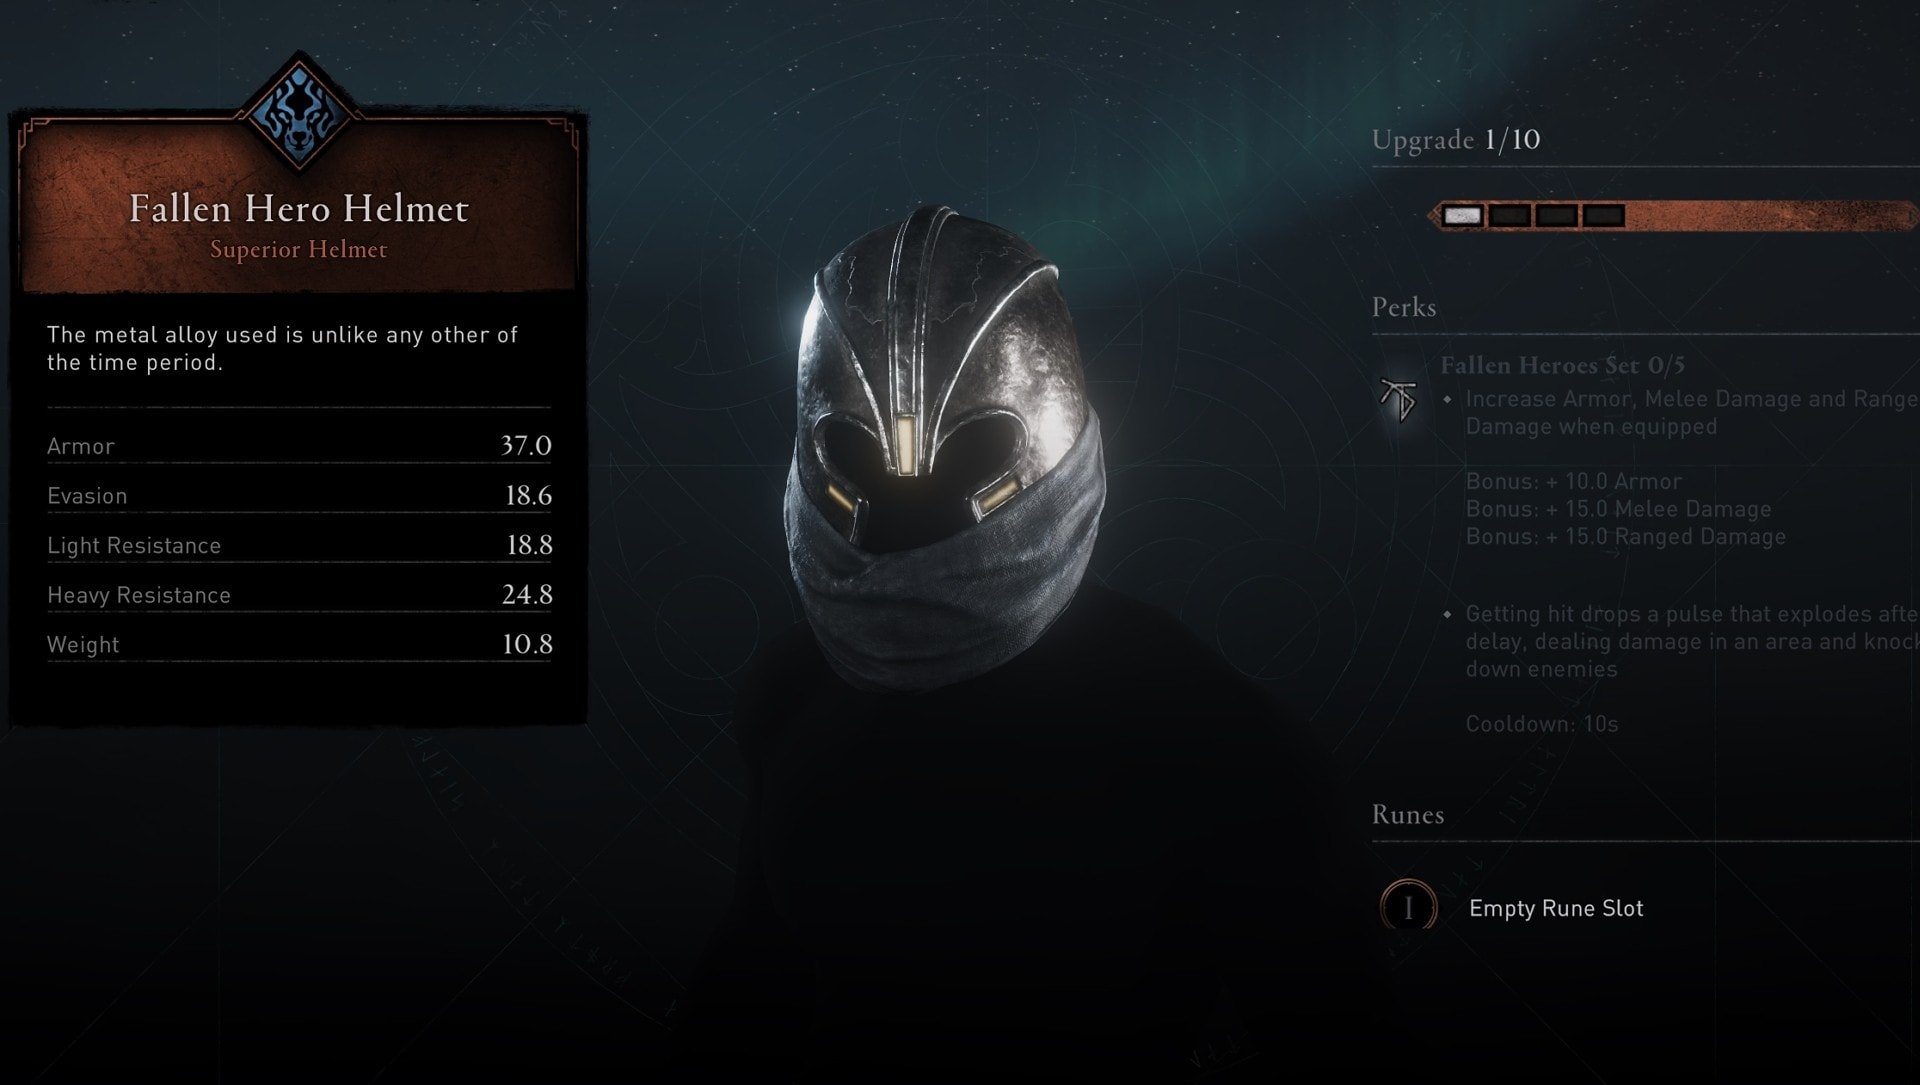
The reward for completing the Venutius Tomb and its puzzles are some lore notes, some gold chests along the paths, a little Opal and – the best of all – a big chest containing an armor piece, part of the Fallen Hero armor set, newly available in Assassin’s Creed Valhalla’s Tombs of the Fallen!
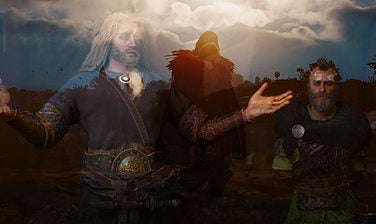
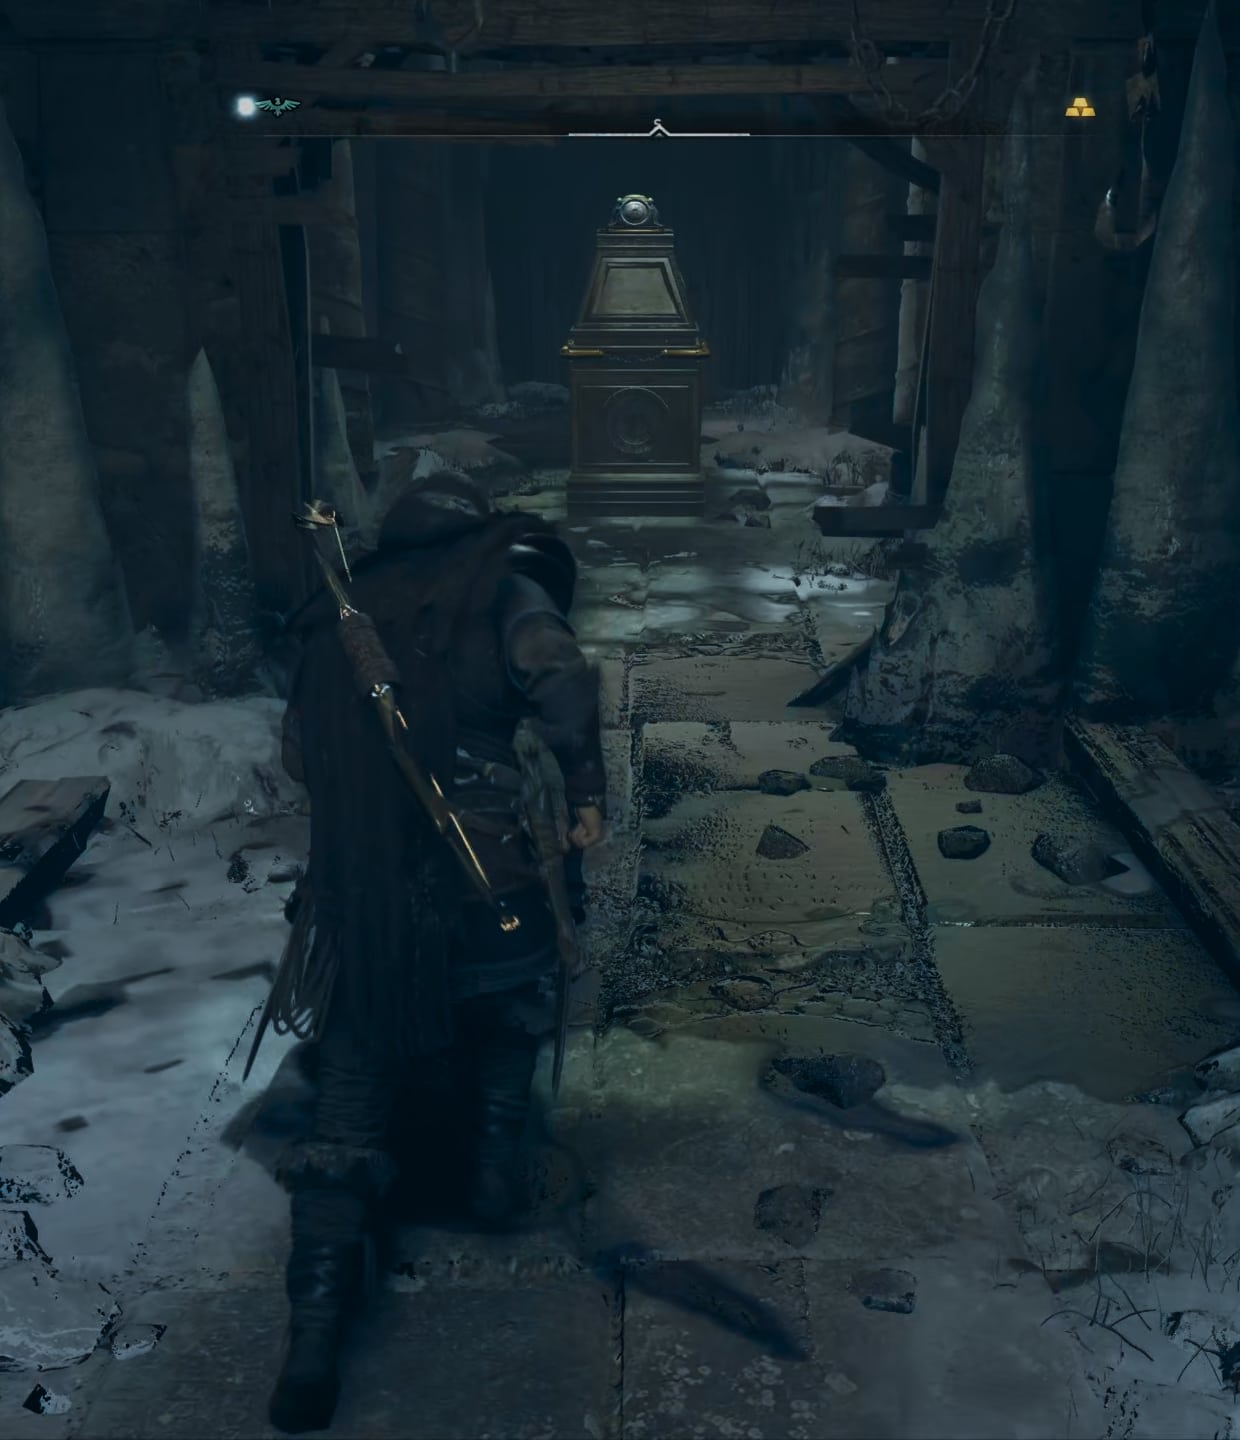
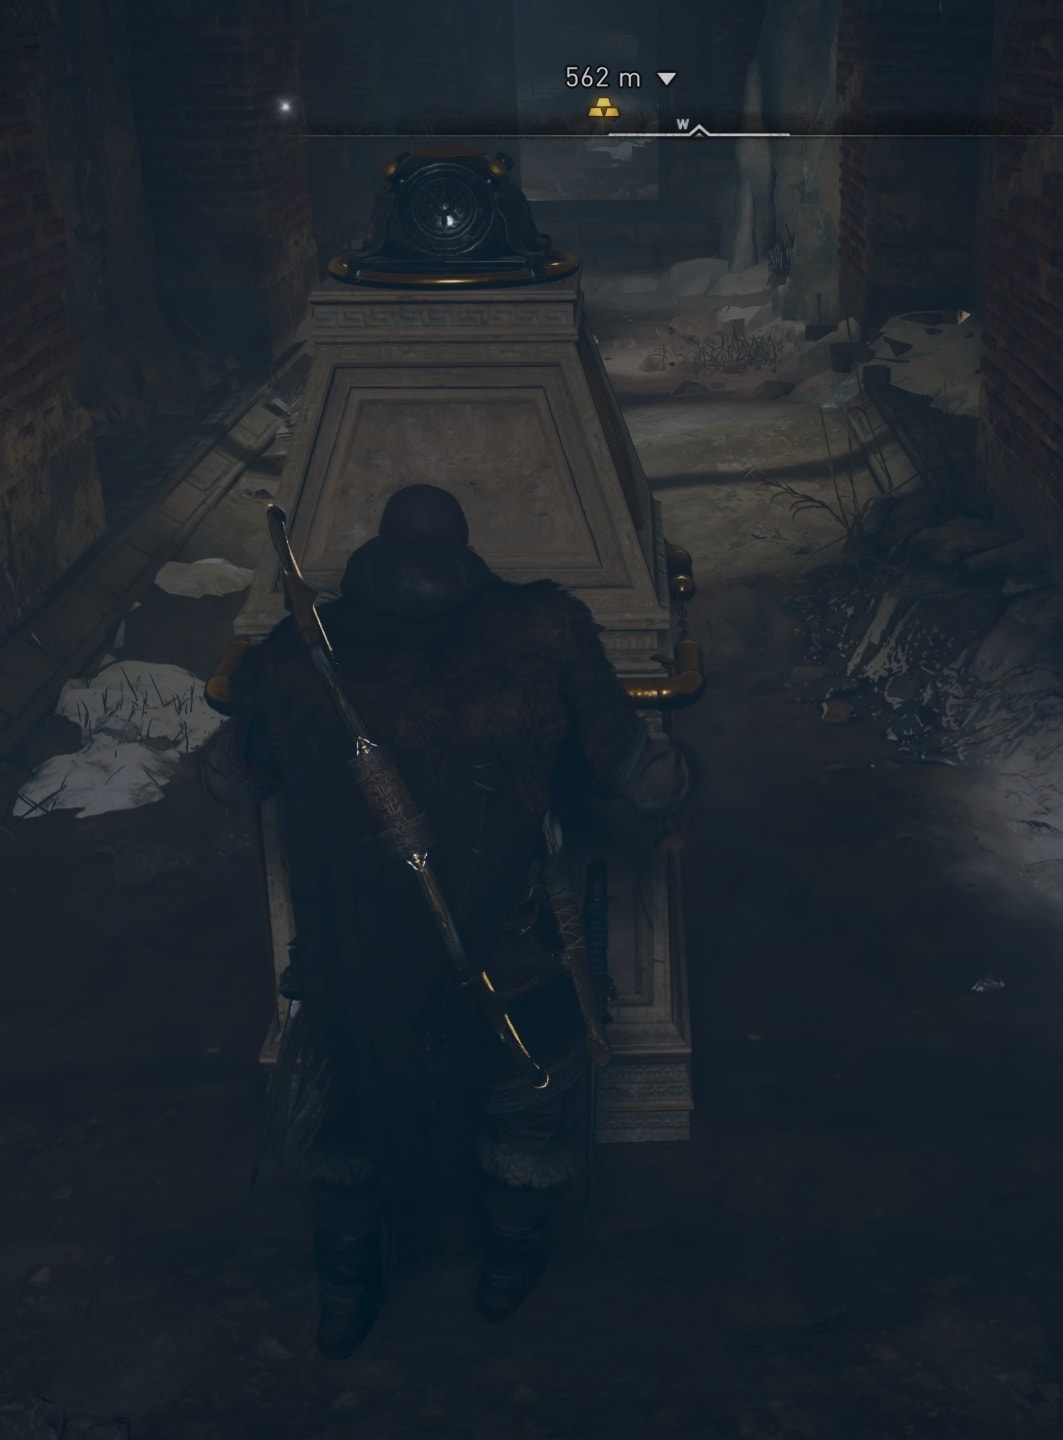
After you walk through the big door and into the last chamber with the sarcophagus, a short animation will play out revealing the legend of Venutius. The chest is in the south-east corner of the room.
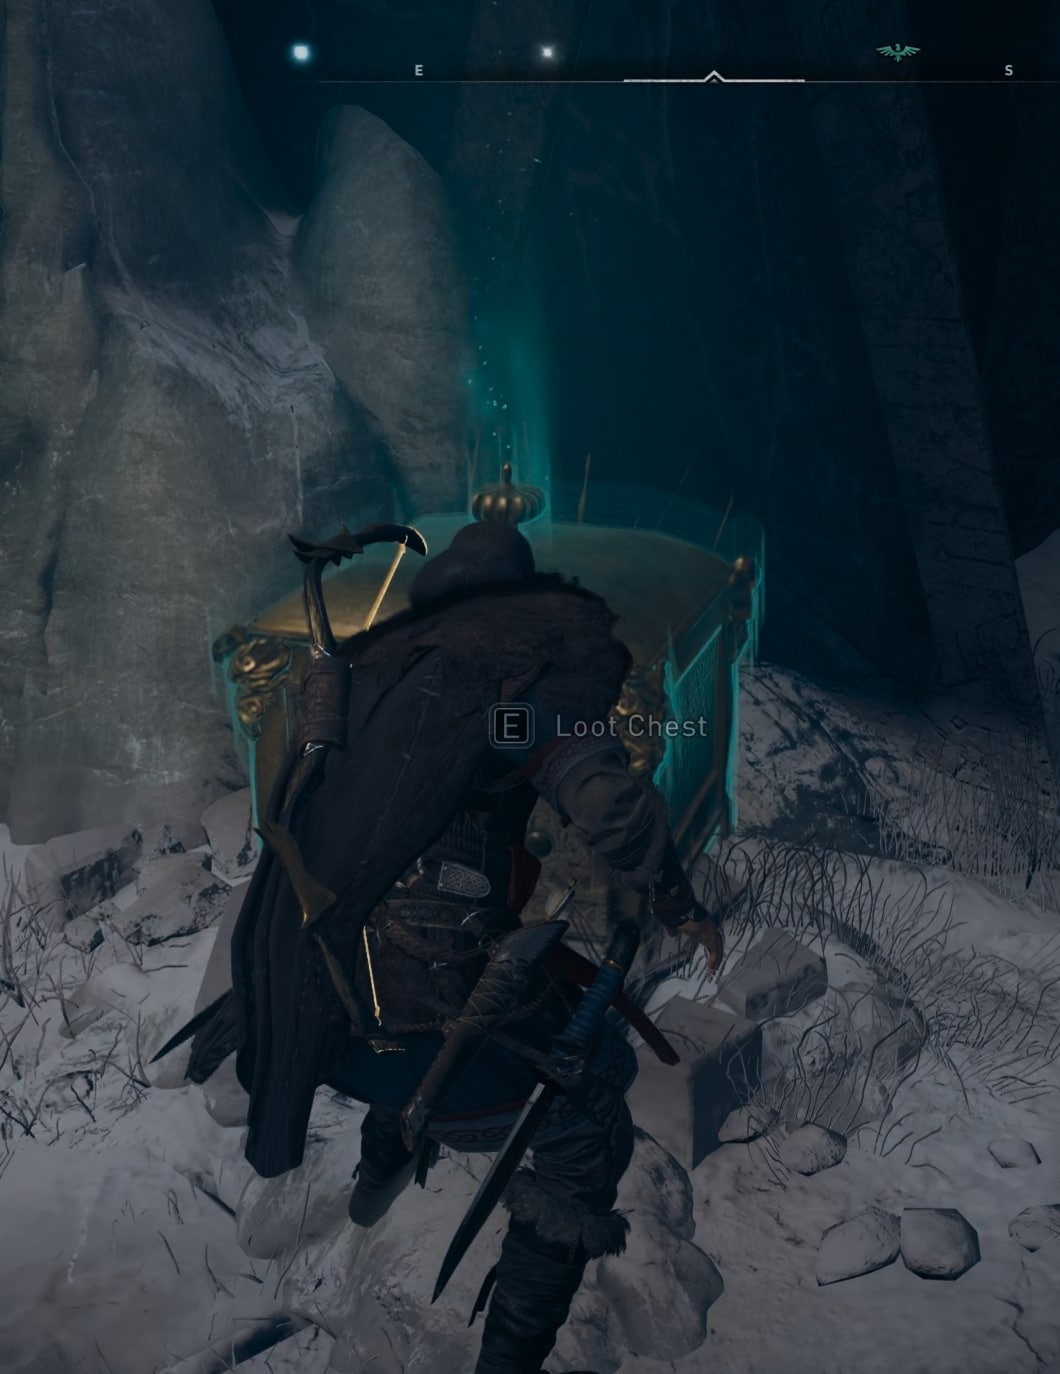
The chest contains the Fallen Hero Helmet – armor piece part of the Fallen Hero armor set.
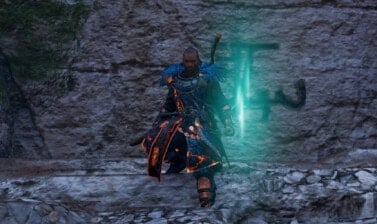
How to find the Venutius Tomb Artifact
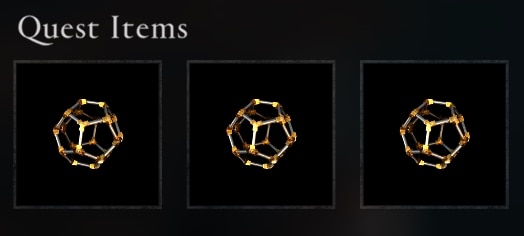
After you get the armor piece, the Venutius Tomb is cleared and finished. But there’s one more item to pick up! The Venutius Tomb Artifact. There is one of these in each of the Tombs of the Fallen.
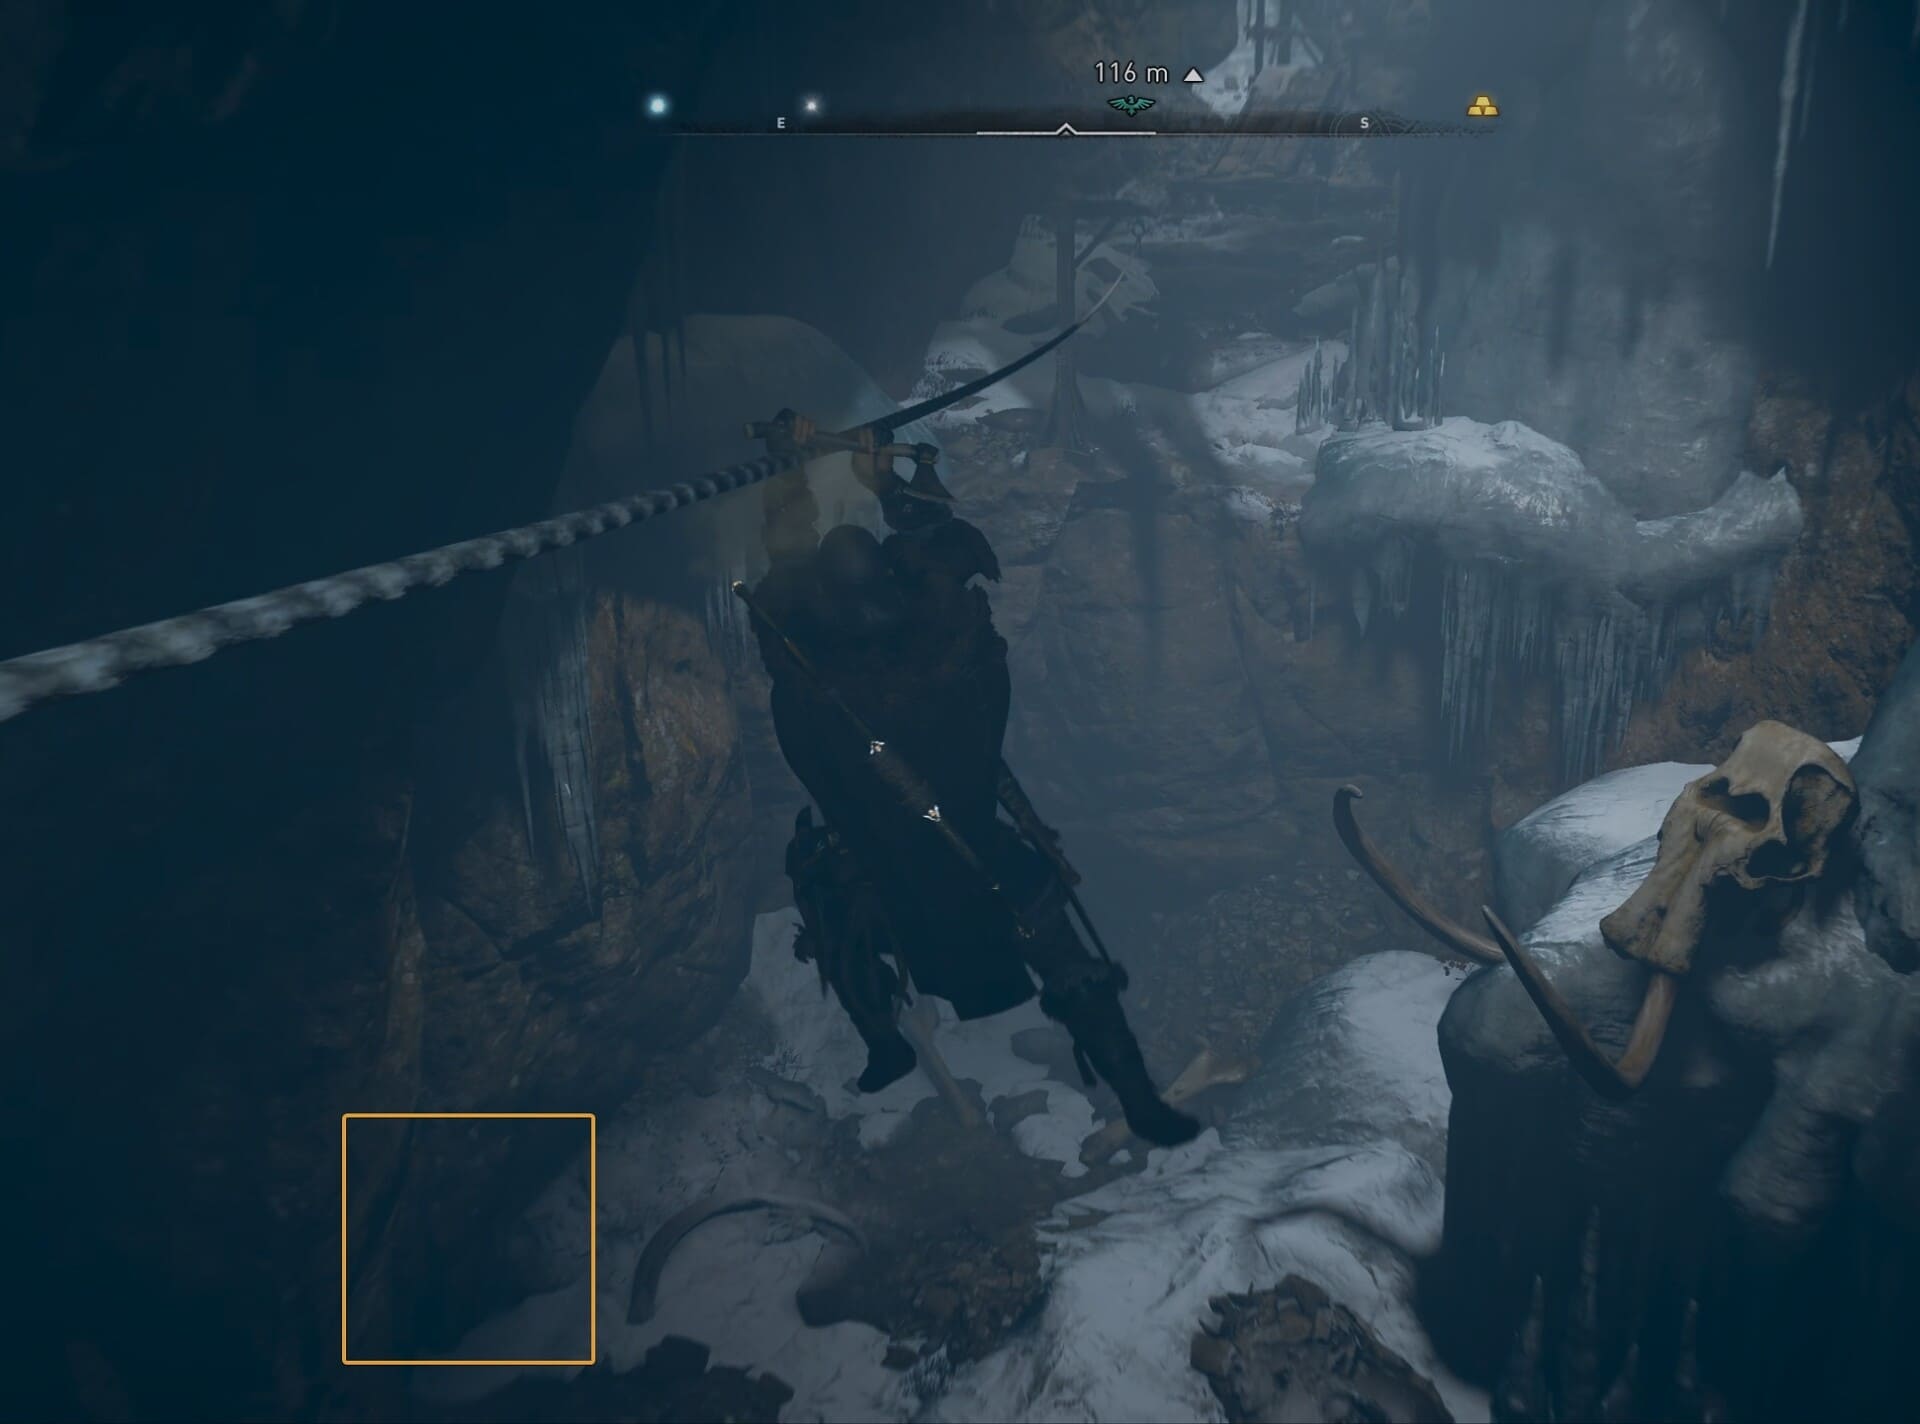
The Artifact is located in the area after the chest. When you get to the room with the rope. Instead of sliding on it all the way to the other end. Drop down in the middle and look to the left. There’s an icy wall that you can break. The Venutius Tomb Artifact is behind it.
There are three Tomb Artifacts in total – one available in each of the Tombs (except for the first one). They are always located in the areas after the armor chests.
This concludes my guide to the Venutius Tomb Puzzles in Assassin’s Creed Valhalla. Check out the rest of my content on the Tombs of the Fallen and learn the exact location of each one of the Tombs.
The Tombs of the Fallen free content was released with Assassin’s Creed Valhalla Update 1.4.0 on November 9 2021.