Guide to all Item Locations at Academy of Raya Lucaria in Elden Ring – weapons, armor, talismans, spells, rare items and tons of secrets!
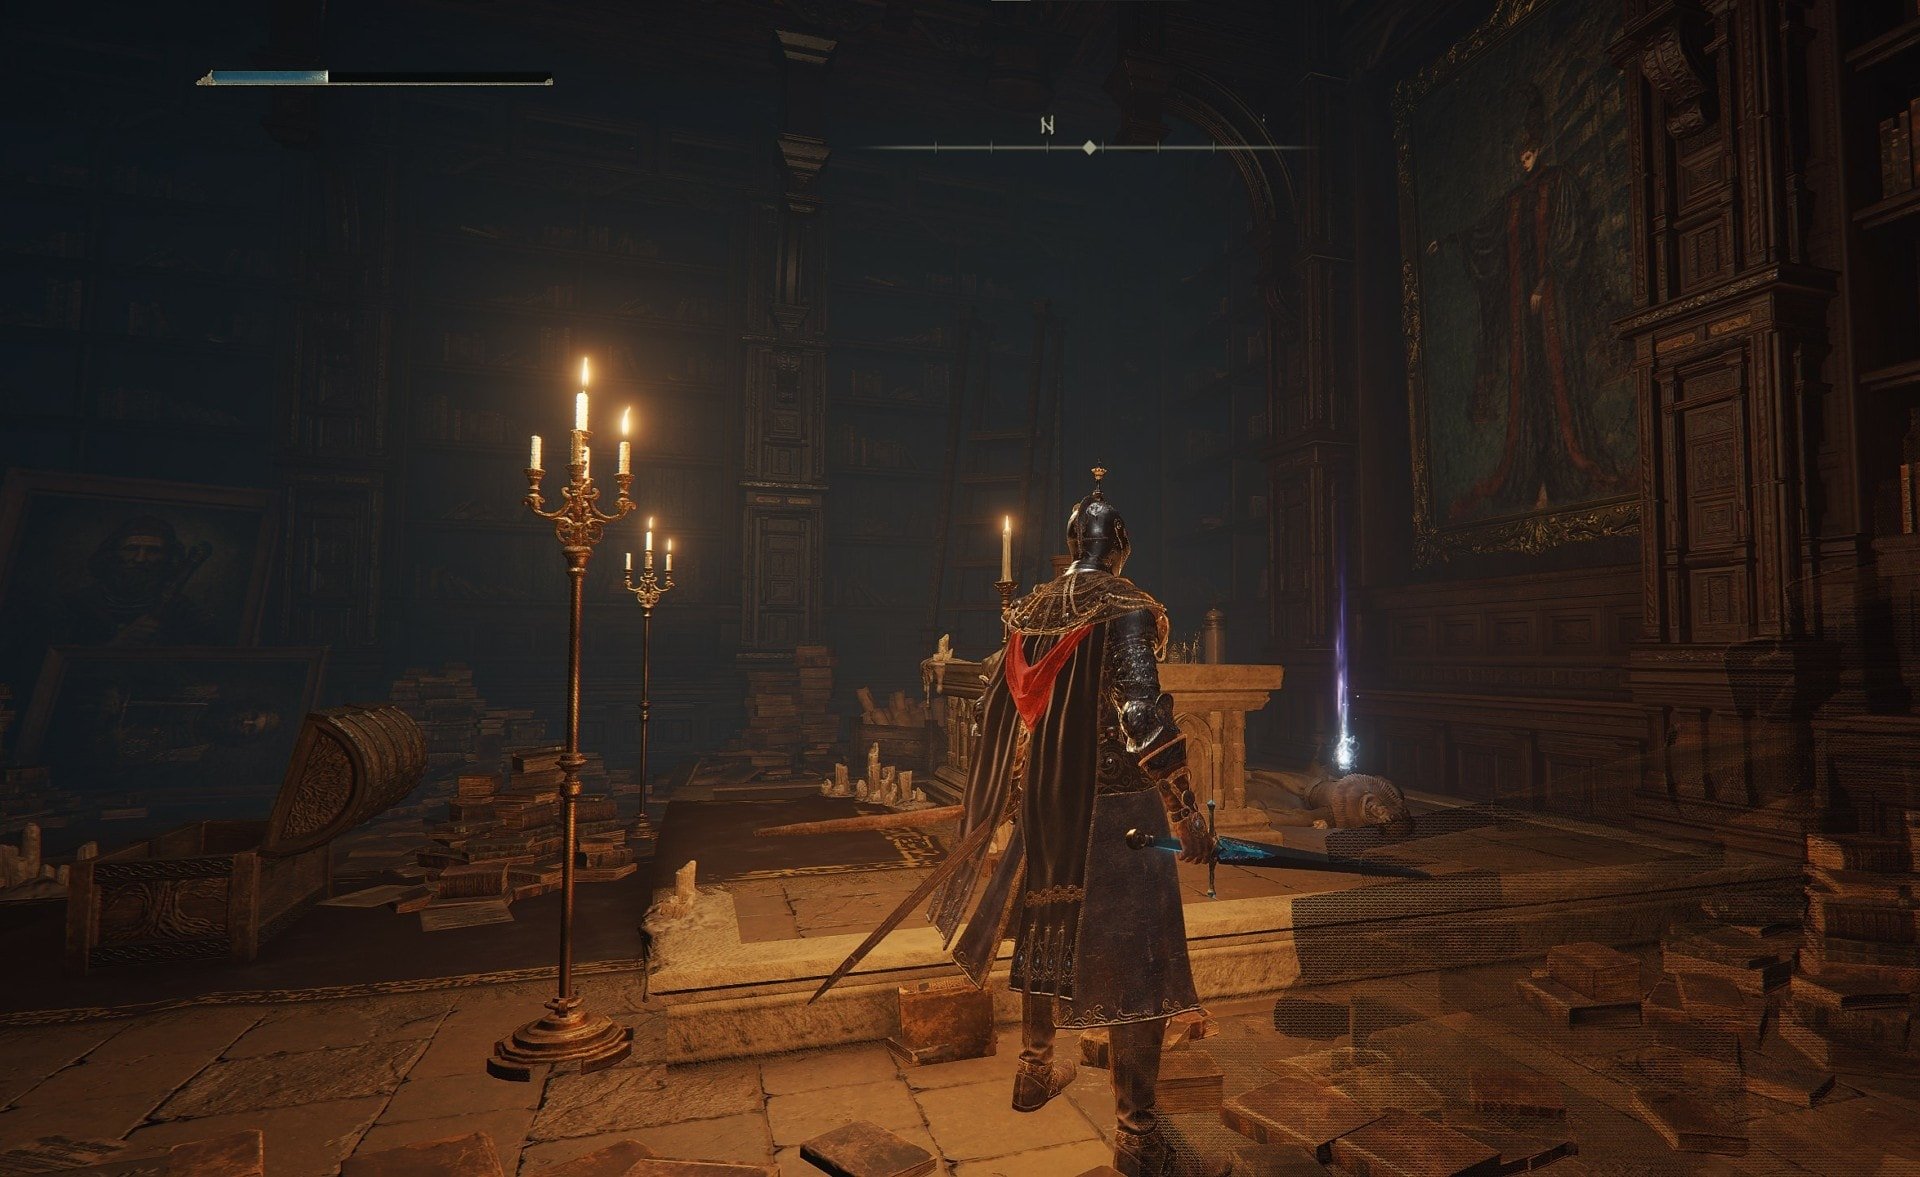
The Academy of Raya Lucaria is the school of sorcery in the Lands Between. It contains many items that are extremely valuable for Astrologers and other Intelligence builds.
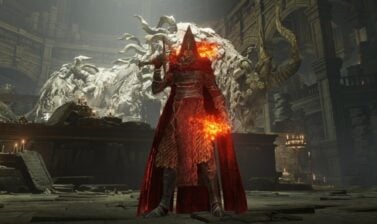
In addition, defeating the final boss of the dungeon, Renala, the Full Moon Queen, gives you access to the ability to reassign the Attribute Points you get from leveling up.
Please note that this guide only contains the locations of rare and unique stuff; I didn’t note locations that just give you more common loot like crafting materials, Smithing Stones, or Golden Runes. FromSoftware likes to use the promise of an item to help show you where you can go.
Table of contents
- How to get in the Academy of Raya Lucaria
- How to get a second Academy Glintstone Key for Thops
- Weapon Locations
- Talisman Locations
- Spell and Incantation Locations
- Armor Locations
- Spirit Ashes Locations
- Ashes of War Locations
- Other Major Items Locations
How to get in the Academy of Raya Lucaria
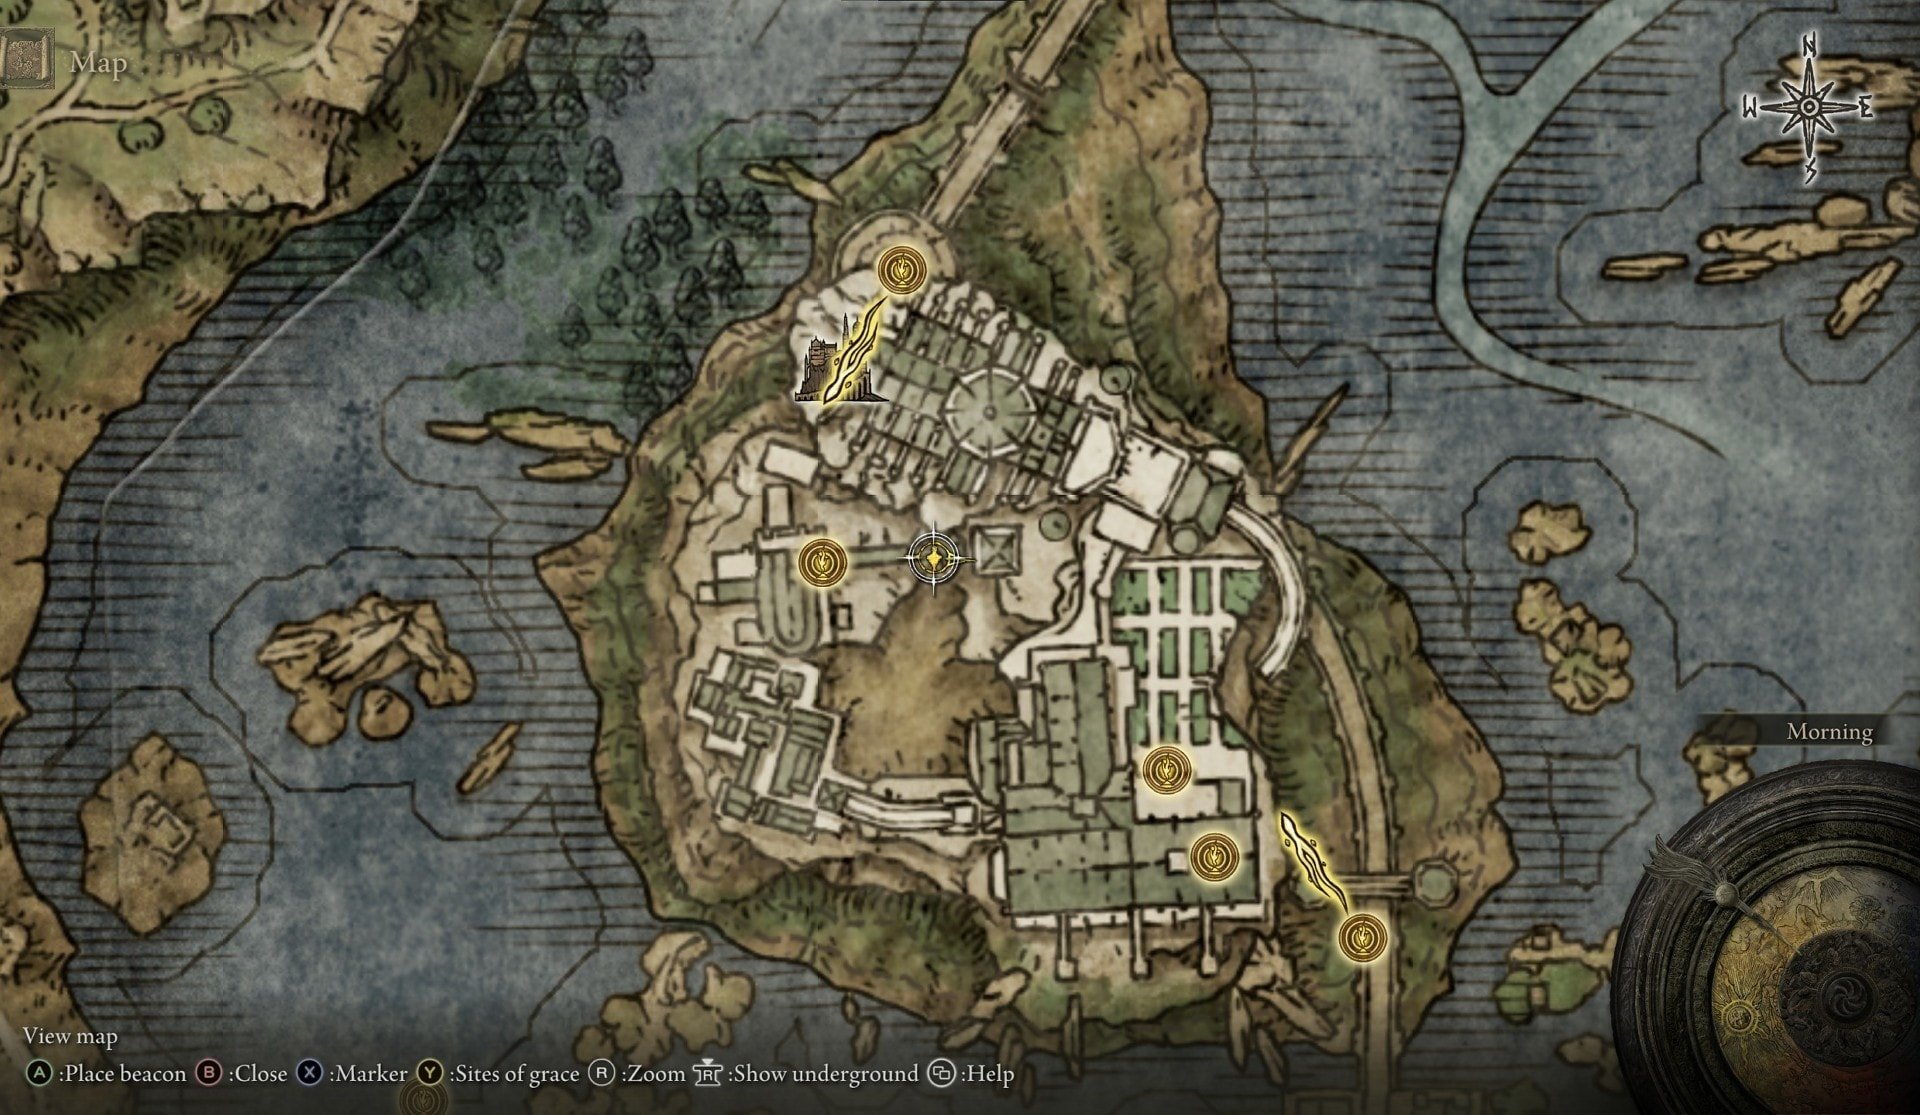
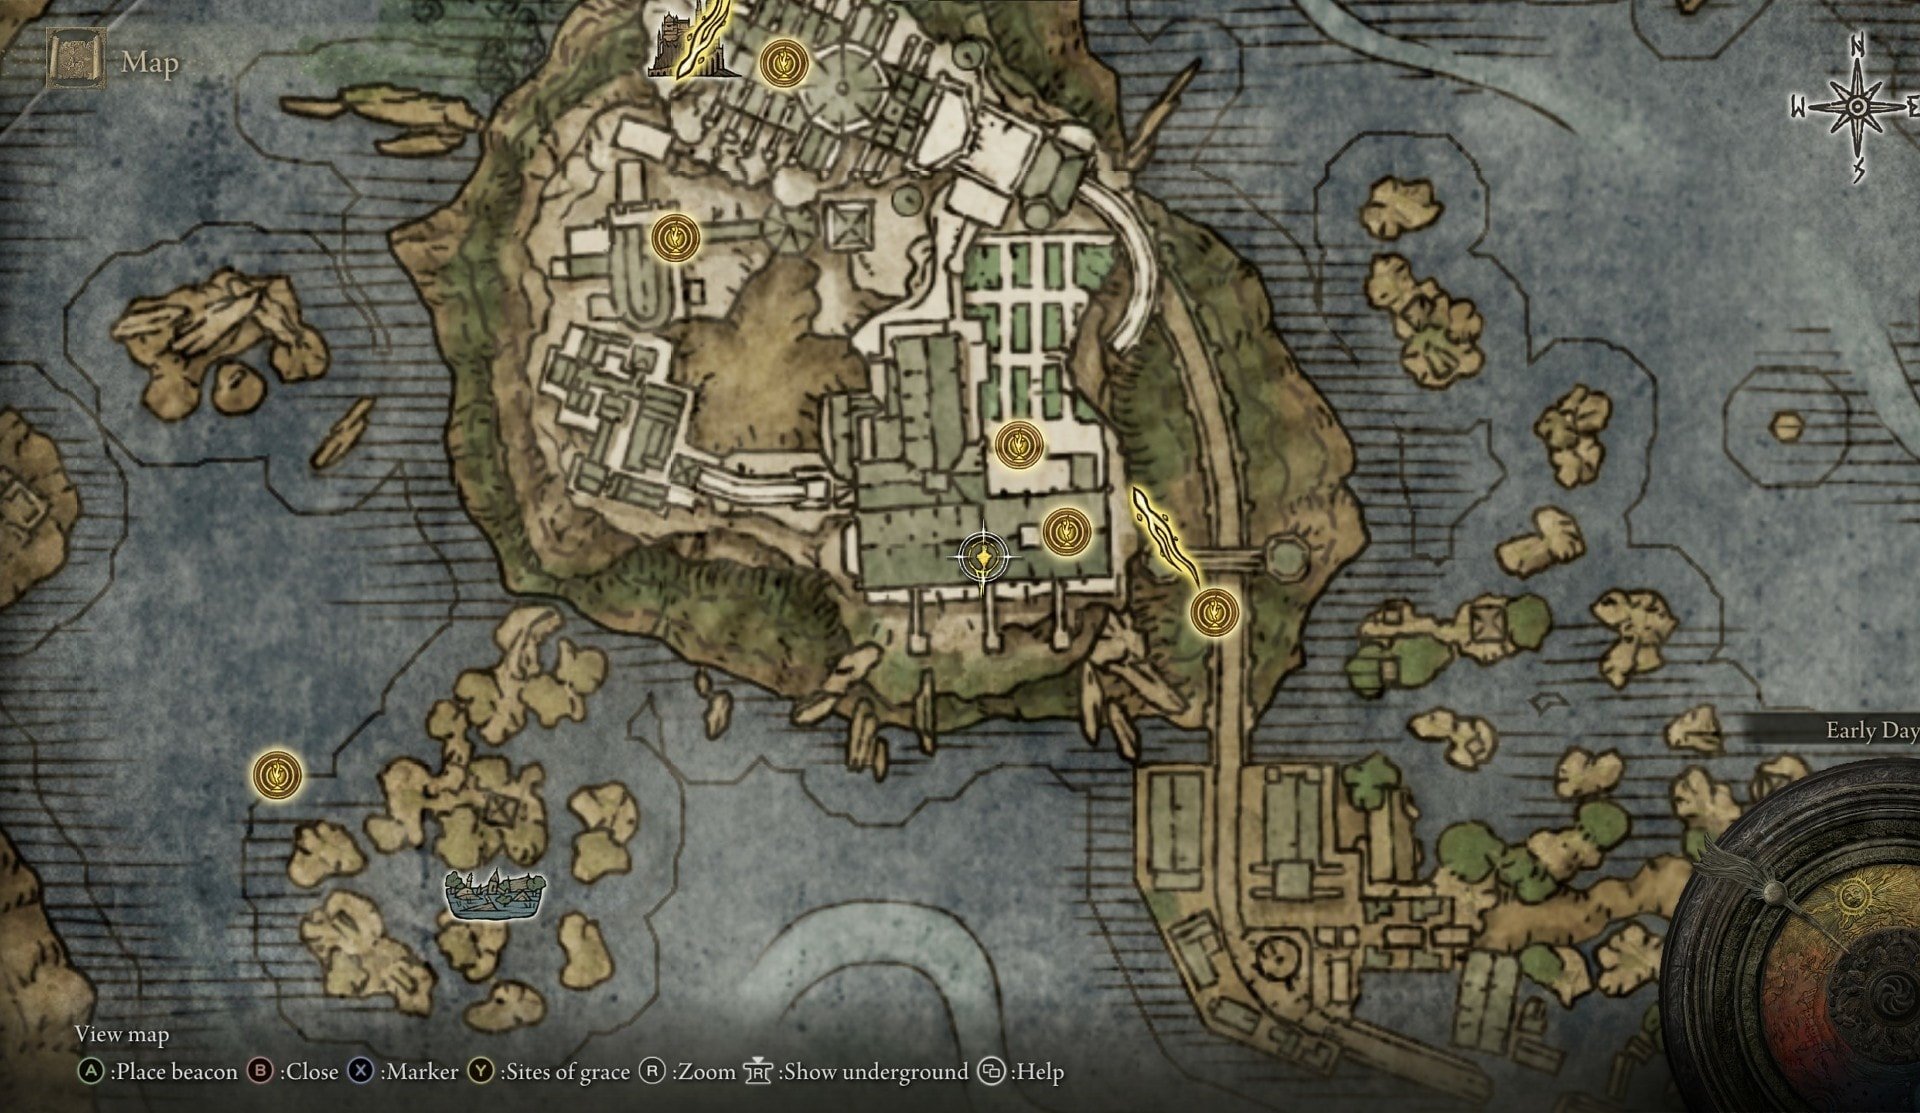
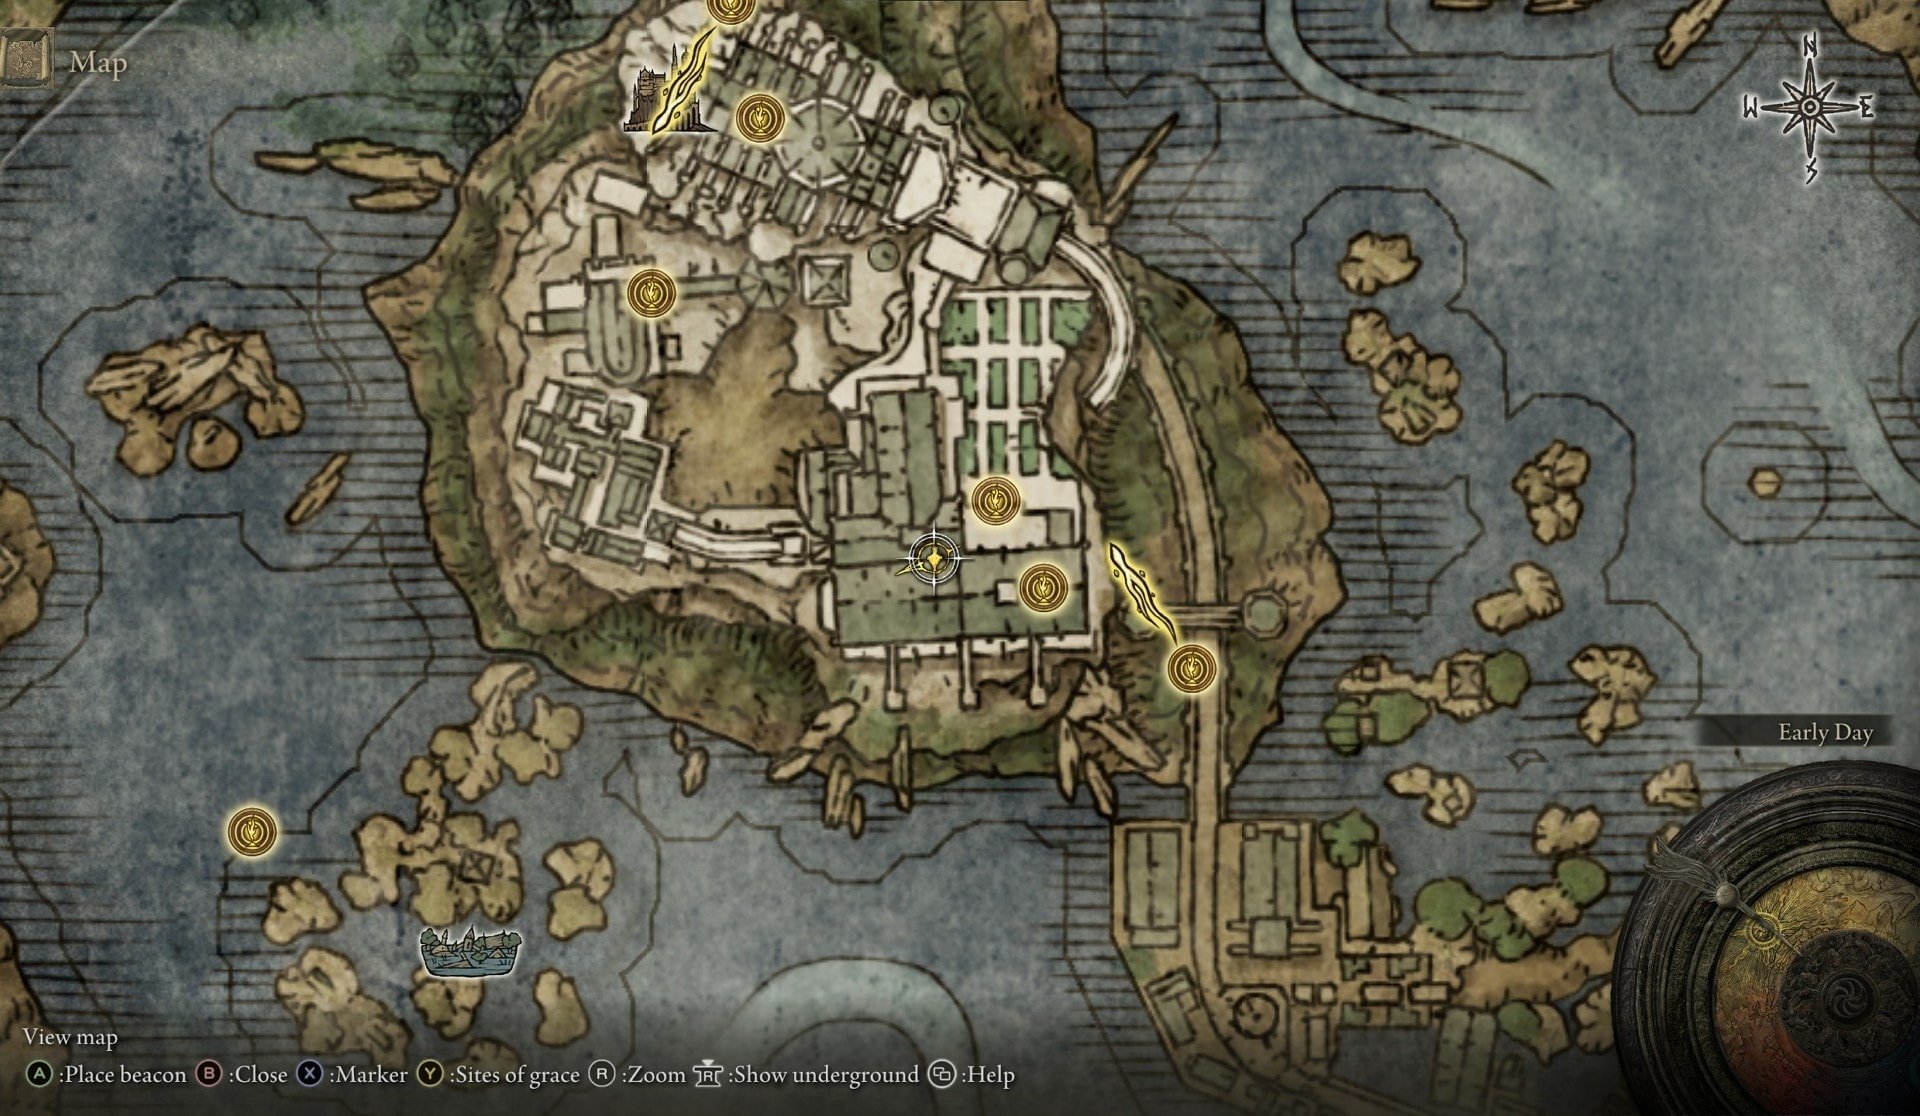
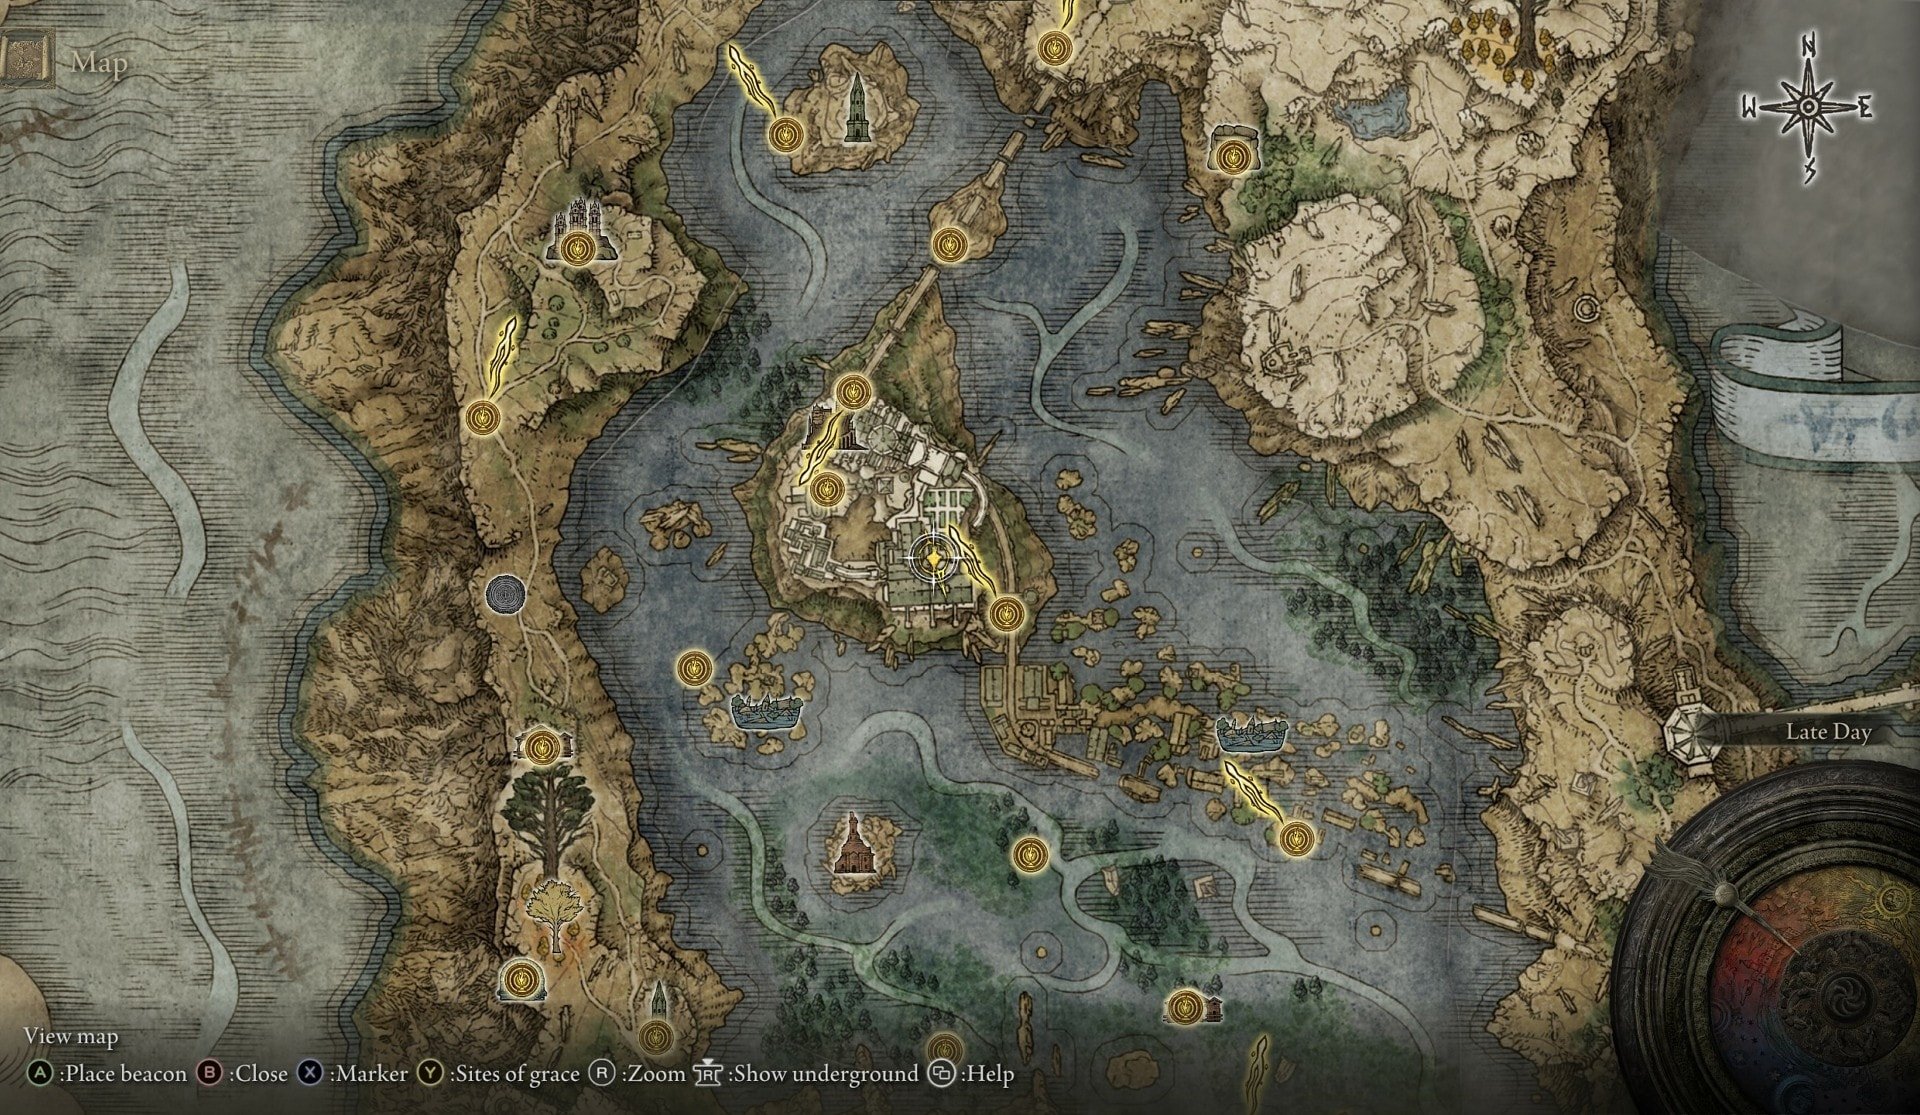
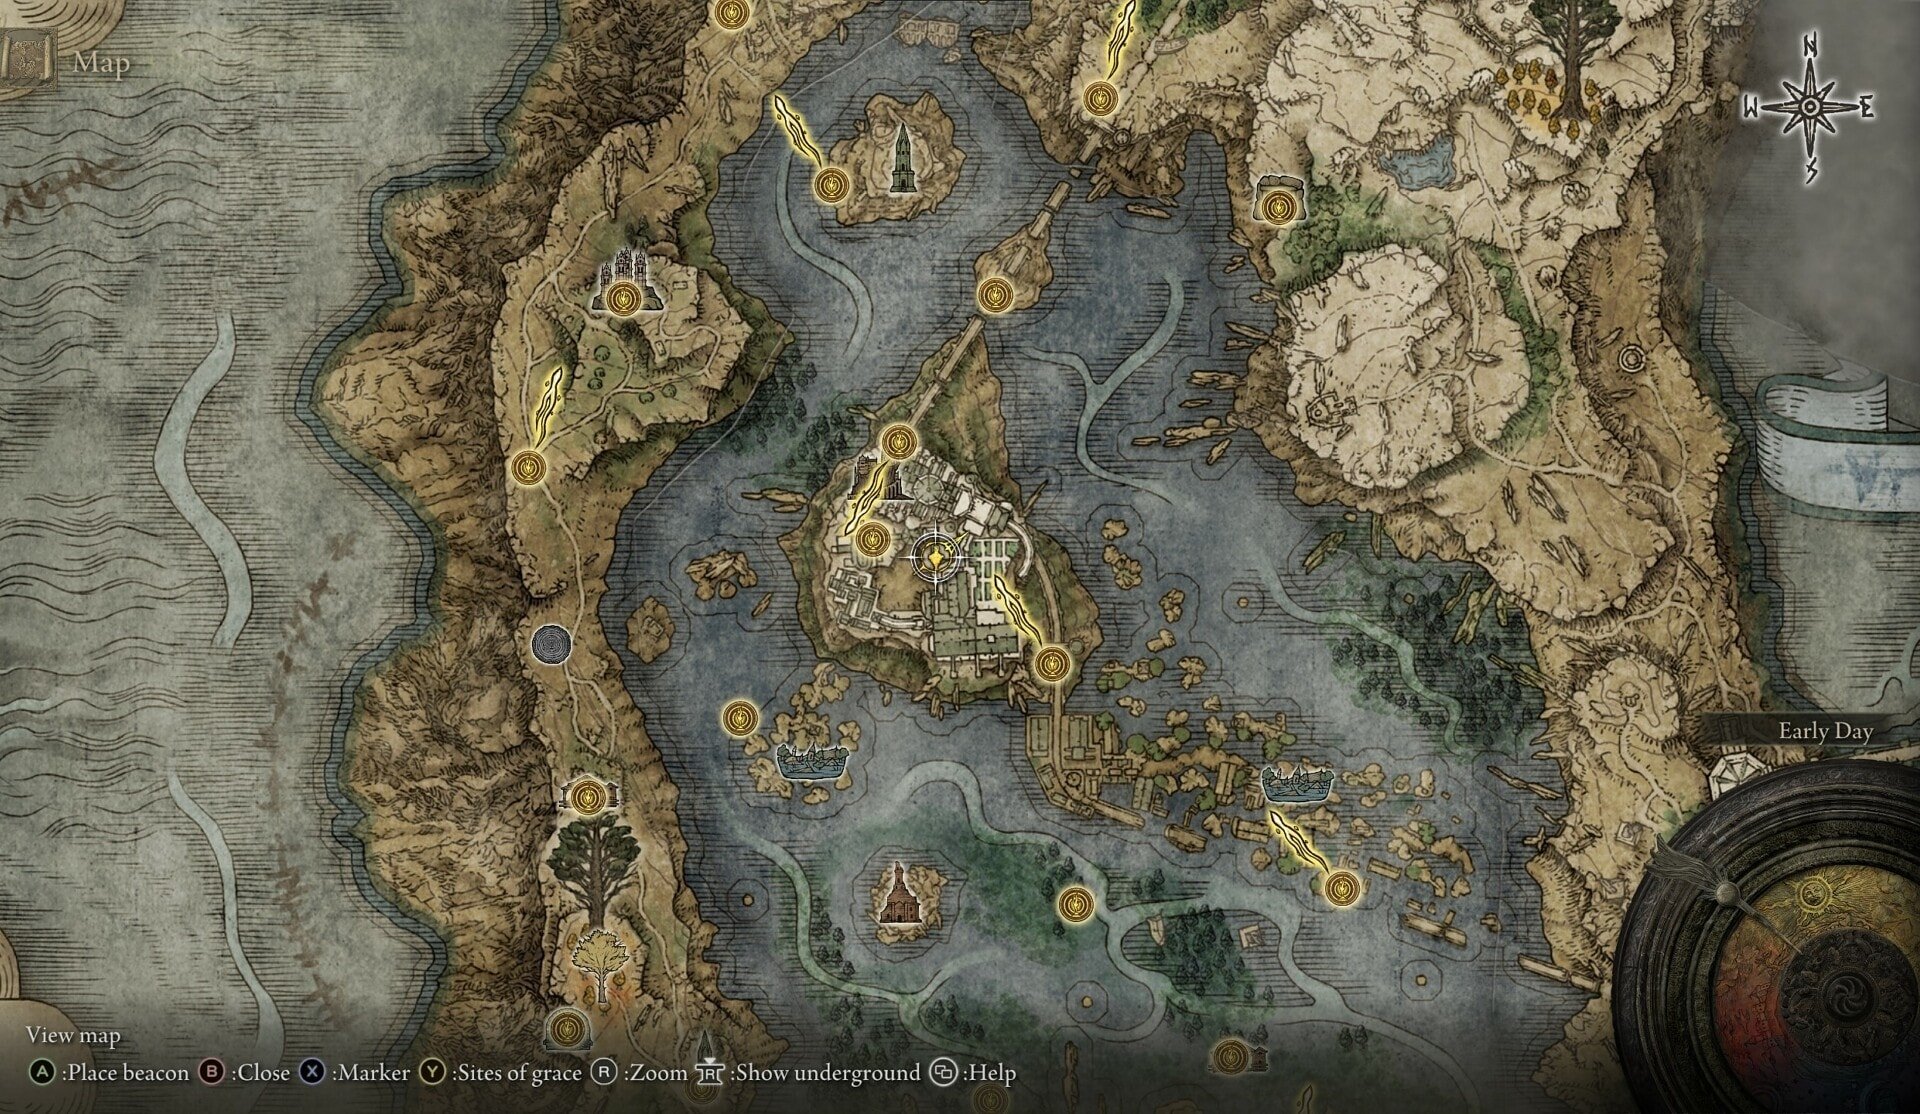
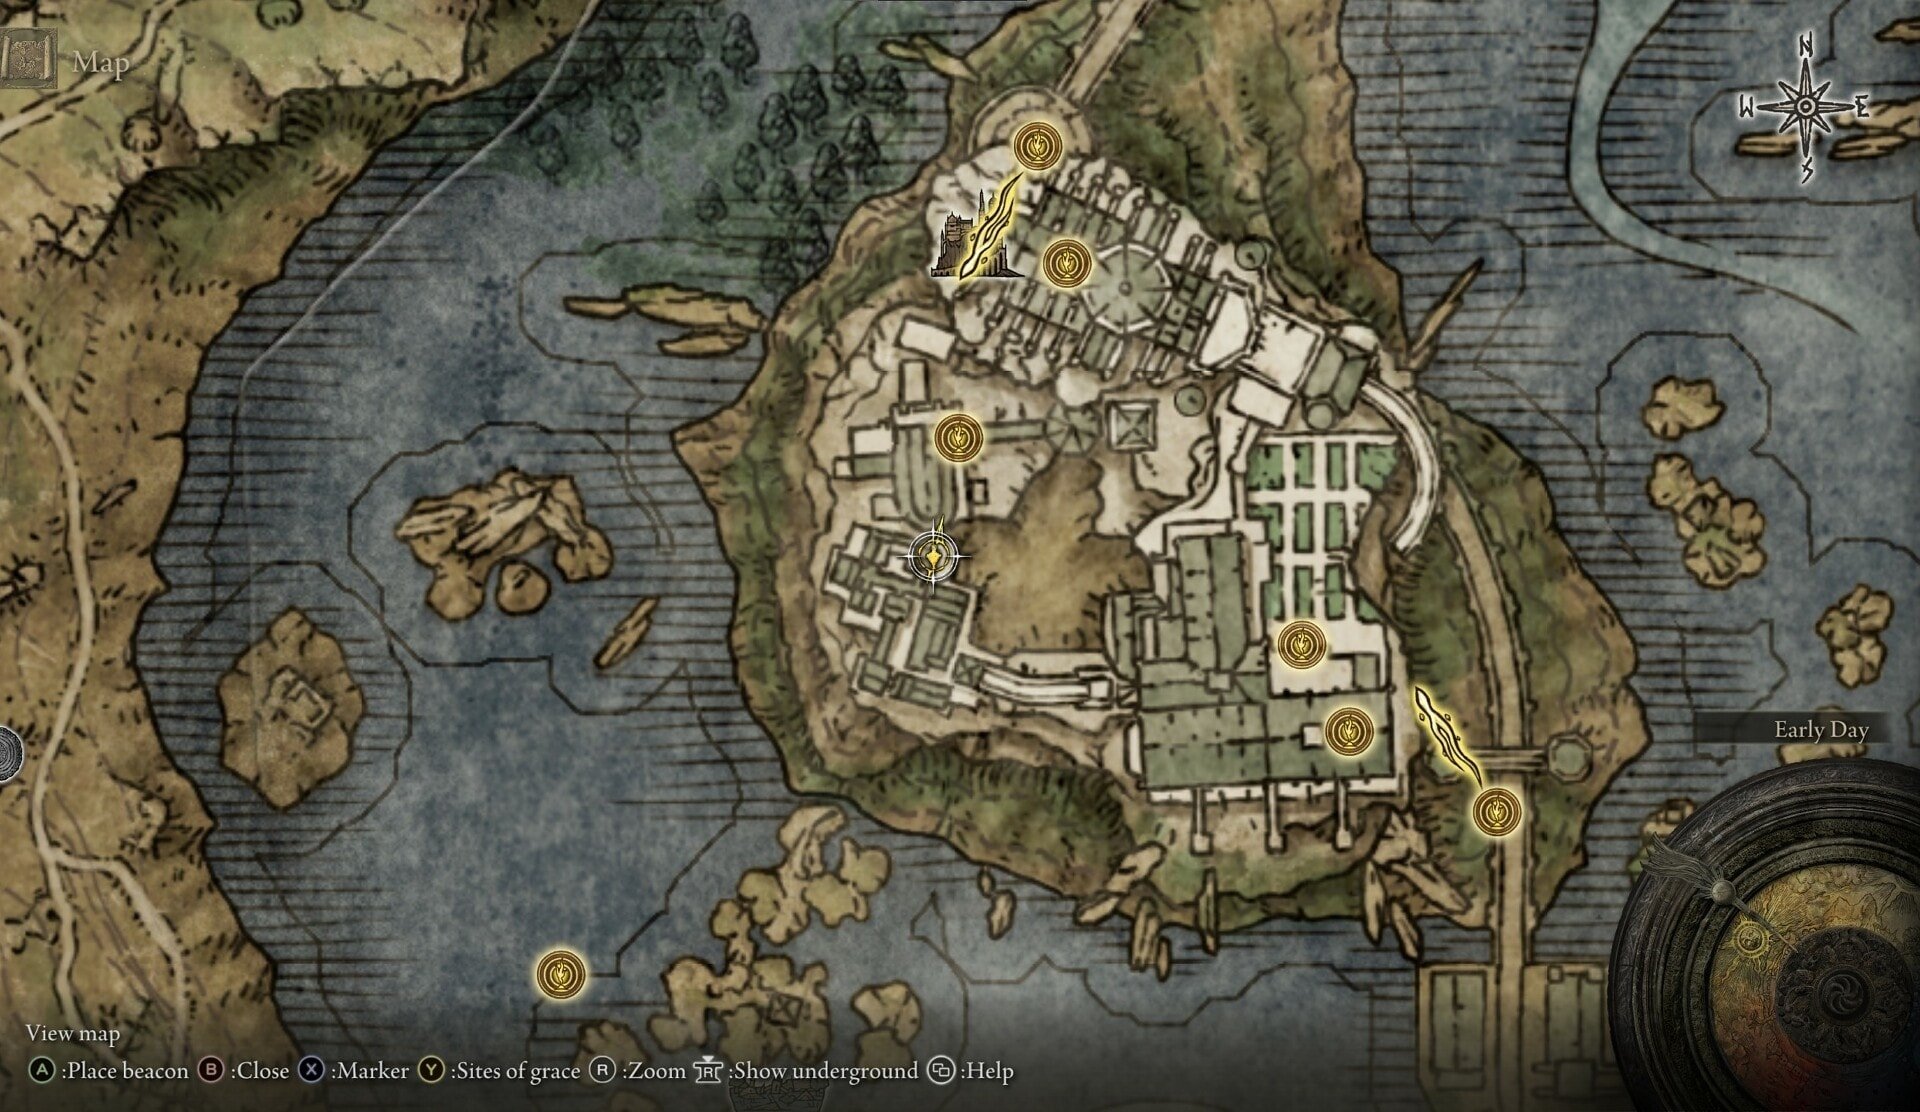
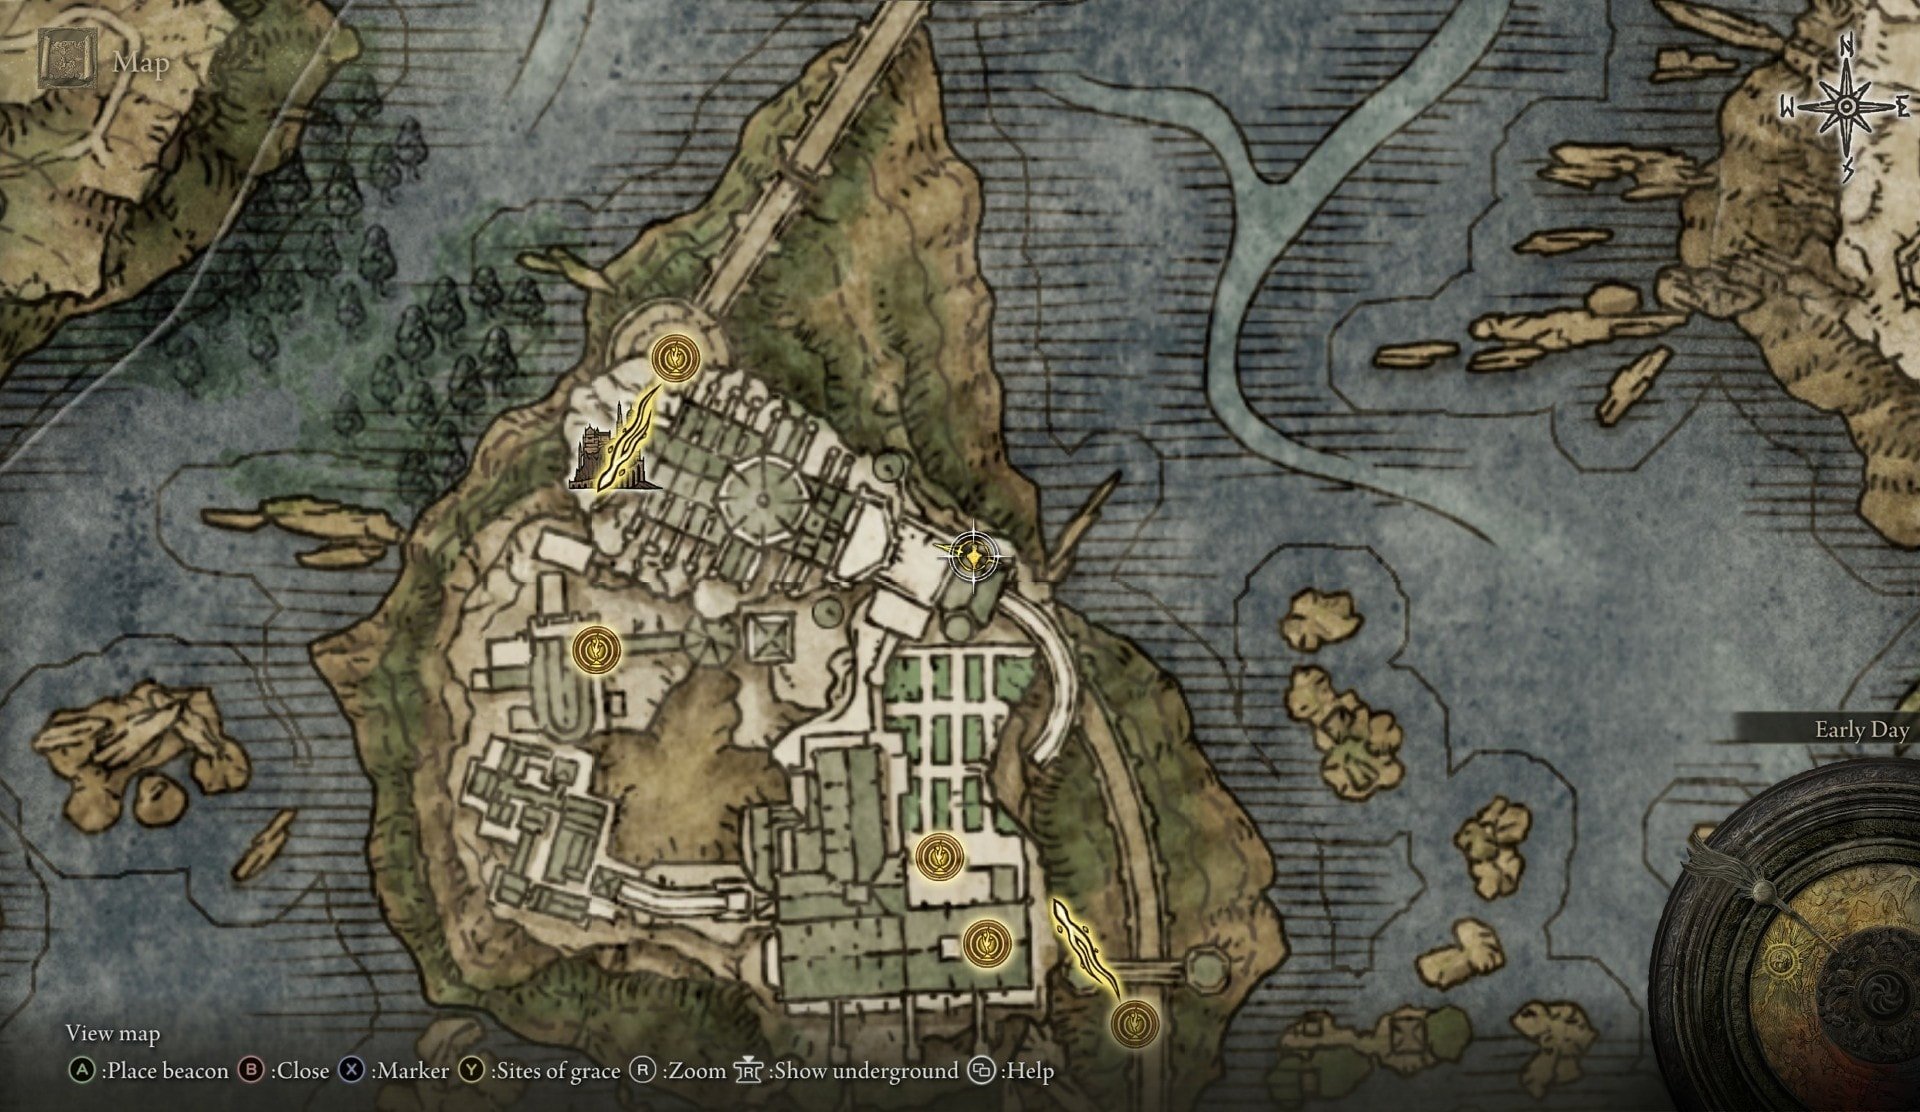
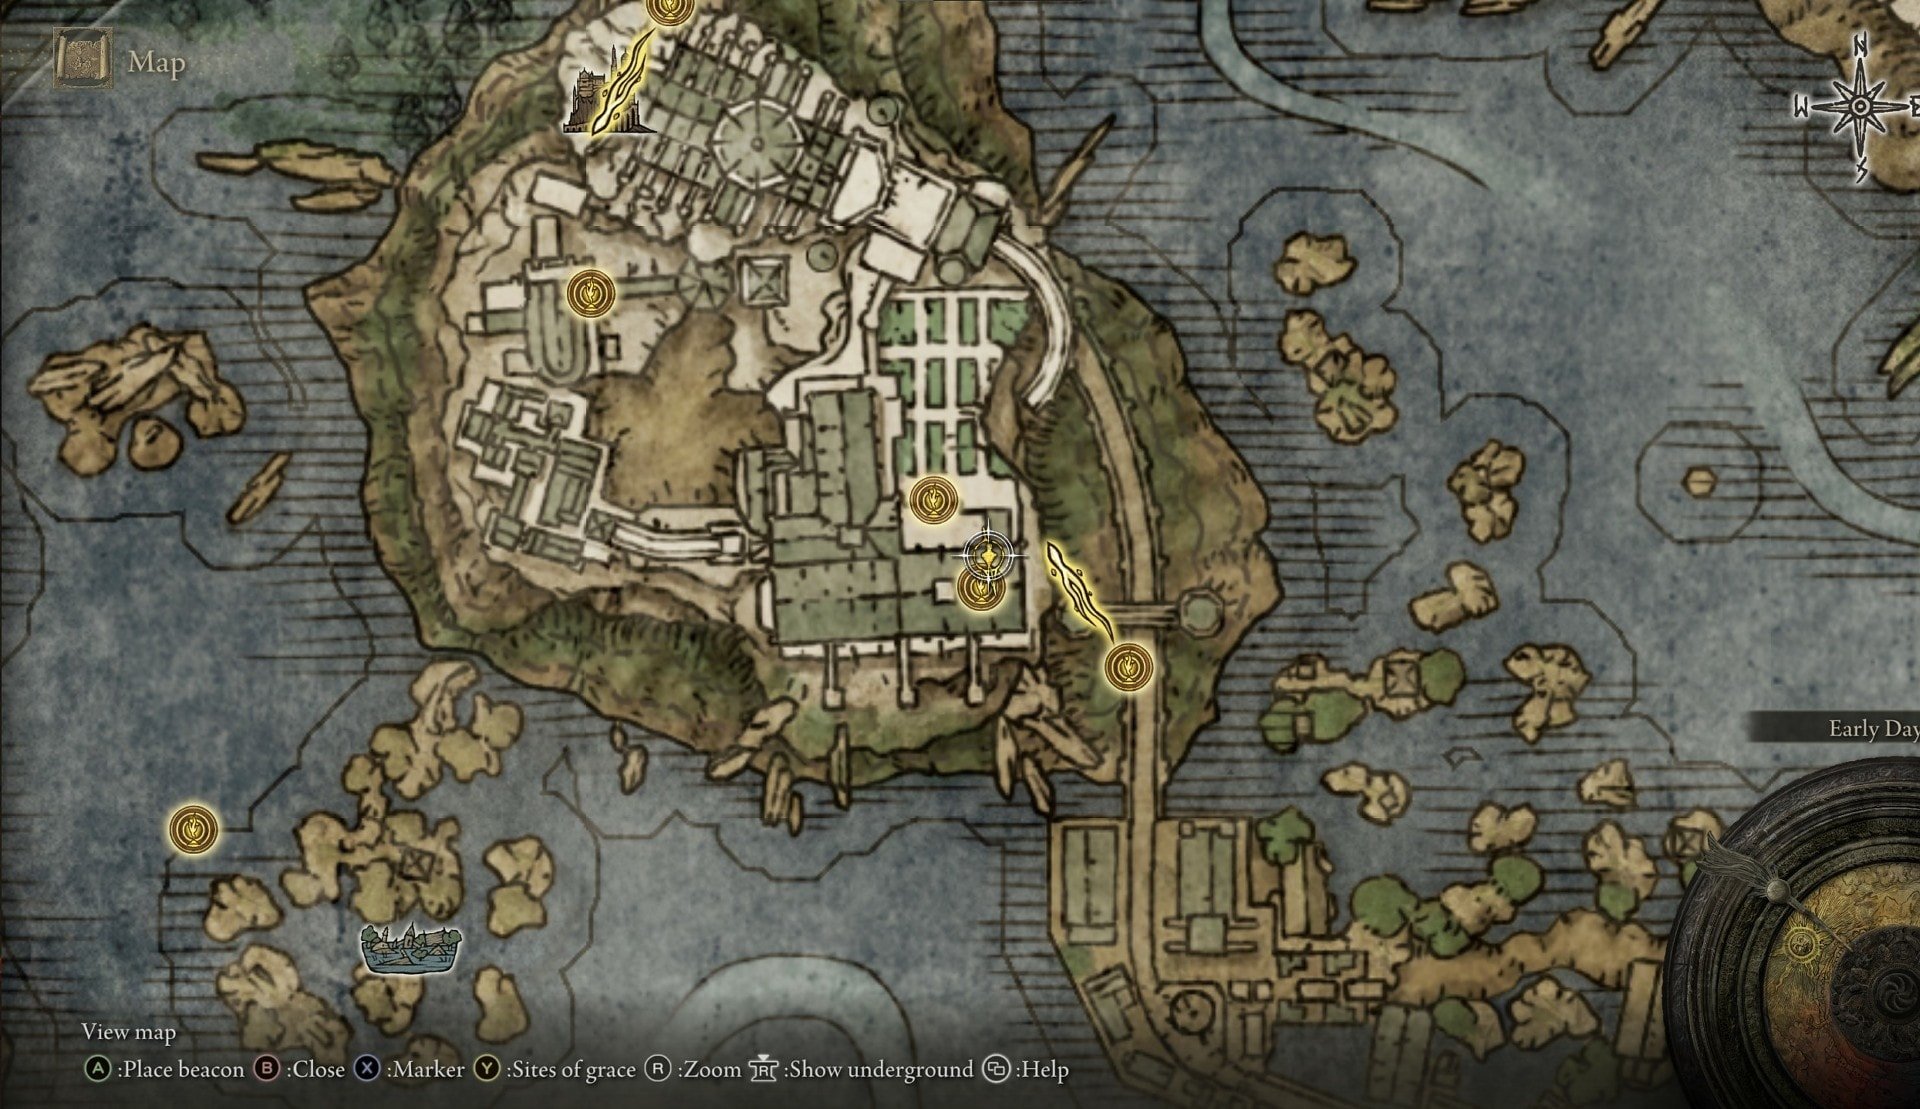
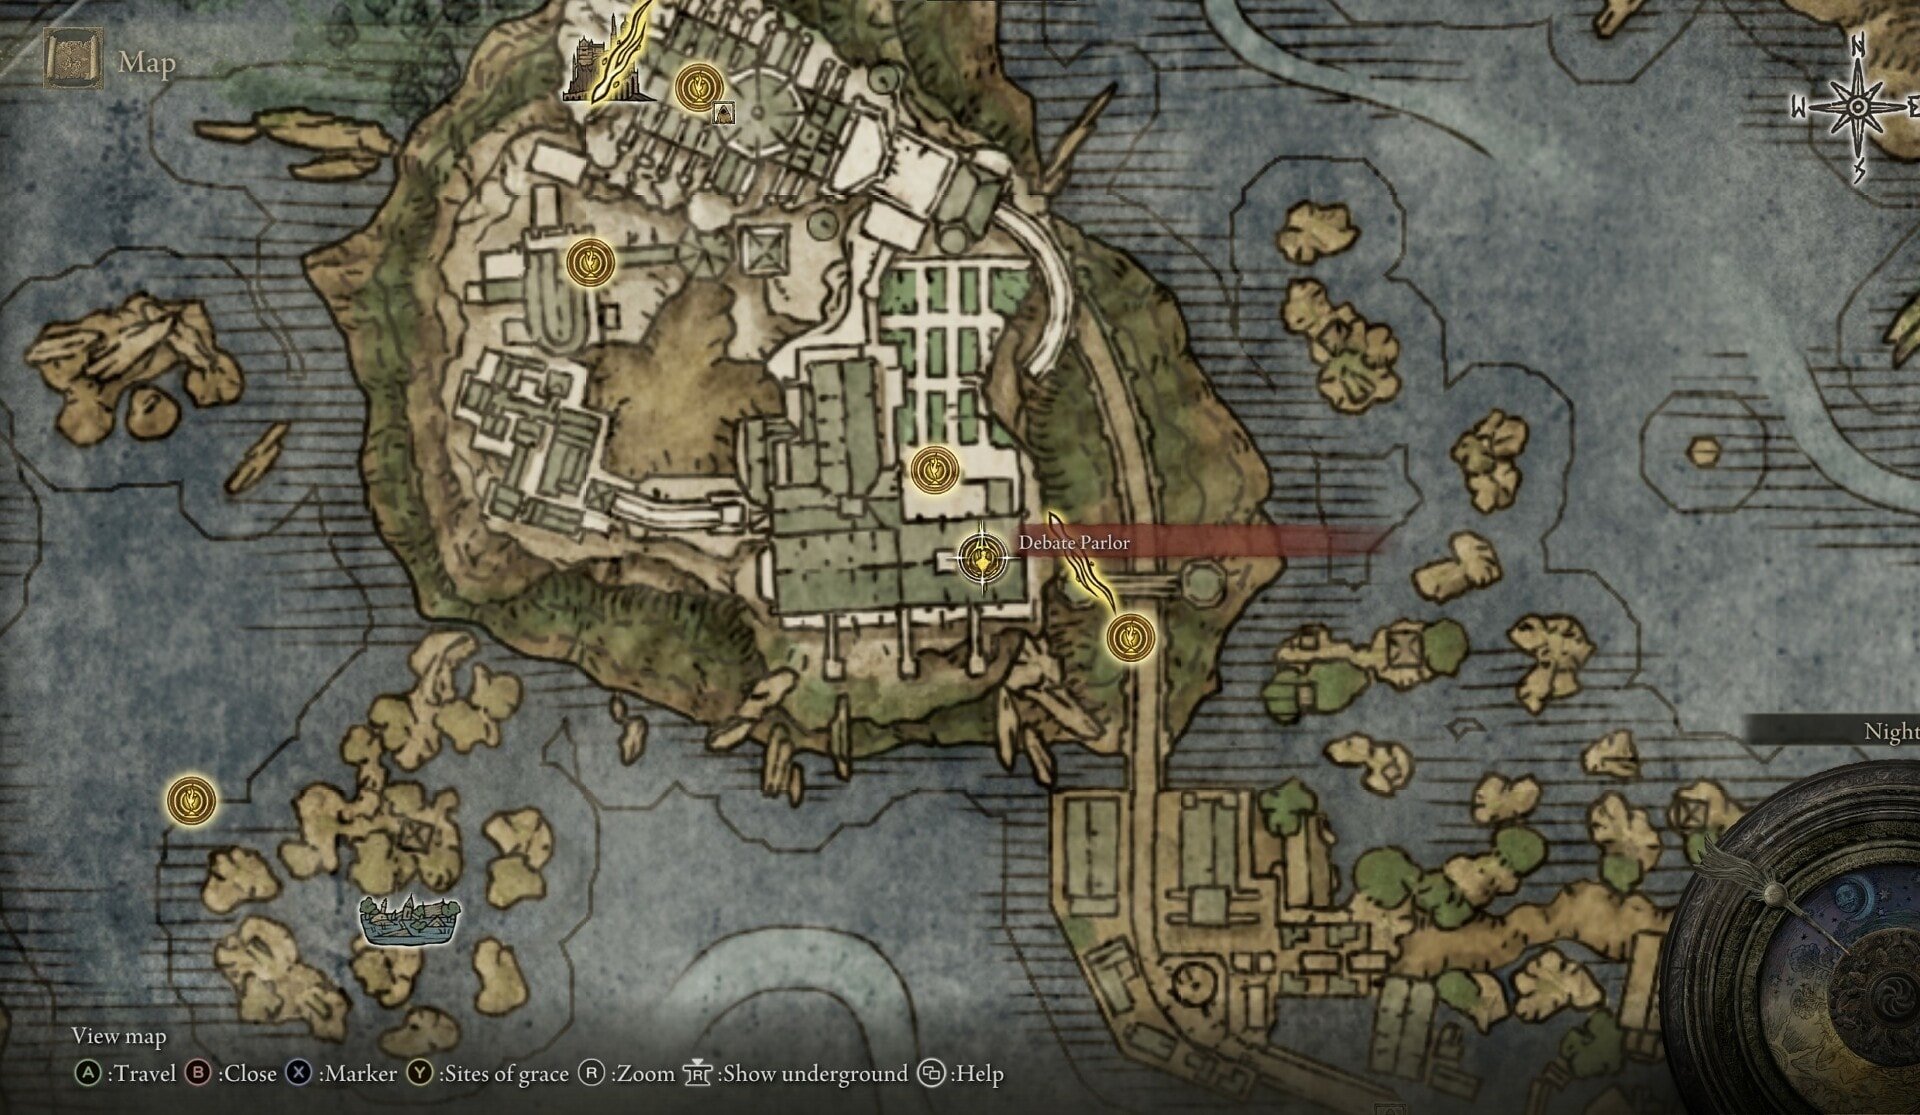
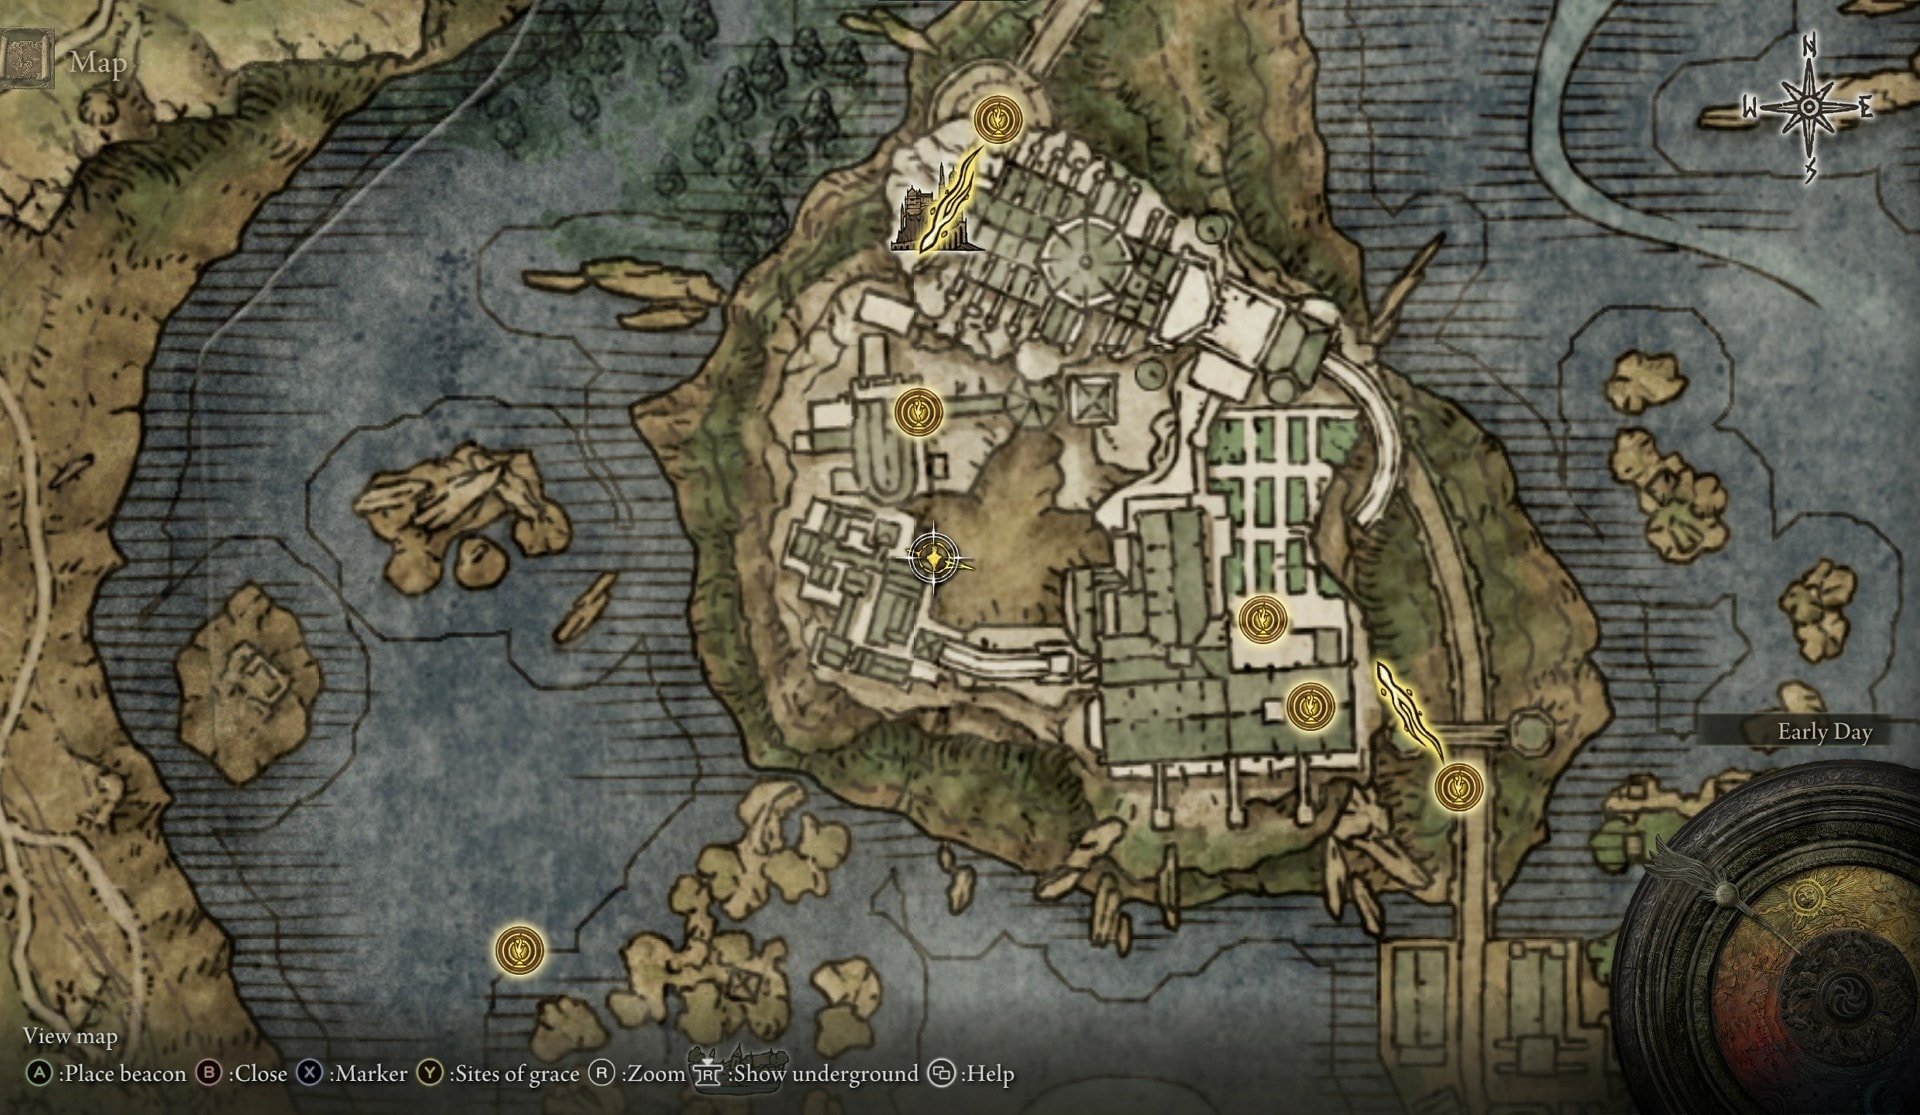
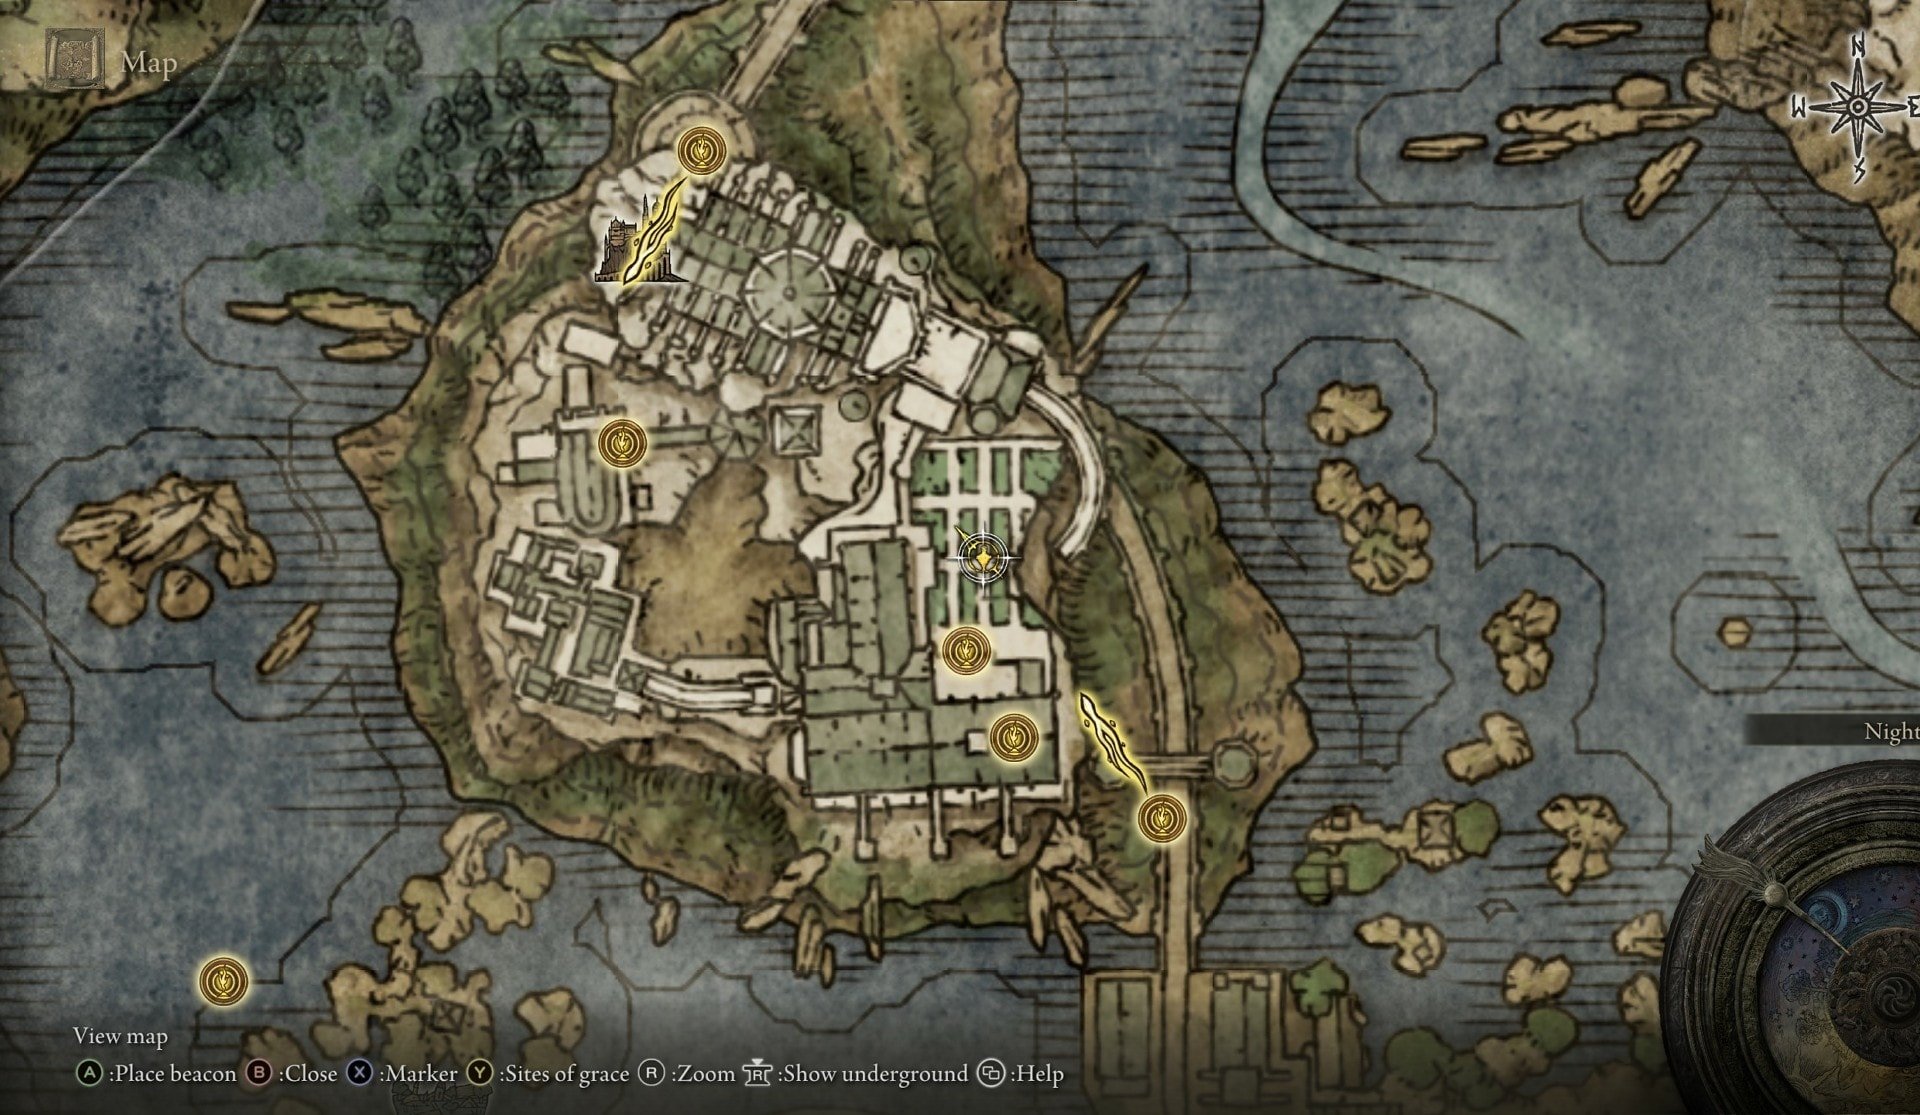
The Academy of Raya Lucaria is located in the center of Liurnia. This is the so-called “Legacy Dungeon” for this region in Elden Ring.

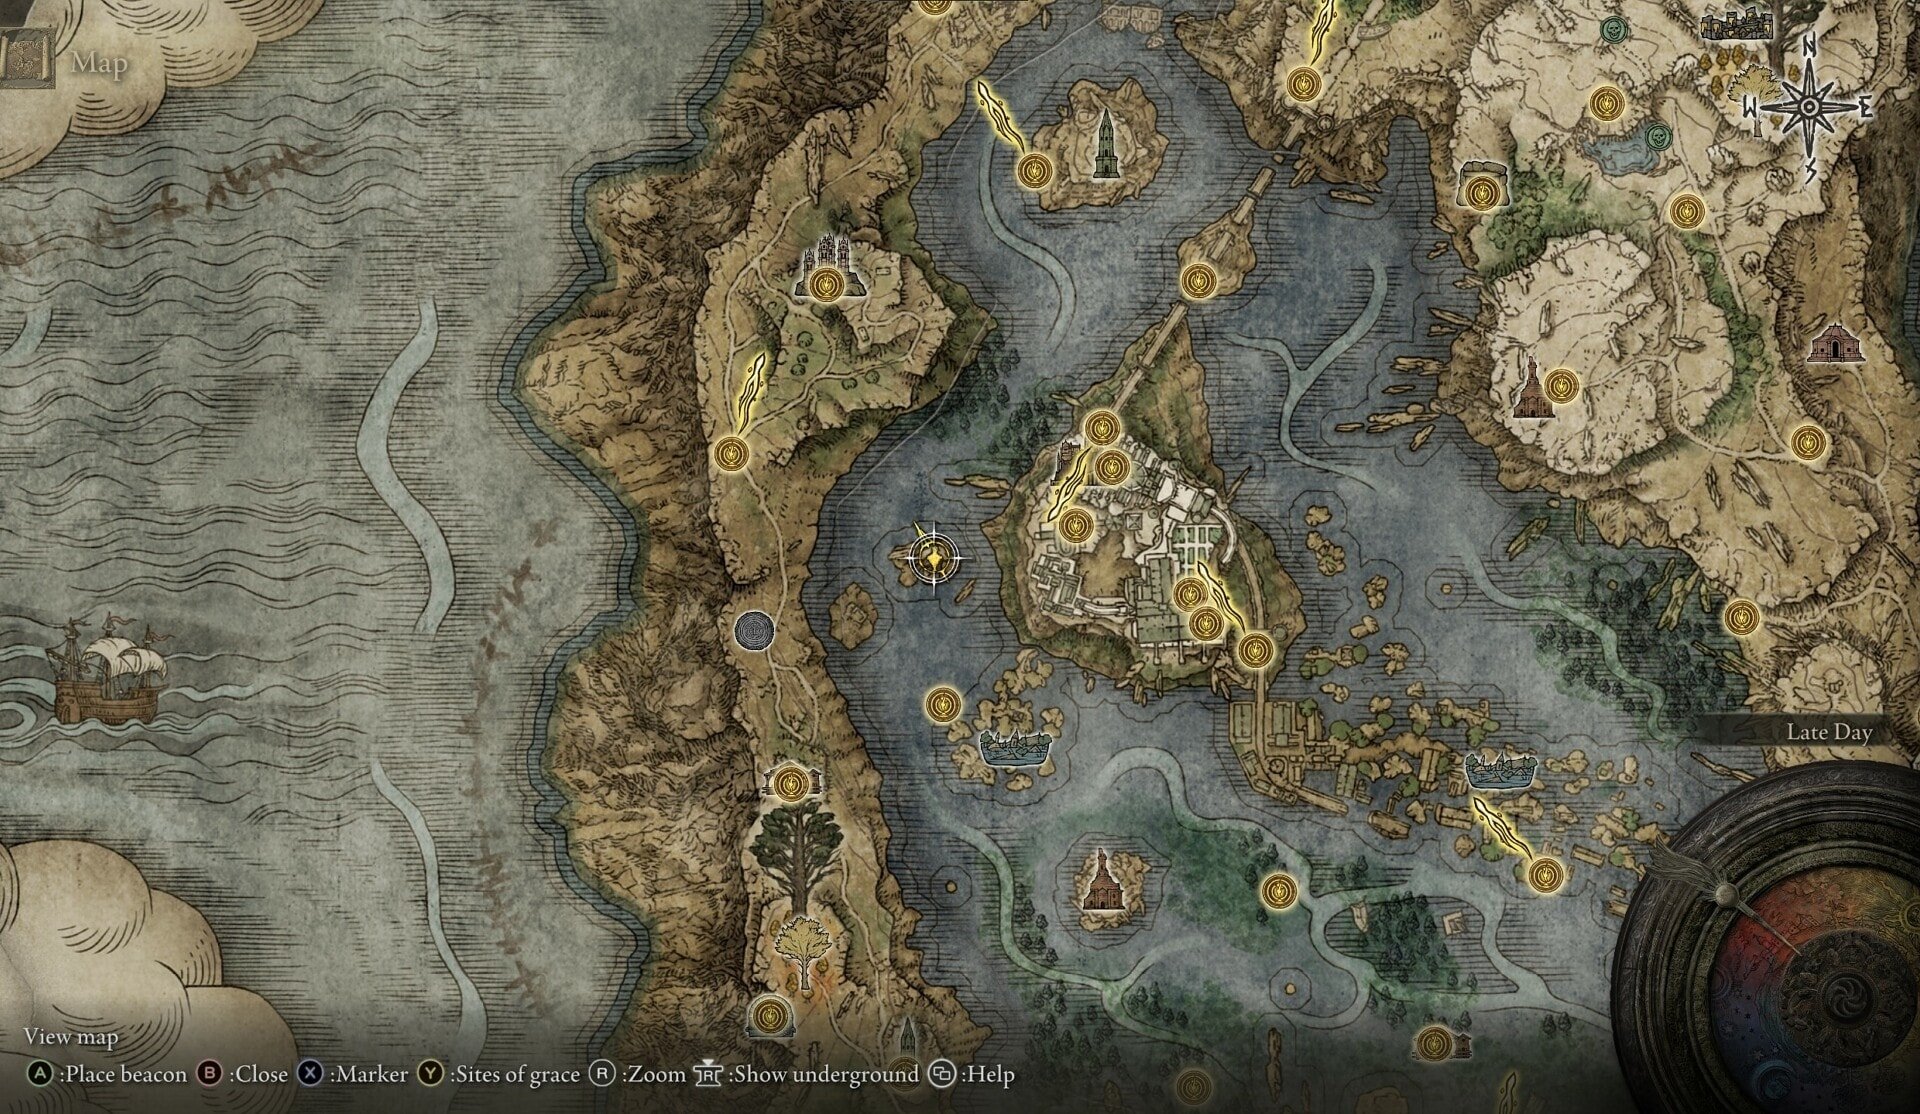
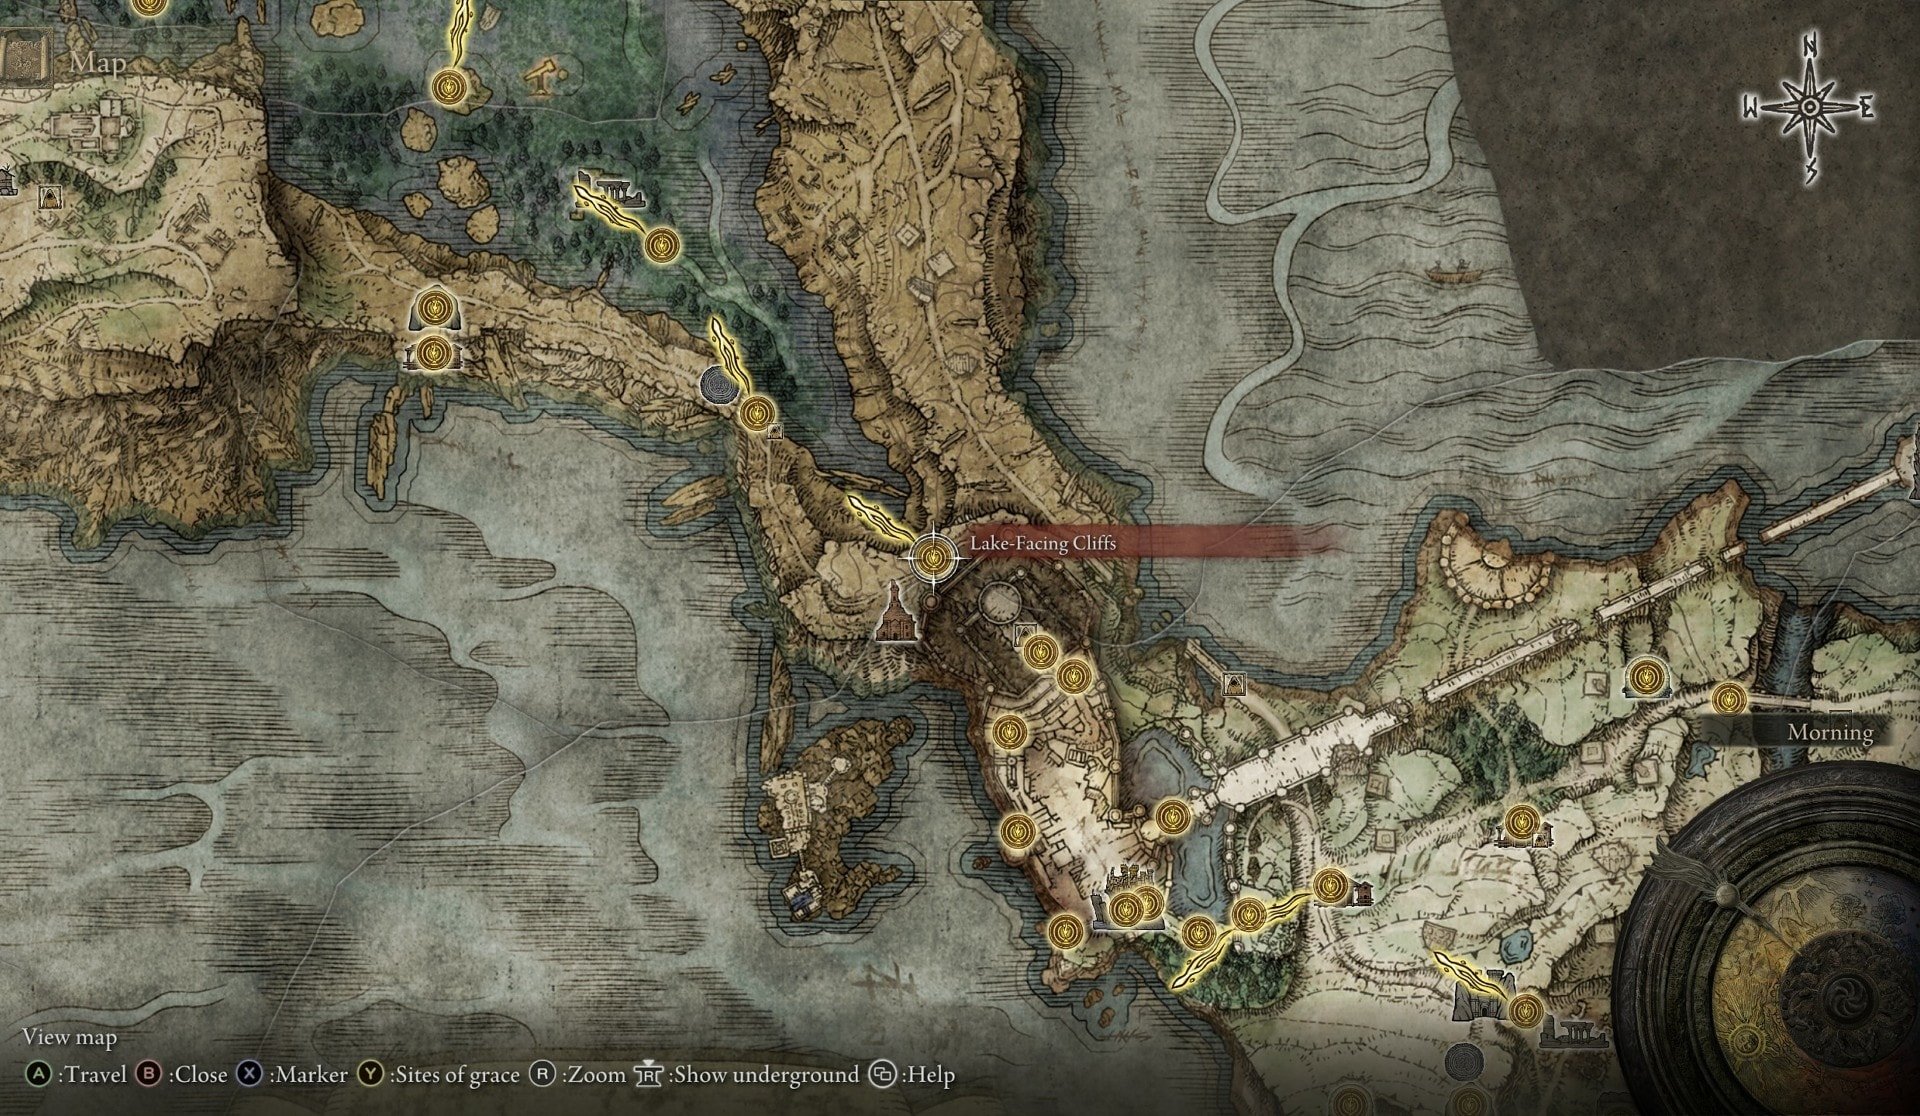
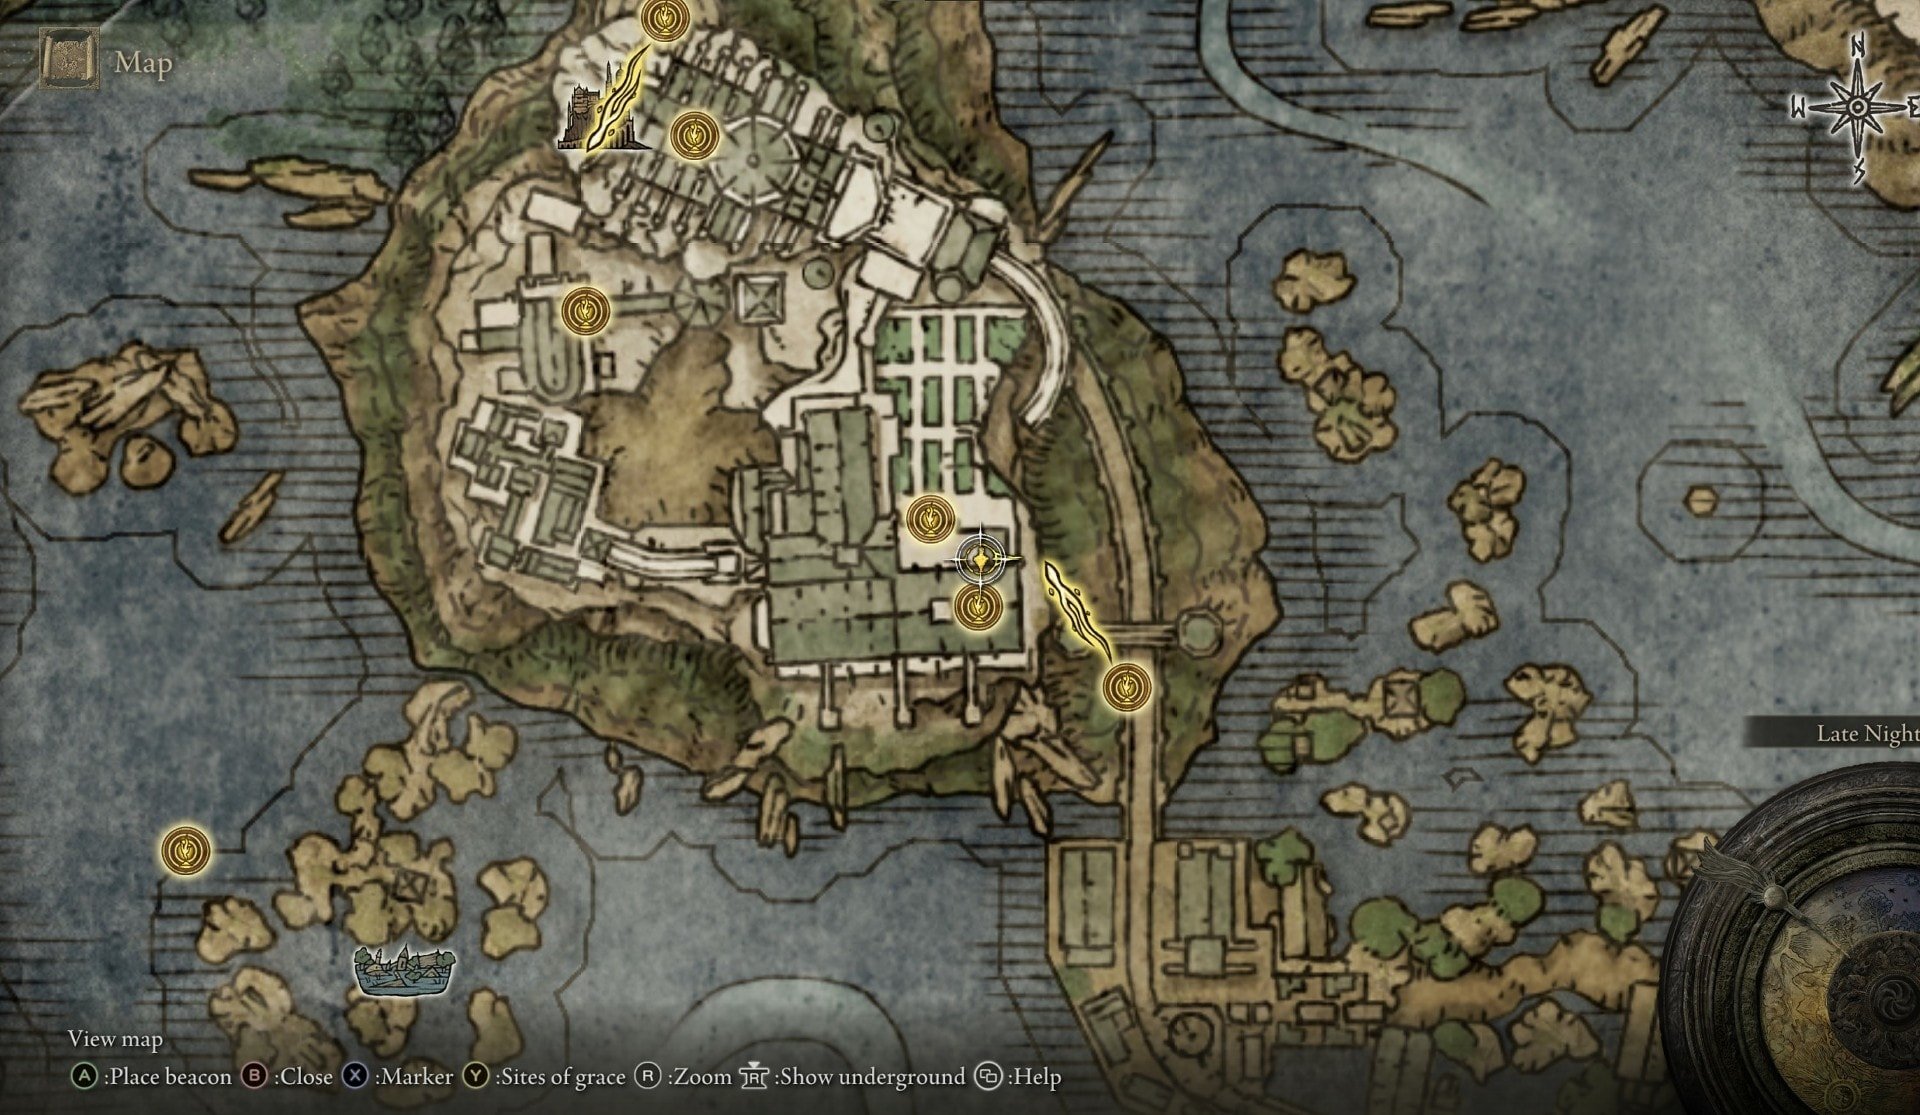
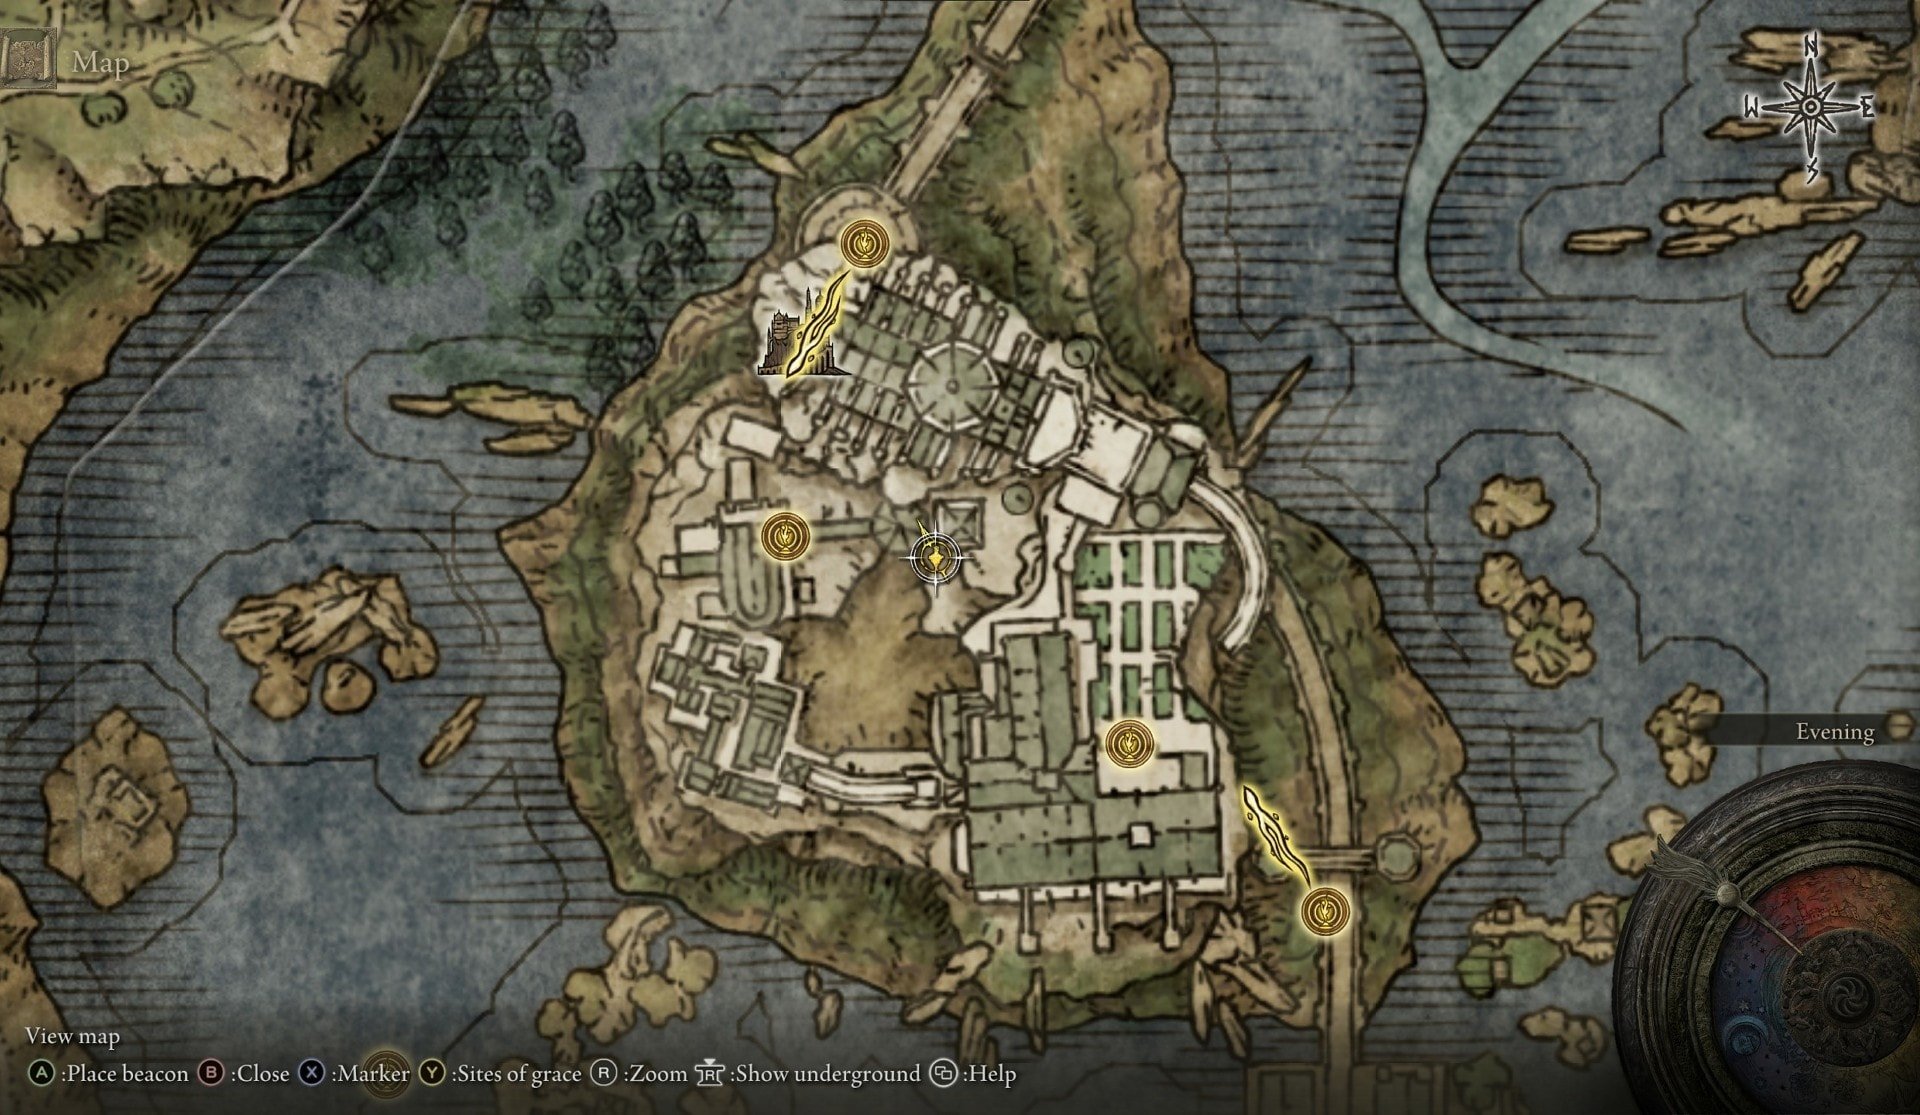
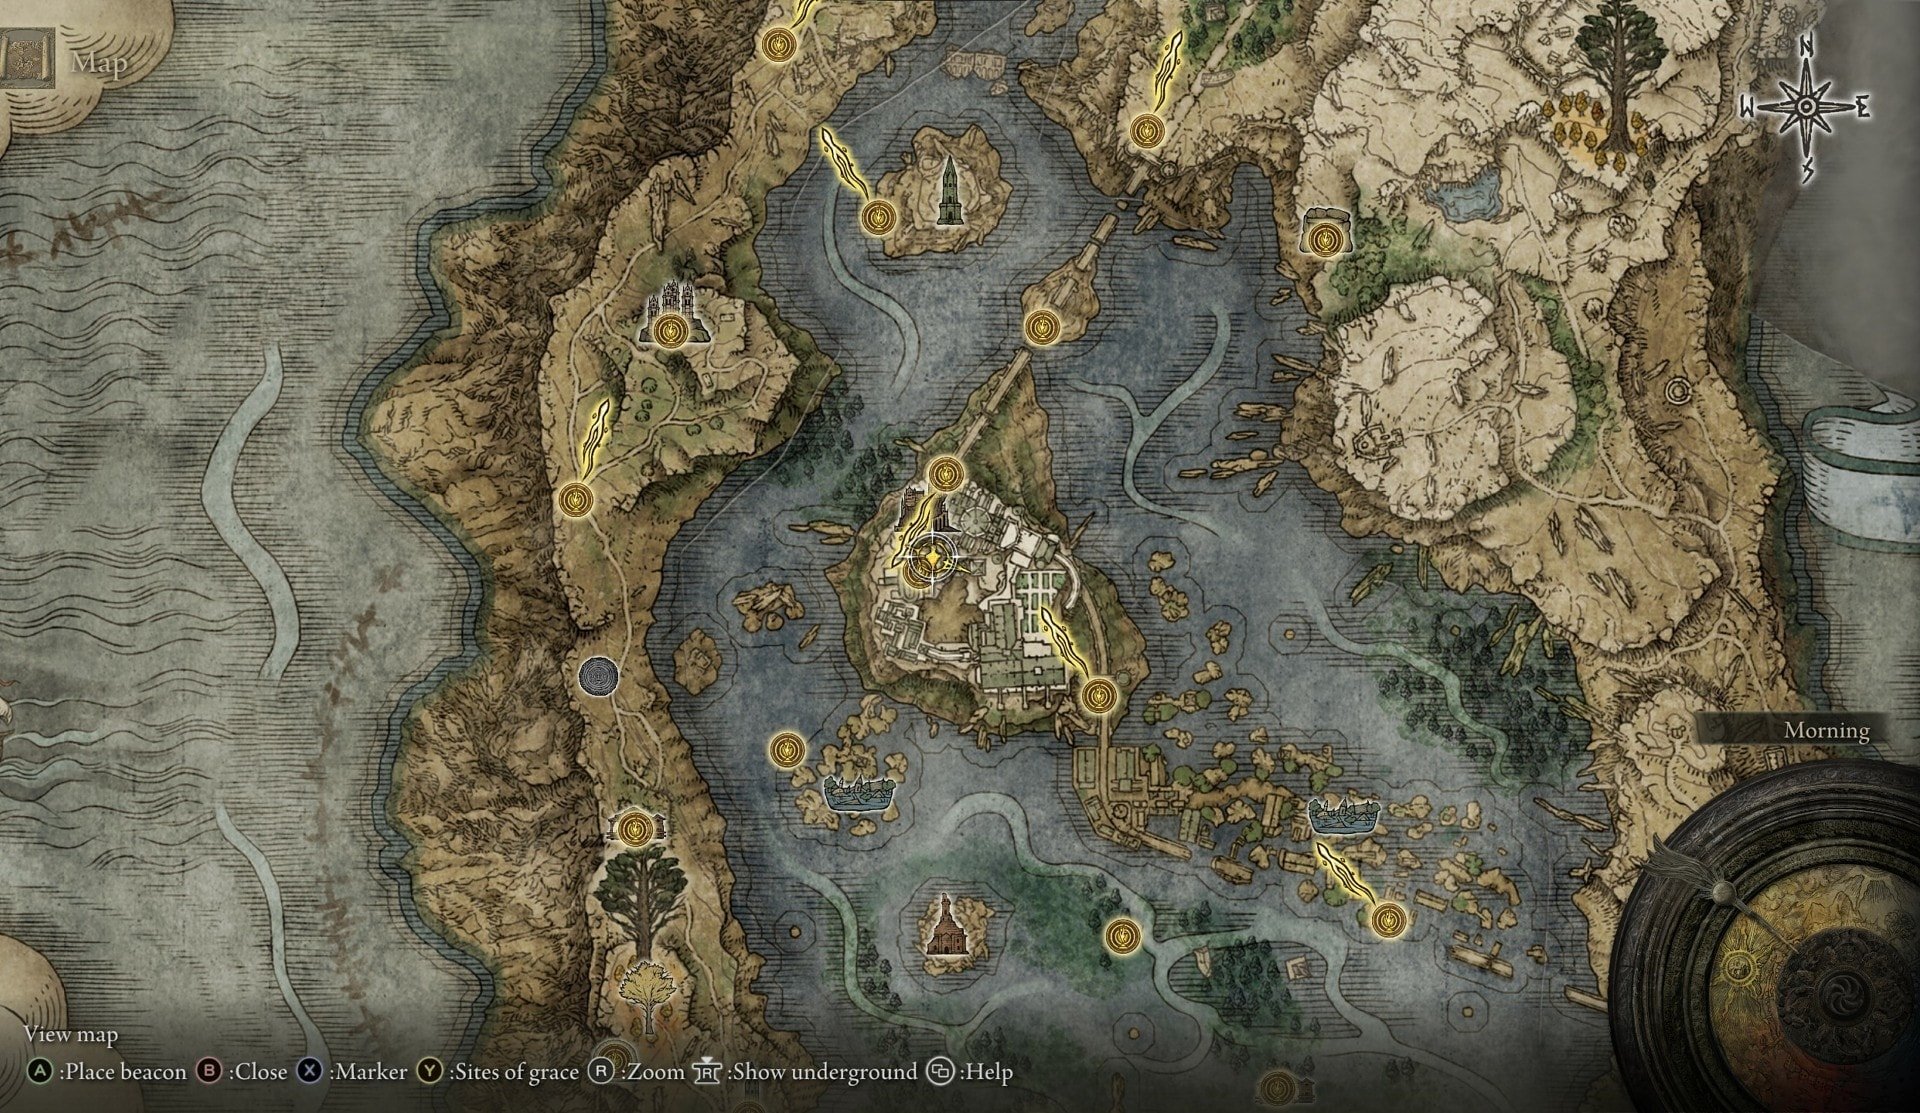
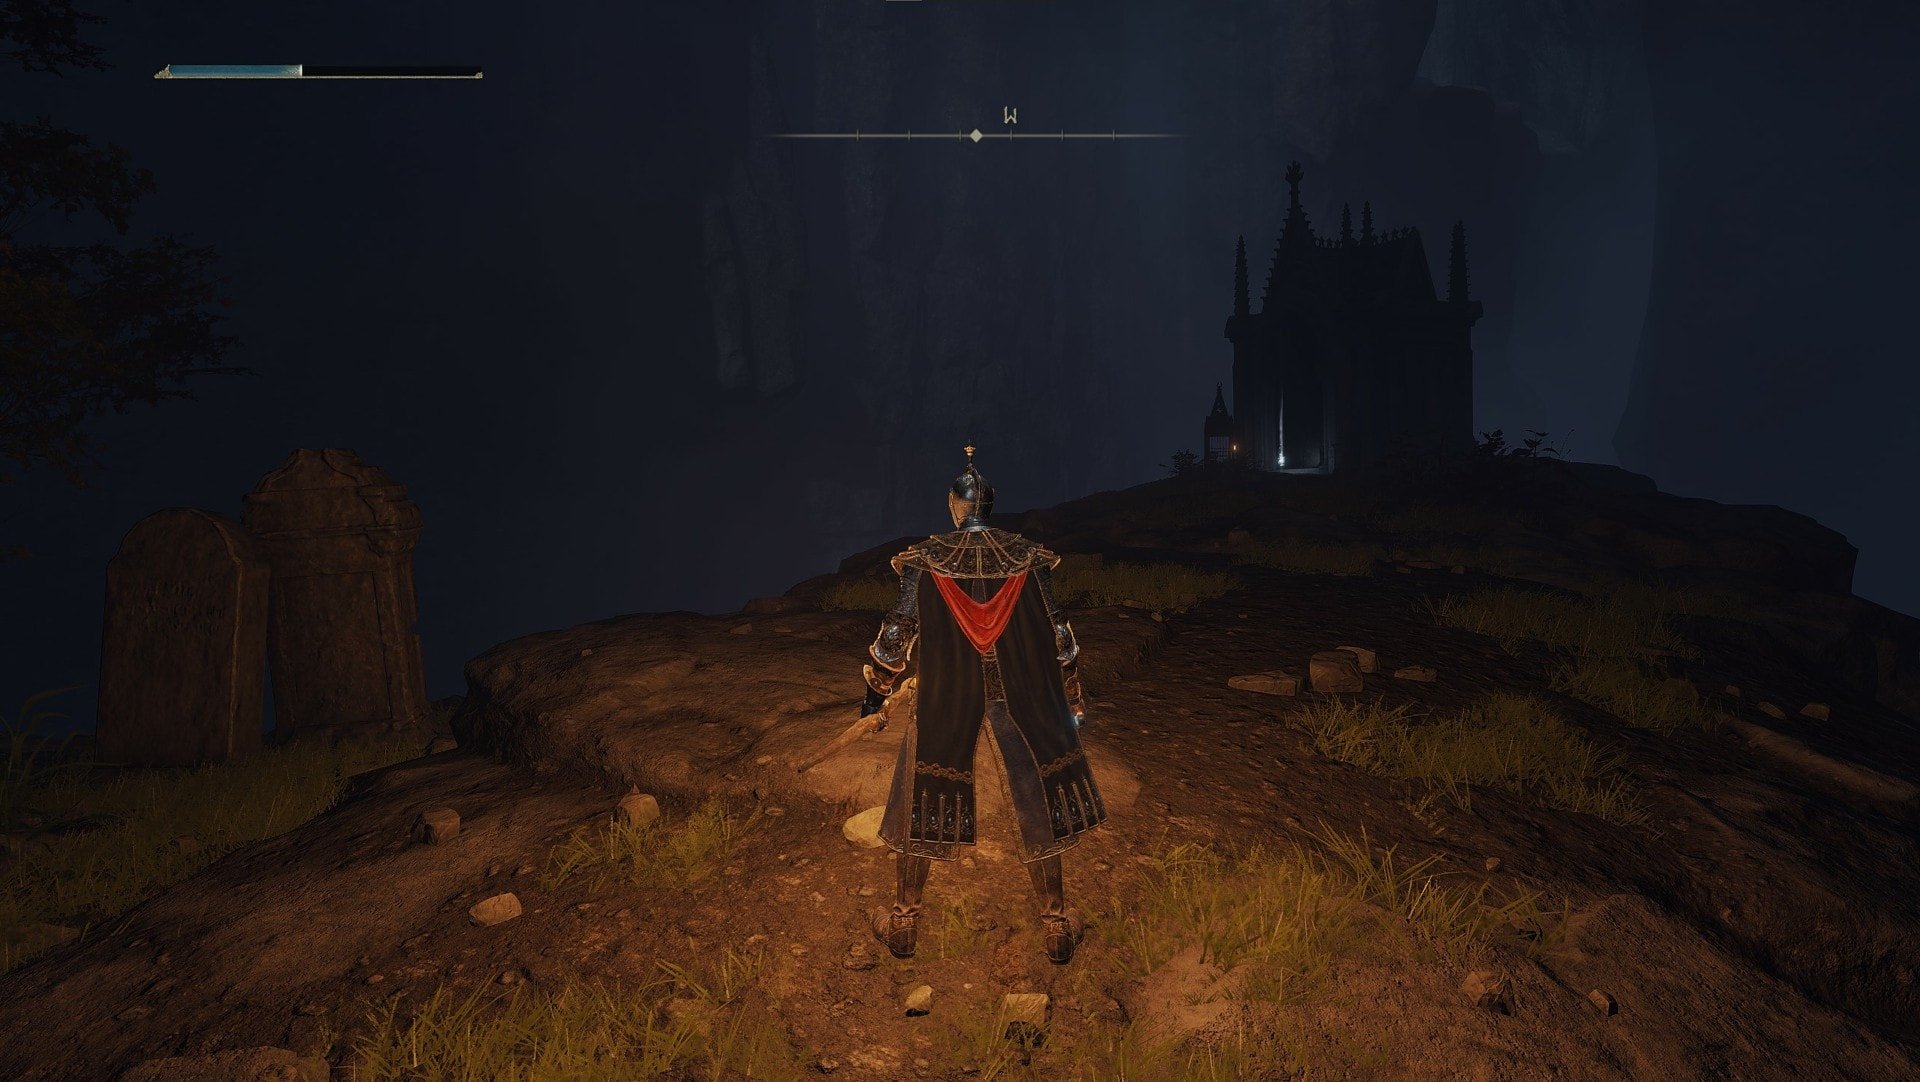
The gates are sealed by powerful magic. To gain access to the Academy, you must first obtain a Glintstone Key. If you travel to the southern gate, you can pick up a crudely drawn map from a corpse that details the location of one such Glintstone Key.
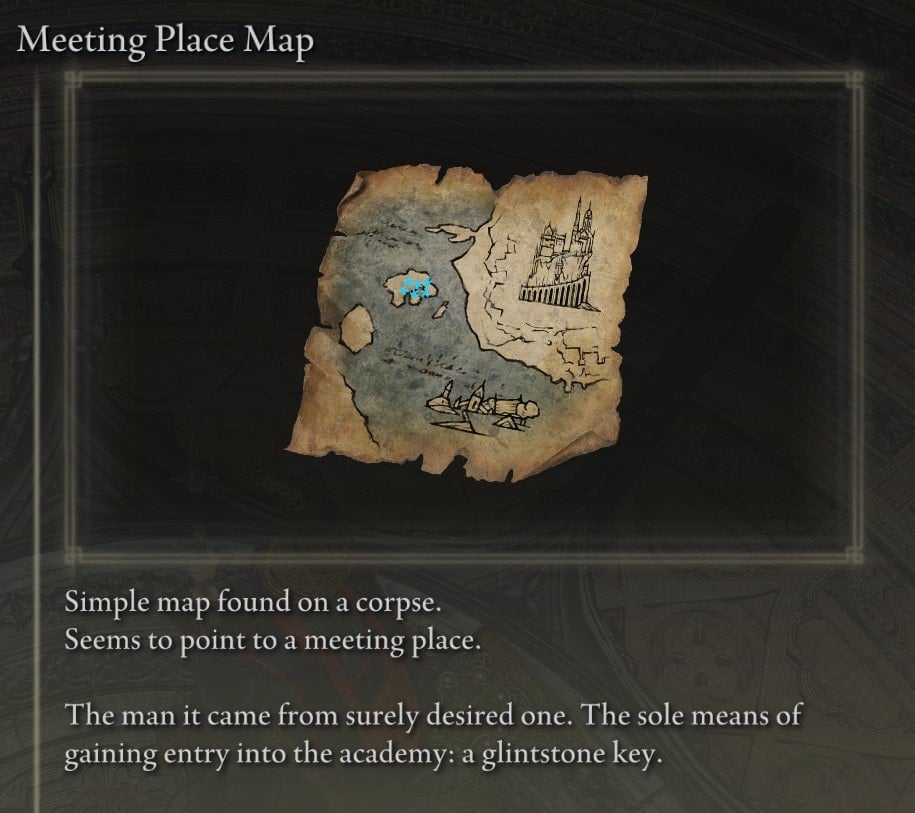
If you just want a hint, I recommend taking a look at that map, examining the relative position of the major landmarks.
The number of islands near the key is far more useful to determining its location than the blue stars because there are a lot of red herrings for what those stars could be referring to. I do not recommend having a whole lot of Runes on your person when you head over there. Here is the actual location:
How to get a second Academy Glintstone Key for Thops
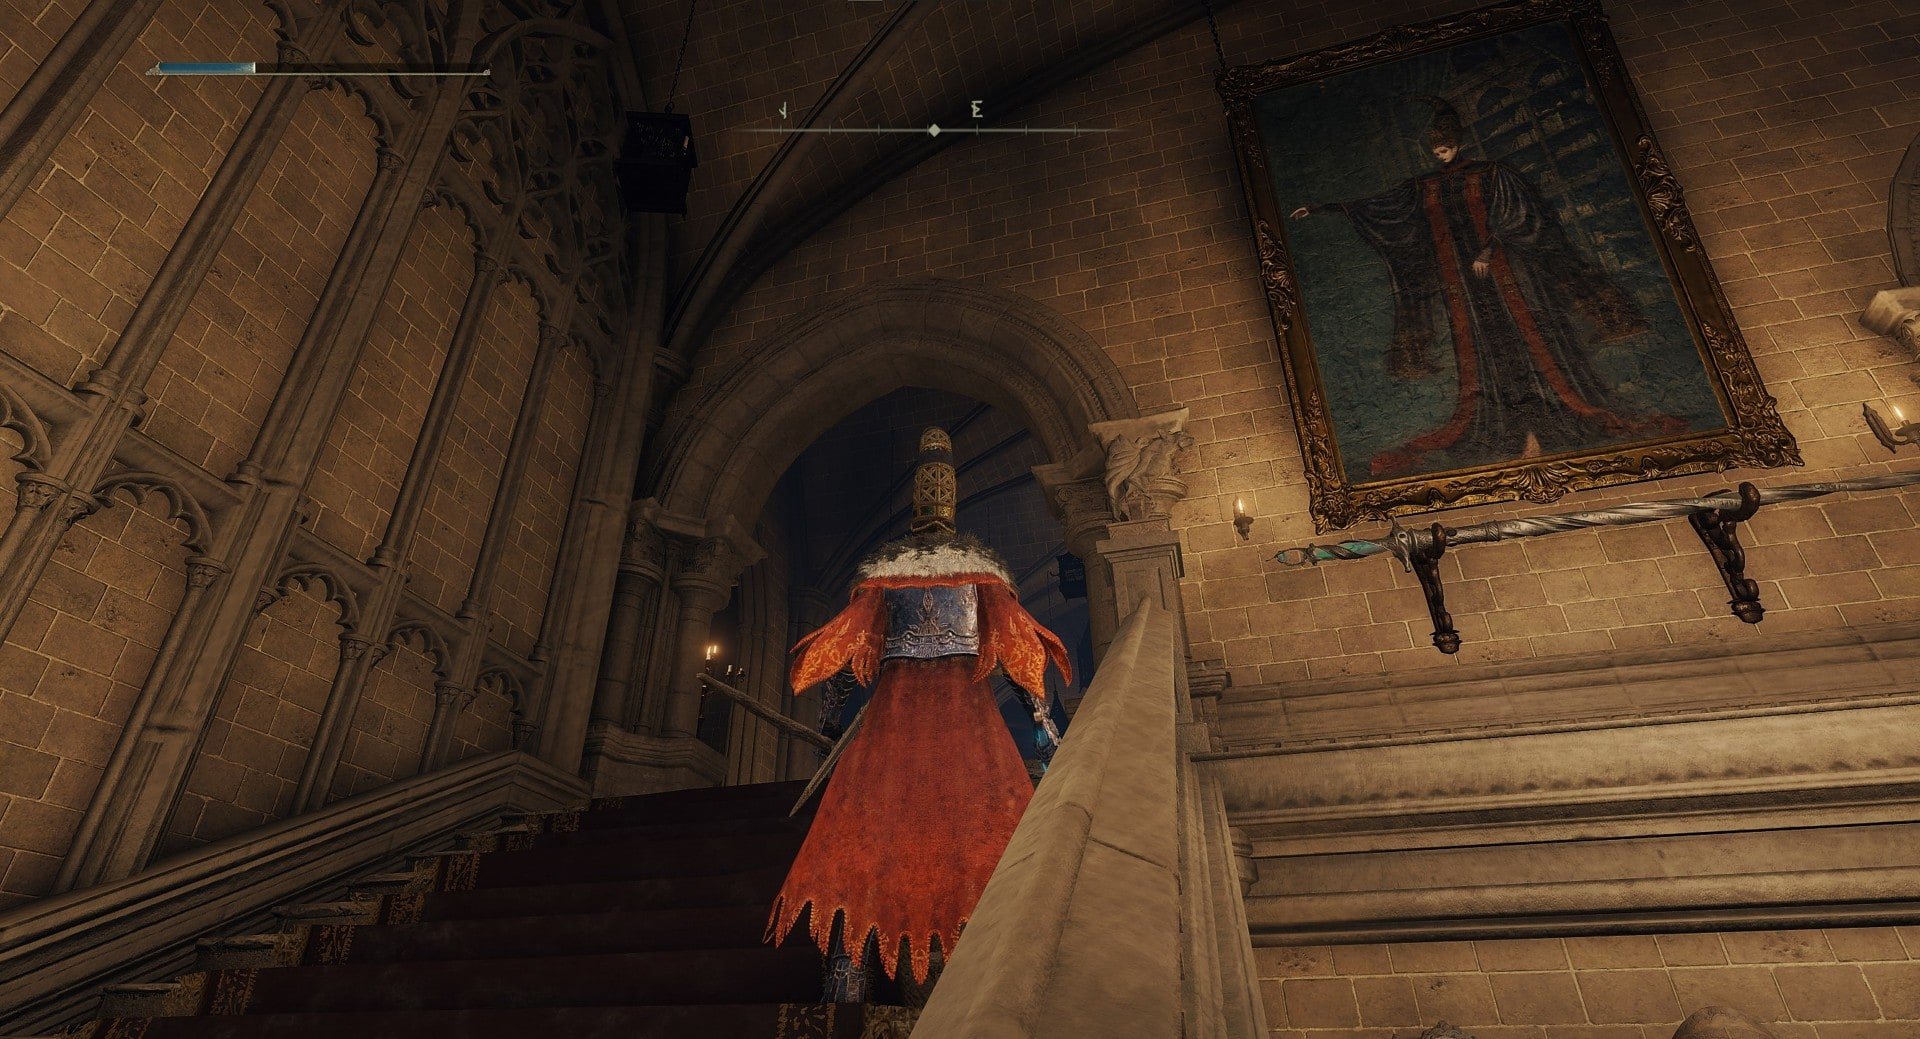
As you may have noticed, Academy Glintstone Keys are non-transferable, so you can’t give the one you found at the lake to Thops after using it to enter the Academy. Thankfully, there is a second, unused key you can procure for him. It is hidden in a chandelier above the Church of Cuckoo, but it requires a bit of platforming across rooftops to access.
Don’t worry, it’s not too difficult and it’s clear that the devs completely intended for you to be able to go out here because there are other items to collect and enemies to fight. I will refer back to this section for other specific items you find along the way.
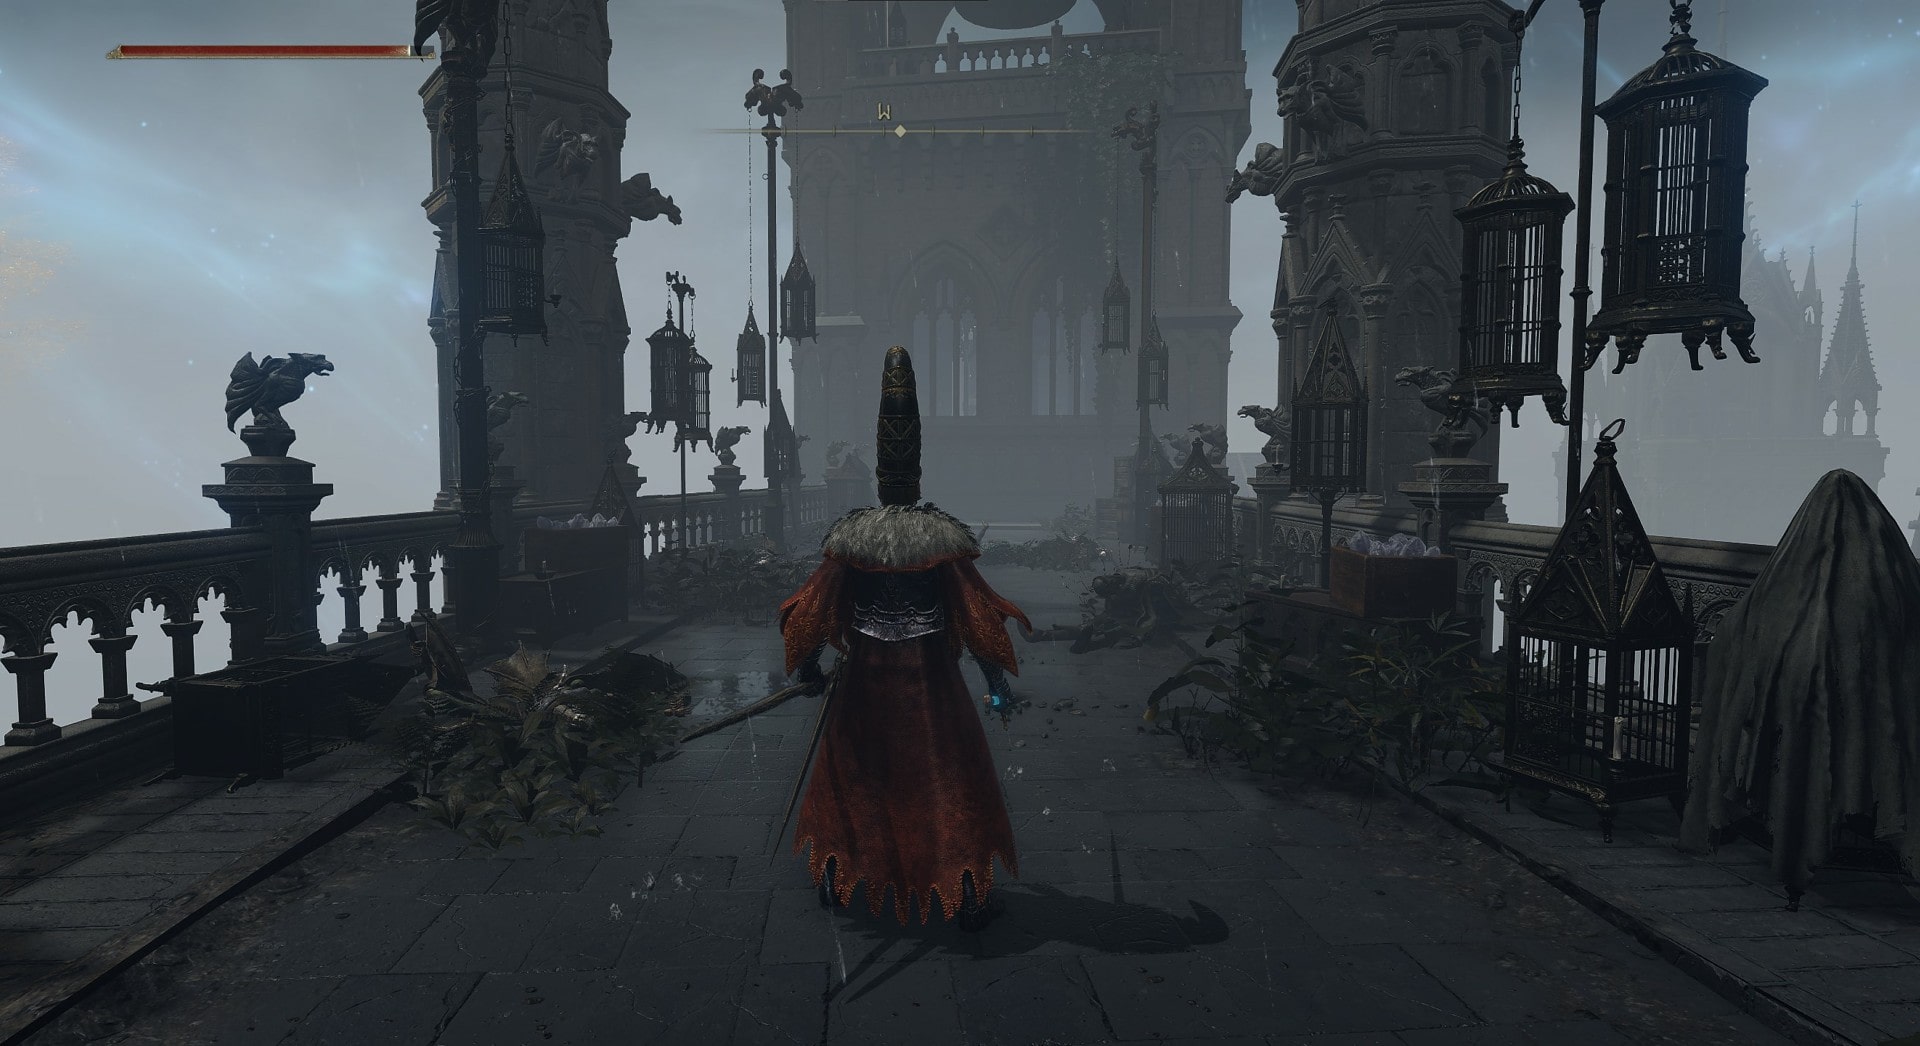
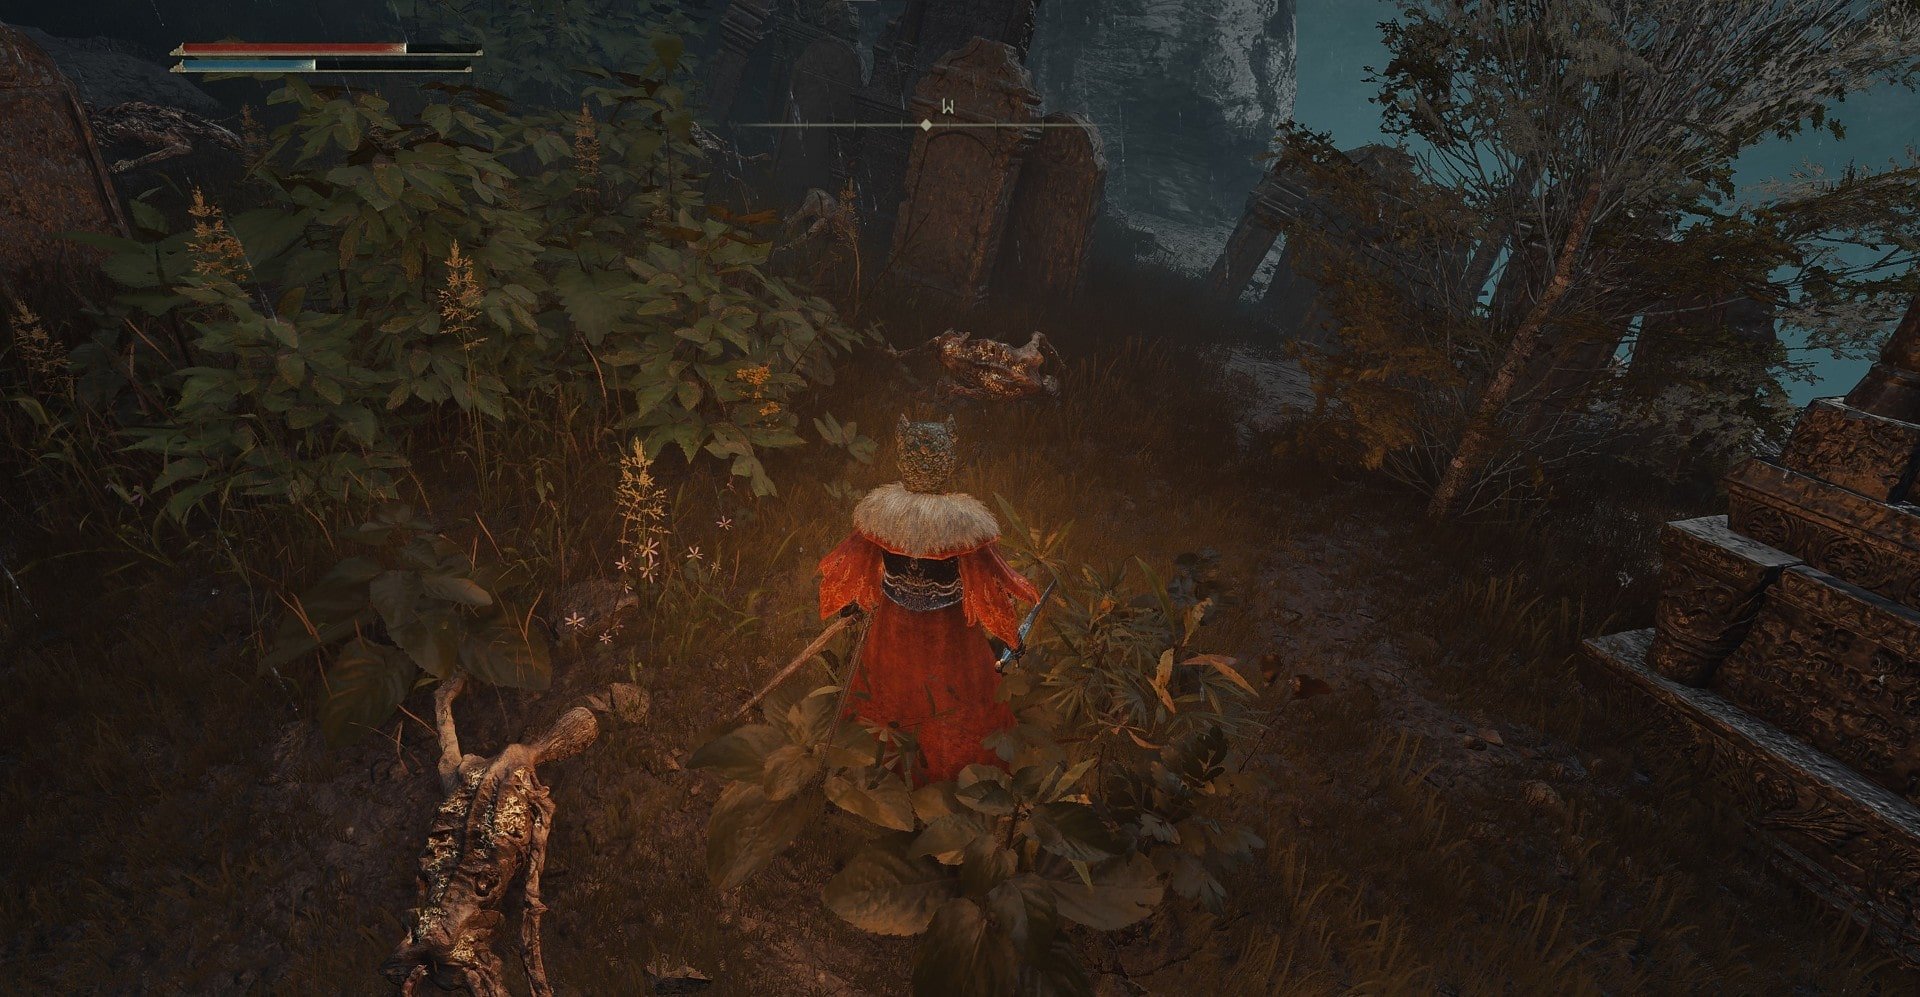
Your journey starts in the courtyard after the Debate Parlor where you fight the Red Wolf of Radagon. Make your way up the stairs on the left, defeat the weak enemies and 3 spellcasters, then head over to the left railing. There will be another spellcaster in the distance you’ll have to defeat as well as another right below.
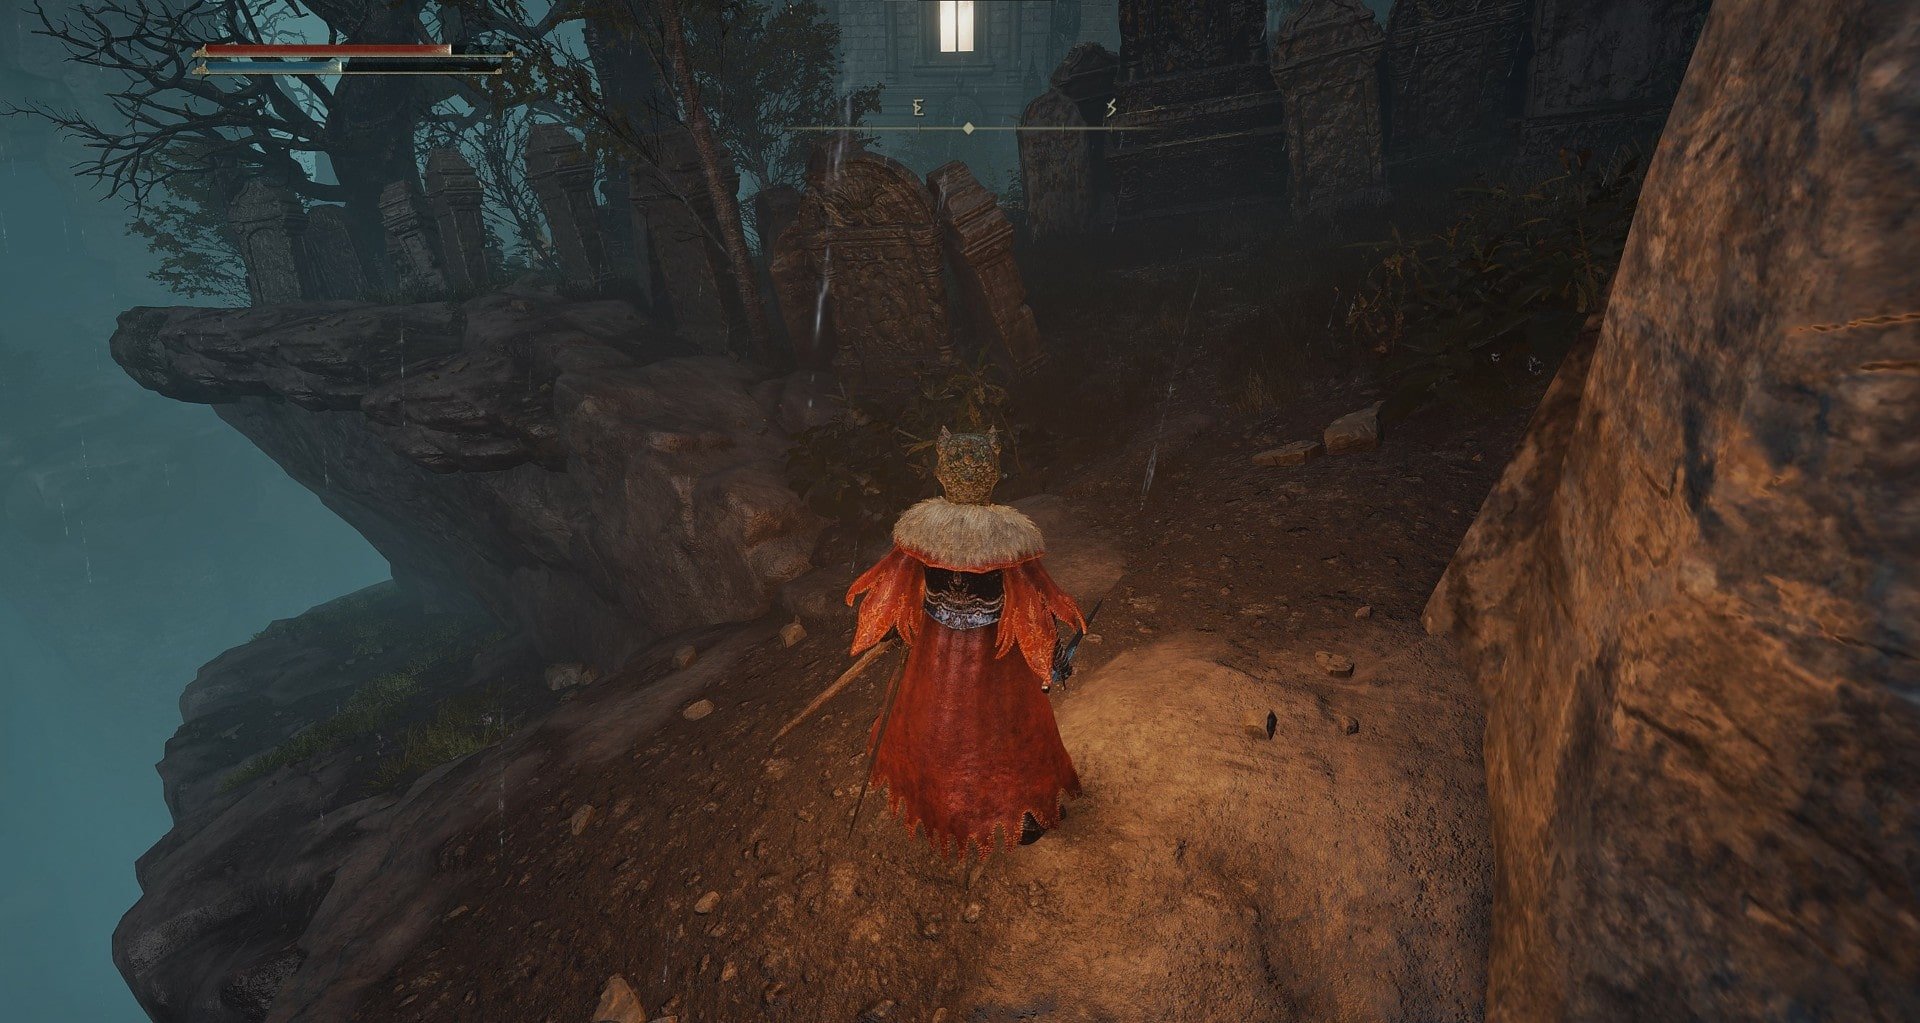
You can turn around to open a door that will make it slightly easier in case you need to come back. Anyway, keep going until you reach a corpse on the side of the railing and jump down onto the roof.
Keep going across the roofs. There will be several Marionette Soldiers to fight. Eventually, you will arrive at a ladder; climb up.
Once you reach the top, you’ll need to fight 3 marionette soldiers and a special spellcaster.
Head to the back side of the tower after defeating the 4 enemies.
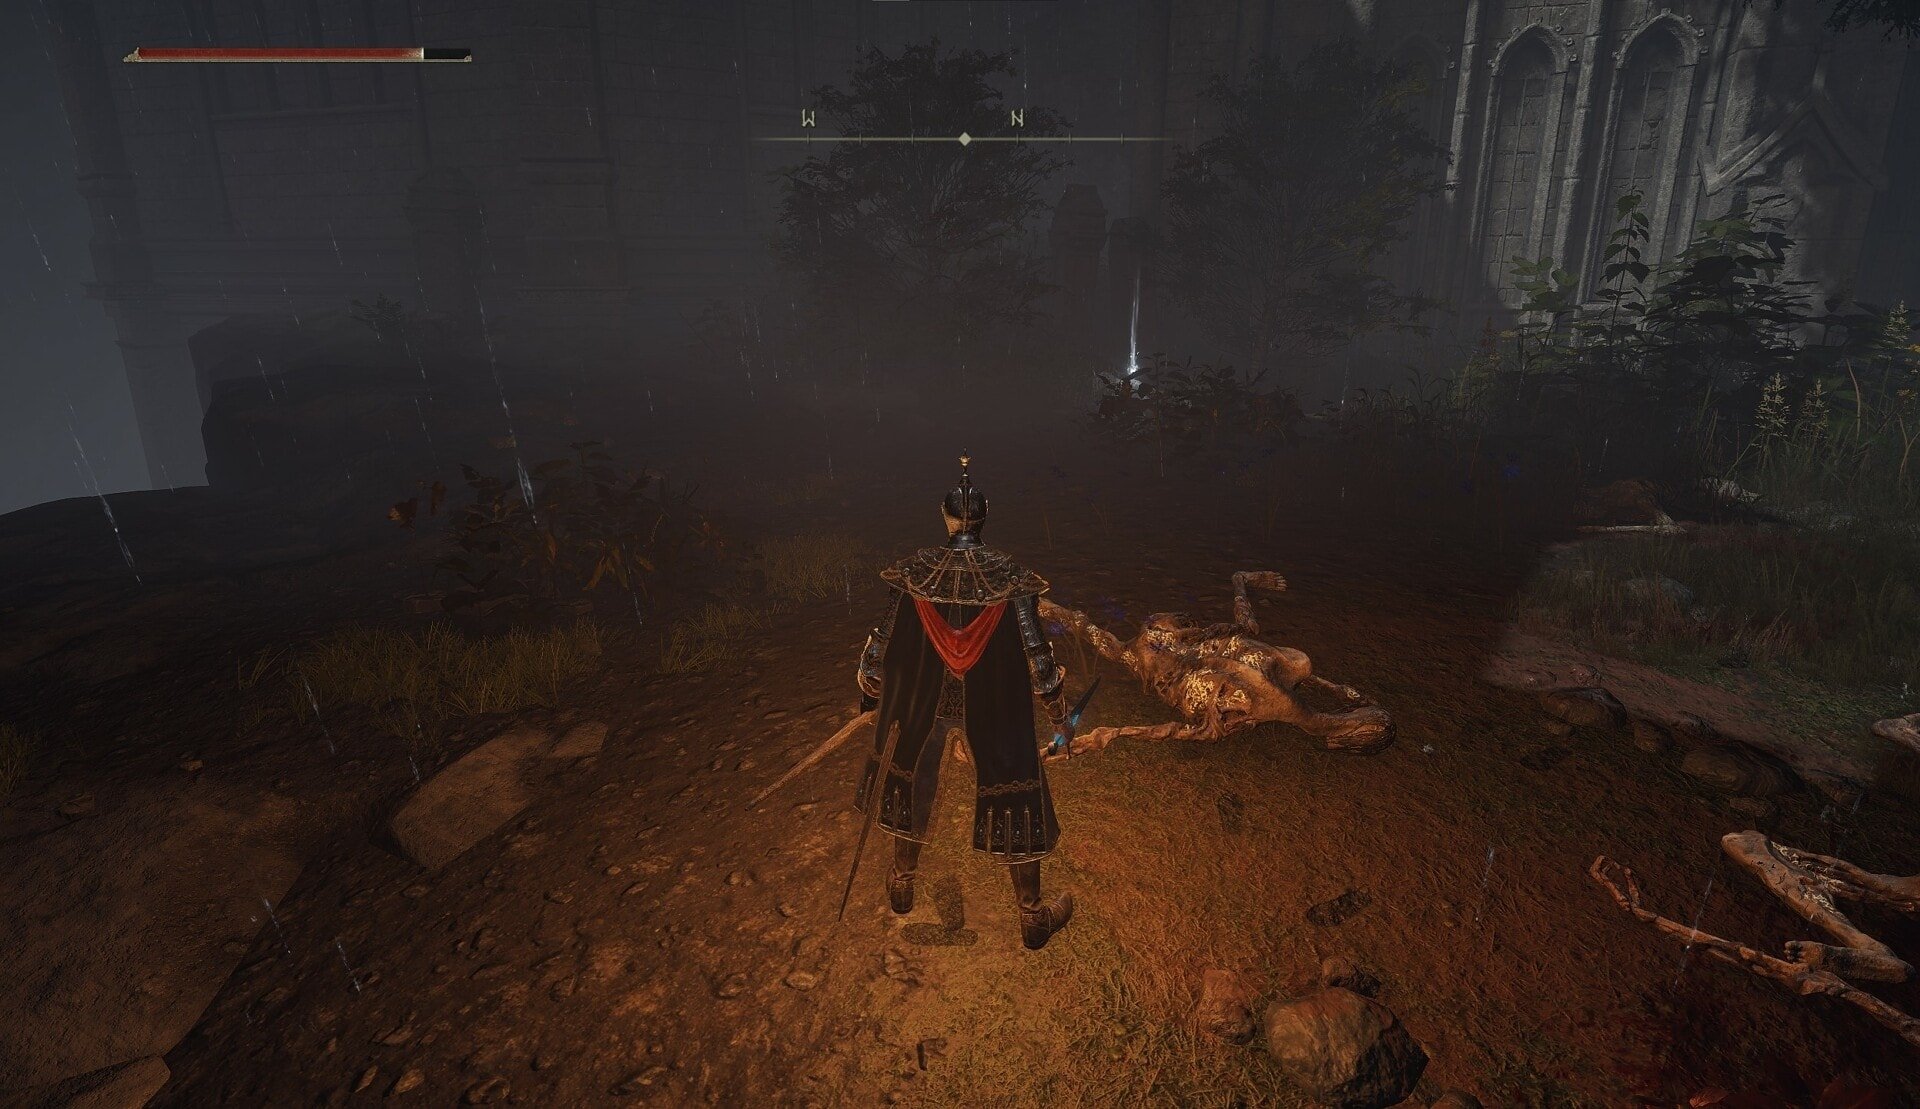
Jump down onto the roof from here. You can get the glowing spot off the corpse later. If I recall, it’s just a Golden Rune anyway.
You’ll have a slightly larger jump here and then be faced with a choice. Only jump down a single roof for now.
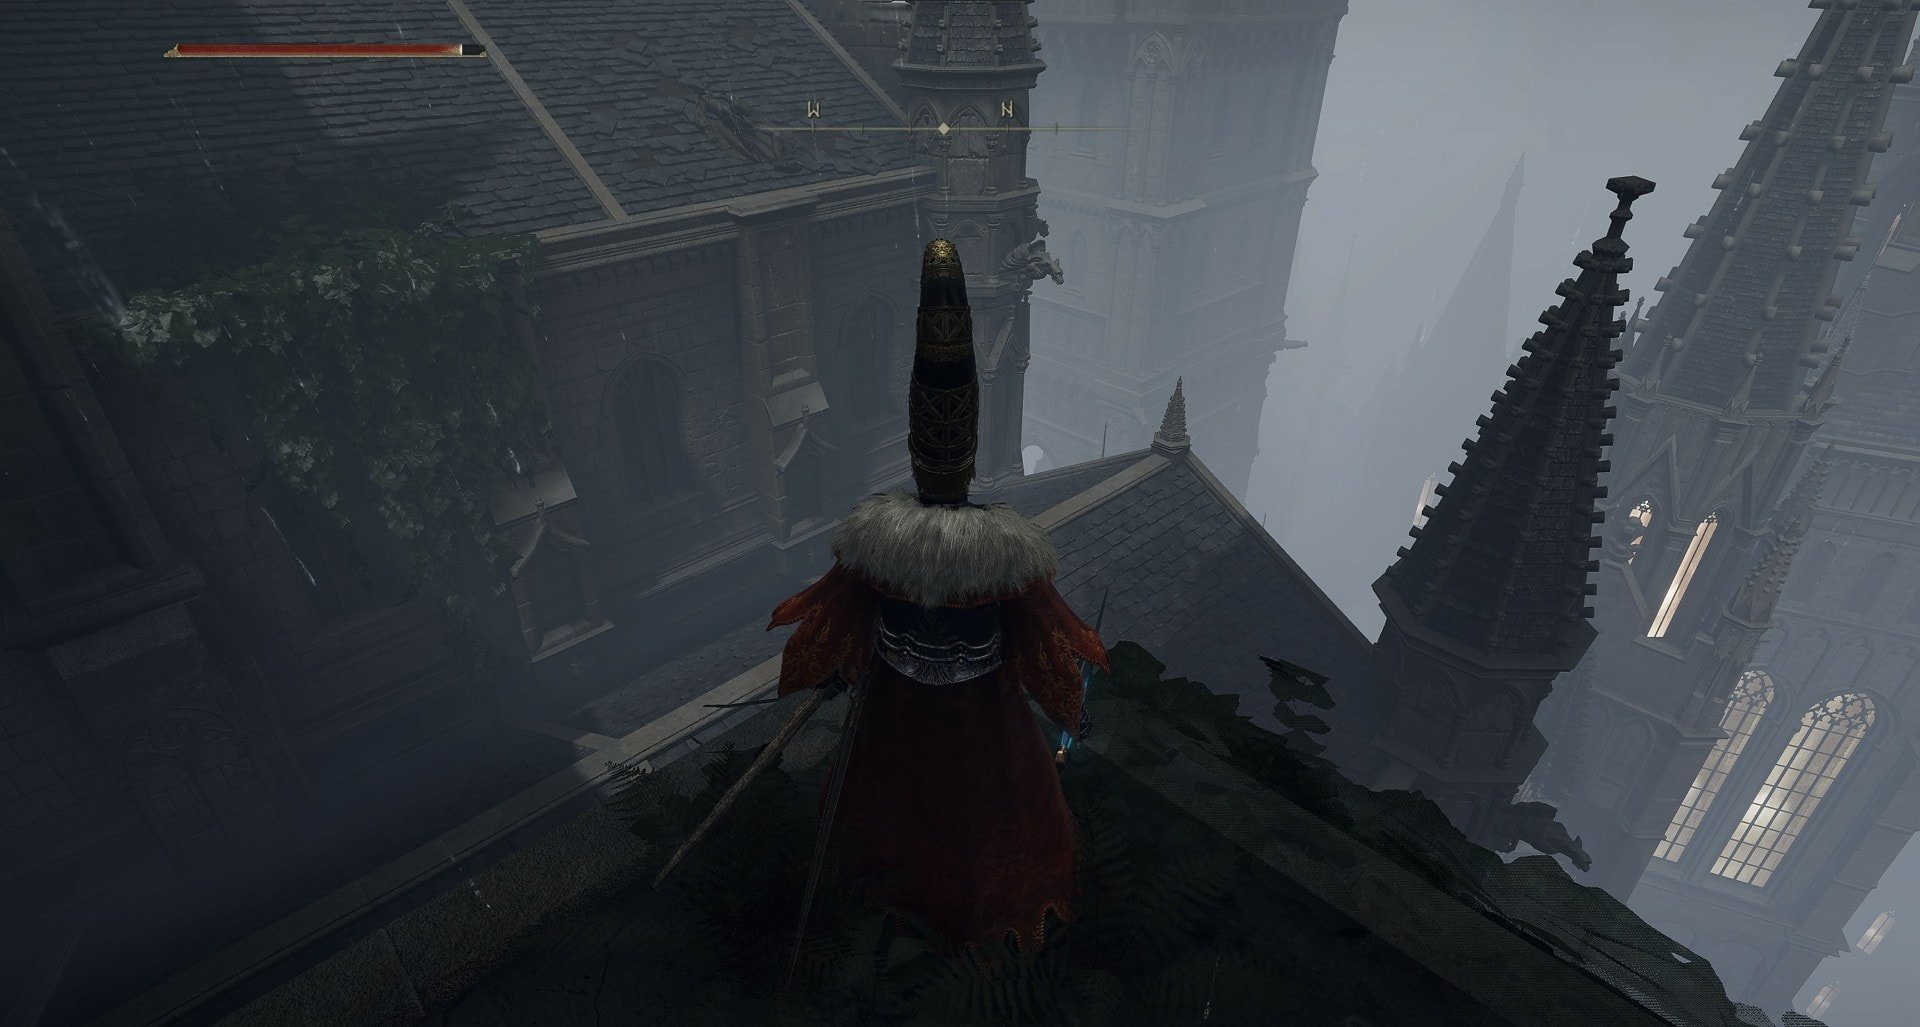
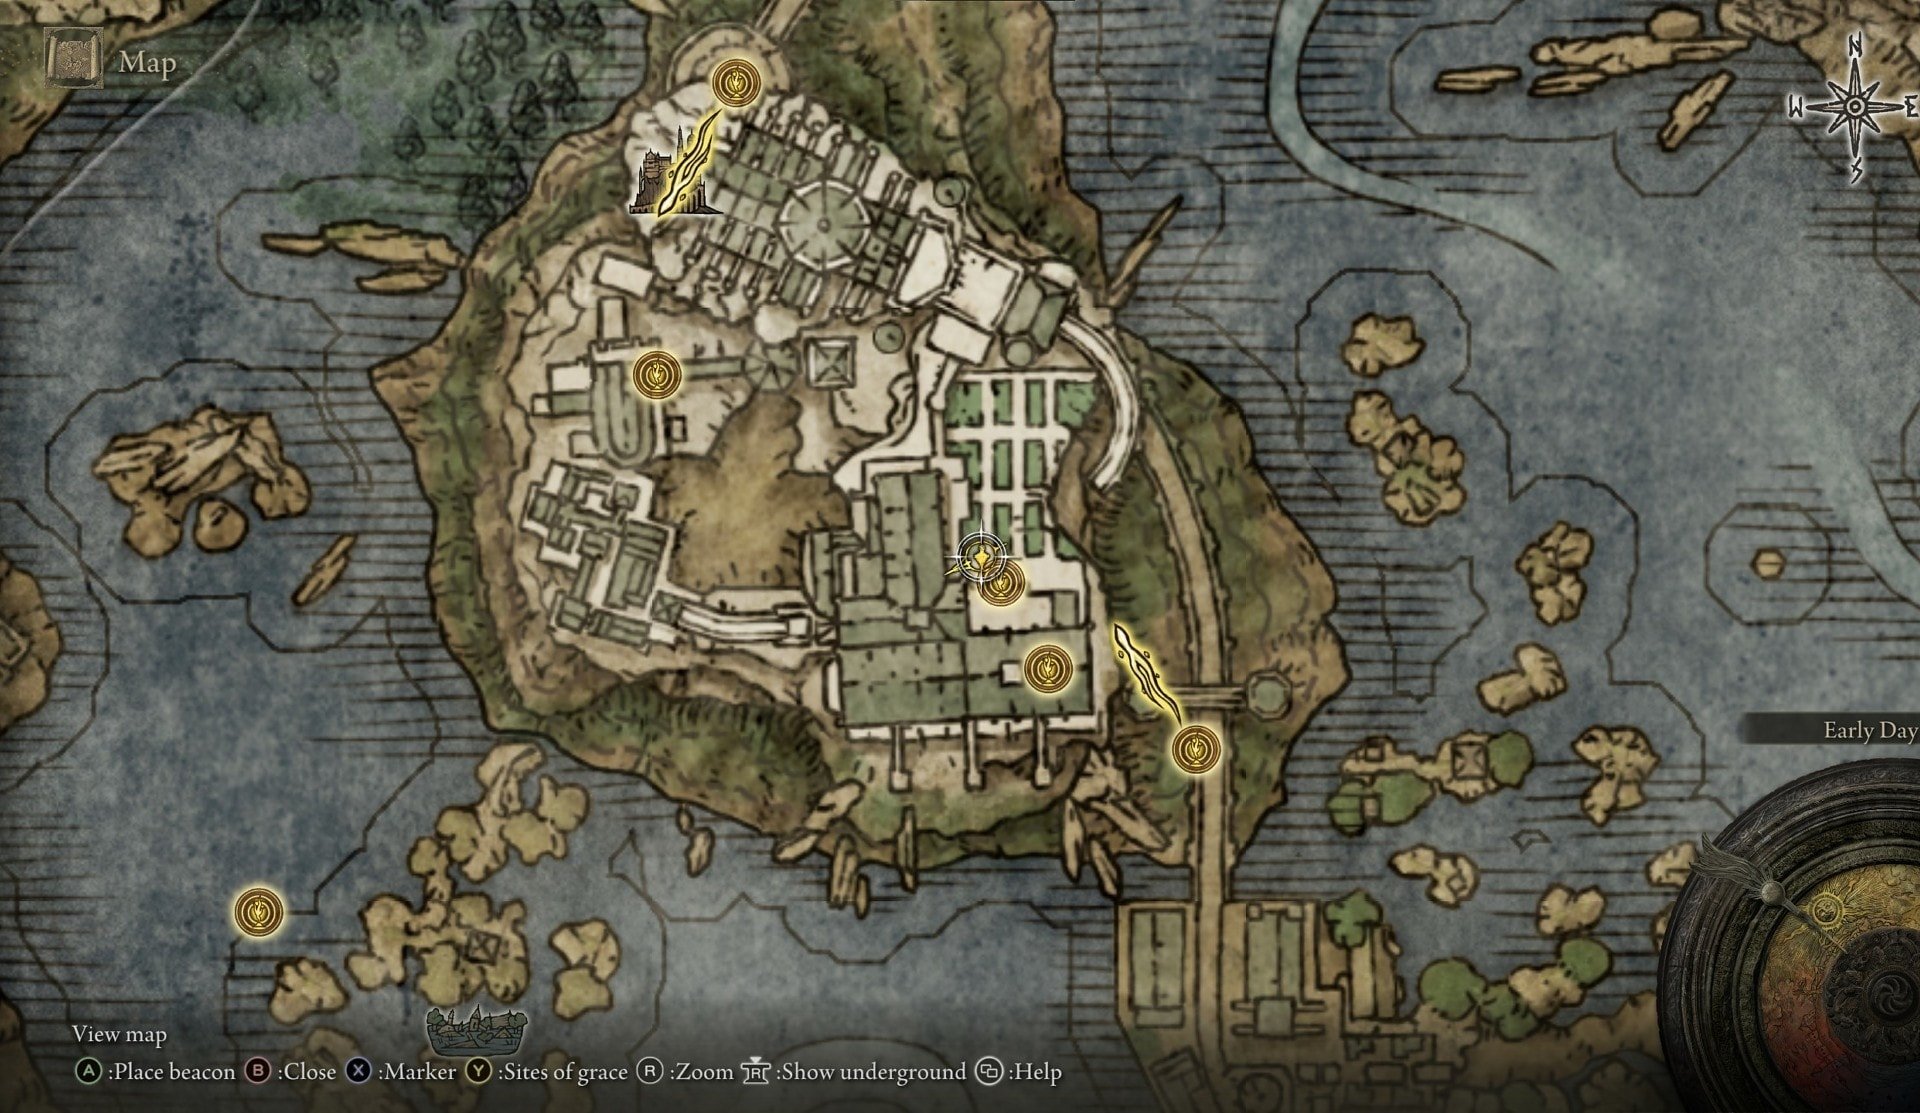
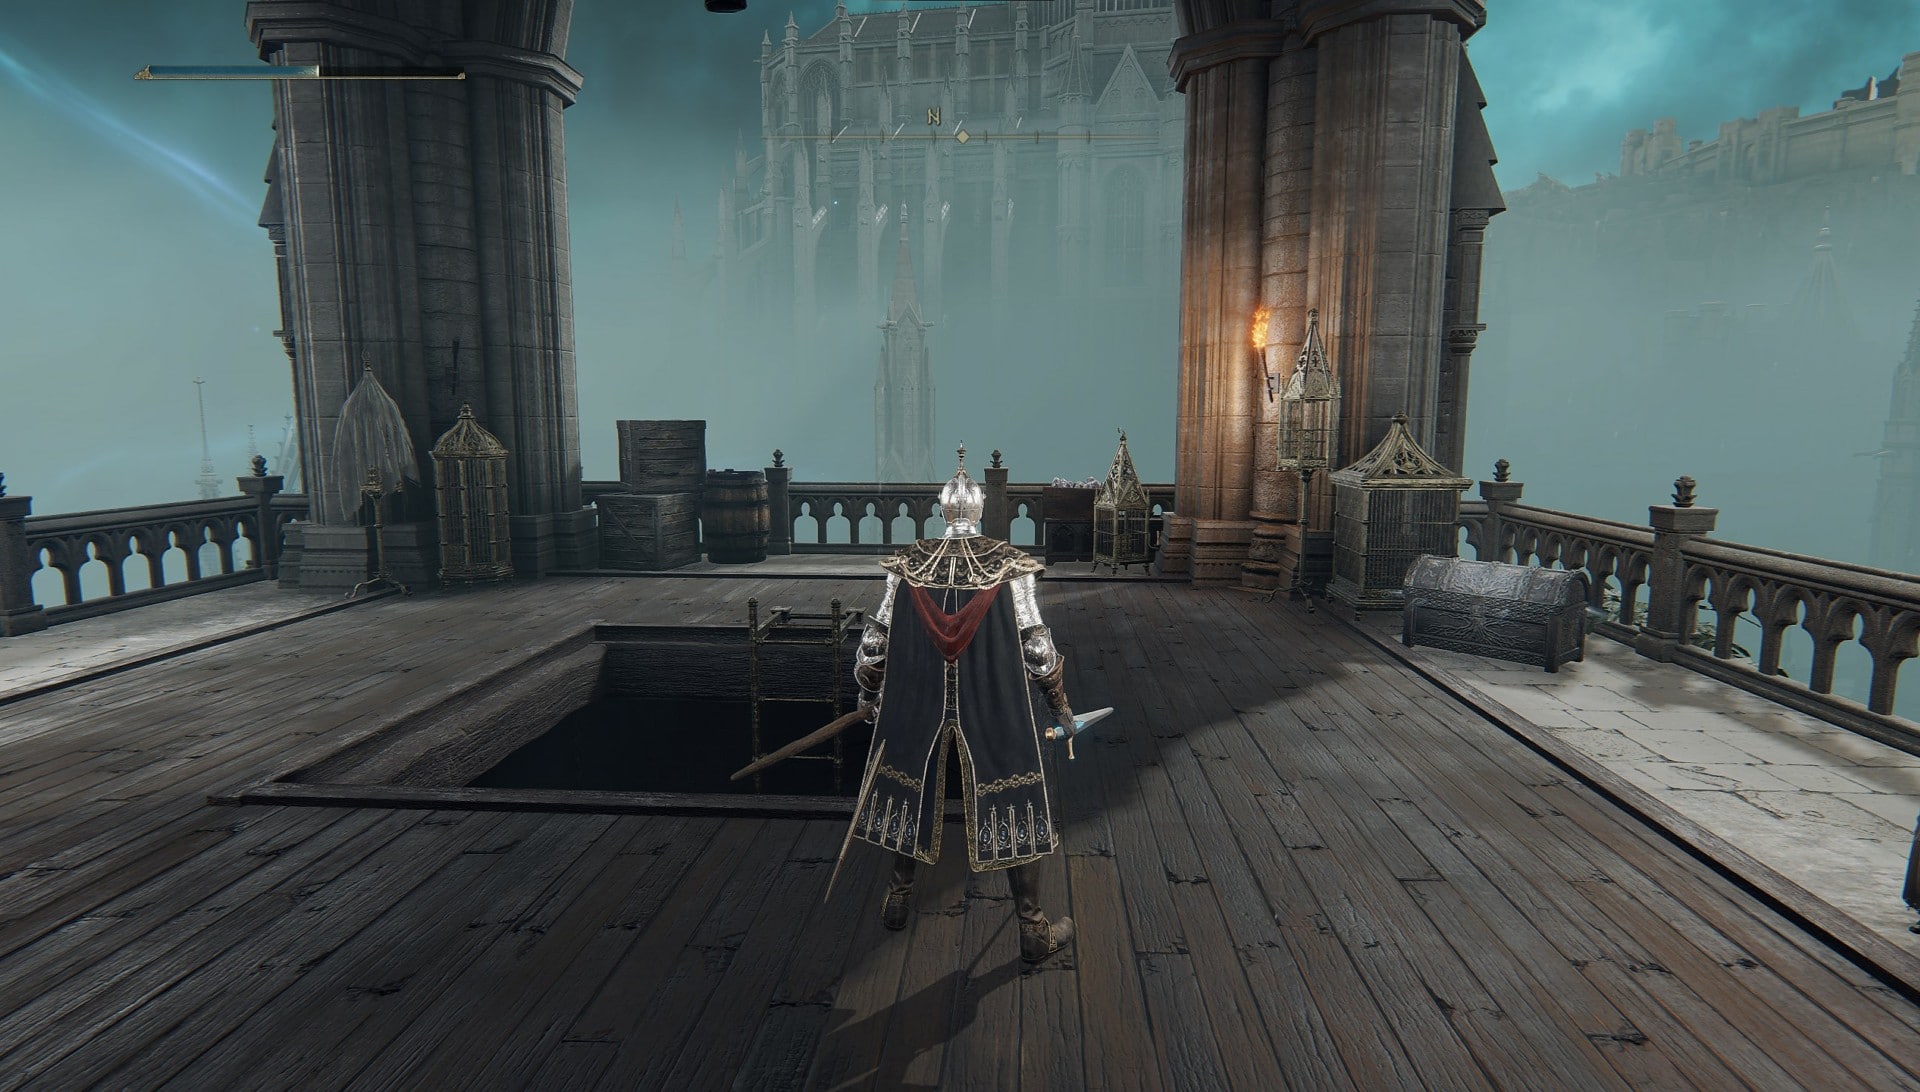
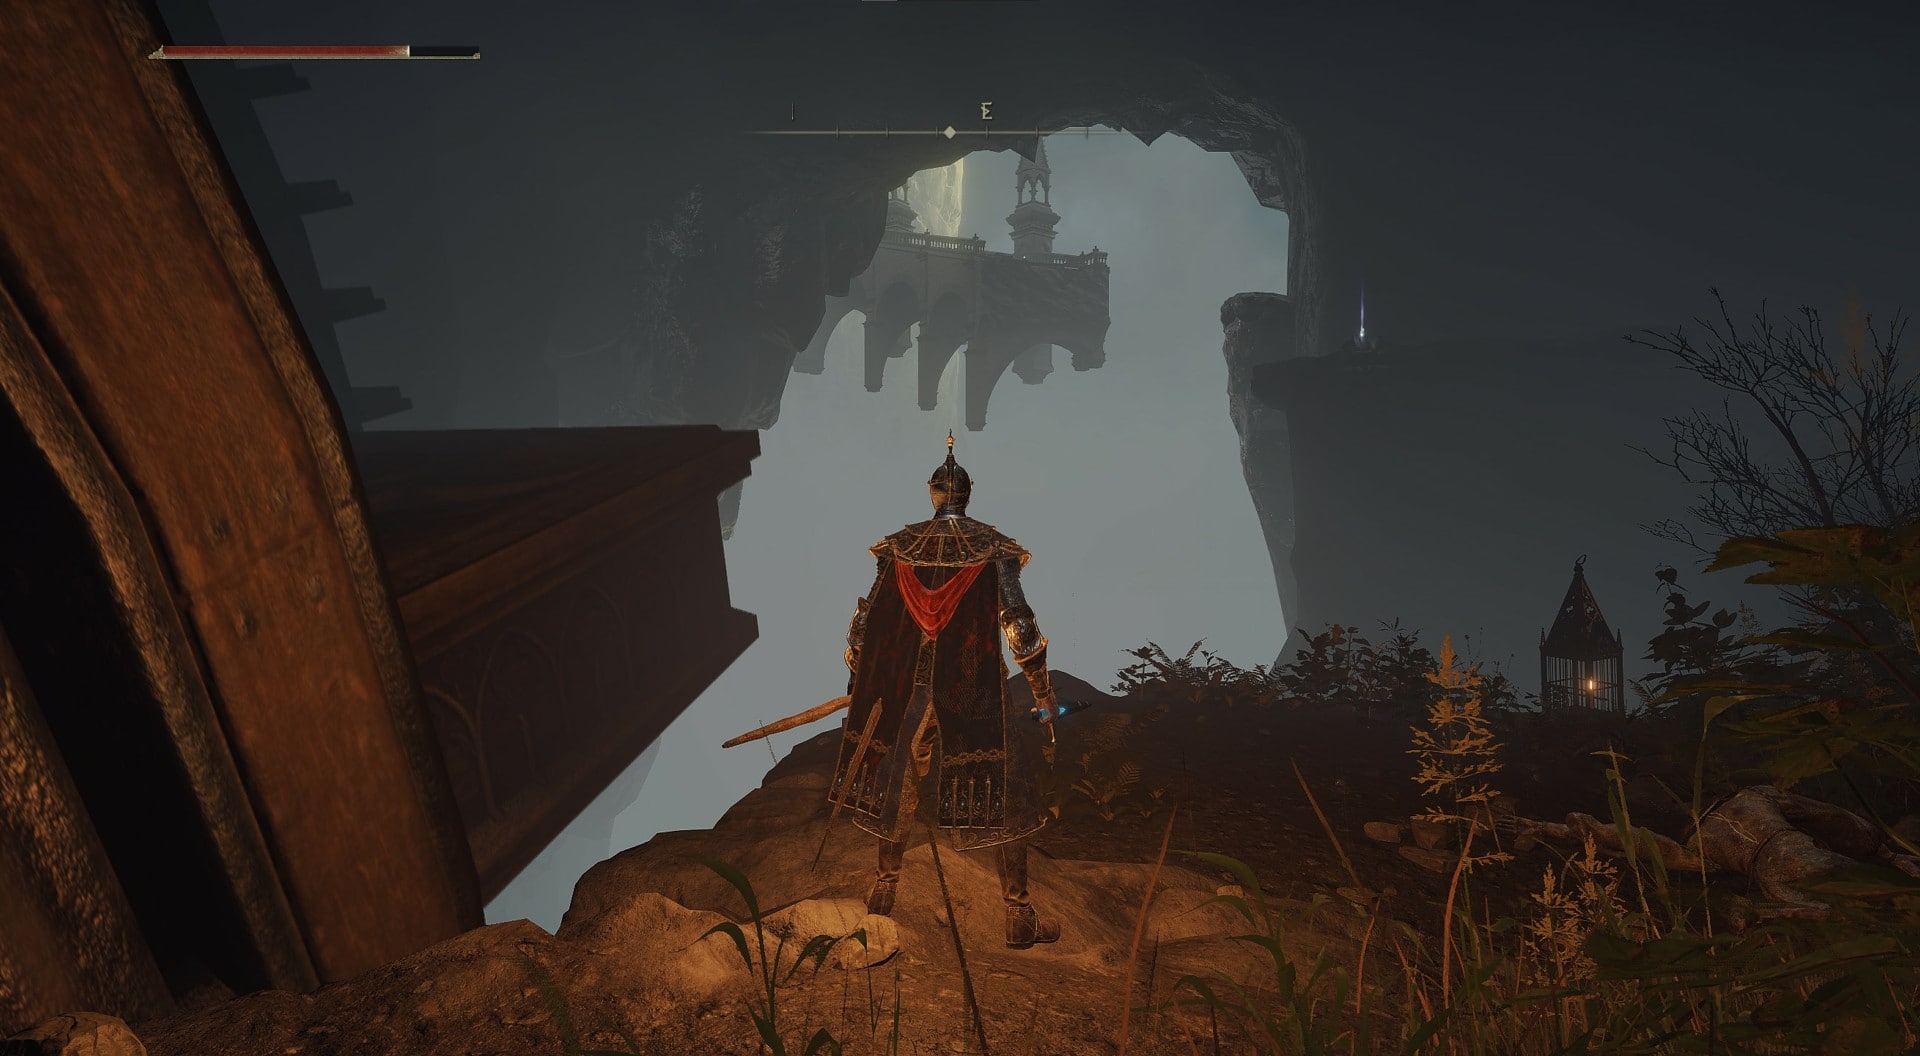
Now that you’ve hopped down, there’s a fork in the figurative road. If you go to the right, you’ll keep dropping down roofs towards the Church of Cuckoo, which is where we want to go. If you go to the left, you’ll have to take a huge leap across to another building where you can get one of the Glintstone Crowns and the Full Moon Crossbow. For now, go to the right.
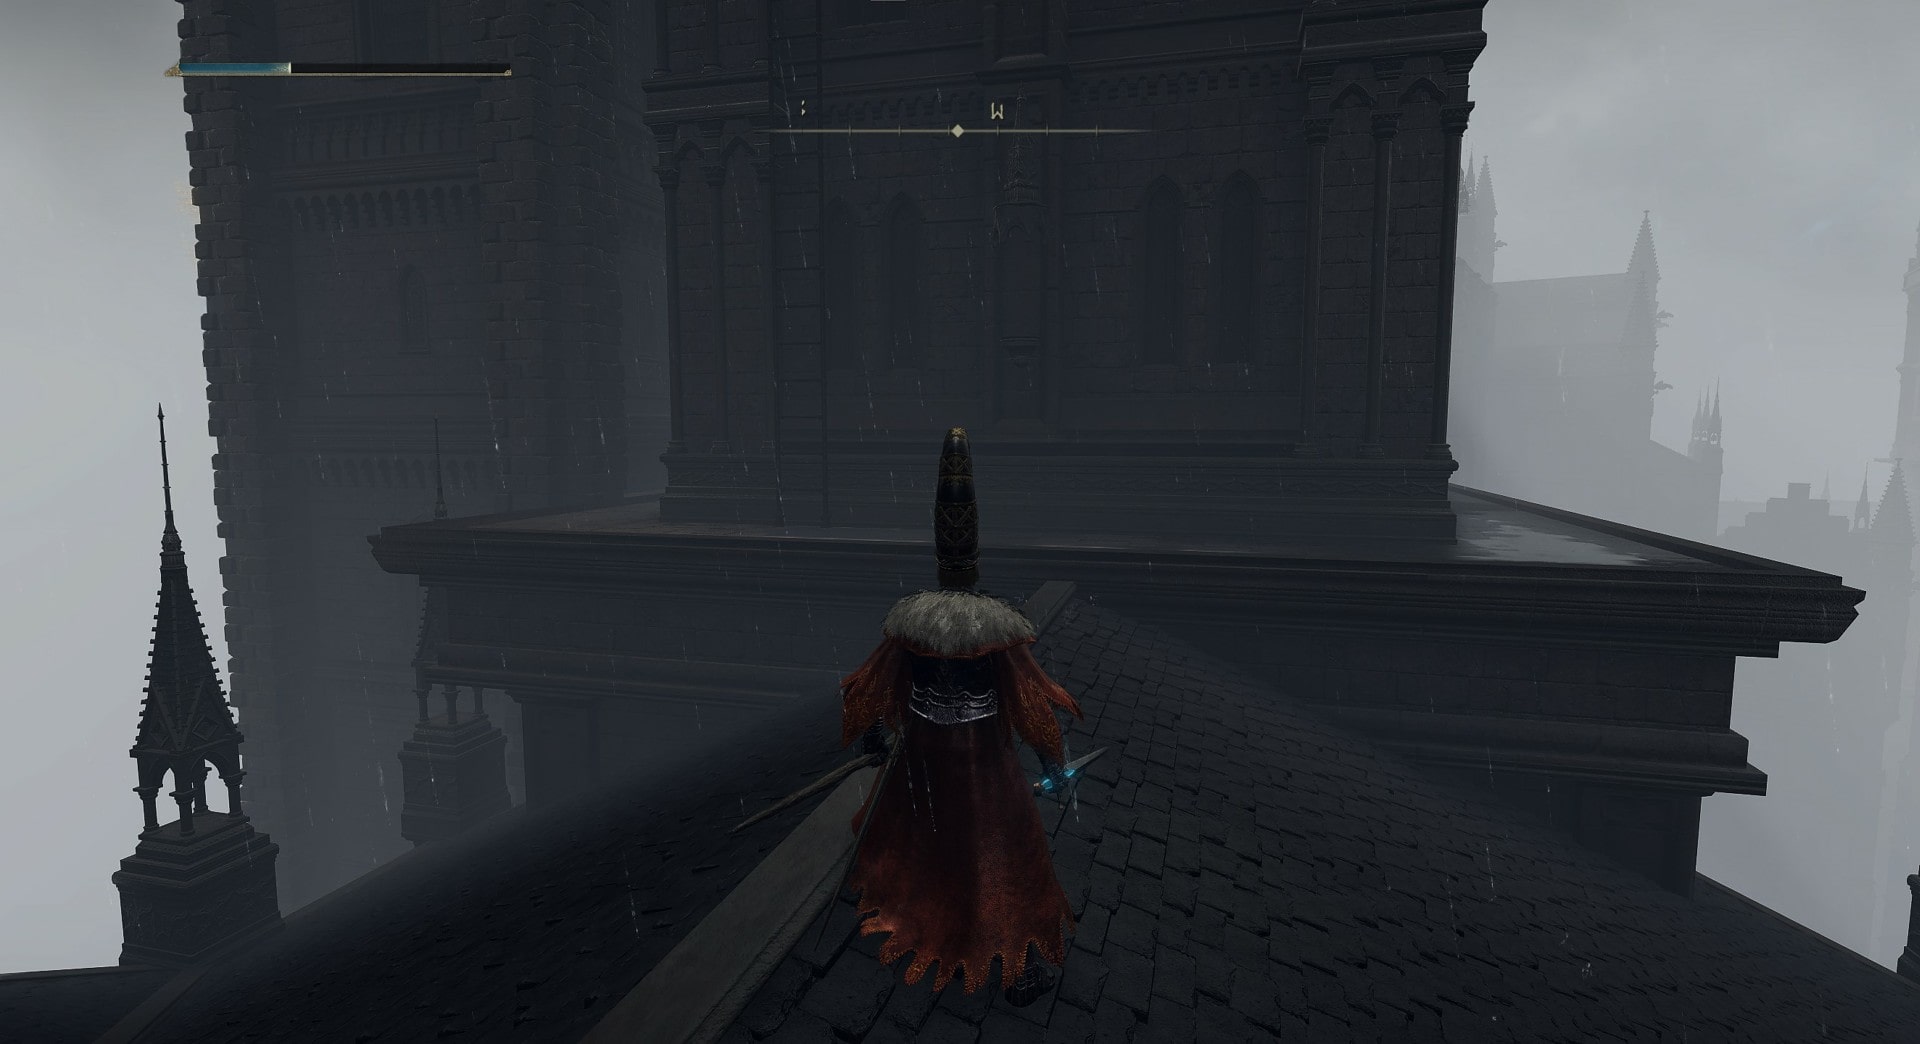
Keep dropping down until you reach the Marionette Soldiers, defeat them and then drop down to either the right or left. Both sides wrap around to the same location. You can pick up an Imbued Sword Key on the right. Keep going to the opposite side of the tower until you reach a ladder.

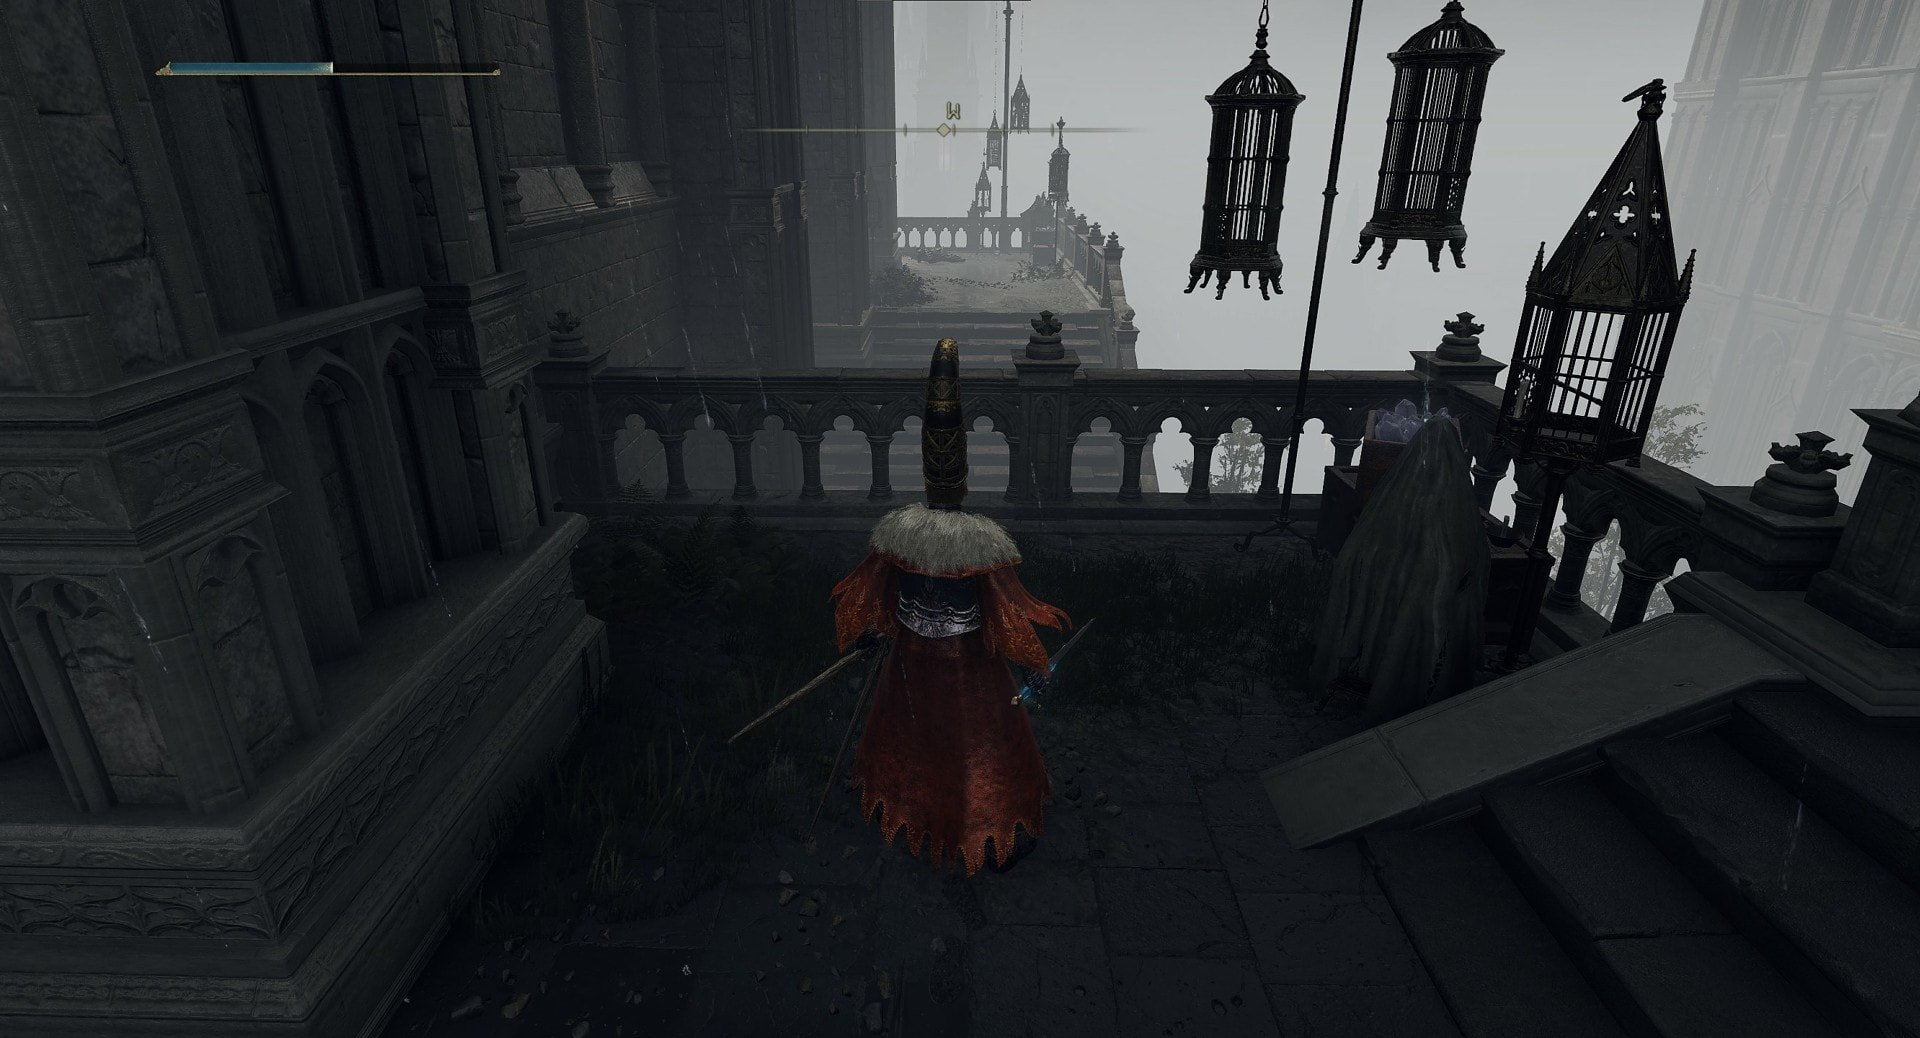
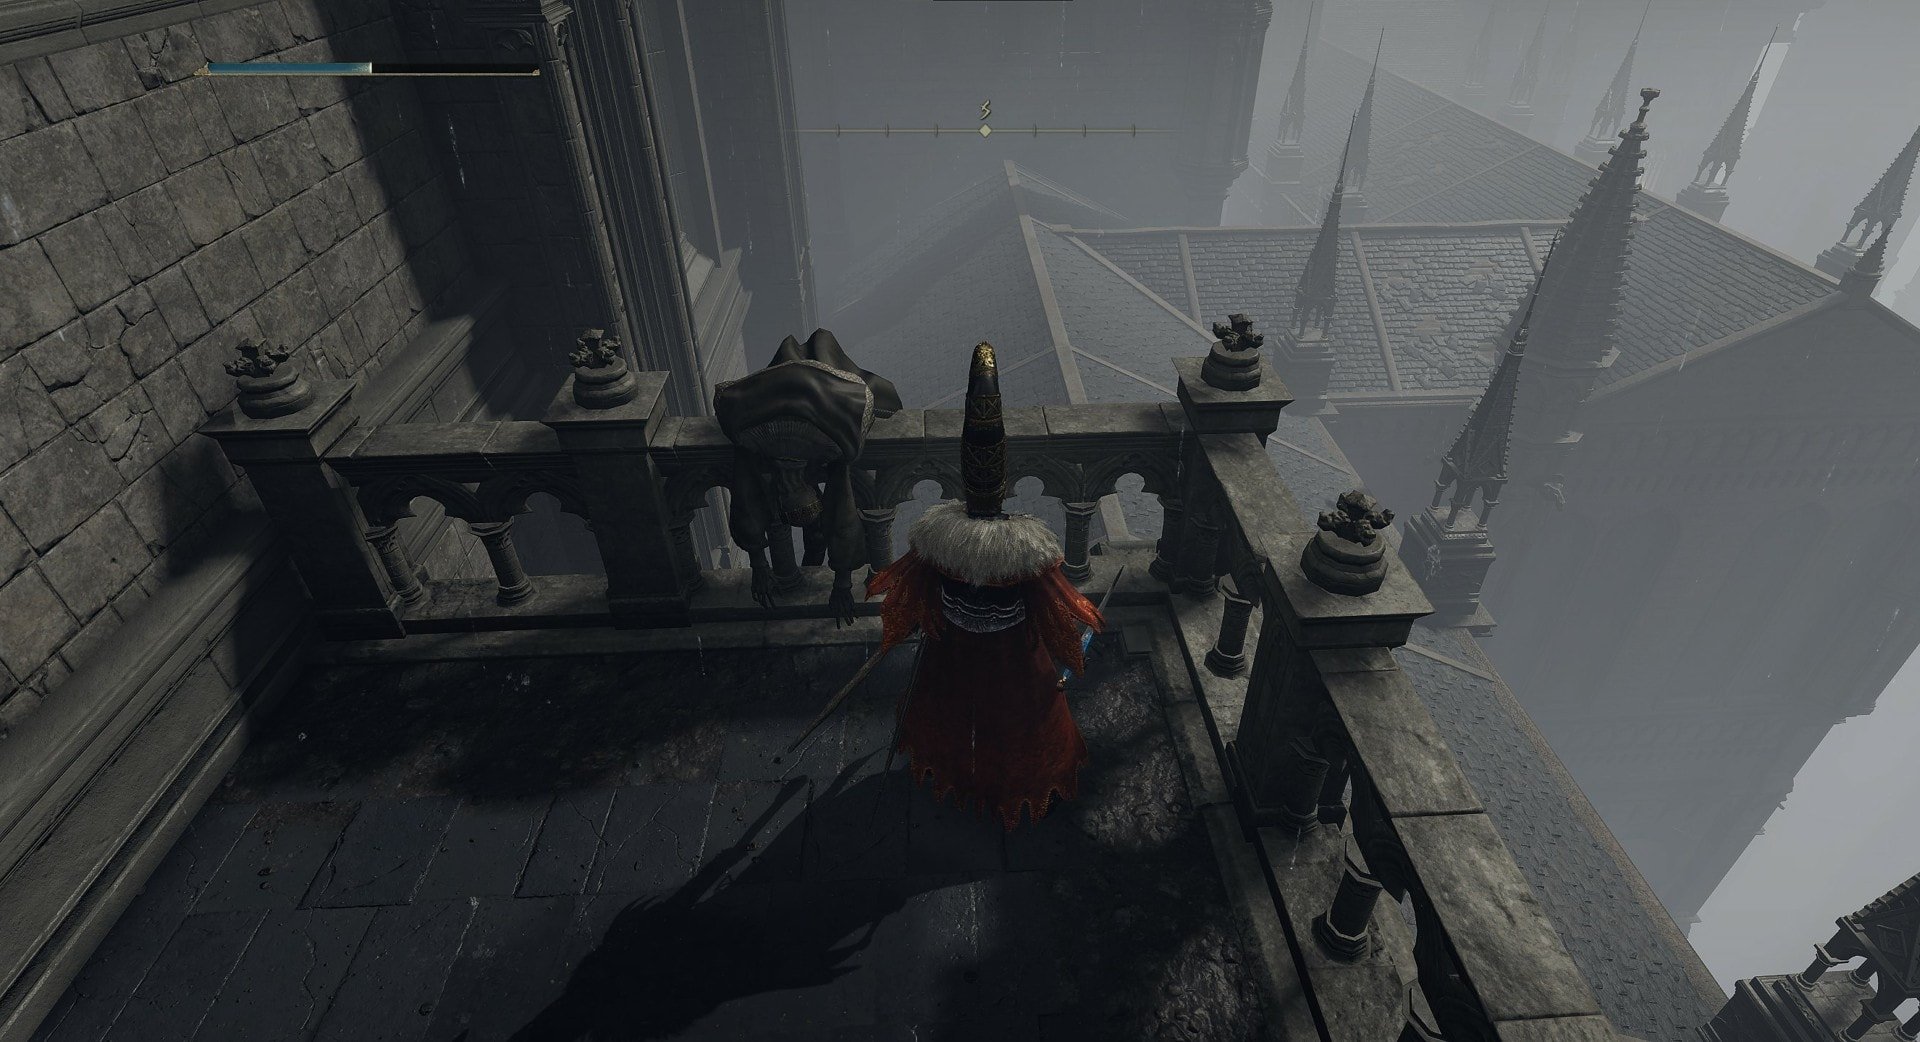
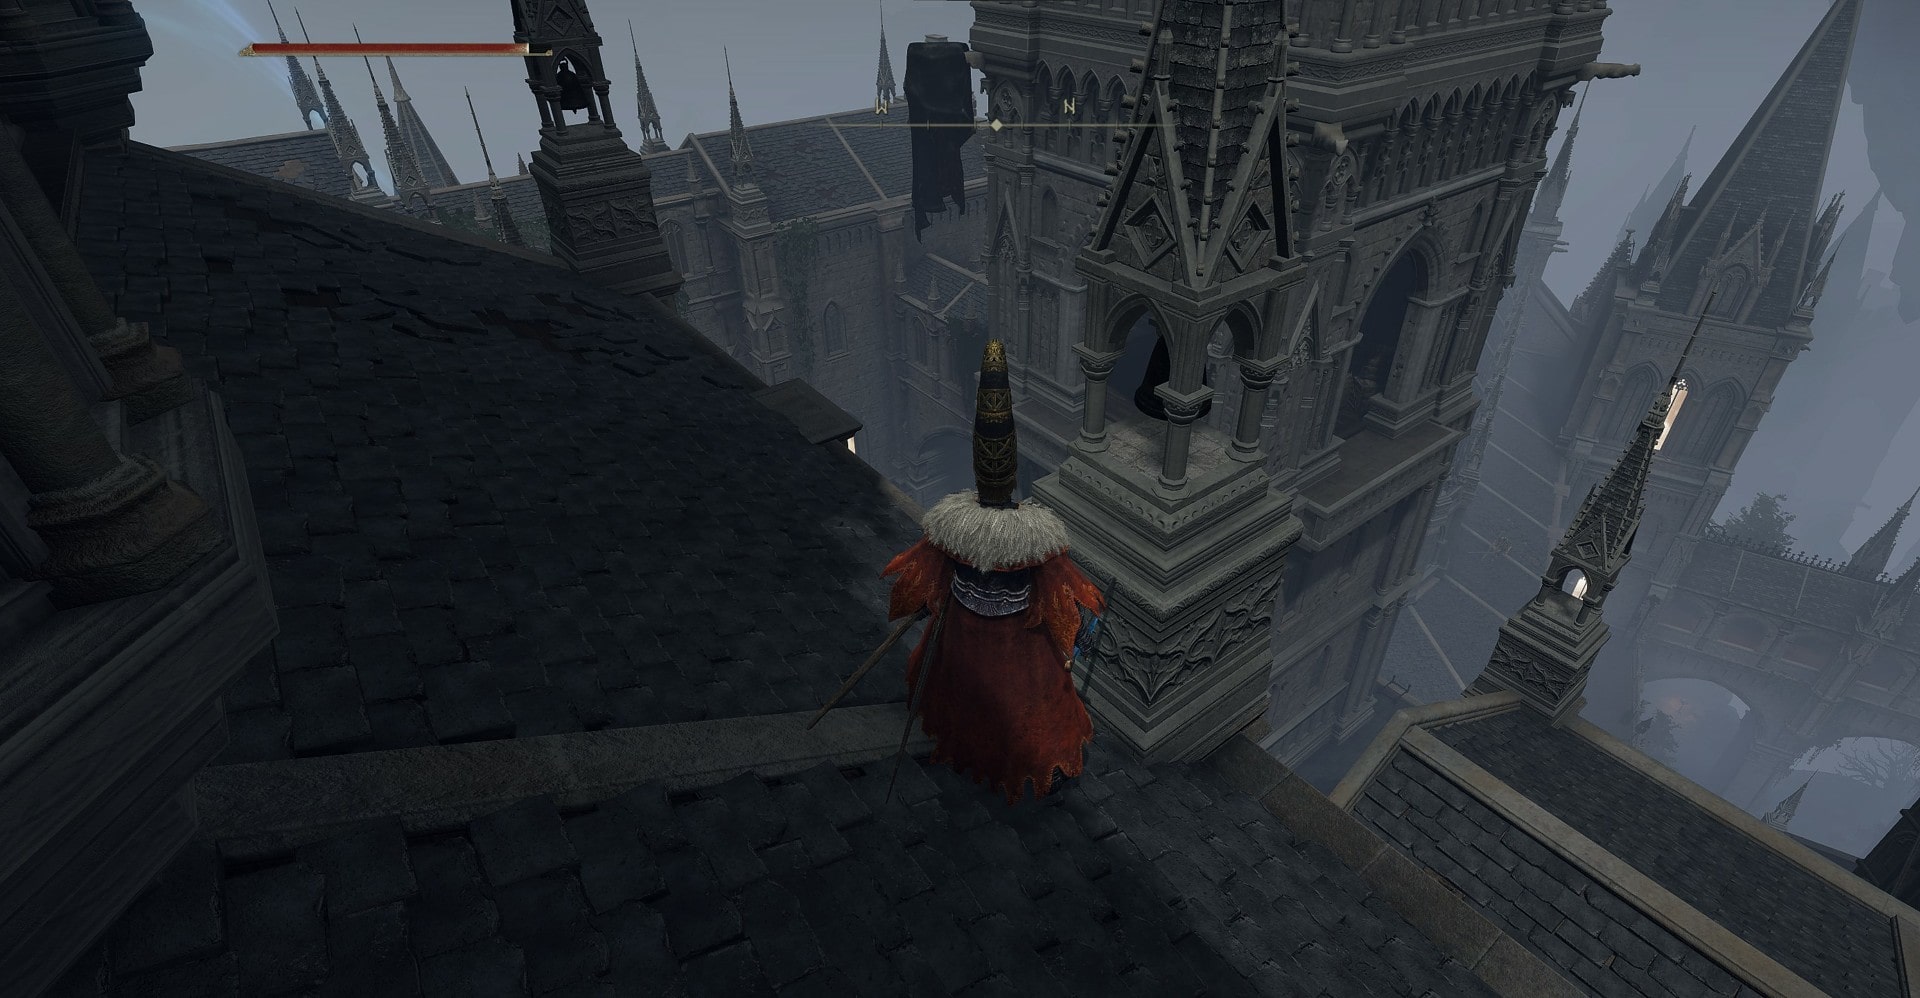
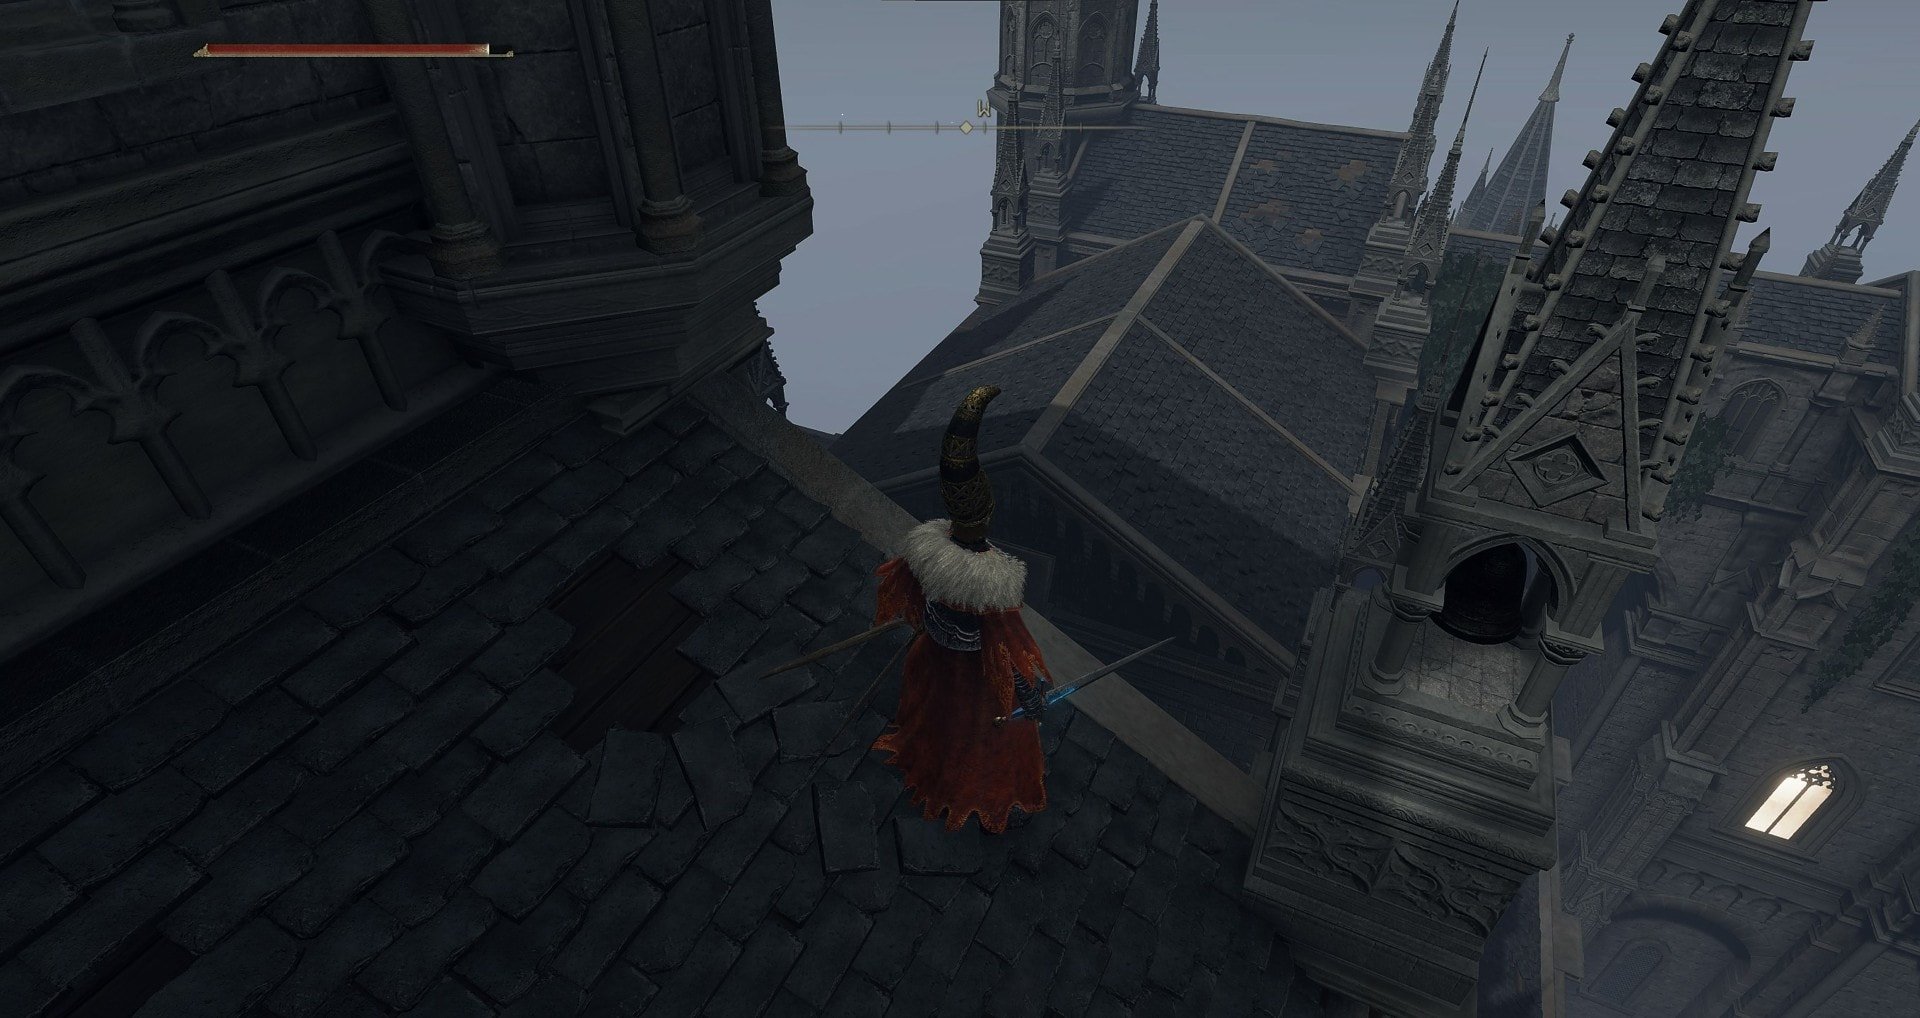
Ignore the ladder for now and leap across to the roof of the Church of Cuckoo. Hop in through one of the open windows onto a support beam.
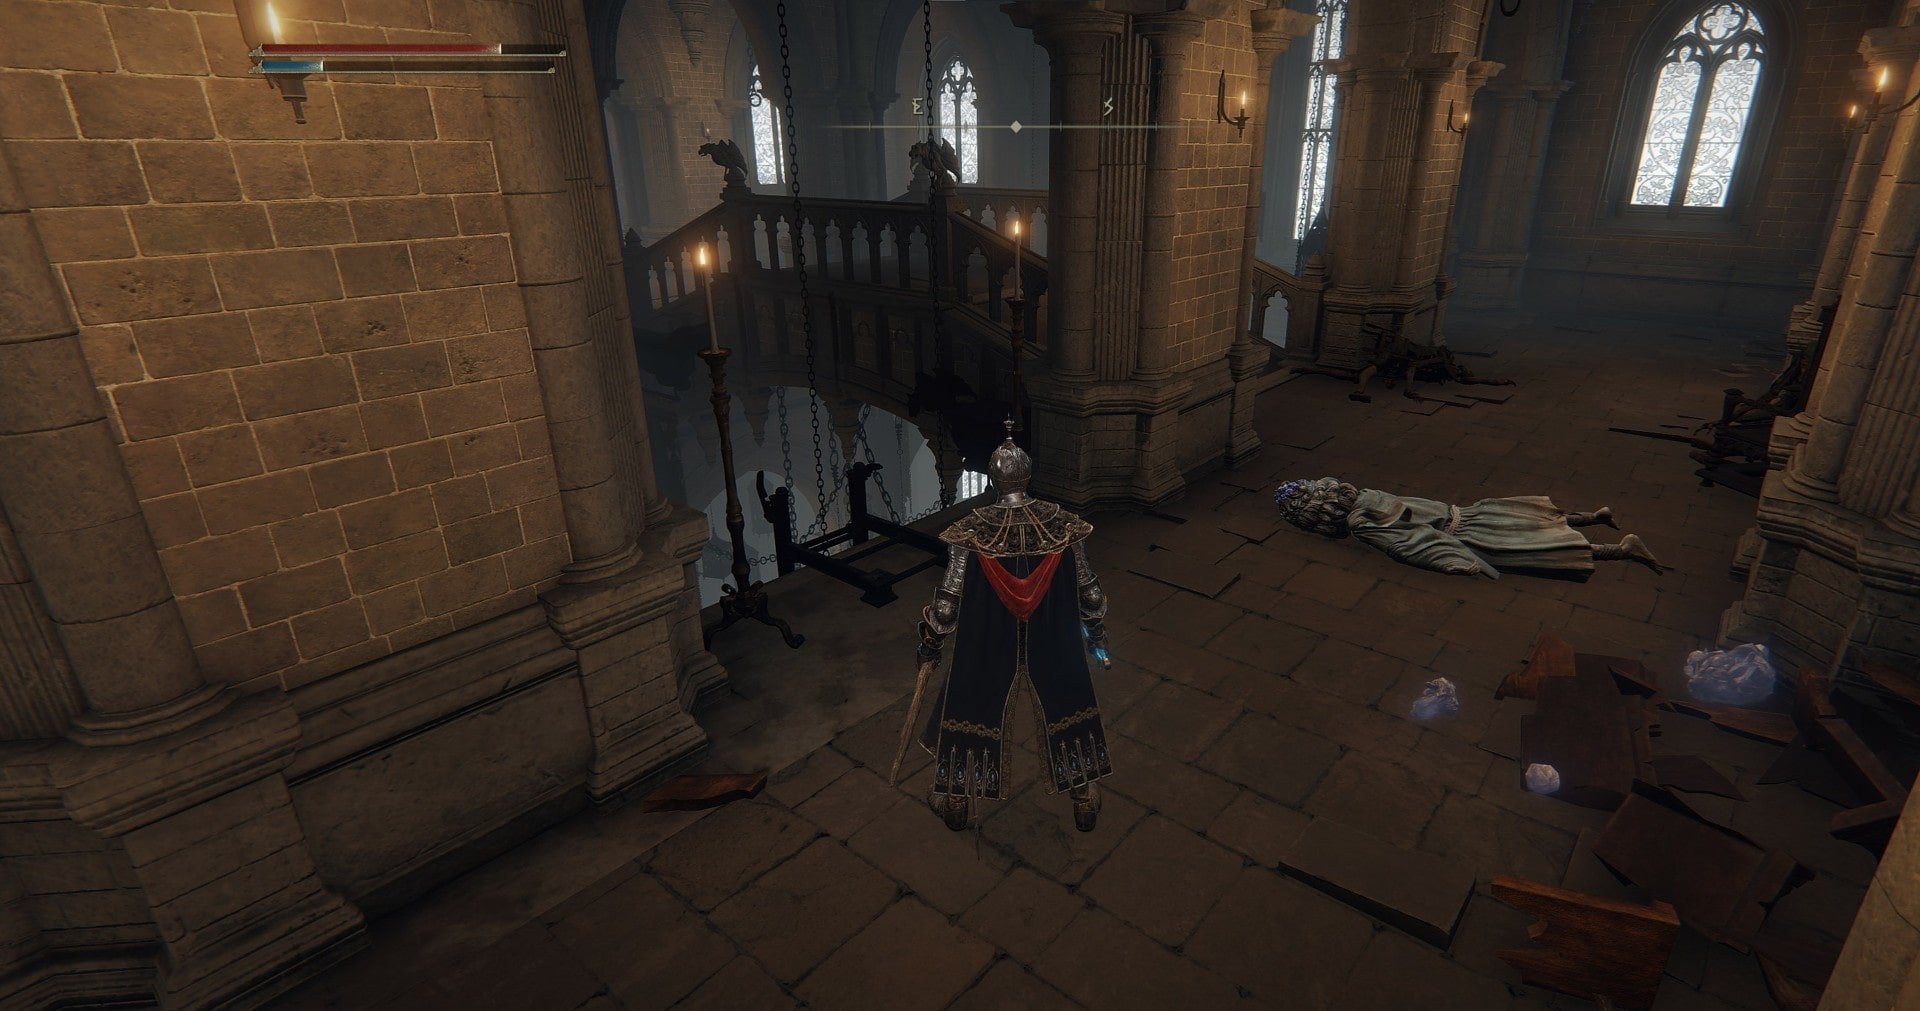
The Academy Glintstone Key is located on one of the chandeliers. Drop down and get it, then drop down onto the nearby bridge.
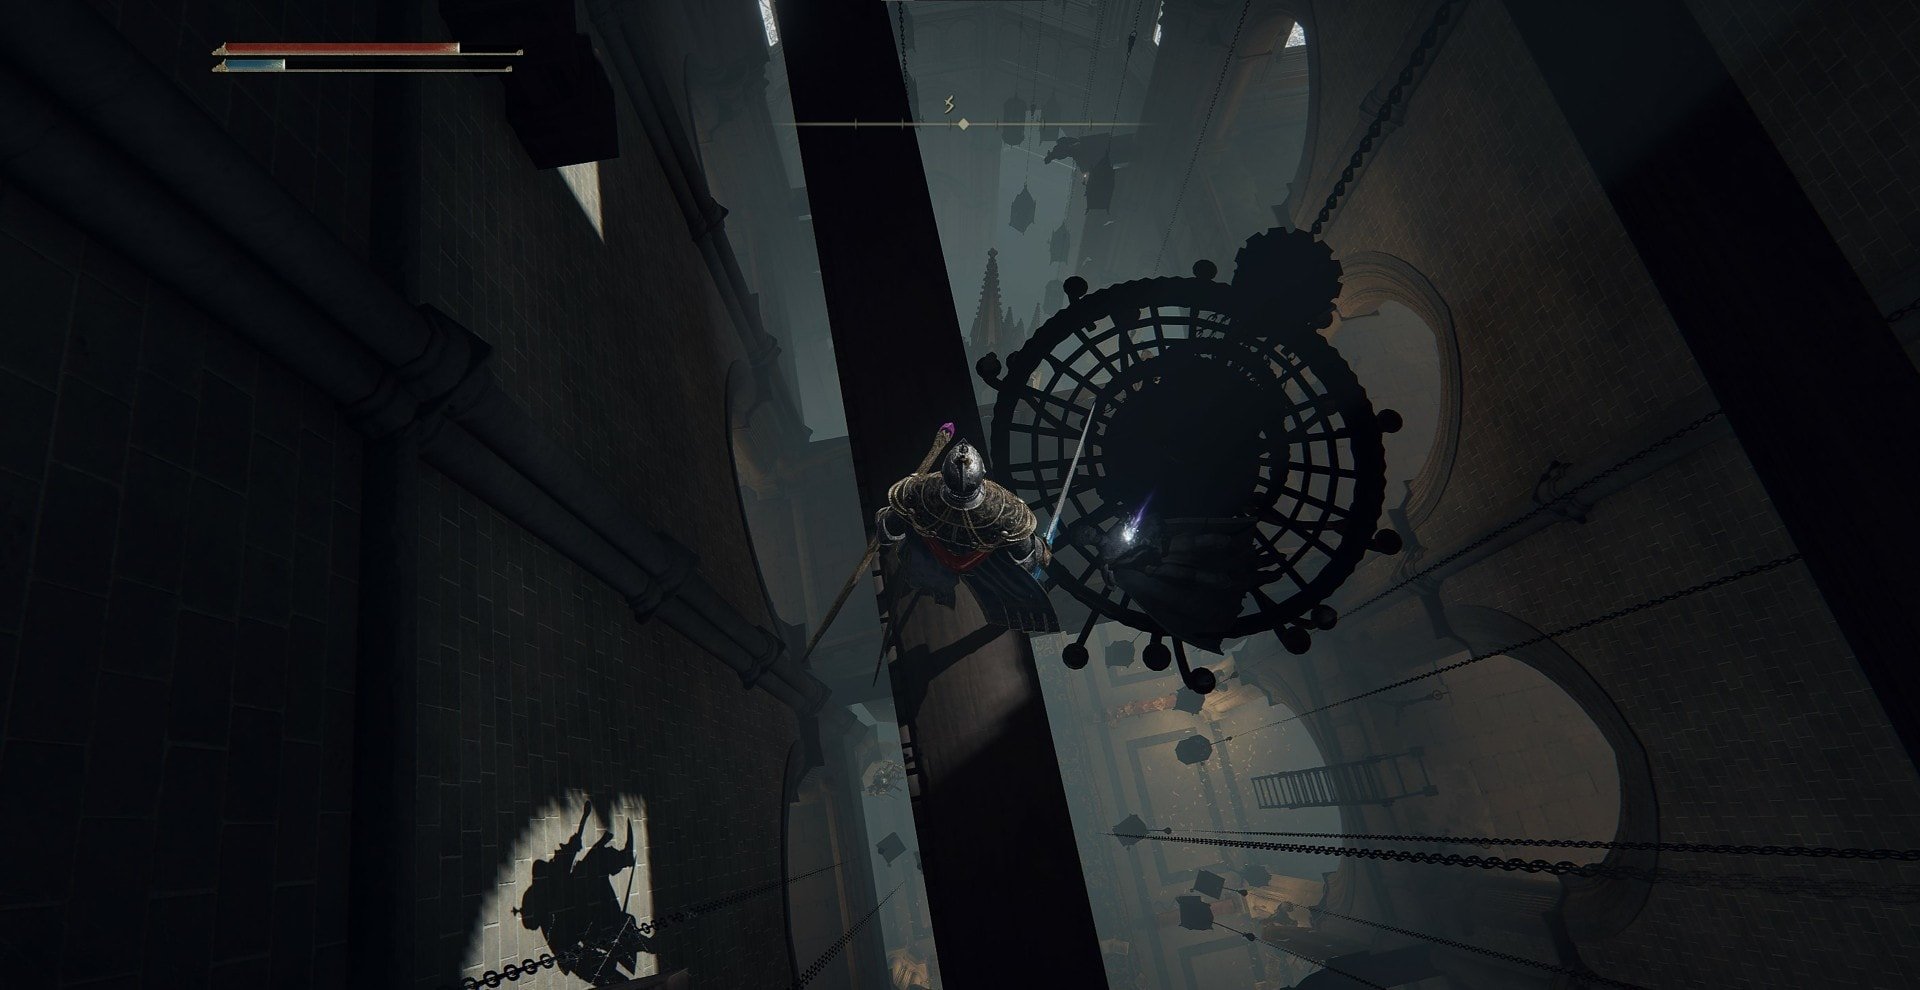
Don’t forget to kick down the ladder so that you can return this way quickly. You will need to defeat several sorcerers.
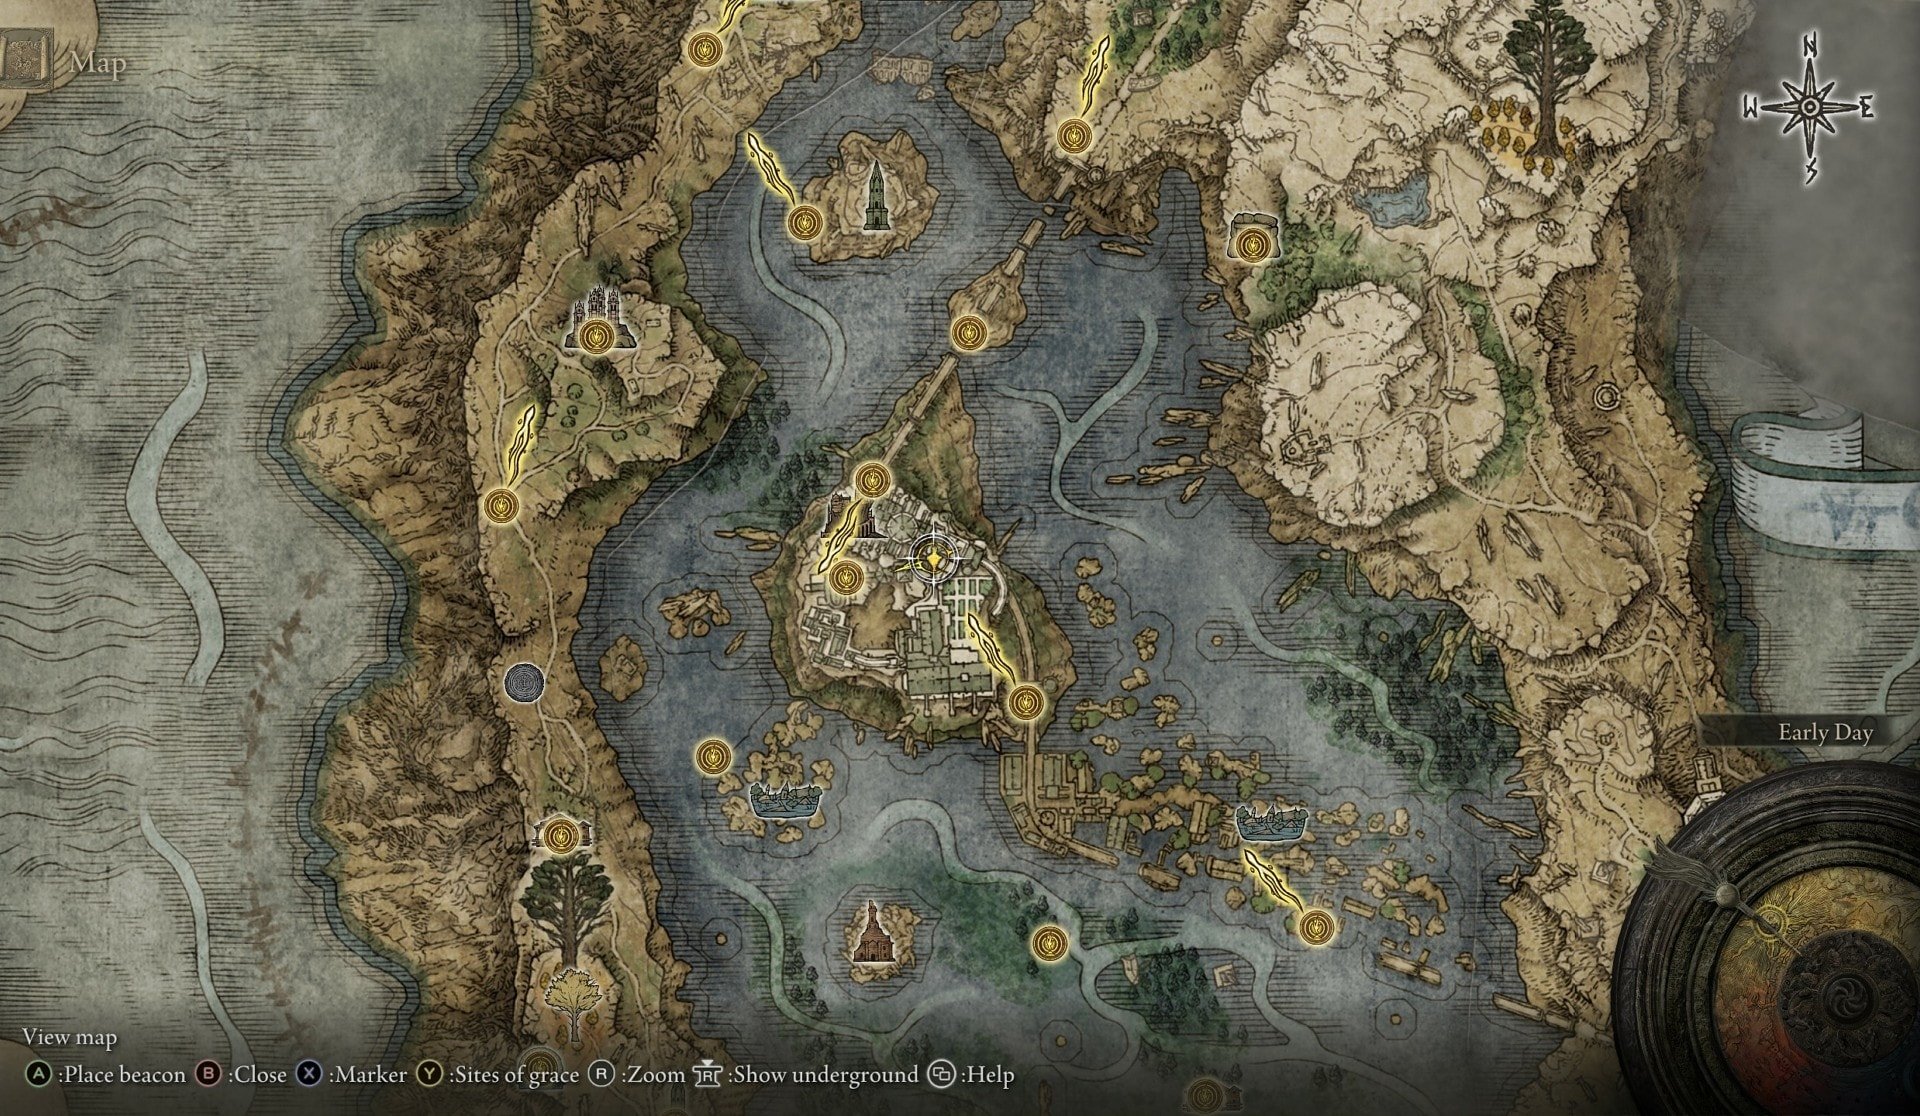
Now return to Thops at the Church of Irith at the beginning of Liurnia right behind Stormveil Castle. The closest Fast Travel point is Lake-Facing Cliffs.
Give the Academy Glintstone Key to Thops. He’ll give you the Erudite emote and tell you he’s going to the Academy. You can deactivate some blue magic seals by standing in front of them and using the Erudite emote while you are wearing one of the (stone) Glintstone Crowns found at the Academy.
When you return to the Academy of Raya Lucaria, you’ll find Thops outside near the vertical conveyor belt lift outside the entrance of Schoolhouse Classroom.
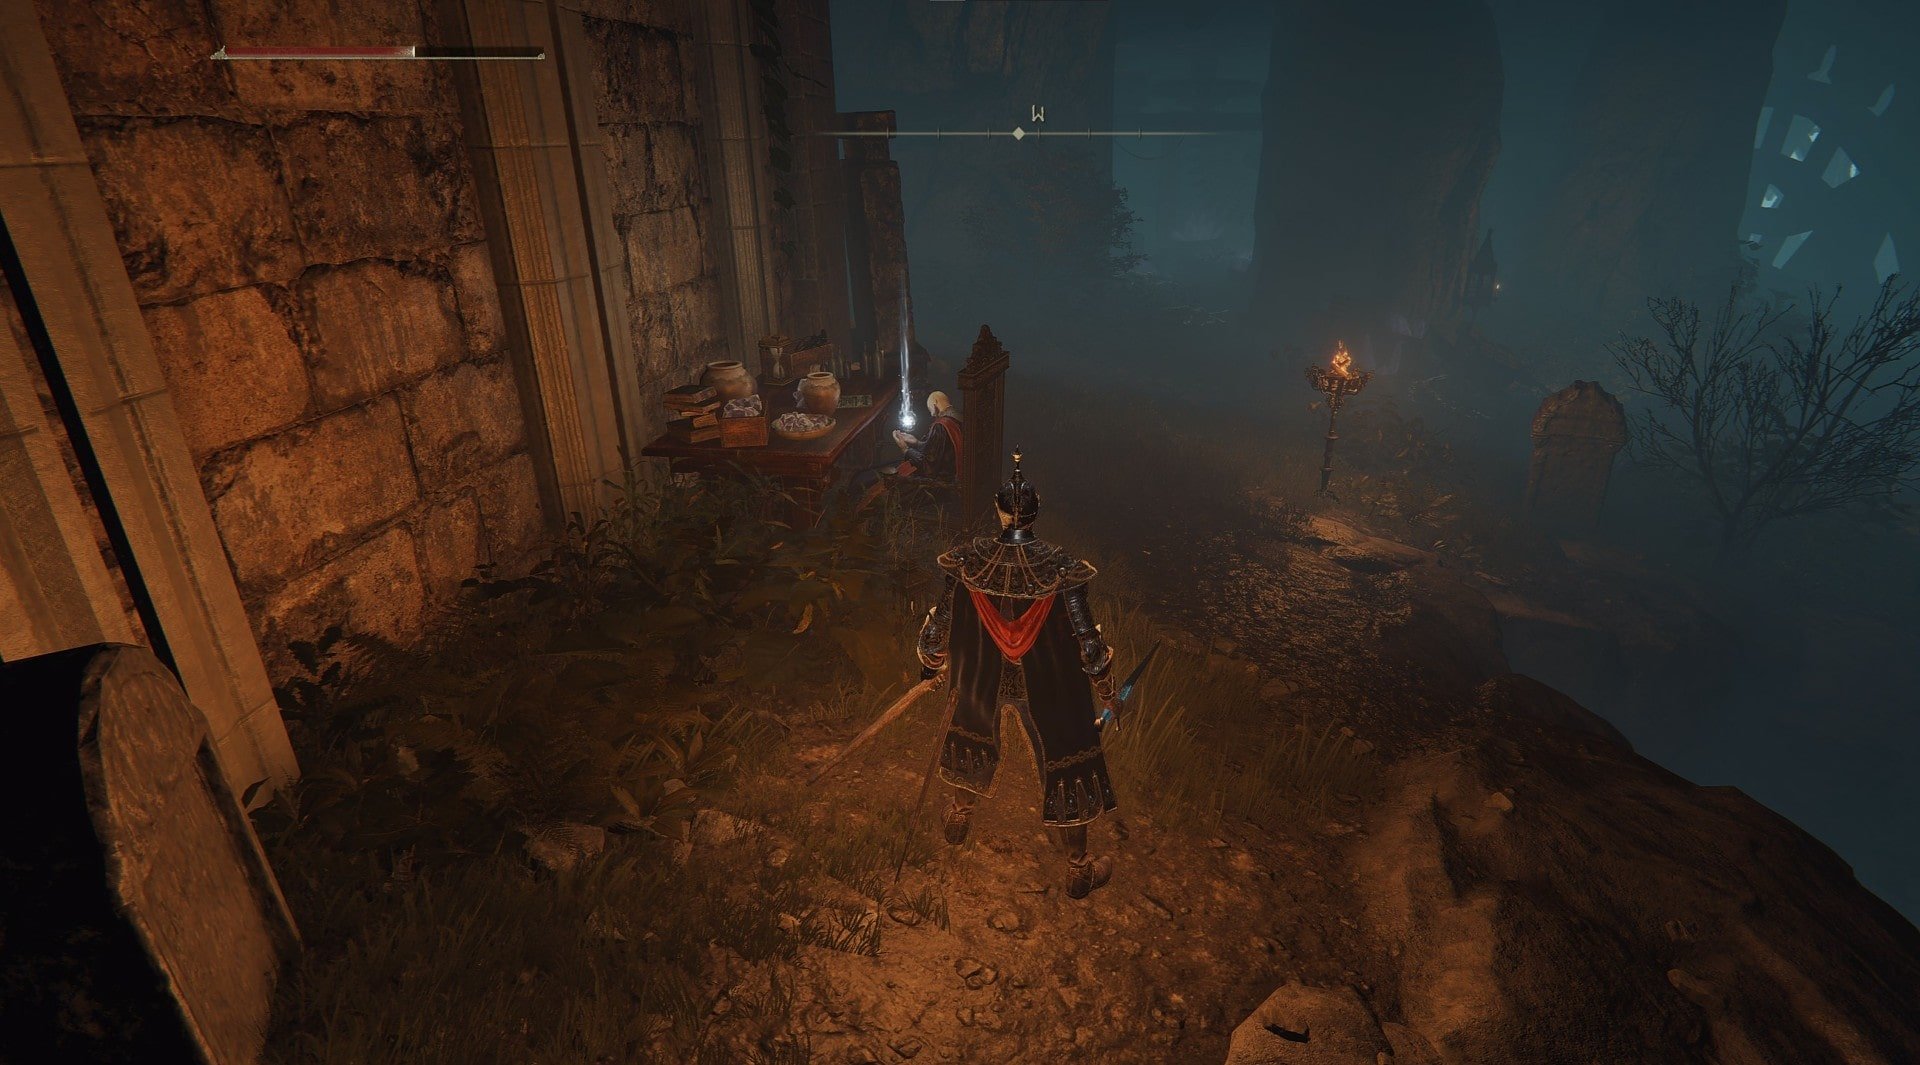
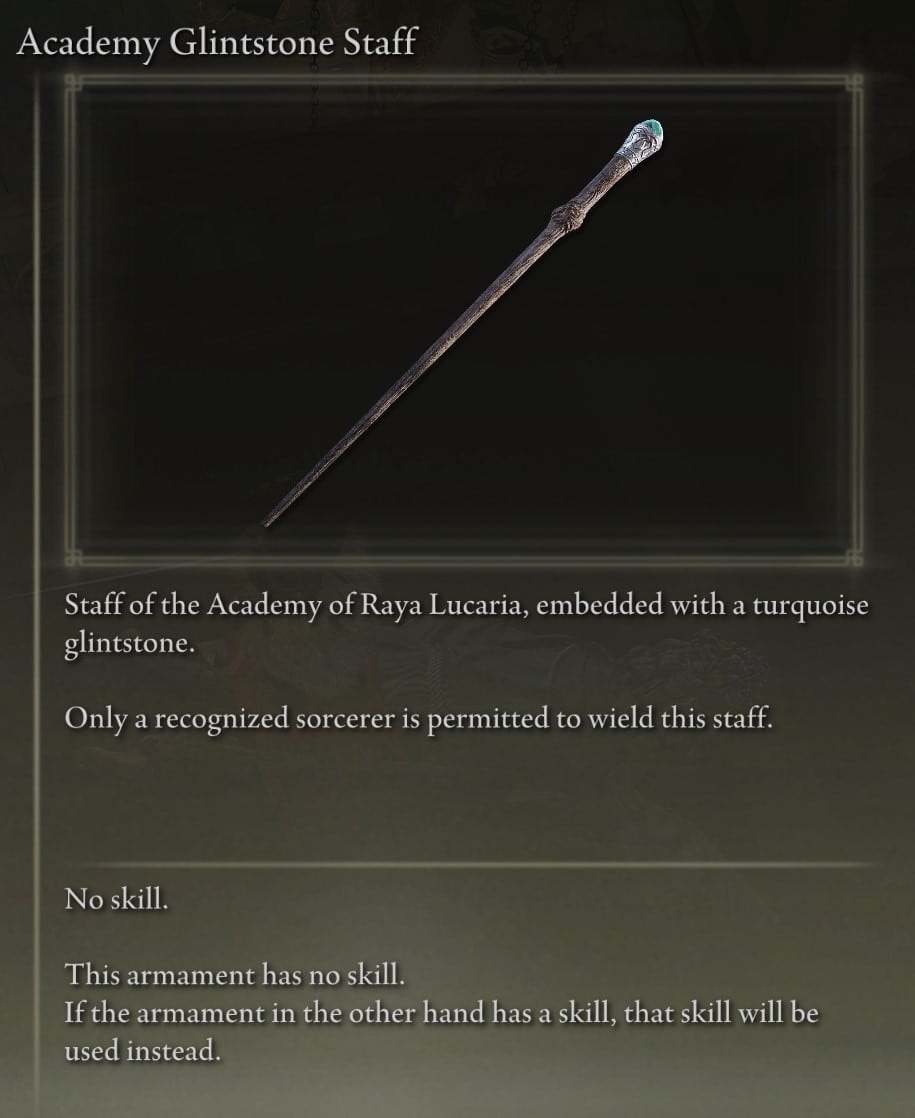
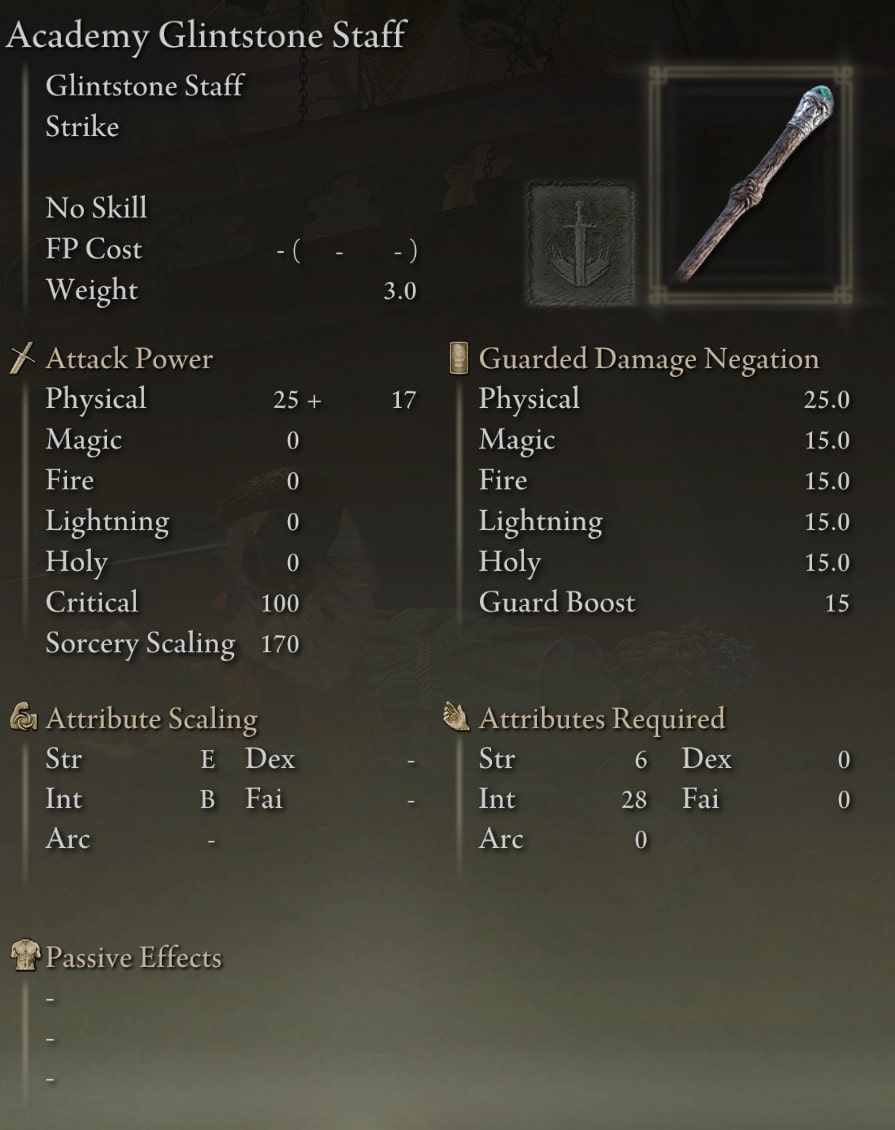
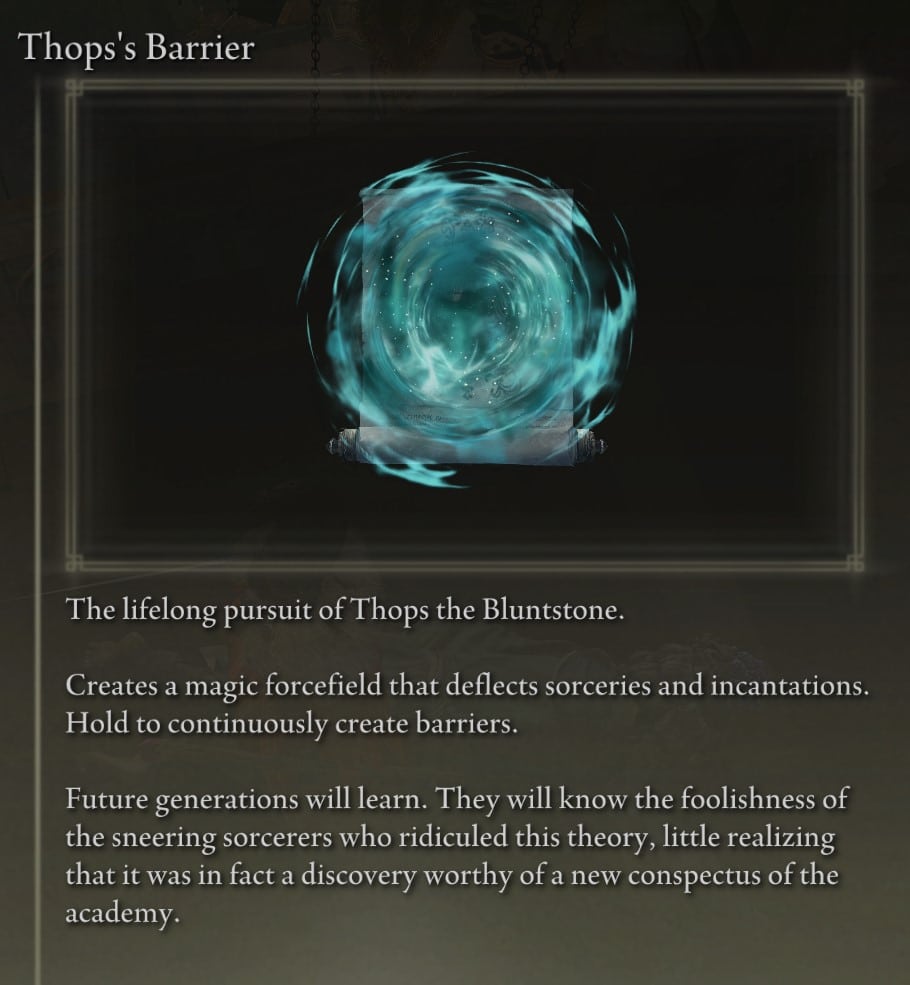
You’ll be given 3 things: Academy Glintstone Staff, Thops’s Barrier, and Thops’s Bell Bearing.
Weapon Locations at the Academy of Raya Lucaria
Inside the Academy of Raya Lucaria you will find and pick up three weapons – a staff, a shield and a crossbow.
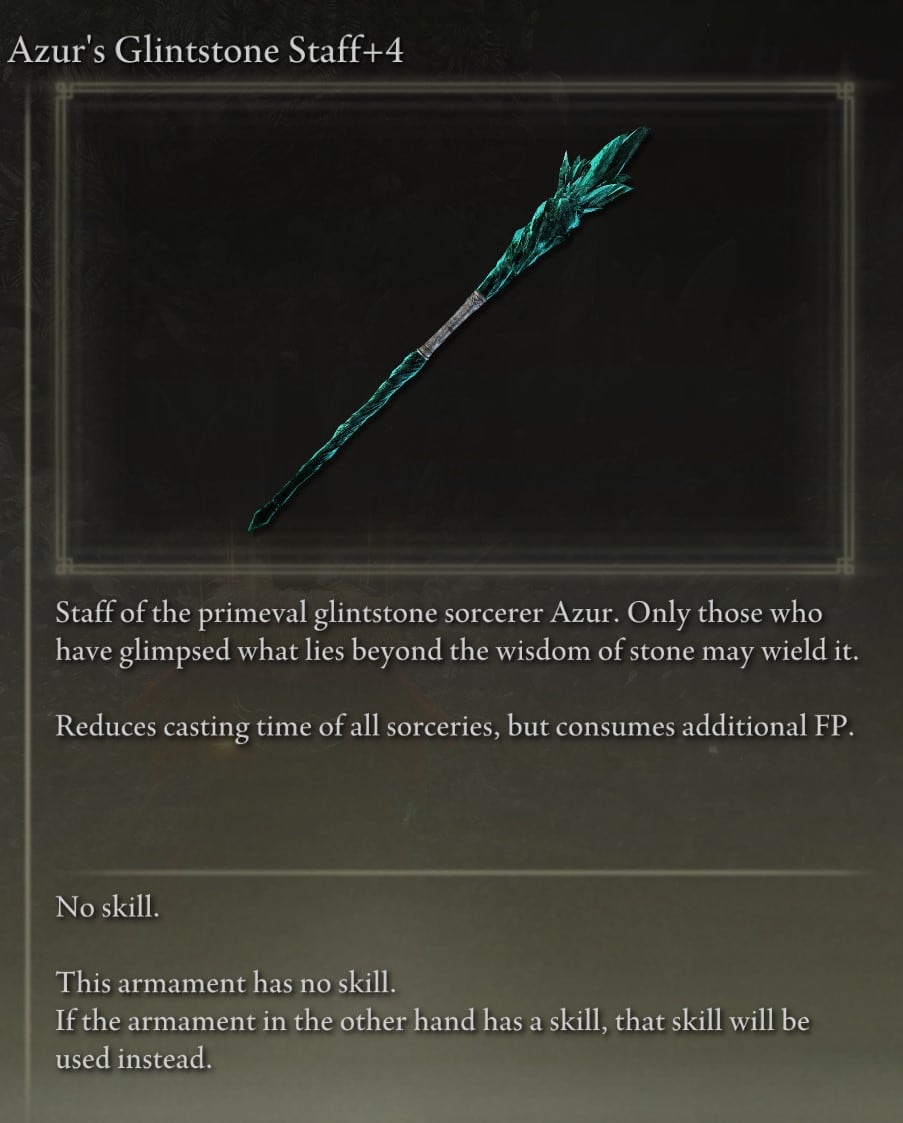
Azur’s Glintstone Staff
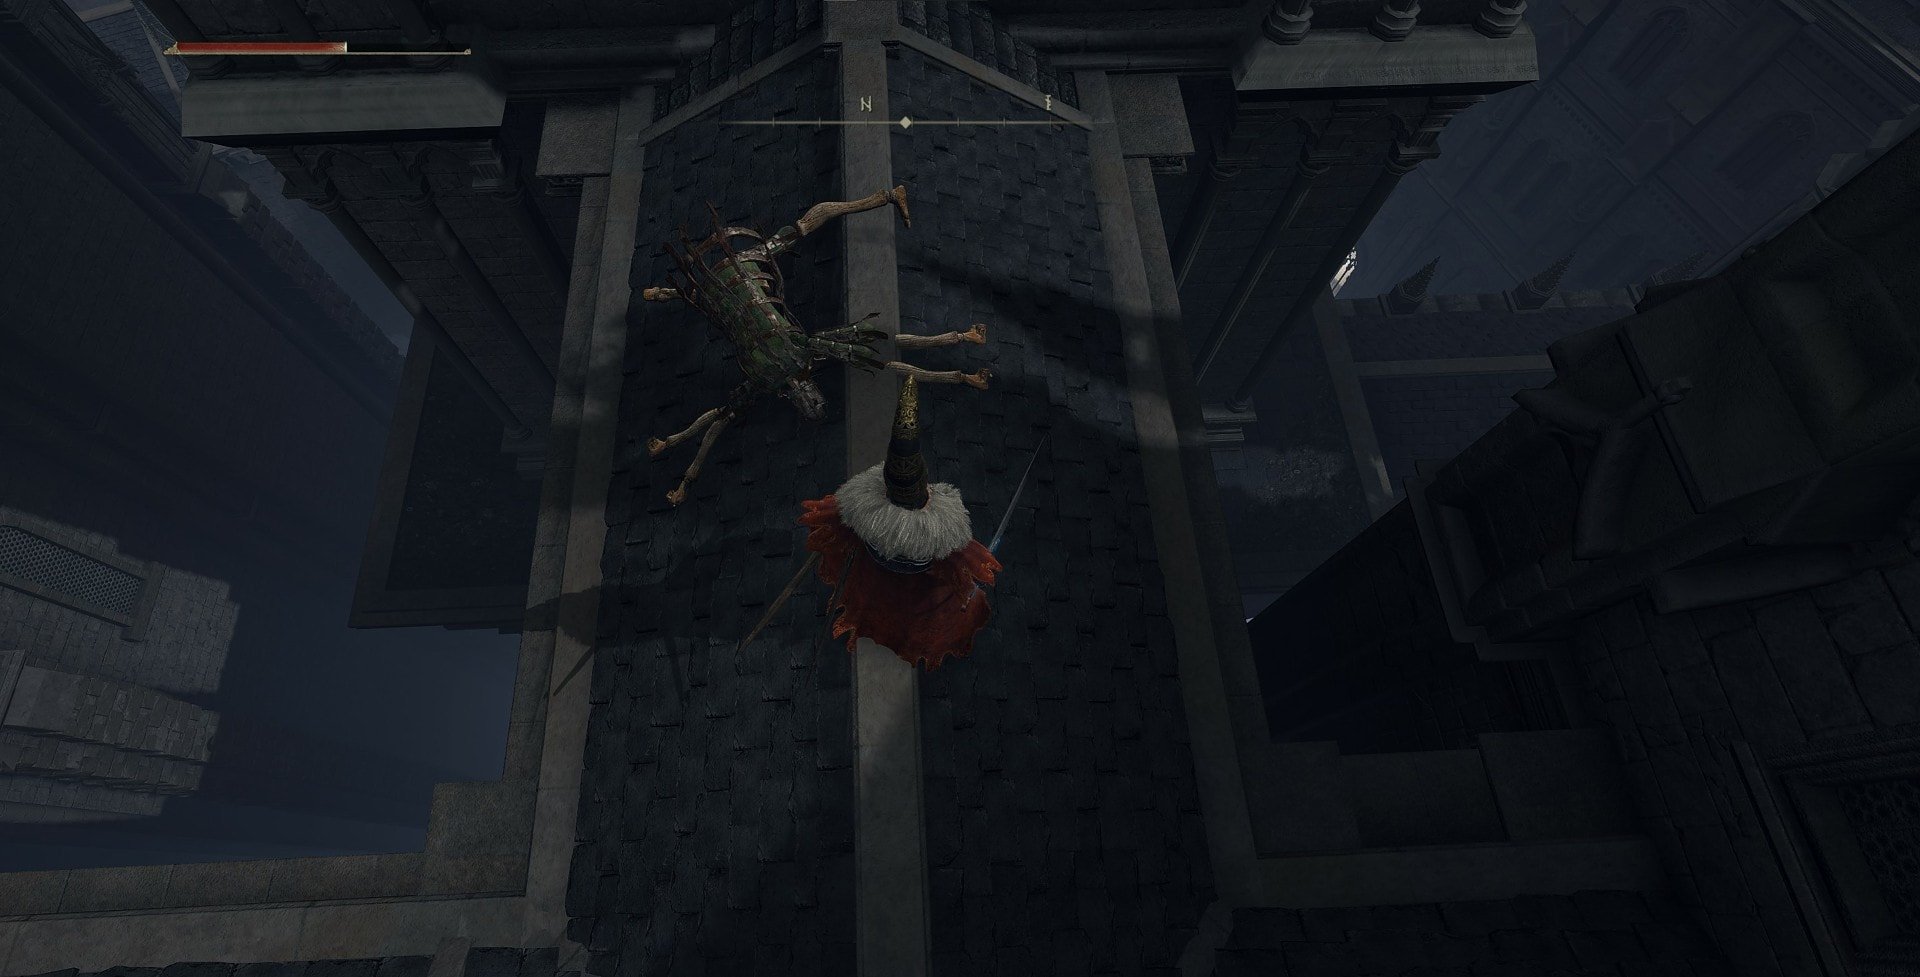
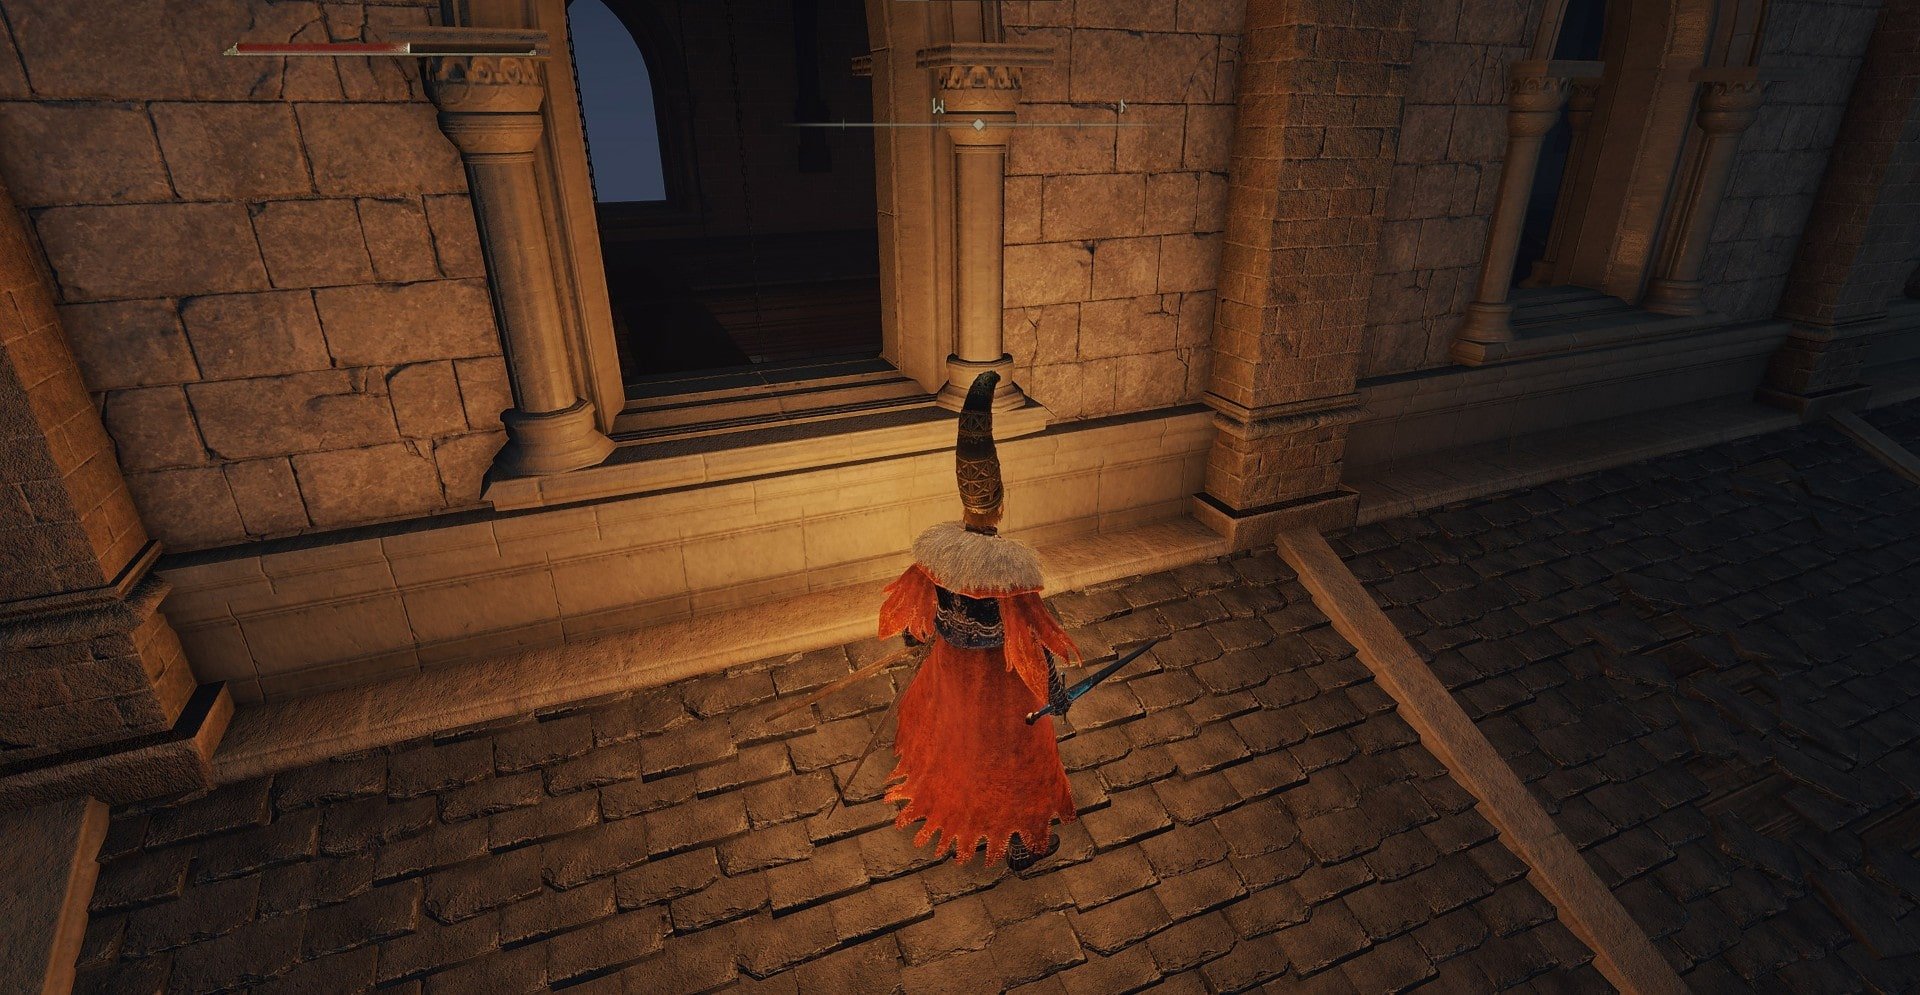
This staff is located in a tower connected to the second floor of the Church of Cuckoo. If you’ve already obtained the second Academy Glintstone Key, you can use the ladder you (hopefully) knocked down to just climb back up. Otherwise, you have to make your way across the rooftops again to the roof of the Church of Cuckoo.
This room is guarded by someone who has a 5 shot repeating crossbow that will likely defeat you if it hits.
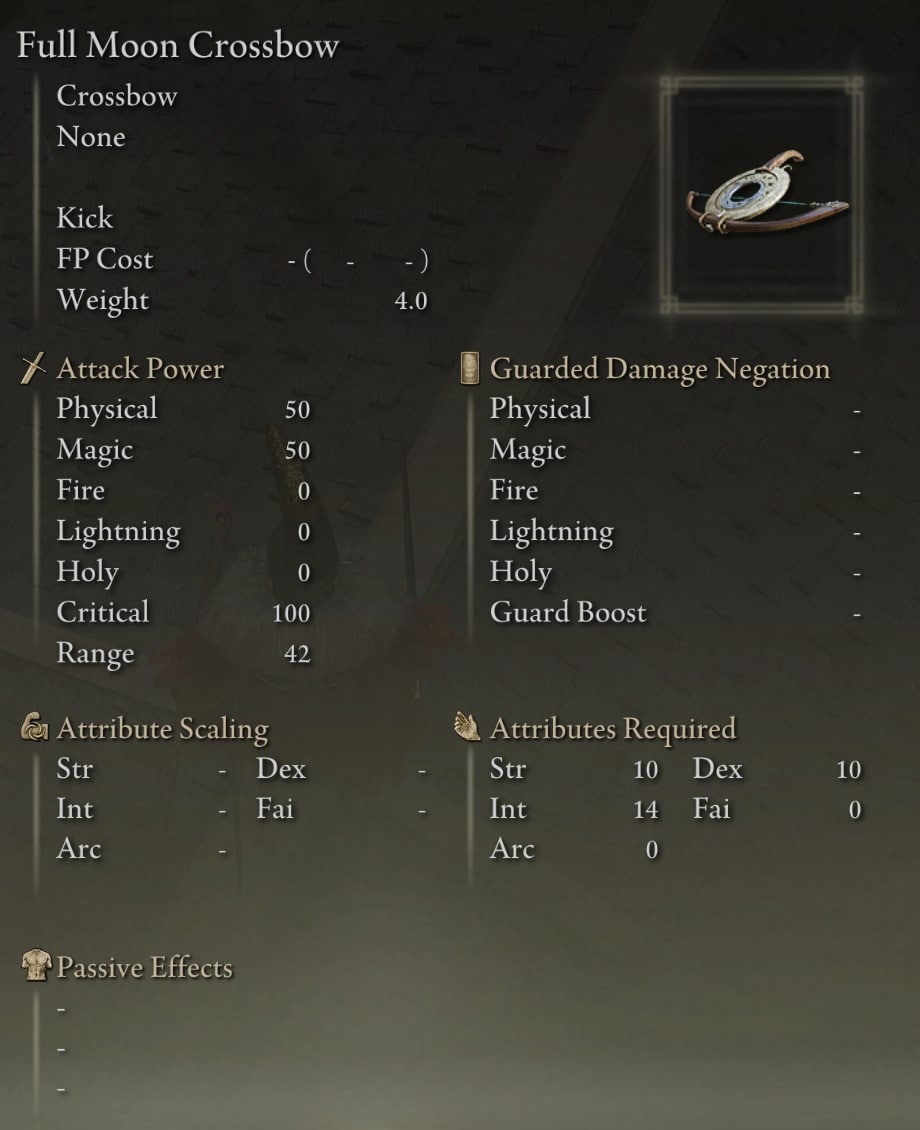
Full Moon Crossbow
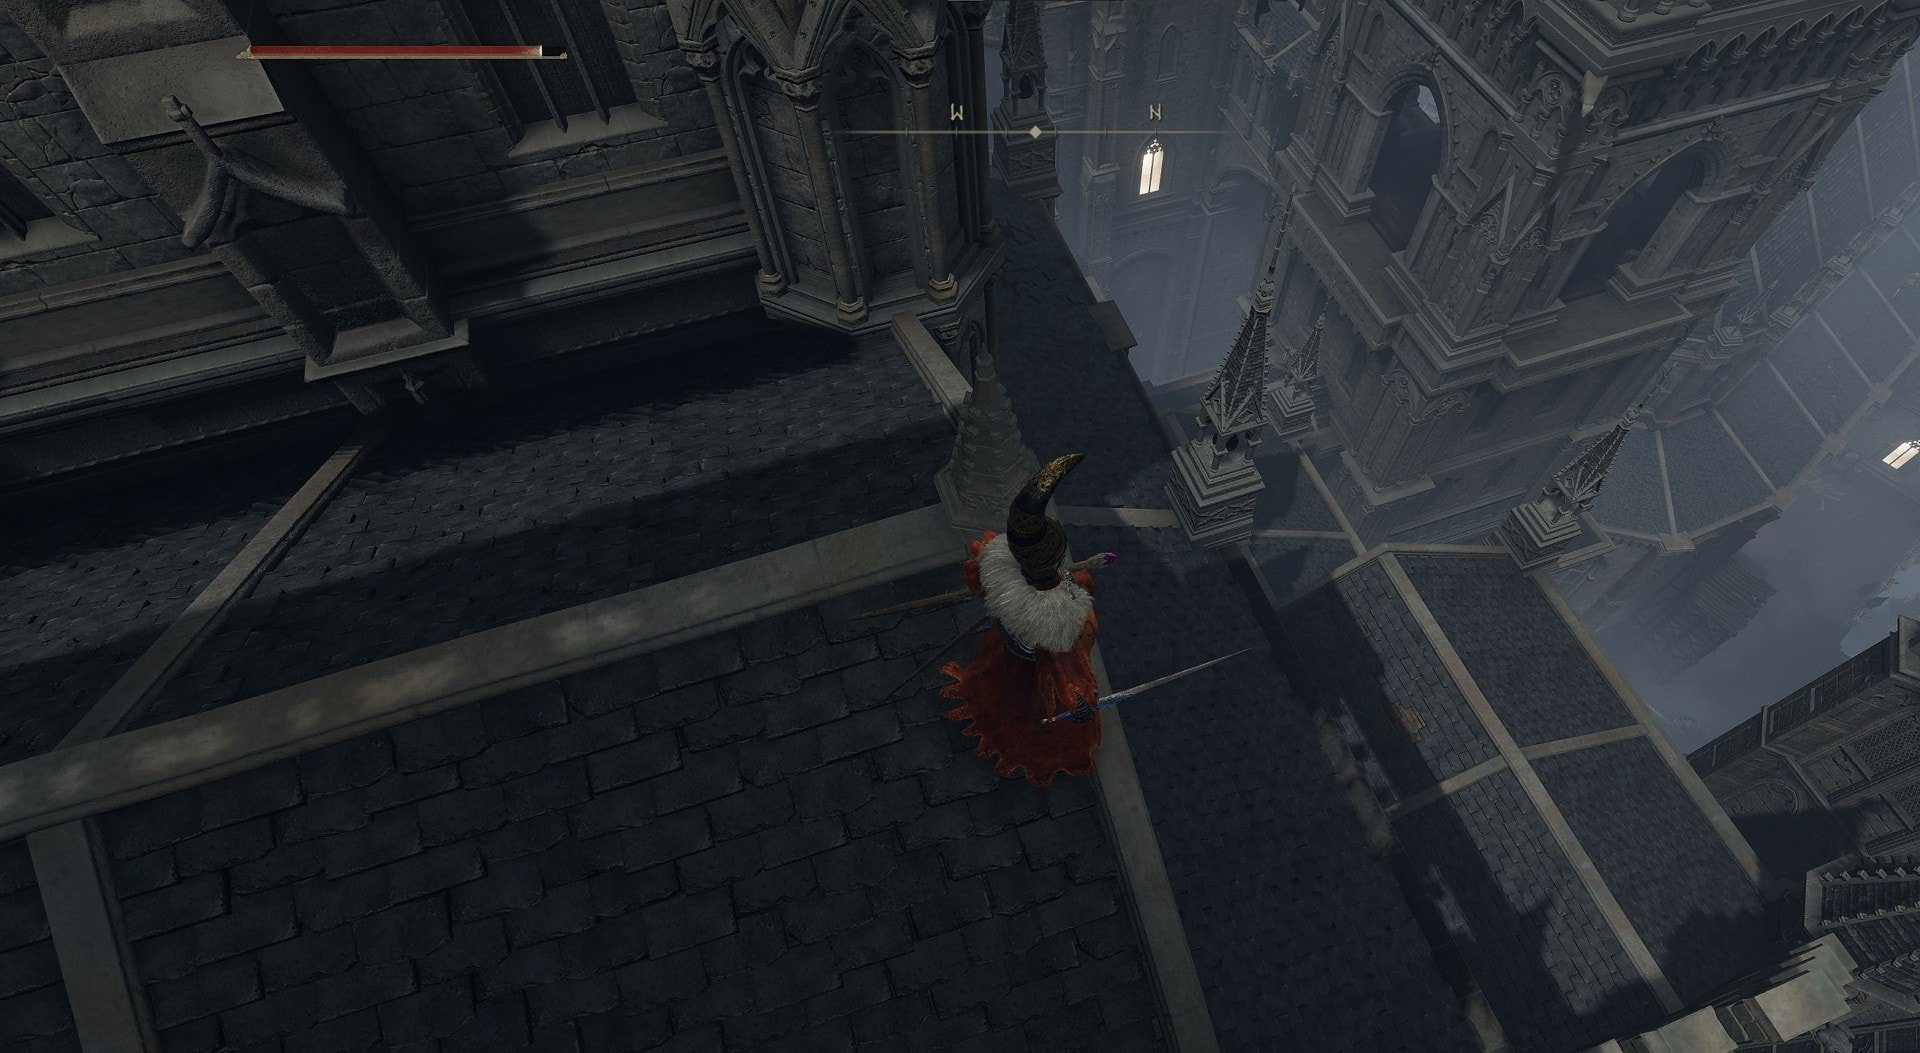
This Crossbow is located out on the roof if you decide to take a left and leap across the gap between buildings instead of turning right towards the Church of Cuckoo and then turning left again rather than leaping cross towards the tower with the hole in it.
Here is the point on the roof where you turn left after making the big leap.
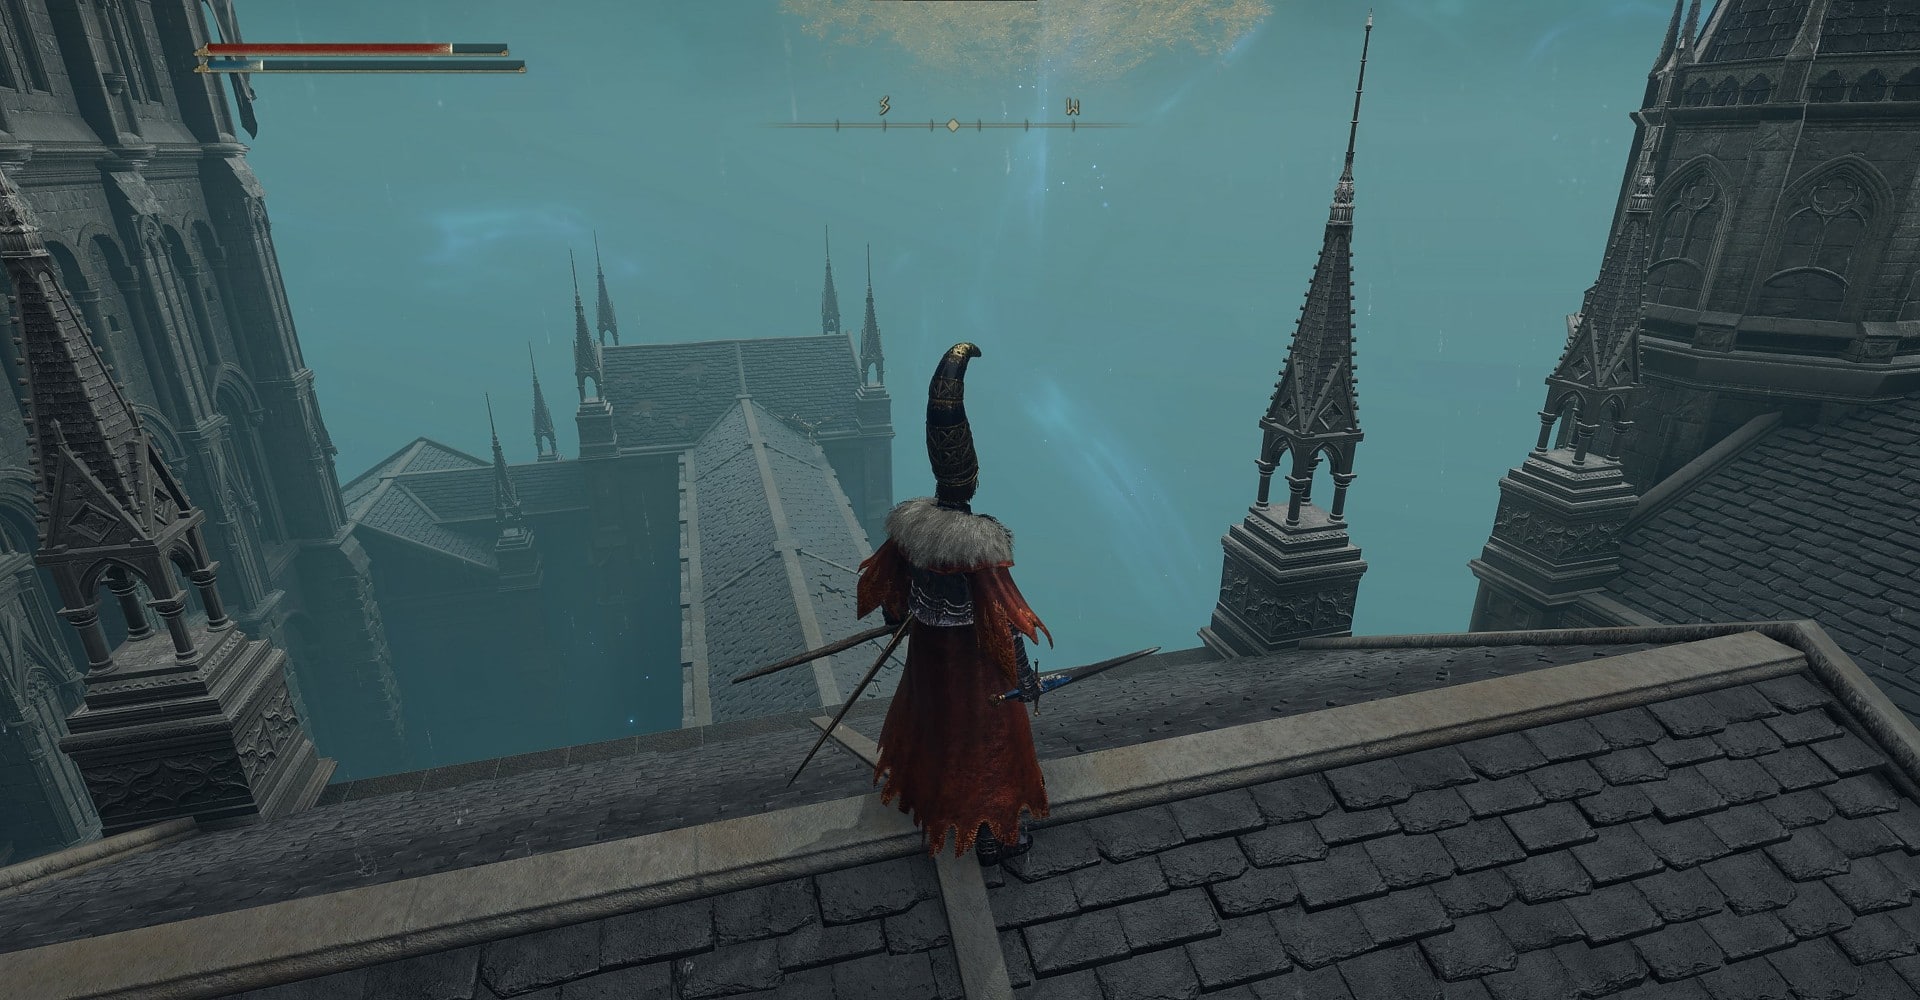
Just follow the roofs down and you’ll end up at a ladder that will take you to the top of a tower where the Full Moon Crossbow is waiting for you.

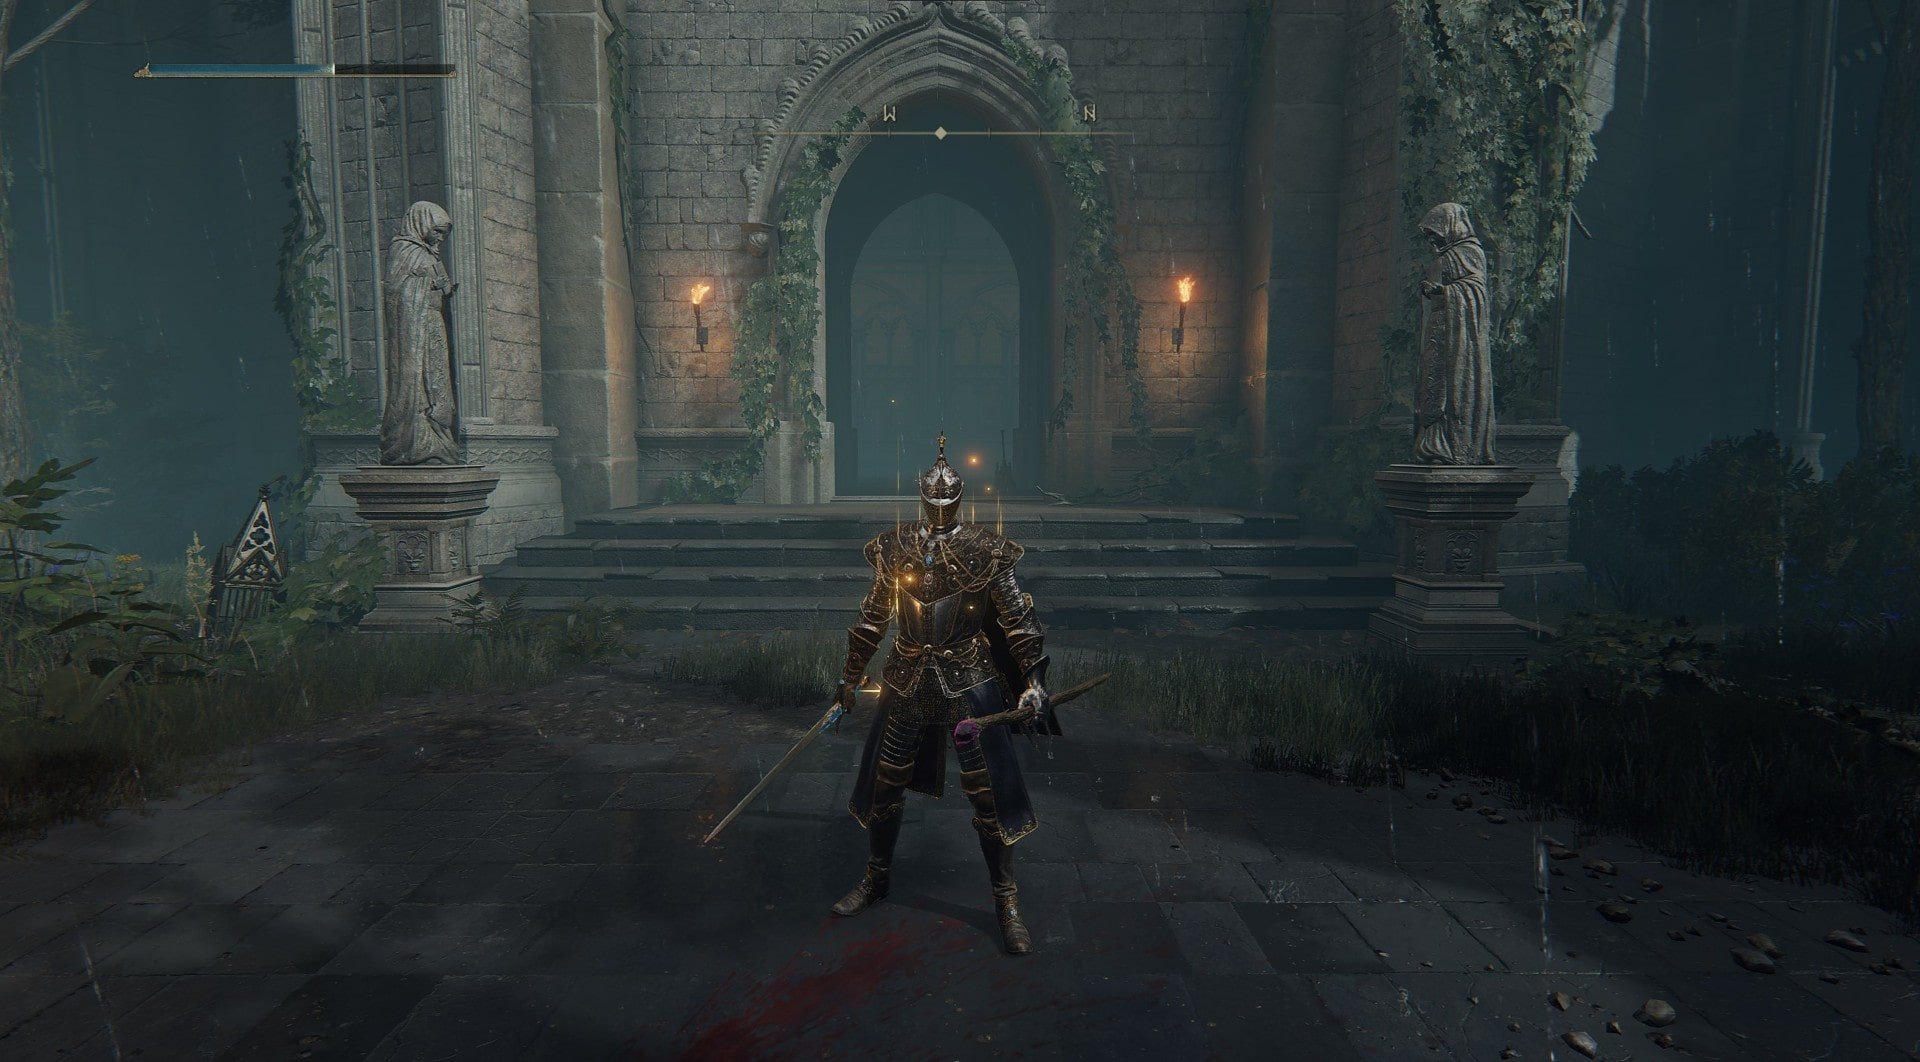
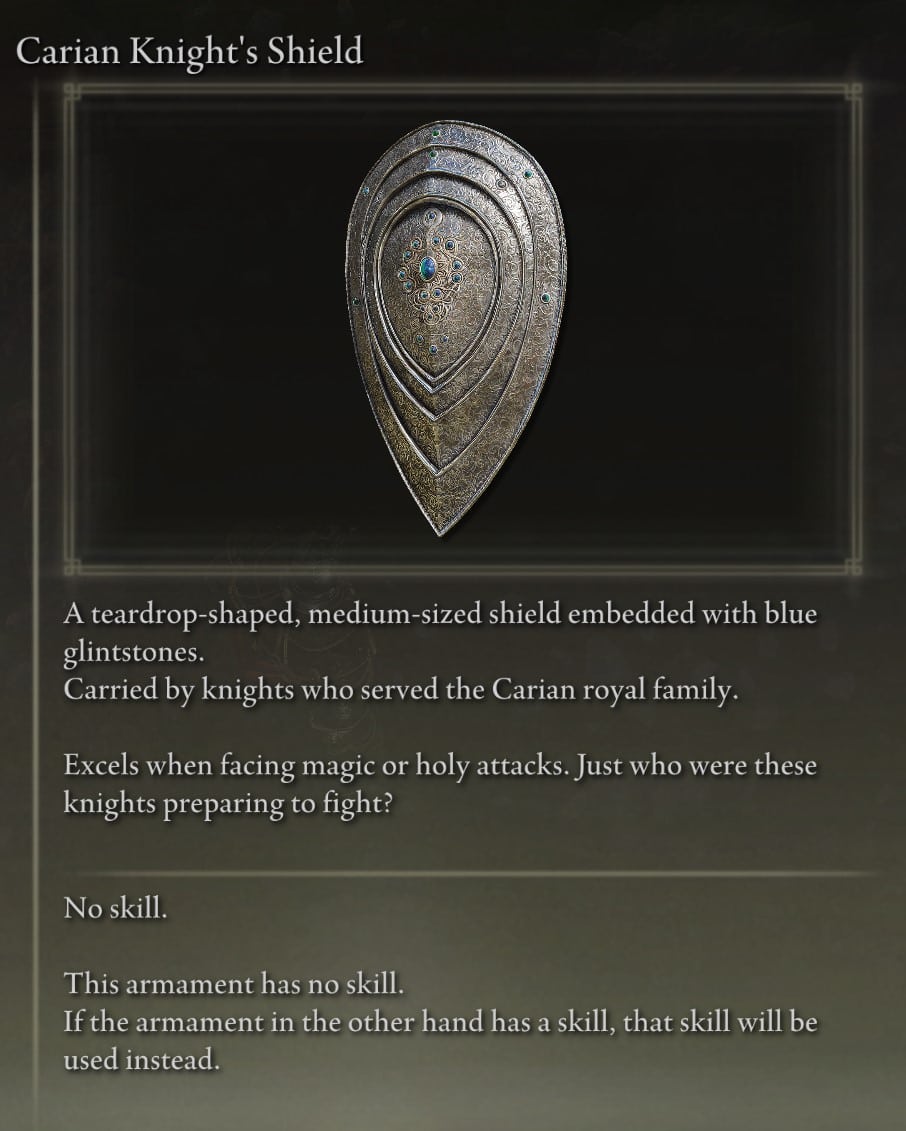
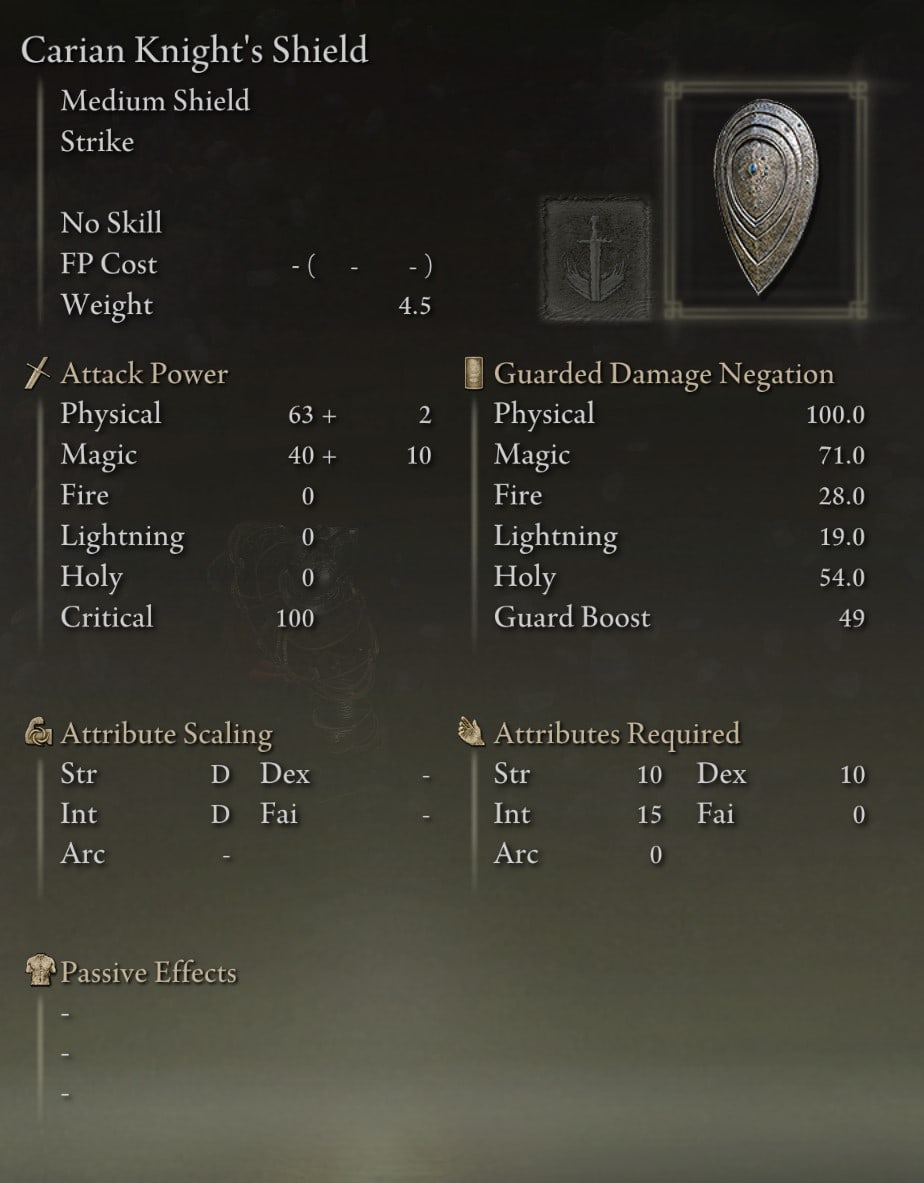
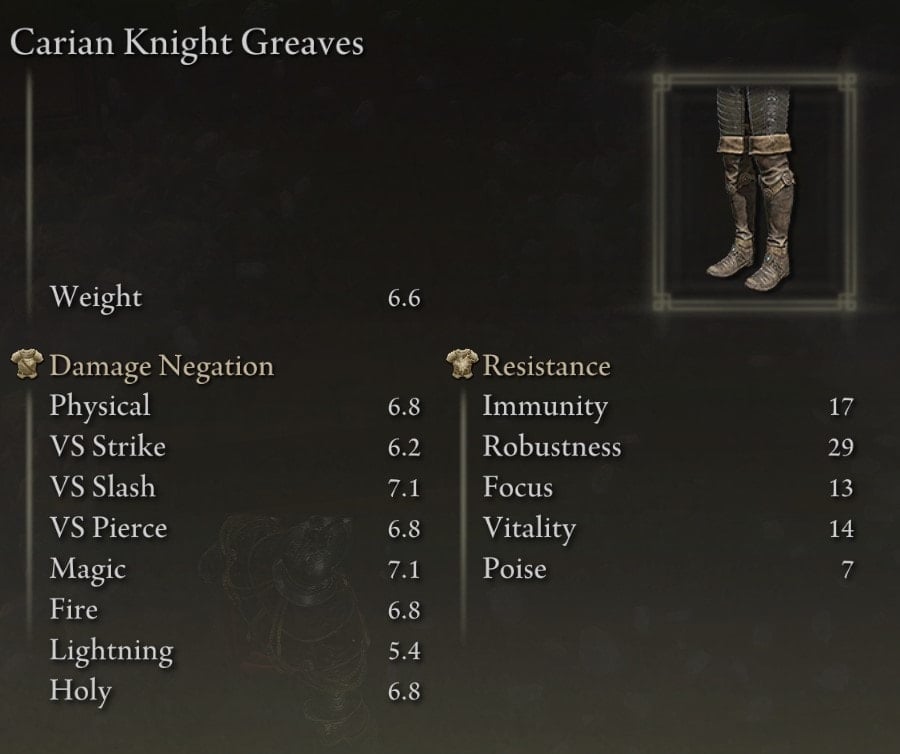
Carian Knight’s Shield
The Carian Knight’s shield drops off of the Moongrum Carian Knight that guards the entrance to Renala’s Grand Library.
Talisman Locations at the Academy of Raya Lucaria
There are three talismans you can get while exploring the Academy of Raya Lucaria.
Radagon Icon
This Talisman is located on the second floor of the Debate Parlor where you fight the Red Wolf of Radagon boss (yes, you can go up there).
To get to the upstairs area, you have to go outside the Debate Parlor into the courtyard area and turn right.
Head over to the stone railings and you’ll see a ladder in the distance and a place to jump down to.
Climb the ladder and jump in through the broken window. The chest will be on the right, though there’s something else to pick up on the left too.
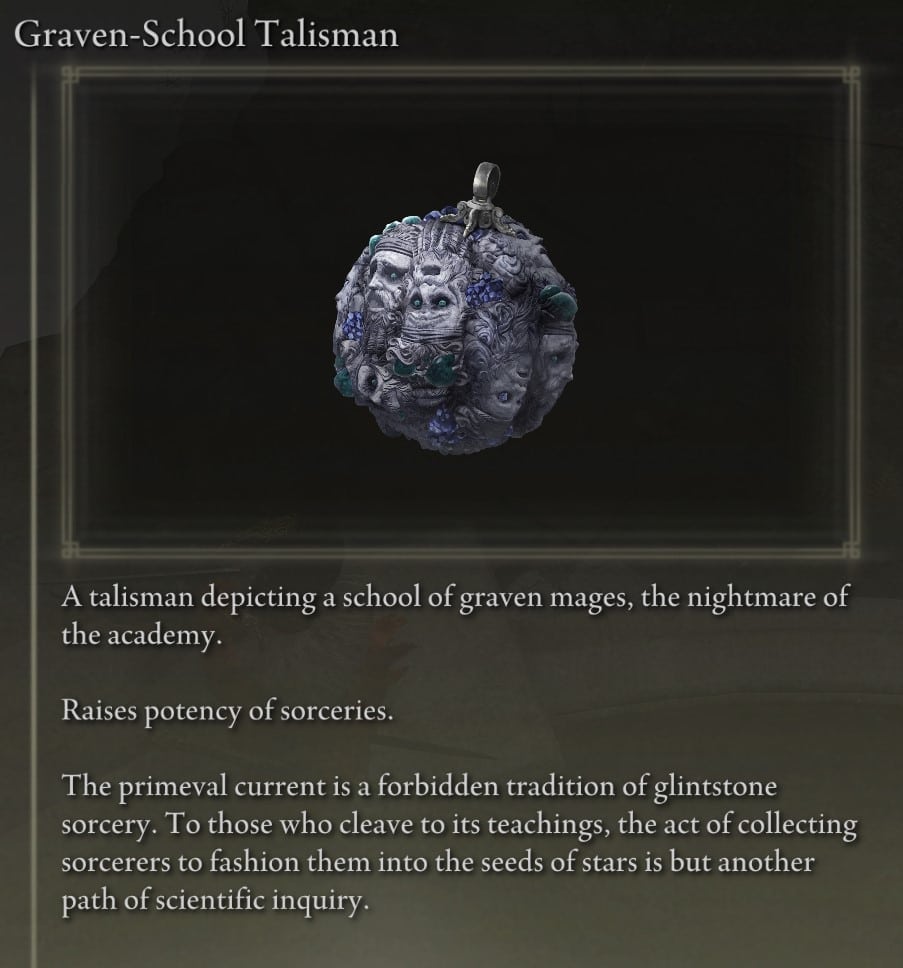
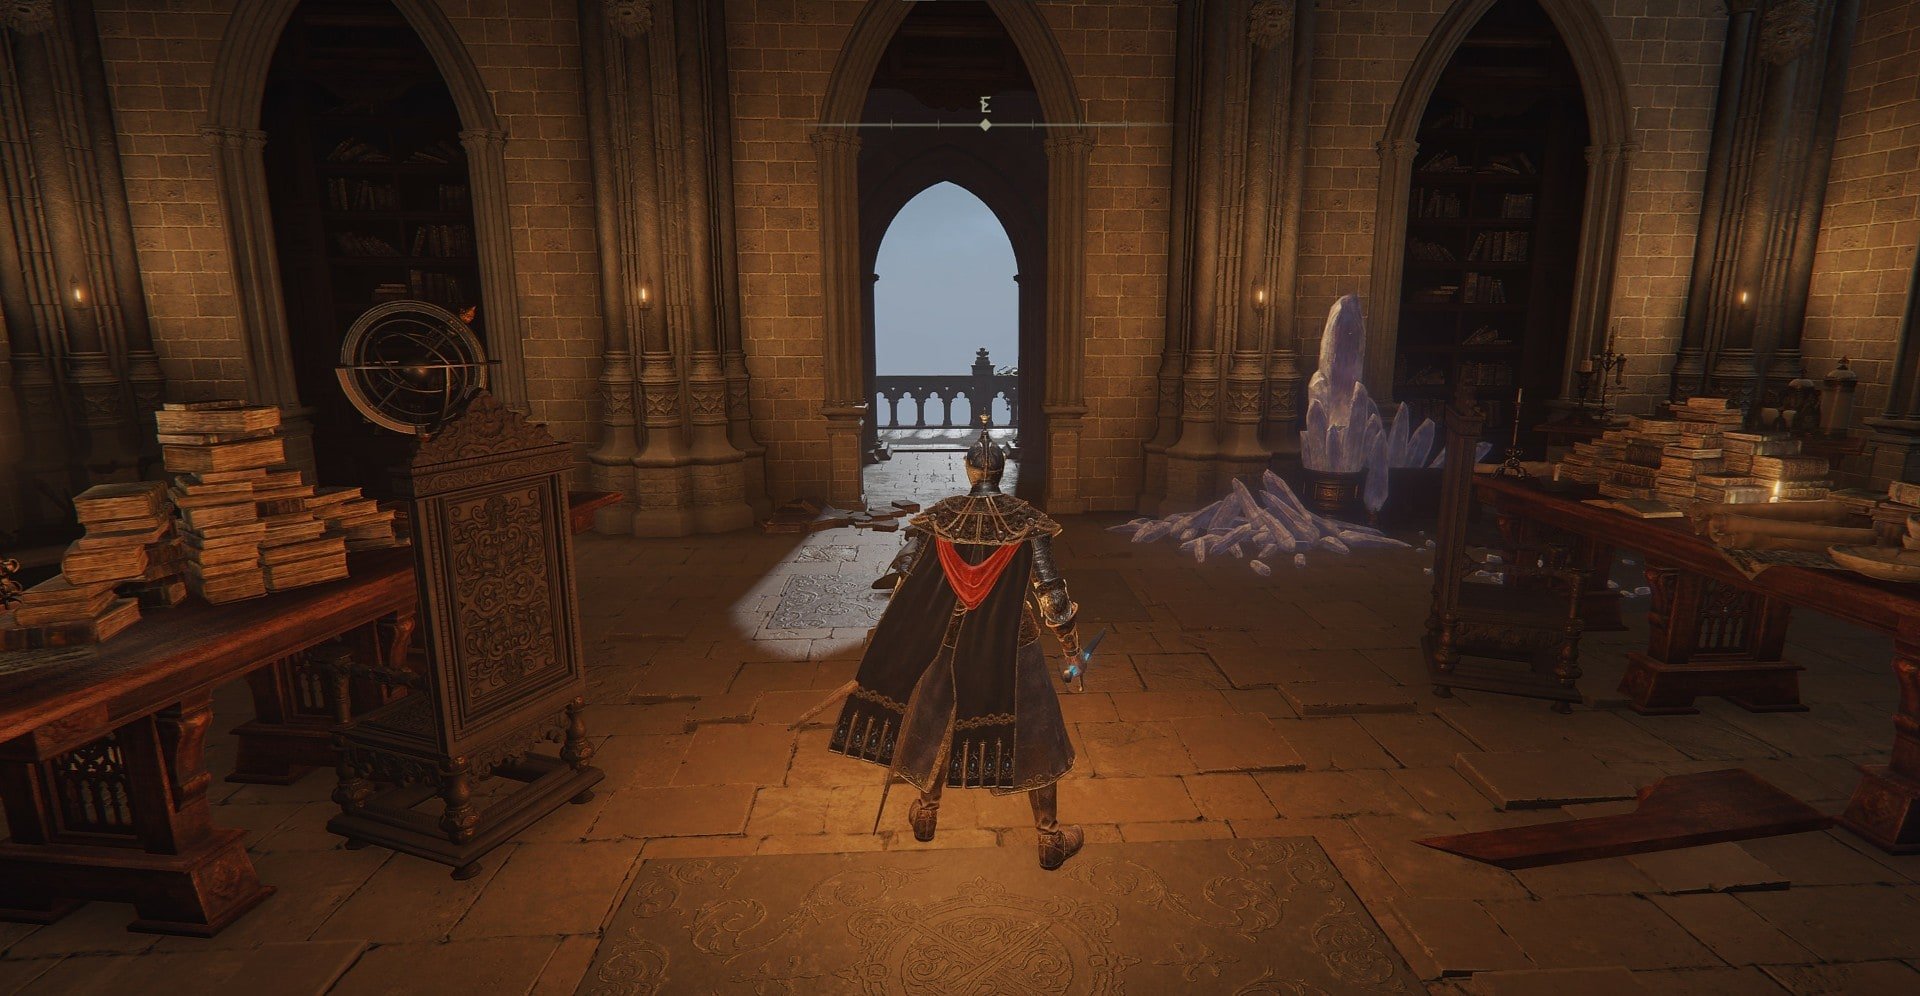
Graven-School Talisman
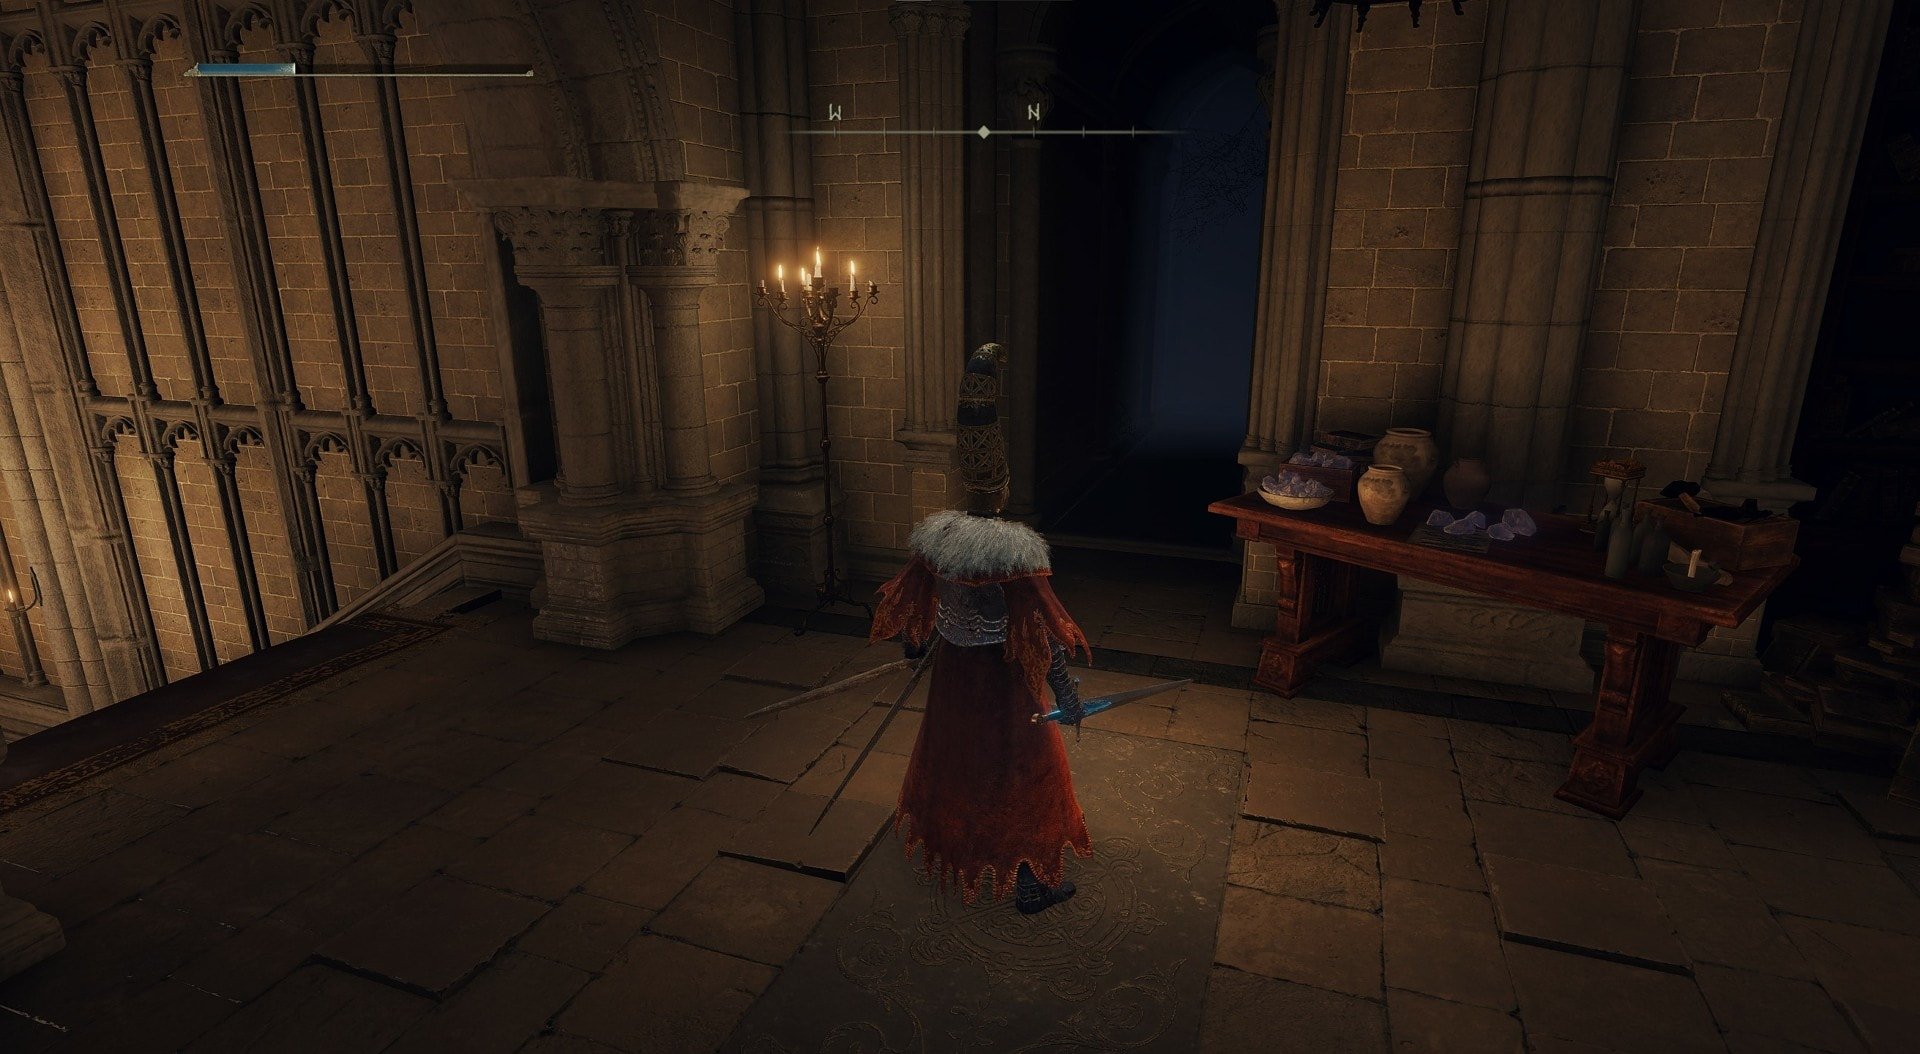
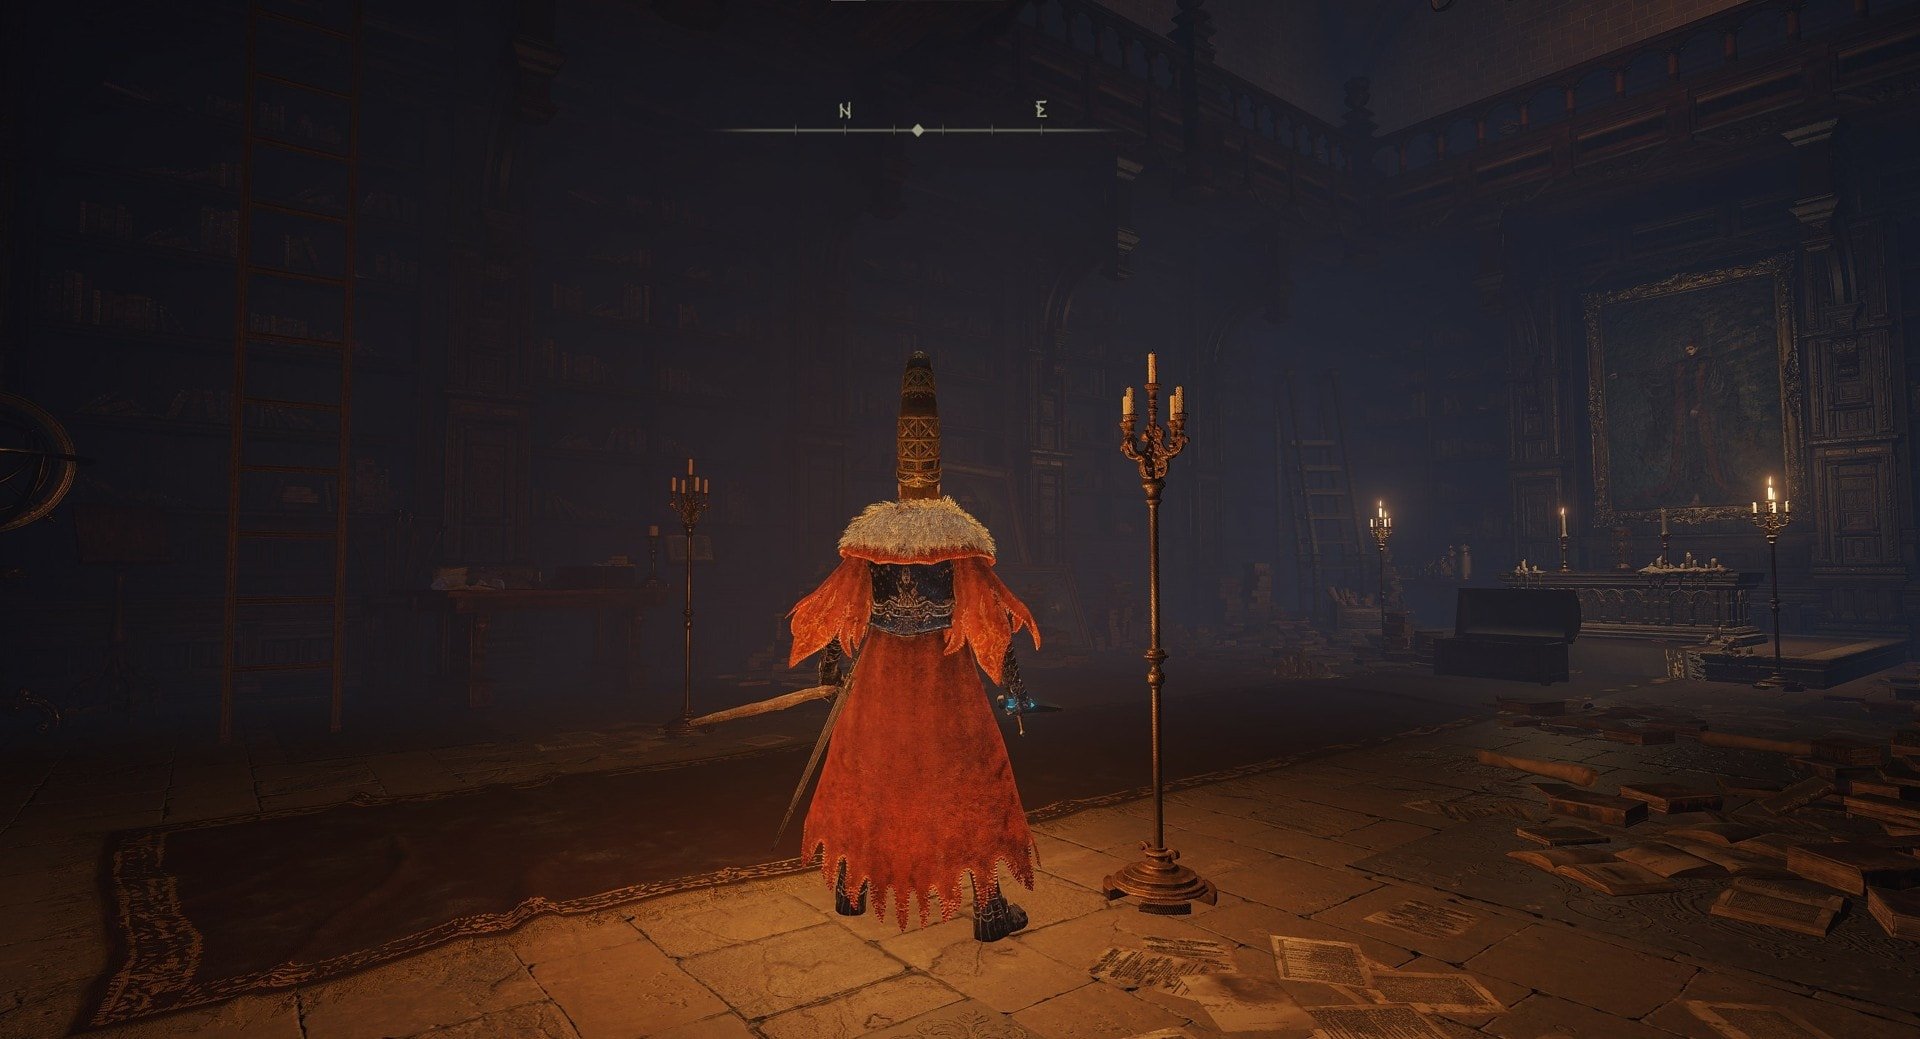
The Graven-School Talisman talisman is located behind a fake bookshelf. If you just want a hint, the paintings of Renala will tell you where you need to go. Before going on this excursion, I recommend clearing out all the enemies in between the Schoolhouse Classroom and Debate Parlor so you won’t have to worry about them.
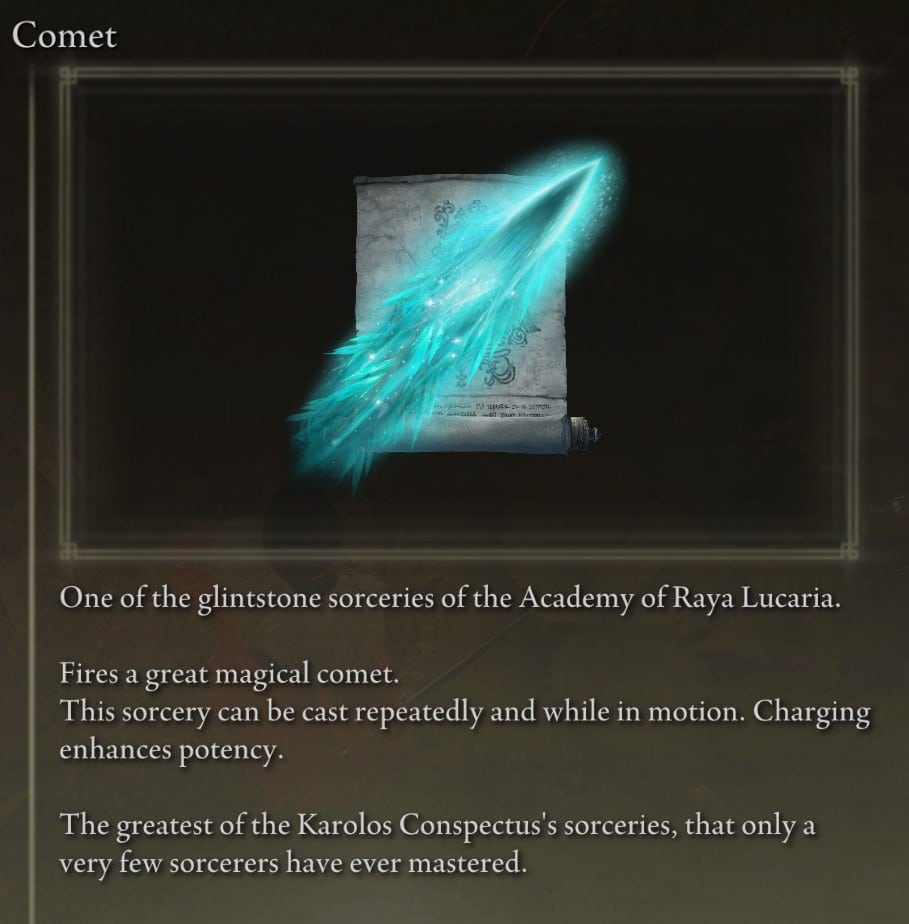
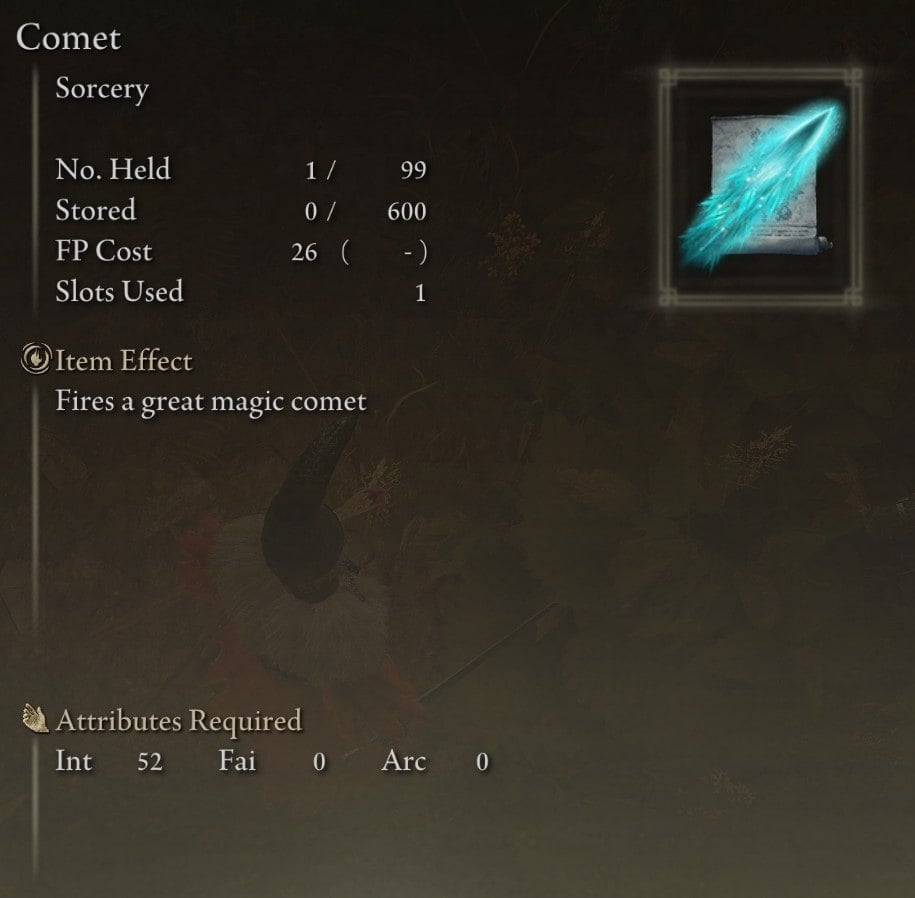
Along the way, you’ll also pick up the Comet sorcery.
Your journey to the talisman starts at the staircase to the Debate Parlor.
Renala is pointing towards an empty bookshelf. Strike it to make it disappear.
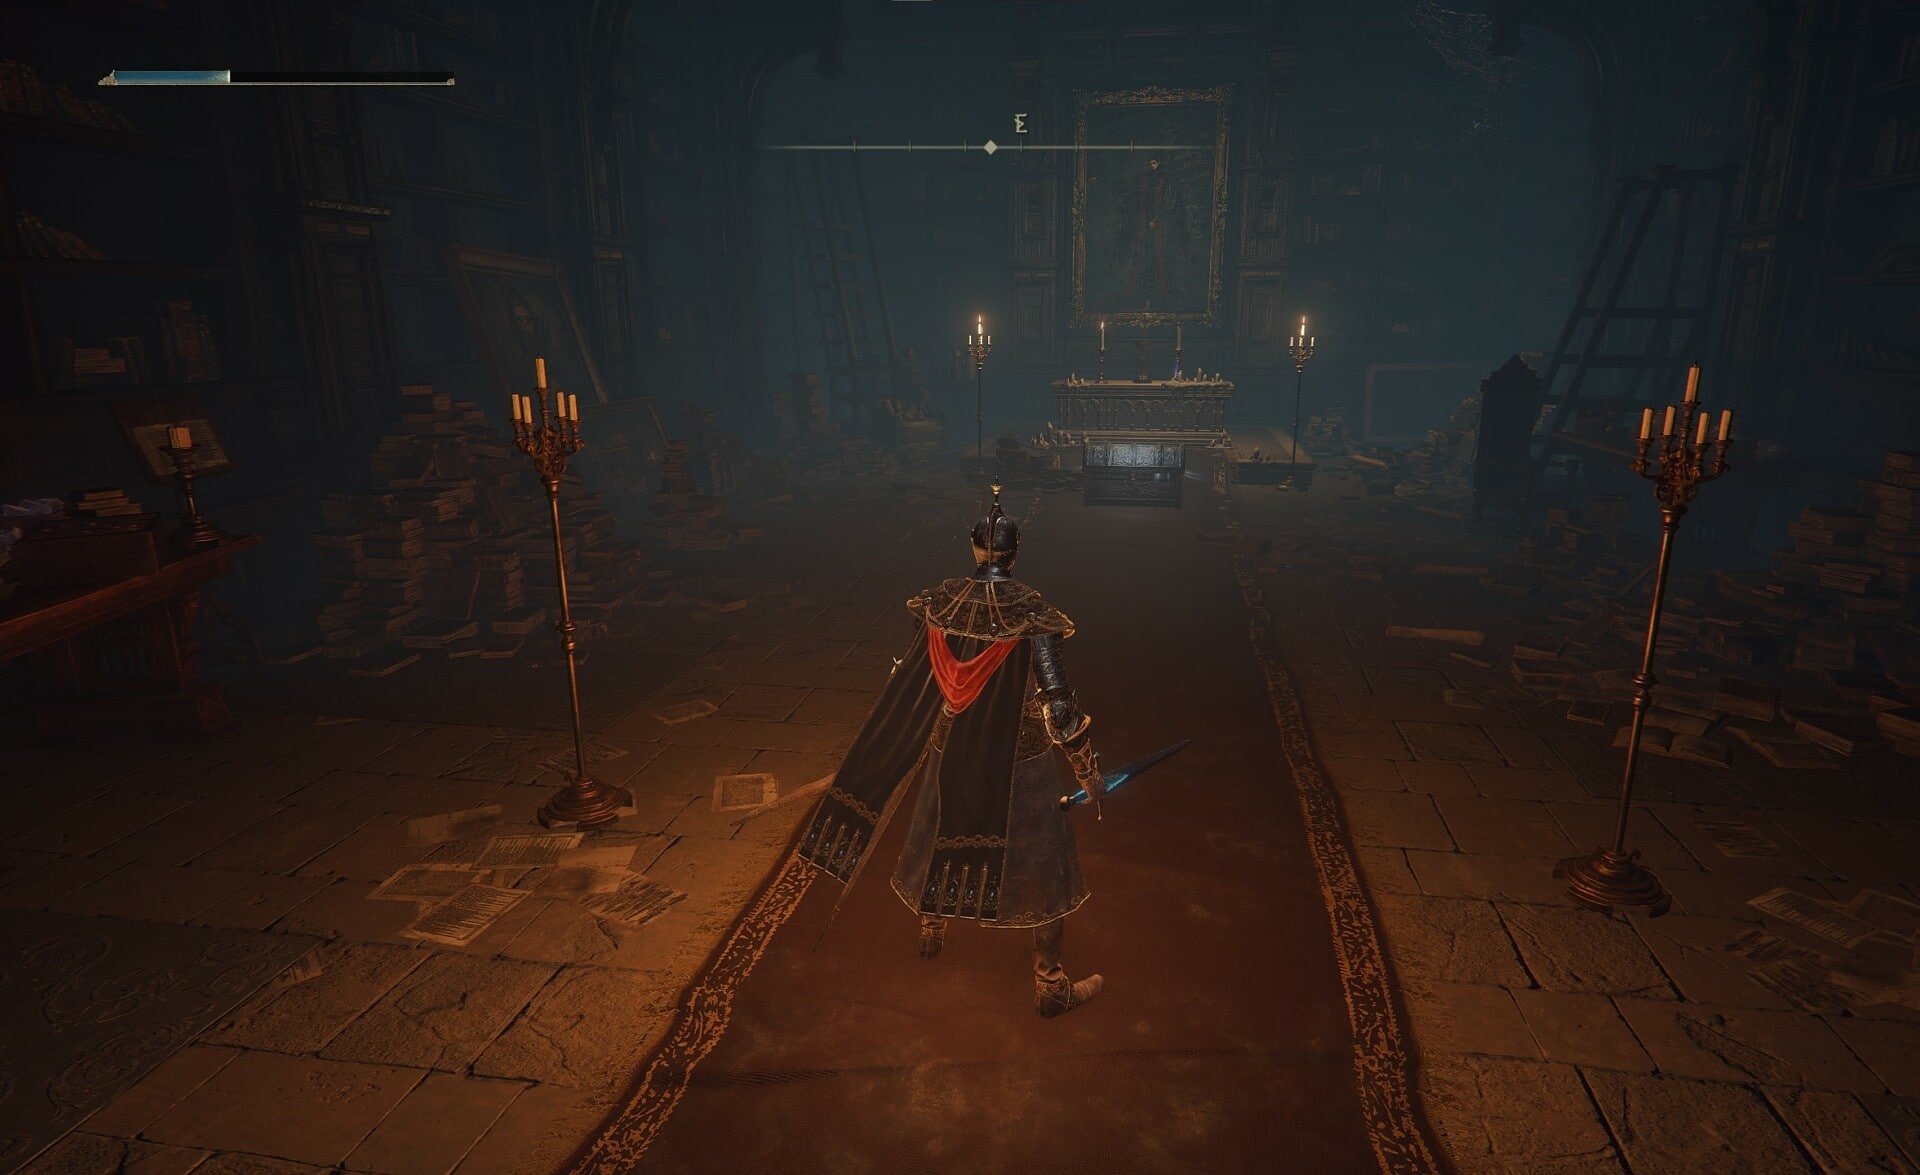
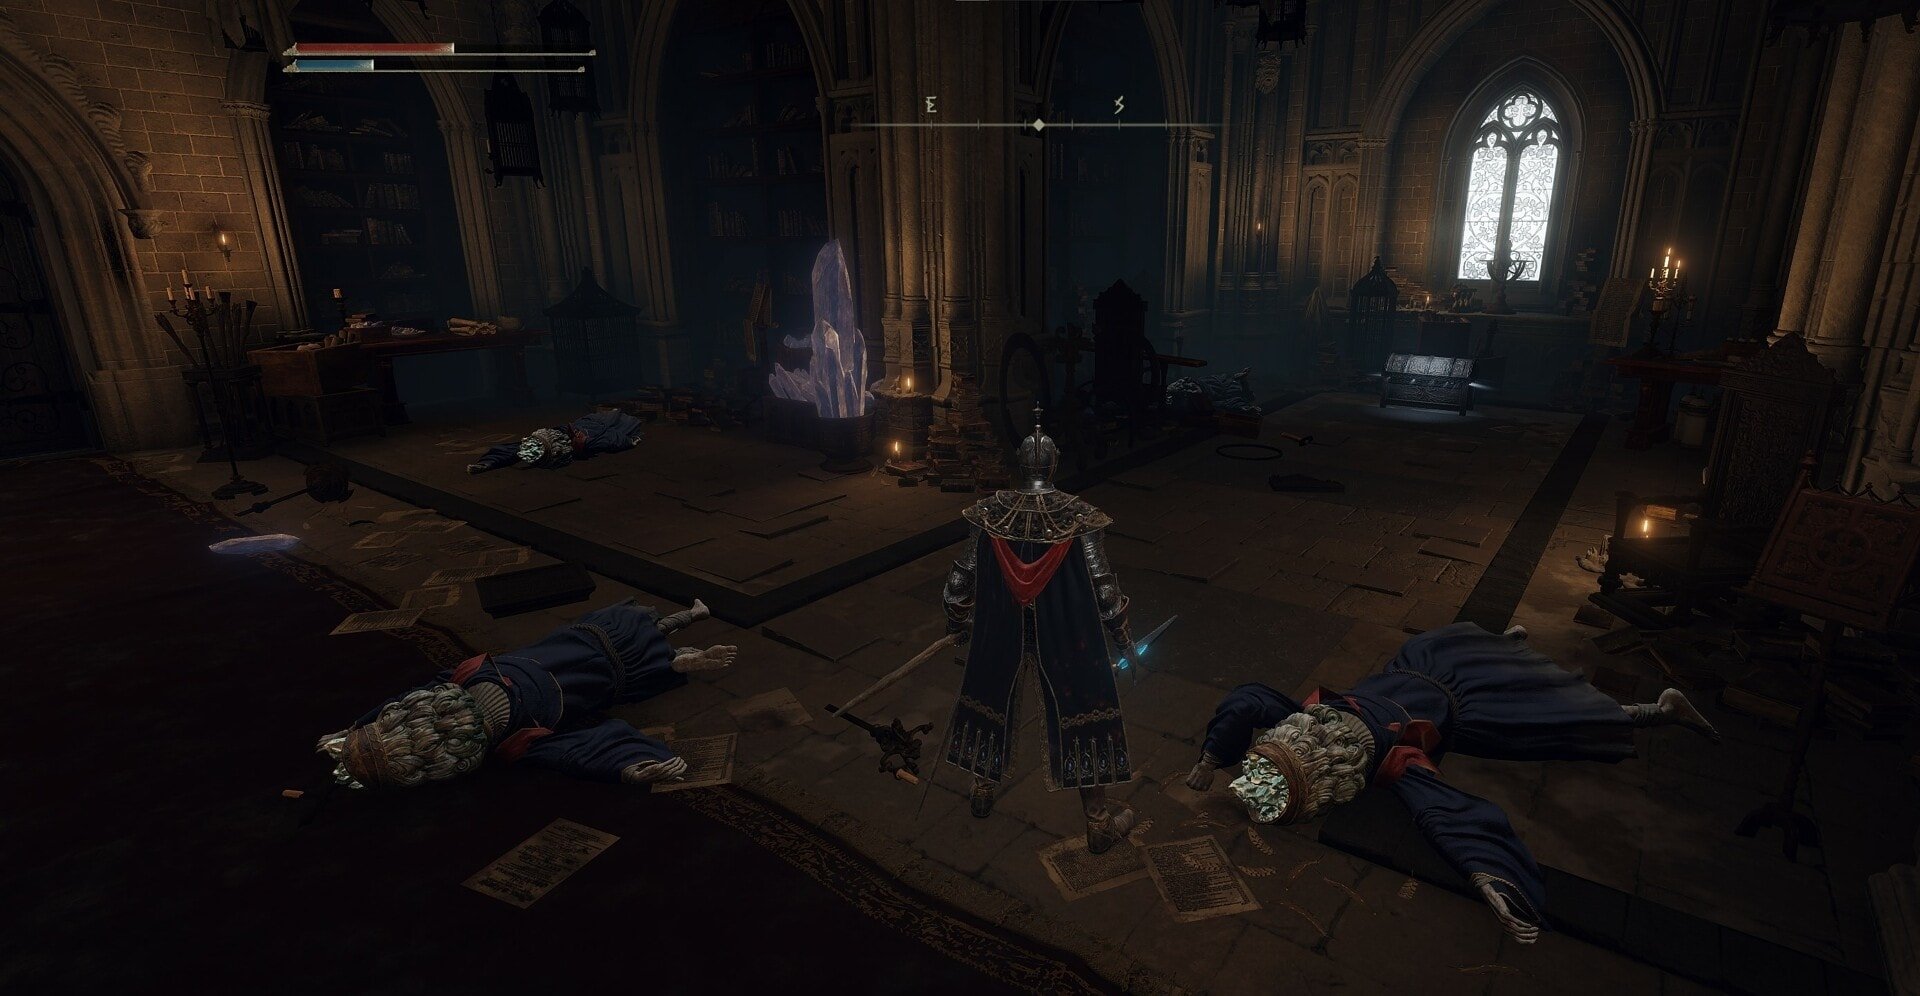
Go down the hall and you’ll find a chest and another thing behind the altar in the room alongside another painting of of Renala.
Climb the ladder and make your way over to the paintings. There’s a hole in the floor behind the paintings, jump over the railing.
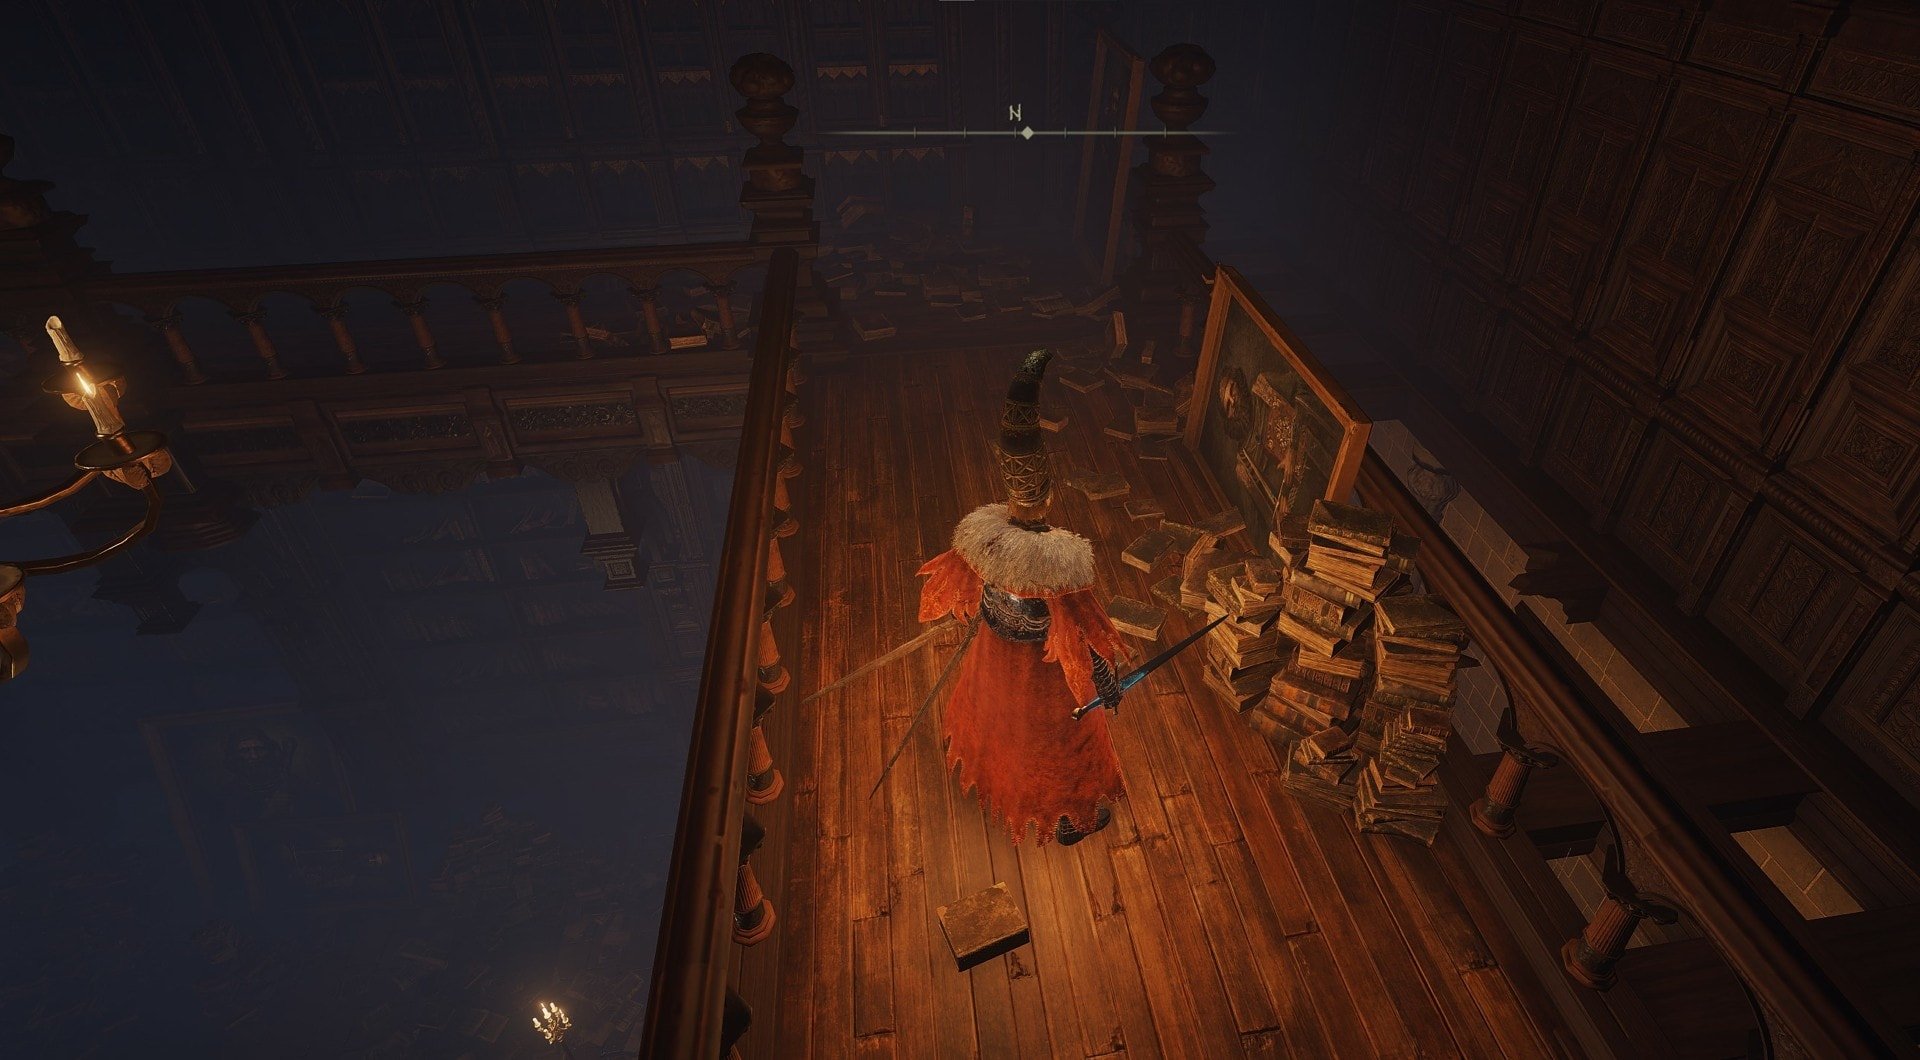
Gasp! There is a hidden hall behind the wall! Fall down the hole and you’ll end up in the room below that contains the Graven-School Talisman.
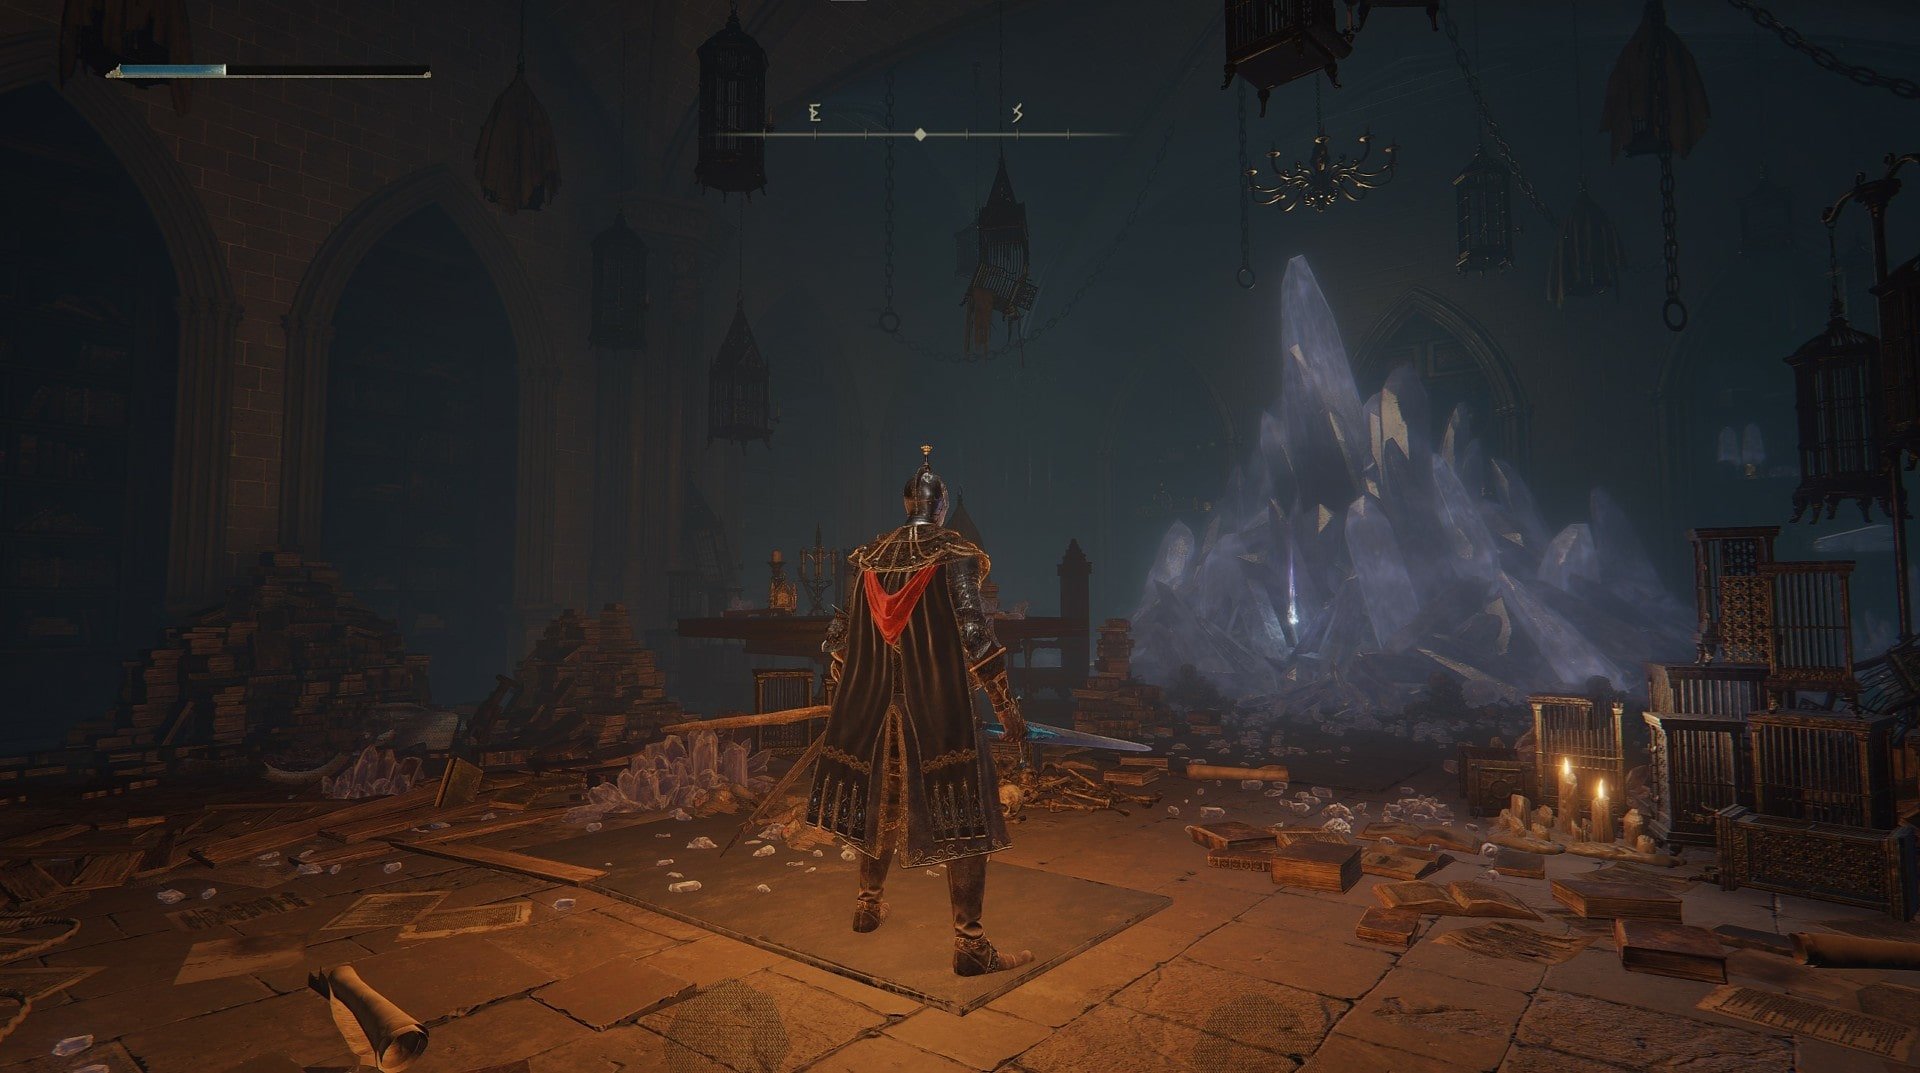
There are a few Living Pots that will aggro when you pick up the Talisman. You can attack them first if you prefer. The door opens into the room with the giant Living Jar and several spellcasters. It’s hard not to aggro all of them immediately which is why I recommended that you defeat them before getting this talisman.
Longtail Cat Talisman
This talisman is located at the bottom of the pit where the the vertical conveyor machine is. All you have to do is hop onto the conveyor going down and it will just drop you when you’re close enough to the ground.
Spell and Incantation Locations at the Academy of Raya Lucaria
You will walk out of the Academuy of Raya Lucaria with a total of four new spells/incantations if you are thorough and explore it all.
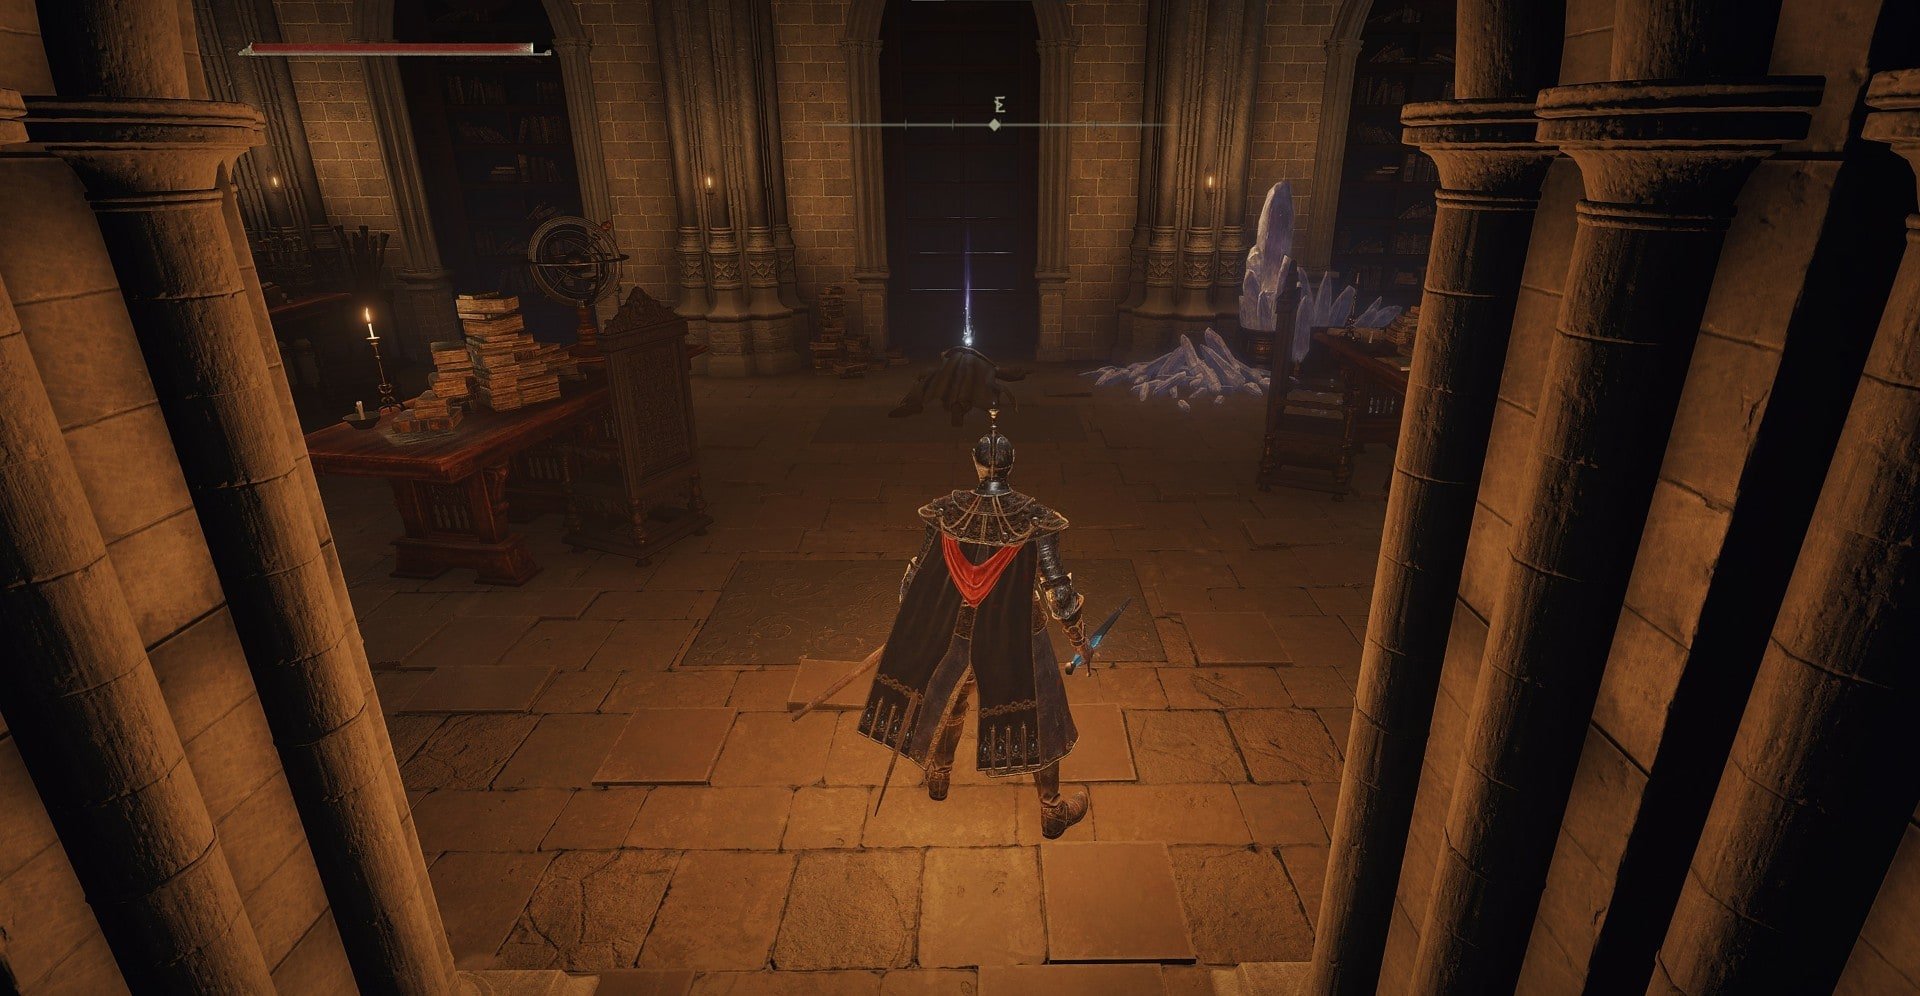
Comet
This spell is located in a secret room preceding the room with the Graven-School Talisman. Check out that item in this guide for a more detailed explanation on how to access this room.
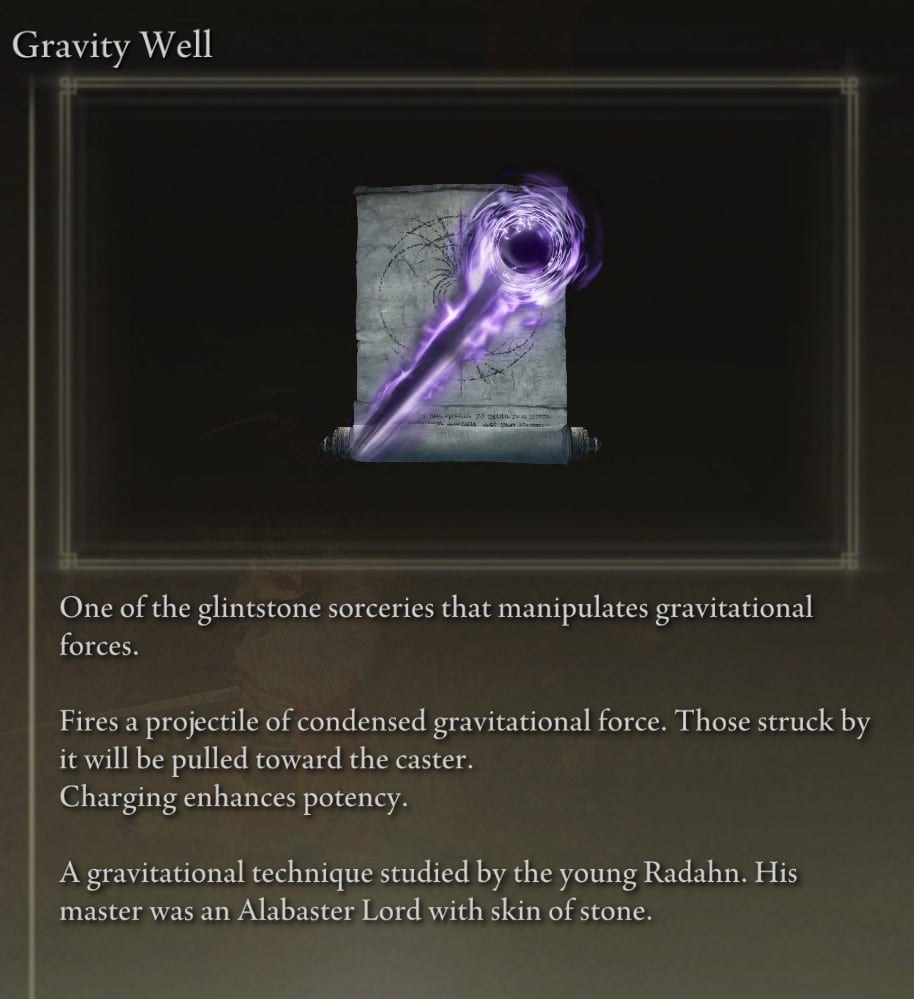
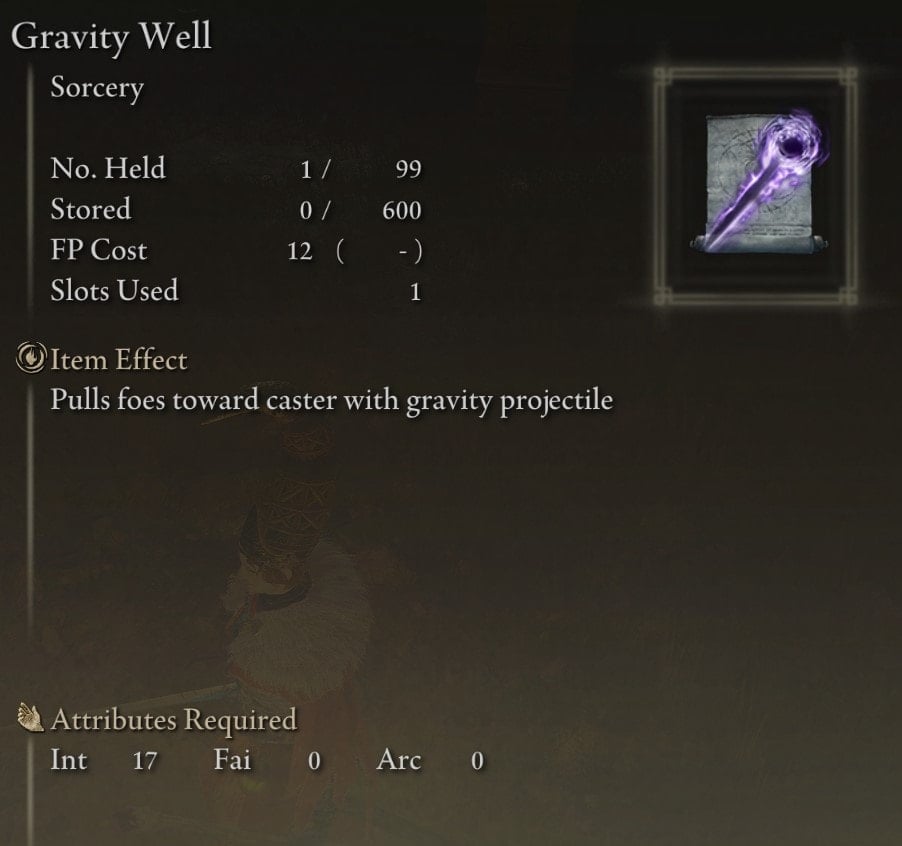
Gravity Well
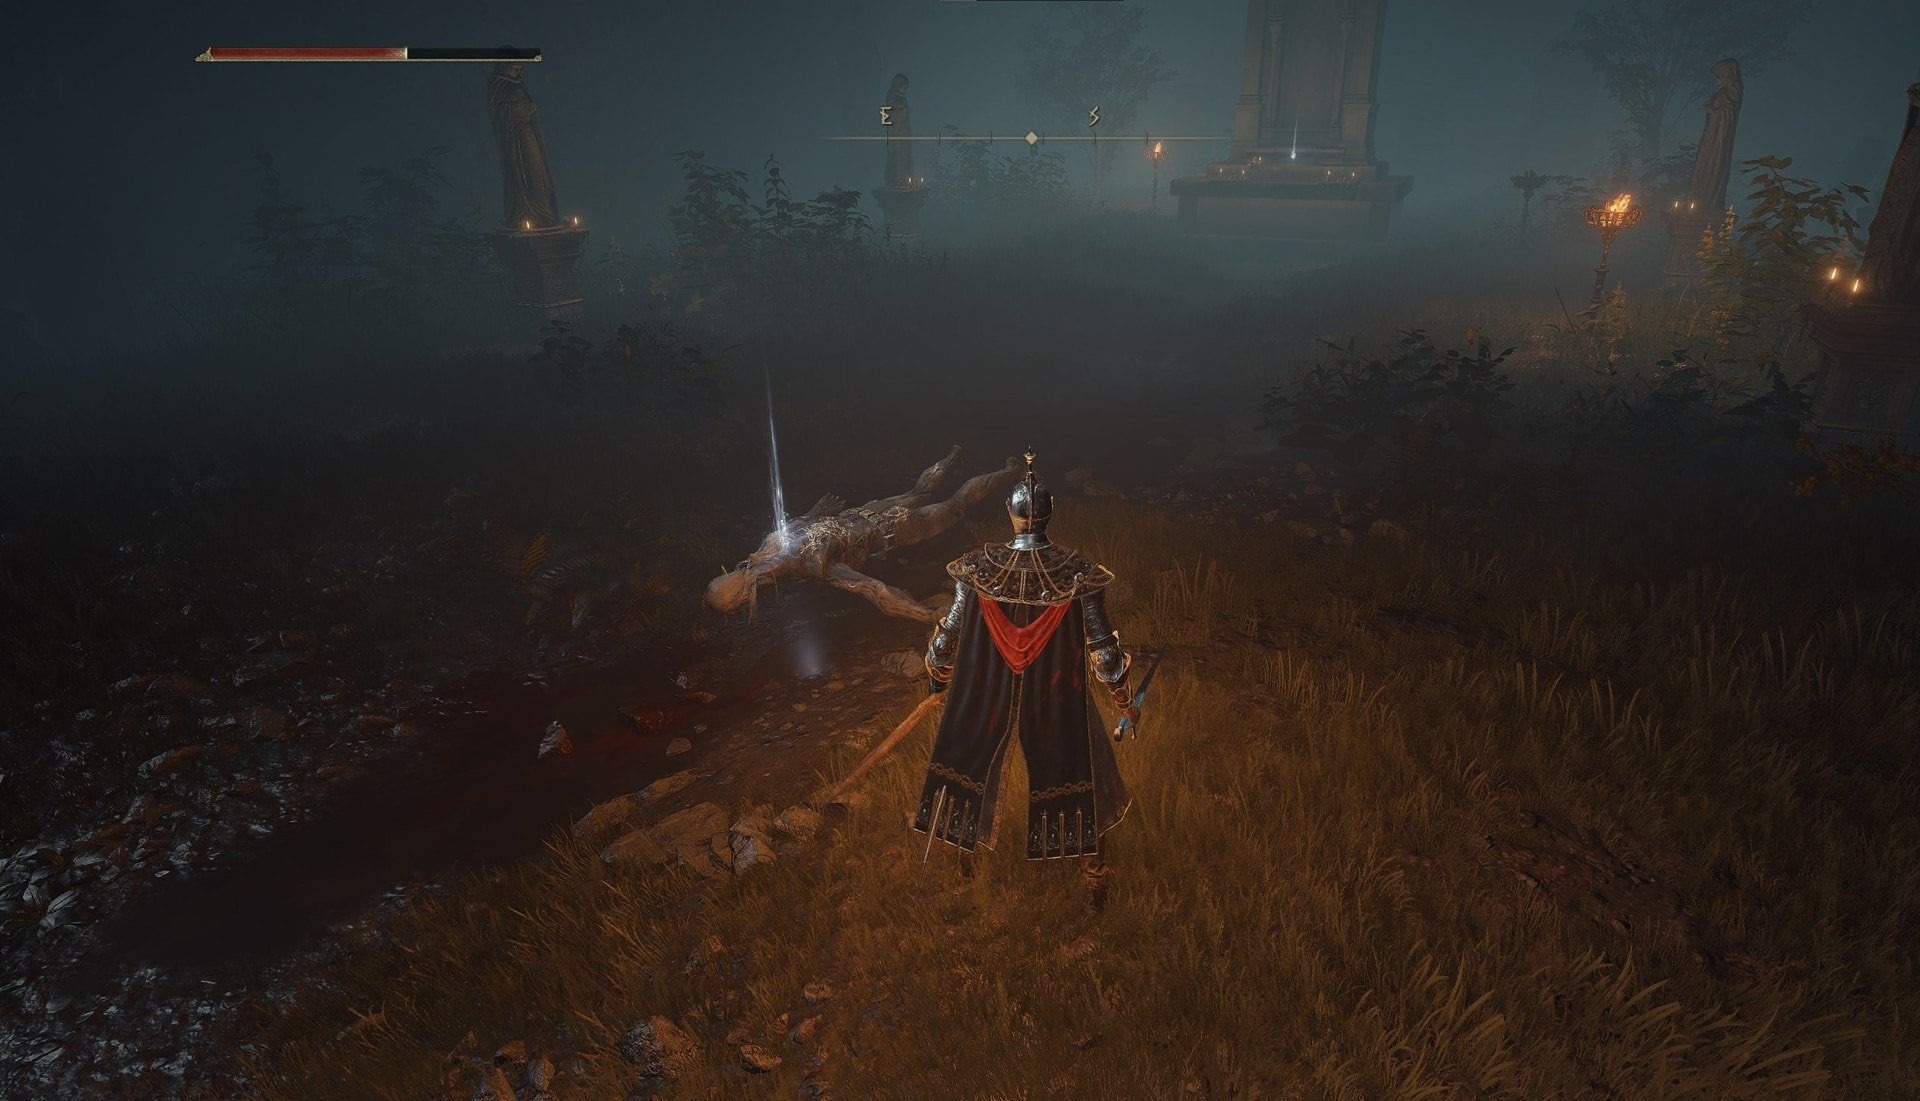
This spell drops by defeating a weird gray elf person. It is located up the stairs barely past the very first point where you can hop onto the vertical conveyor belt. Be careful, the enemy has more health than a regular foe and can cast the spell himself which will cause you to get pulled towards him.
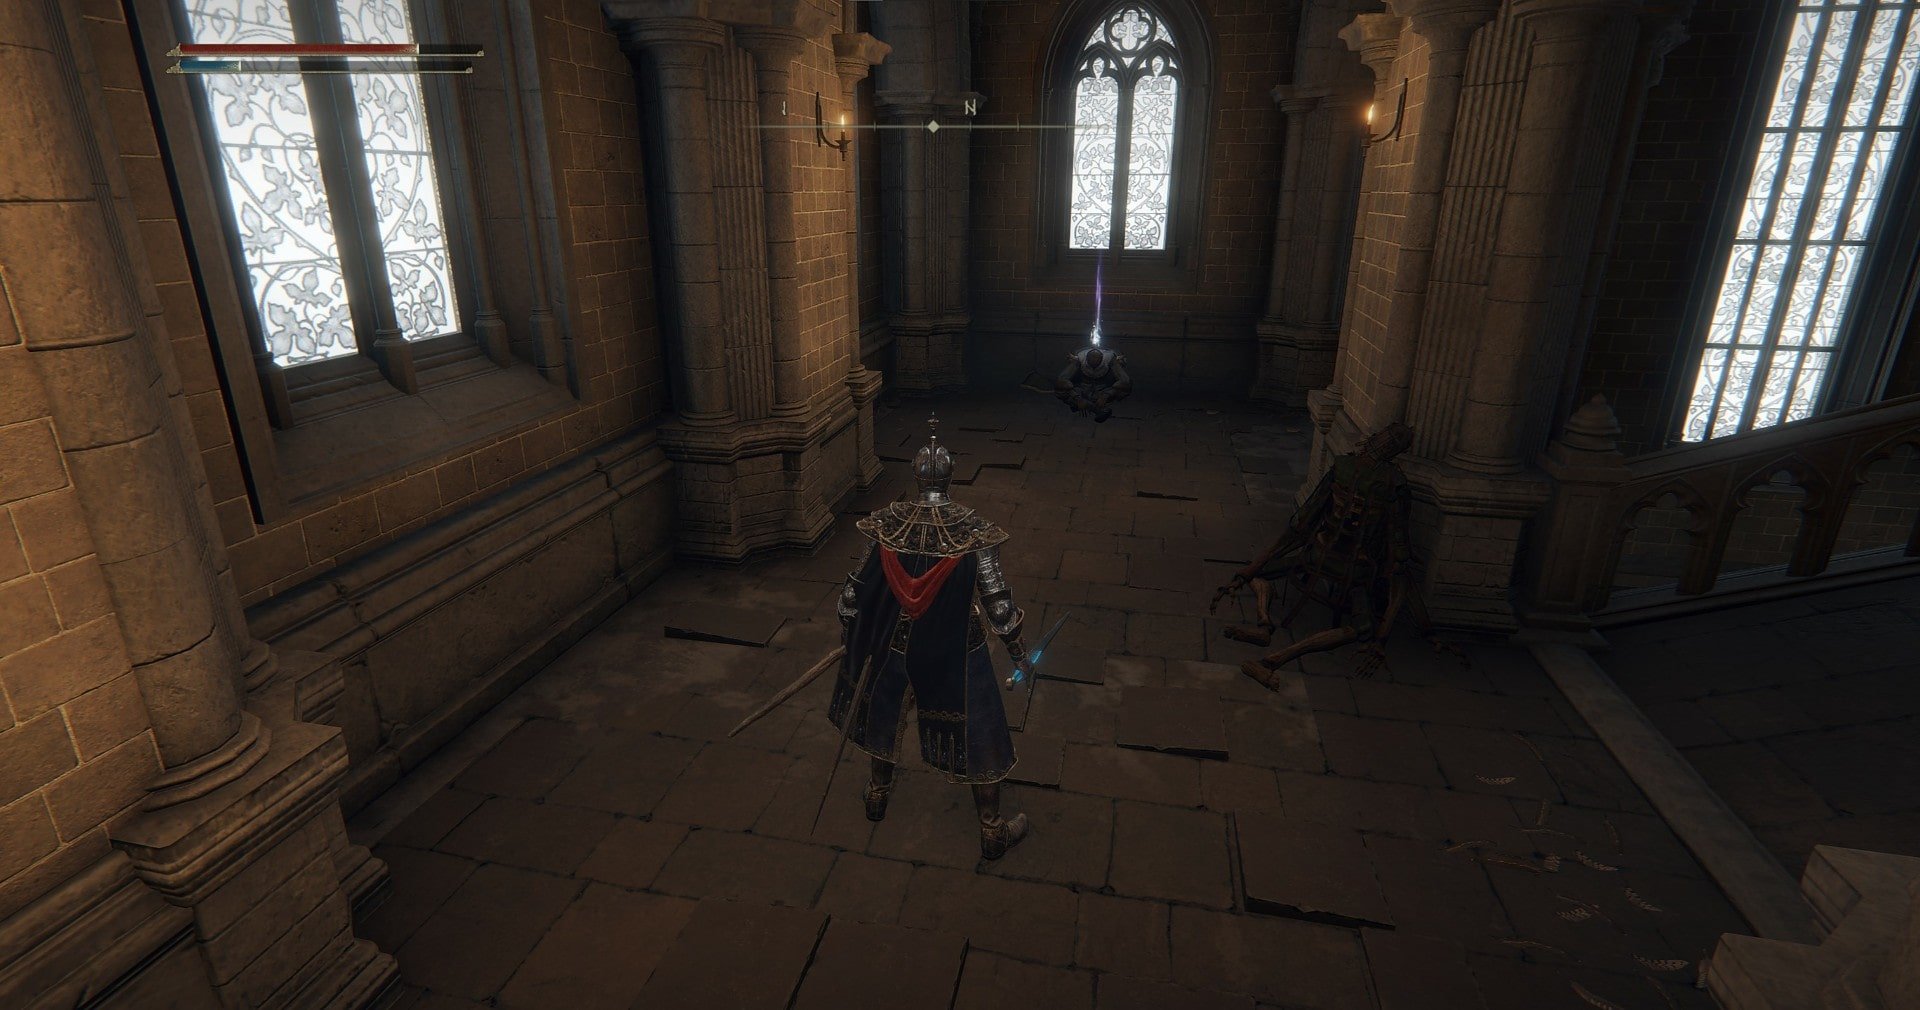
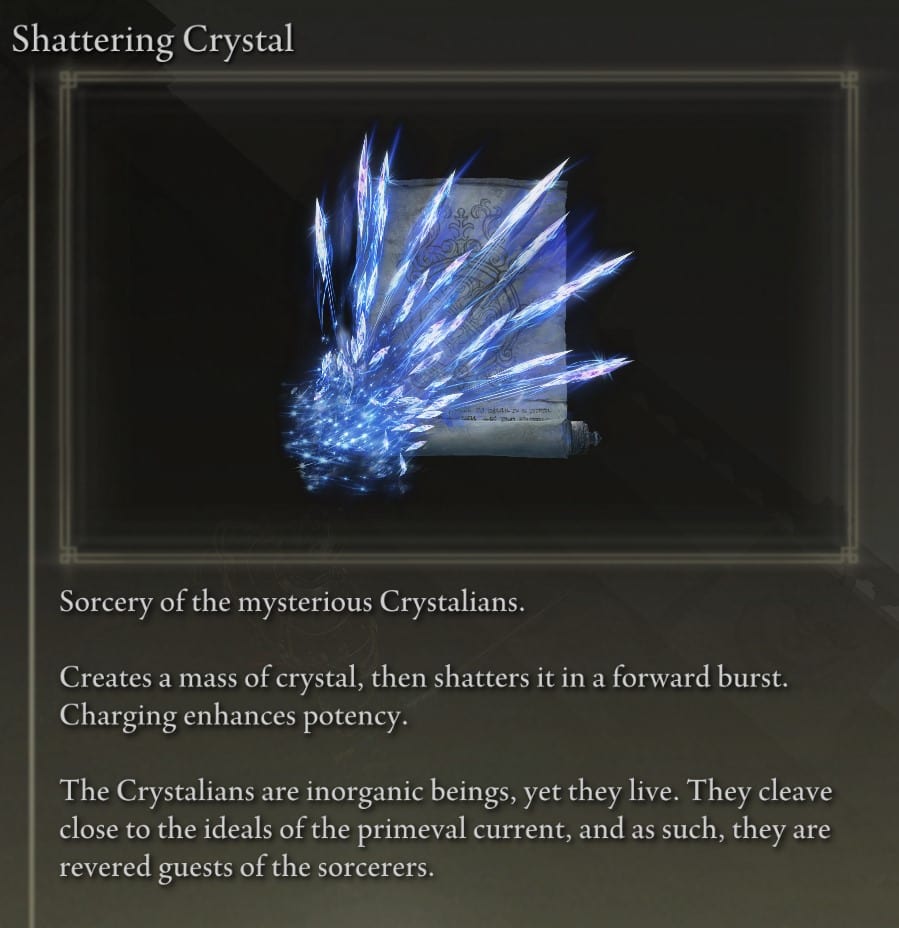
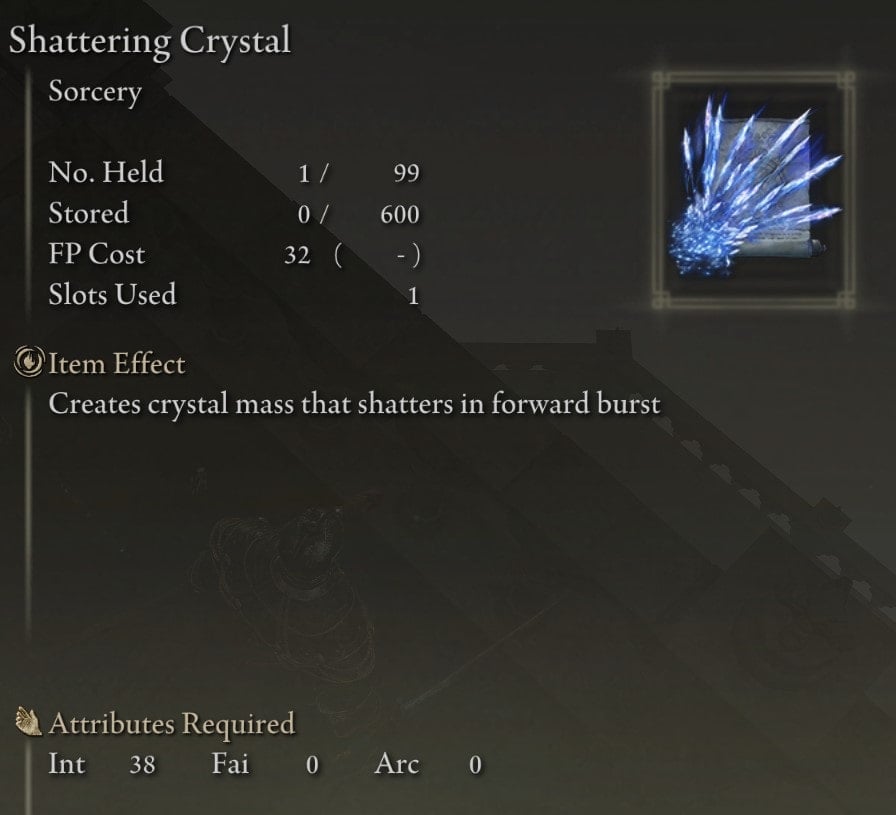
Shattering Crystal
This spell is located on a corpse on the second floor of the Church of Cuckoo. Check out the section on obtaining a second Academy Glintstone Key for details on how to reach this location.

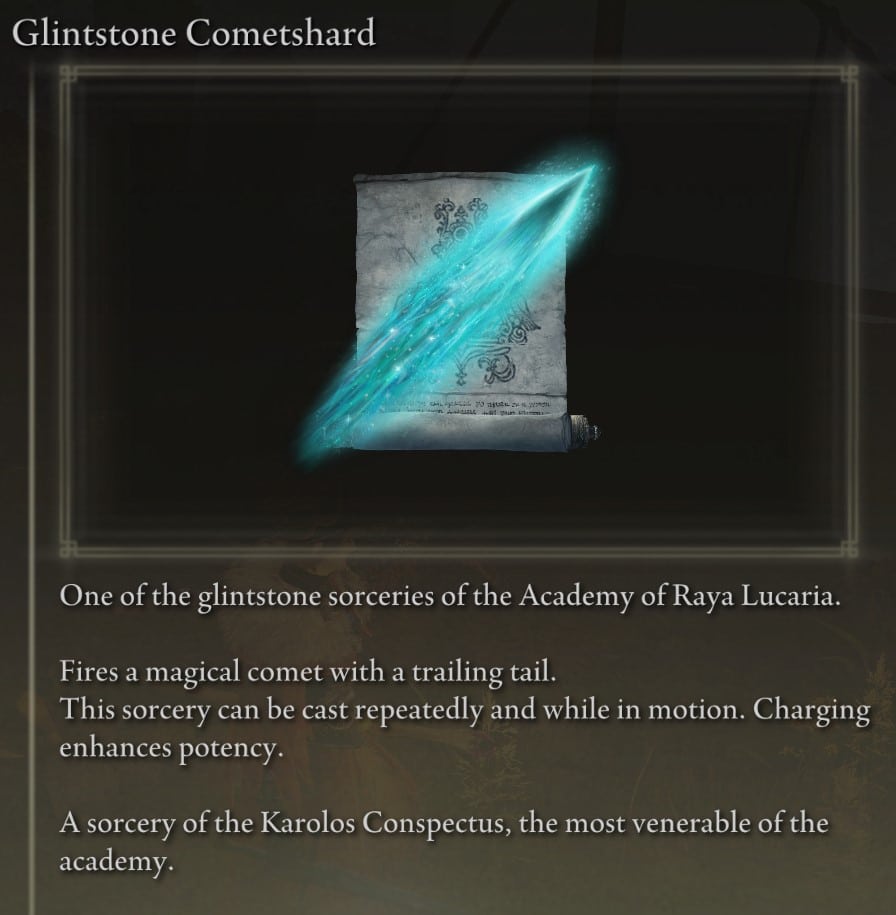
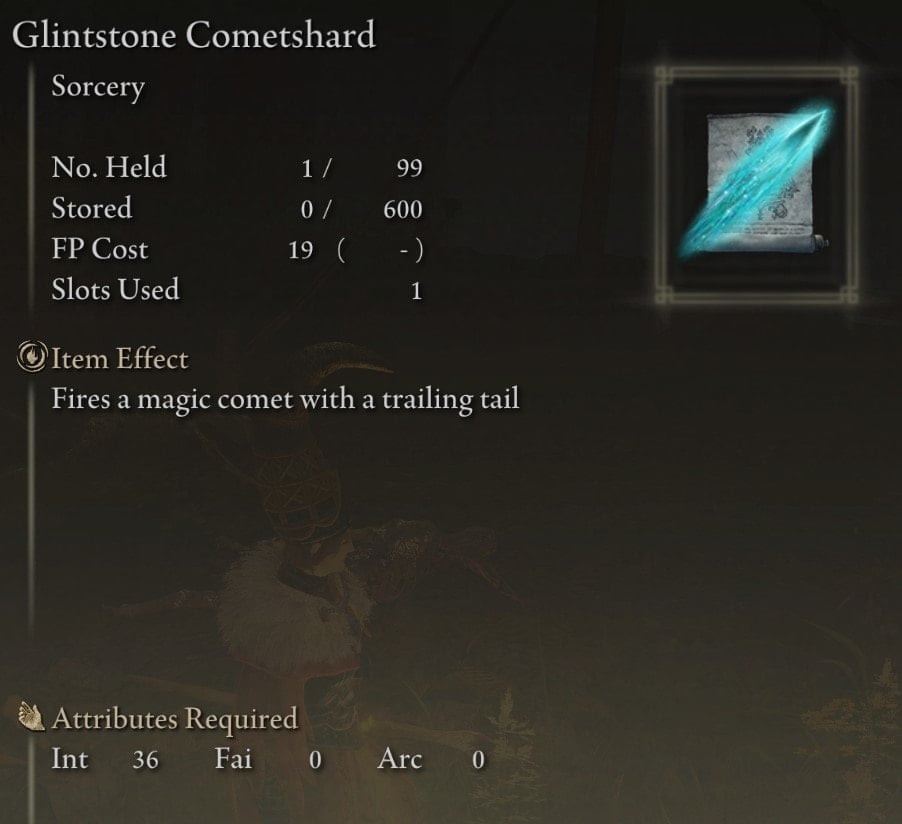
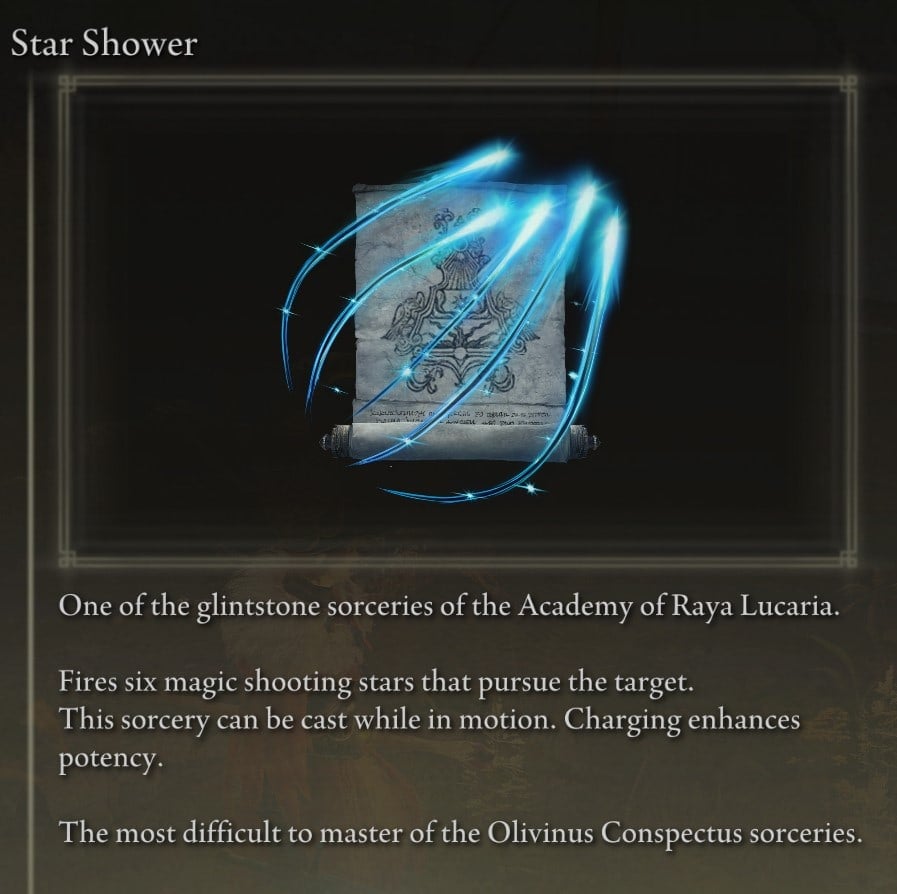
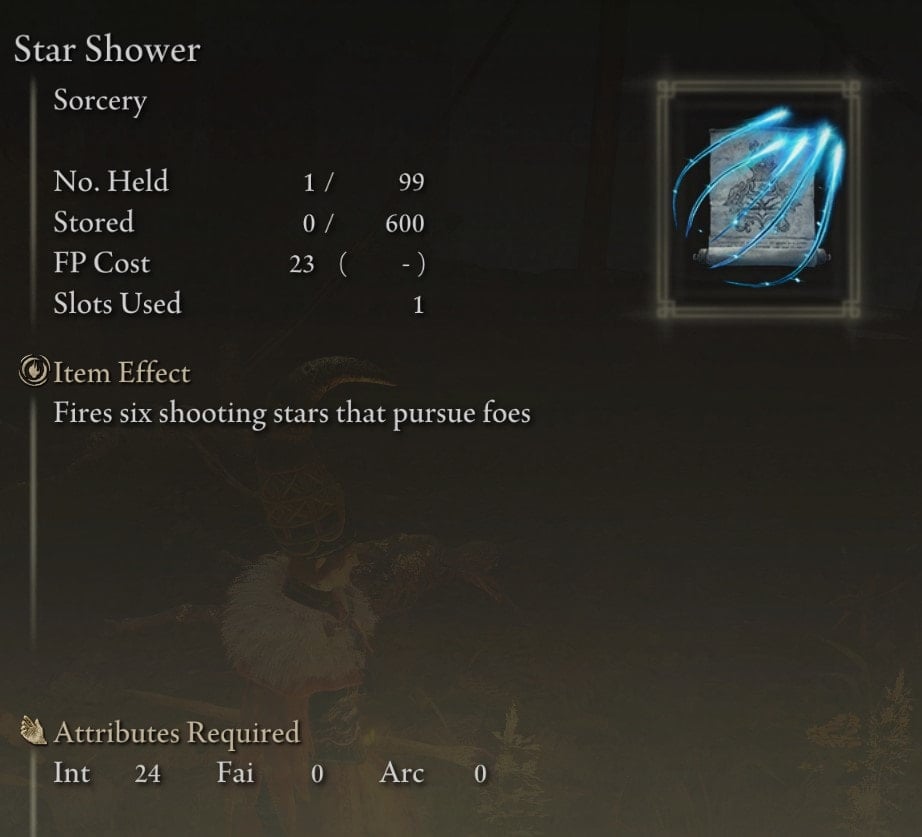
Conspectus Scroll
The Conspectus Scroll is located in a room just past the Schoolhouse Classroom. The Conspectus Scroll can be given to Sellen, Miriel, or Thops in order for them to teach you Glintstone Cometshard and Star Shower.
Armor Locations at the Academy of Raya Lucaria
FashionSouls is a thing once again! This section of the guide will show you where and how to pick up a few new armor pieces for your collection!
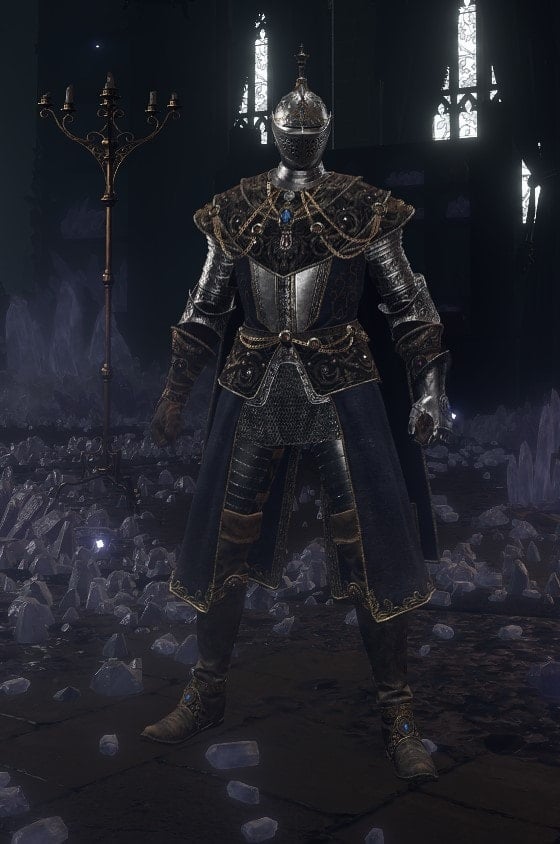
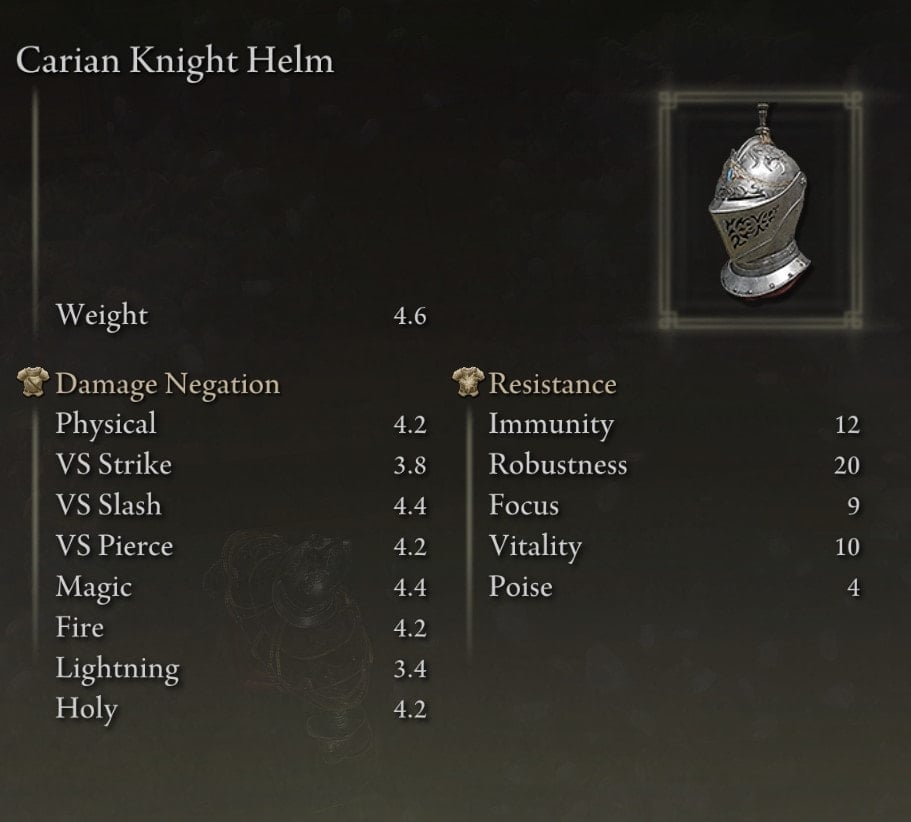
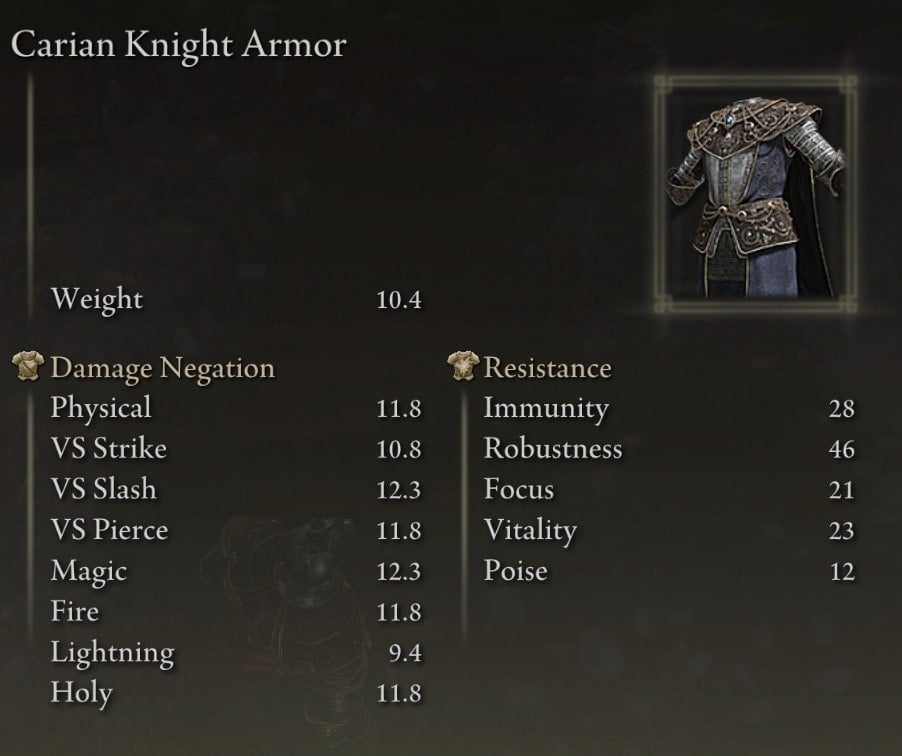
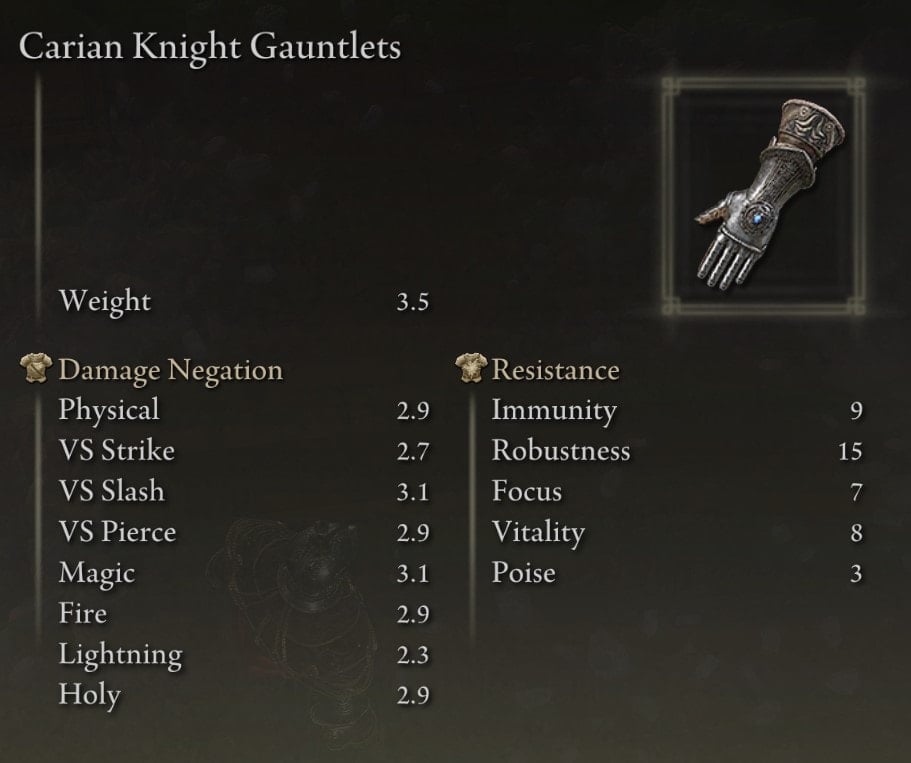
Carian Knight Armor Set
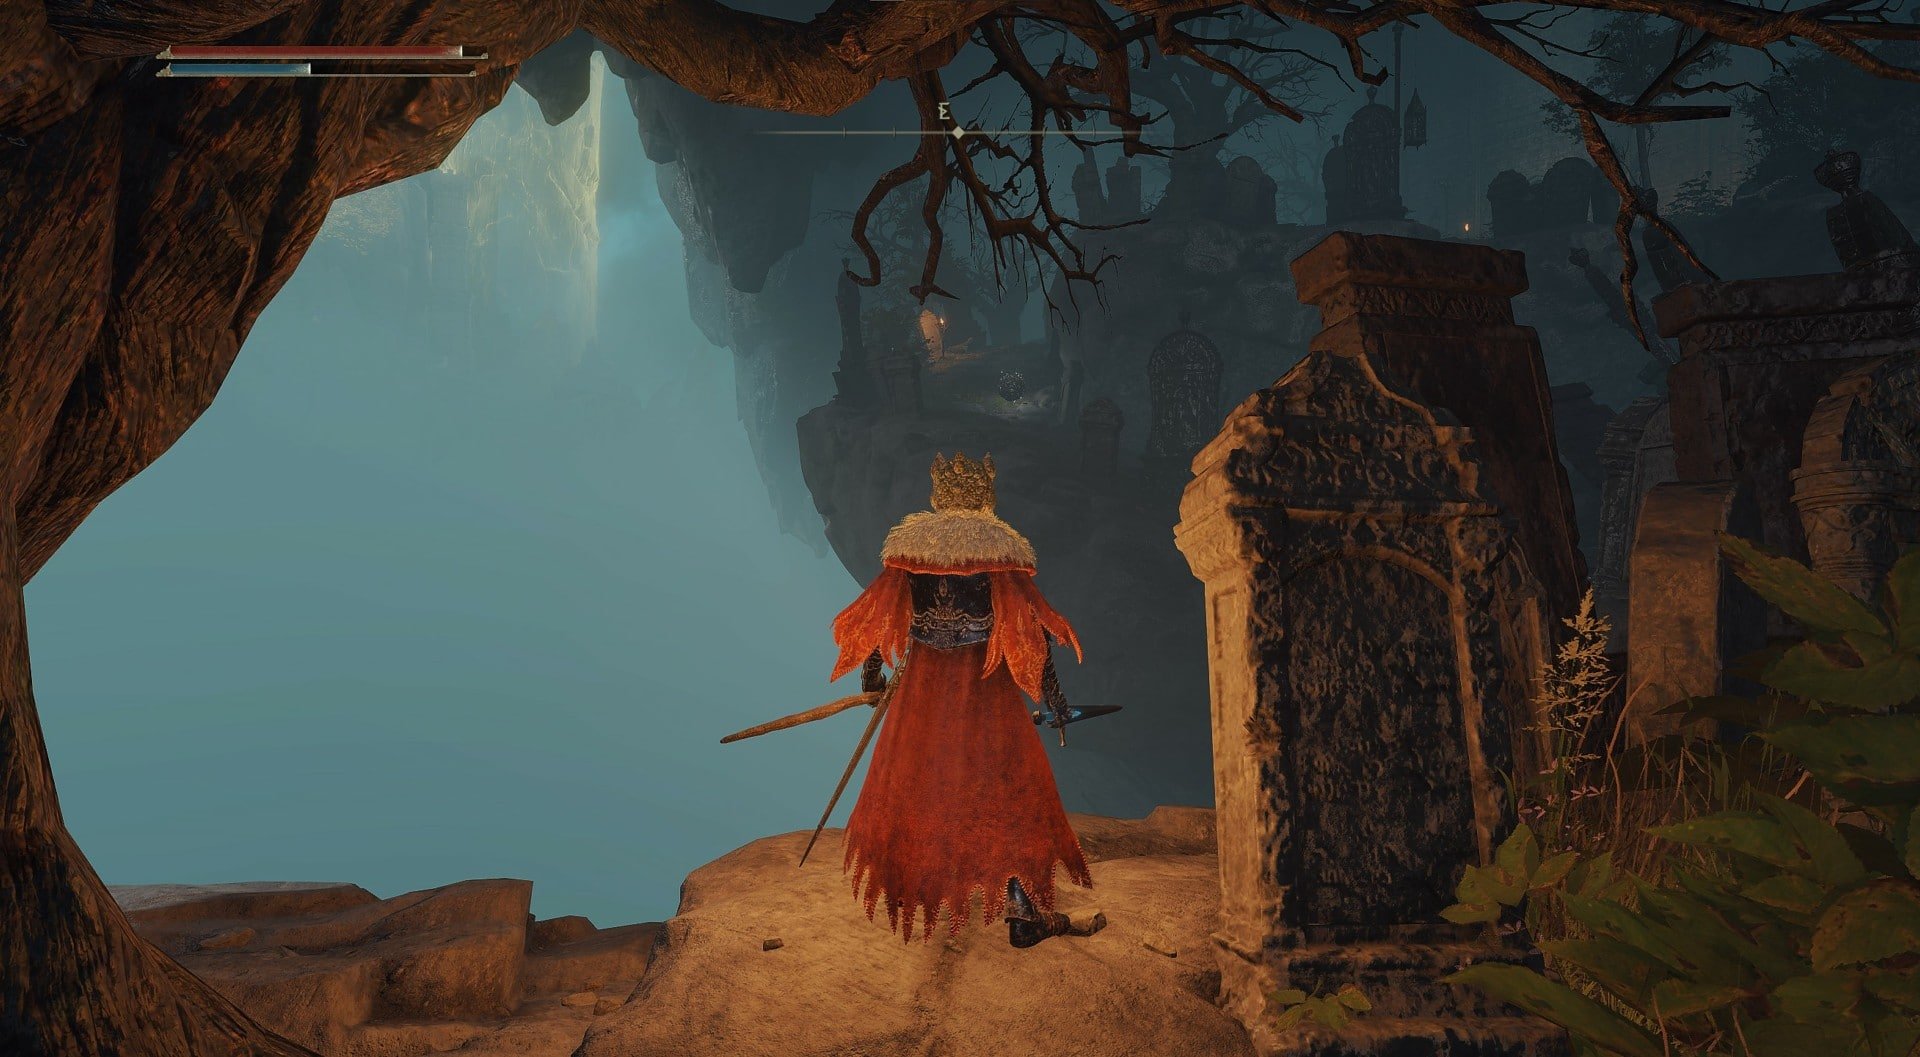
This is the only full set of armor to pick up in the Academy. It is located towards the end the magic zombie graveyard by jumping off a ledge near the door to vertical conveyor belt lift area.
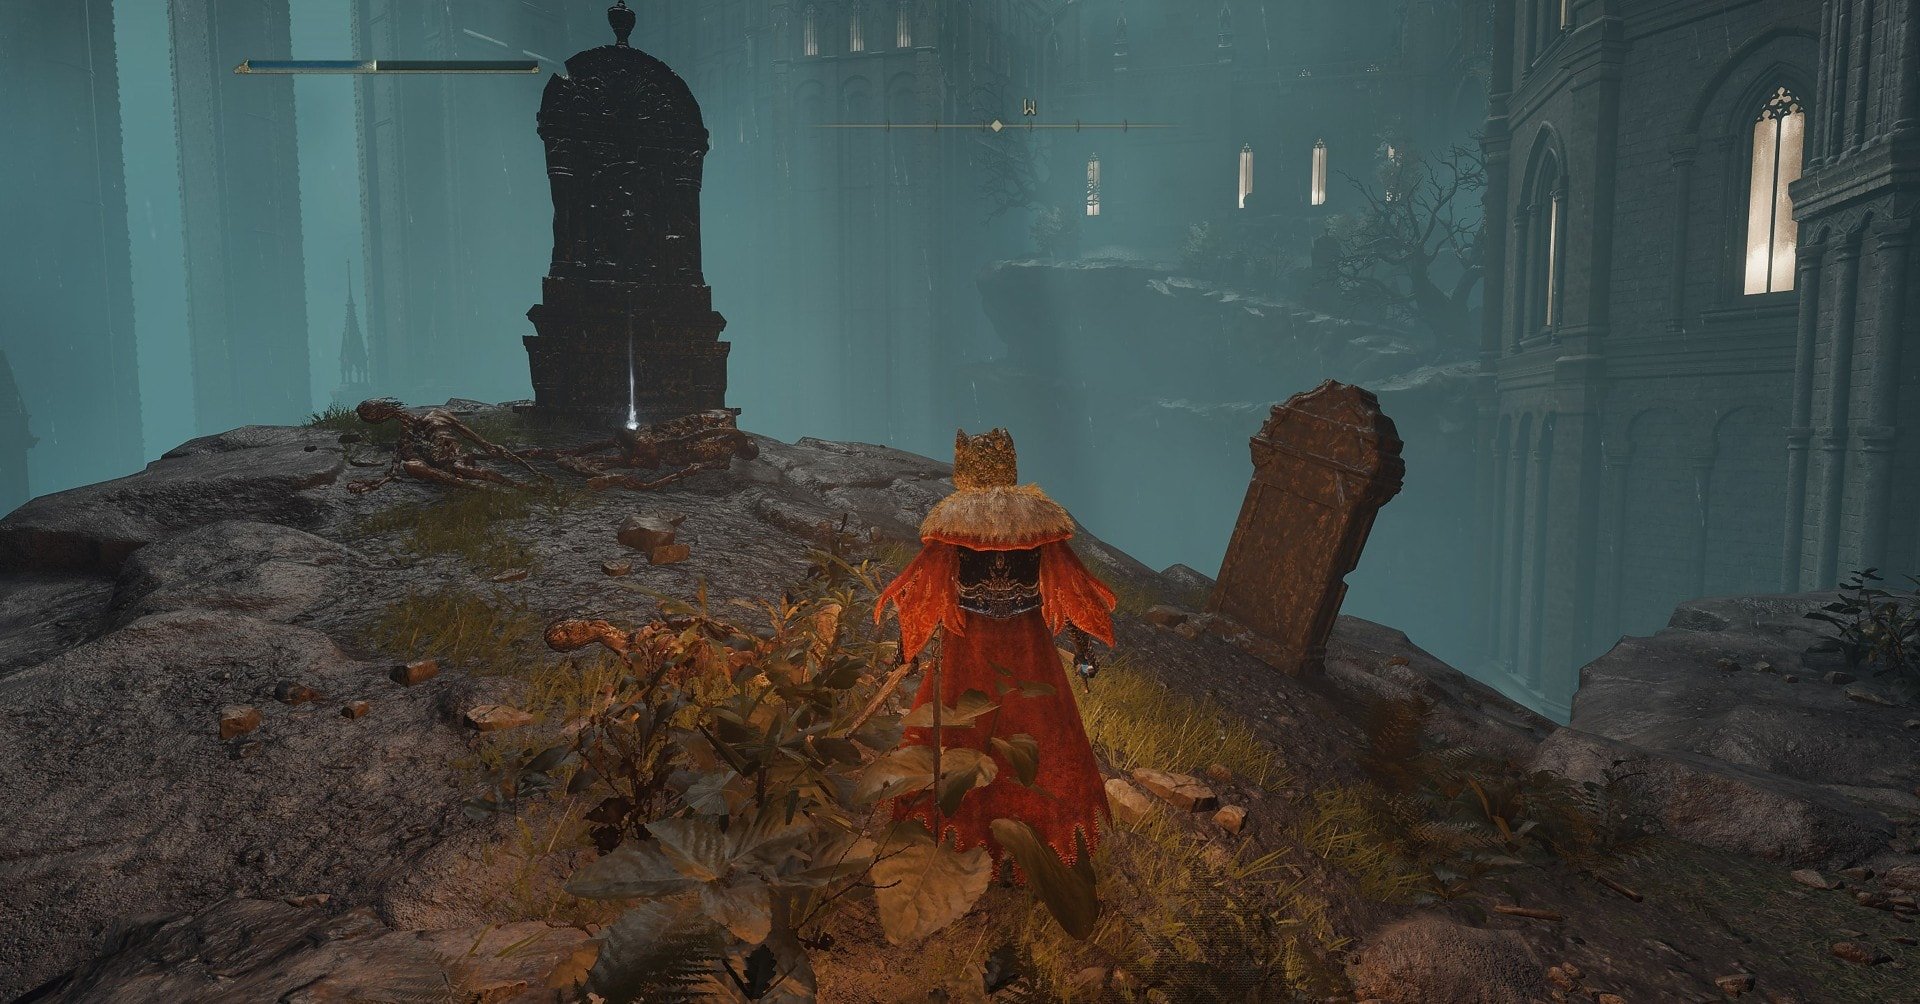
The image below depicts both the ledge on the right next to the mini mausoleum and the door to the vertical conveyor belt on the left. I’m standing on a ledge though, so you won’t necessarily see both at the same time if you’re just walking along.
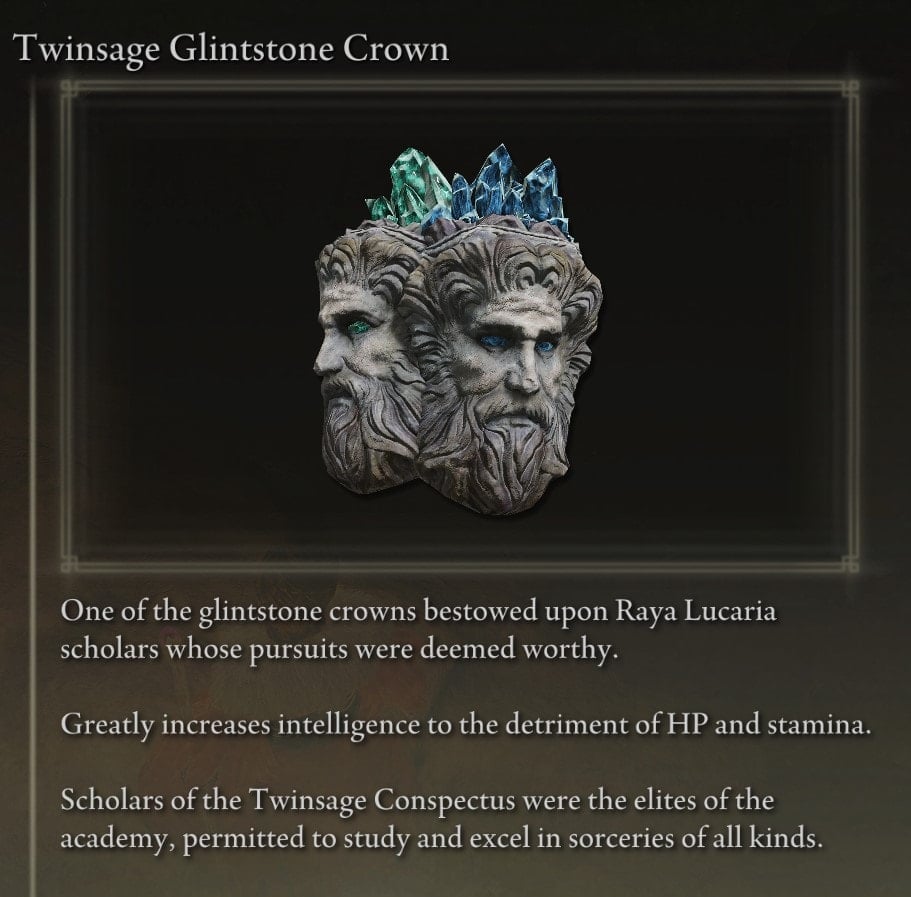
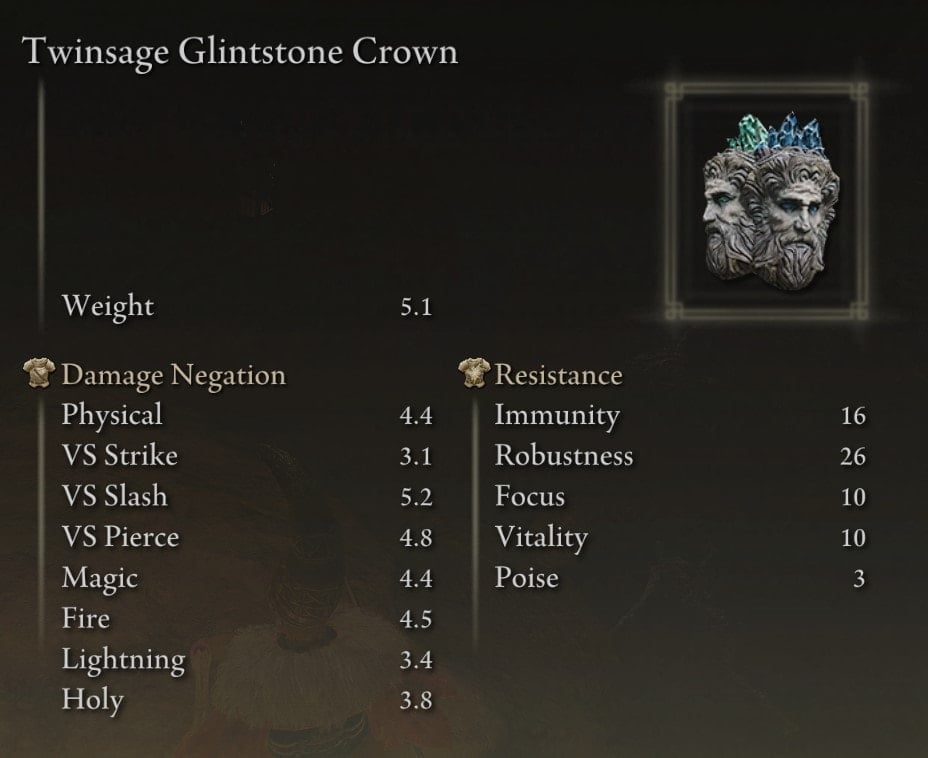
Twinsage Glintstone Crown
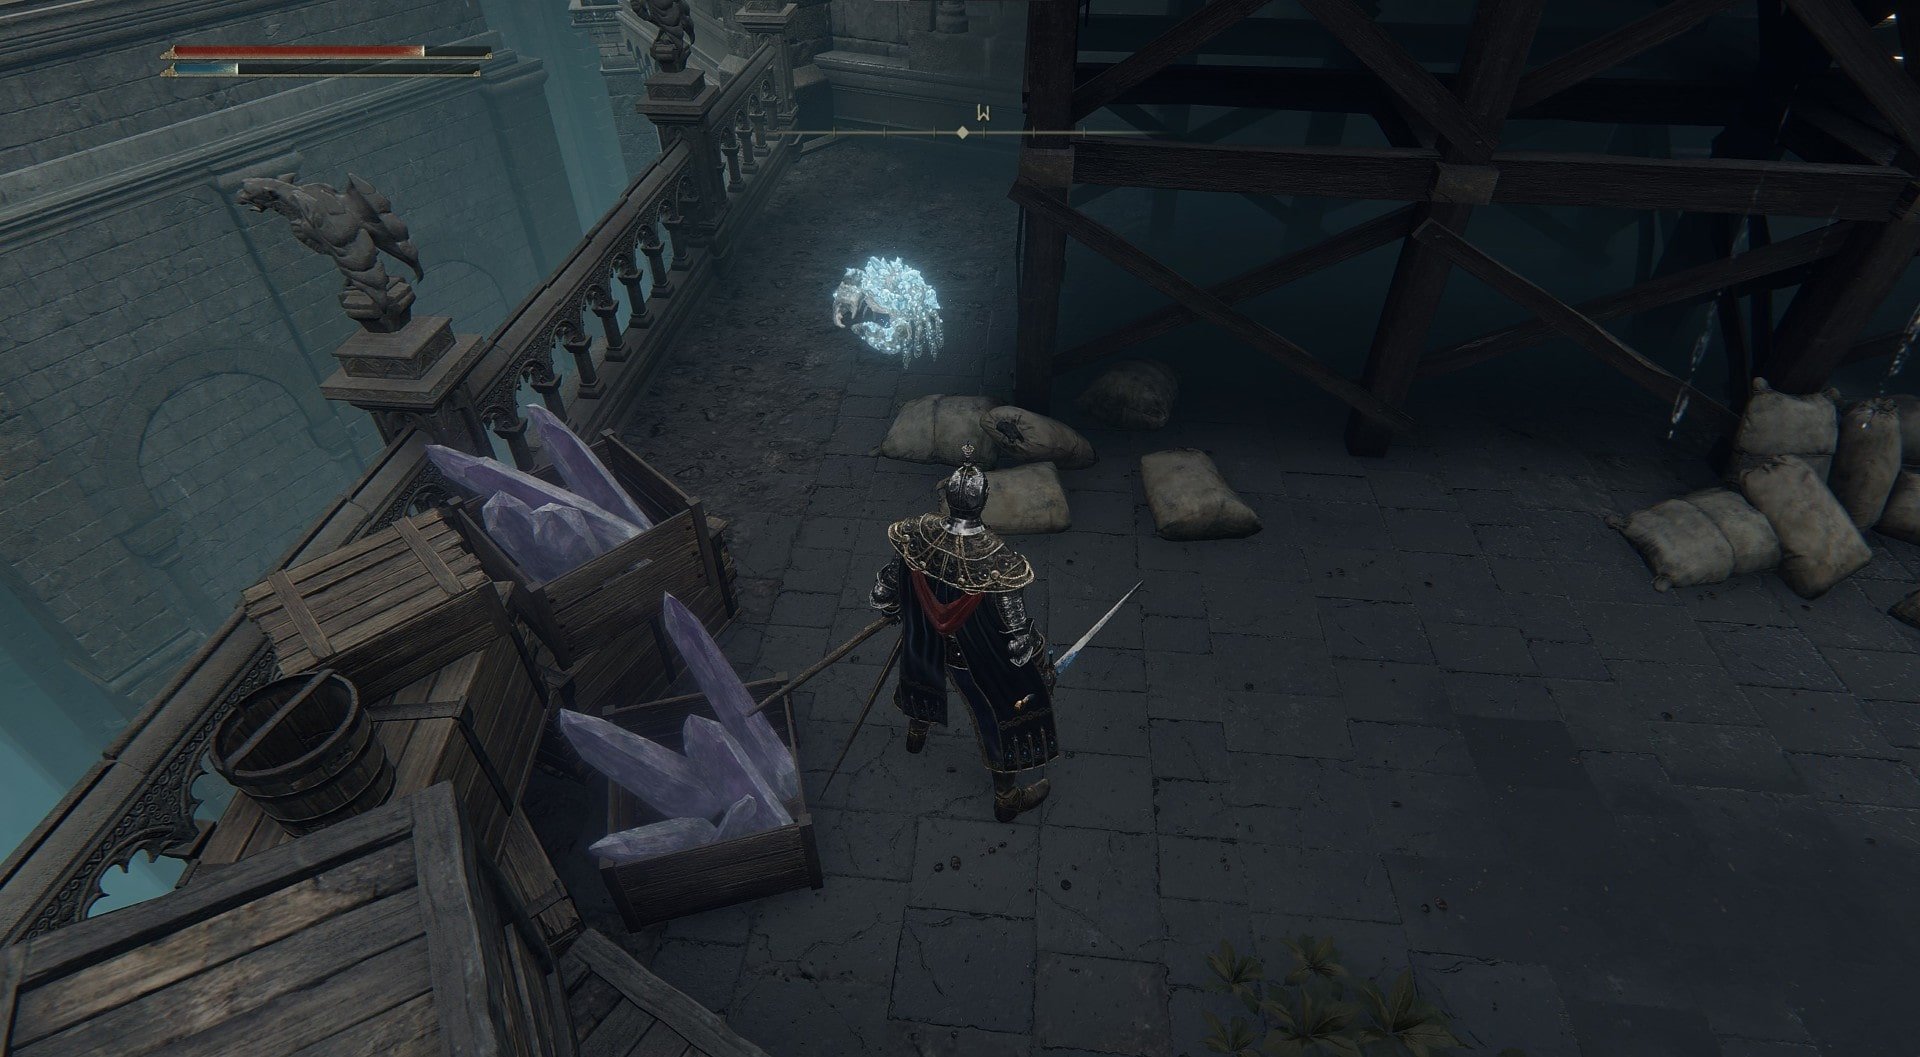
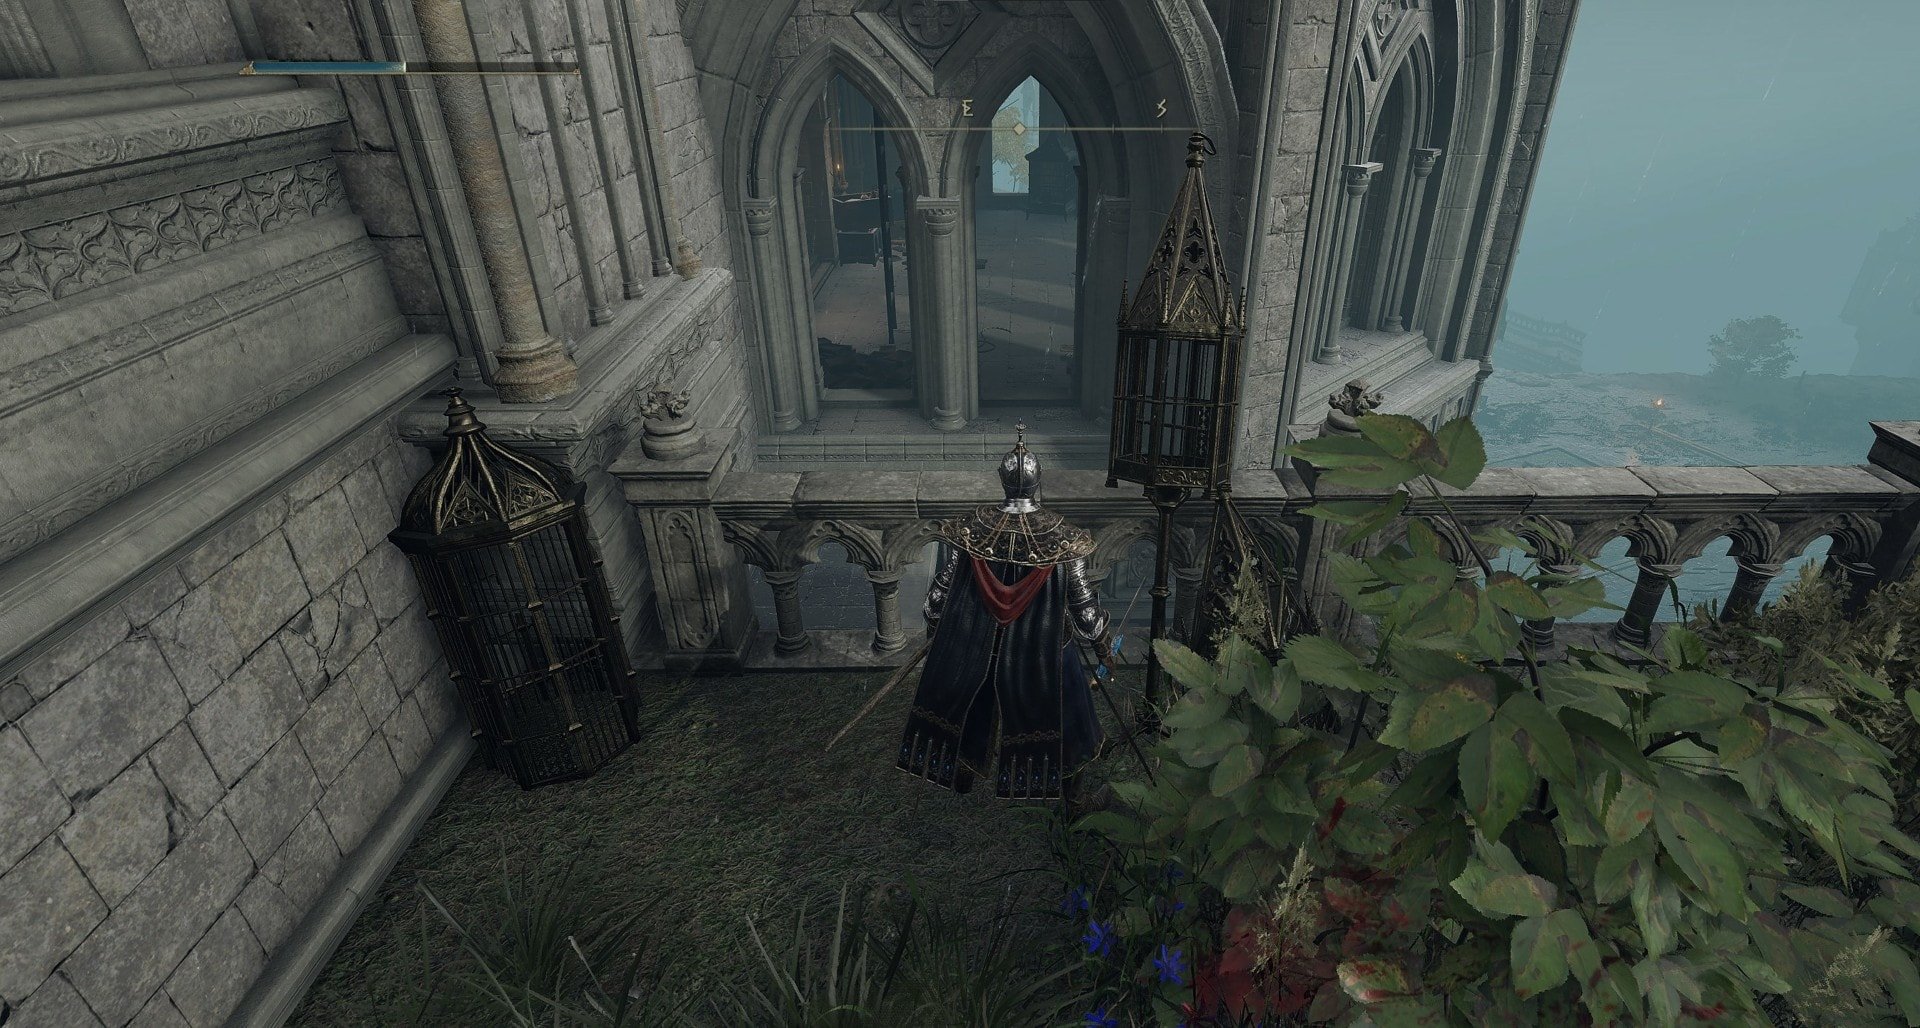
This helmet drops off of a glintstone crab on the second-floor veranda of the Church of Cuckoo. Please refer to the section on how to get the second Academy Glintstone Key for a detailed explanation of traversing the rooftops. You can also go out onto the veranda from the ladder you knocked down if you have already gotten the key.
The glintstone crab has more HP than your average mini-crab, it didn’t attack me, but I wouldn’t put it past From Software to make them able to one-shot you so don’t let your guard down.

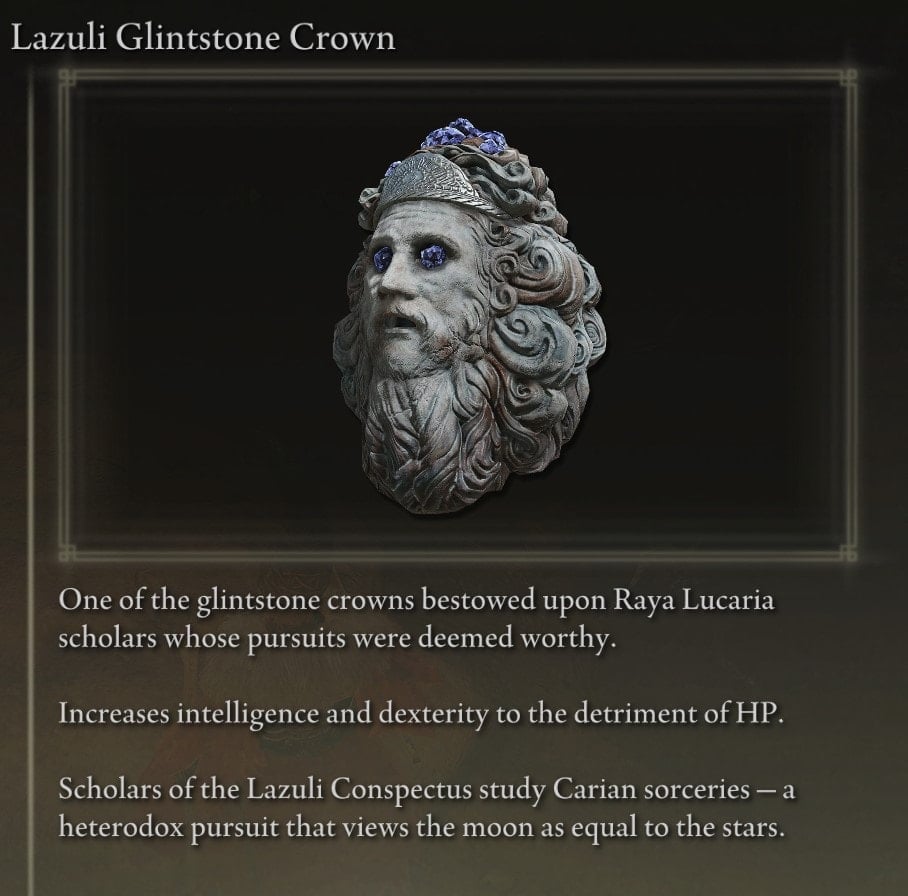
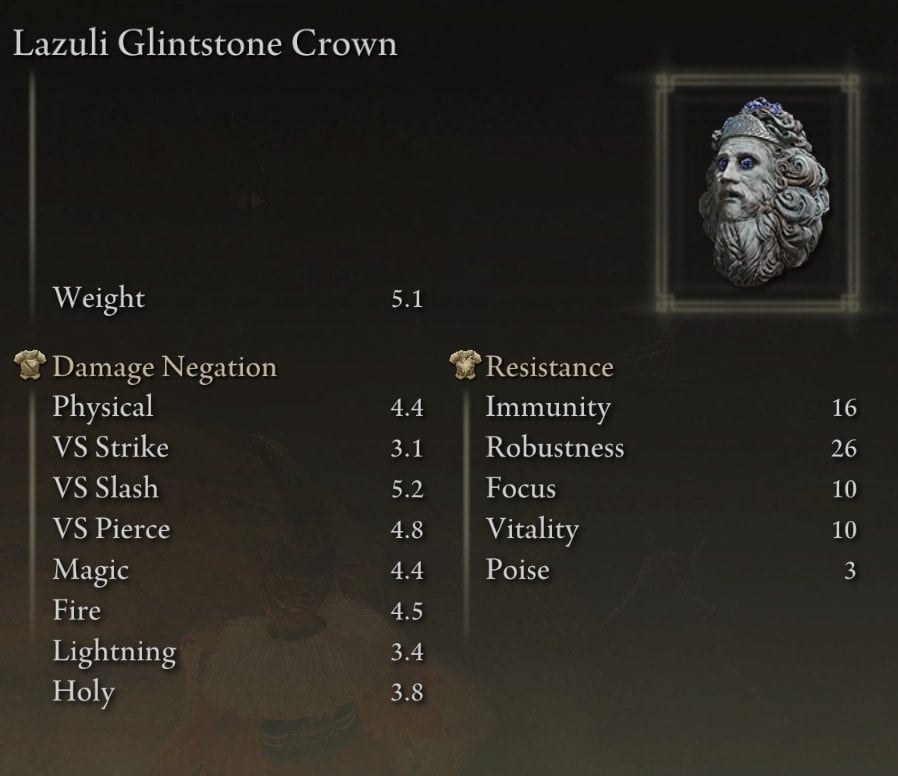
Lazuli Glintstone Crown
This crown also drops from a glintstone crab. The crab is located in a tower that you drop down through while platforming across the roof as part of the path to obtain the second Academy Glintstone Key.

In order to reach the tower, you have to run and leap across the buildings. It’s pretty tight, you’ll barely be able to cover the distance by jumping at the last second.
When you make it across, you’ll want to turn right and keep leaping across buildings until you can drop down into a hole in the top of that tower on the right.

You may get attacked by several flying marionette enemies.
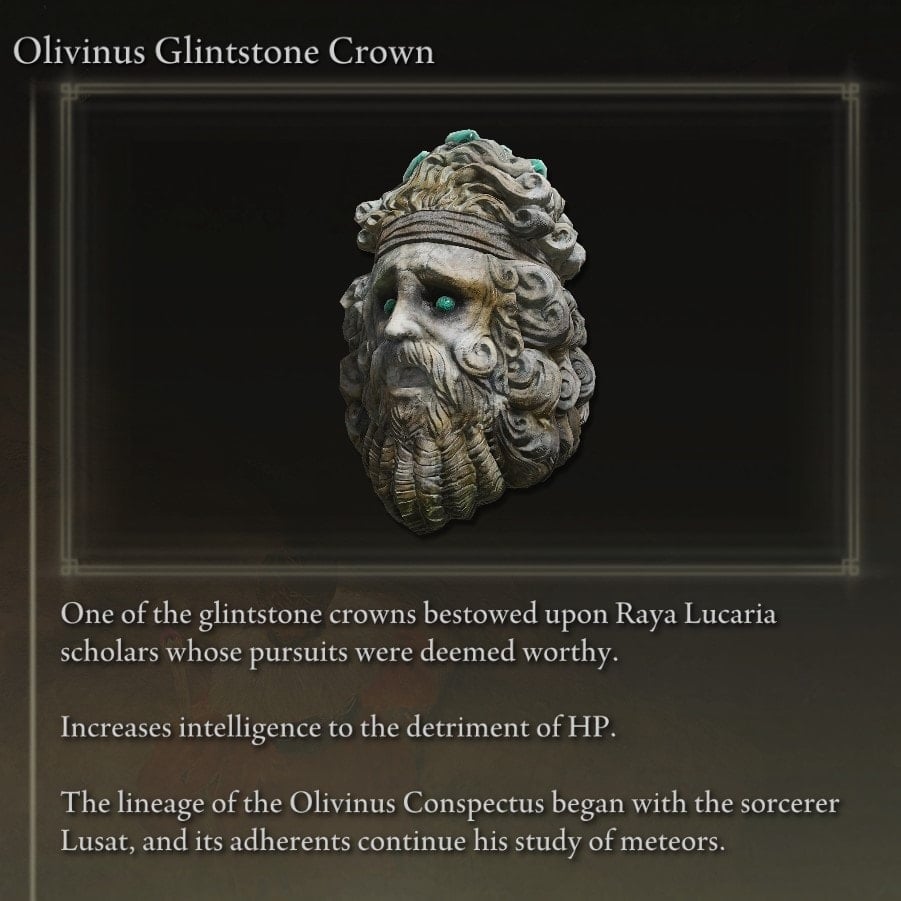
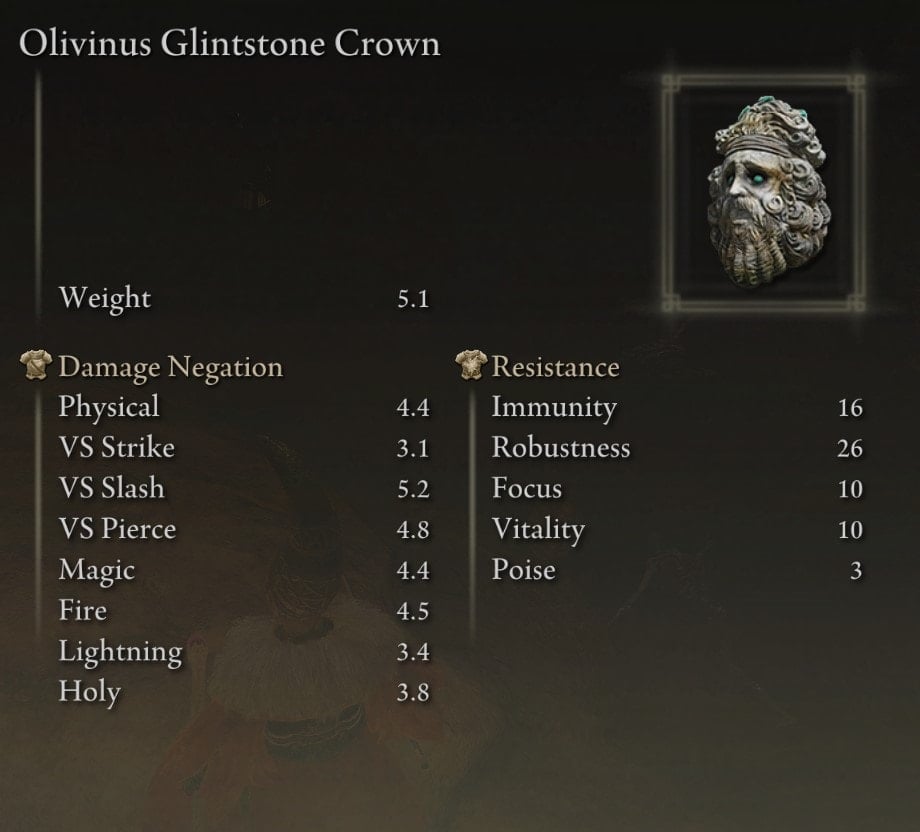
Olivinus Glintstone Crown
This crown is located outside the Schoolhouse Classroom. The glowing is visible from several different areas.
The starting point is behind a fake bookshelf in the same room as the Conspectus Scroll right past the Schoolhouse Classroom. Here’s the starting area with the fake bookshelf removed. All you have to do is strike the bookshelf to make it disappear.
Step out onto the balcony and to your left, there will be a ledge you can drop down to.
Follow the ledge all the way and eventually you’ll end up on the side of the cliff. There will be some rocks you can jump on.
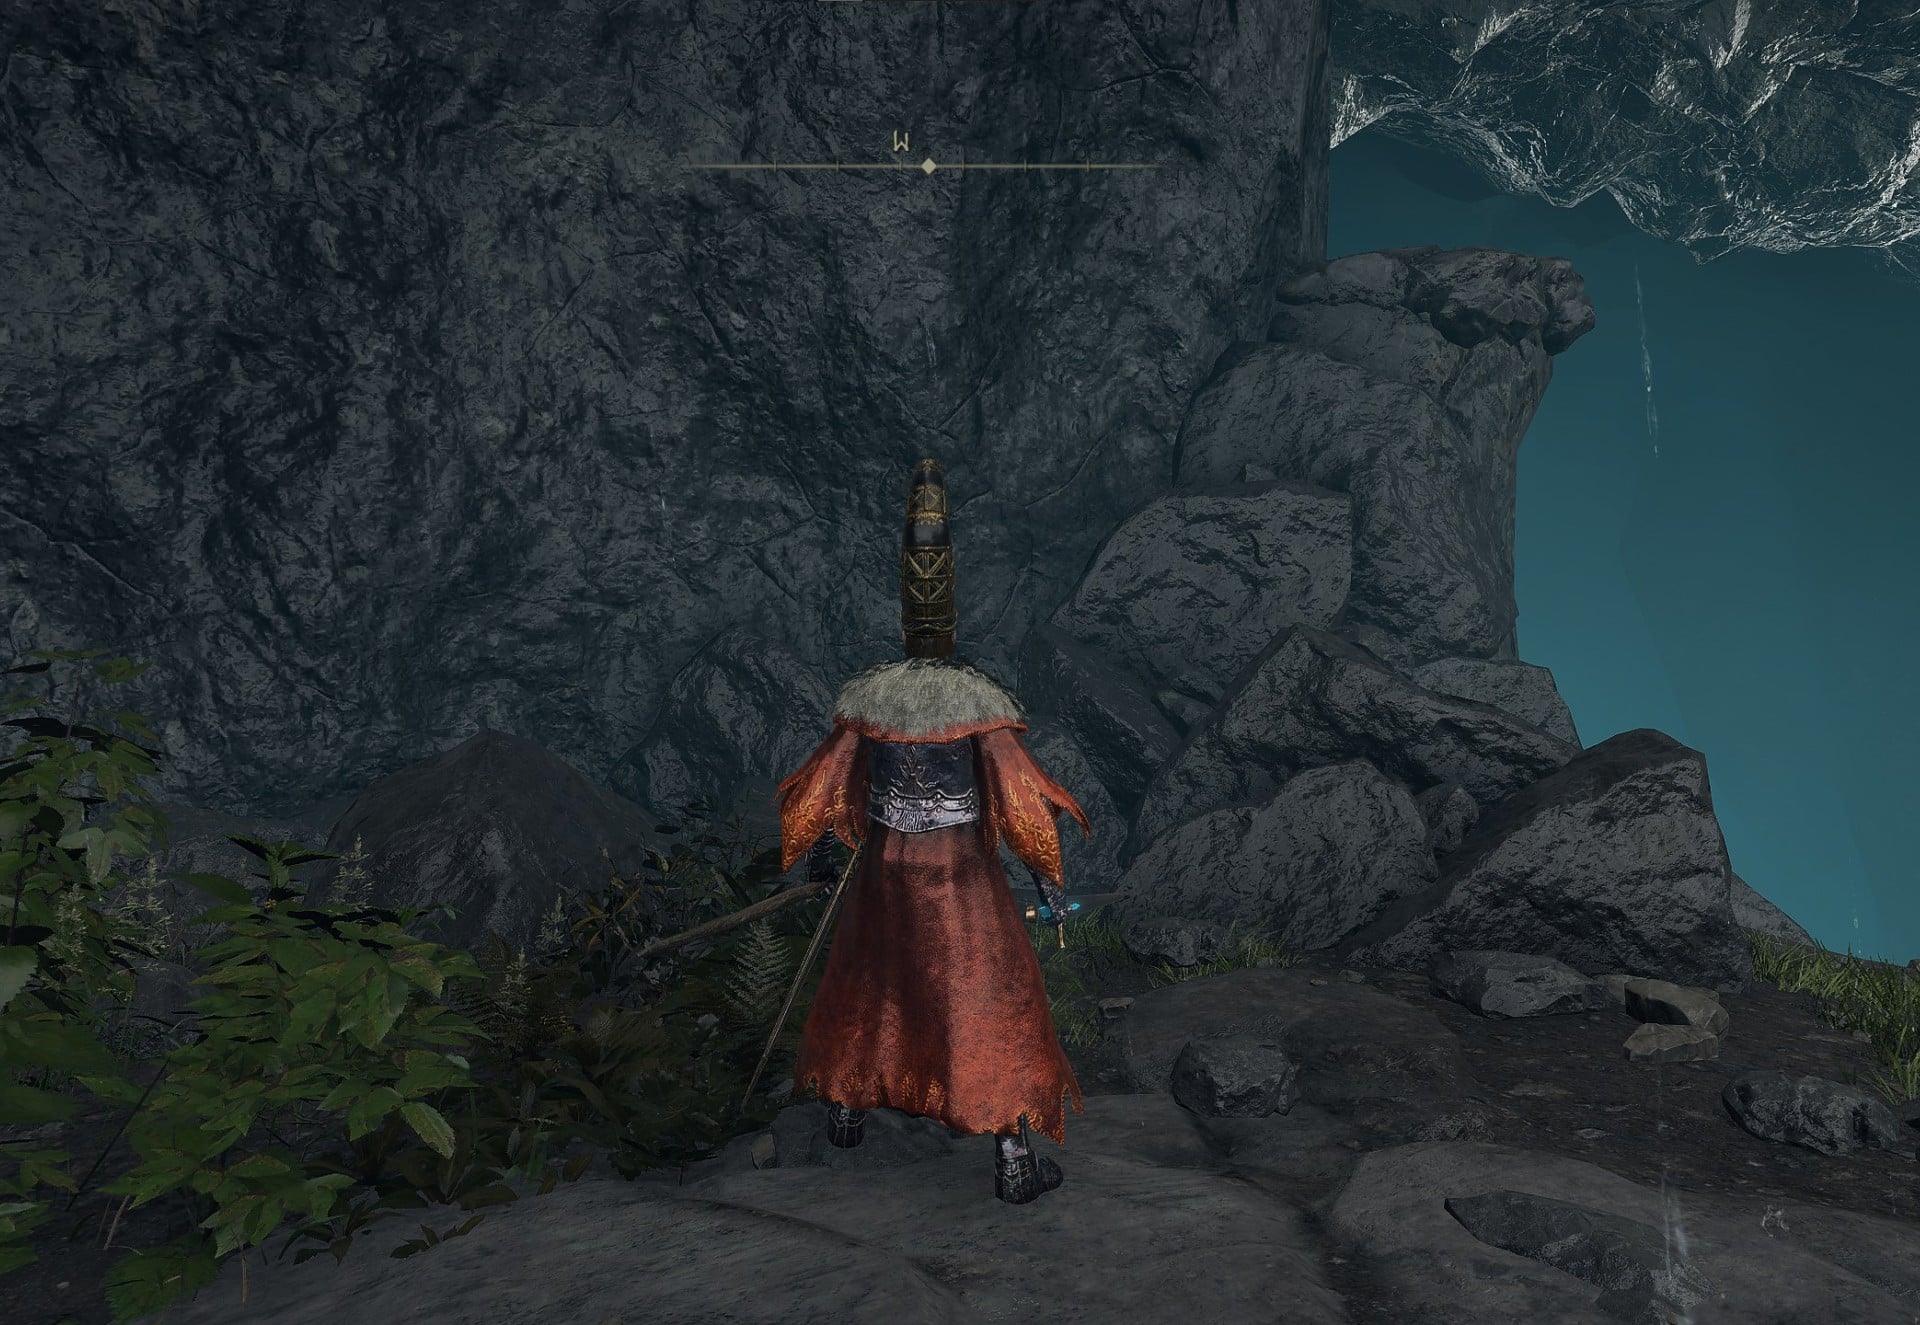
Climb up and make your way forward, be careful of a slight gap in the cliff and you’ll have arrived at the Olivinus Glintstone Crown!
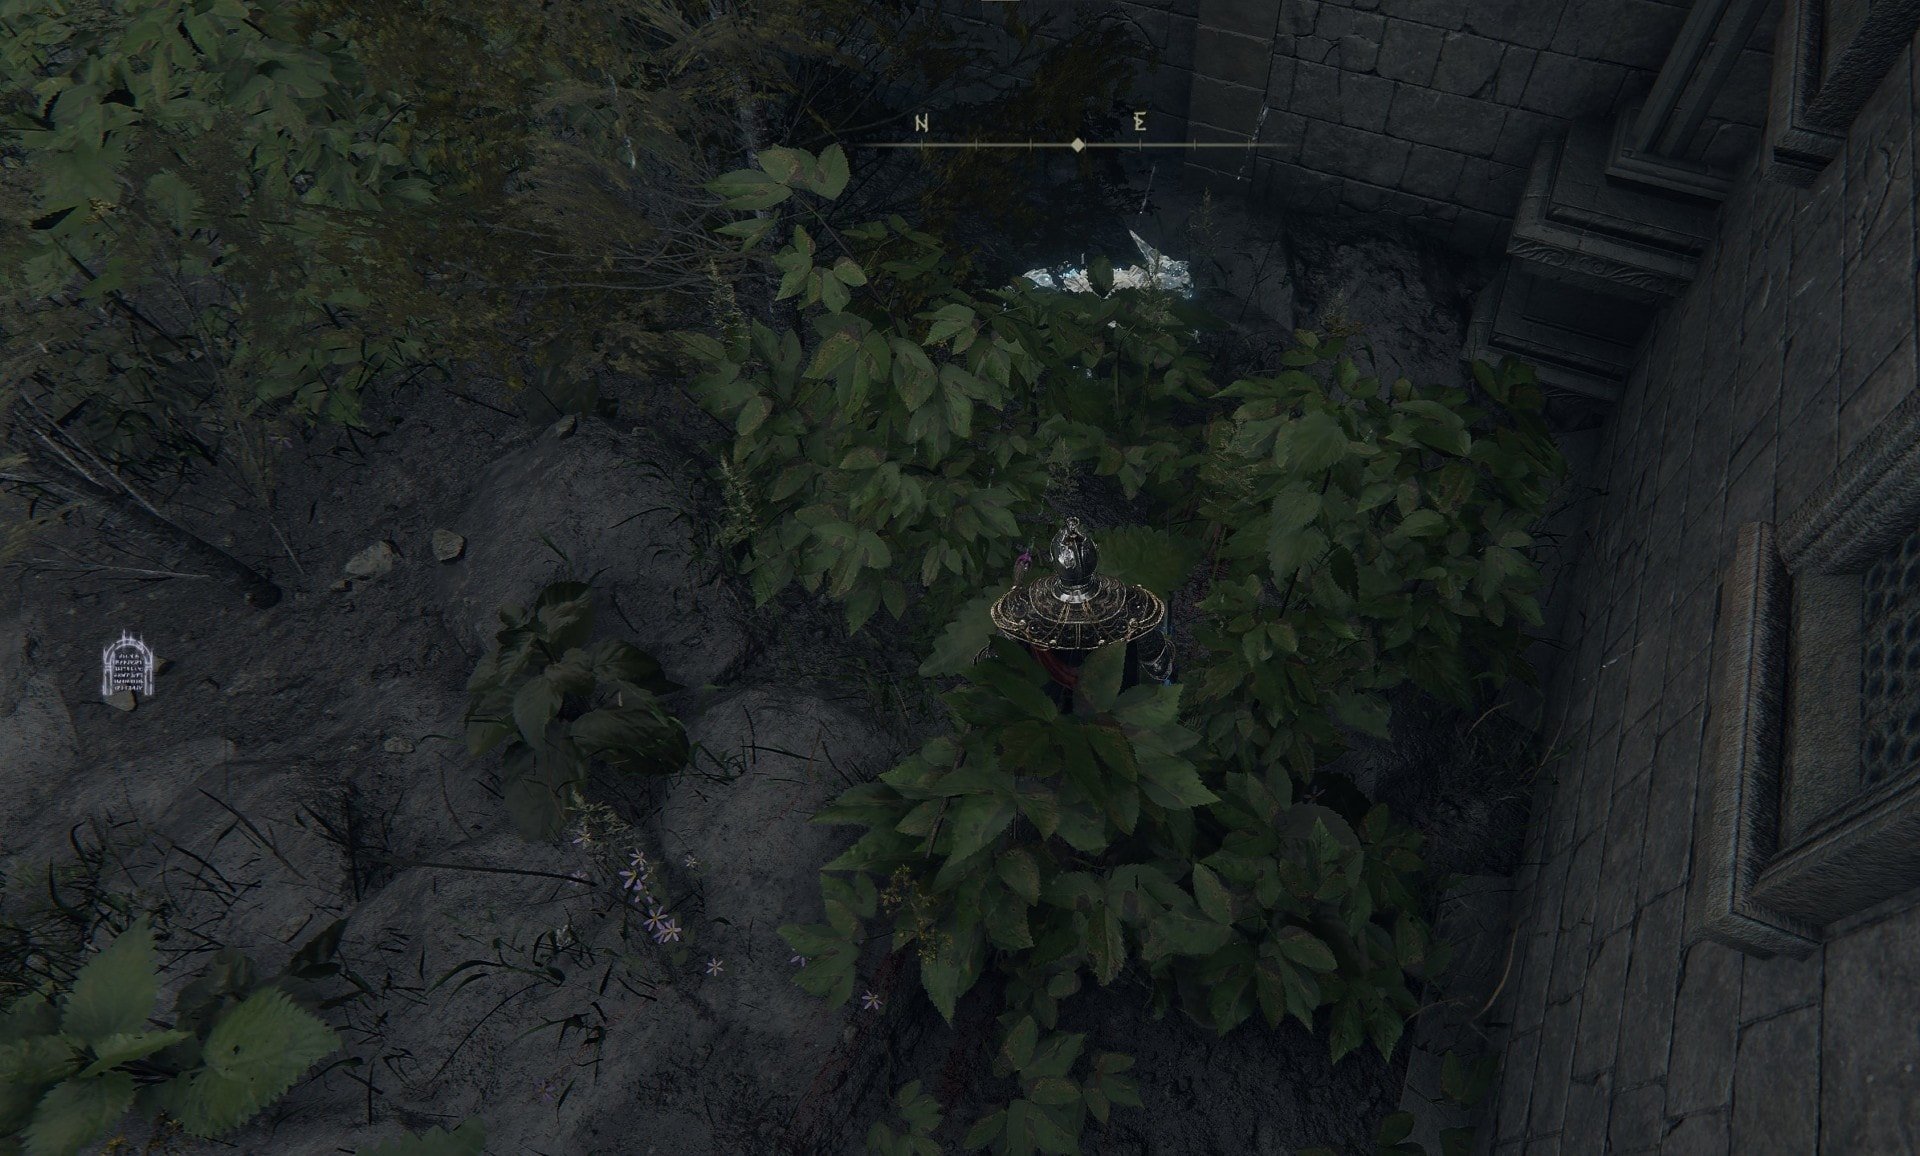
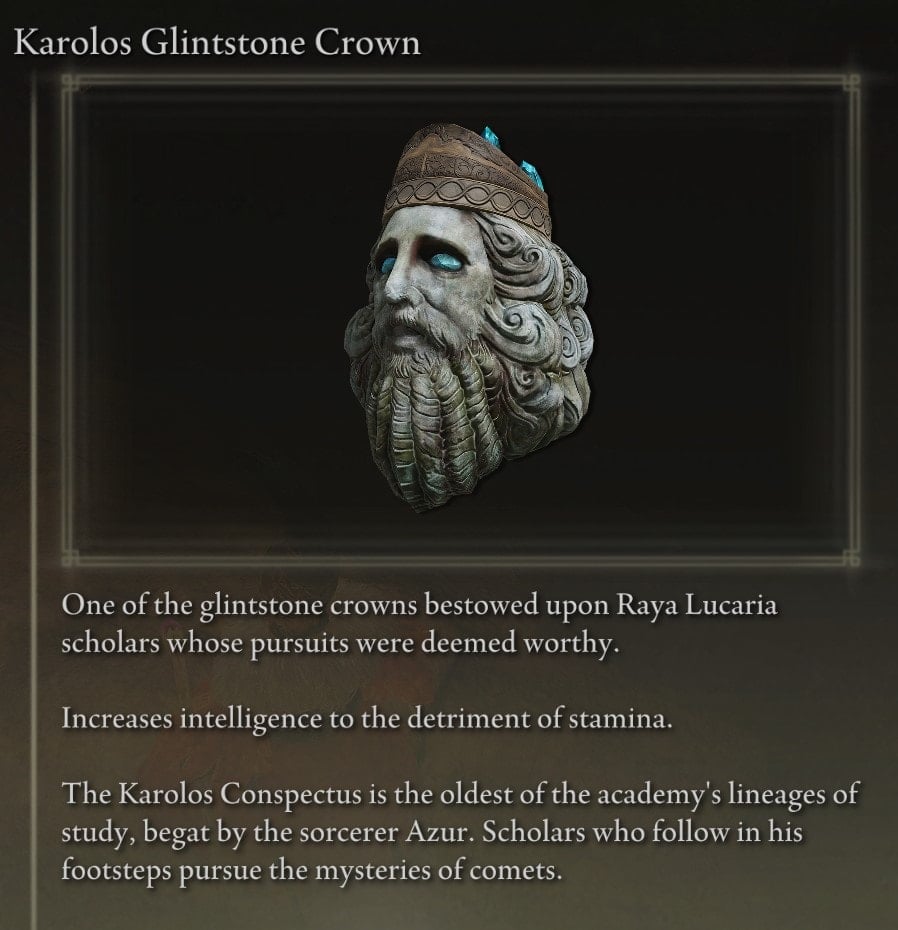
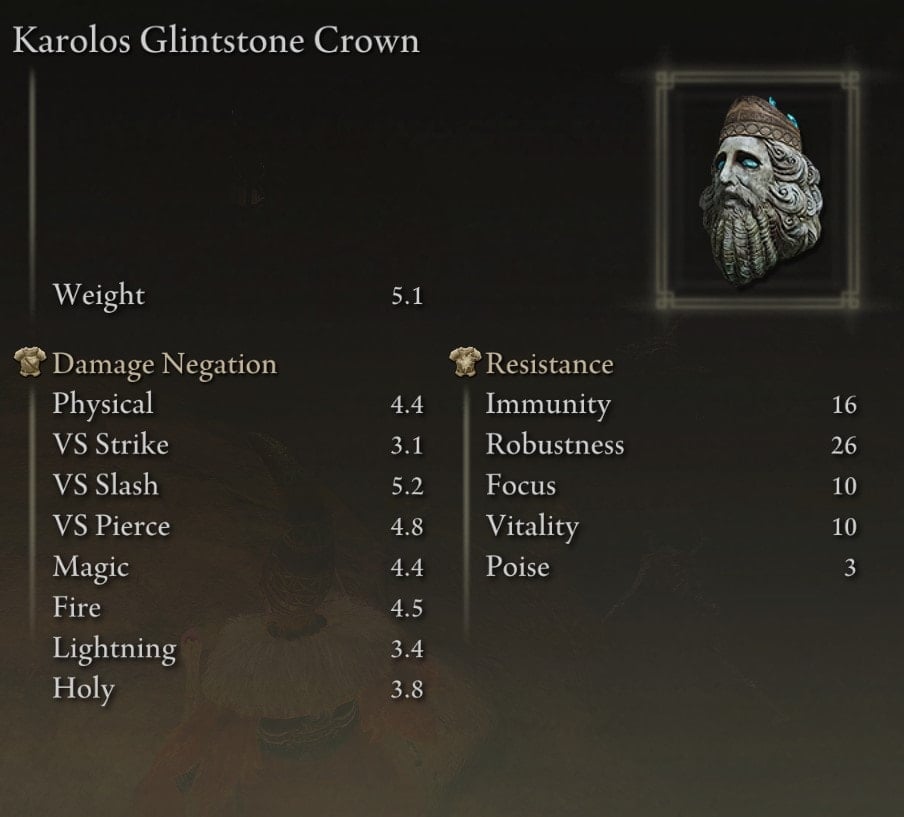
Karolos Glintstone Crown
Unlike the other Glintstone Crowns, this one is quite easy to get to. It’s located out in the courtyard area past the Debate Parlor near the Golden Seed tree. It drops off of a glintstone crab right near the edge of the cliff.
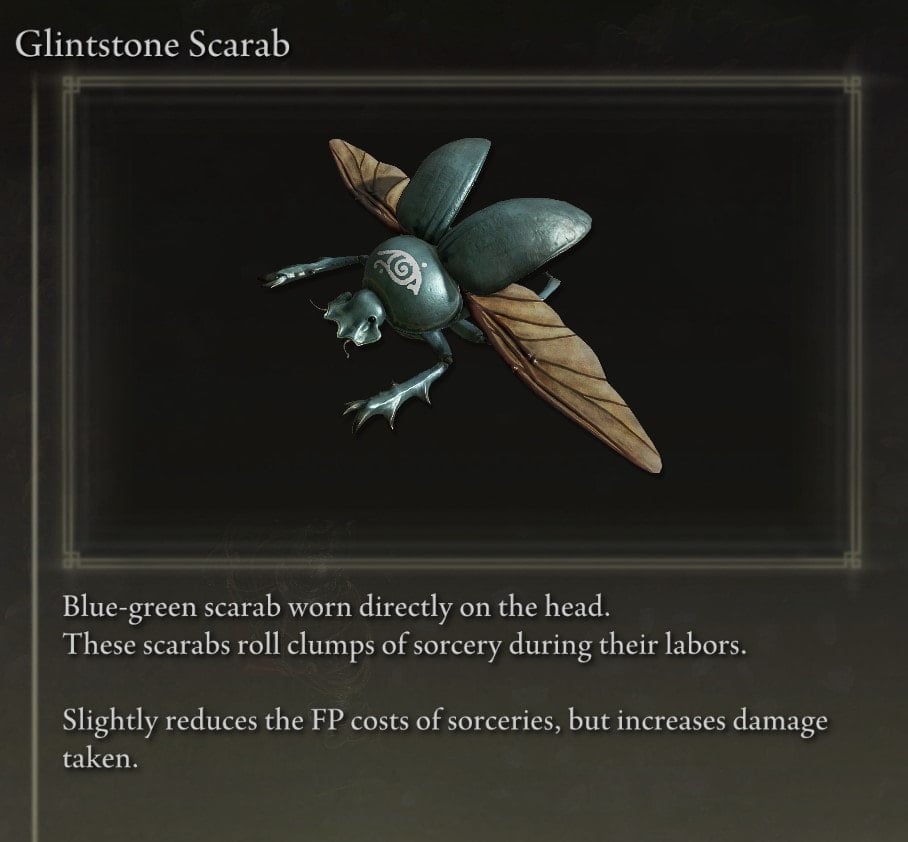
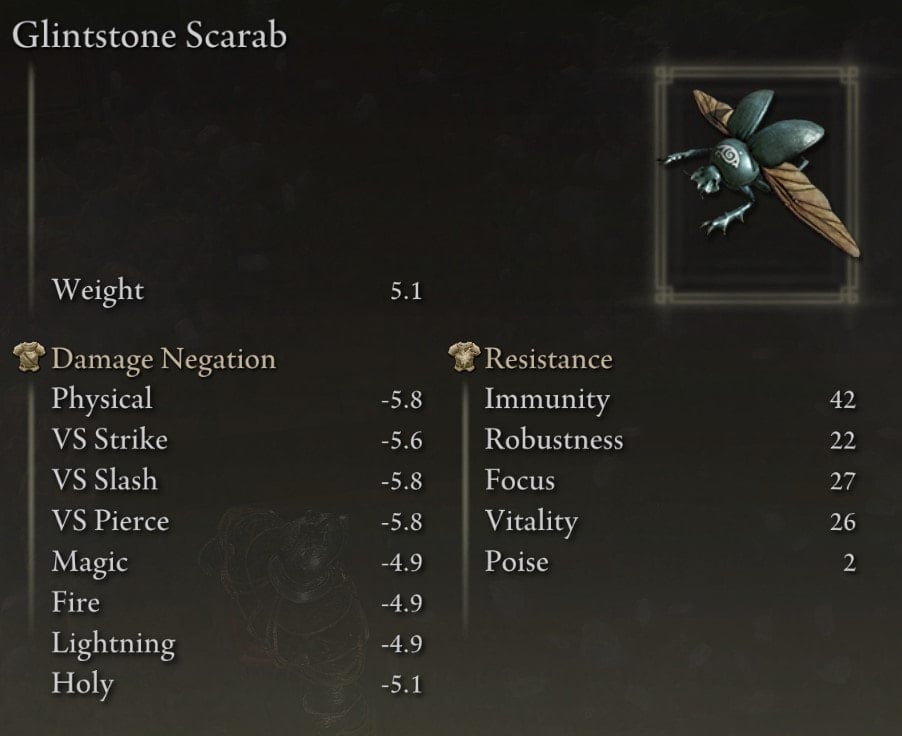
Glintstone Scarab (Helmet)
The Glintstone Scarab is a helmet that is located in a chest in the same room where the big metal ball drops down from.
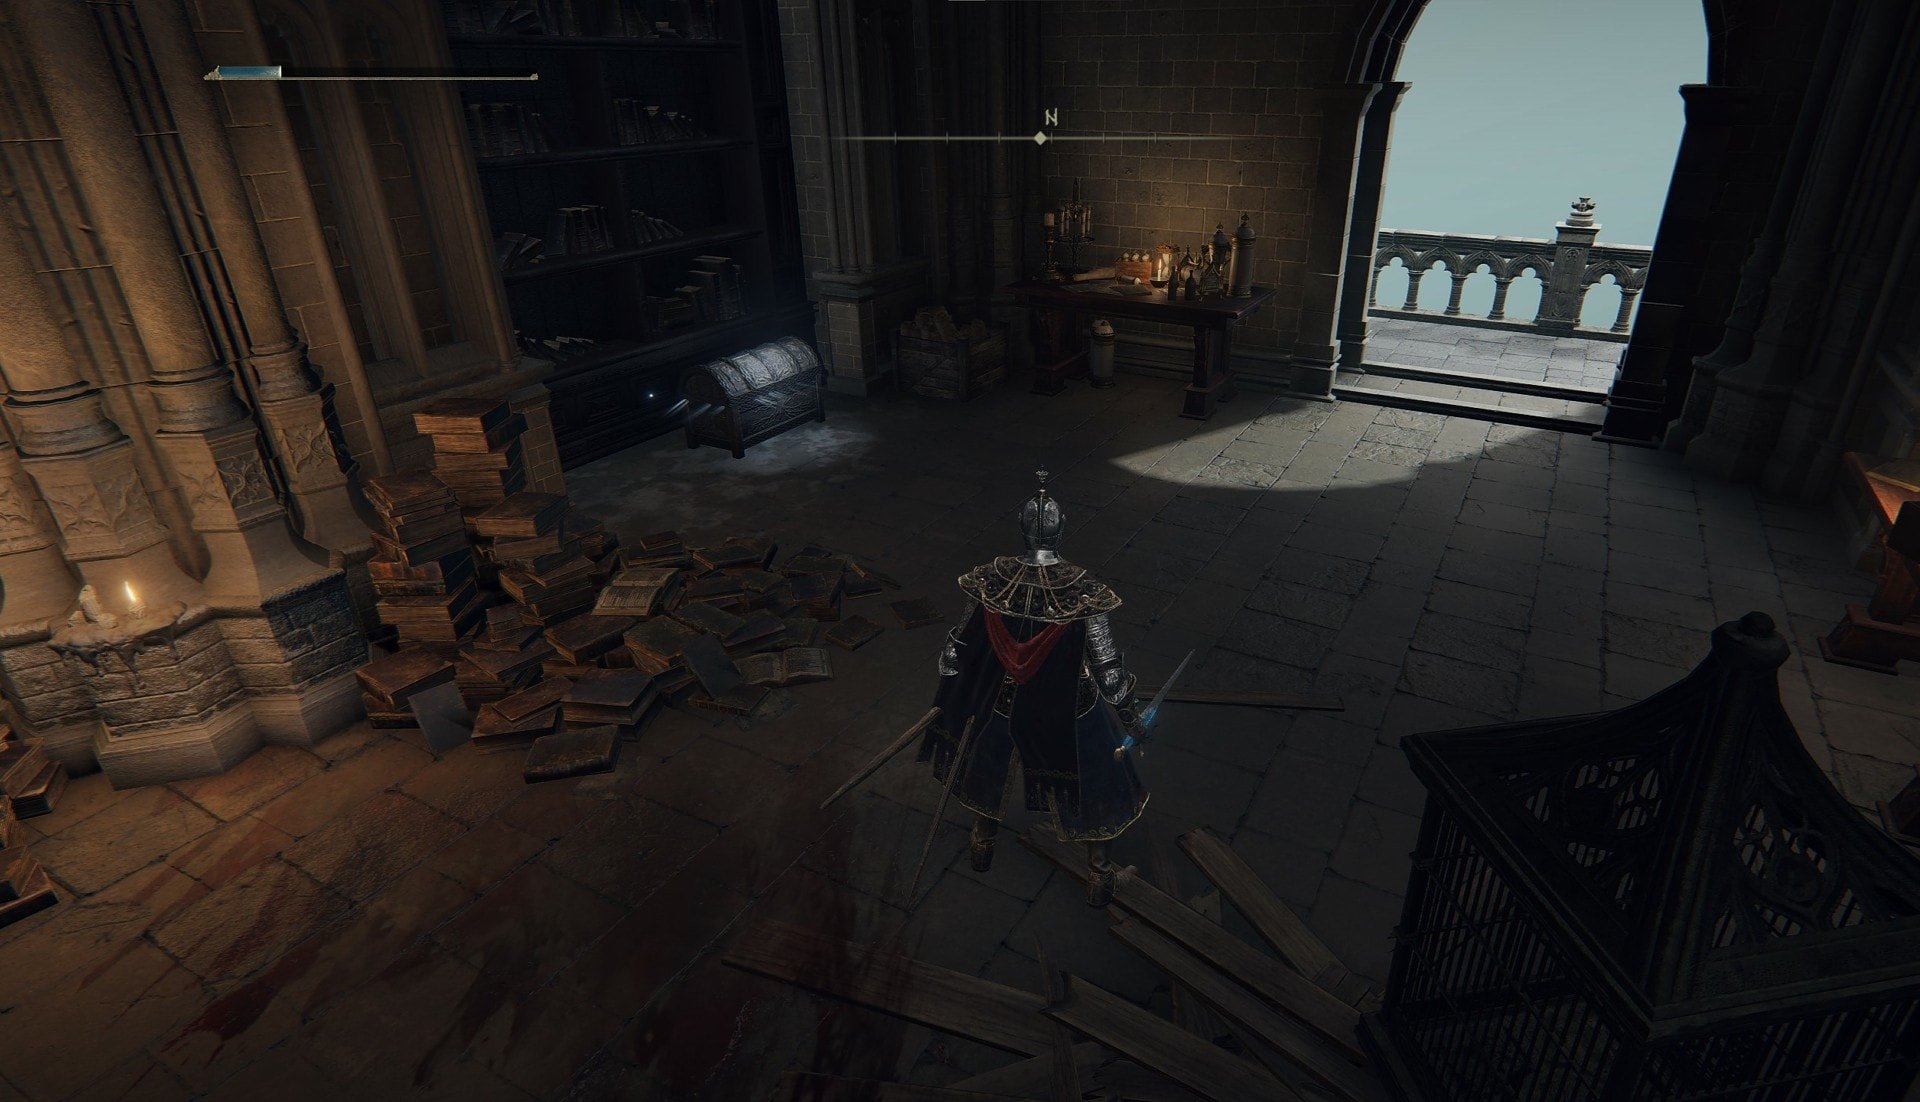
In order to reach the upstairs area, go outside past where you fight the Moongrum Carian Knight where there’s 1 spellcaster and several weaklings. Defeat everything and then over by the spellcaster, there’s a railing and ledge you can jump to.
Open the door to have a shortcut back, then you can take the ladder up to the second floor. Be prepared to fight a Pumpkin Head man up there.
Spirit Ashes Locations at the Academy of Raya Lucaria
There are two Ashes you can get from the Academy – the Avionette Soldier Ashes and Marionette Soldier Ashes.
Avionette Soldier Ashes
These Spirit Ashes are located at the first (or technically second) major dropoff point as you’re going down on the vertical conveyor belt lift. It’s beneath where you get the Carion Knight armor set.
Marionette Soldier Ashes
These Ashes are in an area that’s too high to reach by jumping. There are two Marionette Soldiers that will shoot at you.
In order to reach them, you have to backtrack a little bit to here.
There is a slope behind one of the larger tombstones.
Follow the slope down, there will be one magic zombie that will attack you as you turn the corner, so be prepared. Eventually, you’ll end up at the Ashes.
Ashes of War Locations at the Academy of Raya Lucaria
There is only one Ash of War item available in the Academy. If you find another, please, do let me know in the comments.
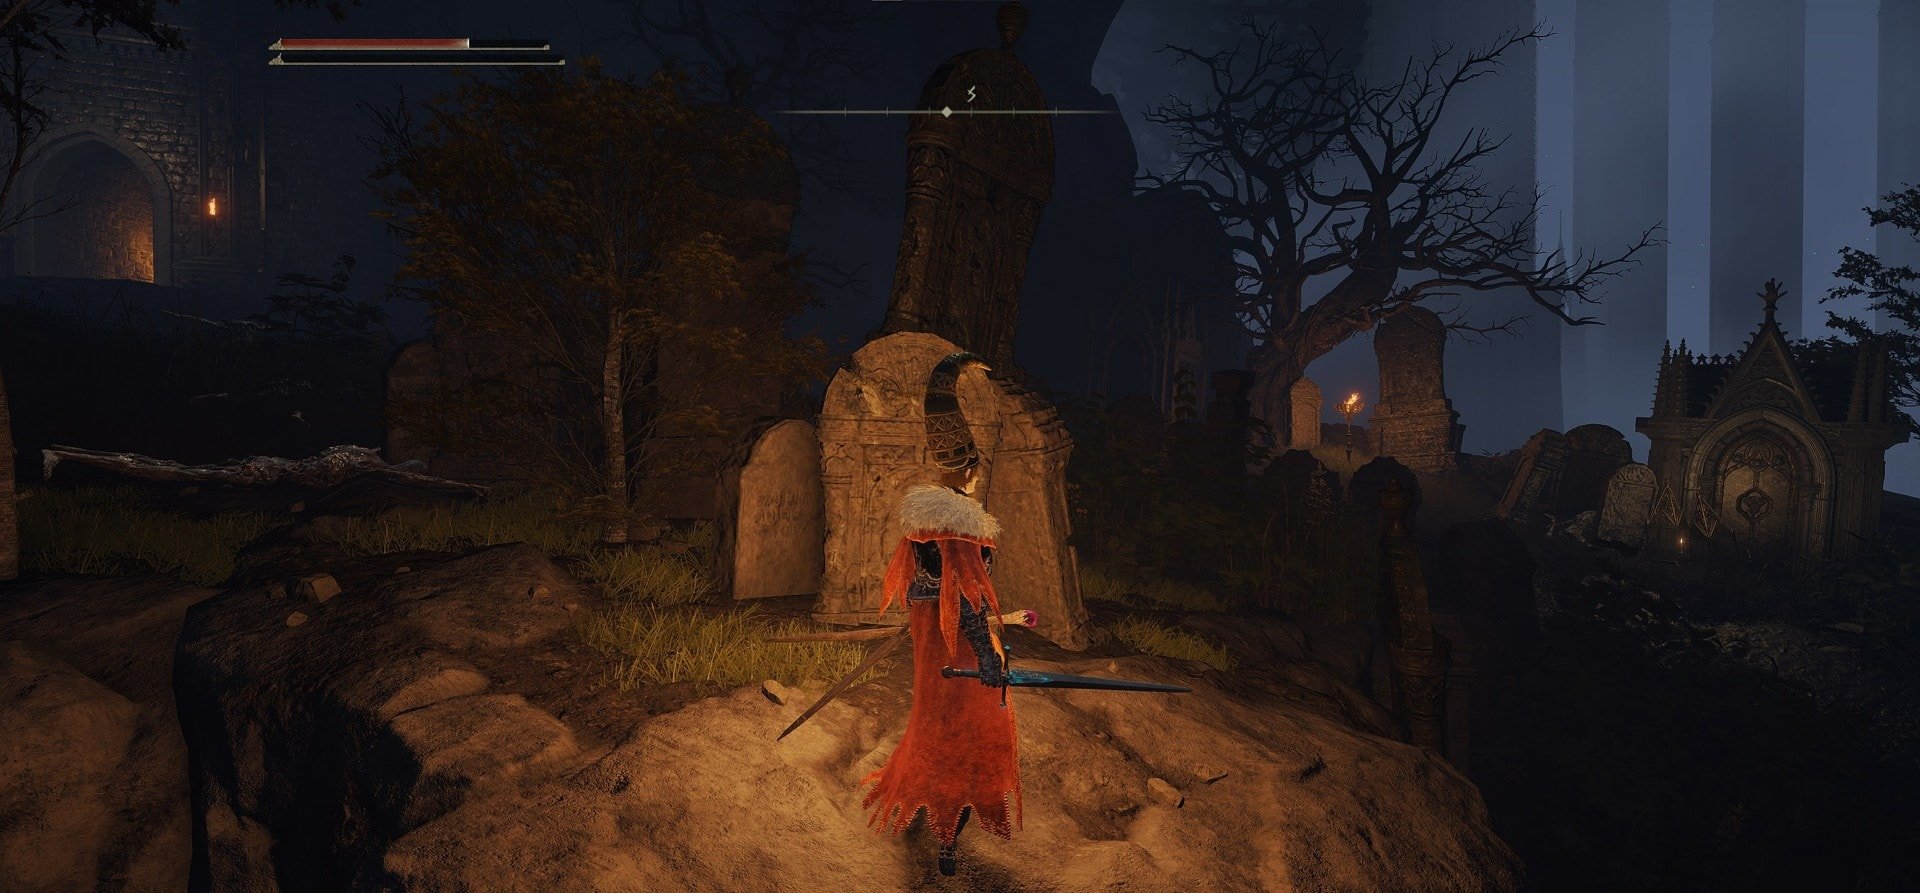
Ash of War Spectral Lance
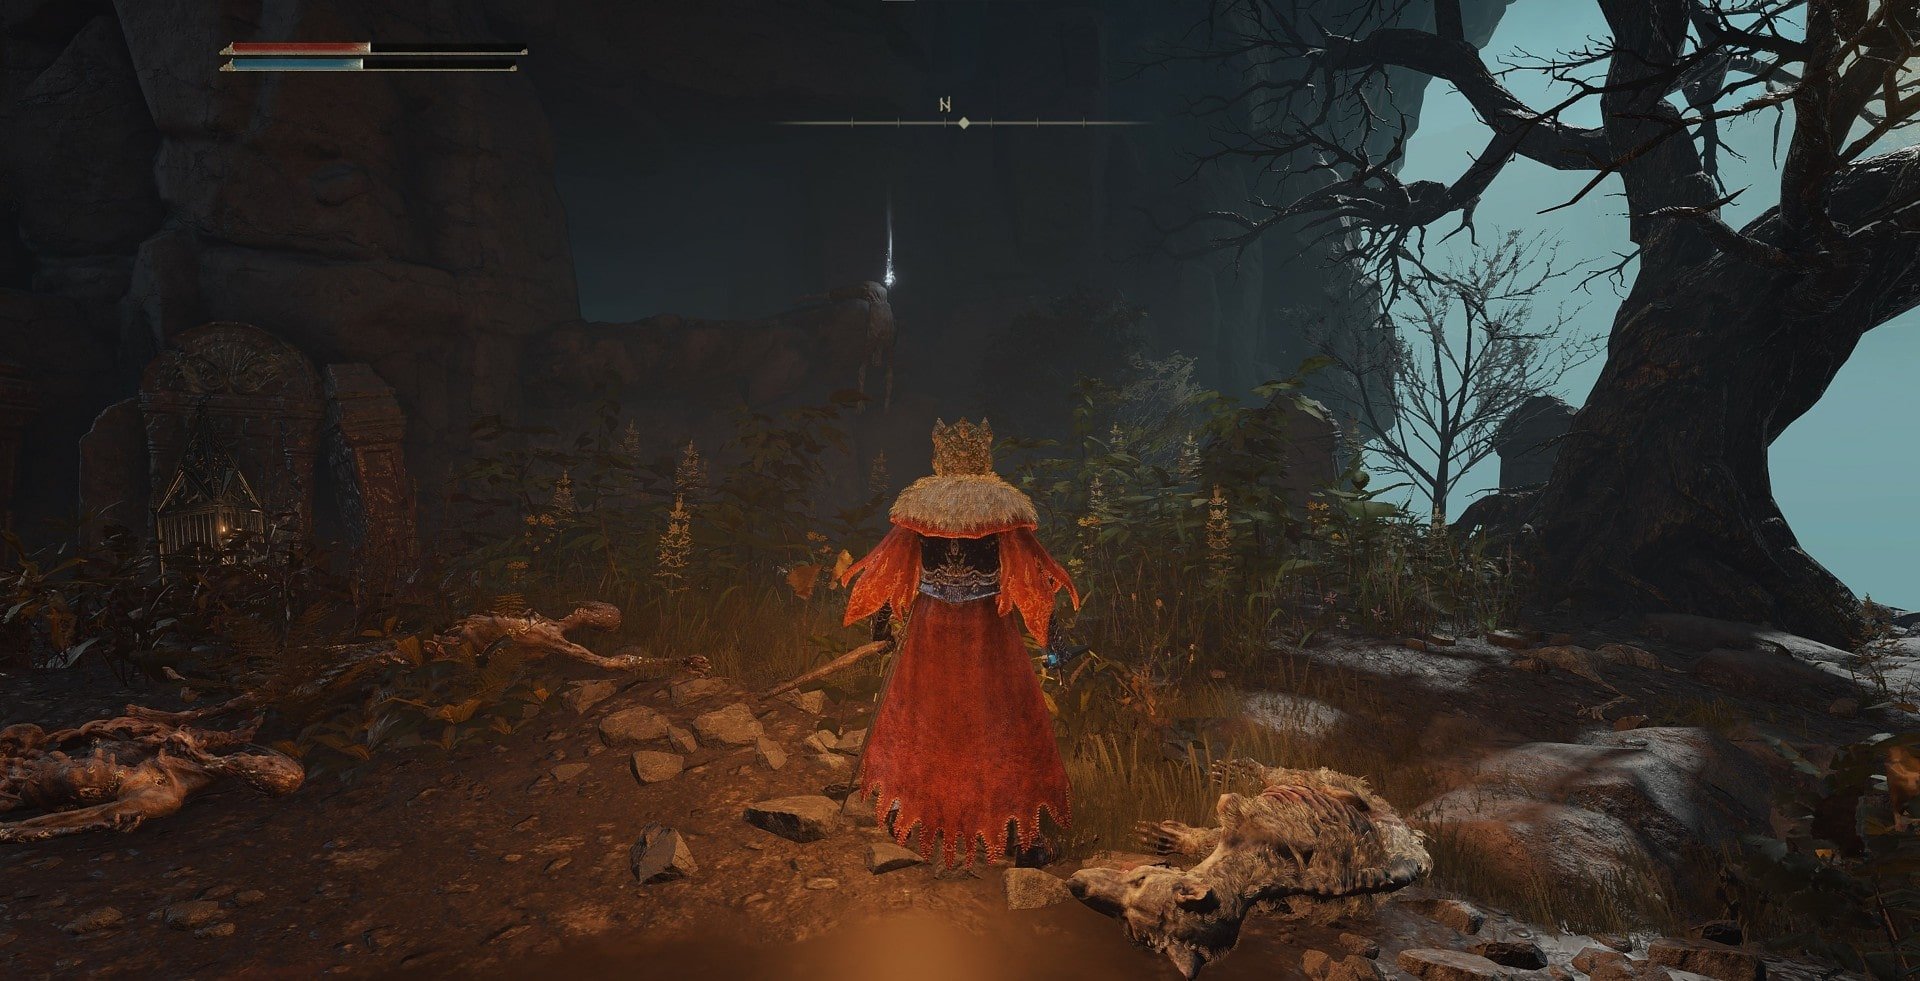
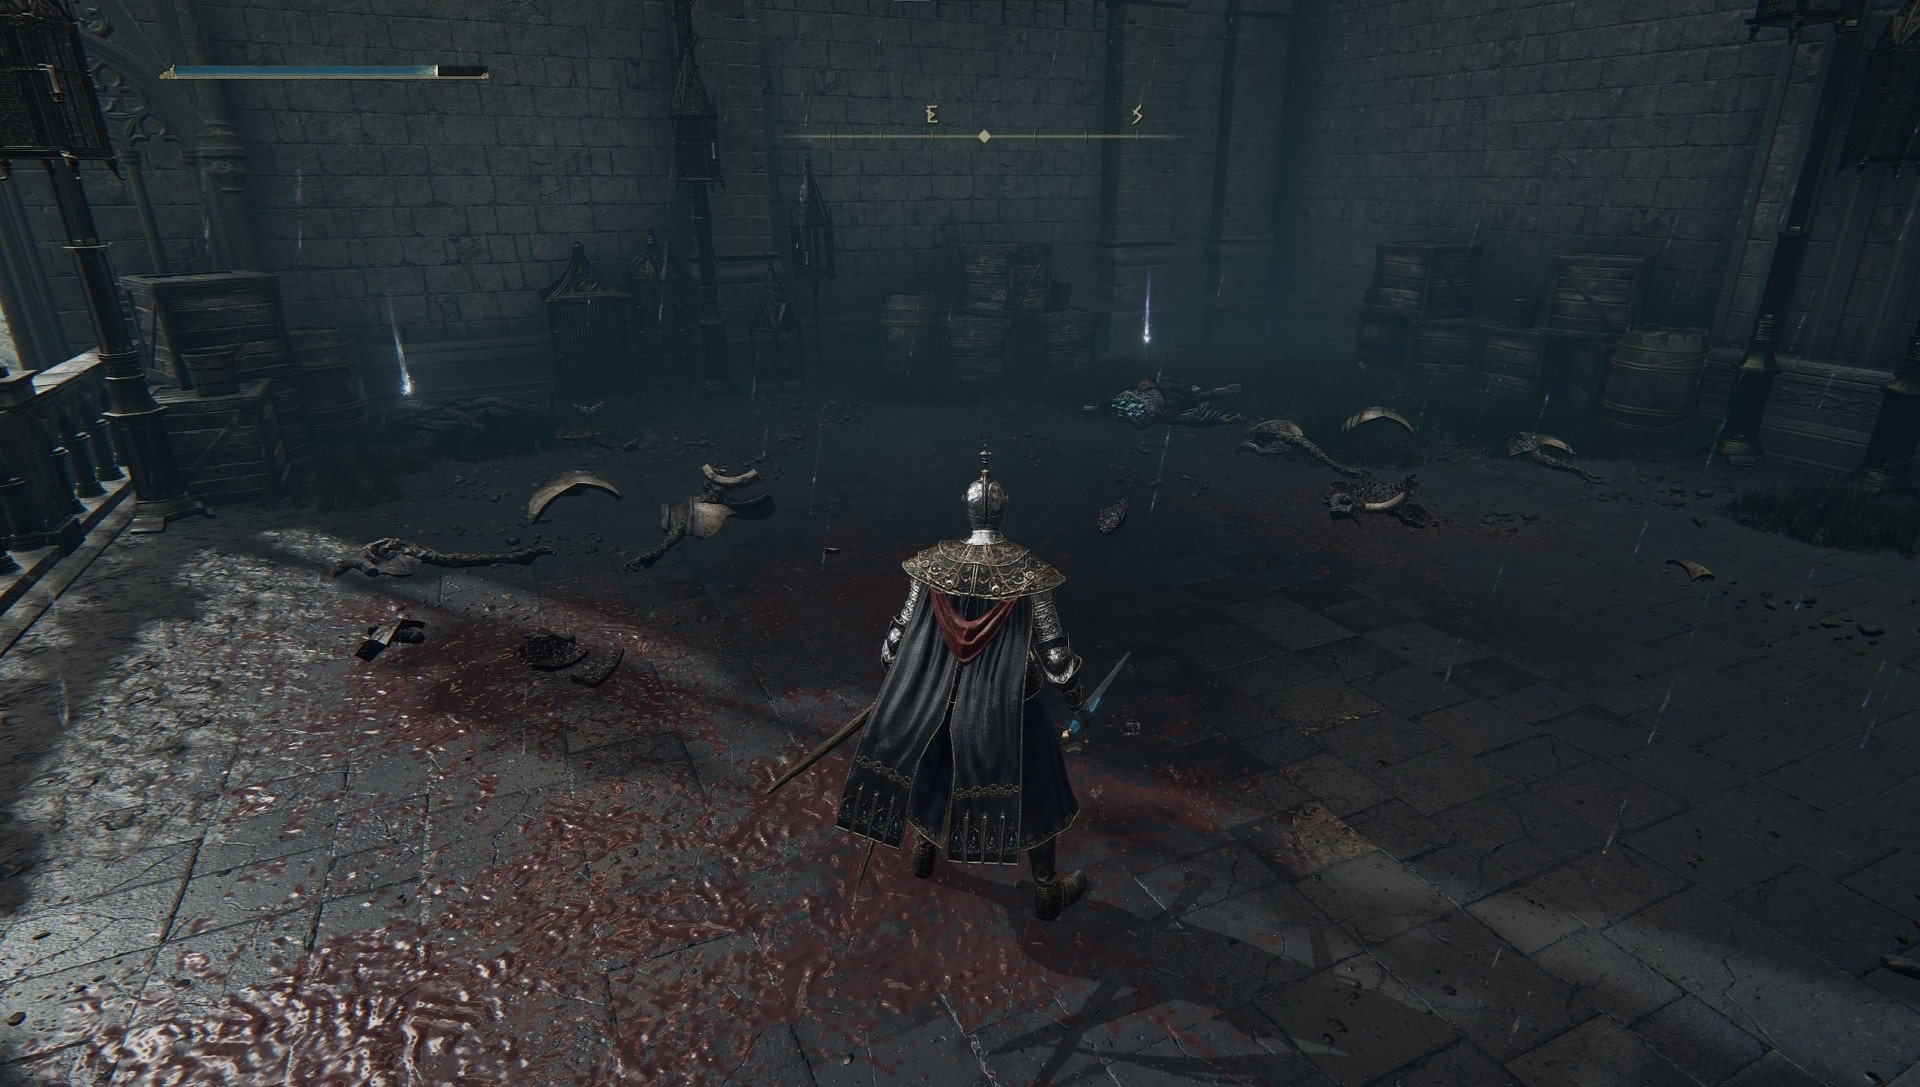
This Ash of War drops from a dung beetle. The picture I took is a little bit far away, you can see it glowing in the distance. It’s in the graveyard with all the magic zombies and dogs.
Other Major Items Locations at the Academy of Raya Lucaria
The fun doesn’t end here! There are a bunch more valuable and important items you would not want to miss out on. Between a Golden Seen, Imbued Sword Key, Stonesword keys and a few more, you will certainly walk out from the Academy of Raya Lucaria happy and with hands full of valuables that will help you progress further.
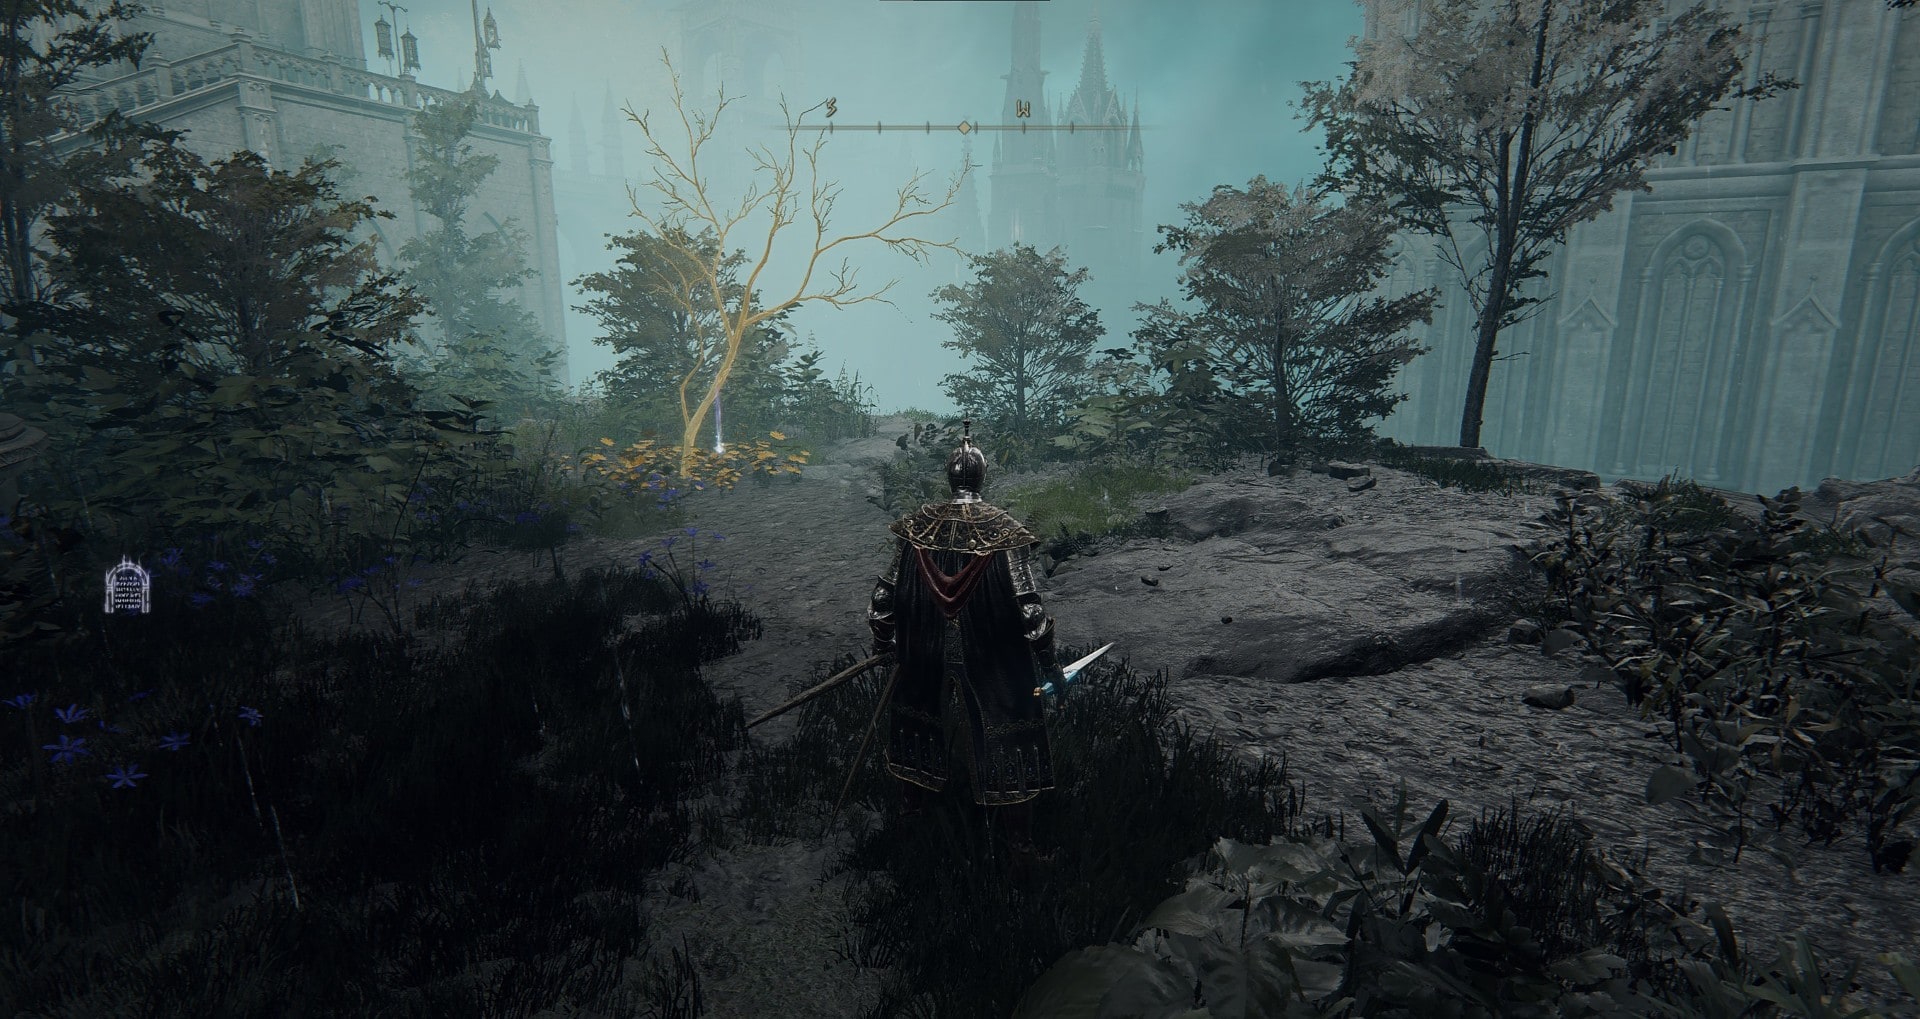
Golden Seed
The Golden Seed at the Academy of Raya Lucaria is located at the back of the courtyard area outside the Debate Parlor after you defeat the Red Wolf of Radagon.
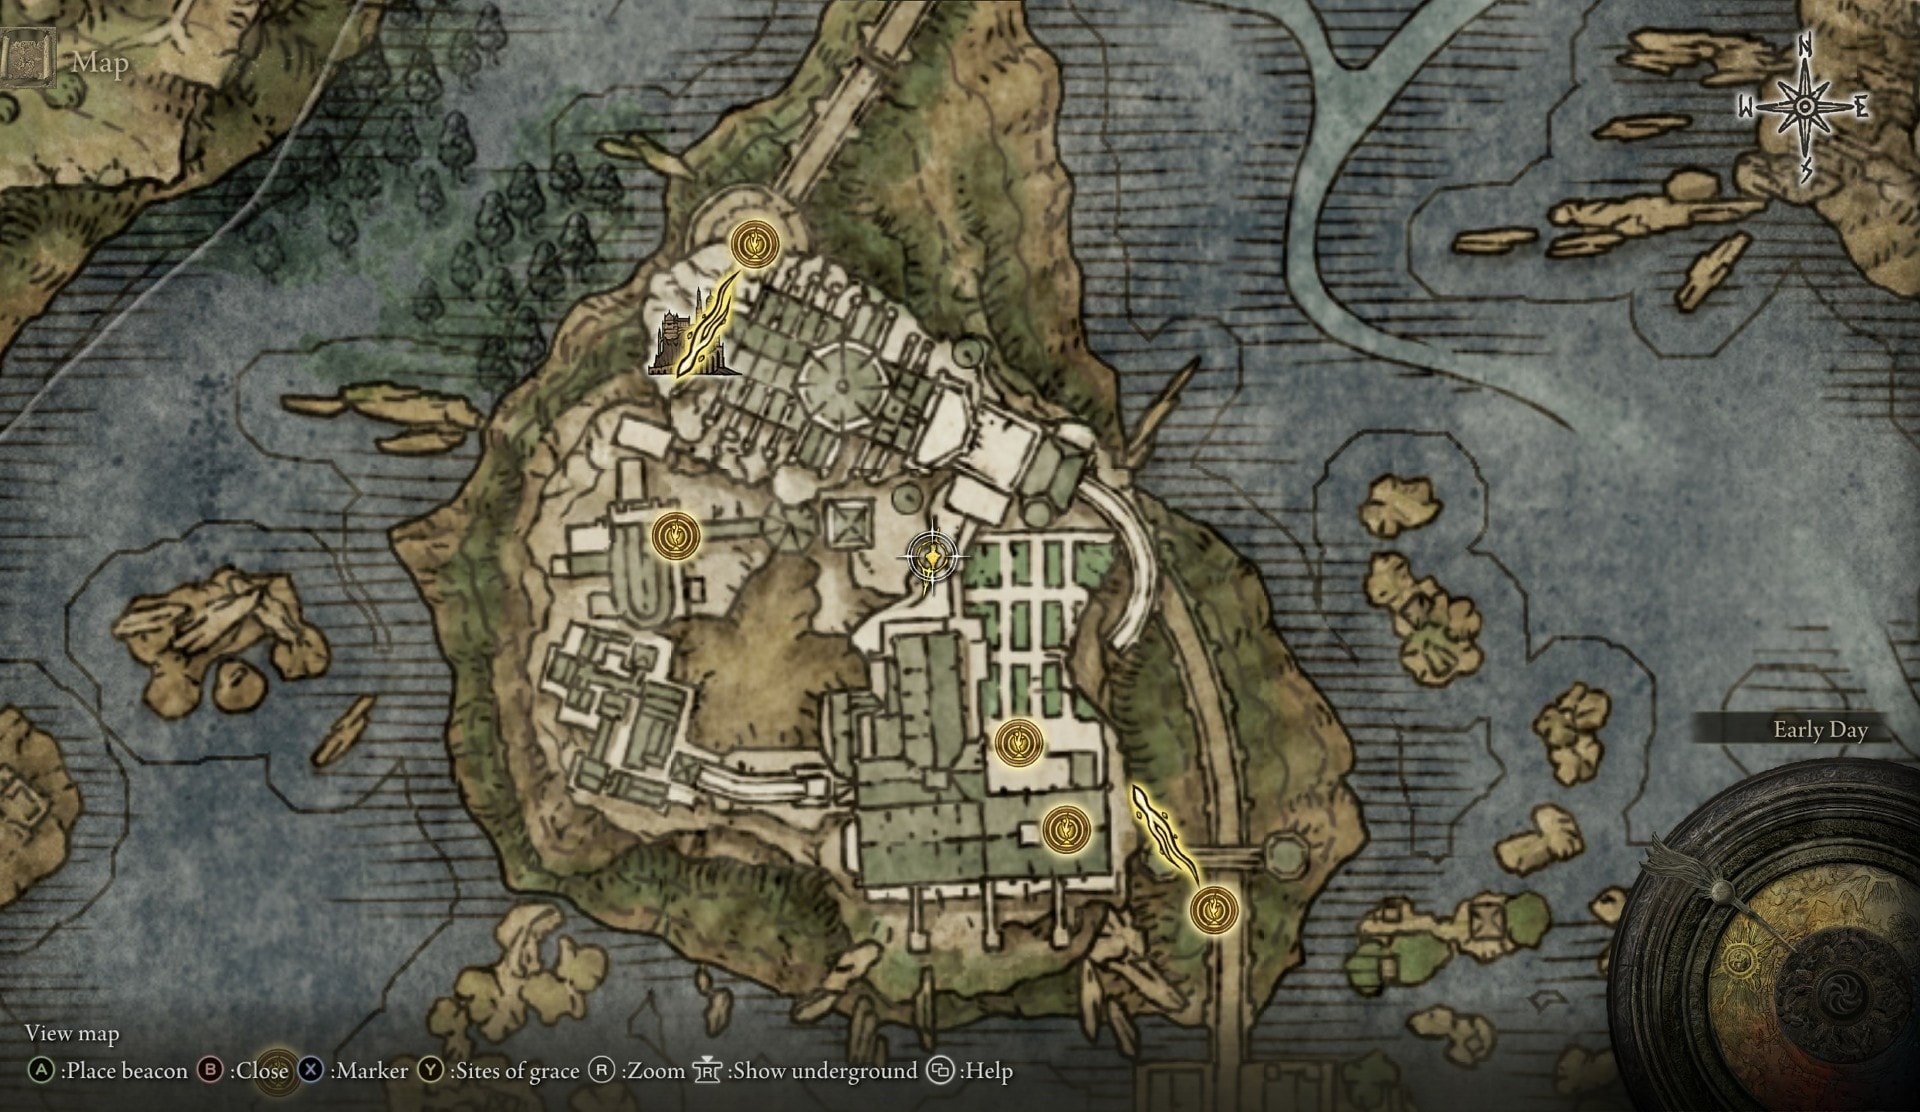
Ritual Pot
This Ritual Pot is located in a chest in the room with the giant Living Jar and 4 spellcasters.
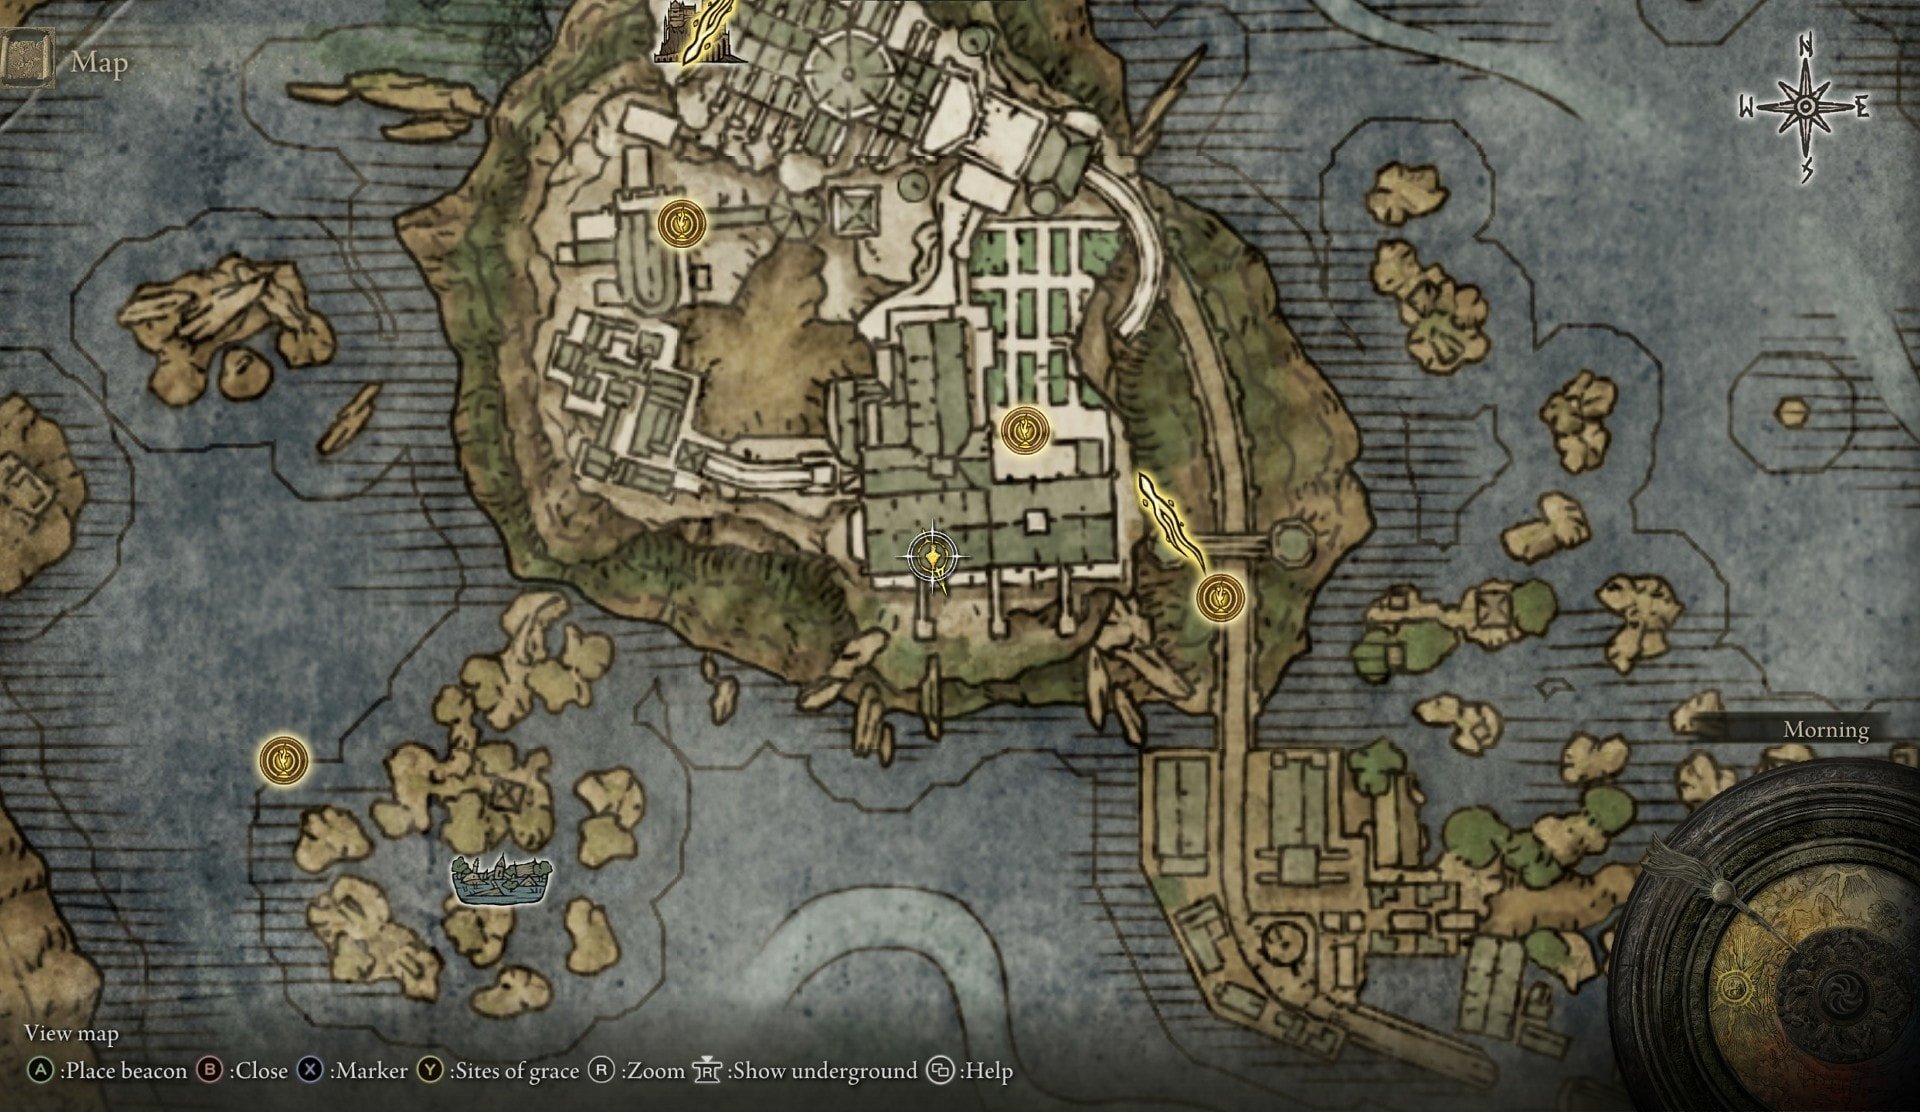
Cracked Pot
This Cracked Pot is located up some stairs behind the exit into the courtyard from the Debate Parlor.
Lost Ashes of War
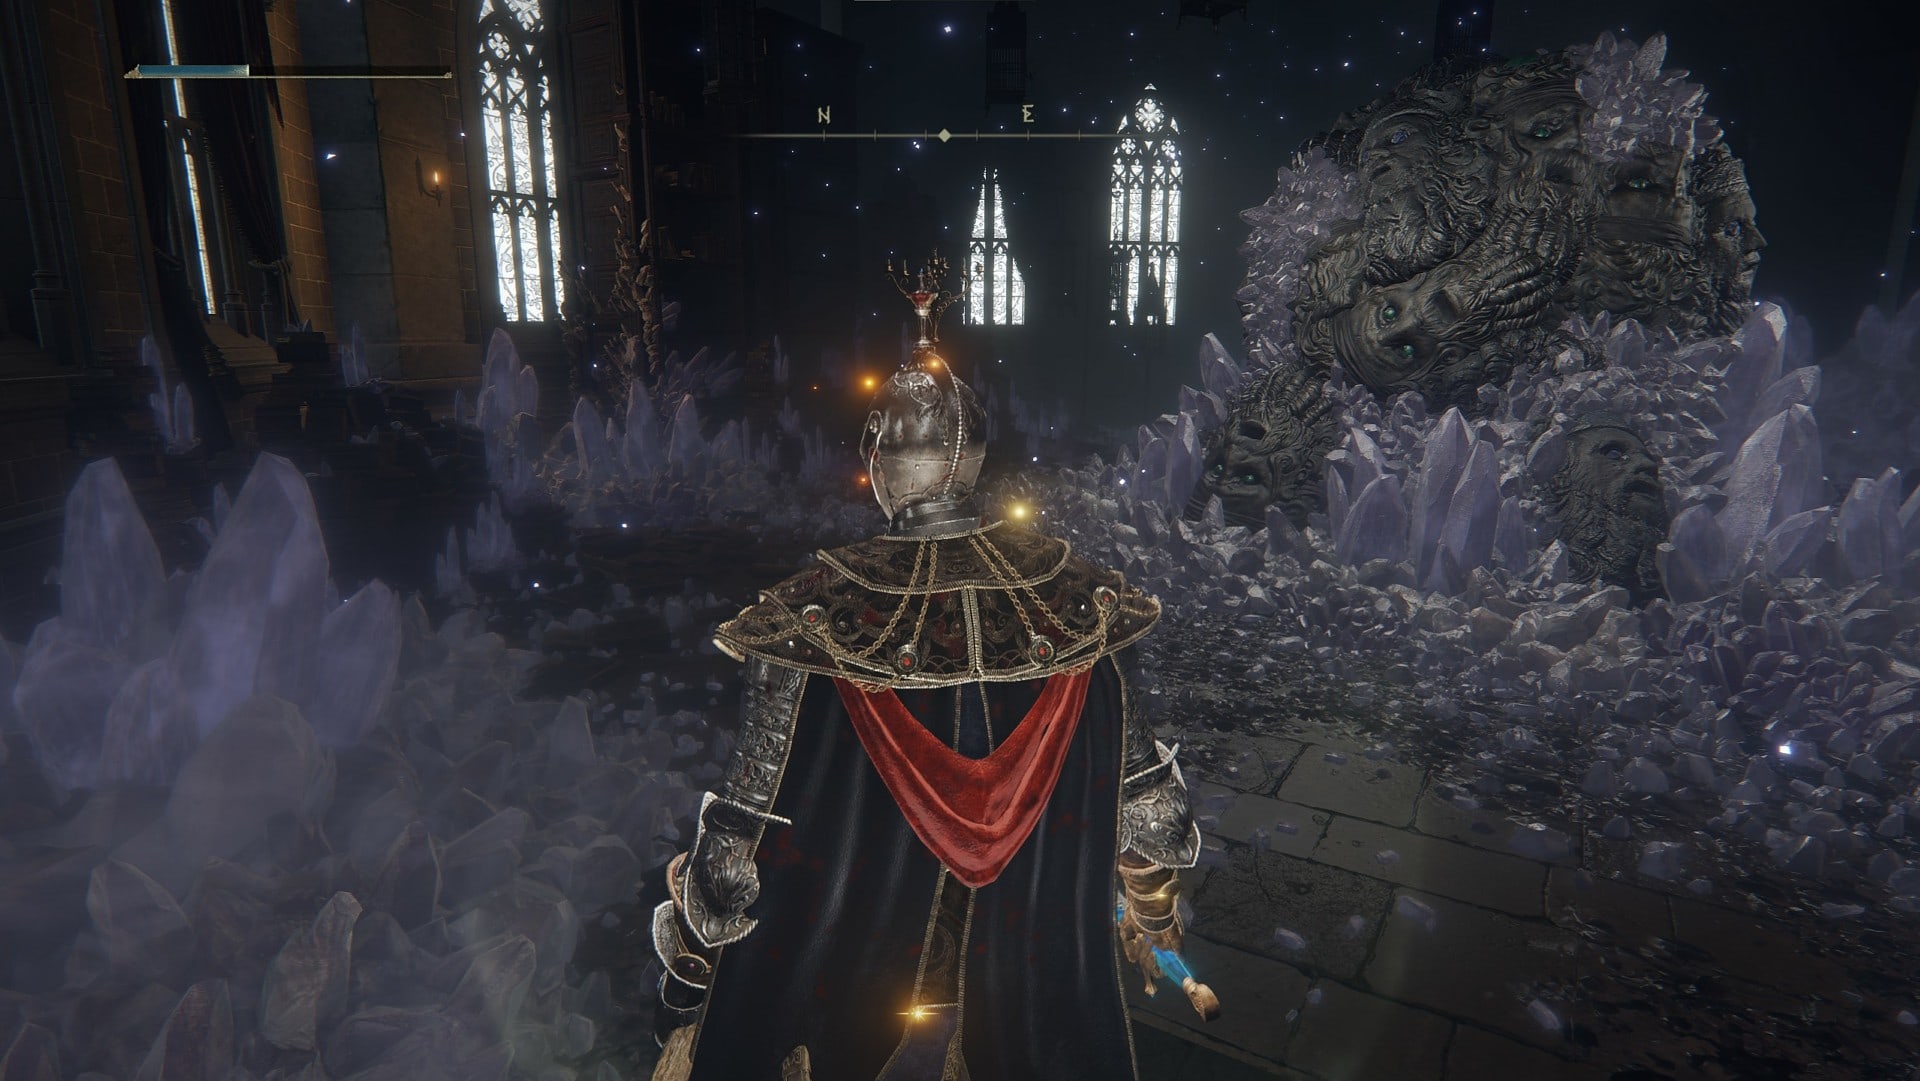
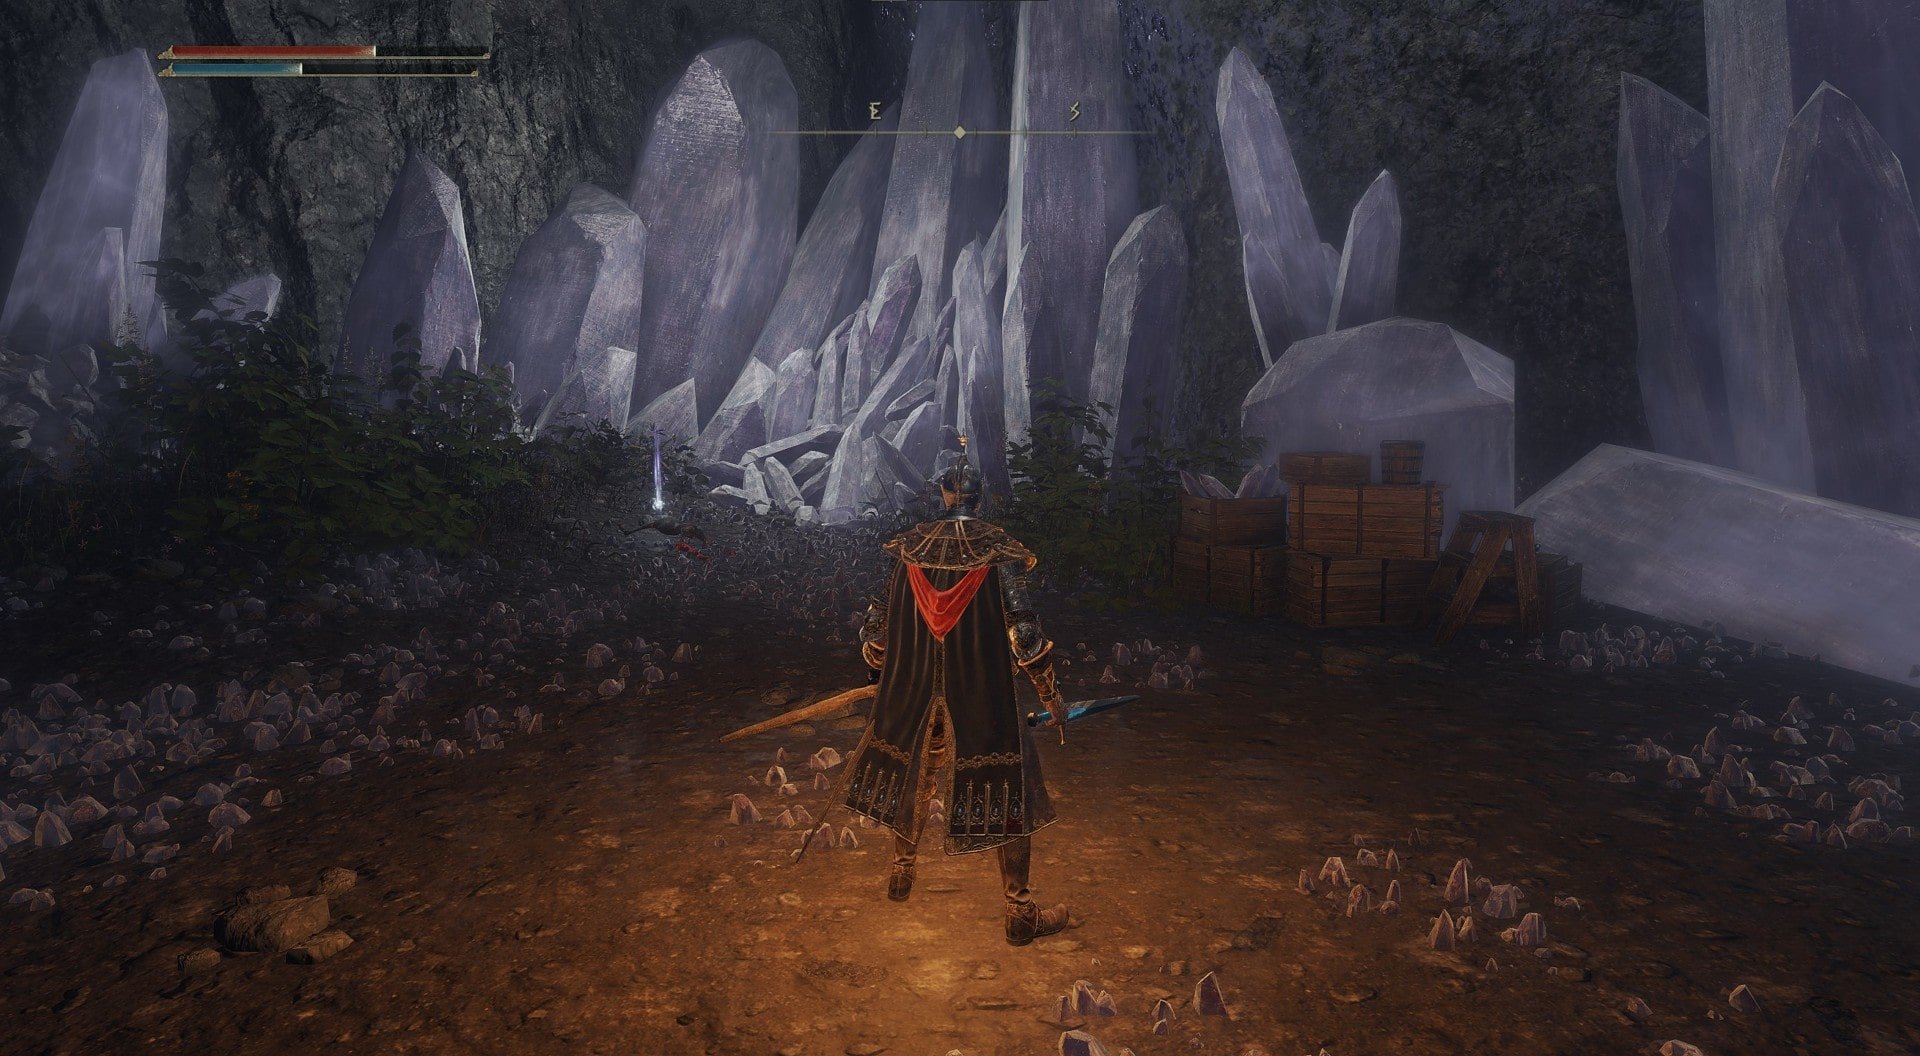
Some Lost Ashes of War are located at the bottom of the glintstone crystal pit, just take the vertical conveyor belt lift thing to the bottom.
In order to access this more elevated area, jump on the crystals here:
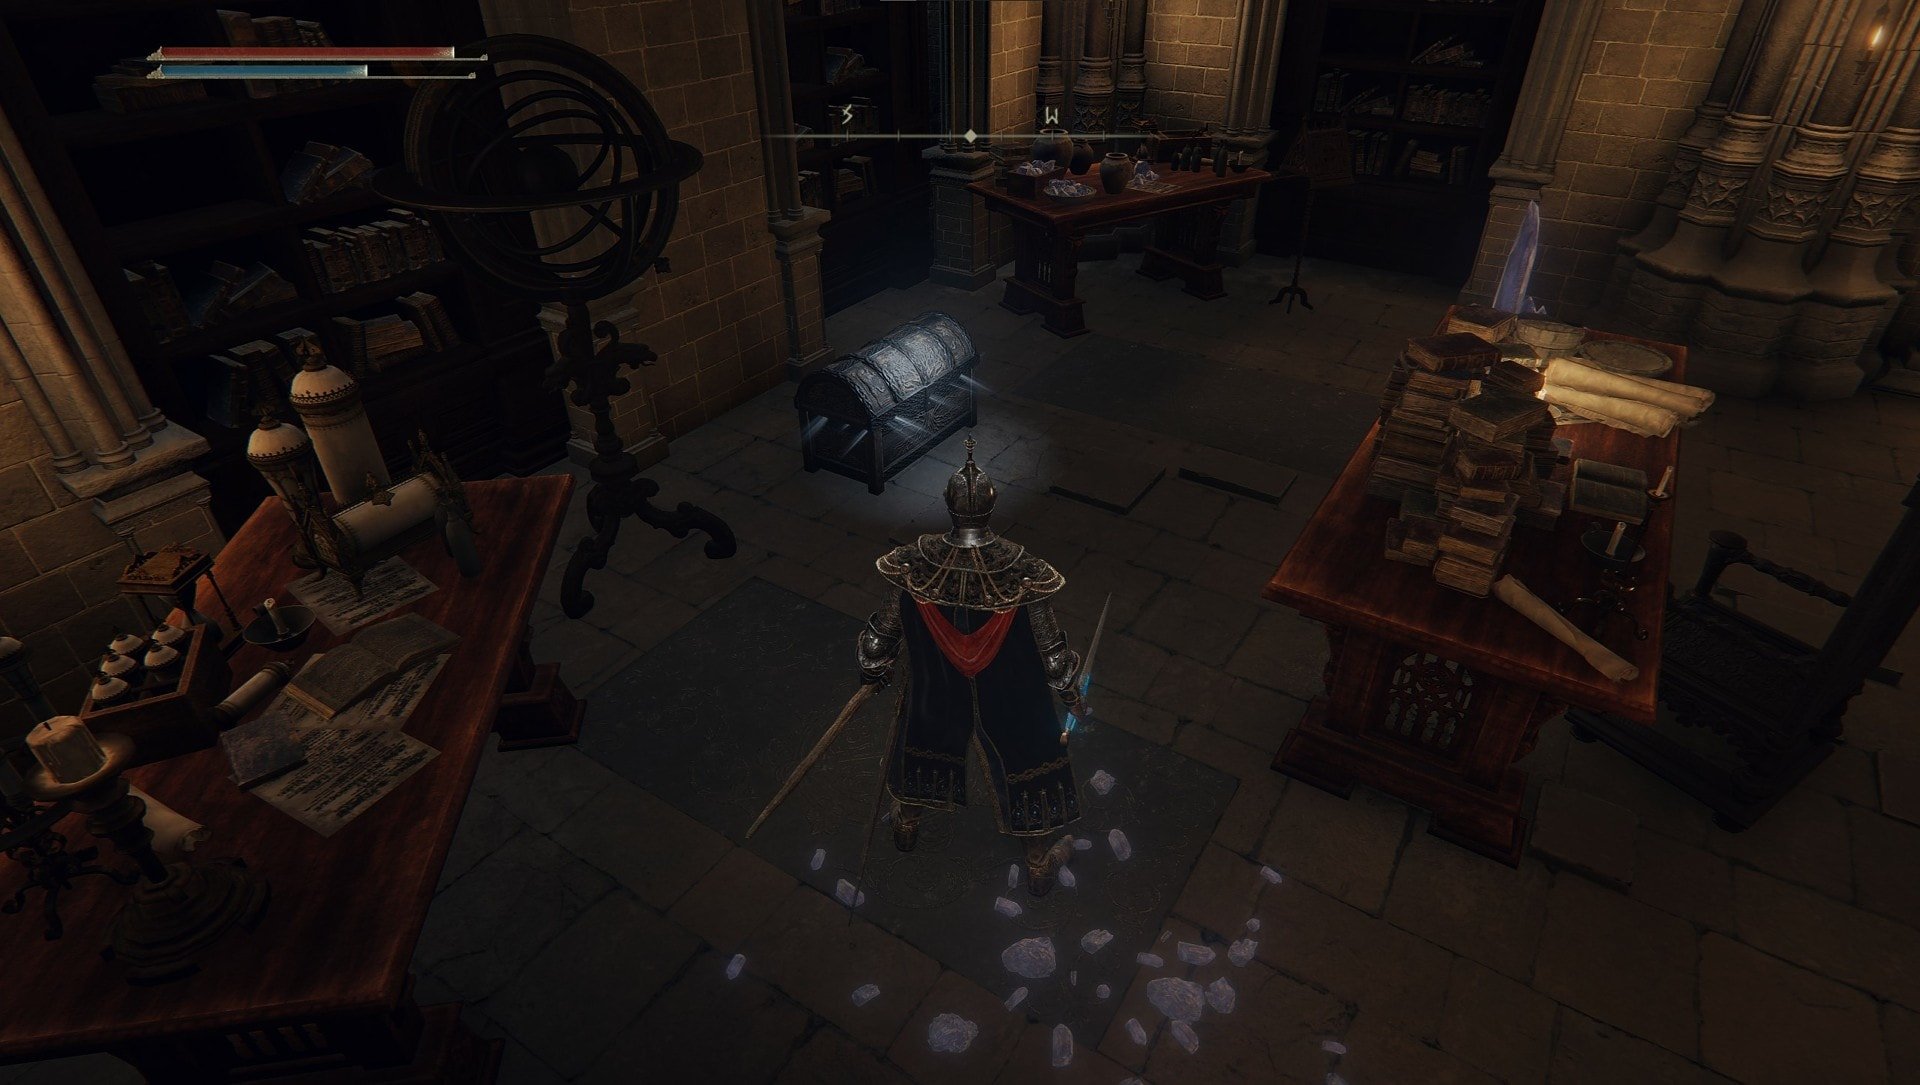
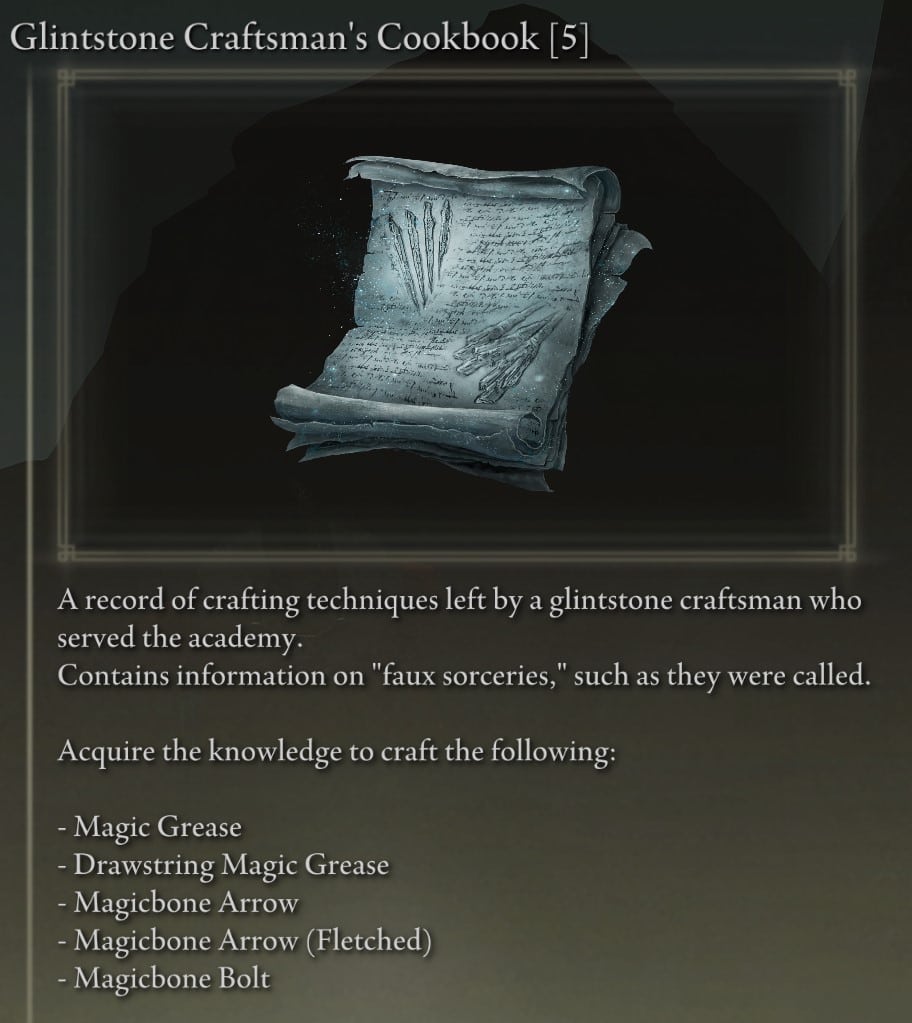
Glintstone Craftsman’s Cookbook 5
This item is located in a chest on the right side of the room with the Conspectus Scroll, just past the Schoolhouse Classroom.
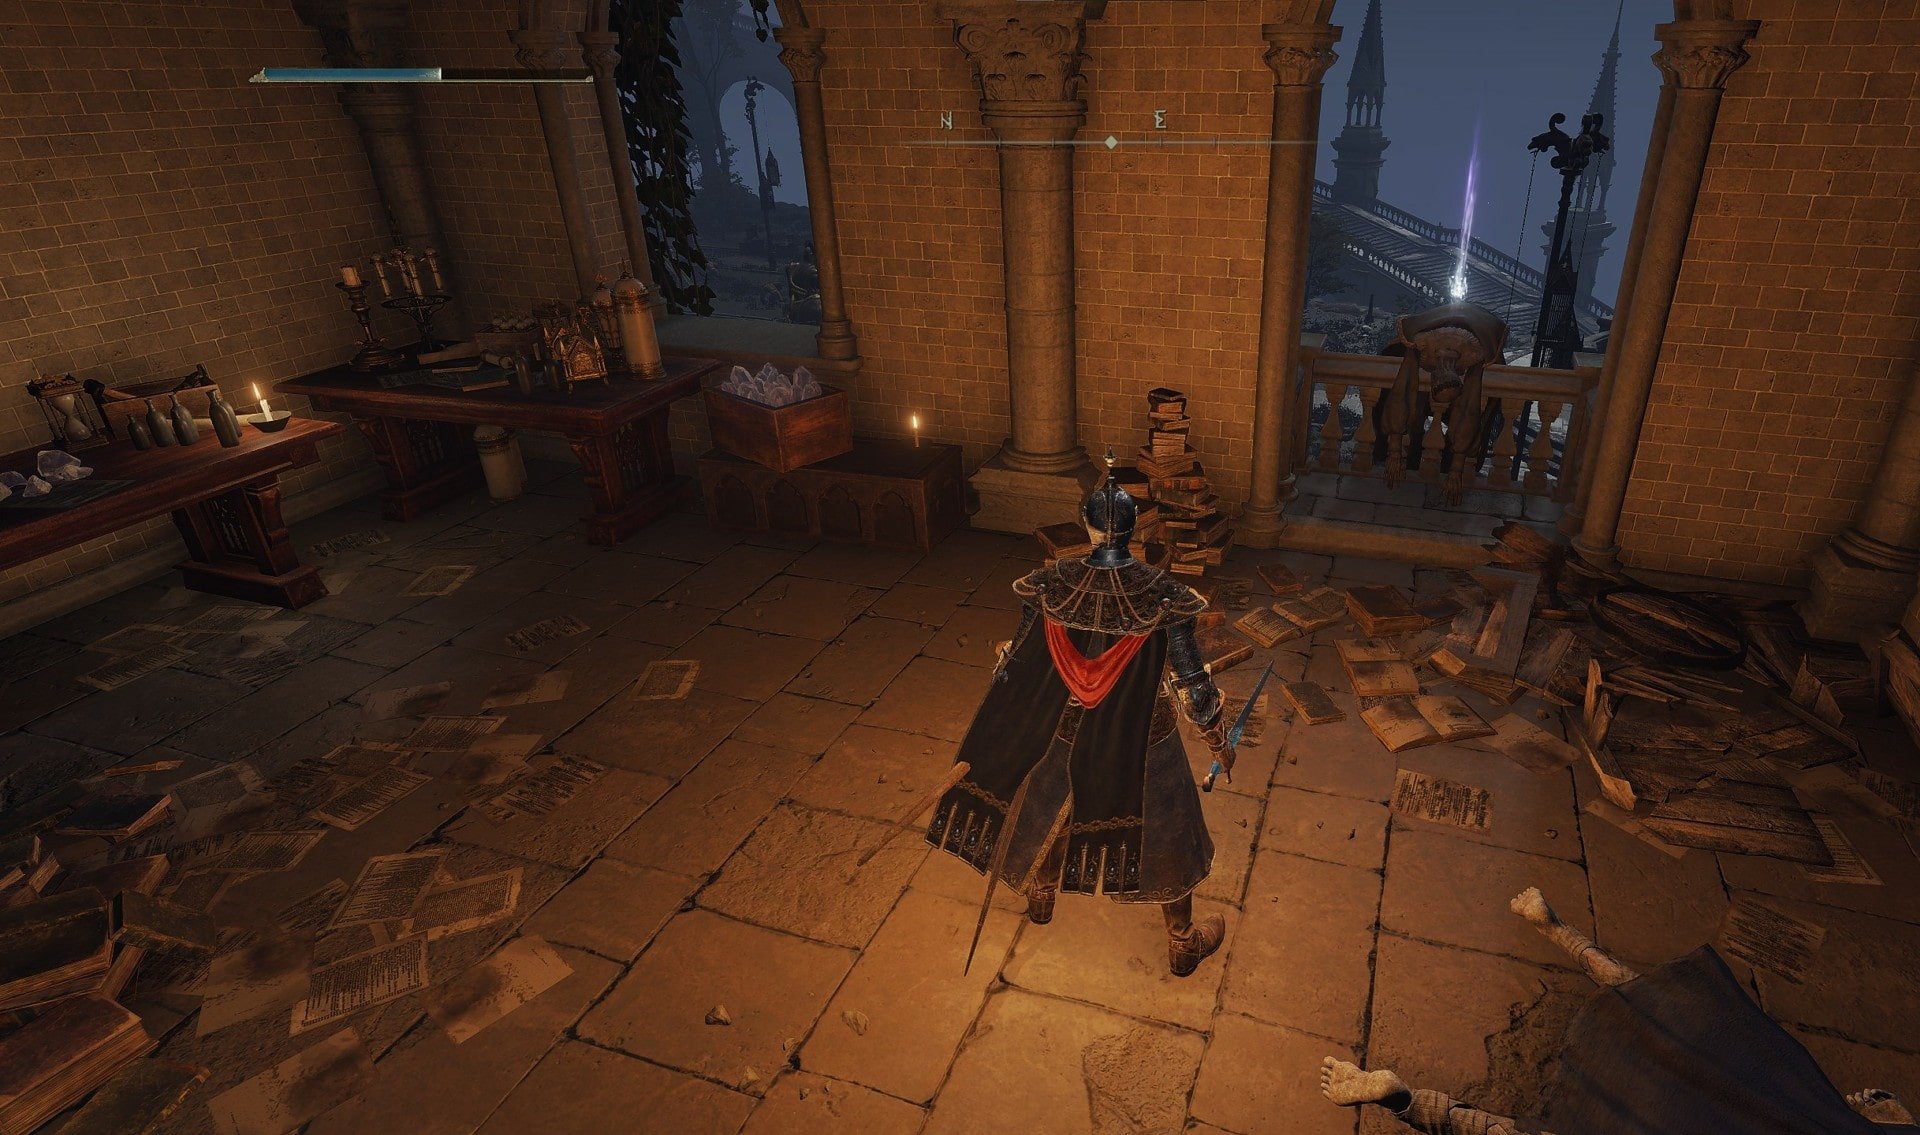
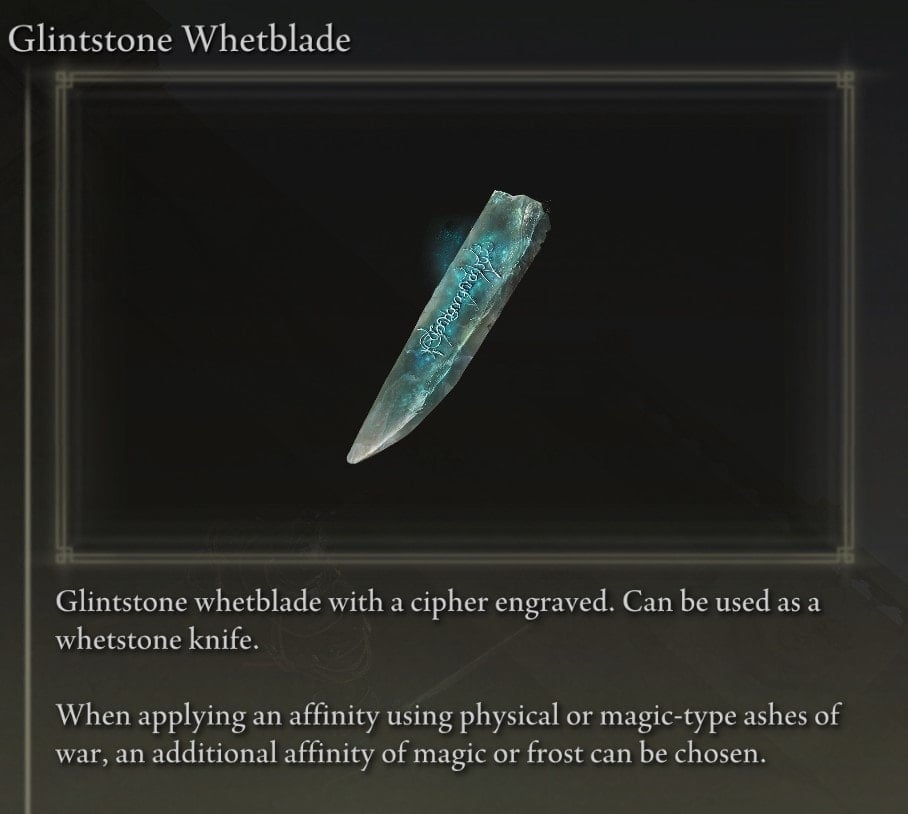
Glintstone Whetblade
The Glintstone Whetblade is located on a corpse hanging out of a window in the courtyard after the Debate Parlor.

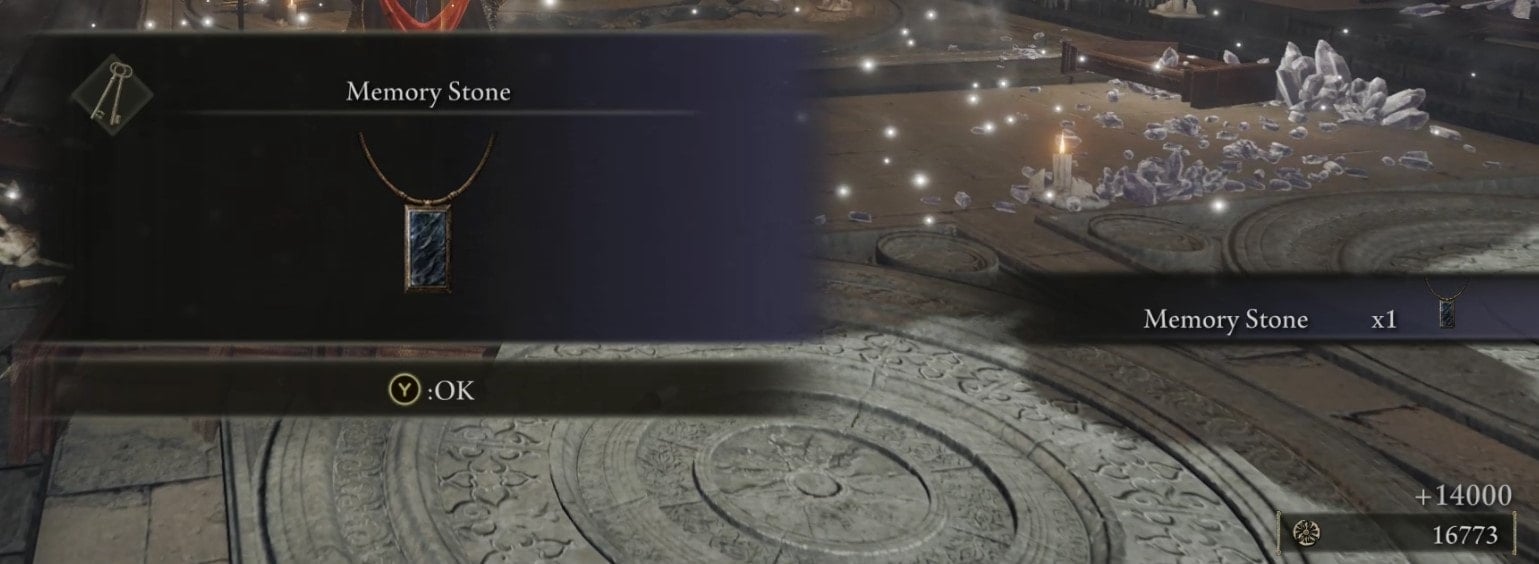
Memory Stone
The Red Wolf of Radagon boss drops the Memory Stone when defeated. You fight this boss in the Debate Parlor. I don’t know what a wolf can contribute to debate.
Imbued Sword Key
This key is located on the top of one of the towers out where you’re roof platforming. It is accessible by making a u-turn right before you get to the roof of the Church of Cuckoo.
Stonesword Key 1
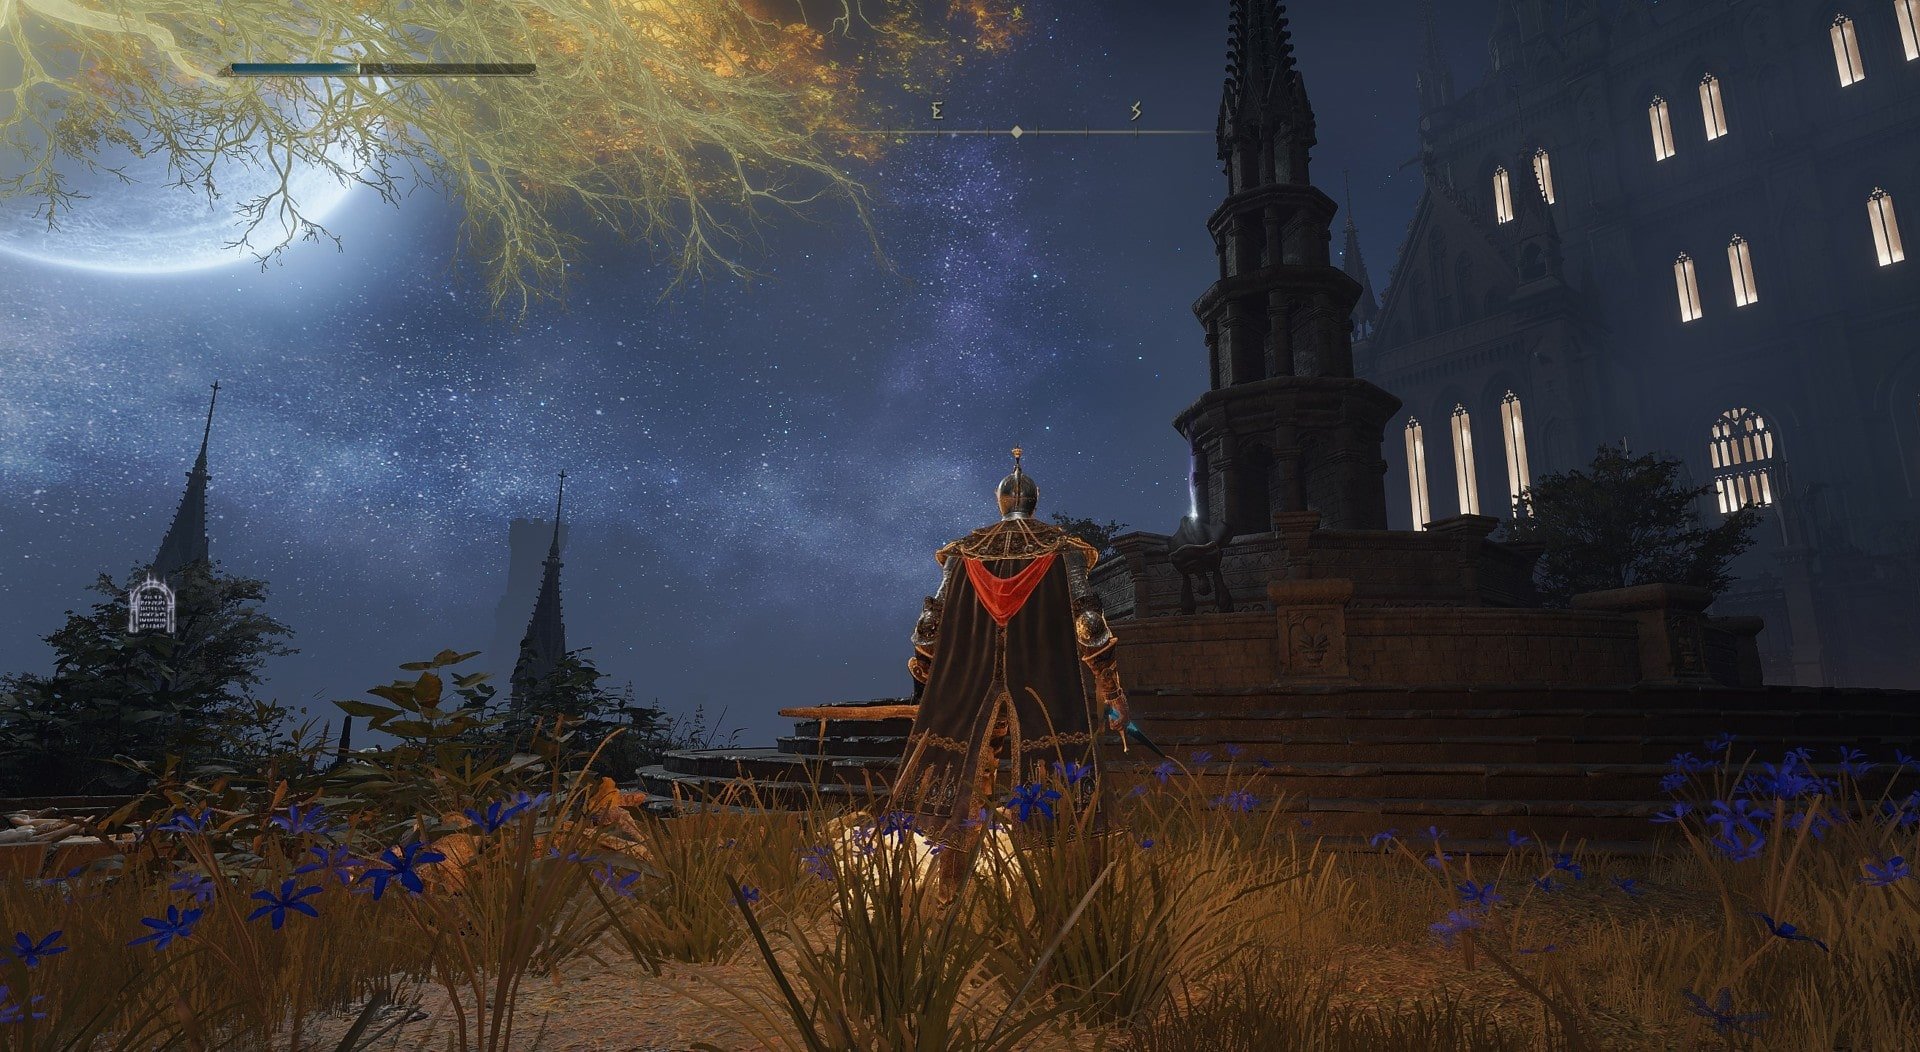
The first Stonesword Key is located on the fountain in the middle of the courtyard.
Stonesword Key 2
The second Stonesword Key is located on a corpse behind the altar in the secret room with the ladder and the chest containing the Comet spell. Check out the section on the Graven-School Talisman for more details on how to get here.