Guide showing how to find Verica’s Tomb and solve all puzzles inside to grab the prizes – Verica’s Sickle and Varica’s Tomb Artifact!
Verica’s Tomb was added to Assassin’s Creed Valhalla with Update 1.6.1. It contains two unique pieces that you can grab after you solve all the puzzles inside – a Sickle weapon and the Verica’s Tomb Artifact! This guide will help you get to both of them!
Table of contents
How to find Arica’s Tomb
To be able to find and explore the Varica’s Tomb in Assassin’s Creed Valhalla you need to have your game patched to 1.6.1 or higher. You also need to have progressed as far as England. All you need is to reach it and build your settlement. This will allow you to explore all of the Tombs of the Fallen.
There is no fighting in this one. None at all. It’s just puzzles and parkour. It doesn’t matter what level your Eivor is, but having certain skills and/or abilities might be helpful to speed things up. This guide explains everything in great detail and doesn’t cut corners.
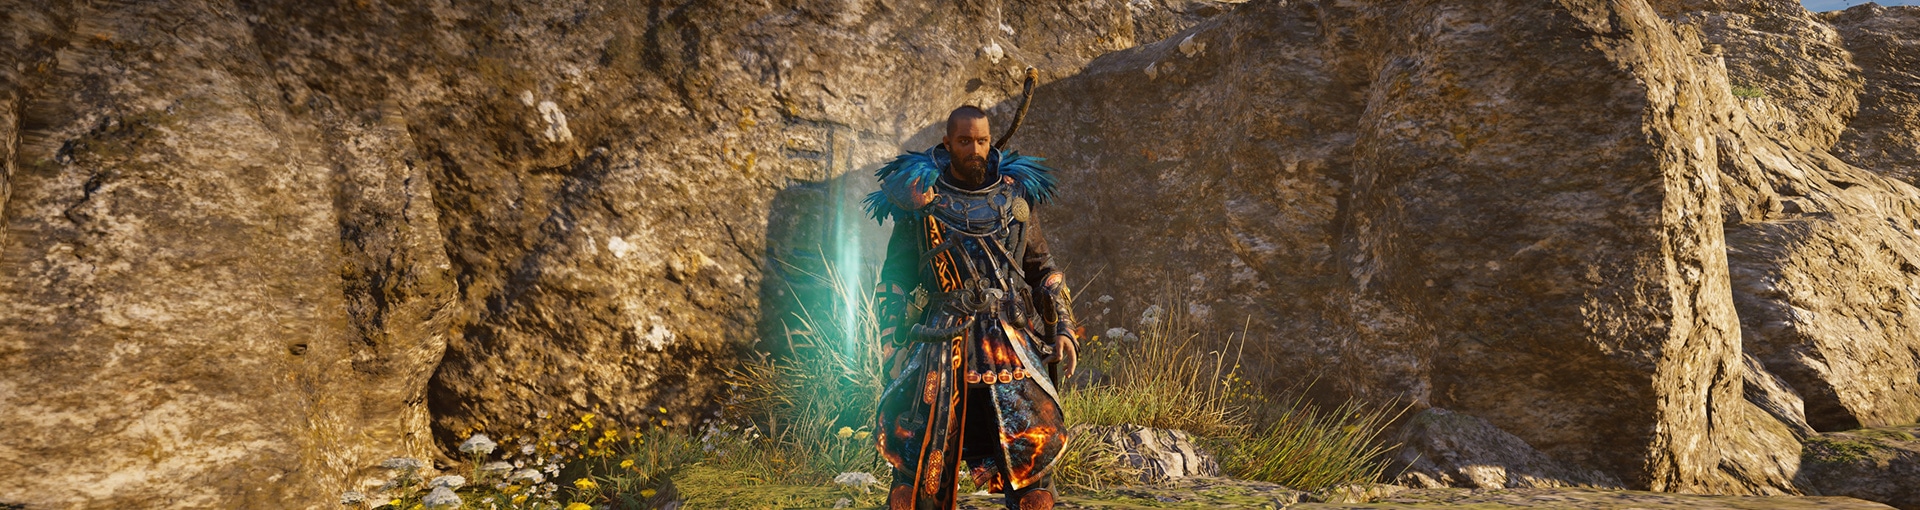
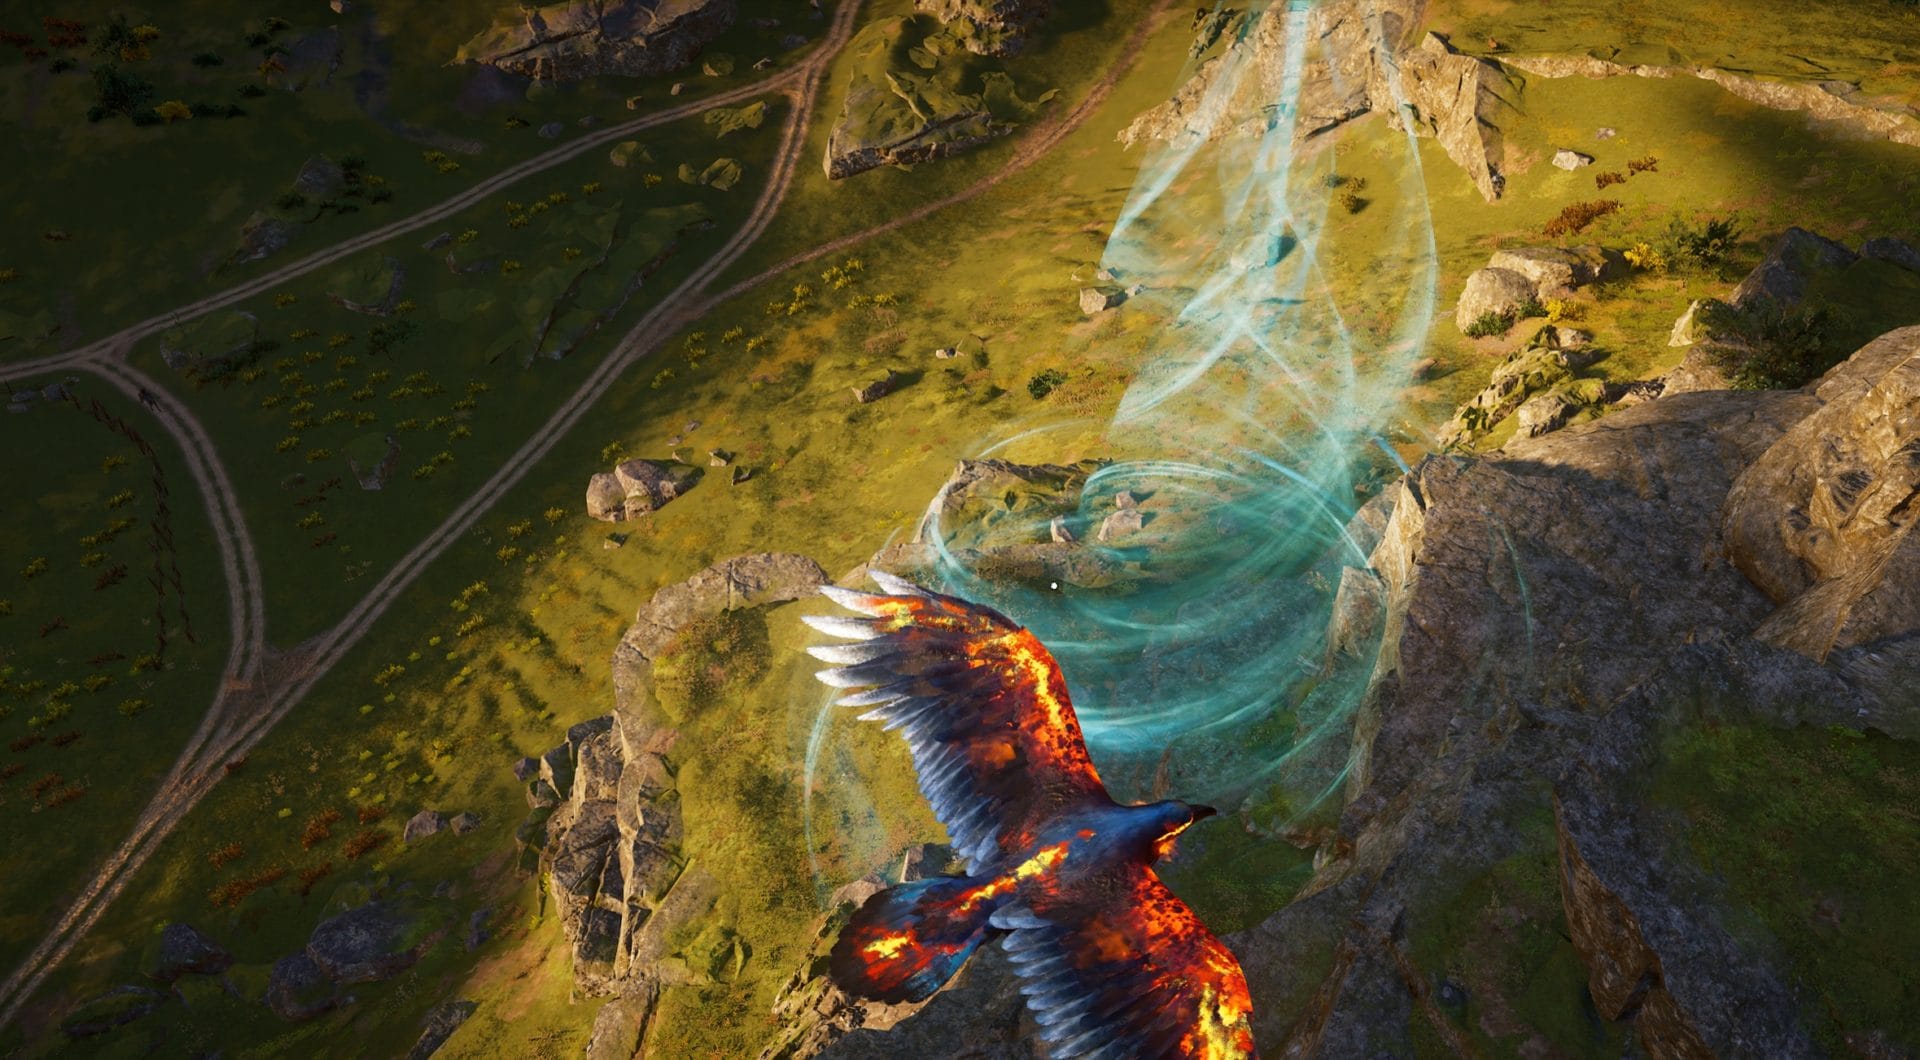
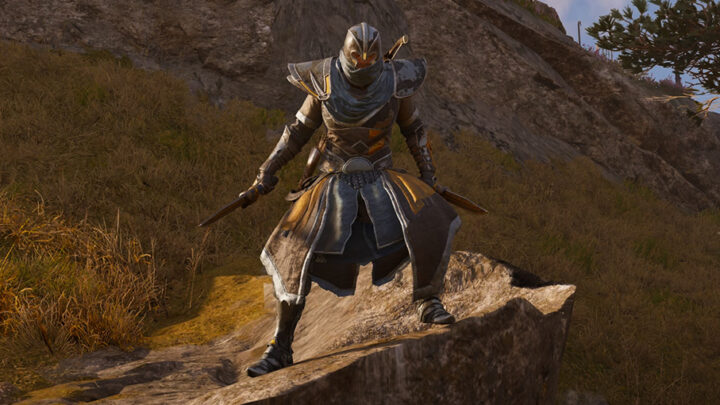
The entrance is located in the southwestern part of England, in Hamtunscire. The entrance of this tomb is marked on the big stone map in Manius’ Sanctum.
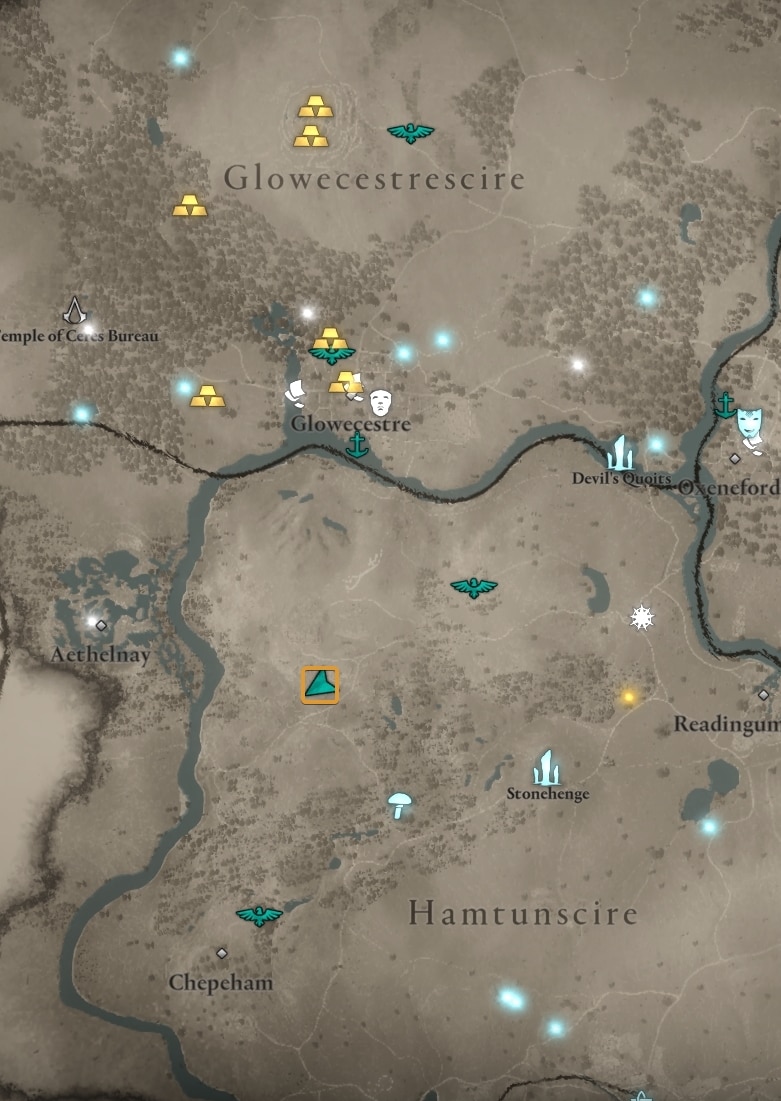
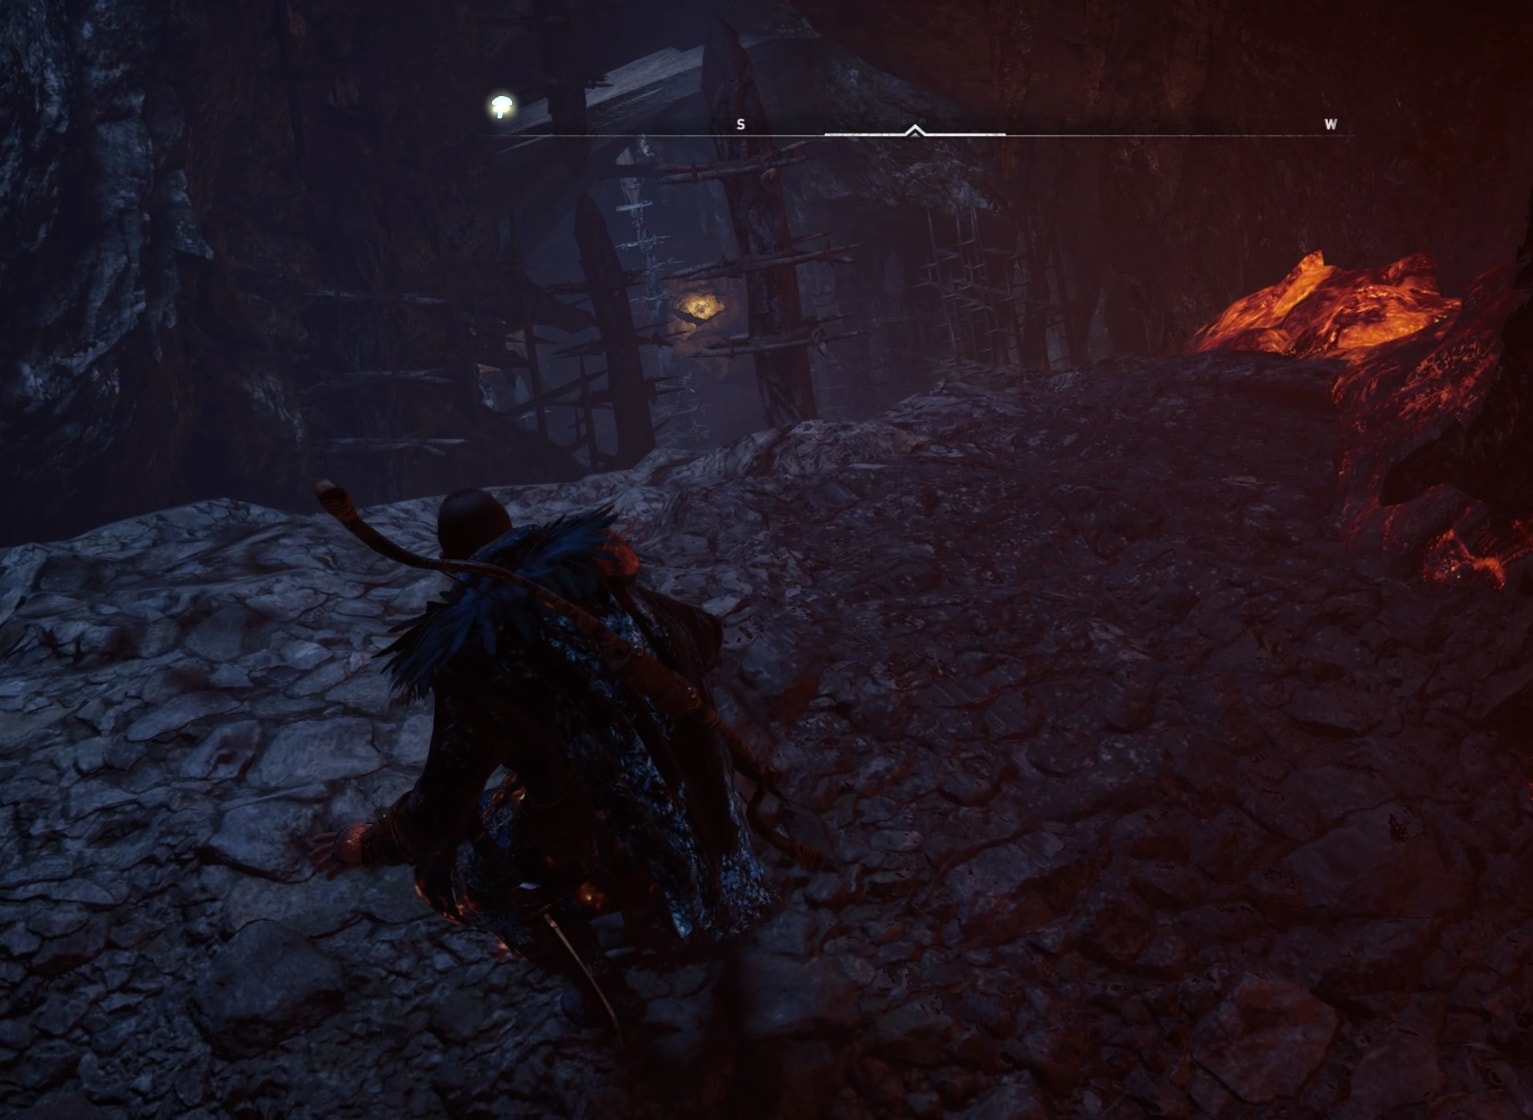
It’s on the cliff overlooking the triangle-shaped crossroads. On the image below I am sitting right at the entrance, looking at the crossroads south from the entrance.
How to solve Verica’s Tomb Puzzles
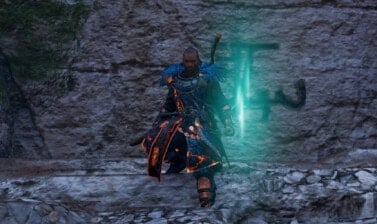
There are two obelisks and two spherical objects you will need to find and move to their appropriate positions to unlock the main door to the actual tomb of Varica.
As you enter the tomb, follow the path through the rock and after that shoot the wooden fence to clear your way.
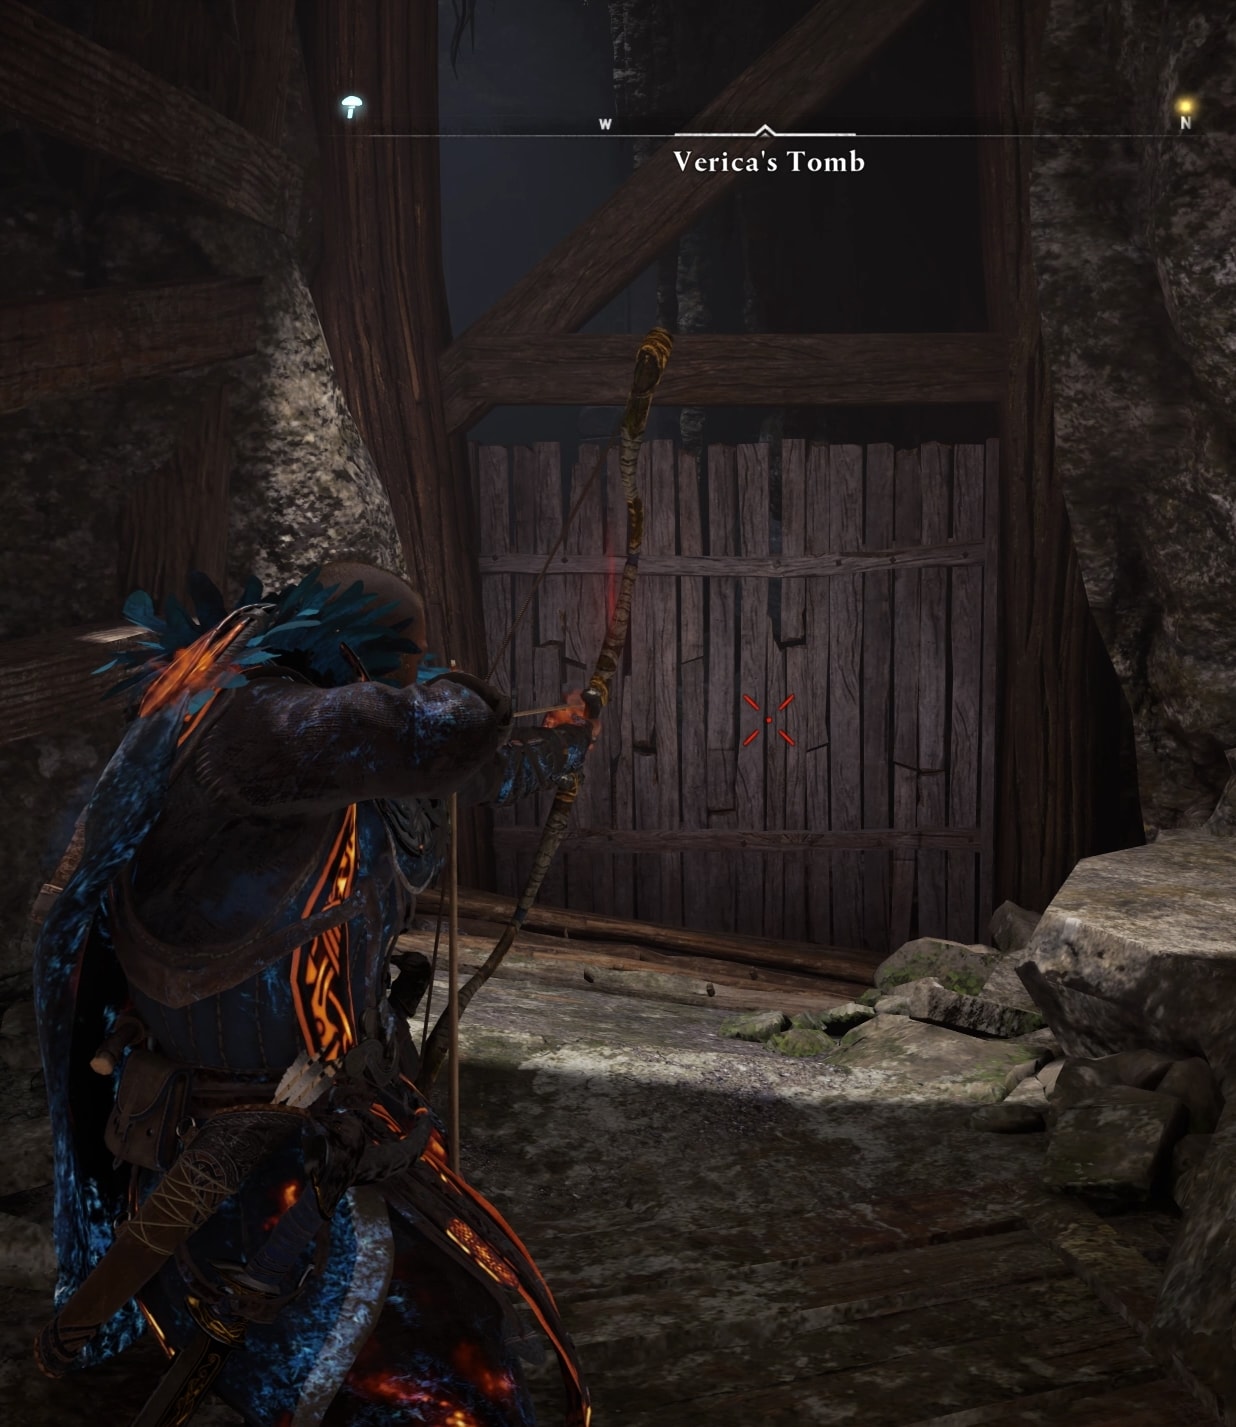
In the next room you will see a path to the left and a blocked door on your right. The left path is your only option, while the blocked door is your exit at the end after all the puzzles.

As you slide down, be mindful of the spikes coming out of the floor. Move quick and they will not be an issue.
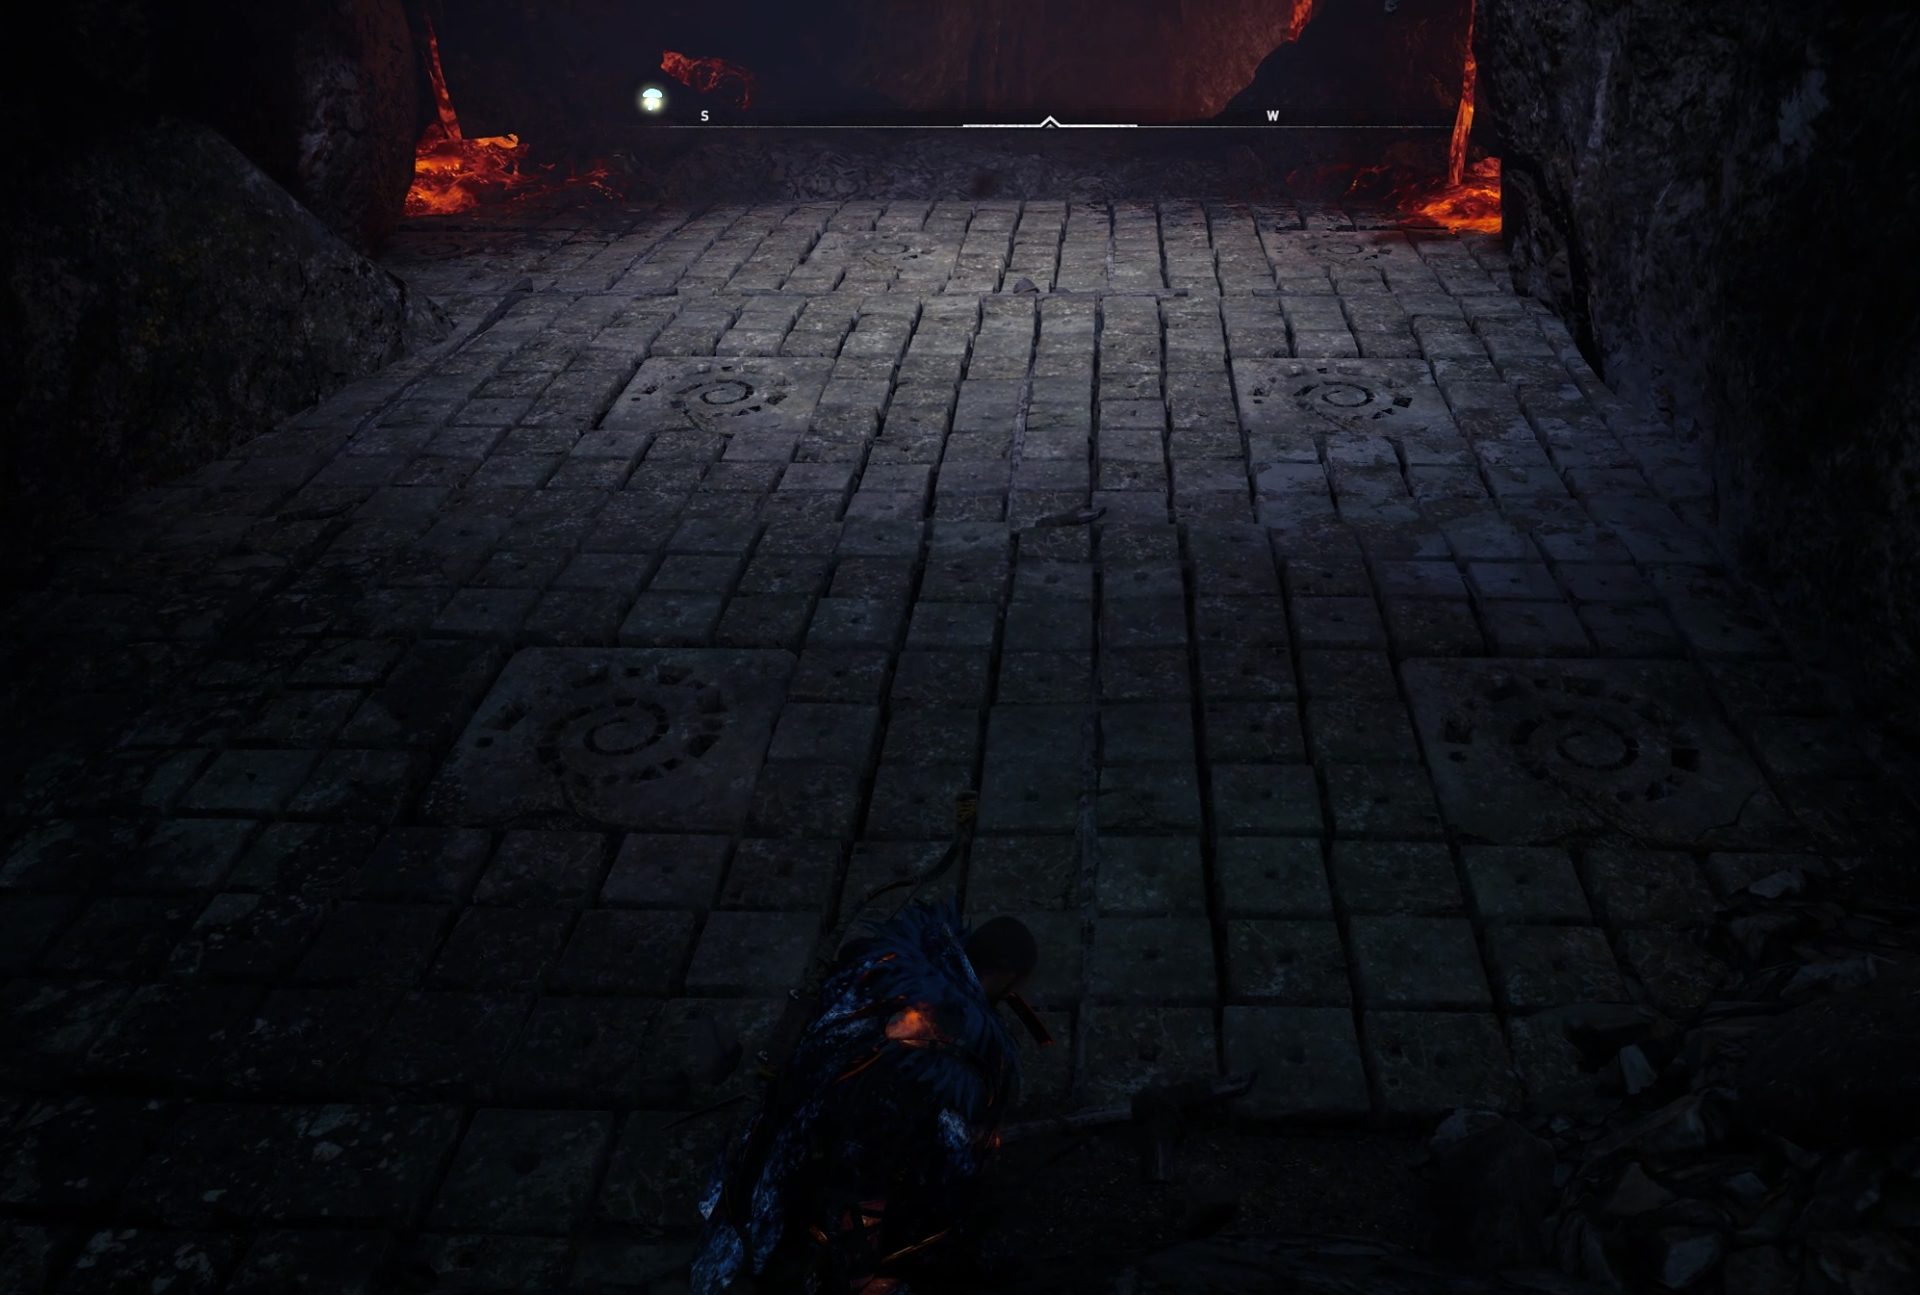
At the bottom of the second slide-down section, the whole floor is rigged with hidden spikes. As soon as you land on at the bottom, just run forward and you will avoid getting hit. Jump and/or roll would help too.
The next section will demand that you move to the side as you slide down. Nothing fancy, just strafe to the right when you have to, to avoid the lava pools.
At the end of the next slide section, you will have to jump onto the rock formation to avoid getting hit by the lava.
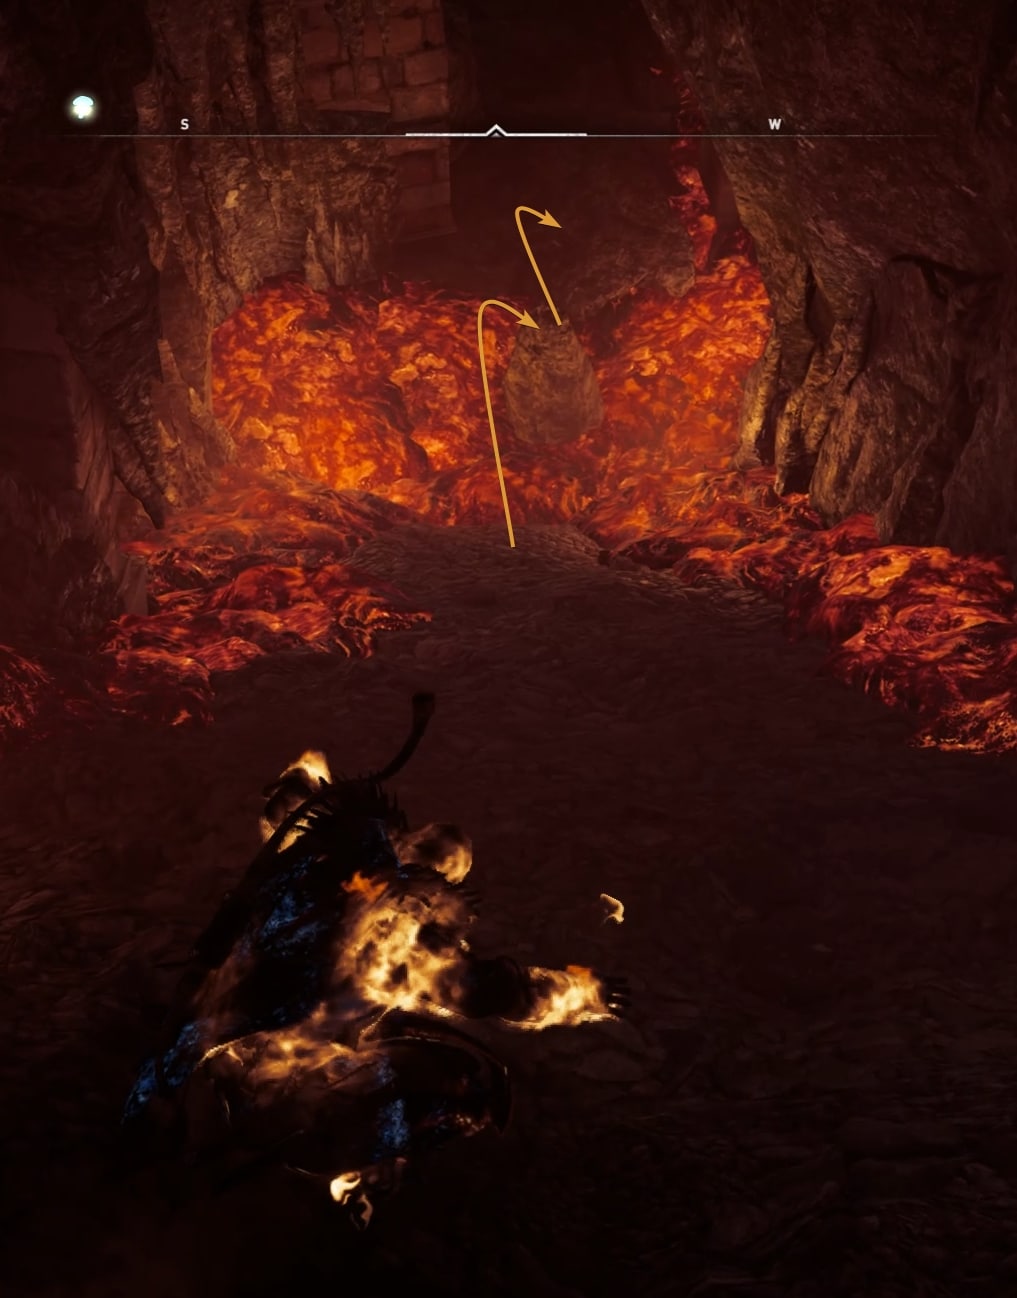
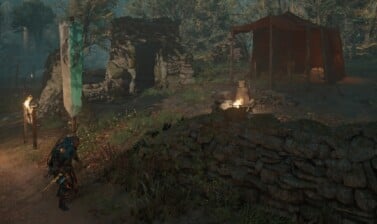
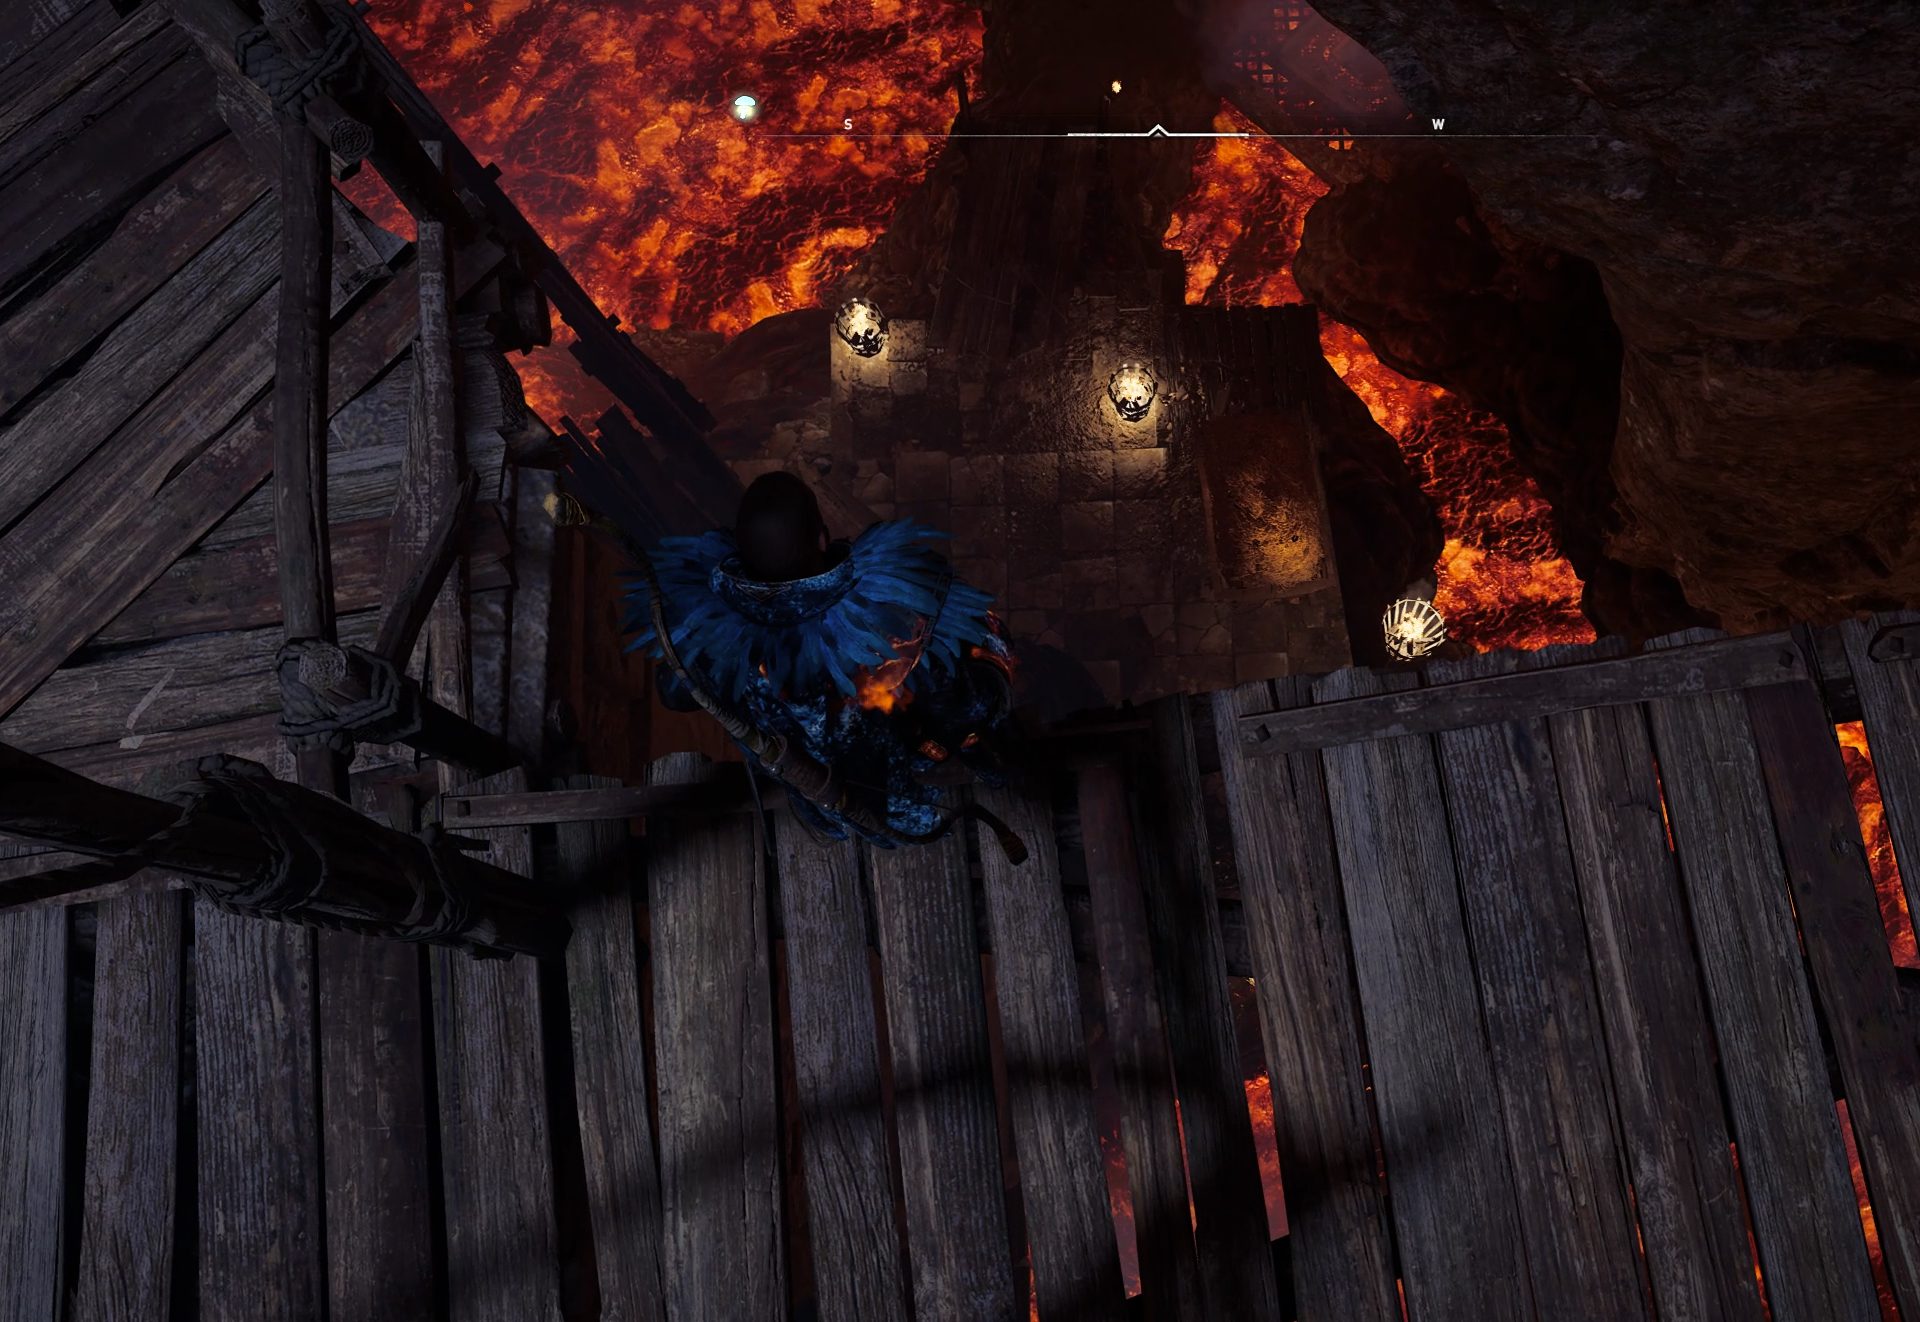
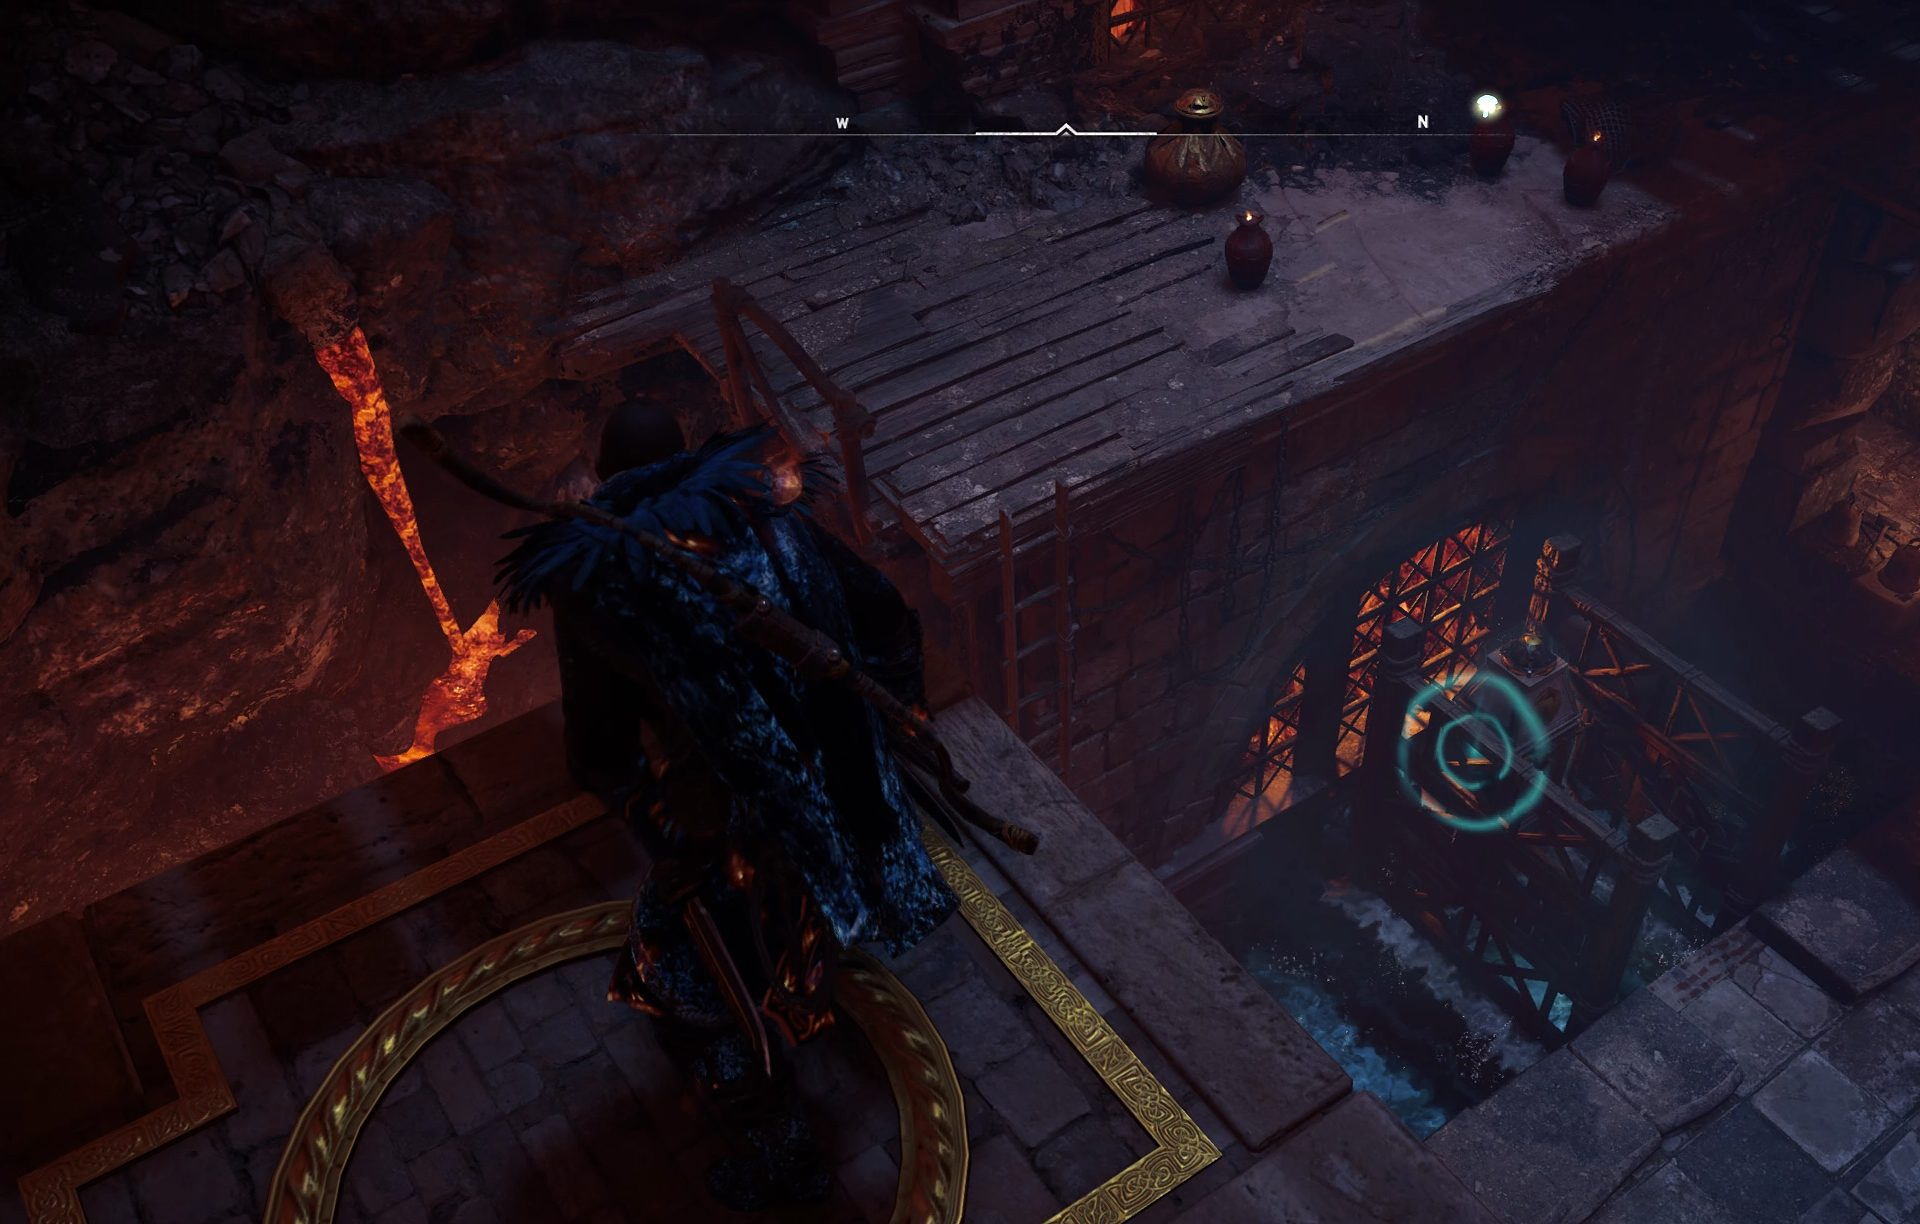
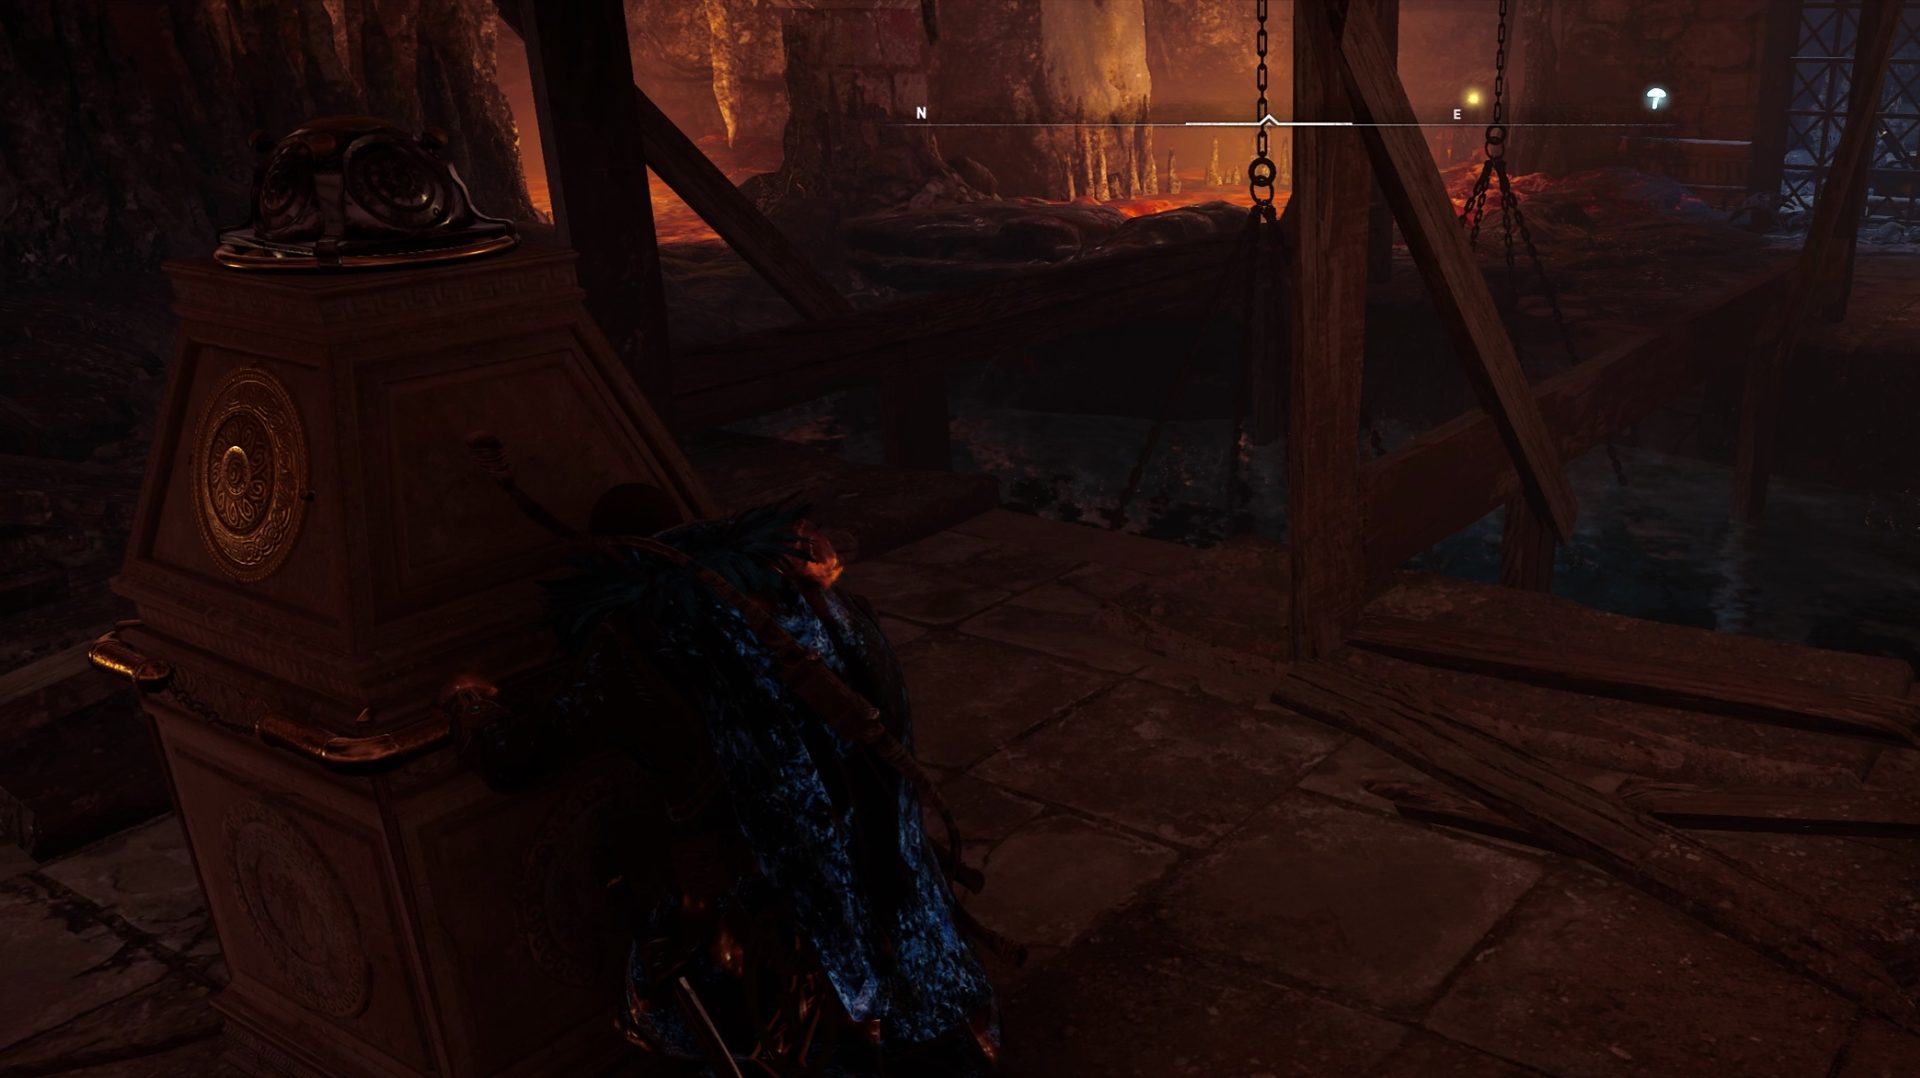
At the end of this path, you will find yourself in a large cave. Very tall and wide with various obstacles and structures. Take the rope to get to the middle tower structure. We’ll start the detailed and most fun part of this walkthrough from there. Mark it in your mind as a landmark.
Place the first obelisk
As you land on the top floor of that tower structure, turn right. Break the wooden wall and pull out the obelisk onto the platform behind you.

This will trigger the first animation and two other trigger-tiles will spawn out of the lave on the lower levels in the big cave.
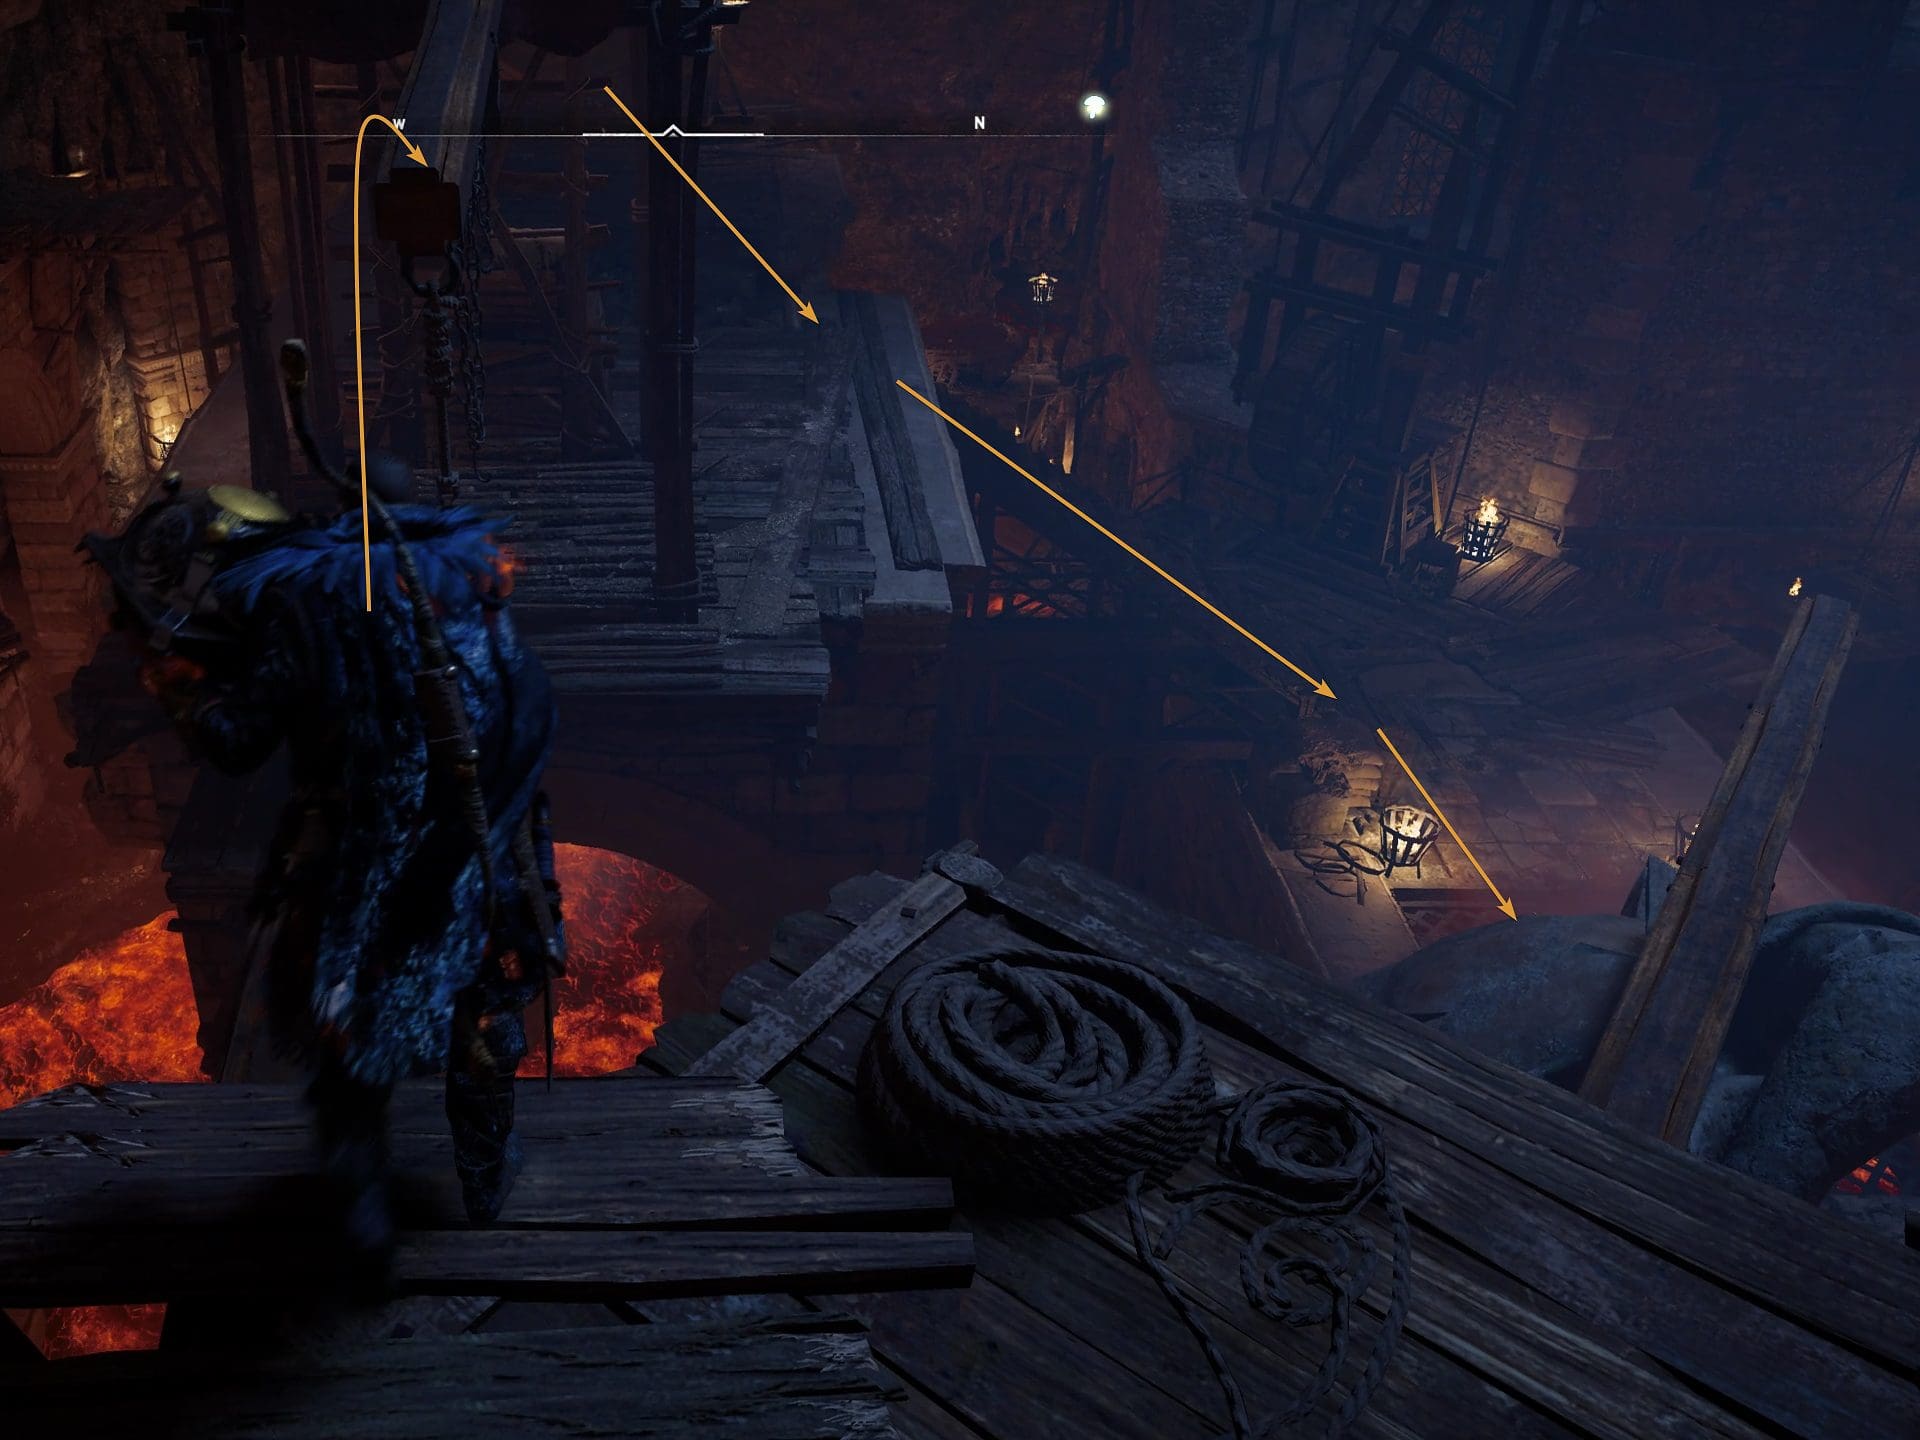
Bring the first sphere
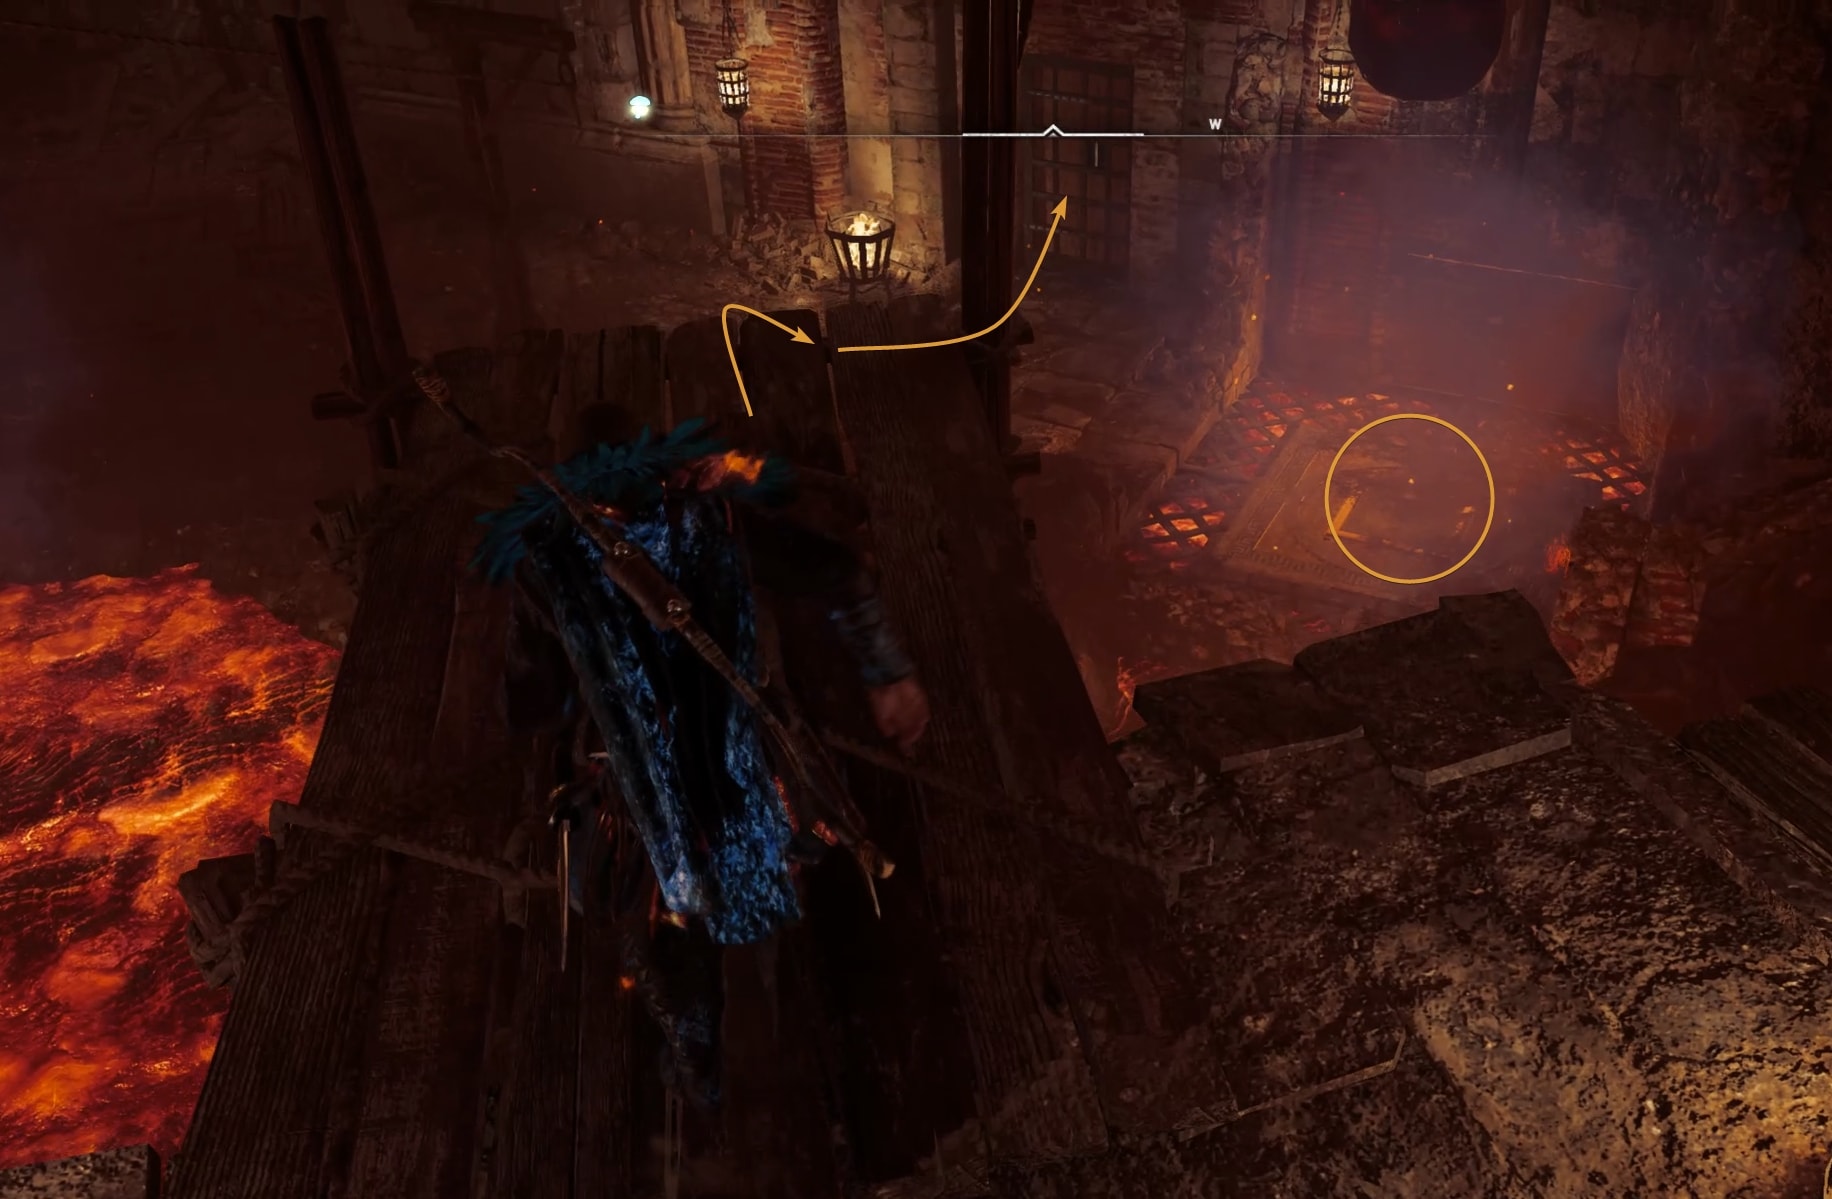
Turn south and slide down the rope to the lower platform. Then jump down and
Enter the adjacent cave through the crack on the wall on the south side.
Then slide through the narrow crack in the next stone wall and slide down. Once again you will have to navigate around vertical spikes and other obstacles to avoid getting hurt.
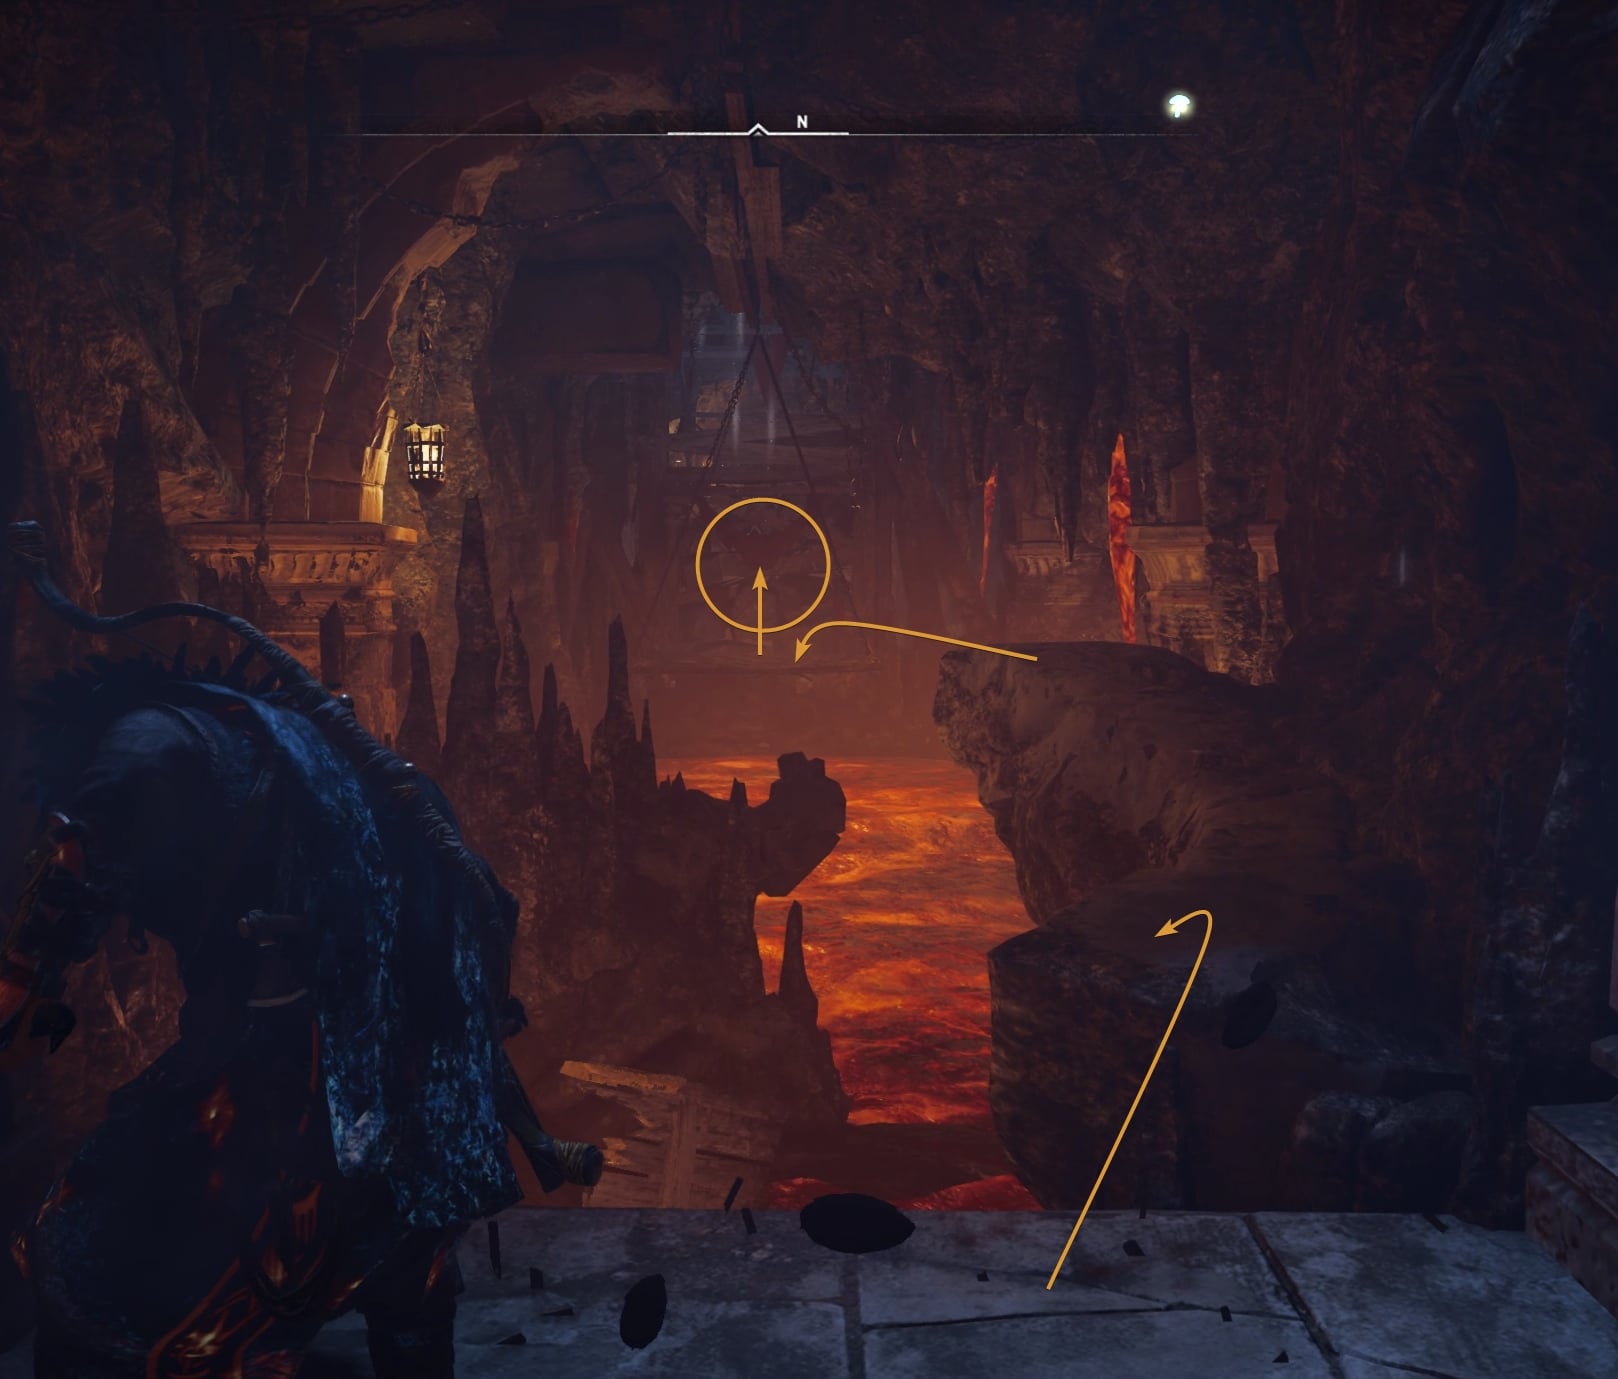
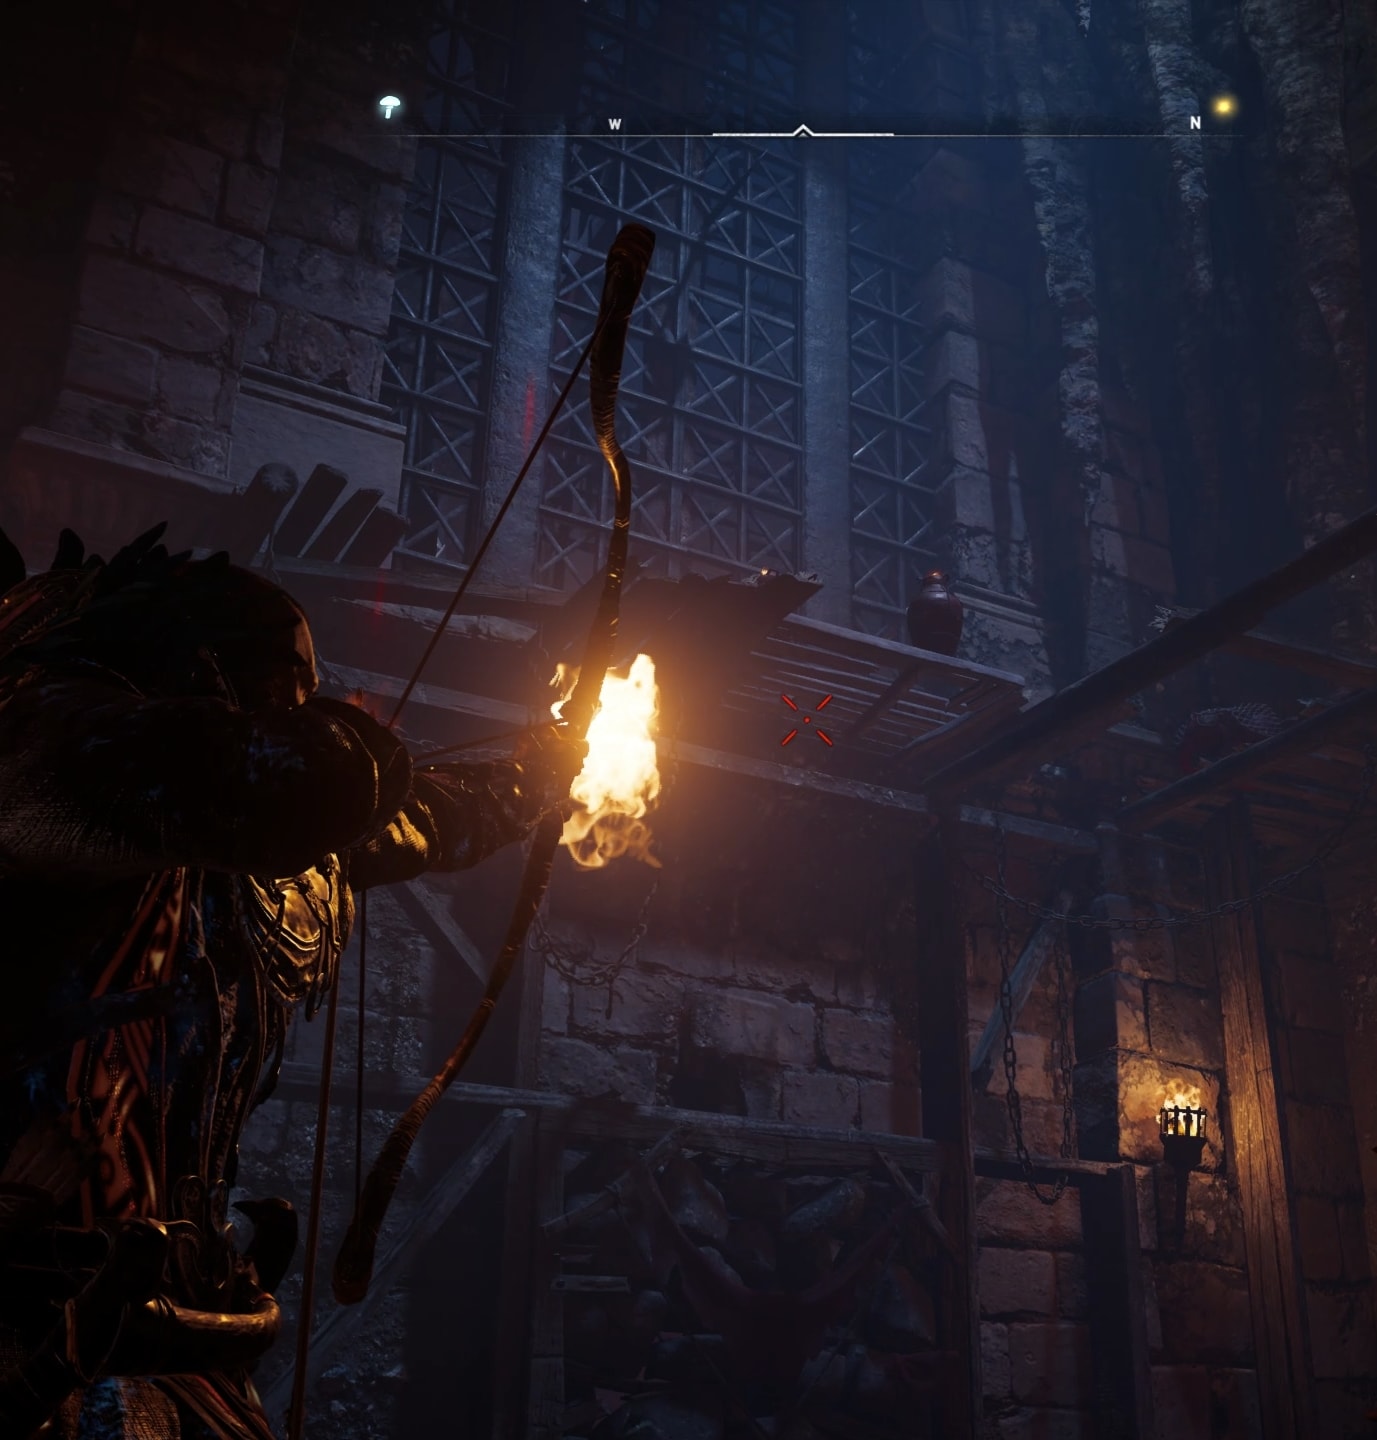
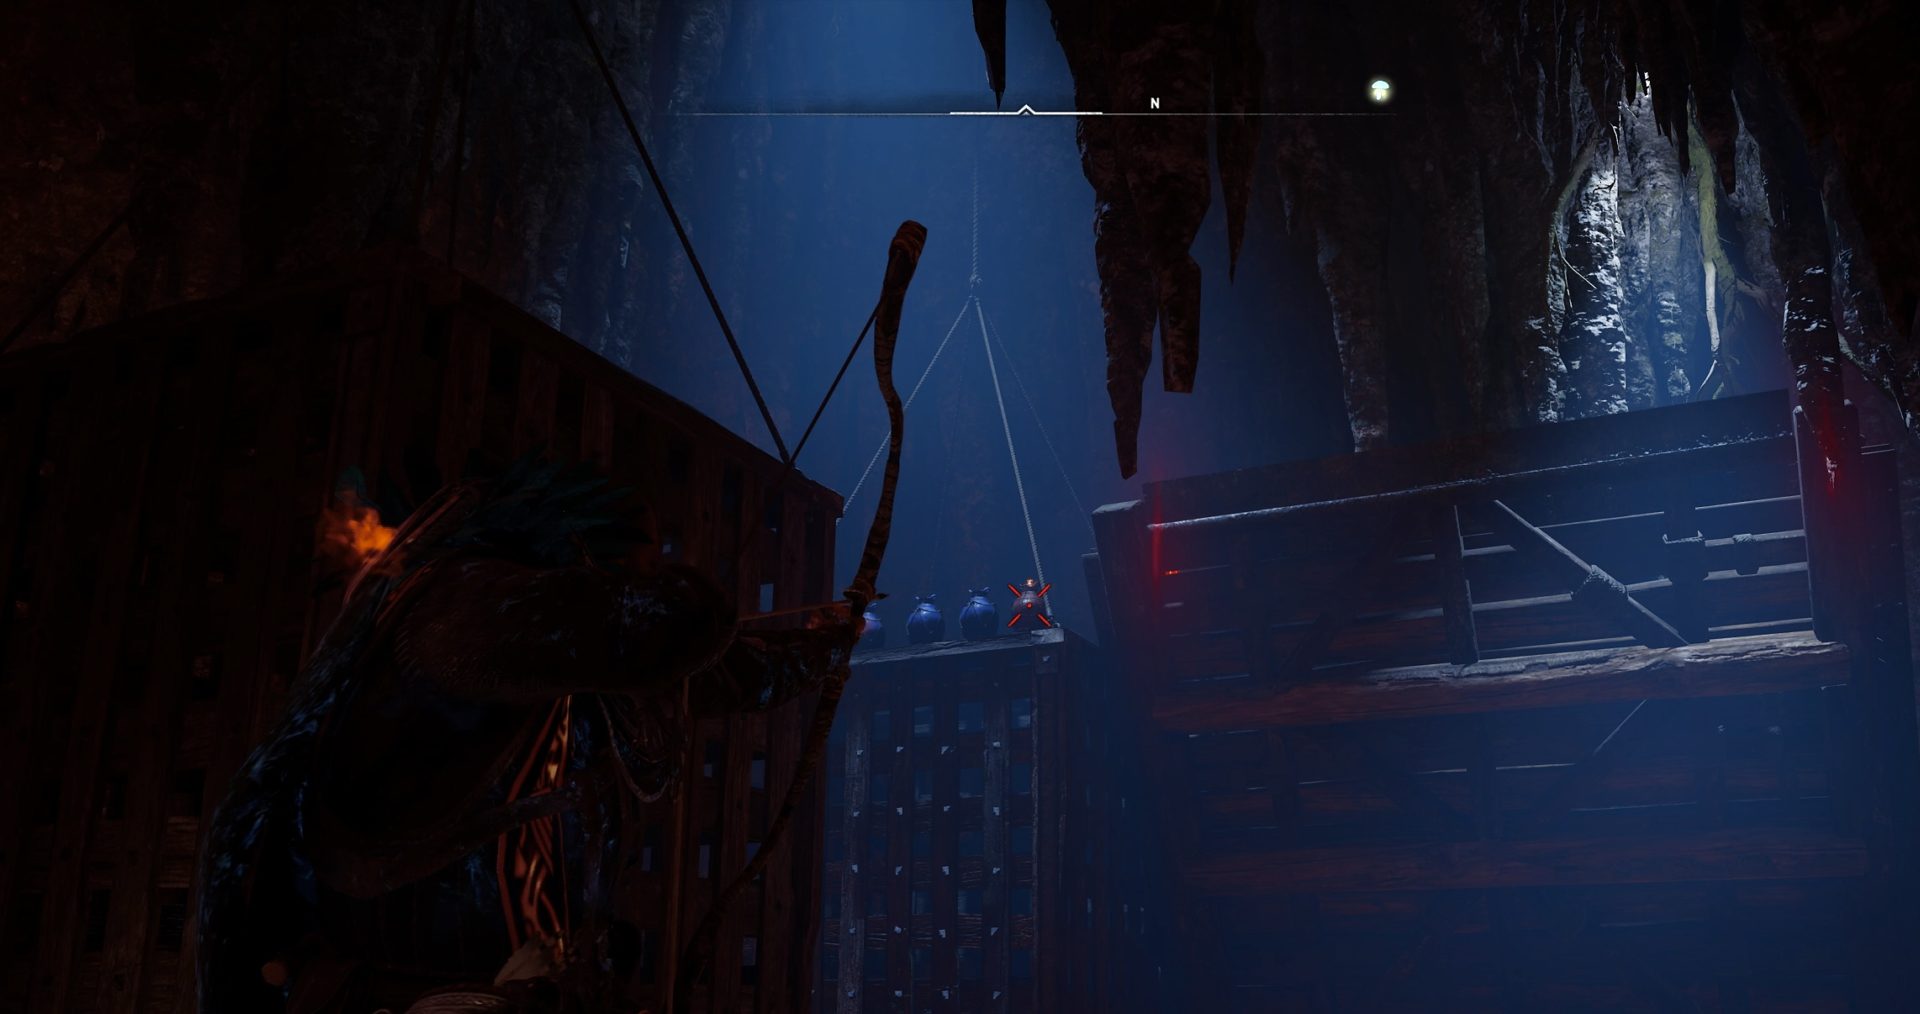
At the end, look up, pull up your arrow and hit the wooden platform to drop the structure down and then climb on it.
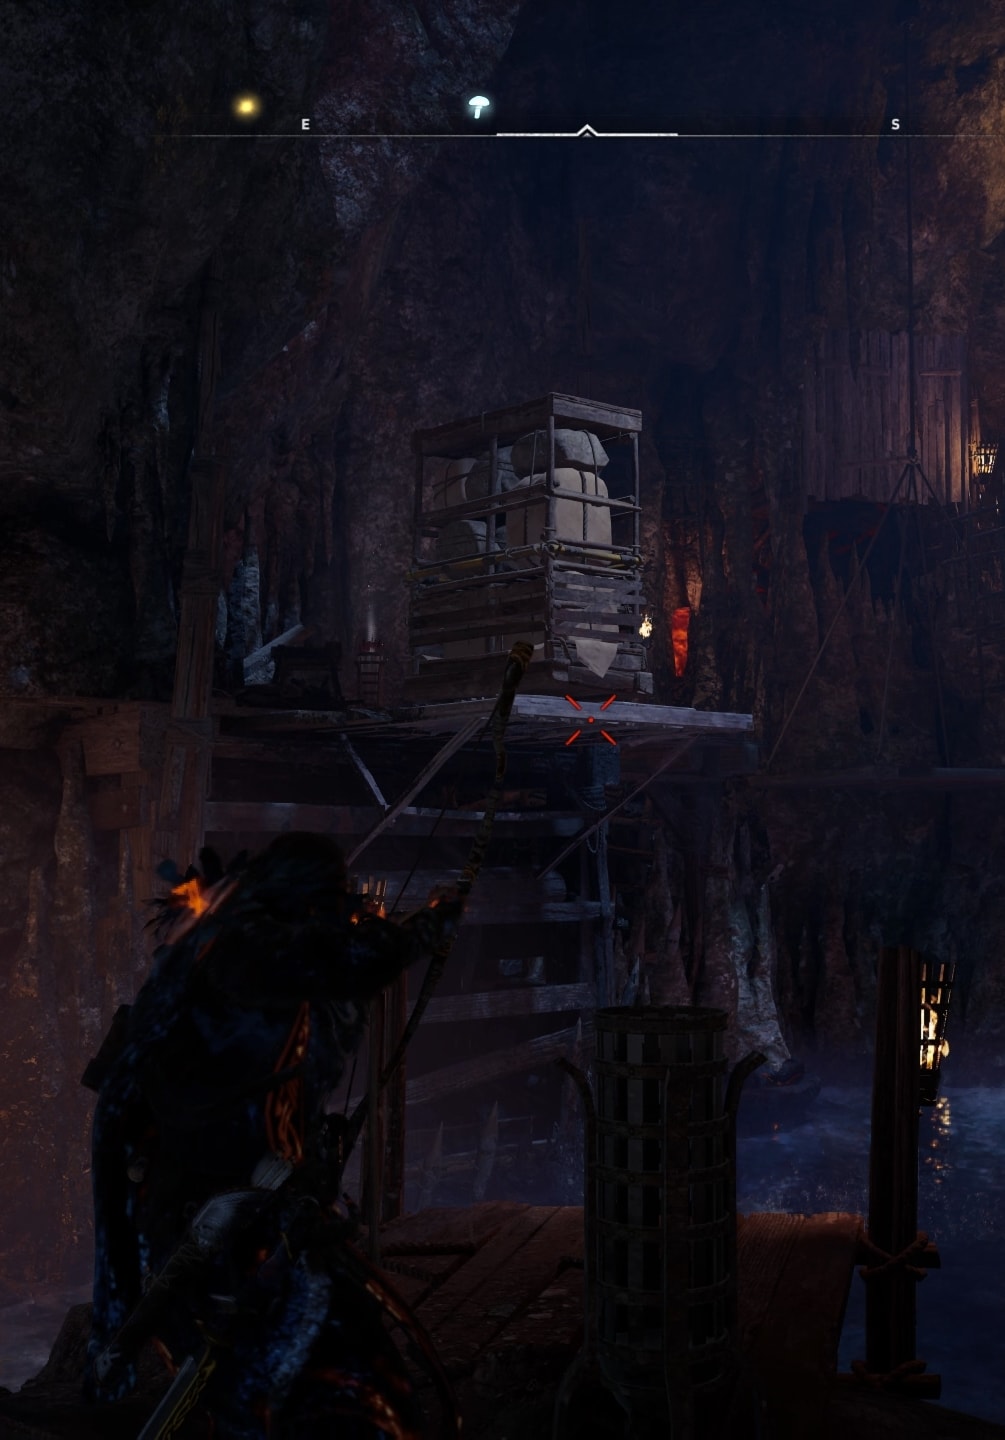
Next, turn right and jump onto the metal platform. It will start moving down. Look up and shoot the two wooden platforms to drop the blocks.
Follow the path and jump a few times to get to the solid ground on the upper level.
In front of you now you see two platforms. Your goal is to put two heavy blocks of stones onto the right one and one onto the left.
Shoot the wooden fence below the right platform on the right side. Jump onto that platform and wait for it to go low enough.
Go onto the left platform and pull up the movable structure on top of the left platform.
Place that structure on the right edge of the platform, next to the spiked wall.
Then pull the movable structure onto the platform. Look up and shoot the wooden floor above the right platform to drop the second movable structure onto the right platform.
Climb up to the top. Break the weak wooden wall, pull up the lever on your left side to start moving the platform over the lava pool and follow the path to the other end. Use an incendiary arrow to explode the stone wall.
Same trick with the next room. Blow up the stone wall and, to save you a bit of time, just run through the lava to the other side. No need to bother unlocking the door to your left where the lever for the platform is located.
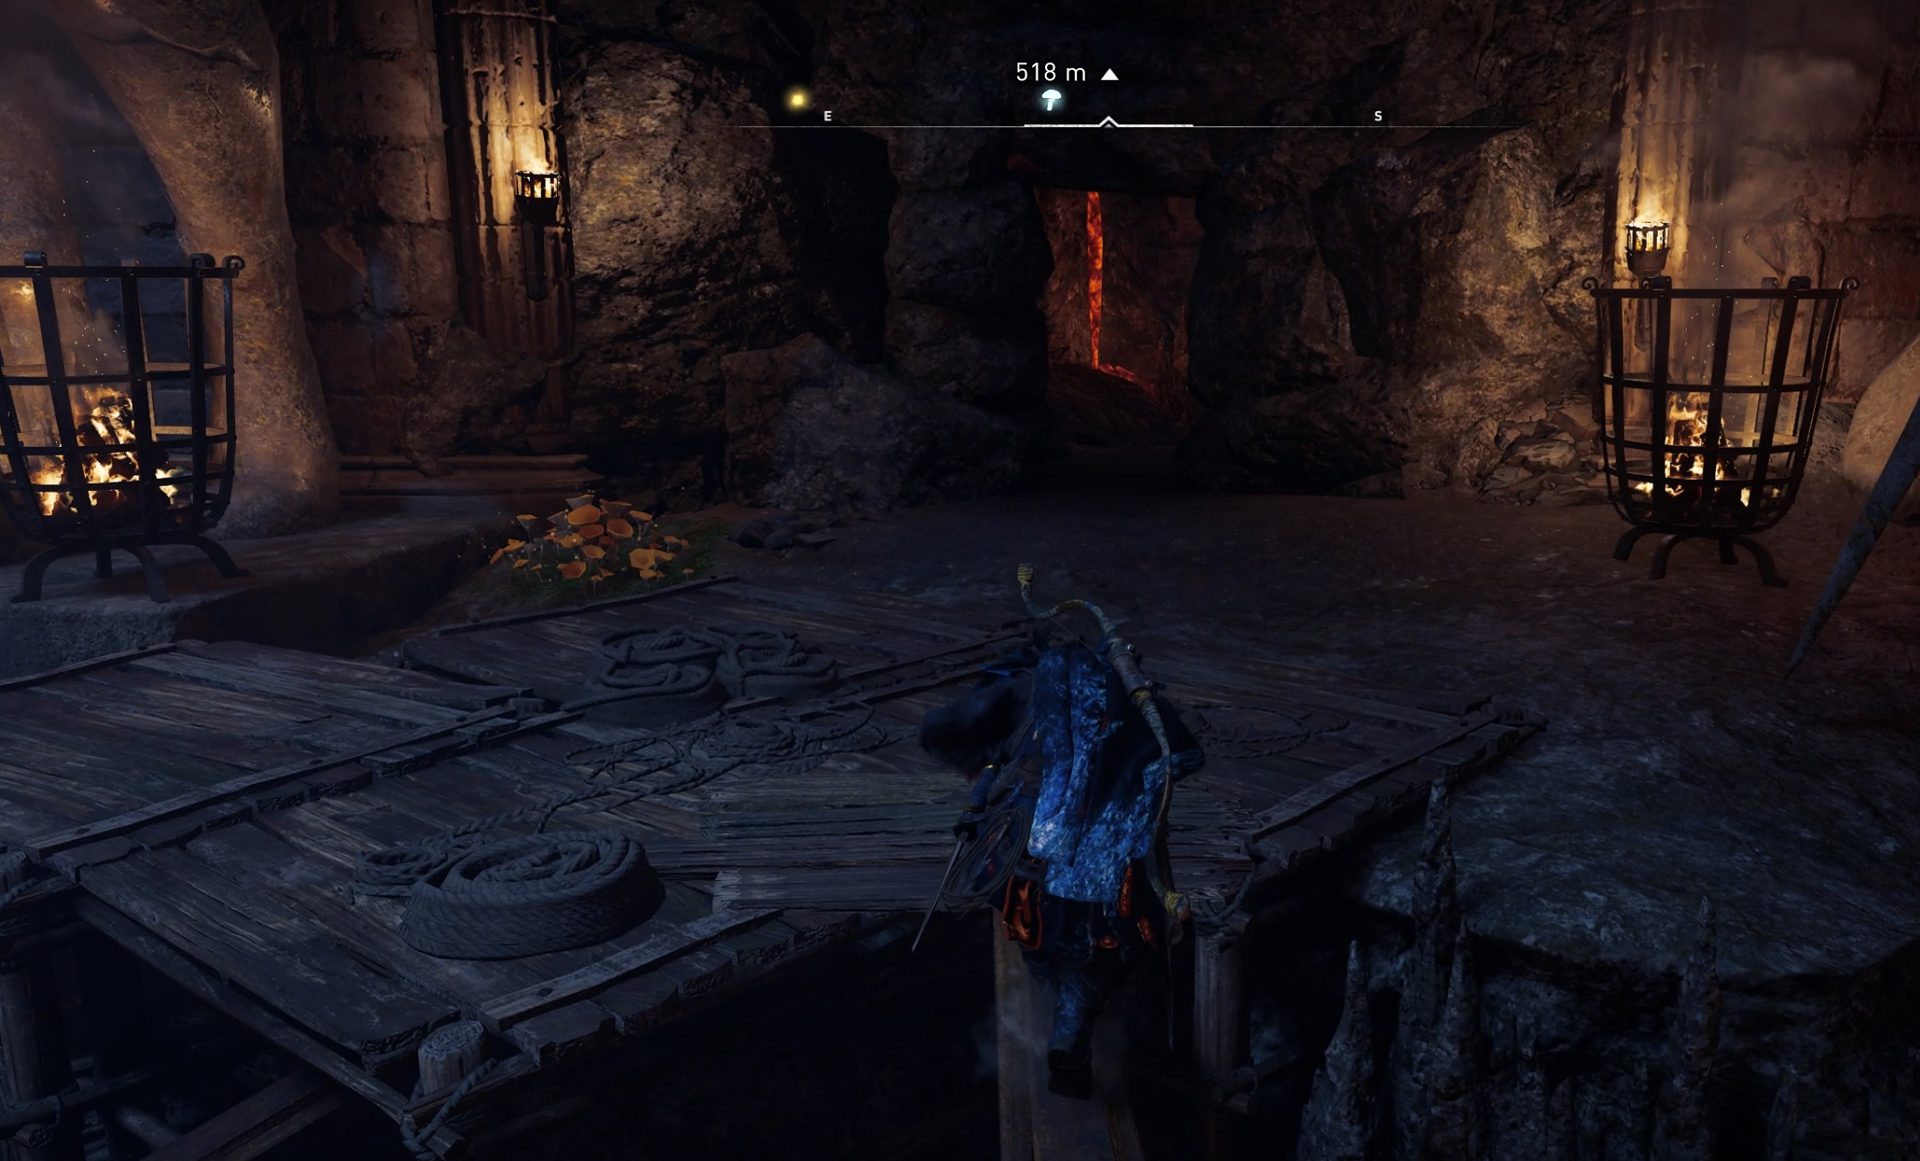
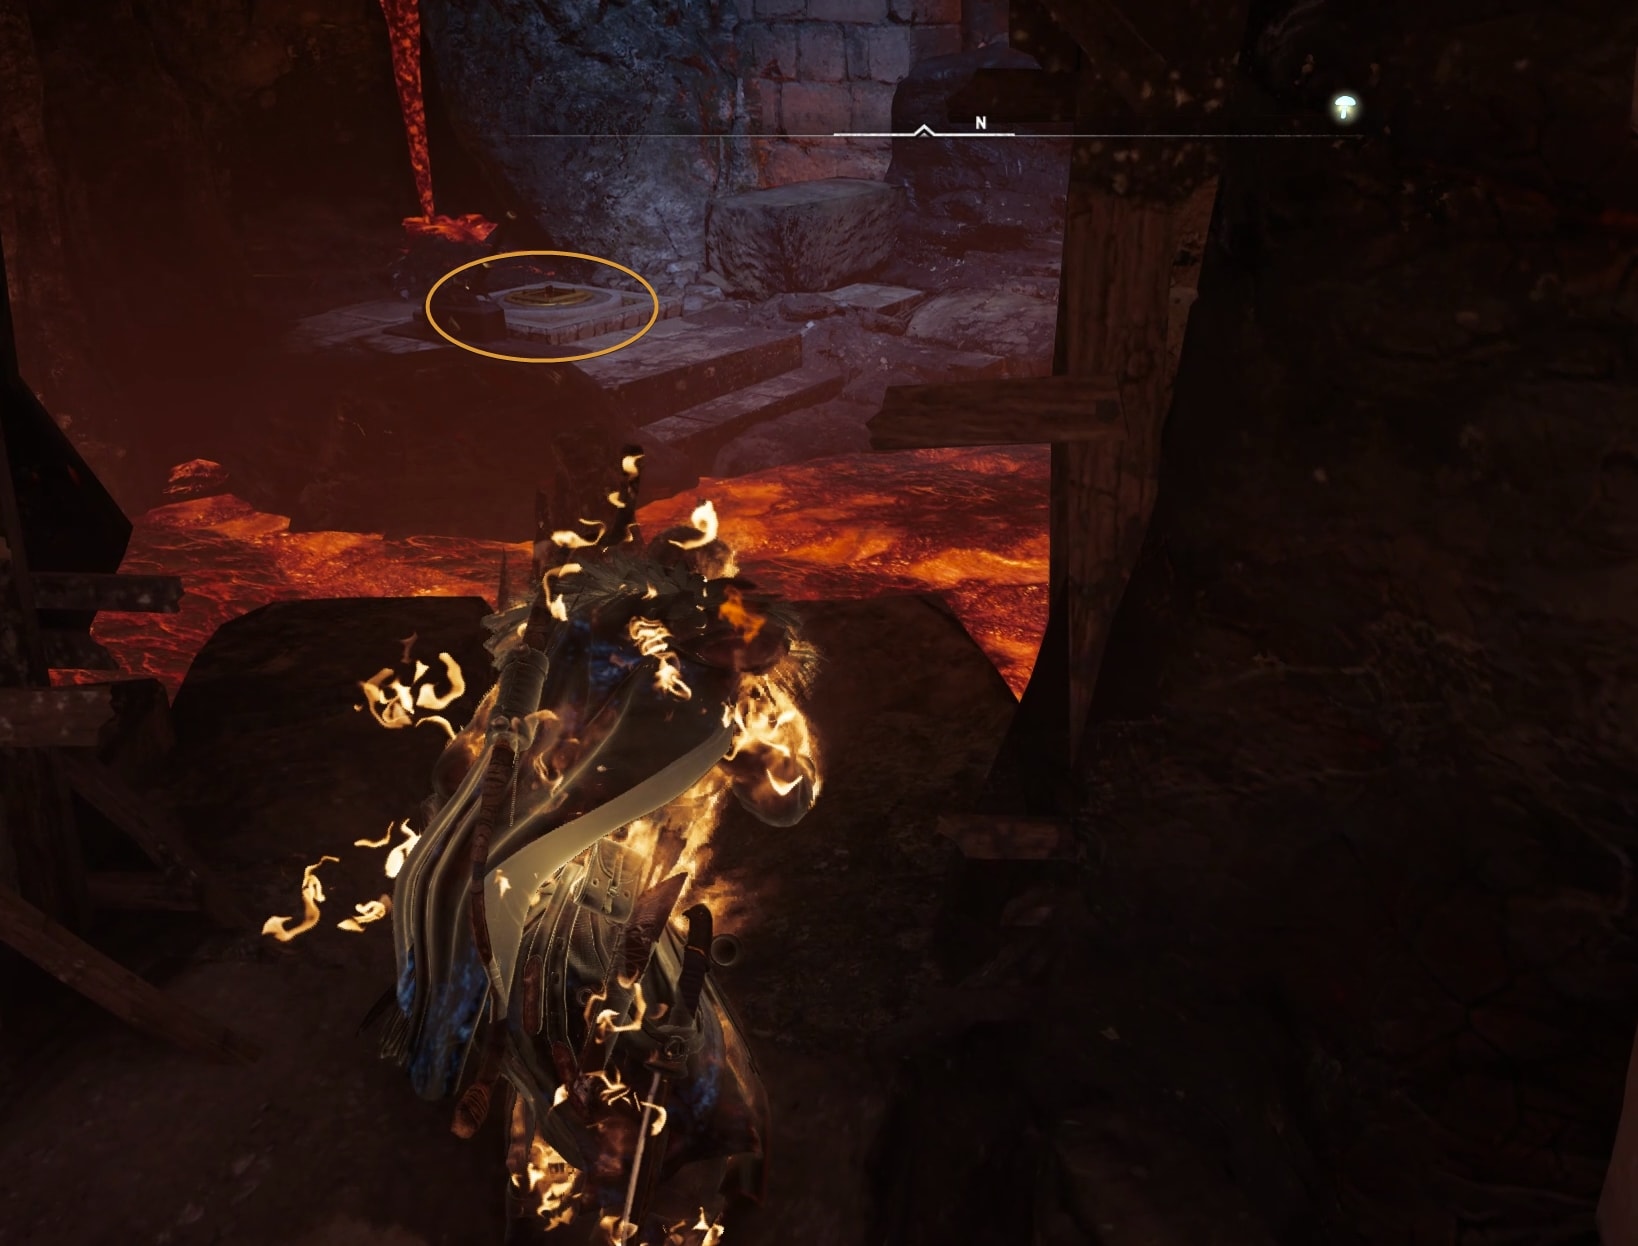
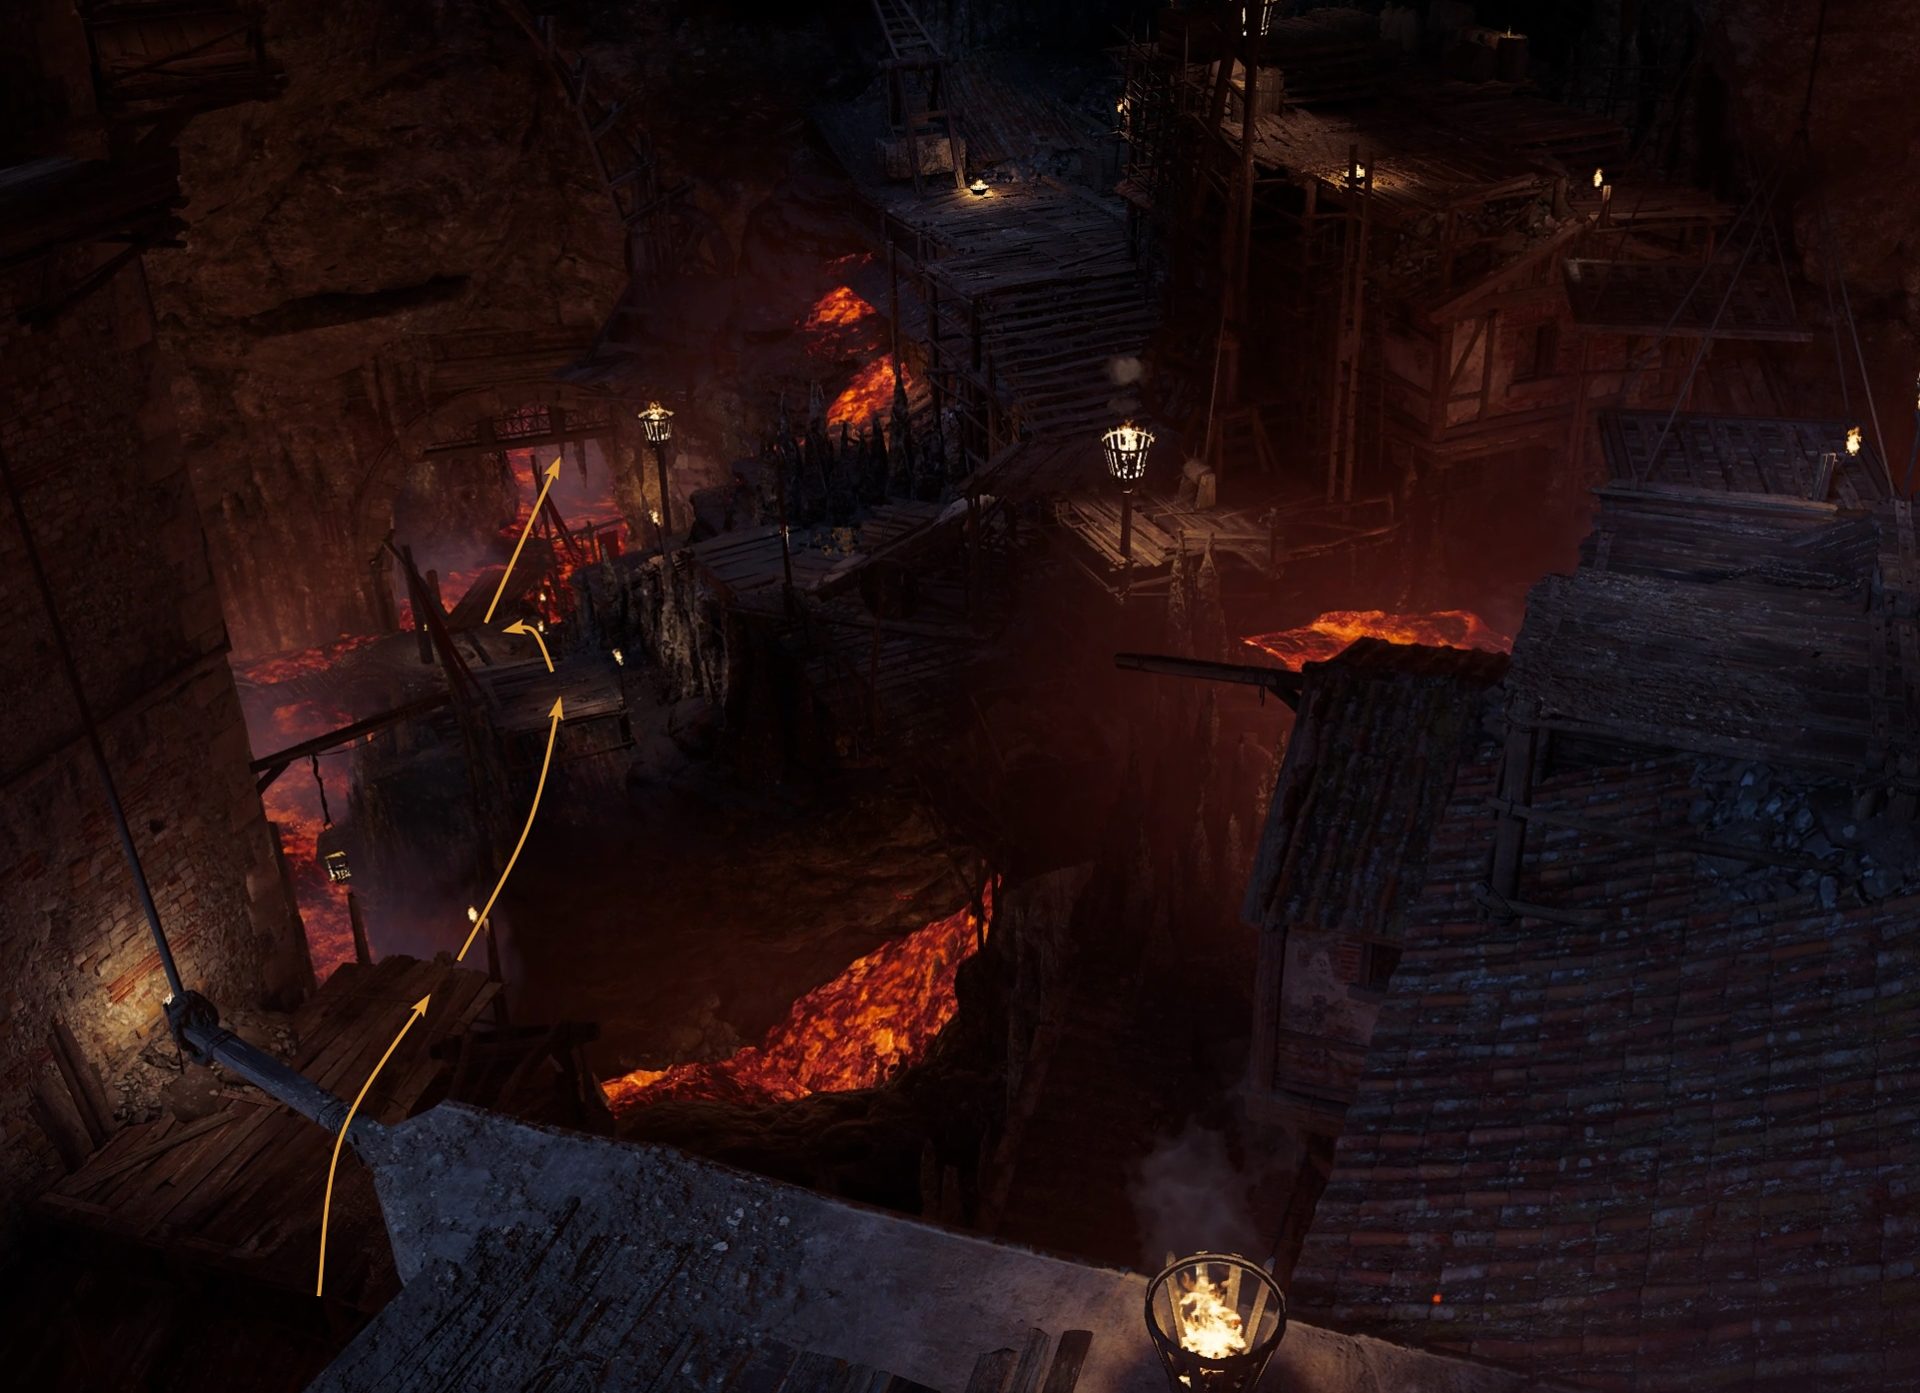
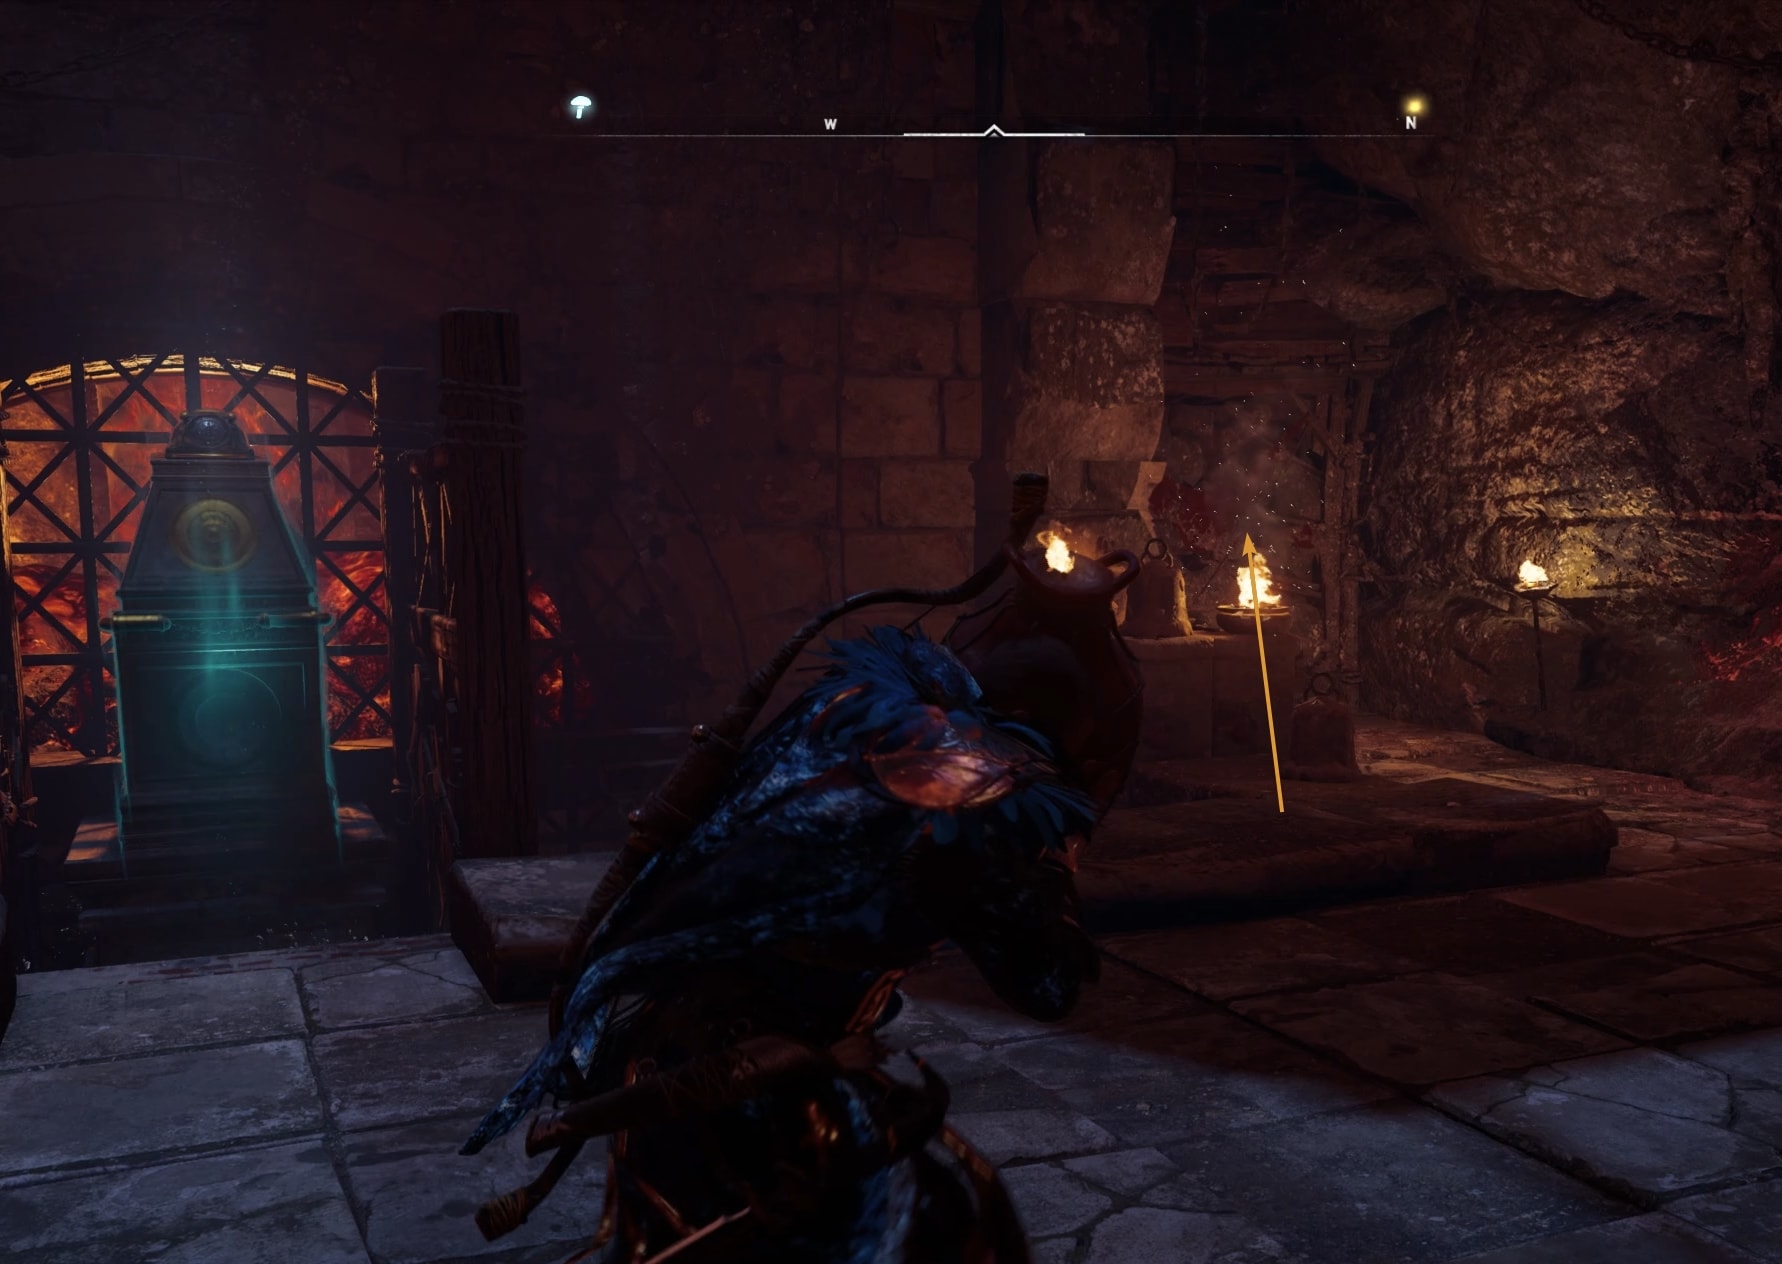
In the next room, pull the lever to spawn the sphere item. You need to carry it to its destination.
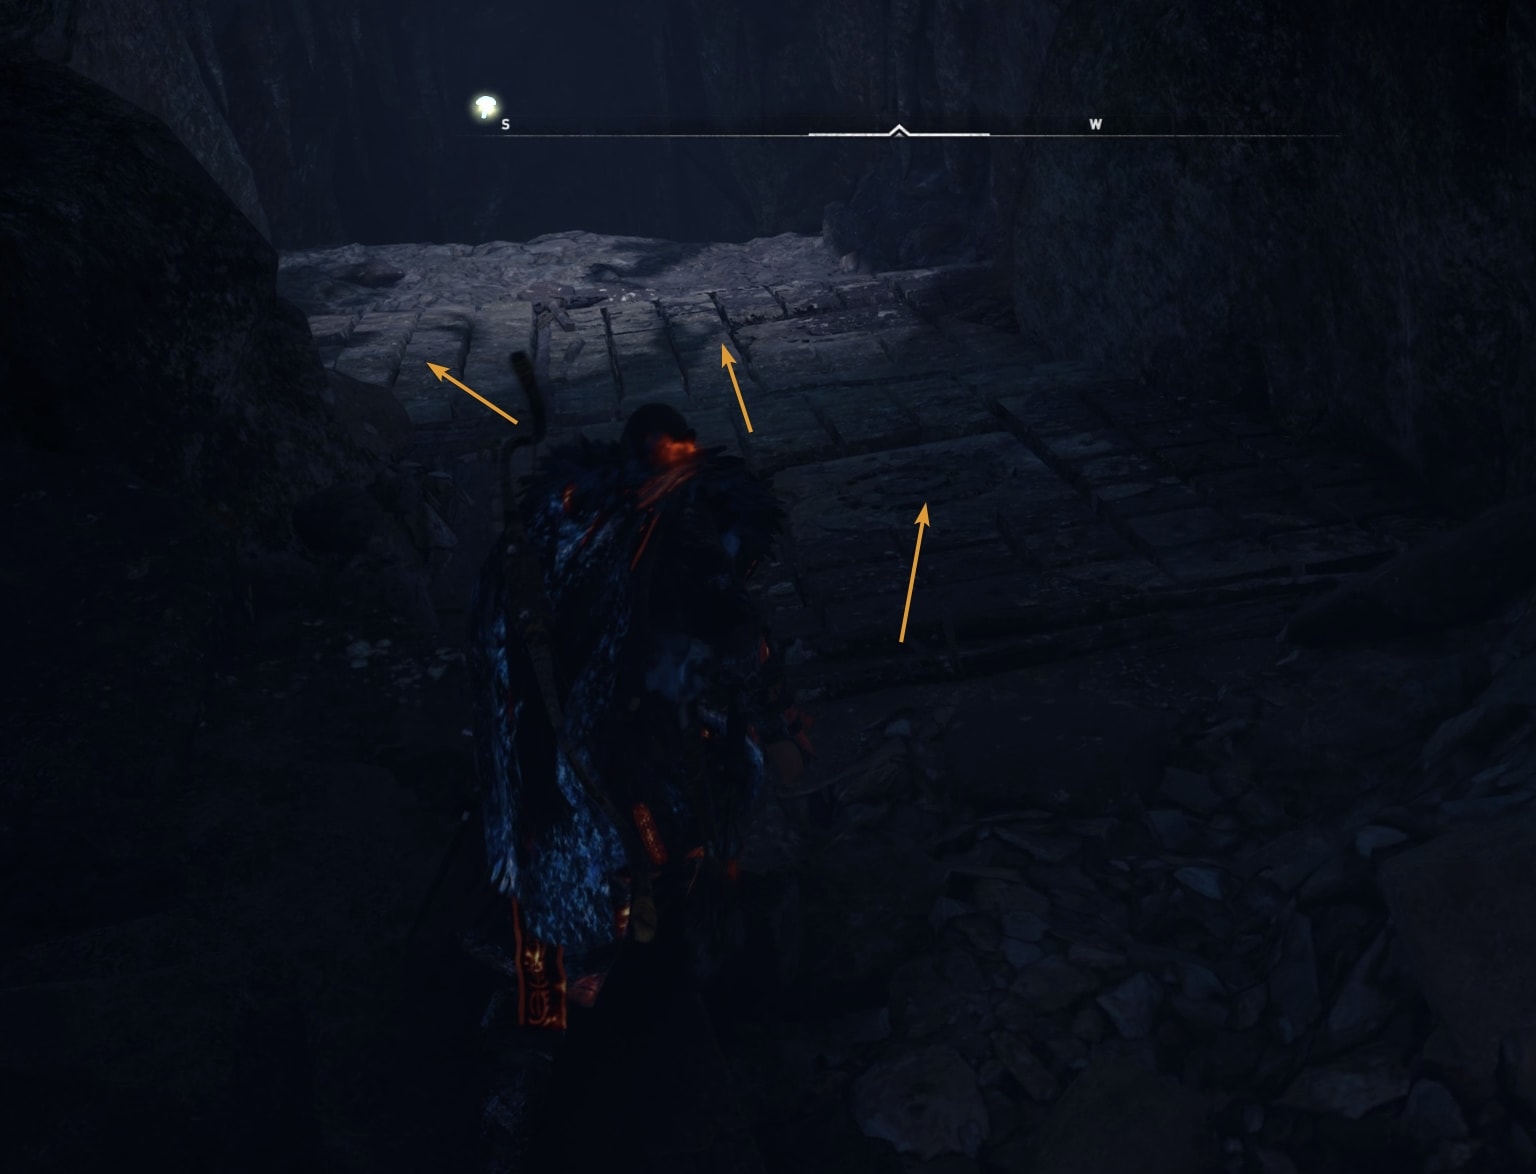
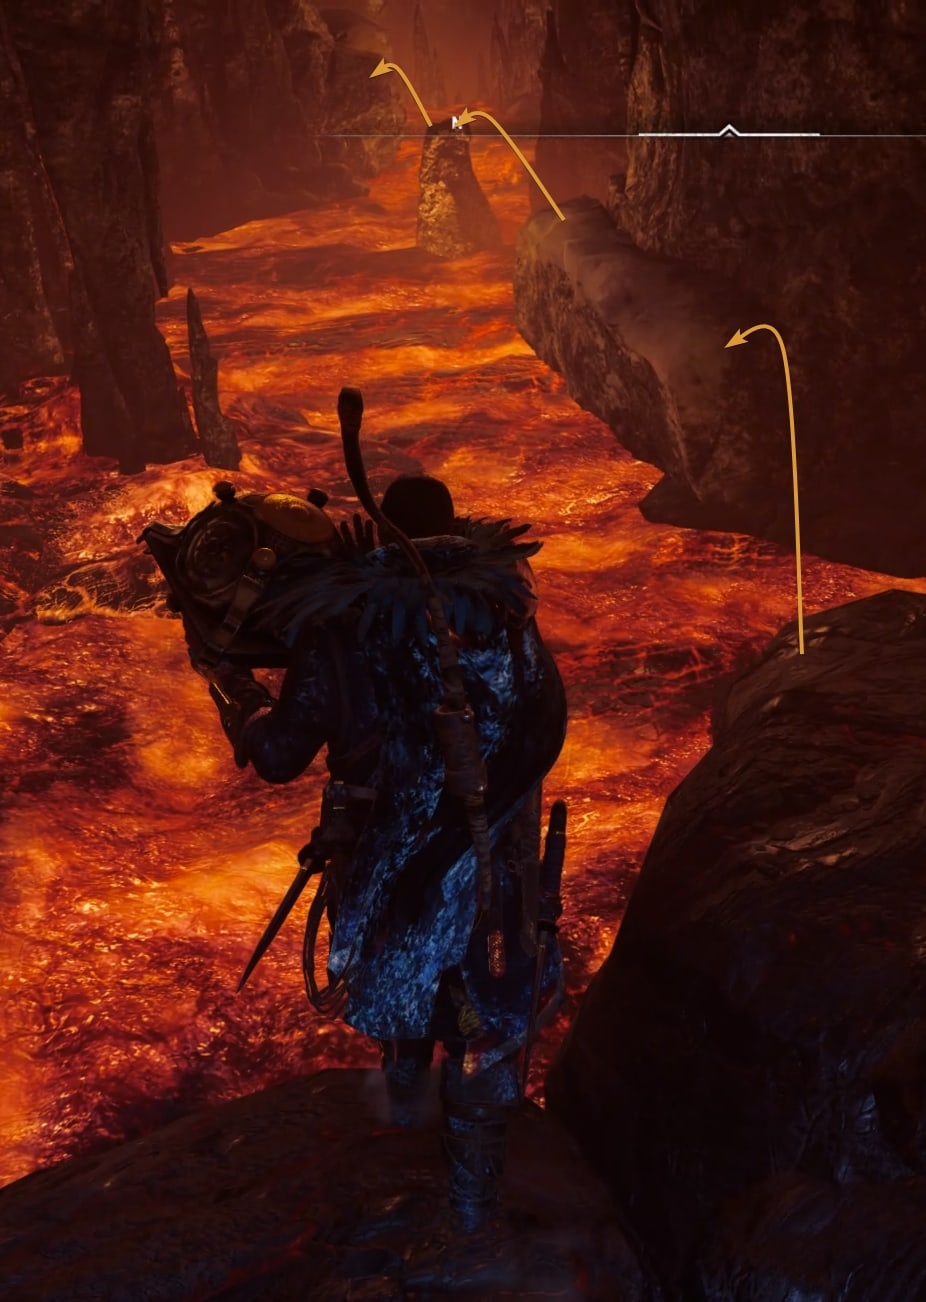
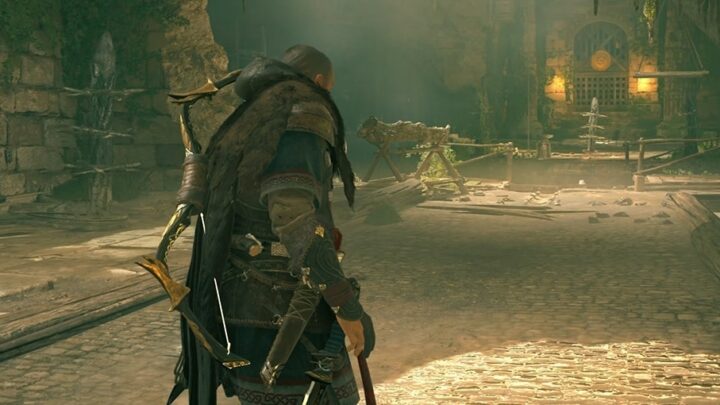
Head northeast and follw the path on the image below.
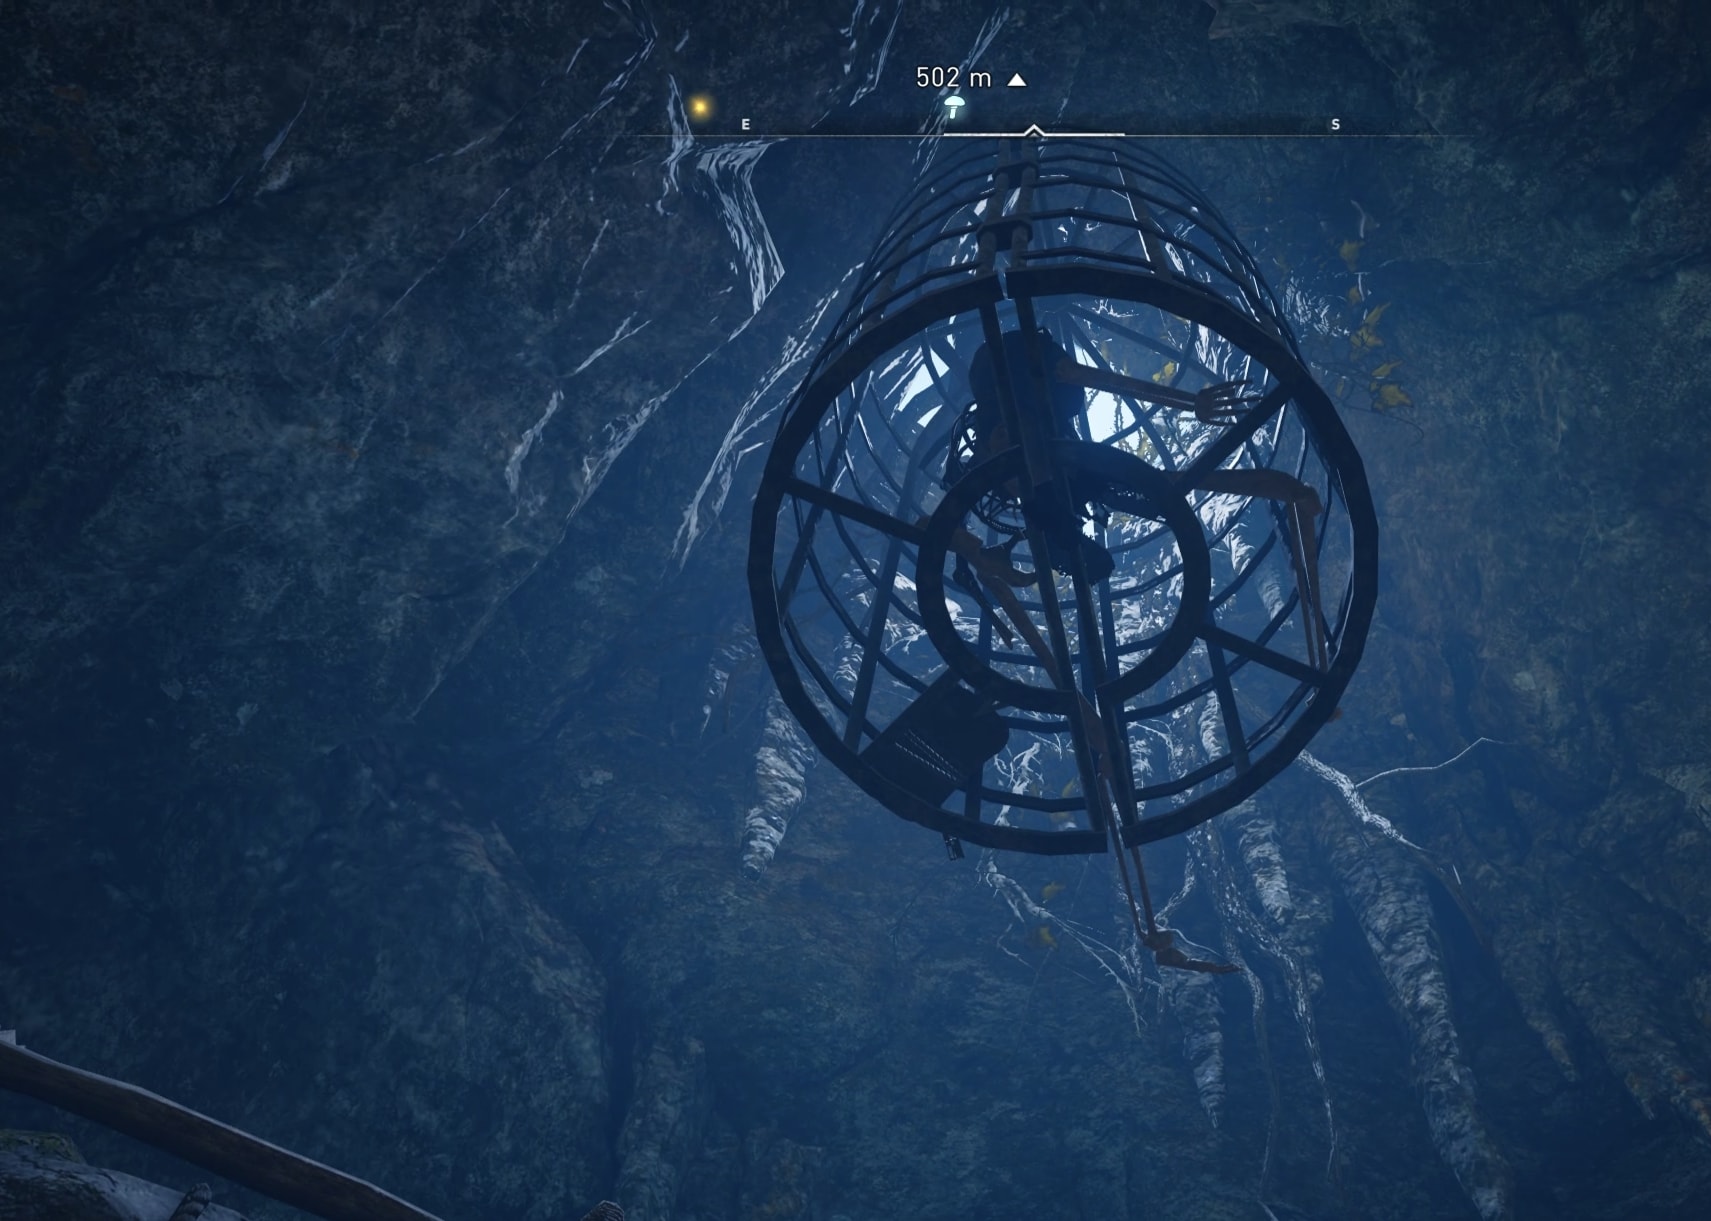
In this next room on your left you will see three movable objects. You have to move the left one (the talles one) to the middle of the room. Climb on it and get the key for the door from the skeleton in the cage.
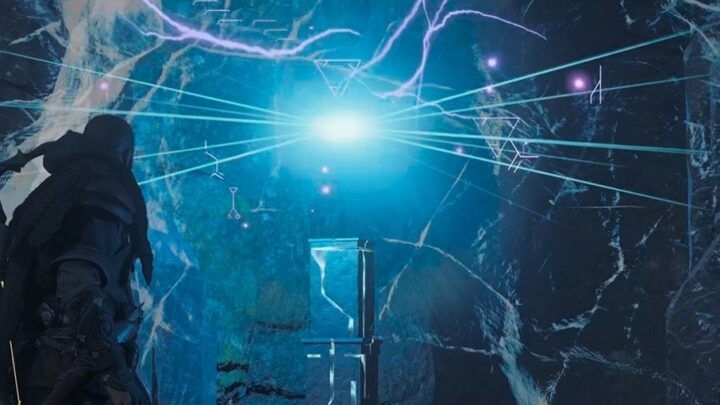
Follow the path until you get back to the giant cave with the big tower structure in the middle. Jump down to get to the trigger-plate and place the sphere on it. Animation will play revealing new puzzles.
Bring the second sphere
From that same location, take the path north and follow it to the hole in the wall.
Go to the platform with the lever and pull it. Take the platform that will come to you. On your left you can jump to pick up an explosive vase. Or you can use an incendiary arrow, if you have them. The wall you need to blow up is on the right side.
In the next section you will have two platforms and three heavy stones. One of the stones is to the right from the platforms, the other two are next to the second platform. Pick up all three stones and place them on the second platform.
Jump onto the first platform that should be up now and climb over the edge to the higher level. Interact with the lever and pick up the sphere object.
Jump down, pull the next lever and jump onto the platform that will come to you.
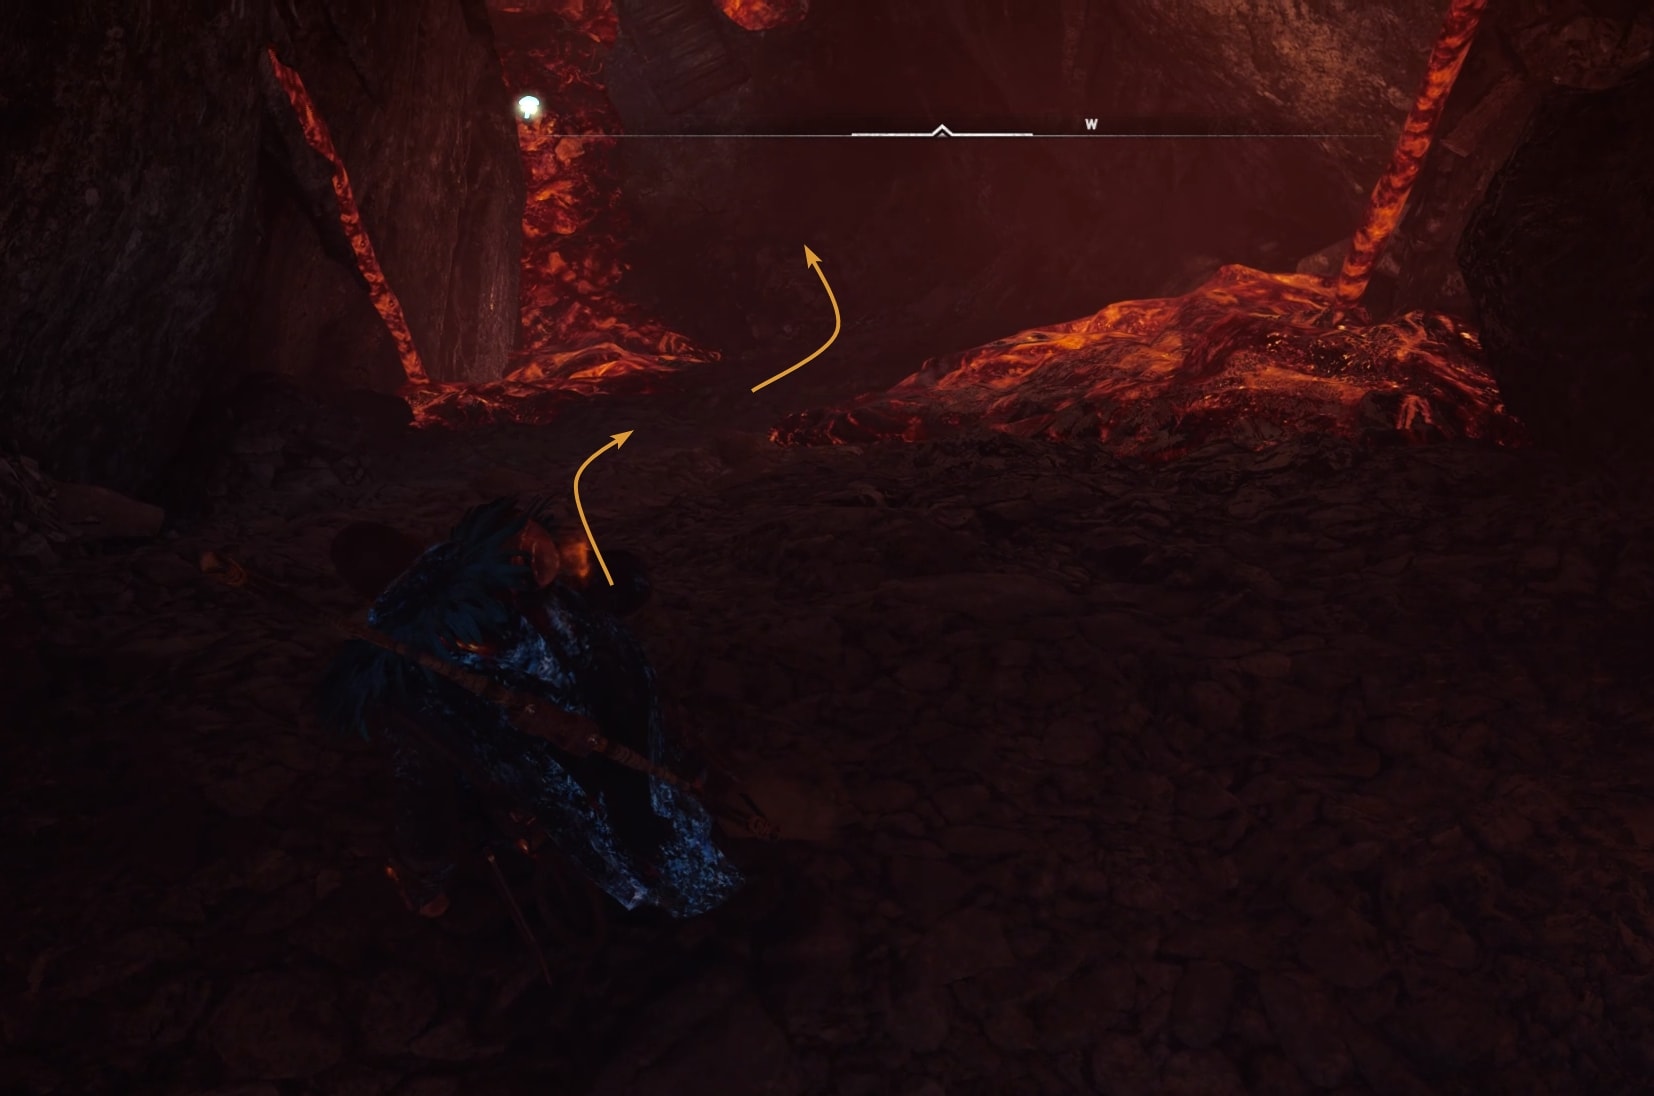
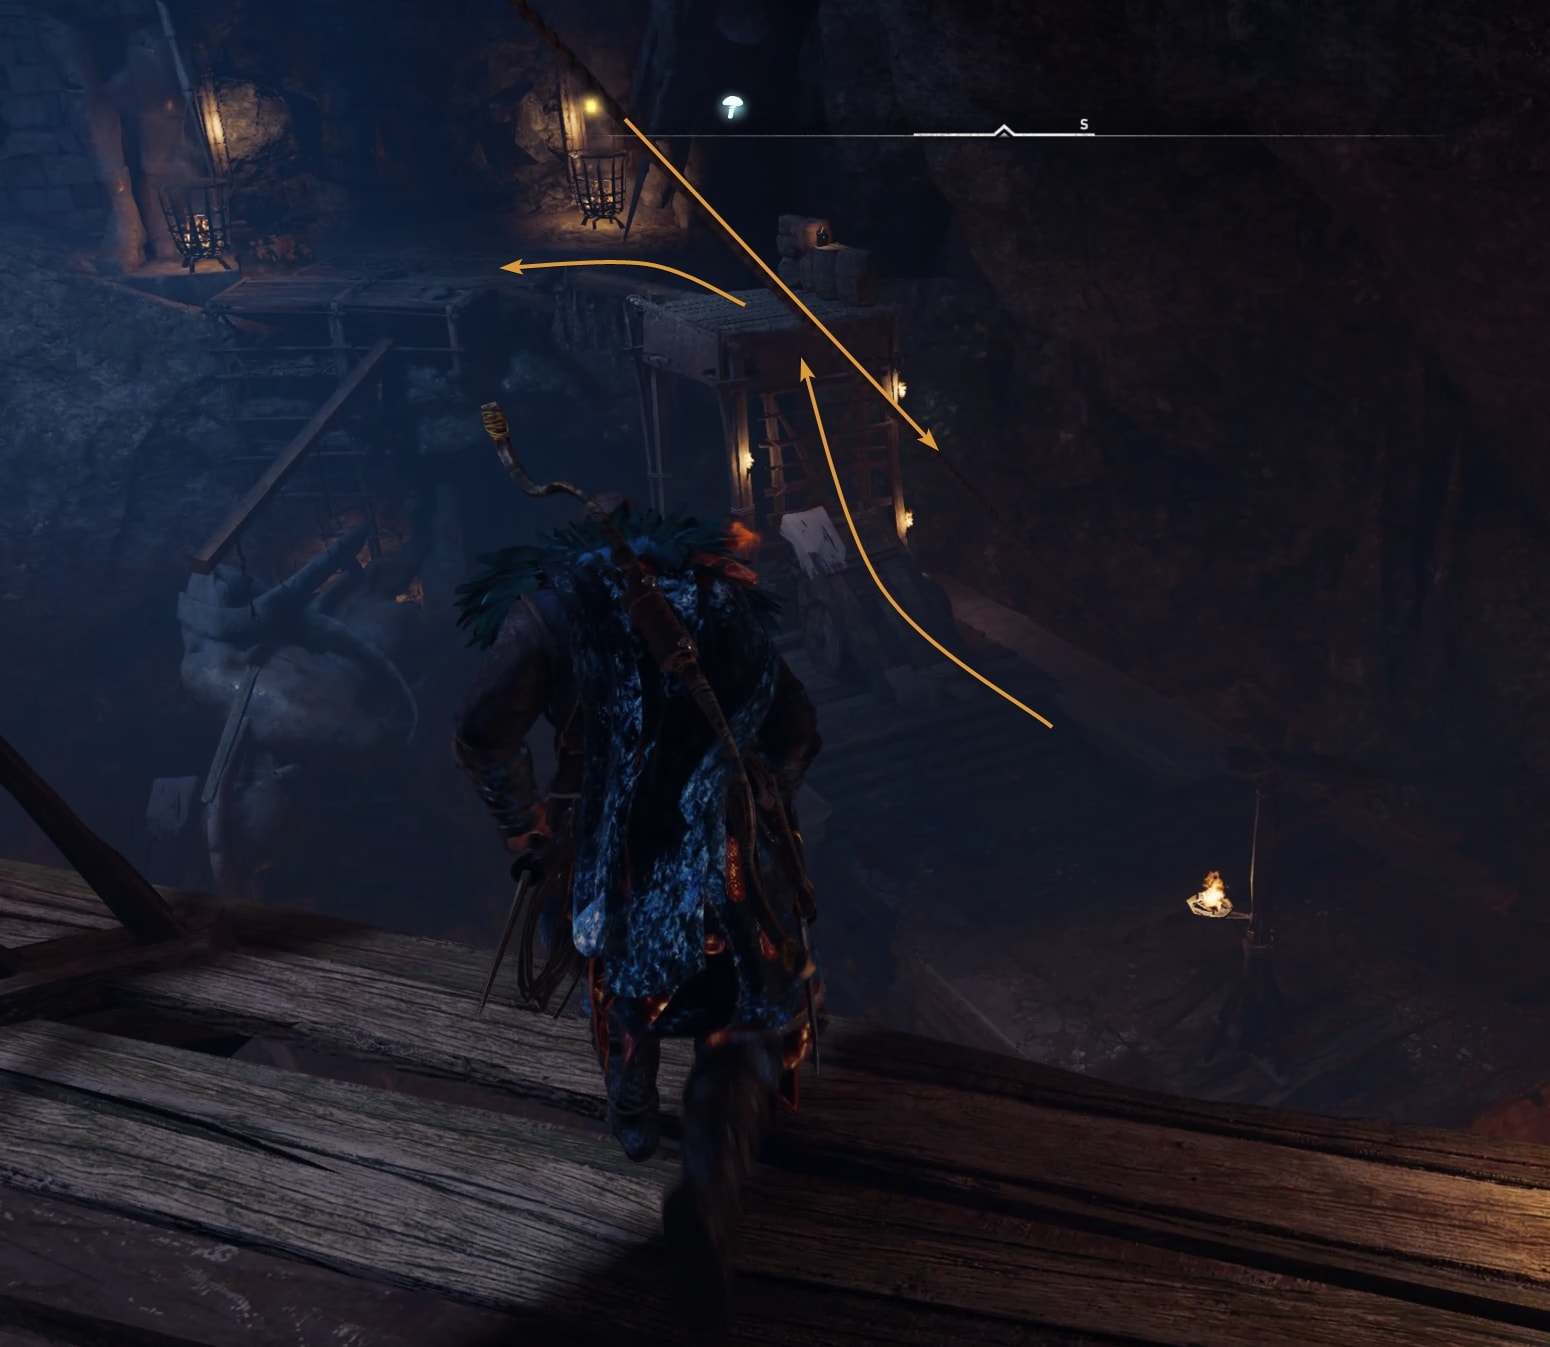
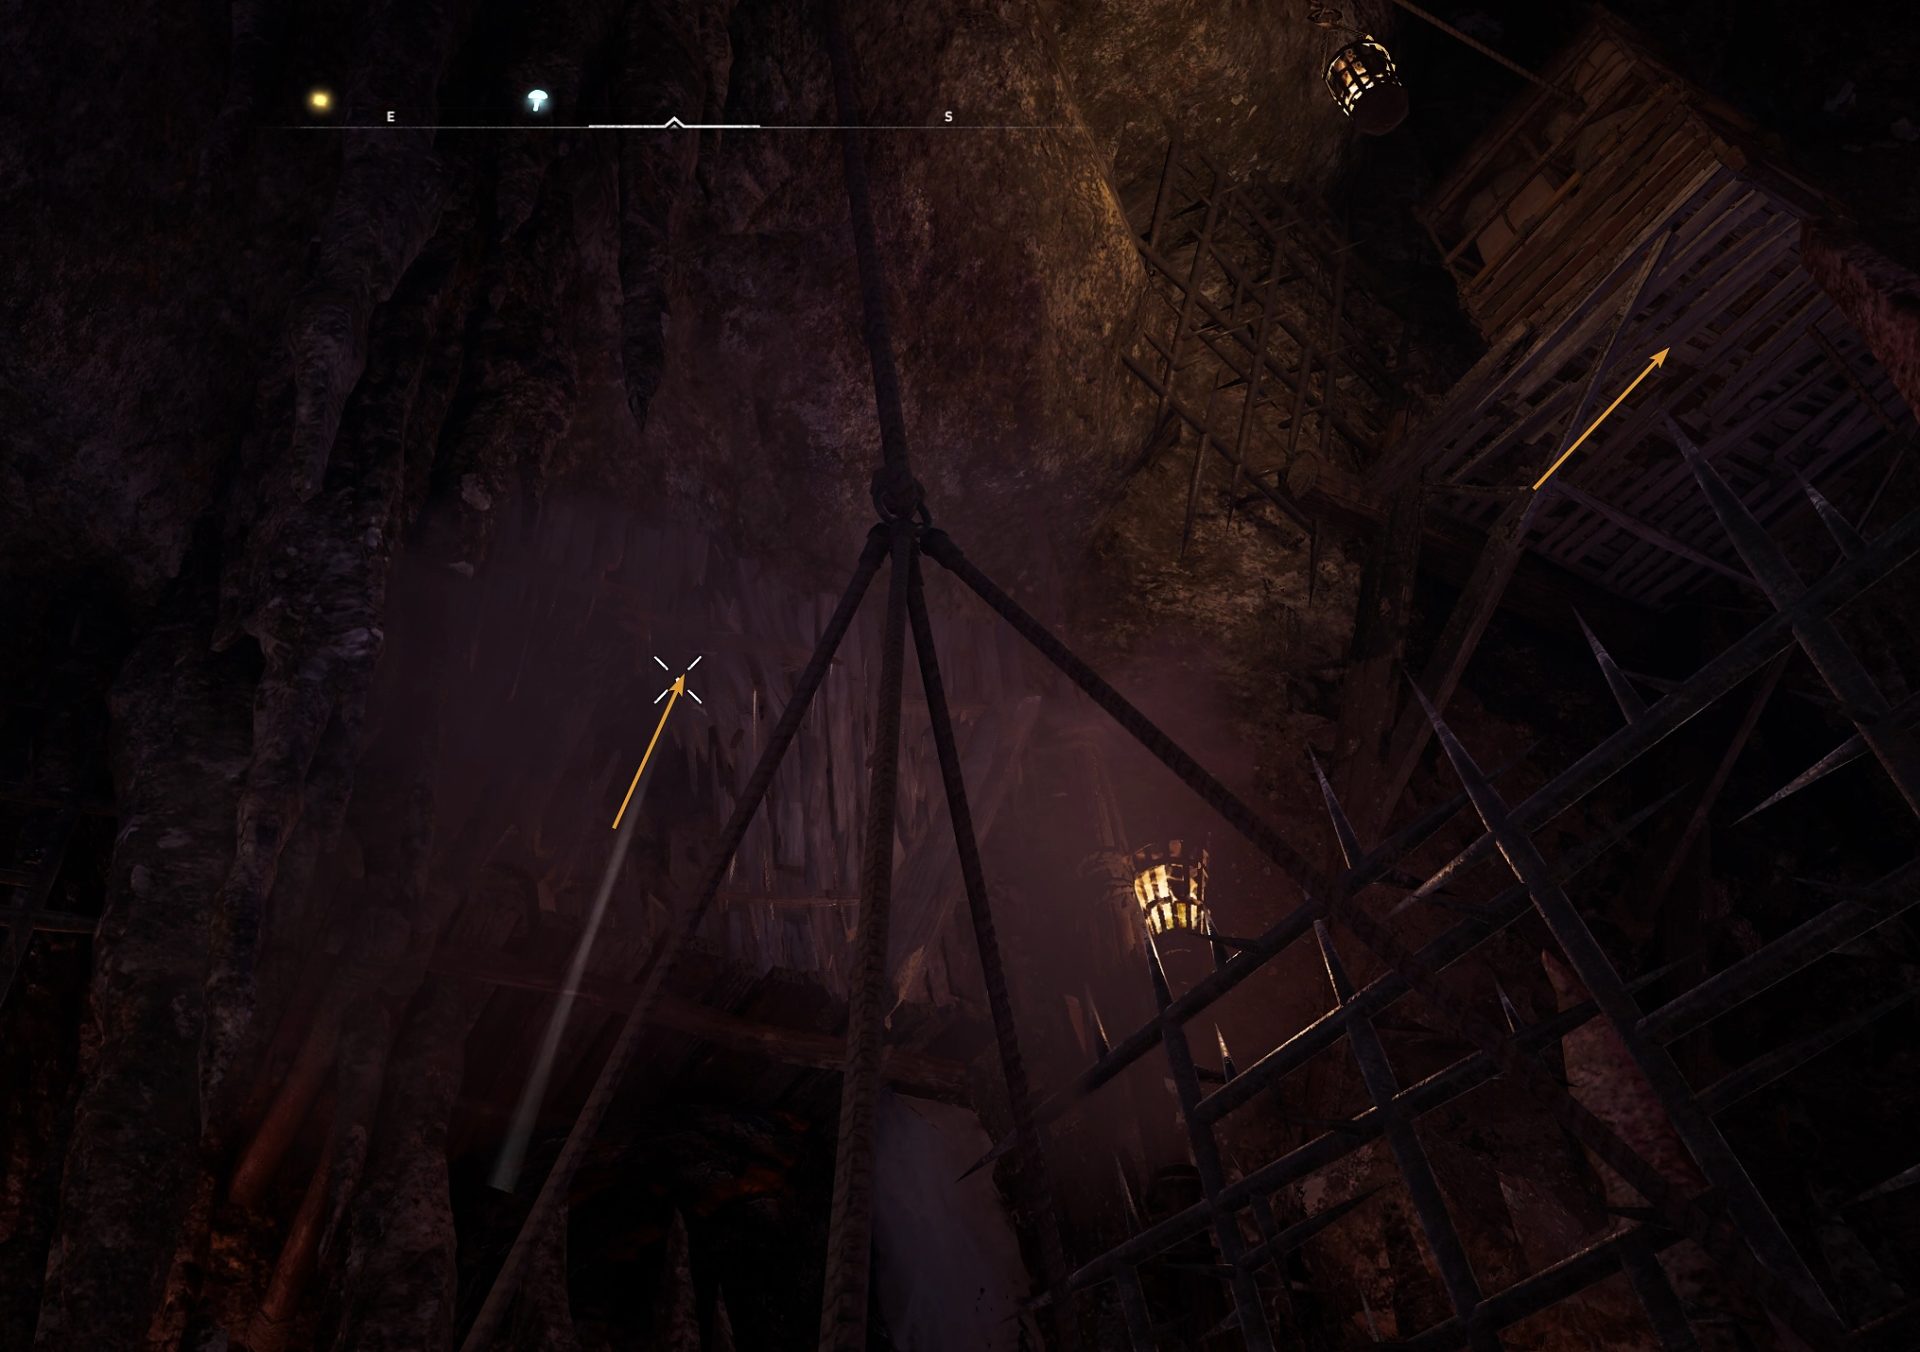
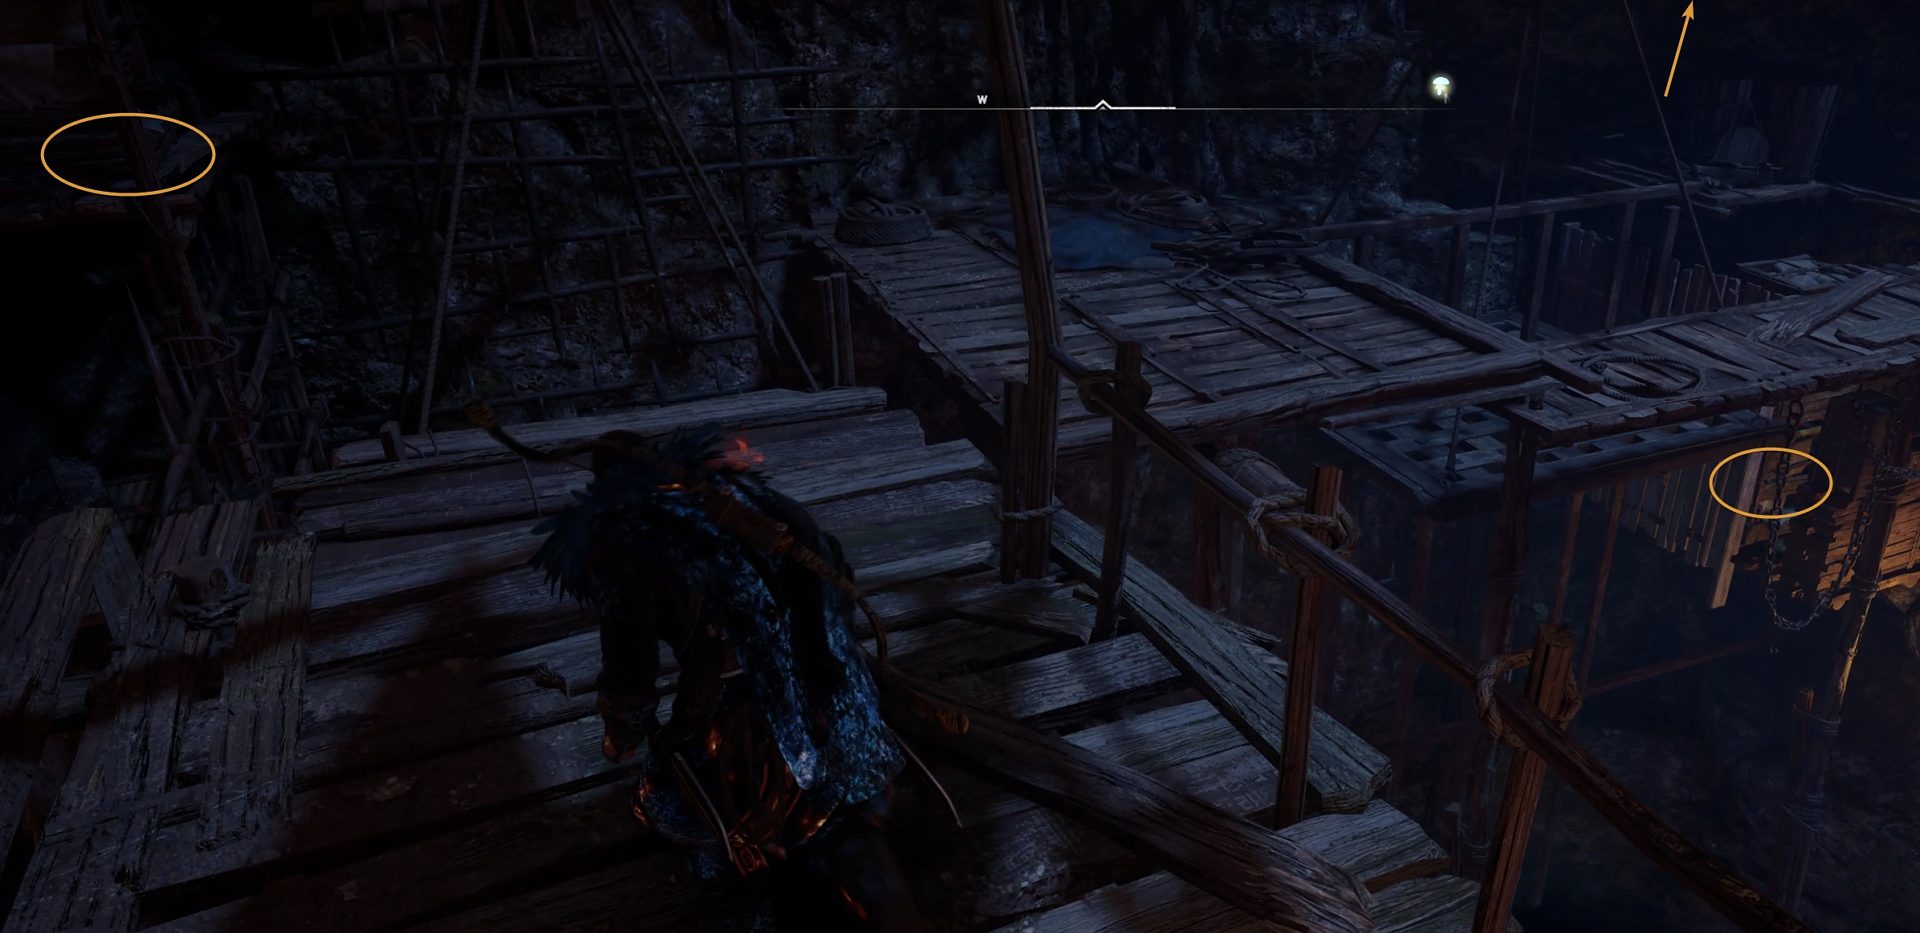
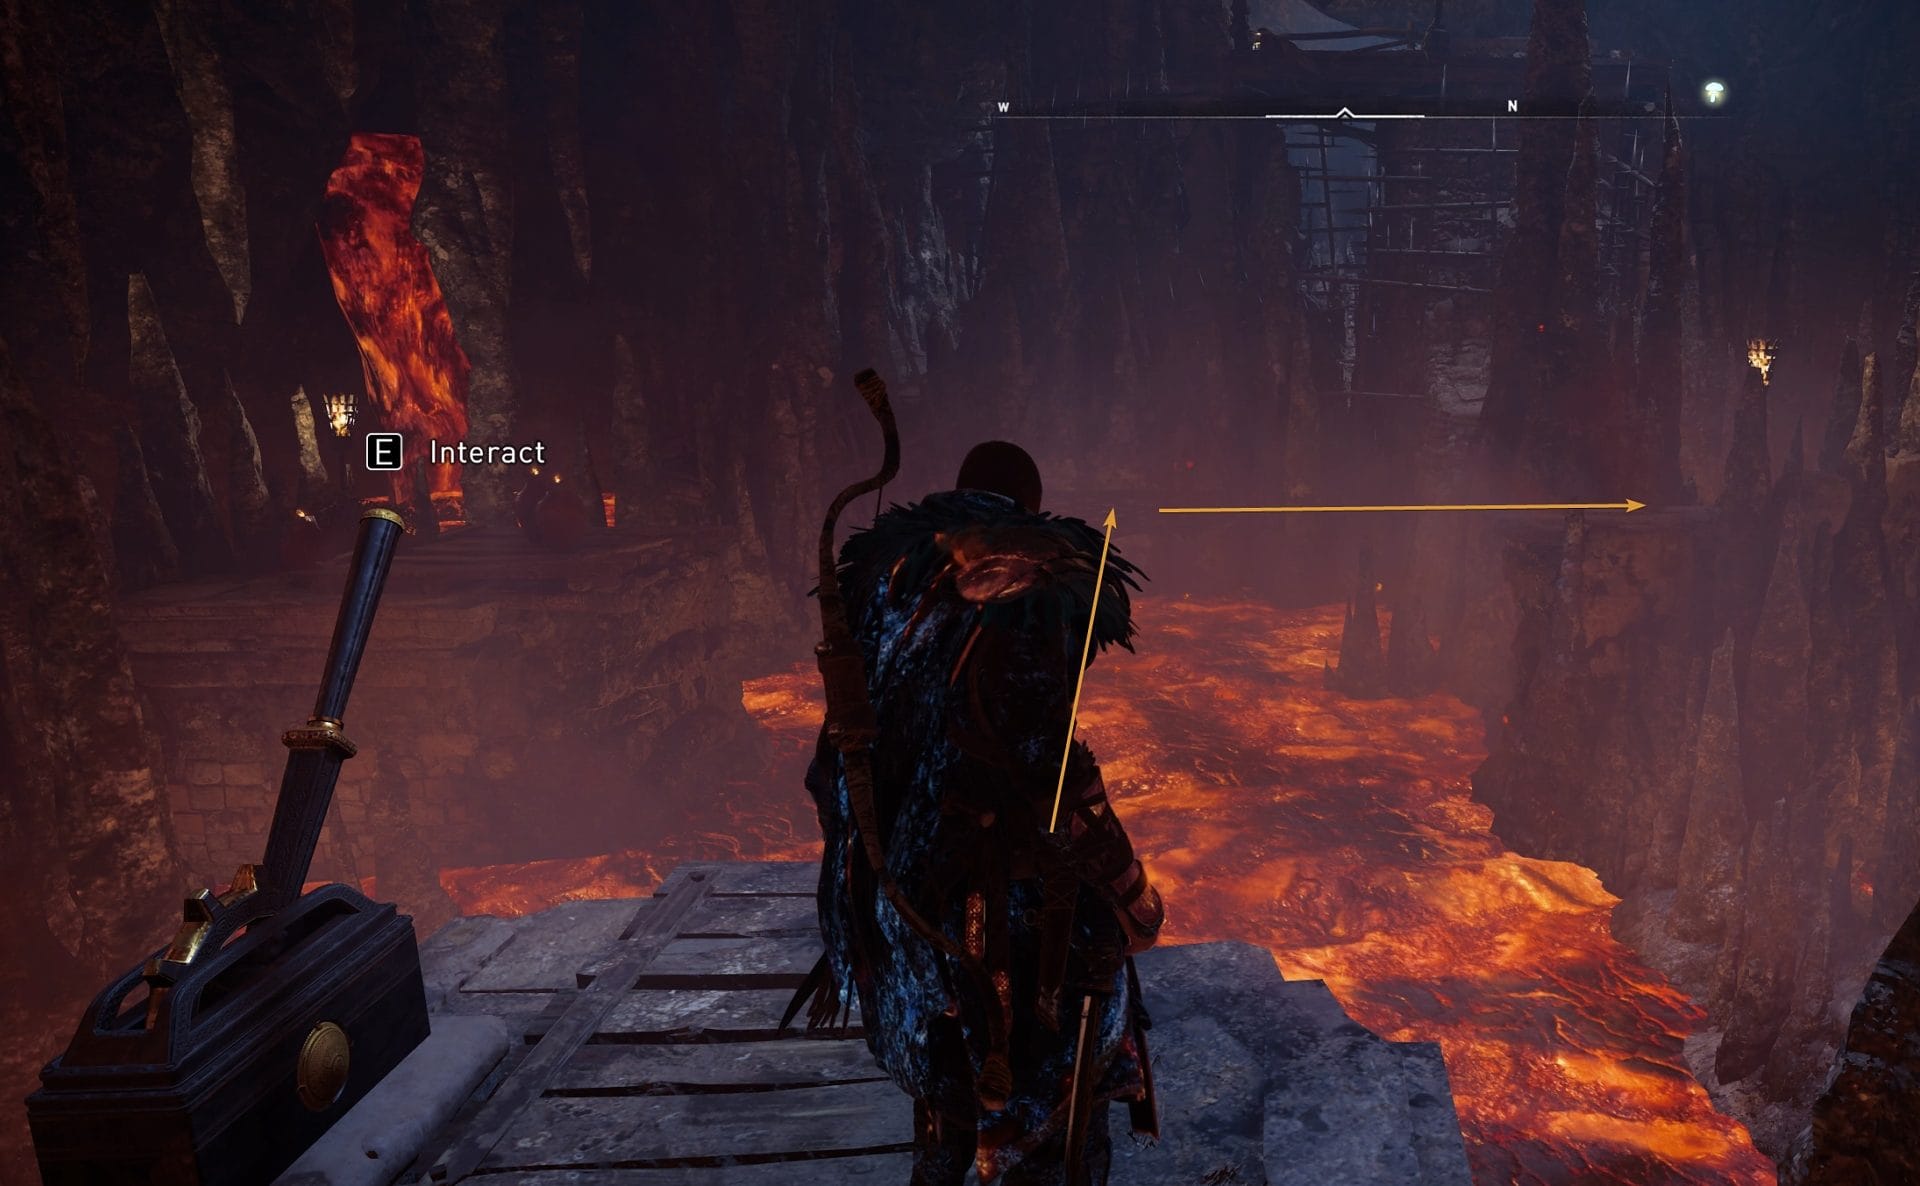
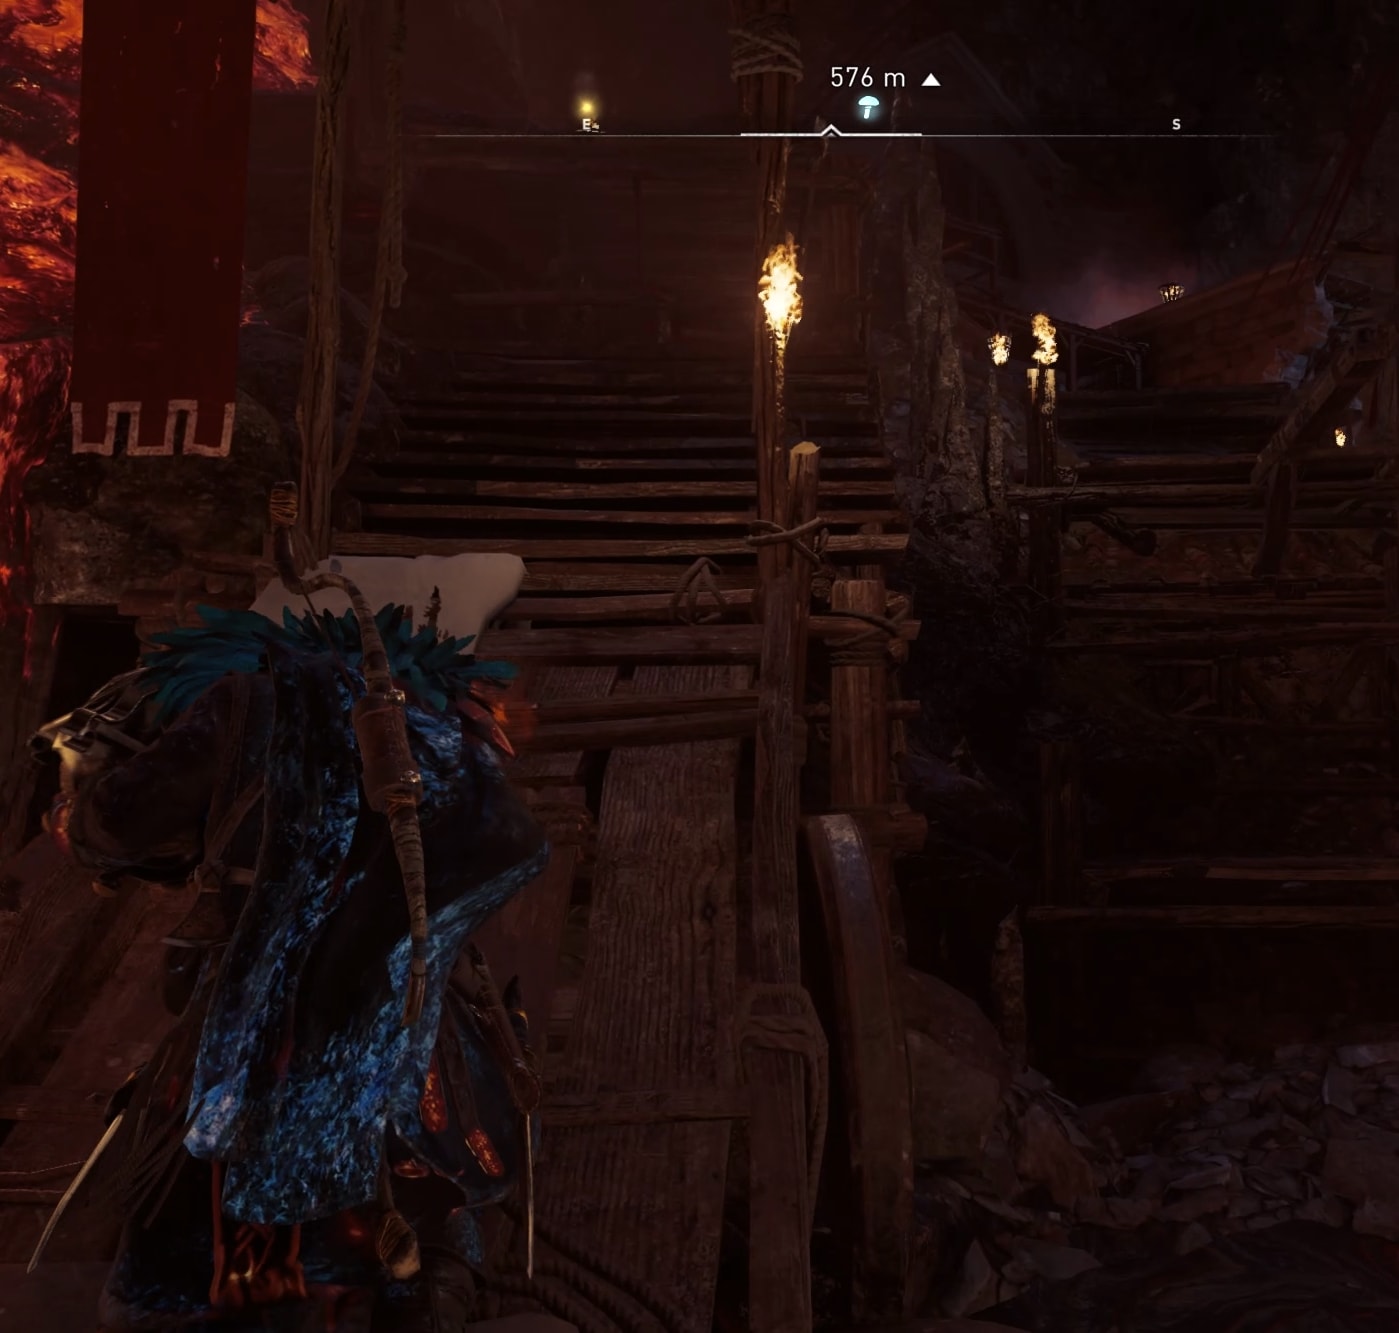
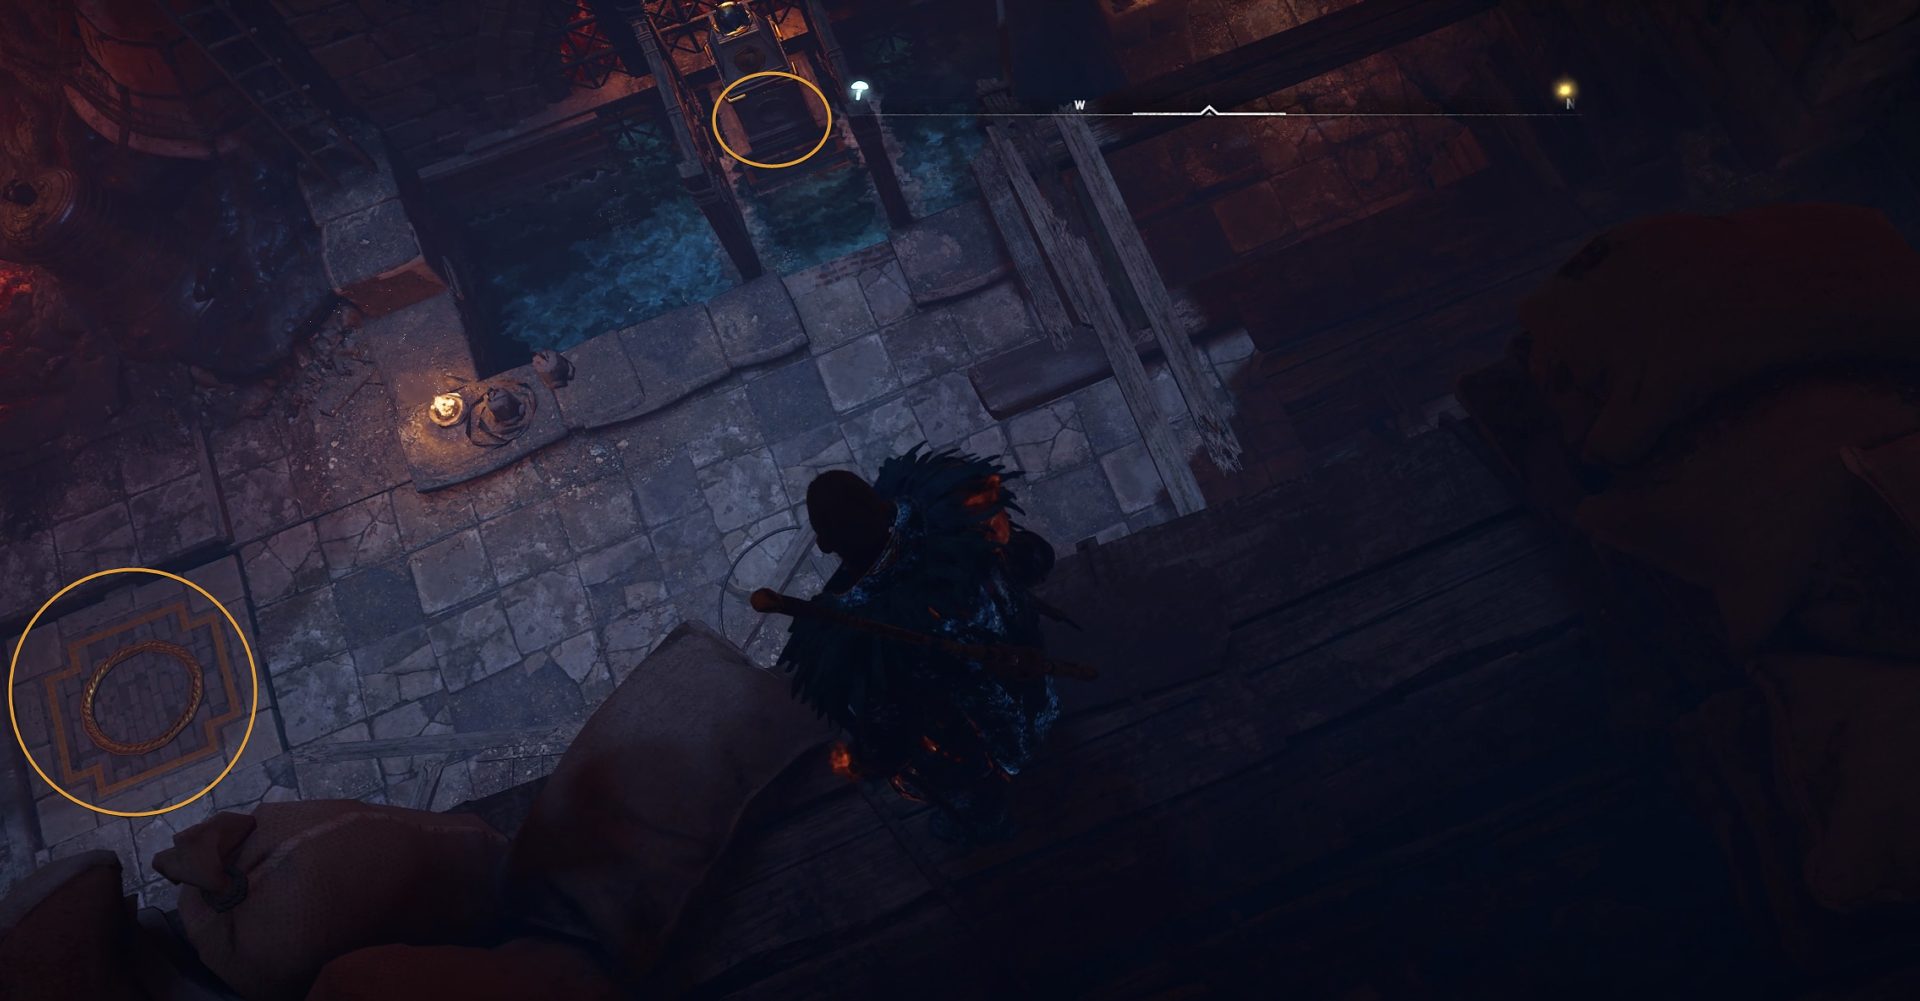
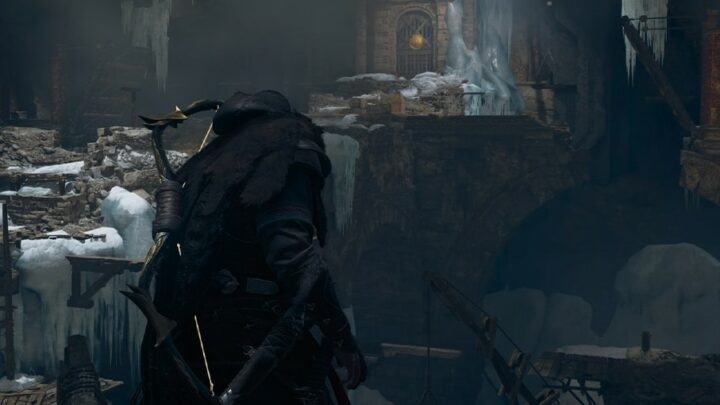
From there follow the path to the big cave where you came from. Take this starecase (image below) and go around the structure from the right side.
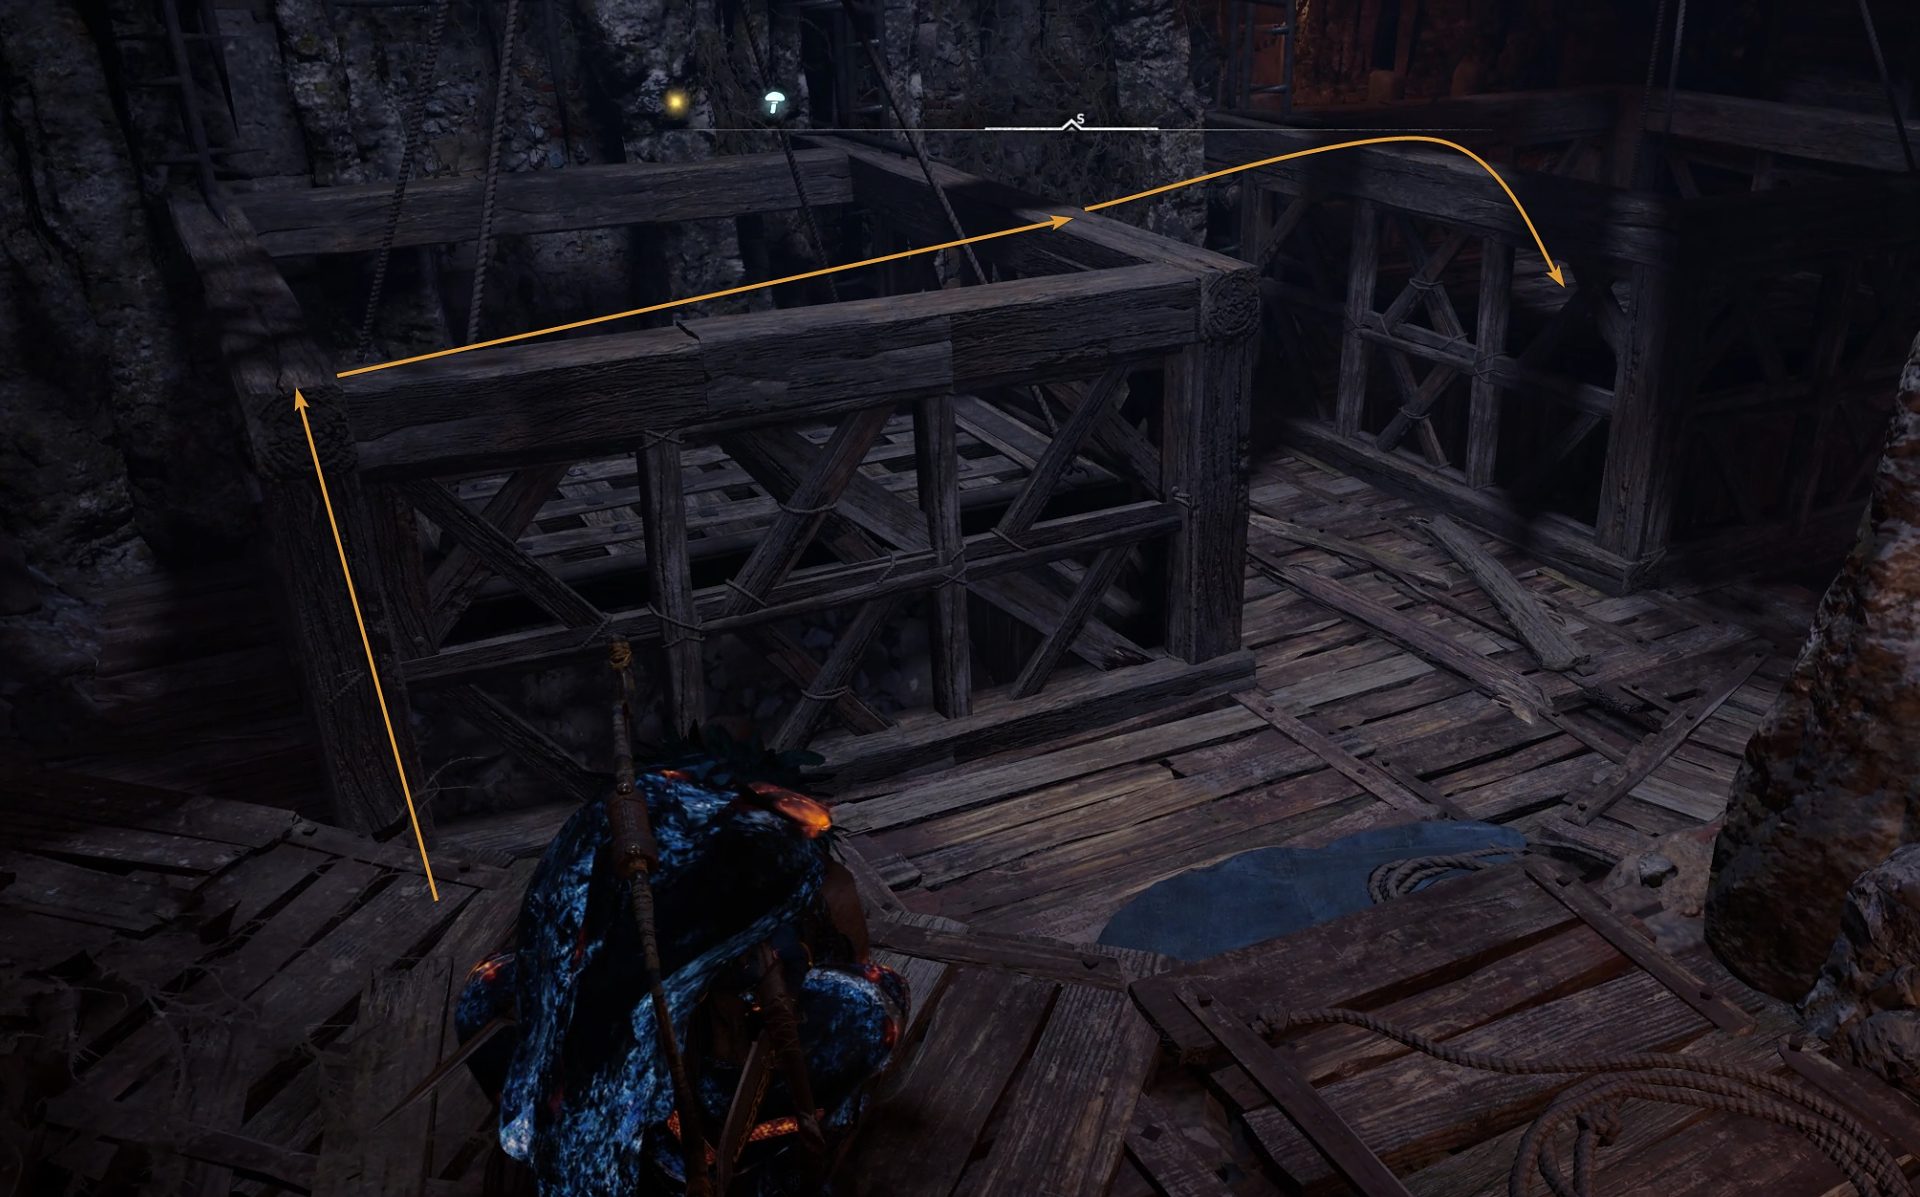
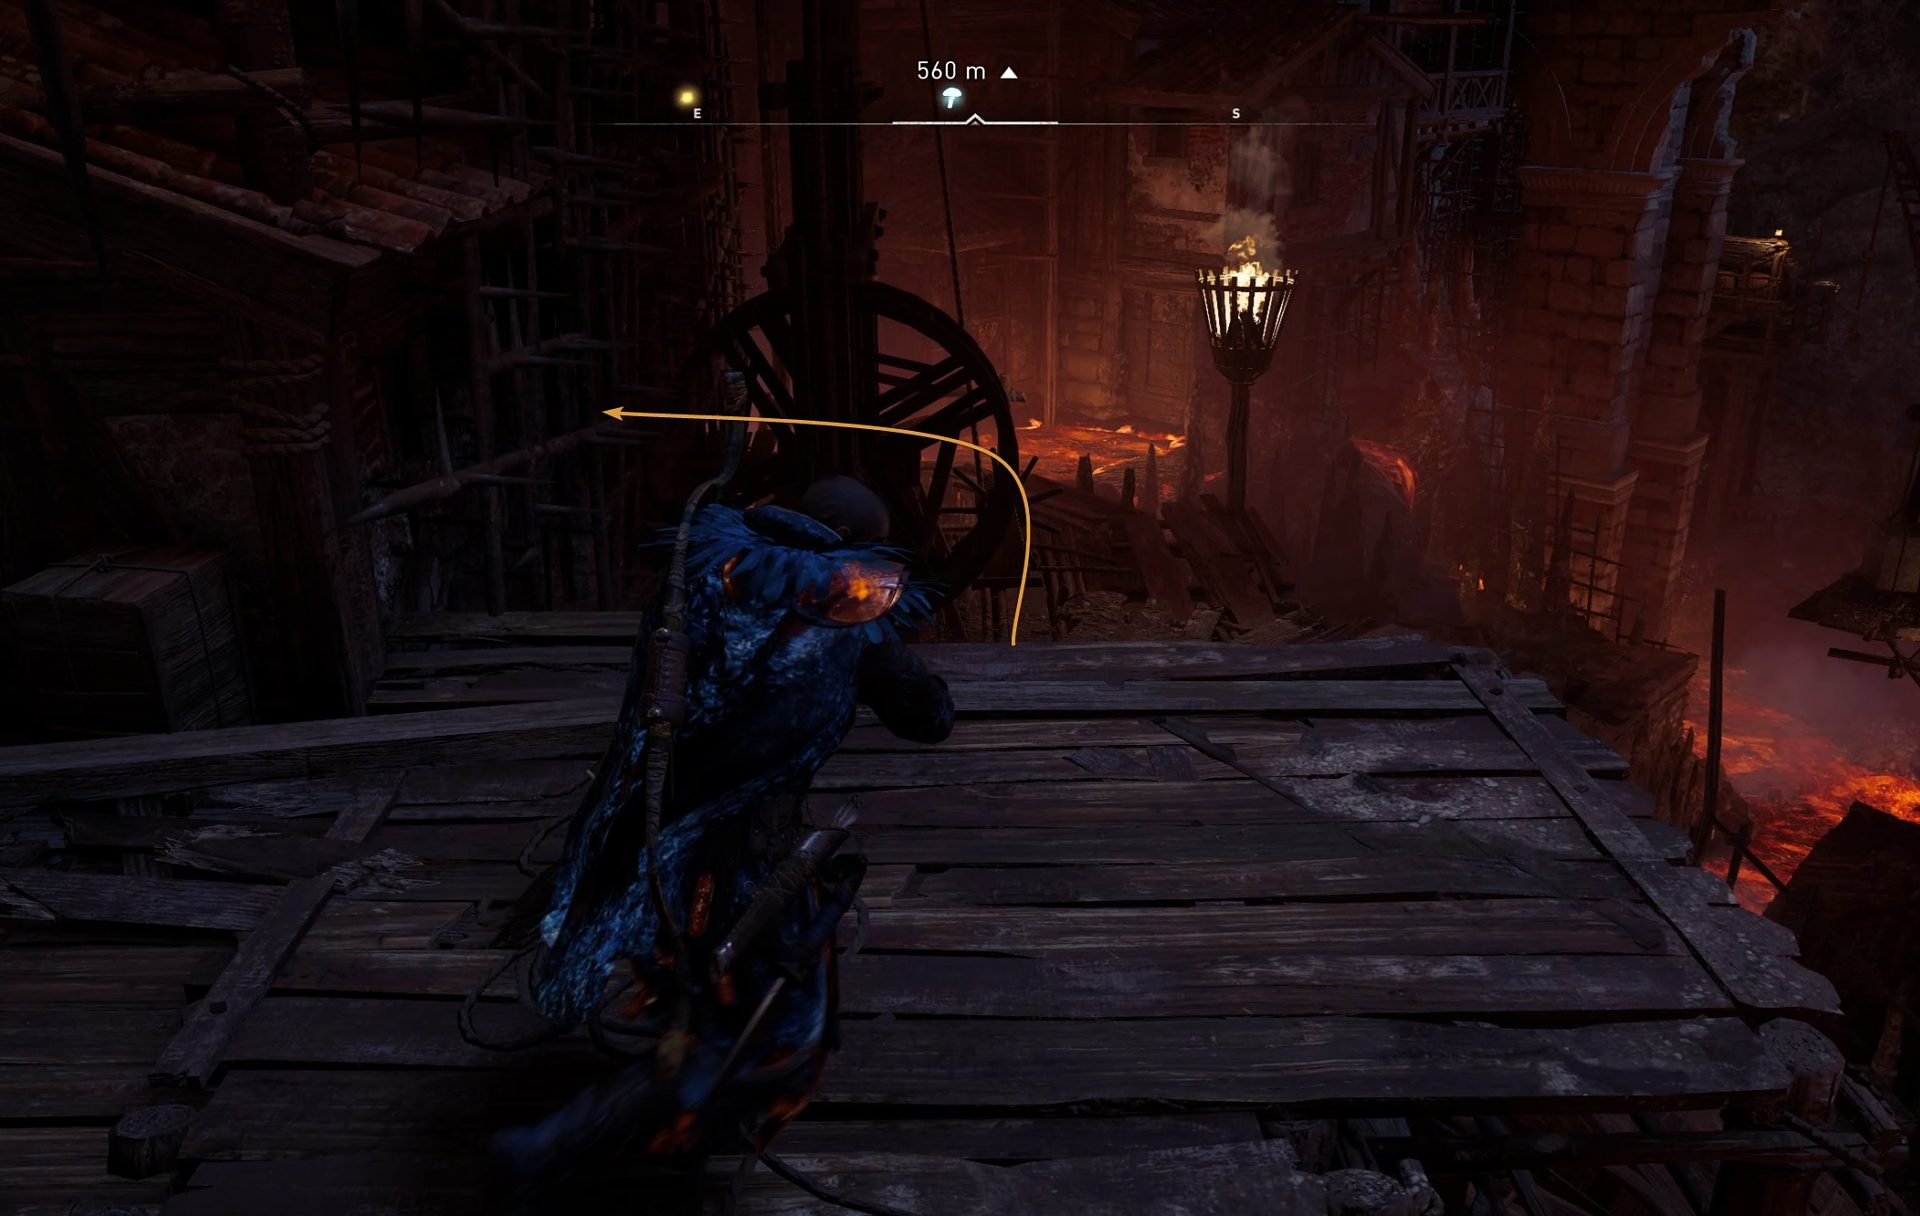
Turn left past the elevator as shown on the image below. On the other side you will see a ramp that you can use to get up to the higher level.
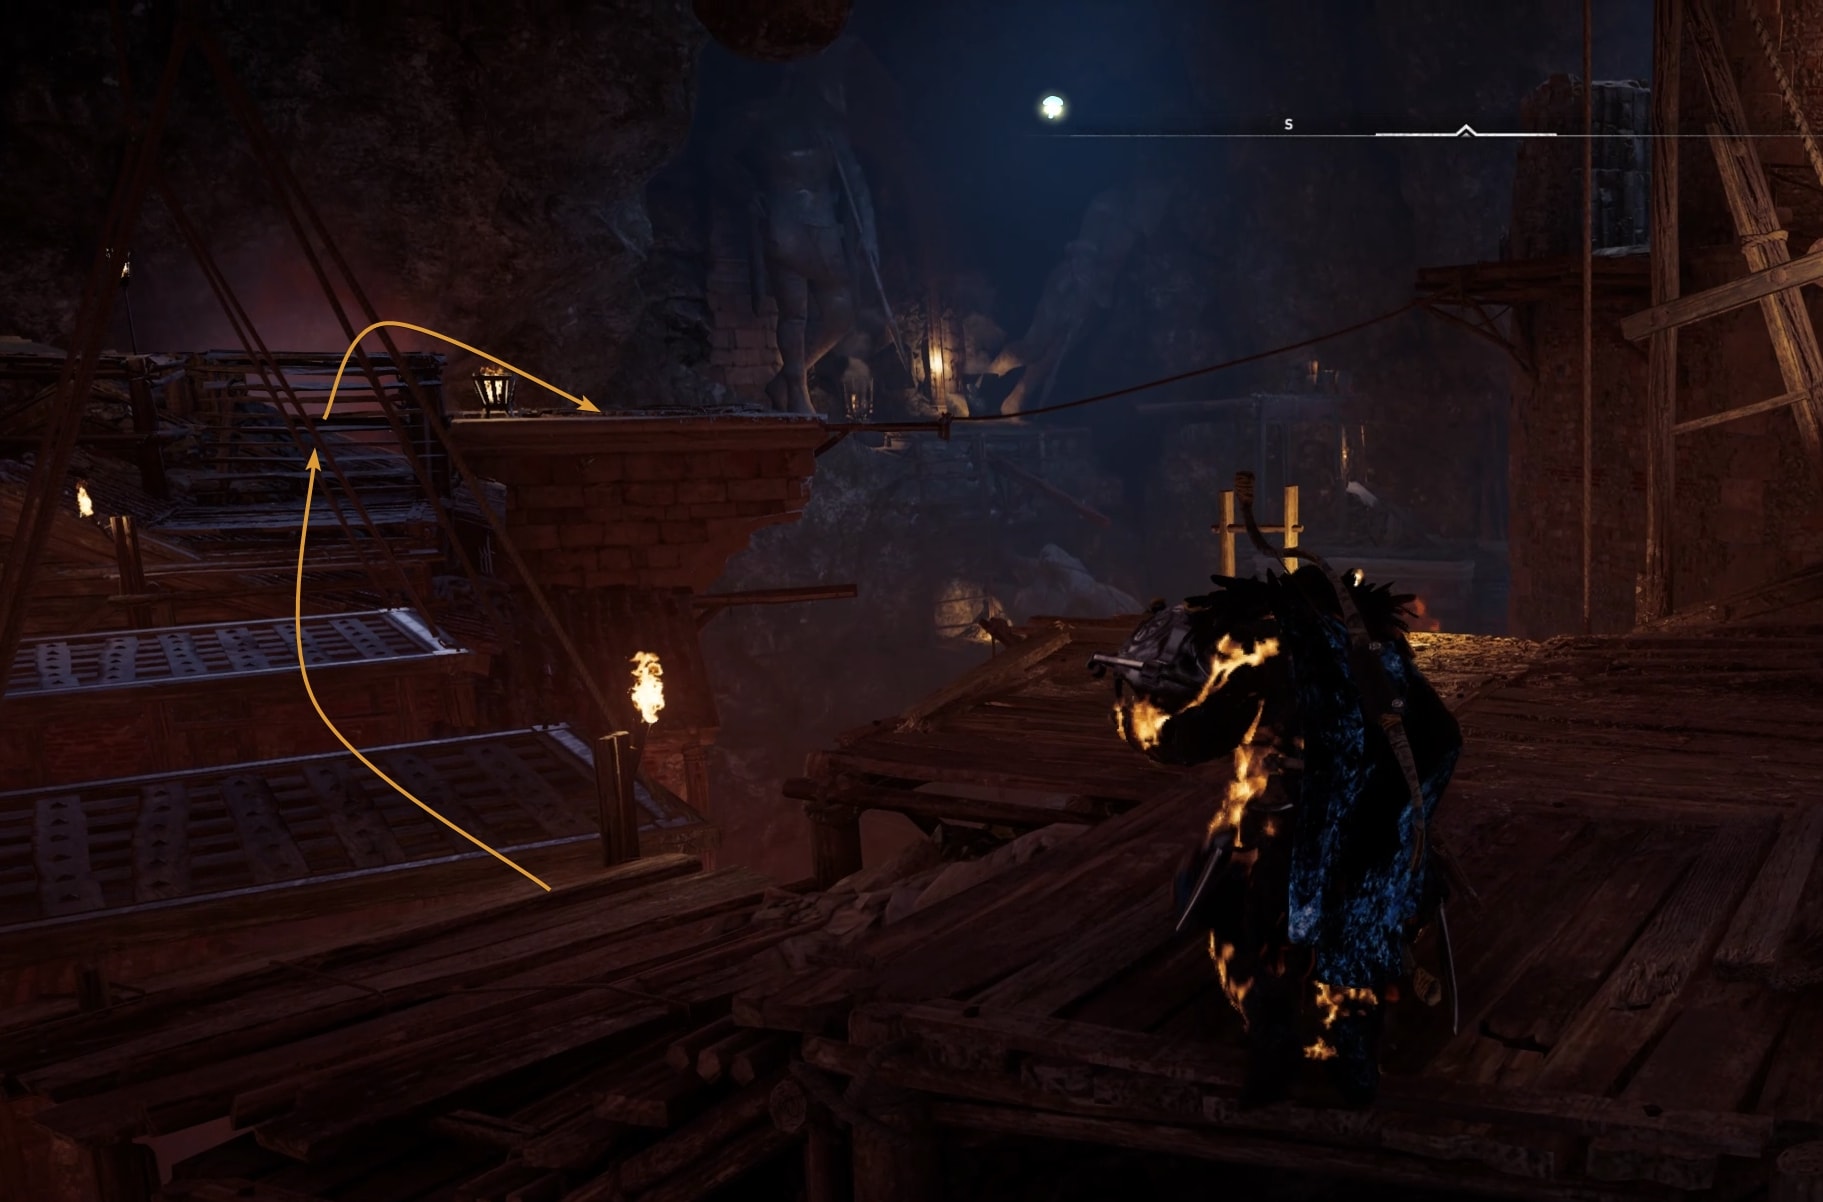
From there jump through the two platforms. Place the sphere into the trigger-tile.
Bring the second obelisk
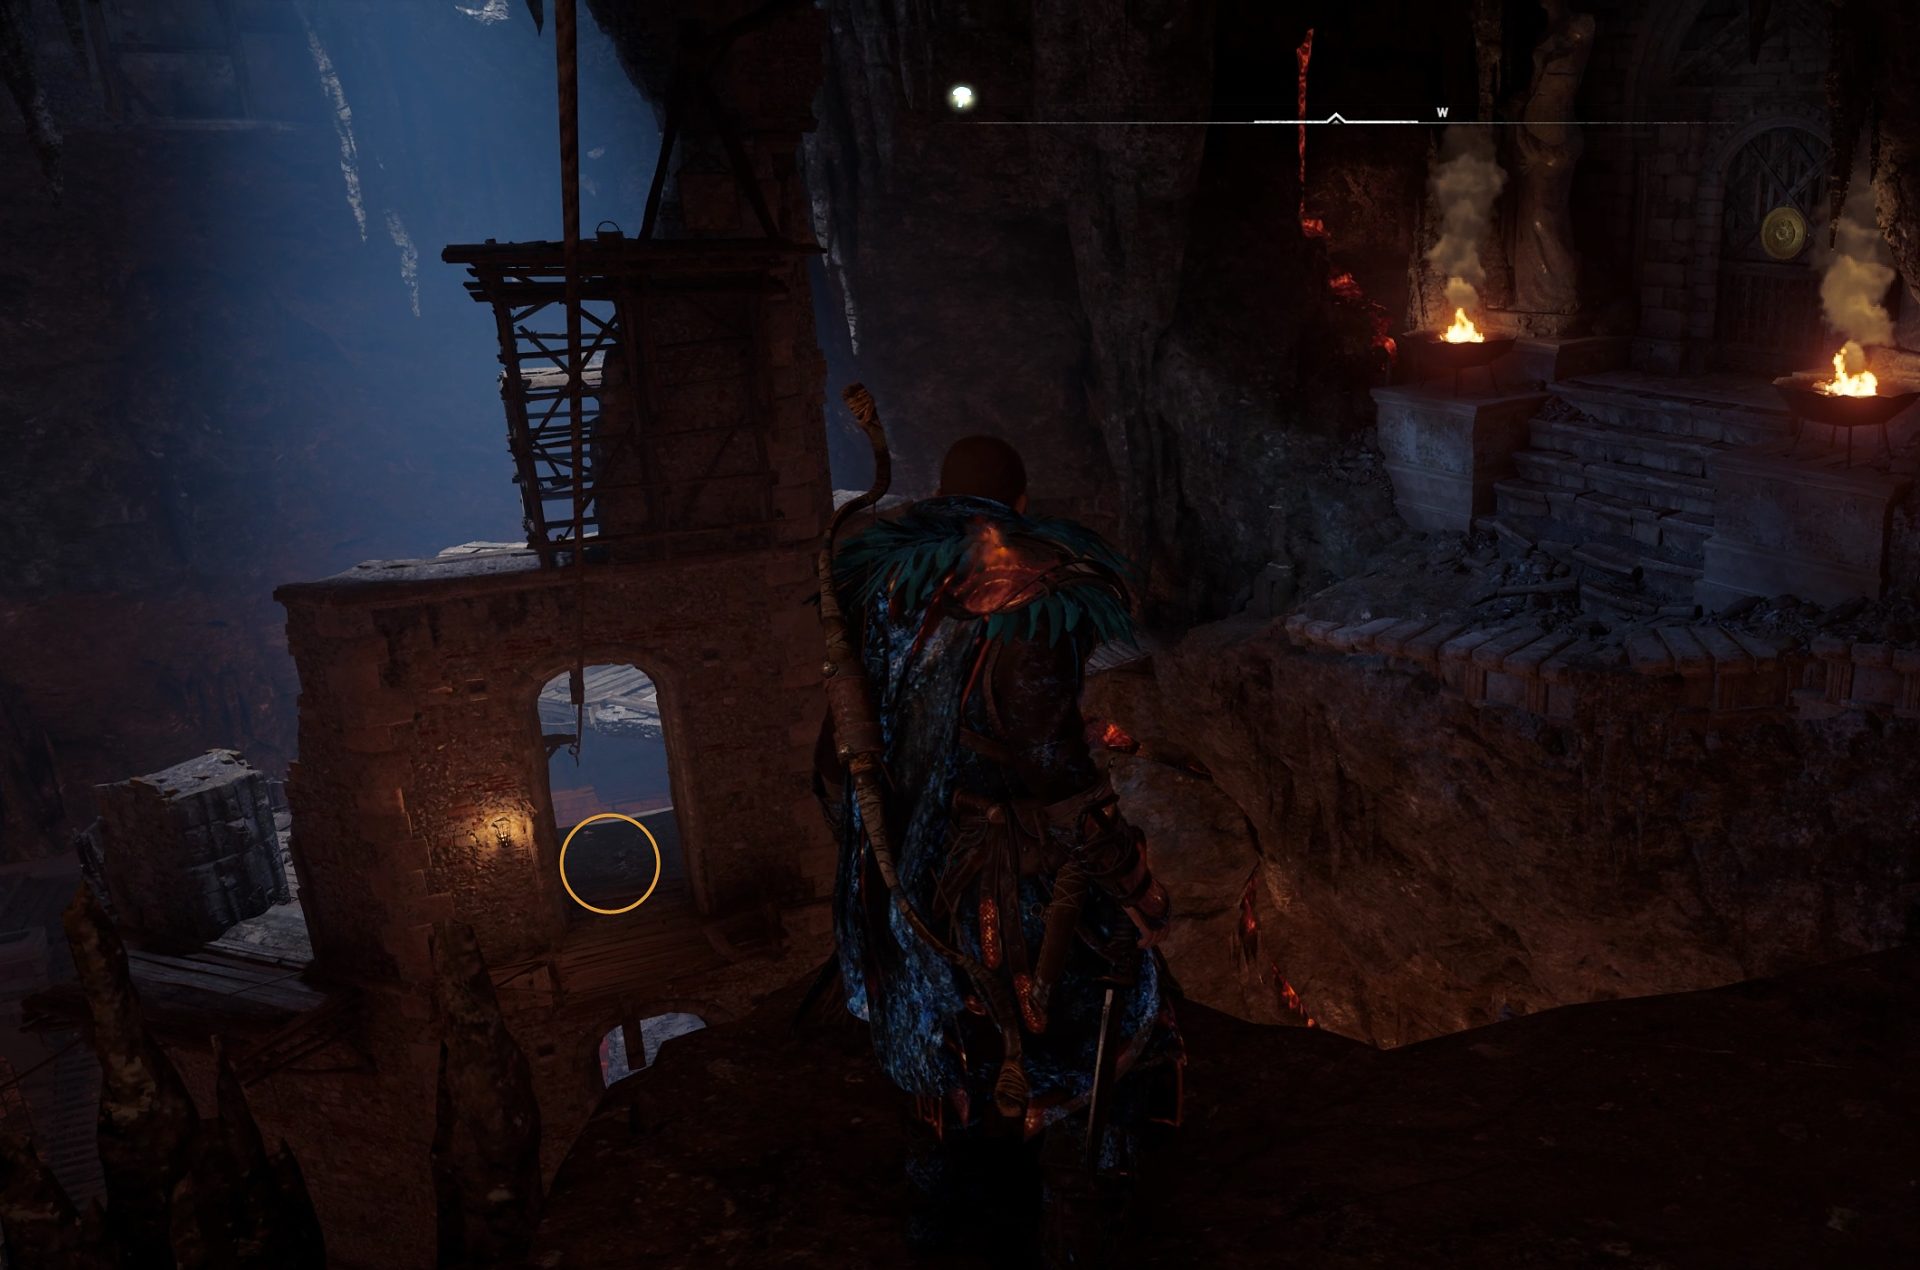
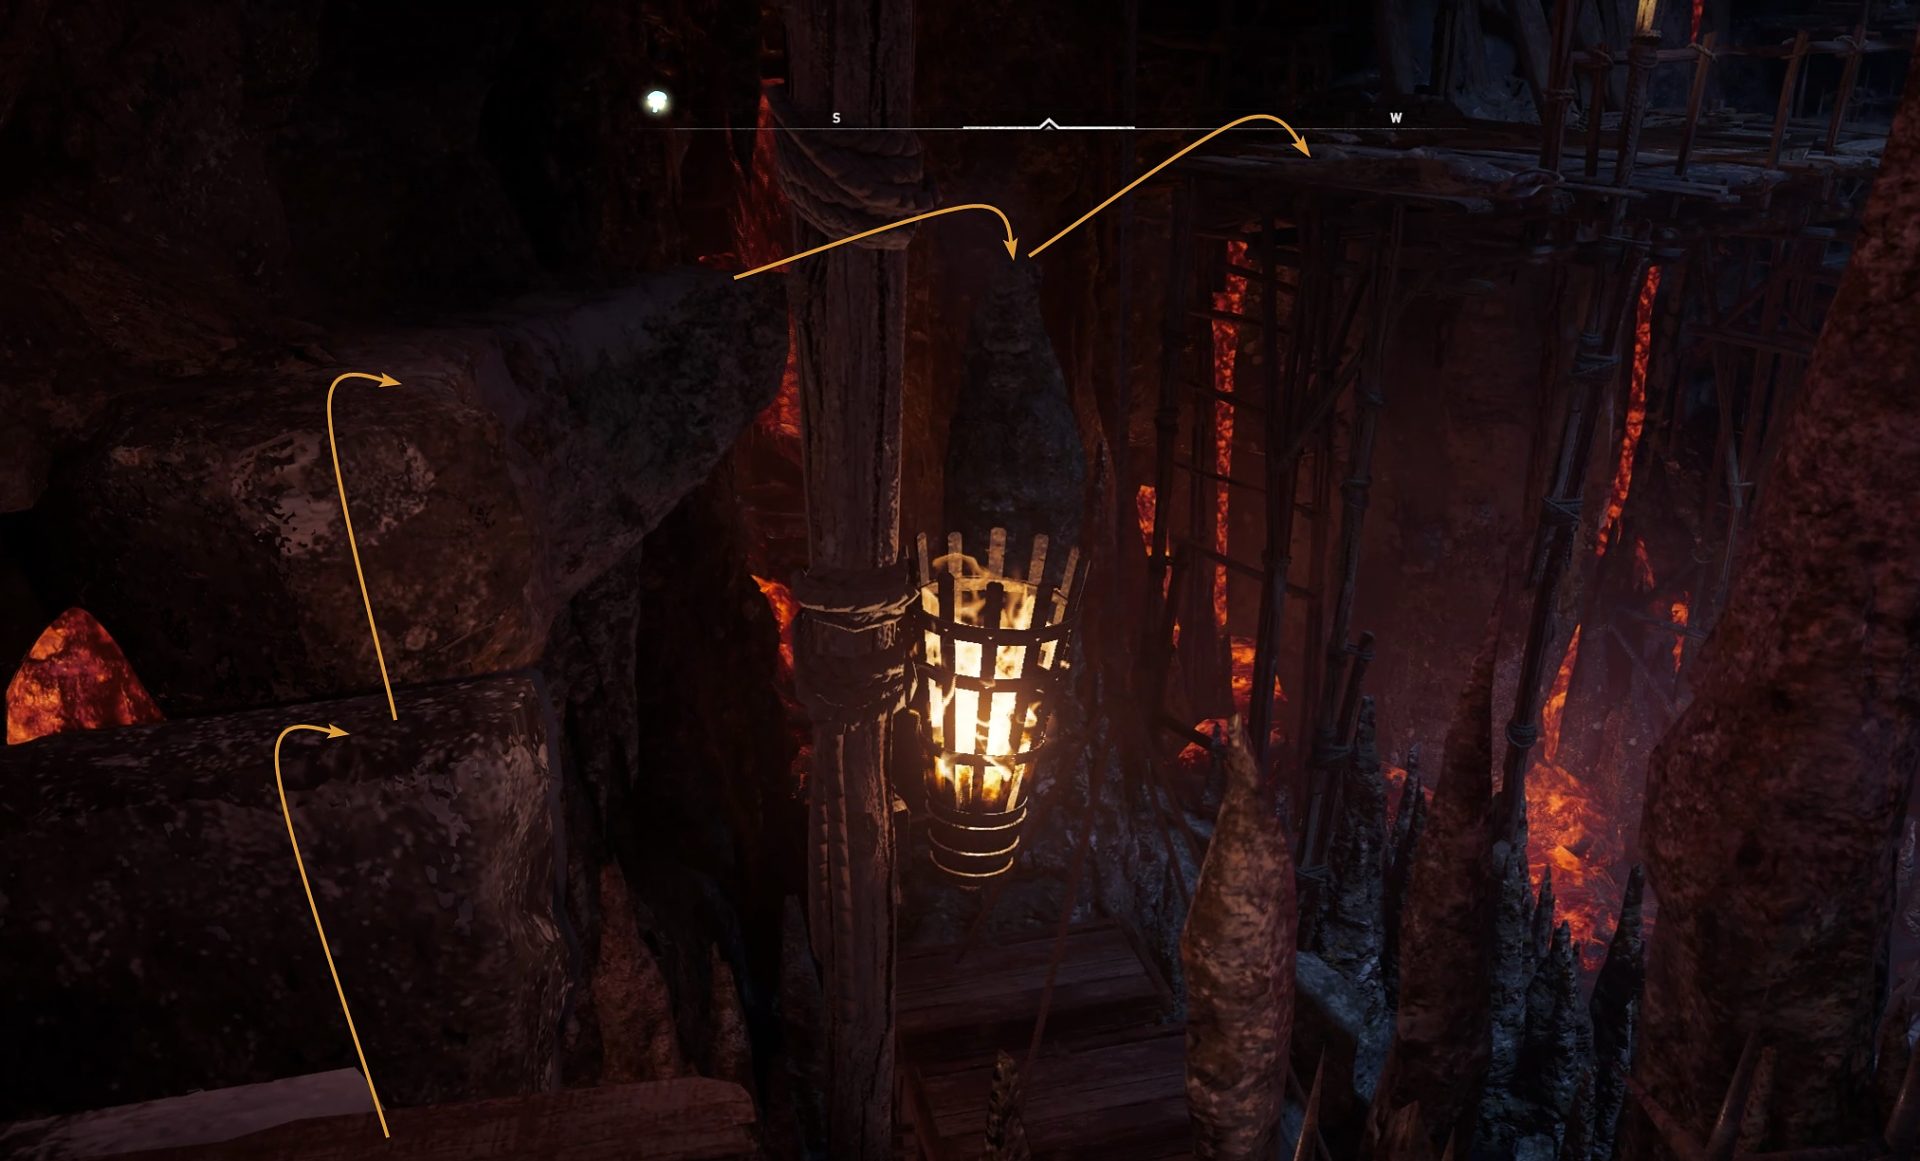
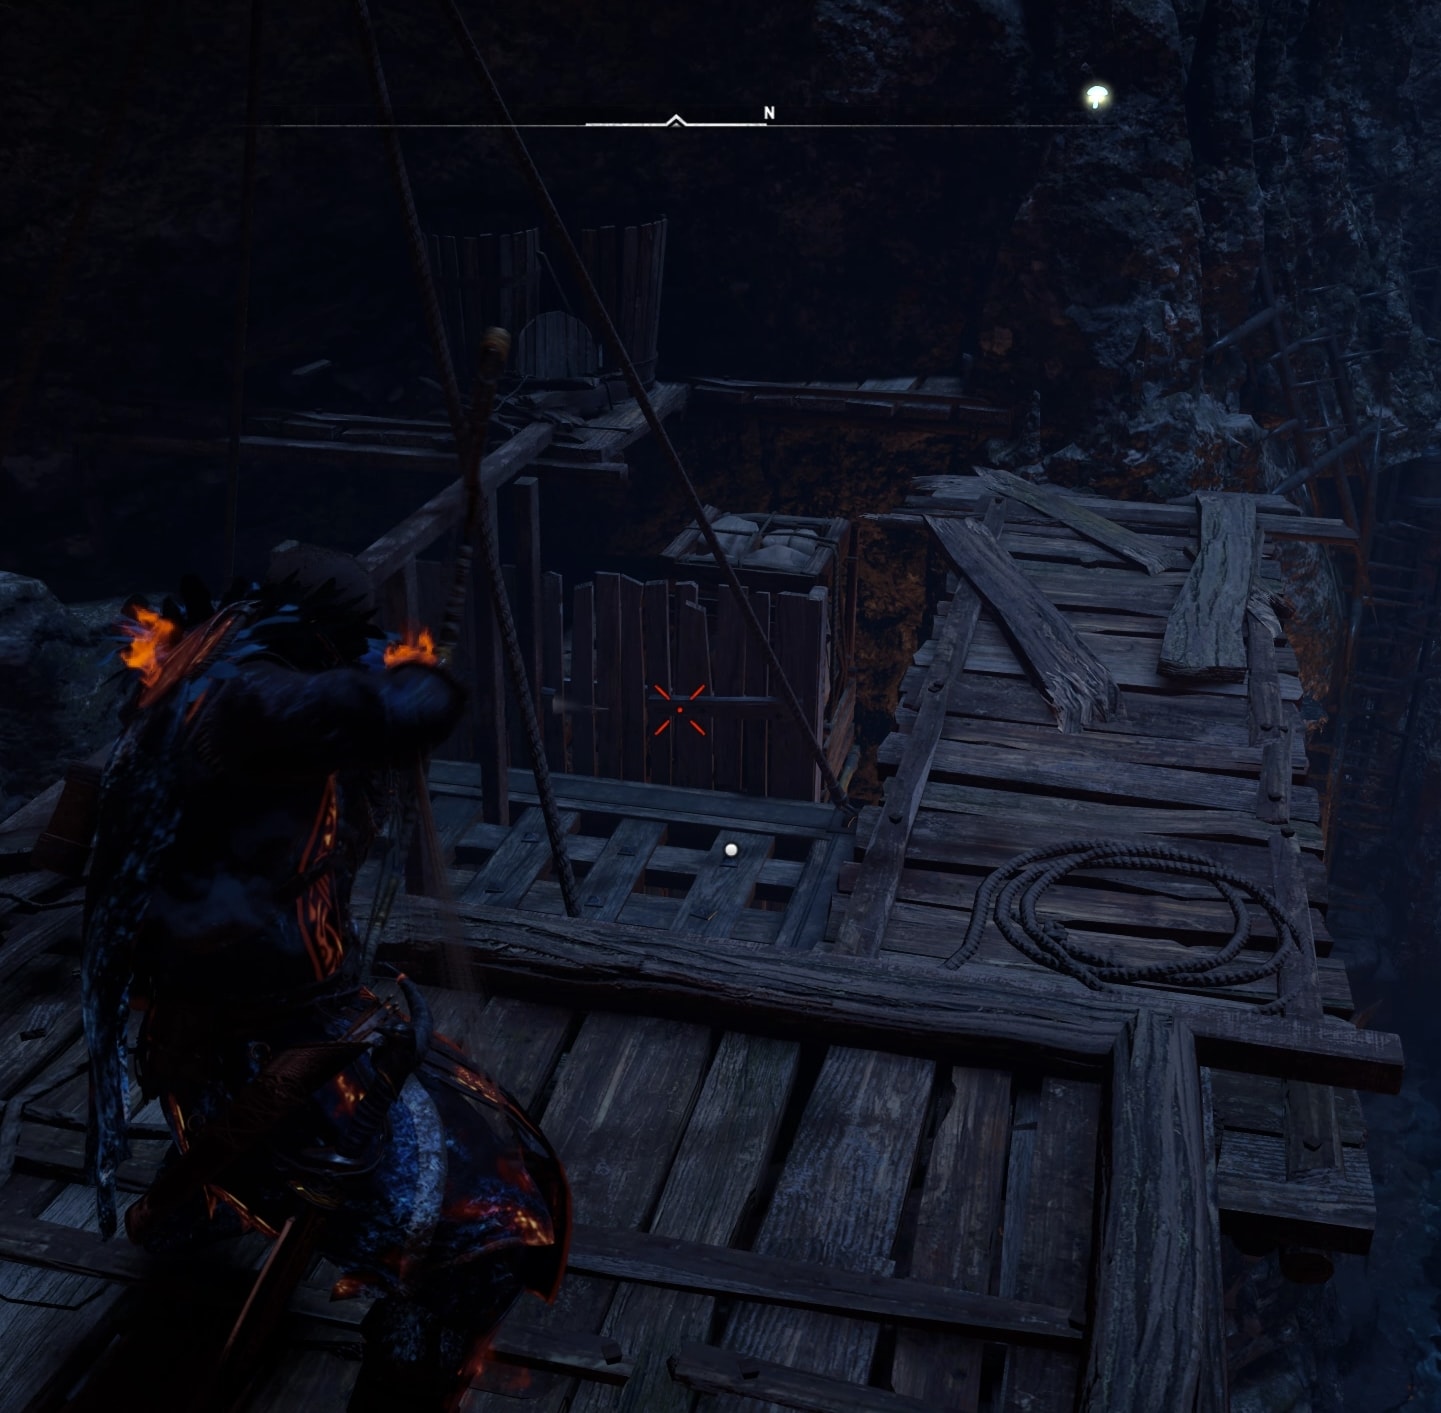
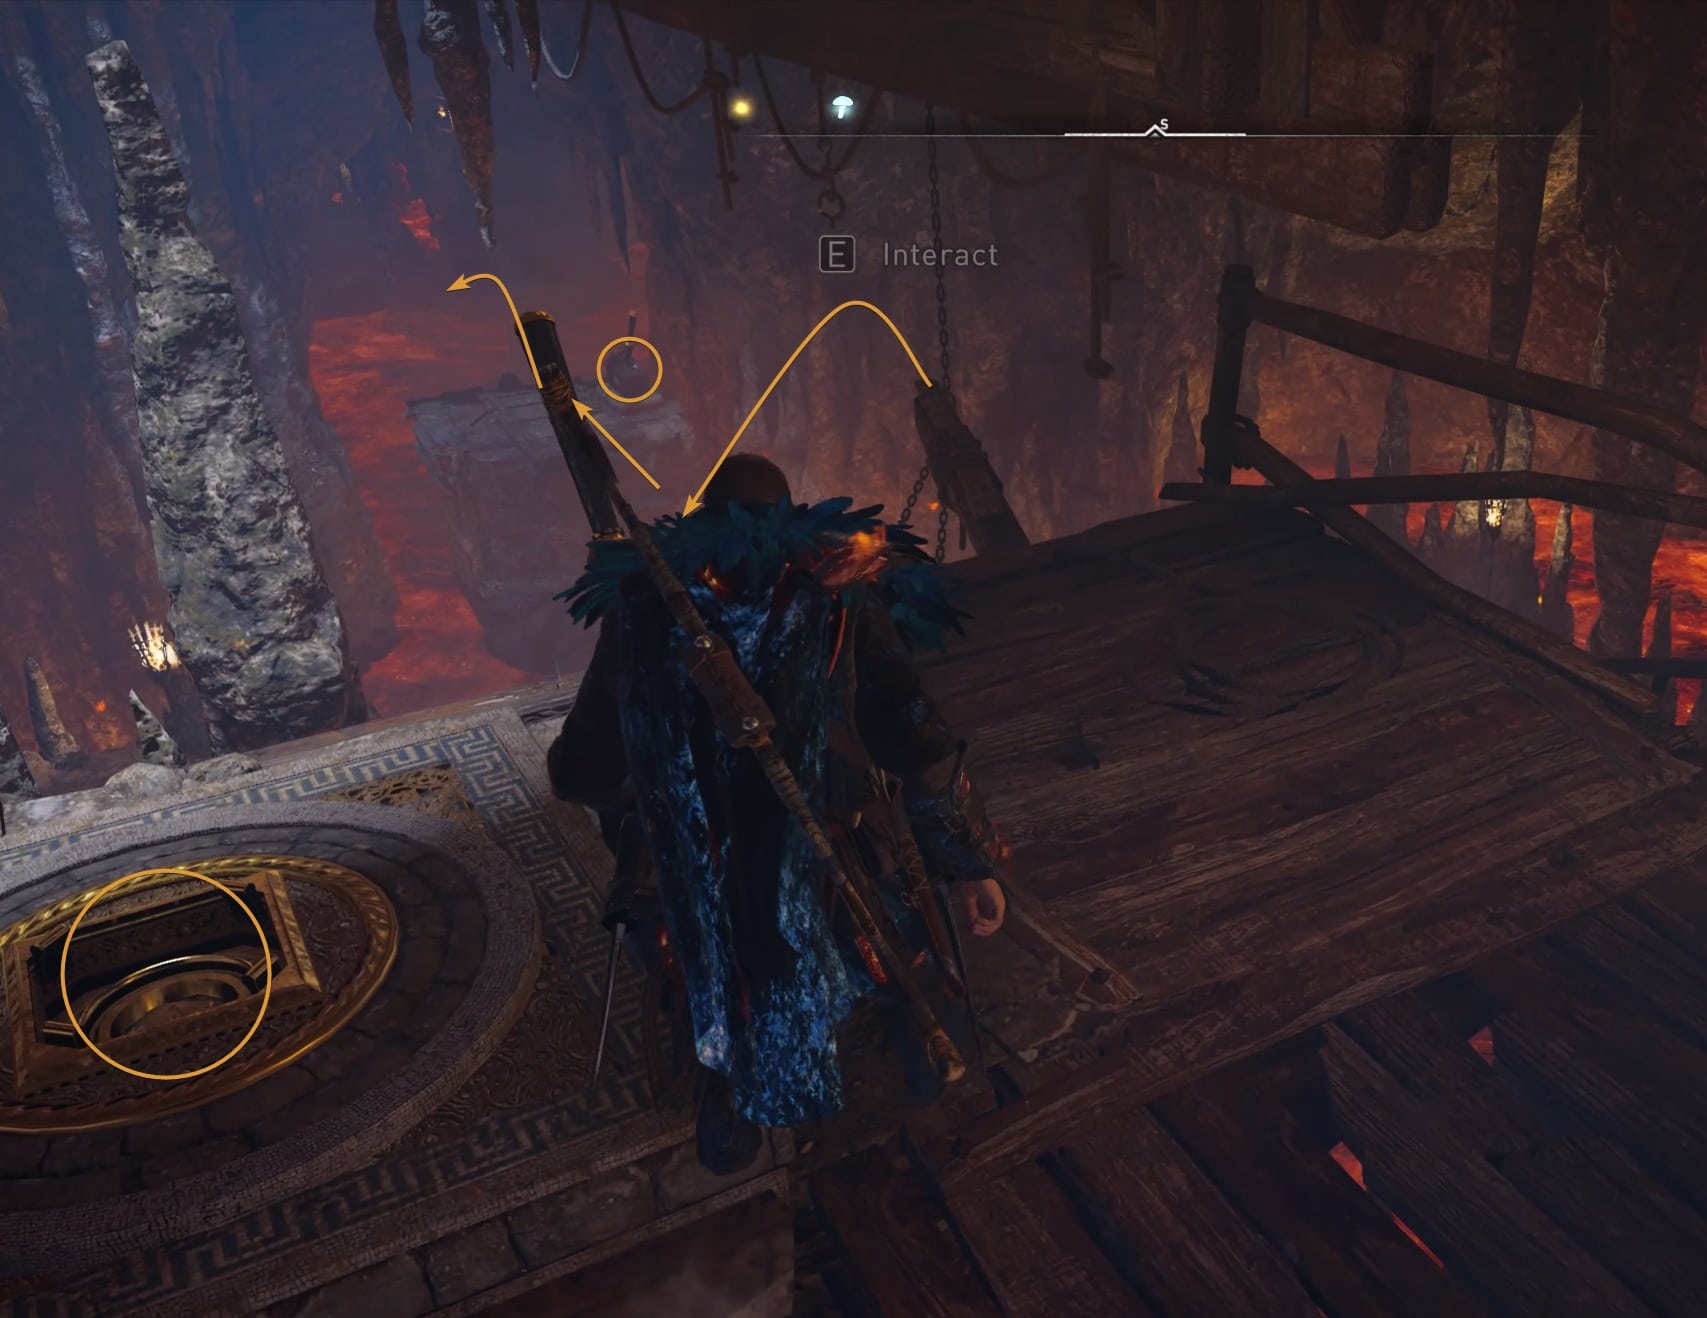
Time to take the next path. Again, starting from the big tower in the middle of the giant cave. From the wooden bridge leading to the main door to the tomb, look southwest and jump down.
Go through the door. On its right you will notice the next trigger-tile you need to populate with a movable obelisk object.
In the next room, blow up the stone wall. You can use an incendiary arrow or break the wooden platform above the stone wall to drop and explode the vases.
In the next room, you have to find a way to move the obelisk to the platform on the left.
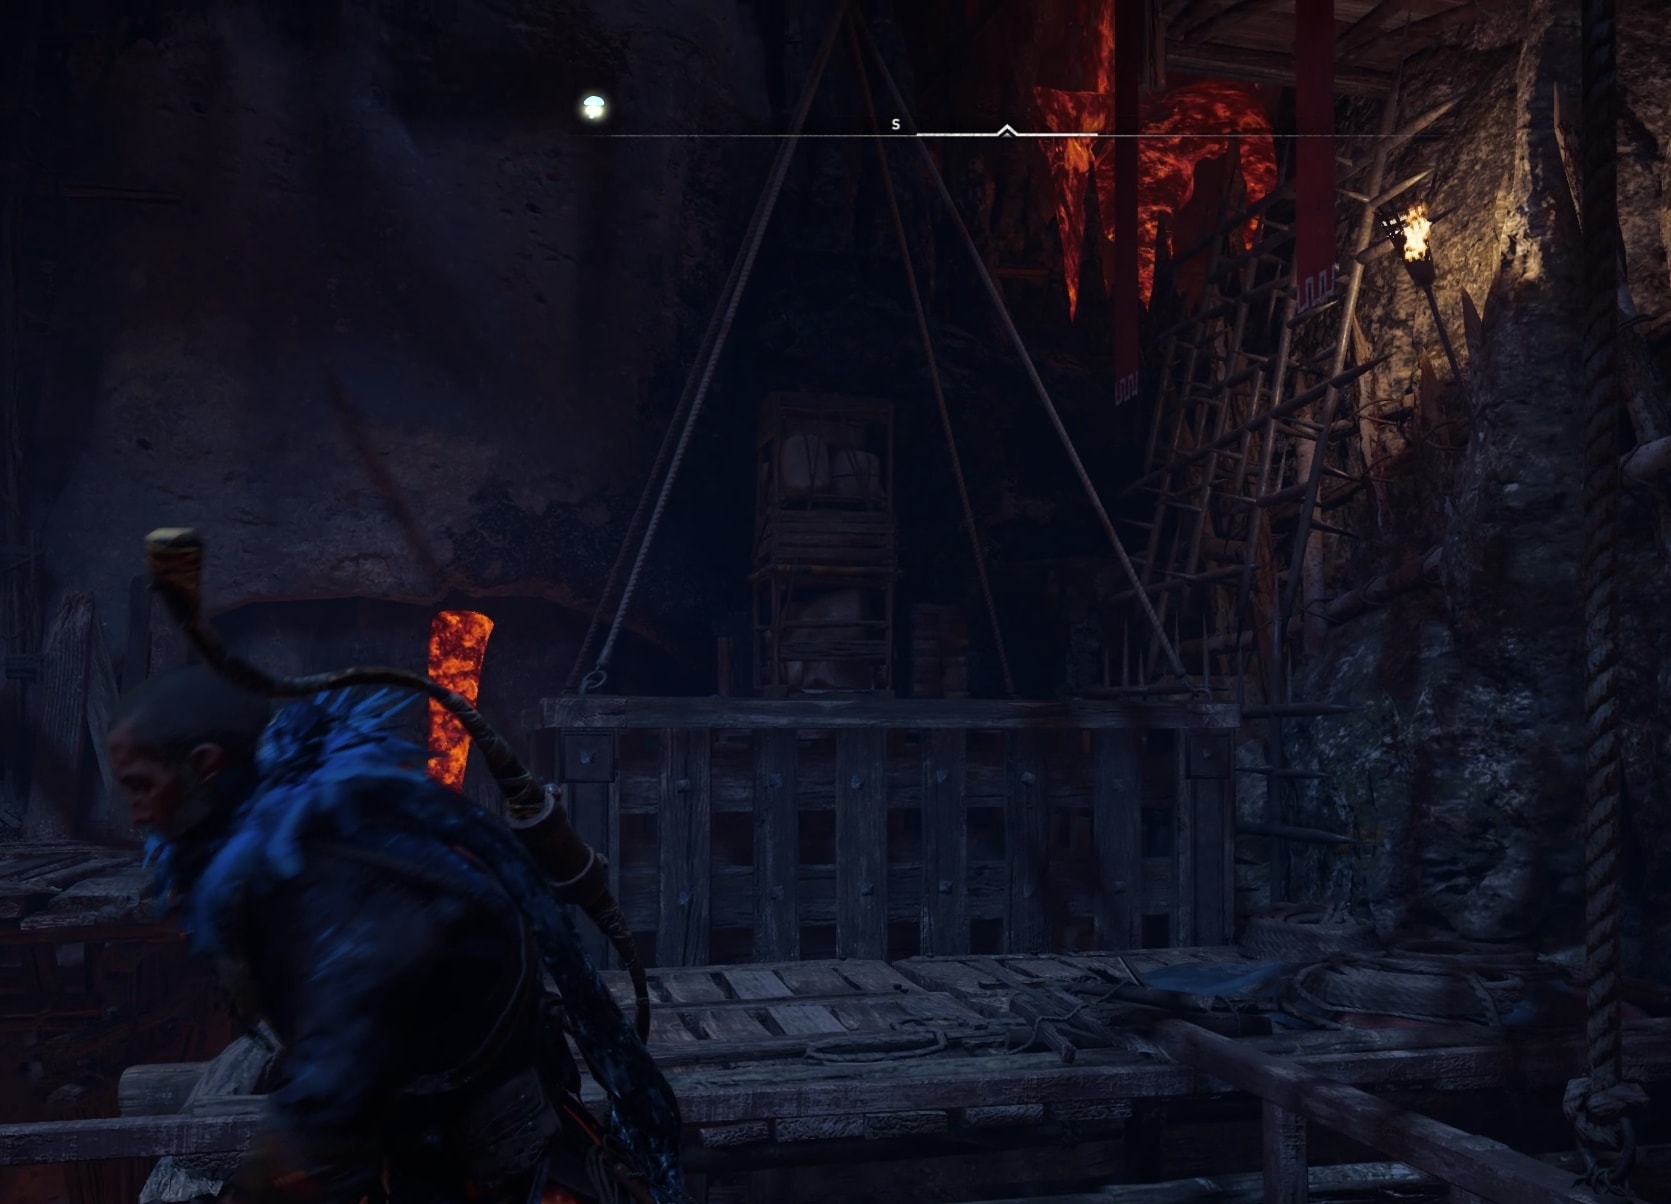
Interact with the lever on the left. The platform will start to rise up. Climb on it. Jump over to the other side here (image below). If you have incendiary arrows, skip that step.
To the right from the obelisk, there’s a stone wall. Blow it up.
Pull the movable object and drop it in front of the obelisk in the water. It will create a bridge. Now, move the obelisk away from that corner over to the platform on the left and interact with the level to bring it all the way up.
Shoot the flaming vase up on the left box to the left from the bridge. This will lower the left box enough so you can climb on it.
From the stone arch between the two platforms, stand and shoot the mechanisms that hold the bridge up. The right one is a bit trickier to hit, but it’s possible.

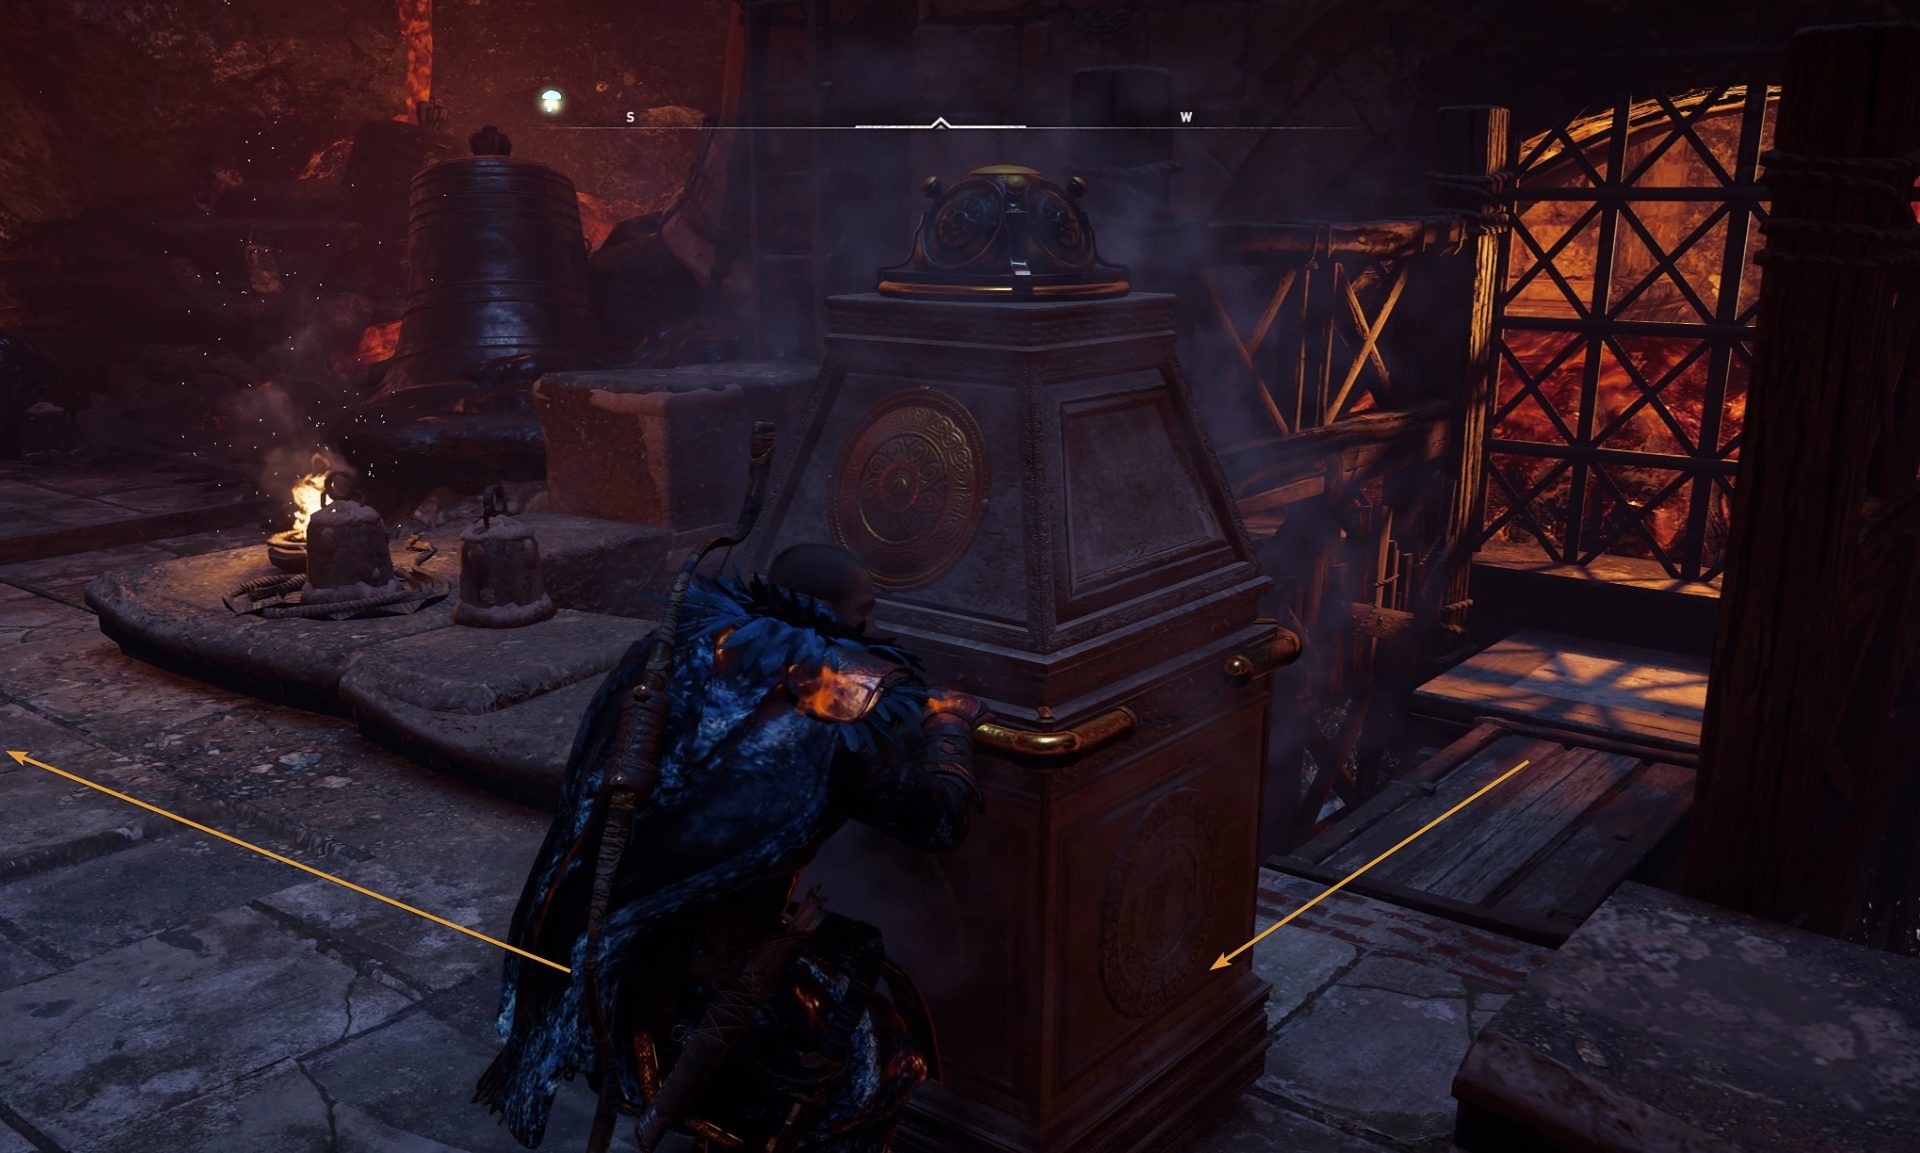
Move the obelisk to the next room. Here on your left there is a lever. Interact with it to pull up the first platform over the water.
Break the door’s mechanism on the other side of the room and reach the second lever. Interact with it to pull up the second platform. This will allow you to move the obelisk further ahead.

Now simply push the obelisk back from where you came and place it on the marked tile to unlock the tomb’s door.

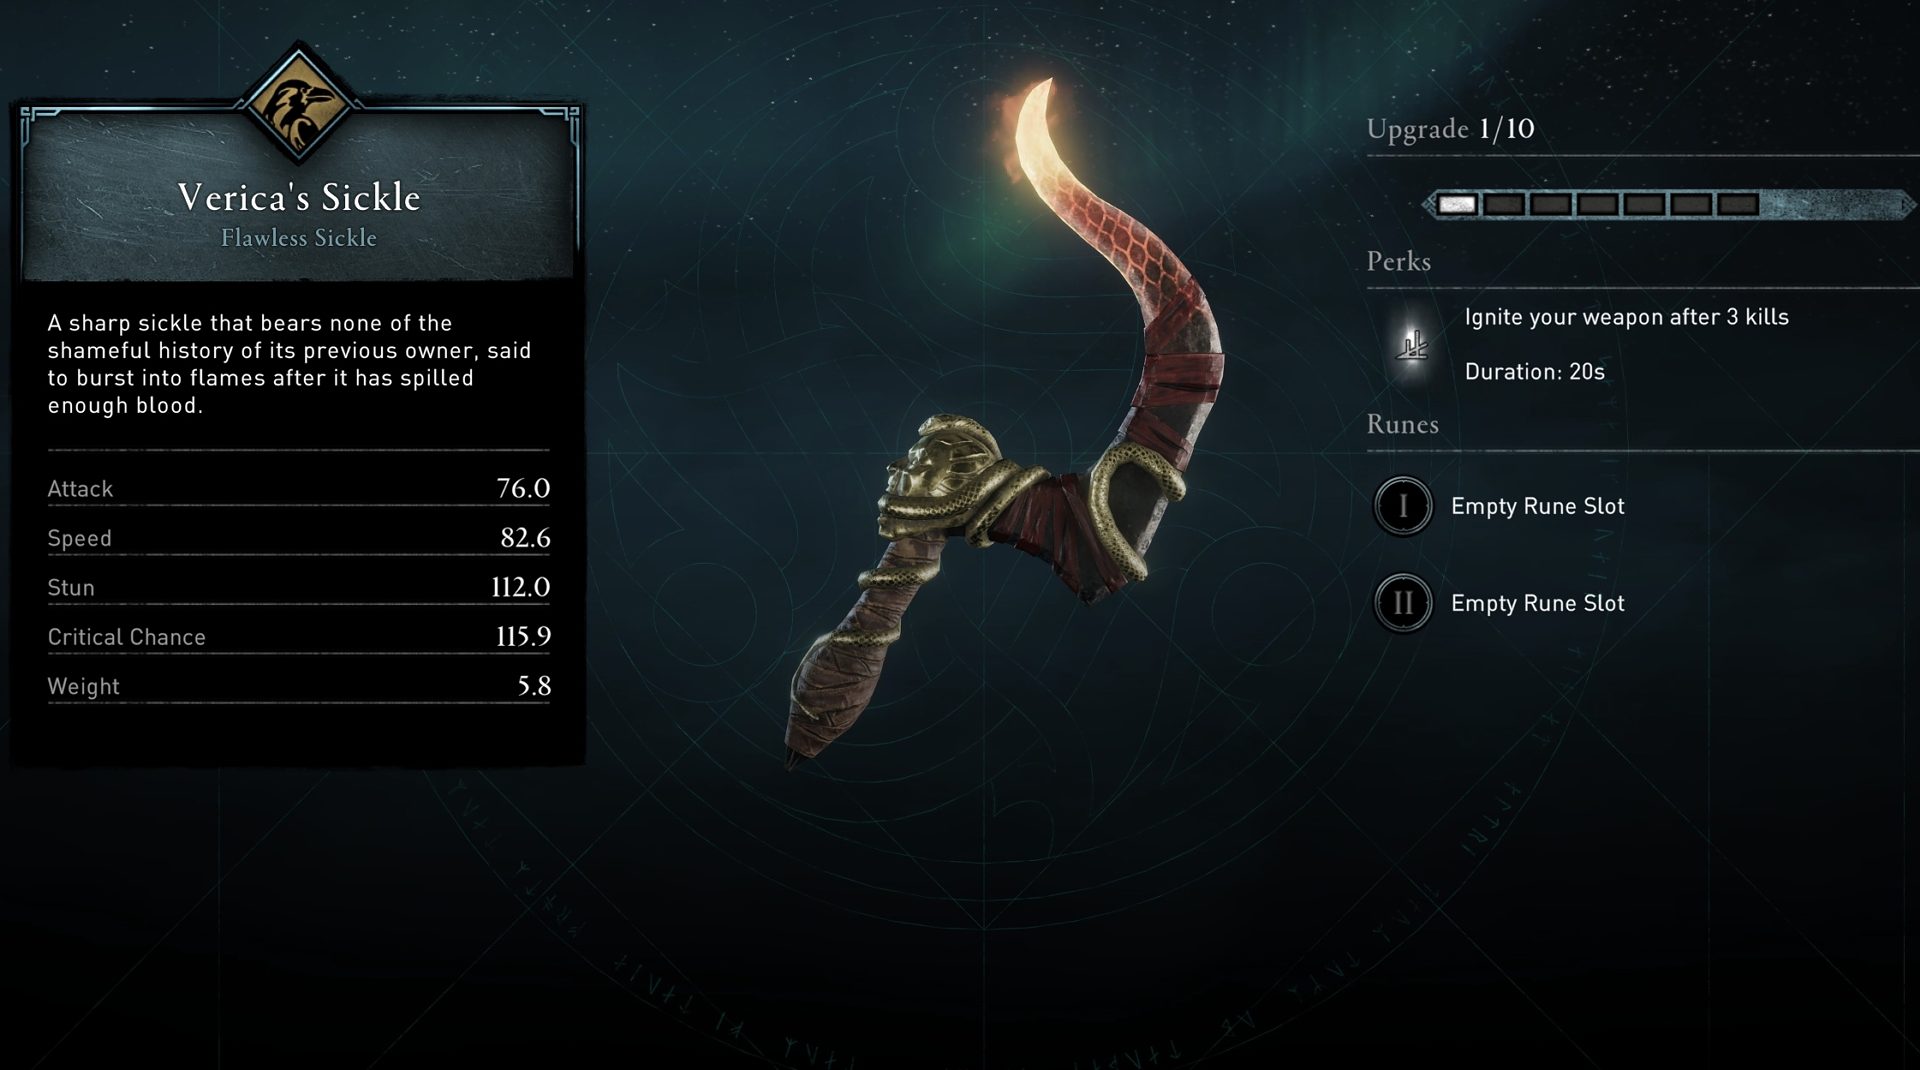
Reward: Verica’s Sickle
Now that the main door to the actual tomb is unlocked, climb up to the tower structure in the middle of the big cave and head towards the unlocked now door.
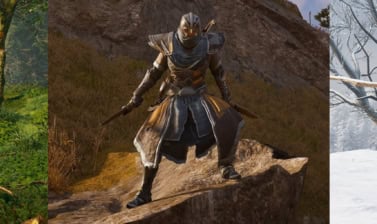
Inside the actual tomb you will watch a short animation and be able to finally pick up the Verica’s Sickle from the treasure chest near the grave.
Where to find Verica’s Tomb Artifact
After you have solved all of the puzzles and have finished the Verica Tomb, you can take a semi-hidden path to pick up another of the Tomb Artifacts – Verica’s Tomb Artifact.
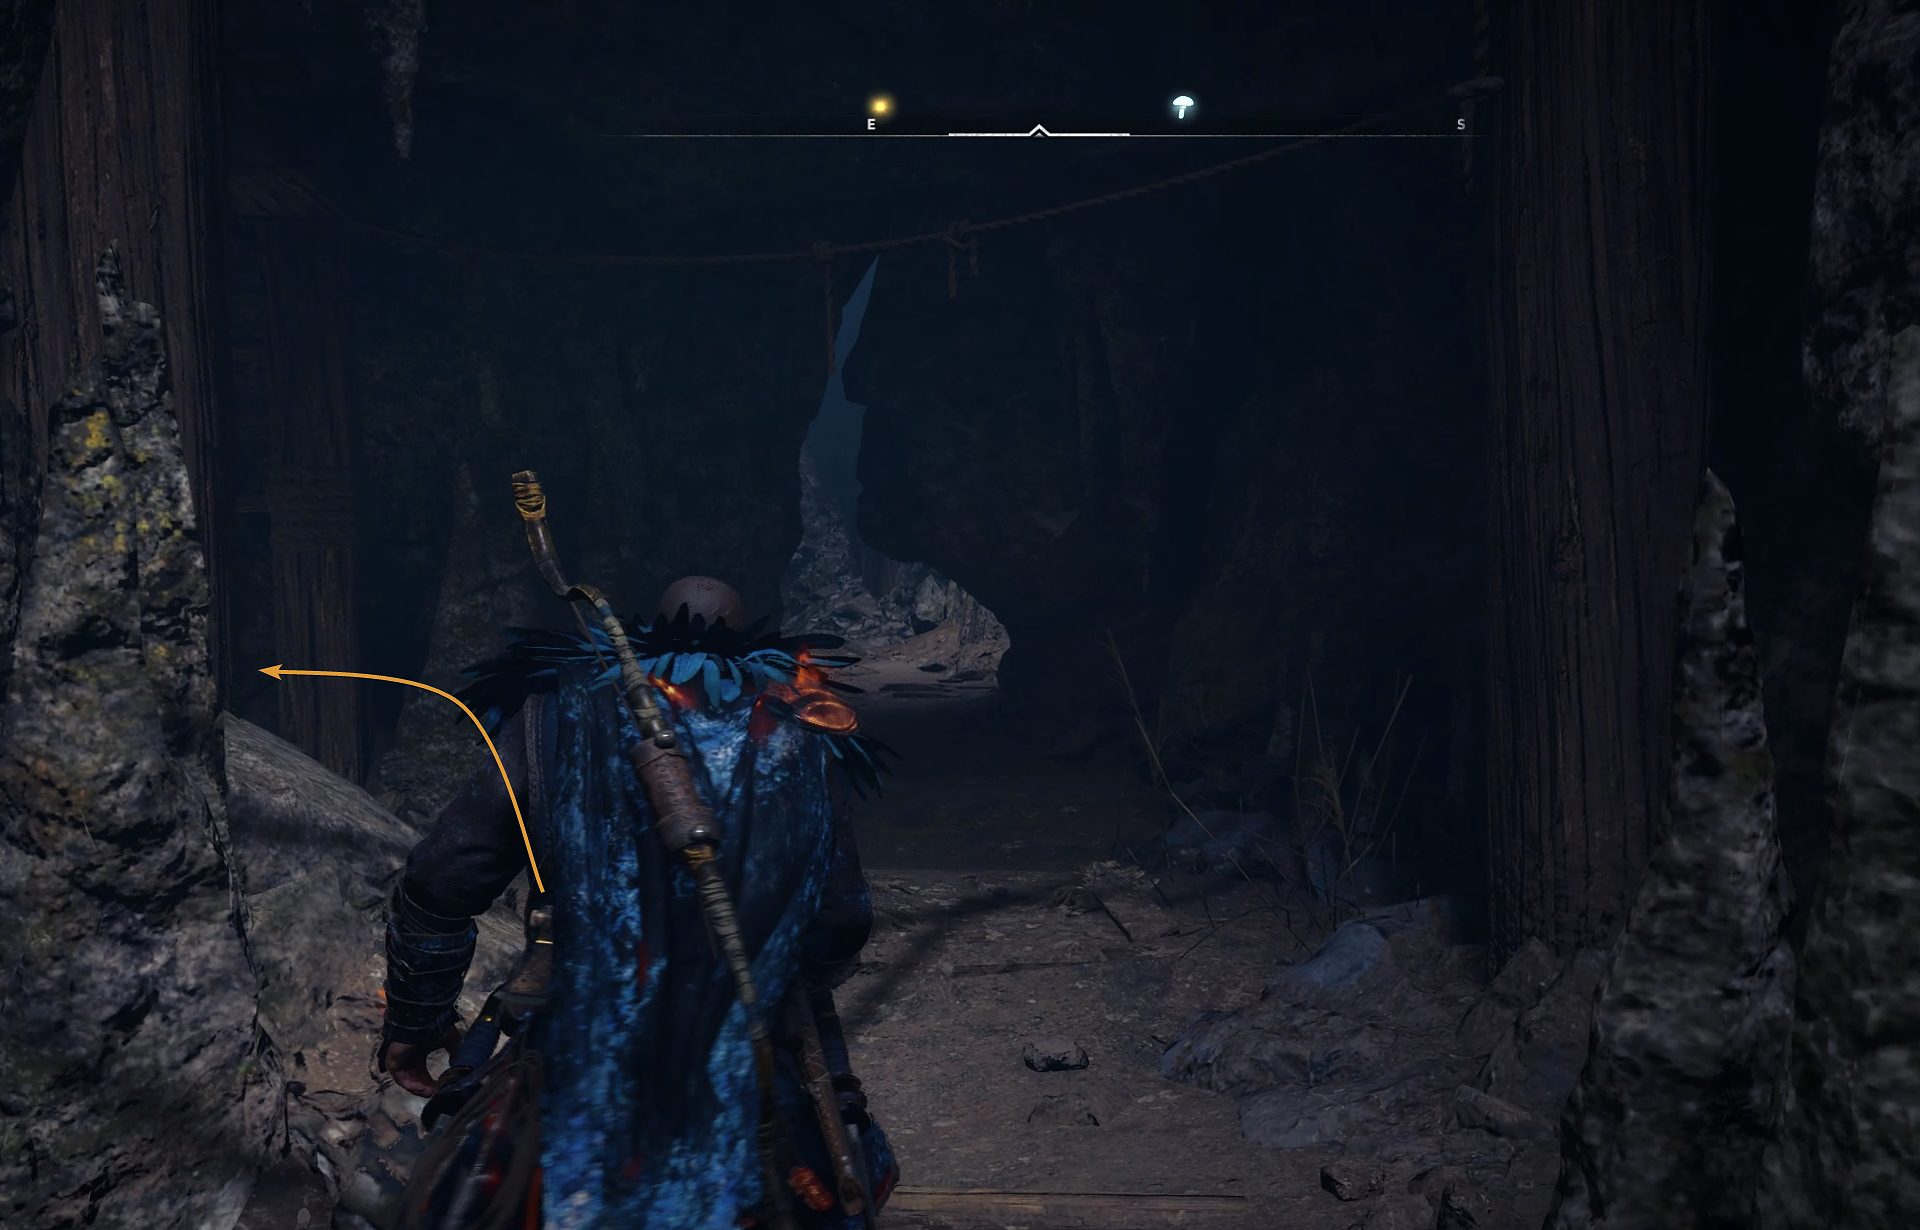
As you stand near the treasure chest with Sickle weapon, look north and take that path. This is also the same path leading to the exit. Before you exit, however, you will take another extra turn to pick up the Artifact.
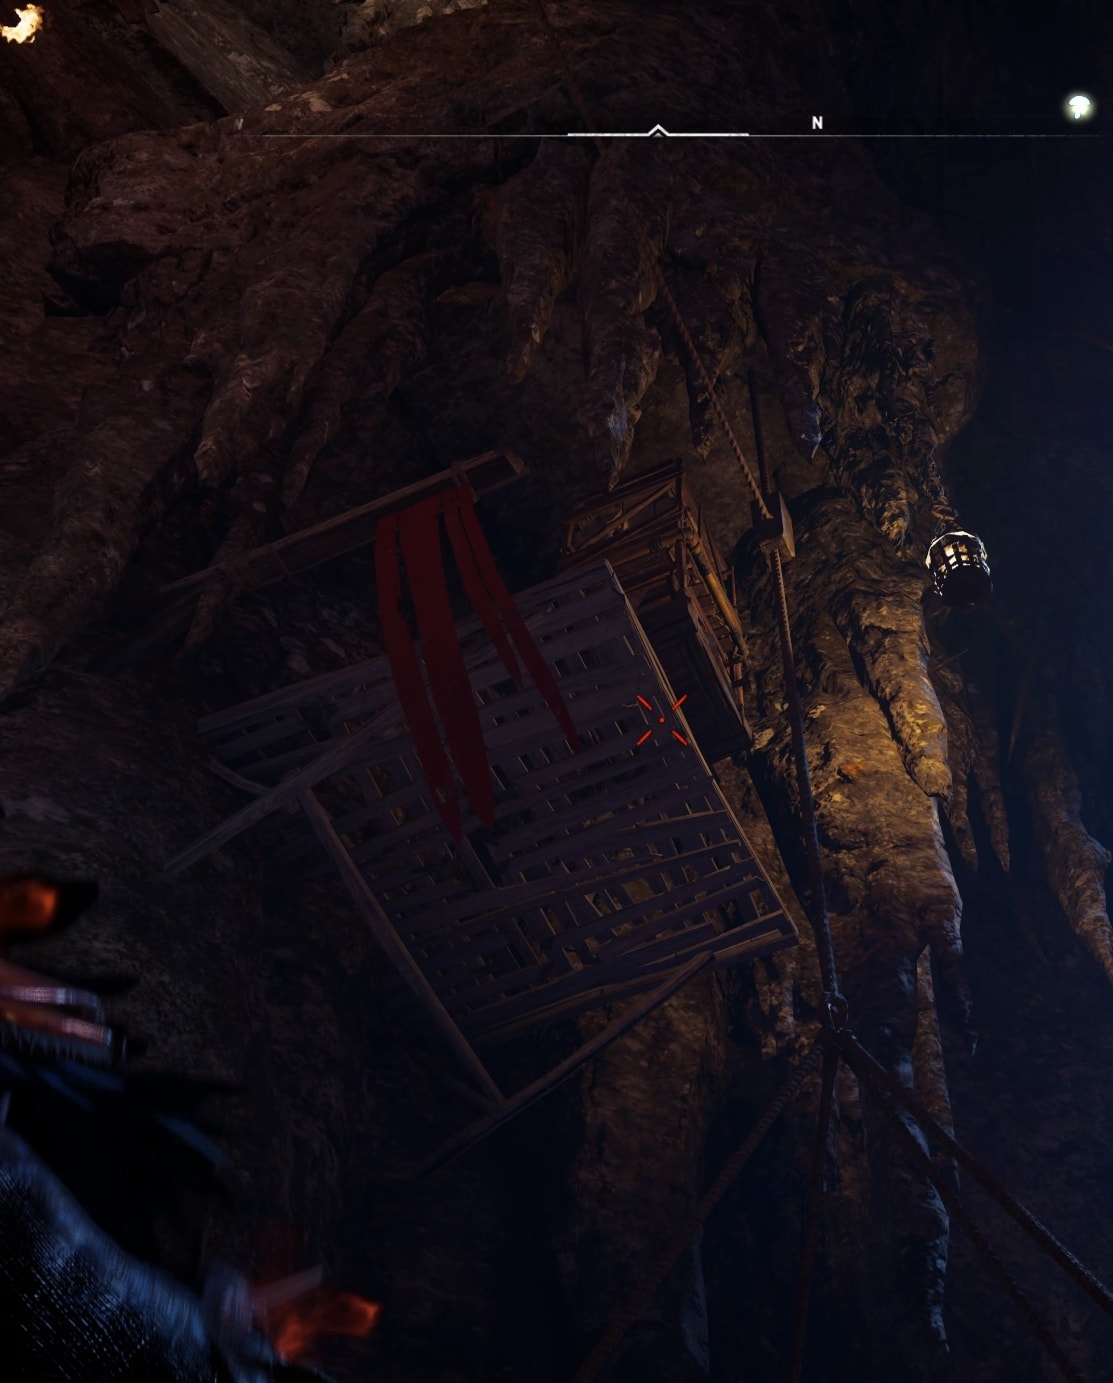
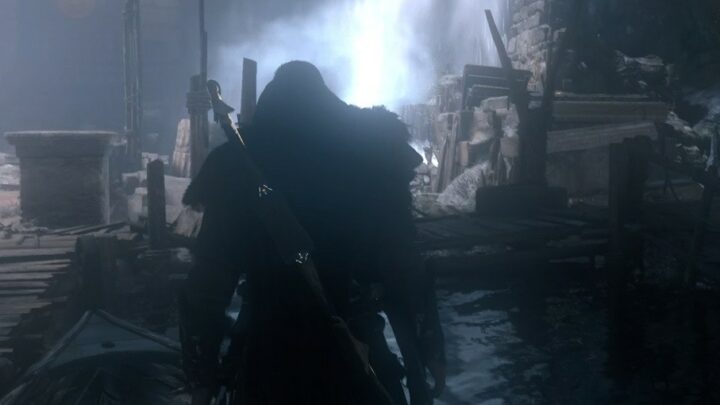
As you are following the narrow path leading you up and out, make a left turn here:
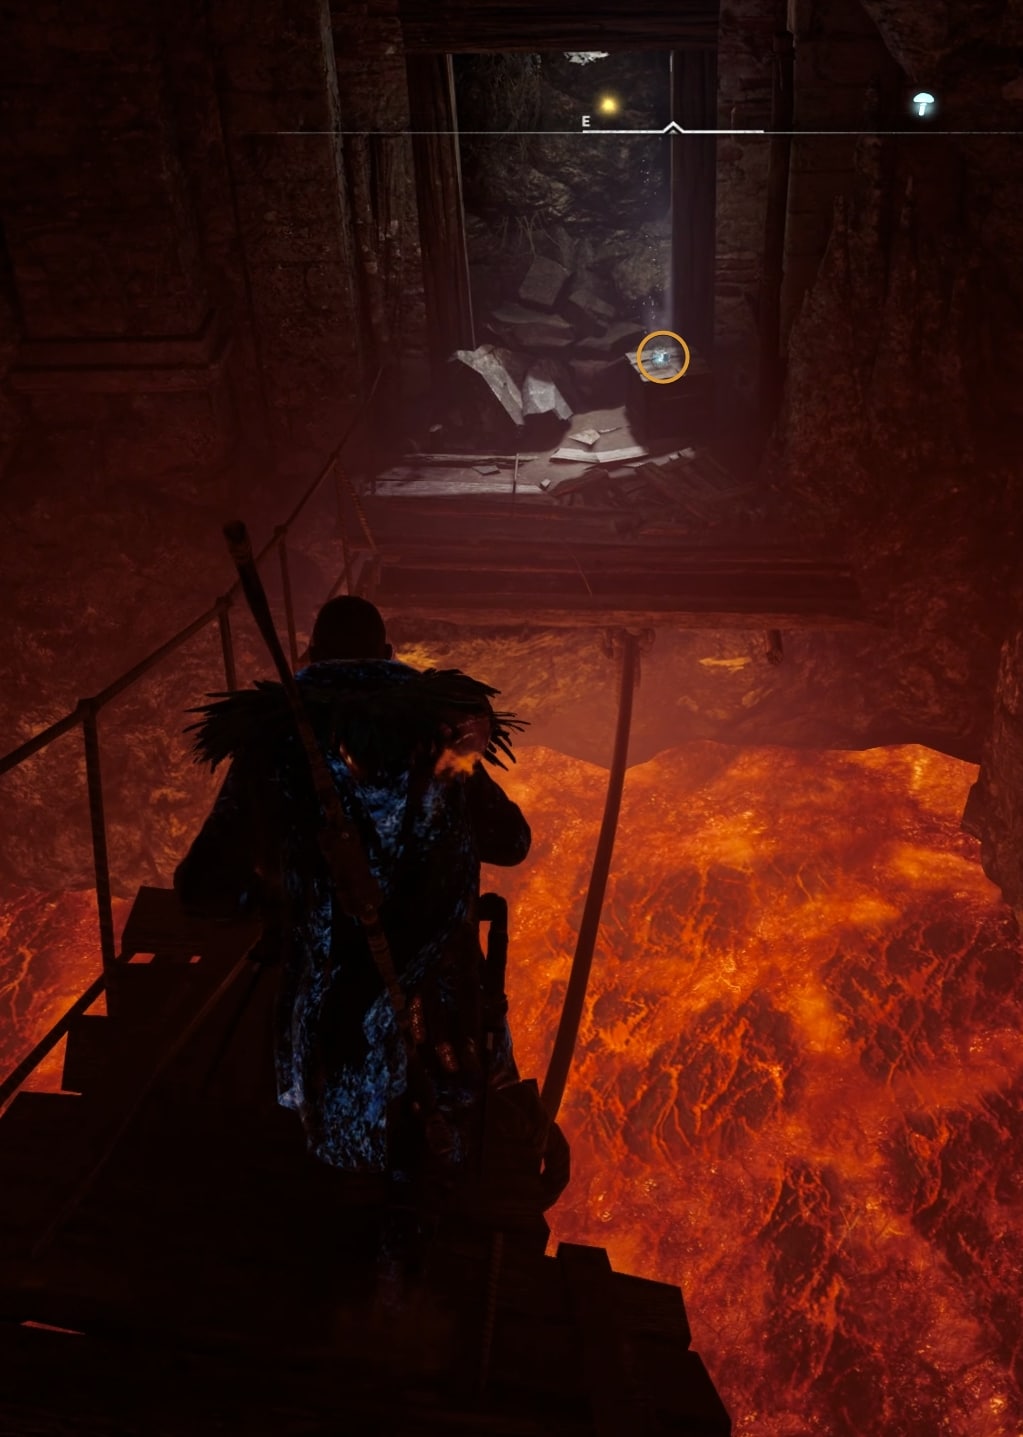
Drop down, follow the path and cross the broken bridge at the end to get Arica’s Tomb Artifact!
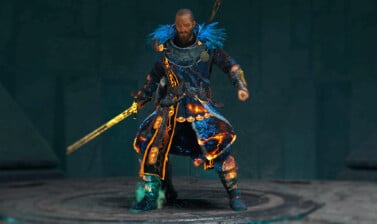
This concludes my guide to Verica’s Tomb in Assassin’s Creed Valhalla. After you collect all five Tomb Artifacts from the Tombs of the Fallen, you can enter the Eden Ring Station, solve the puzzles and get The Blazing Sword – an incredibly powerful and cool short sword. This is a rather complex and long underground complex and I have the perfect guide to help you navigate through its puzzles and challenges!
AC Valhalla Tombs of the Fallen Guides
This is a complete collection of guides with in-depth instructions to help you find and access all Tombs of the Fallen in Assassin's Creed Valhalla, solve the puzzles inside and grab the gear and other treasures located in each one of them.
In each one of the Tombs of the Fallen you will find a piece of gear - armor of weapon - and a unique Tomb Artifact. Collect all five artifacts to unlock the Eden Ring Station located directly under Manius's Sanctum.

How to unlock Eden Ring Station under Manius’s Sanctum in AC Valhalla and get the Blazing Sword
Guide to how to get all 5 Tomb Artifacts from Tombs of the Fallen, how to access and complete Eden Ring Station and get the Blazing Sword!

AC Valhalla Togodomnus Tomb Location and Puzzles Guide
How to find Togodomnus Tomb and solve all puzzles inside to grab the prizes – Togodomnus’ Bearded Axe Sickle and Togodomnus Tomb Artifact!
How to get Fallen Heroes Armor set in AC Valhalla Tombs of the Fallen
The Fallen Heroes armor set is available in Assassin’s Creed Valhalla as loot in the Tombs of the Fallen. Here’s everything you need to know!
AC Valhalla Venutius Tomb Location and Puzzles Guide
Venutius Tomb Guide showing you how to find the dungeon and solve all puzzles inside to get the Fallen Hero Helmet armor piece!
AC Valhalla Cassivellanus Tomb Location and Puzzles Guide
Cassivellanus Tomb Guide showing you how to find the dungeon and solve all puzzles inside to get the Fallen Hero Breastplate armor piece!
AC Valhalla Boudicca Tomb Location and Puzzles Guide
Guide showing how to find the Boudicca Tomb and solve all puzzles inside to grab the prize – two pieces from the Fallen Hero armor set!
AC Valhalla 1.4.0 Changes Overview and Patch Notes
Manius’s Sanctum is the first of four Tombs of the Fallen in Assassin’s Creed Valhalla. This guide shows you how to solve all puzzles inside!
How to find all Tombs of the Fallen in AC Valhalla
Assassin’s Creed Valhalla 1.4.0 brought four new dungeons filled with puzzles and secrets. See how to discover all Tombs of the Fallen!