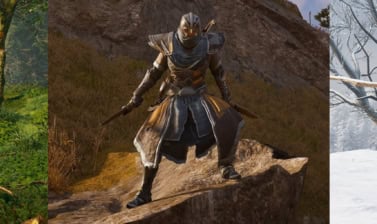
Guide showing how to find Togodomnus Tomb and solve all puzzles inside to grab the prizes – Togodomnus’ Bearded Axe Sickle and Togodomnus Tomb Artifact!
Togodomnus Tomb was added to Assassin’s Creed Valhalla with Update 1.6.1. It contains two unique pieces that you can grab after you solve all the puzzles inside – a bearded axe weapon and the Verica’s Tomb Artifact! This guide will help you get to both of them!
How to find Togodomnus Tomb
To be able to find and explore the Togodomnus Tomb in Assassin’s Creed Valhalla you need to have your game patched to 1.6.1 or higher. You also need to have progressed as far as England. All you need is to reach it and build your settlement. This will allow you to explore all of the Tombs of the Fallen.
There is no fighting in this one. None at all. It’s just puzzles and parkour. It doesn’t matter what level your Eivor is, but having certain skills and/or abilities might be helpful to speed things up. This guide explains everything in great detail and doesn’t cut corners.
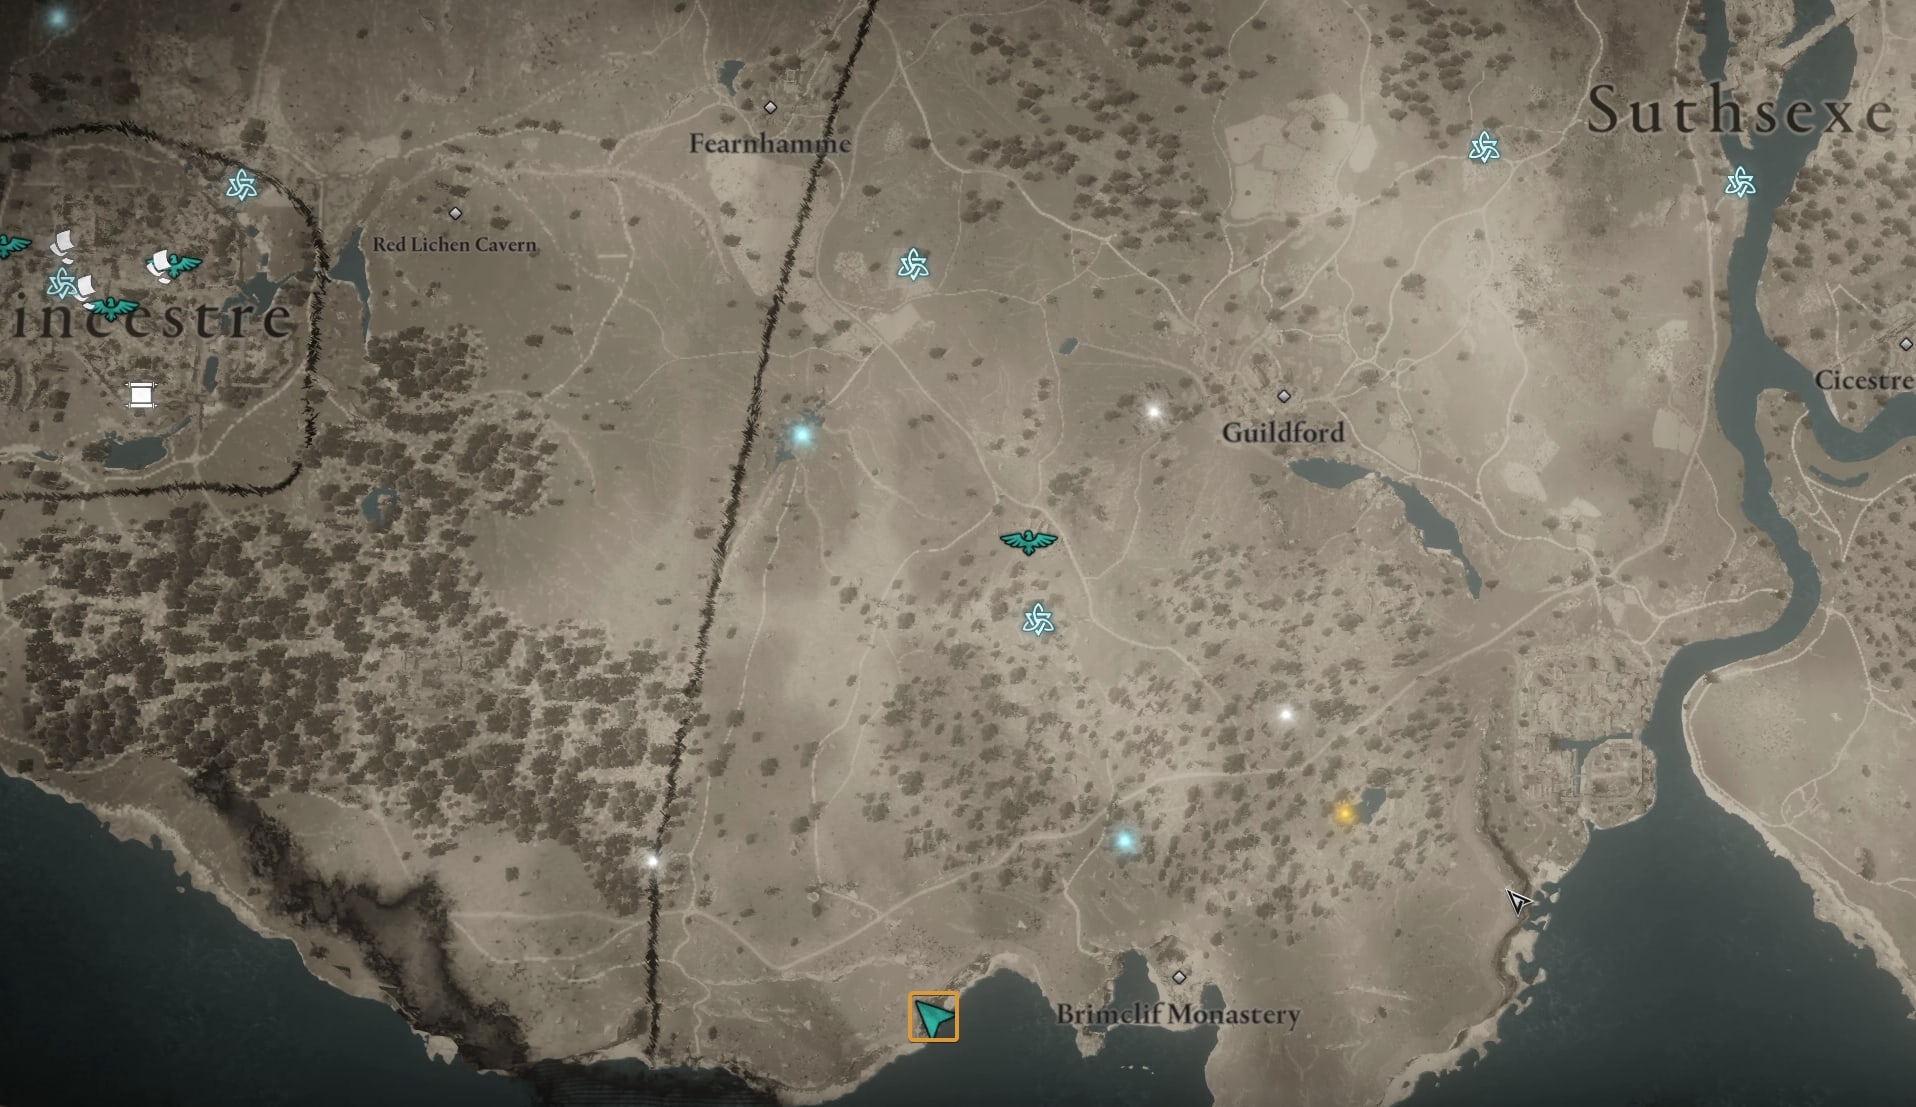
The entrance is located in the most southern part of England, in Suthsexe. The tomb overlooks the sea. The entrance of this tomb is marked on the big stone map in Manius’ Sanctum.
How to solve Togodomnus’ Tomb Puzzles
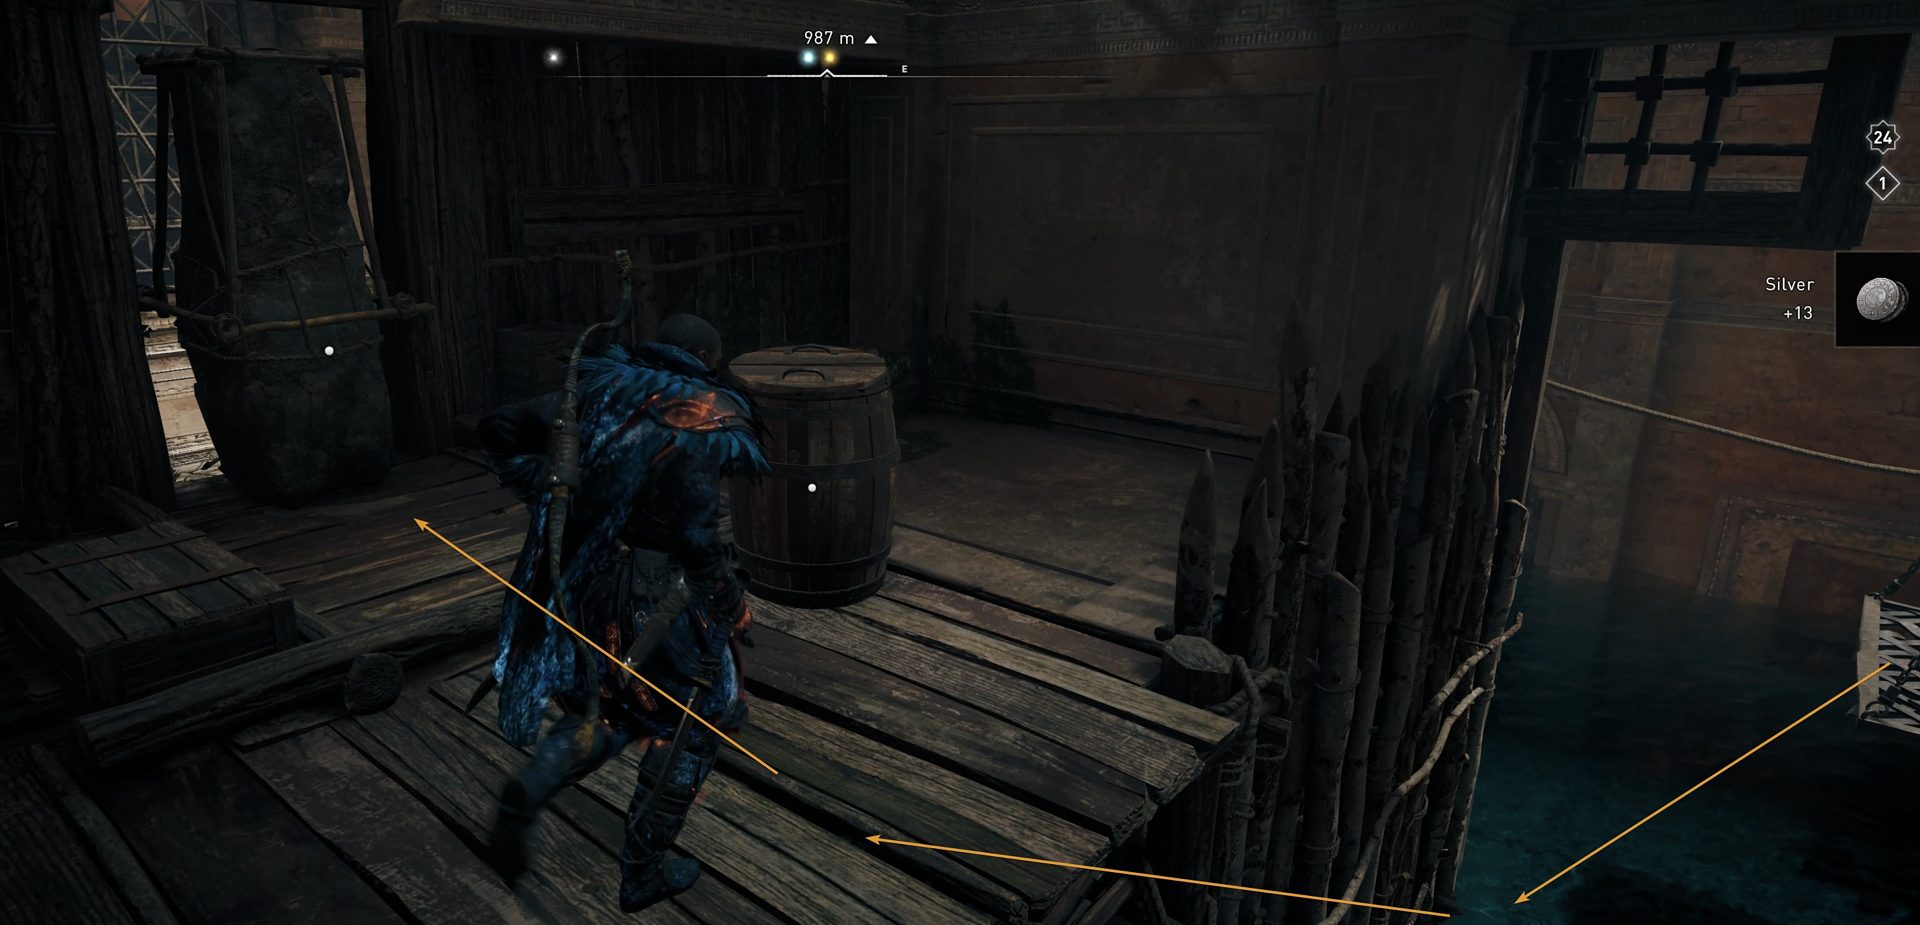
There are one obelisk and two spherical objects you will need to find and move to their appropriate positions to unlock the main door to the actual tomb of Togodomnus.
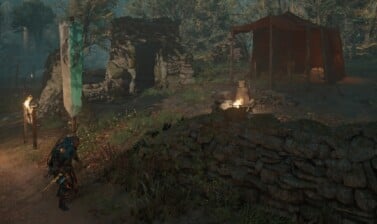
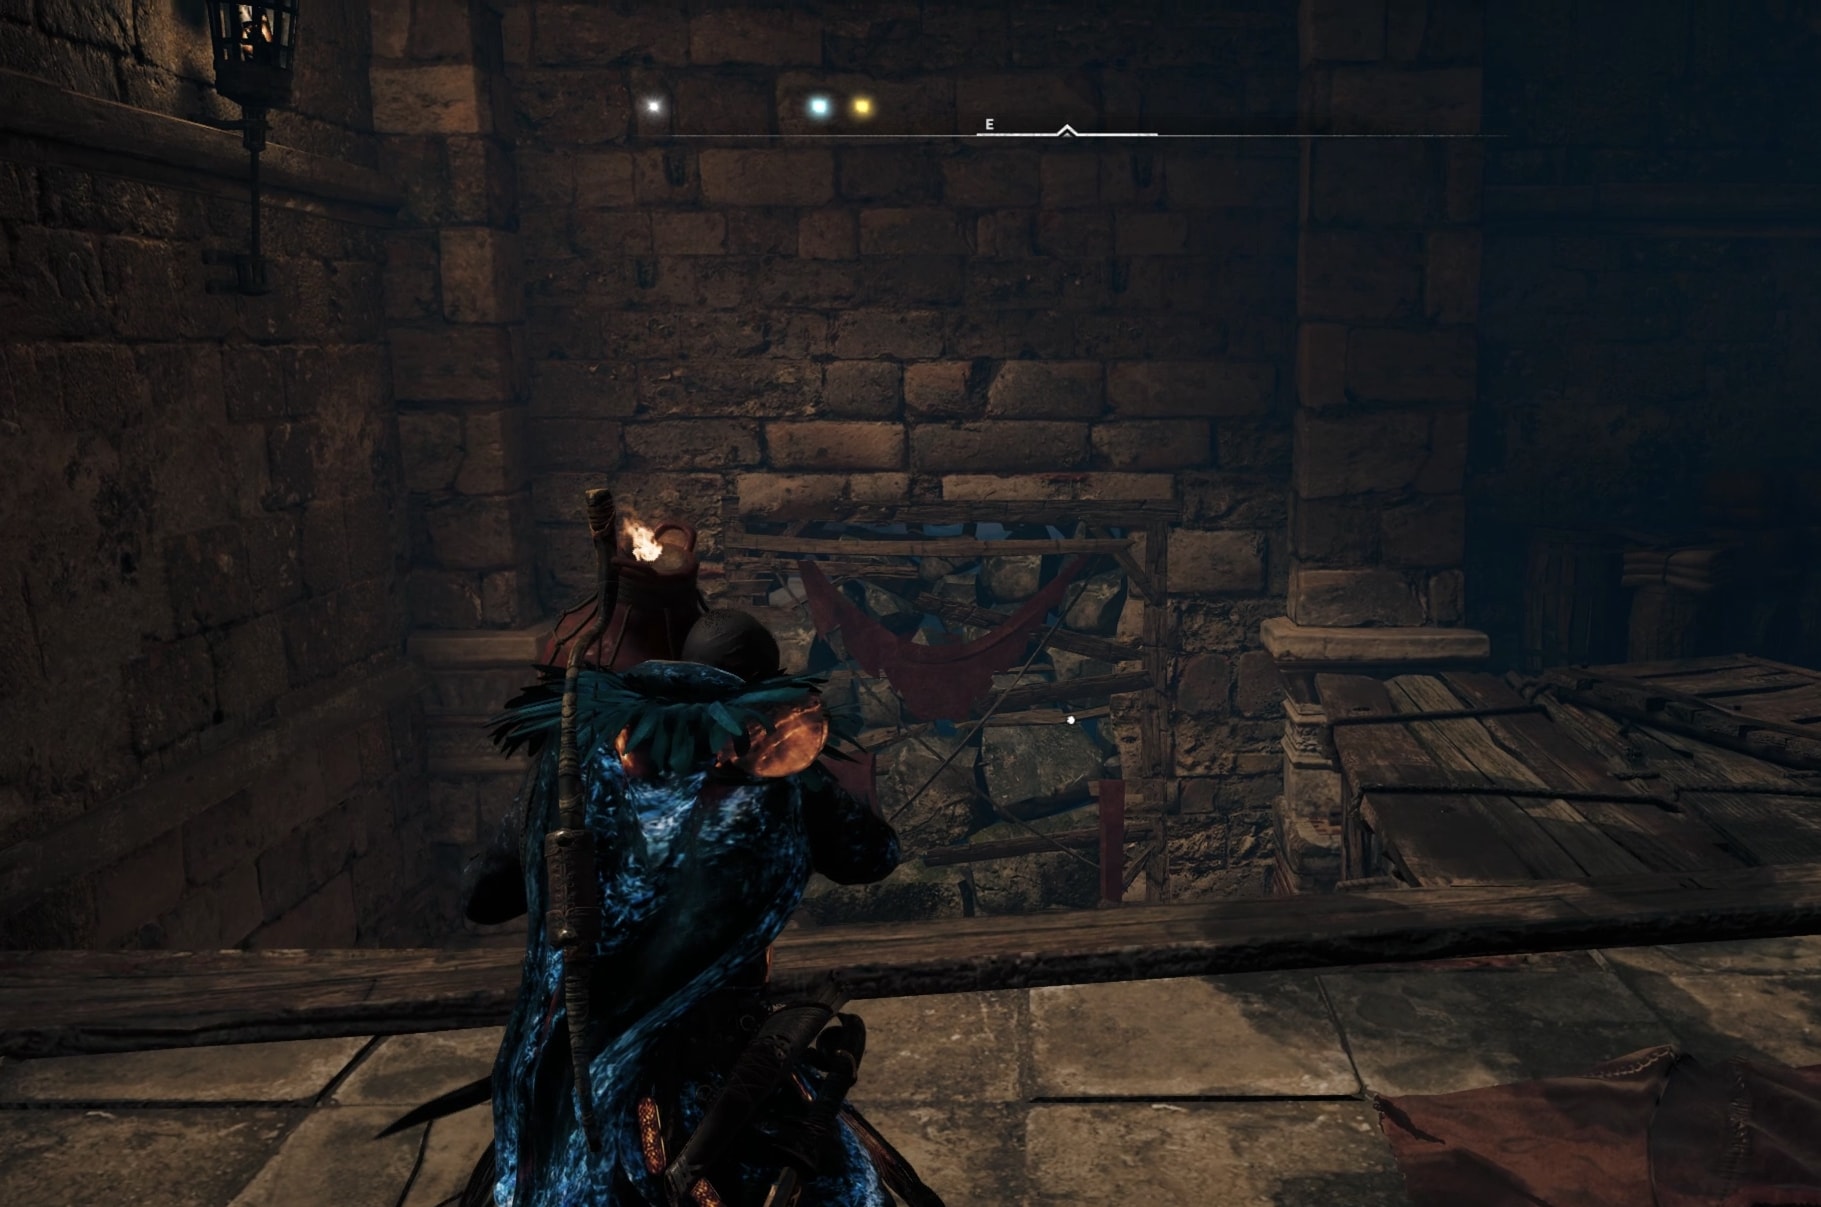
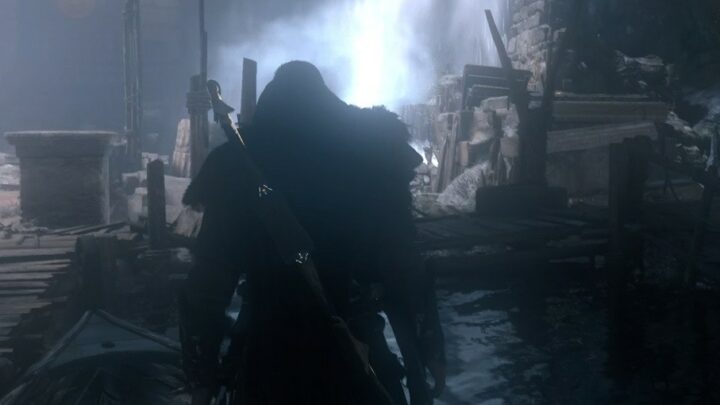
Enter the tomb and break the weak wooden wall at the end of the narrow corridor to open up your path to the main area of the cave.
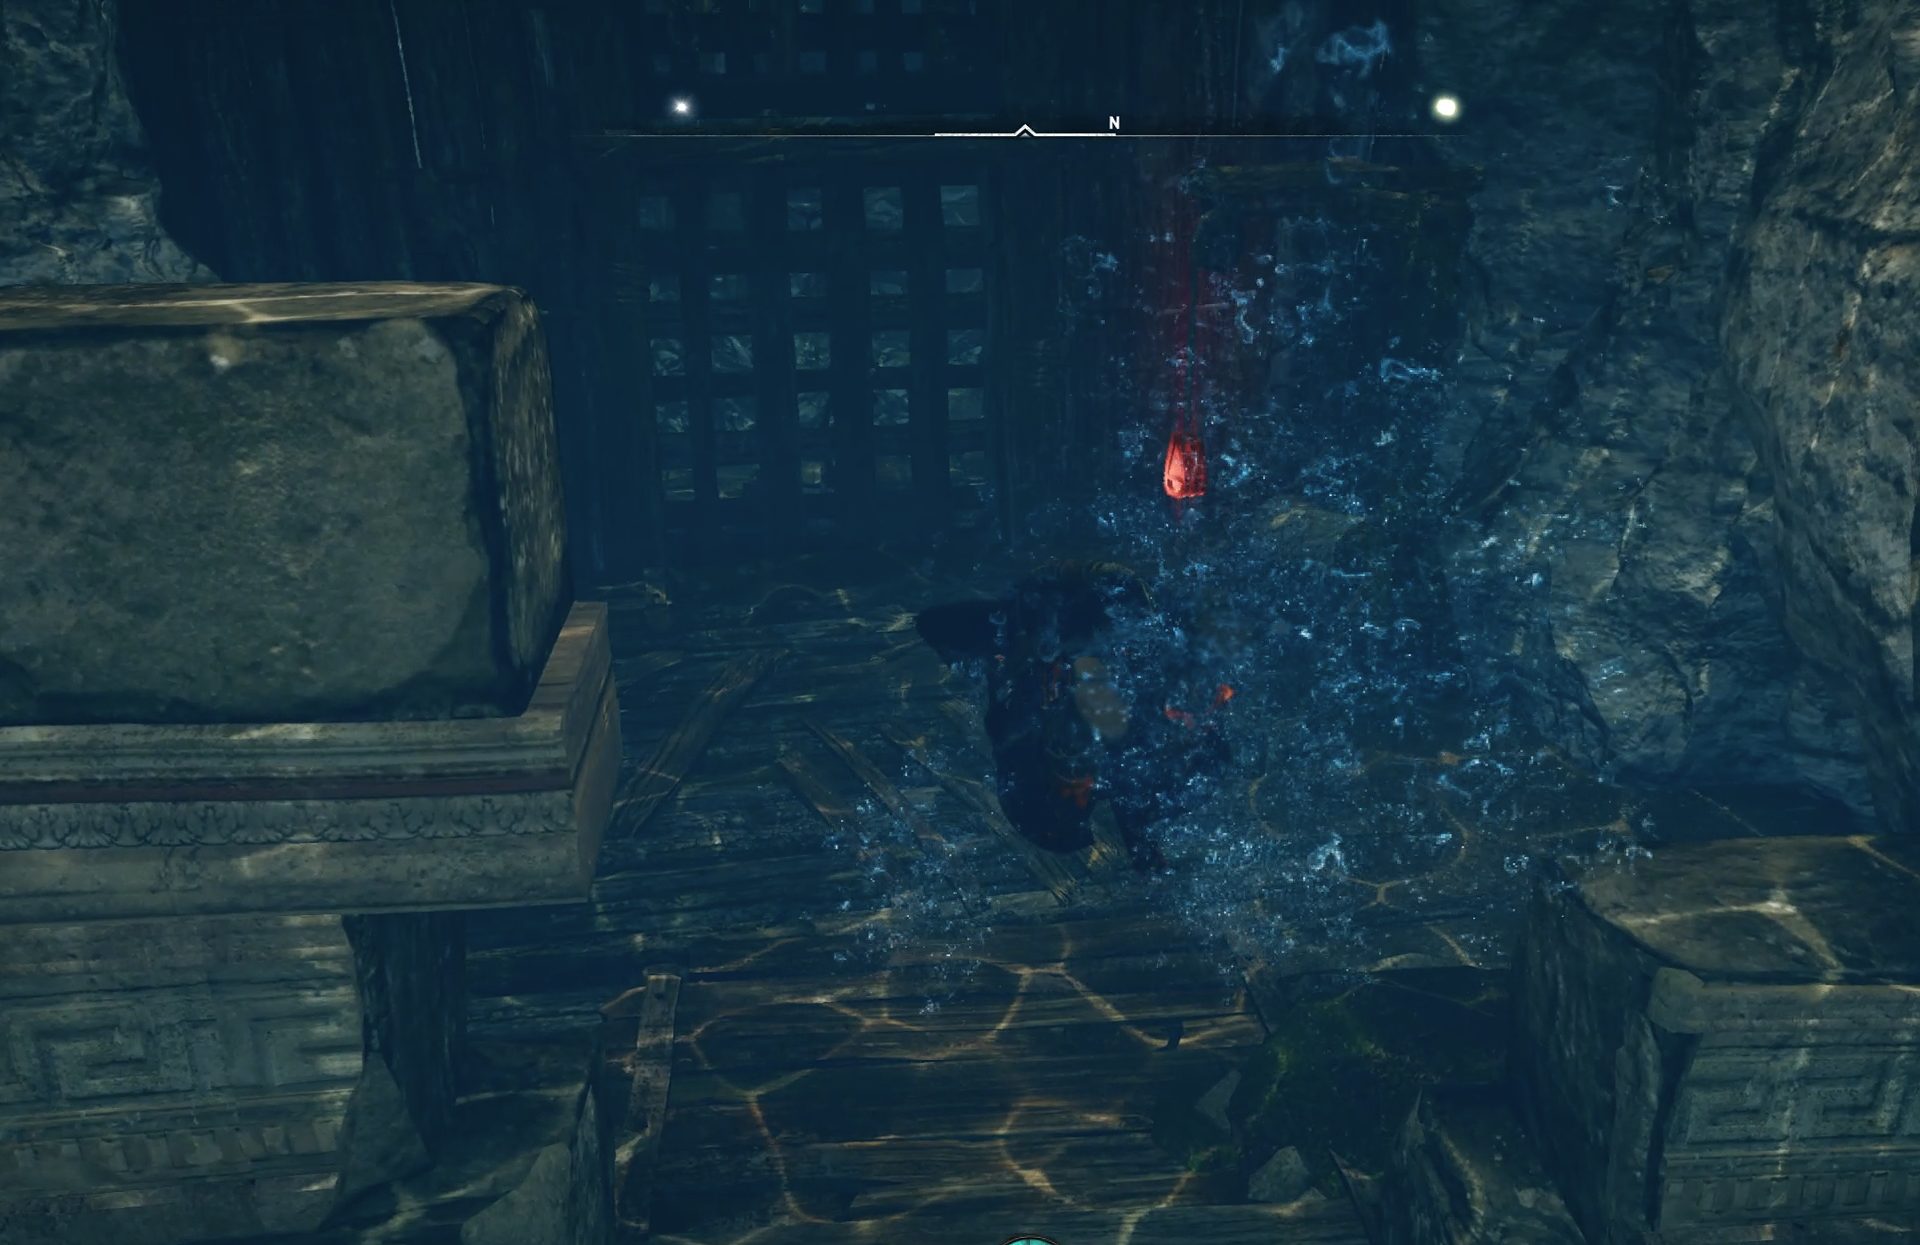
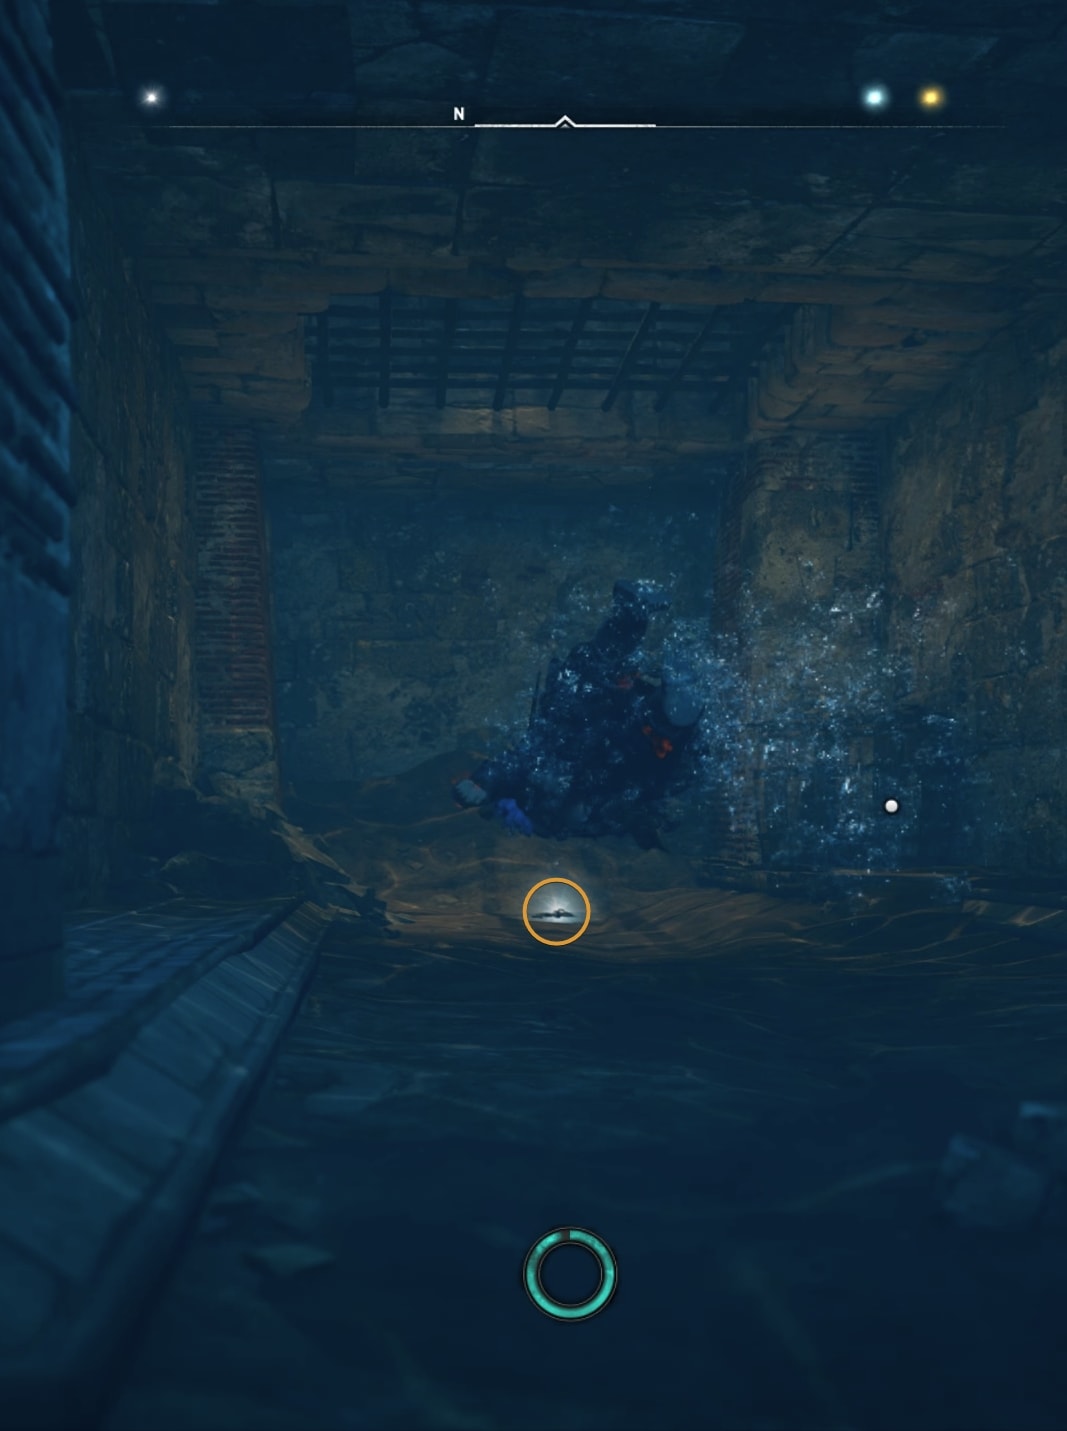
In the next section, you can climb down from the left side or slide down on the right side. It doesn’t matter. At the bottom Eivor will tell you that you have no other option but to dive. Swimn underwater to the next end of the short underwater segment.
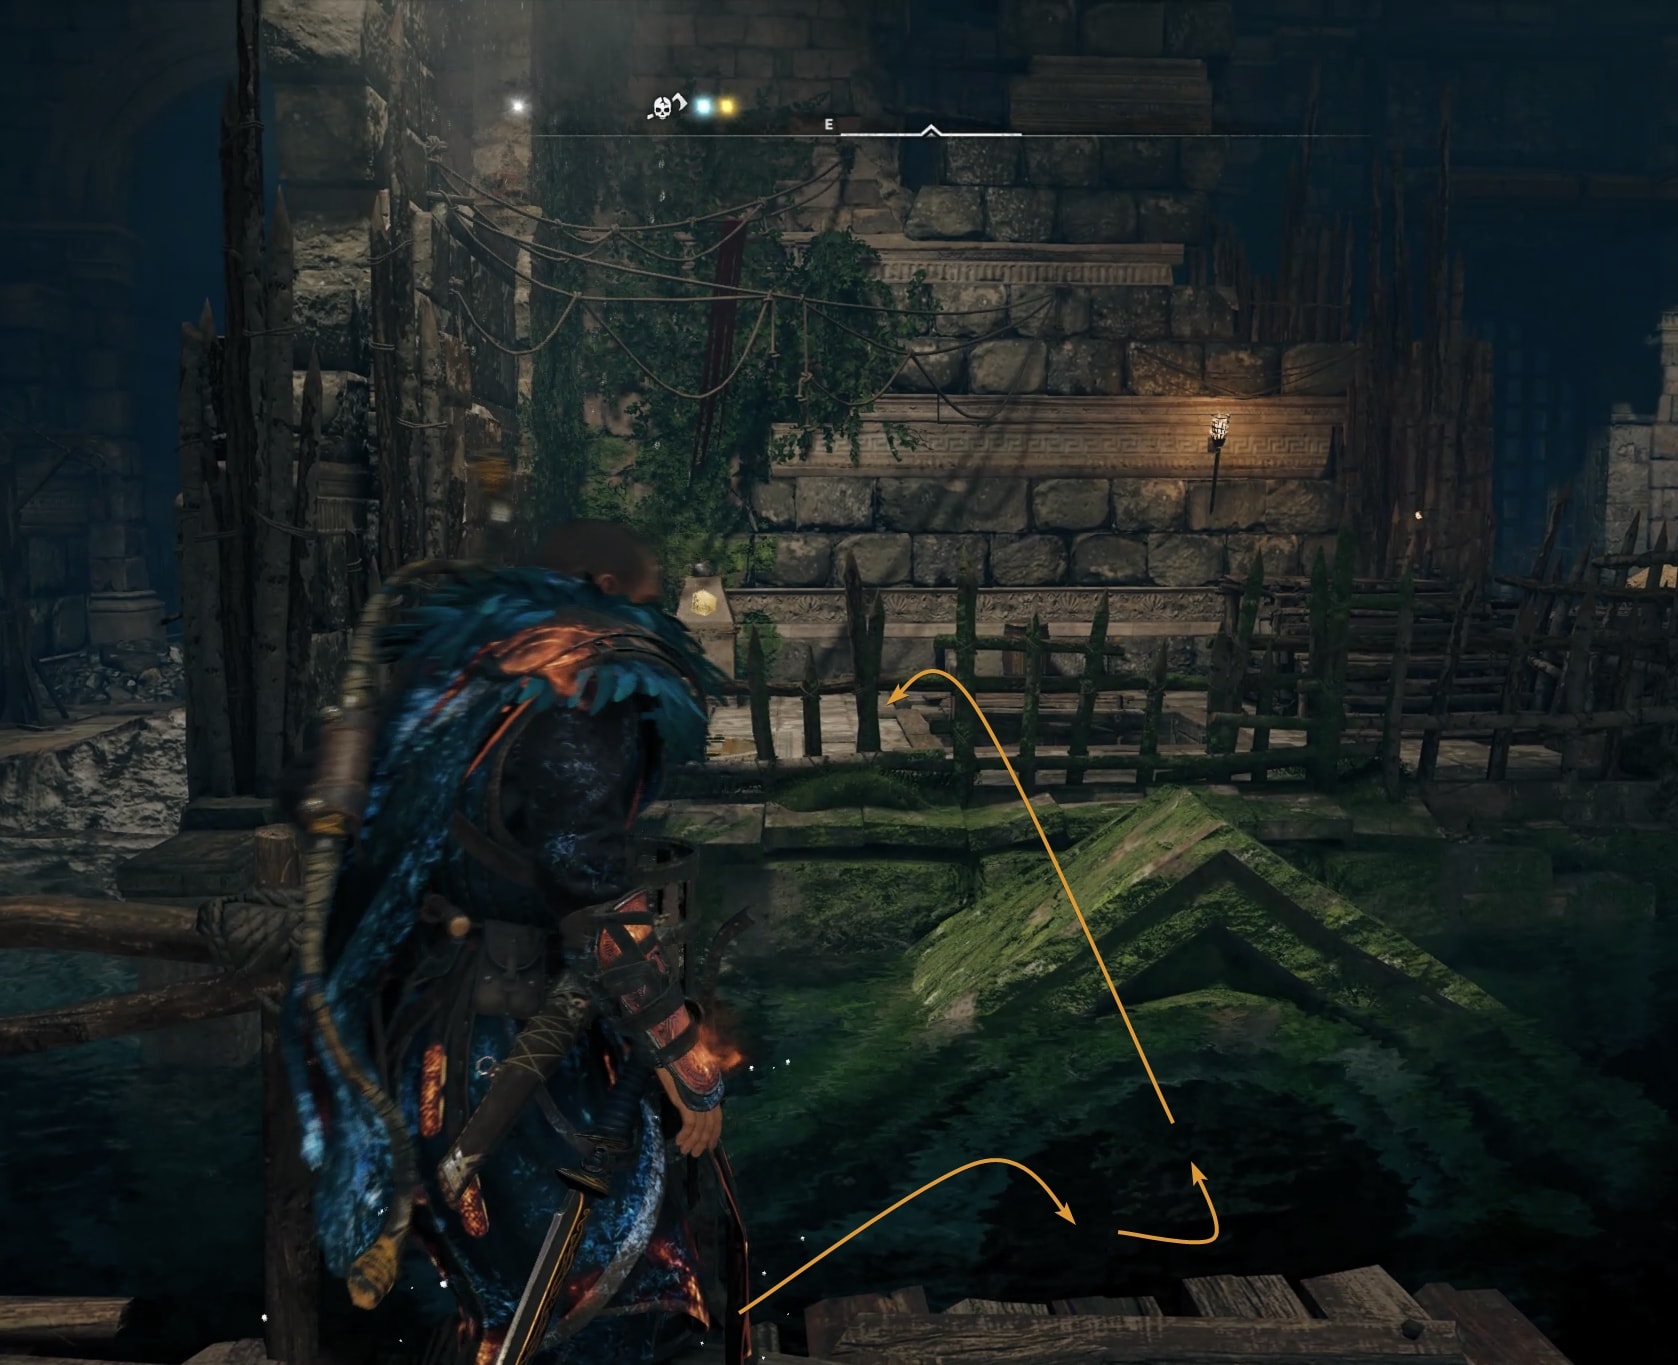
The main door is behind this massive rock column, but you cannot open it from this side. Run through the crack in the stone wall and turn left in this spot:

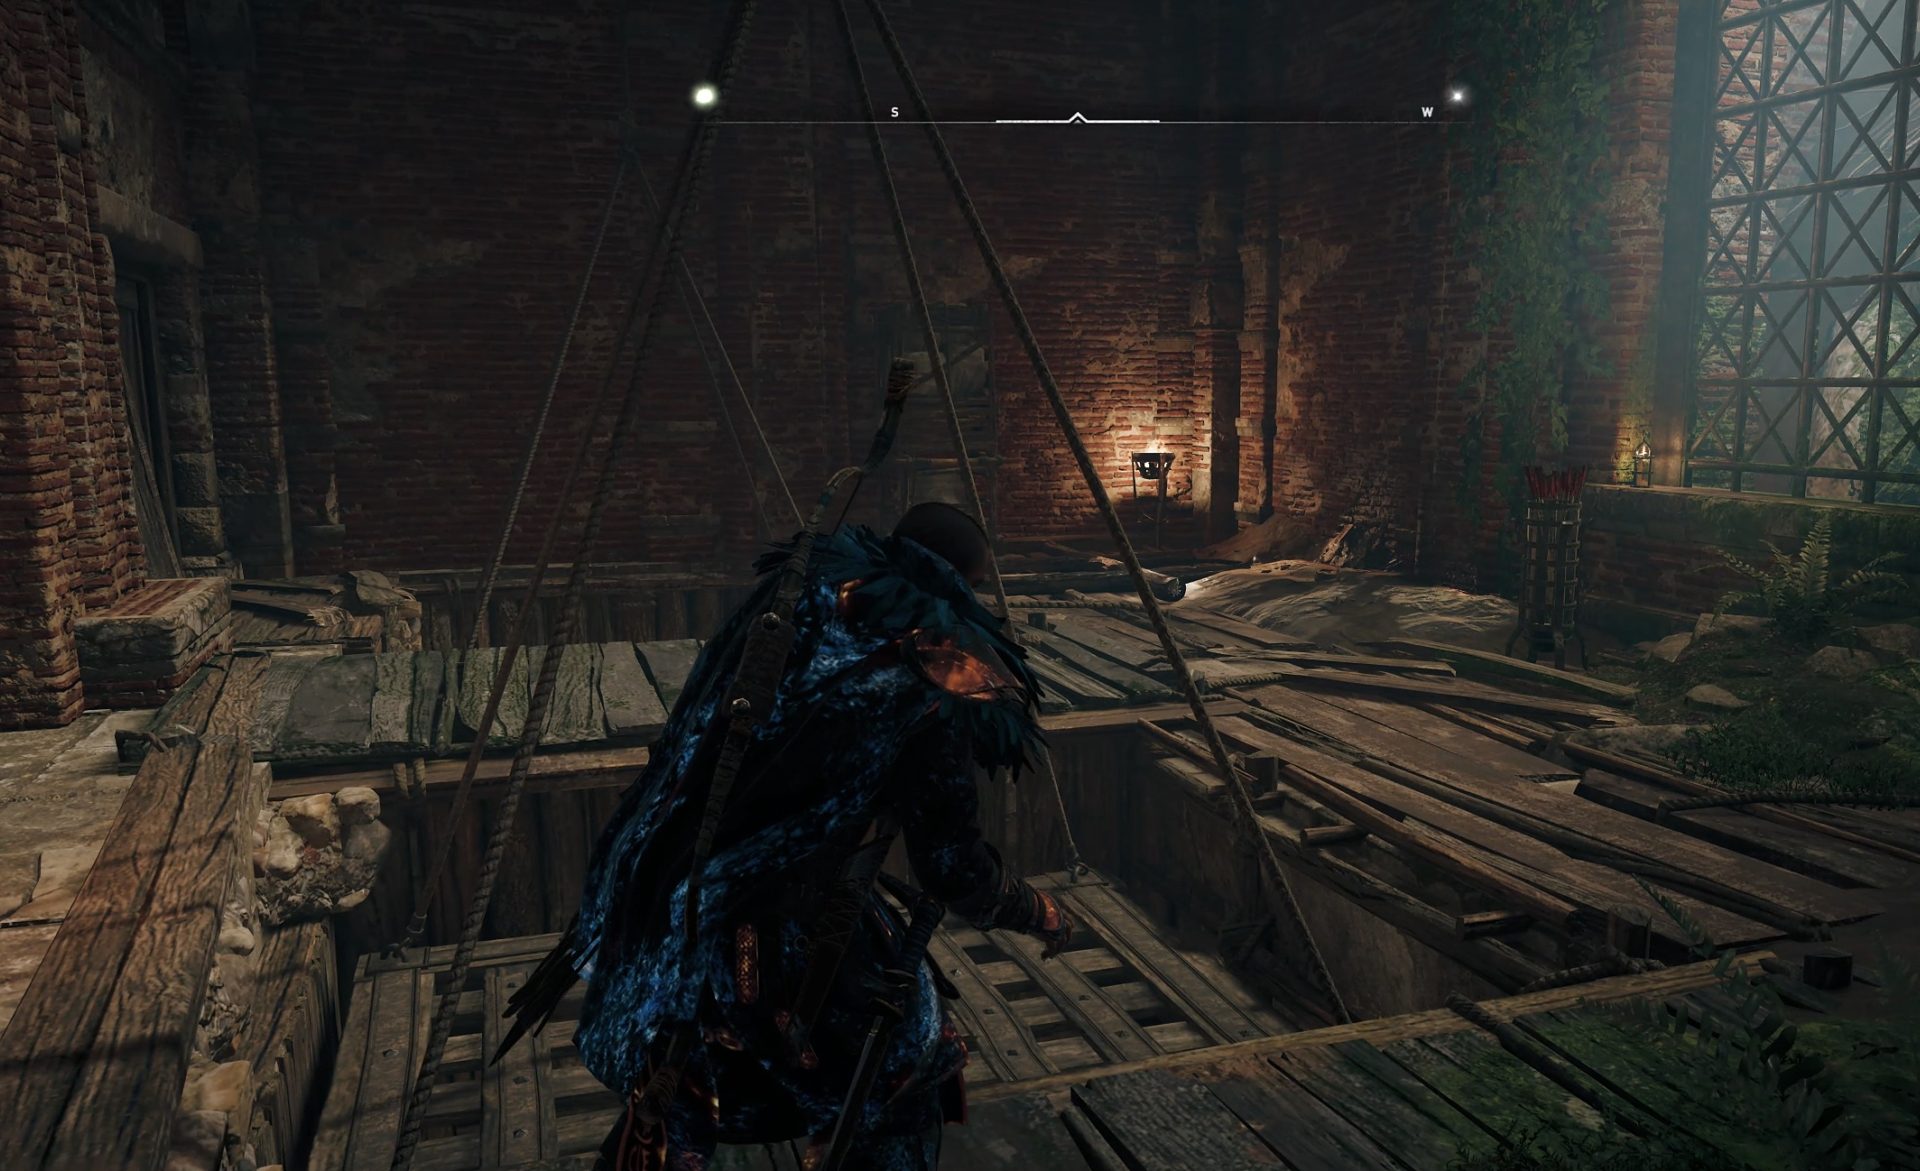
There is a wooden fence you can break.

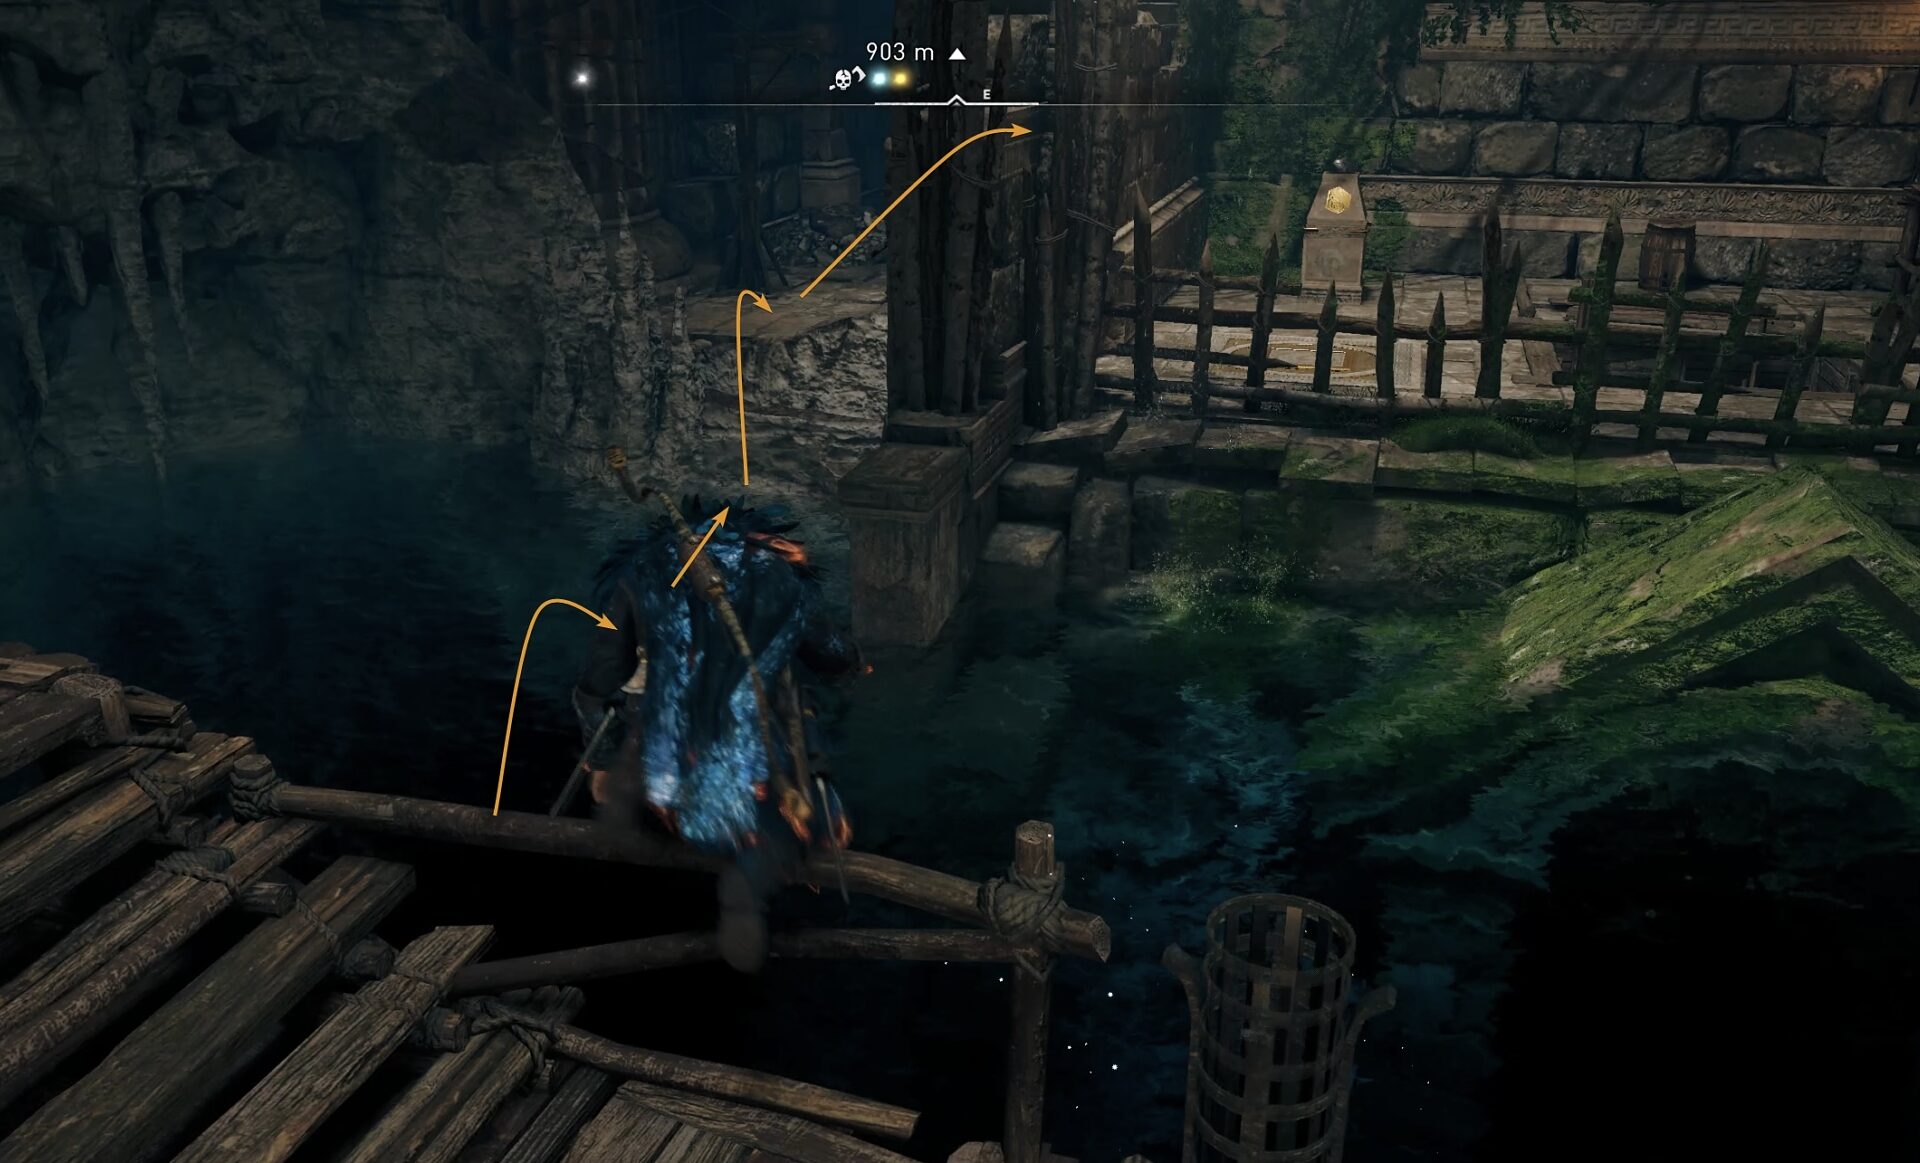
Another short underwater section follows. Be mindful of the rotating spikes. They don’t hit too hard, but are an annoyance and you can easily avoid them.
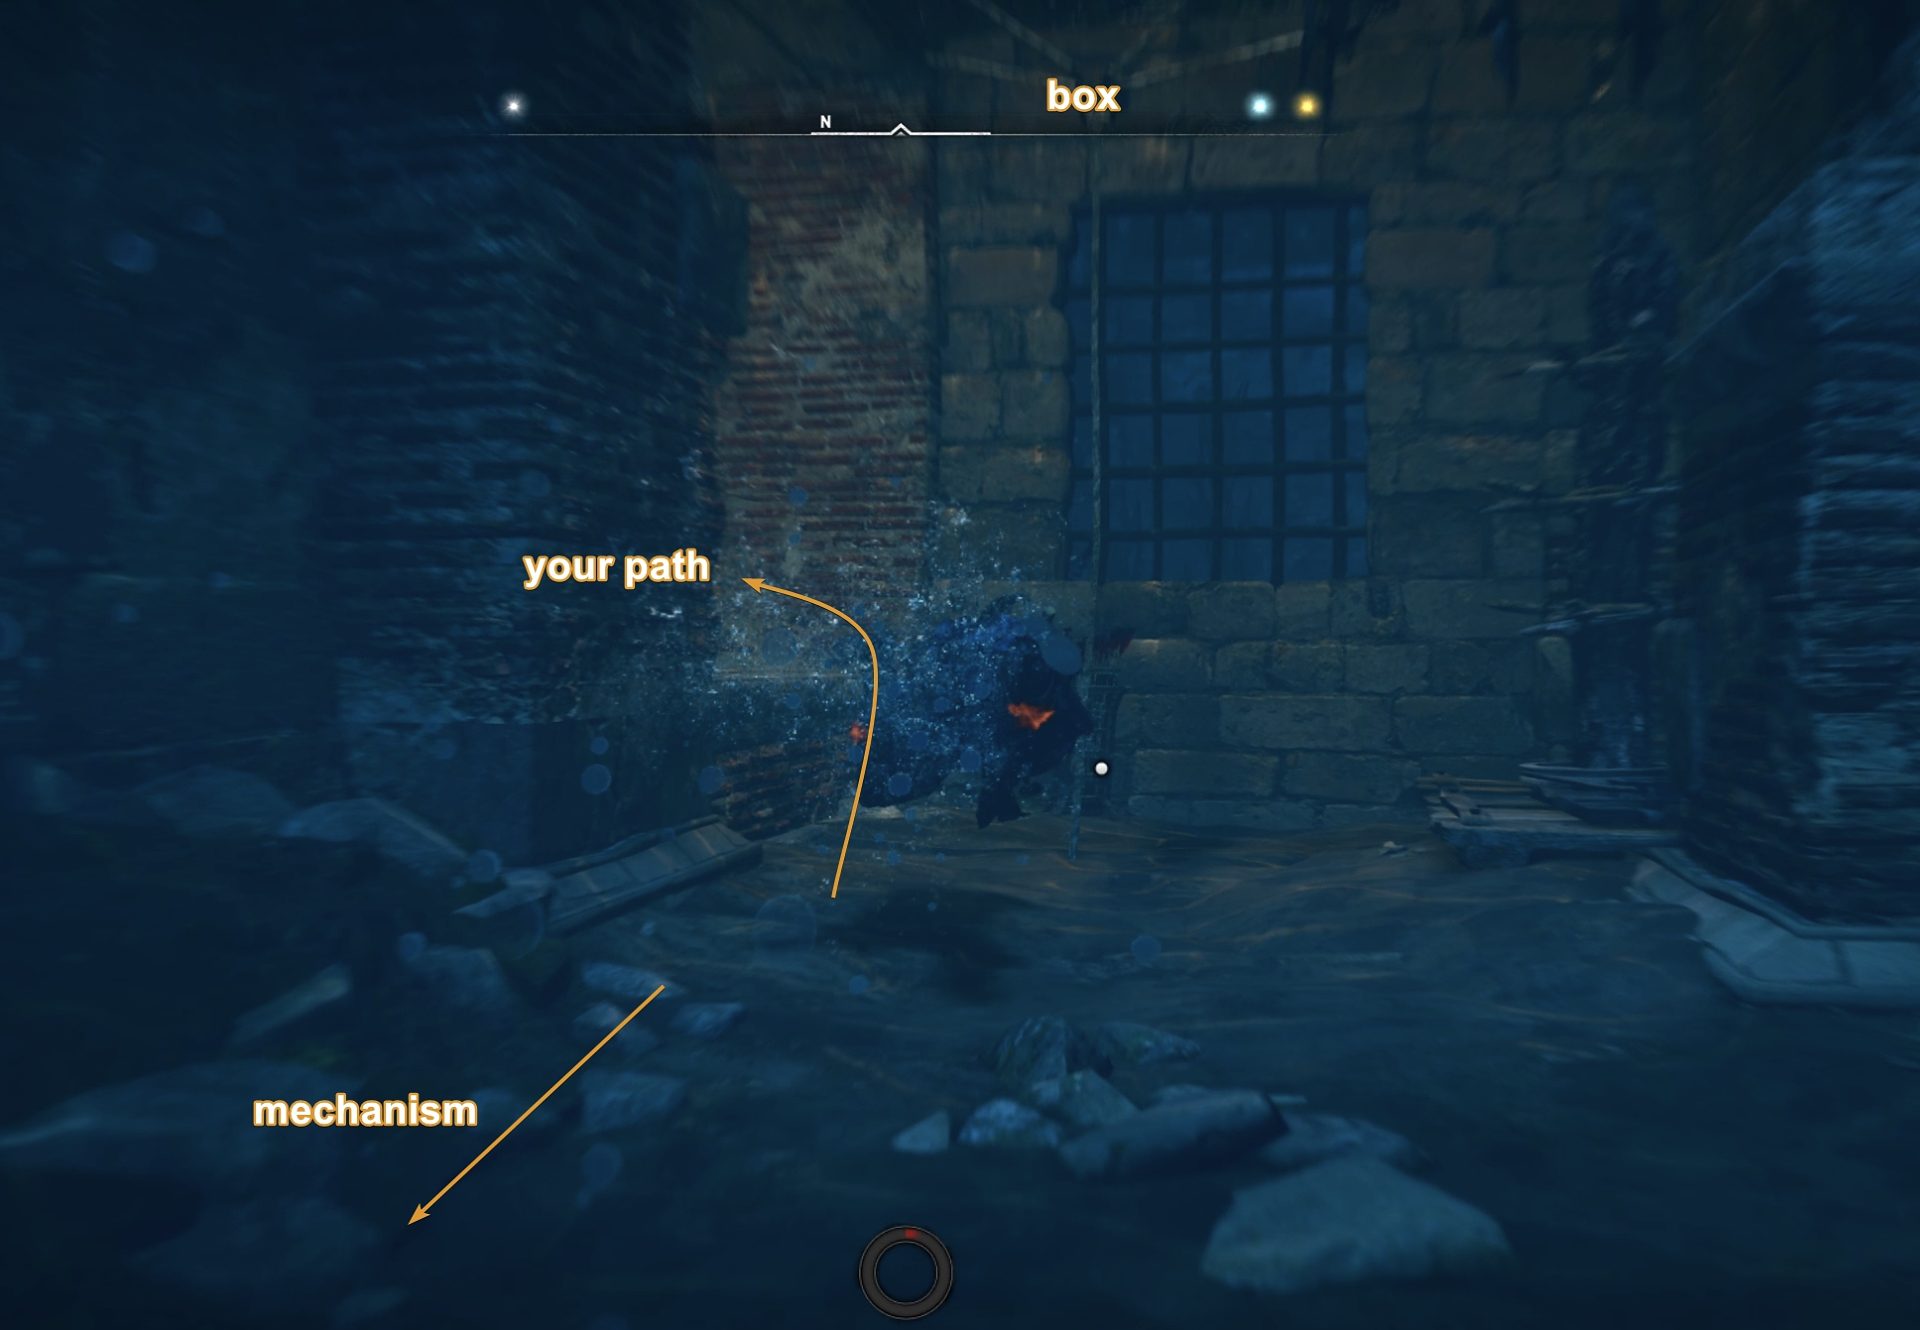
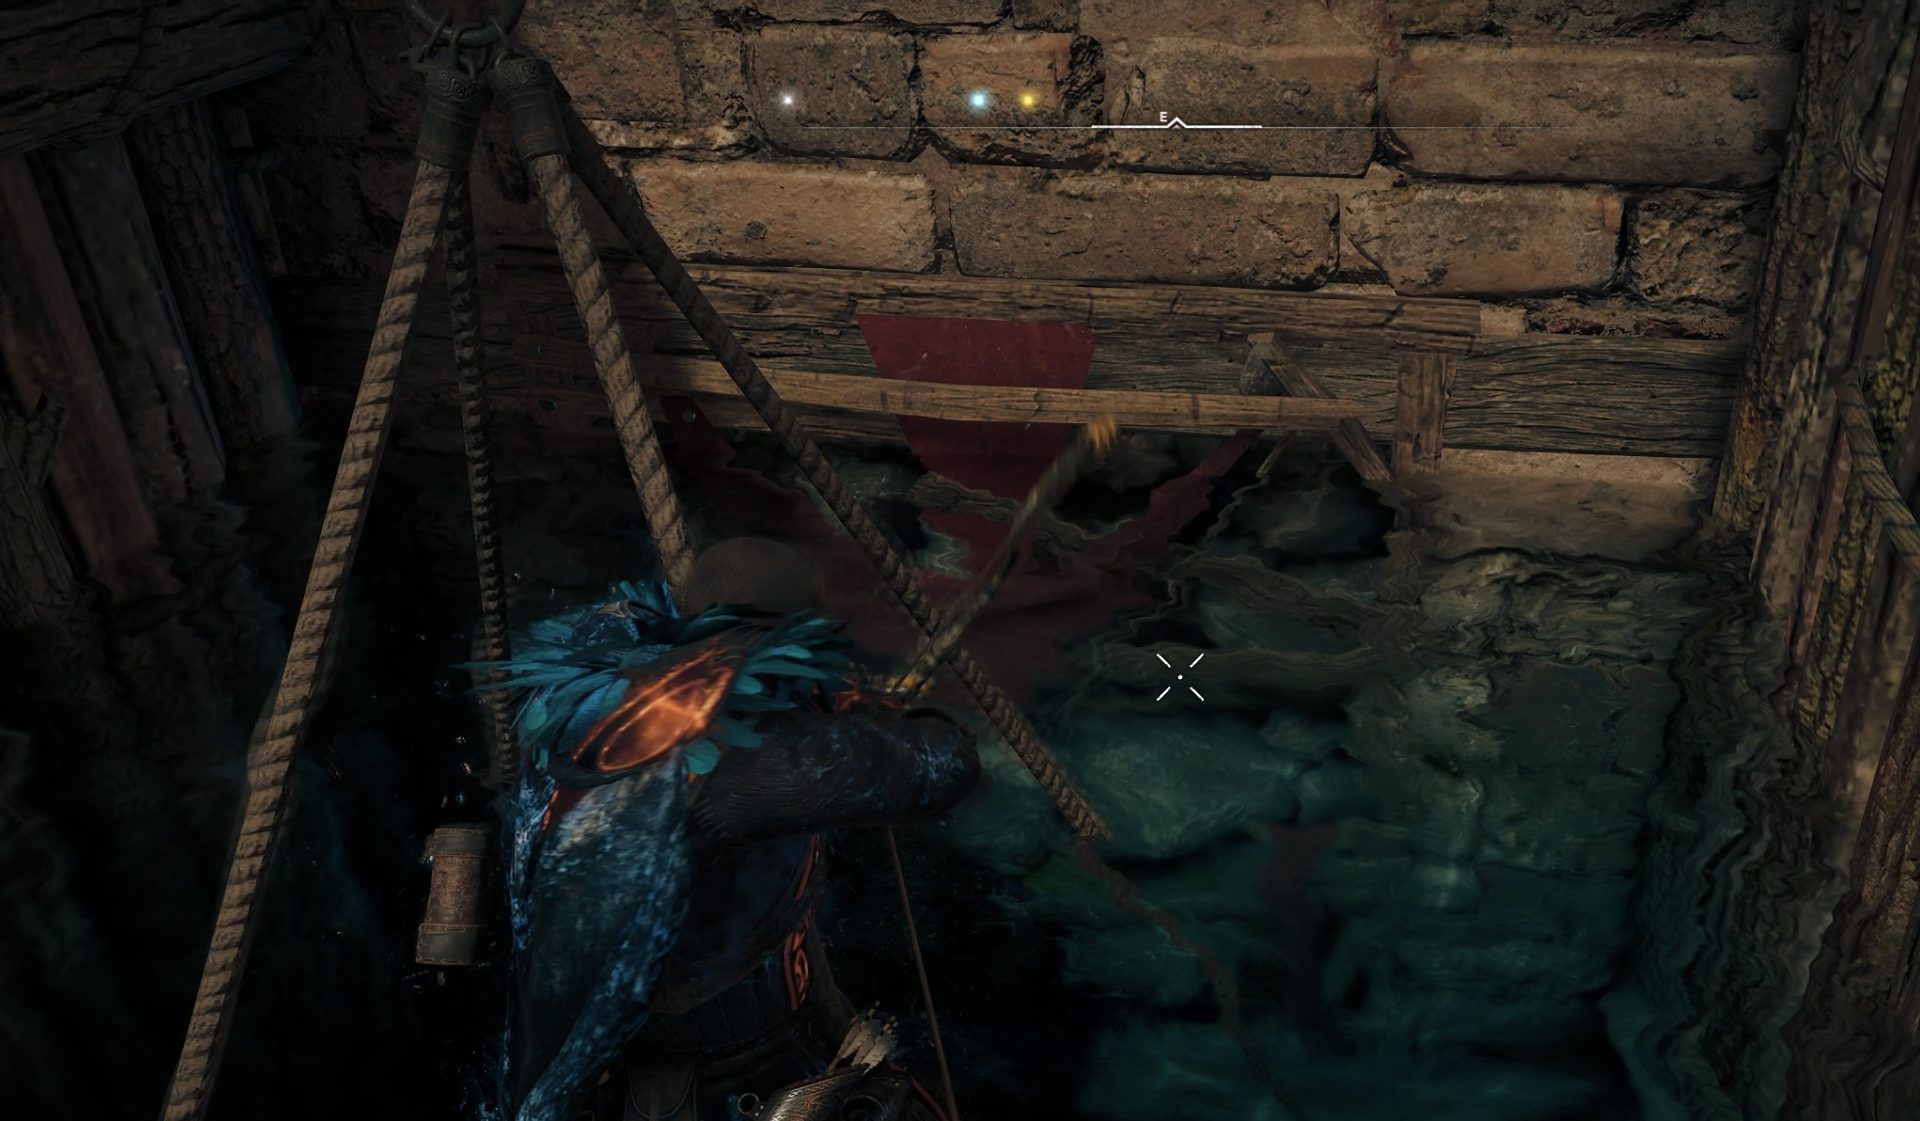
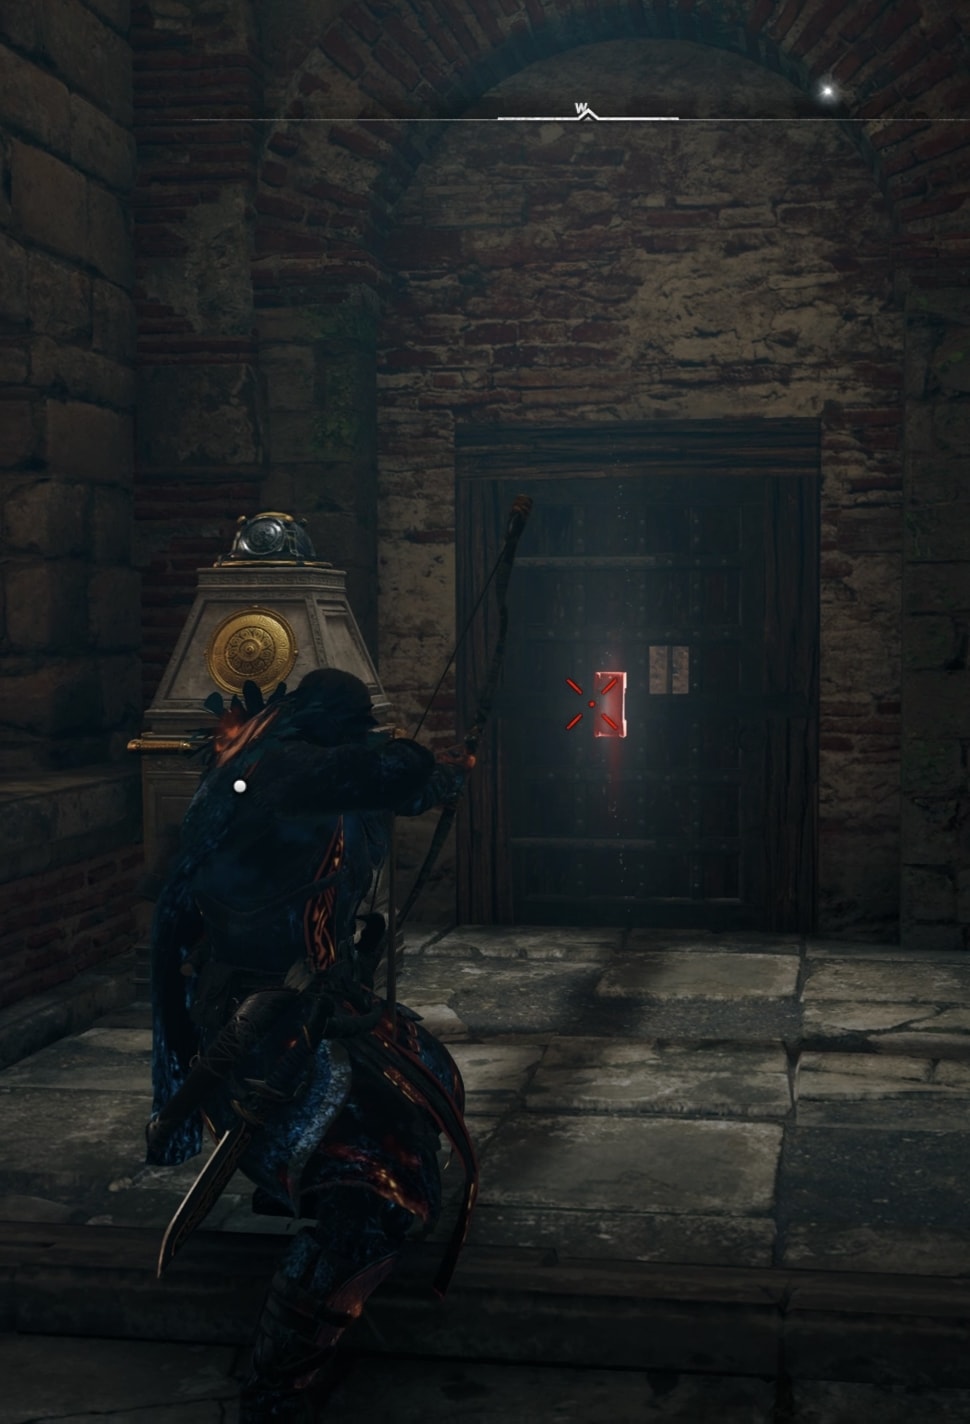
On the right, break the mechanism to open the door. You can only hit it with a melee hit while underwater. By the way, there will be several of these in this tomb.
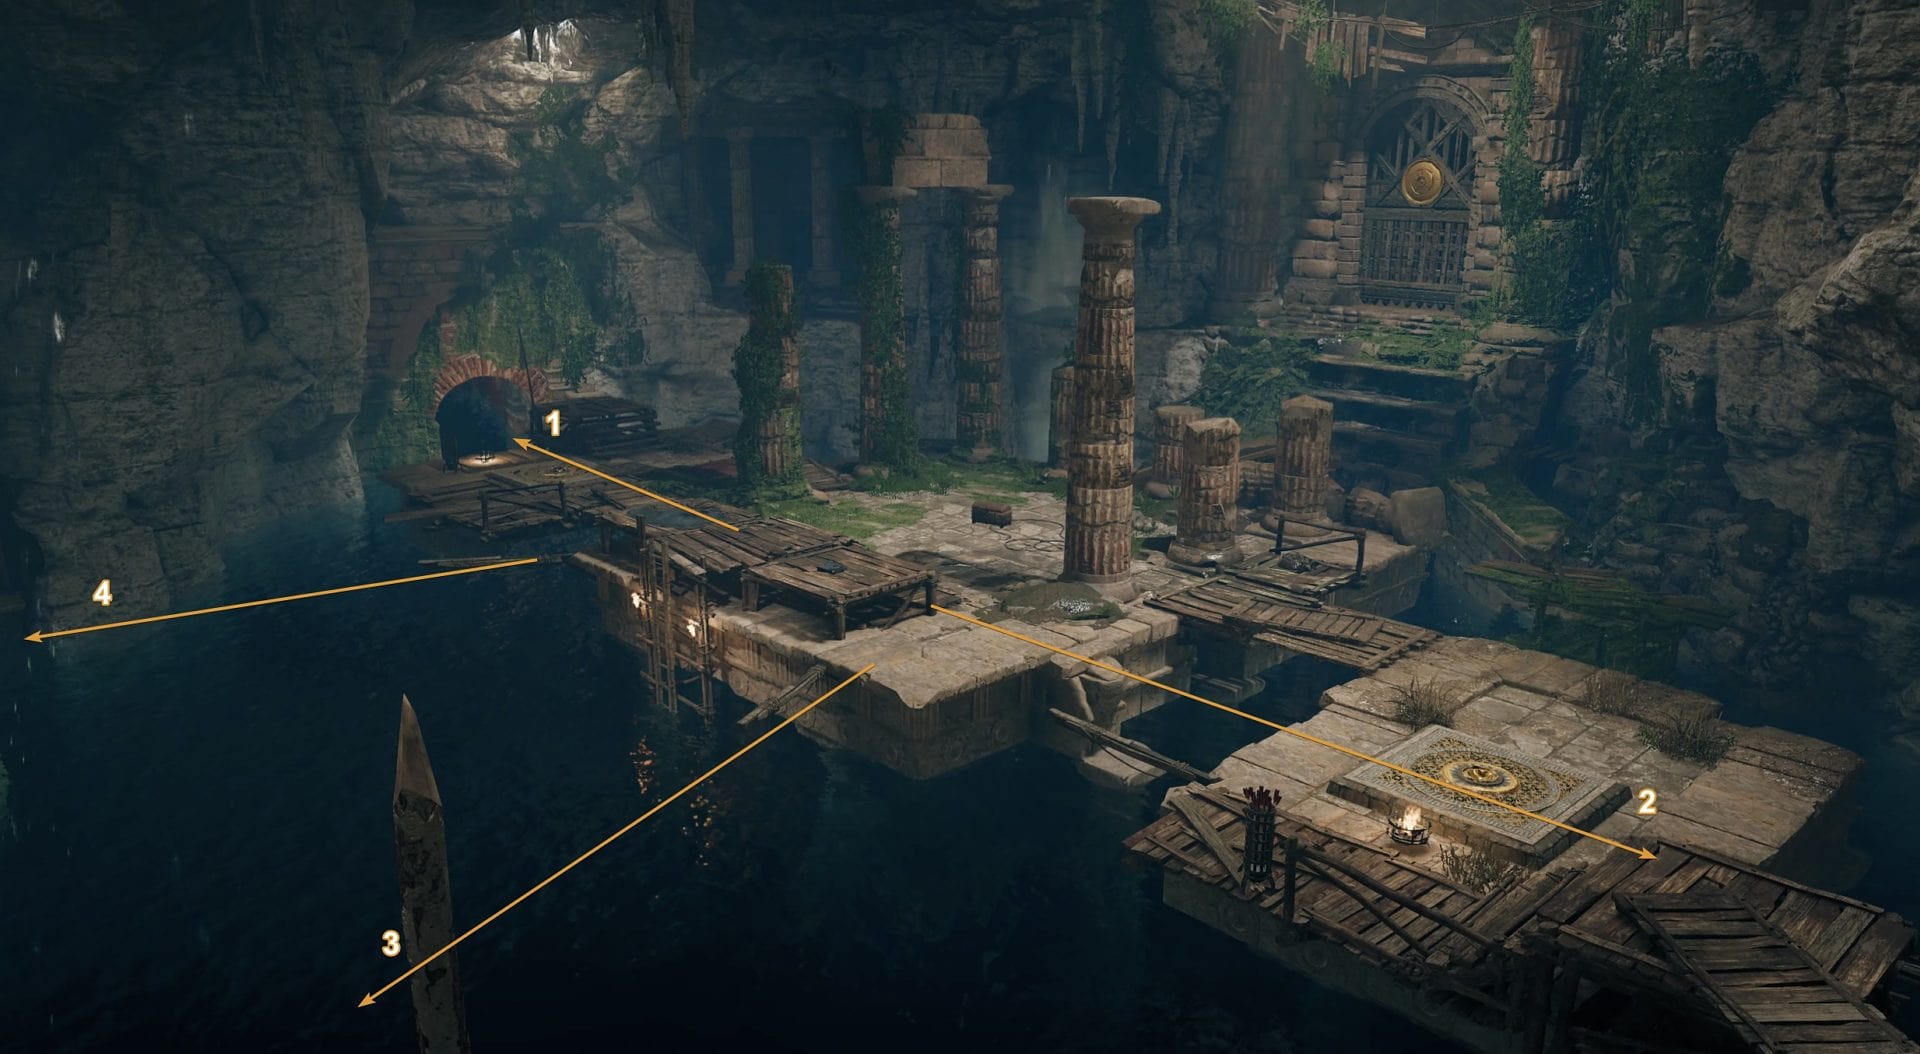
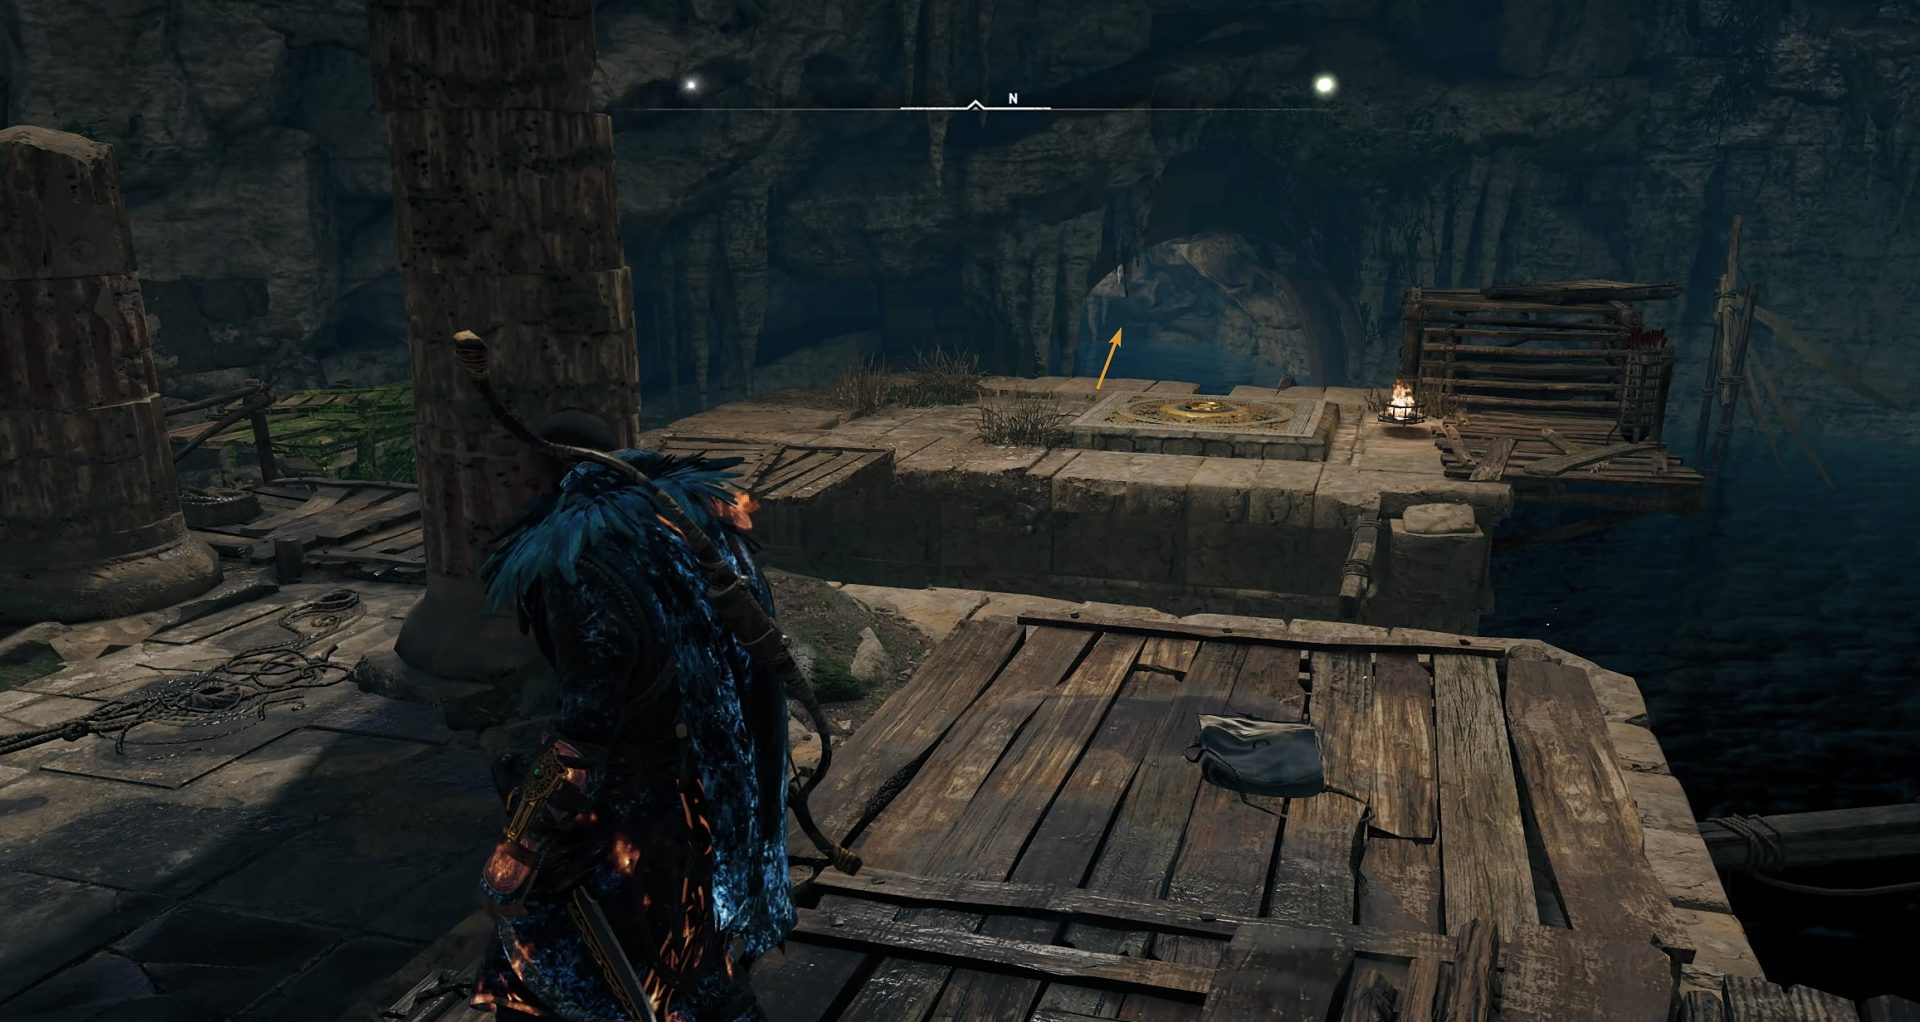
You will now find yourself in the main room of the cave. In front of you will be the main door for the tomb. In the numbered paths on the image below are the four directions you will need to explore.
Bring the first Sphere
As you face the tomb’s locked door, turn left and go through the arc. That’s the first path and it’s towards the south.
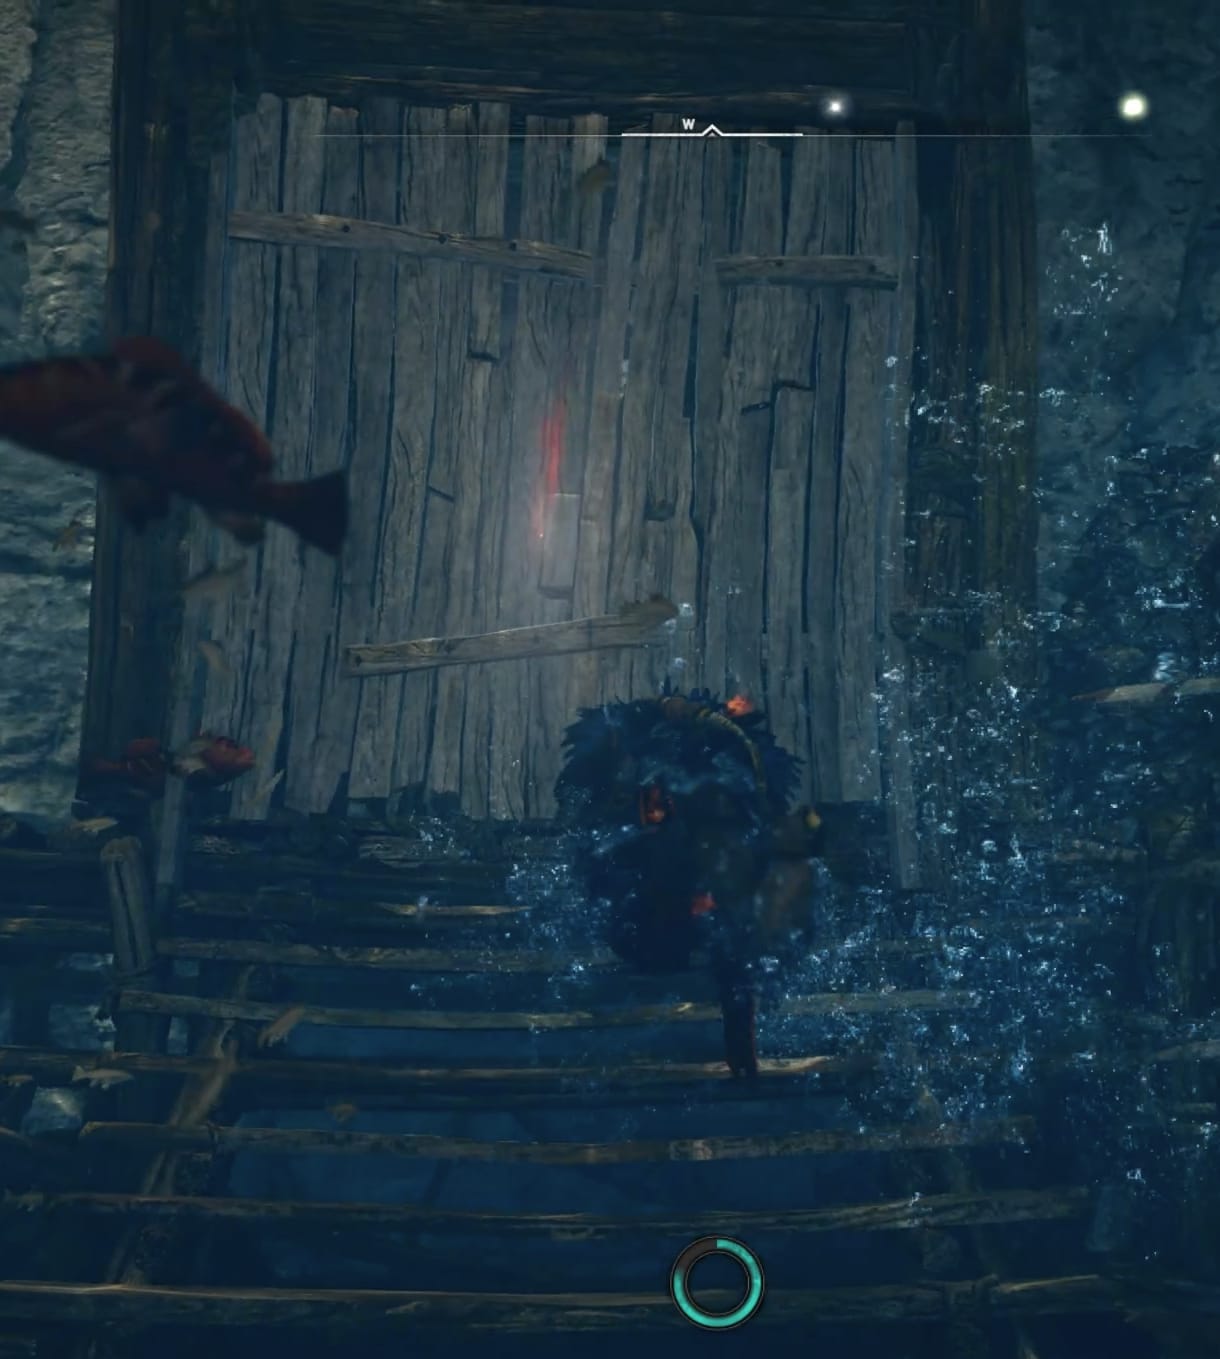
Dive underwater and swim to the other end of the corridor. Break the mechanism in the right corner to open the door on the left.
Swim to the end, navigating around the turns and spiked machines. Break the mechanism and turn back to see the wooden cage being lifted. You can pass underneath it now.
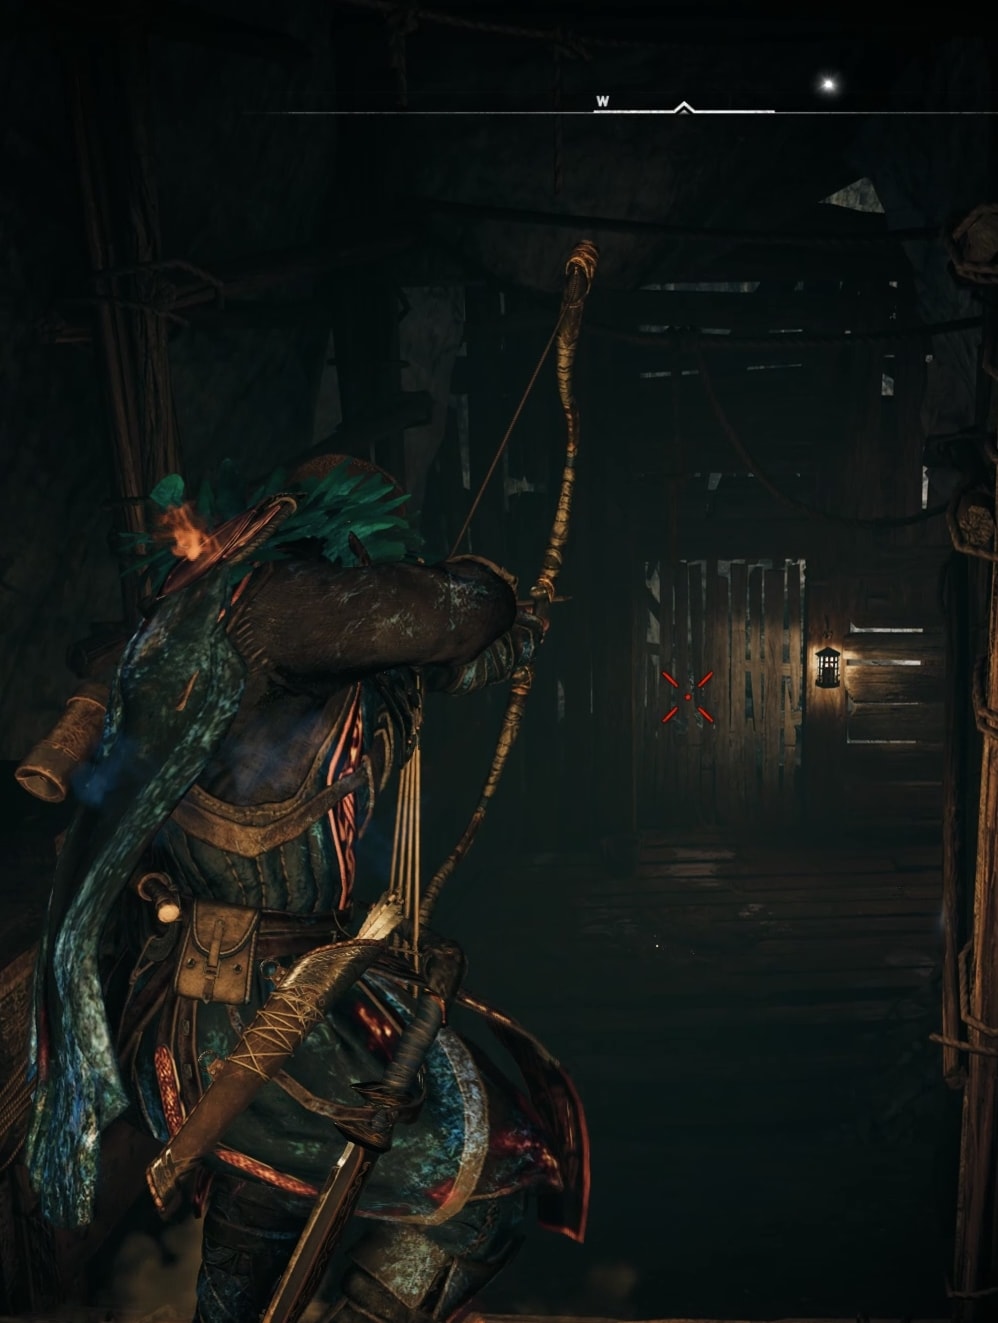
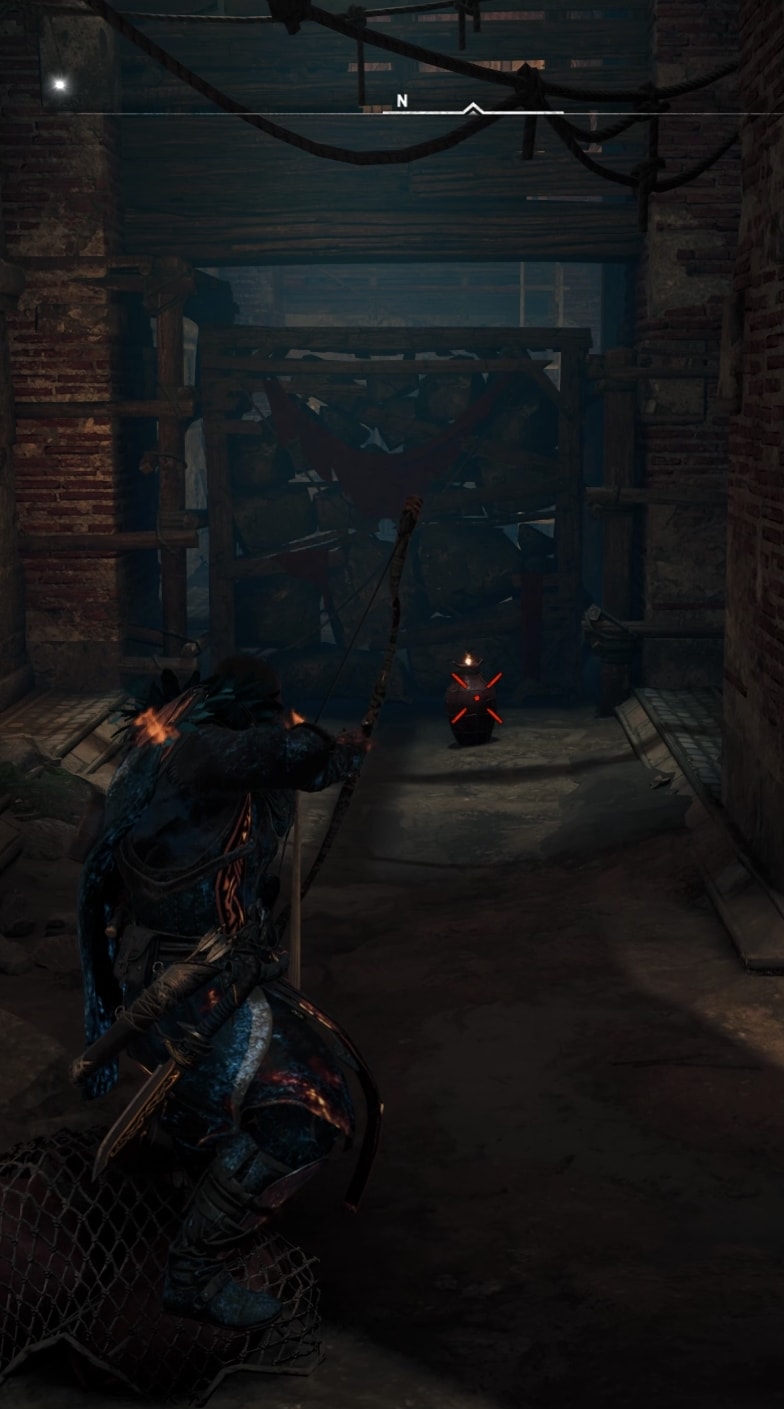
As you swim to the surface, turn back and climb onto that platform above the water. Aim and shoot the mechanism that will lift up the platform in front of you from the water. Then shoot the wooden fence too.
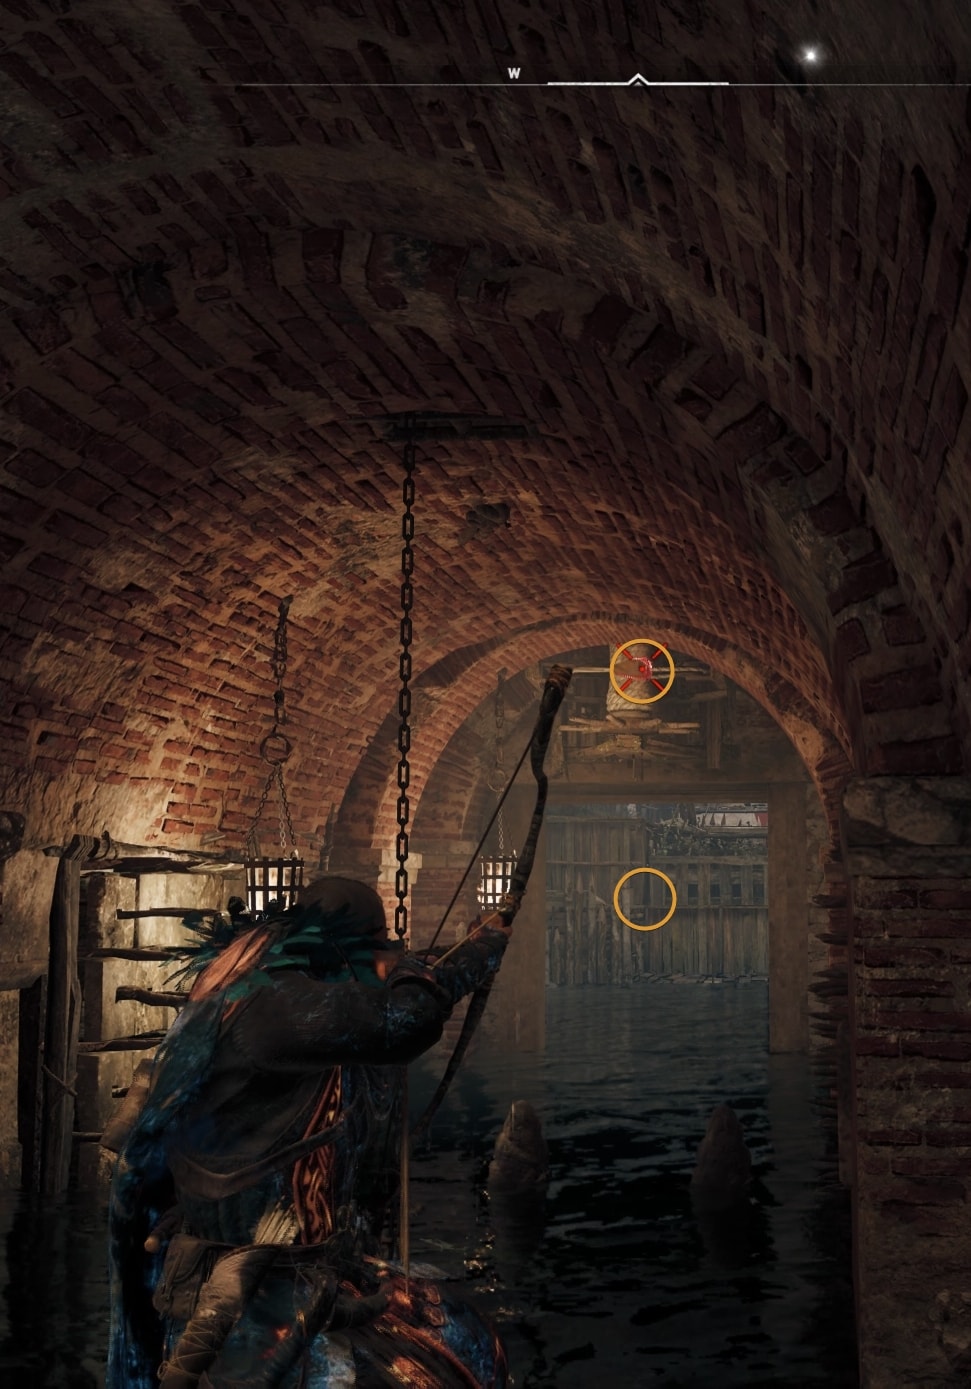
In the next room, climb up and head to the left.
Hit the mechanism down below to lift up the platform from the water.

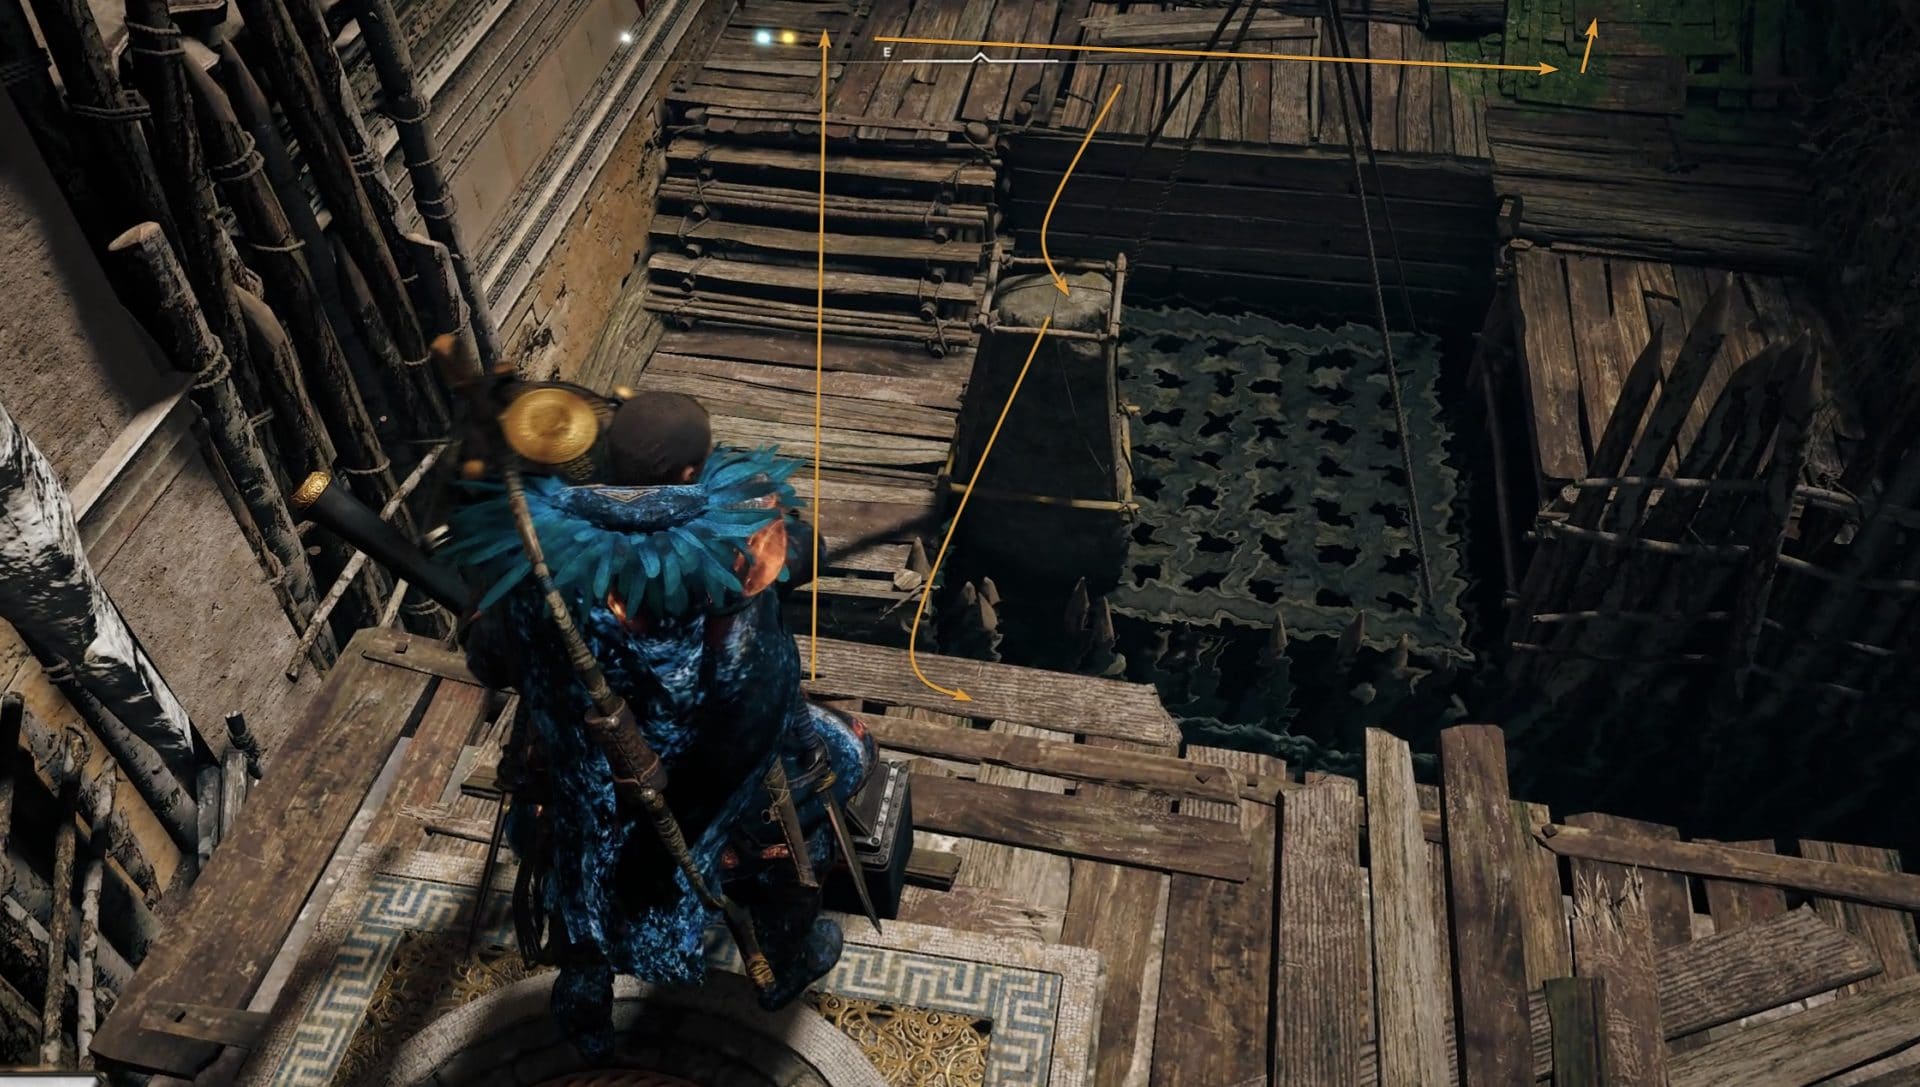
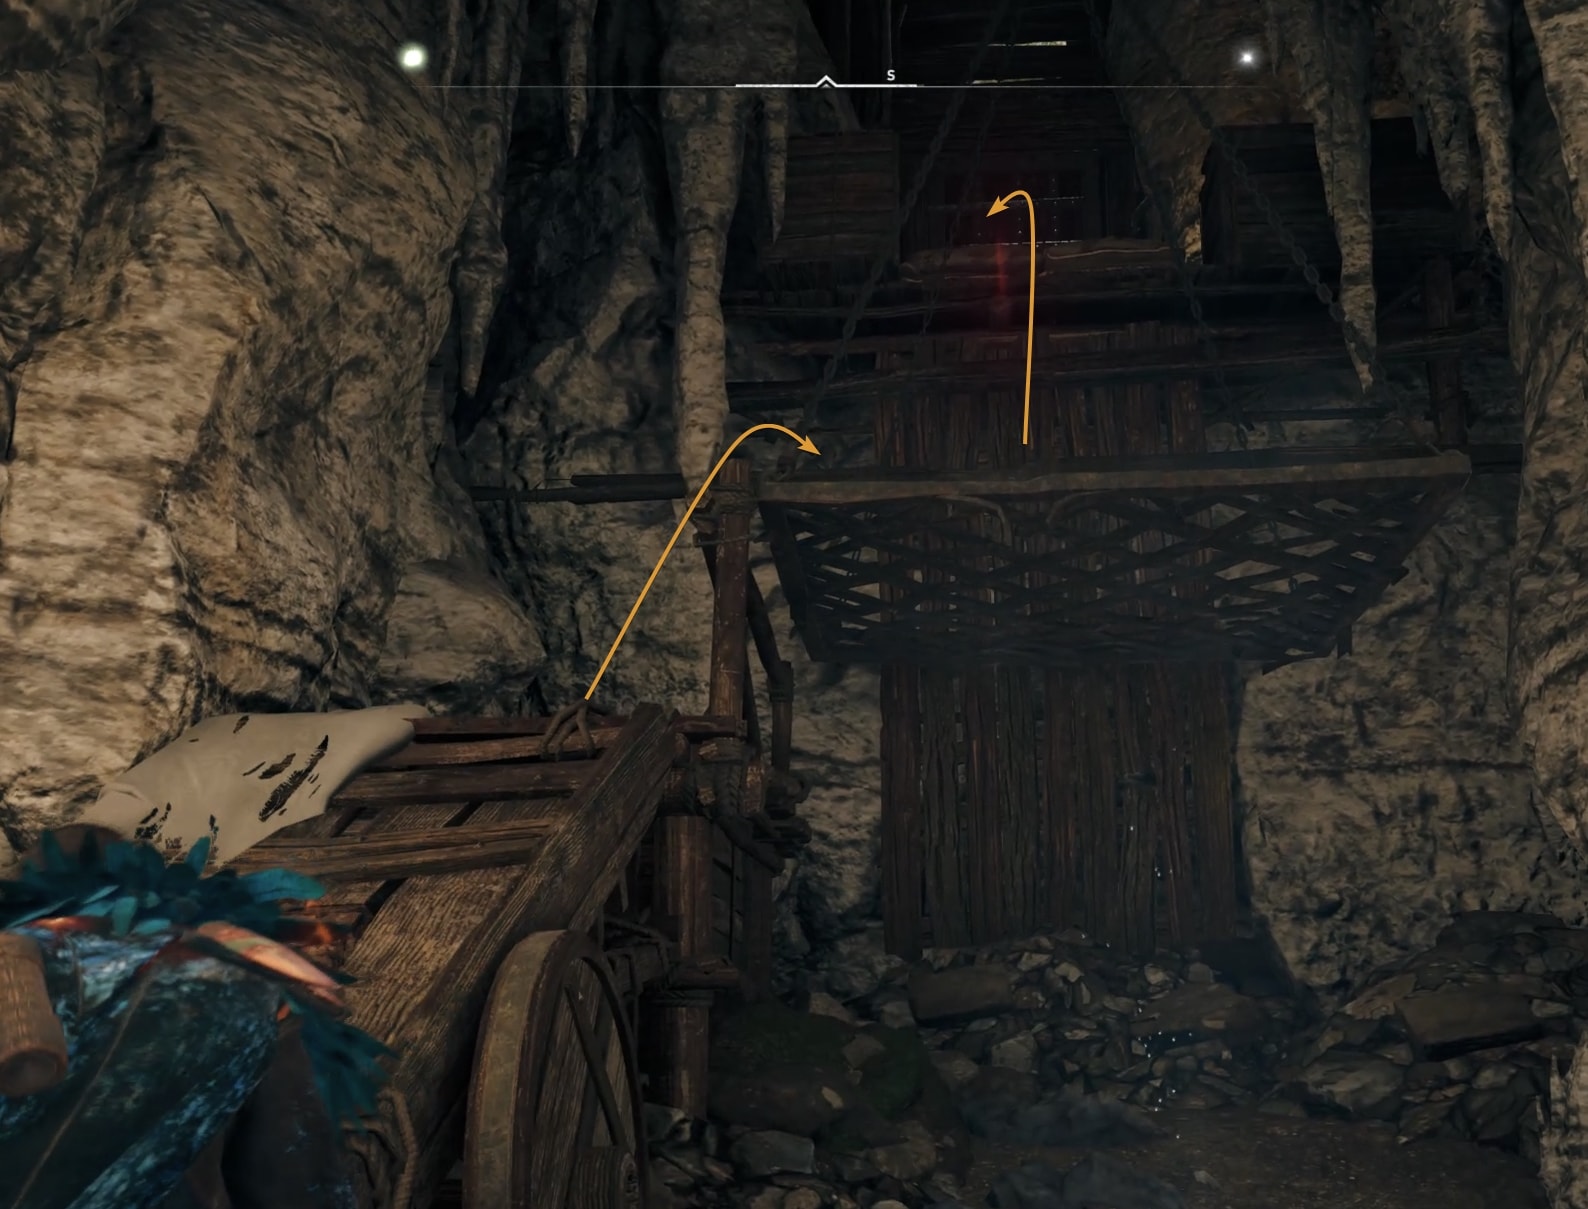
Move the stone object forward to drop it onto the other side. Climb up on the wooden cage and move the stone on top of it. This will force the cage to go lower and stay there.
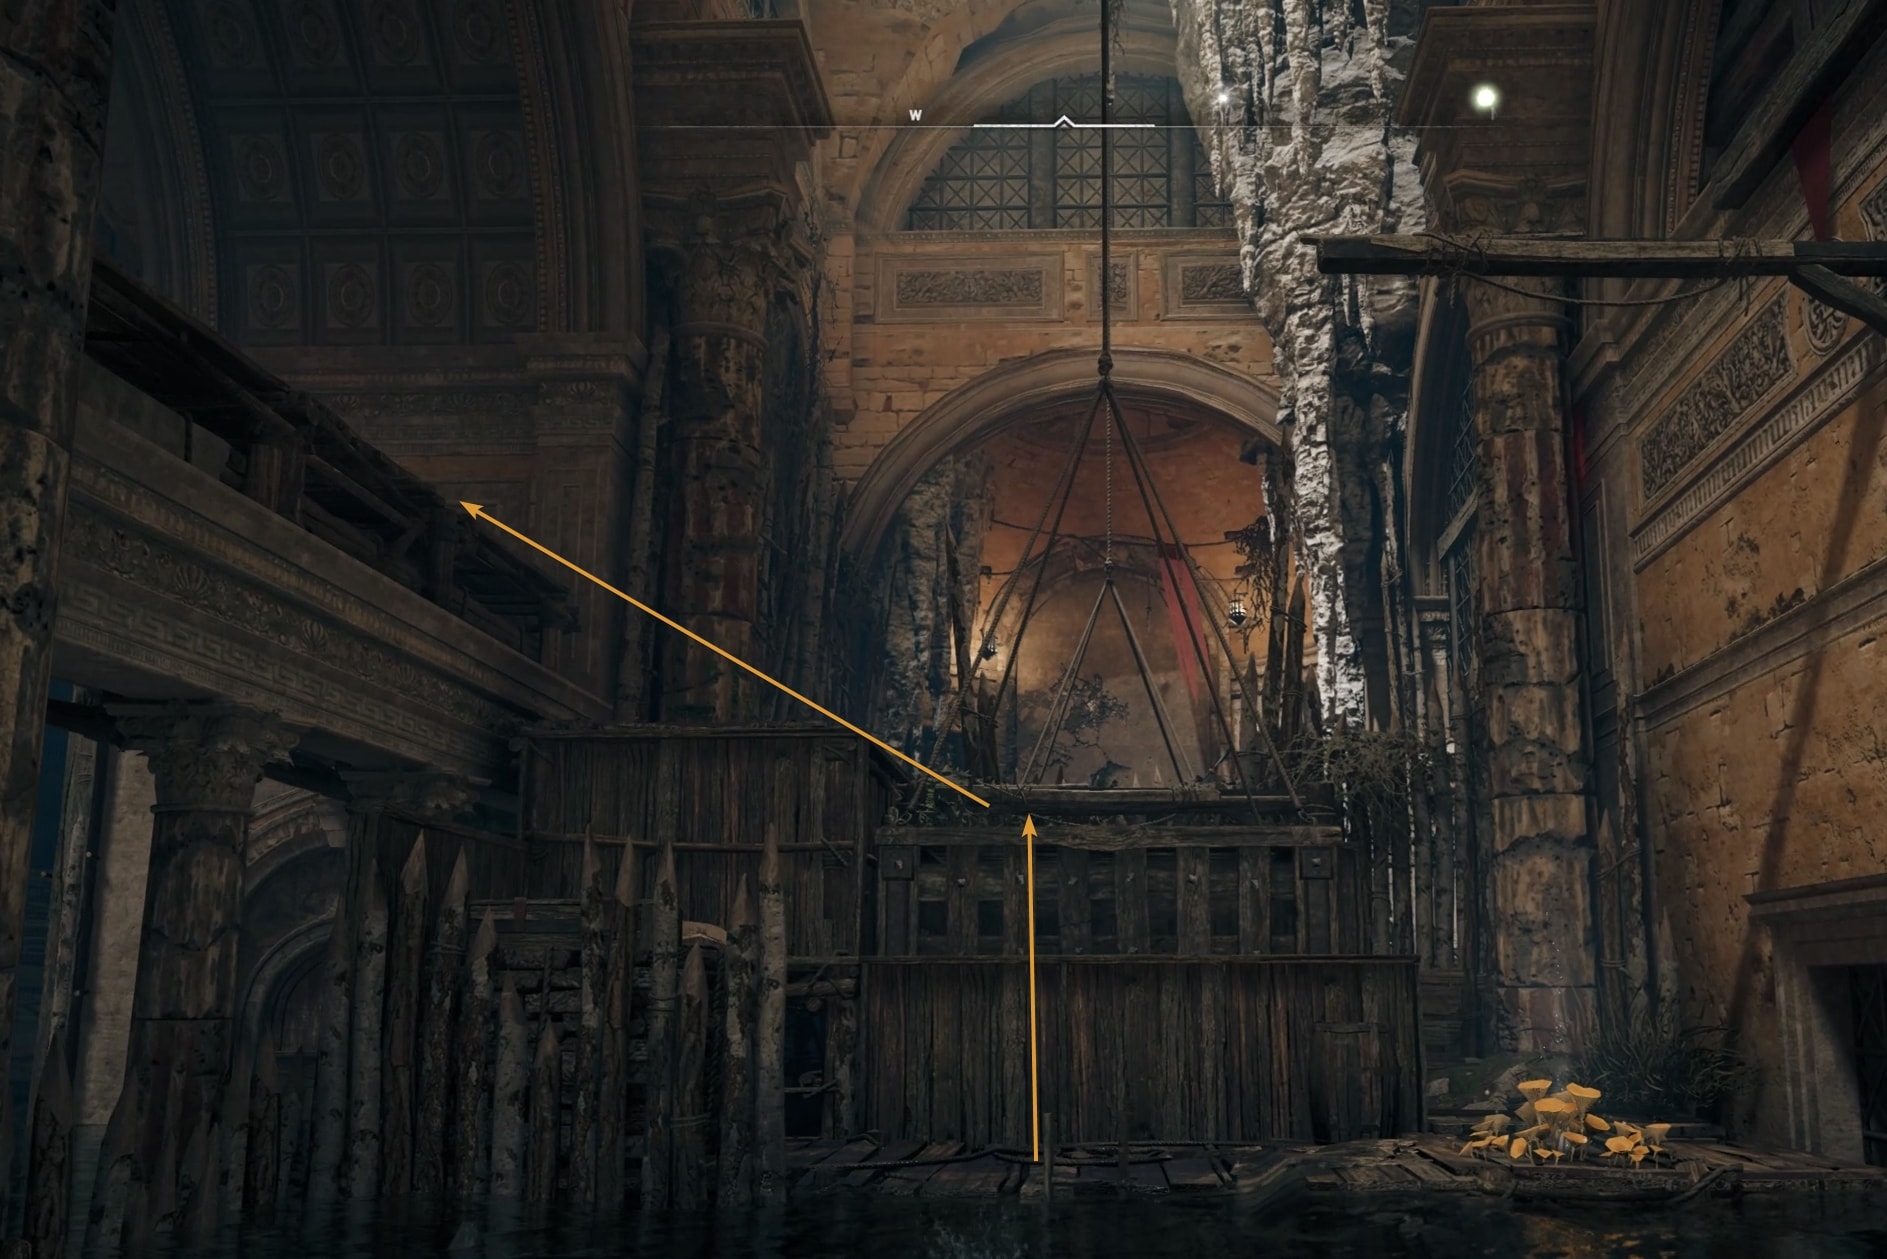
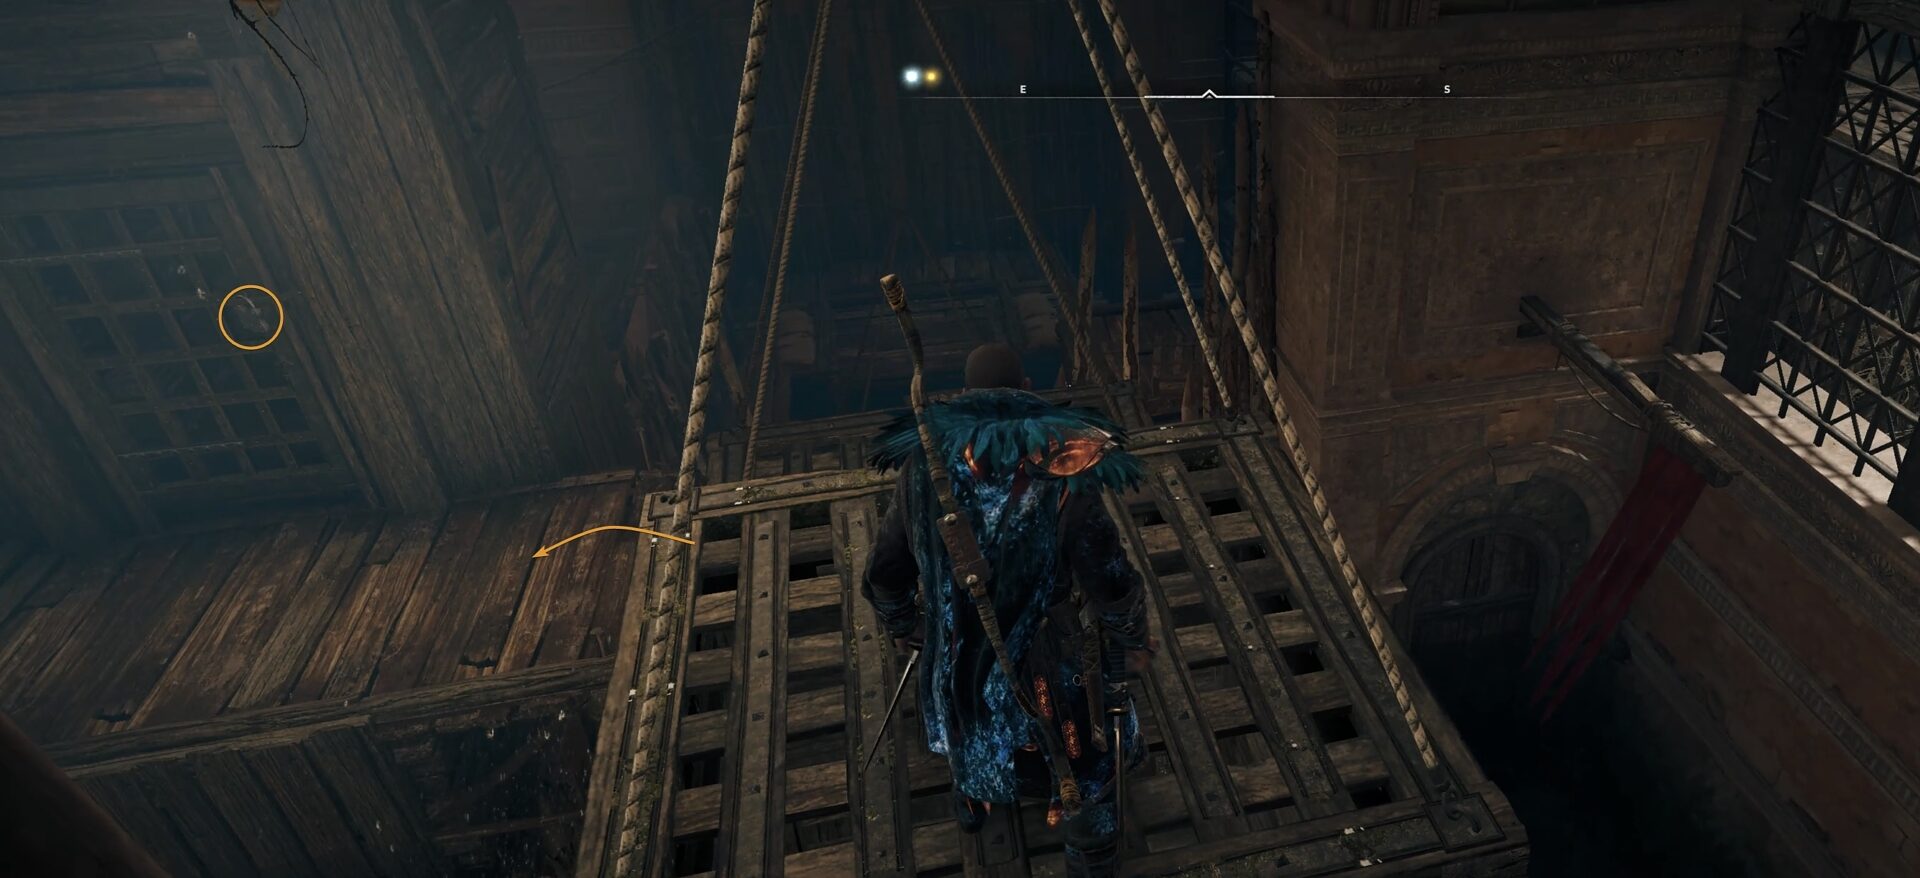
From here climb the ramp and get on top of the wooden cage, then jump on to the wooden beam and climb up to the other side on the left, as shown on the image below.
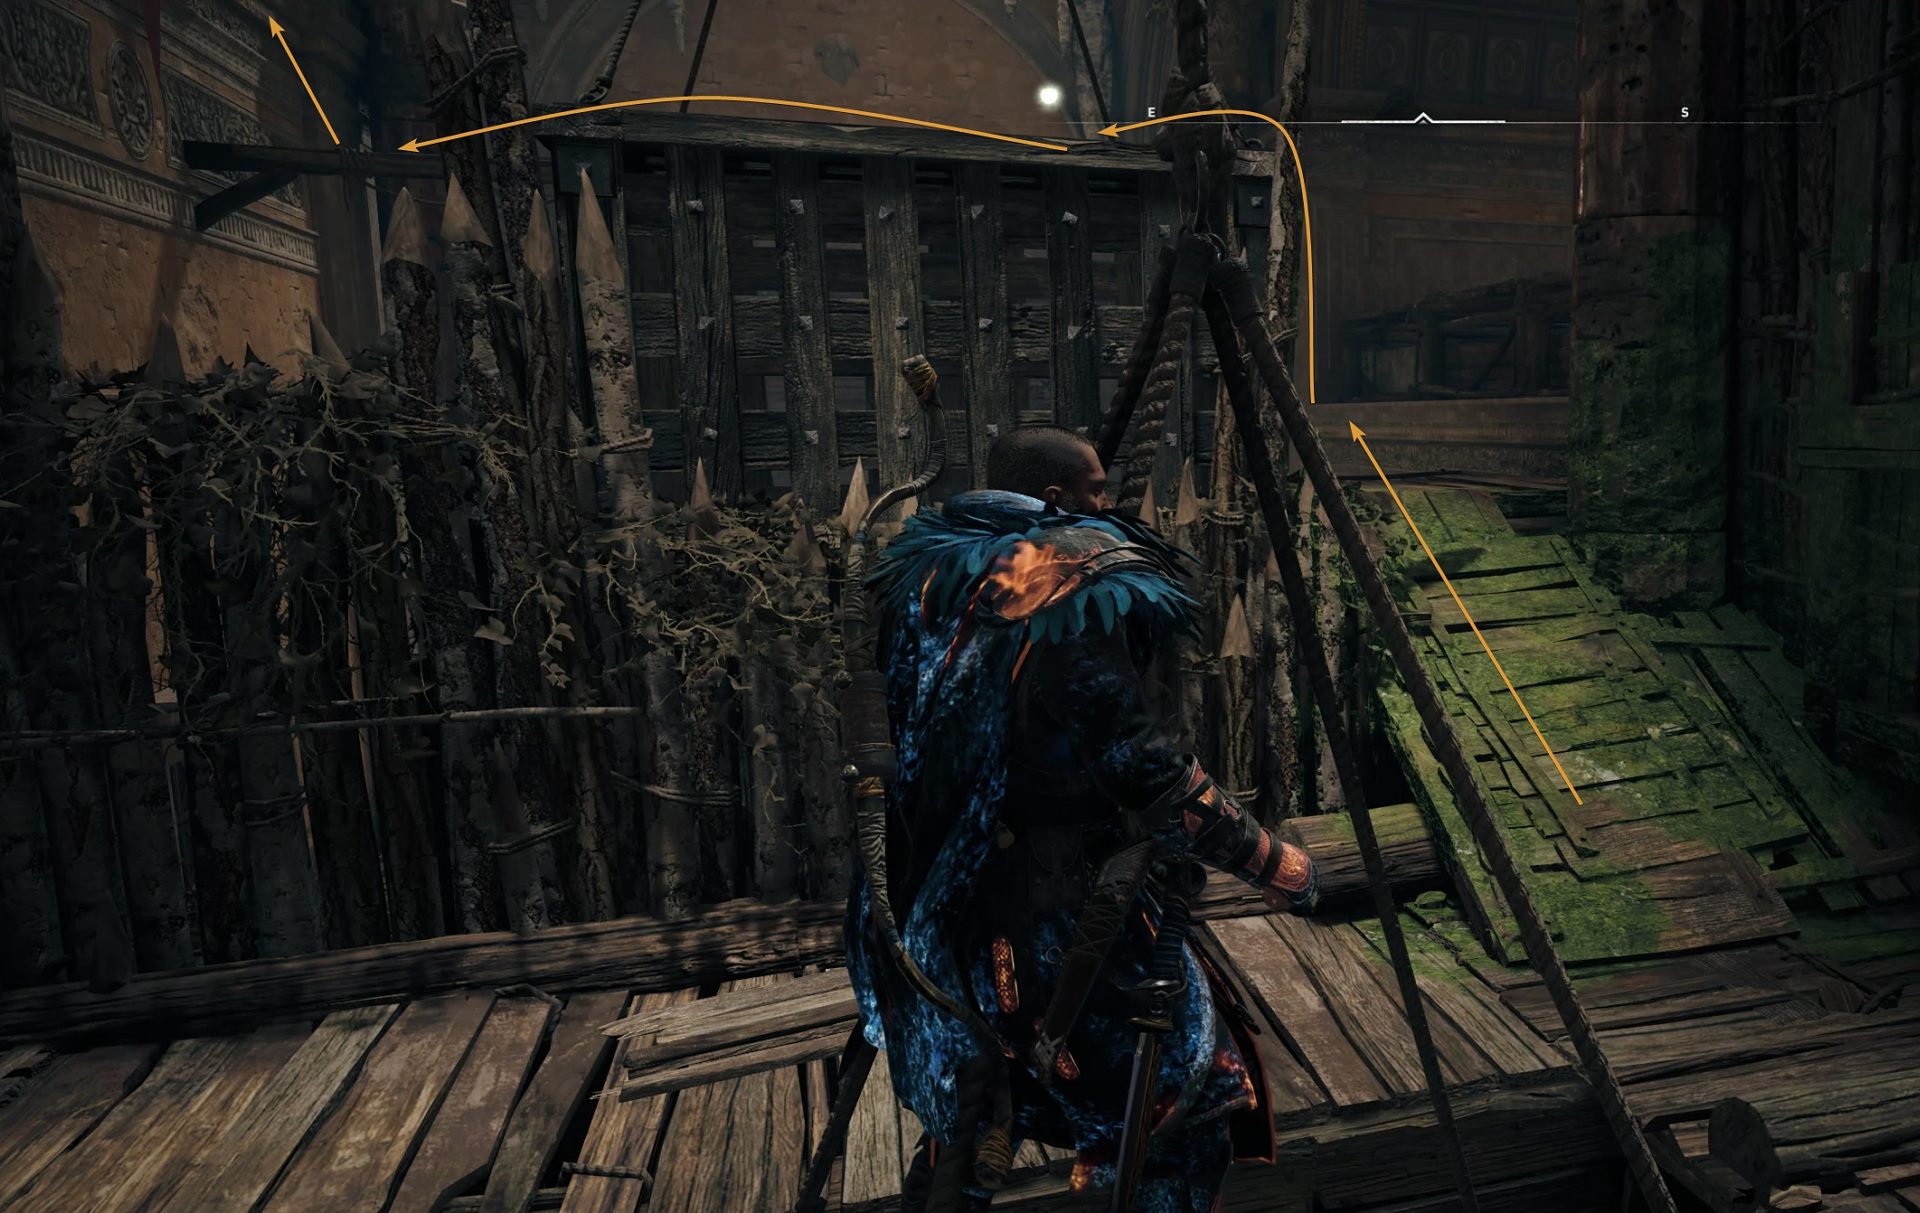
Jump down and move the stone object on top of the cage.
Move the stone object to the corner of the cage below and jump from it over to the other side.
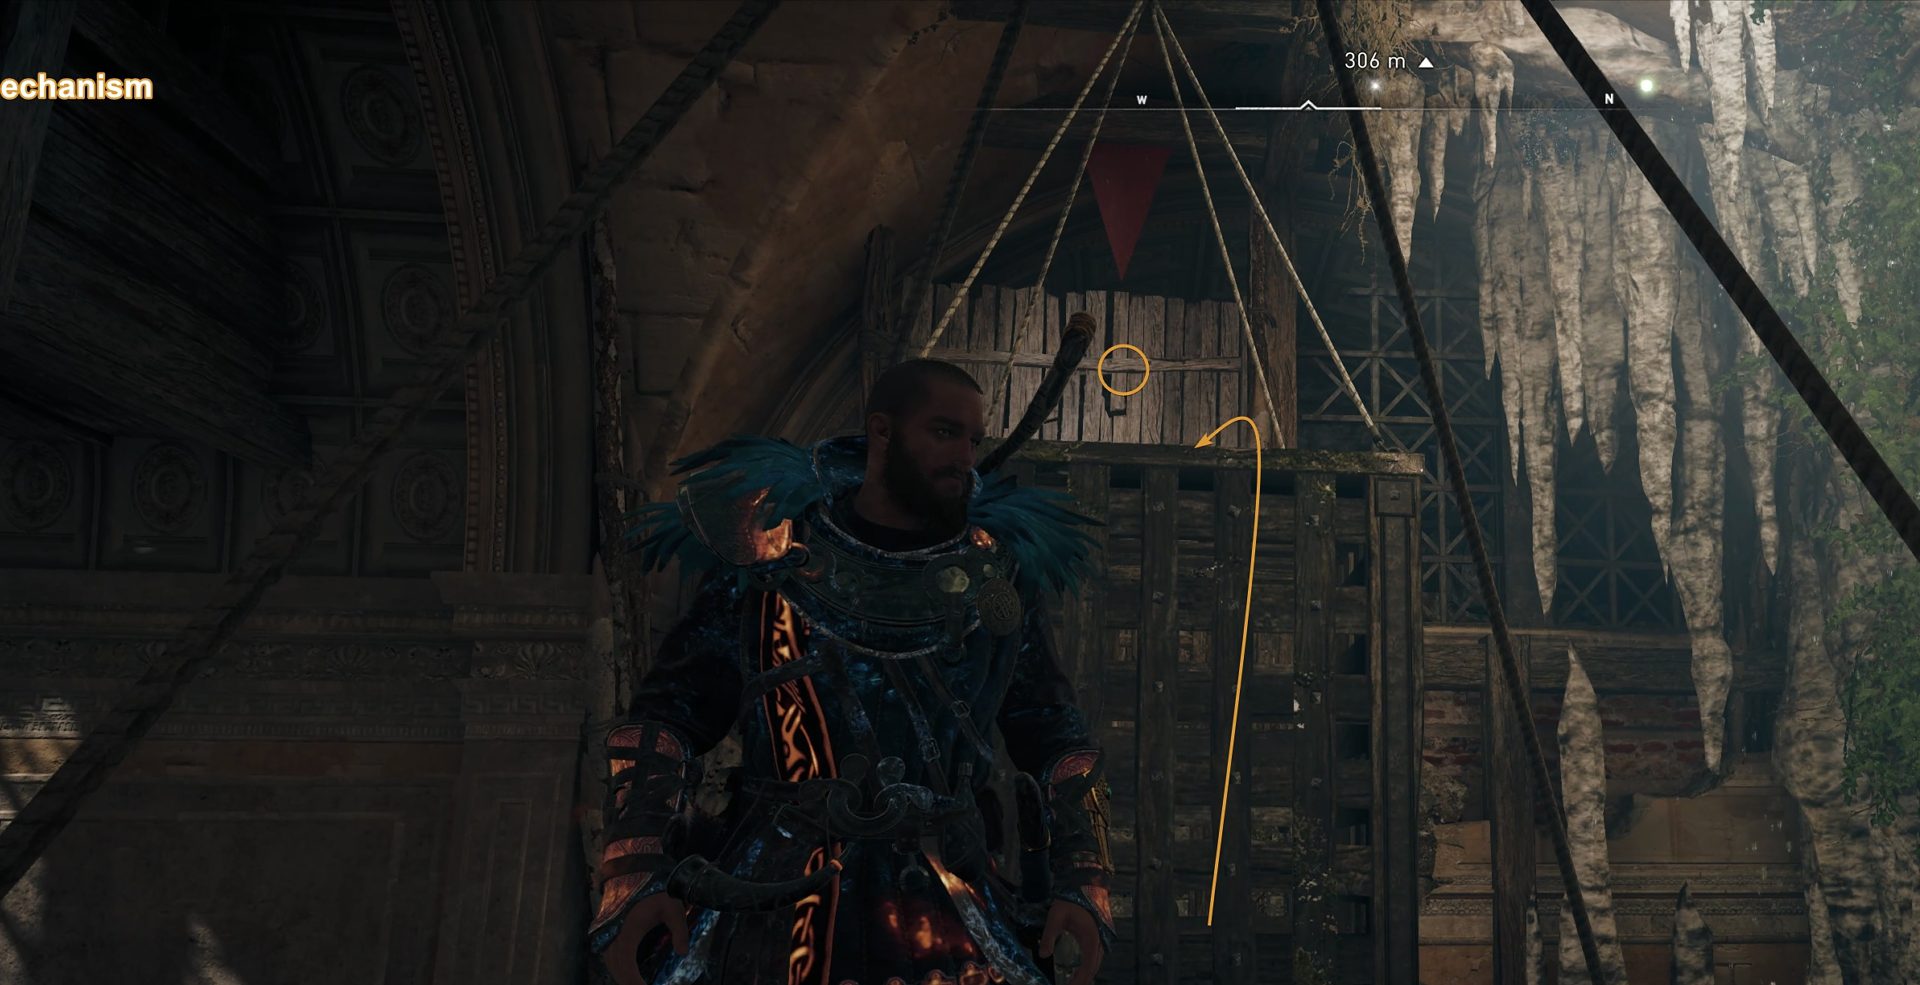
Jump on top of the cage. Then jump down on the left side and look up. Shoot this mechanism. It will lower the other cage a bit so you can climb onto it.

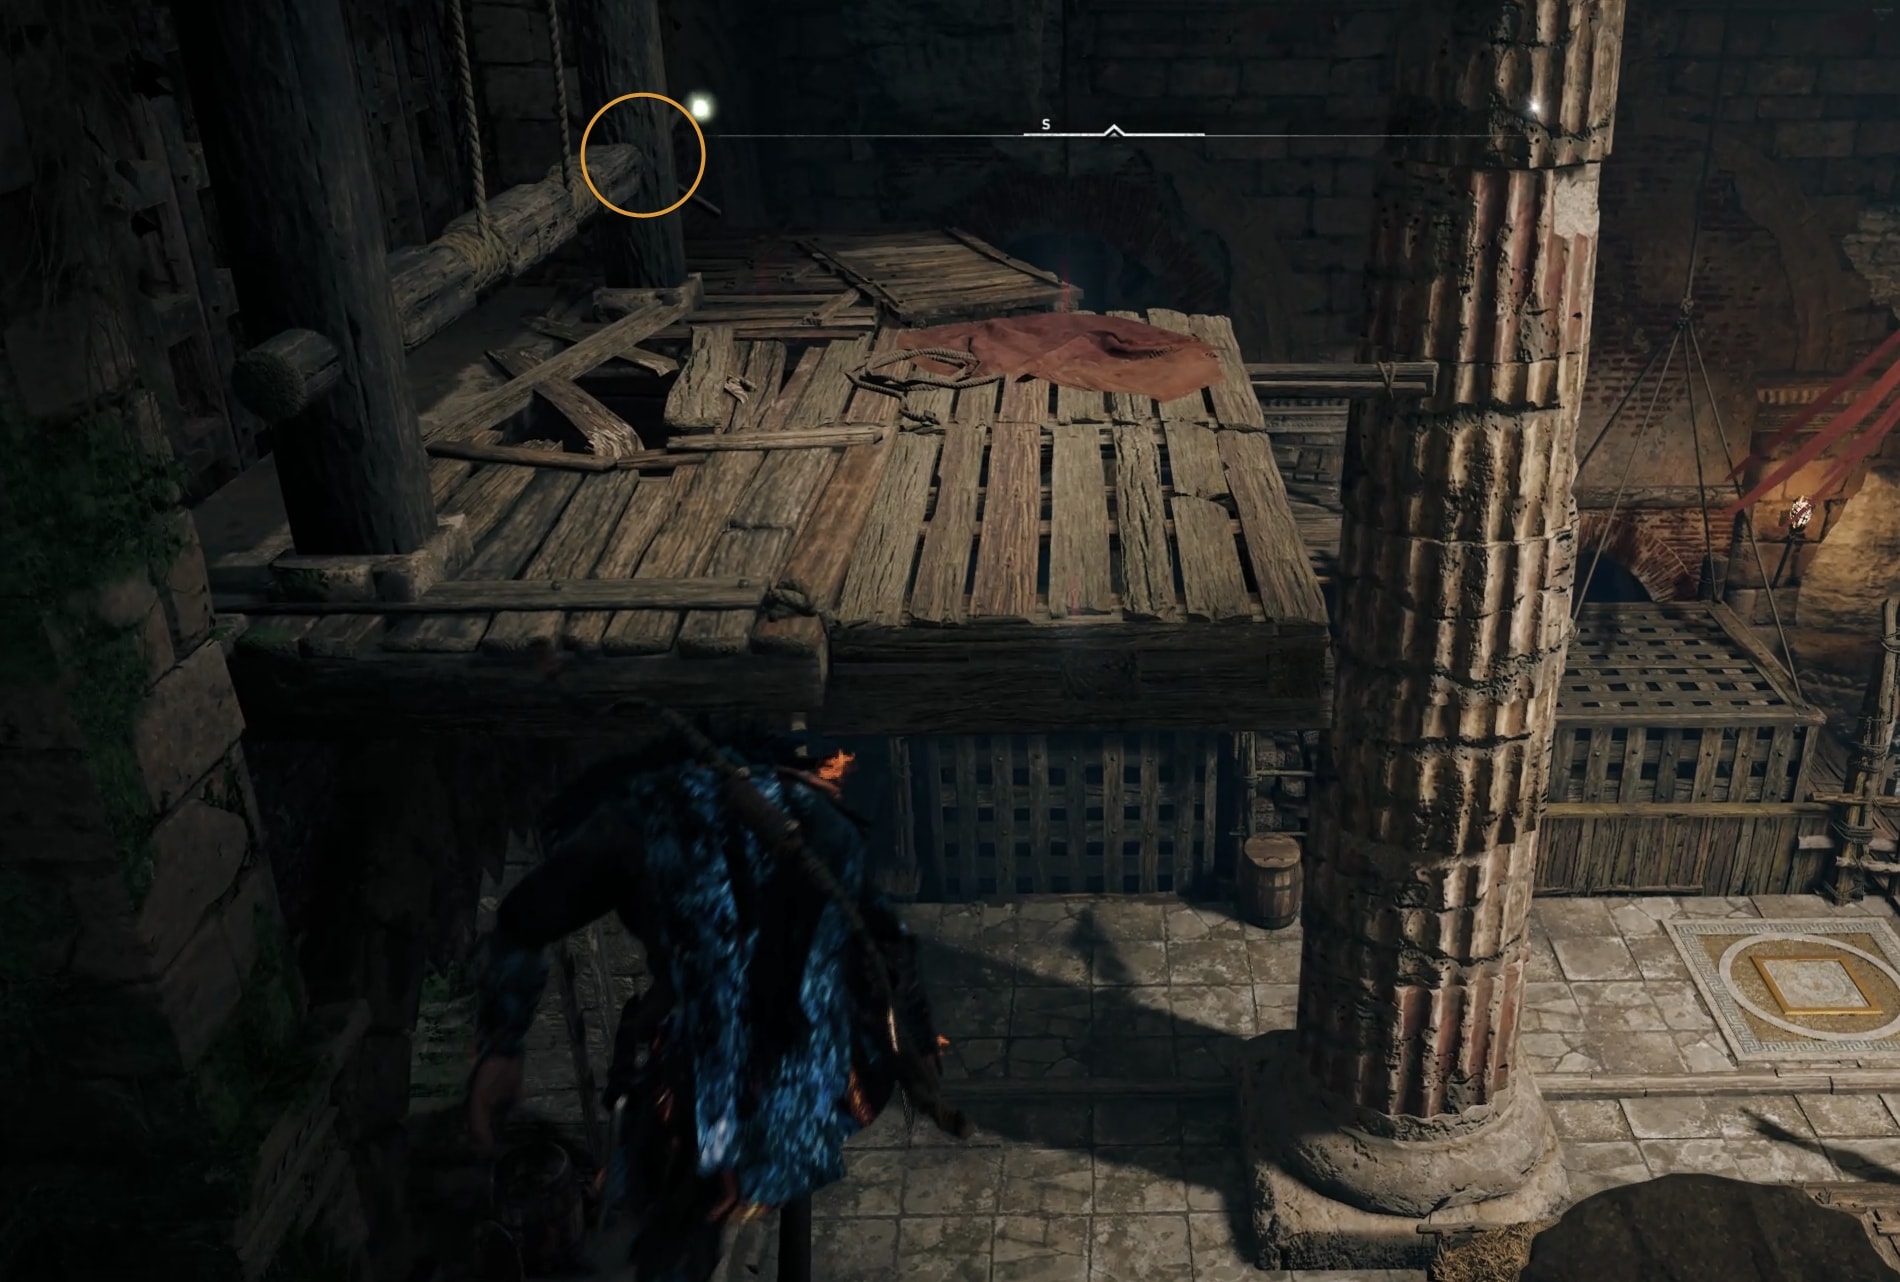
Climb onto the wooden cage when it comes closer to you and shoot the weak wooden fence to clear your path.
The key will be up there on a skeleton remains of a human.
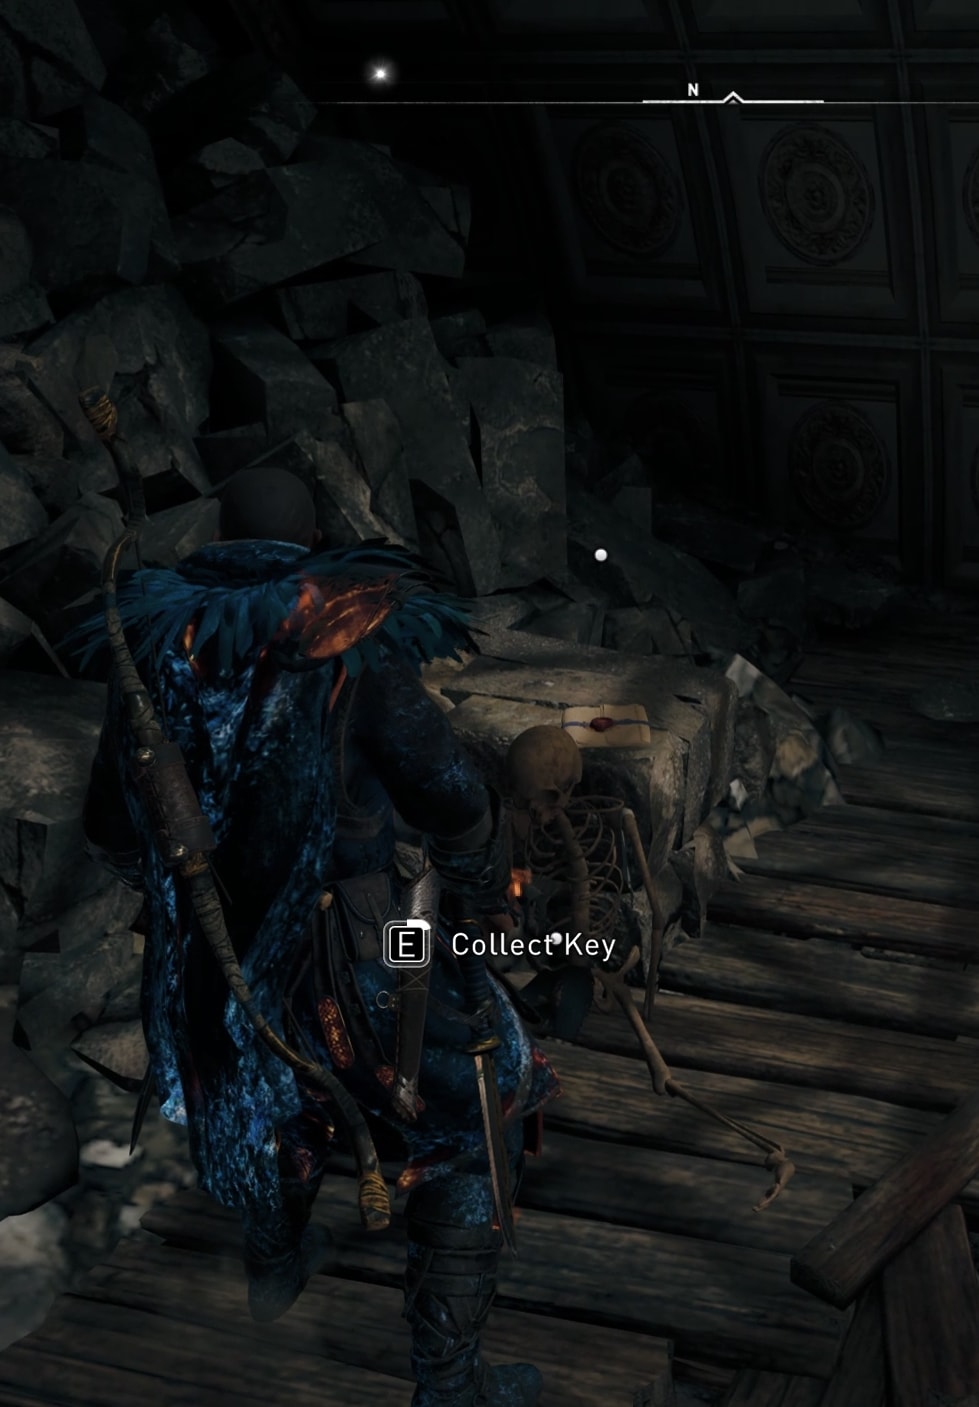
The key is for this door here:
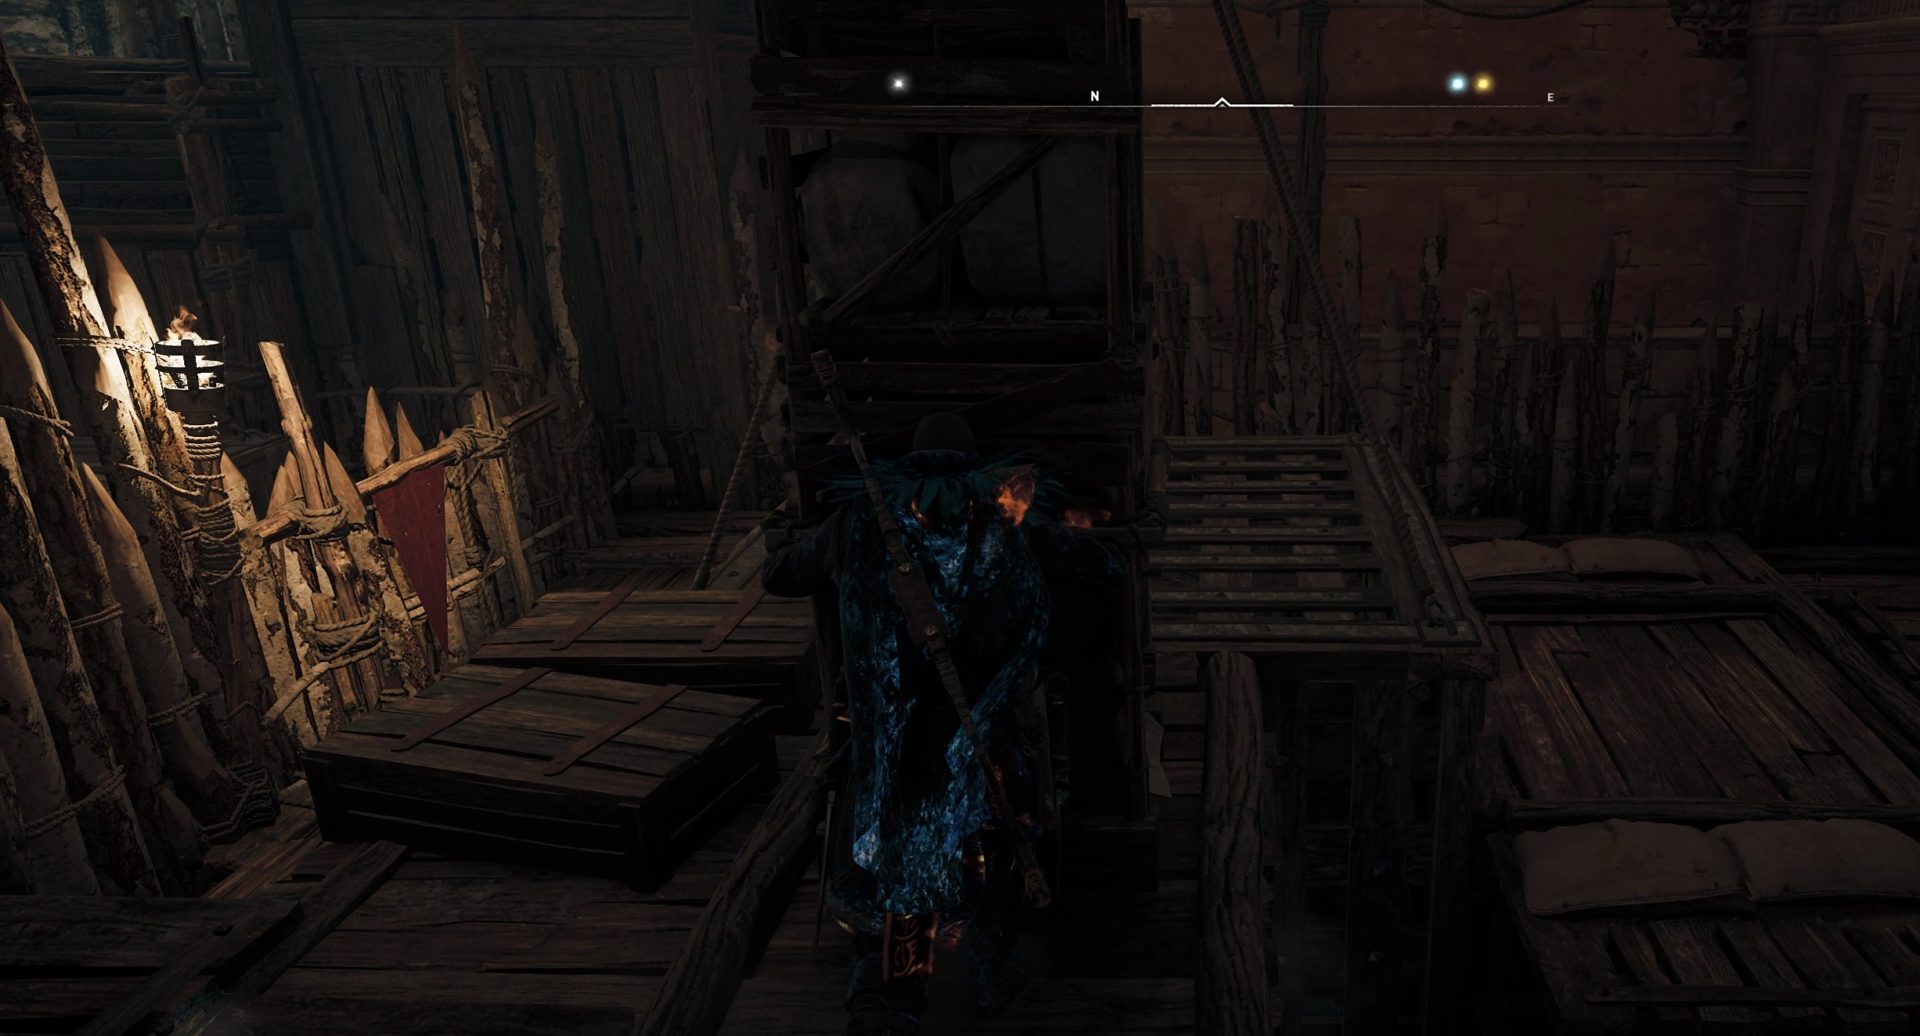
Inside, move the stone object to clear your path forward. Place it on top of the cage.
head to the room with the water and move the stone object to the edge. Climb on it and jump up to the higher level where you will find the lever that spawns the sphere.
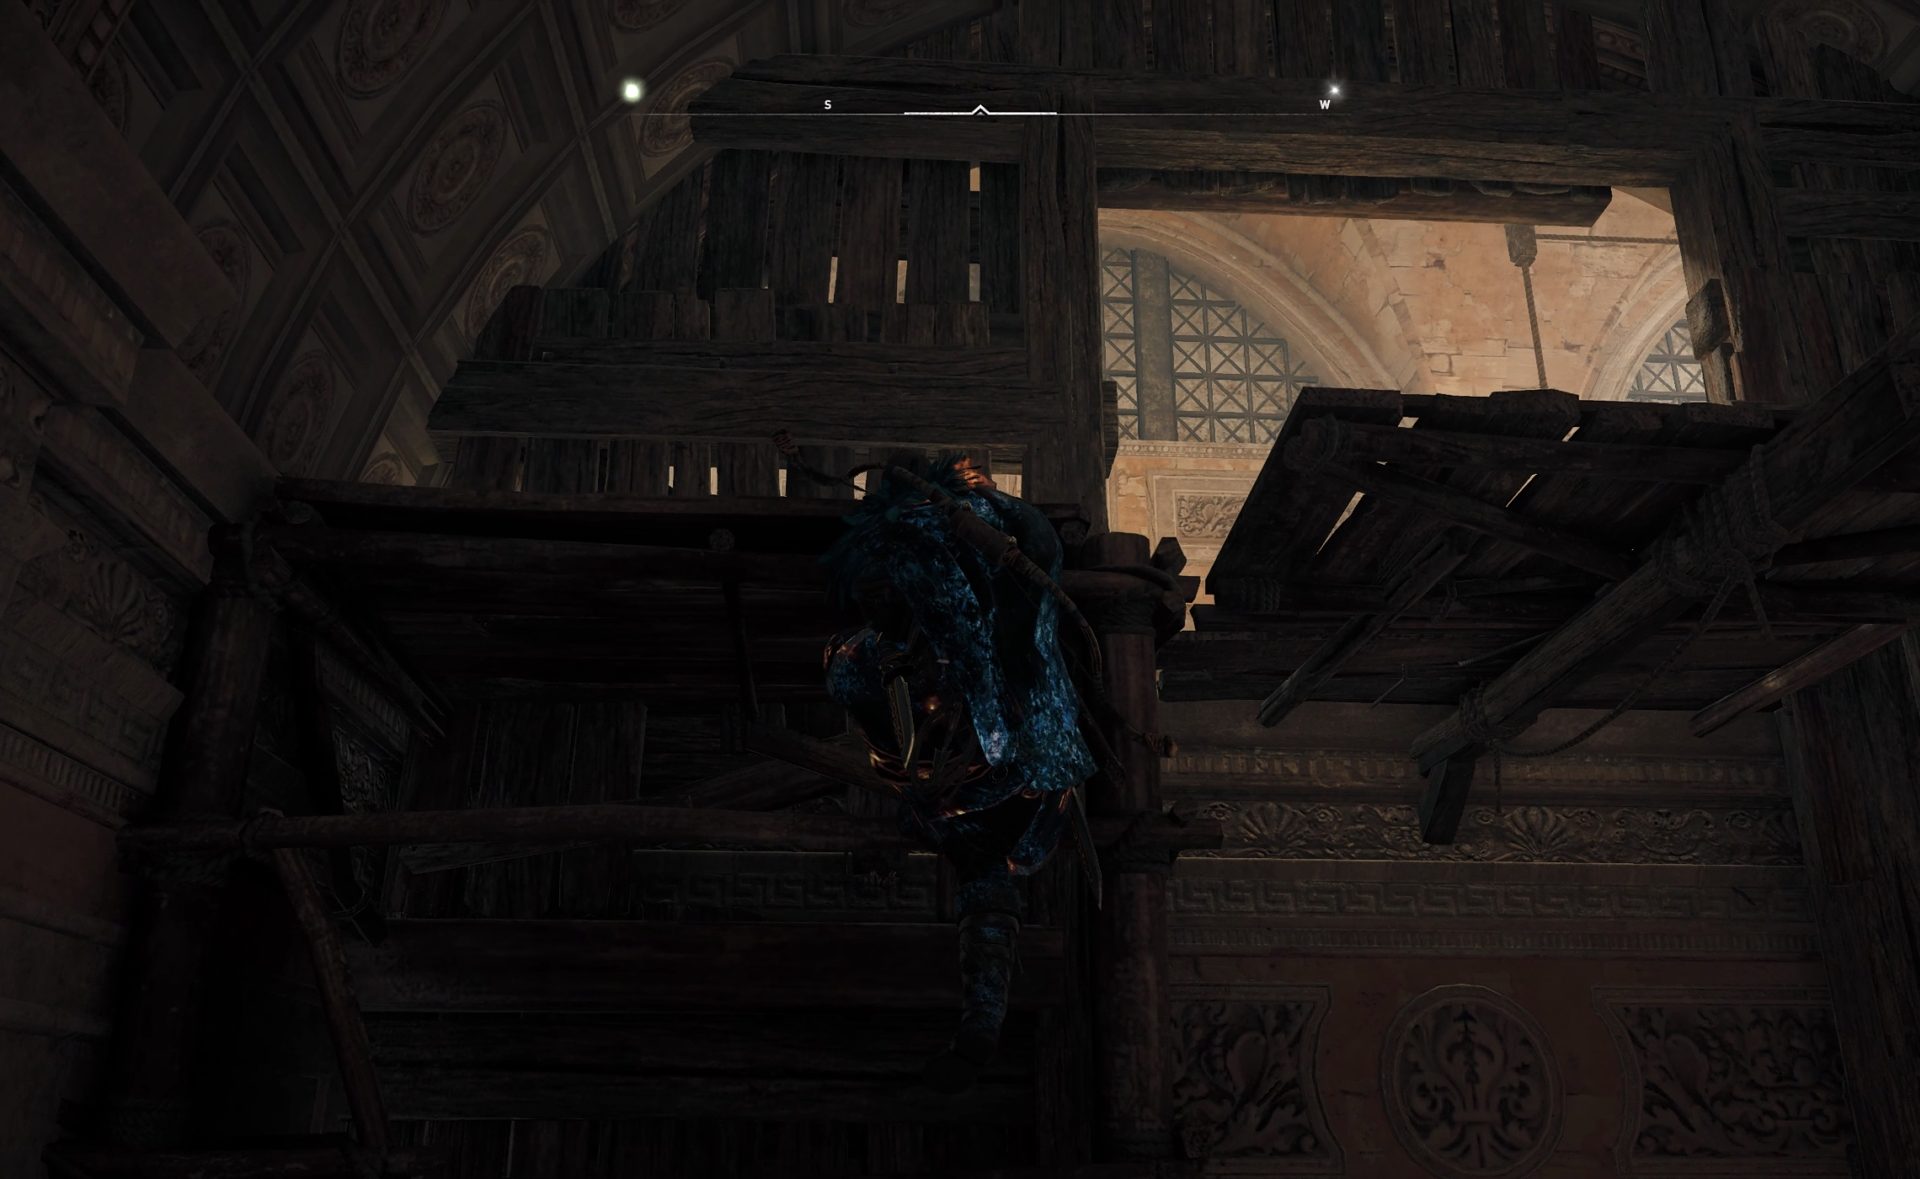
Get on top of the cage and jump onto the beam, then onto the ledge.
Move the stone object away from the cage to allow it to go higher.

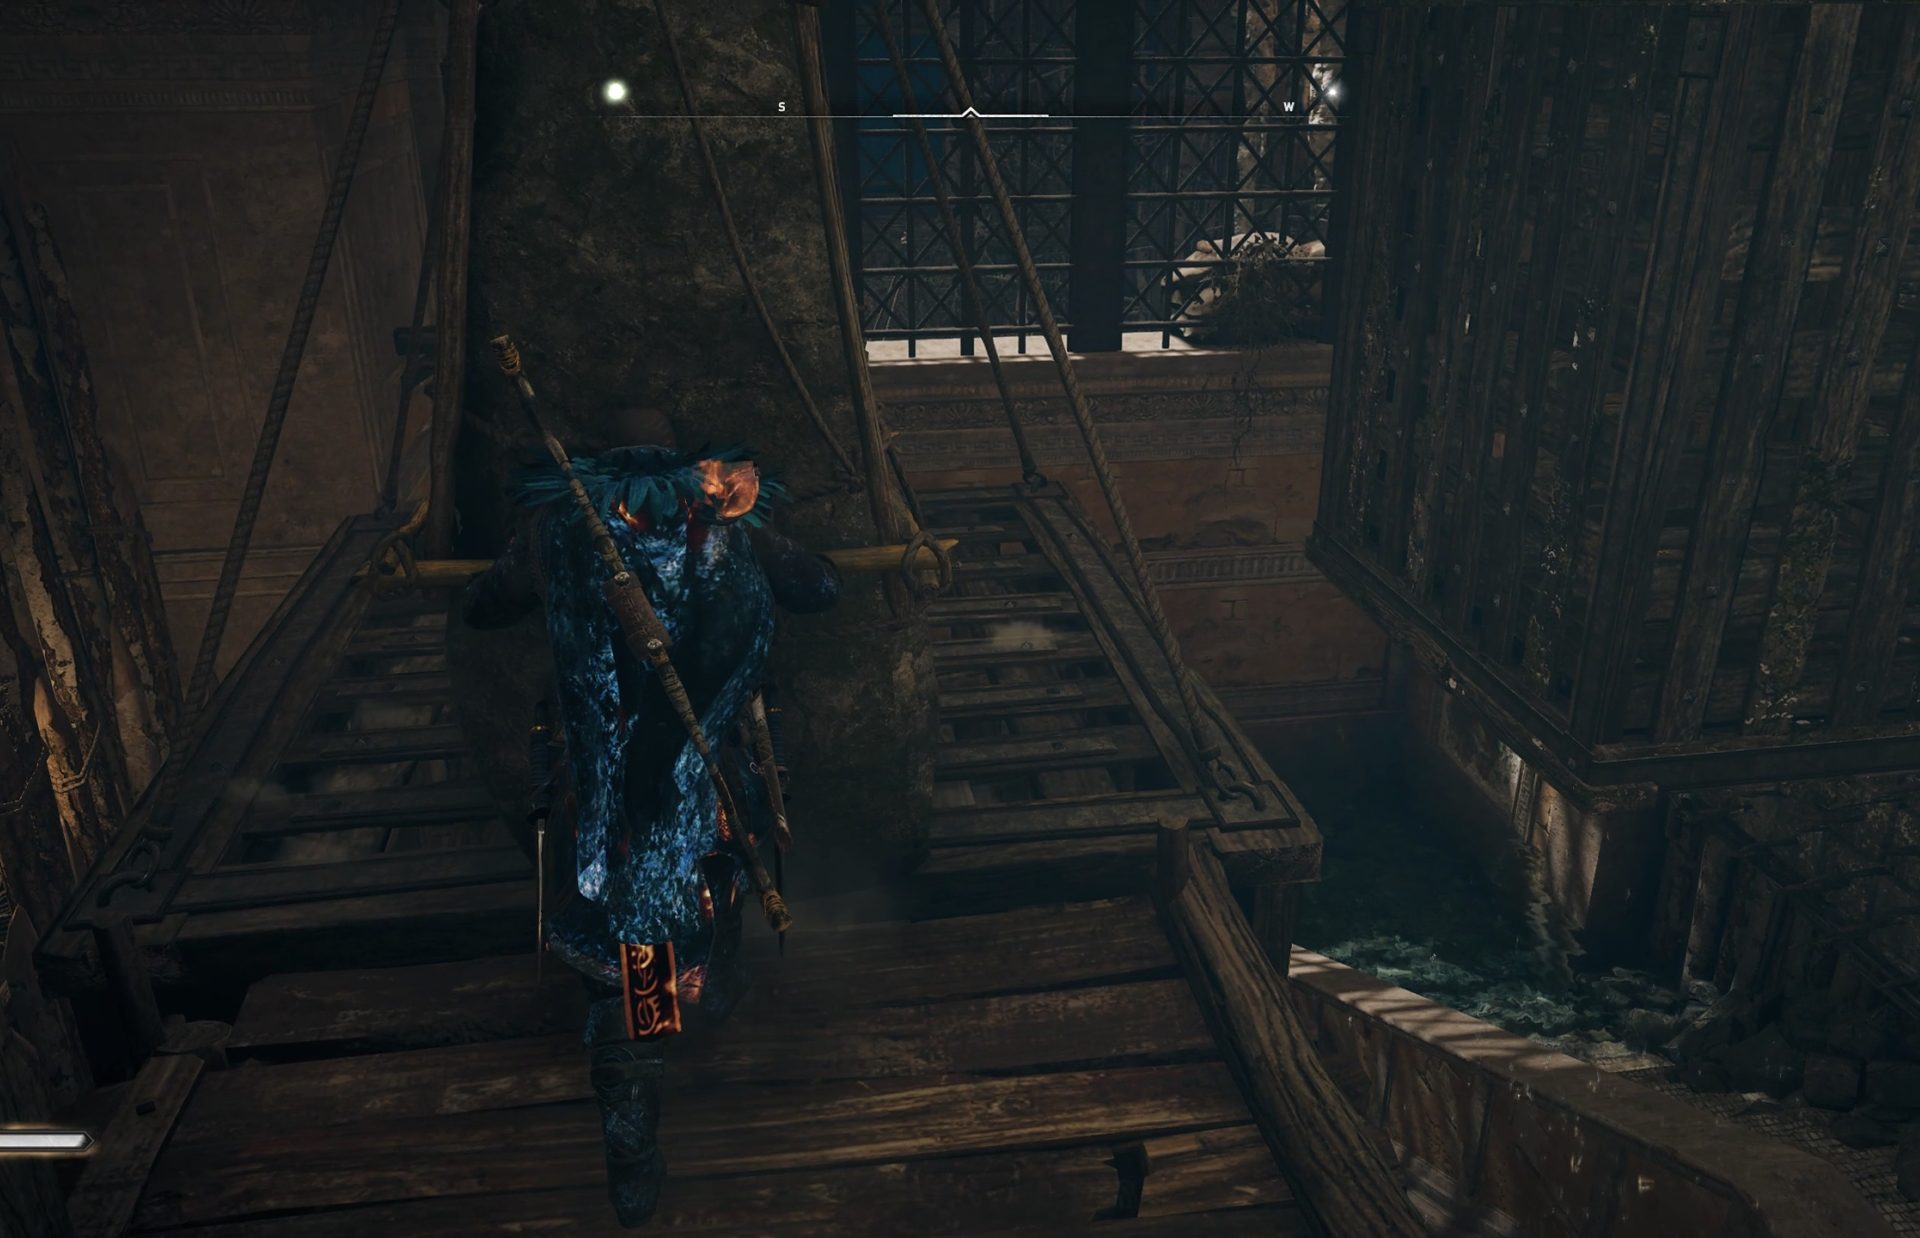
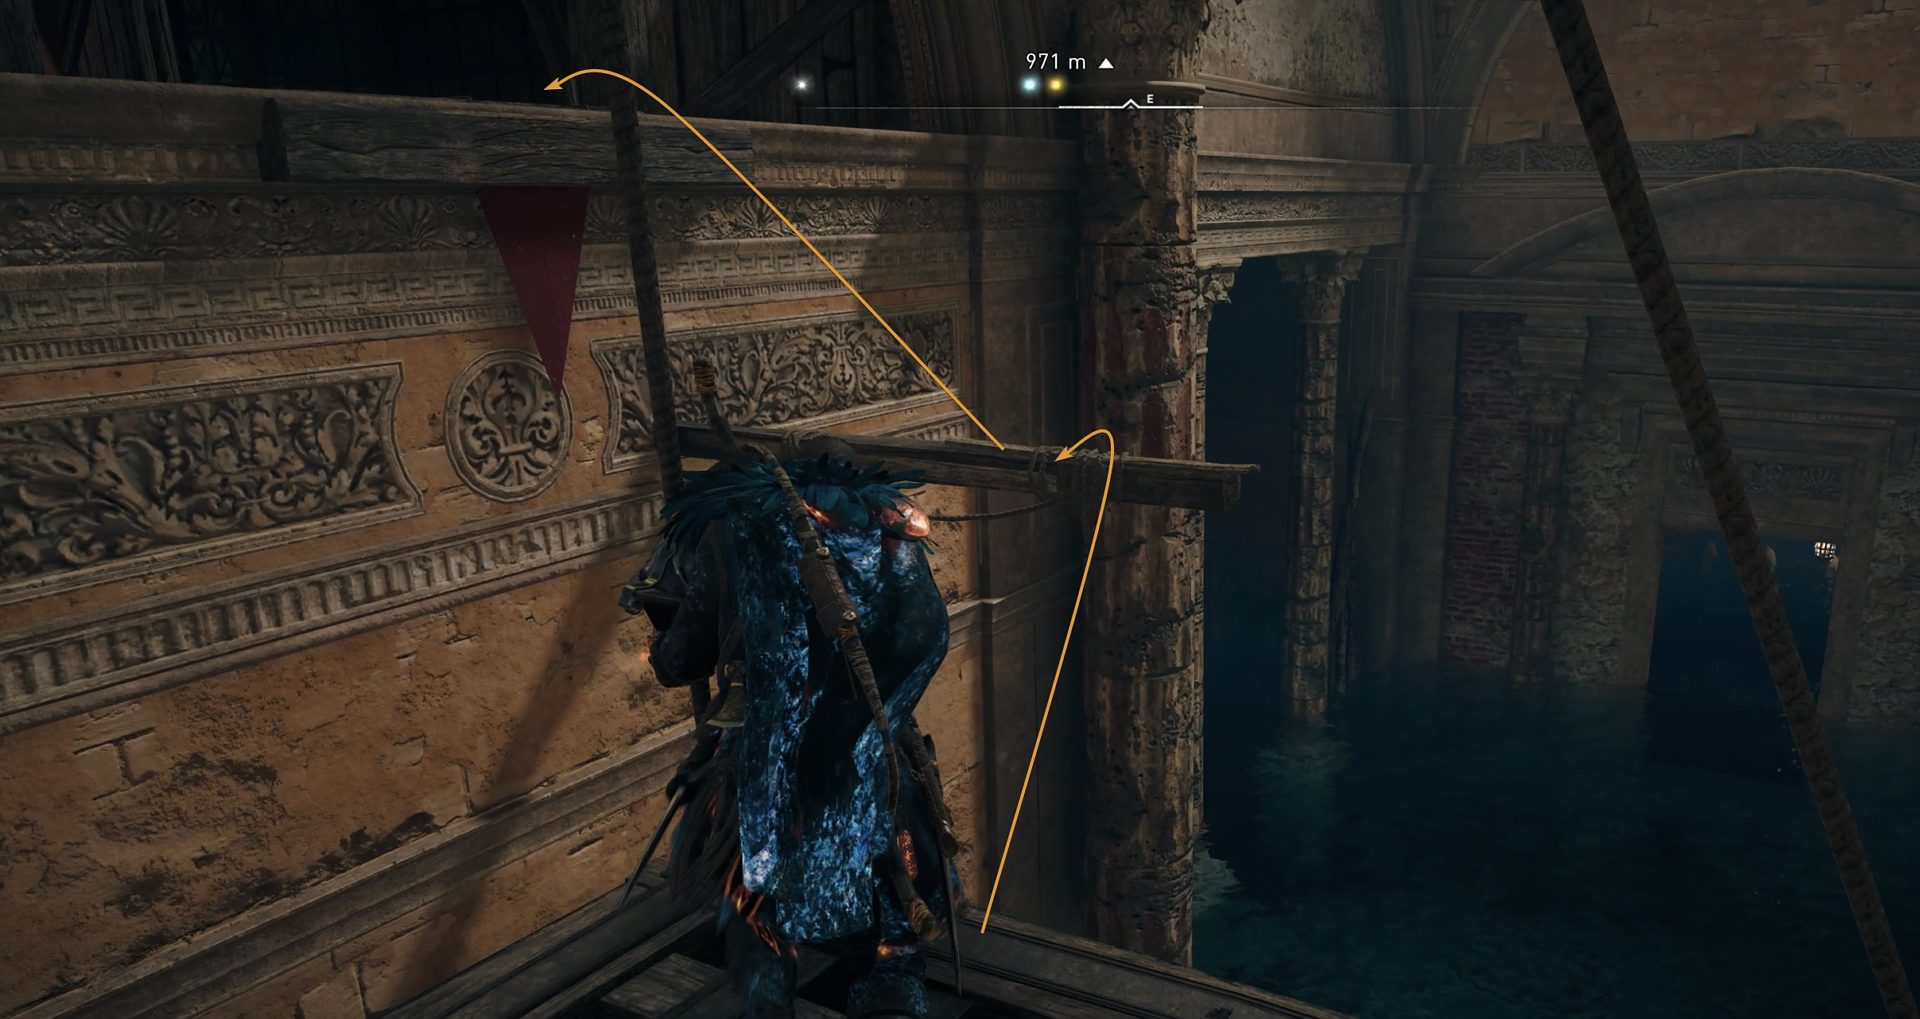
From there jump through the ropes to the other end up in the right corner of the screen.
Ope the door and head back to the trigger-plate in the main big cave.
Bring the second Sphere
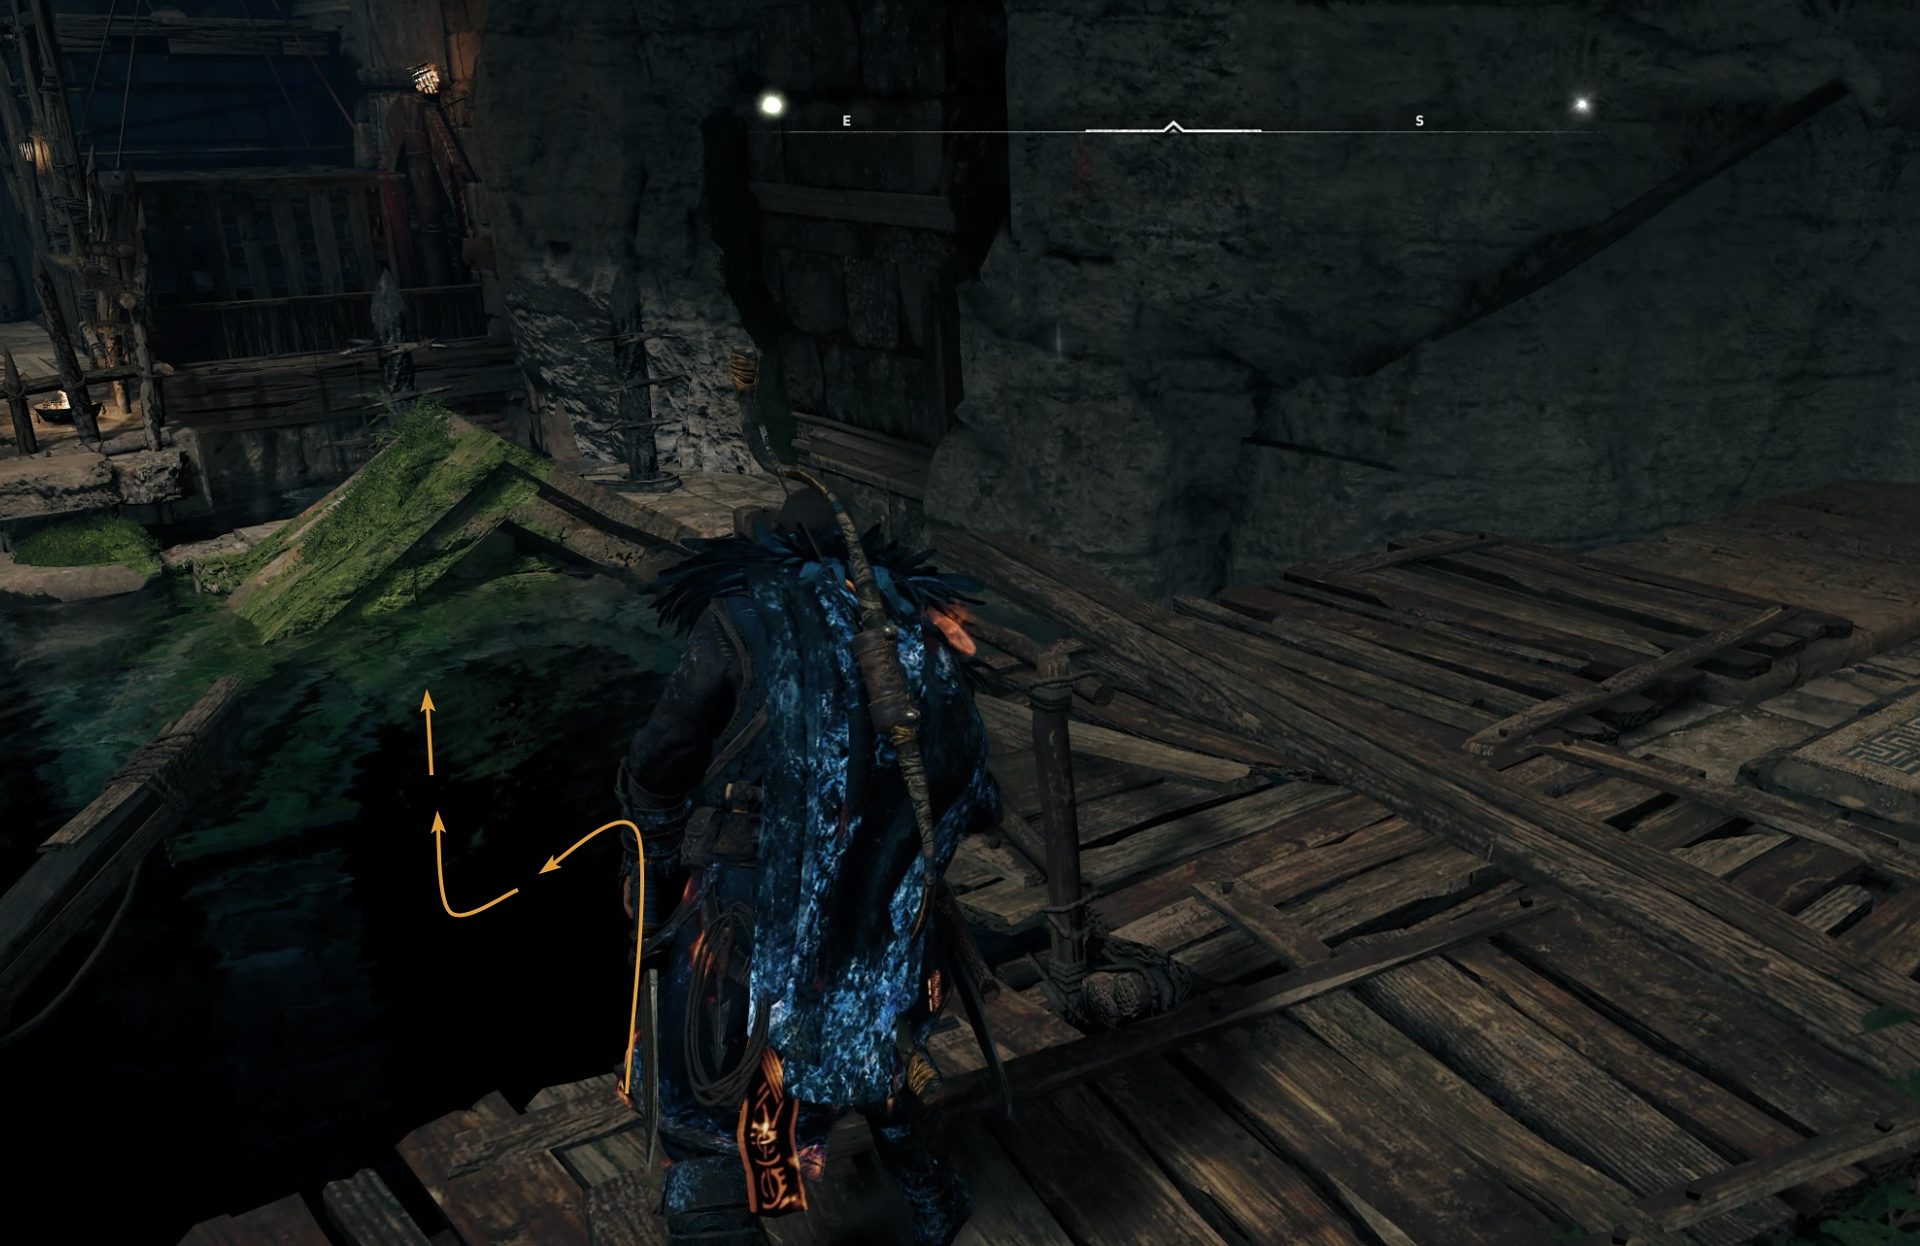
From the main platform as you face the tomb’s locked door, head right through the stone arc.
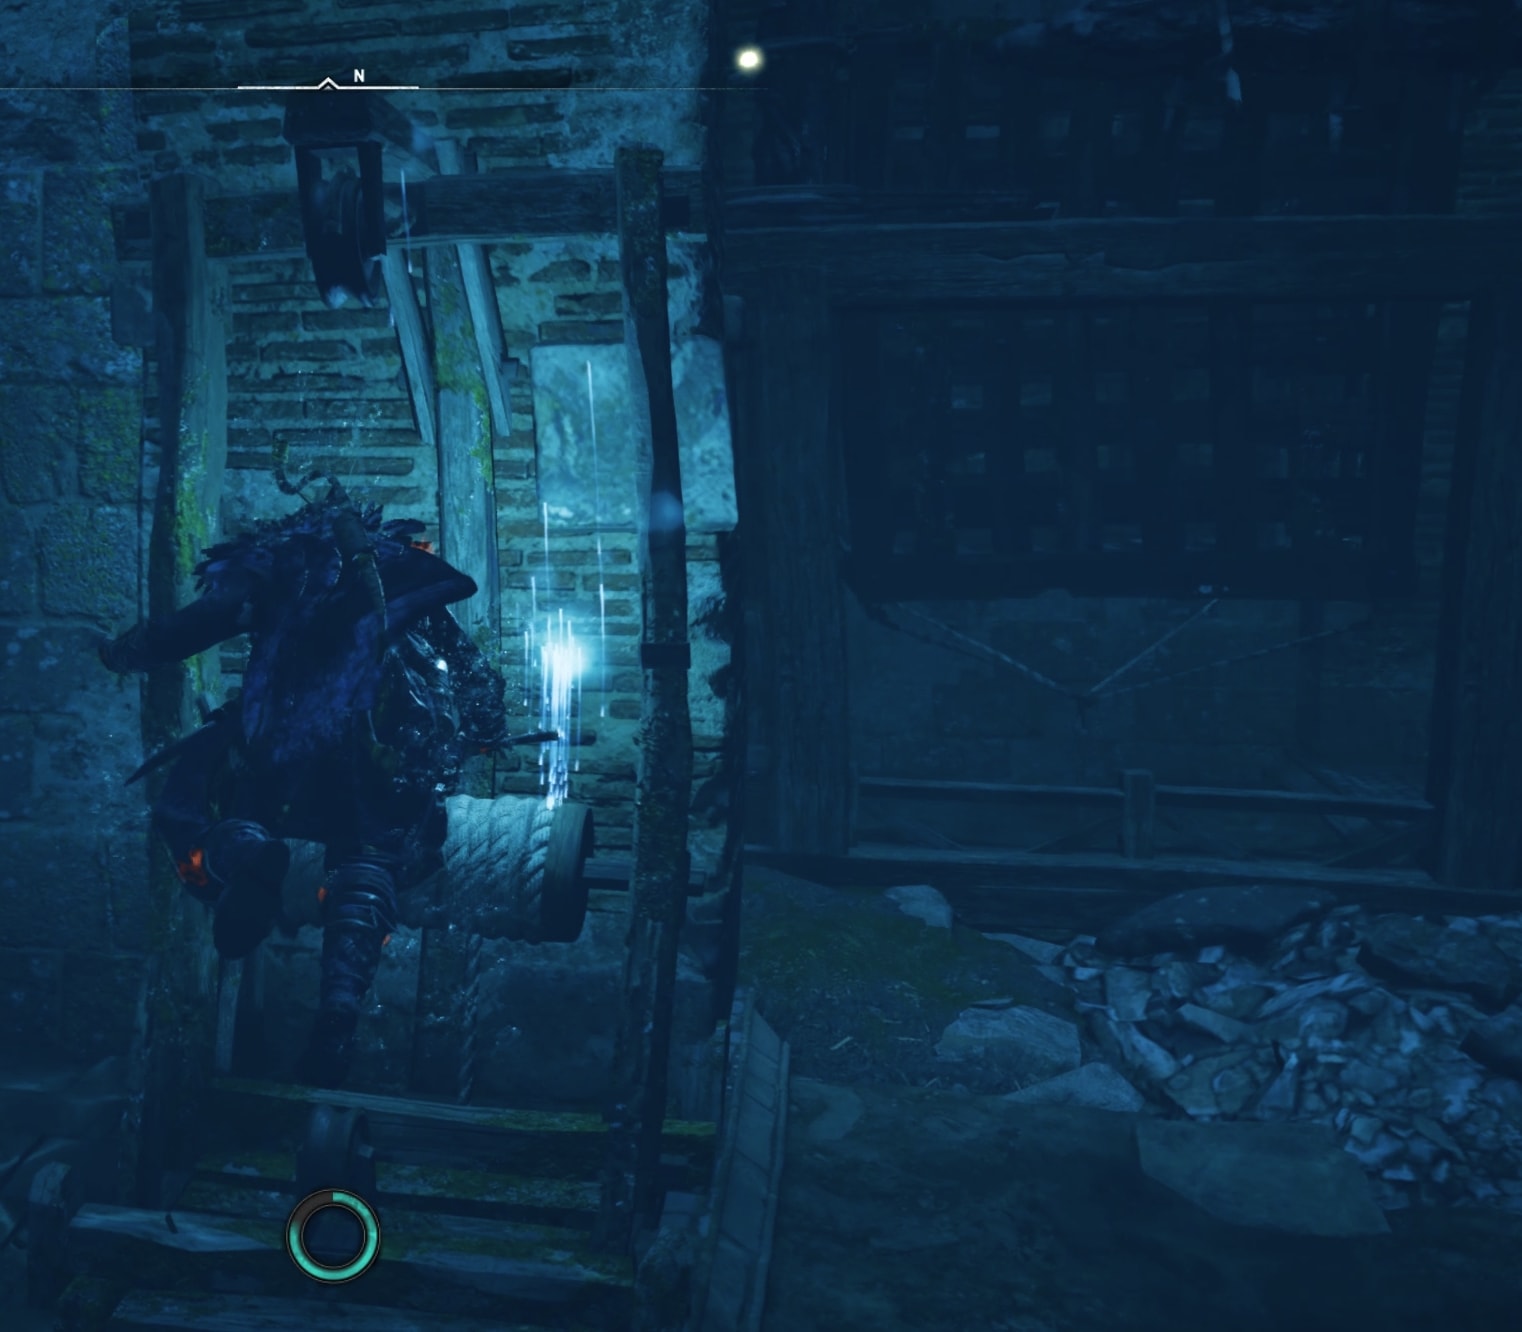
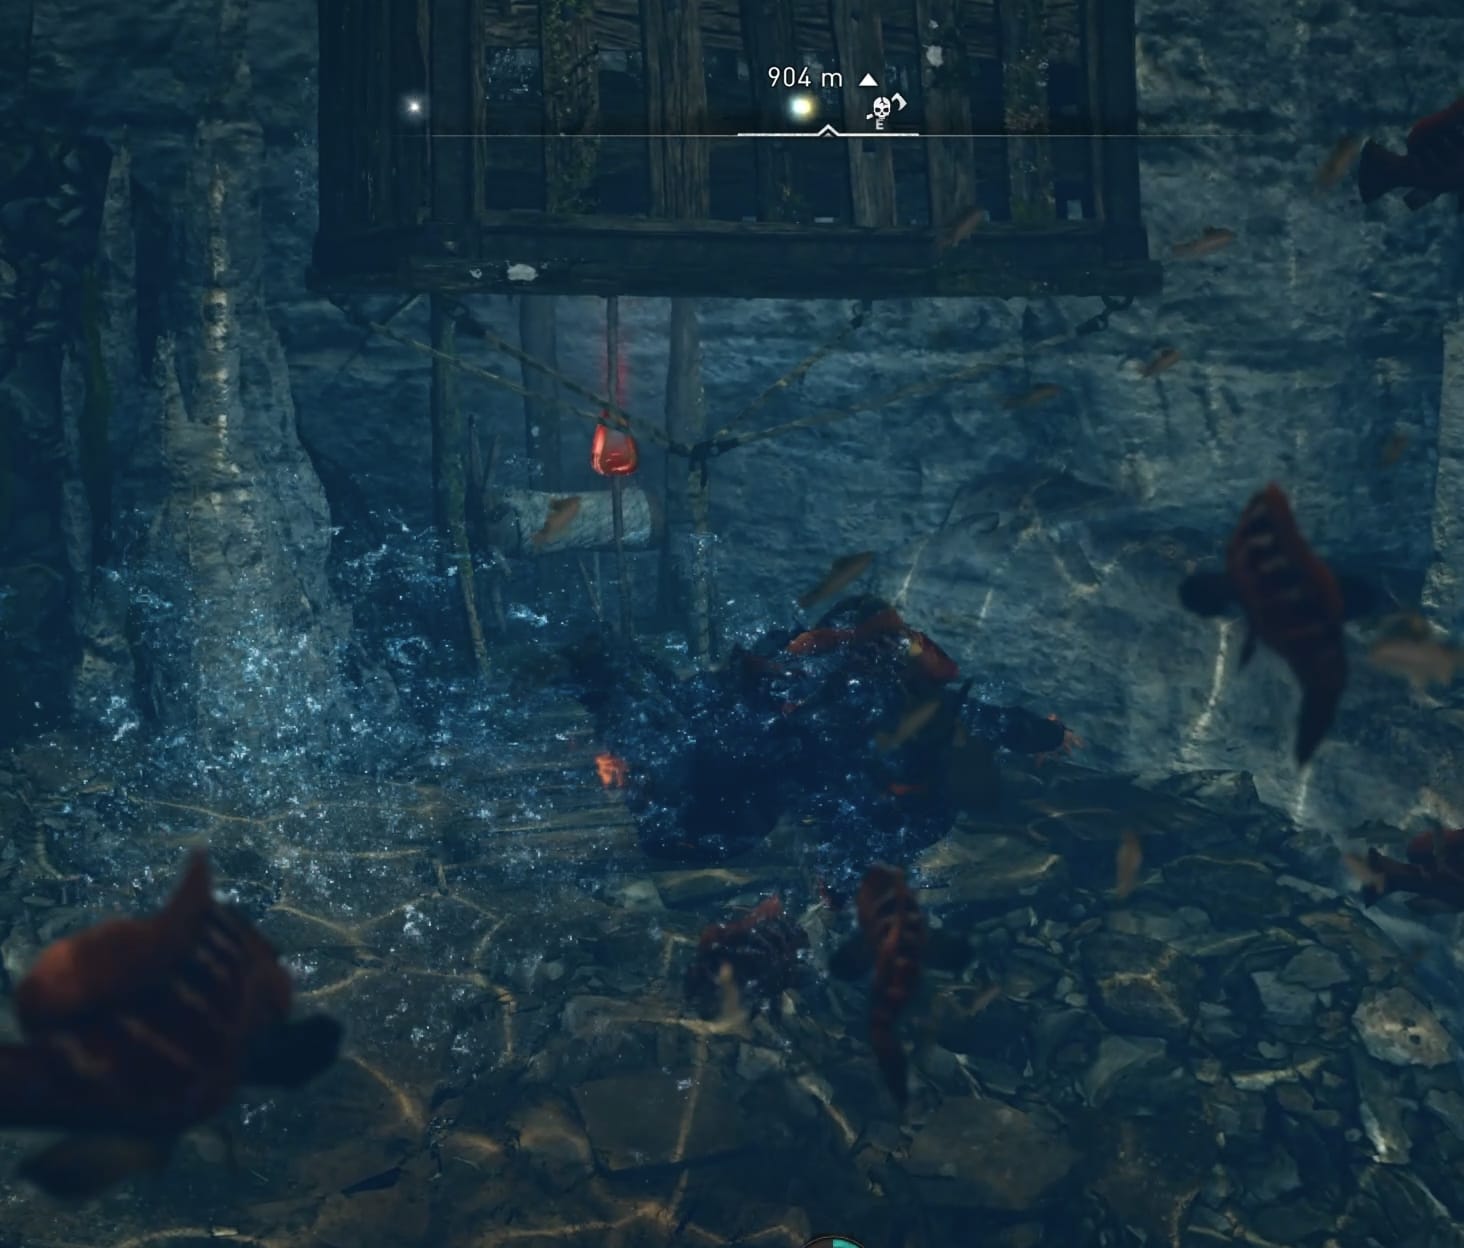
Dive underwater and break the mechanism on the right near the wooden fence at the end of the section to allow the cage above it to go up and allow you to pass through.
While still underwater, turn west. Break the weak wooden fence and the mechanism behind it. This will trigger the woden cage behind you.
Now, turn northeast and break the mechanism that was just revealed from the cage that you lifted up a moment ago.
Get on top of the wooden cage, jump over the spiked wall and go through.
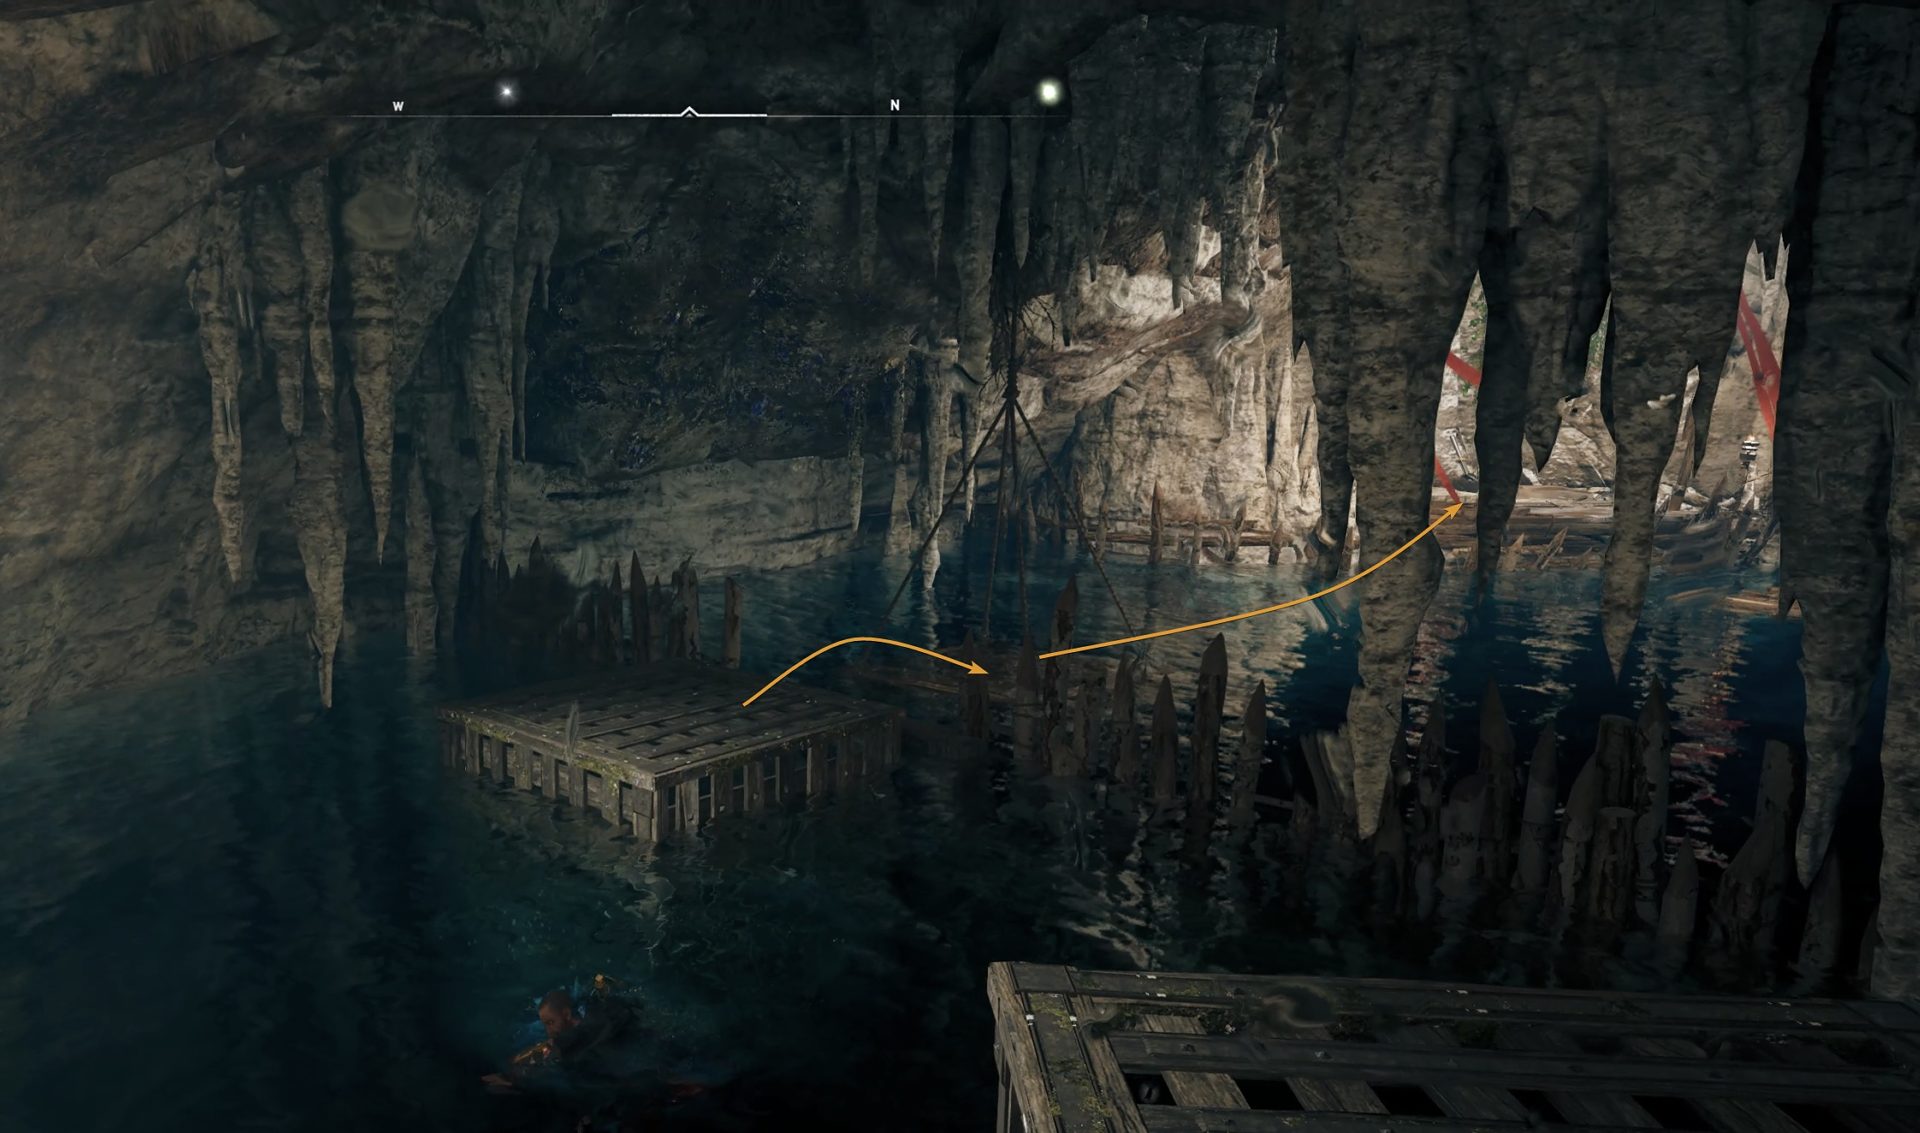
In the adjacent room you will find a mechanism that you have to break once again.
head through the opening and to your left there will be the entrance to the next area you have to go. It’s blocked by a wooden cage above the water. Dive in and swim to the other side beneath the cages.
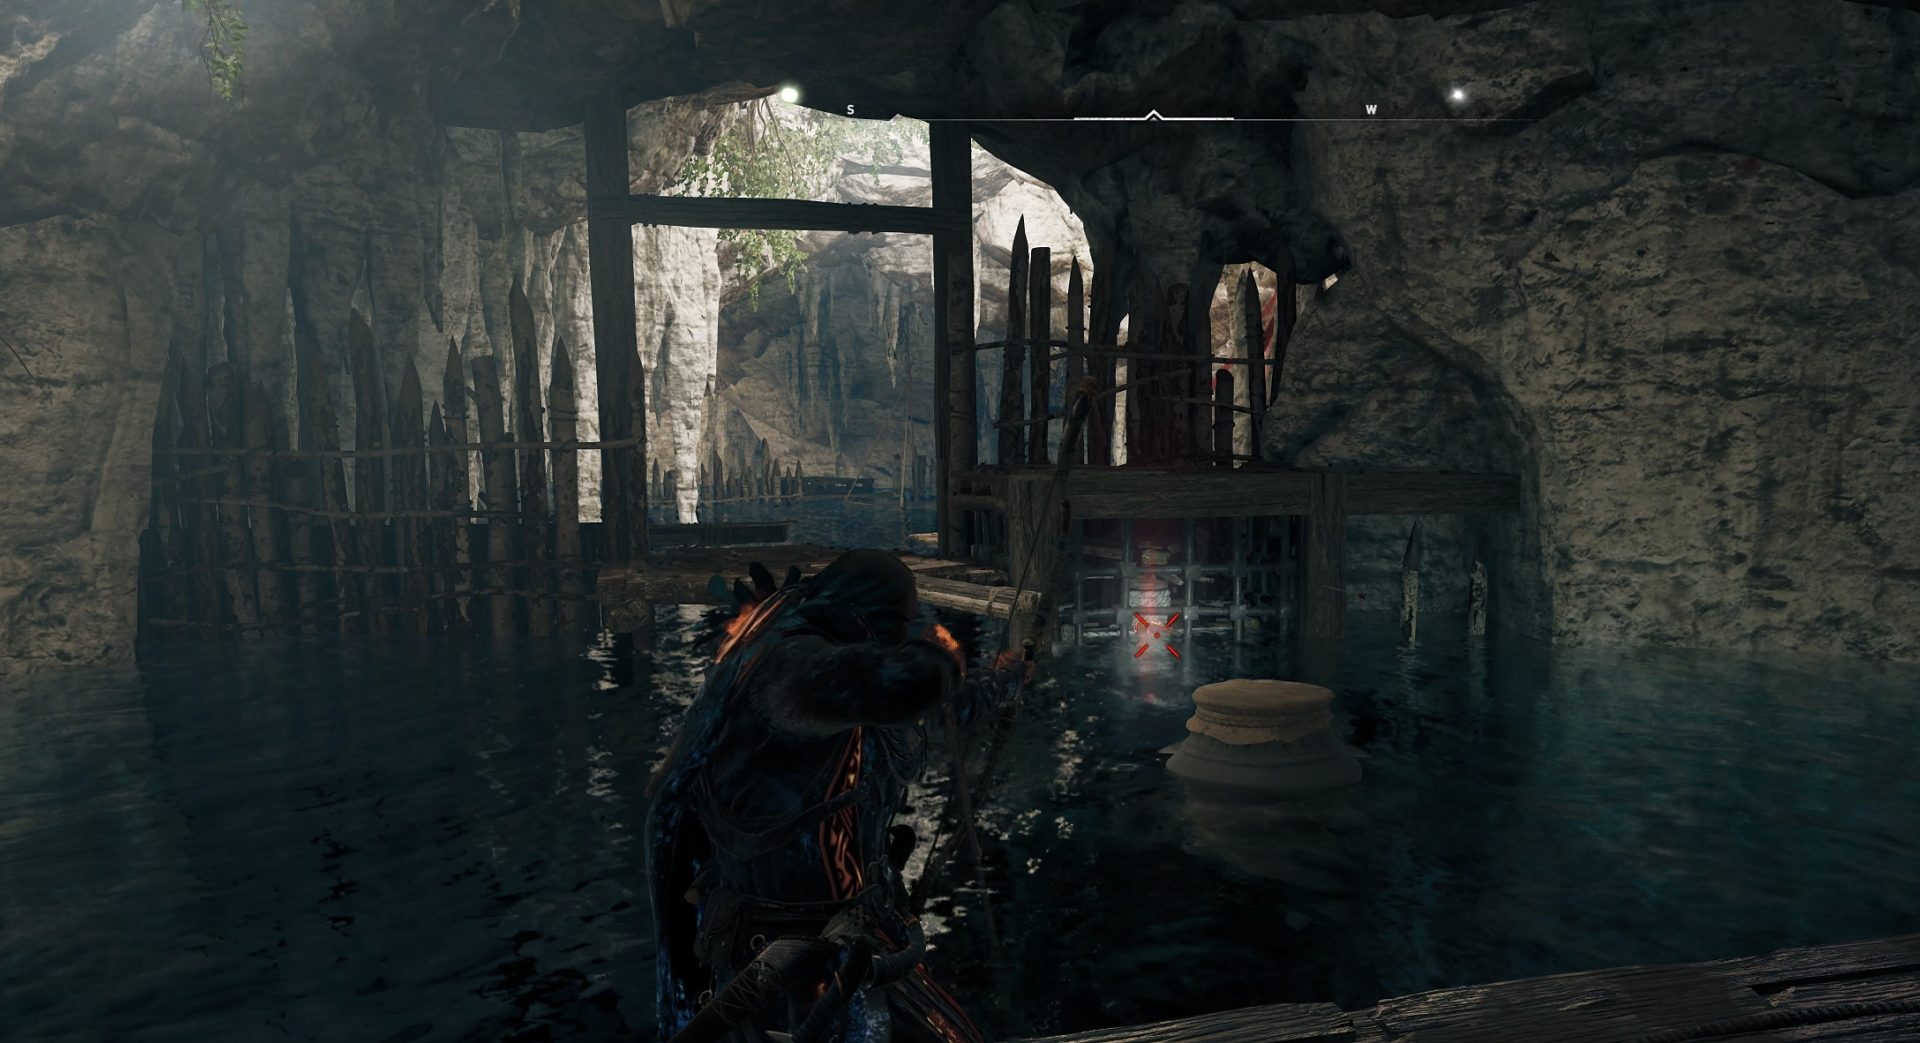
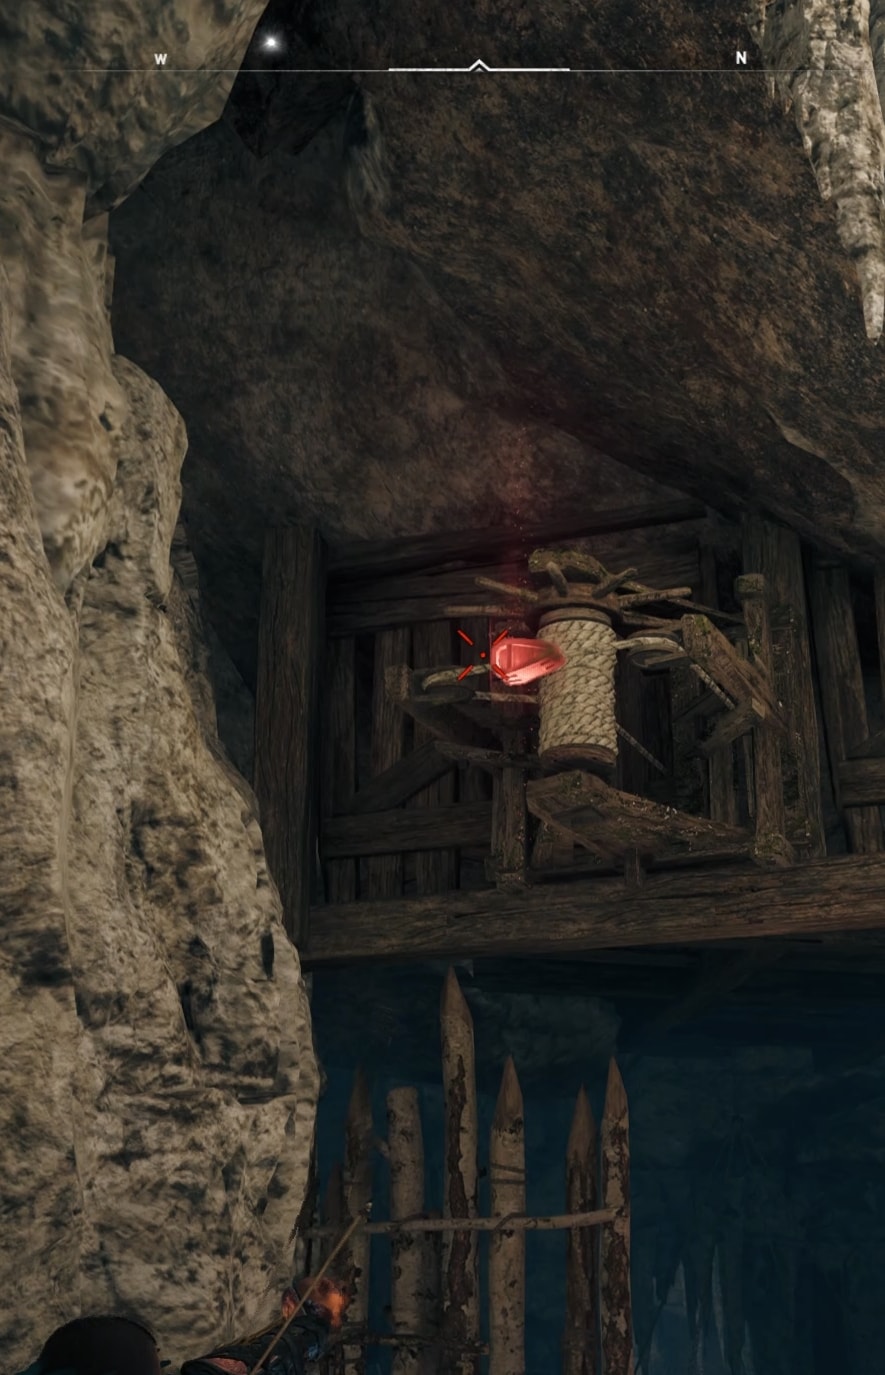
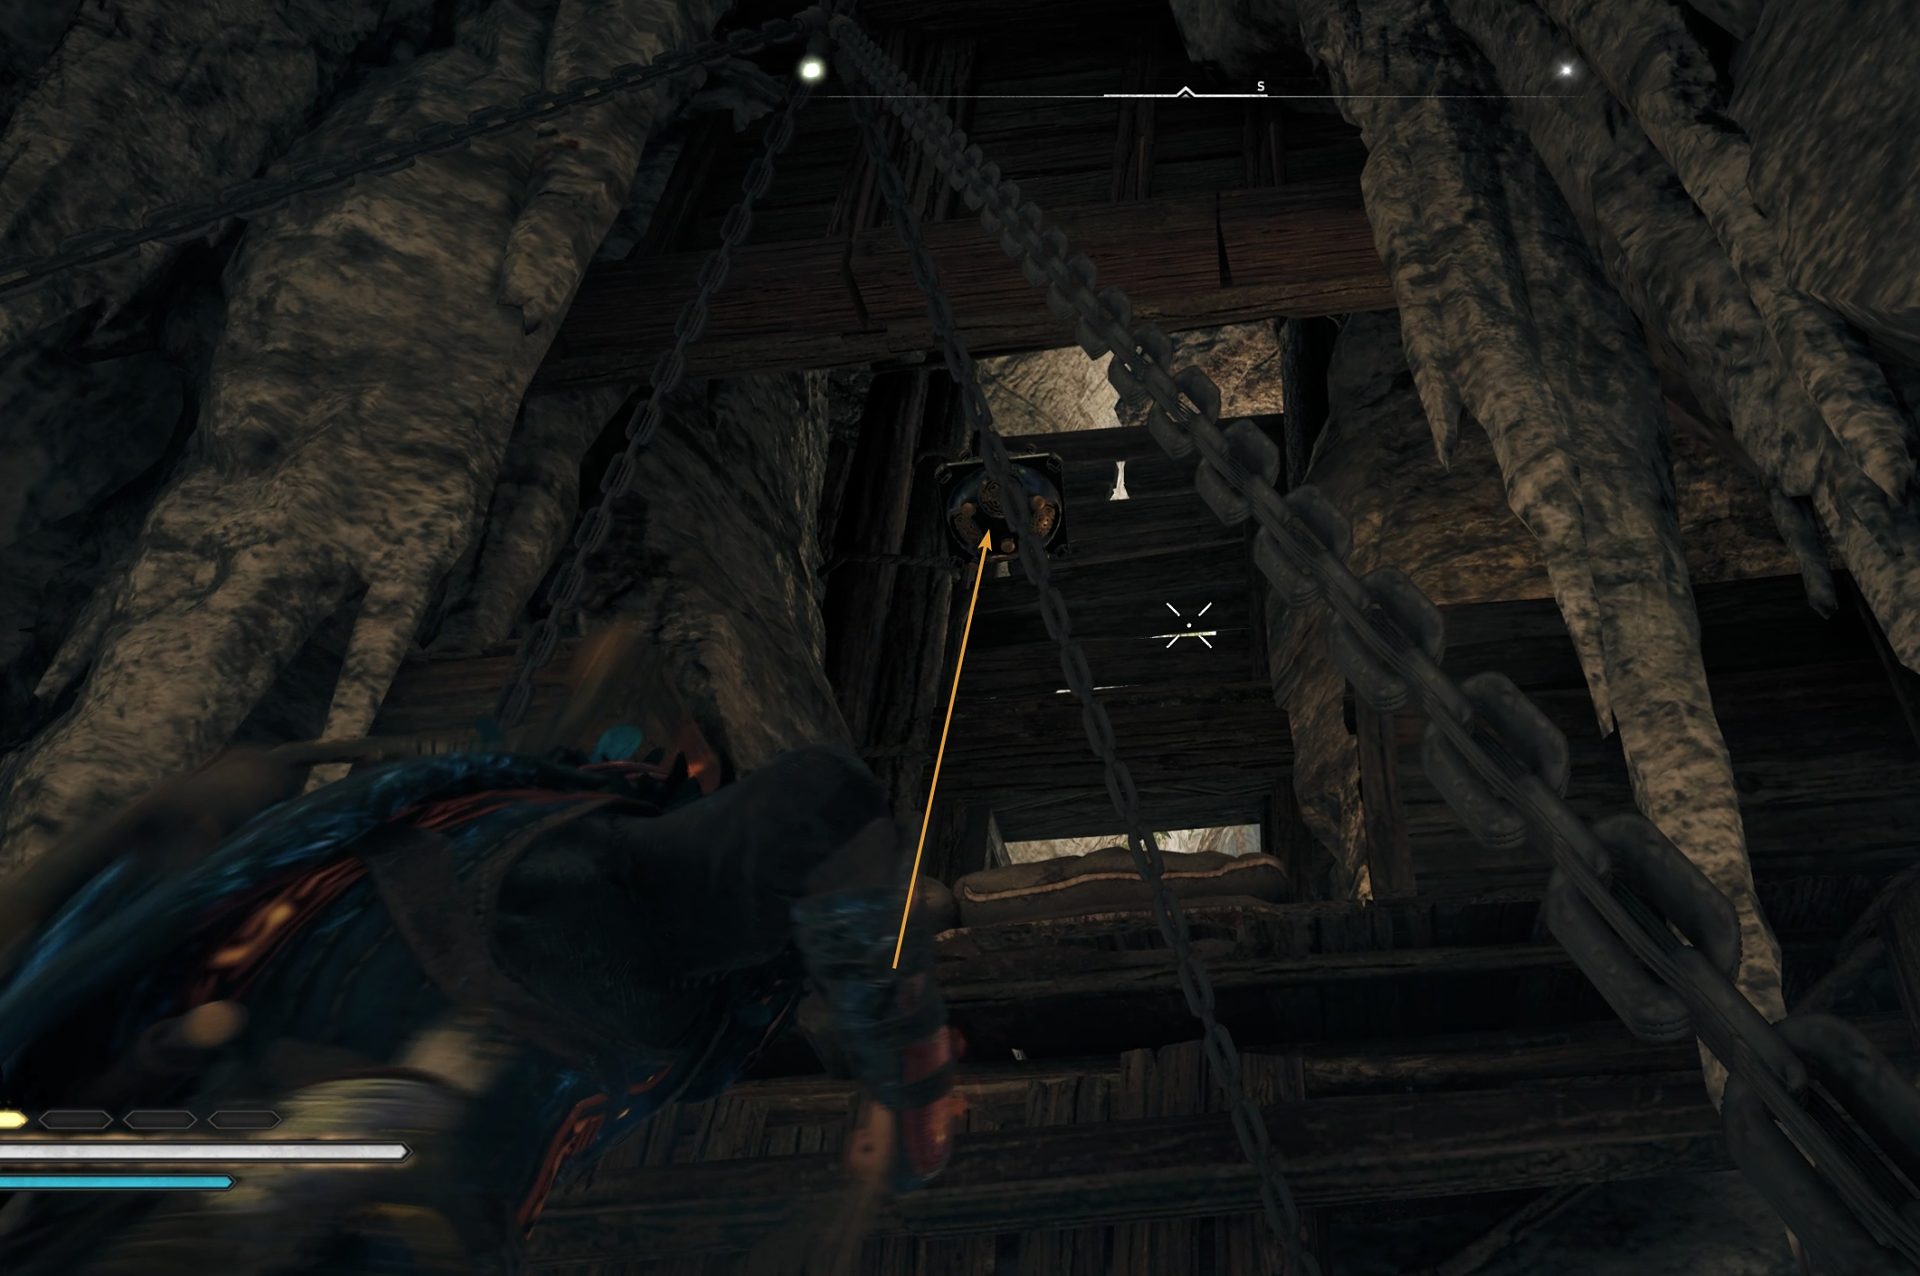
In the room with the elevated platform, look northwest and up. Shoot the mechanism to allow the platform to come lower towards you.
Climb up to the top. Break the door’s locking mechanism to open it. This will clear your path for when you pick up the sphere and carry it back to the big cave.
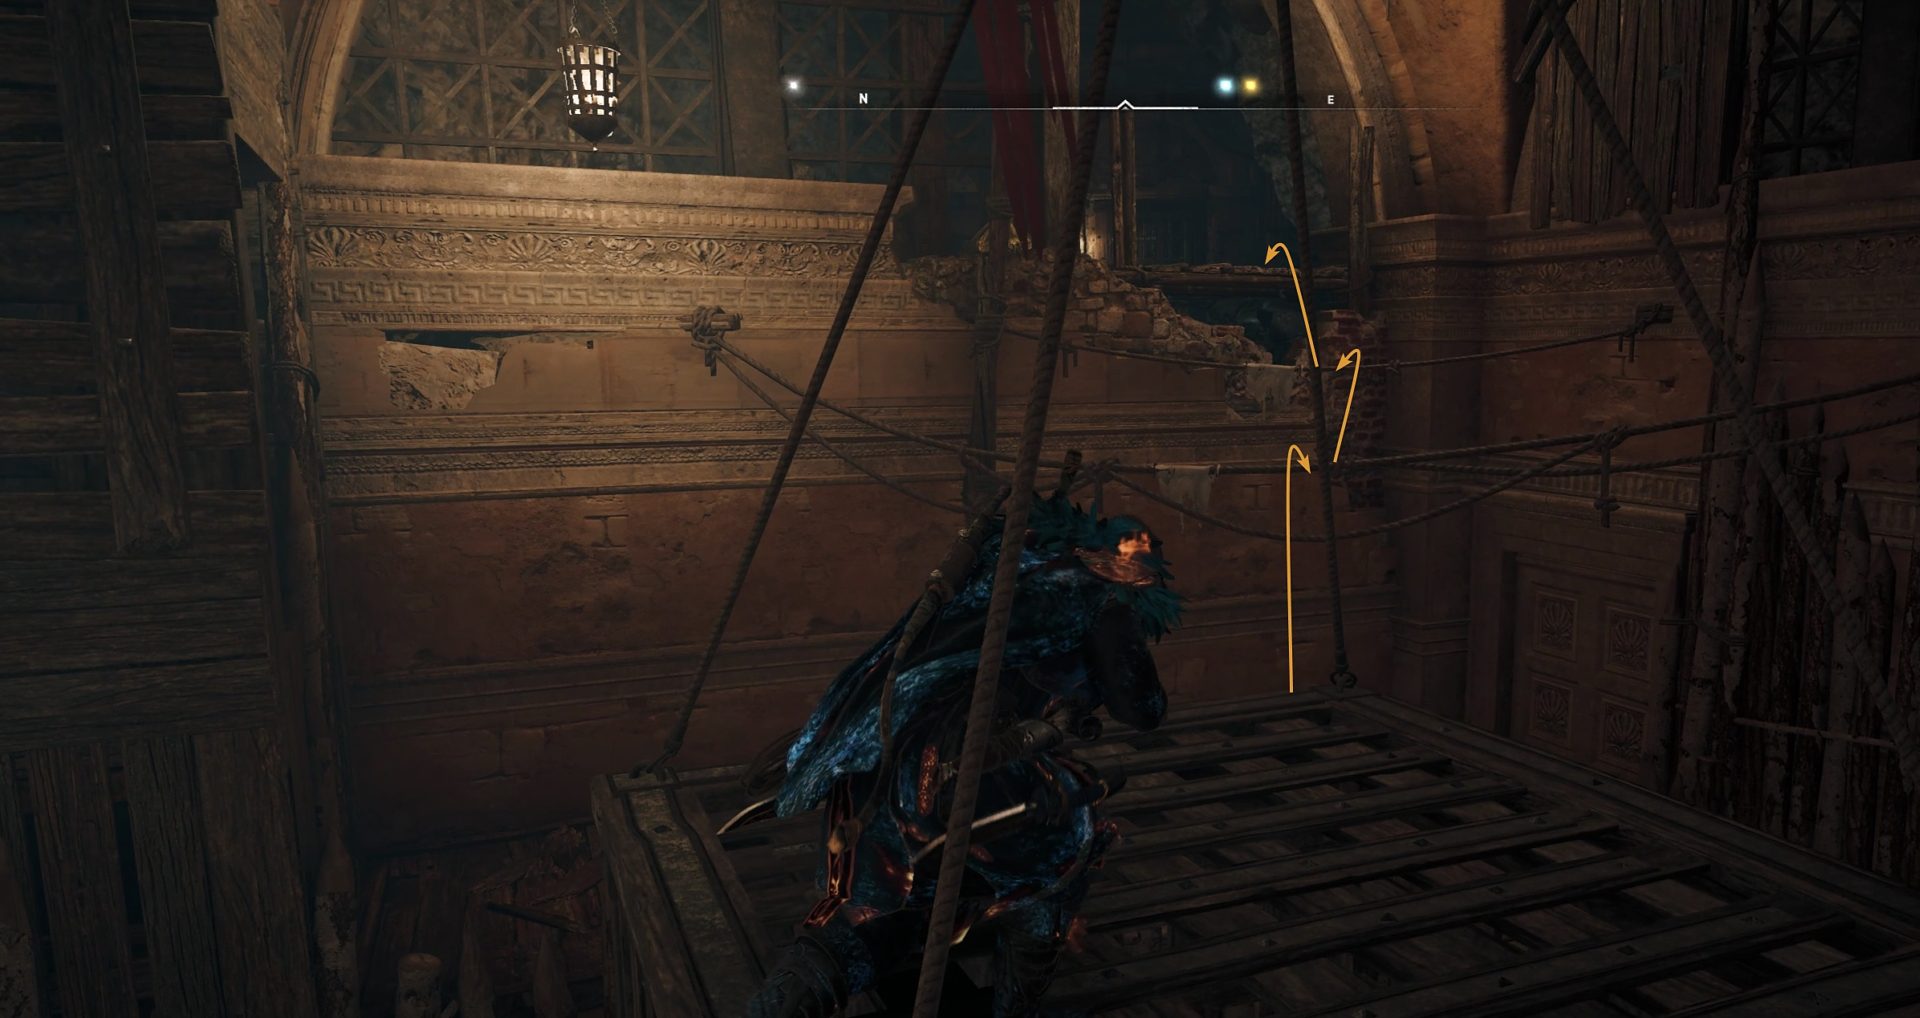
Back in the room with the elevated platform, find a way to shoot the mechanism that’s hidden inside this small room. Climb the rope and stand on top of the cage to get a good shooting position.

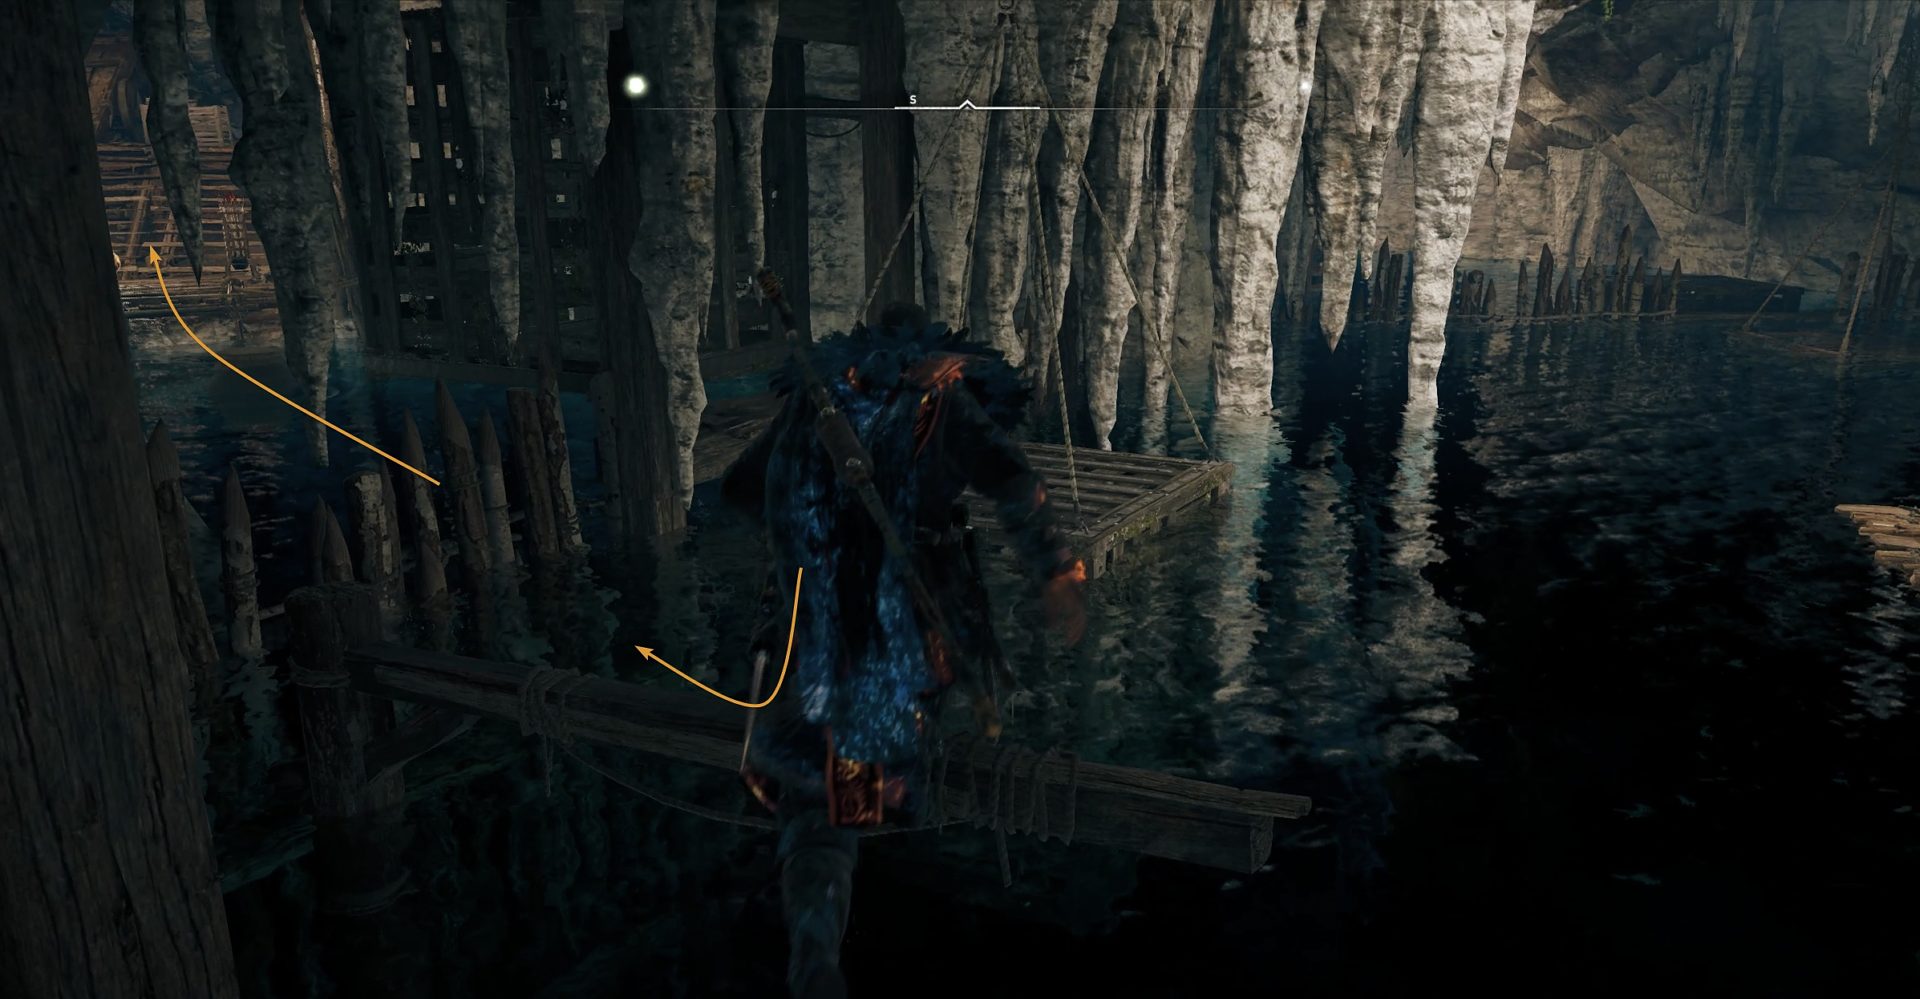
The cage will drop down, clearing your path. You can go to the area with the lever now and pick up the sphere.
As you carry the sphere, be careful not to drop in water. That will make it despawn. You have to jump through the objects back to the elevated platform.
Stand on the elevated platform and throw the spherical object up. Then climb after it and pick it up again. From there it’s easy back to the main cave and the trigger-plate where this sphere belongs.
Bring the first Obelisk
The first obelisk is path number 3 from that main image I shared earlier.
As you face the tomb’s still locked door, turn back and head east. Dive and swim back up on the other side where the obelisk is.
Move the obelisk to its marker and complete this sequence.
Optional: Unlock the main entrance gate by following these steps. Swim around the obelisk on the left side and go behind this room.
Use the lift there to climb up quickly. Pull the lever here to open the main entrance door to the tomb (not the one leading to the reward).
Bring the second Obelisk
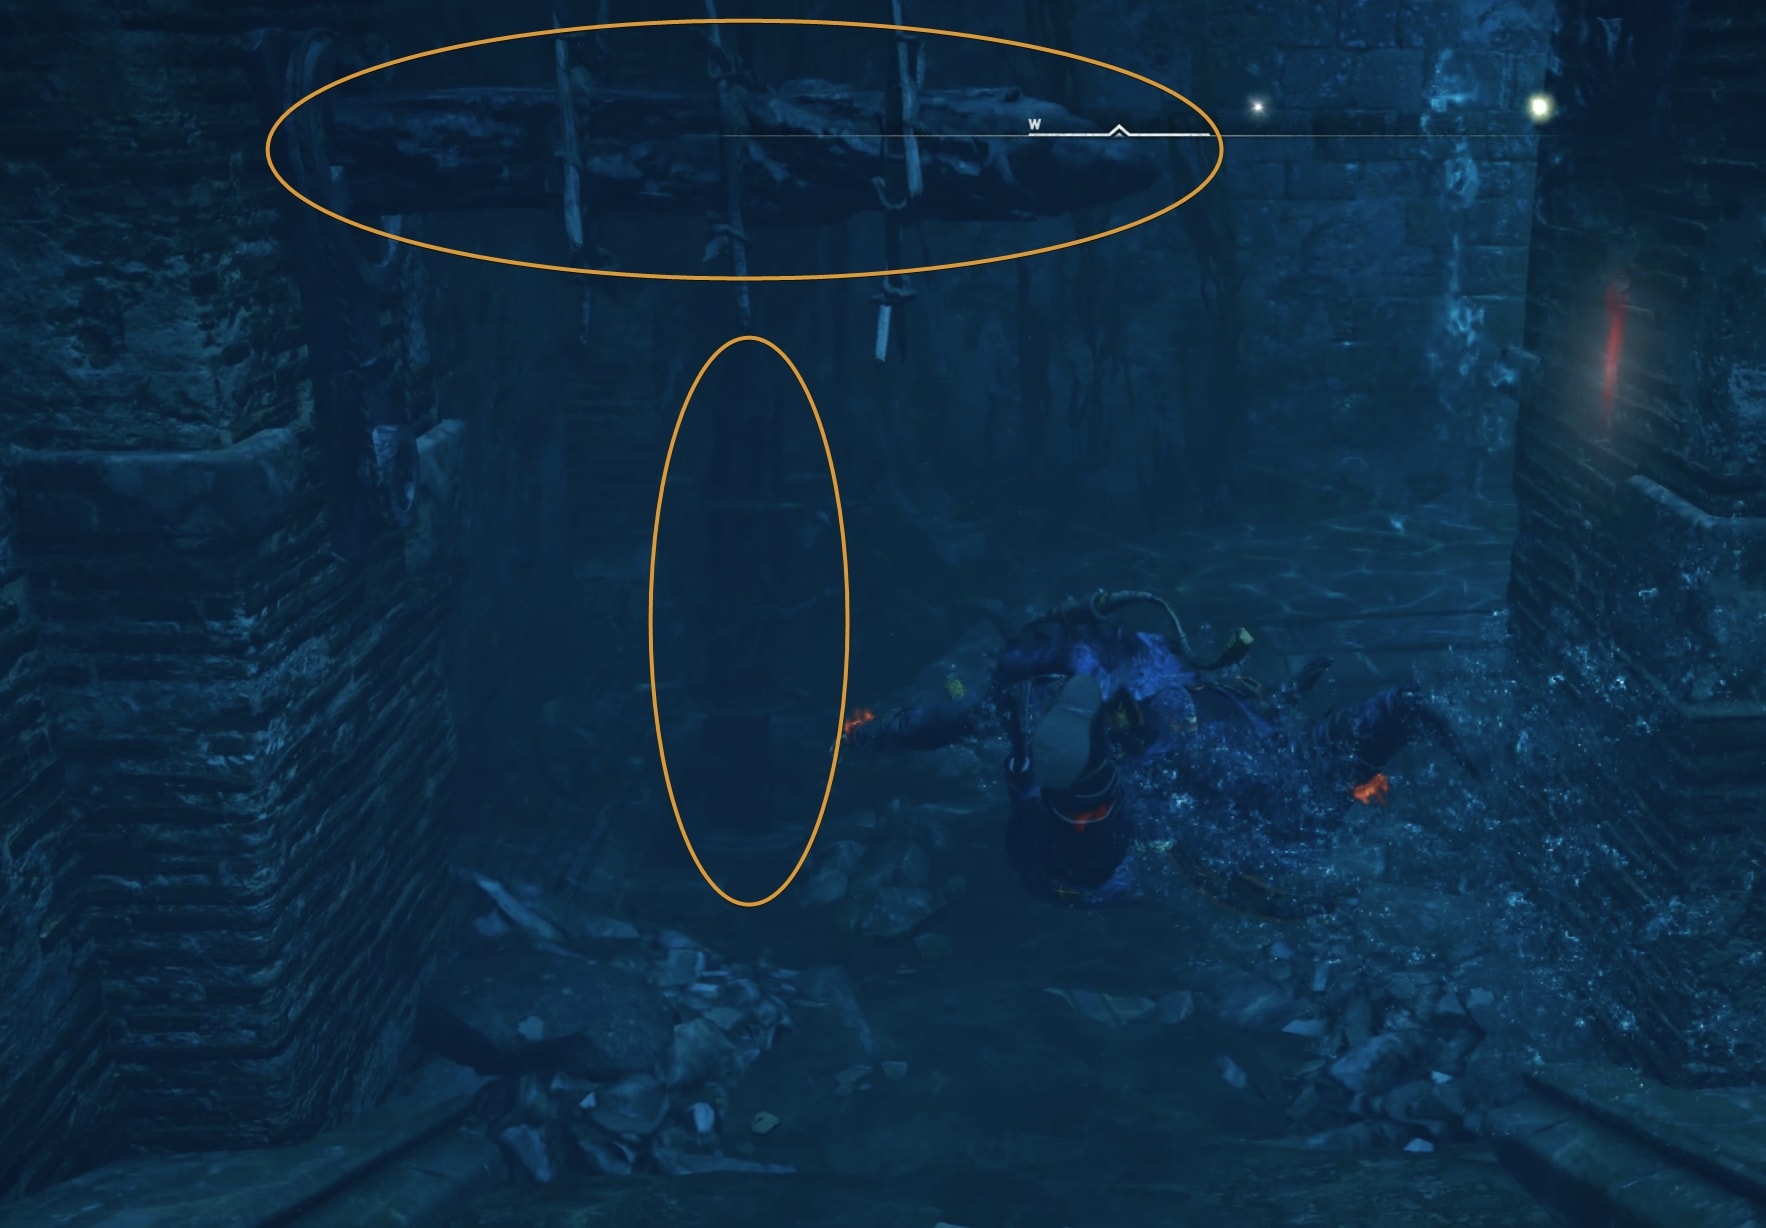
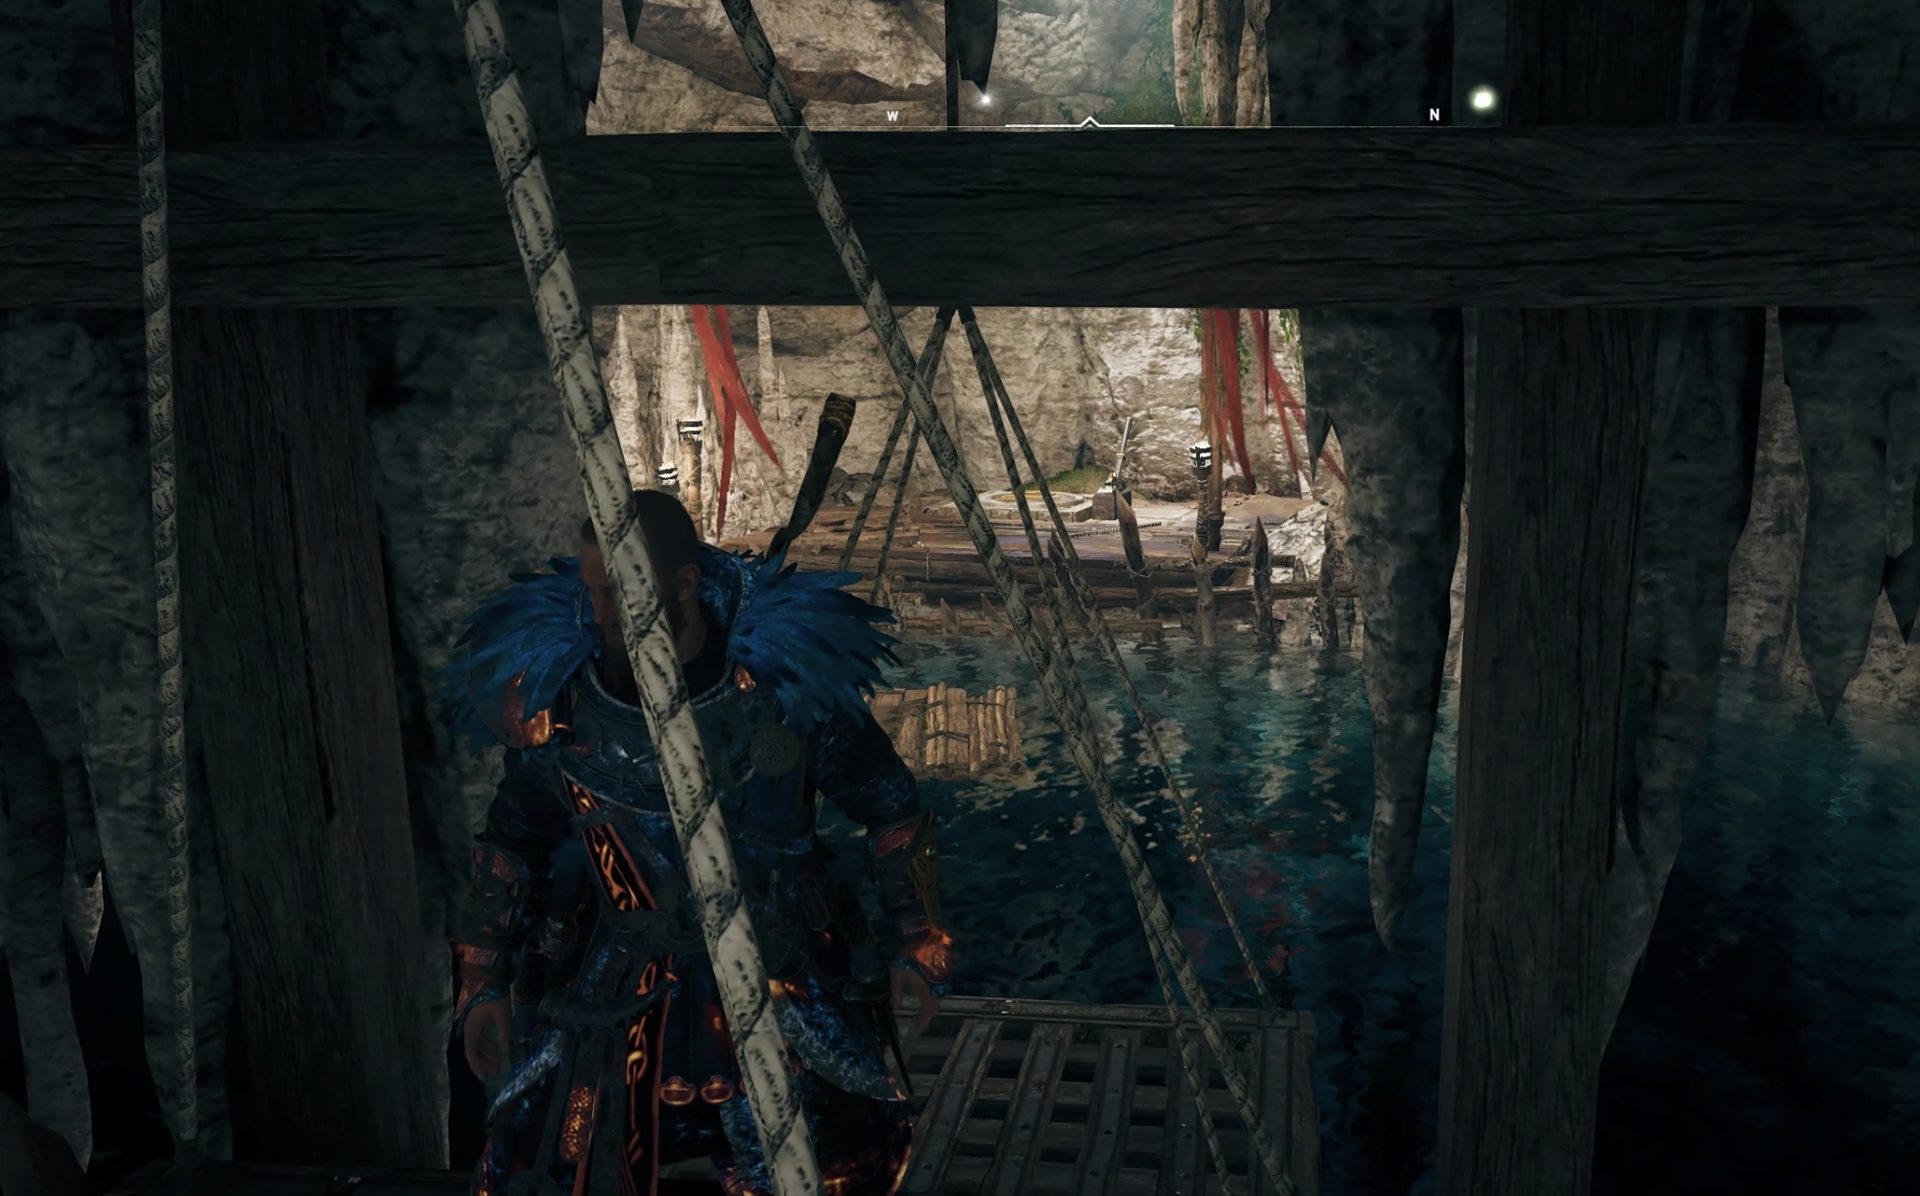
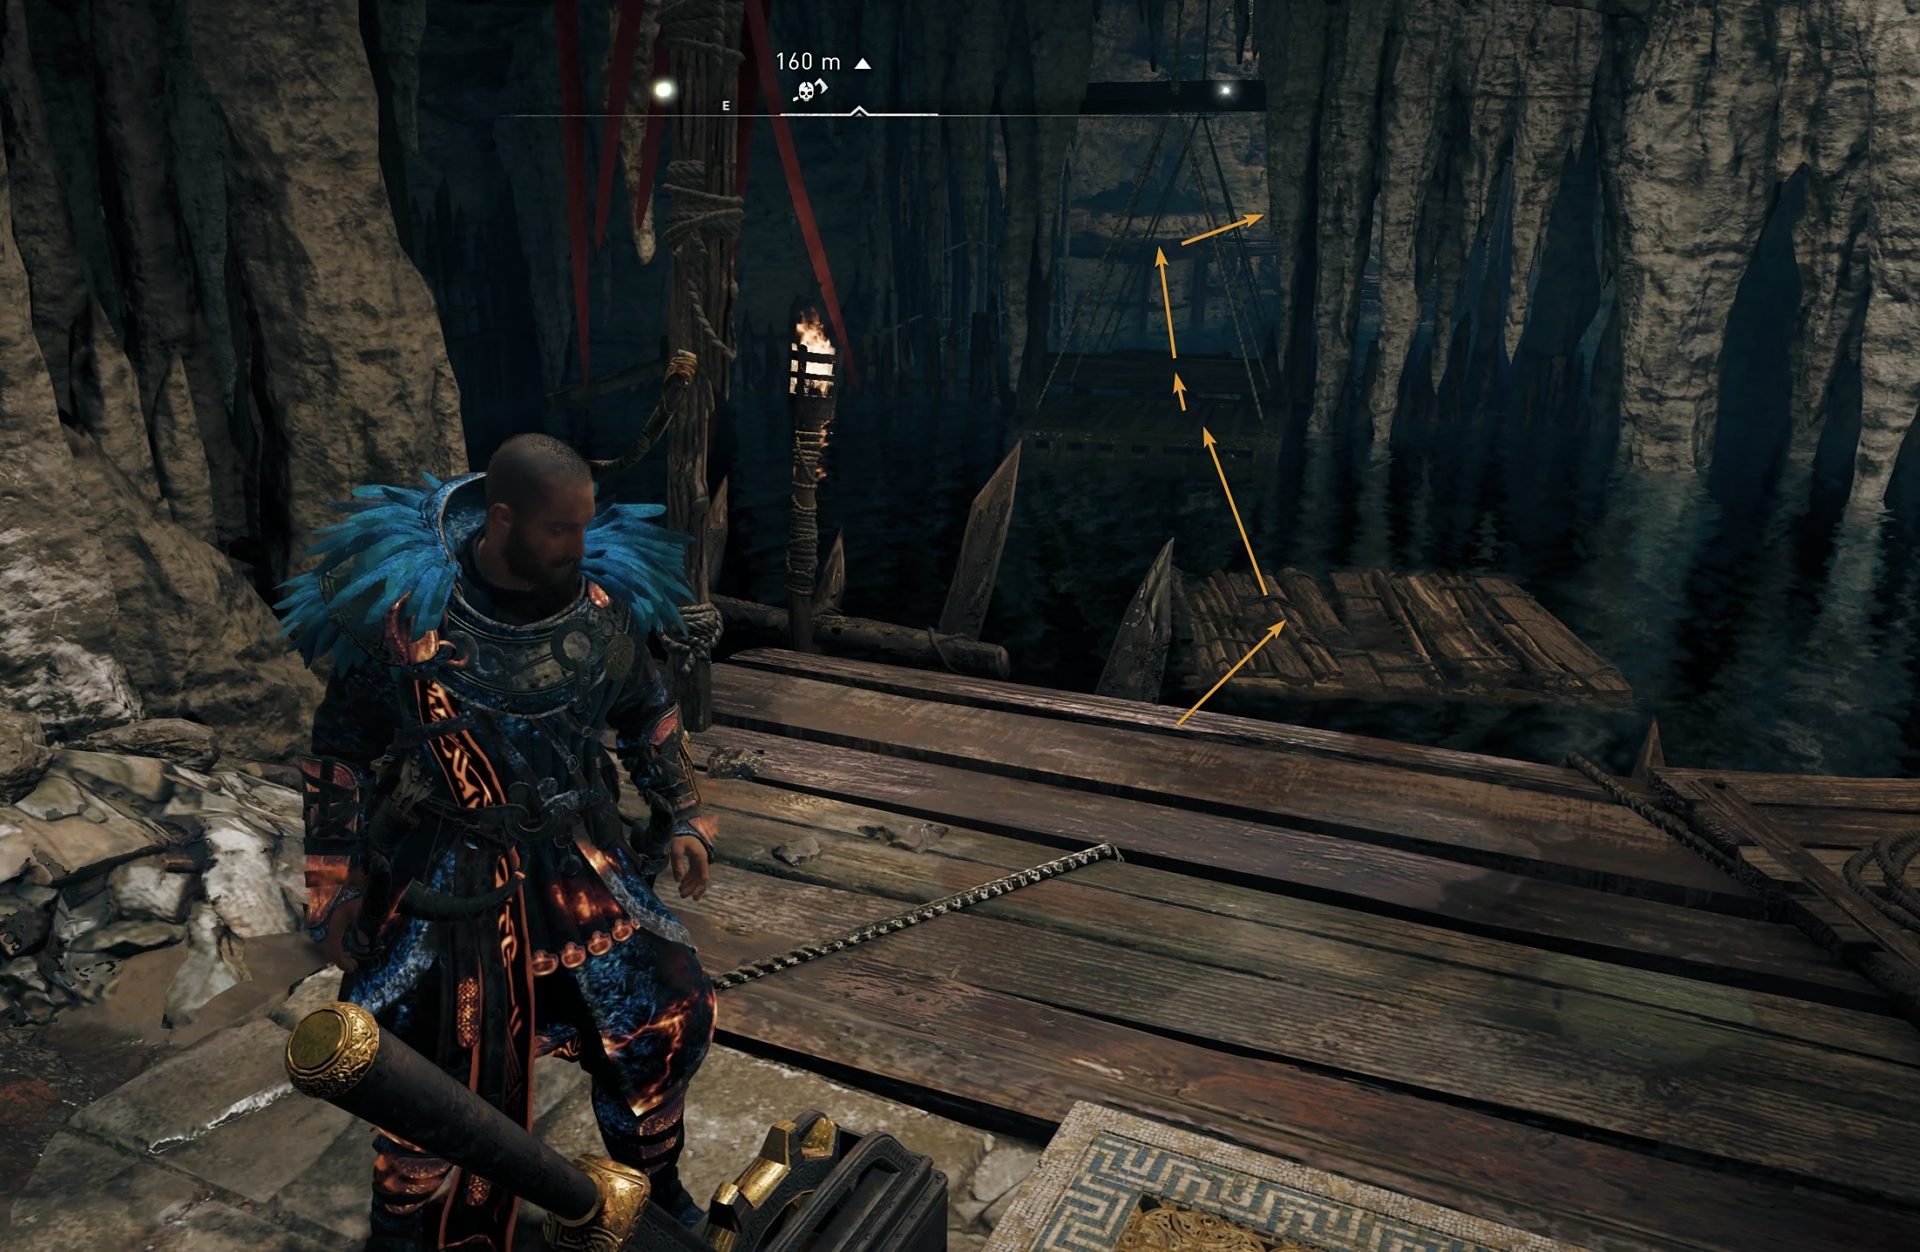
Stand on the main platform facing the tomb’s door. Look back and to the right from the entrance gate. Dive underwater through the narrow corridor beneath the green-covered roof.
Follow the path underwater again through the hallways with the red bricks. As you surface on the other end, pick up a flaming vase and throw it to break the stone wall.
In the next room on your left there will be a locked door. You have to get the key for it. Behind the door, through the green cloth, there is a small adjacent room with flaming vases. Pick one up. Go back to the hallway with the locked door and as you face the green cloth, turn right (west). Blow up that stone wall.

In this room you will see two wooden cages and a movable stone object. Drop it on top of the cage that is further from where you entered this room.
Blow up the weak stone wall that you just revealed underwater in the hole where the cage went down.
You’ll find the key at the end of this underwater hallway.
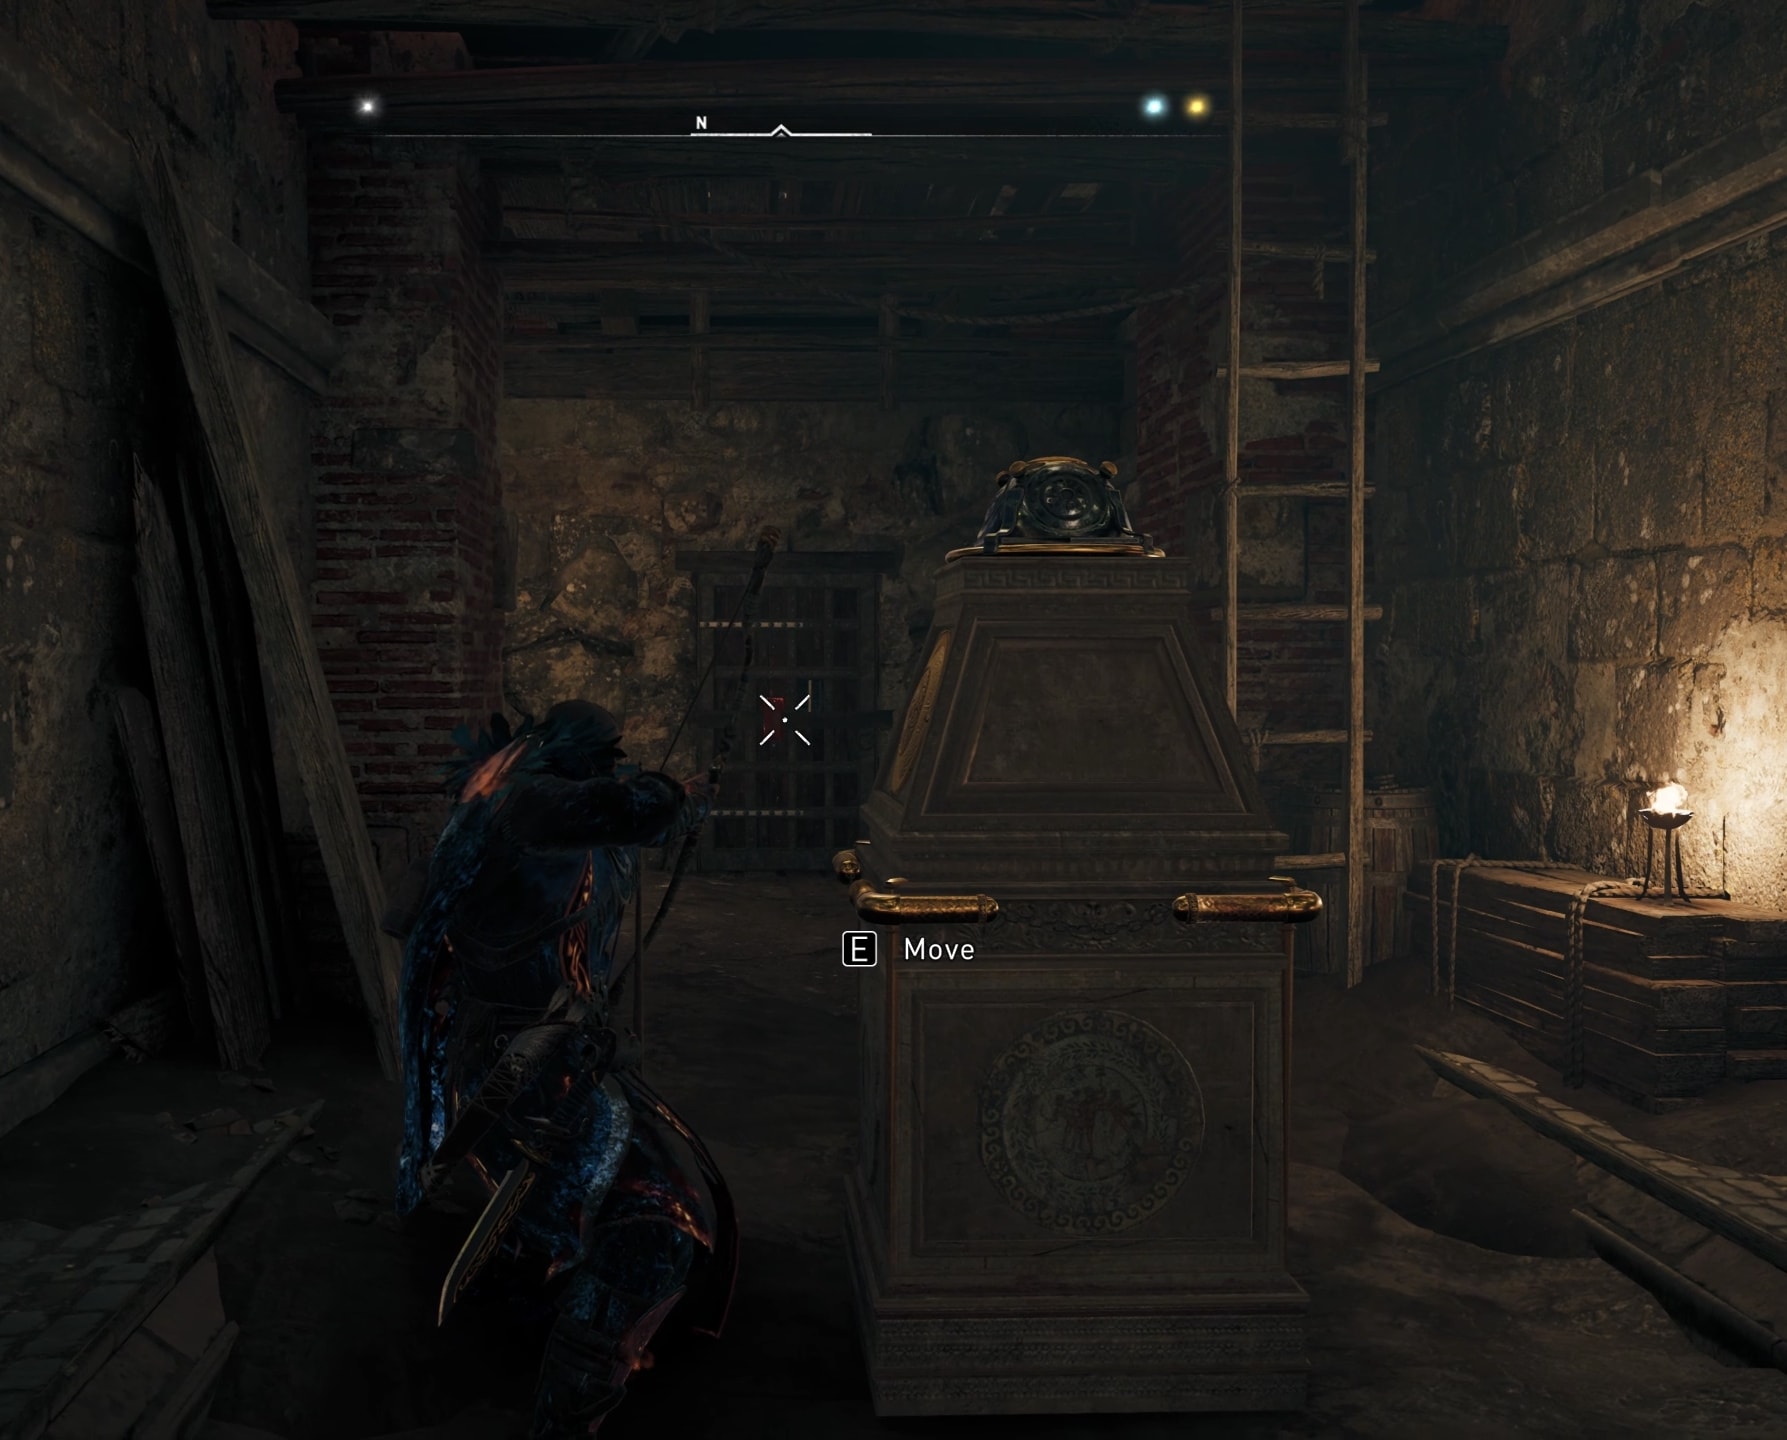
Go back to the hallway with the locked door and use the key to unlock it. In the room you will find the obelisk. Shoot the locking mechanism to the door right next to the obelisk as this is the direction you will be pushing the object.
Then blow up the flaming vase in front of this weak stone wall segment to clear the path for the obelisk to be moved freely.
In the next room you will see a locked door with a locking mechanism that you can break and a wooden ladder. Shoot the lock on the door, climb up the ladder on the right. Push the stone object until you drop it on top of the wooden cage. This will move it a bit lower, creating a narrow path for you to move your obelisk finally to its destination.
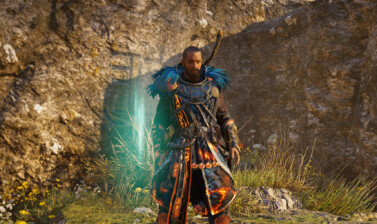
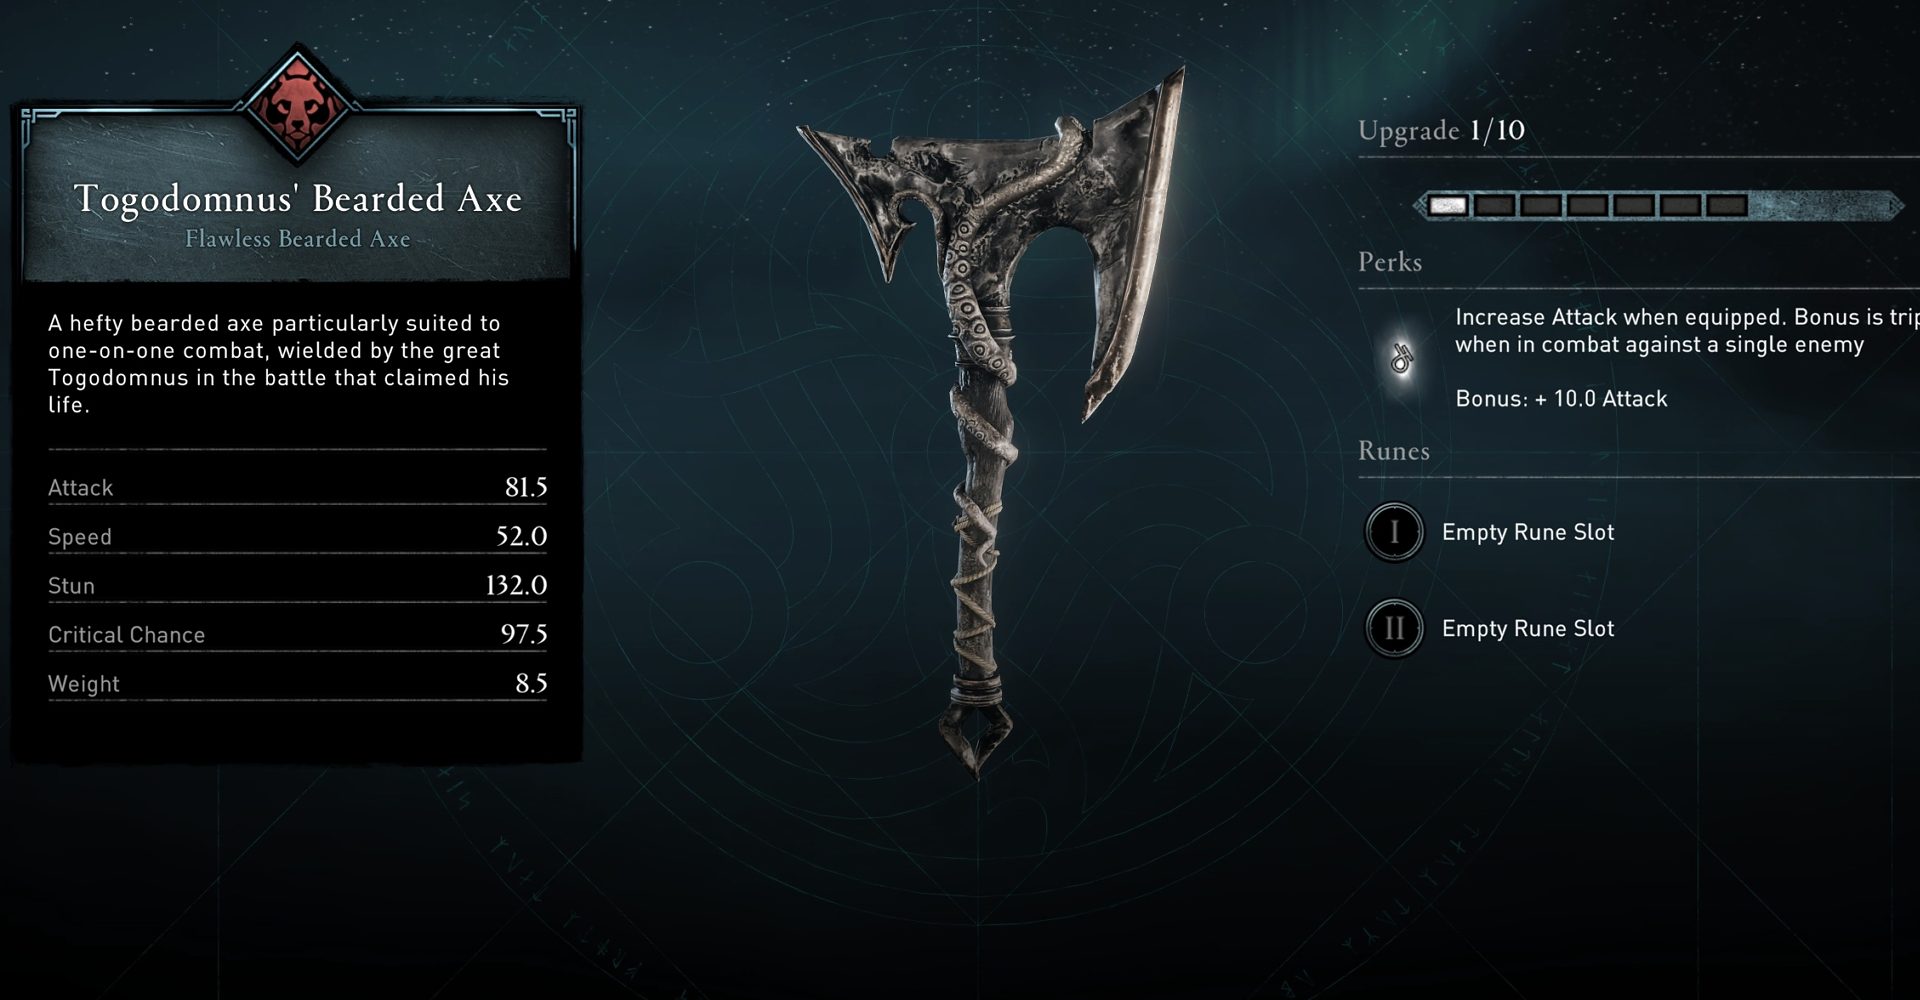
Get your reward – Togodomnus’ bearded Axe
As you complete all puzzles, the main door to the actual tomb will open up. You can pass through. Inside you will watch the usual short cinematic with the spirit of Togodomnus.
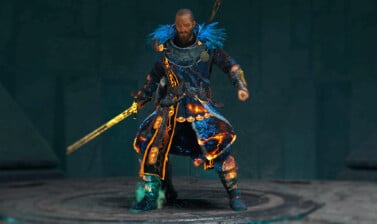
Near the sarcophagus, you will find the treasure chest containing the Bearded axe! Congratulations.
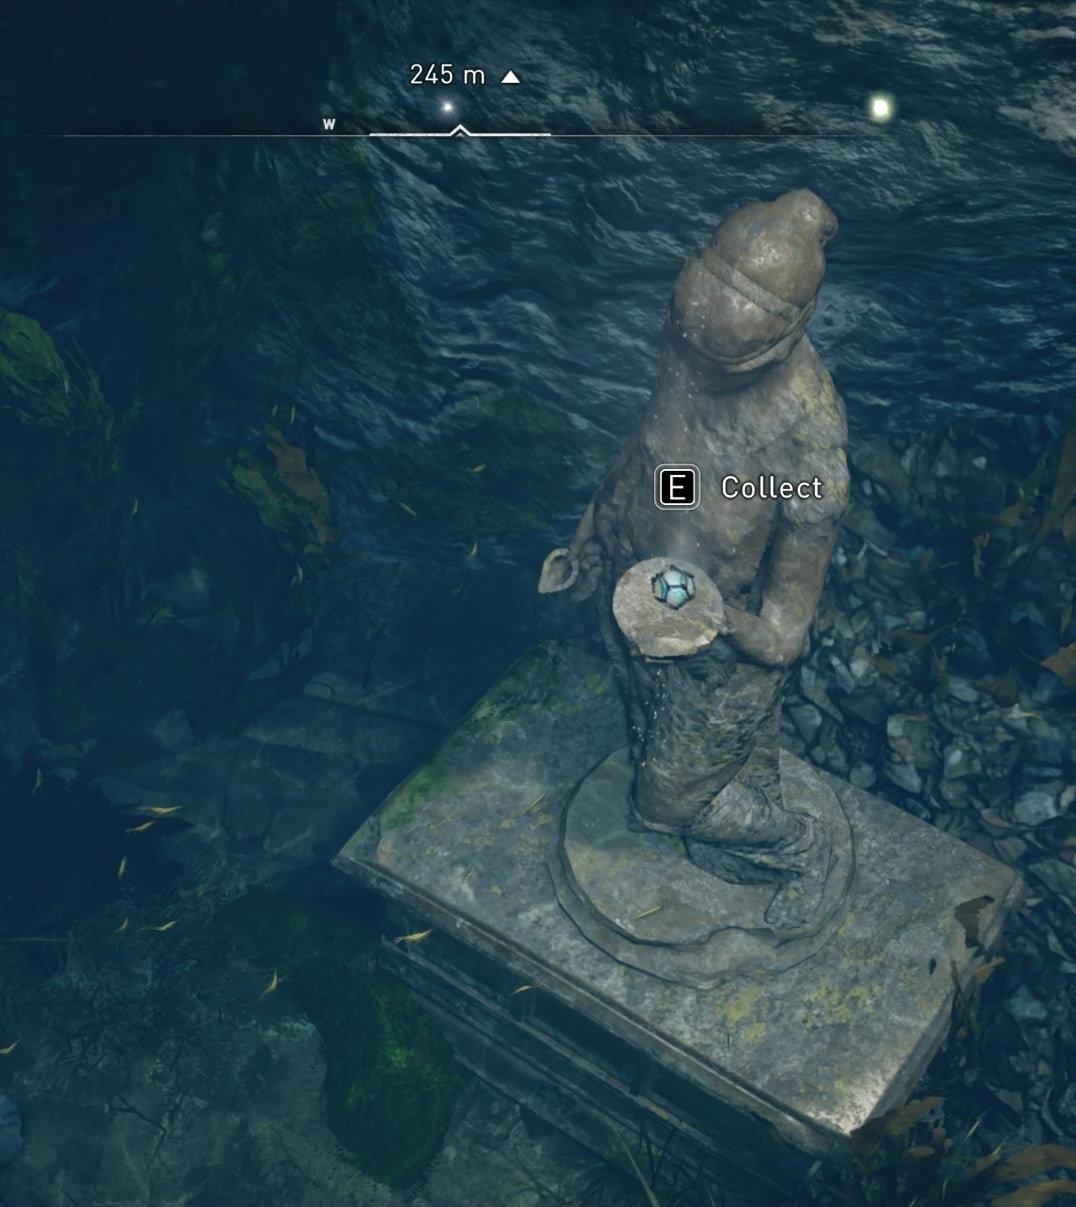
Where to find Togodomnus’ Tomb Artifact
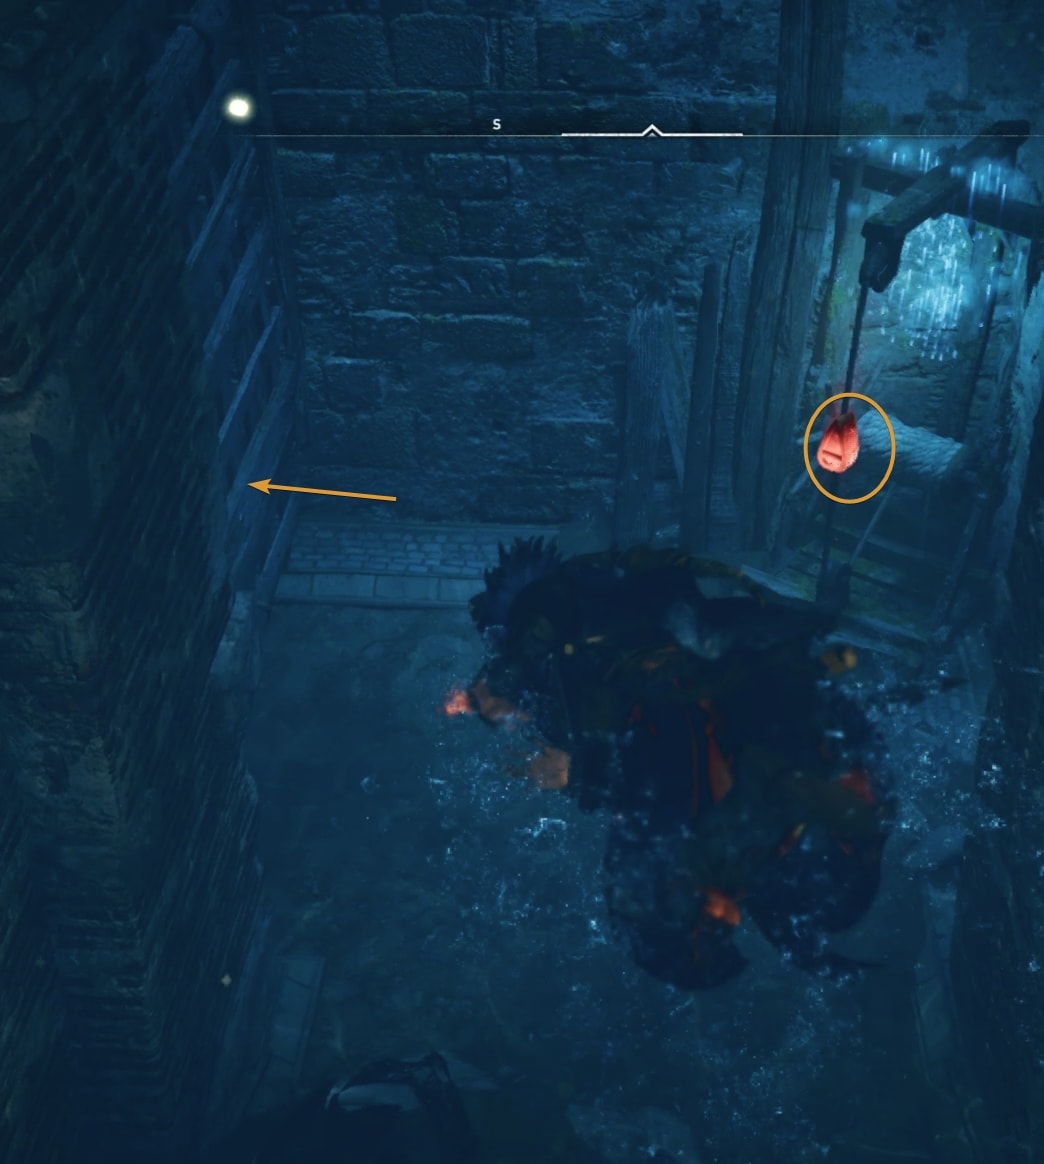
After you have solved all of the puzzles and have finished the Togodomnus Tomb, you can take a semi-hidden path to pick up another of the Tomb Artifacts – Togodomnus’ Tomb Artifact.
As you stand near the treasure chest with the bearded axe, look north and take that path. This is also the same path leading to the exit. Before you exit, however, you will take another extra turn to pick up the Artifact.
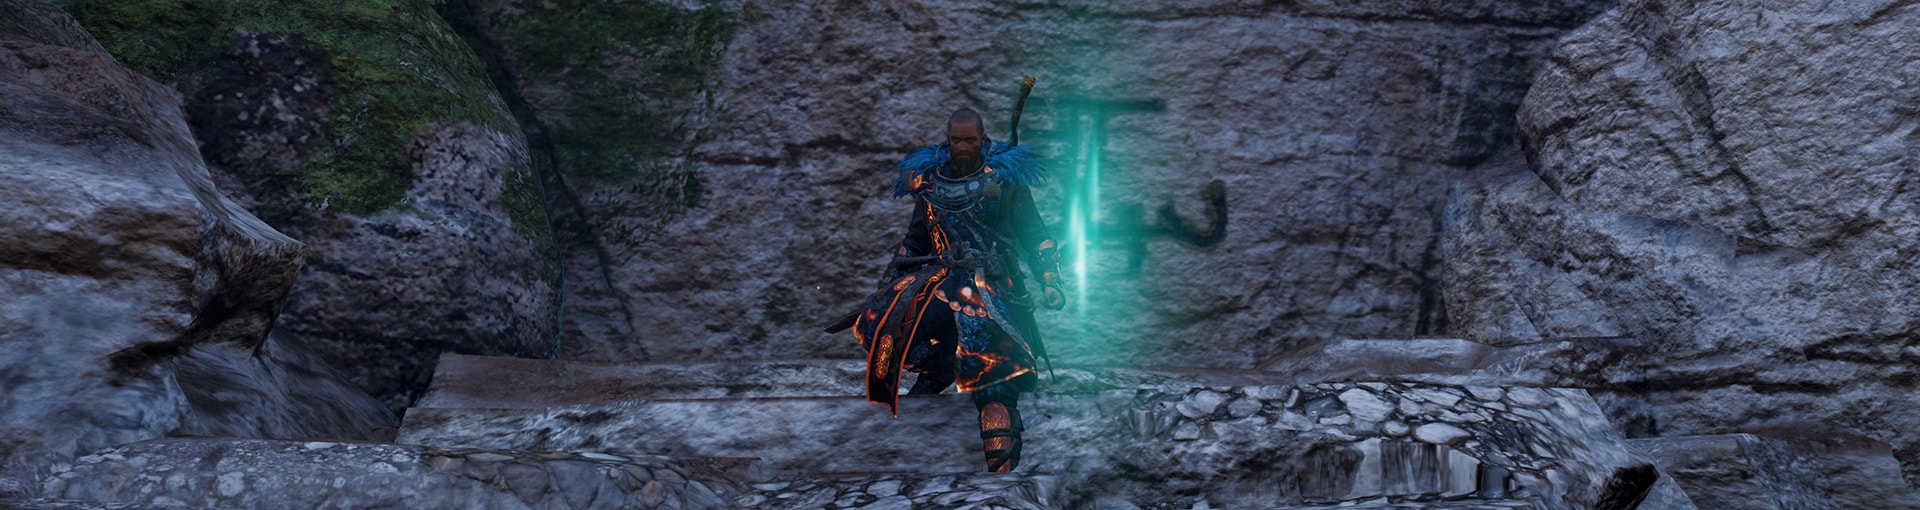
While heading toward the exit, at the cave with the waterfall, dive underwater and turn to your left (northwest). In the hand of the statue on the other end of the area is the Tomb Artifact!
After you collect all five Tomb Artifacts from the Tombs of the Fallen, you can enter the Eden Ring Station, solve the puzzles and get The Blazing Sword – an incredibly powerful and cool short sword. This is a rather complex and long underground complex and I have the perfect guide to help you navigate through its puzzles and challenges!
AC Valhalla Tombs of the Fallen Guides
This is a complete collection of guides with in-depth instructions to help you find and access all Tombs of the Fallen in Assassin's Creed Valhalla, solve the puzzles inside and grab the gear and other treasures located in each one of them.
In each one of the Tombs of the Fallen you will find a piece of gear - armor of weapon - and a unique Tomb Artifact. Collect all five artifacts to unlock the Eden Ring Station located directly under Manius's Sanctum.

How to unlock Eden Ring Station under Manius’s Sanctum in AC Valhalla and get the Blazing Sword
Guide to how to get all 5 Tomb Artifacts from Tombs of the Fallen, how to access and complete Eden Ring Station and get the Blazing Sword!
AC Valhalla Verica's Tomb Location and Puzzles Guide
Guide showing how to find Verica’s Tomb and solve all puzzles inside to grab the prize – Verica’s Sickle and Verica’s Tomb Artifact!
How to get Fallen Heroes Armor set in AC Valhalla Tombs of the Fallen
The Fallen Heroes armor set is available in Assassin’s Creed Valhalla as loot in the Tombs of the Fallen. Here’s everything you need to know!
AC Valhalla Venutius Tomb Location and Puzzles Guide
Venutius Tomb Guide showing you how to find the dungeon and solve all puzzles inside to get the Fallen Hero Helmet armor piece!
AC Valhalla Cassivellanus Tomb Location and Puzzles Guide
Cassivellanus Tomb Guide showing you how to find the dungeon and solve all puzzles inside to get the Fallen Hero Breastplate armor piece!
AC Valhalla Boudicca Tomb Location and Puzzles Guide
Guide showing how to find the Boudicca Tomb and solve all puzzles inside to grab the prize – two pieces from the Fallen Hero armor set!
AC Valhalla 1.4.0 Changes Overview and Patch Notes
Manius’s Sanctum is the first of four Tombs of the Fallen in Assassin’s Creed Valhalla. This guide shows you how to solve all puzzles inside!
How to find all Tombs of the Fallen in AC Valhalla
Assassin’s Creed Valhalla 1.4.0 brought four new dungeons filled with puzzles and secrets. See how to discover all Tombs of the Fallen!
It’s been nearly two years since the game’s launch and Ubisoft continues to support the game with new content and regular patches. Impressive.