This guide will show you how to complete the objective to Activate the Centrifuge in Chapter 3: Course Correction in Dead Space Remake!
This guide is for the Dead Space Remake, released in 2023!
While exploring USG Ishimura, Isaac has to solve a few puzzles here and there. One such example is the activation of the Centrifuge, part of Chapter 3: Course Correction.
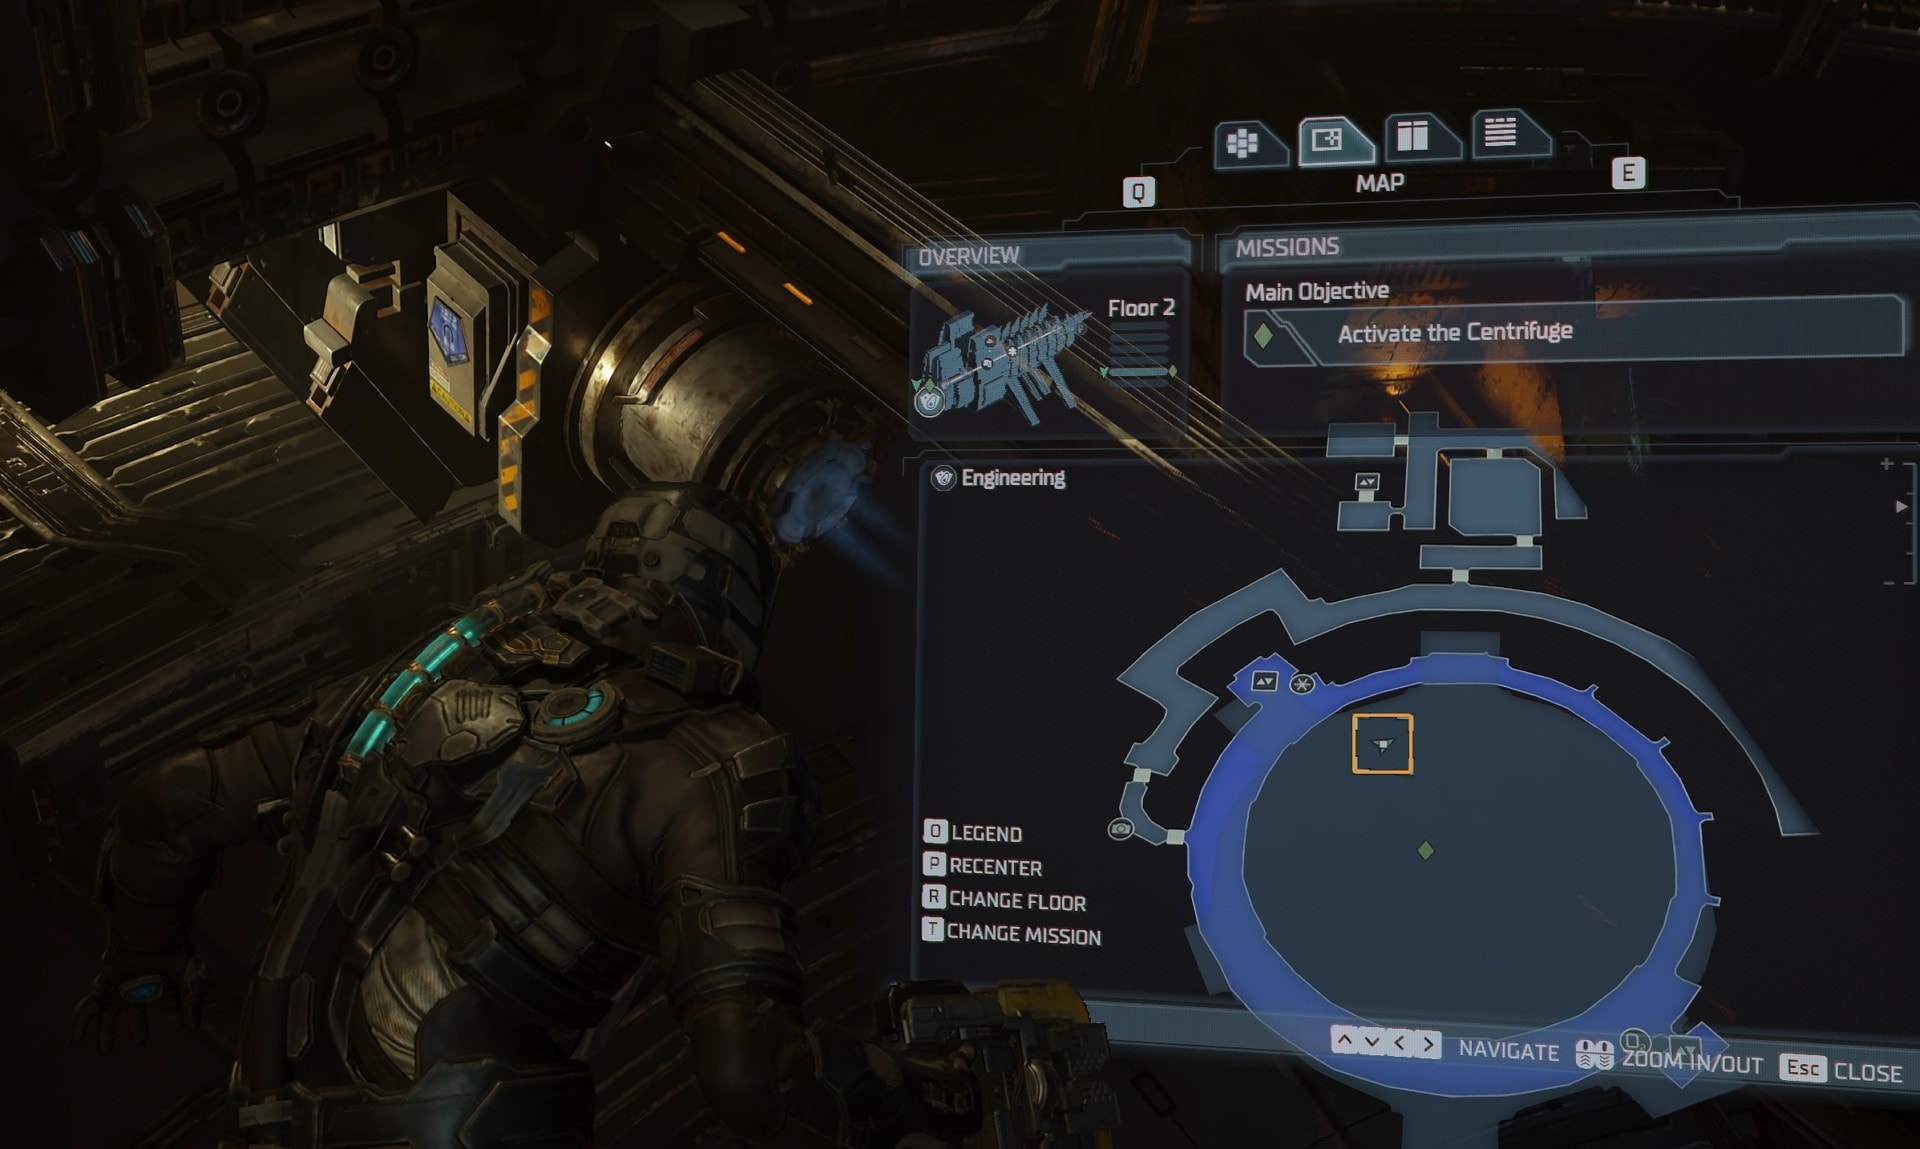
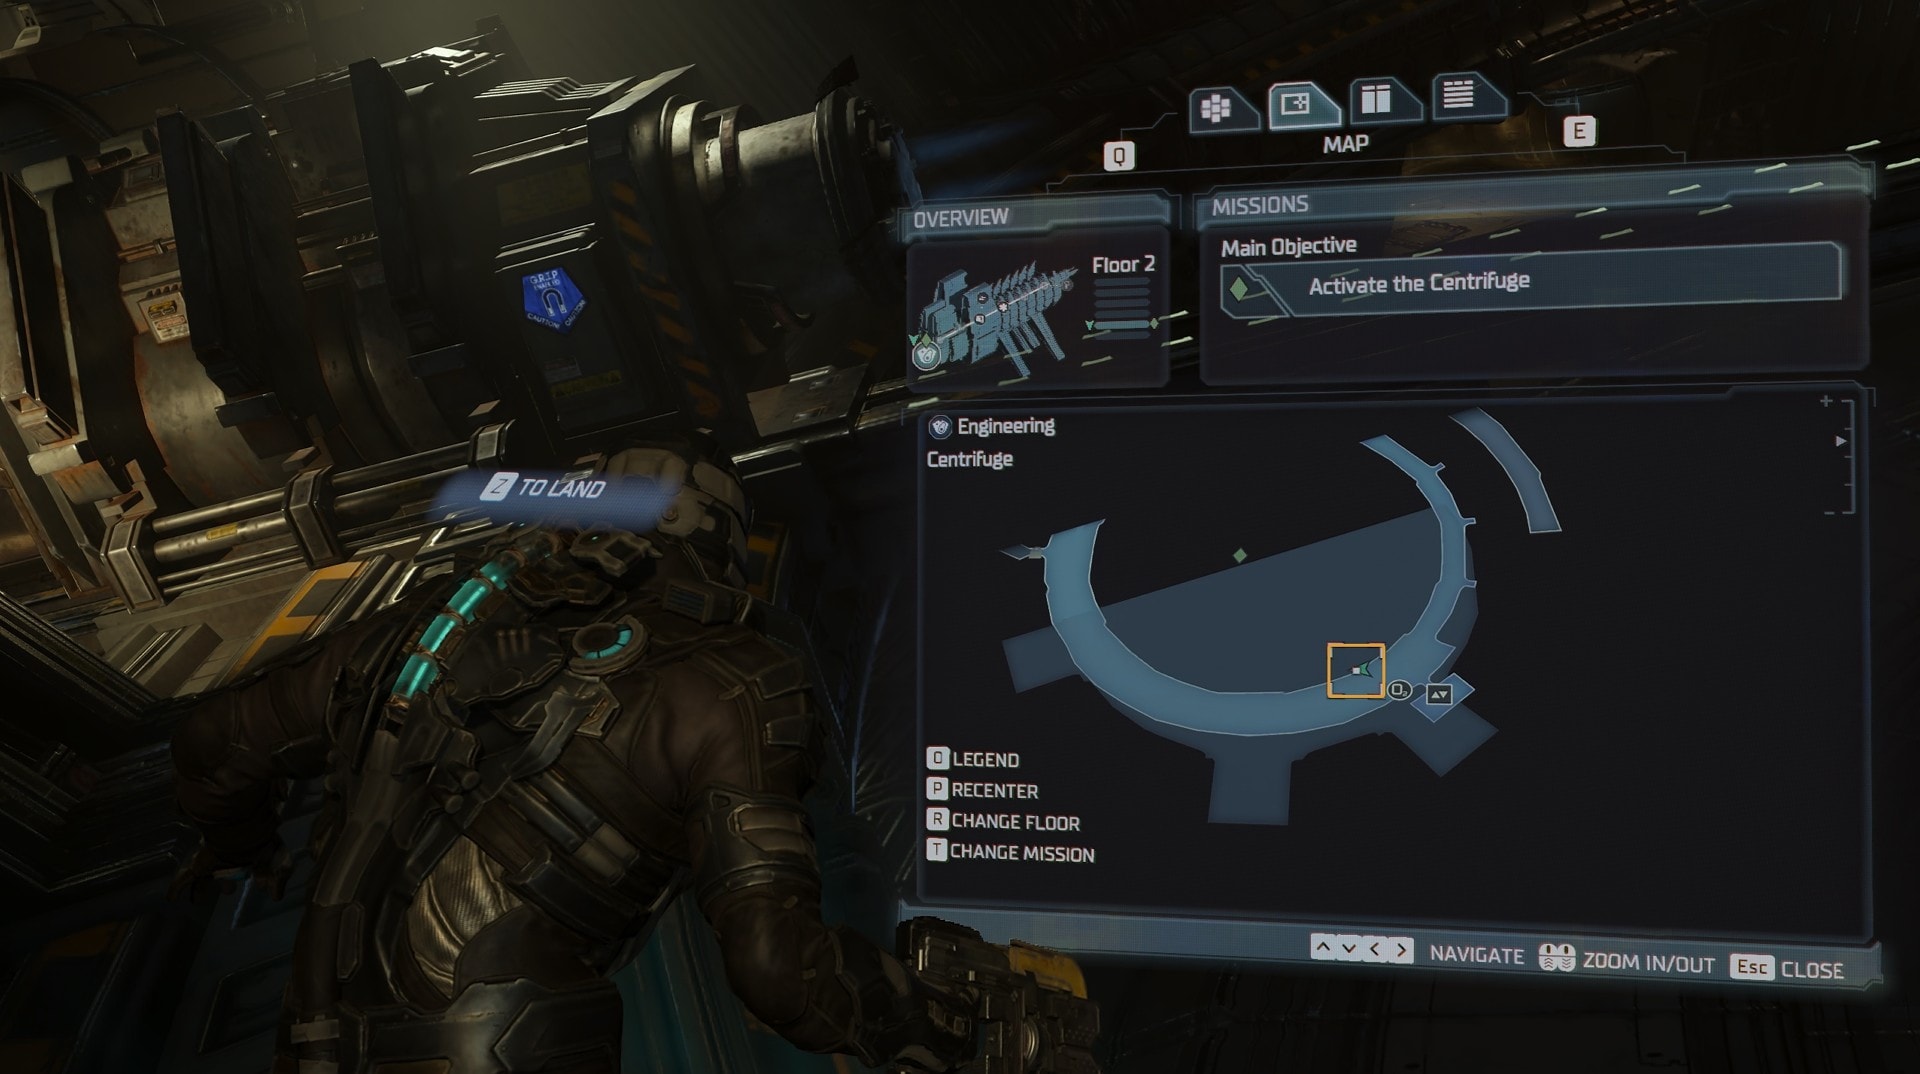
After you get past the Decontamination Room Fight, you’ll make your way down through a circular hallway toward the Gravity Centrifuge. Don’t forget to pick up the Power Node to the left when you enter the circular hallway!
Before you start this puzzle, be sure to manually save at the Save station in the short corridor leading to the Centrifuge room.
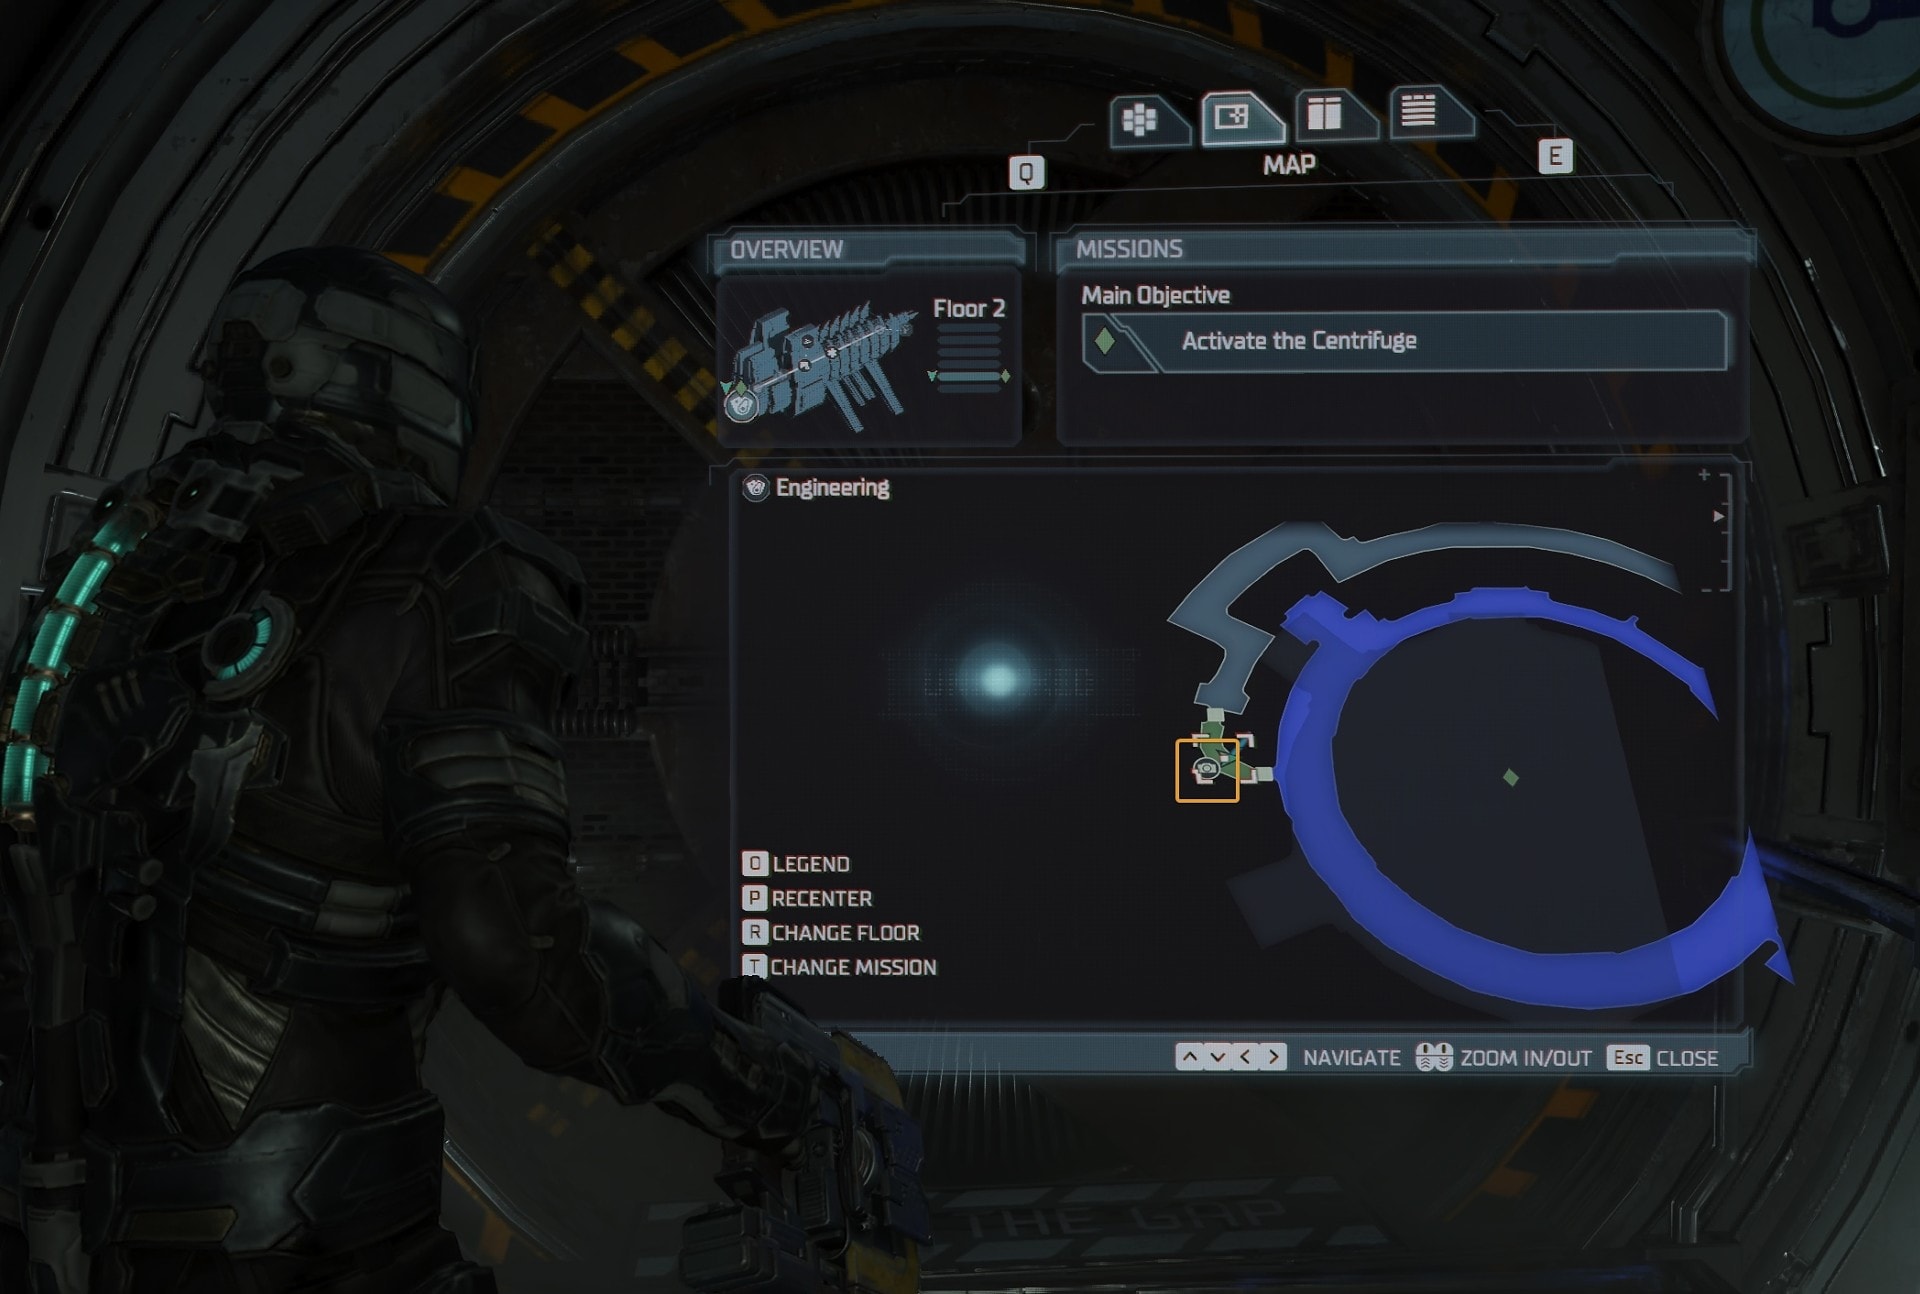
There is a Power Node at the north corridor before you enter the Gravity Centrifuge. You can pick it up before or after you do the puzzle. It is, of course, included in the guide to all Power Node Locations in Dead Space.
Exploring the area
Before you start the process of activating the Centrifuge, you should take a look around and pick up whatever loot you can find.
If you need a reminder of how Stasis and Kinesis work, the Starter Guide to Dead Space is here to refresh your memory. There have been some changes to these systems and even if you are a Dead Space 2008 veteran, you may find helpful tips in this guide.
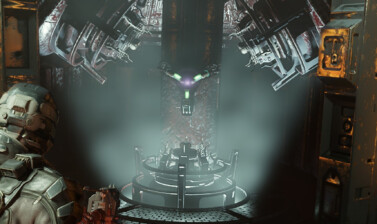
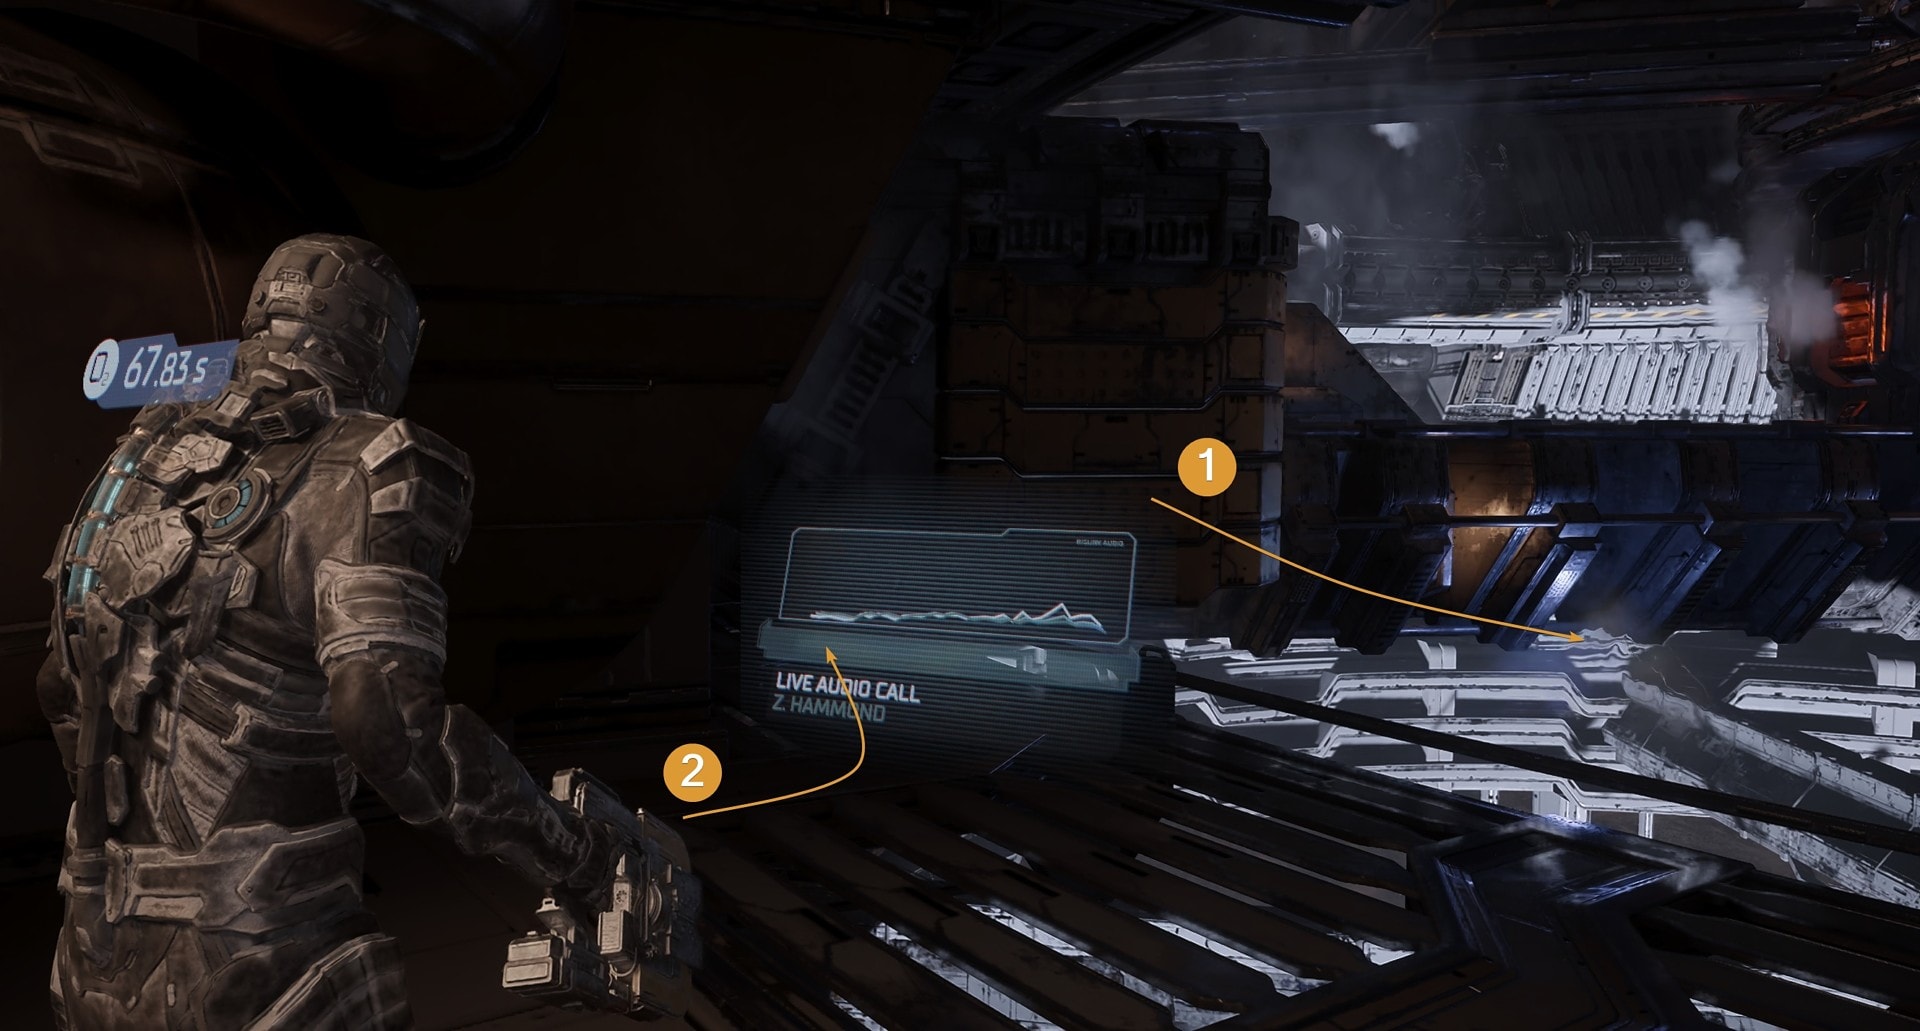
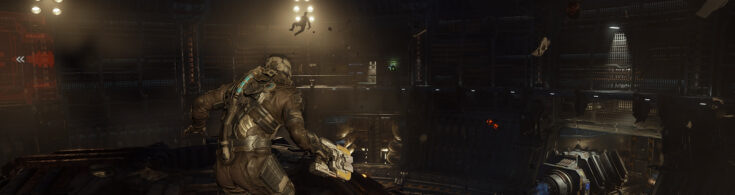
As you enter the Centrifuge, you will be in a Zero-Gravity zone. In the image below I have marked a few key elements you should notice. They will be valuable at some point during the process of activating the Centrifuge a moment later.
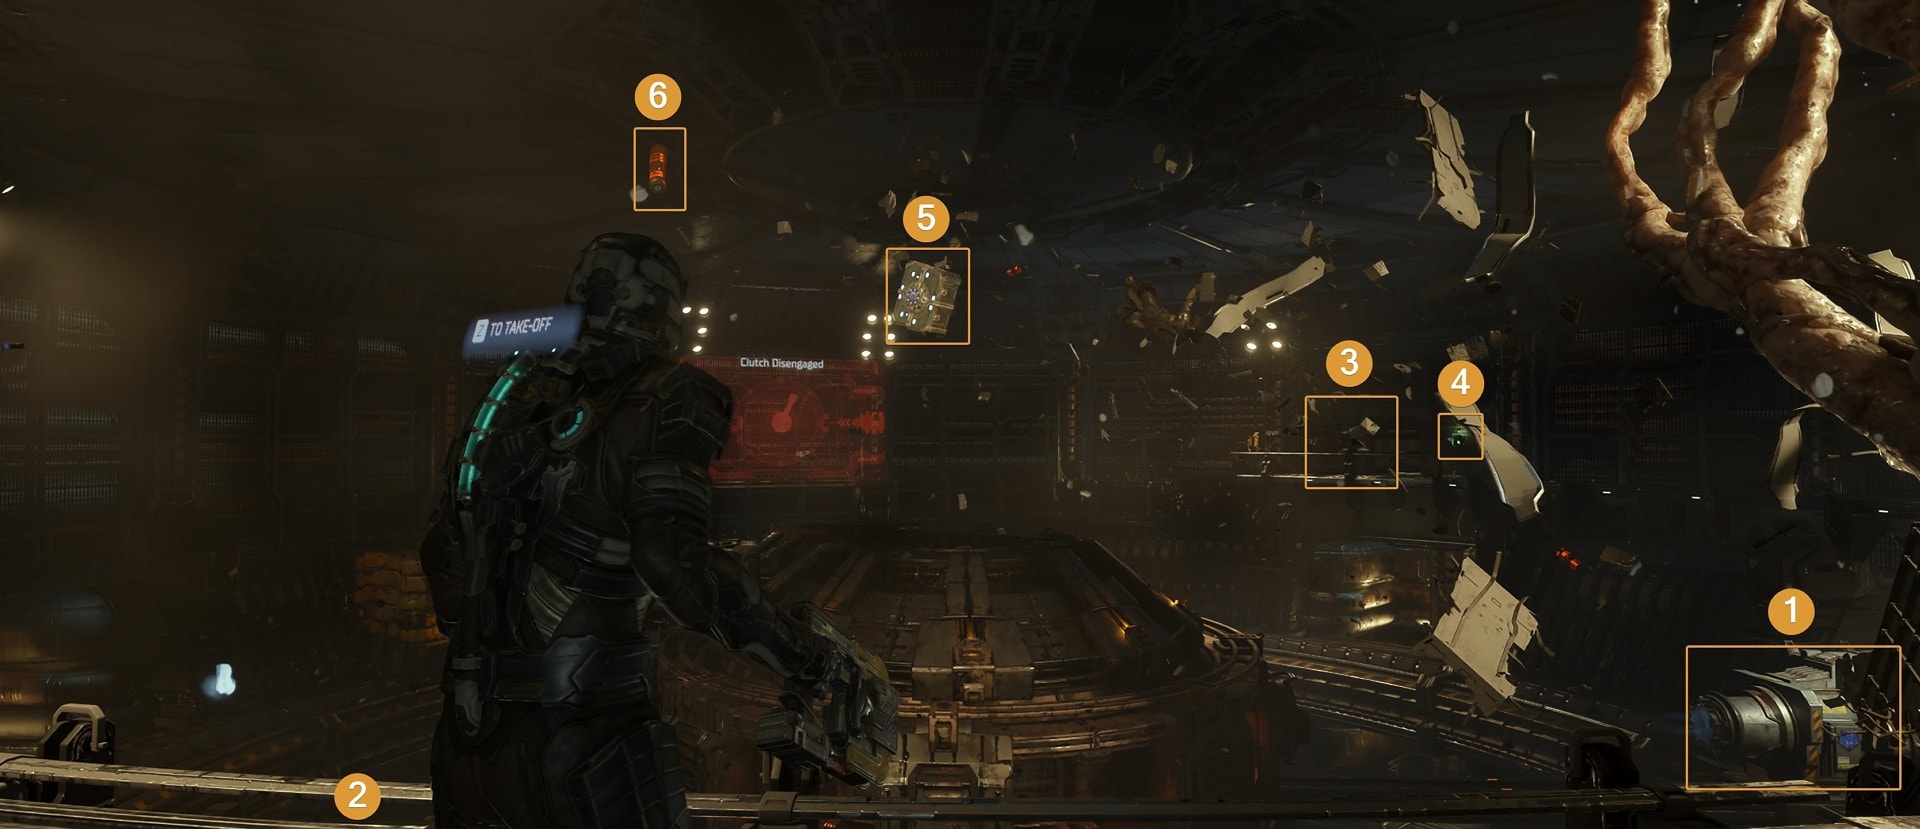
At the bottom right end of the image, you will see one of two Generator Modules (1). The second Generator Module is on the right side, but on a lower level (2).
At the far end of the area, there is a small platform on the same elevation as the one you stand on as you enter. This is where the Control Terminal (3) for activating the Centrifuge is.
Right next to it on the wall is an Oxygen refill (4).
Flying in the middle, you will notice a metal box (5) containing loot. The last item worthy of mention is the explosive canister (6), which you can use to quickly dispatch the Necromorphs that will spawn later.
There is also a Stasis Refill Station next to the door with the elevator on this platform. It’s on your left as you enter.
There are a few metal boxes in the area as well as a few exploding bottles to take advantage of.
As you explore, be mindful of the two Leaper necromorphs that will spawn. They appear when you go near the Generator Modules. You can use the explosive canisters to easily defeat them.
How to attach the Generator Modules
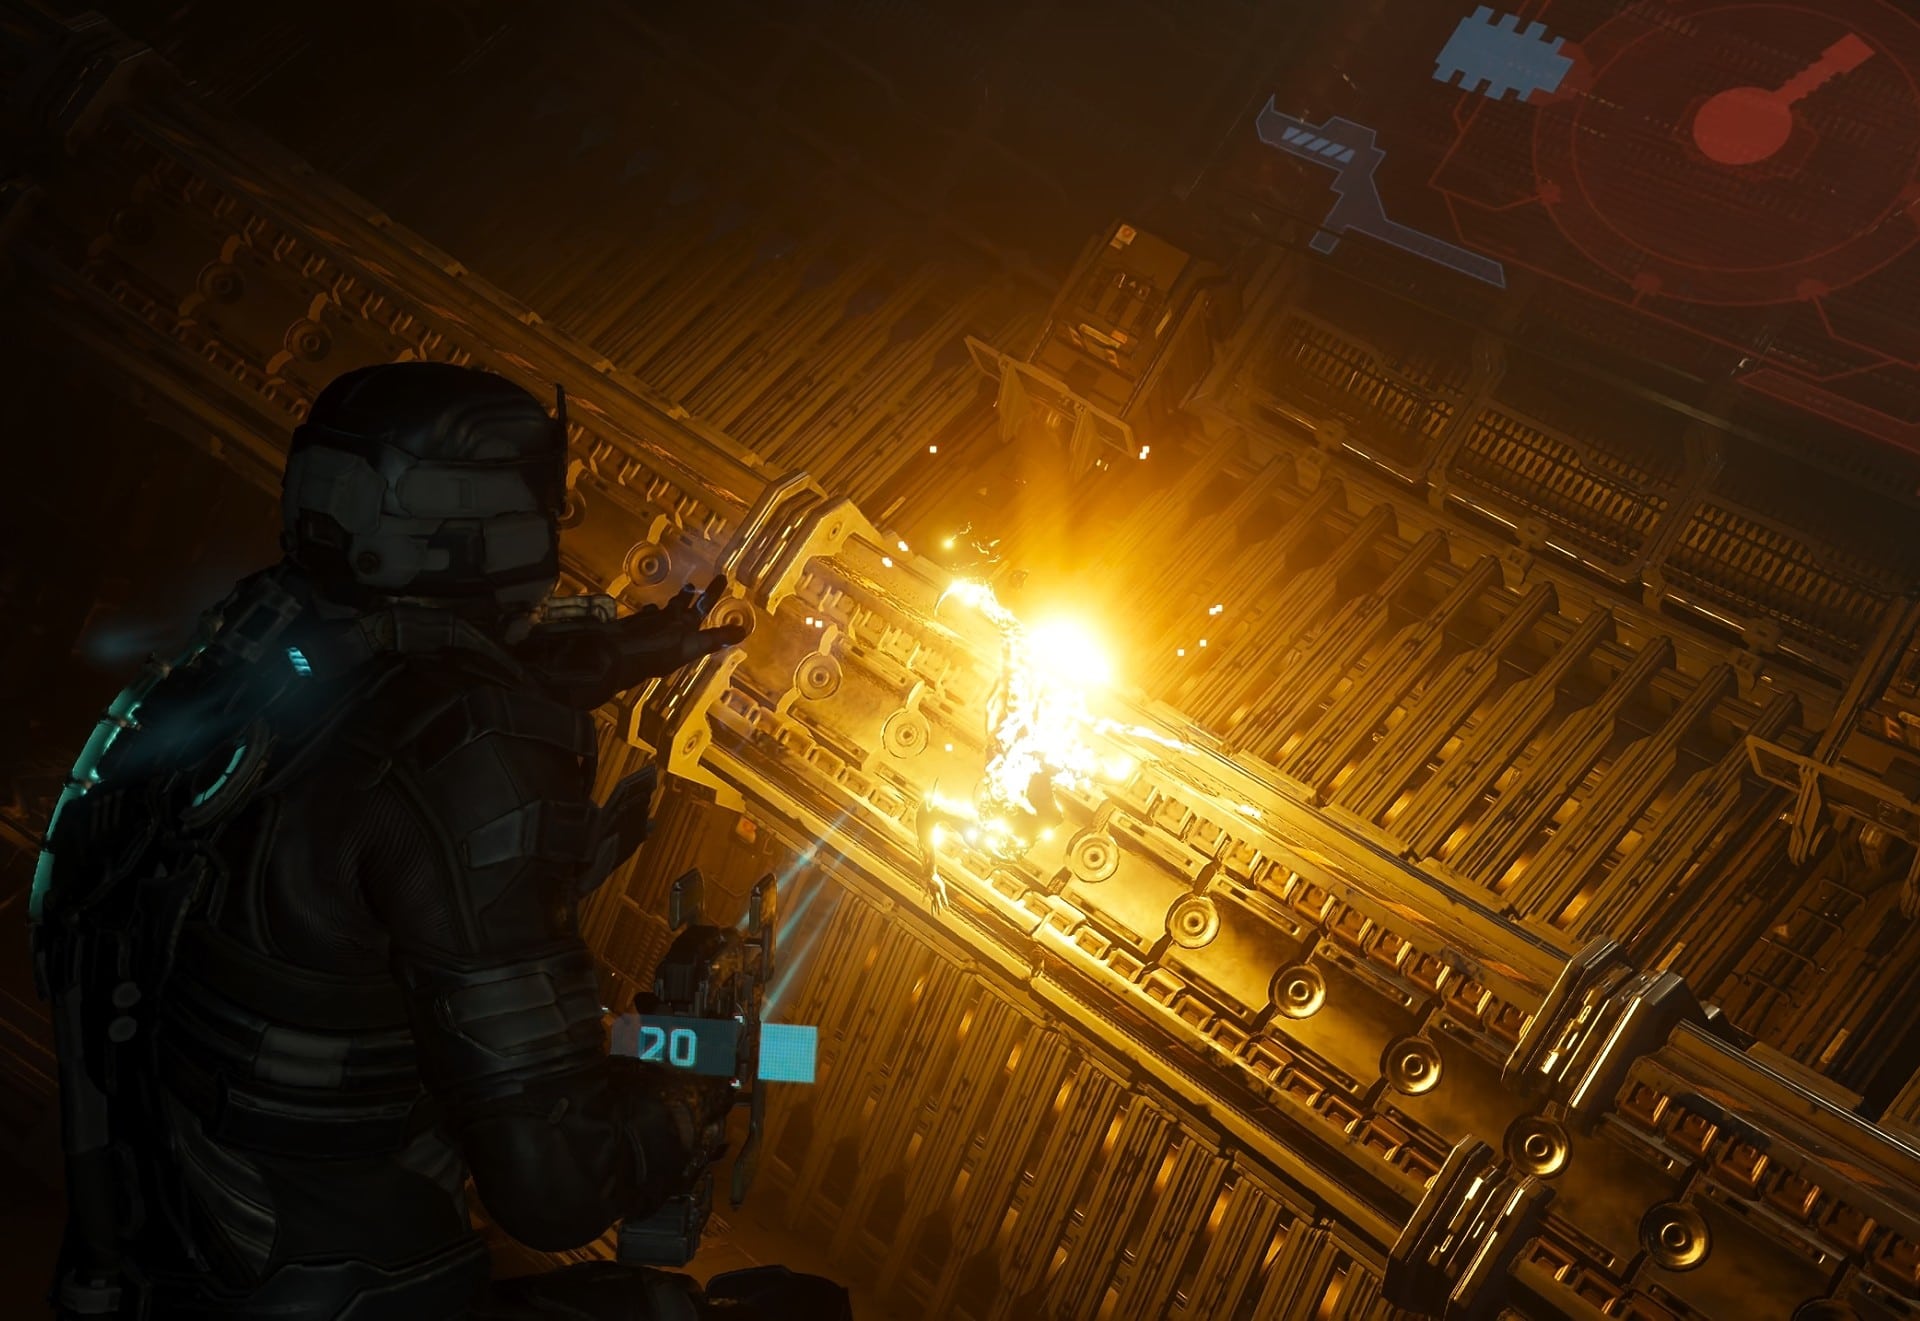
To attach the two Generator Modules, stand close enough to them so Kinesis will be in range. Use Stasis on the Generator Module to slow it down and use Kinesis to push it toward the core in the middle of the room
If you don’t use Stasis, the central structure will push the Generator Module away immediately. It needs to be slowed down for the connection to be made.
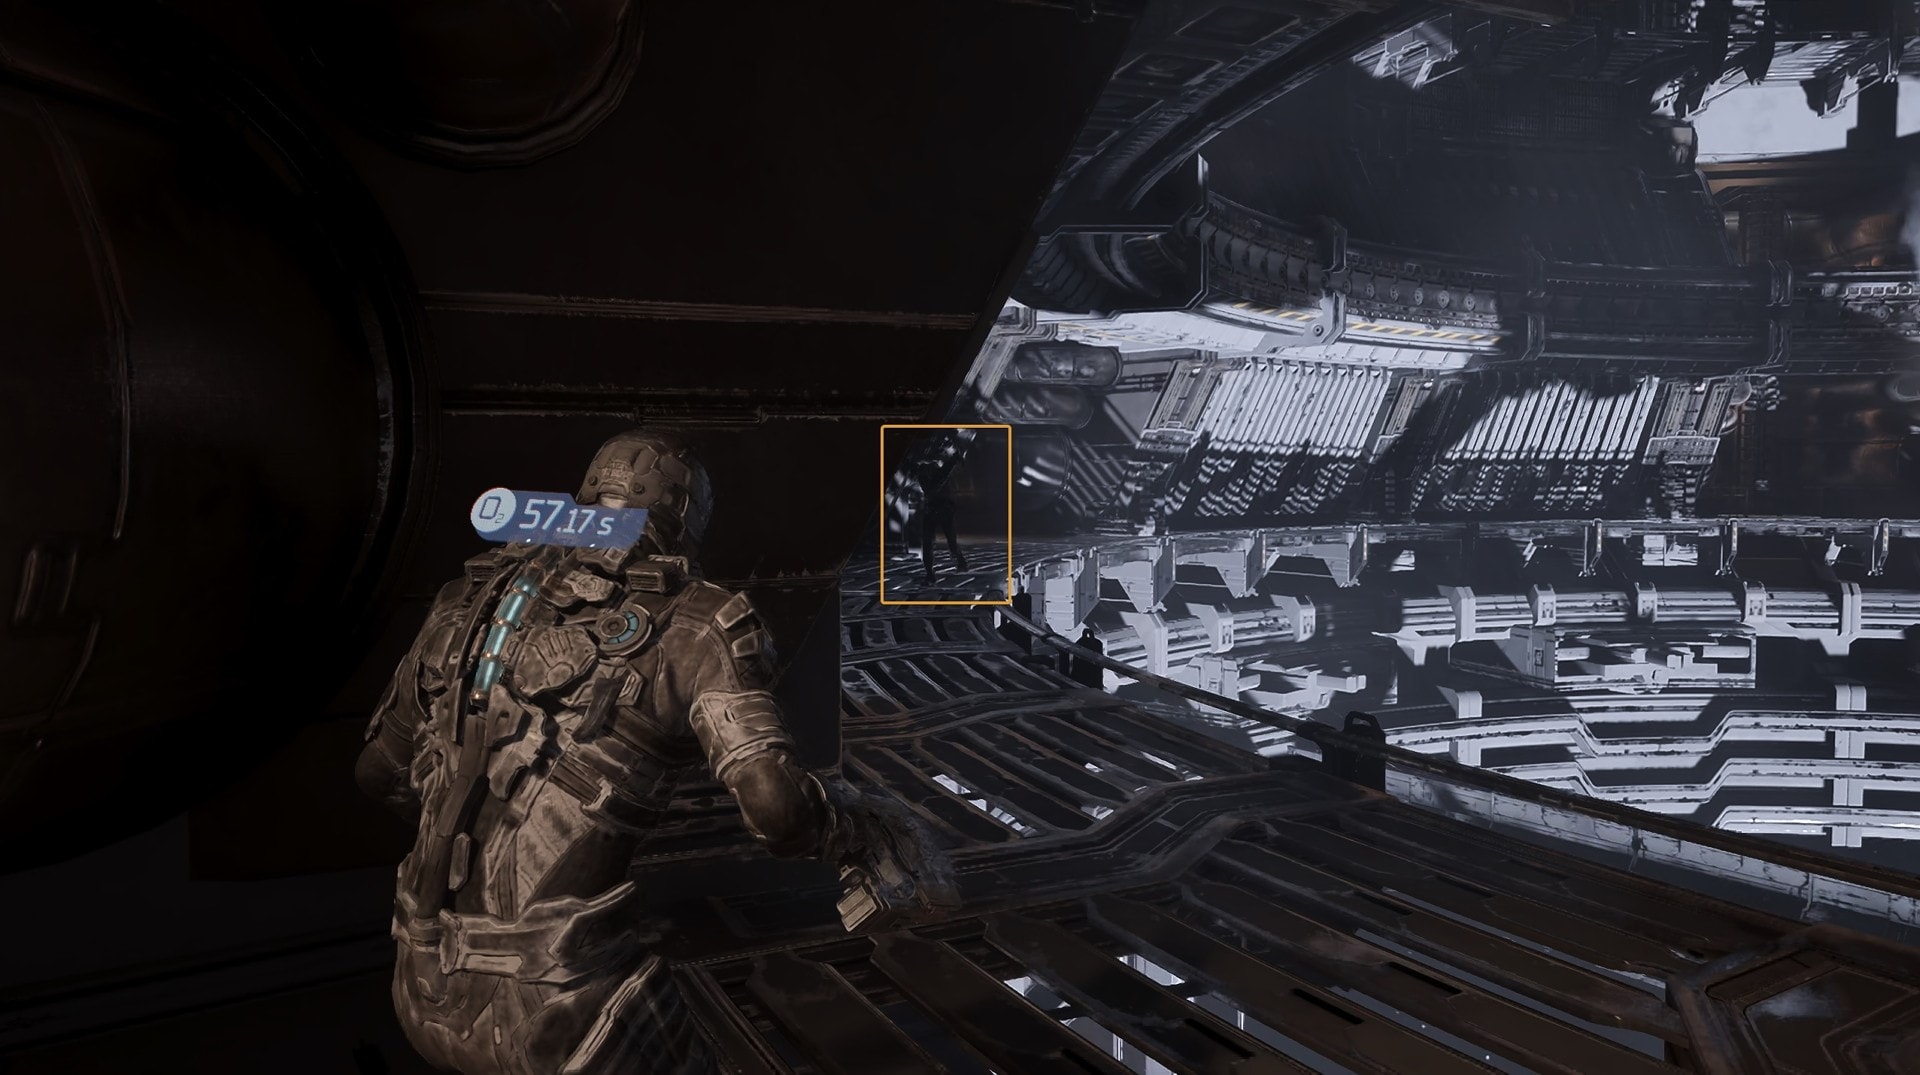
Below you can see images with visual representation and locations on the map of the two Generator Modules.
One is on the left below the level of the entrance platform.
The other one is on the far end of the area, below the platform with the Control Terminal.
It doesn’t matter in what order you attach them. You use the same technique for both. There are no surprises happening during this process. If you have cleared the room from the two Leapers, you are free to do your job. At least up t this point.
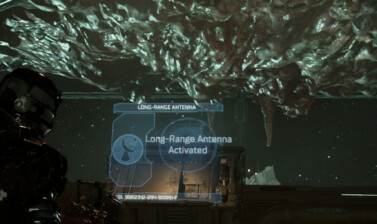
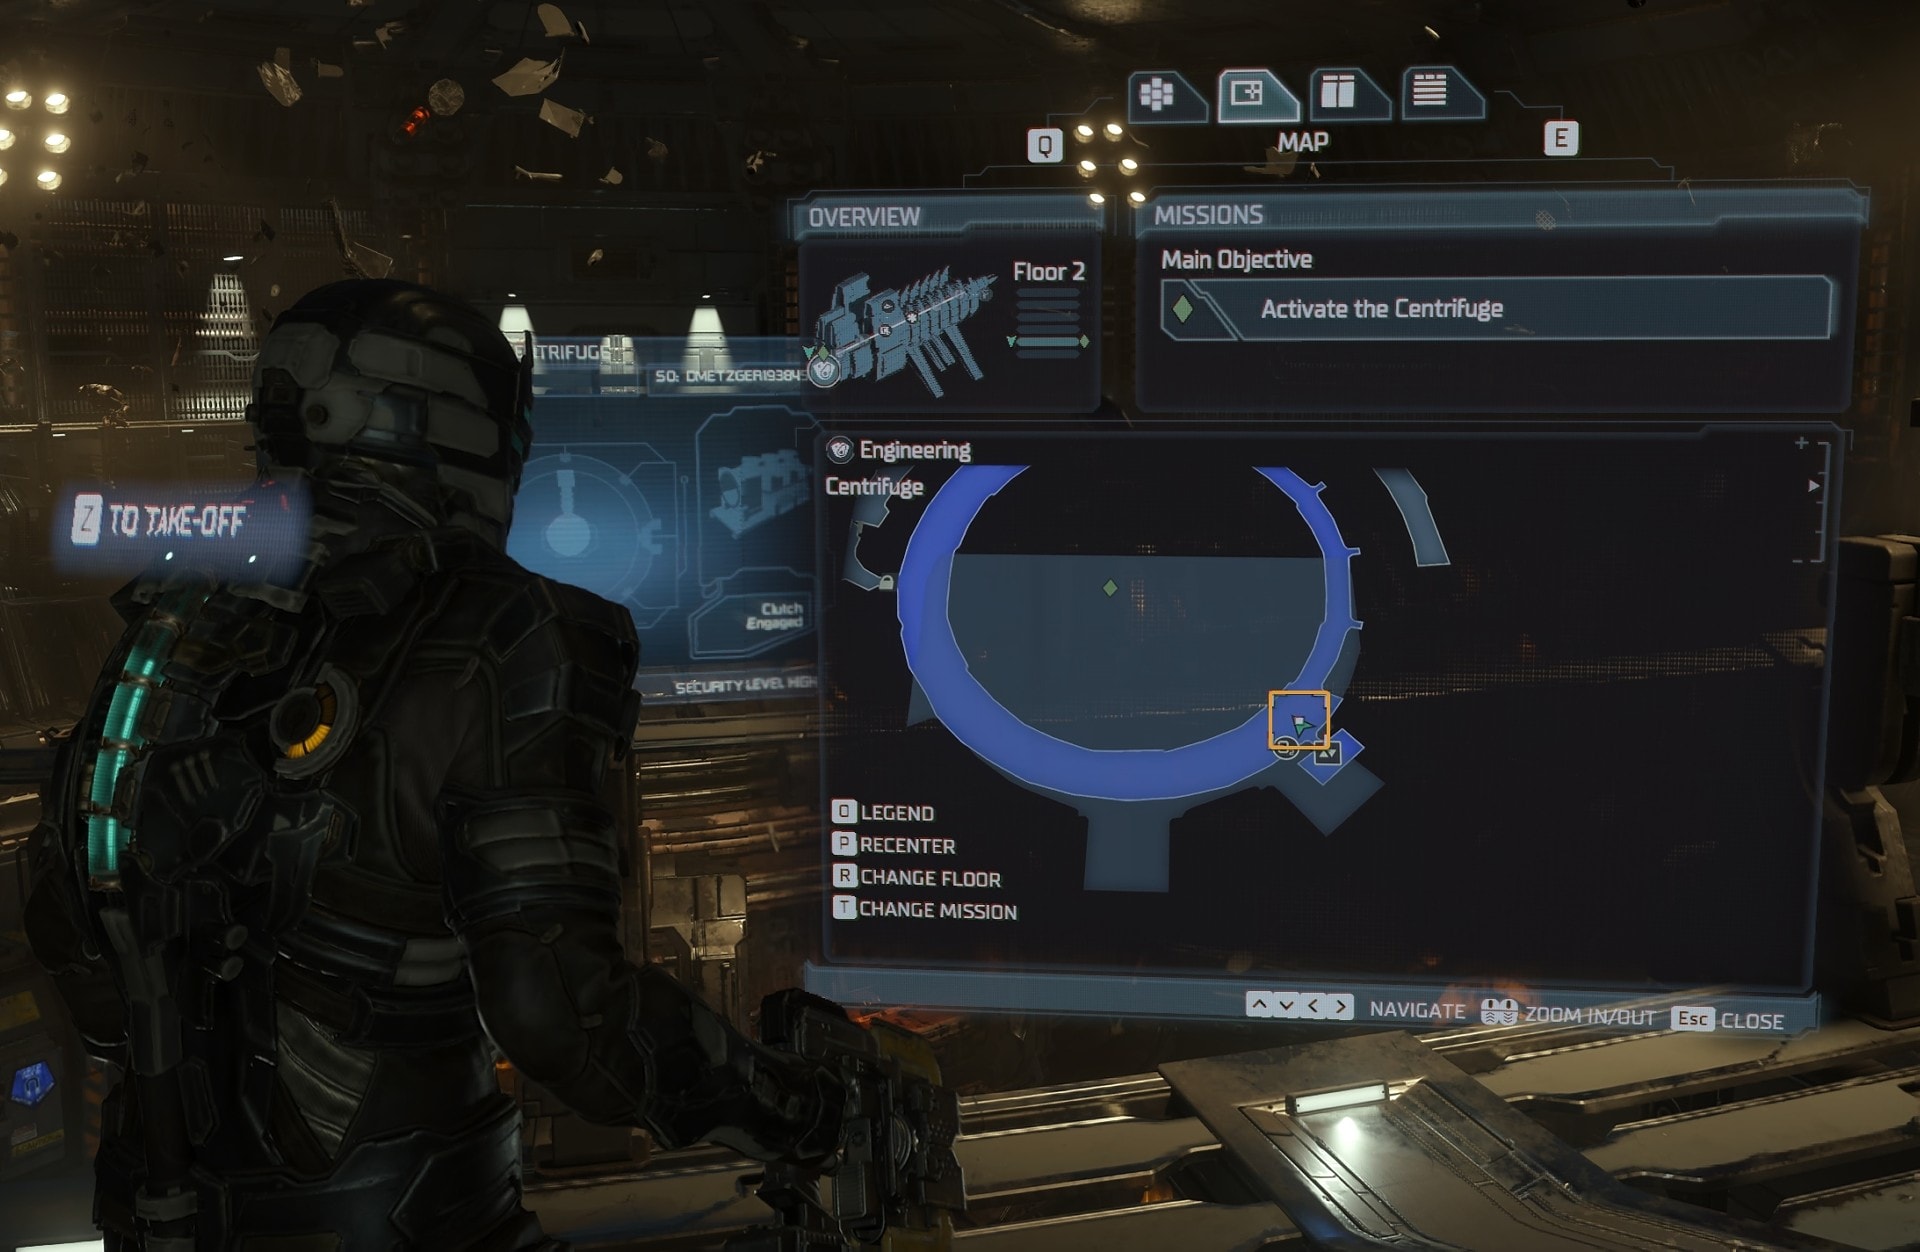
After you complete this part of the objective, you will hear an announcement confirming “Clutch Engaged. All personnel clear for centrifuge restart.”
How to Restart the Centrifuge
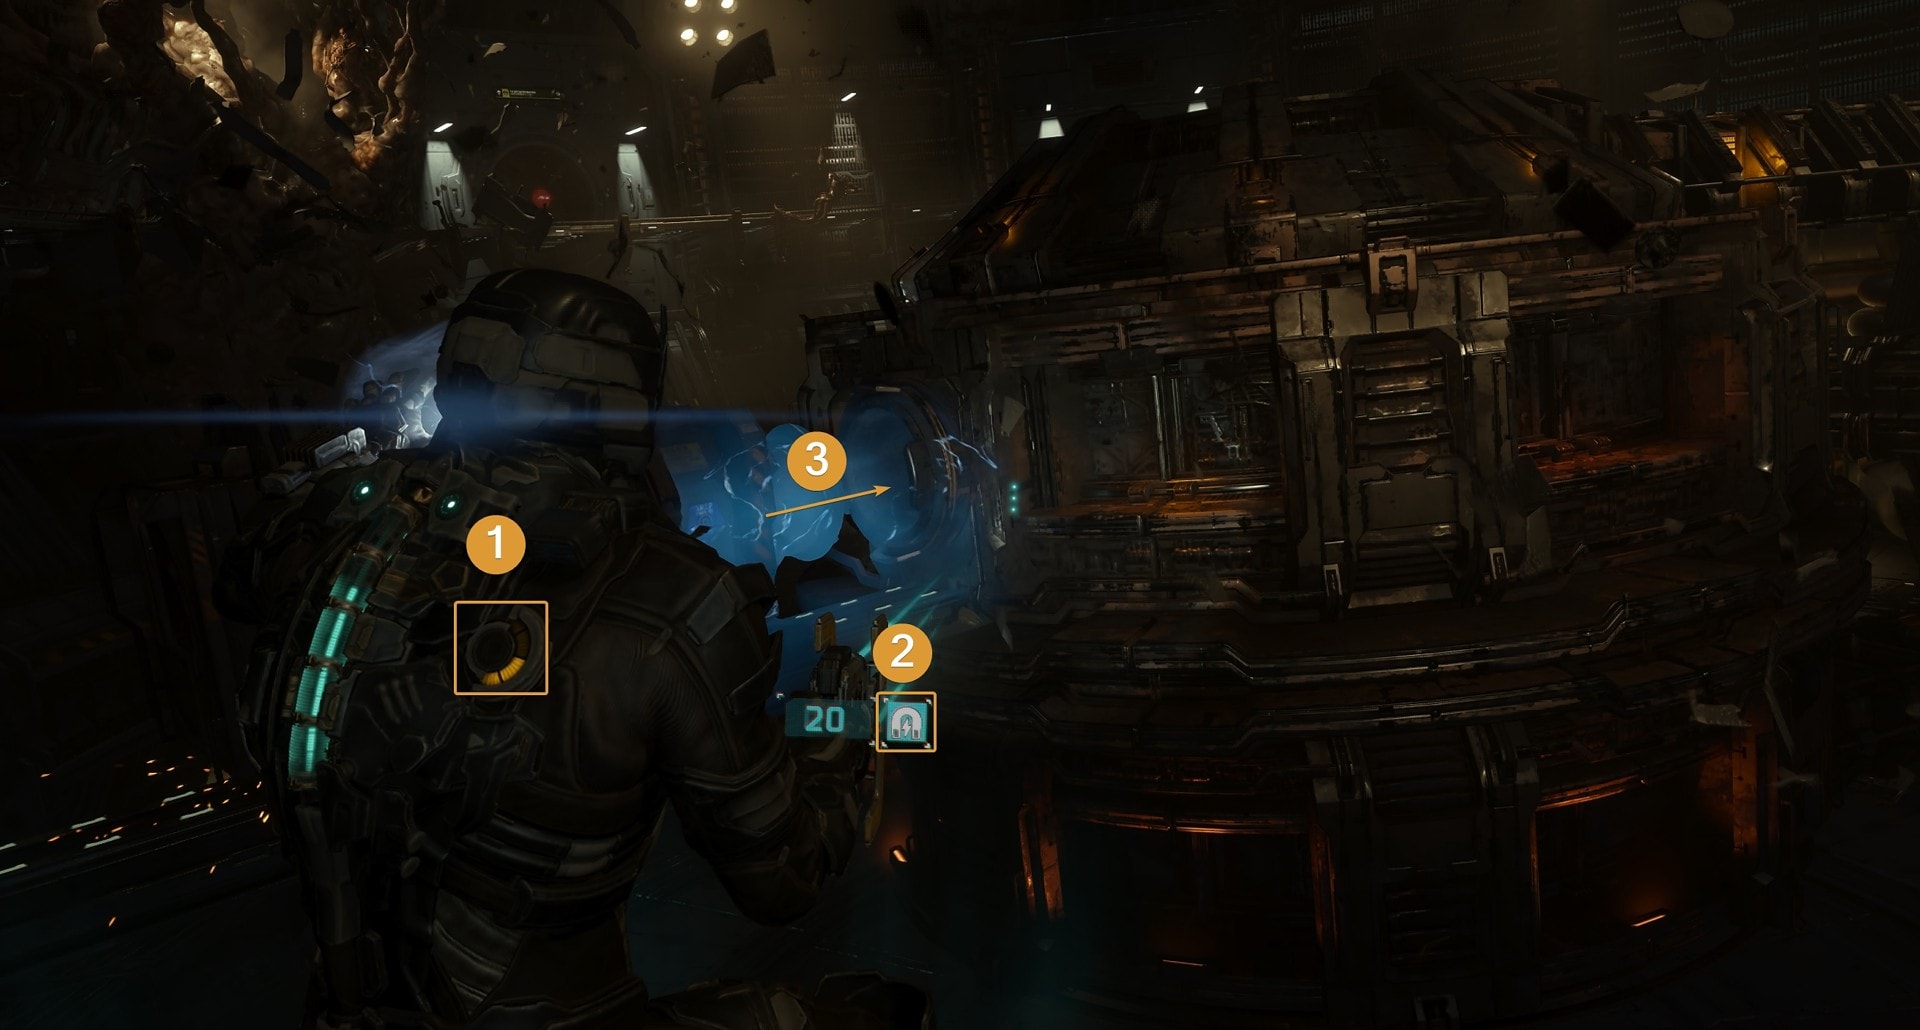
Fly off to the platform with the Control Terminal and land on it. Stand in front of it and activate the sequence. A short cinematic will play showing you how the mechanism starts to spin.
As this happens, you will notice that the air is being pulled out of the room. From now on until you complete the objective, you will be in no-air environment.
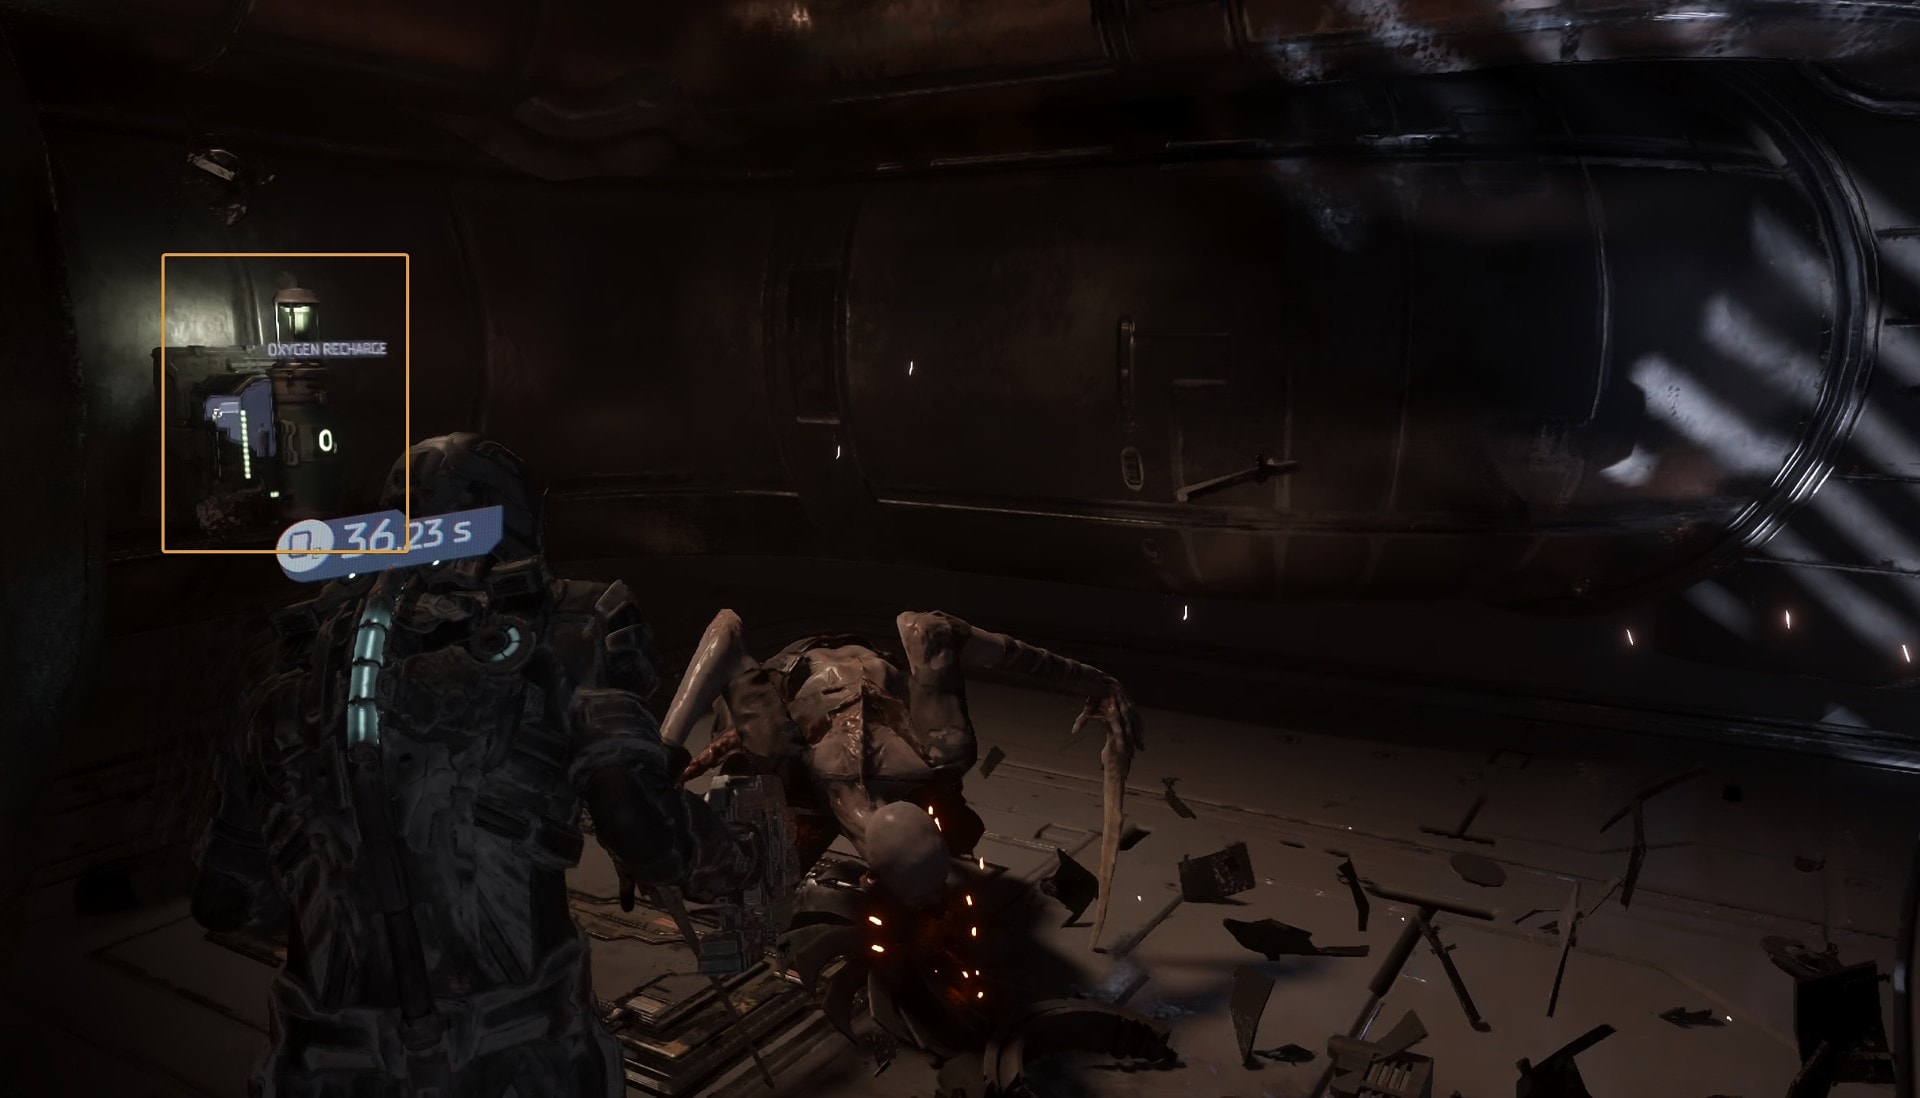
It’s important to remember the locations of the Oxygen supplies. There are two. One of them is right behind you, on the platform where the Control Terminal is.
There is a second one. You may not need it if you know where to go and how to move fast to that point, but using that second O2 tank makes things a lot easier. I’ll show you its location in a moment, as I guide you there.
How to exit the area
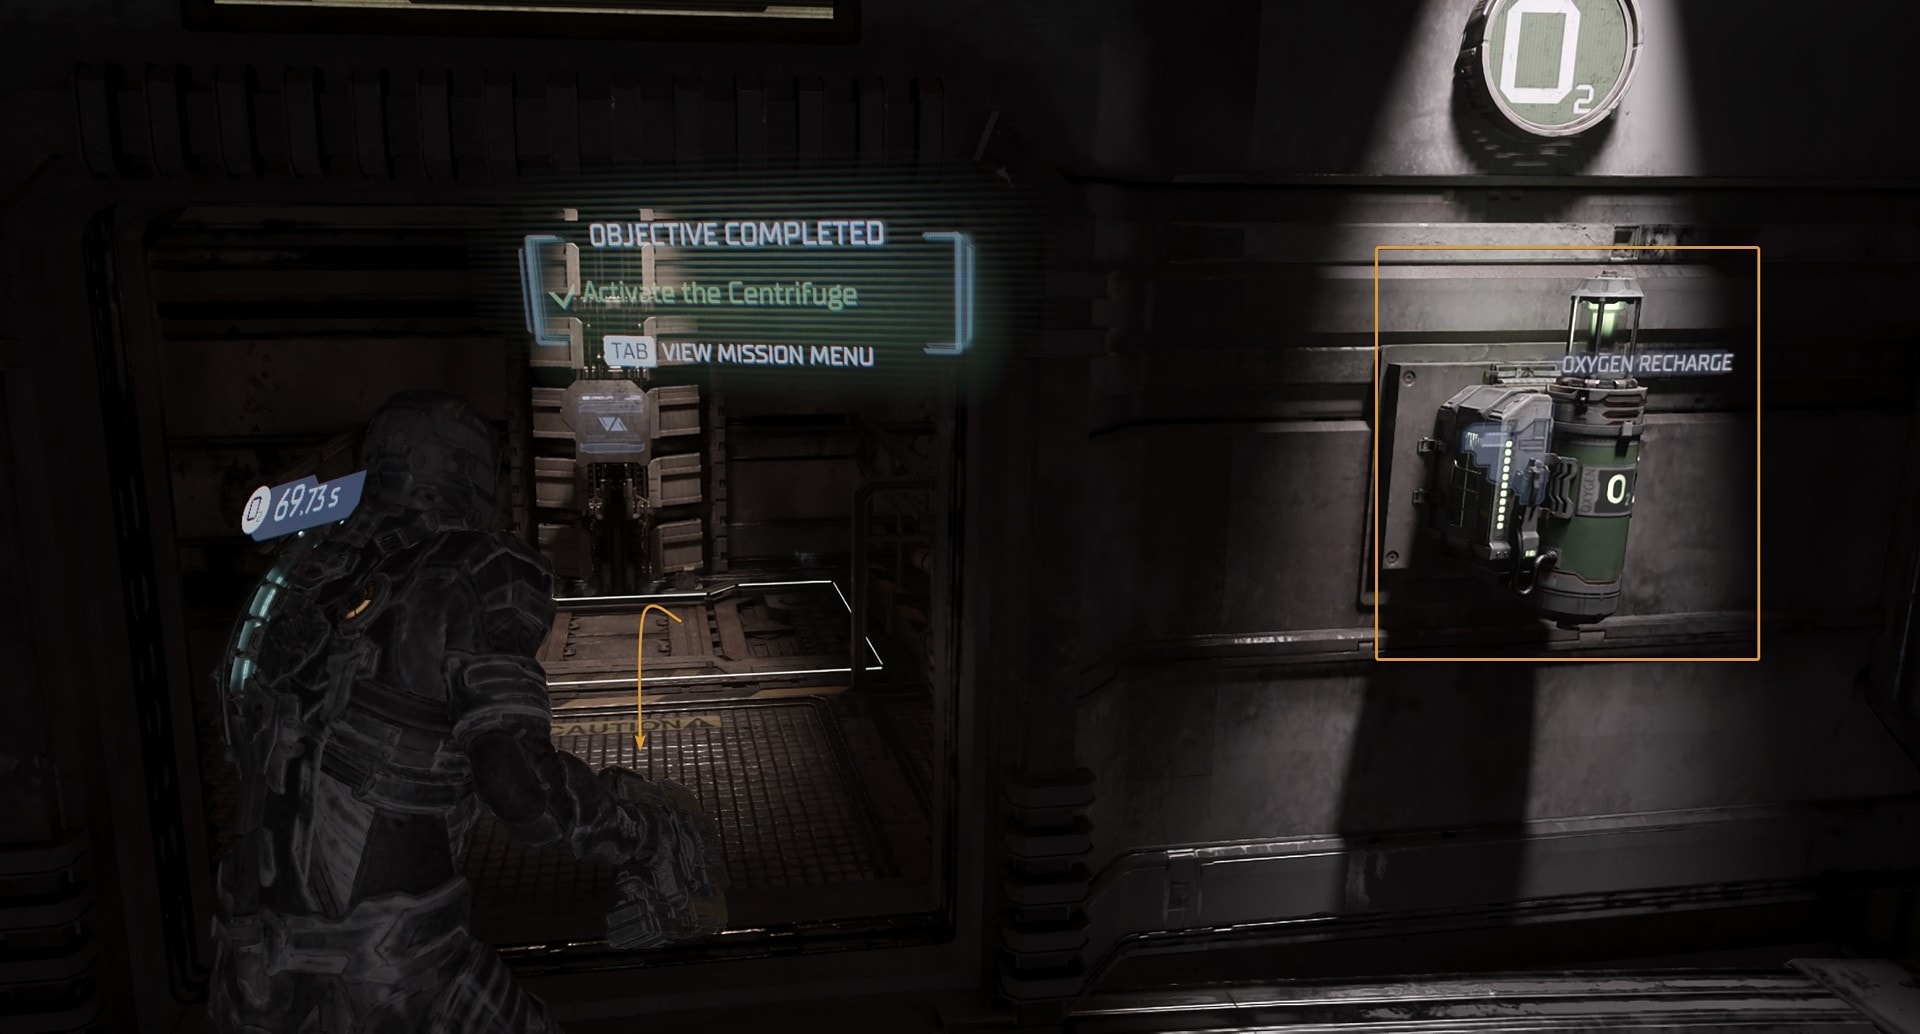
The objective of Restarting the Centrifuge is now completed. The next one appears: “Manually Ignite the Engines”. This objective is not part of this guide. But you still have to get out. And you will be deprived of Oxygen from now on until you return back to the Save Terminal.
If you play on a difficulty level that allows auto-saves, yu’ll be happy to know that this is an auto-save moment. If you fail in the next part before you exit the Centrifuge, you will be returned to the beginning of the no-oxygen phase, not all the way back at the manual save point.
Get to the lower level using the Elevator. You are no longer in Zero-G, so you can’t fly anymore. As you arrive at the lower level, Hammond will plug in to tell you about your next objective.
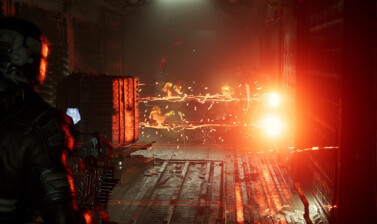
You have to go to your left, but do not rush. Wait for the metal arm to slide past you and then run. In this sequence, you will be running clockwise, opposite to the counterclockwise direction of the metal arm.
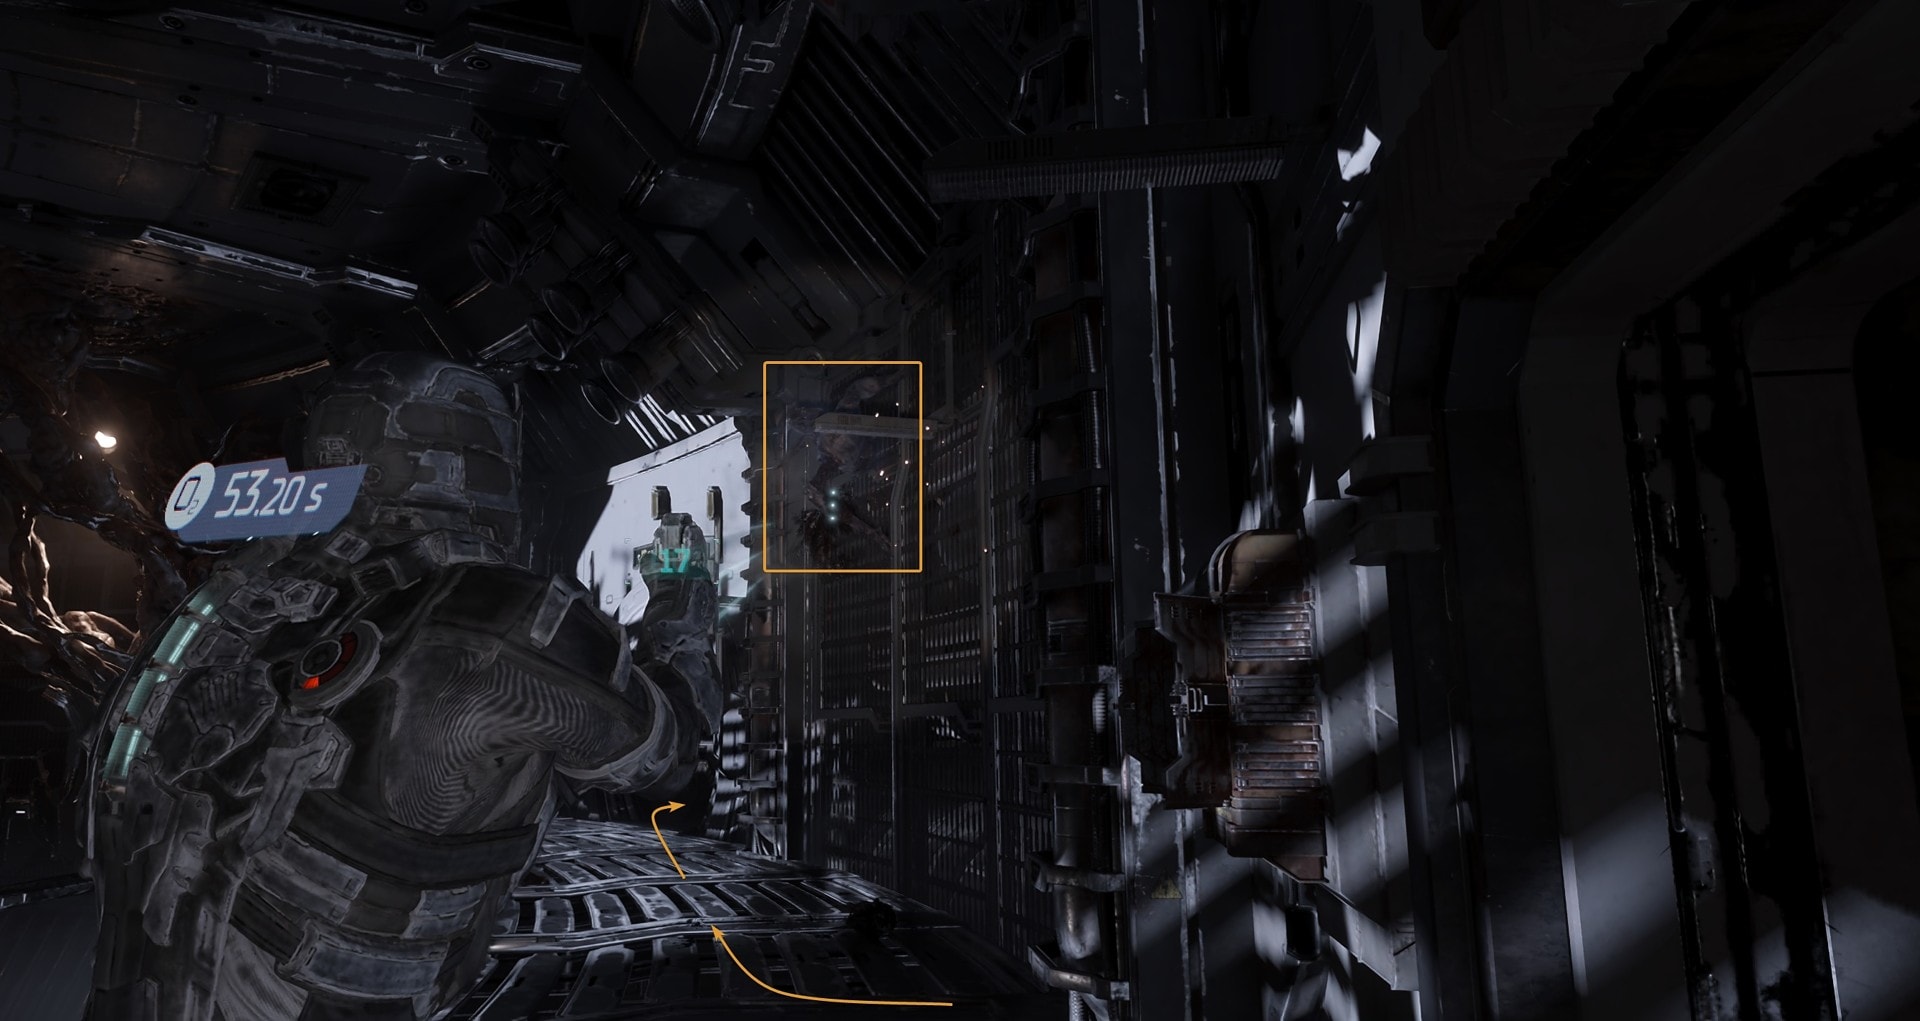
Run to the next pocket and hide there for a moment. Wait for the arm to pass you and make a few steps to the left. Don’t run to the next pocket. Make the few steps, so that the Necromorph on the path will start coming towards you, then return back to the pocket and fight the monster there.
You could run past it and have the metal arm demolish it, but it’s riskier this way. Also, as soon as you reach the next pocket, another necromorph will spawn right on top of you (it will rise from the vent in the ceiling).
At this next pocket, you will find the second location of an Oxygen supply, as I mentioned earlier. Use it.
After you defeat the necromorph, refill your Oxygen tank, wait for the arm to pass your spot and run to the elevator in the next pocket. Take the elevator up to get back to the entrance. Beware of another not-so-surprising monster spawn on your right, on the path to the exit.
Open the door, go through it and after it closes behind you, air pressure will normalize again. You have completed the puzzle of activating the centrifuge in Dead Space. Onto the next!
How to Activate the Centrifuge in Dead Space
This is a step-by-step summary of the entire process of how to activate the Centrifuge in Chapter 3 of Dead Space Remake video game.
Instructions
- As you get to the Centrifuge area, take a look around and mark the important items in the room for later - Statis supply, Oxygen supply. Loot the metal containers, and clear the two Leaper necromorphs.
- Attach the Generator Modules. There are two. One near the entrance and one near the Control Terminal on the other end of the chamber. Use Statis to slow down the Generator Module and push it to the central structure with Kinesis.
- Get to the platform on the bottom end of the map and restart the Centrifuge by interacting with the Control Terminal.
- Replenish your Oxygen from the console behind you.
- Take the elevator to the lower level. You are no longer in a Zero-G environment.
- Walk clockwise from pocket to pocket. Wait for the metal arm to pass your location and then run. The metal arm rotates counterclockwise. There are a couple of necromorphs to defeat as you move from pocket to pocket.
- At the third pocket, stop to refill your Oxygen.
- At the final pocket, take the elevator up. This will bring you back to the entrance from where you came into the Centrifuge Chamber. Defeat the Leaper necromorph.
- Exit through the door and the normal air pressure will be restored in a moment. This completes the puzzle.
Notes
This puzzle should take you around five to six minutes to complete if you know what you are doing. If you have not yet upgraded your Suit to extend the Oxygen supply, don't worry. The two O2 tanks located in the Centrifuge Chamber are more than enough to get through the second part of this puzzle.