
This guide will take you through the first level of Star Wars Jedi Survivor, taking place on Coruscant. It will introduce you to the basic and core mechanics of the game, help you learn and understand how things work, and guide you through the story of this opening segment.
Table of contents
- Starting Out
- How to Force Pull, Push and Lightsaber Attacks
- How to Block and Parry
- Introduction to climbing walls and walking on pipes
- What are Meditation Points
- BD-1 can help you slice doors and find Collectibles
- Meeting Bode Akuna: How to use your Companions
- Wall Run is a core Jedi Survivor mechanic
- Boss Battle: K-405
- Obtaining the Ascension Cable: ability to grapple hook
- Player Dialogue Choices
- Essence Echoes grant you a permanent boost
- Boss Fight: Ninth Sister
Cal Kestis finds himself captured by the Coruscant Underworld Police, though our hero has more than one trick up his sleeve to escape this situation. As the first level, this will be a great place to learn how the game works whether you’re new to this story or returning from Fallen Order!
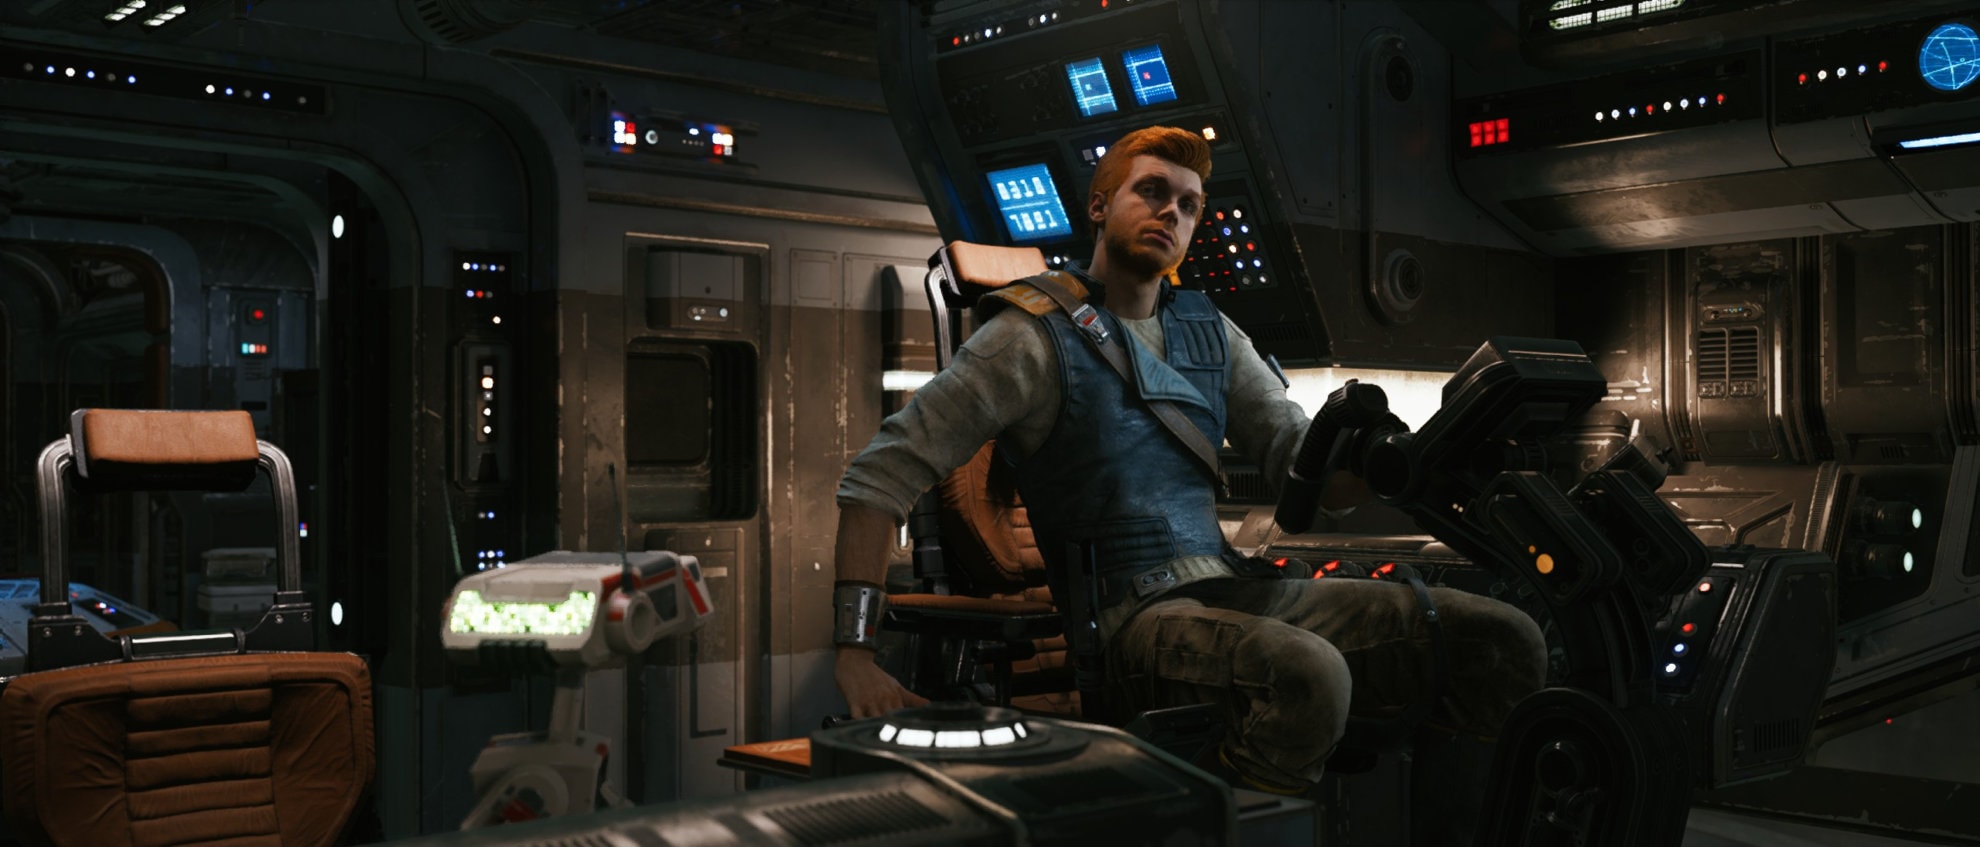
Starting Out
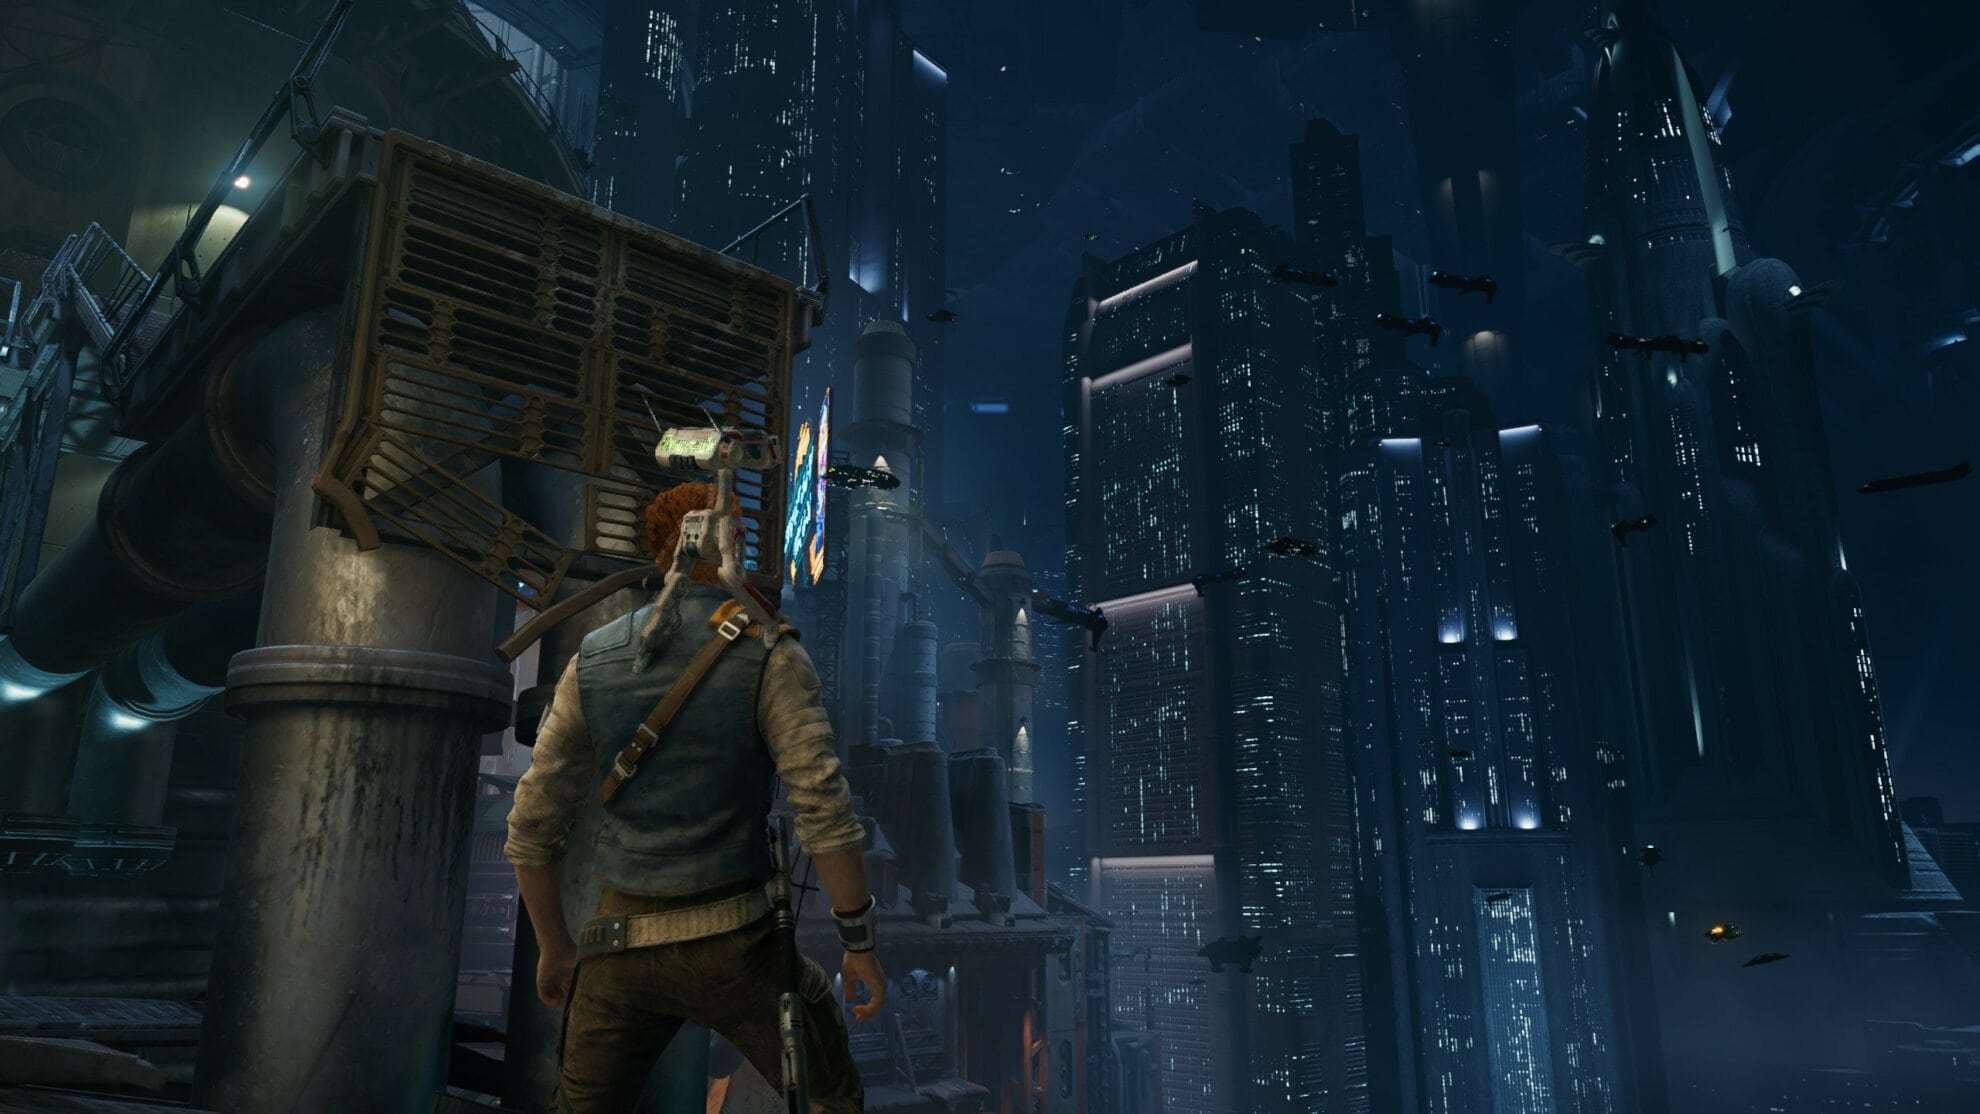
When you start a new game, you’ll be introduced to a scenic shot of the Coruscant surface in the afternoon. You might recognize the building that once was the Jedi Temple, unfortunately, it now serves as Emperor Palpatine’s Imperial Palace.
It’s quite heartbreaking to see for those of us who love Jedi, but there’s nothing that can be done about that so one must press on.

You’ll experience a cutscene followed by some walking. This is a good chance for you to look around, soak in the Coruscant Underworld ambiance, and breathe in that stale recycled air!
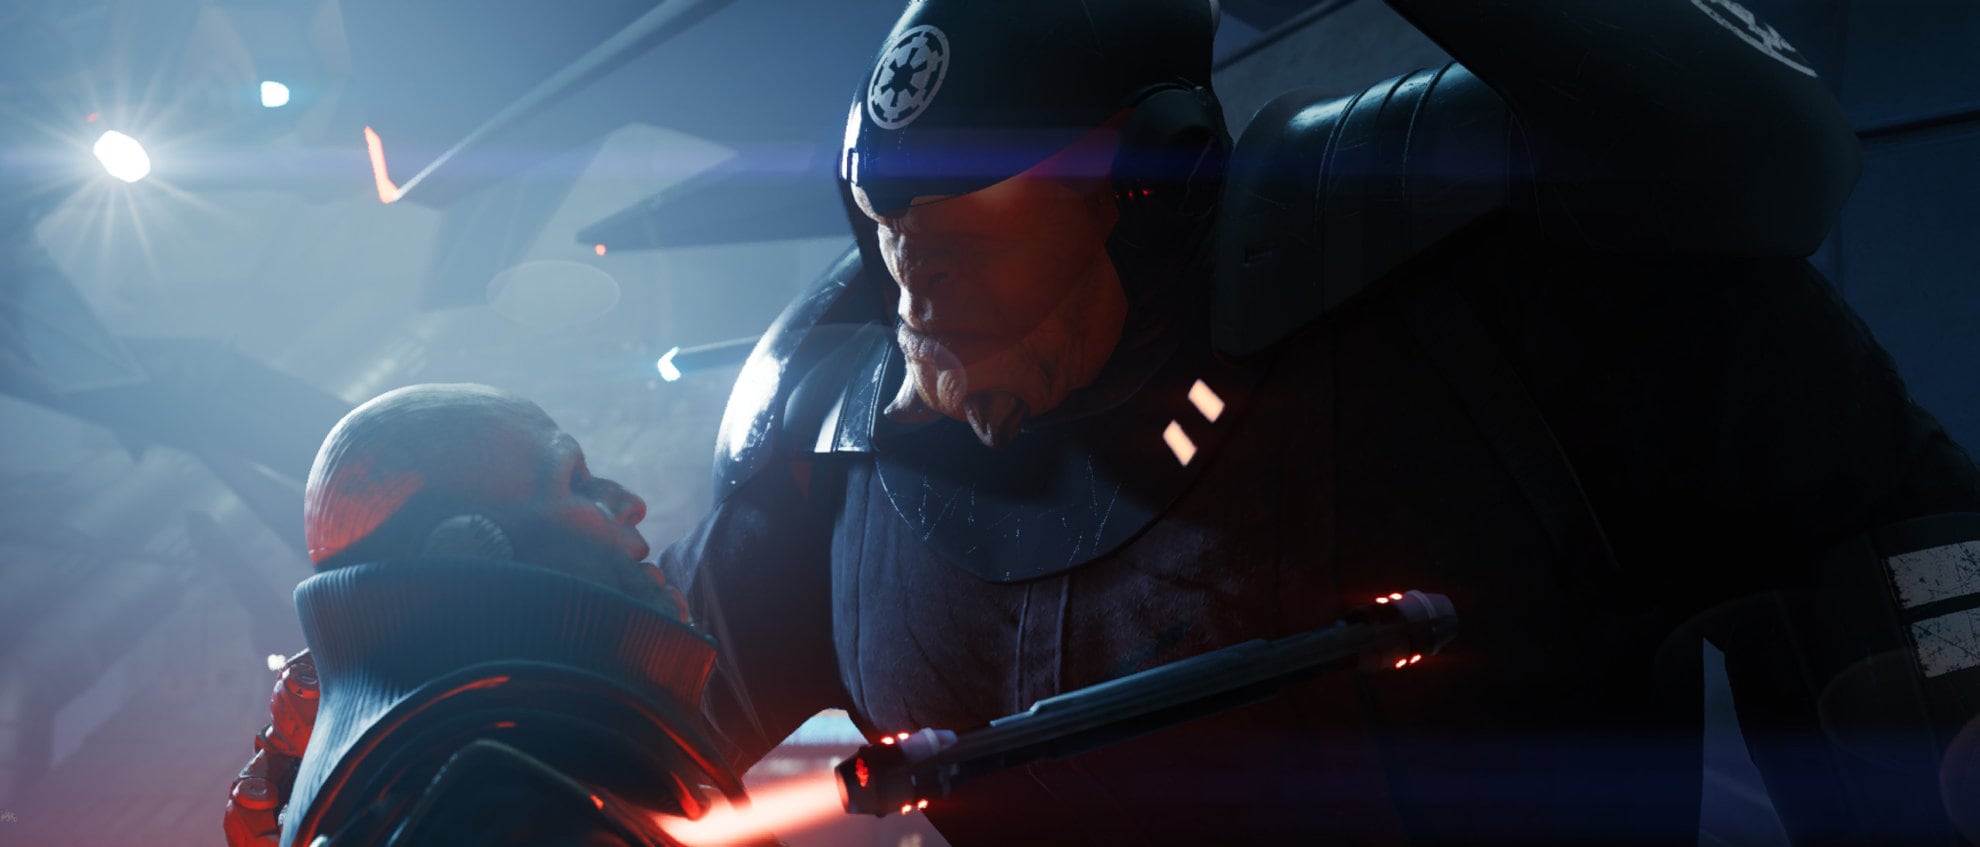
Follow the Coruscant Underworld Police until you find yourself with a Pau’an Senator. This is where the fun begins.
How to Force Pull, Push and Lightsaber Attacks
It’s here you’ll have on-screen prompts telling you which buttons you need to press to perform the necessary action. This is to familiarize you with using Force Pull, Force Push, and attacking.
You’ll then have a fight with numerous stormtroopers who come at you one by one, then eventually in larger groups. Defeat the stormtroopers to proceed with the mission with your main objective being to secure the Imperial Intel.
How to Block and Parry
If you block right before an opponent’s attack hits you, you’ll perform a parry. A white bar below the target’s health bar shows the target’s stamina. The stamina bar will lower when the enemy is parried or when they block one of your attacks.
If this white bar is depleted, they’ll become staggered and vulnerable to attacks. Take some time to get some parry practice in as it’s an exceptionally useful skill to have in this game.
Higher difficulties will have smaller windows of time to parry, so if you want to parry more easily then you should play on an easier difficulty mode. If you seek to challenge your sense of timing or have experience with challenging games like Dark Souls or Sekiro, by all means go for the Jedi Grandmaster difficulty.
For a much more in-depth explanation of how combat works in Star Wars Jedi Survivor, check out our dedicated guide.
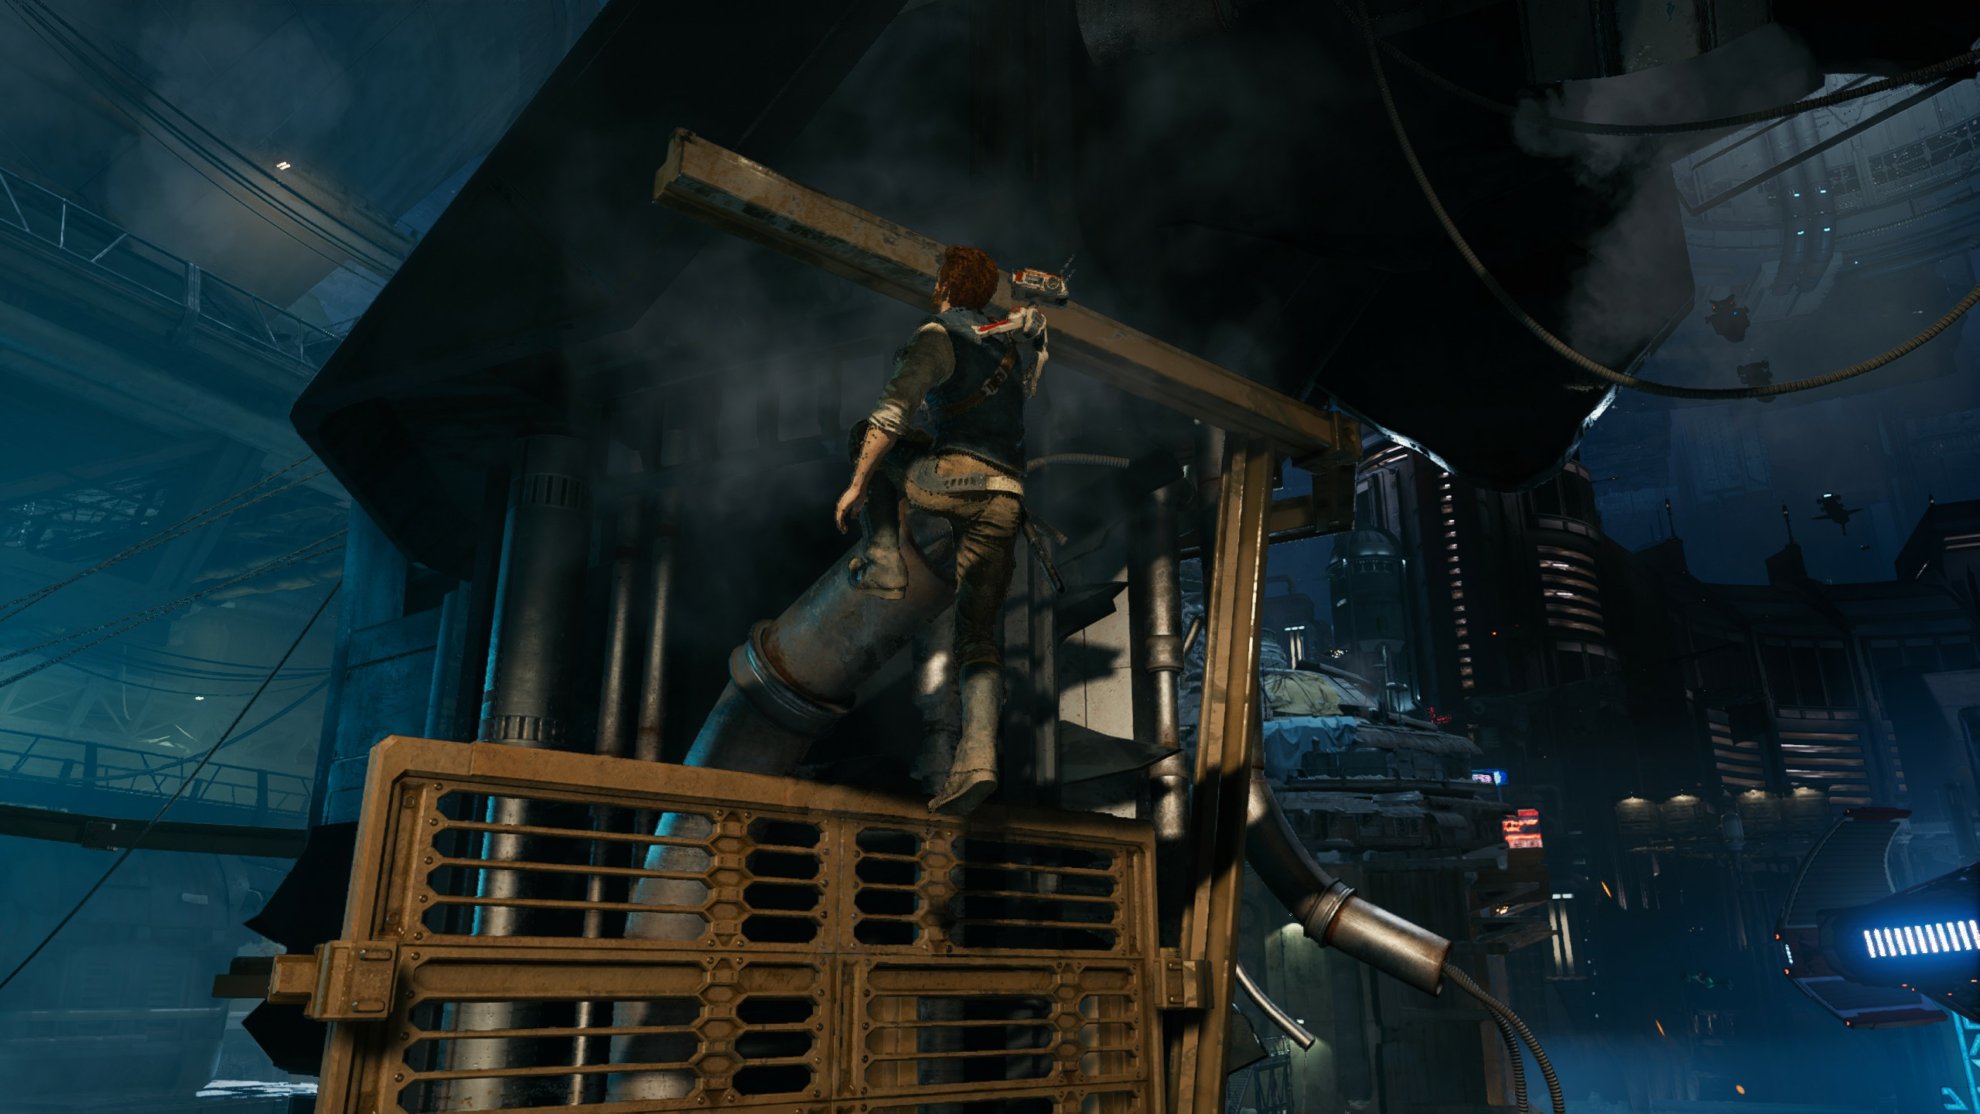
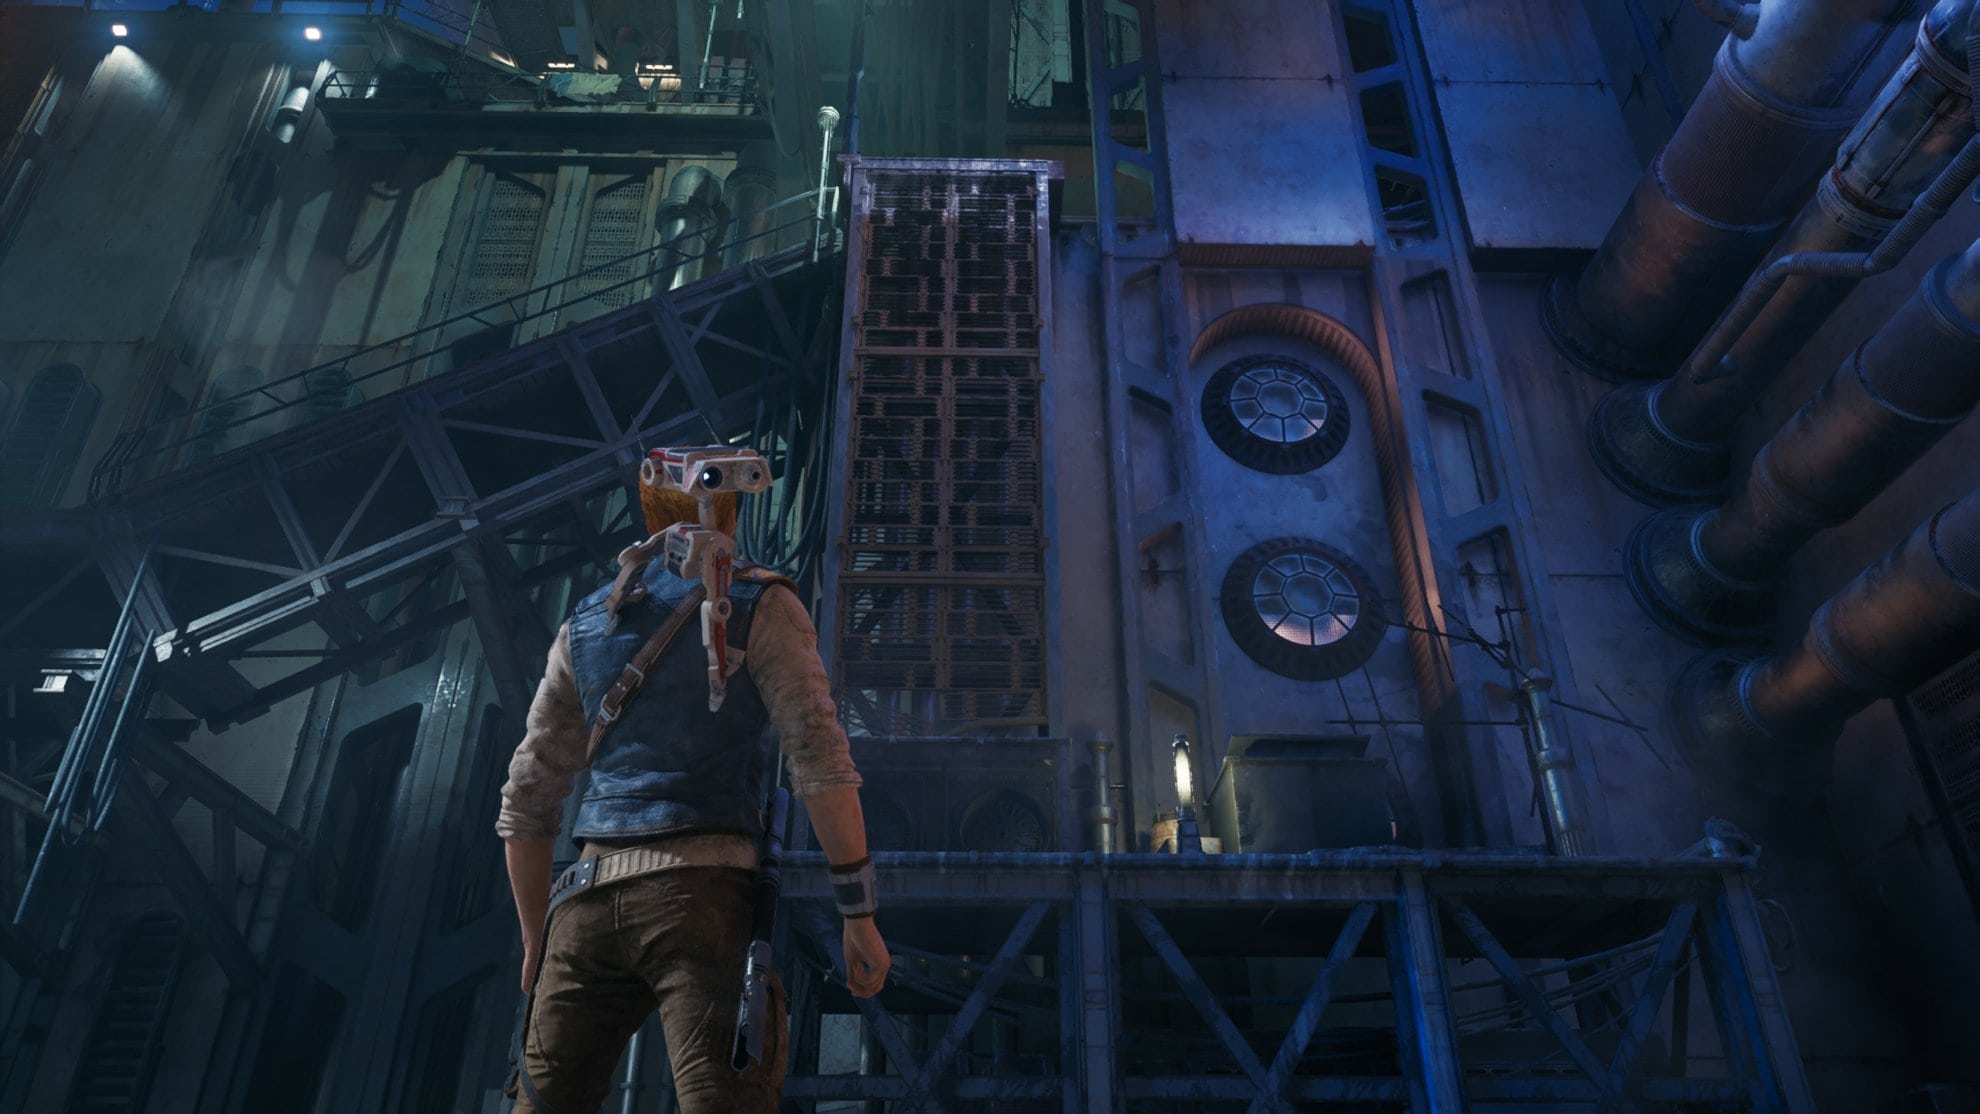
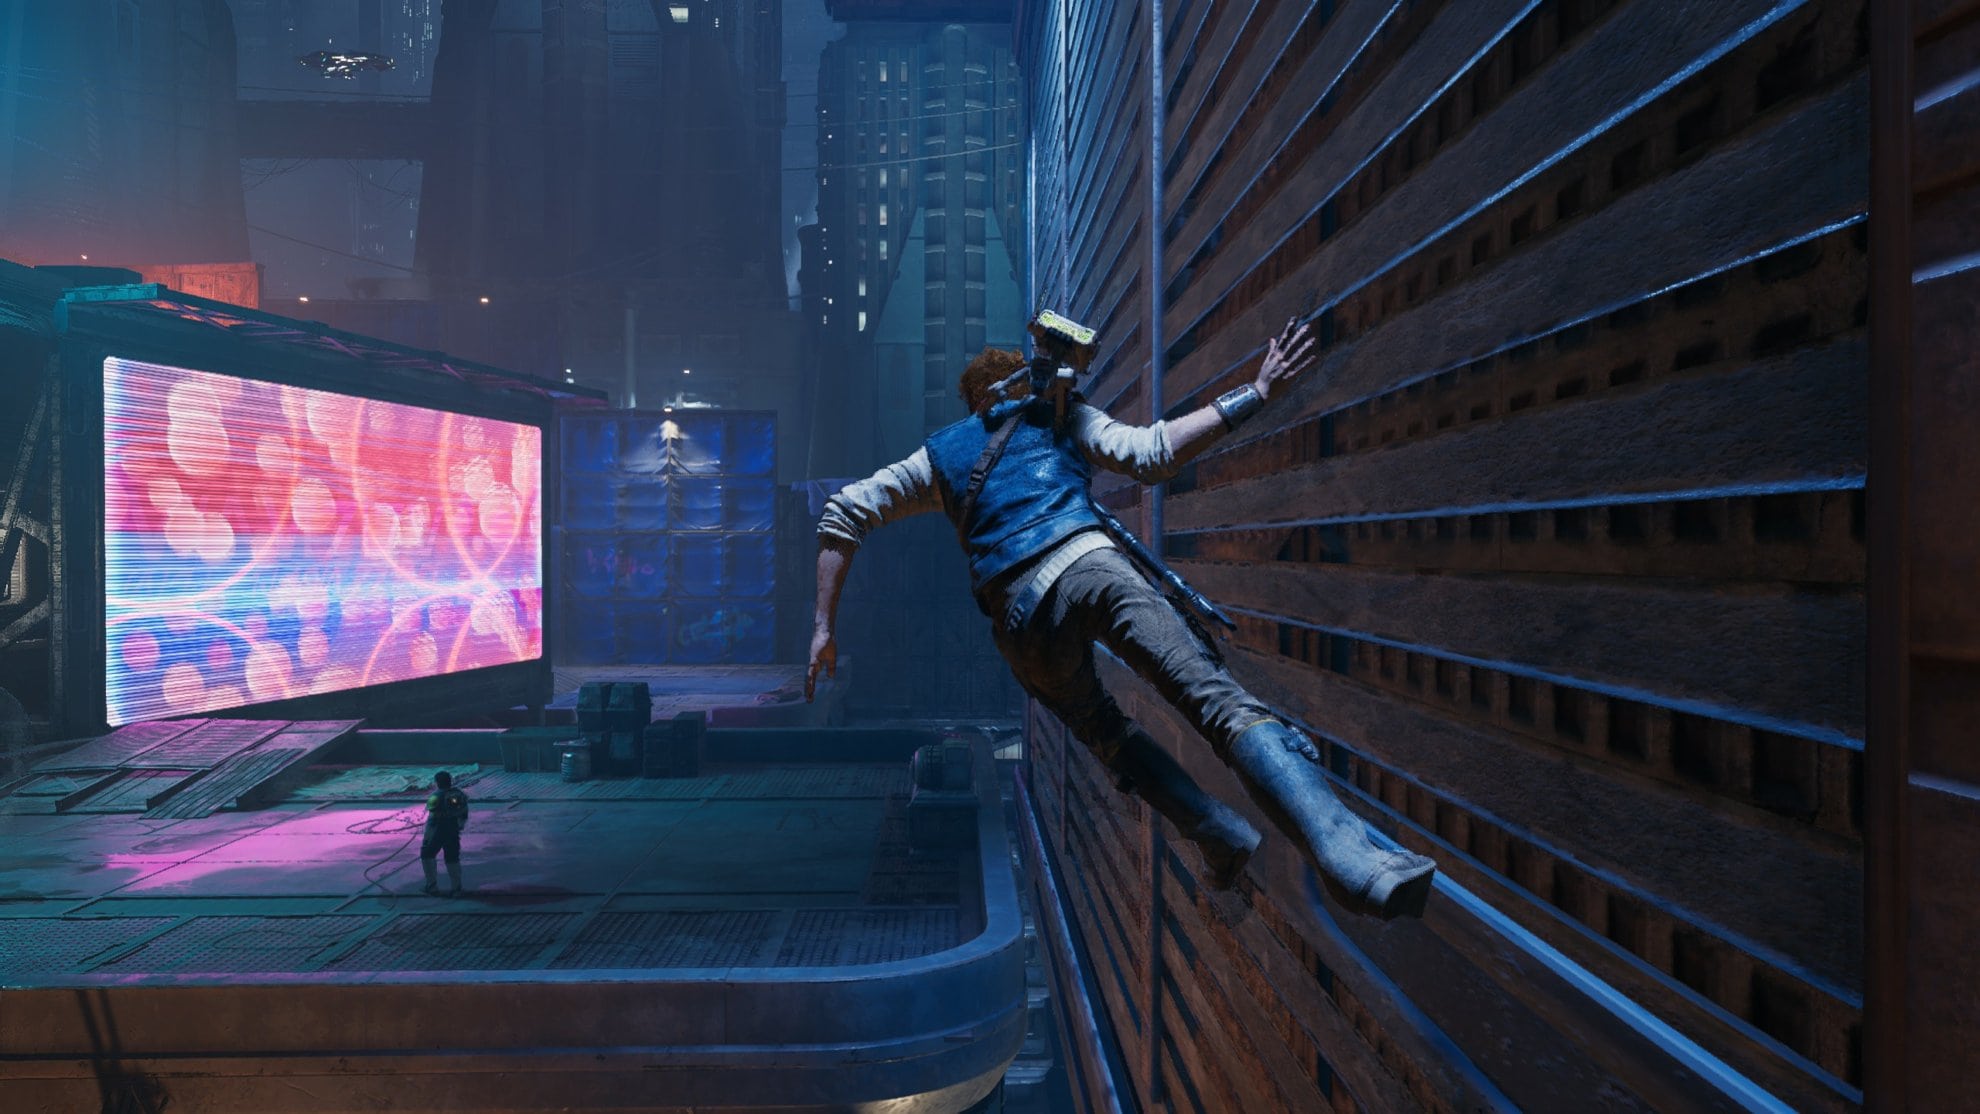
Introduction to climbing walls and walking on pipes
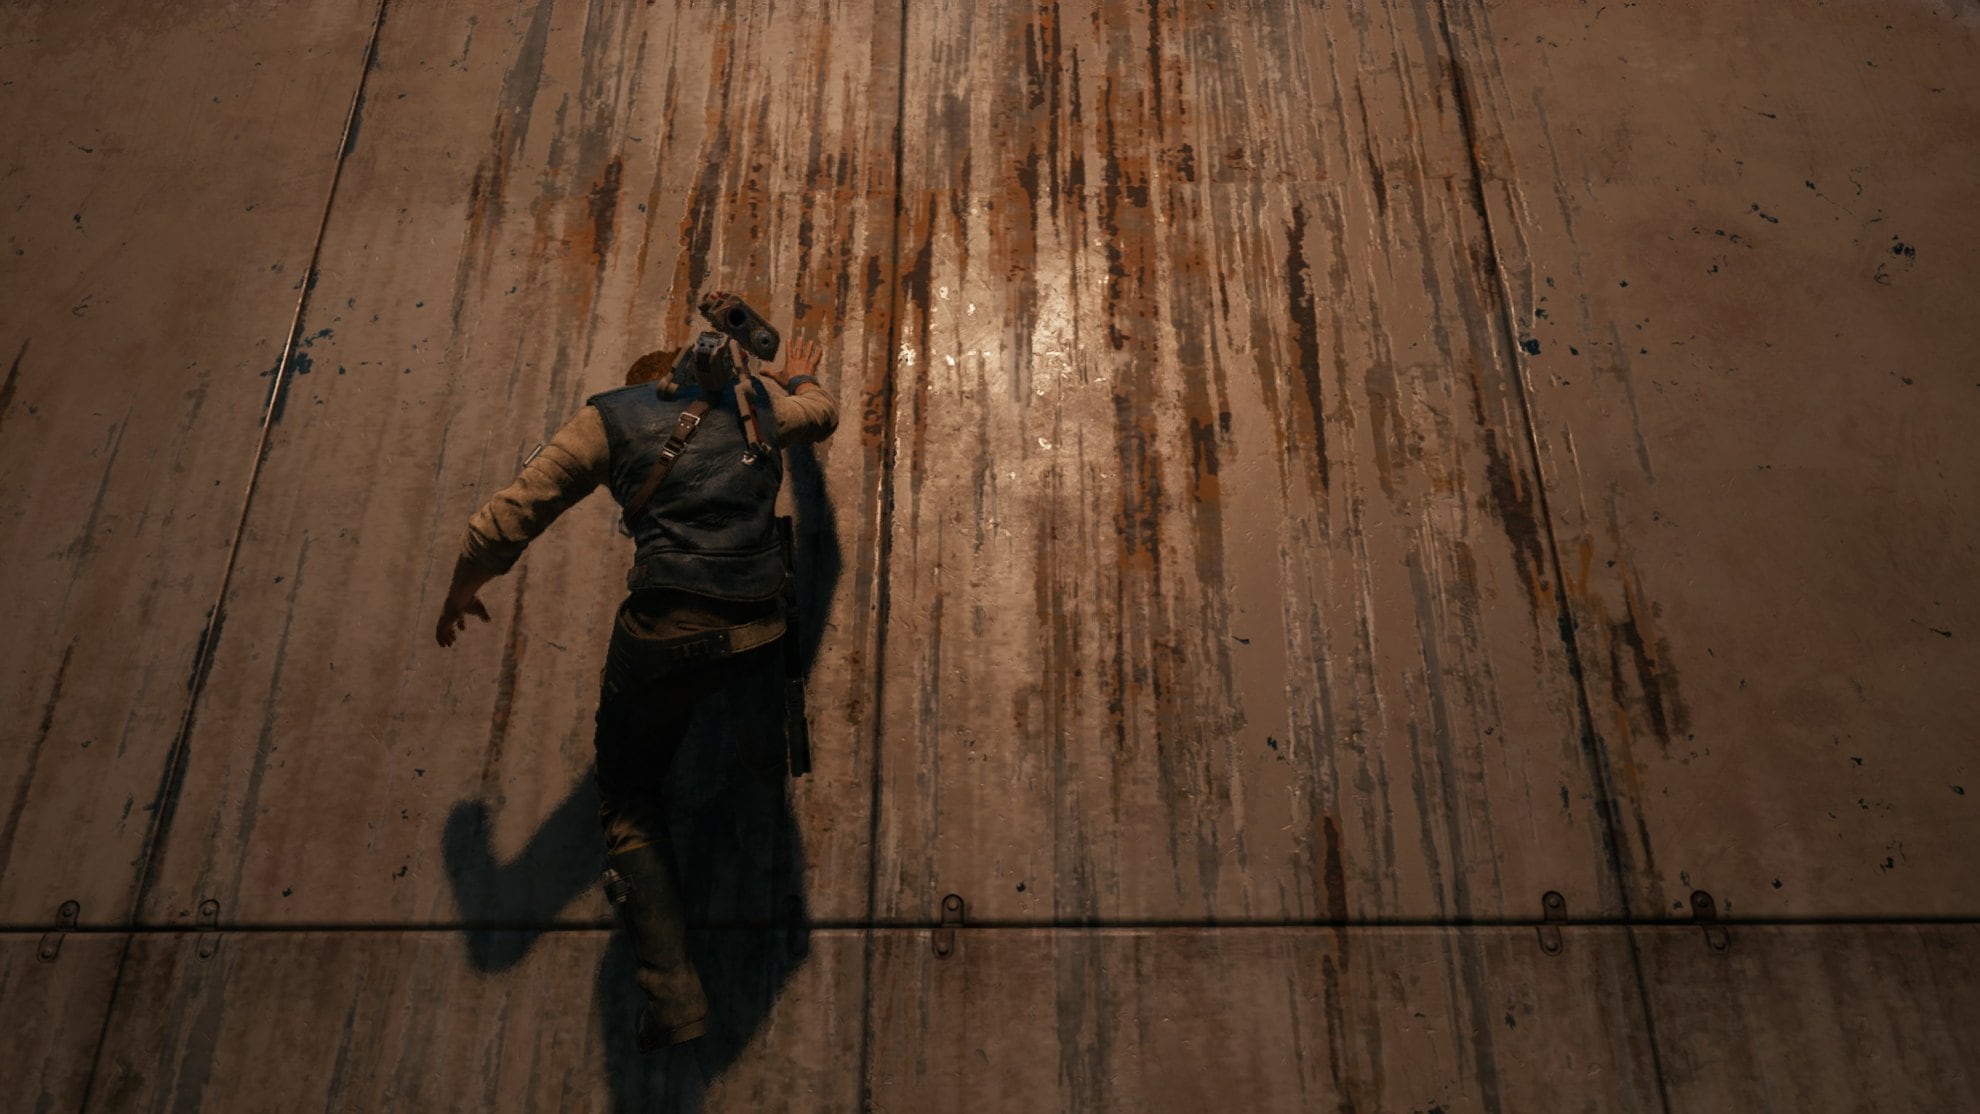
Climb up the grates until you reach the top, this is important to note so pay attention. In this game, it might not always be super obvious as to what you can climb or grab onto, the environment can blend so well that you can get lost.
In this example, this metal beam can be jumped to but there’s nothing in the environment overtly saying “Grab Here!” that one could expect from video games. Always remain aware of your surroundings.
Make your way forward on top of the rooftops. The path forward is up these pipes with the grate in front of them. Double jump to grab onto the grate to proceed.
This is a prime example of why you should stay aware of your environment as some people may get stuck here for a minute wondering where to go. This will be a recurring theme in this game.
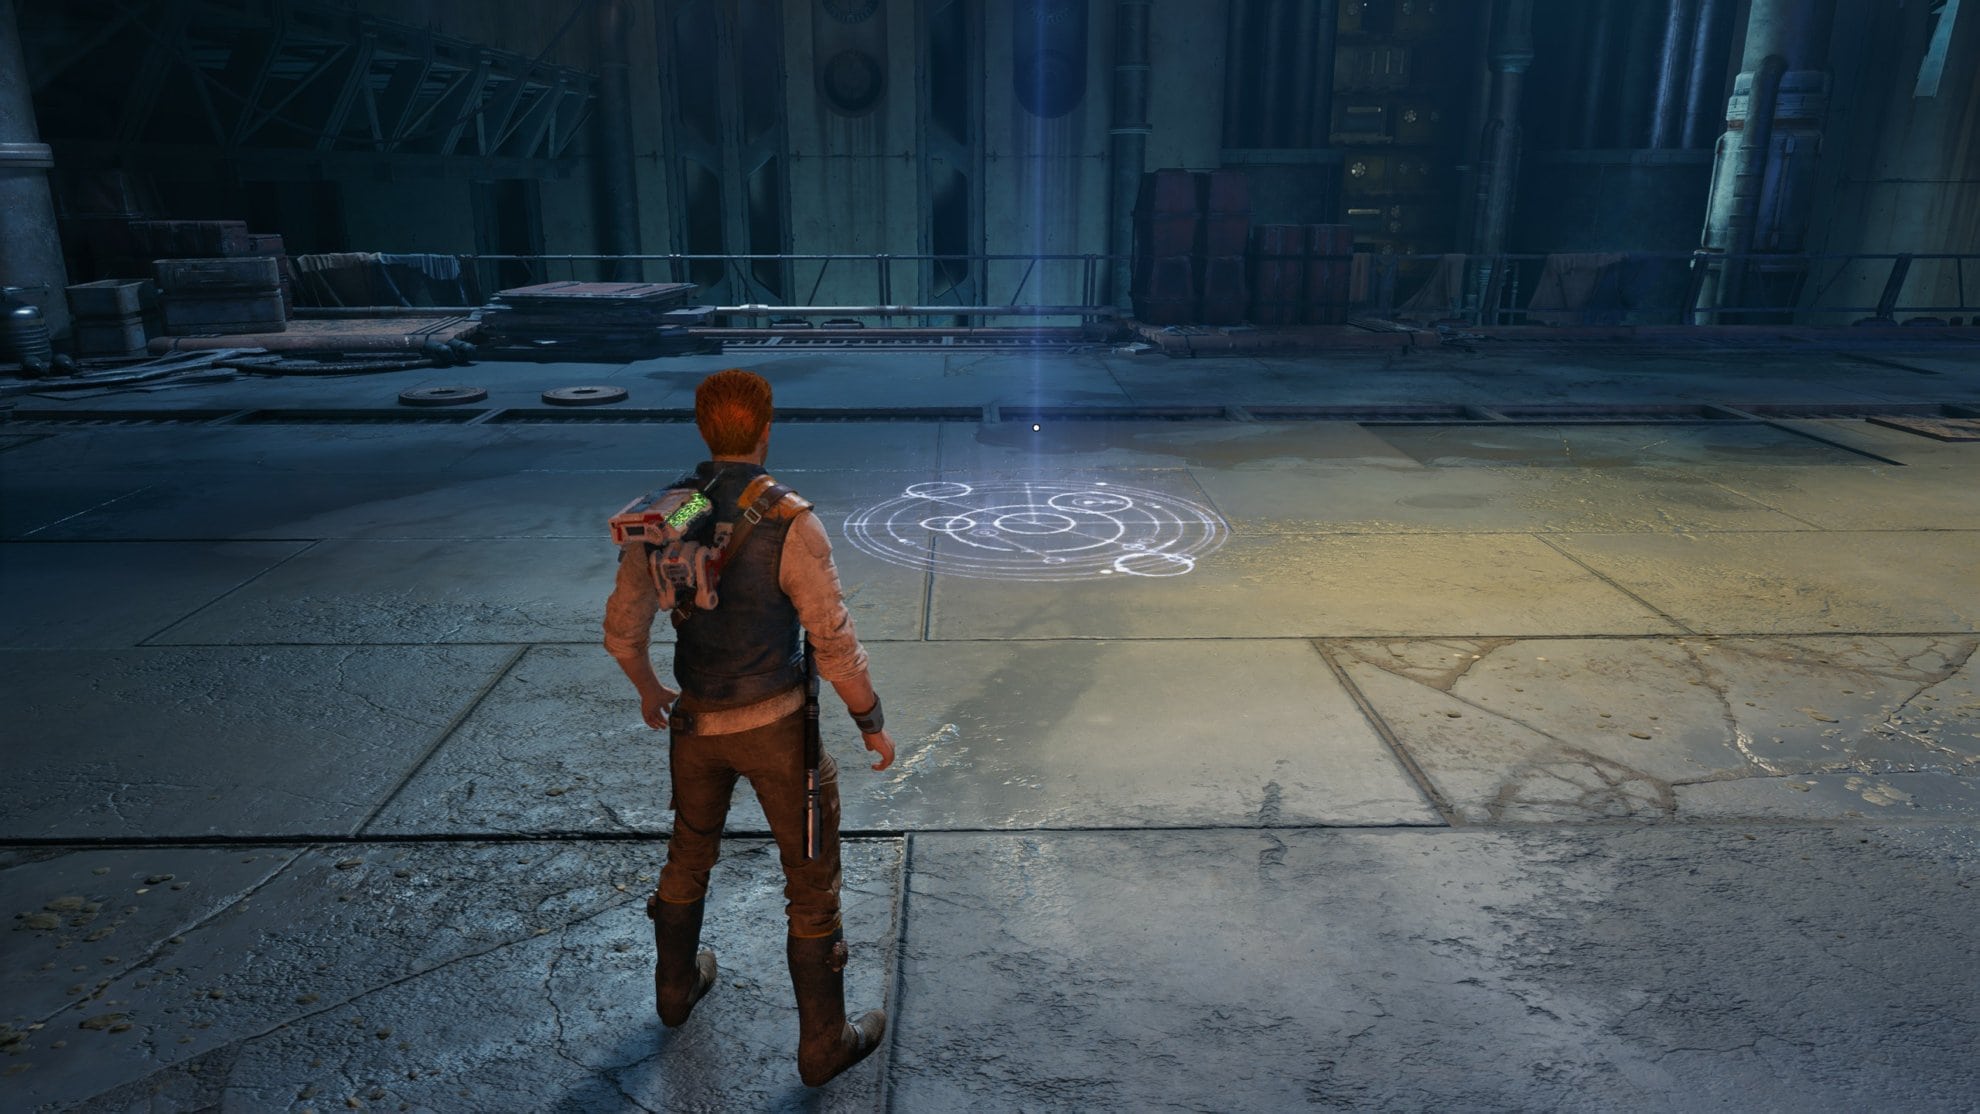
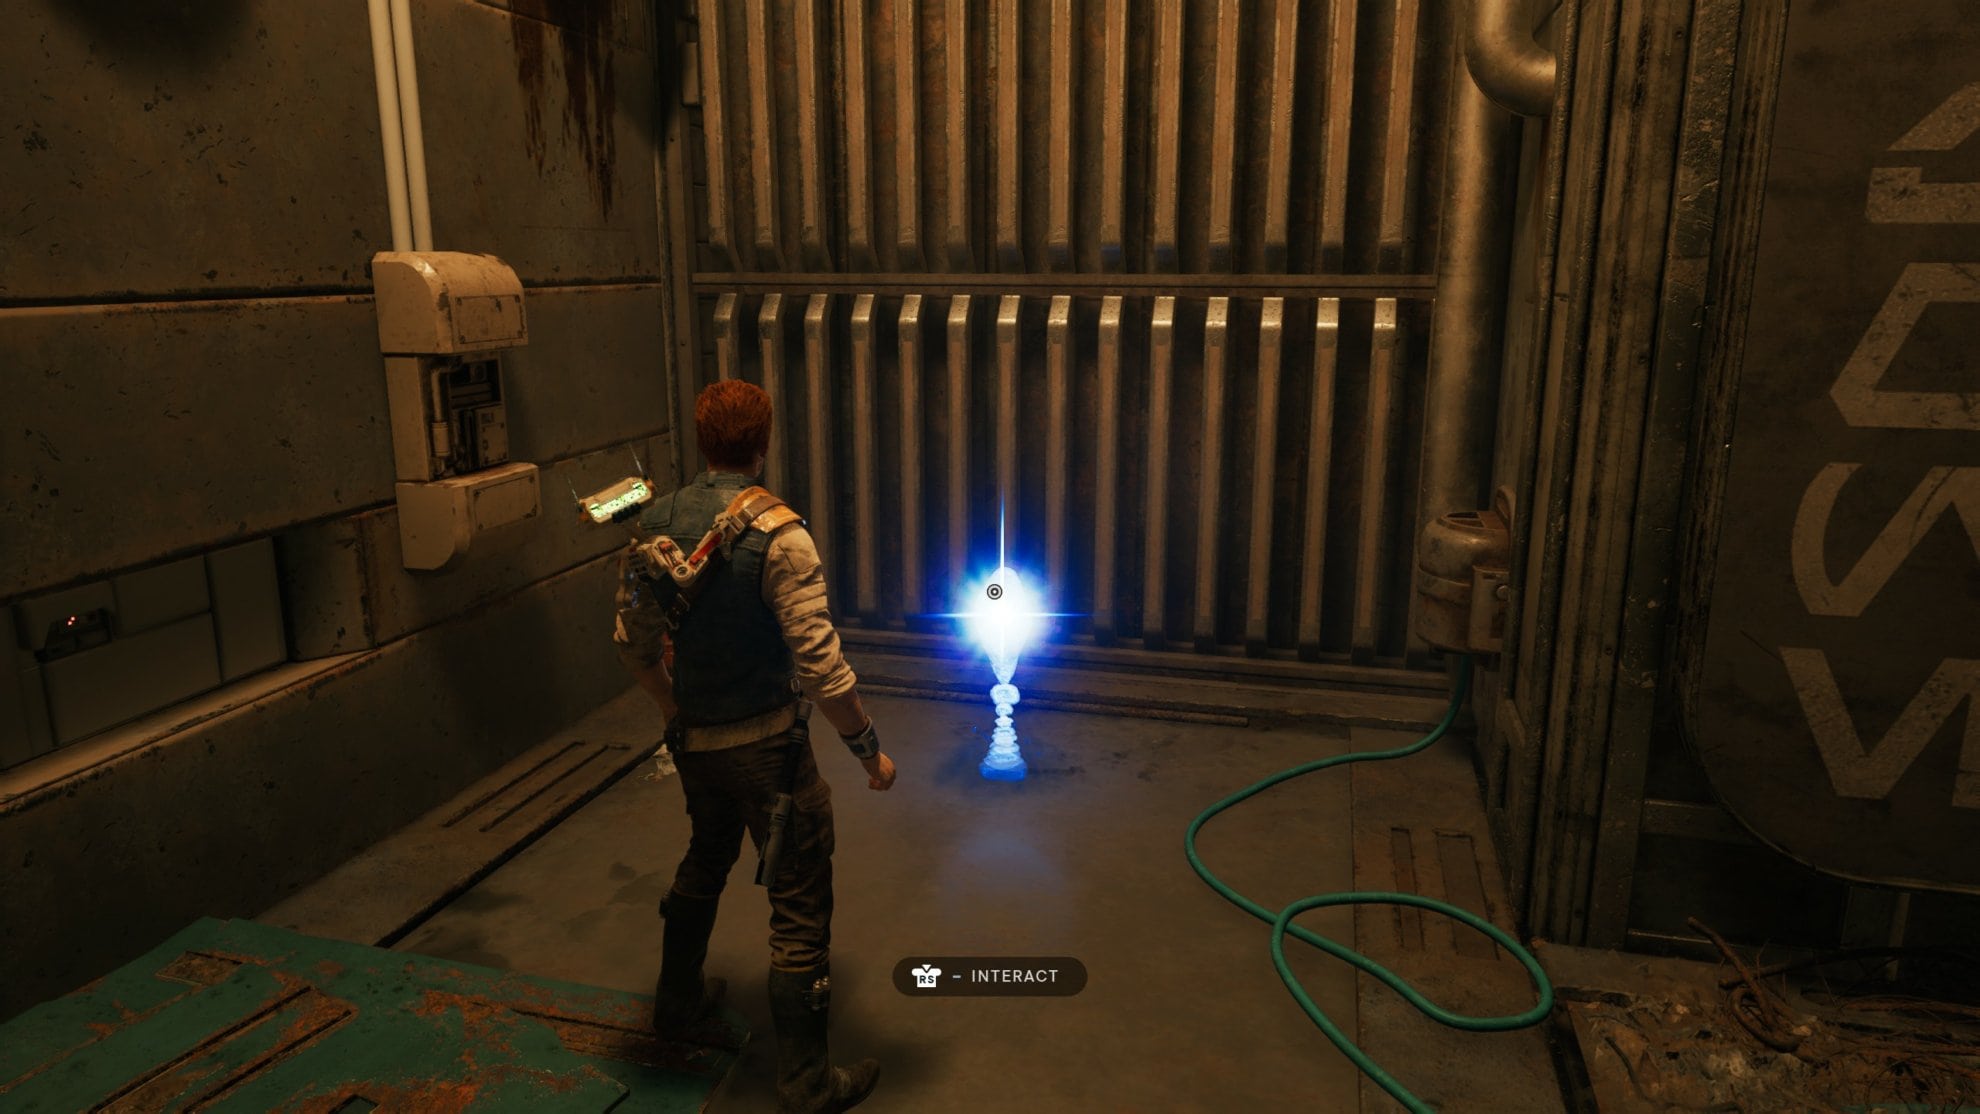
What are Meditation Points
Make your way forward and traverse a long pipe. You’ll be able to walk across pipes or drop down to grab them from below. Once you make it to the end of the line and climb up, you’ll see a blue glowing circle on the ground.
These Meditation Points serve multiple purposes in the game. They act as a save point, you can heal and restore stims here, you can spend skill points, and as the game goes on you can use them as quick travel points. Always take the time to interact with these points so you can use them for quick travel.
Do note that using these to rest will respawn any enemies you have previously defeated with the exception of bosses.
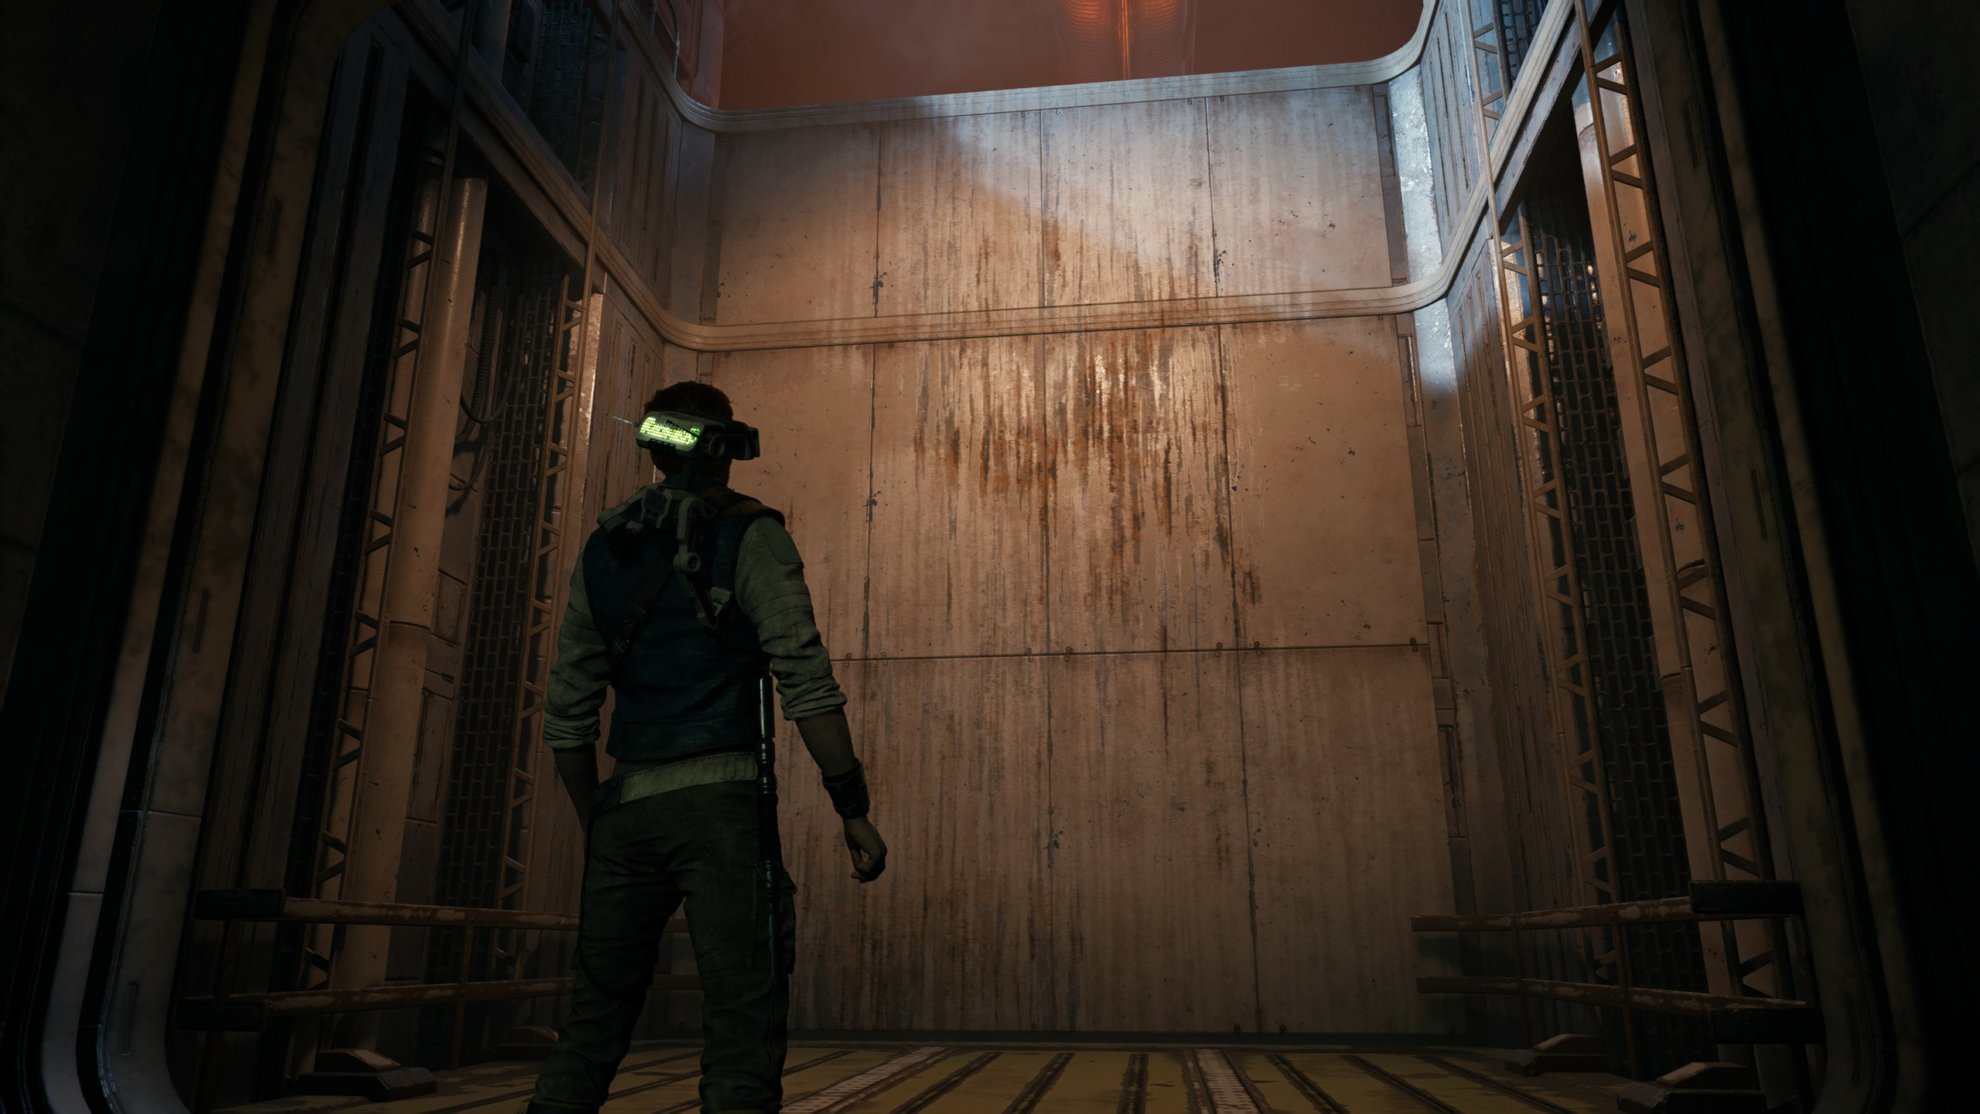
BD-1 can help you slice doors and find Collectibles
To the left of the Meditation Point, you’ll find a locked door that you can have BD-1 slice into. Doors and crates that can be sliced will have a blinking red light so they’re rather hard to miss.
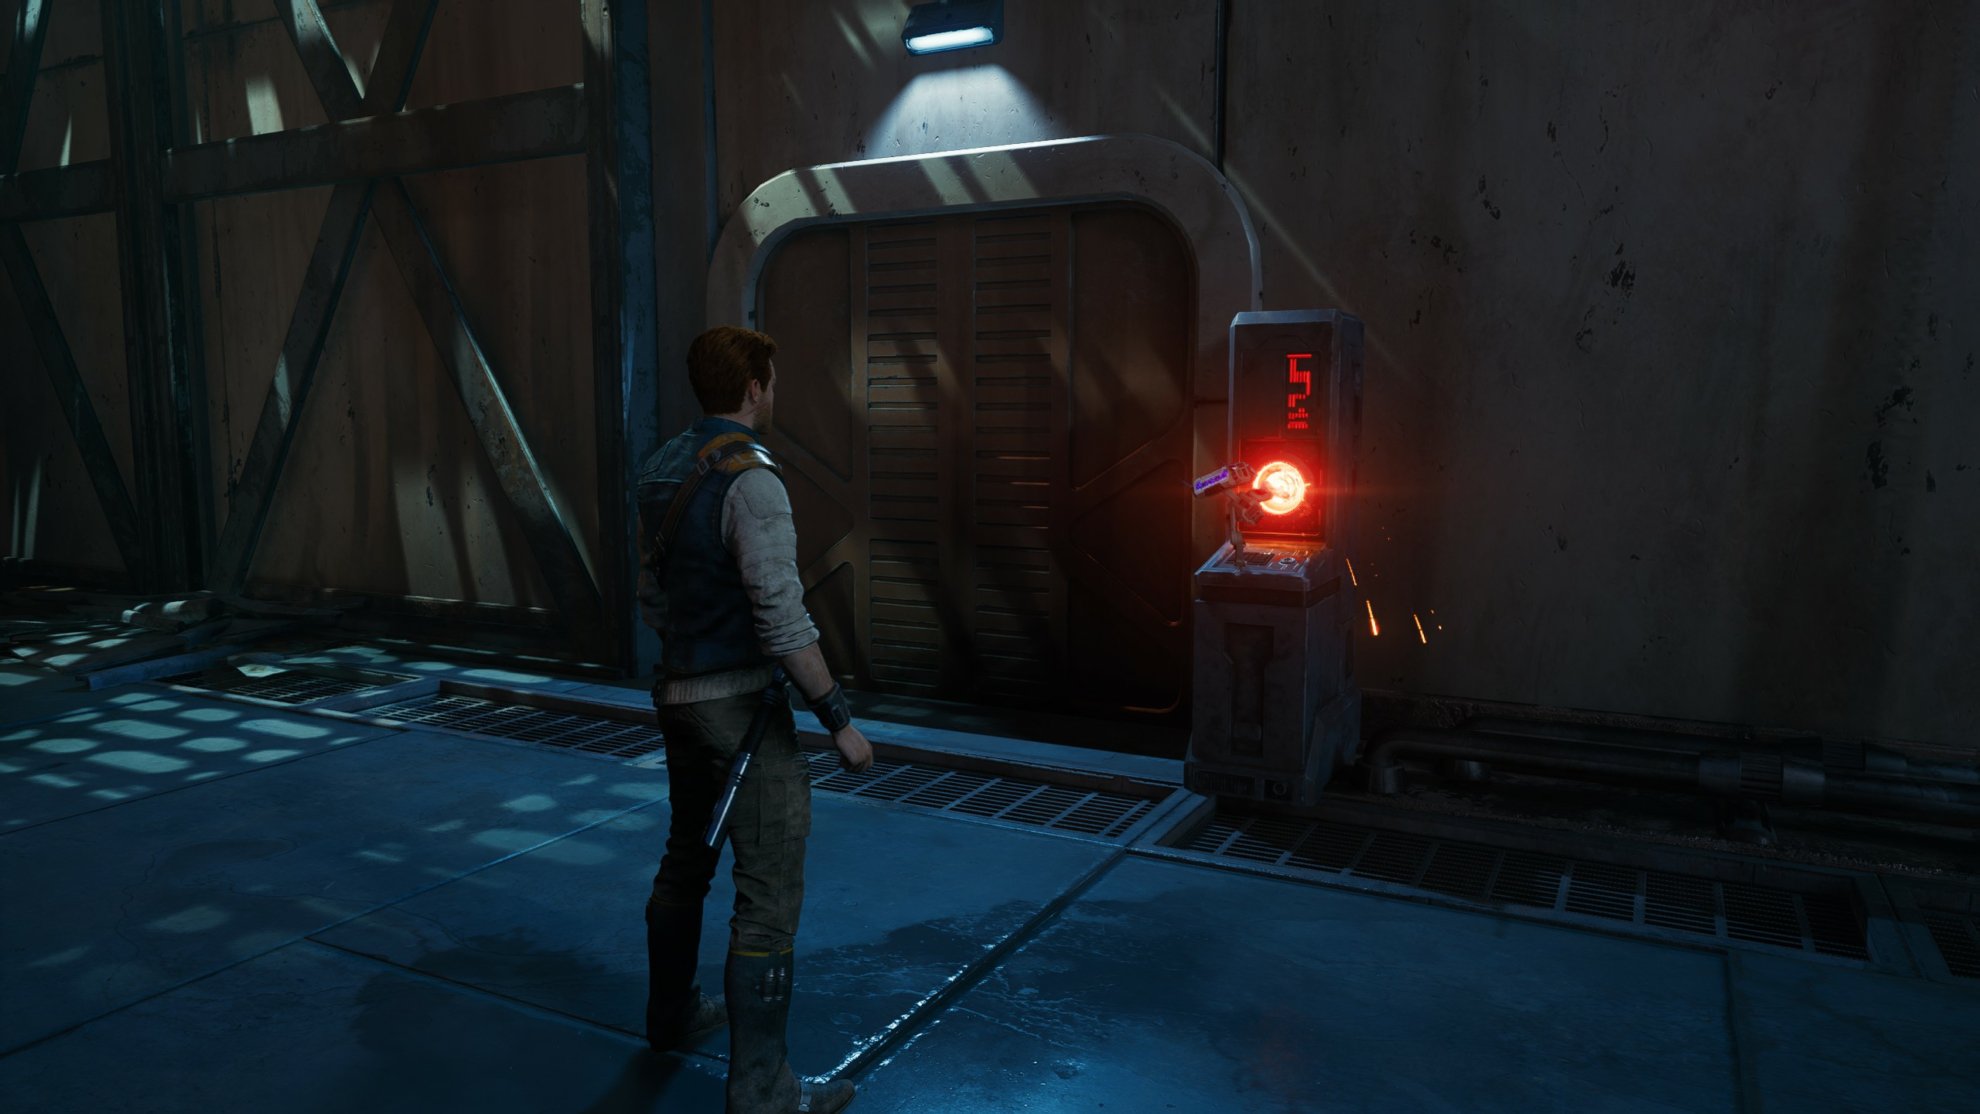
These can let you proceed with your main objective or lead you to side paths where you’re likely to find goodies in the form of lore, collectibles, and sometimes even upgrades!
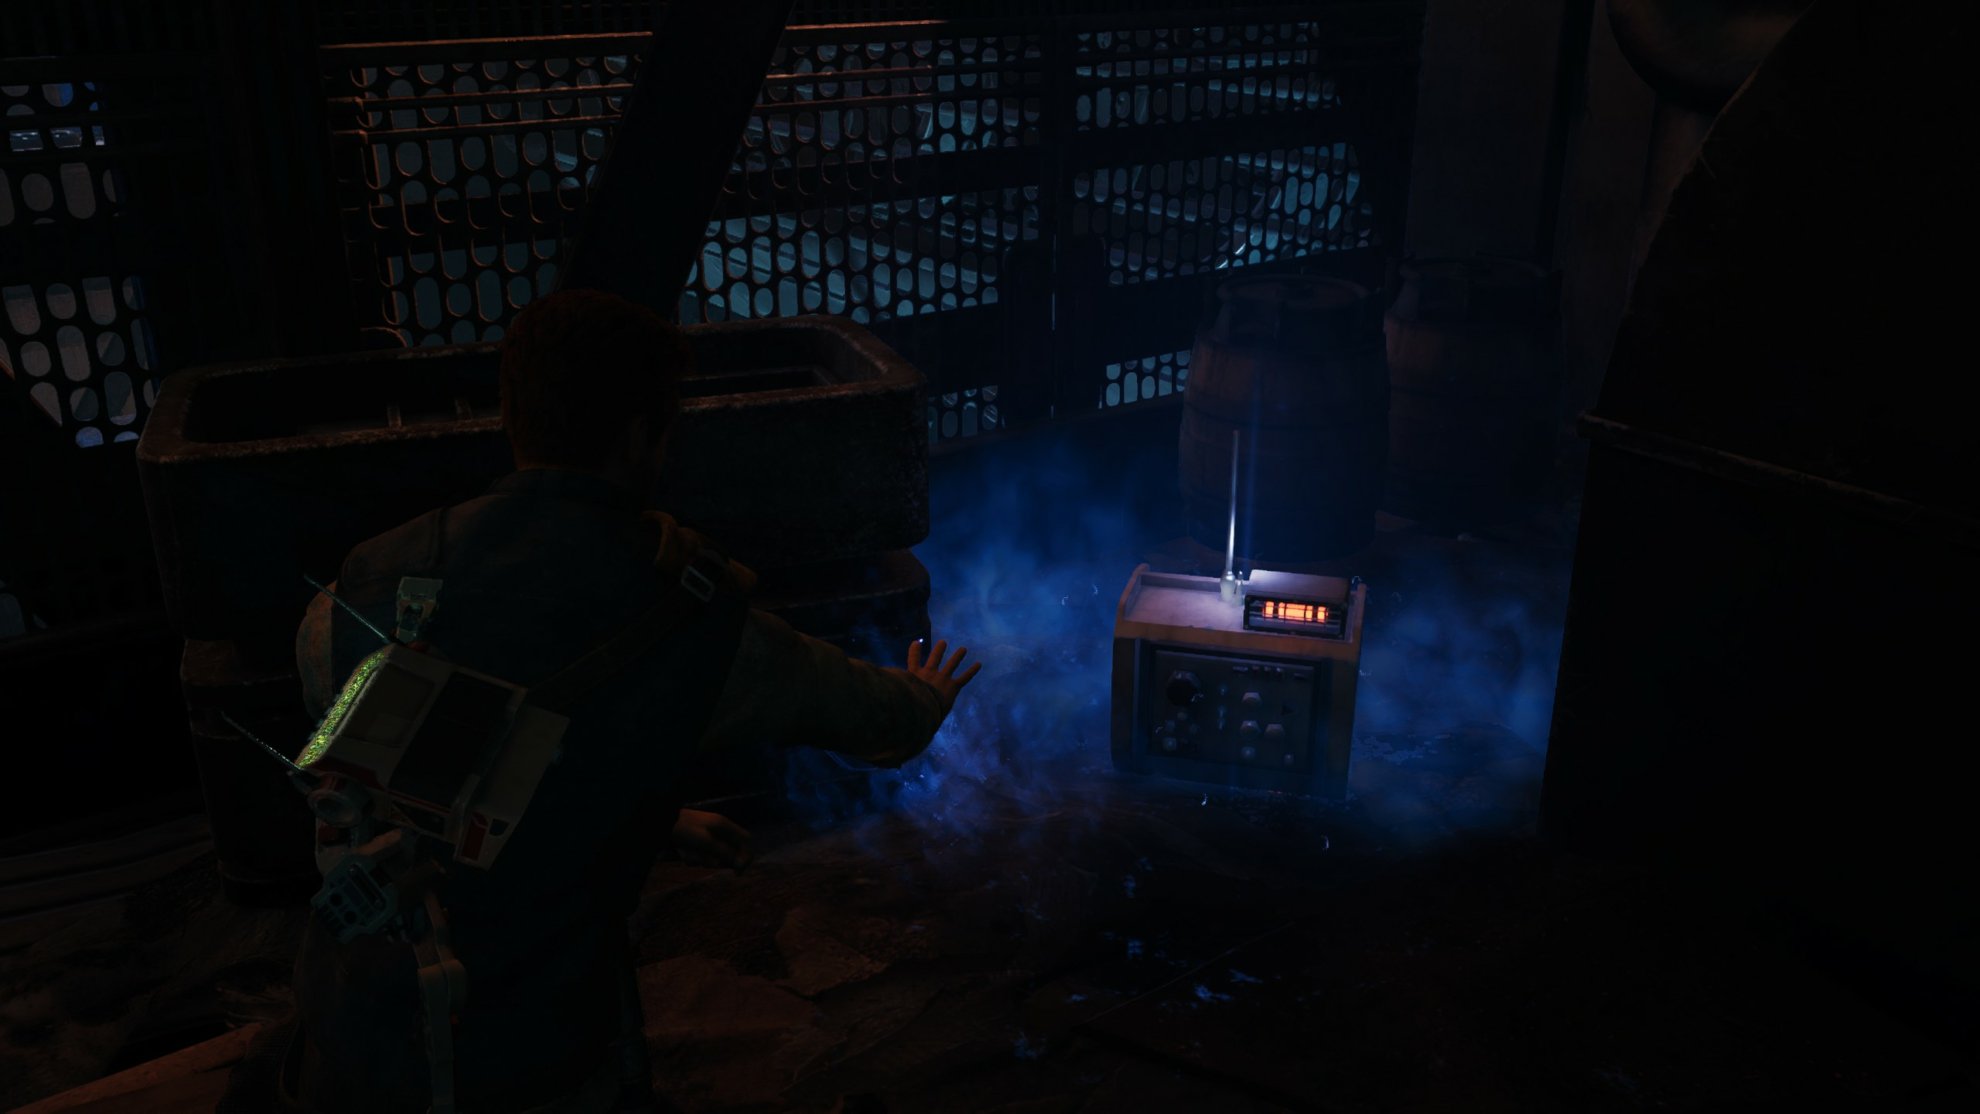
If you look around the corner, you’ll find a blue aura you can interact with. These are Force Echoes that Cal can interact with using Force Psychometry. This rare ability allows Cal to experience past events surrounding an object.
To proceed with your pursuit of the Senator’s Yacht, look to the right of the Meditation Point. There’s a vertical grid you can climb to proceed.
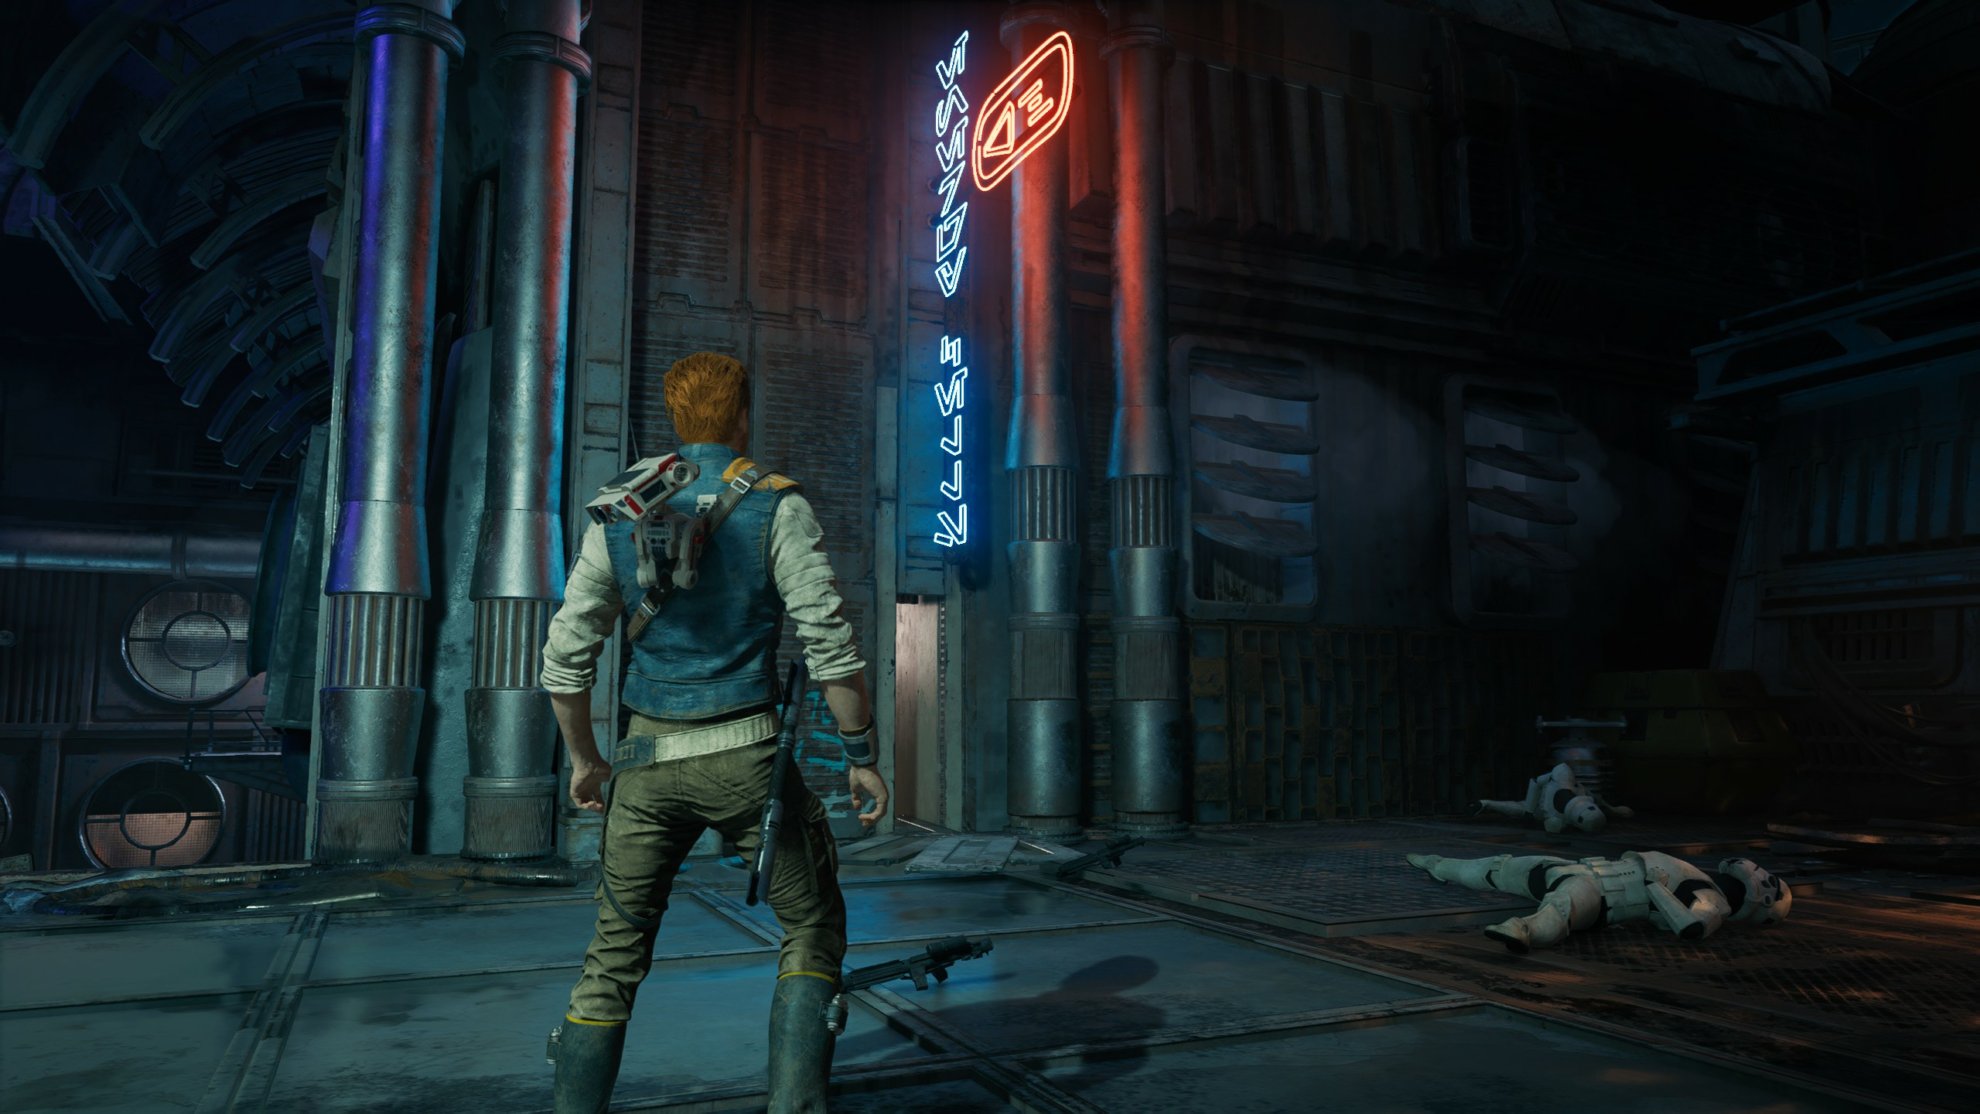
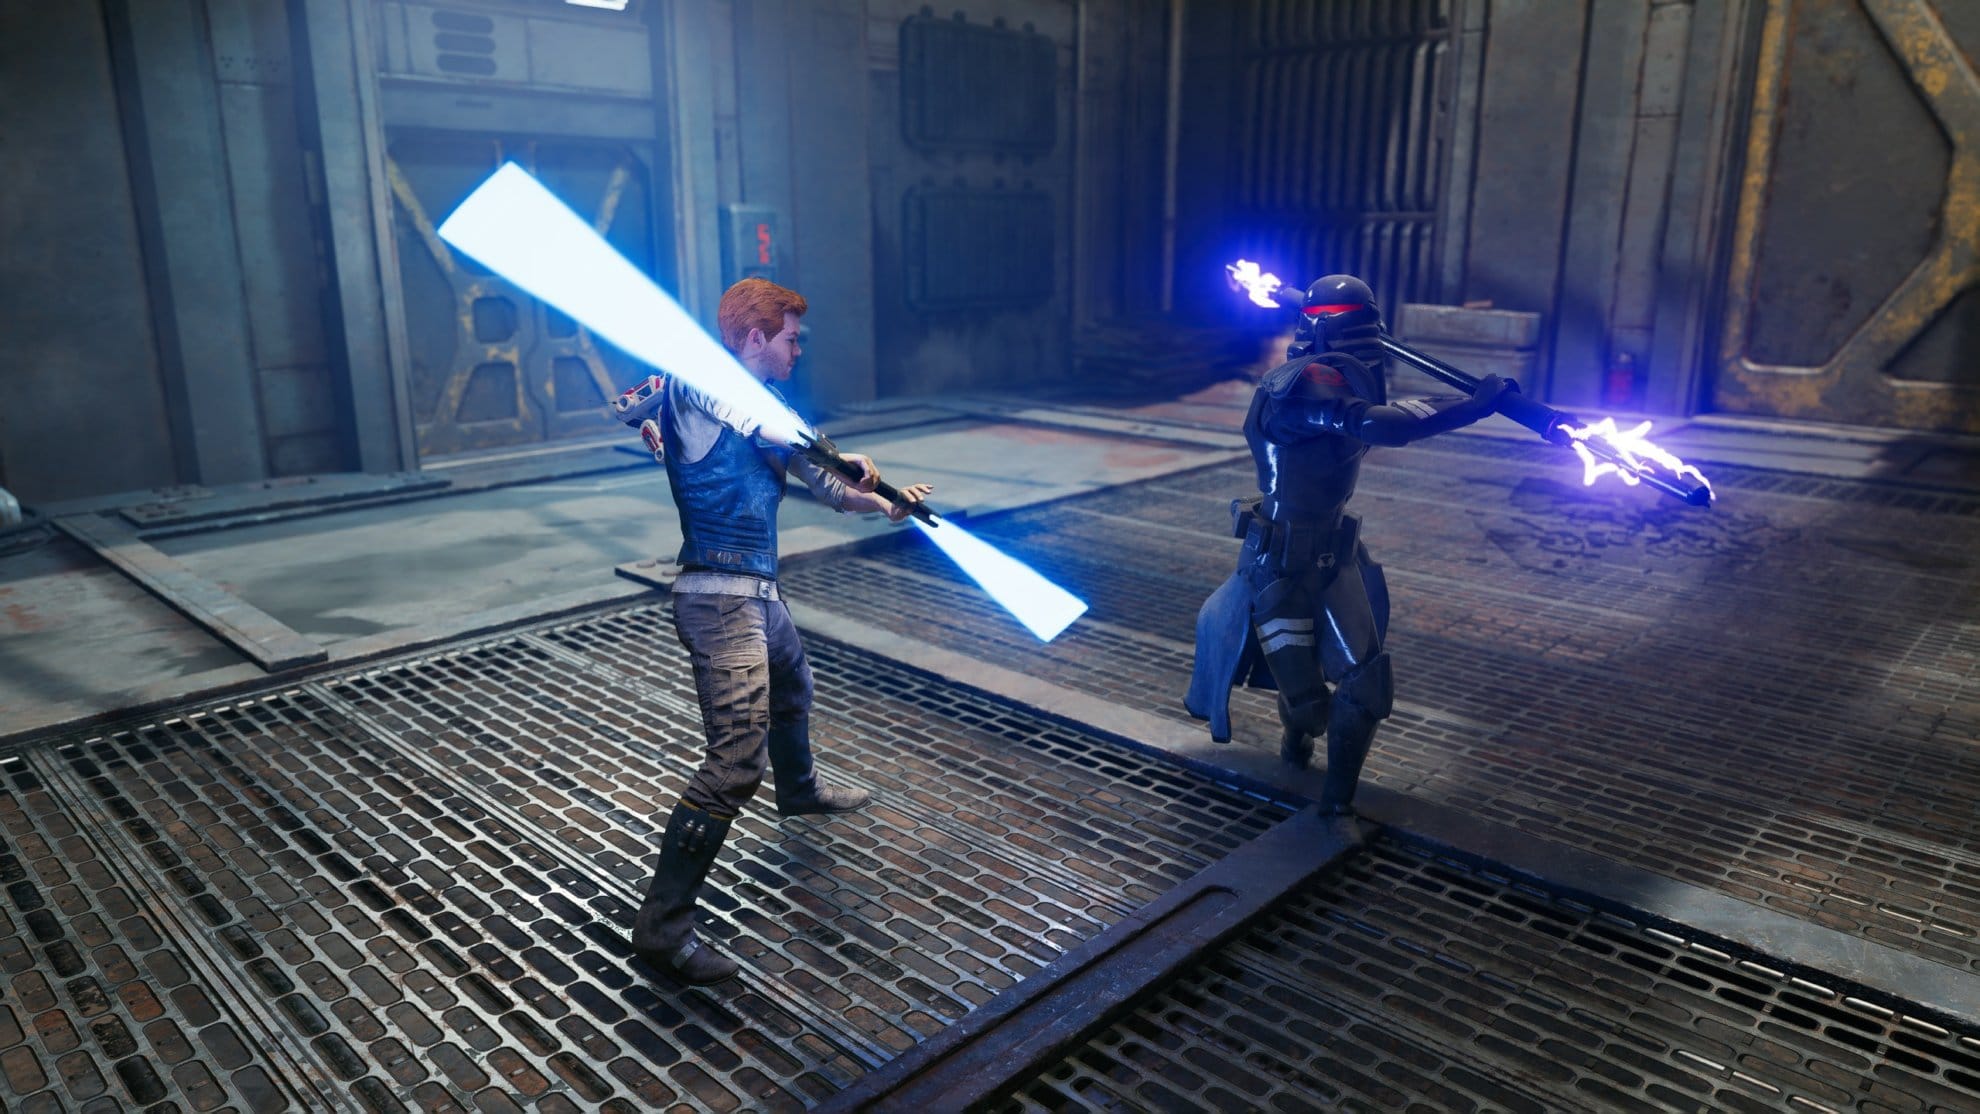
You’ll eventually run into stormtroopers near a neon sign, there’s a small area in the wall below the sign where you can squeeze through. This will lead into an encounter with multiple stormtroopers and introduce you to double-bladed lightsaber combat.
For the sake of brevity, I will be referring to the double-bladed lightsaber as the saberstaff for the remainder of these mission walkthroughs. The saberstaff stance sacrifices some attack power and range in favor of added attack speed and defense. It’s great for fighting multiple opponents that are close together. Try it out on these scout troopers that are ganging up on you!
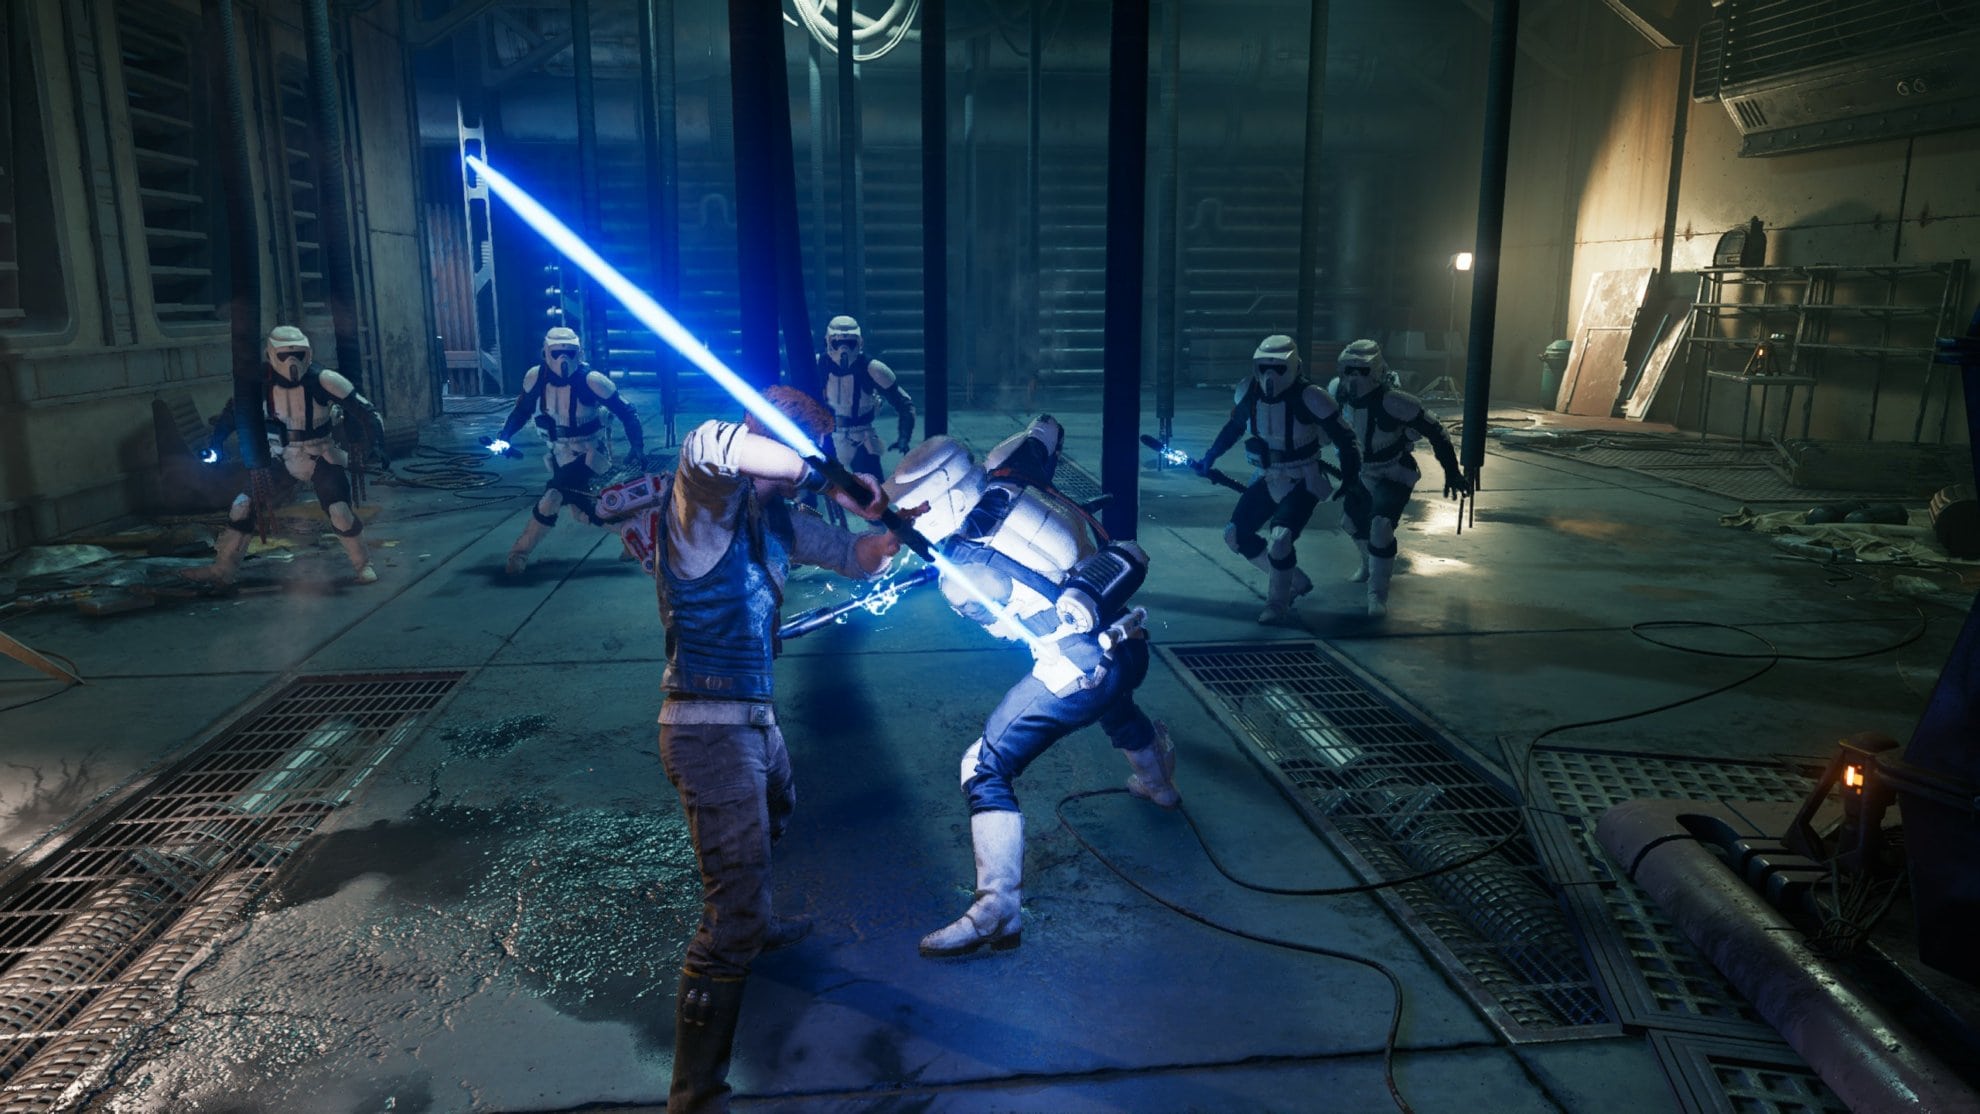
After dealing with the scout troopers, you’ll find a stormtrooper with an assault cannon above you. The saberstaff is great against these guys as it can reflect numerous blaster bolts in quick succession. Just be mindful of your stamina as reflecting assault cannons will quickly deplete it.
Once you defeat this stormtrooper, use Force Pull to pull down some grates you can climb and proceed upwards.
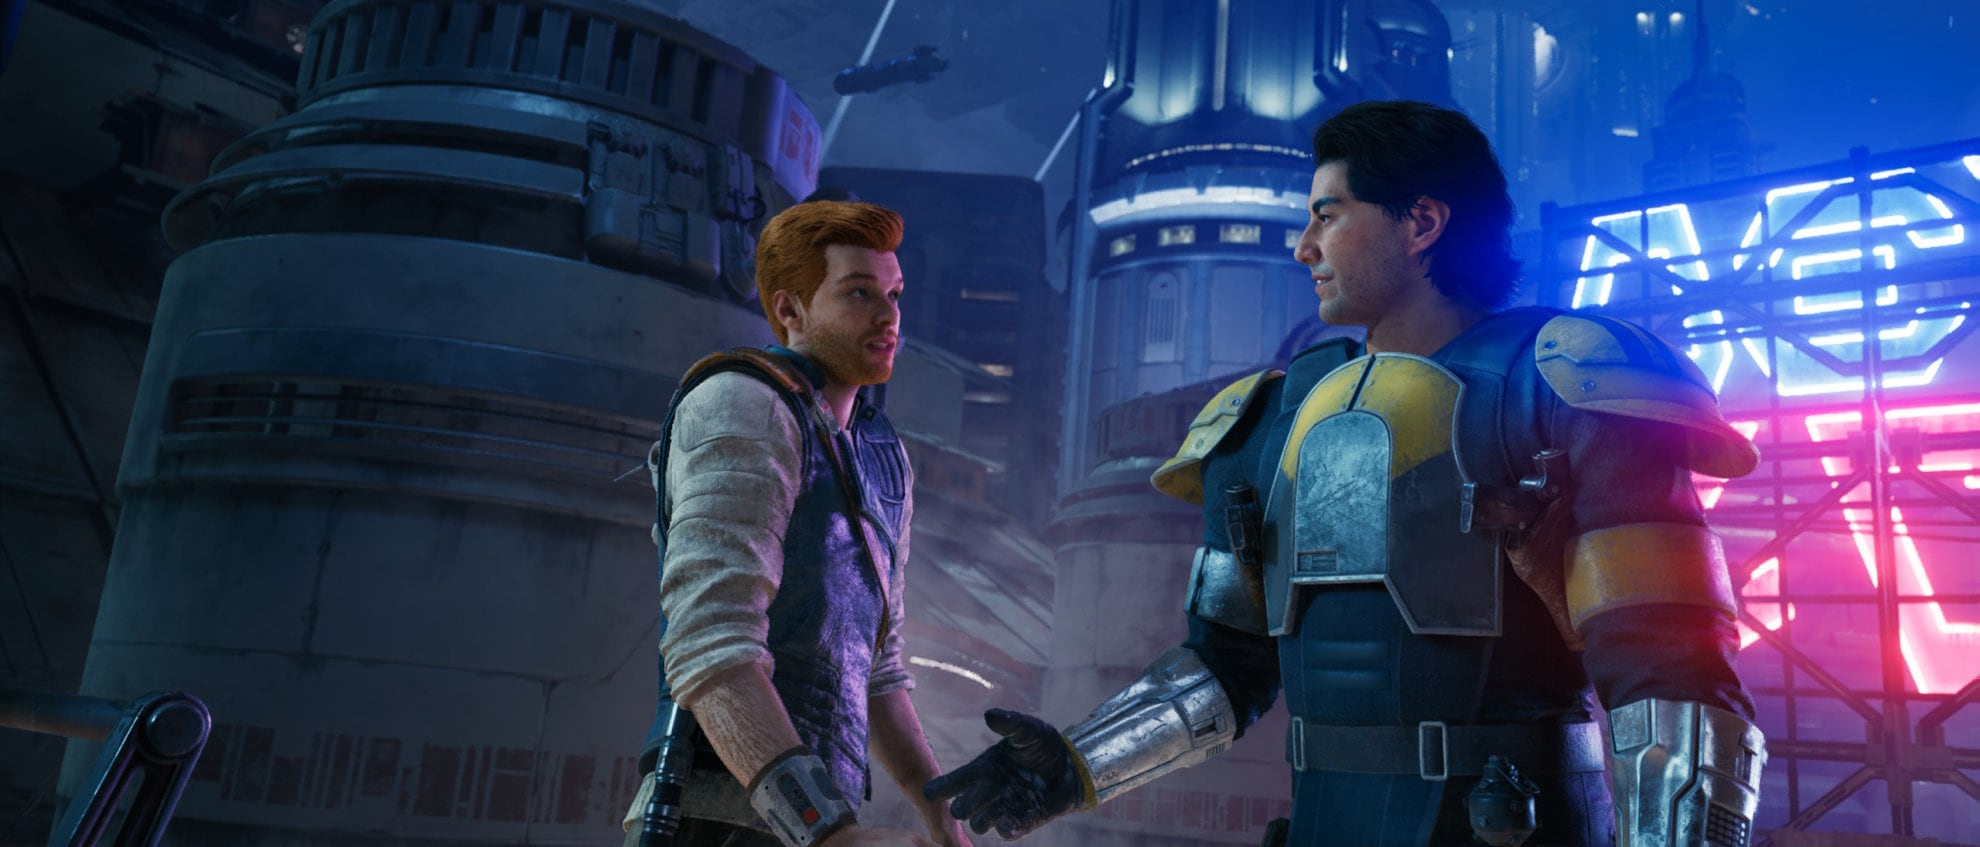
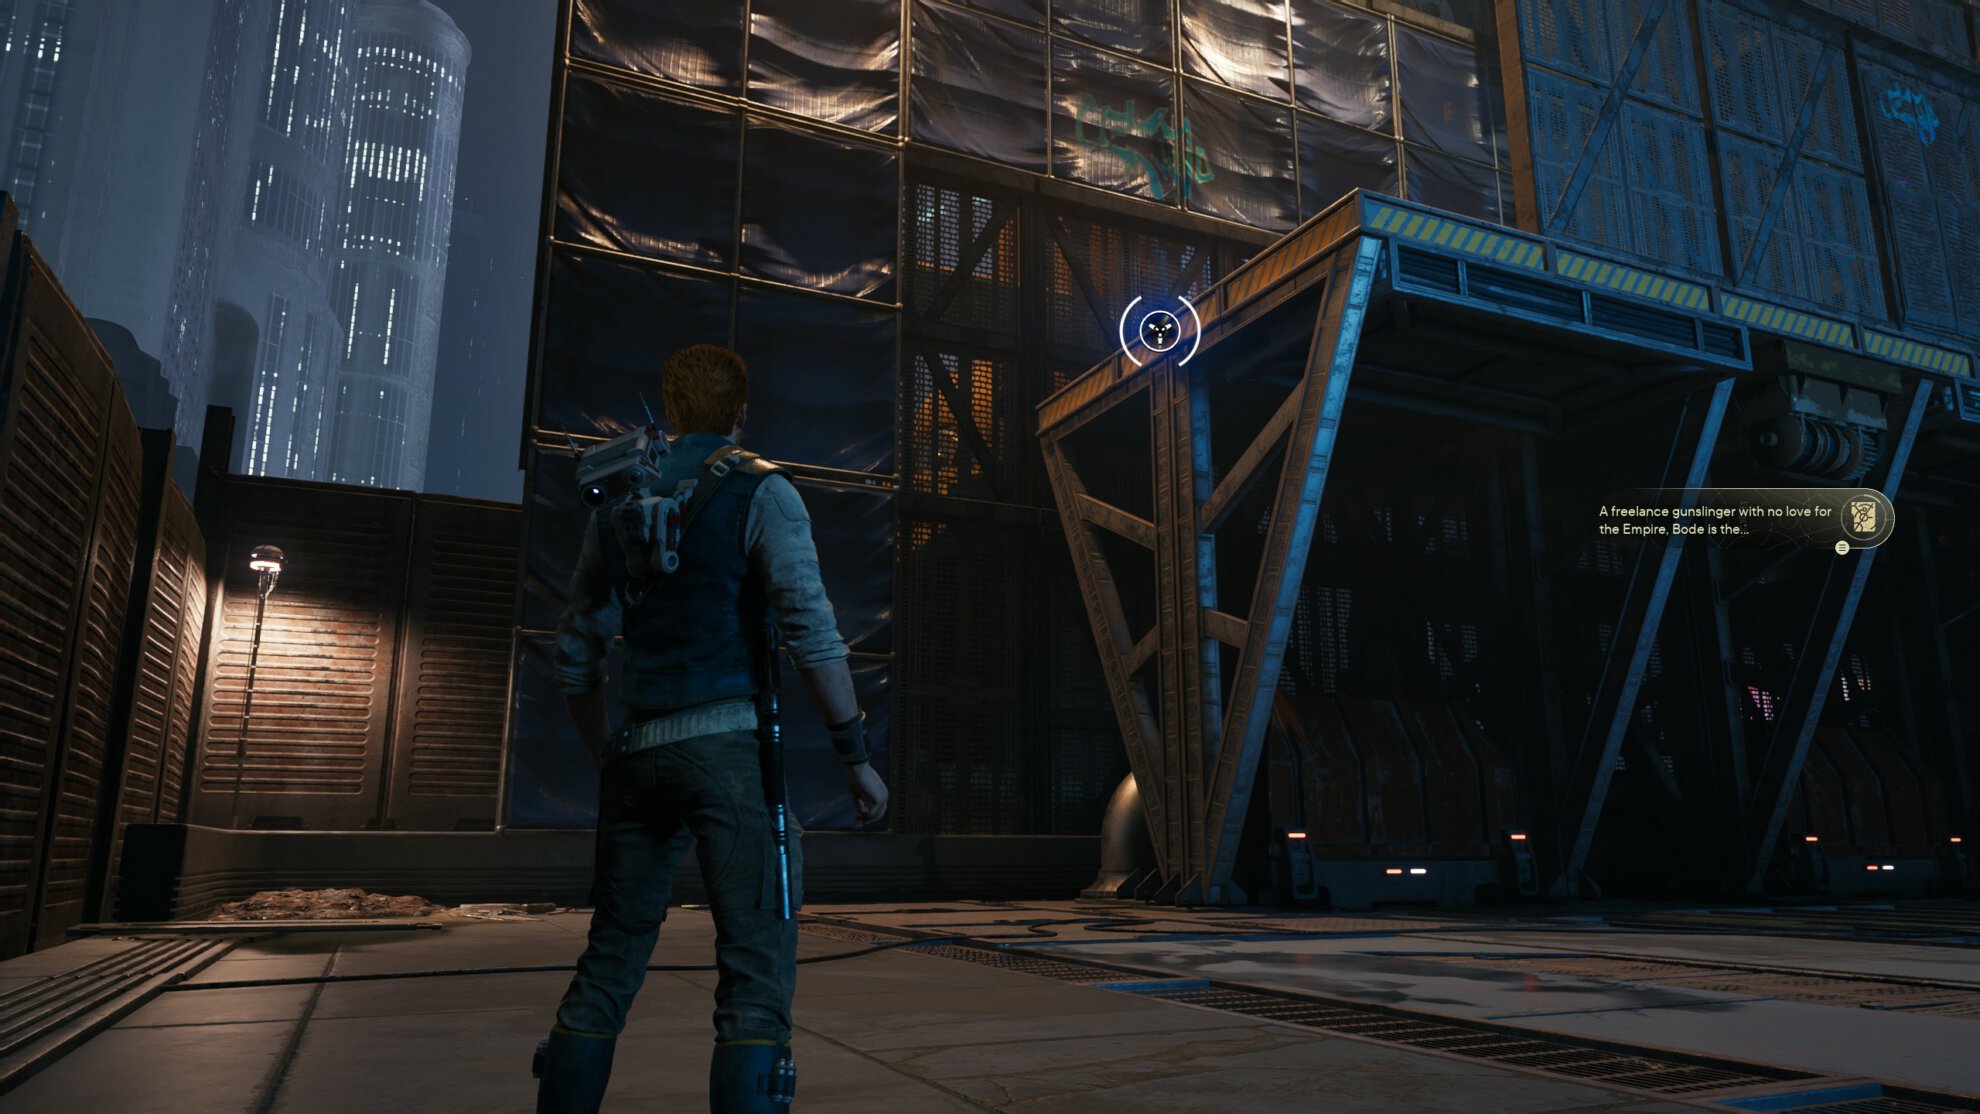
Meeting Bode Akuna: How to use your Companions
After a cutscene, you’ll meet up with an ally named Bode Akuna. Bode will actually fight alongside you and provide ranged support. This is to introduce the new companion mechanic where you’ll at times have access to a companion to aid you in combat.
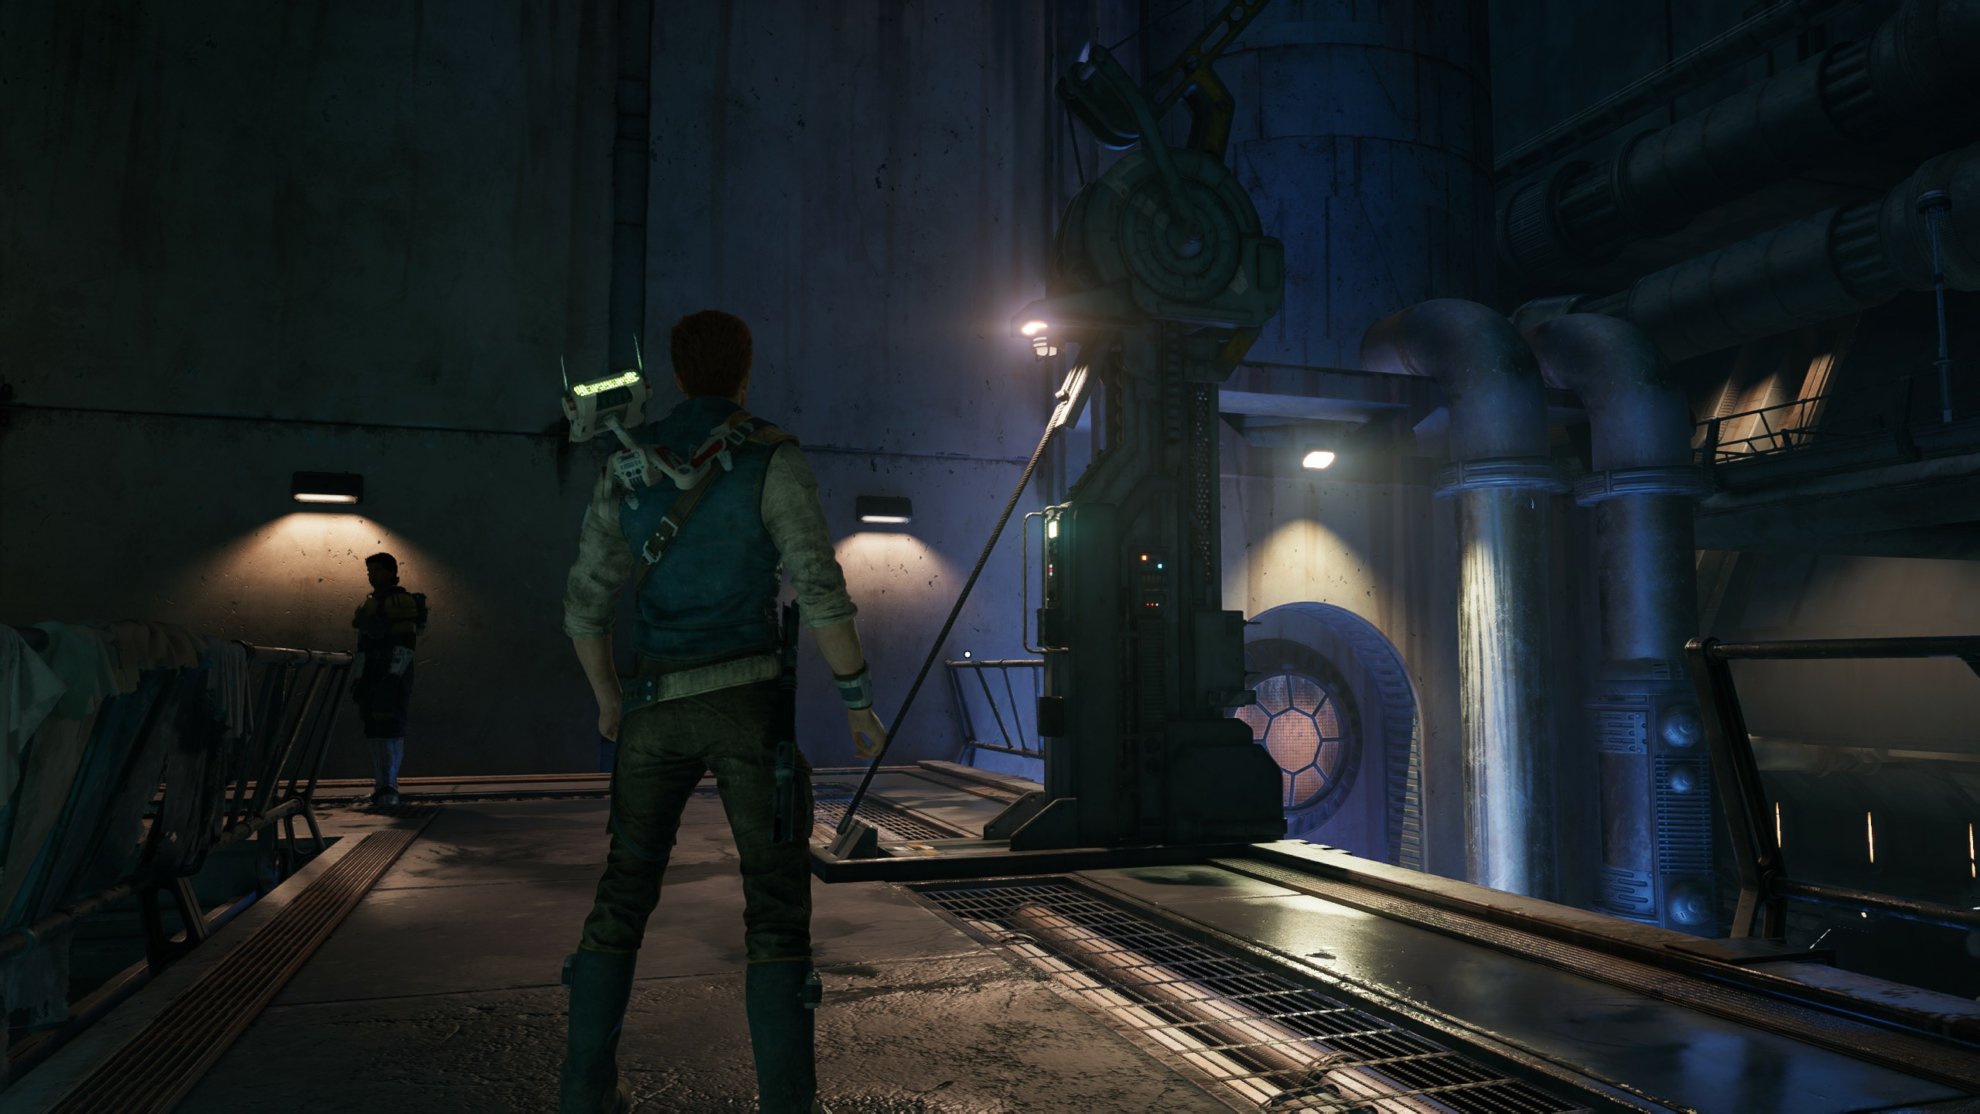
As you and Bode advance, you’ll run into this structure. These structures will sometimes drop a line or shoot out a line to offer you a shortcut. This can cut down travel time if you fall in combat and respawn.
If you find a shortcut, chances are you’ll also have quick access to a Meditation Point. If you need to heal up and get more stims, you can climb down the line and get to the Meditation Point below.
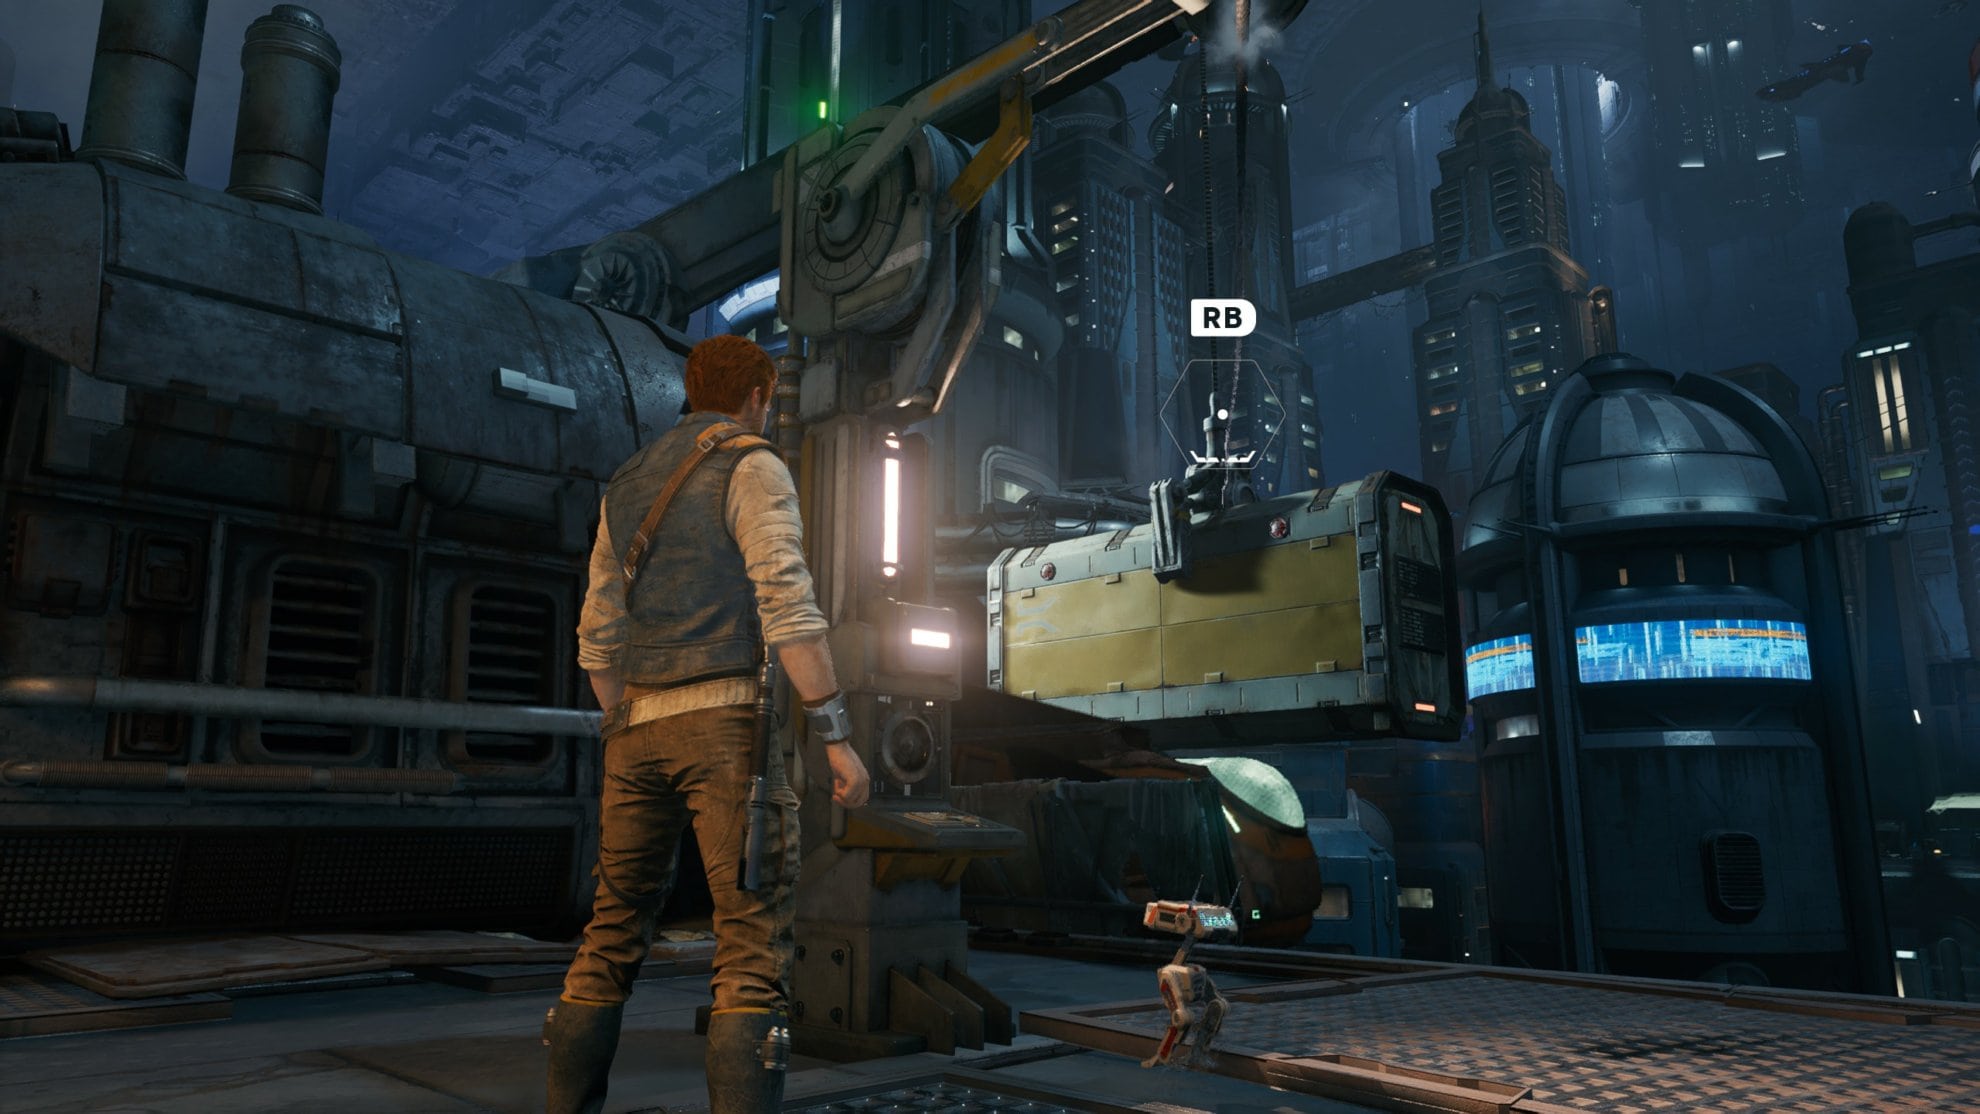
You’ll actually encounter one of these zip lines that fires across terrain around the corner. If you have BD-1 activate the line, it will be blocked by a boxcar, preventing the line come landing anywhere.
This introduces the mechanic of using companions to perform non-combat actions such as affecting the environment. Have Bode take down the boxcar so you can properly activate the zip line to proceed. Simply jump onto the zip line and BD-1 will carry you across!
You’ll find a large gap between the roofs that you cannot jump across. This is where wall running comes into play. If you find a wall with horizontal lines running across it, chances are you can wall run on them.
Wall Run is a core Jedi Survivor mechanic
Jump into the wall and move forward. You can do this for a small amount of time before you begin to fall, so jump back up the wall if you need more time or jump to your destination. Keep an eye out for walls with horizontal lines, they can be subtle!
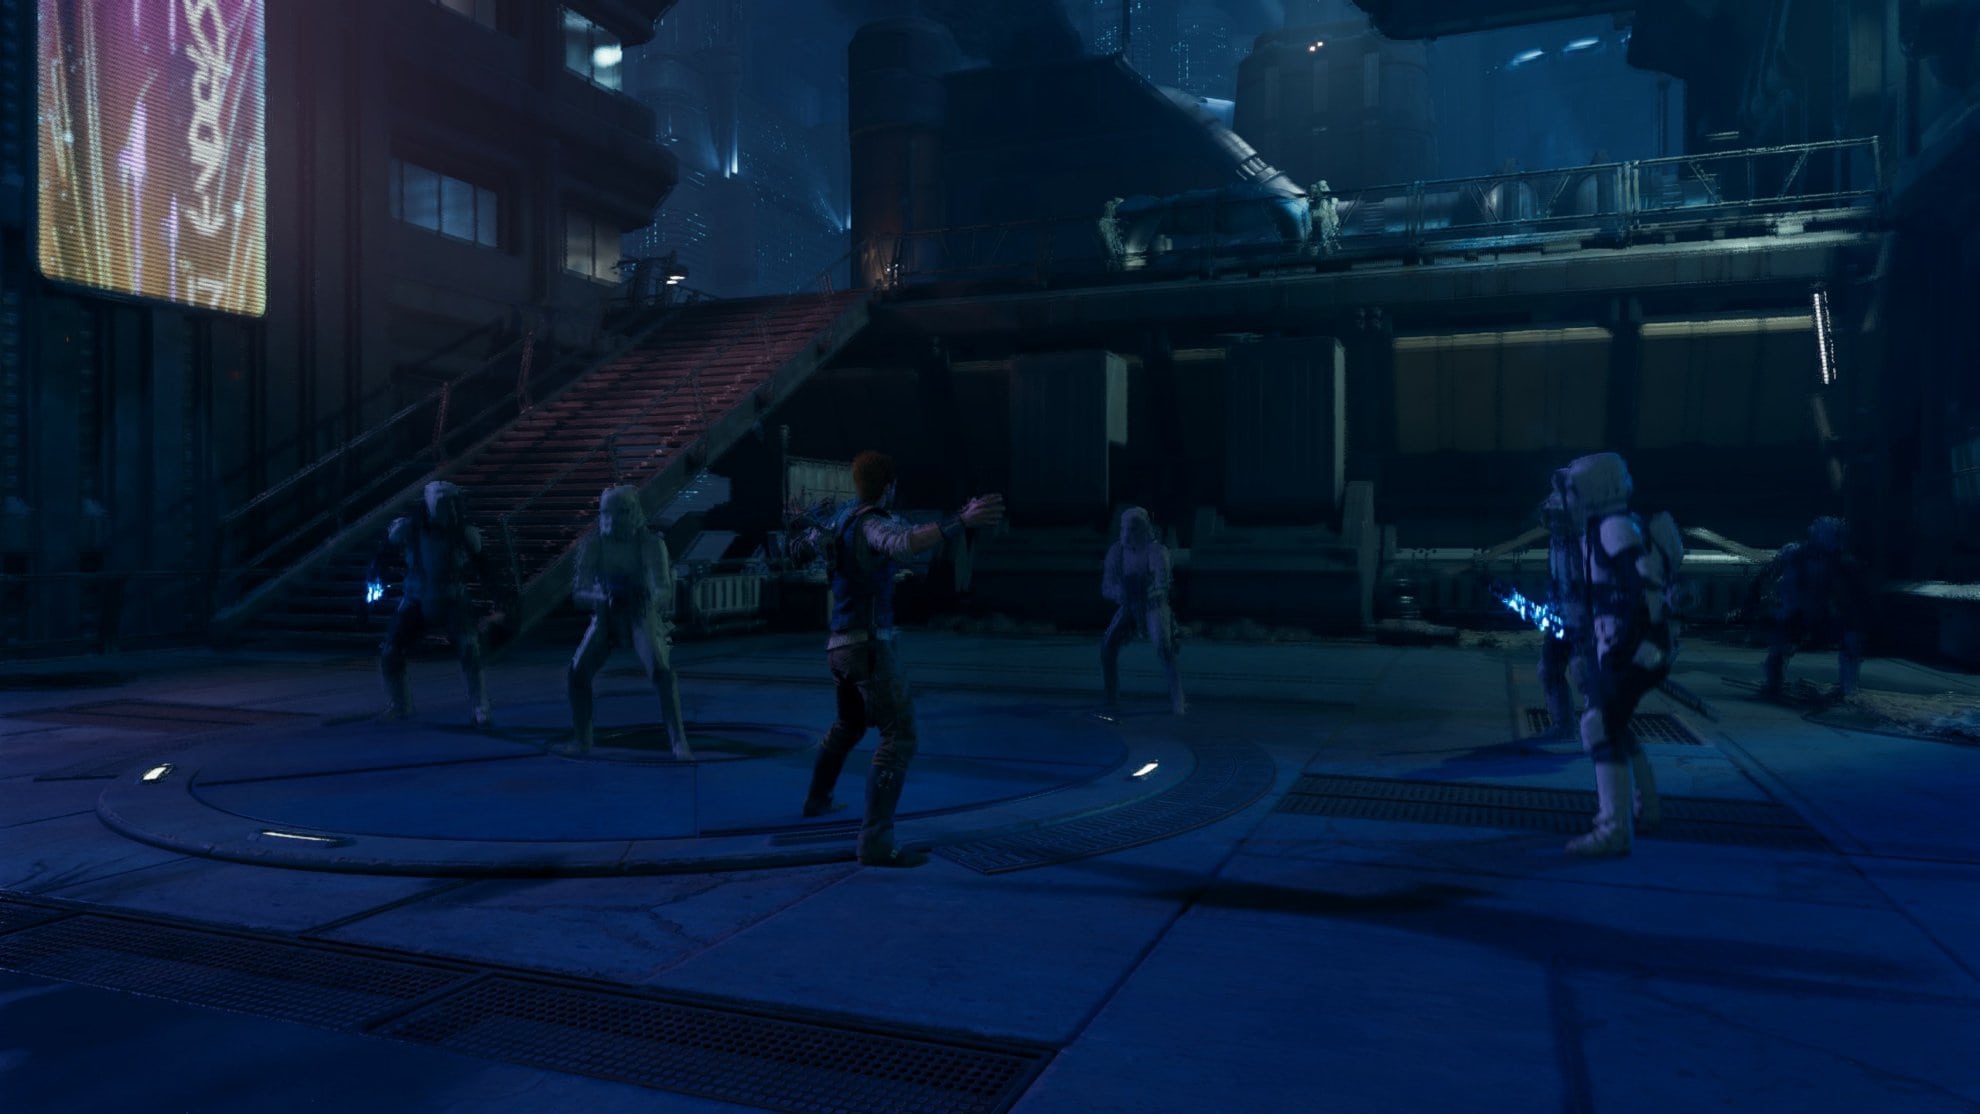
Keep travelling with Bode until you fall down into a stormtrooper patrol, you’ll get a prompt telling you to use Force Slow ability. This is an area of effect ability that will slow nearby enemies for a short amount of time. Be sure to save Force Slow in future encounters where the situation is dire, it can be a challenge to charge this ability especially at higher difficulties.
After fighting your way through some more stormtroopers, you can have Bode open a grate. Though it’s too high to reach so you’ll need to Force Push a nearby crate beneath the grate so you can climb upwards and proceed.
You’ll encounter a cable line that you can cut to swing upon. Grab the cable using Force Pull to traverse the gap and keep moving forward until you find a small pathway you can squeeze through.
Boss Battle: K-405
After squeezing through the space, you’ll be greeted by the Senator’s personal security droid, K-405. This will be your first boss battle and it’s a rather simple one.
K-405 will attack you with an electrobaton and not much else beyond that. If you see them turn red, you’ll have to dodge instead of blocking to avoid damage as targets that turn red are unblockable.
This fight is rather easy as you have Bode to assist you in combat, though don’t get too comfortable as you won’t always have help in boss fights. Use this as a chance to practice your parries as even bosses can be parried like any other enemy.

Obtaining the Ascension Cable: ability to grapple hook
After defeating K-405, BD-1 will want you to come to a nearby corner. Here you’ll find the Ascension Cable upgrade. This upgrade essentially acts as a grappling hook allowing you to hook onto specific points found on your travels. Use these to pull yourself across terrain with ease!

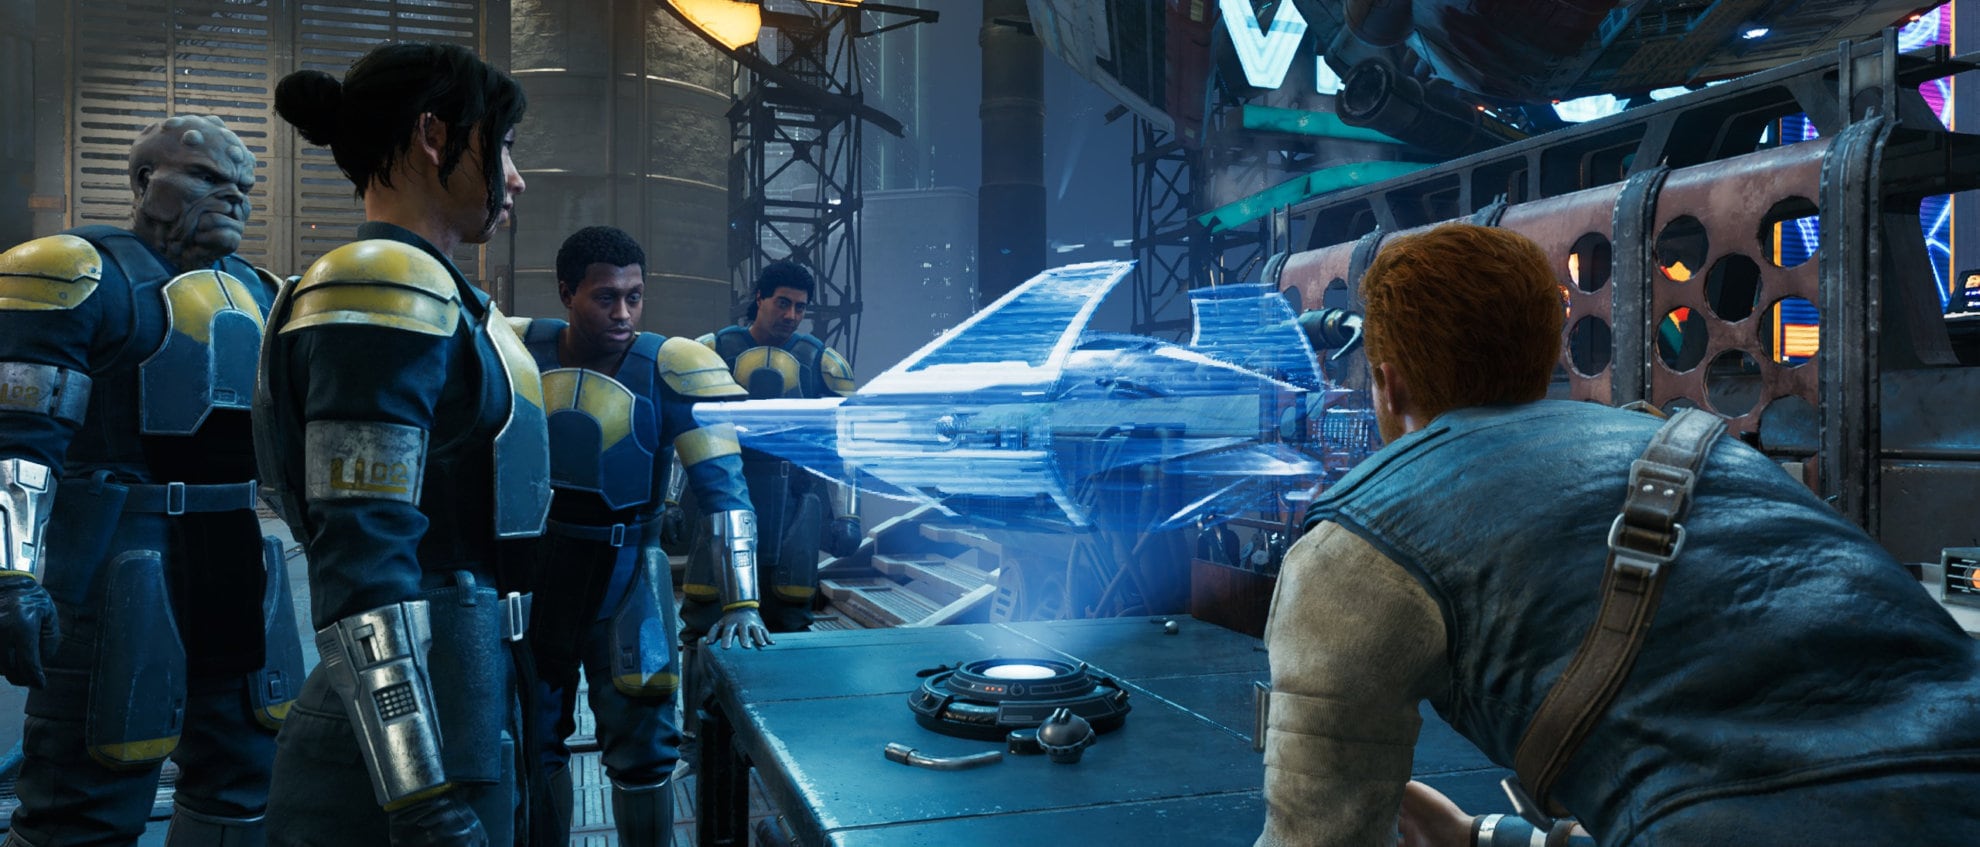
Bode will begin to lead the way back to your crew, just keep following him until you meet up with the crew beneath the Senator’s Yacht. Once you meet up with them, a cutscene will ensue and you can initiate the plan to board the yacht!
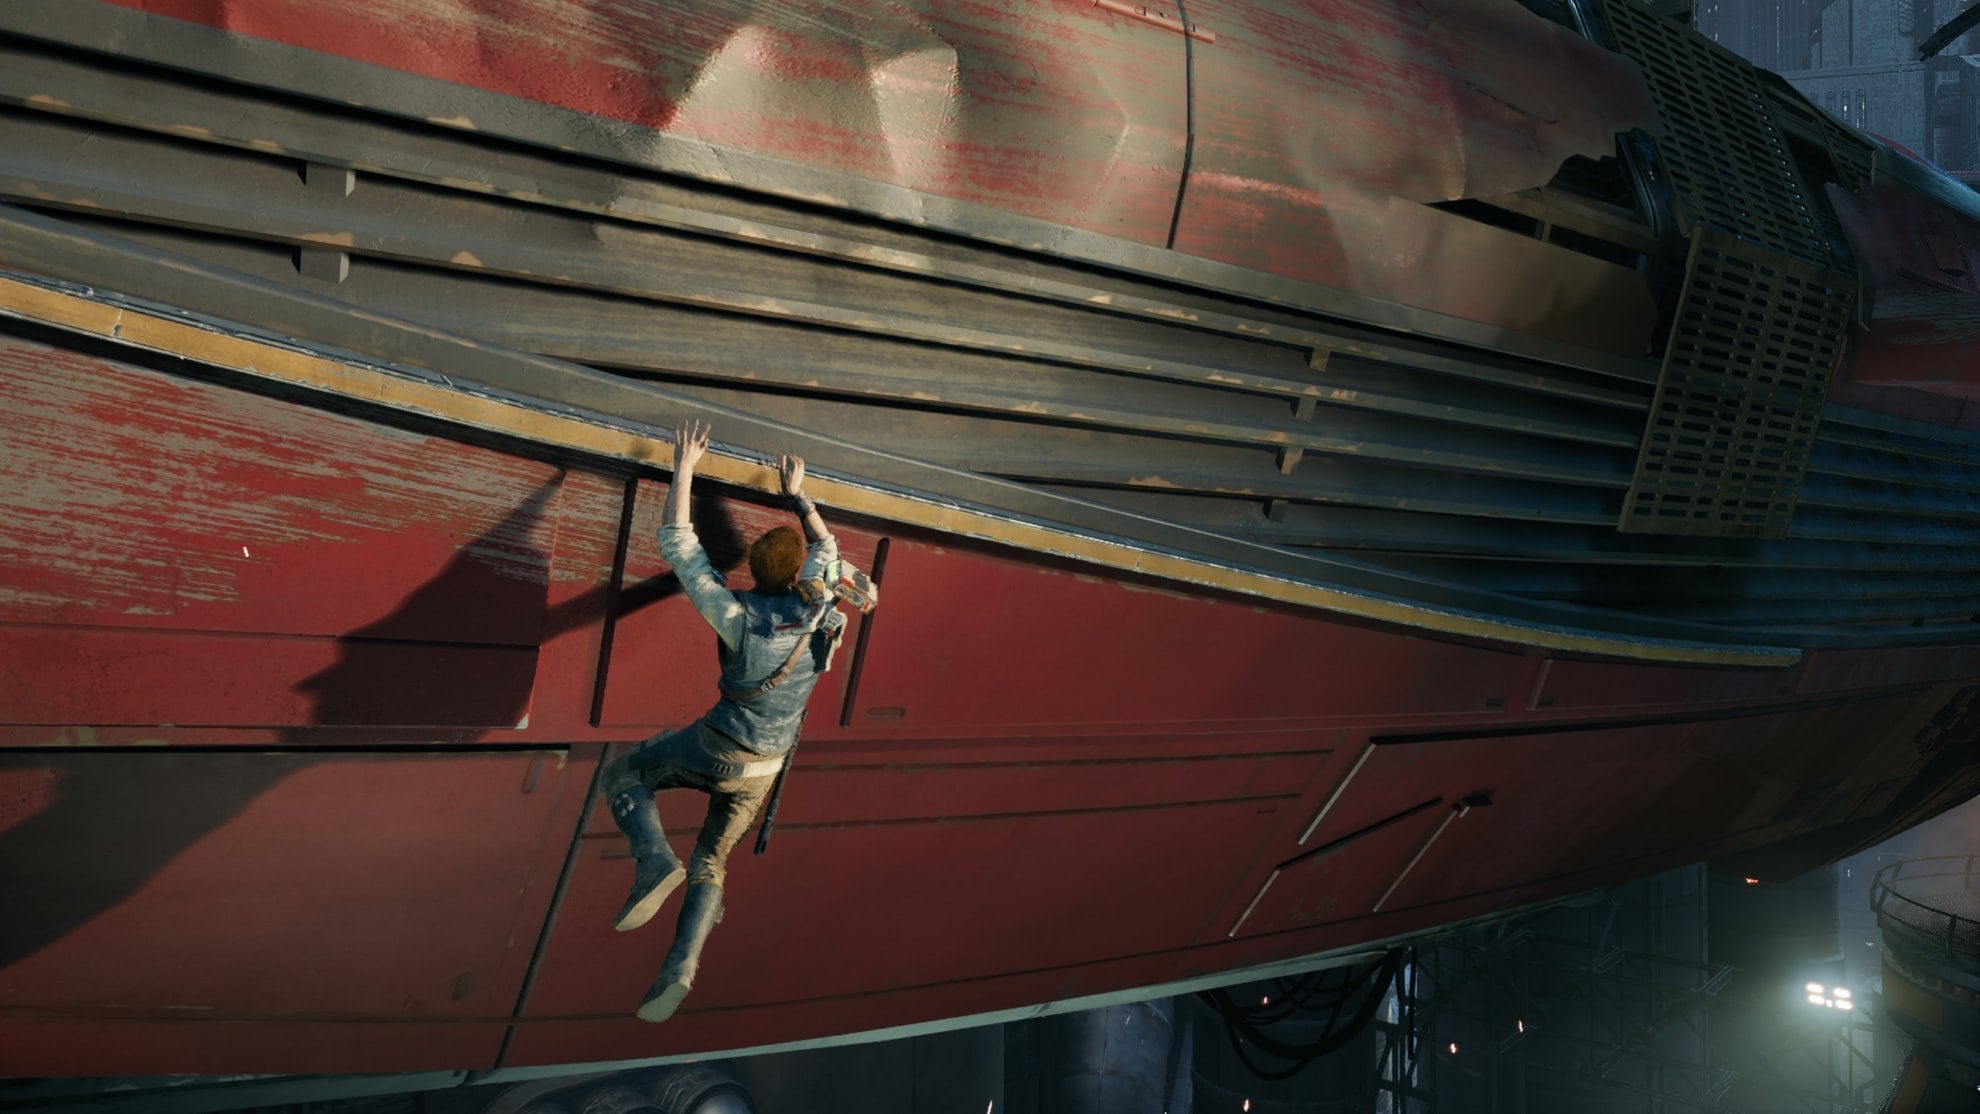
Make your way to the yacht by climbing the nearby scaffolding. Once you make it to the yacht, you’ll need to Force Push the beam under the yacht to proceed. From there the ship will be rotated allowing you to grab a grate underneath it to reach the second beam.
Force Push the second beam to free the yacht and jump onto the grates on the port side of the ship. Scuttle to the right and climb up the ship to catch up with your crew.
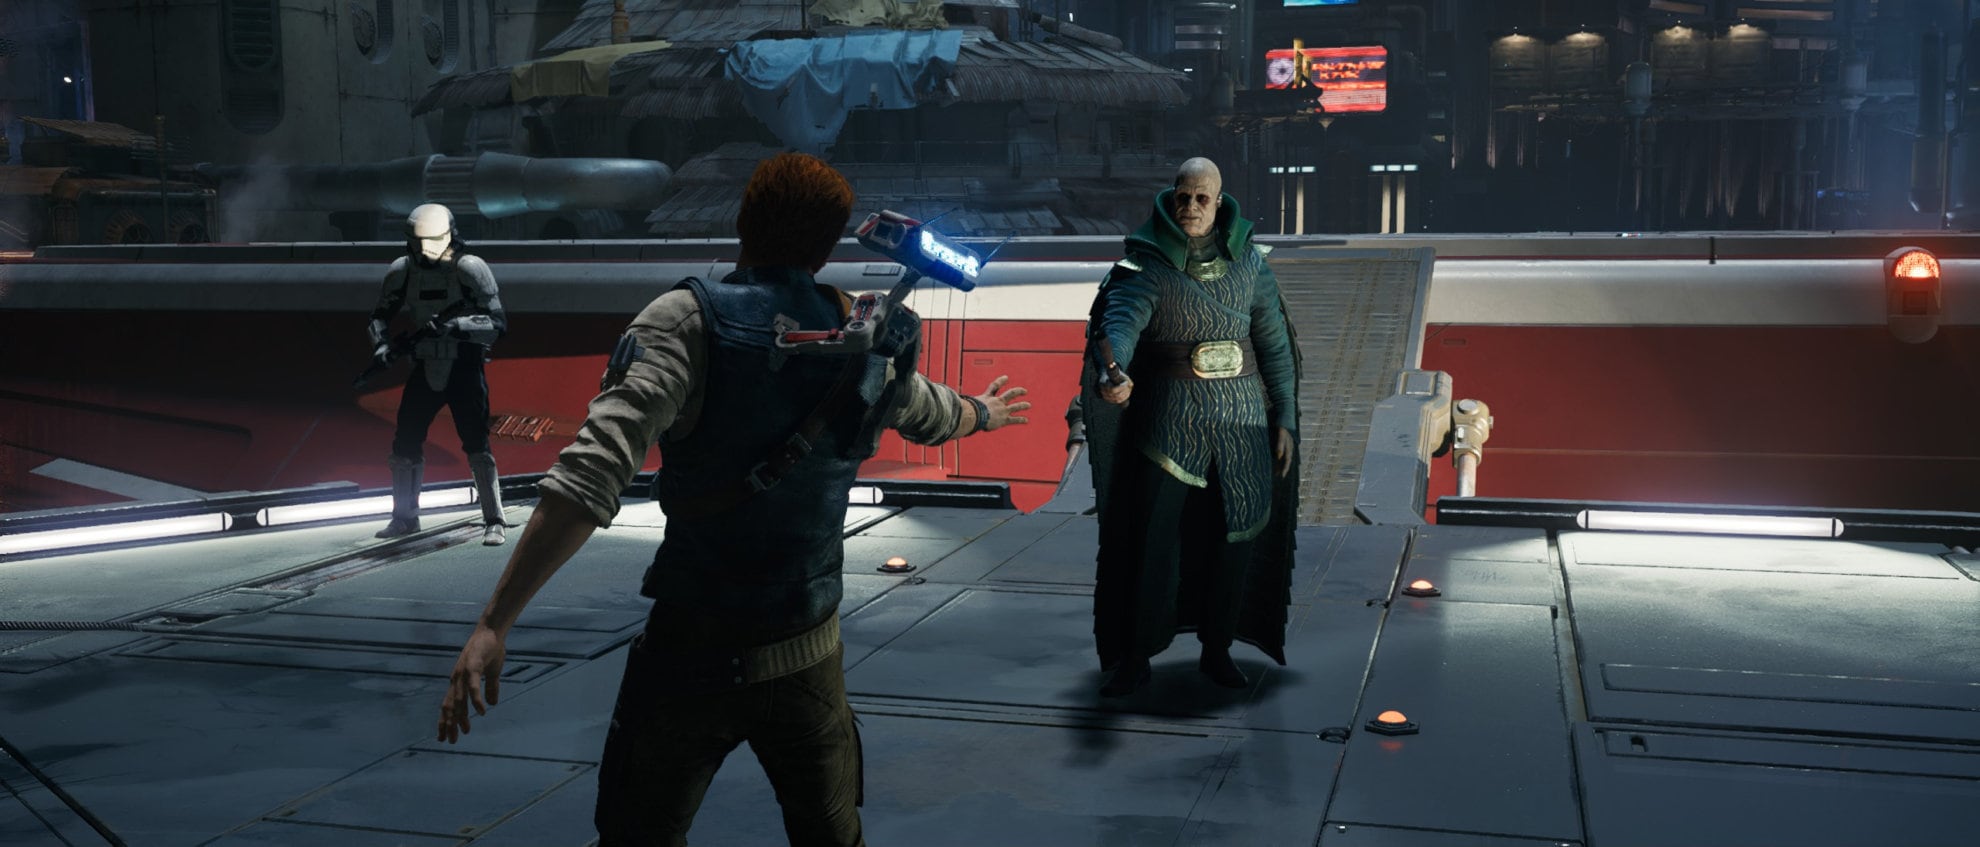
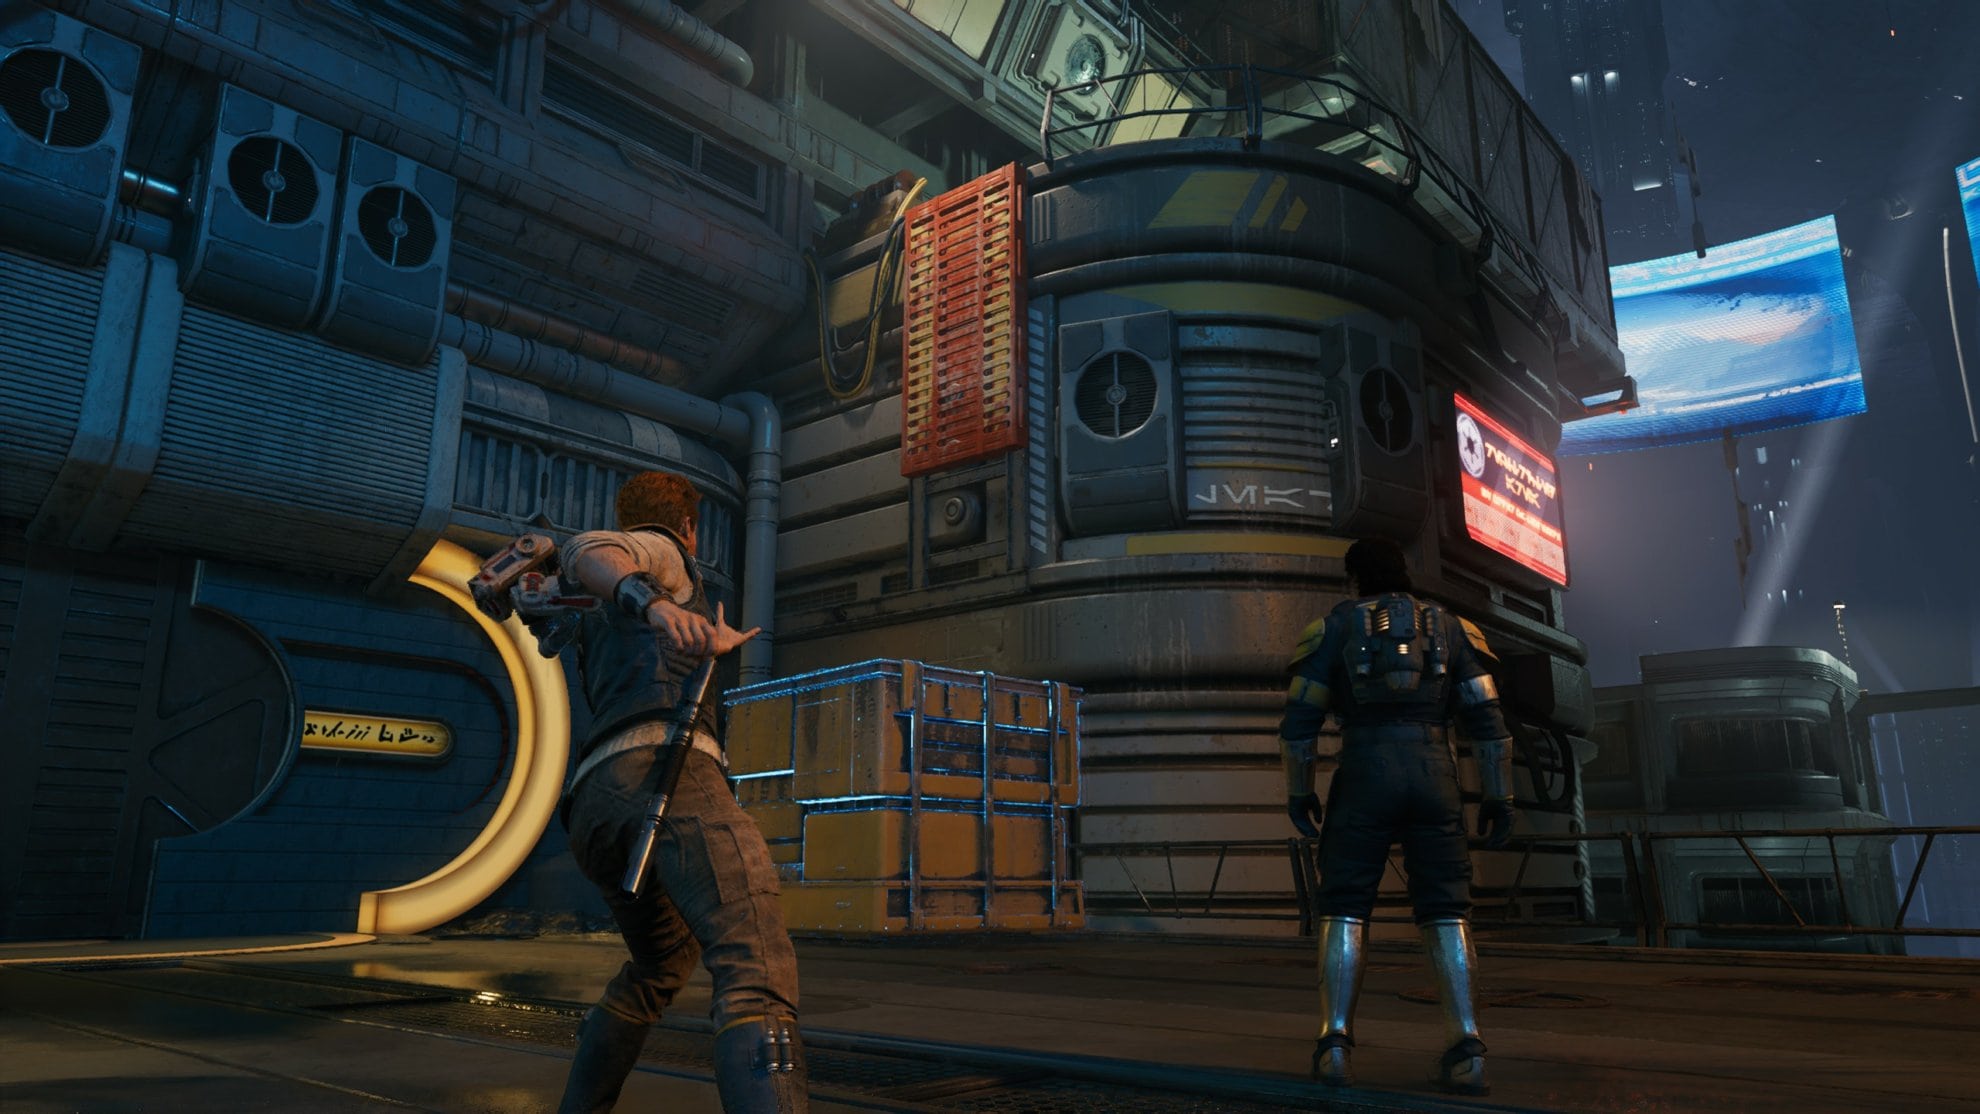
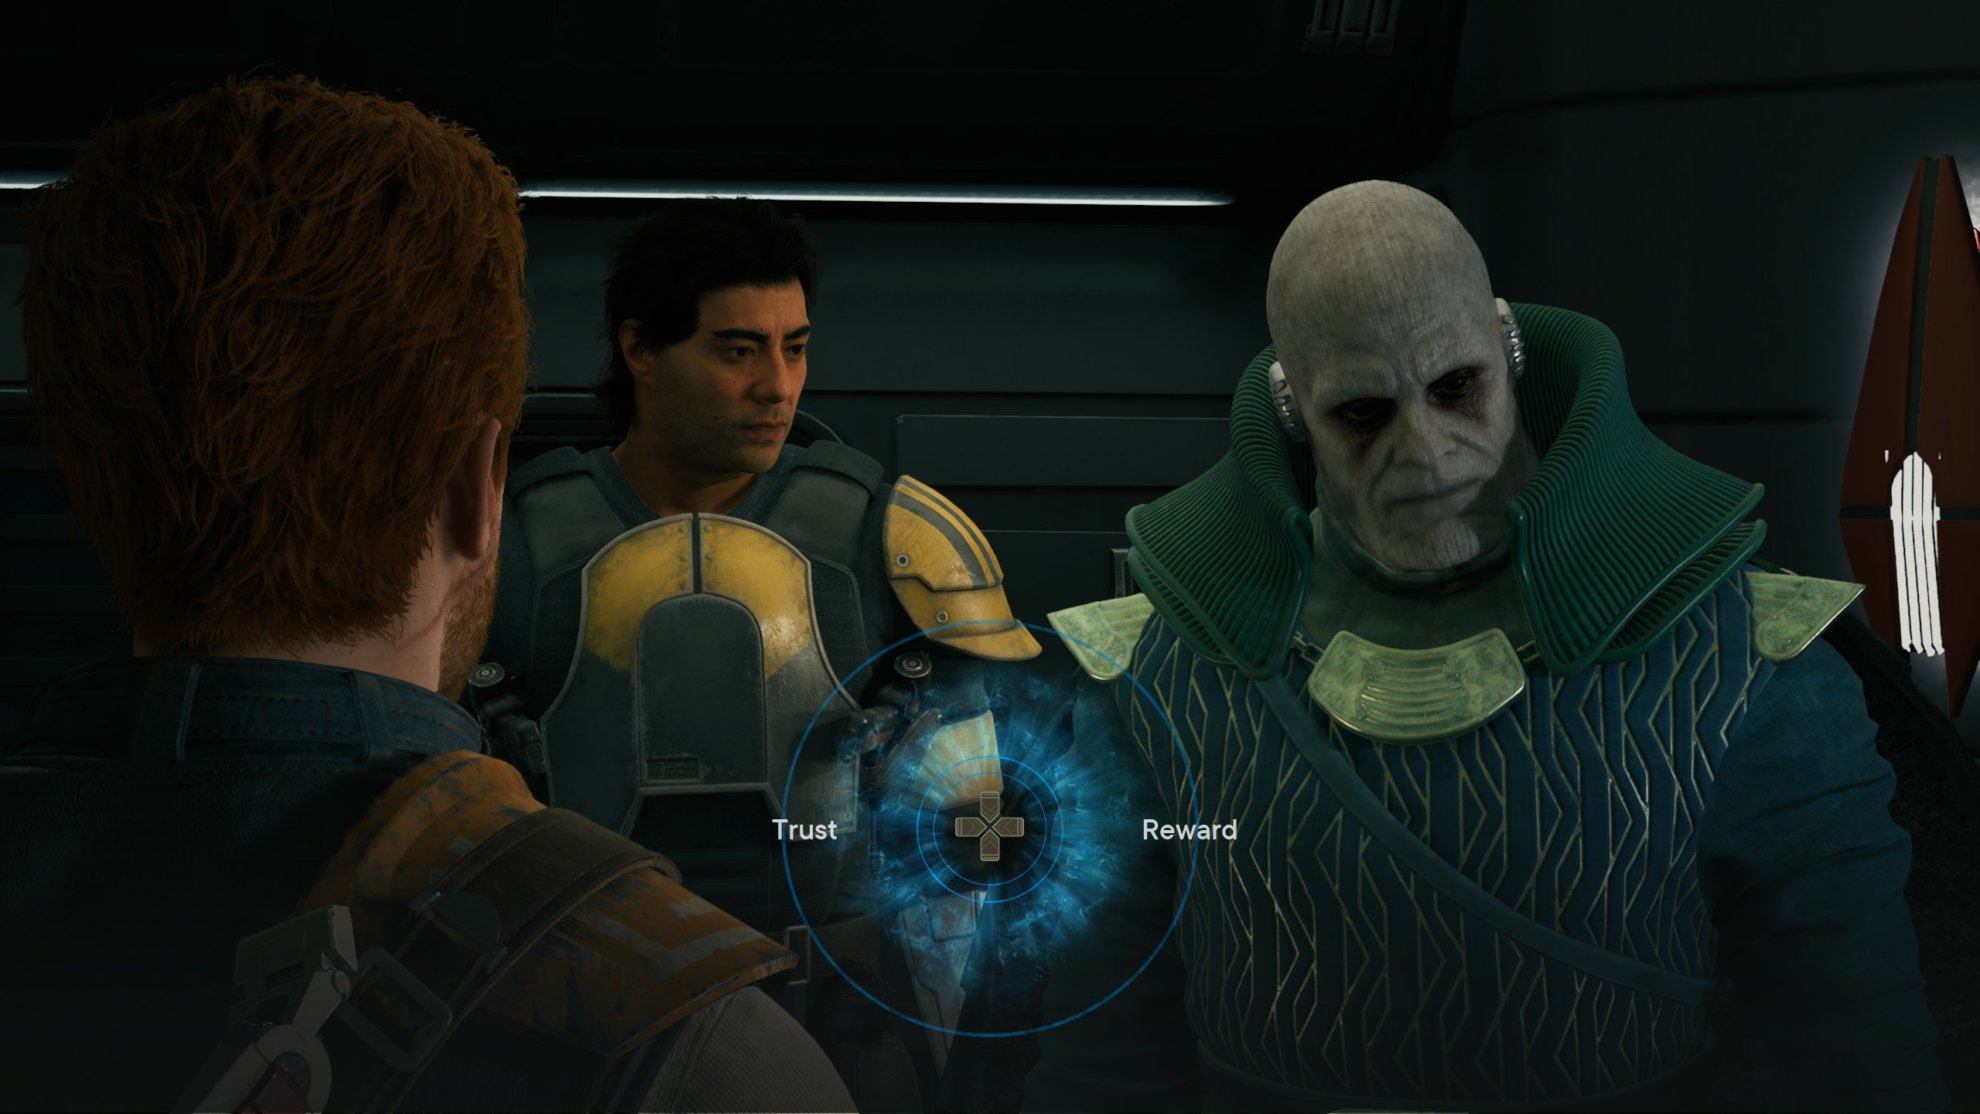
Have BD-1 Slice open the yacht and go below deck to find Senator Saho Sejan. Force Push the door open to find the Senator, now you just need to have him give you access to the terminal containing Imperial Intelligence.
Player Dialogue Choices
To do this, walk up to him and you’ll be able to use a Jedi Mind Trick on him. You’ll be given the option to say he can trust you or that he’ll be rewarded for helping. The choice makes no real difference, it just changes the dialogue spoken for this bit so choose whichever option you like.
After gaining the intel, make your way back up the ship to get out of Coruscant. Unfortunately, when you’re a Jedi on a mission during the reign of the Galactic Empire, things are never that easy. Your crew is attacked and the Senator finds out what happens when you rustle an Inquisitor’s jimmies.
After the cutscene, you’ll find yourself on a conveyor belt. Use your Ascension Cable to get to the high ground. You’ll encounter this wall with vertical scratch marks.
This is where you’ll learn how to vertical wall jump. To vertical wall jump, simply move forward and jump while moving forward to scale the wall. Much like walls you can run on, walls you can vertical wall jump on will have lines on them. Though these lines will be vertical when compared to the horizontal lines of walls you can run across.
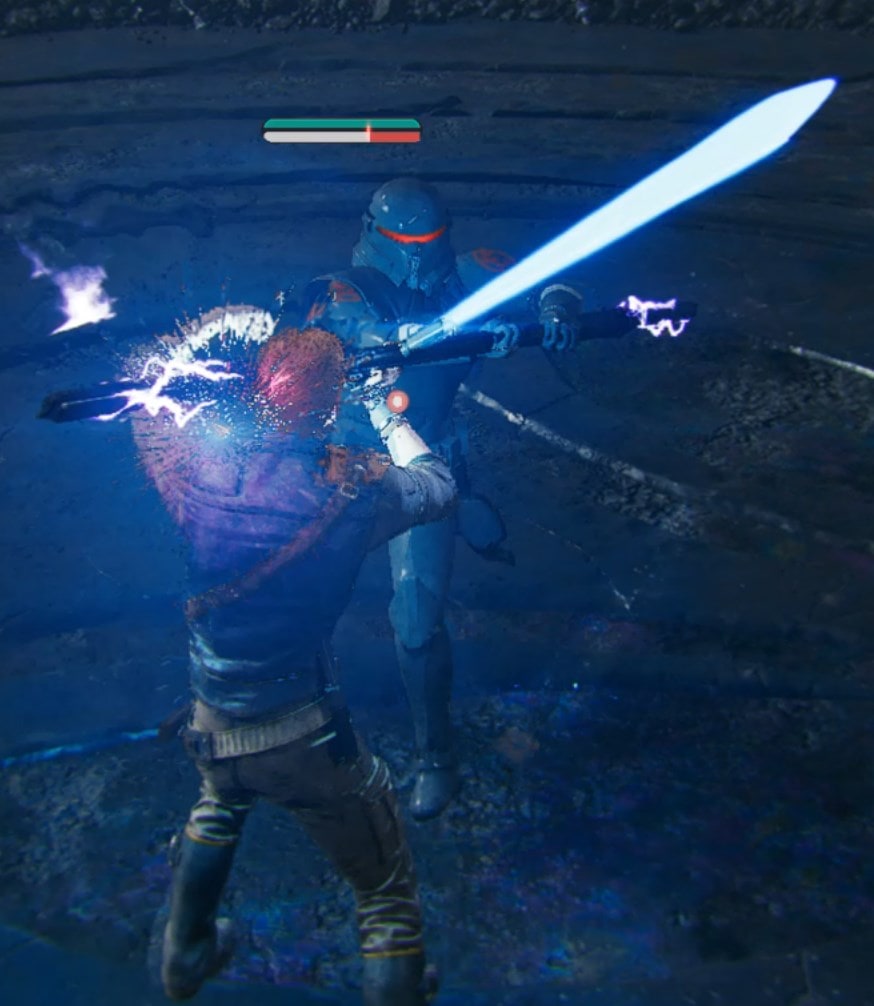
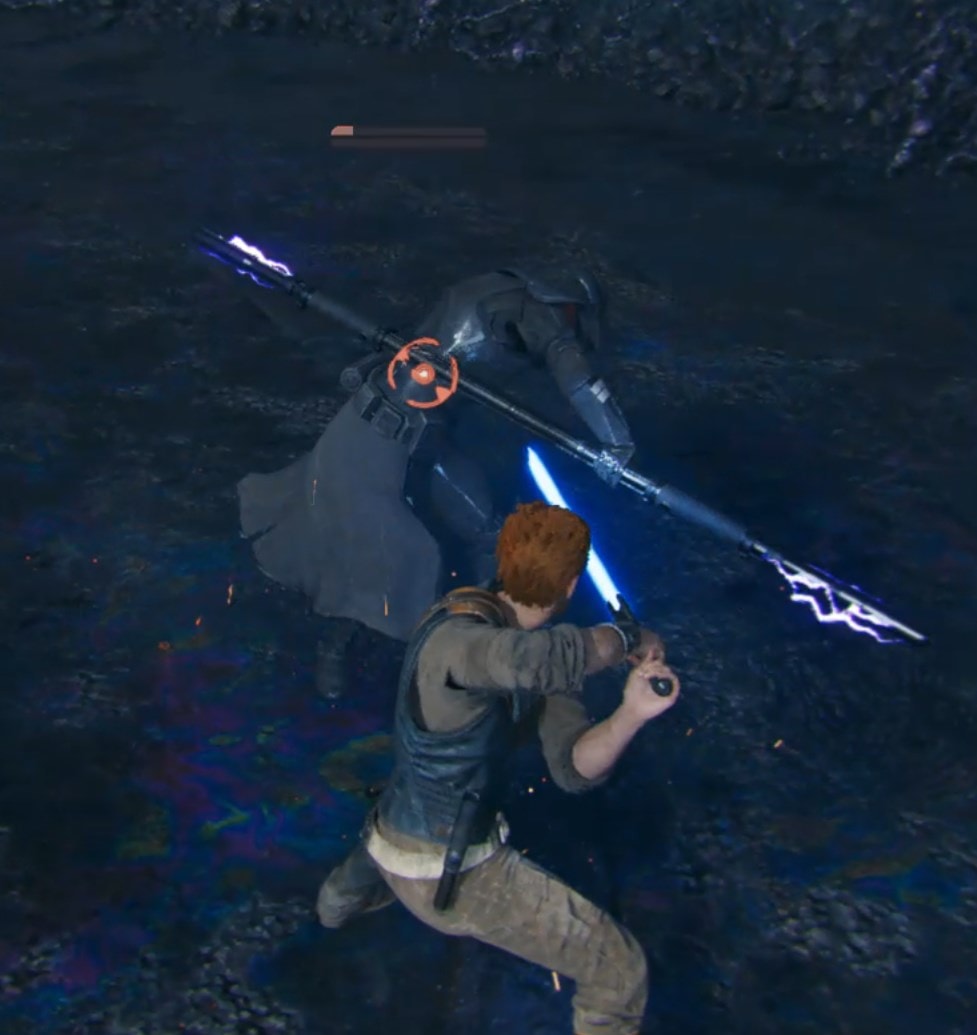
Once you reach the top, you’ll find a Meditation Point you can rest at. Keep traveling until you reach a room where a Purge Trooper armed with an electrostaff pops in.
This can be a difficult fight at higher difficulties but so long as you dodge and parry their attacks, you should be fine. Just be careful when they start moving forward while spinning their staff as it can take up a lot of stamina if you attempt to block it.
Essence Echoes grant you a permanent boost
After defeating the purge trooper, slice open the door to access the freezer. On the left side, you’ll notice a blue crystal formation.
Interacting with these can increase your stats so be sure to interact with them whenever you find them! Return to the freezer and reach the end to find a space you can squeeze through, go through there.
You’ll encounter a couple of scout troopers and you’ll be prompted to use a new Force power, Force Confusion. This ability will have your targeted enemy highlighted green to show they are under the effects of Force Confusion.
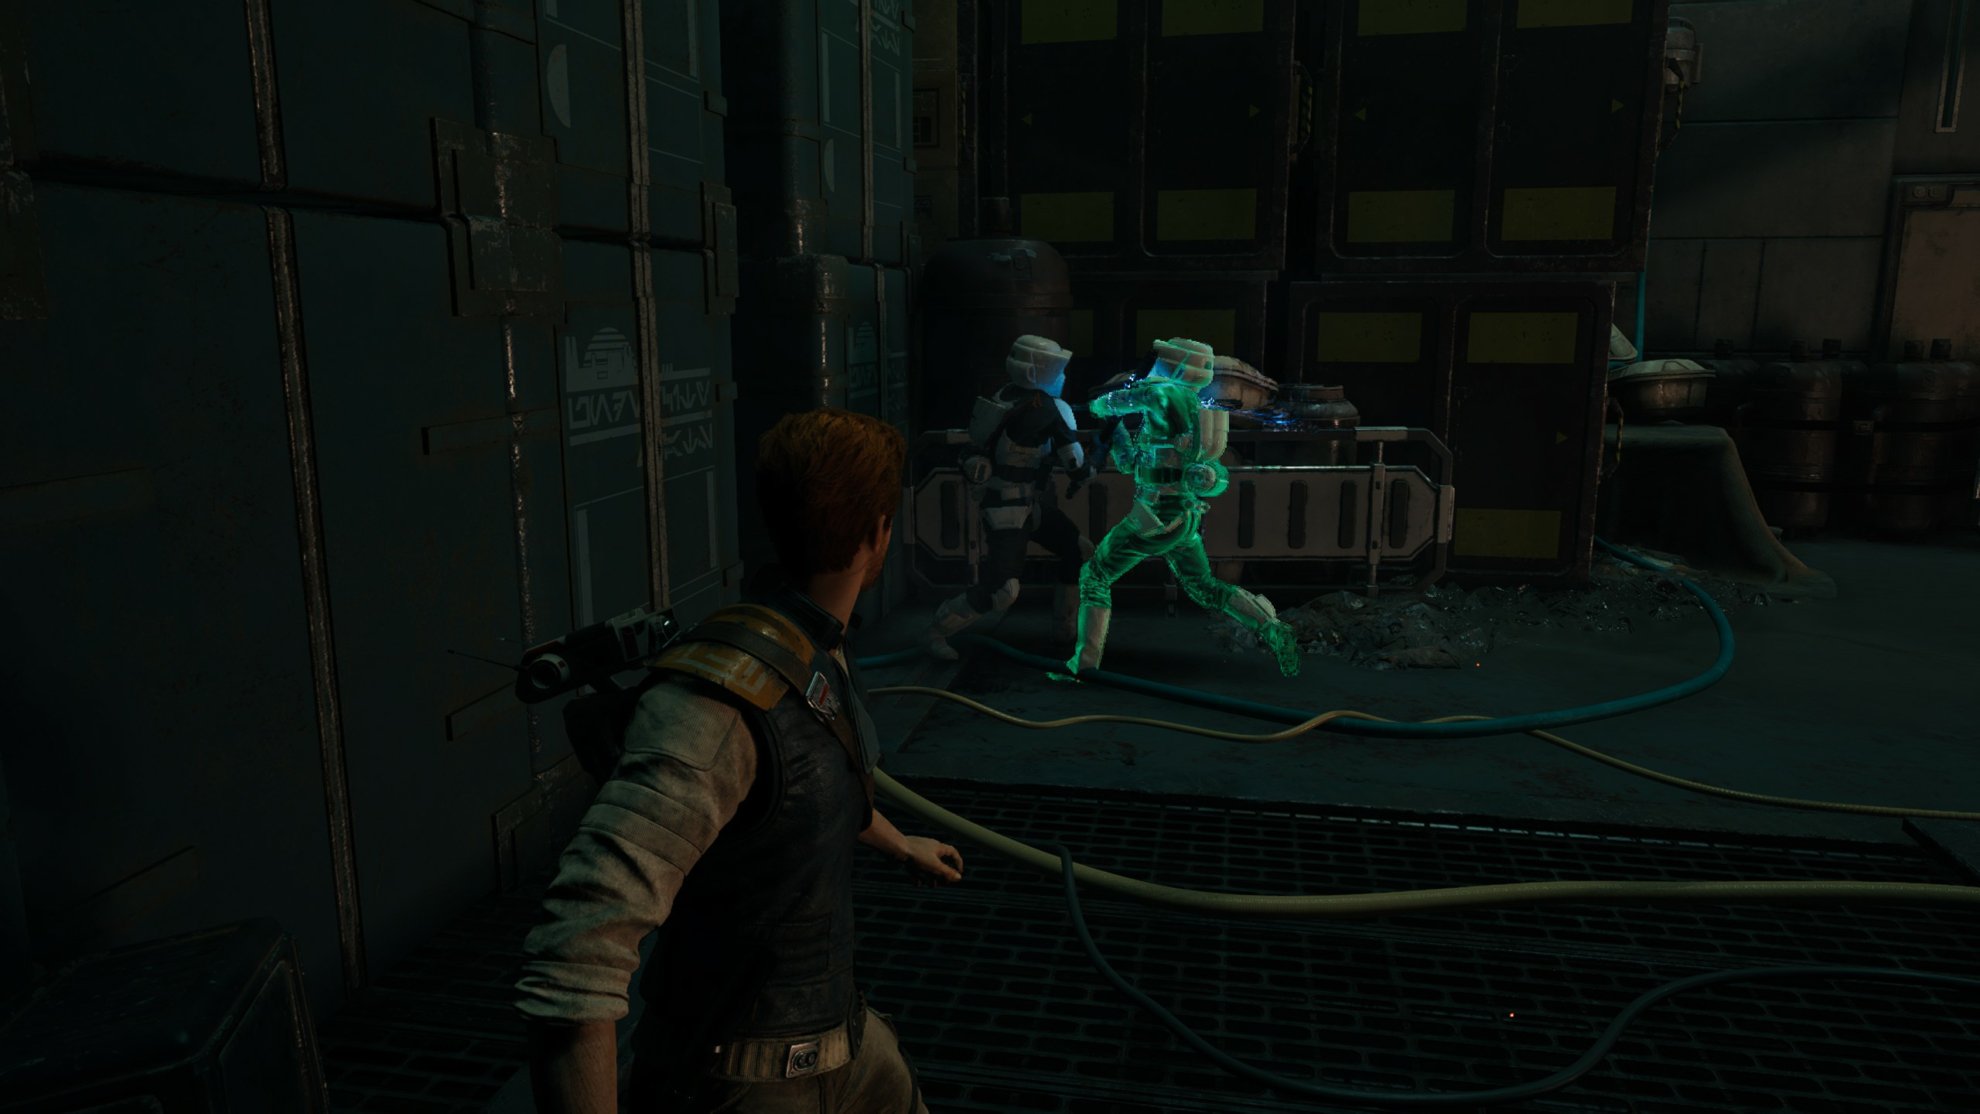
When you use this, that green enemy will begin to attack other nearby enemies allow you to thin out numbers without putting yourself in too much danger. Once the effect wears off, the enemy will become hostile toward you again.
After defeating the scout troopers, make your way further into the meat processing plant. Use the ascension cable to grapple onto the crates overhead and prepare yourself for a fight as there are numerous stormtroopers in the next area.
Fight the stormtroopers and slice the door to proceed. You’ll find a Meditation Point in the next room so now would be an excellent time to rest.
Boss Fight: Ninth Sister
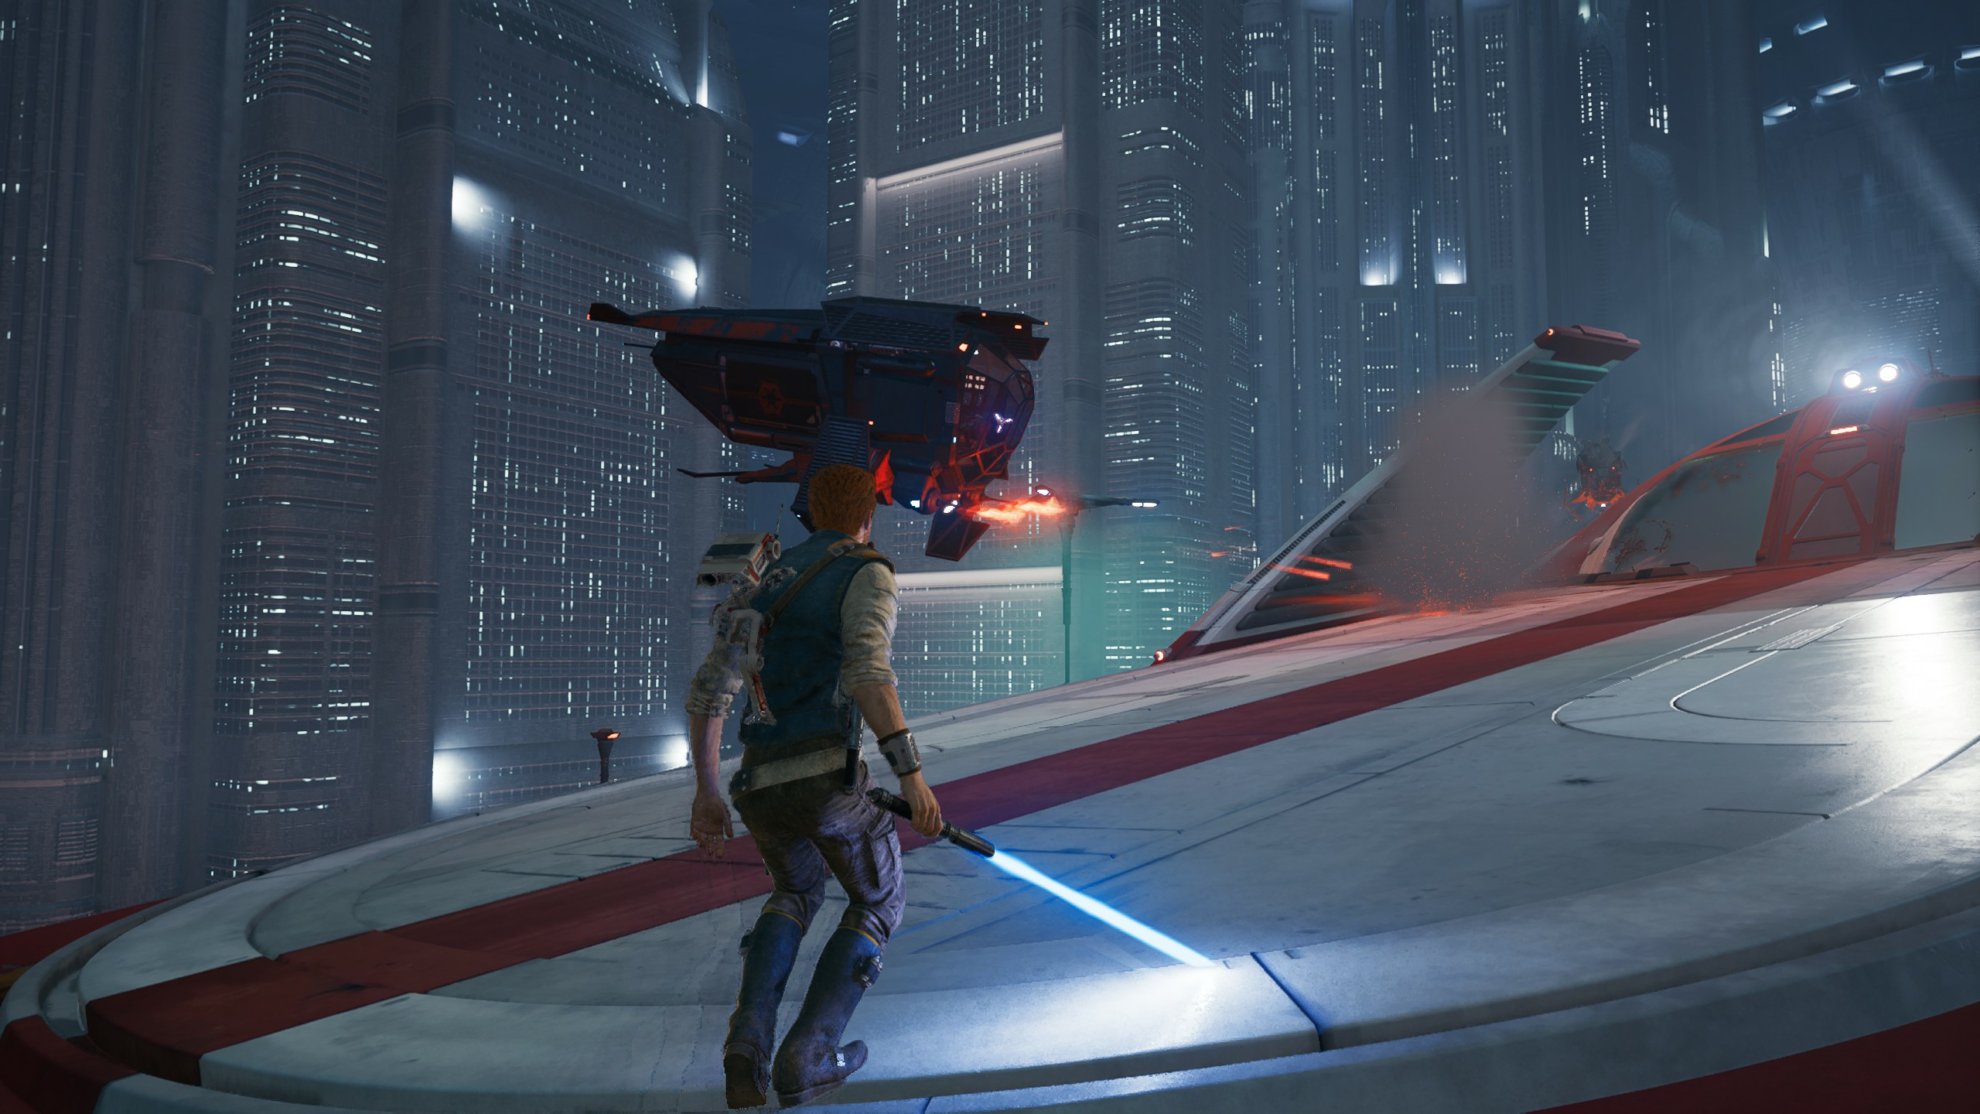
After walking past the Meditation Point, you’ll have a cutscene where the Senator’s yacht makes a comeback. After the cutscene, jump aboard the yacht where you’ll see two gunships attacking it. Use your ascension cable to grapple the gunship to the left to start another cutscene.
After the cutscene, a boss fight will ensue where you’ll have to fight the Ninth Sister of the Imperial Inquisitorius. If you have played Star Wars Jedi Fallen Order then you should be familiar with her attacks and how to fight against them.
We have an in-depth guide to the Ninth Sister in Jedi Survivor for you to check out! Below is a brief overview of the fight and some tips.
Be sure to dodge the powerful attacks that can’t be blocked, this is hard to miss as she’ll turn red. If you can, parry her attacks to drain her stamina and make her vulnerable.
If you are defeated, use a nearby elevator close to the Meditation Point to go down and fight the Ninth Sister again.

Once you take out a third of her health, a cutscene will play. Afterwards, she’ll place a finger on her head and an aura will appear around her. While she is doing this, it will be almost impossible to hit her.
While you can occasionally hit her with the saberstaff, she can quickly pull out an attack to hit you so you need to be careful. If you want to play it safe, wait for her to stop and dodge her attacks until she stops doing it.
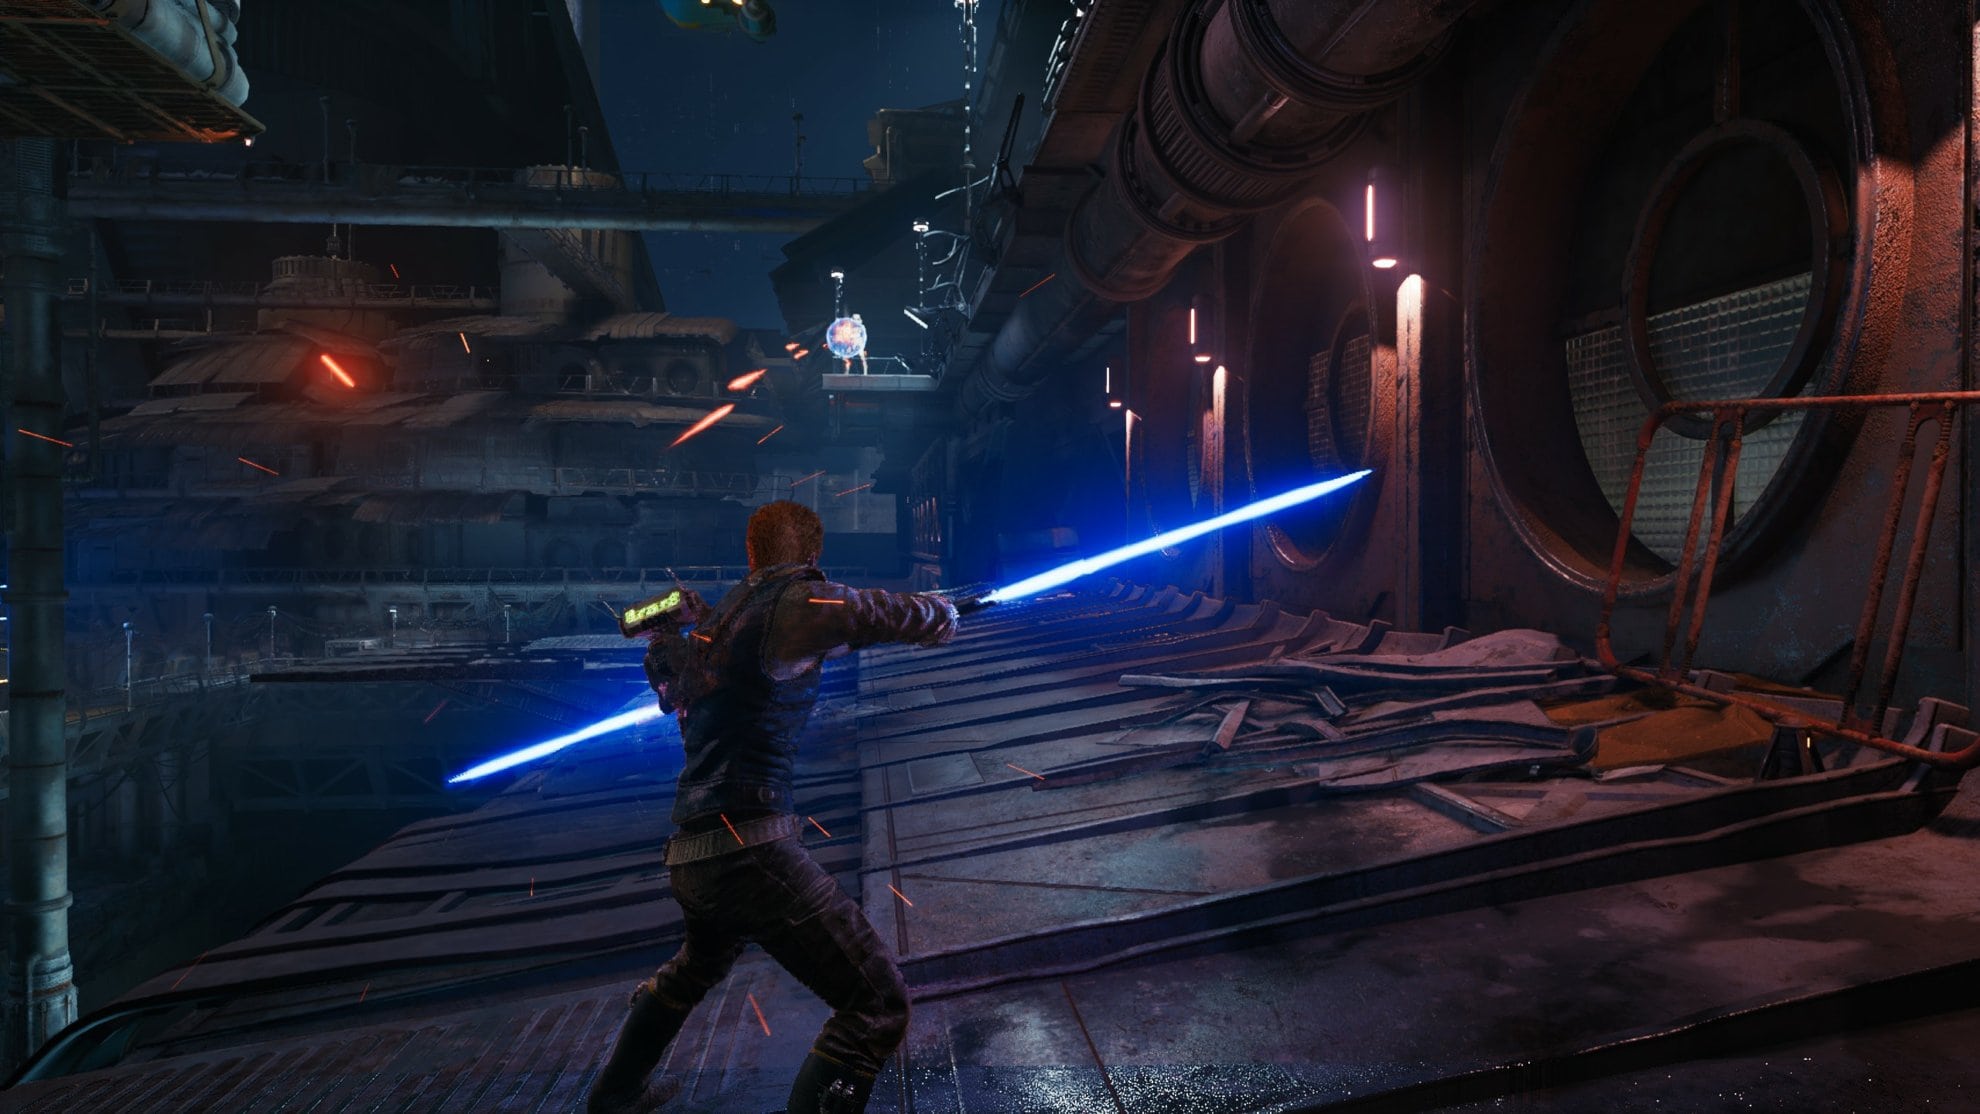
If she pulls you in, dodge backward when you regain control to avoid any attacks she’ll make against you. Get her health low enough to start another cutscene, here you’ll be introduced to Dual Wielding lightsabers!
While in Fallen Order you could technically attack with two lightsabers, there was no dedicated stance for it. This is a great change that you’ll have no choice but to partake in as you’ll be unable to change stances for this portion of the boss battle!
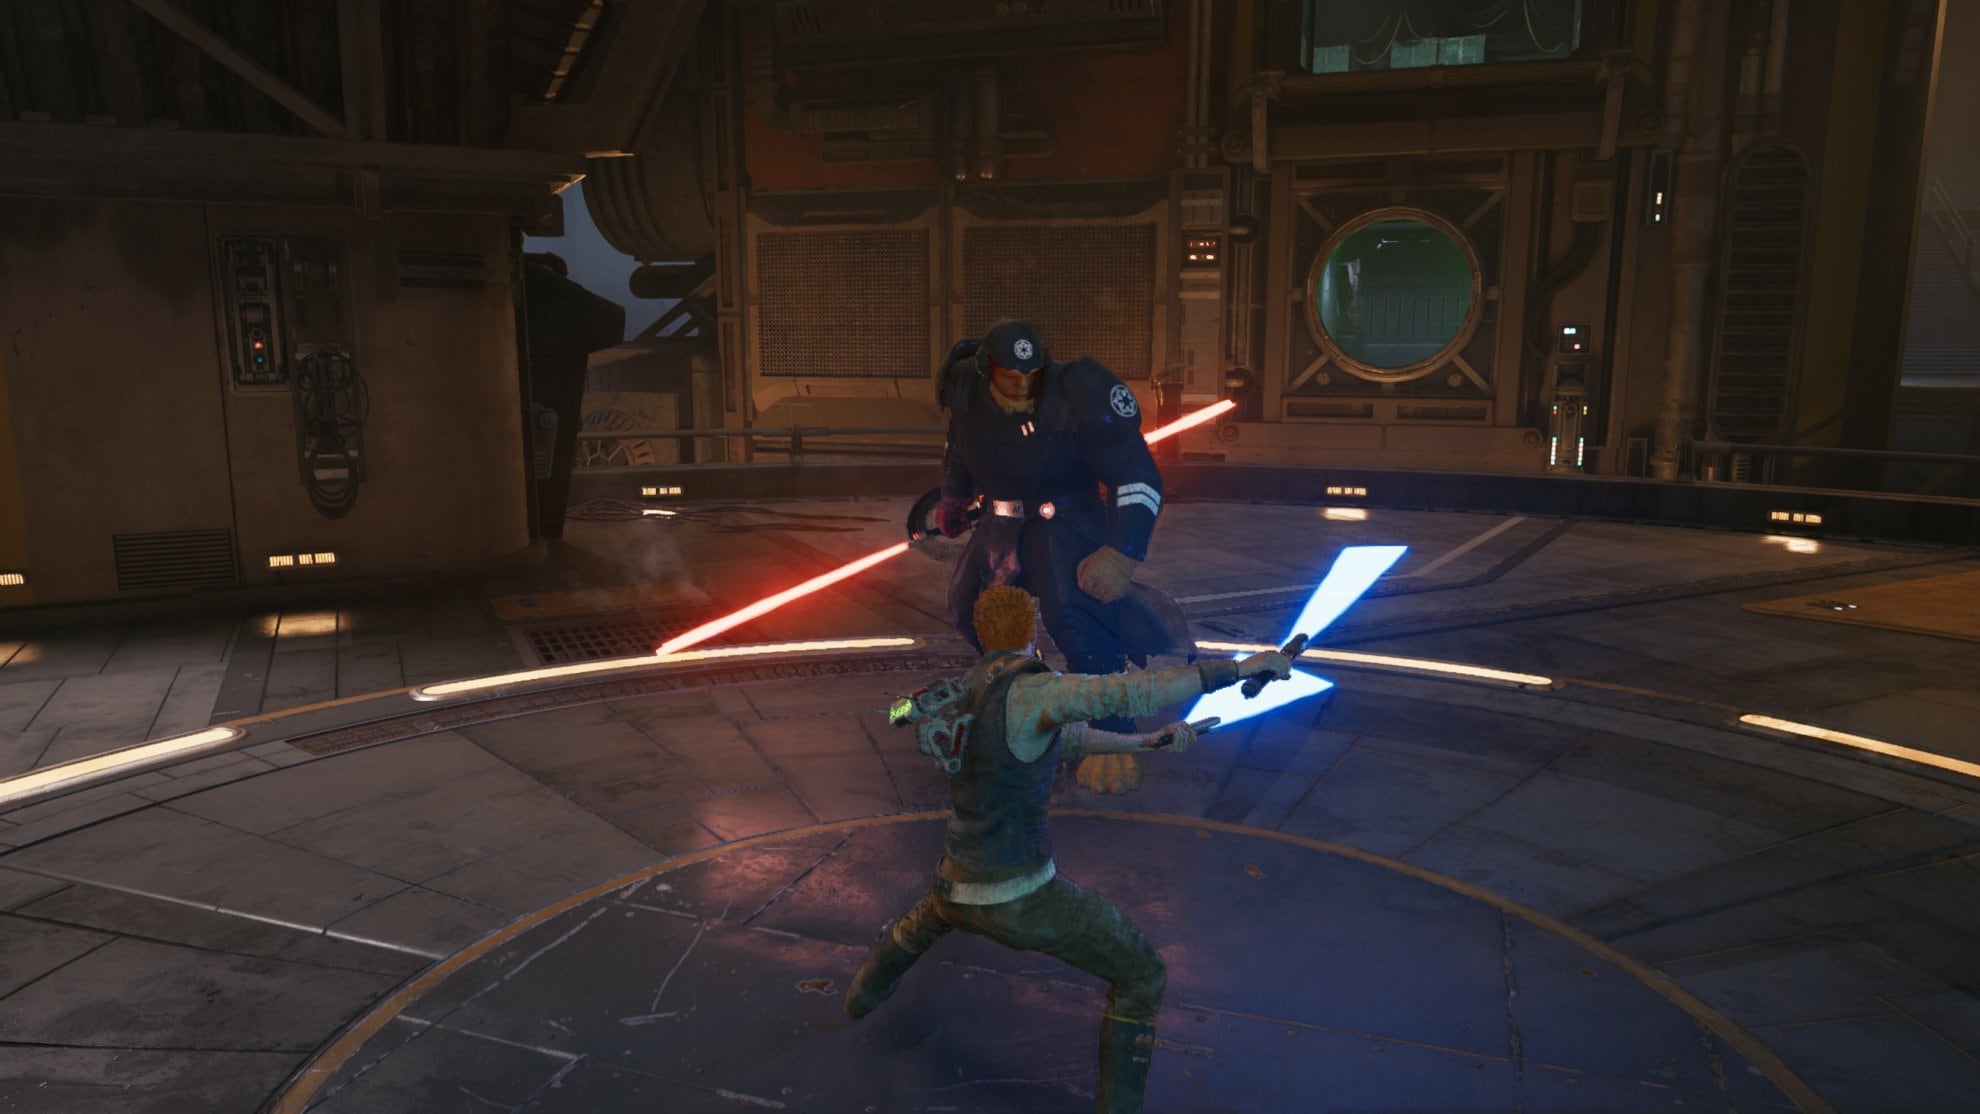
Keep fighting the Ninth Sister and jump above any shockwaves she makes with the Force. When you get her health low enough, you’ll be prompted to perform a special maneuver unique to dual-wielding lightsabers. You can use Force to automatically parry attacks and doing this successfully will play a cutscene.
After the cutscene finishes, hack a nearby terminal to clear a way forward and a Meditation Point to rest at.
Go down the stairs then down an elevator to start making your way towards the hangar. Slice the zip line and go across it to reach some billboards you have to wall run across. If you get too low on these billboards, double jump up and towards the billboard to gain some height. Reach the floating platform and defeat the stormtroopers and purge trooper.

Climb the rope in the middle of the platform and climb the grates to reach the cables ahead of you. You’ll need to jump to the cable to your right or you’ll crash and fall, do so and land on the platform to head inside.
A cutscene will start where you’ll regroup with what’s left of your crew. After the cutscene, you’ll find a Meditation Point down the hall.
You’ll have one final push to make it back to the Mantis. There will be numerous stormtroopers fighting you but you’ll have Bode and Bravo fighting alongside you.
You’ll notice a blue laser targeting enemies, that is Bravo sniping from above so you don’t have to worry about it targeting you.
Once you reach the end you’ll fight a Purge Trooper. Once defeated, talk with Bravo and Bode to start a cutscene. With that said, you have now completed the starter level of Jedi Fallen Order!
With this behind you, you are now ready to explore the segment of the galaxy that is available in Jedi Survivor. You have learned (or remembered) the basics. If you need help or have questions, you can browse our large collection of Star Wars Jedi Survivor Guides from our in-depth coverage of this game.
We highly recommend that you check out the Jedi Survivor Starter Guide, offering all kinds of tips and recommendations for beginners.


