
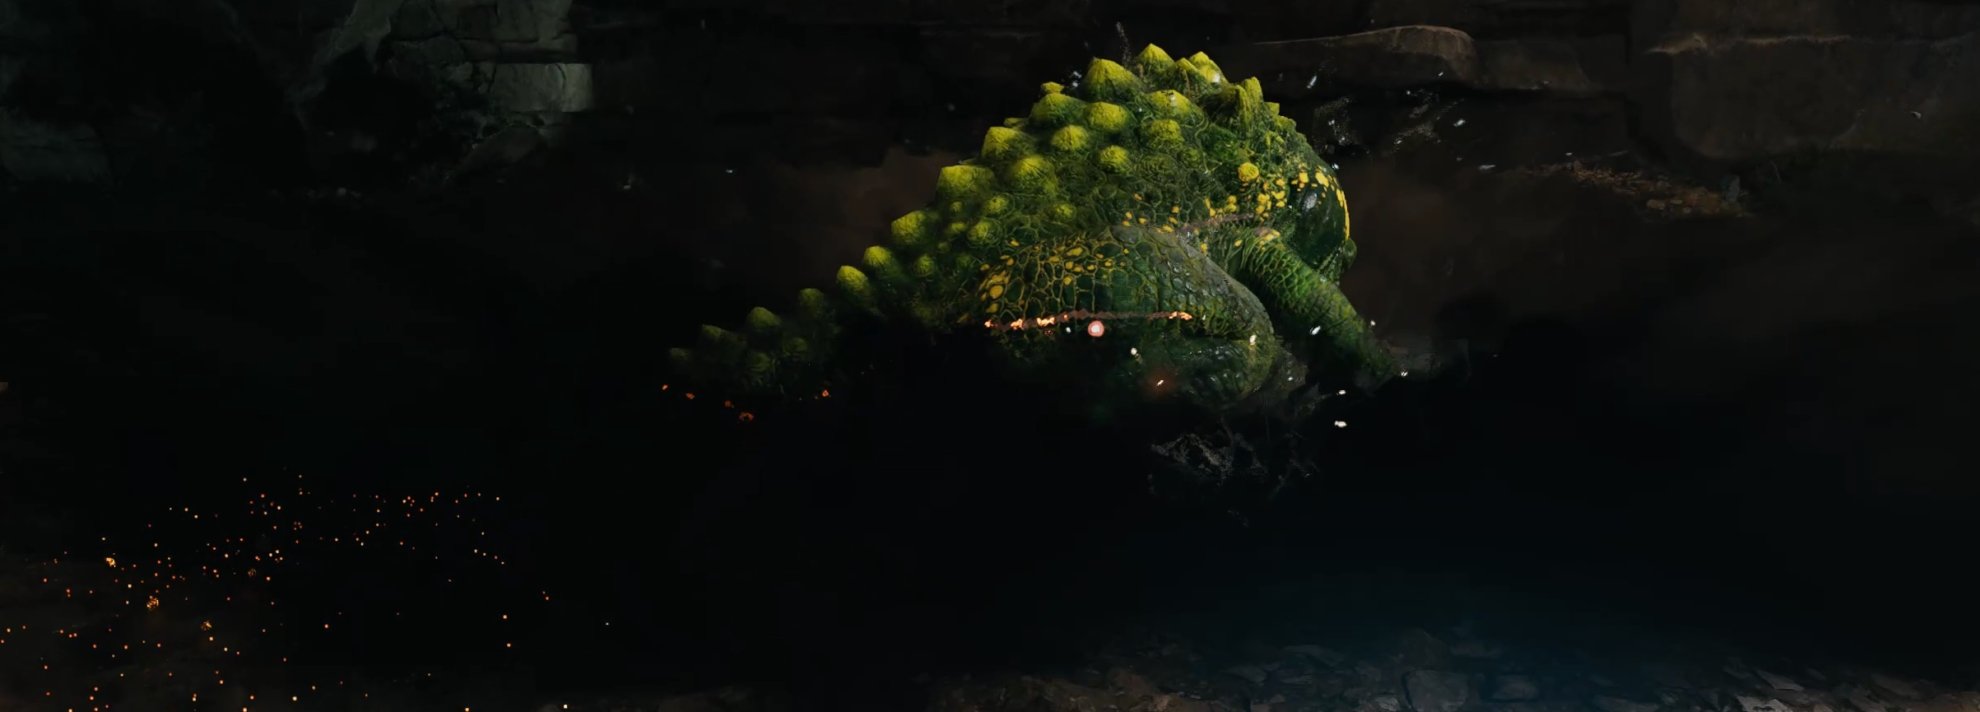
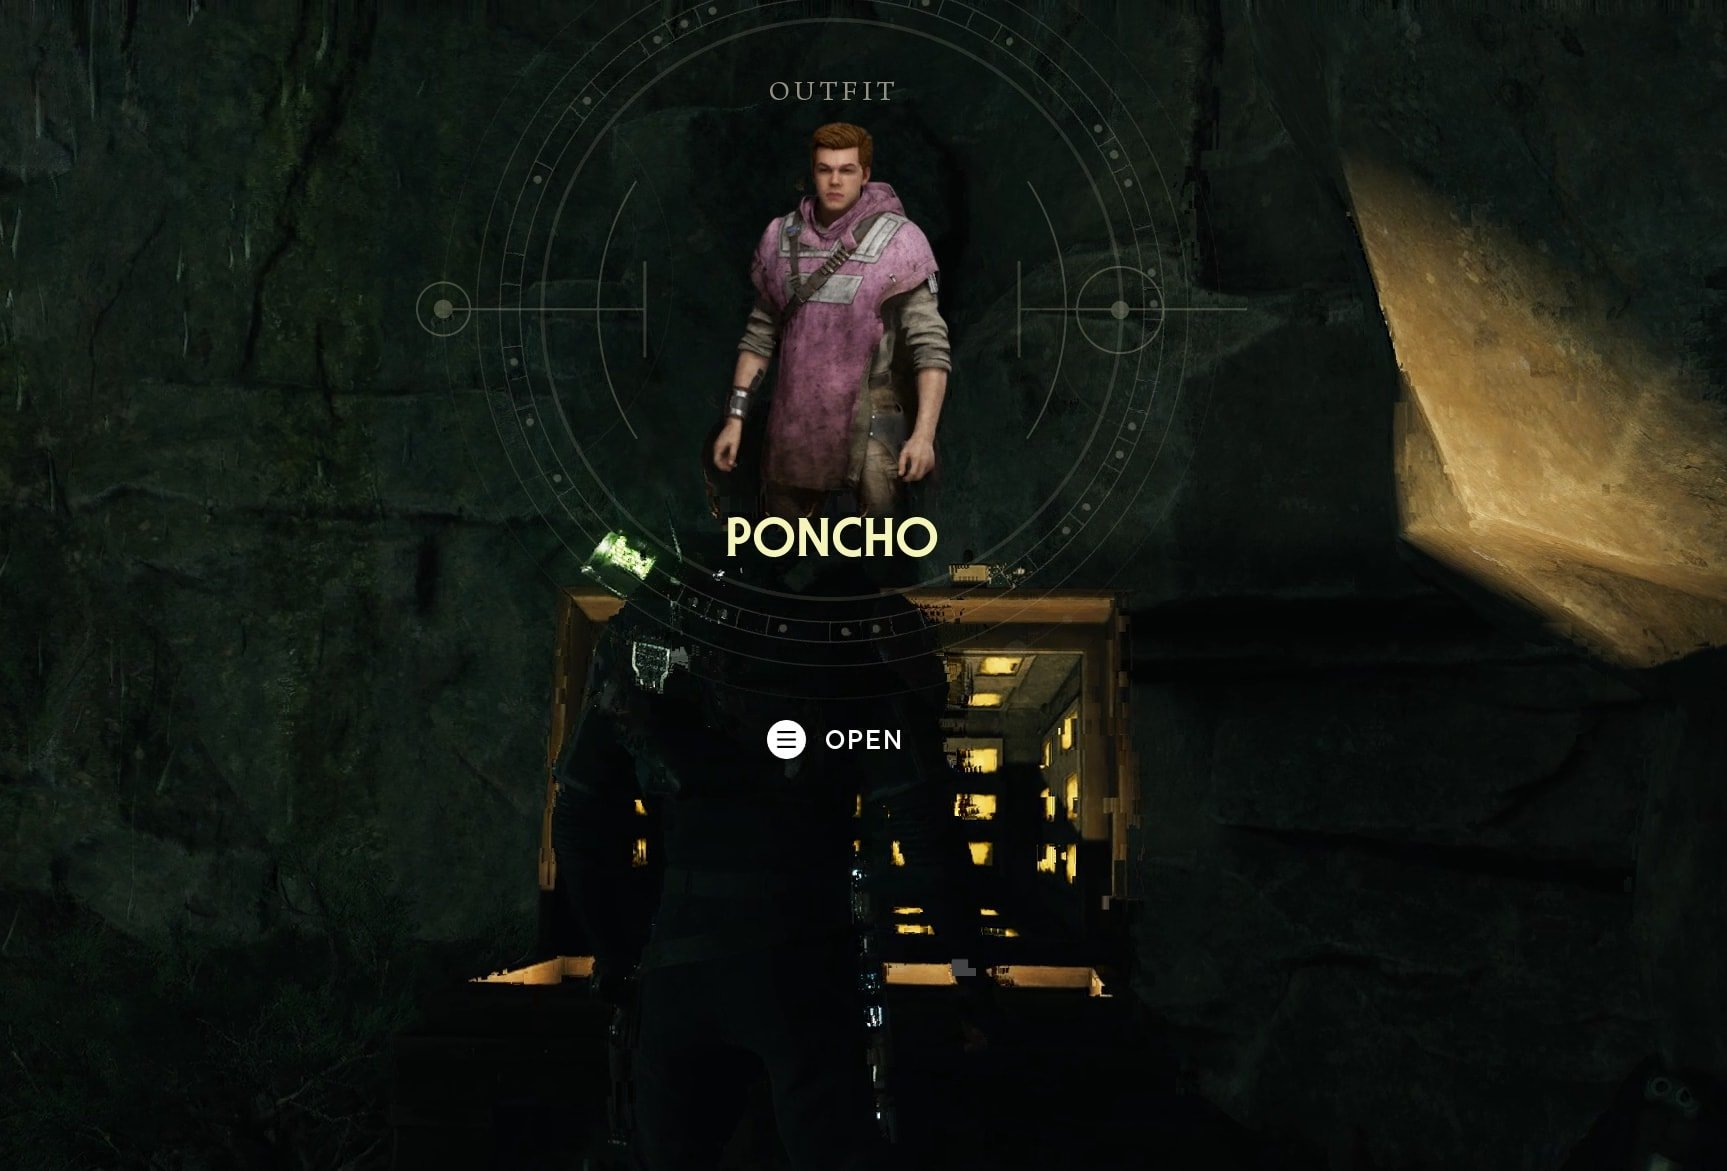
The Spawn of Oggdo is a challenging Legendary Enemy in Jedi Survivor based on the frog mini boss Oggdo Bogdo from Star Wars Jedi: Fallen Order. He guards a chest that contains the (default pink) poncho, allowing you to wear your extremely fashionable garb from the first game. This guide will give you the knowledge to defeat the challenging boss!
Right up front, I want to validate your pain. The Spawn of Oggdo is a super unfair boss that spams attacks in quick succession that are difficult to avoid and counter, many of them are unblockable too. The whole encounter is a meme. If it weren’t for SEO, I wouldn’t even bother to spell his name right in the rest of this guide because he doesn’t deserve my respect.
Table of contents
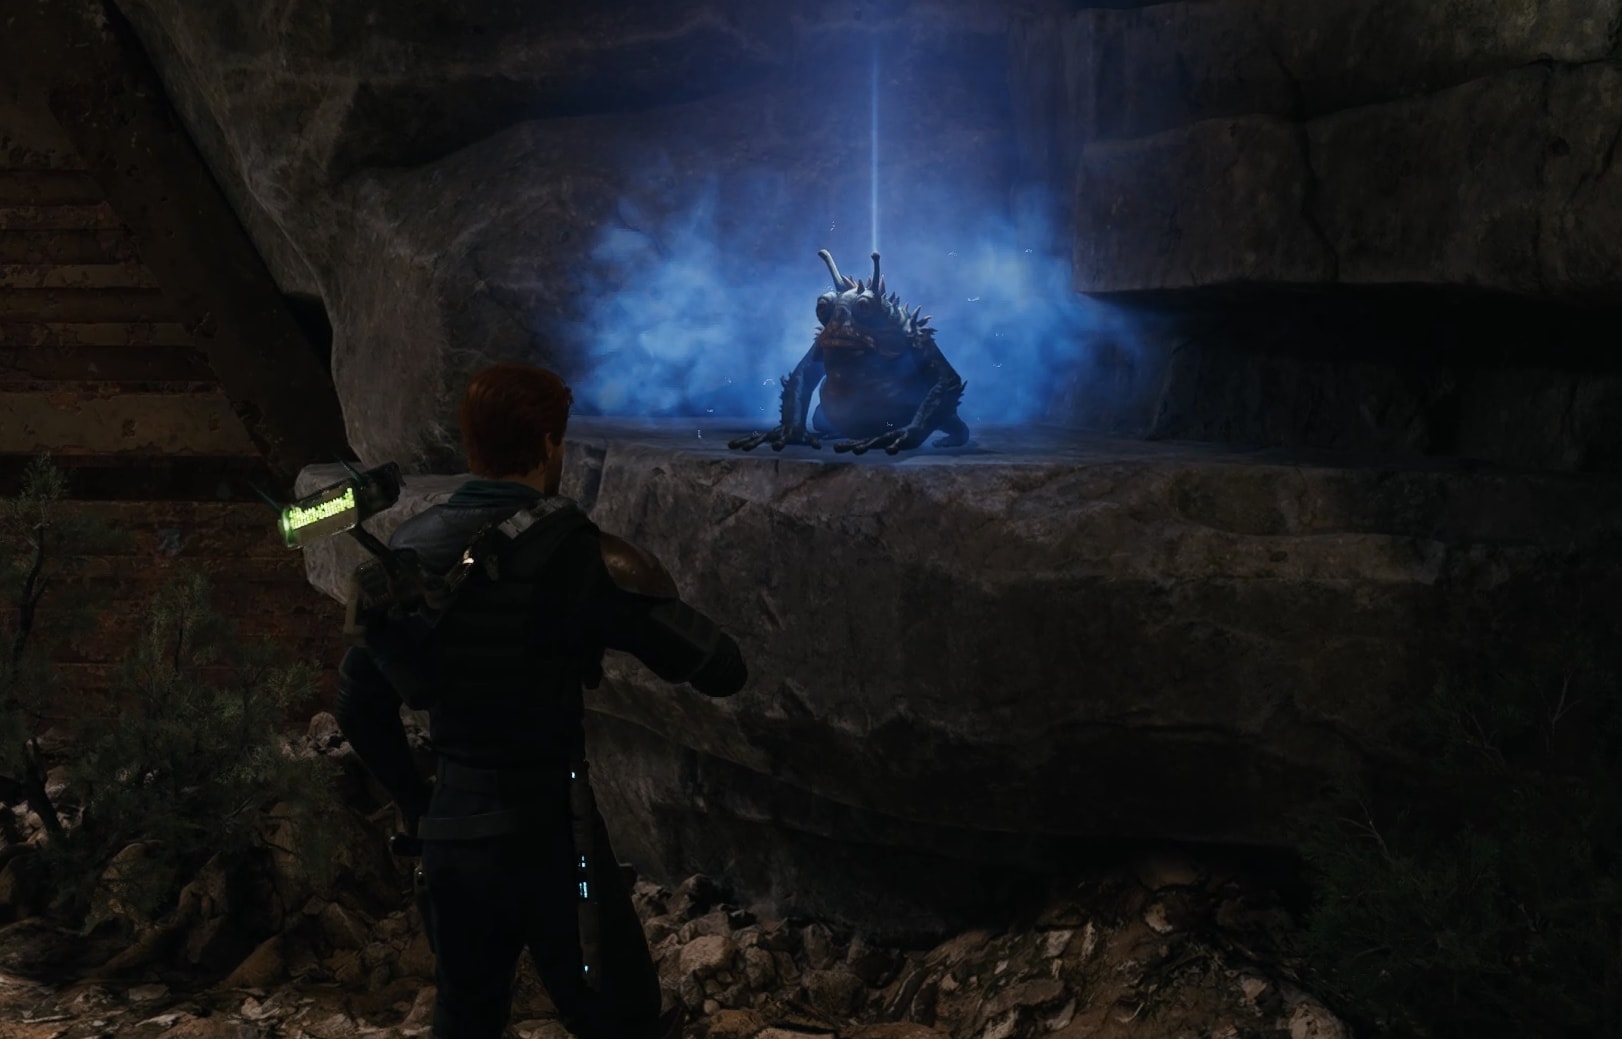
Where to find the Spawn of Oggdo
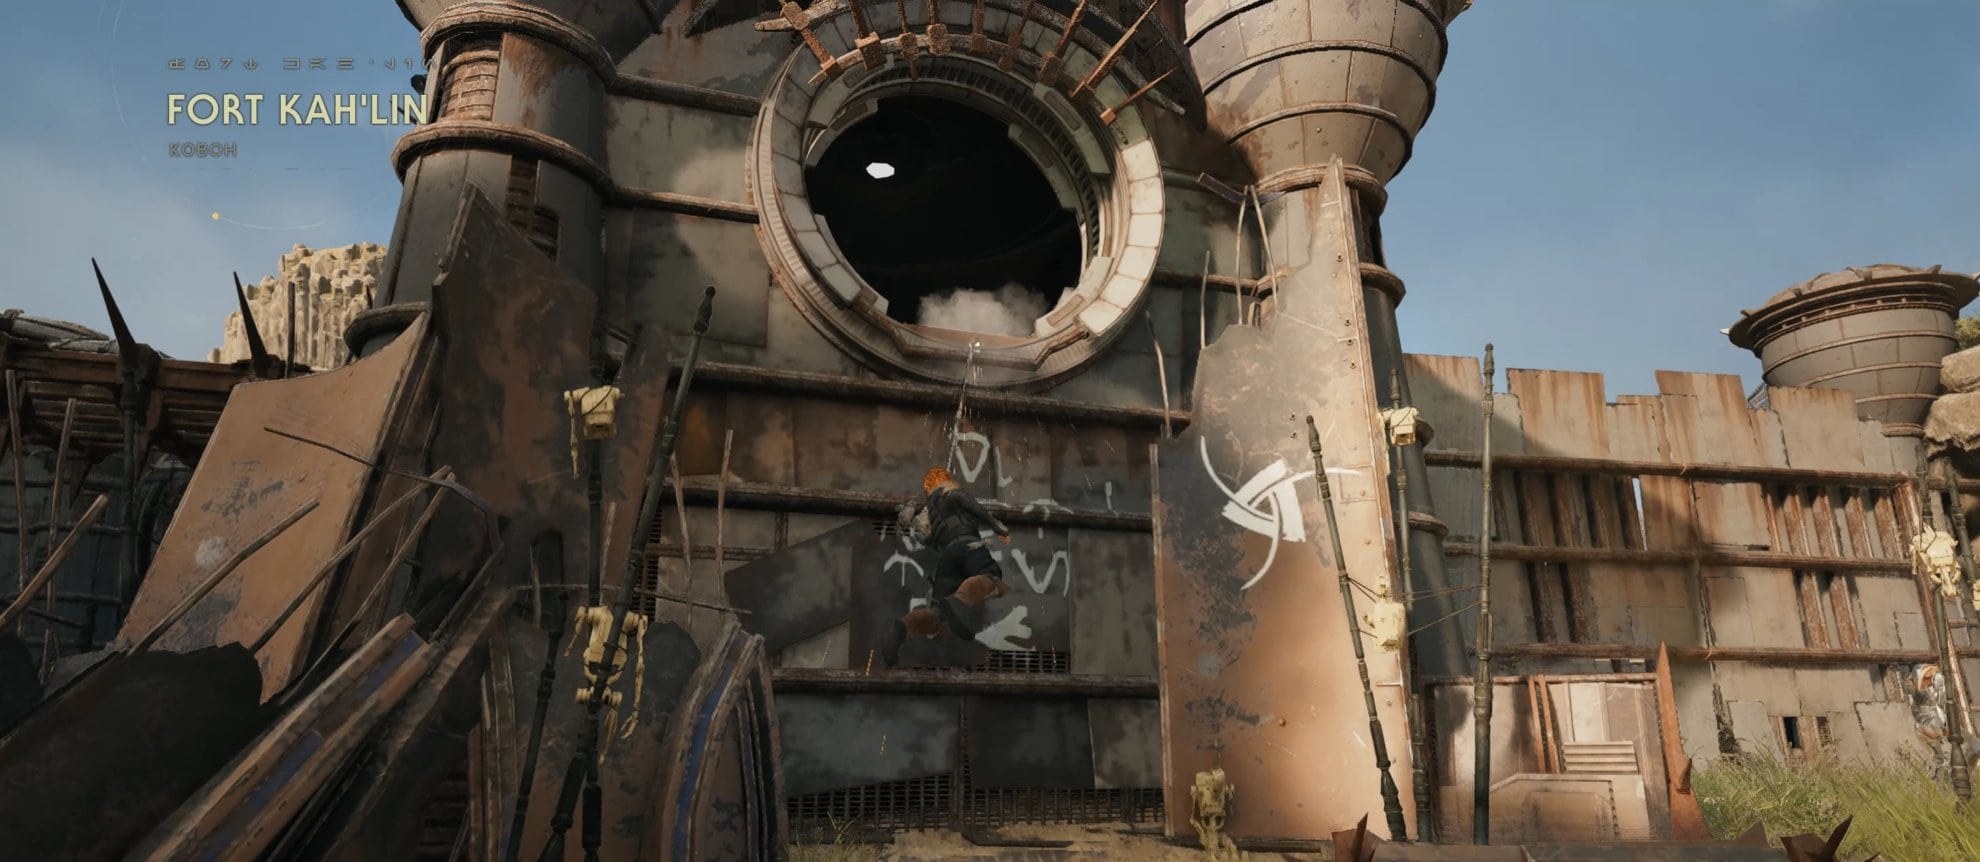
The Spawn of Oggdo is locked in the basement at Fort Kah’lin on Koboh. It’s possible that the Bedlam Raiders built the structure around his den to protect everybody else.
The nearest Meditation Point is in Rambler’s Reach and is called Fort Kah’lin.
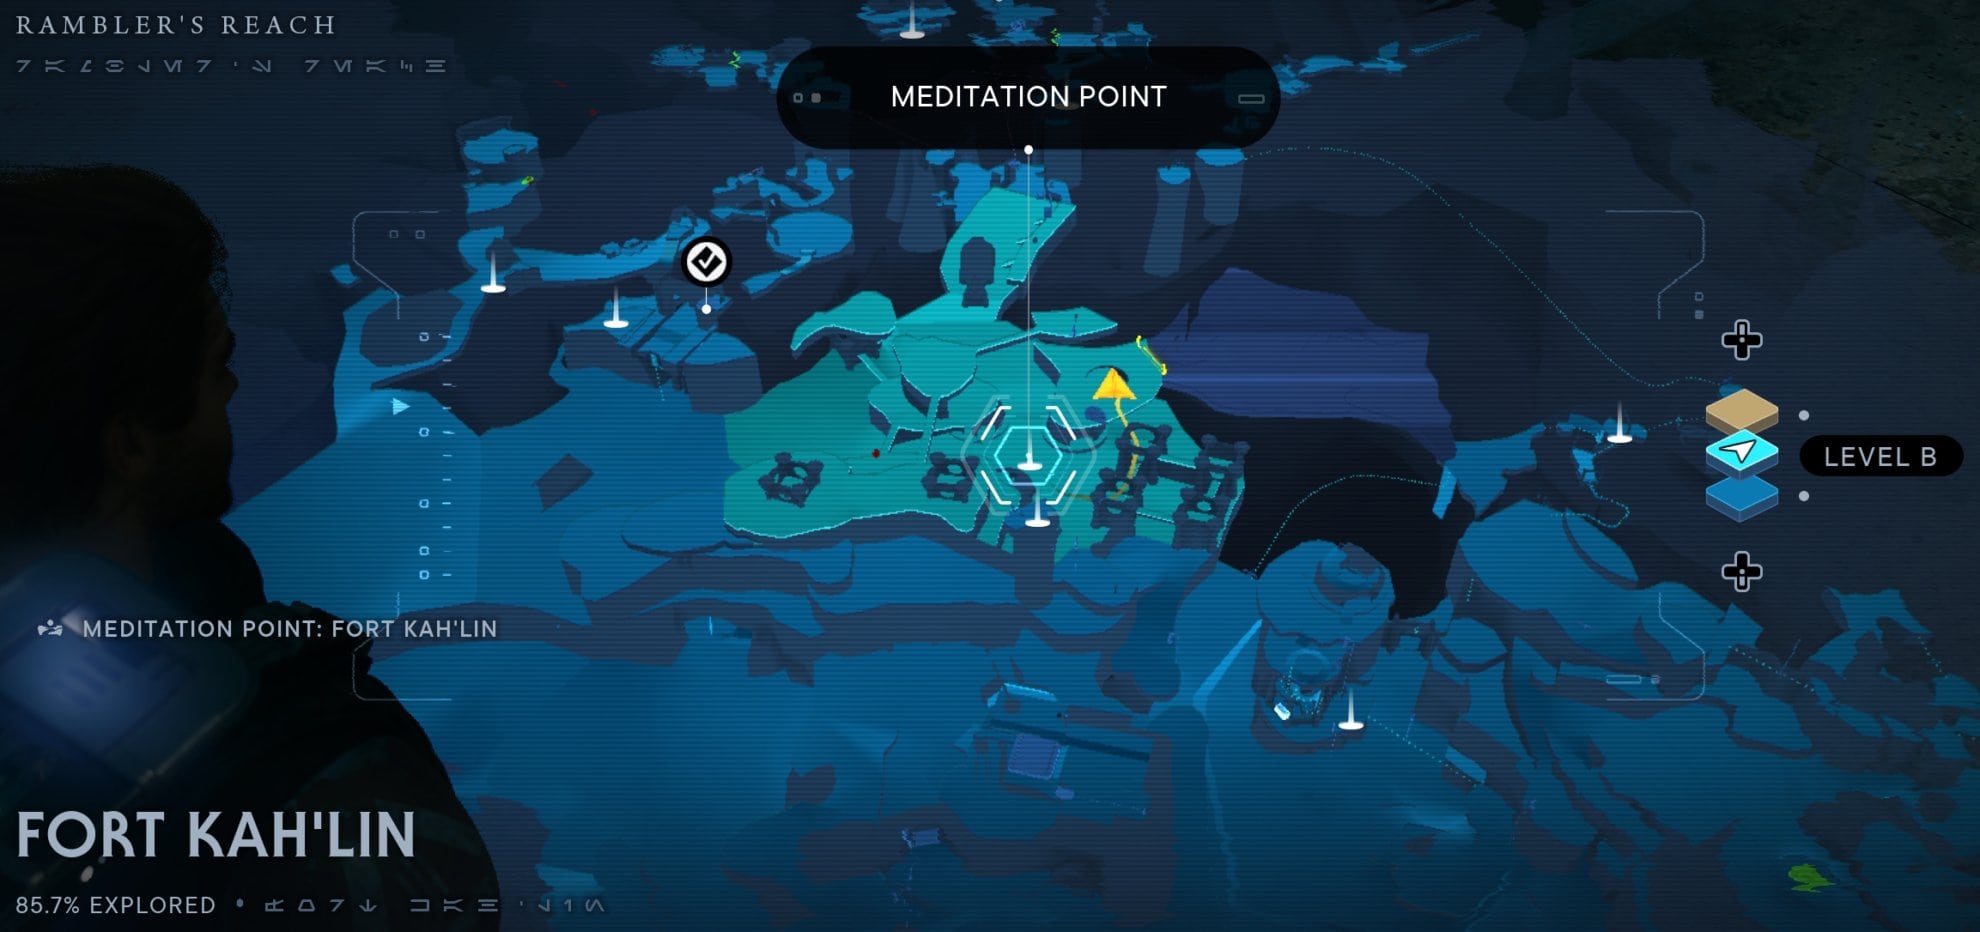
From there, you’ll need to use your Ascension Cable and head left.
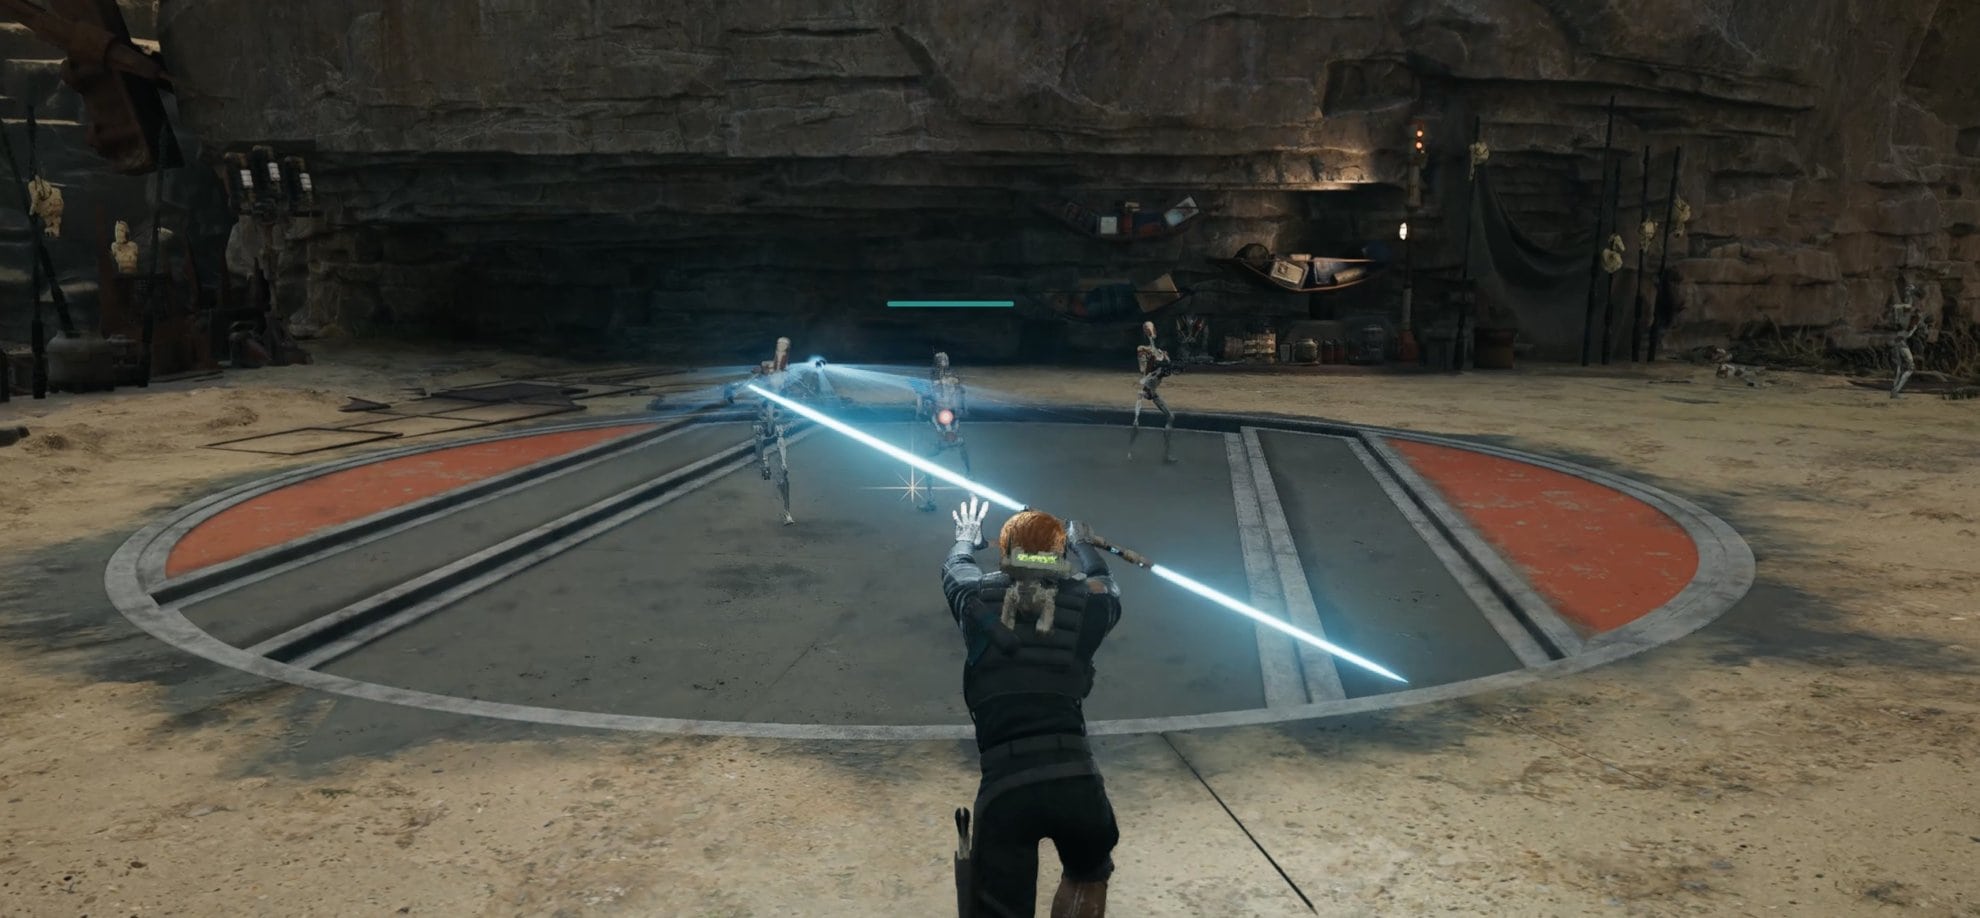
Remember to defeat all of the Battle Droids up there or they’ll shoot at you as you fight the frog.
How to fight the Spawn of Oggdo
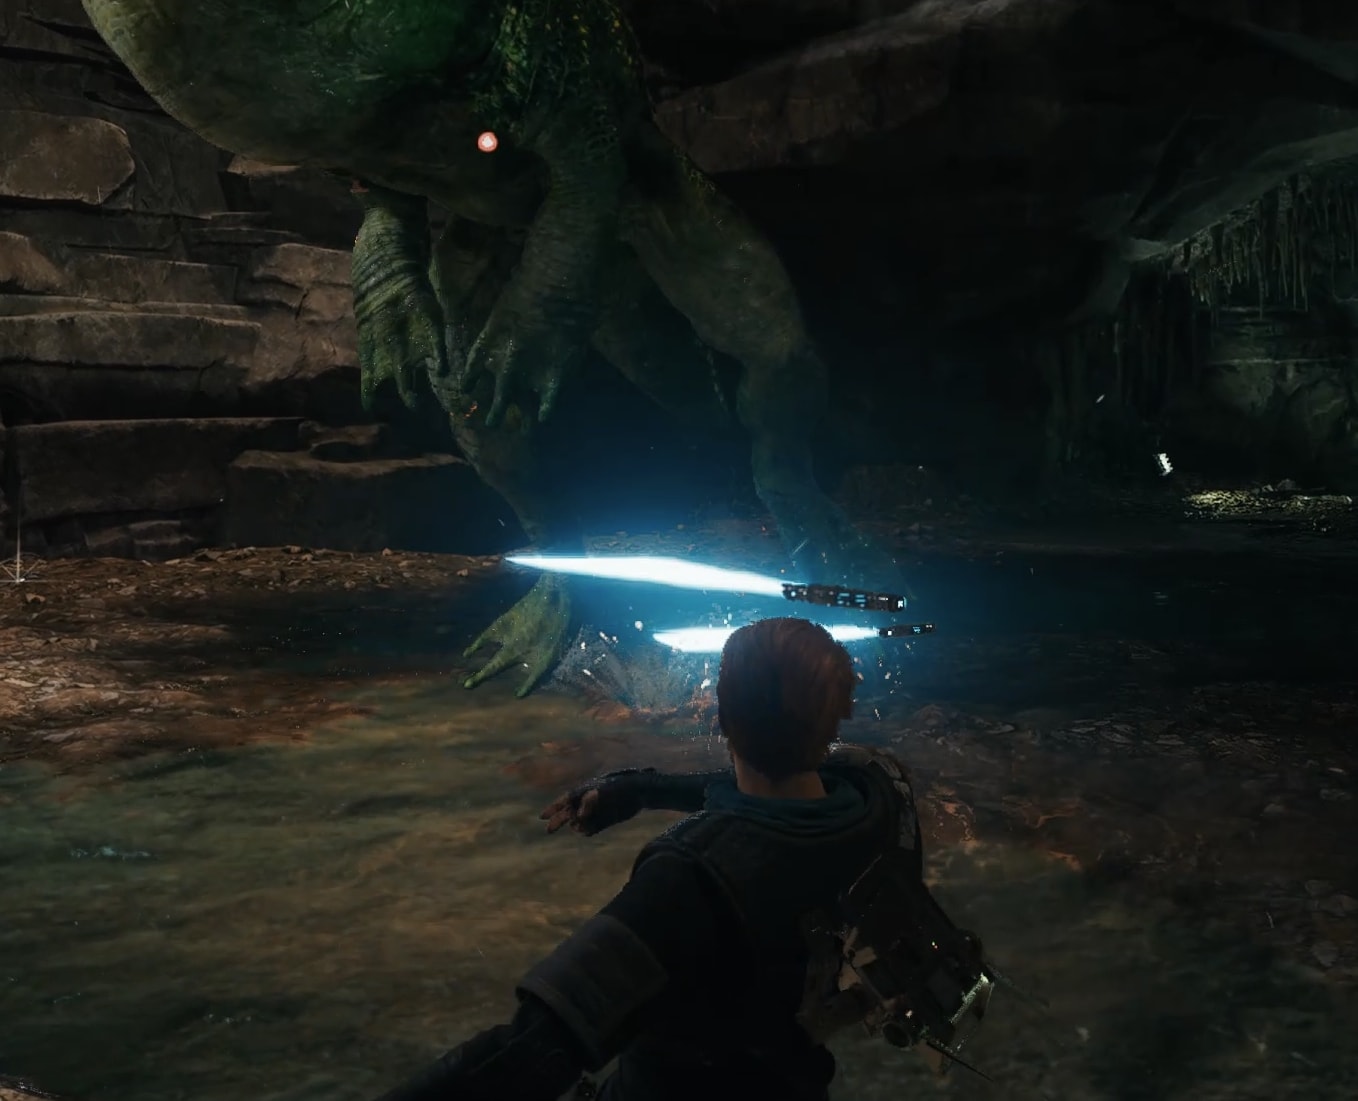
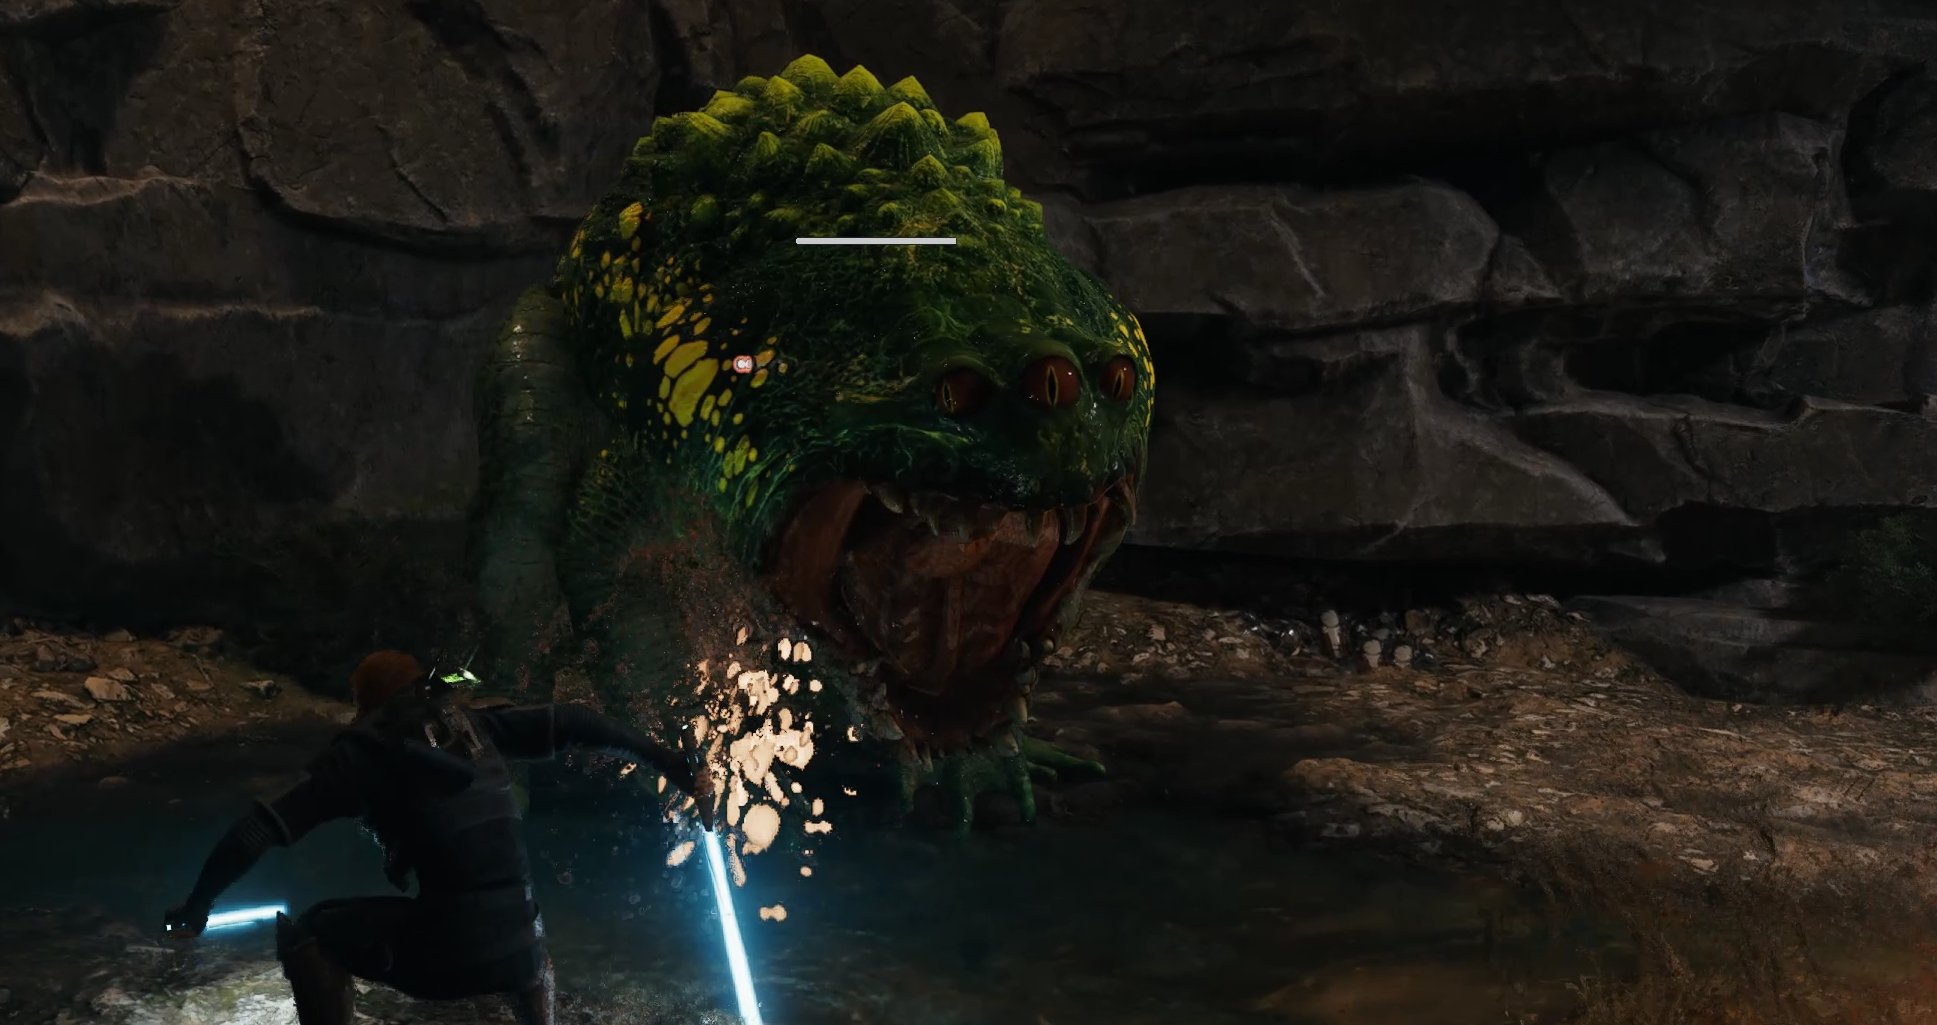
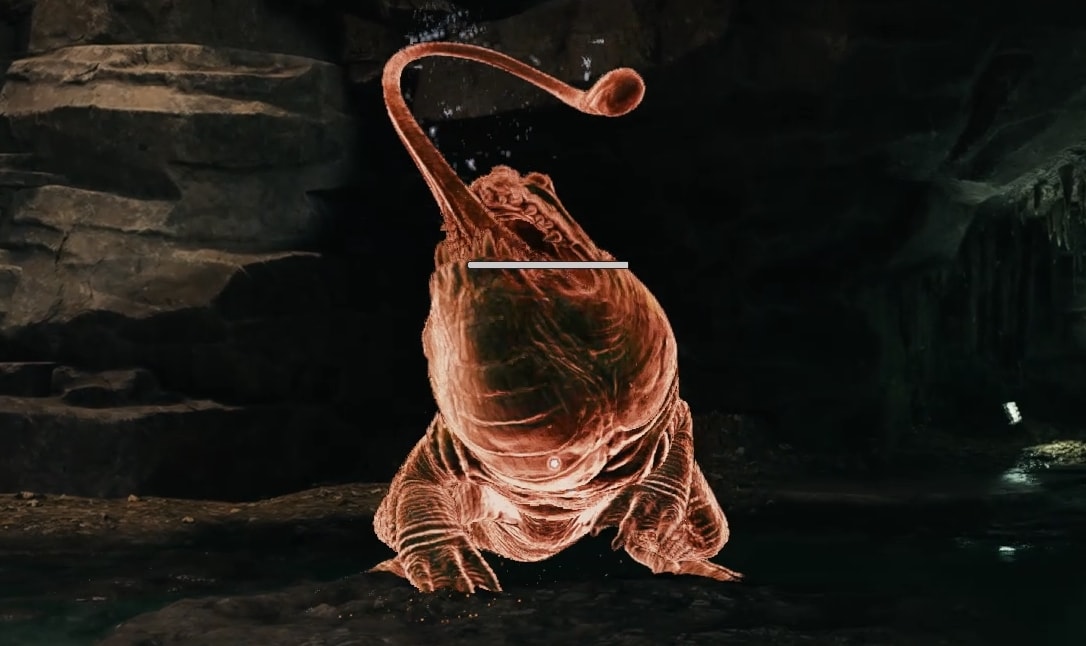
The Spawn of Oggdo’s primary objective appears to be nibbling on Cal’s smokin’ bod. To achieve this goal, the frog spams a combination of surprisingly fast and long-range lunge attacks and body slams. Each attack hits hard and he quickly follows up one attack with another, leaving little room for follow-up attacks.
If your health is below ~75%, consider using a Stim or you won’t be able to survive his next attack should he choose to do one immediately.
In order to avoid most of his attacks, you must dodge or block at the very last second, though they are exceptionally difficult to dodge, so it’s safer to maximize your time spent out of range.
Try to spend as much of your Force as possible on long-range abilities like saber throws.
Think of the few saber strikes you’re able to land as something that will regenerate your Force rather than dealing damage so you don’t get greedy with trying to get another hit in.
Make liberal use of your Force Slow ability, including the immunity it grants during activation.
Remember, the slow effect breaks after the first (or second) hit, but you have the full duration of the effect to get those hit(s) in.
It’s okay to spend Force on your strongest attack here. Make sure to stand behind him so he has to spend time turning to attack again and hit him with your strongest lightsaber swing.

If the frog is not slowed, be super careful about using anything but your fastest single swings because you just won’t have time to get anything else off before he is able to land another hit.
The fight will likely take multiple attempts, so you can utilize the dropped Skill Points to completely refill your HP and Force. Make sure you don’t pick it up until you’ve already spent all your reserve Force and have taken a hit from the boss.
Spawn of Oggdo Special Attacks
Below I have a table with all special attacks the Spawn of Oggdo performs with quick tips on how to recognize them and best-recommended moves to avoid and/or counter them. After the table, I have an entire section discussing each attack in great detail with images showing you what to do and what not to do.
| Attack | Effect/Description | Can you Block | How to counter |
|---|---|---|---|
| Nibble | Usually two attempts in a row to nibble at you | Yes | Parry both nibble attempts |
| Vomit | Boss will try to spit vomit on you. Slow. You can attack right after avoiding it | No | Dodge to the side, keep away from the vomit |
| Vertical Leap | Creates a shockwave around the boss. | No | Dodge to the side |
| Leaping Body Slam | Jumps toward you instead of vertically. Larger shockwave. | No | Jump or dodge forward through it |
| Leaping Chomp | Boss leans back on its haunches to charge up a huge leap at you. No Shockwave. Hard to avoid due to fast animations. | No | Precision Evade |
| Tongue Grab | This is a one-shot special attack if it gets you. | No | Run away from it. Use Force Slow. |
Nibble
The frog will often try to nibble on you. He often does it twice in a row and it’s almost followed immediately by another attack, so there’s no time for a safe counterattack.
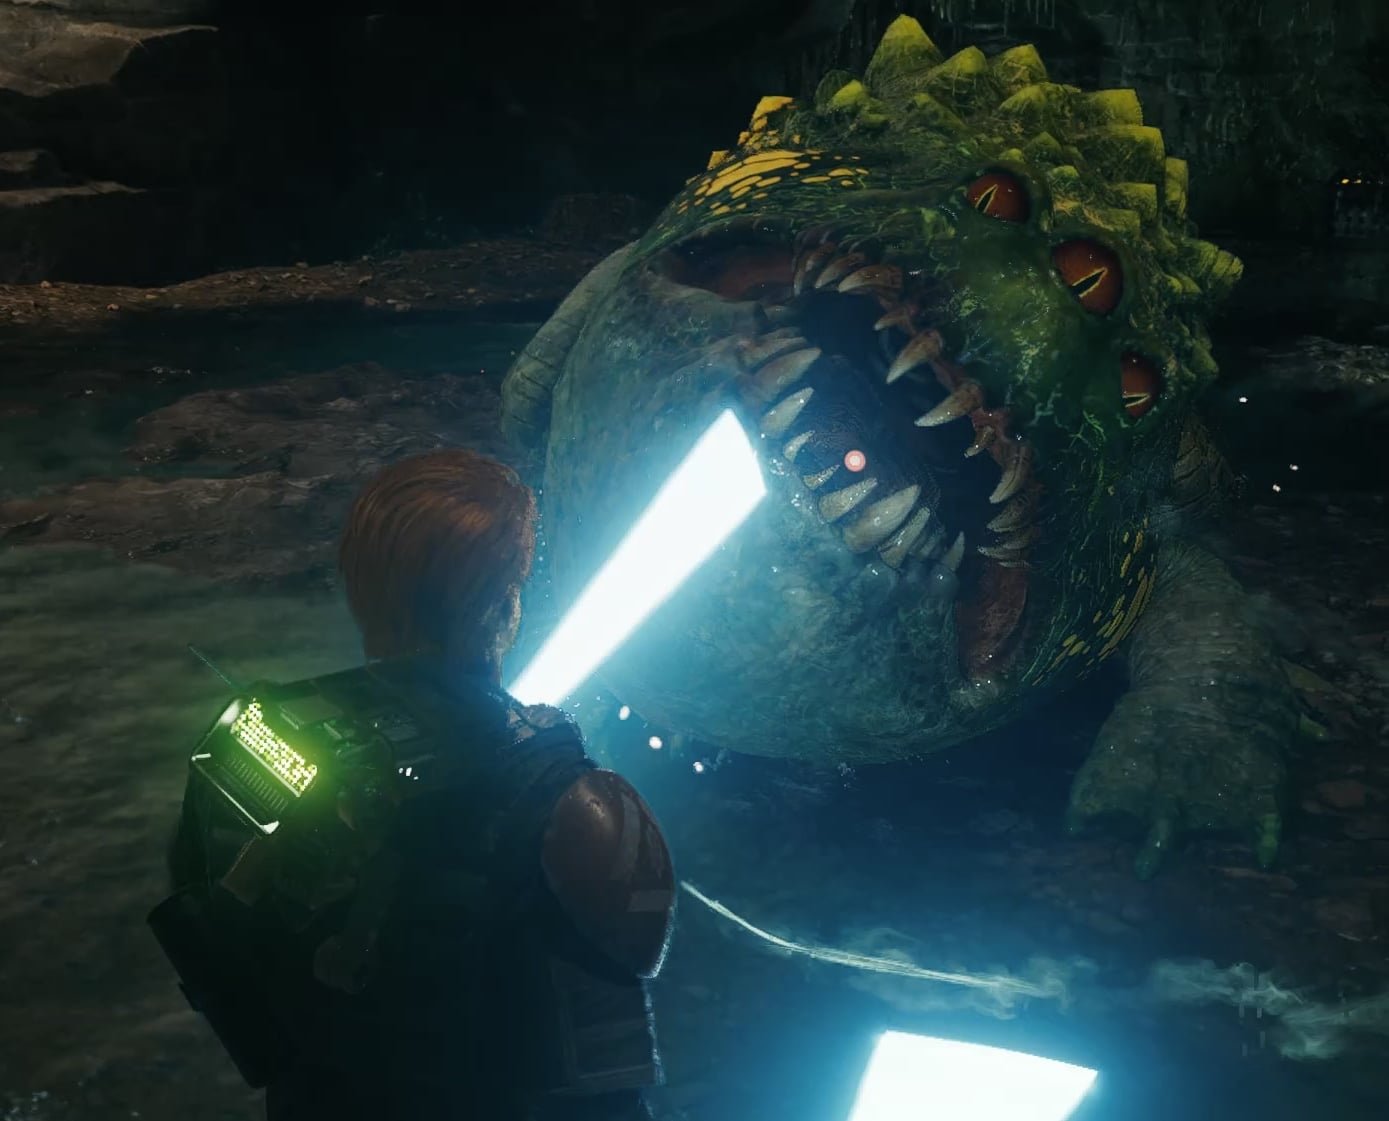
This is the only attack he does that’s blockable though. Make sure you try to parry (both of) his nibbles.
To be clear, you can usually land an attack after blocking, but he often does something else immediately after that you won’t have time to dodge, so it’s really risky to do anything while his teefs are all up in your grill.
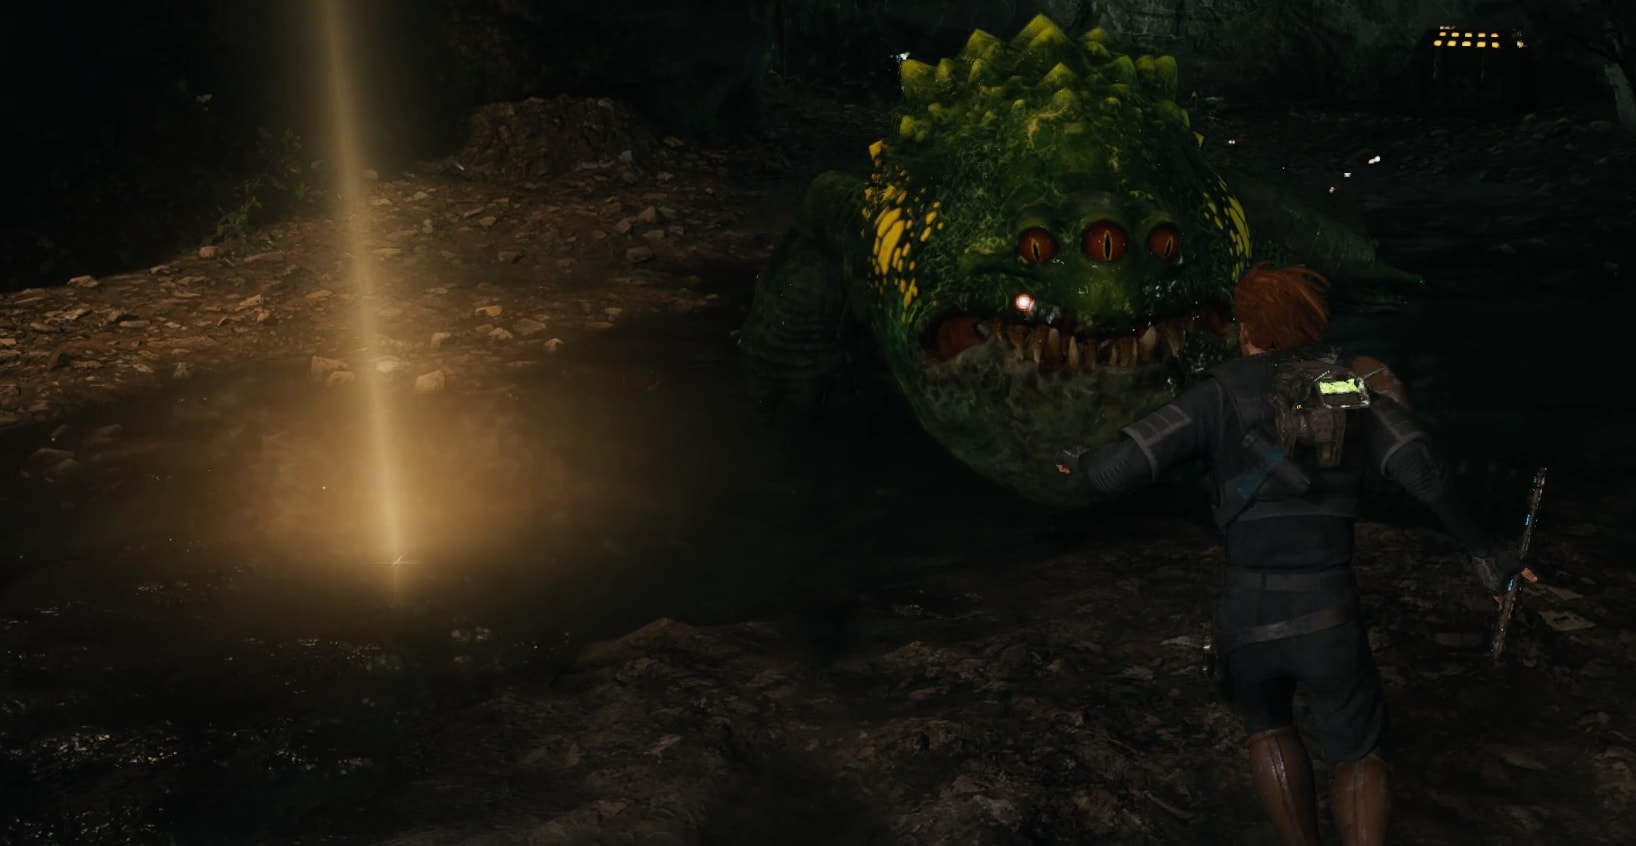
Vomit
The Spawn of Oggdo will occasionally try to vomit at you. It’s probably the undigestible remains from the last time he ate you.
The first thing you should do is rejoice, for this is by far the easiest attack to avoid from him! All you need to do is dodge to the side and stay away from the filth on the ground until it disappears. He spends quite a while regurgitating, so you have time to get multiple swings in. Don’t waste this disgusting opportunity!
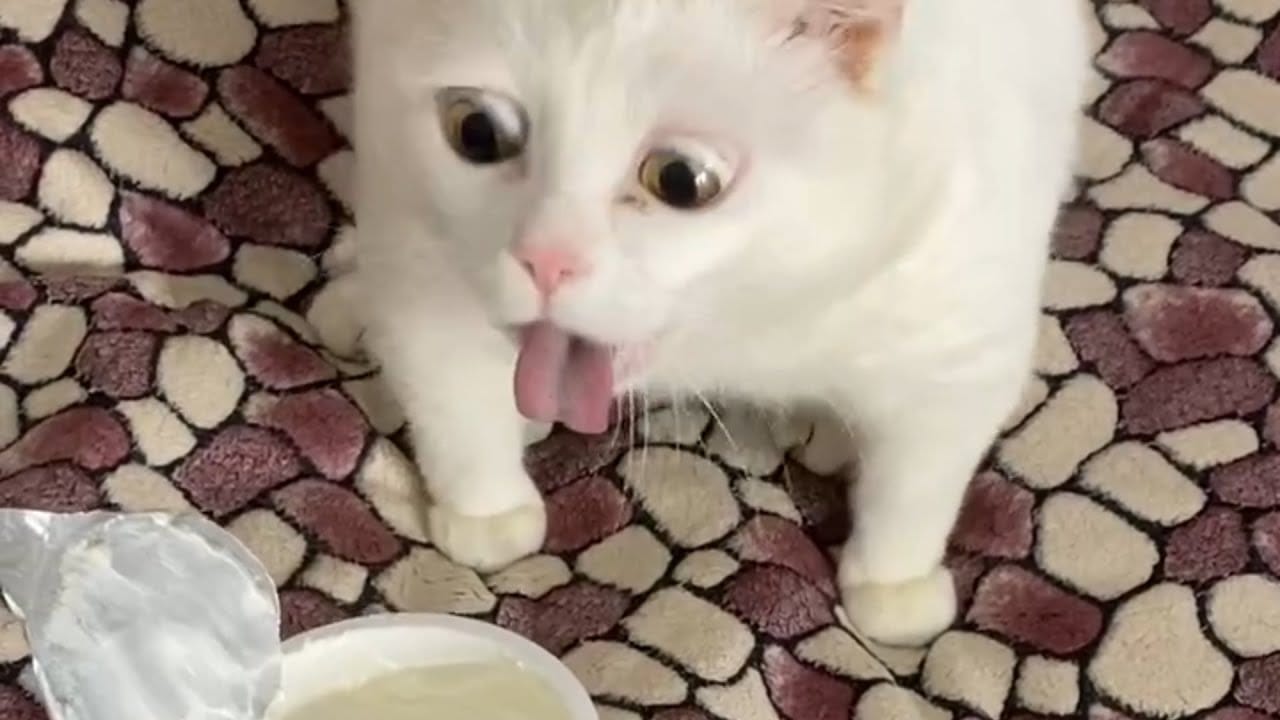
The resemblance is uncanny!
Vertical Leap (unblockable)
This attack has a super short animation. The key tells are that he’ll stop trying to face you and there’s far less wind-up than most of his other unblockables.
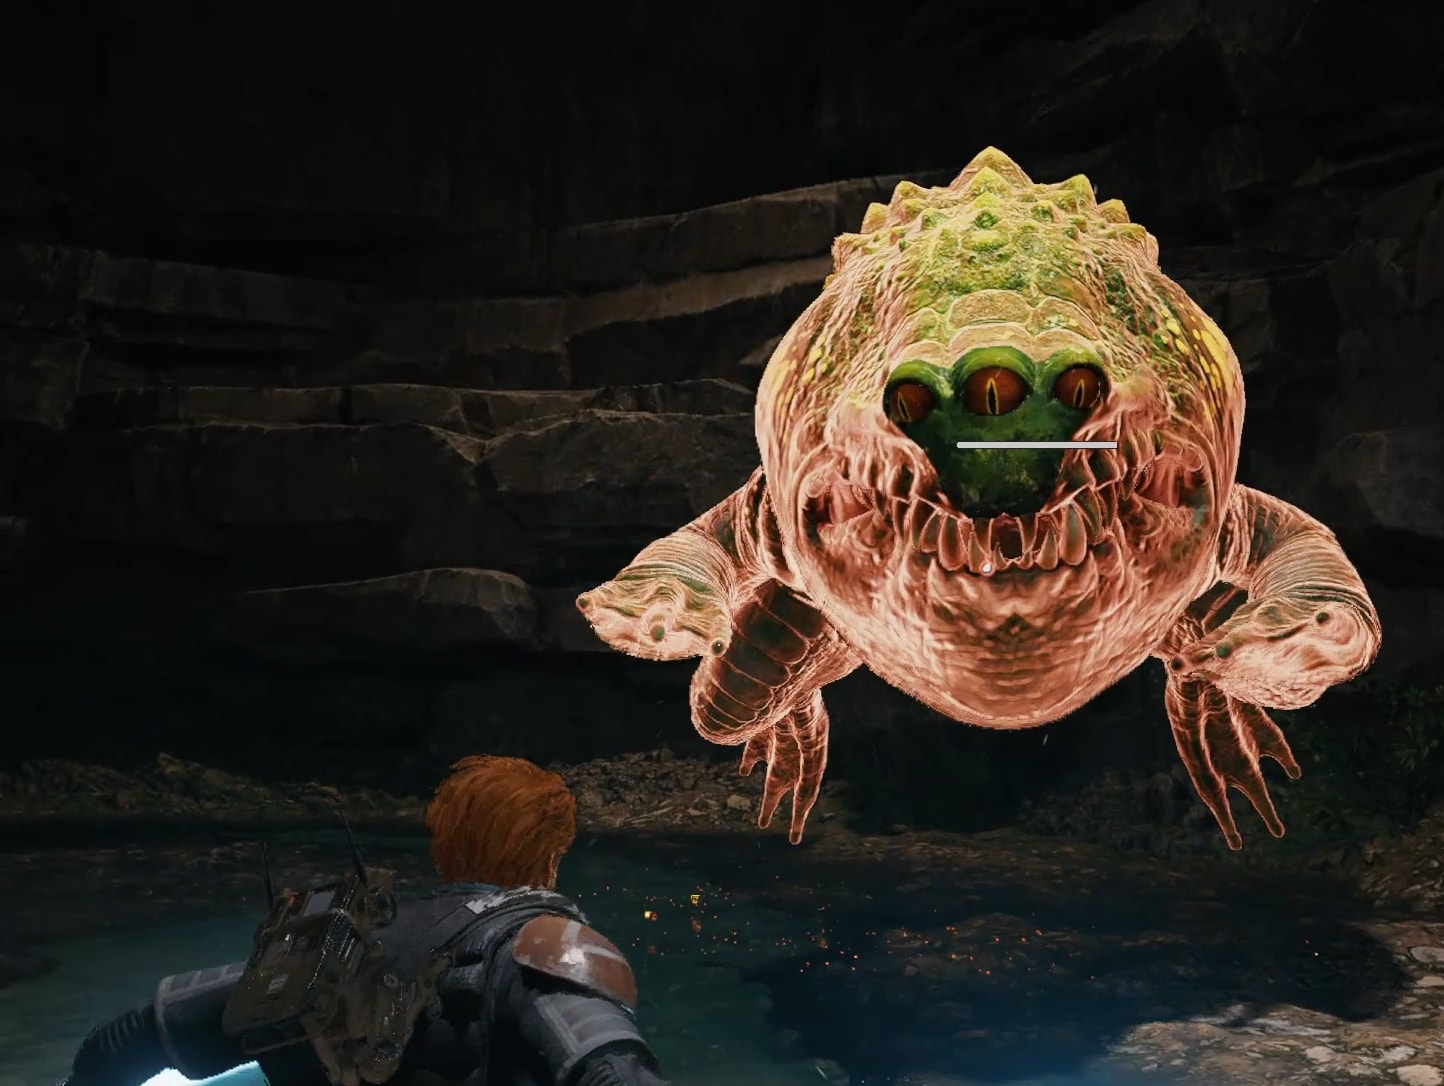
He lands with such force that a dusty shockwave is produced, probably the product of his unquestionable girth, possibly with some flatulence thrown in for good measure.
All you can do is dodge away, though it’s easy enough to time since the attack is already so fast.
Leaping Body Slam
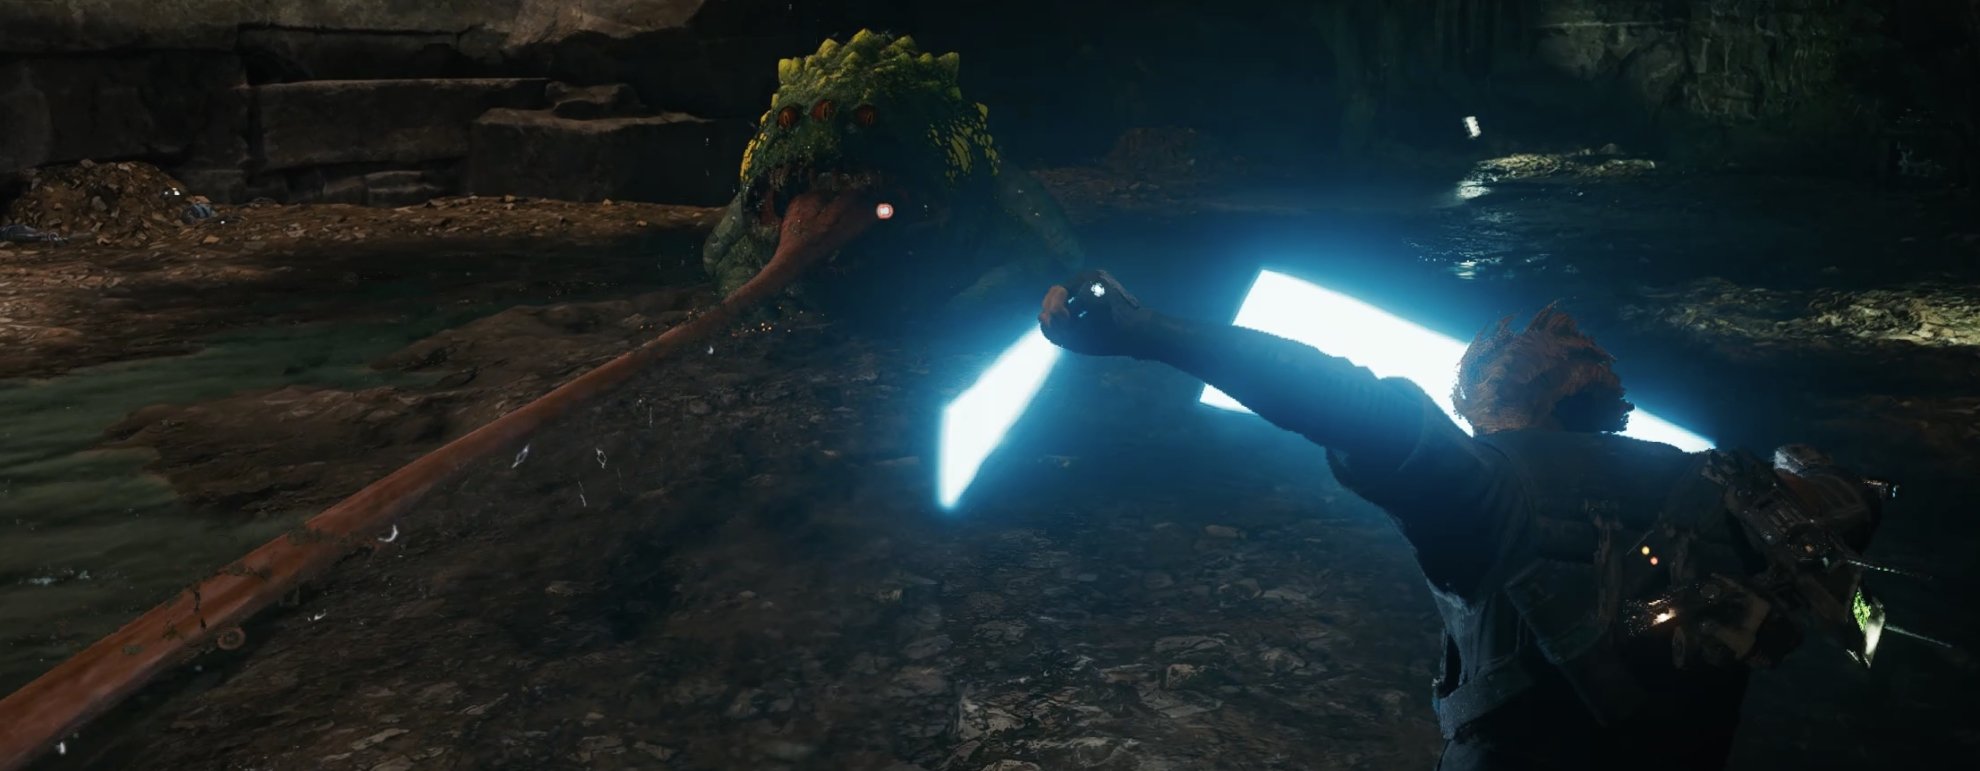
There is another variant of the unblockable body slam attack where this frog will leap at you instead of just up and down, sending out a larger shockwave when he lands.
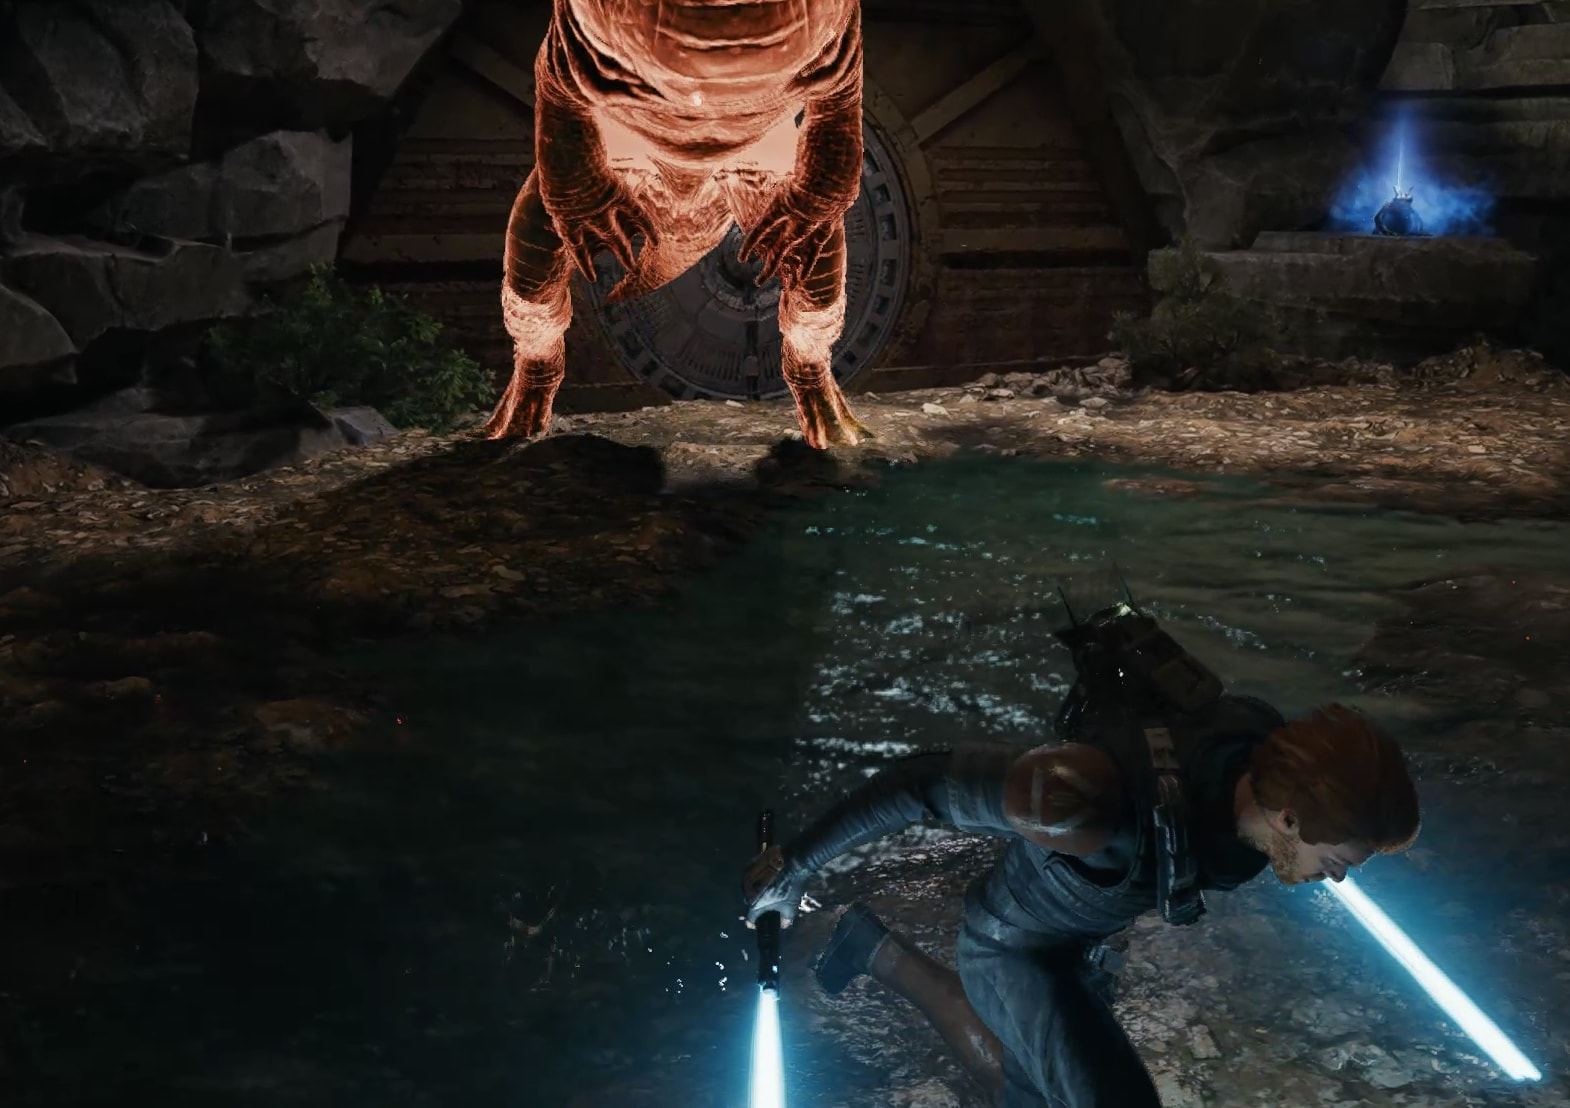
You should be able to jump it or dodge forward through it, though you can see from the red lighting that I failed to in this shot and took a big hit as a result.
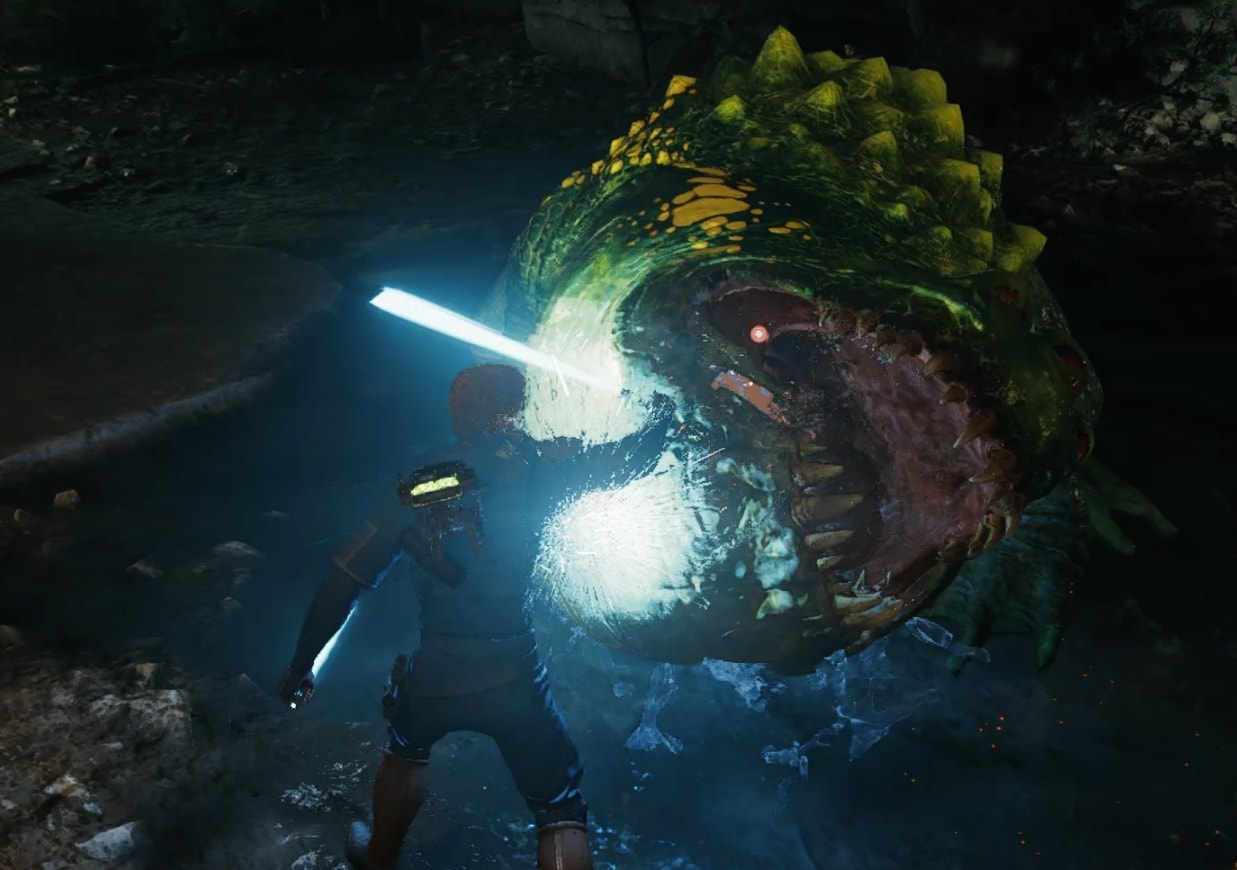
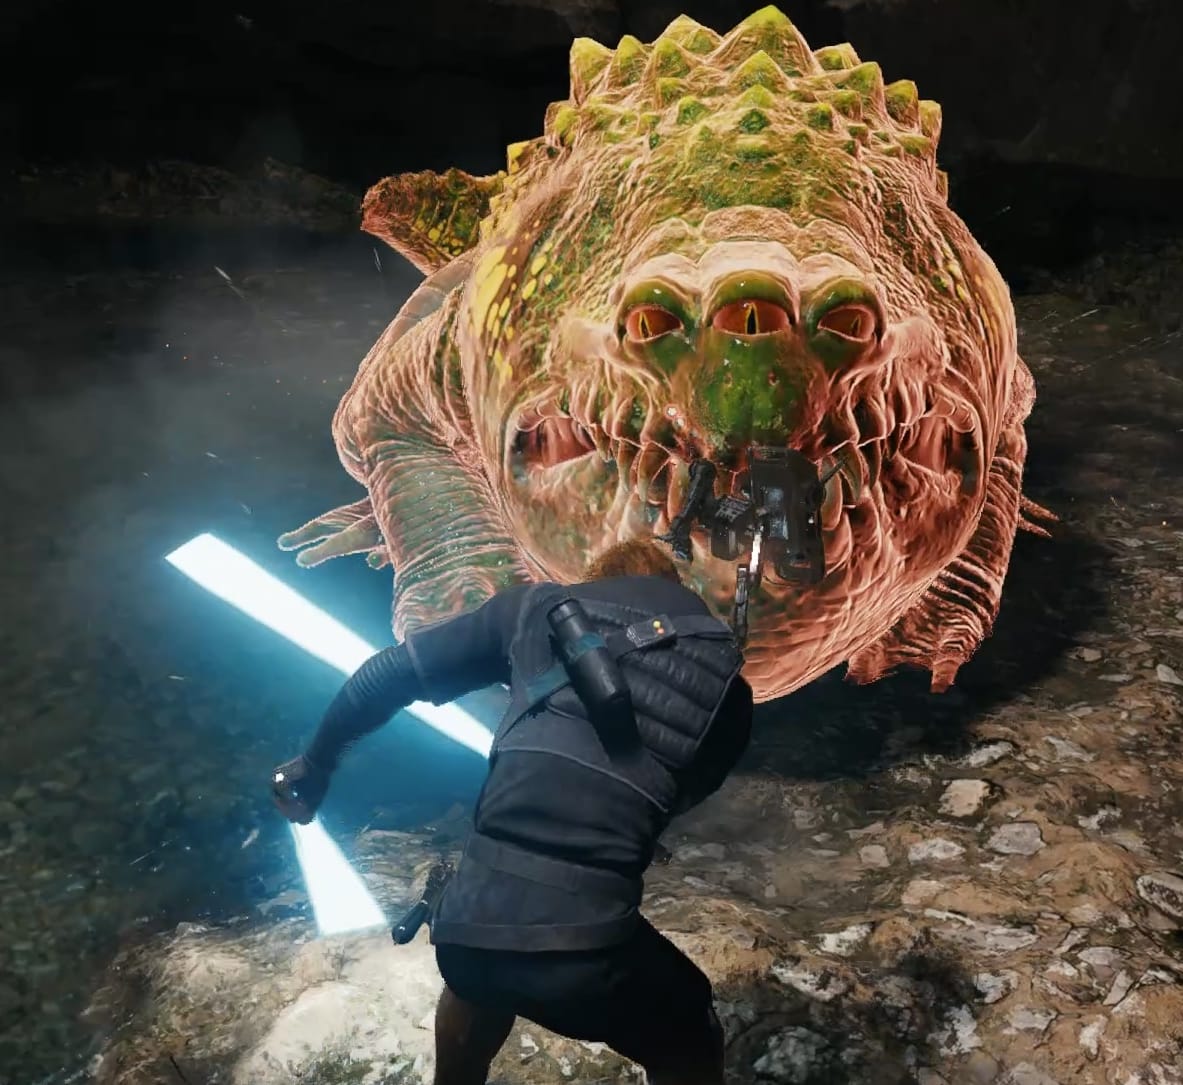
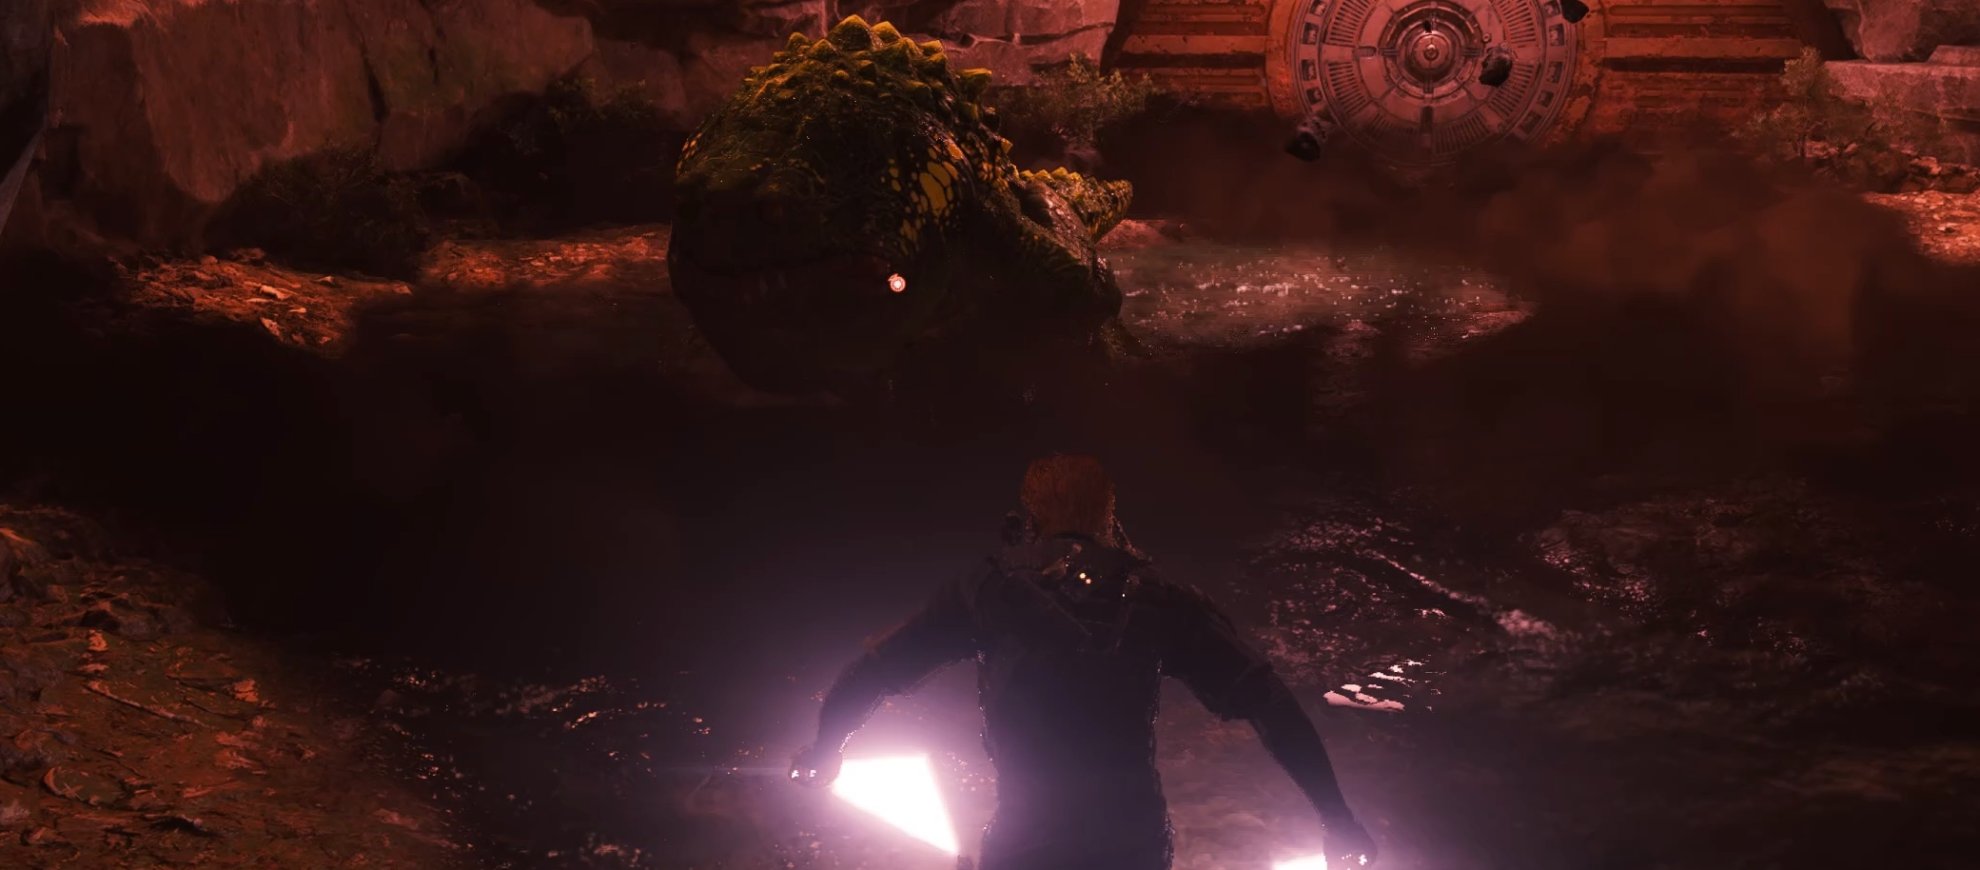
Leaping Chomp
This attack is similar to the Leaping Body Slam, but there’s no shockwave. The Spawn of Oggdo will lean back on its haunches to charge up a huge leap at you followed by the biggest munch, maybe ever.
This is one of the hardest attacks to dodge in my opinion. It won’t one-shot you from full health but still hits hard and is a big reason why you need to make sure you can survive the bite if you fail to dodge it.

You need to do a precision evade or dodge to the side after he’s committed to leaping at you because he tracks while he’s winding up and somewhat while he’s flying. You can also dodge back if you’re far enough away, but you basically need him to be at one side of the room while you’re at the other for this to work.
If you’re attempting this after you’ve obtained the mid-air dash, using a double jump followed by a dash to the side as soon as you see the red flash also works pretty well.
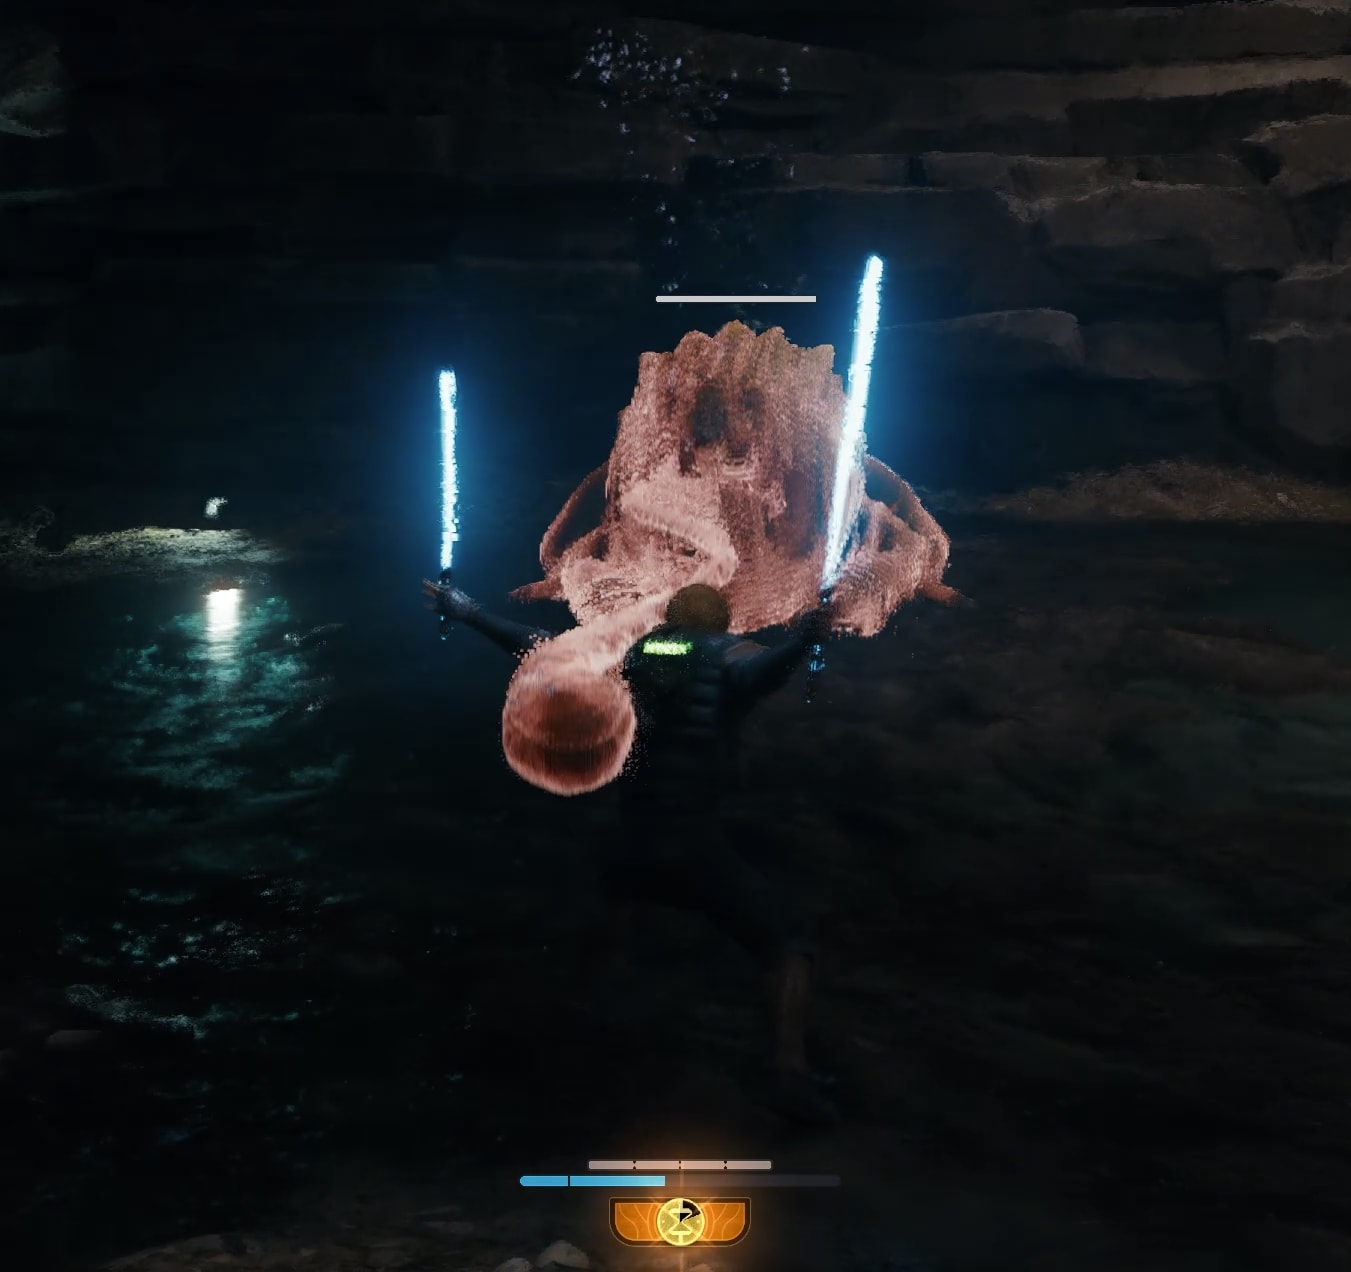
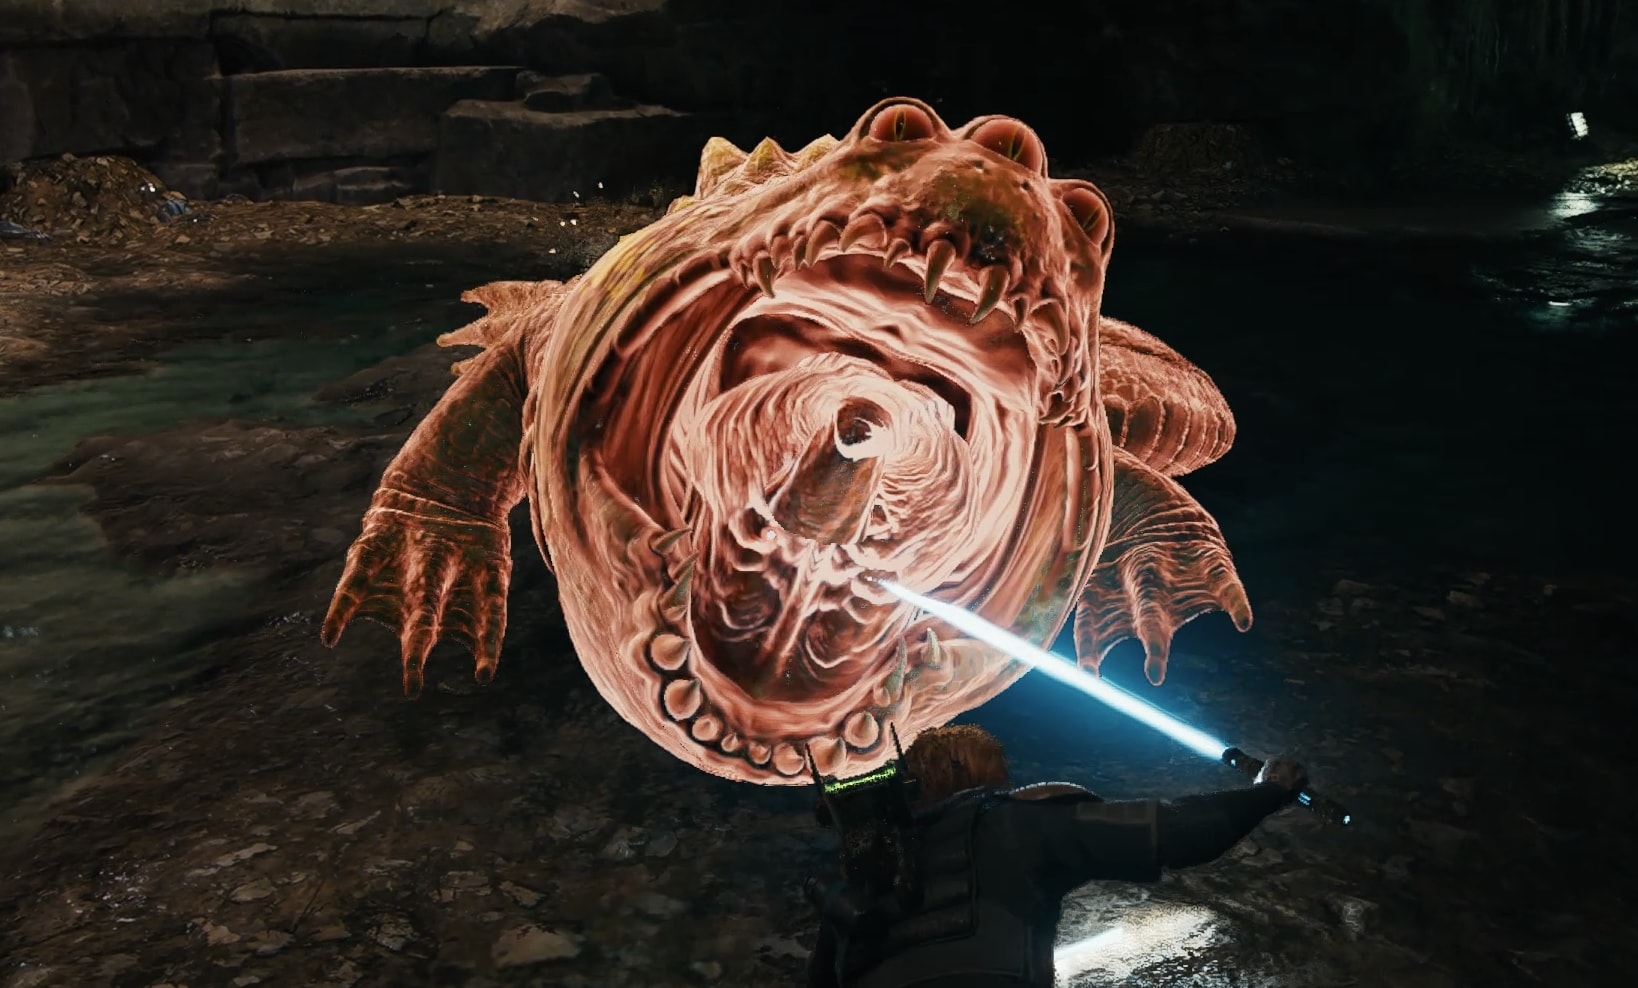
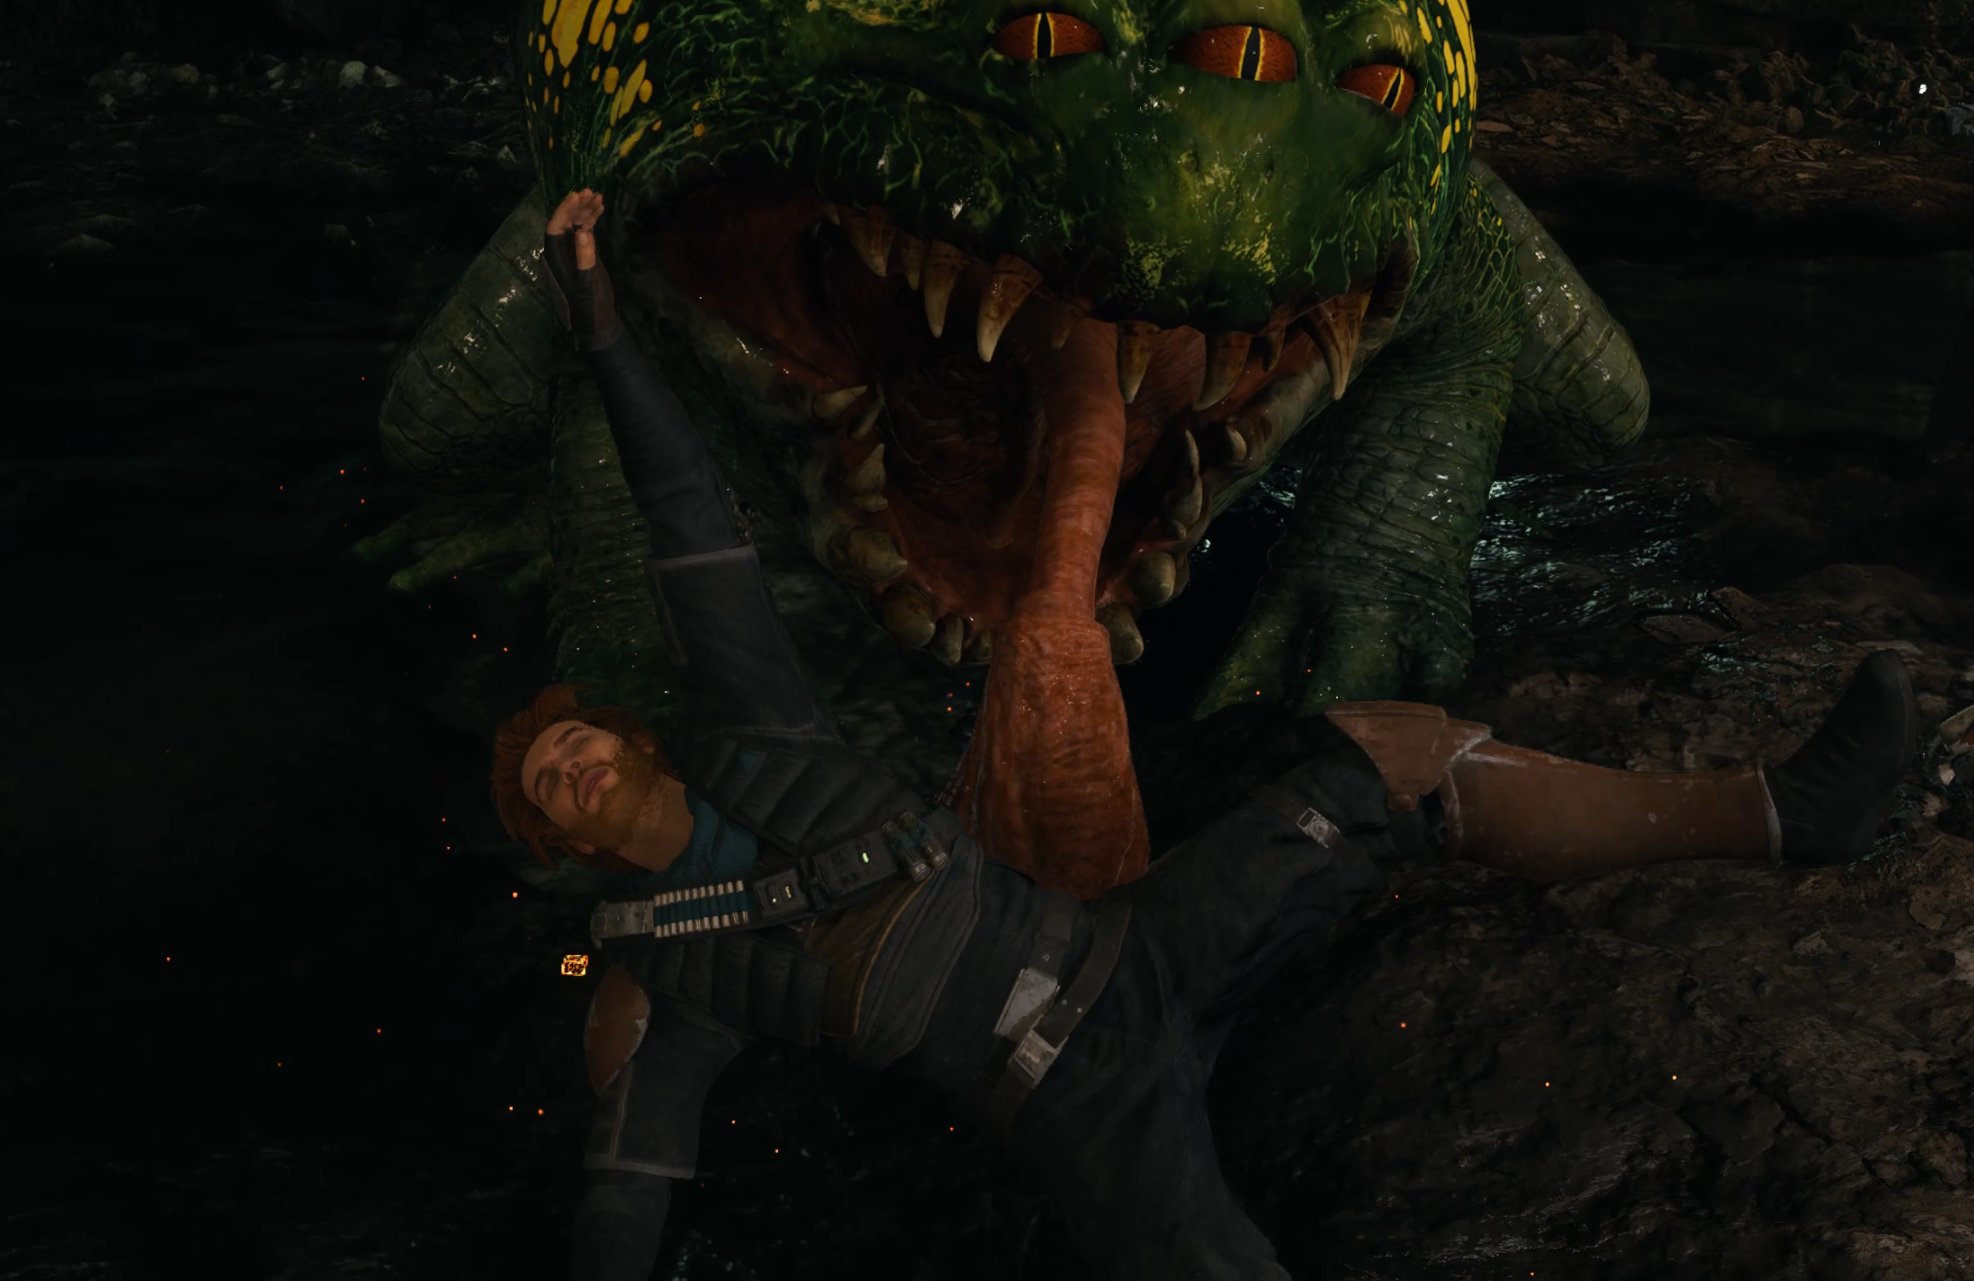
Tongue Grab
You have probably already learned to fear the Tongue of the Spawn of Oggdo, but I want to go over it just in case. If Mr. Frog latches onto you with his tongue, it’s game over. The bite will one-shot you even with max health. You must avoid it at all costs.
You can dodge to either side, but the timing is super tight, so it’s safer to try and run away. Double Jumping is more reliable, but you have to react quickly and can’t be in an animation.
You might consider saving your Force Slow for when he uses this ability. You probably won’t miss out on an activation over the course of the fight since he tries to tongue you pretty frequently.
Gearing and Build Recommendations
As you can see, I had success while using the Dual Wield Saber Stance since it has the best saber throws for this situation along with fast swing speed, though I think the Blaster and Saber Stance could also perform well, assuming you have the associated Perks to buff the Stance.
If you really want to min-max, consider using the Crossguard Stance as your secondary and use it exclusively while the boss is slowed and equip the Dexterity perk to buff your saber throws. I also highly recommend allocating points to all Skills that increase your max HP and Force.
You can also just wait to fight this enemy until later in your playthrough when you have more Skills and Stims.
Check out our guide on Skill Point Farming if you need more Skill Points. We’ve also got full guides to all Health Essence Locations, and all Stim Locations to help you boost your survivability.
You can also try to be a bit cheesier by slicing the Battle Droids up top or even getting the hammer bros. (AKA Bedlam Smashers) to come down into the hole and fight him for you. However, you won’t be able to use either of these tactics should you encounter them elsewhere…
Poncho Preview
Your reward for defeating the vile Spawn of Oggdo is the ability to wear the Poncho from Jedi Fallen Order.
We have a dedicated guide on how to get the full Poncho outfit and look like Cal from Jedi Fallen Order in Jedi Survivor.


Don’t forget to pick up the Priorite Shard and sense the Frog Echo on your way out and maybe swing by Doma Dendra’s shop after taking a rest at a Meditation Point…
This concludes my guide to the Jedi Survivor Spawn of Oggdo Legendary Enemy Guide. You can take a look at the Star Wars Jedi Survivor Guides Master List for more.


