Skill Points are a necessary form of progression in Star Wars Jedi: Survivor and this guide shows you the best locations and methods to farm them faster at various stages and points in the game.
What are Skill Points
Skill Points are the primary progression system of Jedi Survivor. Skill points can be acquired by gaining XP from defeating enemies. When you defeat enough foes, you’ll gain a skill point.
While they are your main form of character strength and progression, these areas only provide options when you feel too weak to tackle a new area or foe. Natural progression often works just as well, albeit a bit slower in most cases.
Where to Farm Skill Points
Many of the locations we’re about to detail are based around mostly static spawning enemies. However, some enemies mentioned may change from run to run and get tougher enemy arrangements the further you progress. Unless otherwise noted, the mentioned arrangements of enemies will be based on a completed story file.
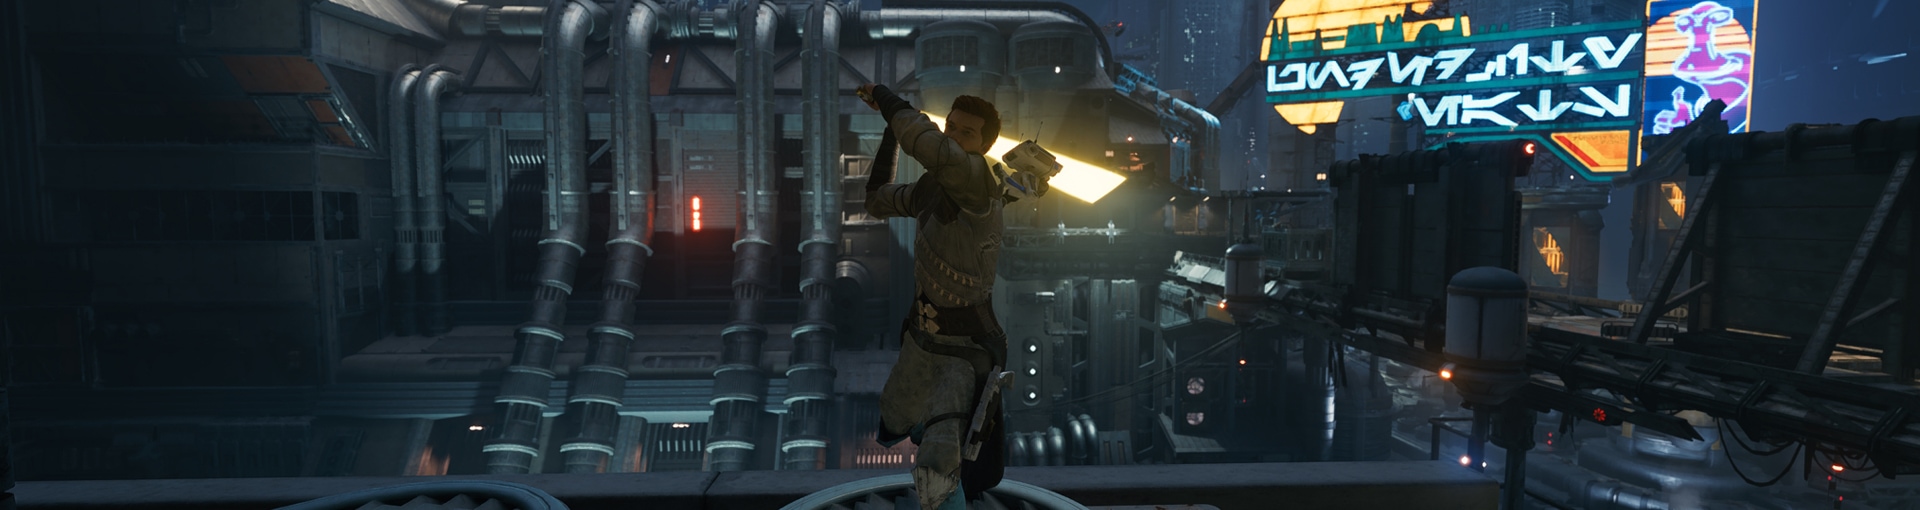
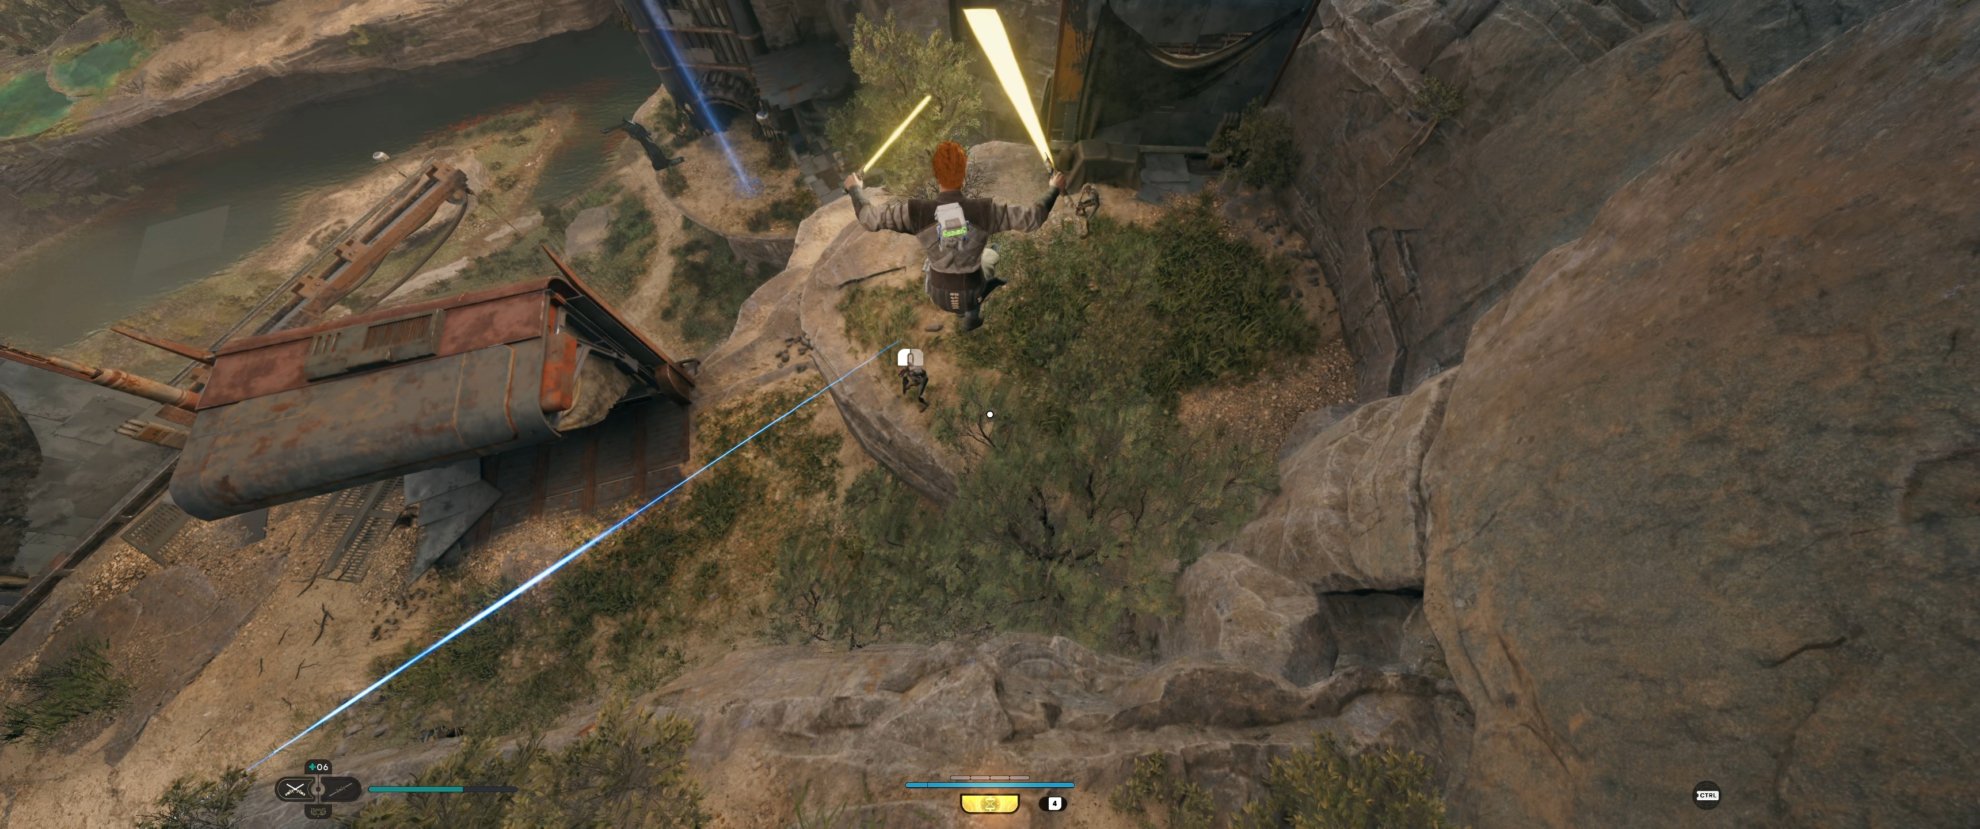
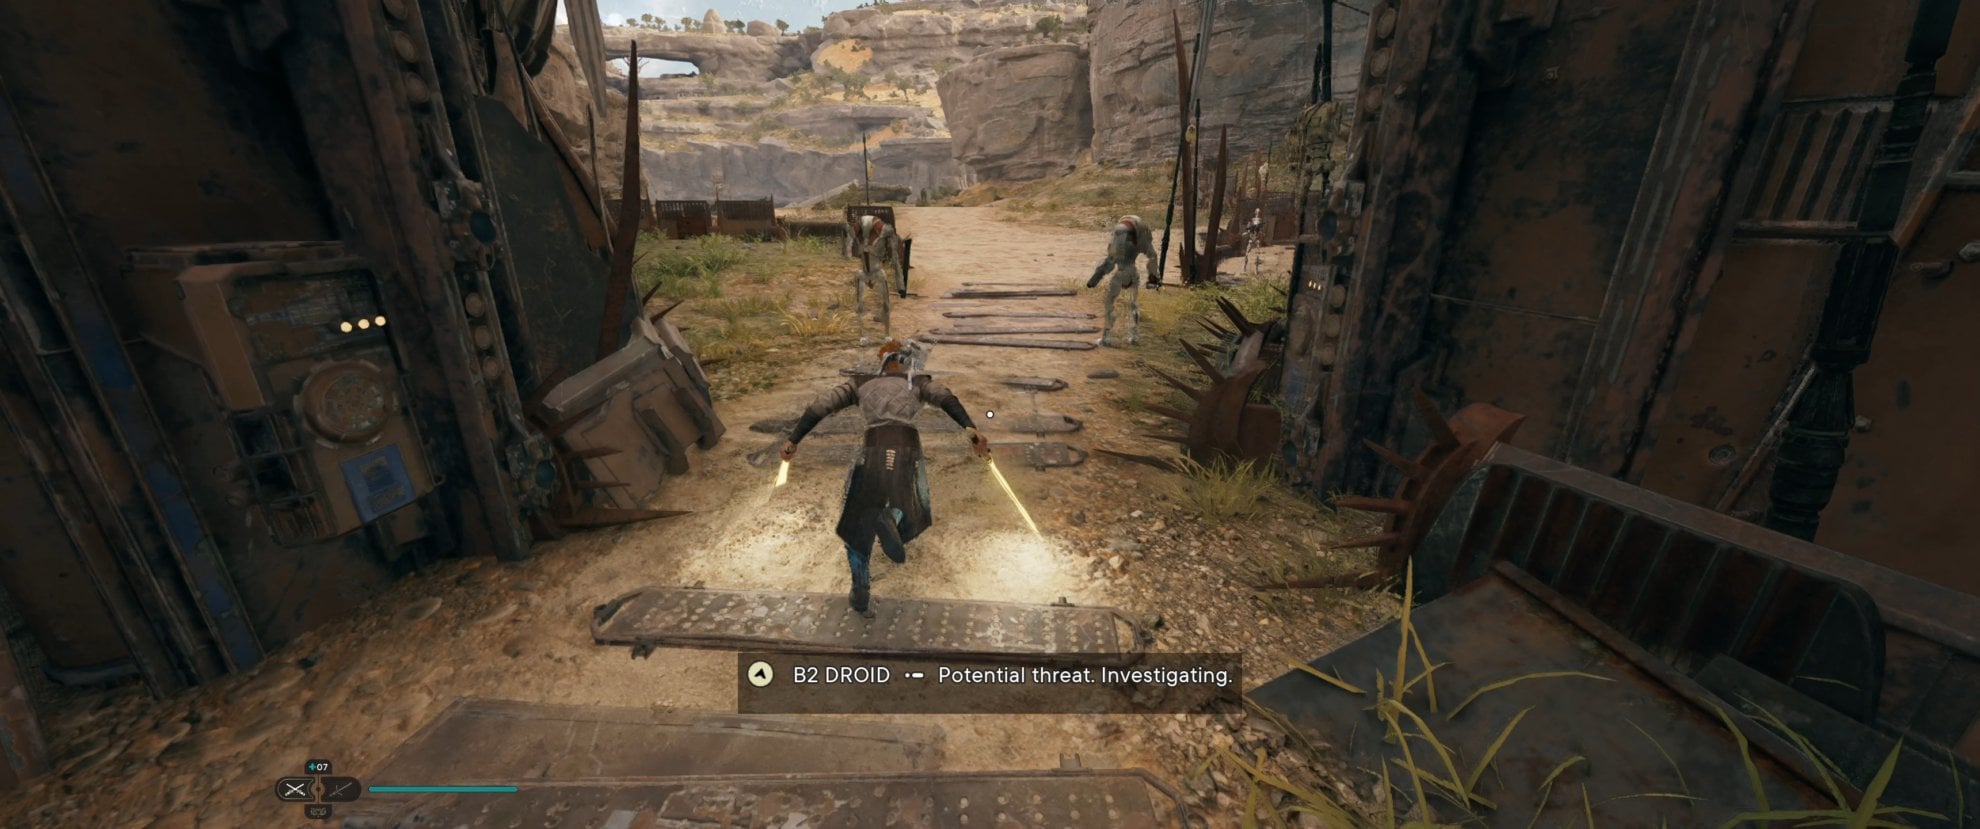
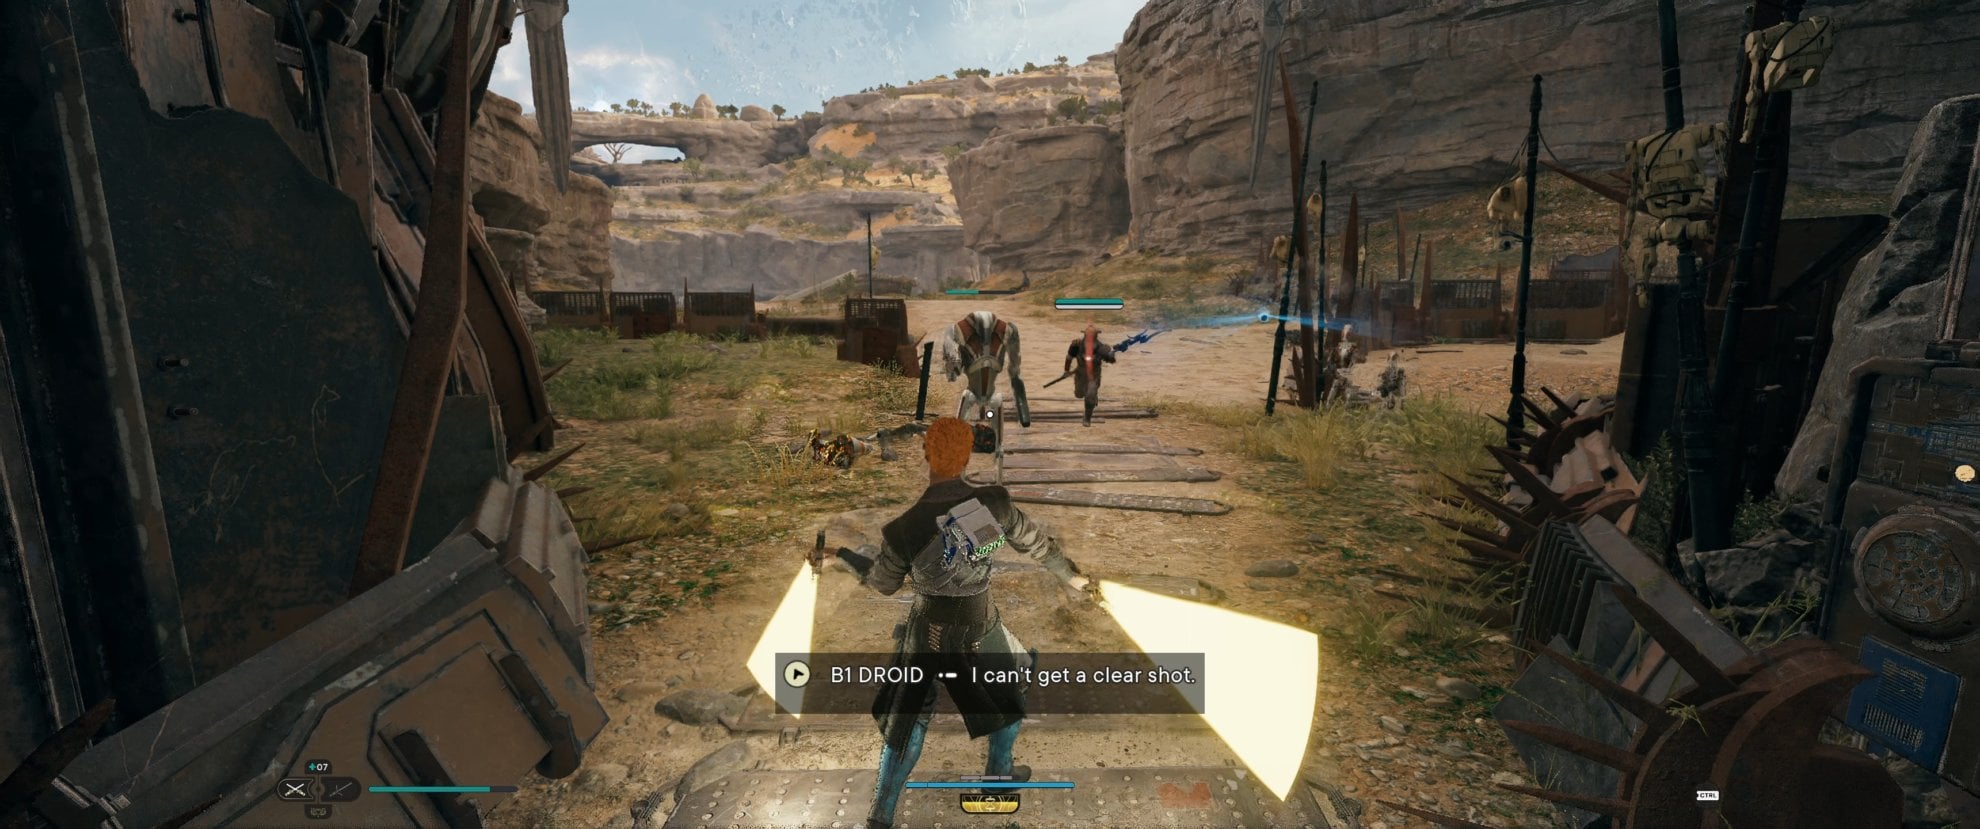
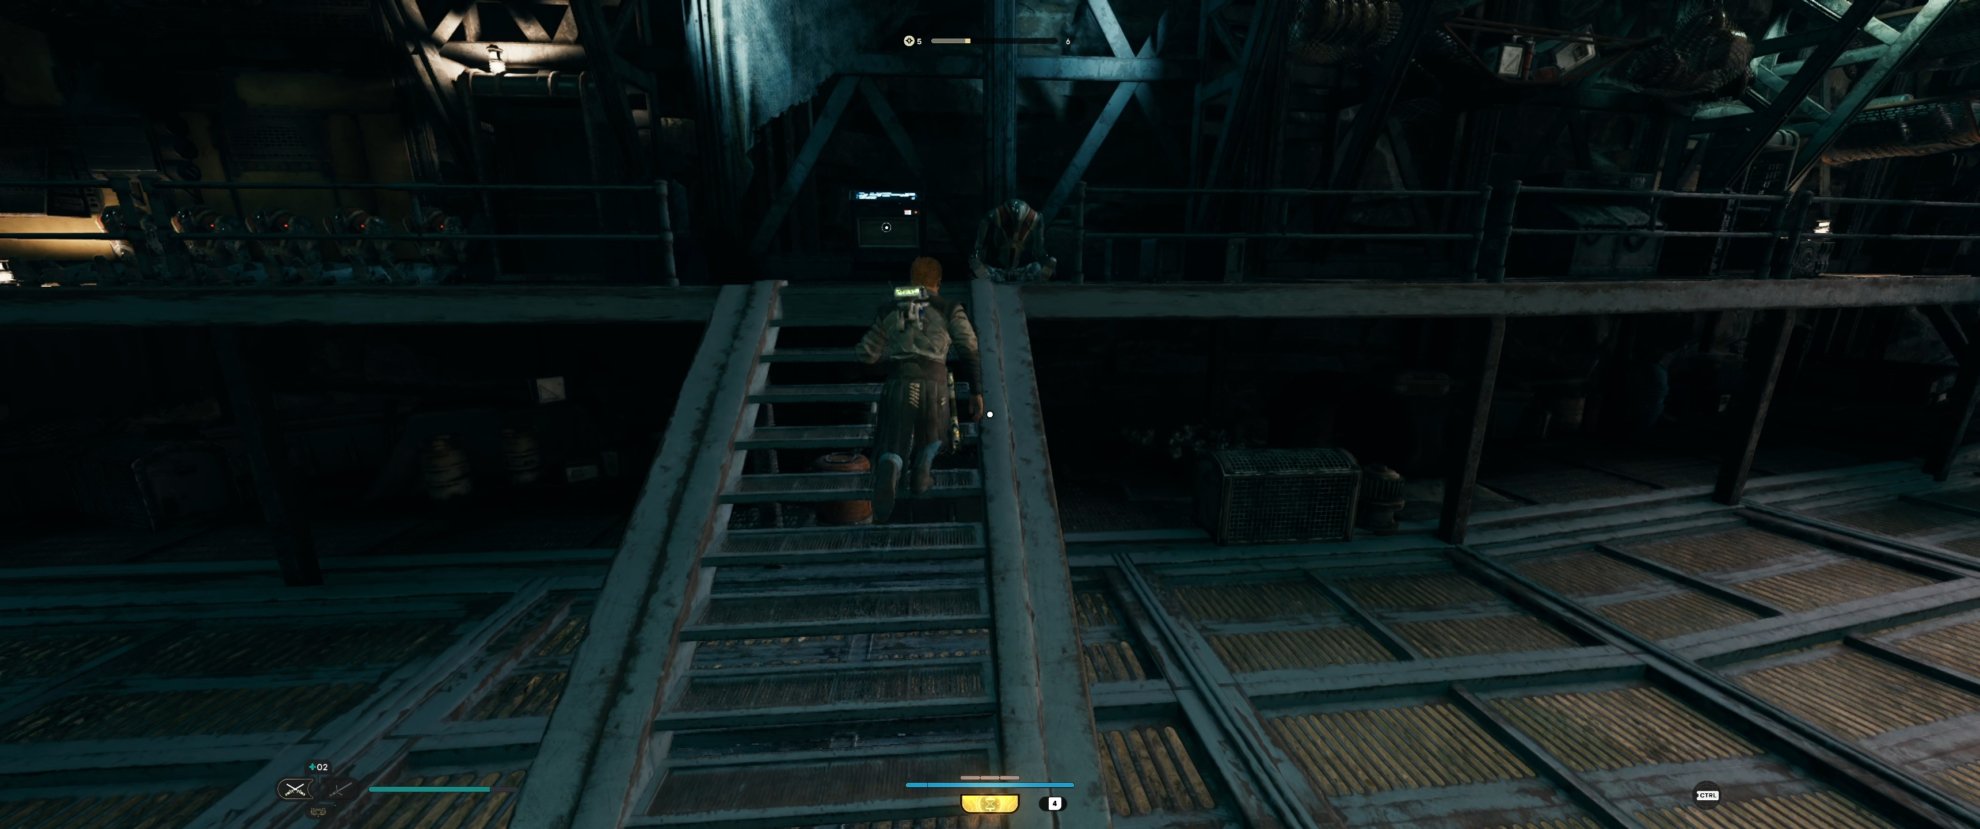
Coruscant: Renovation Site 4733
This area is only intended for use during your first visit to Coruscant, as the XP it grants is minimal but fairly smooth and loops very well. Since most enemies are Storm Trooper variants, they all go down easily enough with your starting stances.
Starting from the Mediation point, head up the stairs, across the billboard, and through the door.
When you head up the inside stairs, they will be a drone you’ll need to knock down by throwing your saber. Use Force Push to send it flying and likely taking out the Storm Troopers that are right behind it as they come around the corner.
Continue upstairs and around the corner. There’s another drone here as well as three troopers. Throw your saber at the drone, then use Force Pull to pull it closer and launch it at the troopers directly with Force Push, which can take them all out if done right. If not clean up any remaining and move across the swing poles.
Once across, head on to the pipe and drop down into the large crowd of troopers. Make your life easier by using Force Slow, which will allow you to dispatch most of the safely, usually leaving just a couple of ranged units that you can parry to take them out.
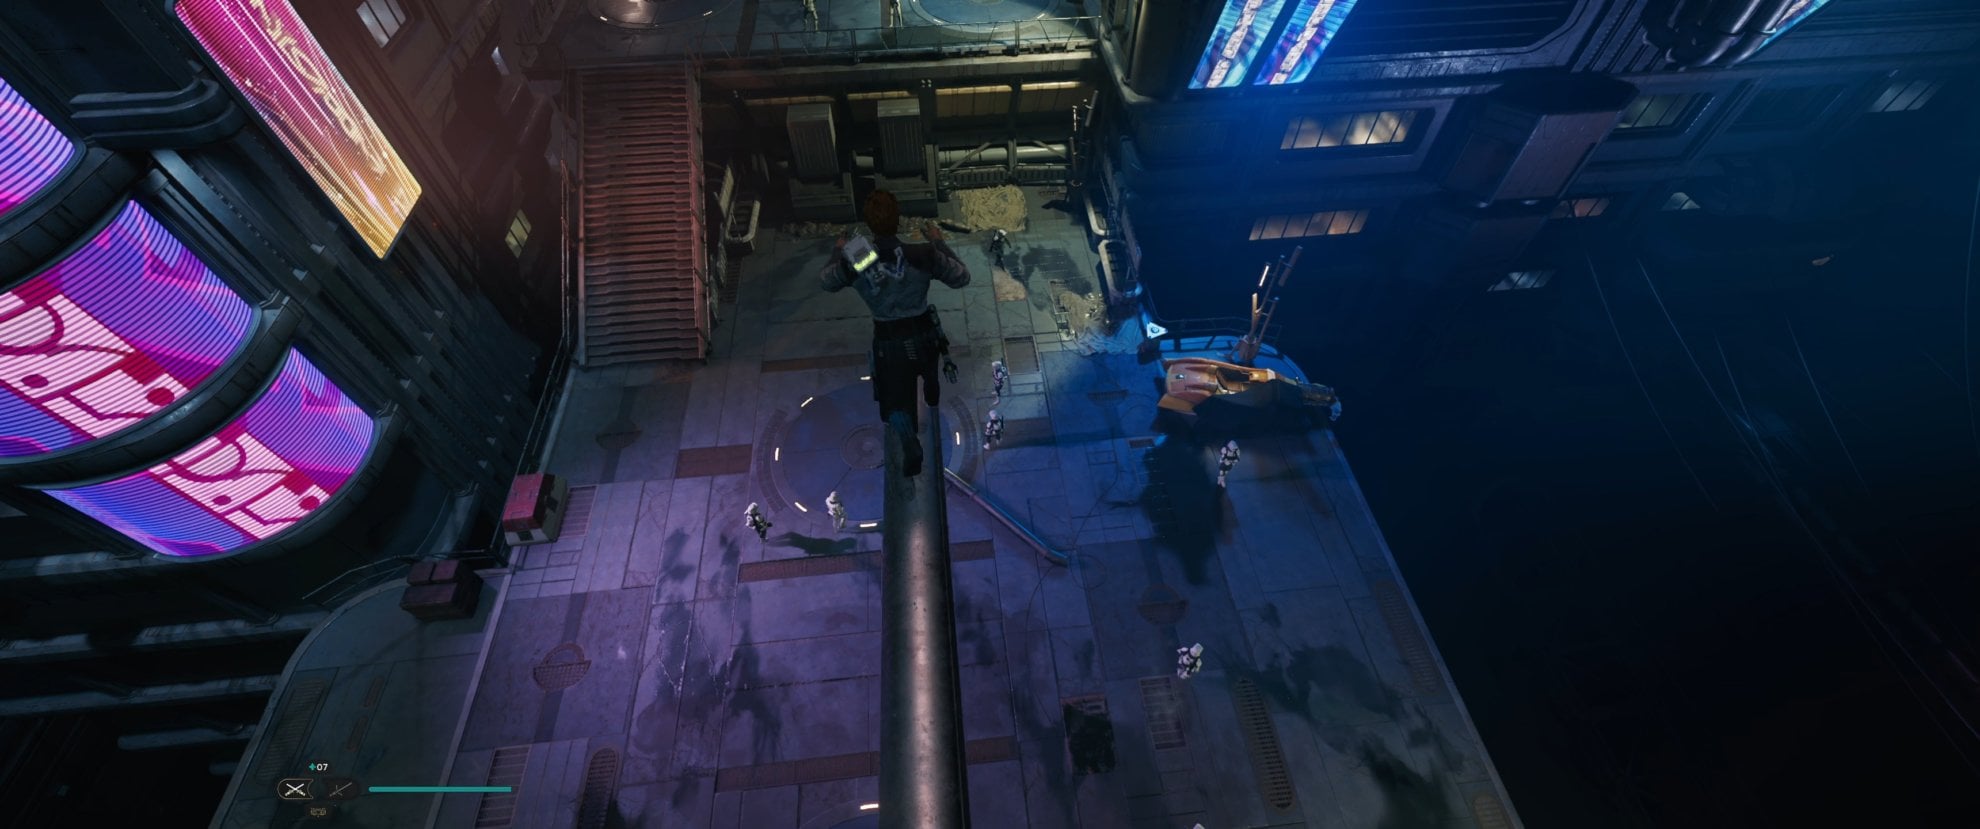
Head to the left side toward the stairs that head down. This time you’ll be greeted by a handful of troopers and another drone. If you get there quickly enough before they get setup fully, you may be able to knock the drone down and use Force Pull and Force Push to take them out all at once. If not, Use a Saber Throw to quickly take out the shielded trooper with the heavy weaponry before cleaning up the rest.

Climb the box and use it to get onto the grate and continue upwards. Continue across the overhead grate, and the billboard to your right. Continue to climb up before going across another billboard onto a swing pole, then jump and use Force Pull to use the rope and jump to the right side of the grate along the corner.
Just ahead is the last group of enemies for the route, dispatch them however you like, then head through the door on the upper level.

Descend the Grate and return to the Meditation point to Rest and repeat. This route takes roughly 5 minutes to complete and nets around 10-20% of a level for each loop.
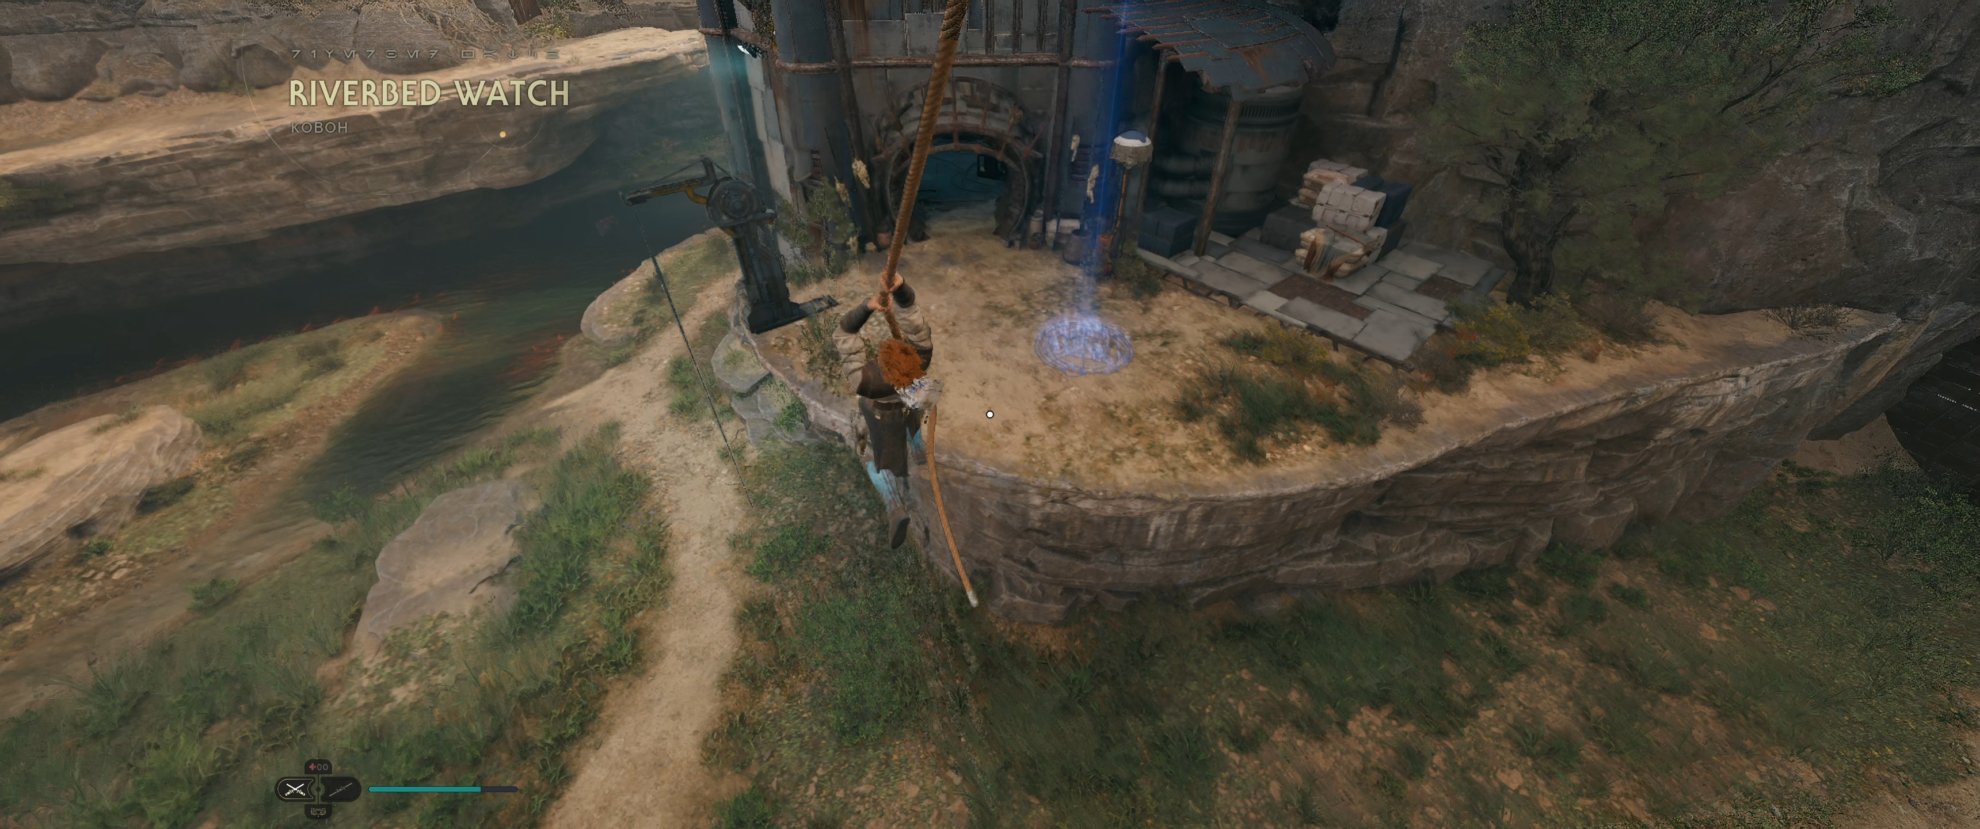
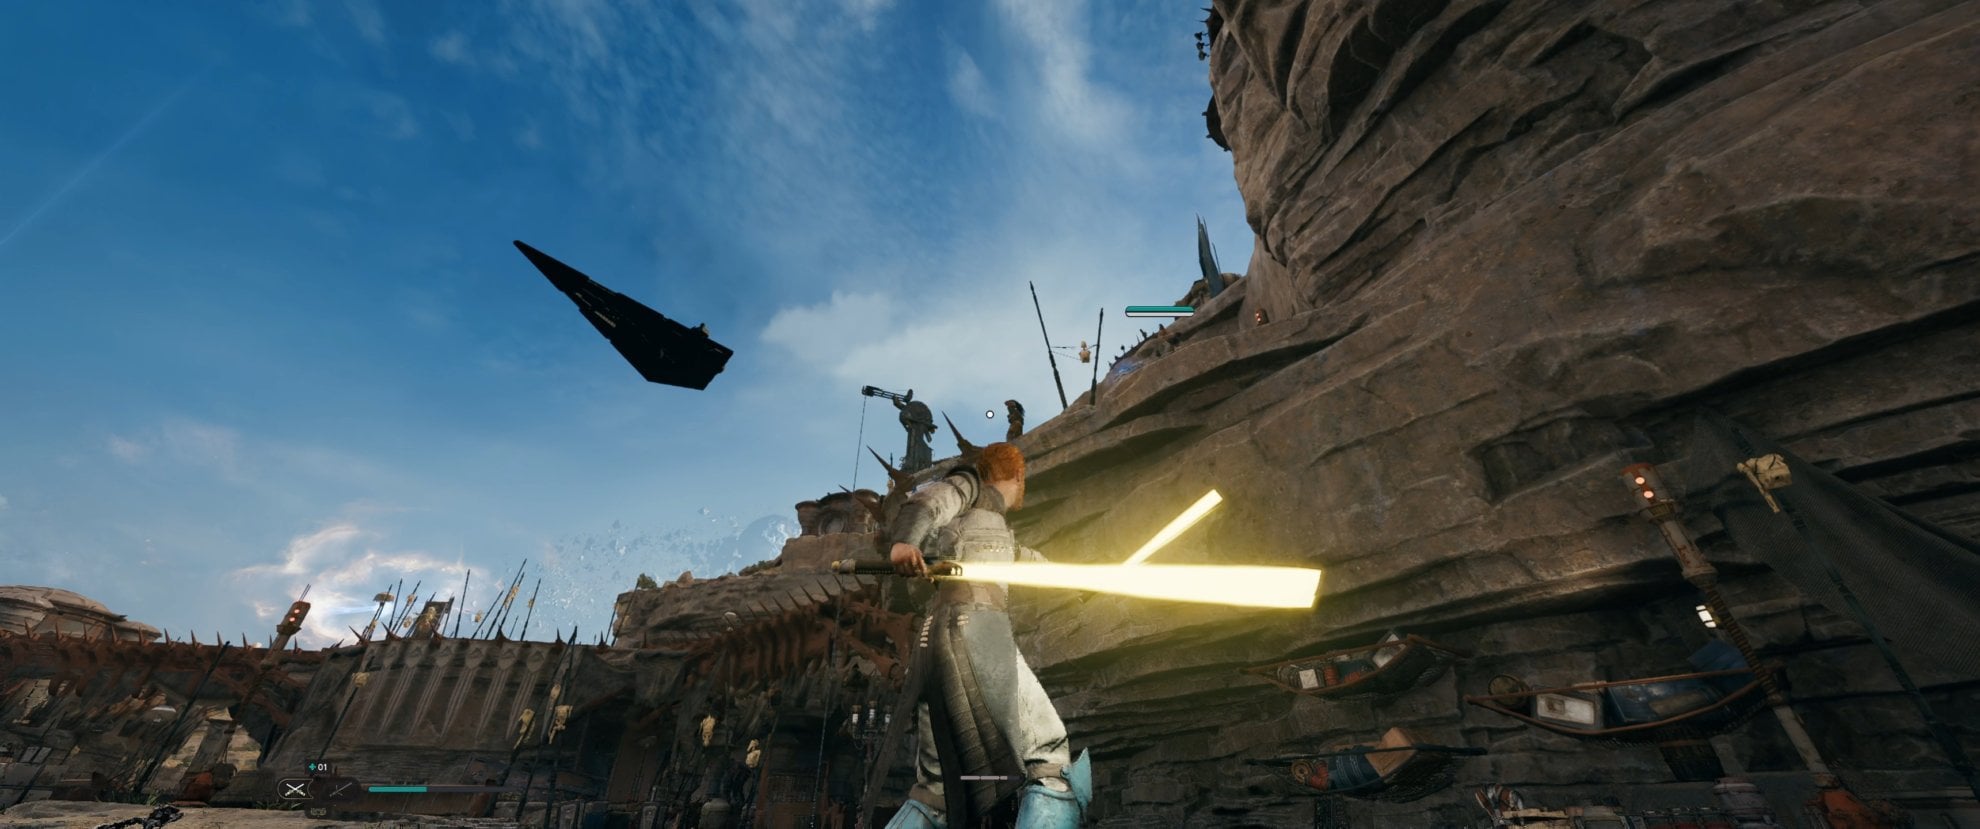
Koboh – Riverbed Watch
This area is accessible once you first reach Koboh and scales really well into the later stages of the game. For the main grinding loop, you’ll need to have cut the rope to the Riverbed Watch Meditation point, as well as the one to quickly ascend the opposing cliff nearby.
If you’ve managed to get enough Datadiscs to purchase the Wisdom perk from Zee, we highly recommend it as it will reduce the amount of time you’ll need to farm XP.
To learn more about the Vendors, check out our Vendor and Resources Basics Guide. This covers the Vendors, the resources they use, and what they have to offer.
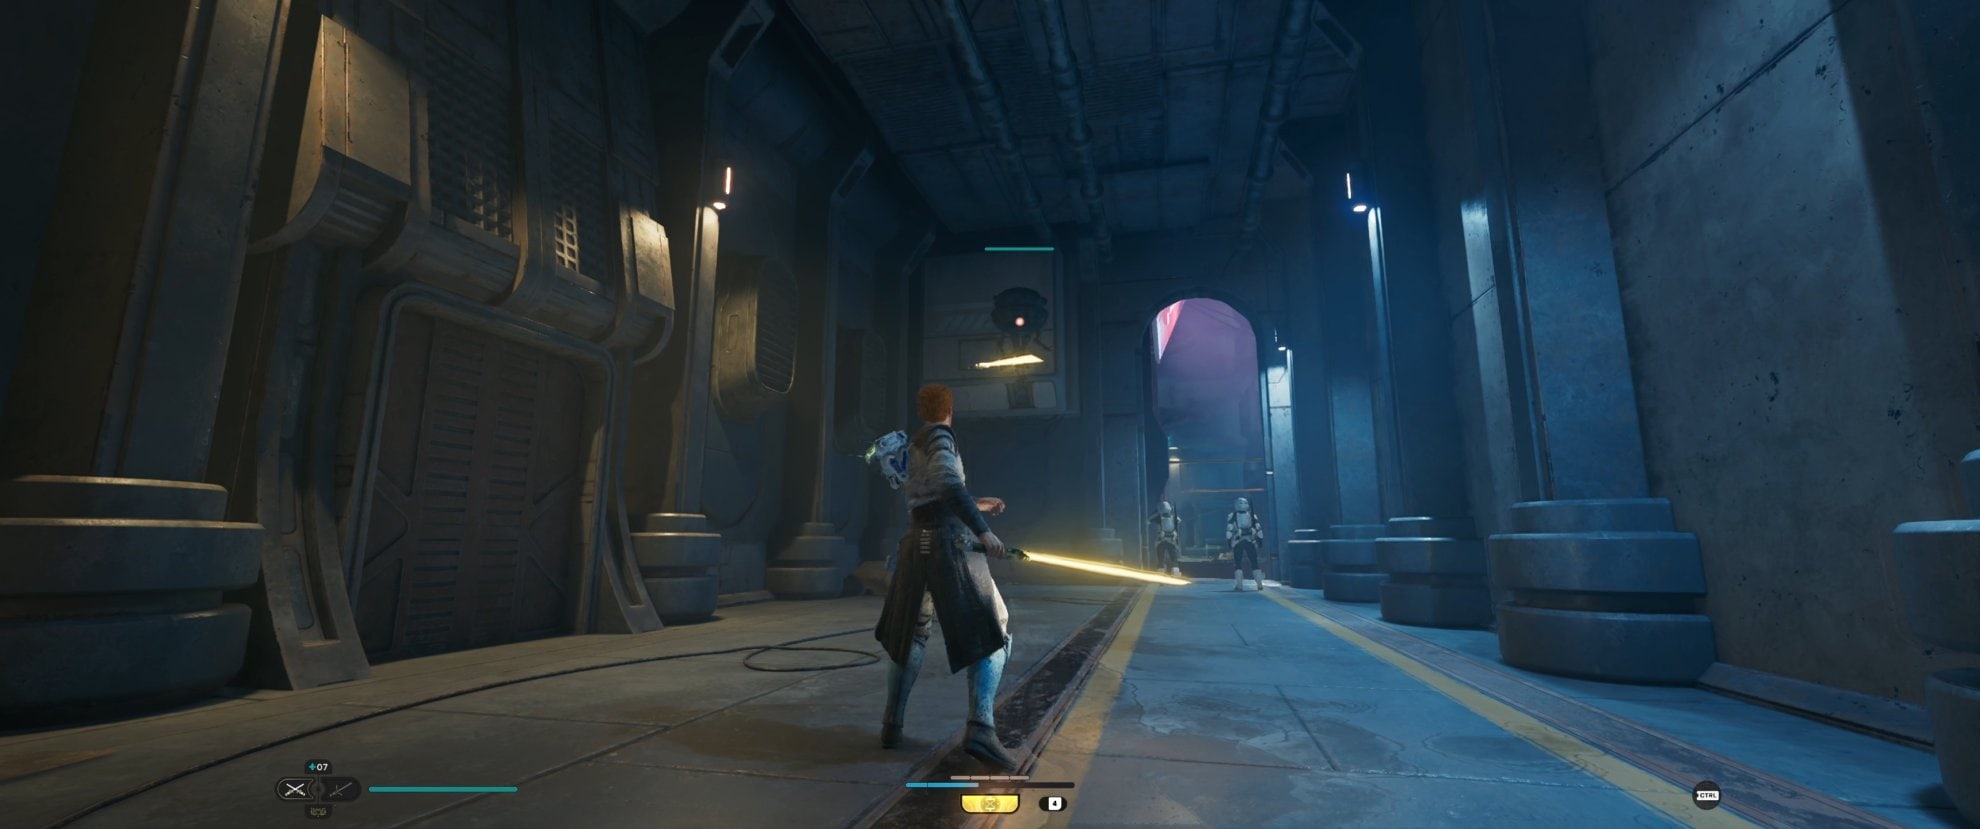
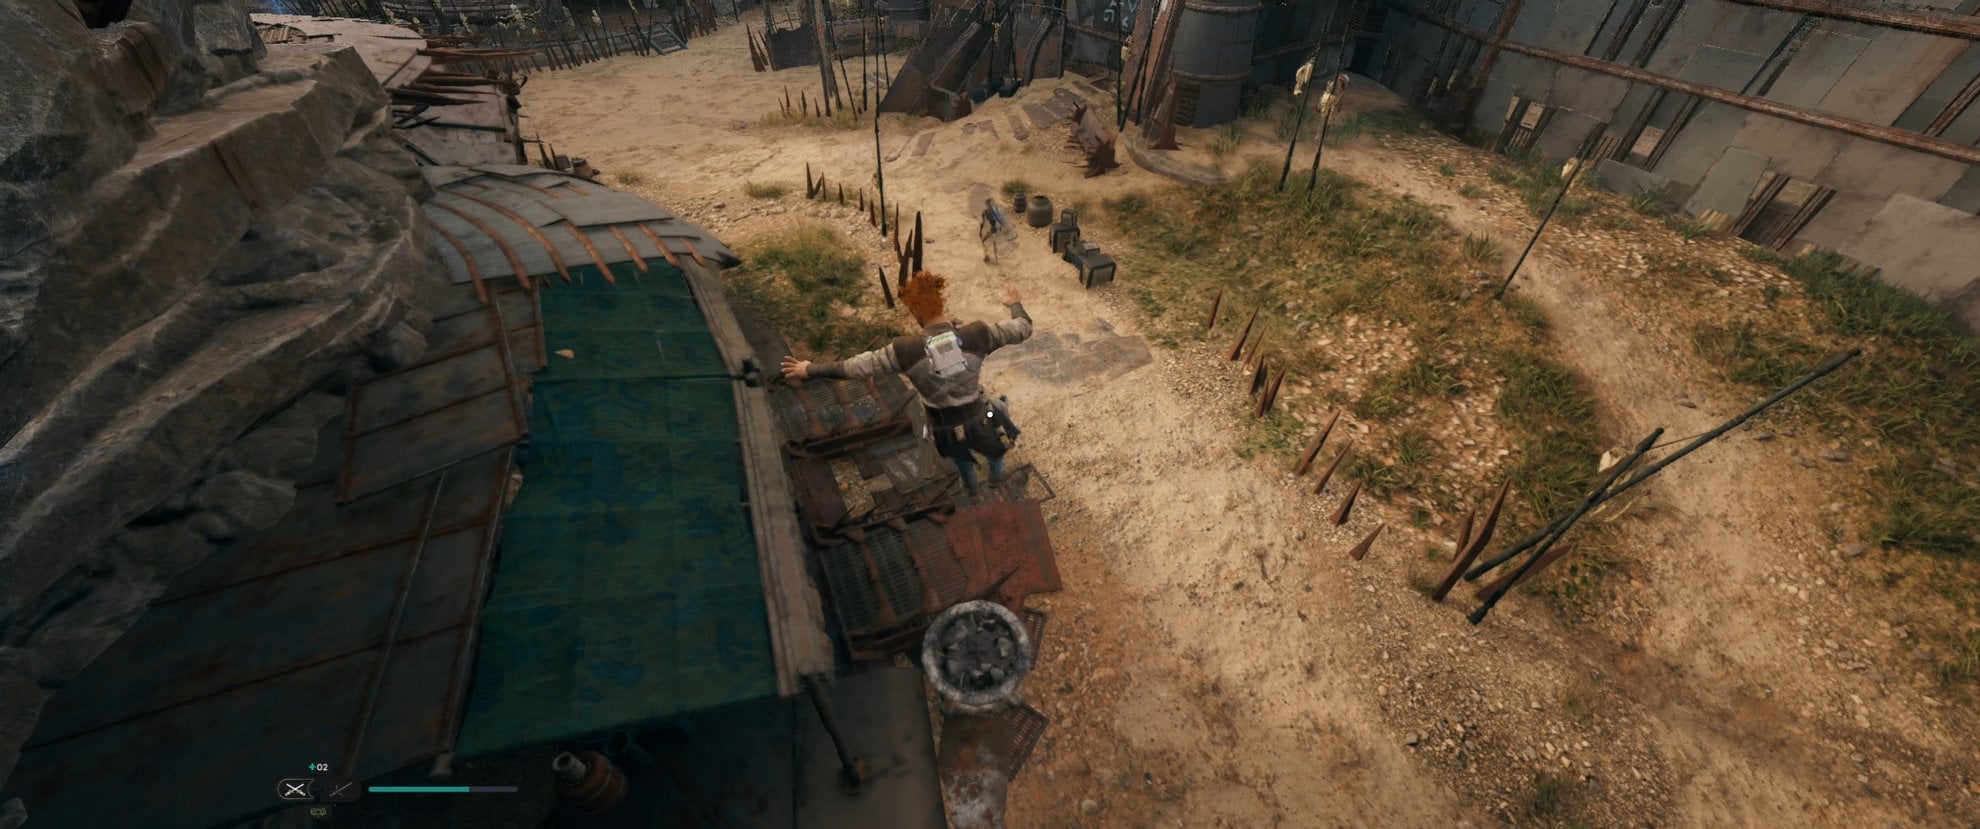
From the Mediation Point, run towards the sealed-off area that is guarded by a set of 3 Droids, two B1 Battle Droids, and a BX Melee Droid.
You’ll be able to jump from the upper ledge and immediately take out one of the weaker B1s.
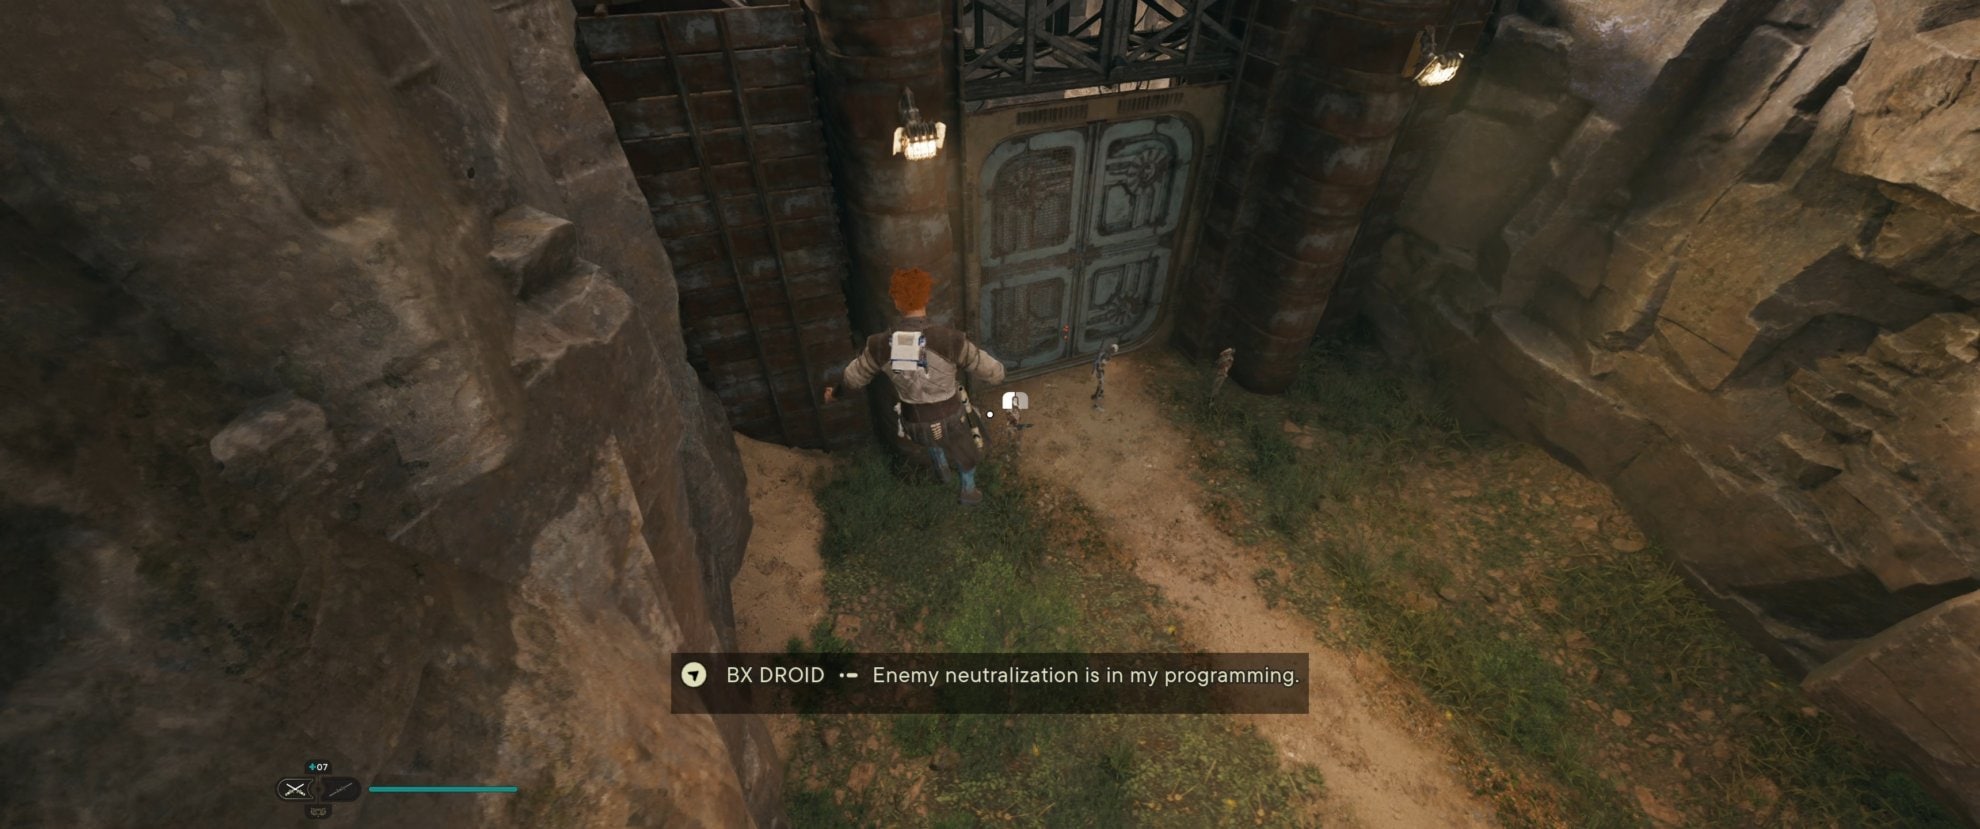
Clean up the remaining Droids and move to the shortcut rope that will take you up the cliff.
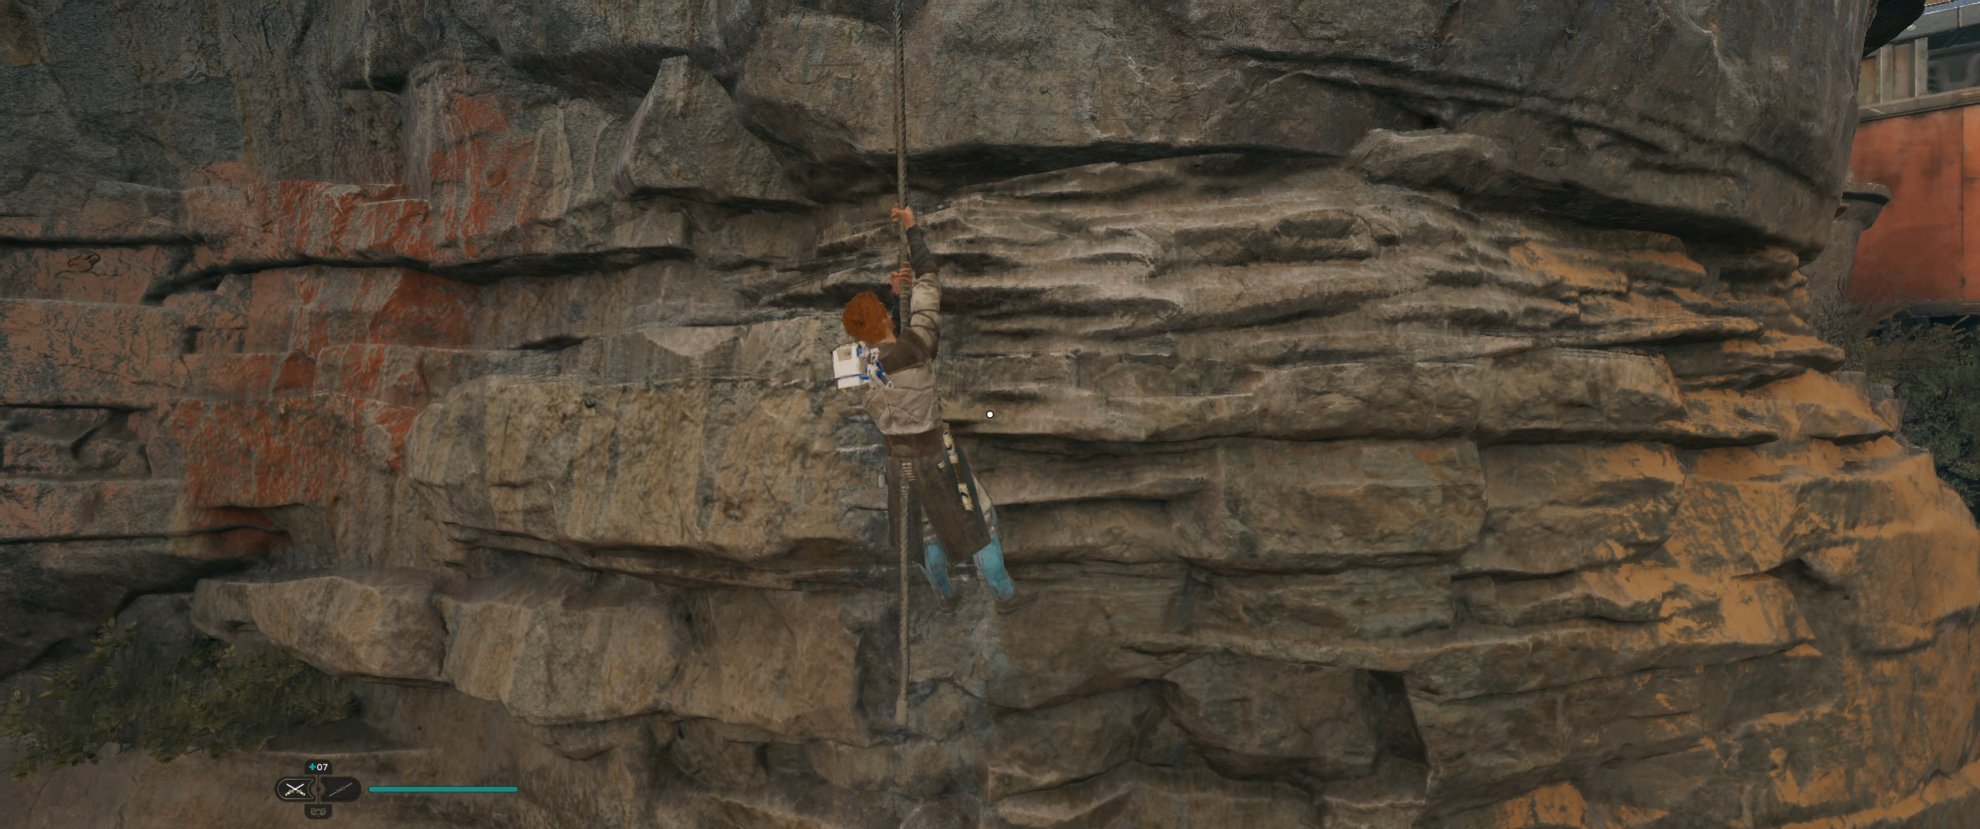
If you haven’t opened this shortcut yet, to can head to the right and go up the cliff instead. There also a Shiverpede here on the right side, but it gives too little XP to worry about for the moment.
On your way there, be aware there are multiple variations of roaming patrols and encounters that will be on the path below the Riverbed Watch Meditation Point. Early on this usually consists of a Raider Grunt accompanied by two B1 Battle Droids. As your progress, this can expand to include tougher Raiders, Stormtroopers, and even some of the more formidable Fauna of Koboh.

After you ascend the rope, you’ll be met with a Raider Grunt, a BX Droid, and a B2 Battle Droid. You can use the nearby Roller Mine to quickly remove the Raider Grunt and severely weaken the BX Melee Droid before taking it out quickly followed by the B2 Droid.
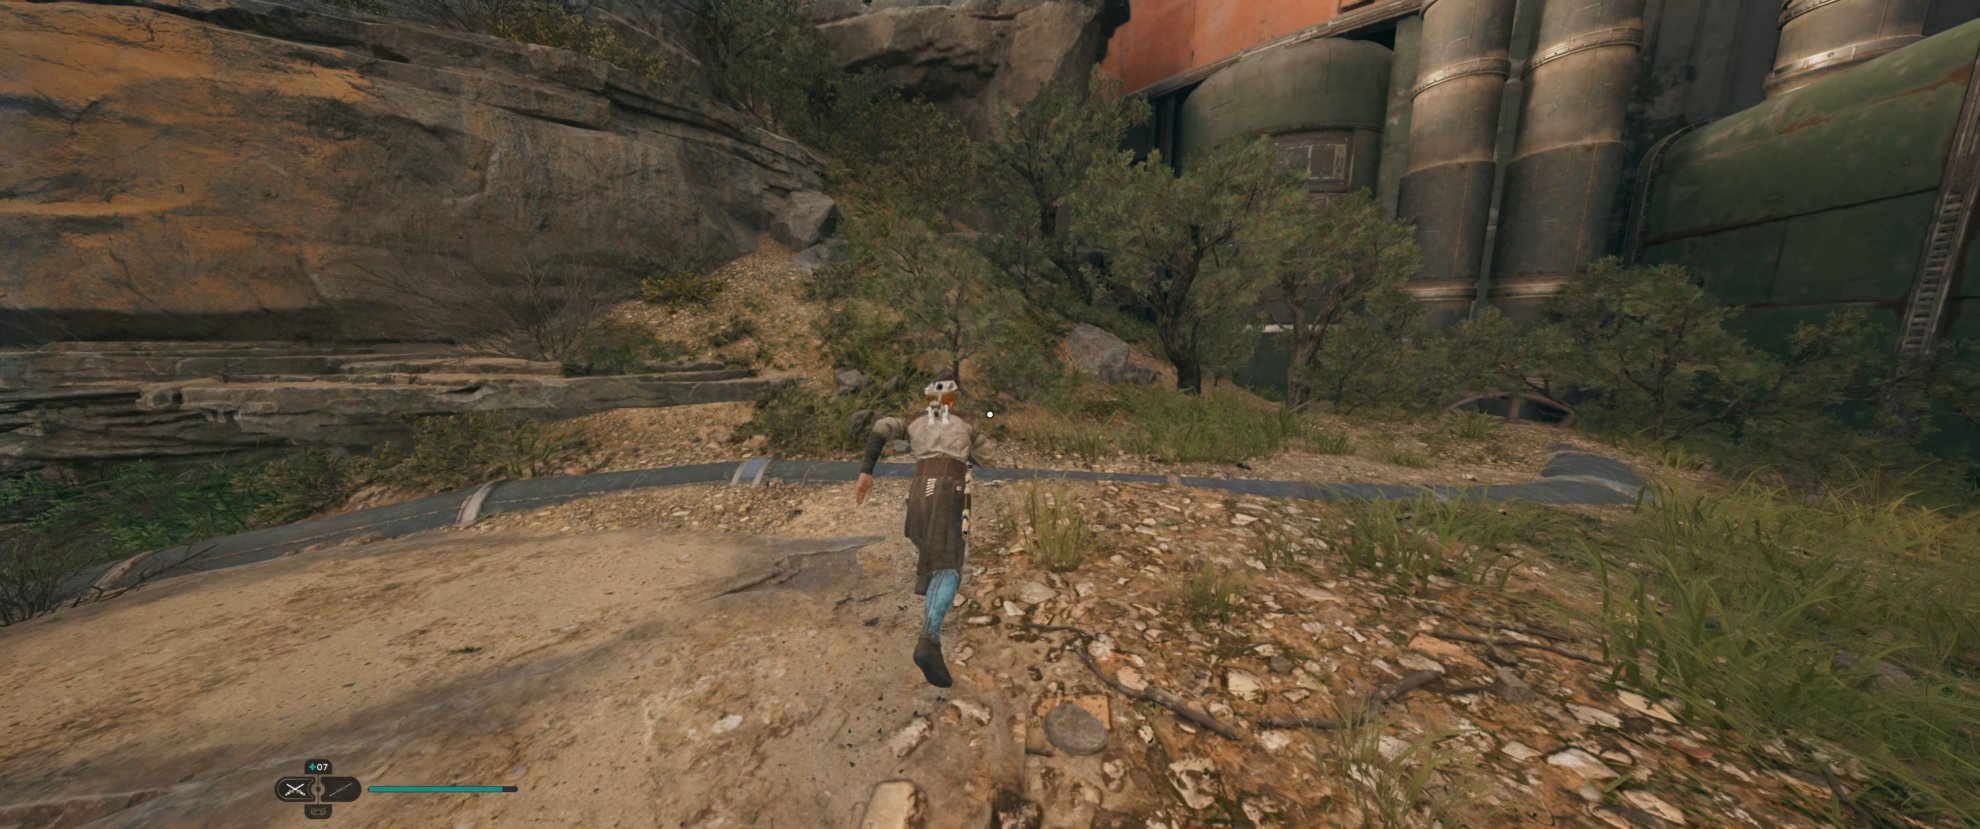
Just beyond this, there are two BX Rifle Droids on the cliff further back. If you head up the ledge to the right slightly, Then head up the ramp and you’ll be able to drop down and instantly take out one of the BX Droids. Take out the remaining one and head back up the cliff.
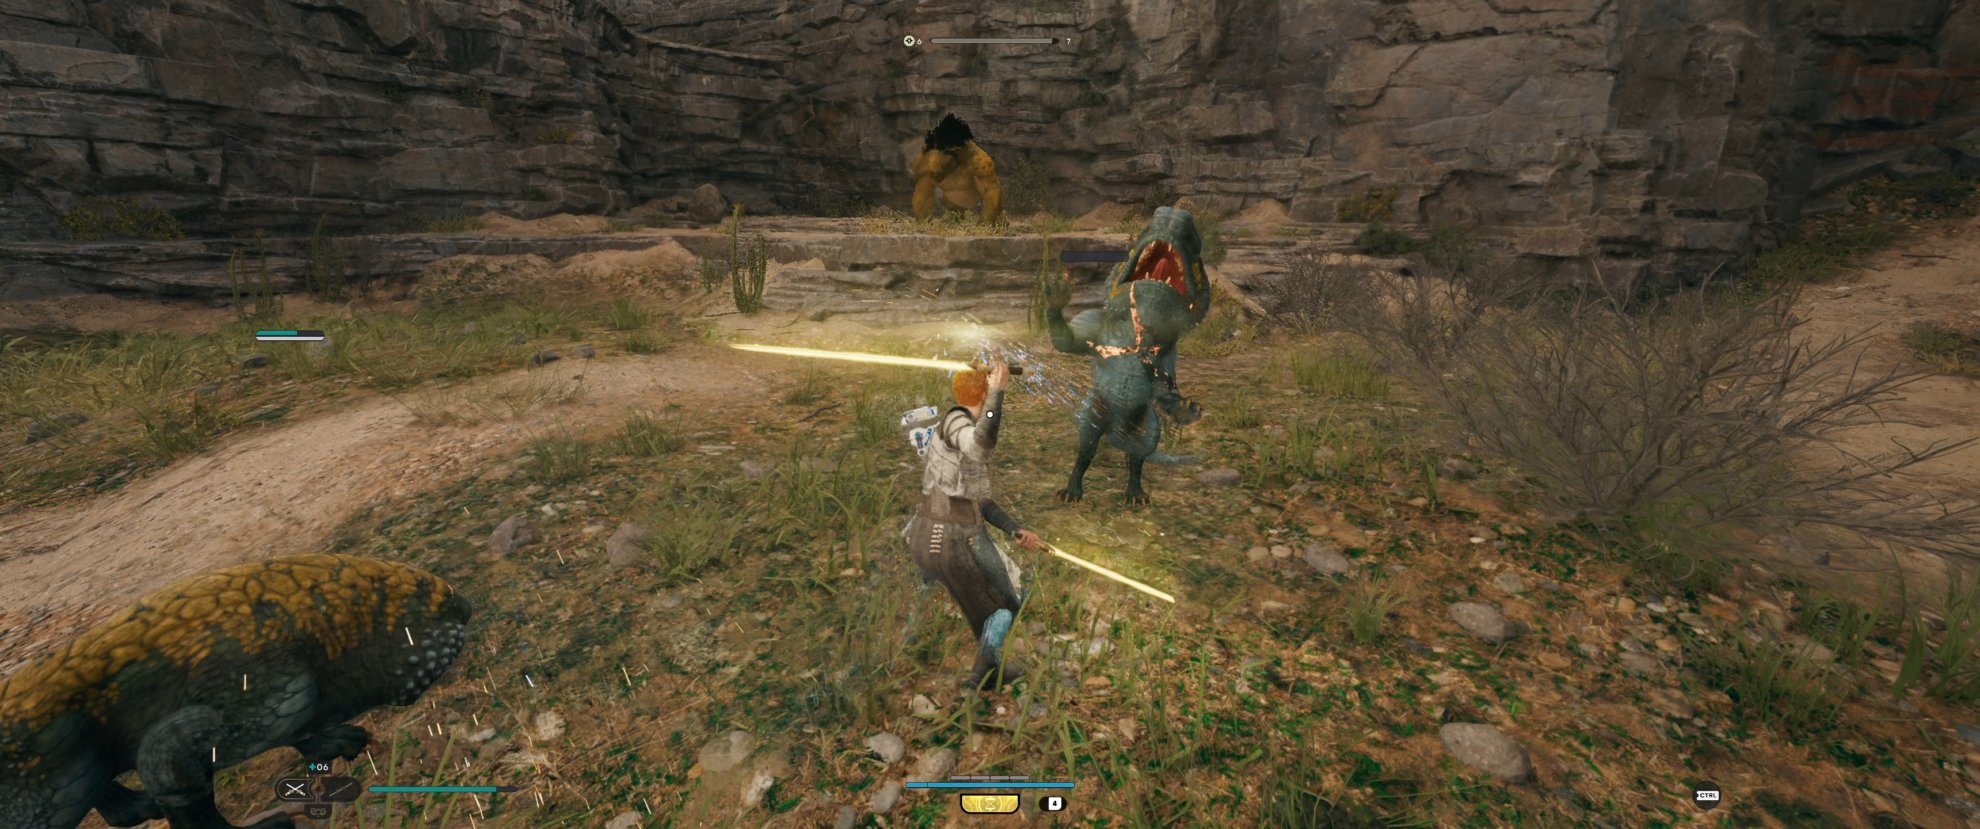
Up here will be a Gorocco and a couple of Gorgers. Take out the Gorger quickly and then focus done the Gorocco.
Once Dispatched, head to the Relter on the cliff and fly back to the Meditation Point. Be careful not to drop from too high of a height. If you don’t have the Relter there yet, head down the cliff and use the rope swing to swing back to the Meditation Point.
All said and done, this quick route takes just a few minutes to do and grants between 10-20% of a level, varying by the roaming encounters available and which one spawns for the second encounter.
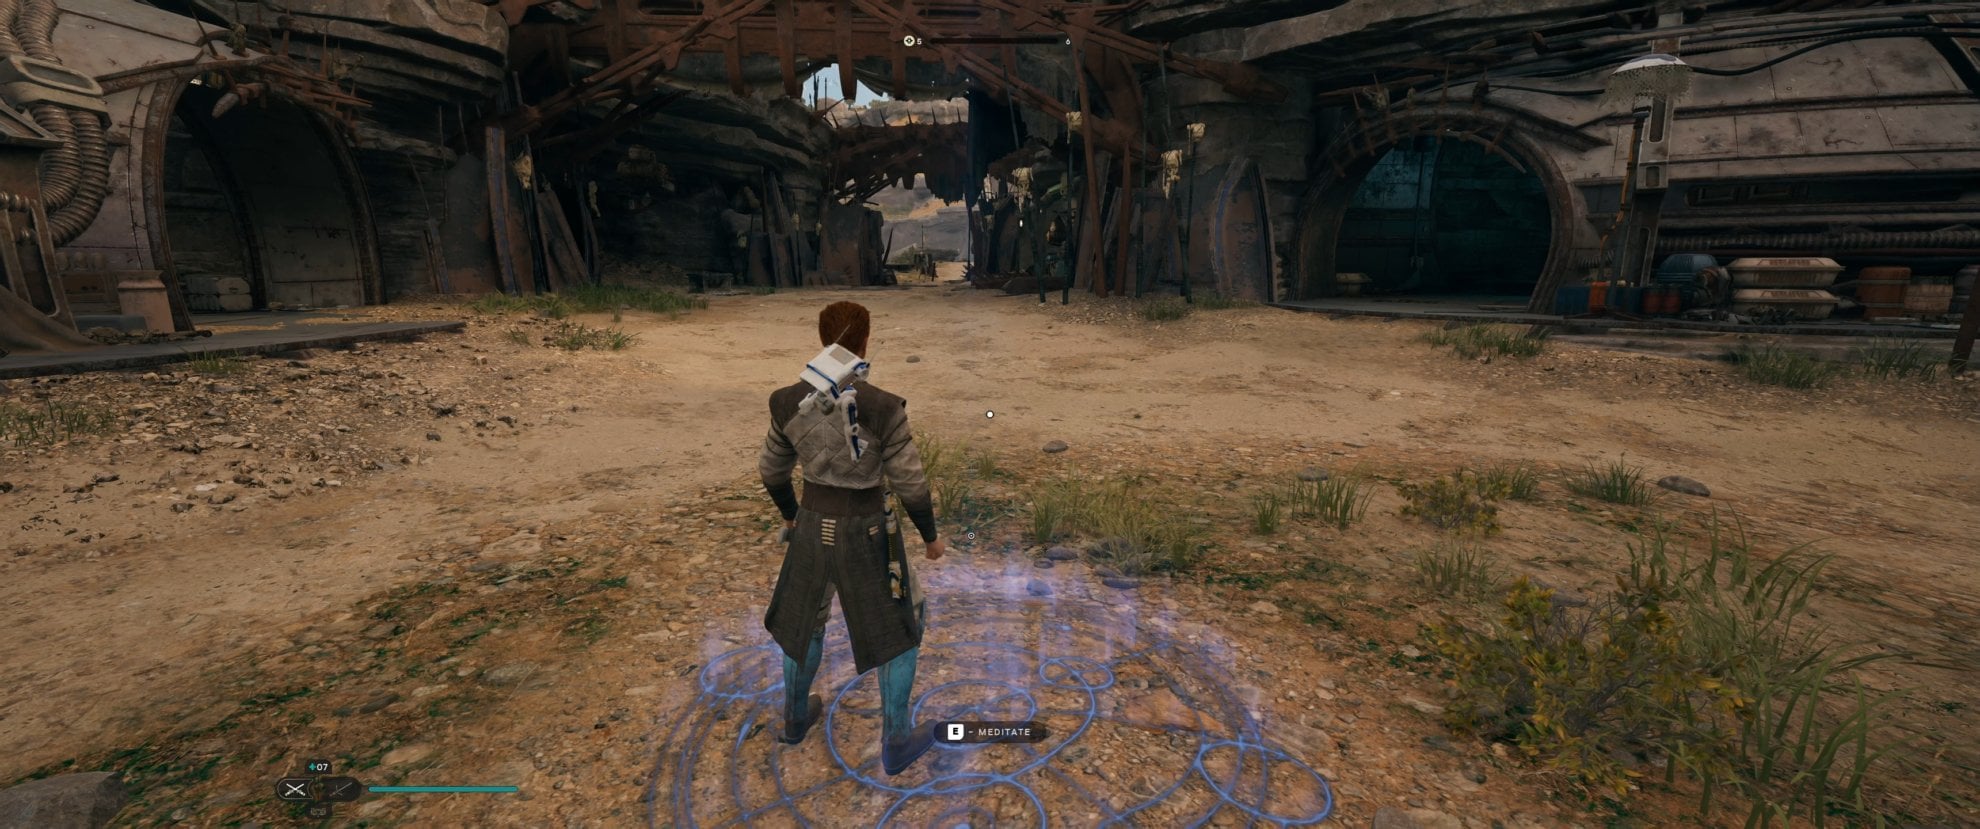
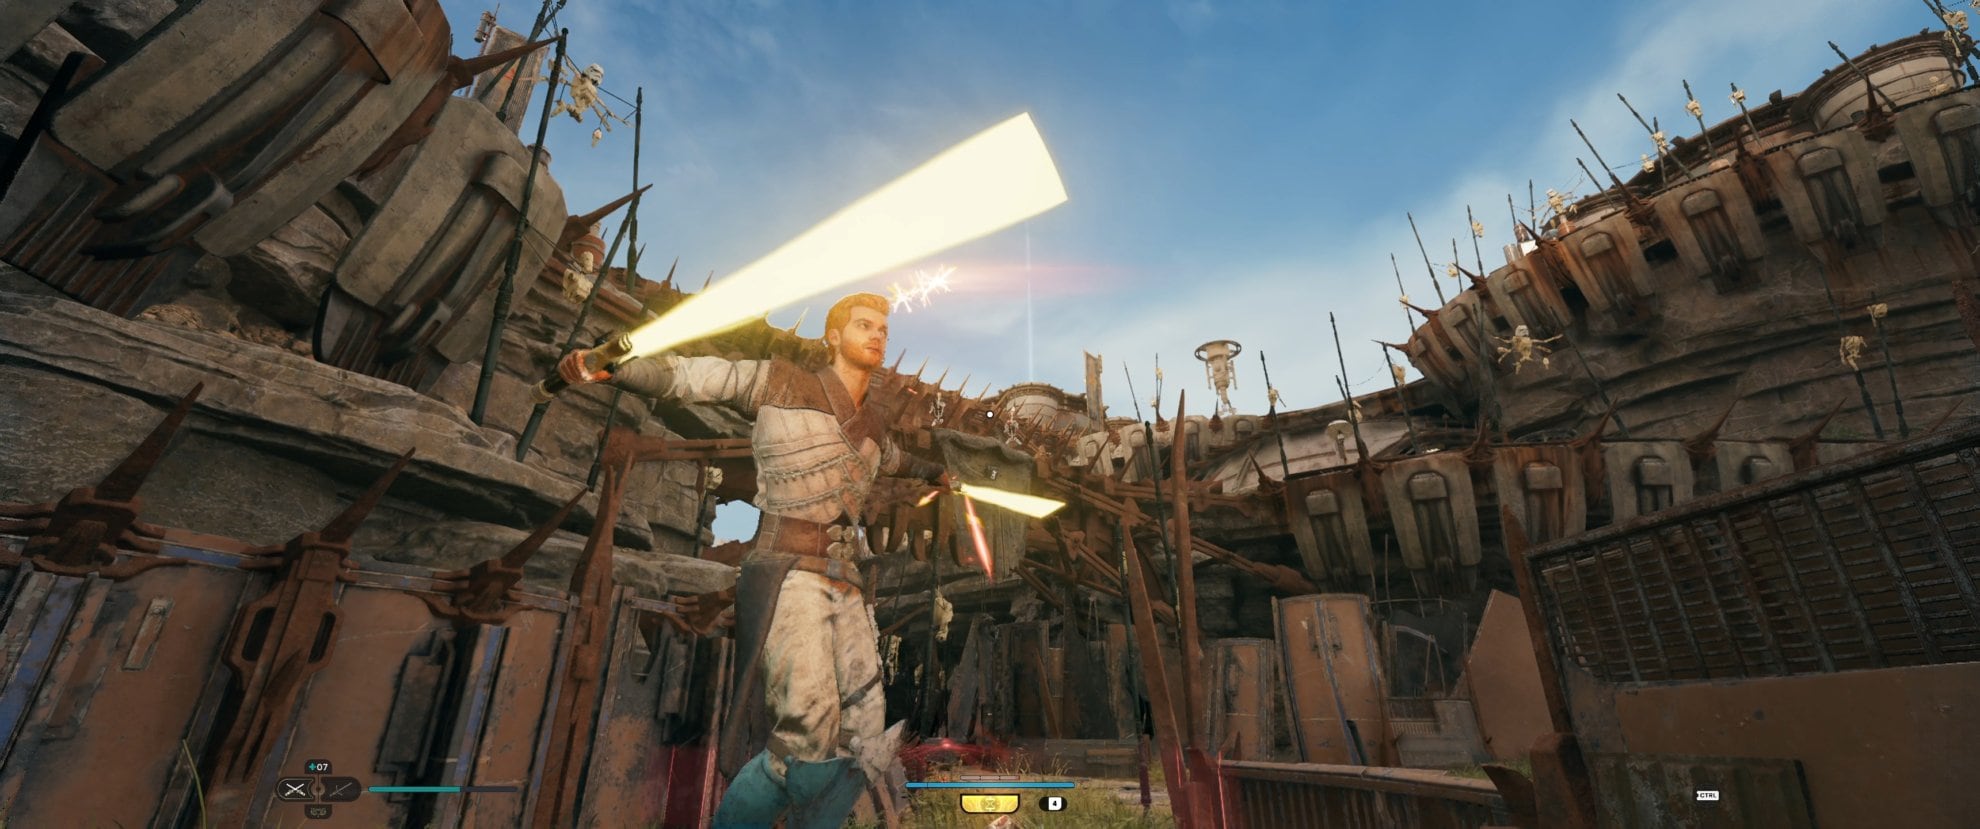
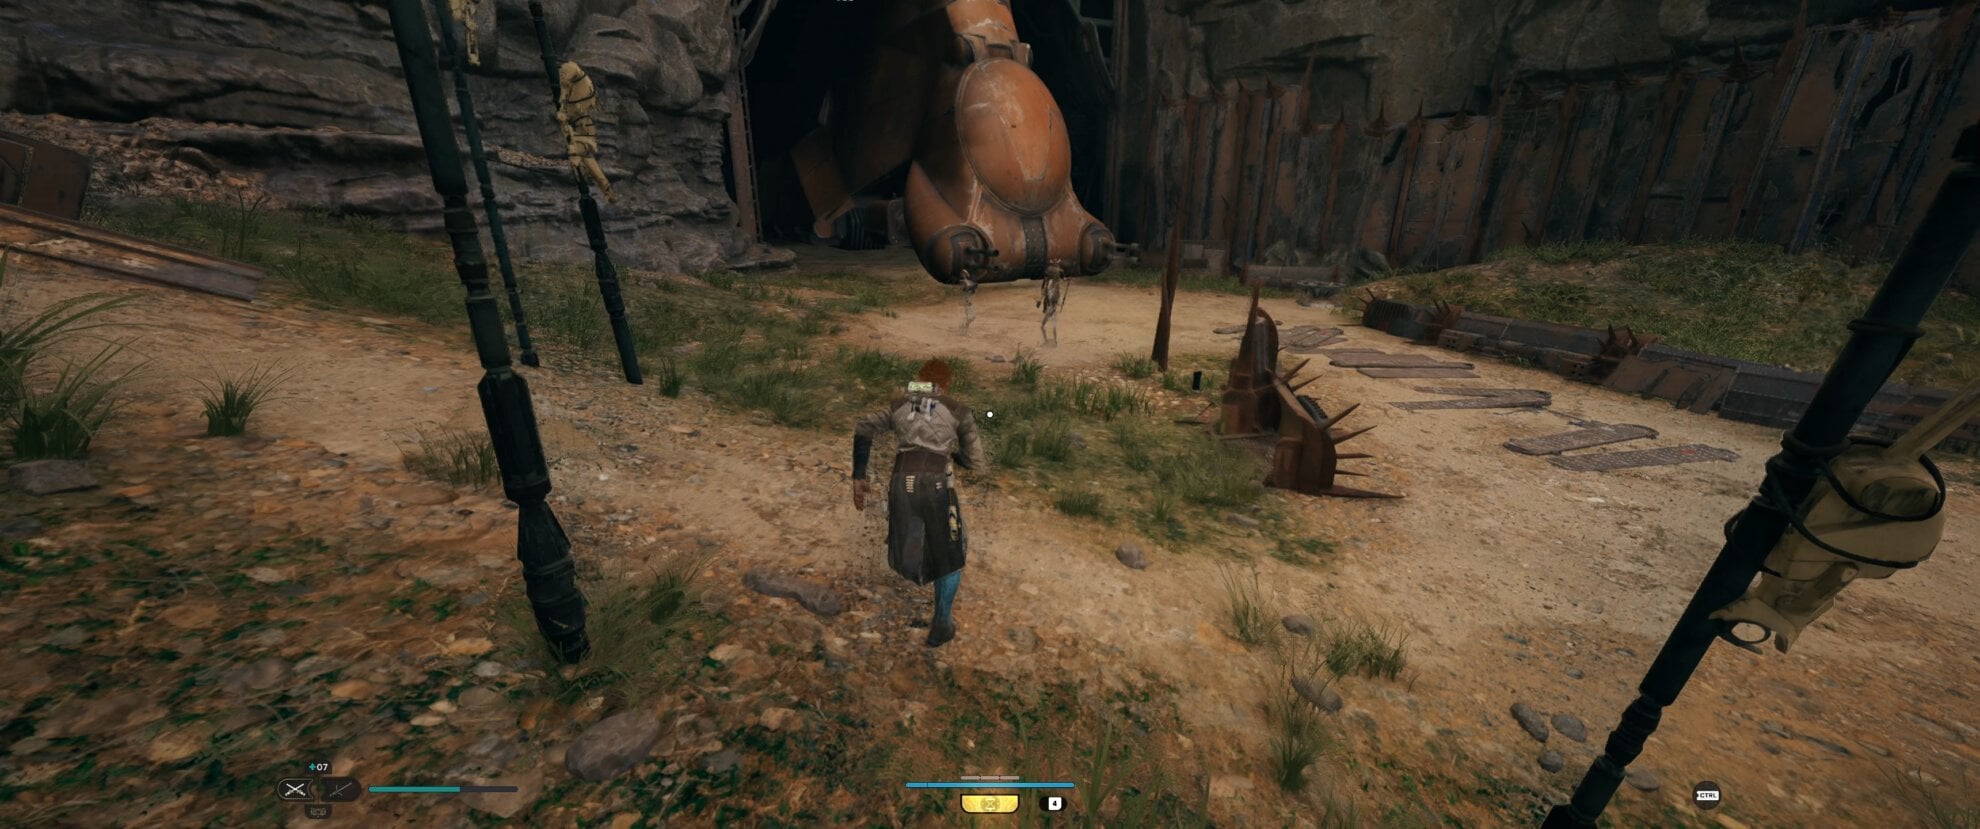
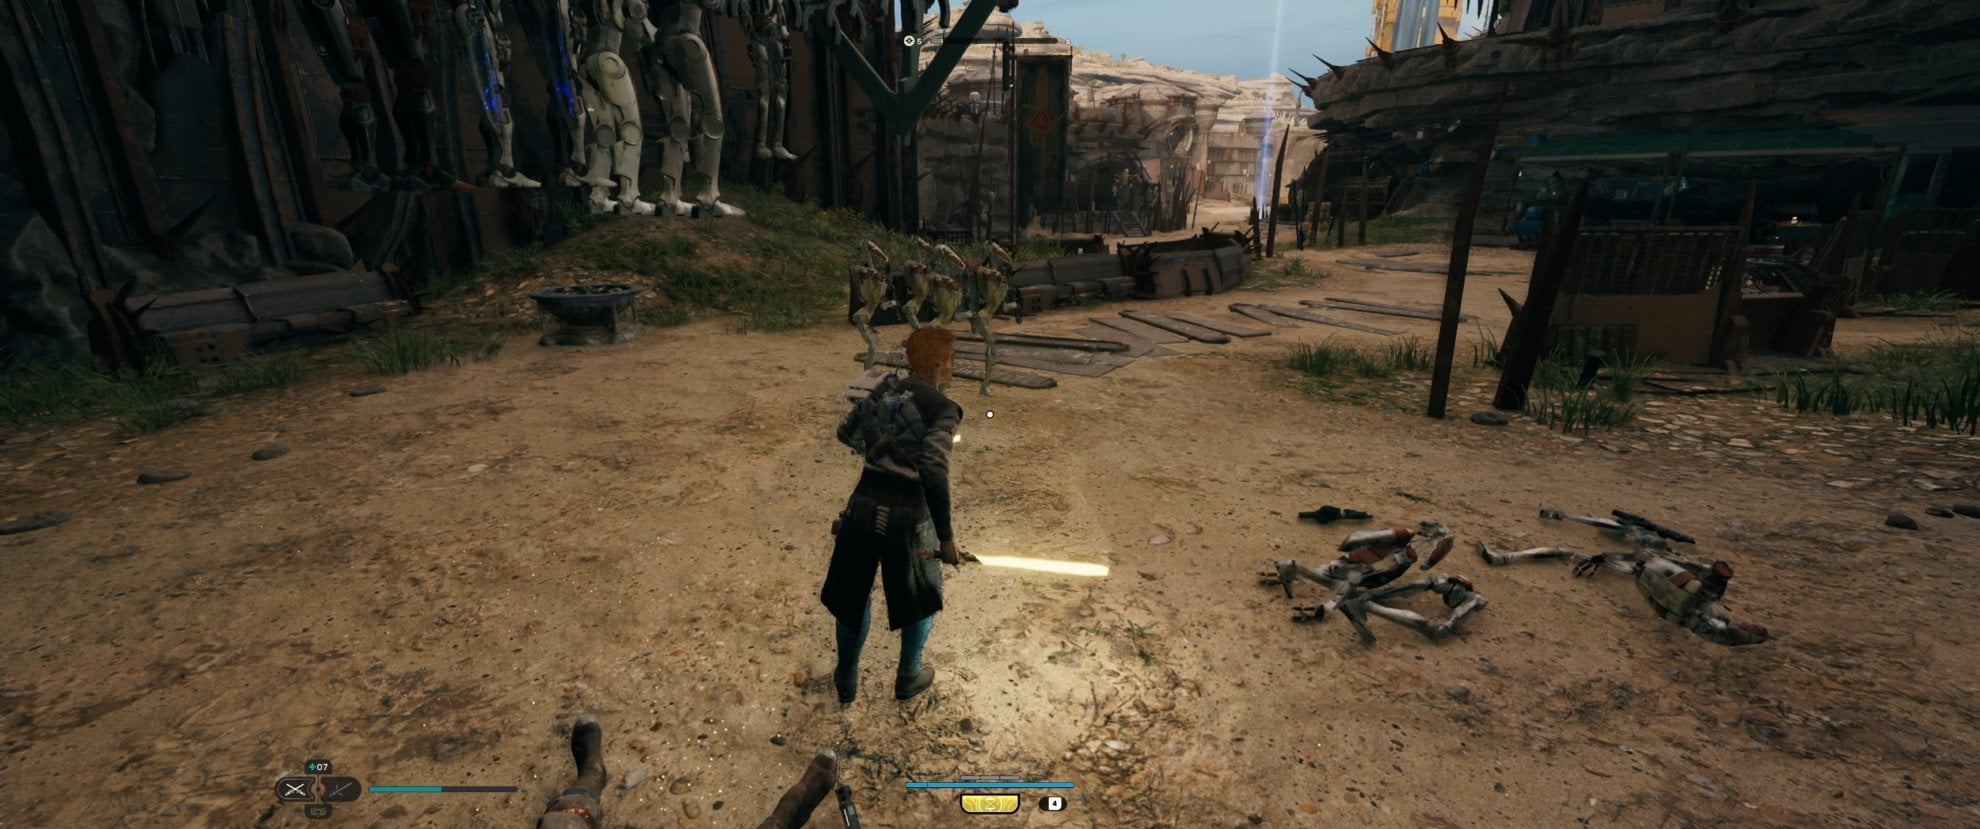
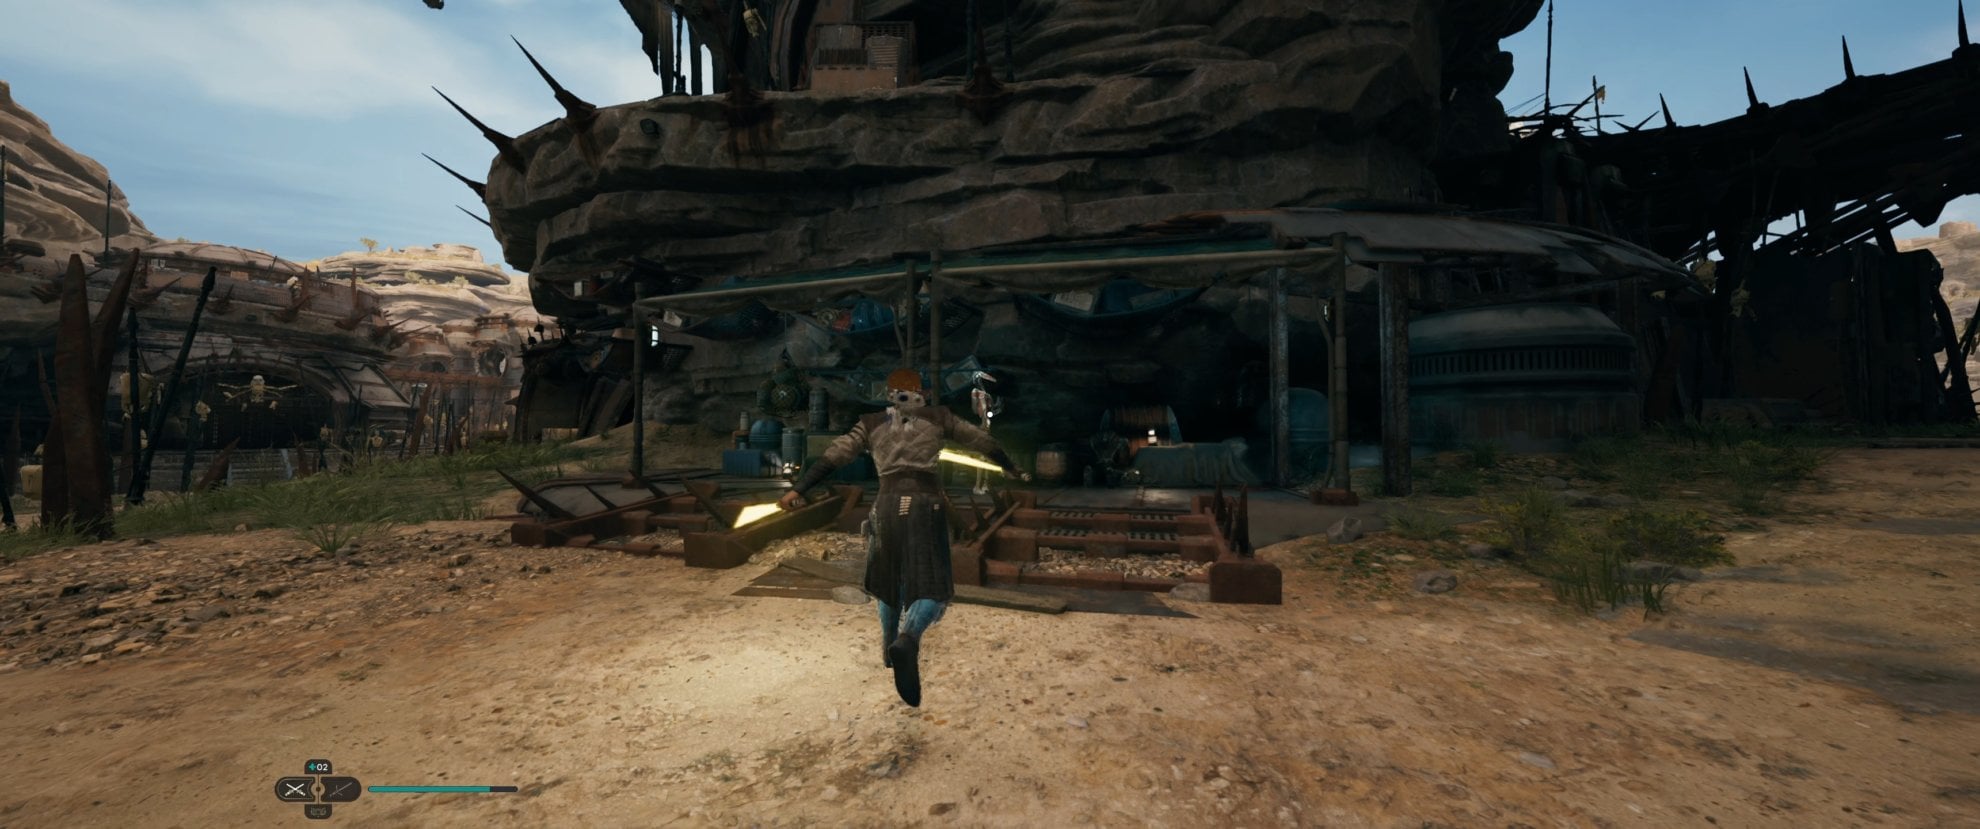
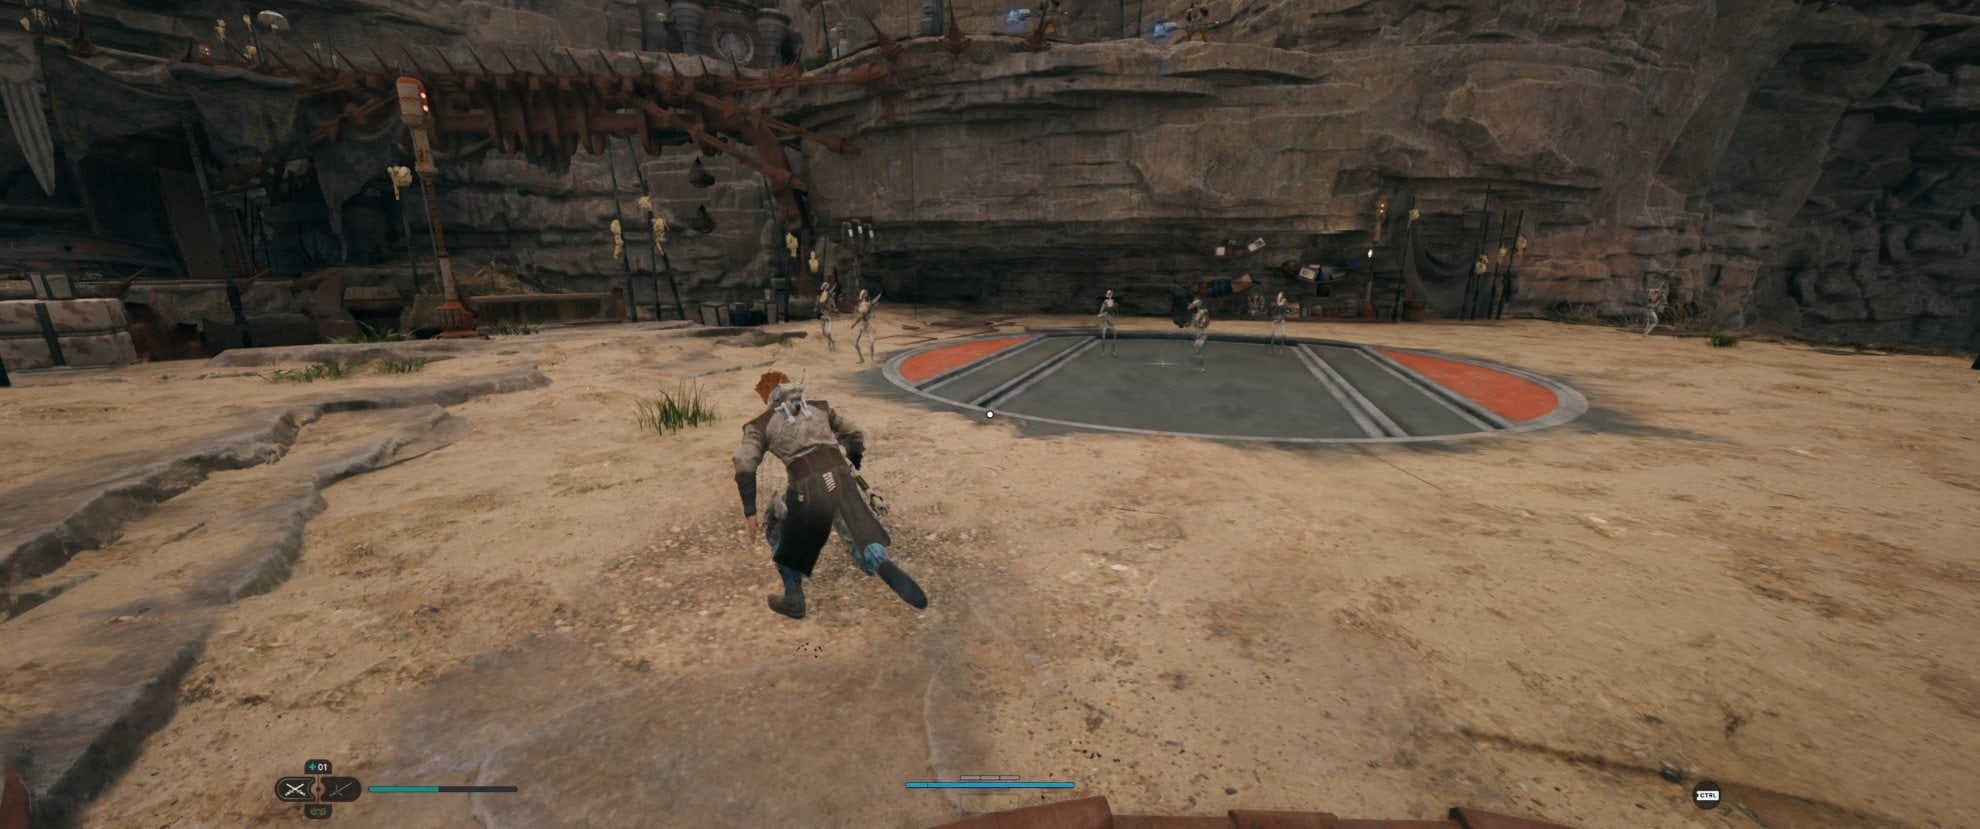
Koboh – Fort Kah’lin
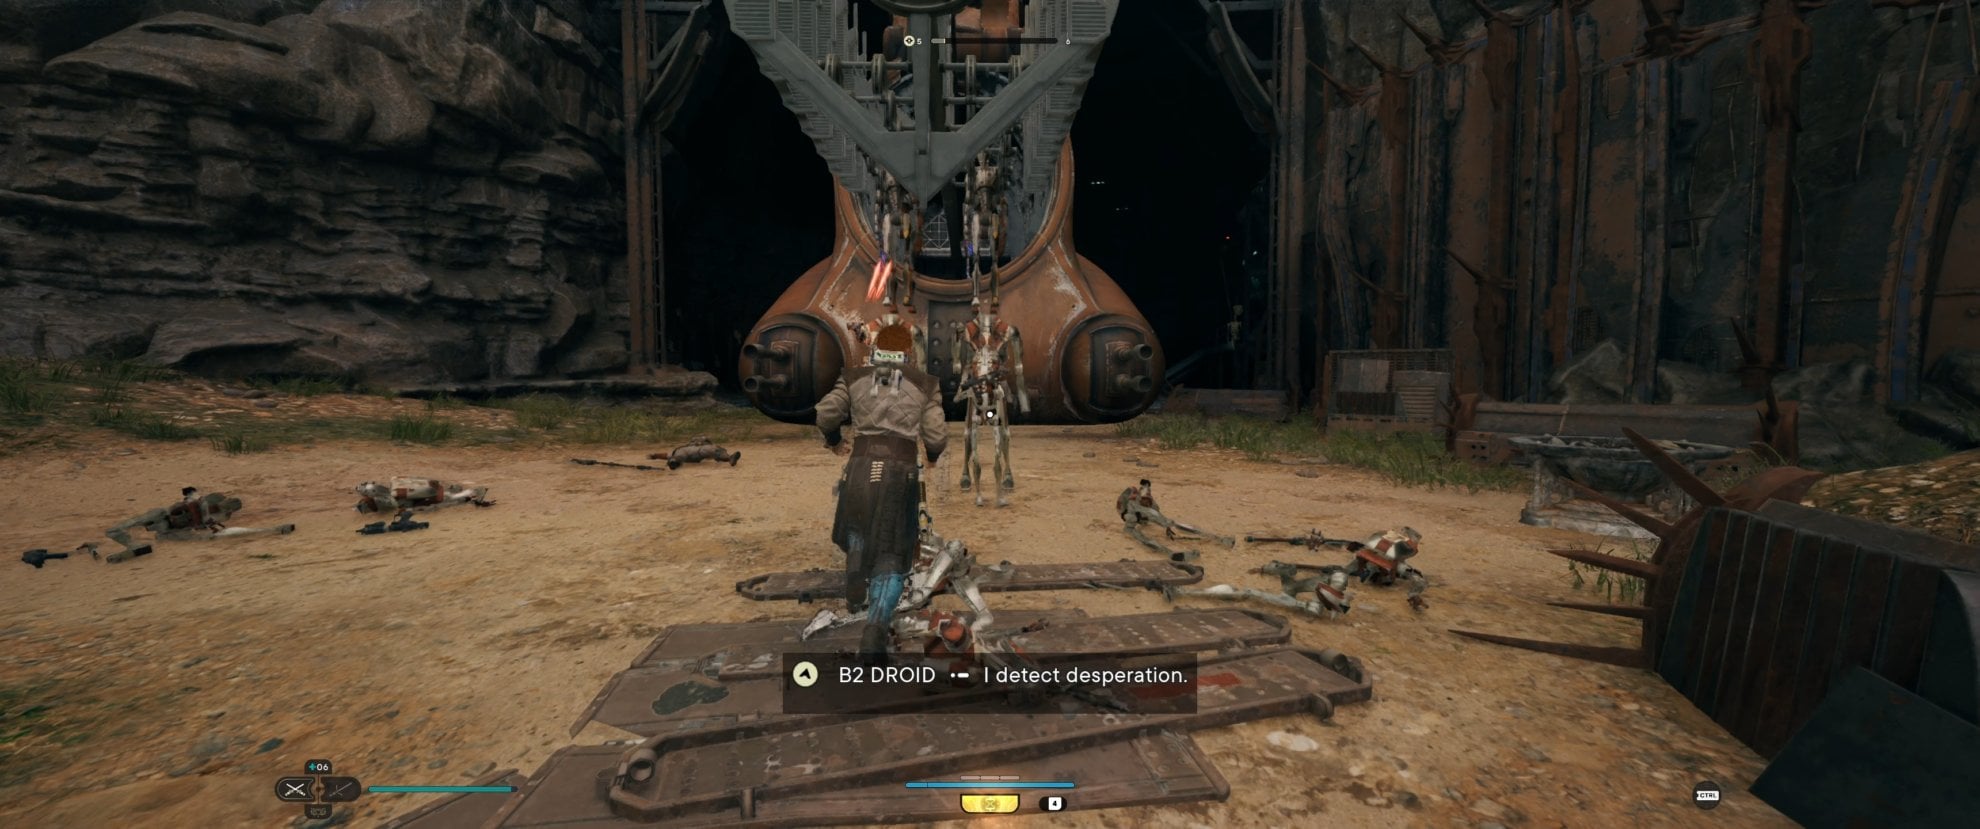
Fort Kah’lin is one of the best farming spots in the game, which is great considering it’s fairly early into the game. While enemies are spread out a bit, it’s a very enemy-dense area which makes it excellent for XP farming. The Route below is very basic, and you can take on the enemies here however you wish as the goal is to clear the area fully.
In addition to the Wisdom Perk, I highly recommend using Shatter as well as Equilibrium. With multiple enemies that have you using Force power regularly, as well as enemies with high block, these perks make it very easy to clean up foes to the point they should take priority over Wisdom if you have limited Perk Slots.
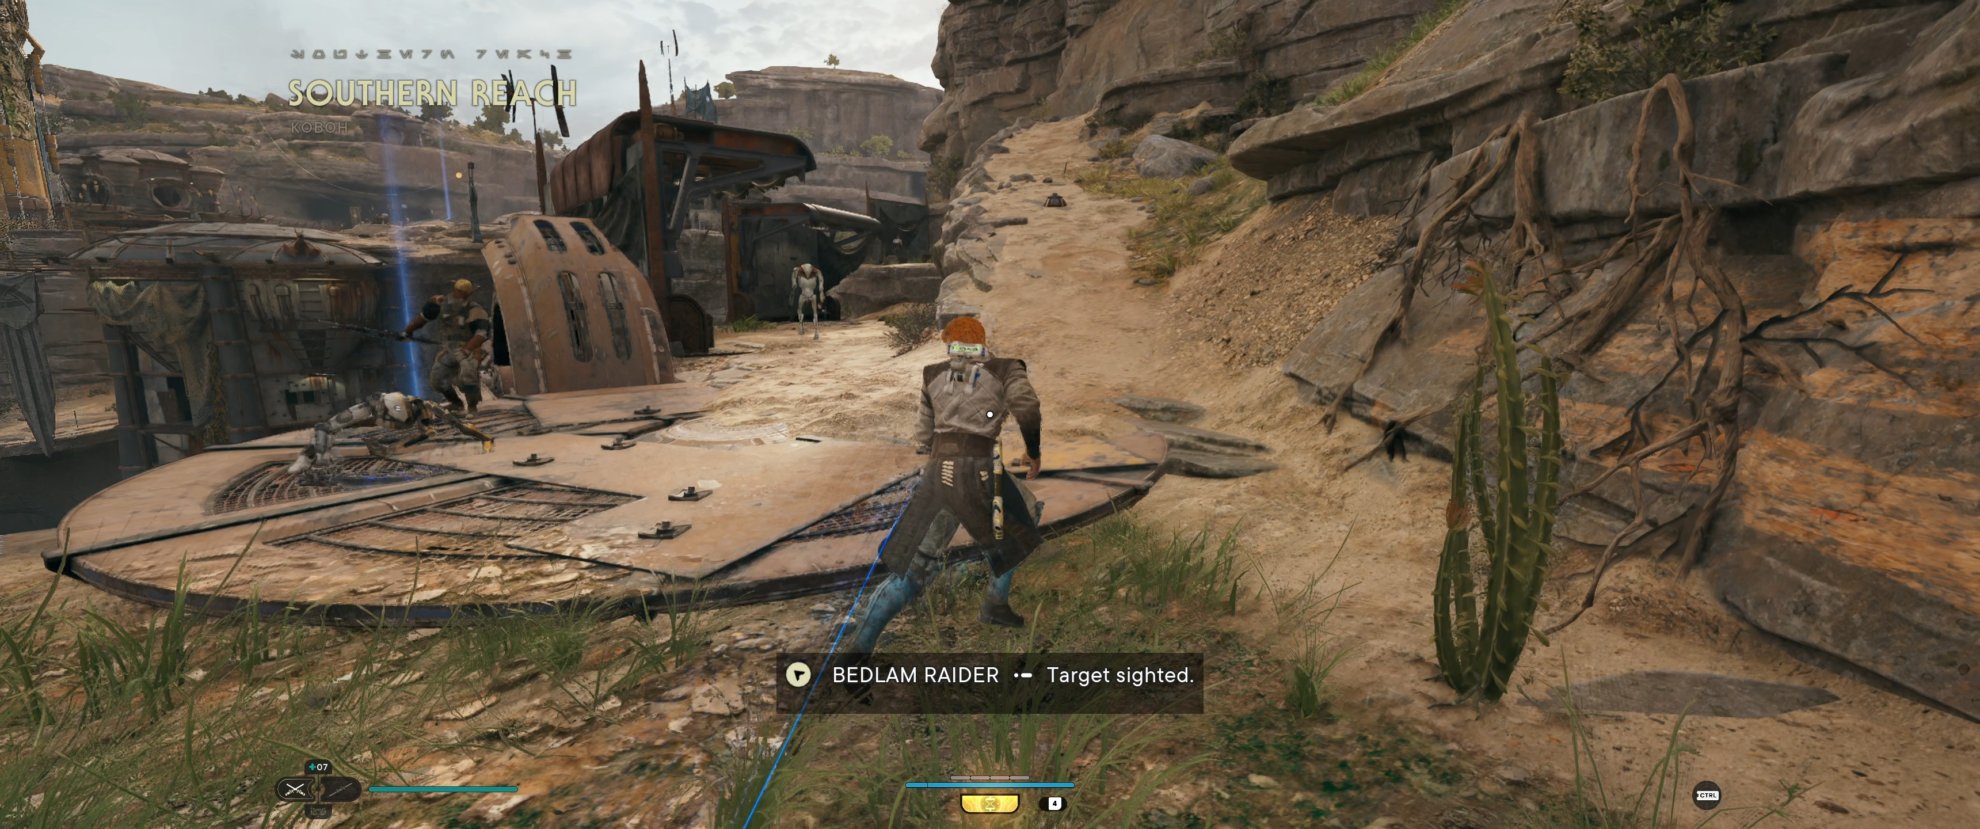
From the Meditation point, I recommend heading in the direction shown below. This will give you two droids to take out before the larger encounter just ahead.
This next encounter starts with Two B2 Drones and a B1 Battle Droid. Use Force Push on any rockets launched by the B2s or grenades from the B1 to dispatch the B2s quickly.
This is because another B1 and a Raider Grunt are on their way over which can make the encounter a little hectic.
There are also two additional B1 Battle Droids above us on the bridge. You can parry them and take them out now, or come back to them later. Either way, head to the right where you’ll see another Raider Grunt with two B1s.
Quickly take out the B1s and try to get the Raider Grunt down as quickly as possible. The Nearby machine will be sending out three waves of droids, in groups of four. Leaving the Grunt alive means contending with him plus these waves of droids.
The first wave of droids consists of four B1 Melee Droids. These are not a threat and you can dispatch them before they even get a chance to attack fairly easily.
The next wave consists of two B1 Battle Droids and two B2 Droids. Quickly take out the B1s and then focus the B2s down one at a time, using Force Push to send rockets back at them.
the final wave here consists of two BX Rifle Droids and two BX Melee Droids. The BX Rifle Droids aren’t too much of a hassle to leave alive, as they often toss grenades which can be used to take out the melee droids faster.
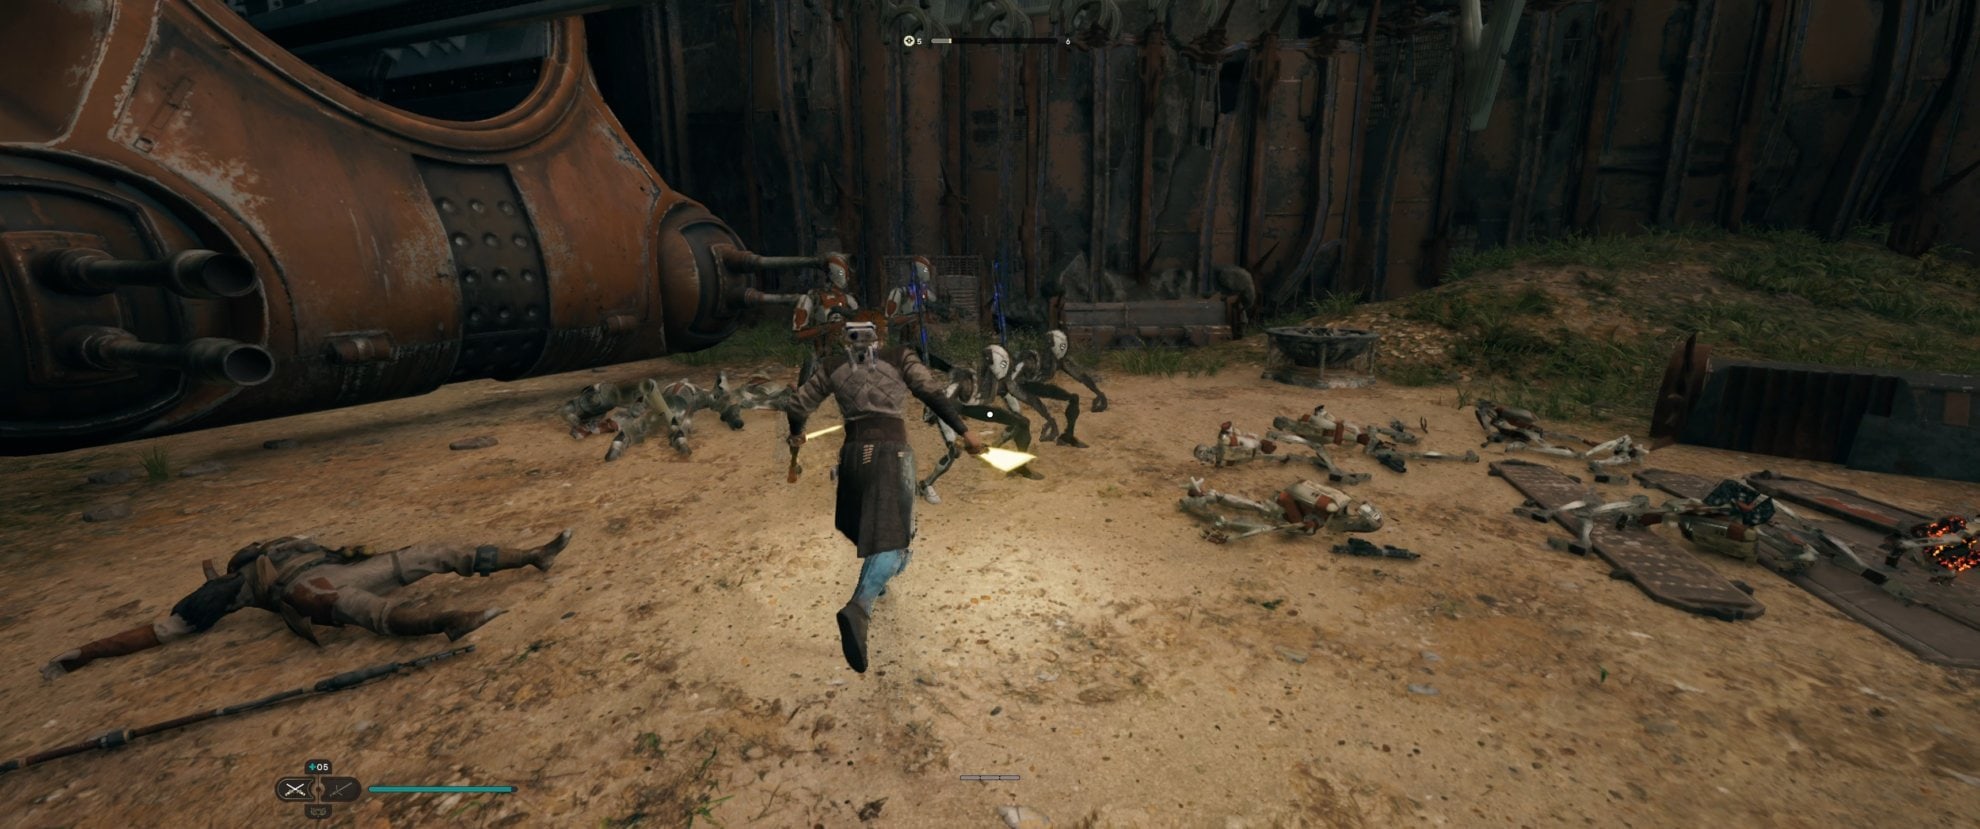
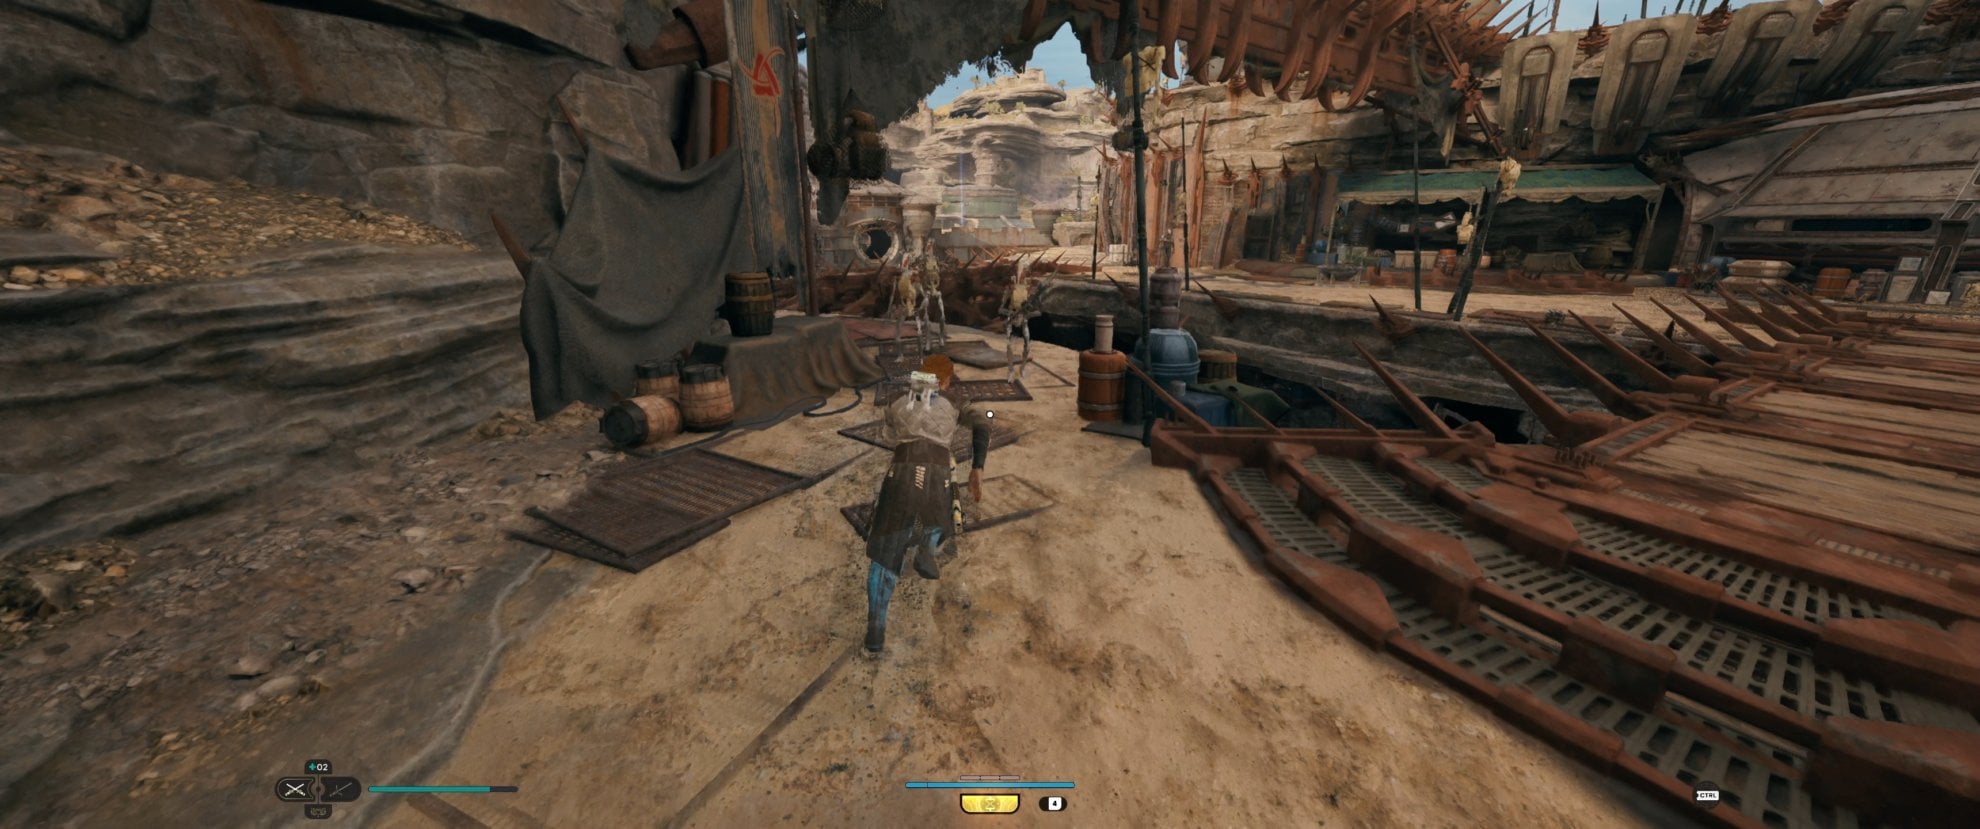
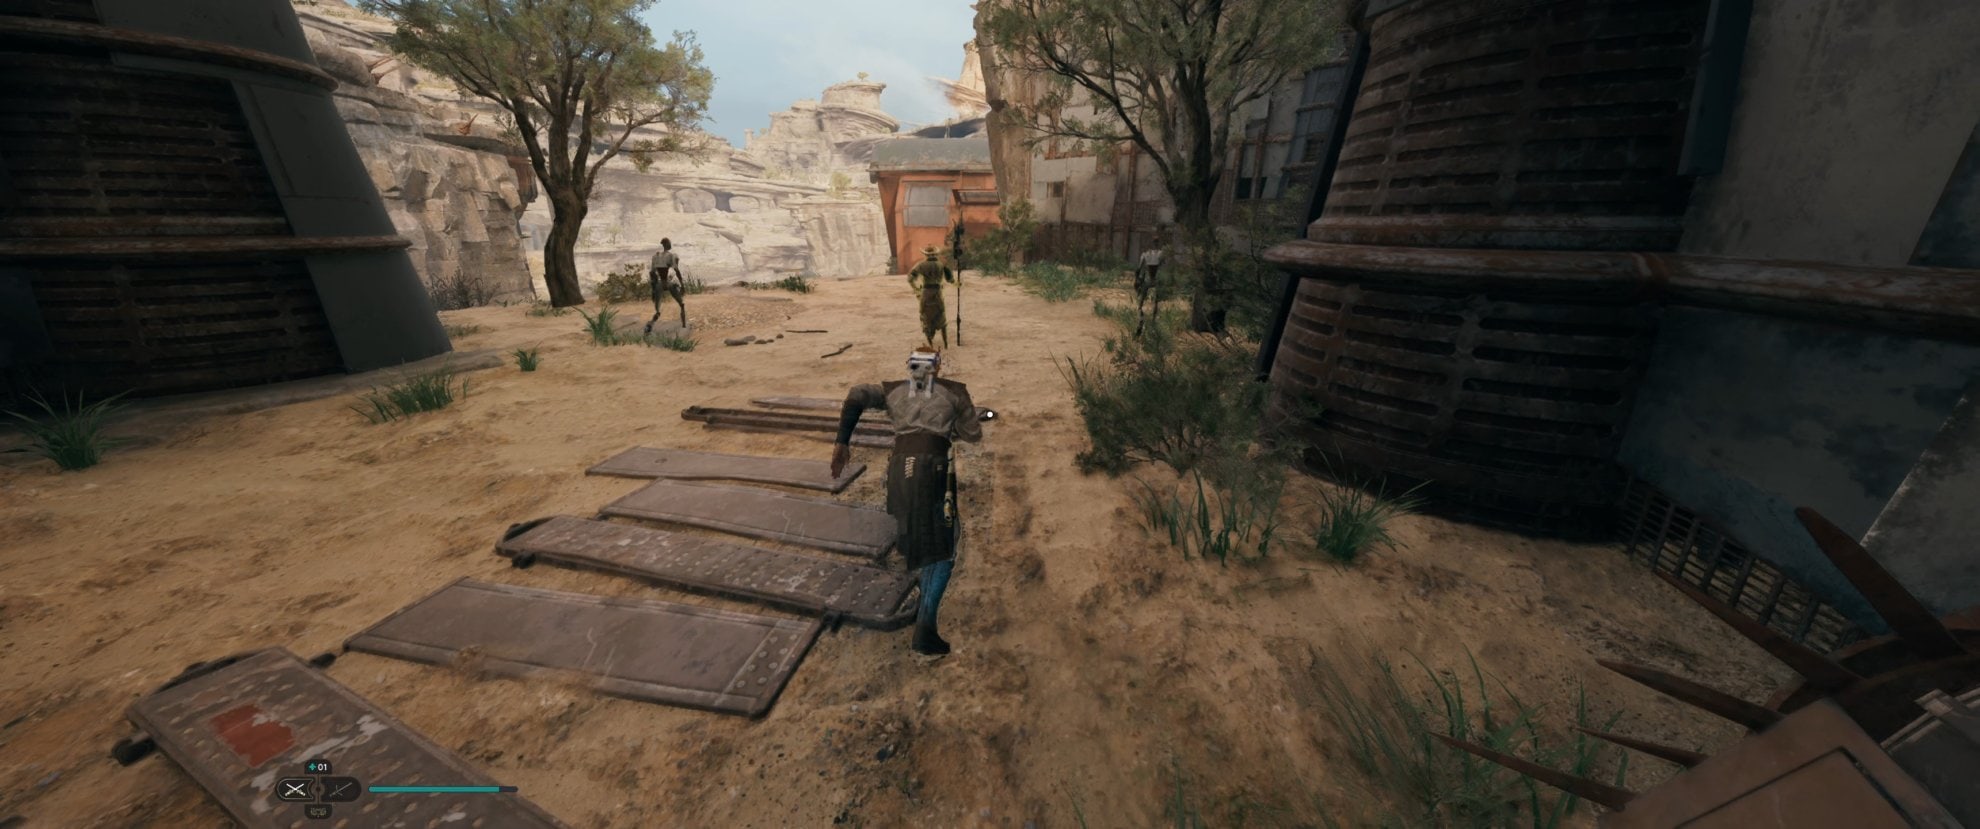
Once all are dispatched, head into the area behind the machine to find another large area. This area has three B1 Battle Droids, a BX Melee Droid, and an Elite Raider.
dispatch the two B1s on the ground quickly followed by the BX. Try to leave the B1 droid on the upper level alive as long as possible, as it’ll frequently throw grenades you cna use to help take out the raider faster.
After this, head up the stairs towards the chest and dispatch the B2 sitting here. You’ll be able to take him out before he can even attack.
Head back outside and dispatch the B1 sitting under the canvas here before heading up the ramp to the right and squeezing through the door at the top.
Up here follow the path to the left and you’ll come to a group of three B1 Melee Droids, with a BX Rifle Droid on the other side of the gap also shooting at you. Quickly dispatch the B1s and head over and take out the BX.
Cross back over to where the B1s were and you’ll see a B1 Battle Droid, a B2 Droid, and another Raider here. Focus the raider down before he aggros on to you and you’ll likely take out the B1 by accident. Finish off the B2 and move back across the bridge.
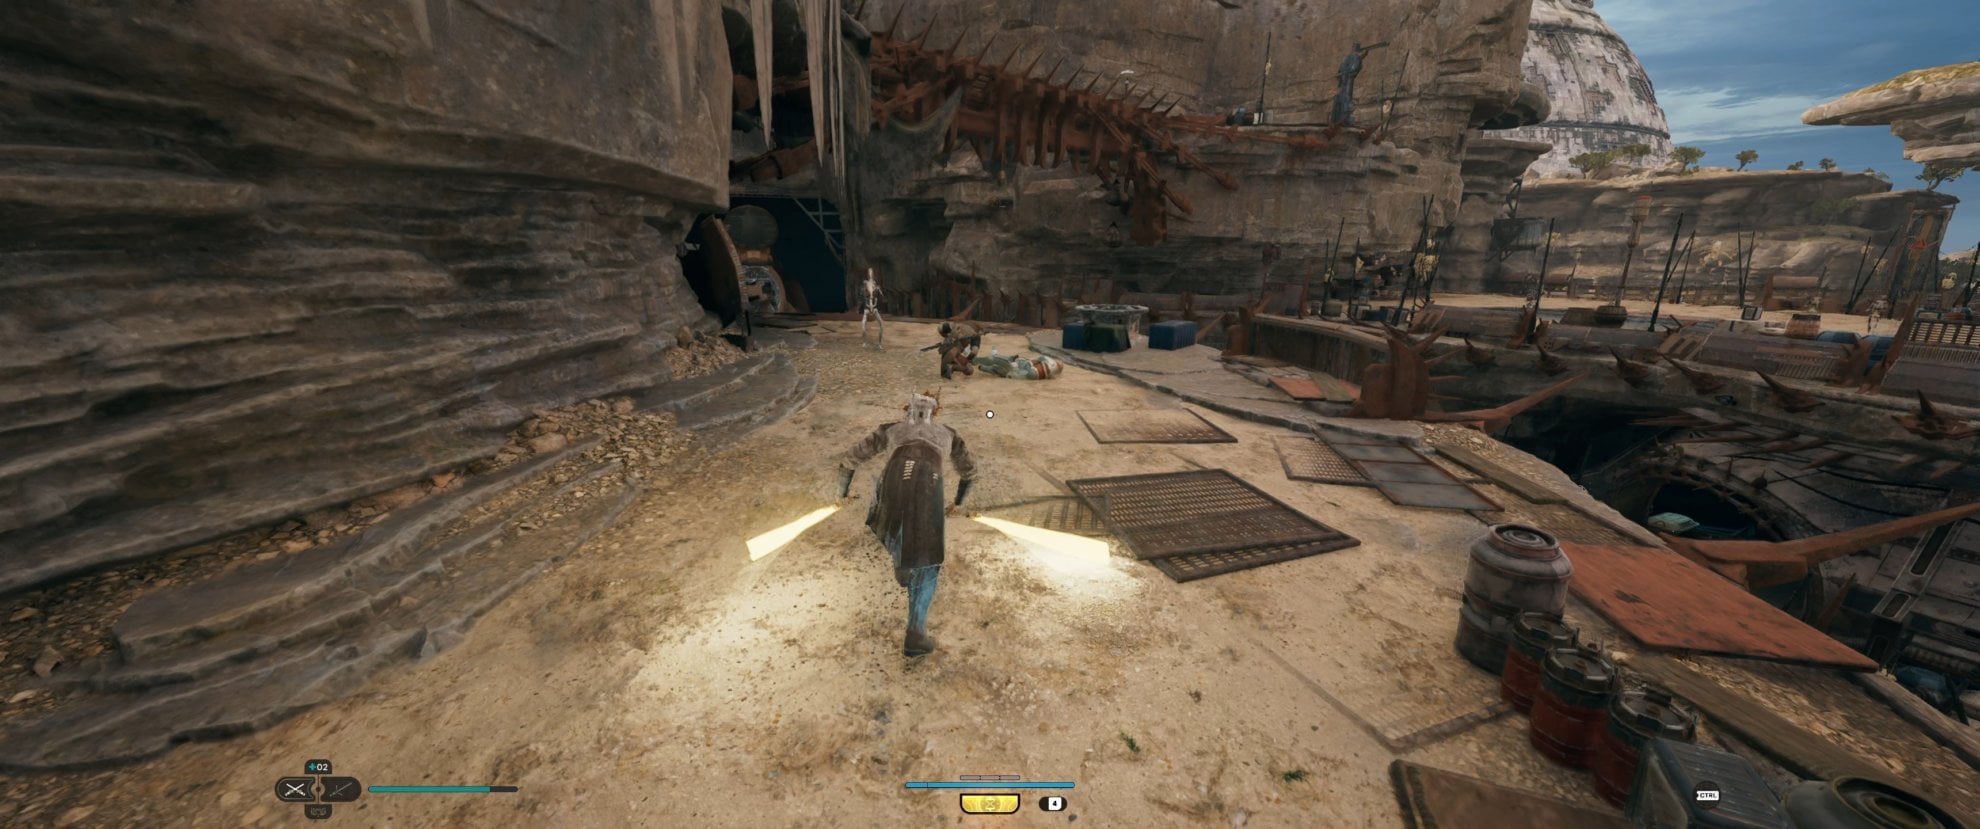
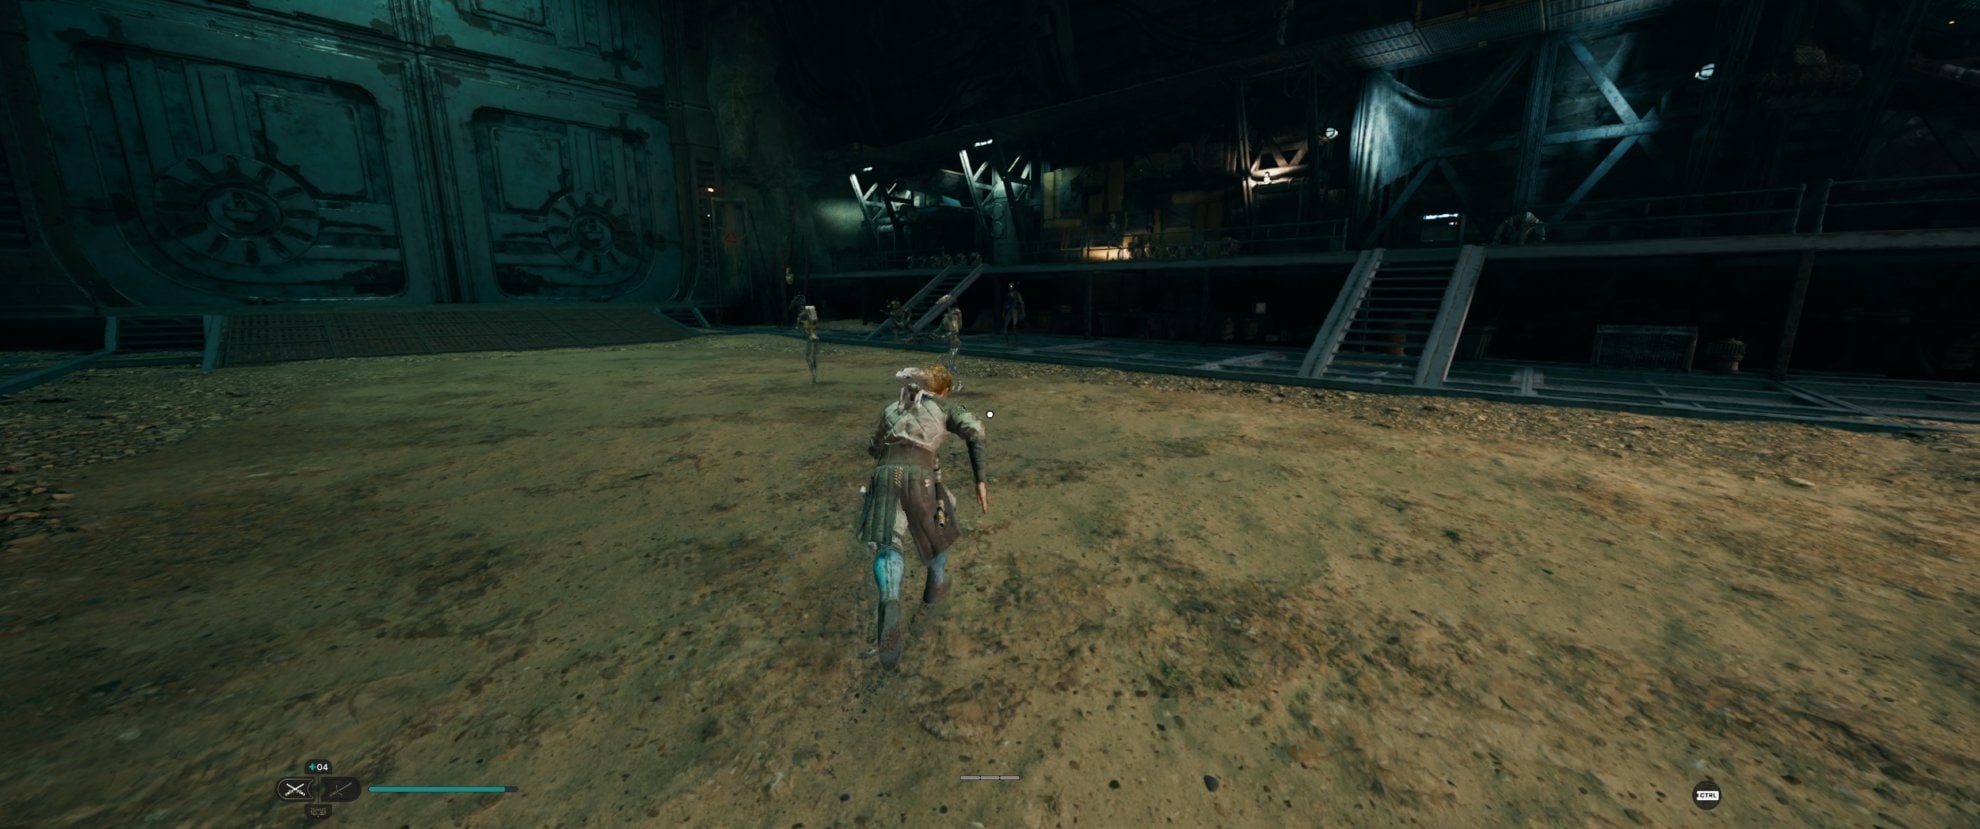
Jump down and there will be a BX Melee Droid and another B2 here. Try to get a stealth attack on the BX to dispatch it quickly. Once both are down, head around the corner to the right, past the ascension hook area.
This area has a Raider Grunt and to BX Rifle Droids. Focus the Raider down quickly and then finish off the BXs.
There will also be some B1s shooting at you from above as well. Parry them if you can, but we’re heading up there next anyways.
Head back to the Ascension Hook point and hook up. There will be three B1 Battle Droids here if you didn’t take them out earlier. Dispatch them before moving directly forward and making a left.
After crossing this second bridge here, you’ll see a B2 against the wall, ignore him and focus on the Raider Grunt tucked into the corner first. the B2 is a much easier target, but the grunt can be annoying if you try to focus on the B2 instead.

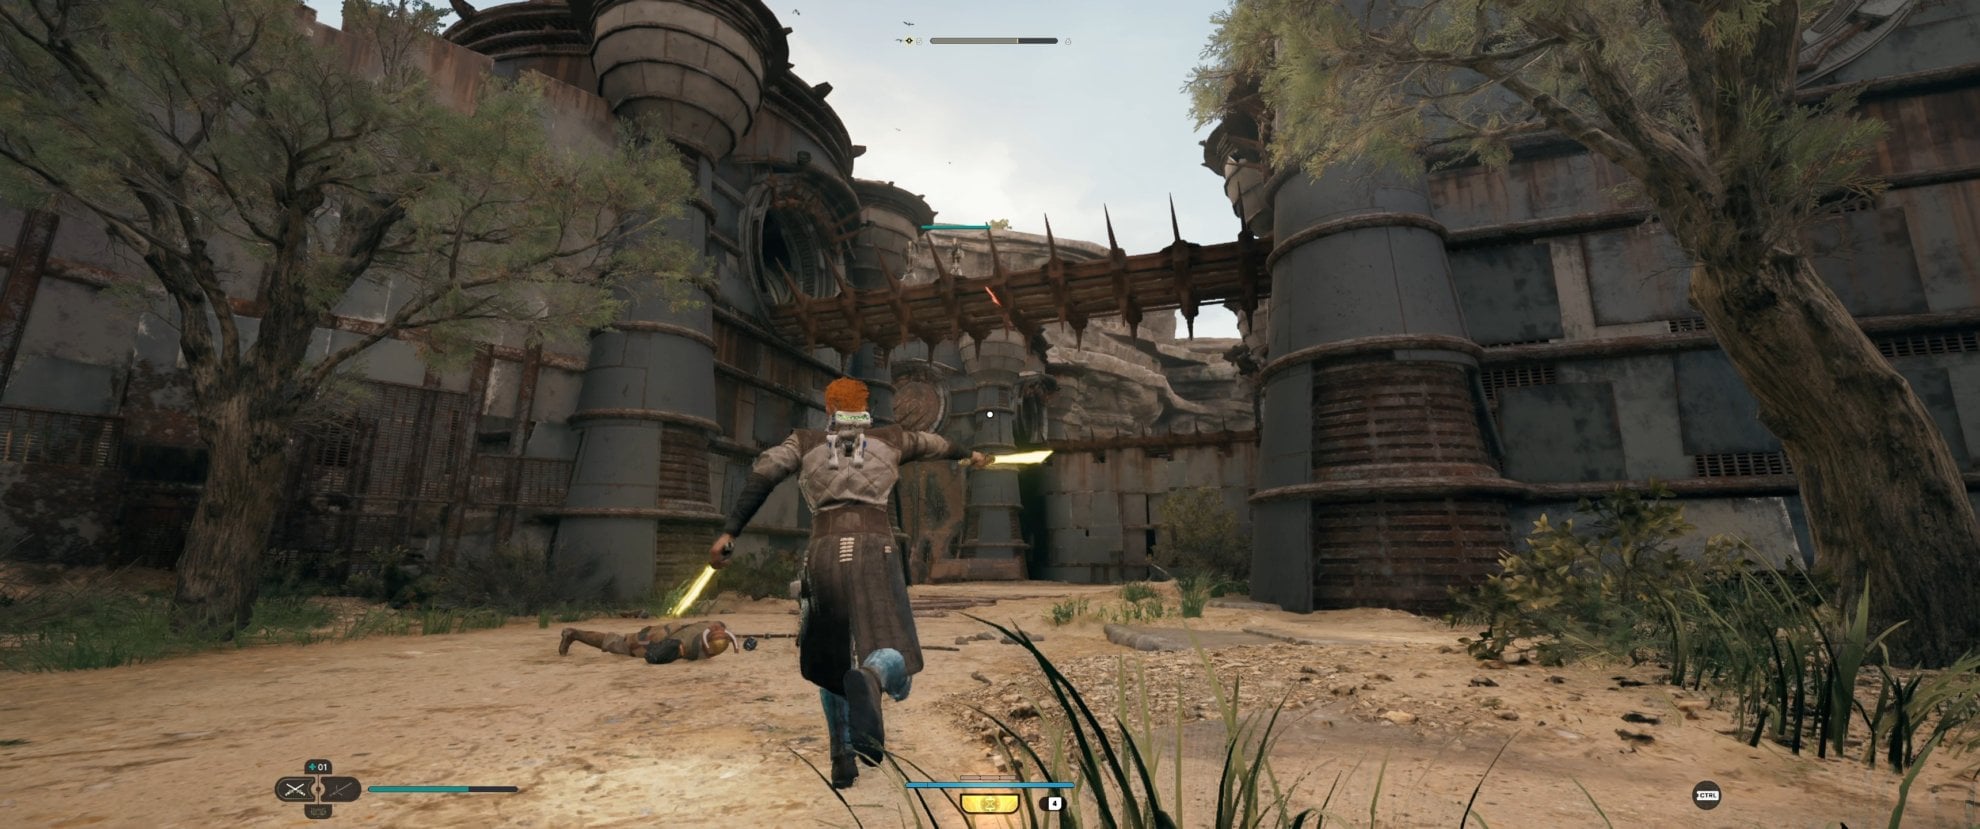
After this follow the bridges here to the second to last encounter here. This is a mix of B1 Rifle and Melee Droids, so they go down pretty easily.
It’s very important that you don’t step into the middle of the metal platform here, as it will open and drops you along with the droids into a pit with an optional boss.
Should you wish to fight this boss, you can check out our Spawn of Oggdo Boss Fight Guide. This details the attacks of the creature and the fancy loot you get for defeating him.
After taking out the Droids, use Force Pull to pull down one of the Raider Smashers on the cliff above. This keeps you from having to fight both of them at the same time and risking death to these rather strong foes.
After taking out the first, take the rope up top to fight the other. Once dispatched, you can head back to the Meditation Point. All said and done, this can take up to 10 minutes, depending on your selected difficulty, and nets around 75% of a level with the Wisdom perk. Without it, it’s closer to around 50%.
If you are new to the game, I highly recommend you also read our Jedi Survivor Starter Guide and Jedi Survivor Combat Guide. You can find everything we have in the Jedi Survivor Guides Master List here on VULKK.com. Enjoy!


