
This guide will help you start and complete the Rumor “Find Missing Prospectors” in Star Wars Jedi Survivor, as well as fully explore the Sodden Grotto Mine on Koboh and get all Collectibles, including defeating a very challenging boss at the end!
Table of contents
How to start the Rumor “Find Missing Prospectors”
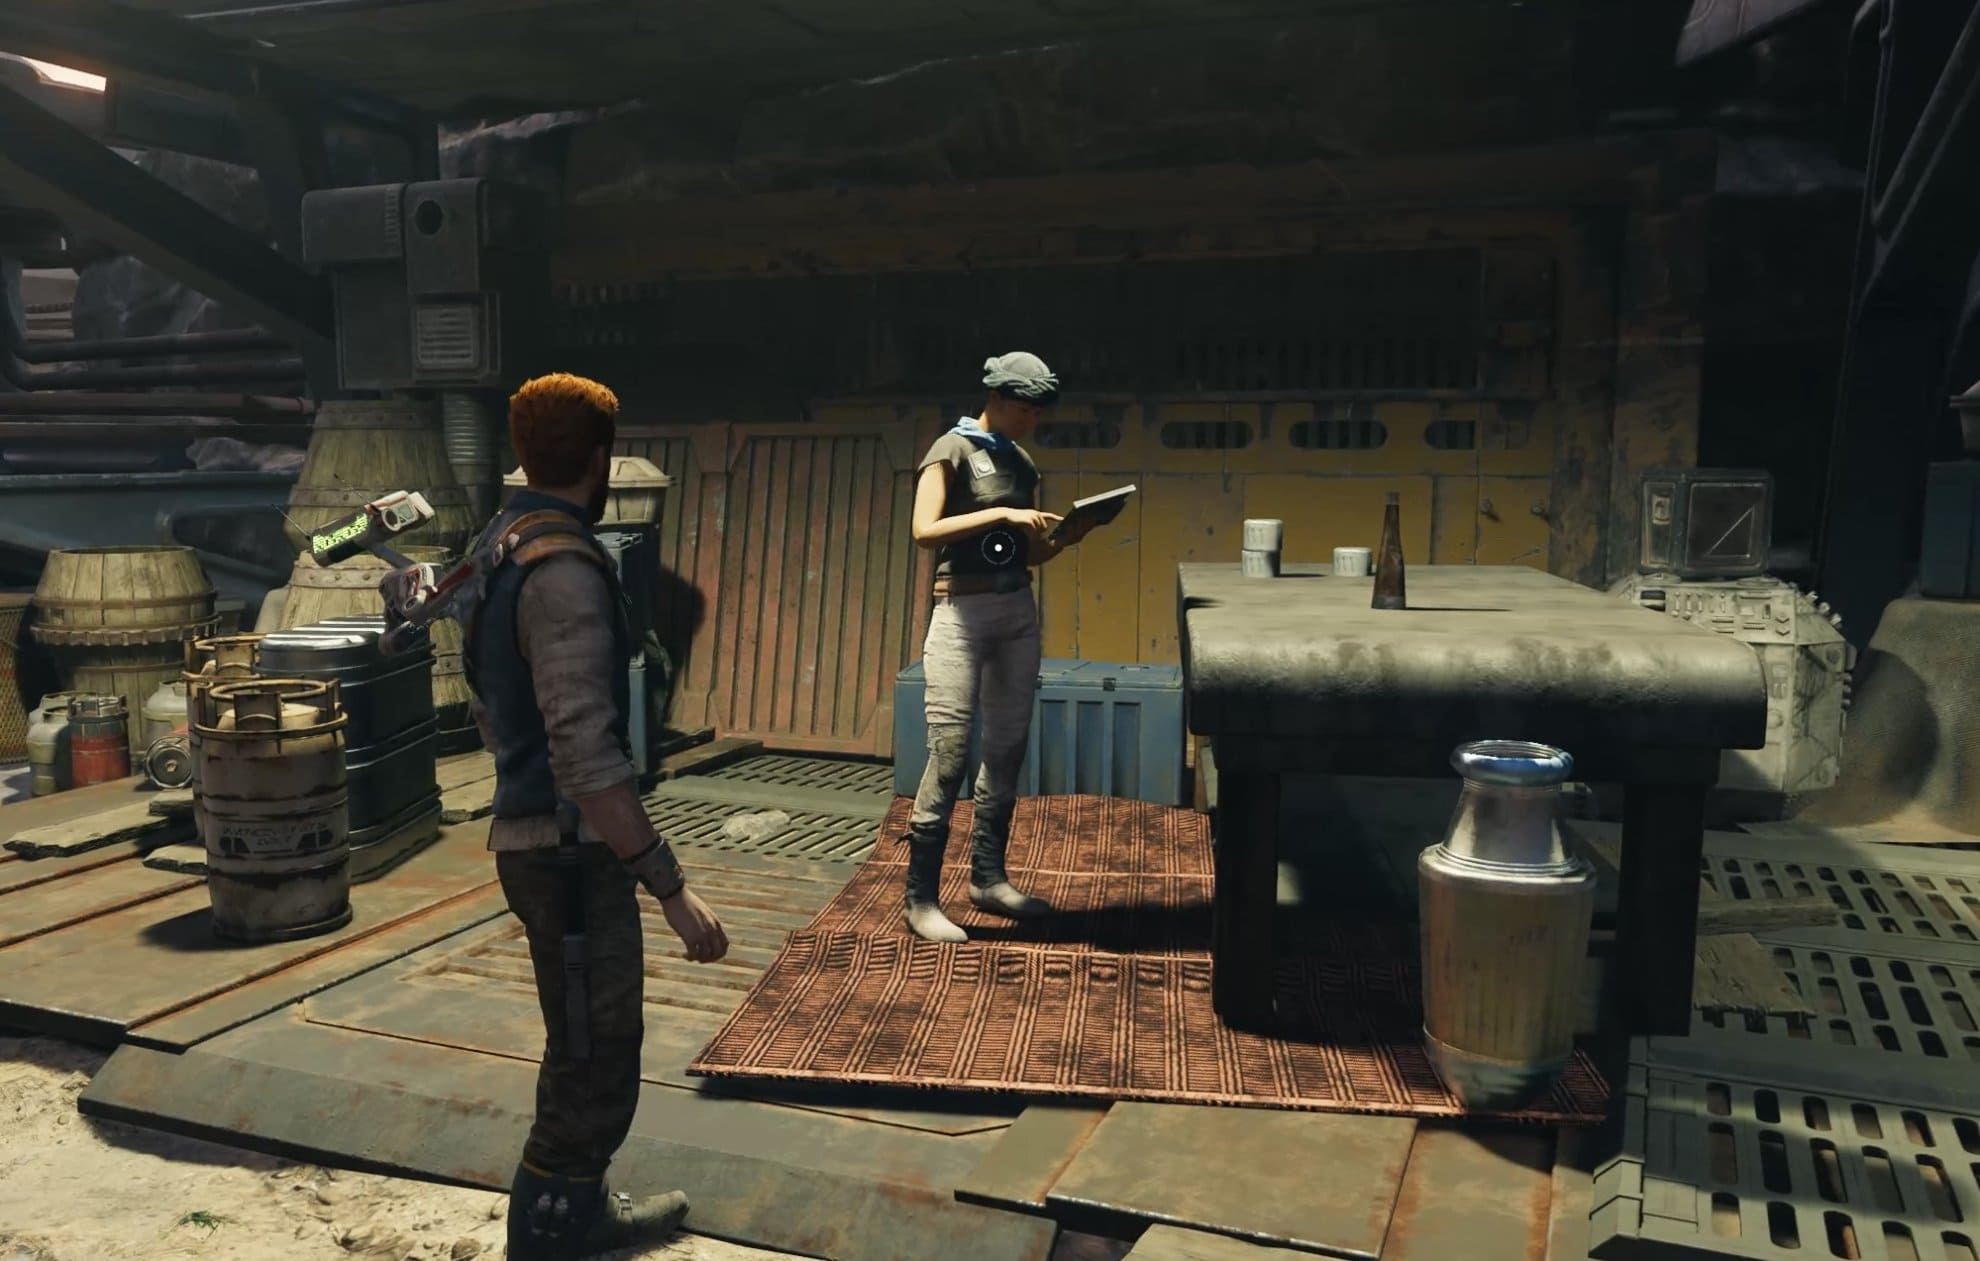
Optional or side missions in Star Wars Jedi Survivor are called “Rumors”. And there are no actual mission titles in the game, all you get is the objective. In the case of this Rumor mission, it’s: “Find Missing Prospectors”.
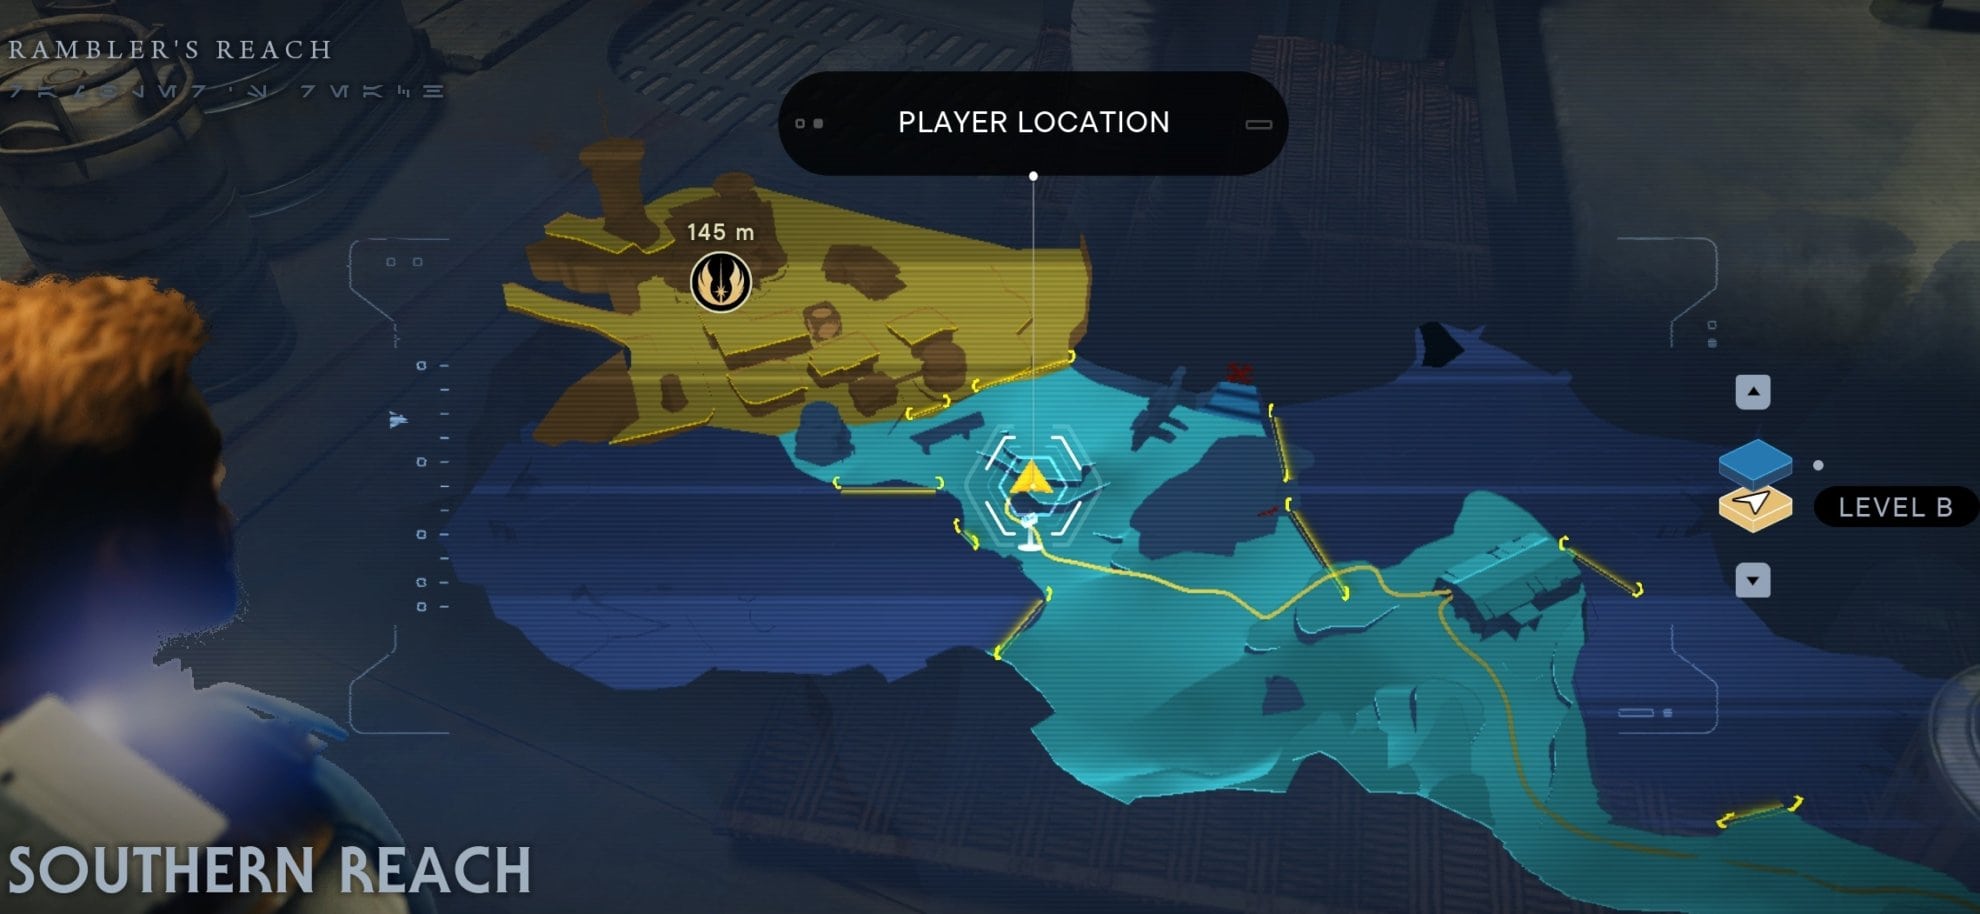
To start this Rumor mission, you have to go to the outskirts of Koboh’s Southern Reach area and talk to the Prospector NPC. She is located next to the Rambler’s Reach Outpost Meditation Point.
If you skip this NPC and enter the mine directly, you can talk to her after you kill the Rancor and find the missing prospectors. The dialogue will be slightly different:
The NPC will ask you for a favor. After you tell her you have already been down there and cleared the mine, she will be surprised for a moment, but then she will quickly slip right into her standard dialogue lines that you would hear if you do things the proper intended way.
How to enter the Mine
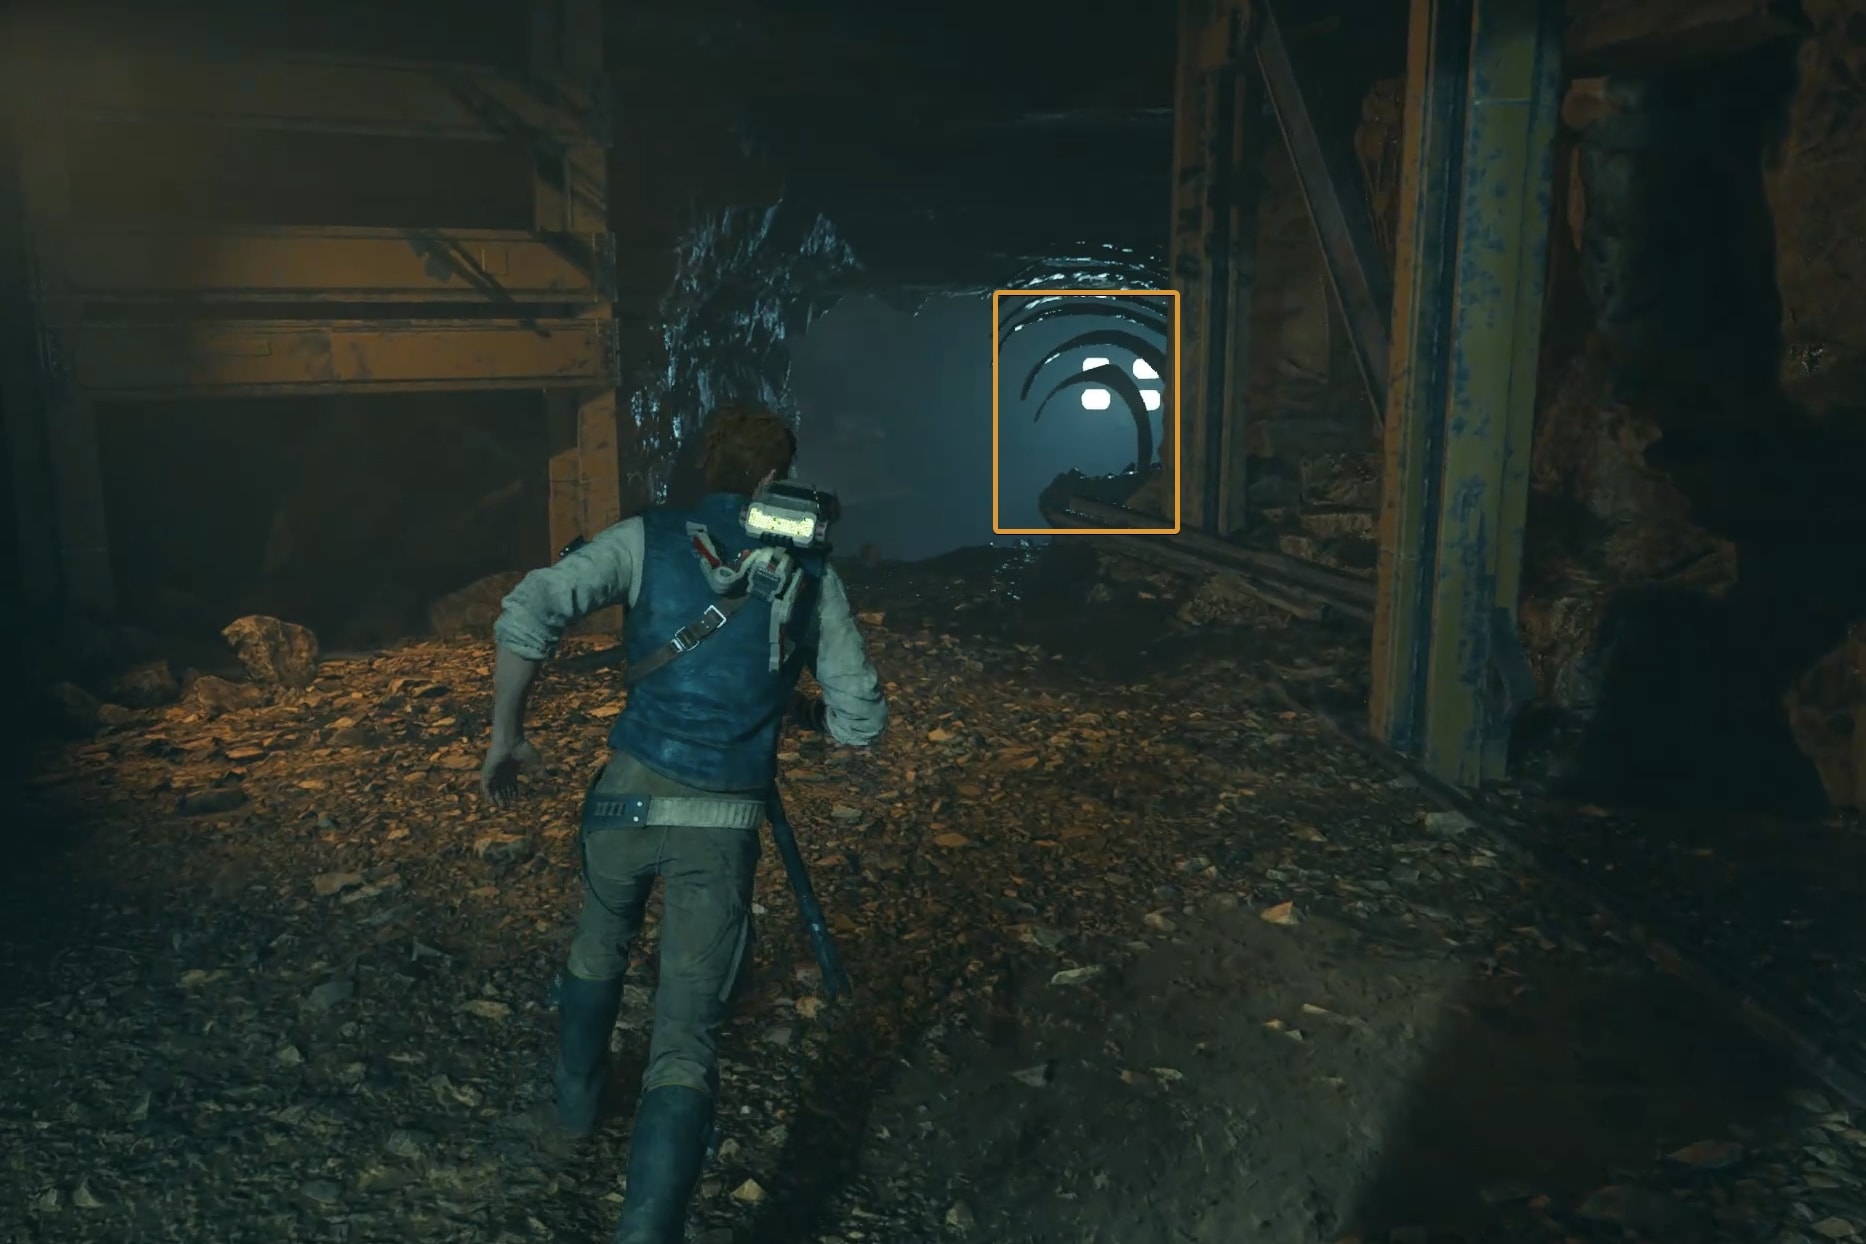
After you finish the talk with the Prospector NPC, you have to enter the old mine. Turn around from the NPC, head in the direction of the Meditation Point and run toward the high wall on the other side of the area.
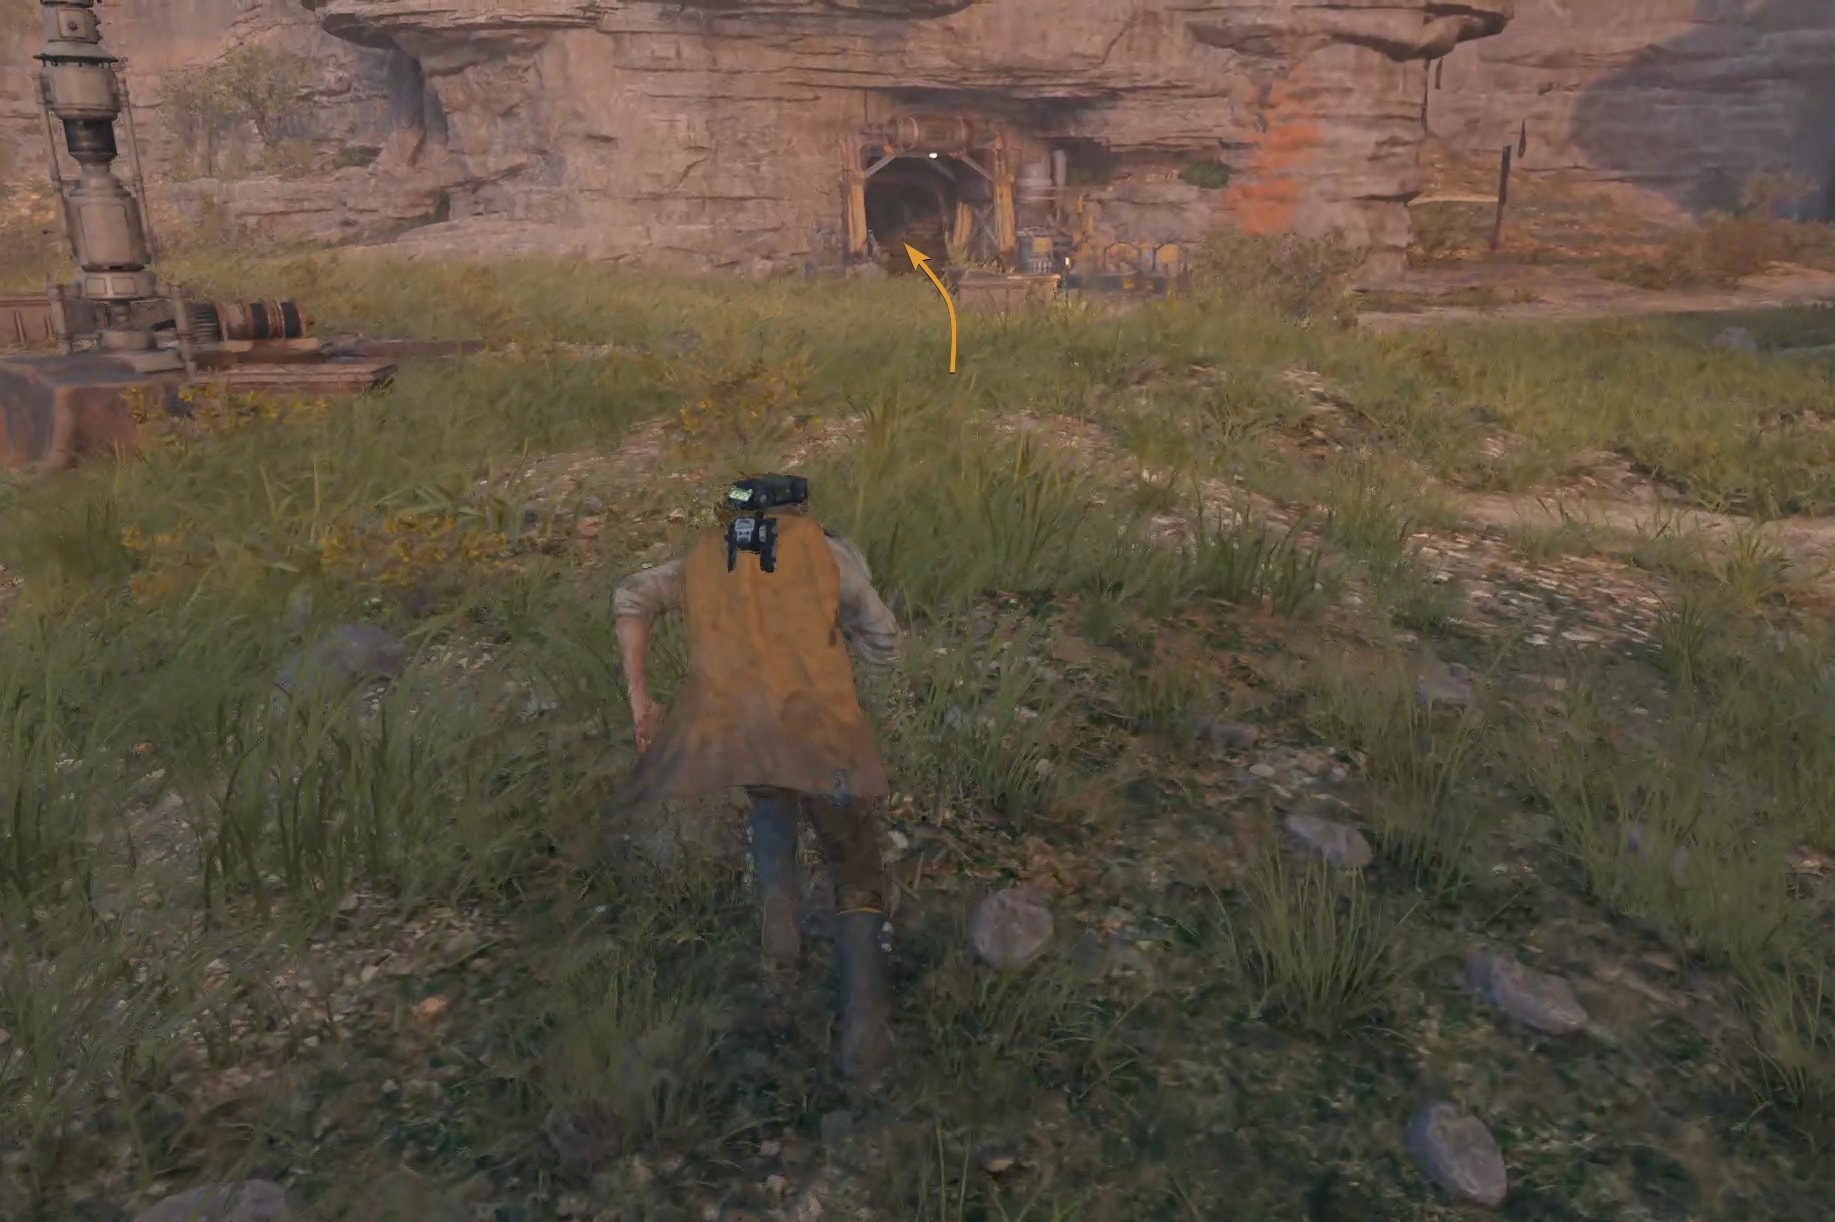
Jump to catch the pipe and hang on it until you reach the ground past the hole at the entrance. At the end of the tunnel, use Force Pull to break the wall and enter the mine.
Sodden Grotto Mine Walkthrough Steps Order
This is a step-by-step summary of how to fully explore the mine and get all collectibles! You will find our in-depth walkthrough below.
Instructions
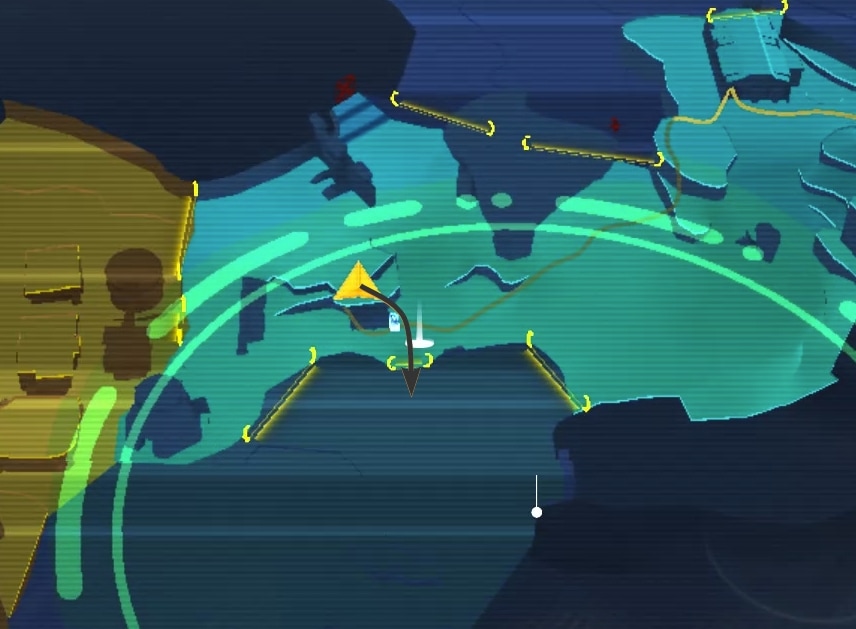
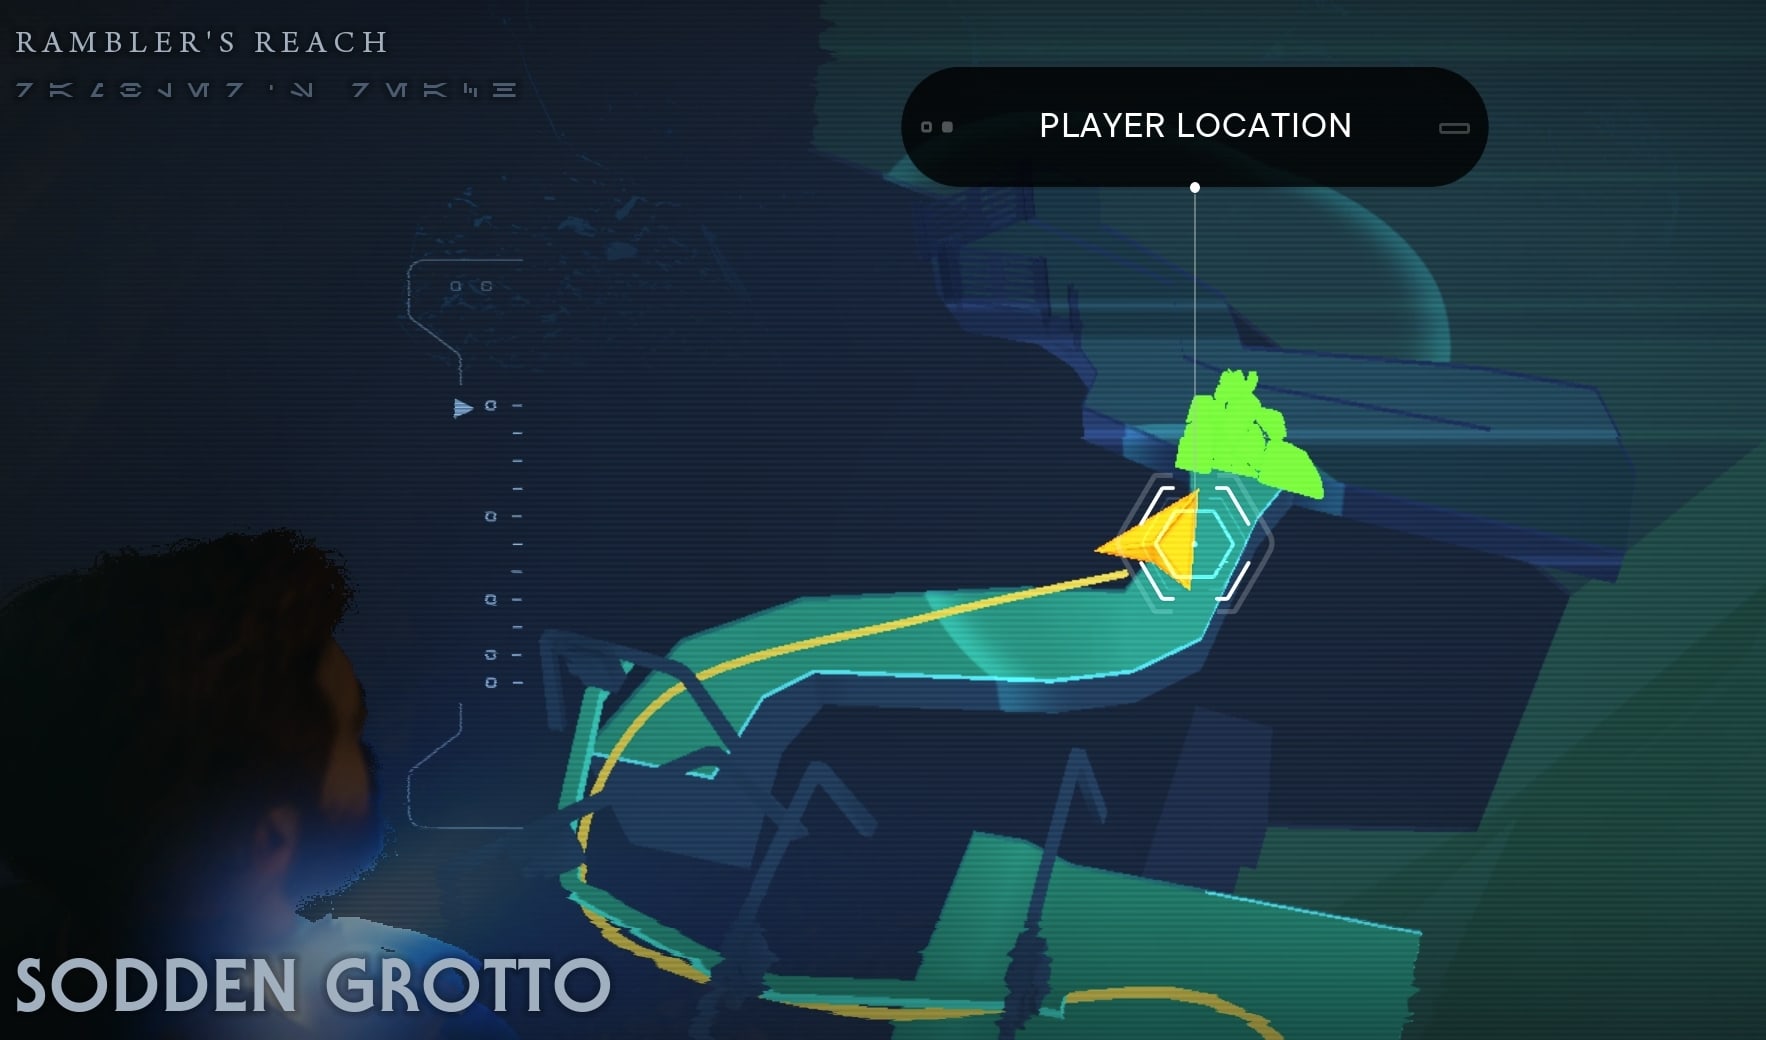
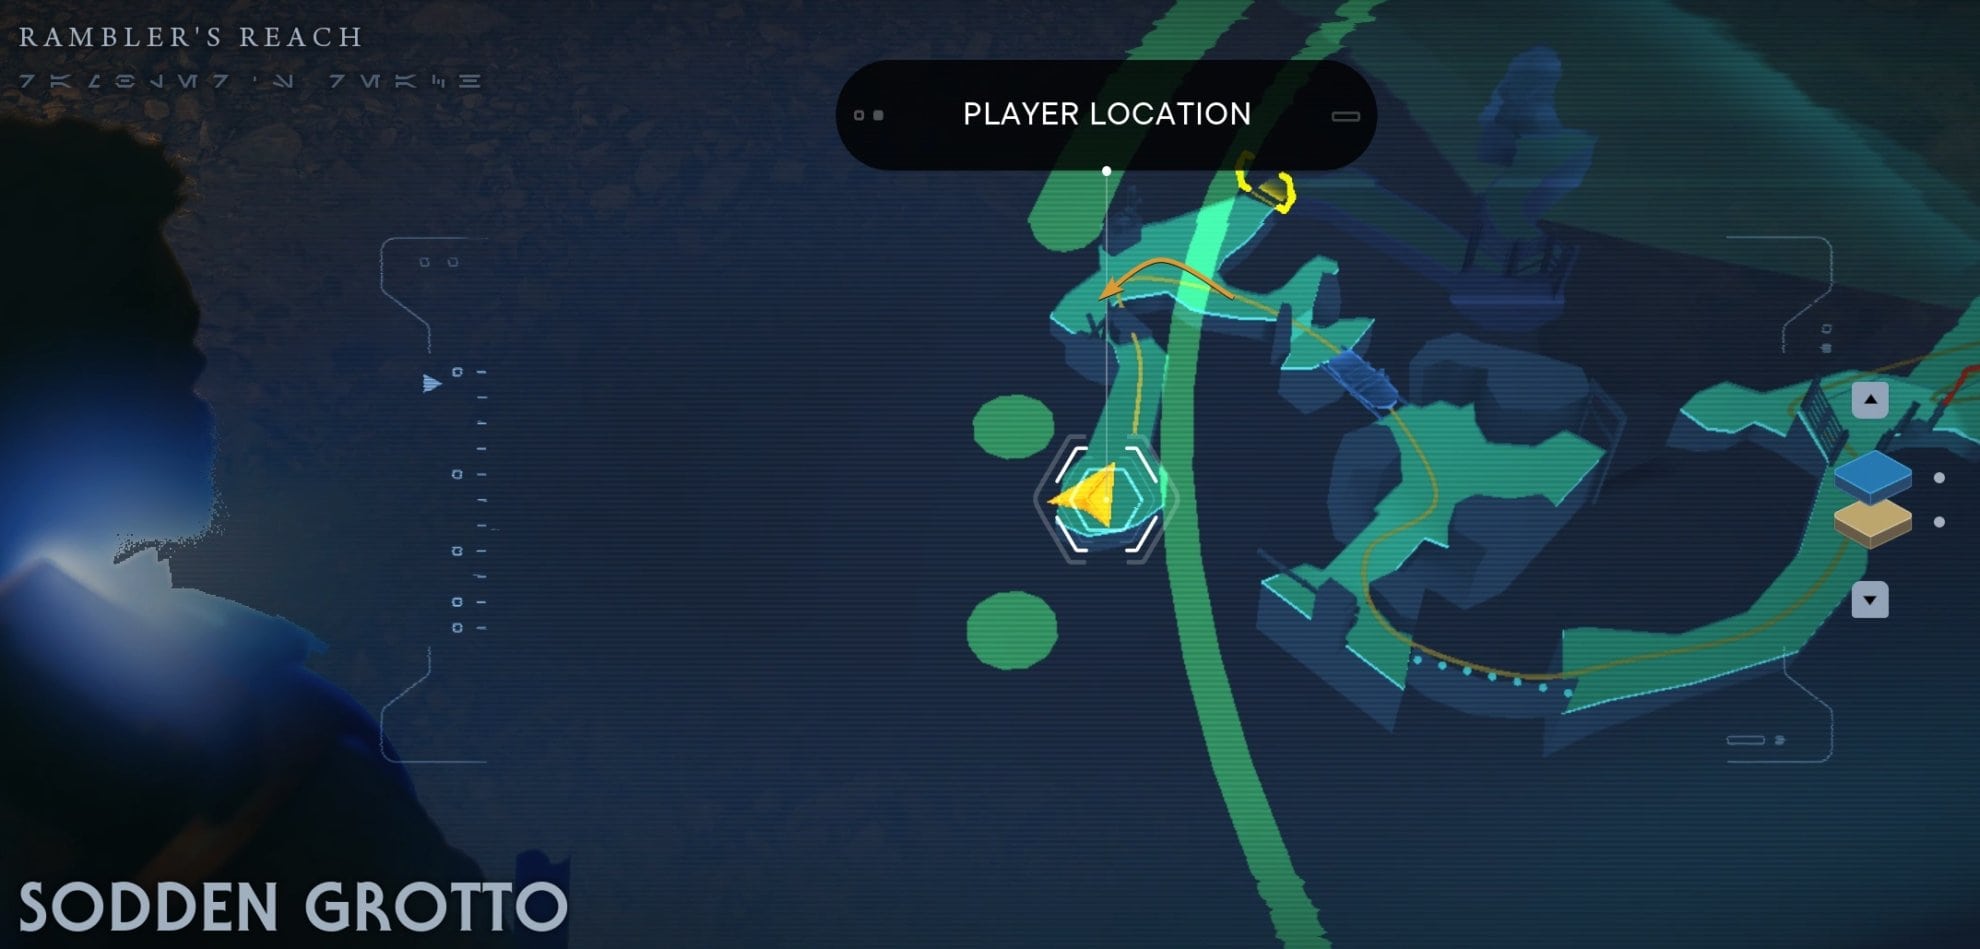
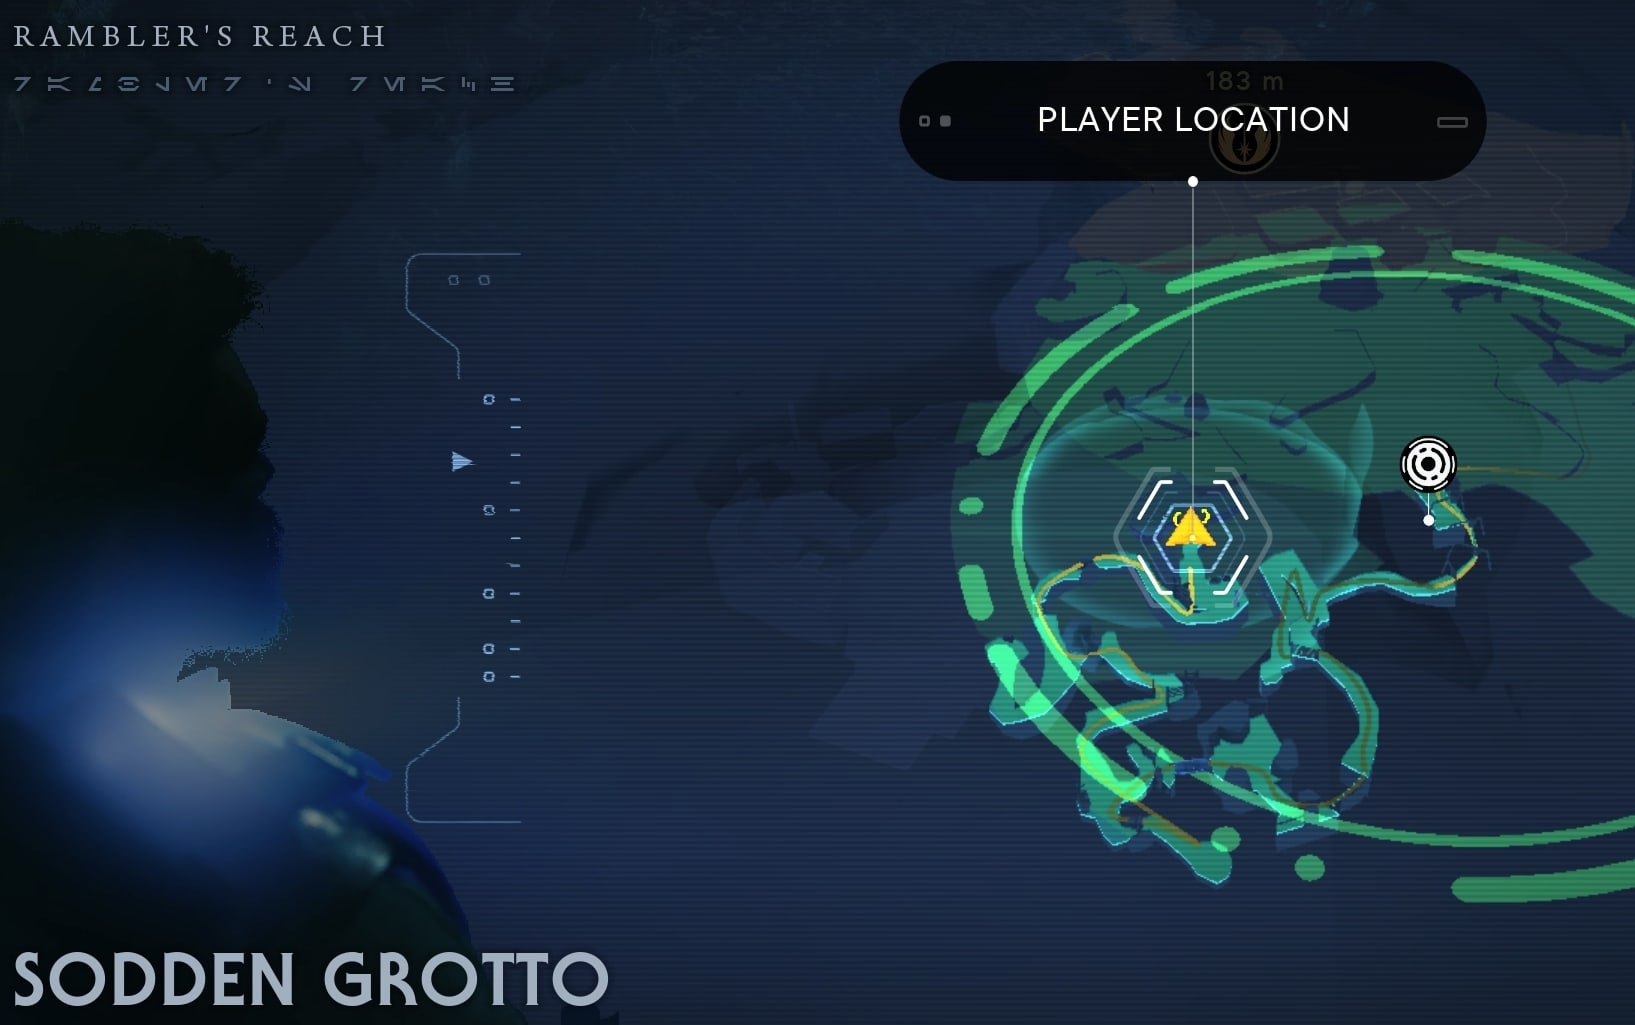
- Enter the Sodden Grotto Mine through its main and only entrance near the Rambler's Reach Meditation Point.
- Break the wall at the end of the entrance tunnel.
- Drop on the lower edge to pick up a Priorite Shard.
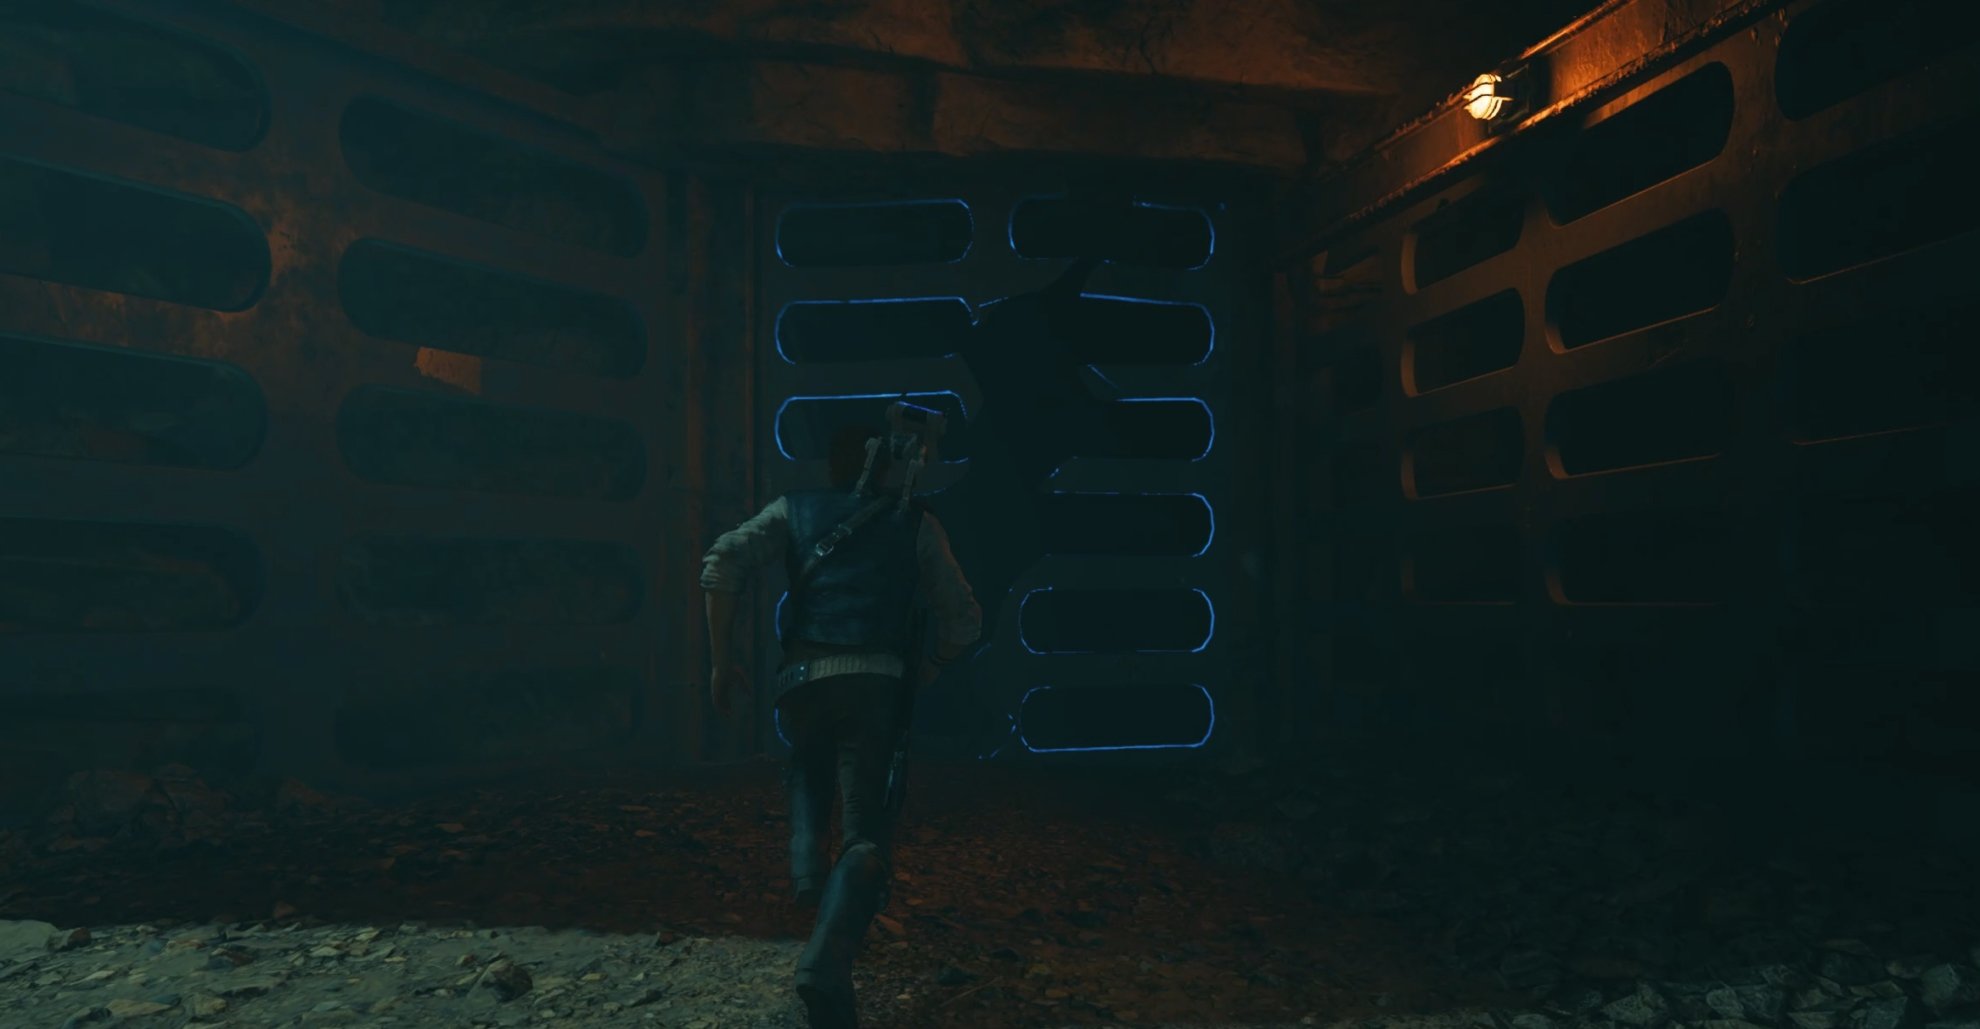
- Break the metal grate to the left from the entrance tunnel and head through the dark tunnel. Cut the thick cables to clear path forward. Wall run and Push the stone pillar to create a bridge.
- Take the left path at the end of the path. Inspect the Dead Researcher at the end, of the small cavern to get the first Databank entry.
- Back at the crossroads, this time take the right. Break the cables to clear path forward. Follow it until you get to the little droid. Take it down to collect a Proirite Shard.
- Inspect one of the Dead Gorgers to get the second Databank entry.
- Sneak through the hole in the wall and take the left. At the end, in a dark room, you will find a chest containing the Scrapyard Legs for BD-1.
- Get back to the crossroad and take the other path. Jump over the gap, squeeze through a narrow hole in the wall, follow the path leading up. Activate the Shortcut back to the entrance tunnel.
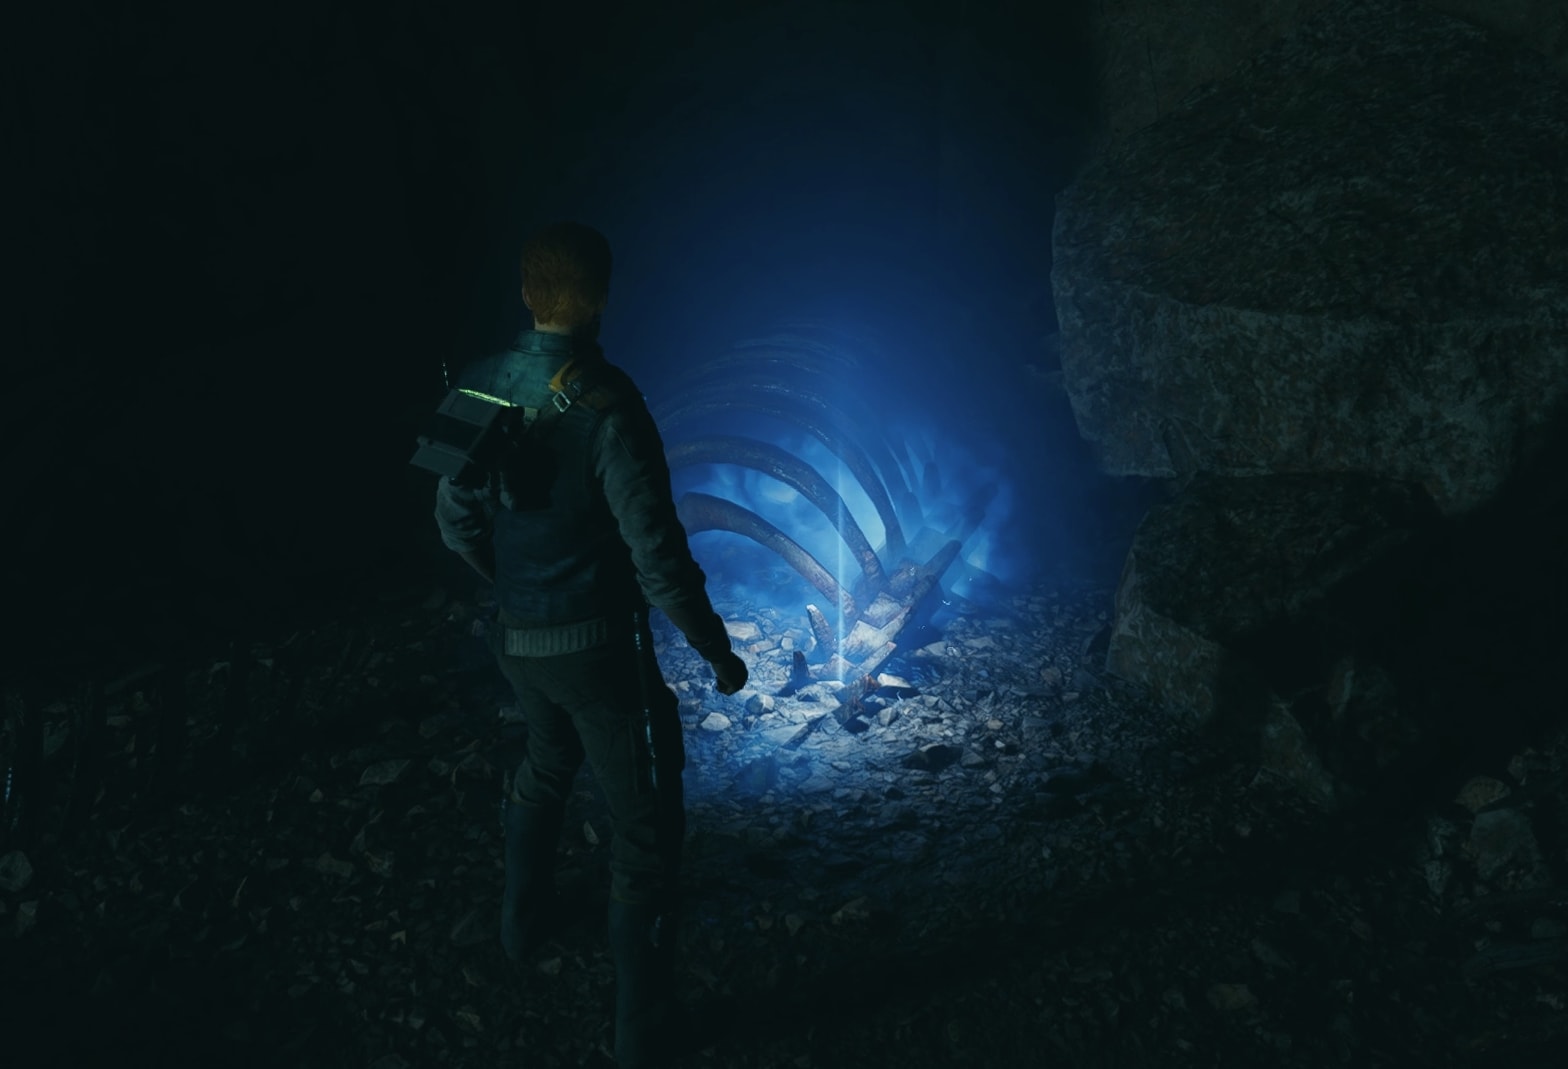
- Walk through the tunnel and scan the bones on your right to get the third Databank entry for Massive Ribcage.
- Pick up the fourth and final Databank (Prospector Remains) in the left pocket of the tunnel where the giant skeleton was.
- Jump down the pit. Defeat the Rancor using our guide and collect the Shatter Perk.
All Collectibles and Boss Fight Walkthrough
This segment of the guide will show you where to find the Missing Prospectors and the reason for their disappearance to complete the Rumor side mission. Here you will also find information about the location of all eight Collectible items.
This walkthrough segment is structured in a way so that if you follow it through, you will enter the mine, collect and complete everything and exit.
Treasure 1/2: Priorite Shard
After you break the wall and enter the mine, walk forward to the edge, jump down and turn left. At the end of this path, you will find a Priorite Shard. Before you reach it, a Shiverpede will ambush you.
Databank 1/4: Dead Researcher
Break the metal grid to the left from the entrance of the mine and head down this dark tunnel. At the end cut the thick cables with your lightsaber and pass through.
WallRun to get to the other side of the gap. At the end of the platform, turn right. Break the stone formation on the left side of this small room to create a bridge.
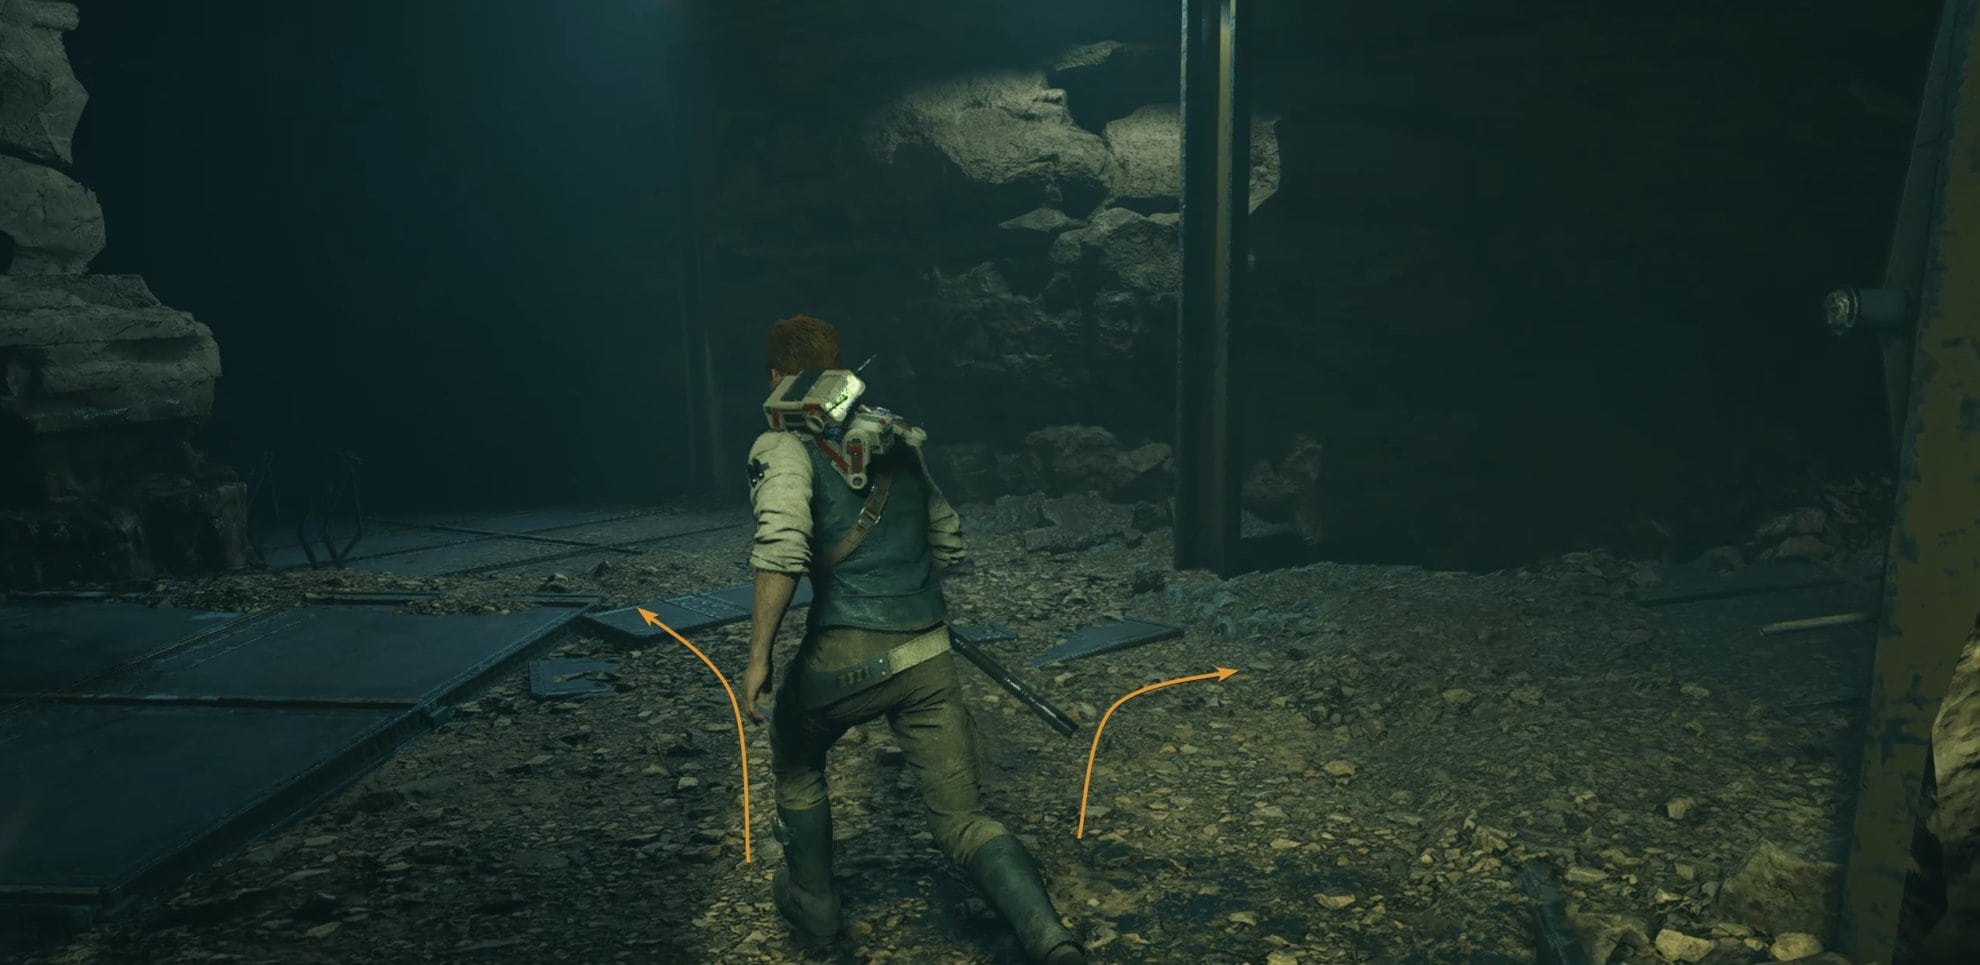
Cross the bridge and walk forward until the path ends and you have the option to go left or right.
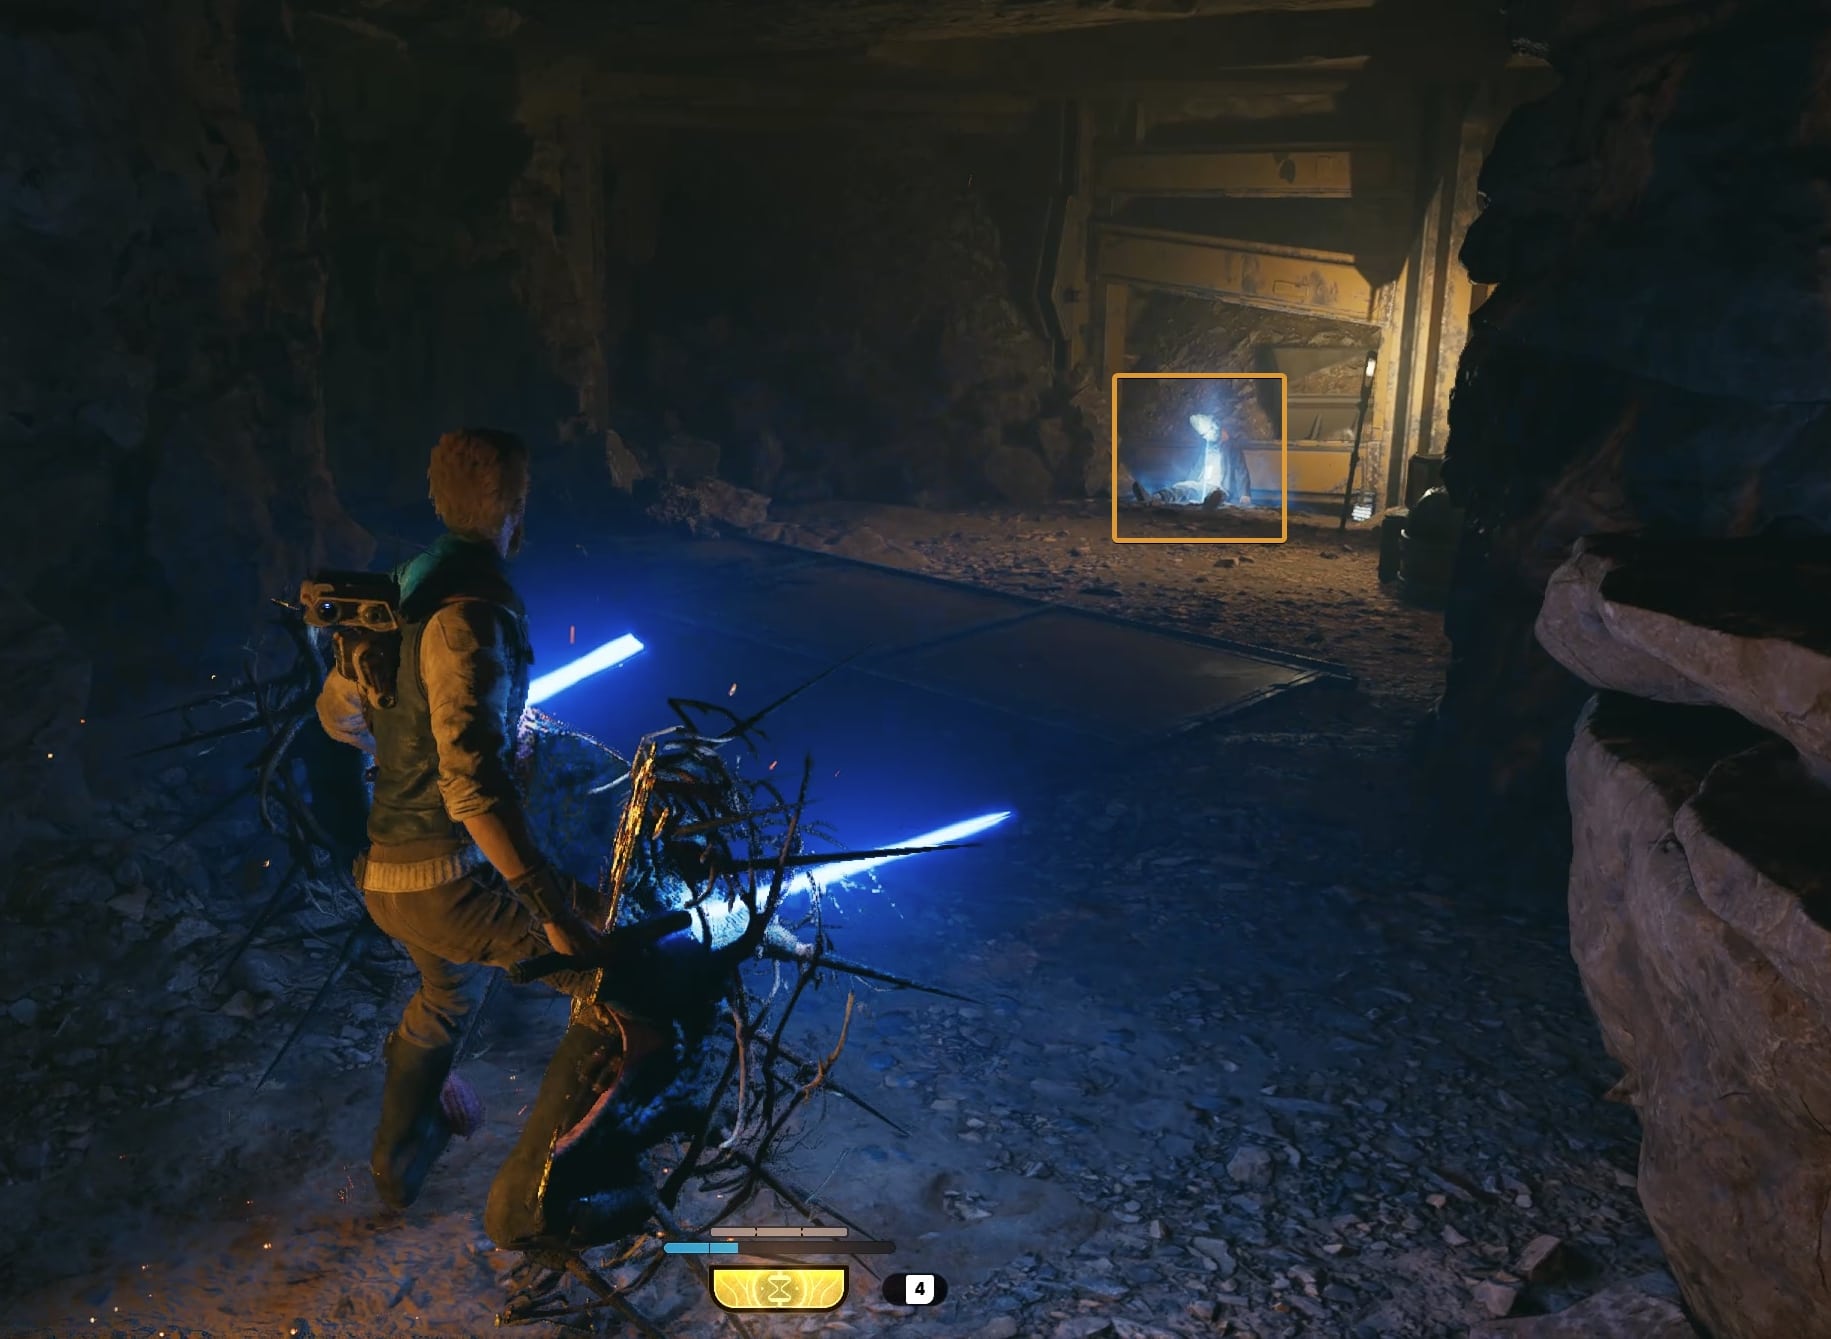
Go left first. Cut the cables and sneak through the crack in the wall. Take care of the ball of branches (Bramlik) and next to the wall on the far end of the cavern, you will find a corpse. Inspect it to find out what happened.
Treasure 2/2: Proirite Shard
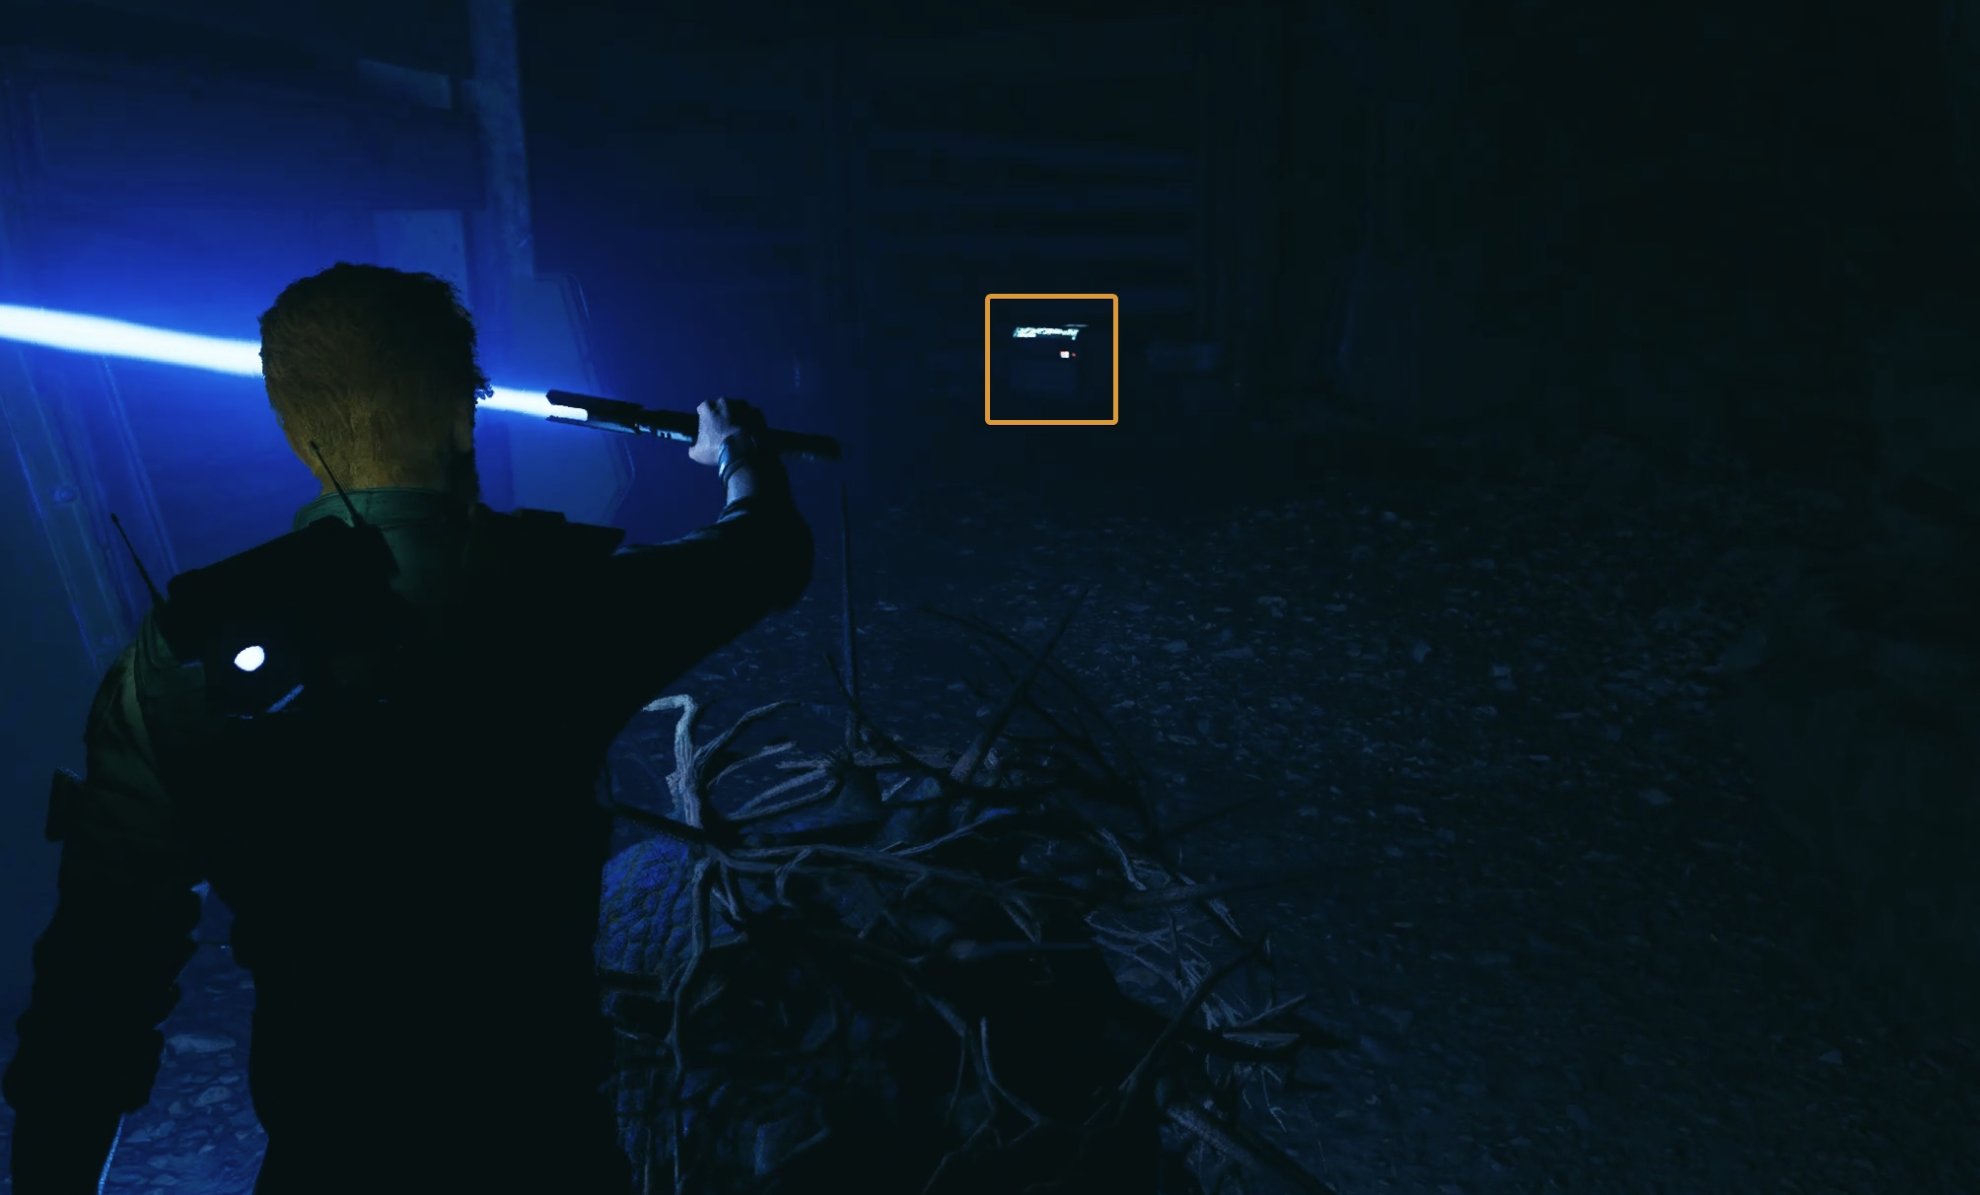
From the location of the Dead Researcher, go back to the crossroad and this time take the right path (or continue straight from where you are coming). Break the cables.
Across, you will spot a small droid digging in the ground. Don’t scare it away. You can reach it by following the path down to the right.
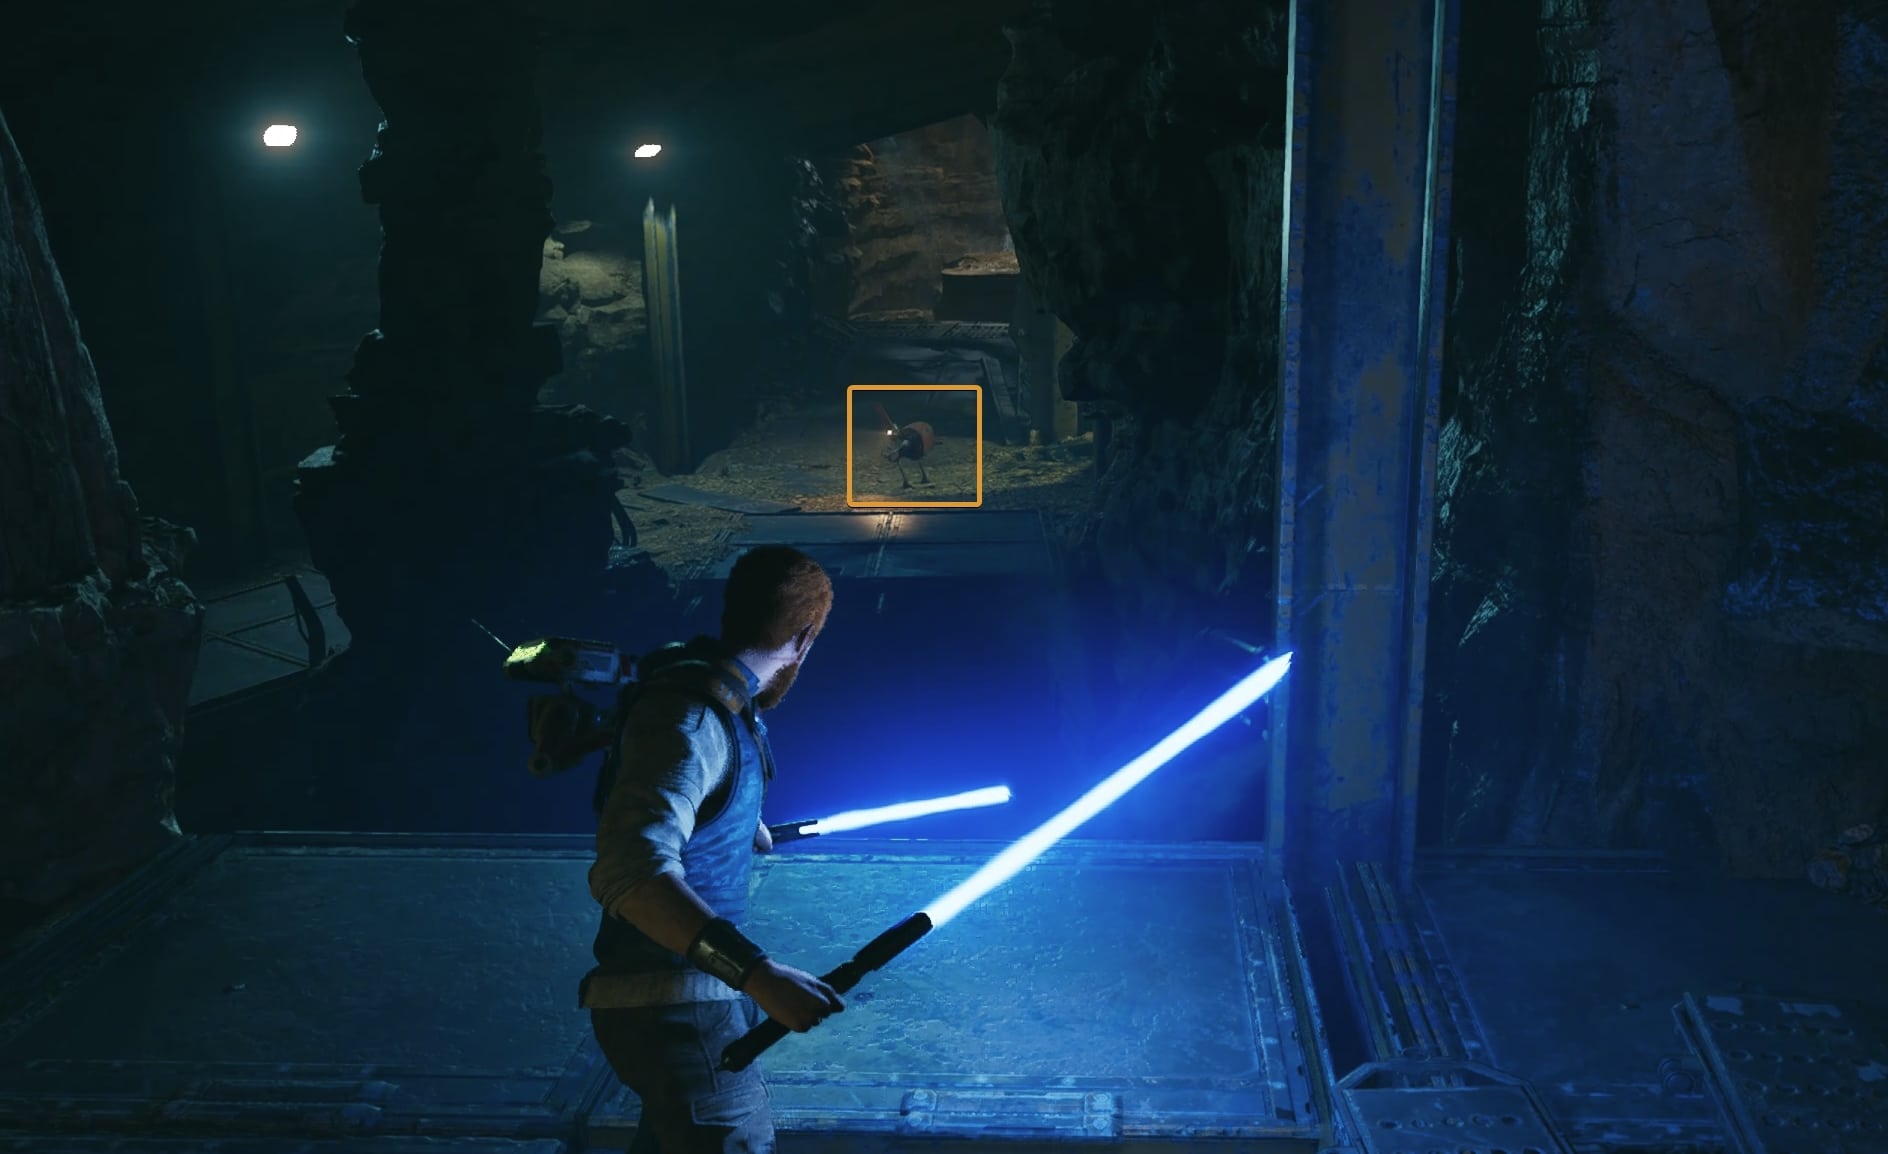
This is one of the Collectibles. Don’t scare it away. If you miss to destroy it, you will have to Rest at a Meditation Point to reset the status of all living creatures in the world for a chance to get this droid’s Collectible loot.
Databank 2/4: Dead Gorgers
Following the path down, you will see corpses of Gorgers creatures. Inspect the first one as BD-1 prompts you to.

Sneak through the narrow opening in the wall. From there, you can take two paths again. Left and right.
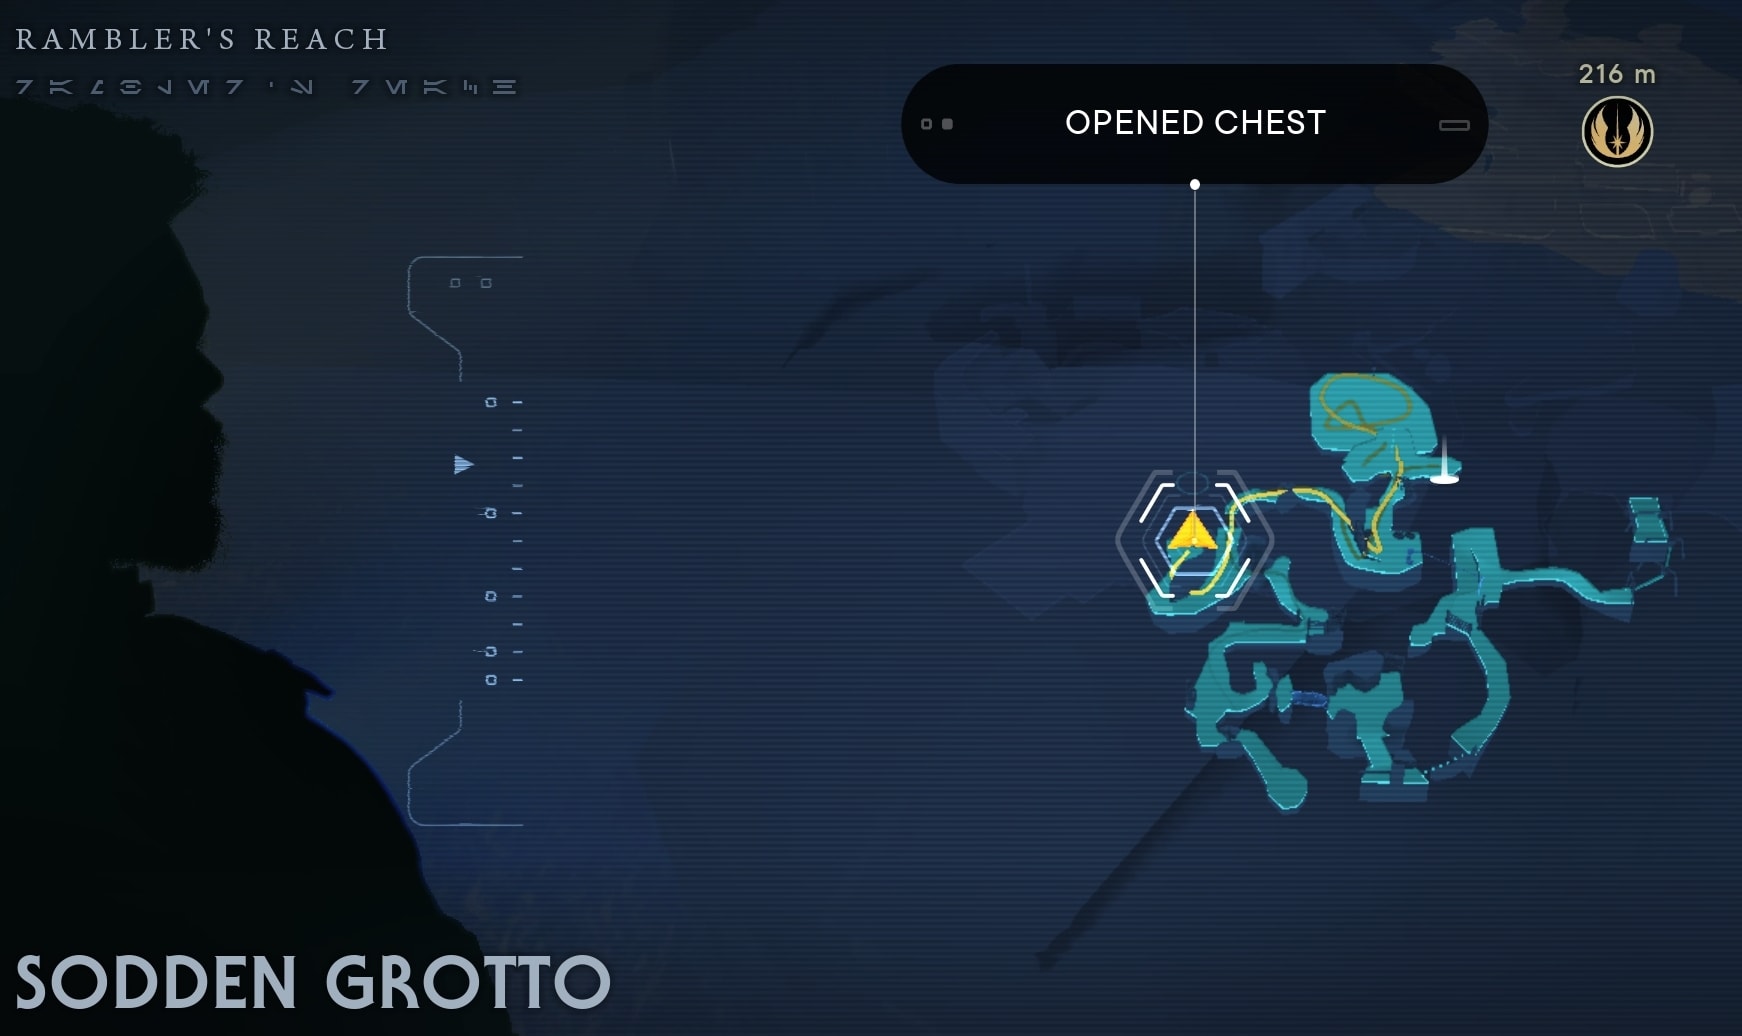
Chest 1/1: Scrapyard Legs for BD-1
Go left. At the end of the path, you will get to a dark secluded area with a chest, guarded by some of the lovely branch ball creatures. Inside you will find the Scrapyard Legs, a cosmetic skin for BD-1.
Databank 3/4: Massive Ribcage
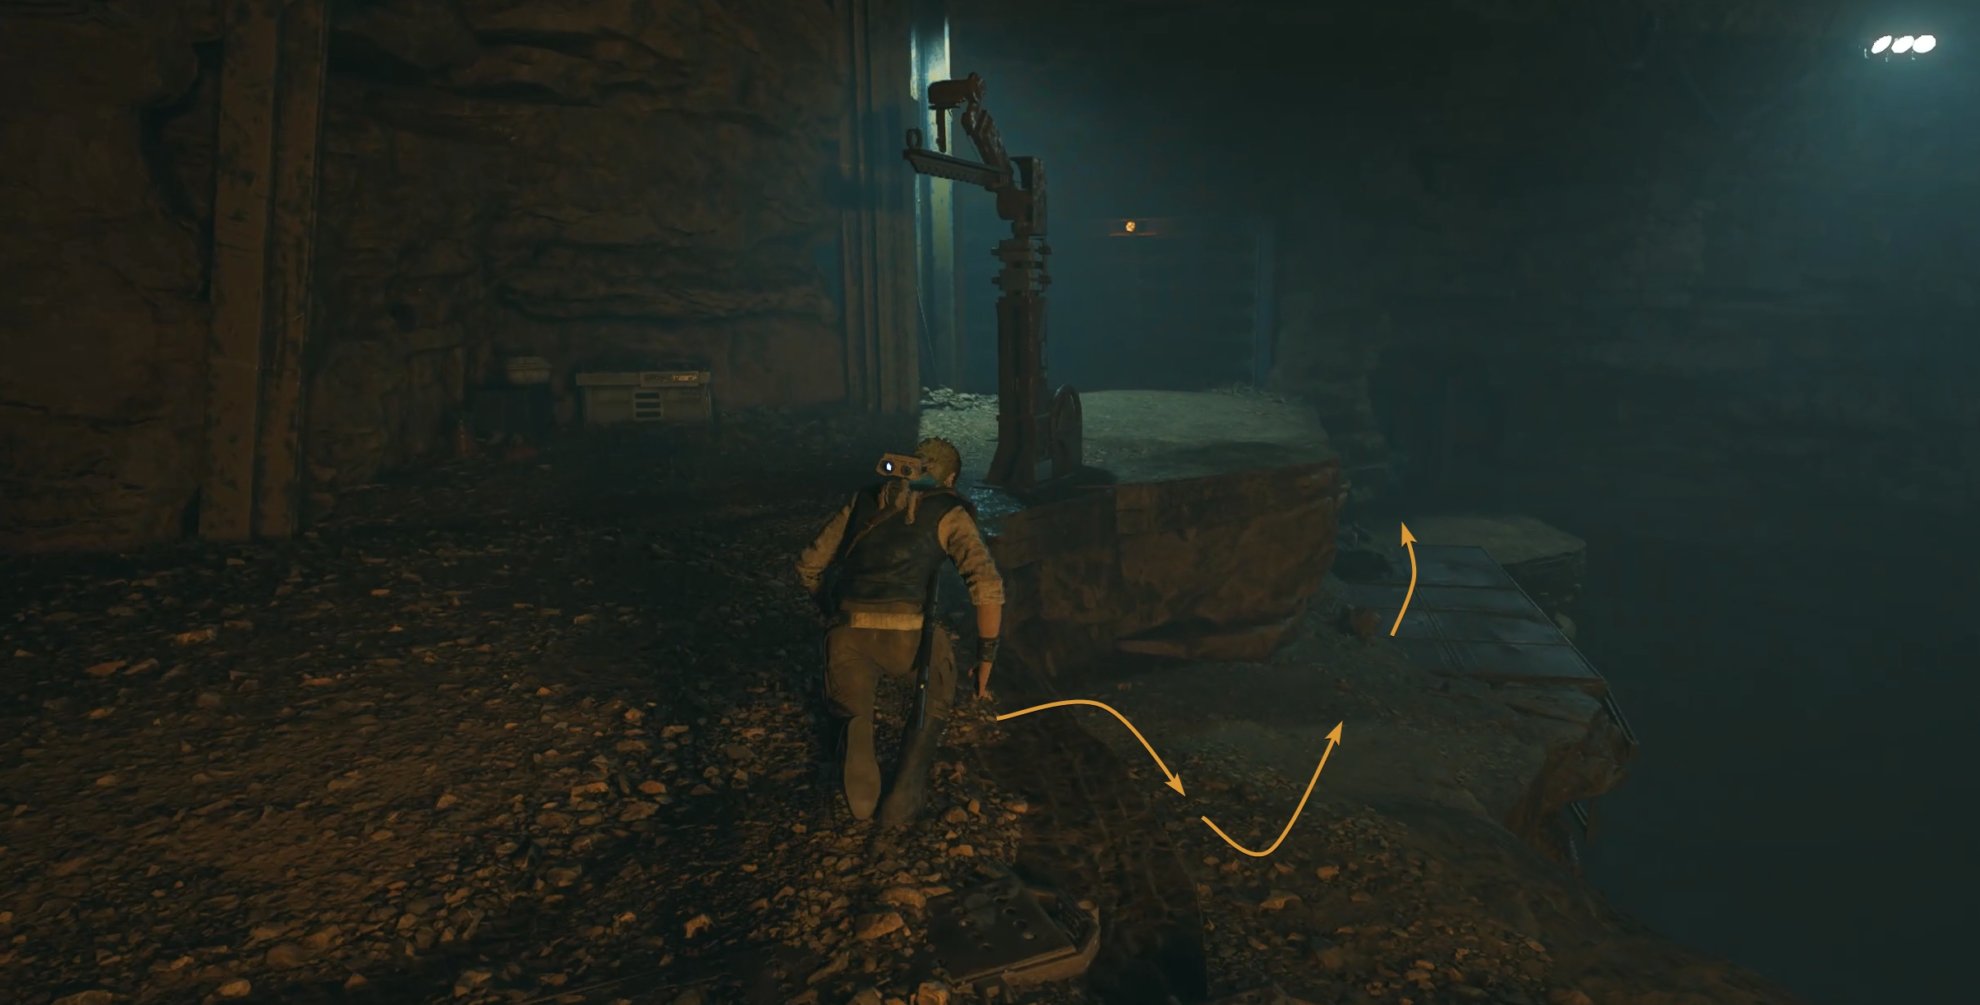
Return to the crossroad and take the other path now. Jump over the gap. Squeeze through the crack in the wall next to the white symbol.
As you exit on the other side, you will find yourself in a familiar location. Down on the bottom right, you can see the metal bridge where you inspected the Dead Gorger’s body earlier.
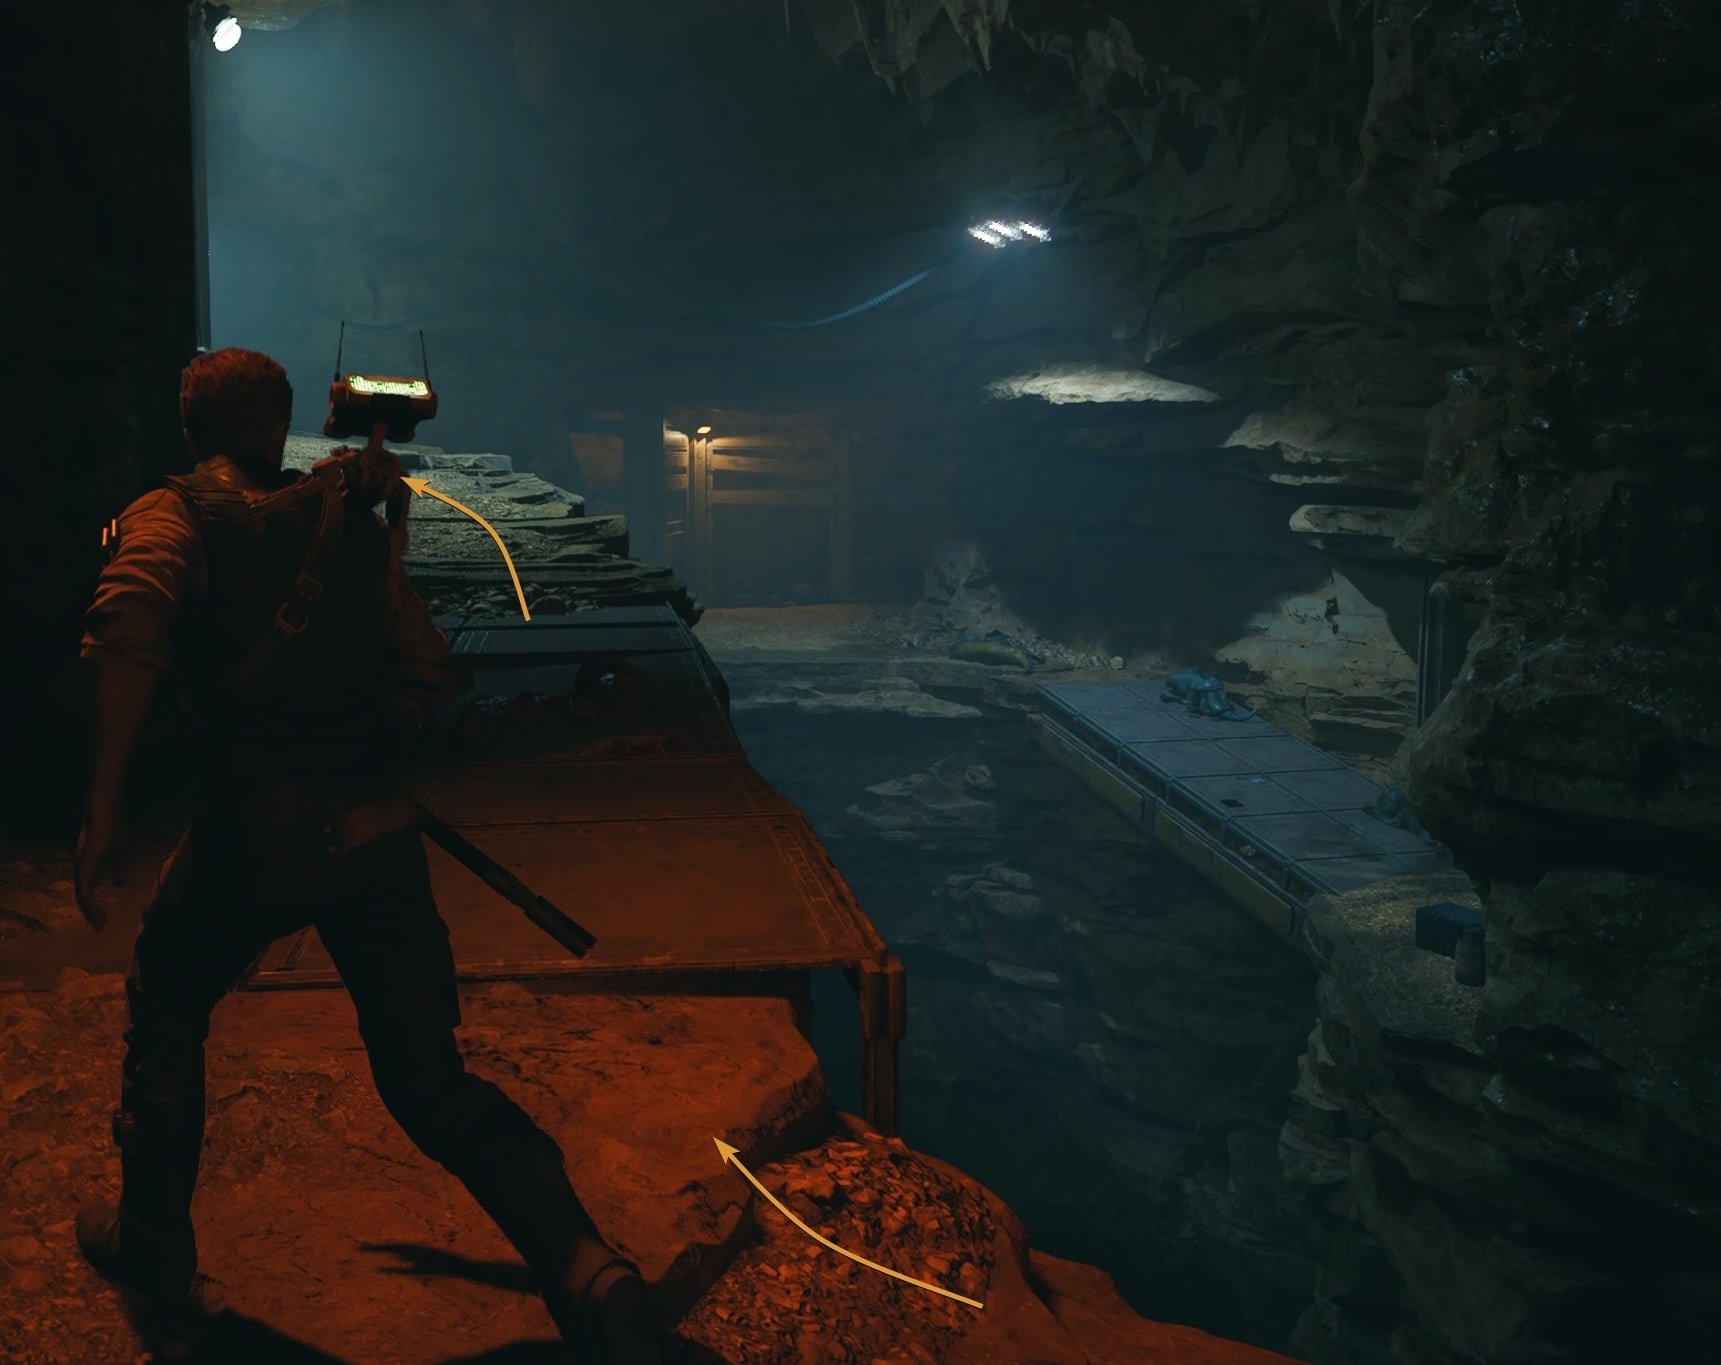
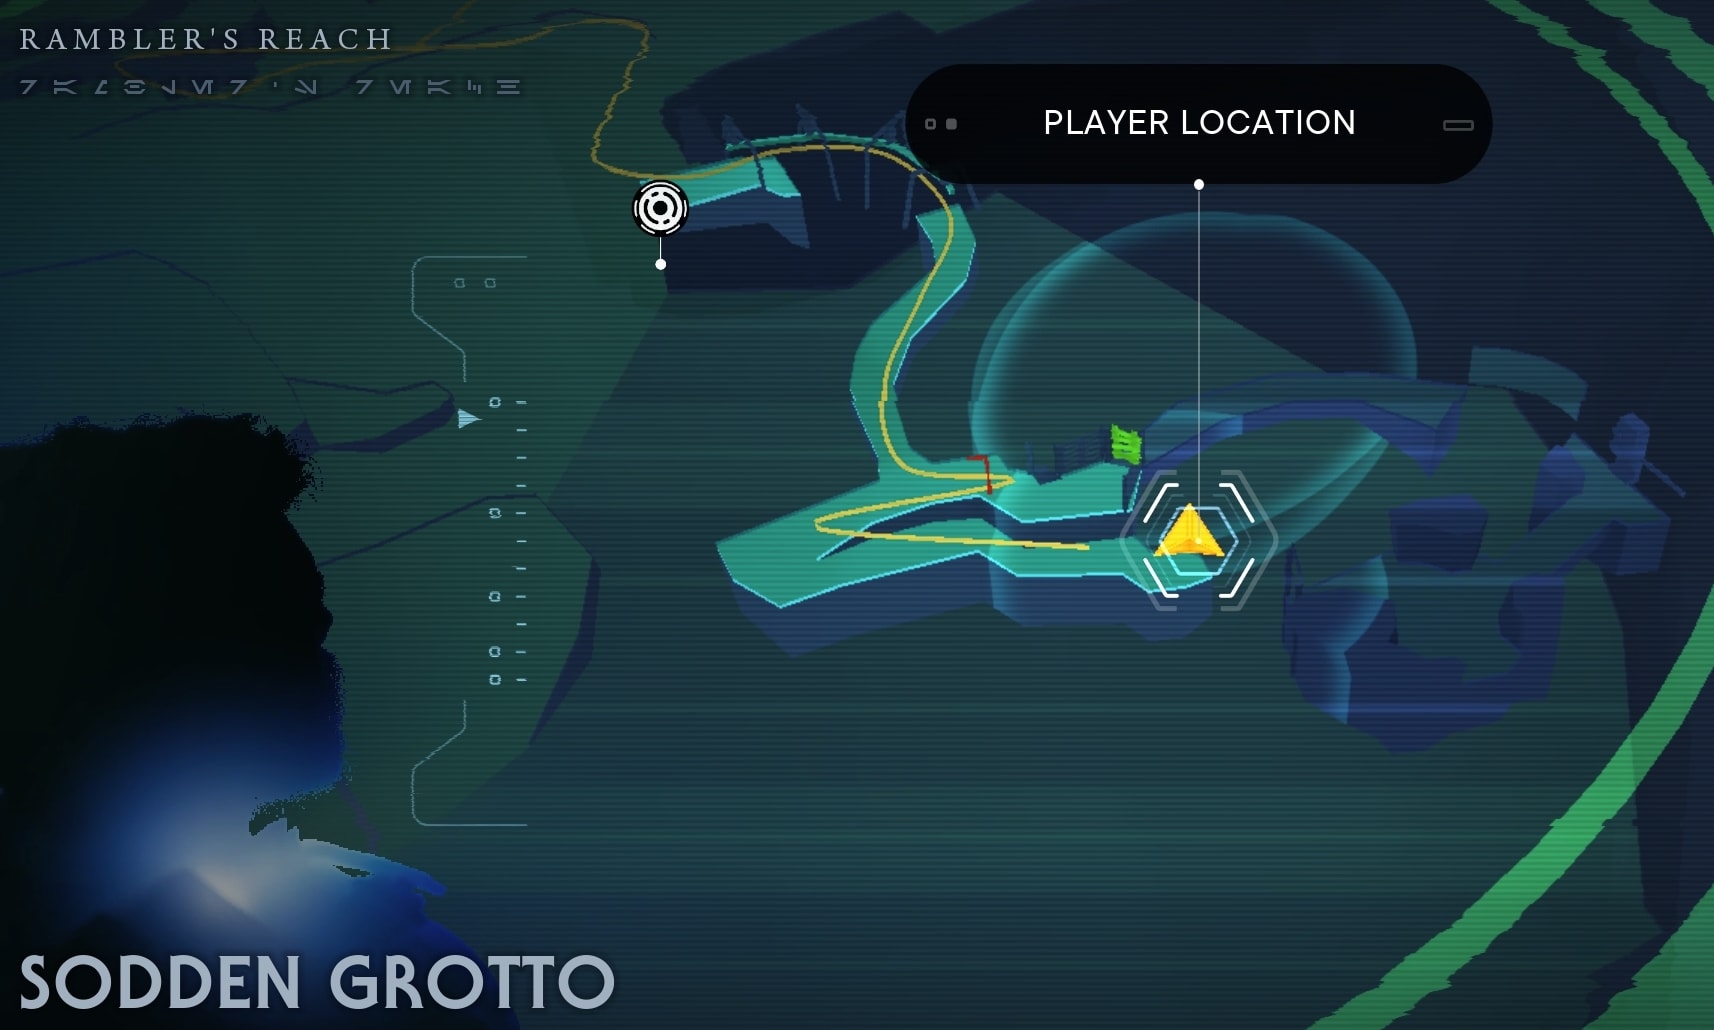
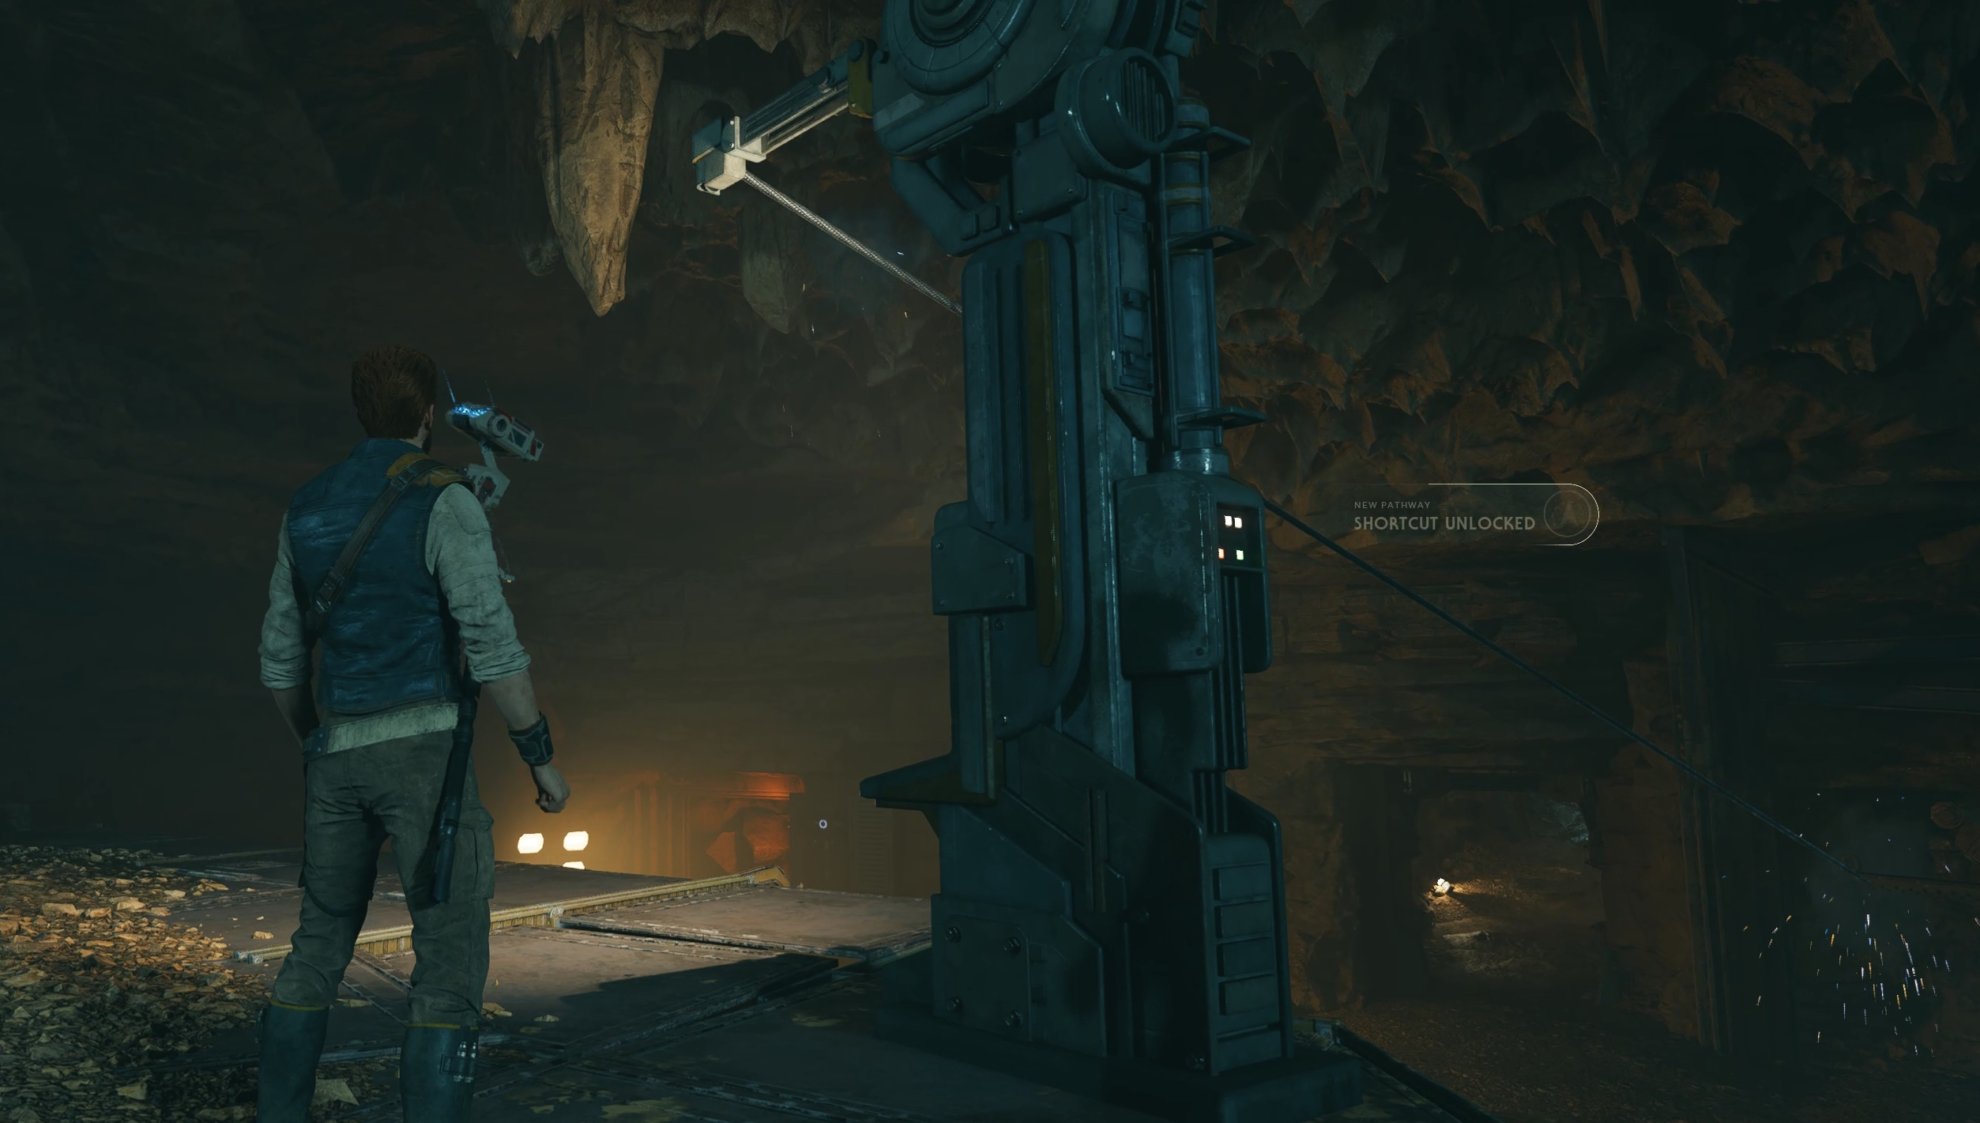
Activate the Shortcut at the top. This allows you to get quickly from this location back to the entrance of the mine.
Walk through the portal and inspect the Massive Ribcage on the right side in the dark tunnel. This is the third Databank Collectible in the Sodden Grotto mine.
Databank 4/4: Prospector Remains
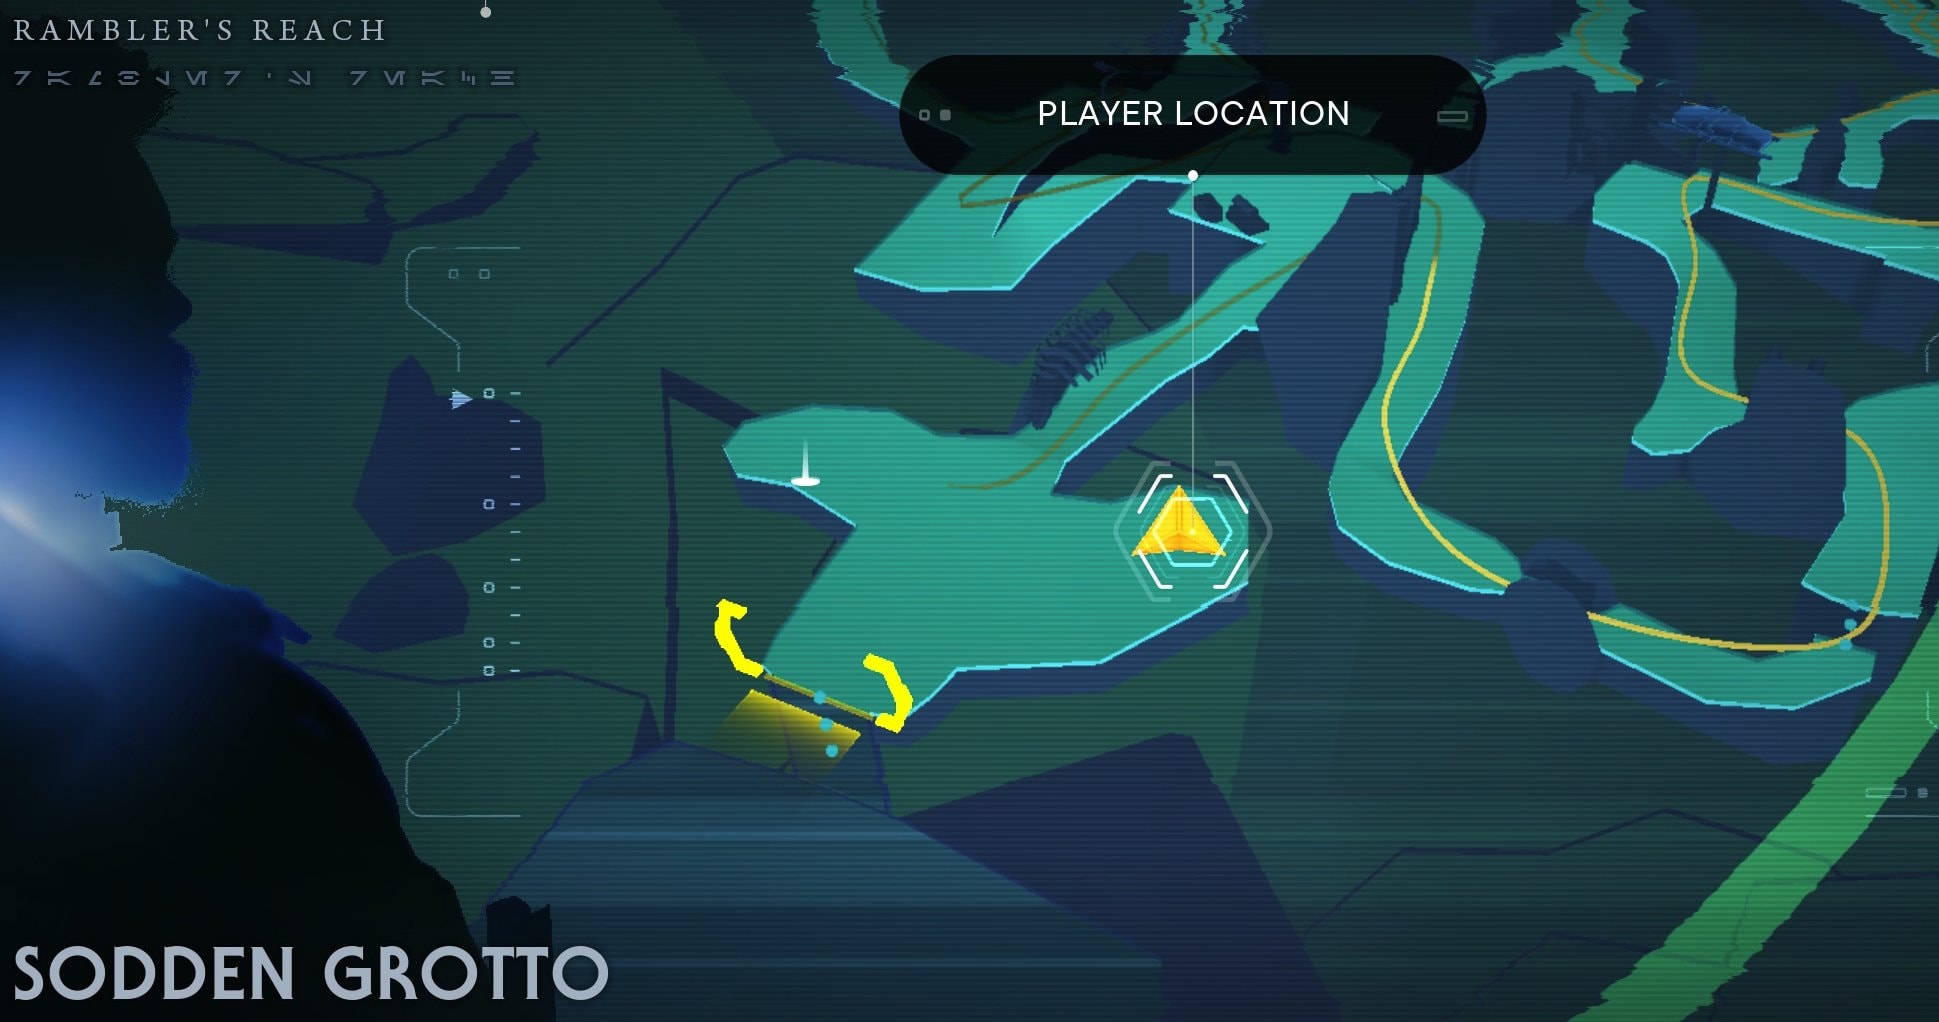
Past the Massive Ribcage, on the right, you will find a Meditation Point. Across from it, in the corner, you will find the fourth and final Databank, revealing the fate of yet another Prospector.
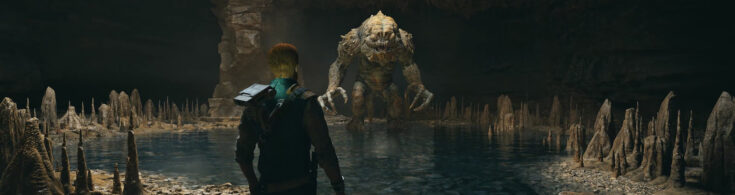
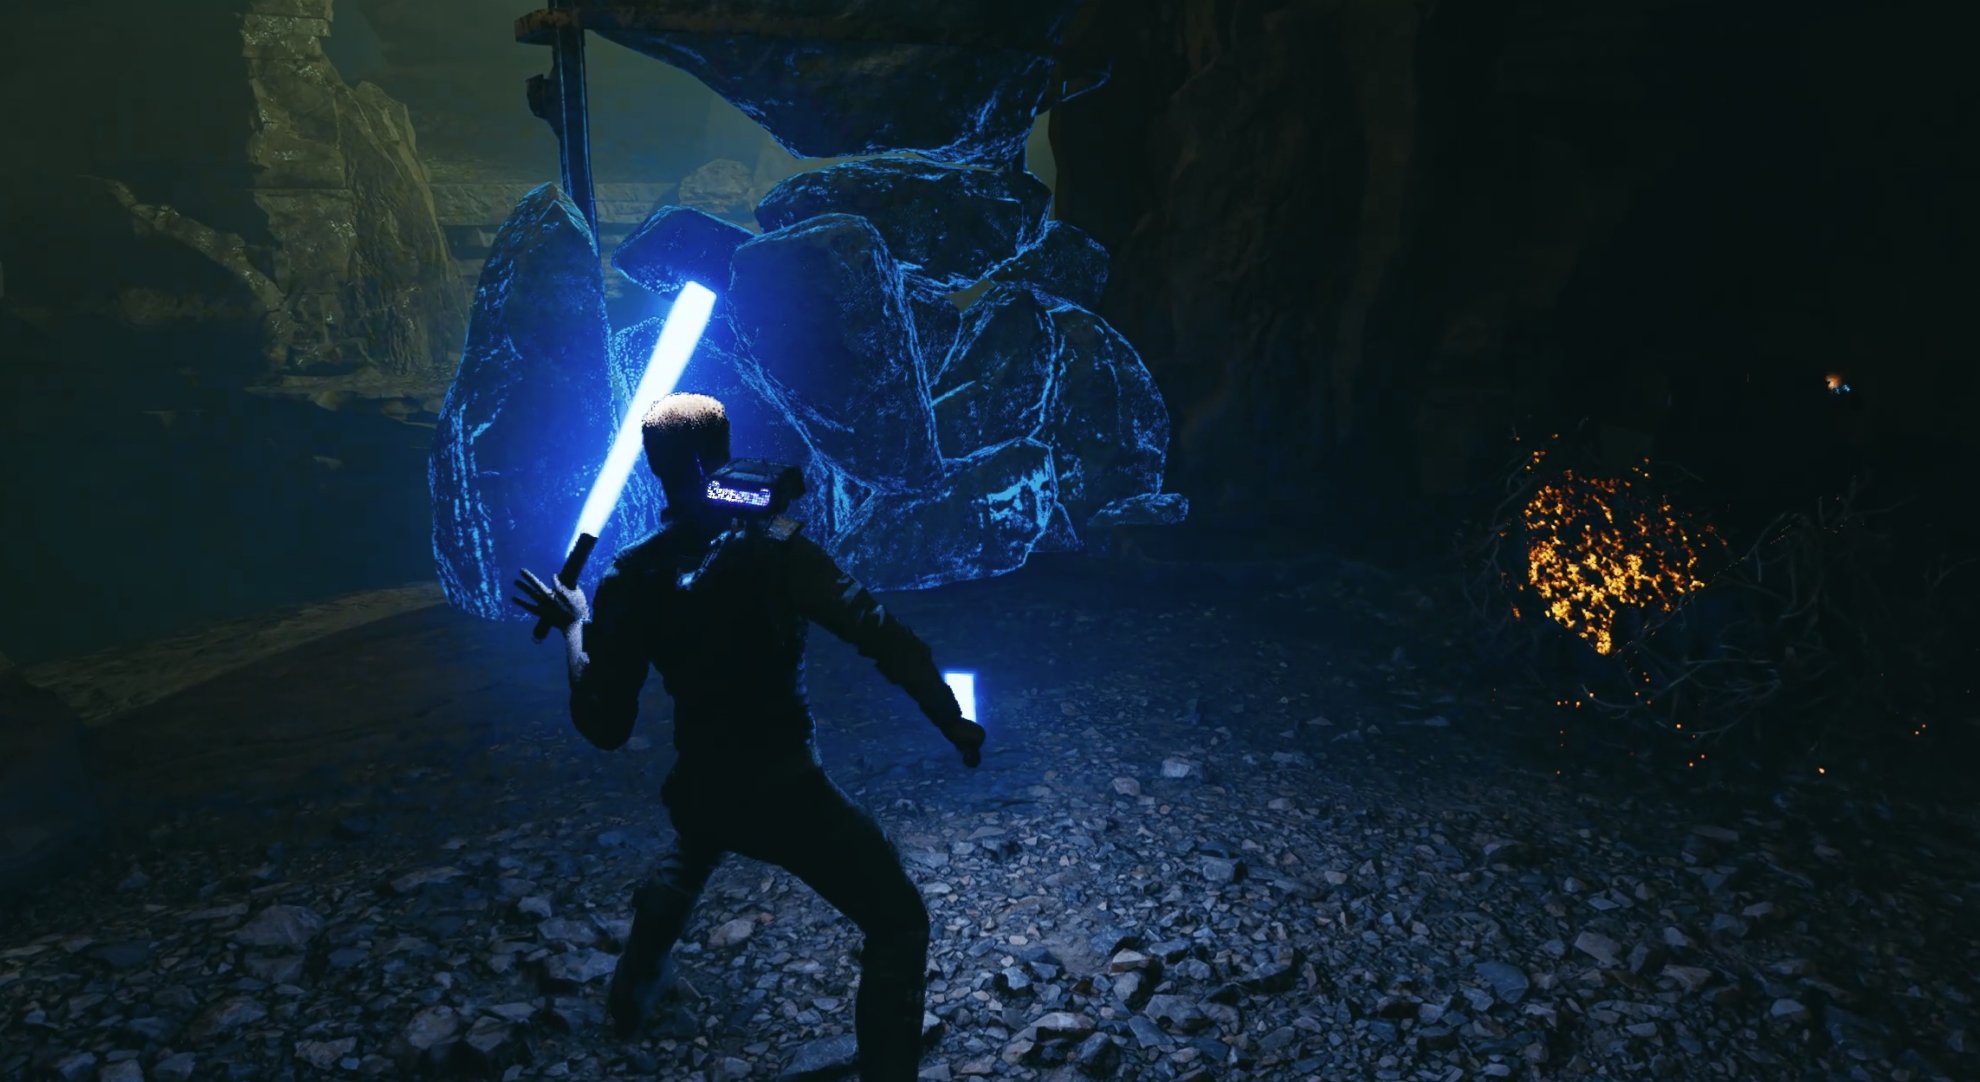
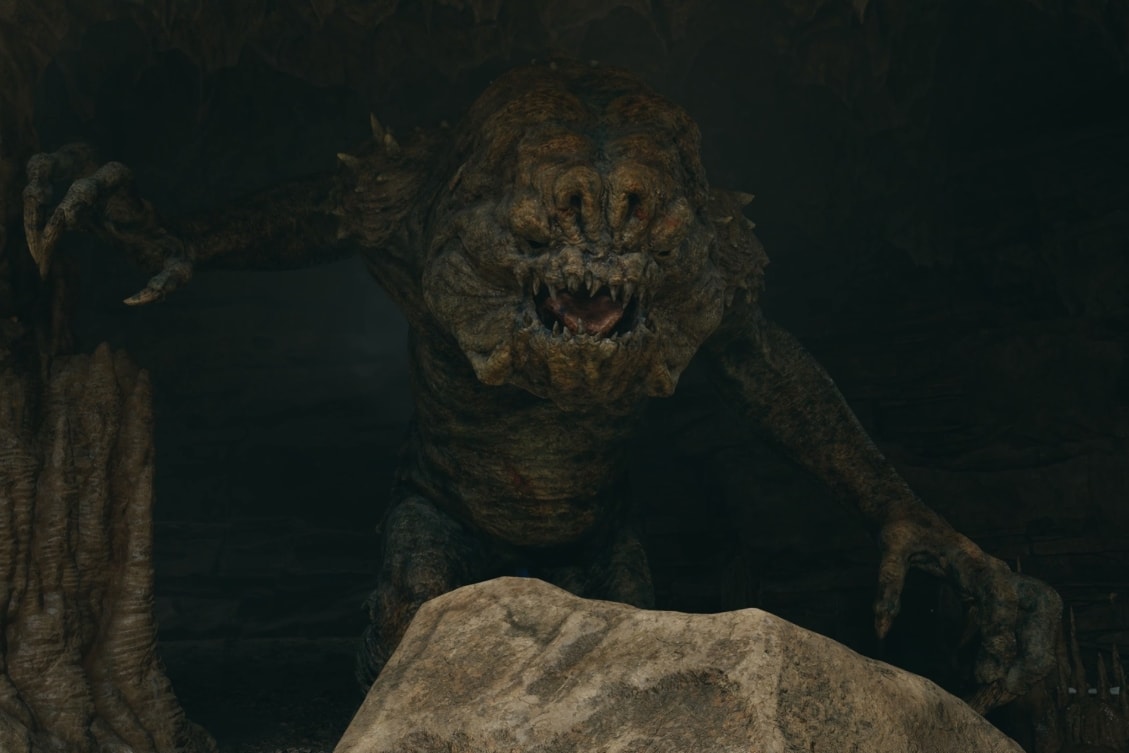
The Rancor Boss Fight
At the end of the mine, you will find a wide flat circular area, that looks kind of like an arena. That’s where you will encounter the giant Rancor. This is the creature that has been eating everything around, including the Prospectors. Defeating the Rancor will progress the Rumor mission about the Missing Prospectors.
Be liberal with your usage of stims. The boss hits very hard on all difficulties and on Jedi Knight and above you may be defeated in two hits.
Spend your Force on longer-range attacks like saber throws so you don’t spend more time than you need to in the boss’ range.
There are 2 unblockable attacks for the Rancor:
Earh Shockwave:
The Rancor will raise its hands above its head and slam them into the ground, creating a shockwave that sends bits of rock and debris hurdling toward you in a narrow cone.
Grab:
The Rancor will sometimes extend his left arm to telegraph that he’s about to dive and grab you.
If you are having a hard time with the boss, check out our detailed guide on how to defeat the Rancor on Koboh. In it, you will find more strategic tips for how to prepare, how to approach the monster, and how to avoid its attacks.
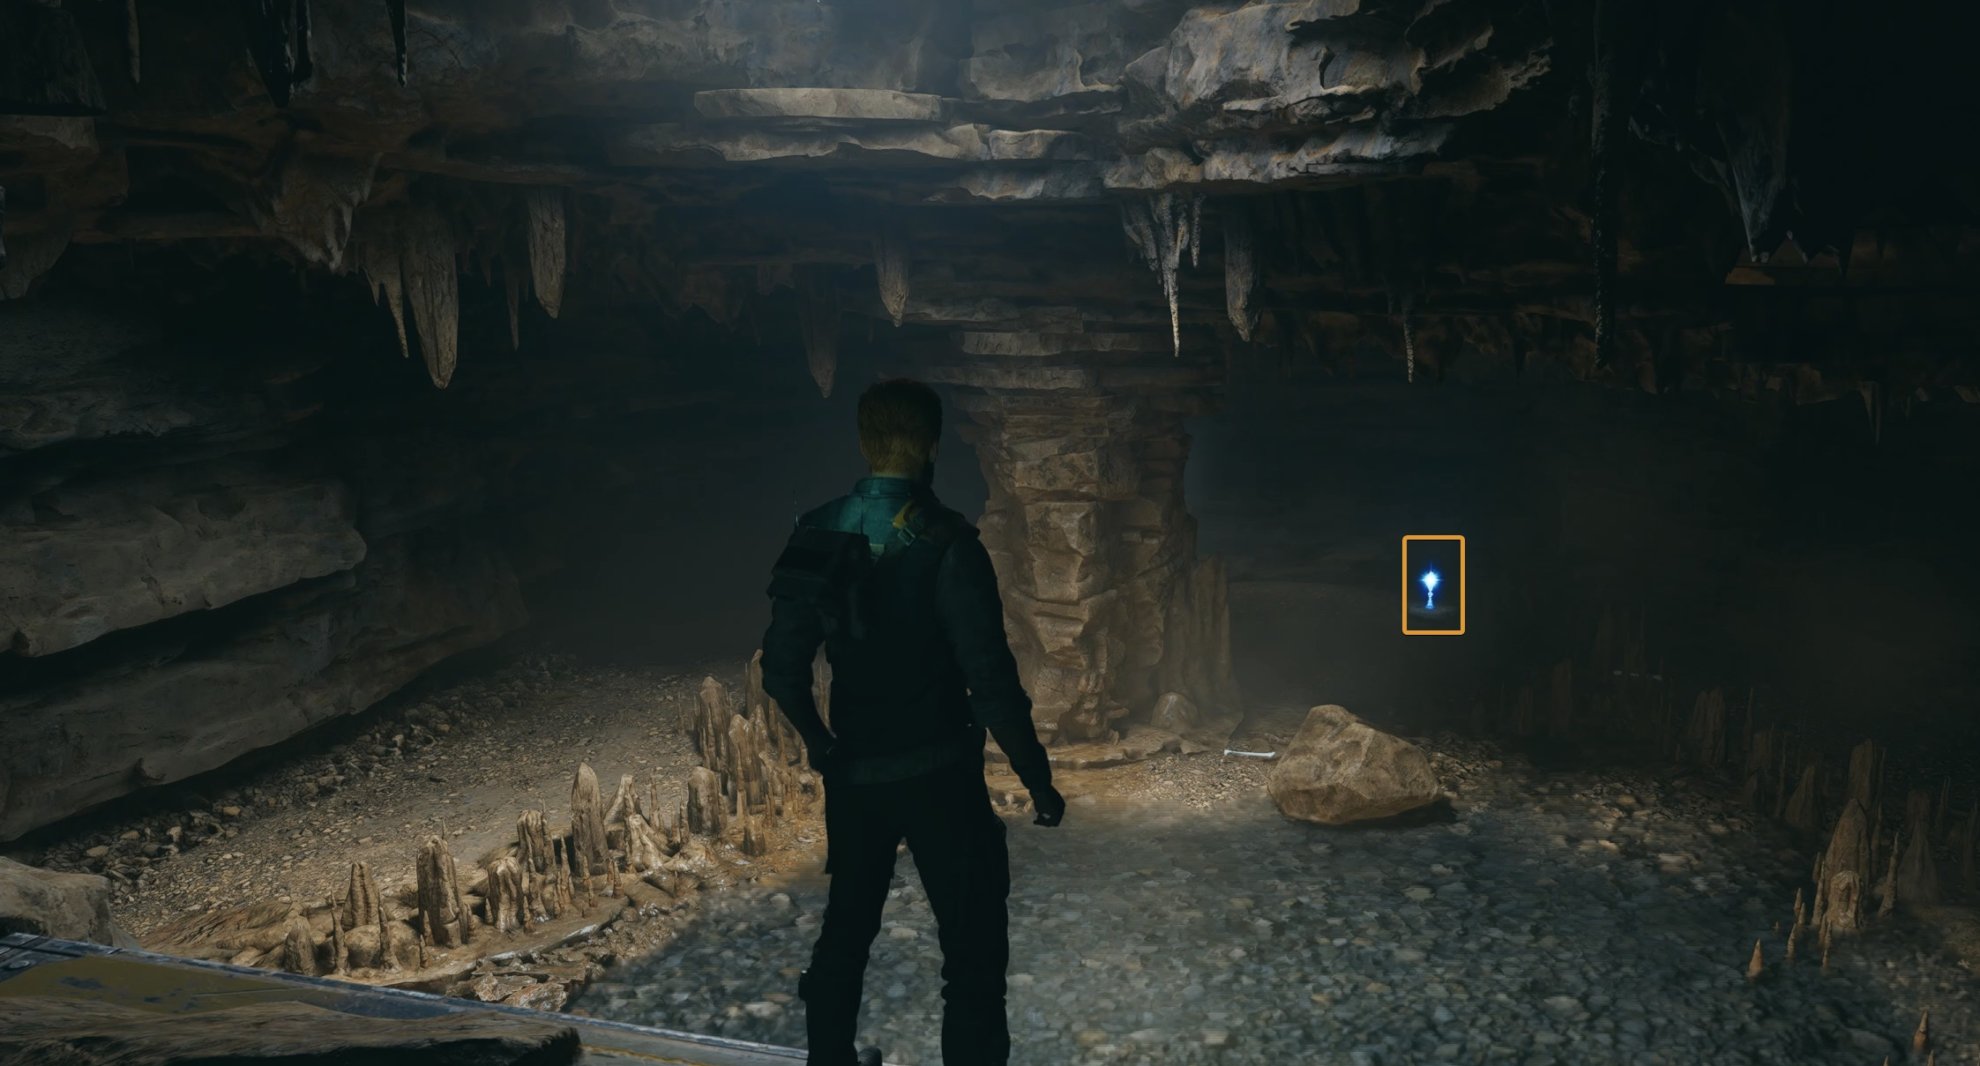
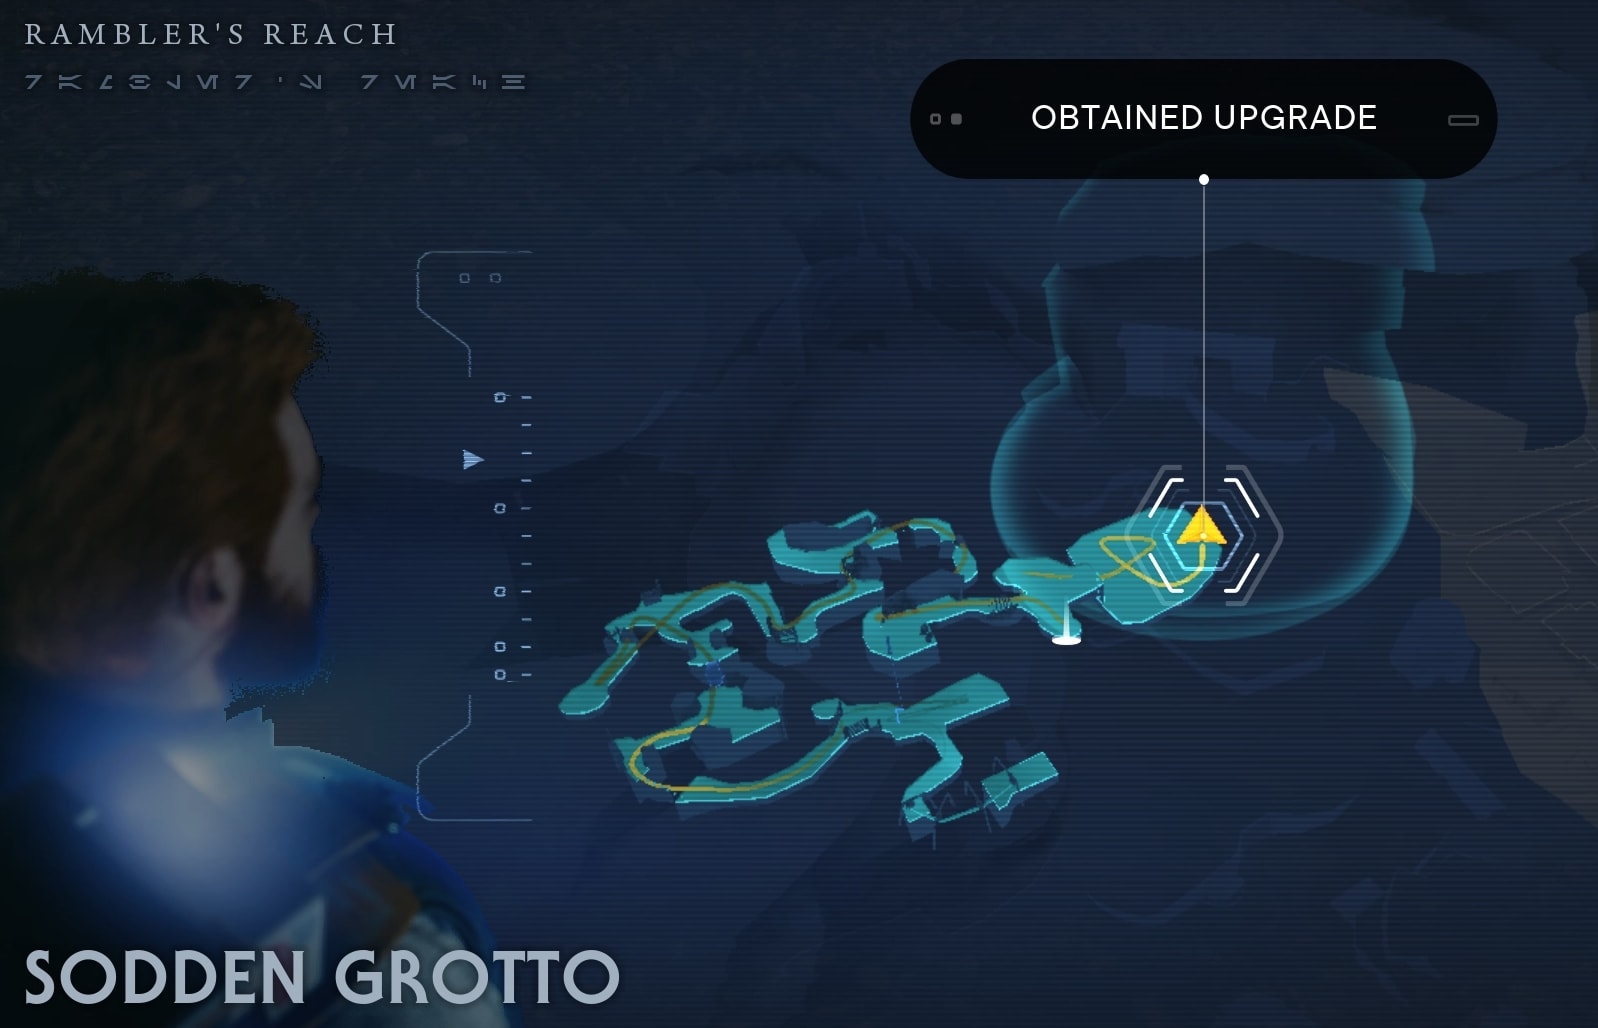
Essence 1/1: Shatter Perk
Behind the Rancor you will find the Essence. This one will give you the Shatter Perk. To learn more about them, check the guide to Perks in Star Wars Jedi Survivor. To find and obtain more Perks, check out our Perks Guide and Locations Catalog.
This is the final part of the Sodden Grotto area and you have completed and solved the Jedi Survivor’s Find Missing Prospectors Rumor. You can get out now. To make it faster, you can fast travel from the Meditation Point next to the Rancor’s lair.
How to complete Rumor “Find Missing Prospectors”
After you have collected all the information you need for this rumor side mission in Jedi Survivor, you can return to the Prospector NPC at the Rambler’s Reach Outpost. You won’t receive any rewards, you got those in the cave, but you can see her reaction.
As you listen to her response, you realize that she cares more about the area being clear, so she can continue her research. It never was about actually saving anyone. She knew there was a Rancor inside and needed you to help clear the area for her.
This concludes our guide to the Rumor mission in Star Wars Jedi Survivor tasking you to Find Missing Prospectors. You can find a ton more by browsing our Jedi Survivor Guides Master List.


