
This guide will show you how to reach Pilgrim’s Sanctuary on Jedha. This mission takes place after you go to Jedha to return the research you found on Koboh and its moon.
This is the second time you come to Jedha in Jedi Survivor. If you are looking for a guide on How to find Cere on Jedha, then read our other guide in the Jedi Survivor Walkthrough series.
Going across the Desert
After the cinematic with Eno Cordova, Merrin will lead you to where some spamels are. Follow her up this elevator and outside. Use Force Push on the door to open it.
Interact with the Achorite Base Meditation Point to use it for fast travel later.
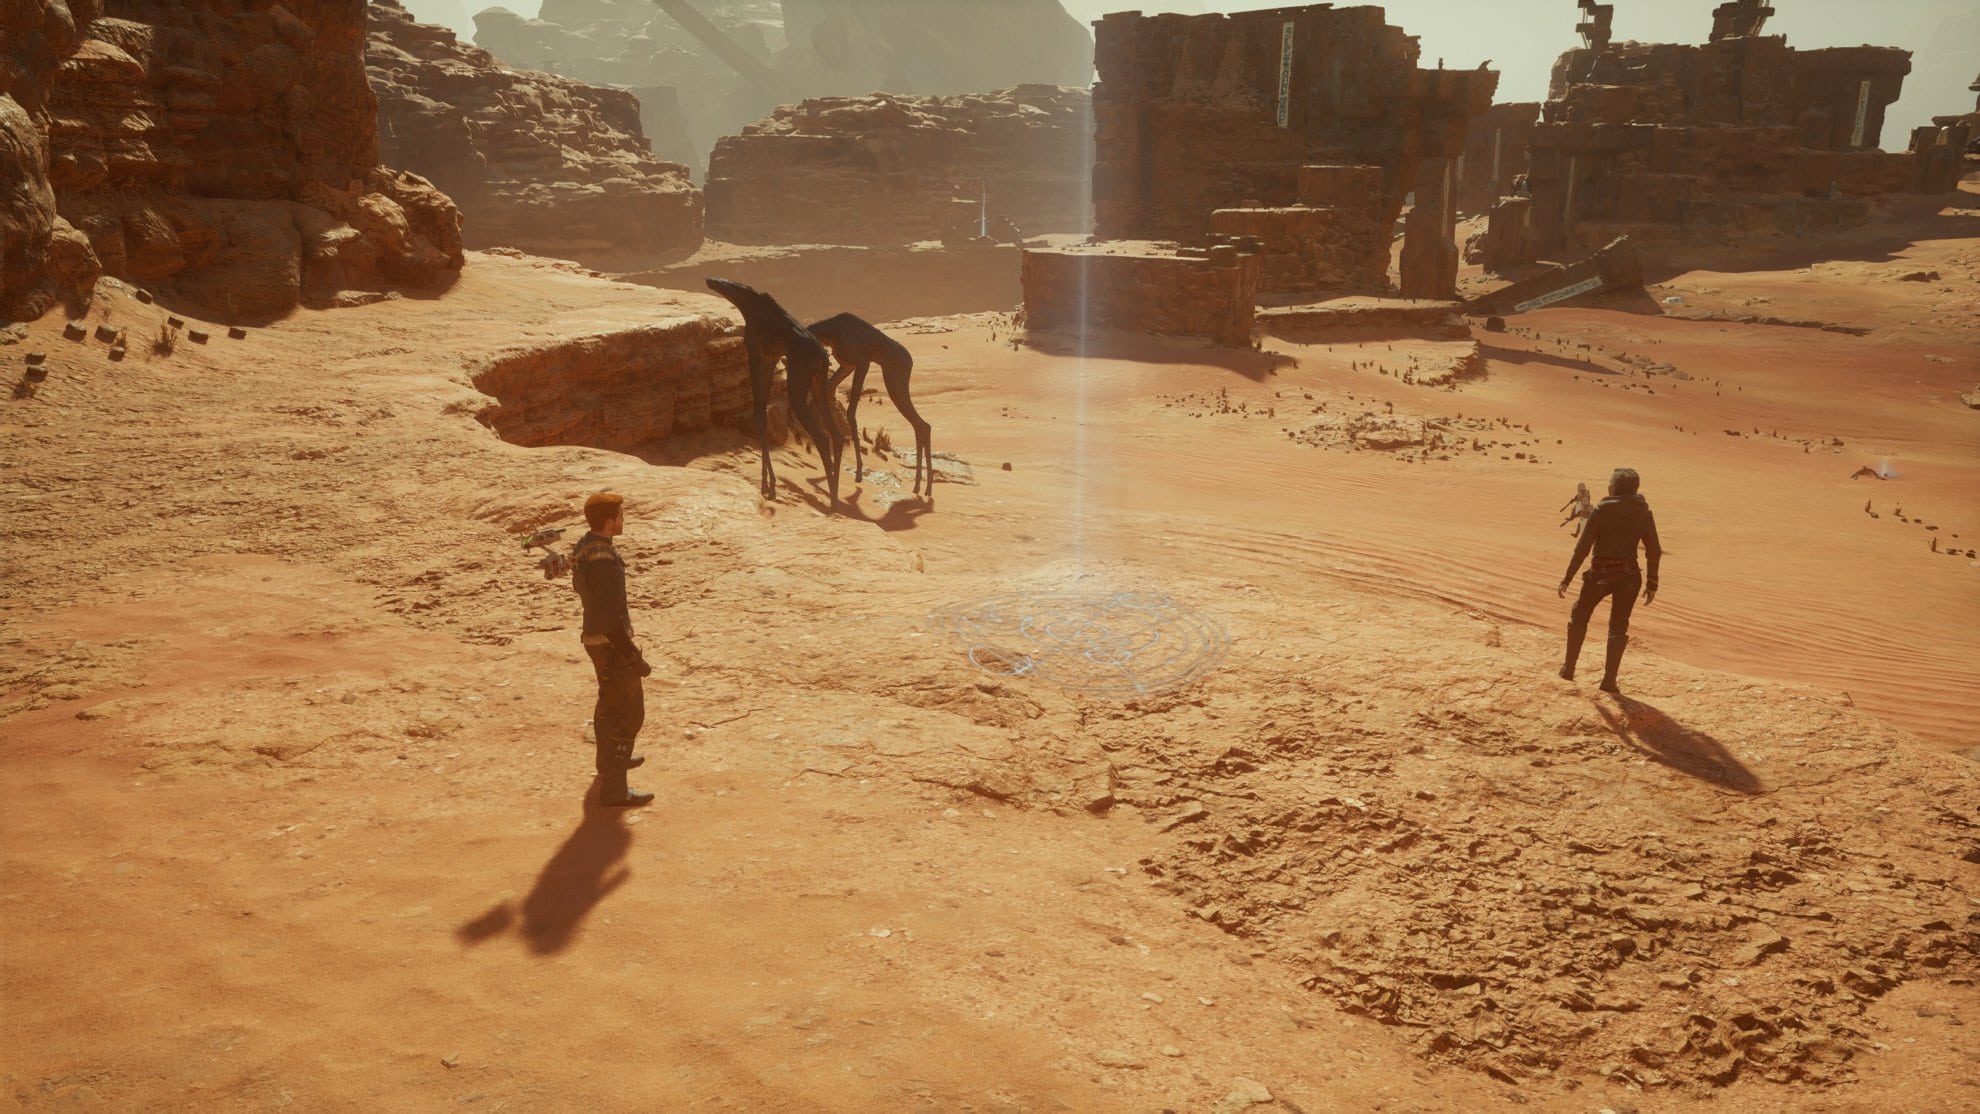
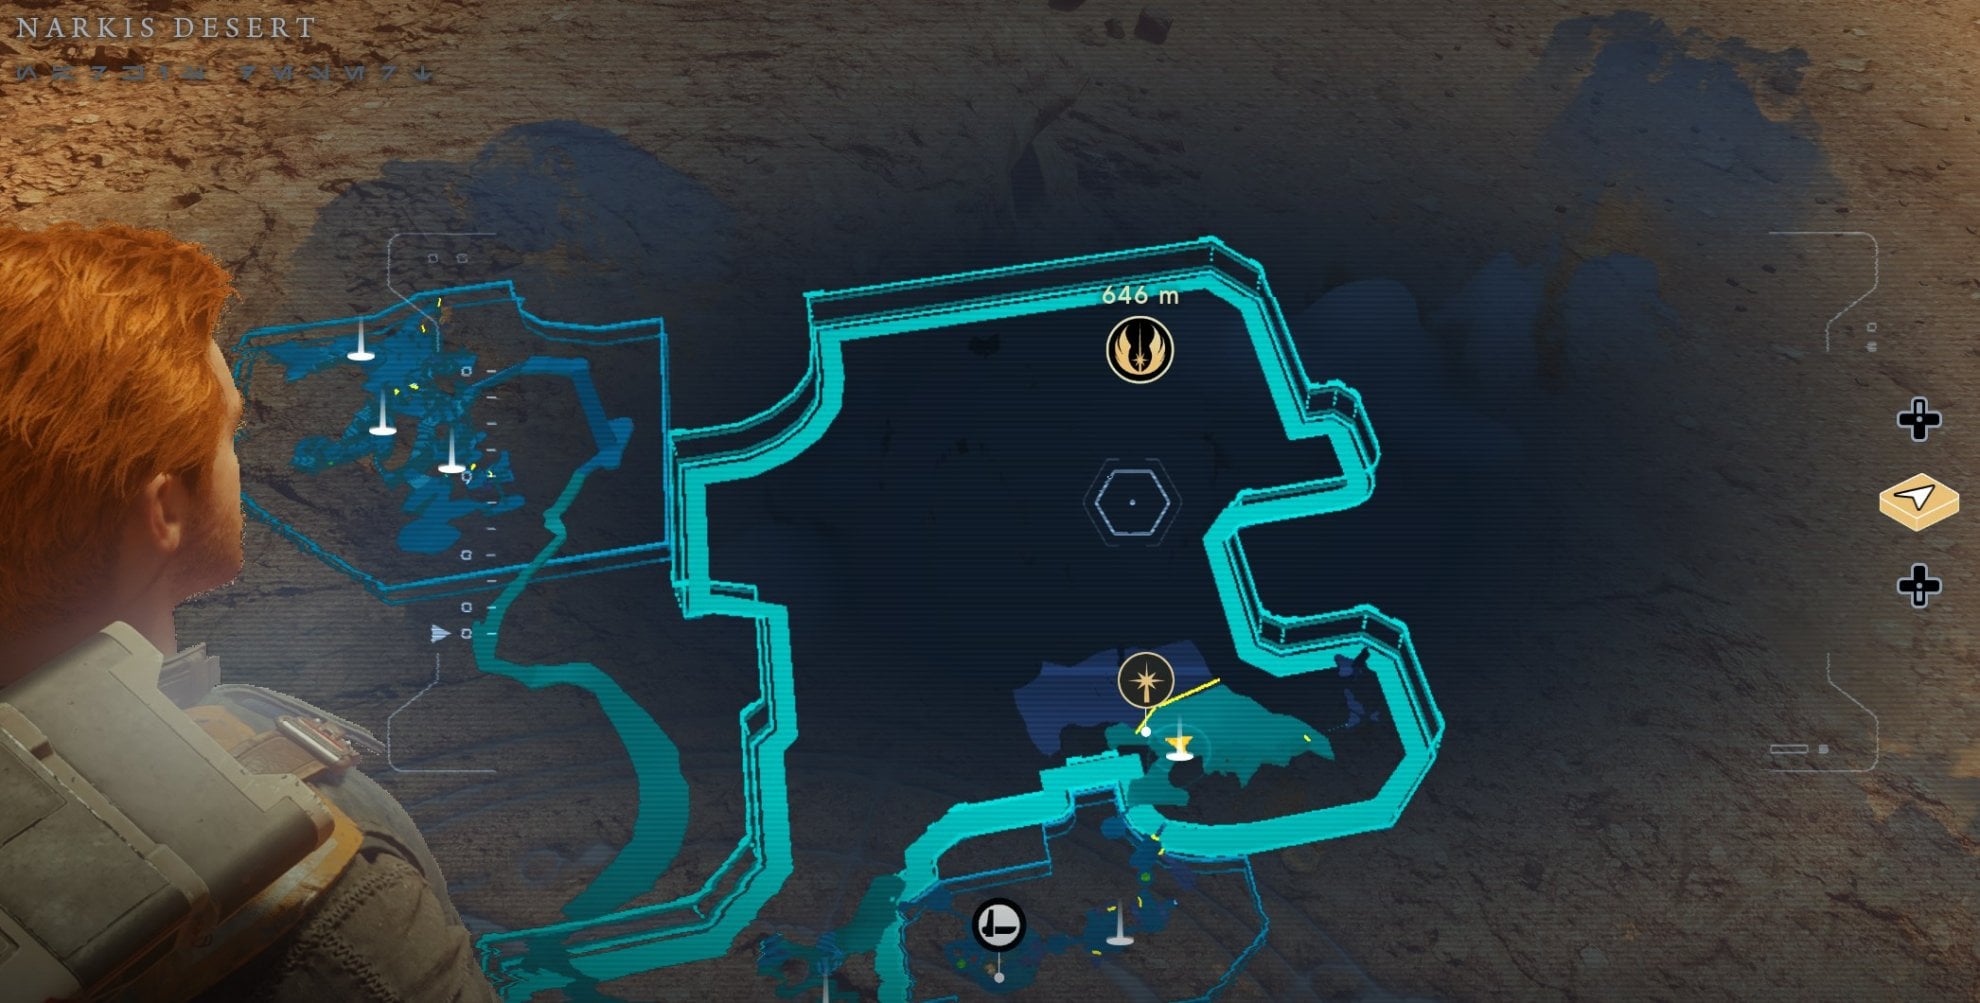
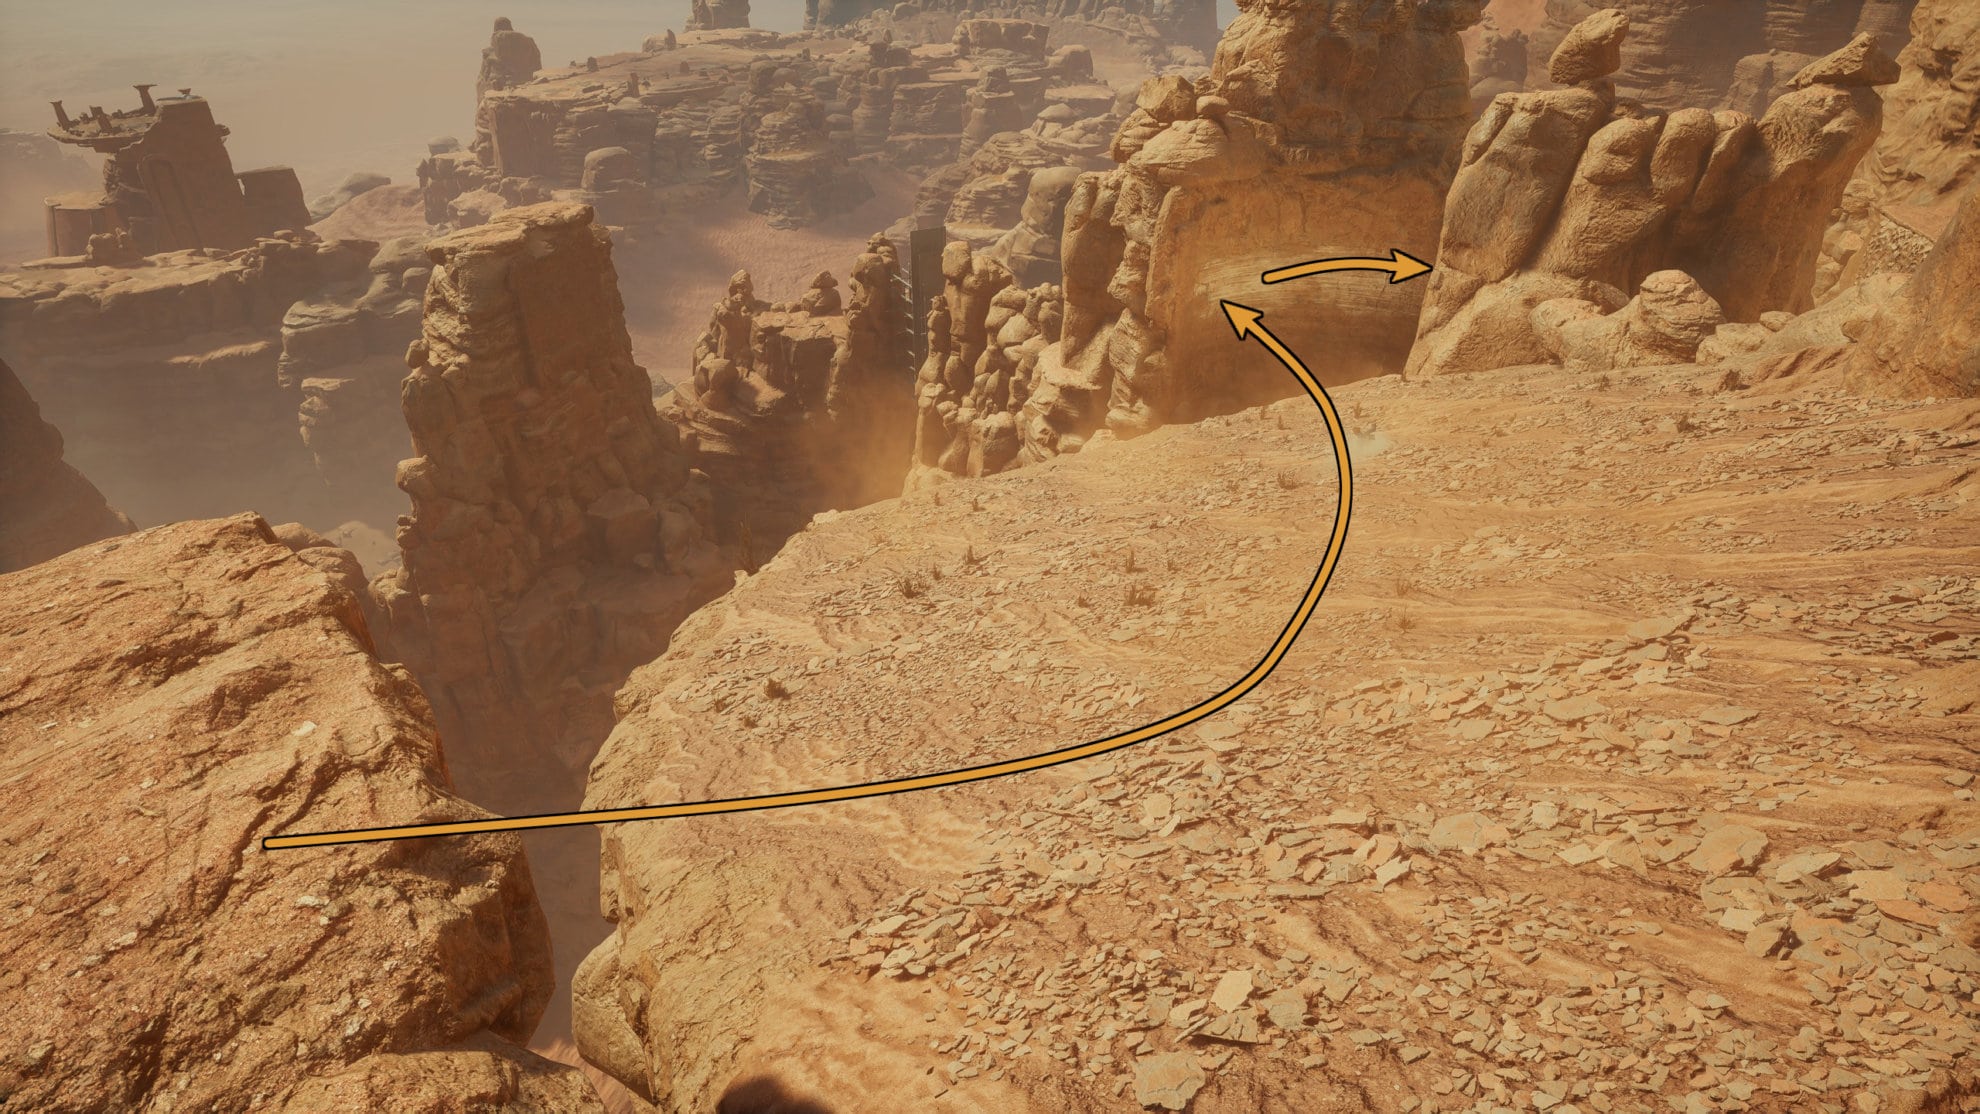
Next, you’ll want to take a look at a map to see which direction you need to go. Hop on top of a spamel and make your way there.
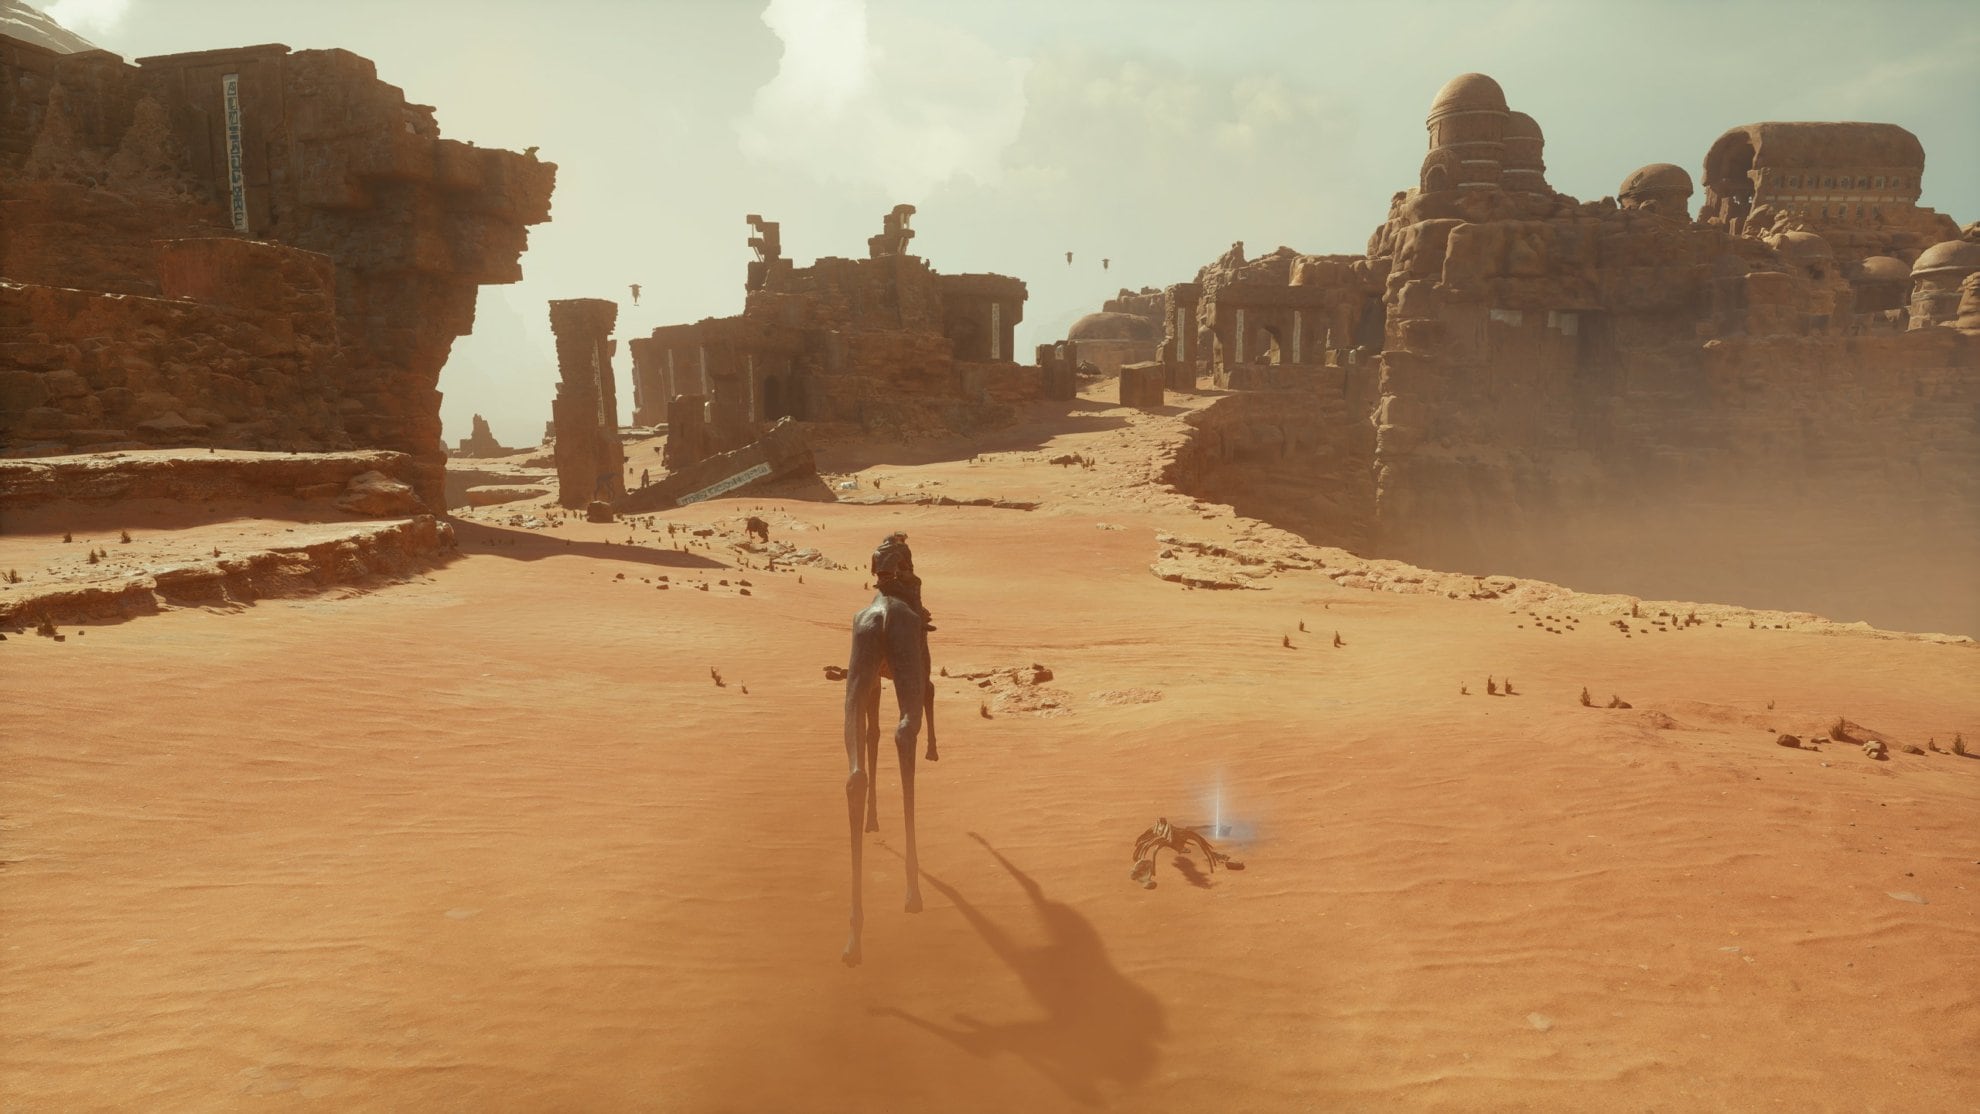
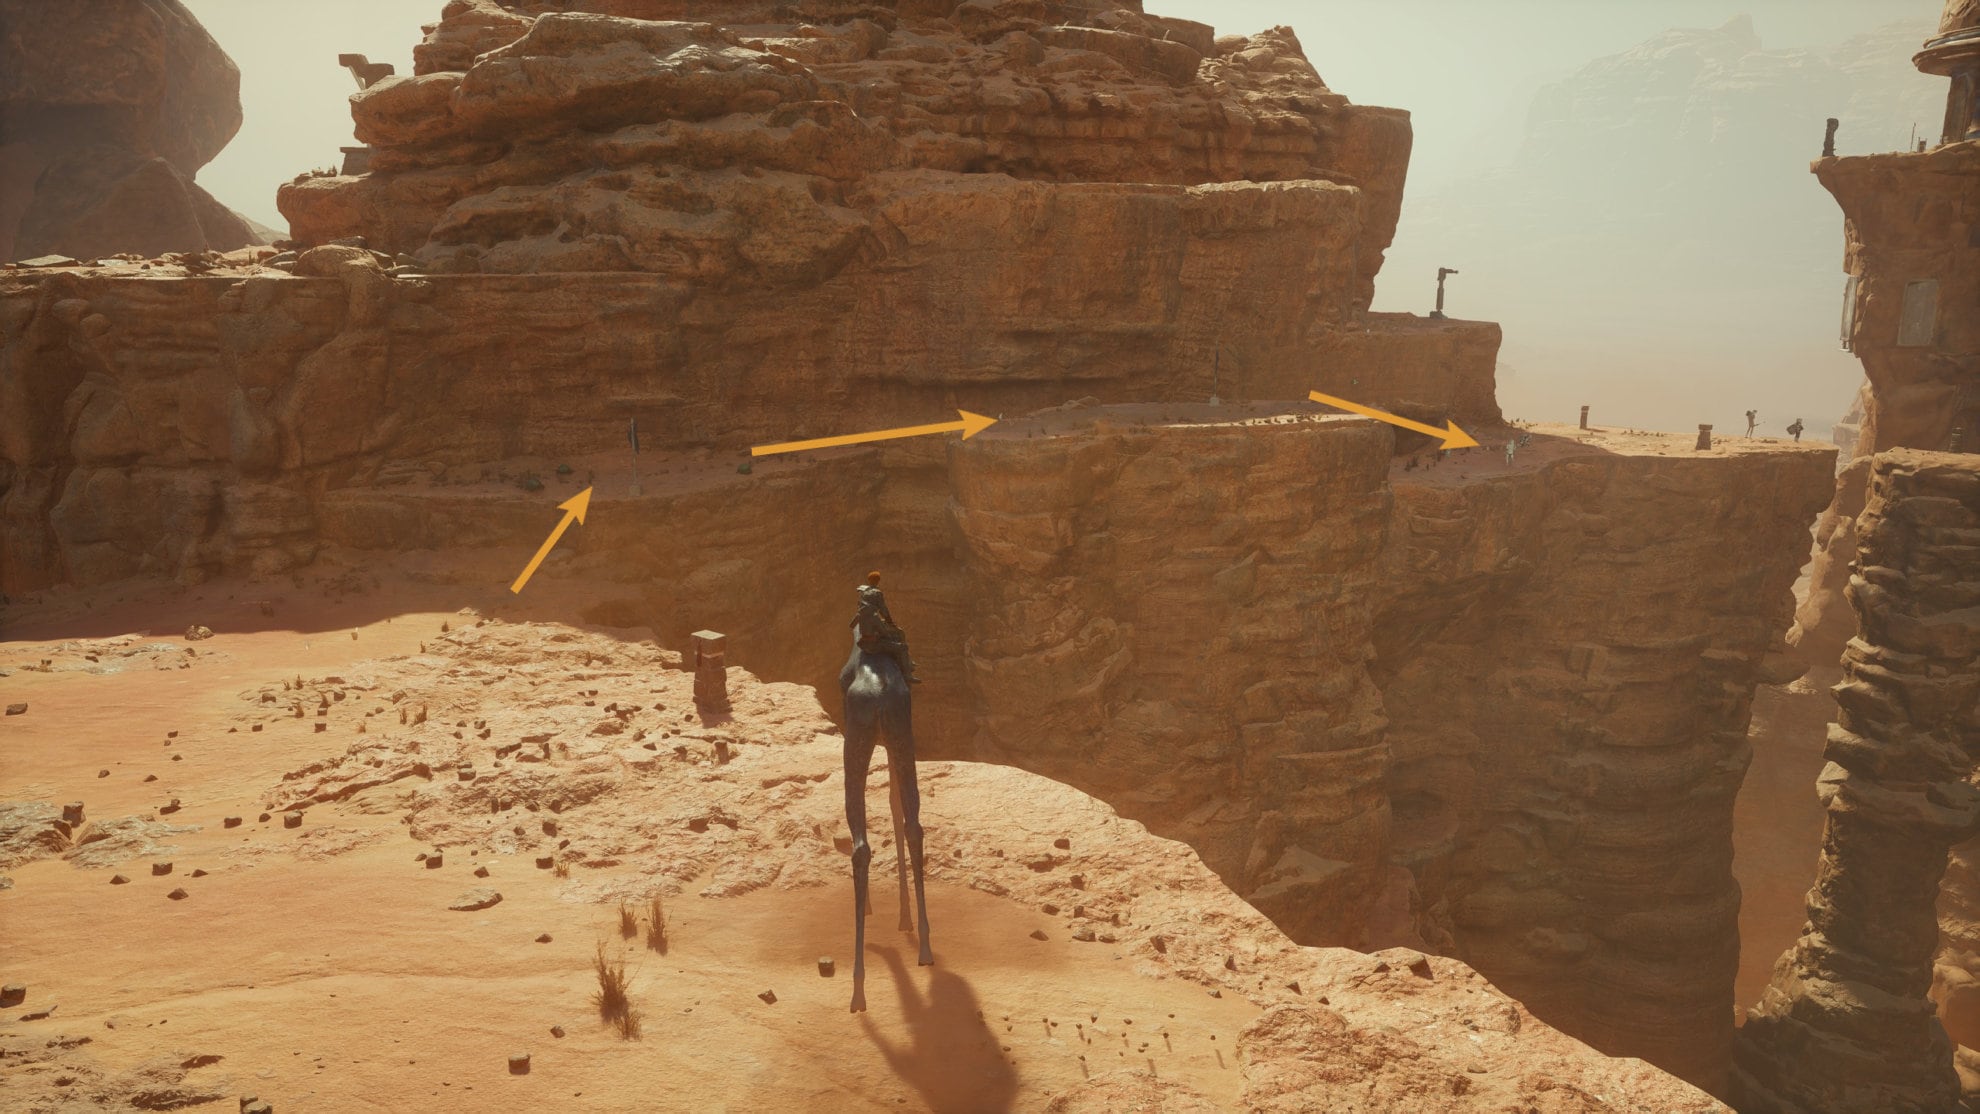
Watch out for any Imperial Patrols as they’ll be utilizing AT-STs. Follow the direction of your map and you’ll reach the Arid Flats Meditation Point after a little bit of wall jumping. Interact with this Meditation Point to use it for fast travel.
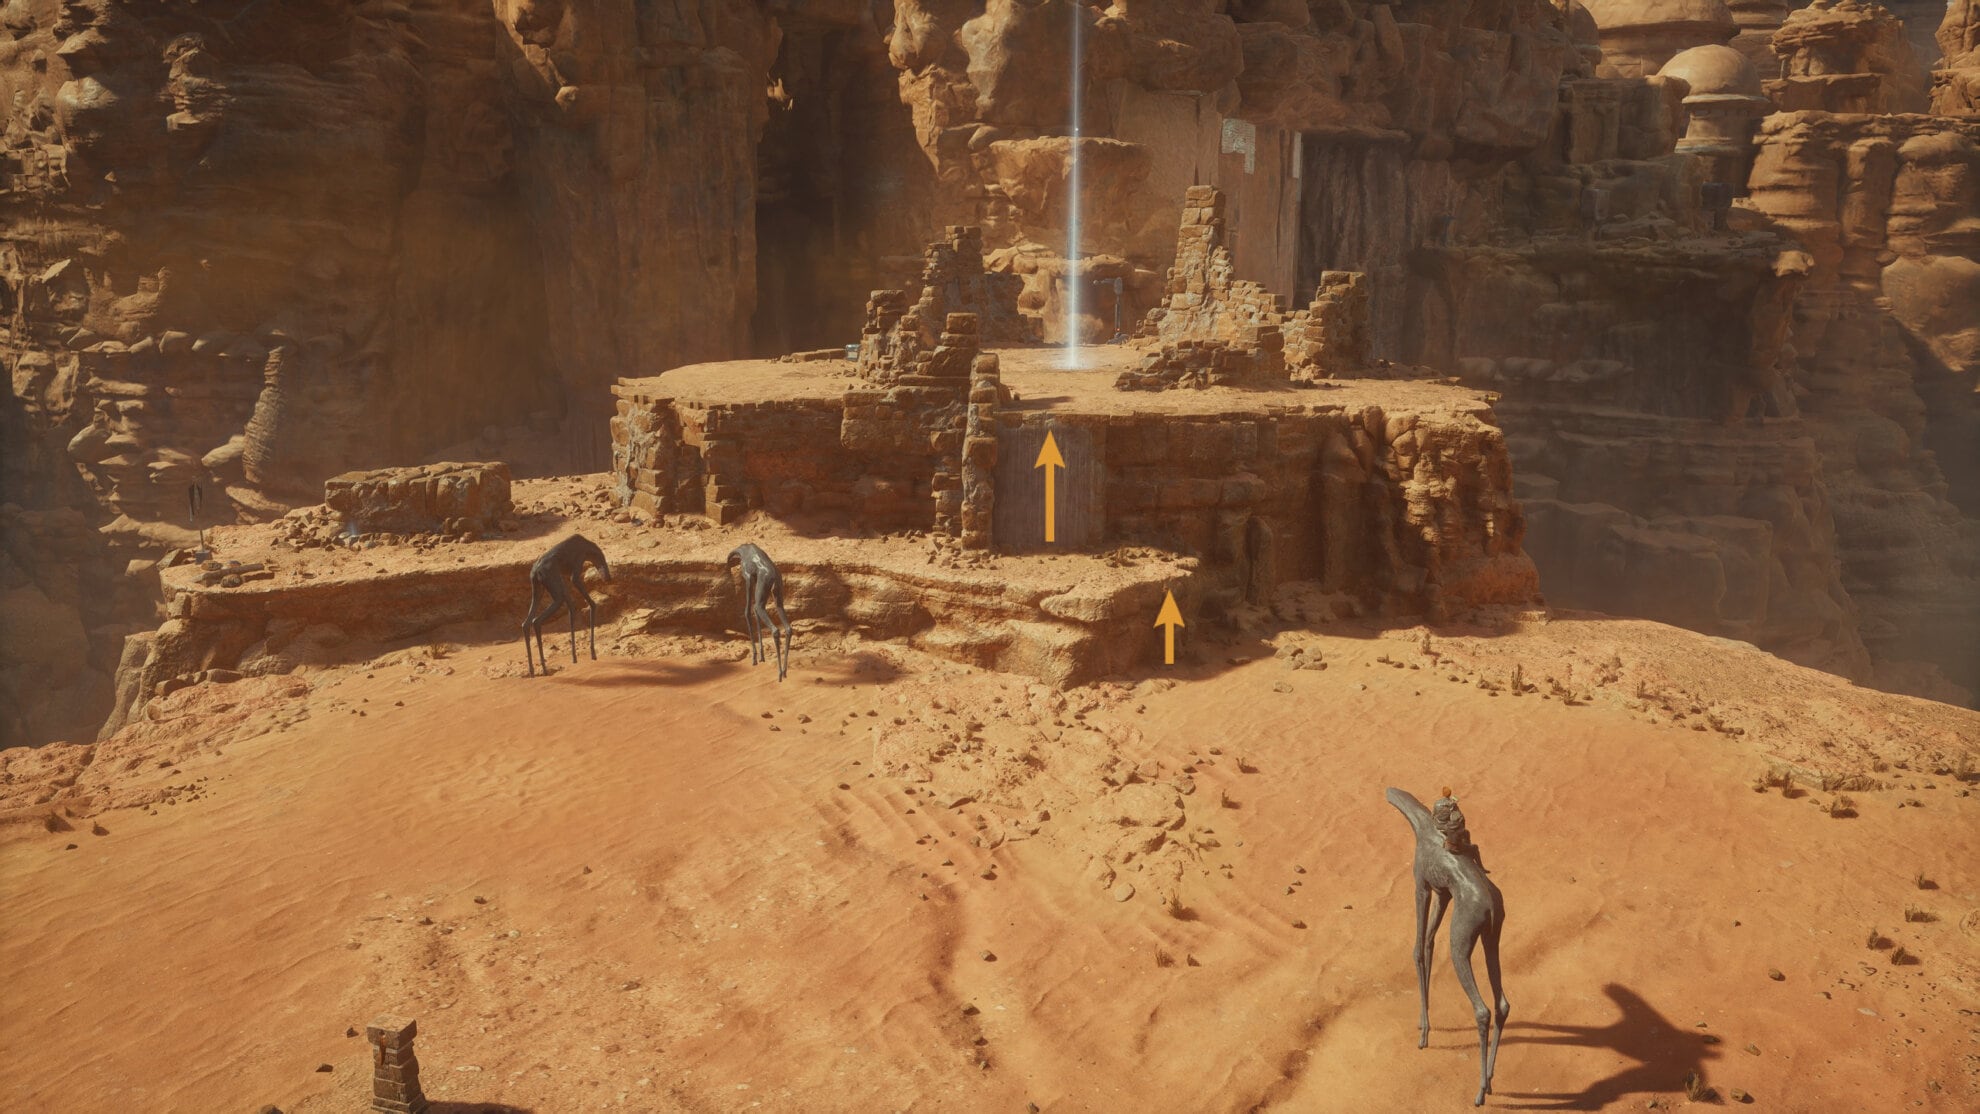
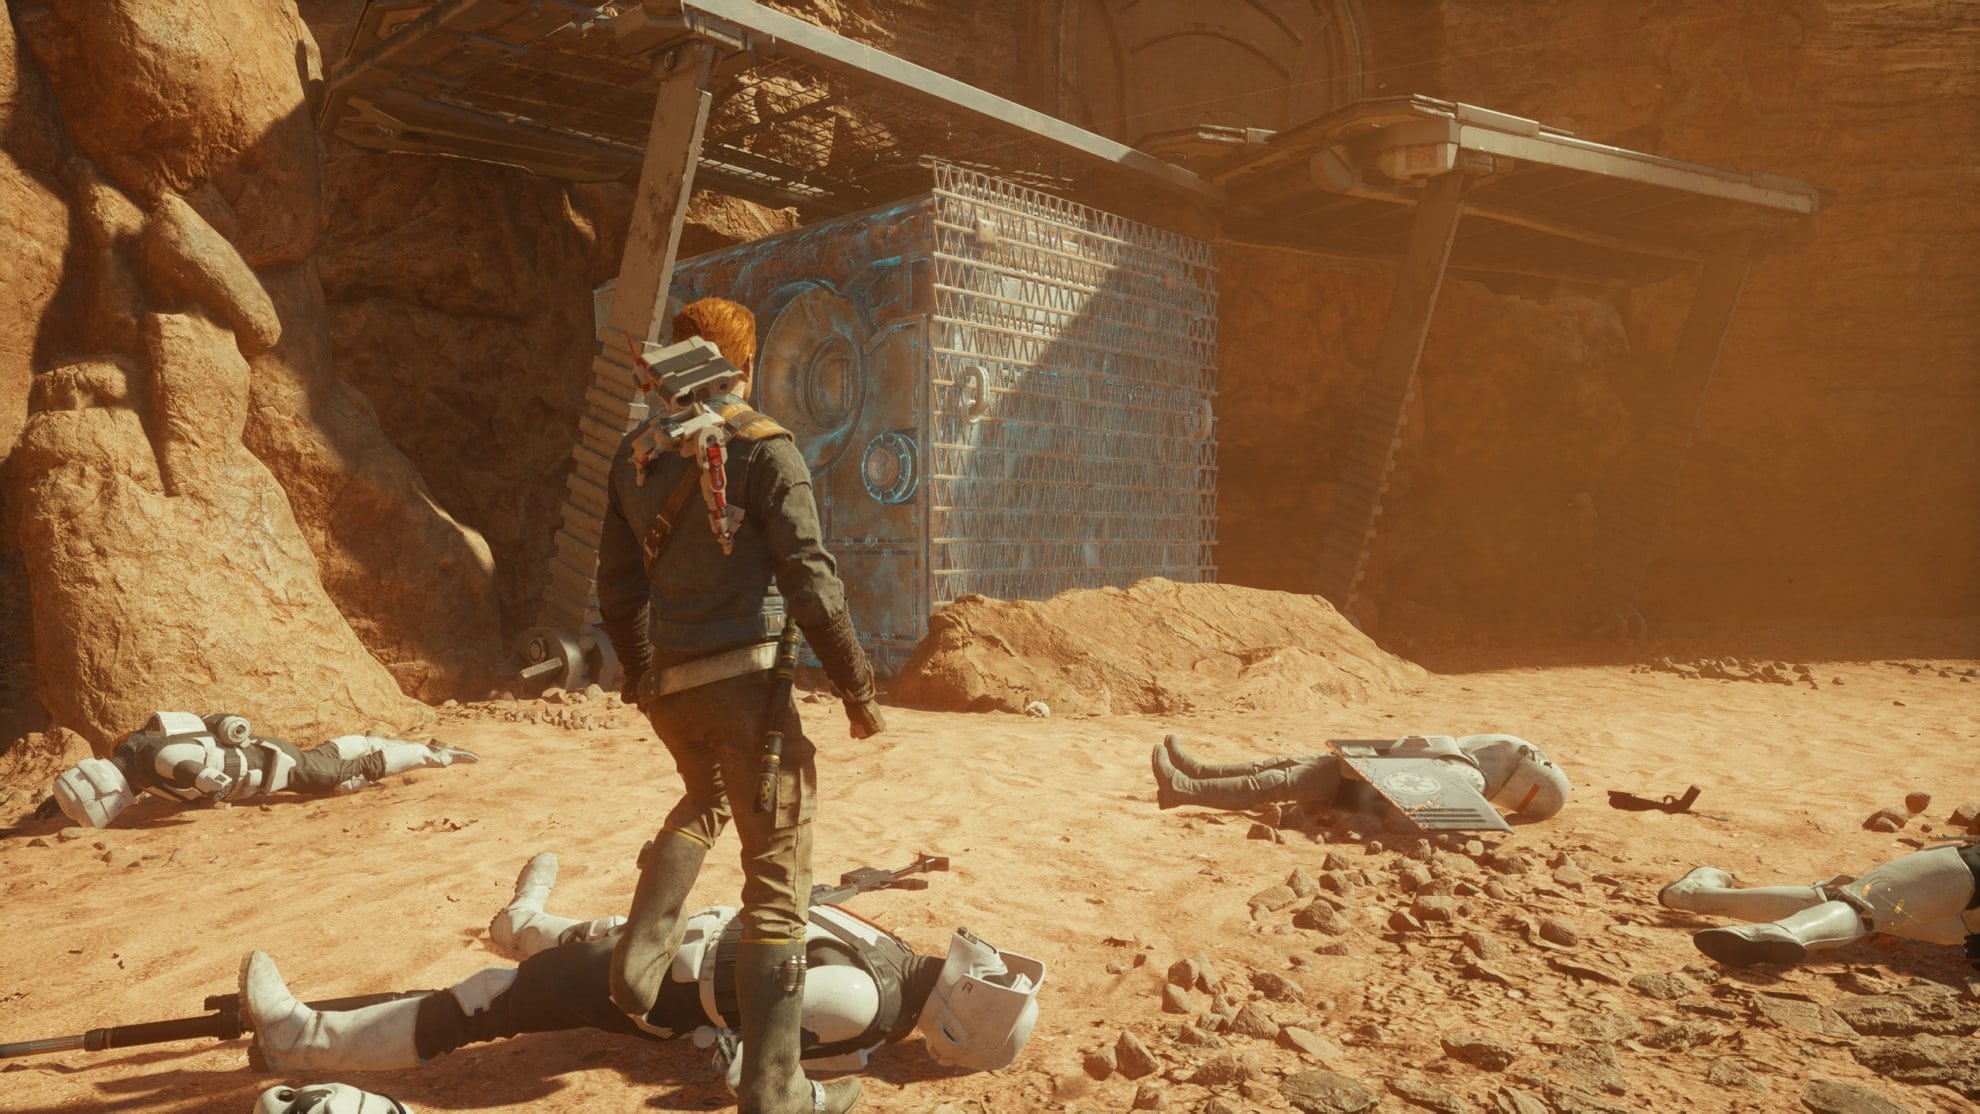
Get back on the spamel and go to the left of the Arid Flats Meditation Point where you’ll find some Imperials and Hardshells. Jump up the ledge, go towards the Imperials, and defeat them.
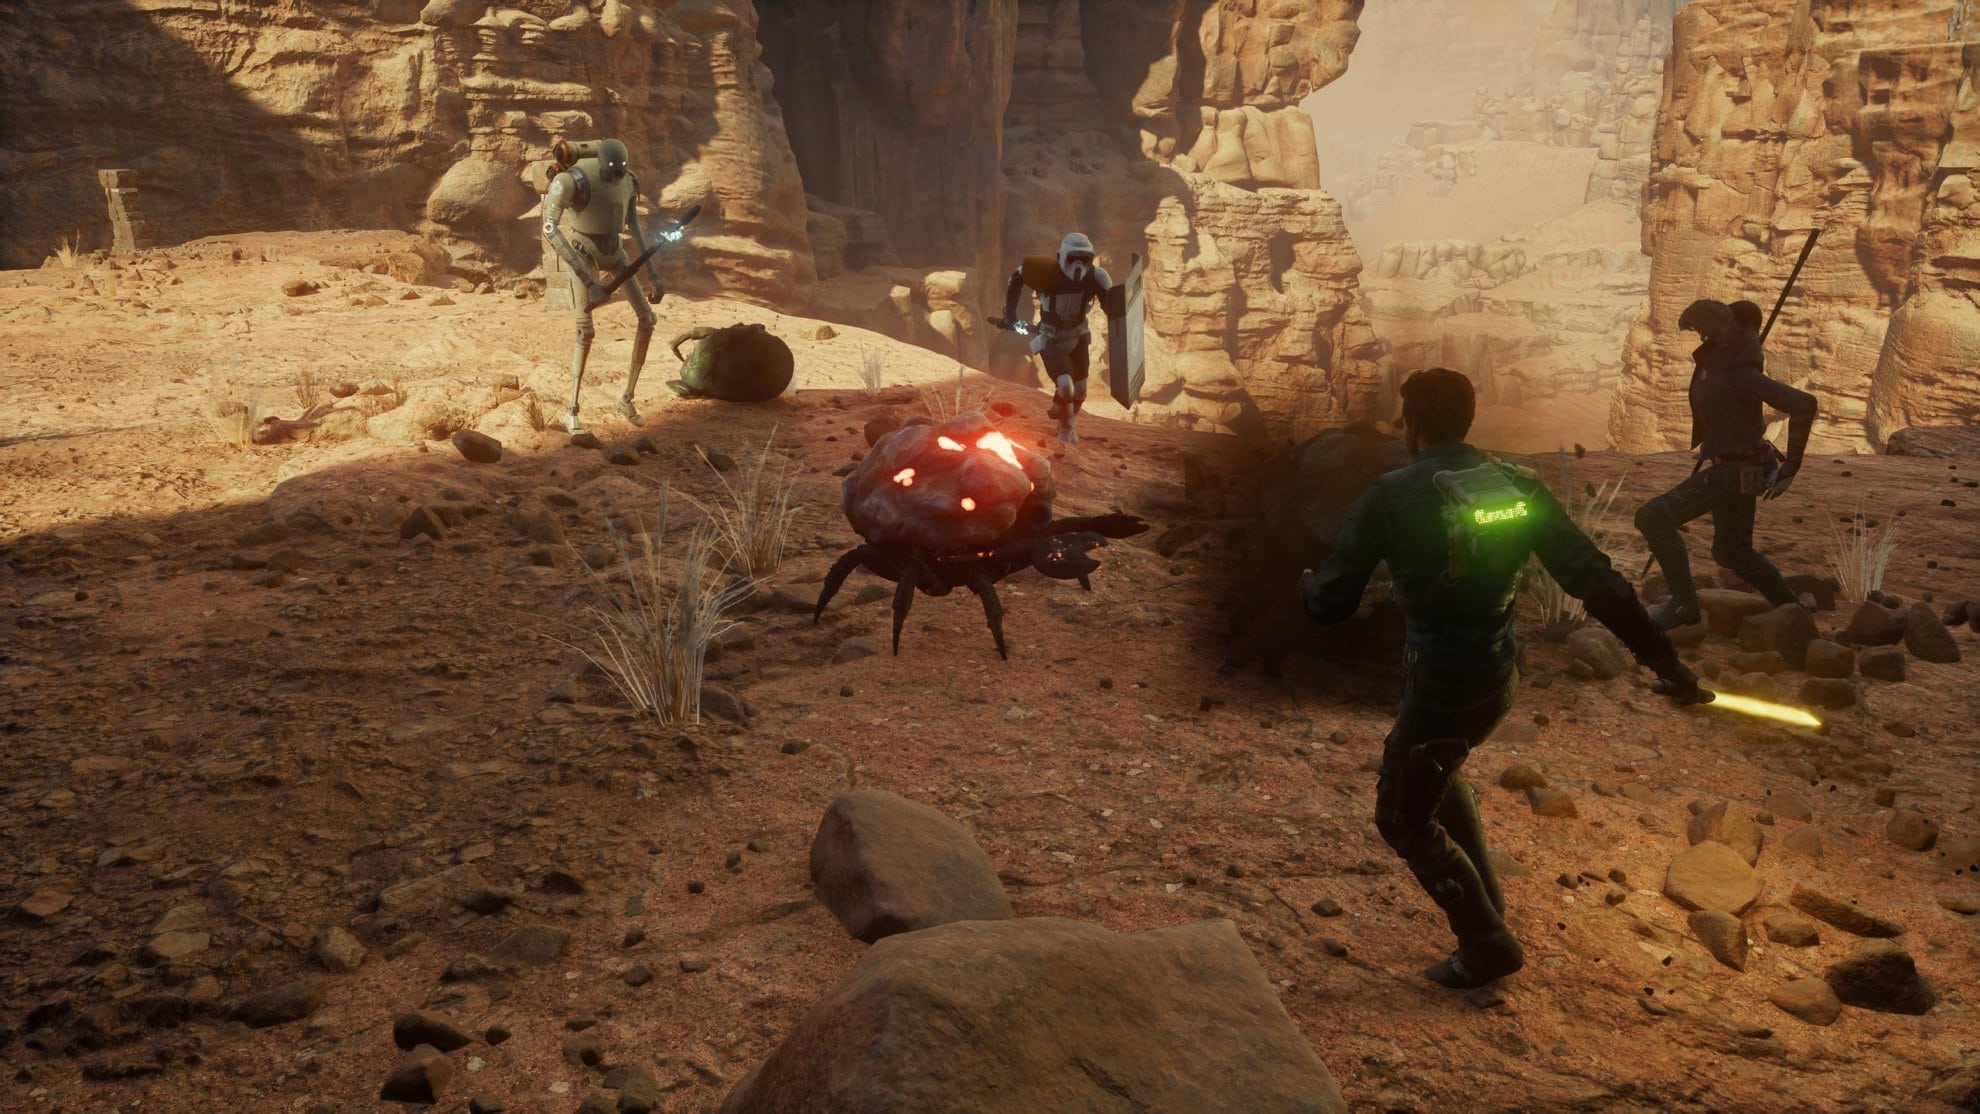
Be careful of the Hardshells with the rocks on their back. If these rocks get too much damage, they’ll explode. The brighter the rocks get, the sooner they will explode upon receiving damage. Space out your swings so the rocks have time to cool down.
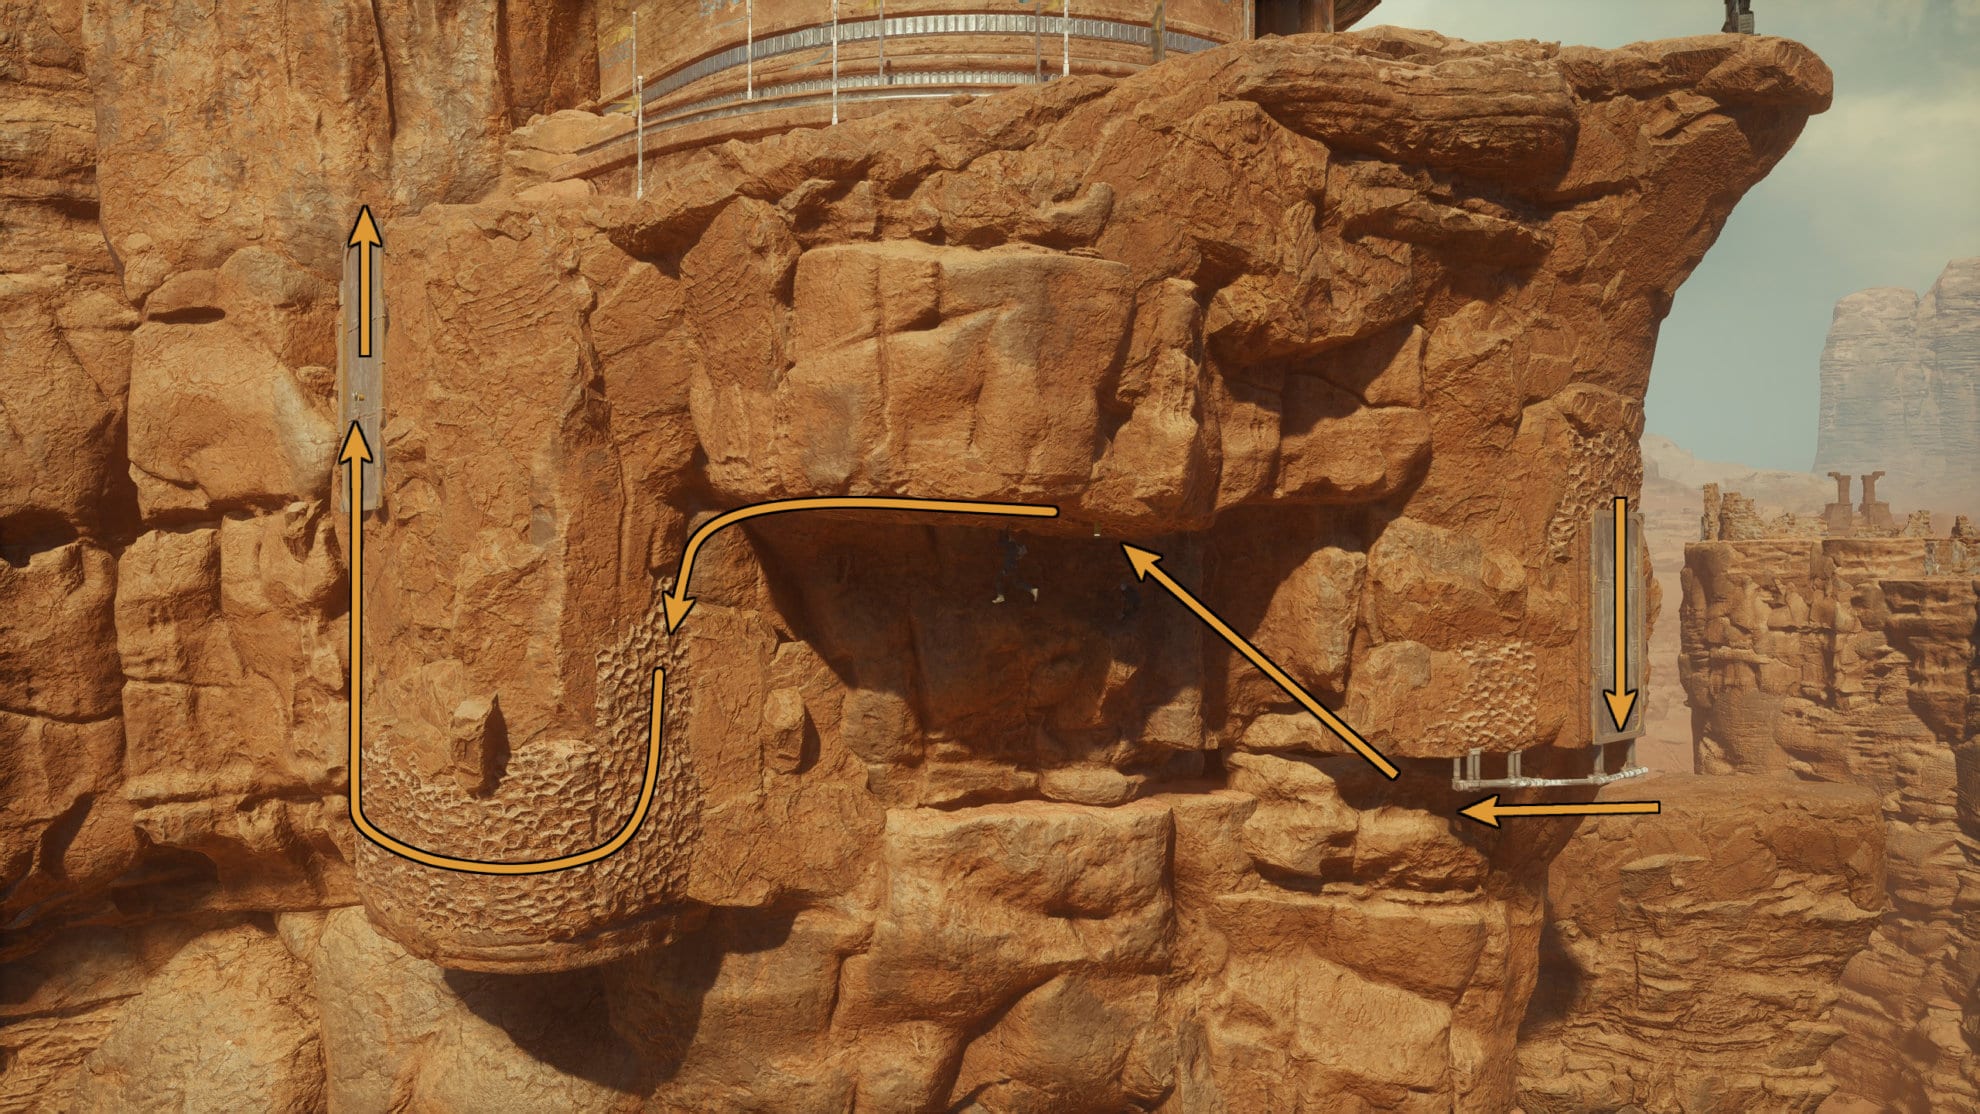
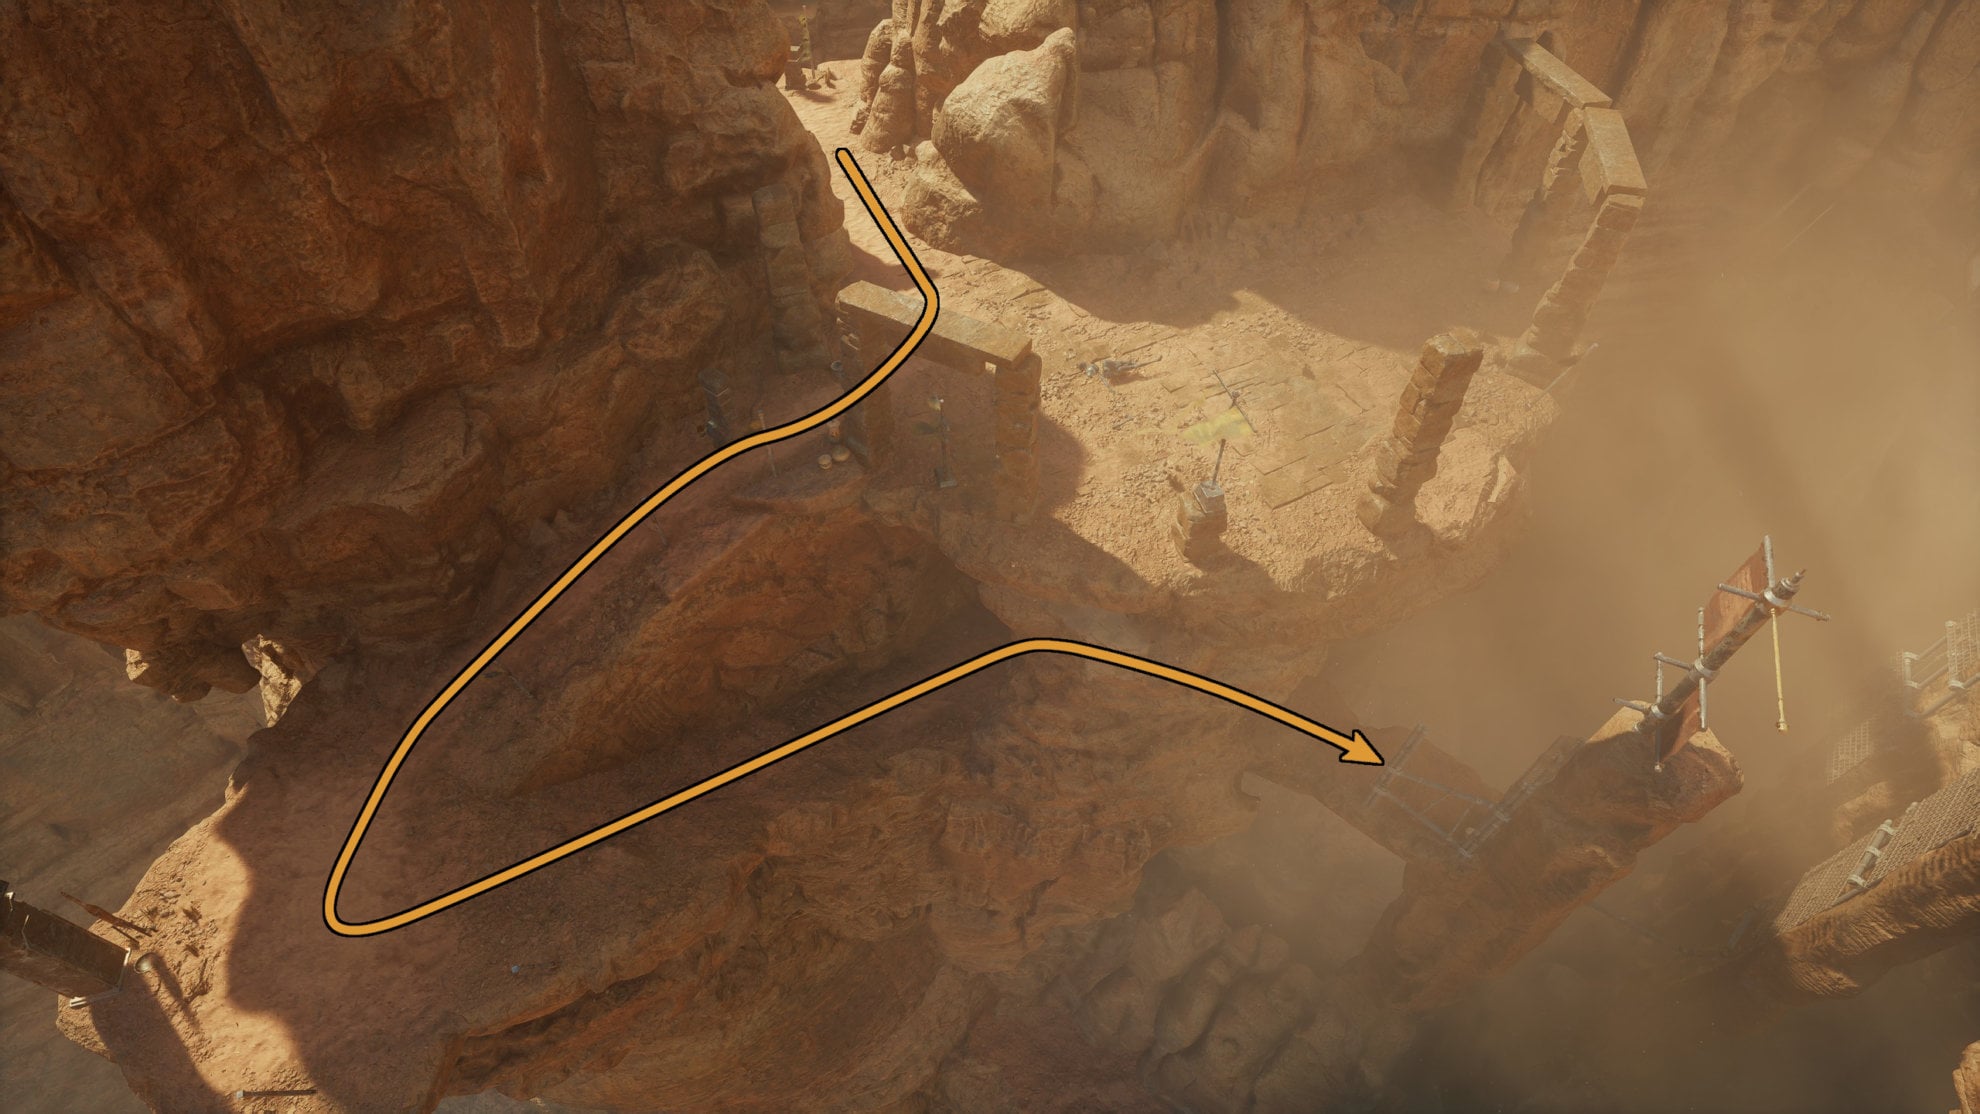
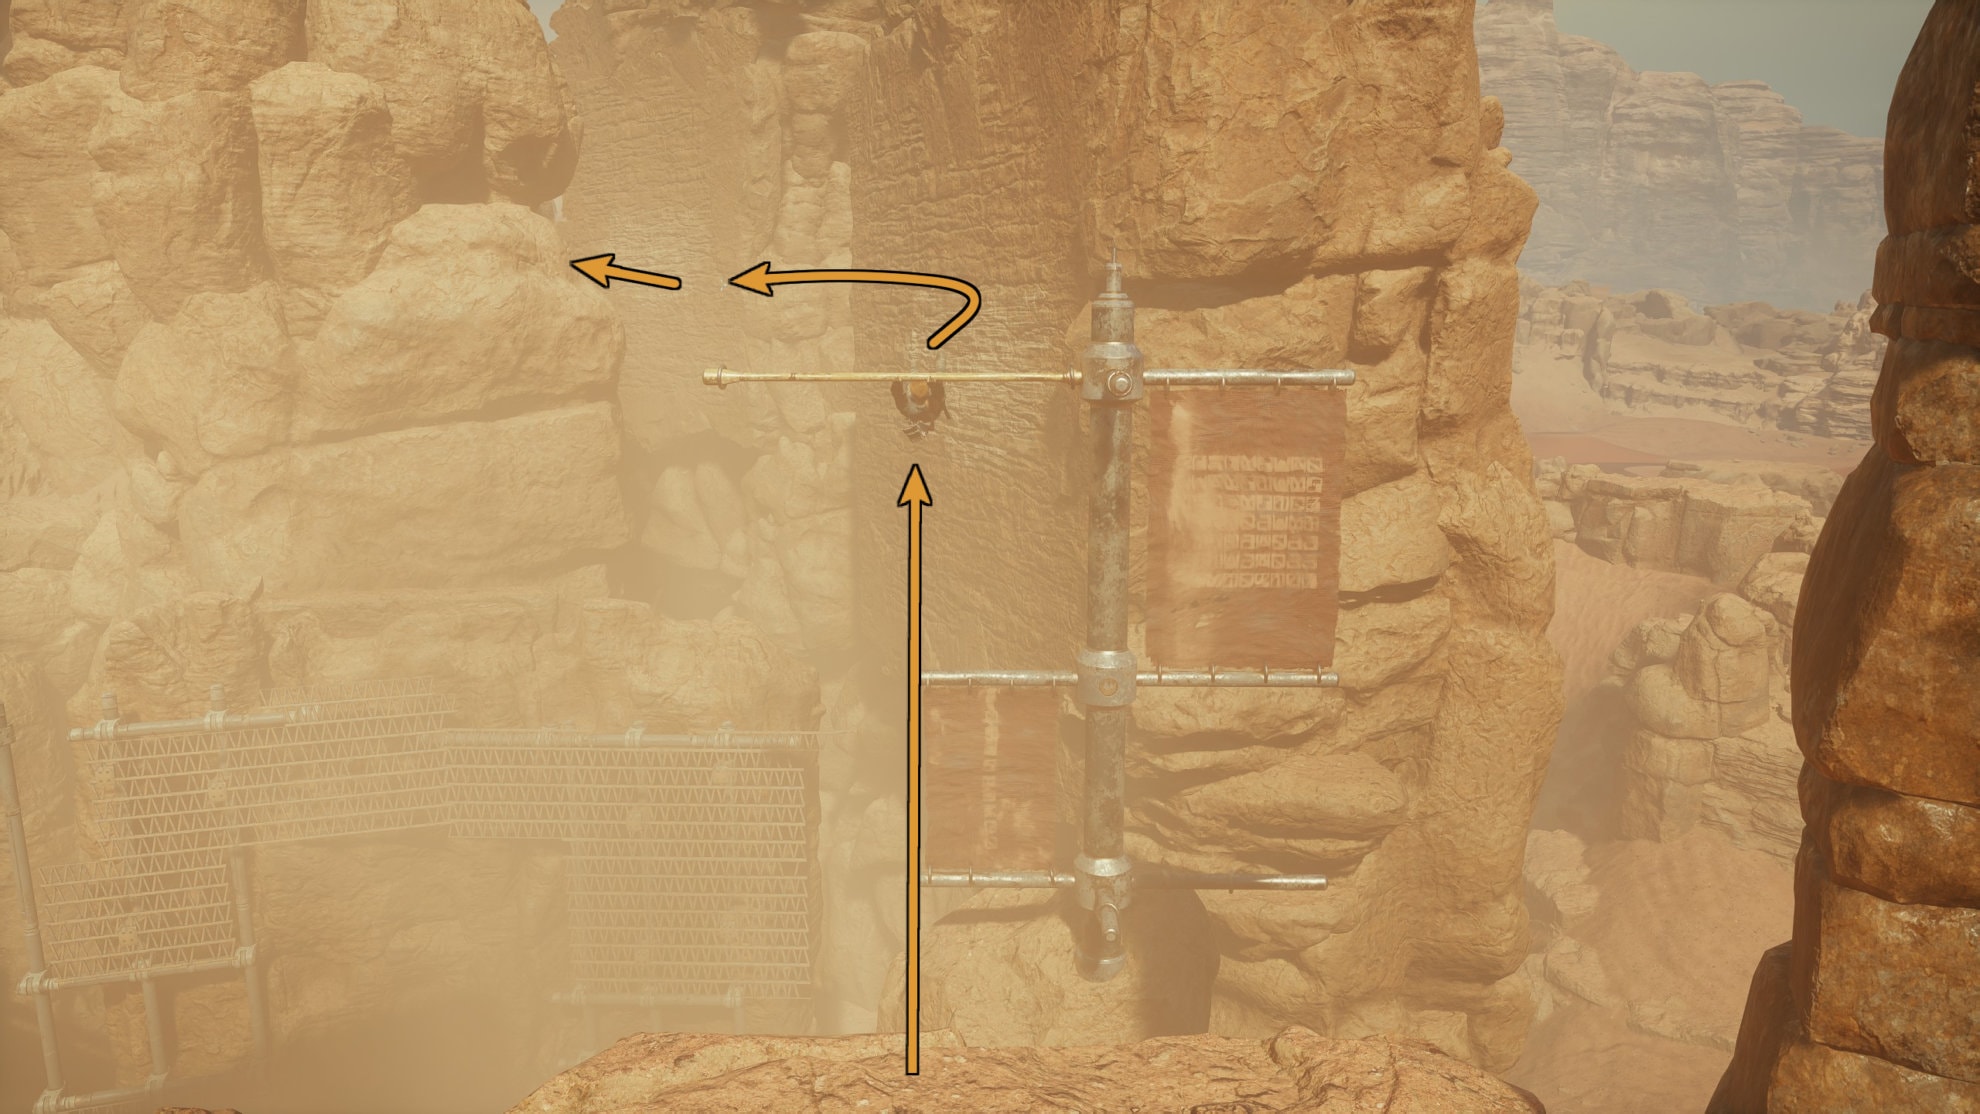
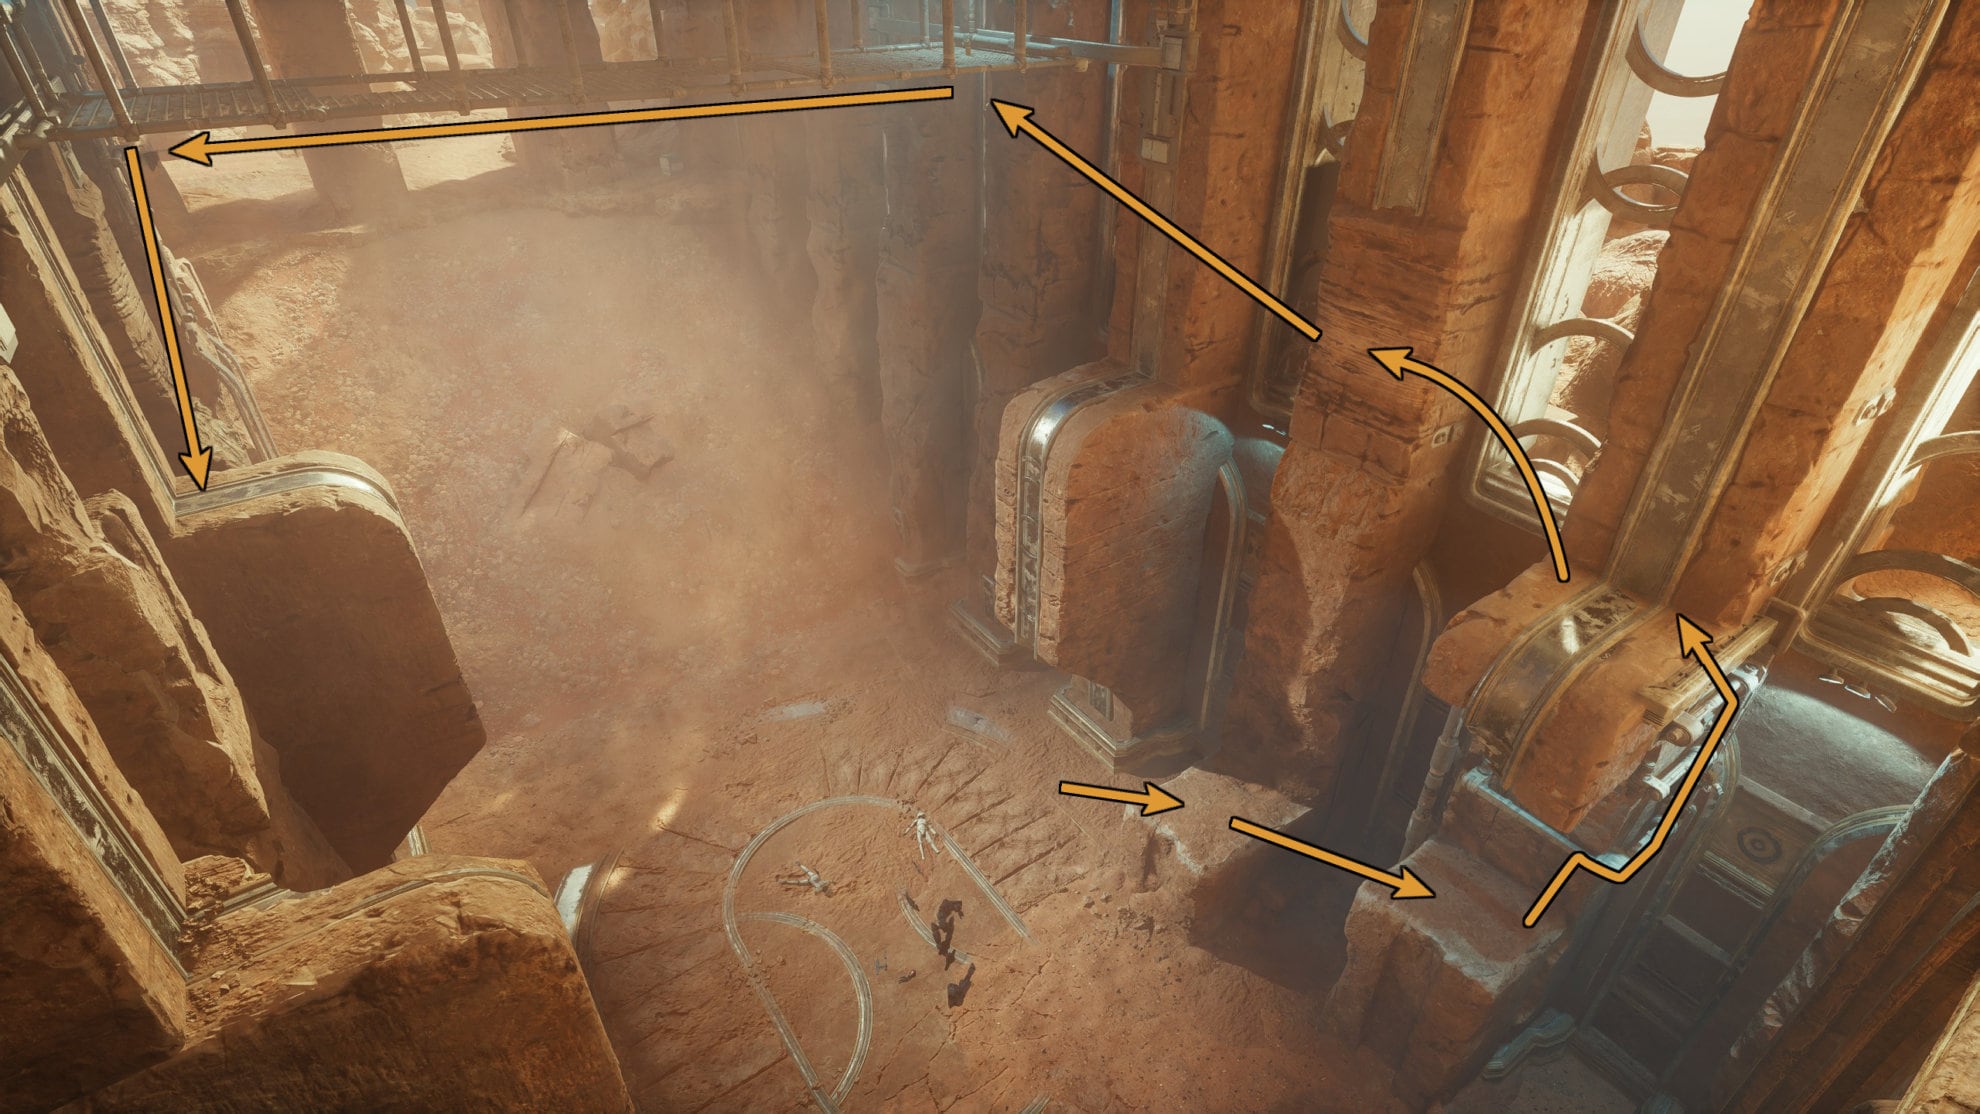
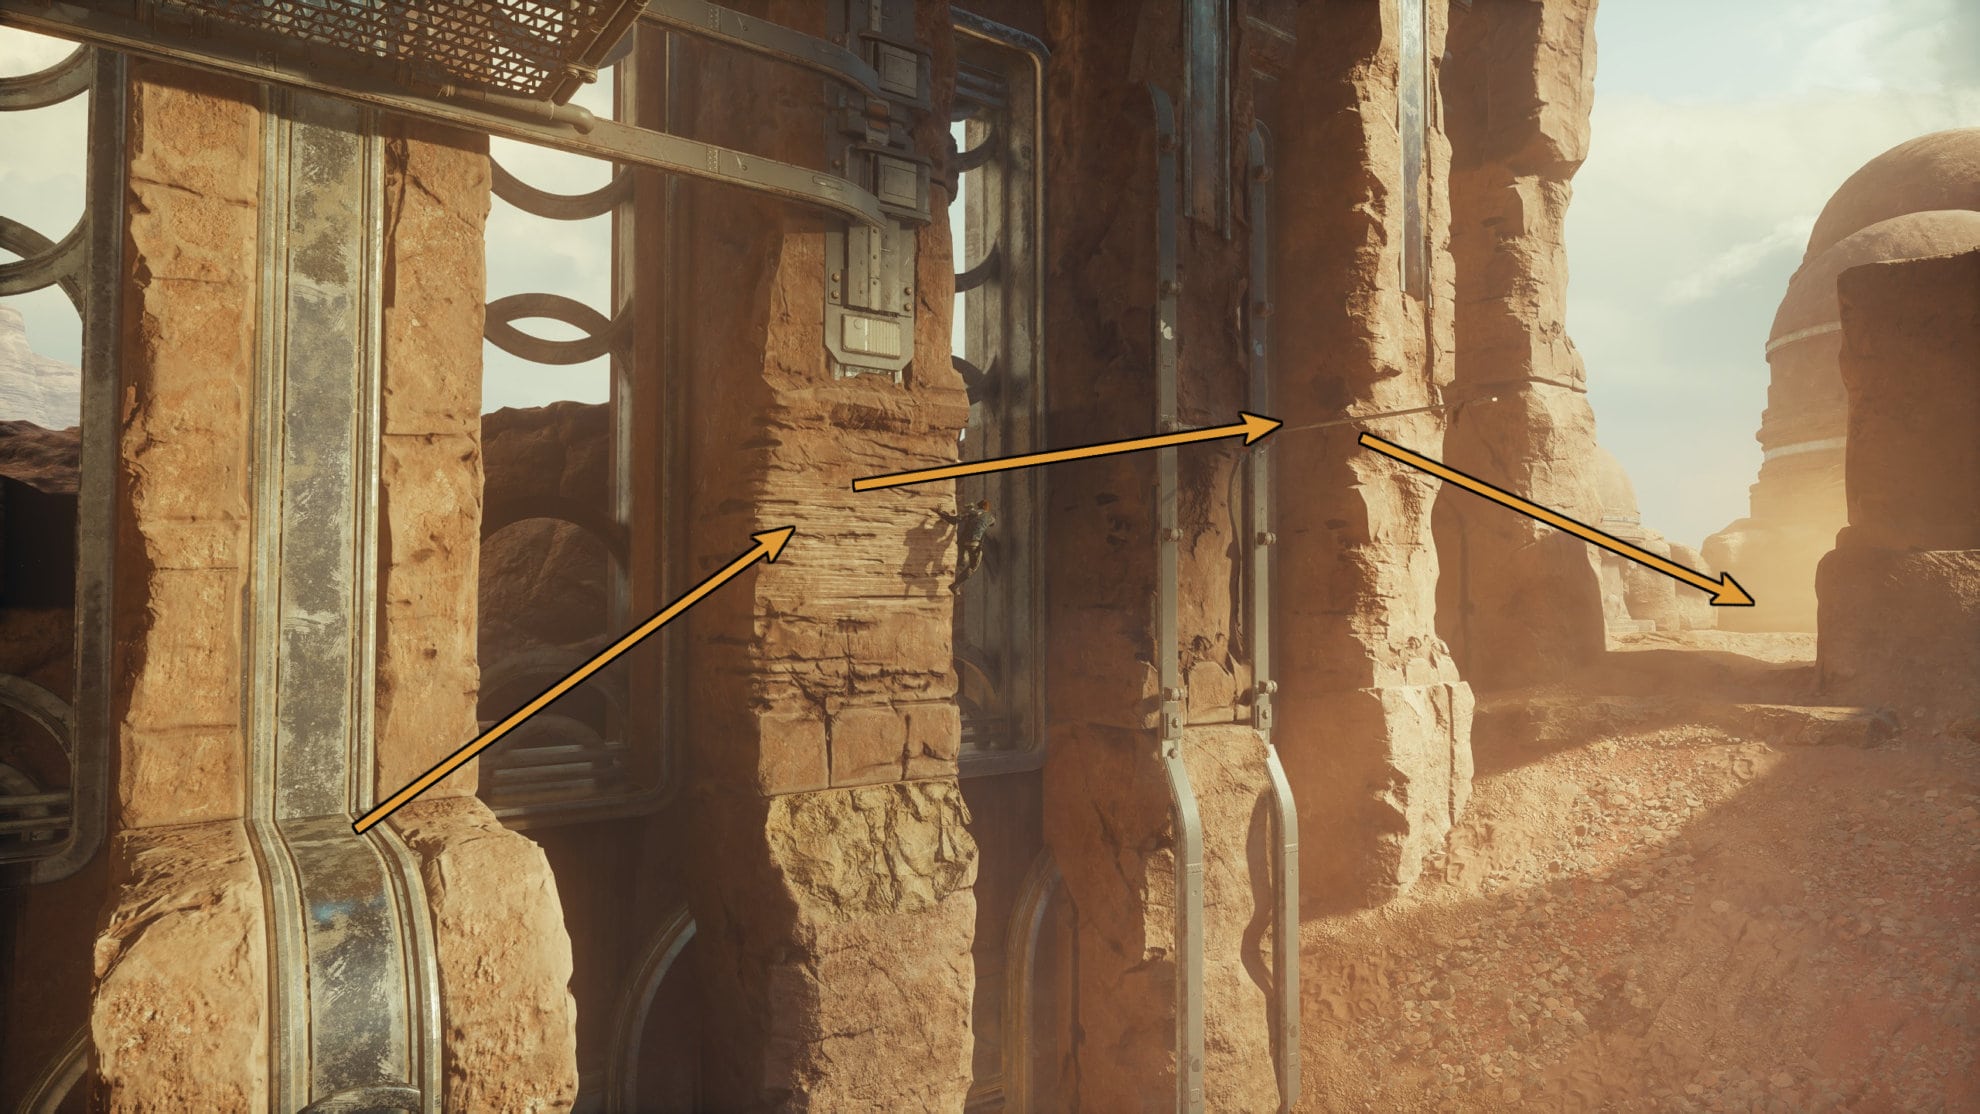
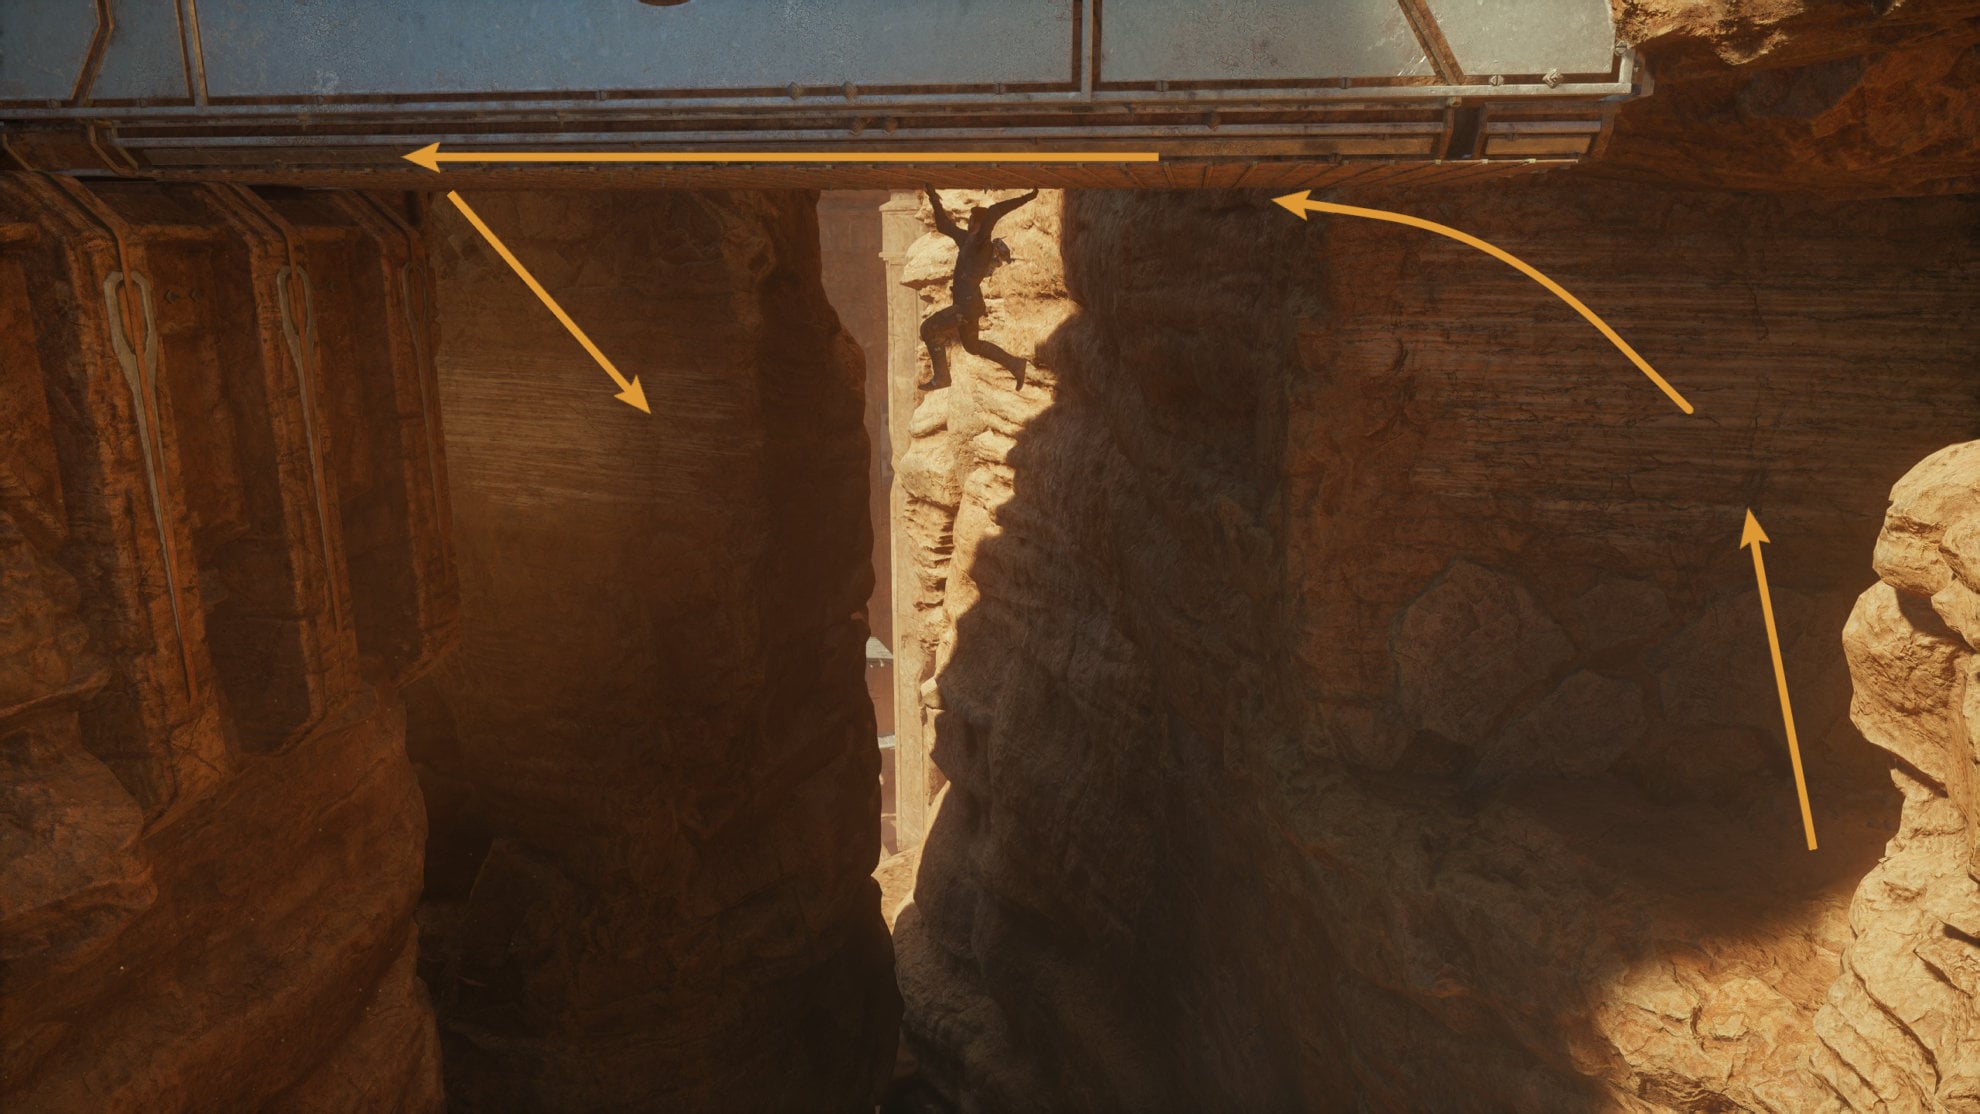
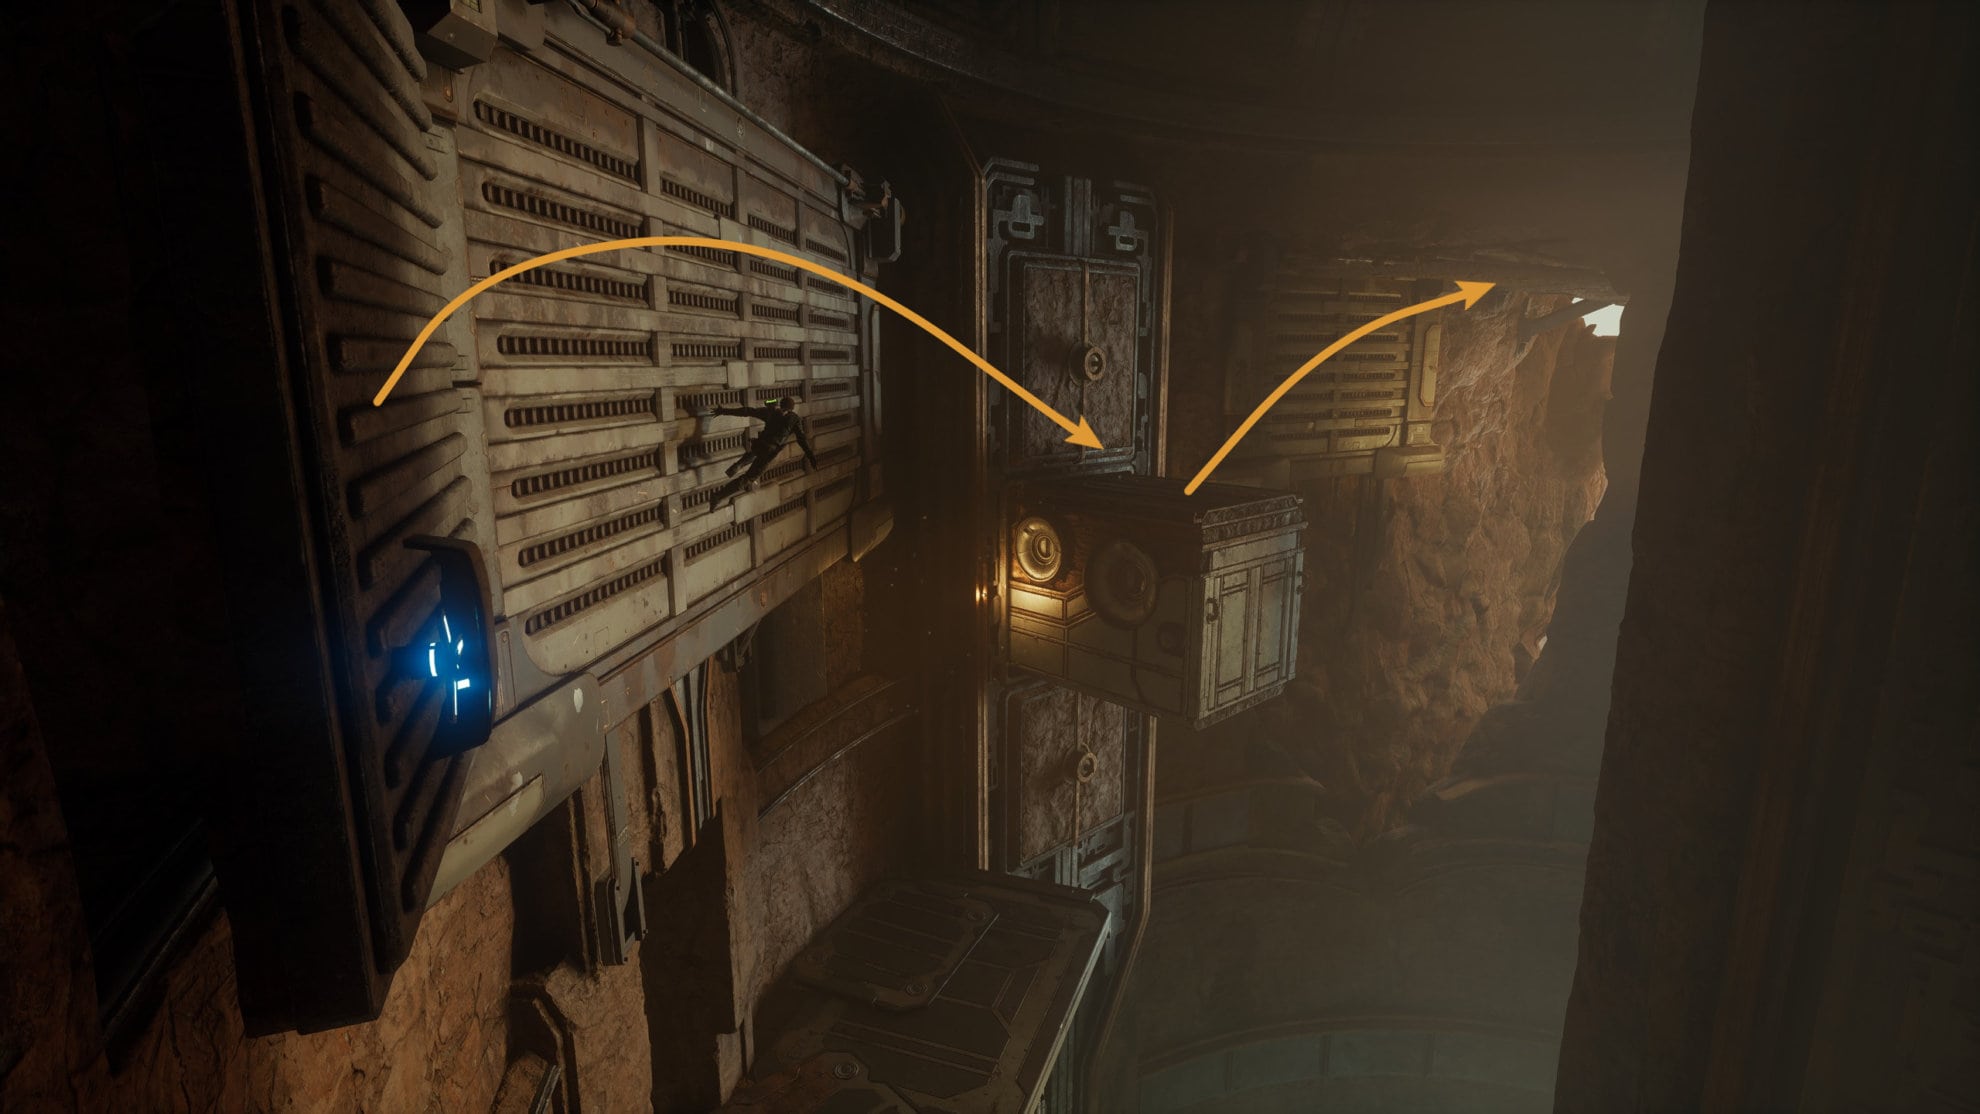
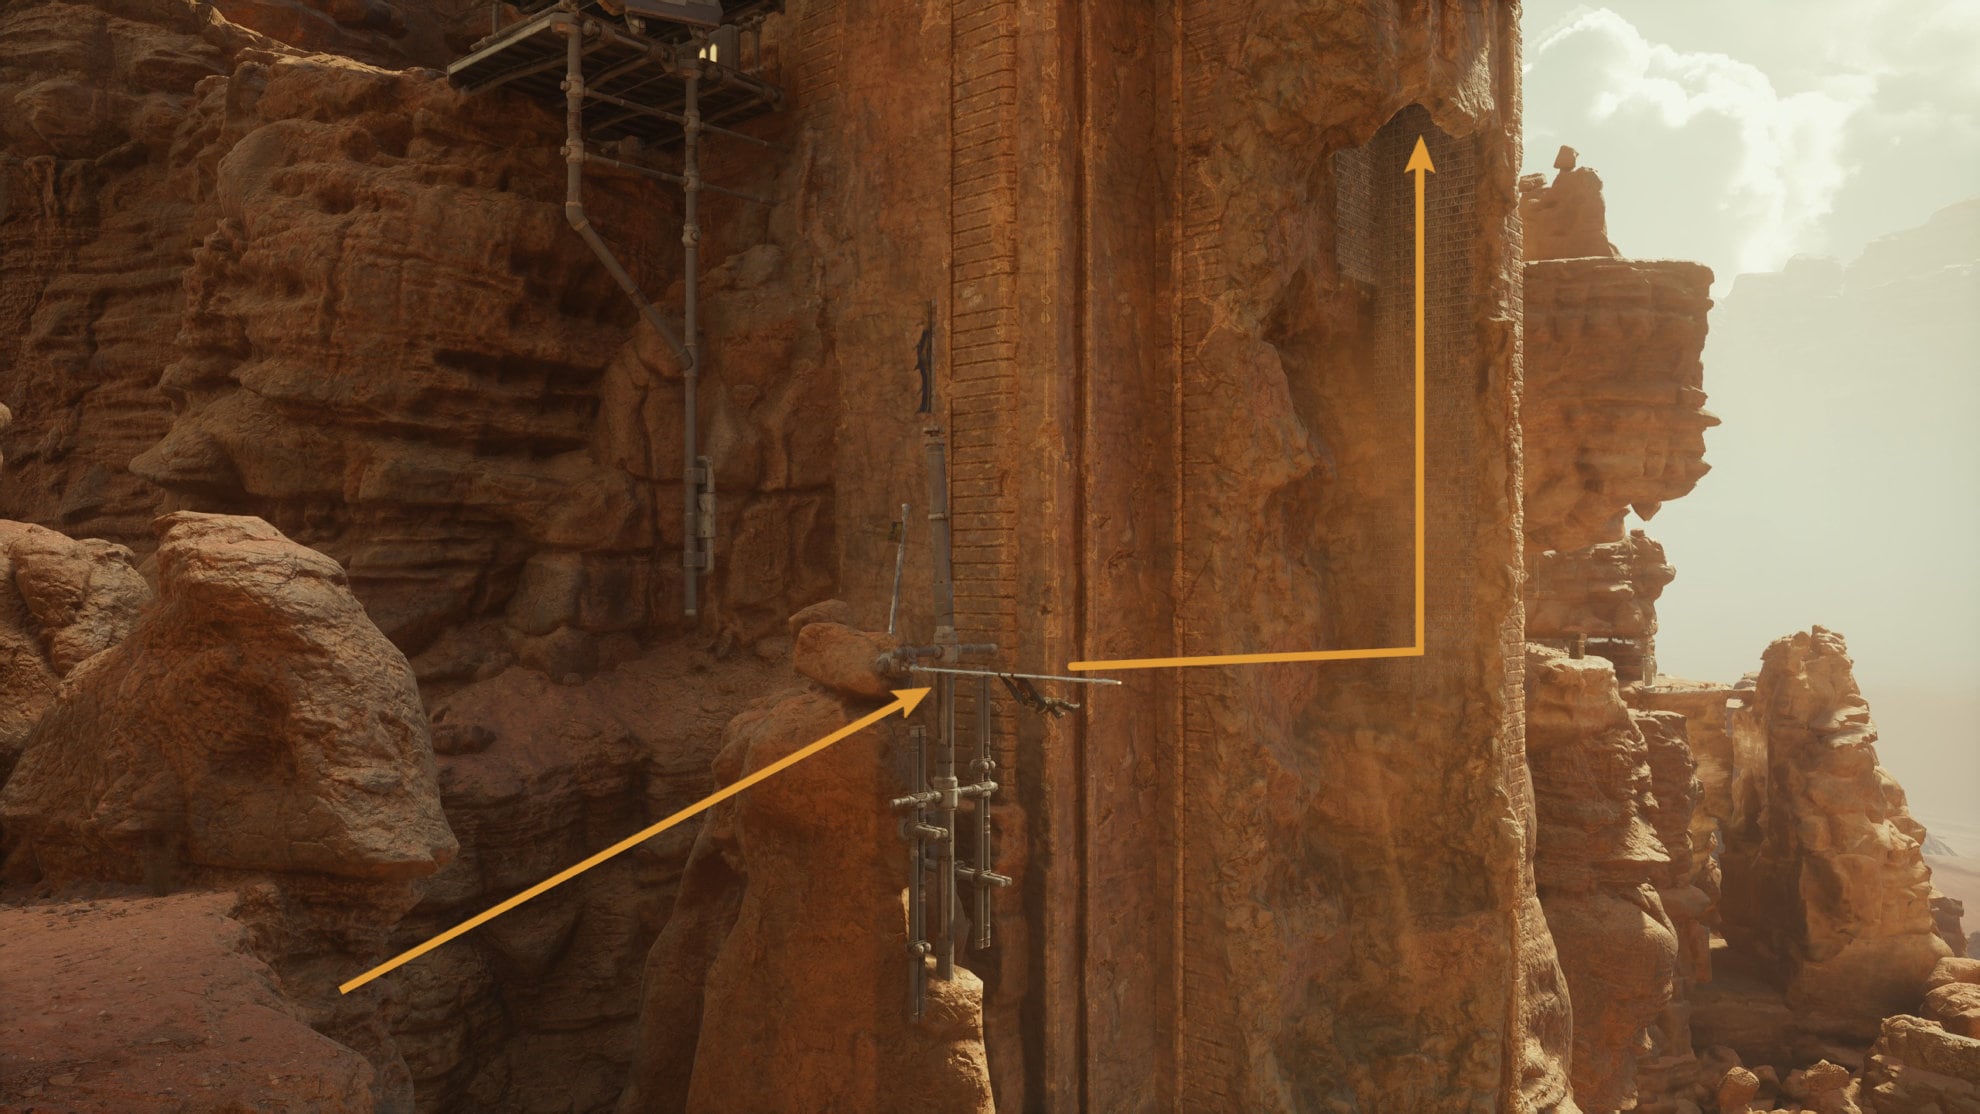
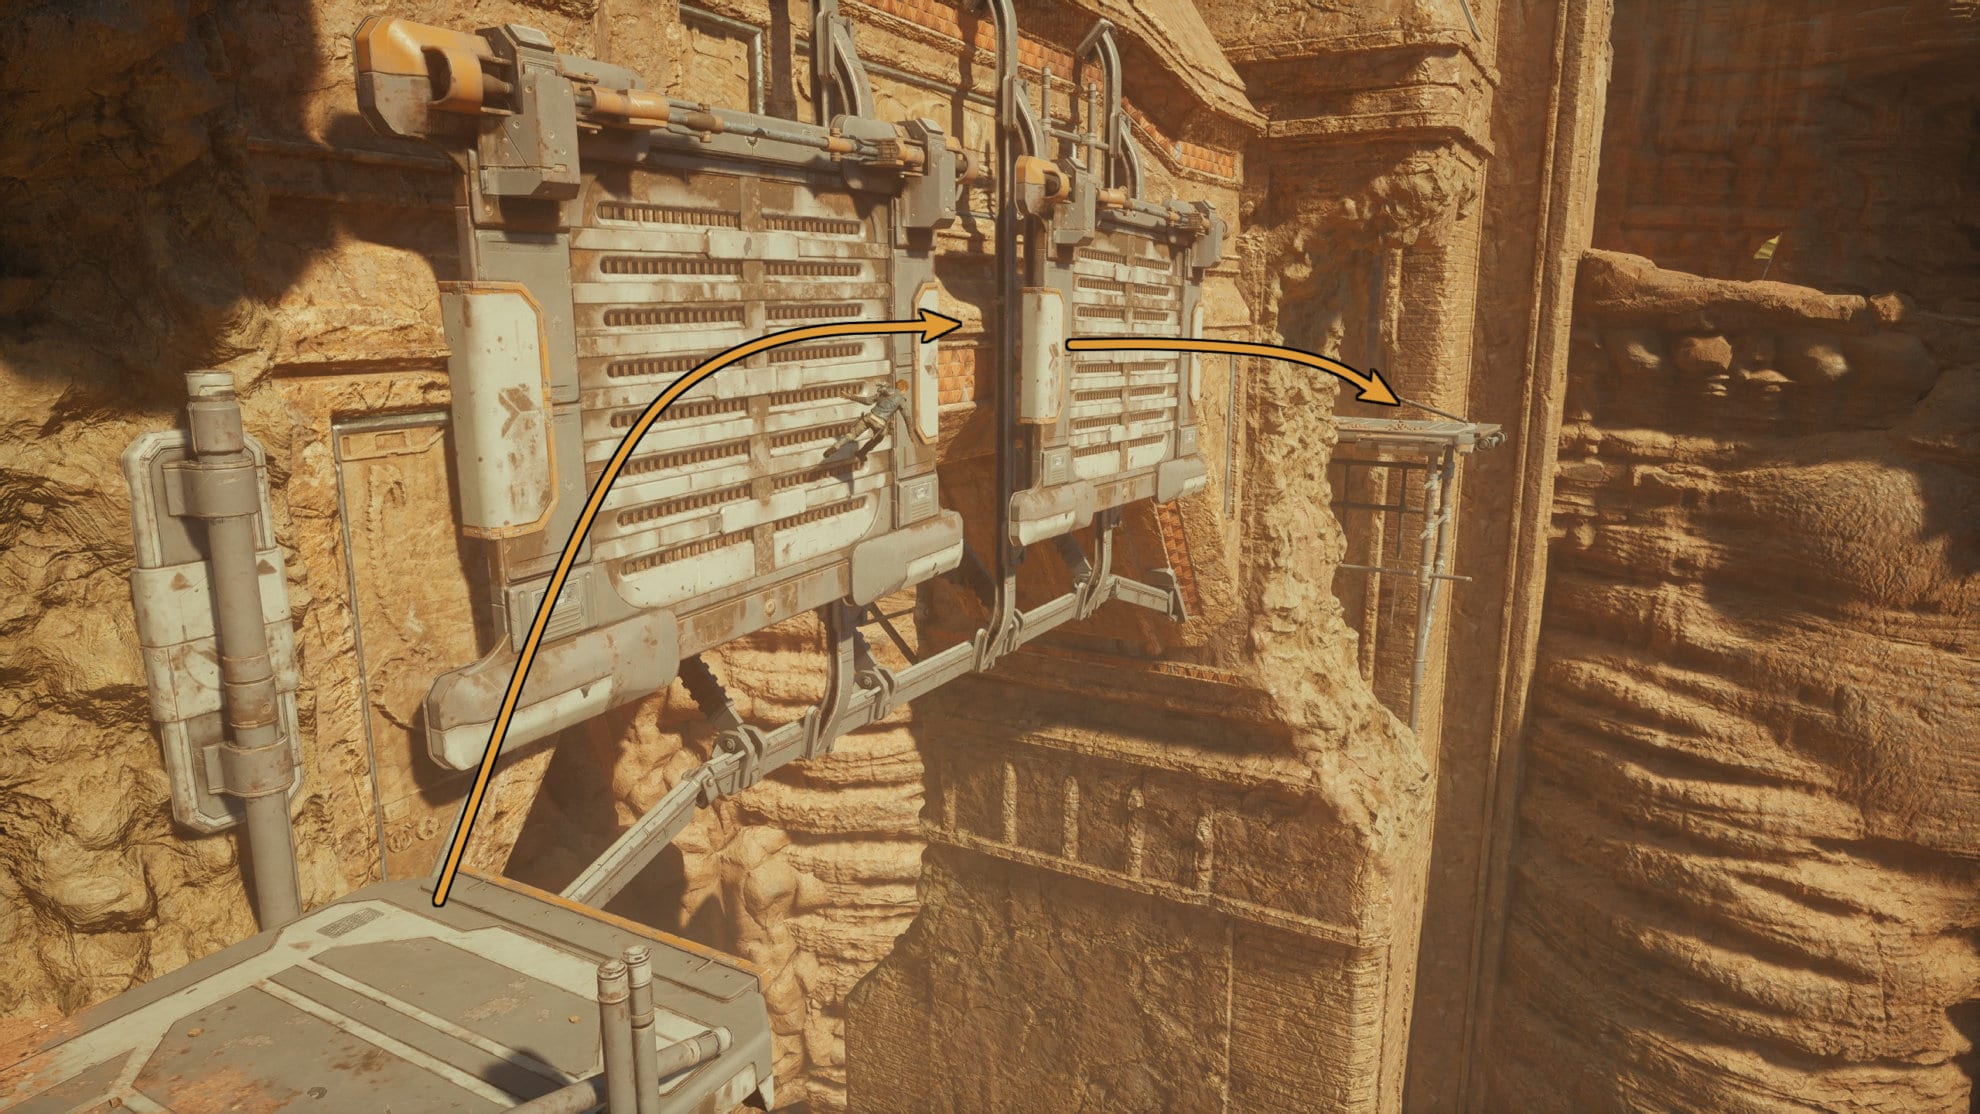
Jump across the spires and grab onto the hooks on the wall if your ascension cable. Make your way to the panel on the wall, wall jump it, and continue climbing up.

When you get around, slide down the panel to grab onto some pipes. Follow the pipes to hook onto the underside of the ledge with your ascension cable, move your way to the wall then hook up to the last panel to wall jump up to the top. Go into the building on top of the ledge.
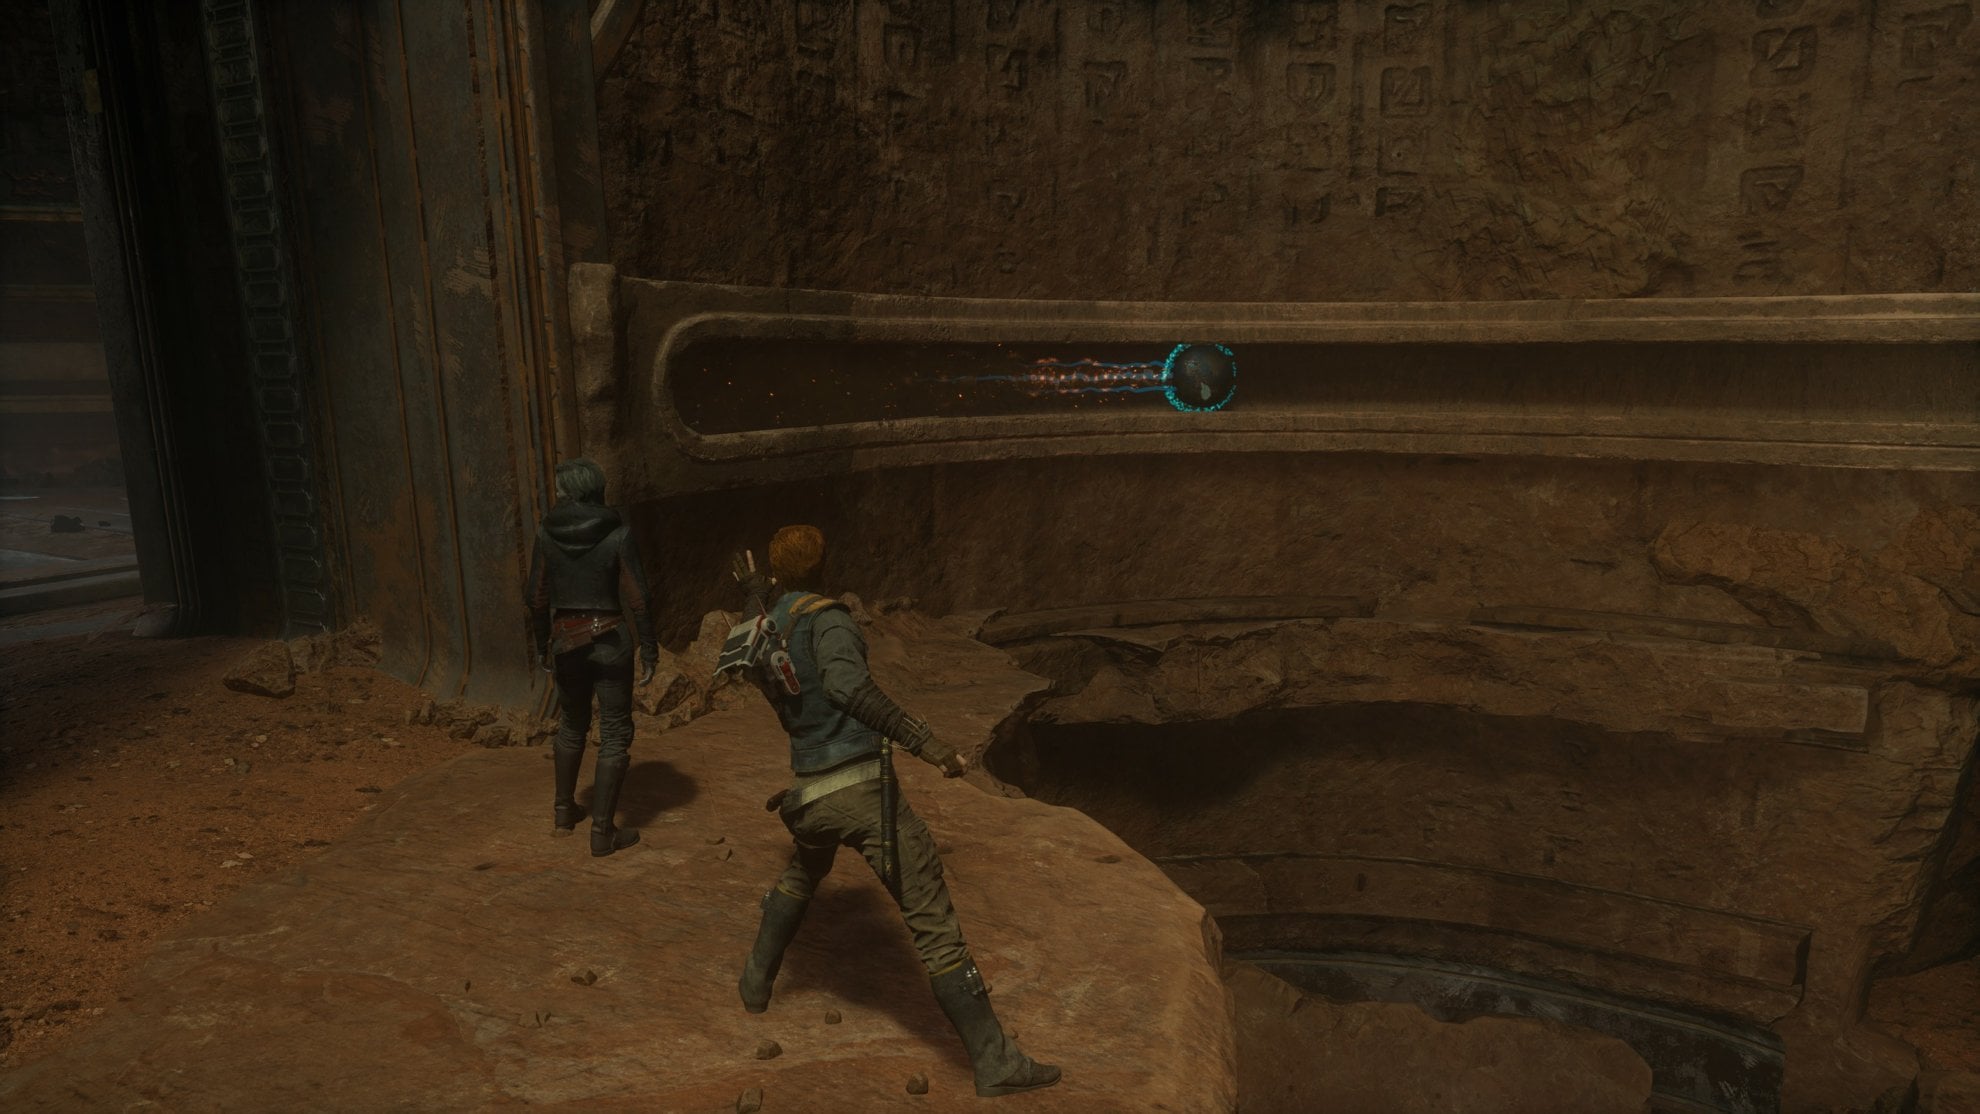
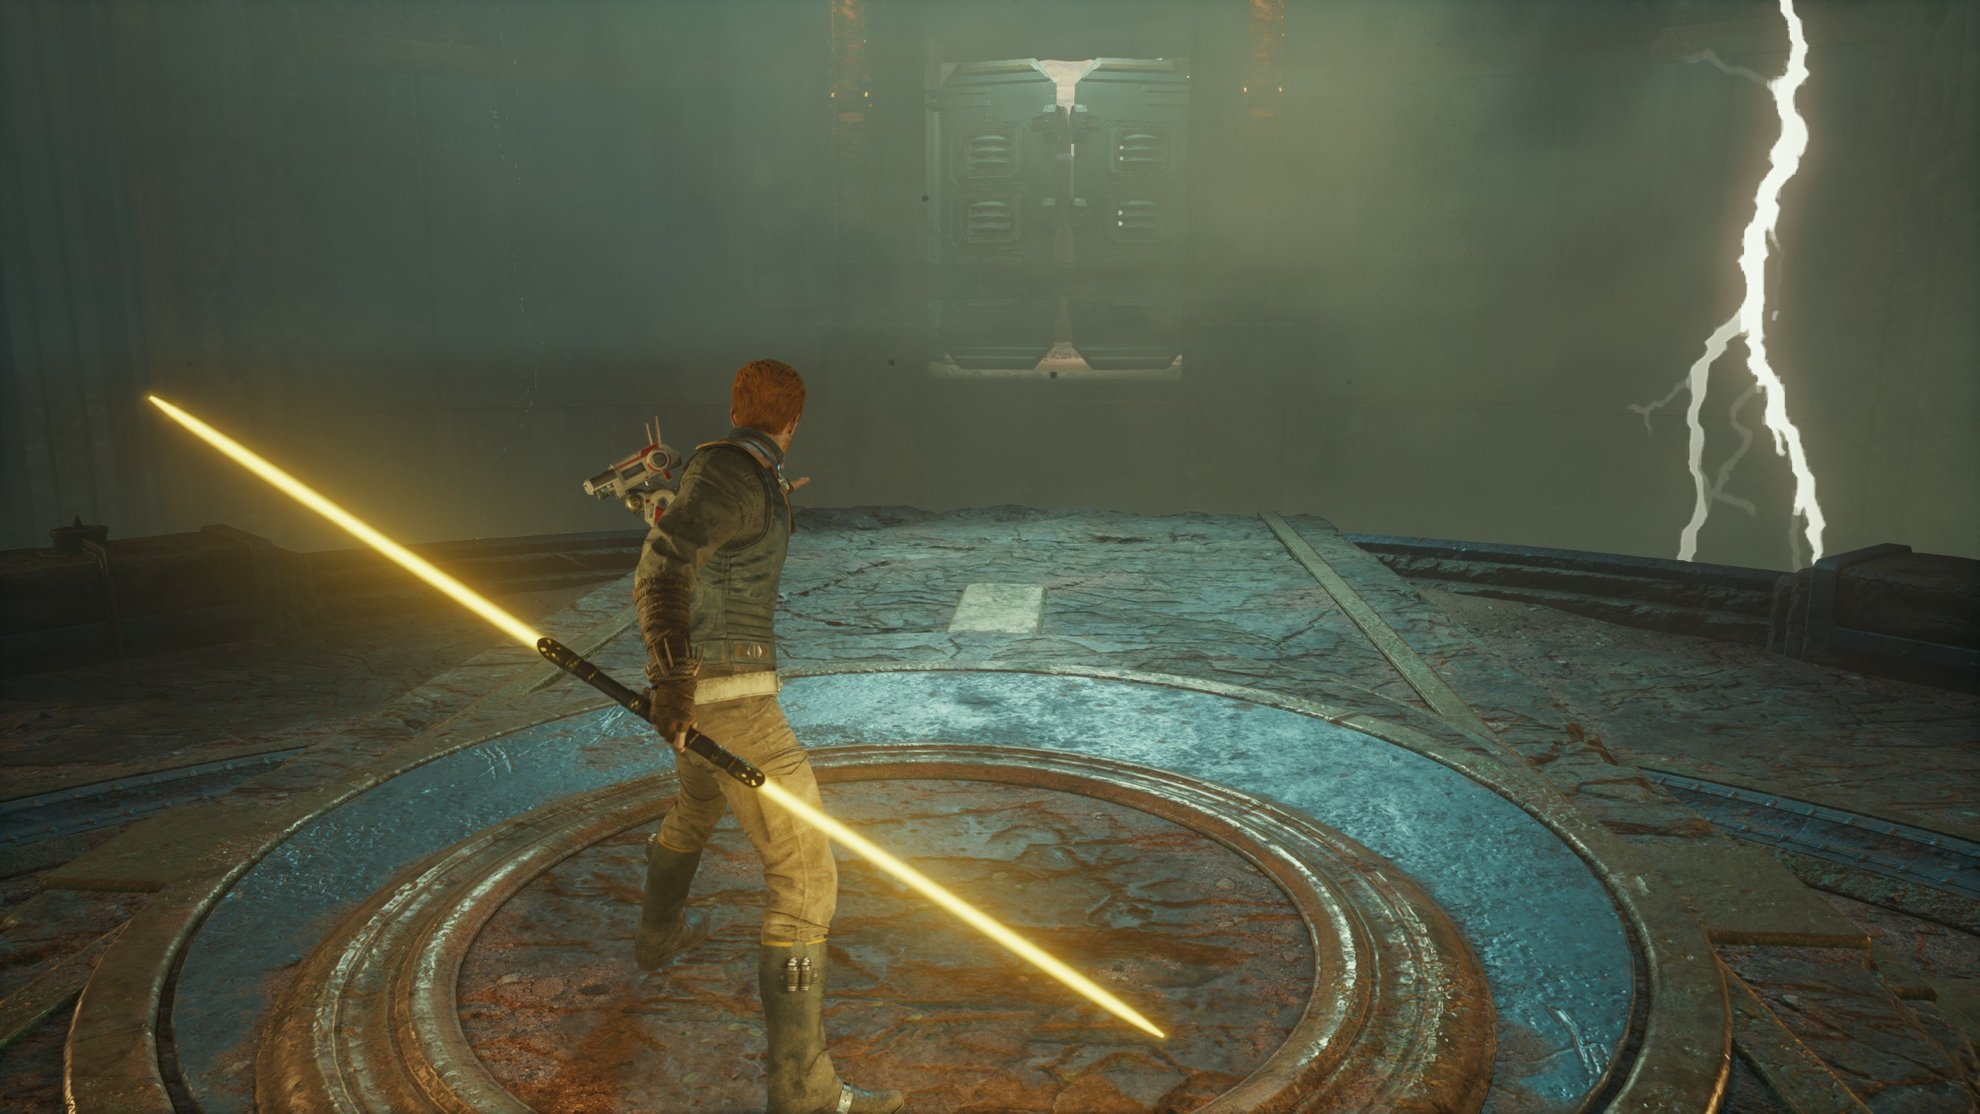
Inside you’ll need to Force Push this stone slab into the wall. There are orbs behind you to your right and left, push both of them to unlock the door across the room.
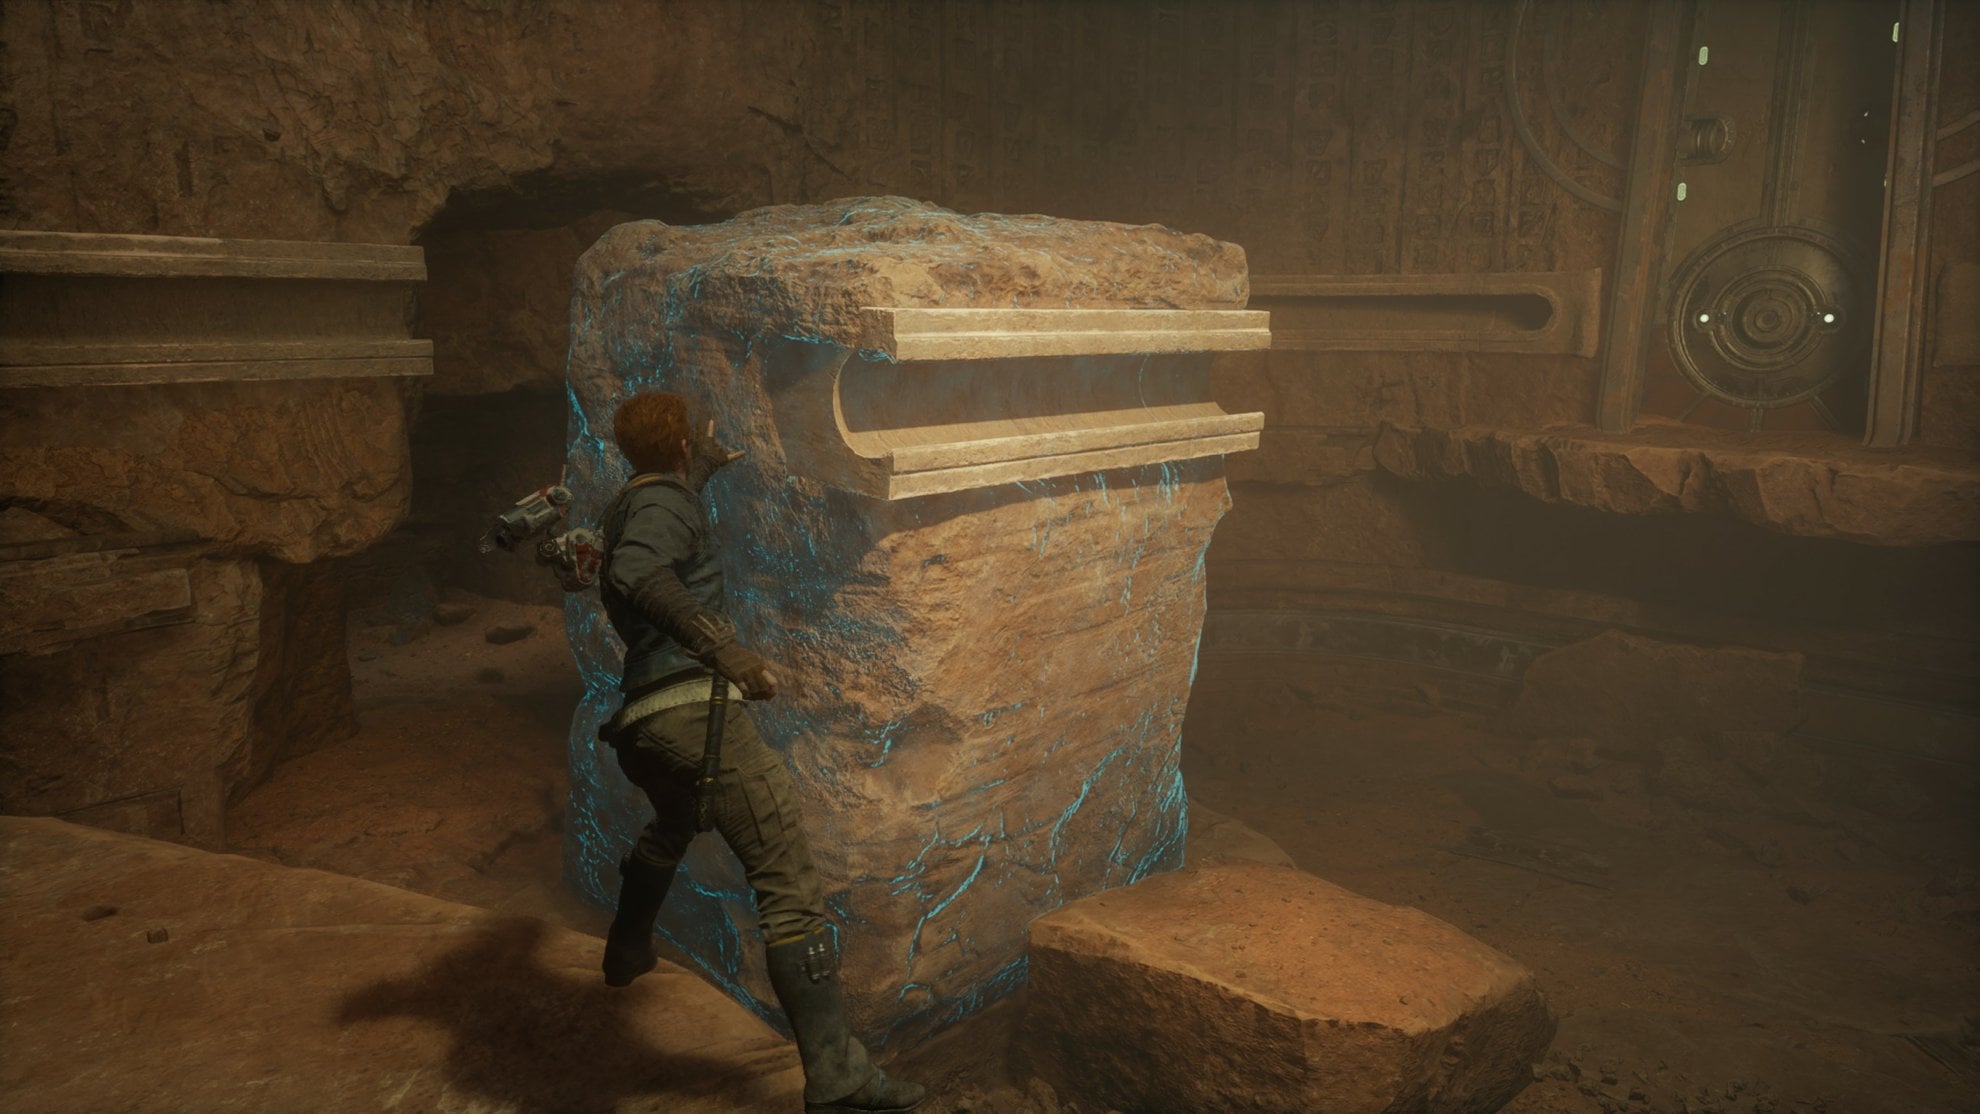
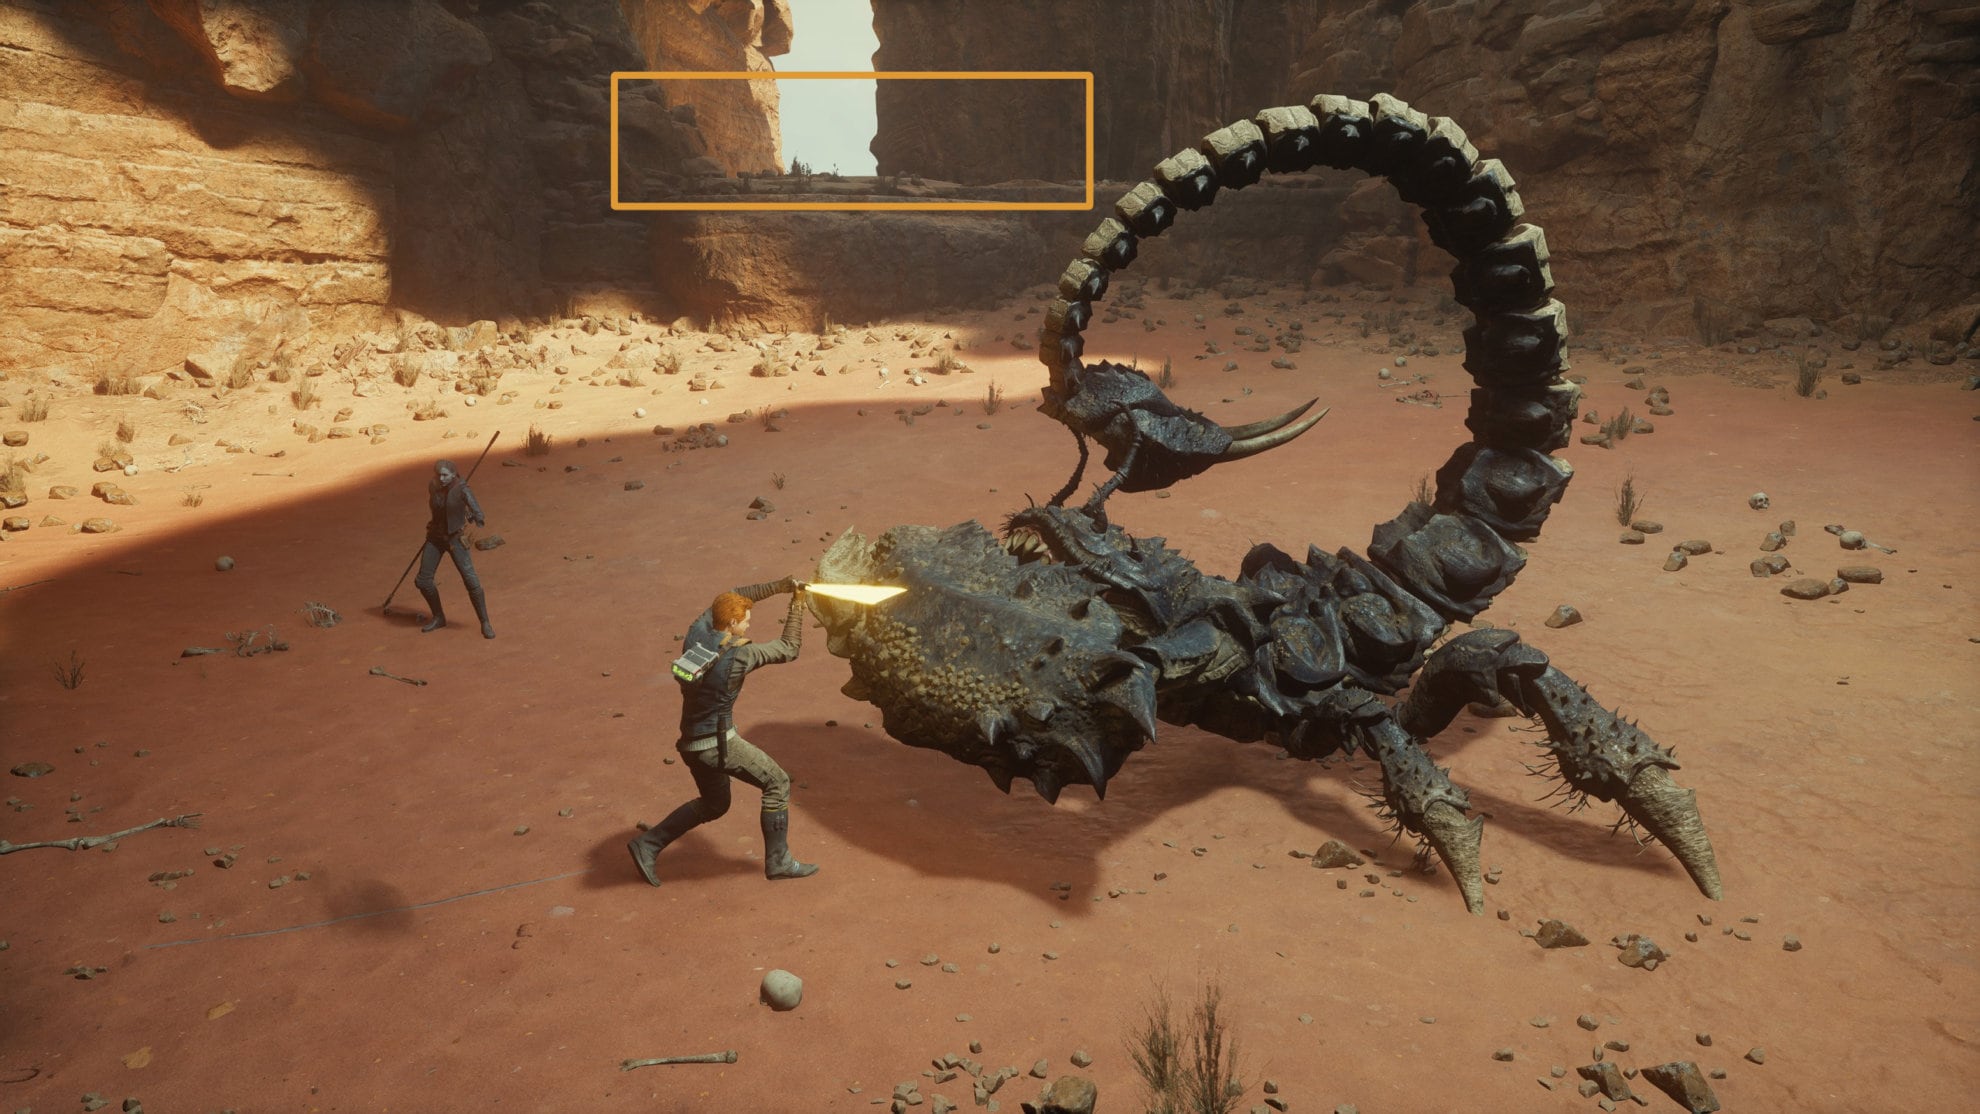
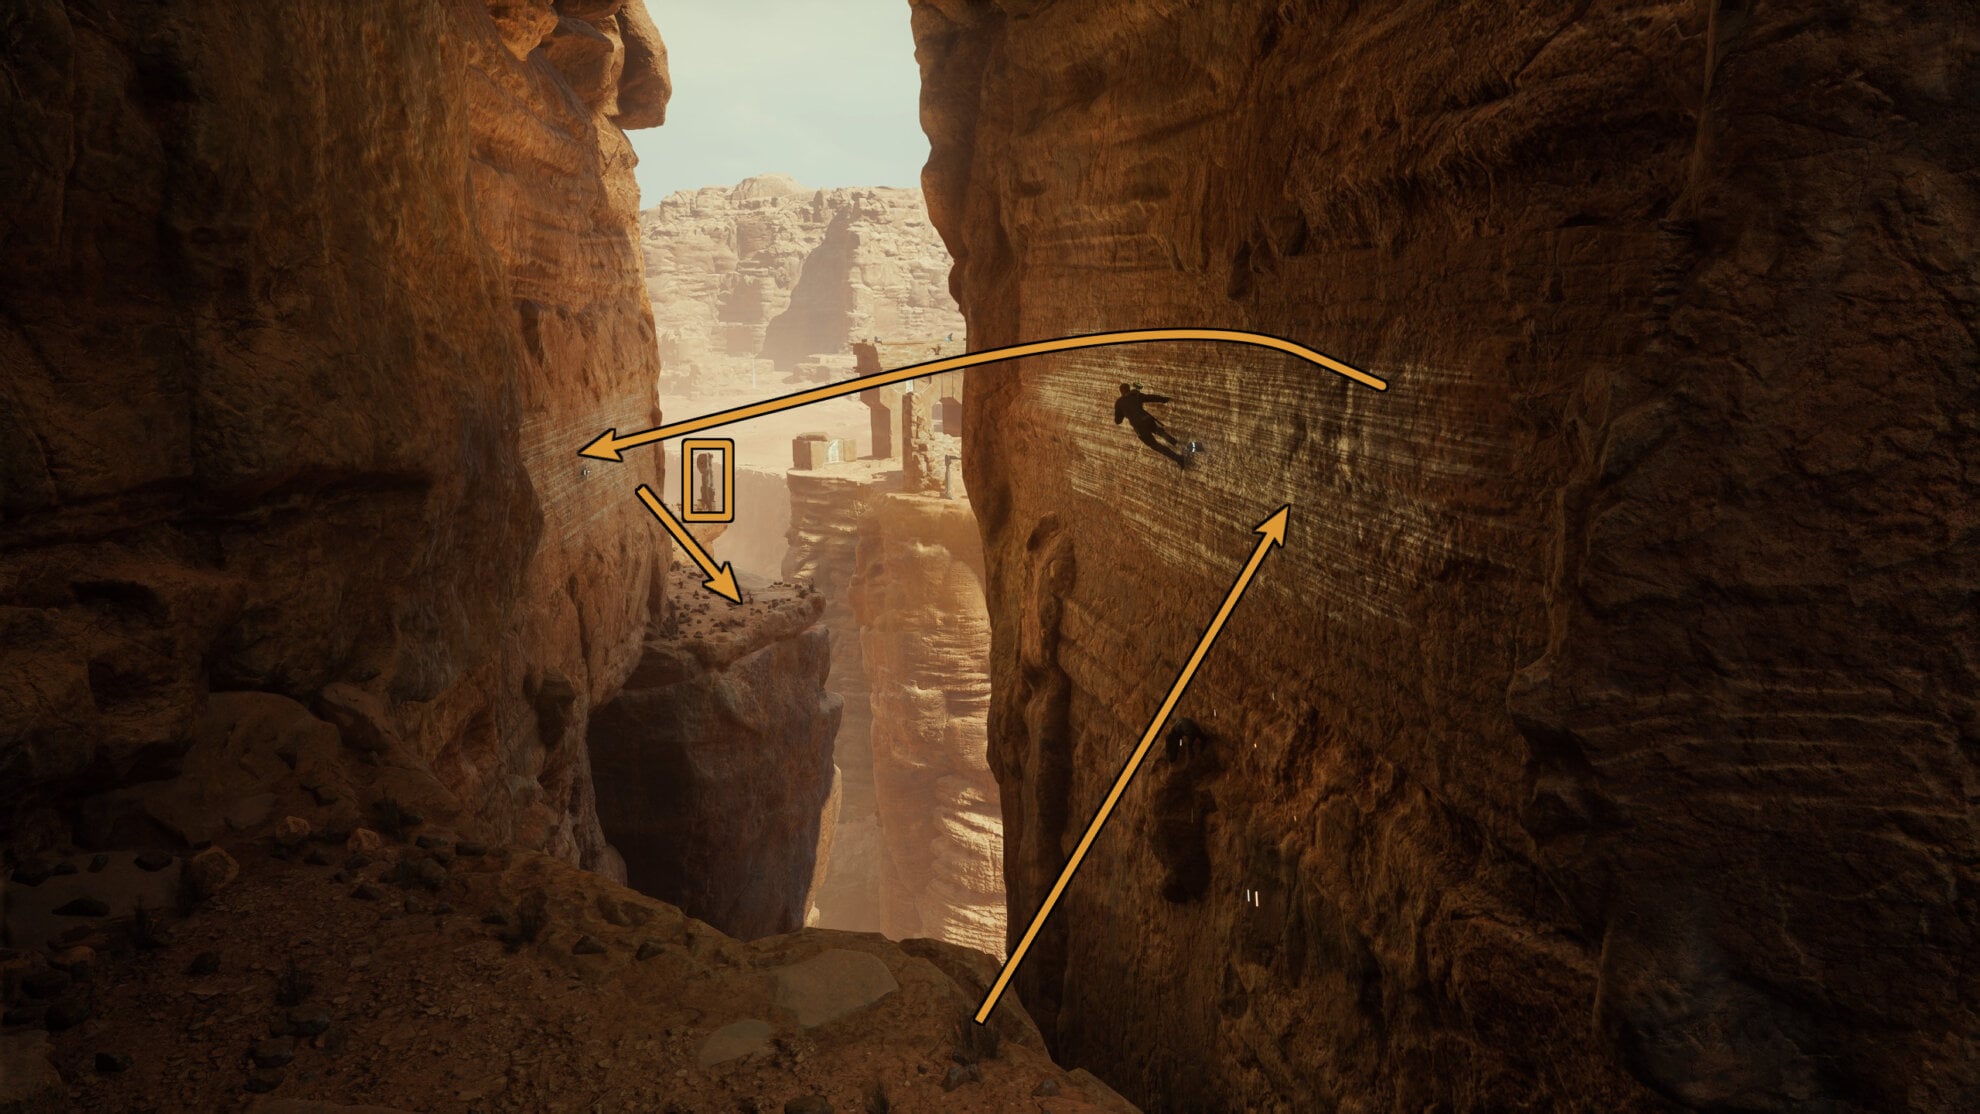
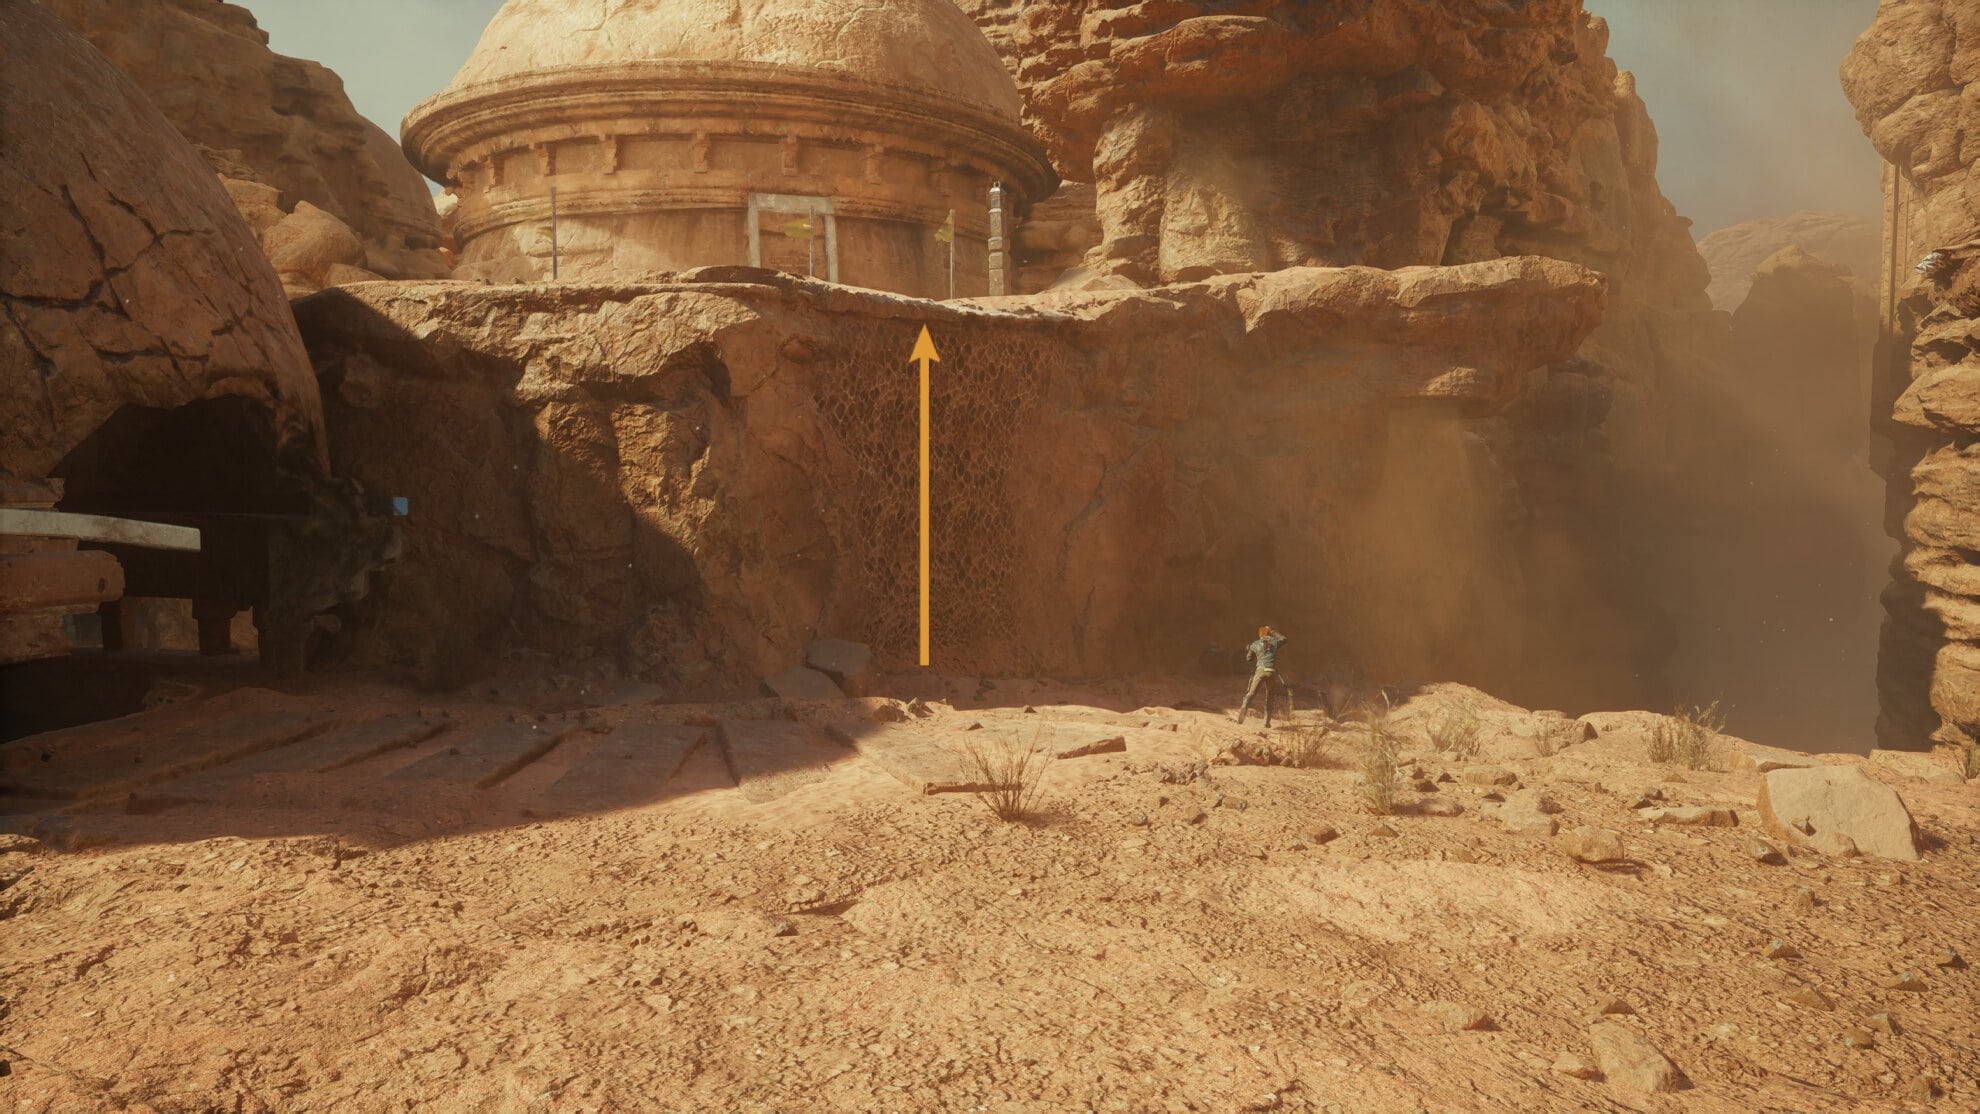
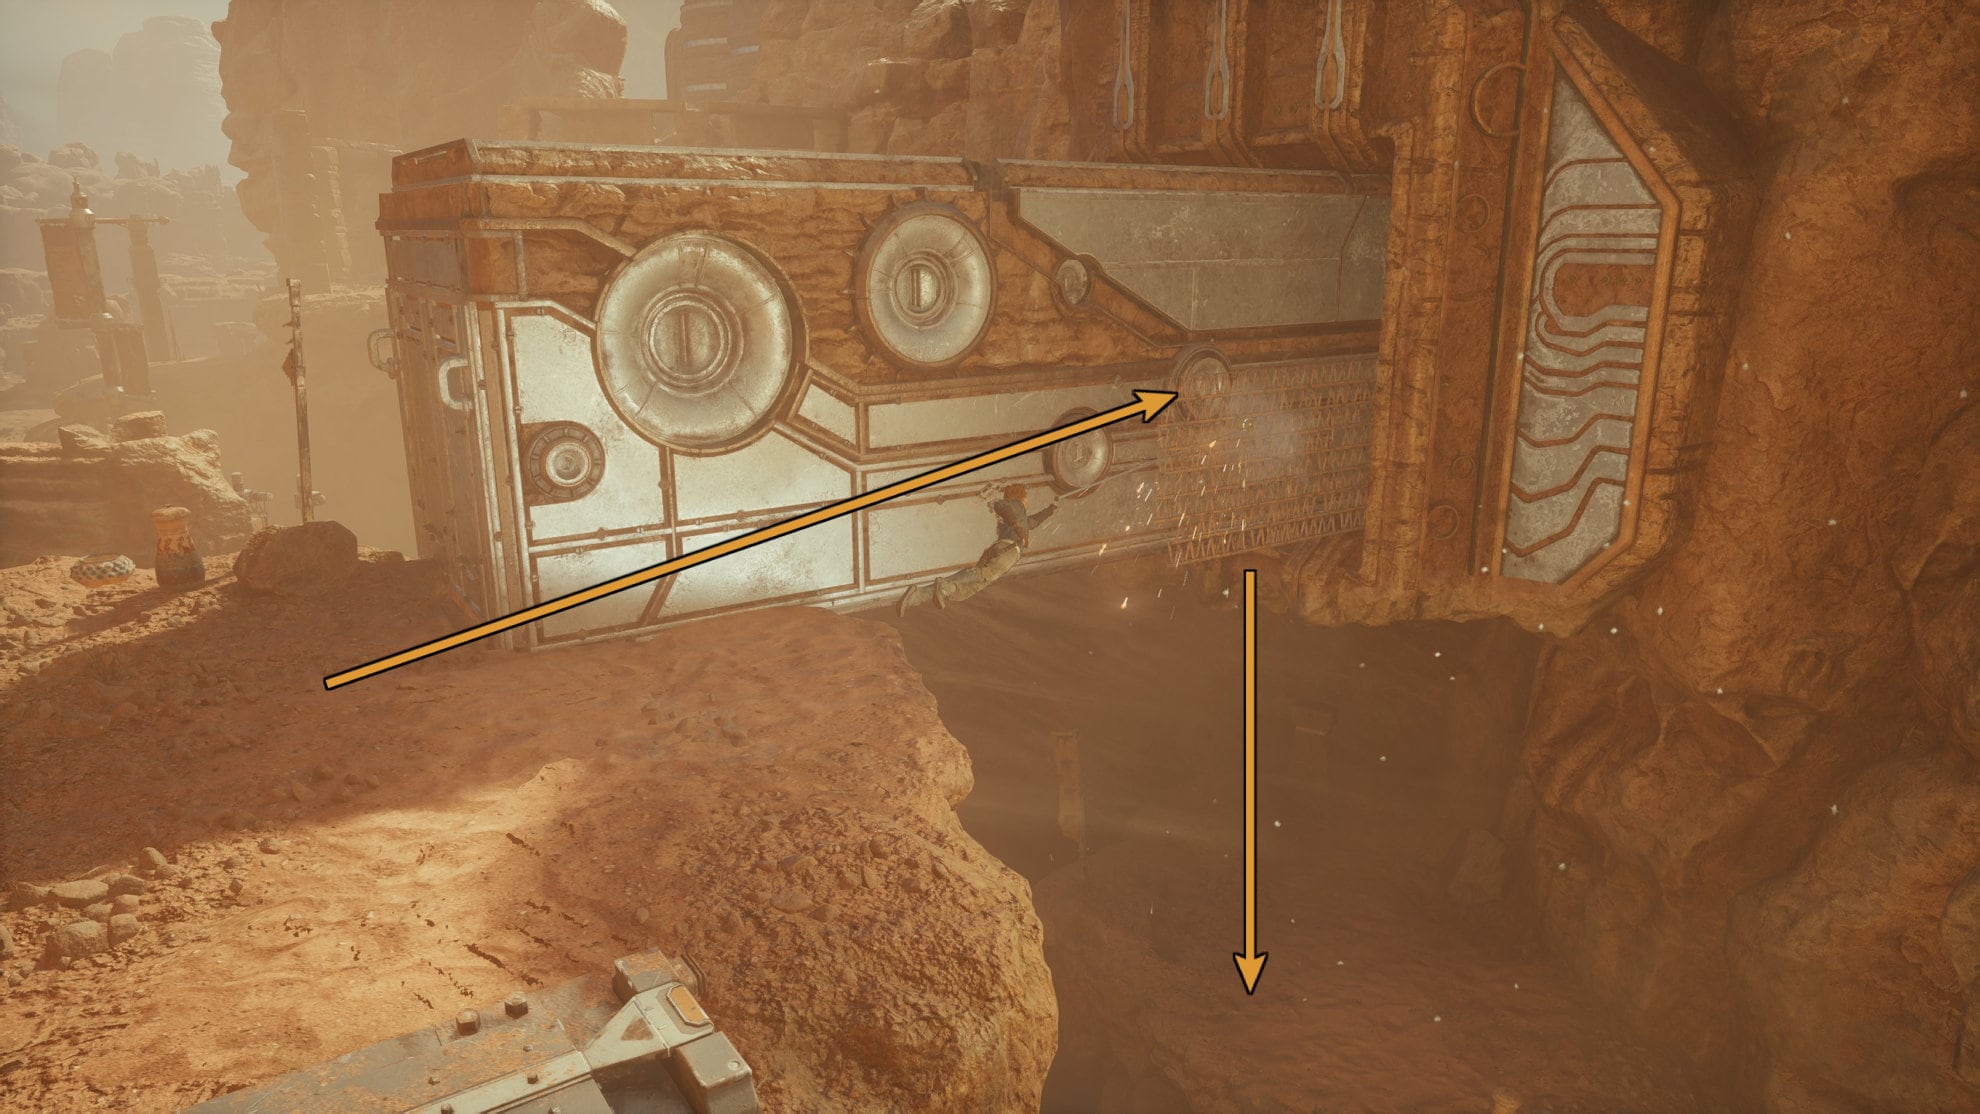
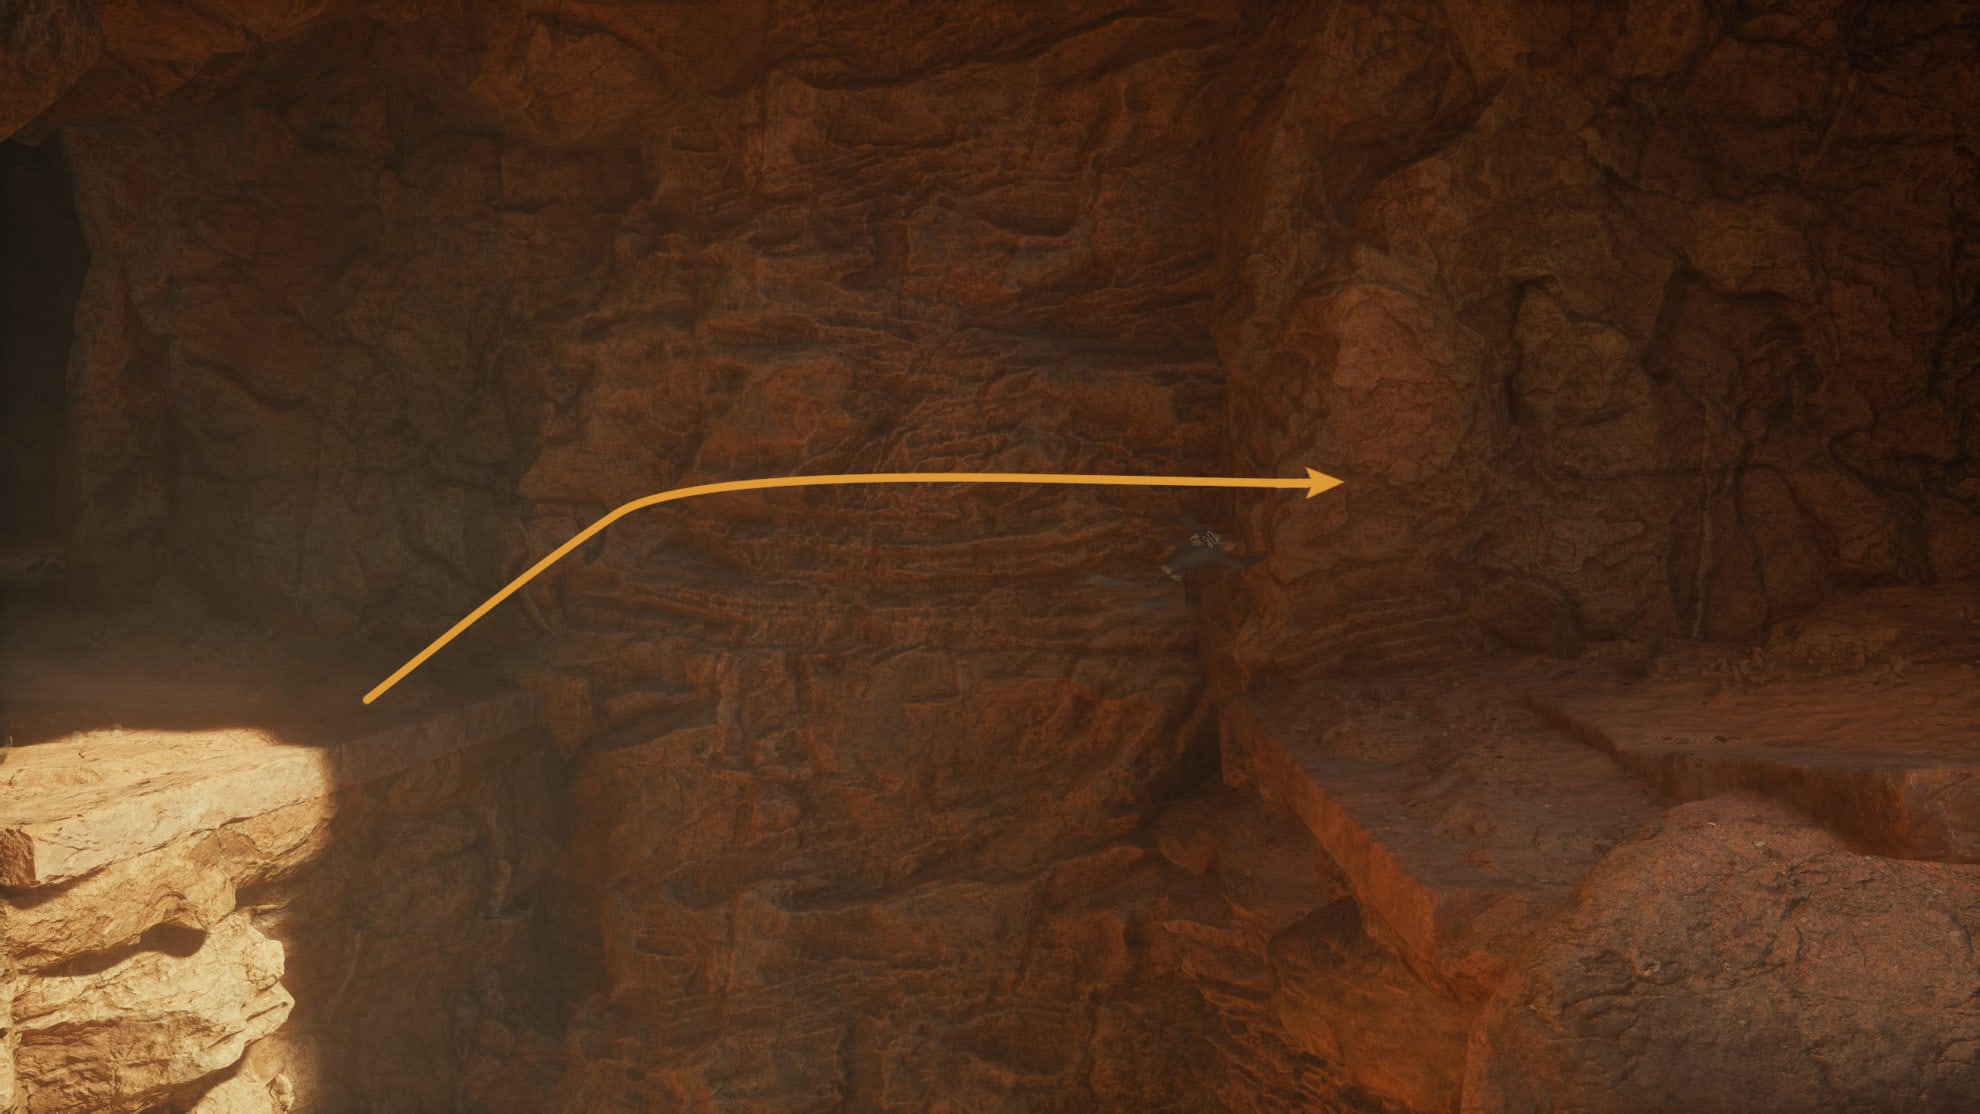
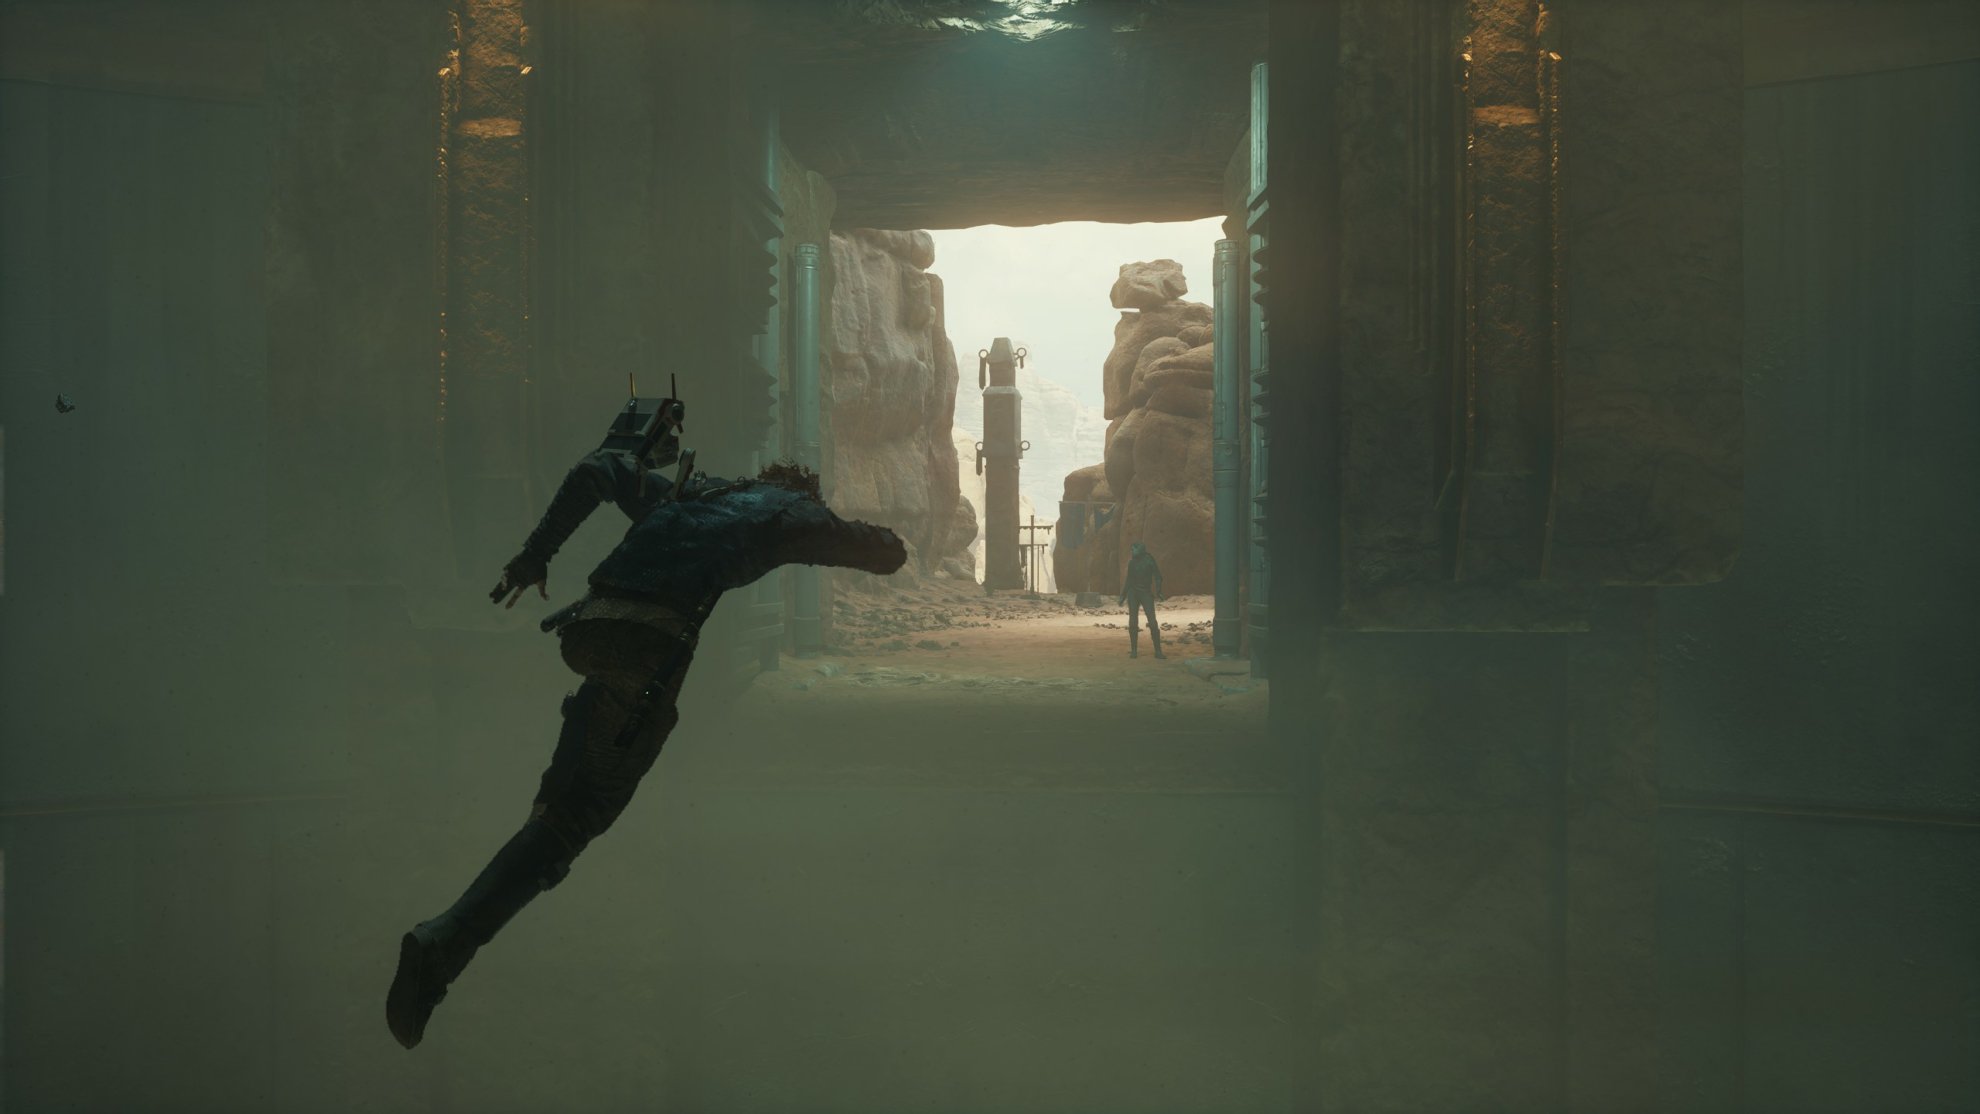
Pull the stone slab back out to jump on top of it in order to reach the other side. Go through the door you just unlocked. Follow the path and you’ll run into a large pit with a skriton. You can either defeat the skriton or skip it by jumping up to the ledge pictured below.
After you get up the ledge, wall run past these walls to reach a shortcut. Activate it to access the Arid Flats Meditation Point. Rest here if you need to and continue following the path you were on.
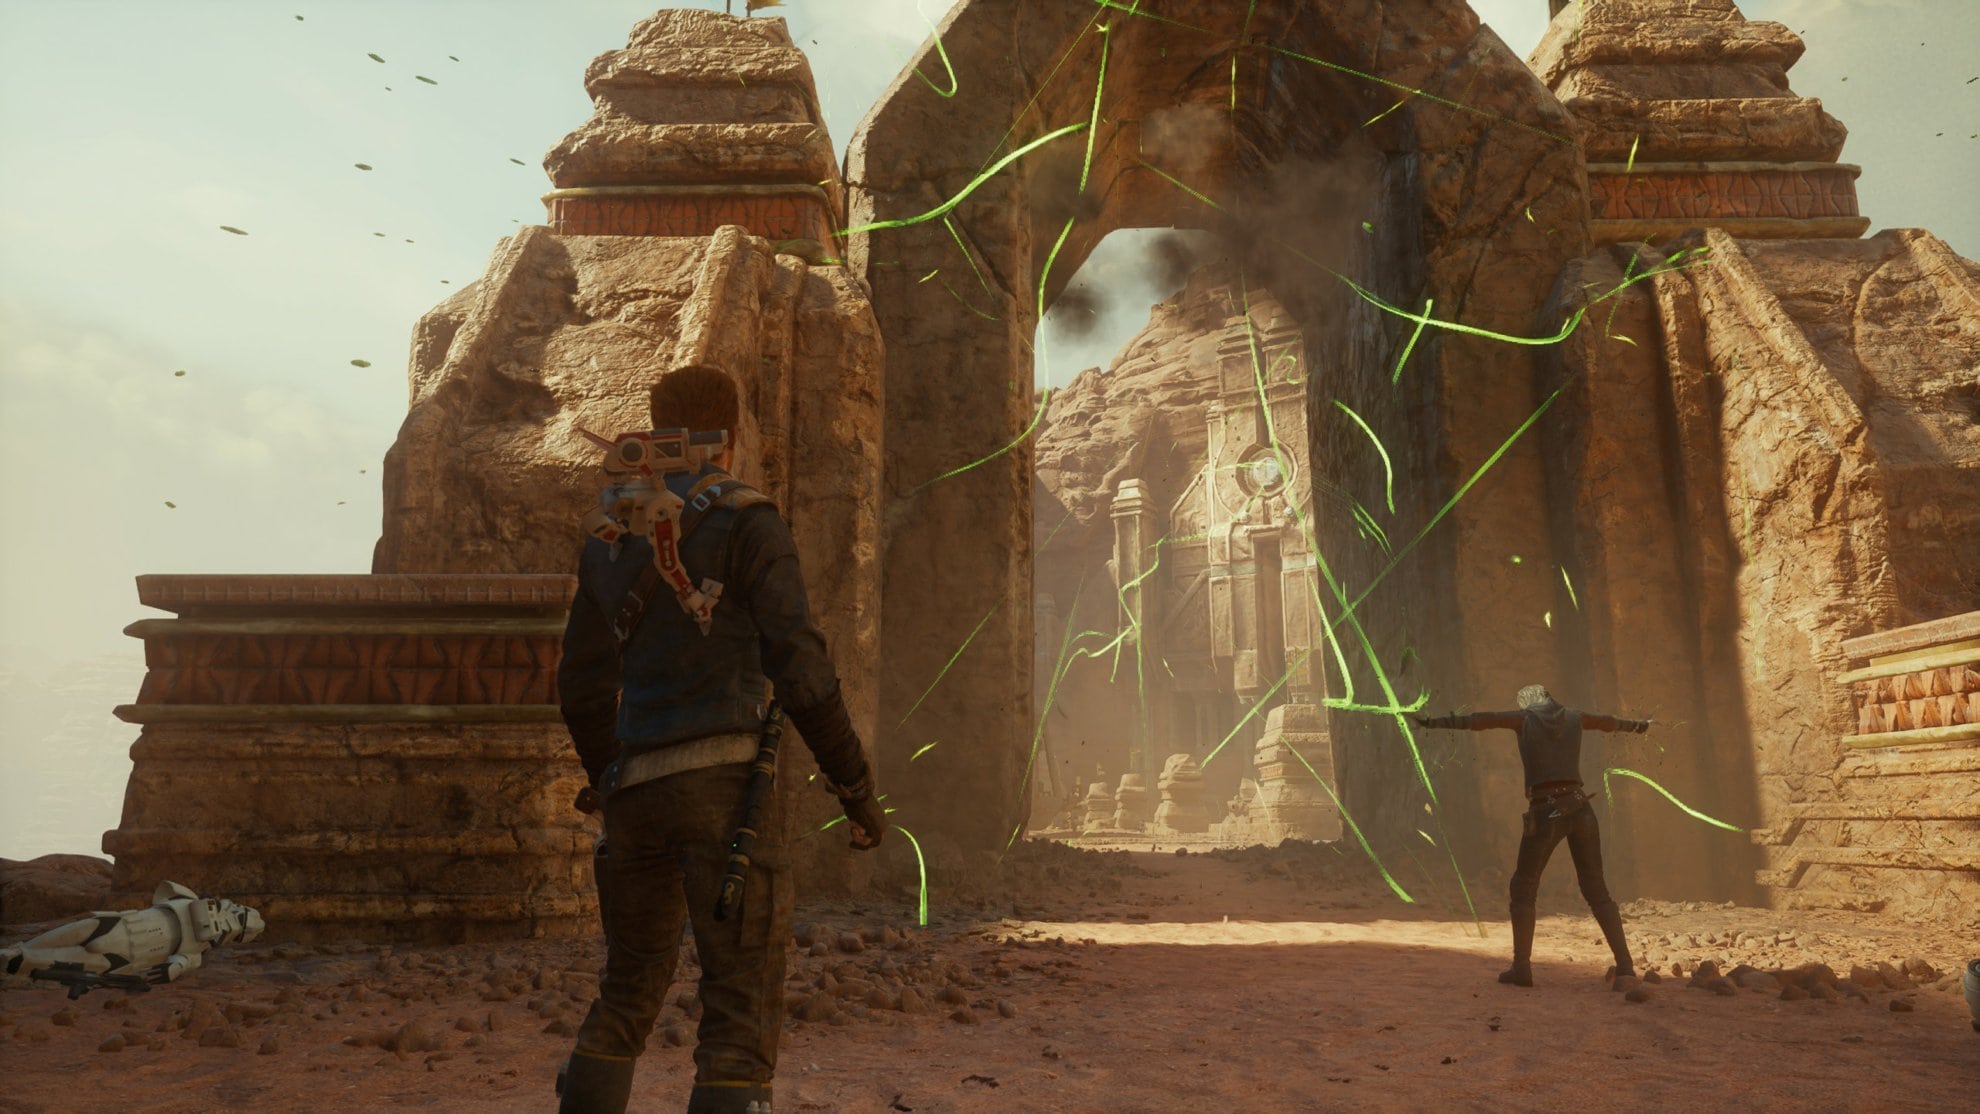
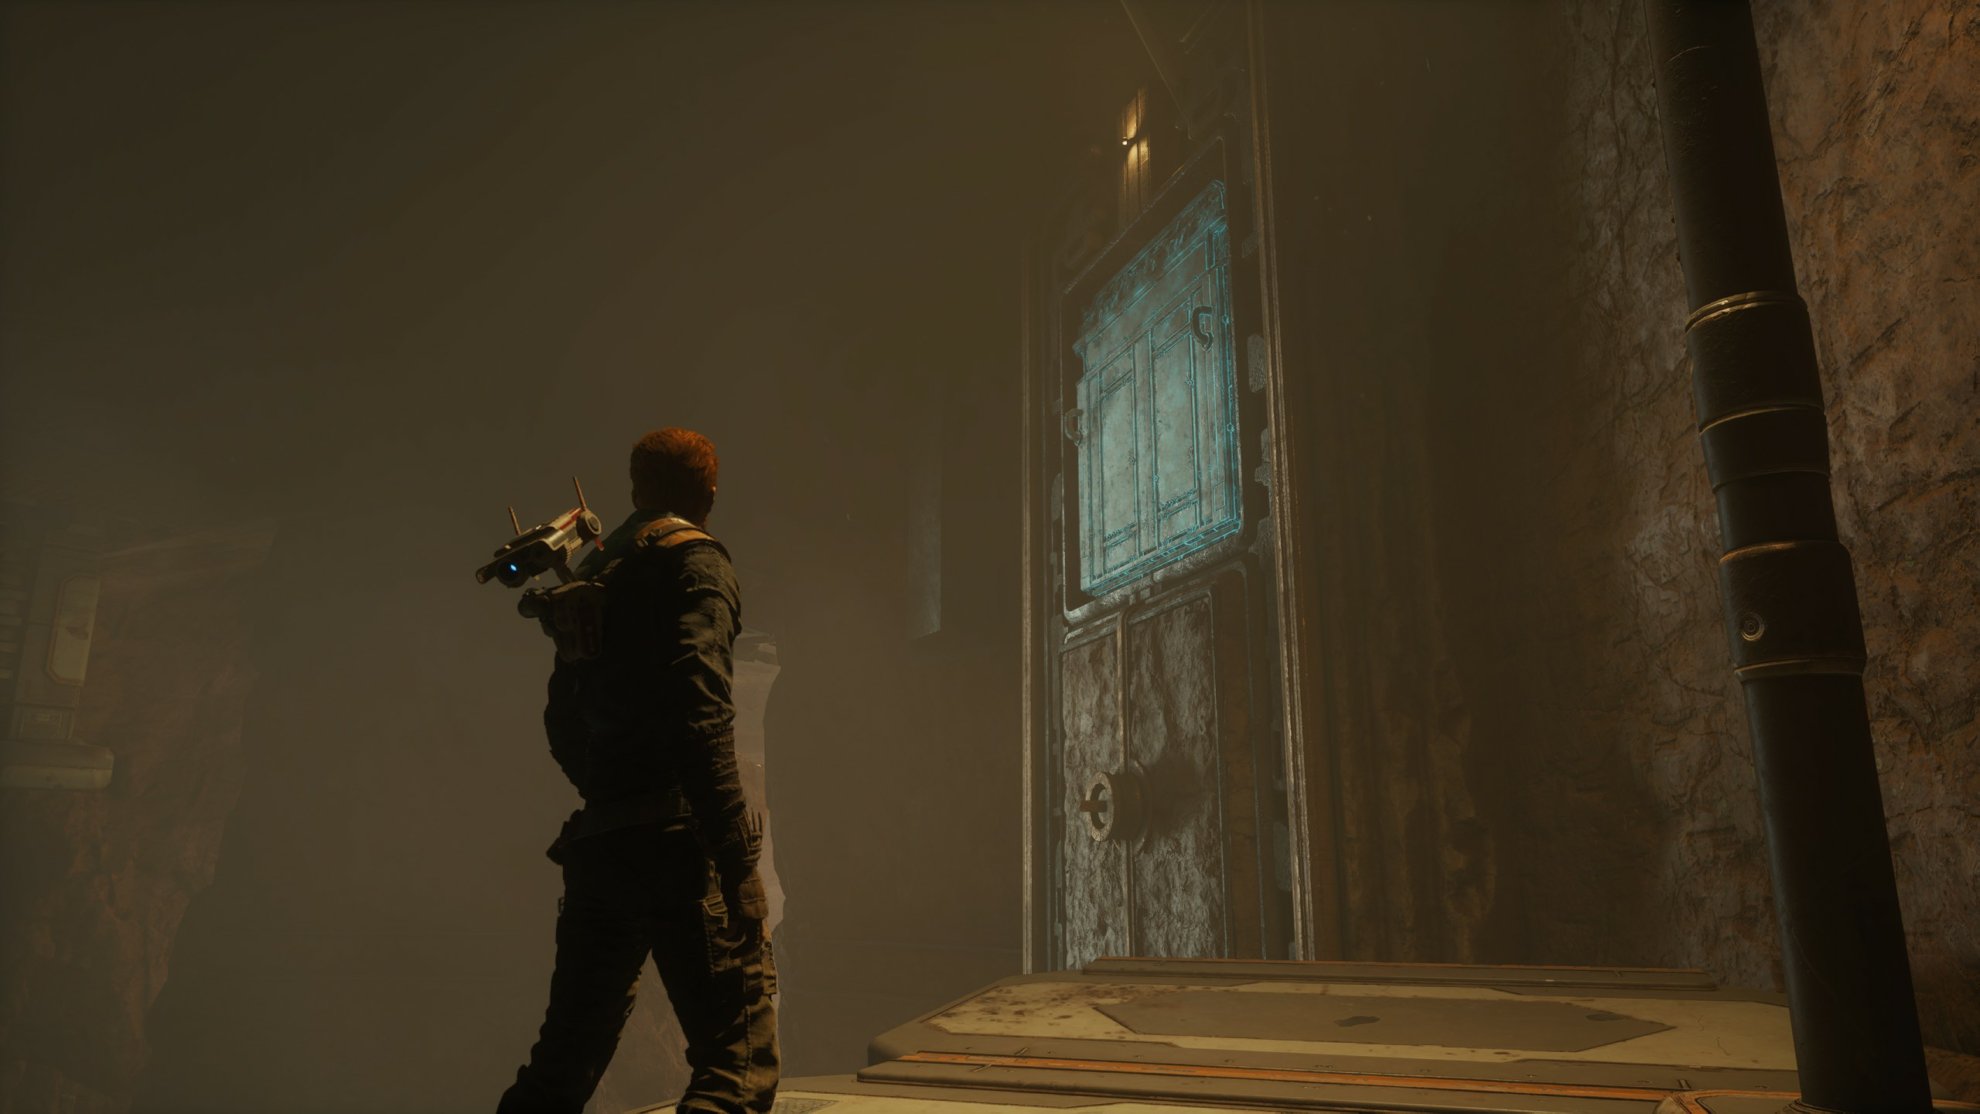
Go up the zip line and follow the path where Cal and Merrin will split up. Eventually you’ll run into this large building, go inside of it.

Traversing the Jedha Ruins
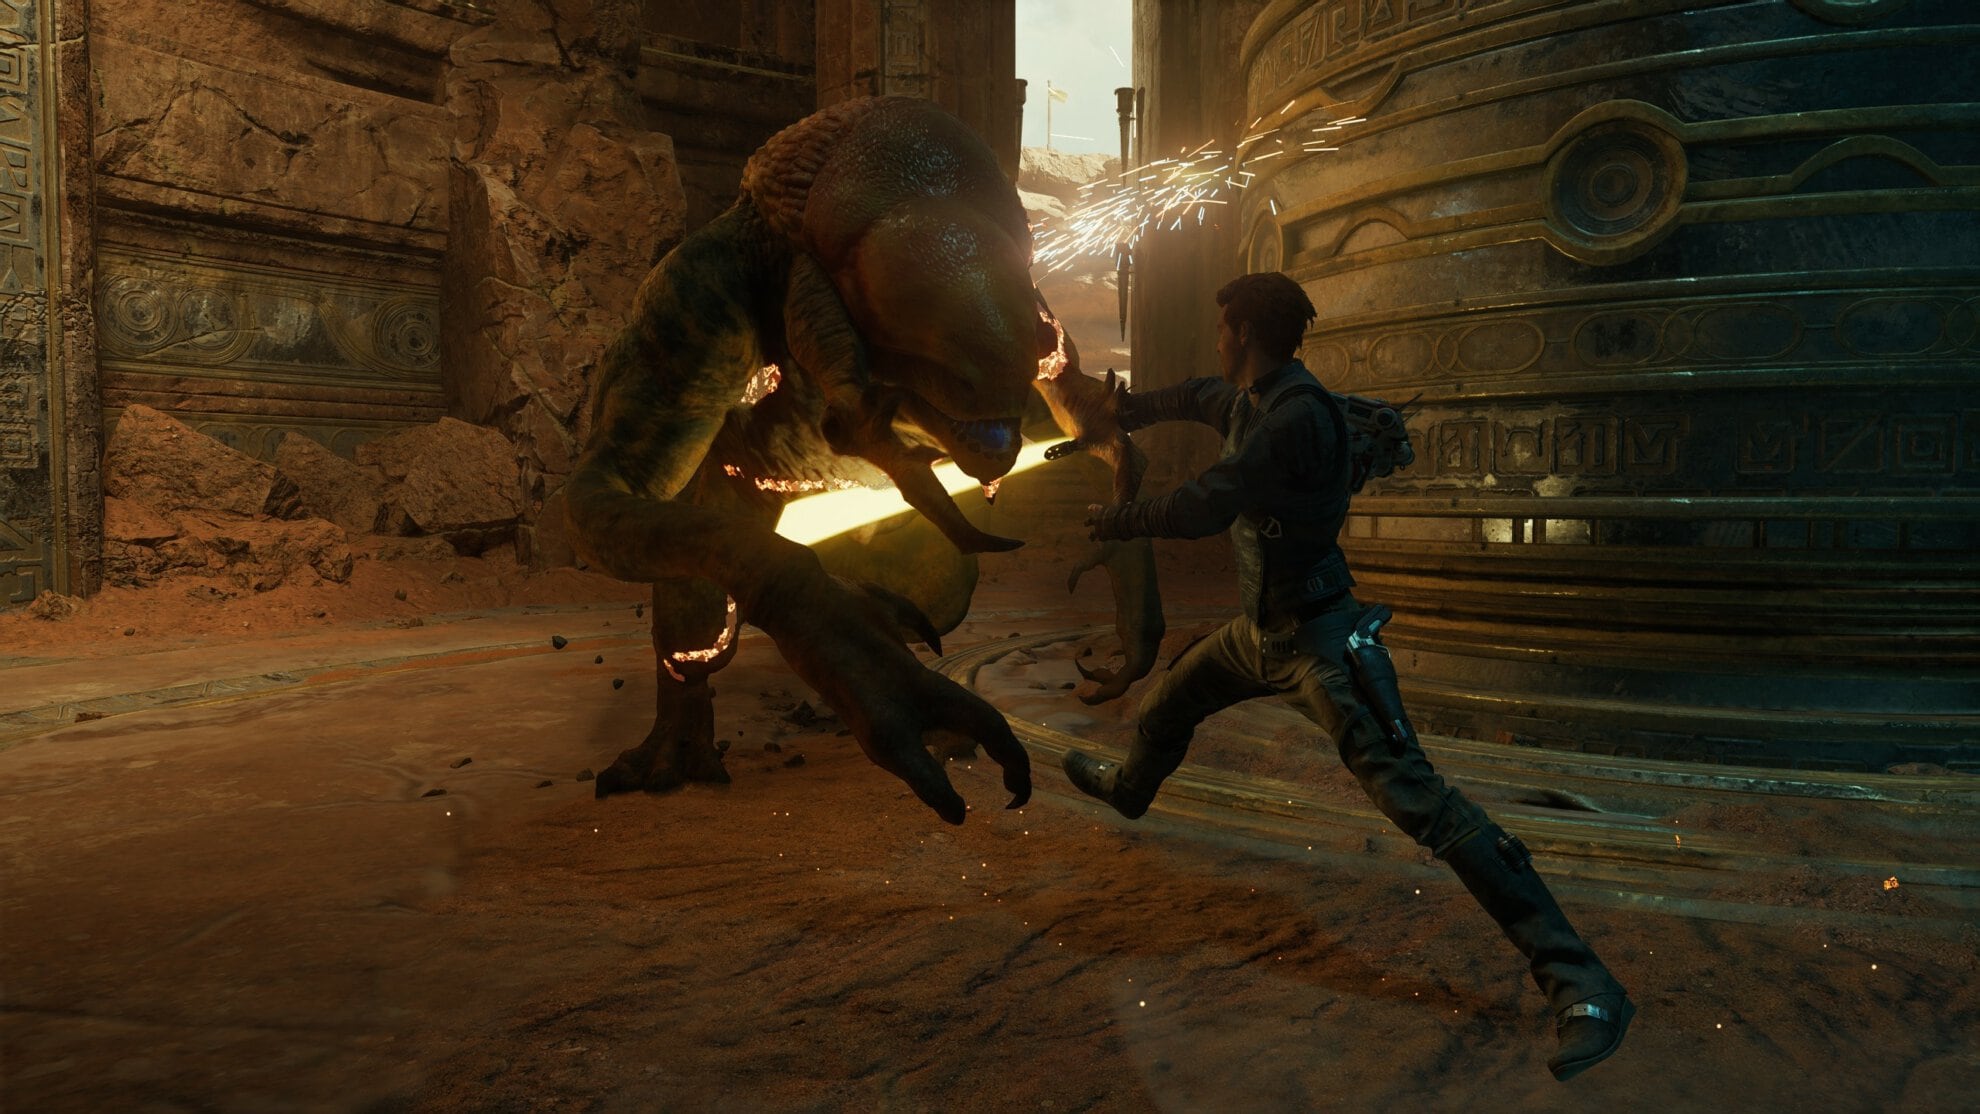
Inside you’ll find a sutaban, defeat it to continue the following portion uninterrupted.
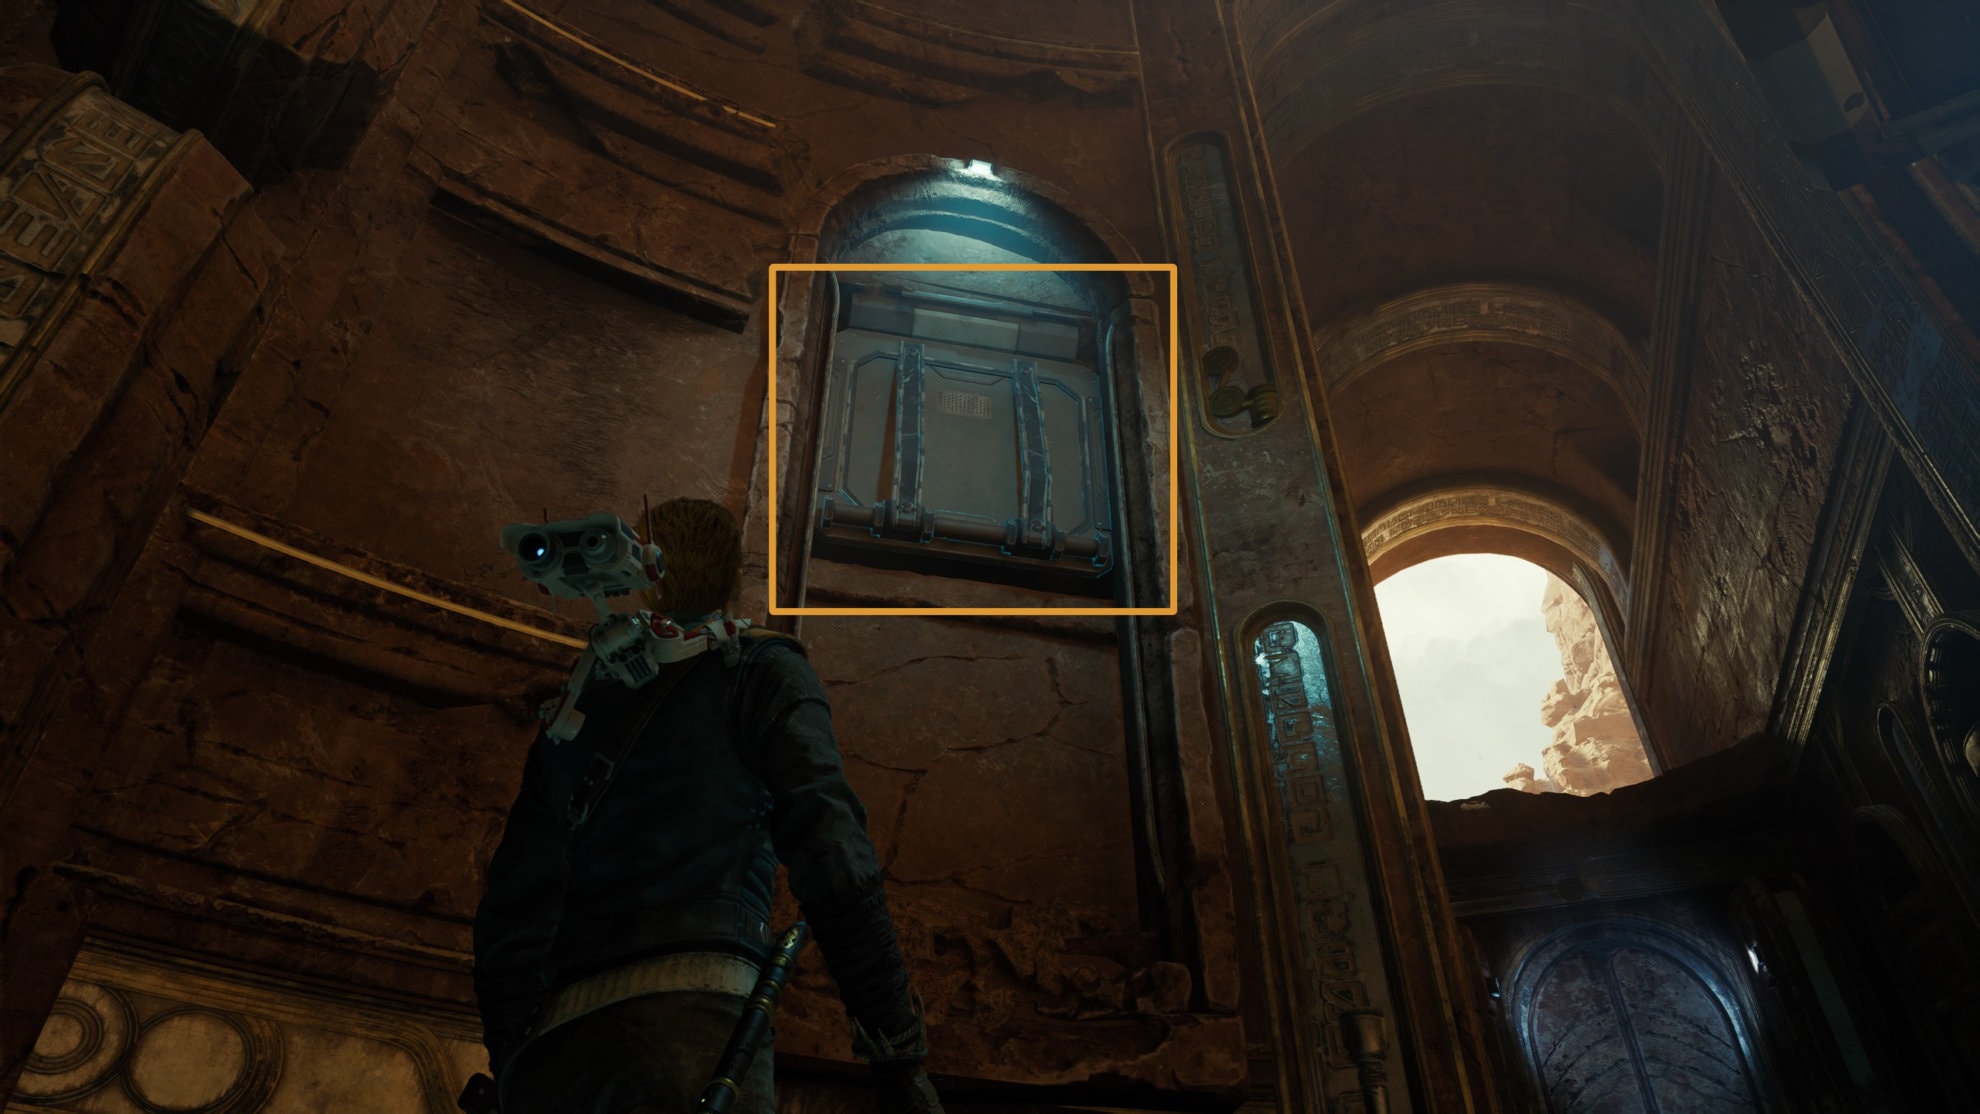
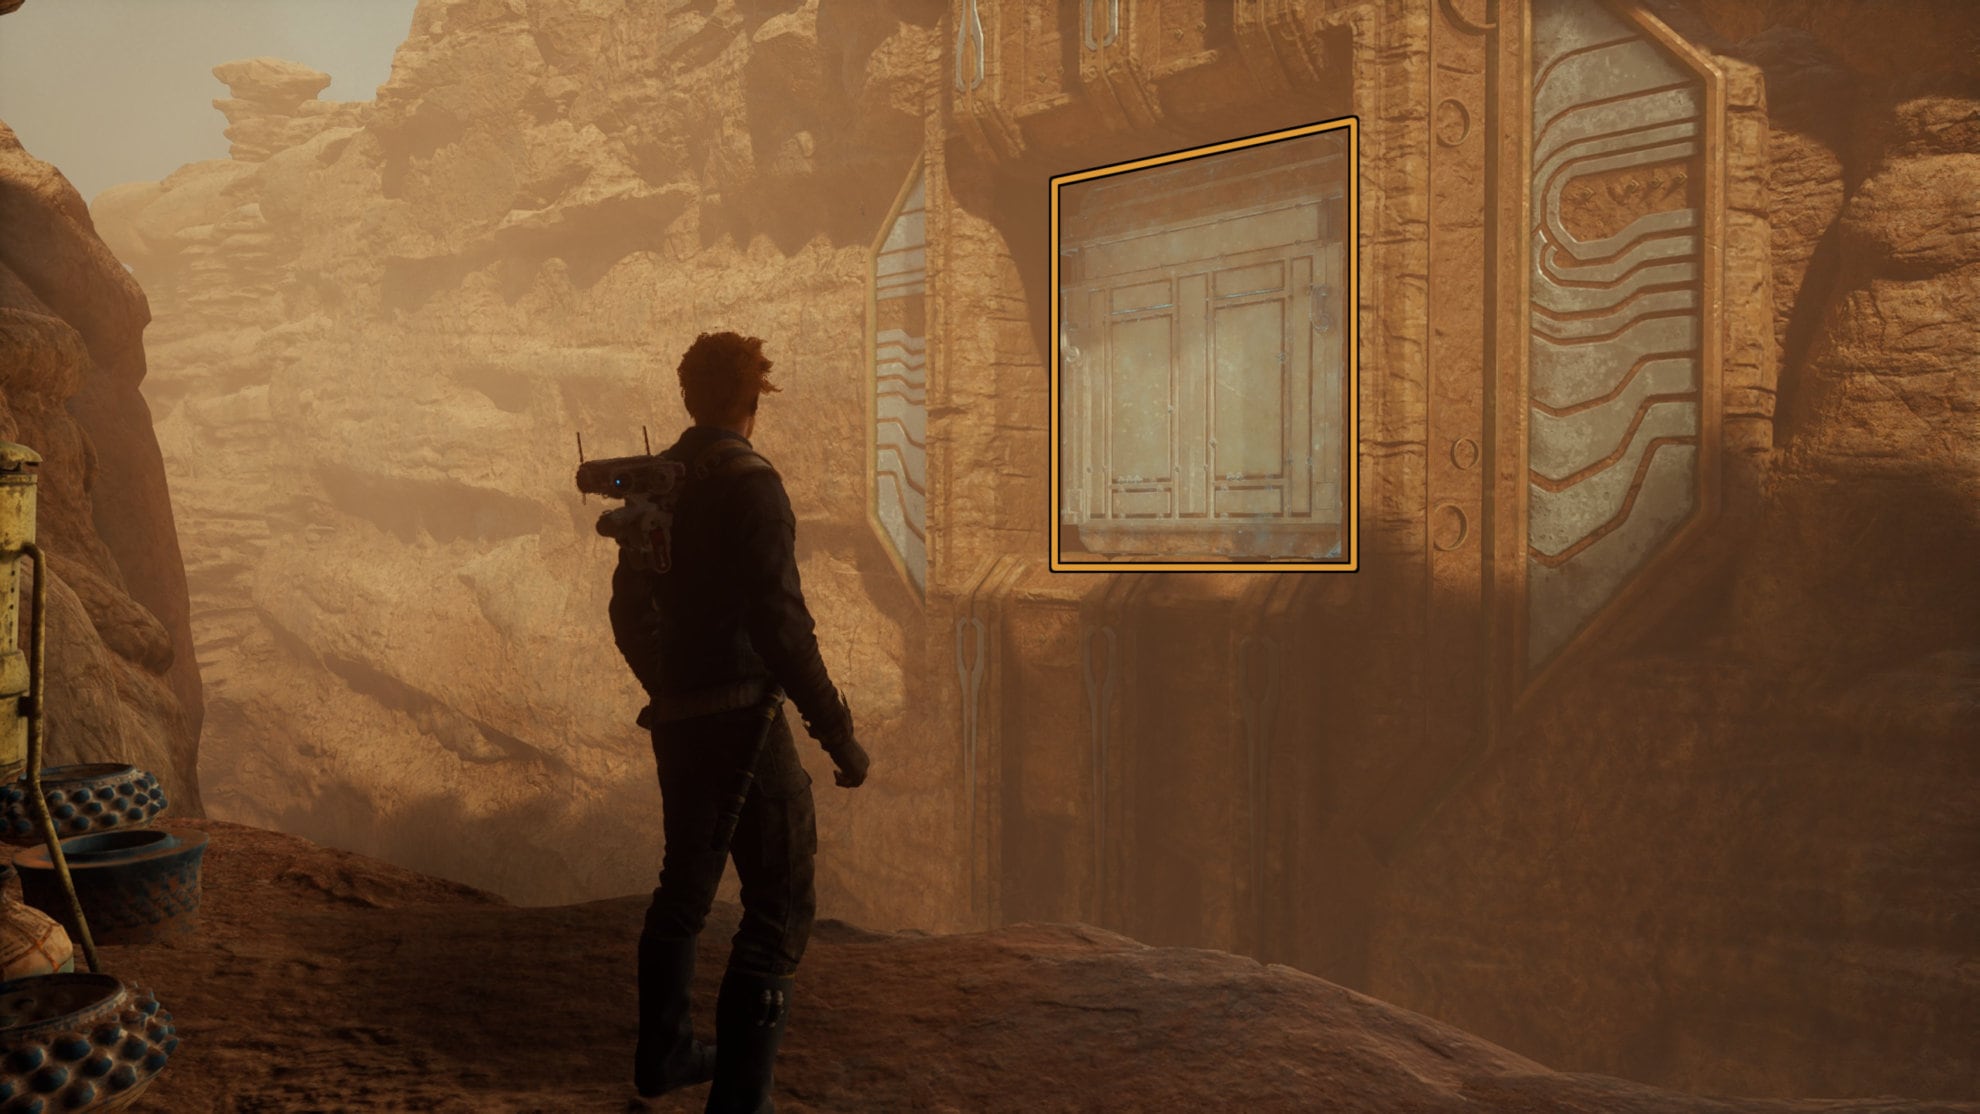
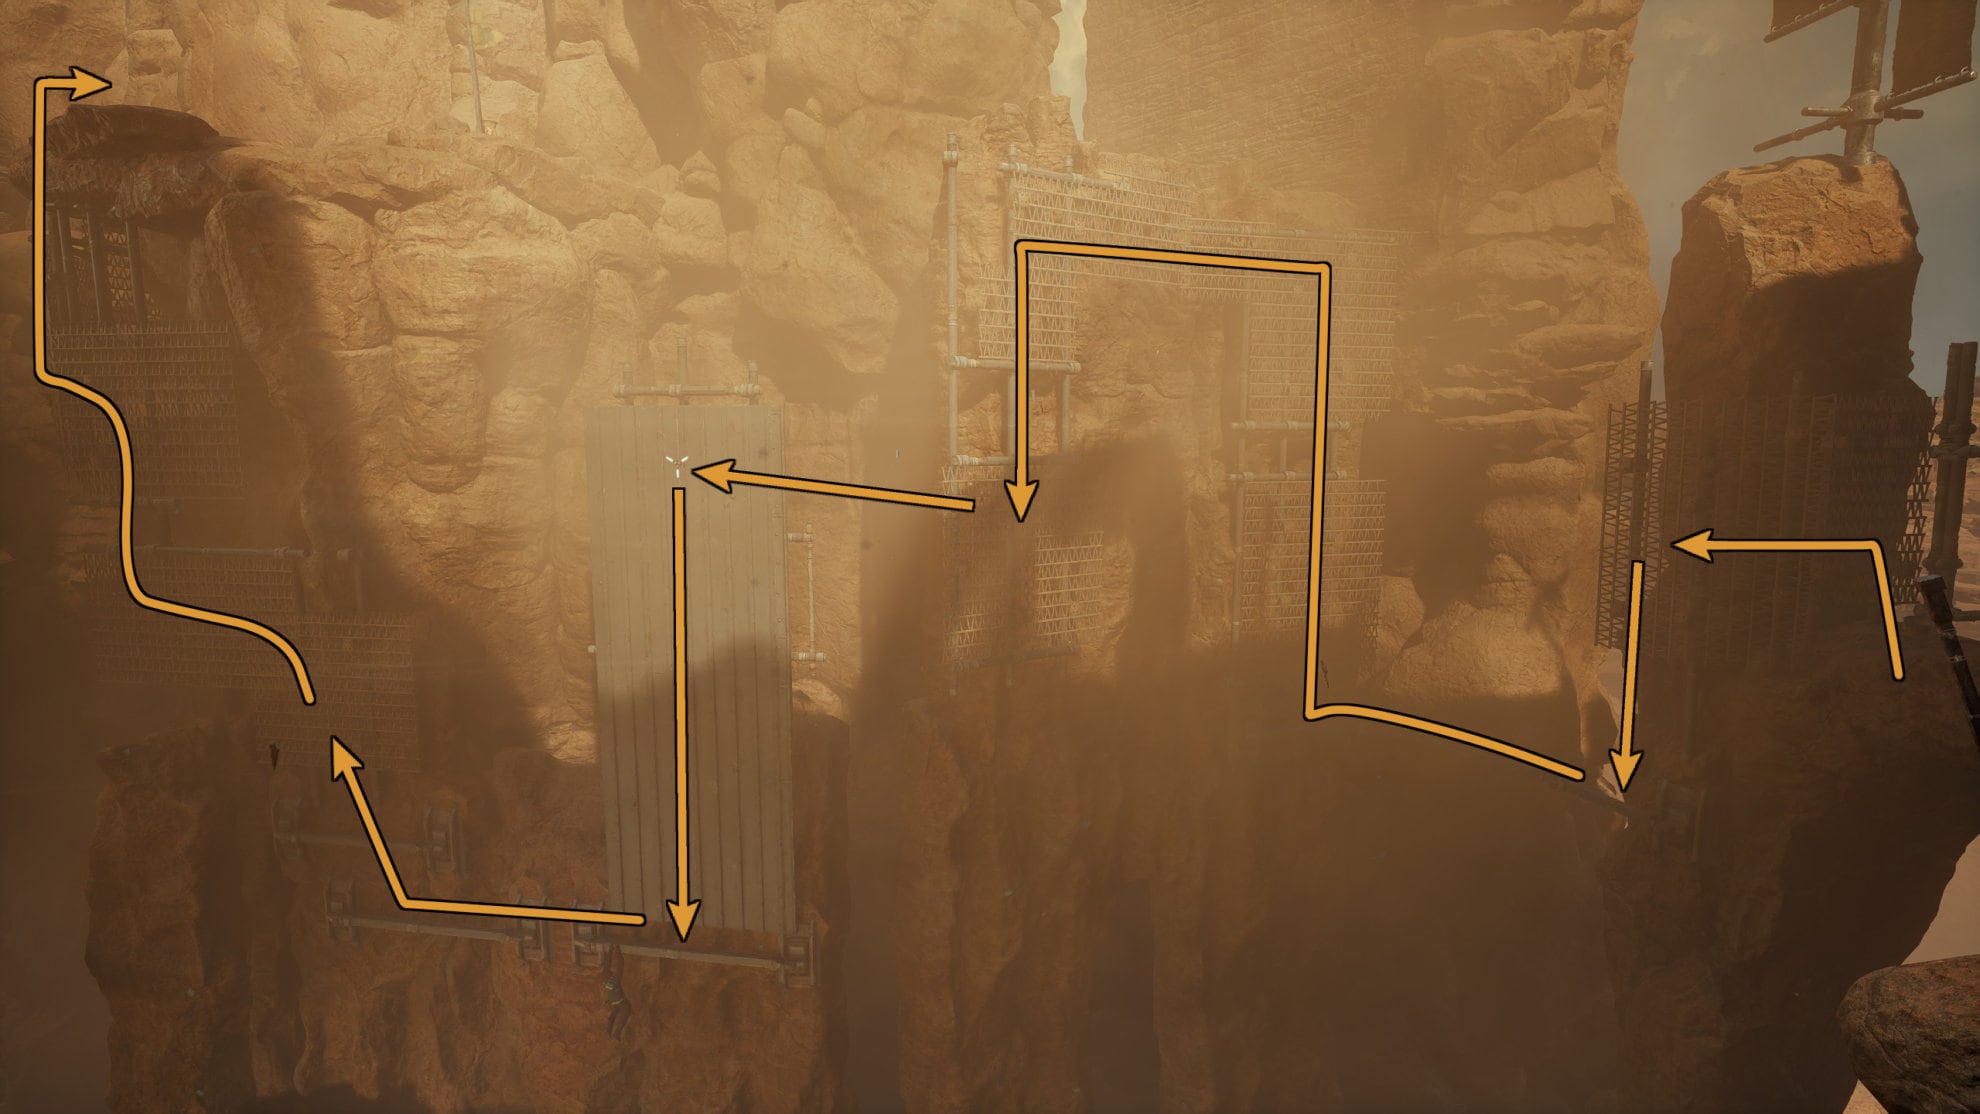
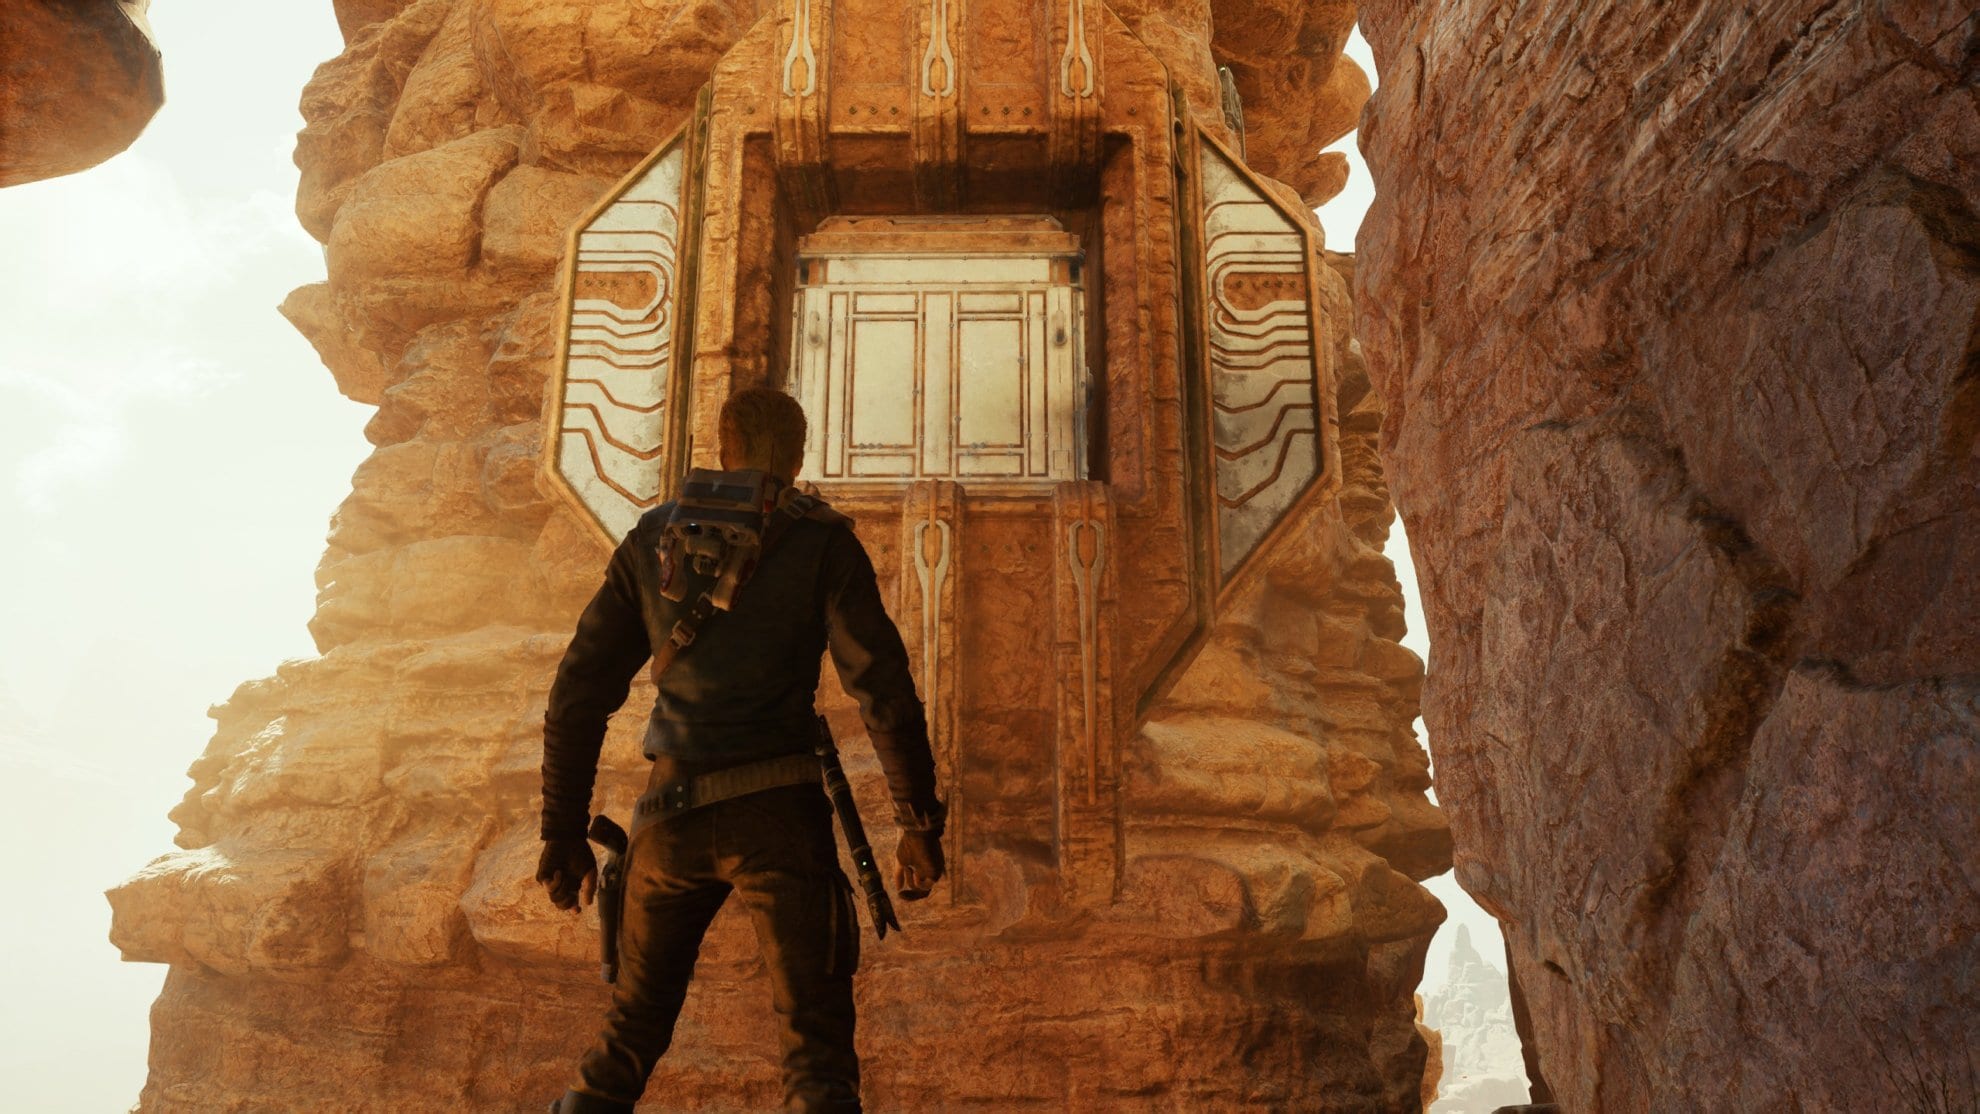
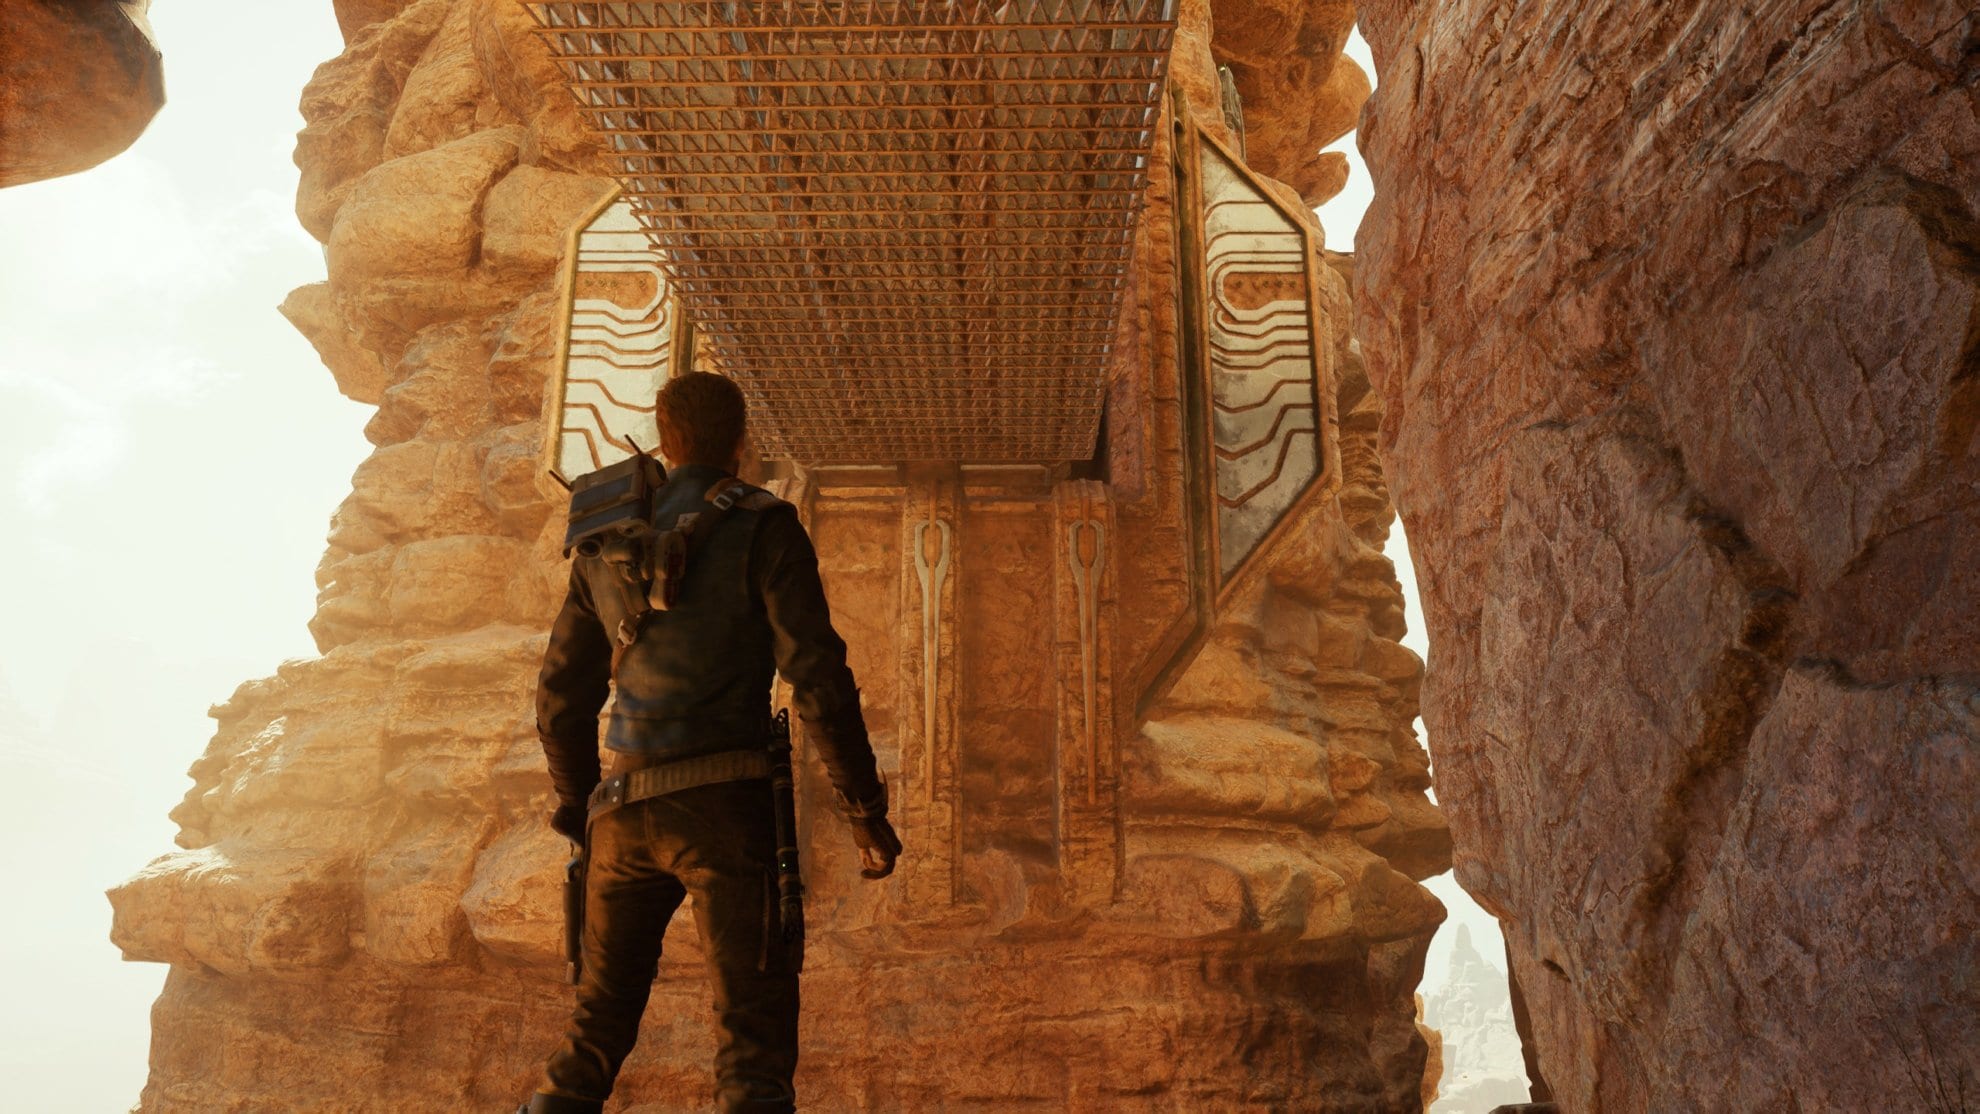
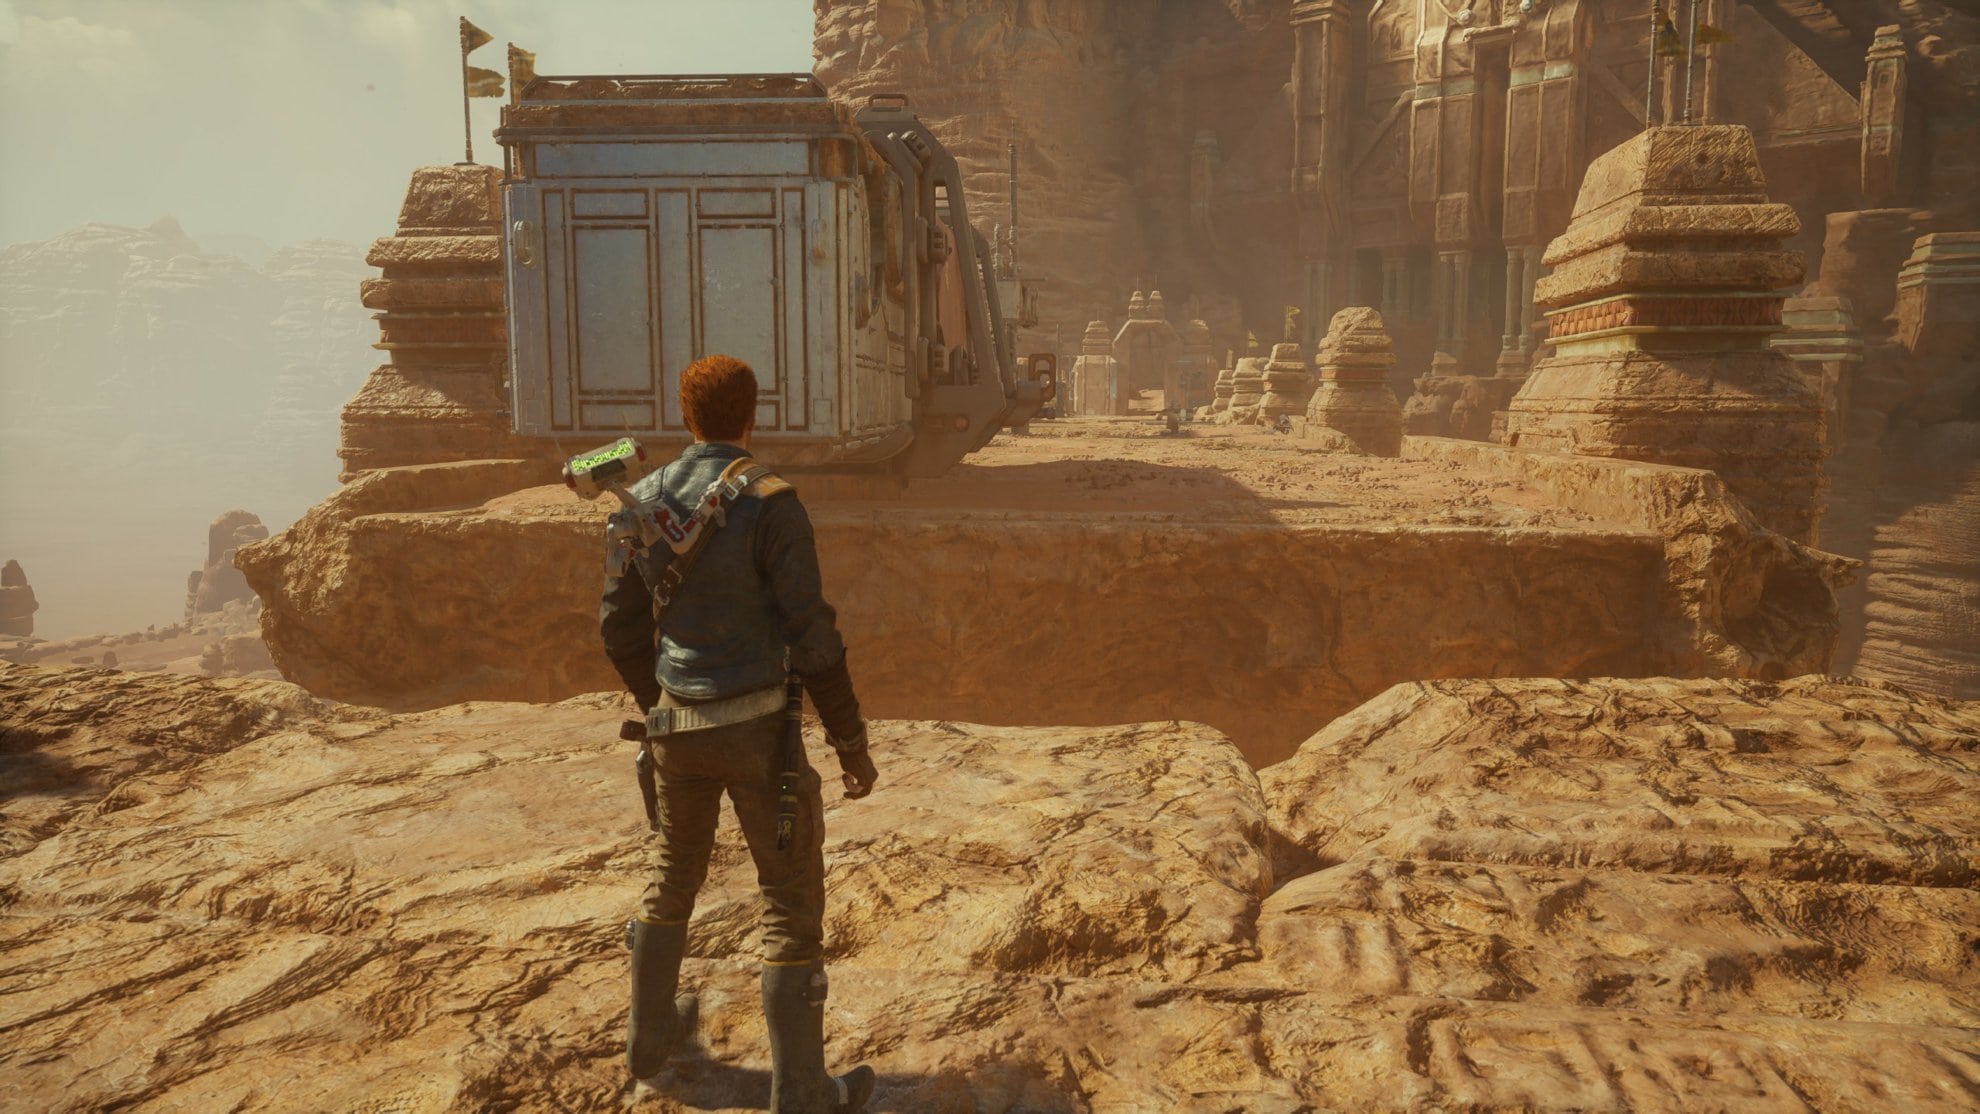
In the center chamber of the room, look up to find a metal panel. Force Pull the panel to reveal a grate and a pulley you can Force Pull.

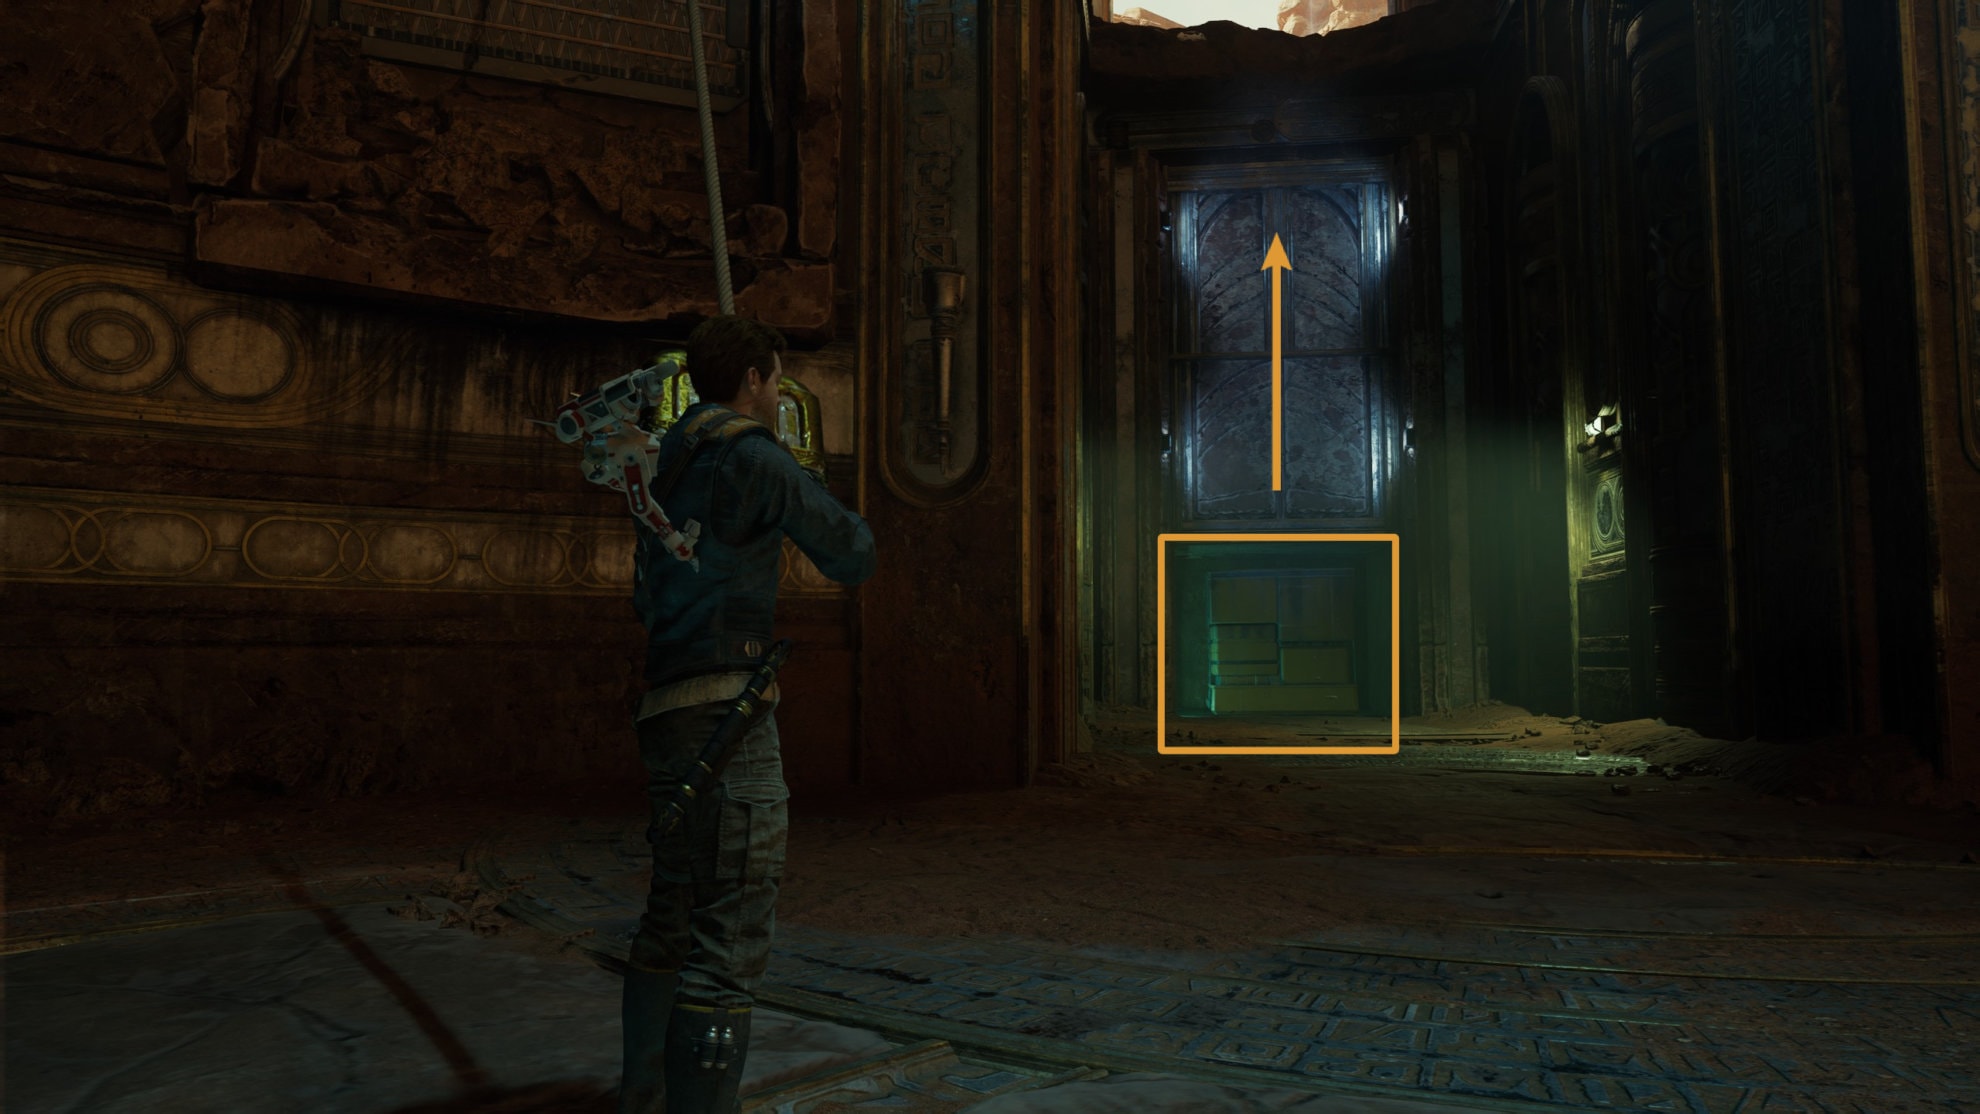
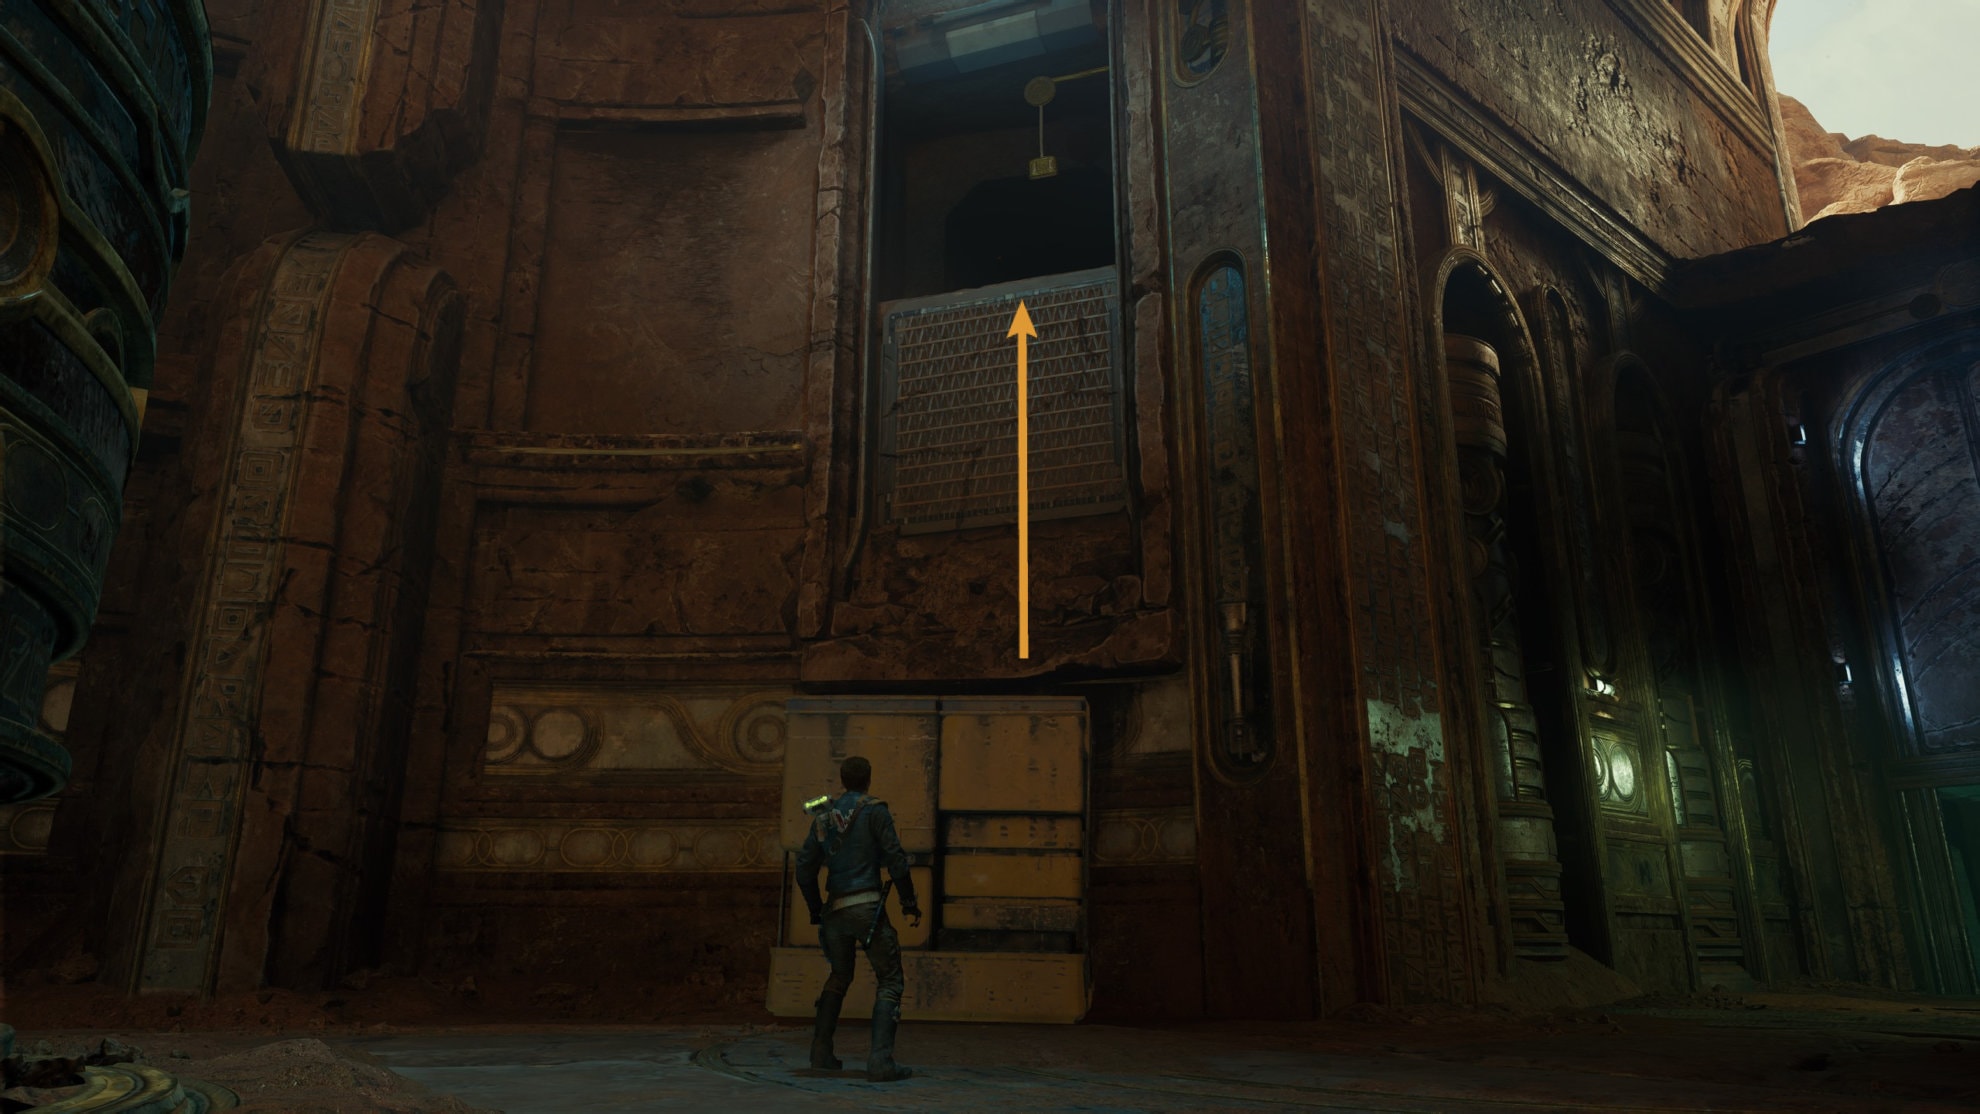
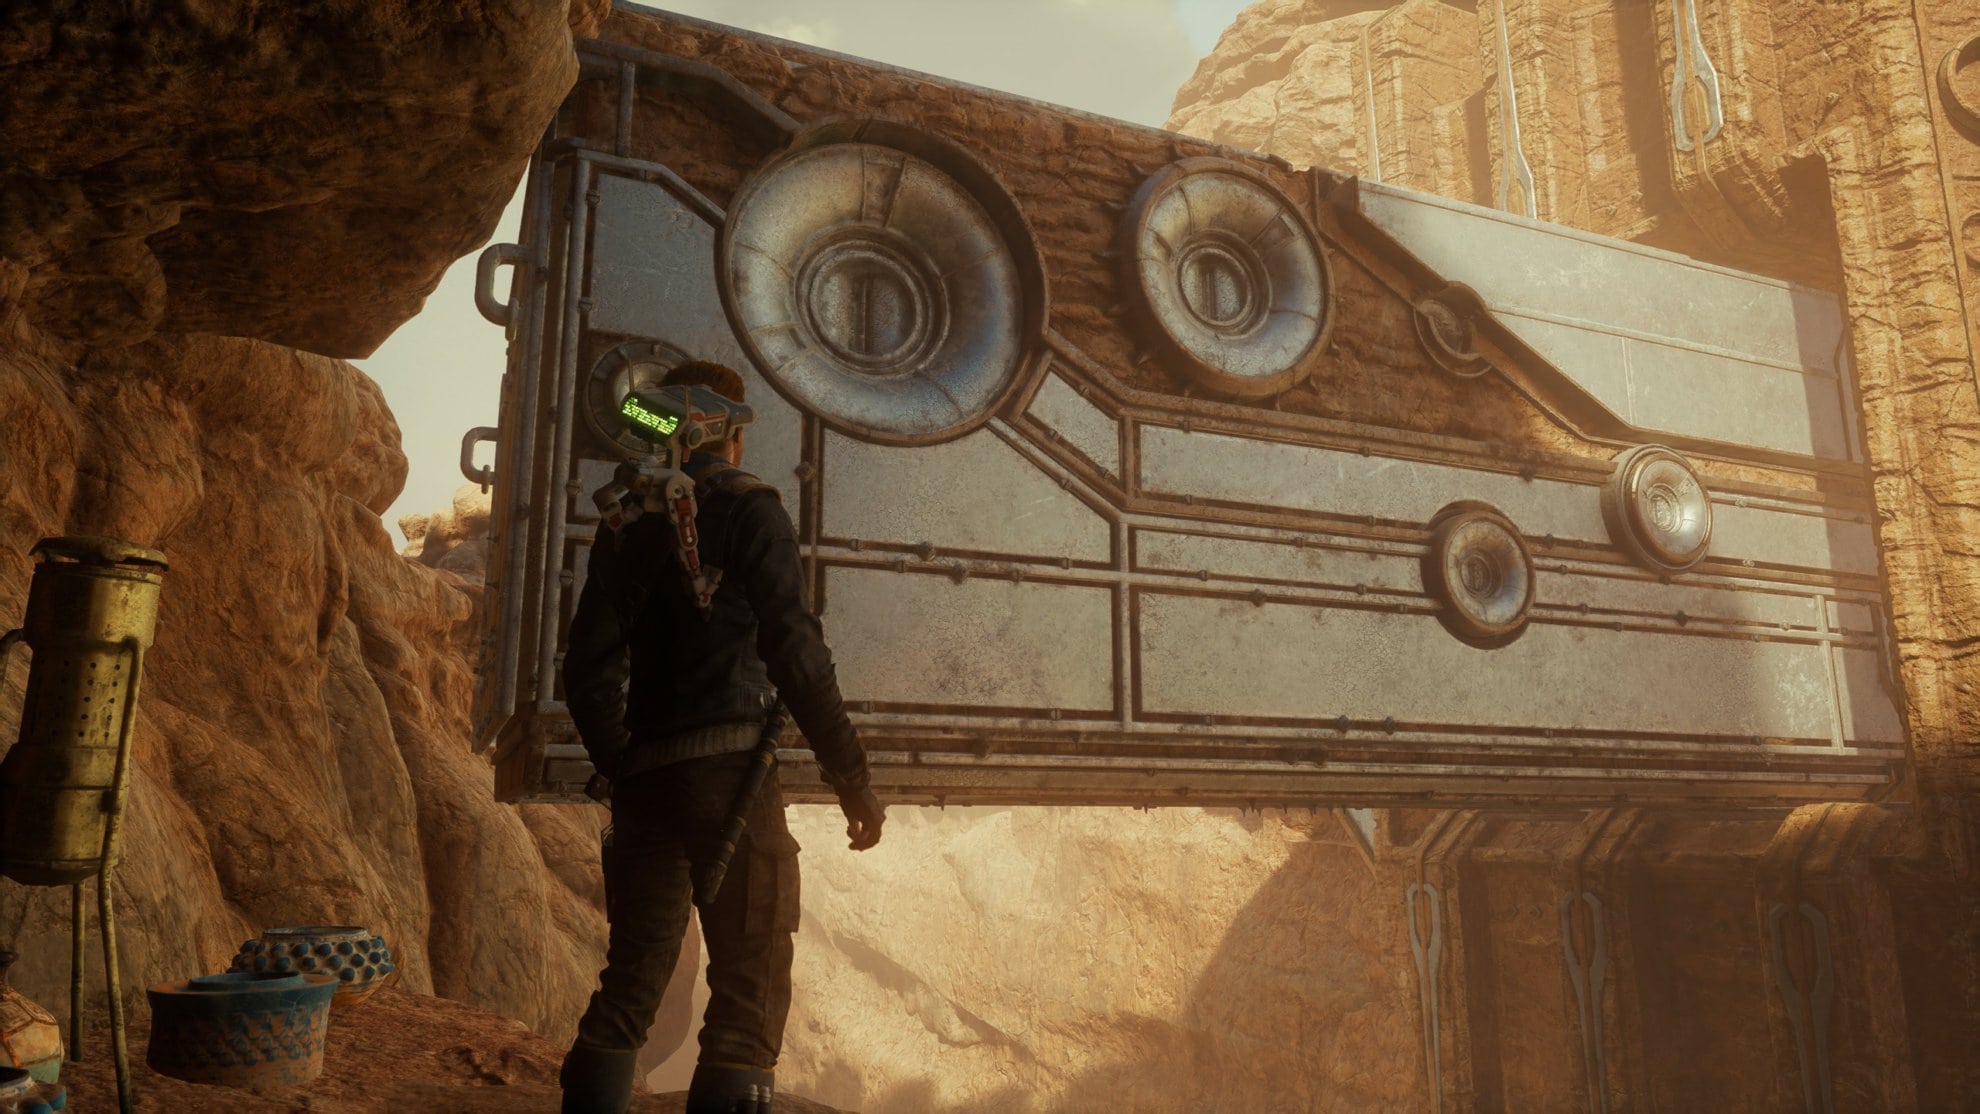
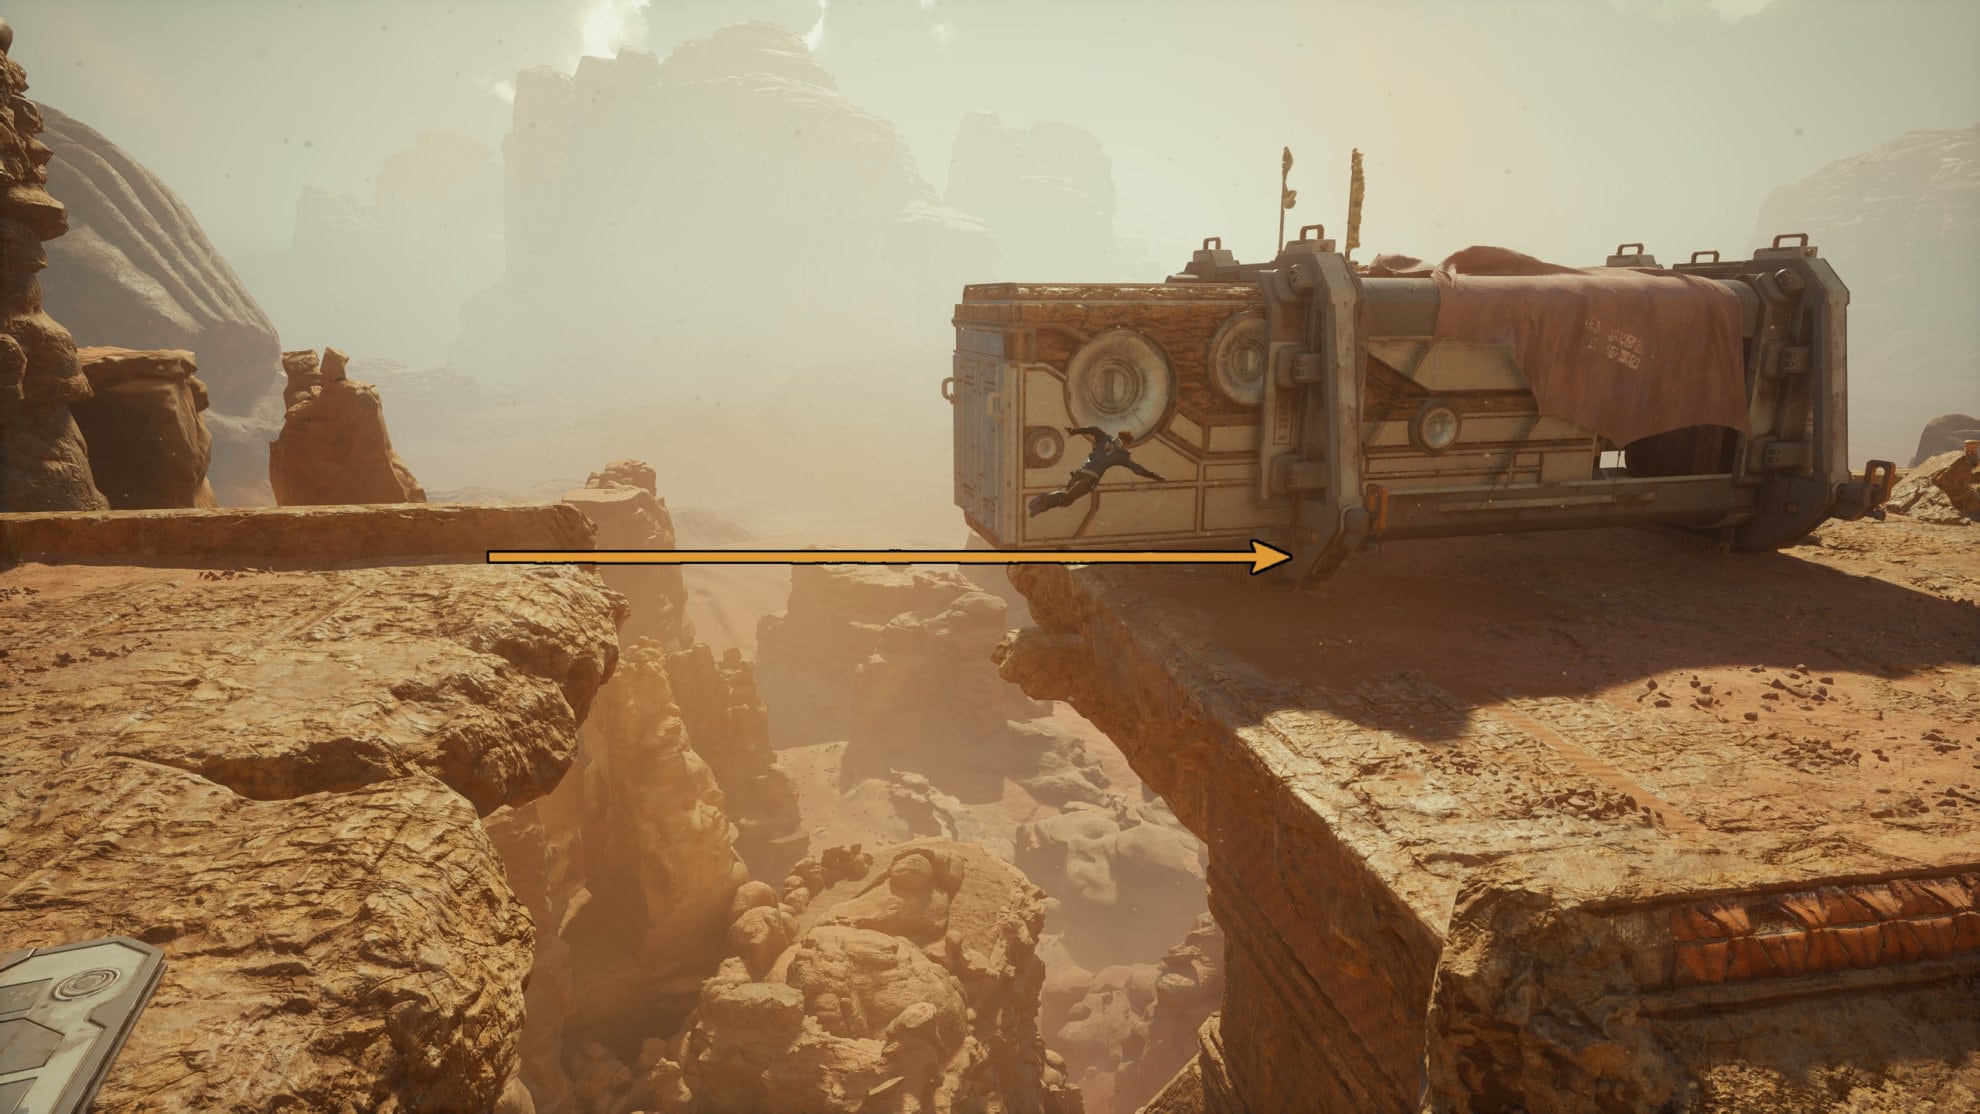
Pulling this level will pull up a gate at the end of the hall revealing a large box. If you let go of the pulley, the gate will slowly close. Pull the box out of the gated area before it closes off and bring it beneath the grate. Jump up the box and climb up the grate.
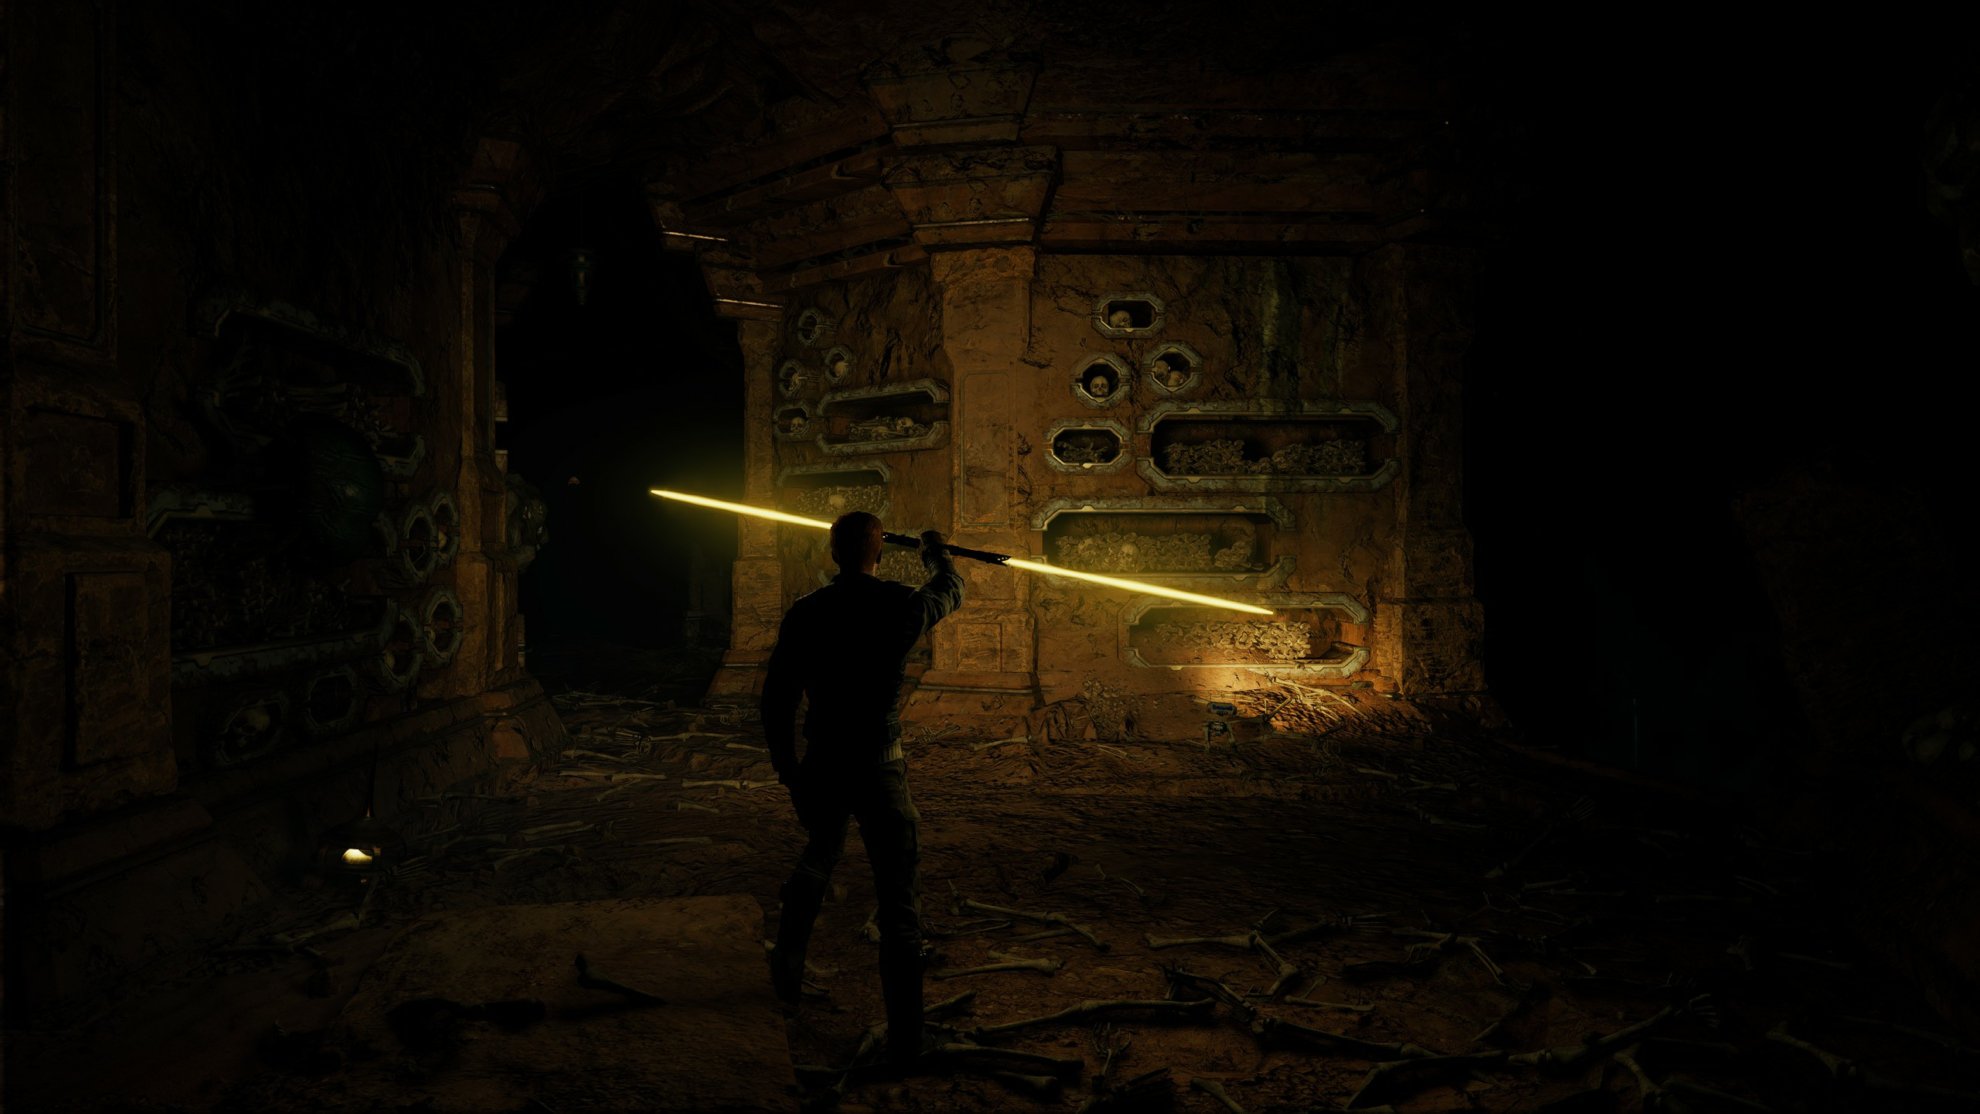
You’ll enter a dark crypt that you’ll need to be careful in. There are hardshells hiding on the walls here that will attack you by surprise. Go down the path to the right.
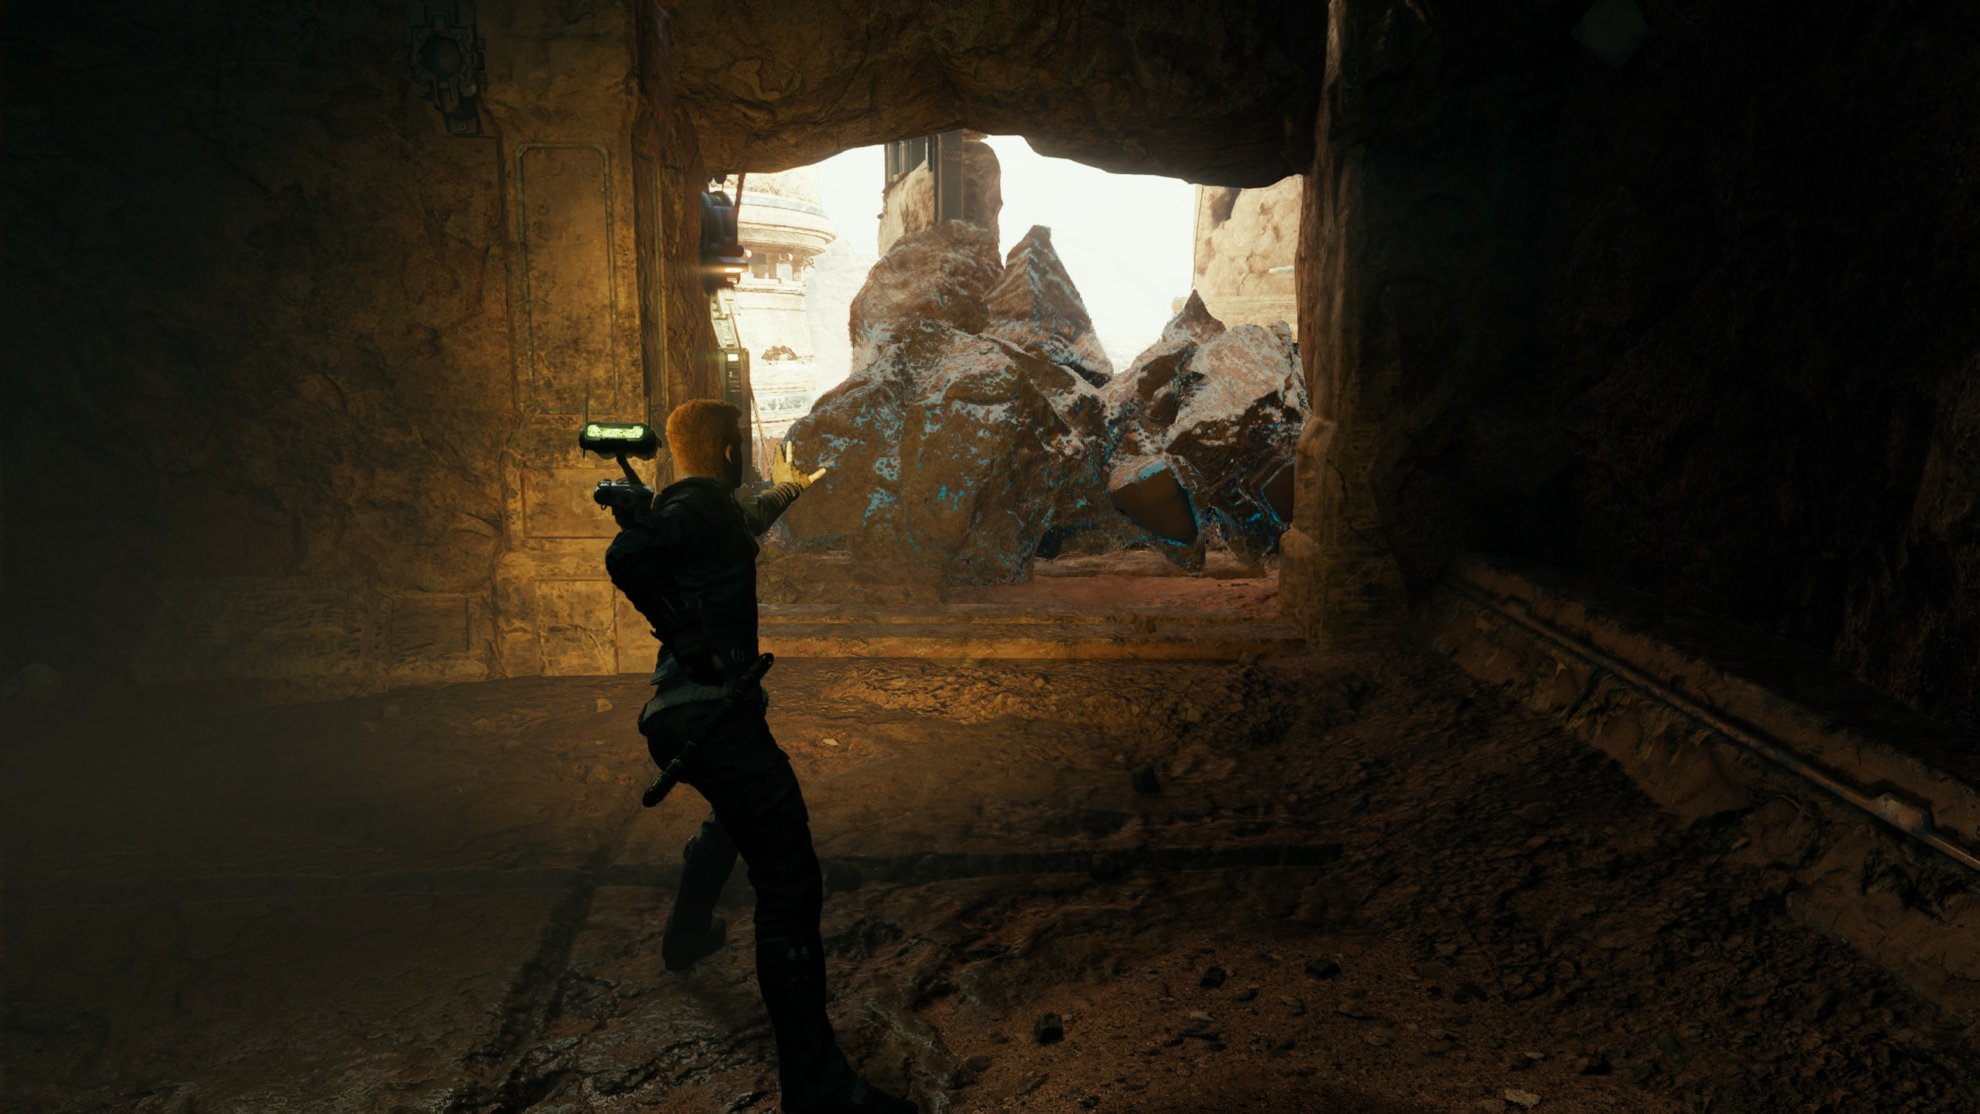
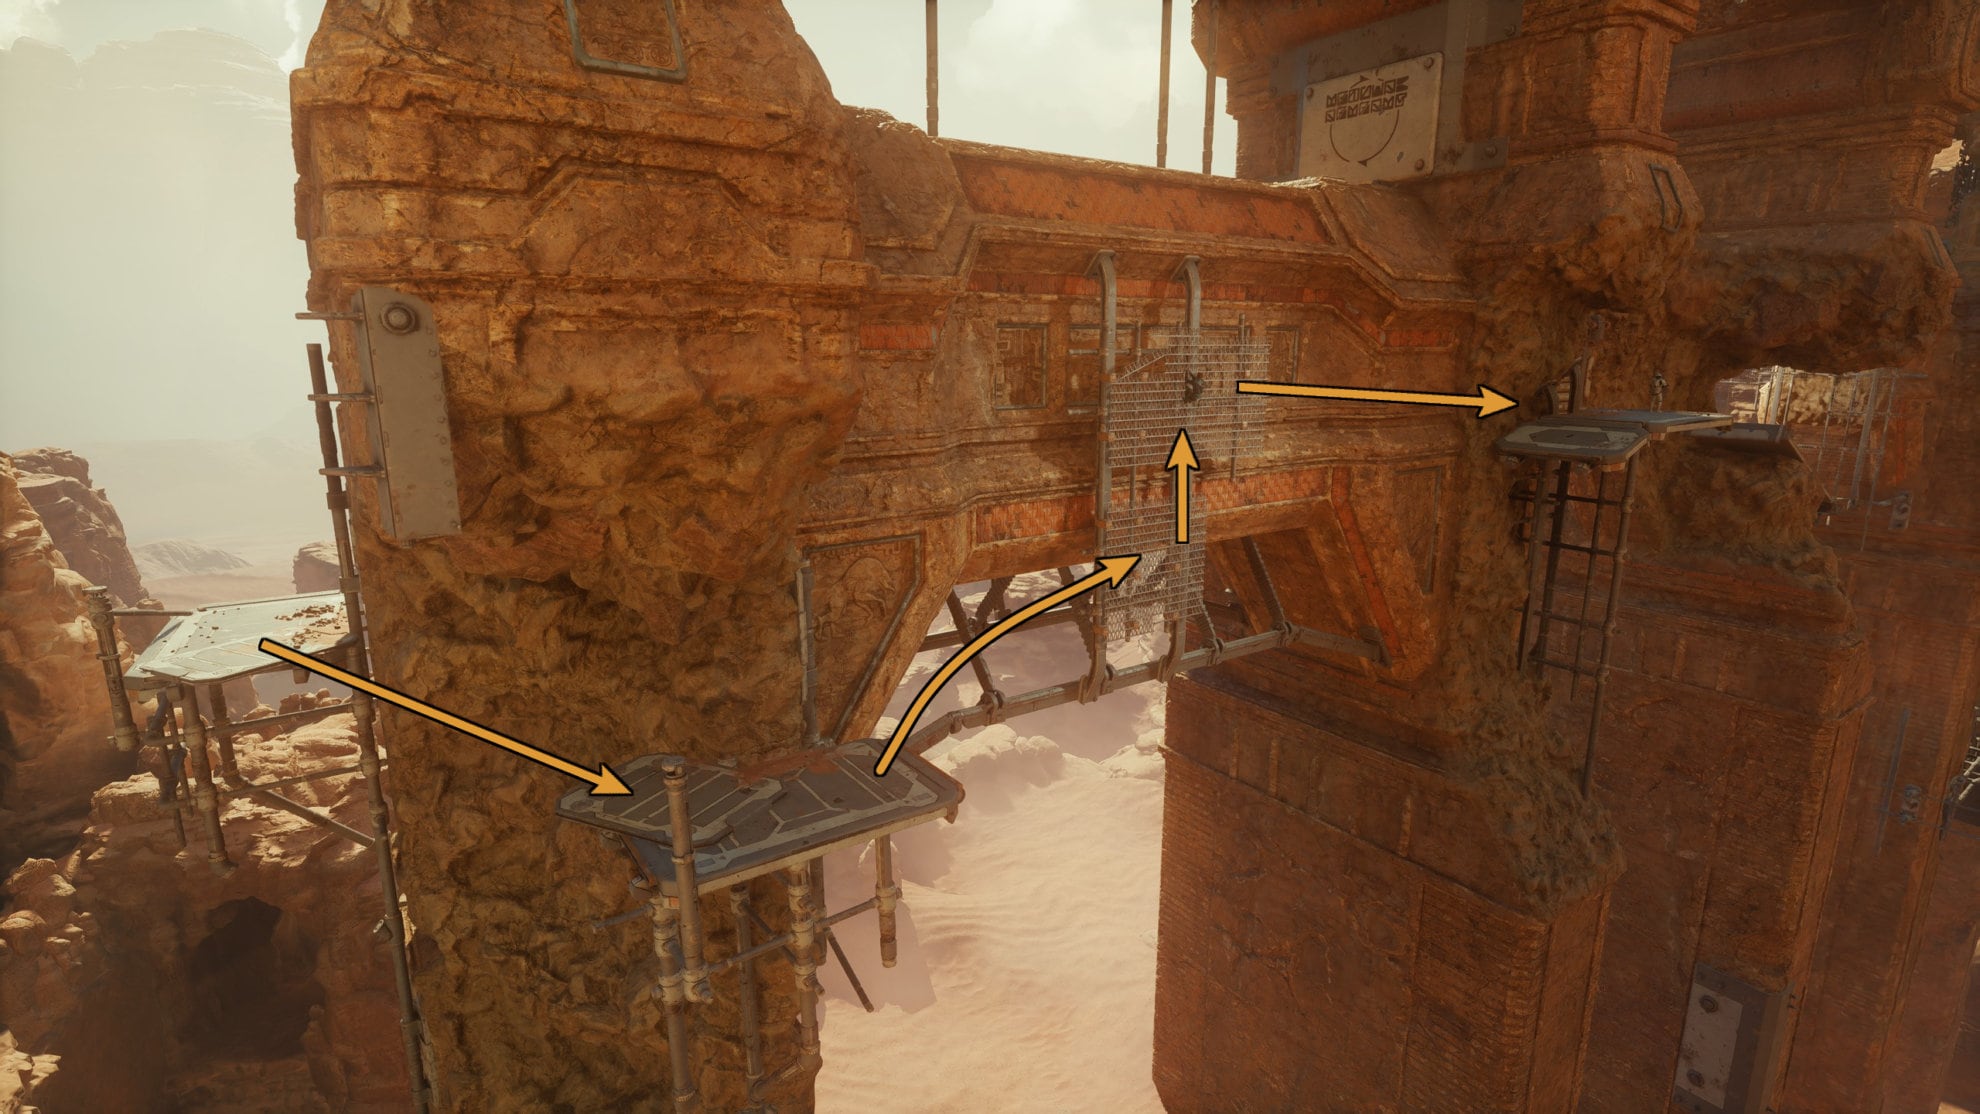
Defeat the hardshells and Force Push this rubble to go back outside. Activate the shortcut and jump on the pole to reach the wall running segment. Wall run across to grab the rope and jump on top of the nearest arch.
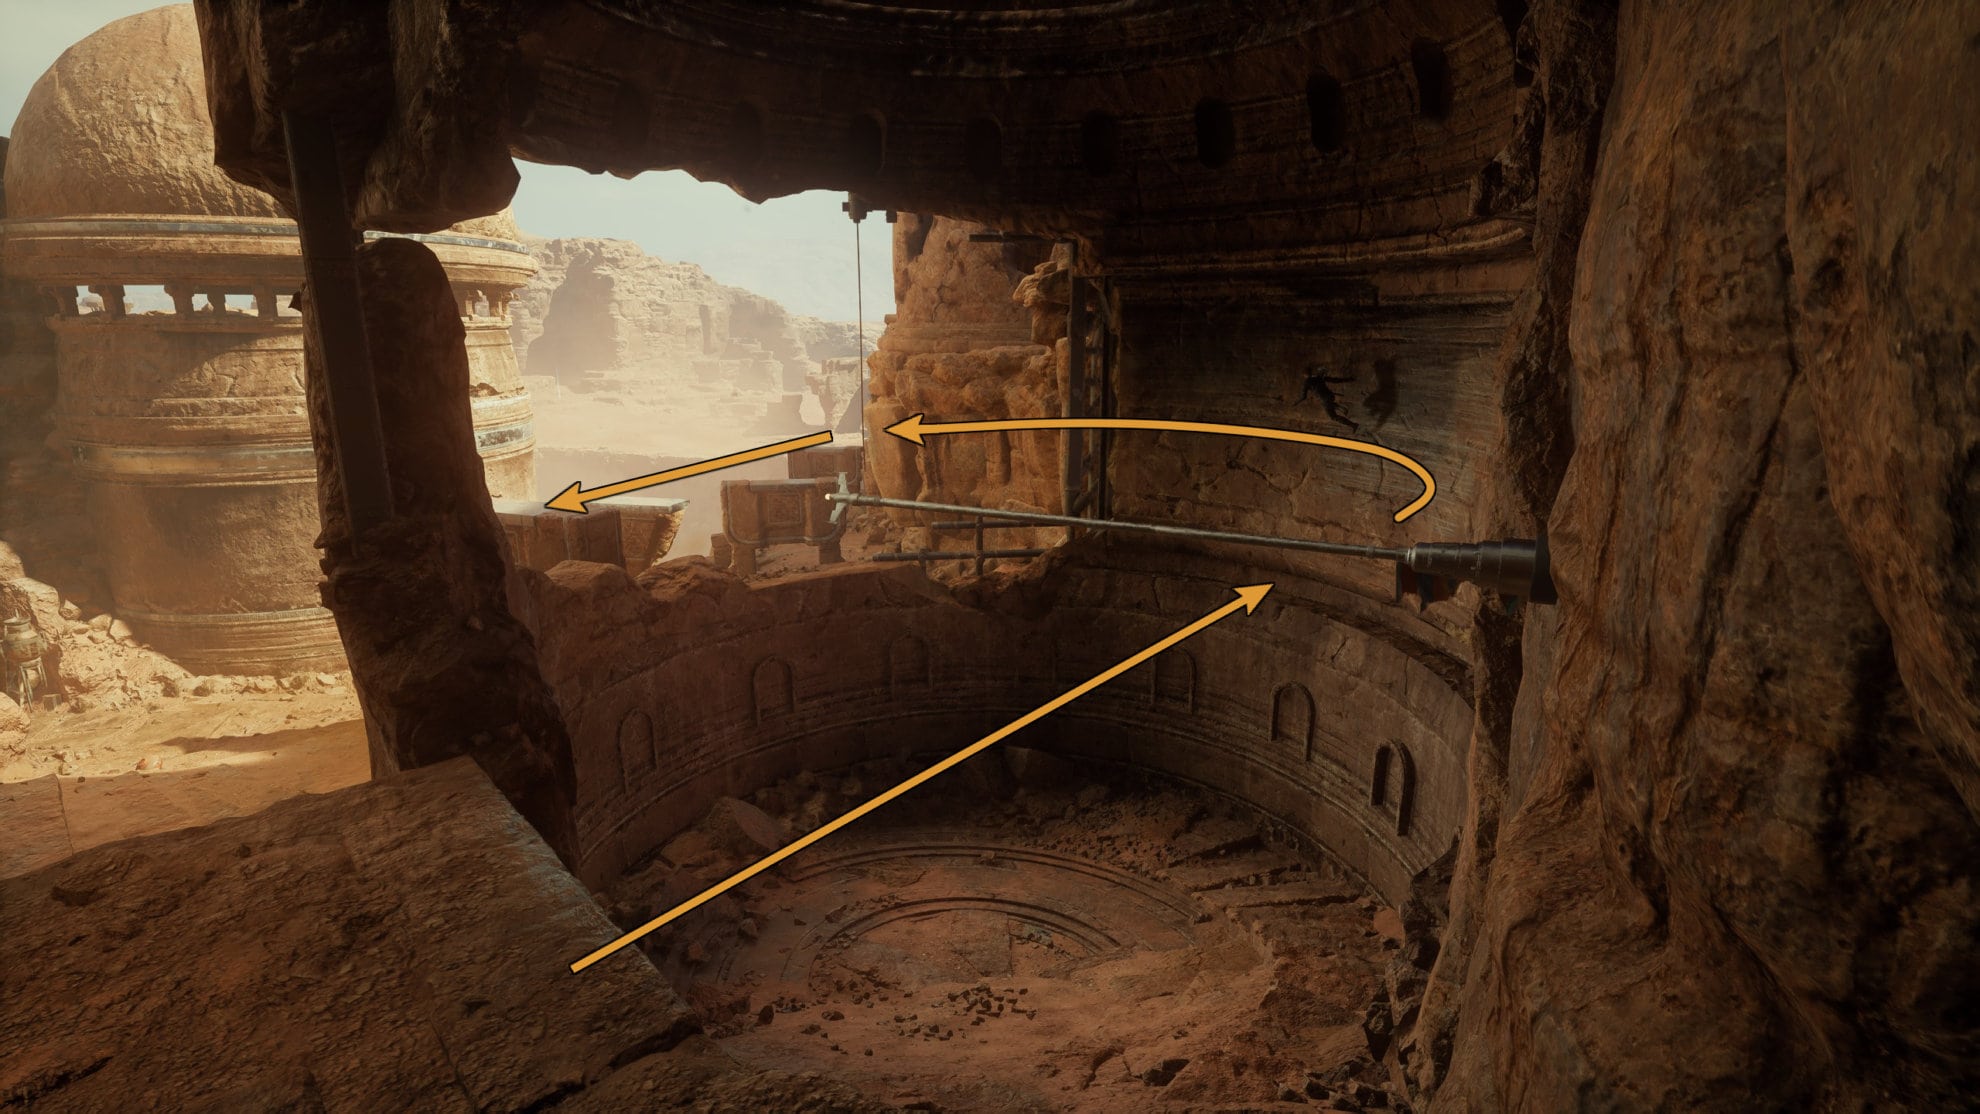
Once you’re on the arch, jump down to another arch to reach a ledge on the side of the building. Climb up and go inside the building.
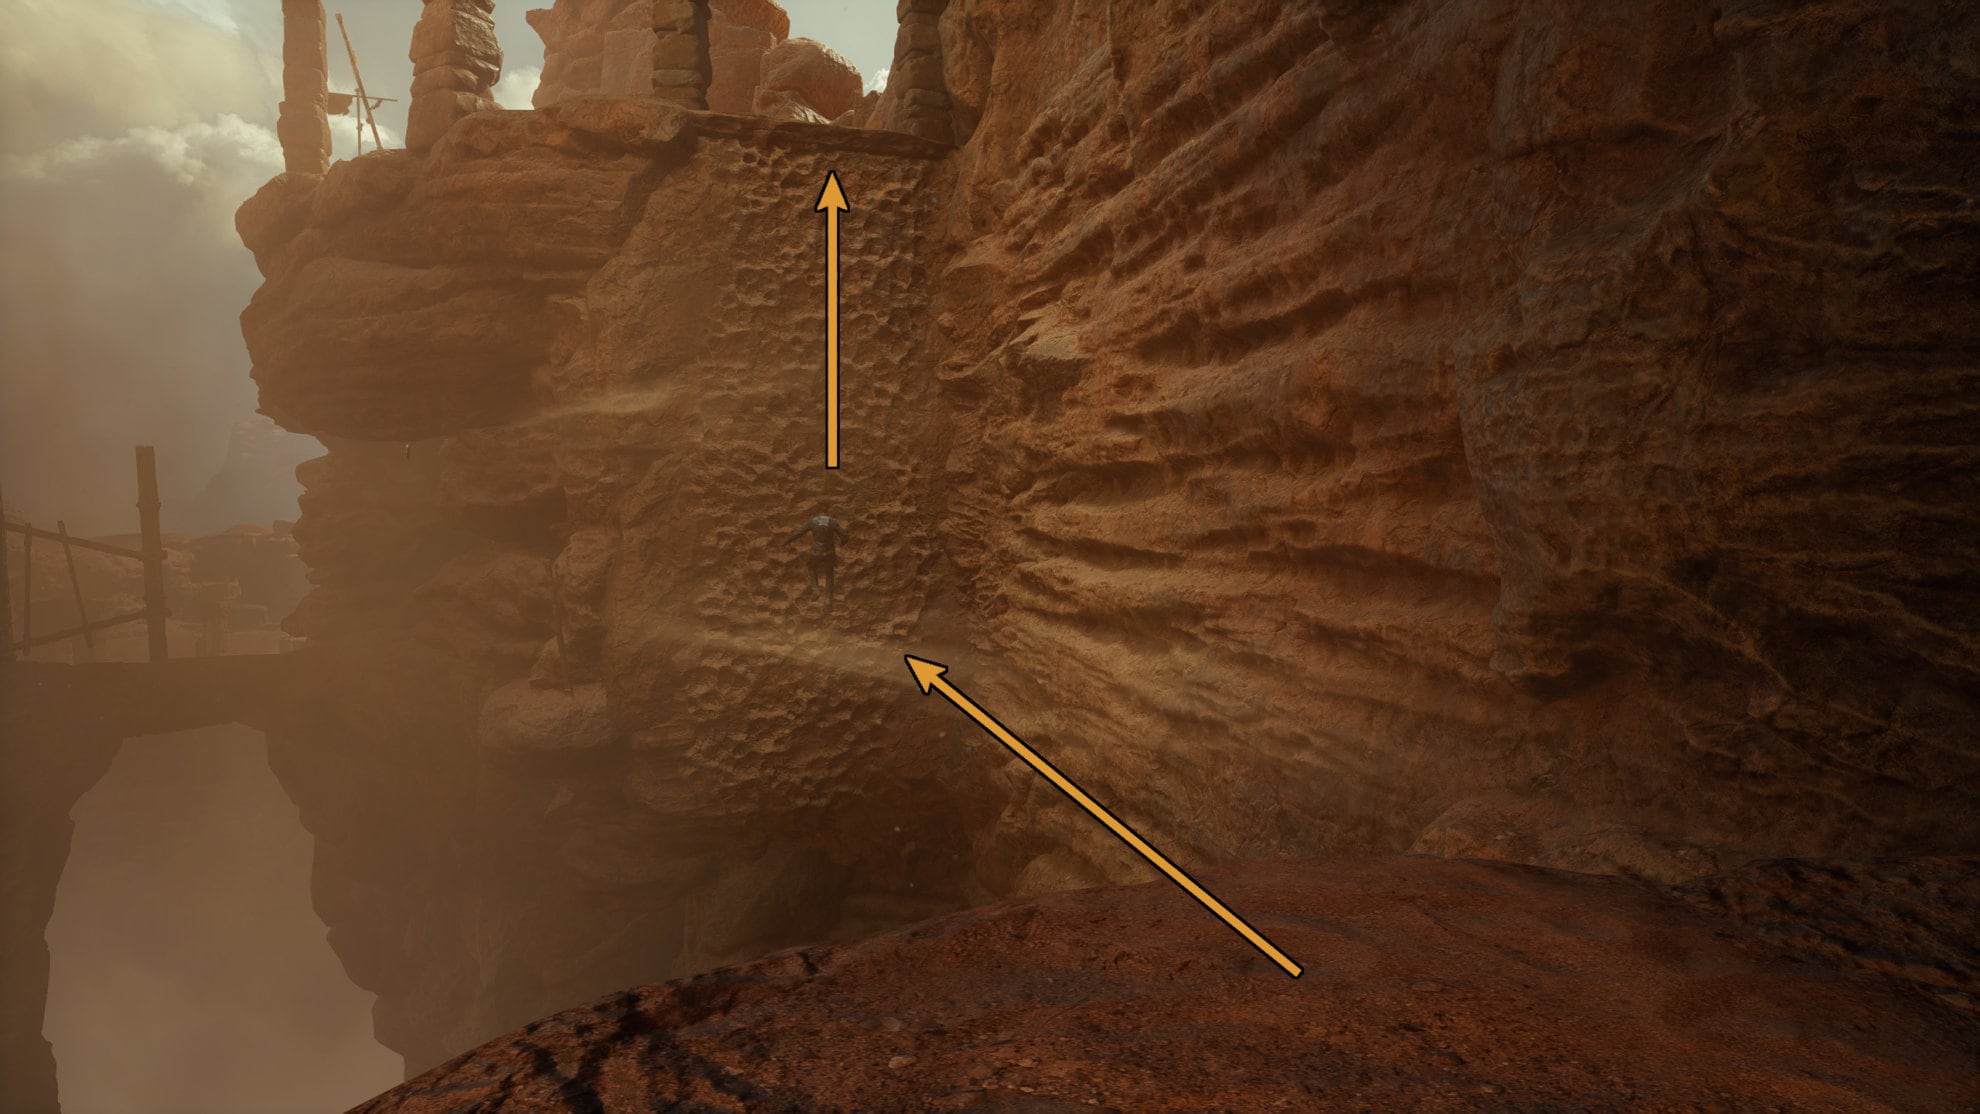
Go upstairs to the right and jump up the ledge. You’ll encounter a very windy valley that Cal will struggle to walk in. To the left is a wall you need to climb up.
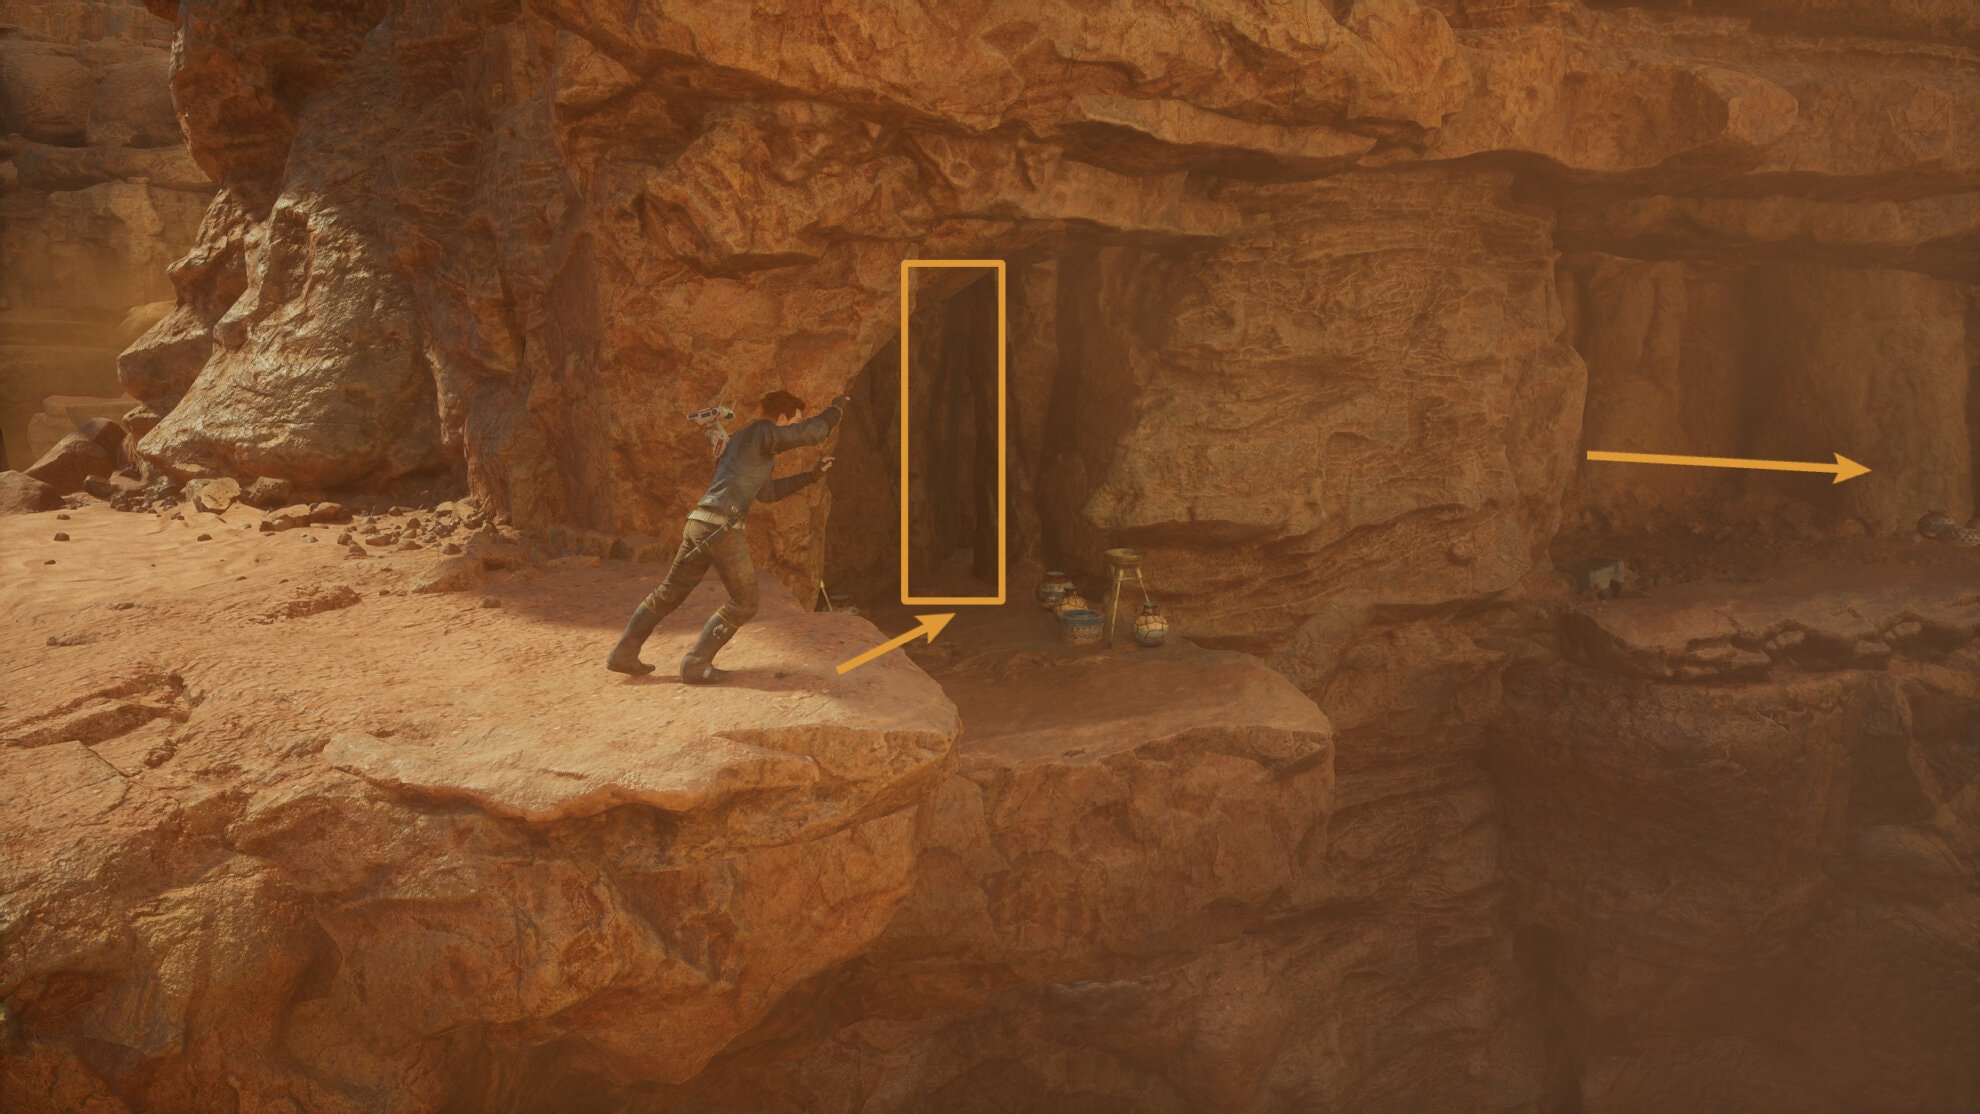
Follow the path back into the canyon. There is a small crevice to the left that you’ll need to squeeze through to go forward into the canyon.
Crossing the Windy Canyon
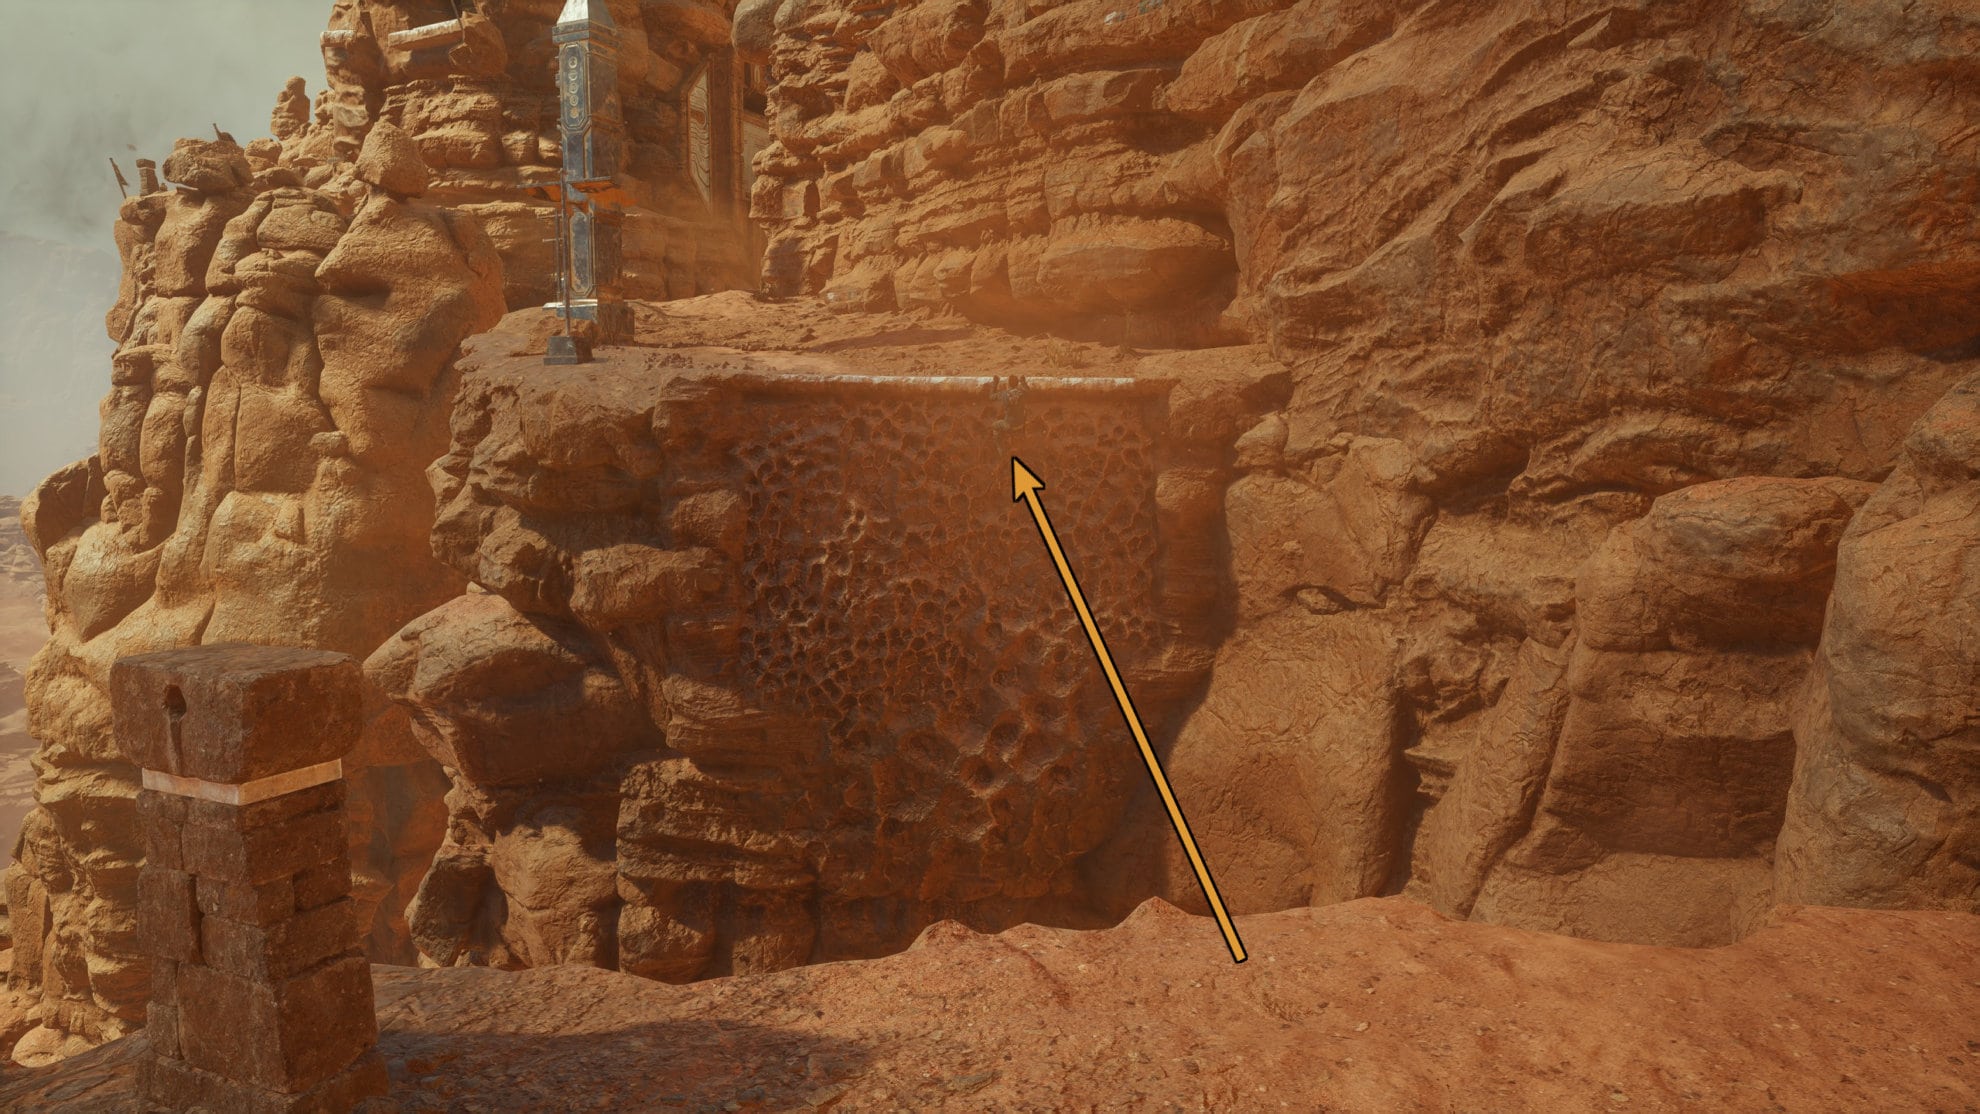
Once you cross here, look for a metal pillar you can interact with via the Force. Force Pull it and the pillar will come out. It will make a peculiar sound but it’s blocking the wind.
Head back to the previous ledge, you can safely jump across now and rest at the Whistling Drop Meditation Point.

You’ll run into some Imperials, defeat them and go down the pathway to the right to reach the grates you can climb.
Follow this path across the grates to safely traverse this area. On several occassions you’ll need to drop down onto some metal beams to continue progressing, just be careful of the wind while dropping. If you need to jump up or drop down, don’t do so on the right edge otherwise the wind will push you off.
Force Pull the pillar out, hook onto it with your ascension cable, and jump to the platform below. Run towards the wall and allow the wind to push you to it, then climb up.
With the pillar blocking the wind, you can jump to this pole and jump further to reach a wall running segment.
At the end of the wall running segment, grab onto the porous wall to climb around the other side of the rock. There will be some Imperials in a pit below you which will leave you with two options. You can defeat the Imperials and use your ascension cable to get up the platform, or you can wall run across to reach the platform and ignore the Imperials to proceed.
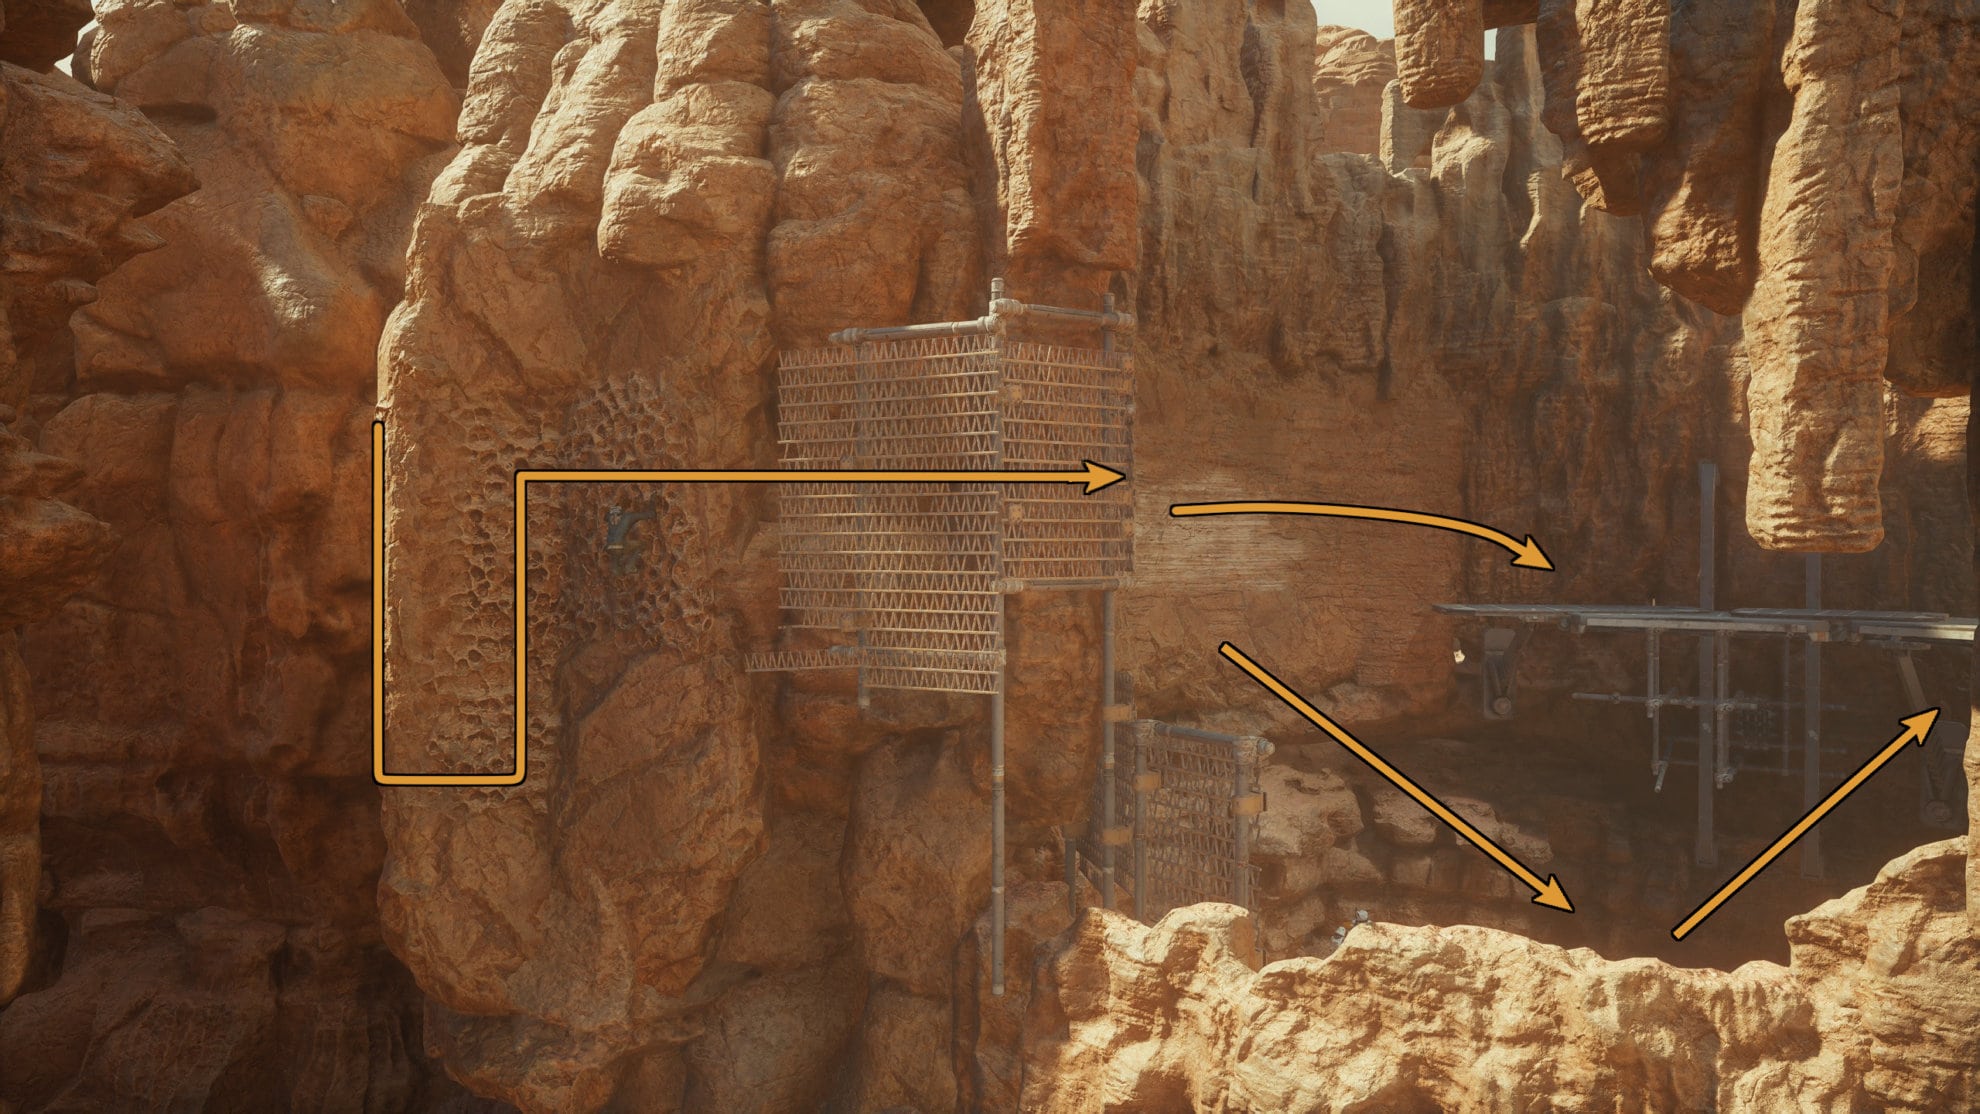
Past the previous area you’ll find a shortcut, activate it so you don’t have to go through that canyon again.

Follow the path and you’ll run into some Imperials fighting a skriton. Defeat them then pull yourself to a hook to reach some metal beams. Go across the beams and wall jump up a wall to reach the top ledge.
Follow the path to find a shortcut and cut the line to create said shortcut. Continue down the path to the right into the building.
Wall run across to the metal platform then wall run to reach the path ahead, there you’ll find the Urhma’s Crypt Meditation Point. Take some time to rest at this point to heal up and save your game. There’s actually a secret treasure nearby, a Jedi Outfit. See our How to get the Jedi Outfit in Jedi Survivor guide to learn more.

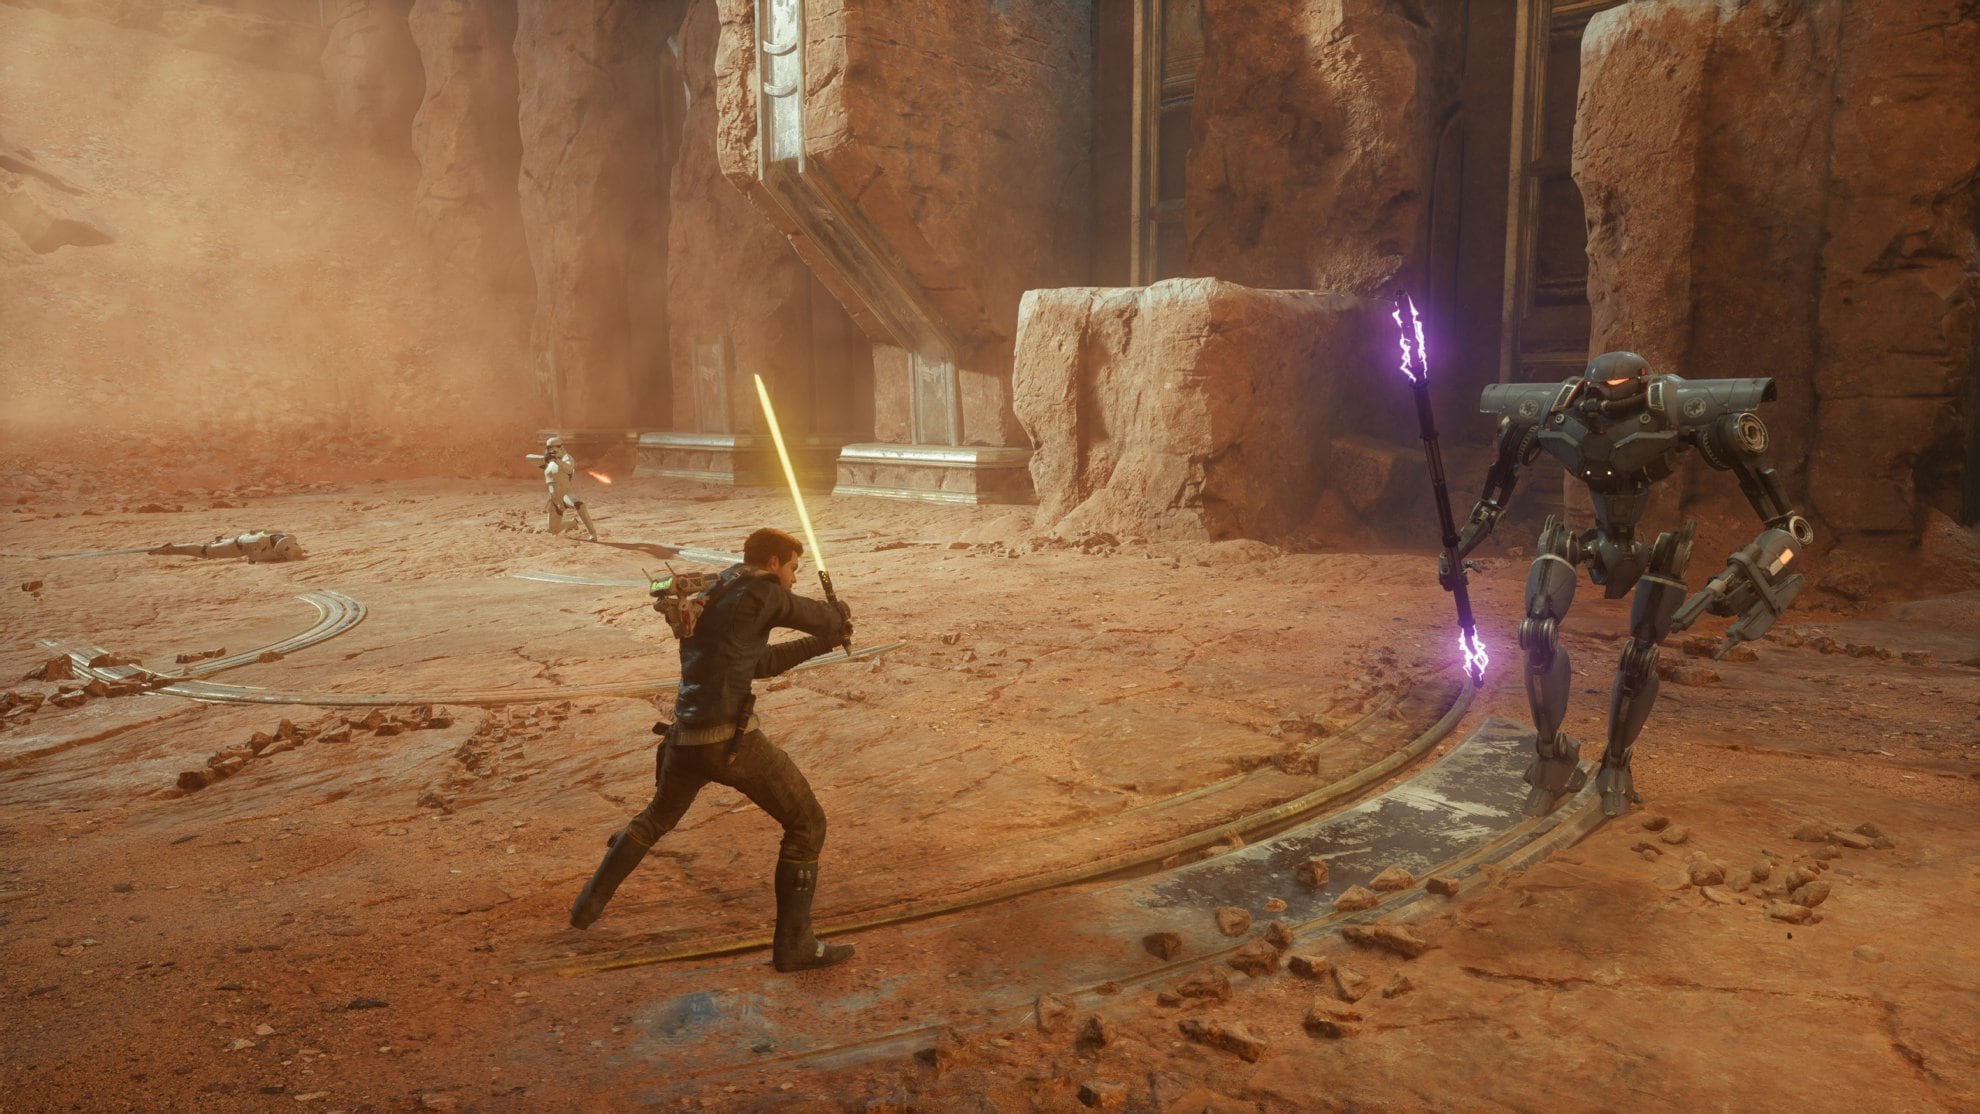
Continue following the path and you’ll find a new enemy ahead, the DT-Sentry Droid. Yes, this does indeed appear to be a Dark Trooper if you’re familiar with the Legends continuity of Star Wars. If you knew that, then you should know that these droids are no joke.
Take out the Stormtroopers first then focus on the DT-Sentry Droid. This enemy can be particularly tough to fight at first due to its mix of melee and ranged attacks along with its durability.
It has basic attack patterns making it simple enough to parry. Try to parry it enough to drain its stamina allowing you to cut off one of its arms. With enough damage, you can cut off the other arm to disarm it entirely. From there the fight is as simple as dodging the kicks and attacking it.
One unblockable attack to be very cautious of is when it spins its electrostaff while walking forward. If it does this, dodge backwards until it stops.
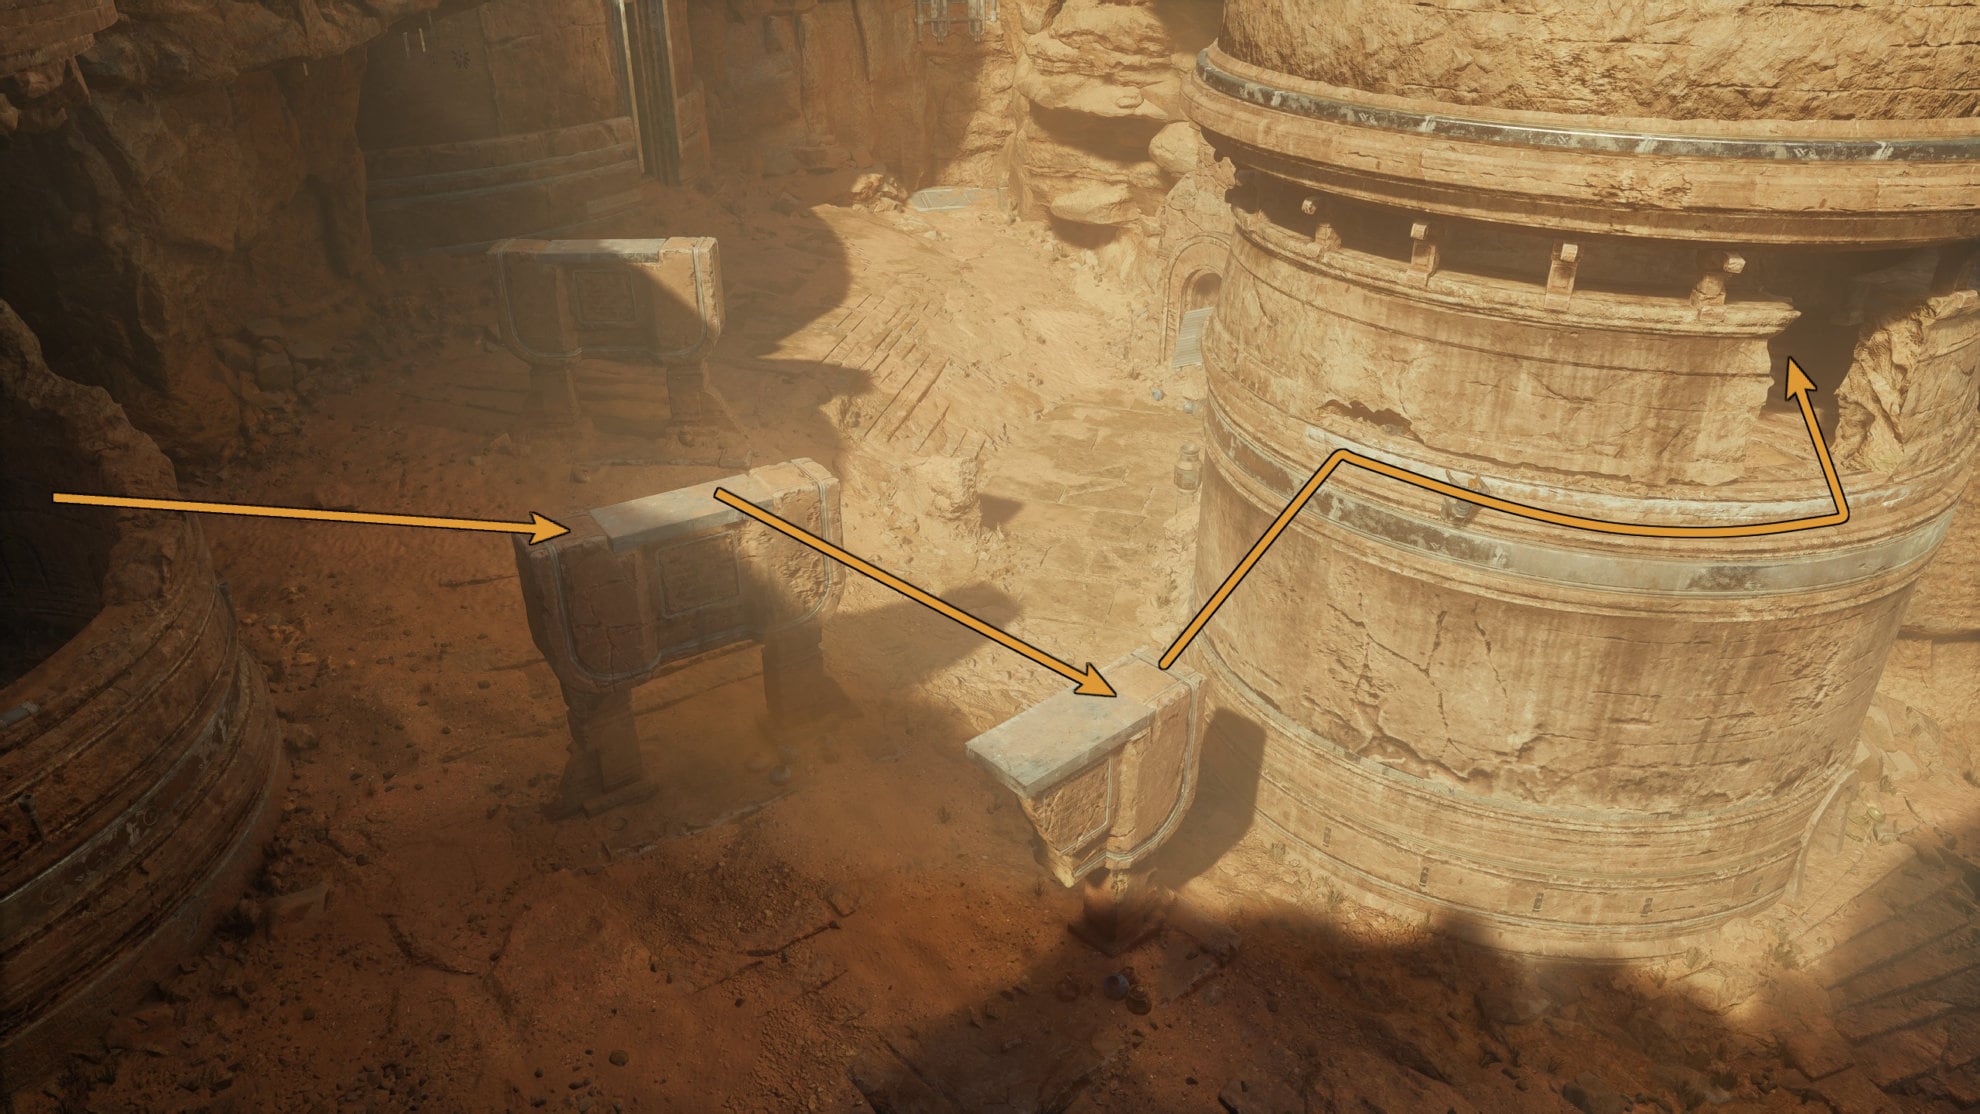
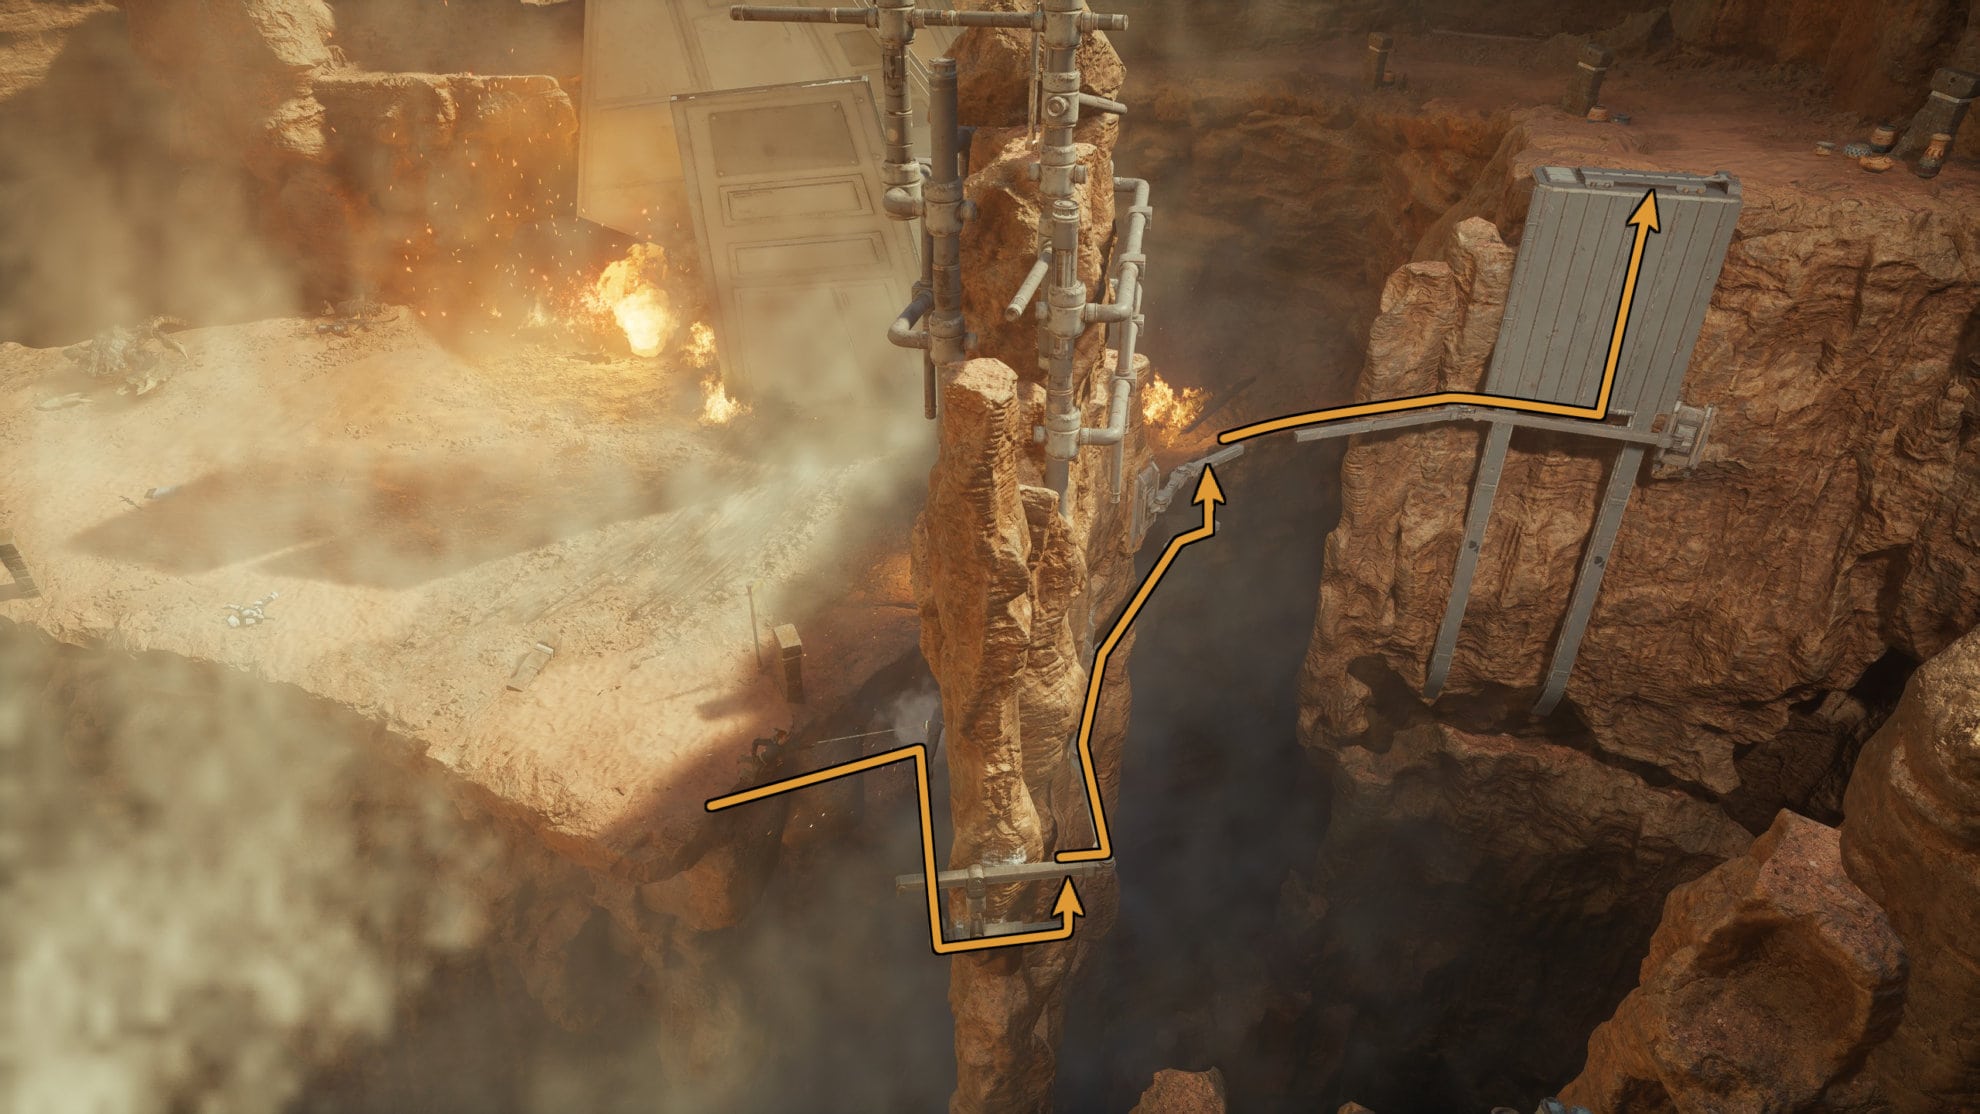
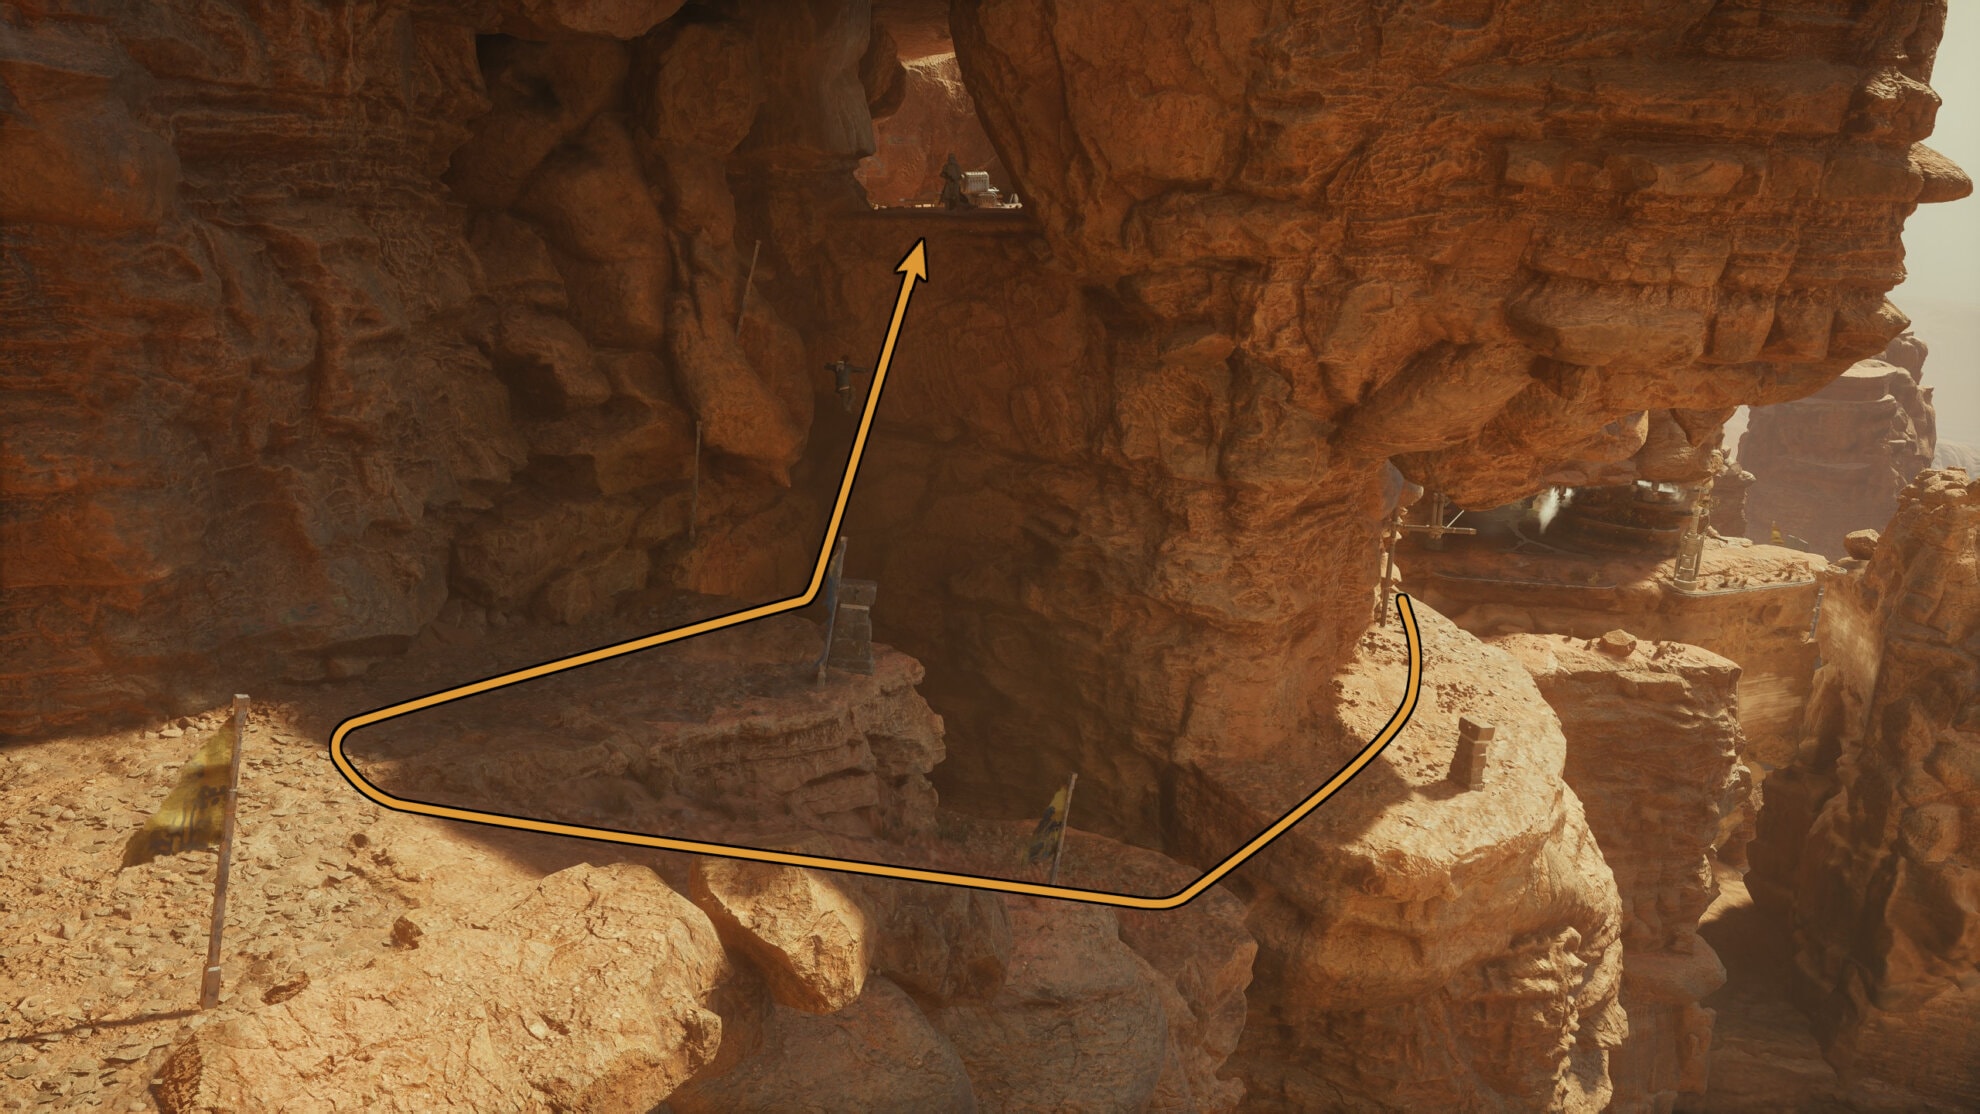
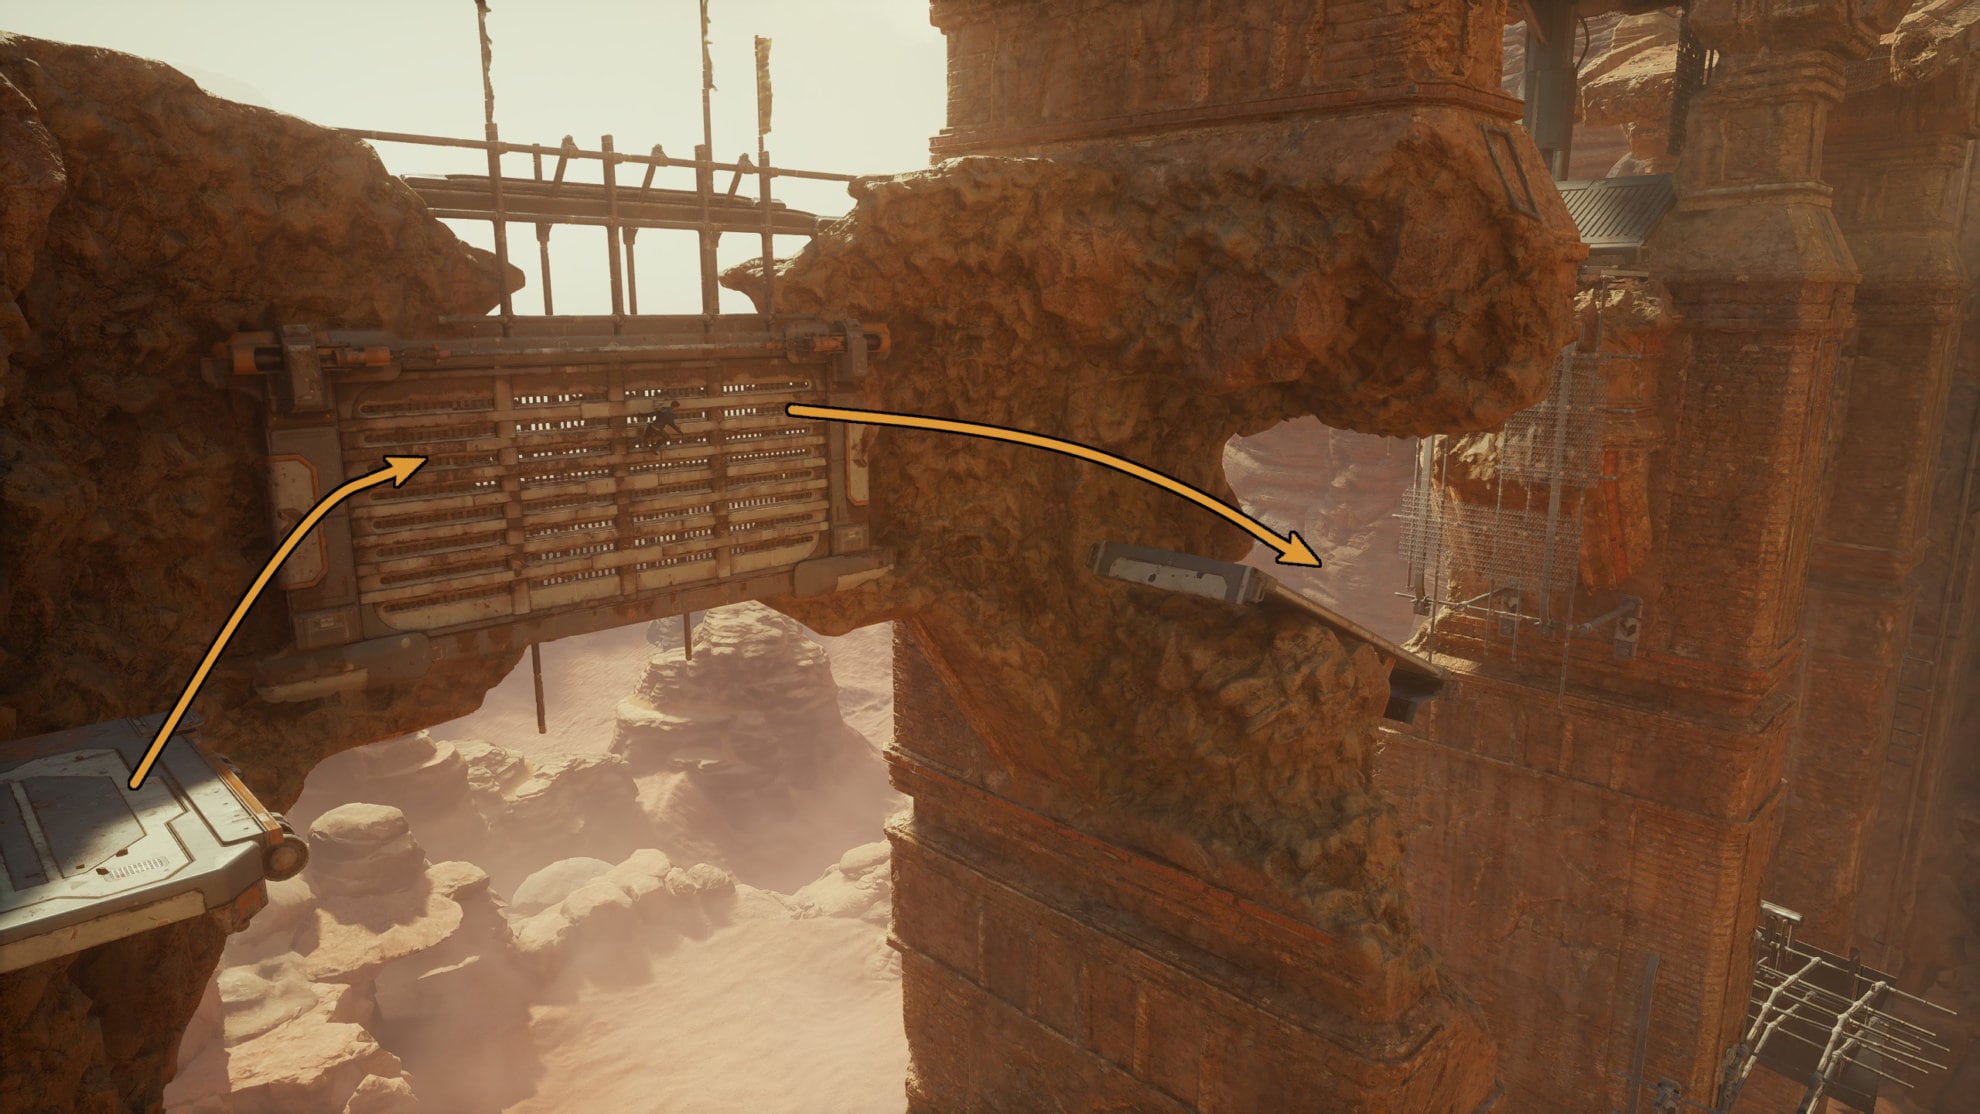
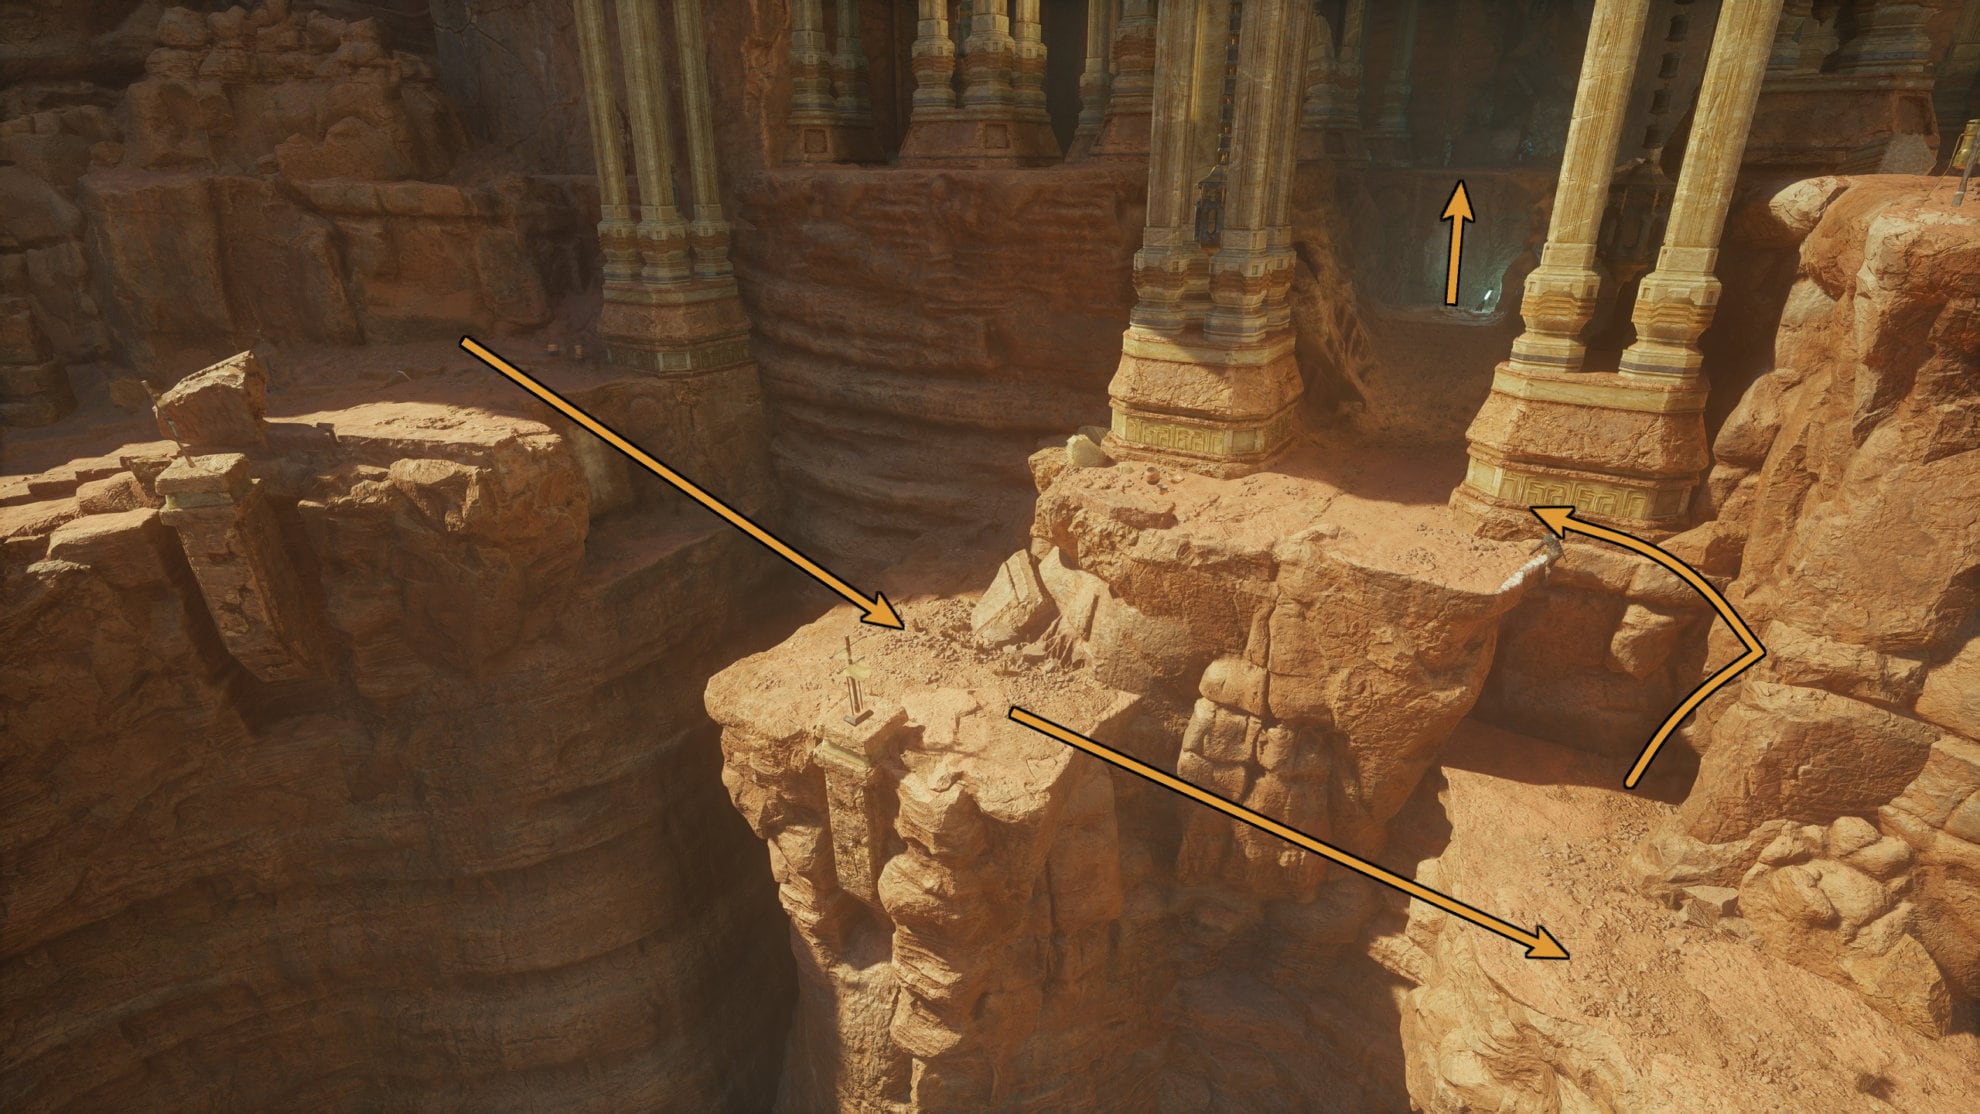
With the Imperials gone, hop up the broken pillars then up some beams onto a ledge, wall run then use your ascension cable to reach the hook. Go across the grates then jump down to the platform at the end.
Wall run across the pillar and jump onto the pole. Use the pole to jump up the slope and keep following the path forward.
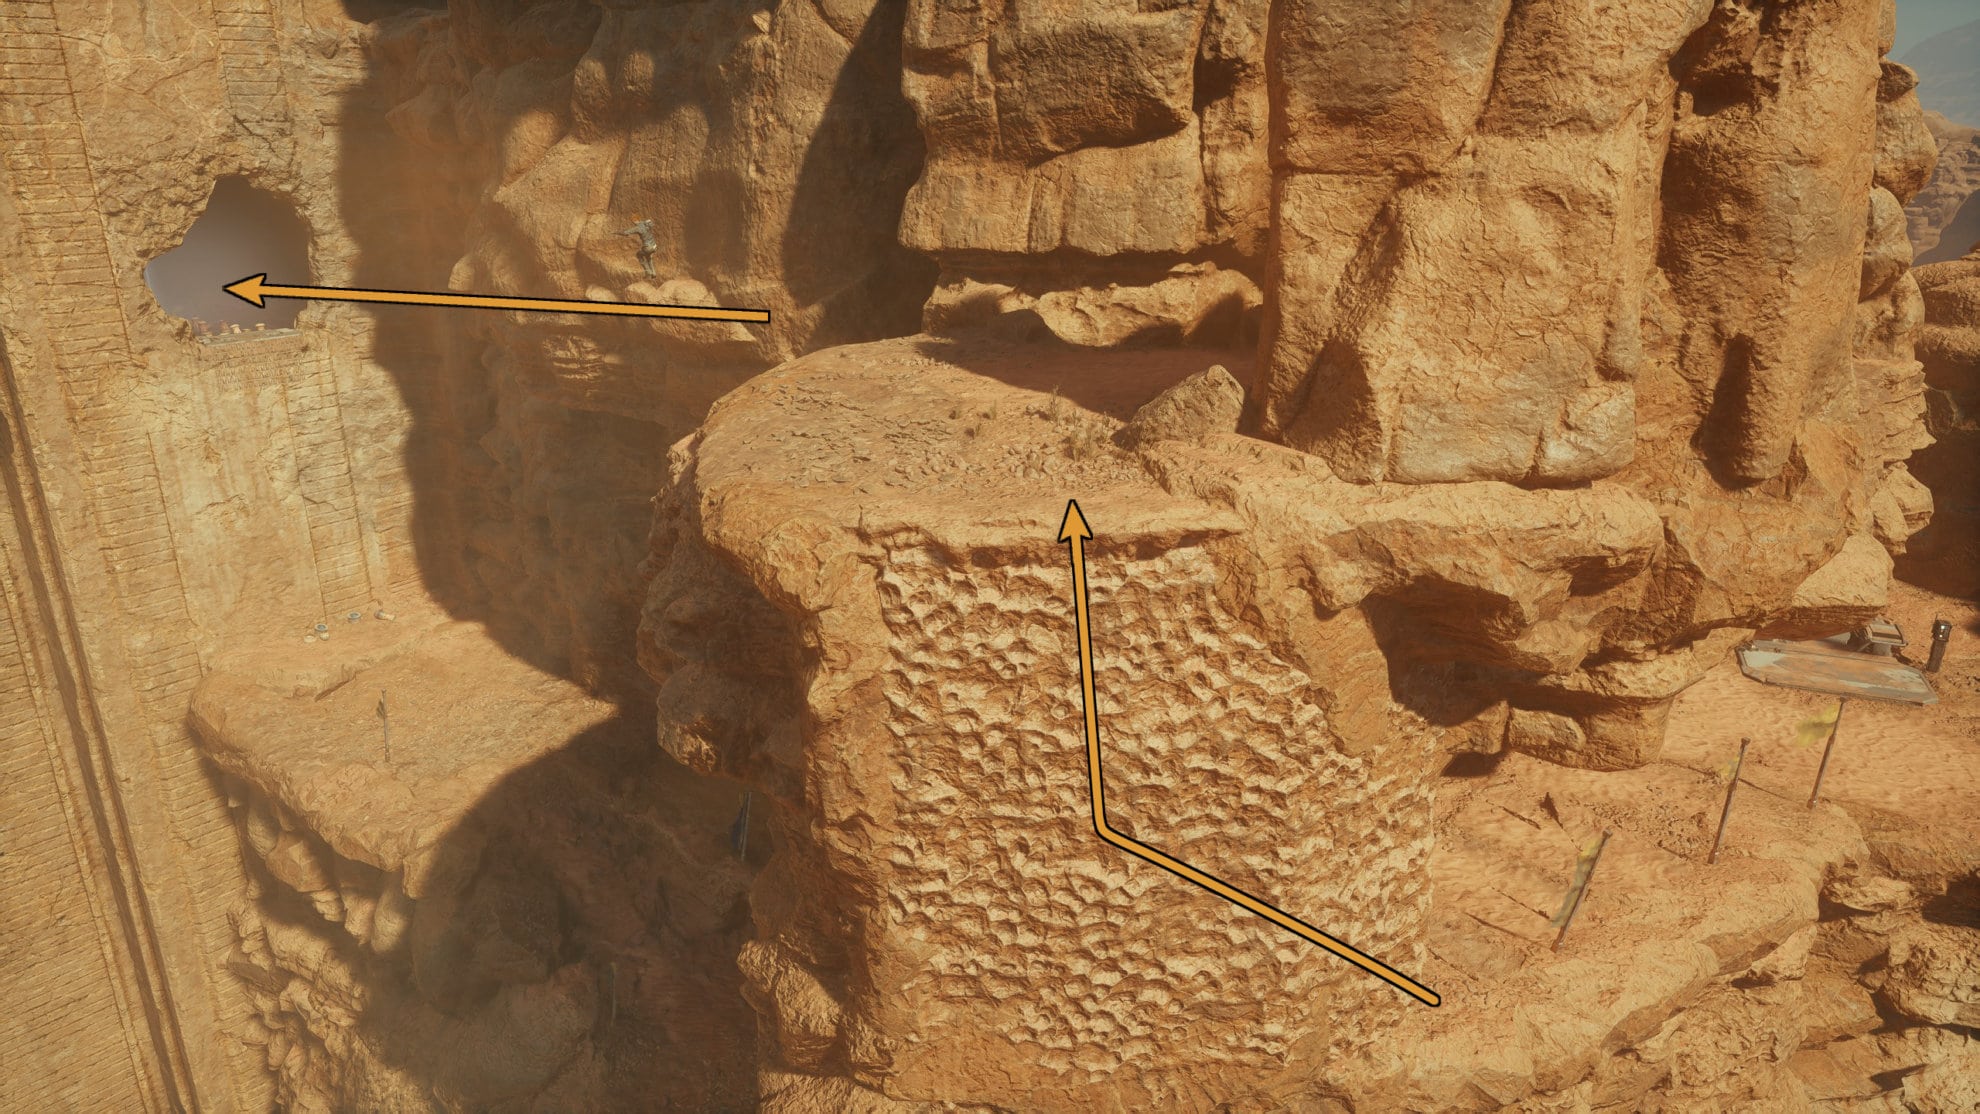
You’ll encounter a large slope that you’ll need to jump onto. As you’re sliding down, steer yourself towards the curved wall then hook onto it with your ascension cable, then do some wall running to jump over a gap where the wind will push you up to the ledge.
You’ll run into some Imperials, defeat them then look for the metal pillar in a nearby wall. Force Push it in to give yourself a boost with the wind to reach the ledge across the gap.
When you run into a cave with numerous wind chimes, stick to the left on the path going up. It’ll lead to a dead end but above you is another pillar. Force Pull it out to reveal a grate you can climb.
Jump, wall run, then jump again to grab onto the grate. Go to the end then jump off allowing the wind to push you into the wall running segment ahead.
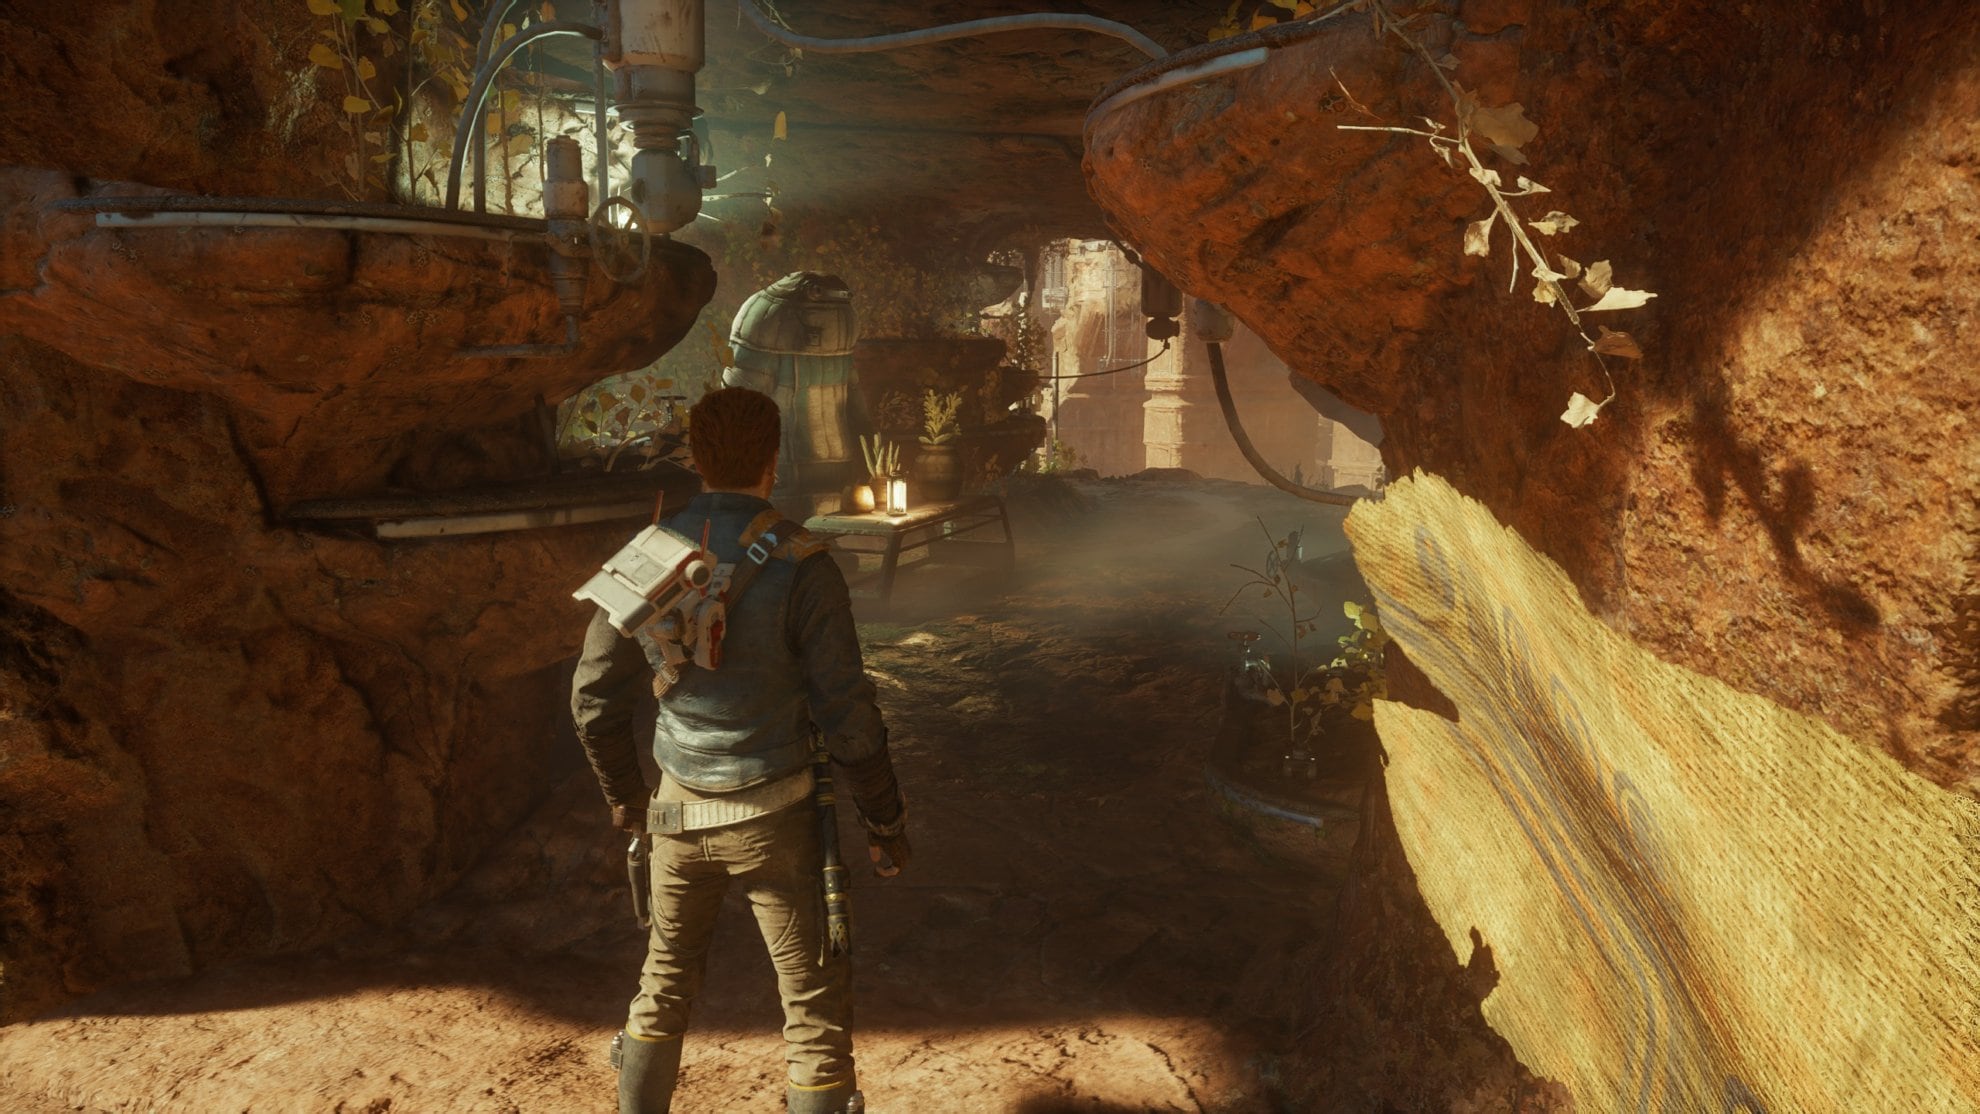
Get past the wall running segment, climb the ledges, and you’ll find yourself in a small cave with an alien inside, her name is Pili. Talk to Pili to recruit her as a Gardener back in Koboh as she will act as a new vendor.
Activate the zip line past Pili’s cave then follow the path. Use the gust of wind from below to push yourself up to where the Imperials are.
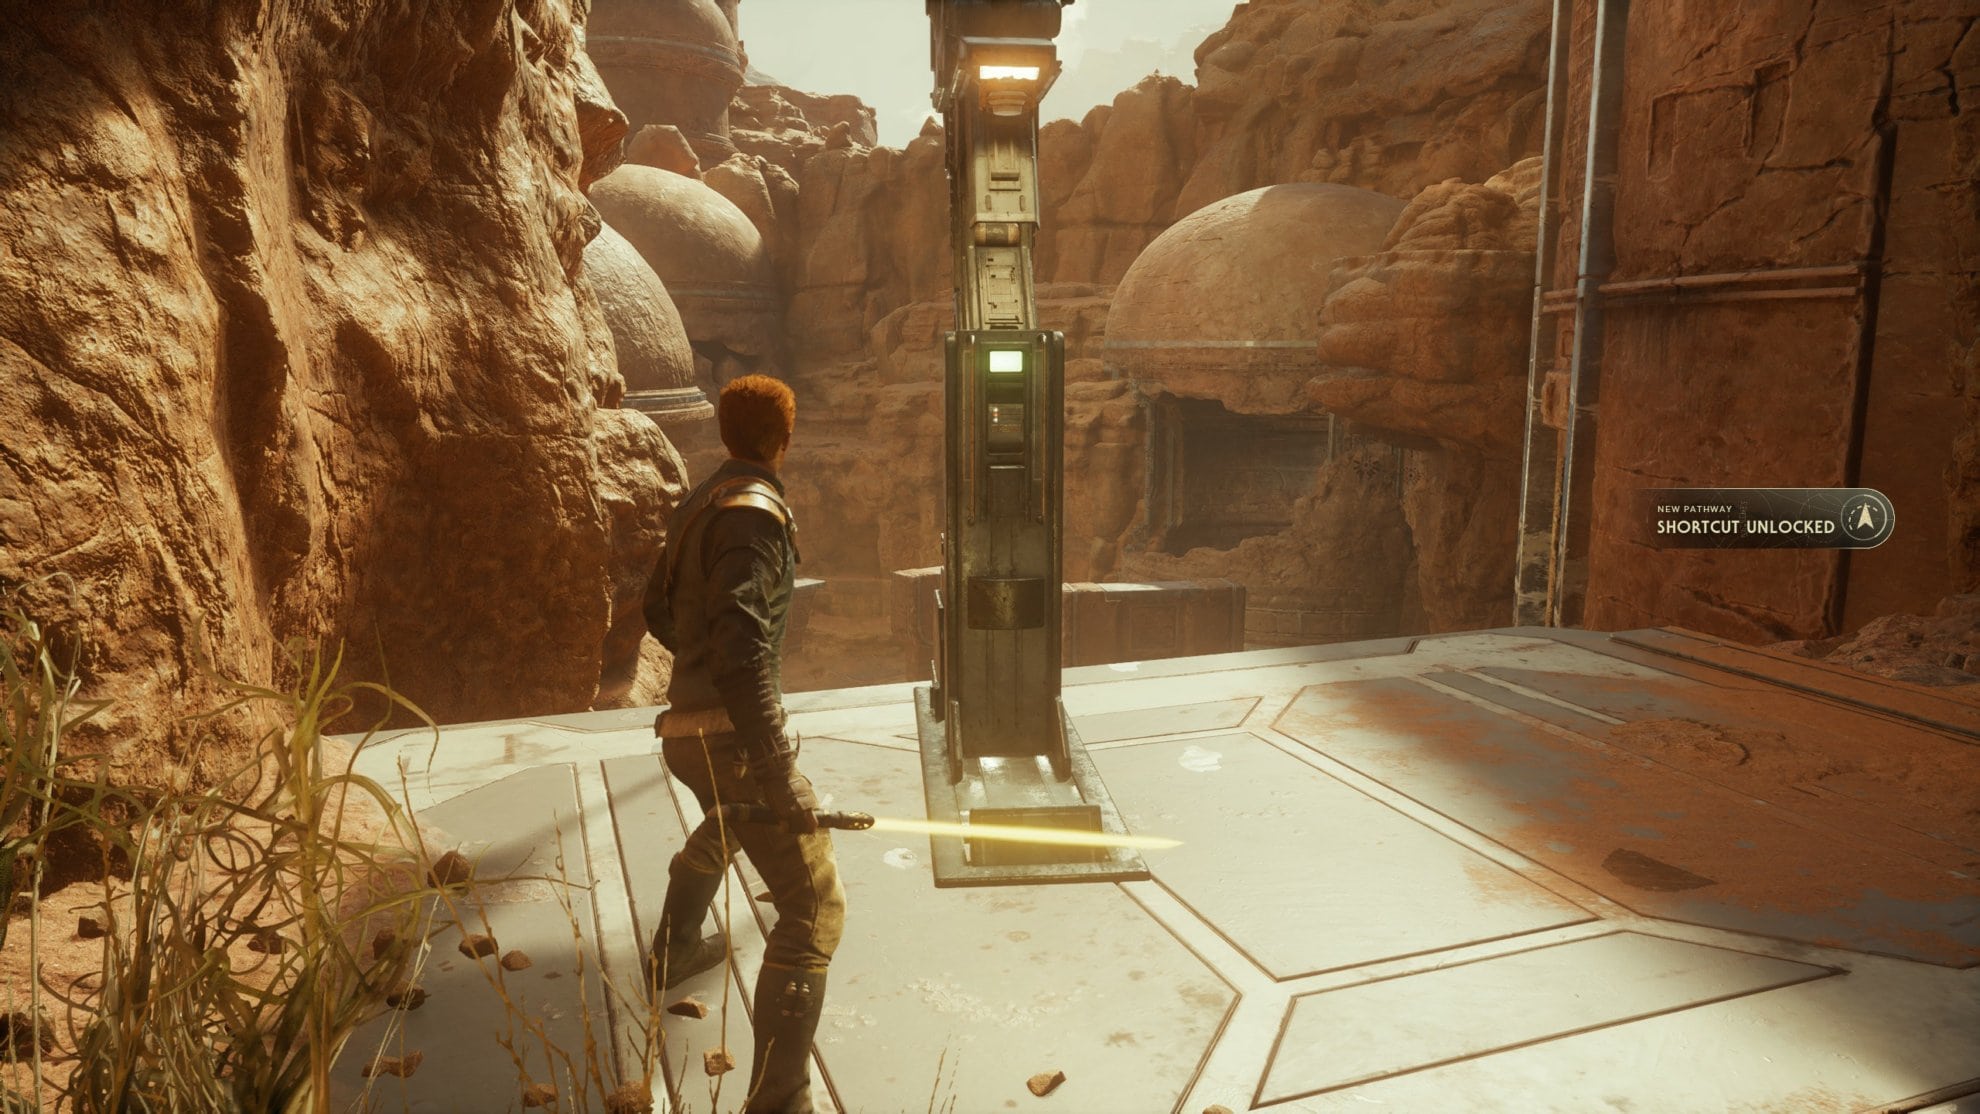
Defeat the Imperials and activate the elevator to use it again later as a shortcut. Follow the path to find a rockface you can climb then get to the top platform. Jump across the gap to reach the Timeworn Bridge Meditation Point. Rest and save your game here.
Inside this cave where the Meditation Point is you can find a grate on the wall up the slope. Force Push it open and follow the path to be reunited with Merrin. Squeeze through the crack and move ahead.

Crossing the Bridge to the Pilgrim’s Sanctuary
Defeat the Imperials outside and have Merrin fix the rubble to open the path ahead.
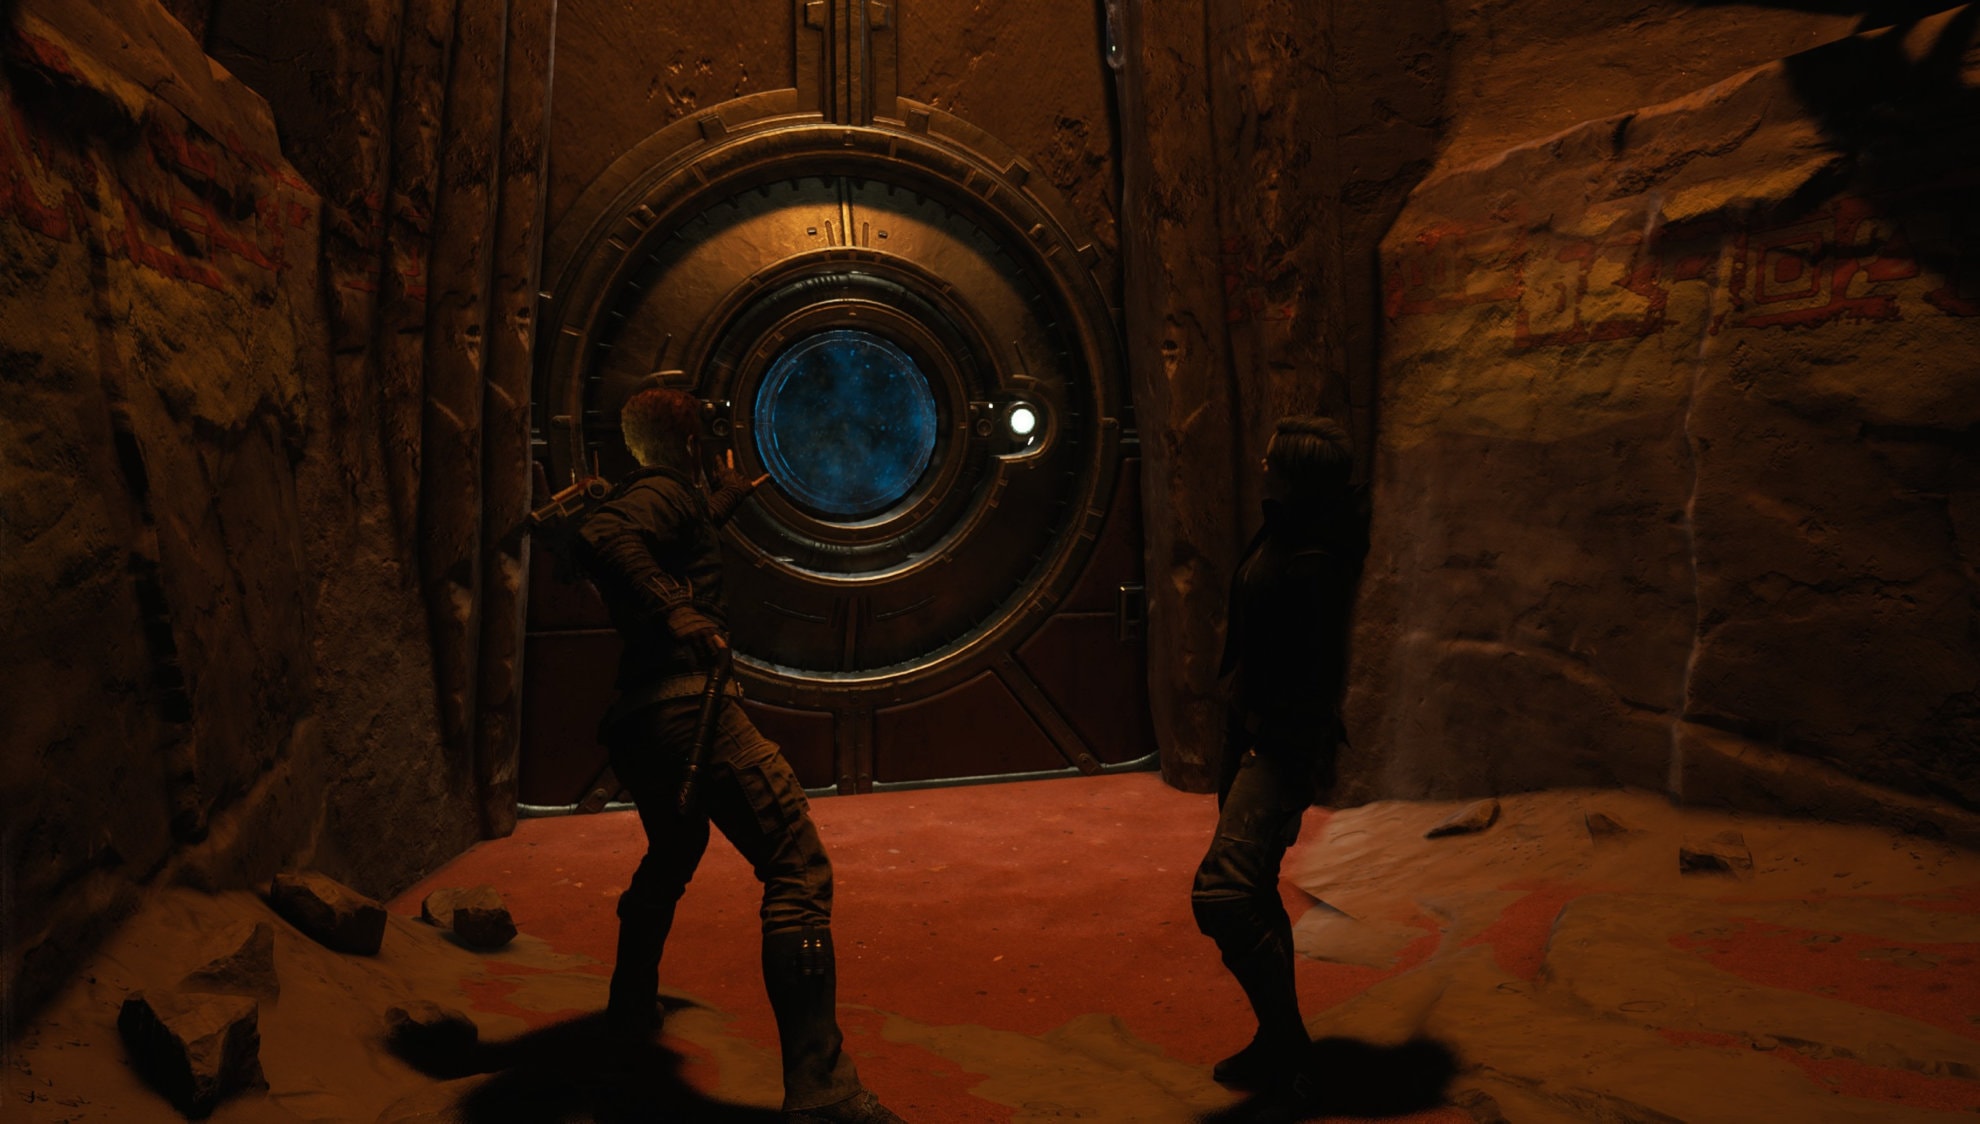
There’s a pillar across the gap, Force Pull it and it will open a new pathway off to the side. Jump across the gap to reach the circular entrance.
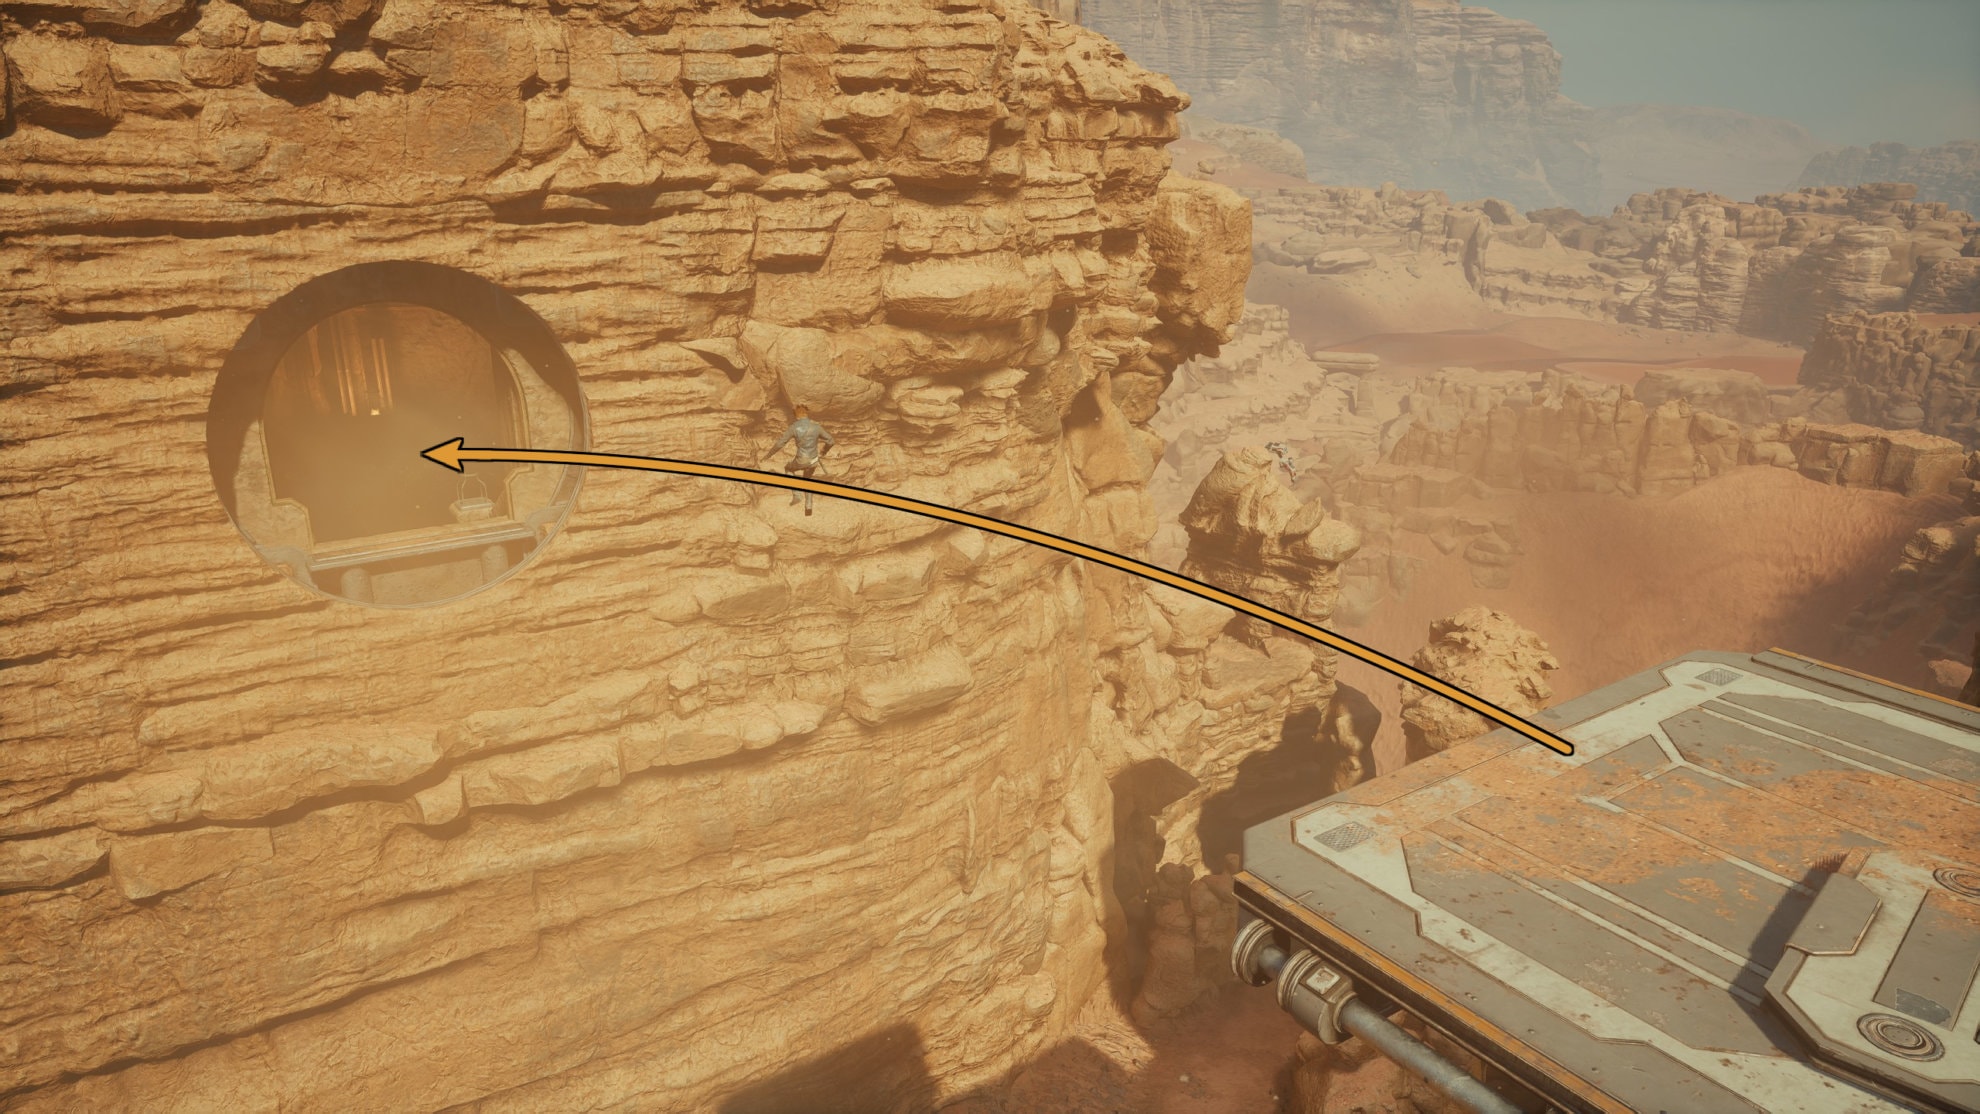
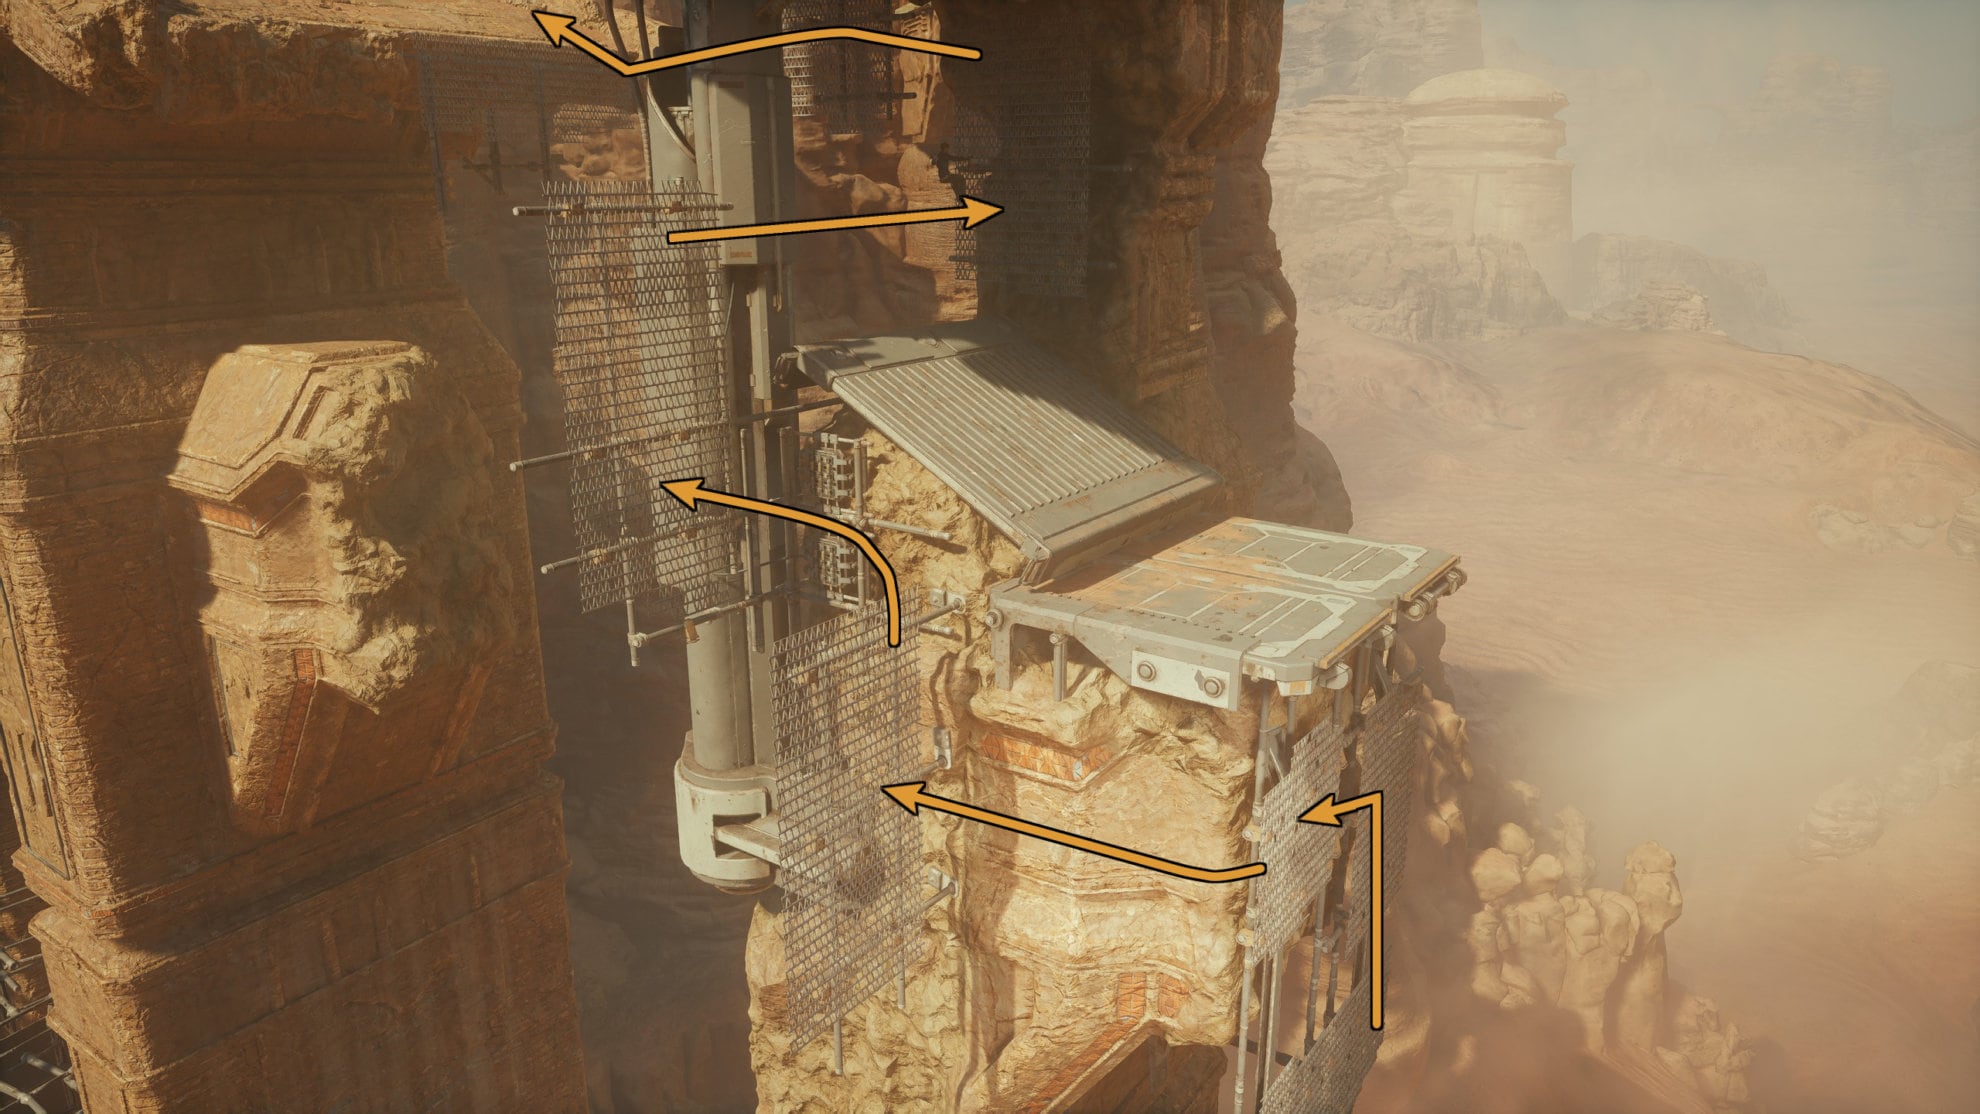
When you make it across the gap, look for a crevice near a green light. Squeeze through it and follow the path to reach a large vertical room full of wind. To your left and right are two pillars you can pull out, do so and wall run to the right pillar.
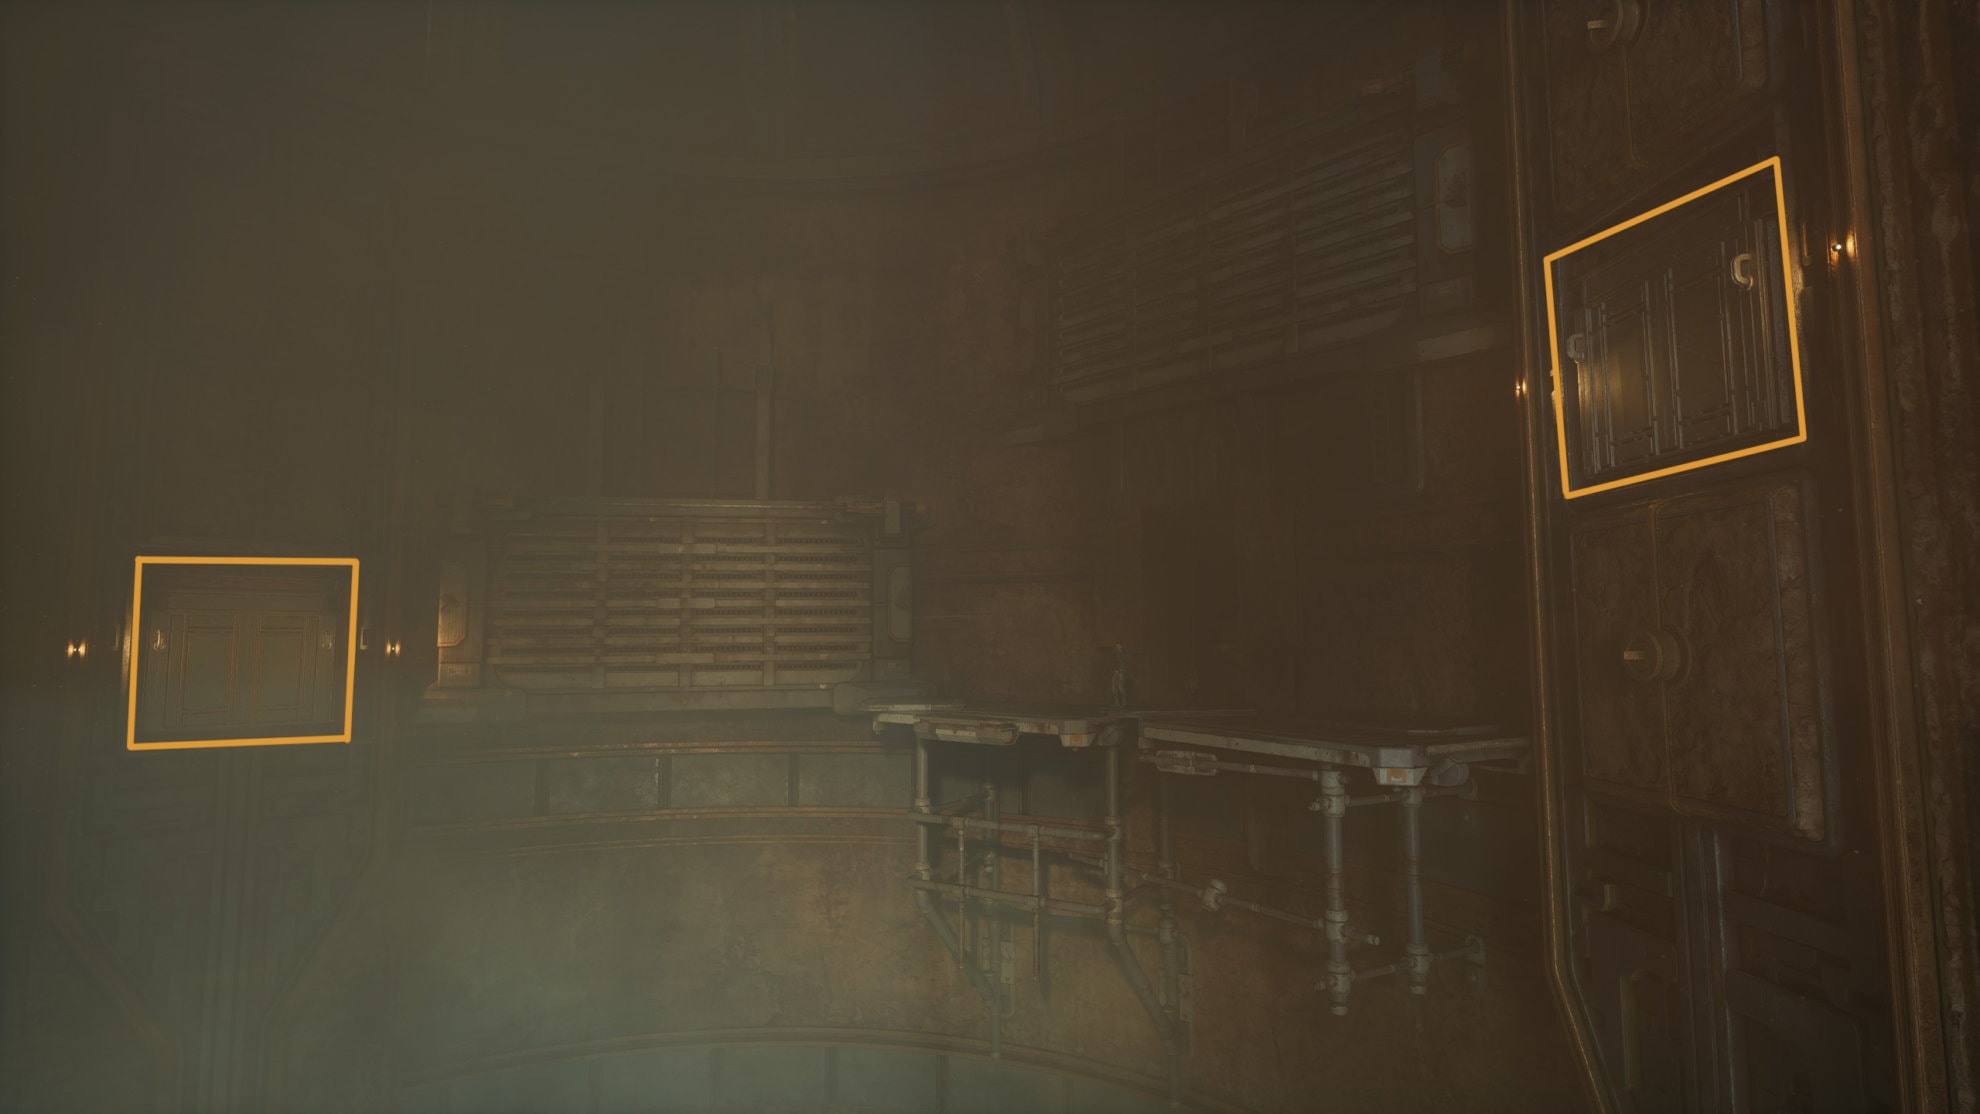
You’ll find one more pillar you can pull out, doing so will place down a central stone pillar in the middle of the room. Make you way back and wall run to a hook to access the left pillar from earlier. Wall run again to reach the grates.
Cross the grates, jump to a rope, then swing to the central pillar to reach the bottom of the tower. You’re now in the eye of the storm and there’s only one way to go. Force pull the doors open and jump towards it
After a flashback, Cal will wake up in a small cave and find a ledge nearby. You cannot double jump across here, instead you must jump and dash to cross the gap. For PC, the button to dash is Tab, B for Xbox, and ◯ for the PlayStation 5. Jump and dash over the gap to proceed.
When you reach the windy tower again, jump and dash through the wind to reach the central platform. Do this again to reach Merrin on the other side.
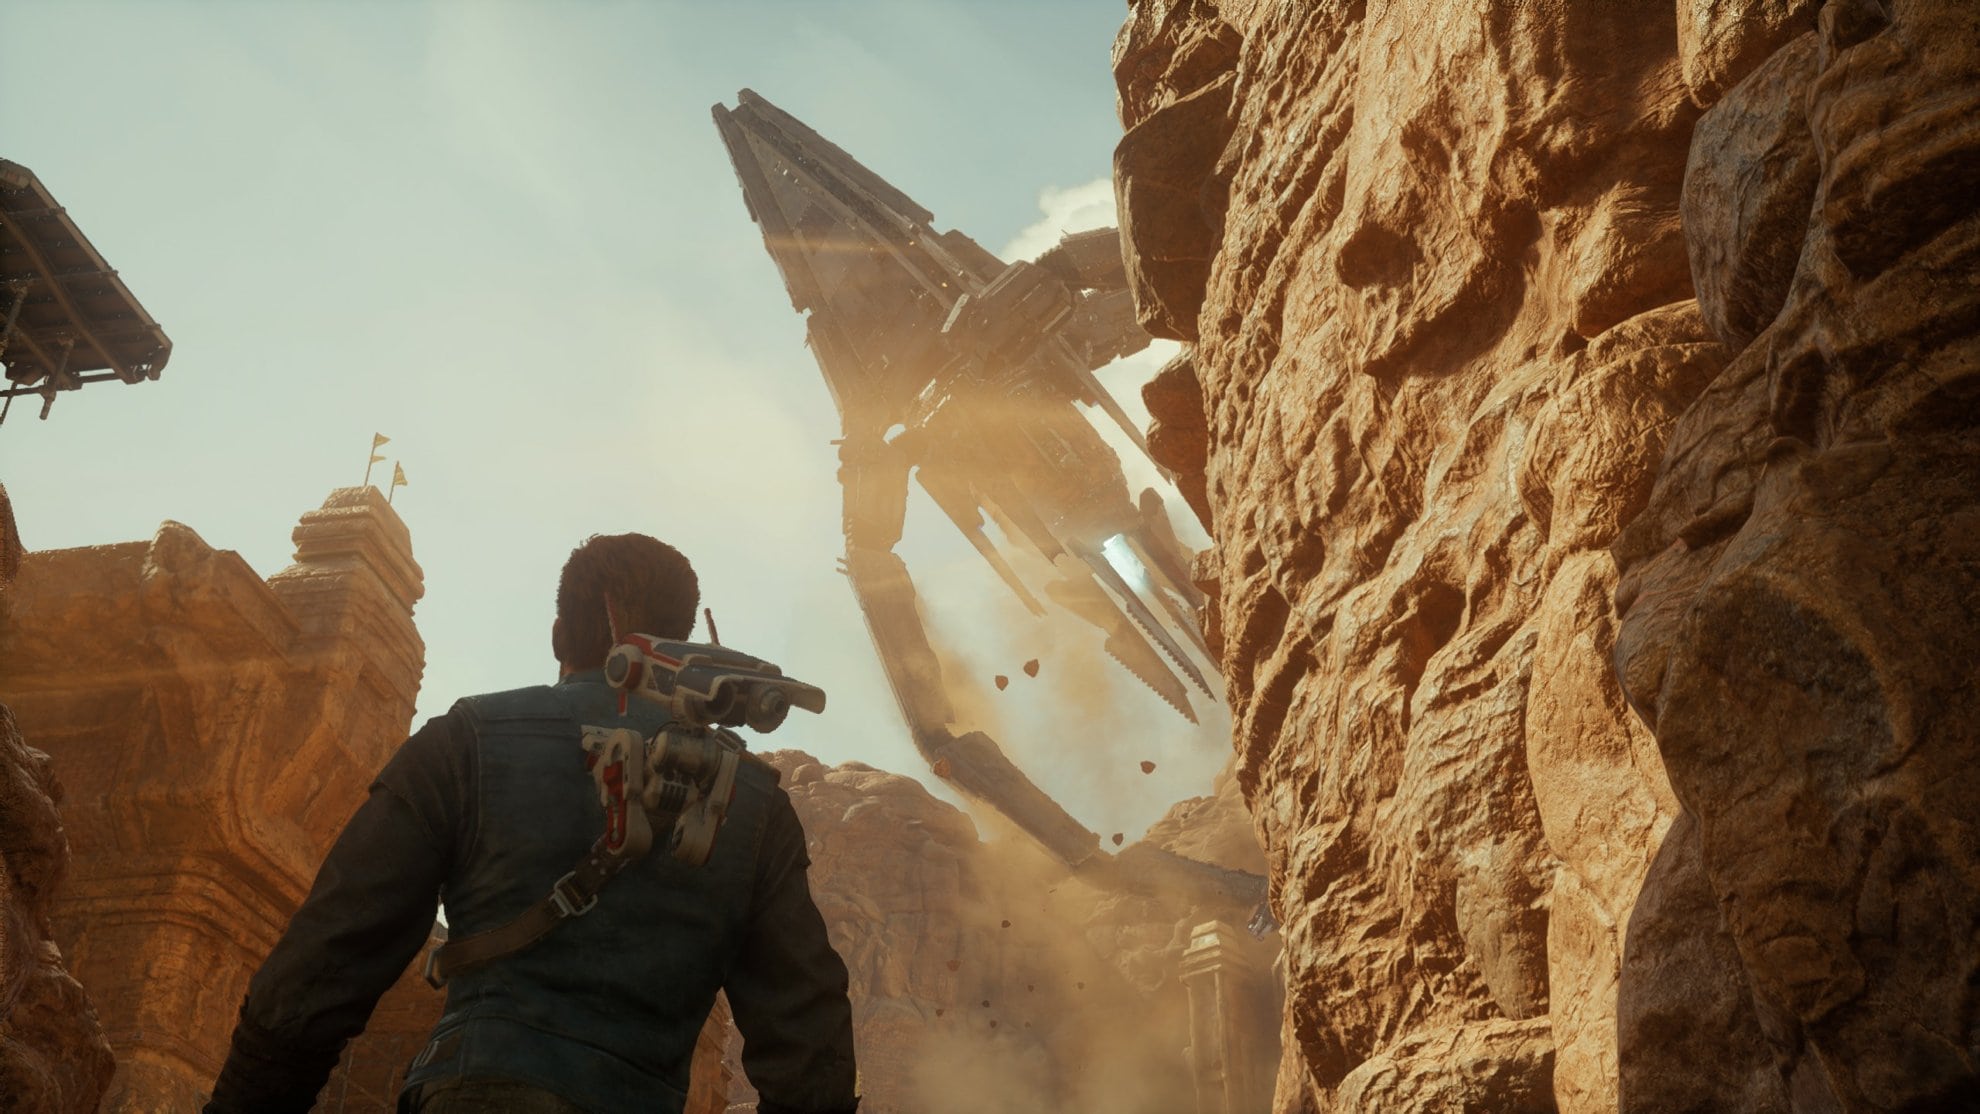
There are a couple walls you’ll need to get to with your new dash ability. The first one you’ll need to wall jump up with the second being a wall run. Once you get past these you’ll encounter this friendly fellow, a giant drill courtesy of the Galactic Empire.
Double jump then dash to a pole then use that to jump dash across to a grate. Once you reach the grate, climb up. You’ll find yourself back at a Meditation Point, now would be a good time to rest and save.
Make your way back to where you pulled out the pillar where the bridge is then jump dash across.
Go down the shaft using the metal panel to slow your descent.

Follow this path until and you’ll reach a sloping platform. Slide down it and jump dash onto some grates.
Some of these grates will require you to jump dash to reach. Have confidence and you’ll be able to do it just fine, just don’t look down if you fear heights.
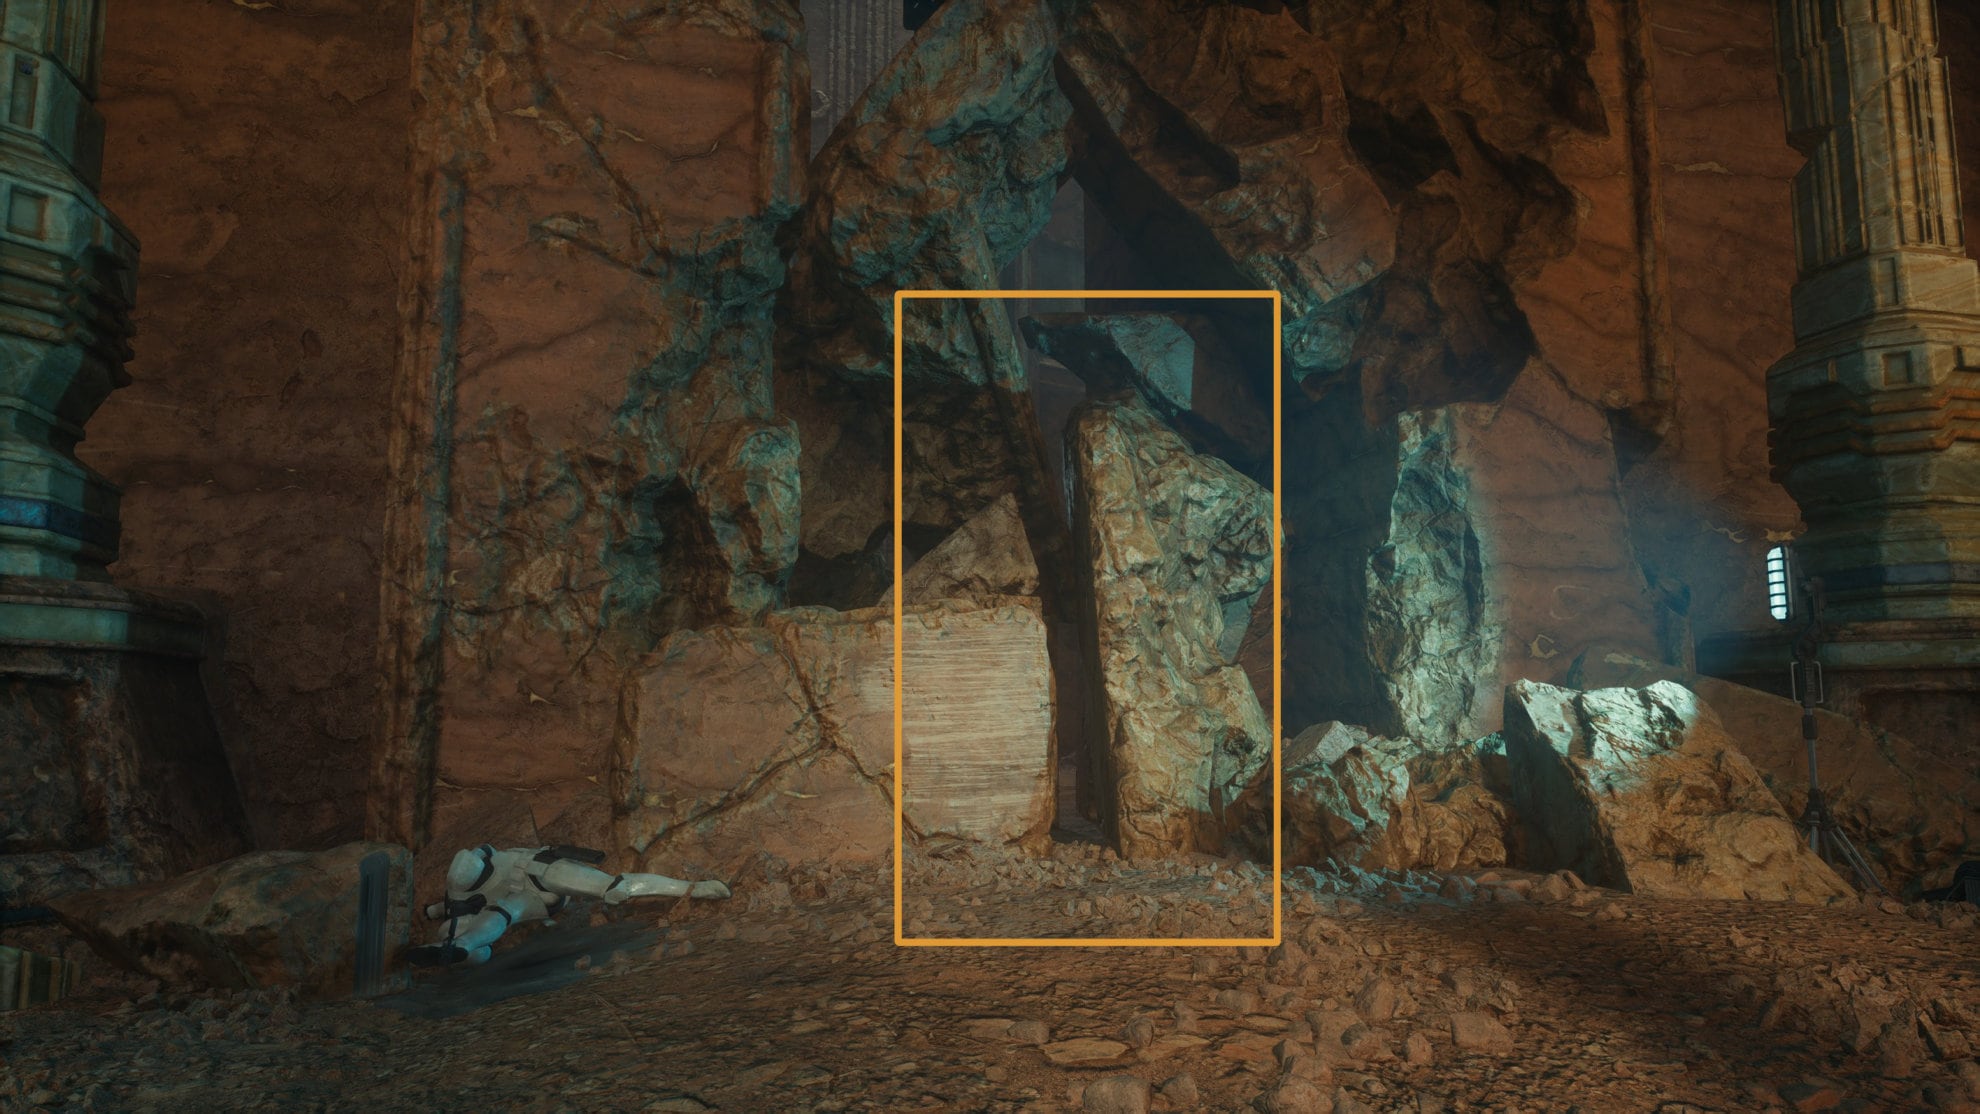
Once you make it to the other end of the bridge, work your way across the platforms, wall jump up twice and you’ll reach the sanctuary entrance. Unfortunately it’s closed off due to a lot of rubble blocking the way.
There’s a small crack in the rubble that you can squeeze through to reach the entrance. Go through here and you would have completed your objective of reaching the Pilgrim’s Sanctuary!

When you are done with this part of your playthrough, our next walkthrough will be nearby to help aid you through Koboh where you have to rescue Zee from the Lucrehulk.
For more, check out our Star Wars Jedi Survivor Guides Master List. You will find a ton of guides there, sorted by categories and types of content in the game.


