
This guide will teach you about the Crossguard Stance in Star Wars Jedi Survivor. You’ll learn its strengths and weaknesses, combos it can use, and how to best utilize it.
How to get the Crossguard Stance
To get the Crossguard Stance, you’ll need to visit the Shattered Moon after finishing Jedha for the first time. Towards the end of the Shattered Moon, you’ll defeat the Bedlam Raider, Drya Thornne. After doing so, Cal will take their emitter and add it to his own lightsaber, unlocking the Crossguard Lightsaber!

Crossguard Stance Strengths and Weaknesses
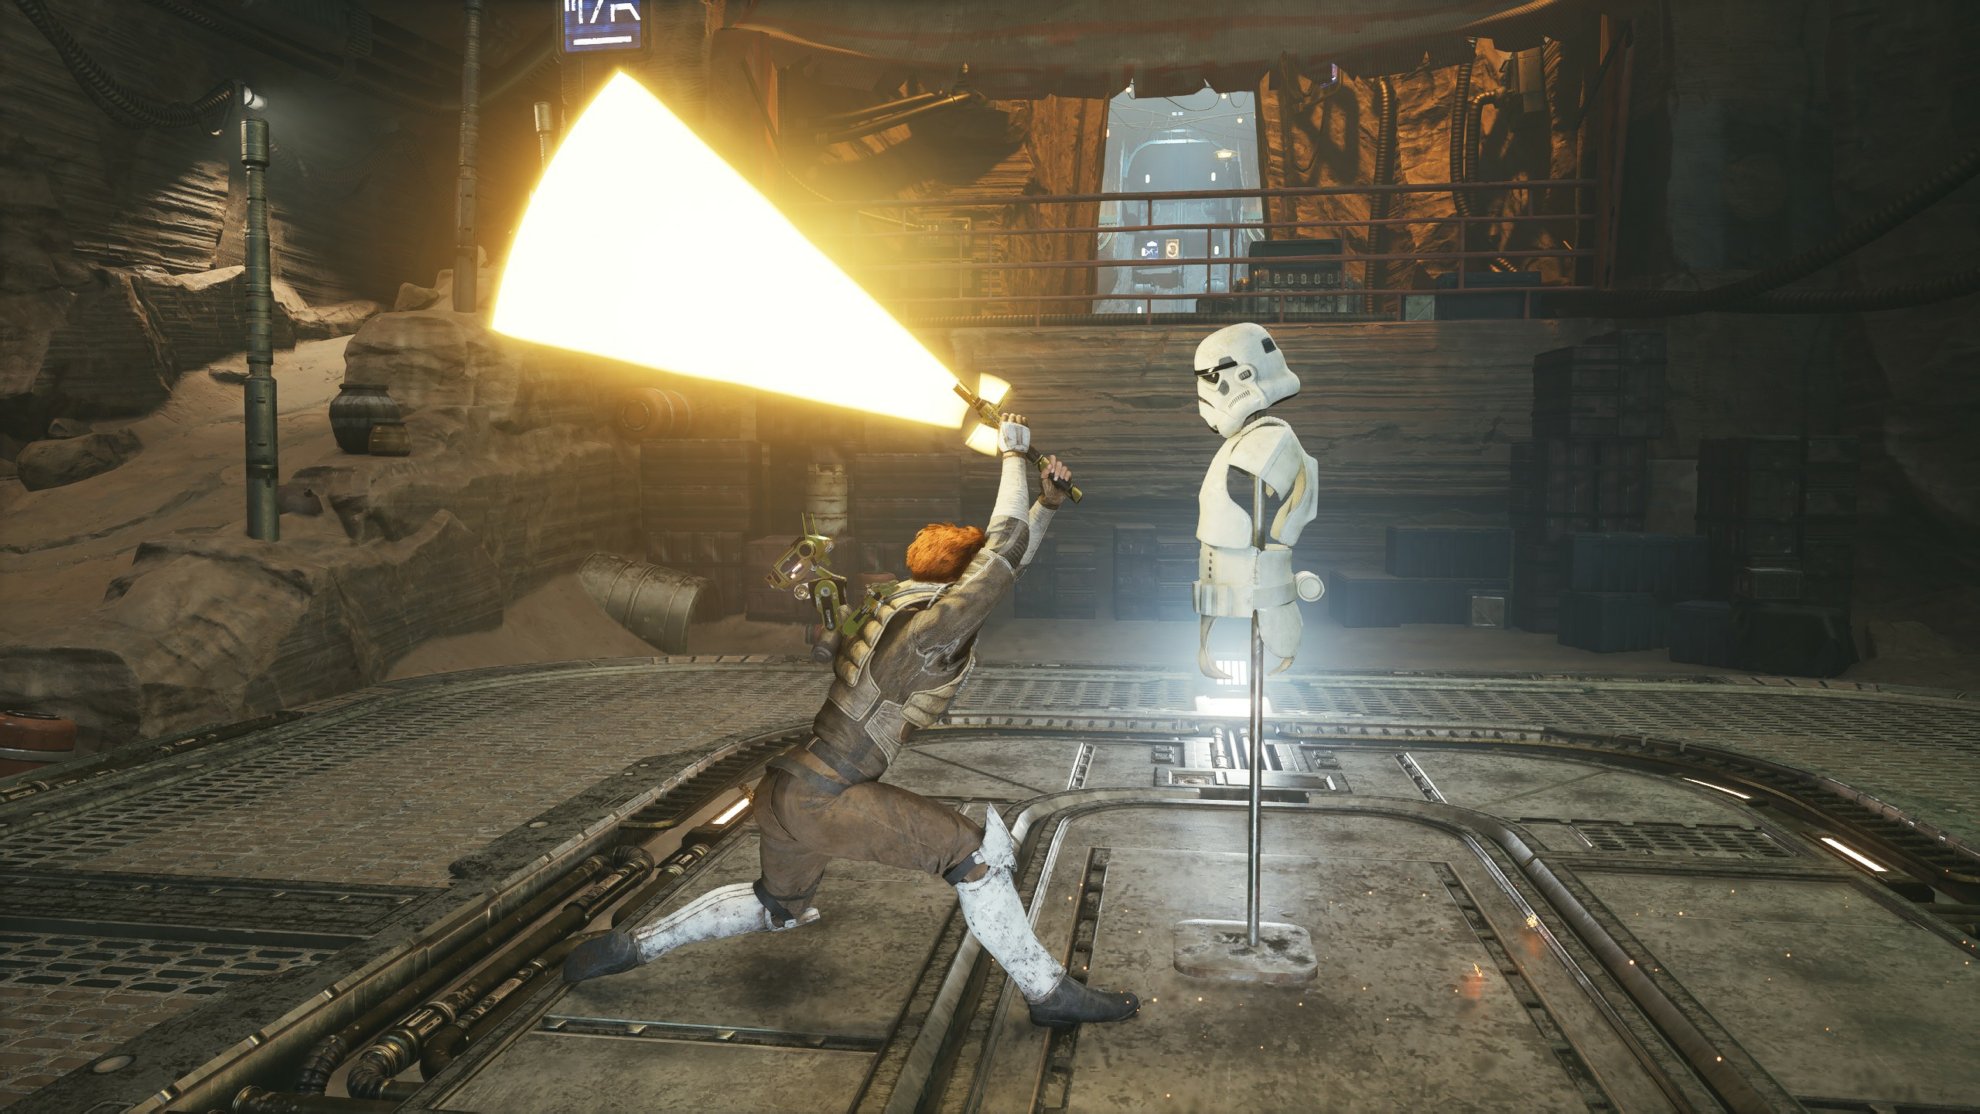
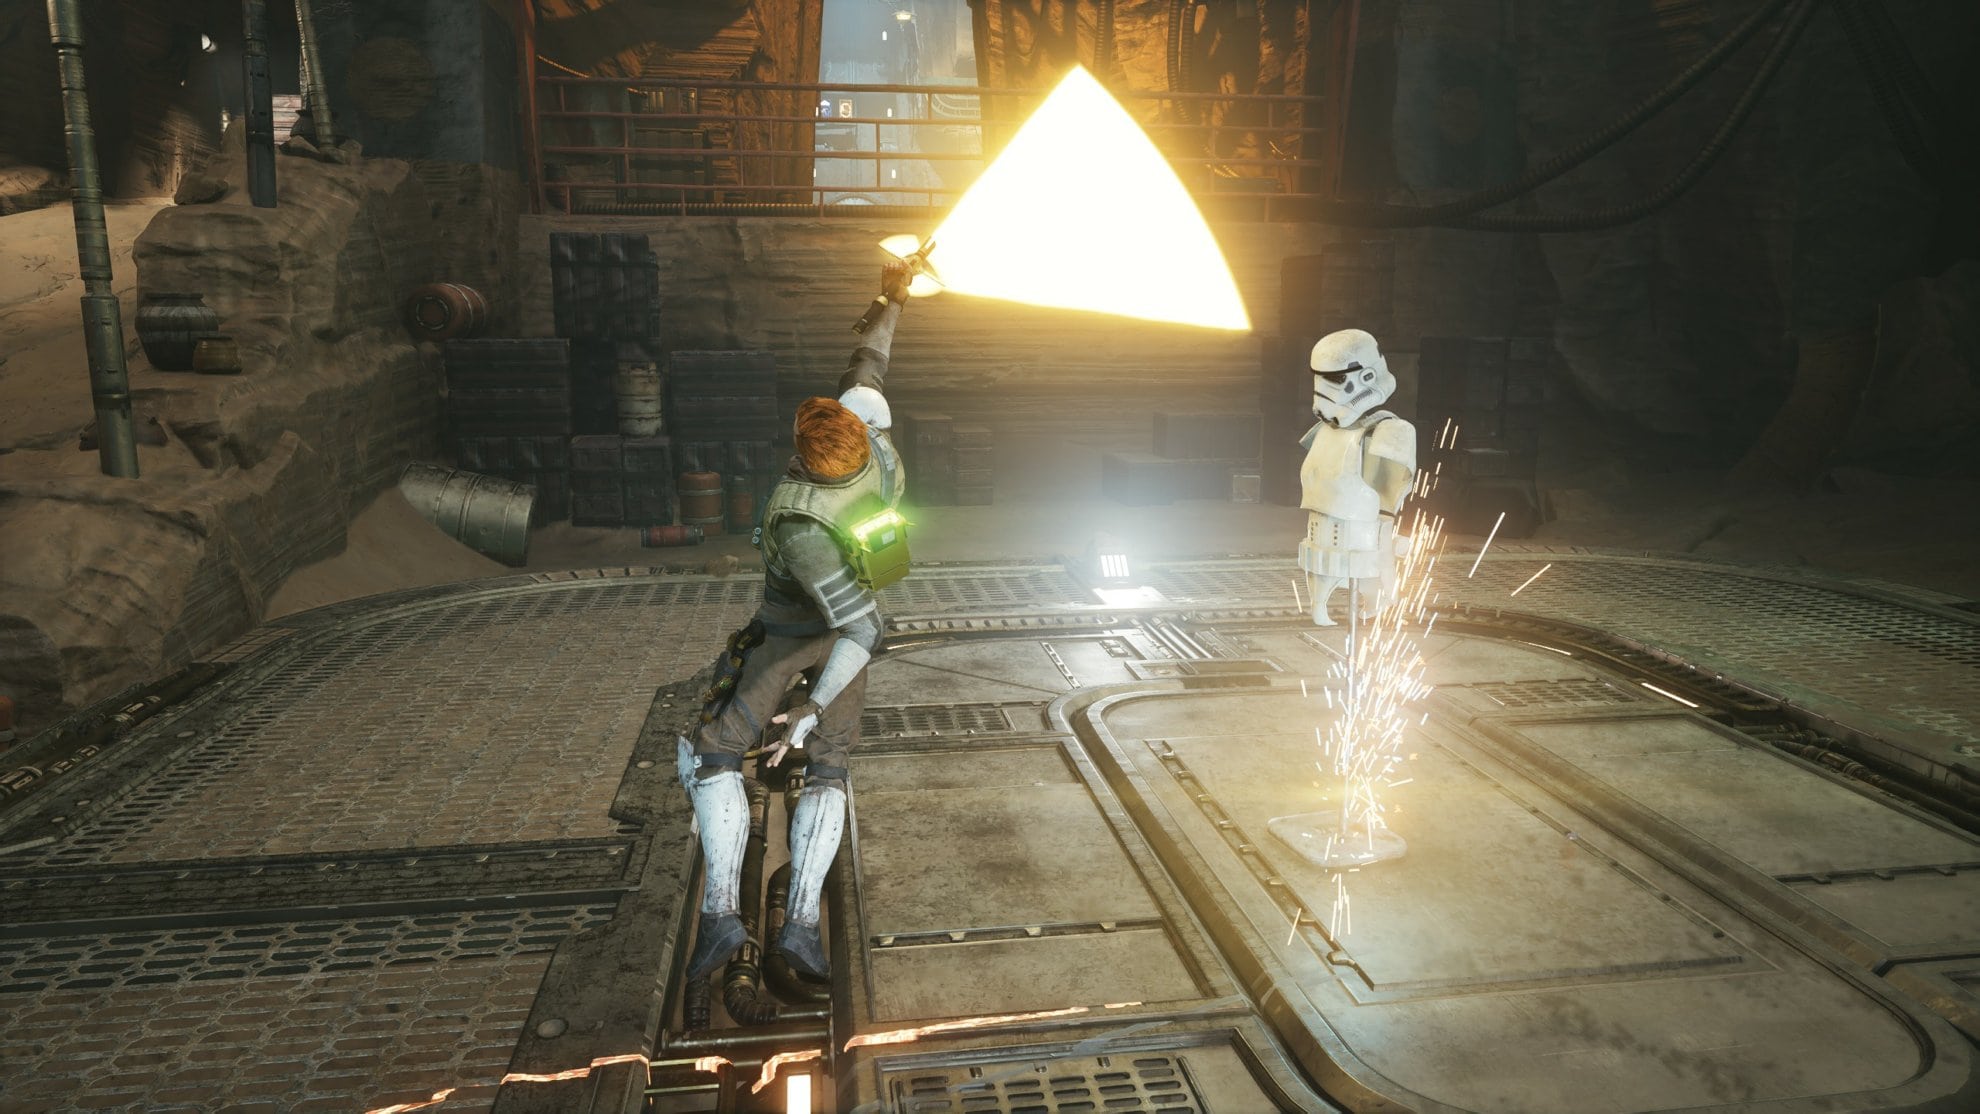
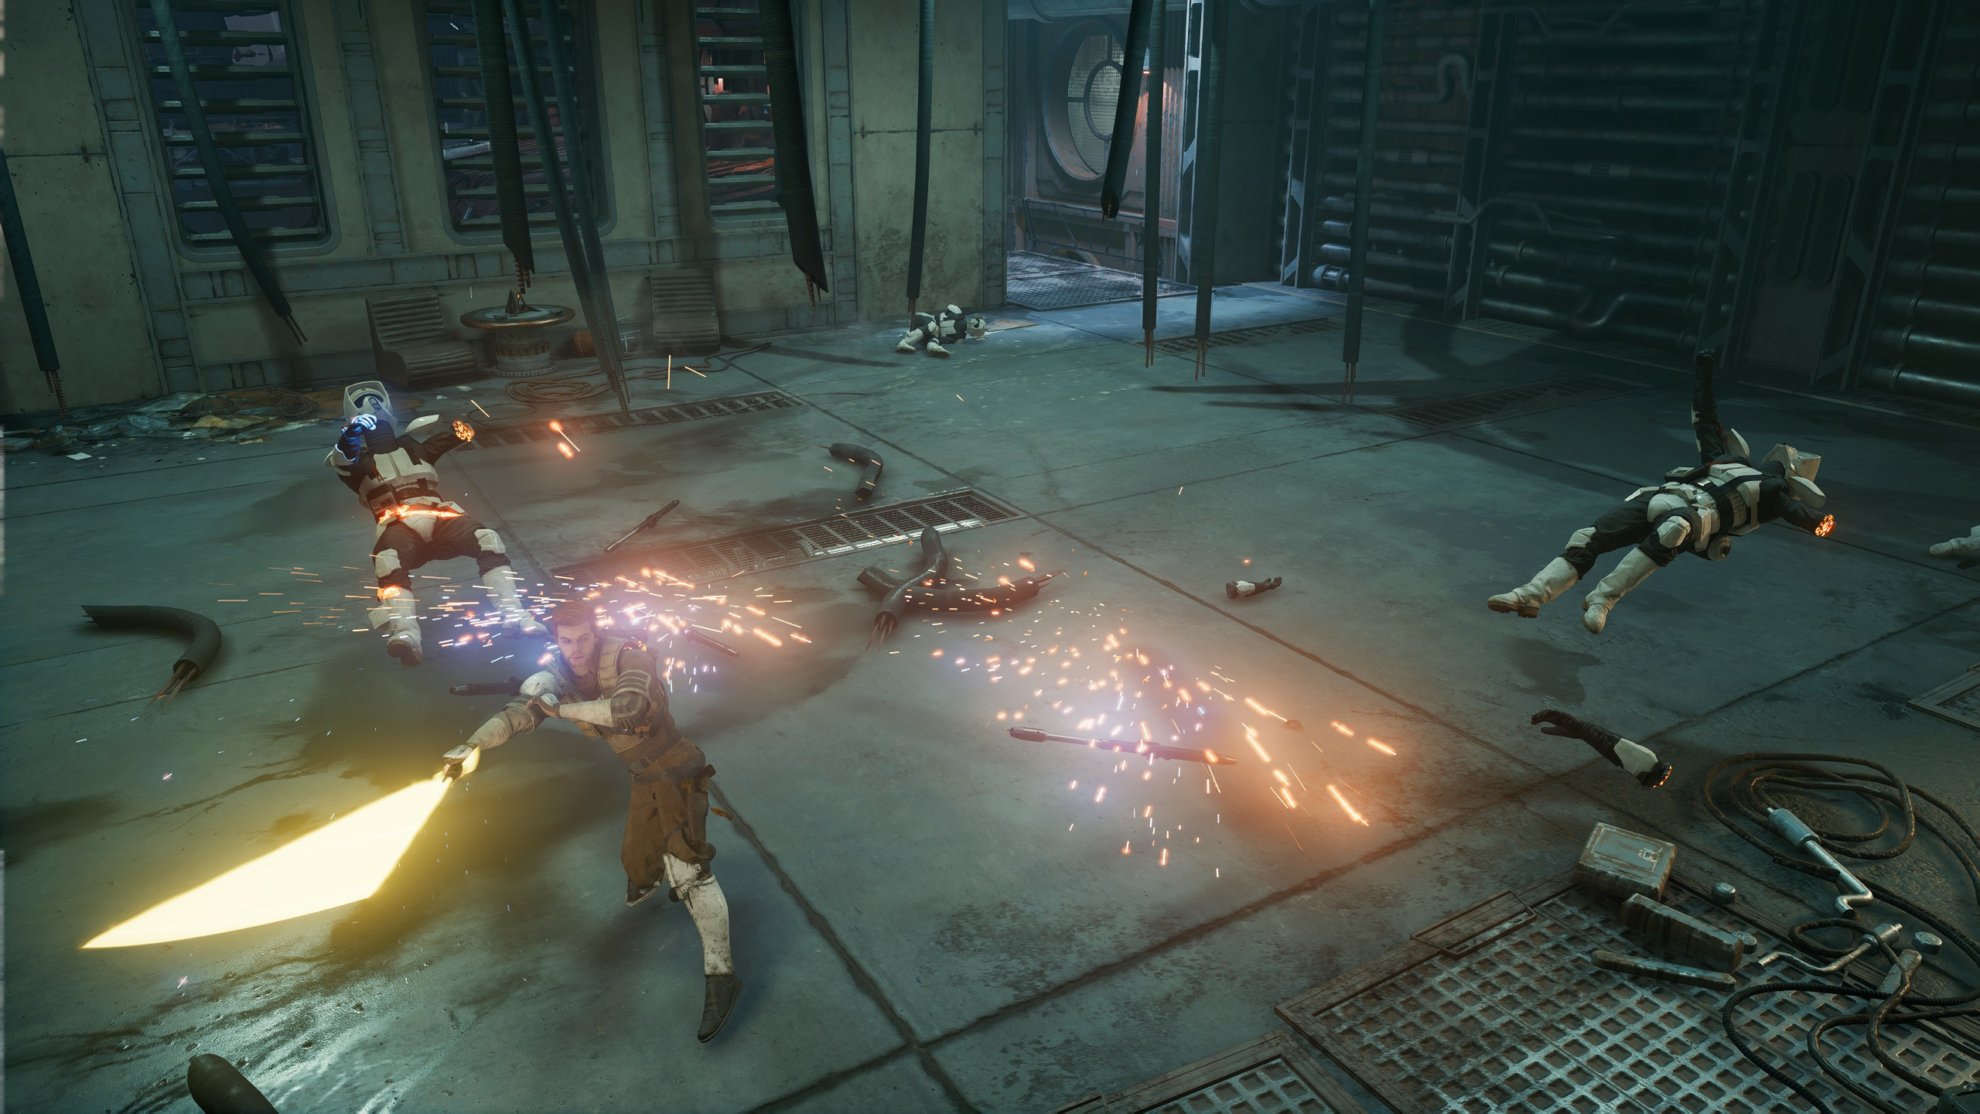
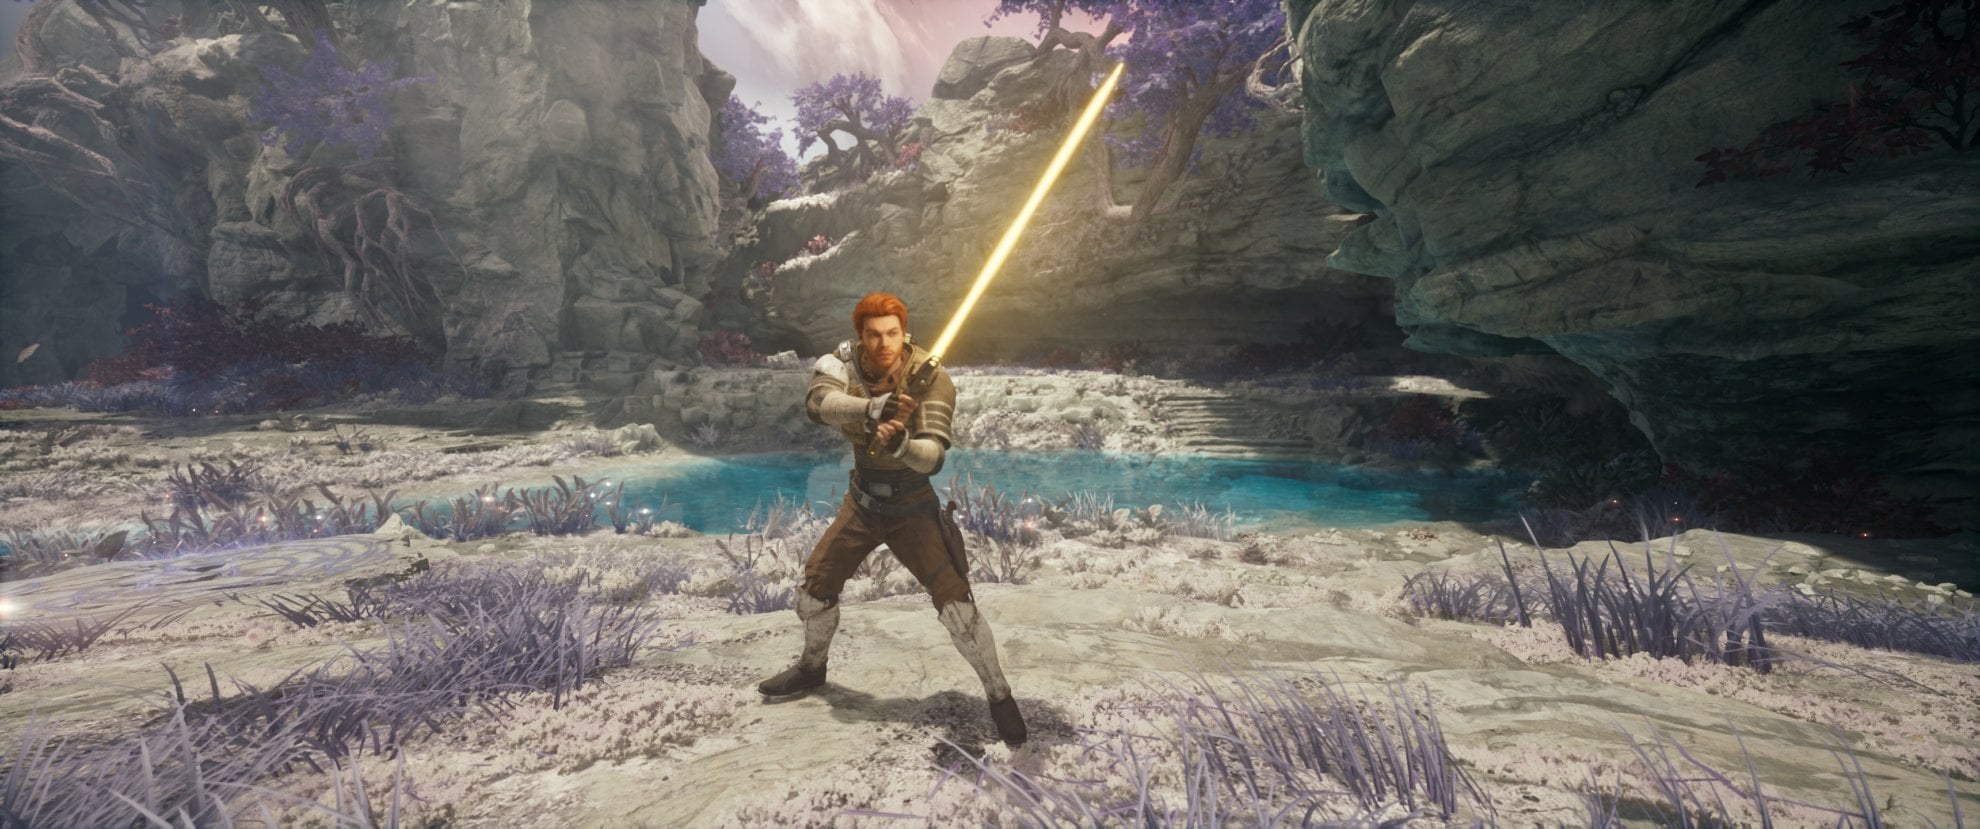
The Crossguard Lightsaber in Jedi Survivor is hands down, the hardest hitting weapon you can wield. It has very powerful attacks that will hit like a truck against enemies, even able to knock enemies down at times.
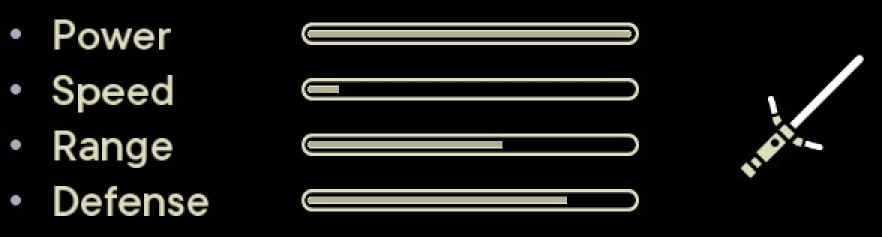
- Power: The Crossguard has the hardest hitting attacks out of all the lightsaber stances.
- Speed: Due to the need to wind up powerful swings, the crossguard stance is very slow compared to all other stances. This can make it very challenging for people to use correctly.
- Range: The crossguard stance has above average range due to the increased length of the blade.
- Defense: The crossguard is stated to have higher defense due to increased stamina while using it, though it doesn’t even increase the stamina bar when active. This is likely due to a bug with the crossguard at the moment.
The Crossguard is great for dealing damage to a single target and does well with damaging groups of enemies with its wide, arcing attacks. It can gain abilities that change combos, grant ranged capabilities for the crossguard, and even reflect blaster bolts as if they were charged bolts.
Where this weapon lacks finesse as the long windup times followed by recovery times can make you very vulnerable to attacks during the animations. This becomes much worse if you’re fighting a group of enemies that will gang up on you, possibility interrupting your more powerful attacks.
This weapon heavily relies on timing and your ability to account for buffer time for pre and post swings. It’ll need good use of parries to get the most use out of it as it can have powerful counterattacks. Knowing enemy attack patterns helps with this immensely.
The crossguard stance has a higher skill cap than all the other stances which can deter some from attempting to use it. If you’ve played the Dark Souls series and used the Ultra Greatswords in those games, you’ll have no issue using the crossguard stance.
Crossguard Stance Skill Tree
The Crossguard Skill tree has the following options:
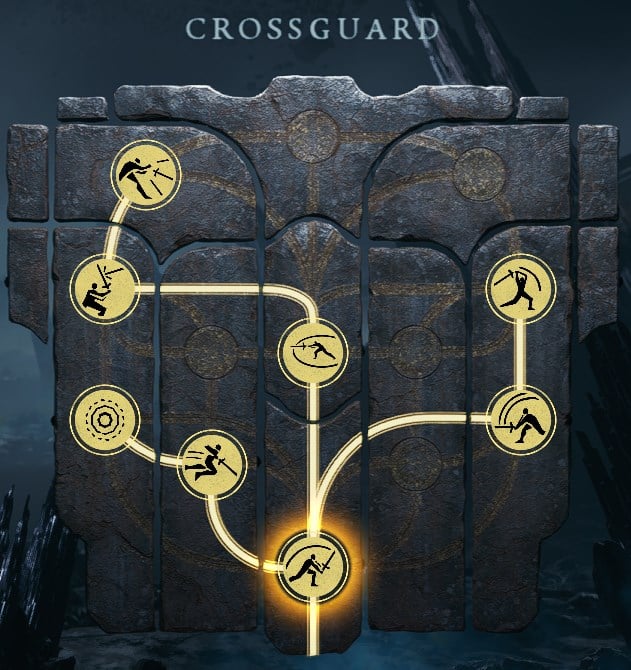
Rending Strike
Costs 1 Skill Point
Hold [Attack] to perform a single, high damage swing with a long windup.
This is a great skill to have to make even harder hits and is even necessary for some combos featured in the combo section of this guide.
Impact
Costs 2 Skill Points
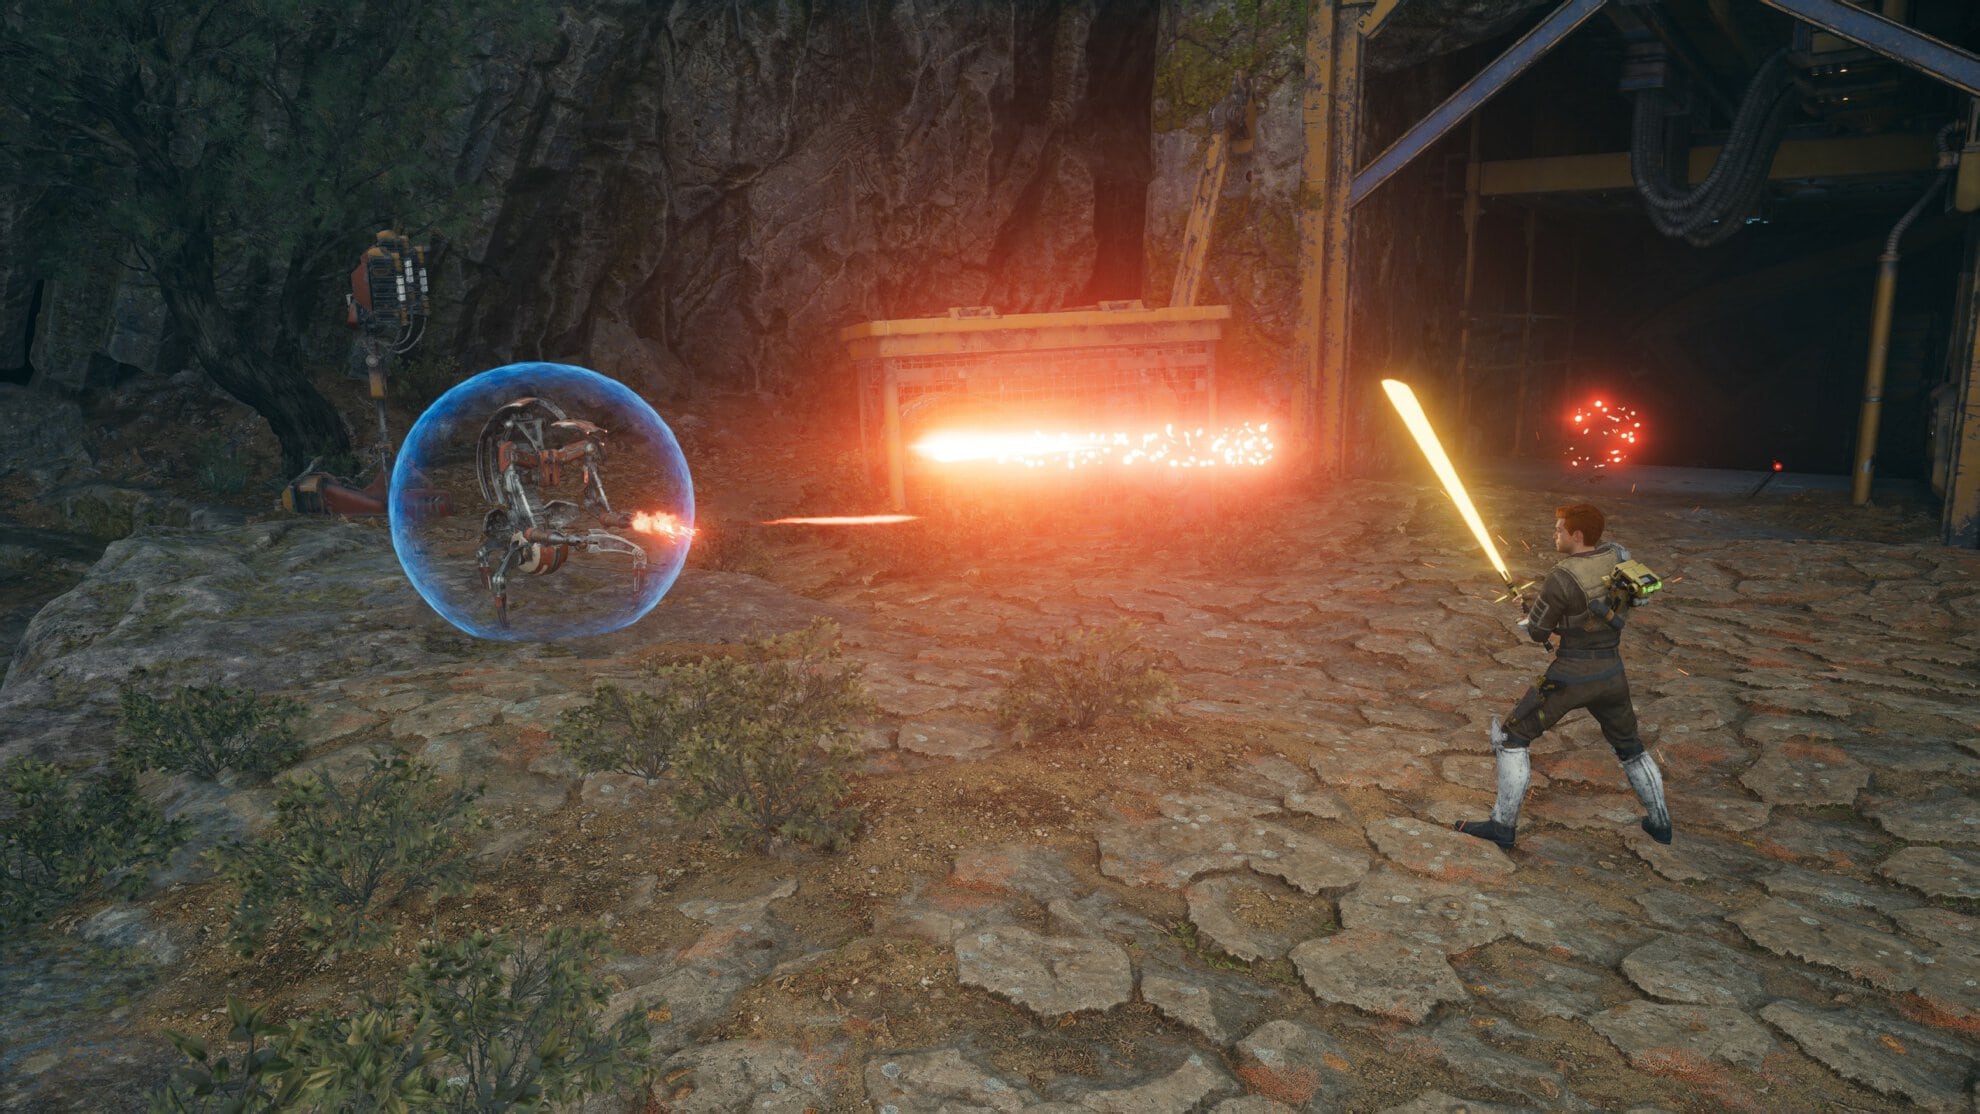
Press [Special Attack] while airborne to slam into the ground, causing a shockwave.

This provides a linear Force attack that travels along the ground to its target. It’s a good way to hit an enemy trying to keep their distance from you.
Greater Impact
Costs 1 Skill Point
Increased shockwave range.
Greater Cleaving Swing
Costs 1 Skill Point
Reduces focus attack charge-up time.
This will decrease the time you need to charge your Special Attack when using the crossguard lightsaber. It’s good to have but focus on getting the other options first.
Reaching Cleave
Costs 1 Skill Point
Increased range of Cleaving Swing.
Good to have but focus on getting other skills first. When you get this, you’ll also get the ability to move left, right, or back right before you swing during an uppercut.
Sundering Swipe
Costs 2 Skill Points
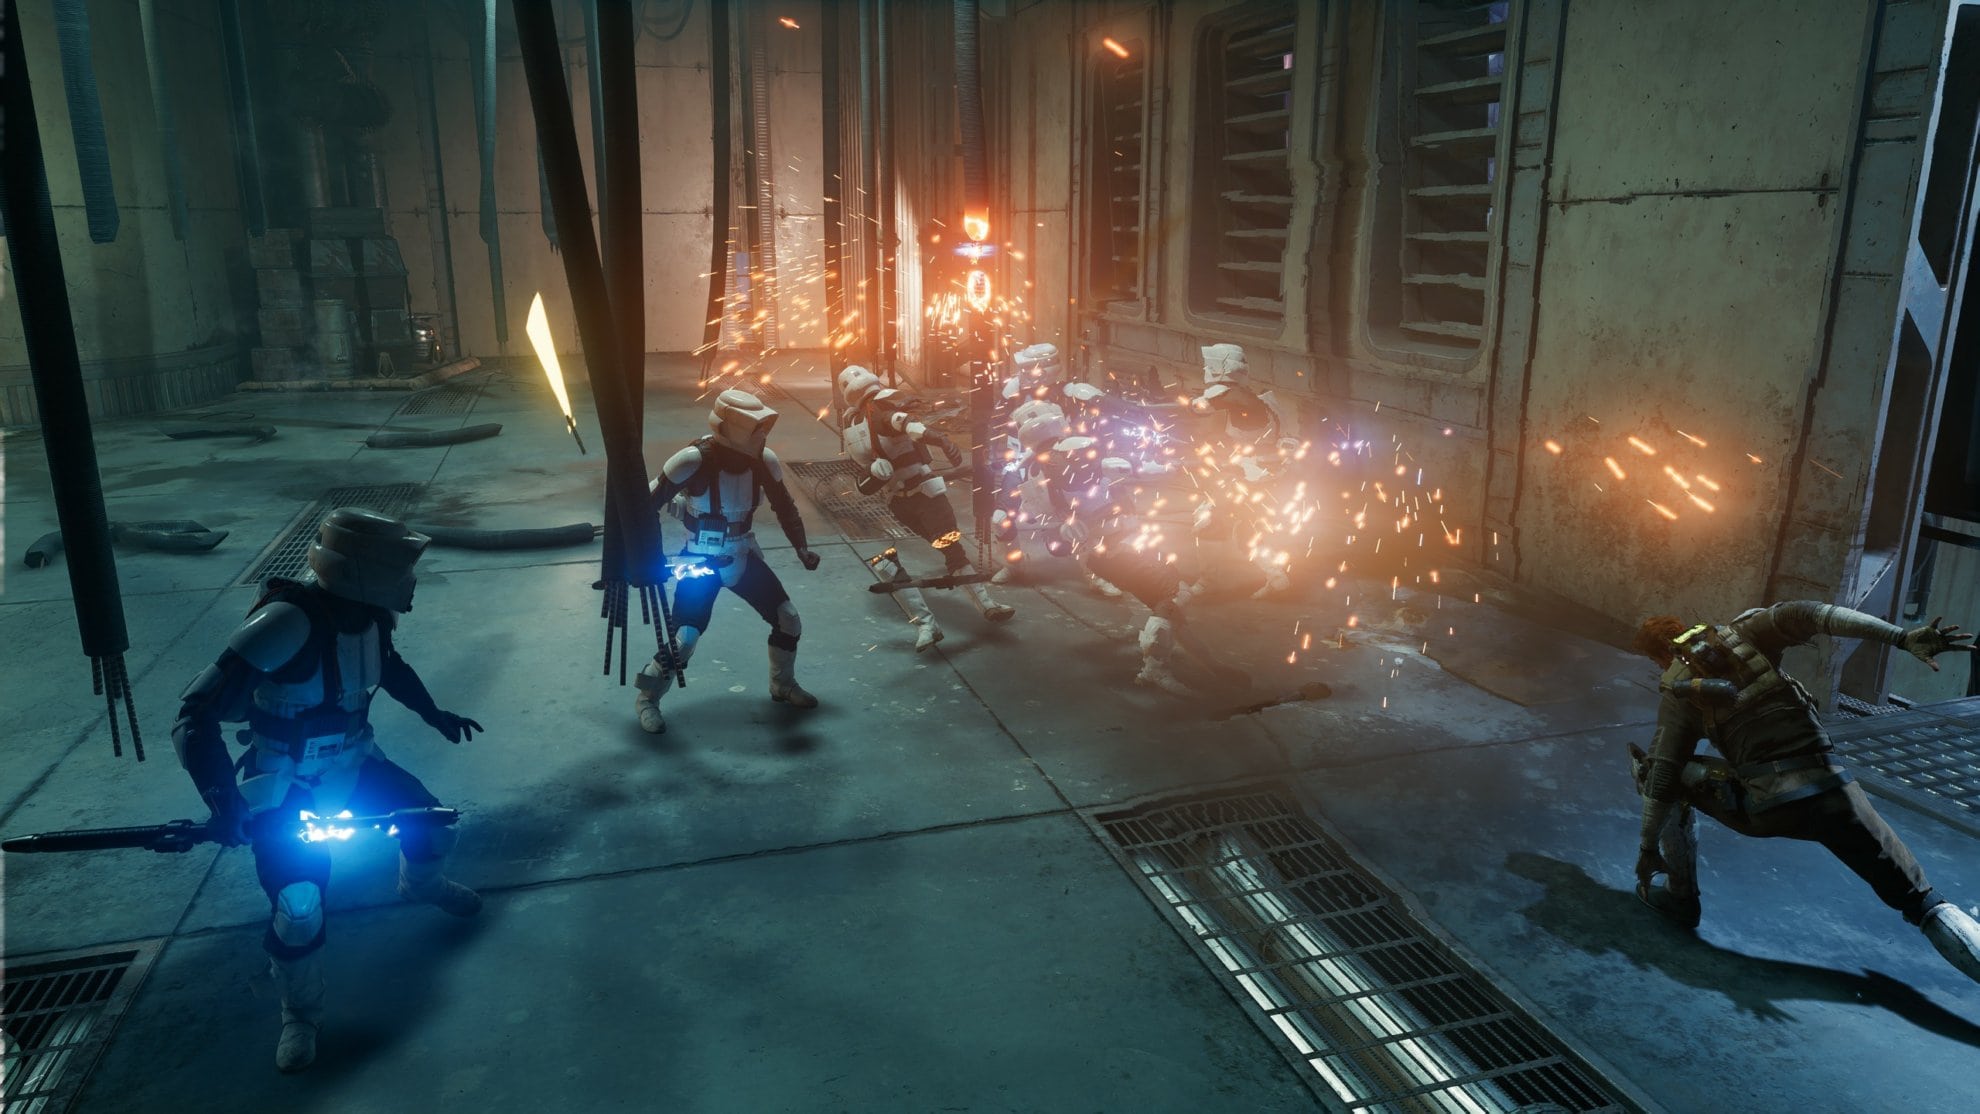
Hold [Block] and press [Attack] to perform a wide, sweeping lightsaber attack.
This is a great attack to hit and knock down multiple opponents in an arc in front of you. Though it’s tricky to use without getting hit and interrupted.
Charged Reflection
Costs 1 Skill Point
Press [Block] right before a bolt makes contact to send back a charged bolt that hits and target nearby enemies.
This is a fantastic skill to have as the reflected bolts can hit a group of enemies very close to each other. In addition, any reflected charged bolts will instantly take down shields from Heavy Assault Troopers and Droidekas.
Rolling Thunder
Costs 2 Skill Points
Hold [Block] and [Special Attack] to throw the lightsaber in a line through multiple targets.
This is only good if multiple enemies have lined up in a row for you. It’s not very often that will happen and you’re very vulnerable while charging it. You can also use it to boomerang back to hit enemies on the way back if you initially missed. Overall, it is a very situation skill.
Crossguard Stance Combos
Here are the following combinations available for the crossguard stance in Jedi Survivor:
Basic Combo
[Attack] + [Attack] + [Attack]
This is your simple, go-to combo for the Crossguard Stance.
Thrust
Requires the Rending Strike Skill
[Attack] + [Attack (Hold)]

This combo allows Cal to lunge and thrust his lightsaber forward at a target. This is good for closing a gap when your enemy is a bit too far.
Rending Strike Combo
Requires the Rending Strike Skill
[Attack] + [Attack] + [Attack (Hold)]

Same as the Basic Combo but the third attack is replaced by a Spinning Jump Attack for additional damage.
Jump Kick
Sprint + [Attack]
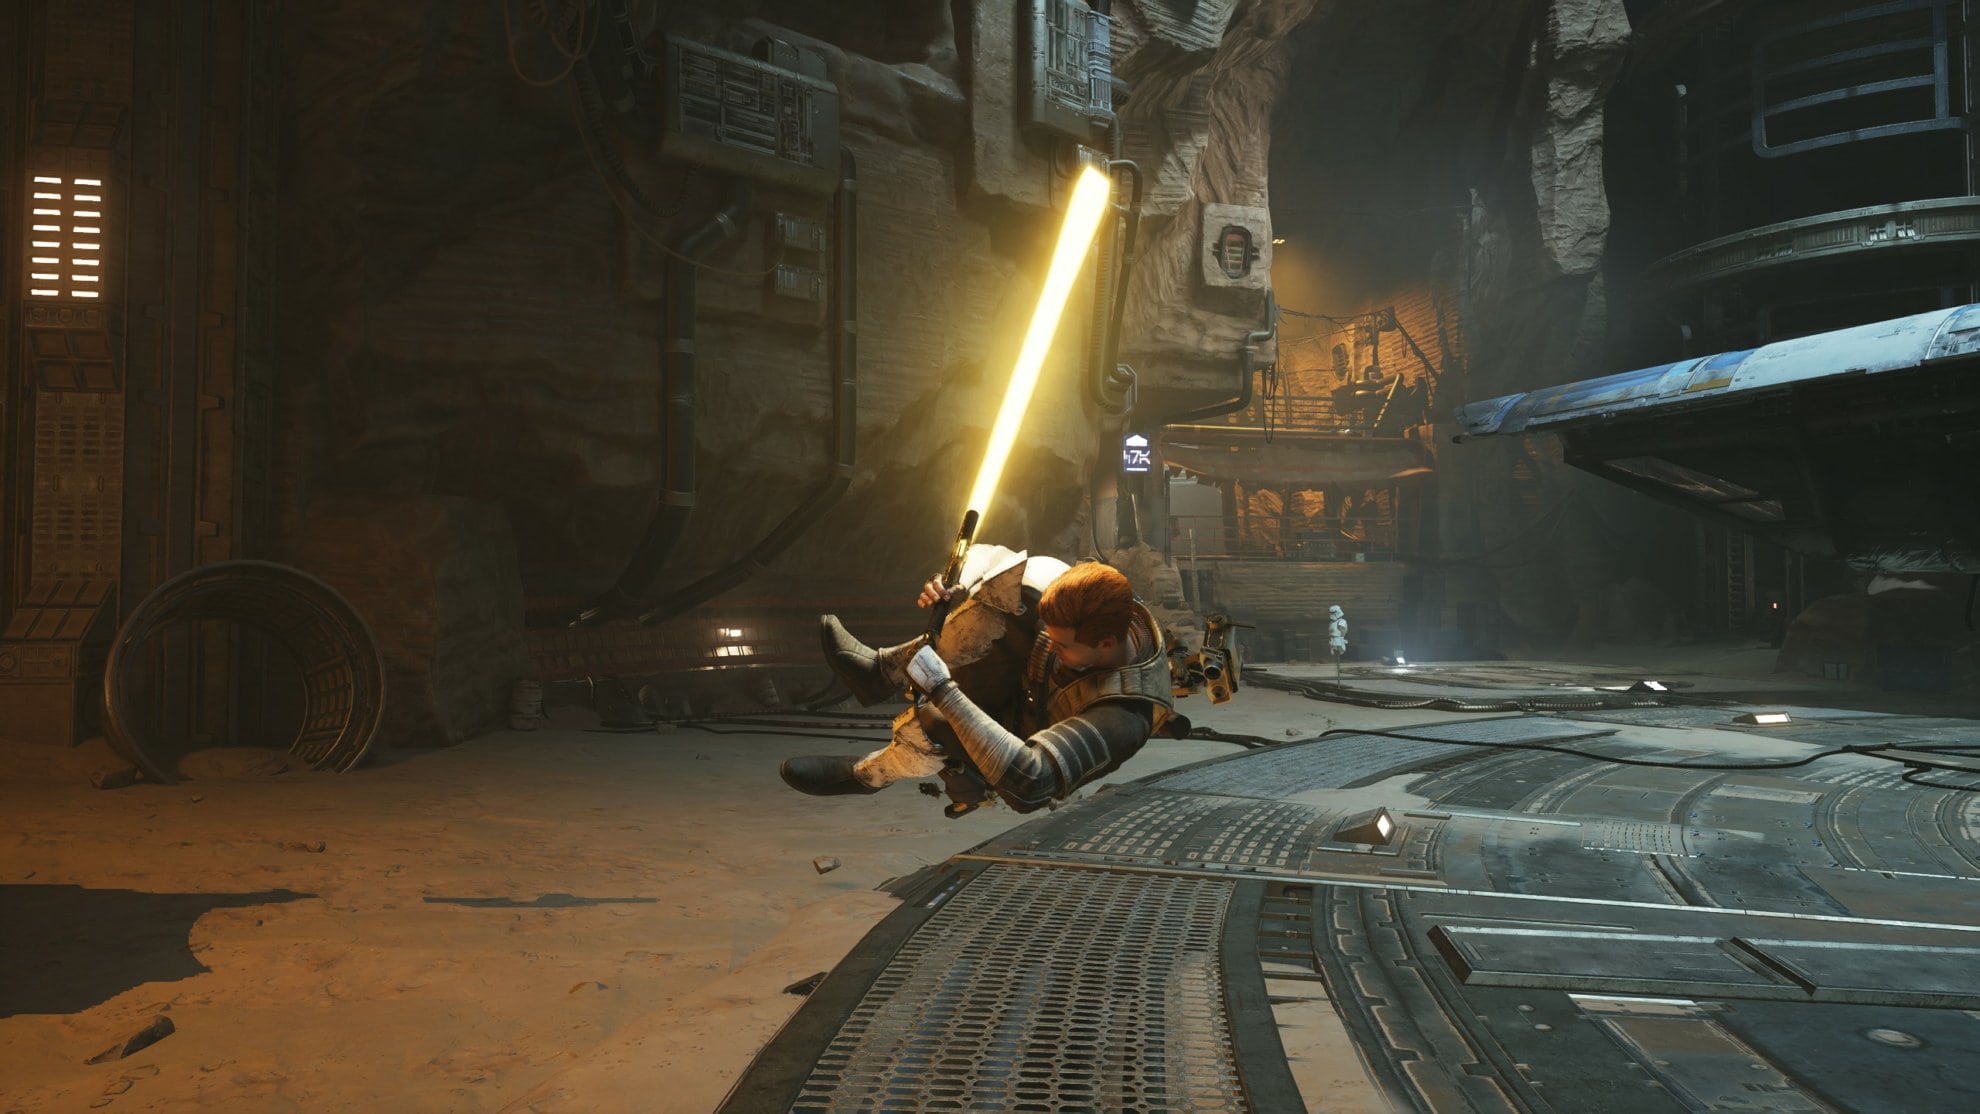
This combo allows you to get perform a jump kick at your target, dealing damage and knocking them down.
Complimentary Stances
These lightsaber stances pair well with the Crossguard Stance as a secondary option.
Double-Bladed Lightsaber
Use the double-bladed lightsaber for groups and the crossguard for 1v1’s.

The double-bladed lightsaber pairs well with the crossguard as it offers a more nimble approach while being better for fighting groups of multiple opponents. It’s much more effective at reflecting numerous blaster bolts than the crossguard and it offers much more mobility.
You can learn more in our dedicated guide to the Double-Bladed stance in Jedi Survivor.
And take a look at our Crossguard and Double-Bladed pairing build for more details on how to play with these two stances combined.
Blaster Stance
Use the blaster stance for more precision and the crossguard for heavy duty fights.

The blaster stance has a lot more finesse and precision than the crossguard stance. This provides a nice contrast both thematically and mechanically. On top of that, you’ll be able to pick off targets at a range more easily which is nice to have in any situation. Shooting distant enemies with a blaster is far easier and safer than trying to land a crossguard lightsaber throw.
You can learn everything you need abuot the Blaster Stance from our comprehensive guide.
Single Saber Stance
Pairing the Crossguard and Single Stance enables you to make the most out of each. Unlike some of the other pairing guides we’ve done, the Crossguard and Single Stances don’t feature completely opposite strengths and weaknesses.
The attack animations of the two stances are similar, so while the speed is quite different, it doesn’t feel jarring to switch between the two. There is a unique dimension of fluidity when switching between Crossguard and Single that isn’t present when switching between other pairings.
You can learn everything you need about the Single Saber Stance from our comprehensive guide.
We’ve got a comprehensive build guide for the Crossguard and Single Saber stance pairing.
Complimentary Perks
There are the following perks I would recommend to use with the Crossguard Stance
Resilience
Resilience is good for any stance, but especially so for the Crossguard Stance due to the increased stamina it already gets (when Respawn fixes the bug).
Shatter
Doing more Block Meter Damage with Shatter along with your already powerful attacks will help you overwhelm many opponents that block your attacks.
Centered
You would be using Centered to take one hit and not be interrupted after healing. This will help make sure your next powerful attack lands without being stopped.
Fortitude
Fortitude Increases your damage around 50%, which is fantastic with the Crossguard Stance. You will take more damage though becoming a bit of a glass cannon, but this is a high skill weapon. You should be able to confidently parry and block with this lightsaber so the tradeoff for increased damage should be worth it.
Tips for the Crossguard Stance
Here are some additional tips for using the Crossguard Lightsaber with the Crossguard Stance:
- Attack opponents with a Rending Strike as they walk towards you.
- Use Rending Strike or an Uppercut right after an enemy uses an unblockable attack.
- Learn the attack patterns of enemies so you know when to strike.
- Learn Spacing when attacking, meaning to learn the range of the weapon and try to use the tip for attacking.
- Try to fight with manual aiming in a group combat scenario to position for Area Attacks.
- Mastery of Parrying is essential for using the Crossguard Stance effectively.
- Git Gud
This concludes the Crossguard Stance guide. To personalize your experience with the game, check out our Guide to Controls and Keybinds for Jedi Survivor. Setting up your custom keybinds will allow you to play your favorite Stance with the highest efficiency. For anything else, check our Star Wars Jedi Survivor Guides Master List.


