
This guide will show you how to go through the Viscid Bog to reach the Lucrehulk where you need to save Zee from Dagan Gera. Get ready for a blast from the past with this level as you’ll be exploring the remains of a Droid Control Ship from the Clone Wars!
How to get to the Lucrehulk
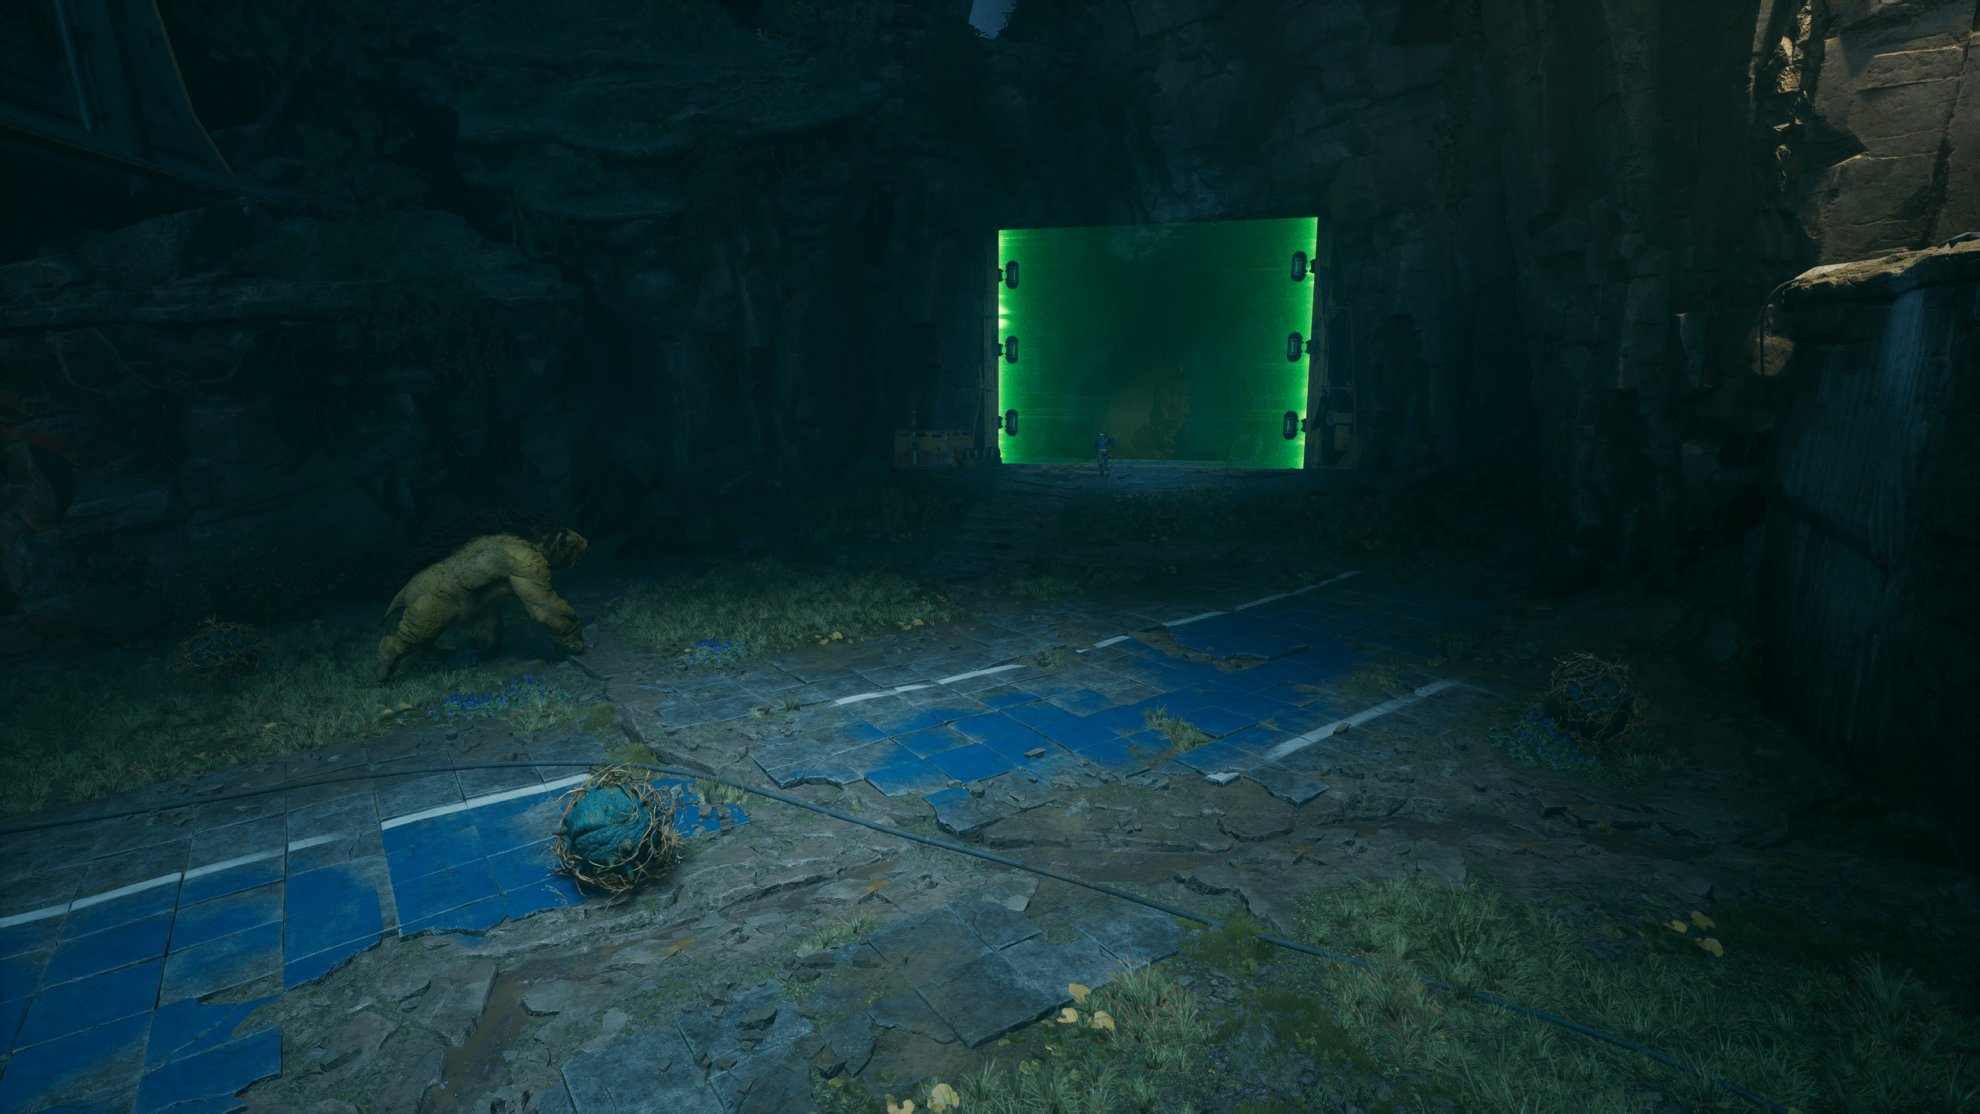
To reach the Lucrehulk, fast travel to the Devastated Settlement Meditation Point and make your way back to the area with the Gorocco and Spikers. Go through the green barrier and you’ll be able to reach the Viscid Bog.
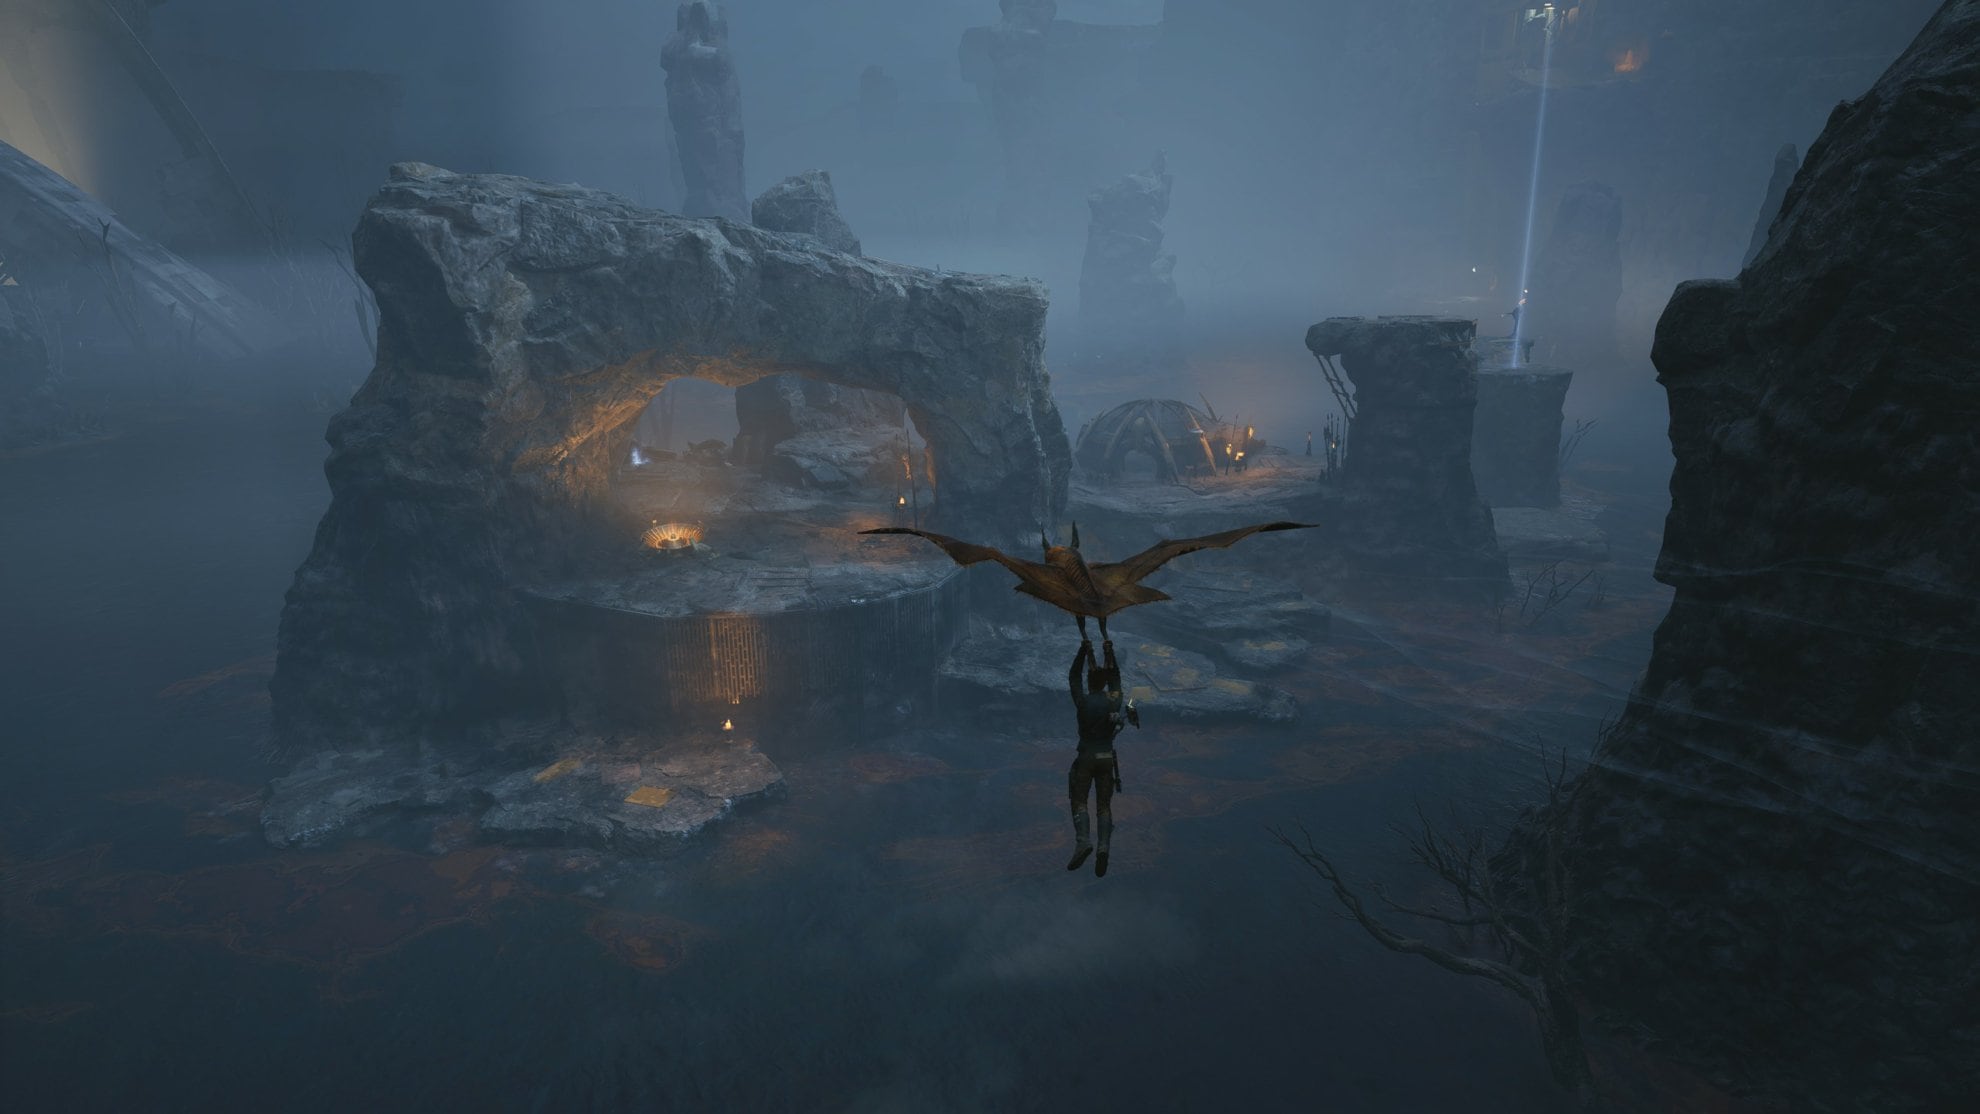
Get past the wall running segment to glide down a Relter and reach this island in the swamp.
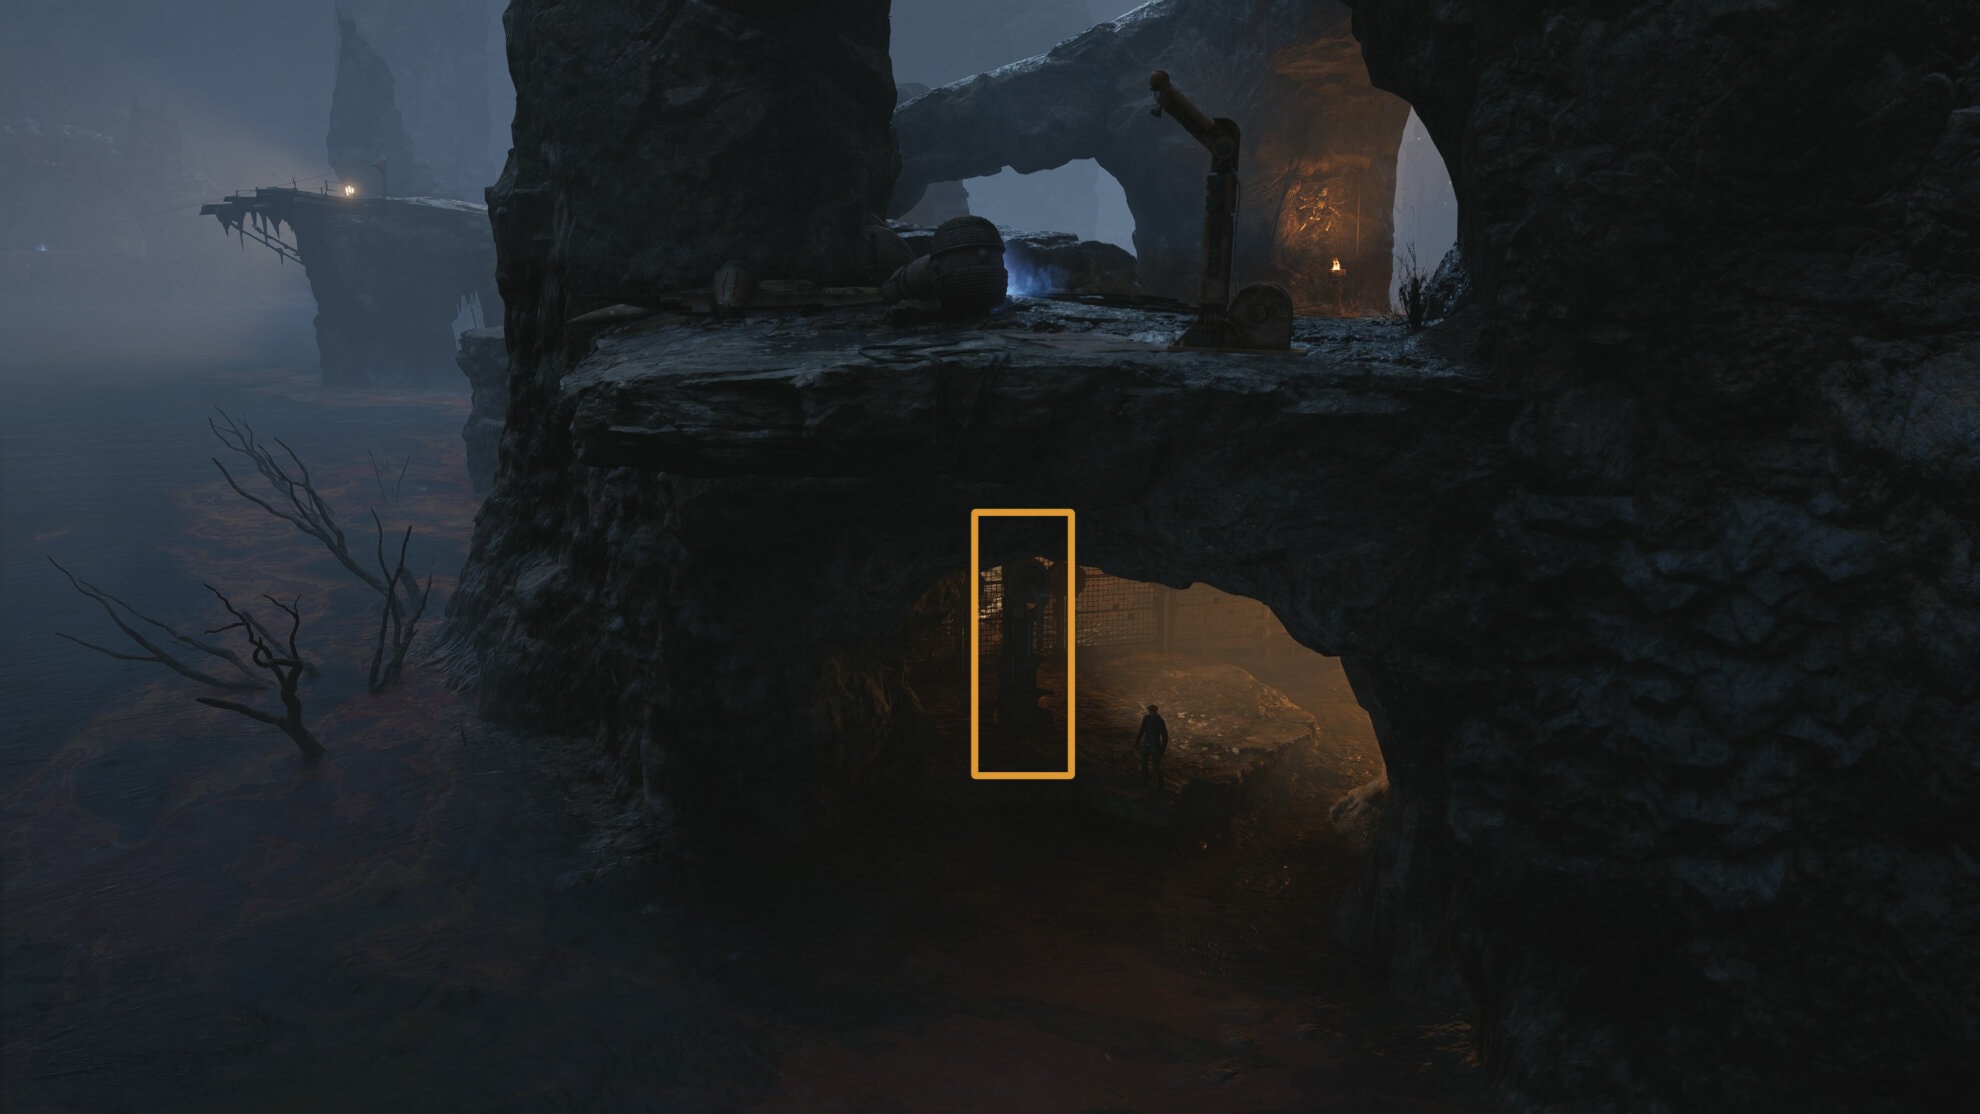
Look for the Force Echo on the island, right below the ledge here is an area you can jump dash to where you can activate a zip line. Activate this zip line to reach the Loading Gantry Meditation Point. Be sure to activate the Meditation Point to save and rest if you need to.
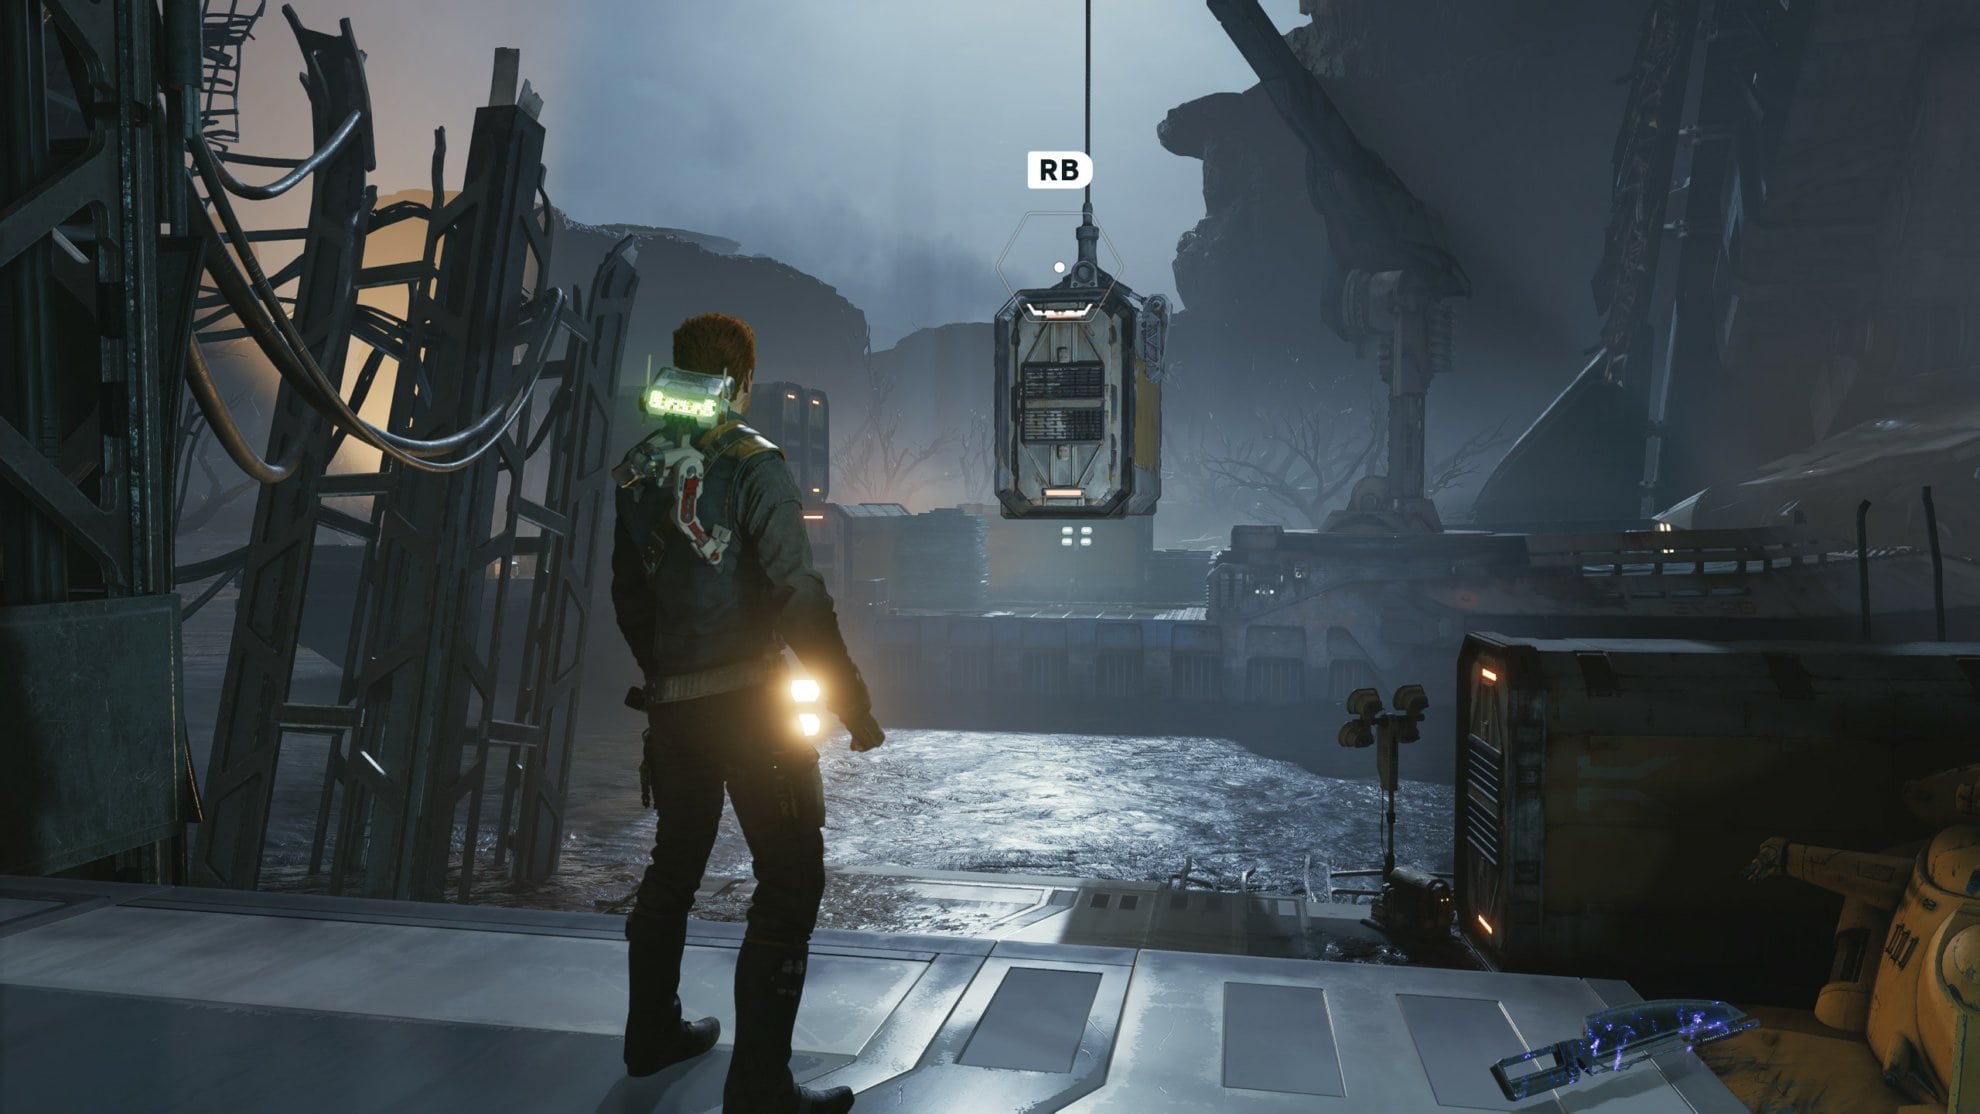
Squeeze past a broken door near the Meditation to fight a group of battle droids. Defeat them and get have Bode break the coupling to allow you to cross the swamp.
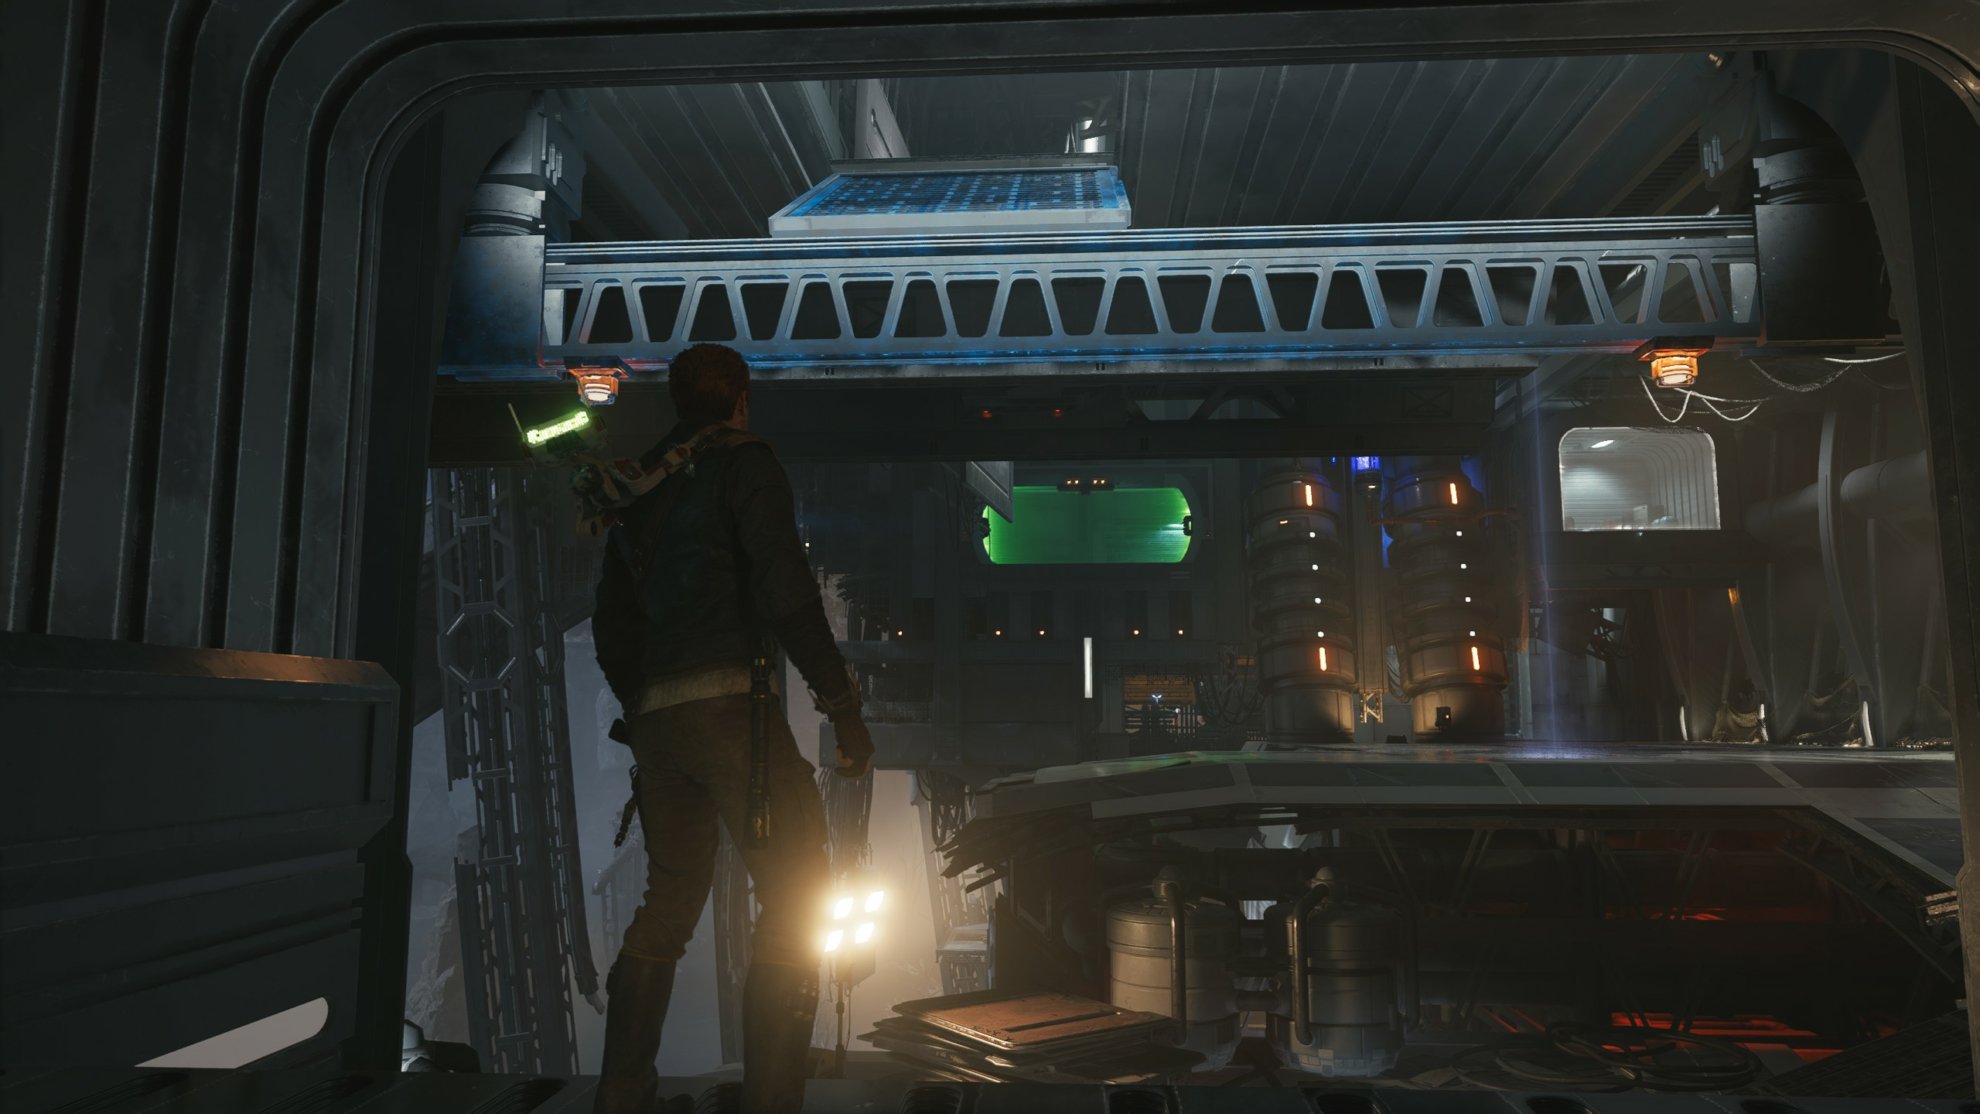
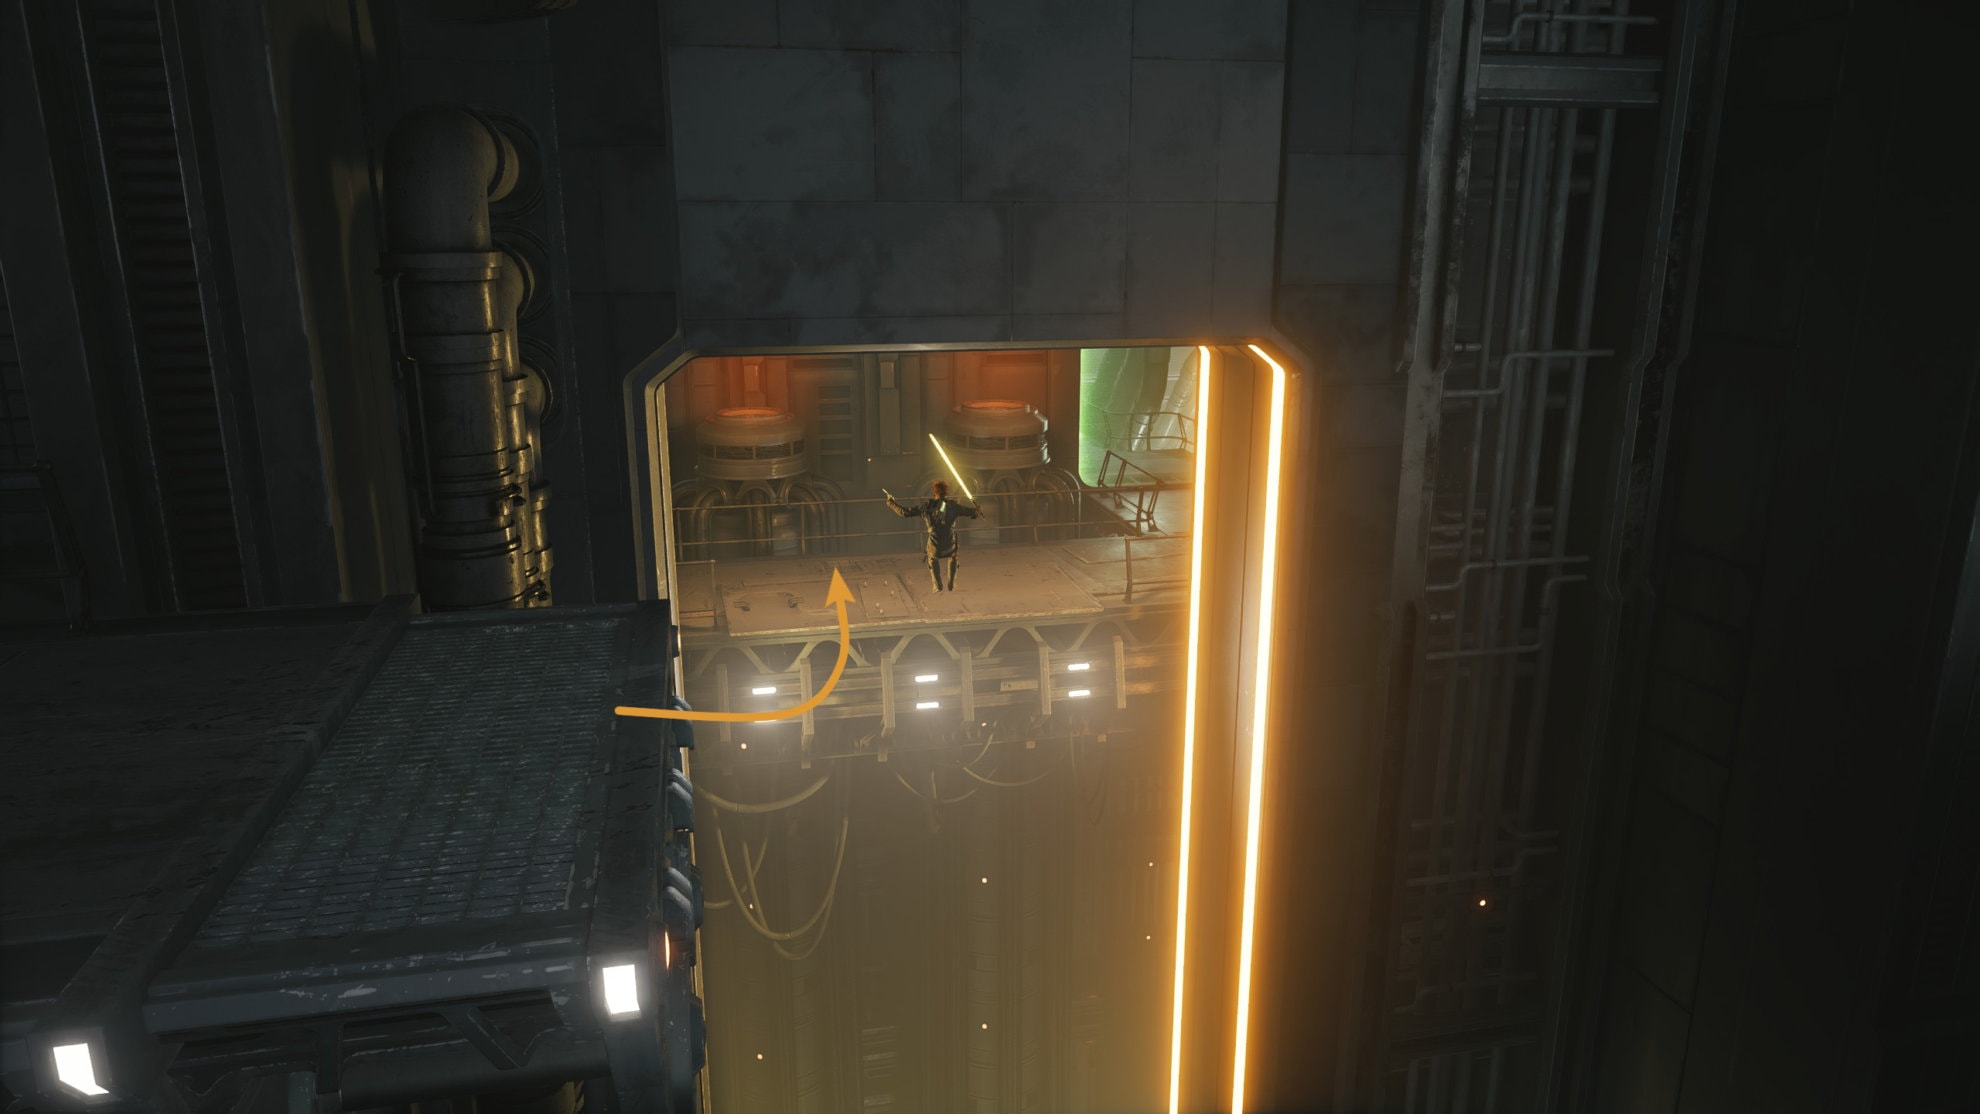
Get across and go to the right where you’ll need your ascension cable to reach some grates. Climb up and jump dash to a pole you can hook onto with your ascension cable. Jump dash to the grates ahead and keep climbing into the Lucrehulk. After some platforming you’ll find the Hangar Rafters Meditation Point.
Go deeper into the Lucrehulk
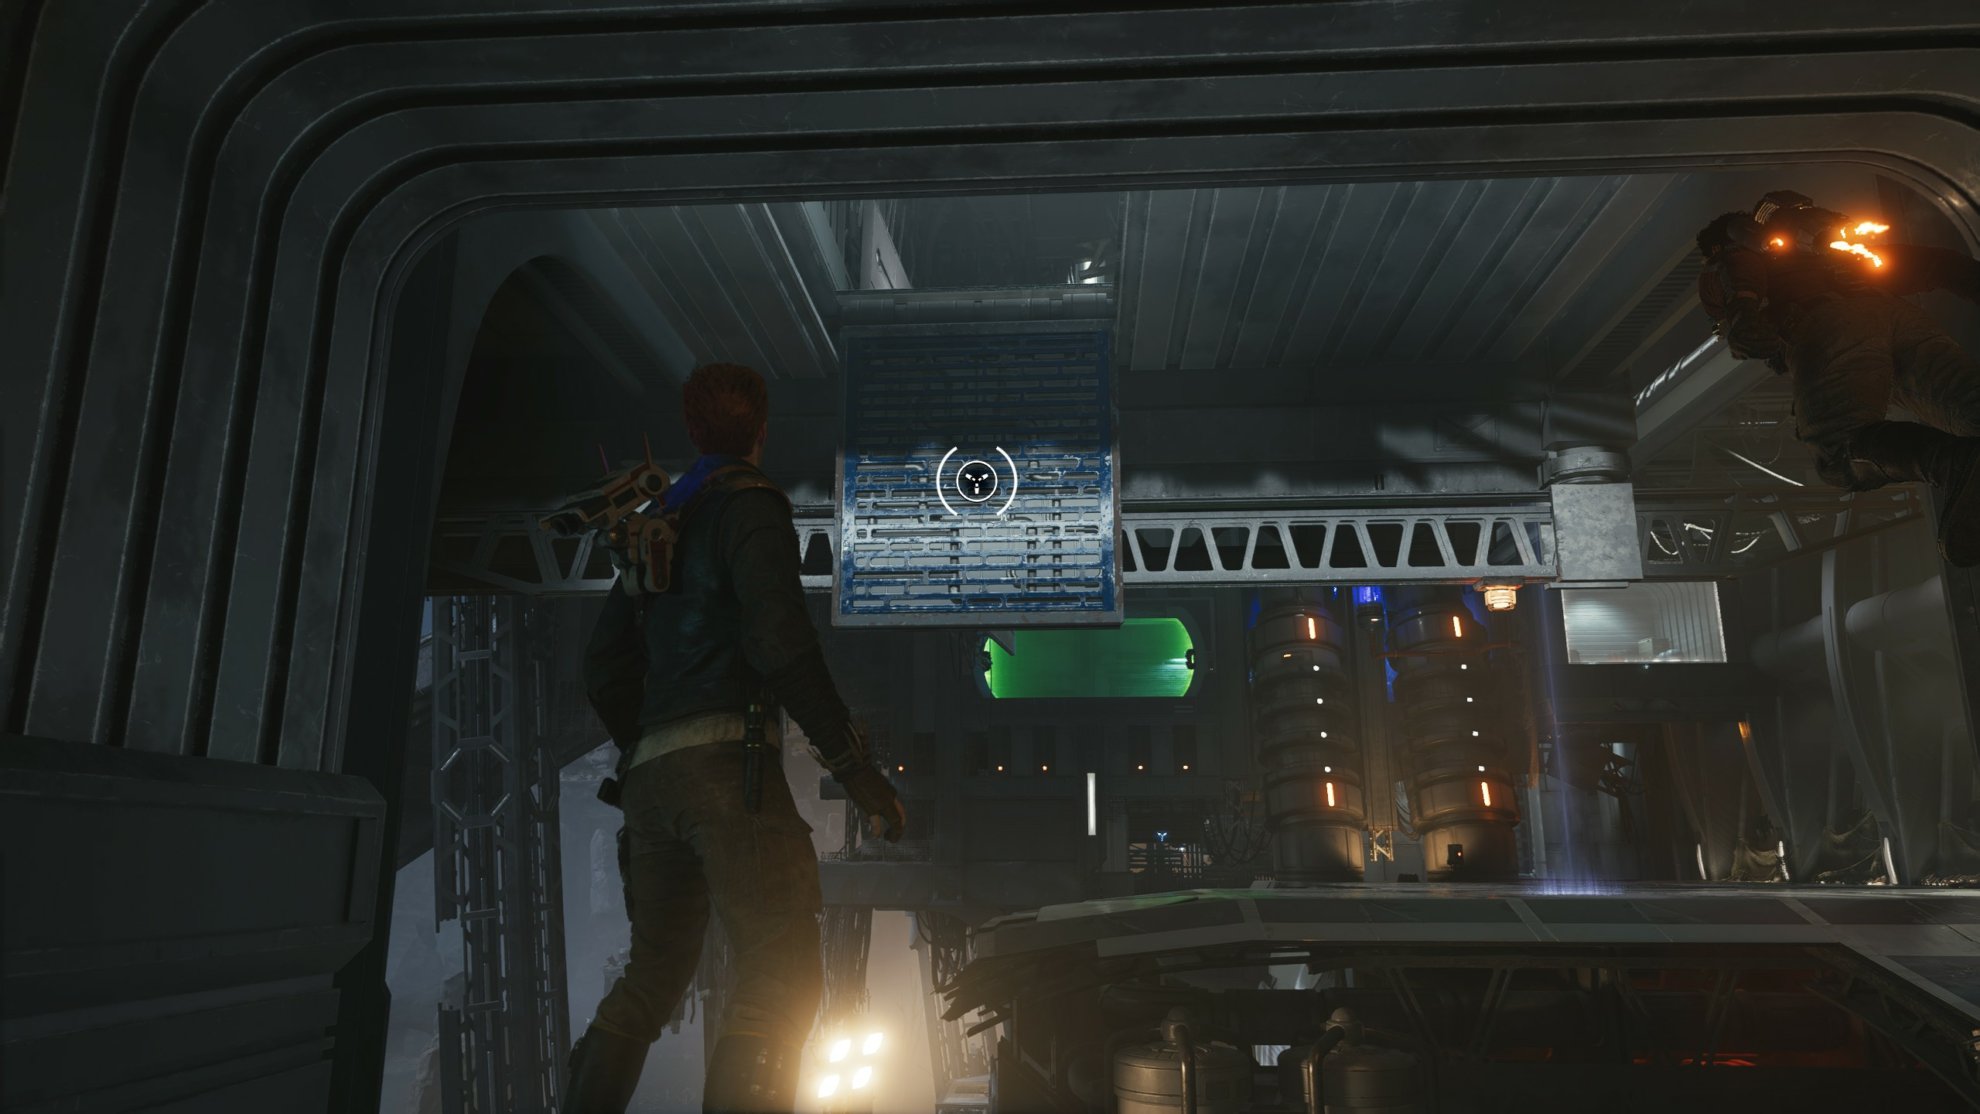
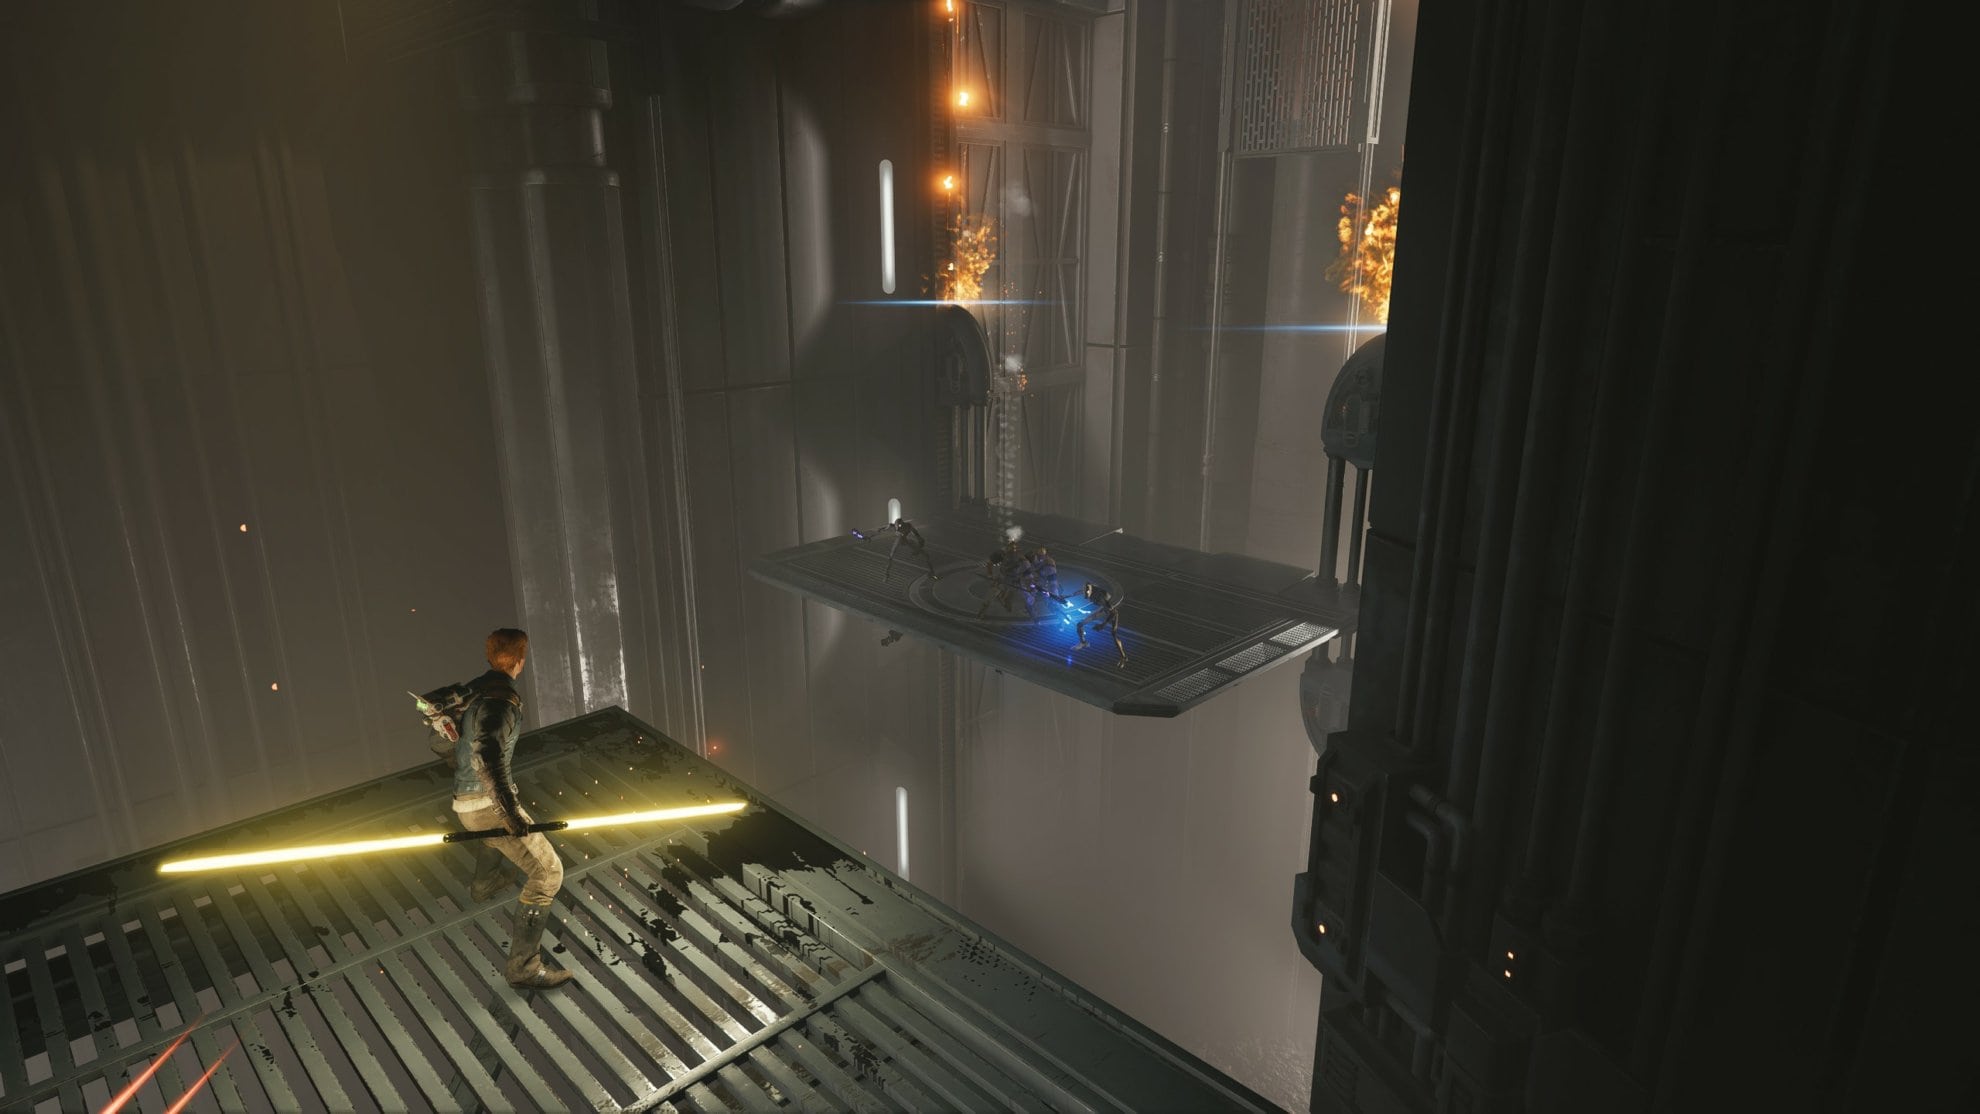
Follow the path to encounter a Raider Veteran and two Commando Droids. Defeat them and look for a metal beam you can Force Push. Pushing this will allow you to move ahead into the green barrier past a wall running segment.
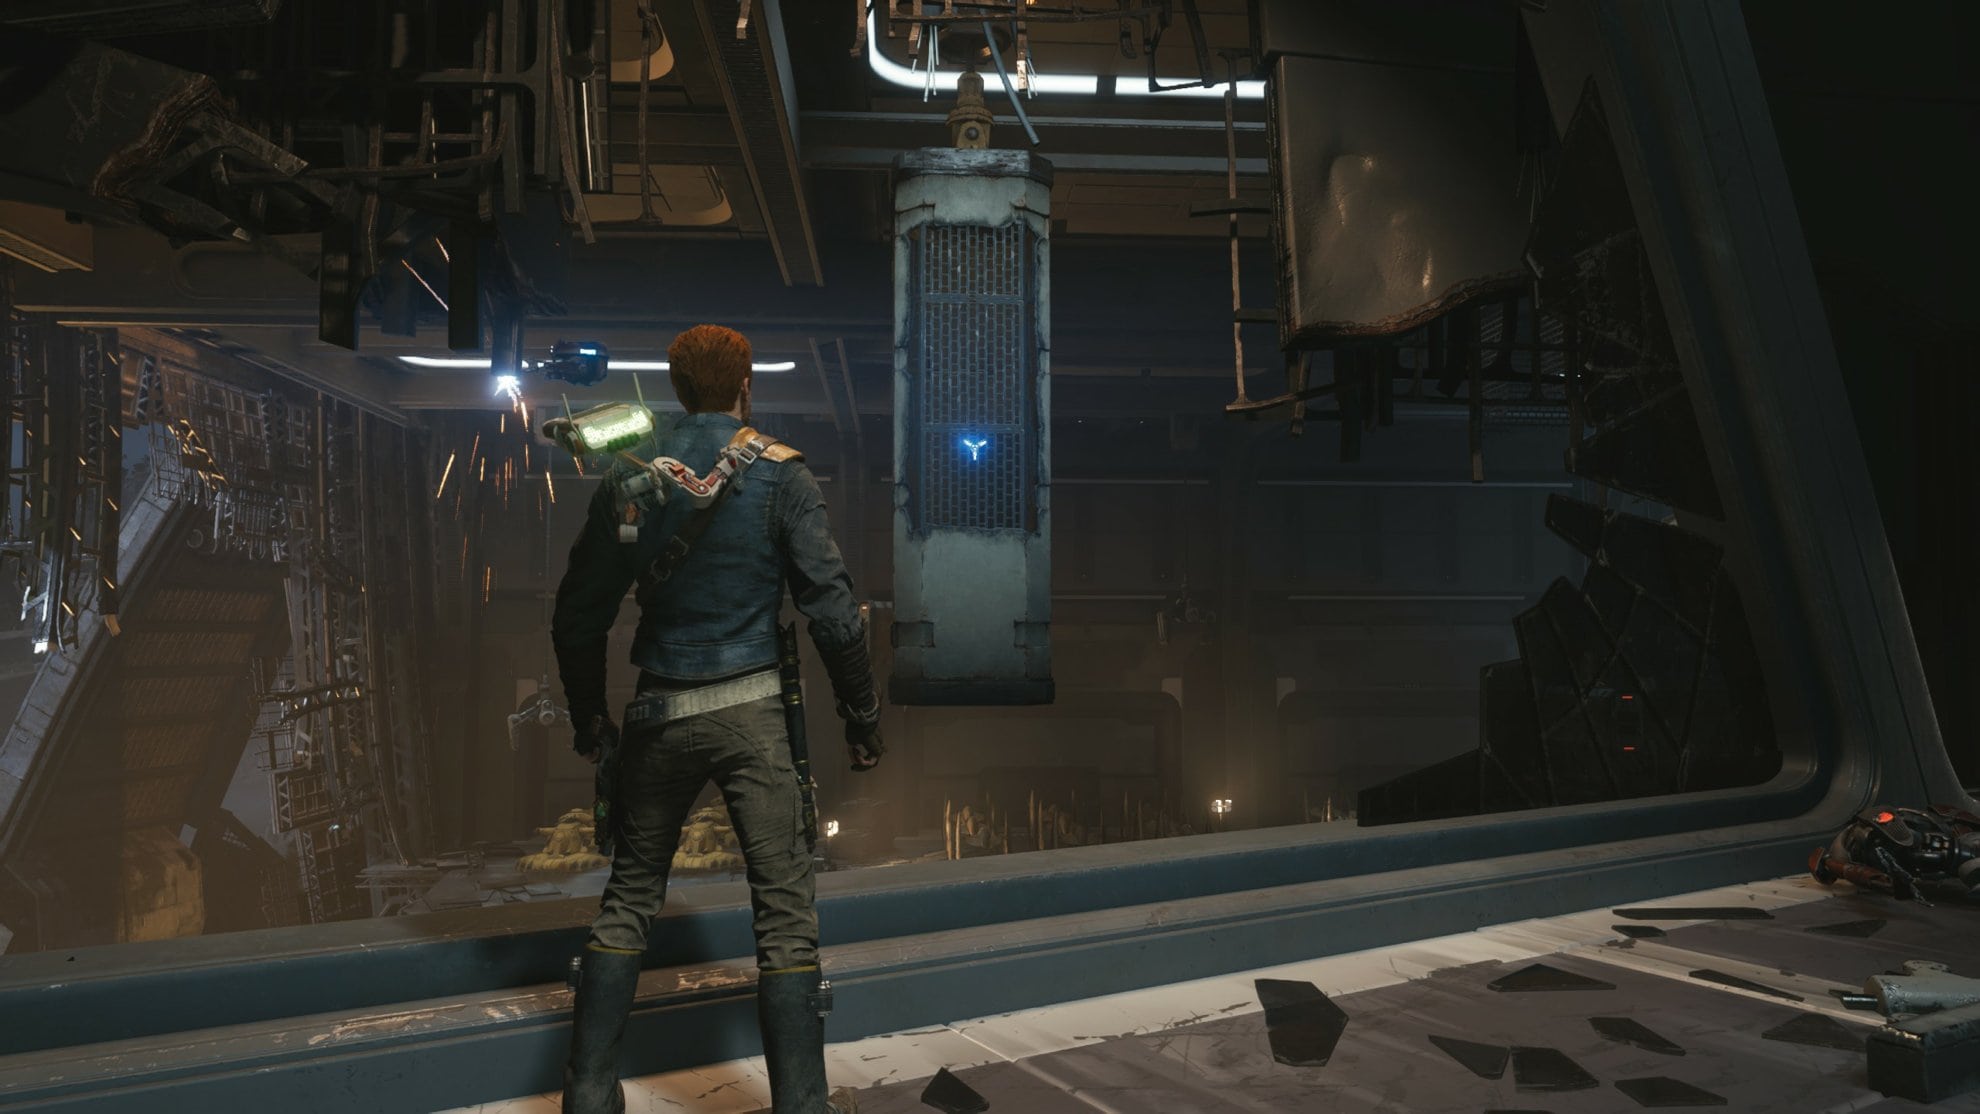
Go through some wall running and climbing segments and you’ll reach a shortcut you can create to skip this in the future. Right around the corner is a reprogrammed MagnaGuard. Defeat it and look for some metal you can Force Pull. Pulling this metal away will give you a spot to hook onto.

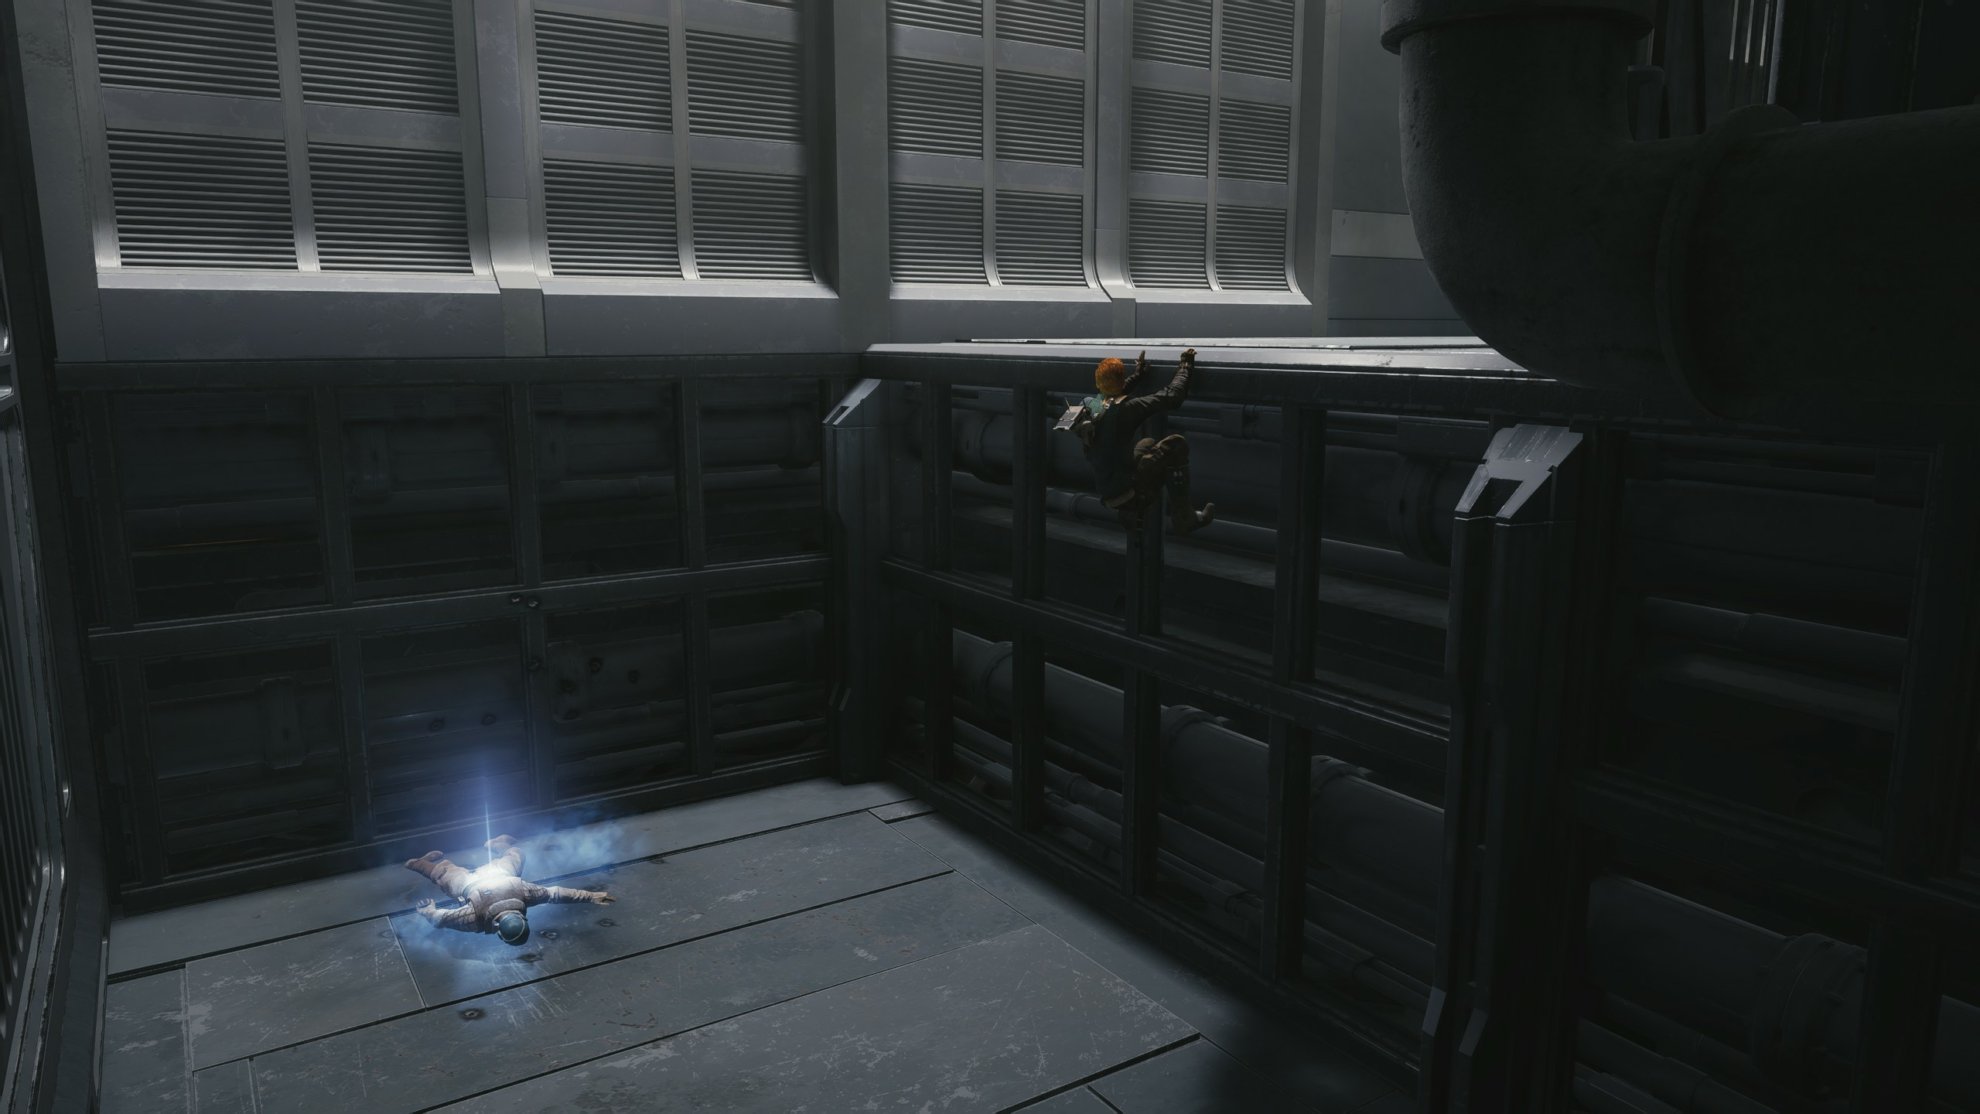
Hook onto the grate ahead, climb to the top, then jump dash to the grates on your right. Make your way to a group of Bedlam Raiders and drop down on at least one for an instant kill. Defeat them, go to the right, and make your way down a ramp then into a short hallway.
On the furthest end of the hallways is a grate you can Force Push to make a shortcut to the Meditation Point. Go through the hole in the wall to dash to a grate then pass the green barrier. This next fight can be tough at higher difficulties as you’ll have to fight two Raider Veterans, a B2 Super Battle Droid, and a B1 Battle Droid within a confined space.
If you’re having trouble here, go into the back platform where a Datadisc lies. Defeat the B2 Super Battle Droid from here then Force Pull one of the Raiders to you. The other won’t follow so now you can take them both down one at a time.
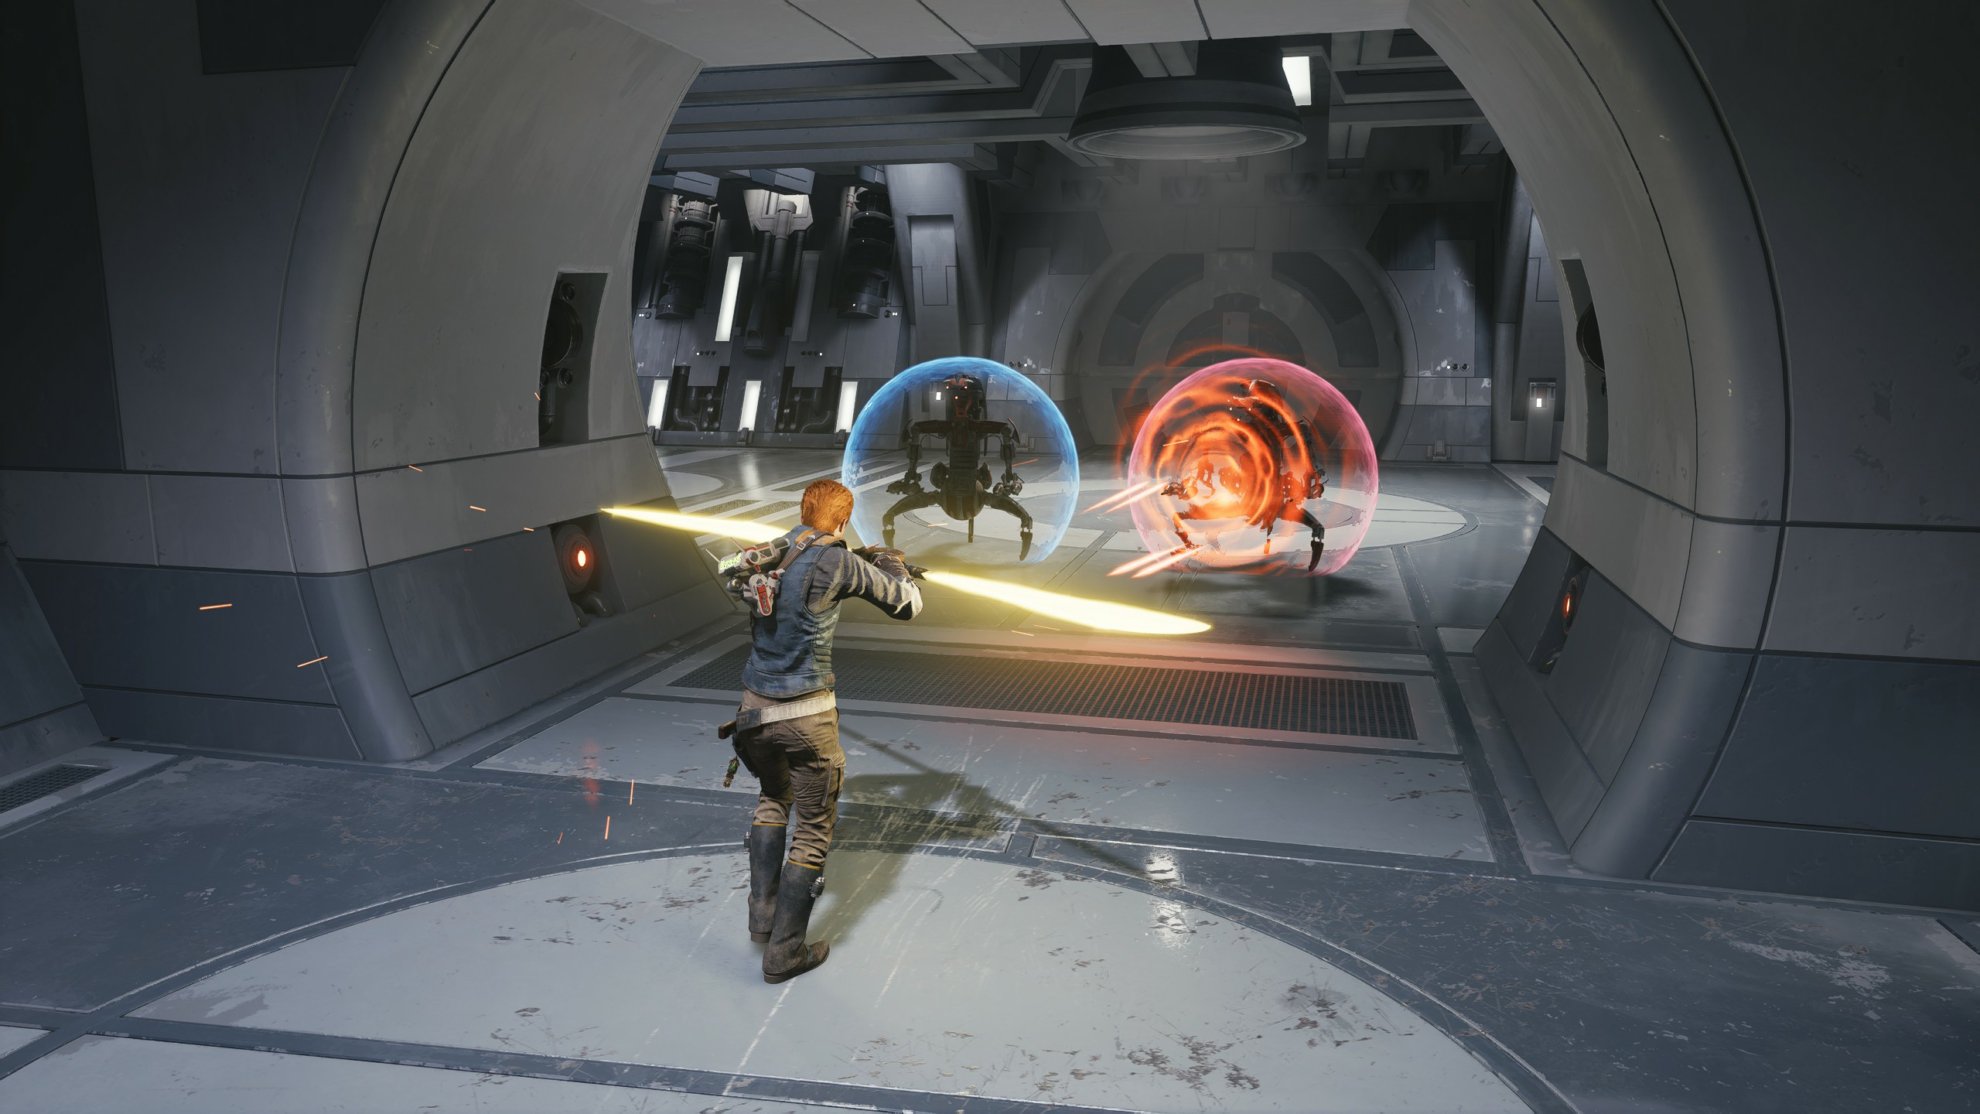
Slice the blast door open to reunite with Bode. Defeat the MagnaGuard then unlock the blast door to the right to create a shortcut to the Meditation Point. Go down the hall where you’ll fight two Droidekas. They can be very tough at higher difficulties but there’s a couple of good tricks to get through those shields.
The Crossguard Lightsaber is very good against them if you have the Charged Reflect skill. Reflecting one of their blaster bolts with Charged Reflect will instantly take down their shields. Otherwise just push forward to close the gap and attack them to bring their shields down. Just be careful of an unblockable attack they’ll use if you’re too close.
Find a way to the Turbolift
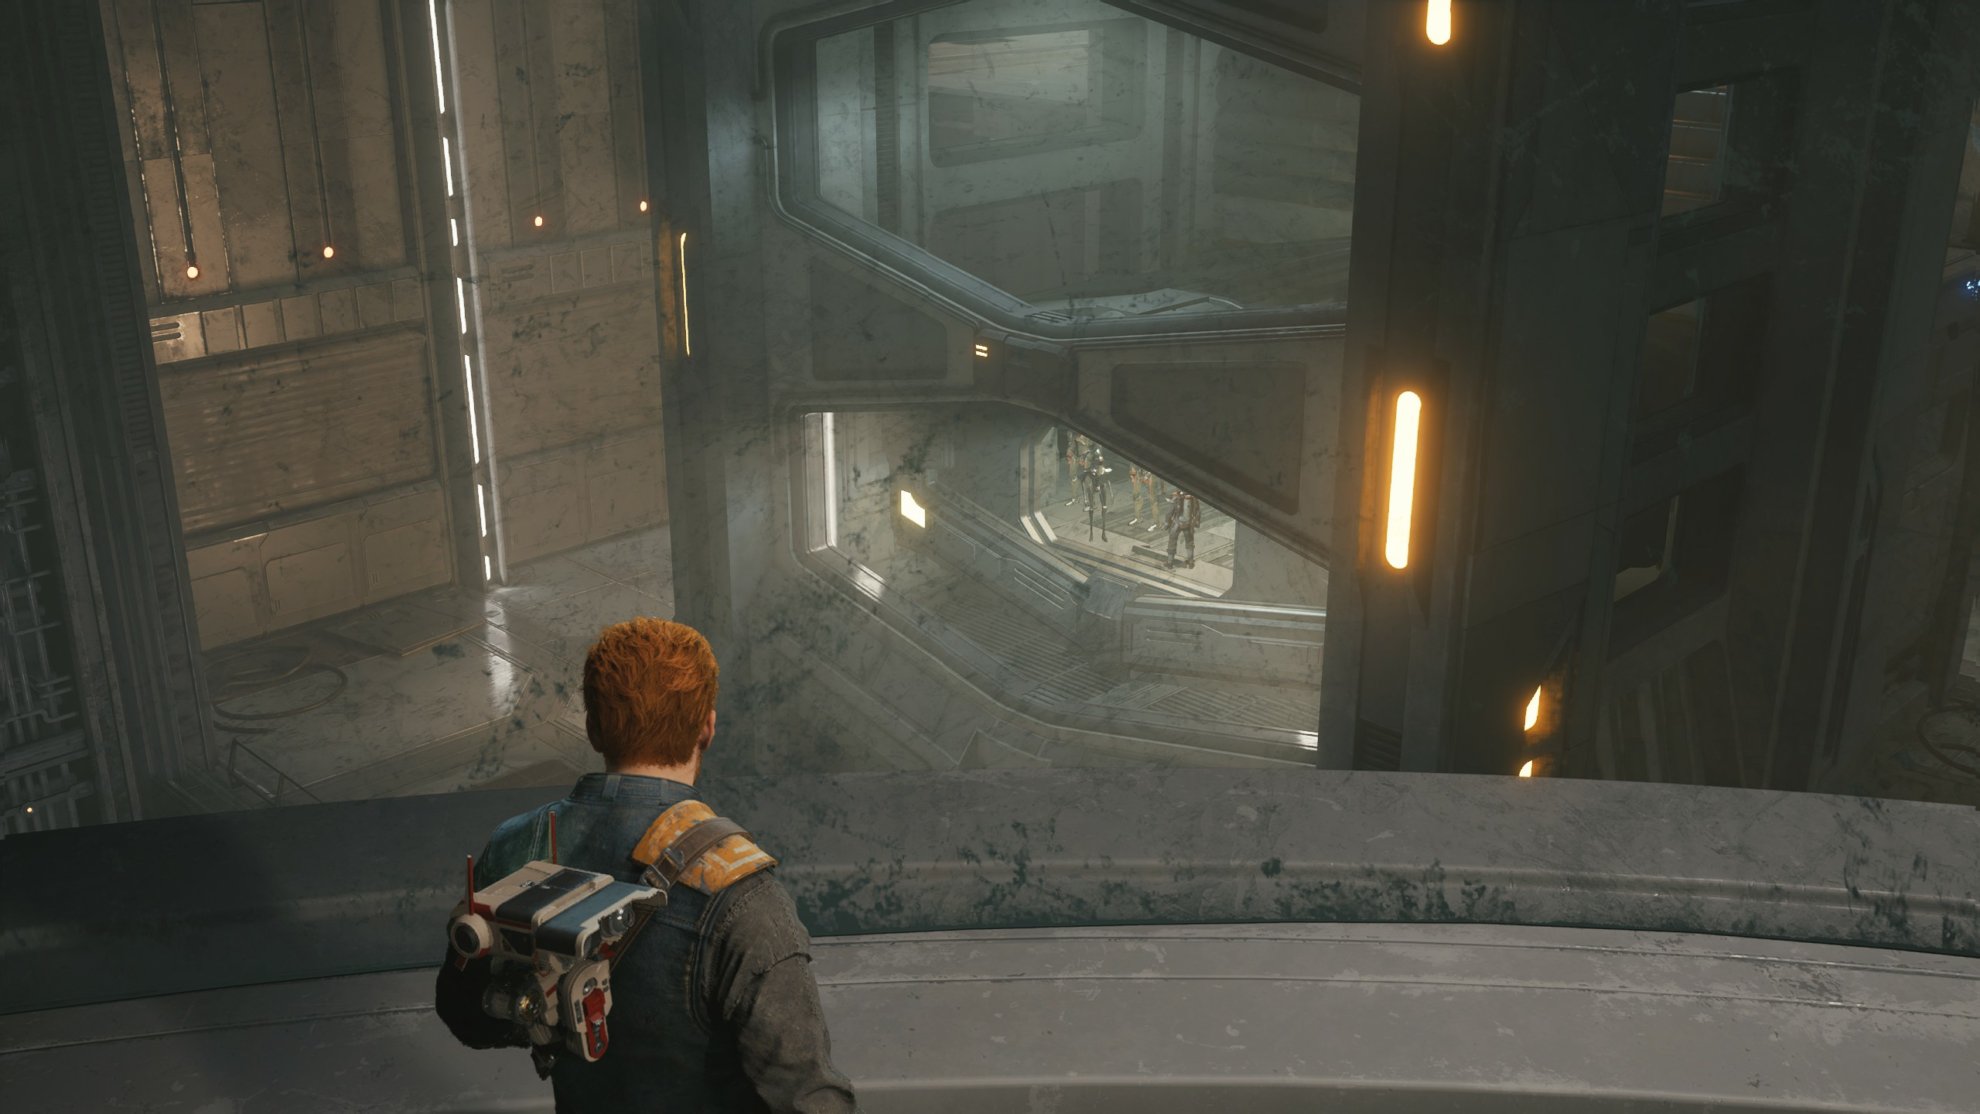
After getting past the droidekas, you’ll find Zee is with some Bedlam Raiders in an turbolift. This turbolift leads to the Control Tower, your next job is to find a way to get to this turbolift to find her.
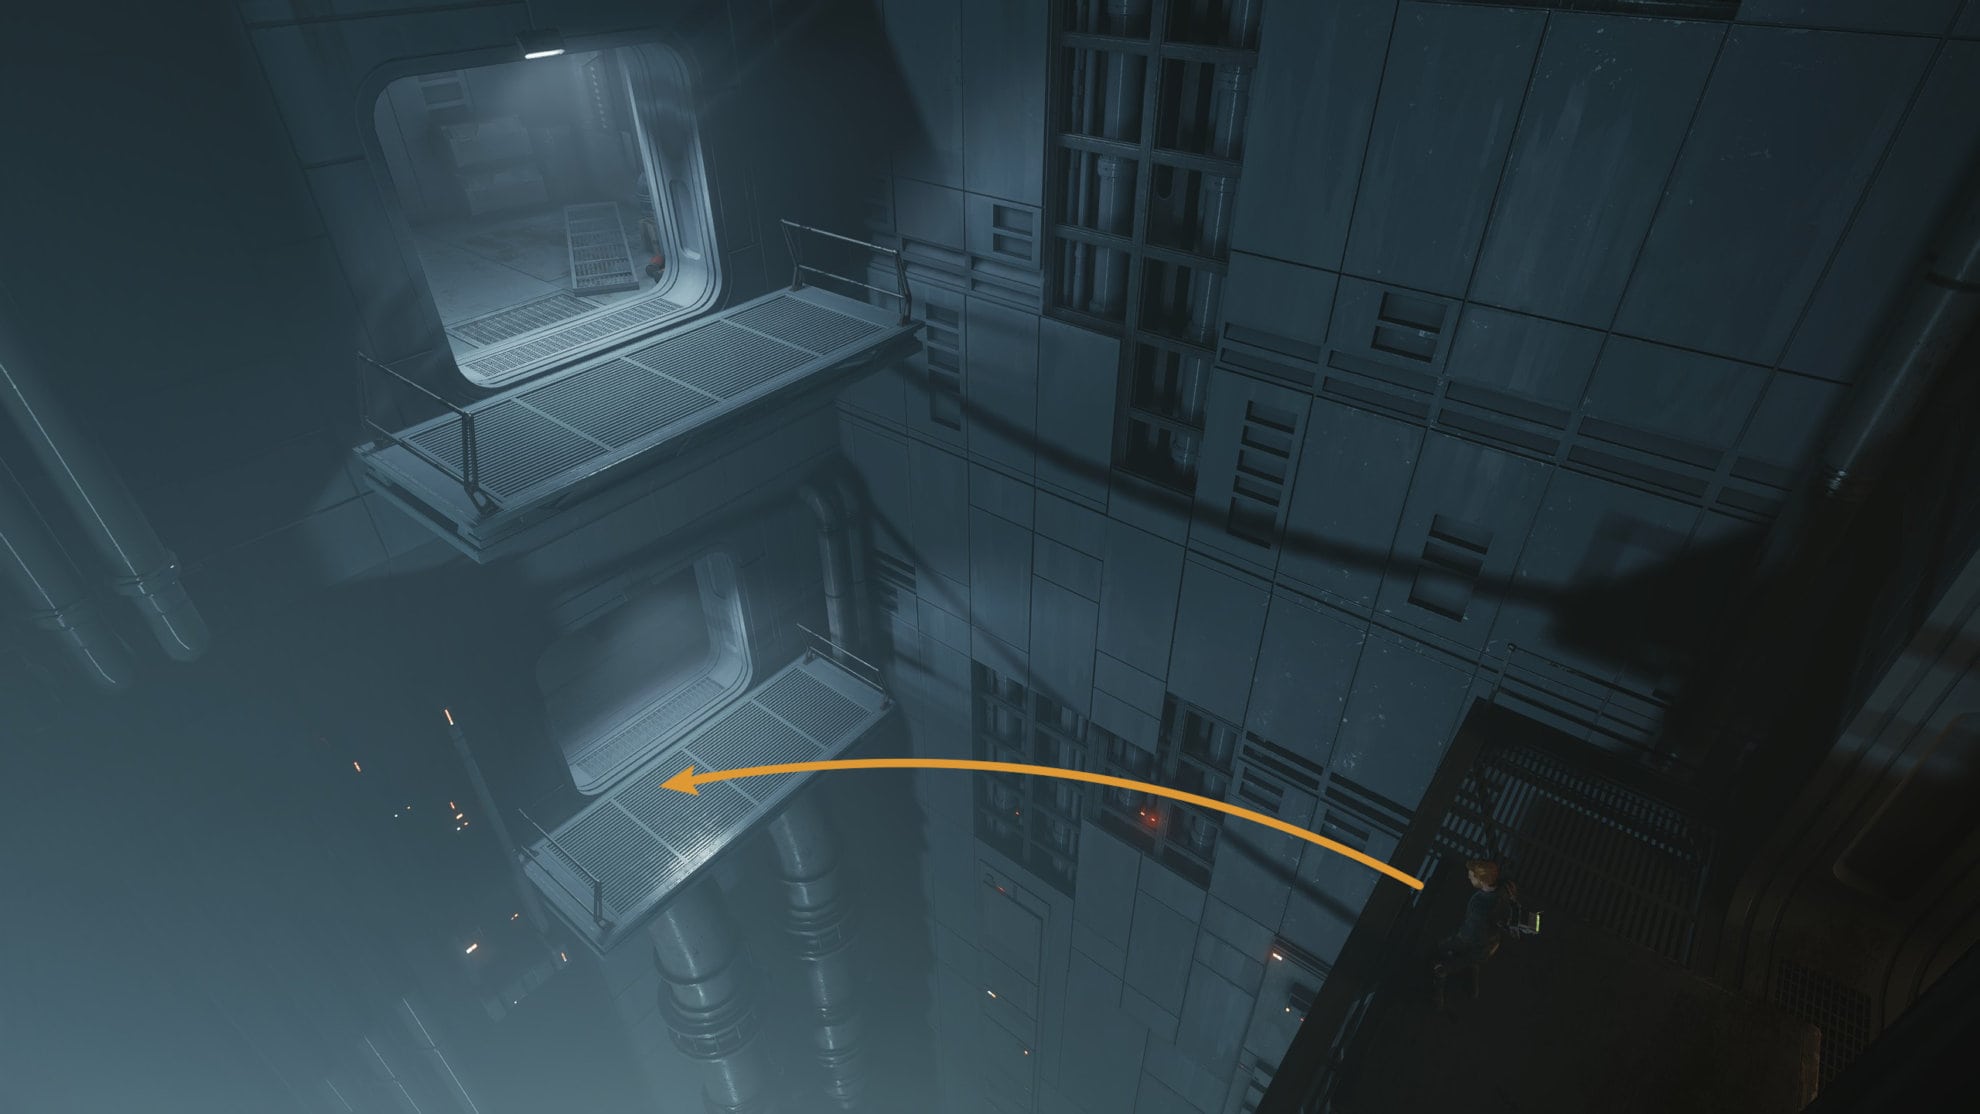
Cal and Bode will split up again after forming a plan to get to the elevator. Go to the right, down the hall and go through the green barriers. You’ll find crates with grates on them that you’ll need to jump dash to. The moment you grab onto it, climb to the back side so prevent getting knocked off by the wall. Jump down onto some Bedlam Raiders, defeat them, and move on.
Go down the elevator and to the left to reach the Lucrehulk Core Meditation Point. Take some time to rest as things will get challenging up ahead. Go forward and to the left where you’ll encounter shielded turrets. Try all you’d like, you are not getting past those shields. Your best option is to seek cover from them but do be warned there’s a Raider hiding behind the generator.
Run past the turret then jump towards the platform below to the left. Go through the green barrier into the room with the B1 Battle Droids.
There will be a long line of turrets up ahead so start running and don’t stop until you hit a dead end with a Force Echo. To the right is a ledge you can climb up that will let you open a shortcut and fight a Raider Smasher.
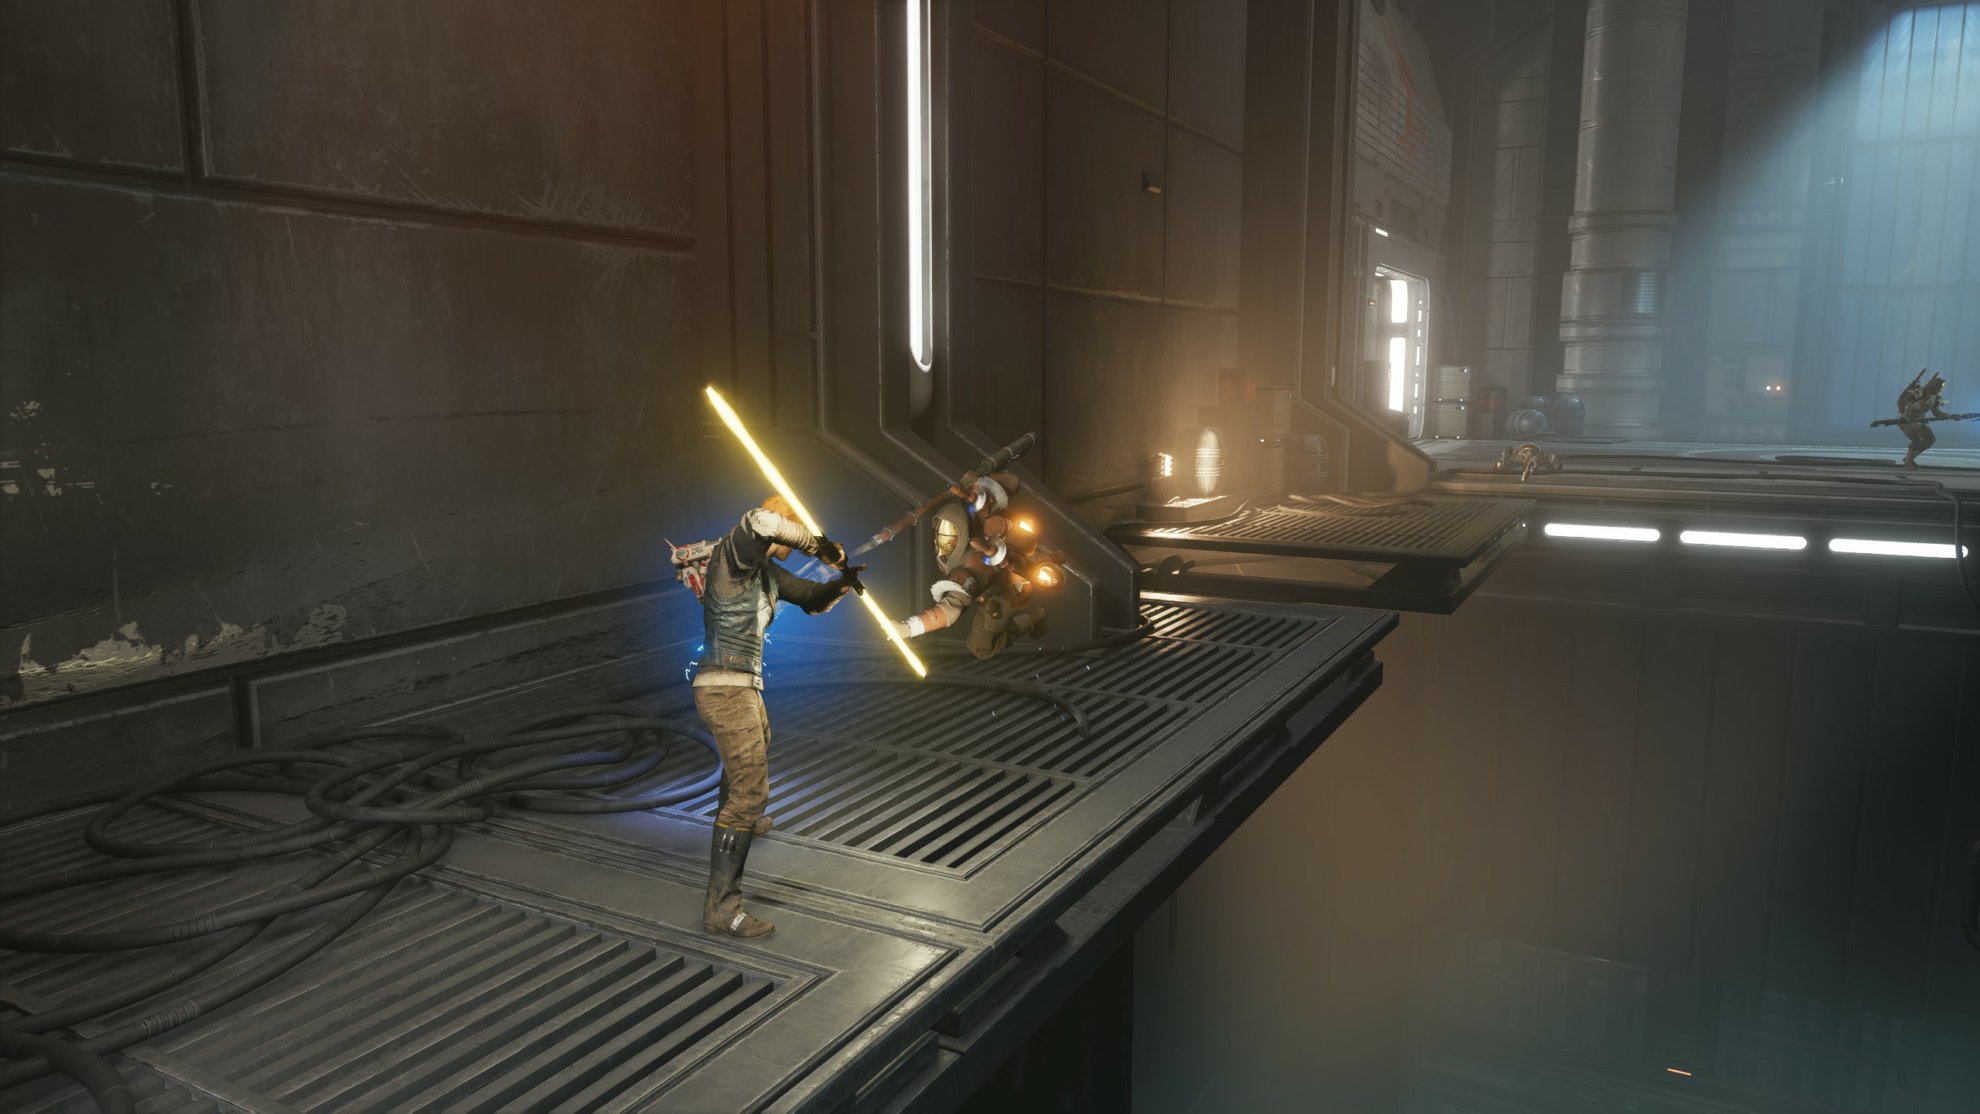
The Bedlam Smasher is a raider armed with an electrohammer. One hit from this hammer will take out a large chunk of your health. Ranged attacks from a blaster don’t do much against them due to their tough armor. Your best bet is to dodge their attacks and strike once or twice then go back on the defensive. It’s much easier to dodge them than parry them.

After the battle, you’ll reunite with Bode. It would have been nice if he helped with the Bedlam Smasher but it’s too late for regrets. Slice the door open to proceed and get prepared for a very tricky part.
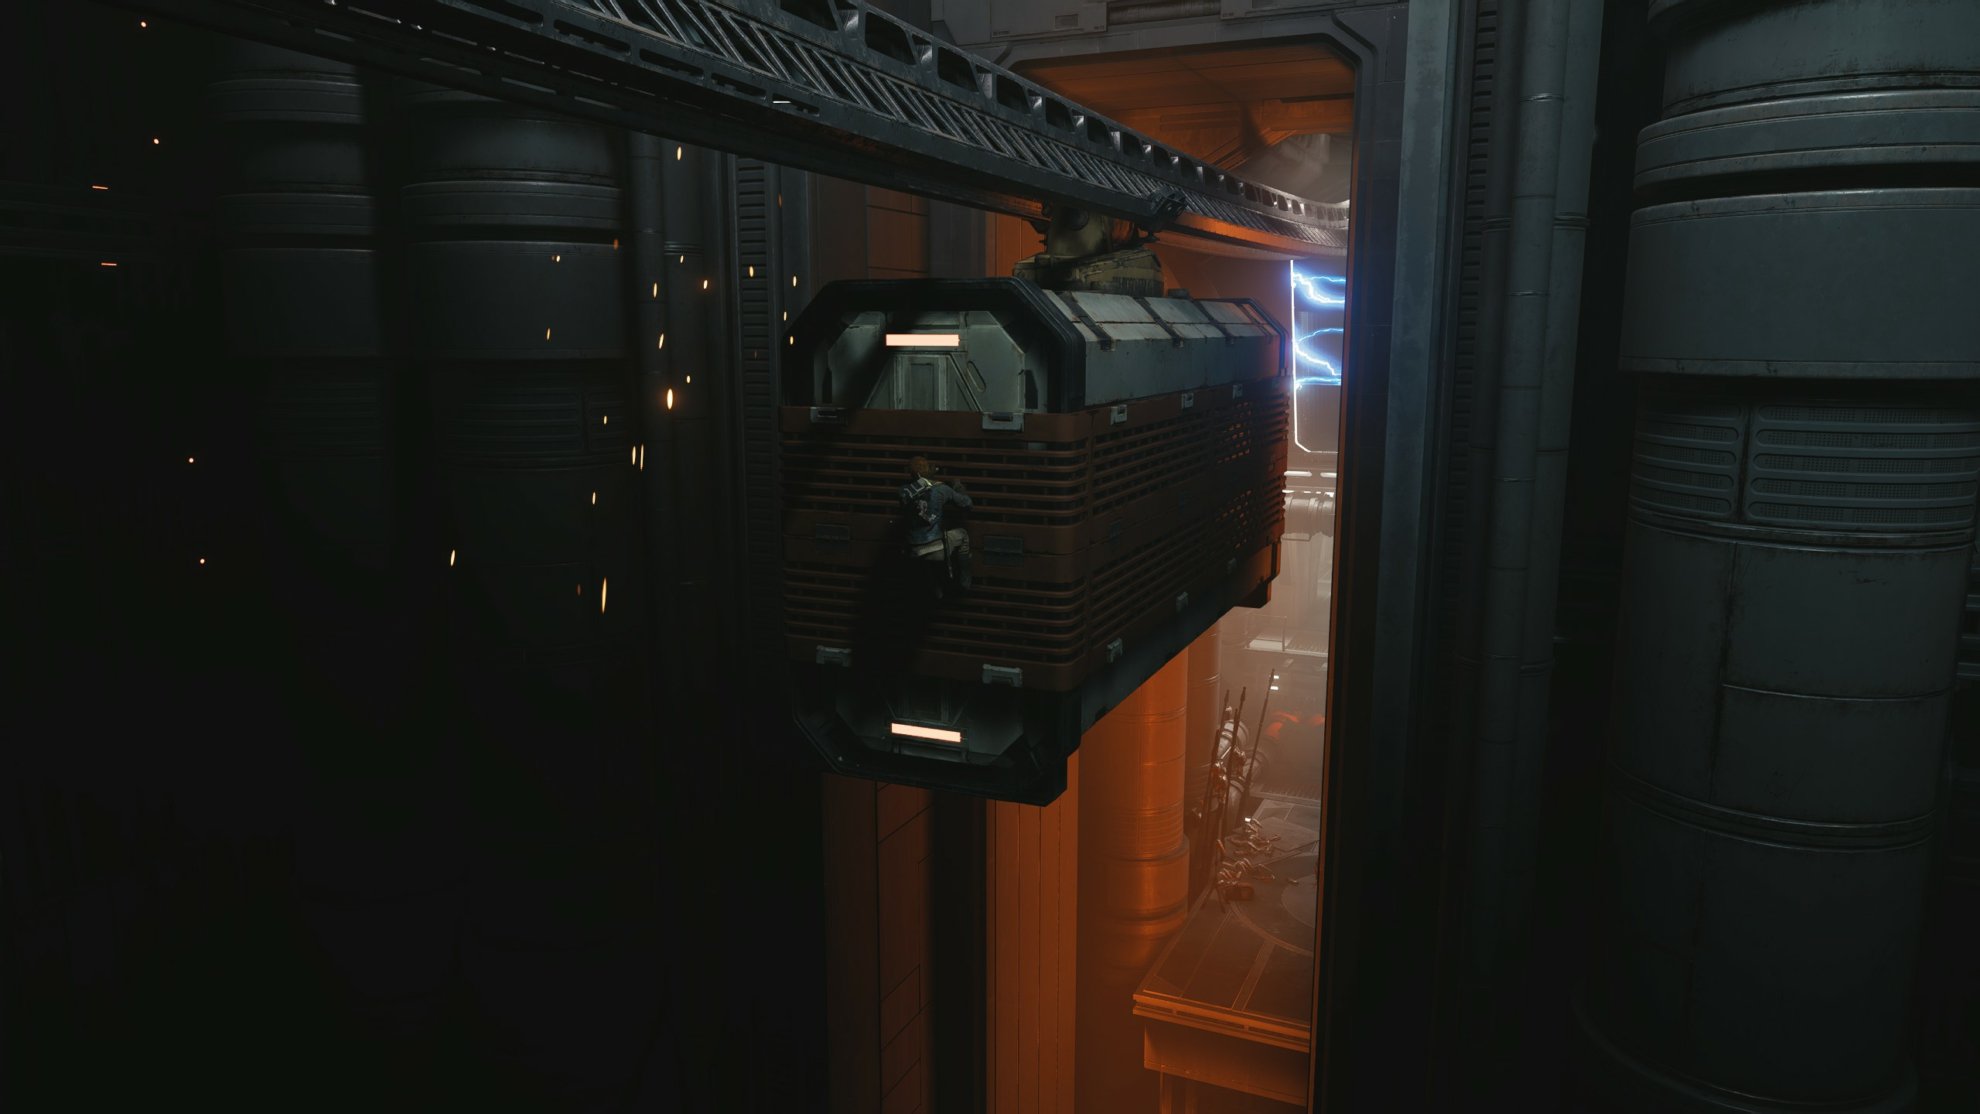
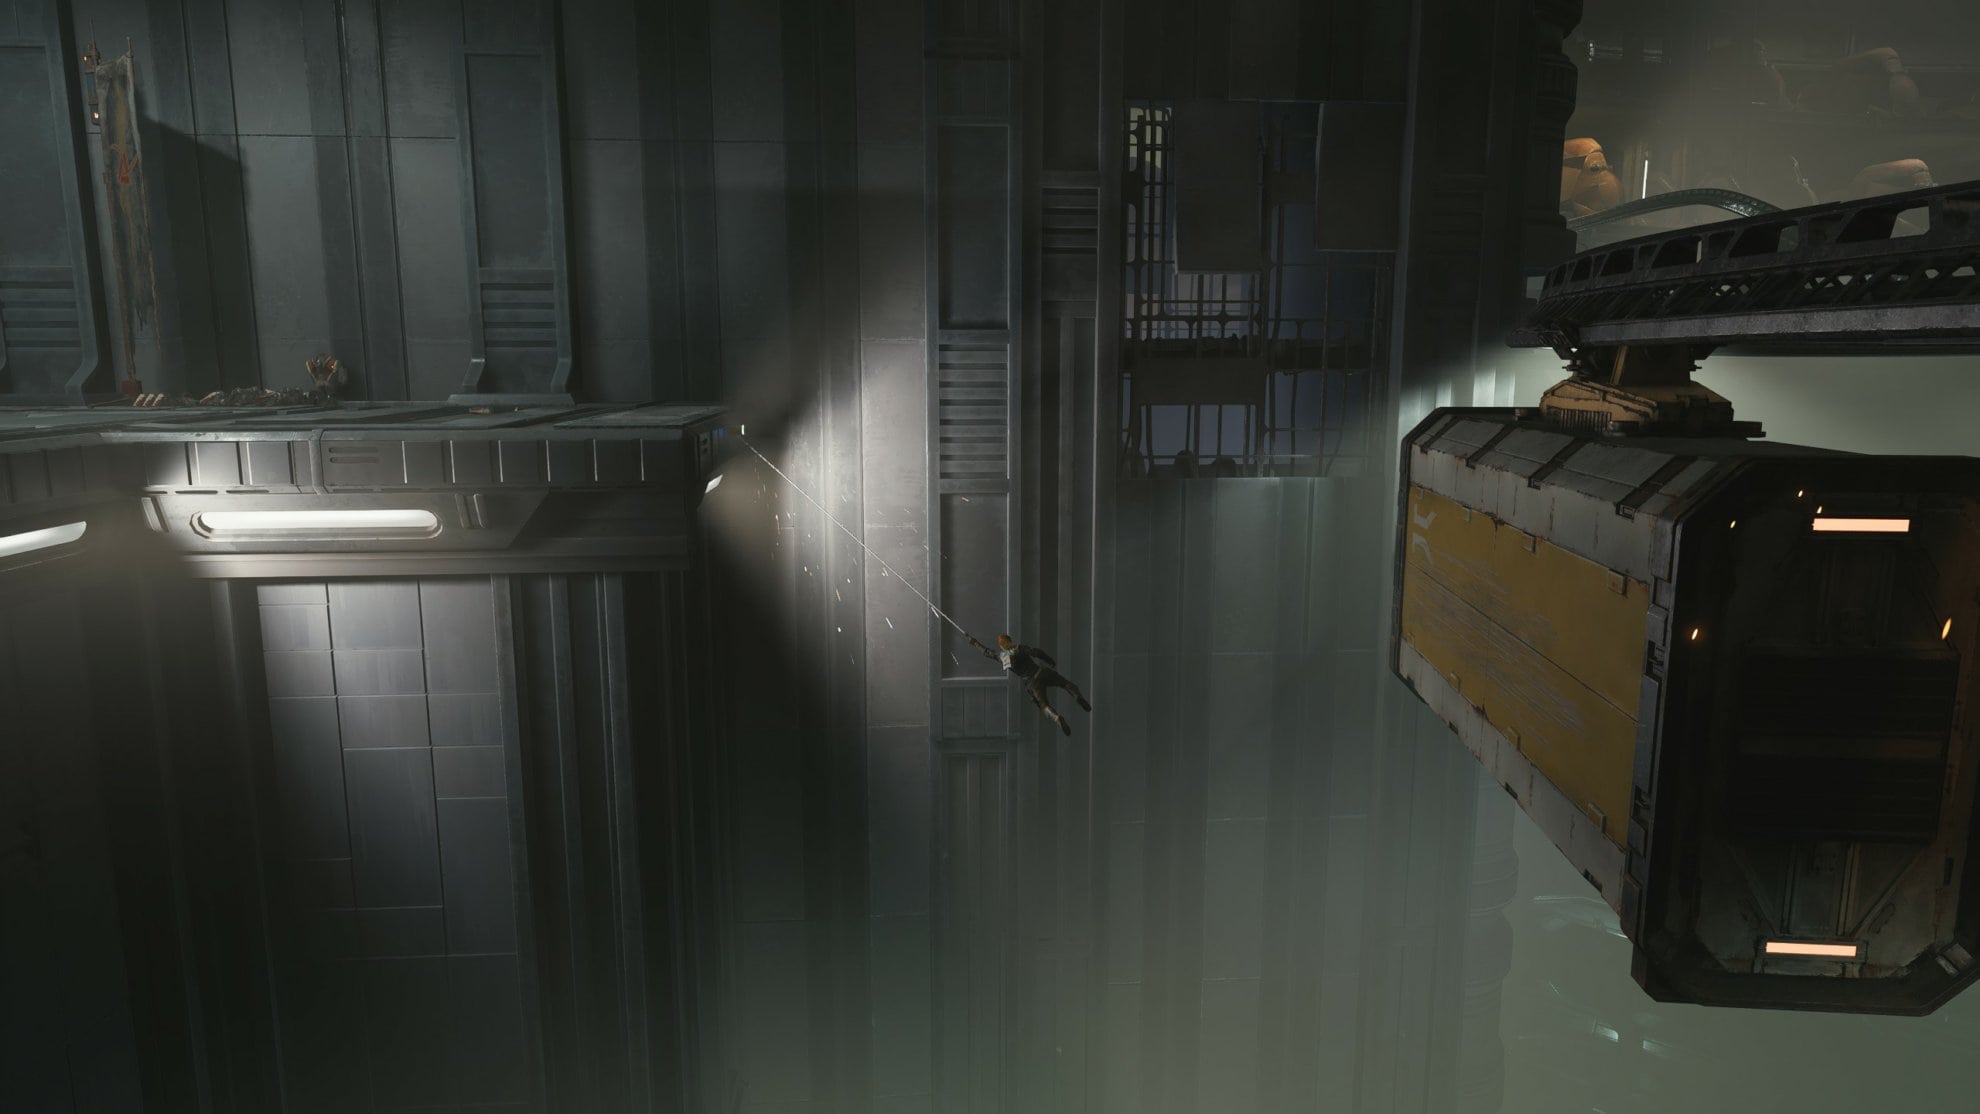
You’ll see numerous crates being pulled across a conveyor, all of which are yellow can you can run across. Your goal here is to run across one, jump off when you get to the end of the crate, then jump back onto it to repeat the process until you can hook onto a ledge with your ascension cable.
Once you climb up the ledge, go to the terminal near the door and slice it. Here you’ll find you’re in the Yurt Barracks, a housing area for the Bedlam Raiders. Follow Bode to the barracks and prepare for a fight.
This area gets cramped so watch your sides and back as you’ll easily get surrounded here. The hallway before the Yurt Barracks will have a locked door, open it to create a shortcut to the Meditation Point.
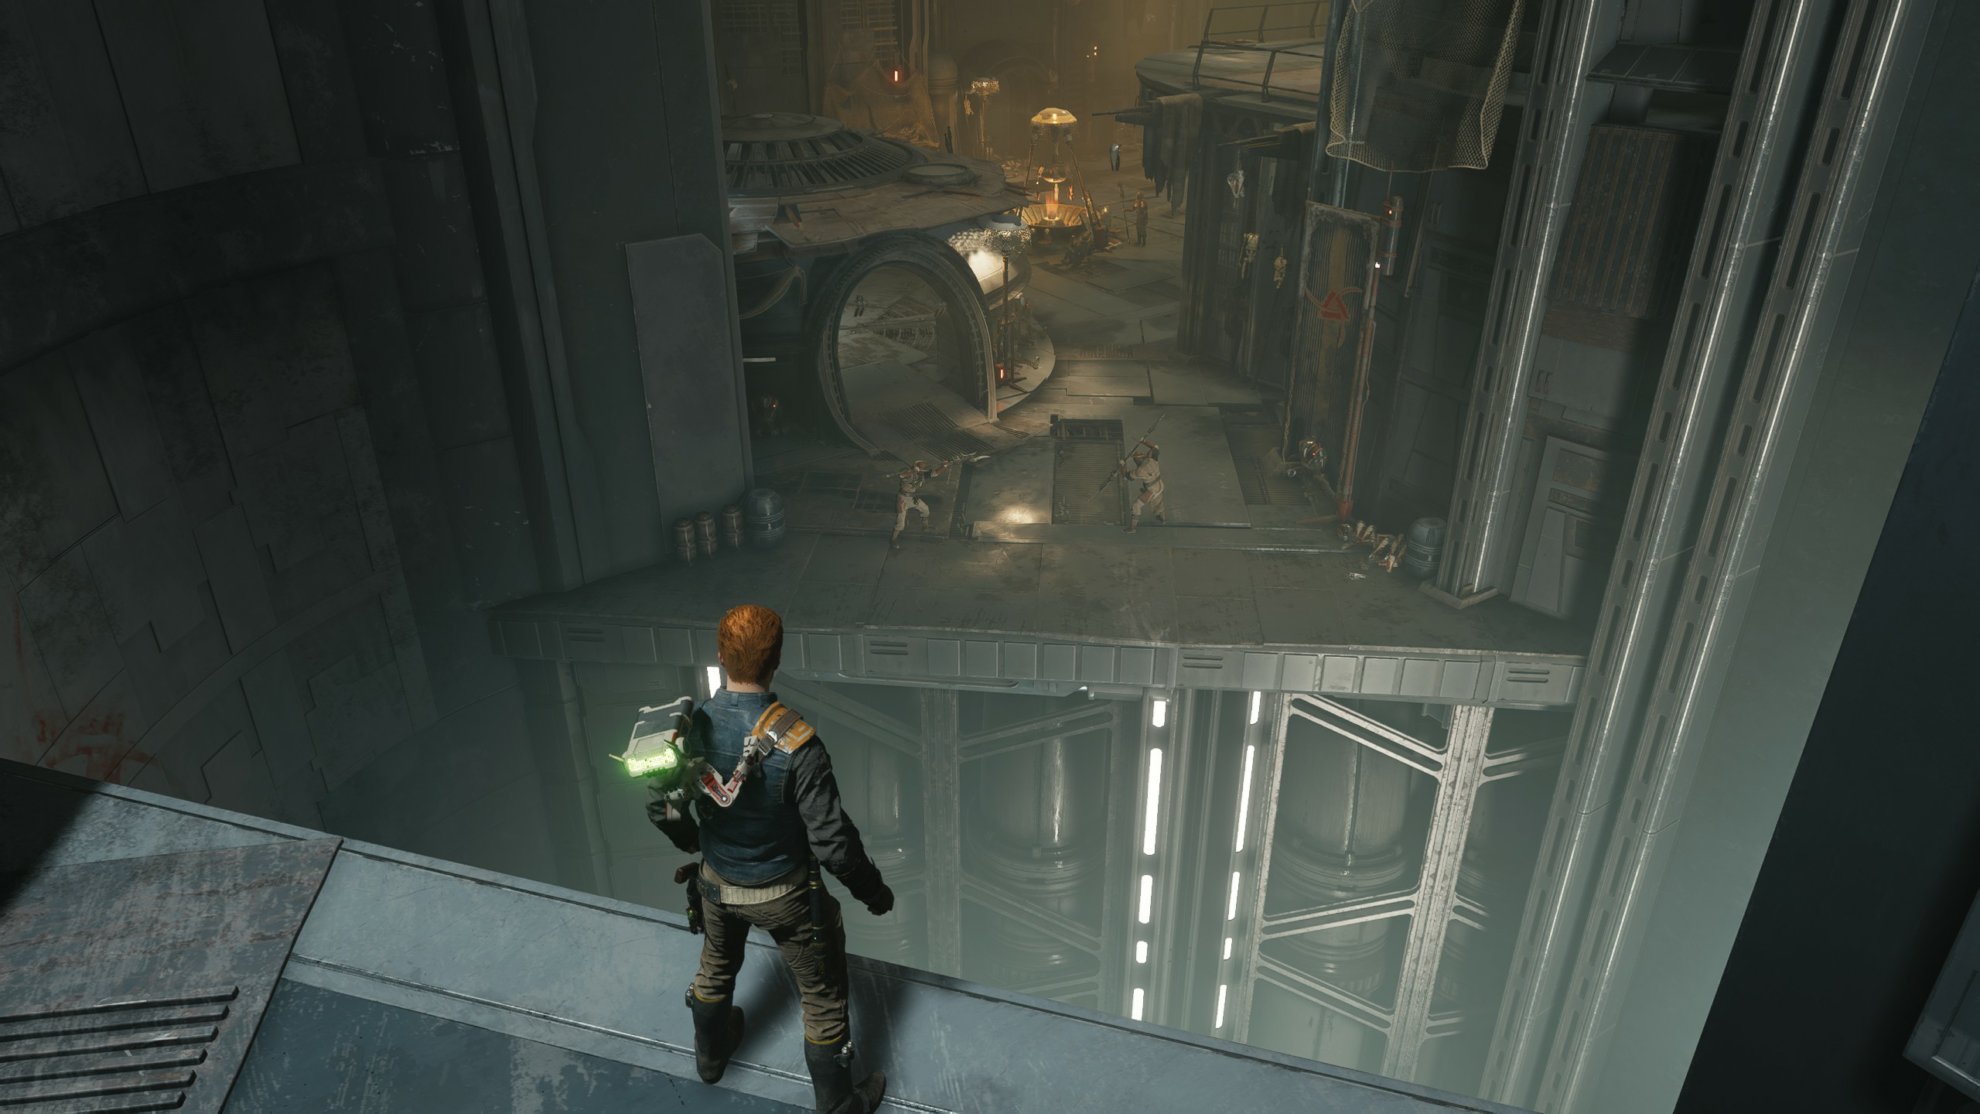
Fight through the first area of the Yurt Barracks until you’re at a ledge where you see two raiders training. Double jump dash to them and attack one of them while falling for an instant kill.
Defeat the raiders here then look for this pulley shortcut. Have Bode activate it to get to the upper level. Next you’ll have to fight a lot of droids followed by a Bedlam Smasher. The droids will come out of Multi-Trooper Transports so take them out as they’re placed down.

After you defeat the enemies here, go to the left to slice a door open. Just keep following Bode and a cutscene will start. After the cutscene, move forward until your path is cut off by a shut door. Turn around and look down to find a platform below, jump down here and go through the door.
Once you’re down, go to the right and continue down the dark hall way. There’s a nook with a red light that has an idea you can squeeze through, go through here to proceed. After a cutscene with Rayvis, you’ll fall down a large shaft only two encounter two shielded turrets at the bottom. Cal will have a flashback and another cutscene will play.
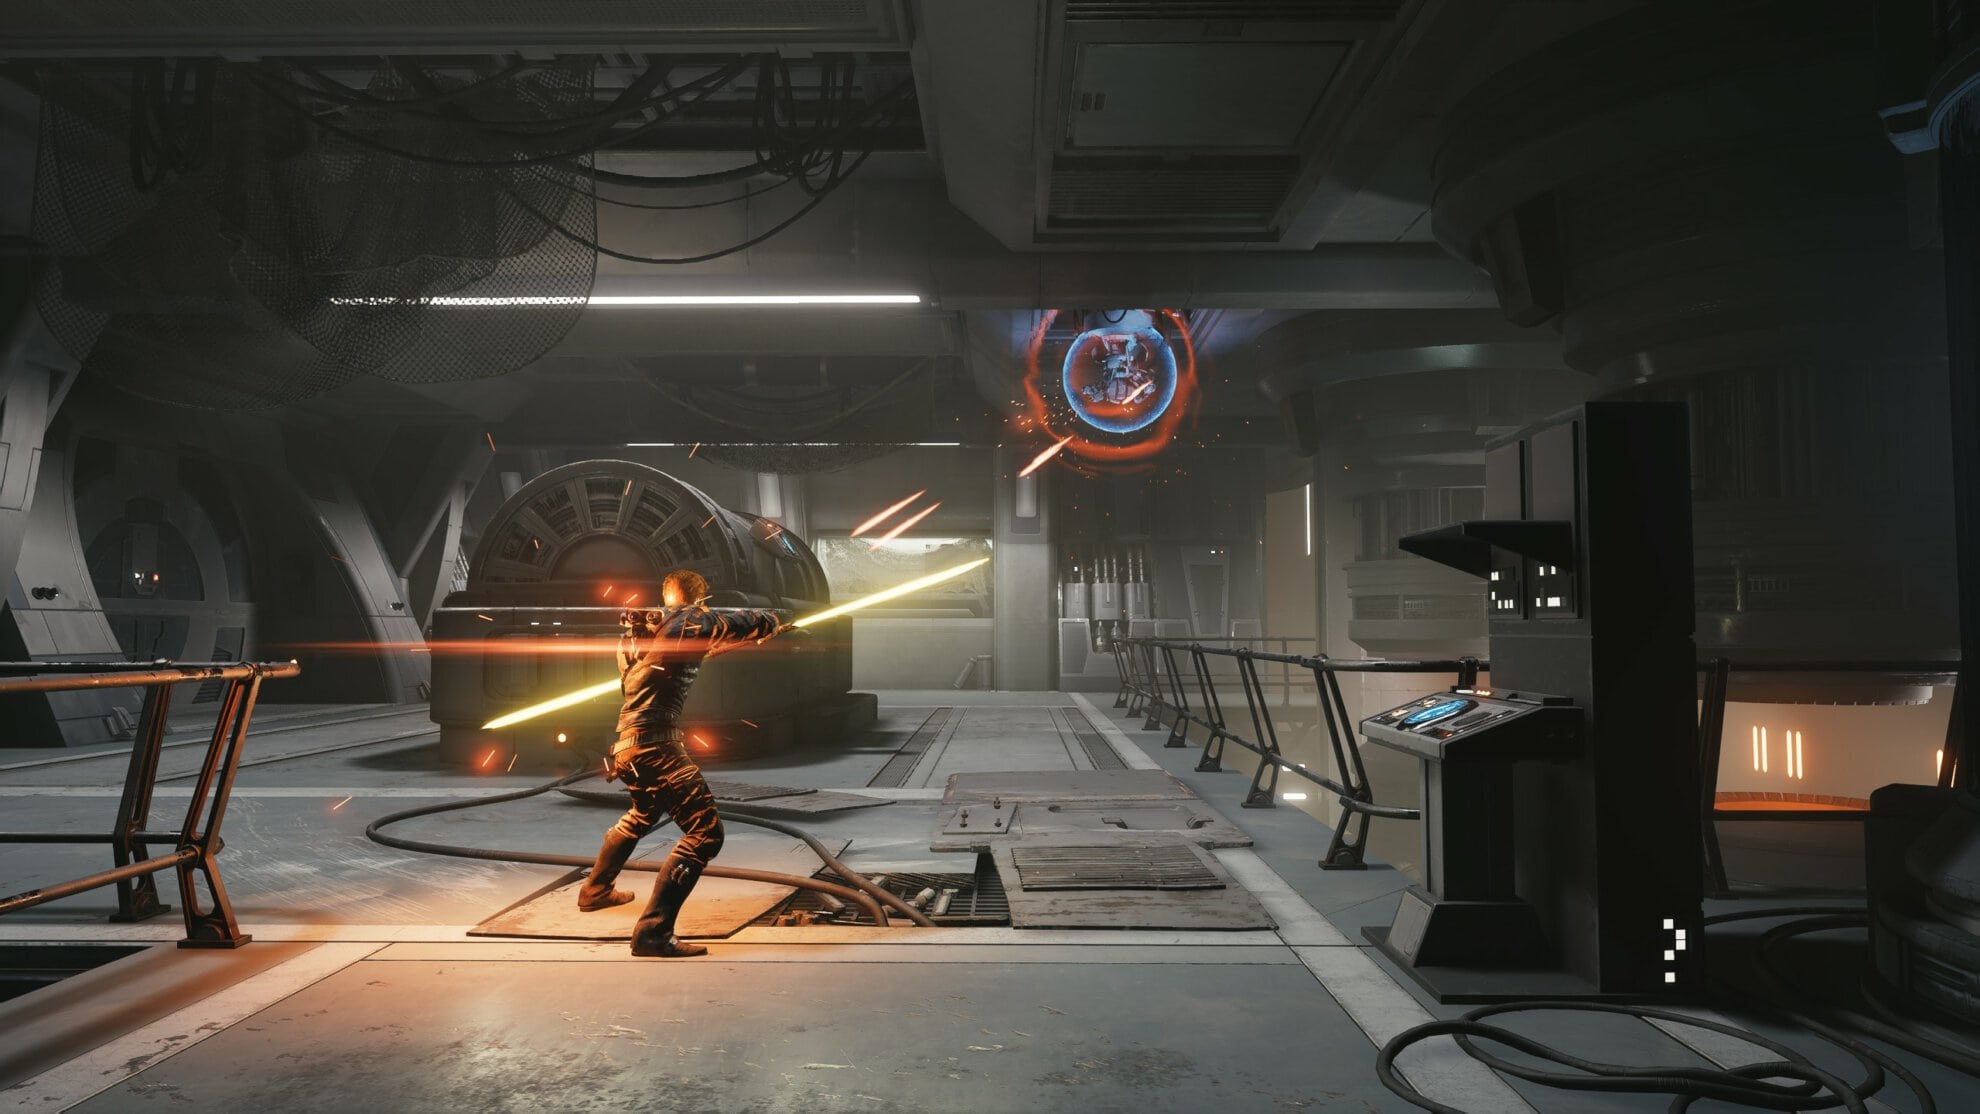
After the cutscene, you’ll be able to use the Force Lift and Force Slam powers. Target the turrets then Force Slam them to destroy them. Force Lift the door ahead to open in and proceed. You’ll reach the Generator Underbelly Meditation Point, rest here to save and refill on stims.
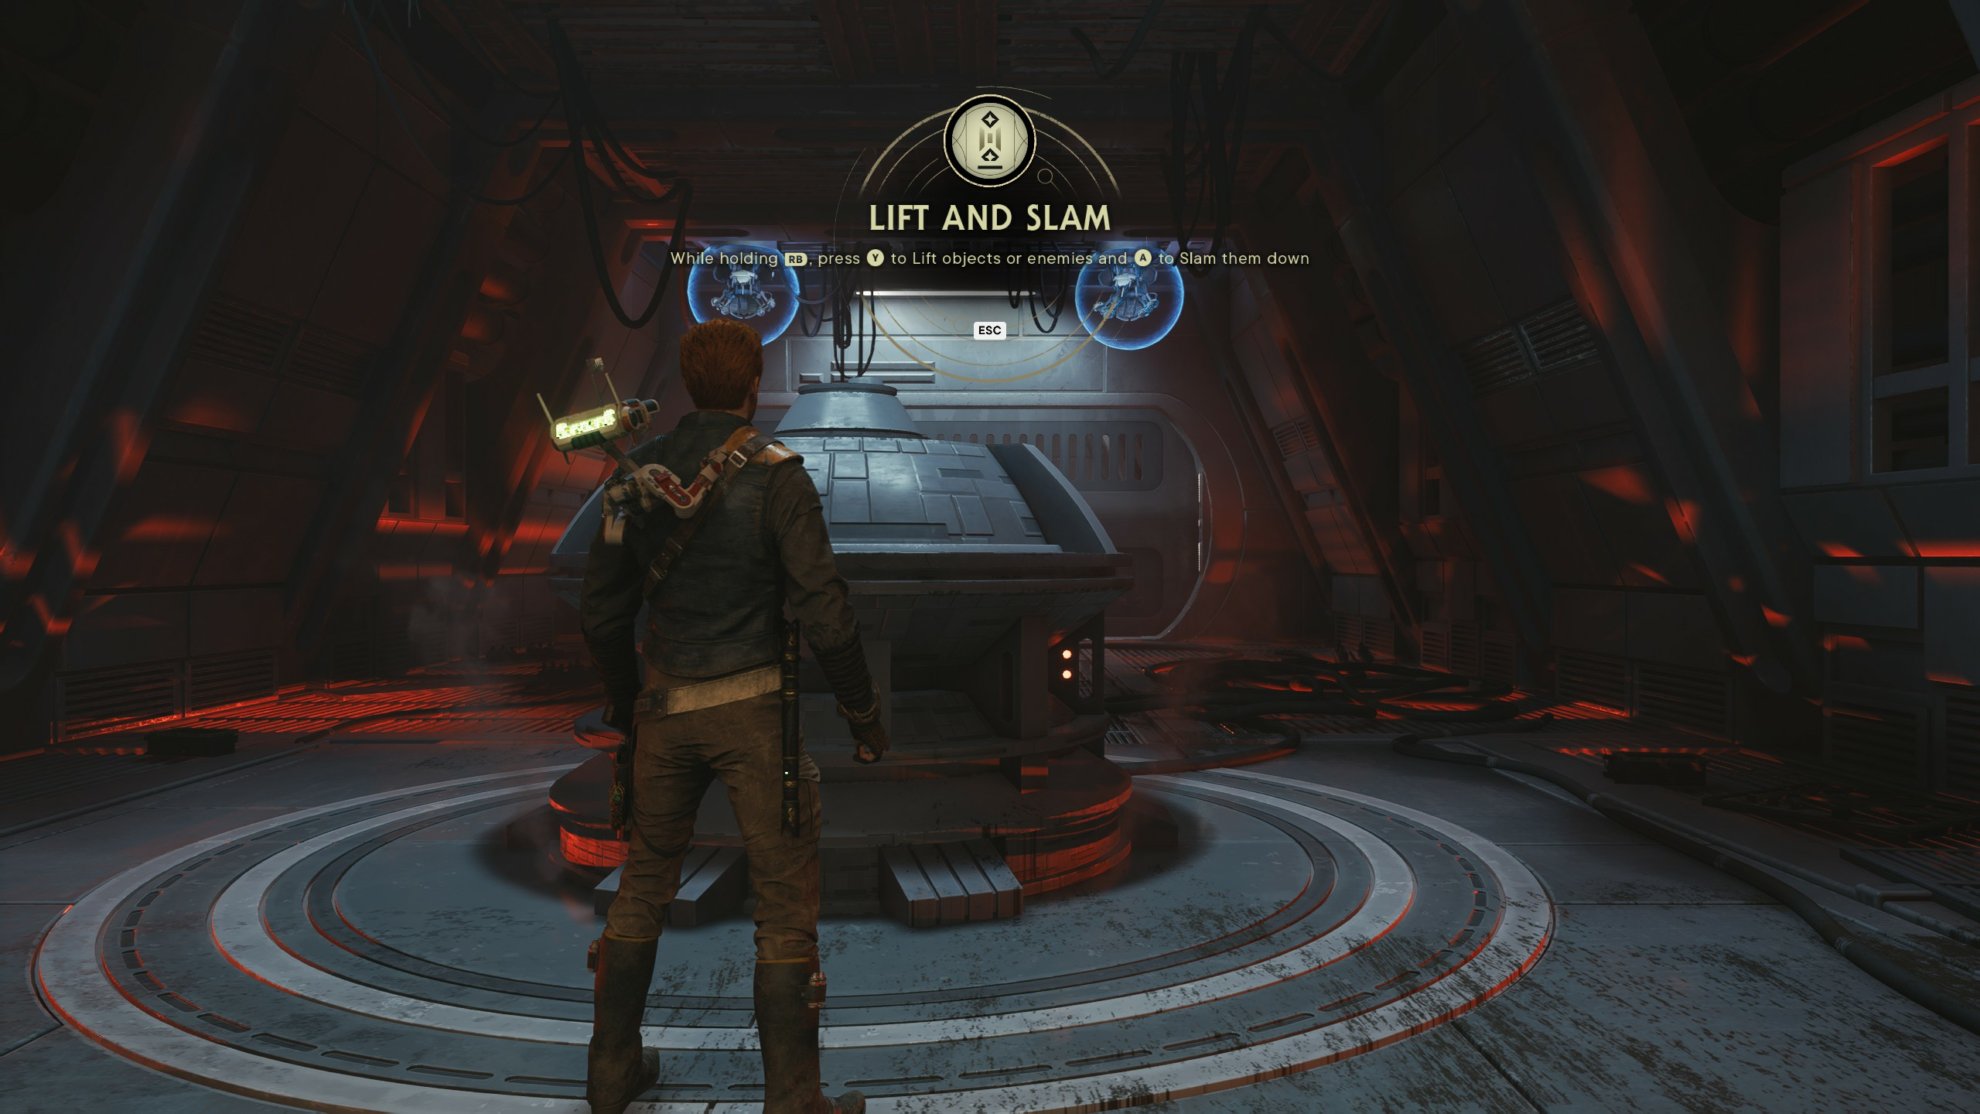
Tip: If you’re against a low health enemy with their guard up, Force Slam is a great way to finish them off. You can also Force Lift enemies!
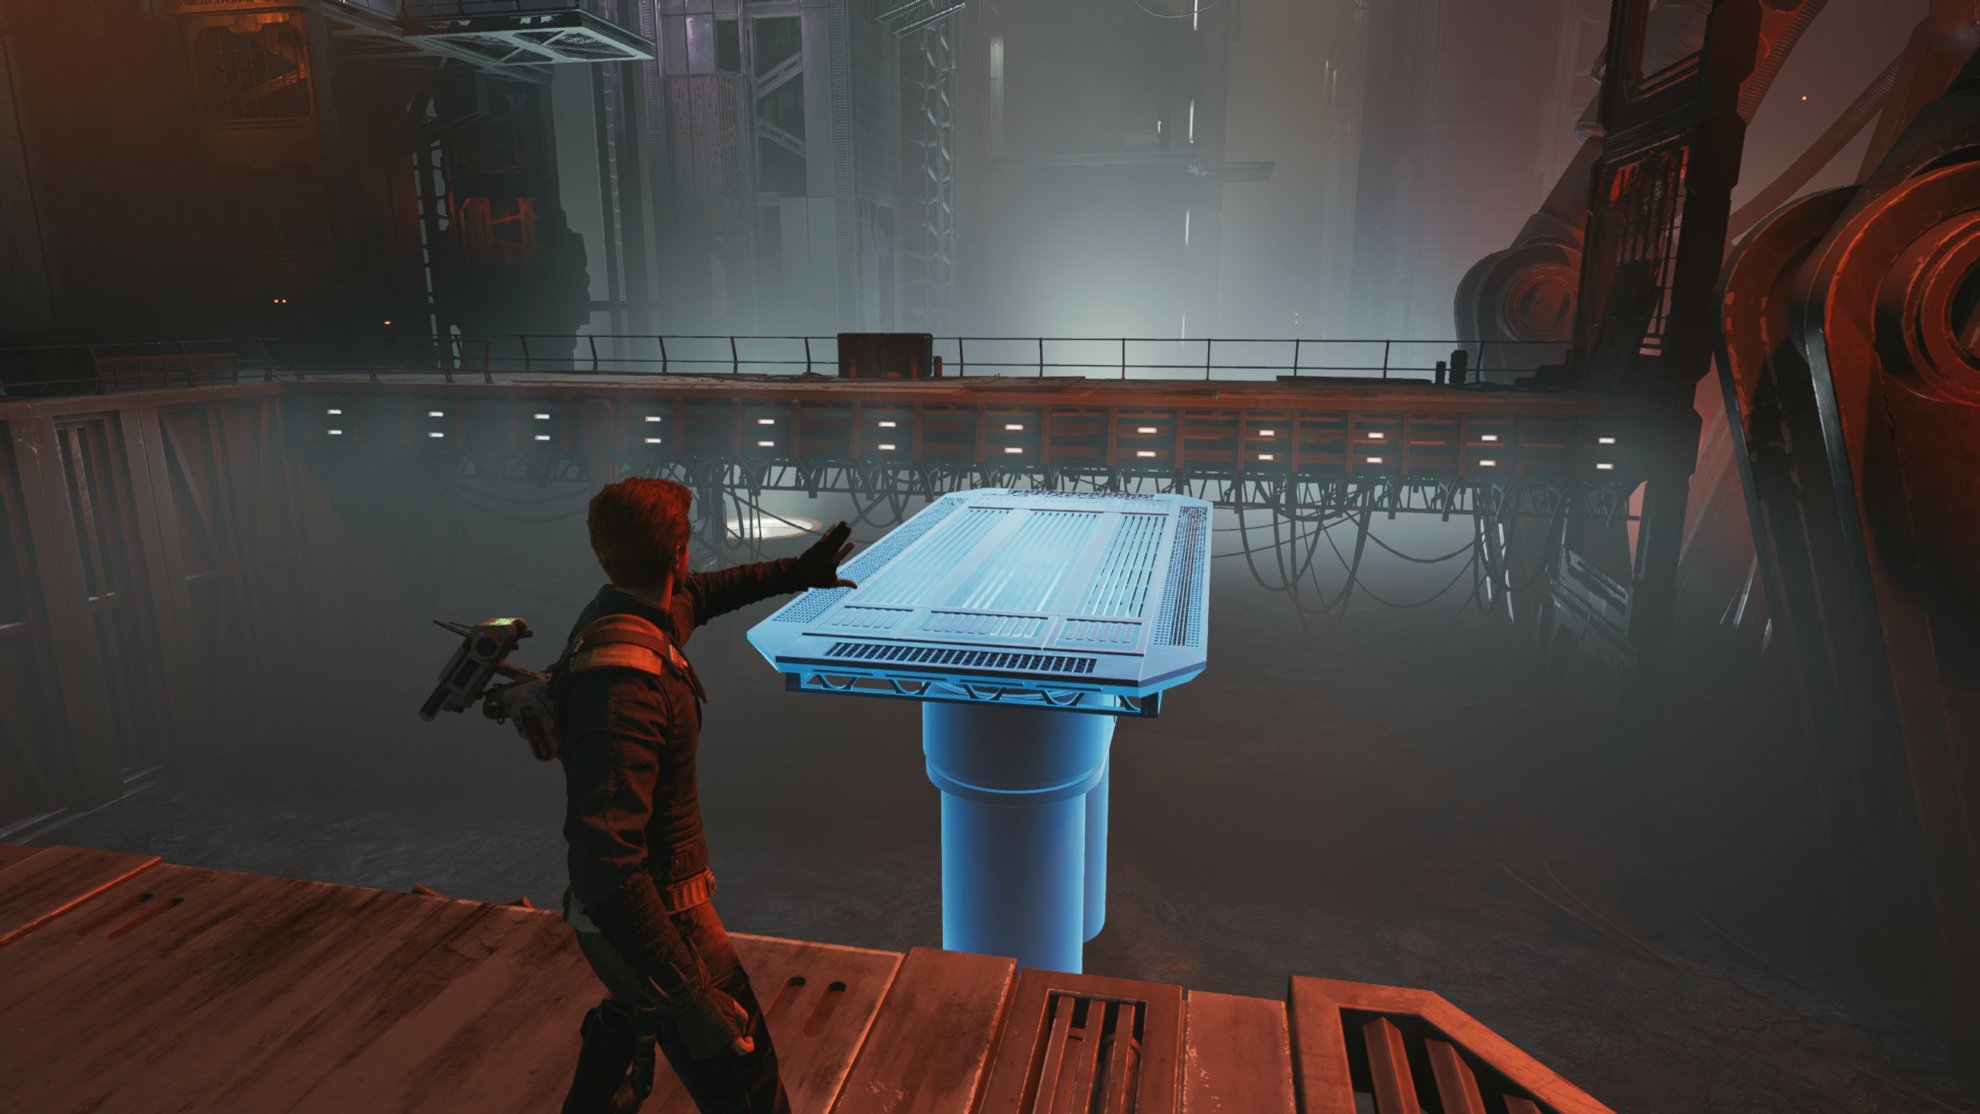
This next room acts as a tutorial room for how you can use Force Lift and Force Slam. In the muck, there’s a platform you can Lift up. Force Lift it and jump over to the other side then destroy the turret.
Past the turret is another platform you can lift. Lift it up, jump on top then go up the ledge to the right.
Jump down to the platform, go up some grates you lift, then hook onto the ledge with your ascension cable. Defeat the raiders ahead then Force Slam a lift on the right side of the room. It’ll go back up automatically so hop on board before it does. Go up the turbolift at the end of the path and follow the path back to the Lucrehulk Core Meditation Point.
Go forward to this lift and Force Slam it down. Take it to the upper level and go to the right, grab onto the hook on the ledge then squeeze through the crevice to get to the turbolift and start a cutscene.
Rescue Zee from Dagan Gera
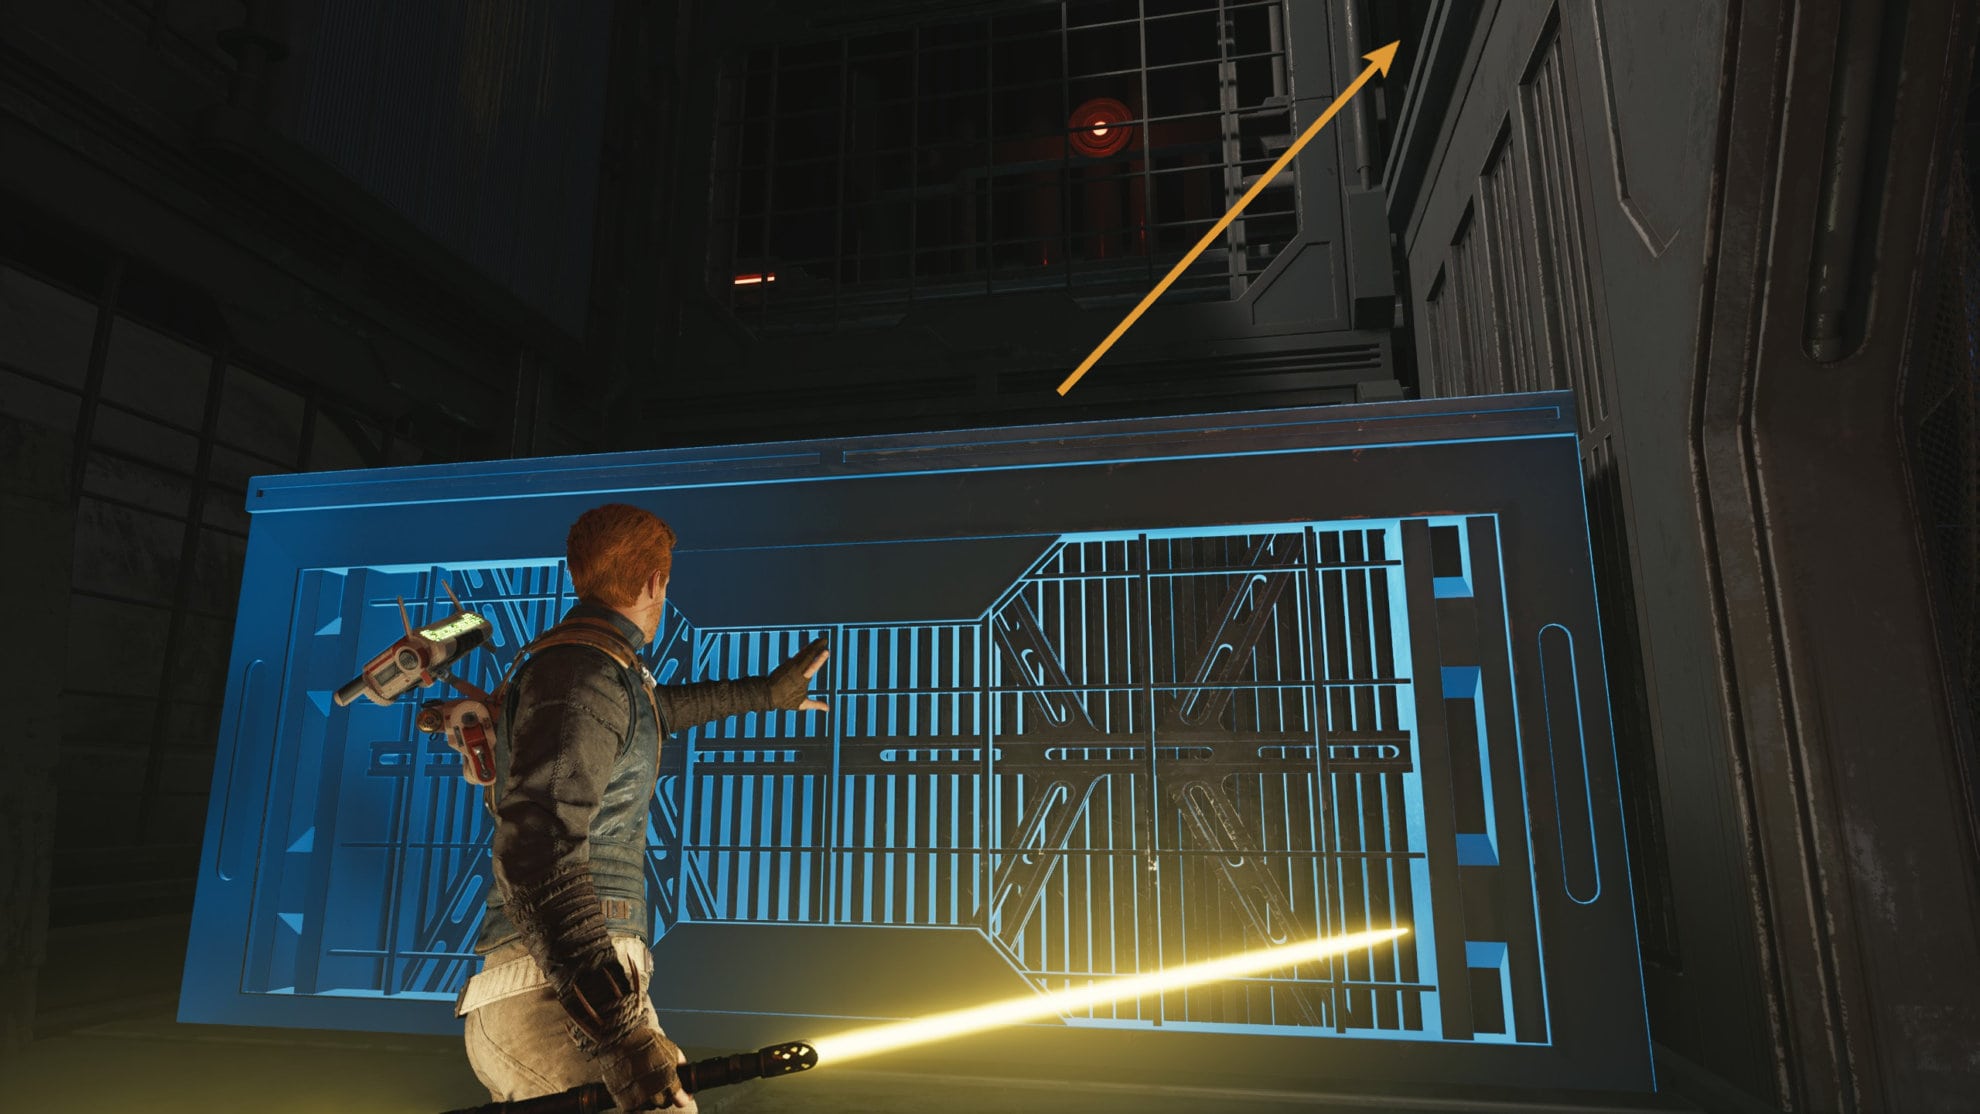
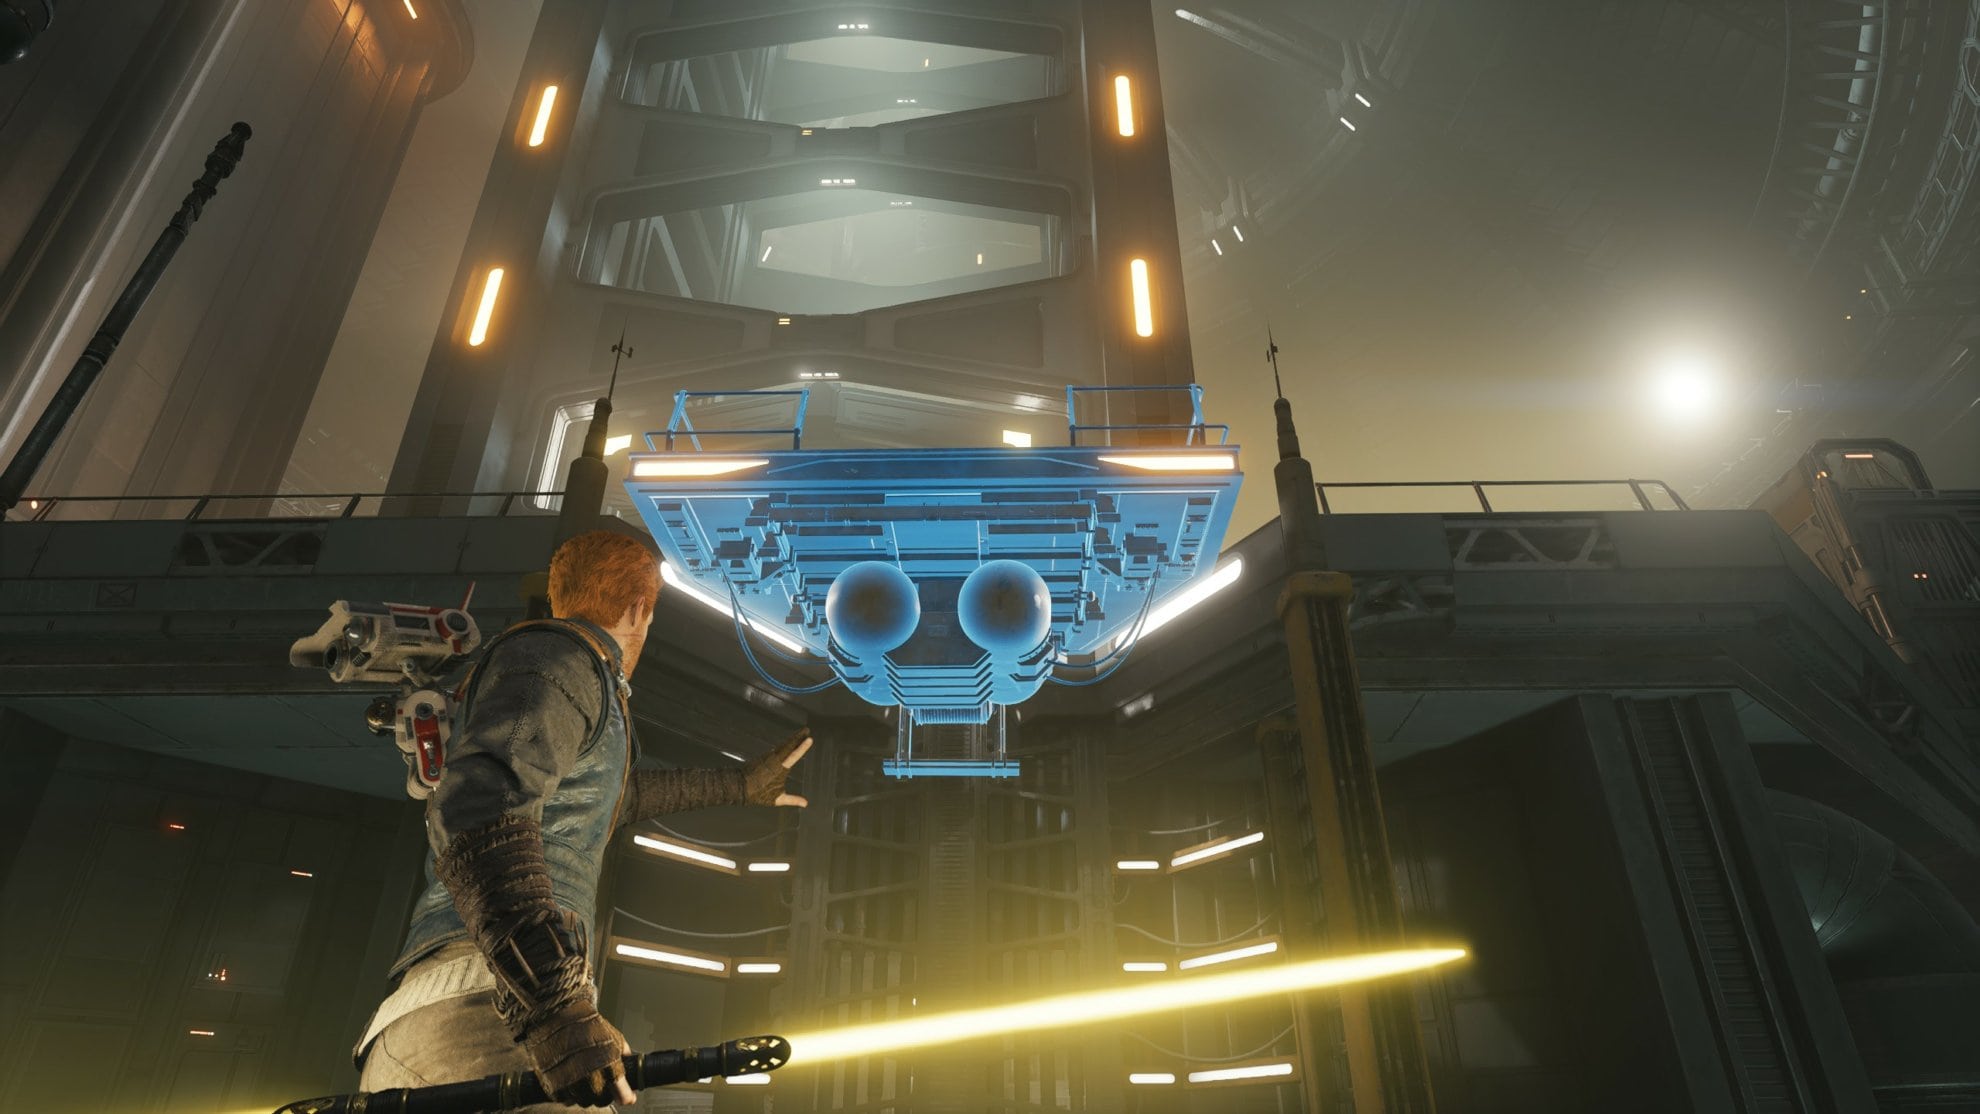
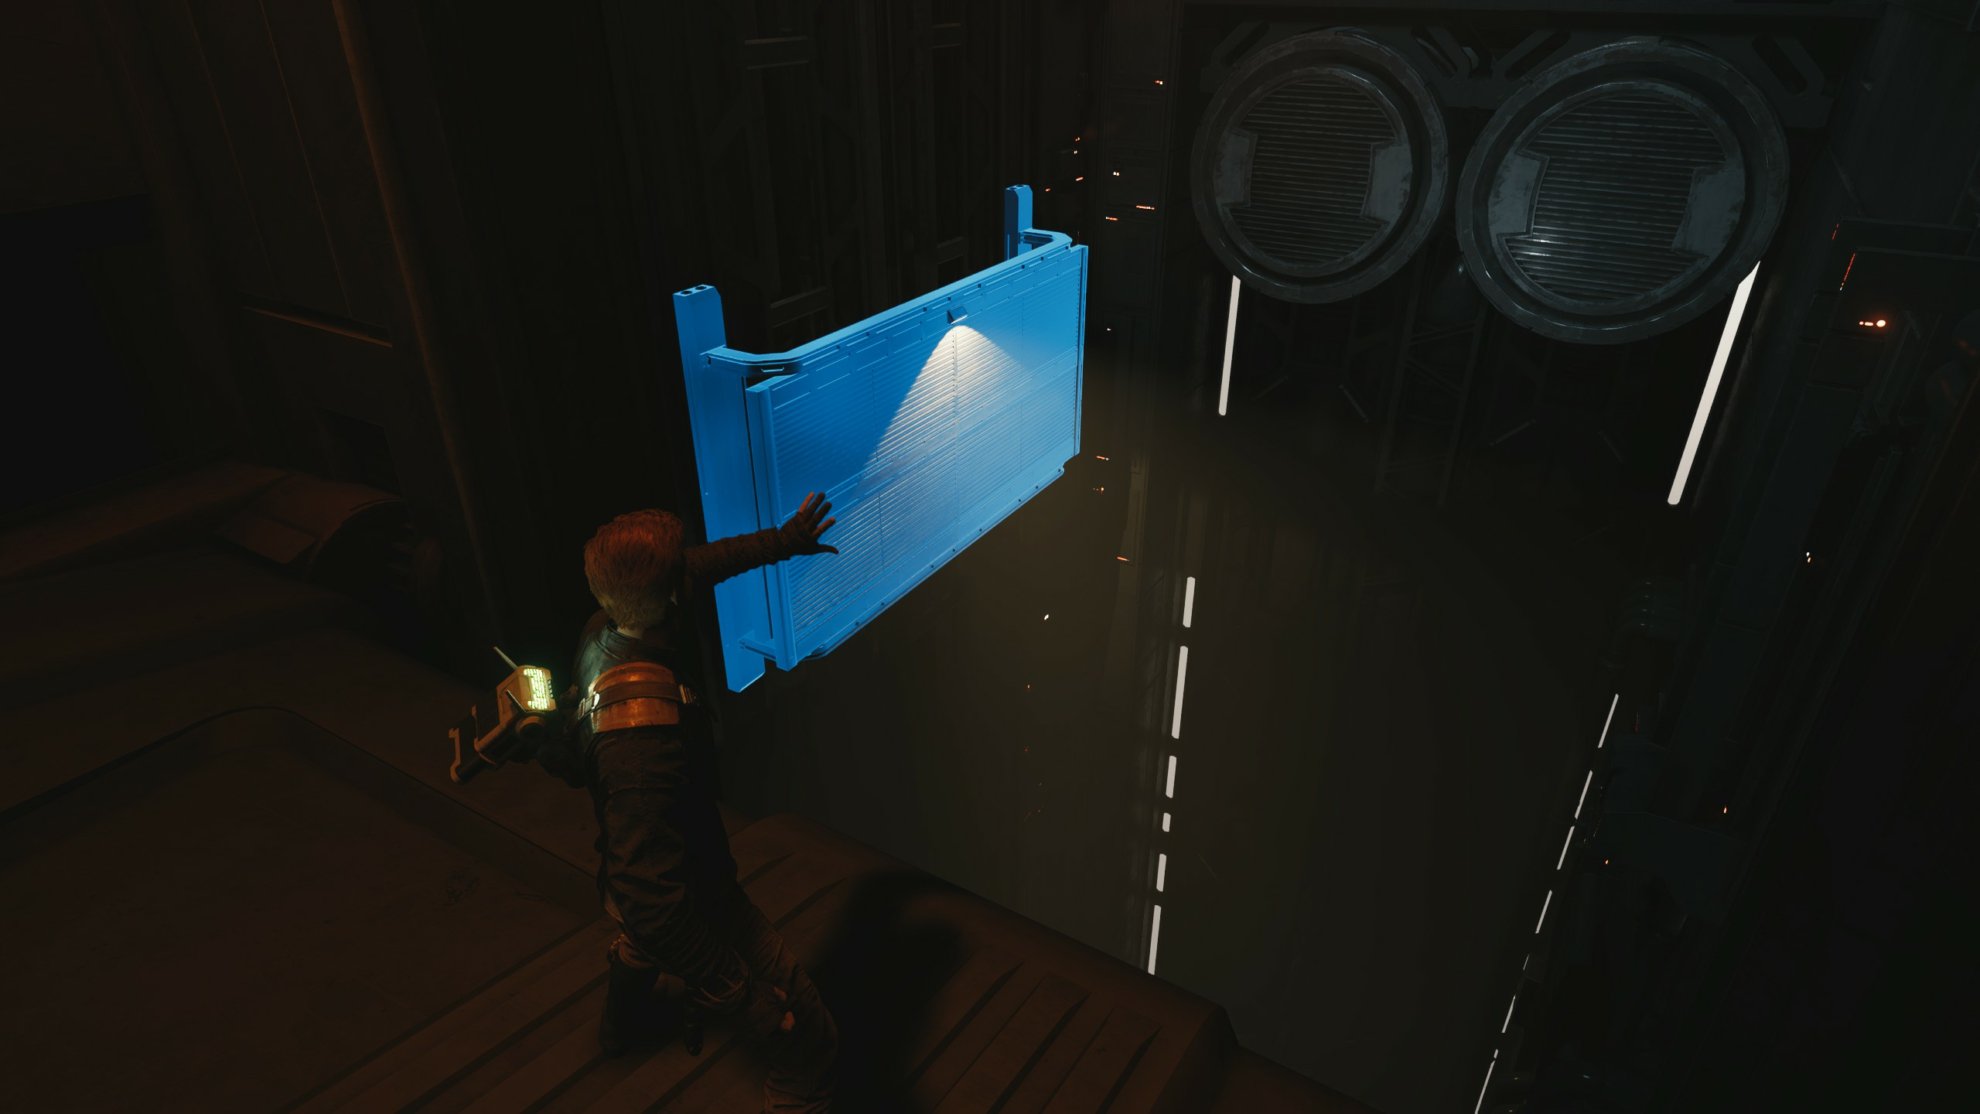
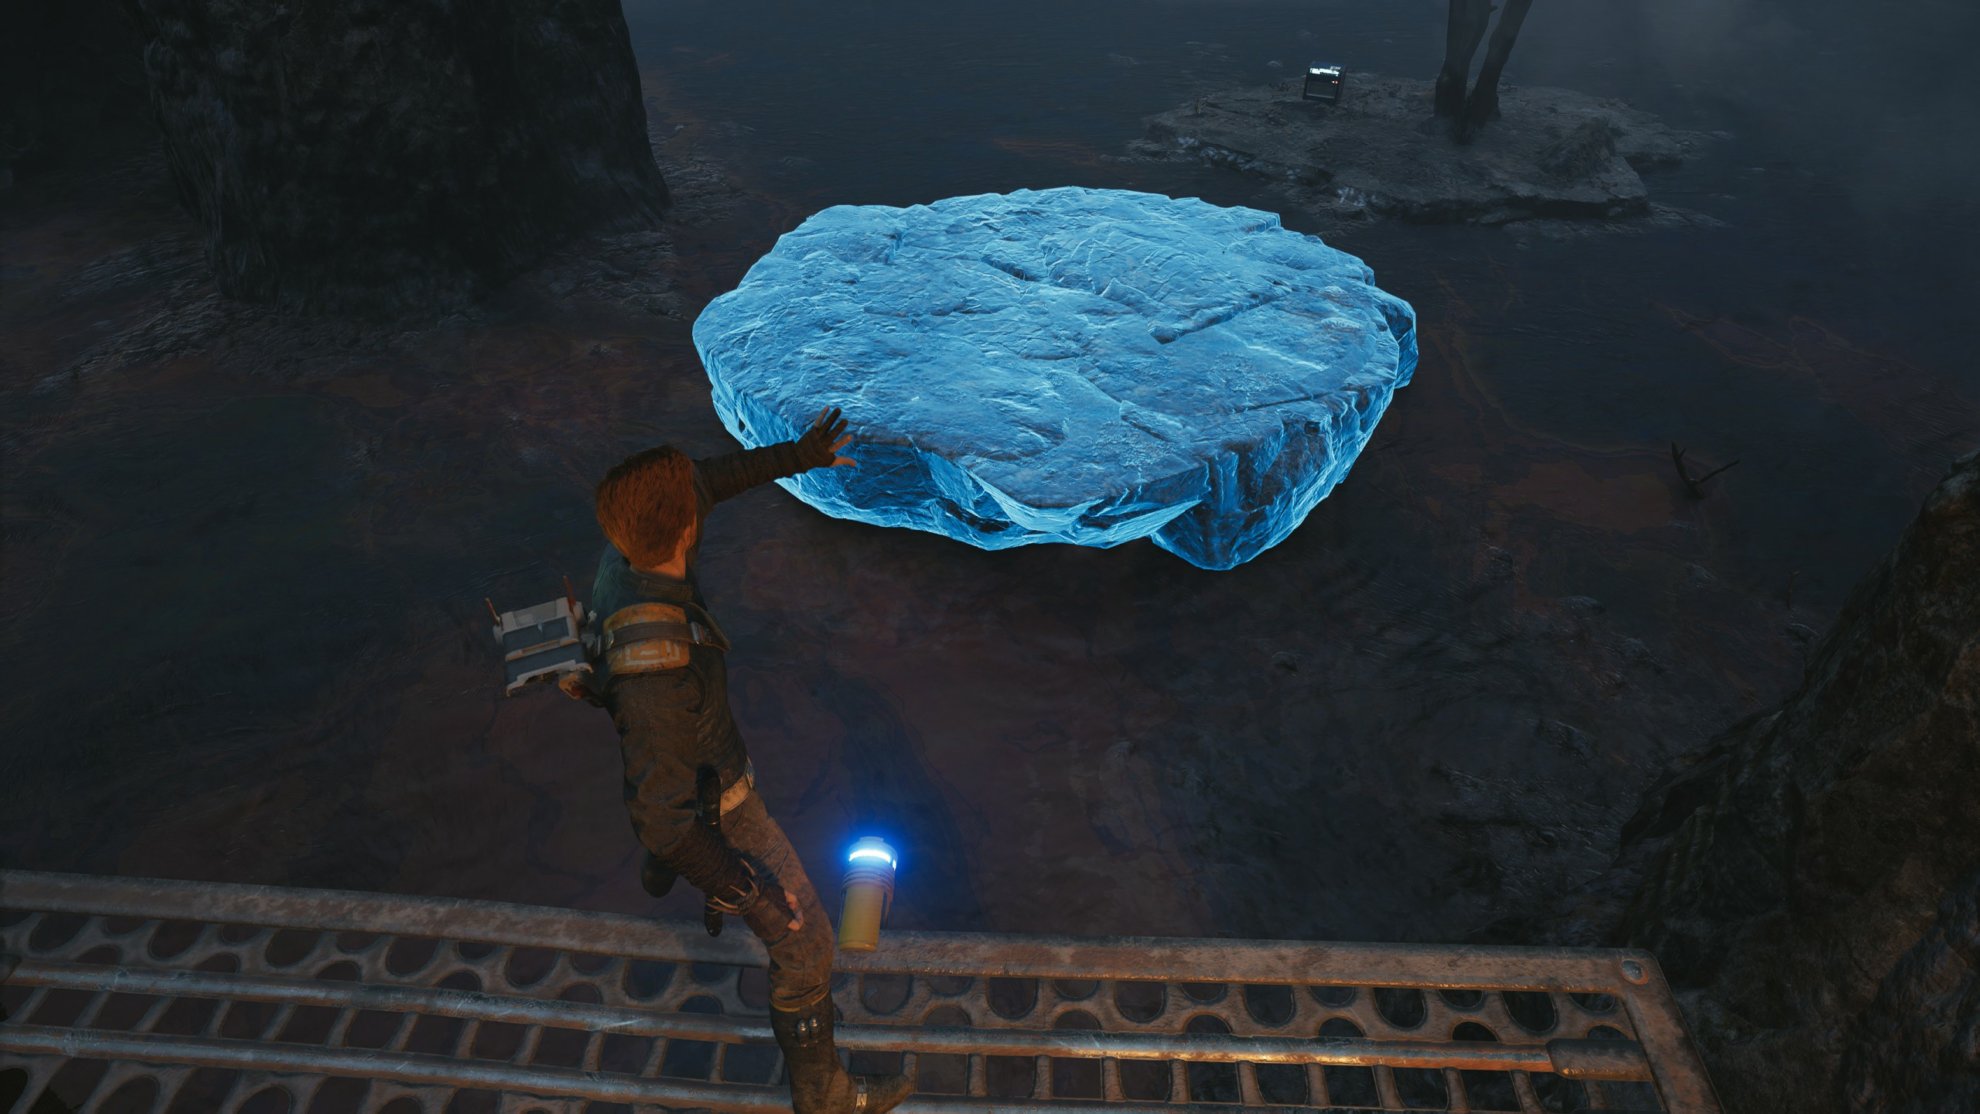
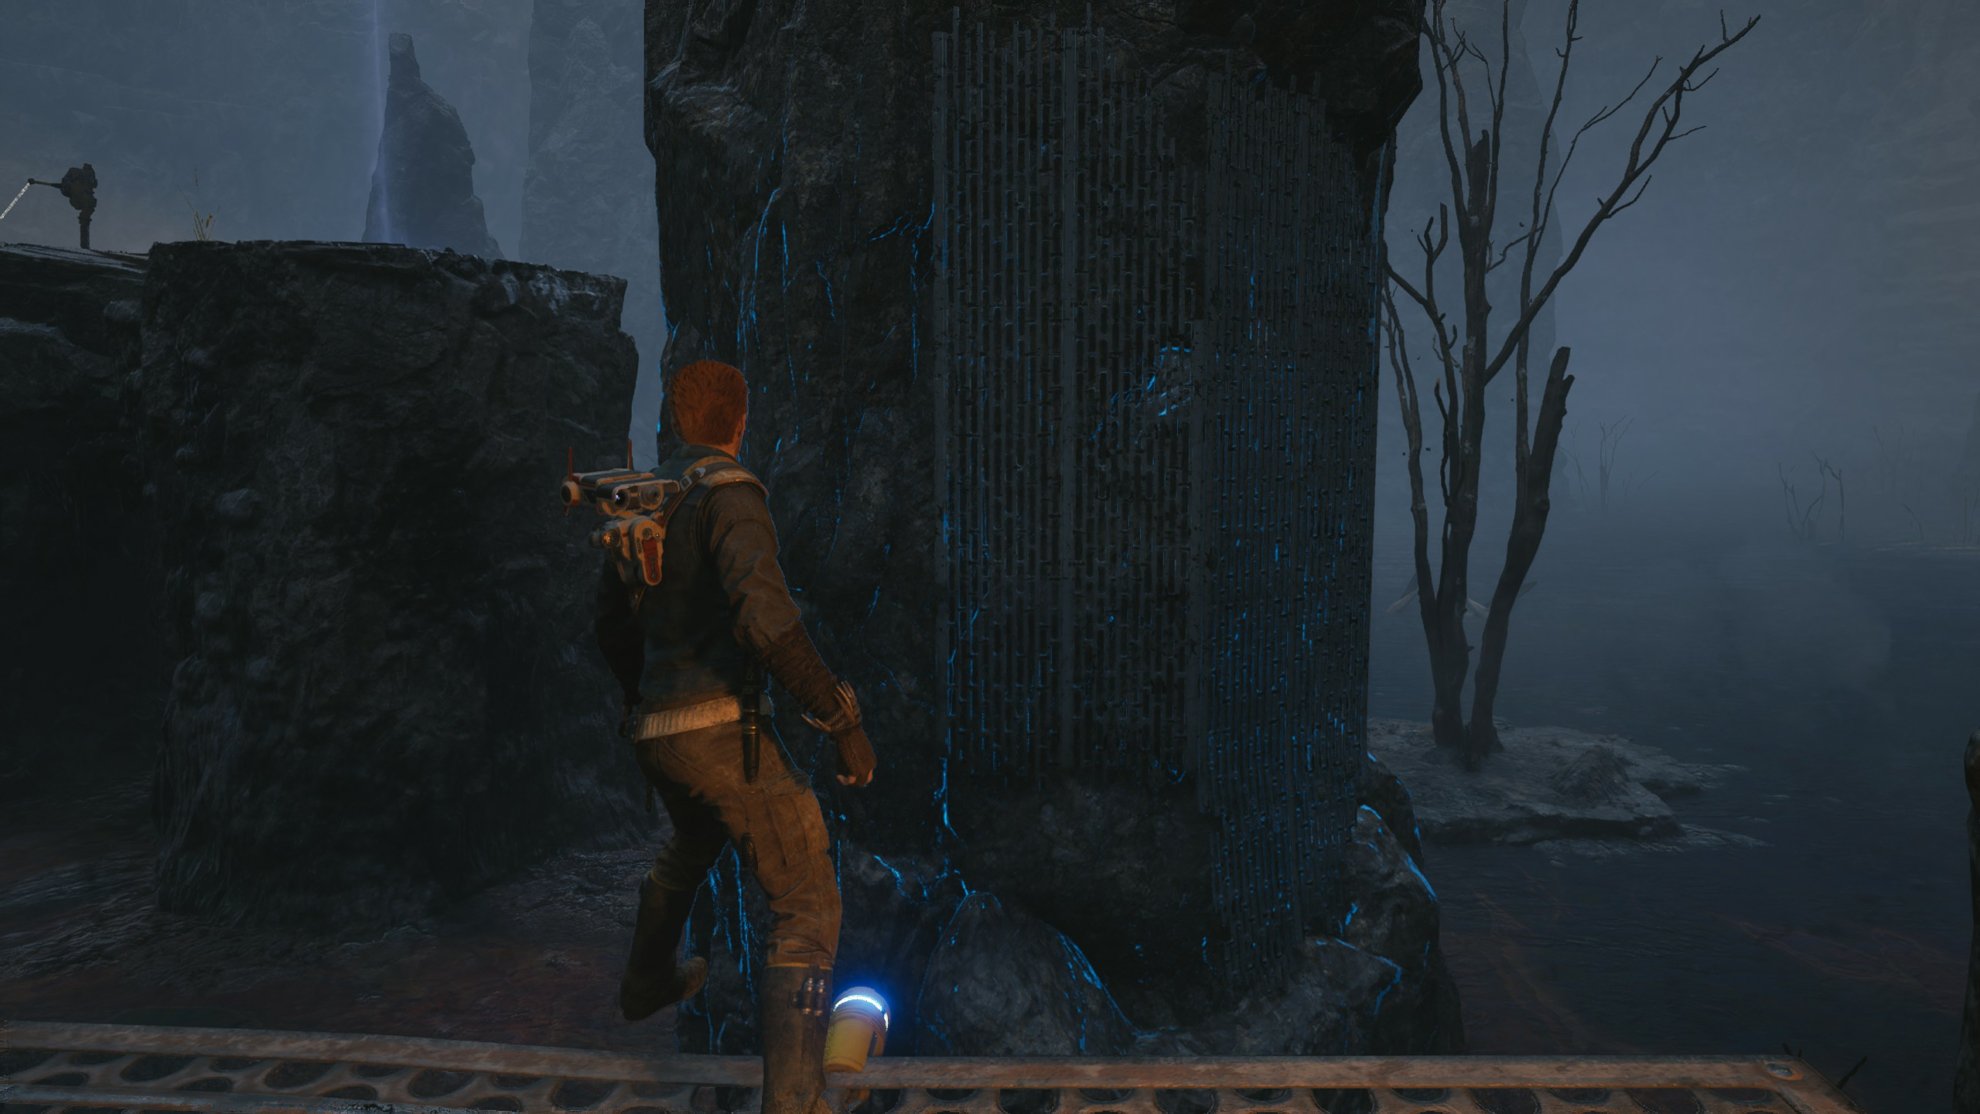
Dagan Gera is planning to wipe Zee’s memory to reprogram her into his loyal servant. You can’t let that happen so now you need to make it to her before Dagan does. Force lift the panel on the left to wall run across the room.
Once you’re across, Force Lift the vent to jump down and access the Forward Control Tower Meditation Point. Rest here and refill your health and stims. Take the next left and Force Slam the blast doors at the end of the hall to find Zee. A cutscene will play and you’ll have your second battle against Dagan Gera.
Boss Battle: Dagan Gera
Having recovered from his time in the Bacta Tank, Dagan is far more dangerous than he was previously. He’ll use a second lightsaber to orbit around him making it tough to get close to him and tough to get away from him when he goes in to attack.
If you have the confidence and the skill, run into the orbiting blade and parry it. This will drain a massive amount of stamina from Dagan making him vulnerable to parries against his combos.
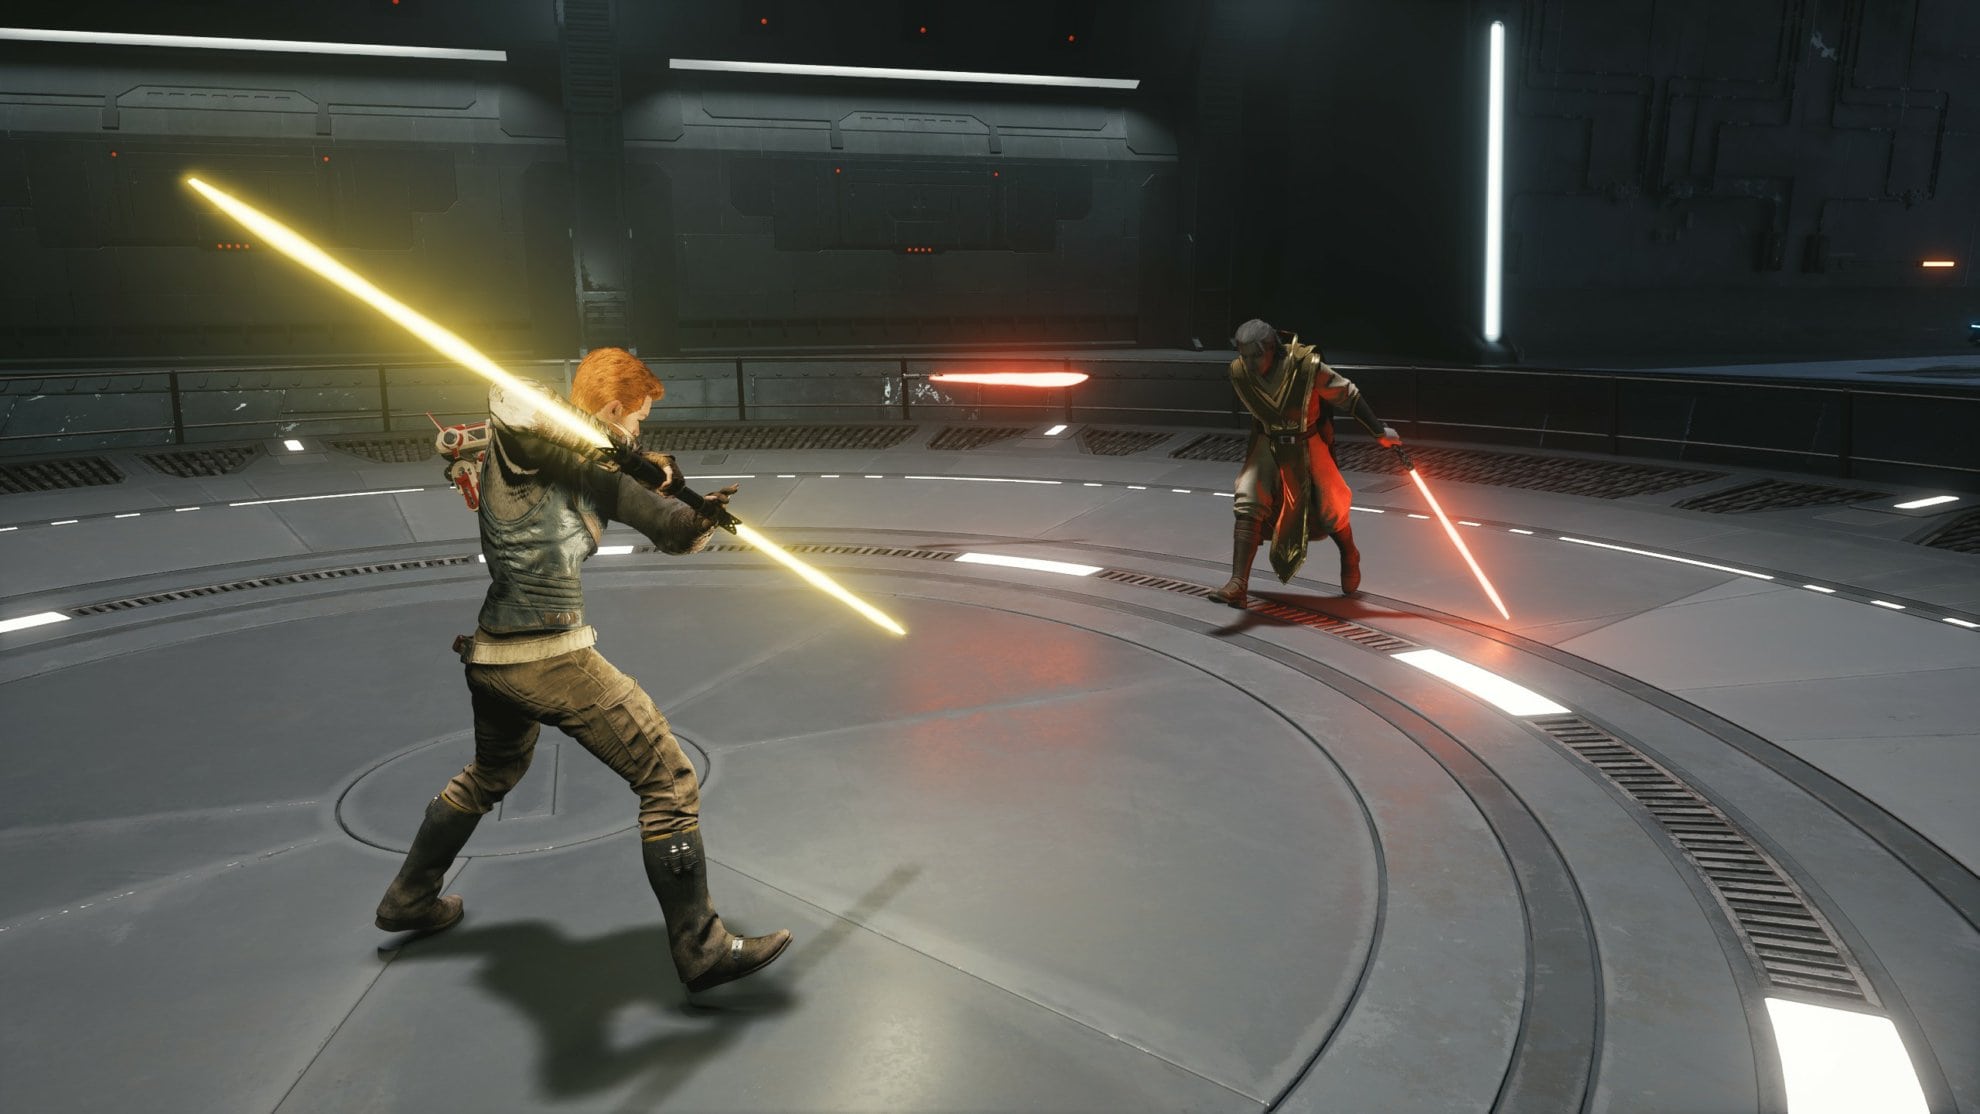
Be cautious of his dual wield attacks as this is hard to parry at higher difficulties. It might be more prudent to dodge this combo instead. Do this by dodging backwards then dodge to the side to avoid his lunge.
Escape the Lucrehulk
After defeating Dagan, pick up the Force Essence to get a boost to your maximum health. Follow Bode and Zee to the escape pods and make your way out of the Lucrehulk. Cal will have some less than pleasant memories thanks to the escape pod and you’ll find yourself back in the swamps.
Once you’re outside, you’ll find yourself back on the island with the hut. Find a spire you can Force Lift, climb it, then reach the Viscid Bog Meditation Point. Take a rest and fast travel to the Mantis.
Before making your way back to the Mantis, there’s actually a Jedi Chamber nearby. To learn more, check out our Jedi Survivor Chamber of Connection Puzzle Guide. For anything else, check our Star Wars Jedi Survivor Guides Master List.
Our Jedi Survivor Walkthrough series continues with the next challenging and complex mission to confront Dagan ad the Koboh Observatory. If you need help with it, the guide is ready and at your disposal!


