
This guide will show you where to find and how to defeat all Legendary Enemies in Star Wars Jedi Survivor.
As you might imagine, legendary enemies are far superior to most standard enemies and even some story bosses! For most of them, you will require to have most or all abilities unlocked.
Table of contents
Frenzied Jotaz
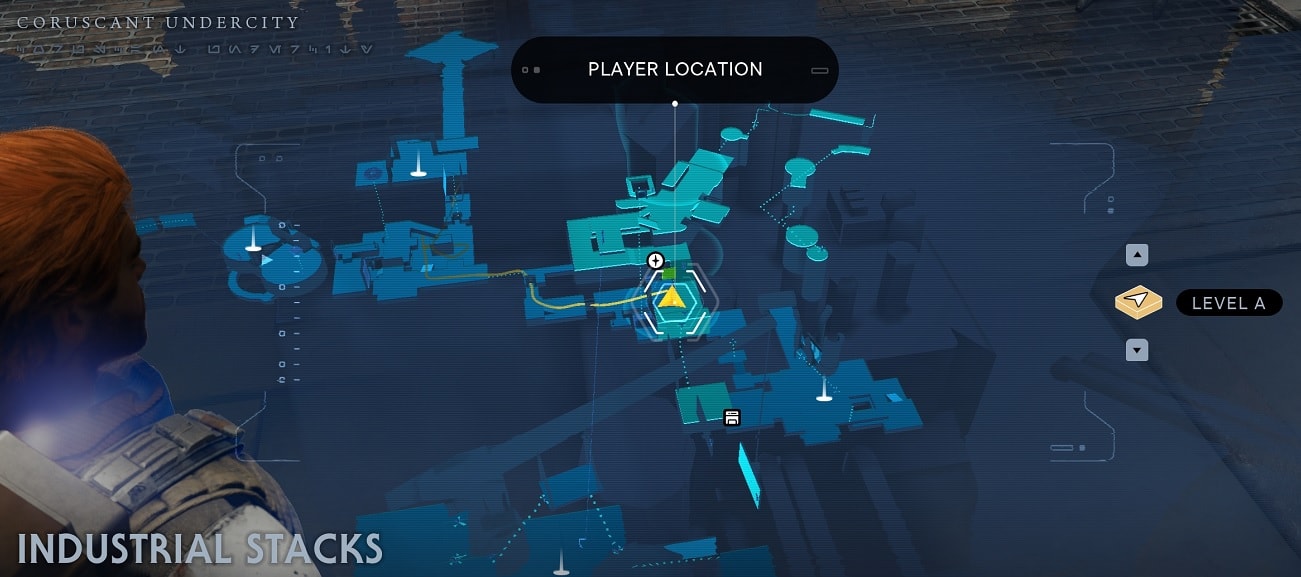
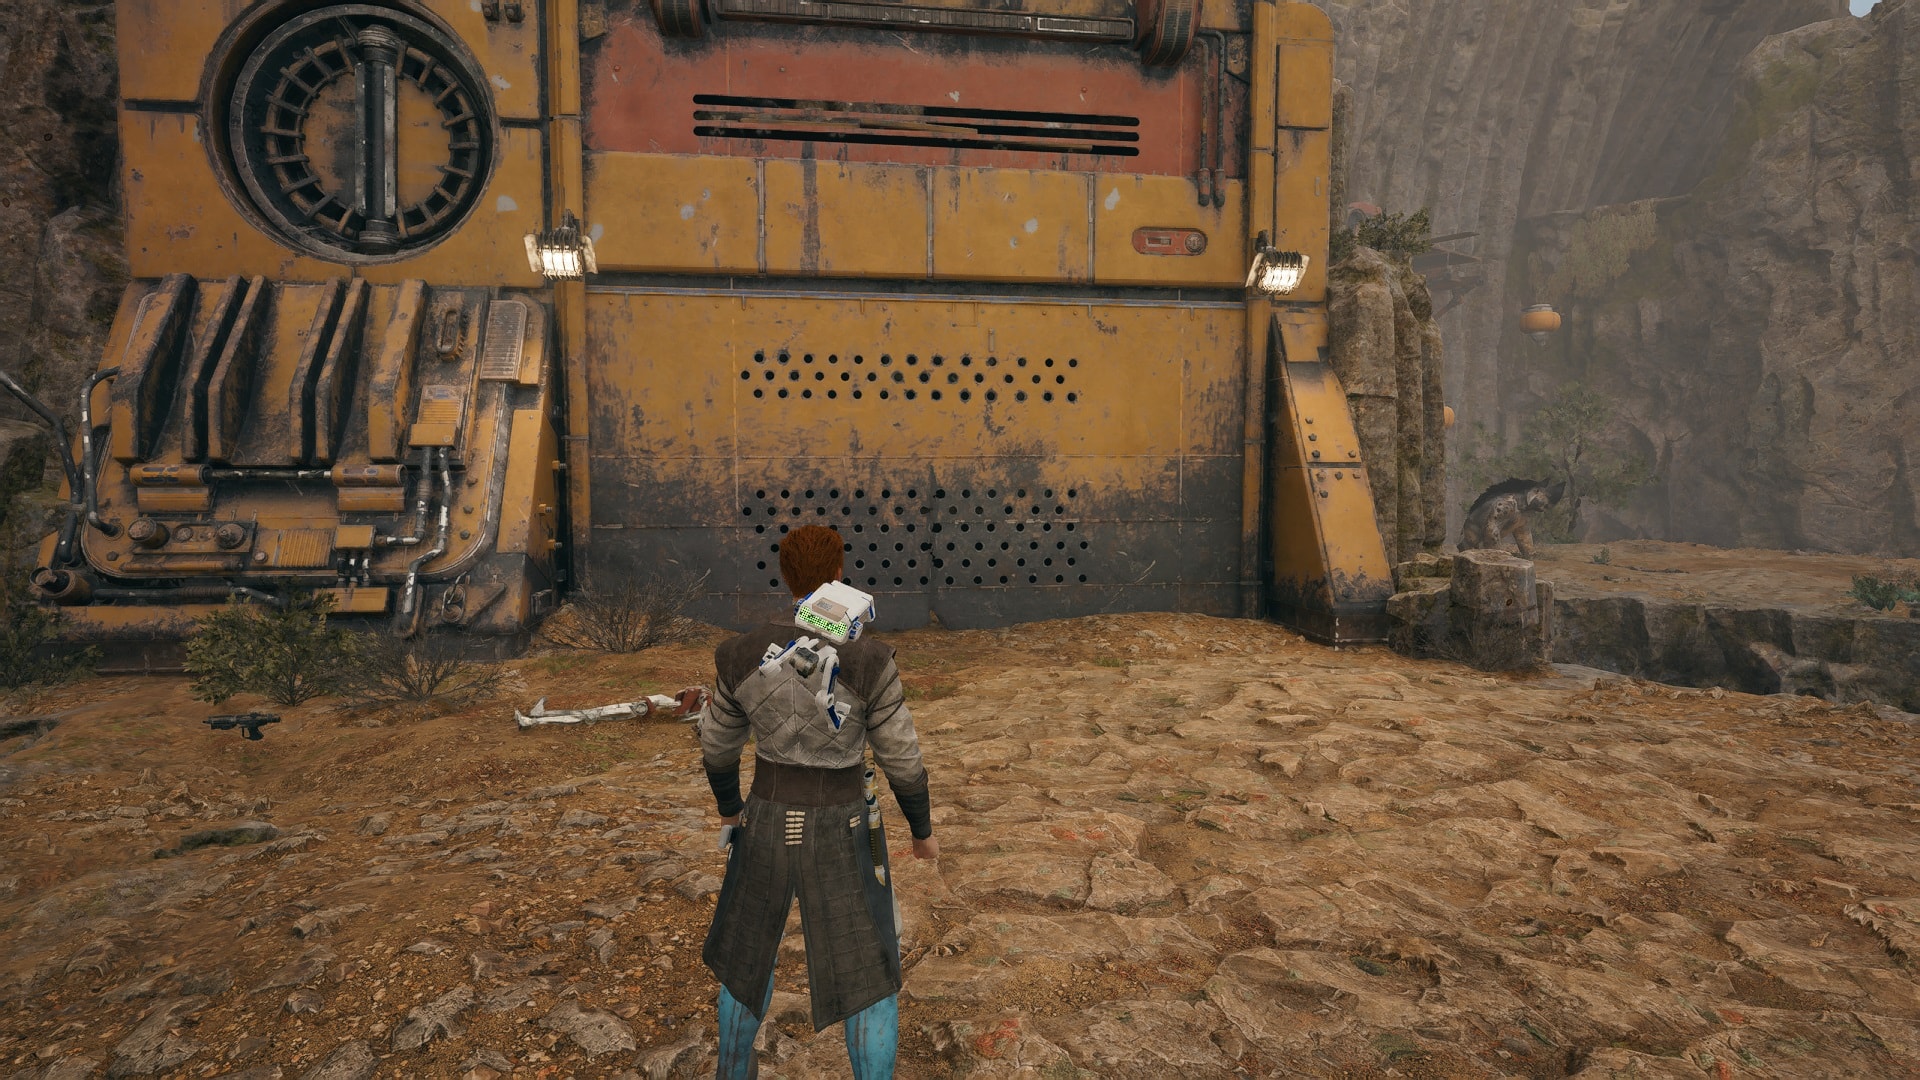
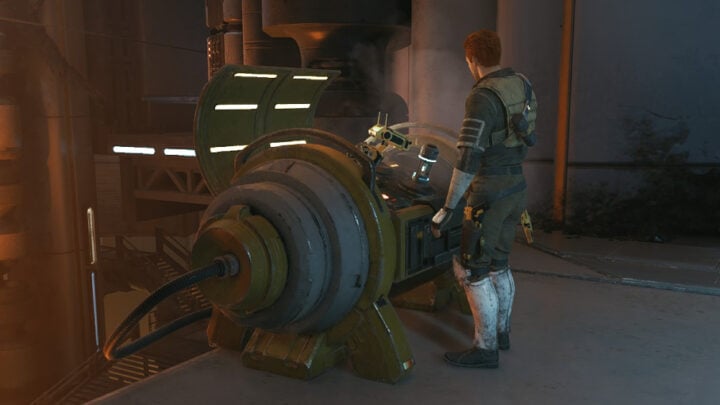
The Frenzied Jotaz is one of the two legendary enemies located on Coruscant. Go to the Industrial Stacks on Coruscant Undercity. The Undercity Meats meditation point is very close.
Use BD-1’s electro-dart ability on the exposed electronics.
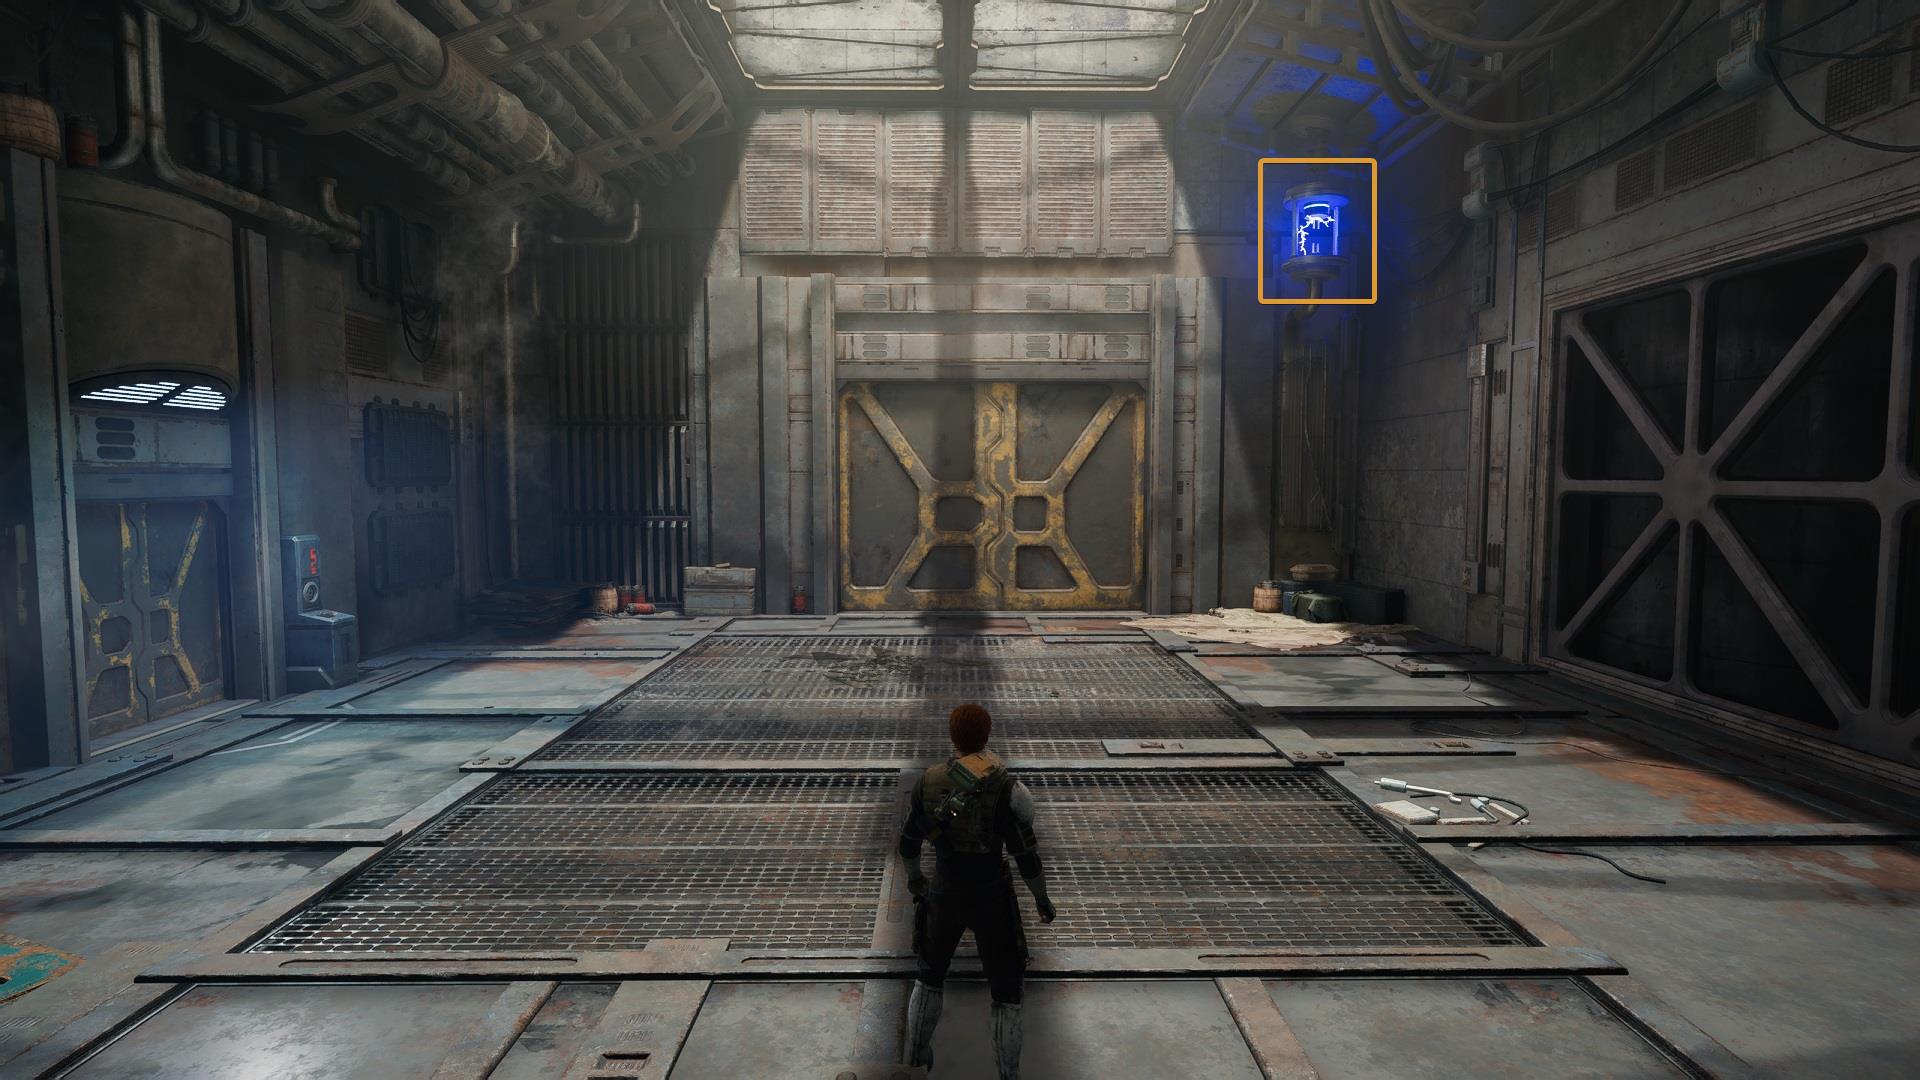
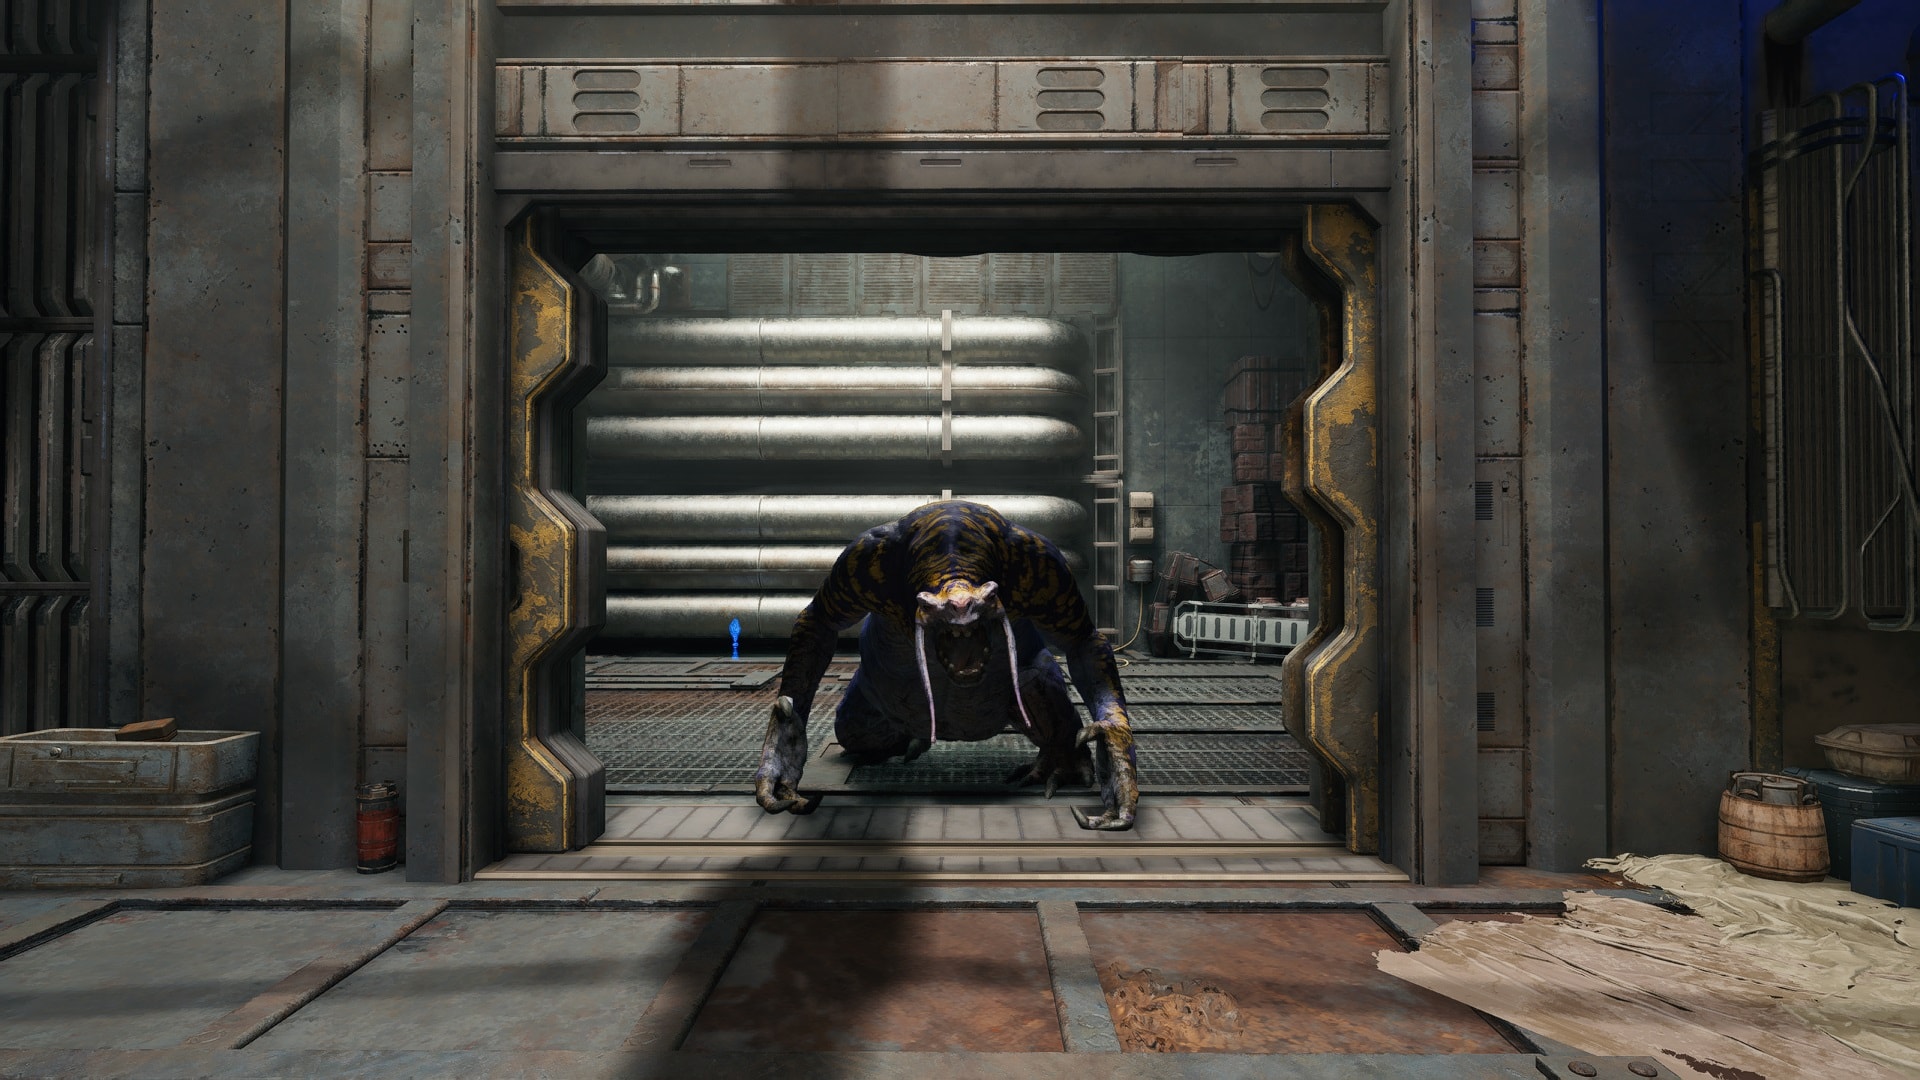
This will open the door and Frenzied Jotaz will charge at you right away.
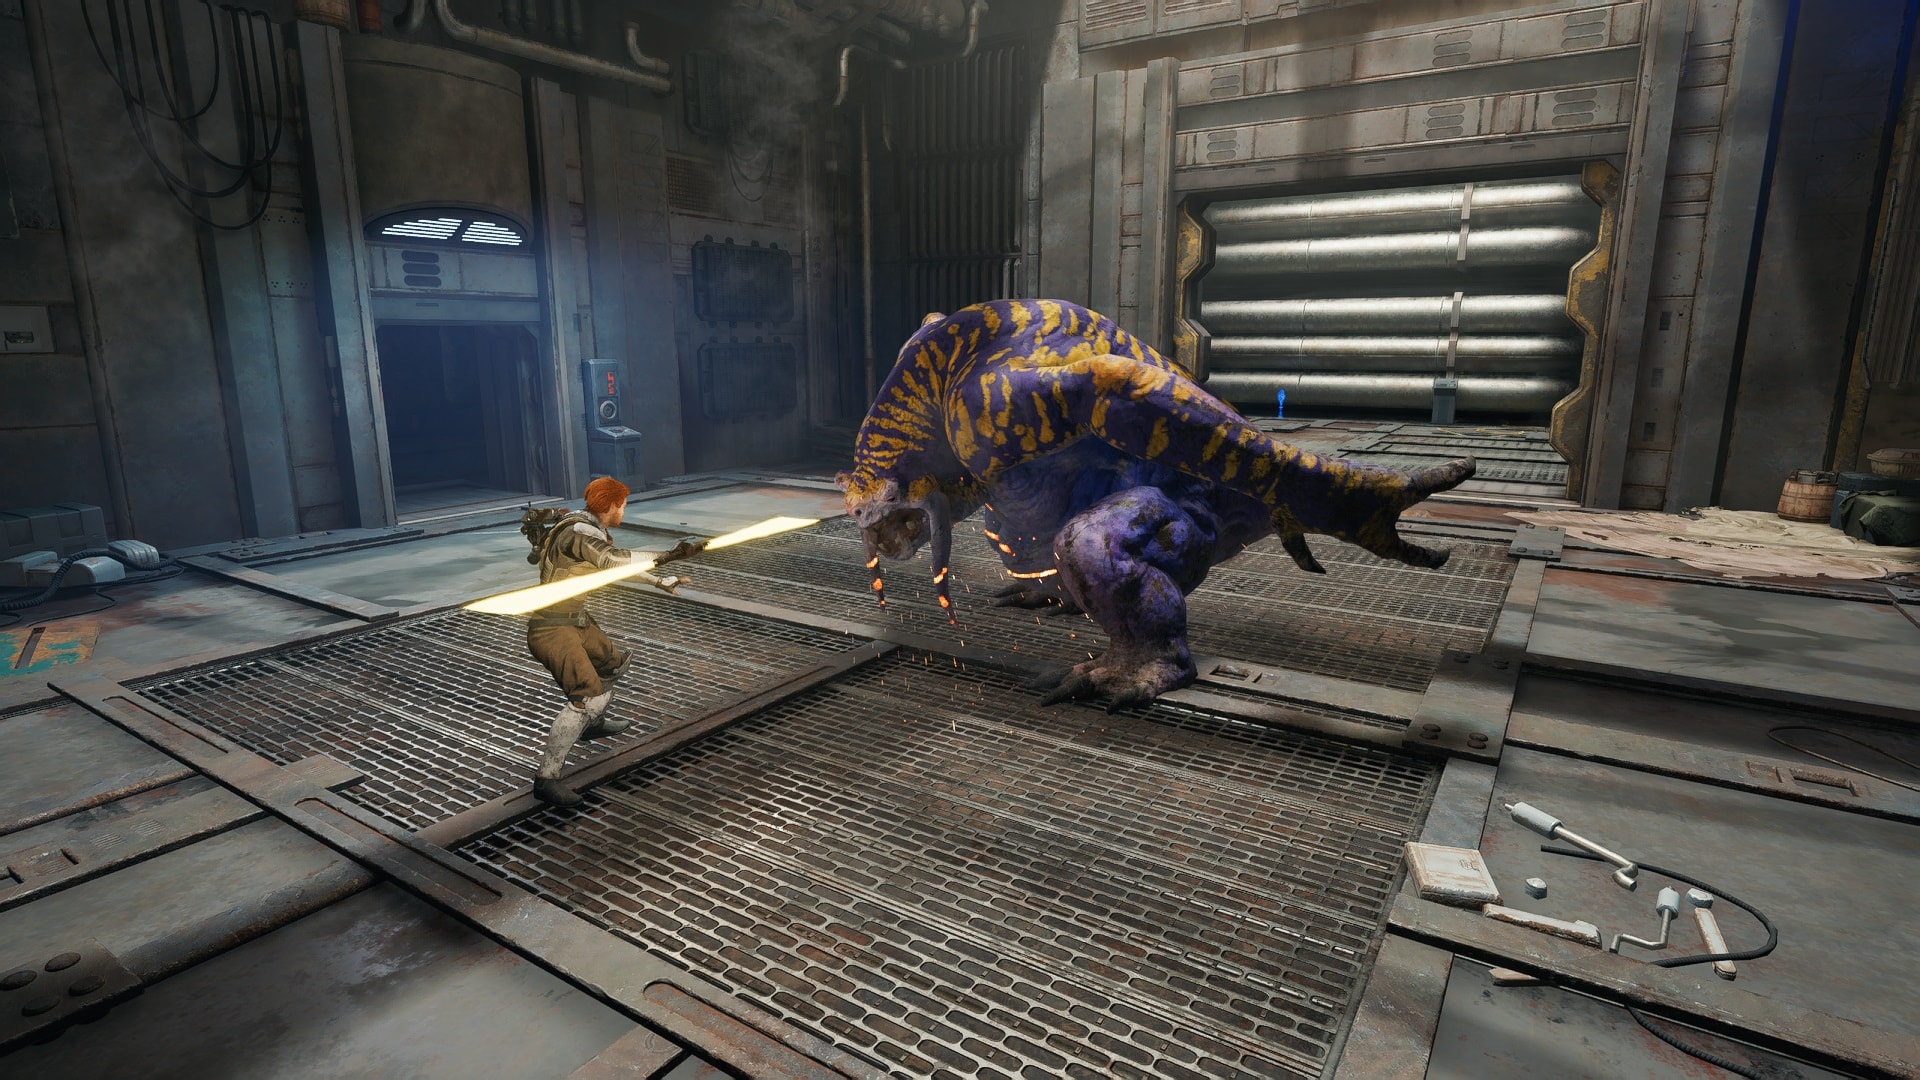
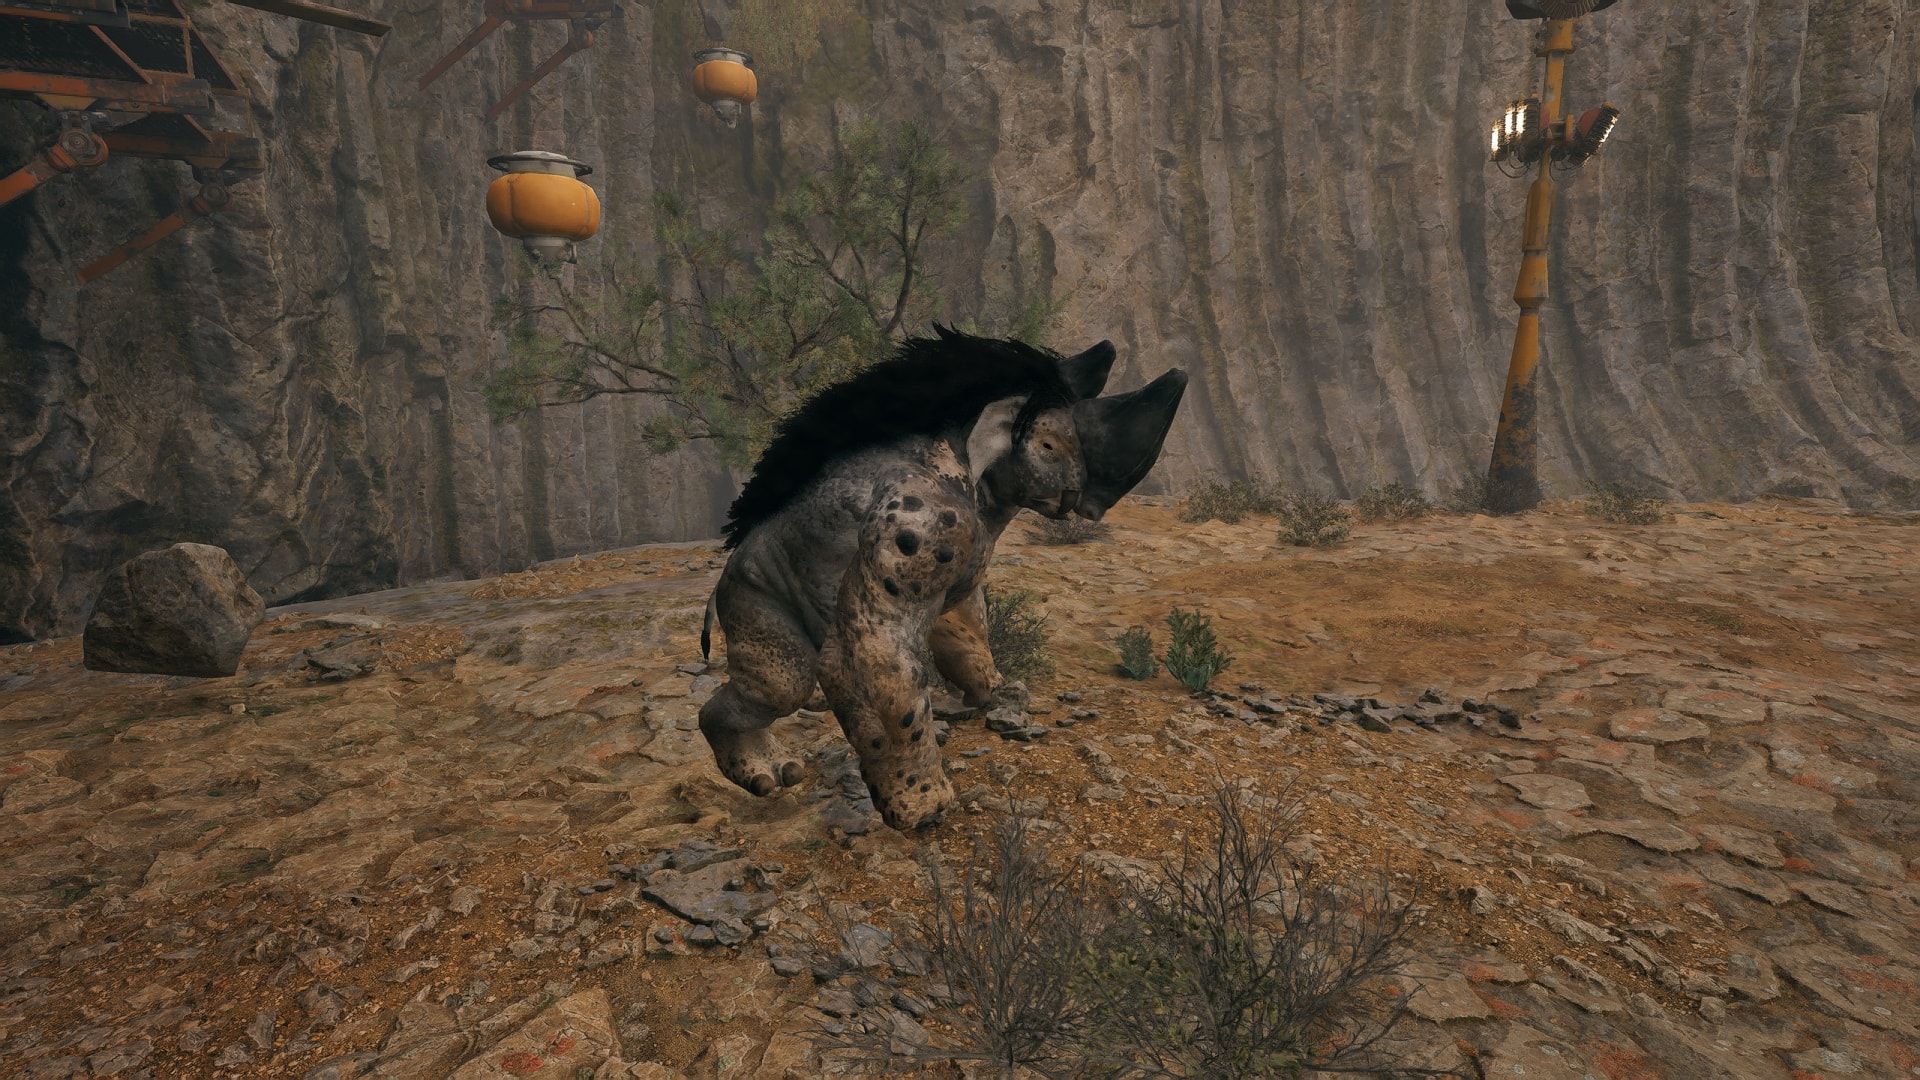
Its attacks are very fast and telegraphed. Most of the time it strikes two times in a row, you can block or dodge these attacks. It is extremely slow so you shouldn’t have much problems defeating it.
Once it is down, go where it was being held captive and grab the Skill Point Essence. We’ve got a complete guide to the locations of all Skill Points in Jedi Survivor. It’s a slower, but far more traditional method to gain Skill Points compared to using our Skill Points Farming Guide.
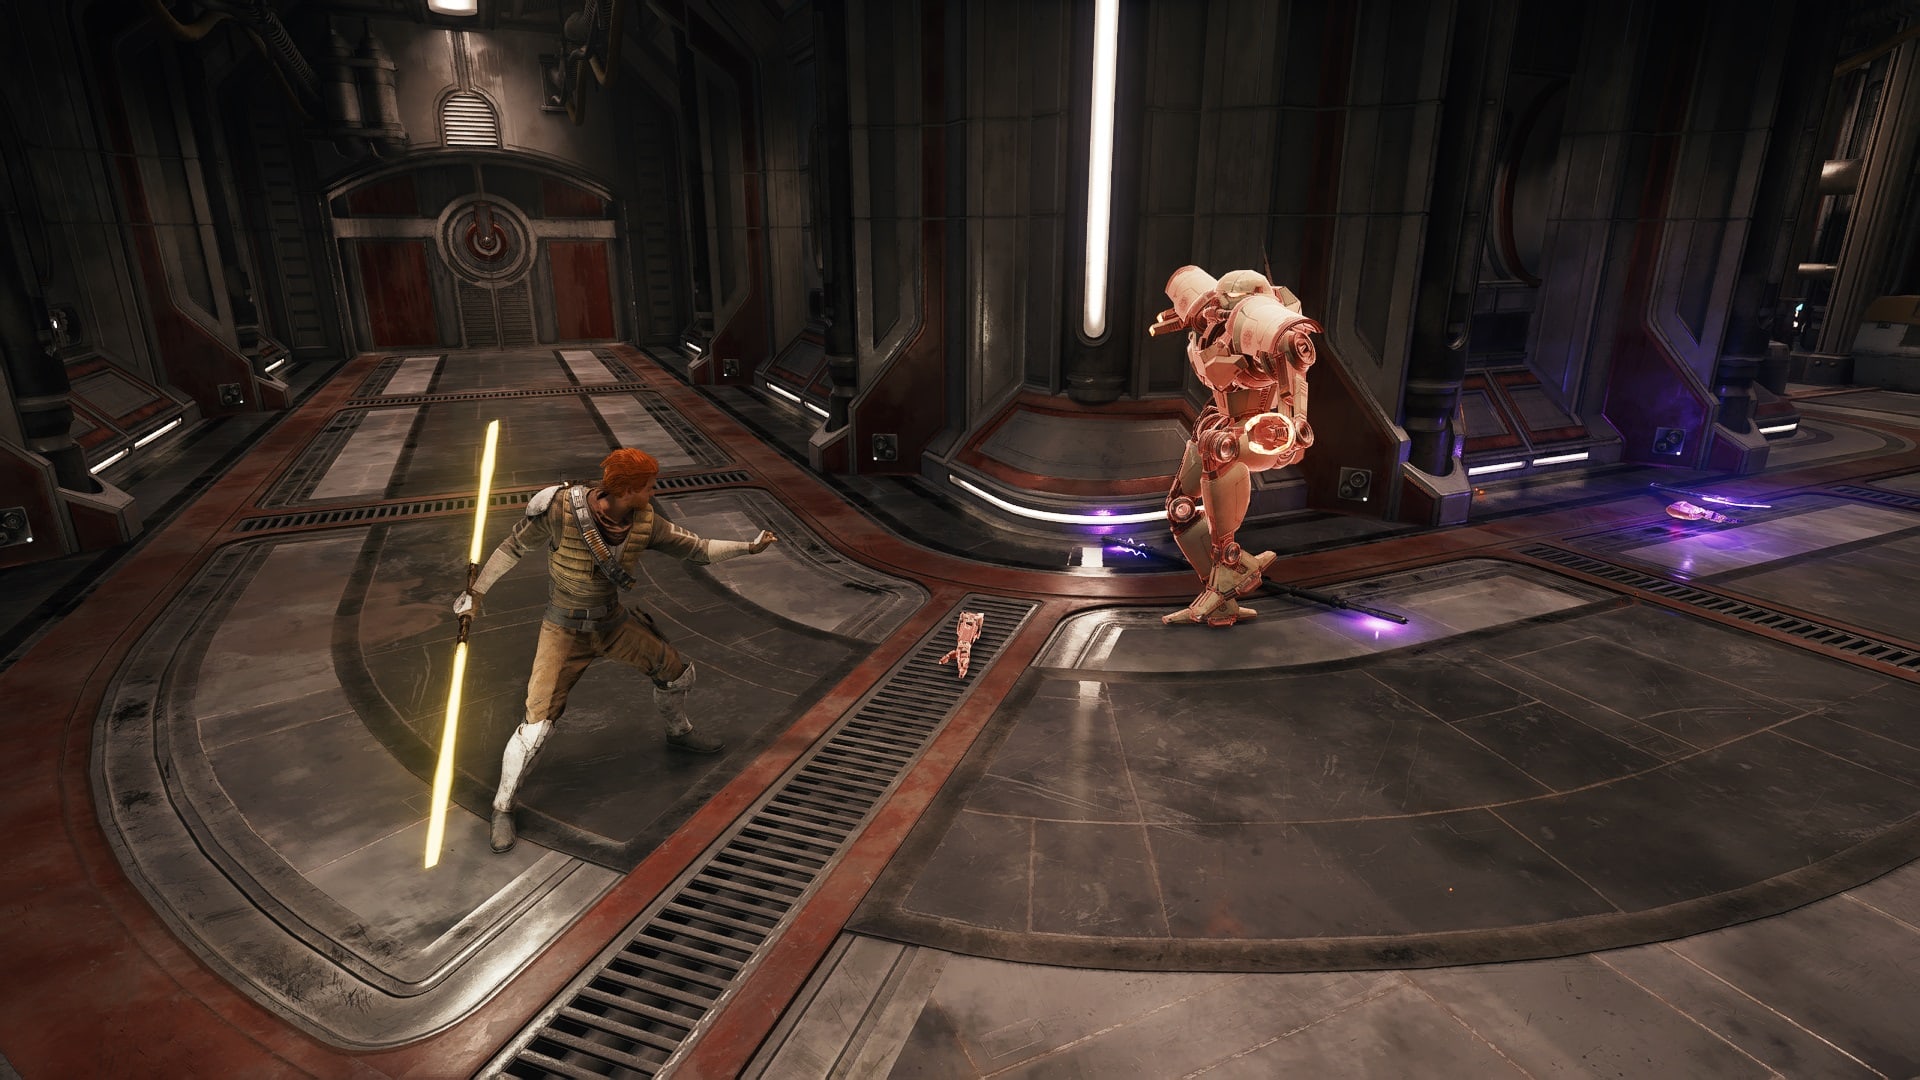
D-L1T
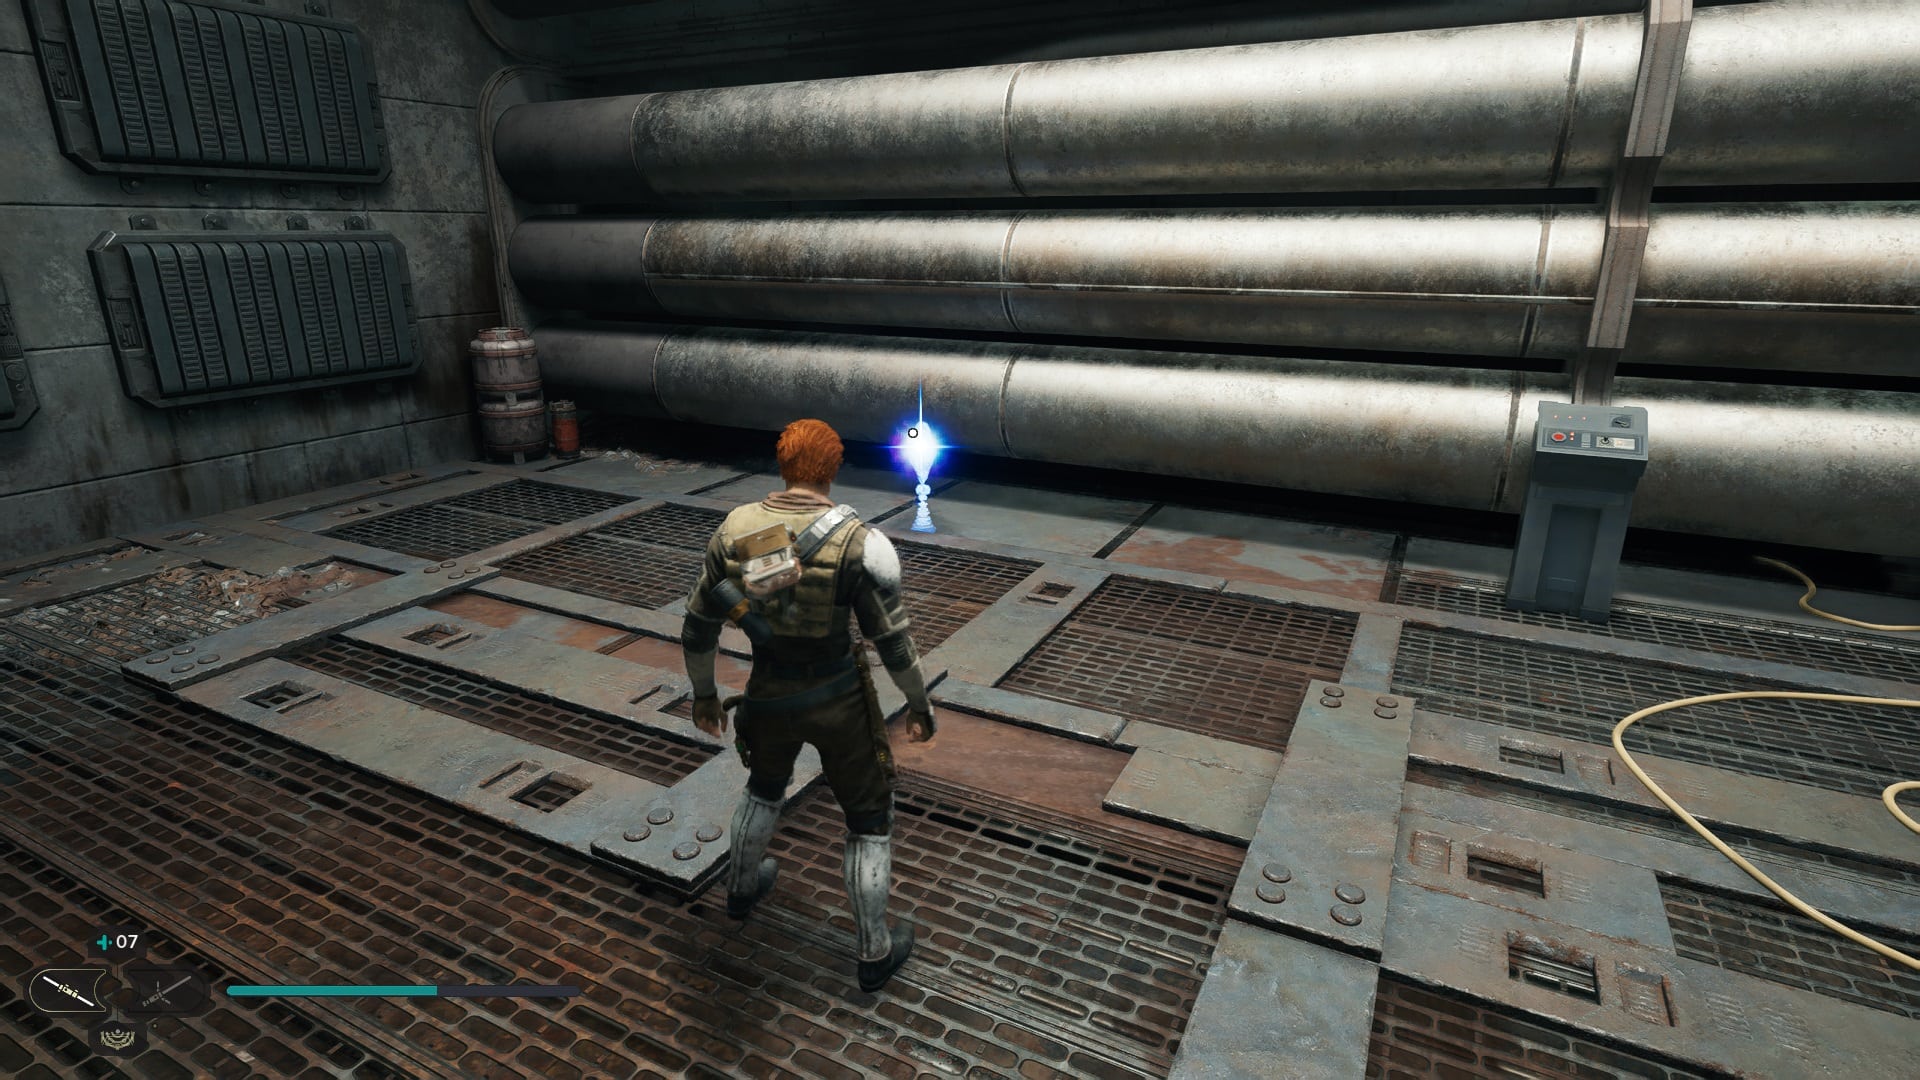
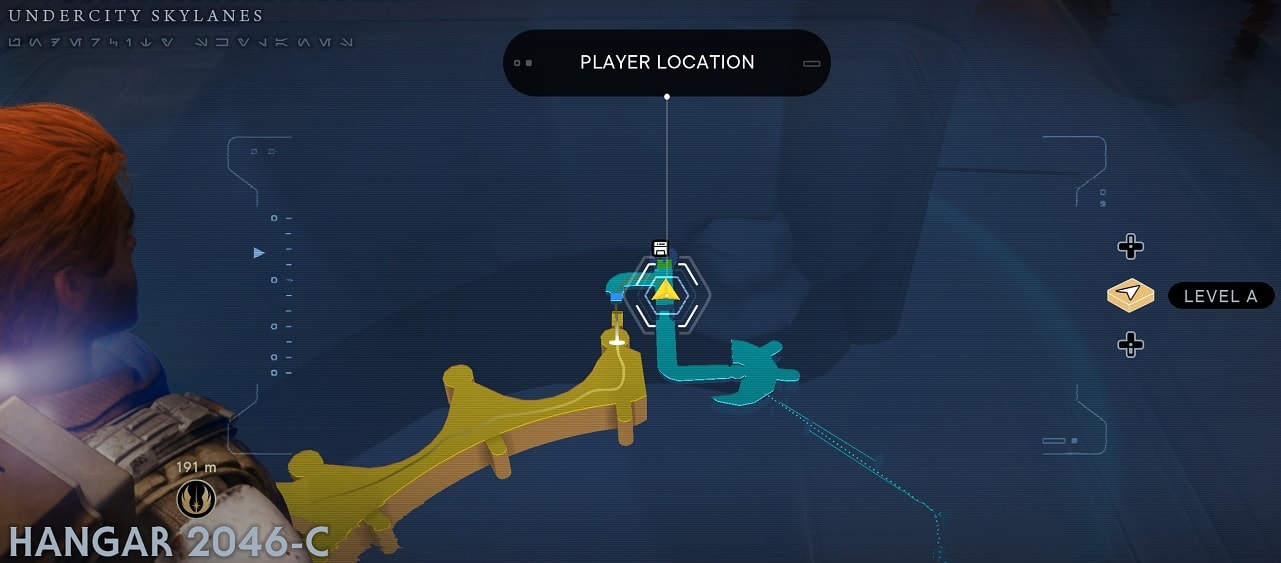
D-L1T is the second legendary enemy on Coruscant. Go to Hangar 2046-C on the Undercity Skylanes. The Mantis is near this location.
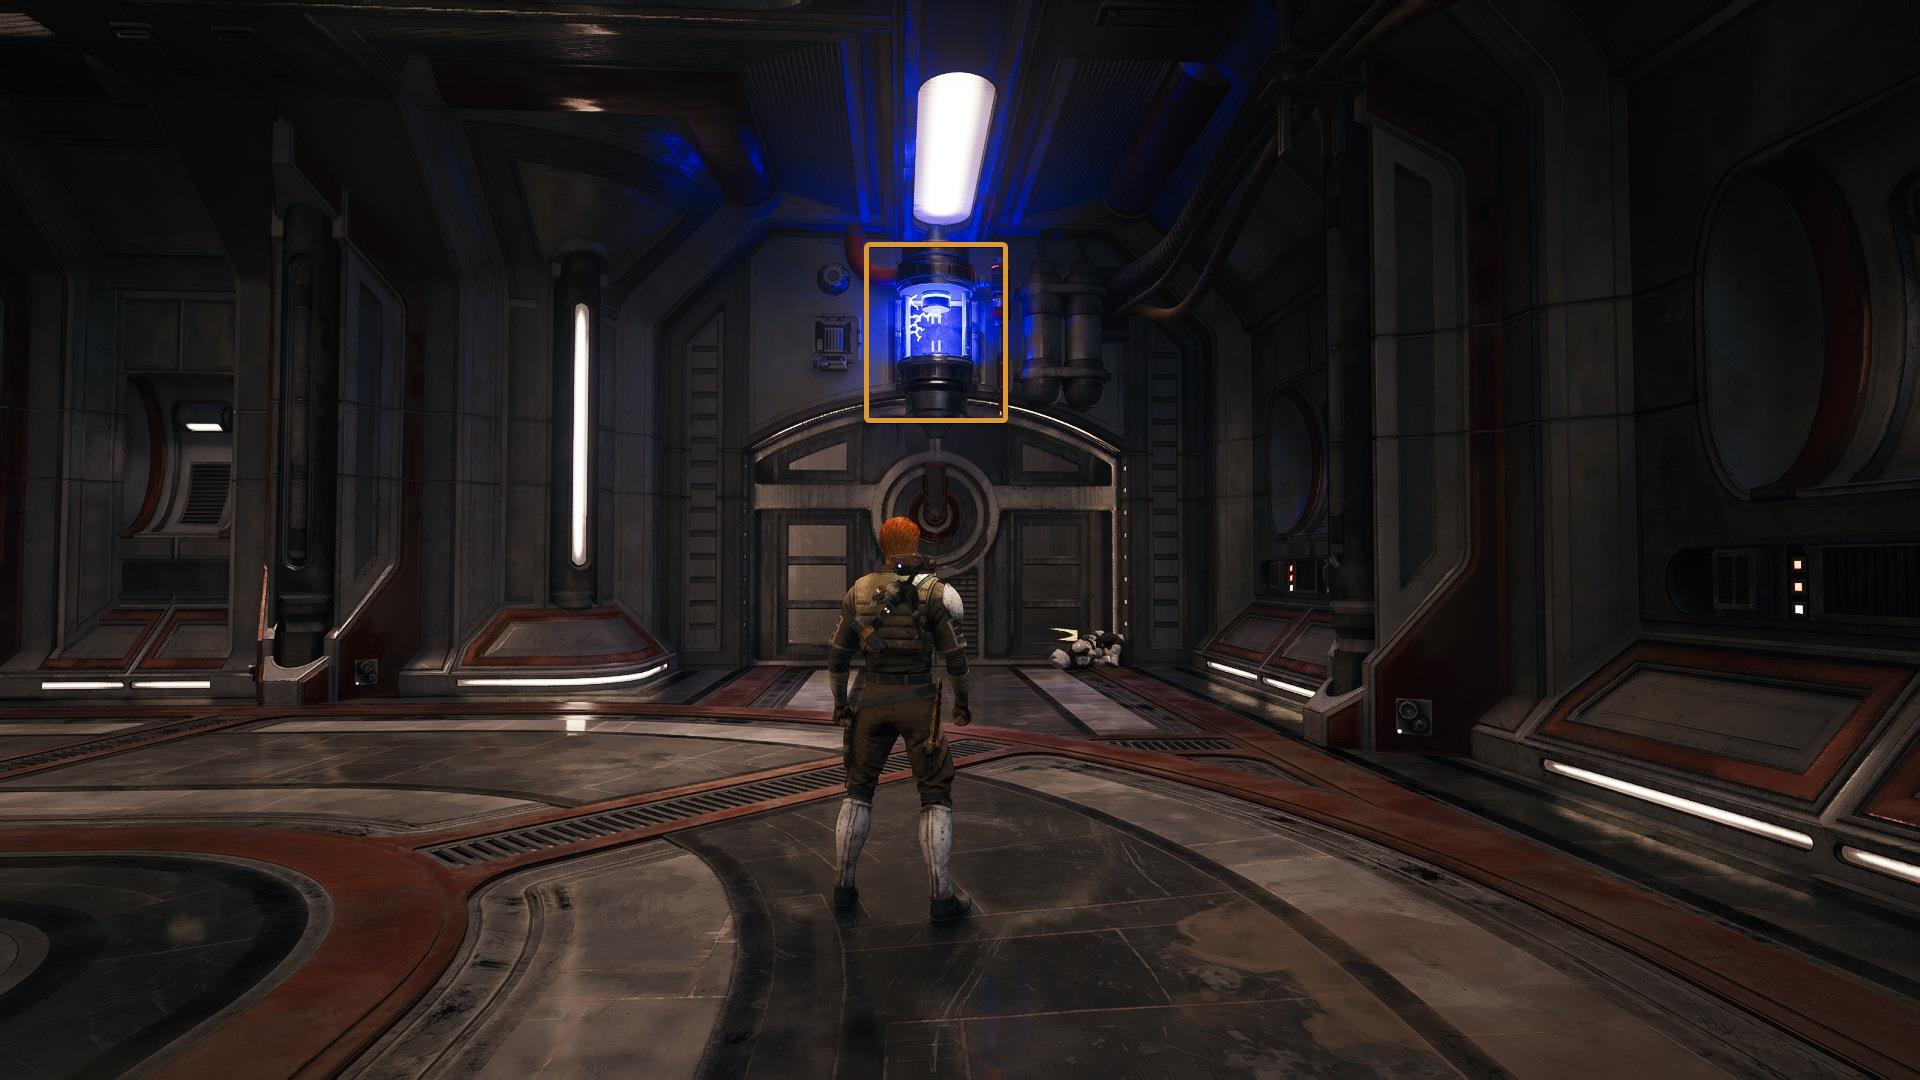
Just like with Frenzied Jotaz, use the electro-dart to open the door.
D-L1t is a stronger DT Sentry Droid. Its attacks are stronger but its weaknesses are the same as a standard DT Droid. Avoid the unstoppable spinning attacks and you should be fine.
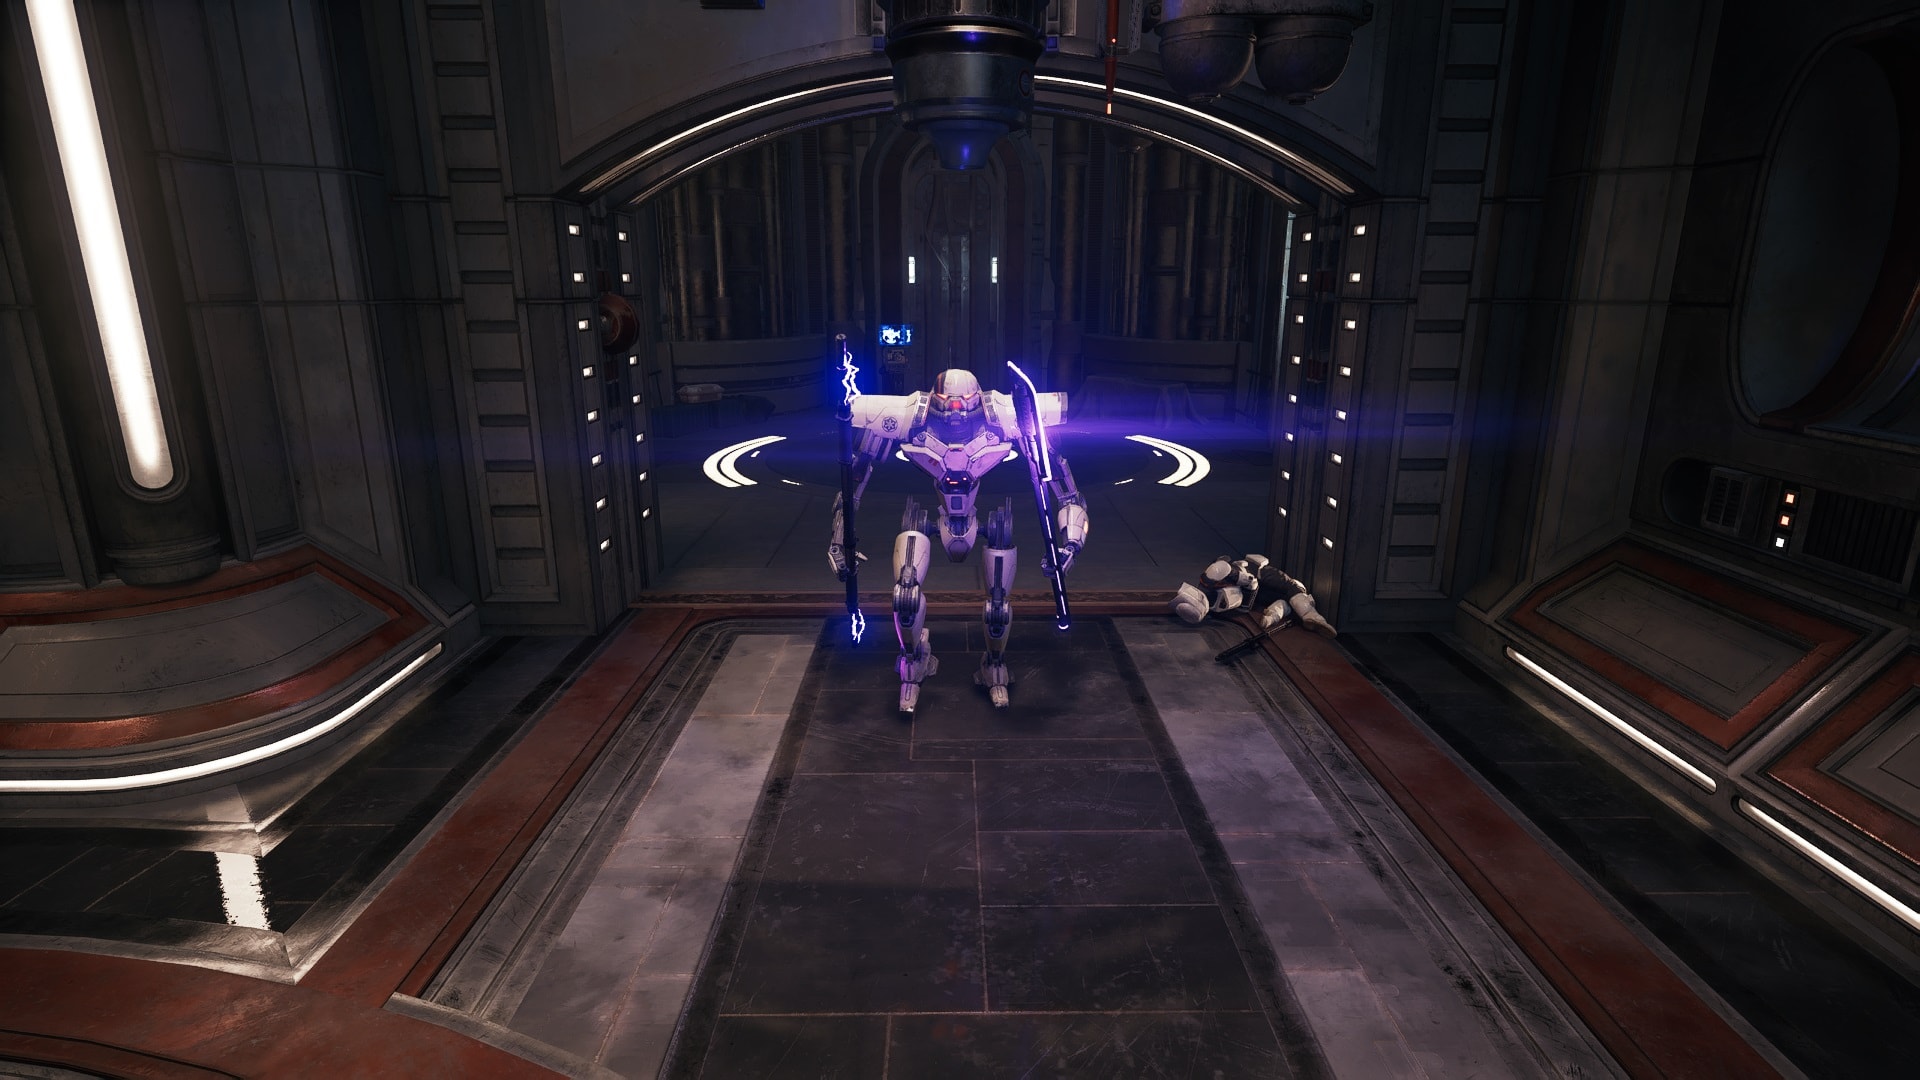
It can also do stomp attacks but once its arms are gone this will be very easy to evade. Use your mobility as an advantage.
After defeating D-L1T, go inside the room where it came from and interact with this console. You can now slice DT Sentry Droids with BD-1!

DT Sentry Droids can be hacked even if you haven’t inflicted any damage on them. This ability can come in very handy in many situations.
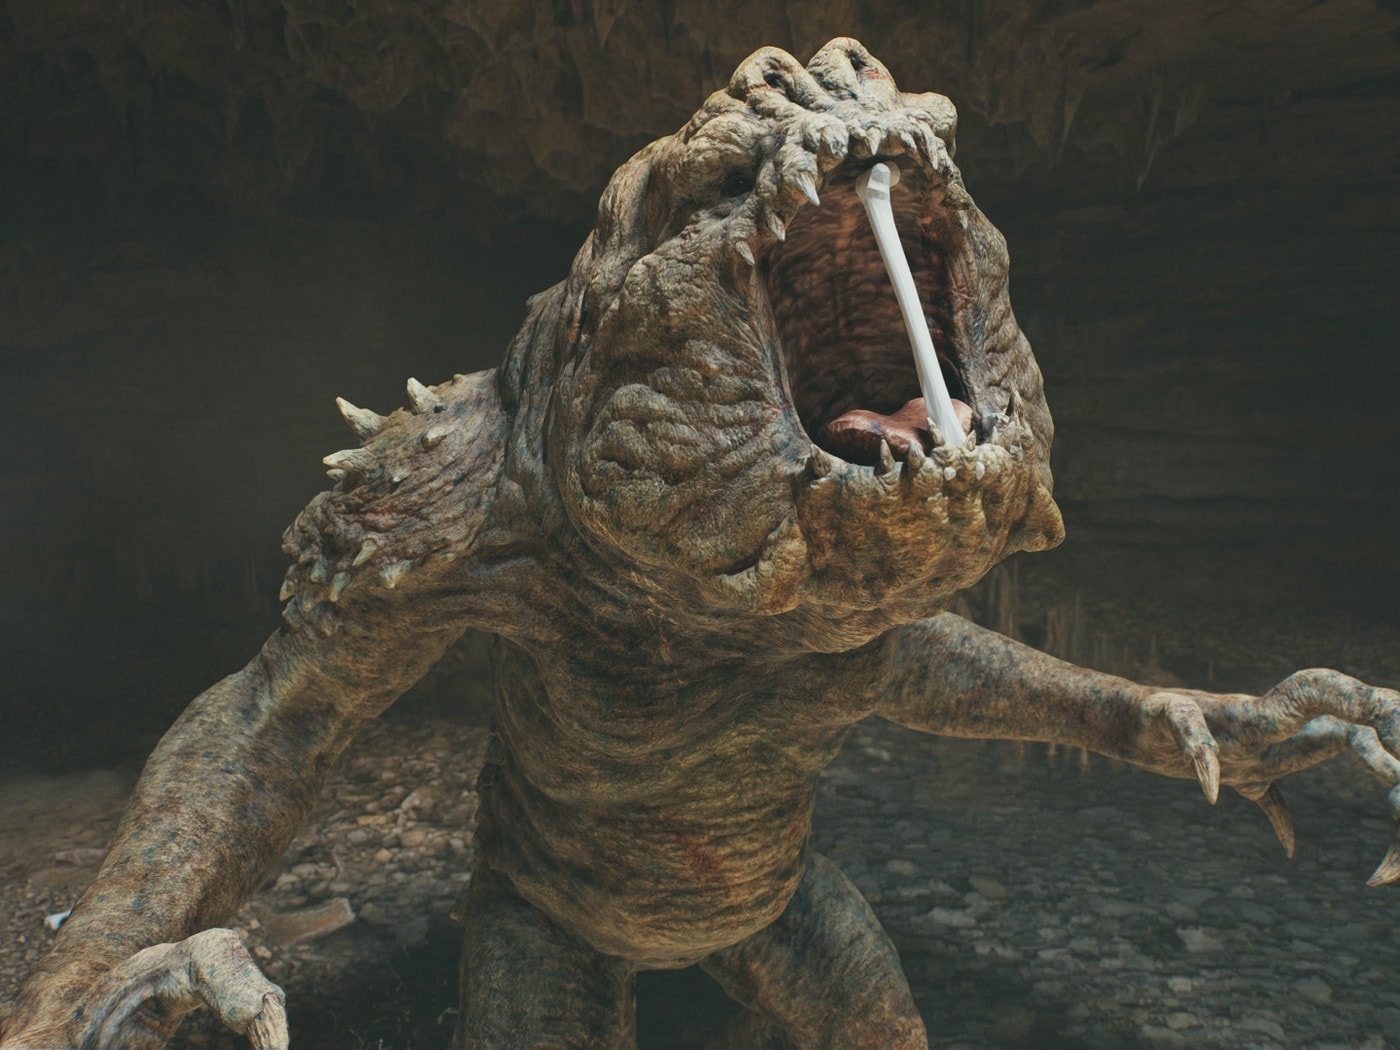
Rancor
The iconic Rancor is the first legendary enemy that many players can encounter, as the player doesn’t require any special abilities to reach this location.
It can be quite frustrating to face , as it can kill you in two or even one hit. This legendary enemy is only surpassed by the Spawn of Oggdo. The Rancor has its own Boss Guide.
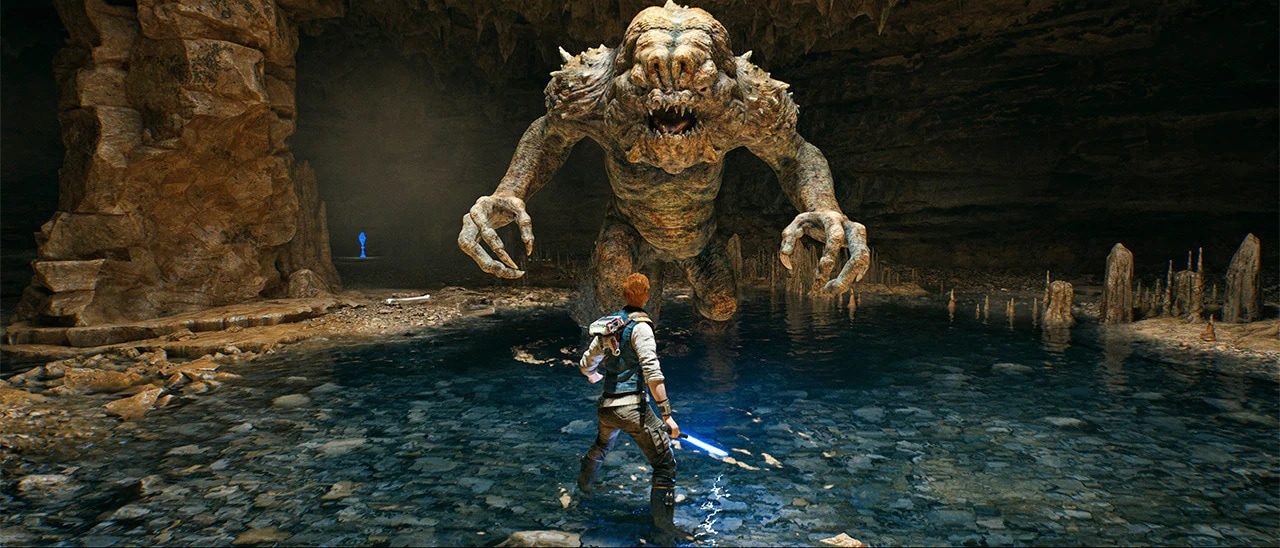
You can live your Luke fantasy in this boss fight. Look aroun for bones you can throw into its mouth.
Spawn of Oggdo
The Spawn of Oggdo AKA The Unkillable Demon King is stronger than its predecessor. It is by far the strongest legendary enemy and a complete pain in the butt. It is located in Fort Kah’lin on Koboh.

Walking on this door will immediately cause it to open, making you fall into an inescapable fight.
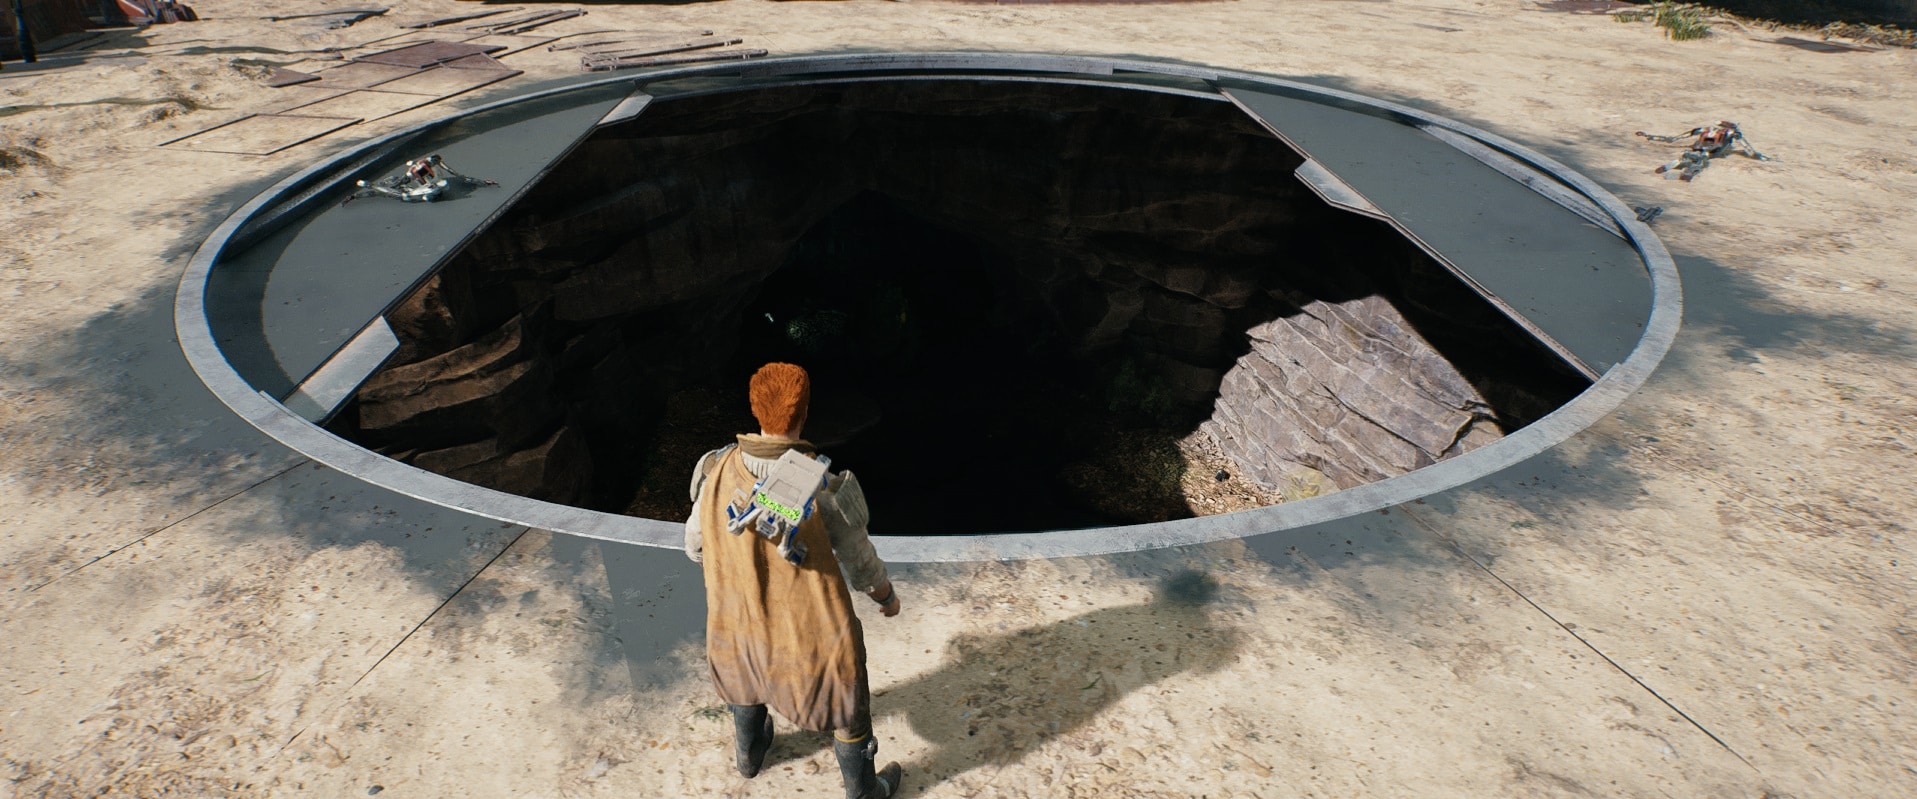
I can’t emphasize how ridiculously strong Oggdo really is. If you want to learn more about how to defeat it, you should read the Spawn of Oggdo Boss Guide.
E3-VE3
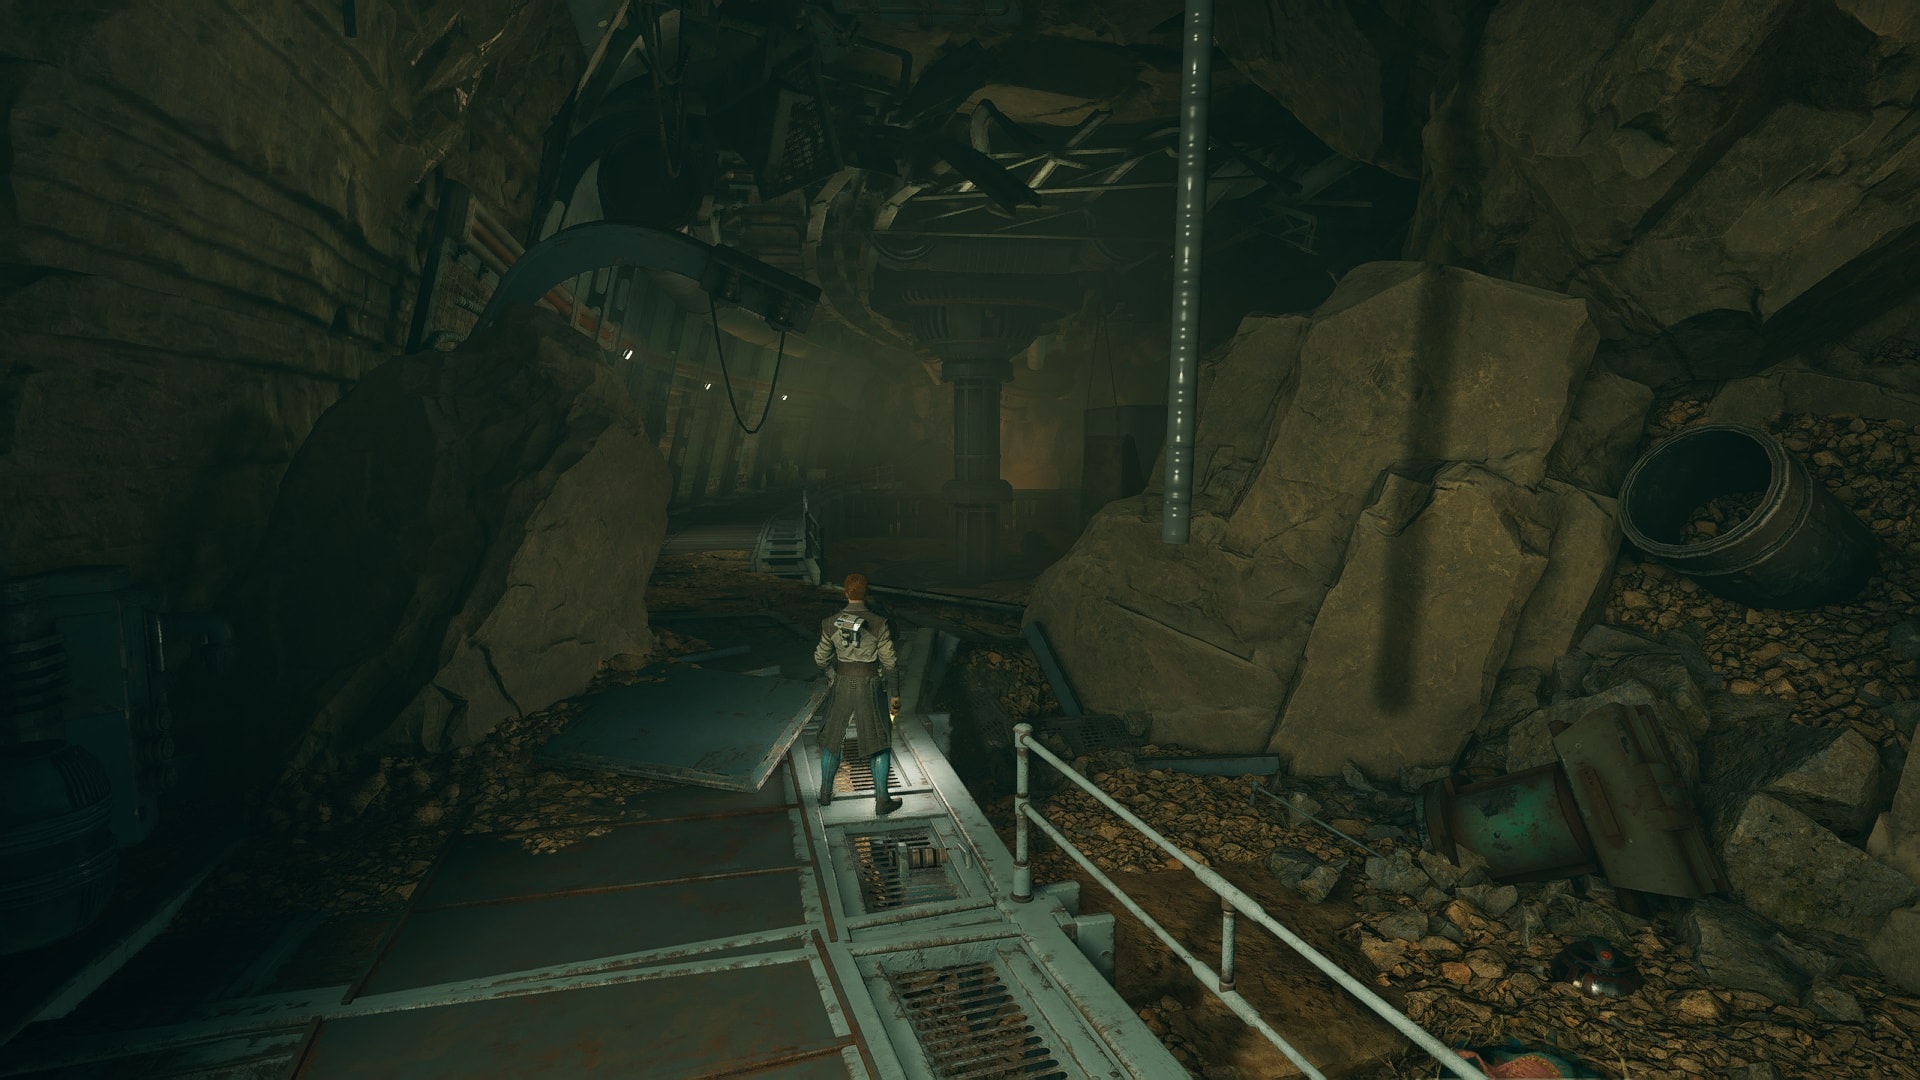
Head to the Untamed Downs on Rambler’s Reach. Look in your map for the “green wall” indicator.
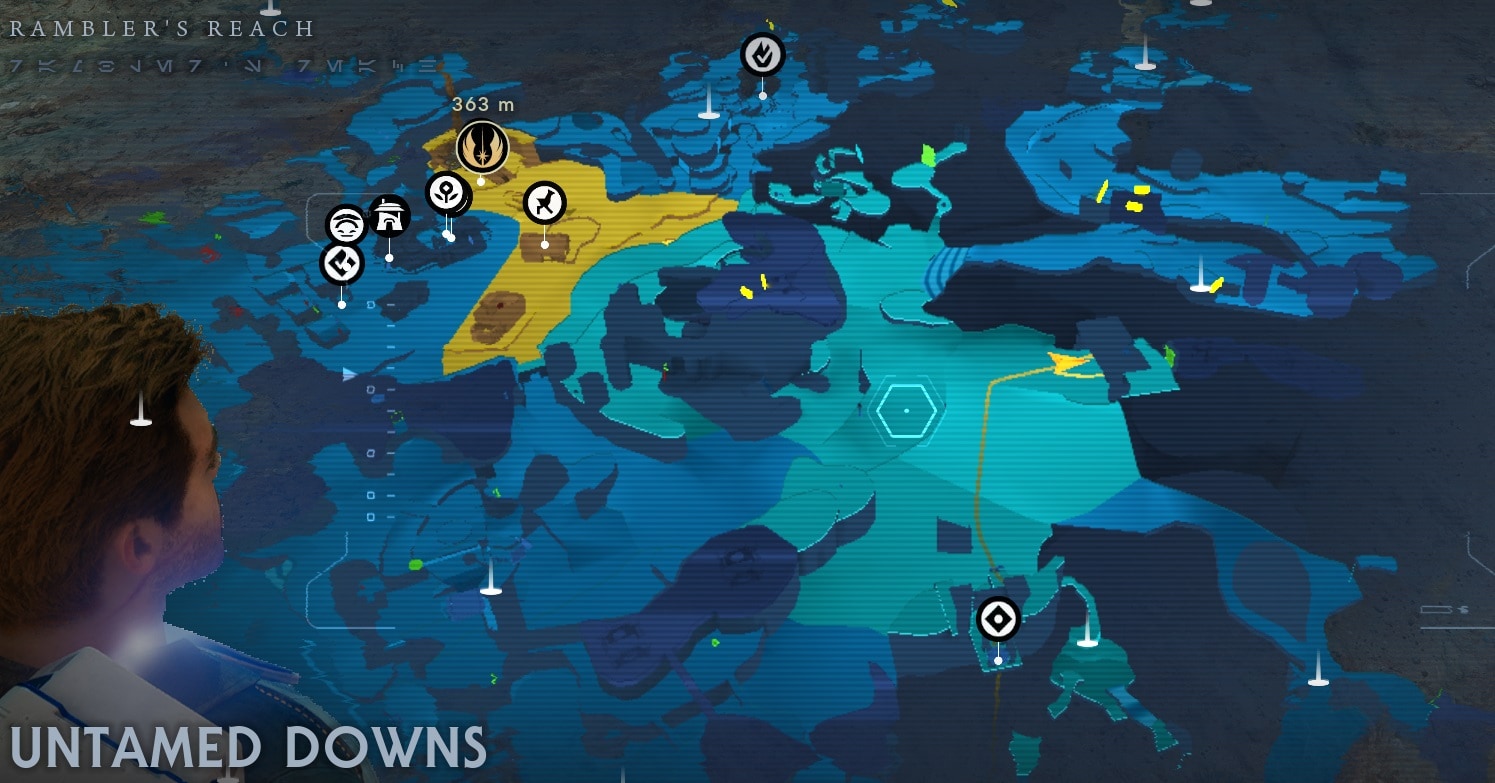
This is the entrance you are looking for. A green barrier makes it easy to distinguish from far away. Many roller mines will activate as soon as you approach so be ready.
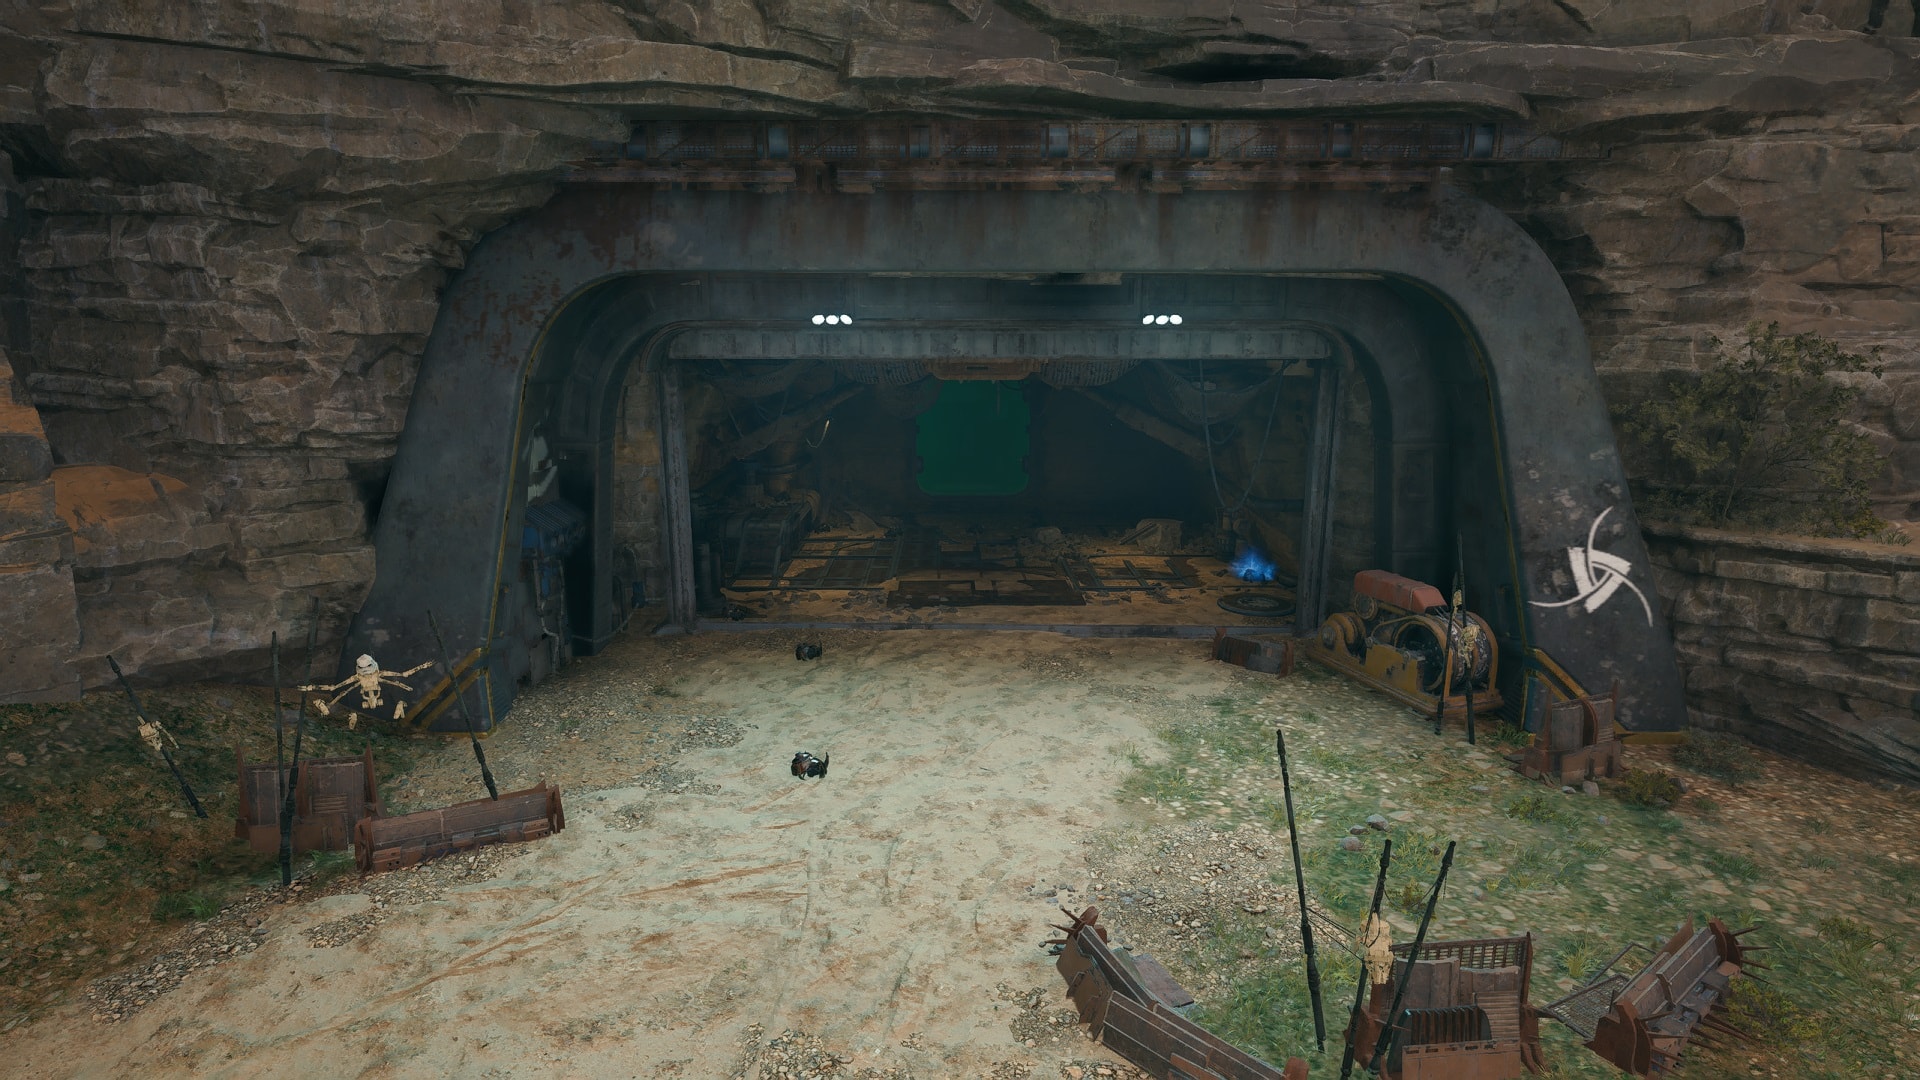
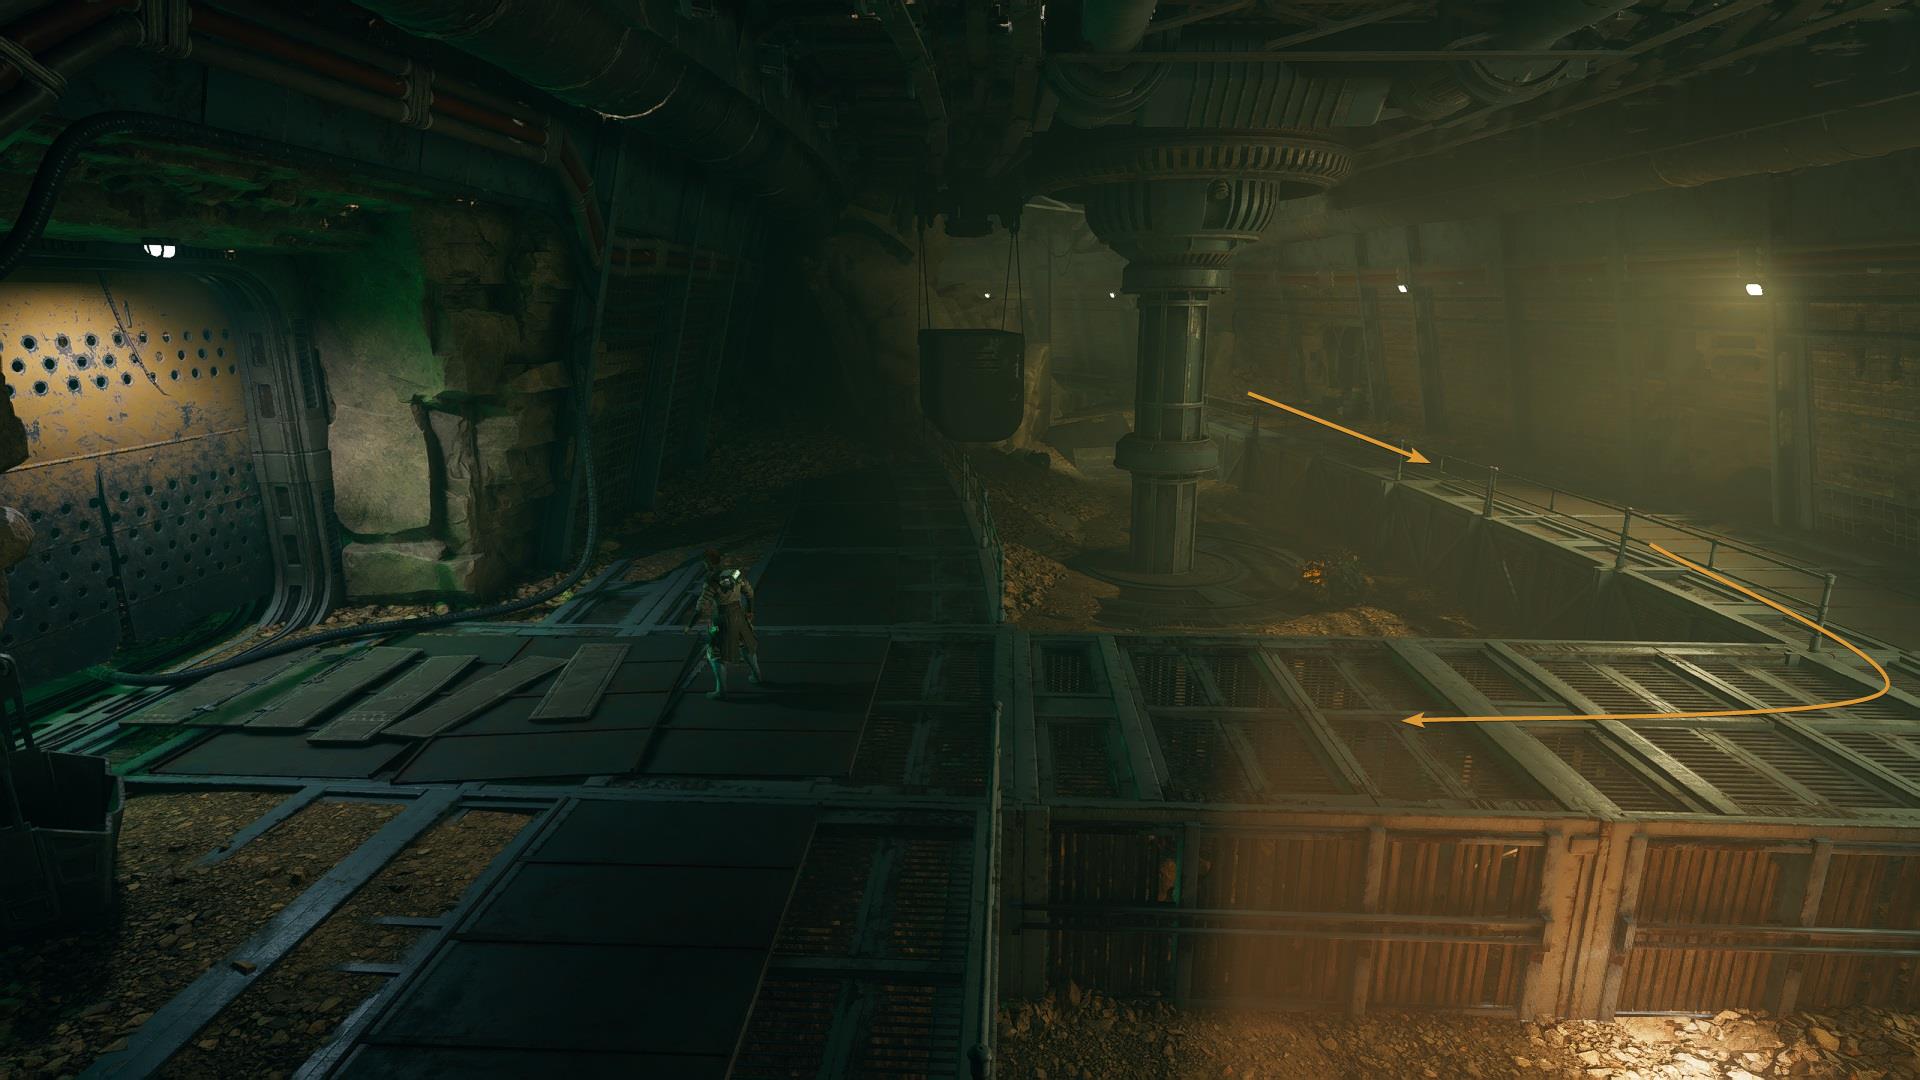
Once inside the mine, simply walk into a straight line.
Before reaching the end of the mine, you’ll see a door. Use Force Lift to open it.
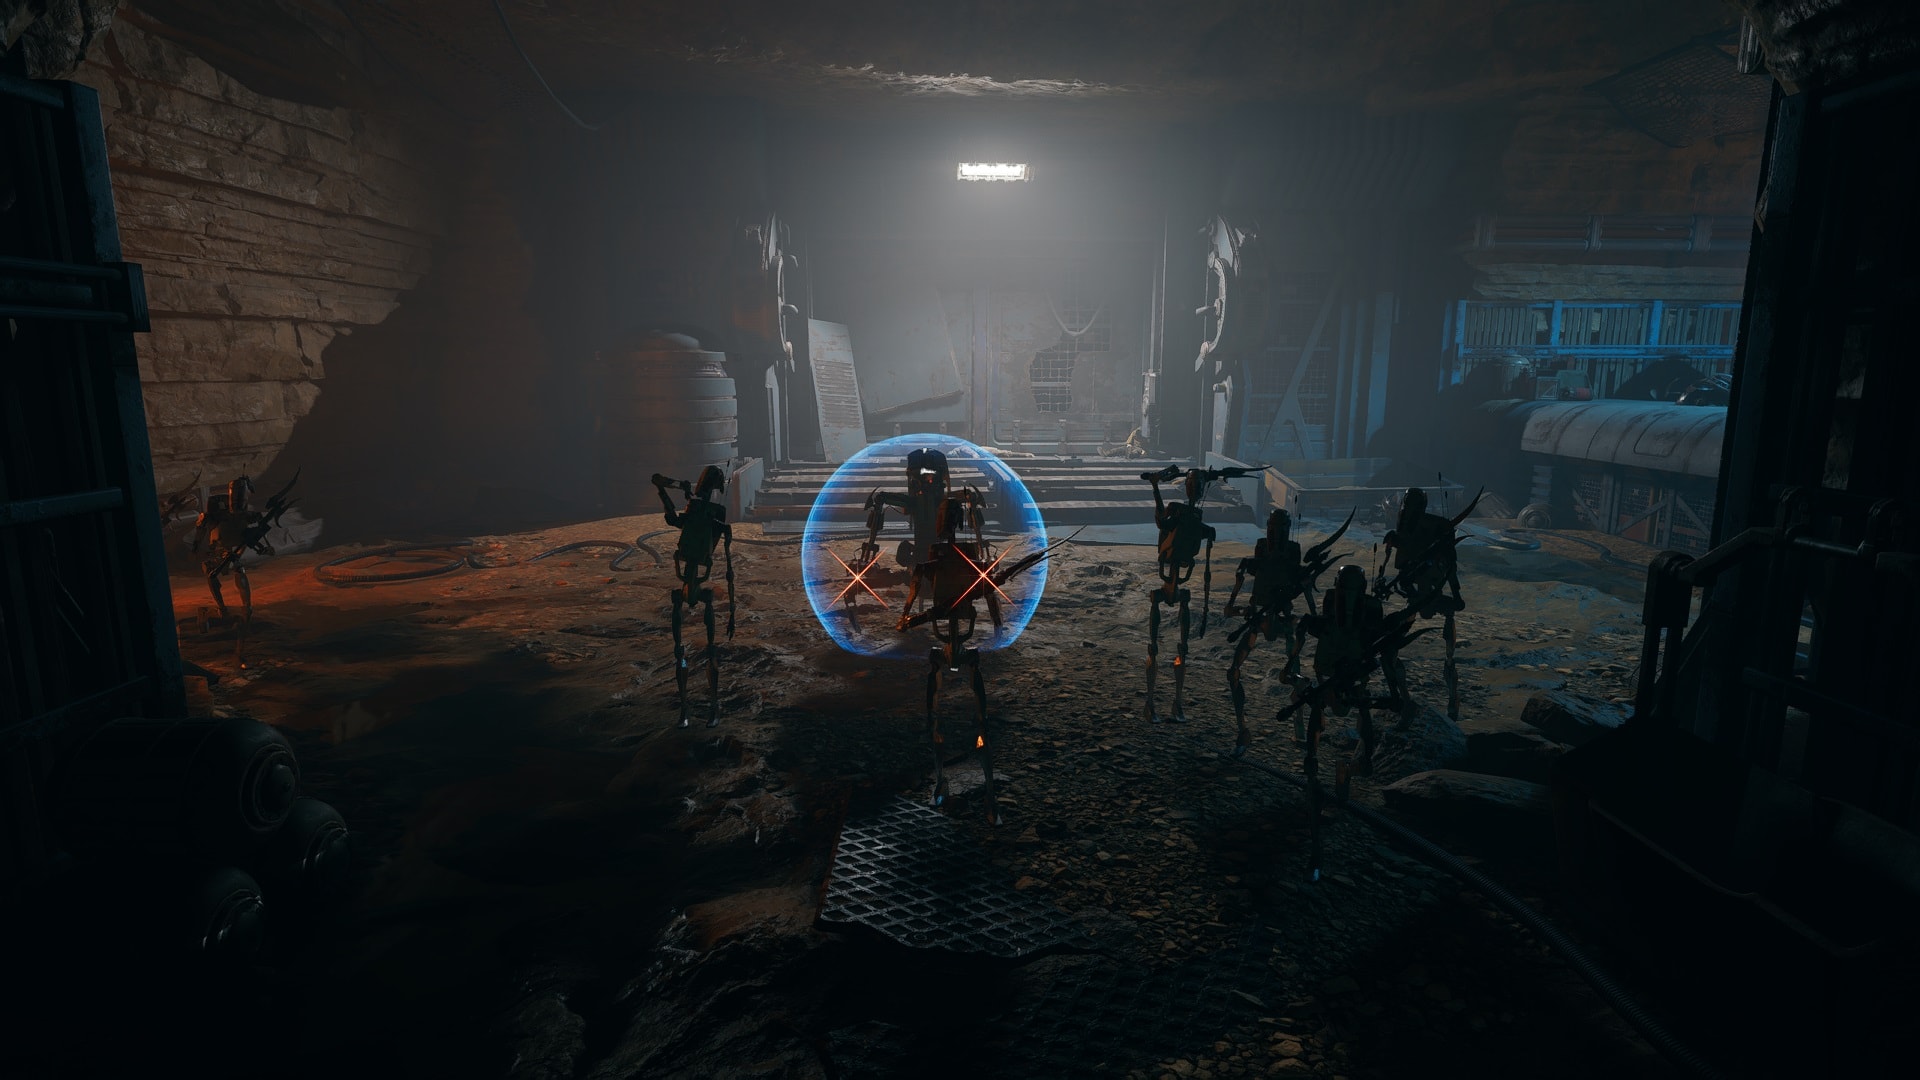
At the other side of the door, E3-VE3 and a bunch of B1 Battle Droids await you. This legendary enemy is an enhanced Droideka, reflecting shots back at it will not break the shield unless it’s a charged shot. Get close to it and thrust with your lightsaber, sometimes it might try to roll over the stairs and get stuck there. This makes it an easy target.
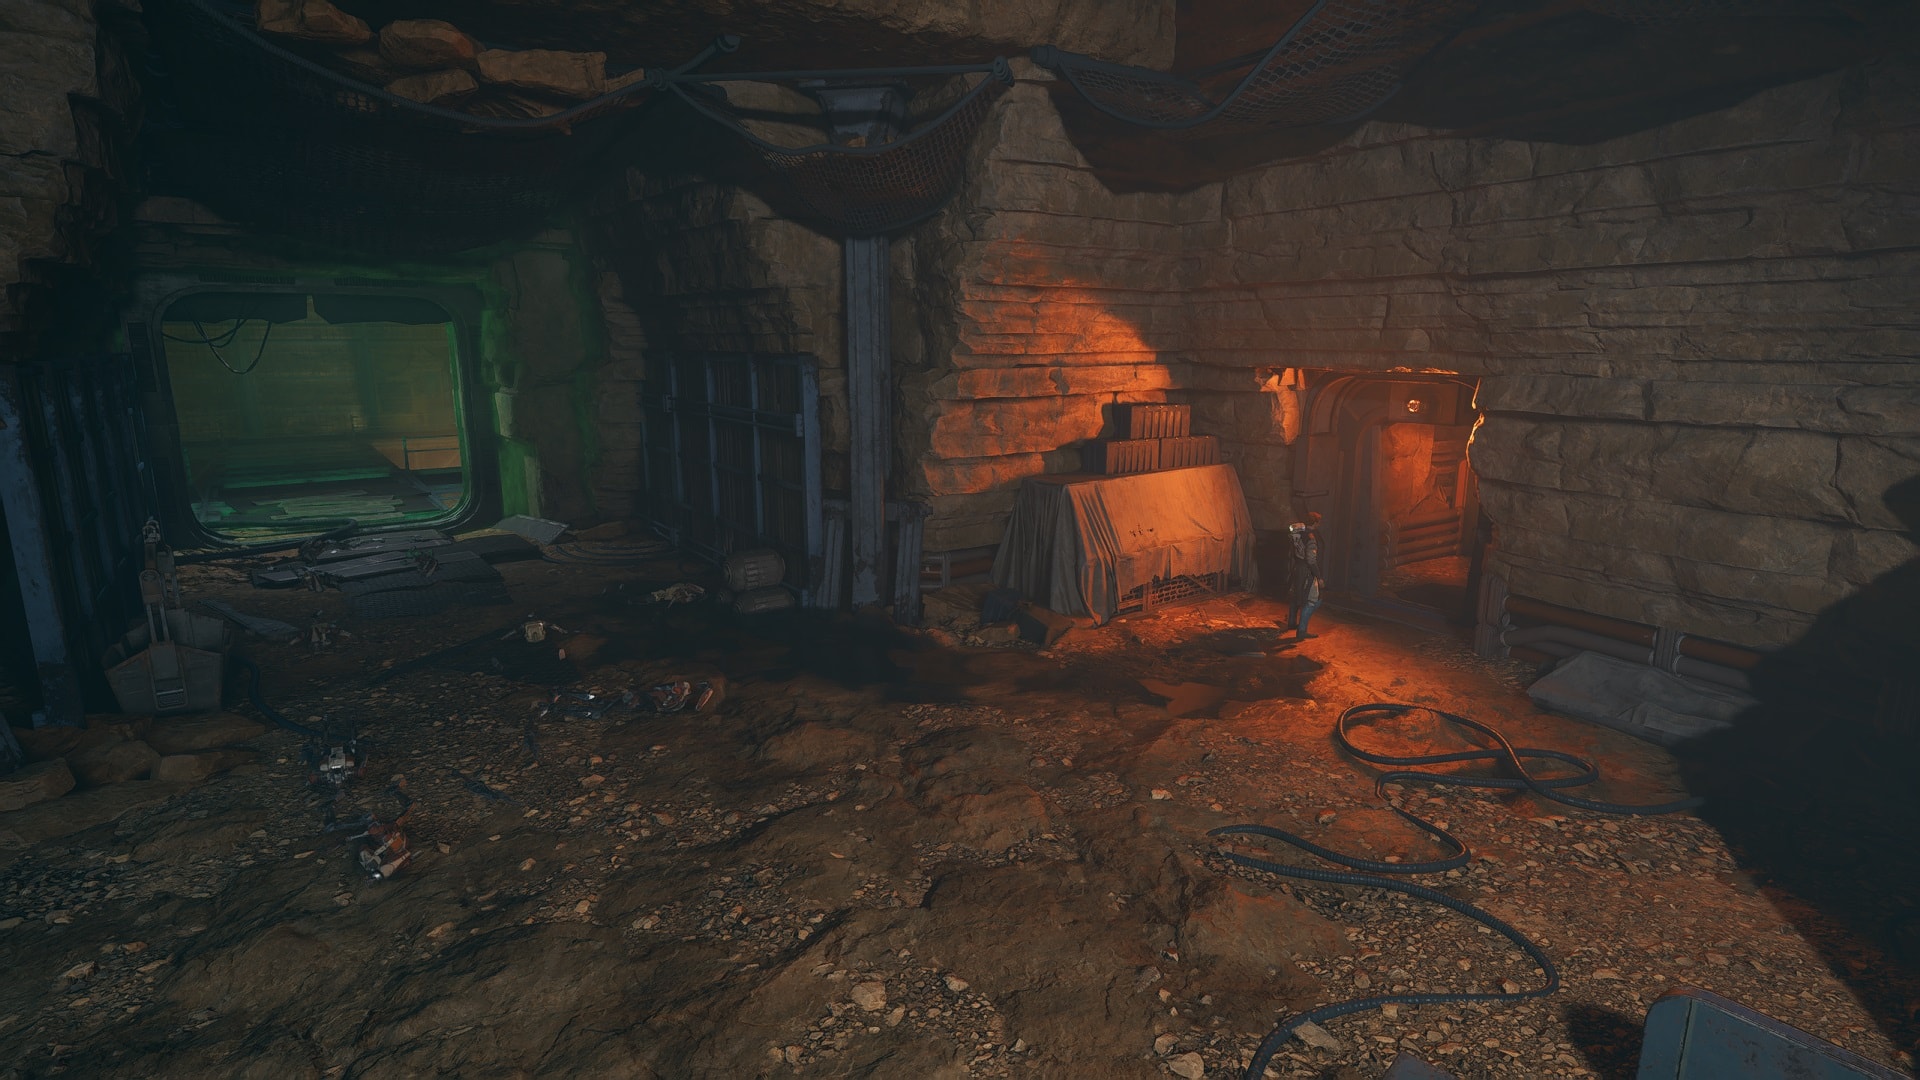
Before exiting, go to the contiguous room where you’ll find Health Essence as a reward.
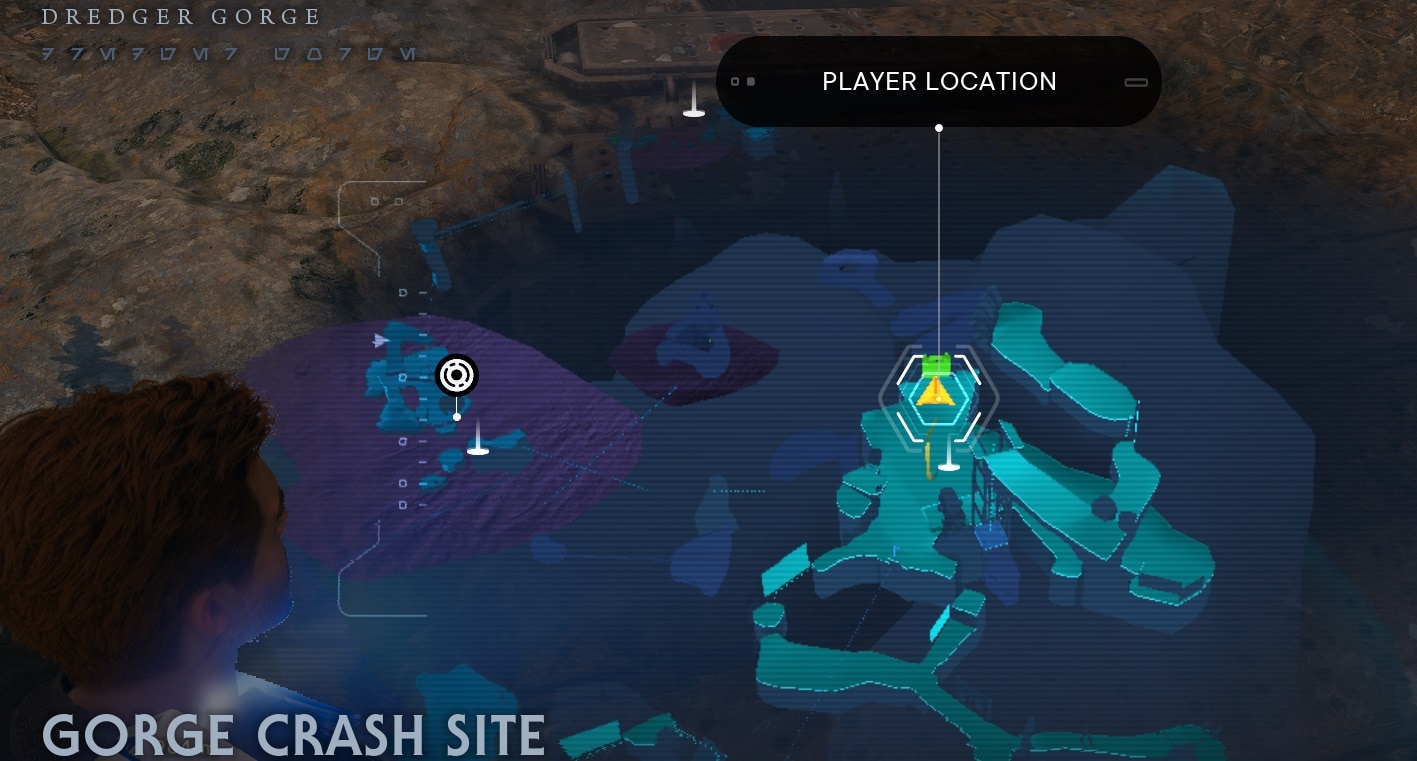
The Mire Terror
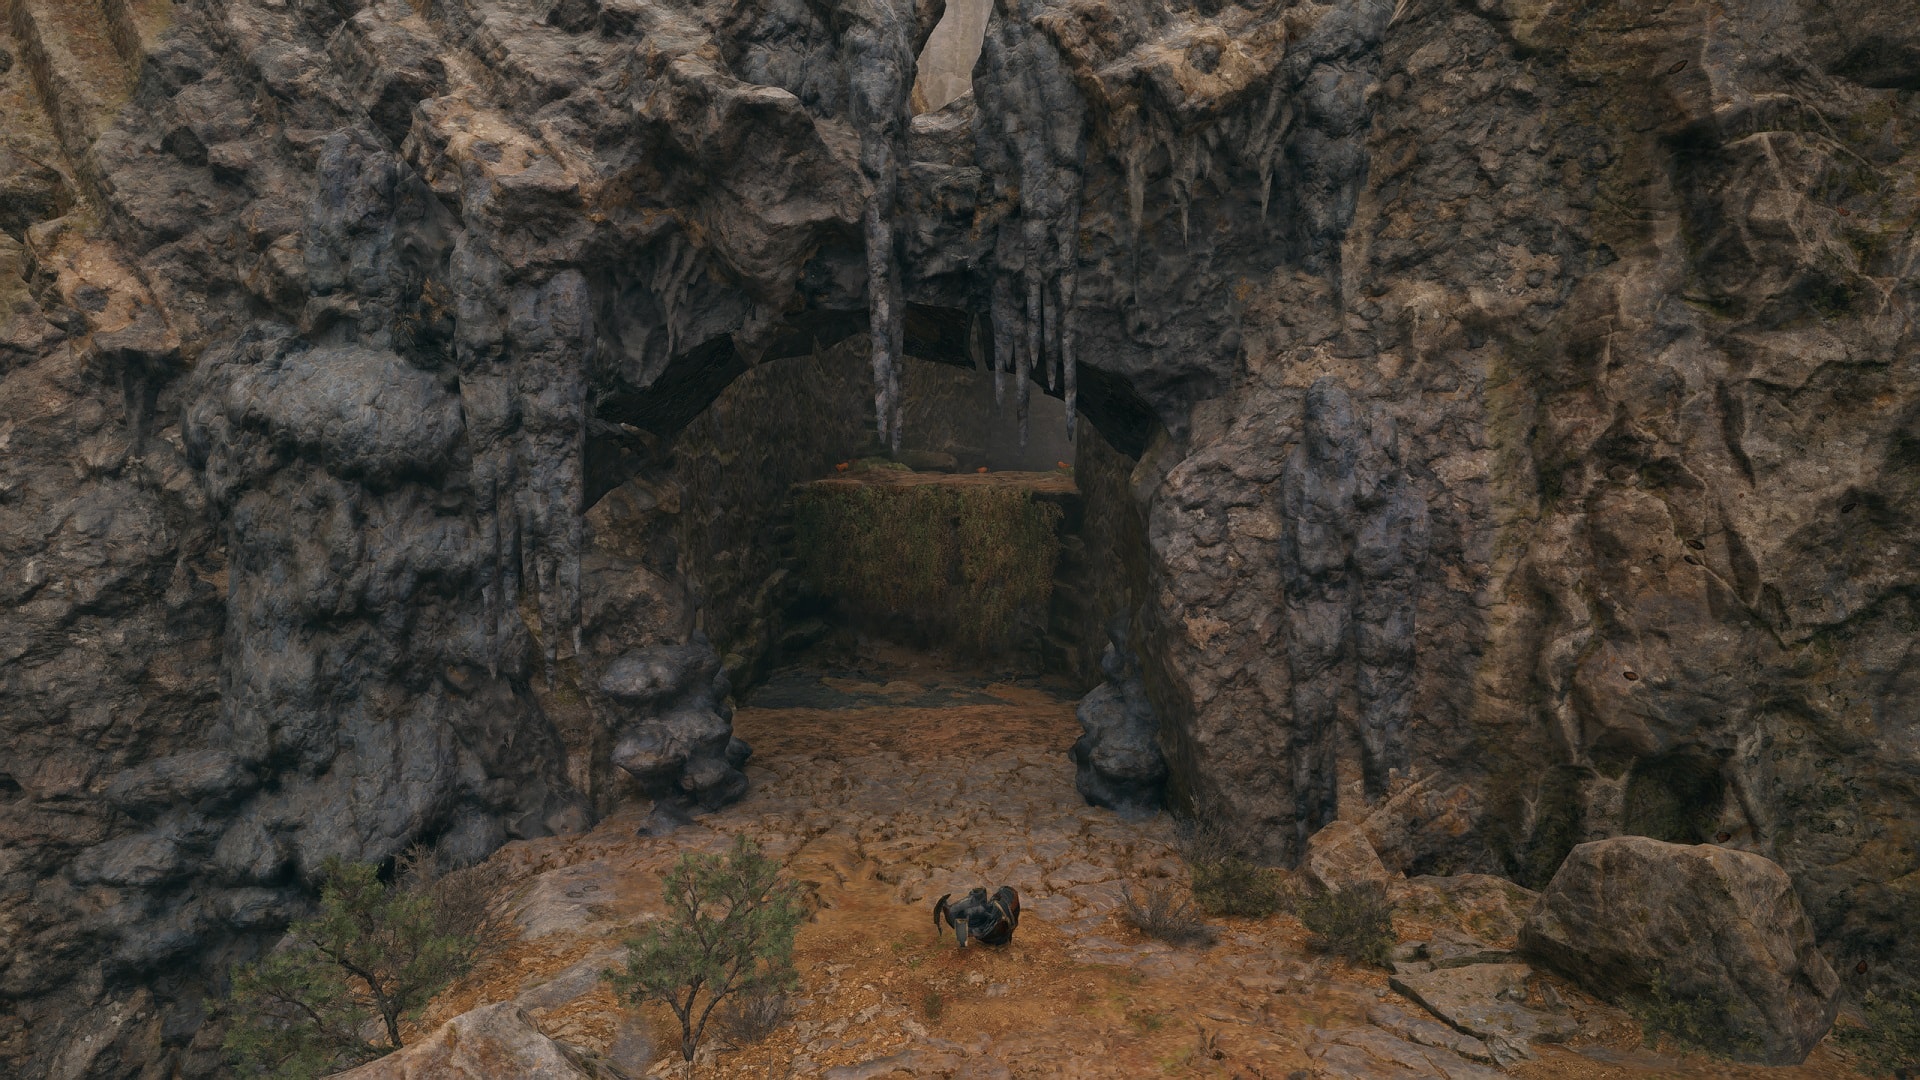
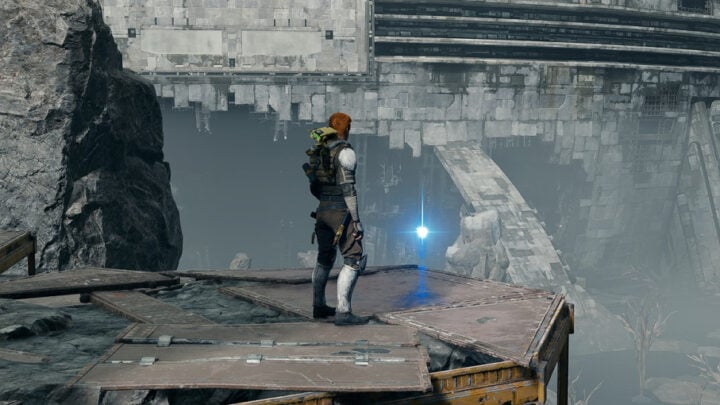
This place can only be accessed by going go the Gorge Crash Site on Dredger Gorge.
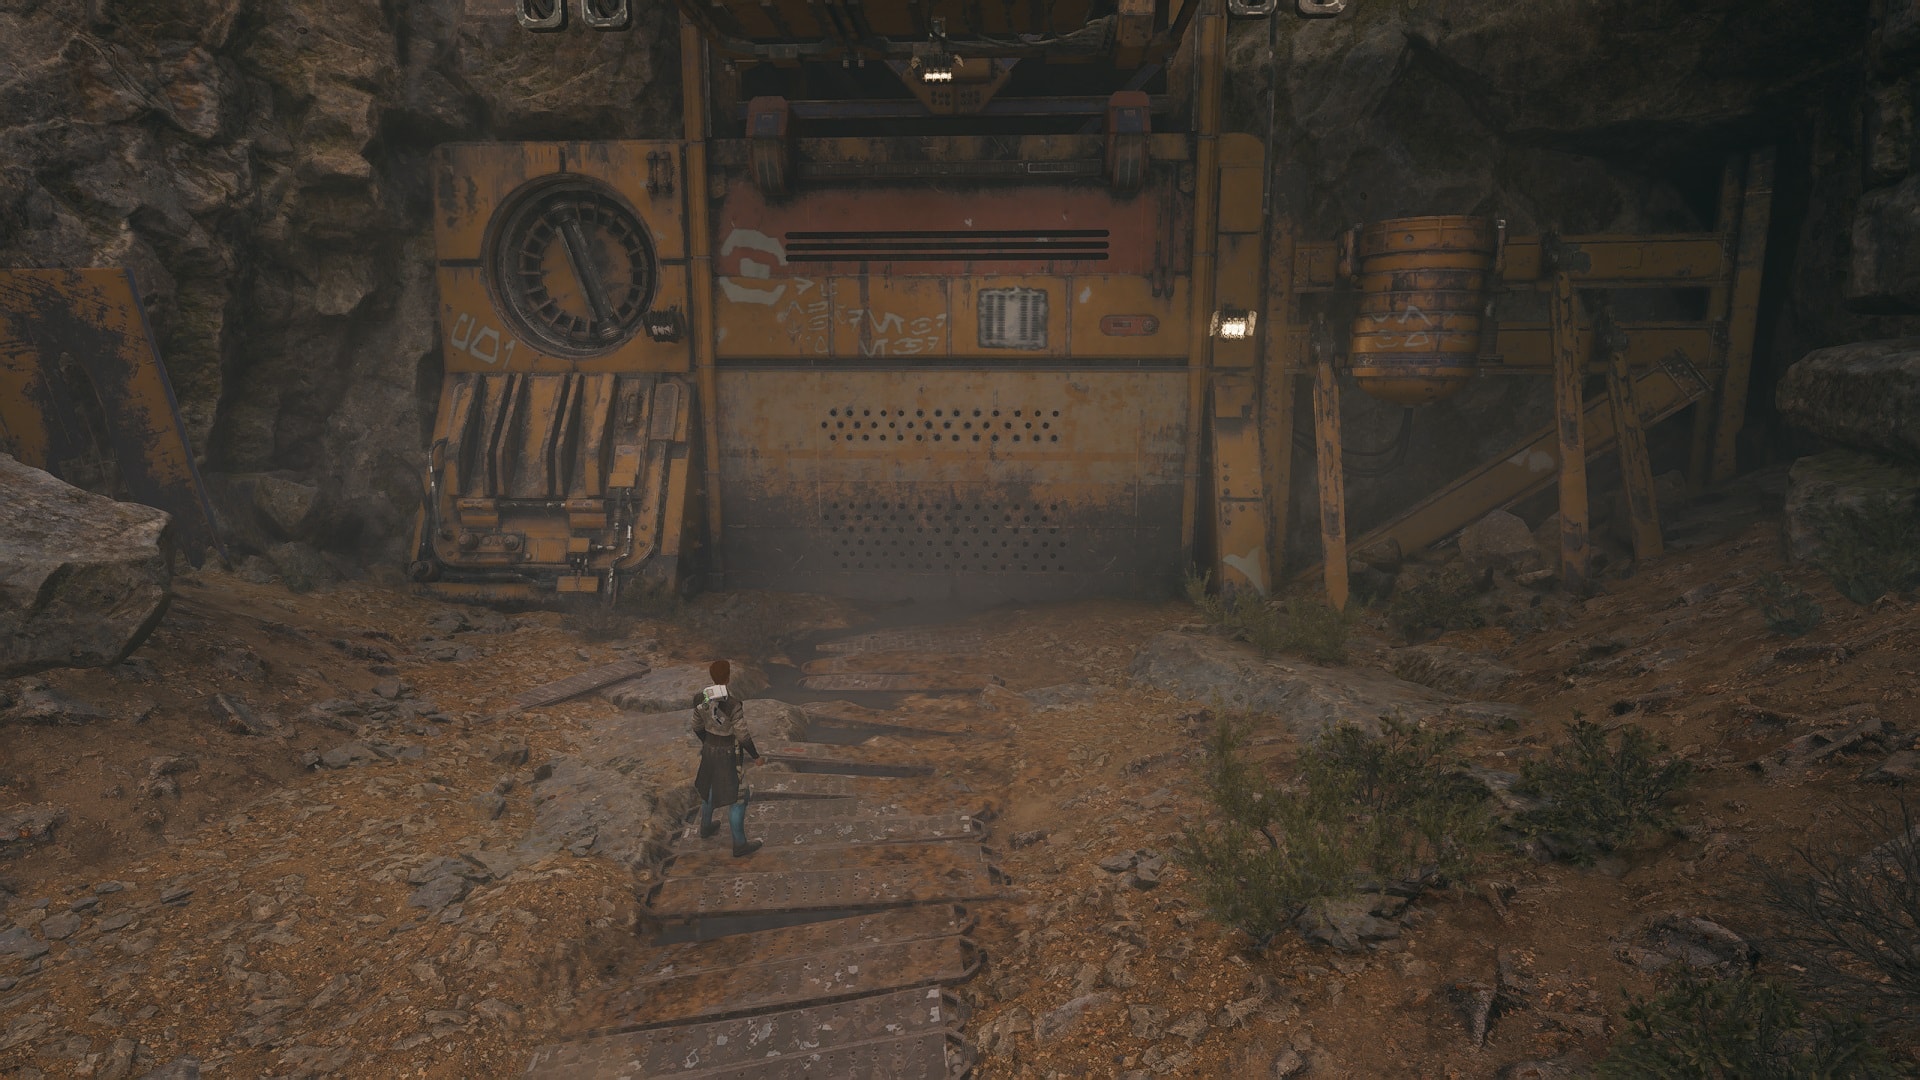
A few meters away from the meditation point, you’ll see this door. Use Force Lift to open it.
Jump to the other side of the bridge.
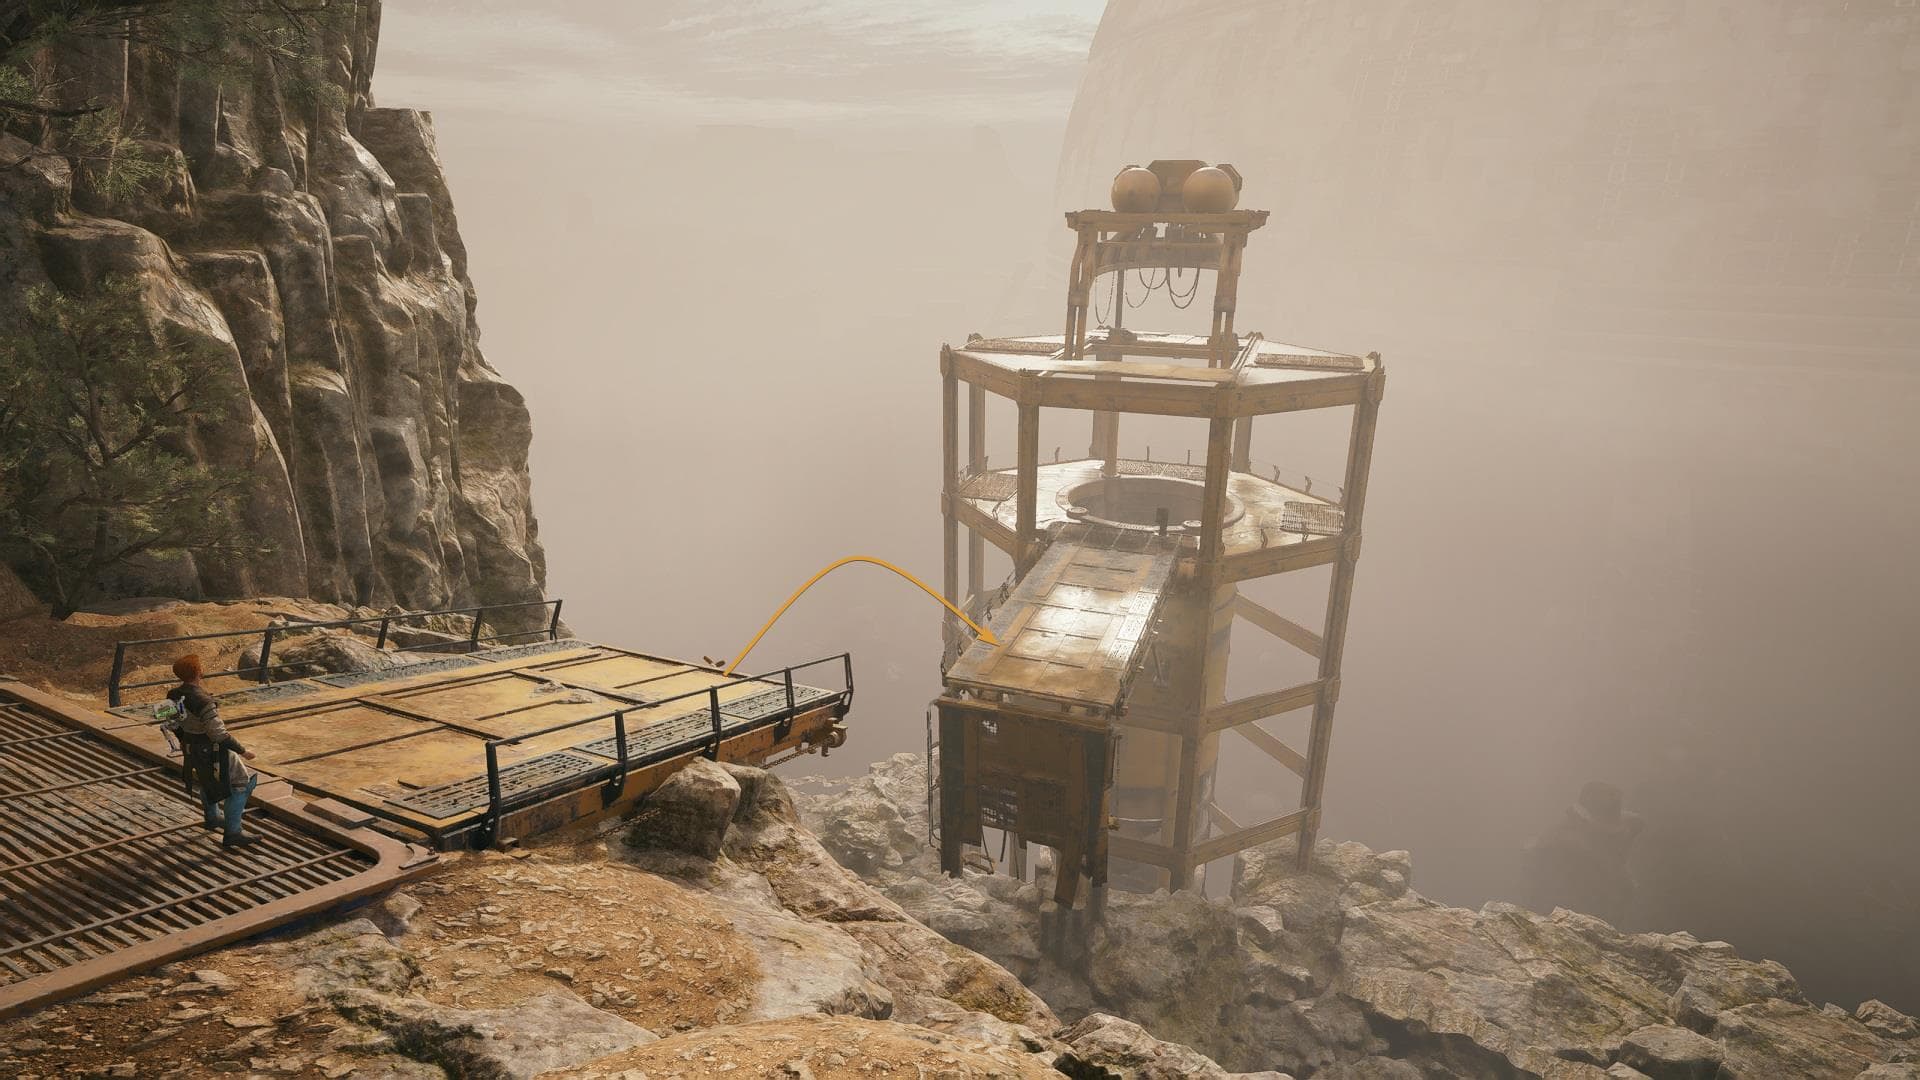
Activate the elevator.
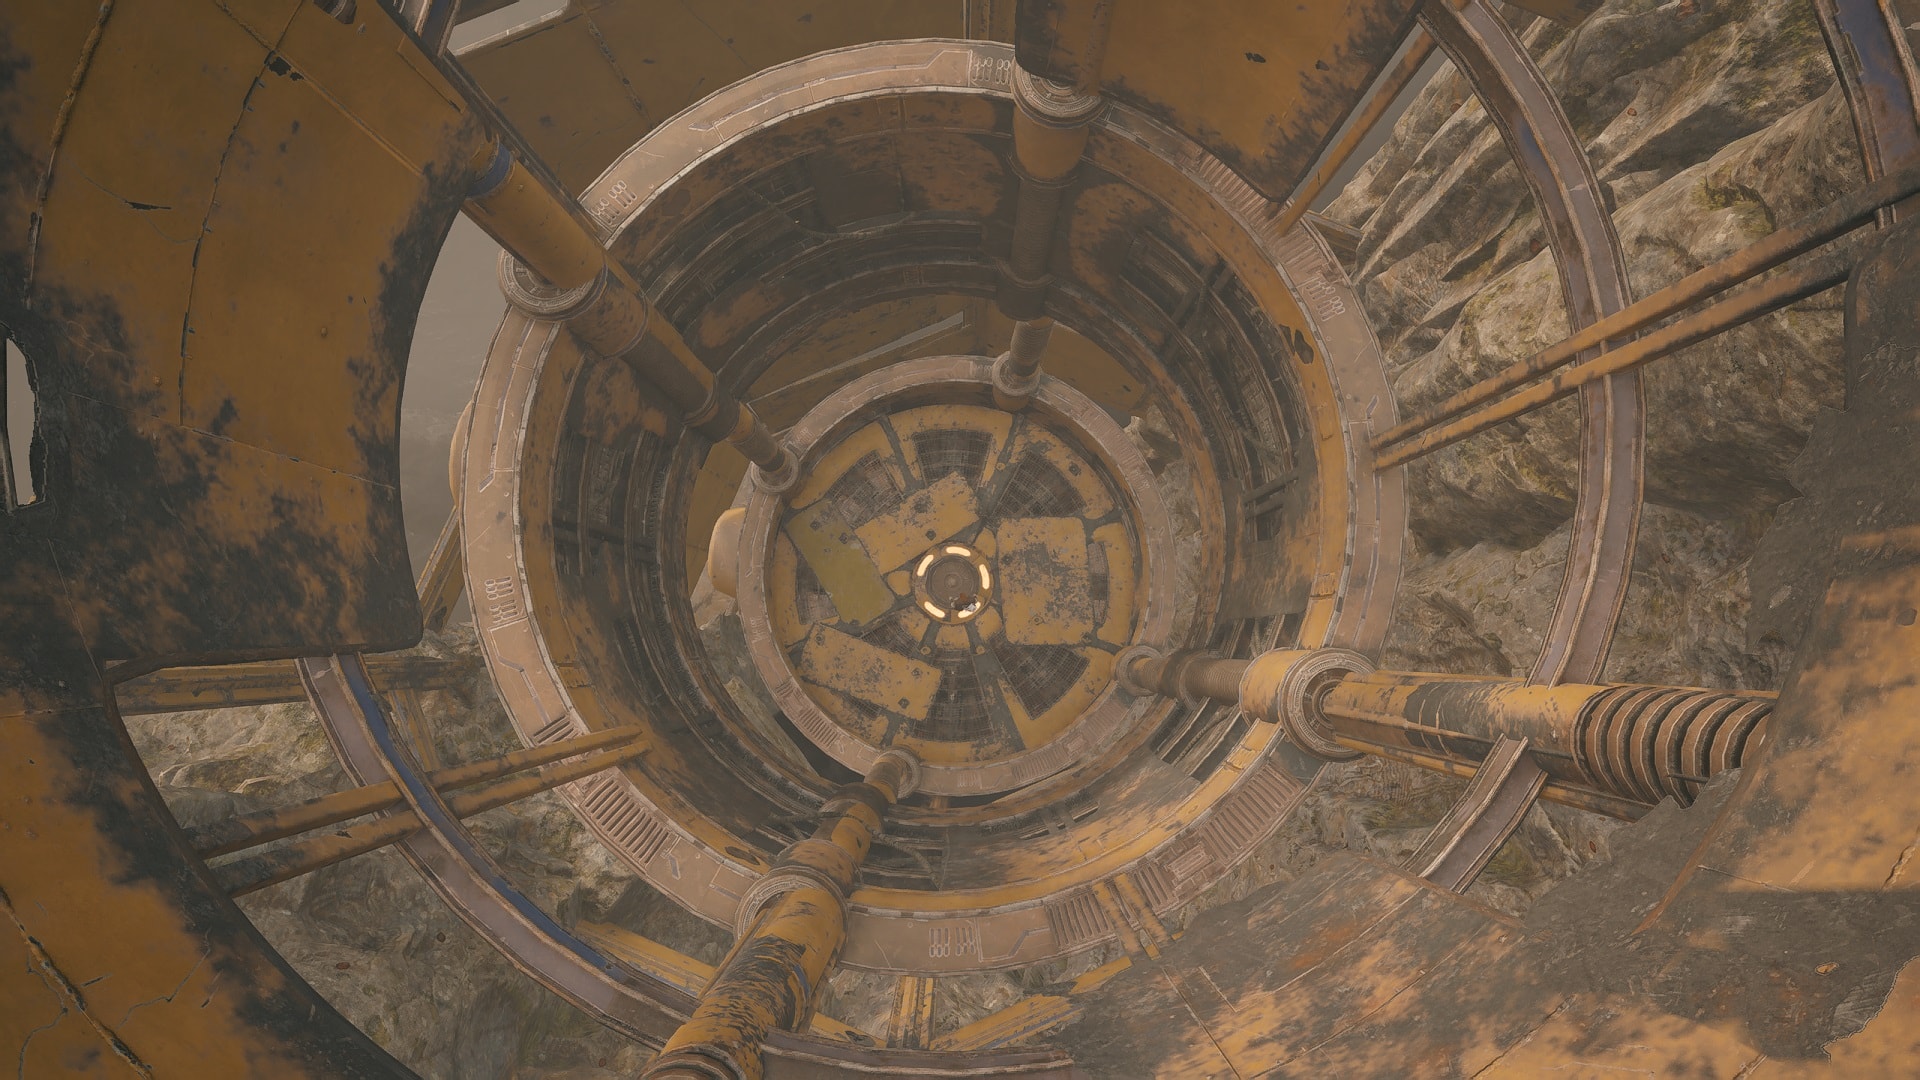
Exit the elevator and look for the pillars that are almost submerged. Use Force Lift on the pillar jump to it, and repeat the process until you get to the other side.
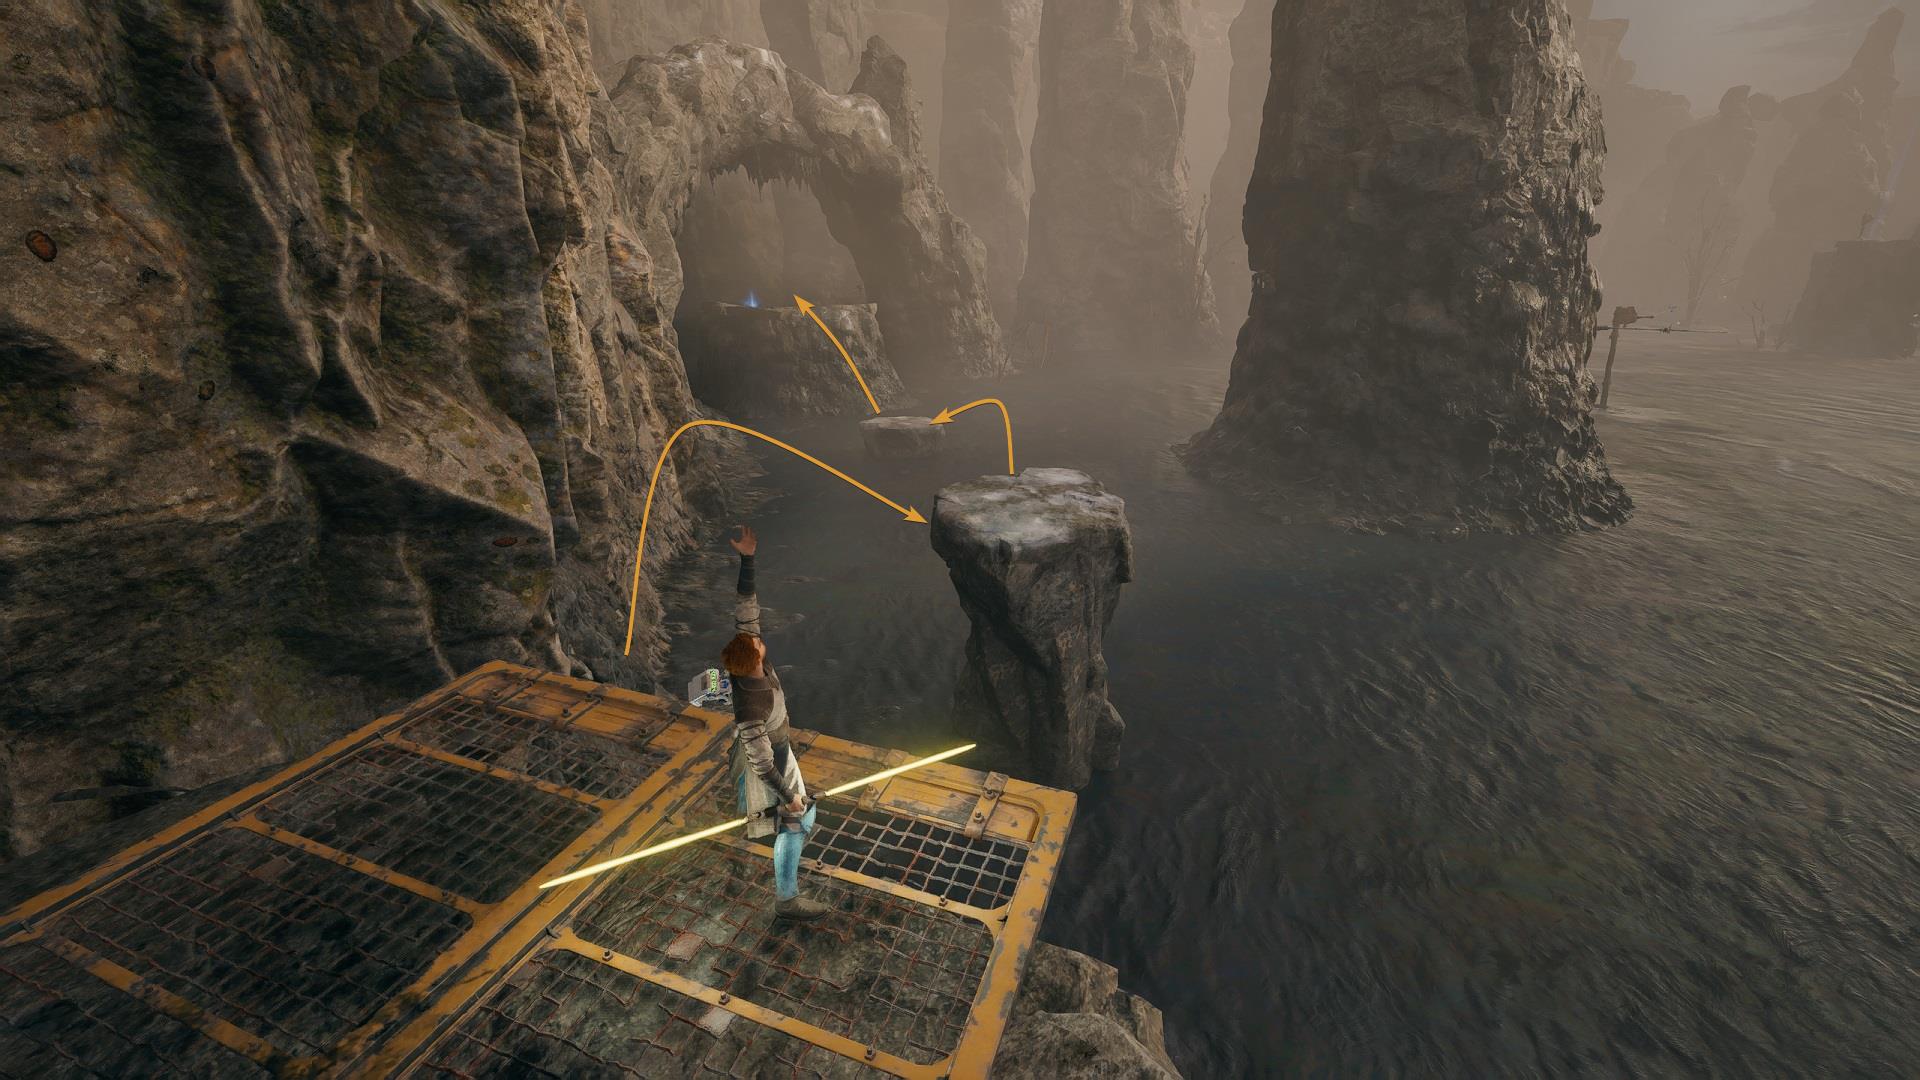
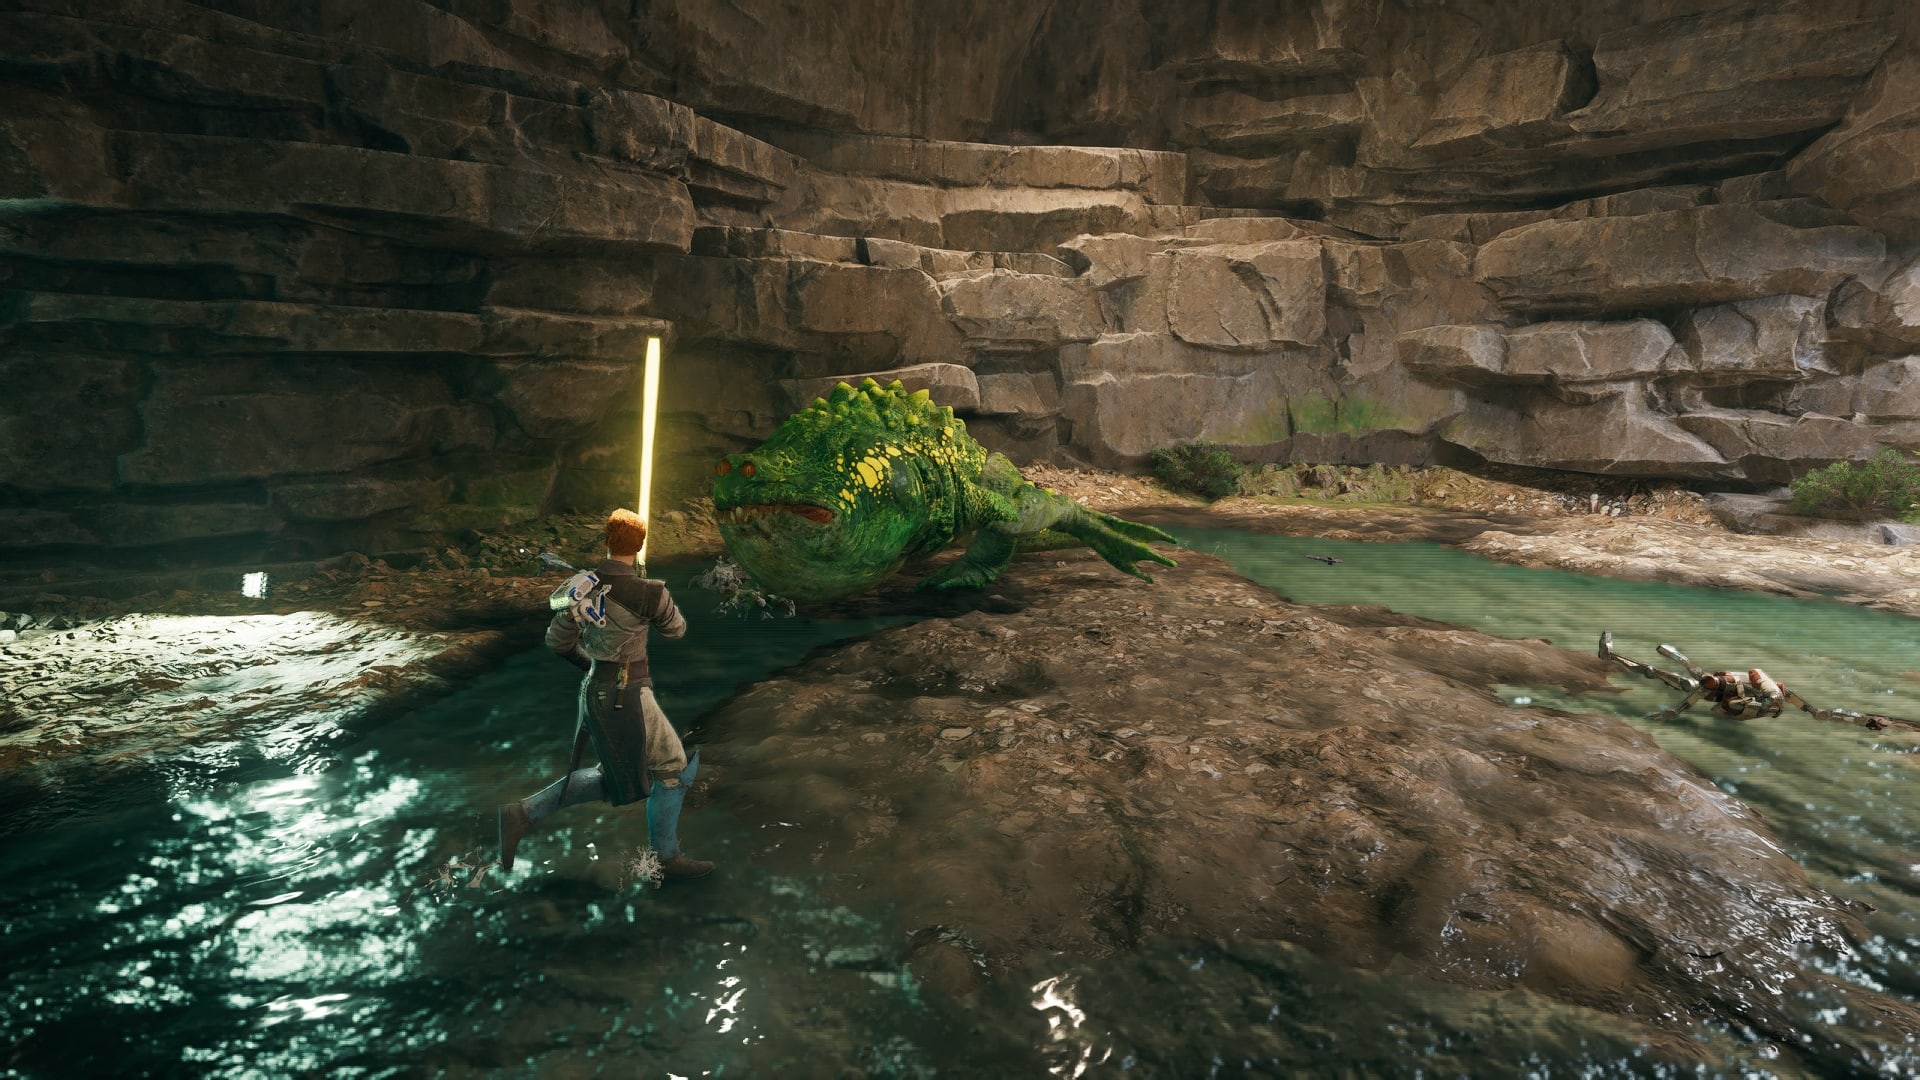
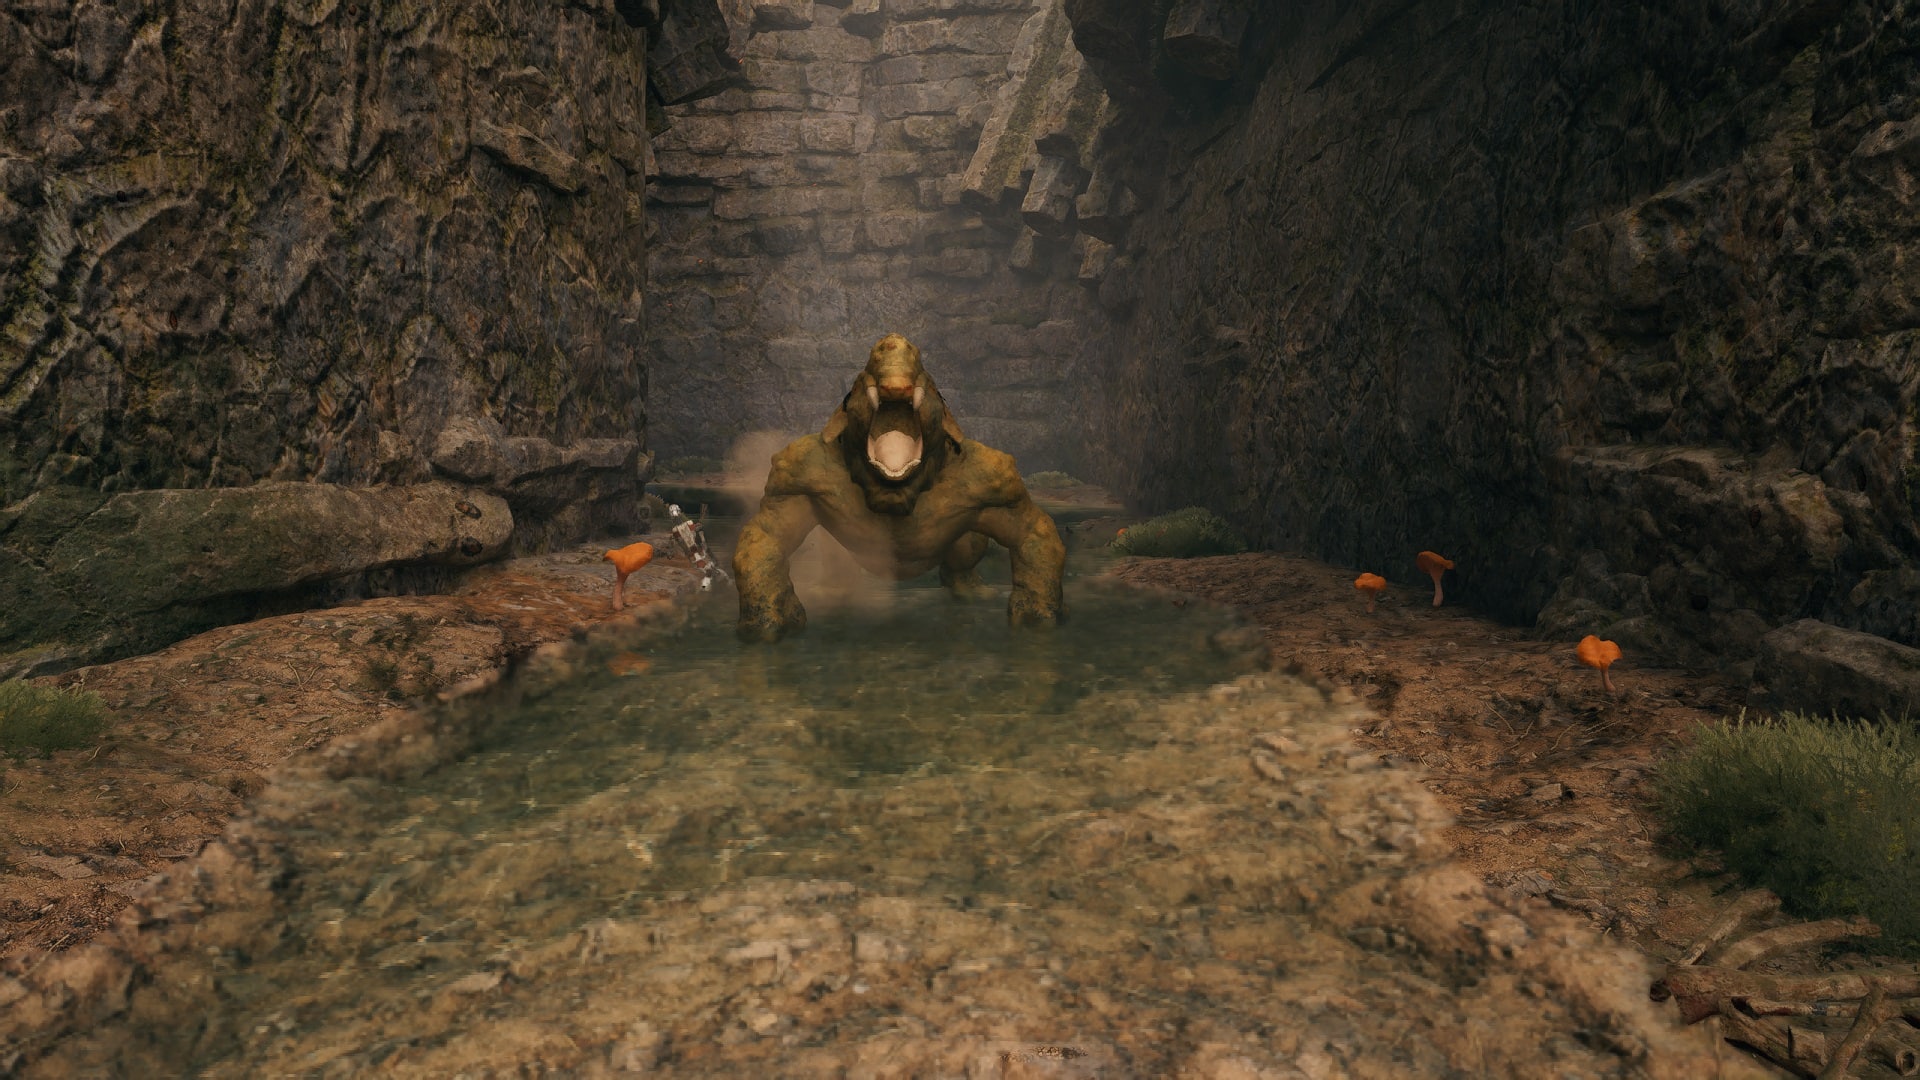
You are now ready to face the second Posing Mogu of the game. The Mire Terror is a very powerful Mogu that deals a lot of damage but its attack patterns are almost identical to other Mogus’.
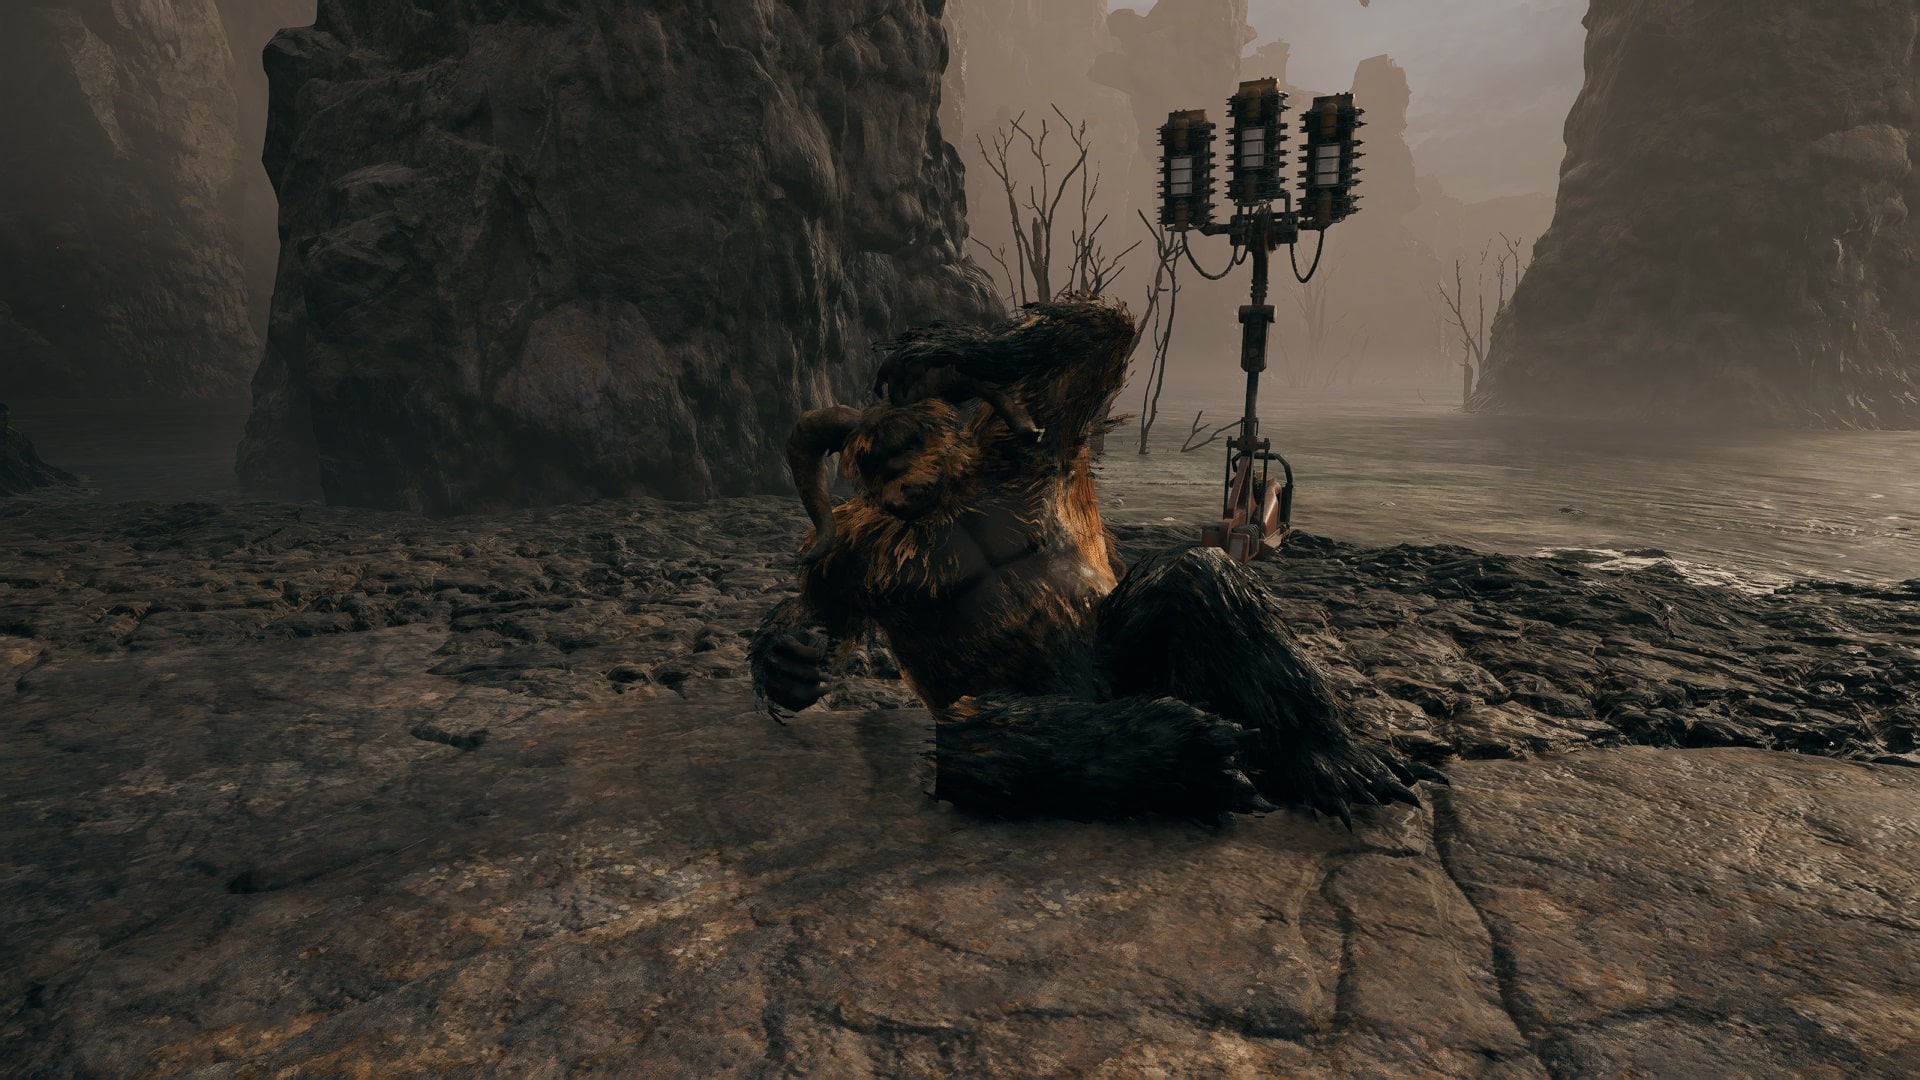
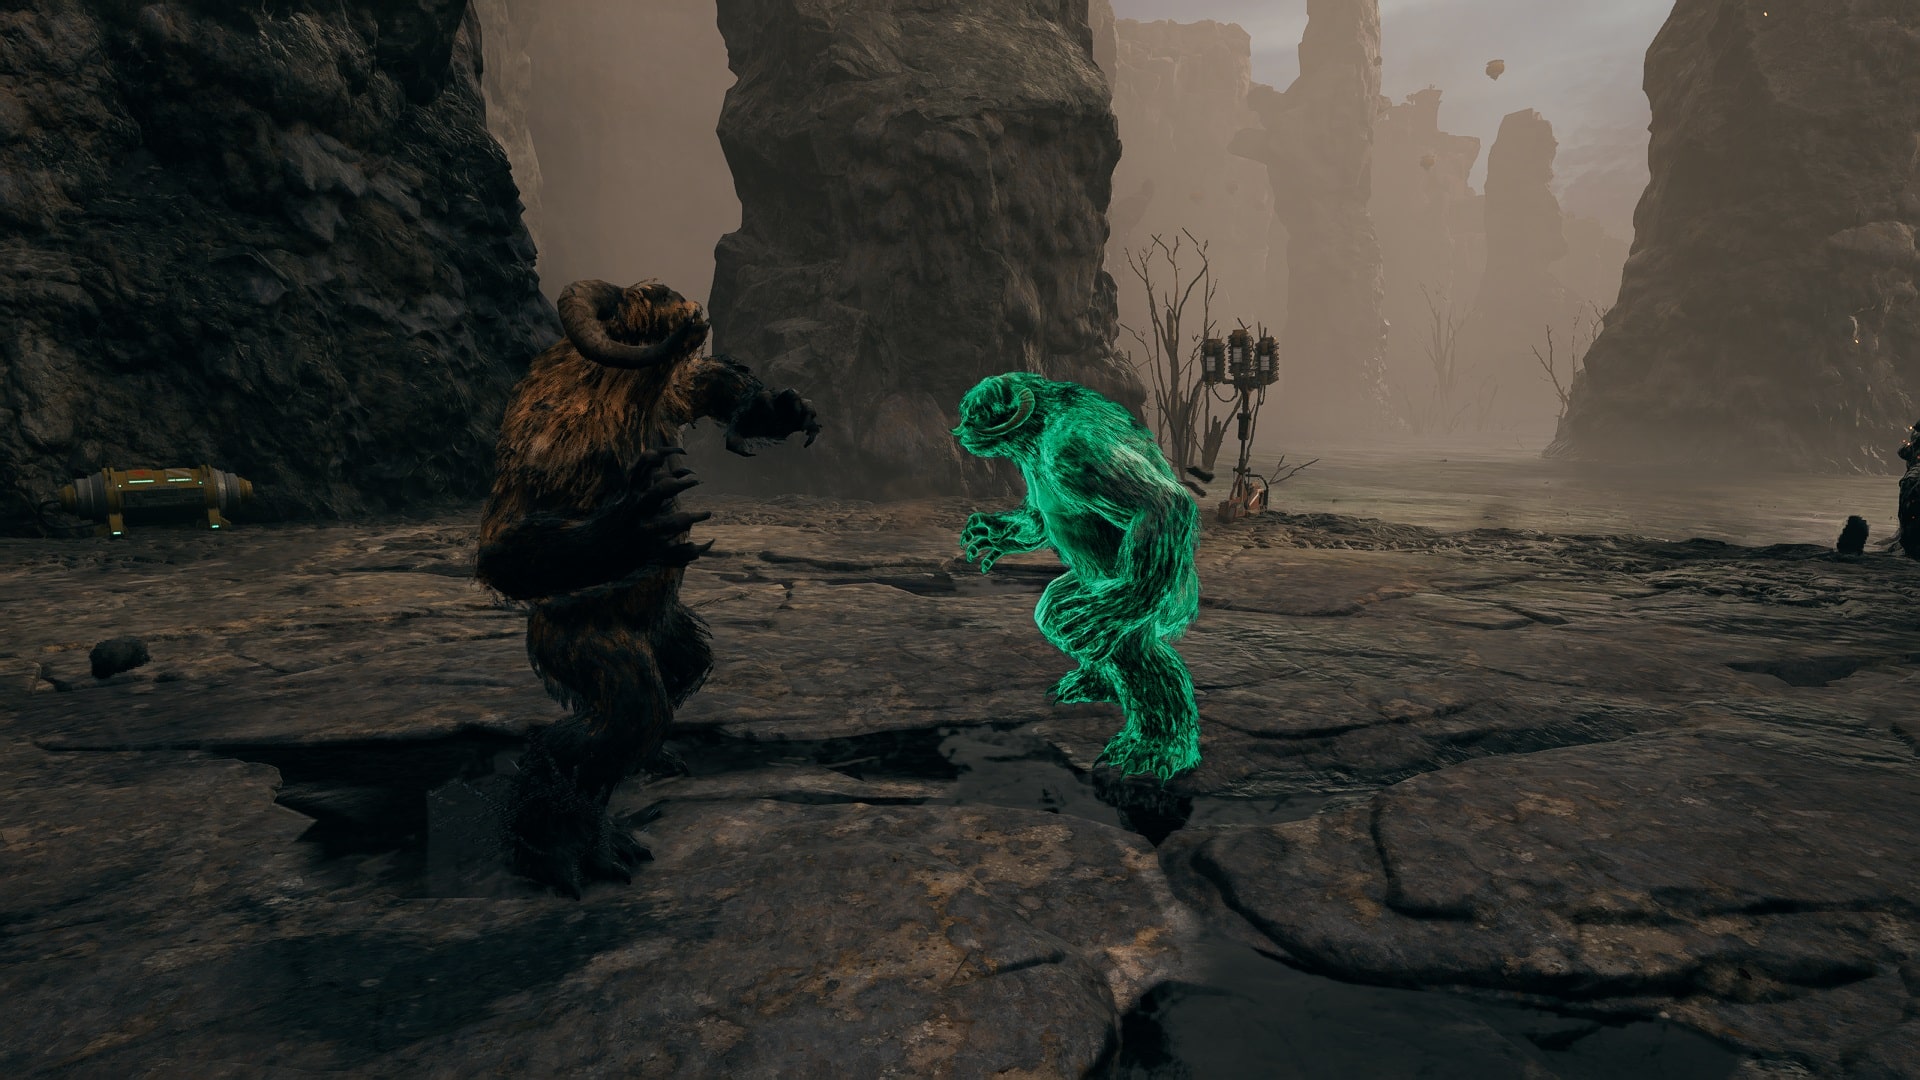
However, what makes this difficult is the fact that there is another Mogu that helps it. The easiest way to beat this enemy is by confusing the smaller Mogu and making them fight each other, if the Confusion skill tree is maxed, it will bring the Mire Terror down to approximately twenty percent health.
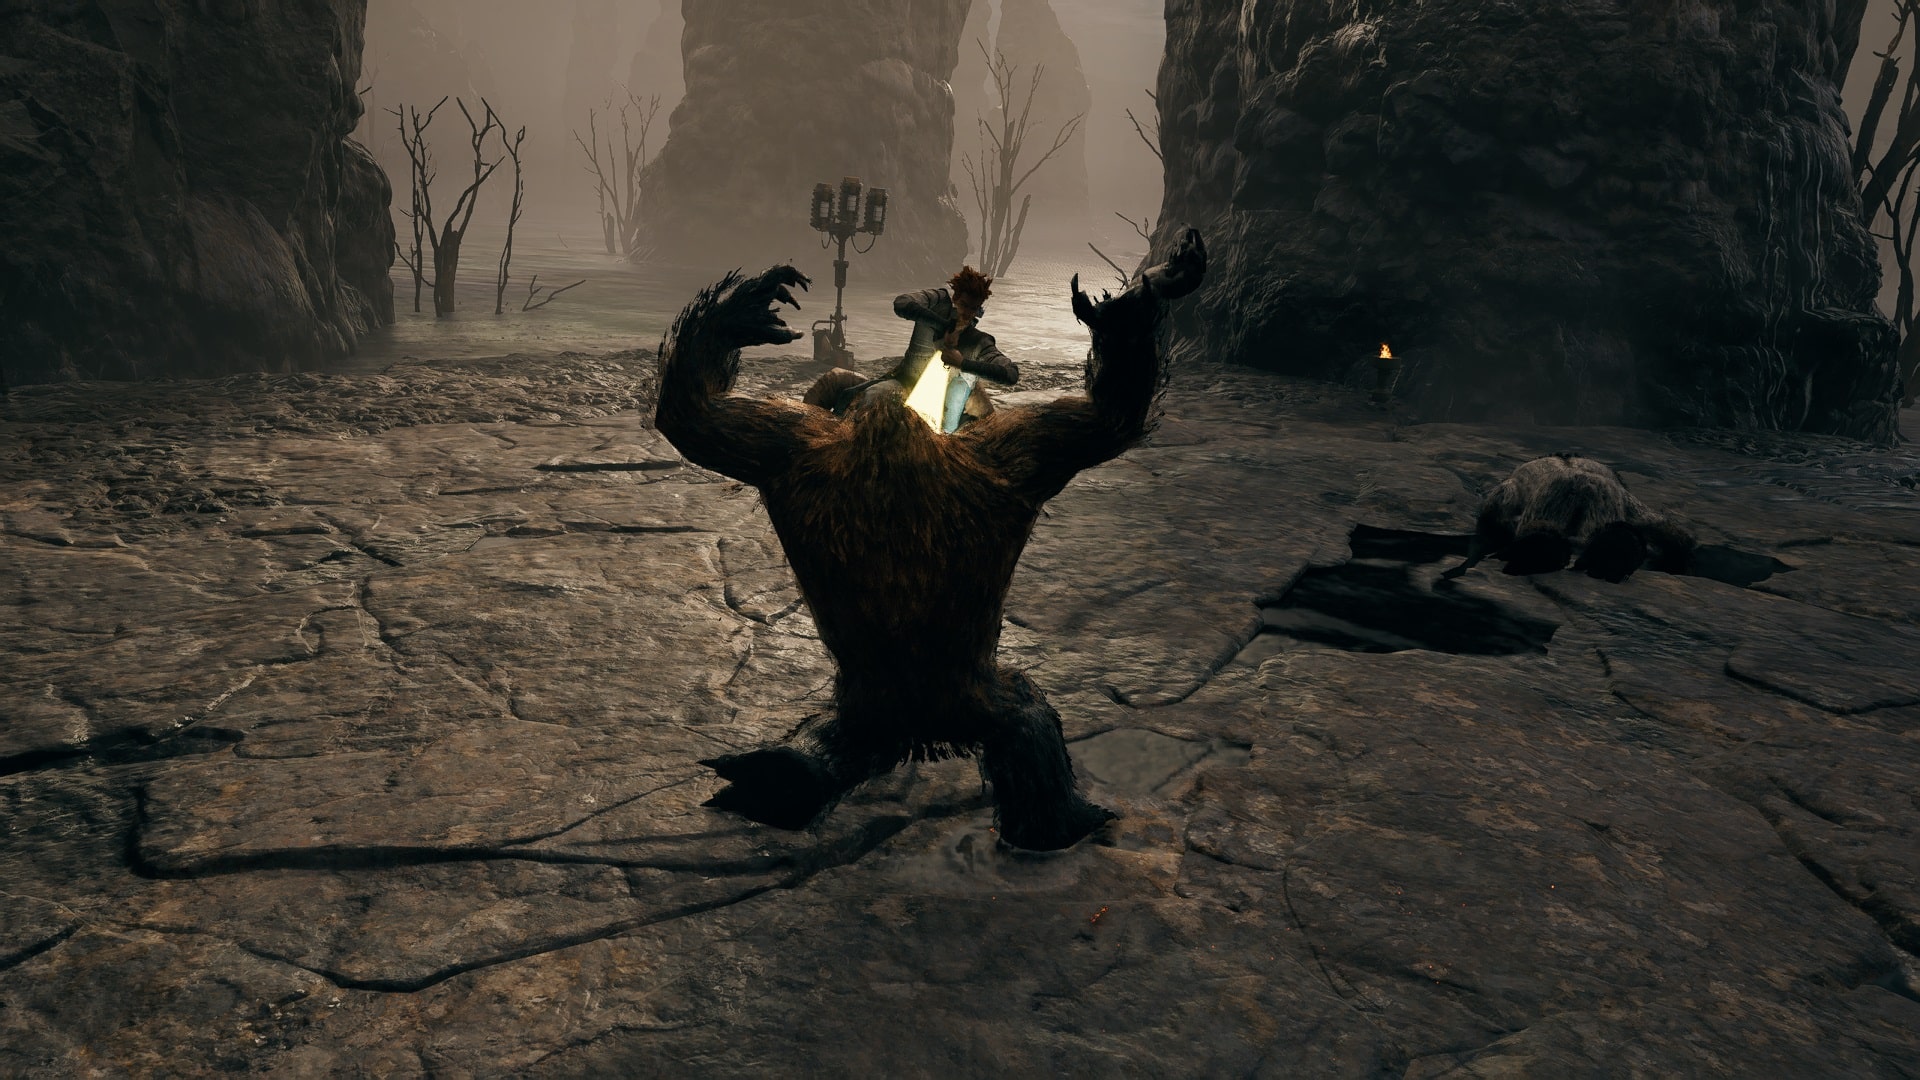
With the other Mogu down and The Mire Terror in a weakened state, you just have to hit a couple of strikes and then deal the killing blow.
Collect the extra stim that is just a few meters away from your position. If you are looking for more, we have a full guide to all Stim Locations in Jedi Survivor.
Gorocco Matriarch
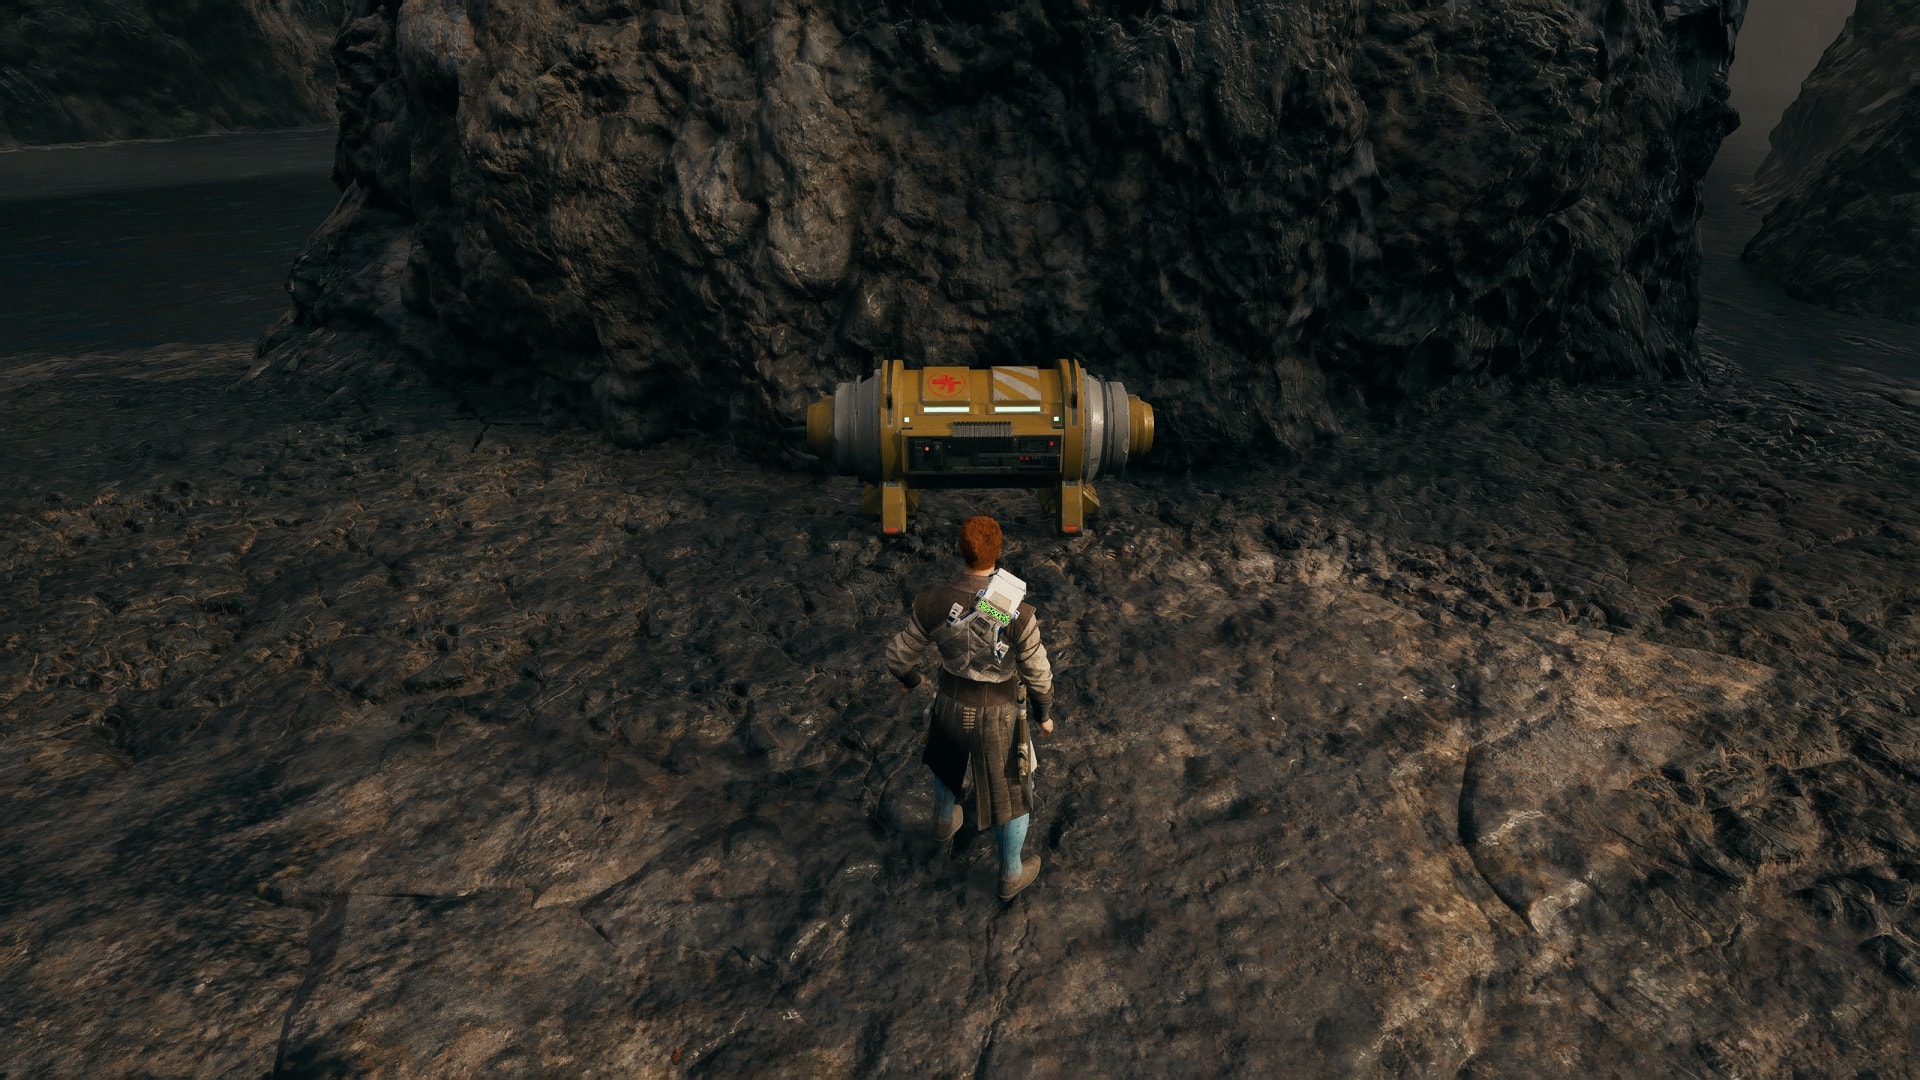
From the Derelict Dam Meditation Point walk a few meters and get to the small cave on the left side, marked in the image below. A roller mine will pop up.
You opened this cave and activated the Roller Mine in your first adventures on Koboh when you had to find a way to rise the Tar Pit’s level on the way to meet Greez.
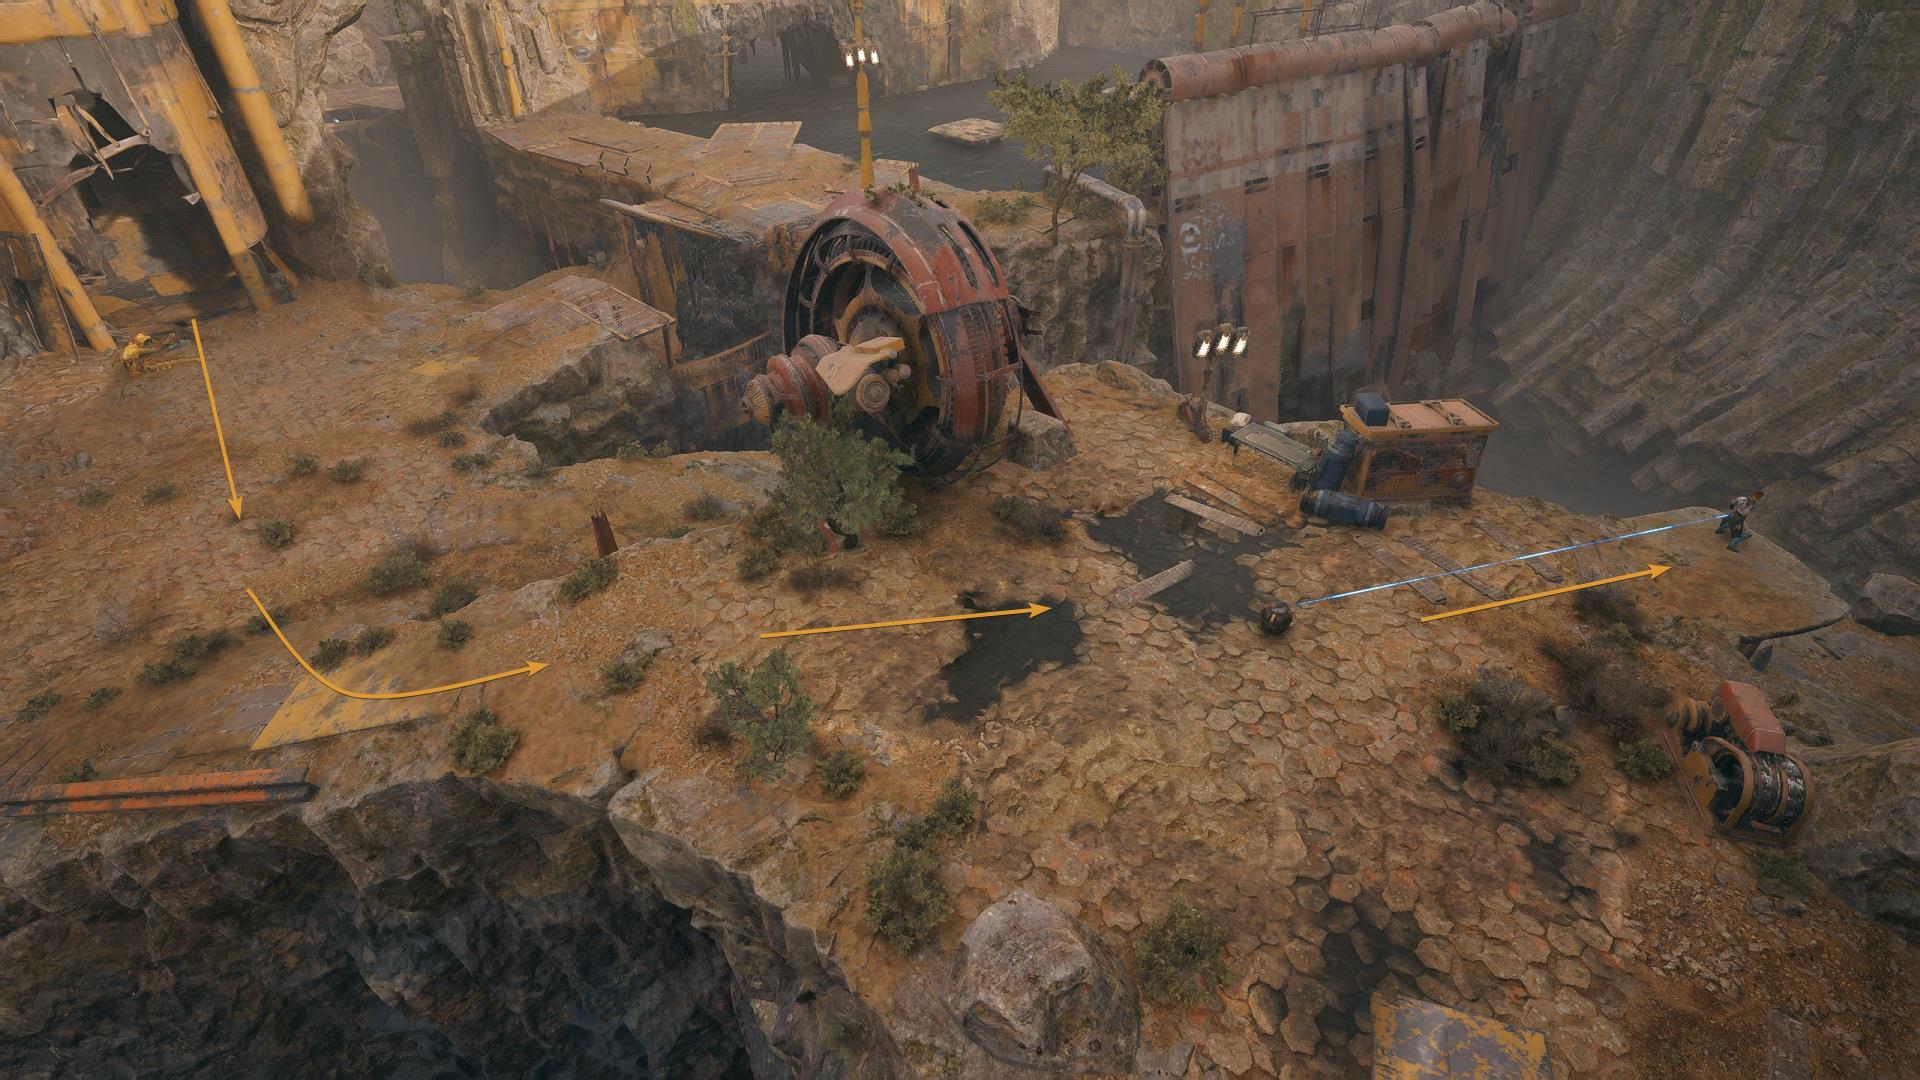
Make it follow you through this route until you’re next to the edge.
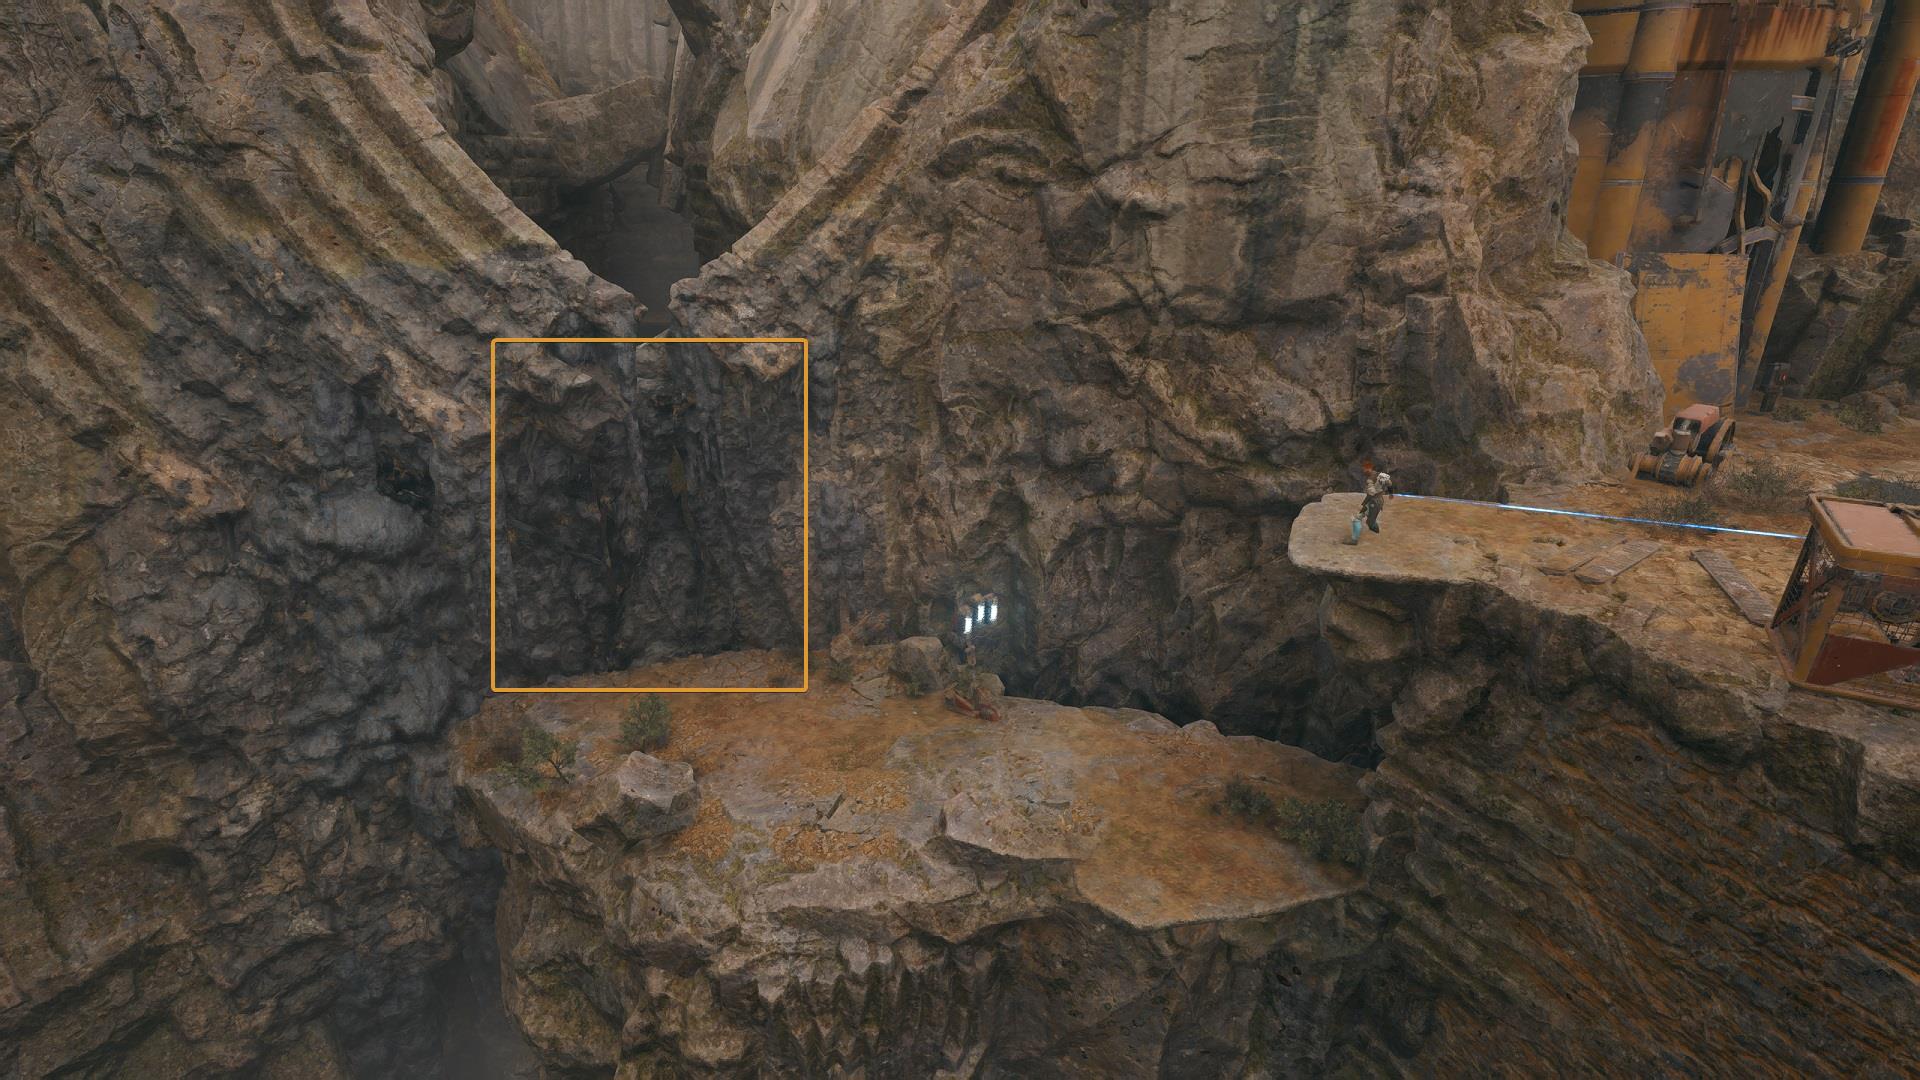
Grab the roller mine and throw it to this breakable wall.
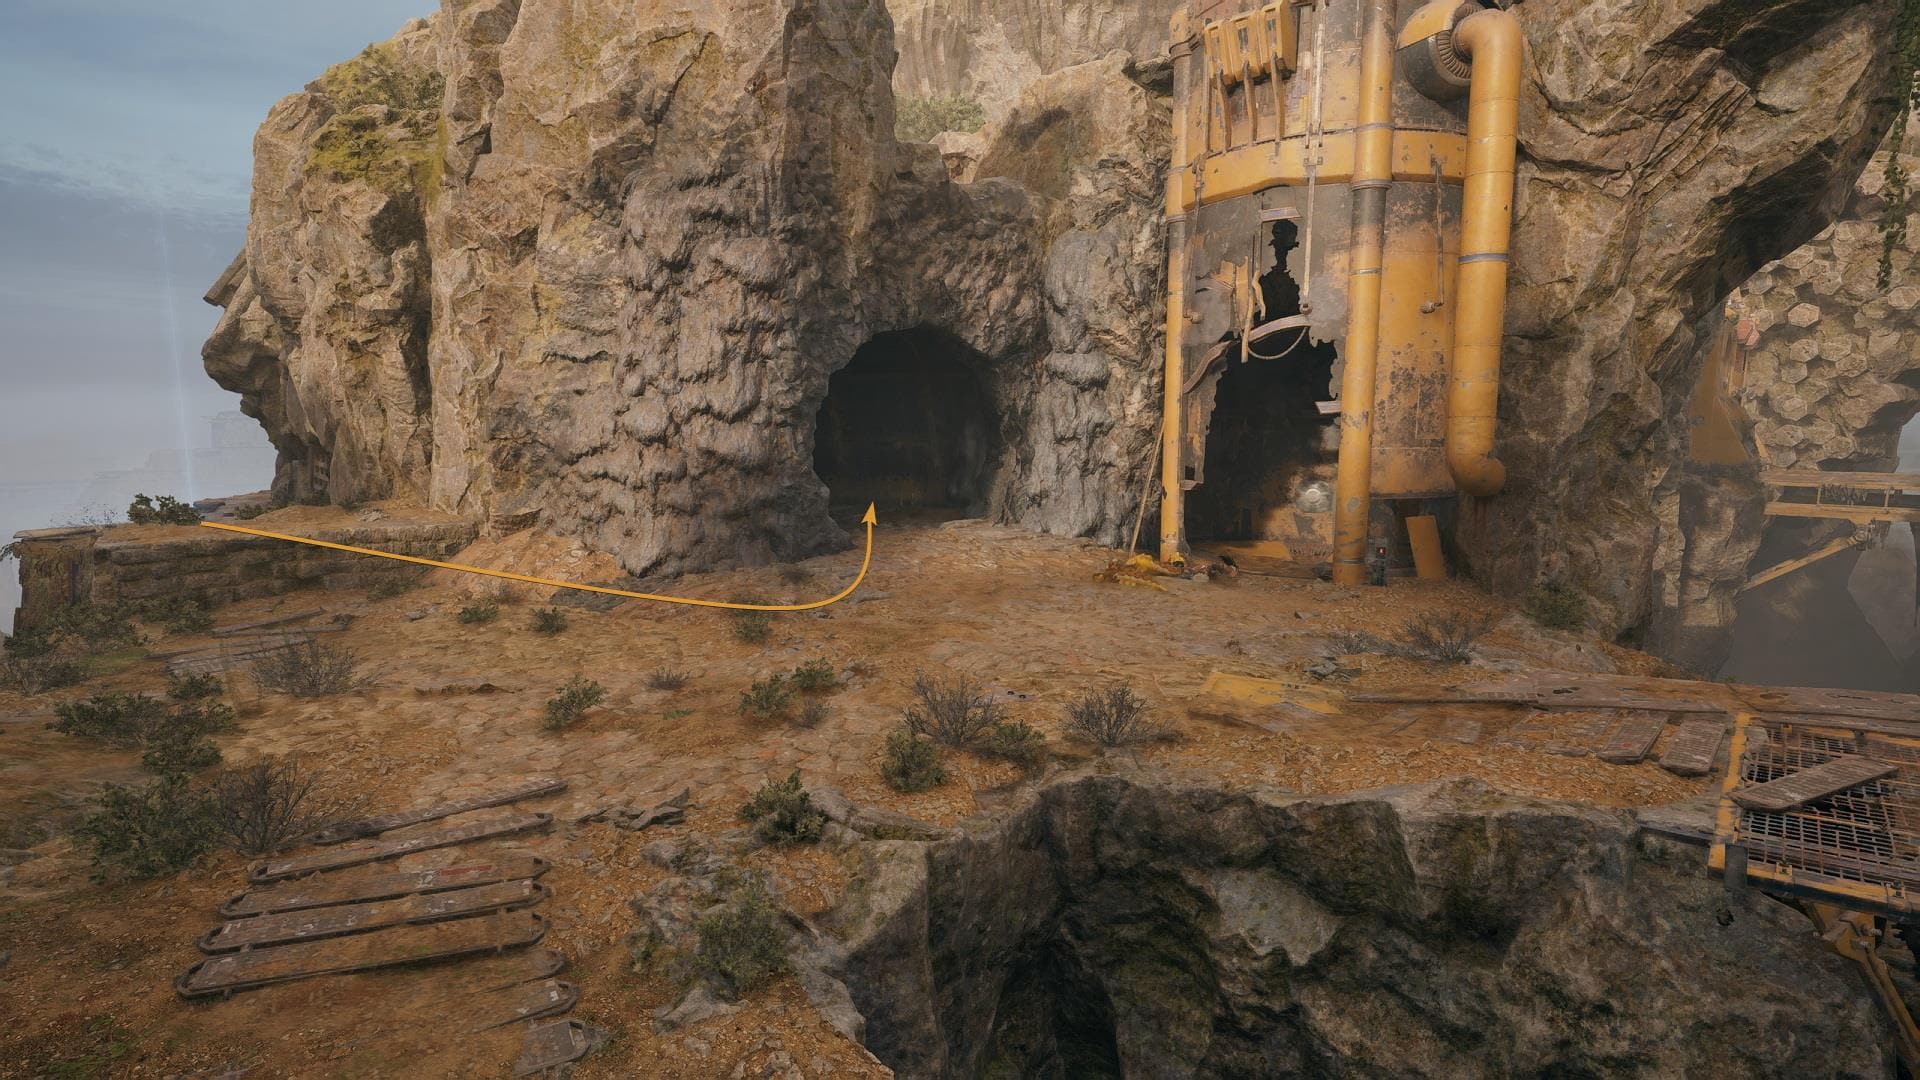
Now that the path is clear, continue until you see two B1 Droids having a silly chat.
A Gorocco will jump out of nowhere and destroy the poor droids. This is not the Matriarch, before reaching her you must defeat this one. After it is dead, continue until you see a rope and use it to get to the upper level.
Once there, you’ll see another metal door. Just like the others, use Force Lift to open it.
Walk for a few seconds until you see the Gorocco Matriarch waiting for you. It does a lot of frontal attacks so moving to the side is the easiest way to gain an advantage over it.
Once your enemy has been defeated, collect the nearby stim.
Beetu Deetu
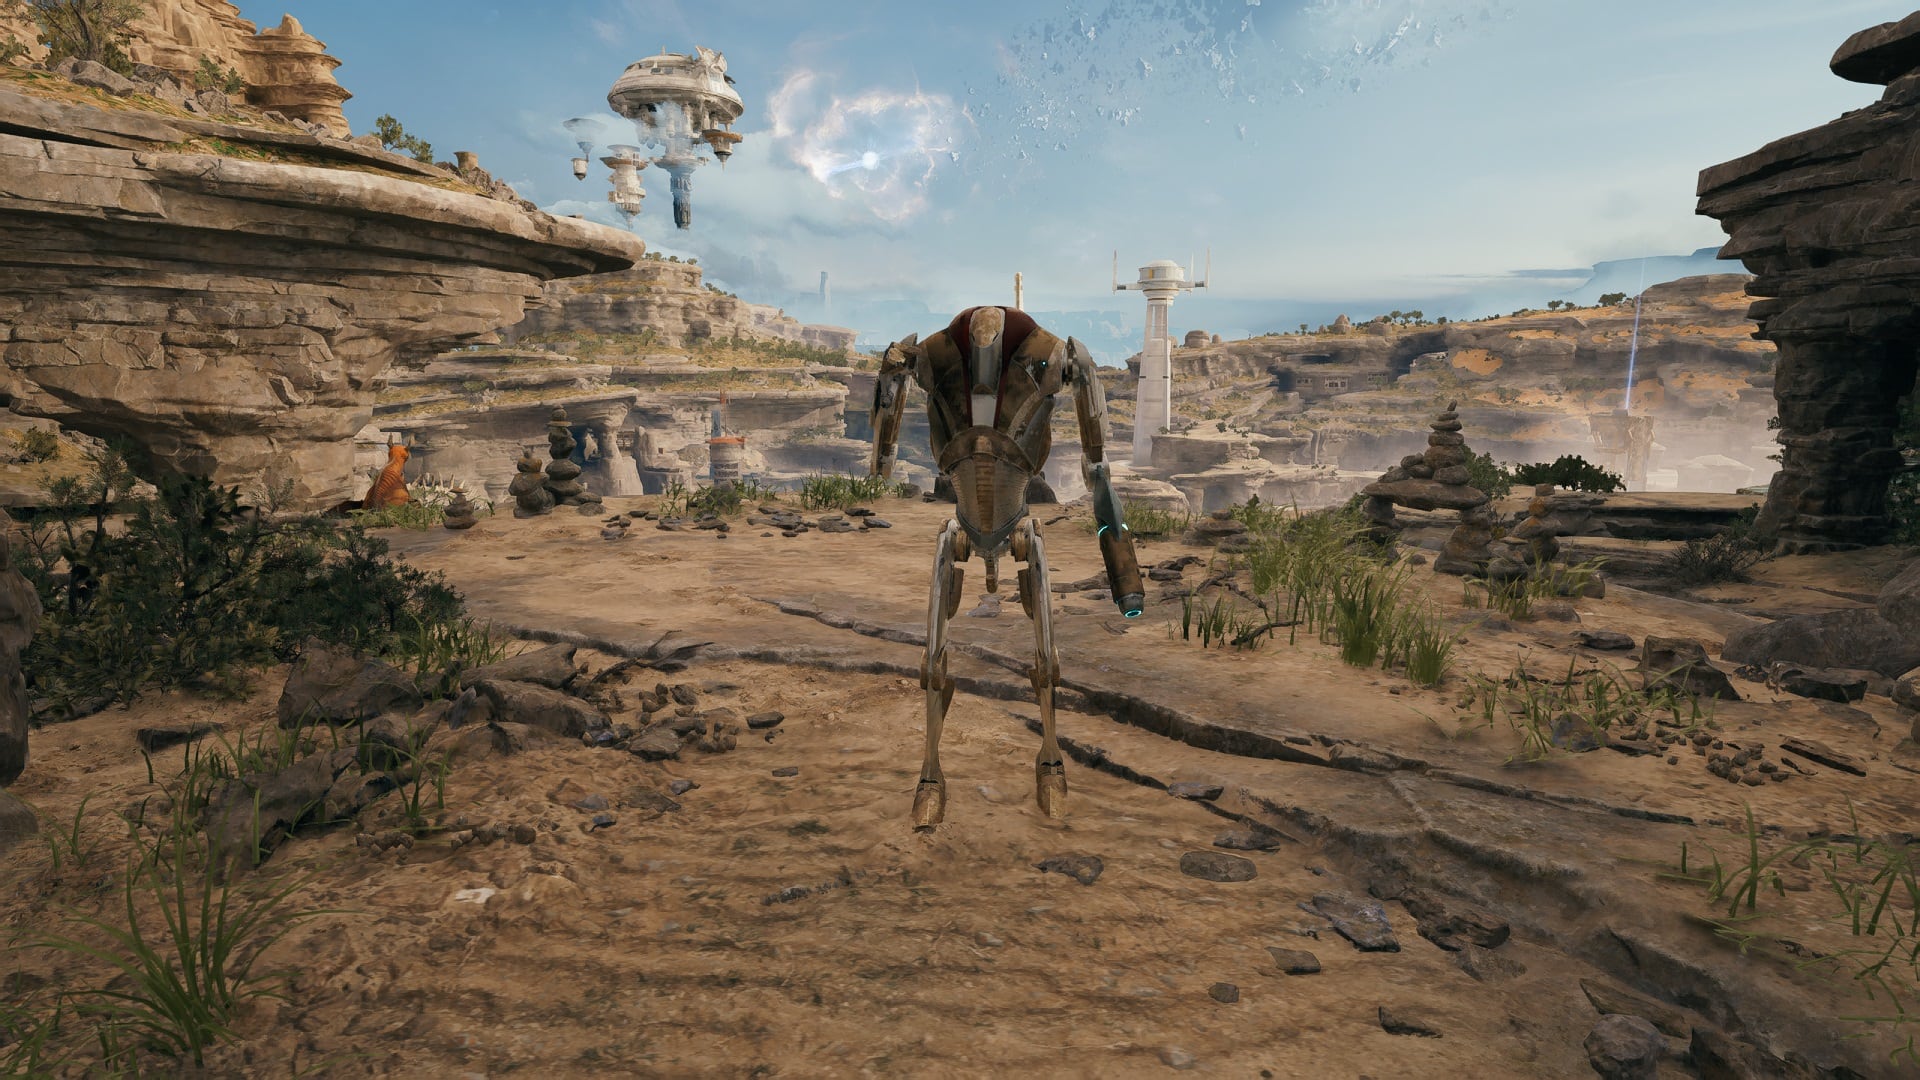
This is by far the easiest legendary enemy to find. Fast Travel to the Southern Reach meditation point on Rambler’s Reach.
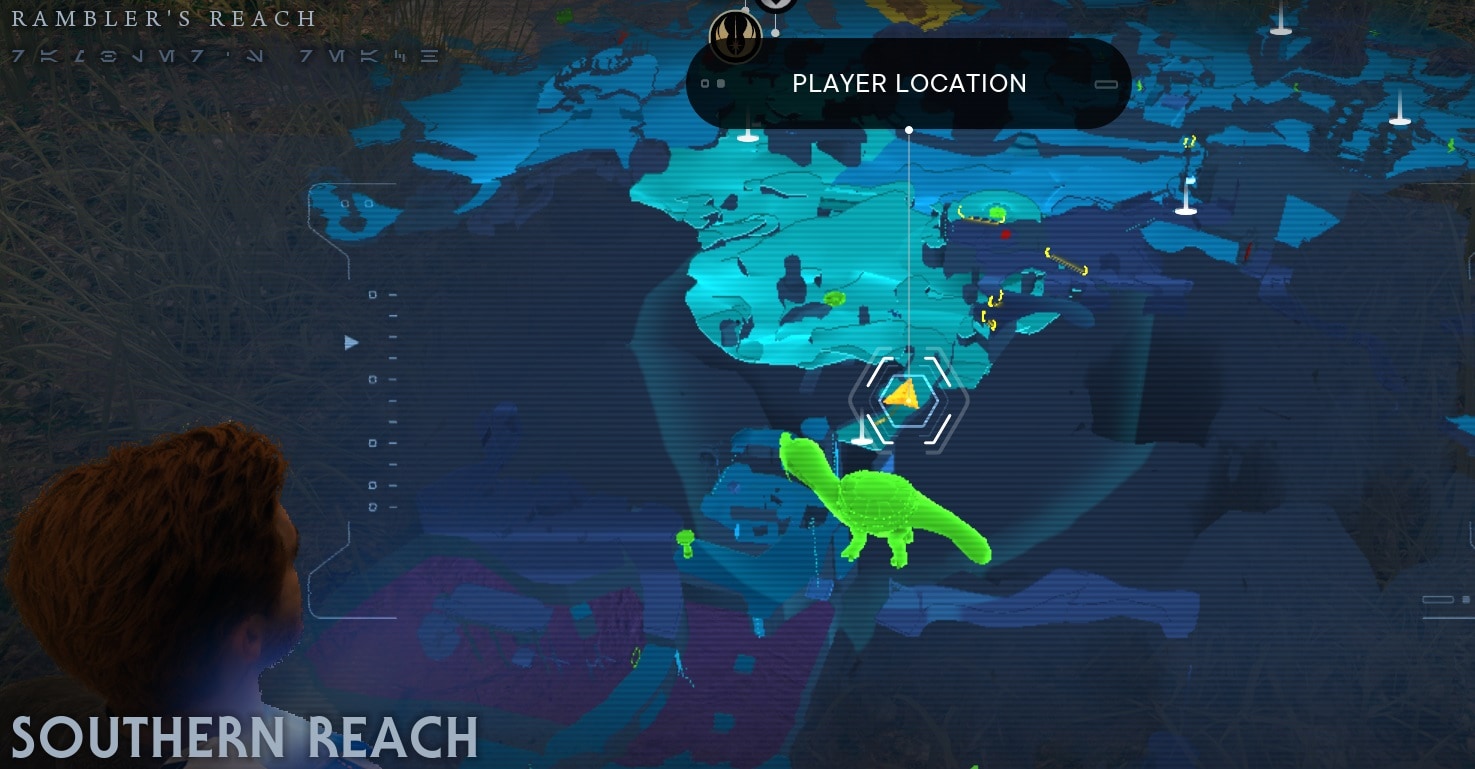
Walk for just a few meters and a dropship will deploy Beetu Deetu. It is a stronger powerful B2 Droid that can fire both standard shots and rockets simultaneously. Evade the rocket shots and you’ll be fine.
Vile Bilemaw
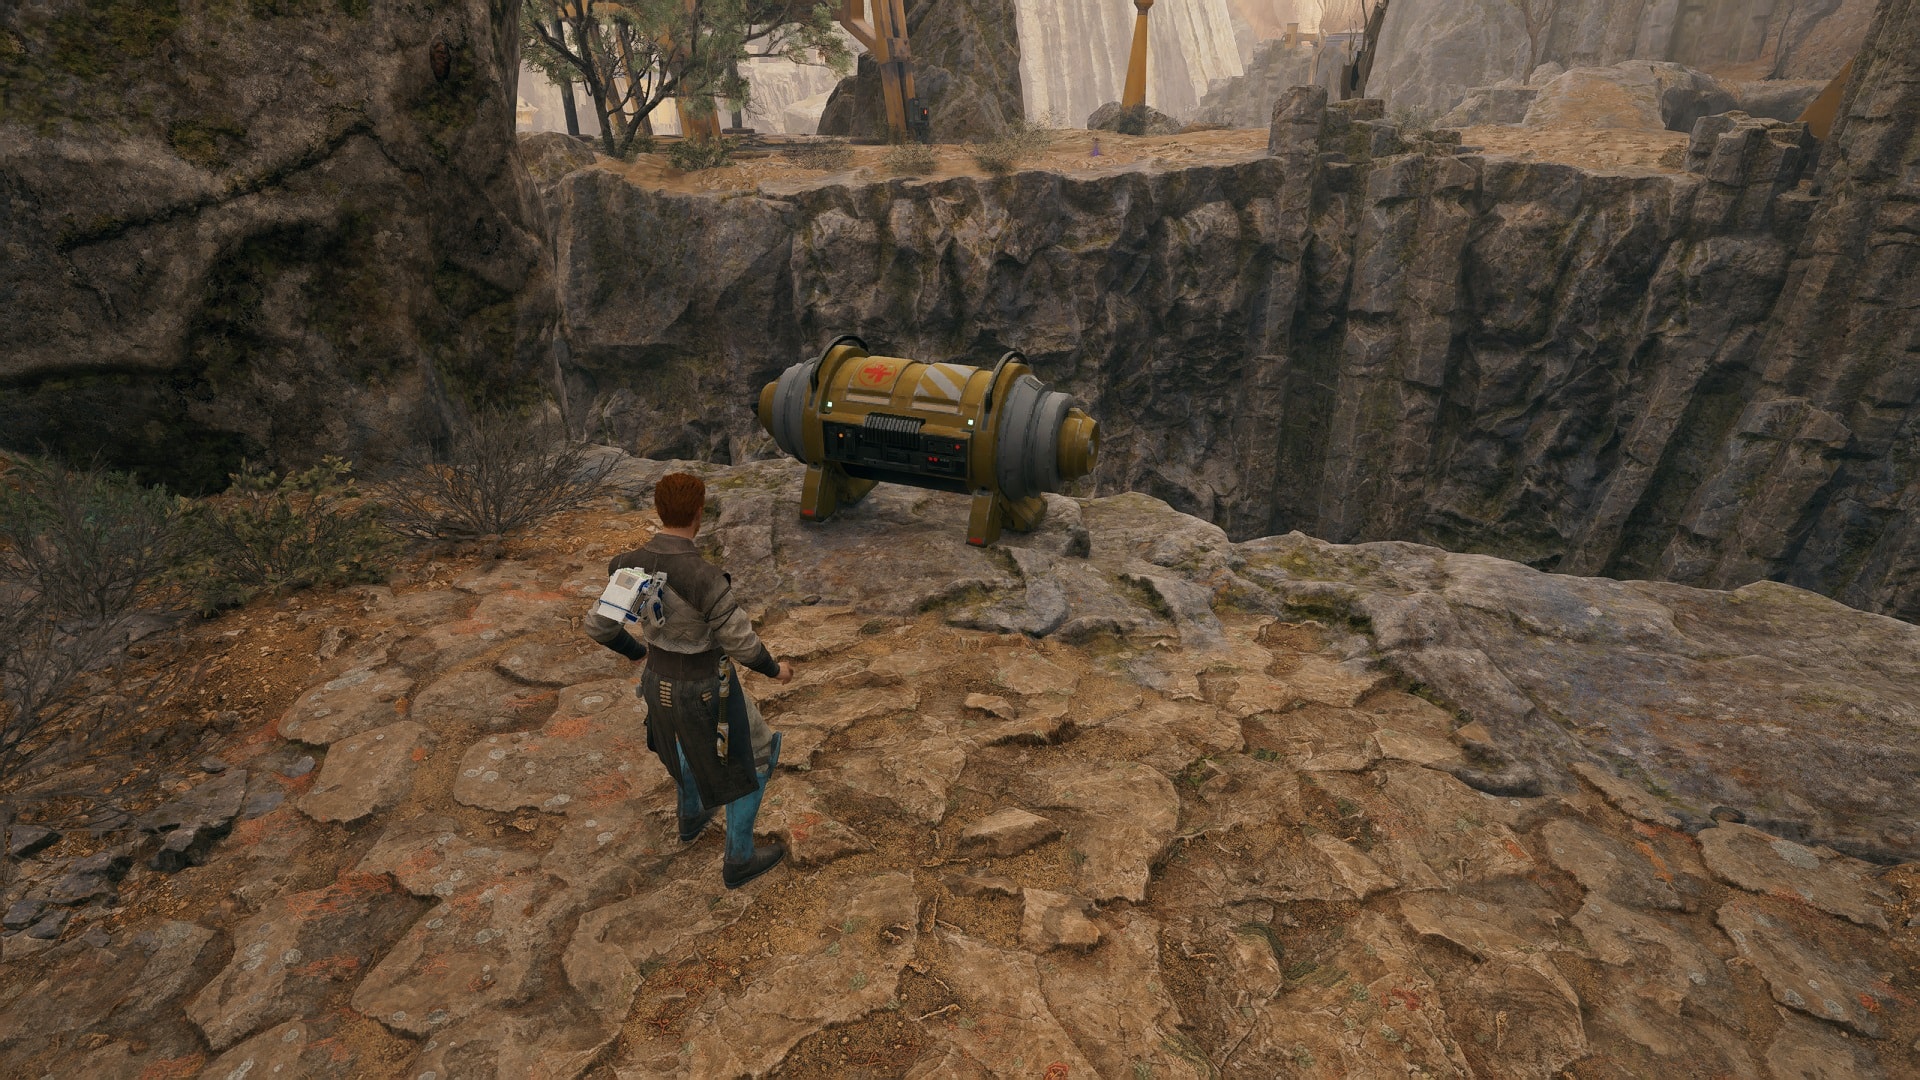
Go to the Fogged Expanse on Prospector’s Folly.
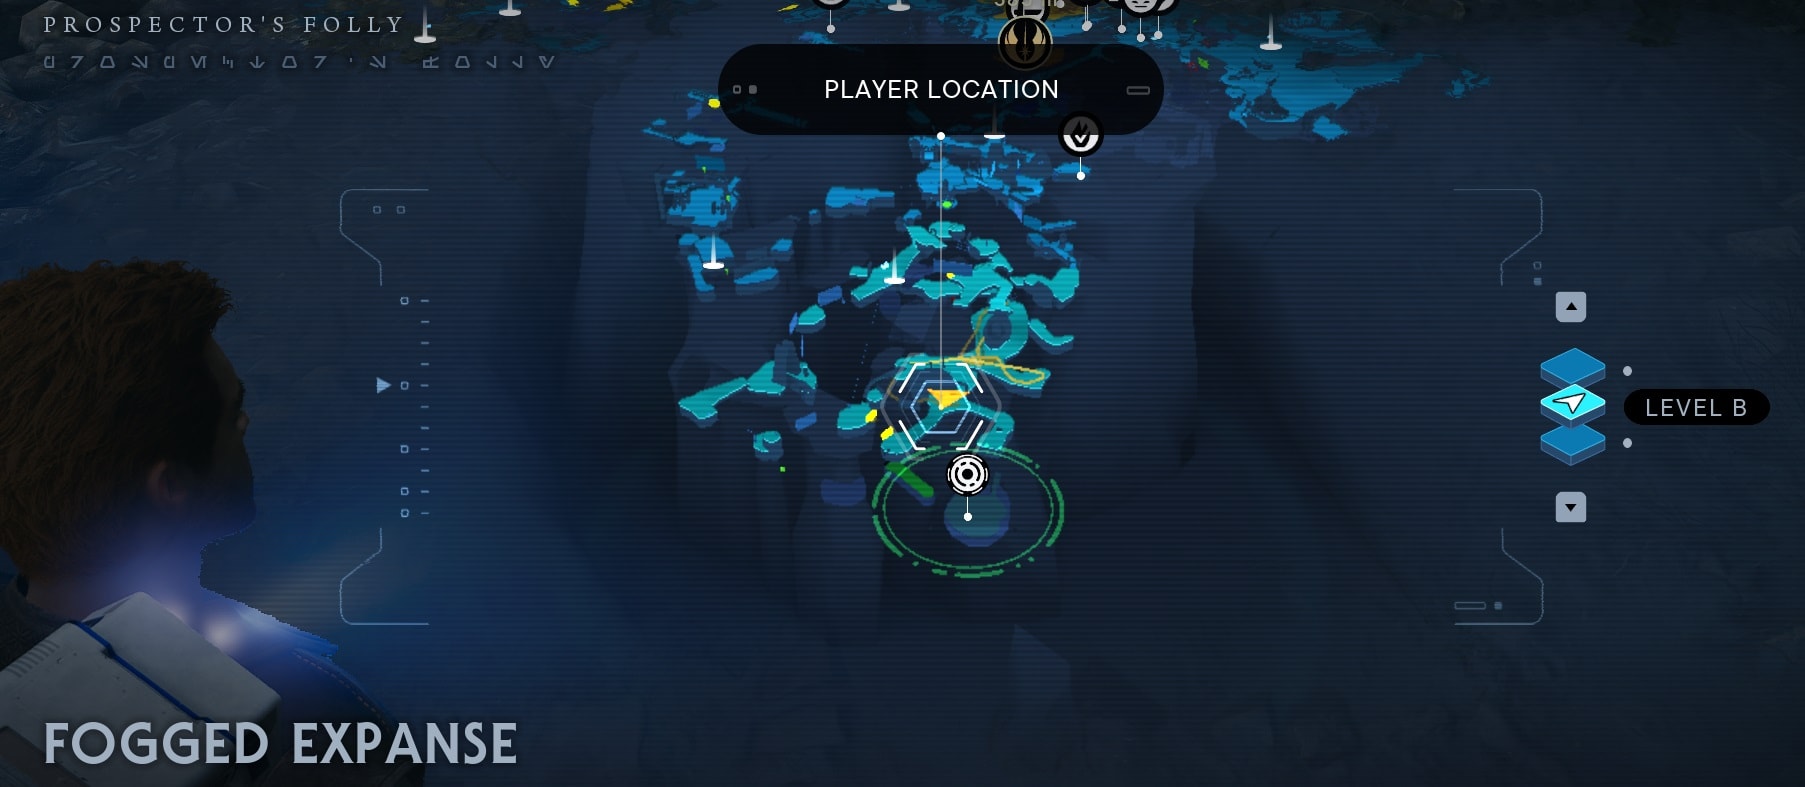
Follow the standard route of this area until you find the door that has a Mogu on the other side. Go to the right side, you’ll find a group of roller mines. Be careful.
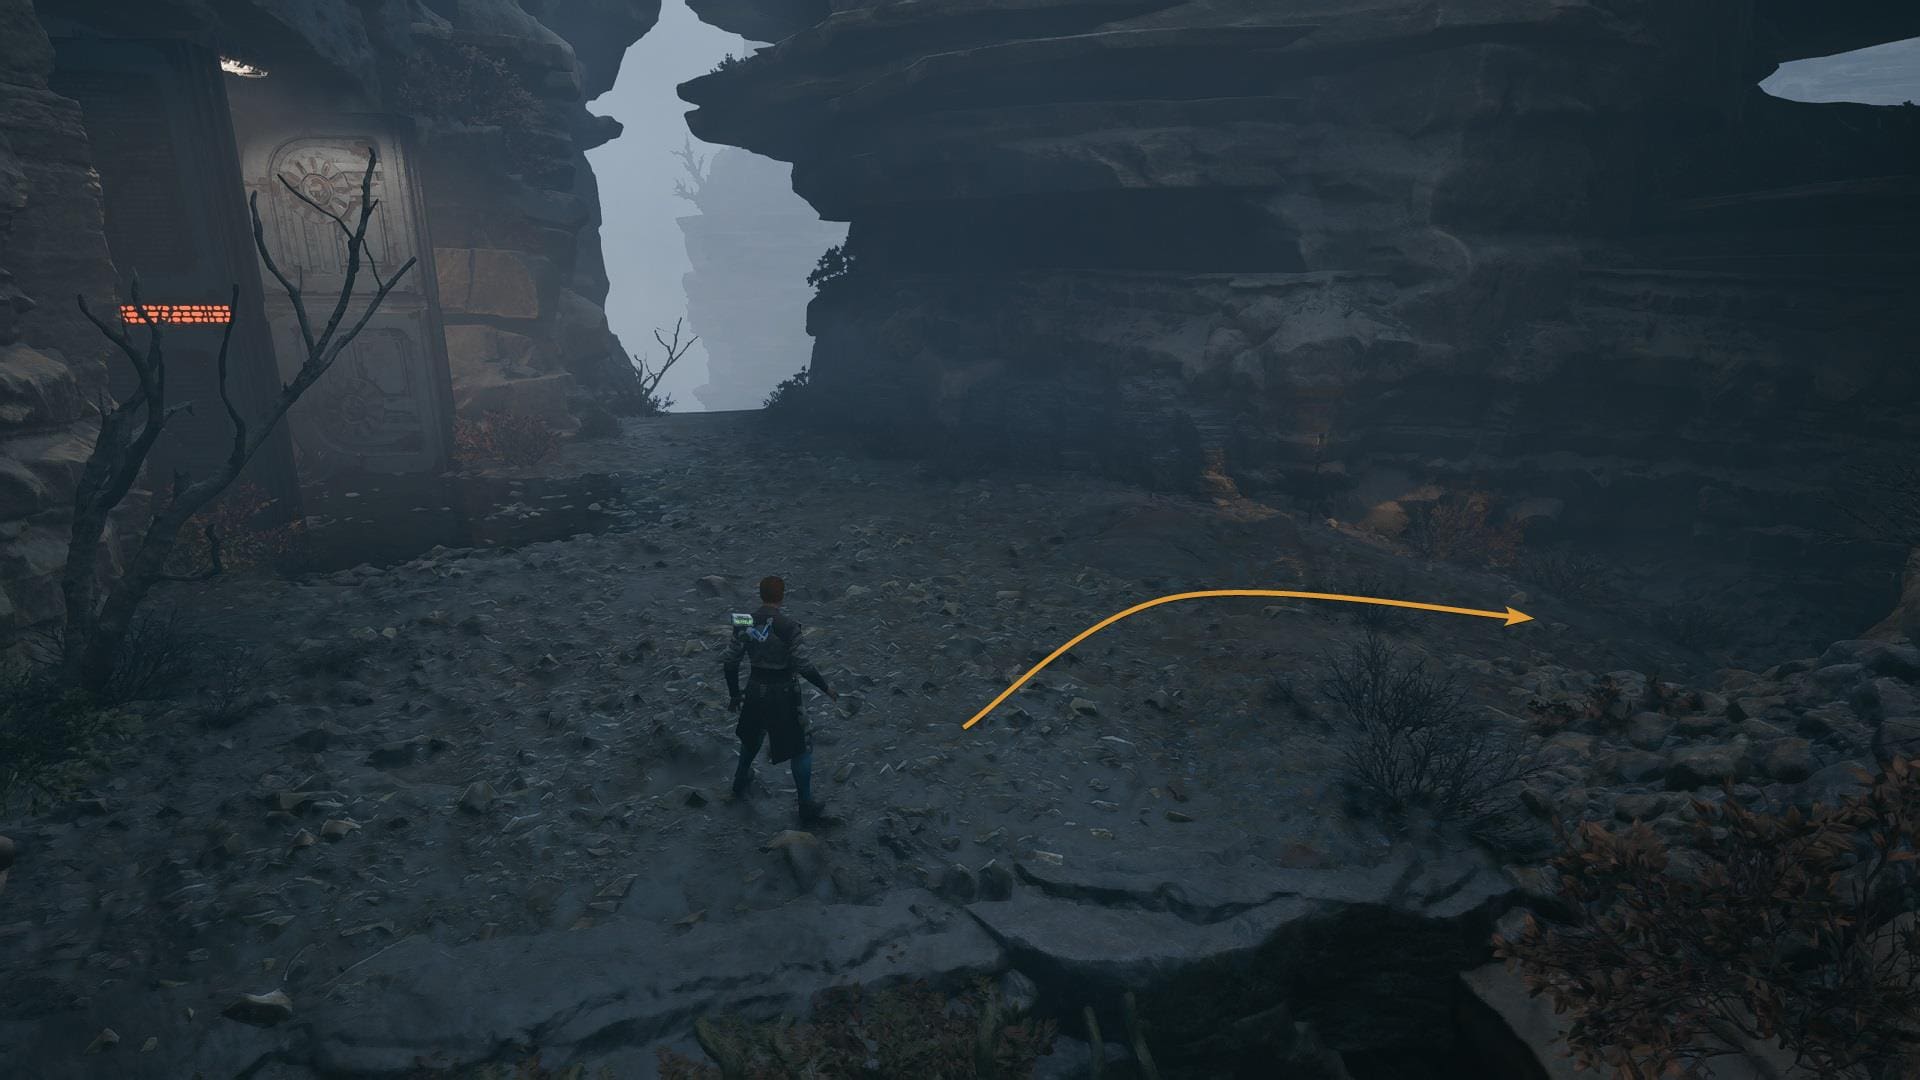
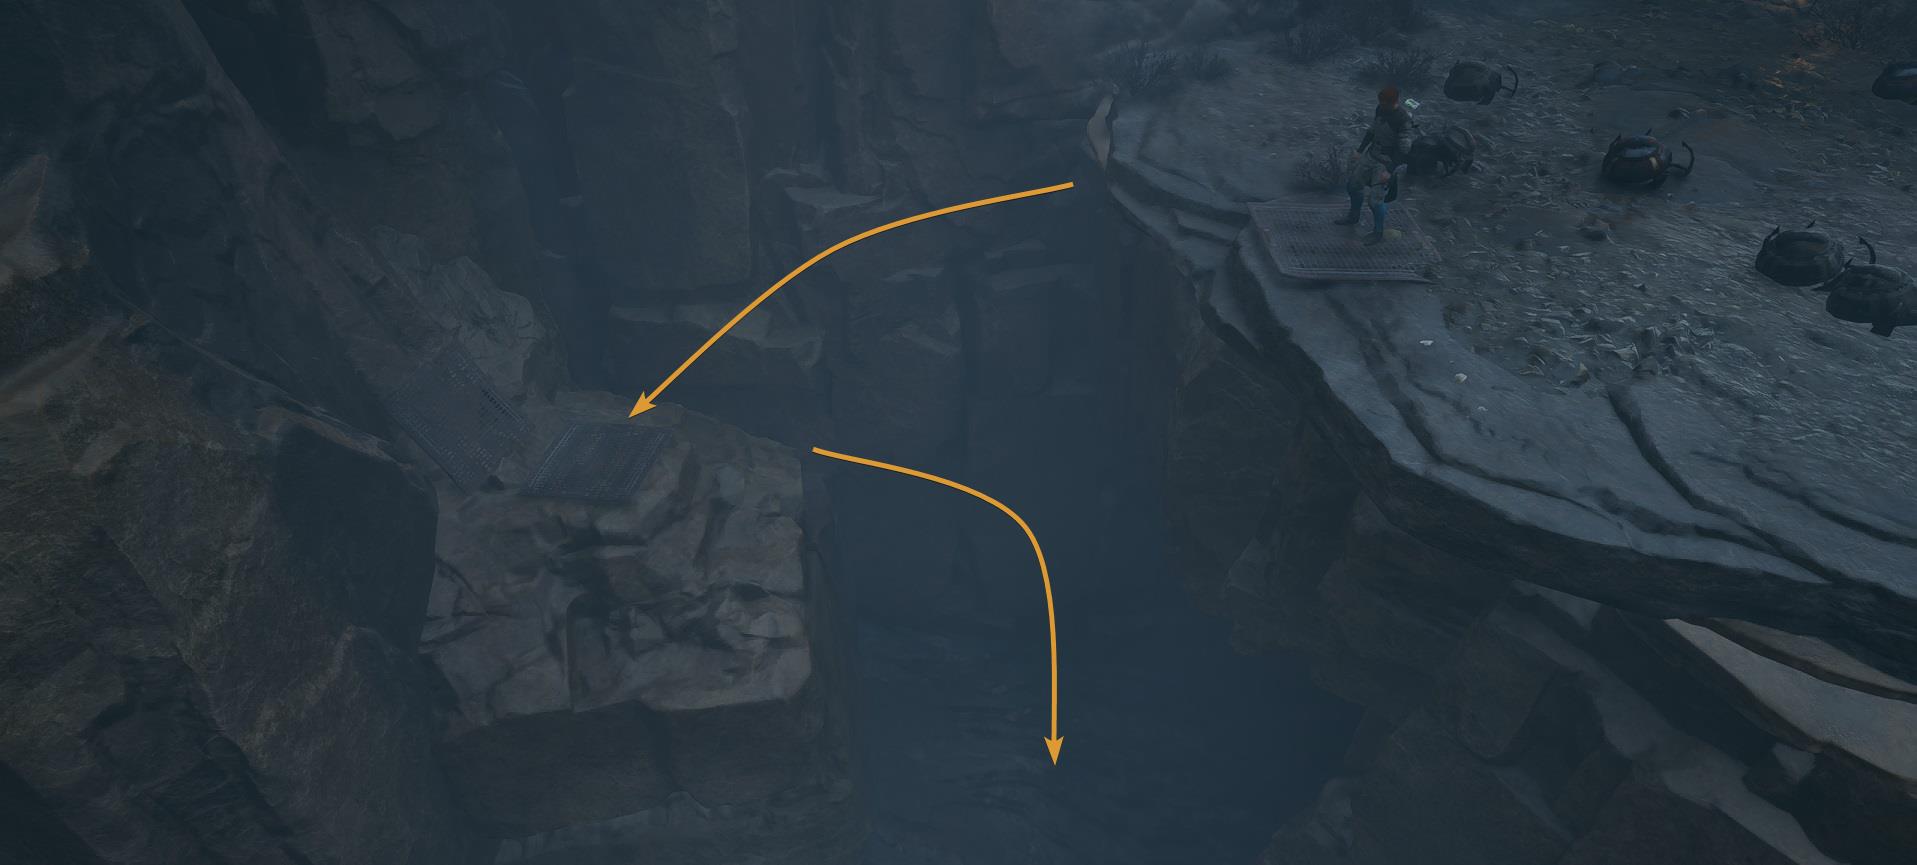
Deal with the roller mines and then get close to the edge. You must jump to a small rock and then down to a landslide that will take you where the Vile Bilemaw is.
The Vile Bilemaw fights just as any other Bilemaw. Its most annoying attacks are the frontal tackle and the side roll. Sometimes it throws rocks at you, use force push to deflect them back.

The reward for beating the Vile Bilemaw is on the edge of the cliff.
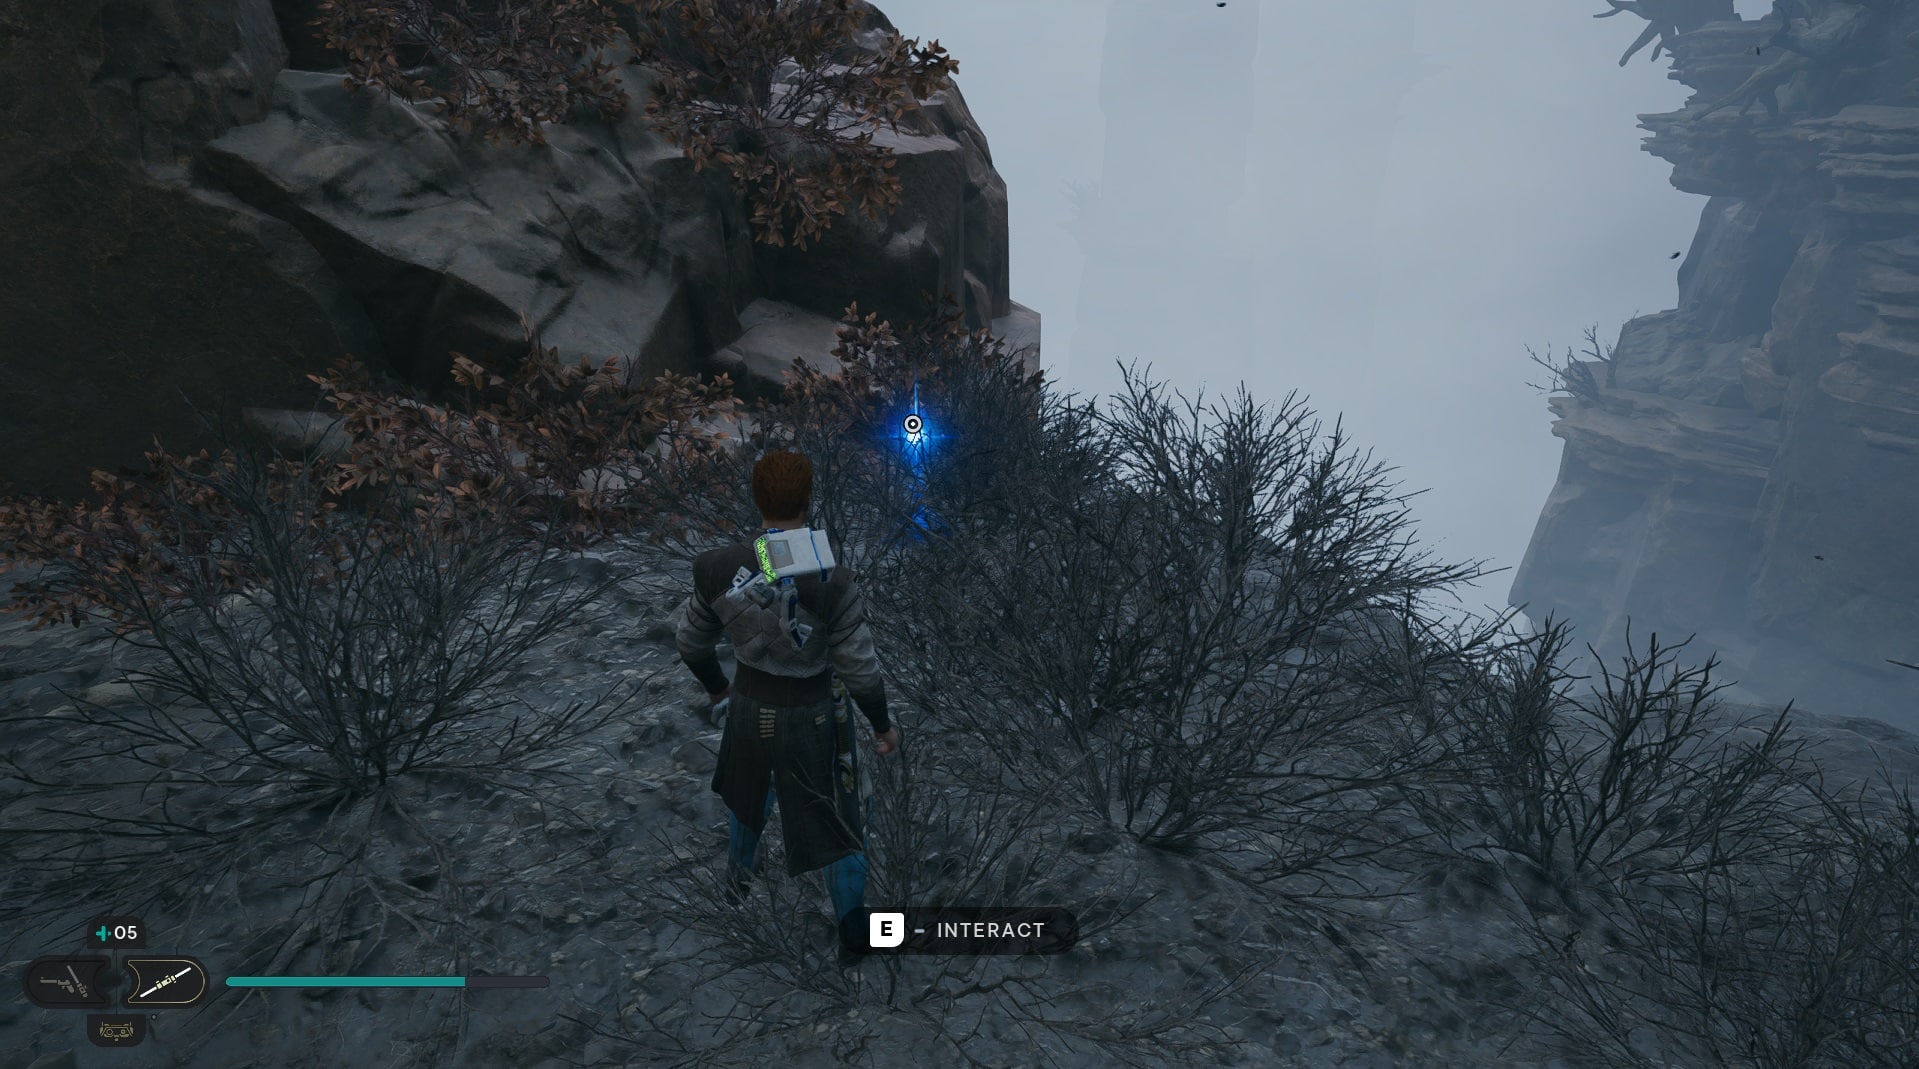
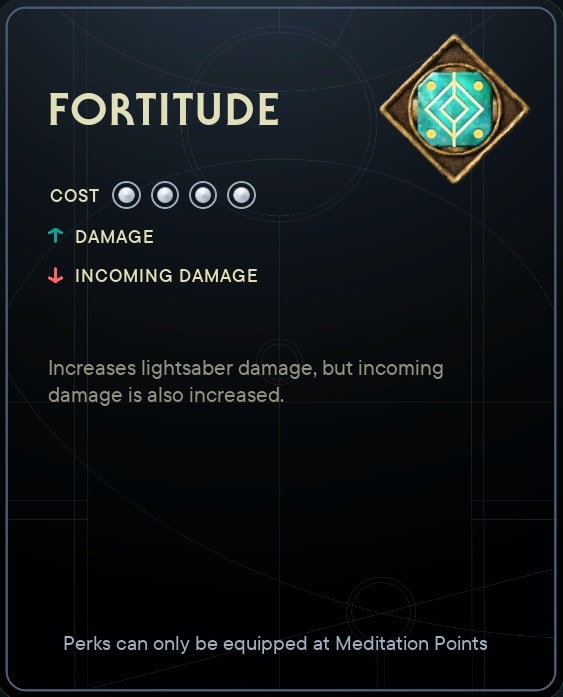
It is the Fortitude Perk that increases all damage dealt and received.
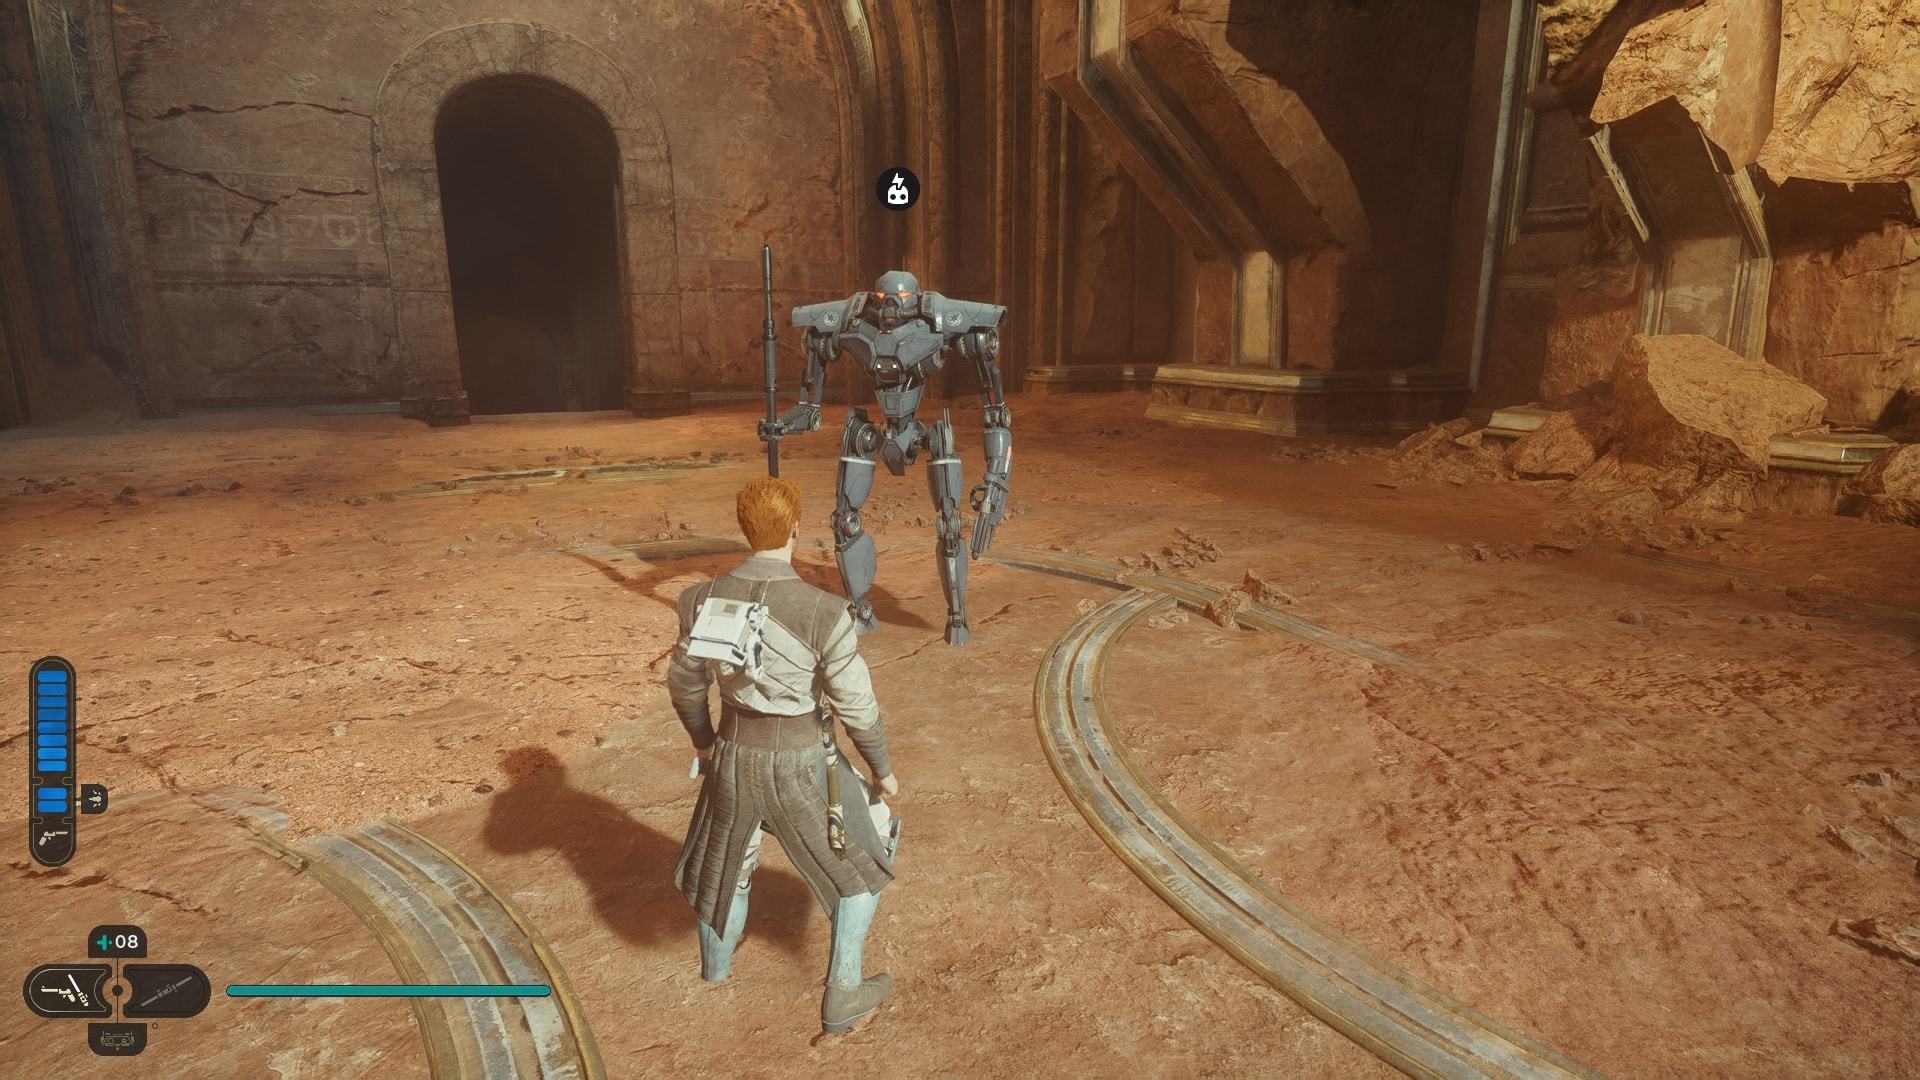
The Massiff
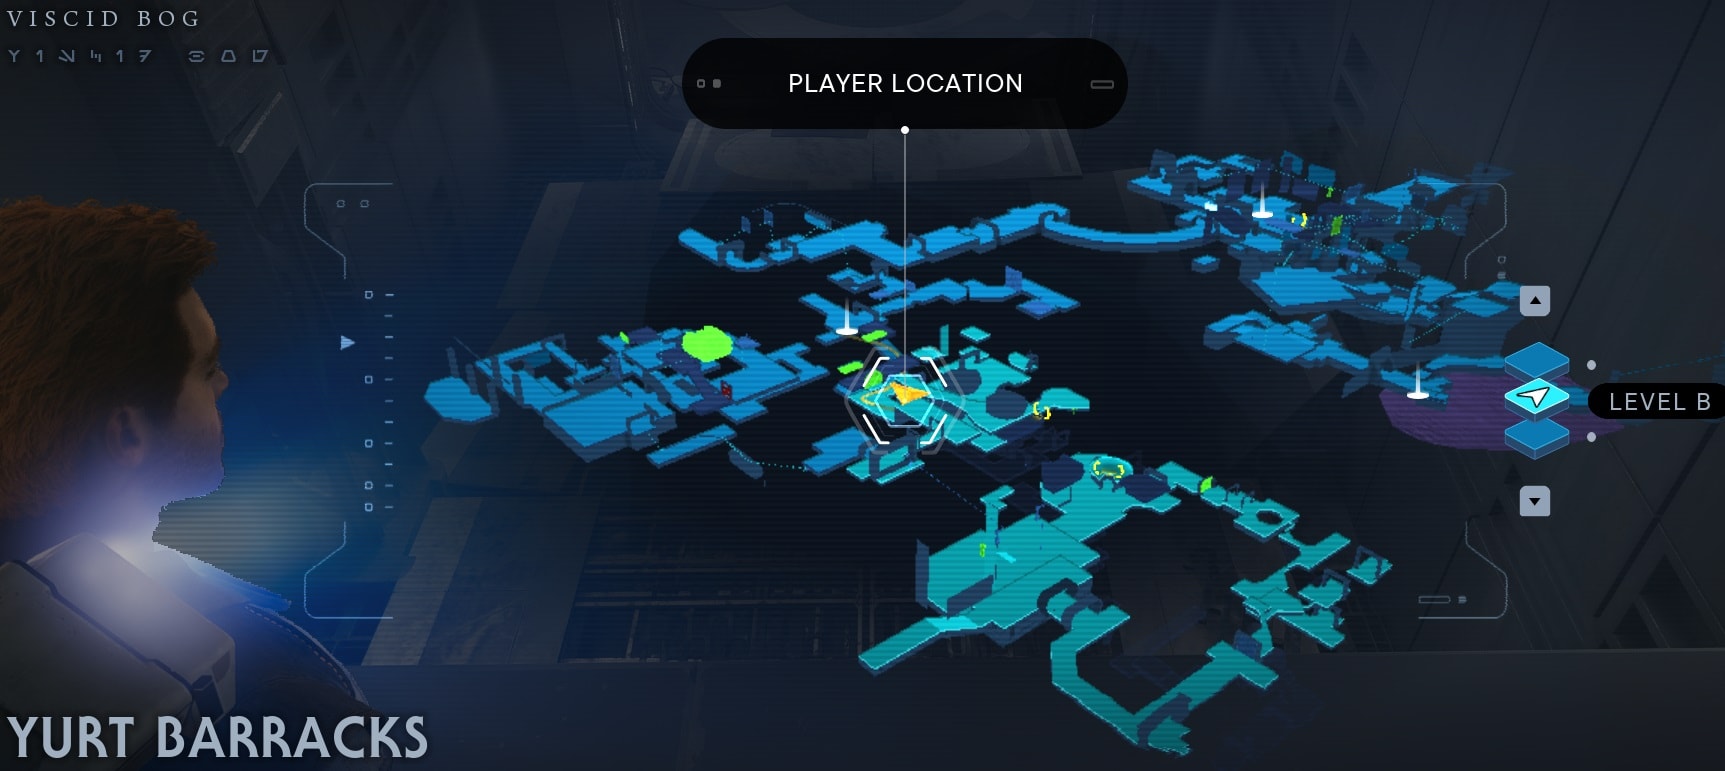
To find this enemy, you must go to the Lucreholk located in Viscid Bog. To be more specific, the Yurt Barracks.
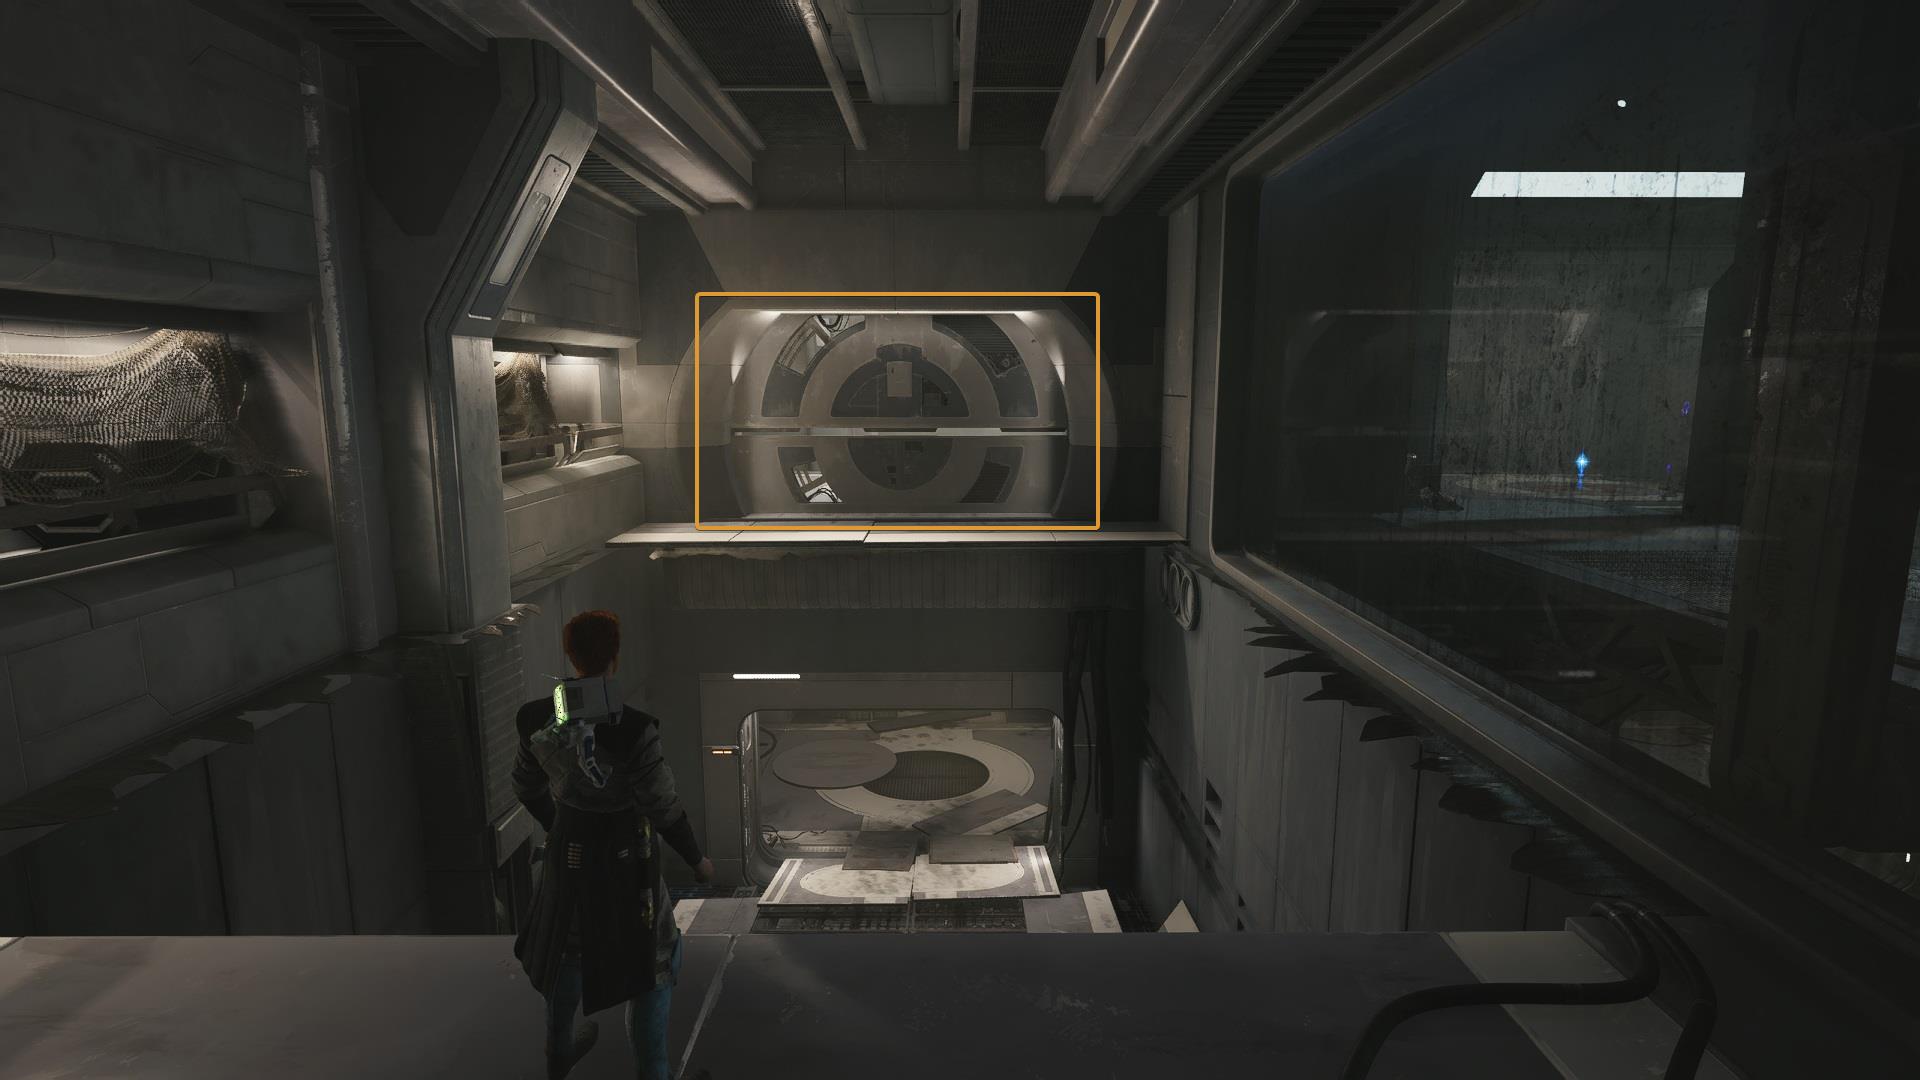
After climbing up, turn around and use Force Lift to open this door.
The Massiff is a modified MagnaGuard. It has very fast attacks but its block meter is super weak.
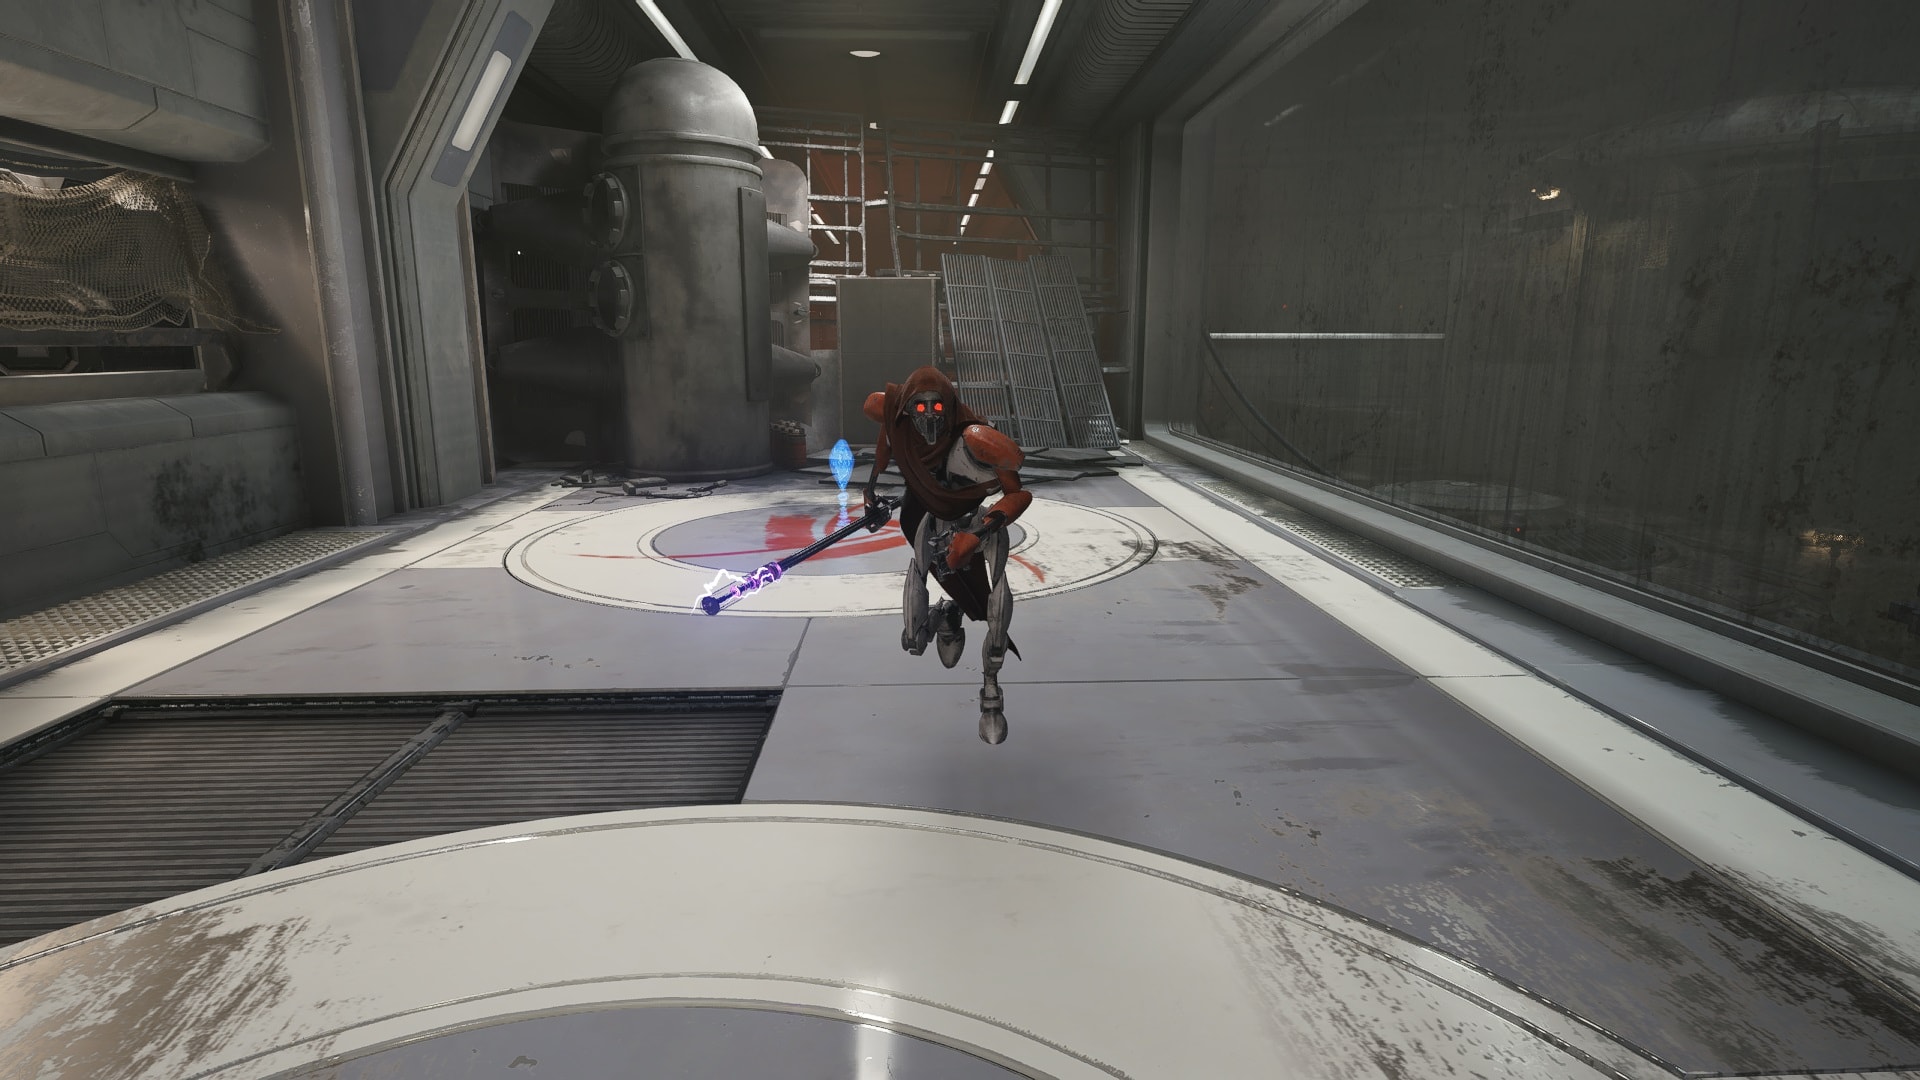
It can be easily overpowered, don’t be afraid to be overly aggressive with this enemy. Its strength is nowhere close to the majority of the other legendary enemies.
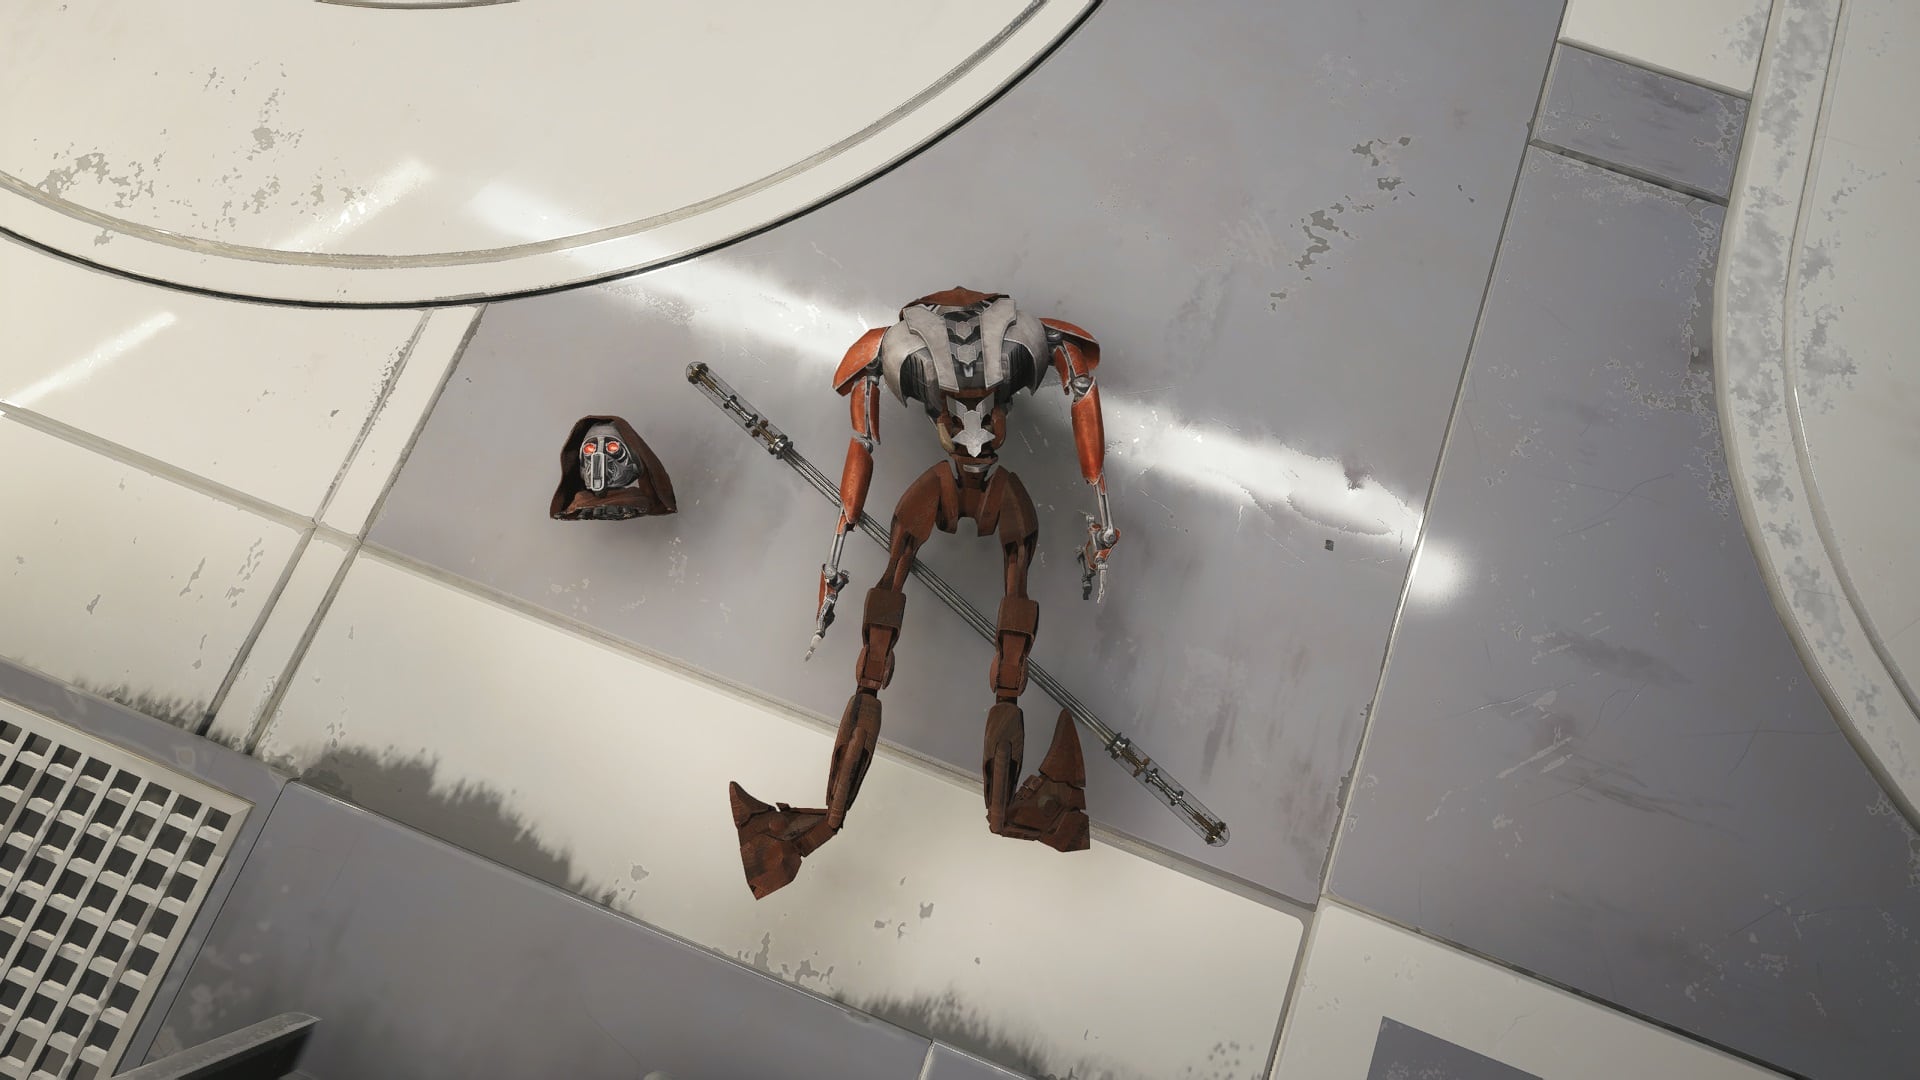
Collect the Force Essence.
Sutaban Alpha
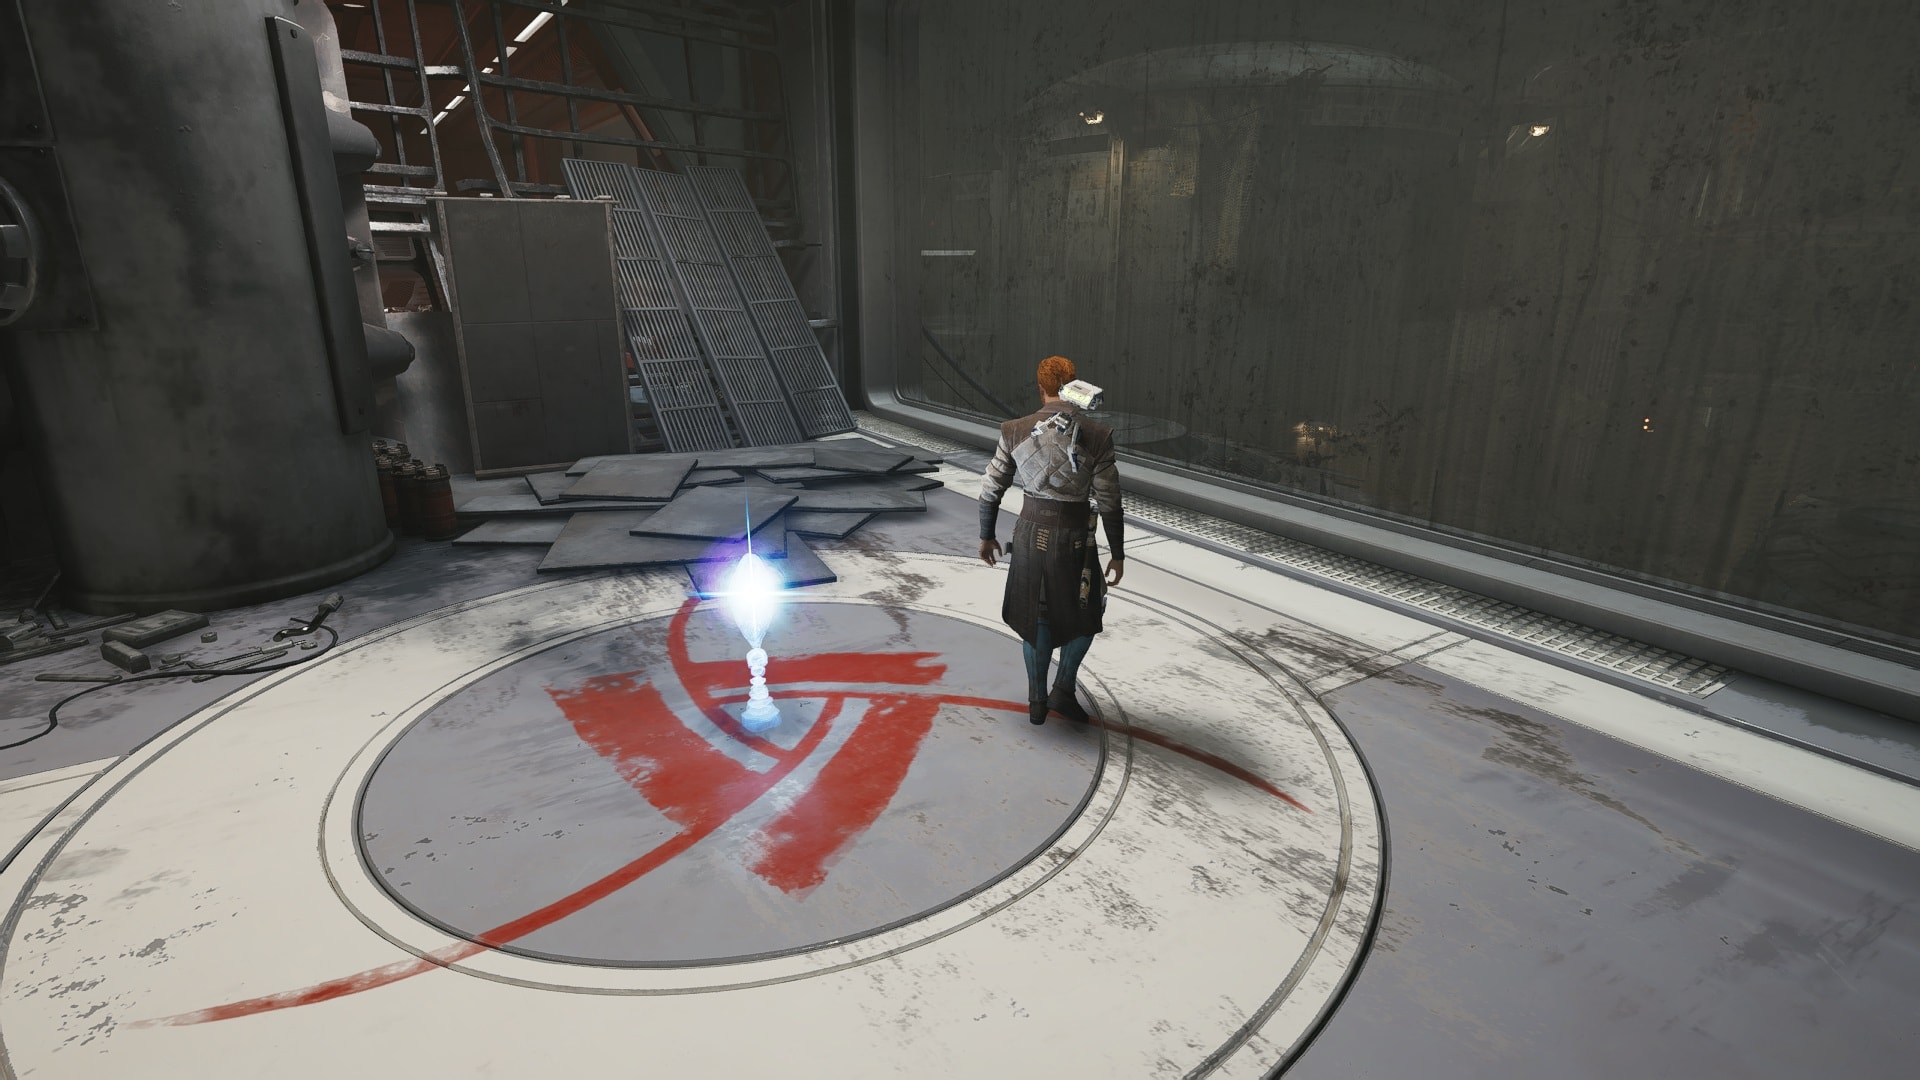
The Sutaban Alpha is the trickiest of all legendary enemies. It is deep inside the Crypt of Uhrma on Jedha.
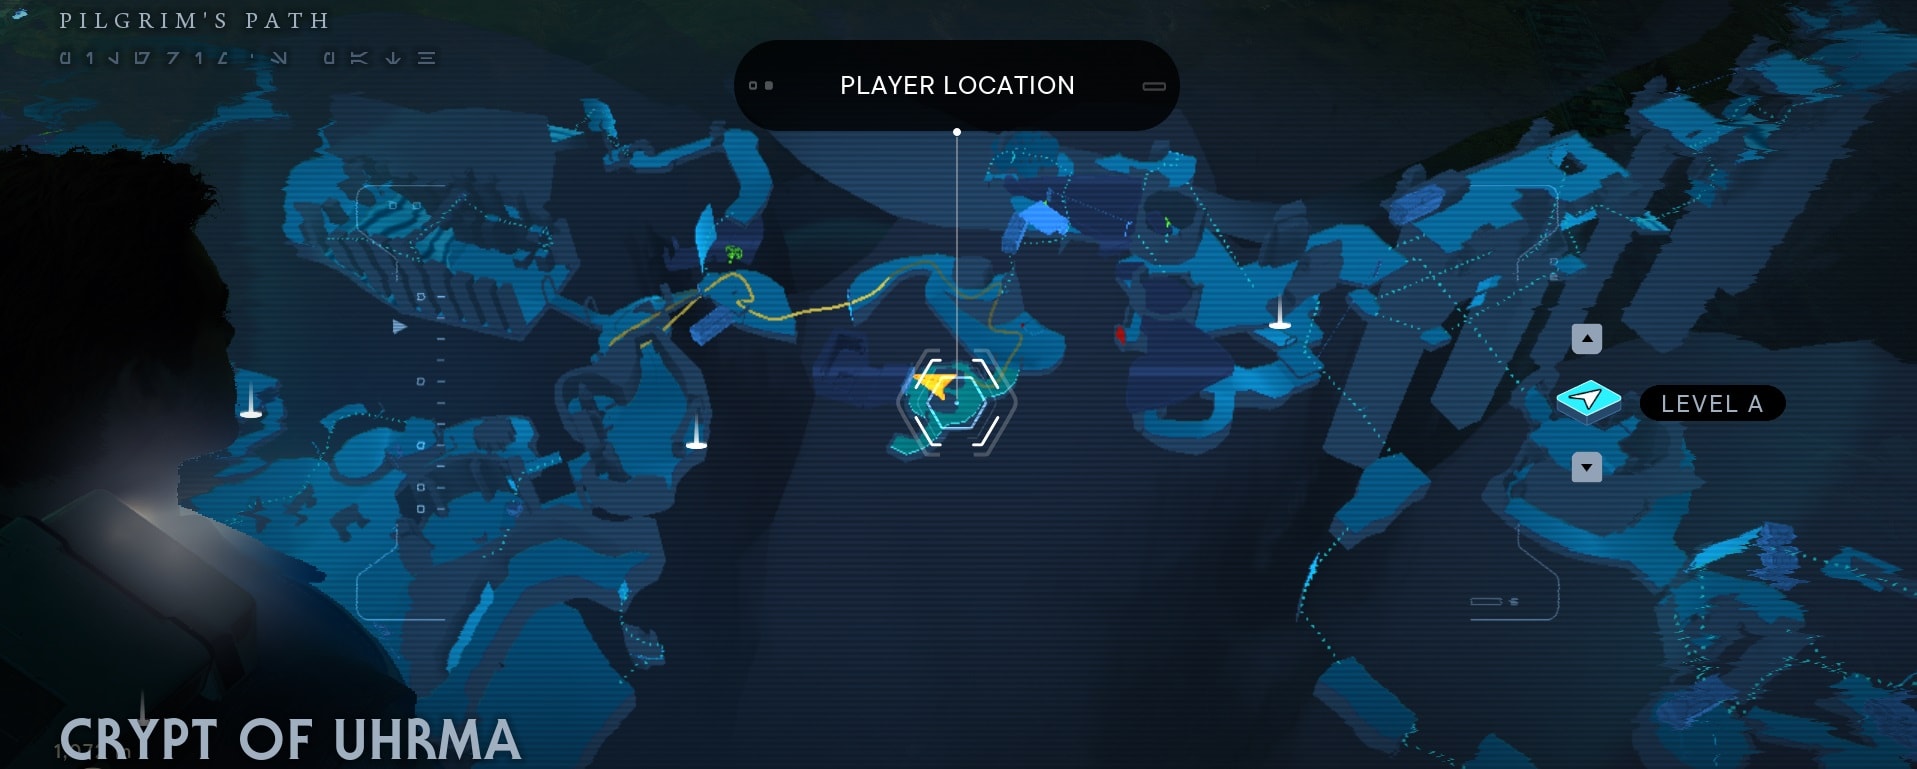
To find the Sutaban Alpha you have to complete a puzzle that while simple, can take a long time of time to decipher. I explain all the necessary things to do in the Crypt of Uhrma and Sutaban Alpha guide.
Golden Skriton
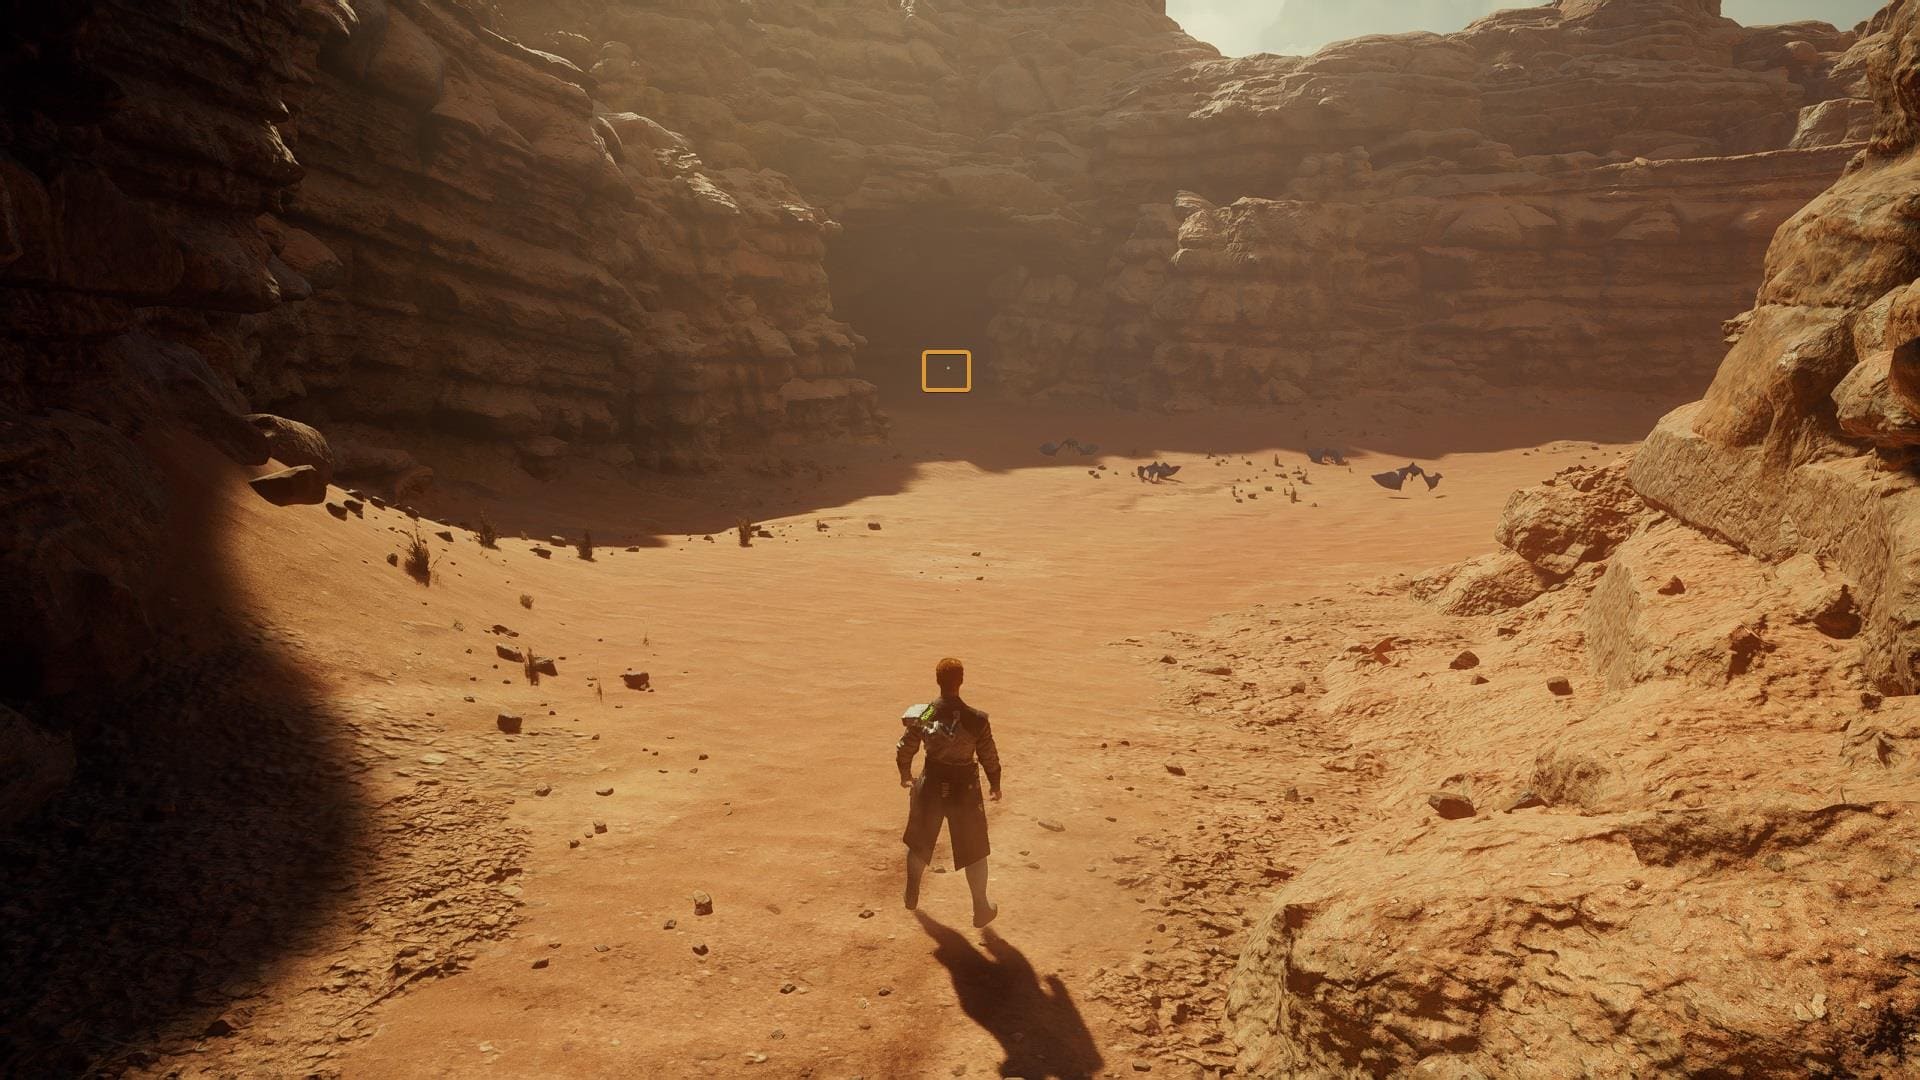
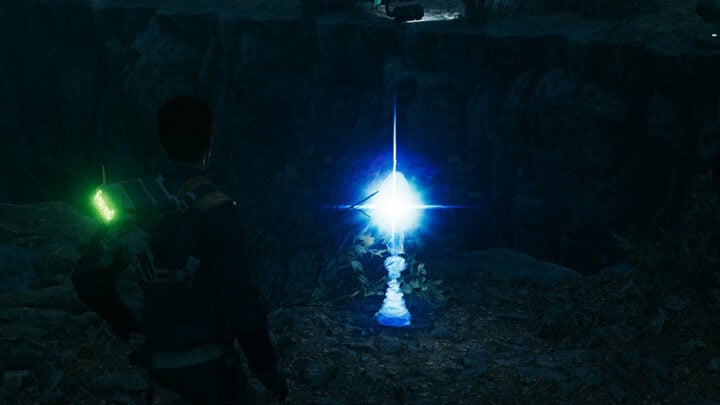
Go to this corner at the Desert Ridge, in the Narkis Desert. It is very close to the Anchorite Base.
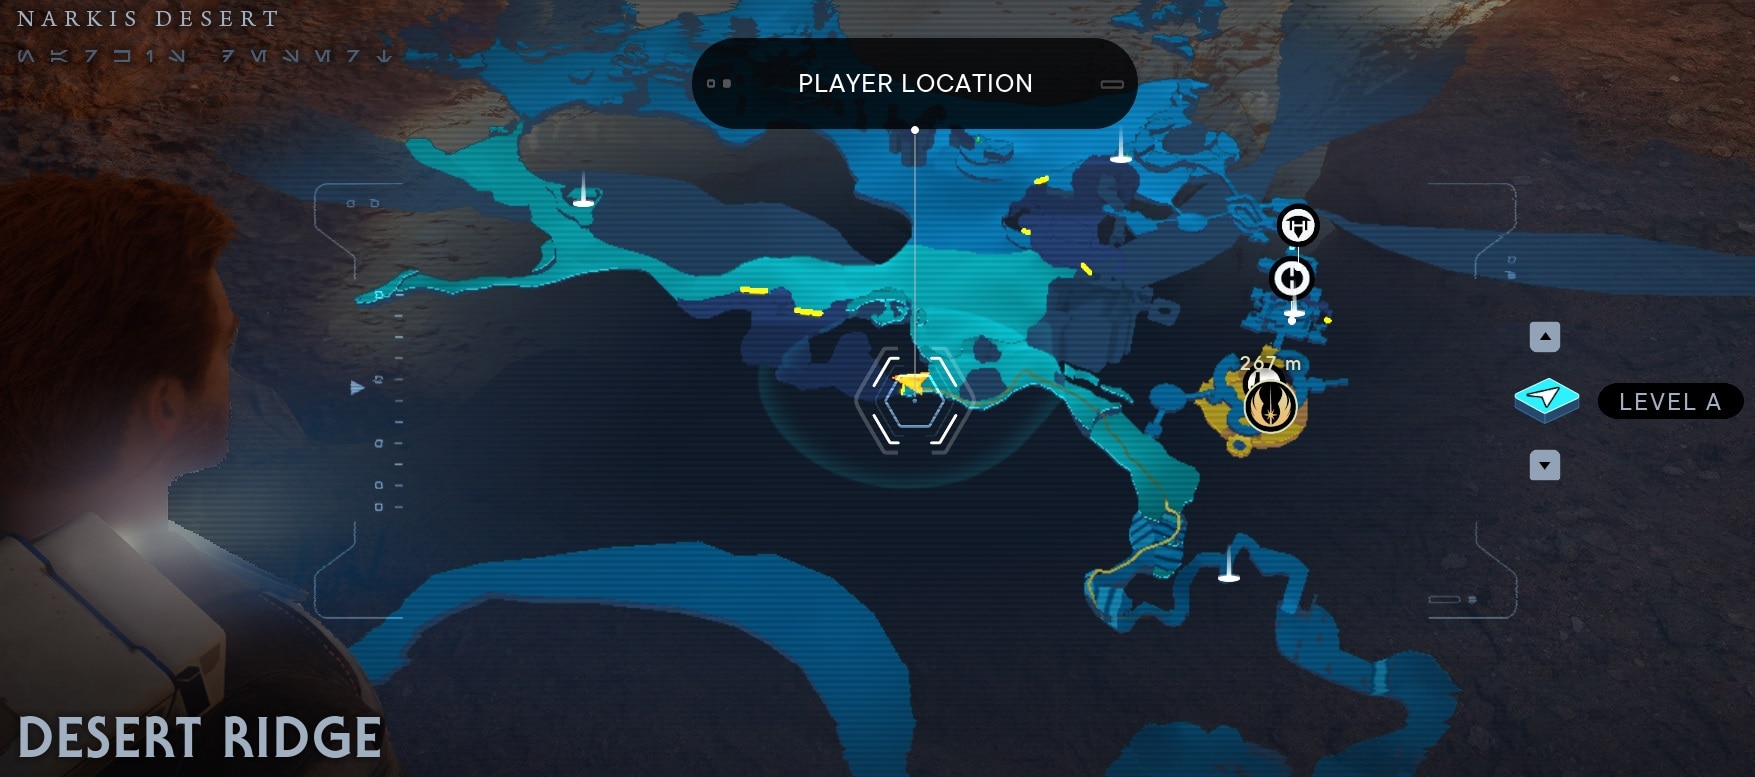
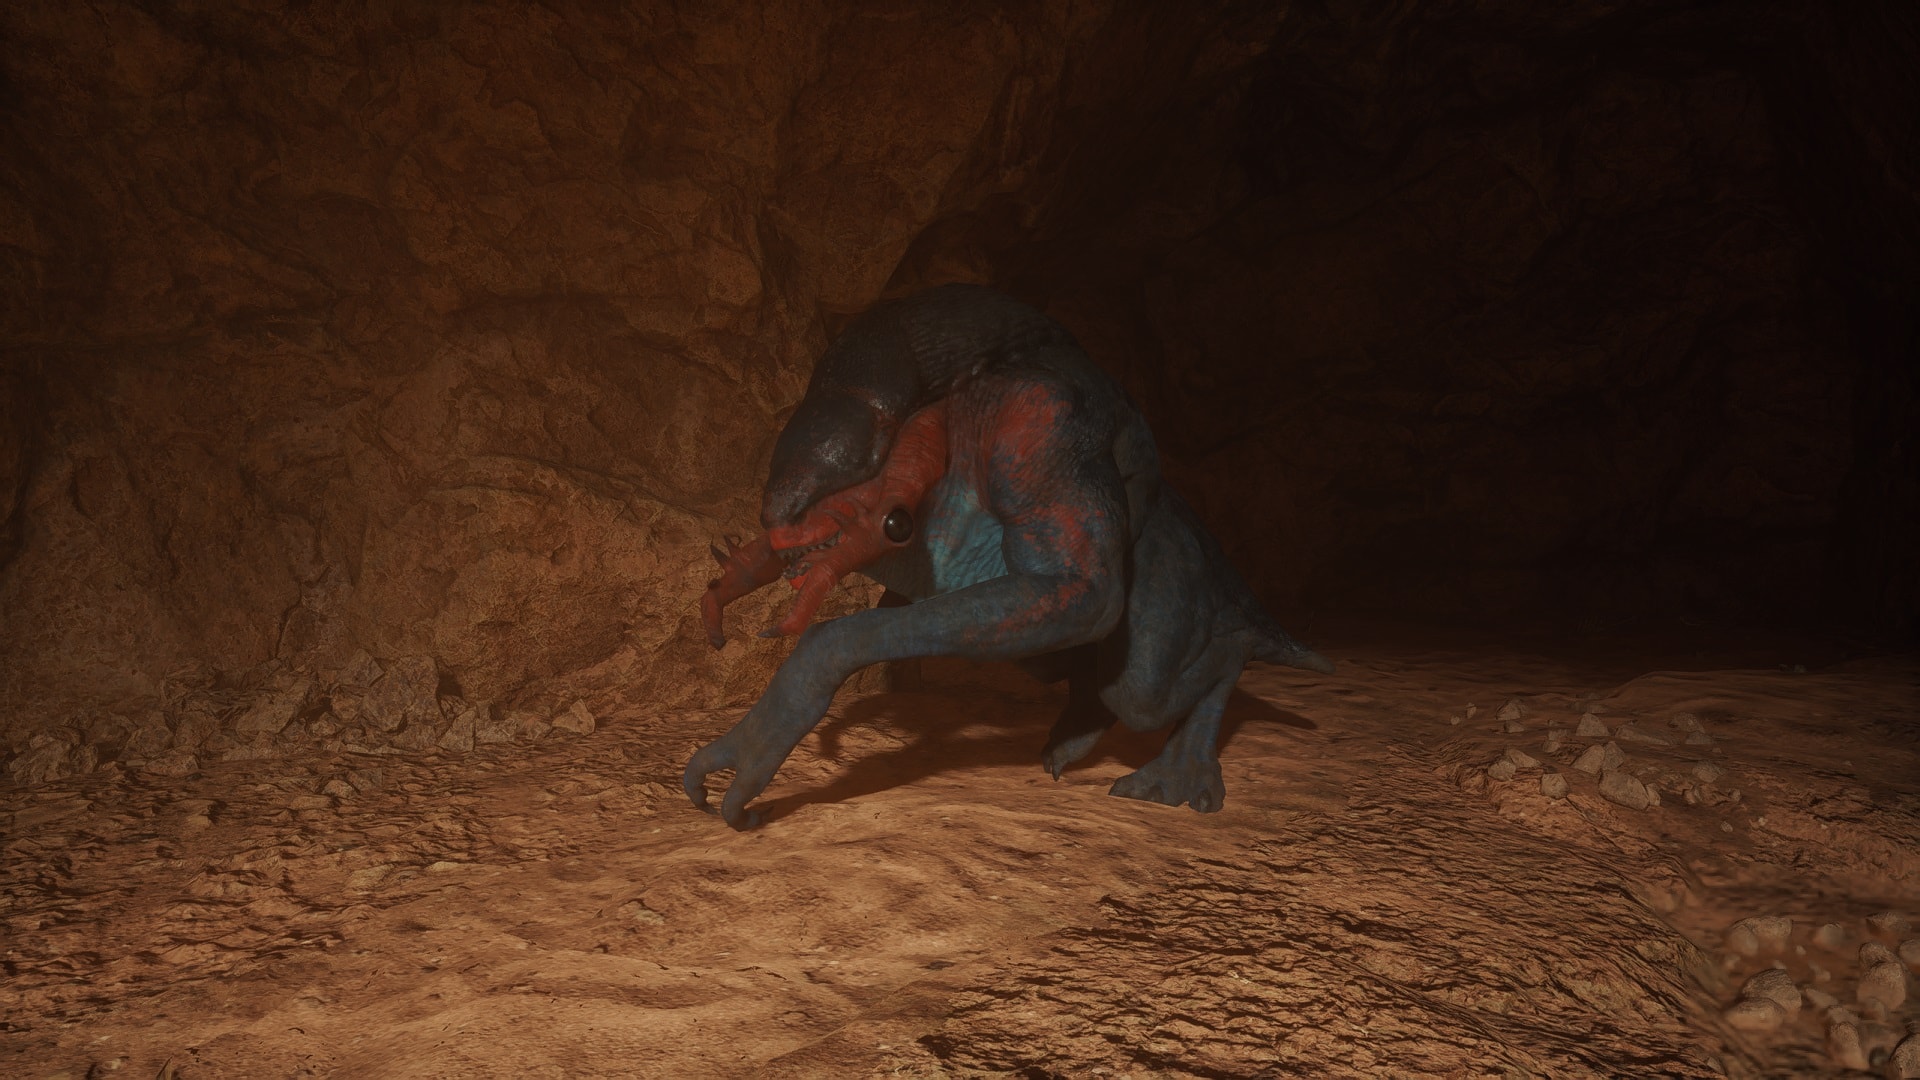
You’ll see a glowing object in the distance, walk towards it. Please note that Merrin will stay out of this fight.
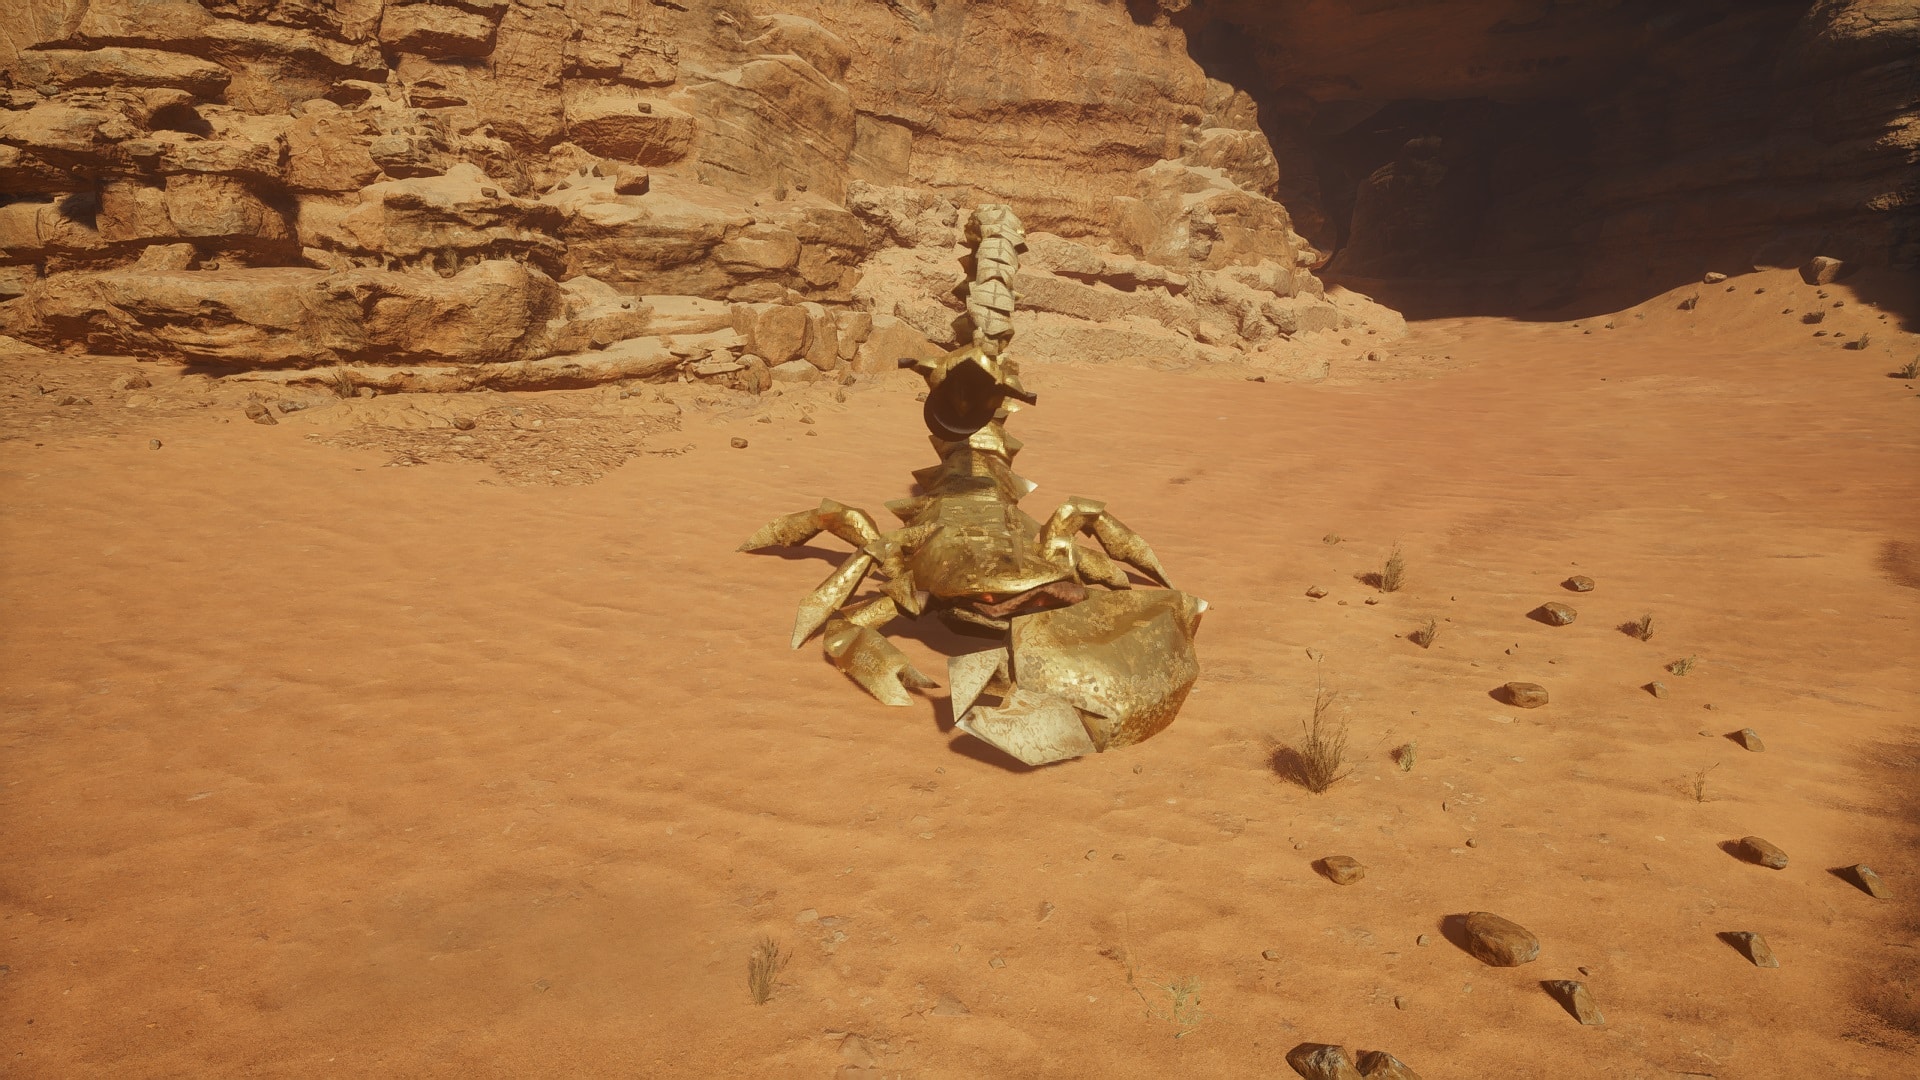
The Golden Skriton is going to appear as soon as you get close. It tends to attack three times with its stinger, other than that it is very similar to the other Skritons you have faced before. Focus your attack patterns on its weak right side or its back.
Go to the shining object that you saw earlier.
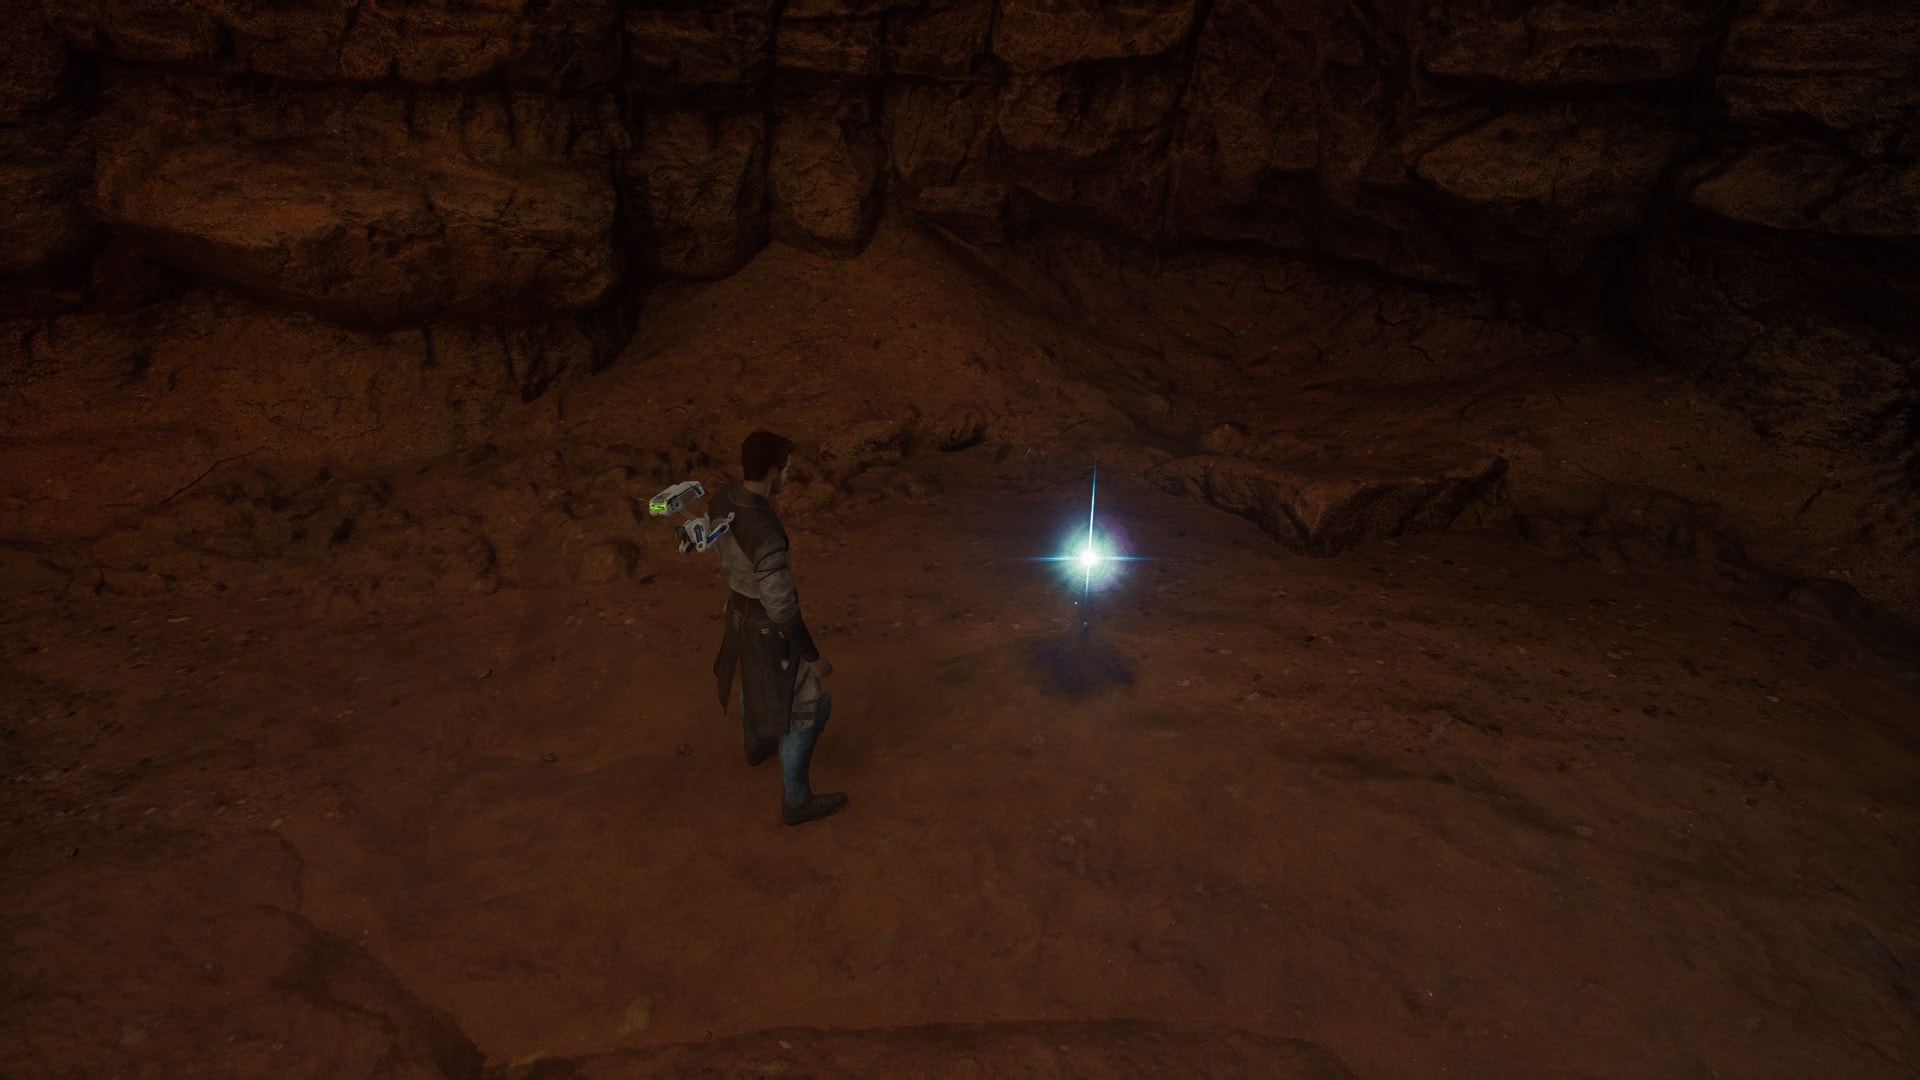
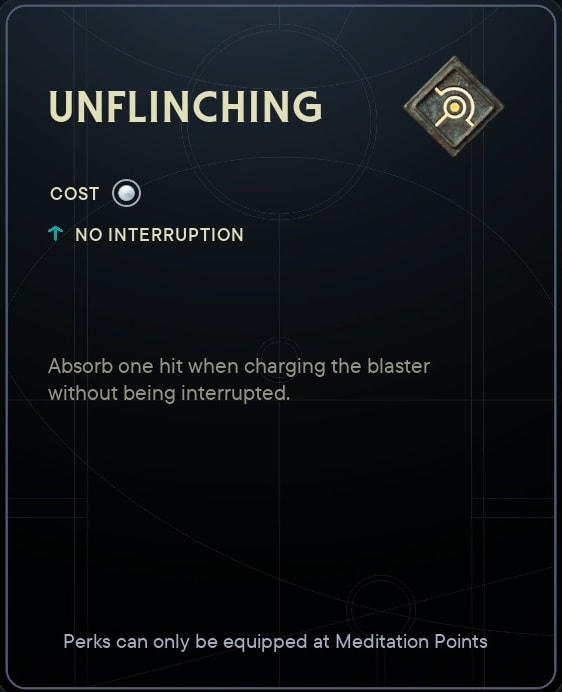
It is the Unflinching perk that allows you to take one hit while charging and avoid interruption.
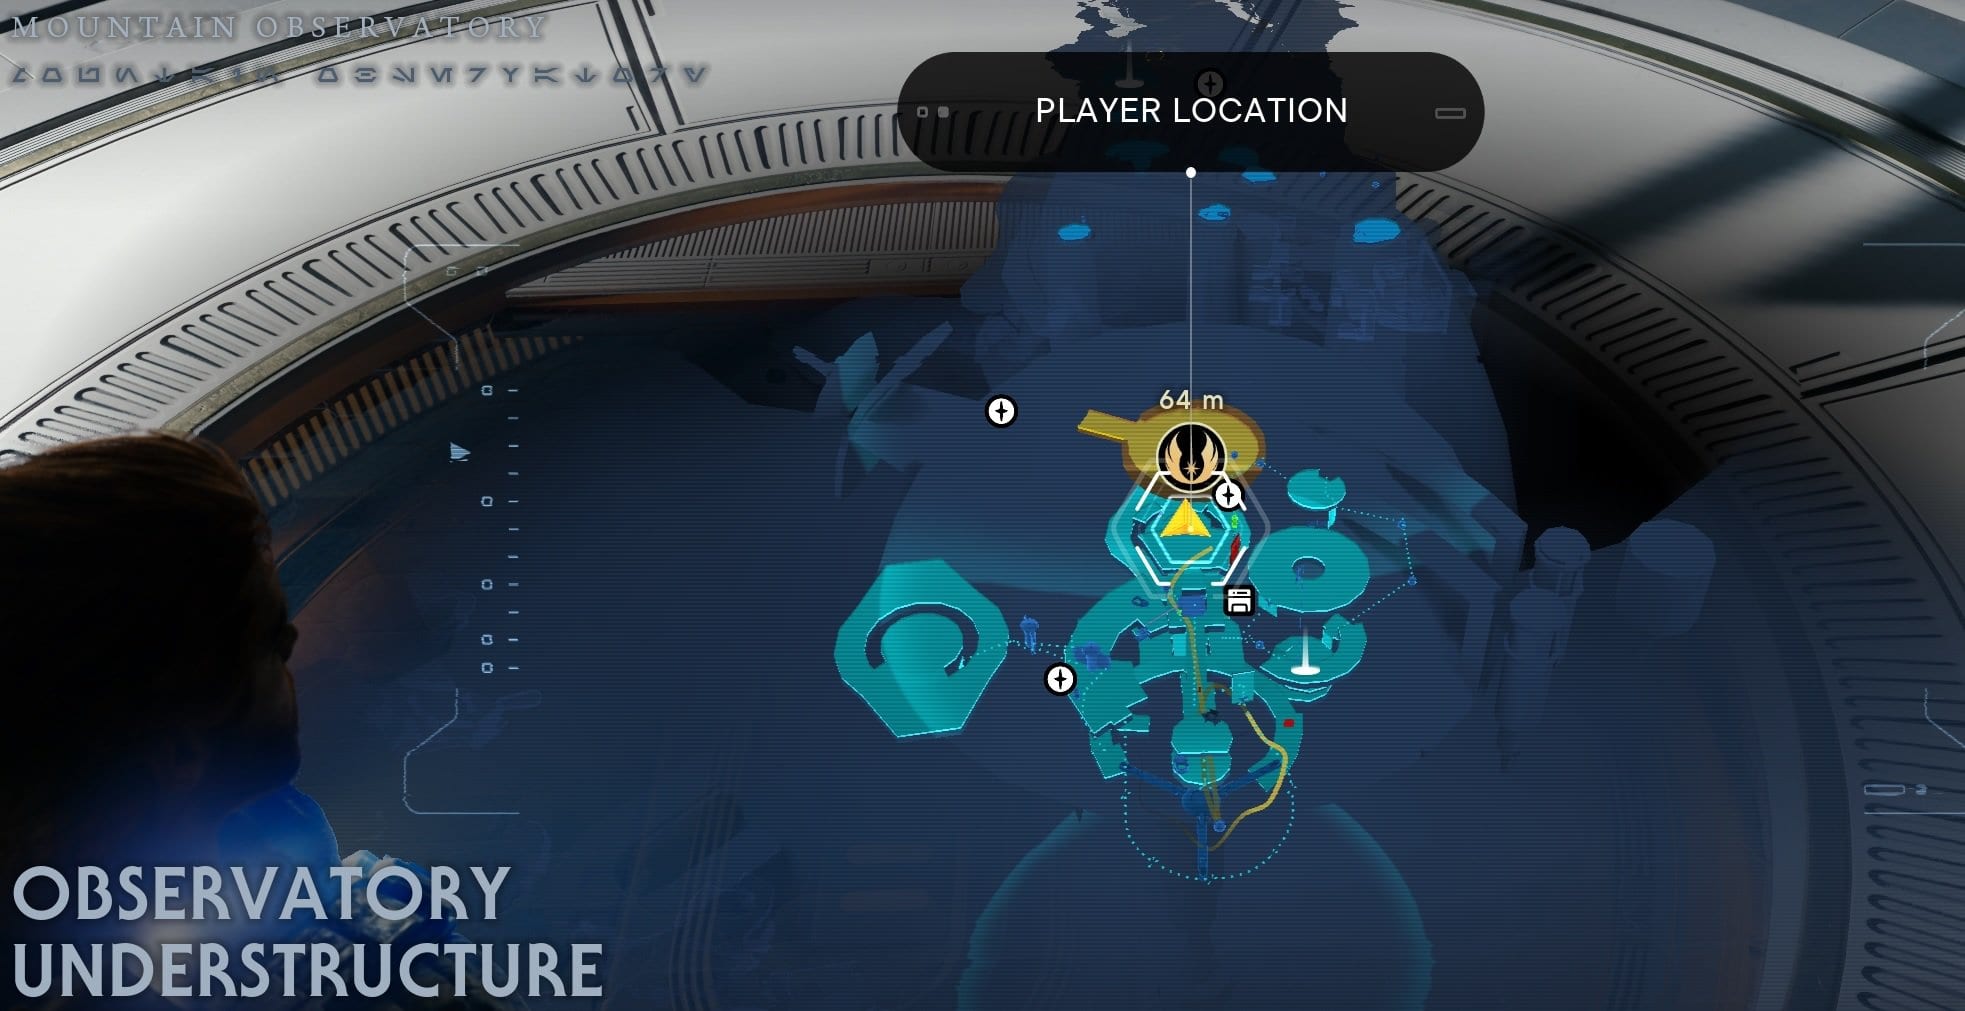
Urgost, Fist of Rayvis
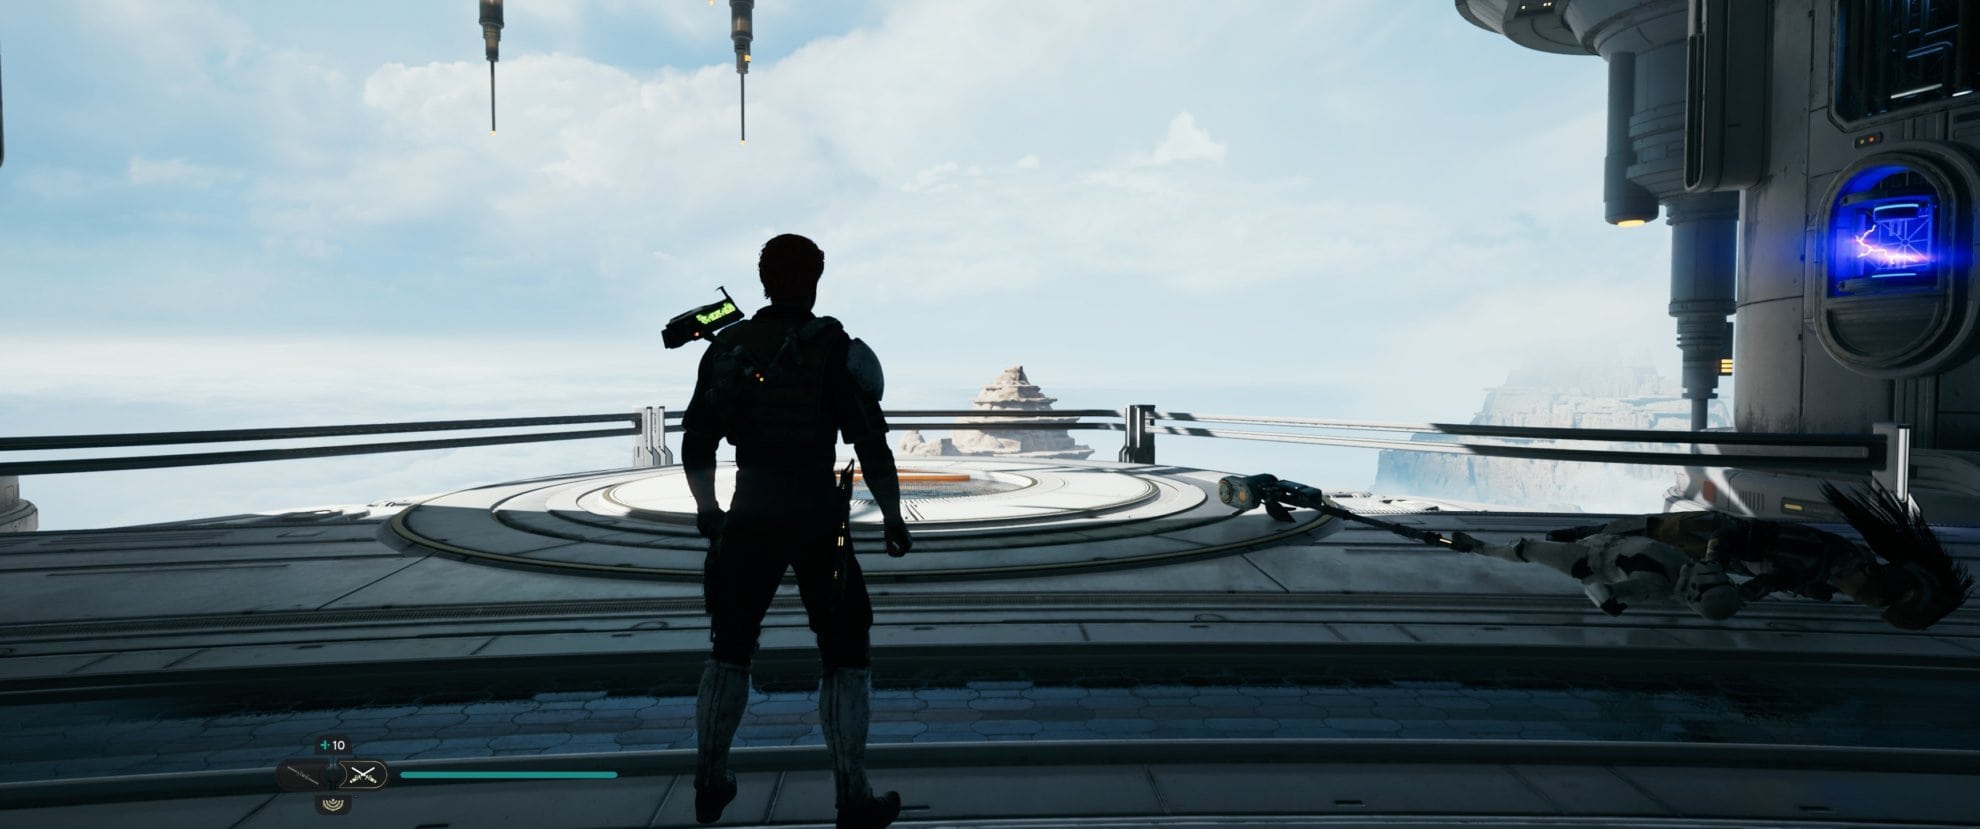
Urgost is a legendary enemy that you will have to face because of the main story quest. He is at the Observatory Understructure on the Mountain Observatory.
Urgost is no different from any other Bedlam Raider with a gravity hammer. It can deal a lot of damage with one single hit, wait for him to end its combo. This will leave him vulnerable for a few seconds, that is your opportunity to deal as much damage as possible.
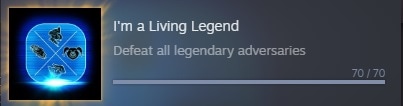
After defeating all the legendary enemies, you will unlock the “I’m a Living Legend” achievement.
This concludes my guide to the Legendary Enemies locations. You can take a look at the Star Wars Jedi Survivor Guides Master List for more.
Below we have a list of guides to the most valuable collectibles that you should complete as soon as possible, even before you complete the main story of the game. Obtaining all of these will greatly improve your fun and experience with the New Journey + as well.
All Jedi Survivor Skill Point Essence Locations Guide
This guide will help you find all the Skill Point Essence locations in Jedi Survivor. Collecting these is a great way to fill out your skill trees, be sure to collect as many as you can!
All Jedi Survivor Stim Locations Guide
This guide will help you find all the stim locations in Jedi Survivor. Stims are vital to keeping you going especially in higher difficulties, so be sure to collect every stim upgrade you can!

All Jedi Survivor Health Essence Locations Guide
This guide will help you find all the Health Essence locations in Jedi Survivor. Health Essence is vital to keeping you going especially in higher difficulties, so be sure to collect every upgrade you can!
All Jedi Survivor Force Essence Locations
This guide will help you find all the Force Essence locations in Jedi Survivor. Whether you like using special lightsaber moves or using your Force powers often, it'll be important to grab these!
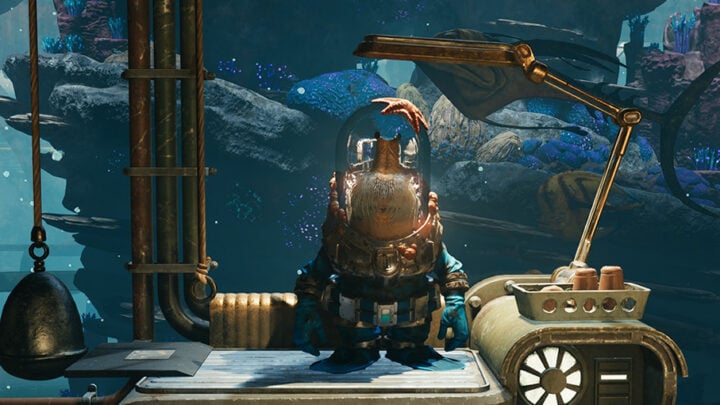
All Jedi Survivor Fish Locations Guide
This guide will explain how you can recruit Skoova to manage the Pyloon Saloon's aquarium and where to find all the fish for it. Taking the time to gather these fish will help liven up the Pyloon Saloon and you'll get some very fun fishing stories from Skoova!

All Jedi Survivor Map Upgrade Locations Guide
Description is required.This guide will show you where to get all the Map Upgrades to find collectibles in Jedi Survivor. When you obtain these upgrades, you'll be able to 100% the game far more easily!


