
This guide will teach you about the Double-Bladed Stance in Star Wars Jedi Survivor. You’ll learn its strengths and weaknesses, the combos it can use, and how to best utilize it.
Table of contents
How to get the Double-Bladed Saber Stance
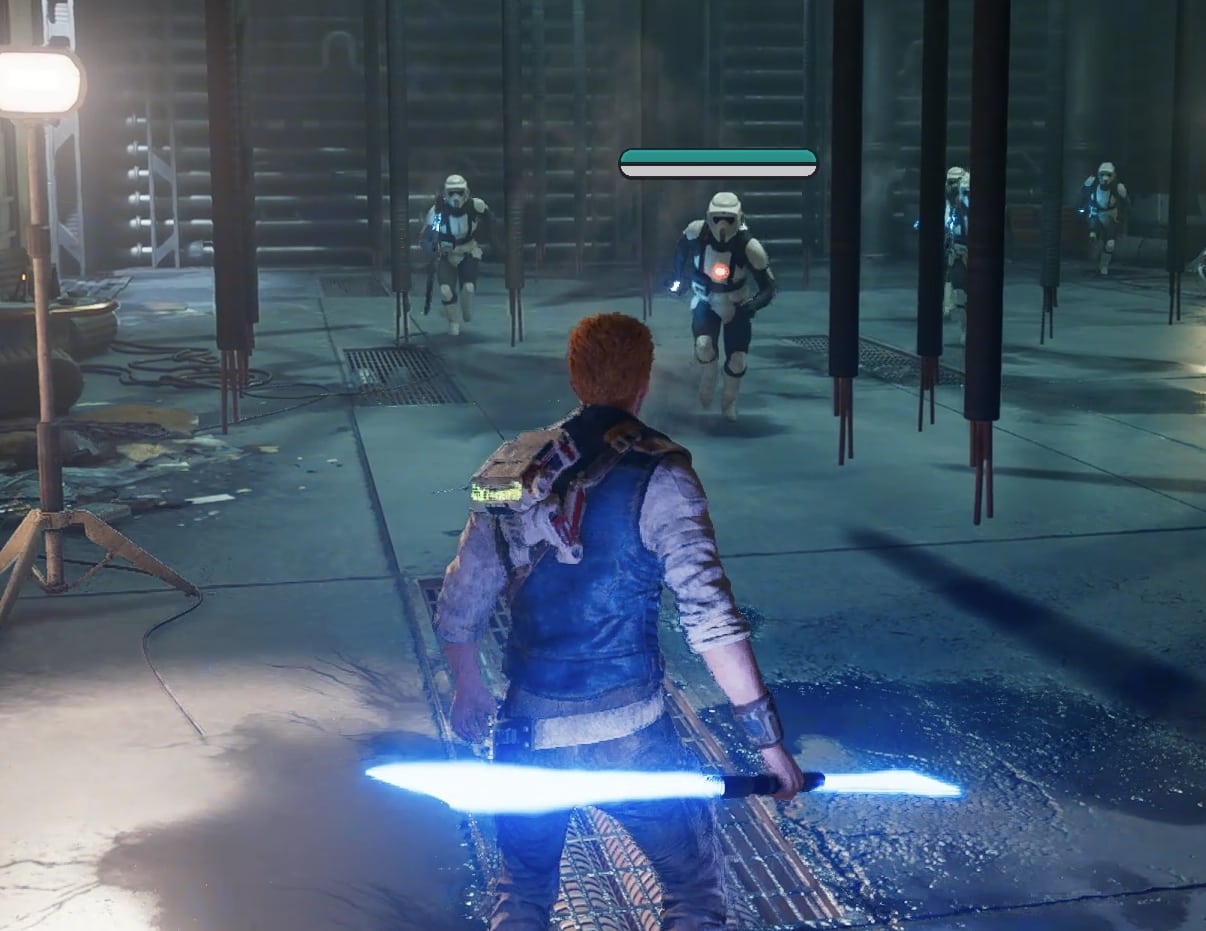
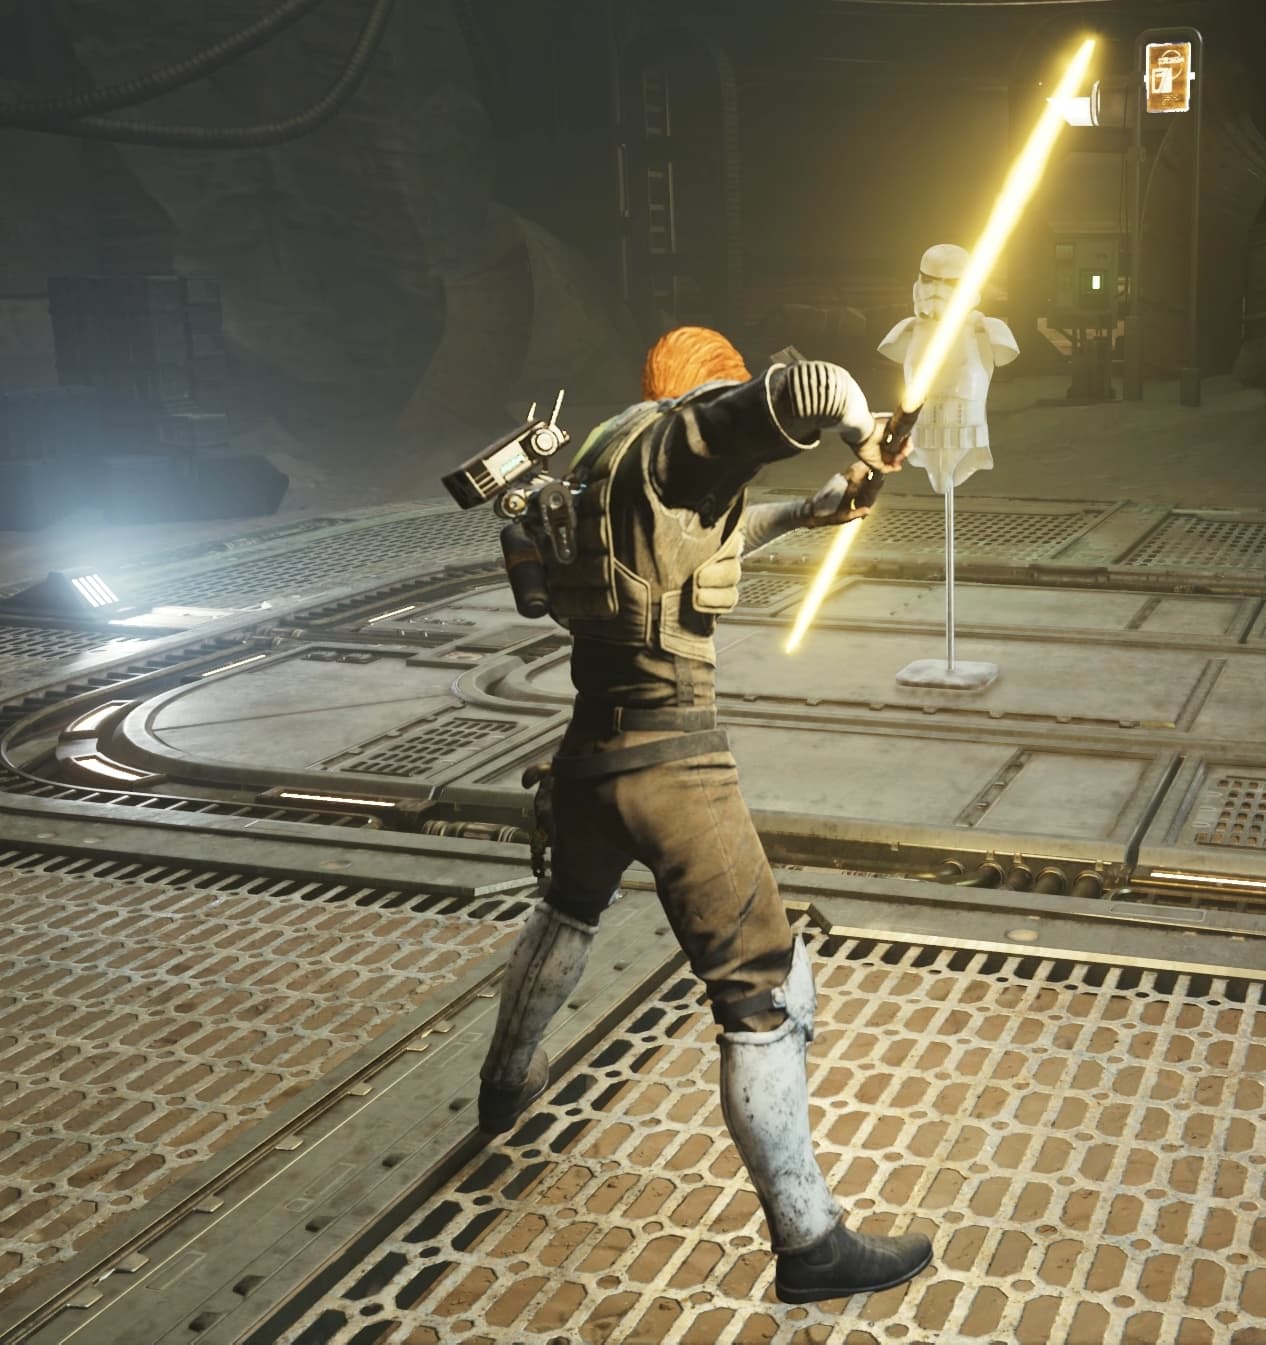
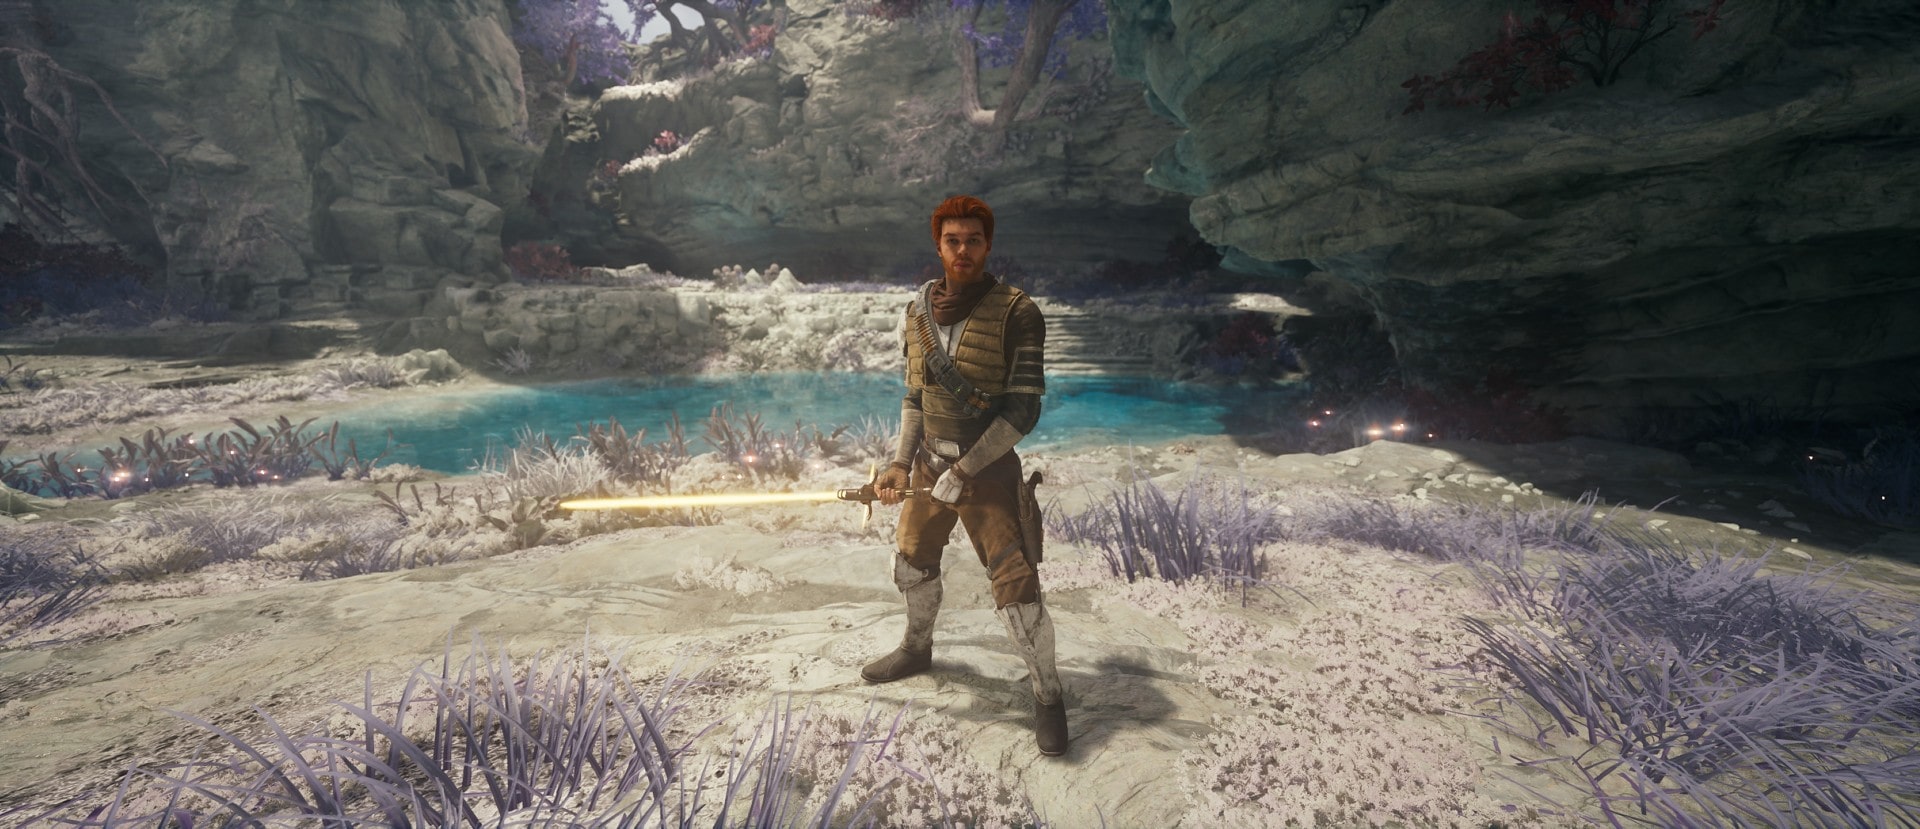
The Double-Bladed Saber Stance, AKA Saberstaff, is unlocked very early as your first alternate stance as you enter a room with a whole bunch of hanging cables and Imperial Scout Troopers on Coruscant.
Strengths and Weaknesses
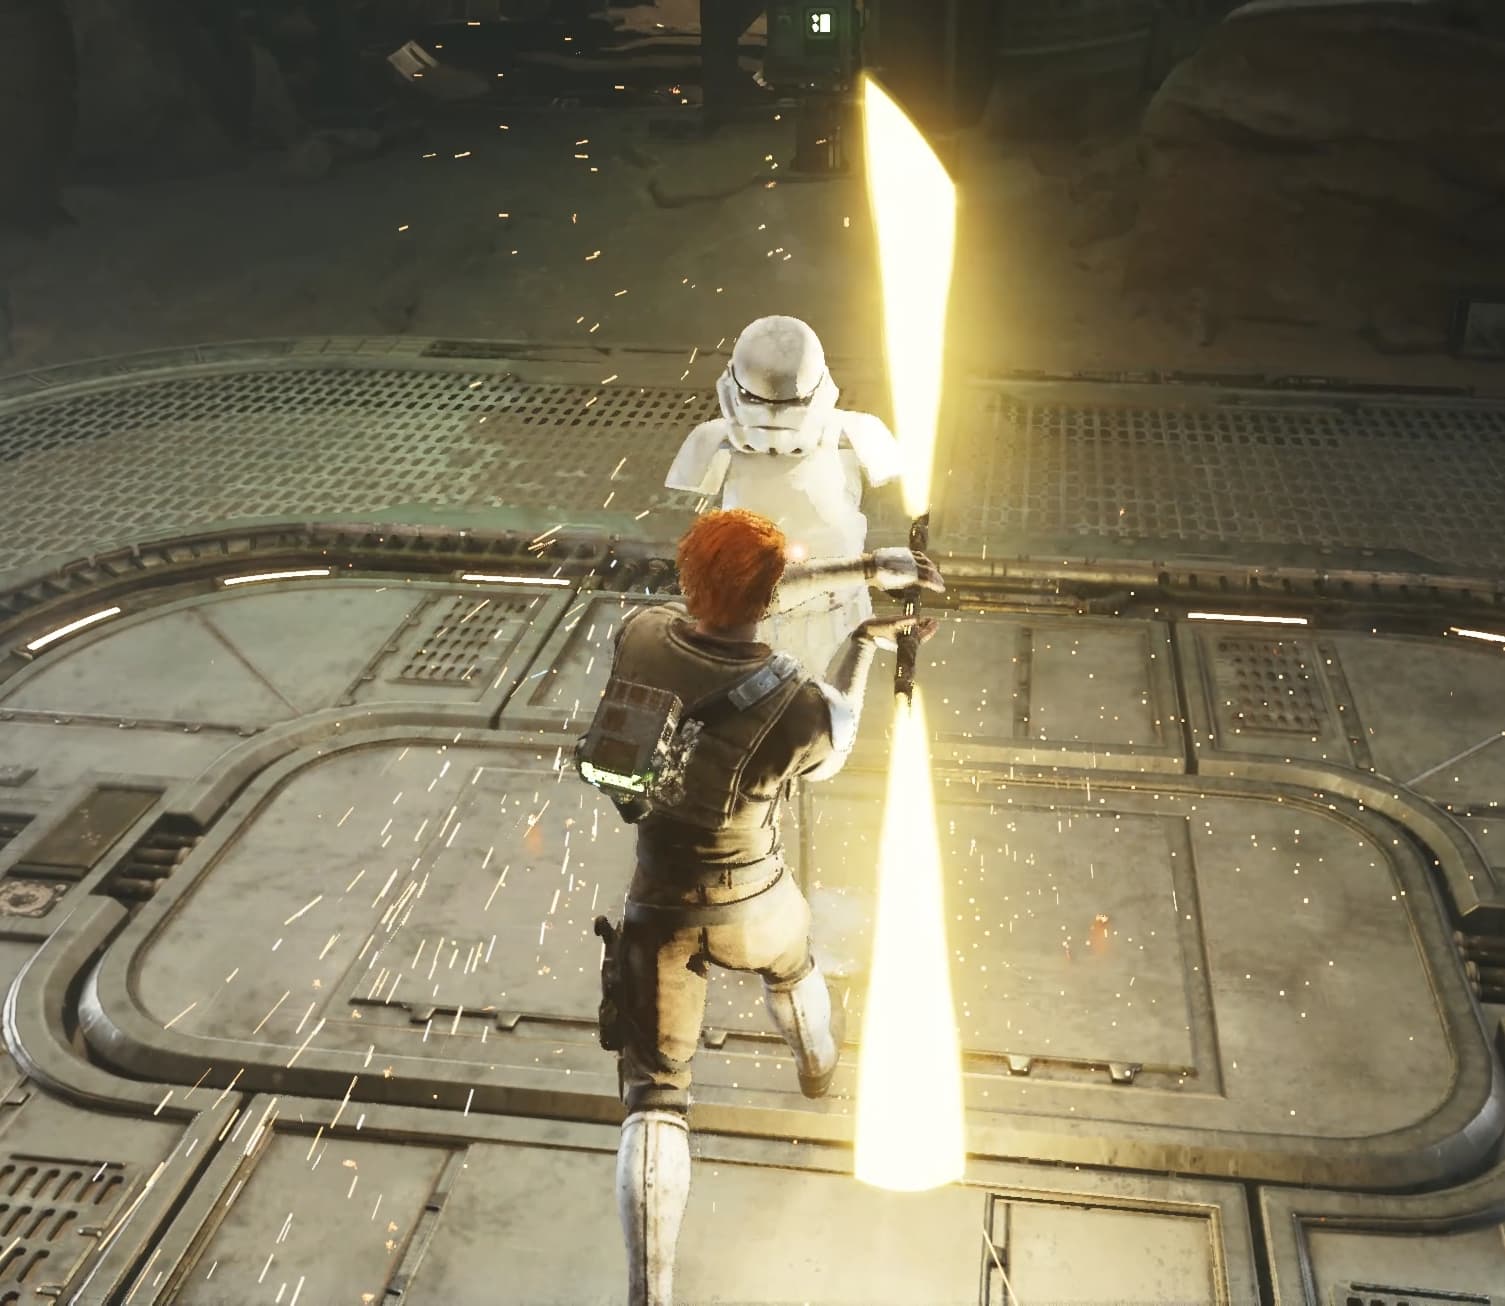
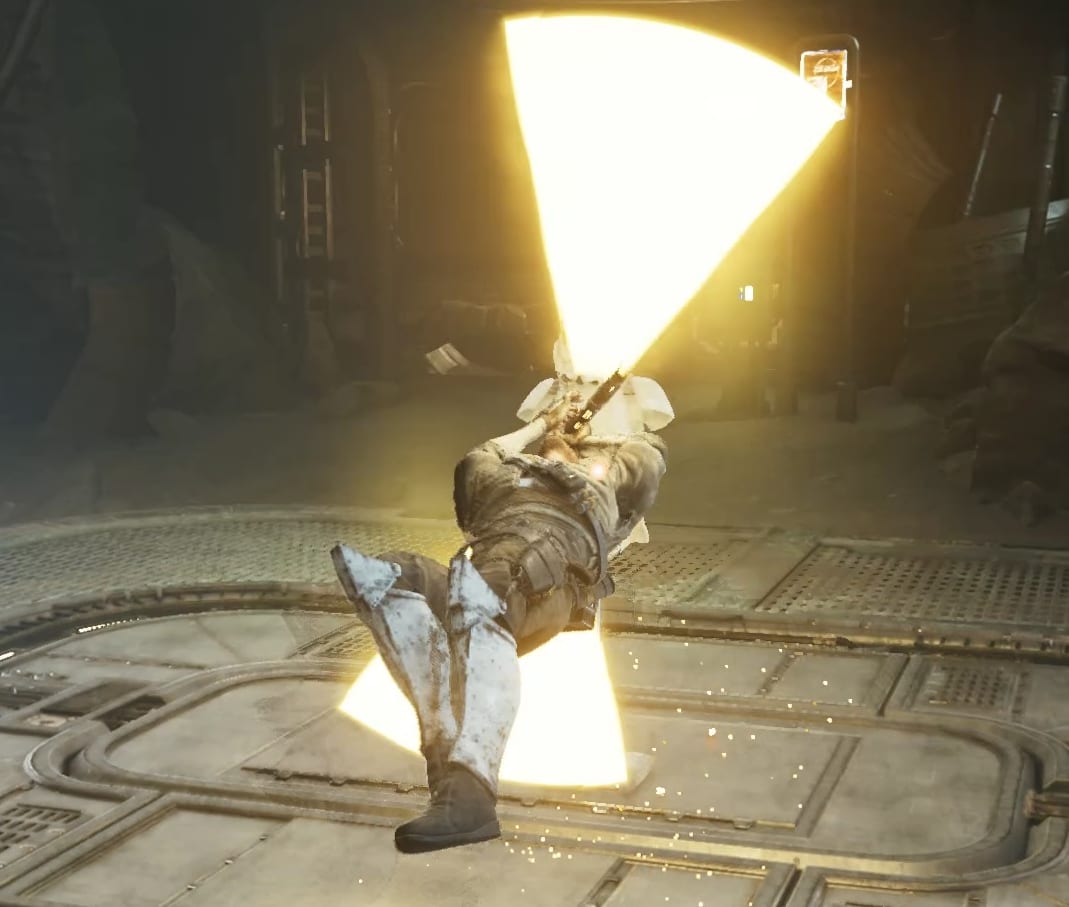
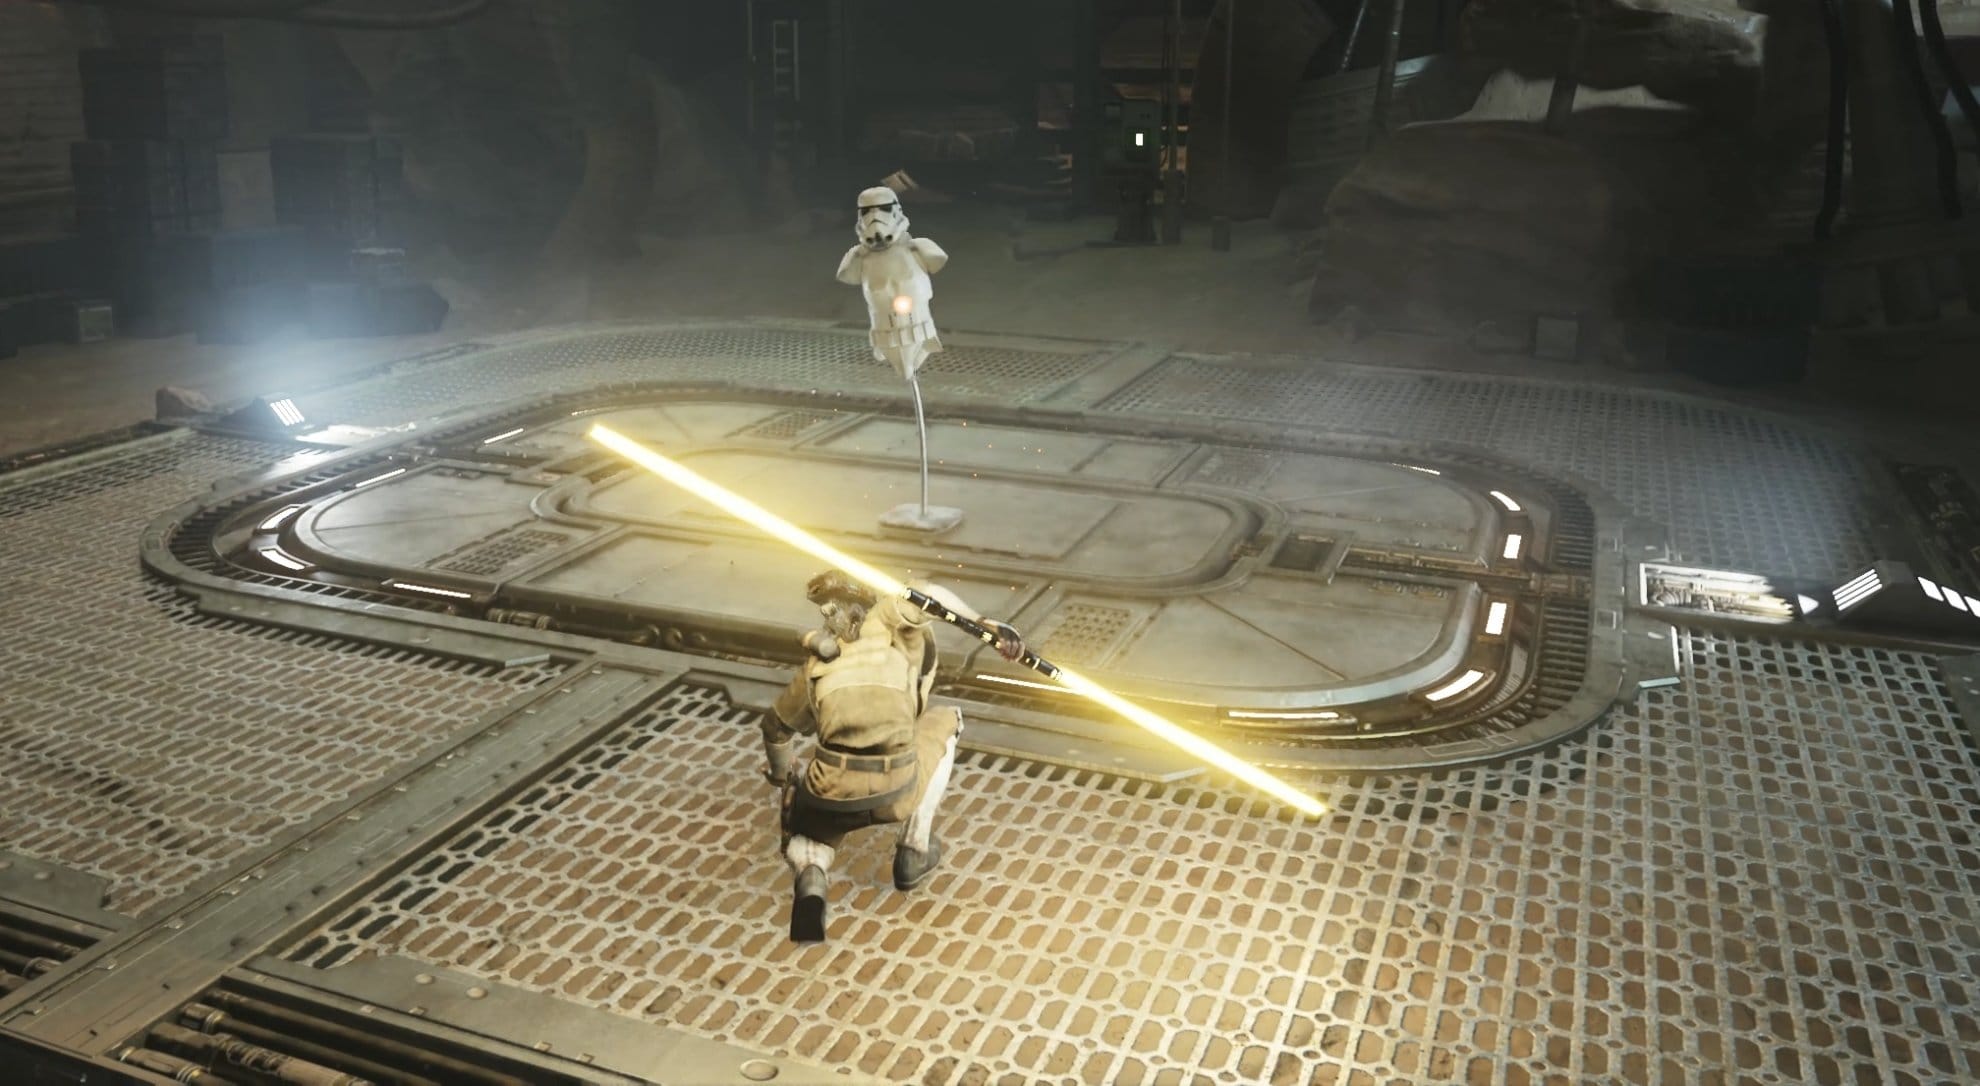
The Double-Bladed Saber Stance is by far and away the best one to use against groups of enemies. The second blade will frequently hit enemies behind or to the side, interrupting their actions, and providing cover while you focus on your primary target.
All of the associated Force abilities deal damage to multiple targets as well. While these Force attacks are enough to take out most normal enemies, the overall animation is quite long and doesn’t stagger heartier enemies, so you will be exposed.
Meanwhile, all of the other stances have Force abilities that are better suited for dealing damage to a single enemy by having faster animations and hitting harder.
Don’t get me wrong, the Double-Bladed Saber is by no means horrible against stronger individual enemies, but its single-target damage output is a bit weaker than all of the other stances, so you will often be putting yourself at a disadvantage if you’re facing off against a lone enemy.
Skill Tree Recommendations
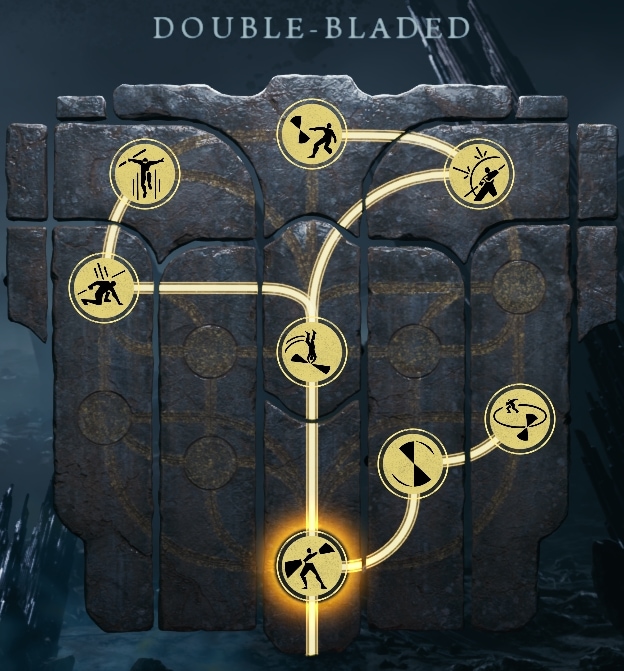
The Double-Bladed Saber Stance has the following upgrade options:
Endless Hurricane
Costs 1 Skill Point
Press Attack repeatedly to add additional attacks to the end of the double-bladed attack chain.
This is your multi-target attack sequence. You can just spam your [Attack] button to keep twirling your saberstaff around, whacking nearby enemies in the process. Endless Hurricane is largely responsible for the largely unique capability of the Double-Bladed saber to hit multiple enemies at once.
Gathering Tempest
Costs 1 Skill Point
Hold Attack repeatedly to perform fast strikes toward a single enemy.
This is your single-target attack sequence. Rather than just pressing the Attack button repeatedly, you hold it repeatedly, and Cal will spin his saberstaff more vertically and tighter to his body allowing you to strike your primary target multiple times in quick succession.
You’ll end up dealing more damage to the primary target, but you won’t get much protection from the rear blade striking anything else.
Vortex Dive
Costs 1 Skill Point
While holding Block, press Attack to dive forward while spinning the lightsaber
This attack deals a high amount of damage and moves you forward slightly, but costs Force to use. It is the Double-Bladed Saber Stance’s most damaging attack, and while it can hit multiple targets if they’re close together, it’s best used in single-target situations or if you get boxed in and want to clear a path for yourself. It is very powerful against large monsters and tough droids.
Orbit and Double Orbit
Costs 1 Skill Point
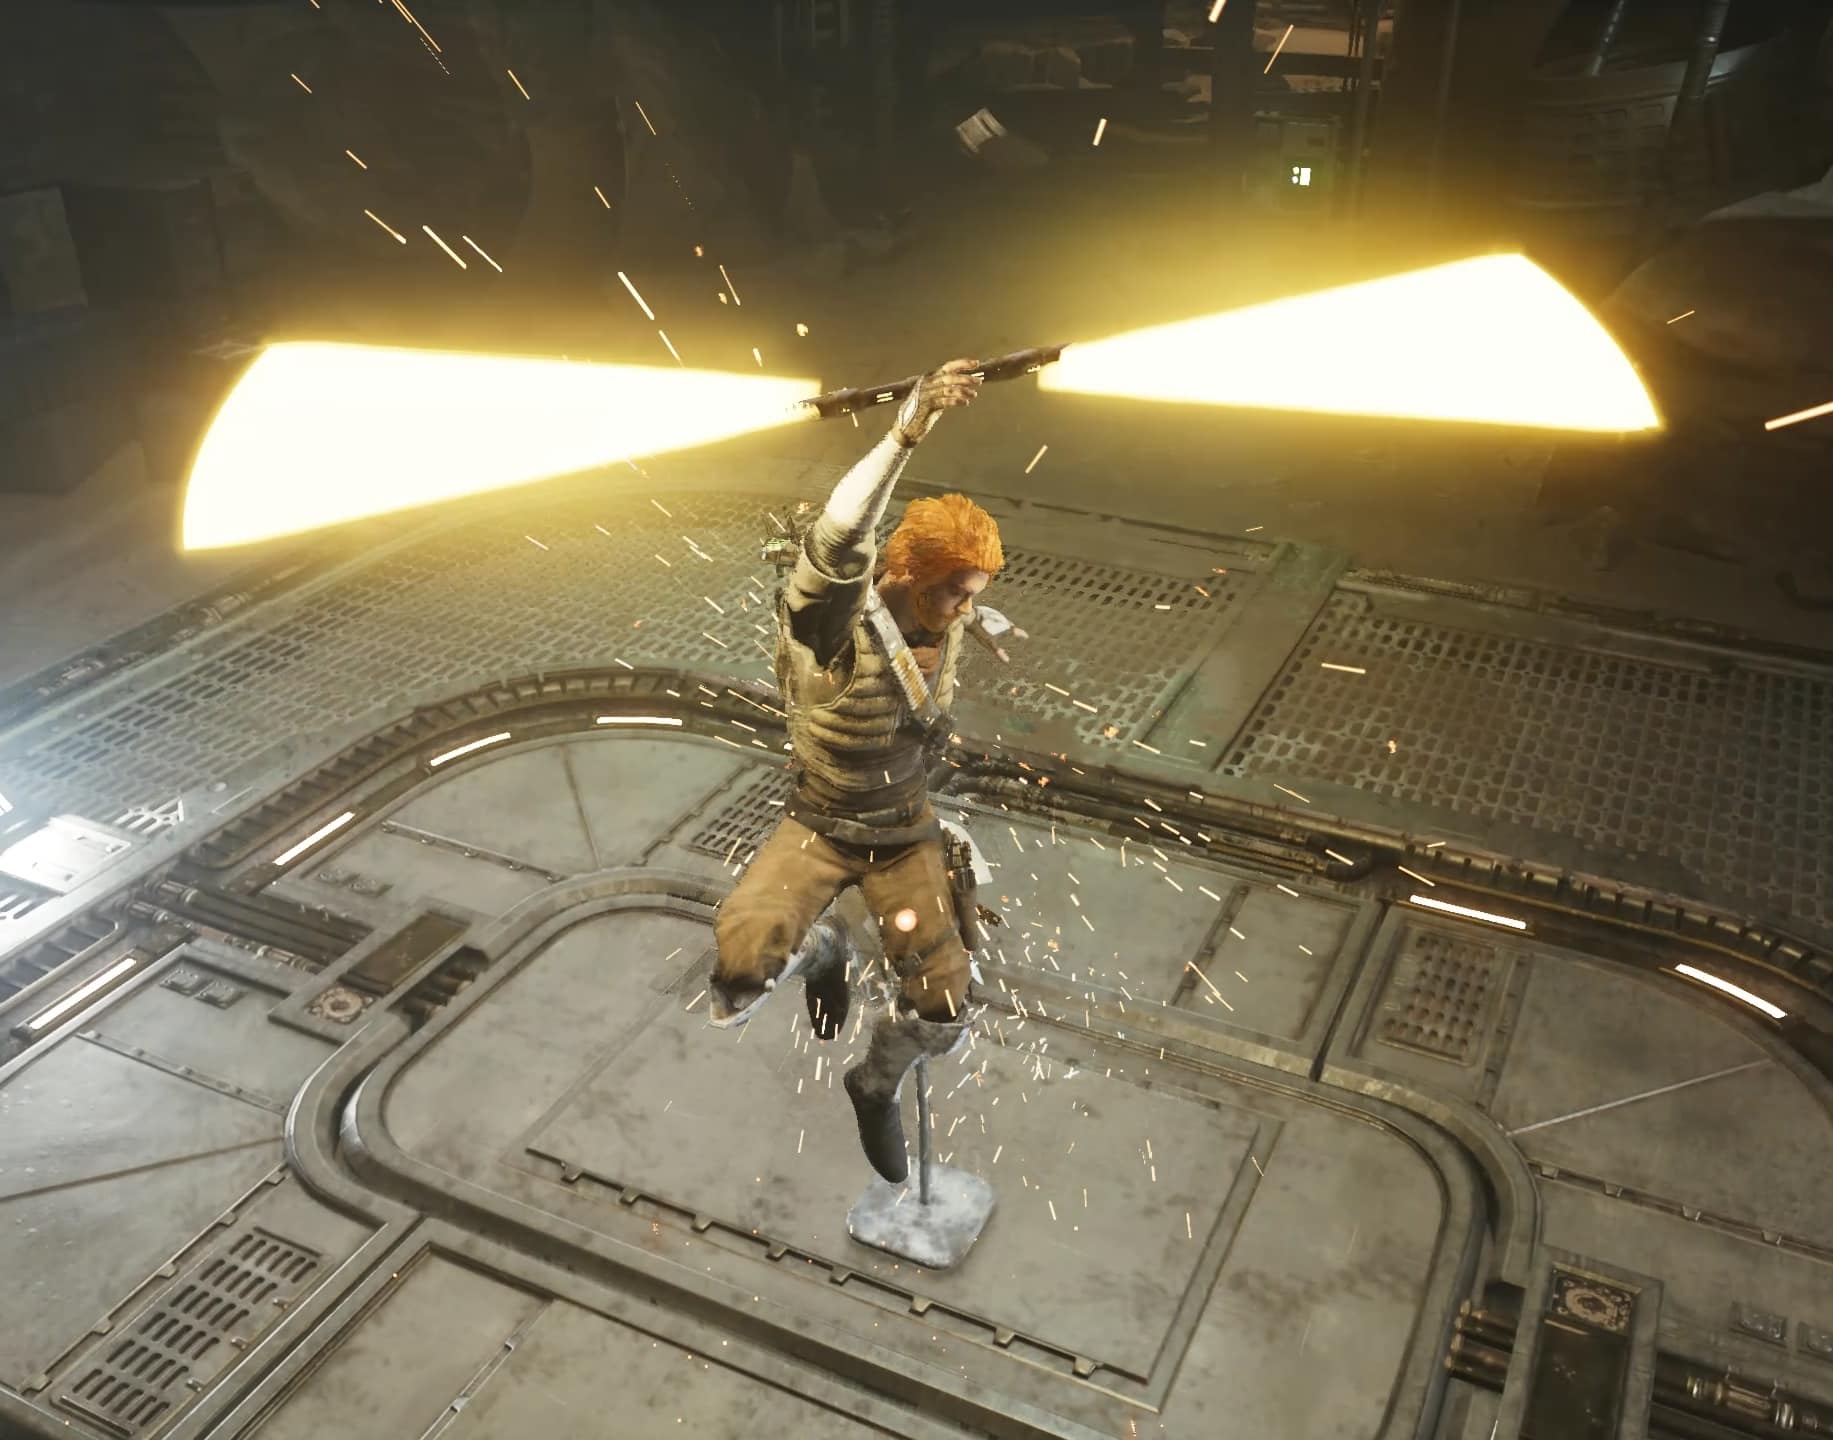
Press Special Attack to throw your saberstaff and make it orbit you once. Press Special Attack again to make it orbit a second time.
This is the best multi-target attack in the game by a Koboh mile. A single orbit is enough to take down all of the basic enemies in its path, and you get that functionality for free. For a single Skill Point, you unlock the capacity to throw the saber again, this time hitting enemies that are further away as the saberstaff travels in a wider arc.
Both throws will hit the same enemy twice if they were in the blade’s path when it was launched from your hand. This second hit is enough to take out slightly stronger enemies, like B2’s and Commanders.
Keep in mind that the animation is long and you will be vulnerable while your saberstaff is mowing down attackers around you. I highly recommend using Wrenching Pull (Push + Pull buttons) first to draw everything close to you and stagger them for long enough for your saberstaff to get into orbit.
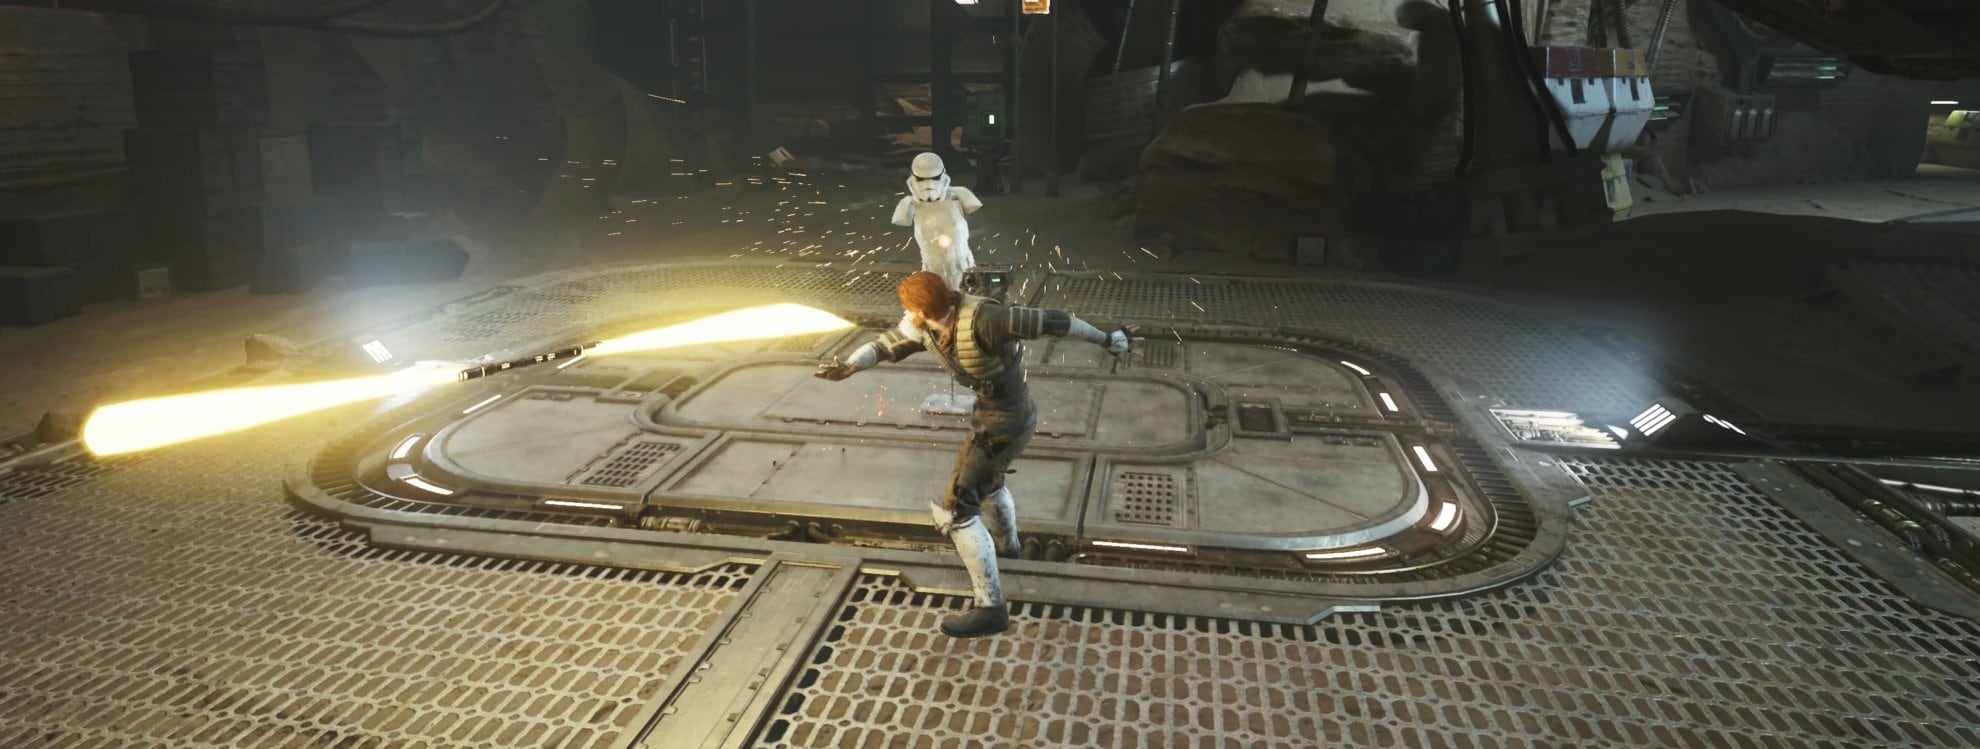
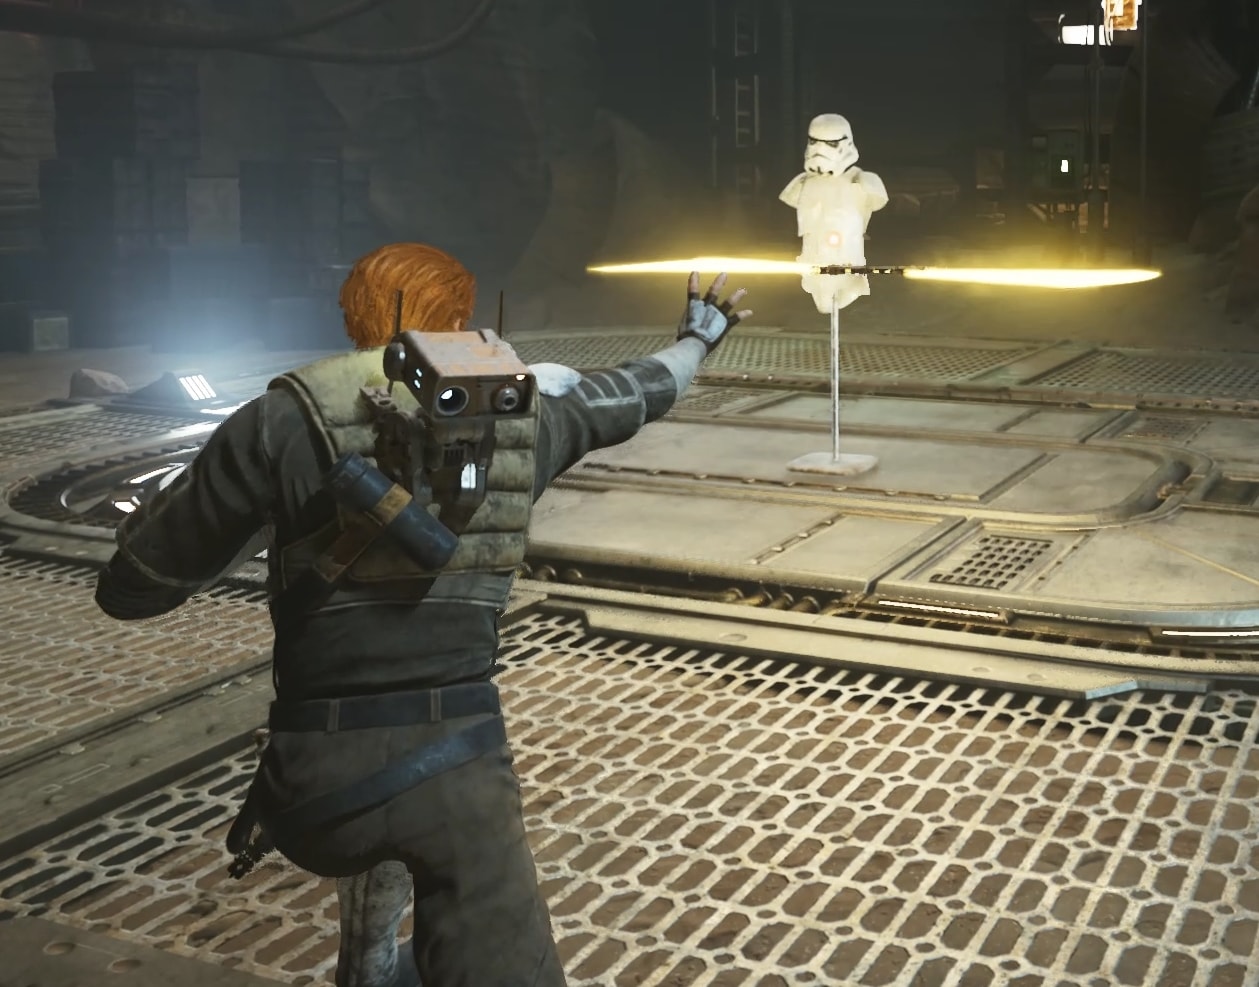
Saber Throw
Free
Press Block + Special Attack to throw your saberstaff.
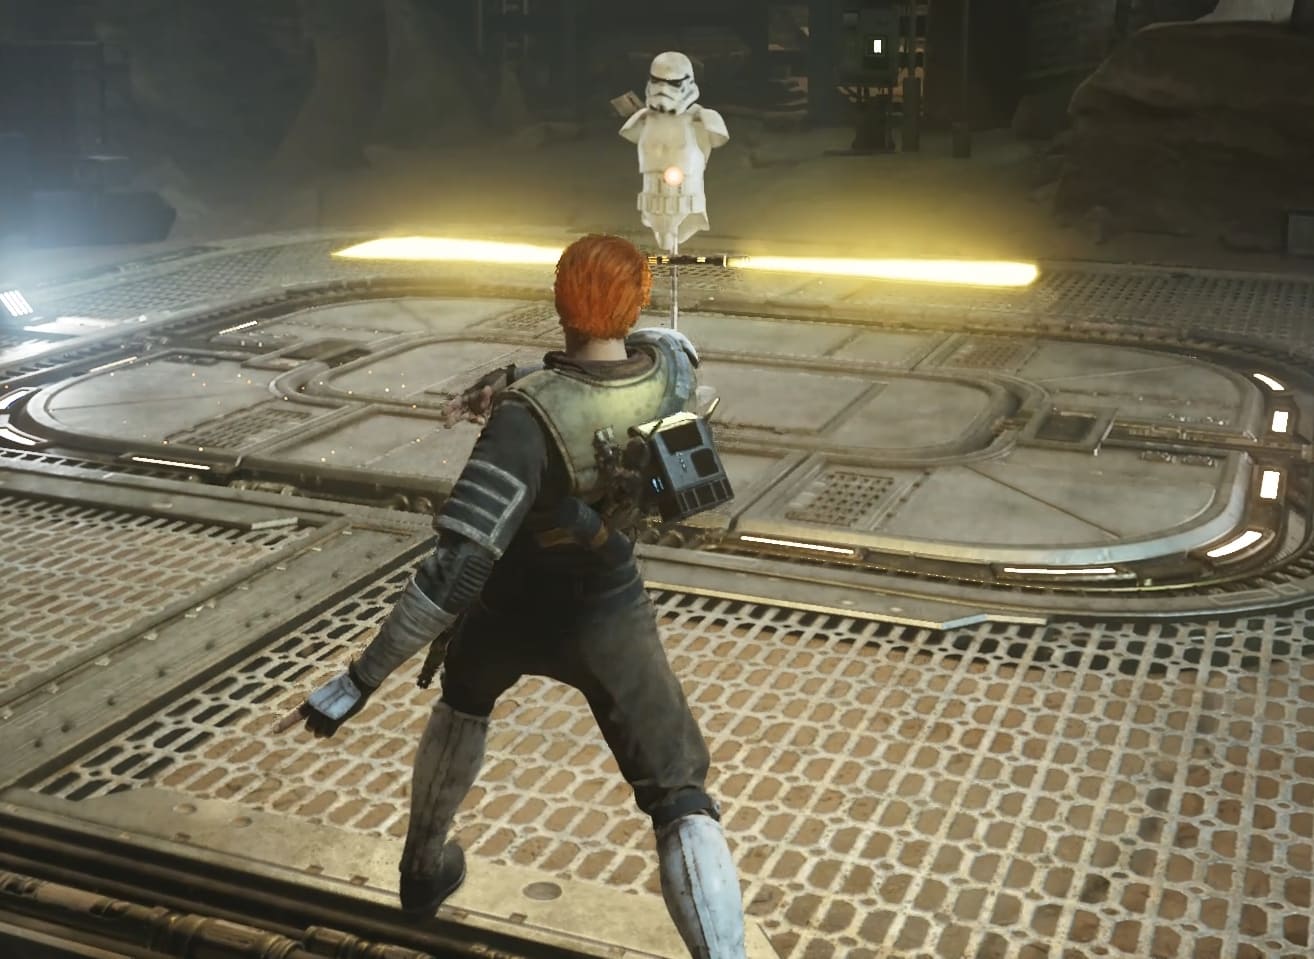
The Saber Throw for the Double-Bladed Saber is exactly as good as it needs to be for the Stance to be balanced and not an inch more. It deals damage that’s comparable to the damage dealt by a single saber swing and is enough to defeat basic enemies, but it only passes through a target if it defeats whatever it struck. If the first enemy survives, it immediately bounces back.
Controlled Throw
Costs 2 Skill Points
Hold Block + Special to charge up a controlled throw. Keep holding Special Attack to make your saberstaff float at a distance and control its movement as you’d control your own.
Controlled Throw carries on the weaknesses of the Saber(staff) Throw while being exceptionally difficult to control and leaving you completely open. If there’s a single blaster user still alive and shooting at you, the attack will get interrupted before you’re able to do anything meaningful. Controlled Throw is only worth using to knock over multiple enemies that are far away from you.
In my opinion, it’s a waste of Skill Points and Force.
Multifold Reflections
Costs 2 Skill Points
Hold Block right before blaster shots connect to reflect them back toward nearby targets.
All but the Blaster Skill Tree Branch offers a stance-specific buff to blaster reflections, but the Multifold Reflection is, in my opinion, the best of the bunch because it will reflect every single shot possible, allowing you to take out a whole group of blaster-wielding enemies as fast as possible.
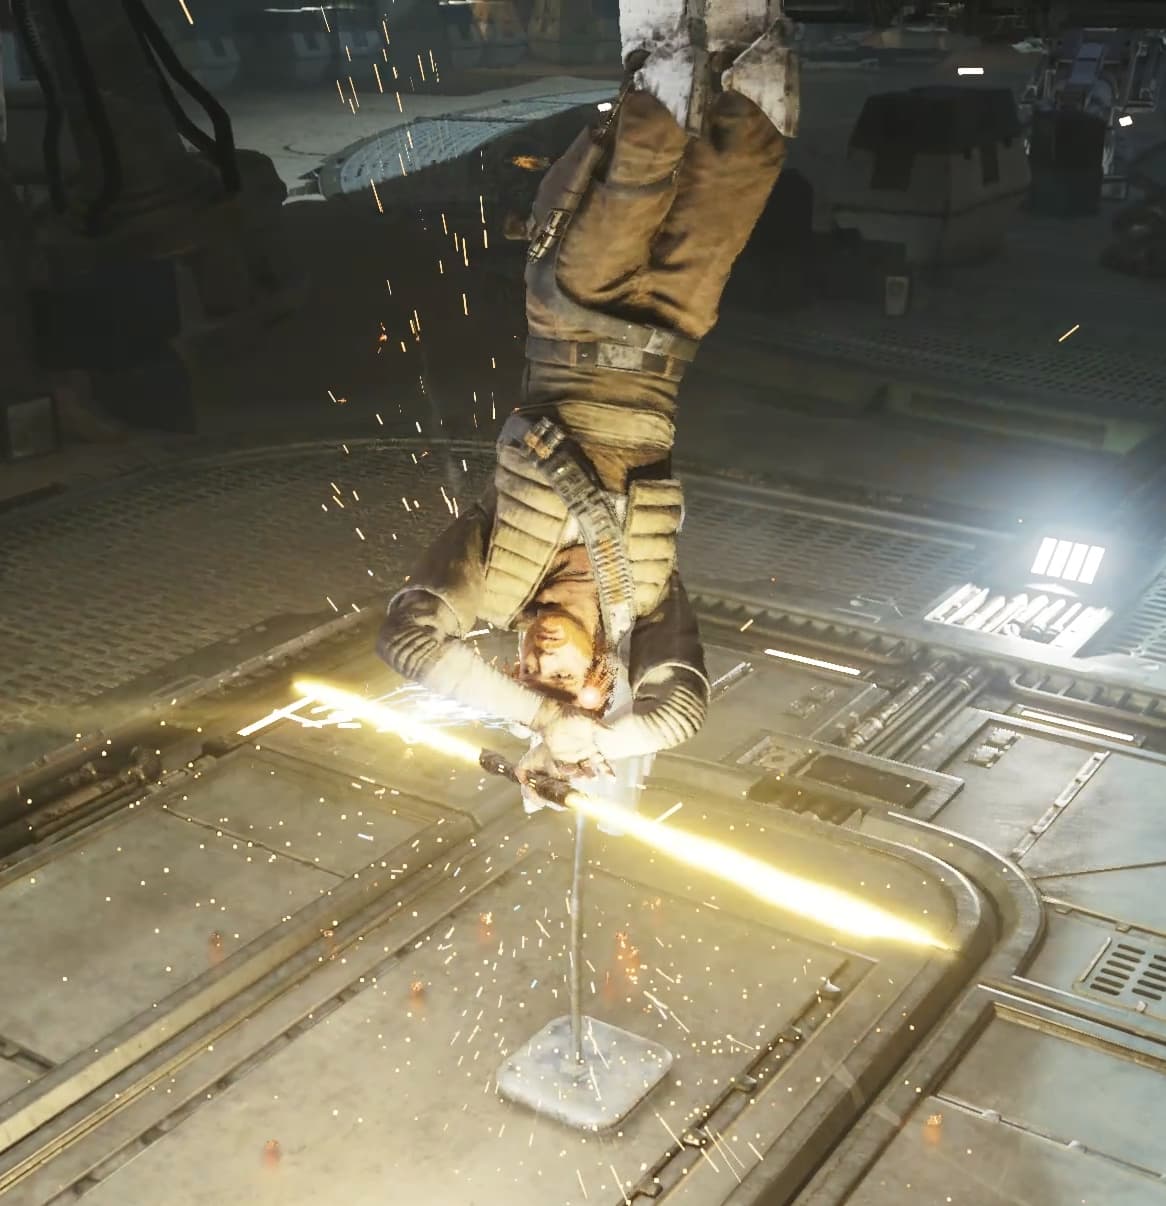
Repulsing Burst
Costs 2 Skill Points
Press Special Attack while airborne to slam down, dealing damage in an area around you.
This is your sole aerial attack with the Double-Bladed Saber. It deals very little damage, but staggers enemies briefly, giving you enough of a window to land in a group of enemies and follow up safely with a saber swing. Repulsing Burst is the Endless Hurricane touching down on the water.
You can use it as an interruption, but I don’t think it’s worth the Force it costs to use. Since there’s not much need or benefit to be had by jumping with the saberstaff, I don’t think you’ll get too much use of Repulsing Burst. If you’re ambushing from a higher altitude, you’re usually better off assassinating an enemy instead.
Rising Storm
Costs 2 Skill Points
Hold Special Attack while on the ground to pull enemies in slightly and send Cal into the air.
This Skill requires Repulsing Burst and it’s clear the intent is to leap into the air with Rising Storm and come down immediately with Repulsing Burst. The combo doesn’t deal a lot of damage and is slow, so there isn’t some sort of defensive advantage to using it over Orbit and you can just jump if you want to use Repulsing Burst.
The only way to deal damage with Rising Storm is to hit something with your lightsaber on the way up, which is easier said than done and practically impossible if you want to draw enemies in.
I don’t recommend taking Rising Storm until you have literally nothing else to spend Skill Points on.
Complimentary Stances
These lightsaber Stances pair well with the Double-Bladed Stance as your alternative for single-target situations:
Dual Wield
Use the saberstaff for larger groups and Dual Wield for smaller groups (<3) and 1v1s. The Dual Wield Stance is preferable to the Crossguard if you want a more fluid and consistent experience at the expense of diversity and attack power.
The Dual Wield Stance offers the same pacing as the Double-Bladed Stance, but with all of the multi-target potential getting transferred into single-target. In my opinion, this is the most natural transition between a pair of stances, though it can result in your combat experience feeling a bit samey.
And once you are done with the beginner’s guides to Stances, check out our Build Guide for pairing the Dual Wield with the Double-Bladed Stance. The guide will show you which skills to pick early and why, what perks synergize with the stances combo and tips on how to make the best out of this pairing.
Crossguard
Use the Duble-Bladed for groups and Crossguard for 1v1s. The Crossguard is preferable to the Dual Wield Stance if you want a slower pace in your single-target fights and the capacity to land heavier hits.
The Crossguard Stance is about as close as you can get to being the opposite of the Double-Bladed Saber Stance. The weaknesses of each are the strengths of the other, though it will feel jarring to switch between the two mid-fight as you have to slow way down (or speed way up) as you switch.
Check out our guide on the Crossguard Stance for more in-depth information.
We’ve also got a comprehensive build guide to the Crossguard and Double-Bladed Stance Pairing!
Complimentary Perks
These are the Perks I recommend using with the Double-Bladed Saber as your primary Stance:
Equilibrium
Costs 3 Perk Points
Equilibrium makes it so using a Force attack will make your next lightsaber attack deals more damage. It’s unclear exactly where the line is, but you’ll be using Force attacks regardless, so you should get this fairly often.
Shatter
Costs 2 Perk Points
Shatter makes your attacks drain more of the block meter (white bar). Since you’re hitting a lot and each individual attack doesn’t drain that much, Shatter is invaluable.
Dexterity
Costs 2 Perk Points
Dexterity makes your lightsaber throws deal more damage. Since both Stances feature lightsaber throws prominently, you’ll get a lot of mileage out of this Perk, even if it technically only boosts the effectiveness of a single attack type.
Versatility or Recuperation
Costs 3 Perk Points
Versatility makes you temporarily deal more damage after switching stances while Recuperation increases the amount of Force you can regenerate. I recommend using Versatility with the Dual Wield Stance and Recuperation with the Crossguard Stance.
Tips for the Double-Bladed Stance
To get the most out of the Double-Bladed Stance, you really need to think about how many targets you’re facing and how to get them all together so you can hit them at the same time.
As soon as you can’t hit multiple targets, consider switching to the other stance to deal more single-target damage, or at least start holding down the Attack Button so you’re not wasting damage on enemies that aren’t there.
By the same token, make sure you are using the Double-Bladed Stance whenever you are able to hit multiple enemies at the same time, especially if they’re a bit spread out. Remember, you can use Wrenching Pull to bring them in close and follow it up with 1-2 Orbits.
This concludes the Double-Bladed Saber Stance guide. To personalize your experience with the game, check out our Guide to Controls and Keybinds for Jedi Survivor. Setting up your custom keybinds will allow you to play your favorite Stance with the highest efficiency. For anything else, check our Star Wars Jedi Survivor Guides Master List.


