
This guide will provide information on how to fight Darth Vader in Jedi Survivor. This is a tough fight where one wrong move can be your undoing!
Table of contents
How to find Darth Vader
You’ll be able to reach Darth Vader after delivering the compass to Eno Cordova on Jedha. After some cutscenes, a speeder bike chase, and going through the defense of the Archives as Cere, you’ll be able to fight Darth Vader one on one. Since the level where you play as Cere is very linear, you’ll have no problem (or choice) in finding him.
How to Prepare for the Encounter
Rest at the Meditation Point before entering the archives to save your game. Since you’re playing as Cere, you’ll have far more limited chances to heal than Cal may have. Brace yourself mentally to remain calm and focused for the fight ahead.
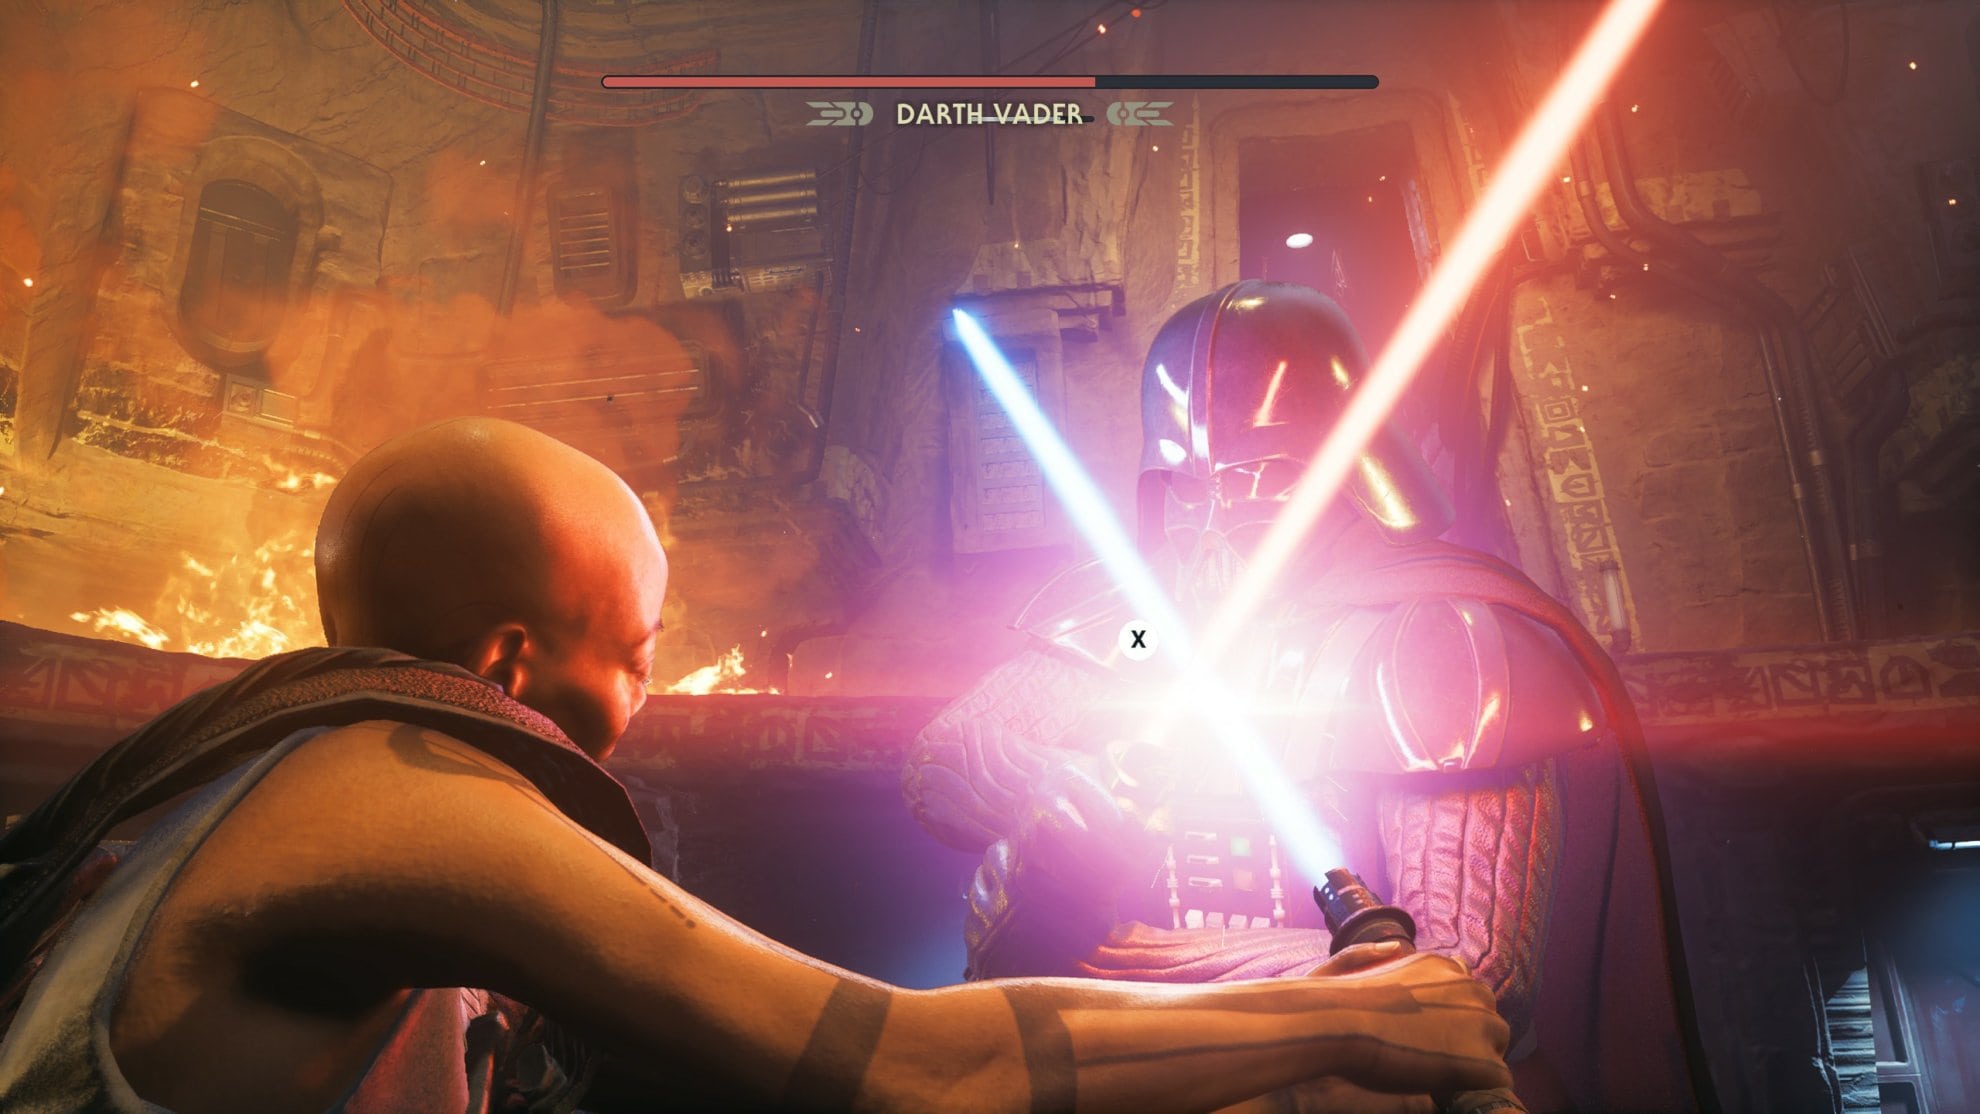
Darth Vader’s Attacks and Strategies Explained
The Darth Vader fight comes in three phases, I’ll be explaining each to you individually as Darth Vader will only get more aggressive as the phases go on.
Darth Vader Fight Phase One
The way this fight will primarily work through all stages is that you’ll need to take turns with Darth Vader with being on the offense and on the defense. Let him attack you and parry his attacks. Since Cere has more experience than Cal, it’ll be far easier to parry his attacks and doing so on Grandmaster Difficulty will make you feel like you’re playing in Jedi Padawan mode.
Do not try to Force Push or Pull Darth Vader, it is useless and he’ll simply block it with the Force.
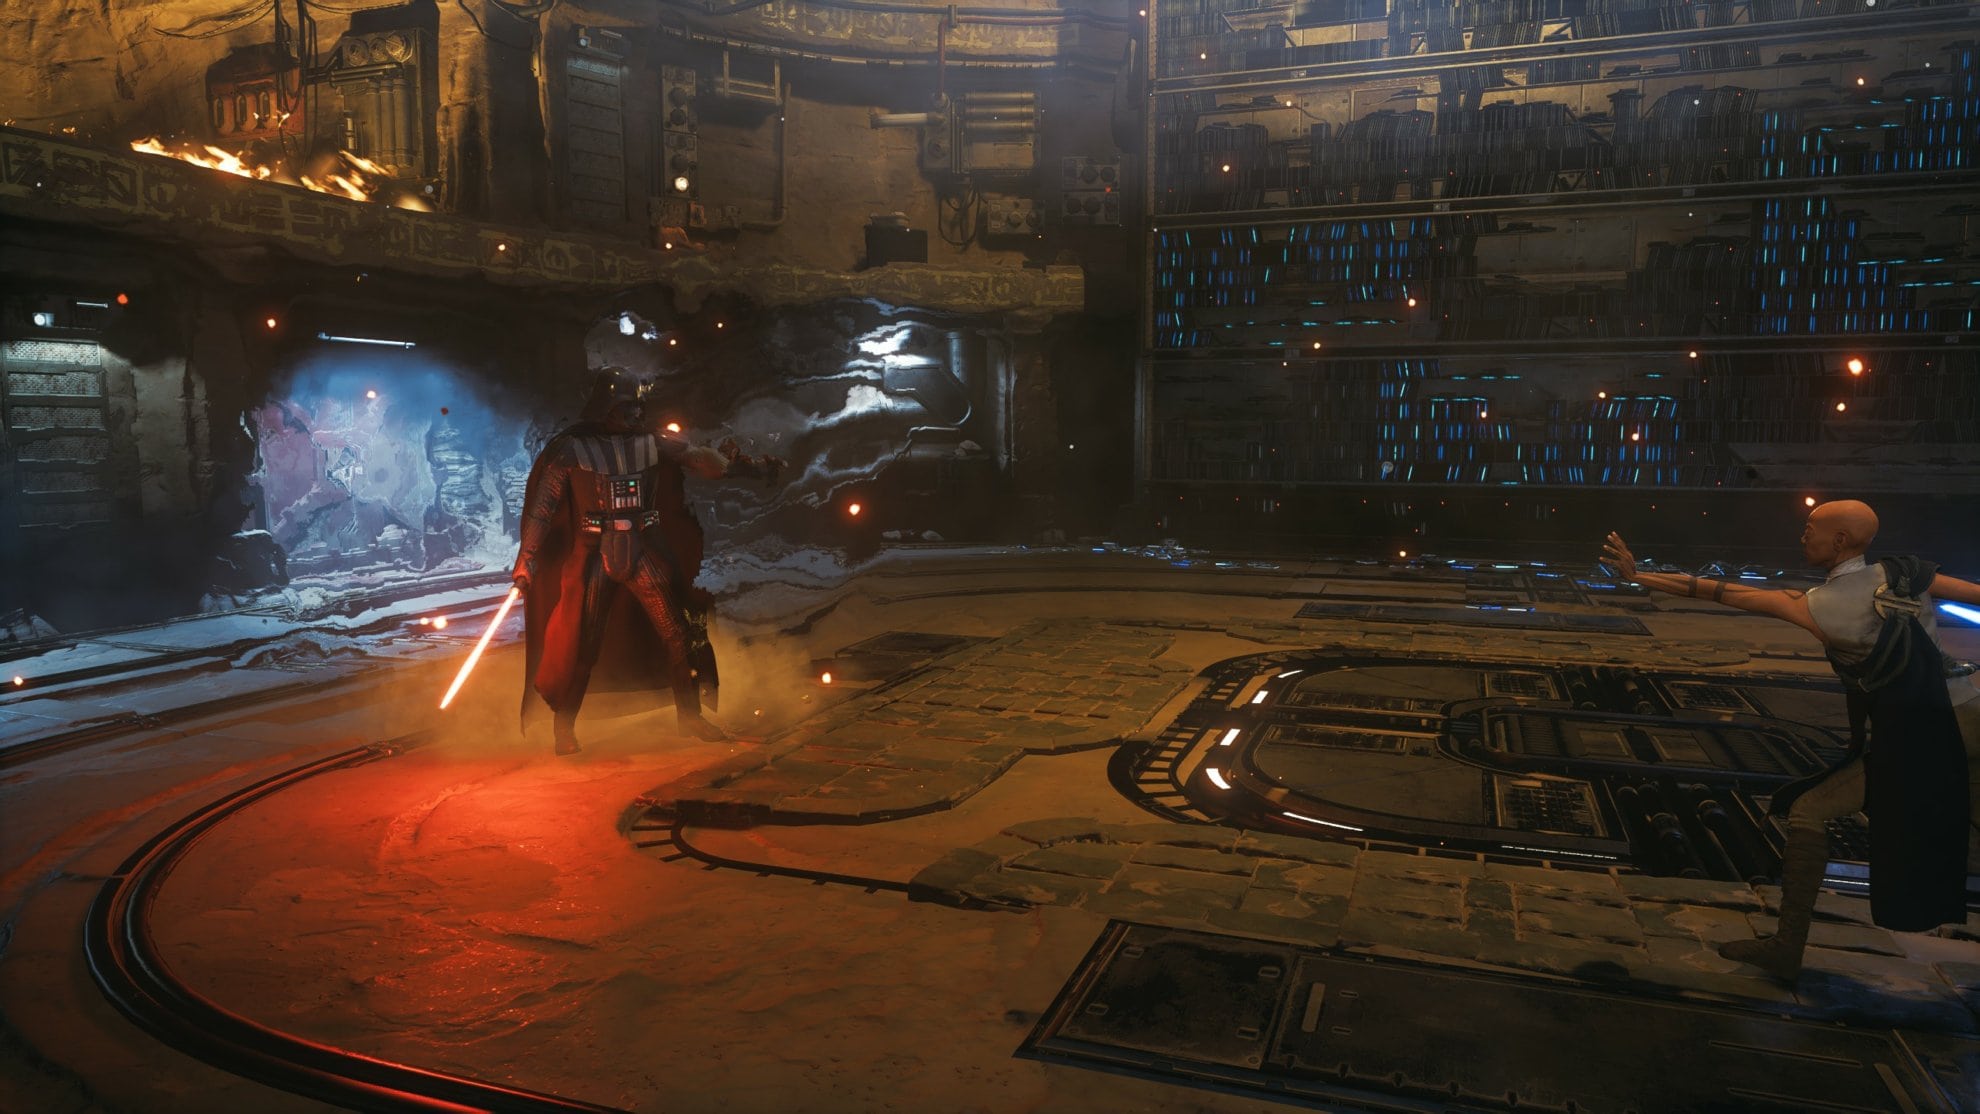
The primary thing you want to watch out for is when Vader sticks out his left hand during an unblockable attack. Dodge to the sides or he will grab you by the neck to choke you. In Grandmaster difficulty, this is a one-hit kill that’ll cause you to respawn. It’ll deal very high damage on all other difficulties, do your best to avoid it. If you’re too aggressive at the start of the battle, he’ll start out attempting to choke you.

Vader will typically attack three or four times in a row before you’re allowed to attack him. He may incorporate an unblockable attack in his combos, dodge backwards to dodge them for the most part. Darth Vader hits very hard but he’s grounded and slow, you’re a lot faster than him so take advantage of that.
After his combos, attack him three to four times then go back on the defensive. Do your best to parry his blows instead of blocking them to stun him and get damage in. One unblockable attack he does during a combo is when he’s about to charge, dodge to the side and not back when he does this.
In each phase, you’ll be able to work in a button mashing event. Mash that button like your life depends on it to get some easy damage in on Vader.

Darth Vader Fight Phase Two
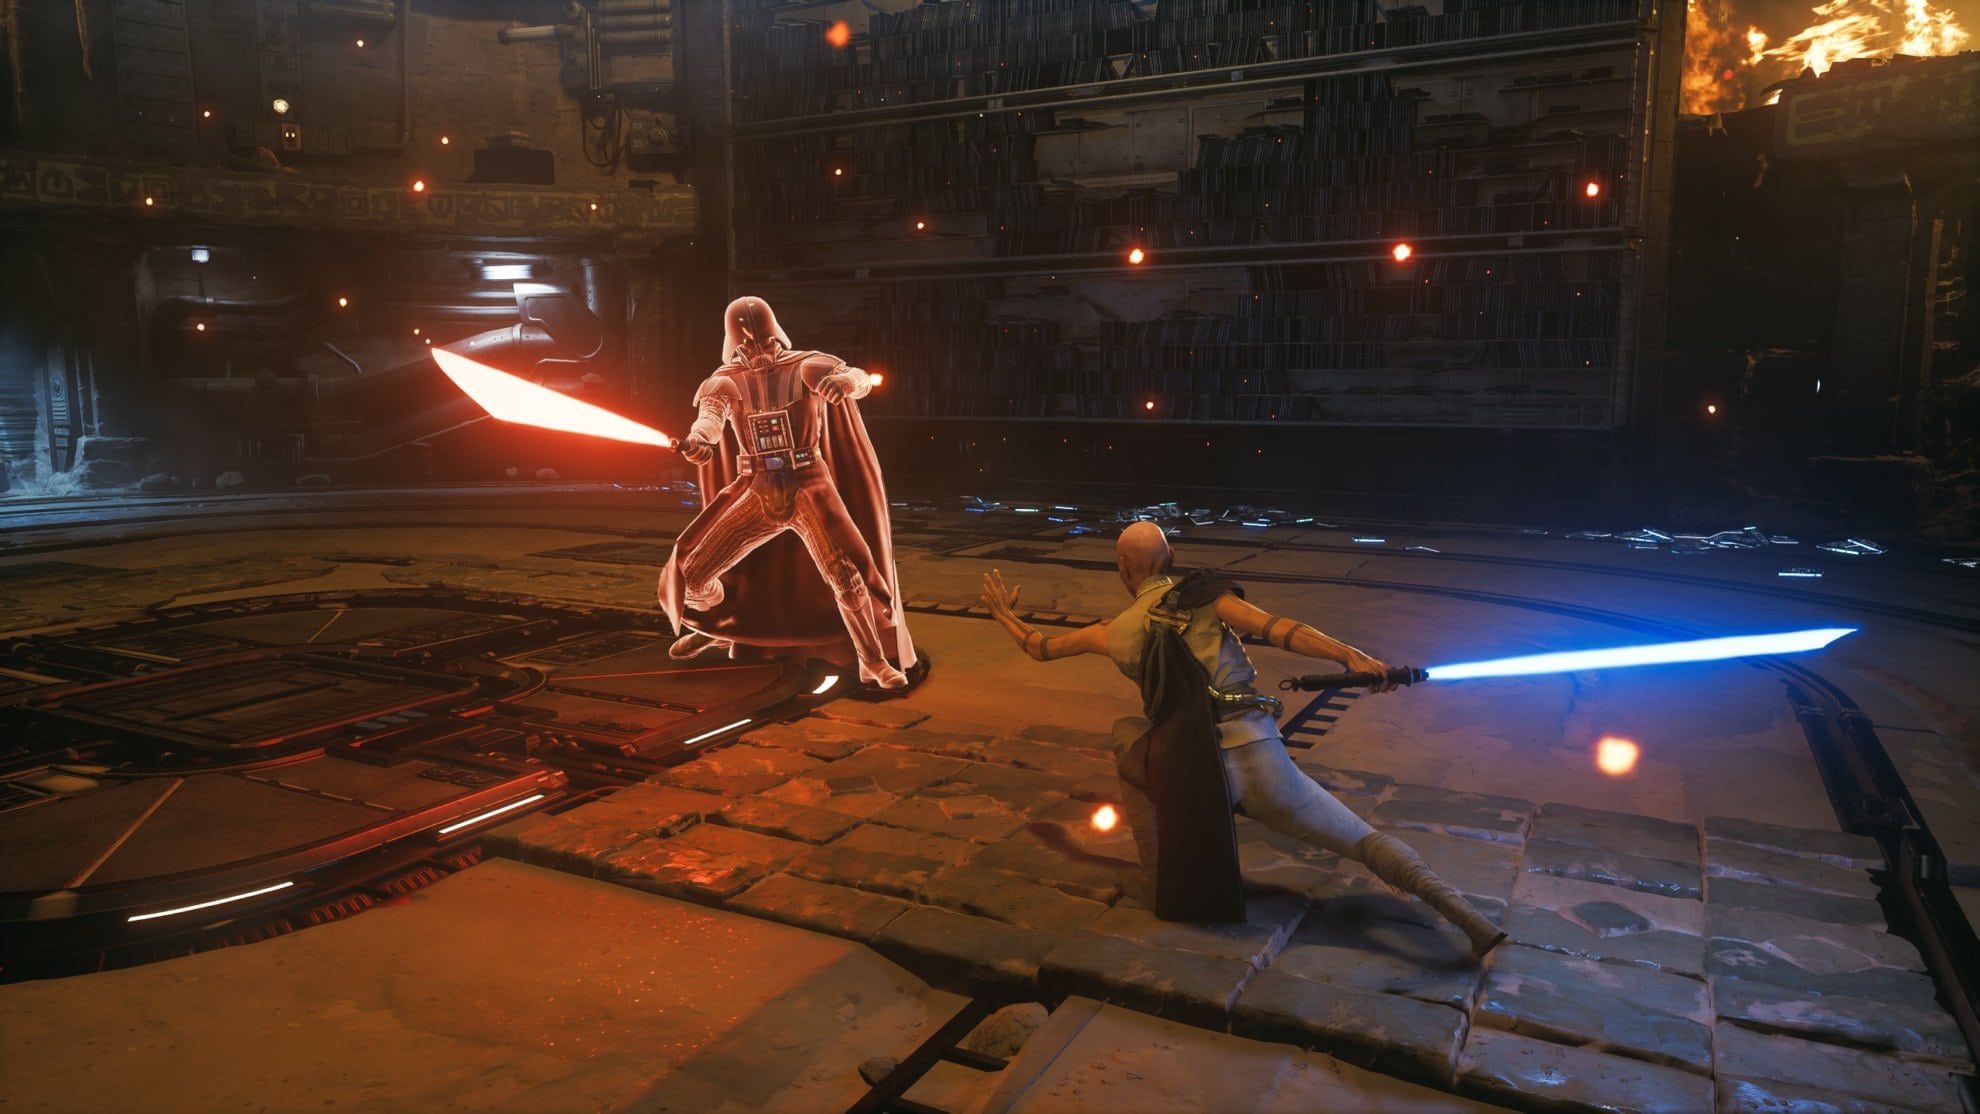
After dealing sufficient damage in the first phase, a cutscene will place. In this phase, Vader’s attacks will get slightly more aggressive but he’ll start using more Force Powers during combat.
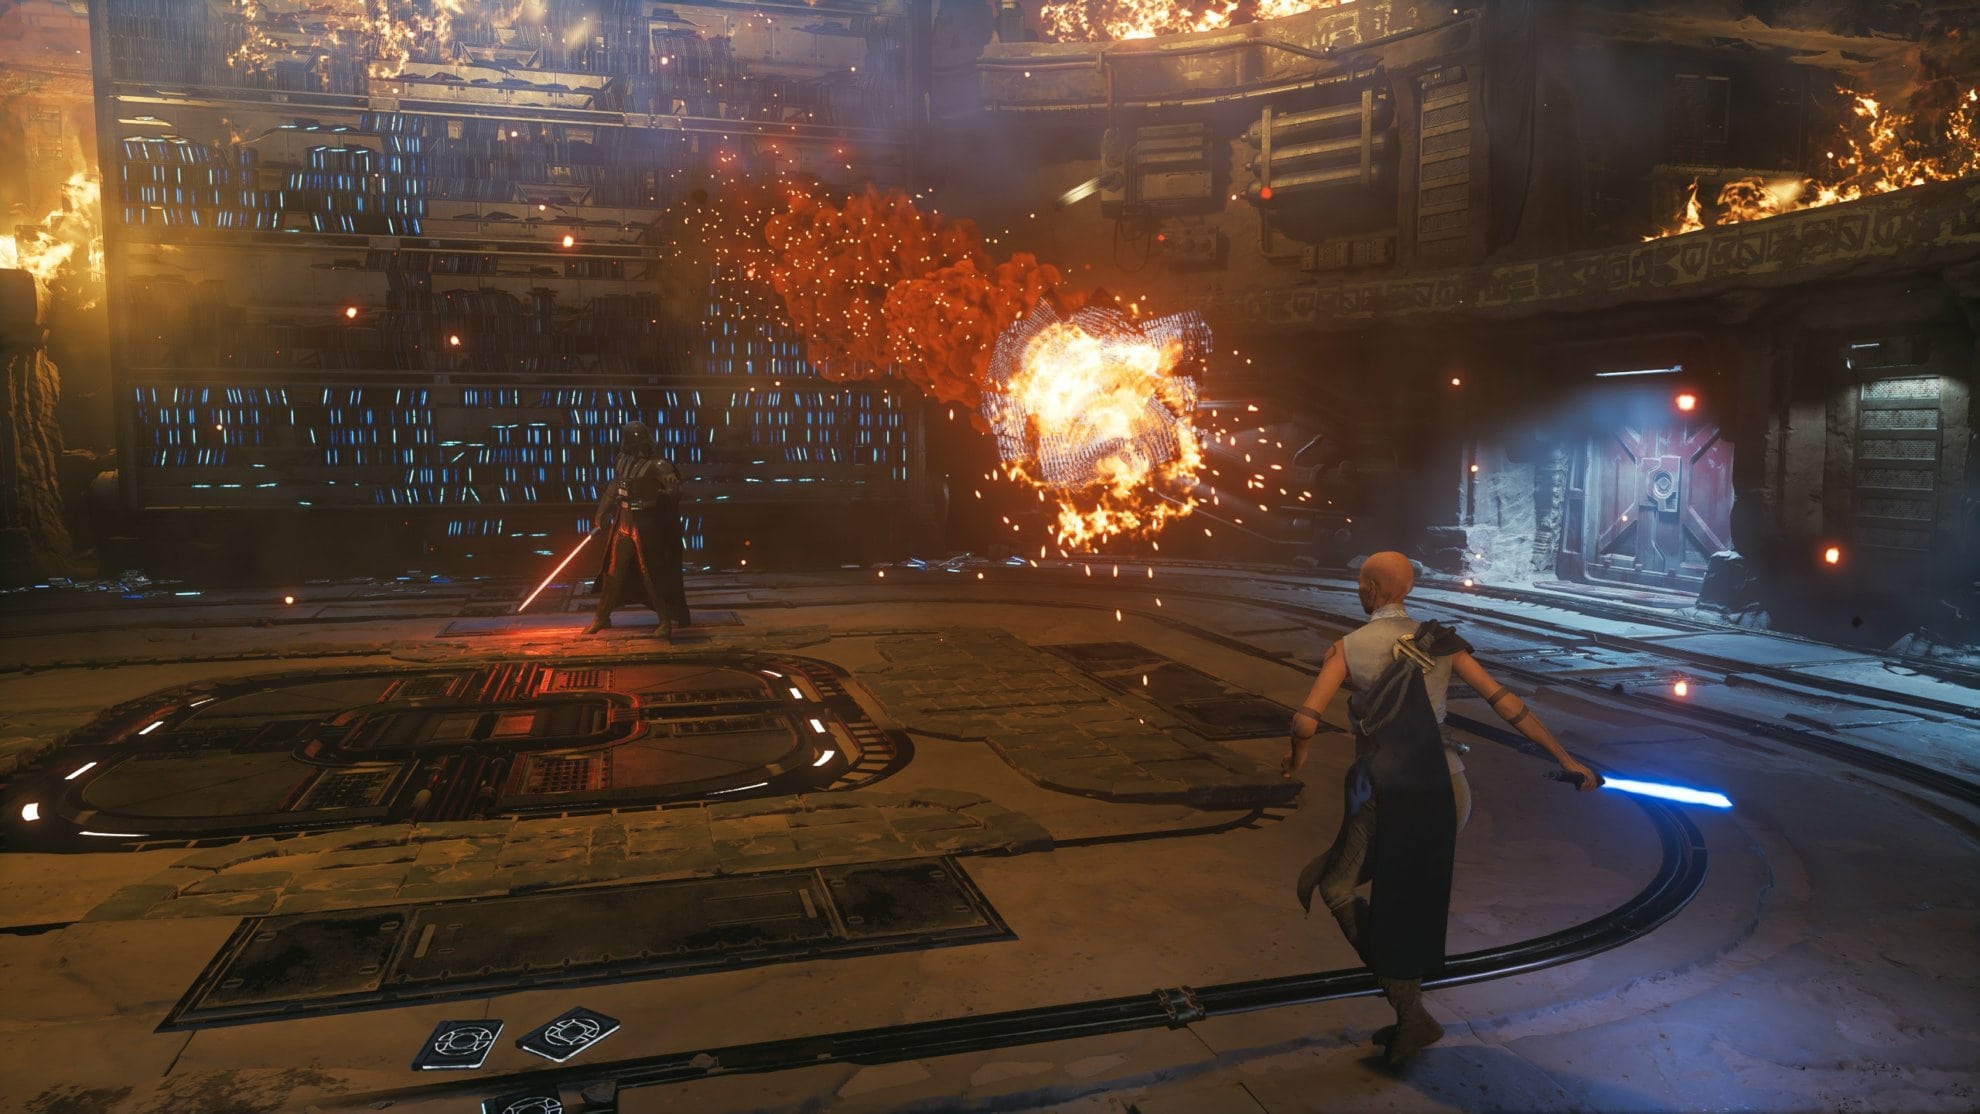
A big thing to watch out for is when he’s throwing debris at you. This can one-shot you on Grandmaster and deal high damage on other difficulties. The easiest thing to do here is to dodge to the side. Alternatively, Force Push the debris back into Vader. I would only recommend doing this if you’re skilled and have quick reflexes.
Vader will also start using his Saber Throw more often. While he will rarely do so in the first phase, second phase onward is when he does this far more often. Do your best to parry this throw to damage Vader’s stamina bar. If it hits you, it’ll also deal damage on the way back in. If it does hit you, dodge to the side to avoid the lightsaber.

Vader will sometimes push you back or worse, pull you to him. Do not fear the pull but embrace it, you have him right where you want him. After pulling you, Vader will attack you allowing you to parry him. If you parry him enough and attack him after his combo, you can easily break his stamina bar and get some free hits on him.

When you damage him enough, you can trigger another button mashing event. Mash that button again to get some easy damage in on Vader.
Darth Vader Fight Phase 3
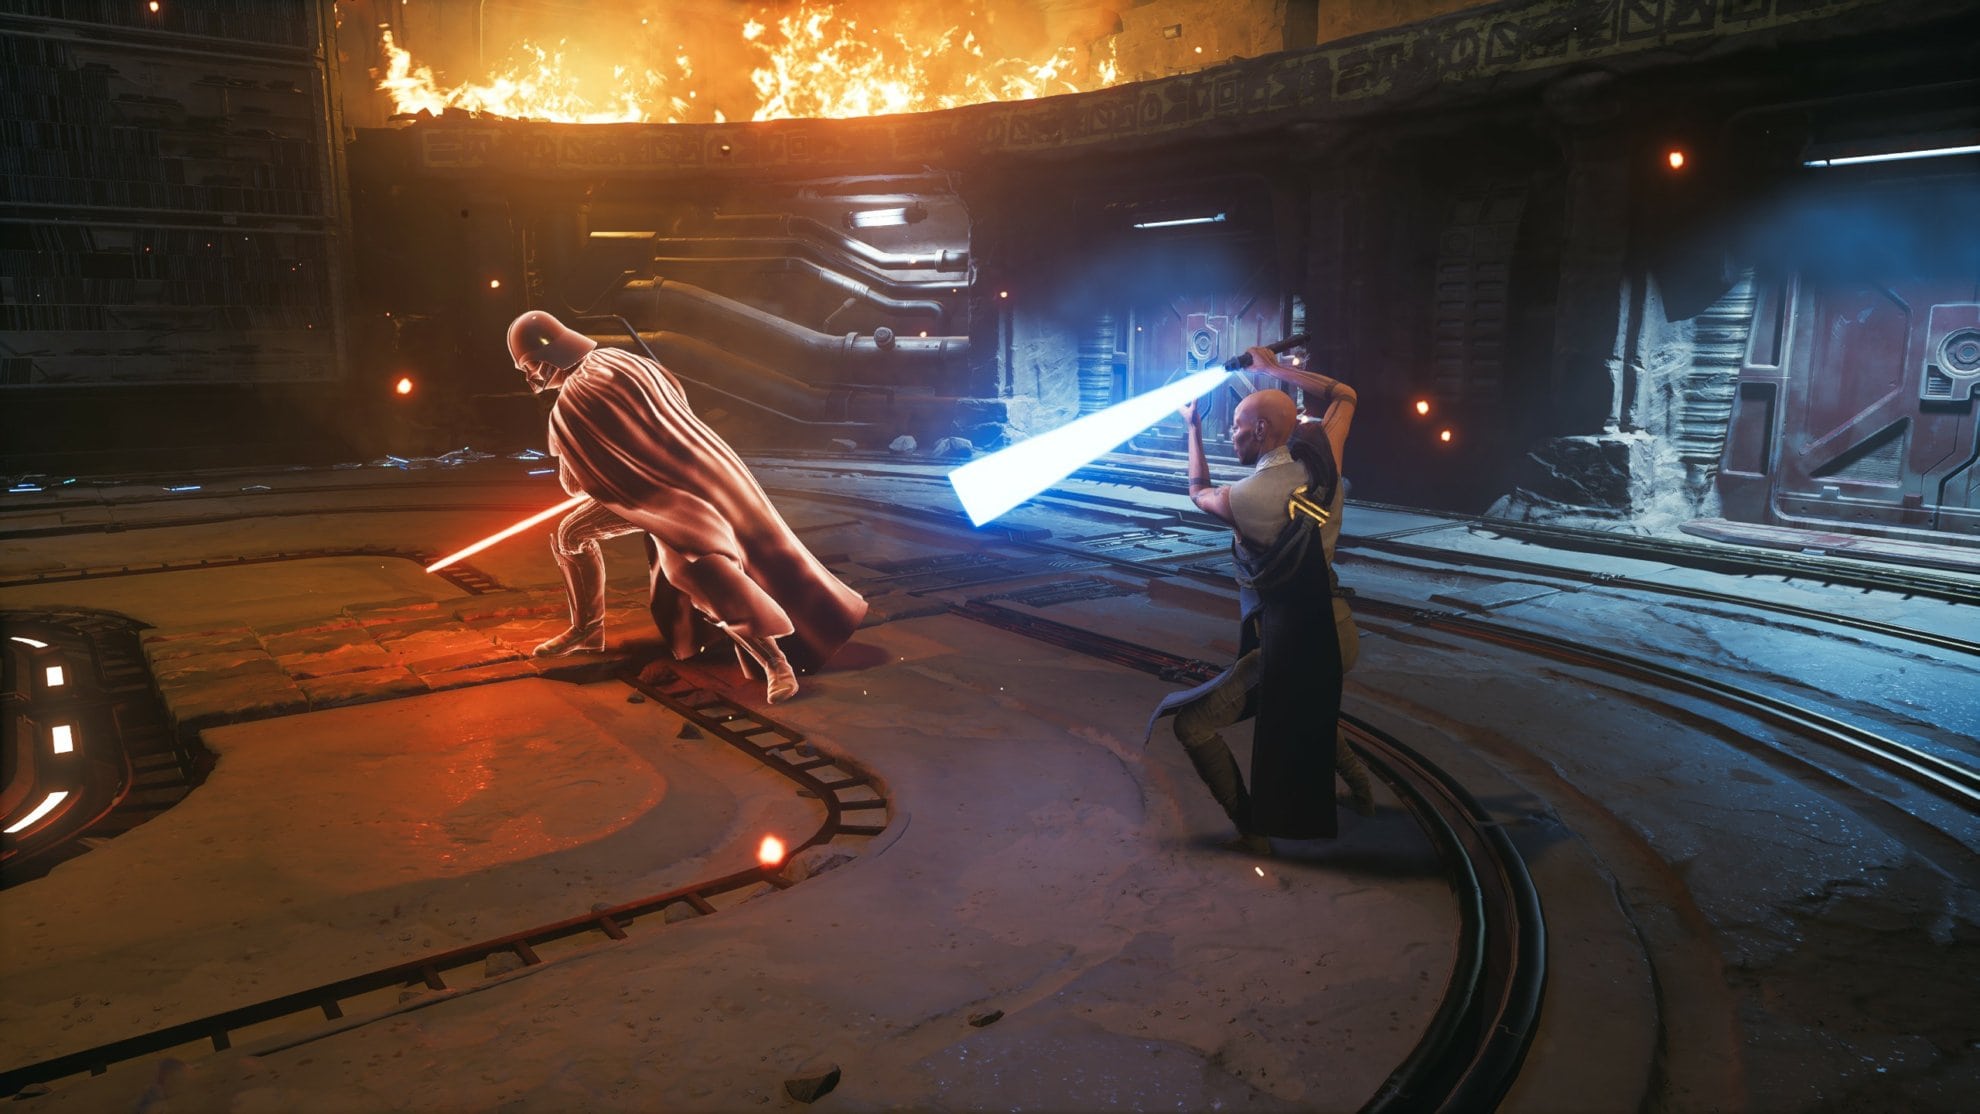
Vader is now angry and taking things seriously, as such his lightsaber attacks will get far more aggressive. There are two combos that you’ll need to be aware of.
The first combo is when Darth Vader attacks four times in a row followed by an unblockable attack. The second combo is when he attacks twice, uses an unblockable attack, then attacks again 4-5 times. Do your best to parry each attack to drain his stamina bar.
Try to work in that last bit of free damage with the button mashing event. You’re almost done with this fight.

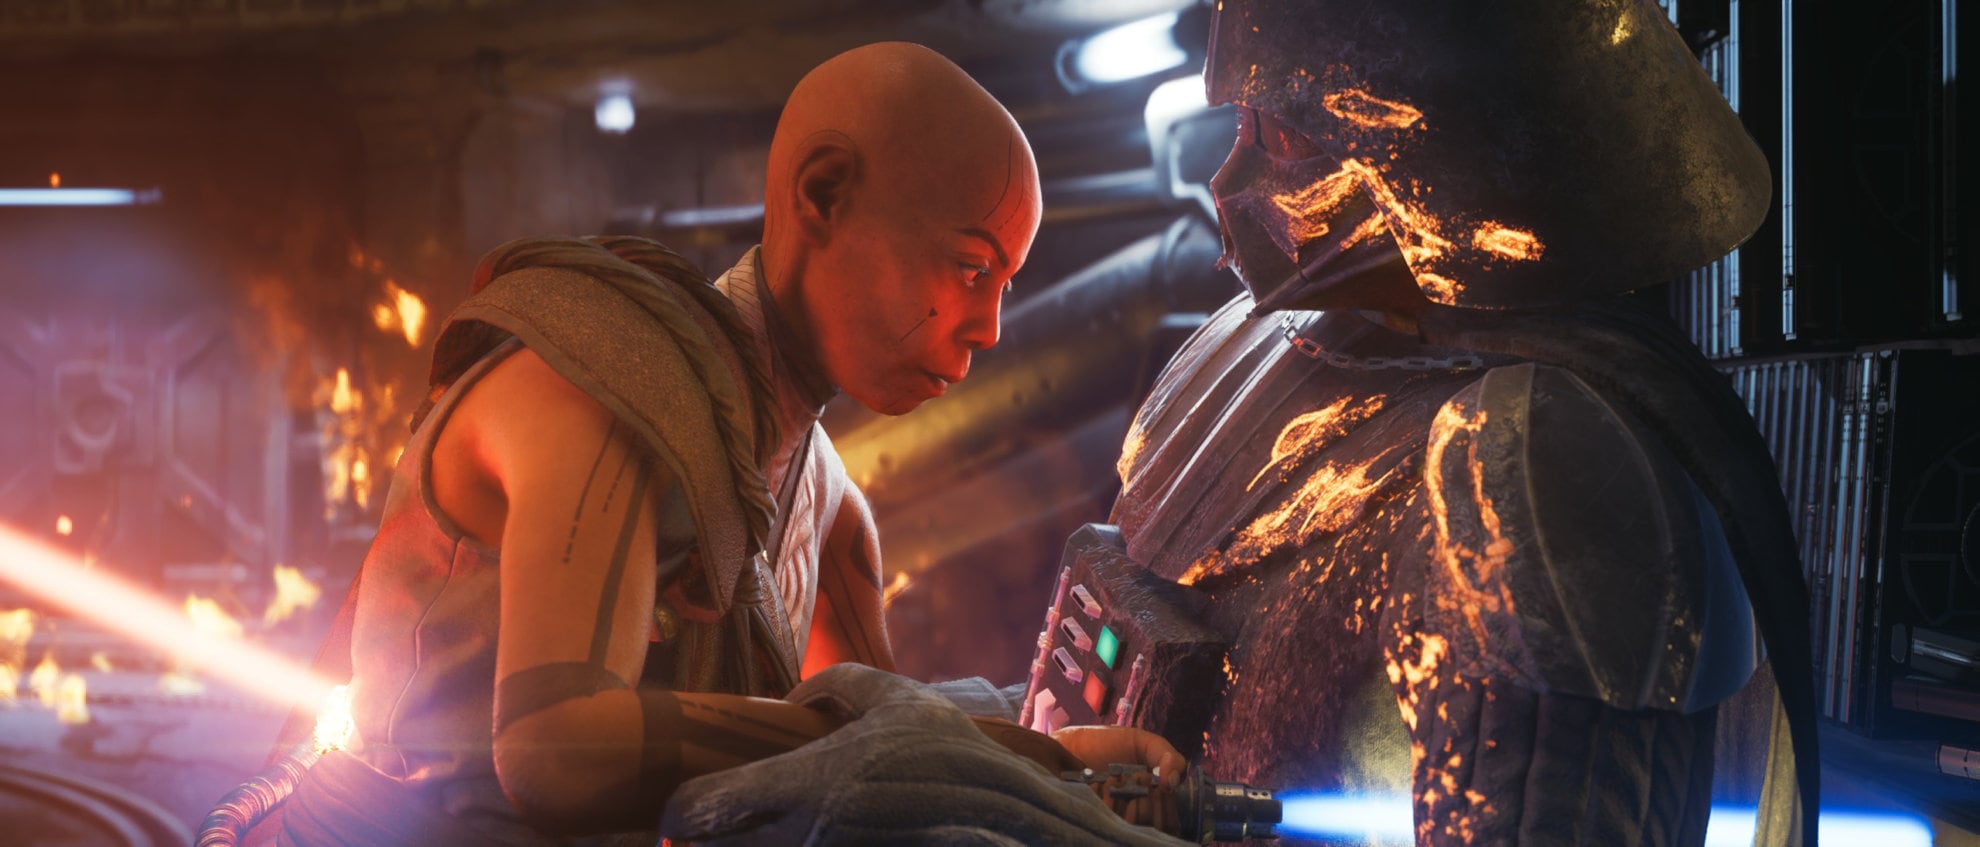
After Vader’s health gets low enough a cutscene will ensue. This may come as a shock but Darth Vader wins because he has something far more powerful than the Force on his side, Plot Armor. Regardless, Cere put up a fantastic fight and gave Vader a run for his money. She has earned by respect and likely yours as well.
This concludes this boss fight guide. Looking for more Jedi Survivor Boss Guides? We’ve got them. Whatever you are looking for, check our Jedi Survivor Guides Master List and you are likely going to find it there.


