
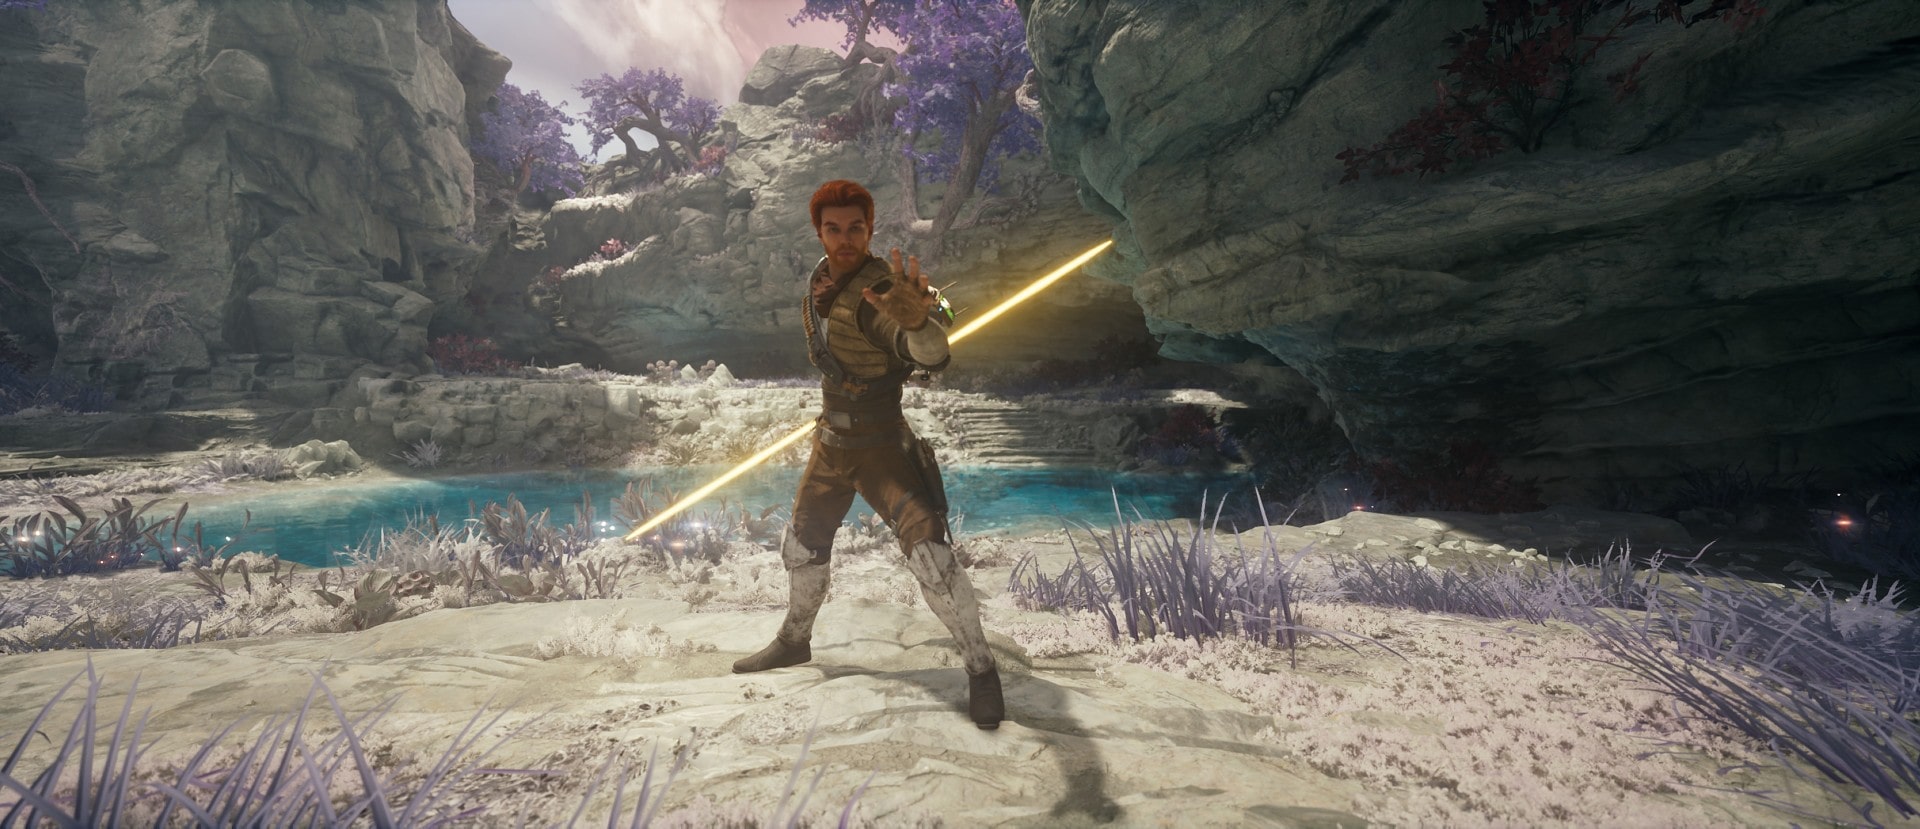
This guide will teach you about the Dual Wield Stance in Star Wars Jedi Survivor. You’ll learn its strengths and weaknesses, the combos it can use, and how to best utilize it.
How to get the Dual Wield Sabers Stance
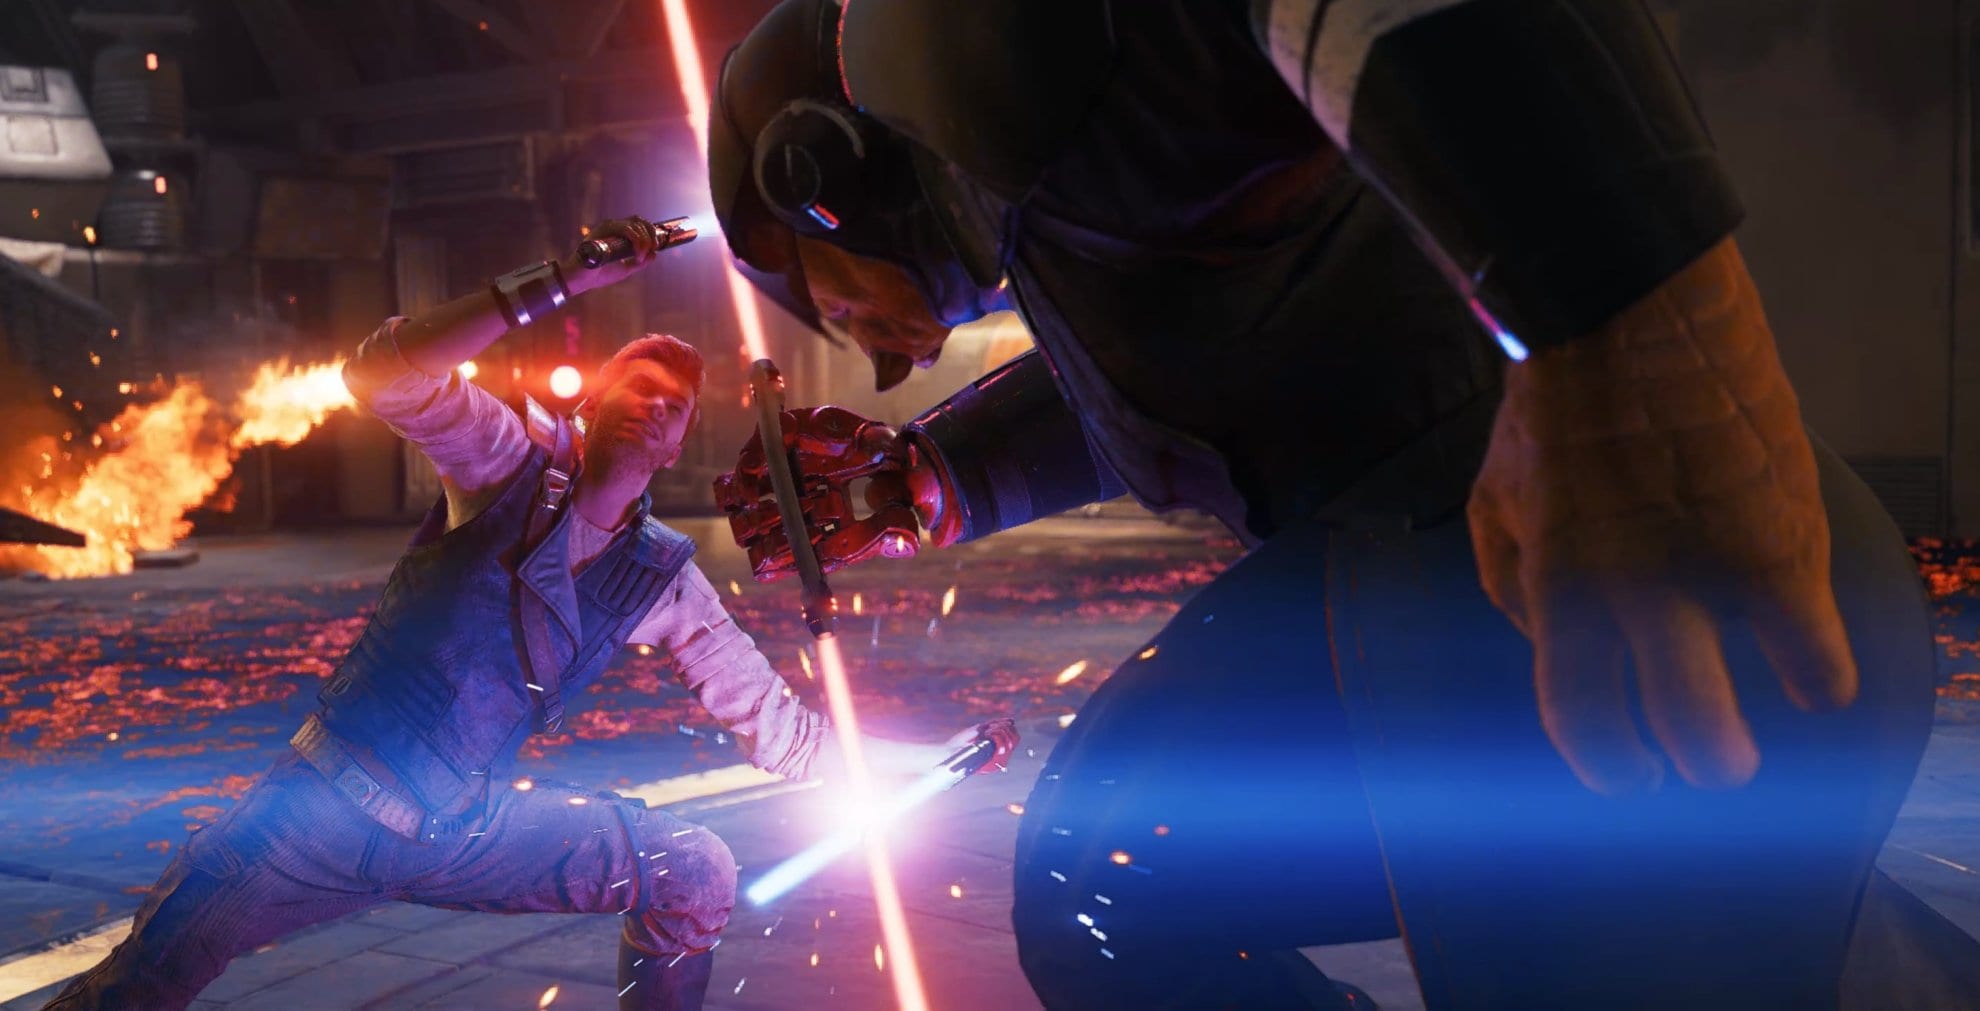
The Dual Wield Saber Stance is unlocked during your fight with The Ninth Sister at the beginning of the game on Coruscant.
Dual Wield Sabers Strengths and Weaknesses
The Dual Wield Stance leans heavily into the advantages and disadvantages provided by having access to two lightsabers at the same time. They can easily be overwhelming for both you and your opponent.
You have a considerable capacity to drain your opponent’s stamina thanks to a seemingly endless barrage of back-to-back swings and you have a second saber you can throw at your opponent.
You also have a much easier time blocking and parrying attacks as your opponent has to make sure their attack gets through two lightsabers instead of just one.
Dual Wielding access to both a Force-consuming auto parry and, more importantly, the capacity to block mid-combo, allowing you to commit fully to offense knowing you can block even if they decide to attack while you’re mid animation.
In other words, you don’t have to worry about leaving yourself open at all like you would with the Crossguard where you would have to give yourself time to wind up the swing, make sure it connects, and also not get hit during the end-lag.
However, you can only use the strength from one arm for each saber, so it is quite taxing if you get put on the defensive. The Dual Wield Stance offers only 3 bars of Block stamina, the least of any of the Stances.
Furthermore, while the Dual Wield stance is exceptional in single-target situations, multi-target performance leaves much to be desired. You can take out multiple enemies with your dual saber throw ability, Dancing Blades, but the attack must be charged and you’re vulnerable while your sabers are out flying around, doing their thing (dismembering your enemies).
At the end of the day, Dual Wielding is one of the best Stances for dueling, but you’ll want to lean on your second stance for larger groups.
Dual Wield Sabers Stance Skill Tree
The Dual Wield Saber Stance has the following upgrade options:

Uncoiled Strikes and Serpent’s Bite
Costs 2 and 1 Skill Points Respectively
After Attacking at least once, delay your next Attack input to perform a flurry of quick, targeted swings. If you hold the Attack button for the duration of Uncoiled Strikes, you’ll end the sequence with an overheat swing called Serpent’s Bite.
The basic attack sequences for the Dual Wield stance work in a pointlessly different way compared to the others. Instead of distinguishing them by pressing vs holding the Attack button, the two sequences are distinguished by whether or not the next input is delayed.
If you delay your Attack input, you end up with Uncoiled Strikes and if you hold the Attack input for the duration of the attack sequence, you’ll end with Serpent’s Bite, which looks really cool, but deals almost no damage.
The fact that it occurs from a delay after attacking means that nothing but the strongest enemies and bosses will survive through the full sequence, and if you don’t delay long enough, you just do a regular attack.
I get the impression that it was a rush to add these Skills at the last minute since they feel unfinished and not useful. You can use Uncoiled Strikes if you want, but you shouldn’t spend a Skill Point on Serpent’s Bite until it gets fixed unless you just want to look cool or have literally nothing else to spend points on. I will update this section of the guide if and when that happens.
The biggest advantage of Uncoiled Strikes is that it acts as a small gap closer as you use the Force to dash forward before striking.
Backstep Slash
Costs 1 Skill Point
Press Attack while Blocking to strike with both sabers while leaping backward, creating distance from the target.
The Backstep Slash is one of your hardest-hitting and fastest individual attacks, which absolutely makes it worth using. However, the distance it creates is too small to be consistently useful.
While the backstep does set you up to do a saber throw as your (melee) opponent then lunges at you, that maneuver costs a lot of Force, more than you will likely have at a given moment. You basically have to pick between this maneuver, using your Special Attack, or other saber throws.
As an aside, I think it would make more sense if Respawn were to make Backstep Slash the defensive inverse to Uncoiled Strikes and Serpent’s Bite where it deals less damage but backs you up further while Uncoiled Strikes and Serpent’s Bite lunge you significantly further forward as a gap closer and follow-up.
You can technically use Backstep Slash and follow it up with Uncoiled Strikes + Serpent’s Bite right now, and this will sidestep the Force issue, but the overall impact is small, so there’s not much value in using the two back-to-back, and you have to wait uncomfortably long between attacks to satisfy the delay requirement
Focused Parry and Precision Release
Costs 1 and 2 Skill Points respectively
Perform a spinning strike when you release Special Attack. If you release right as an enemy attack lands, you’ll hit harder and stagger nearby enemies.
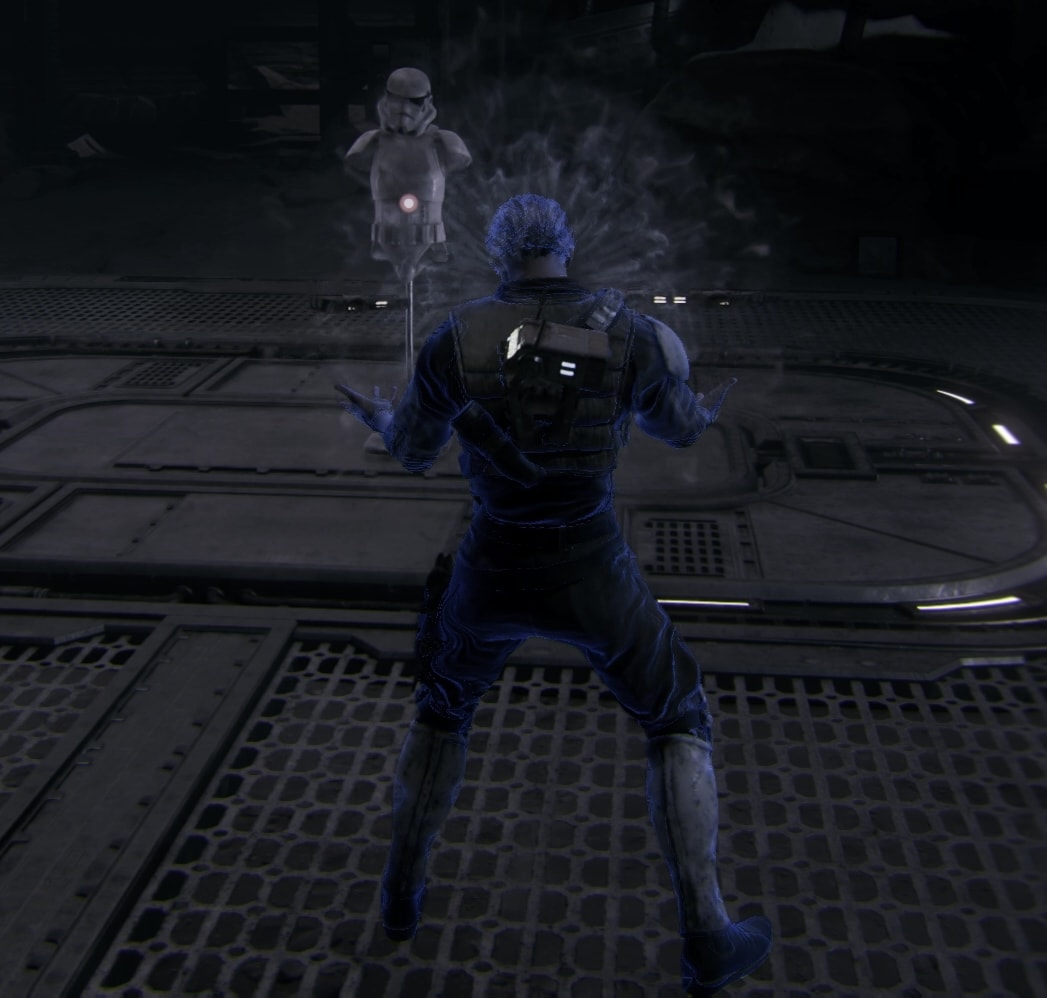
You can hold Special Attack to make you auto-parry (or reflect) the next attack that would otherwise hit you. It’s basically a super block for your opponent’s next attack. Focused Parry and Precision Release expand upon this by making the parry actually deal damage, and the effect is amplified if you end up parrying properly.
Keep in mind that the value of an individual parry is limited, but you can drain through your entire Force reserve if you activate it and your opponent doesn’t end up attacking soon. On the flip side, you can’t activate it too late because the start-up animation that makes you float your sabers takes a moment, so you still have a strong incentive to be strategic about when you activate the ability.
The spinning strike occurs regardless of whether you actually parry anything, so you can absolutely just press the Special Attack button and release immediately if you just want the spinning strike. The spinning strike deals a fair bit of damage, and assuming you can get through the start-up animation, it’s pretty safe because you’ll block as soon as the start-up animation is complete.
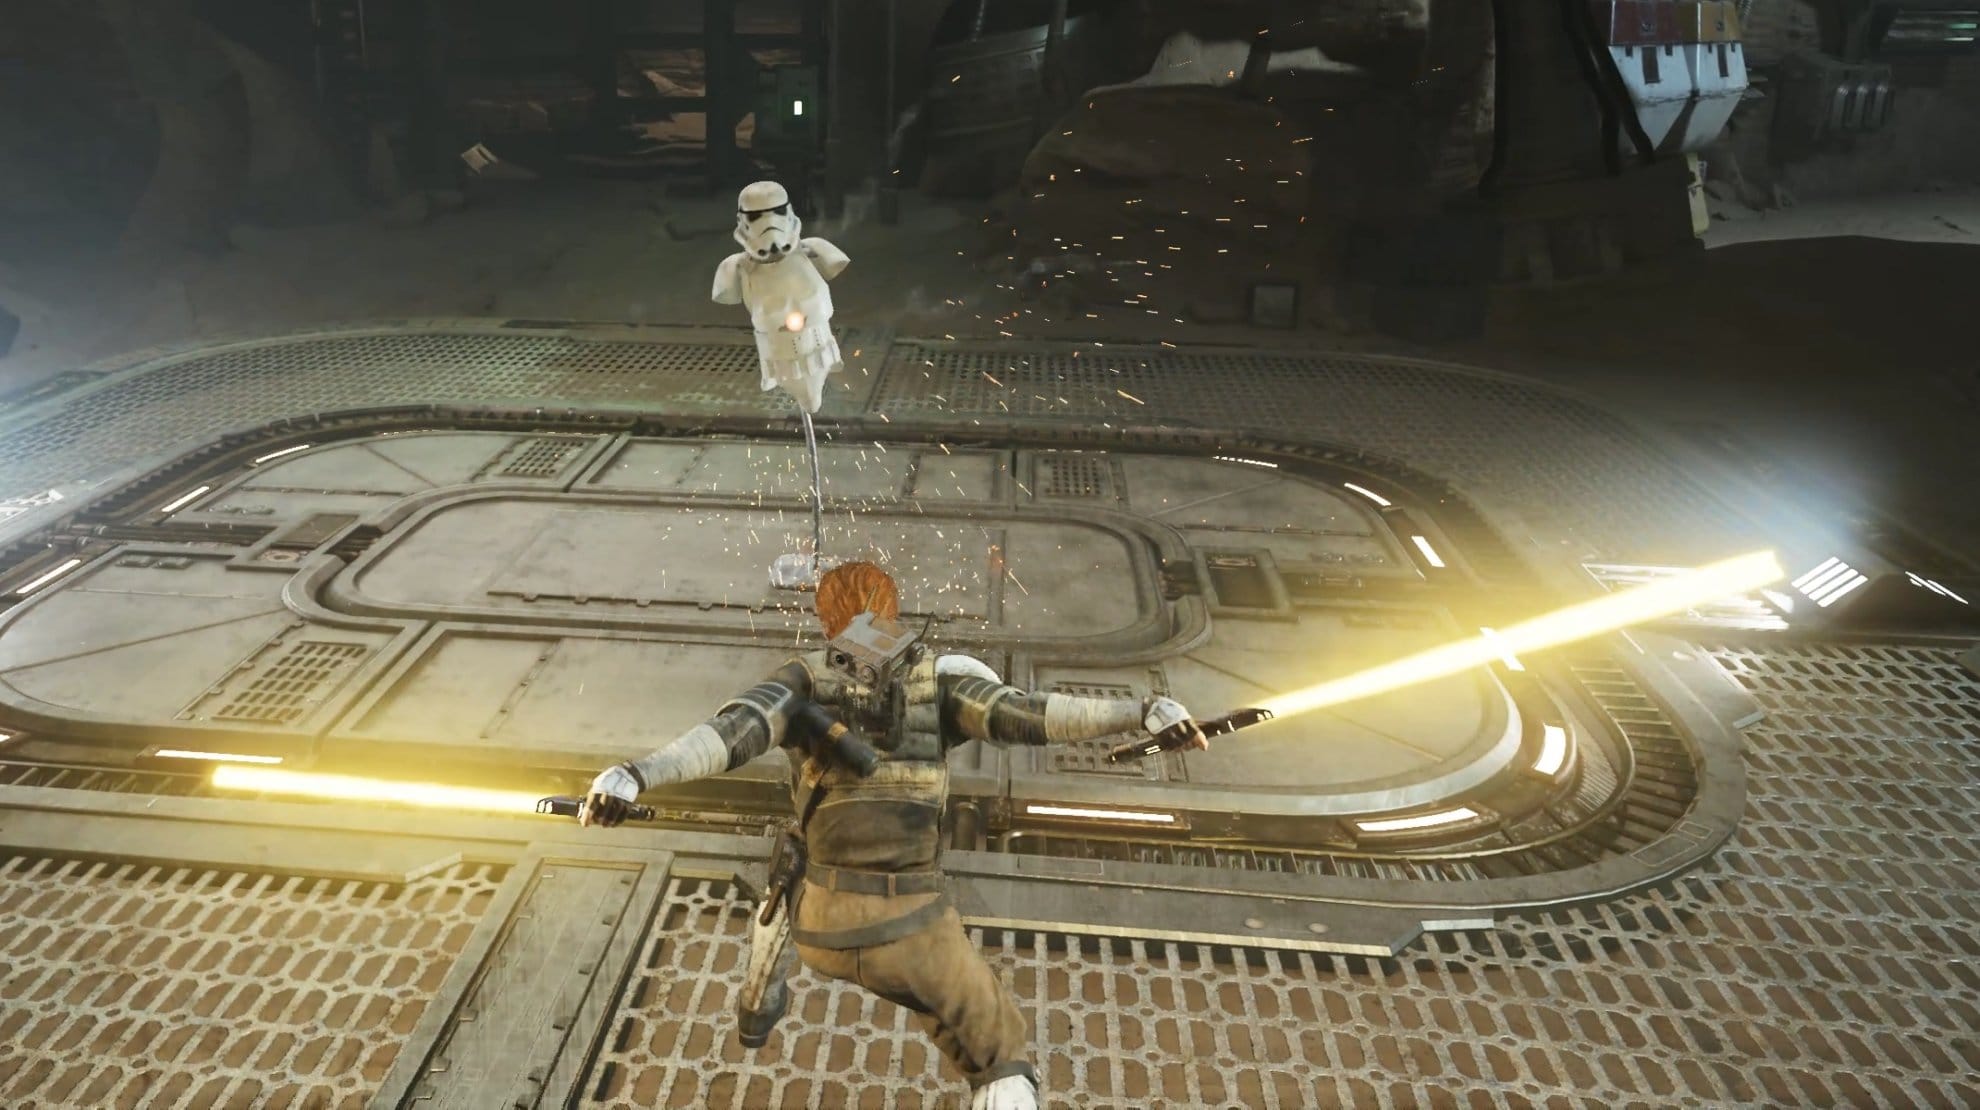
Saber Throw and Twin Vipers
Costs 2 Skill Points
While Blocking, press Special Attack to throw your offhand saber. Press Special Attack again to throw your mainhand saber as well.
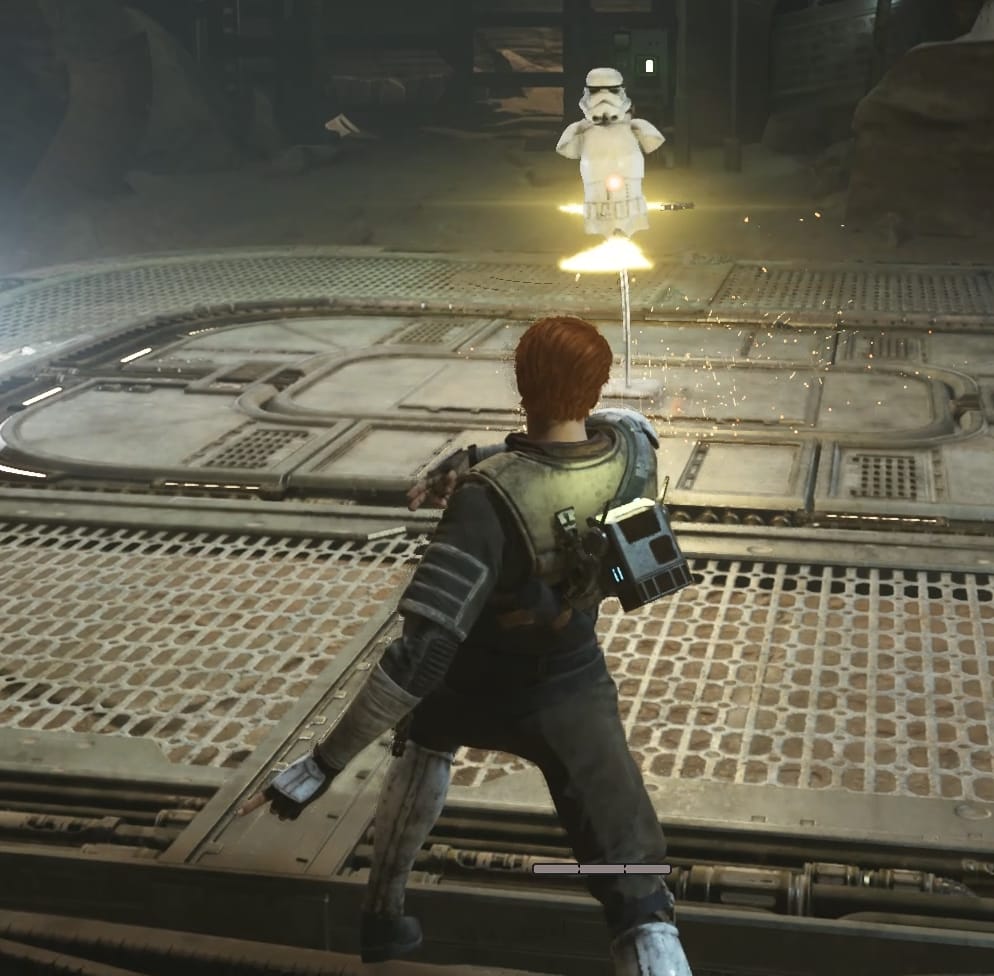
You can throw one of your lightsabers as a baseline ability, just as you can with the other Stances. Twin Vipers allows you to throw both of your sabers at the same time, effectively doubling your ranged damage potential and giving the Dual Wield Stance a leg up in the range department.
Dancing Blades
Costs 3 Skill Points
While Blocking, hold Special Attack to charge the attack and release to throw both sabers that will bounce between multiple targets.
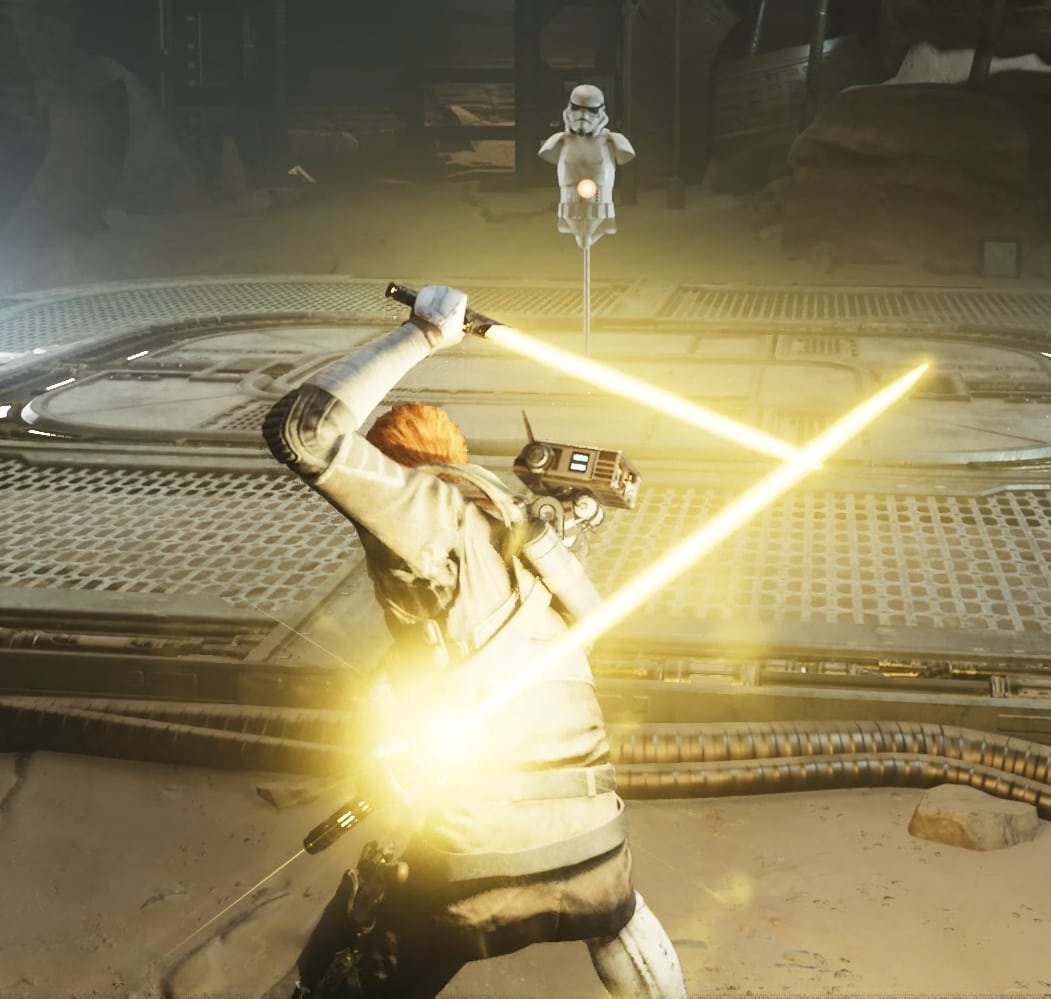
Dancing Blades enables you to throw both blades at the same time and causes them to ricochet off the primary target at a nearby enemy. The ricochet part is what distinguishes Dancing Blades from Twin Vipers as the latter just sends them forward.
Since it is possible to hit multiple targets with Twin Vipers and hit the primary target twice as the saber comes back to you and there’s no charging time, it’s not always worth using Dancing Blades for multi-target damage.
The range is weird, sometimes it will hit enemies super far away, but sometimes it won’t. Still, the Dancing Blades will always travel further in between targets than Twin Vipers, so use Dancing Blades if the enemies are spread out.
Keep in mind that if you take damage at any point during the animation, the attack will end as the sabers will be recalled to you immediately, so it’s best to use Dancing Blades from range when you don’t have to worry about ranged attackers. Consider using it before entering combat (as your opener) if possible or when all the ranged are incapacitated or defeated.
Split Reflection
Costs 2 Skill Points
Press Block right before a blaster bolt hits to split the incoming bolt and reflect it at an additional target.
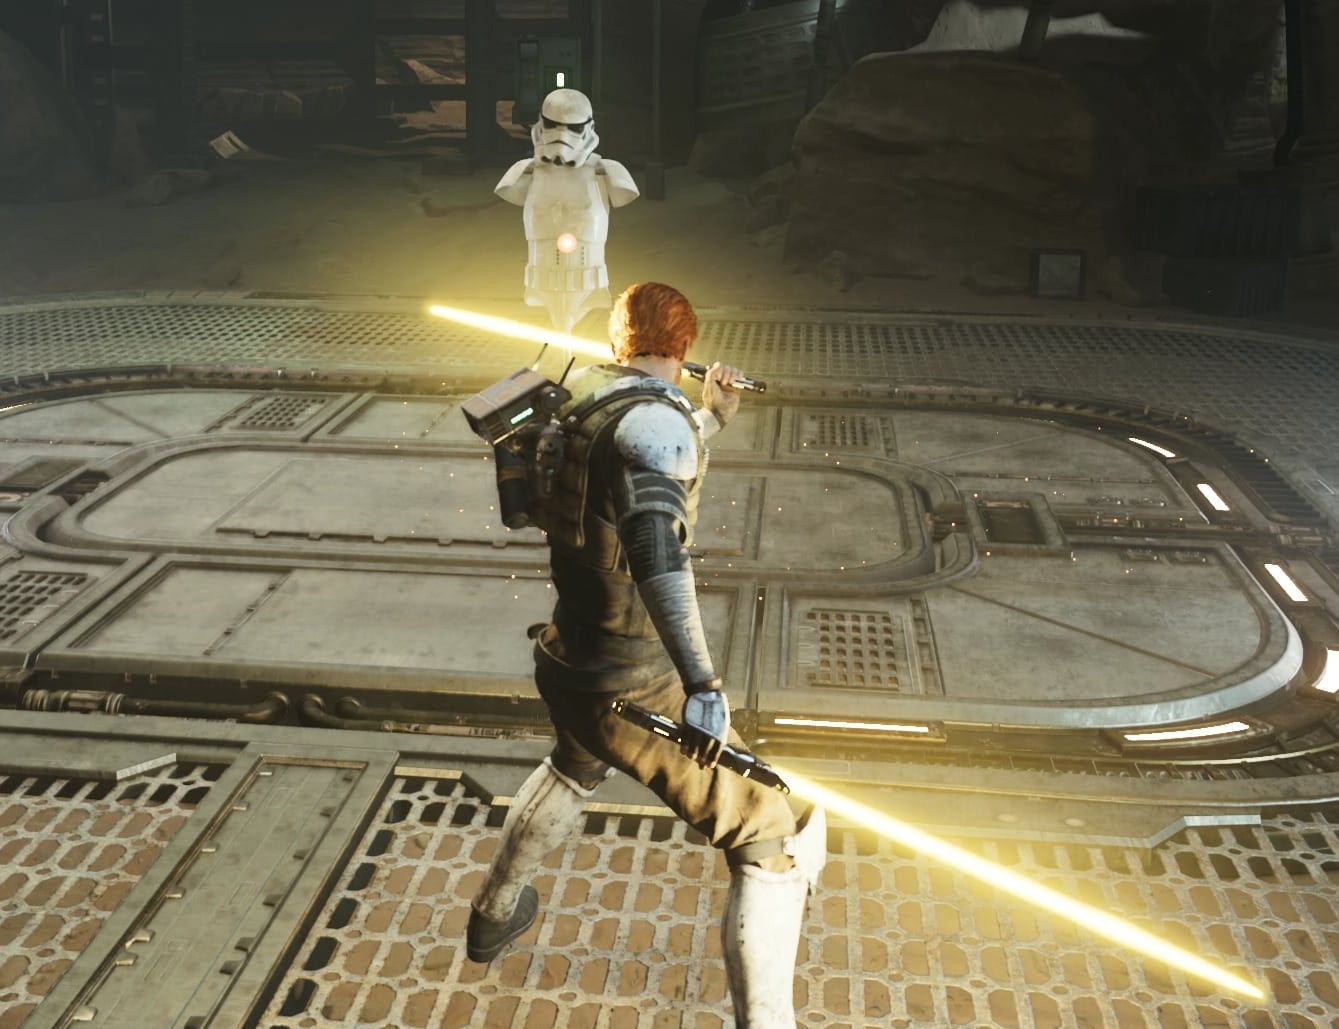
Each Stance gets a unique buff to their deflections in the Skill Tree. Split Reflection is the buff for the Dual Wield Stance and it allows you to turn a single blaster shot into 2.
This is a pretty sizable boost to the overall damage output of reflections as it enables you to suddenly take out a second target or at least prevent them from attacking because you staggered them or forced them to dodge.
Unfortunately, you cannot (reliably) deflect both bolts back to the same attacker, so it’s only a damage increase in multi-target situations.
Complimentary Stances
These lightsaber Stances pair well with the Dual Wield Stance as your alternative for multi-target situations:
Double-Bladed
Use Dual Wield for 1v1s and smaller groups and the Double-Bladed Stance for larger groups. The Double-Bladed Stance offers a more consistent single-target and multi-target experience.
The Double-Bladed Stance offers the same pacing as the Dual Wield Stance, but with all of the single-target potential getting transferred into multi-target. In my opinion, this is the most natural transition between a pair of stances, though it can result in your combat experience feeling a bit samey.
Check out my guide on the Double-Bladed Stance for more in-depth information.
And once you are done with the beginner’s guides to Stances, check out our Build Guide for pairing the Dual Wield with the Double-Bladed Stance. The guide will show you which skills to pick early and why, what perks synergize with the stances combo and tips on how to make the best out of this pairing.
Blaster
Use the Blaster when you’re further away or to pick off the ranged enemies, then swap out your blaster for a second saber (switch to the Dual Wield Stance) when you get into the thick of it. The Blaster Stance offers stronger performance at range compared to the Double-Bladed Stance.
The idea is that the Blaster improves your performance in a different dimension of combat compared to the Double-Bladed Stance. You end up performing better at range before you get up close compared to just mowing everything down with the saberstaff.
Learn everything about the Blaster Stance from my detailed guide.
Complimentary Perks
These are the Perks I recommend using with Dual Wield Sabers as your primary Stance:
Fortitude
Costs 4 Perk Points
With Fortitude you deal additional damage with your lightsabers, but also take increased damage. The increase to damage taken feels small, but the damage output increase is pretty noticeable, especially against stronger enemies. Given that you’ll almost always have stims to spare, especially if you collect them all, this is a no-brainer since all of the damage you’ll be dealing comes from your lightsaber.
Dexterity
Costs 2 Perk Points
Dexterity makes your lightsaber throws deal more damage. This is more valuable if you’re using the Double-Bladed Stance as your secondary since both Stances feature lightsaber throws prominently, but you’ll get a lot of mileage out of this Perk, even if you’re using Blaster as your secondary.
Shatter
Costs 2 Perk Points
Shatter makes your attacks drain more of the block meter (white bar). Since you’re hitting a lot and each individual attack doesn’t drain that much, Shatter is invaluable.
Precision
Costs 2 Perk Points
Like Shatter, Precision makes your attacks drain even more of the block meter. Since not all enemies have block meters, Precision is situational but quite strong against bosses and beefy enemies. It does come with the drawback of slightly reducing your parry timing window, but I didn’t notice the difference.
Tips for the Dual Wield Stance
The Dual Wield Stance is strongest in (mostly) single-target situations but struggles when there are a lot of enemies as you’ll get interrupted frequently without being able to afford to block for very long, so consider using something else until you take out most of the weaklings in a group.
This Stance should be your go-to against stronger enemies and bosses. Try to be as aggressive as you can with swings, only stopping briefly mid-combo to parry or dodge an unblockable.
If you haven’t gotten into range where you can start battering your opponent, throw your Saber or use your Special Attack if you anticipate your opponent attacking you shortly. From there, you should start beating them down with flurries from your sabers.
This concludes the Double-Bladed Saber Stance guide. To personalize your experience with the game, check out our Guide to Controls and Keybinds for Jedi Survivor. Setting up your custom keybinds will allow you to play your favorite Stance with the highest efficiency. For anything else, check our Star Wars Jedi Survivor Guides Master List.


