This guide will help you navigate and pass through the Phon’Qi Caverns safe and sound. This set of caverns are particularly dangerous and smelly, so prepare yourself to get funky in the Phon’Qi Caverns! This walkthrough will also show you where and how to get all 30 Collectible items!
Table of contents
How to pick up the Rumor
Like most secret and unique areas in Star Wars Jedi Survivor, the Phon’Qi Caverns also come with a rumor attached to them.
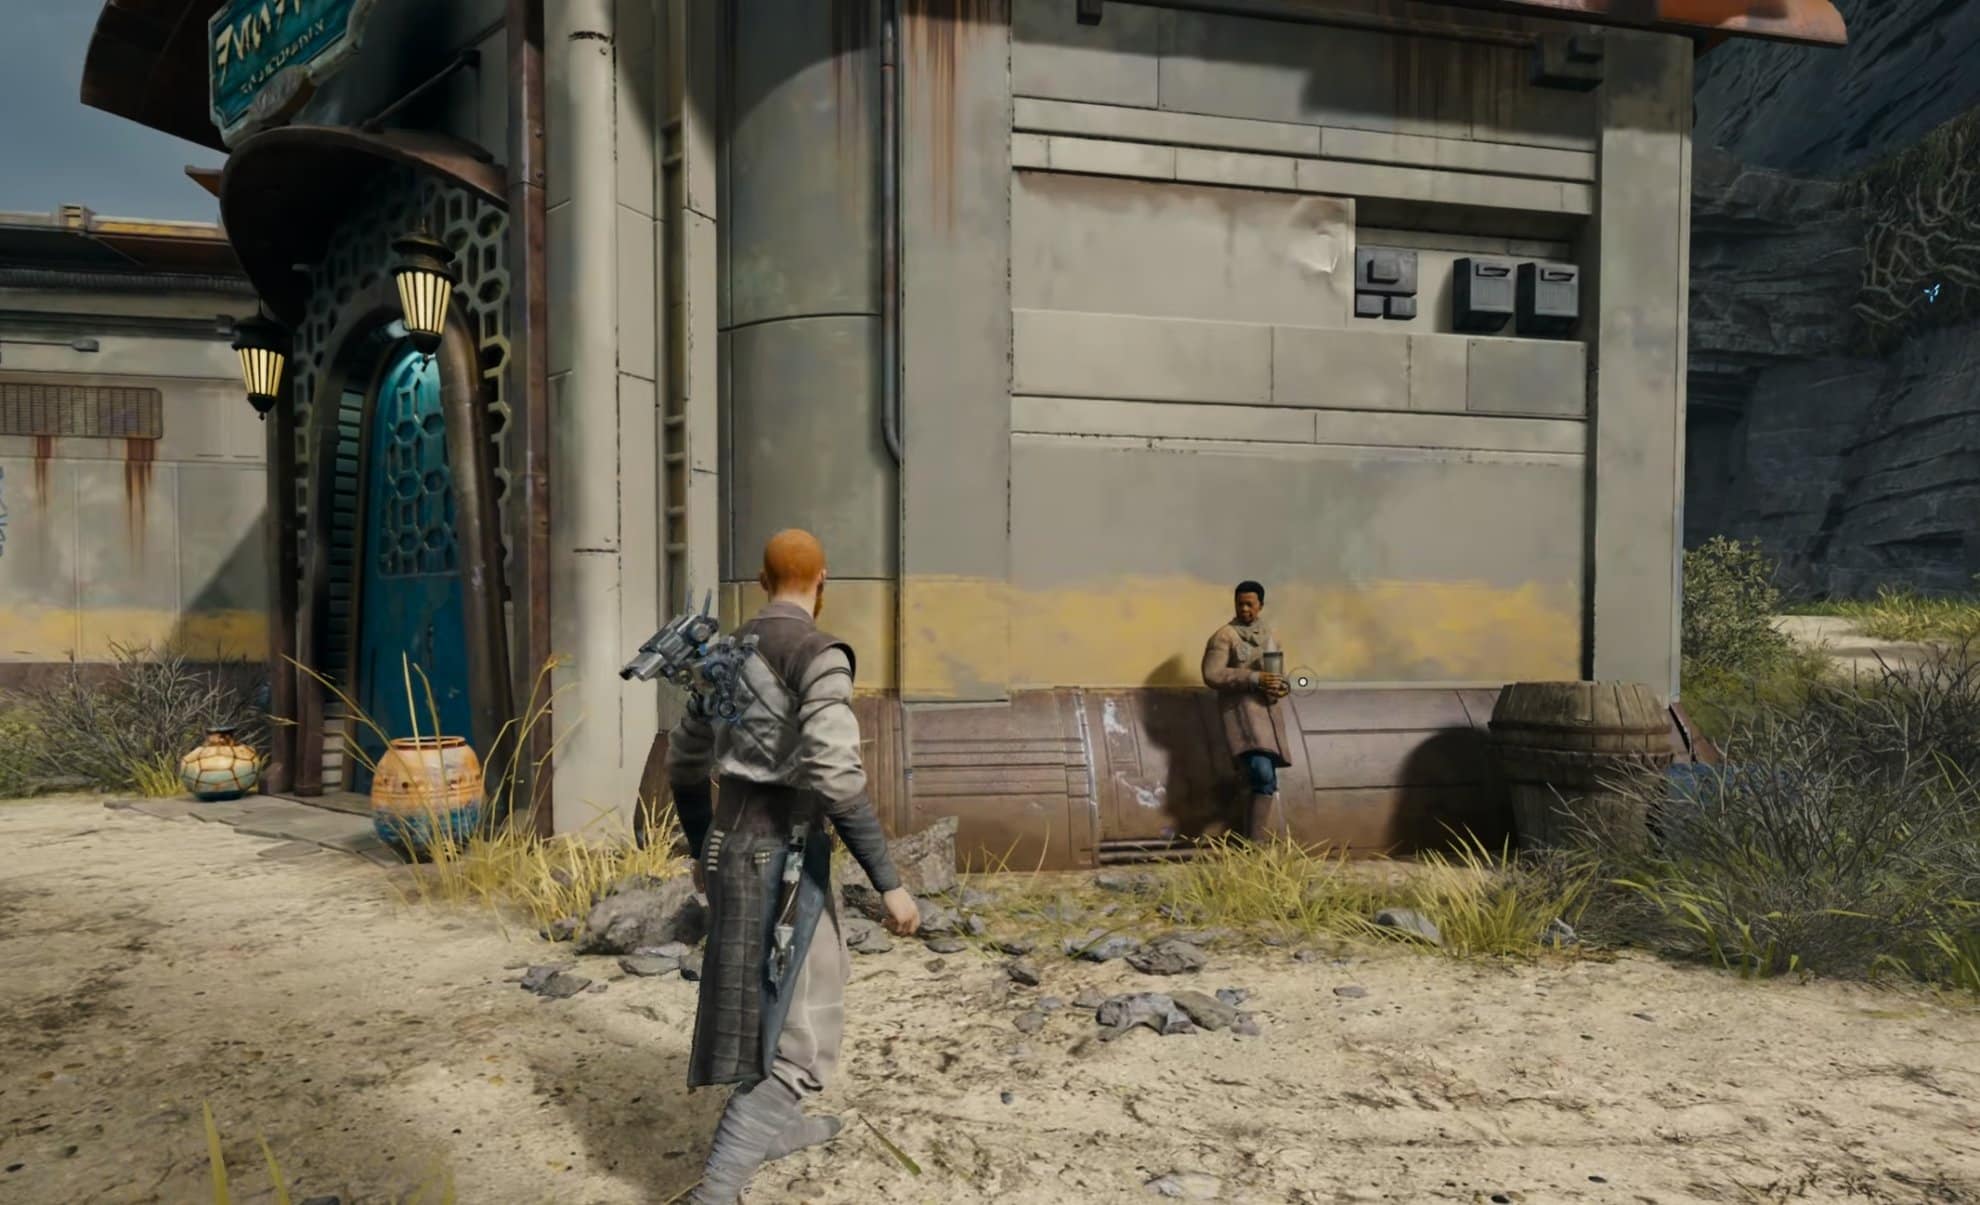
Talk to a woman leaning against the wall of Doma’s Shop in Rambler’s Reach Outpost to discover the rumor “Explore the Phon’Qi Caverns”.
How to access the Phon’Qi Caverns
To fully explore the Phon’Qi Caverns, you’ll need to be able to pass through green barriers. This is an ability you acquire during your mission to save Zee from the Lucrehulk on Koboh.
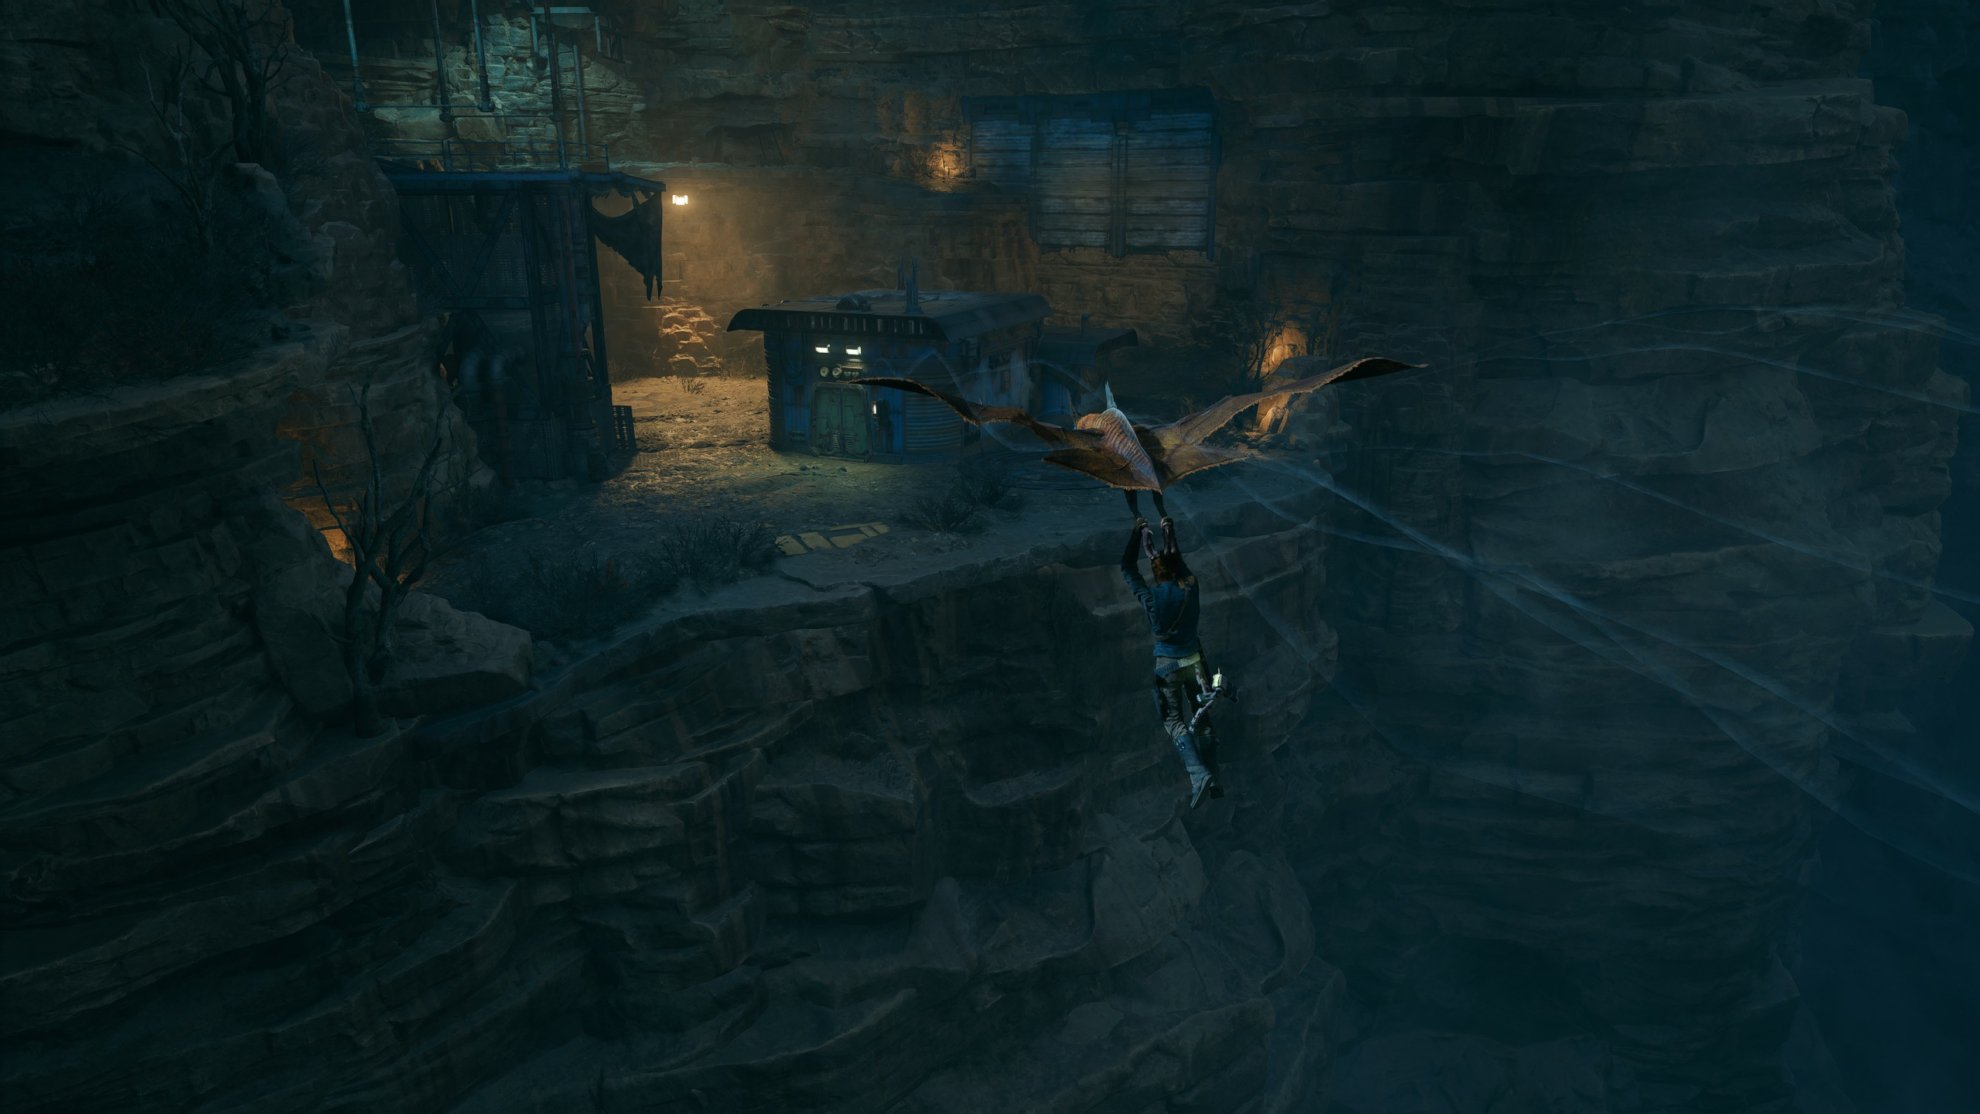
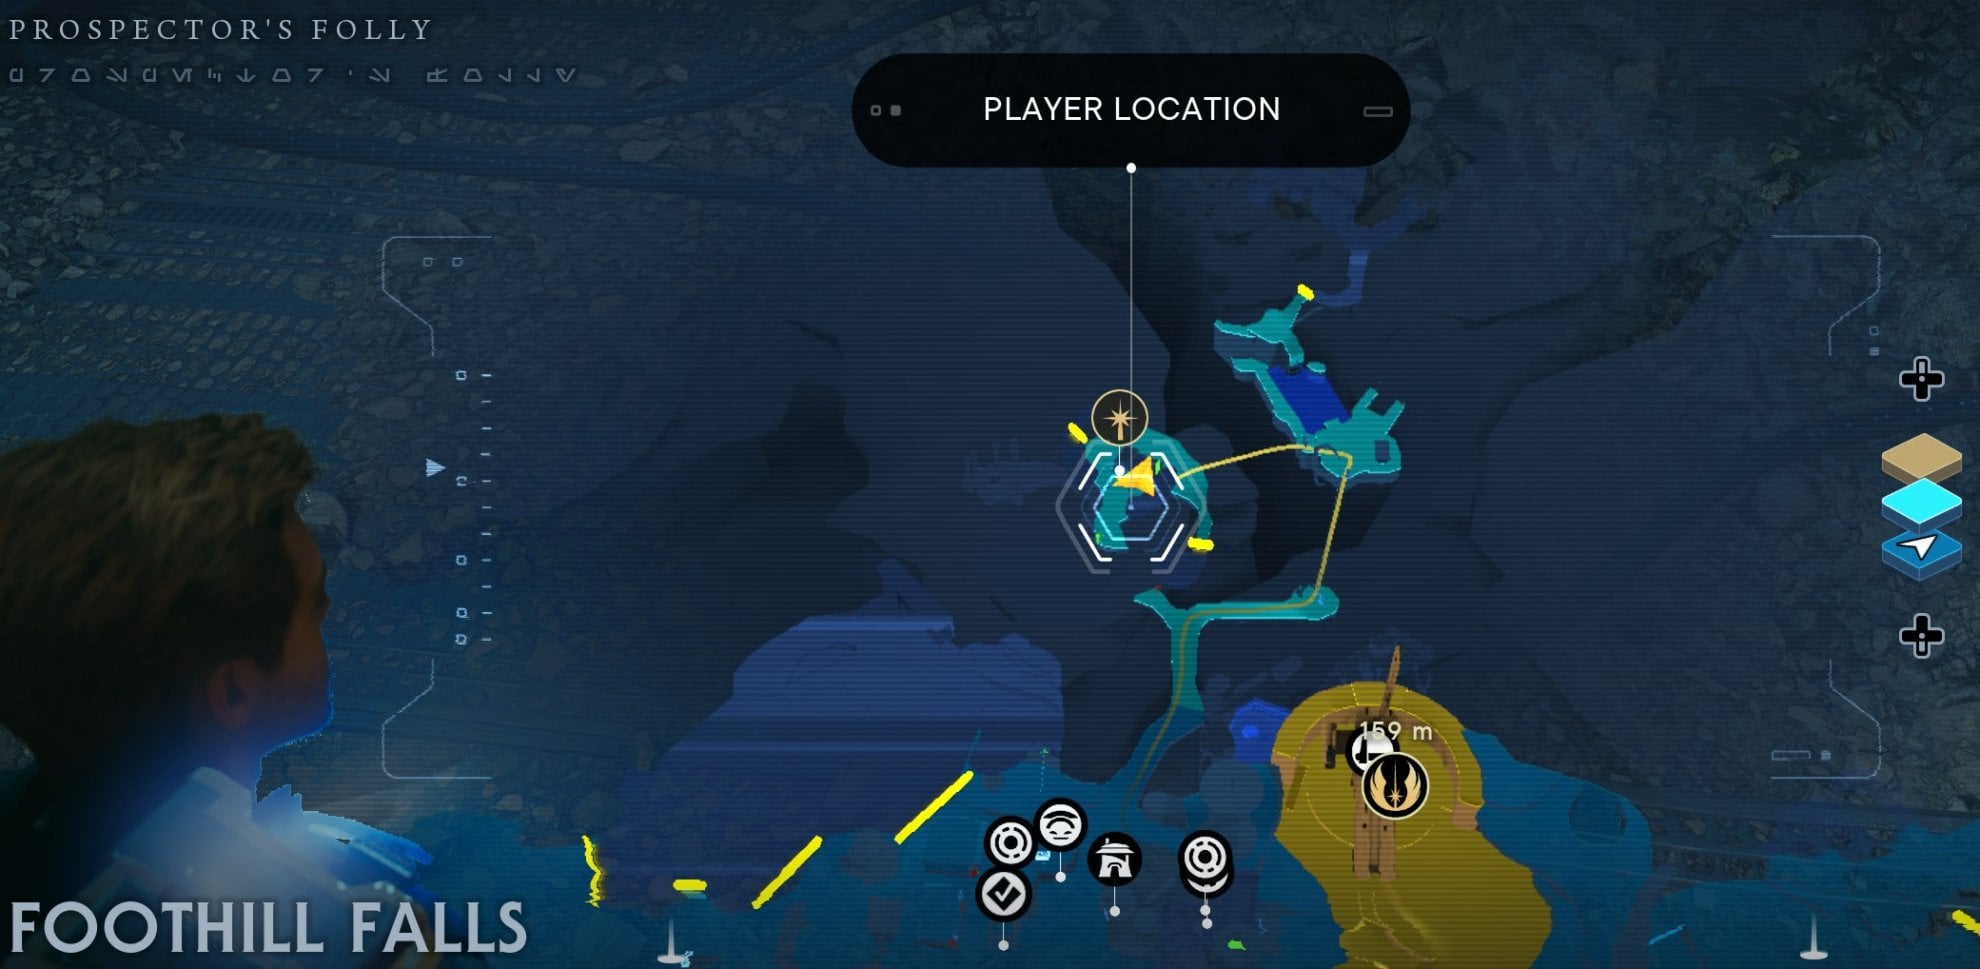
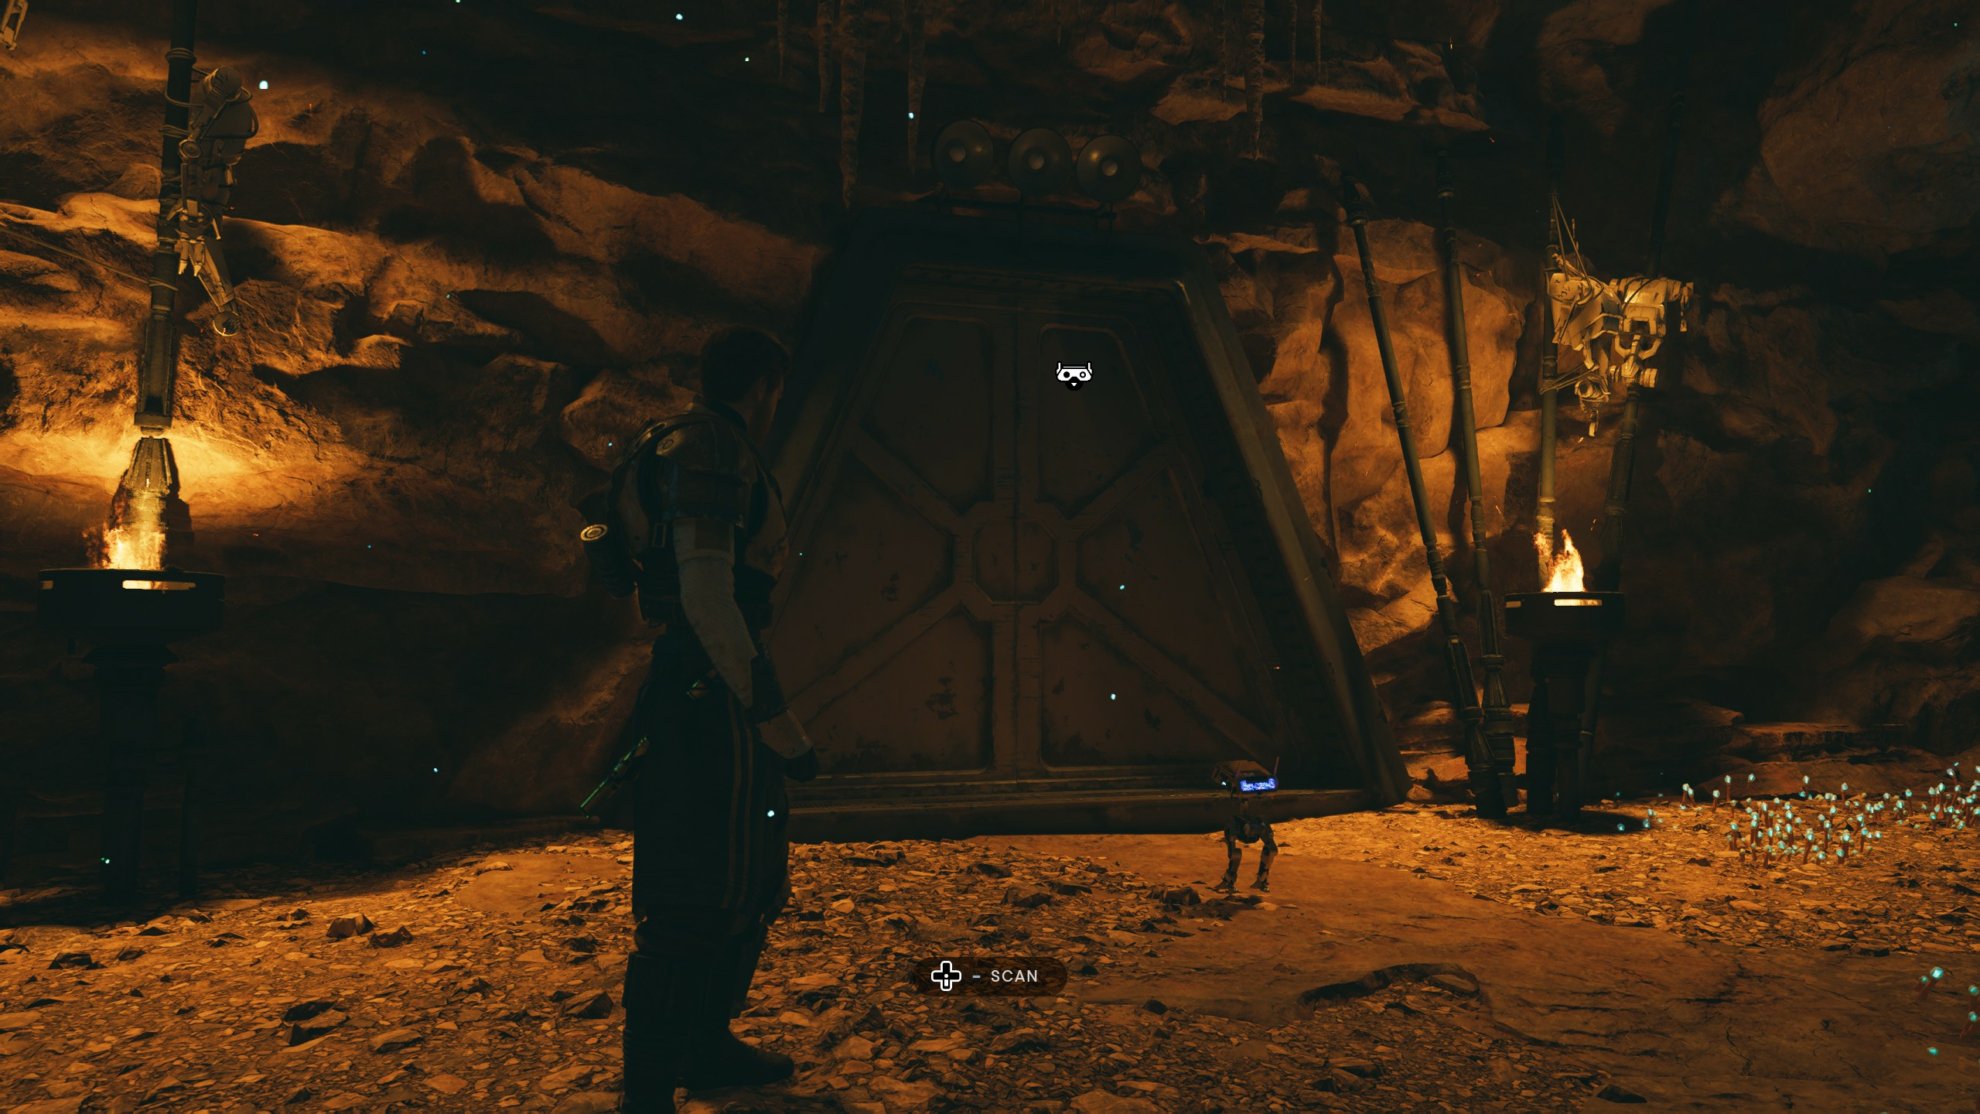
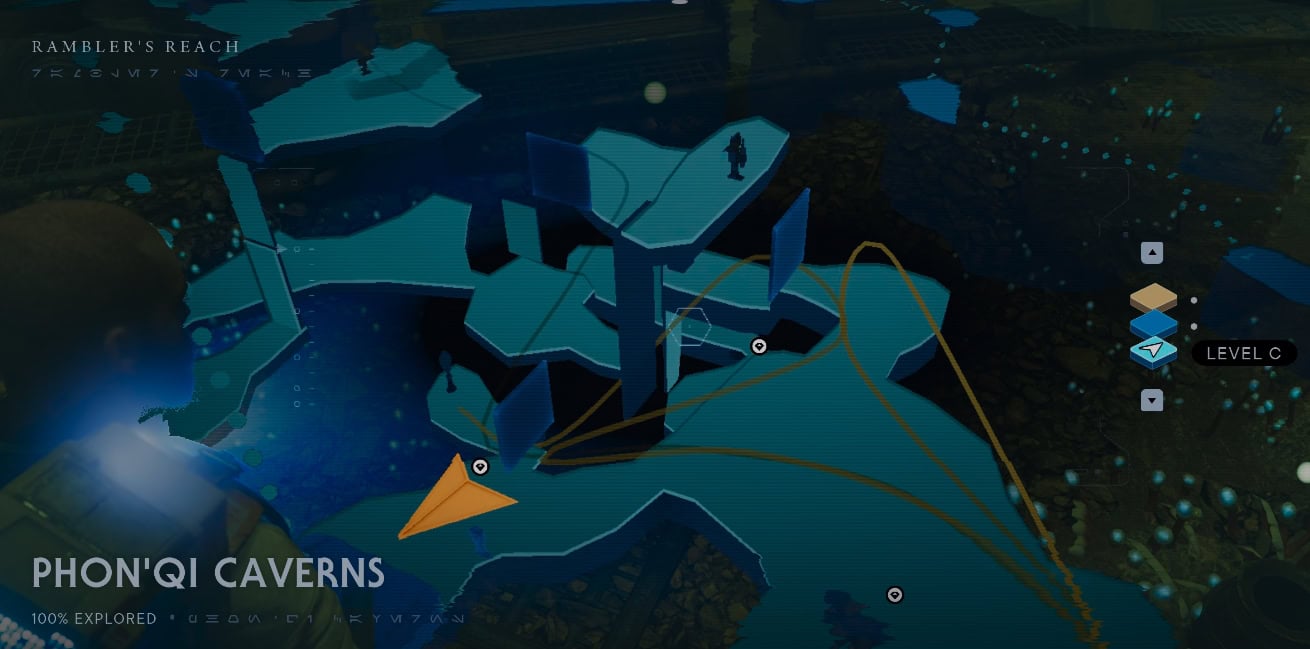
The entrance to the Phon’Qi Caverns is under the Abandoned Shack in the Foothill Falls. This is also the place where you find and recruit Skoova. It’s an optional area on Koboh and the main objectives will not lead you to hear. You can explore on your own. It’s worth it!
This is a long and challenging area with a few tough fights. Picking up a few extra upgrades like Skill Point Essences, Stim Canisters and Health Essences, will help you down there.
Video Walkthrough
Phon’Qi Caverns Walkthrough
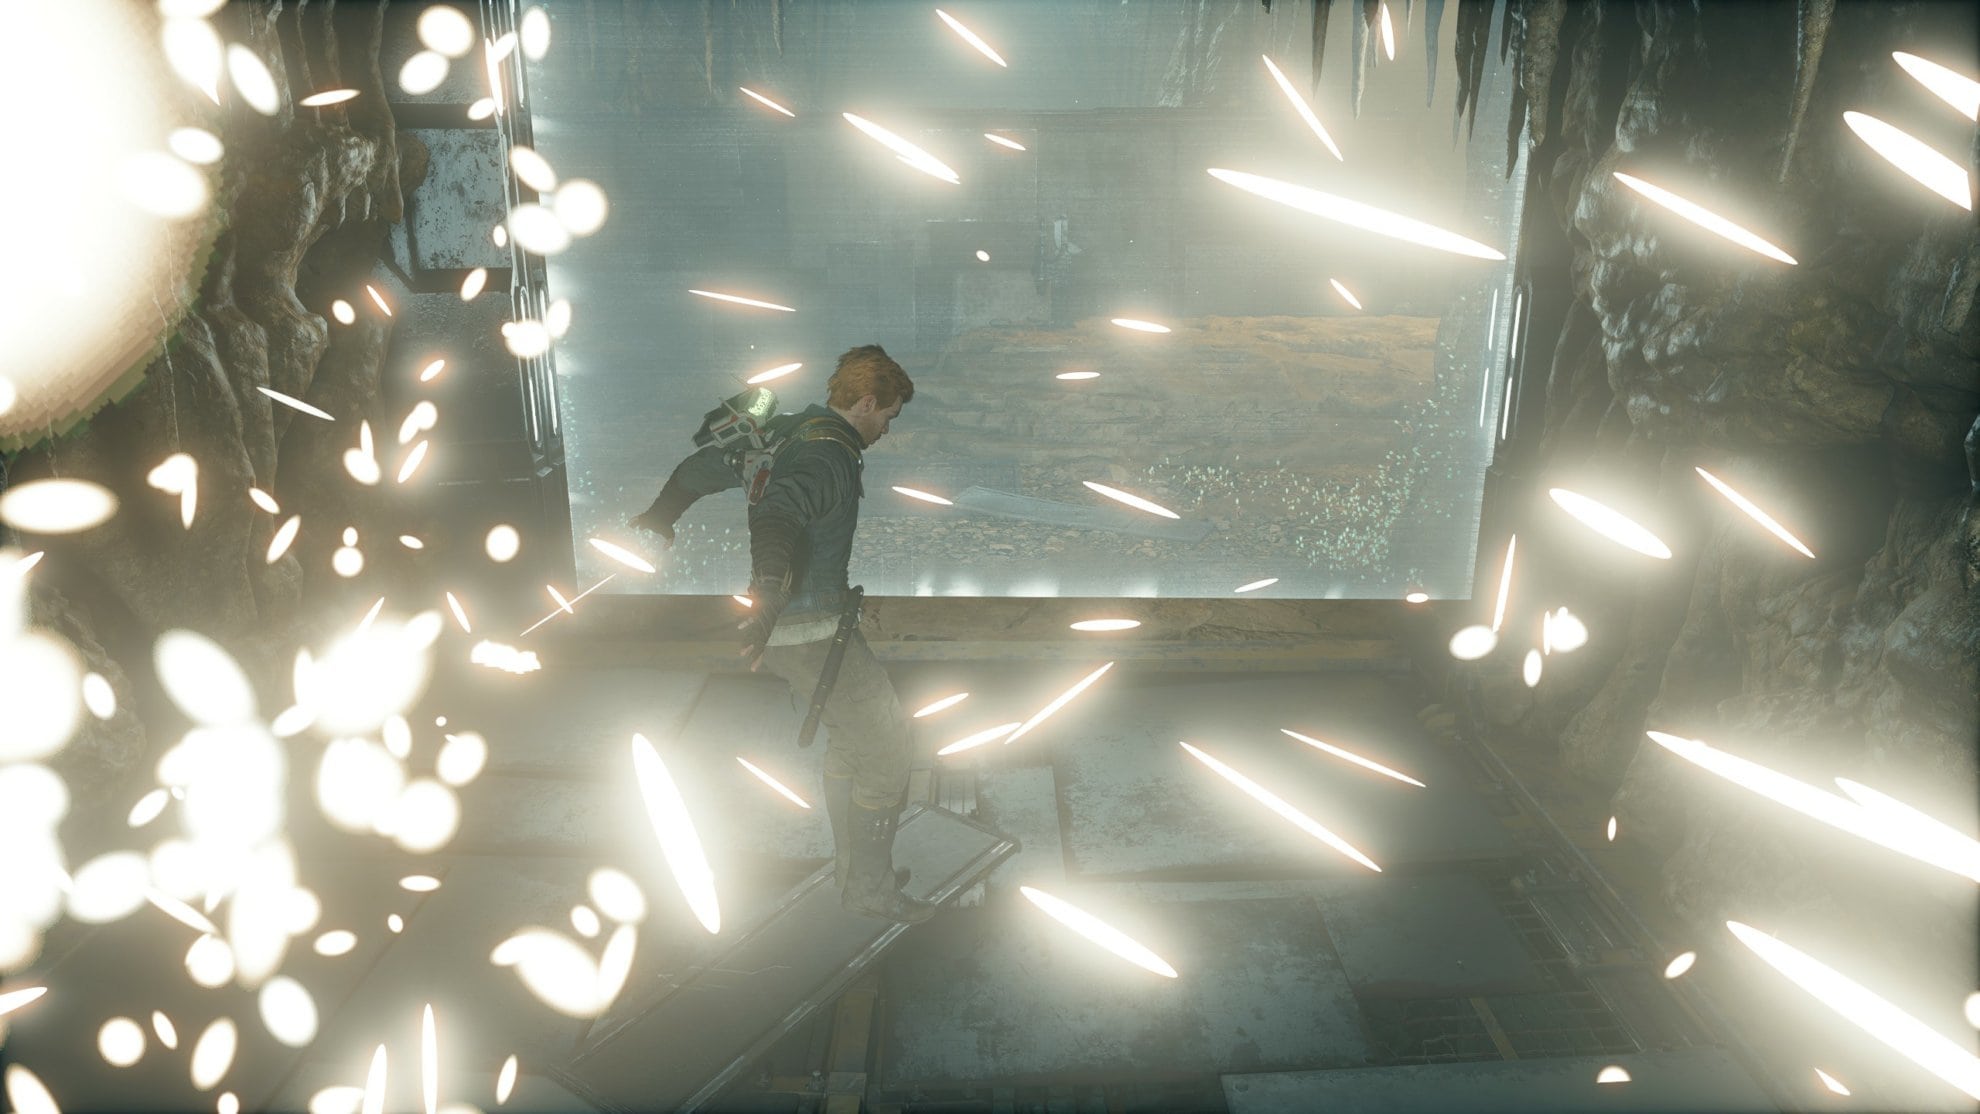
When you first go into the caverns, you’ll see an elevator shaft on the left and a path behind a Force Echo. There’s only one way to go for now so pick up Collectible Databank 1/12 and go down the path on the right.
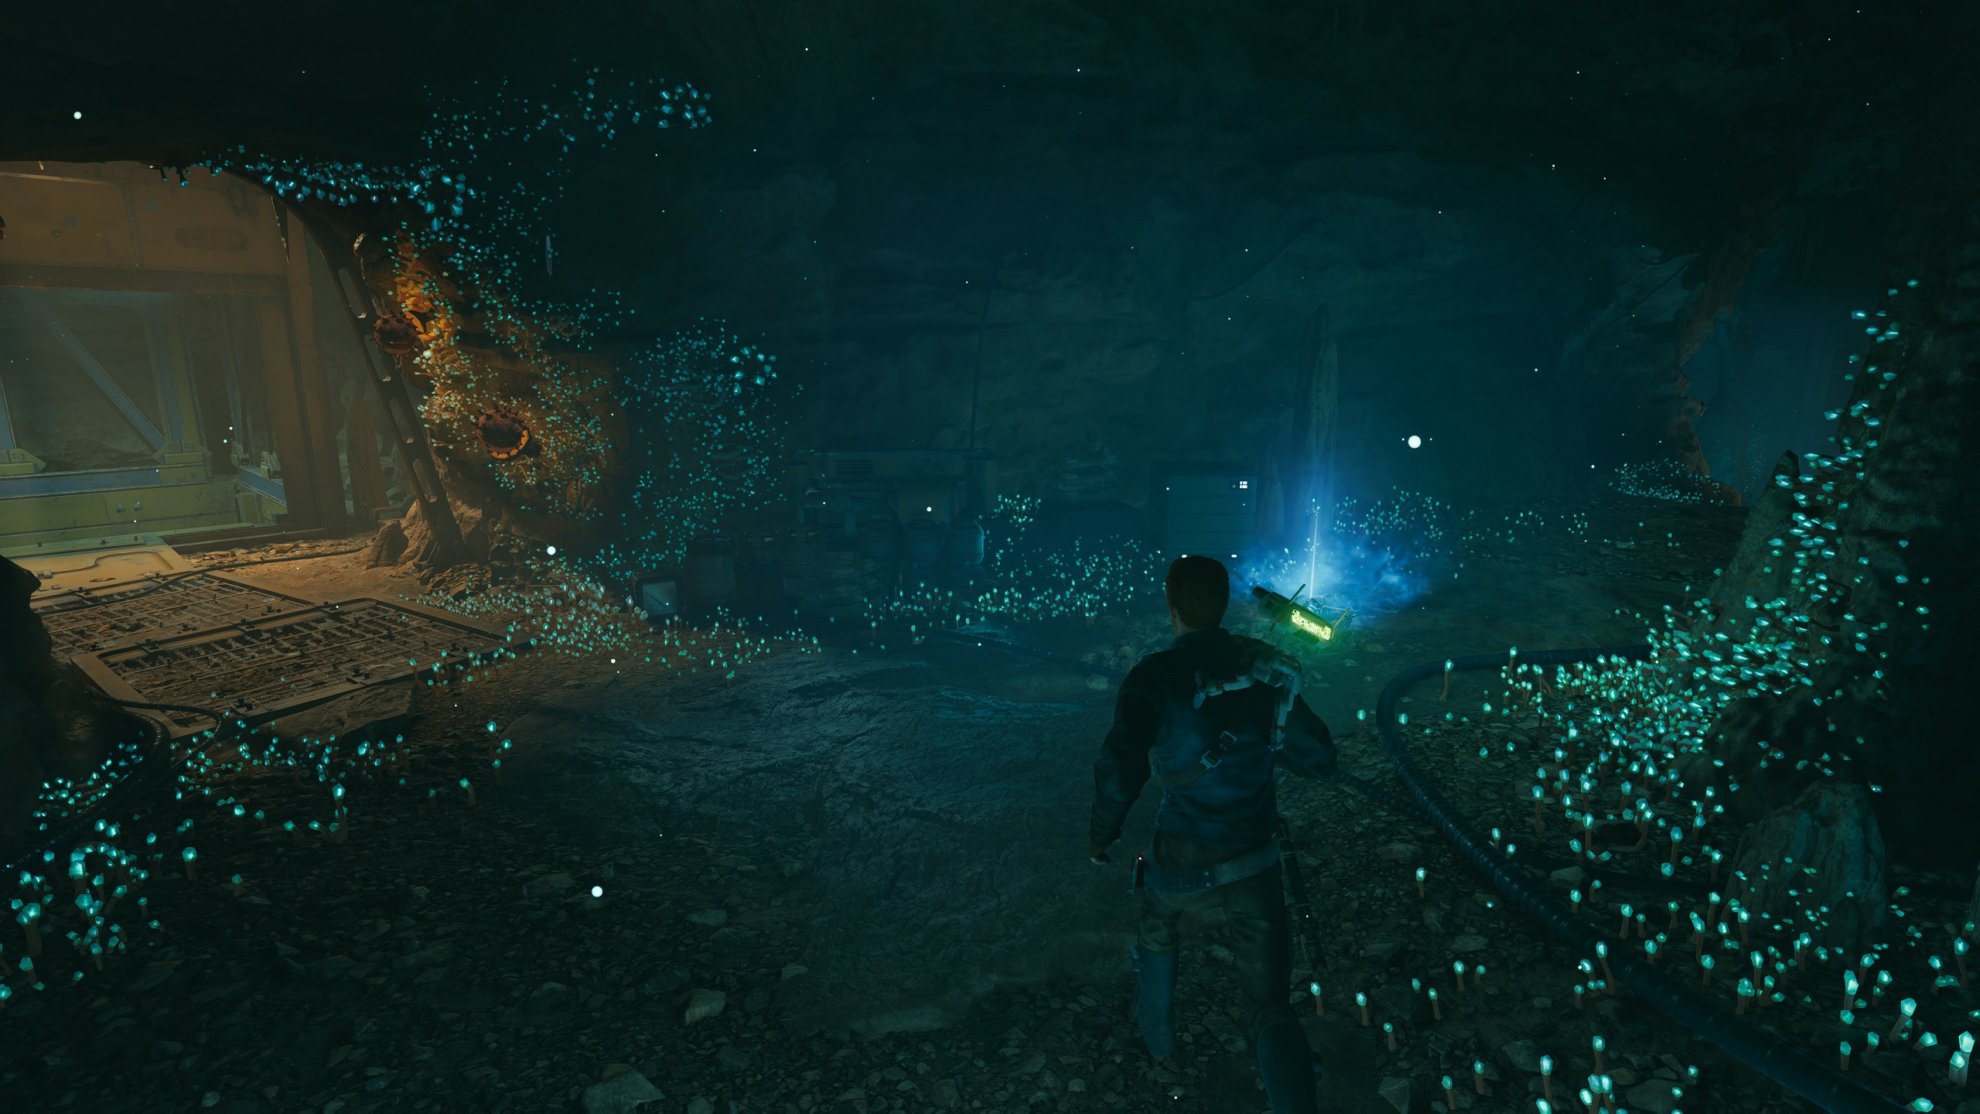
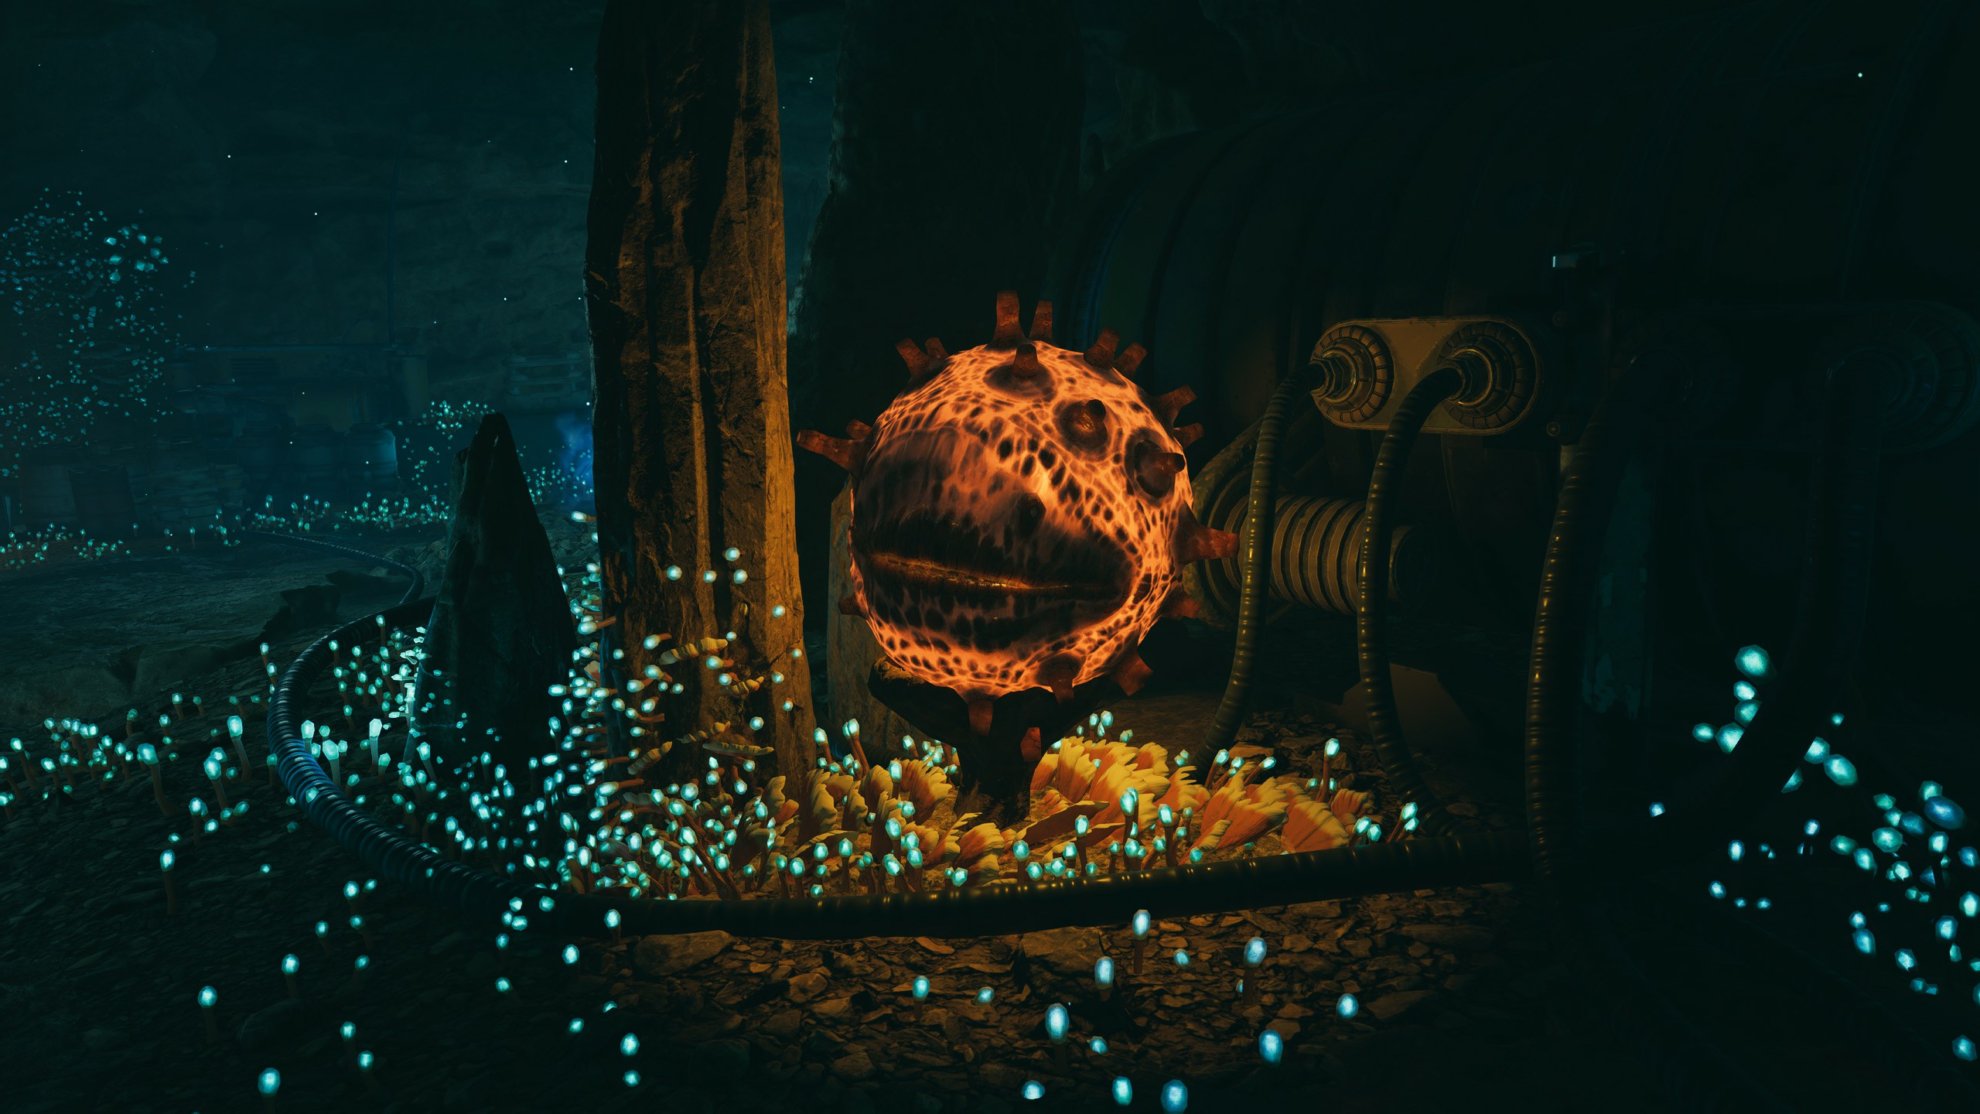
Watch out for these orange balls that explode on you, they’ll pose an environmental hazard throughout the caverns.
When you get deeper, you’ll be attacked by battle droids armed with grenades that will run to you. Double jump and dash over them before the thermal detonators explode to avoid the damage.
You will also be able to use those orange balls to clear paths. You can pull and push them. You can also carry them however long you want, they will not explode in your hand.
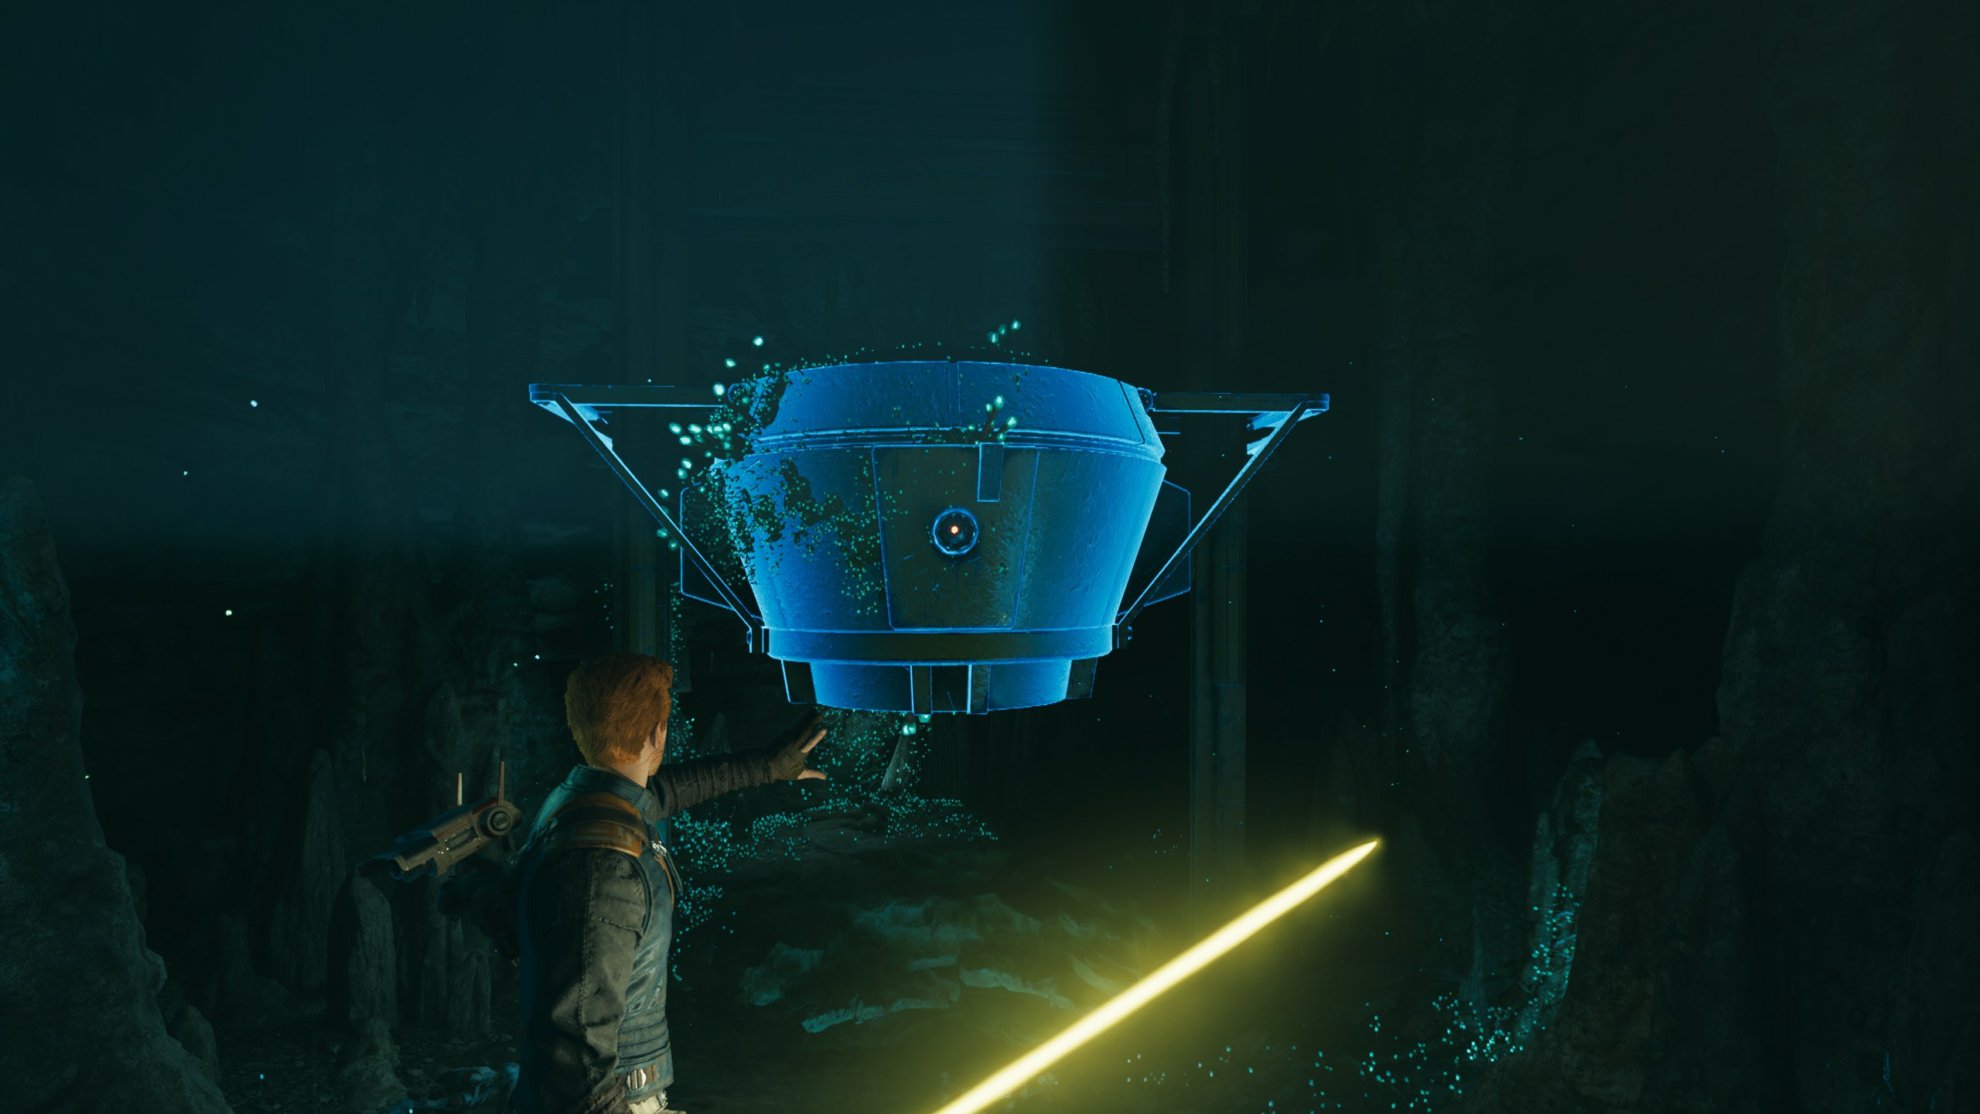
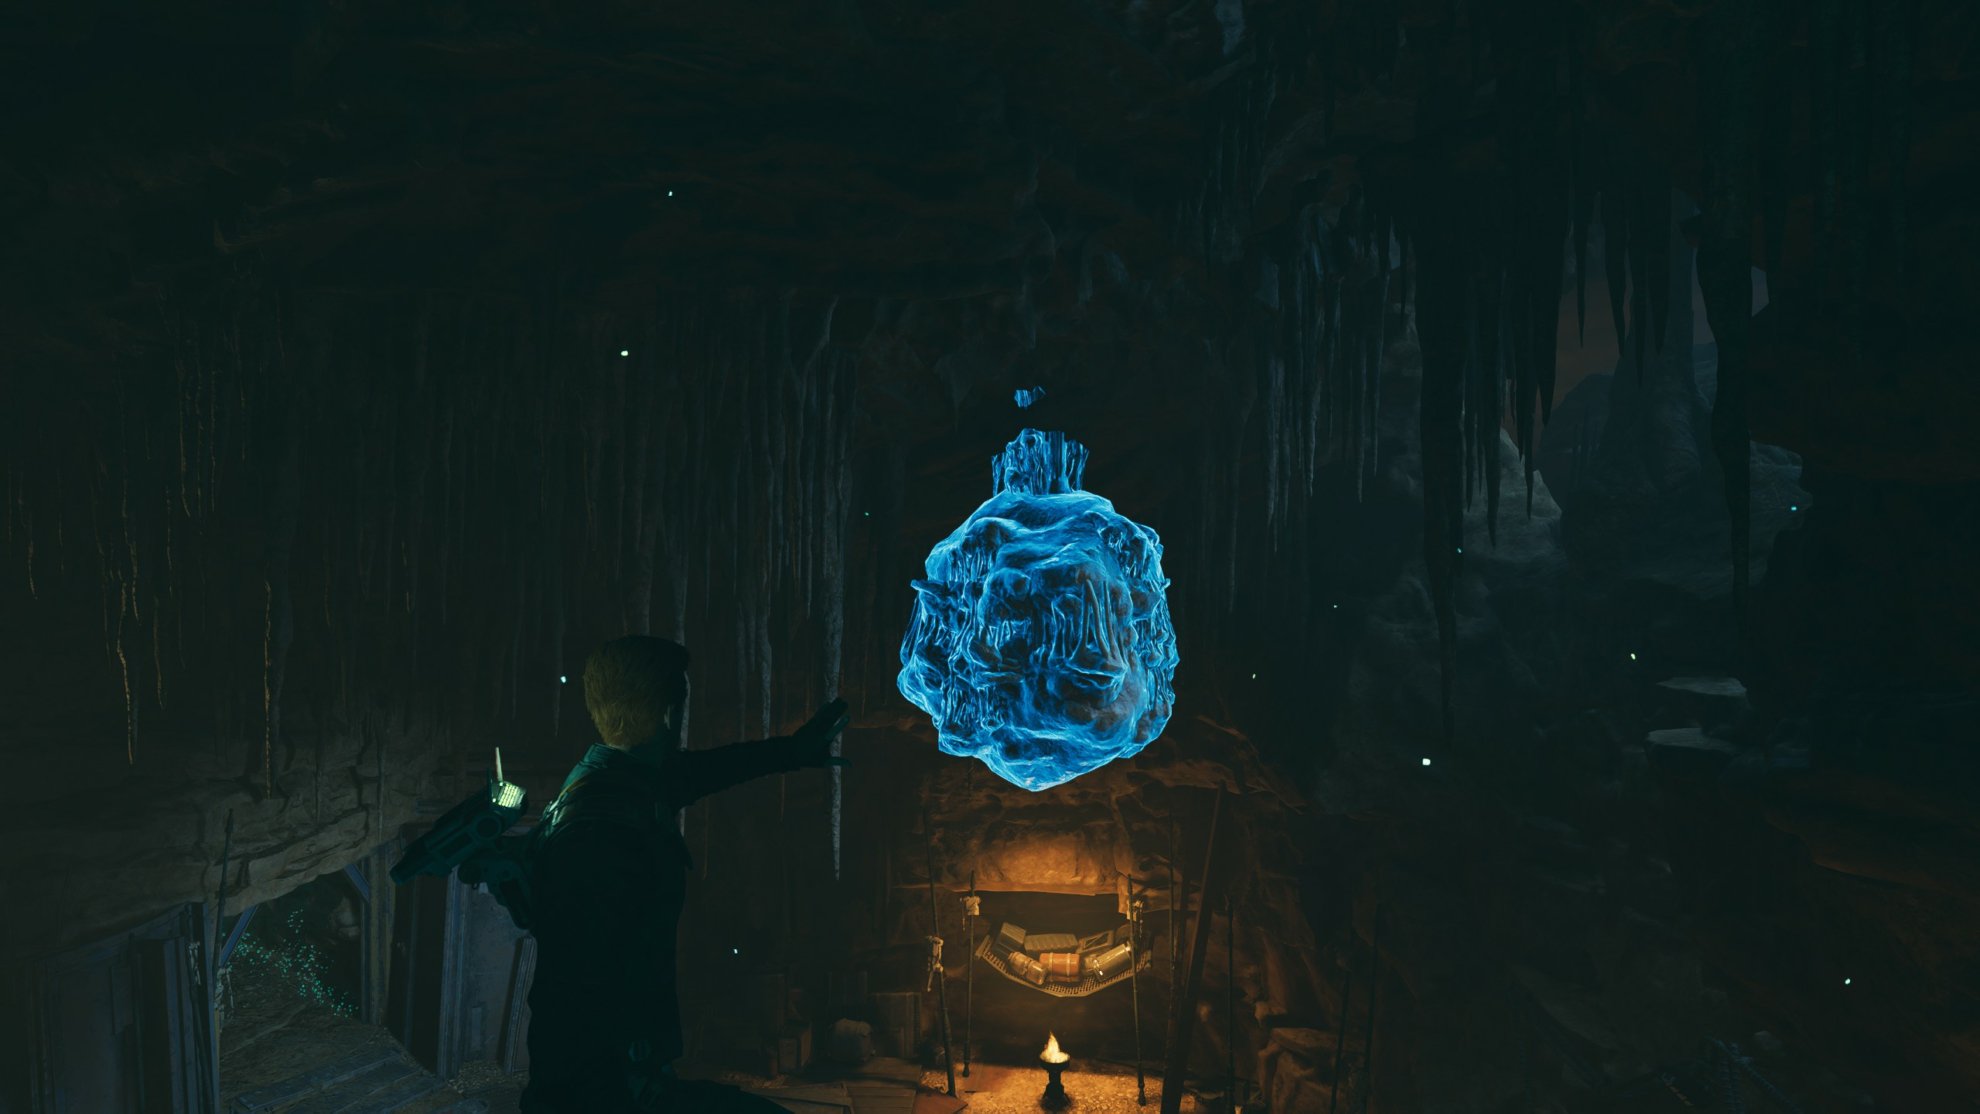
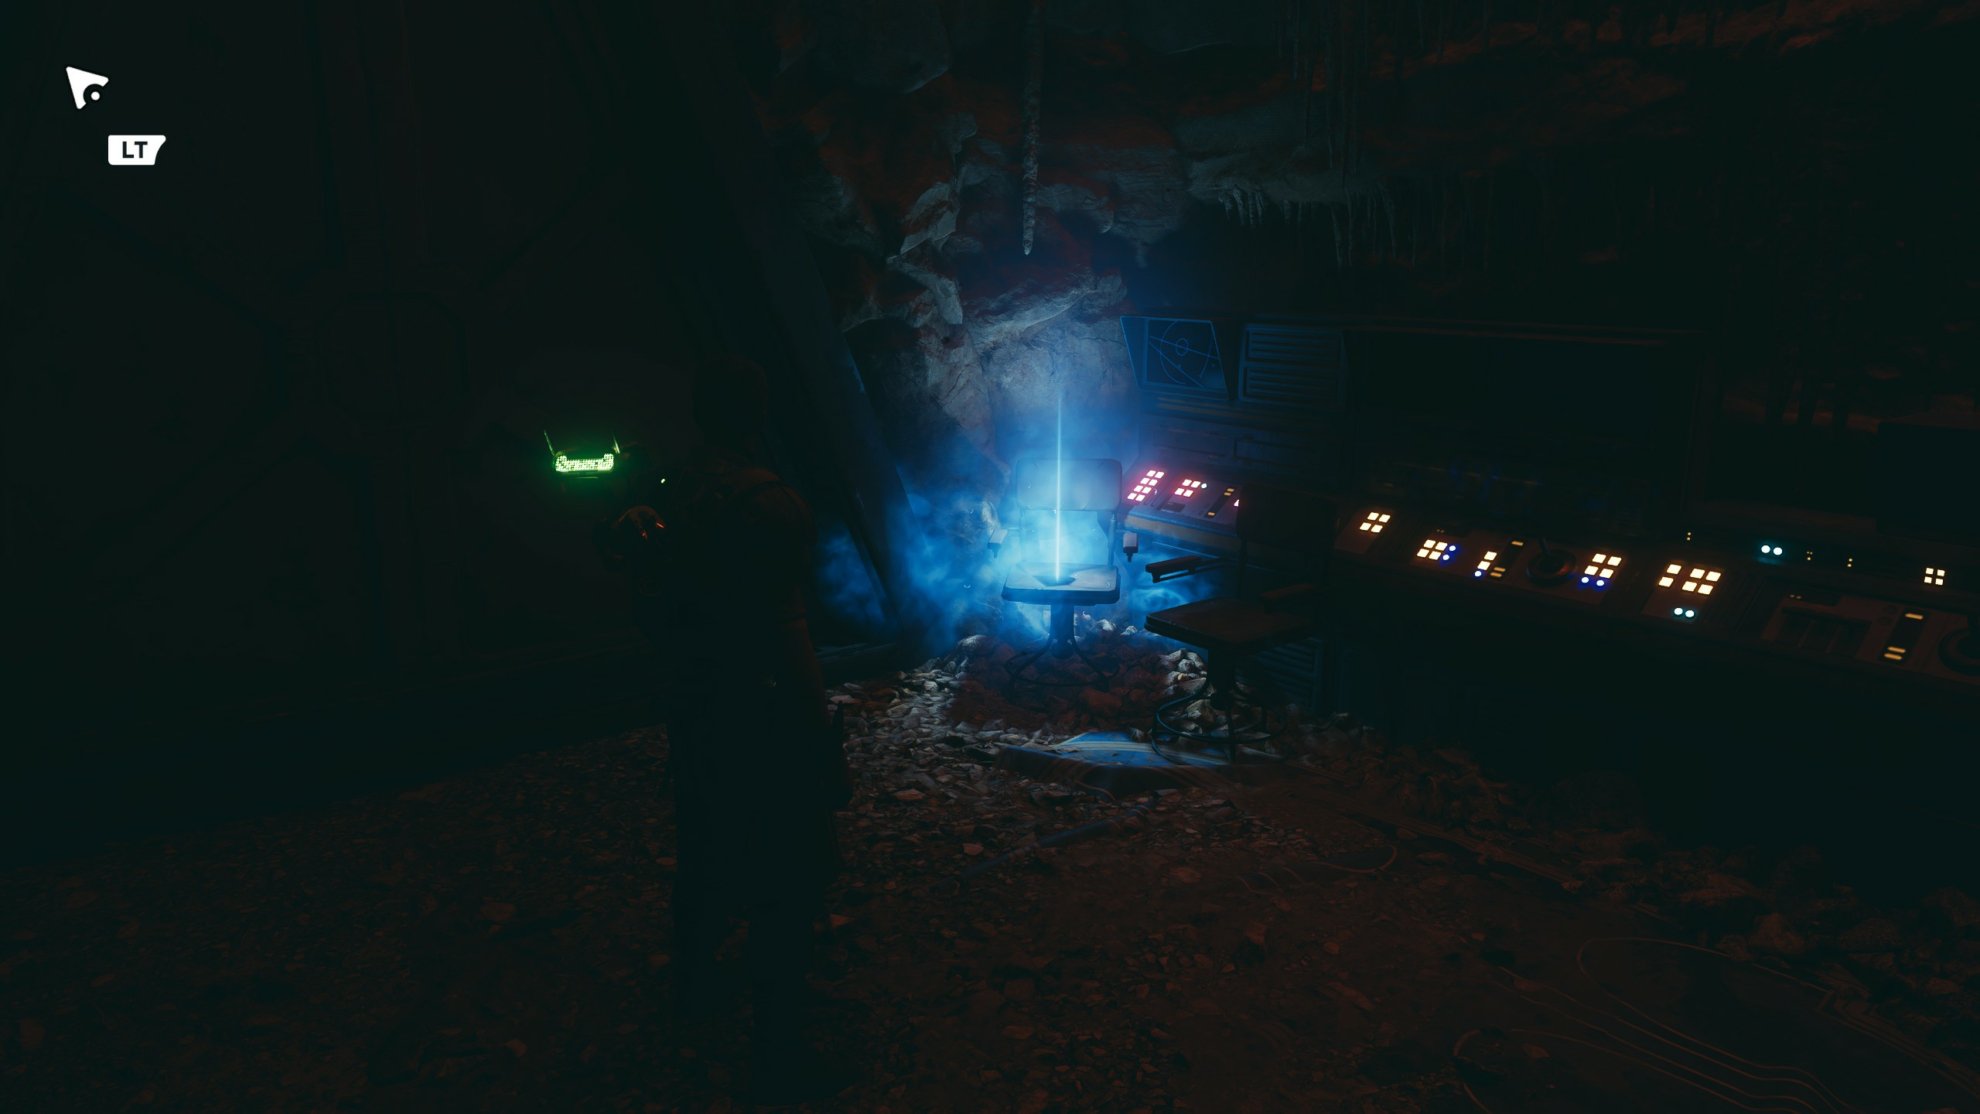
Force lift this machine (image below) to access the lower levels.
The bridge below will give out so you’ll need to jump dash to the platform on the right. If you hook onto the metal panel and wall run up the ledge to the left, you’ll find a wall running segment. At the end you’ll pick up Skill Point Essence 1/3.
You can actually Force Pull the orange fungus near the Skill Point Essence and throw it at the electrified gate and take on the raider inside. In this room you can scan a door for Collectible Databank 2/12: Cave Turbolift Network.
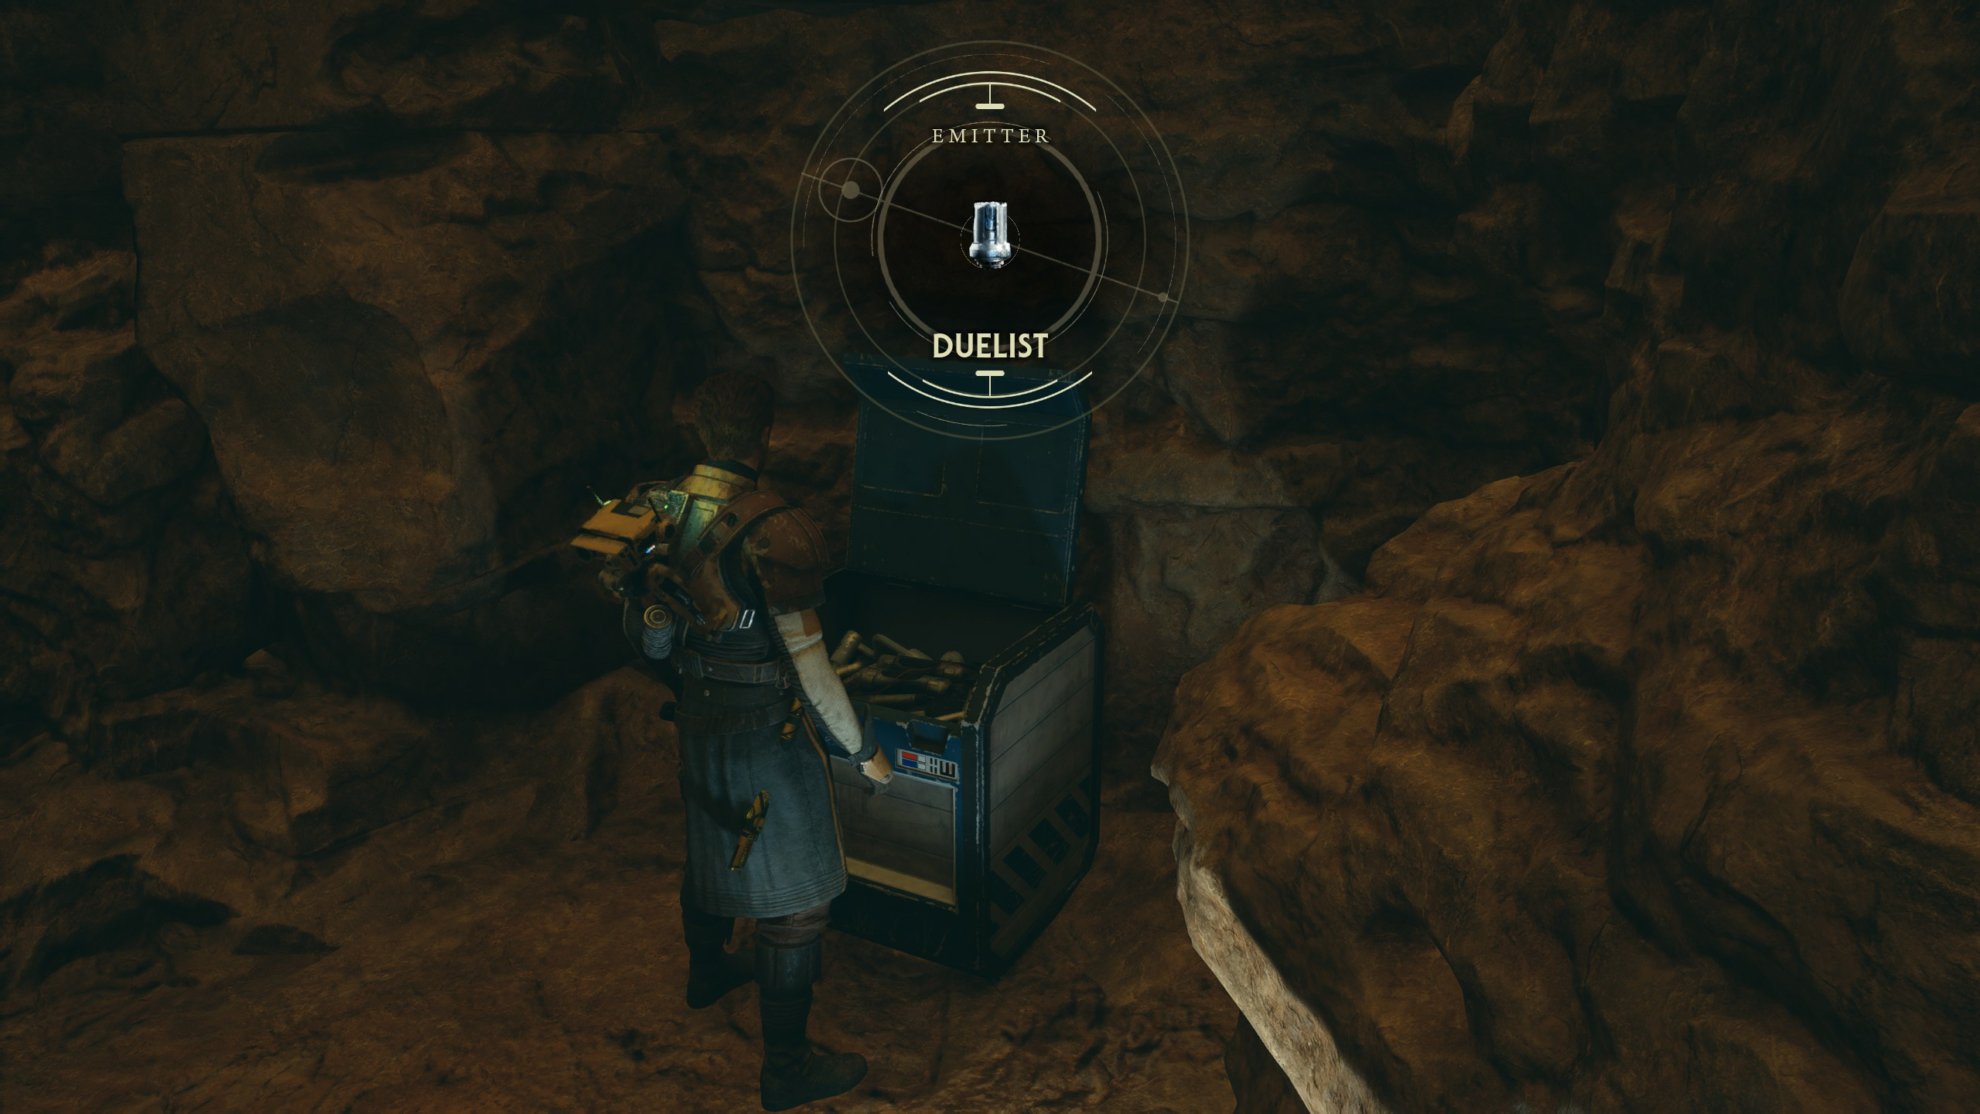
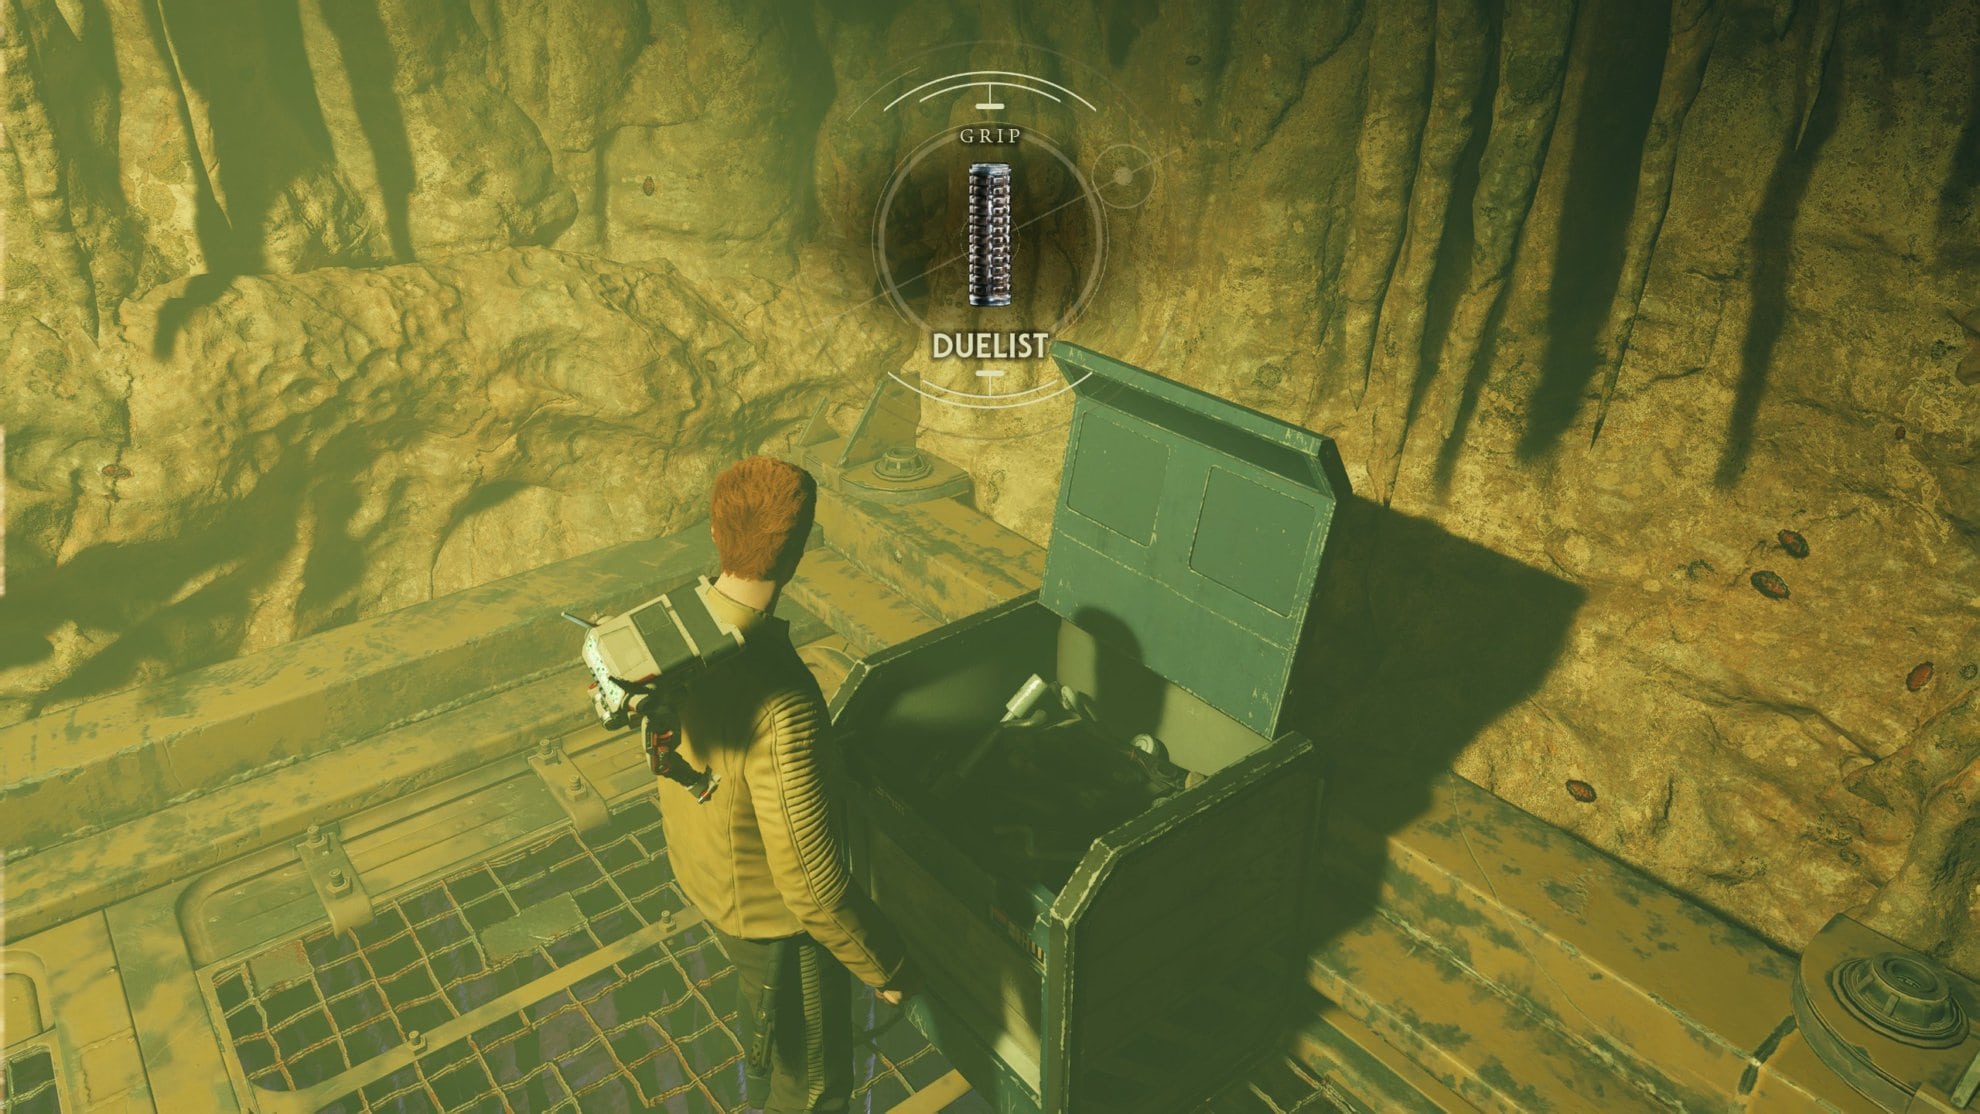
In this room, there are some rock formations you can pull down with Force Slam. Doing this will create holes on the ground, one of which leads to chest 1/6 containing the Duelist Emitter.
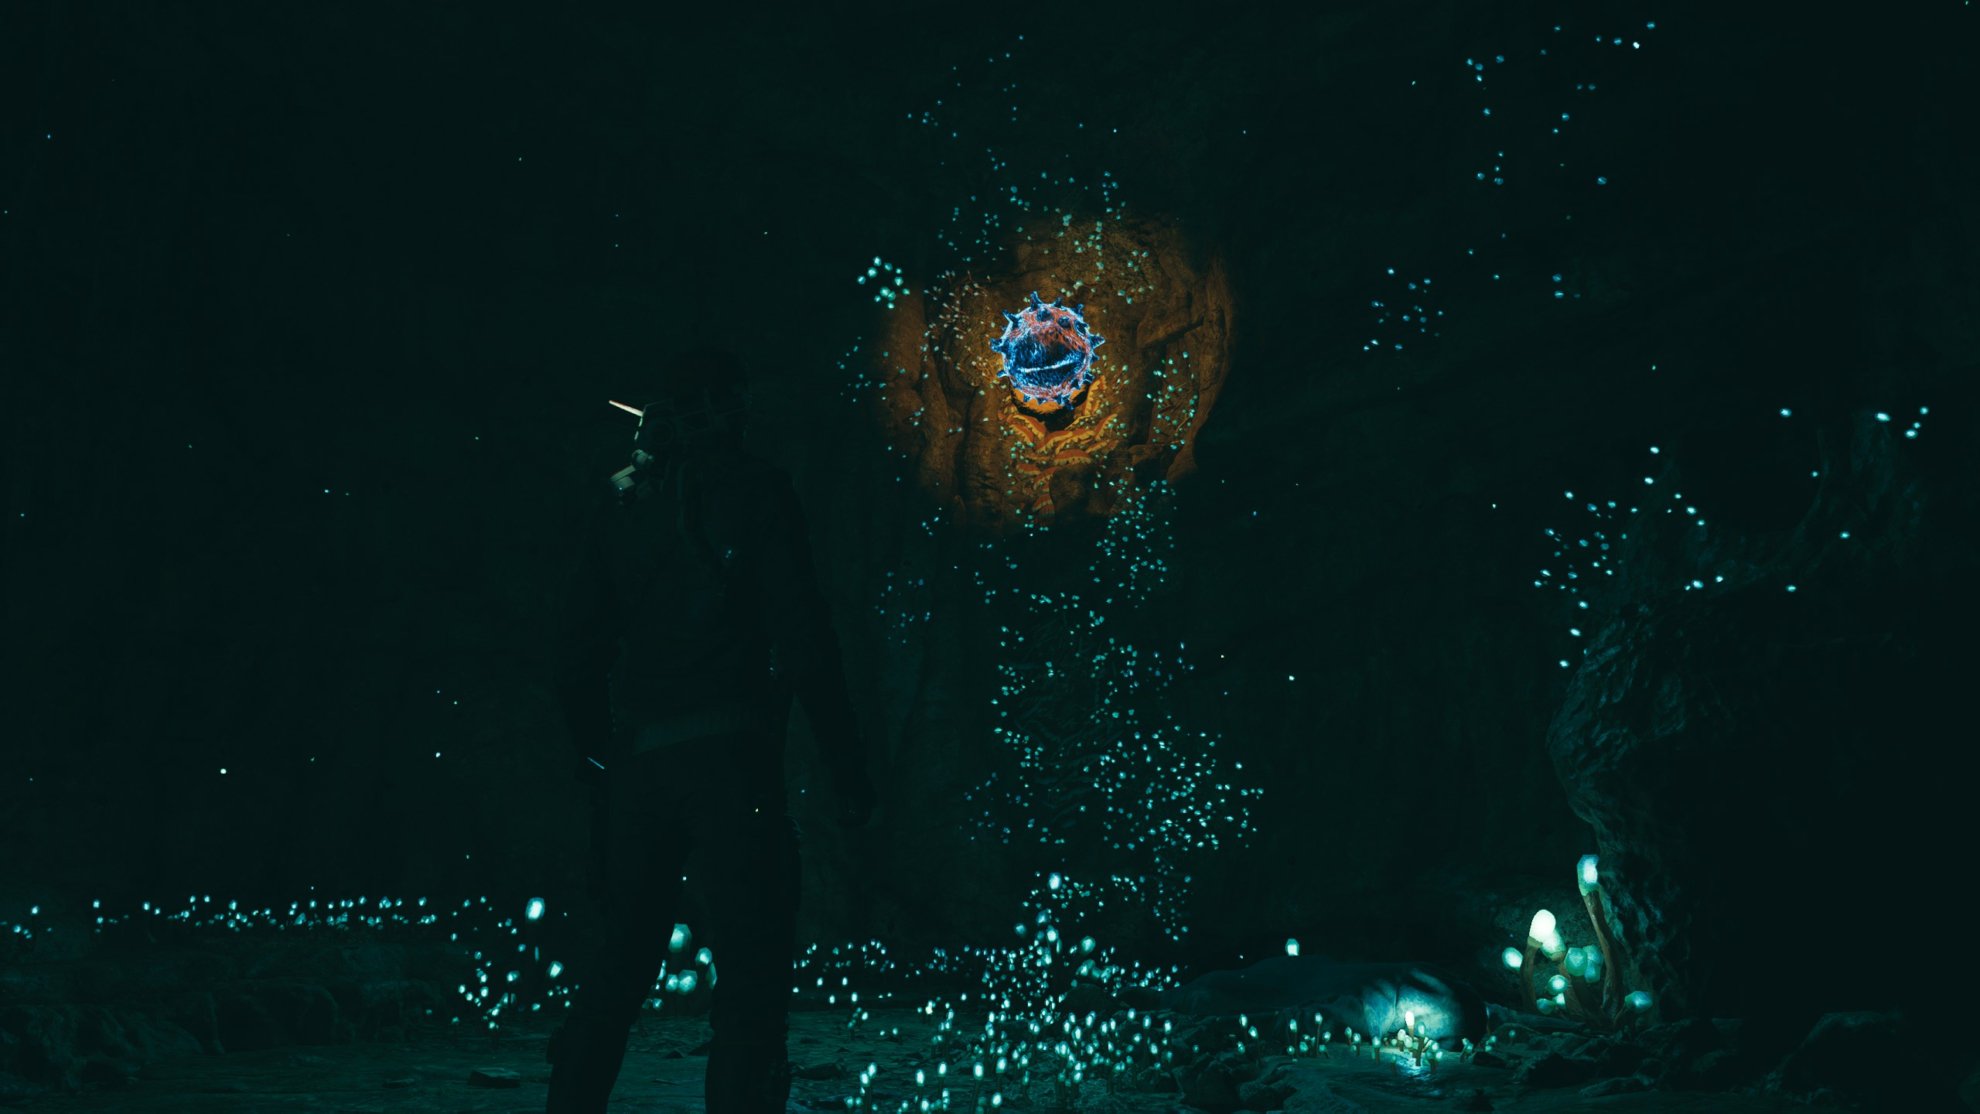
Return to the lower platform outside and have BD-1 scan the fungus for Collectible Databank 3/12: Cavern Fungus. Continue down into the cavern to fight some Commando Droids and a Roller Mine. Once you’re done, go to the broken droids to pick up the Force Echo for Collectible Databank 4/12: A Gen’dai Plots.
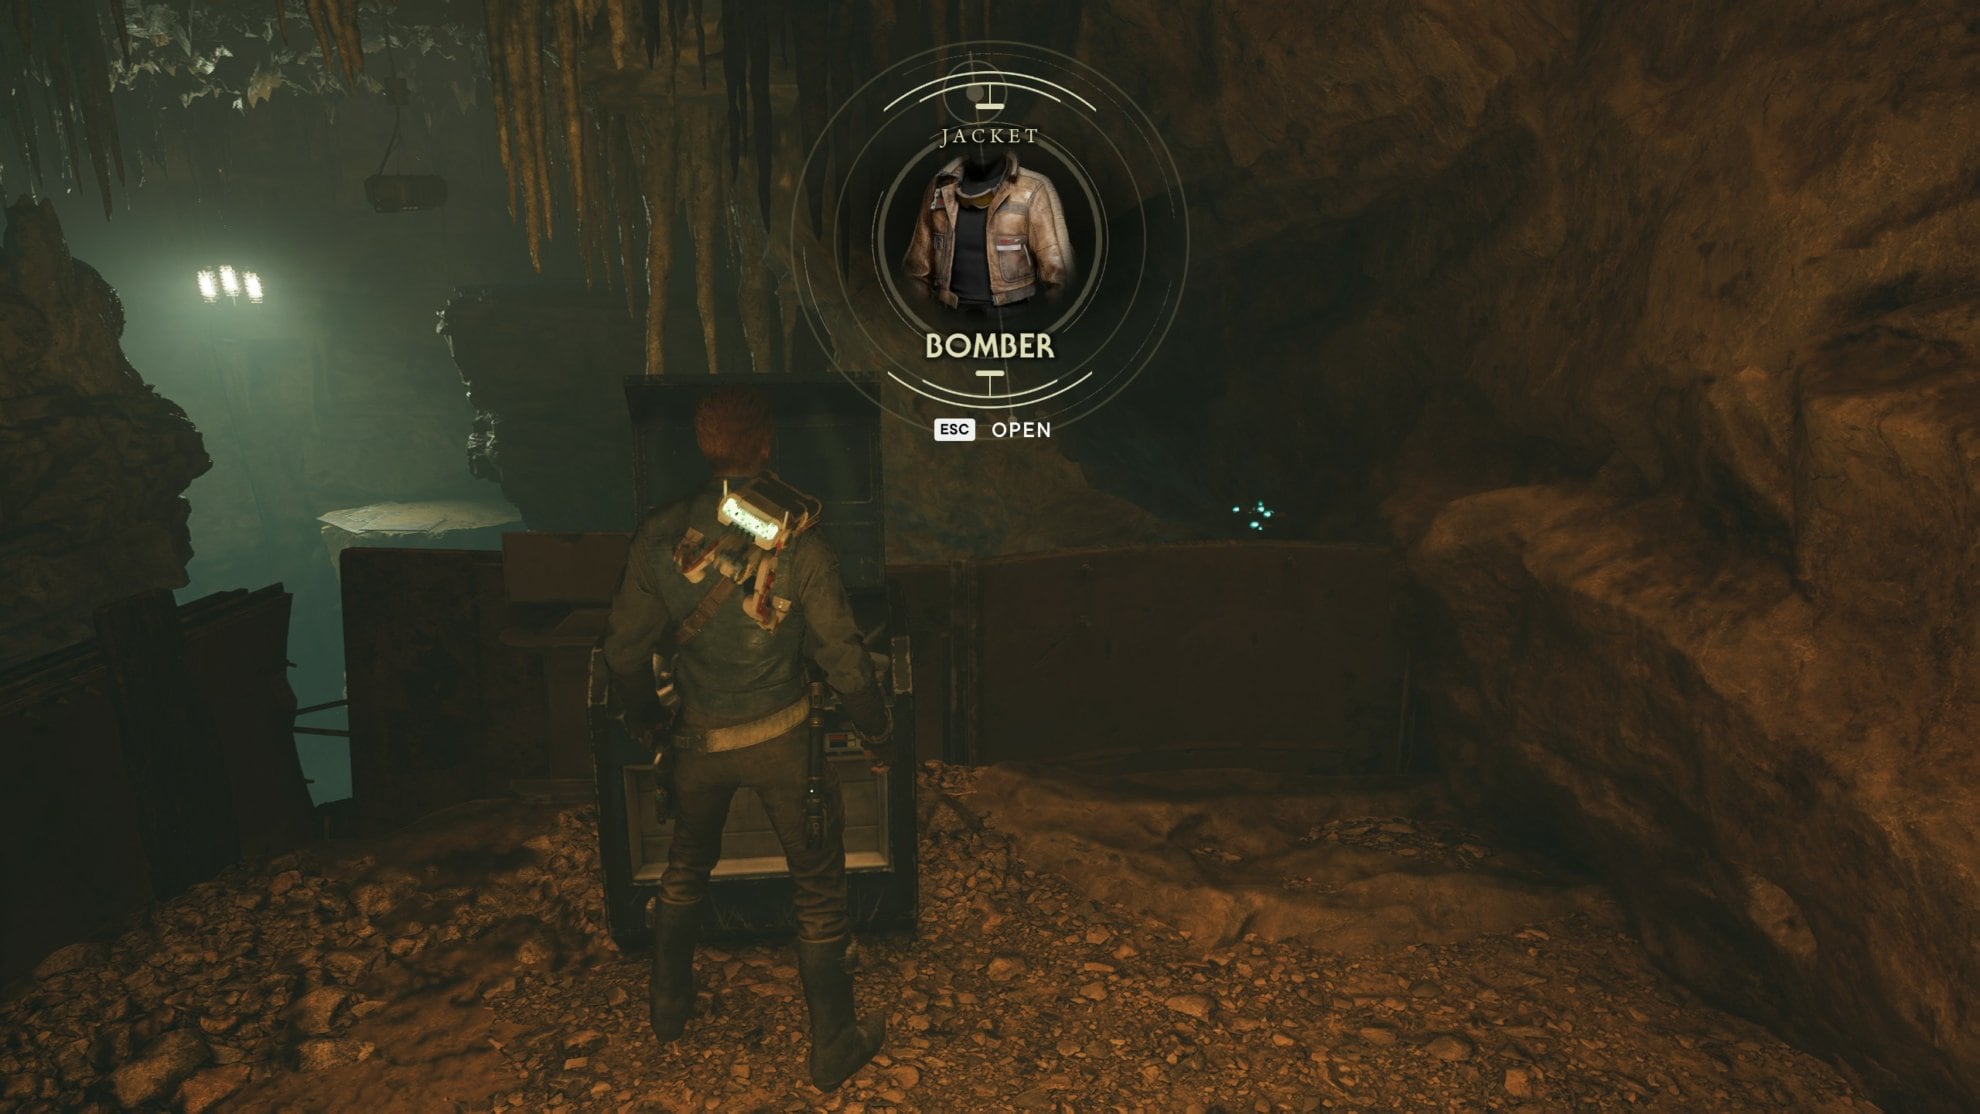
In the middle of the room is a hole, go down and destroy the shielded turret below. Have BD-1 scan the terminal for Collectible Databank 5/12: Raider Depot. Make a left and destroy two more turrets to open chest 2/6 containing the Bomber Jacket.
If you want the whole set, check out our Guide on how to get the Bomber Outfit in Jedi Survivor.
Go back up into the room you came from and wall jump up the yellow, metal panel. Force Slam the rock on the ceiling to create a hole in the floor. Jump down the hole to go deeper into the caverns.
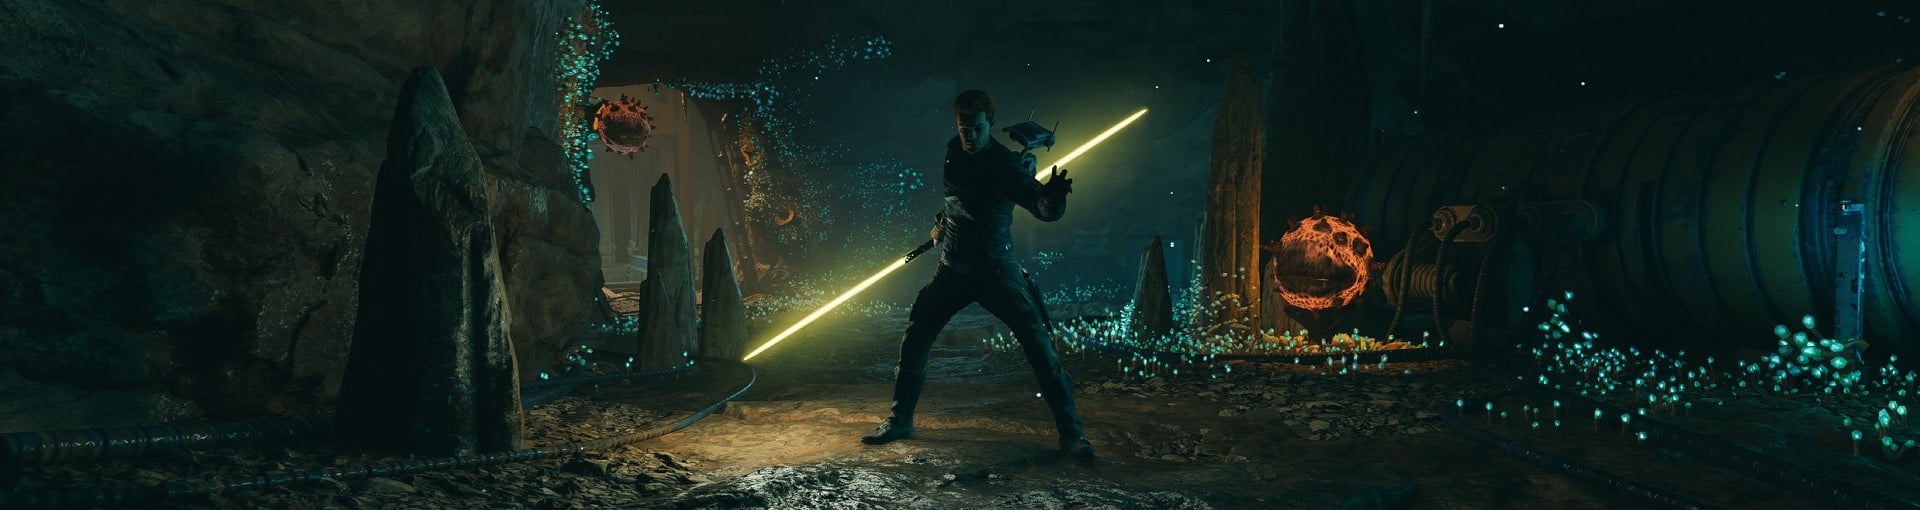
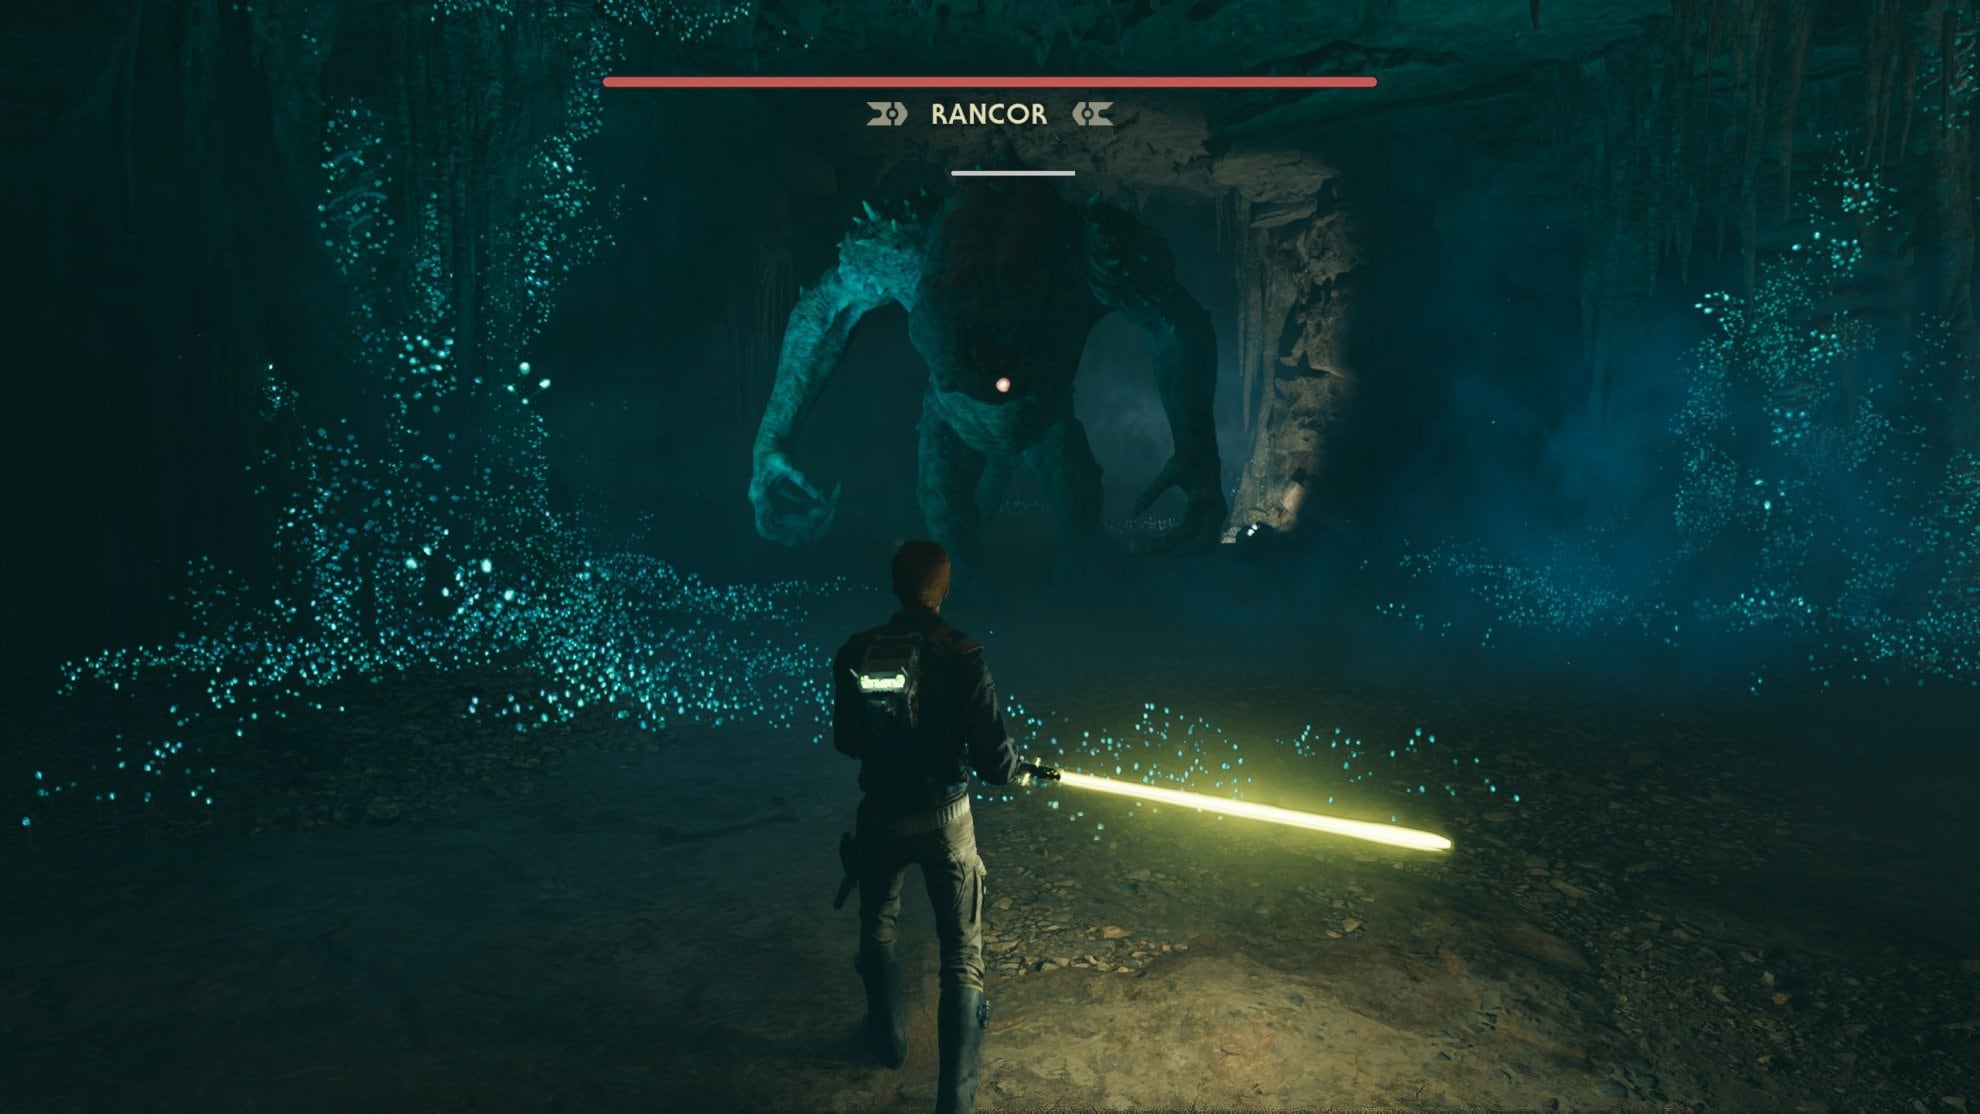
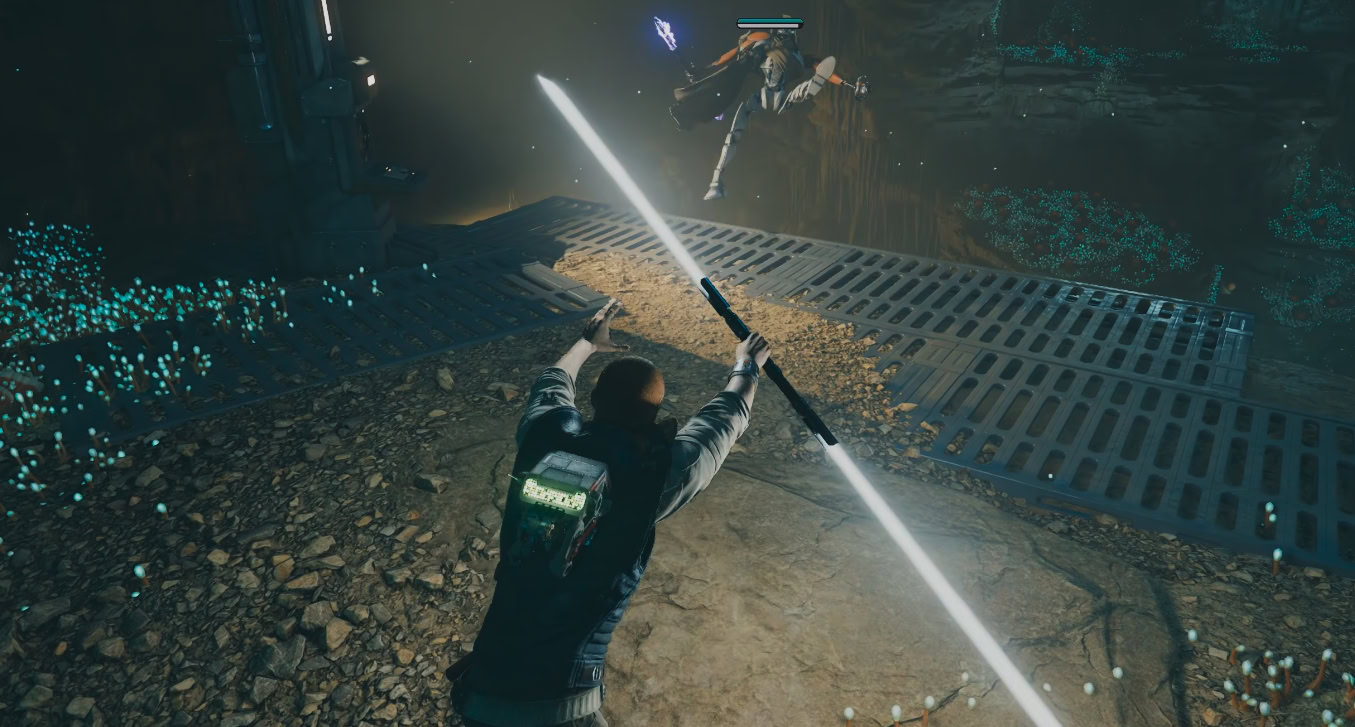
Boss Fight: Rancor
Jump down lower via the stone spires until you reach the floor. You’ll find a Rancor you’ll need to defeat. For tips on fighting a Rancor, see ourguide for how to defeat the Rancor on Koboh. Note that this rancor is also Legendary, but it respawns, unlike the one at the Sodden Grotto Mine.
After defeating the Rancor, go into the area it came out from to pick up Collectible Databank 6/12: Rancor Prey and Collectible Treasure 1/6: Datadisc.
Make your way to the other side of this cave to pick up a Force Echo for Collectible Databank 7/12: A Cave Too Far.
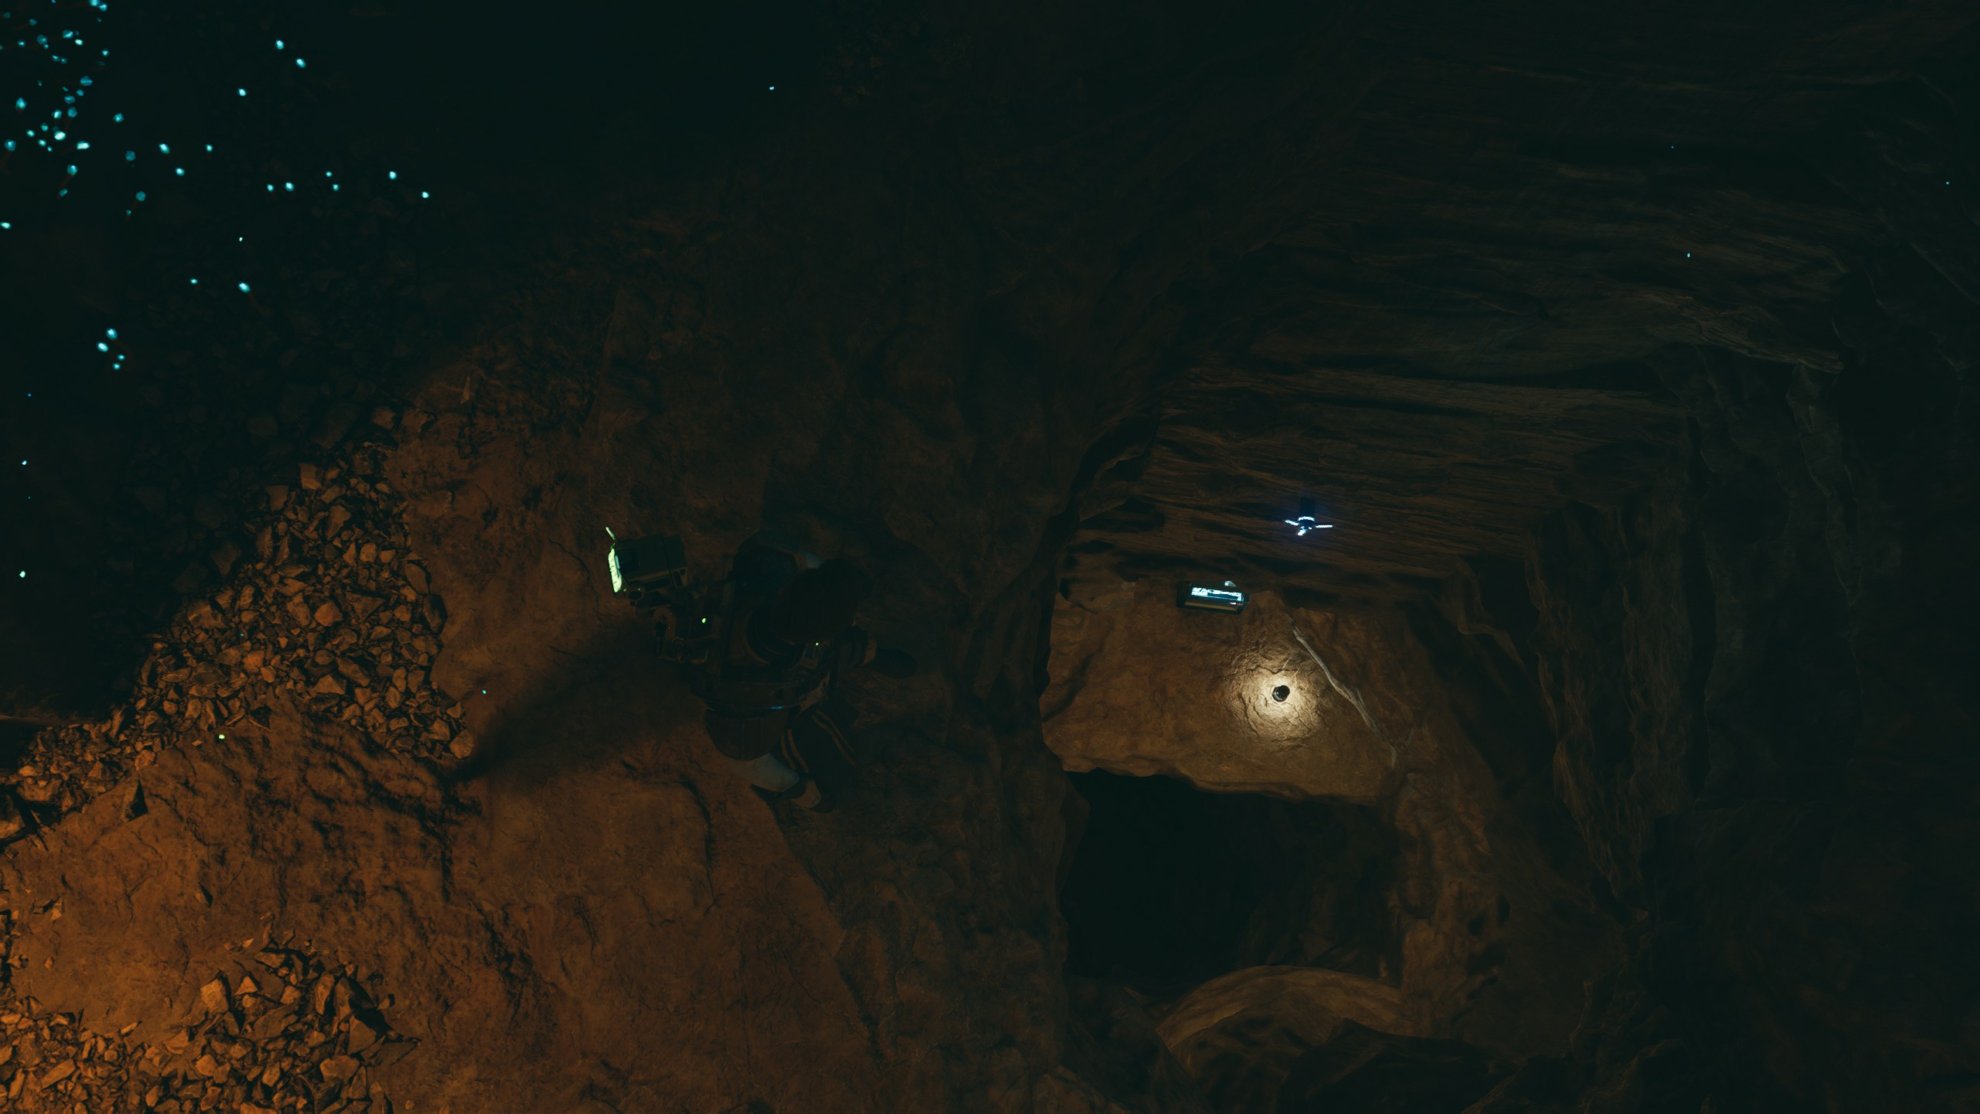
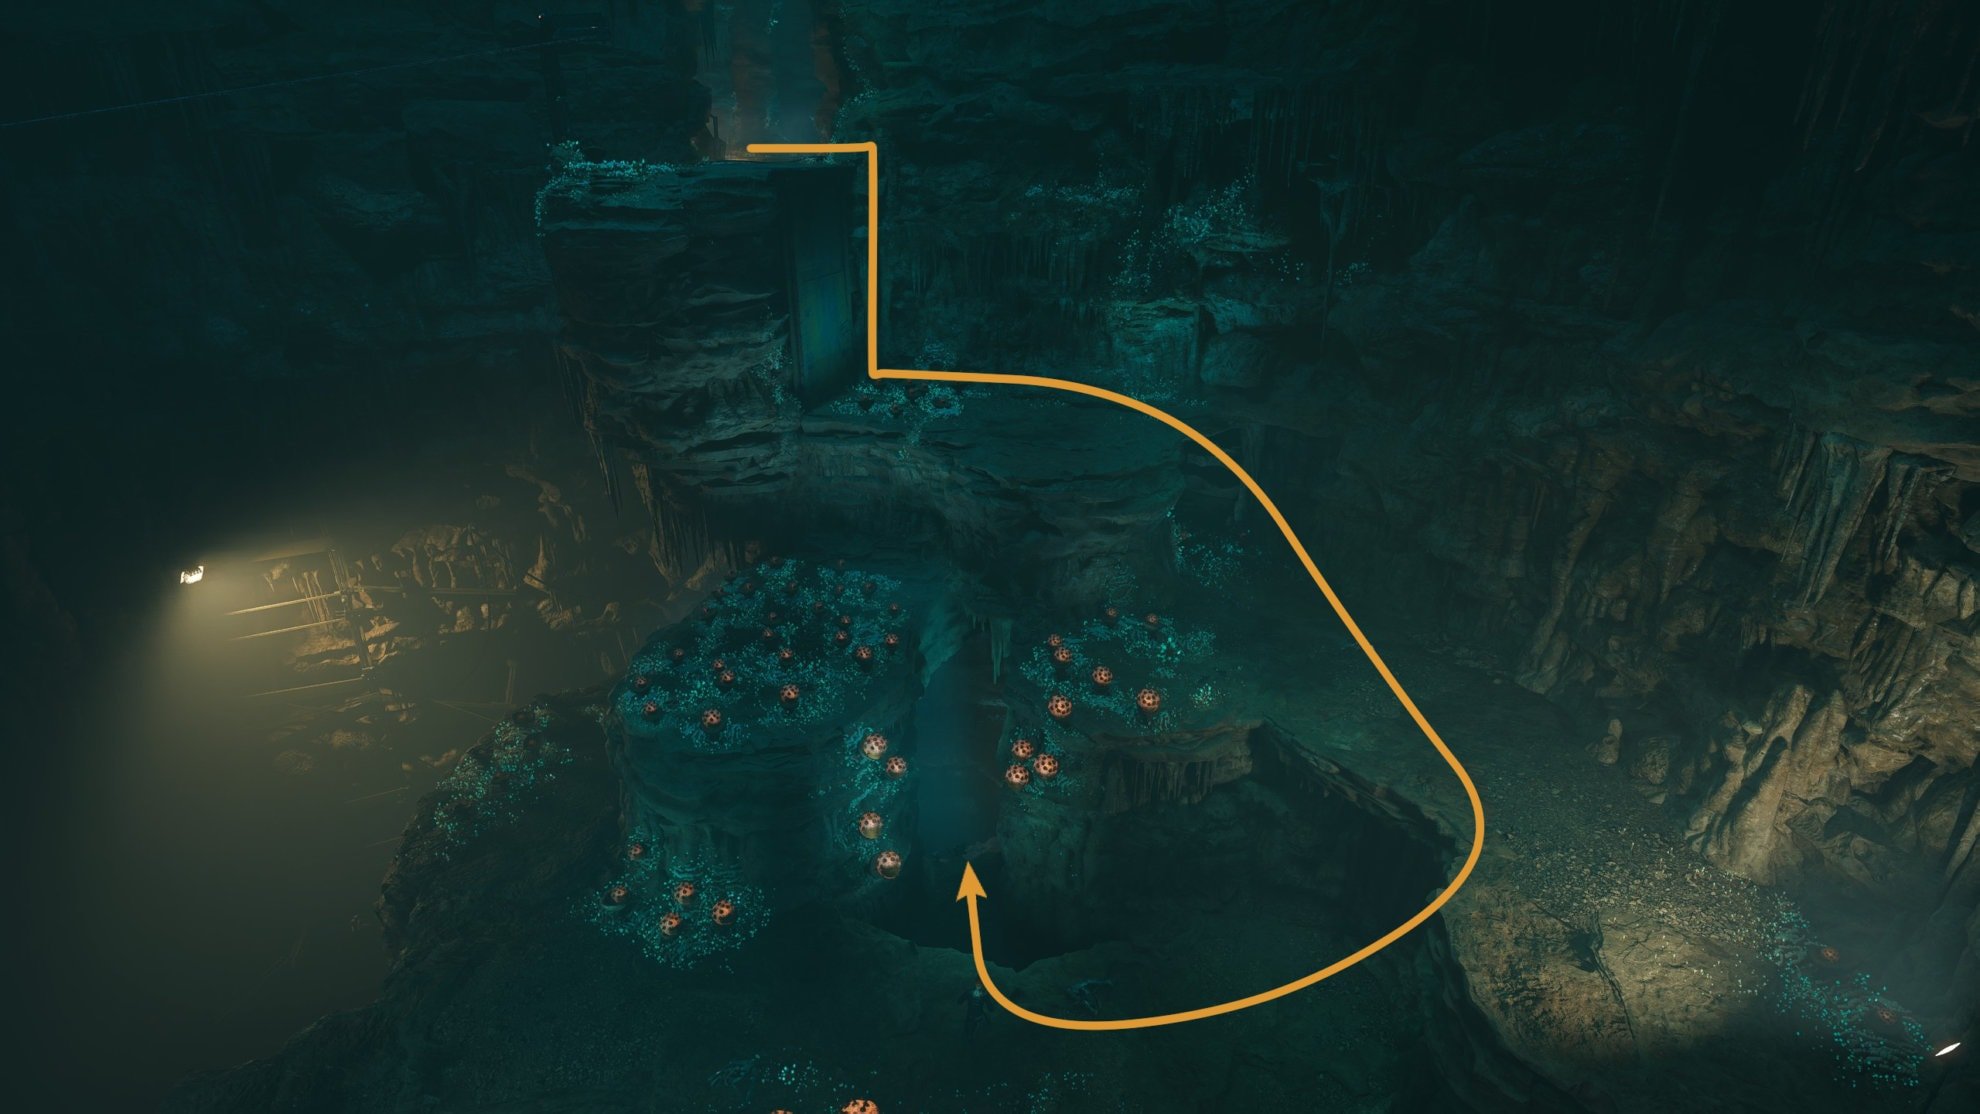
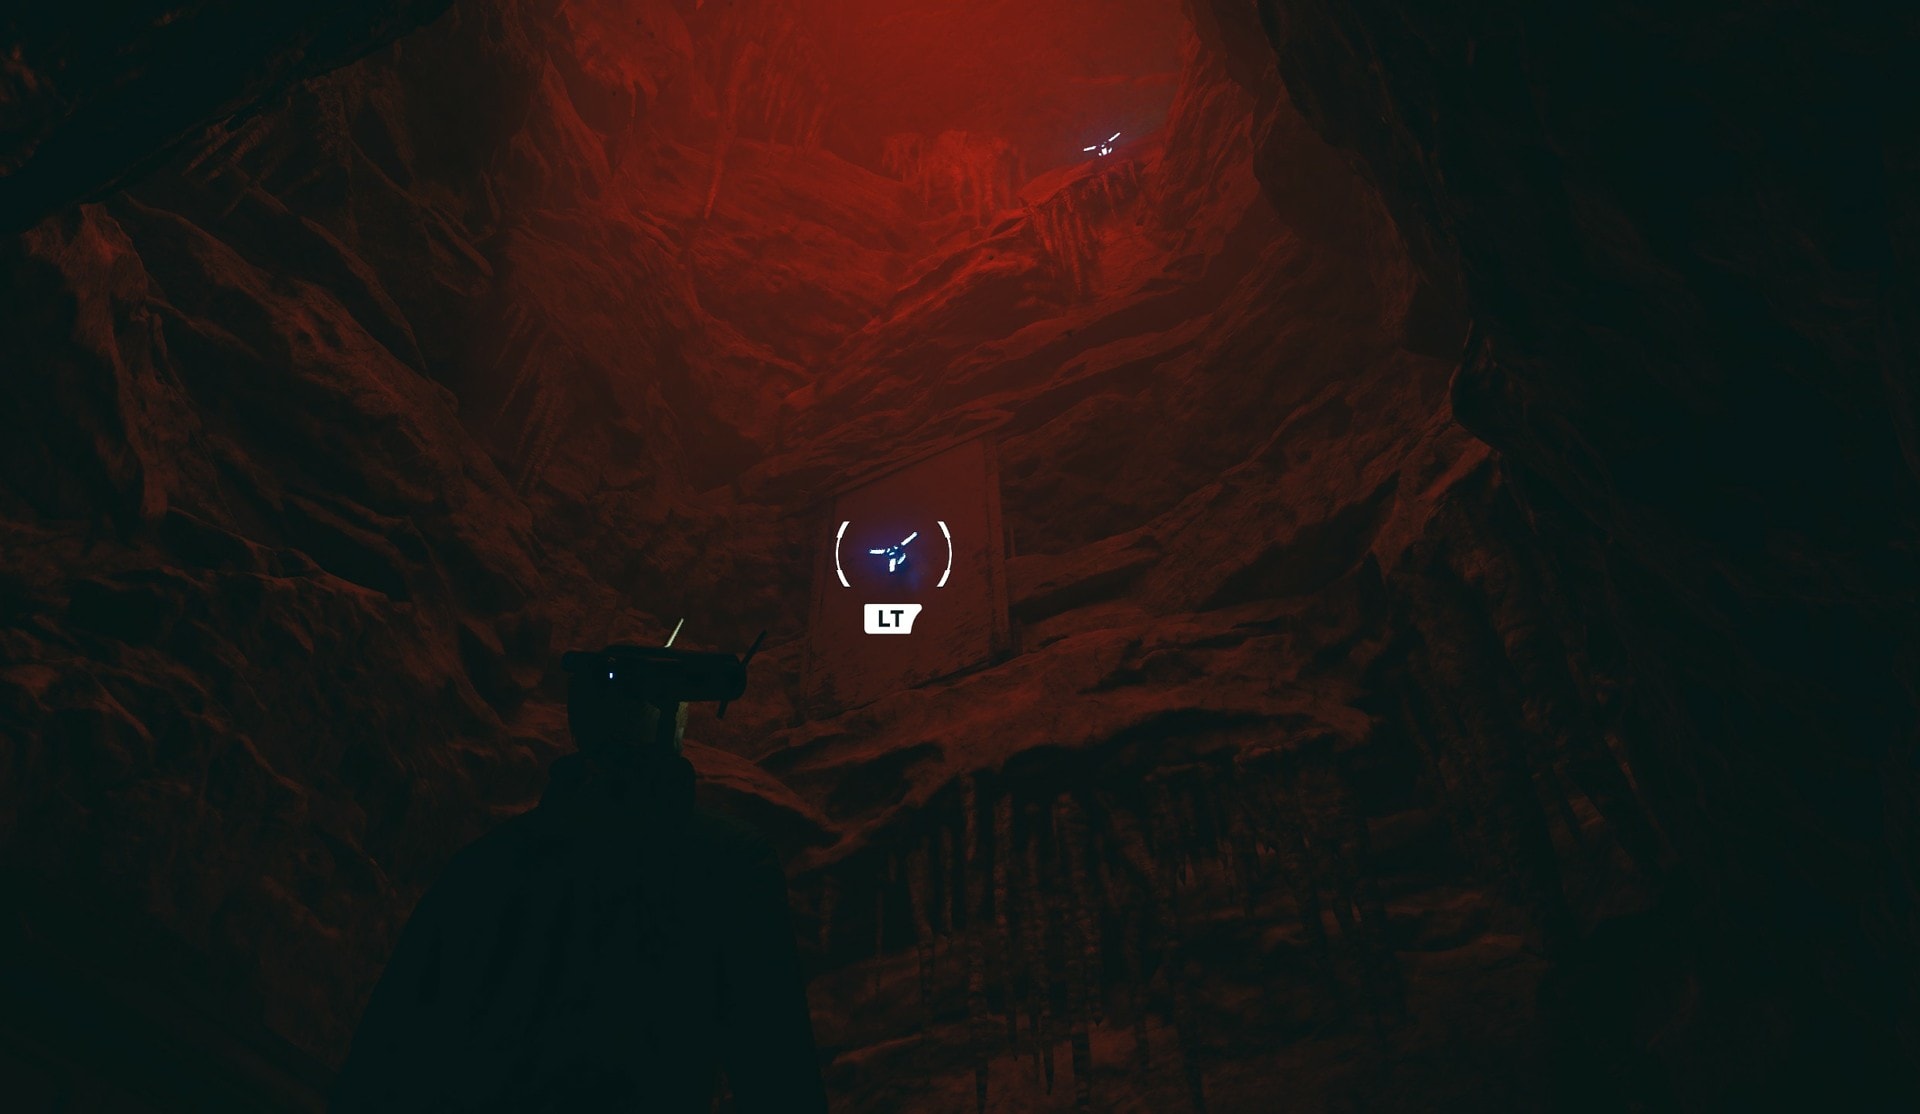
Continue deeper into the cave full of the orange fungus. The moment you step down, a bunch of battle droids holding thermal detonators will charge at you. Do your best to avoid them and the fungus by double jumping then dashing over them before they explode. Then follow the path in the image below to get another collectible.
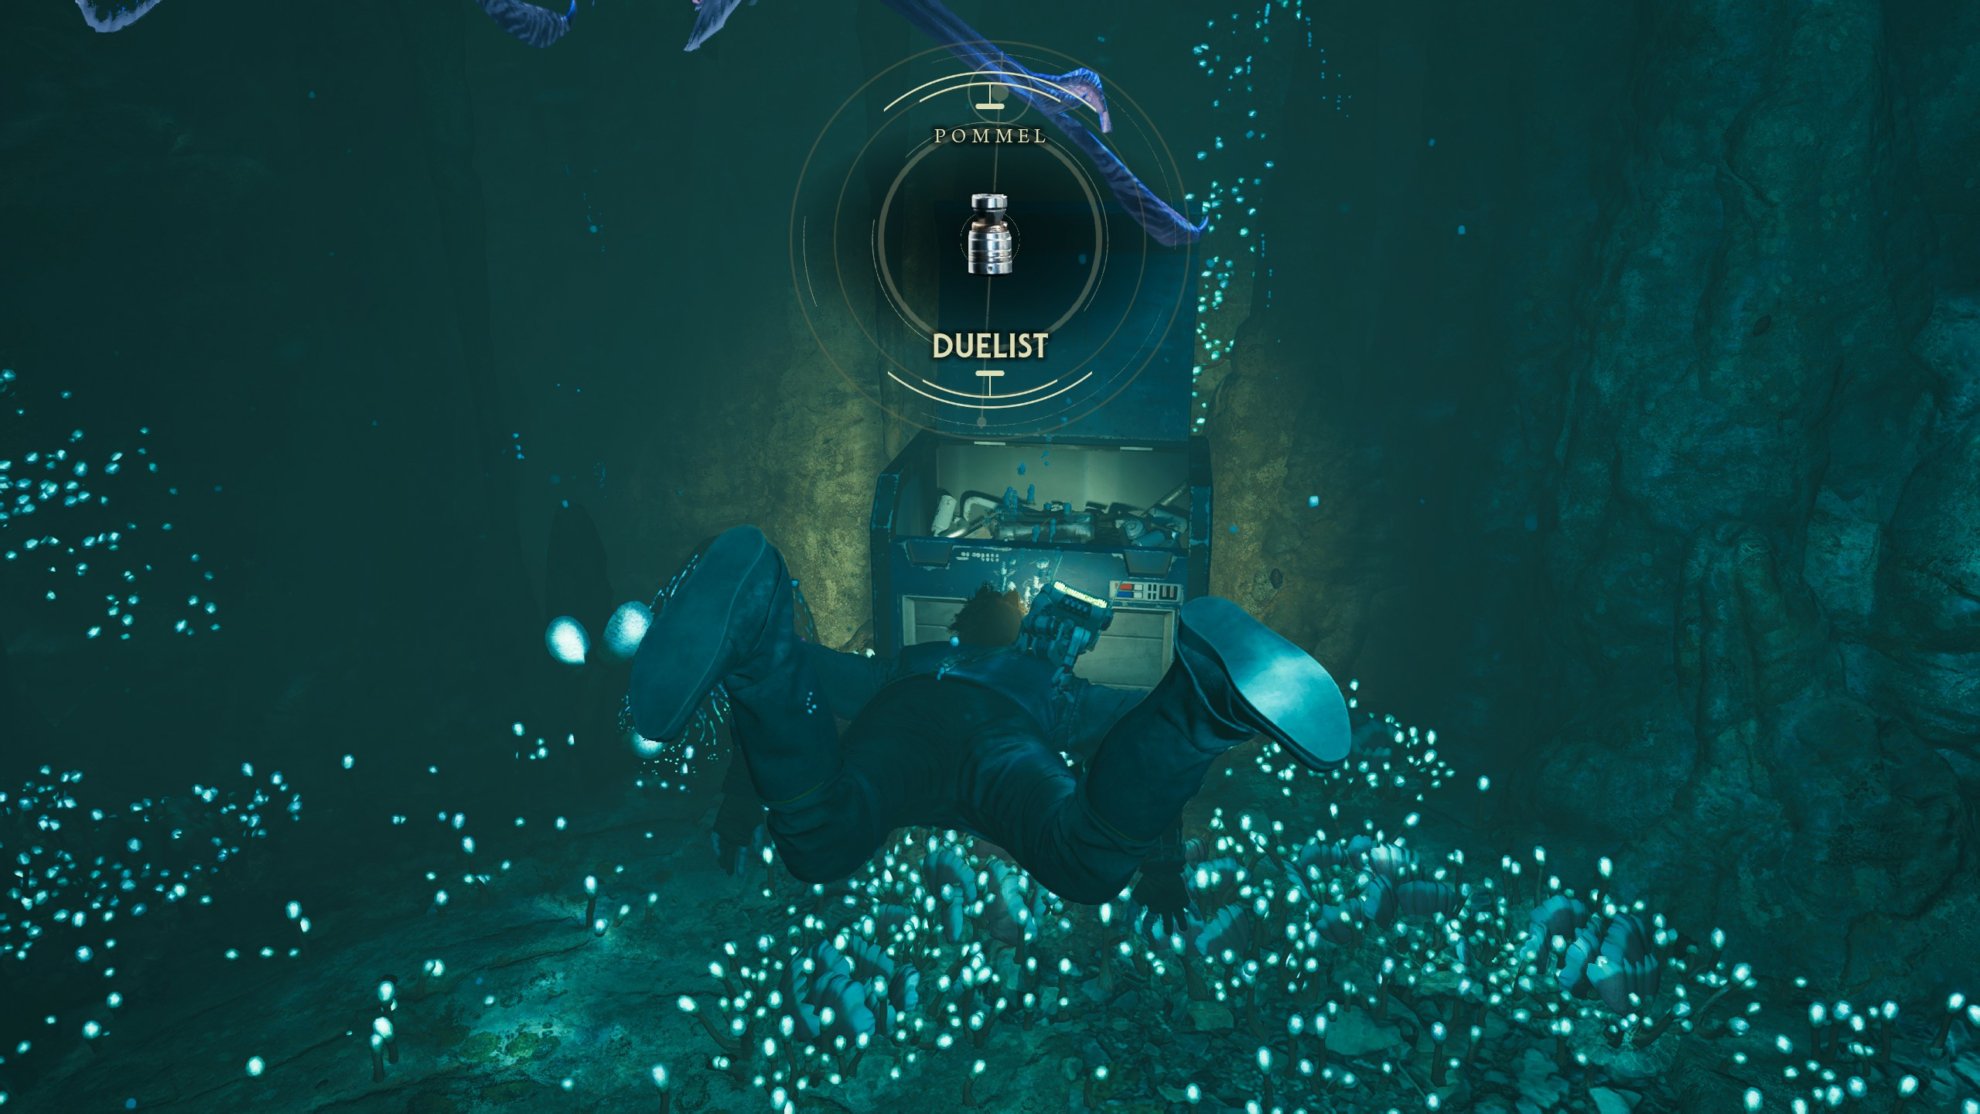
Down here will be a pool where you’ll find Skoova if you recruited him. Talk to him to get another fish for the aquarium then dive down into the water. At the bottom you’ll find chest 3/6 containing the Duelist Pommel.
Swim to the surface, wall jump up the yellow panel and jump across the gap then wall jump up in the orange fungus room to reach the shortcut. Activate the shortcut for an easier time through the fungus room in case you respawn.
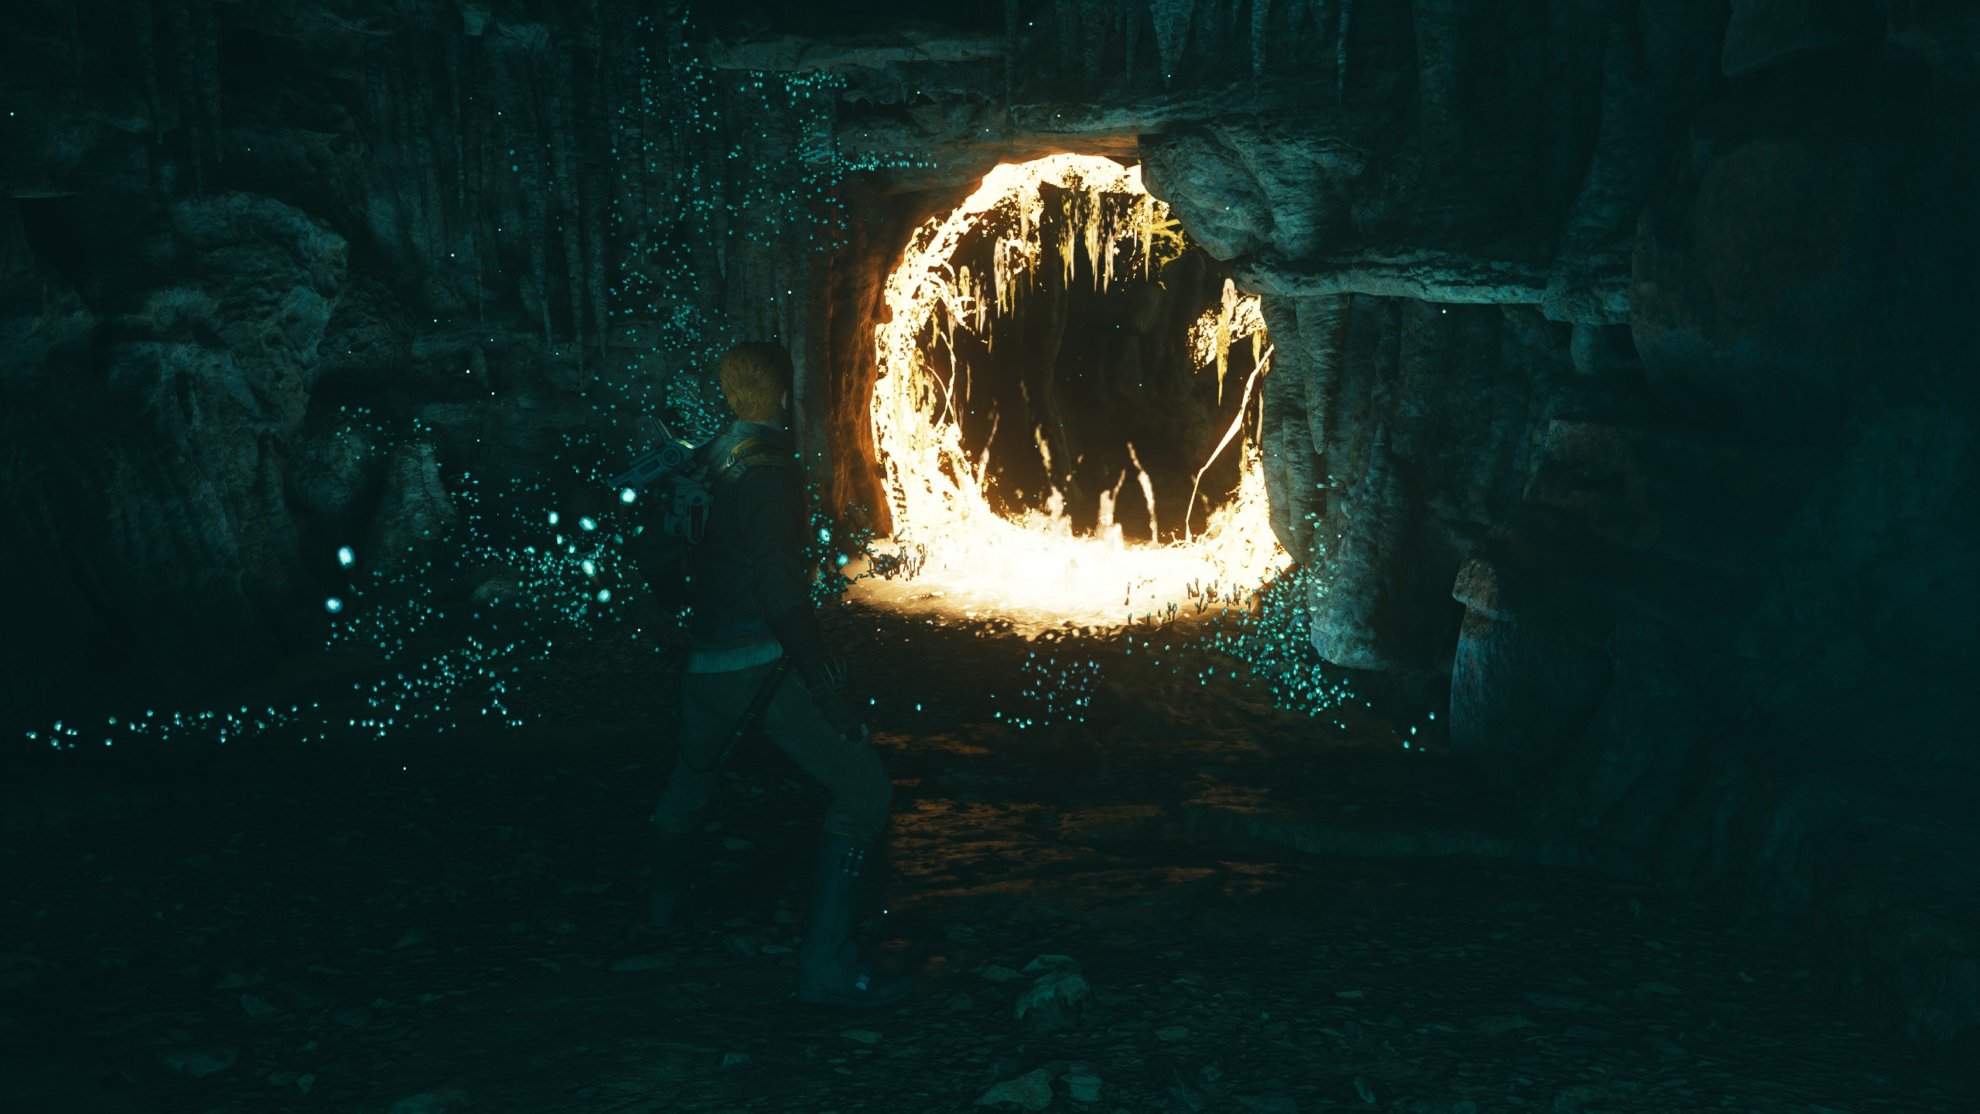
If you bring an orange fungus to the electrified door in the Rancor room and melt the door, you’ll be able to fight the raider and find a Force Echo for Collectible Databank 8/12: As Above, So Below.
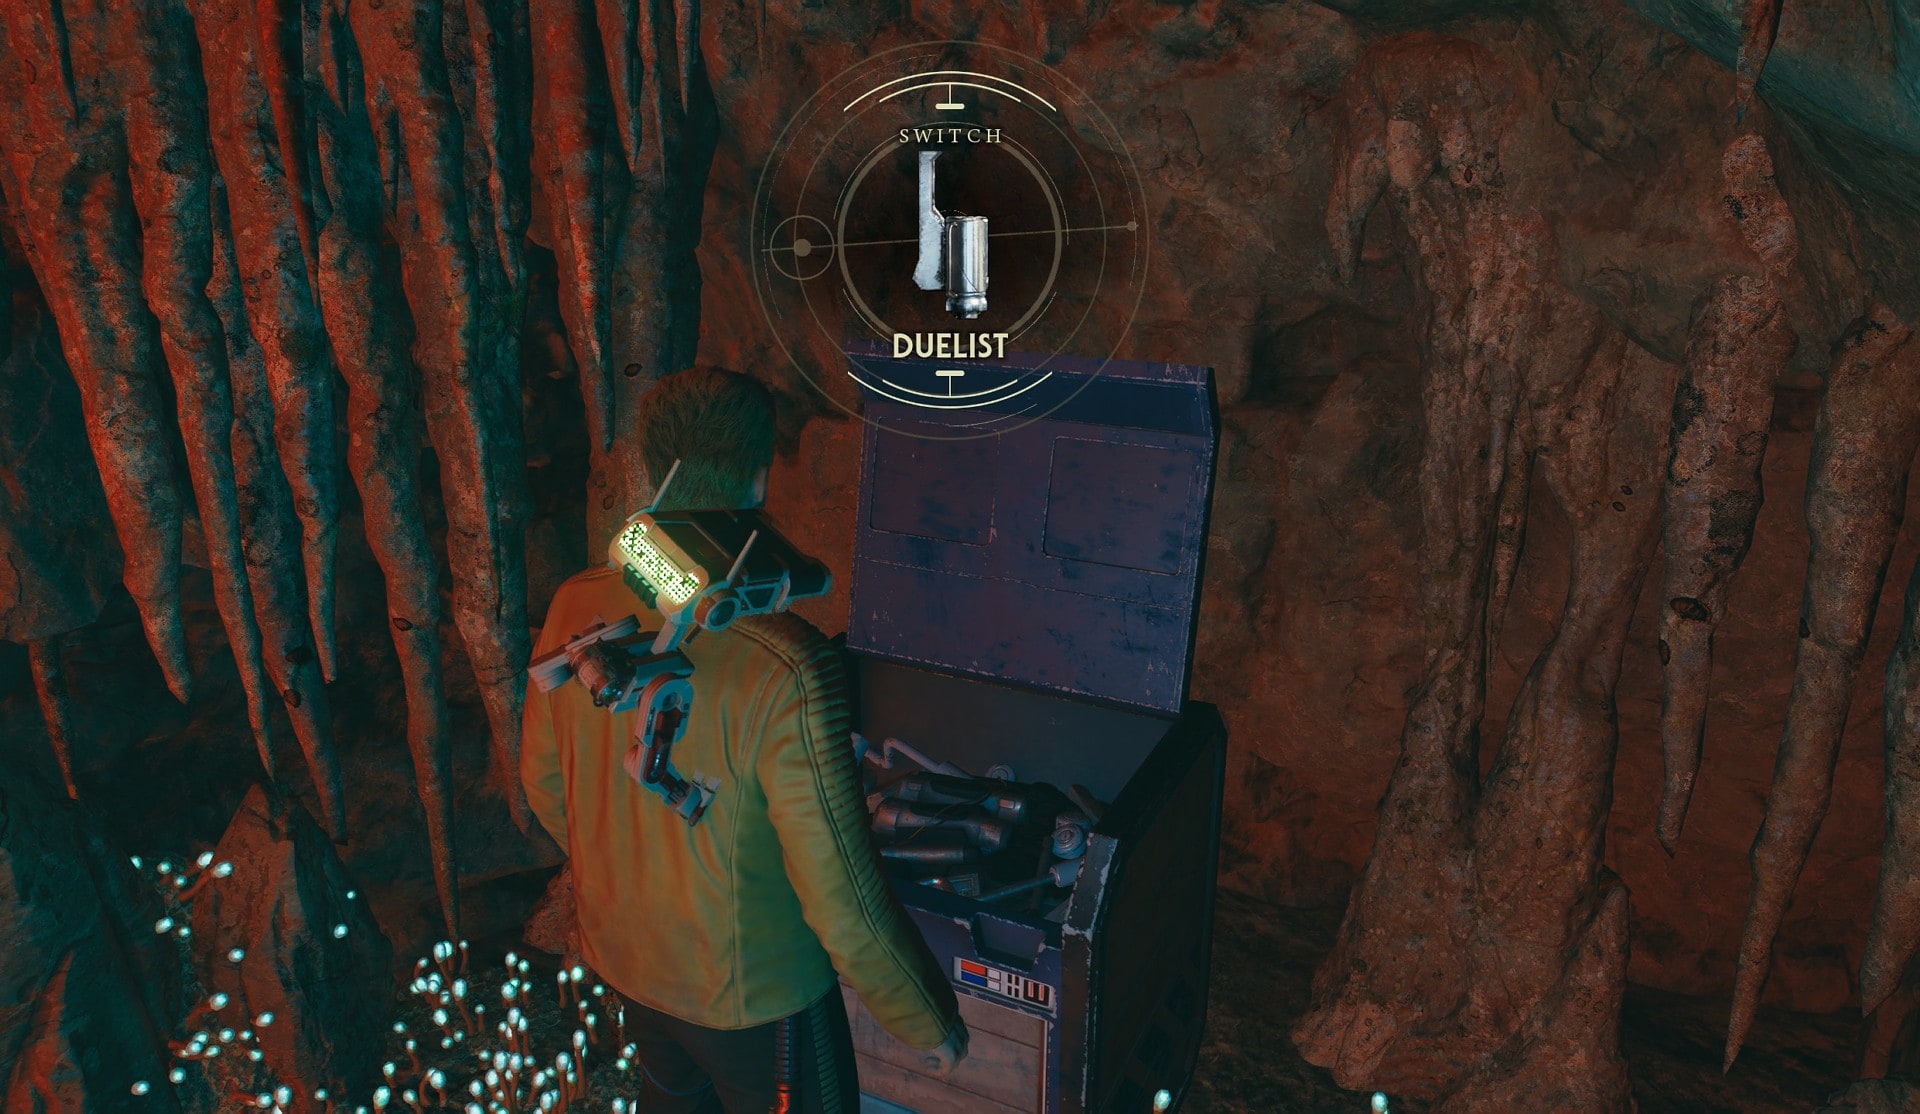
While you’re in this room, look up and you’ll find some hooks you can latch on to with your ascension cable. Scale the shaft to reach chest 4/6 containing the Duelist Switch.
In the path ahead you’ll see an electrified door and some pots. There’s a path to the left as well, go to the left and you’ll fight a MagnaGuard. Defeat it and break the pots to find Collectible Treasure 2/6: Datadisc and continue forwards to fight two more MagnaGuards. Take them out one at a time then break the pots in the area for Collectible Treasure 3-5/6: Datadisc.
You can lead the MagnaGuard droids to the edge and use Force Push to get rid of them quickly without a long fight.
You’ll find an electrified door near one of the MagnaGuards. Force Pull one of the orange fungus and throw it at the door to melt it. Go through the green barrier inside and open the chest 5/6 to get the Duelist Hilt.
We have a complete catalog of the locations of all Lightsaber Components in the entire game if you are eager to collect them all!
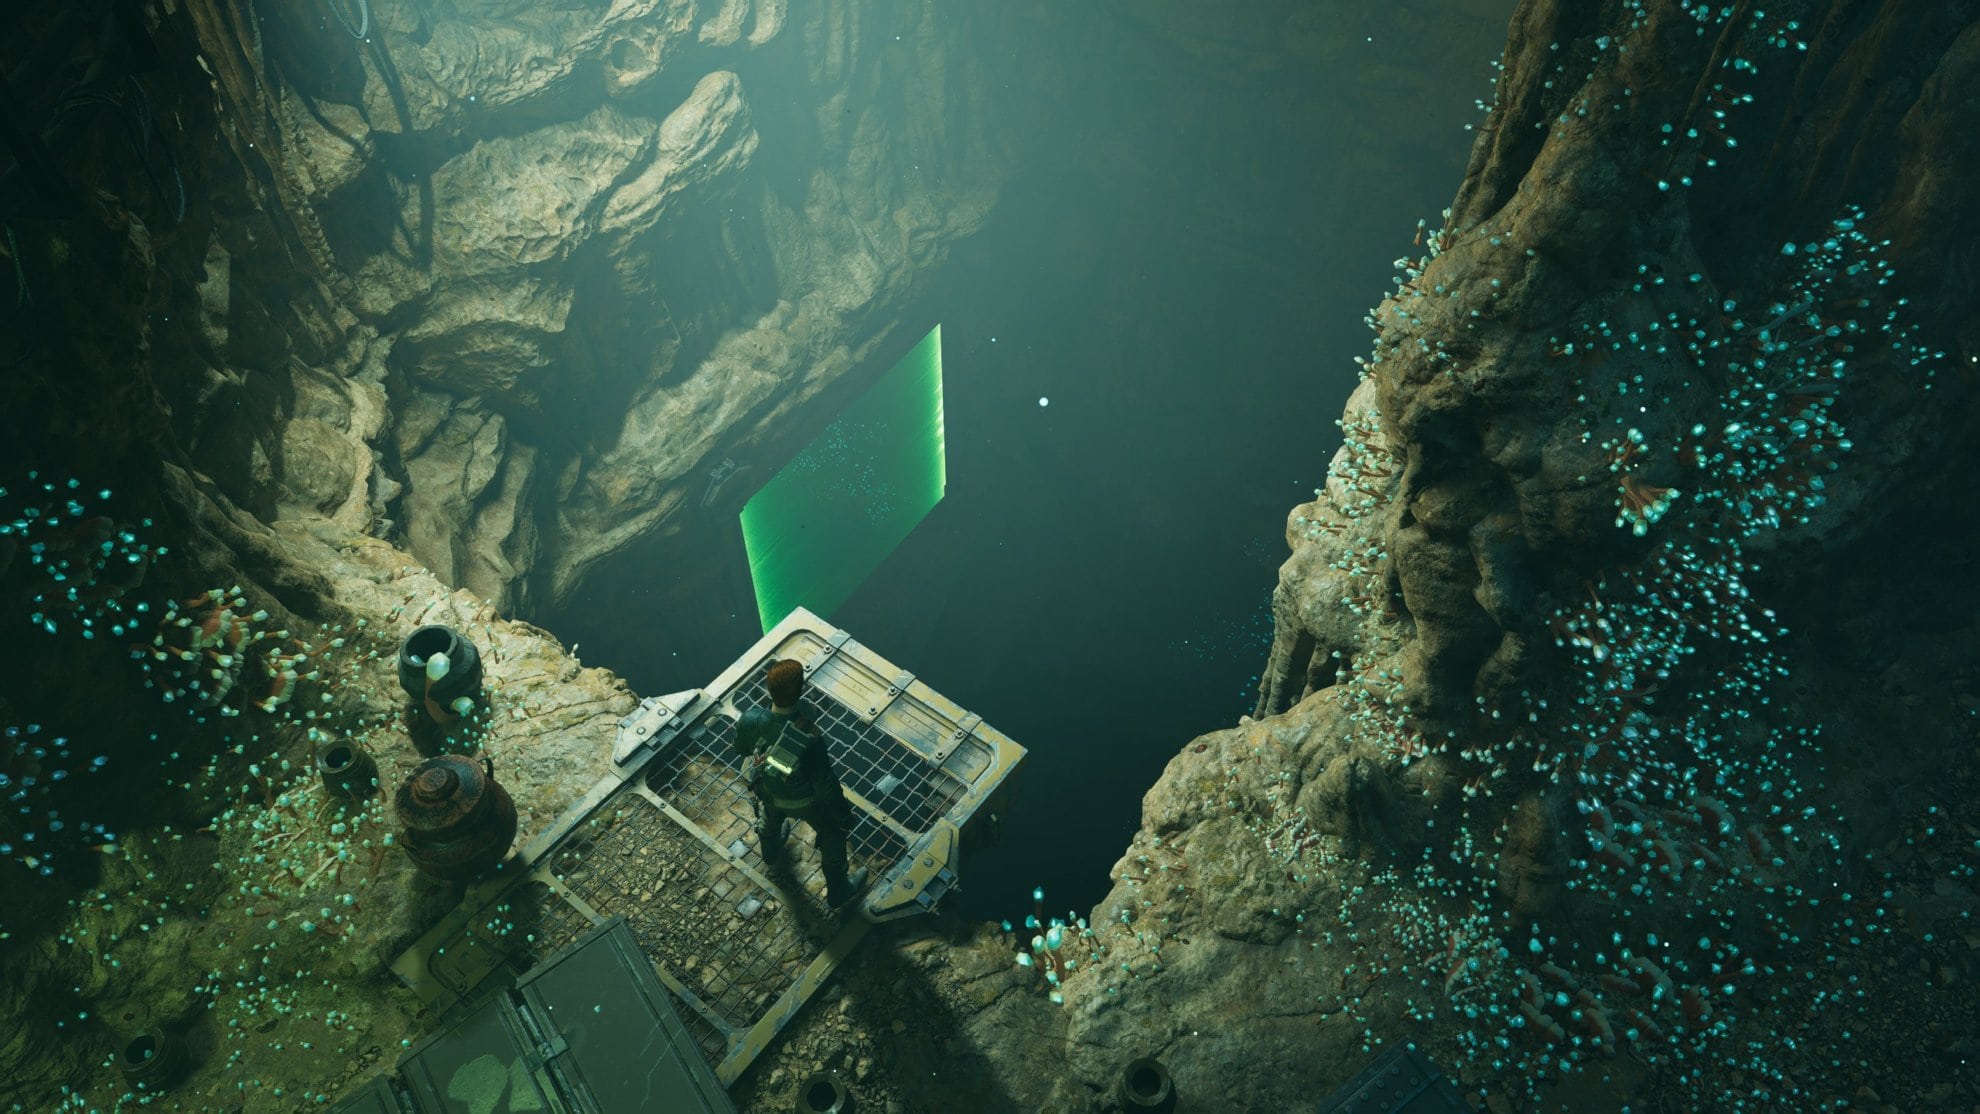
Continue deeper into the cavern and go up the elevator to the left and meditate at the Meditation Point. Refill your stims if you need to then go back down the elevator. Jump down and dash through the green barrier below to pick up Skill Point Essence 2/3.
Jump through the green barrier, jump then dash into the metal panel ahead of you. Wall jump all the way up the panel to find a terminal you can slice into. This will allow you to pick up Slice: MagnaGuard. Jump down below to move on into the cave. As you attempt to move forward, you’ll fall into a trap both figuratively and very literally.
When you’re on stable ground, wall jump up the panel and go through the green barrier. In this next room you’ll find a corpse you can scan for Collectible Databank 9/12: Dead Jedi. You can also pick up Collectible Treasure 6/6: Datadisc in this room as well.
Force Pull the orange fungus on the wall and throw it at the electrified door to melt it. Go through and toss another orange fungus at the next electrical door above you. Interact with the Force Echo to pick up Collectible Databank 10/12: A Fallen Knight. Wall jump up to the now open door and go through then destroy the next door with the orange fungus.
Boss Fight: Urjef Mekor, Sebb Eshan, and “Prince” Patren
This boss fight can be easy or very difficult depending if you defeated the raiders earlier. I didn’t do this my first time around so I ended up having to fight all three at the same time. Pairing this with a very confined space, you’re going to have a rough time in here especially on higher difficulties.
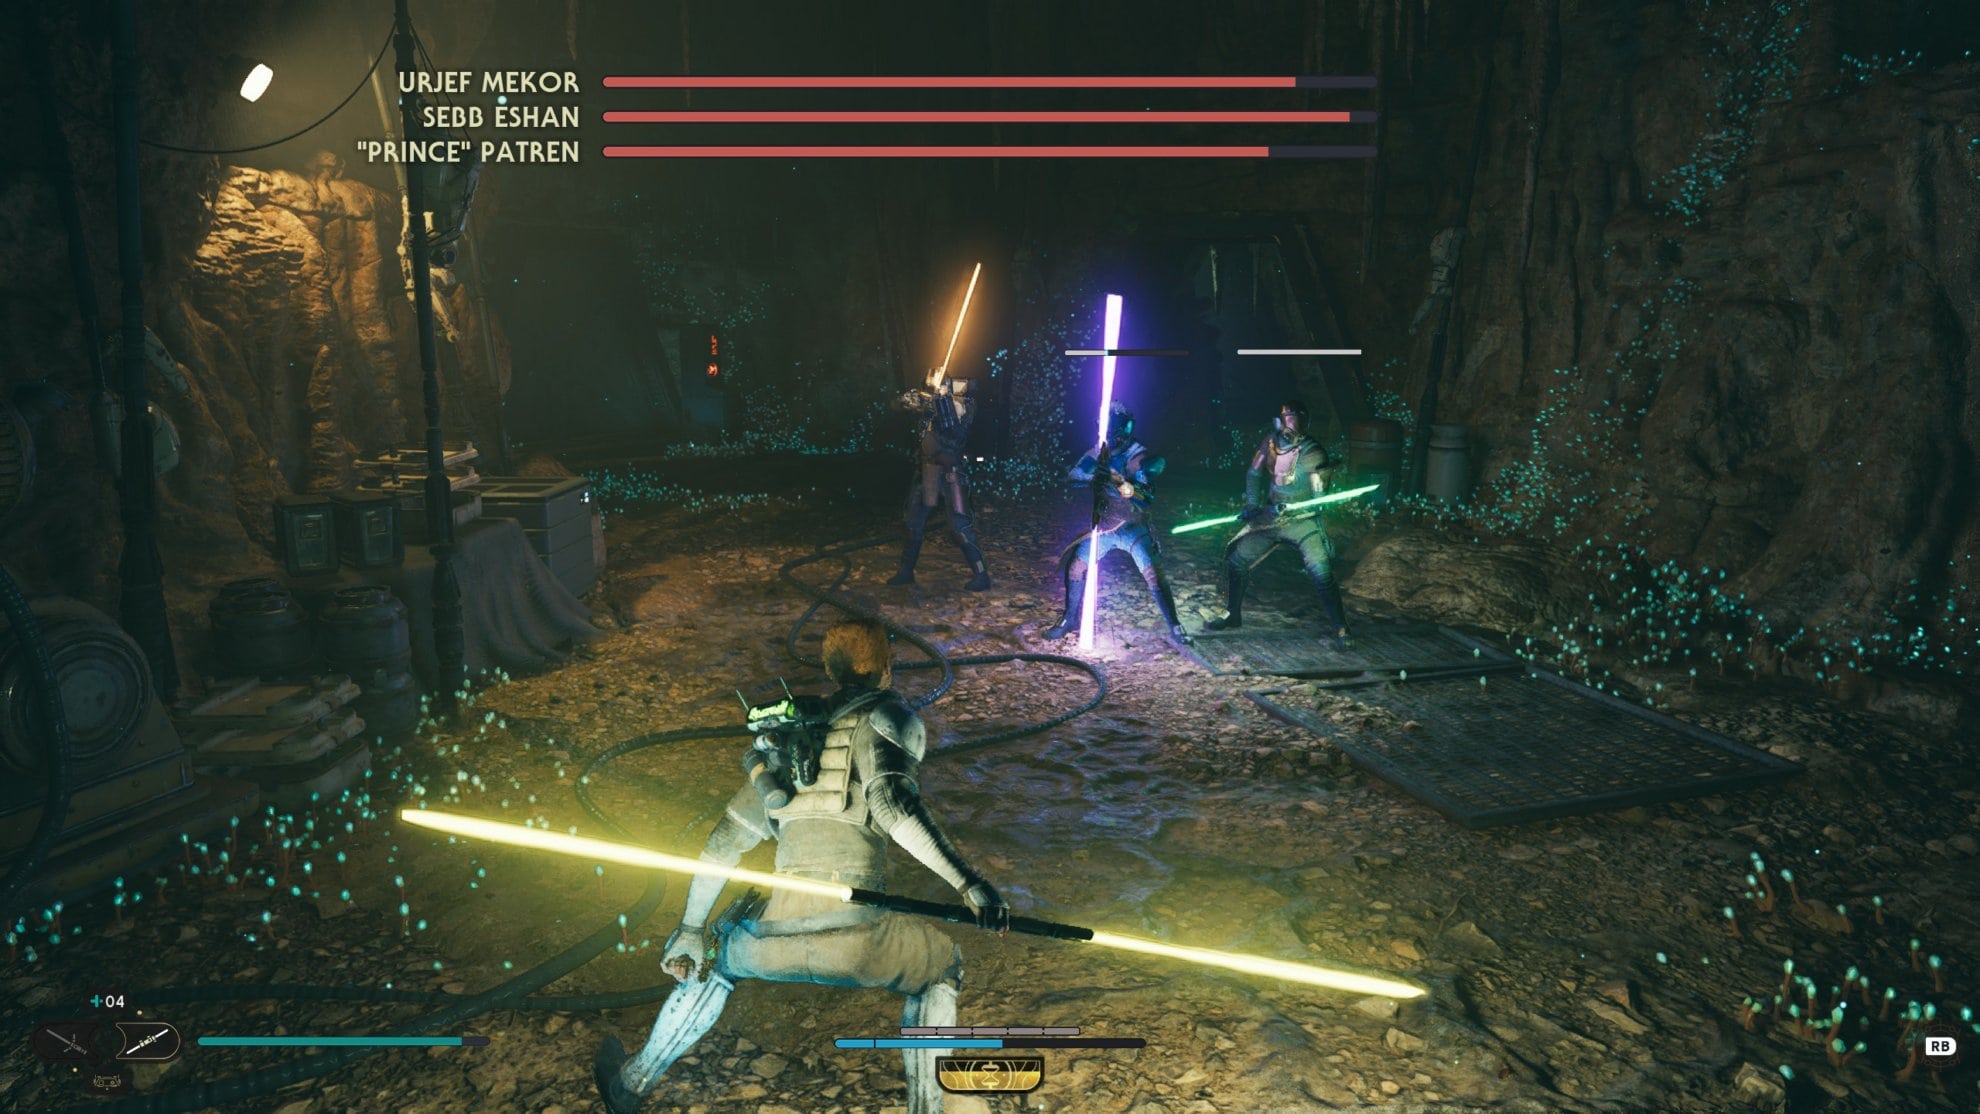
If you end up having to fight all three, try to get your swings in before more show up to make the coming fight a tad easier. Try using a more nimble weapon such as the double-bladed lightsaber and jump over them if you get caught in a corner.
Watch out for the thermal detonators and blaster shots coming from “Prince” Patren. Focus on dodging their attacks and chipping away at them for the time being until you can take one down. Repeat the process with the second raider then finish off the last raider.
After defeating the raiders, have BD-1 slice through the door to find a Force Echo. Interact with it for Collectible Databank 11/12: Rayvis’ Search. Climb up the grate, wall jump up to the green barrier, and pass through. Have BD-1 scan the terminal to pick up Collectible Databank 12/12: Republic Control Room.
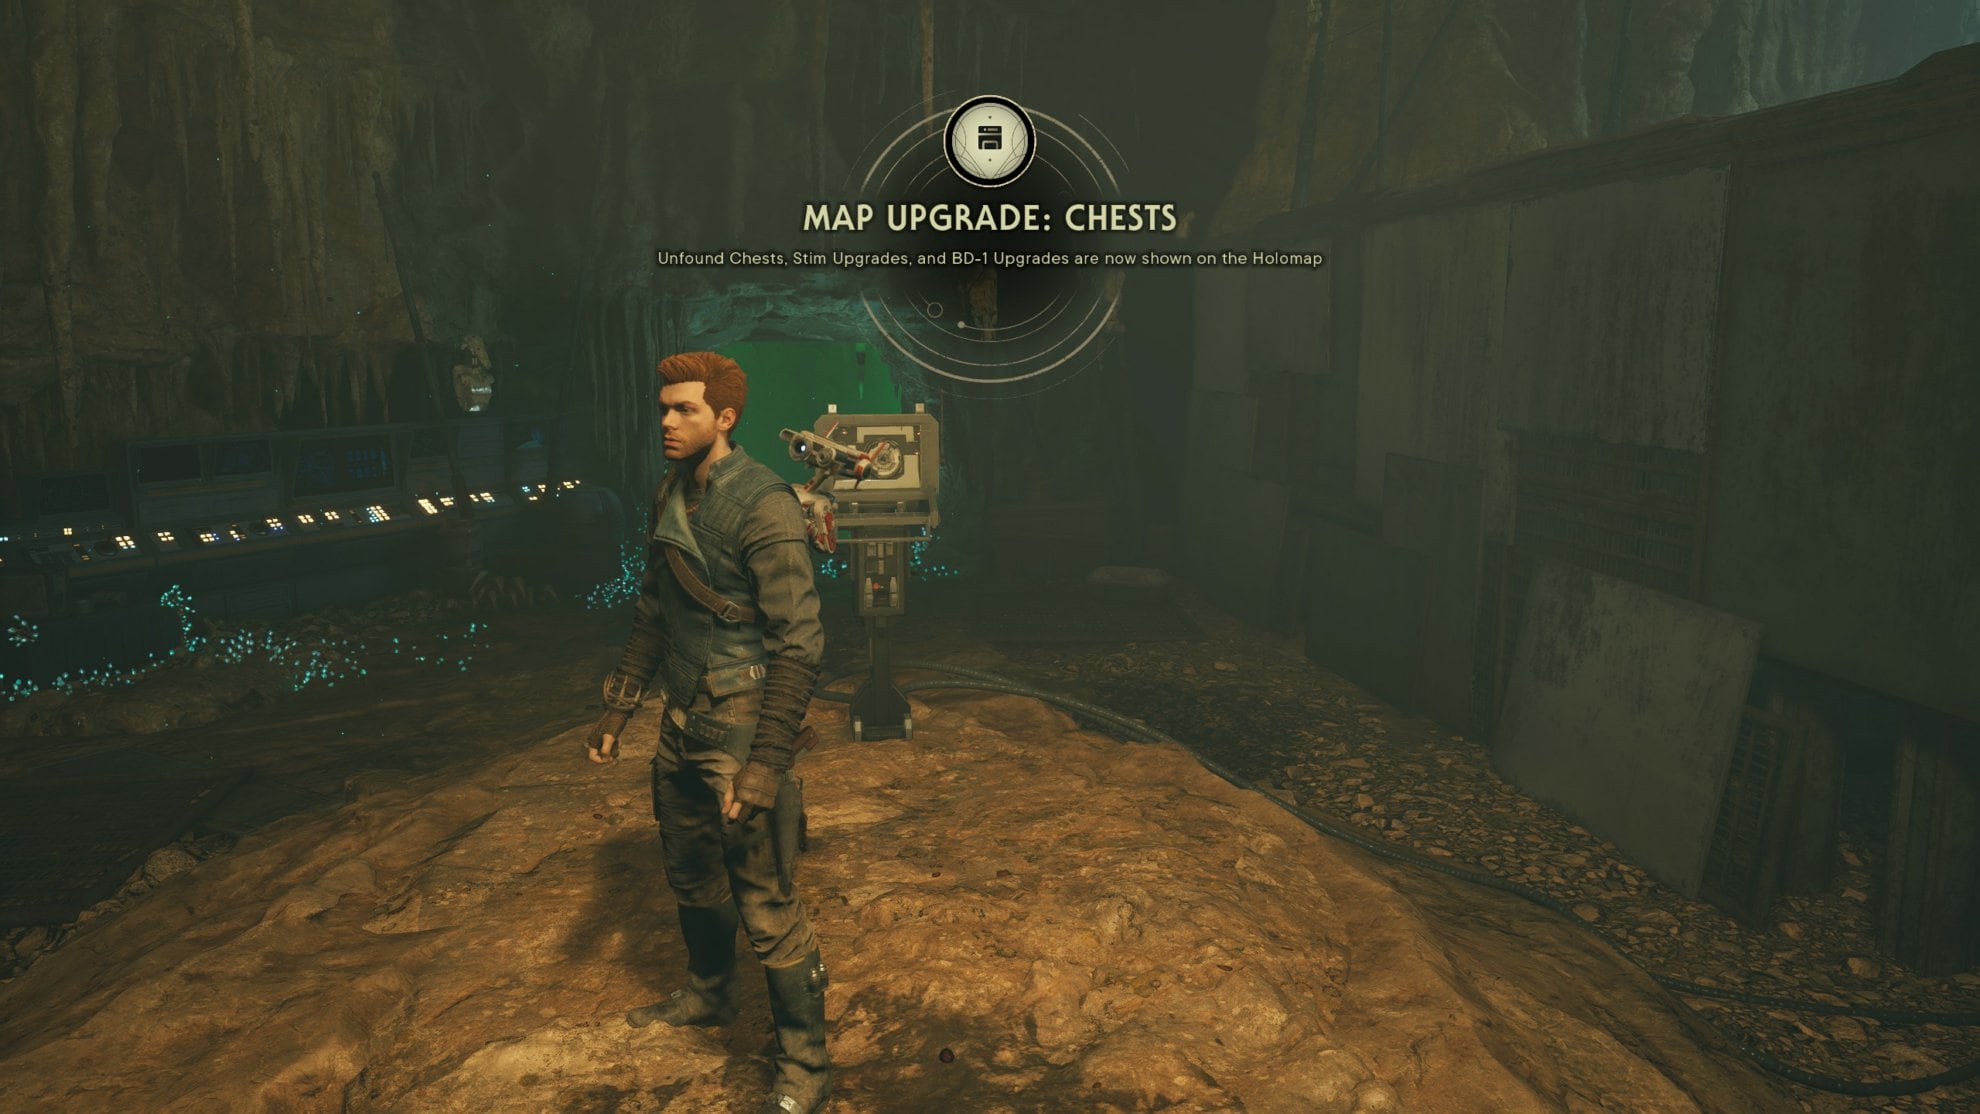
Slice into the terminal in the center of the room to bring down the shields and pick up Map Upgrade: Chests (chest 6/6). You’ll now be able to see chests, stim upgrades, and BD-1 upgrades on the map.
Go up the metal ledge and unlock the door. To the left will be Skill Point Essence 3/3, pick it up then take the right path to dive underwater. Once you make it to the other side, you’ll find yourself in the Smuggler’s Tunnels near your room. Make your way back to your room’s Meditation Point to save your progress.
Completing the Phon’Qi Caverns will grant you the It’s a Trap achievement.
Where to find the other Map Upgrades
You can display the locations of all Treasures on each map in the game if you obtain the Map Upgrade: Treasures from the Wayfinder’s Tomb on Jedha. To access it, you must first solve three puzzles in the Narkis Desert. And we have guides to each one of them:
- Jedi Survivor Jedha Path of Persistence Puzzle Guide
- Jedi Survivor Jedha Path of Restoration Puzzle Guide
- Jedi Survivor Jedha Path of Conviction Puzzle Guide
Each one of these will reward you with an additional Perk Slot as well.
To get the Map Upgrade: Upgrades shown on your map, you have to complete all Jedi Chambers Puzzles on Koboh.
To see the locations of all seeds, complete the Garden on the Roof of Pyloon’s Saloon. This will unlock the Map Upgrade: Seeds for you.
The Map Upgrade: Databanks unlock terminal is located in the commander’s office on Nova Garon.
Looking for more Jedi Survivor Collectible Locations Guides? We’ve got them. Whatever you are looking for, check our Jedi Survivor Guides Master List and you are likely going to find it there.


