This guide shows you how to discover the rumor to check on the Jawa Settlement on Koboh in Star Wars Jedi Survivor, how to get there and how to traverse the area and get the Skill Point Essence and all other collectibles locations, so you can 100% complete this area!
Table of contents
How to Discover the Rumor: Check on the Jawa Settlement
You can visit the Jawa Settlement pretty early on in your adventures on Koboh. To fully explore it and get to the end, you will need to progress enough in your main story to unlock the ability to dash in the air. This is granted to you during your second visit to Jedha.
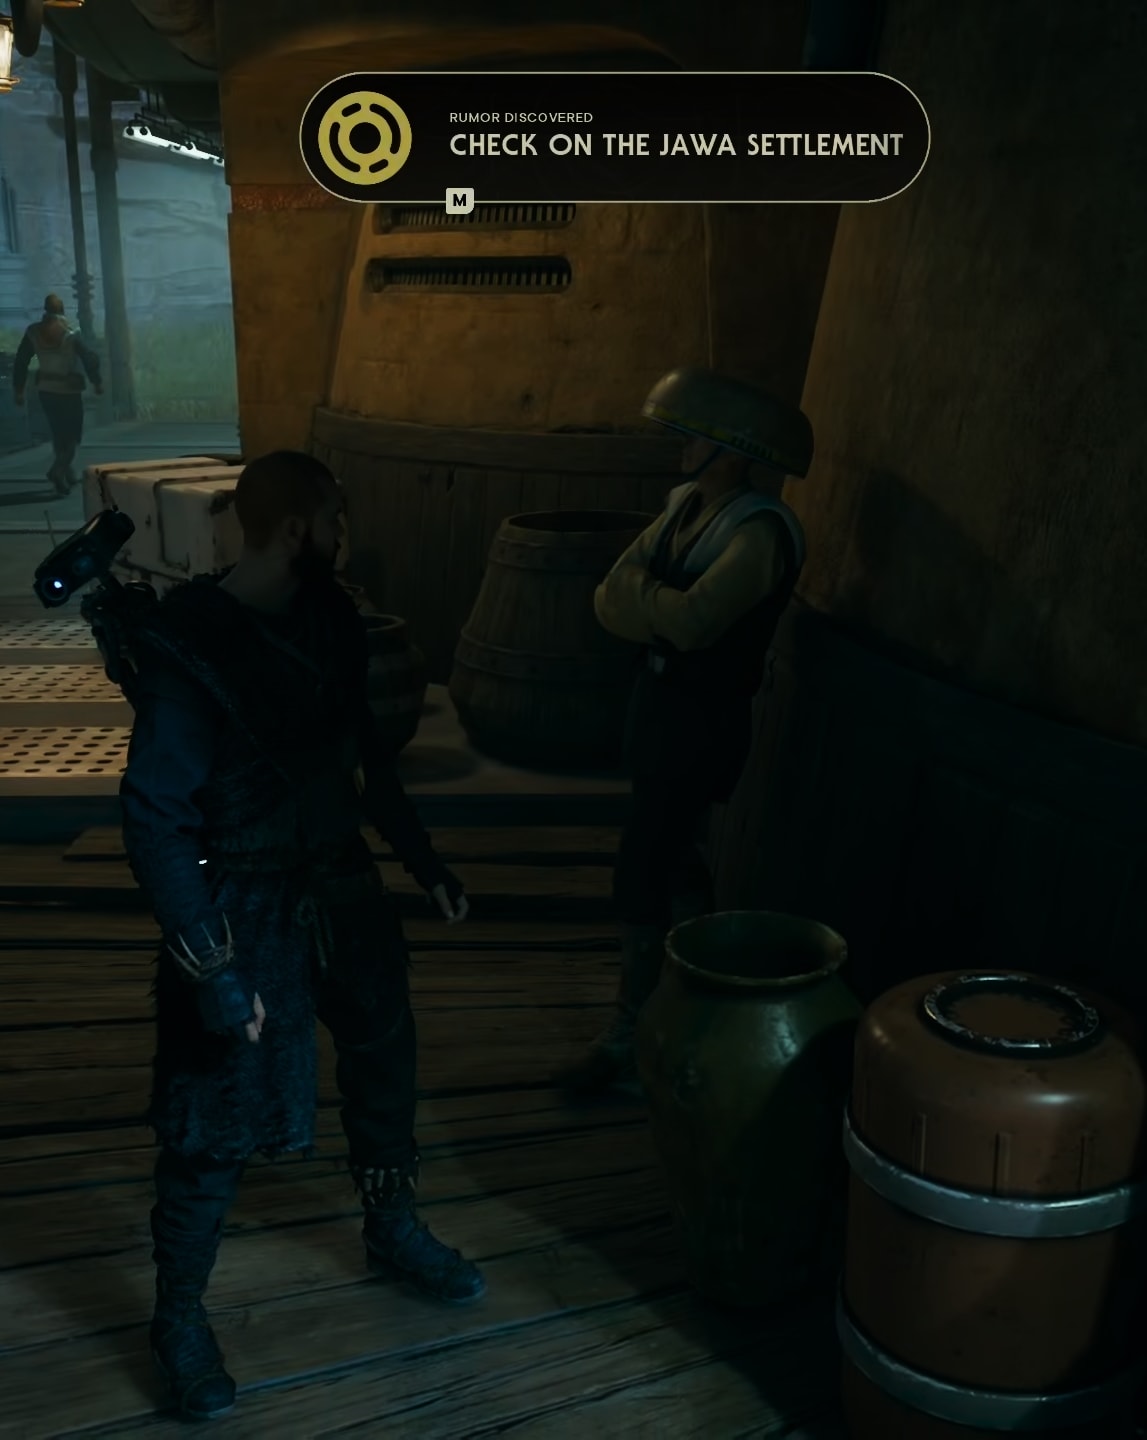
If you want to immerse yourself even further into the story, you can talk to the old prospector in the Koboh Rambler’s Reach Outpost who will tell you about the Jawas Settlement going all quiet.
You will easily recognize the NPC. He hands around the Saloon, outside, and wears what I could describe as a large bowl on his head.
The following needs confirmation (Spoilers!):
This guy appeared in front of the Saloon at a very specific moment in the main story progression, right after the mission to save Zee on the Lucrehulk ship. This is the moment on Koboh when it’s nighttime. Since you don’t really need the rumor to go explore, it’s not a big deal when exactly this guy will talk to you about the settlement.
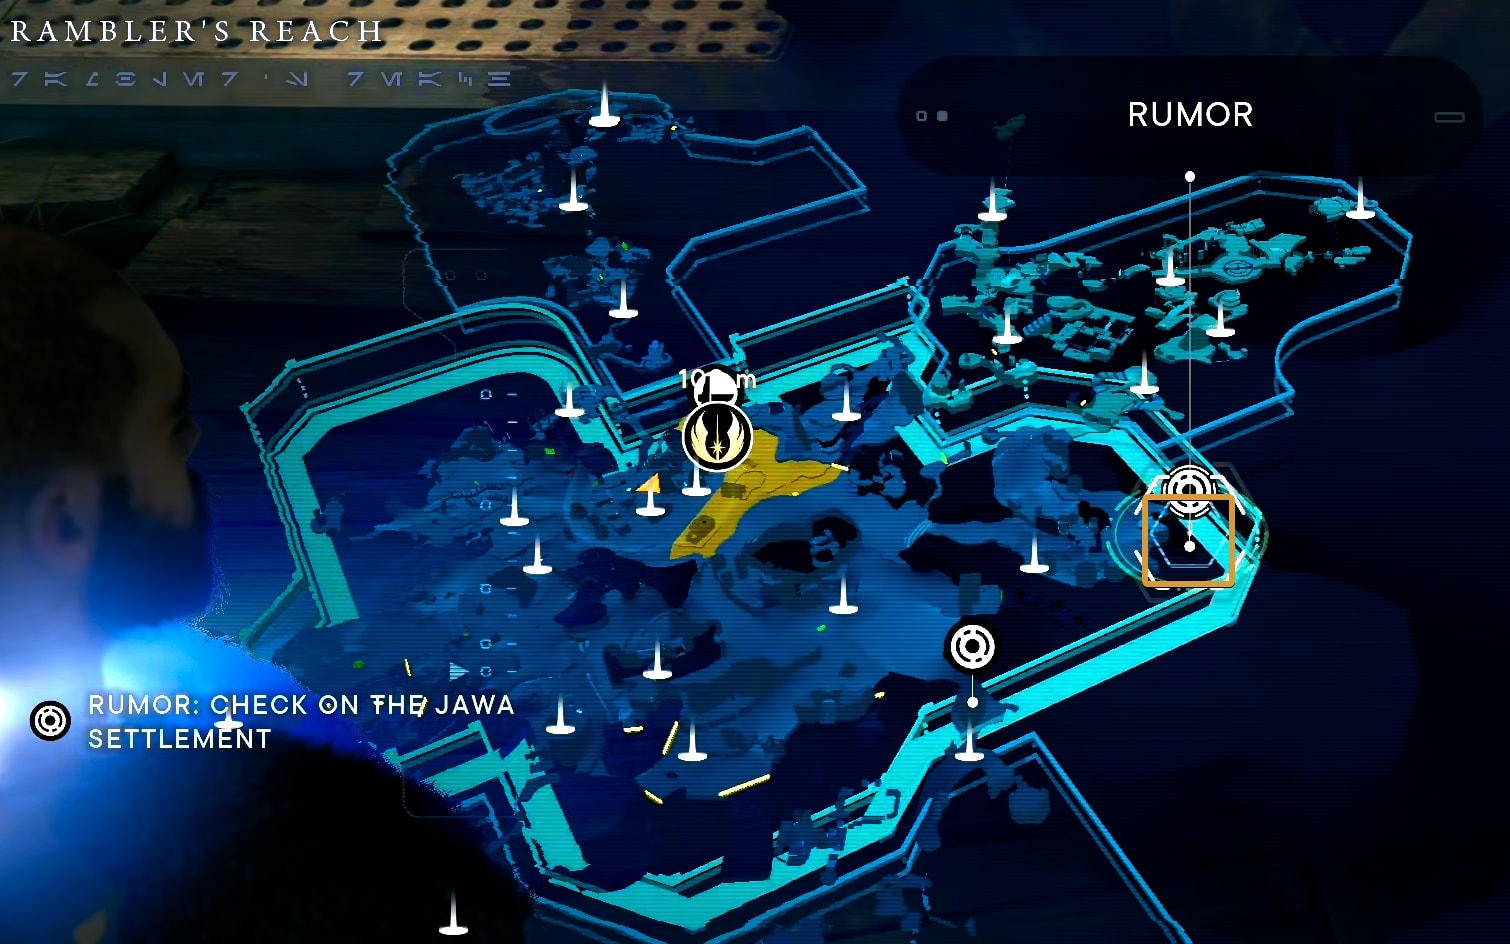
How to get to the Jawa Settlement on Koboh
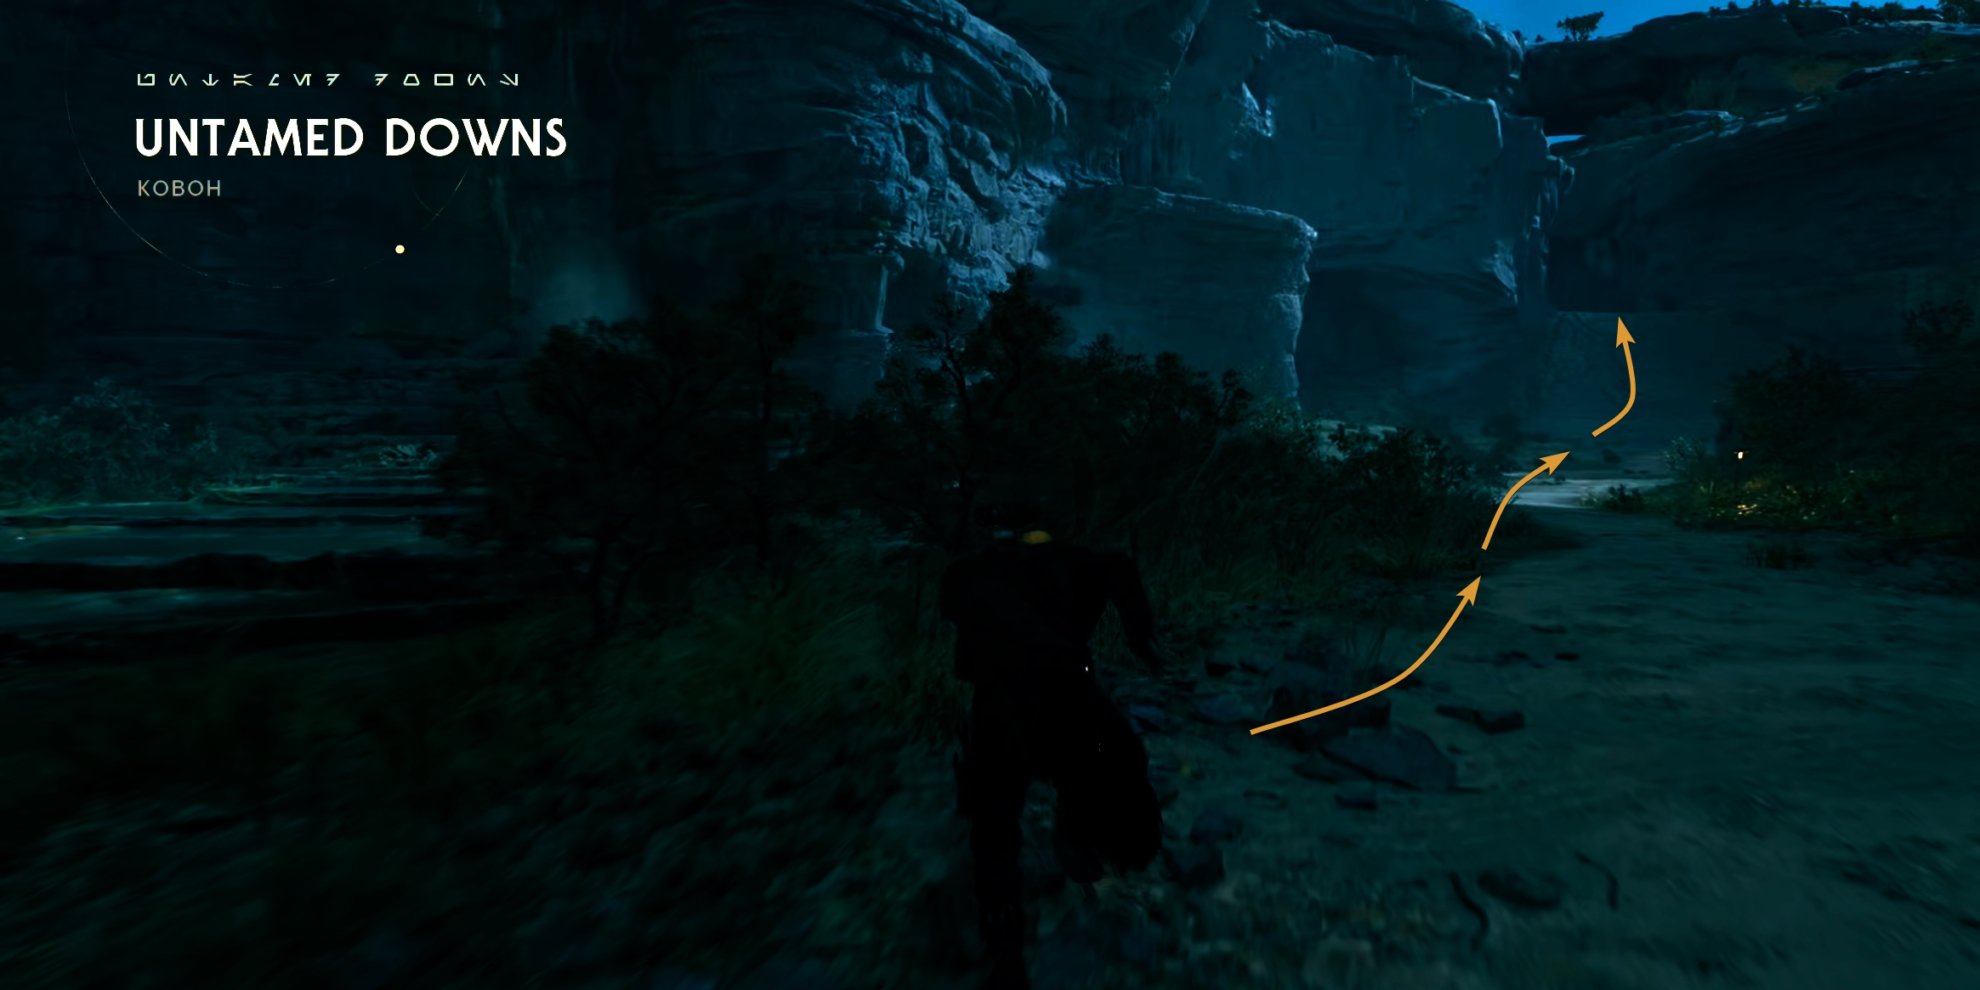
The Jawa Settlement is at the far end of the Bilemaw Den in the Basalt Forest. From the Saloon, turn left, past the stables cross the river at the metal bridge.
Follow the path leading up the slope with flowing water. You’d need a Nekko mount to walk up there.
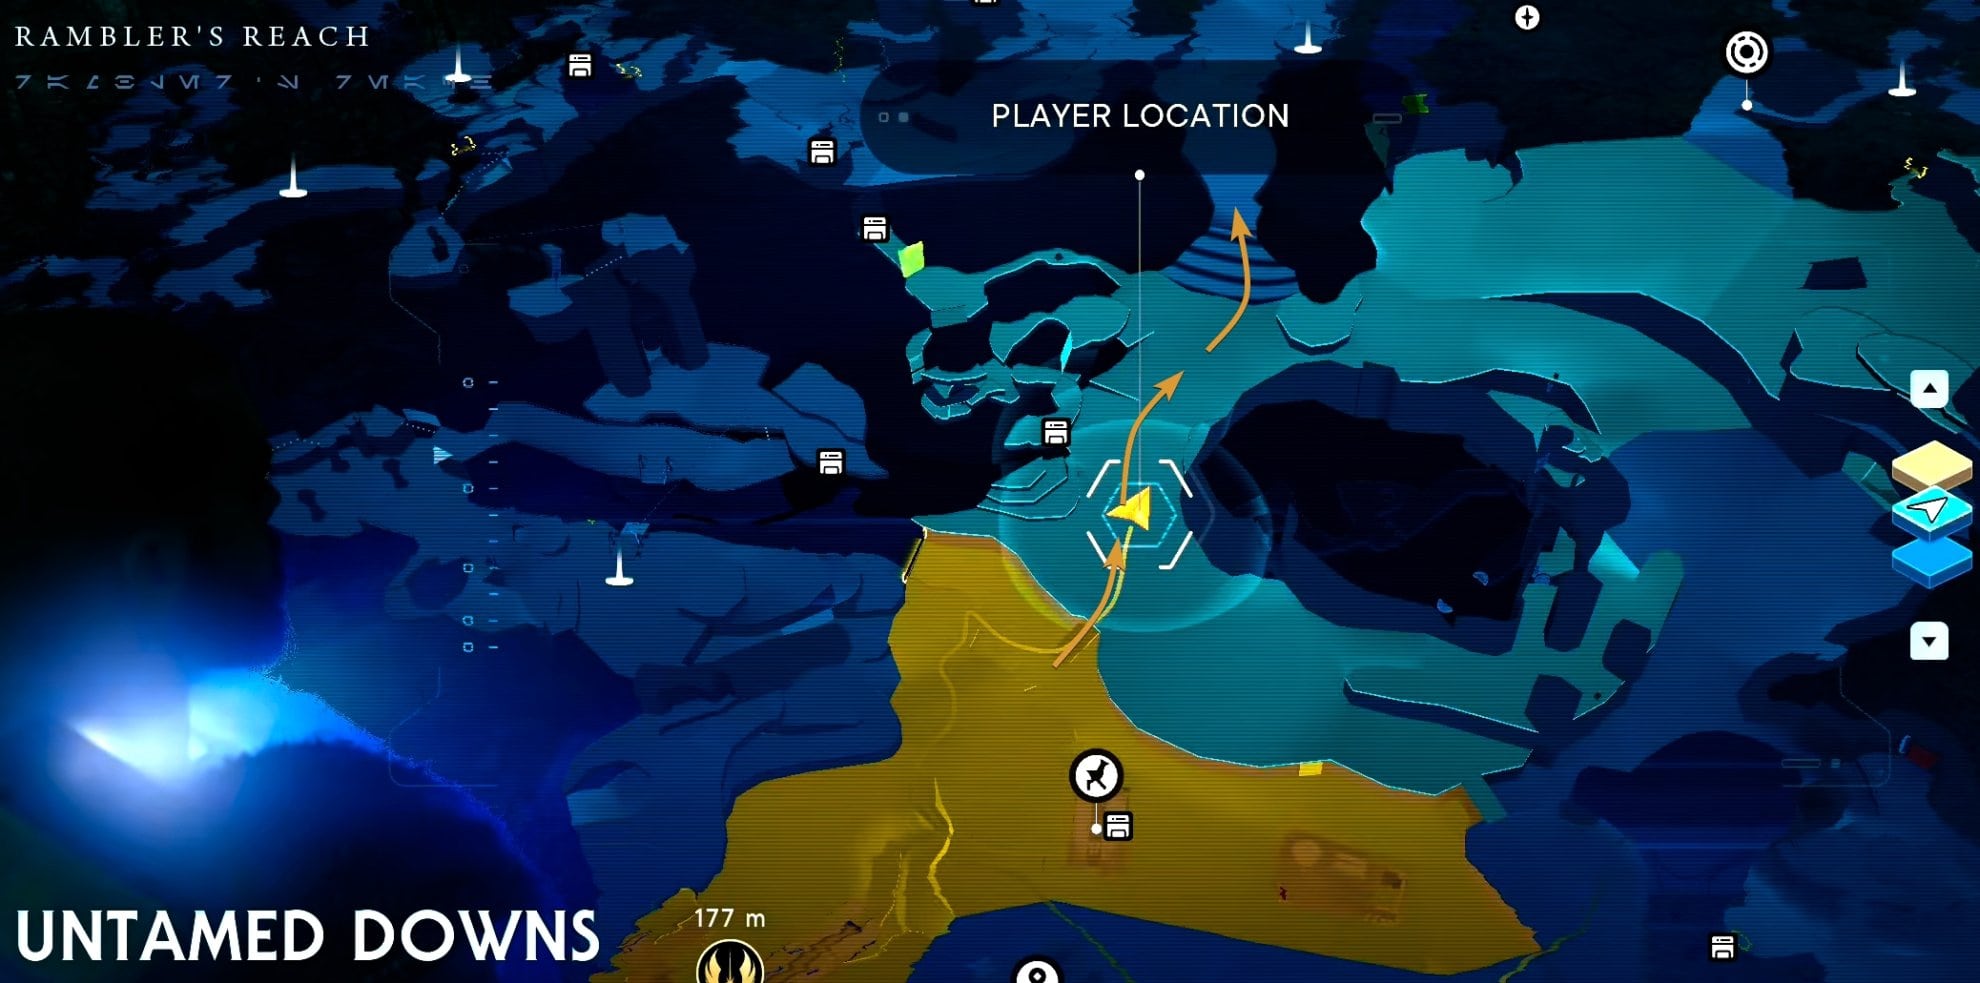
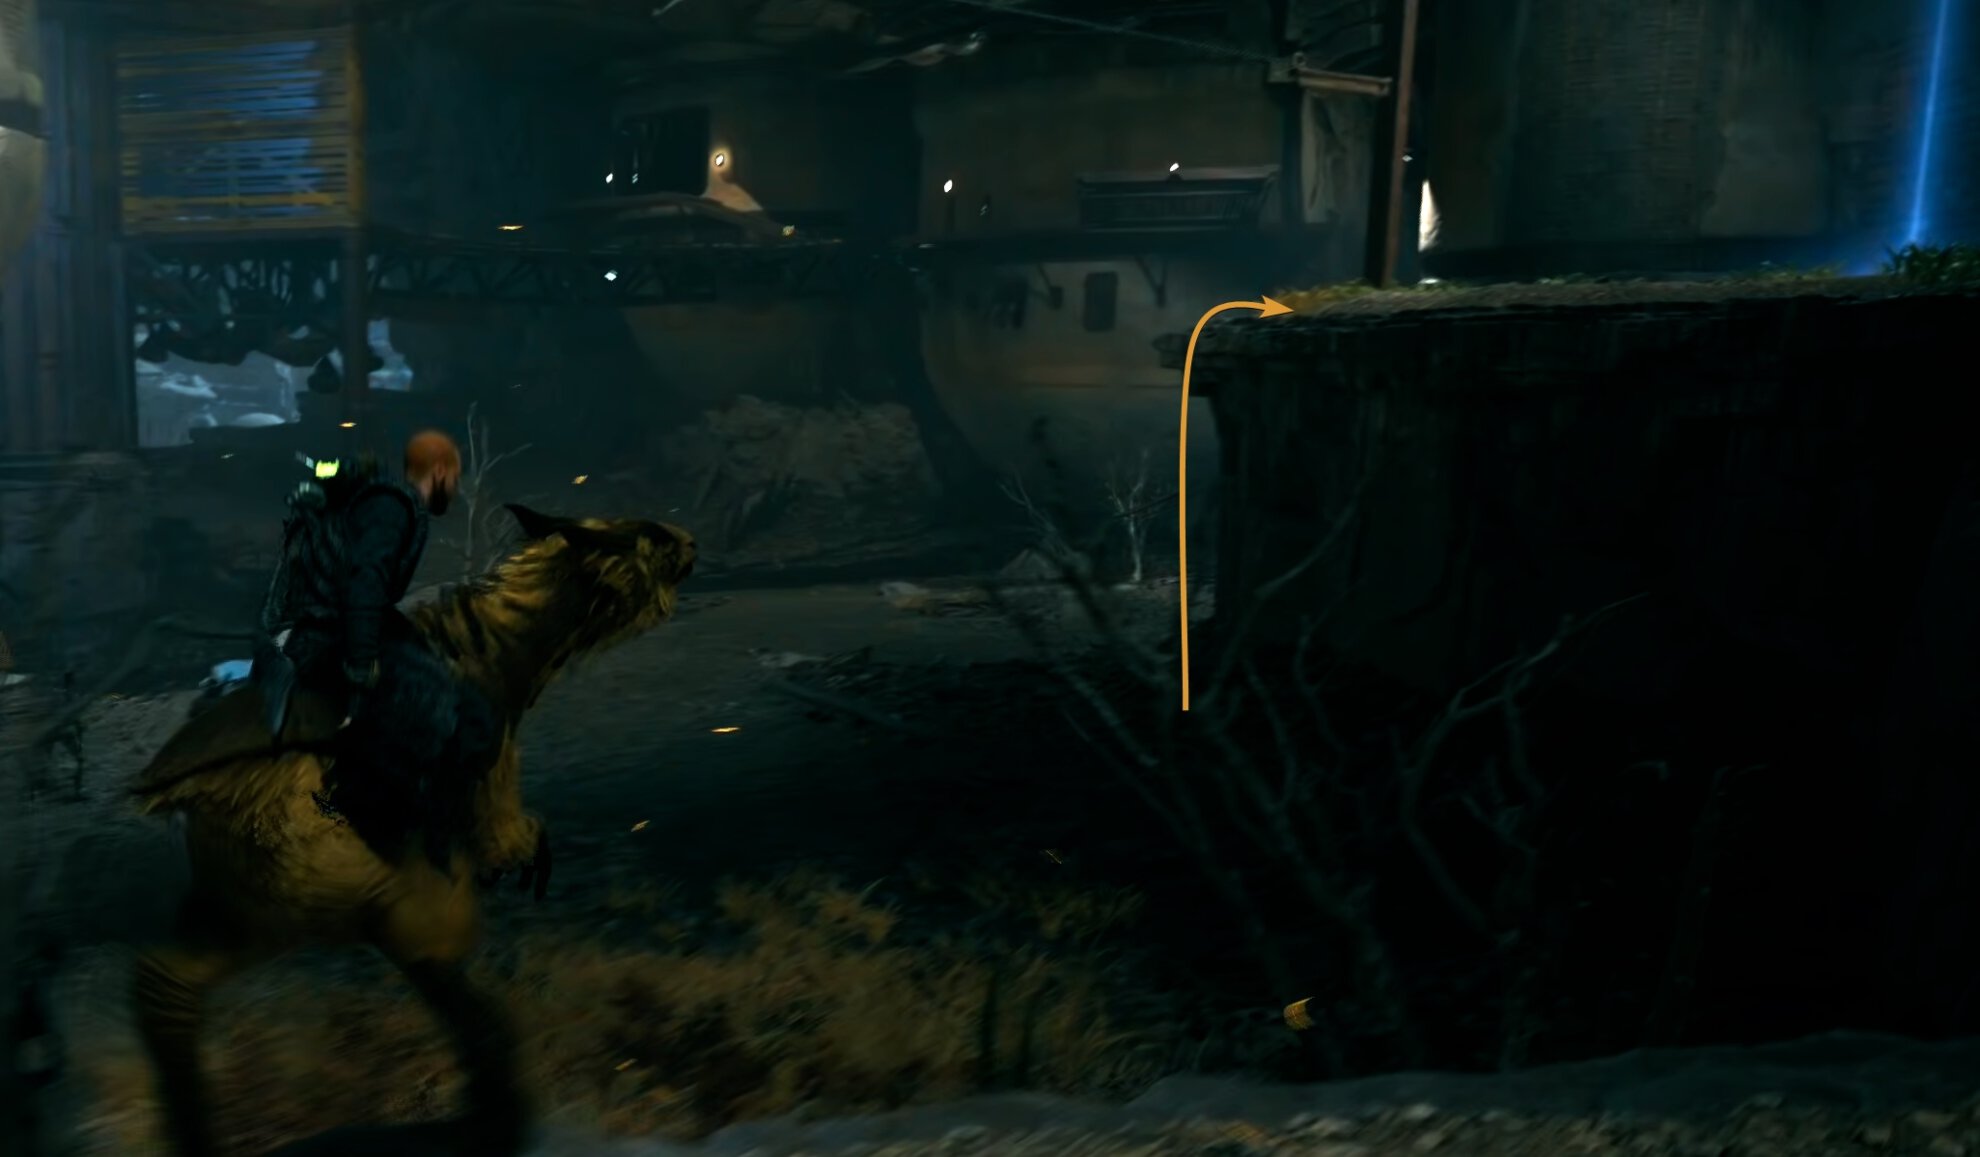
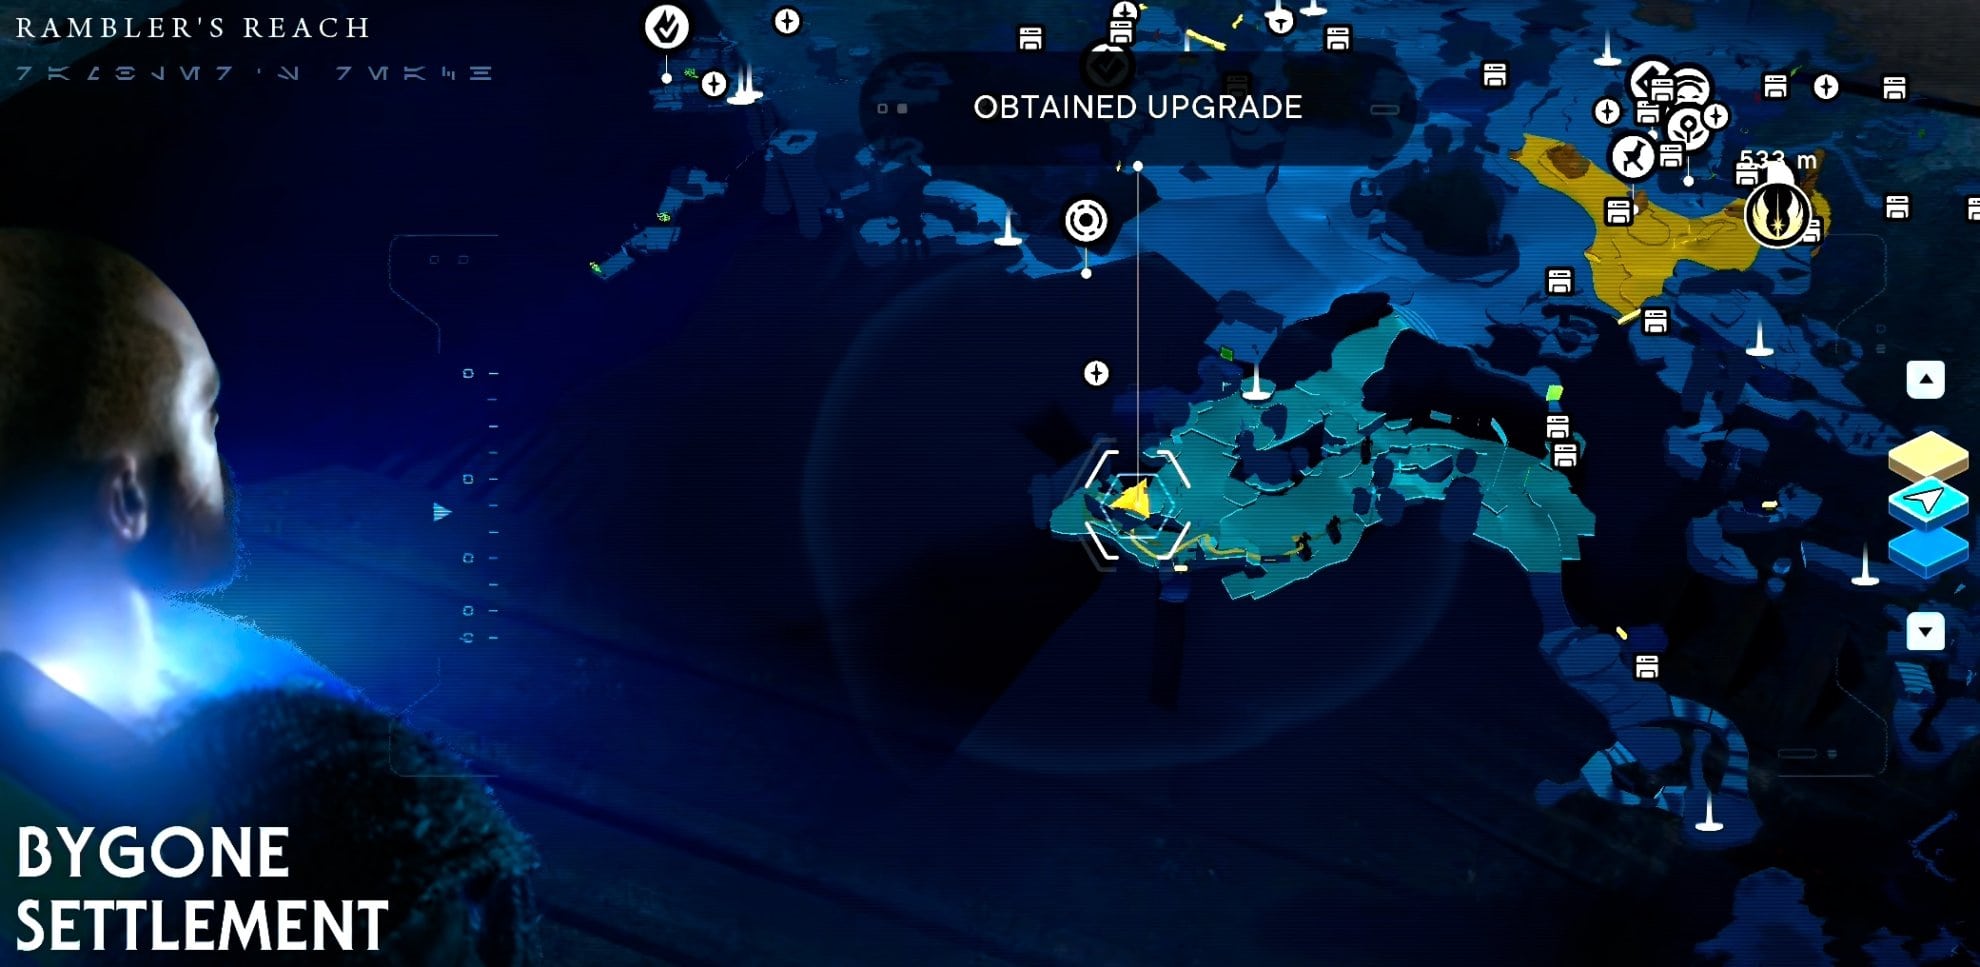
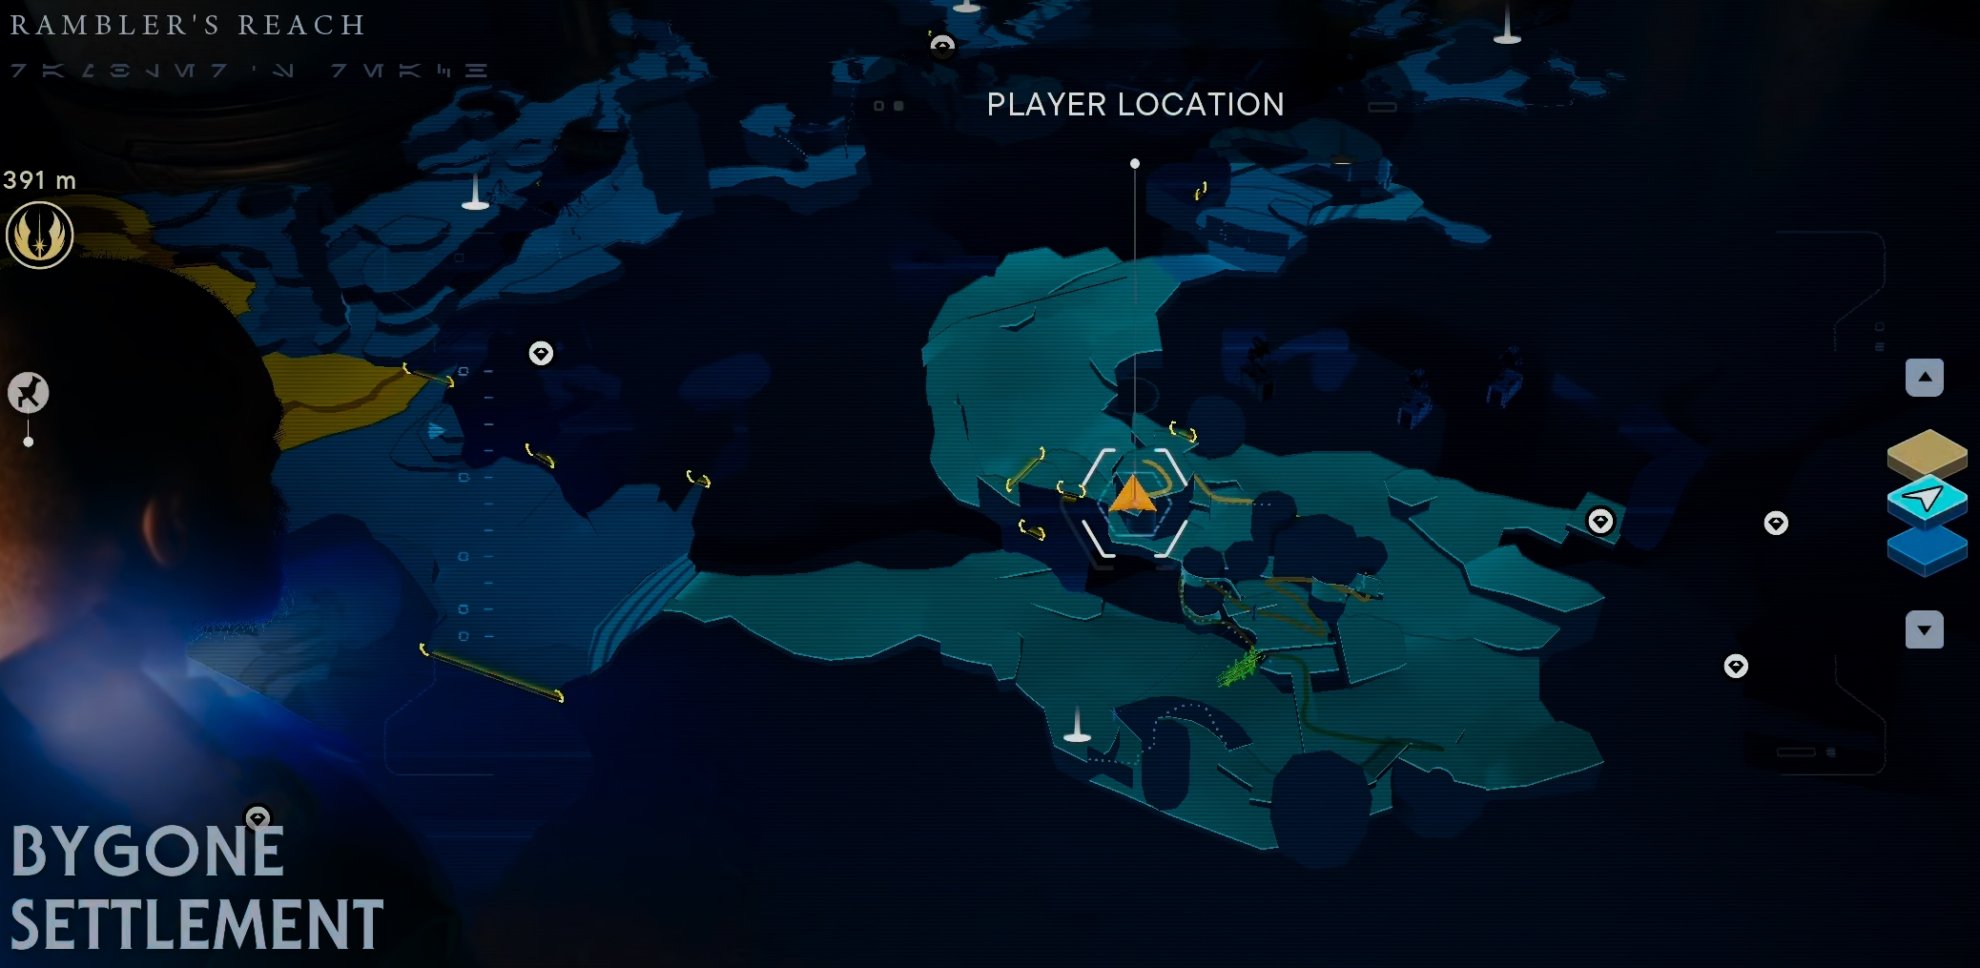
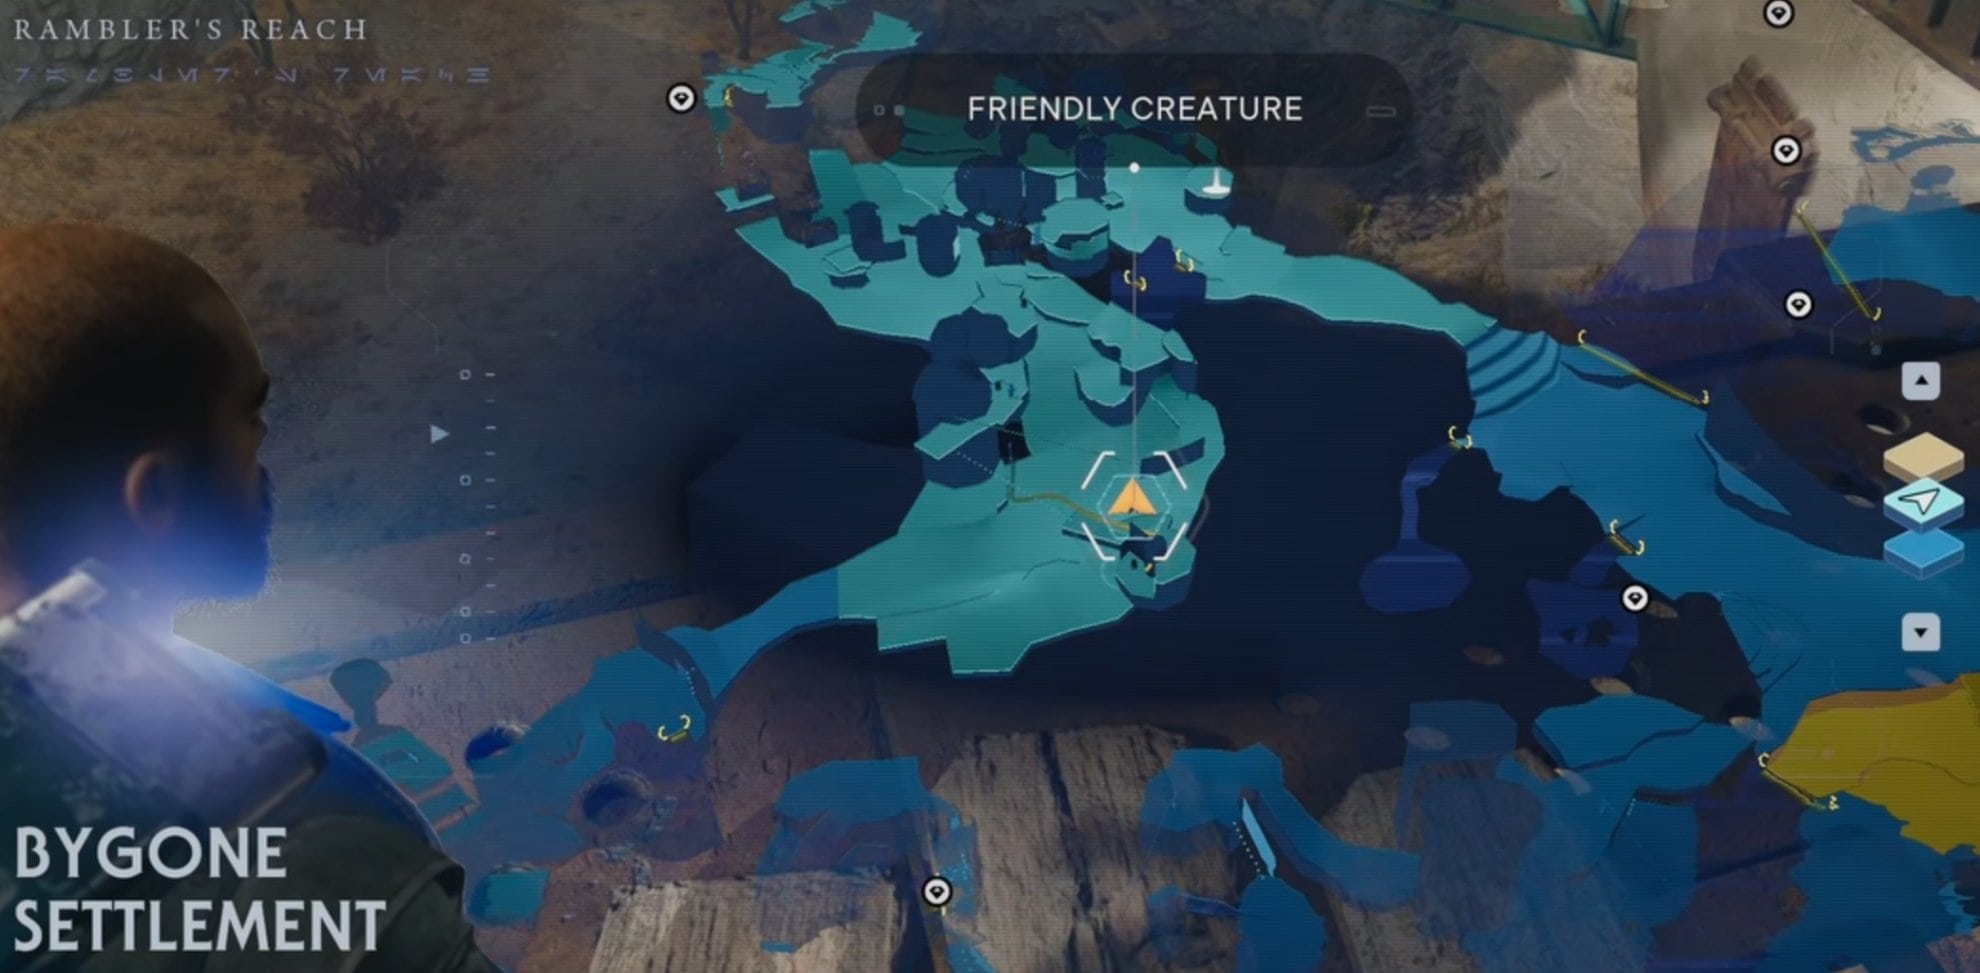
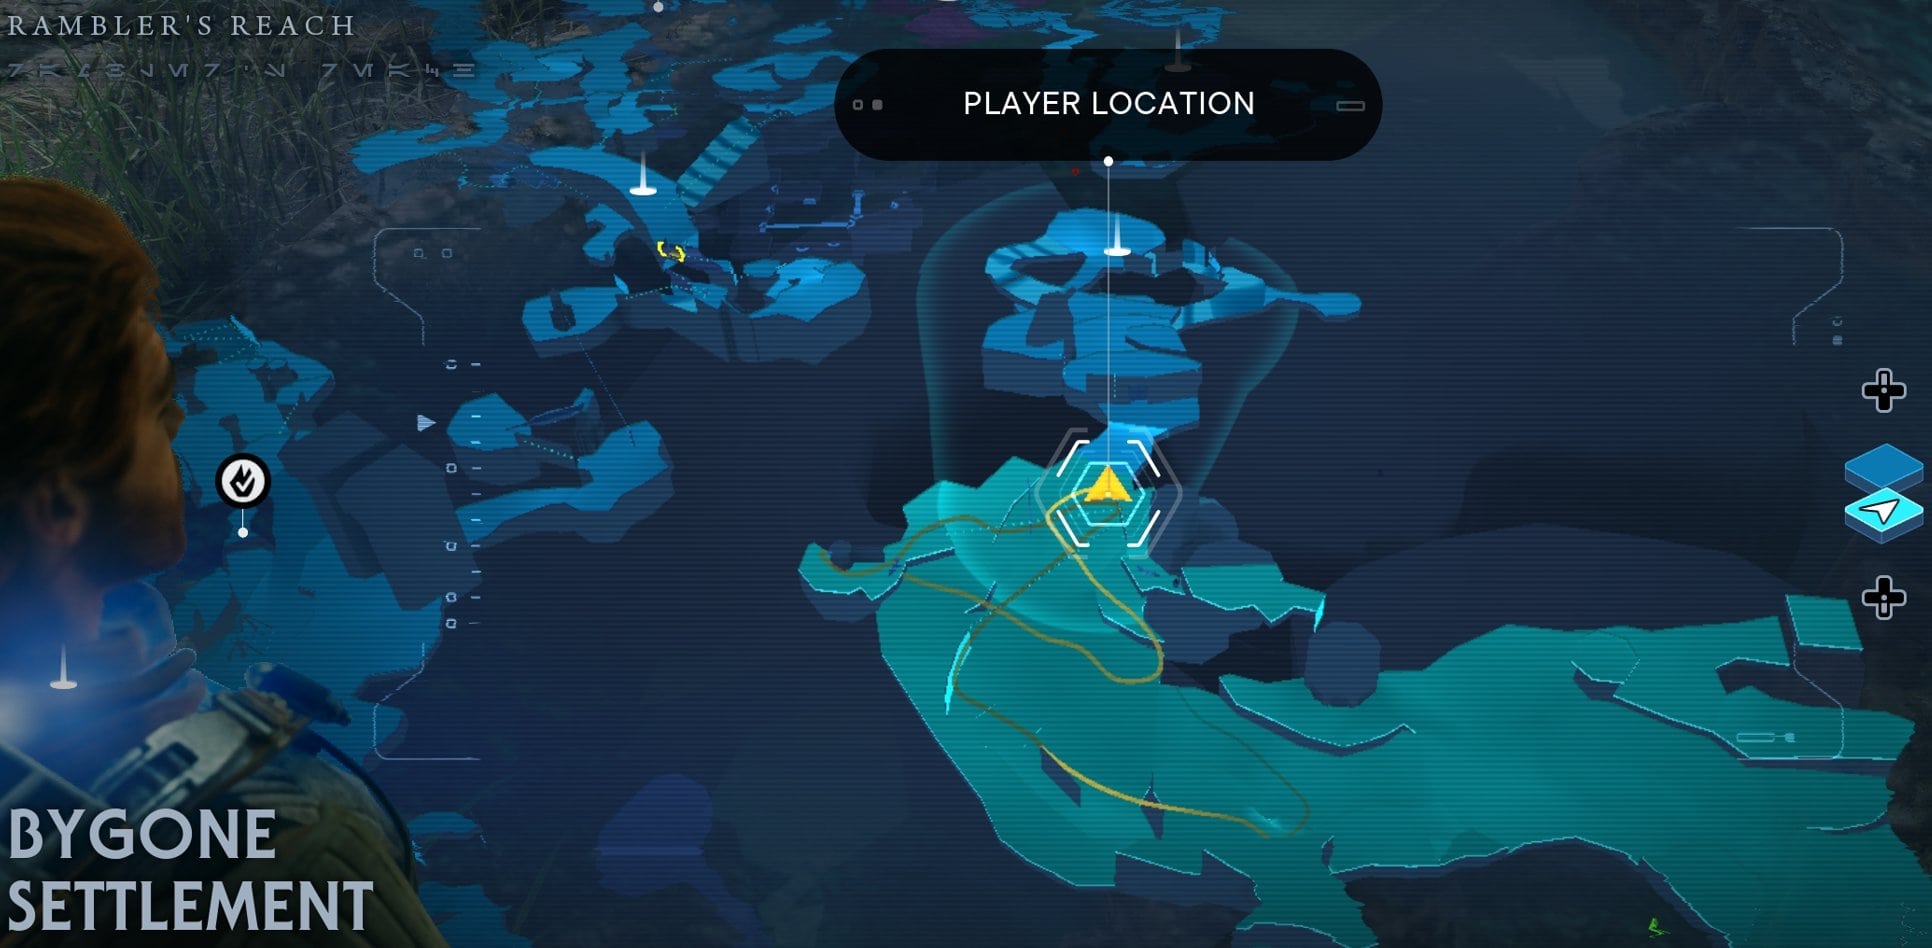
From the back of your Nekko, jump up to that platform on the right and activate the Bygone Settlement Meditation Point.
Bygone Settlement Walkthrough
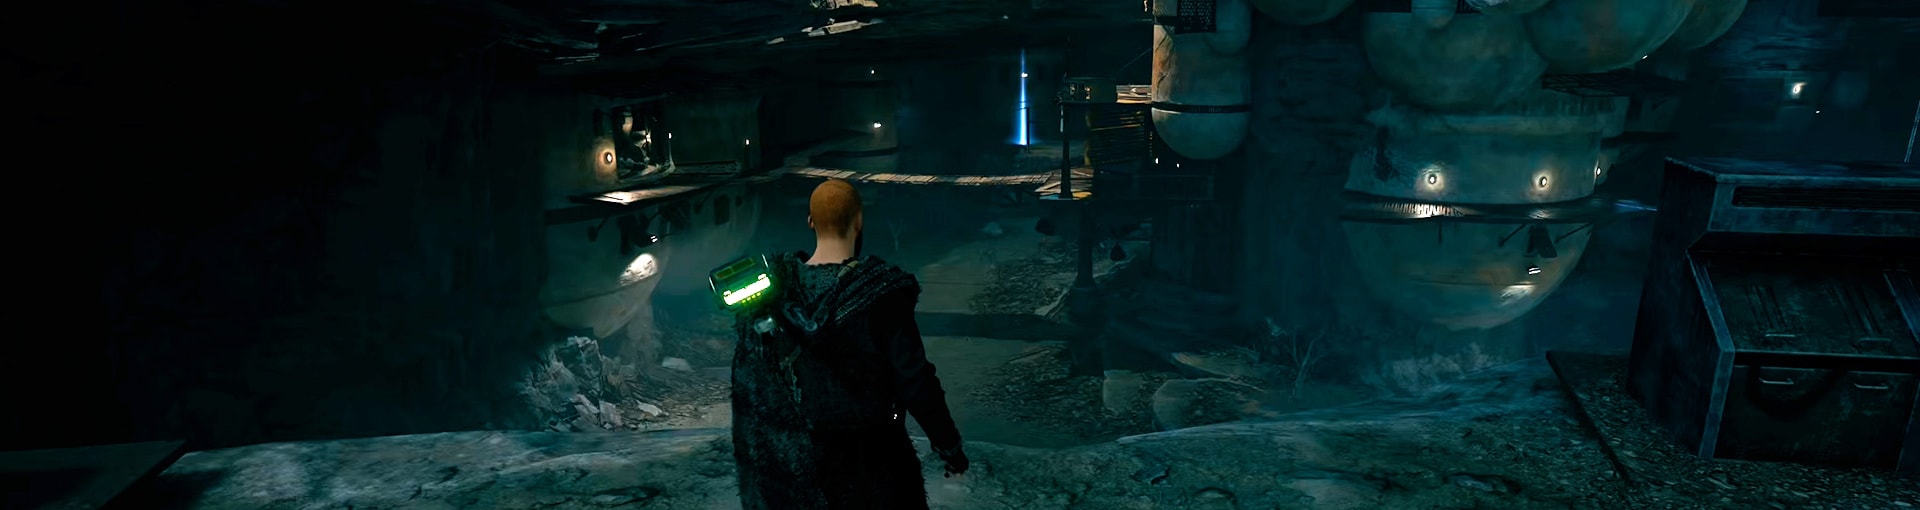
This segment will detail your steps from the Bygone Settlement Meditation Point to the Jawa Sandcrawlere and the Skill Point Essence on it. There are a number of collectibles you can collect, so be sure to look around each platform and area you move through.
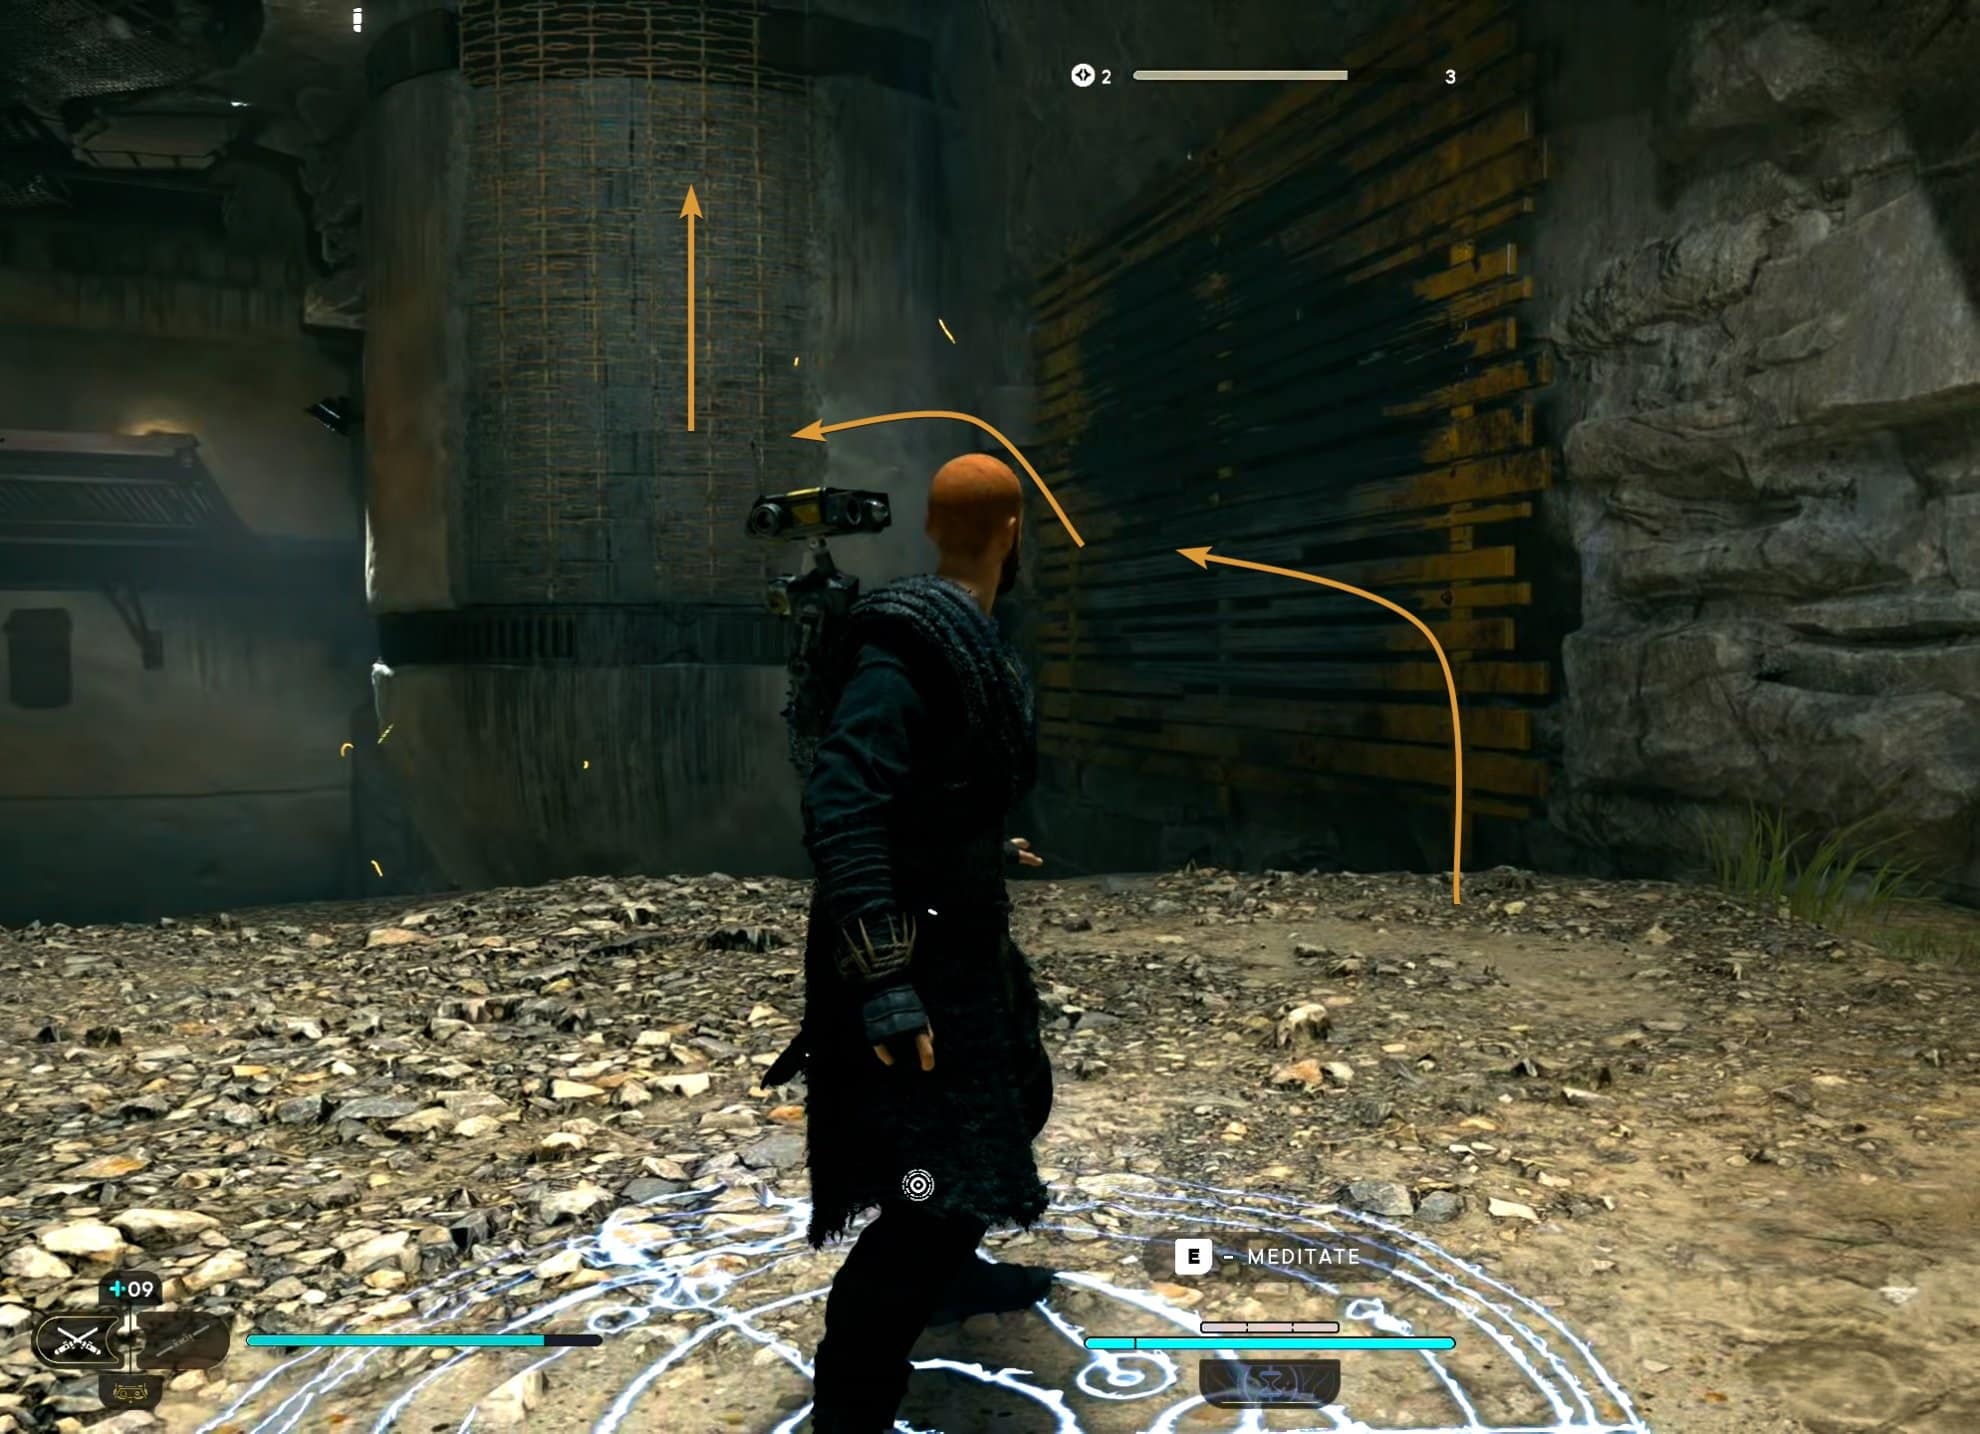
From the Bygone Settlement Meditatoin Point, wall run to the structure that looks like a silo and clumb up. At the top, jump to grab the grate on the ceiling and follow it to the next platform.
Drop down onto the platform and cross to the other side via that wooden bridge.
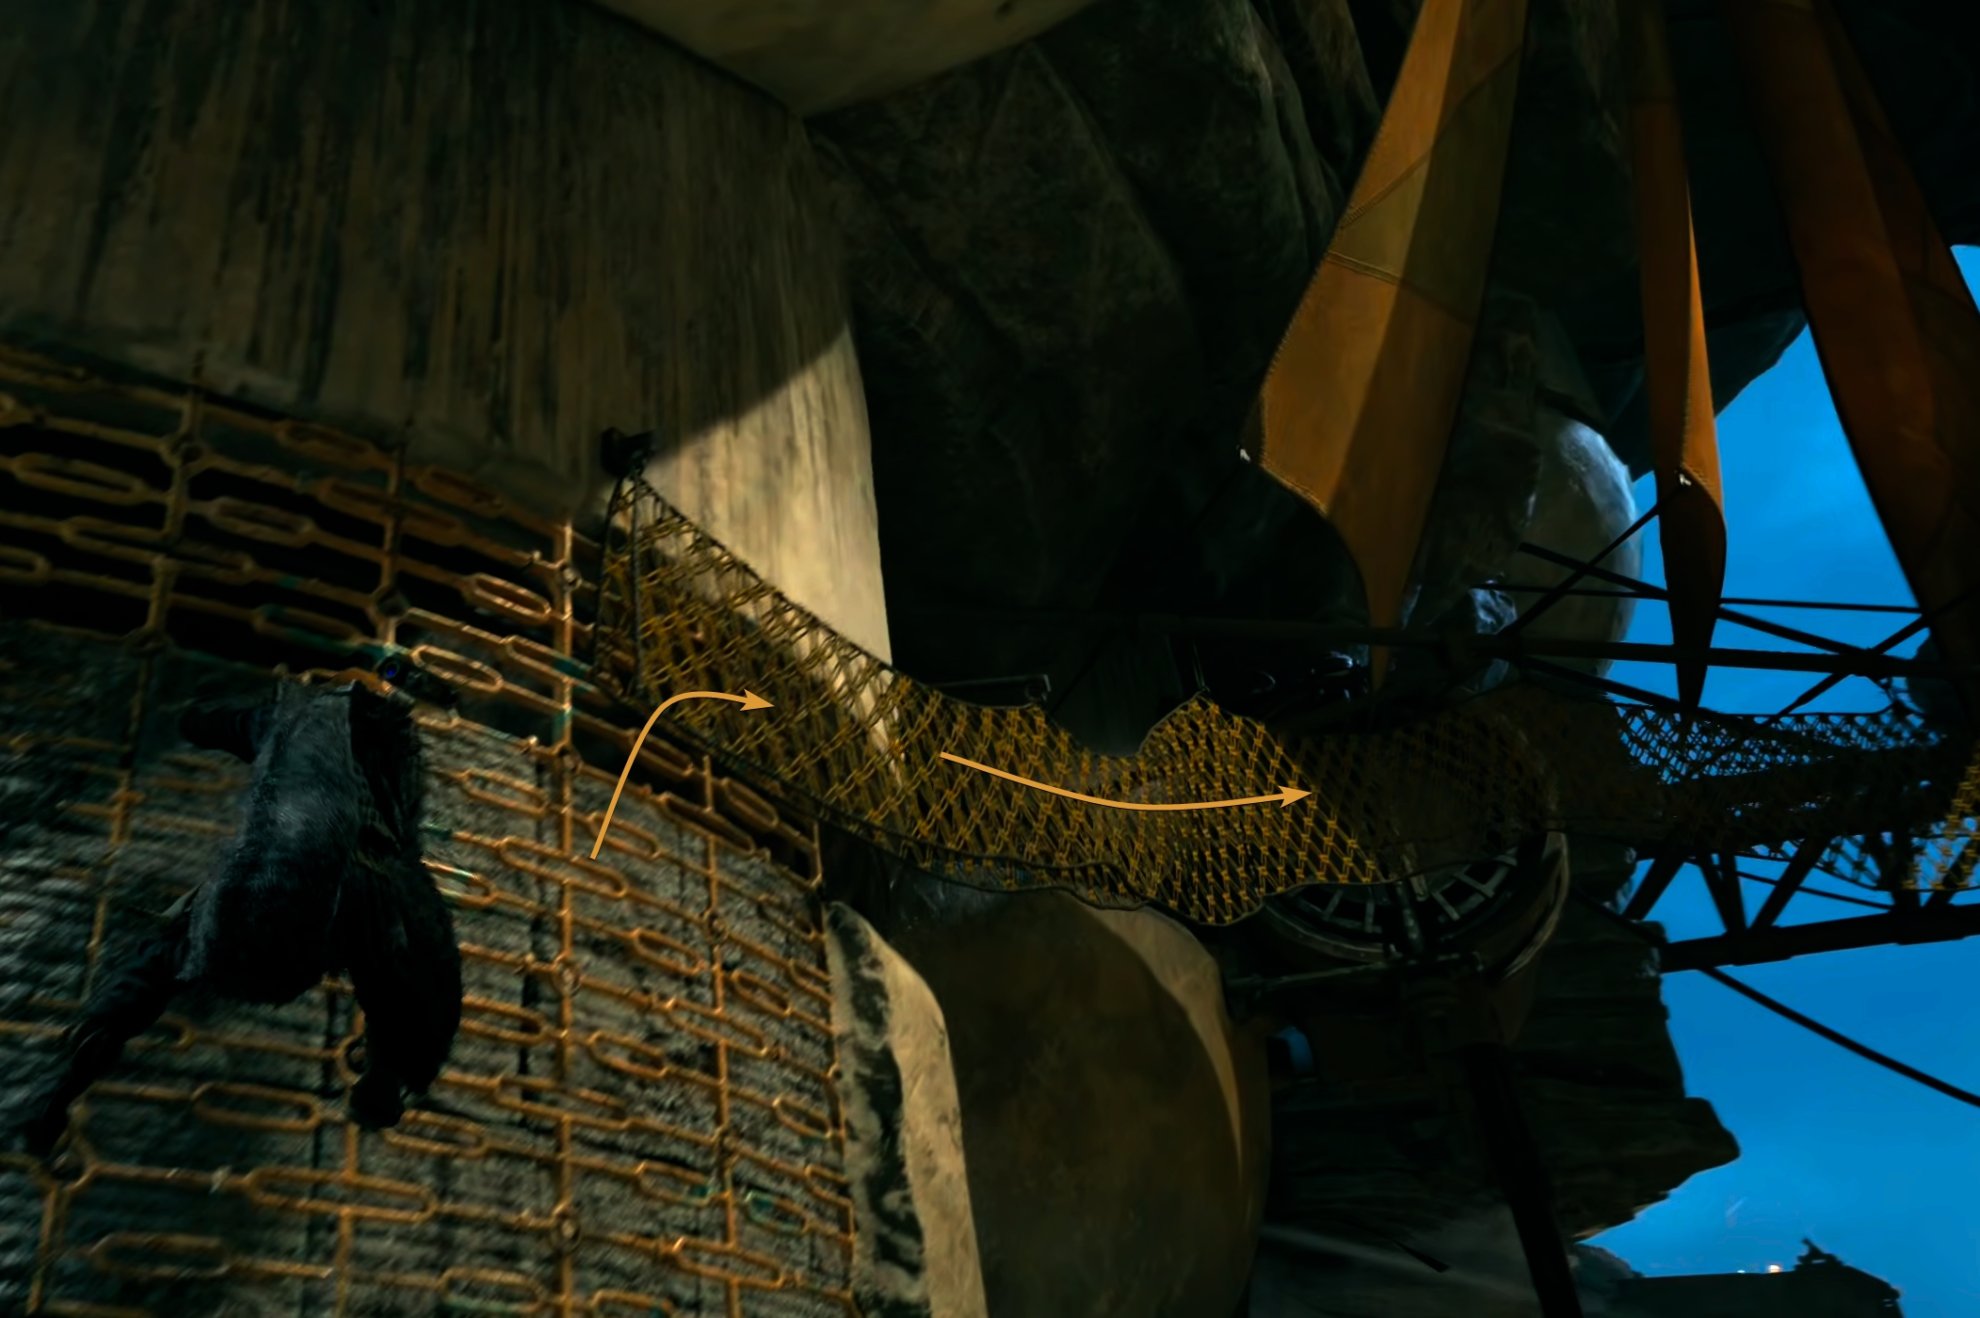
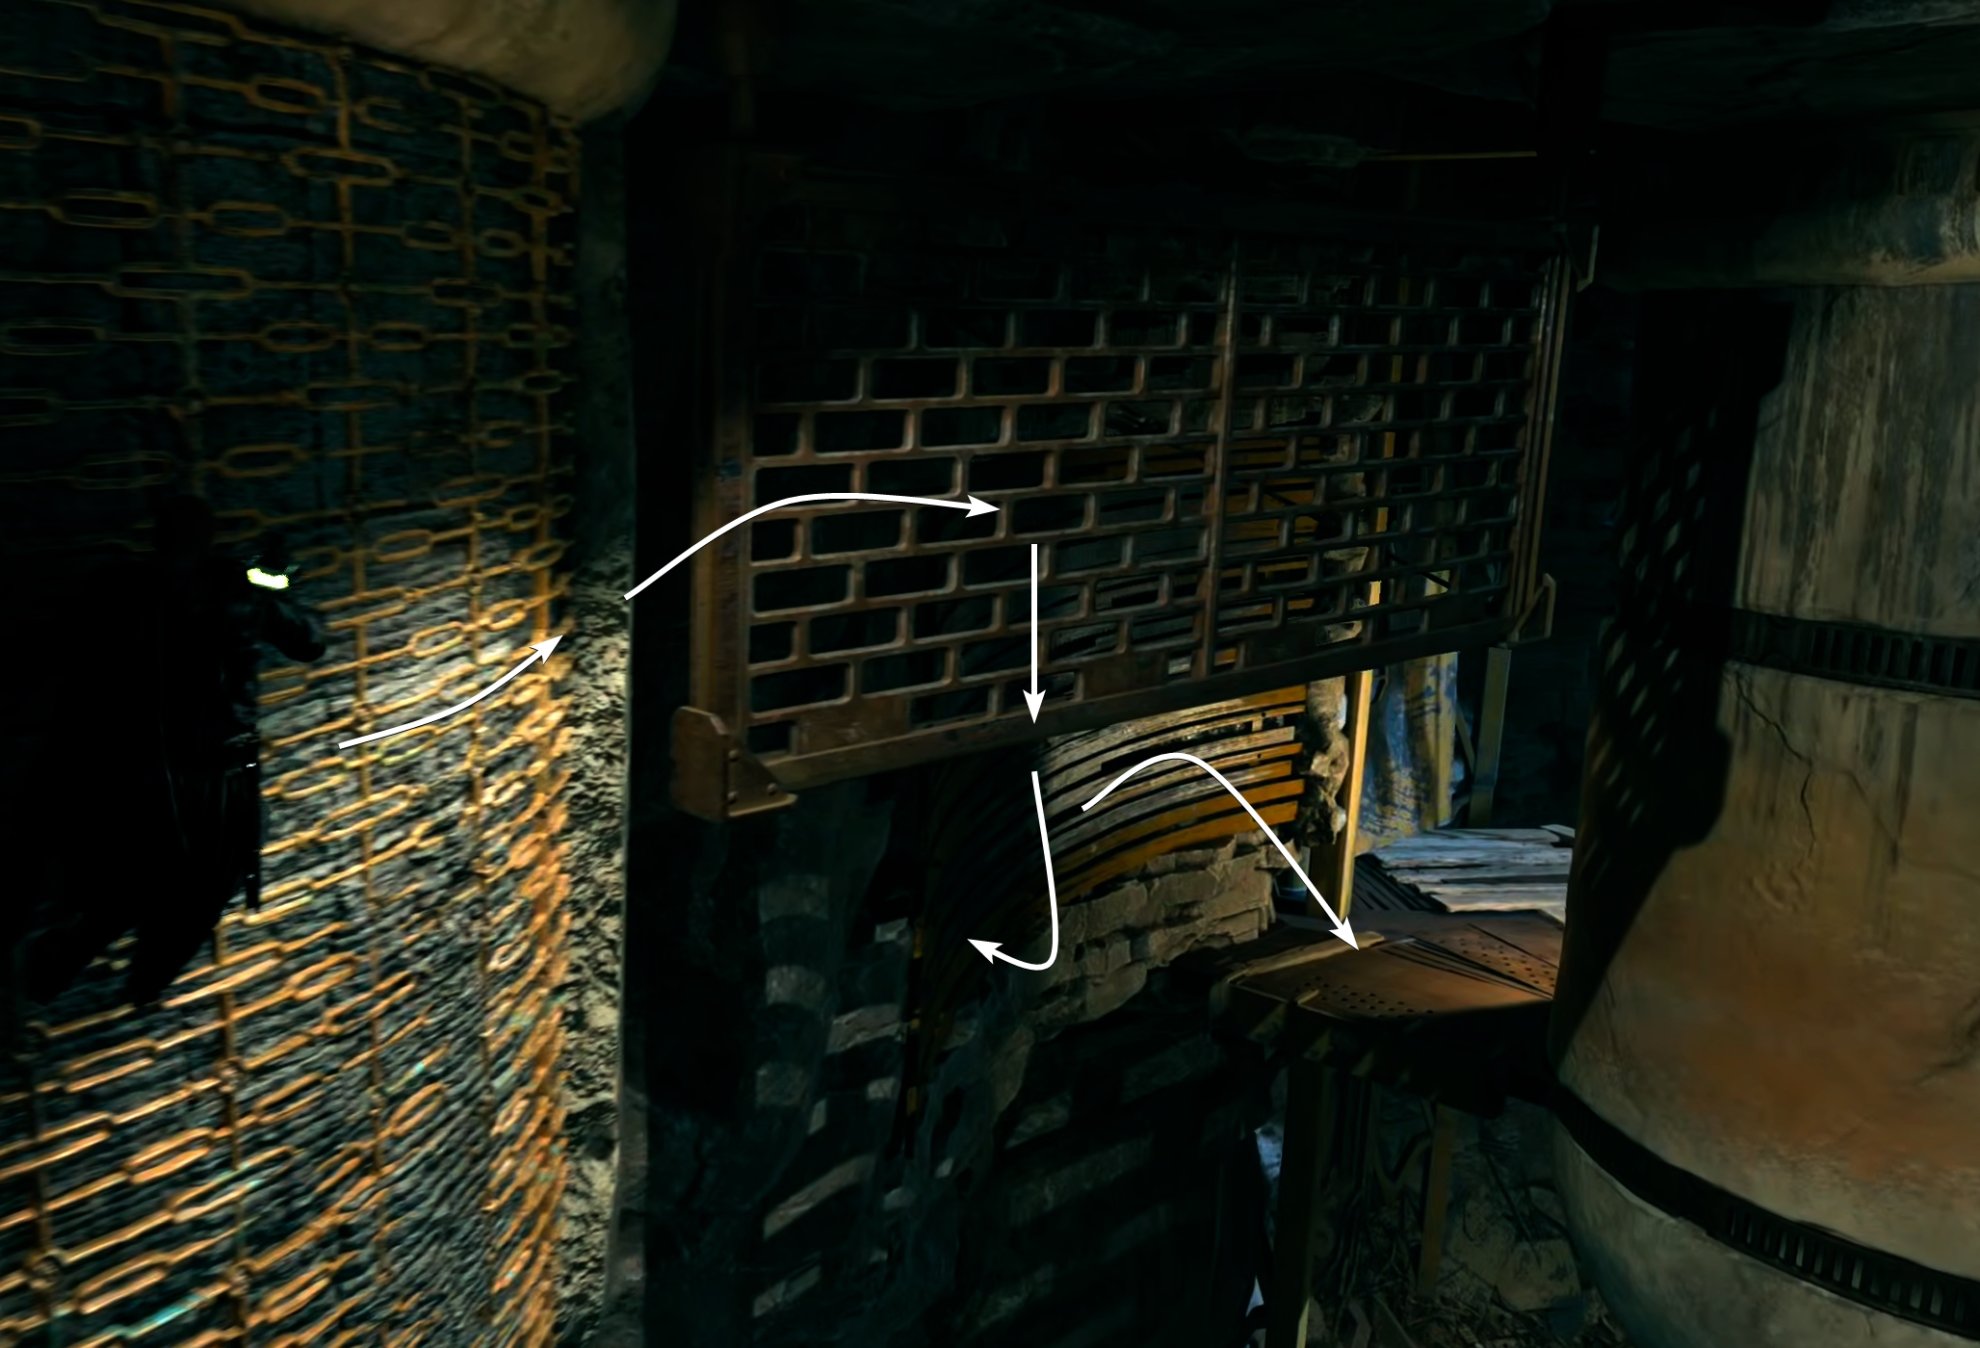
When you arrive at the other side, on your left there is a wall you can move with Force Push. Wall run it and grab onto the grid on the side of the structure.
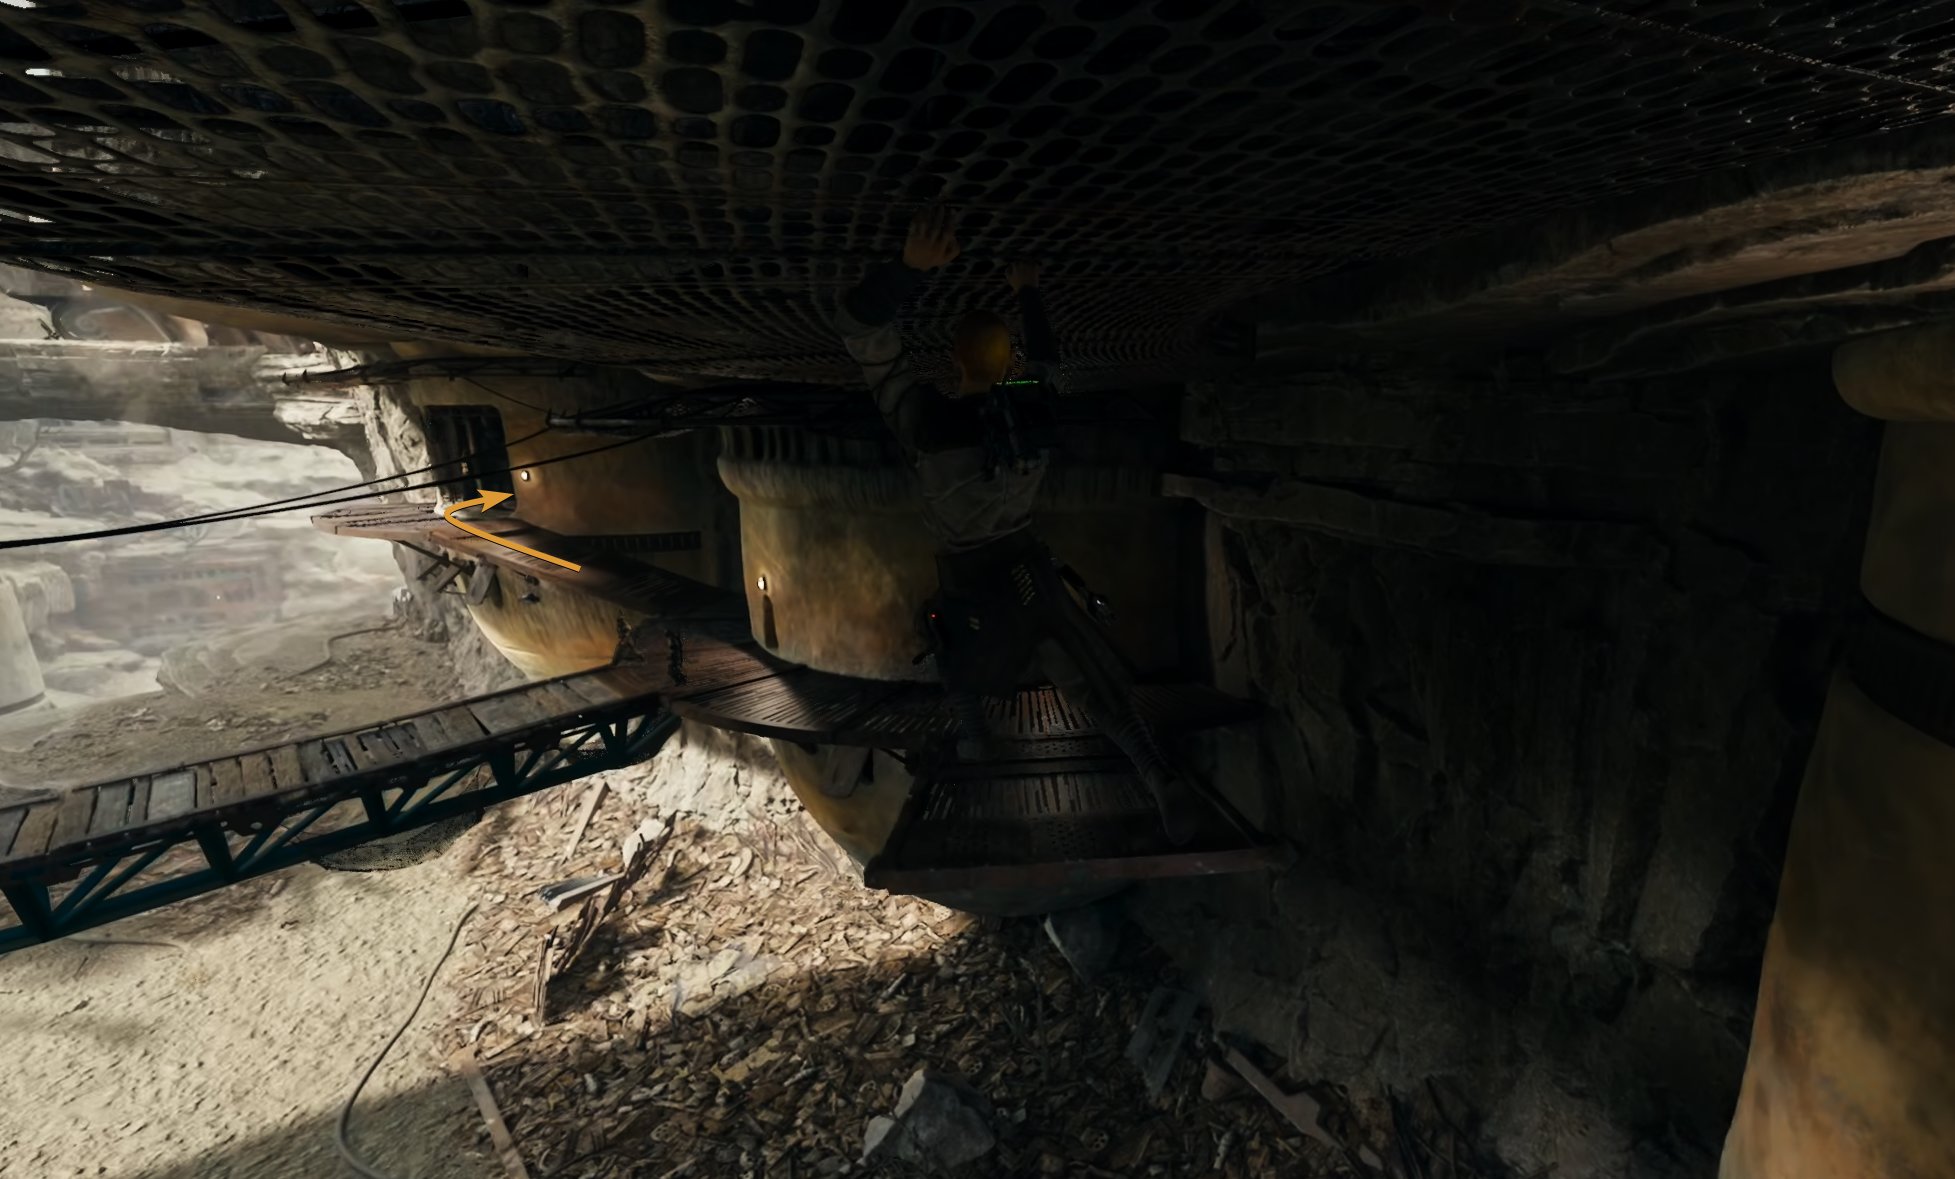
Move around and up to the top, then through the mesh.
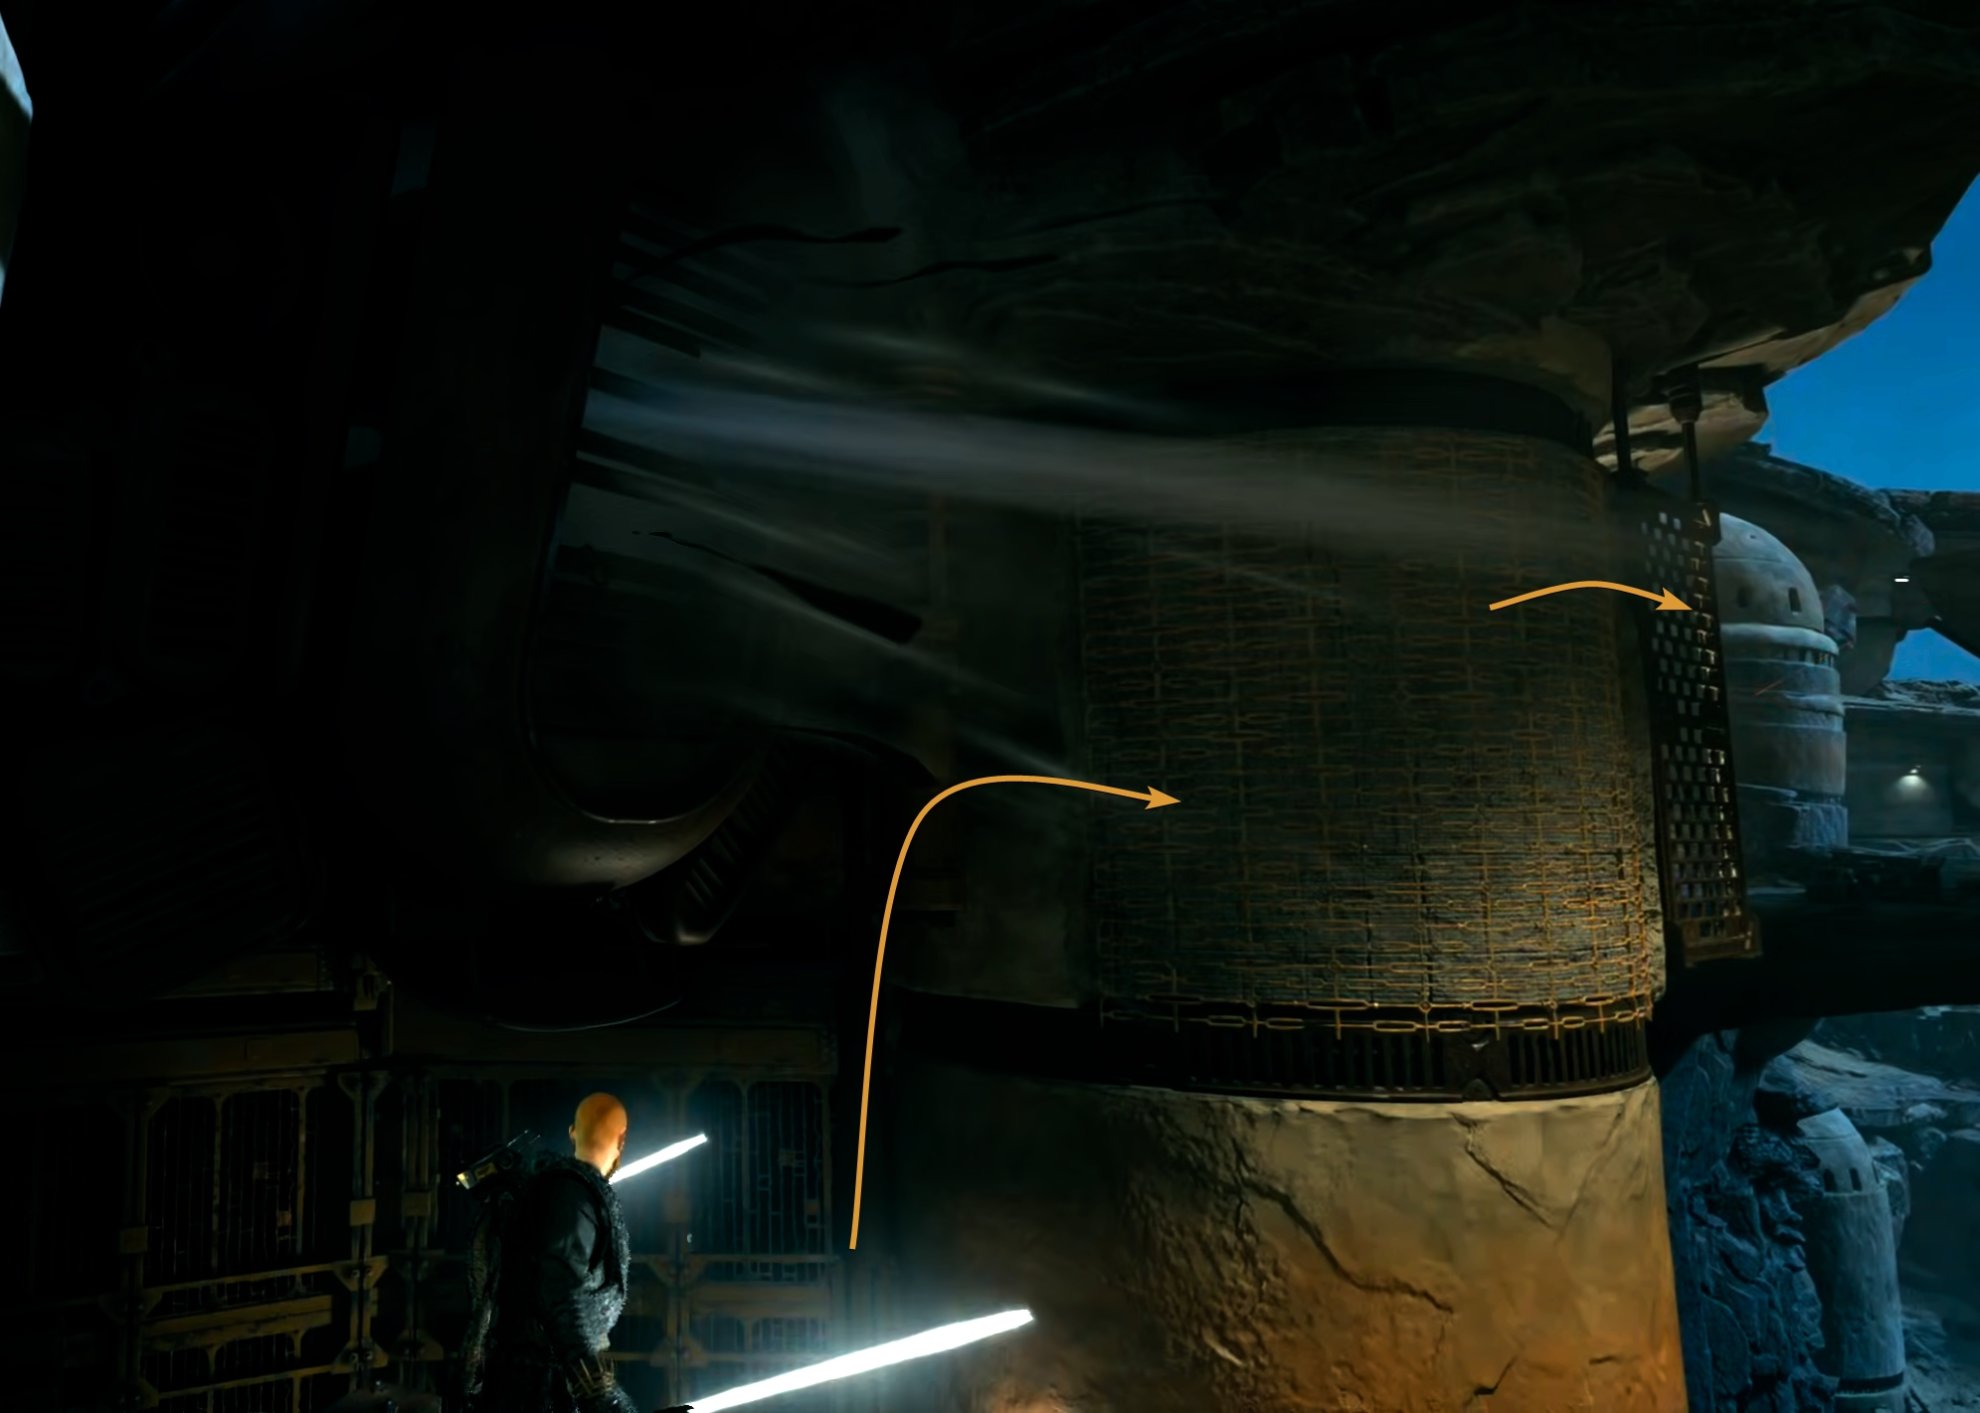
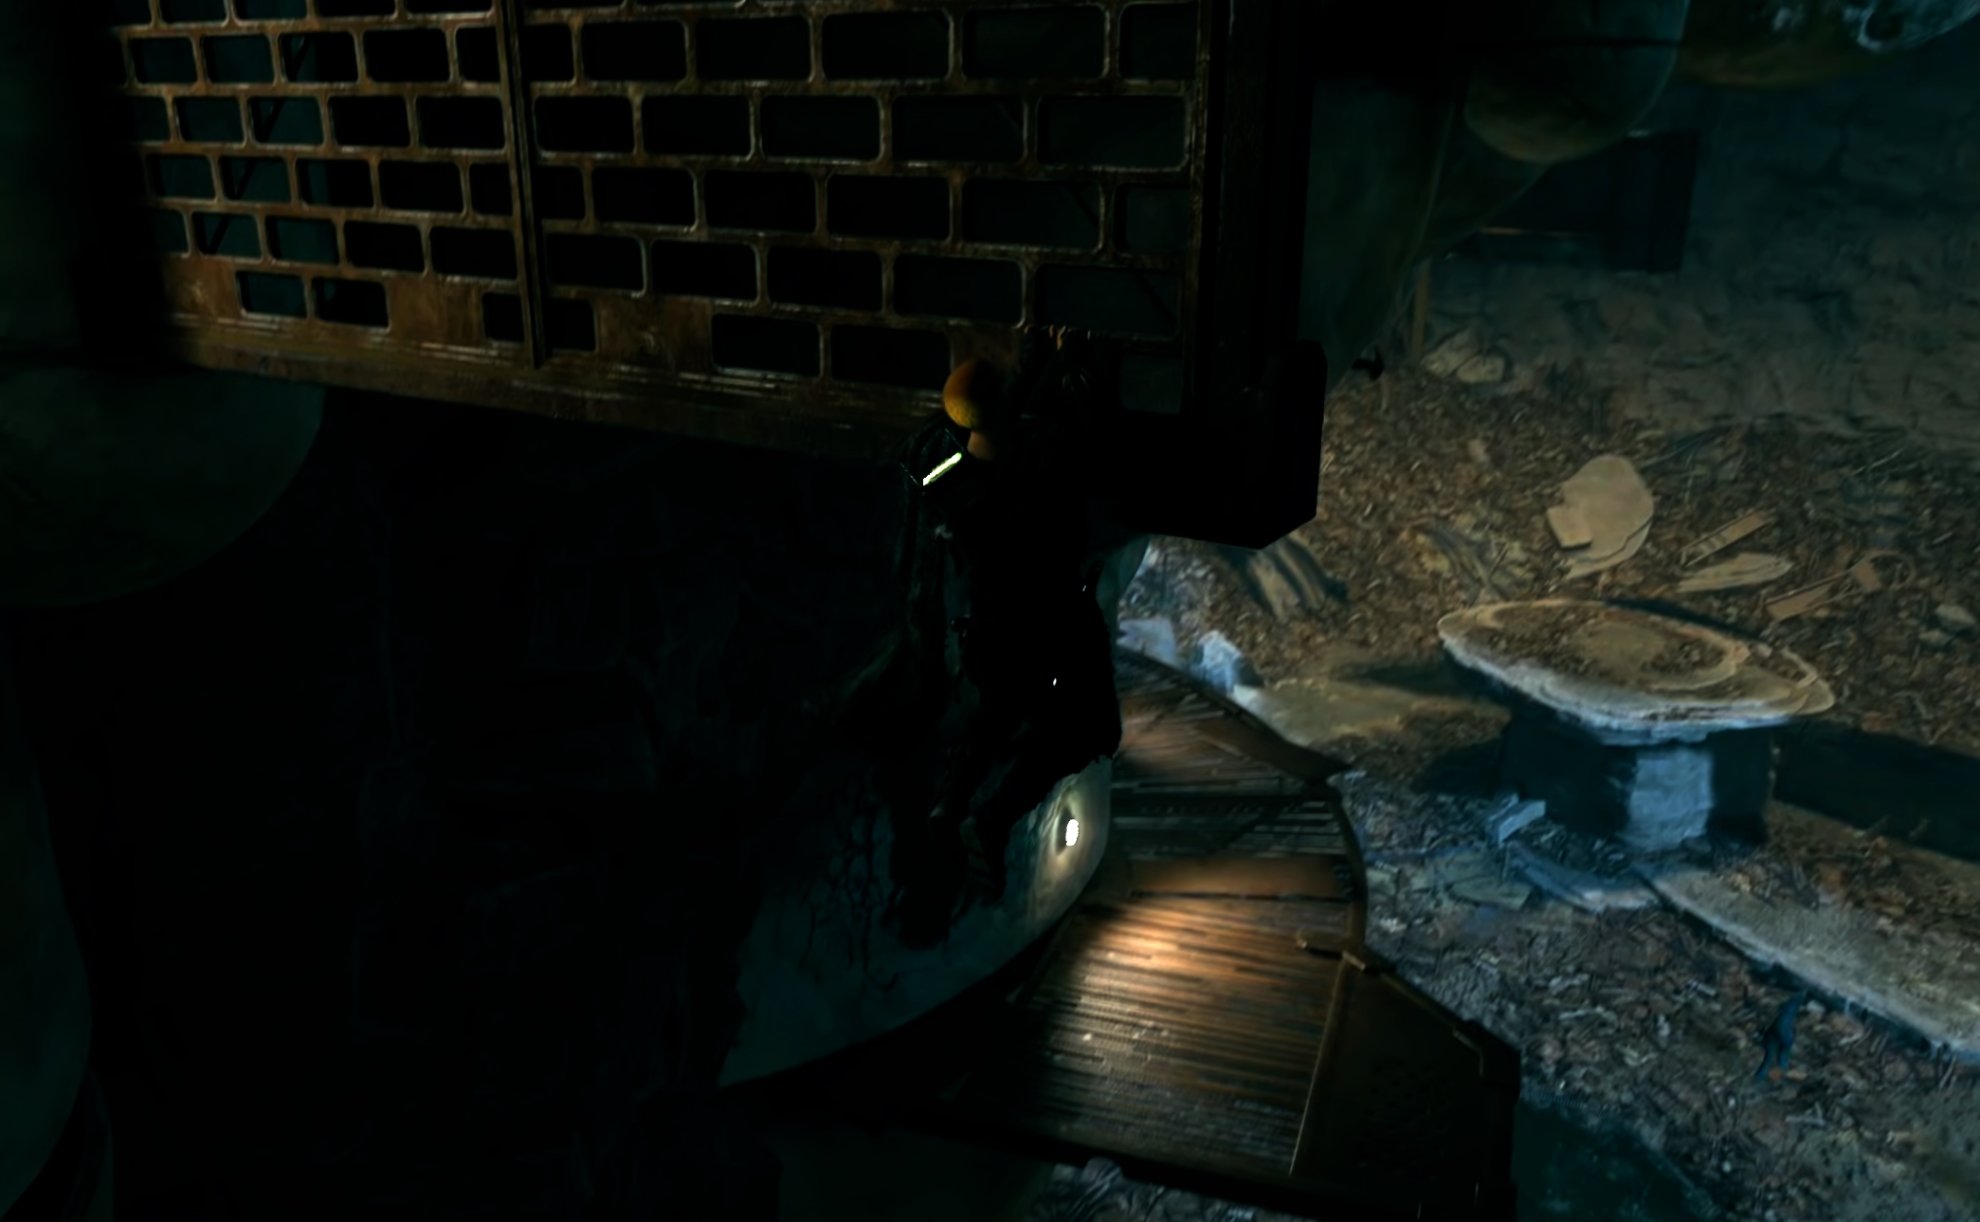
Before you reach the end of the mesh, drop down onto the container.

This is as far as you would be able to reach if you do not have the ability to dash through the air mid-jump. The air from that giant vent will push you away if you attempt to do a “normal” double jump.
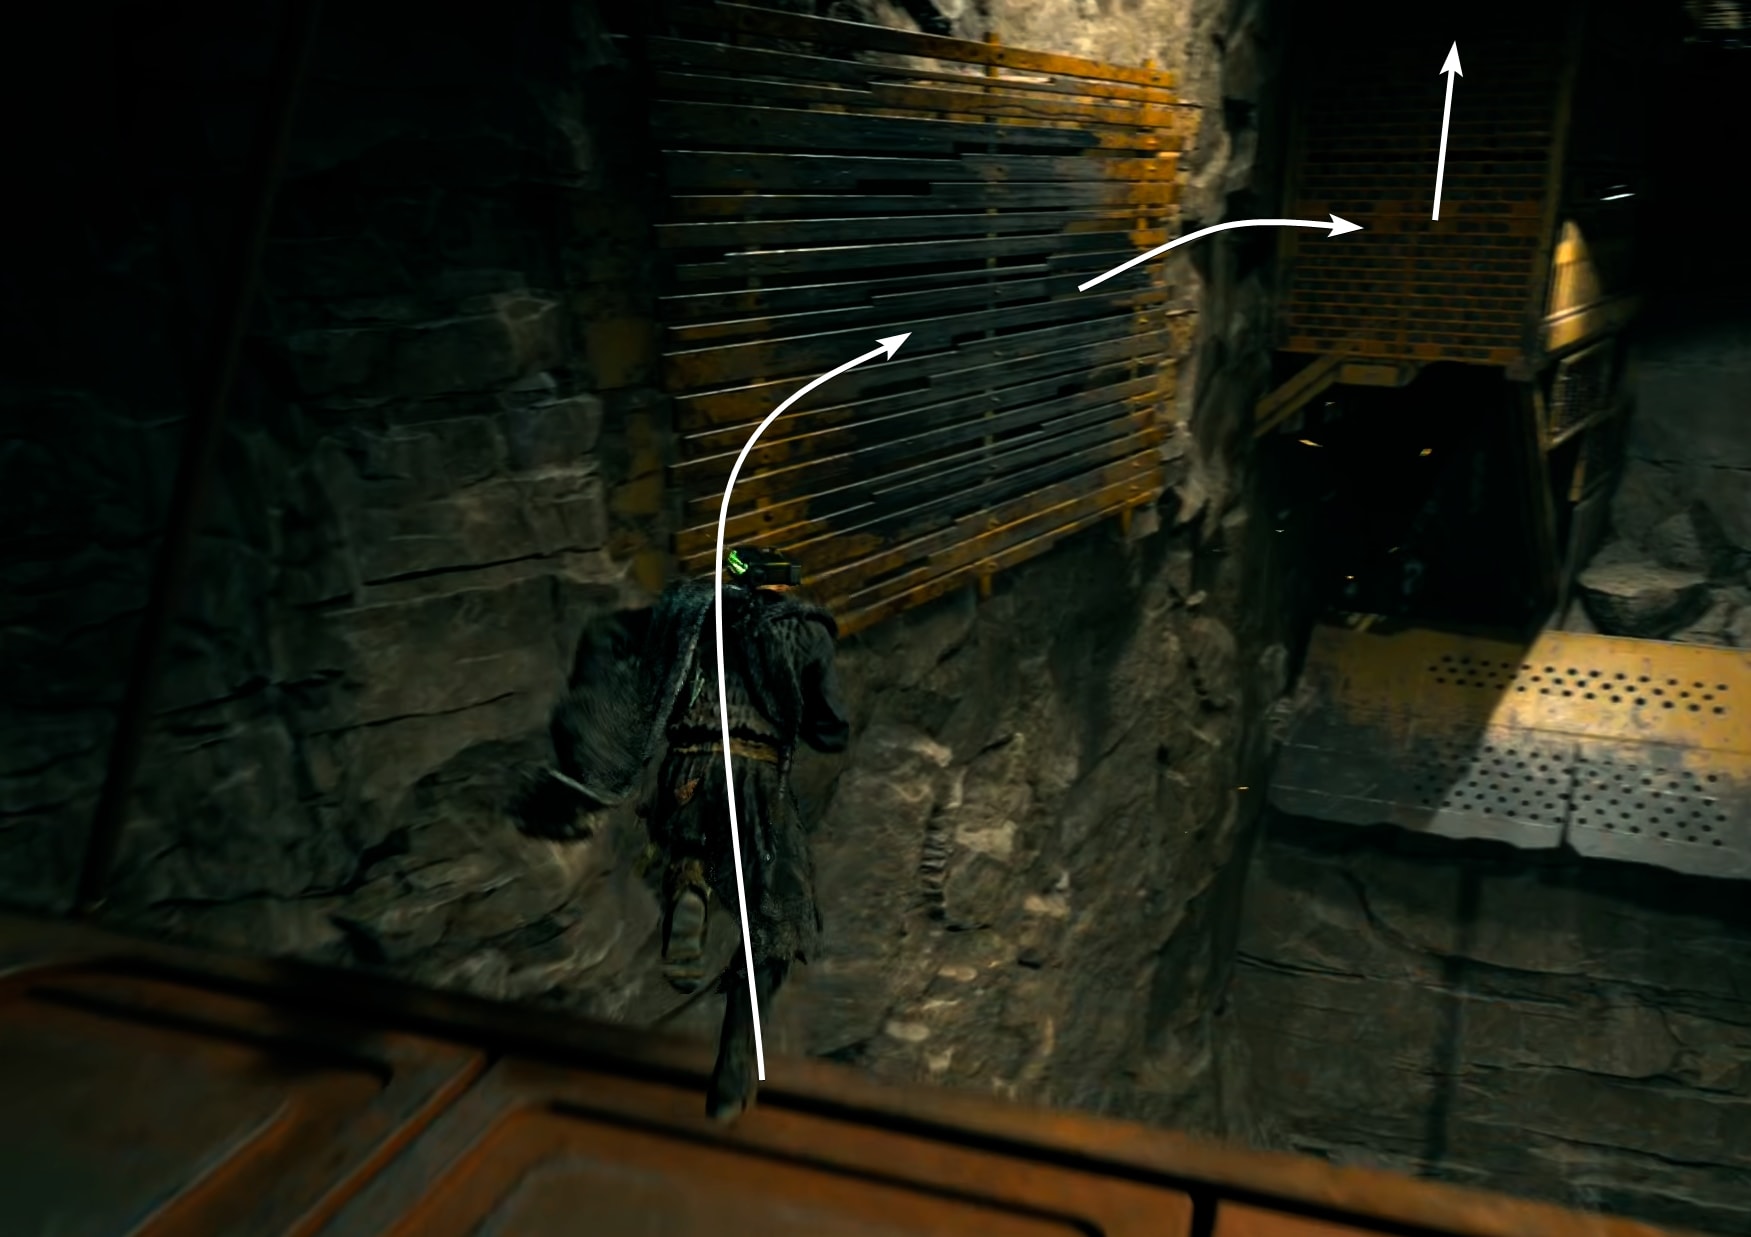
Double jump, then Dash to grab onto the side of the structure.
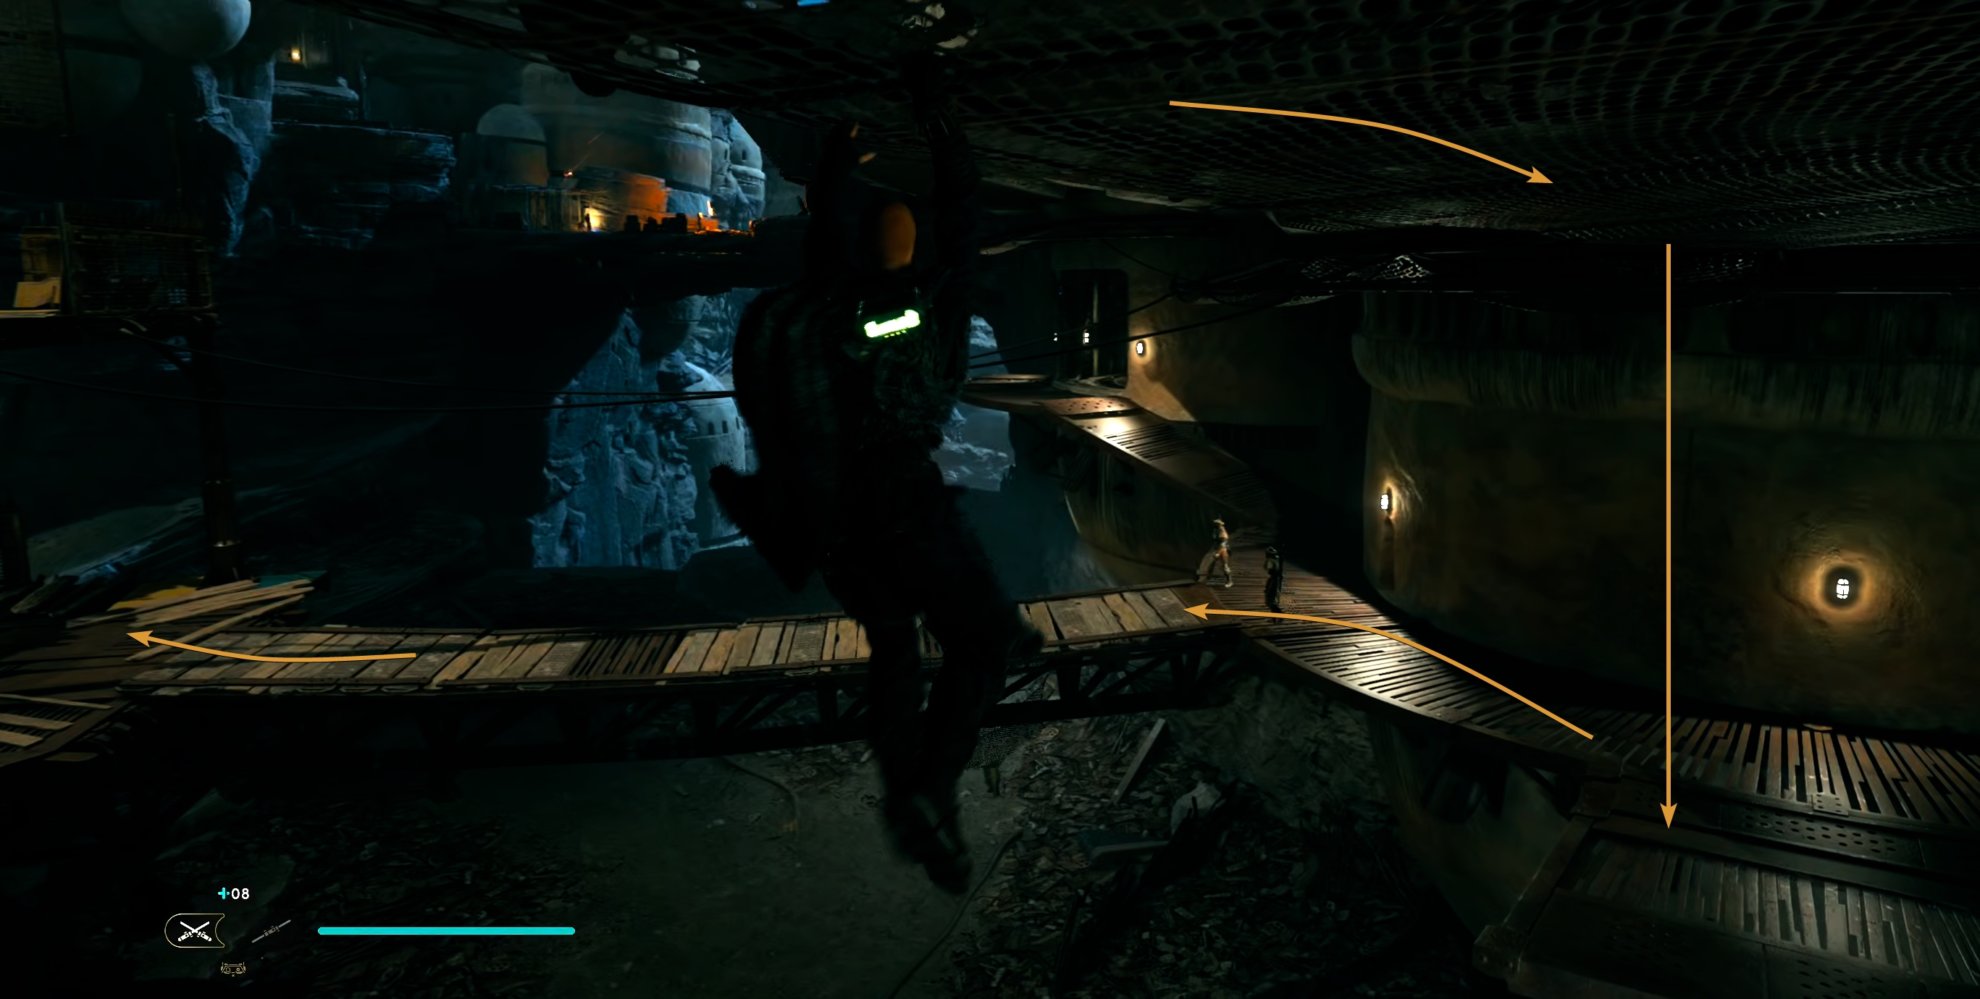
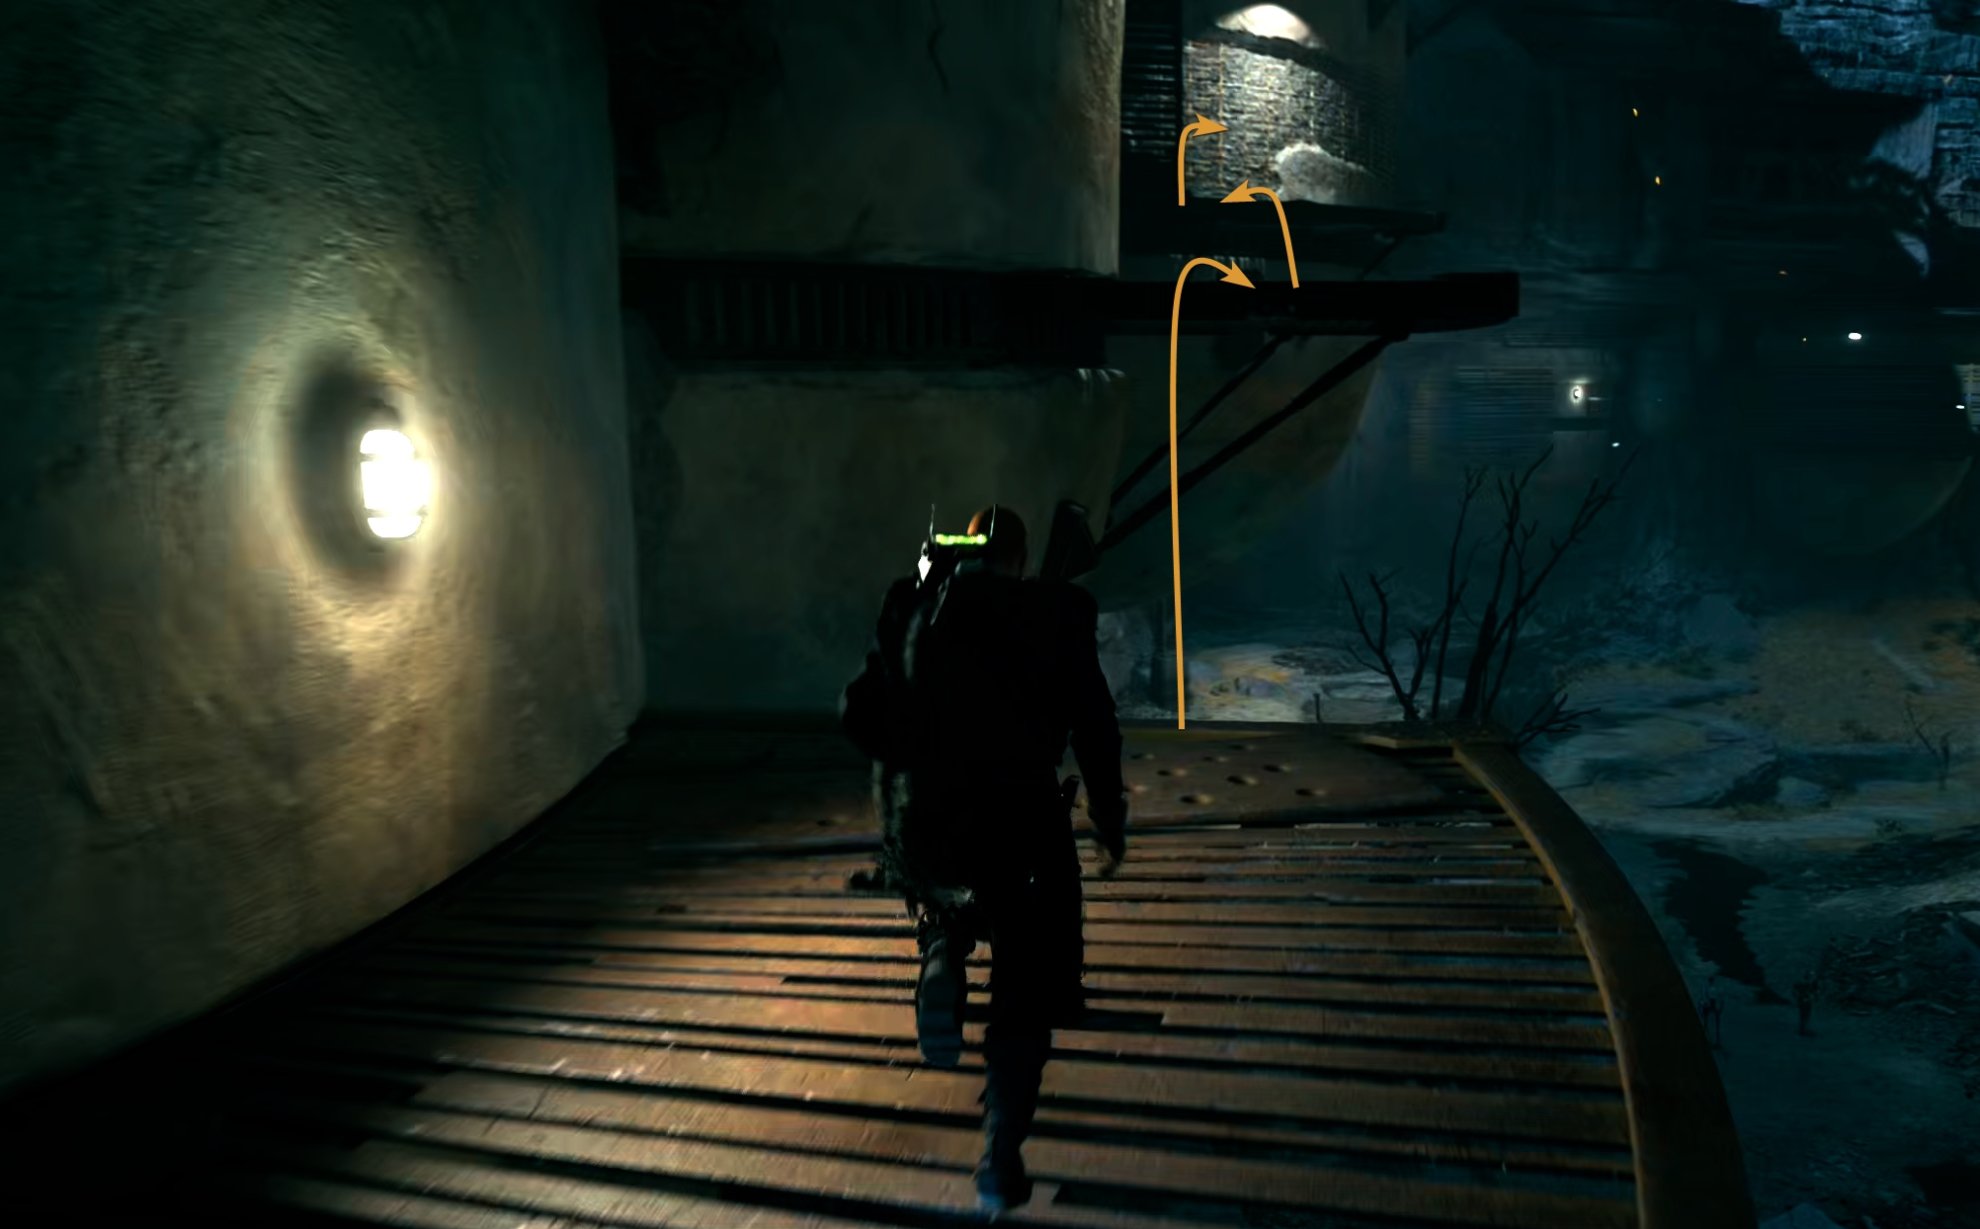
Drop down from the grate, jump mid-air and dash forward to land on the catwalk below.
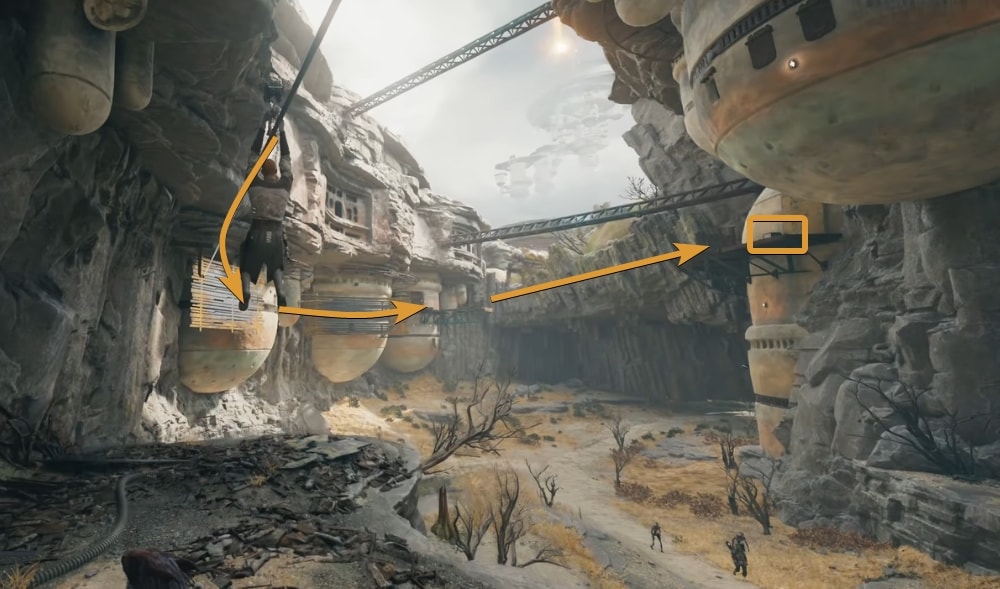
Follow the catwalk to the end, then jump on the next one, use Force Pull to pull down the panel, jump on top of it and from the third catwalk, grab onto the side of the building.
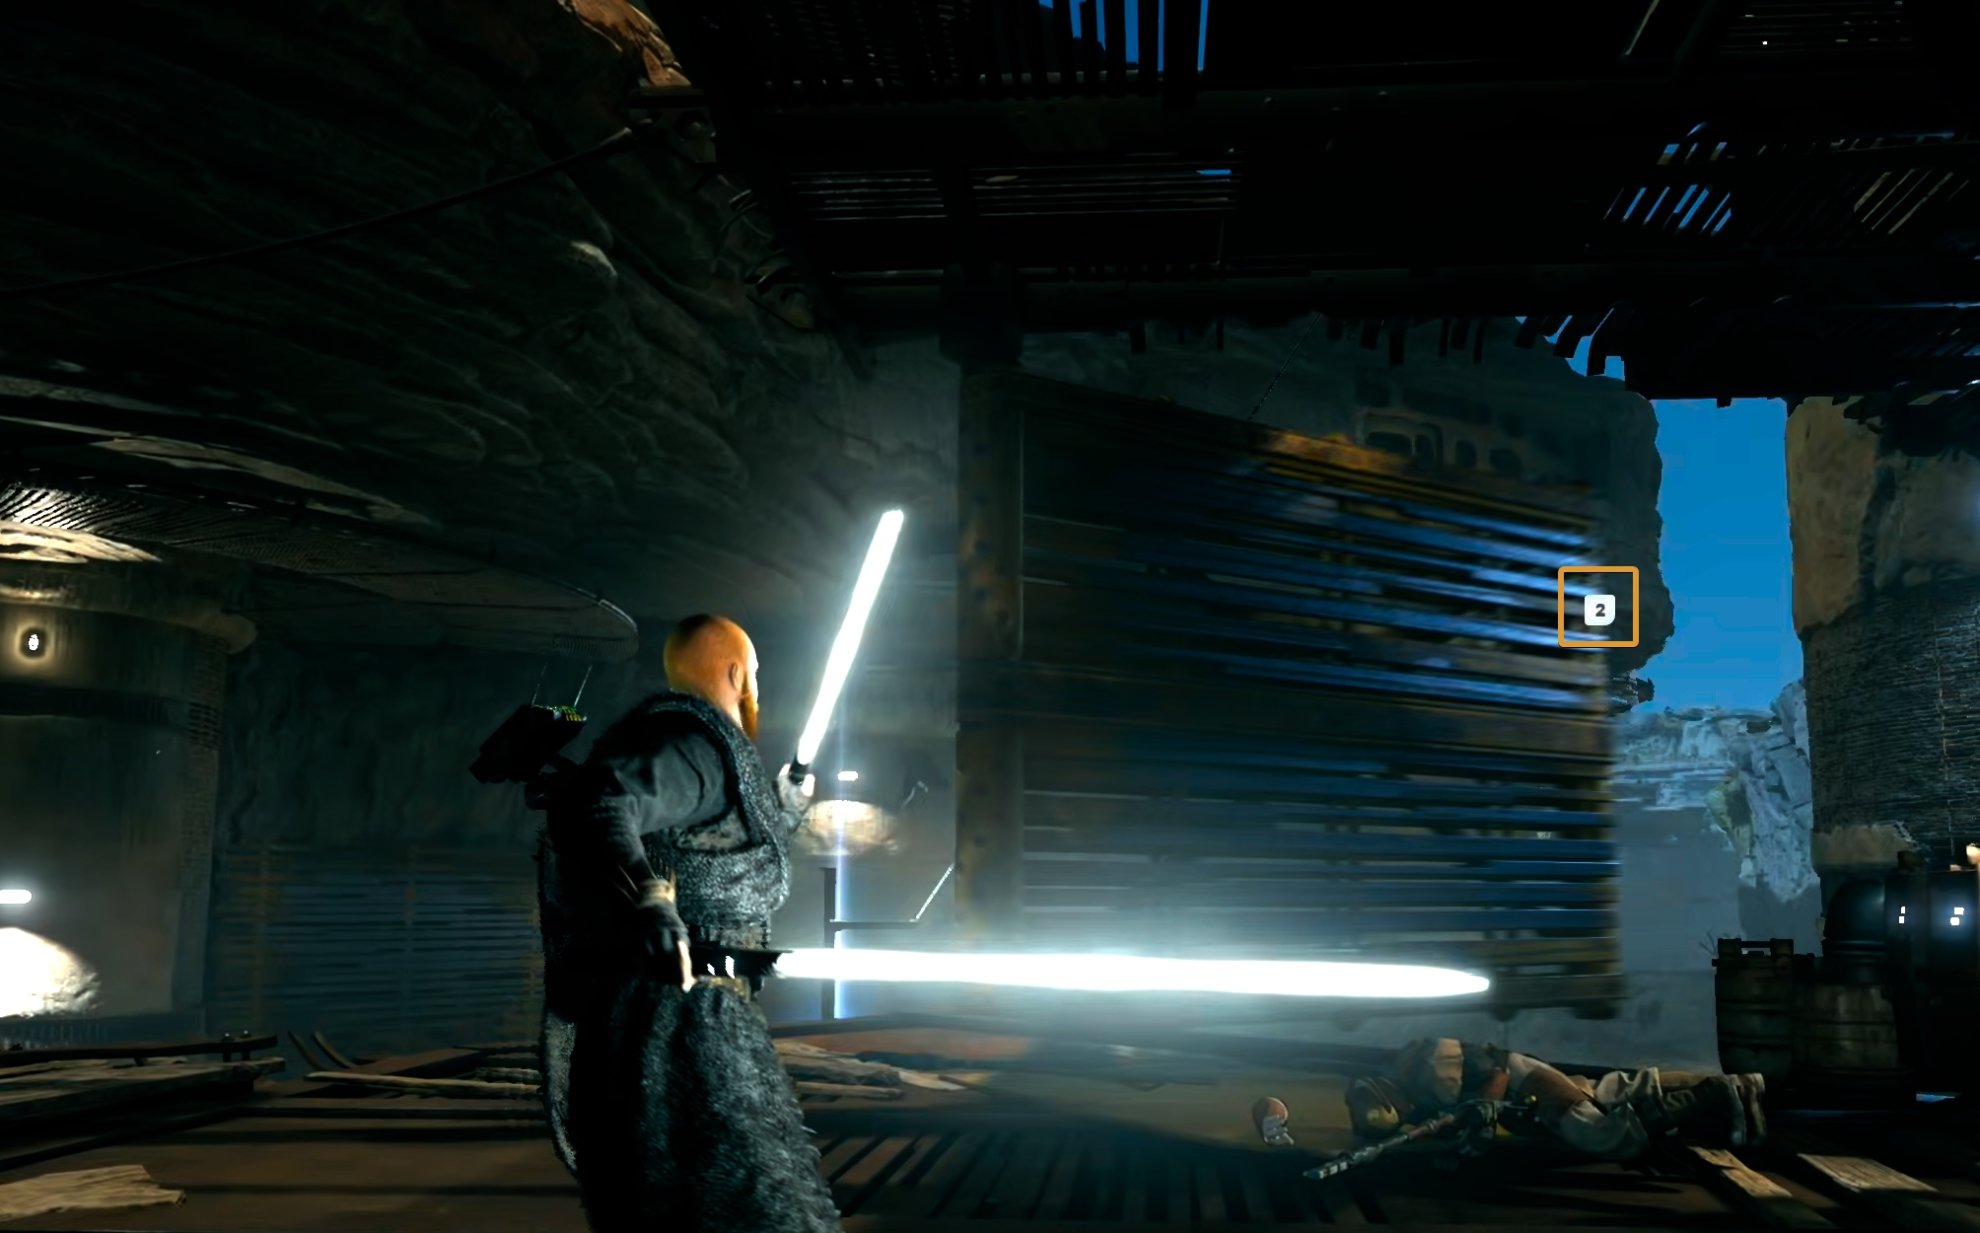
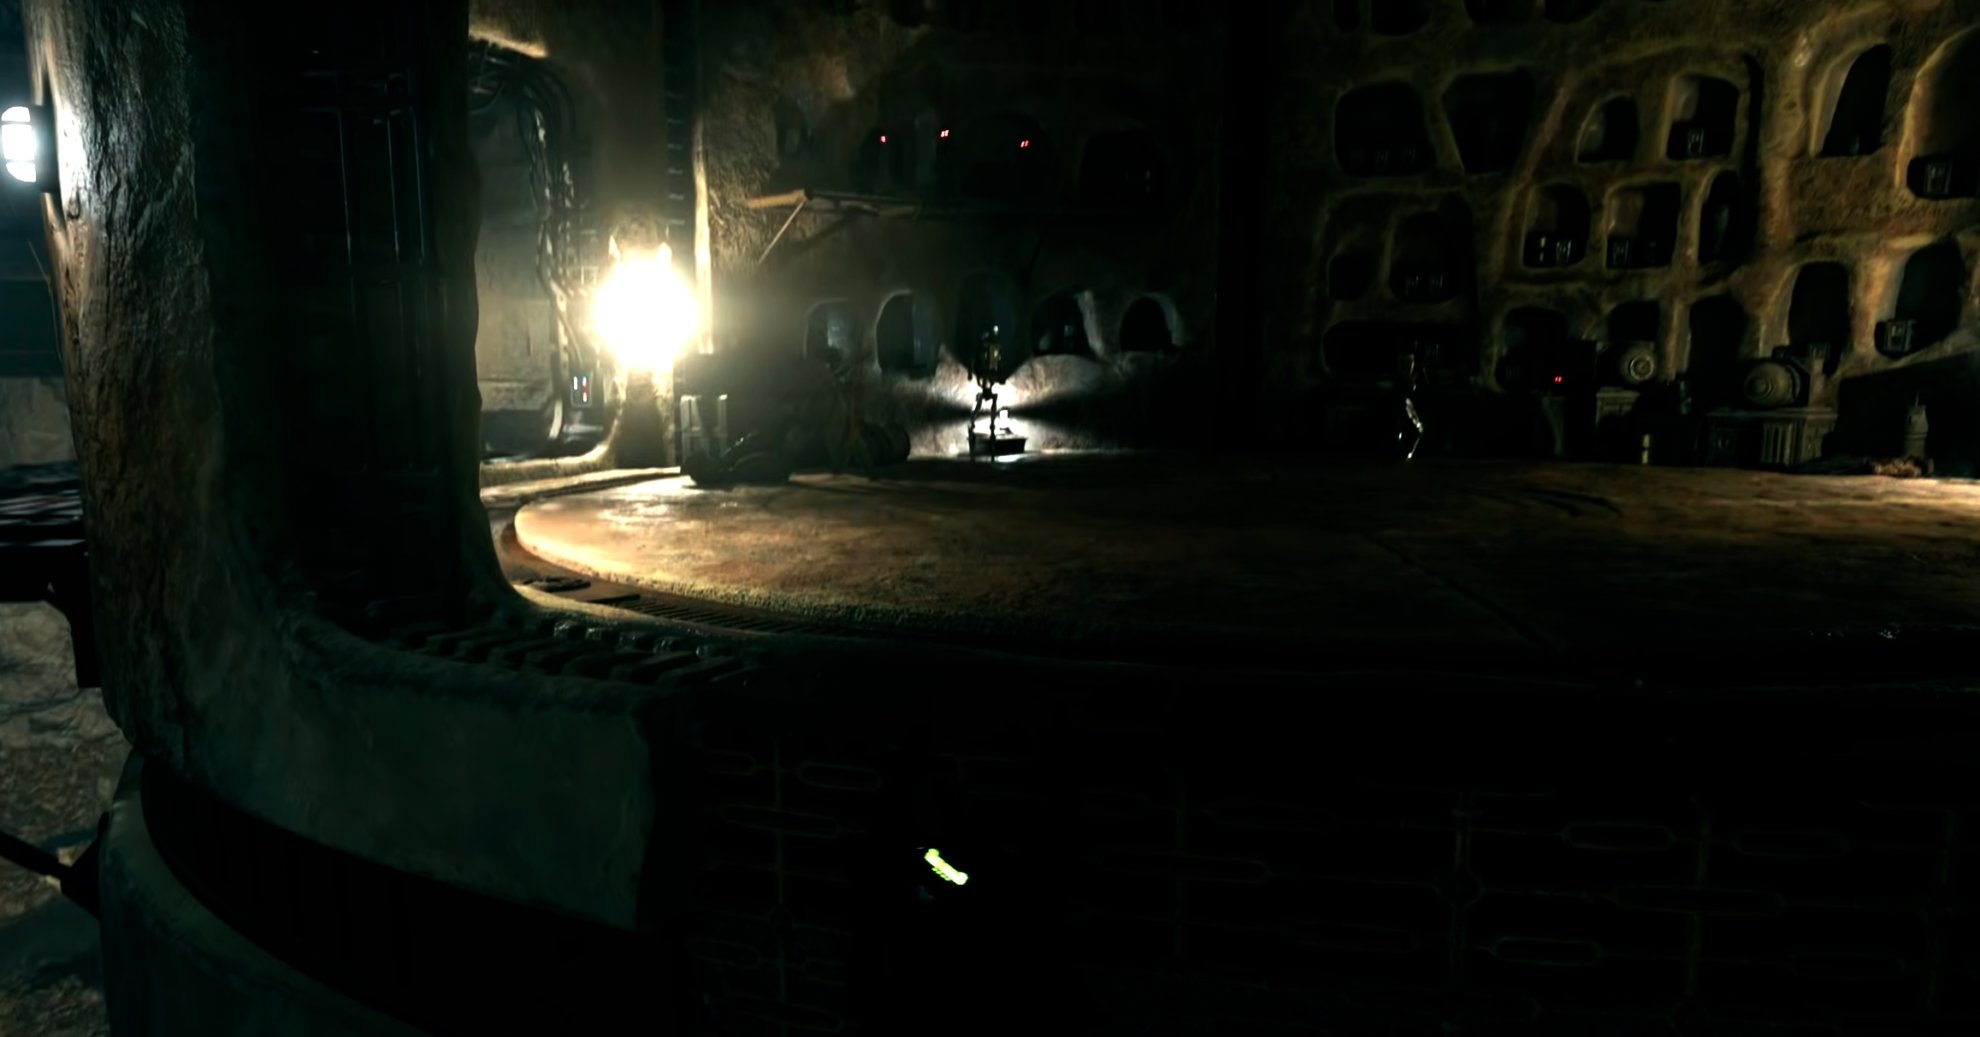
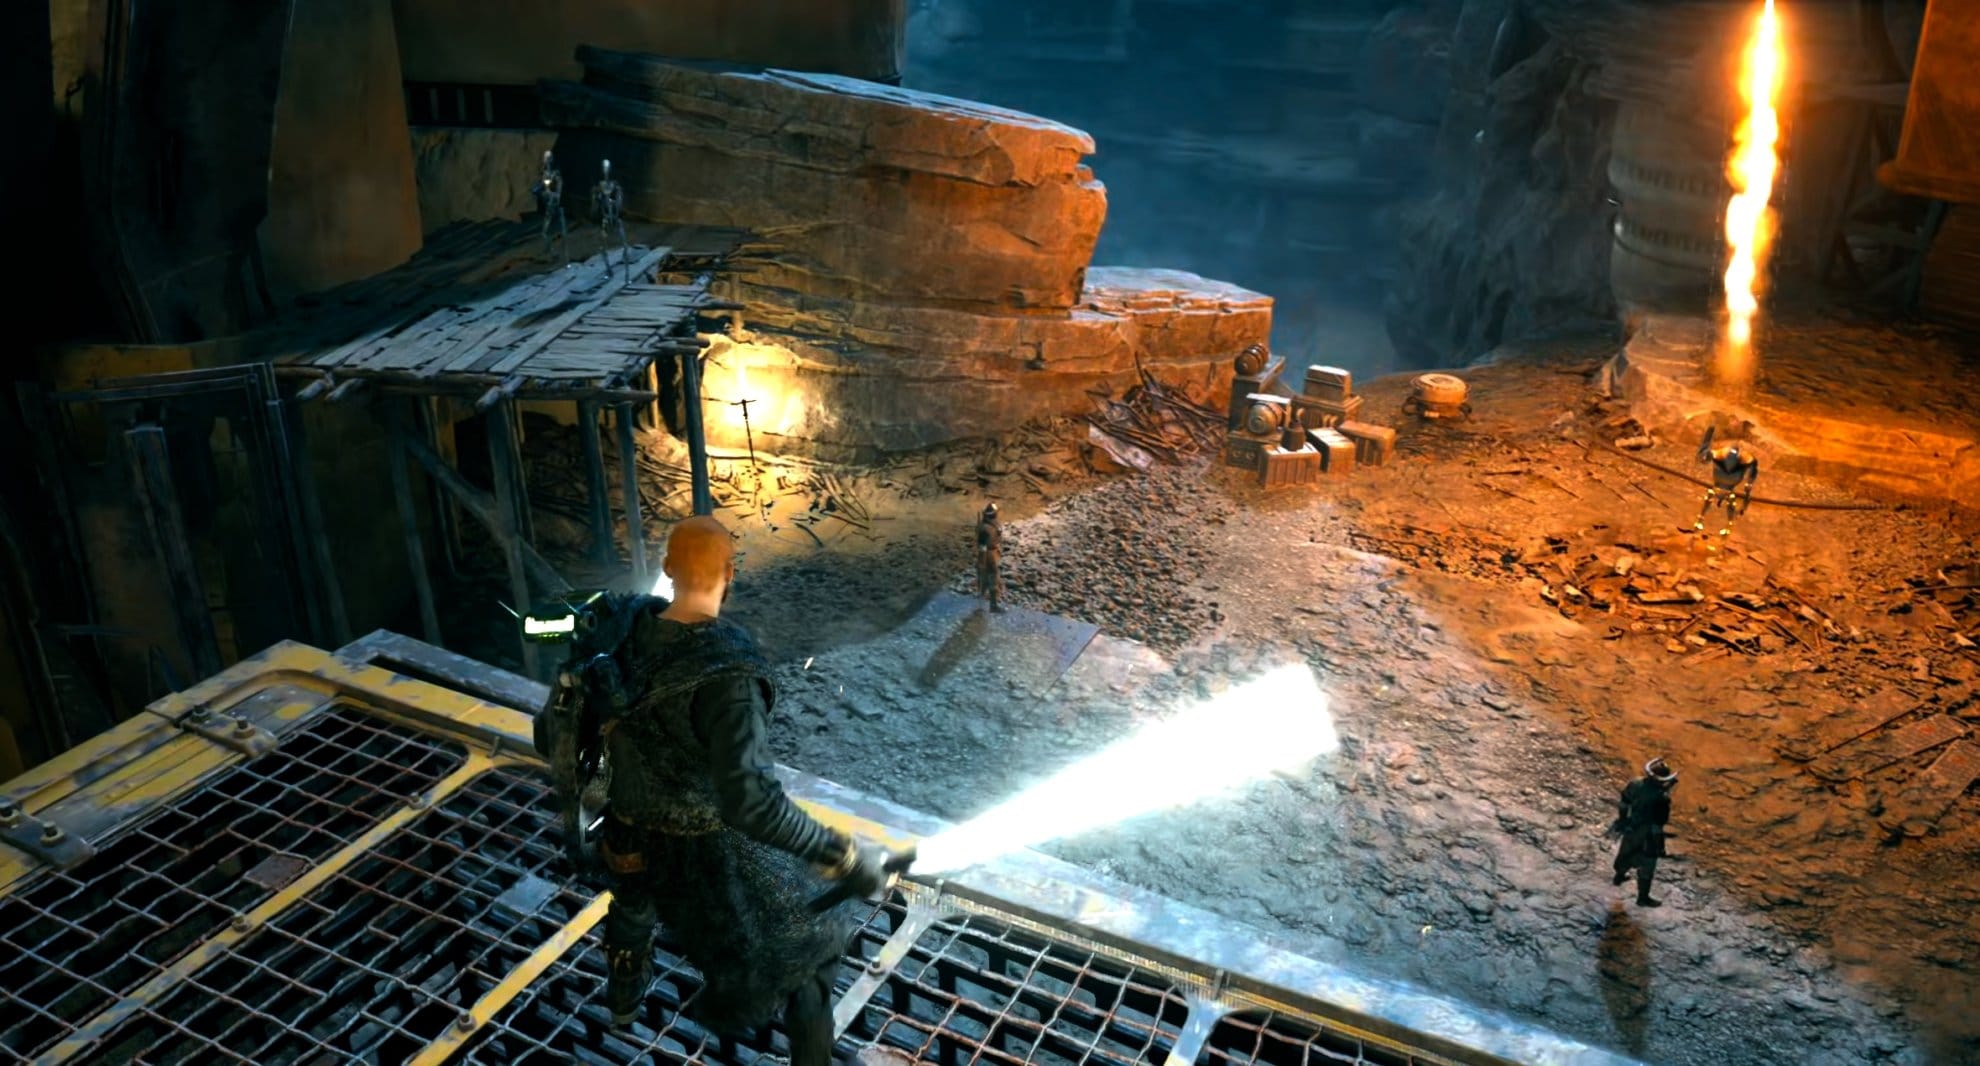
Go around the building and climb up. At the top floor you will see a couple of droids and a Bedlam raider.
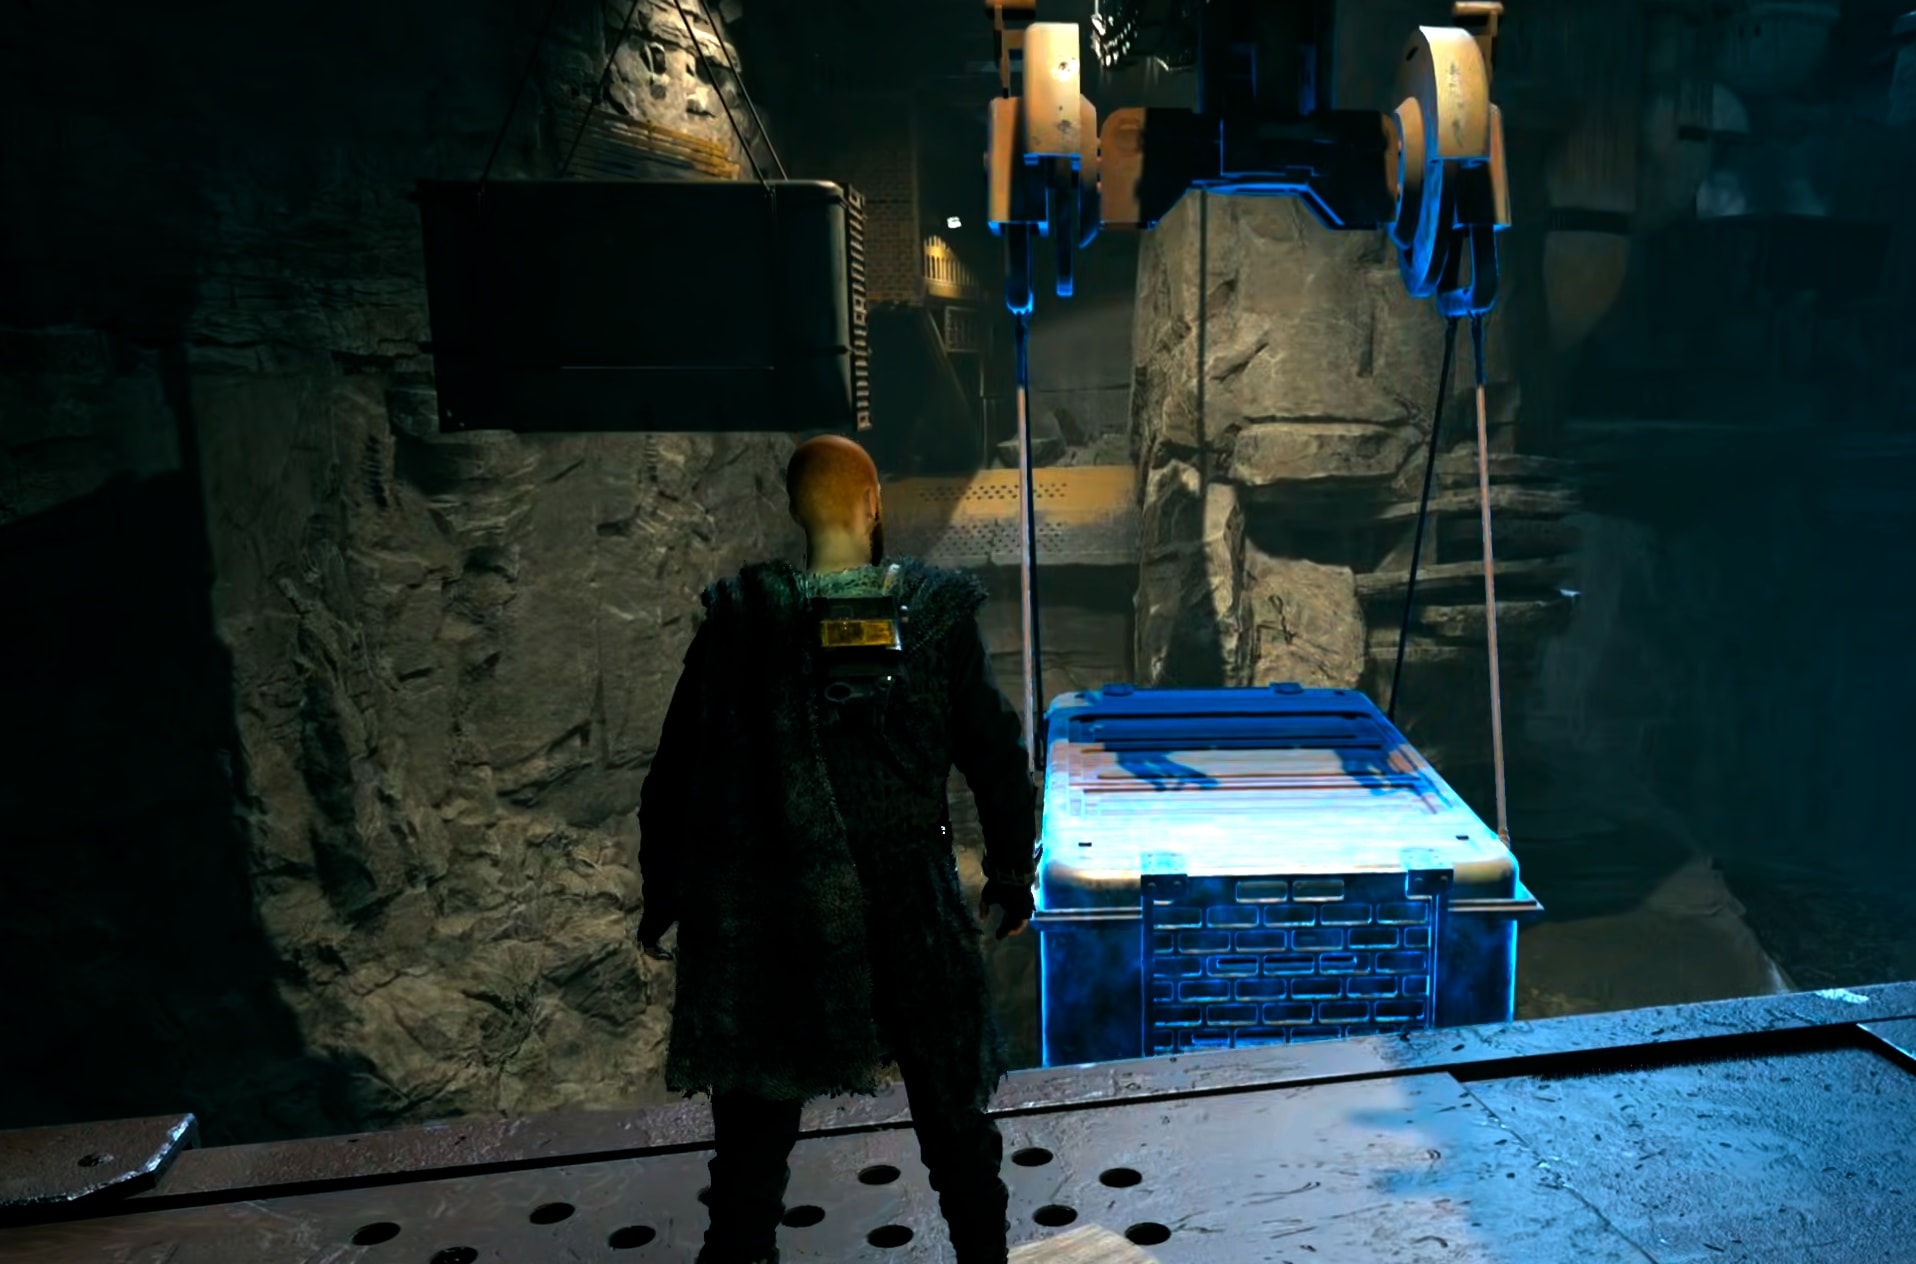
A Jawa will come to the catwalk and thank you, then move one of the hanging containers closer, so you can Force Pull it and jump on it.
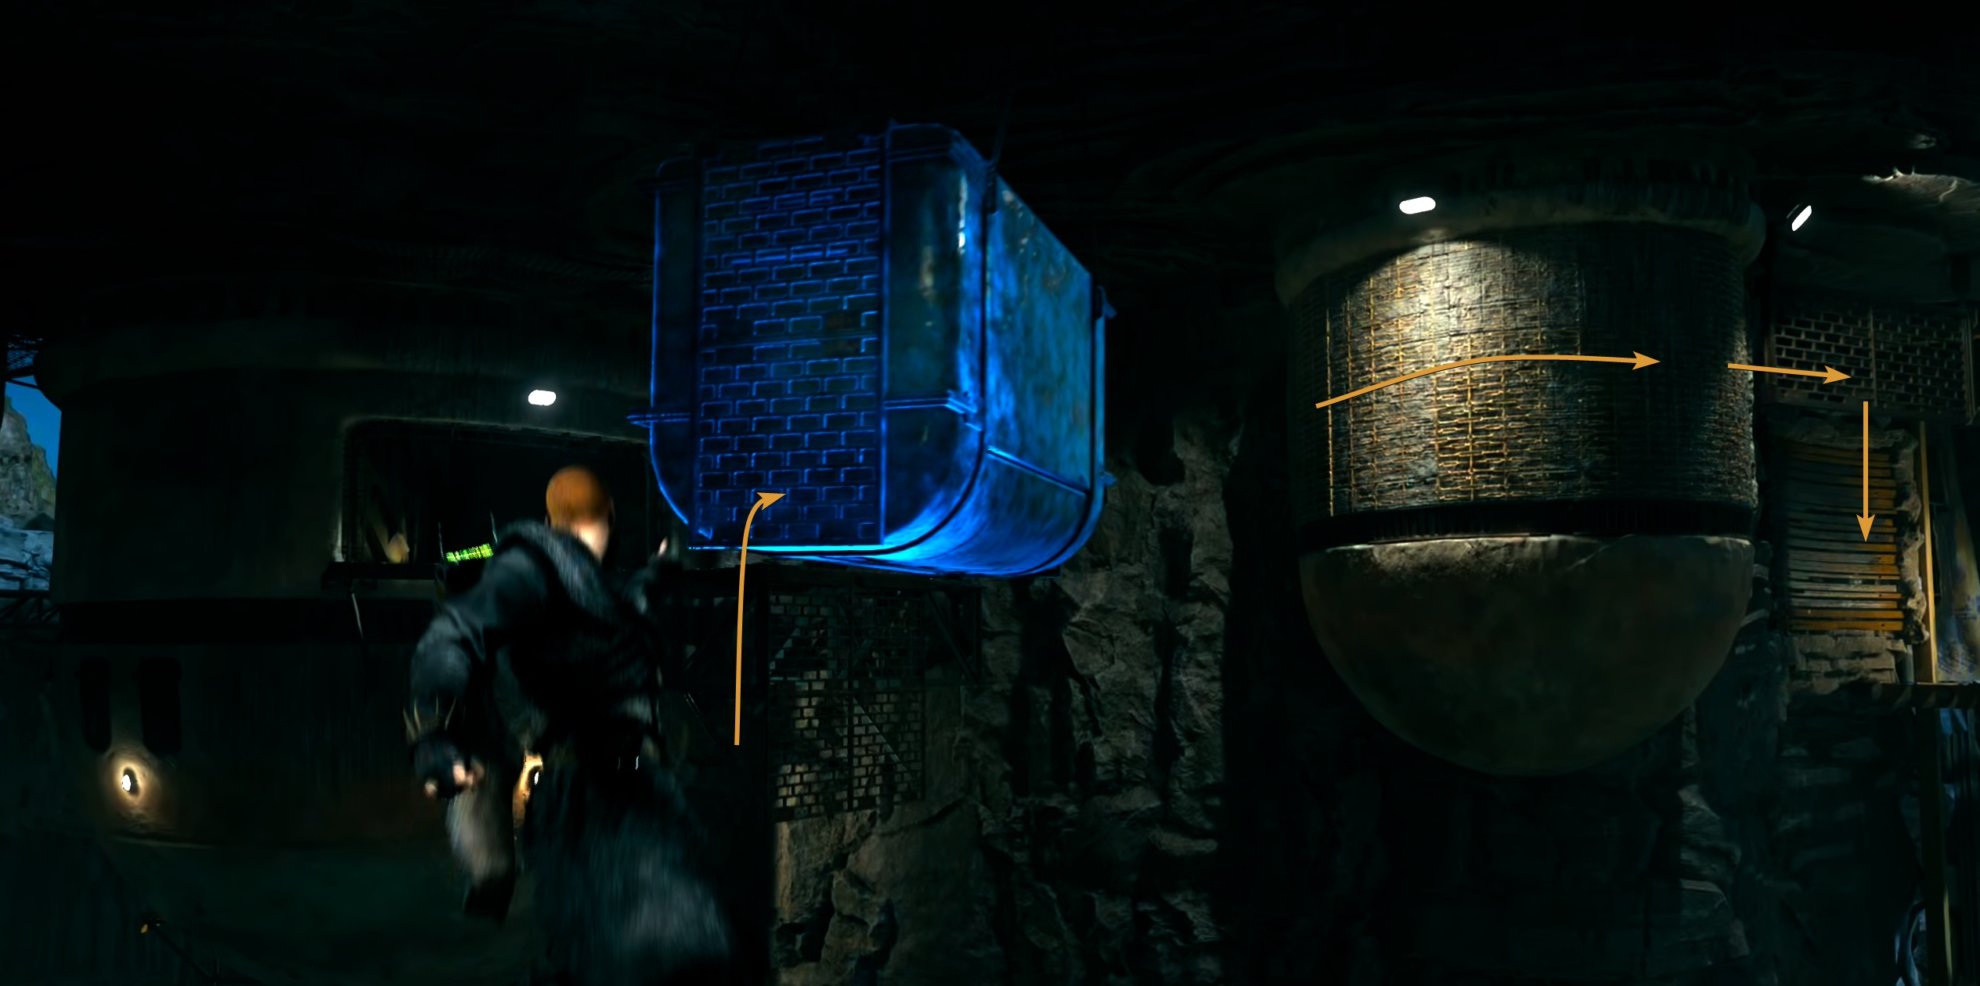
From the container, jump to the metal mesh, move to the right-most side and drop down, then jump and dash to reach the wall and run on it to reach the terrace.
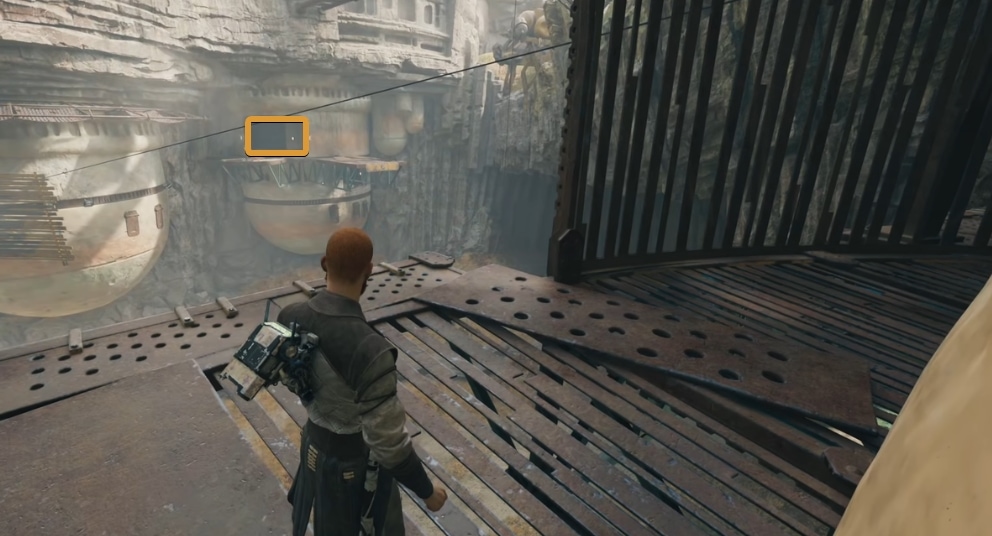
From this terrace, you have two containers you can Force Push and Force Pull. You have to repeat the Force Pull technique several times moving from one container onto the other and pulling the previous one forward. Until you reach the metal grid on the other side.
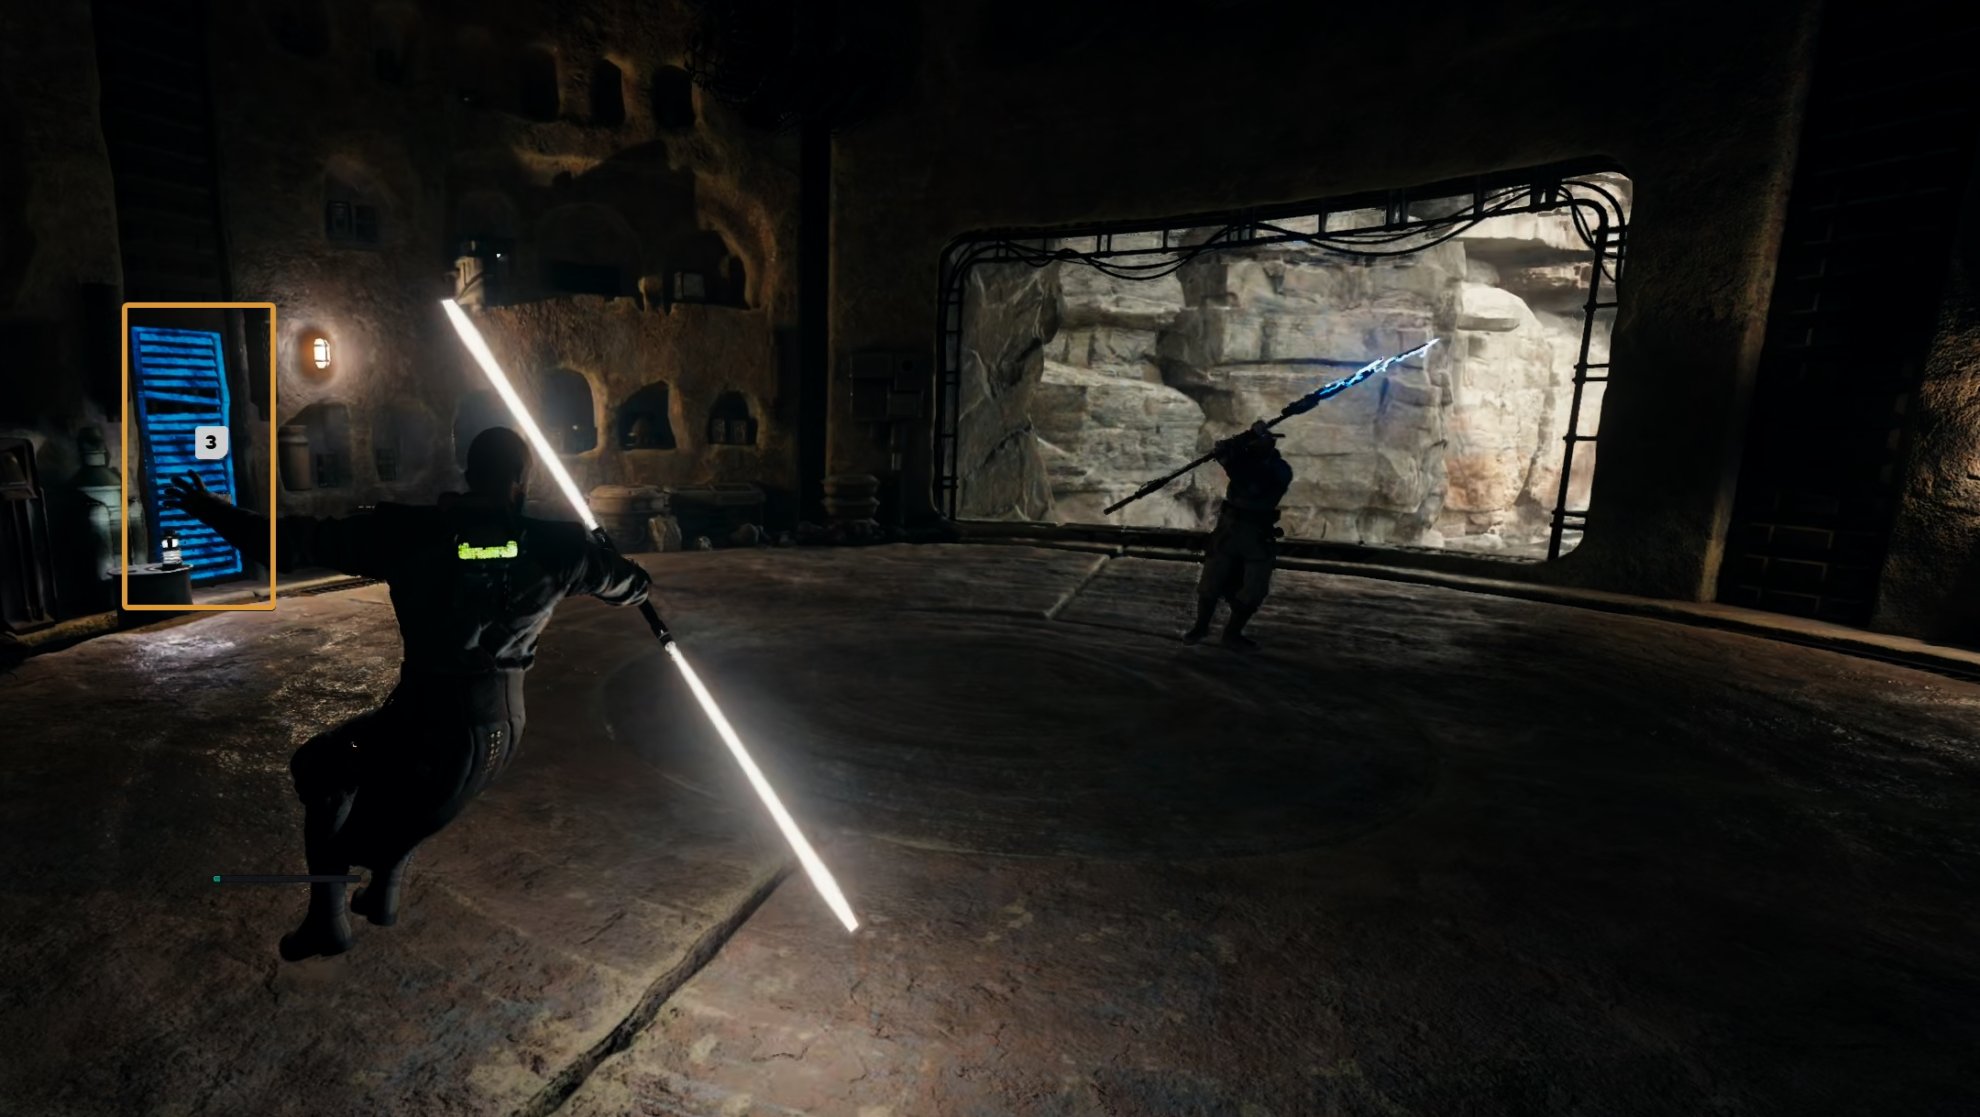
Don’t forget to create your shortcut at the end of the next platform. All that is left is for you to jump down and fight the Bedlam raiders and the droids that will drop into the battlefield after them.
After the fight is over, talk to the Jawa on the right side. You will not understand what it says, but you know it’s an expression of gratitude.
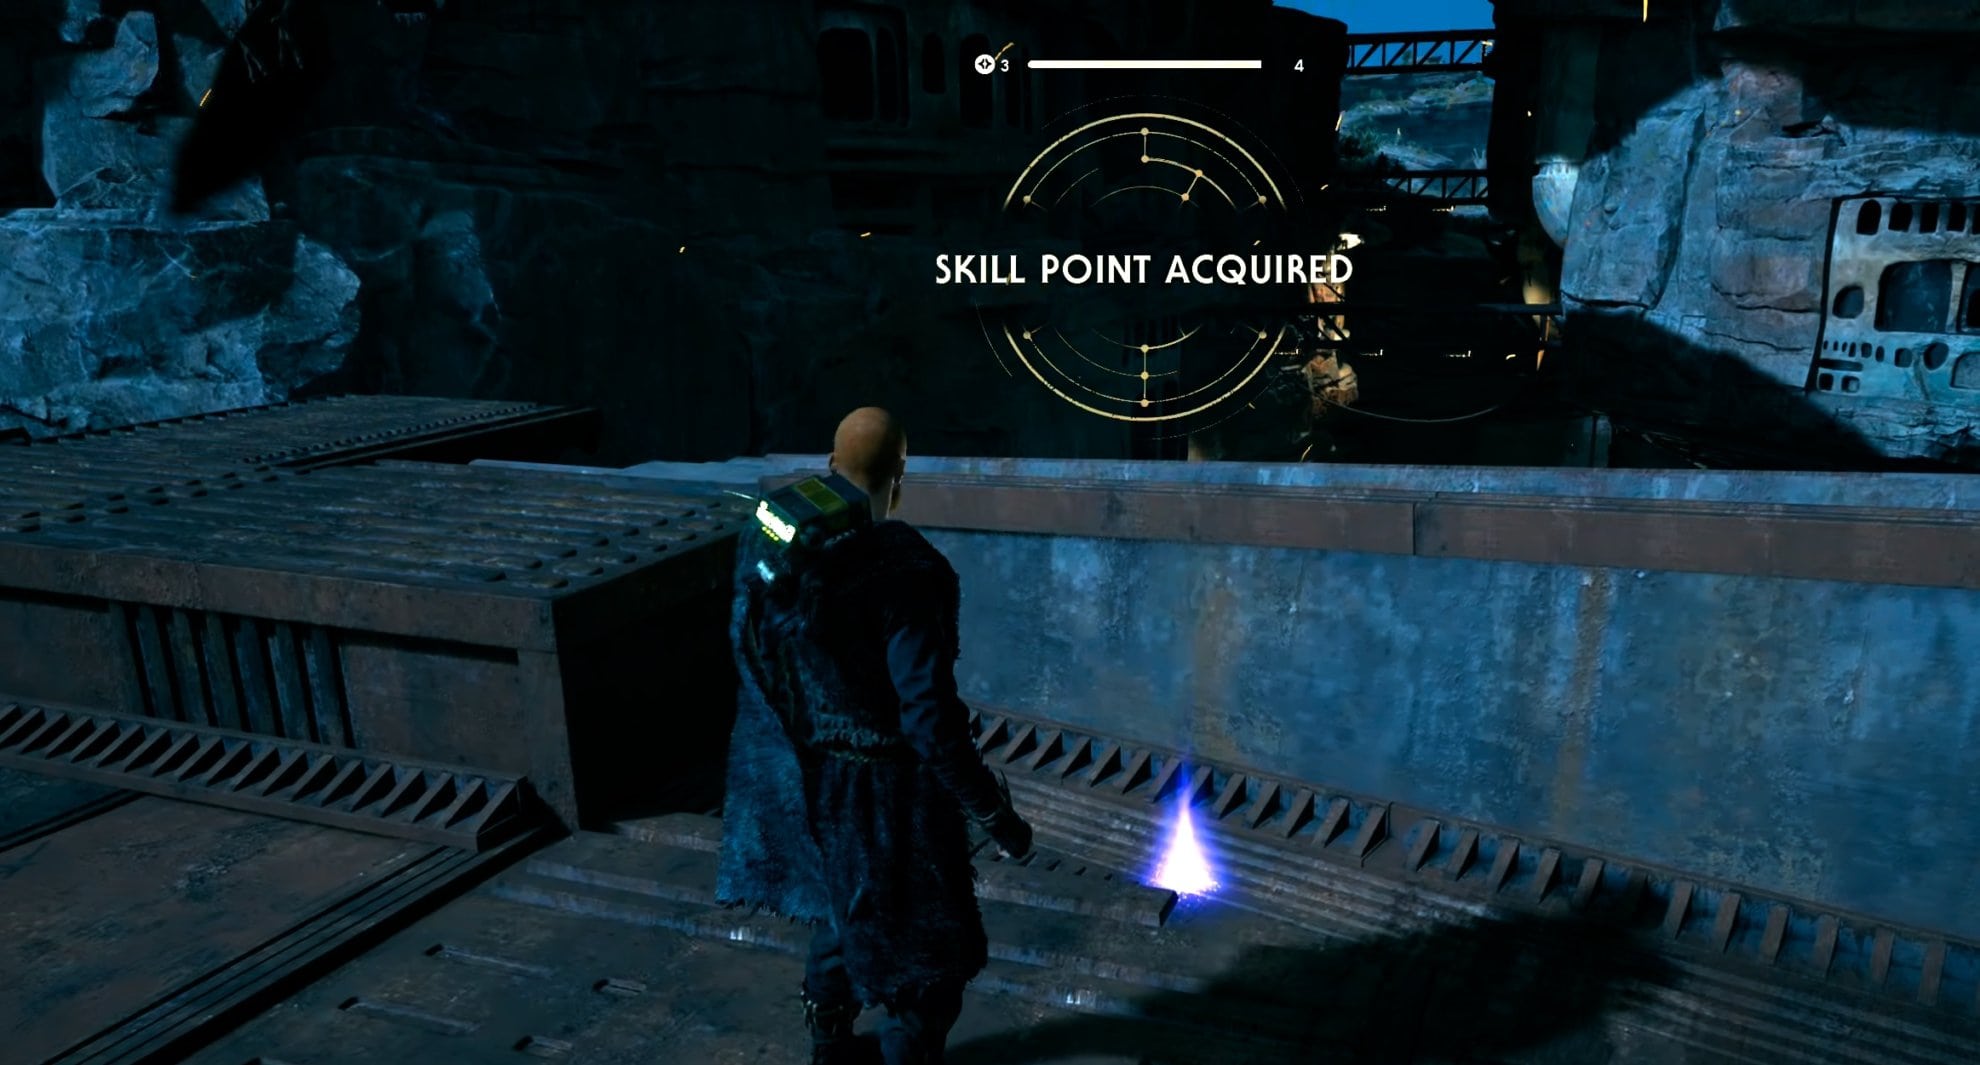
How to get the Skill Point Essence in the Bygone Settlement
Go around the Sandcrawler. On its back, you will see a ramp you can Force Pull. Bring it down and climb on the Sandcrawler. On the top, you will see the Skill Point Essence.
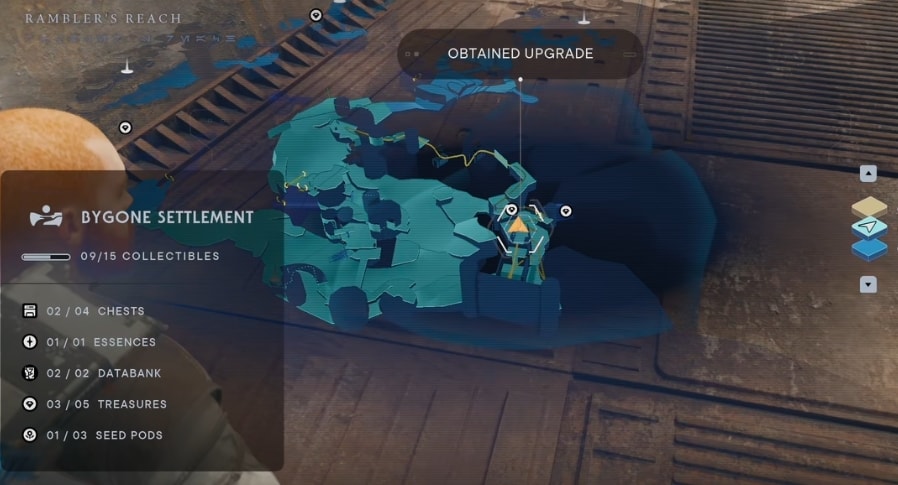
All Collectibles Locations in the area
There are a total of fifteen Collectibles in the Bygone Settlement. Most of them are on the path of the rumor to check the Bygone Settlement, but some are well hidden and accessible outside the rumor’s pathway.
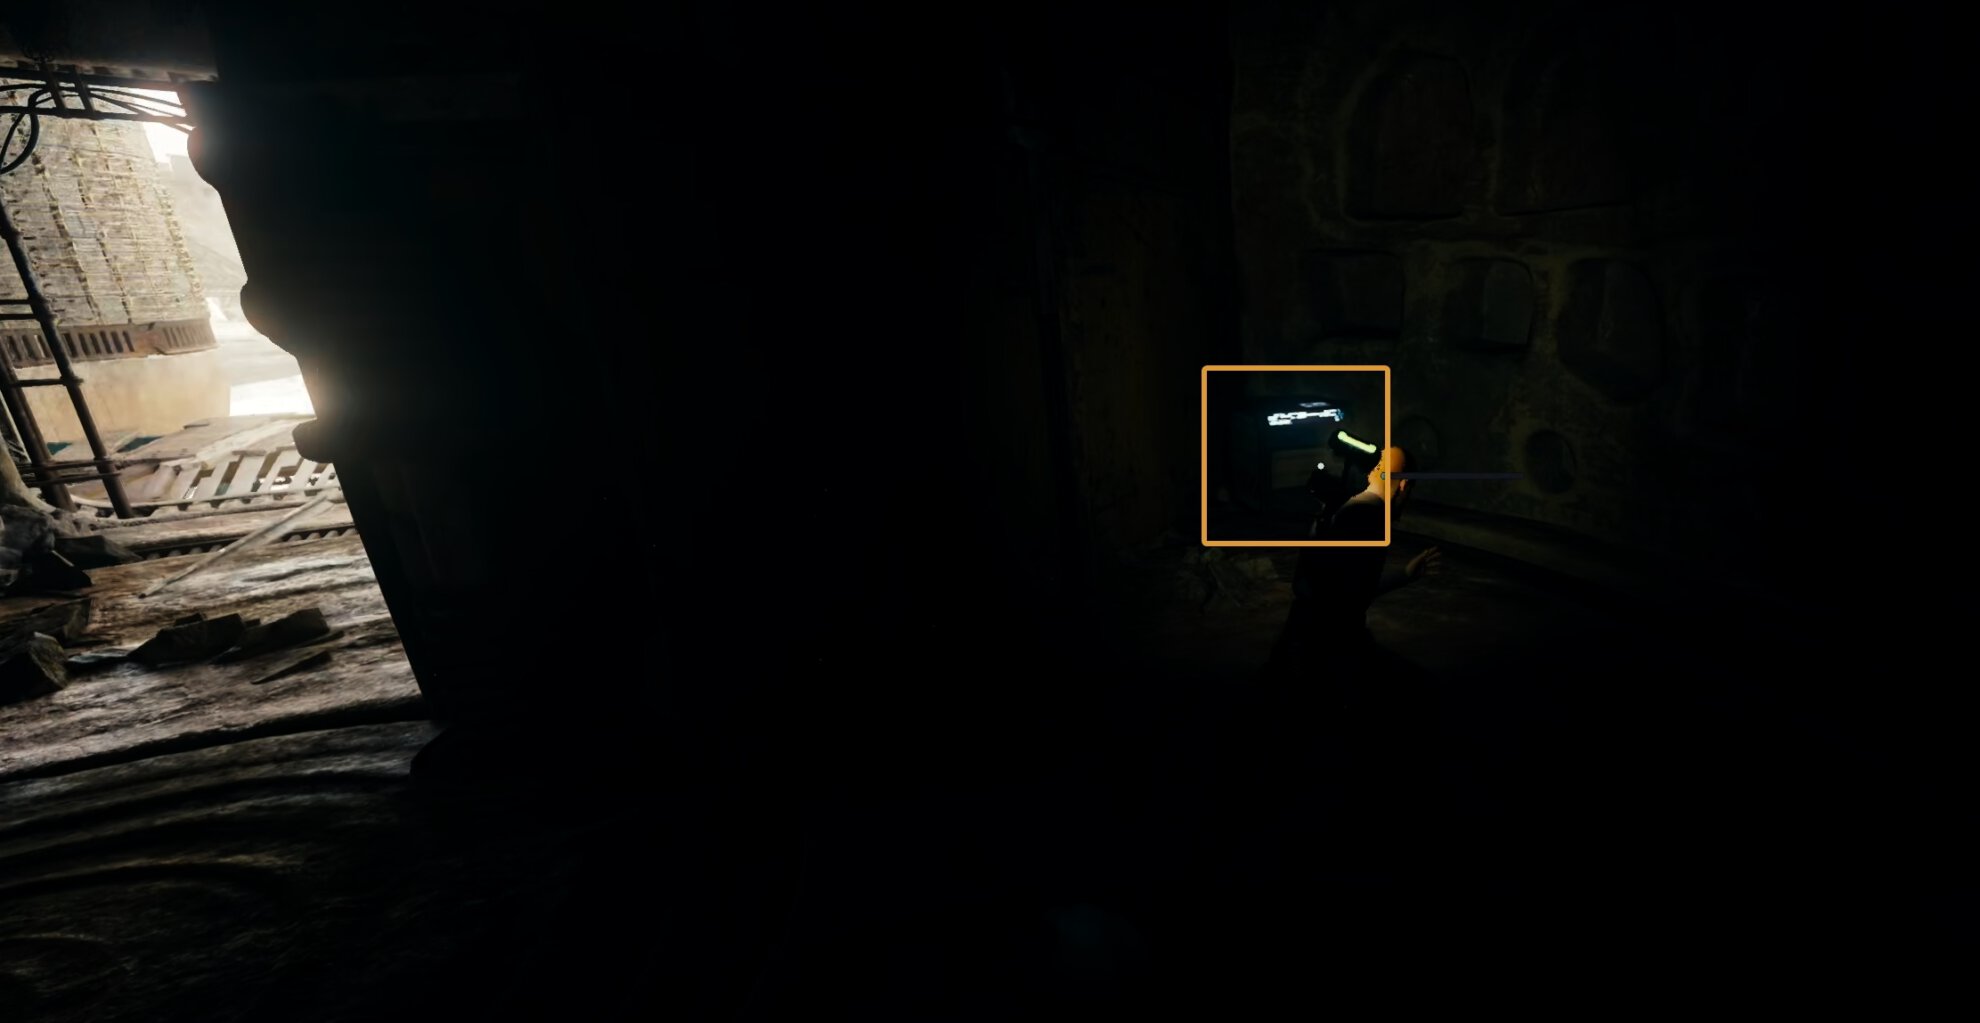
The first two items are grouped together. In a building near the Meditation Point, a slight detour from the main path of the rumor, you can scan the Ancient Architecture Databank entry and pick up a Priorite Shard treasure.

On the platform where you climb on a metal box to Jump and Dash through the vent blowing out air, you will find the Wanderer Shirt Material in a chest (Wanderer Outfit Guide).
Don’t forget to cut the zip line to create a shortcut directly from the Meditation Point to this platform.

On the platform where the Jawa will help you by bringing one of the hanging containers closer to you, there is a metal vent grate that you can pull out and sneak into a small room in the back where a Priorite Shard treasure is waiting for you.
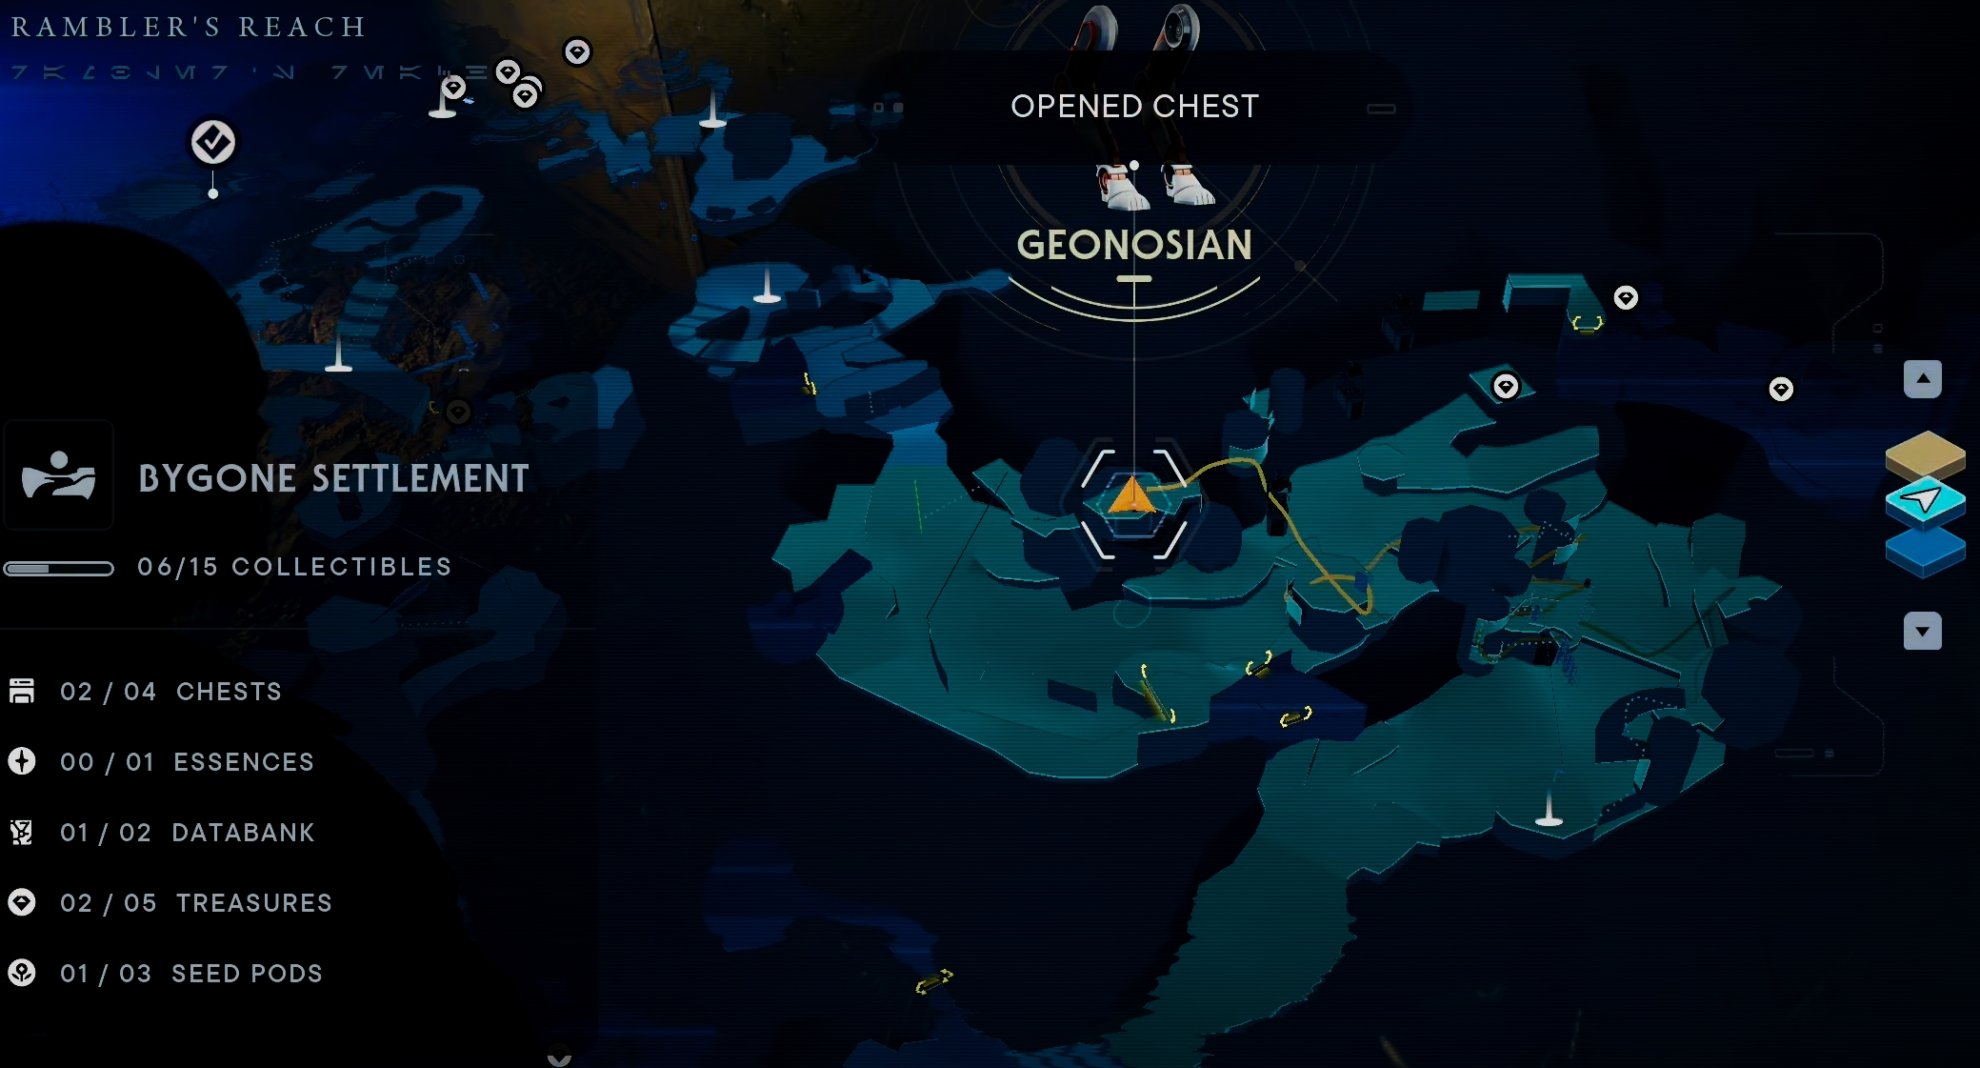
Right after you jump off the metal container that the Jawa brought for you, in the next building there is a chest containing the Geonosian Legs for BD-1 (BD-1 Geonosian Customization Locations Guide).
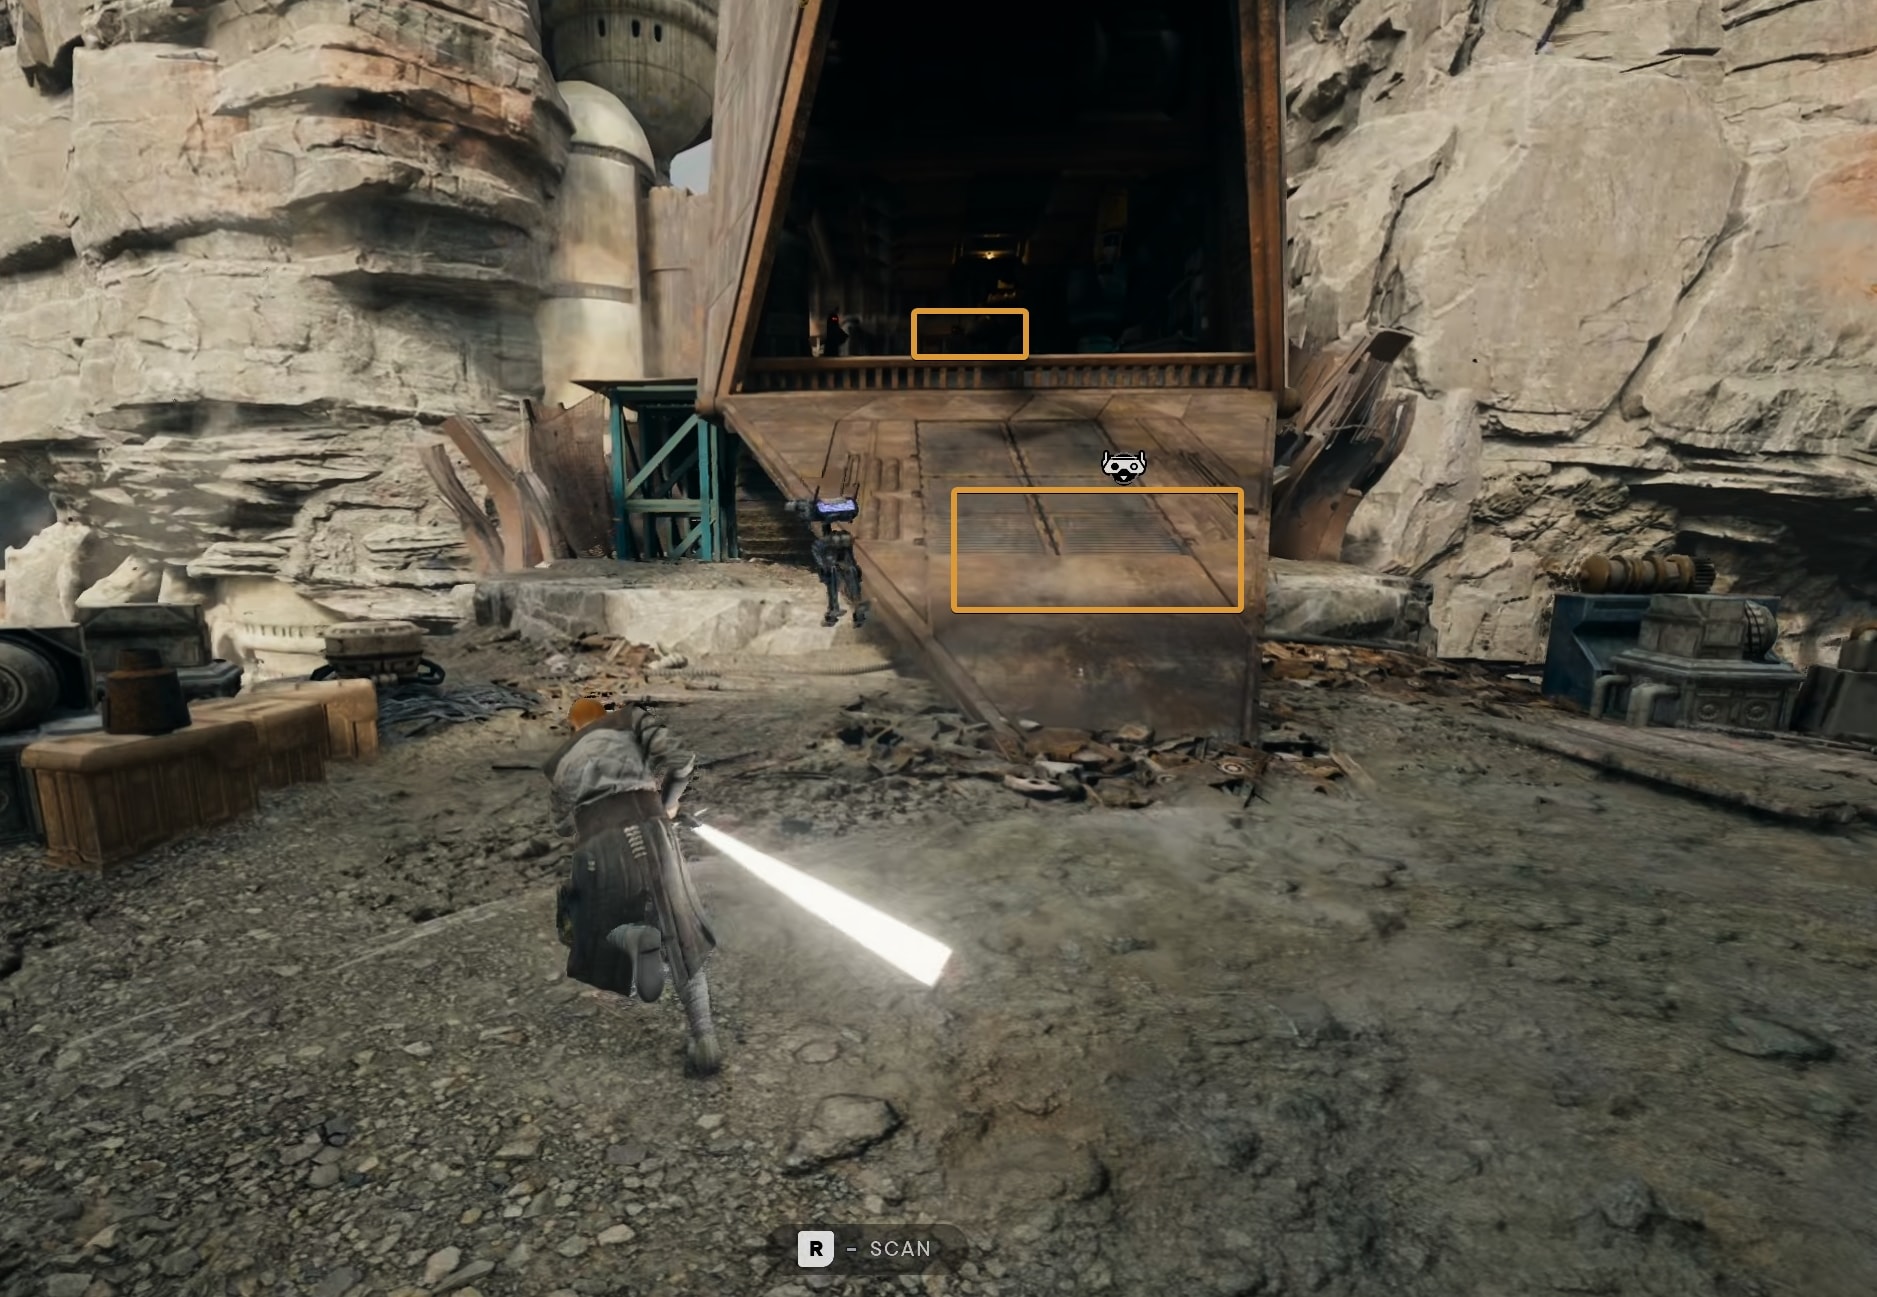
Scan the Sandcrawler to get the Digger Crawler Databank entry. Inside the Sandcrawler, behind the Jawas, you will find another Priorite Shard treasure.
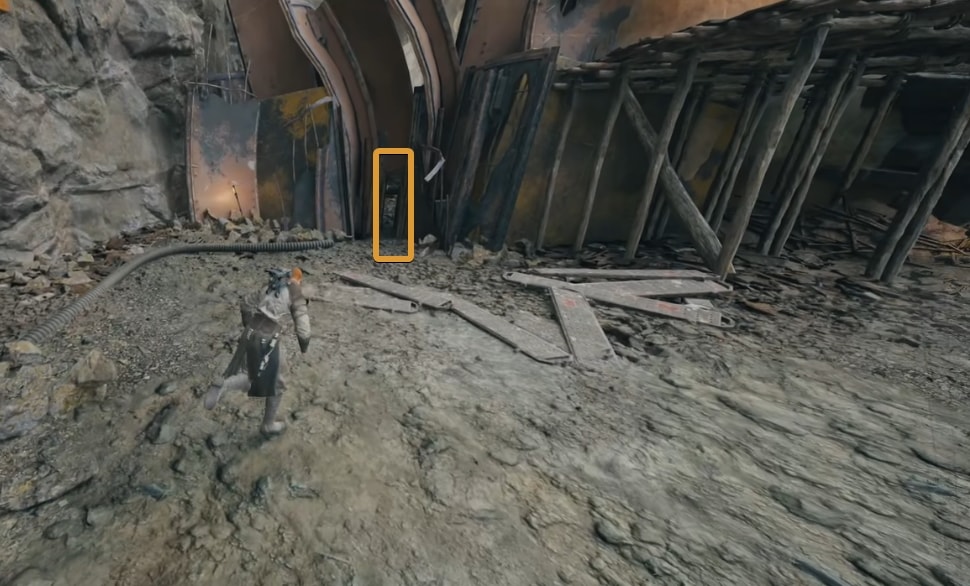
Sneak through the narrow gap in the wall across from the Sandcrawler to find another Priorite Shard.
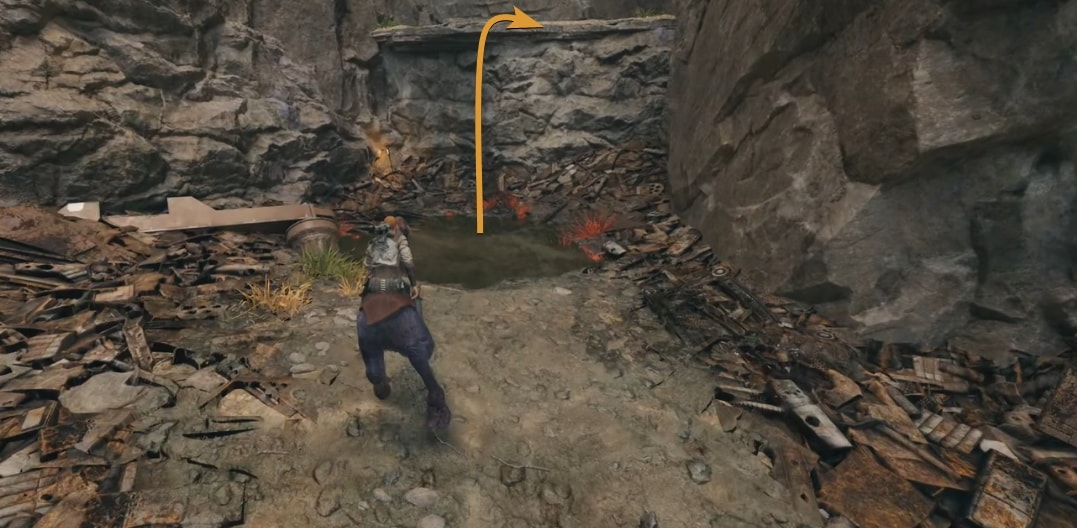
A Priorite Shard treasure is waiting for you on a platform right at the bottom of the grate you grasp at the end of the mini-puzzle with the two containers. You can pick this up from the ground by jumping off the back of a Nekko.
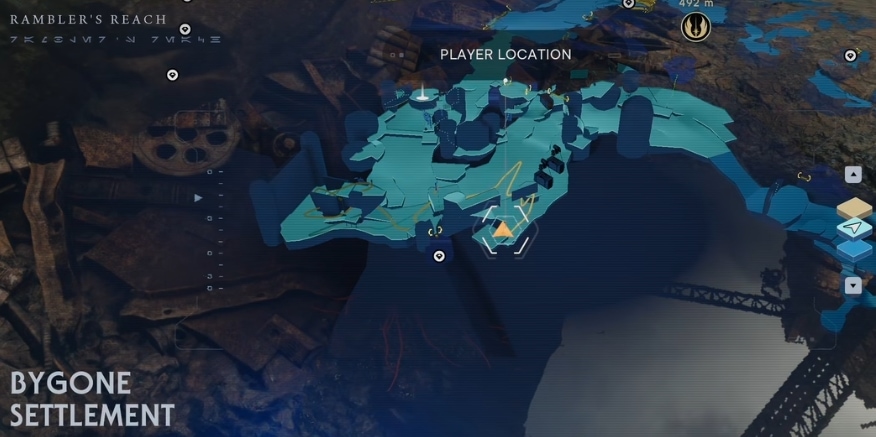
Jump up from a Nekko to catch the zip line from this location (image below). Wall run and take another zip line to reach the platform where the chest containing the Geonosial Head customization for BD-1 is.
Across that structure, there is another where you will find the chest with the Choppy Forward hairstyle for Cal (All Hairstyles Locations Guide). Pull a rope to get to it.
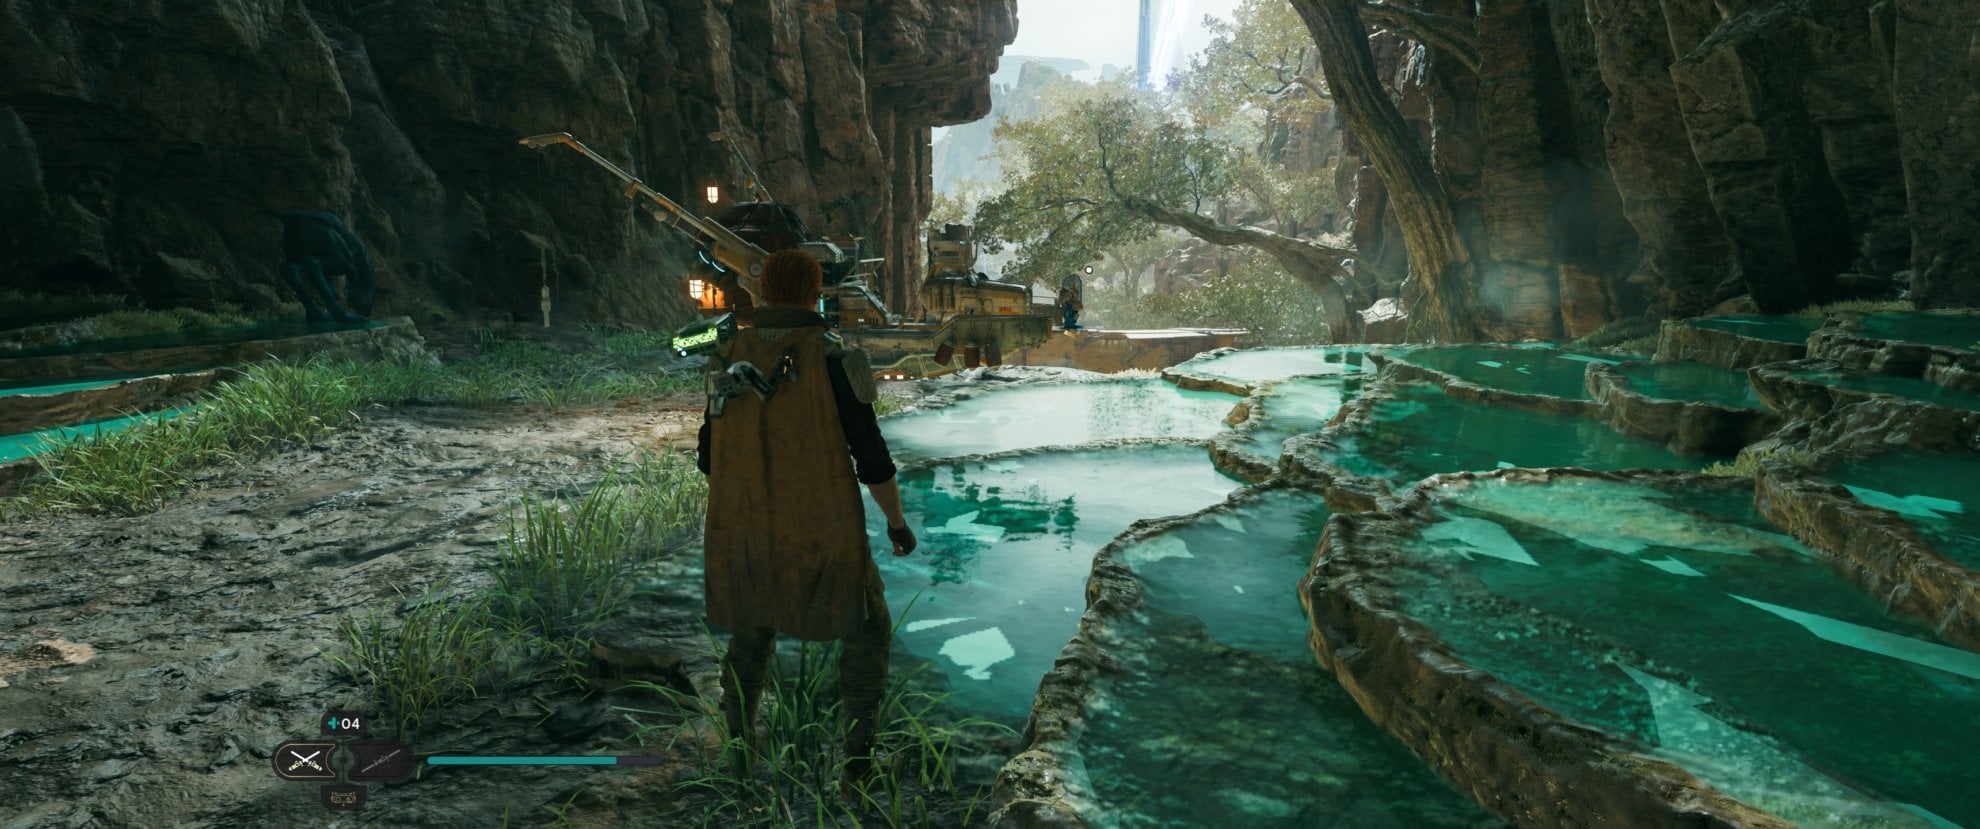
At the end of the cliff, hovering above the green-water pools you will also find Skoova with one of the fishes for the aquarium (All Fish Locations for the Aquarium).
The three Seeds in the Bygone Settlement are all on the ground.
The two houses behind Doma’s Shop
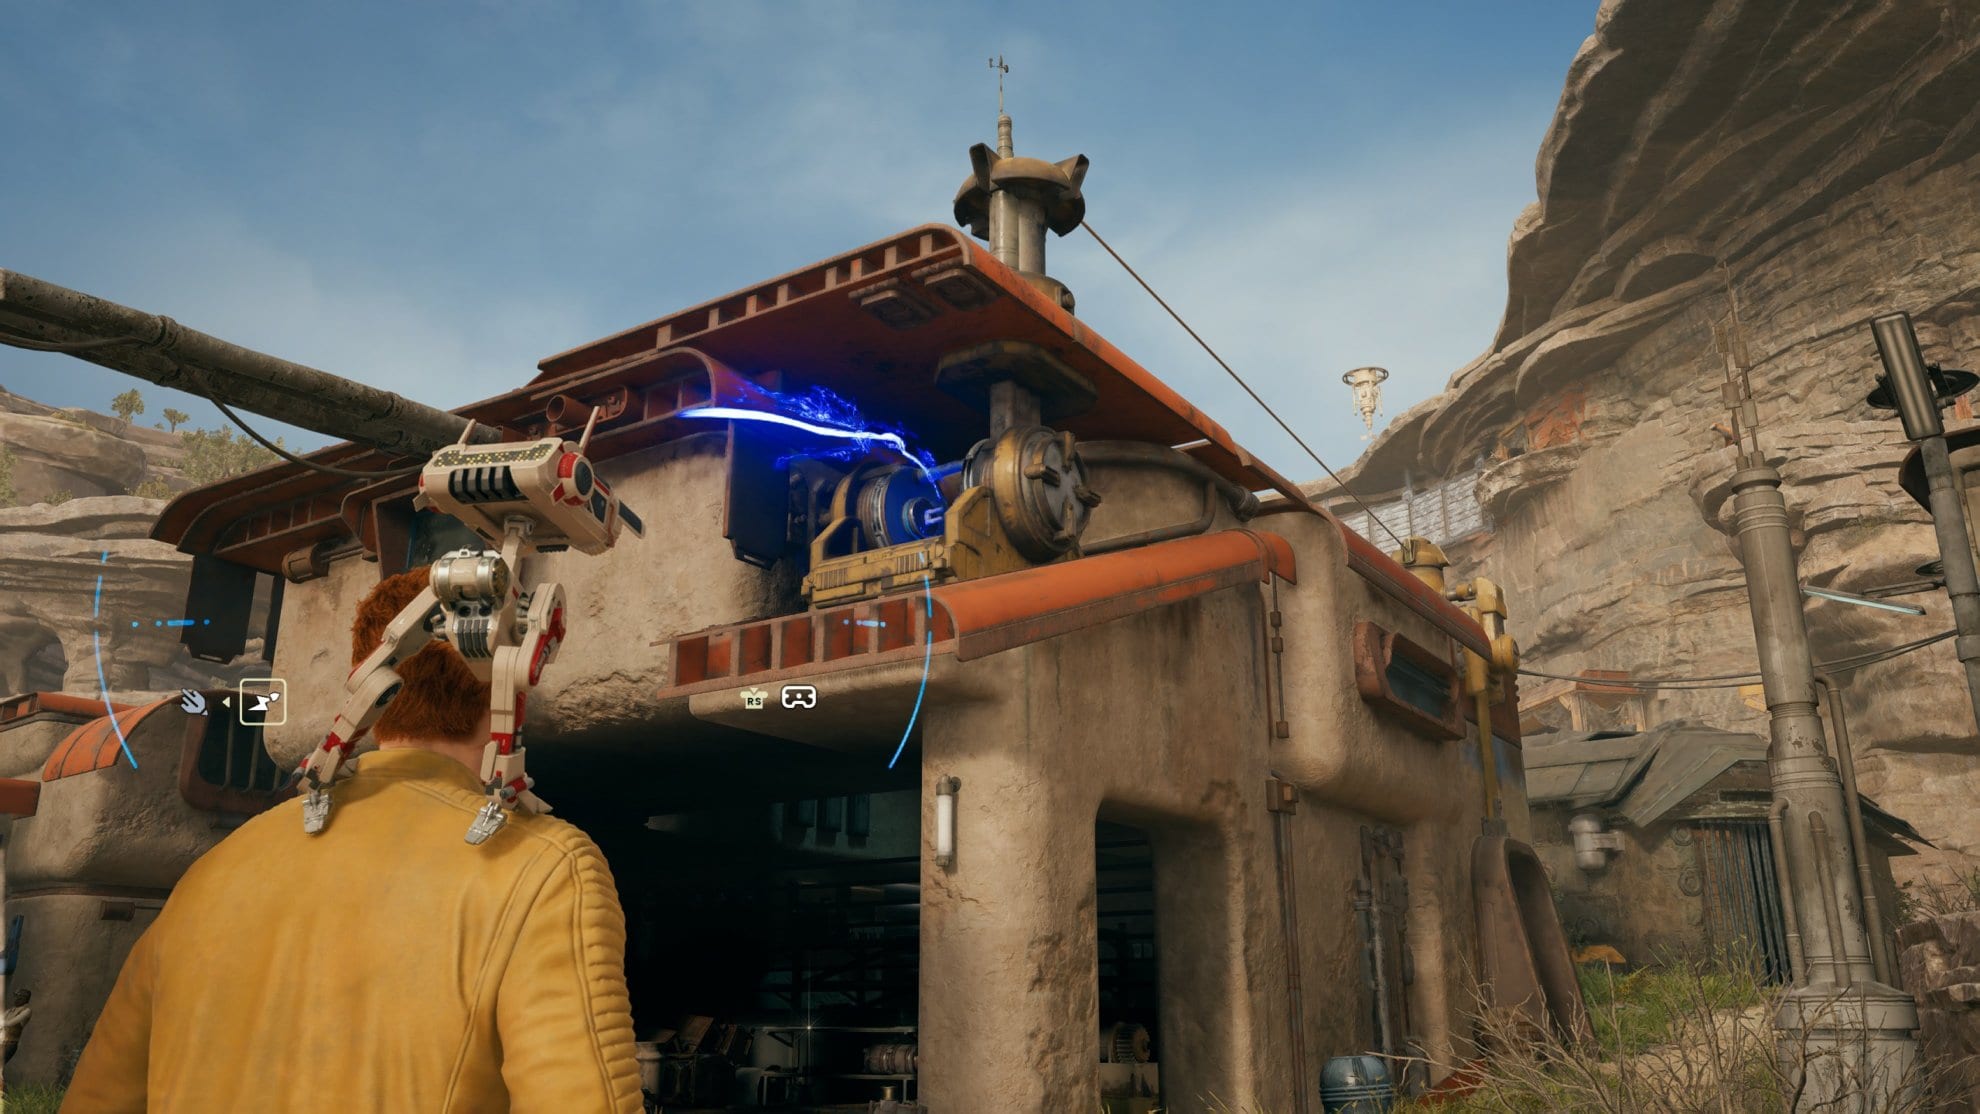
After you help the Jawas at the Bygone Settlement, they will settle in Remabler’s Reach Outpost. Behind Doma’s shop, there are two houses with an electrical node on their roofs and a cable you can swap to power one of them at a time.
This is a mini puzzle that unlocks after you help the Jawas at the Bygone Settlement. Travel back to Rambler’s Reach Outpost and you will notice the two houses are now occupied by Jawas. And a power generator has been revealed.
You can use BD-1’s Electro Dart to power it on. Unlock the two houses and pick up the Skill Point Essence and Swoop Blaster.