
This guide will tell you how to find Bode on Nova Garon along with gathering all the collectibles found in Nova Garon. This ISB base can get a tad confusing with its very sterile layout but it’s nothing you can’t solve!
Find Bode Akuna
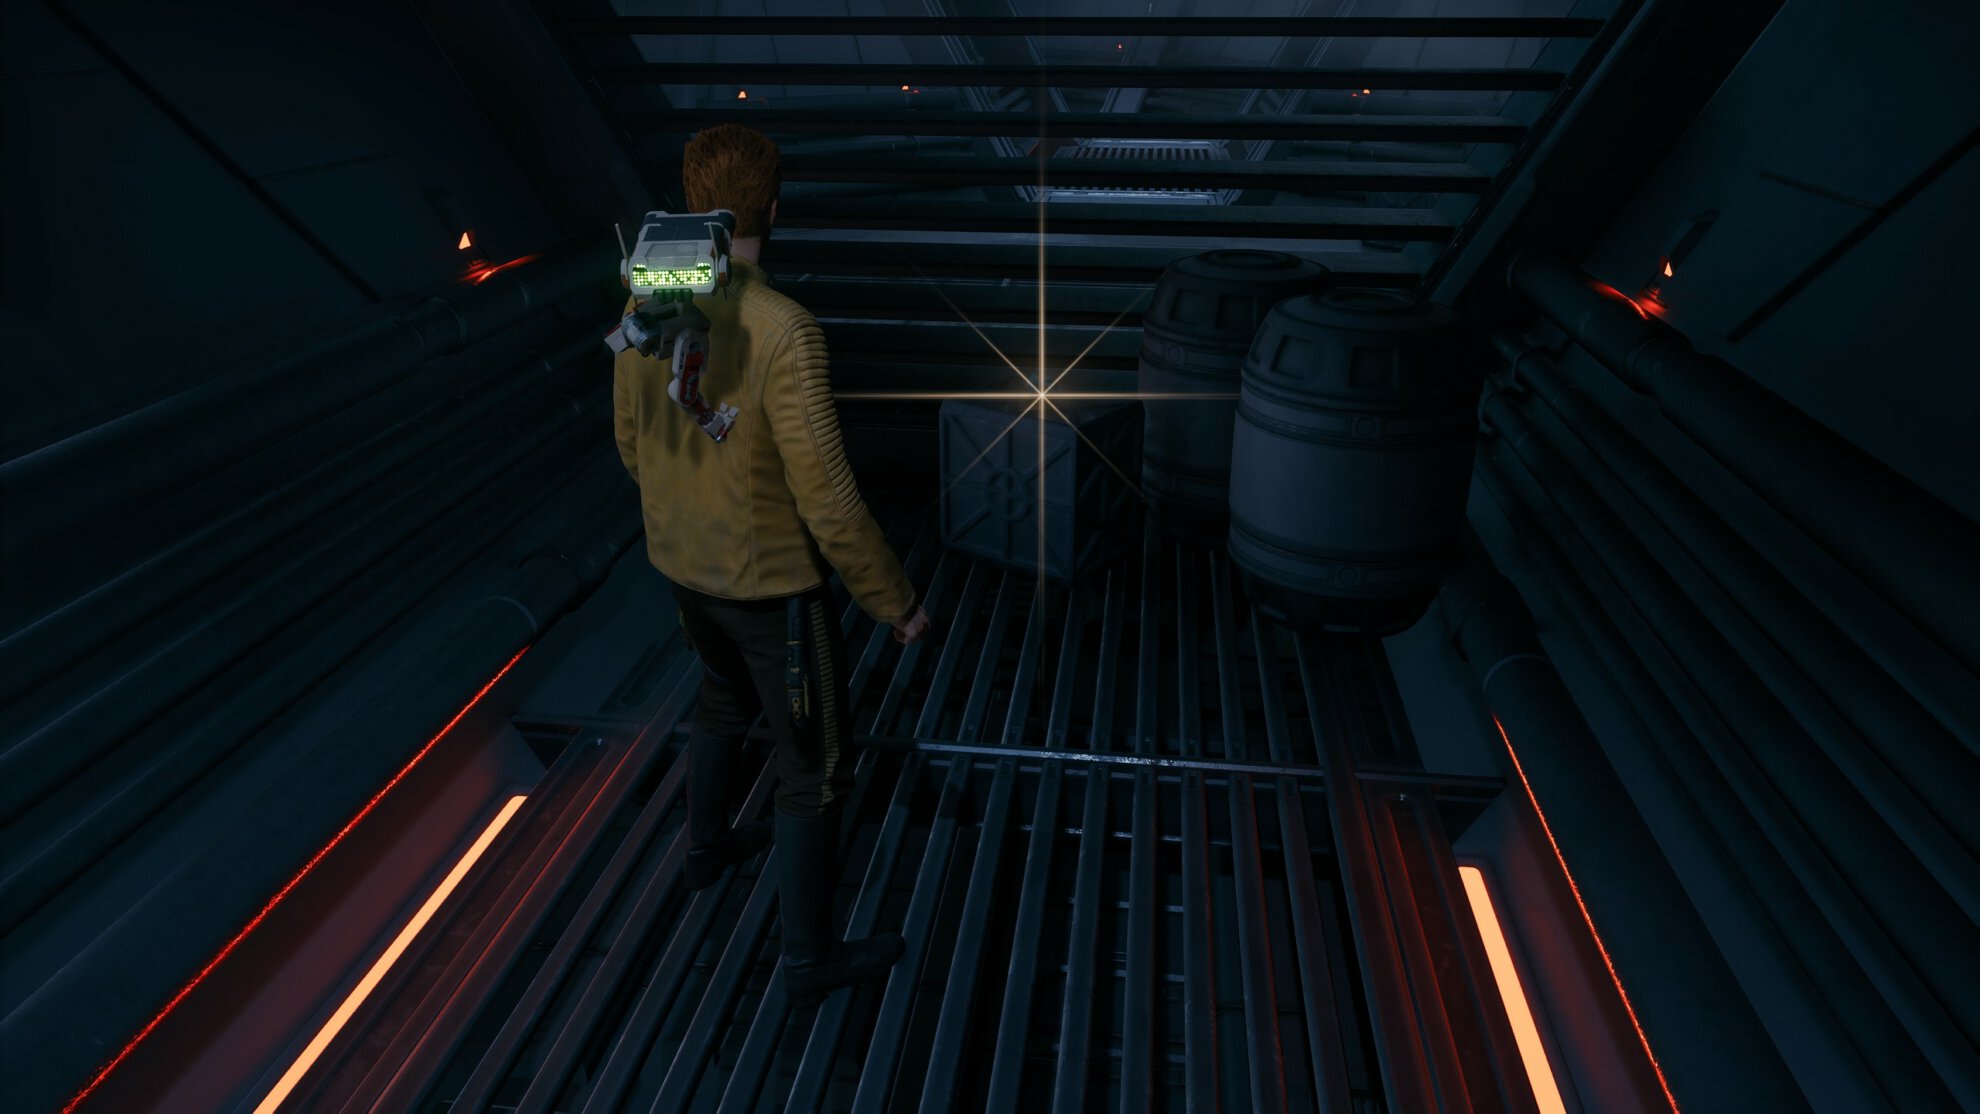
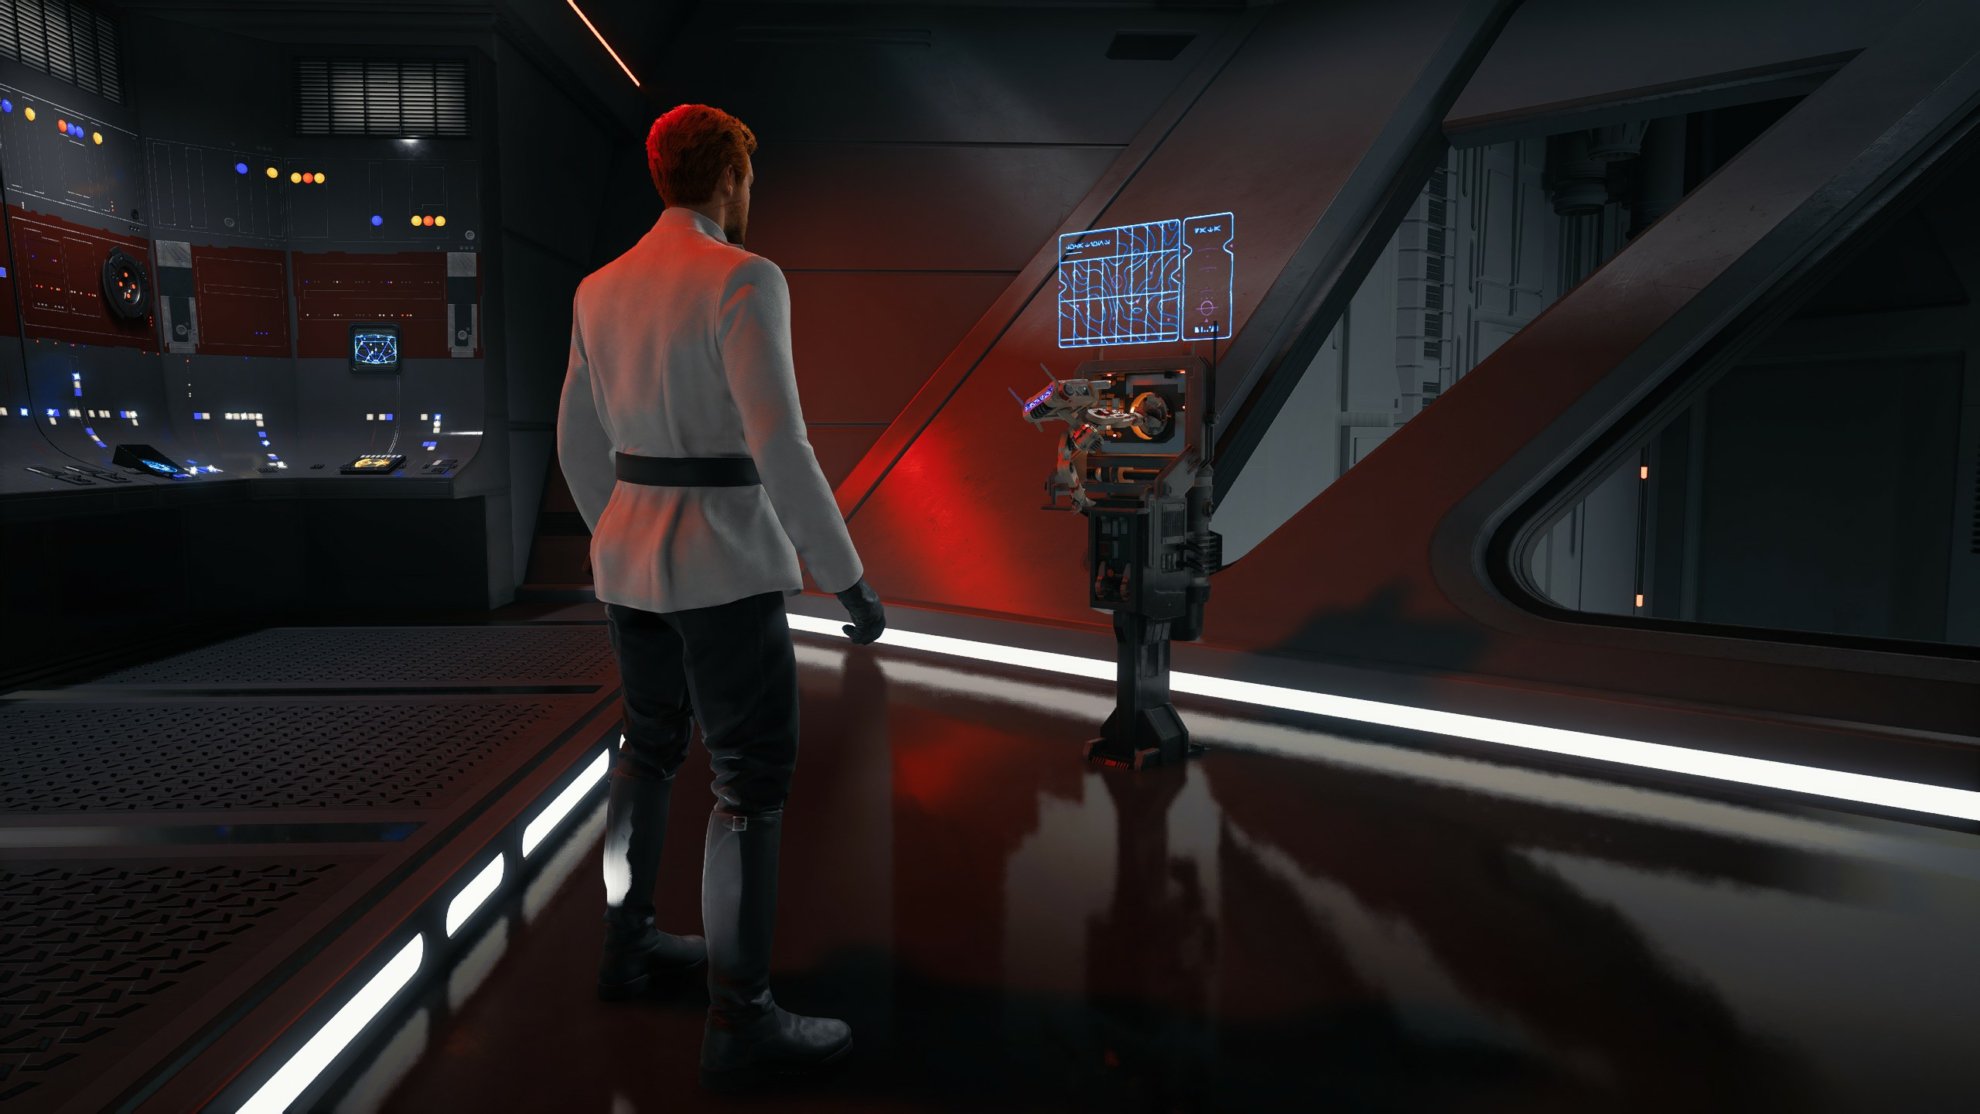
When you first reach Nova Garon, you’ll find the Hangar Bay Exterior Meditation Point. Activate the Meditation Point to save your game and move towards the door in front of you. To the right you’ll find some Aurebesh text that you can scan to pick up Collectible Databank 1/14: ISB Base Structure. If you’re wondering what this Aurebesh translates into, it just says “Exhaust Port”.
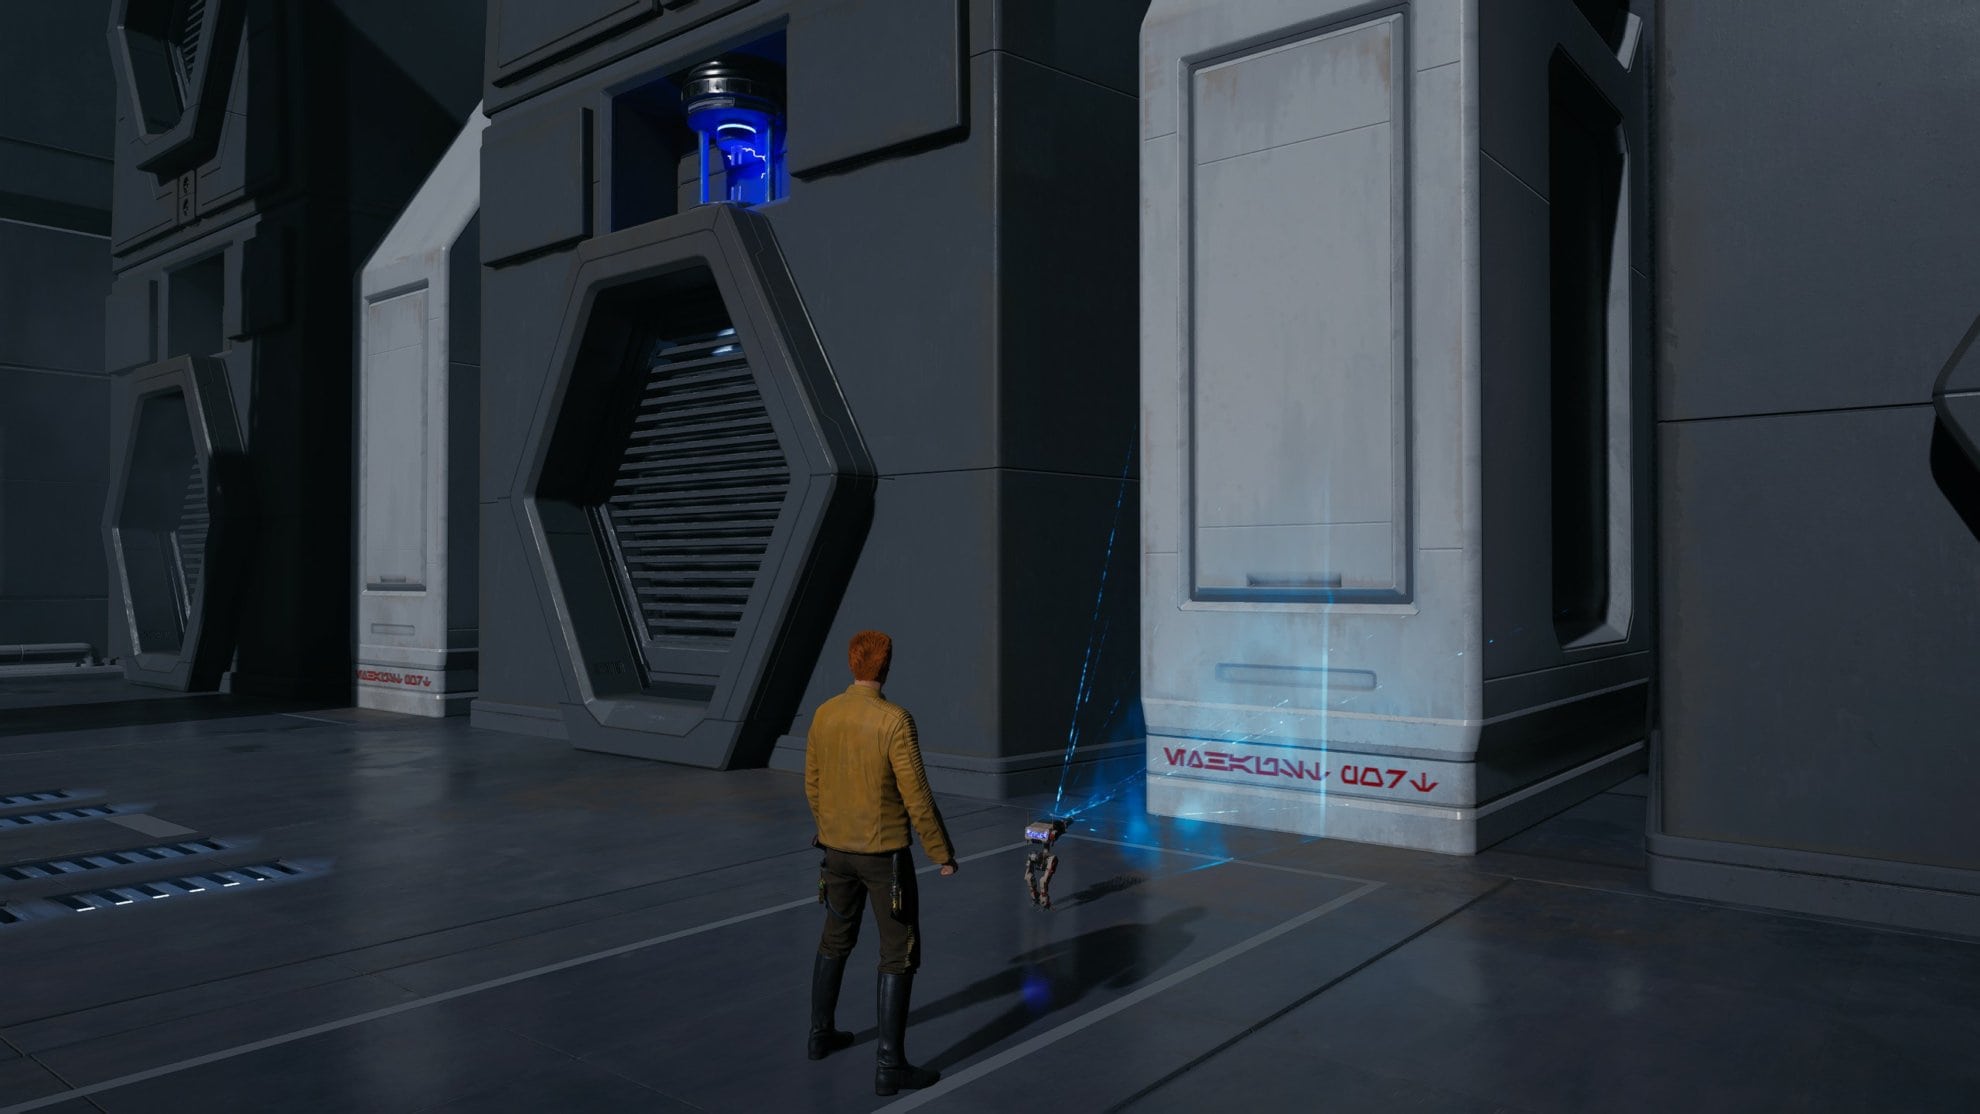
Use BD-1’s Electro-Dart to fire at the electrical device above the door to go inside. Go down the hall to the right then make a left at the end. Wall jump up to find Collectible Treasure 1/6: Priorite Shard.
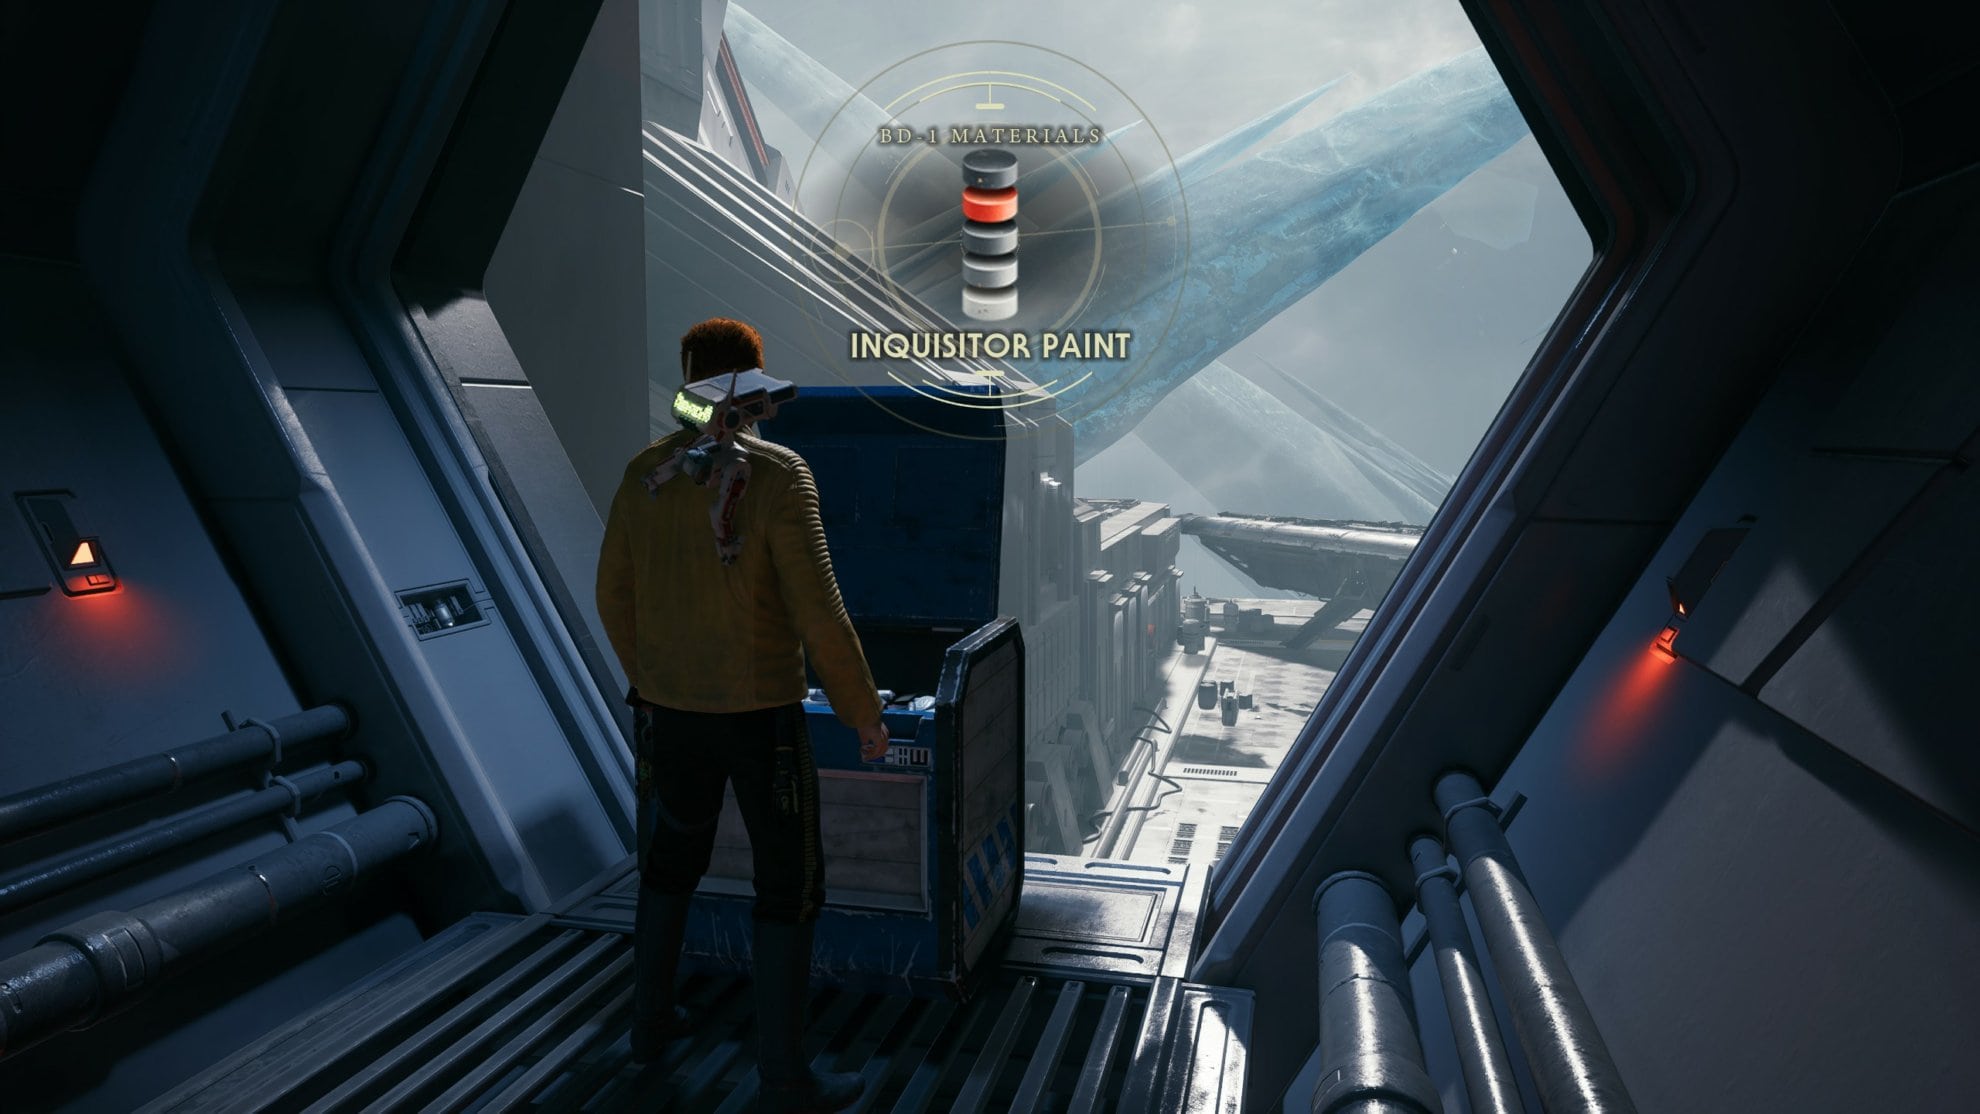
Turn around then continue to wall jump on the other side of the shaft to find Collectible Chest 1/3: BD-1 Materials Inquisitor Paint.
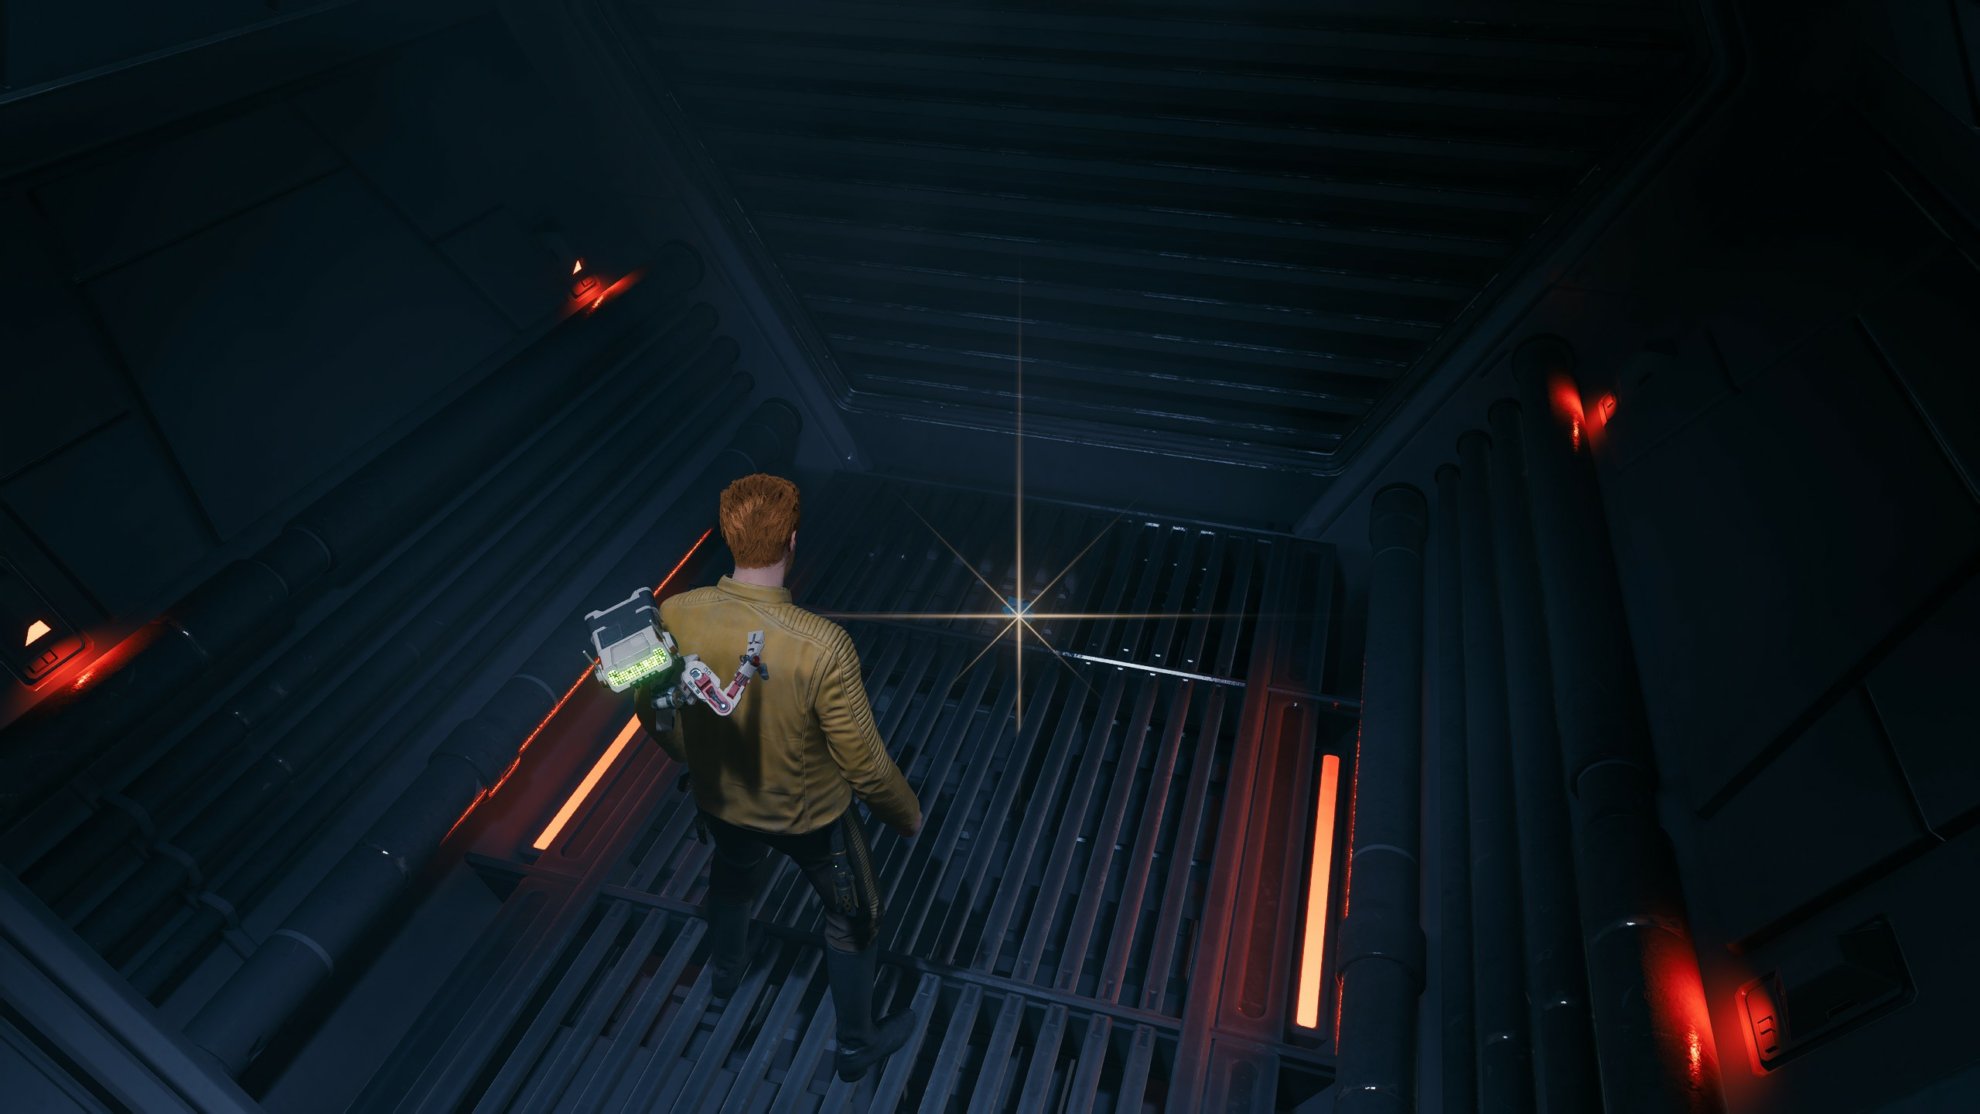
Make your way back down and go down the path to the left of the entrance. Slide down the wall in the vertical shaft to reach the bottom and find Collectible Databank 2/14: Electron Wall. These red barriers prevent organic life from passing through, so if you touch it you’ll get hurt. Dash through this barrier the same way you would a green barrier to proceed.
As you walk down this hall, you’ll find a broken vent on the right that you can Force Push. Doing this will allow you to get Collectible Treasure 2/6: Priorite Shard.
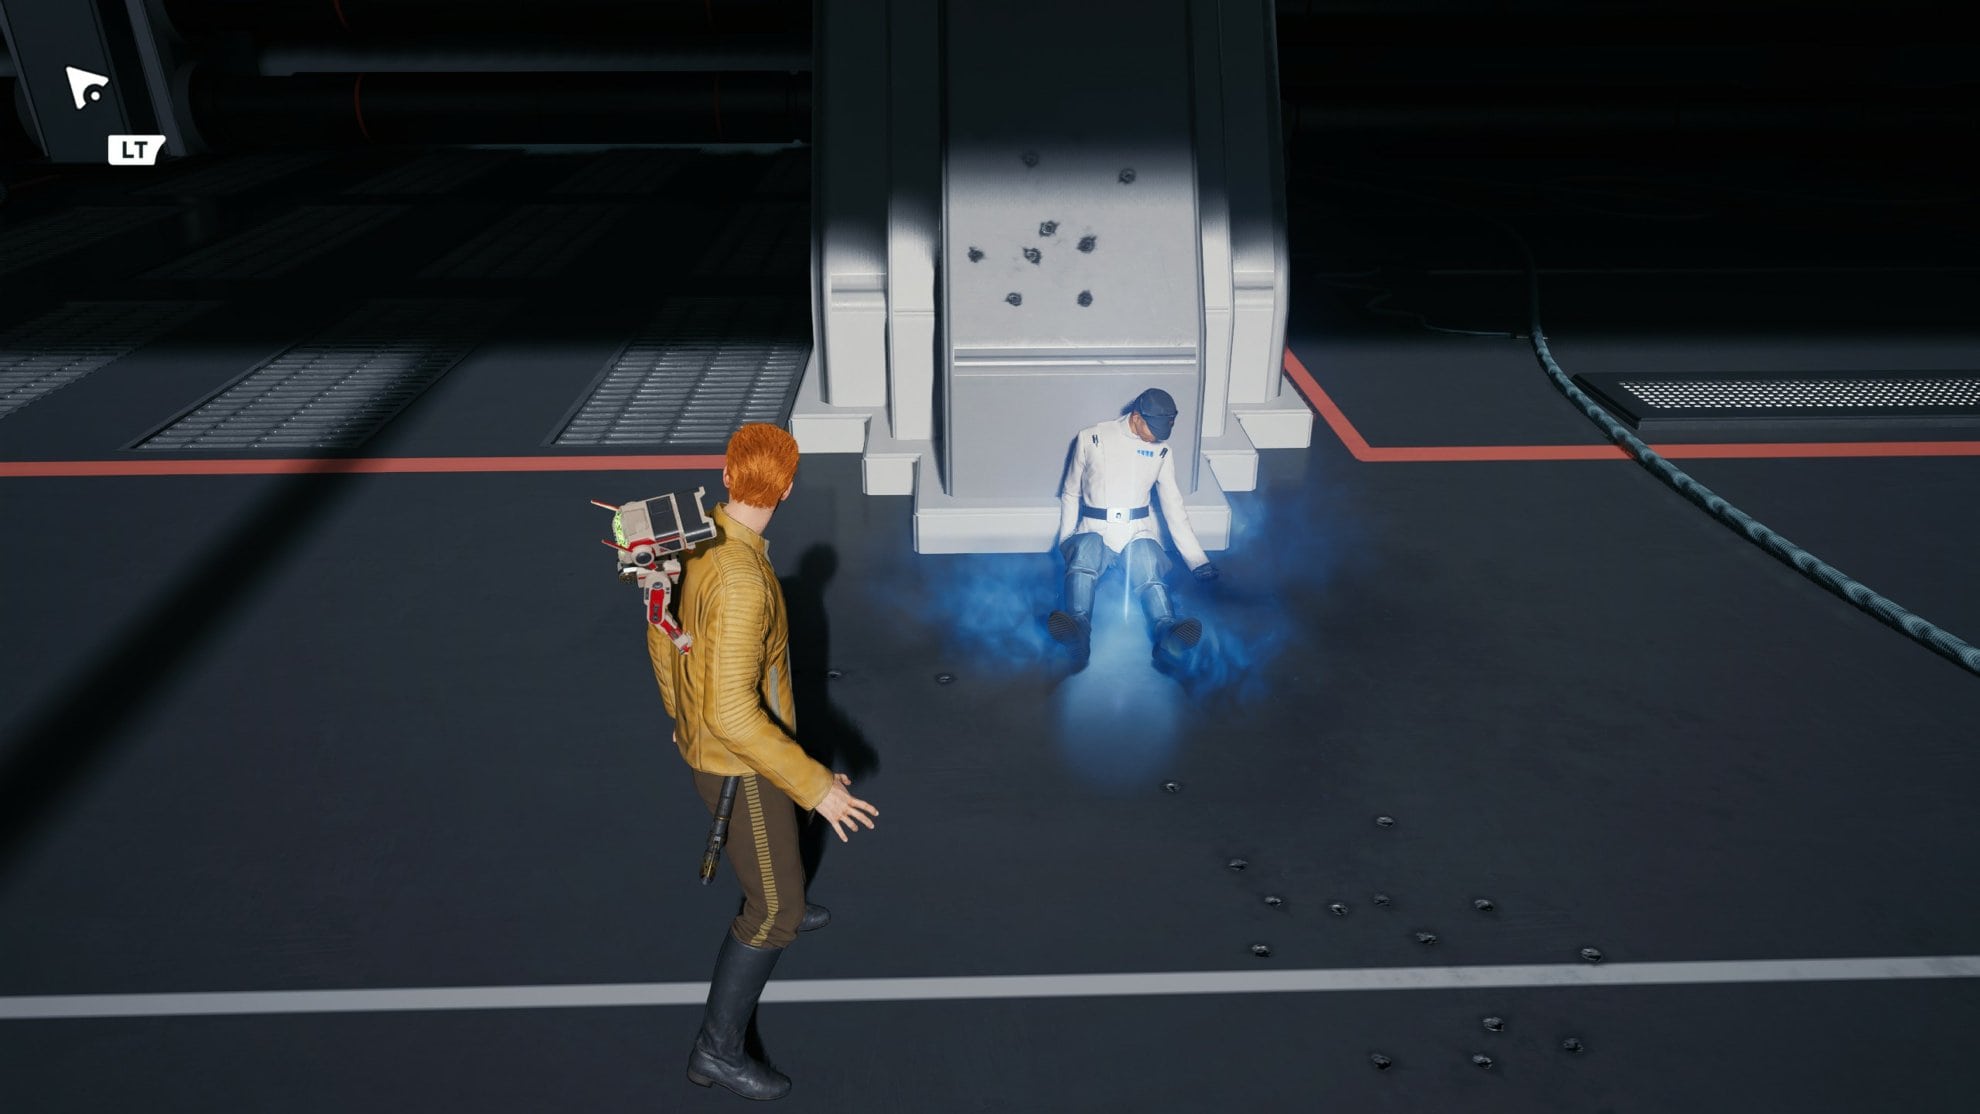
Keep going past the red barriers and you’ll find a grate above you that you can Force Slam open. Inside is an electrical device you’ll need to activate to open the door ahead. You’ll run into an ISB Agent, dispatch him and you’ll be able to scan him to add him to your Tactical Guide. Slice the door open and continue on your way.
Interact with the Force Echo to pick up Collectible Databank 3/14: Mind Trick Sabotage.
Continue down the path, activate the electrical device to most an ascension cable hook to you and use it to jump up and to the left. You’ll find Collectible Chest 2/3: Bomber Shirt. Use the hook to go through the red barrier with the Scout Trooper on the other side.

Defeat the two Stormtroopers outside turn right, jump to this pole and onto the platform. Force Pull the grate covering the electrical device, jump back down to the platform you came from and go through the red barrier on the other side of the hangar.
Defeat the Imperials inside and you’ll eventually find an elevator with a broken grate to the left of it. Go up the elevator to open a shortcut to the Mantis. When you’re ready, Force Pull the grate to go deeper into the ISB base. You’ll find a bunch of Imperials below you, try to jump down onto the Flametrooper to take them out first as they’re the most annoying unit there.
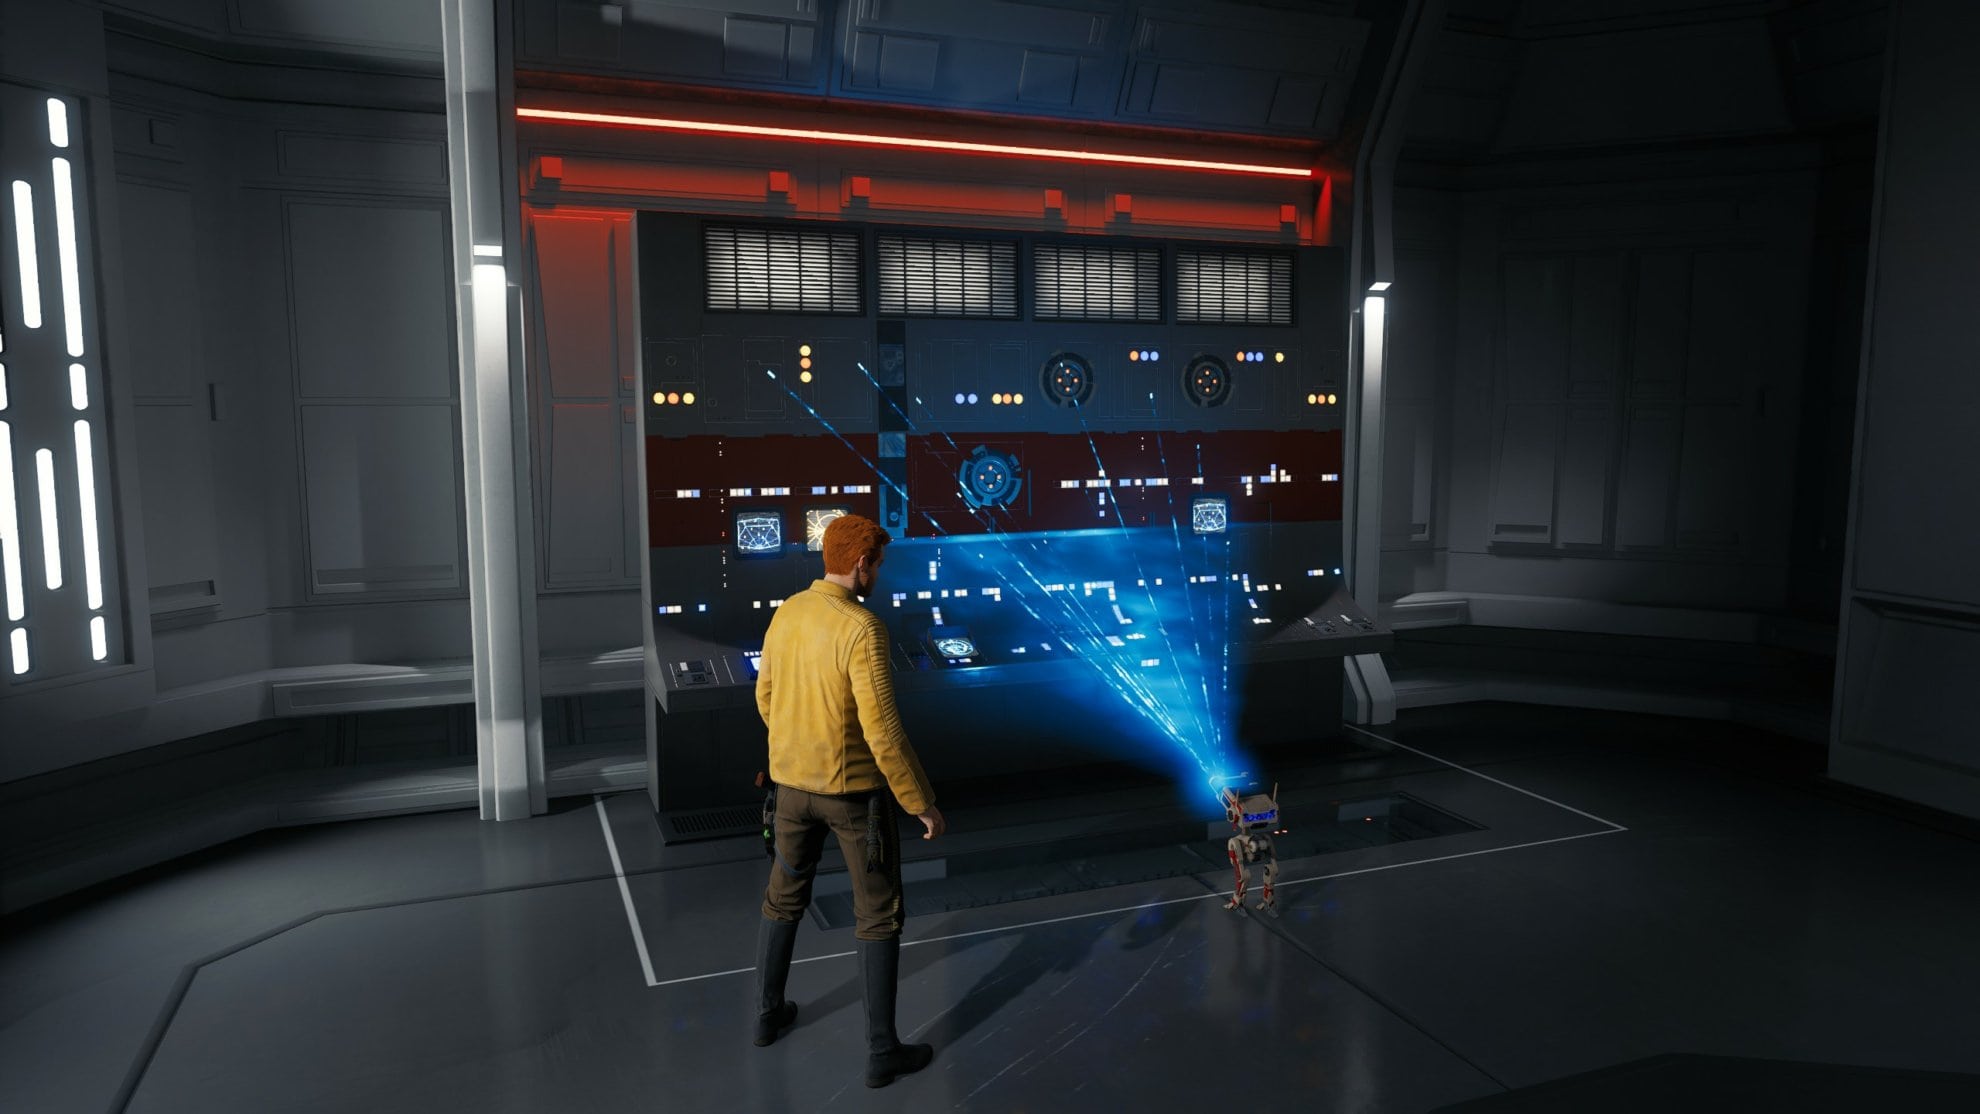
Defeat the Imperials and have BD-1 scan one of the terminals for Collectible Databank 4/14: Back-Up Servers. Slice the door open to proceed to the next room.
You’ll reach a long hall with a door to the left and a pair of ISB Agents to the right. Go to the left door and you’ll find a DT Sentry Droid, a Security Droid, and two deactivated Security Droids.

If you have the ability to hack Security Droids, hack the deactivated ones to have them distract the enemy. Get some hits in on the Darktrooper droid while its distracted. Defeat them and in the left of the room will be a Skill Point Essence. We have a complete guide to all Skill Point Locations in Jedi Survivor if you want to fully unlock Cal’s Skill Trees.
Go back into the hall, defeat the ISB agents then interact with the terminal they were at to proceed. Defeat the Imperials and continue making your way down the hall to slice a door open.
This next room will have a large hologram of the base commander giving a speech. Go to the left and slide down the wall with the vertical scratch marks to reach a terminal you can interact with. Activate the terminal and defeat the Imperials behind you.
After defeating the Imperials, go into the room the Purge Troopers came out of to find a terminal you can scan for Collectible Databank 5/14: Credentials Checkpoint.
Going forward from the room you came from, you’ll find a room with Collectible Treasure 3/6: Priorite Shard.
Go back out into the central chamber and go left. Above the door is a grate you can Force Pull open. Activate the electrical device then hook onto the vent above.


When you’re out of the vent, go up the elevator and activate an electrical device to create a shortcut back to the Mantis. Go back down the elevator and Force Pull the broken grate to go back into the vents. Wall jump up, turn around, and you’ll find Collectible Treasure 4/6: Priorite Shard. Turn around and go into the room with the spinning Electron Walls.
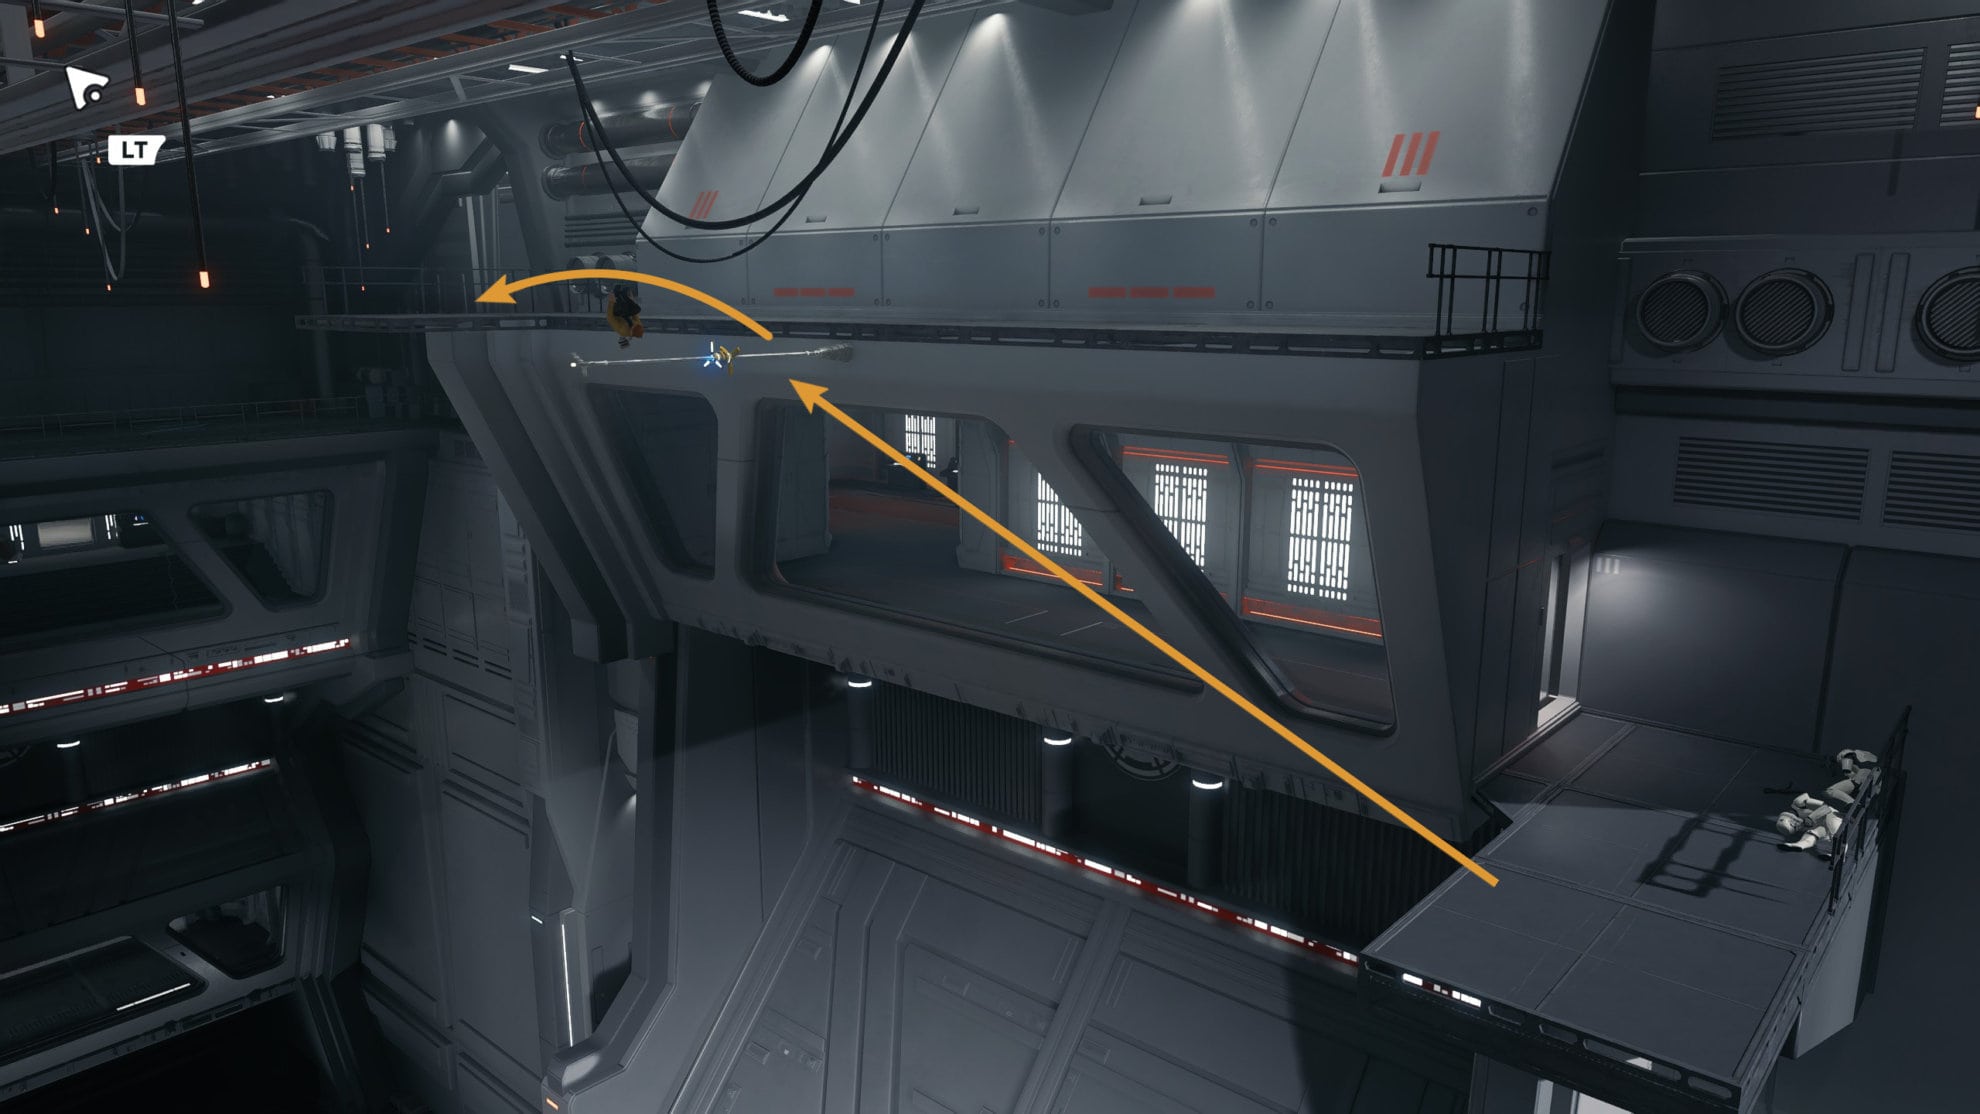
Defeat the Security and Probe Droids along with the Heavy Assault Trooper. If the red barriers come close, jump through them or block to negate the damage. Jump to the platform the Heavy Assault Trooper was on then hook up to the ledge above with your ascension cable.
To the right, a Purge Trooper will come out of a room. Defeat them and pick up Collectible Treasure 5/6: Priorite Shard.
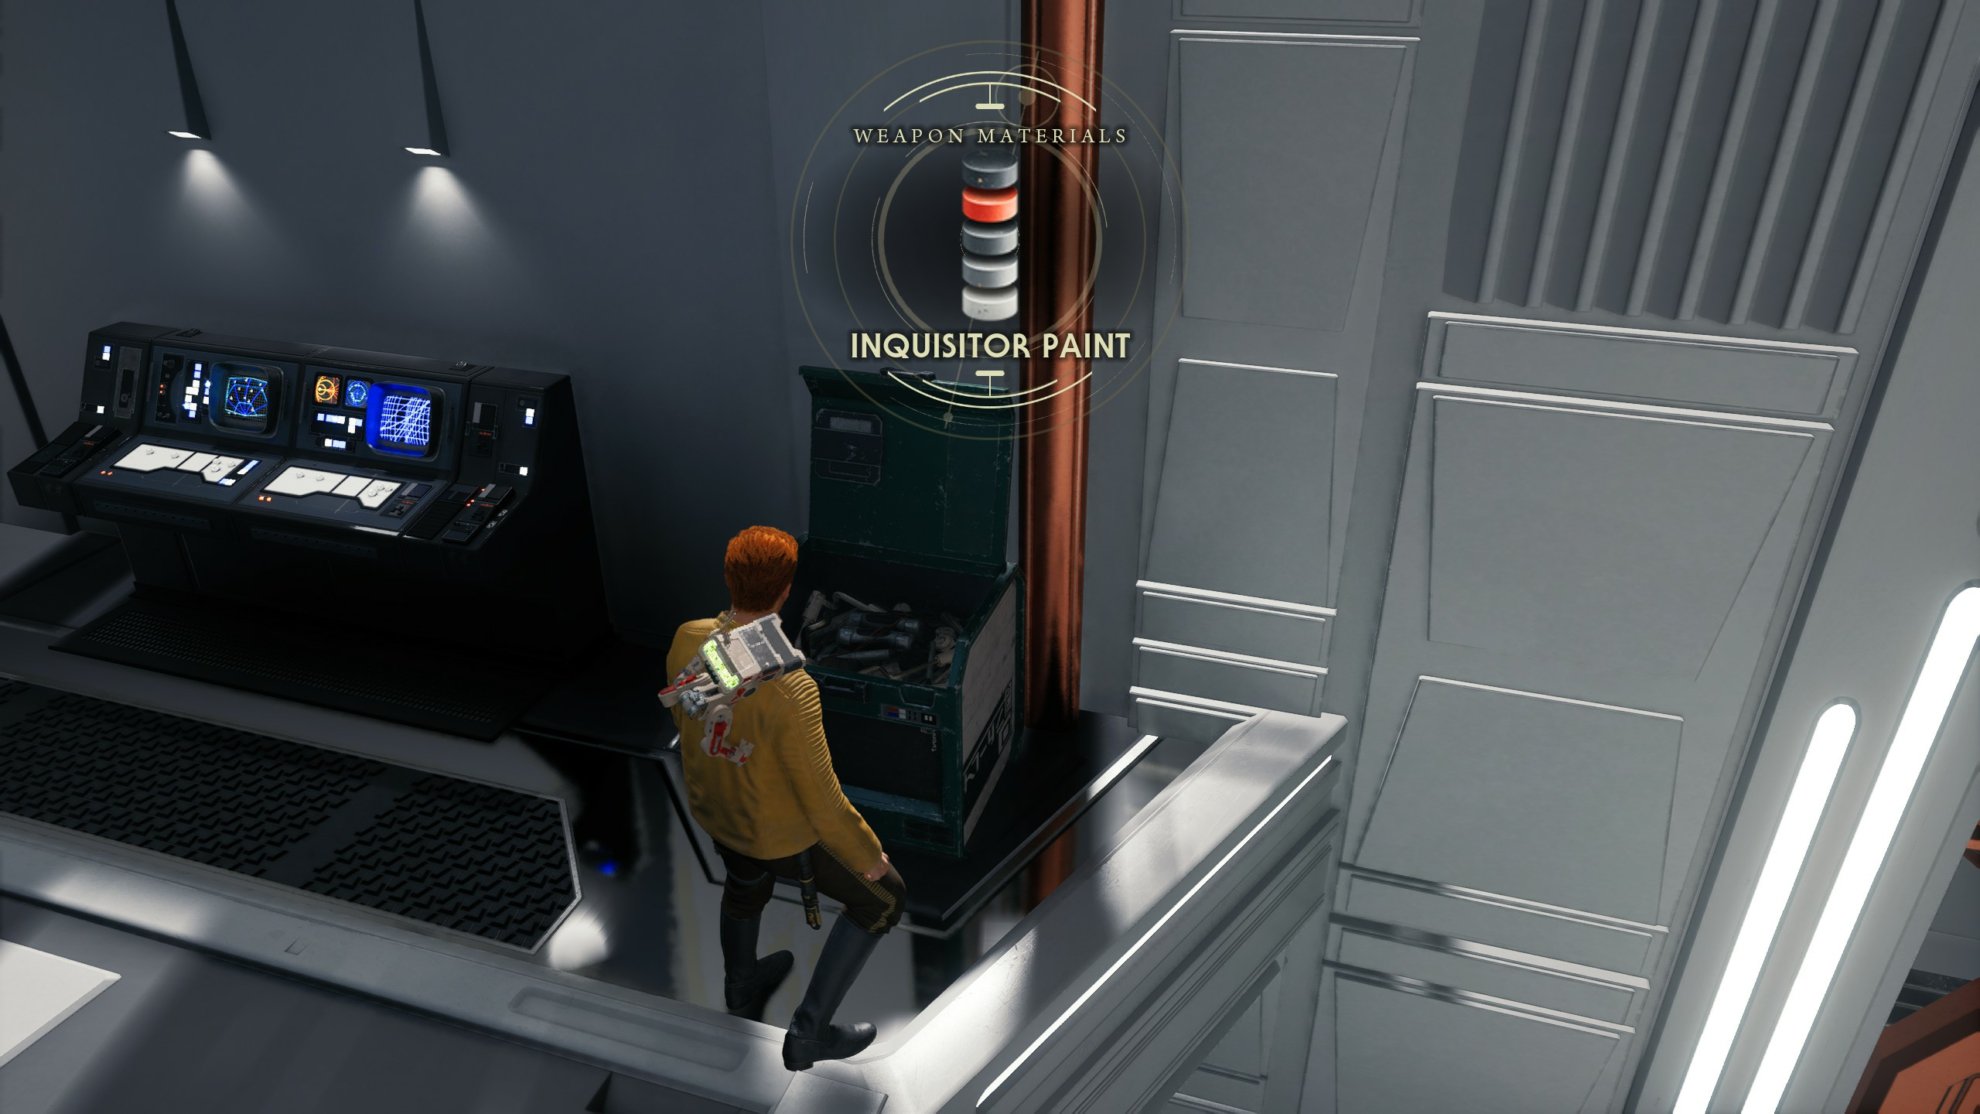
Use your ascension cable to make your way up to the platform with the Shield Troopers and the Purge Trooper. Defeat them and down one of the walkways you can find Collectible Chest 3/3: Weapon Materials Inquisitor Paint.
Activate the elevator to create a shortcut and enter the hallway with the Dark Troopers and moving red barrier. You can actually cheese this area by luring the Dark Troopers outside of the hall by letting them charge at you. While they’re outside, they will not attack you and try to walk their way back into the hall. If you fight them in the hall, they’ll get aggressive again.

Interact with the terminal at the end of the hall to turn off the electron walls and go into the door on the left. Activate the electrical device to access the vent above. This will lead you to Commander Denvik and a cutscene.
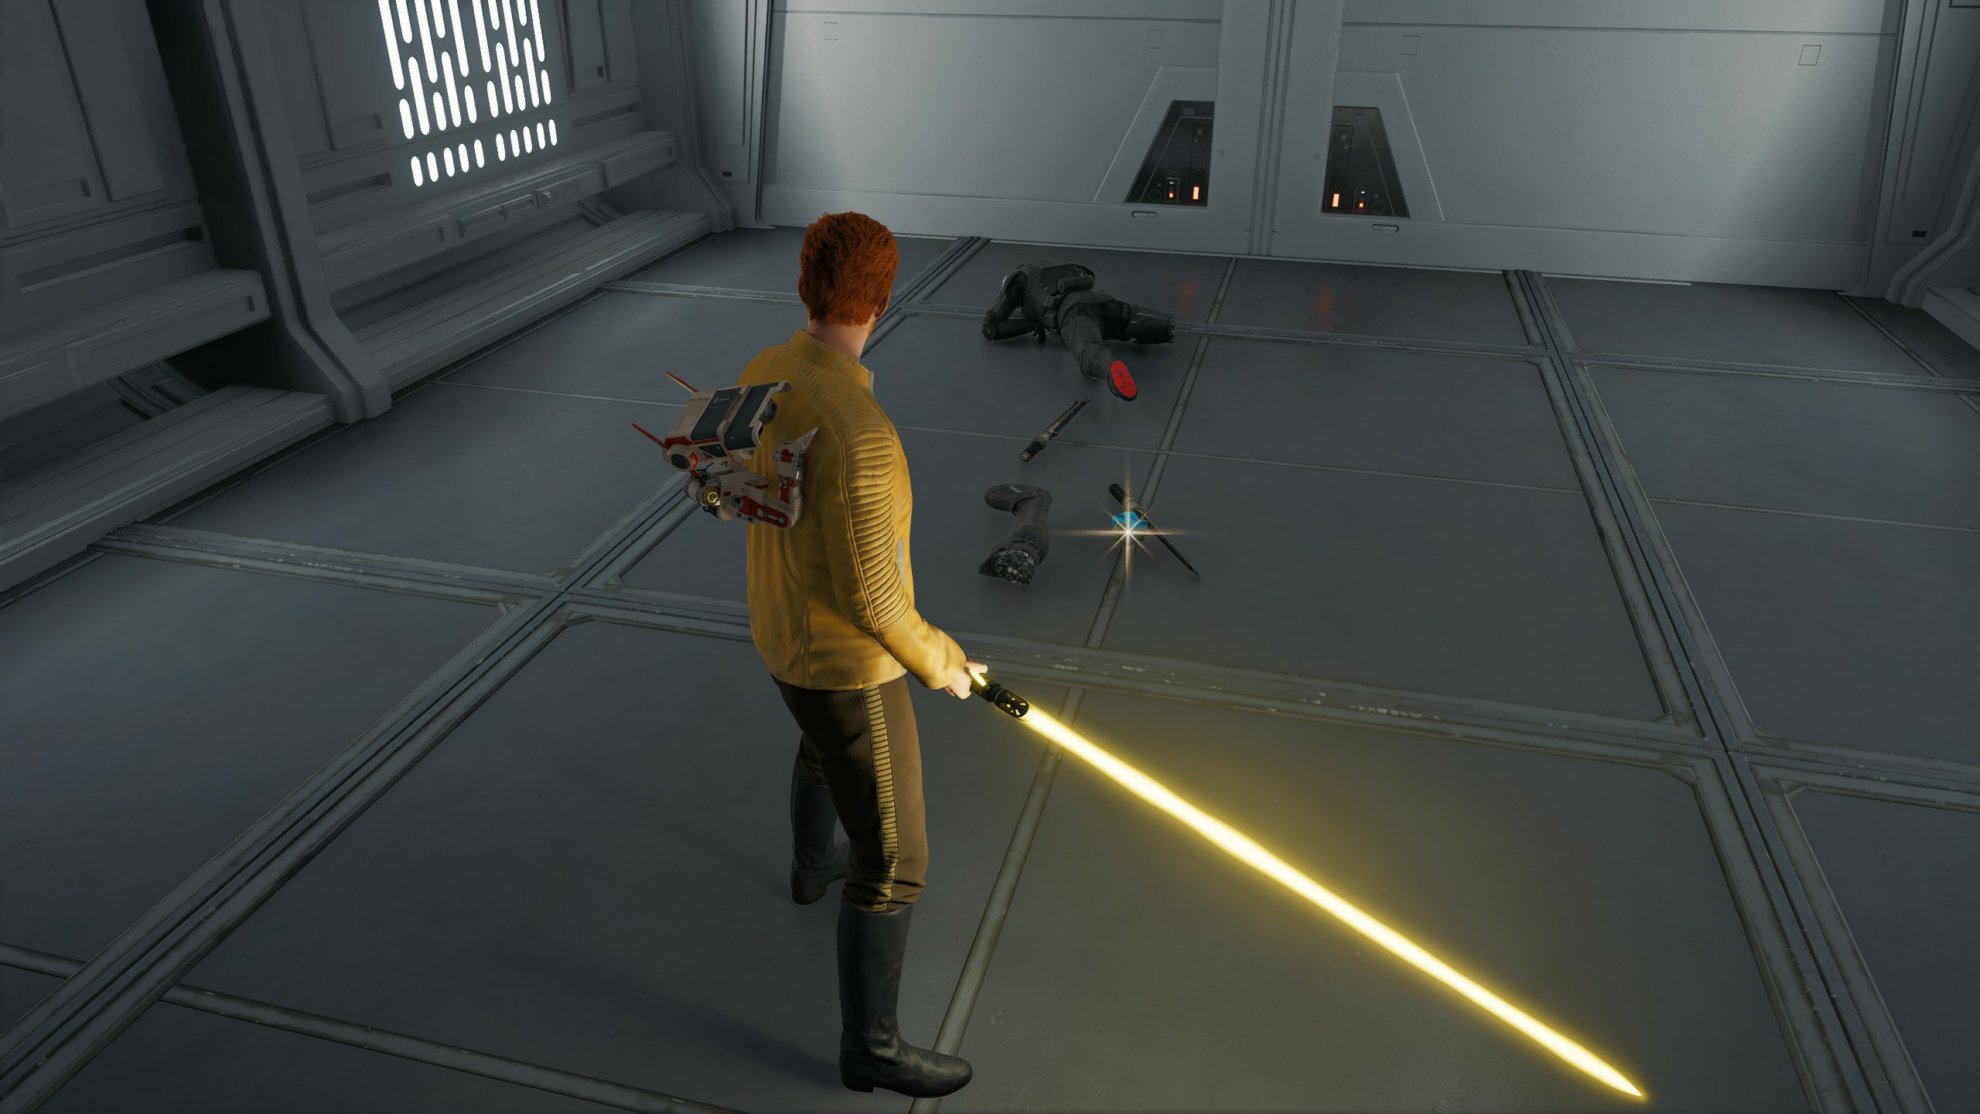
After the cutscene, scan Denvik’s desk for Collectible Databank 6/14: Officer’s Linens. Don’t get too comfortable in this uniform, you sadly do not get to keep it.
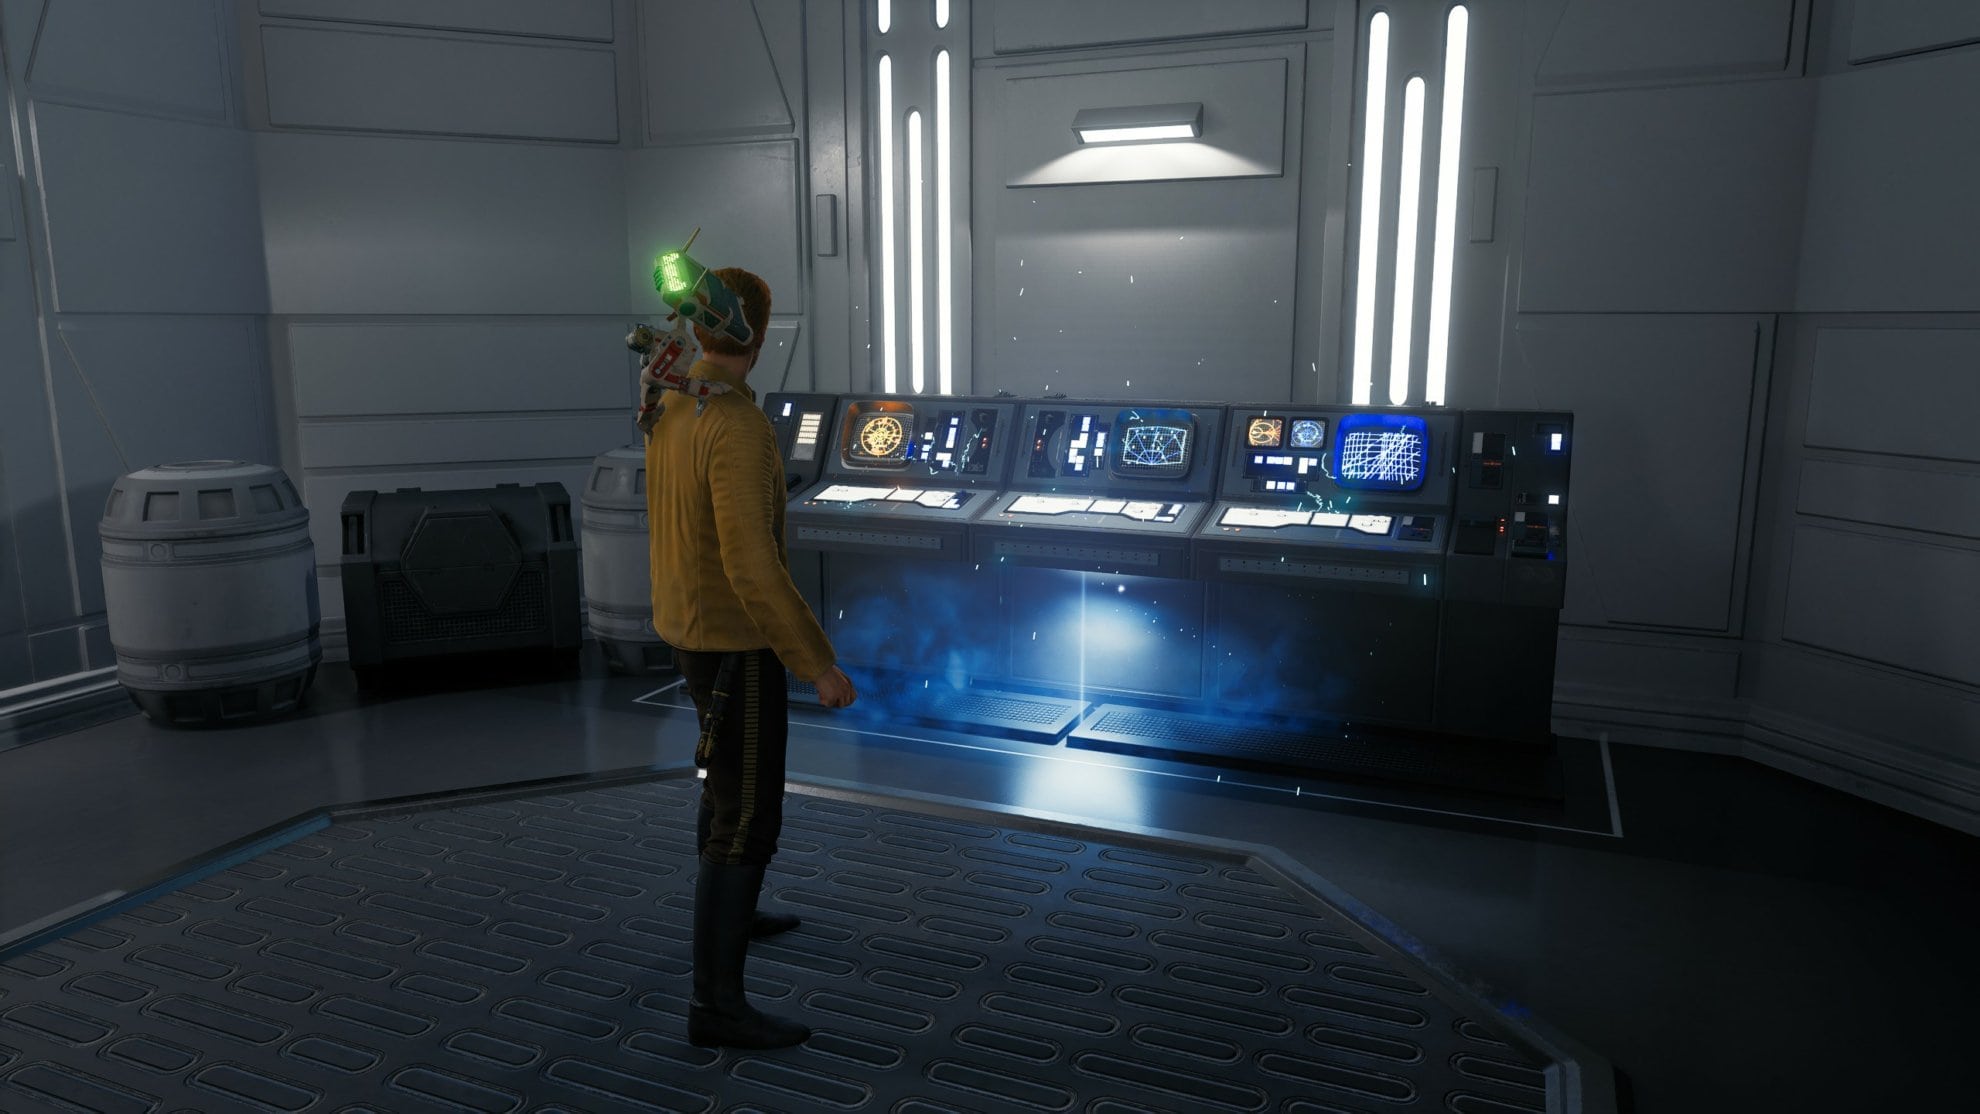
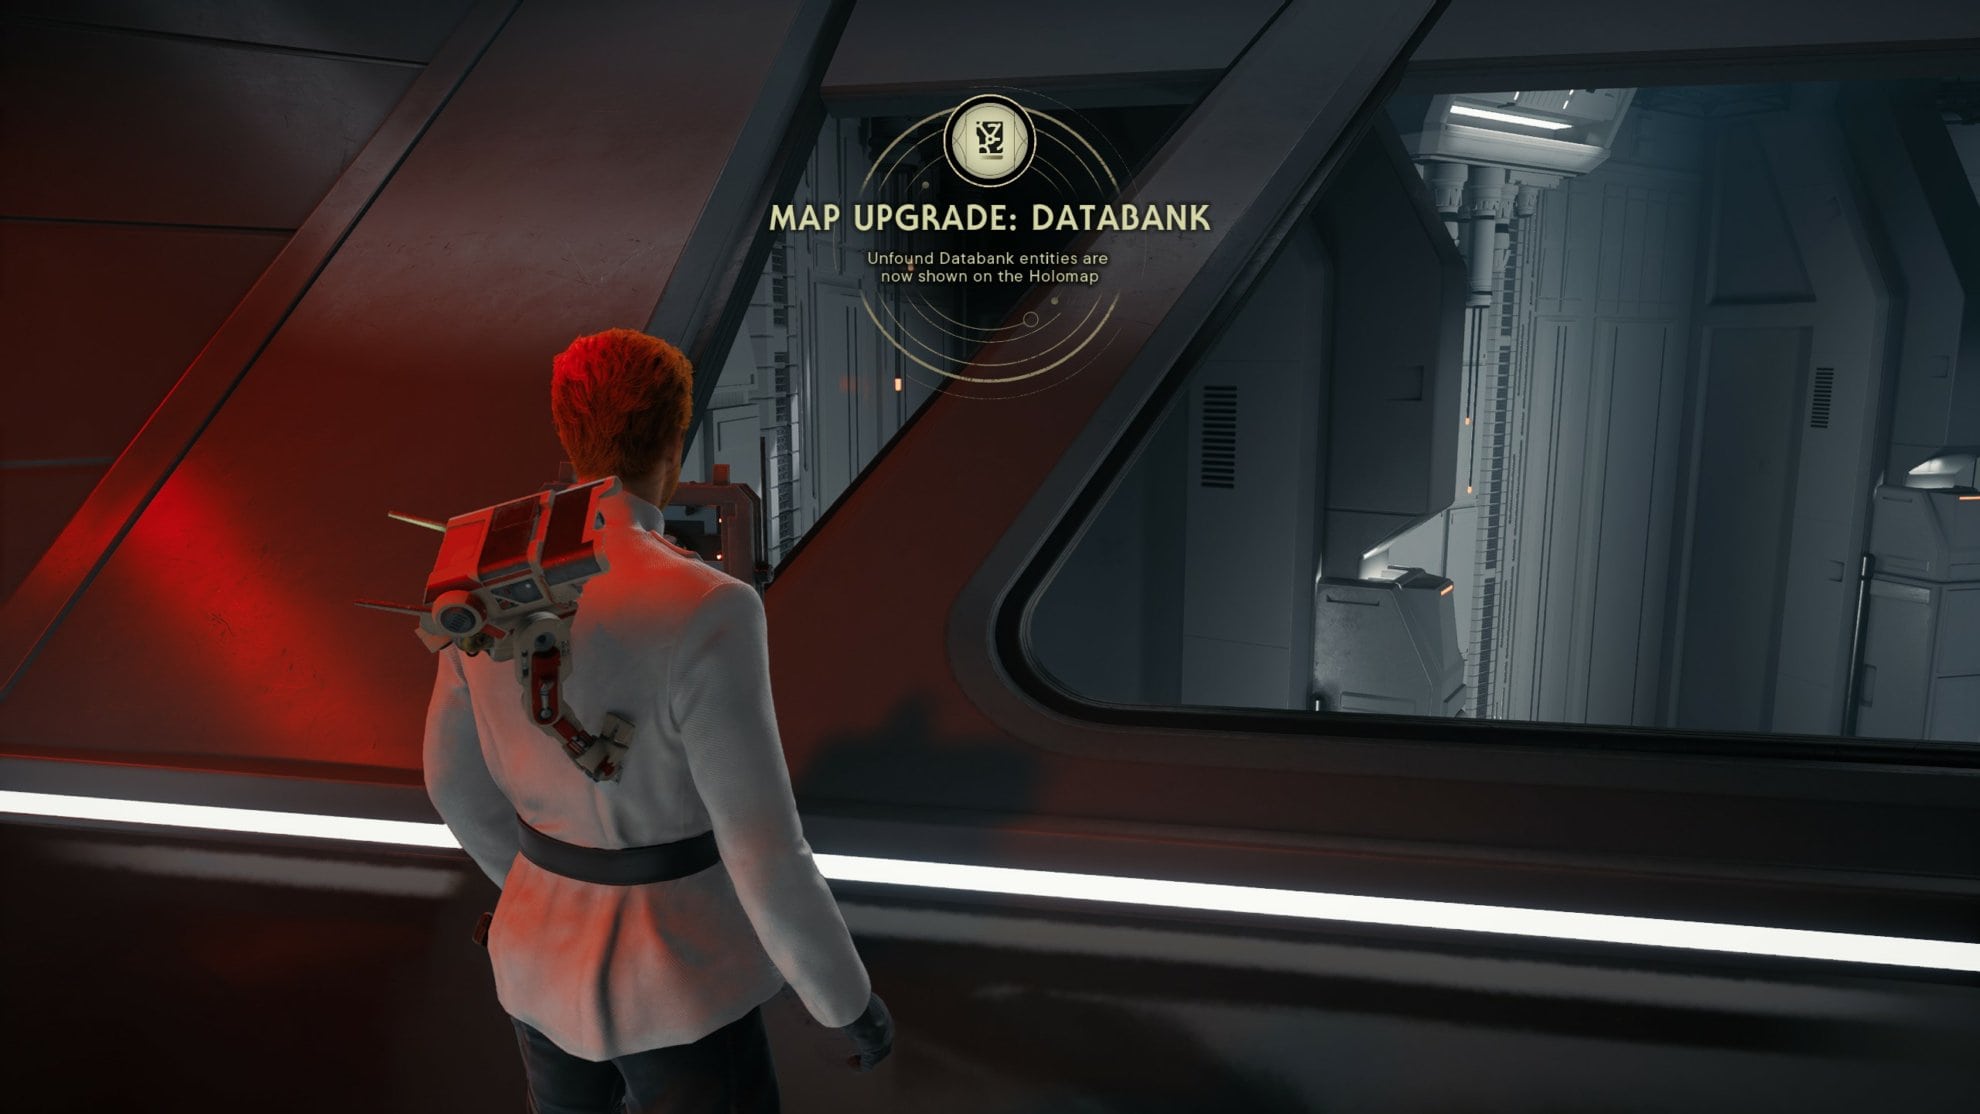
Slice into this terminal to get the Map Upgrade: Databank, allowing you to find all undiscovered databank entries.
We have a complete guide to the locations of all five Map Upgrades in Jedi Survivor. You can use it to display the locations of remaining uncollected treasures, seeds, upgrades and chests.
Go down the elevator behind Denvik’s desk to the central chamber then take a right to interact with the terminal that started the lockdown. You can now go through here and just play it cool as you walk by the Imperials.
You’ll run into a door on the right that leads to a Skill Point Essence. Pick it up then continue down the hall you came from. Find more in our Skill Point Locations Guide.
Enter Bode’s Abode
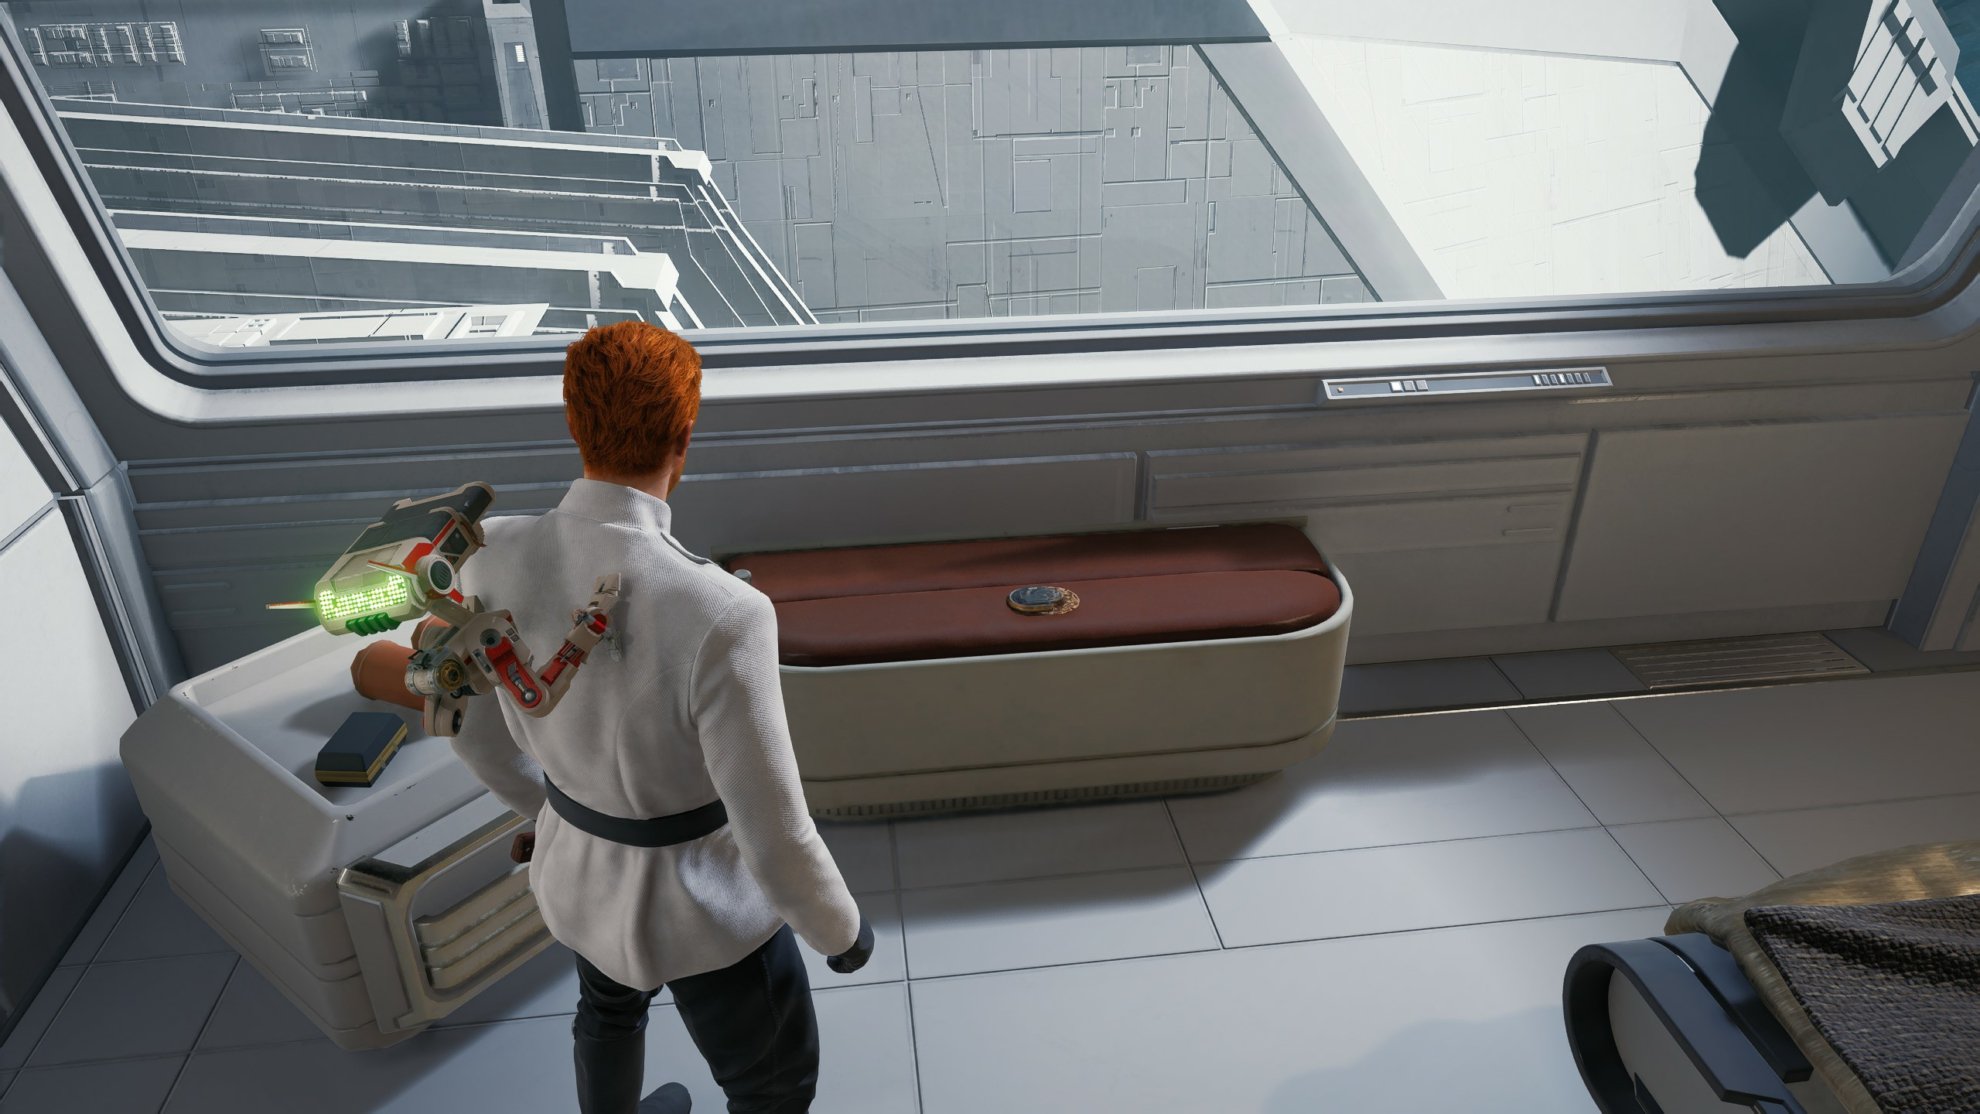
When you get to the living quarters, slice your wan into Bode’s quarters and activate the Officer’s Quarters Meditation Point. Interact with the datapads on the table for Collectible Databank 7/14: Espionage Data and Tracker.
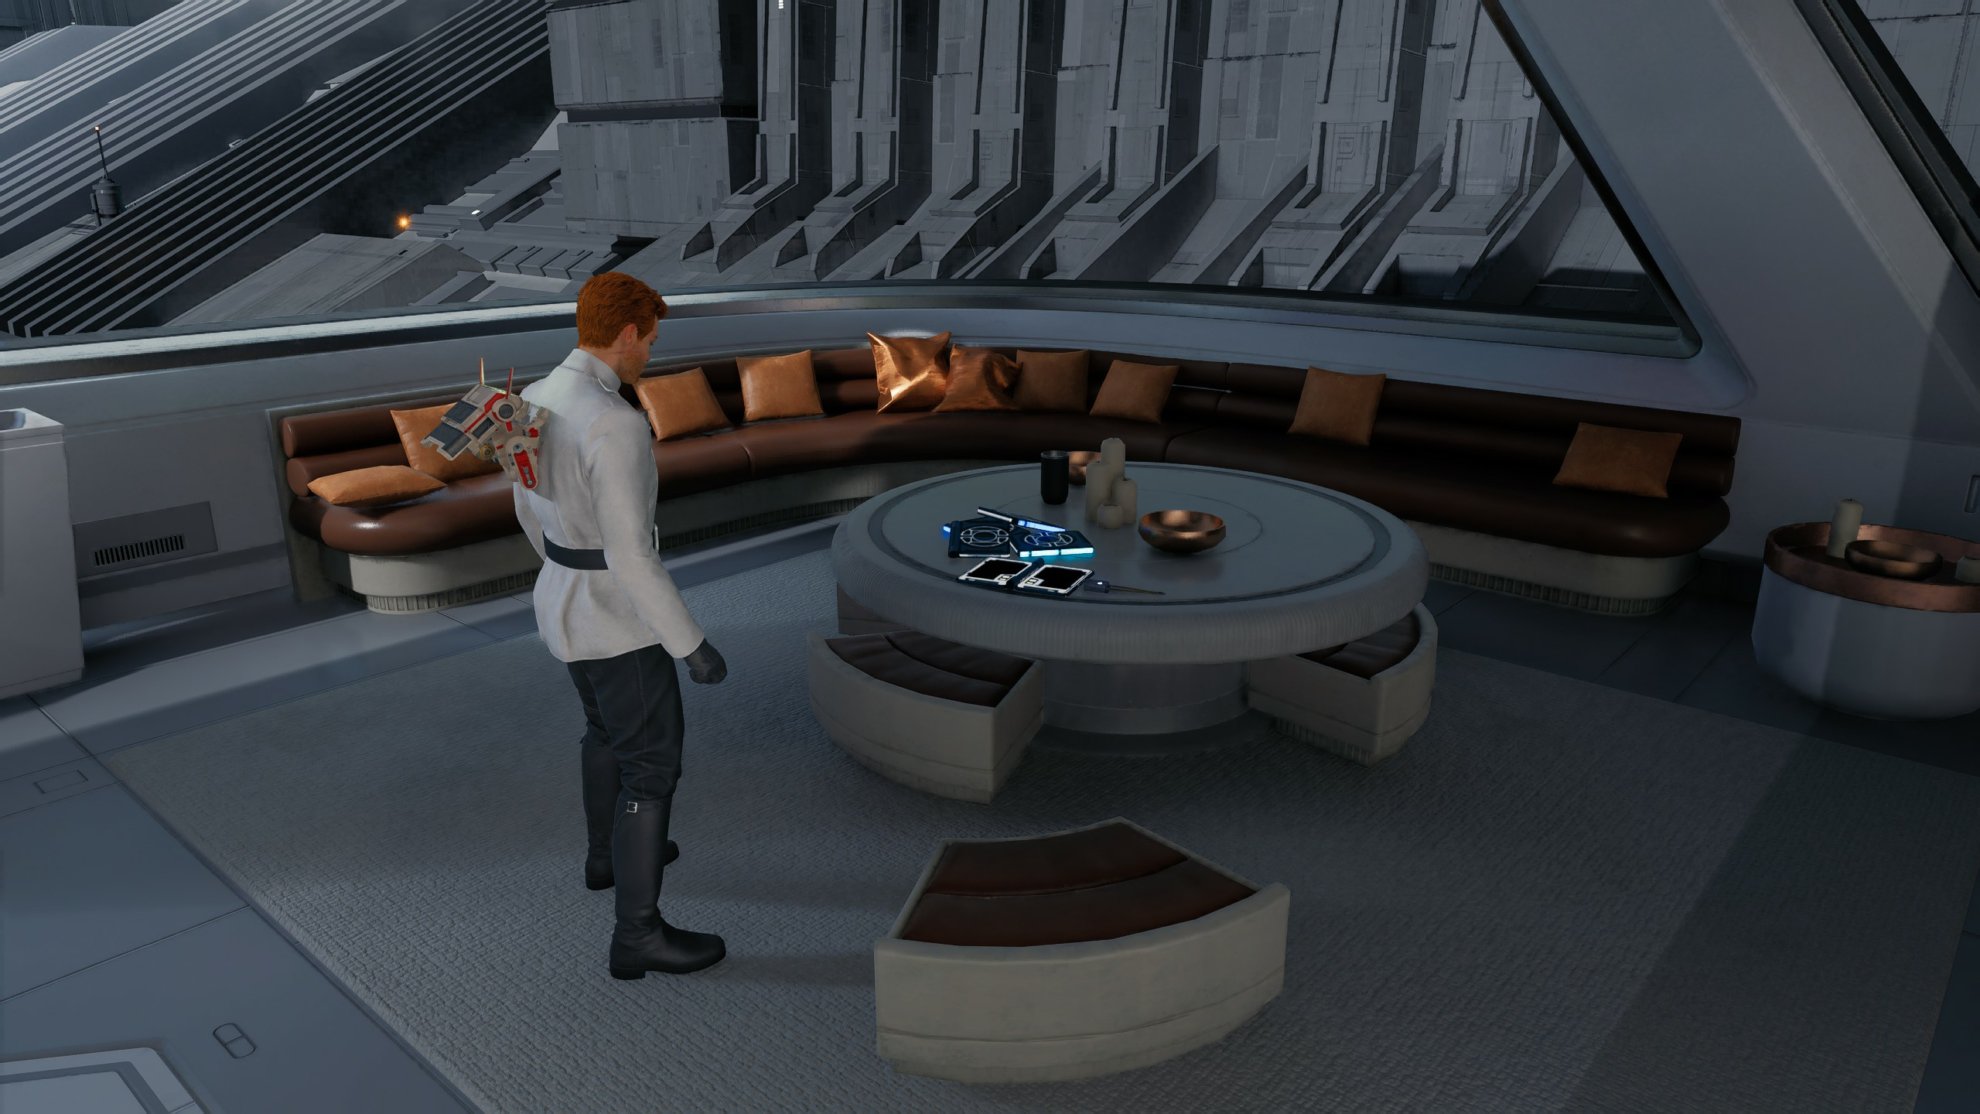
Scan the pillow fort to pick up Collectible Databank 8/14: Audio Message.
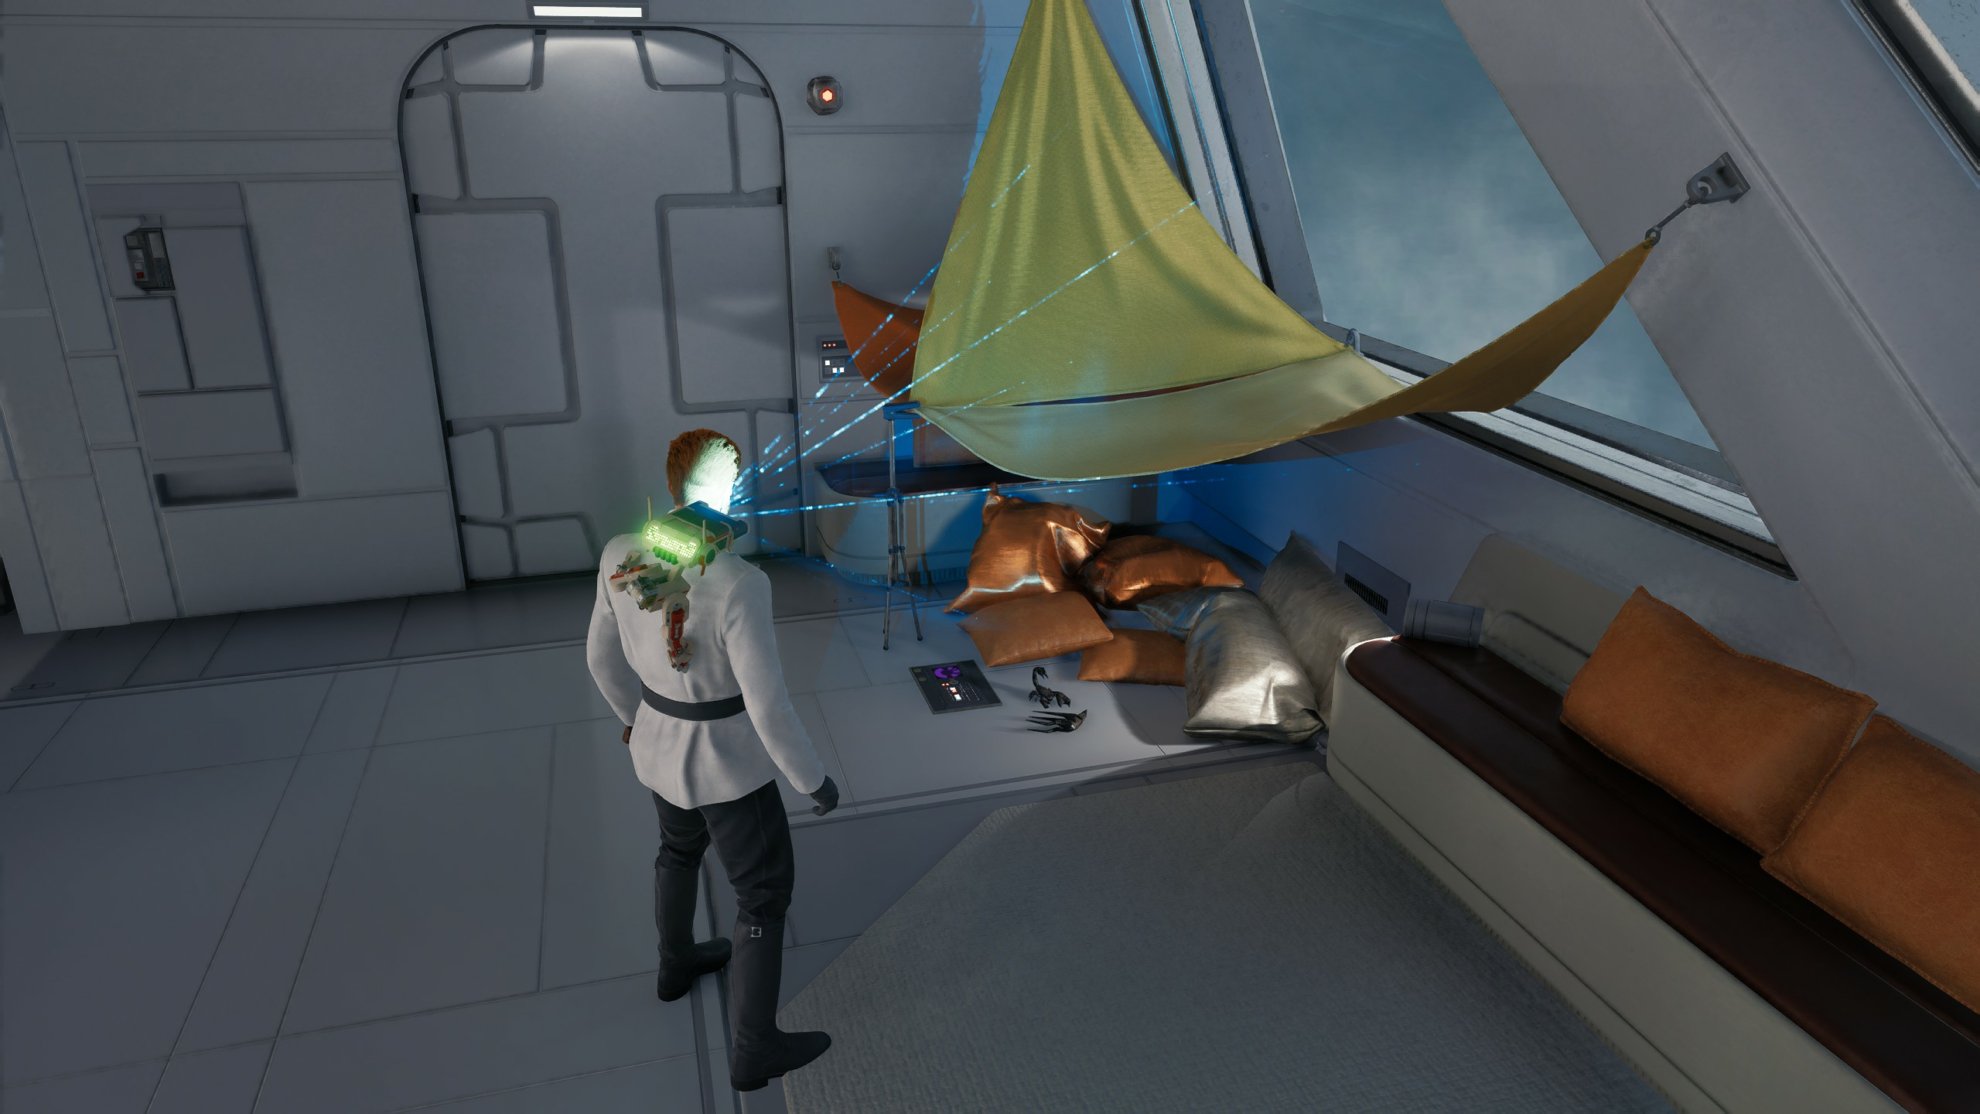
Go to the back of the quarters and interact with the Force Echo for Collectible Databank 9/14: Family Portrait.

Slice into the bedroom to pick up Collectible Treasure 6/6: Datadisc.
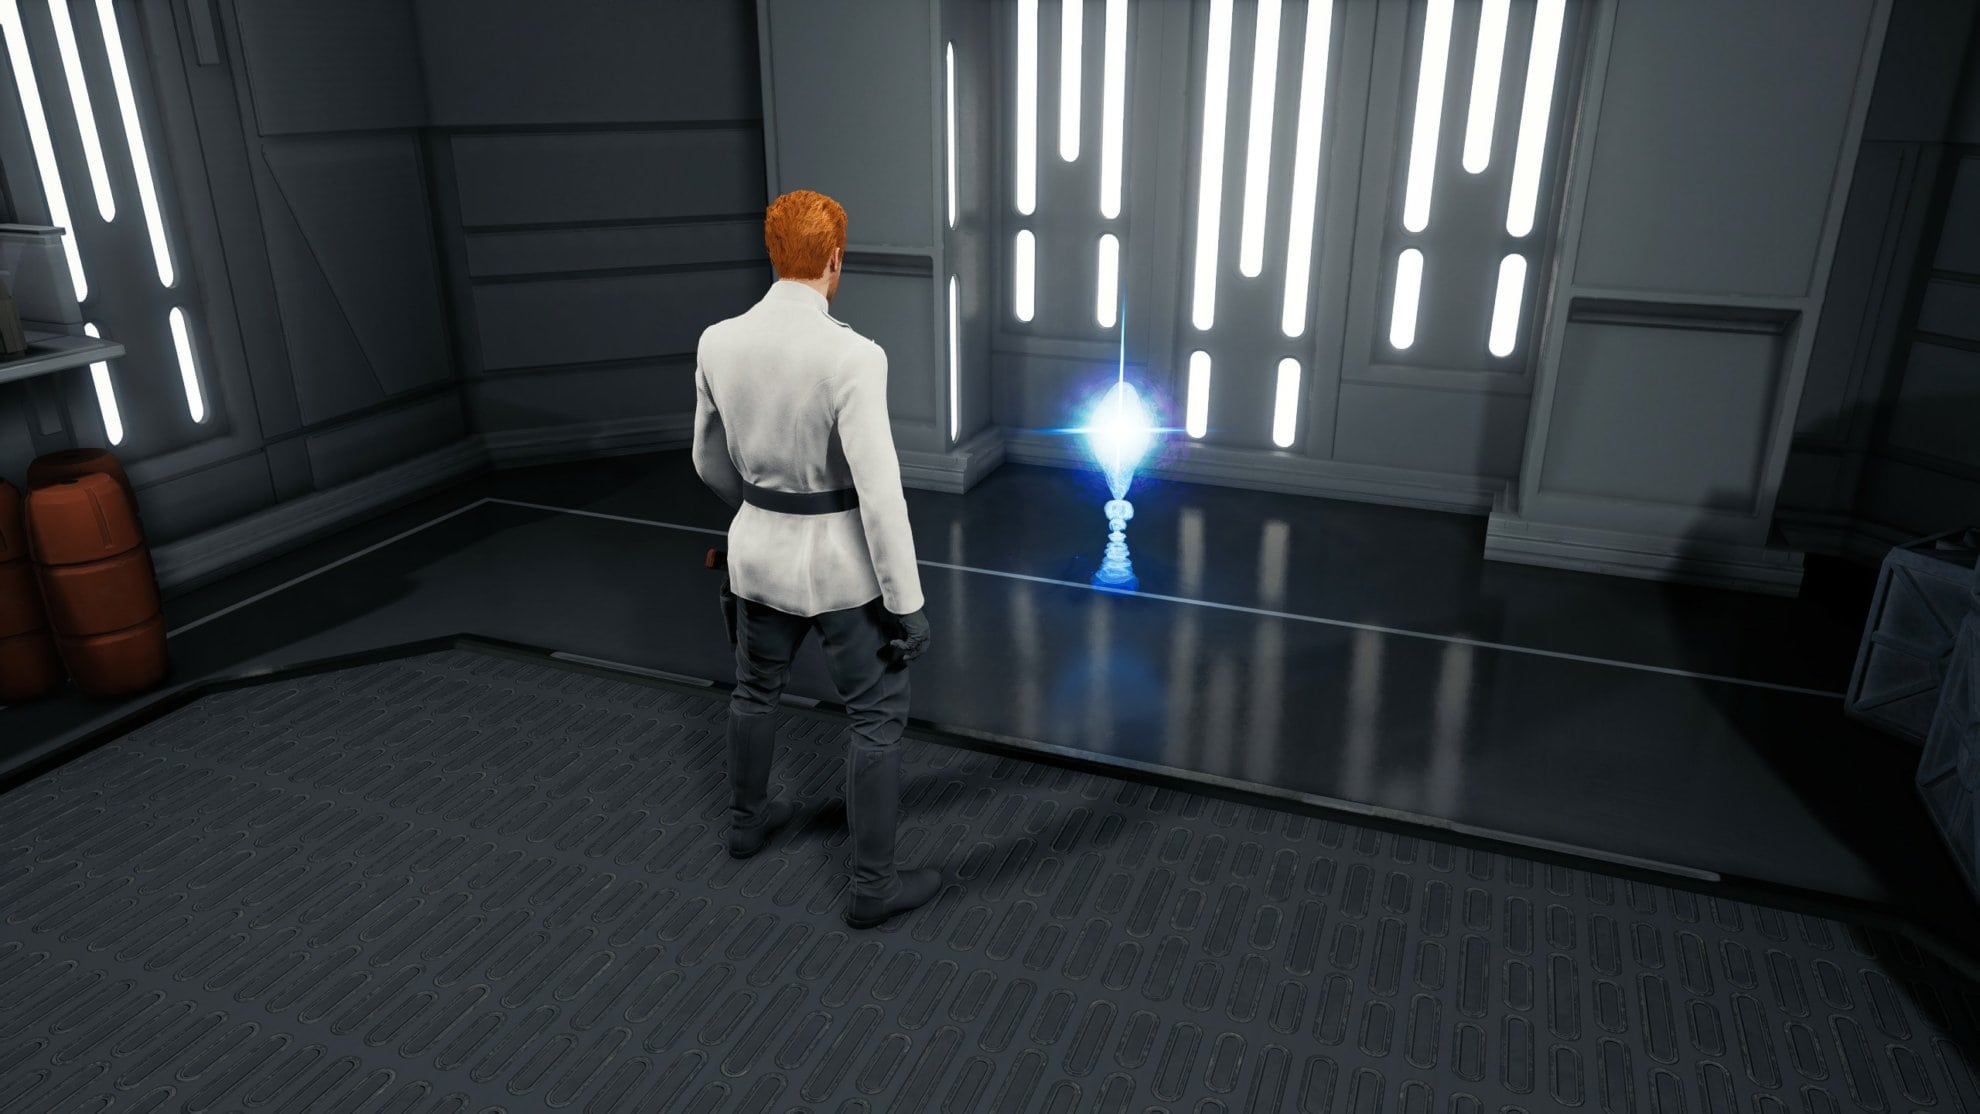
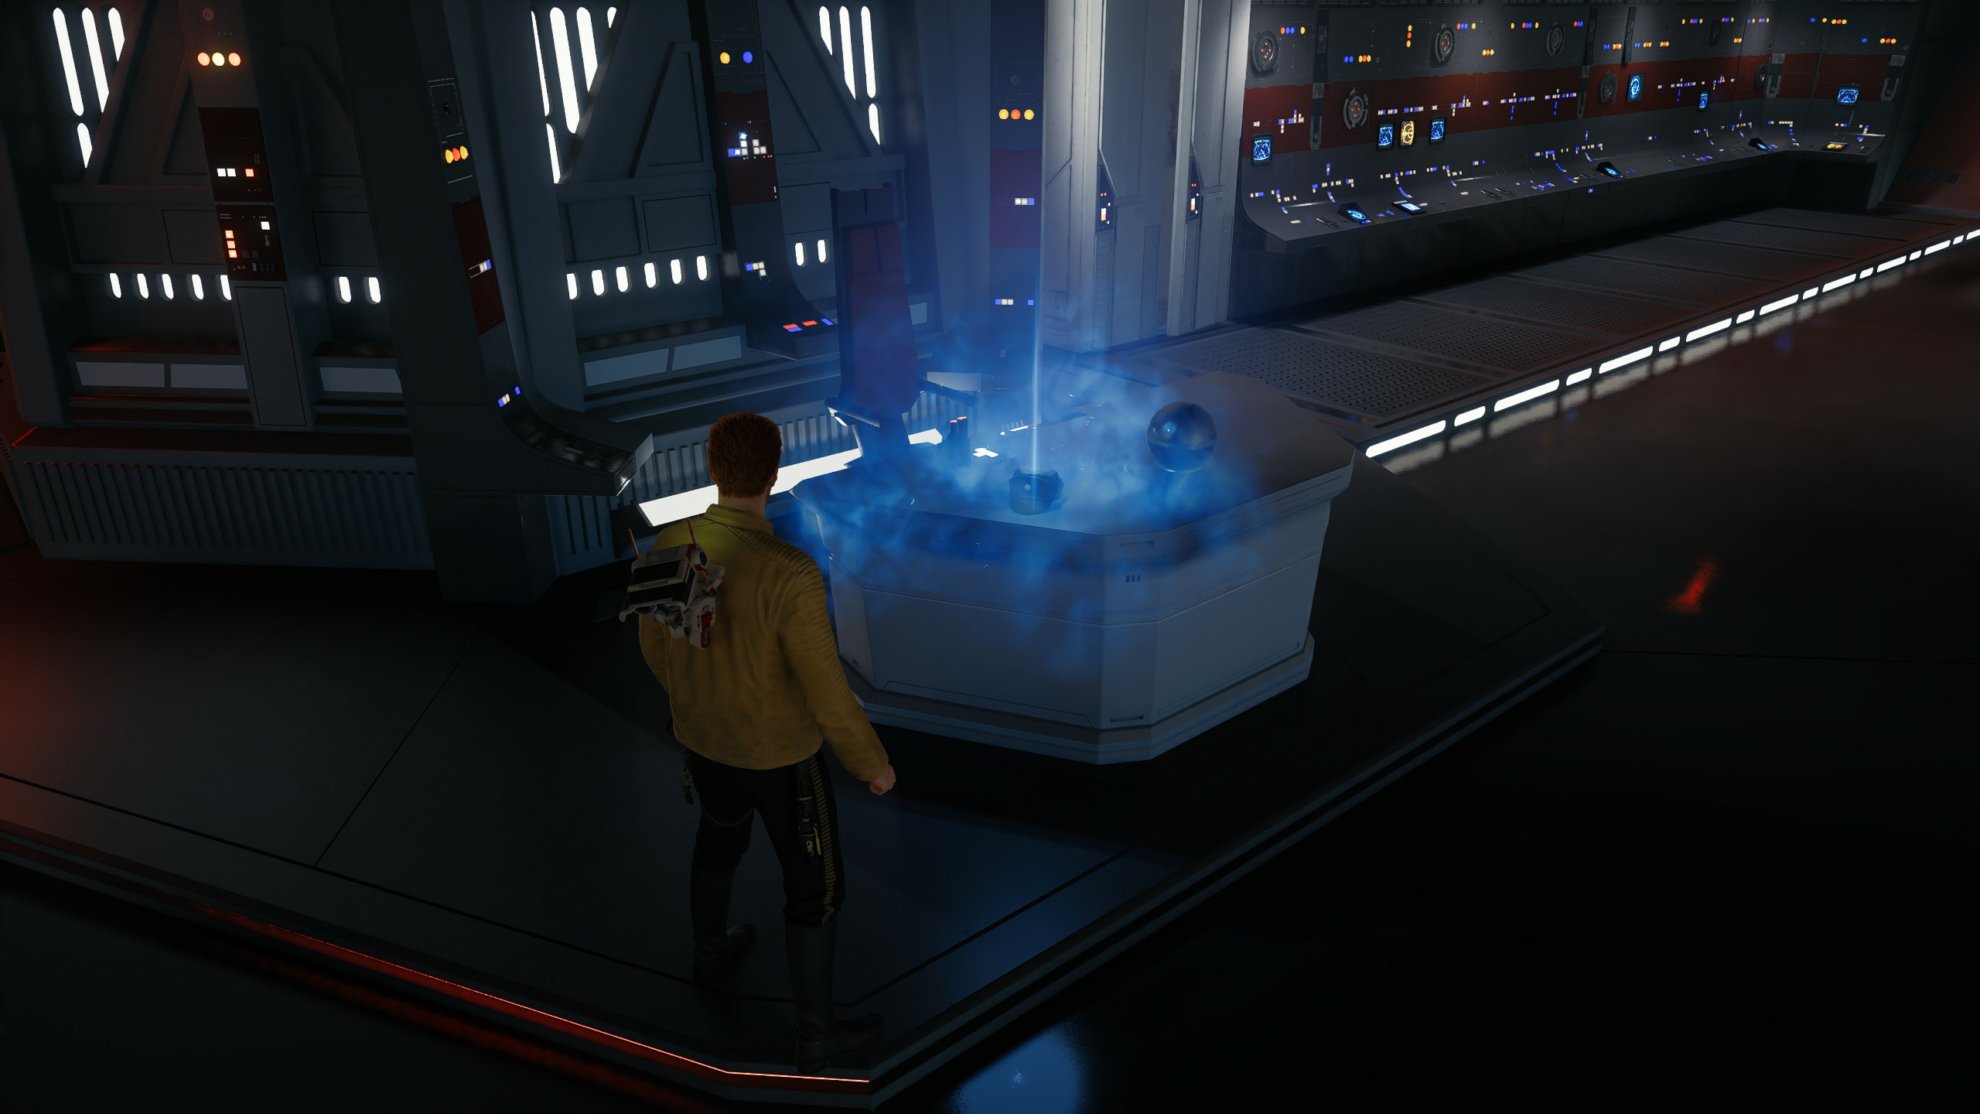
Interact with the table with the white orb to start a cutscene.
Pursue Bode
Bode will run away and will send imperials your way. You’ll get a prompt to have Cal embrace his darkness. Do this and your Force Slow now tints the screen red, makes your attacks far more deadly, and the slow effect longer and more potent. Defeat the Imperials and continue to chase Bode.

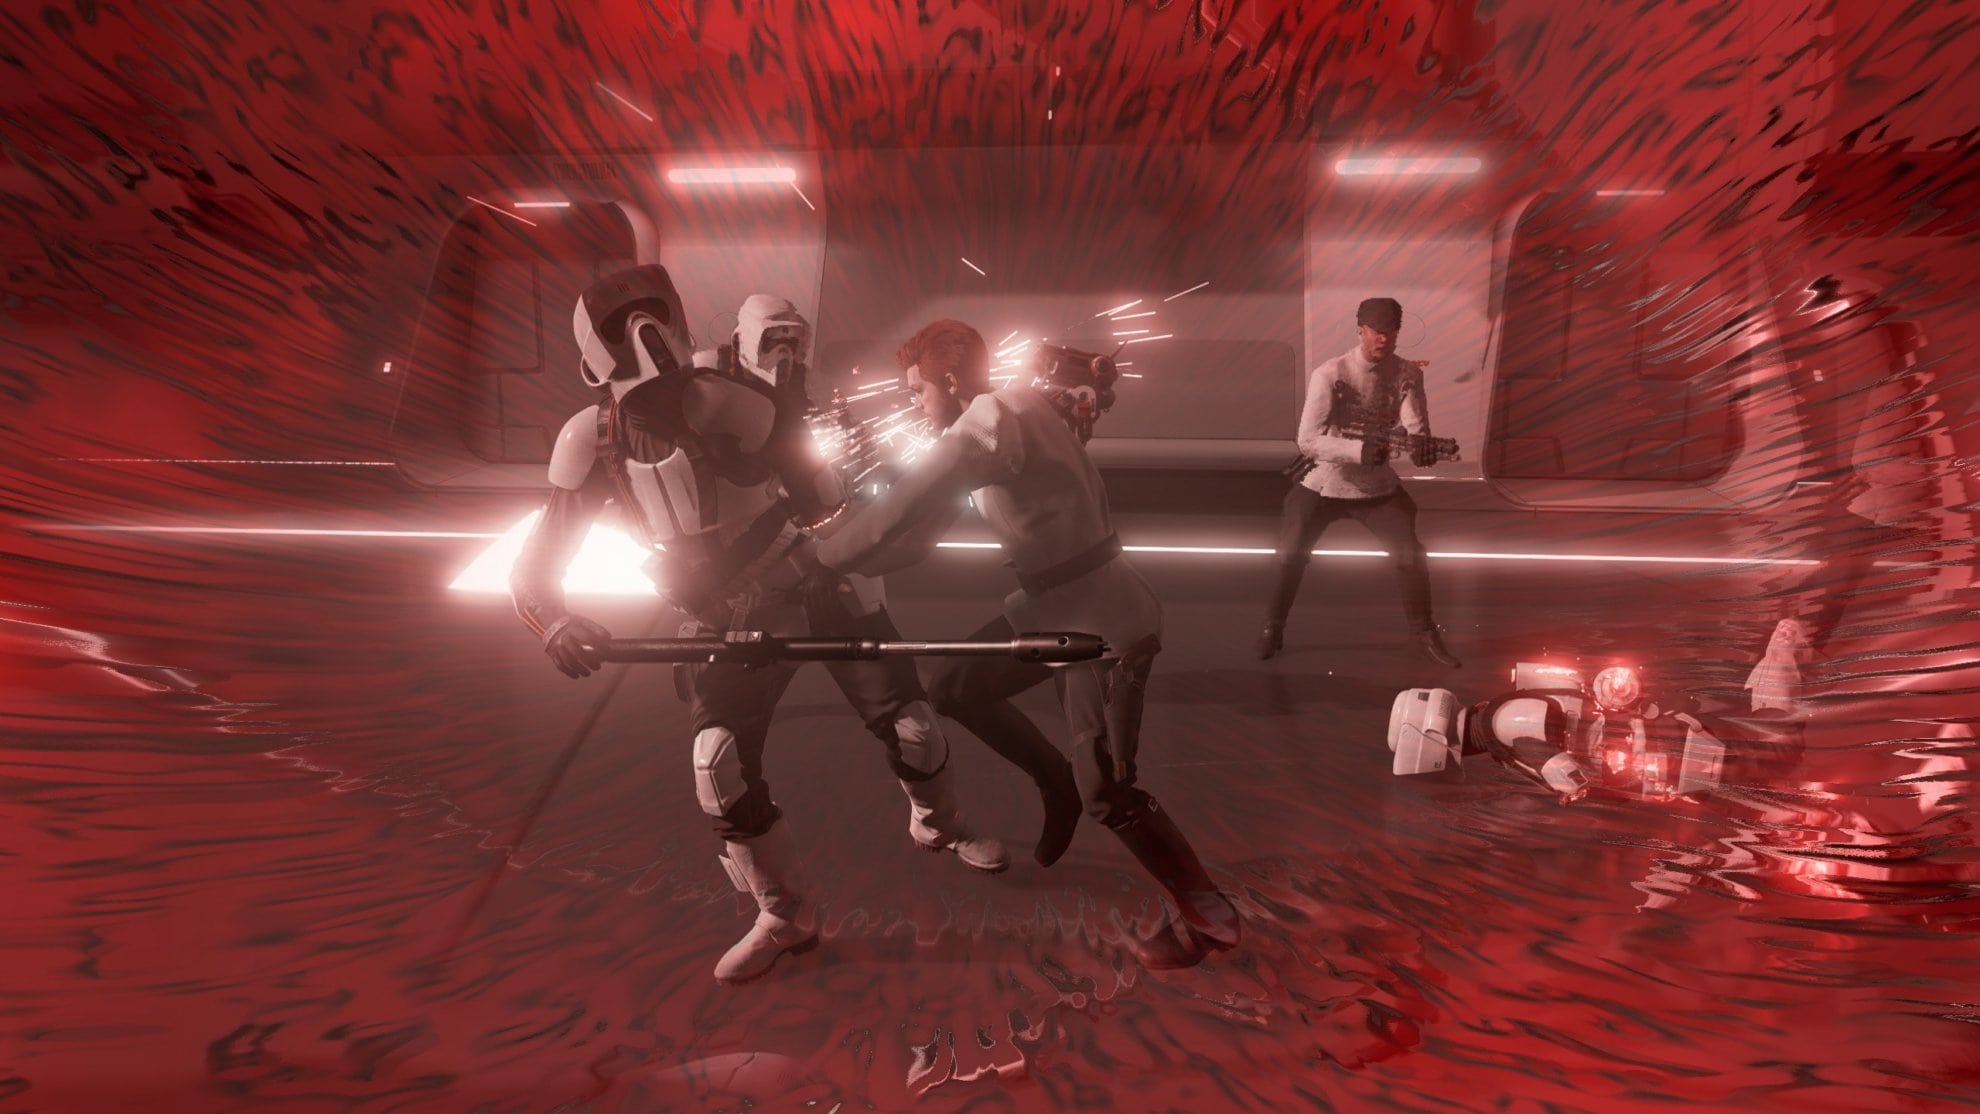
As you fight your way through the base, you’ll notice your Force Slow meter is filling very quickly. This will allow you to tap into the dark side more often, but will you give into the darkness?
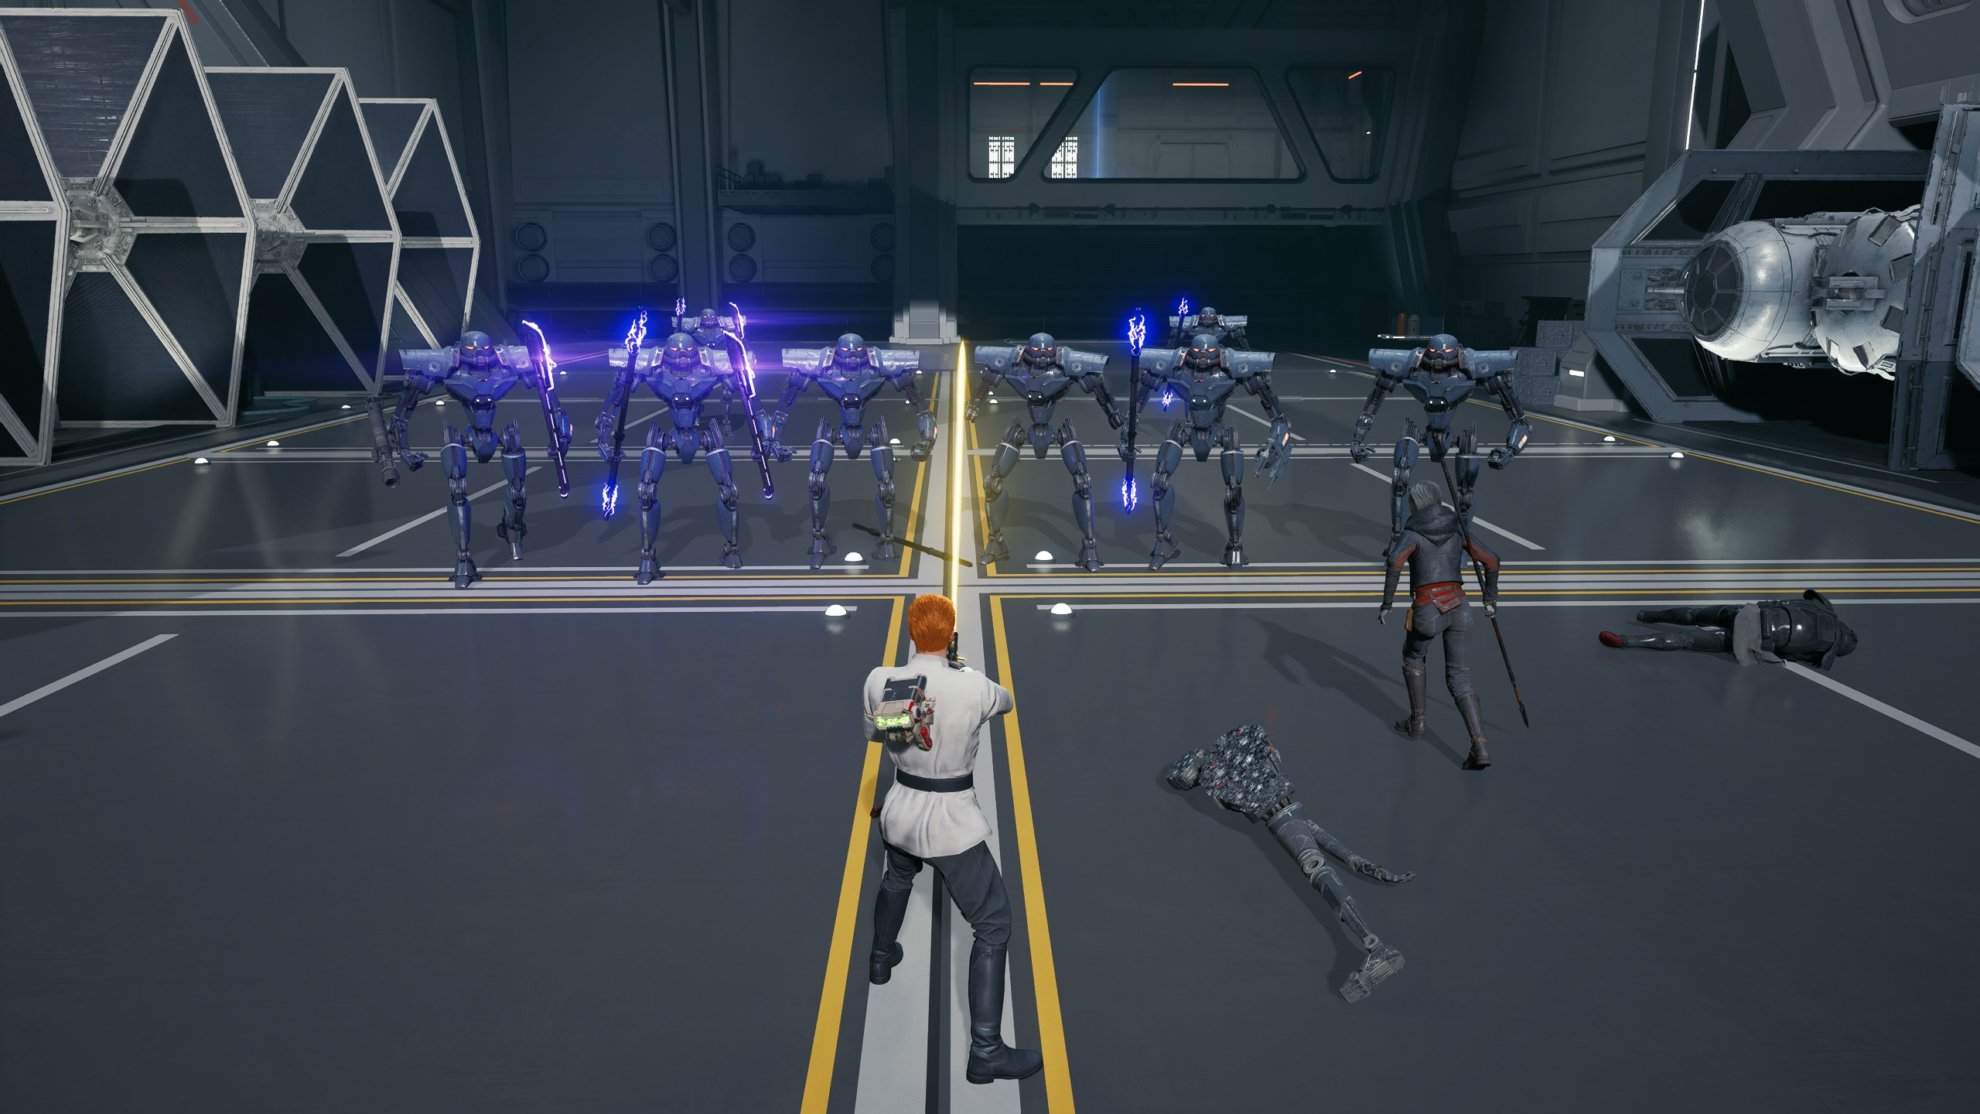
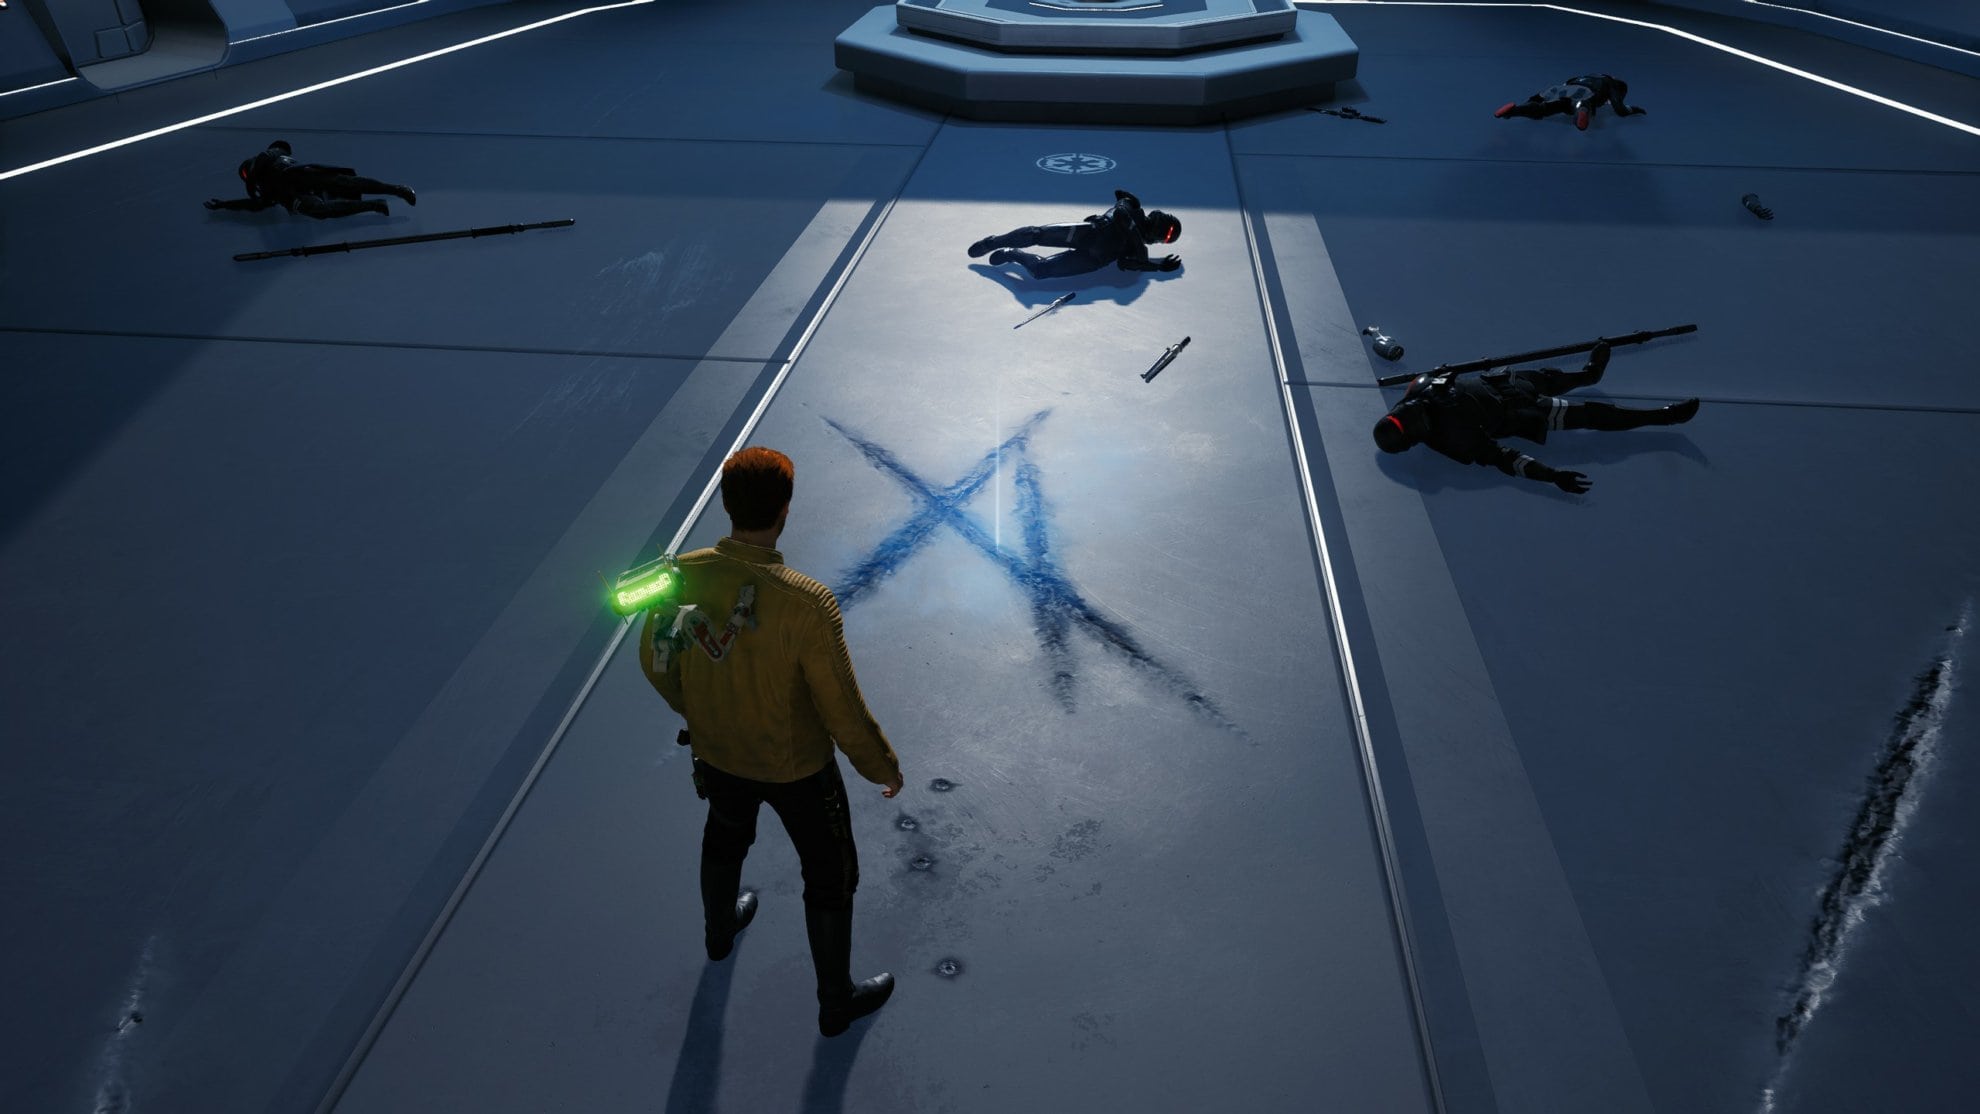
You’ll eventually reach the Hangar Bay Meditation Point. Activate it, rest if you need to, then move on. You’ll reunite with Merrin but you’ll need to fight through a lot of Imperials. After clearing out the Imperials, you’ll have to fight eight Dark Troopers. You can easily defeat them by tapping into the dark side with your Force Slow, but should you?
After defeating the Dark Troopers and finishing the cutscene, go up the elevator and make your way to the Mantis.
Return to Nova Garon
When you get the change, return to Nova Garon for more collectibles. In Denvik’s Office you’ll find a Force Echo for Collectible Databank 10/14: Denvik’s Fate.
Going down the elevator from Denvik’s office and taking the left path will take you to another Force Echo for Collectible Databank 11/14: Slaugher.
If you were to go to the right path where you went in disguise, you’ll find a Force Echo for Collectible Databank 12/14: Irrelevant.
If you go to the Officer’s Quarters, you’ll find a Force Echo for Collectible Databank 13/14: Rampage.
In the hangar where you had your last battle, there’s an ISB Agent corpse with a Force Echo for Collectible Databank 14/14: Search.
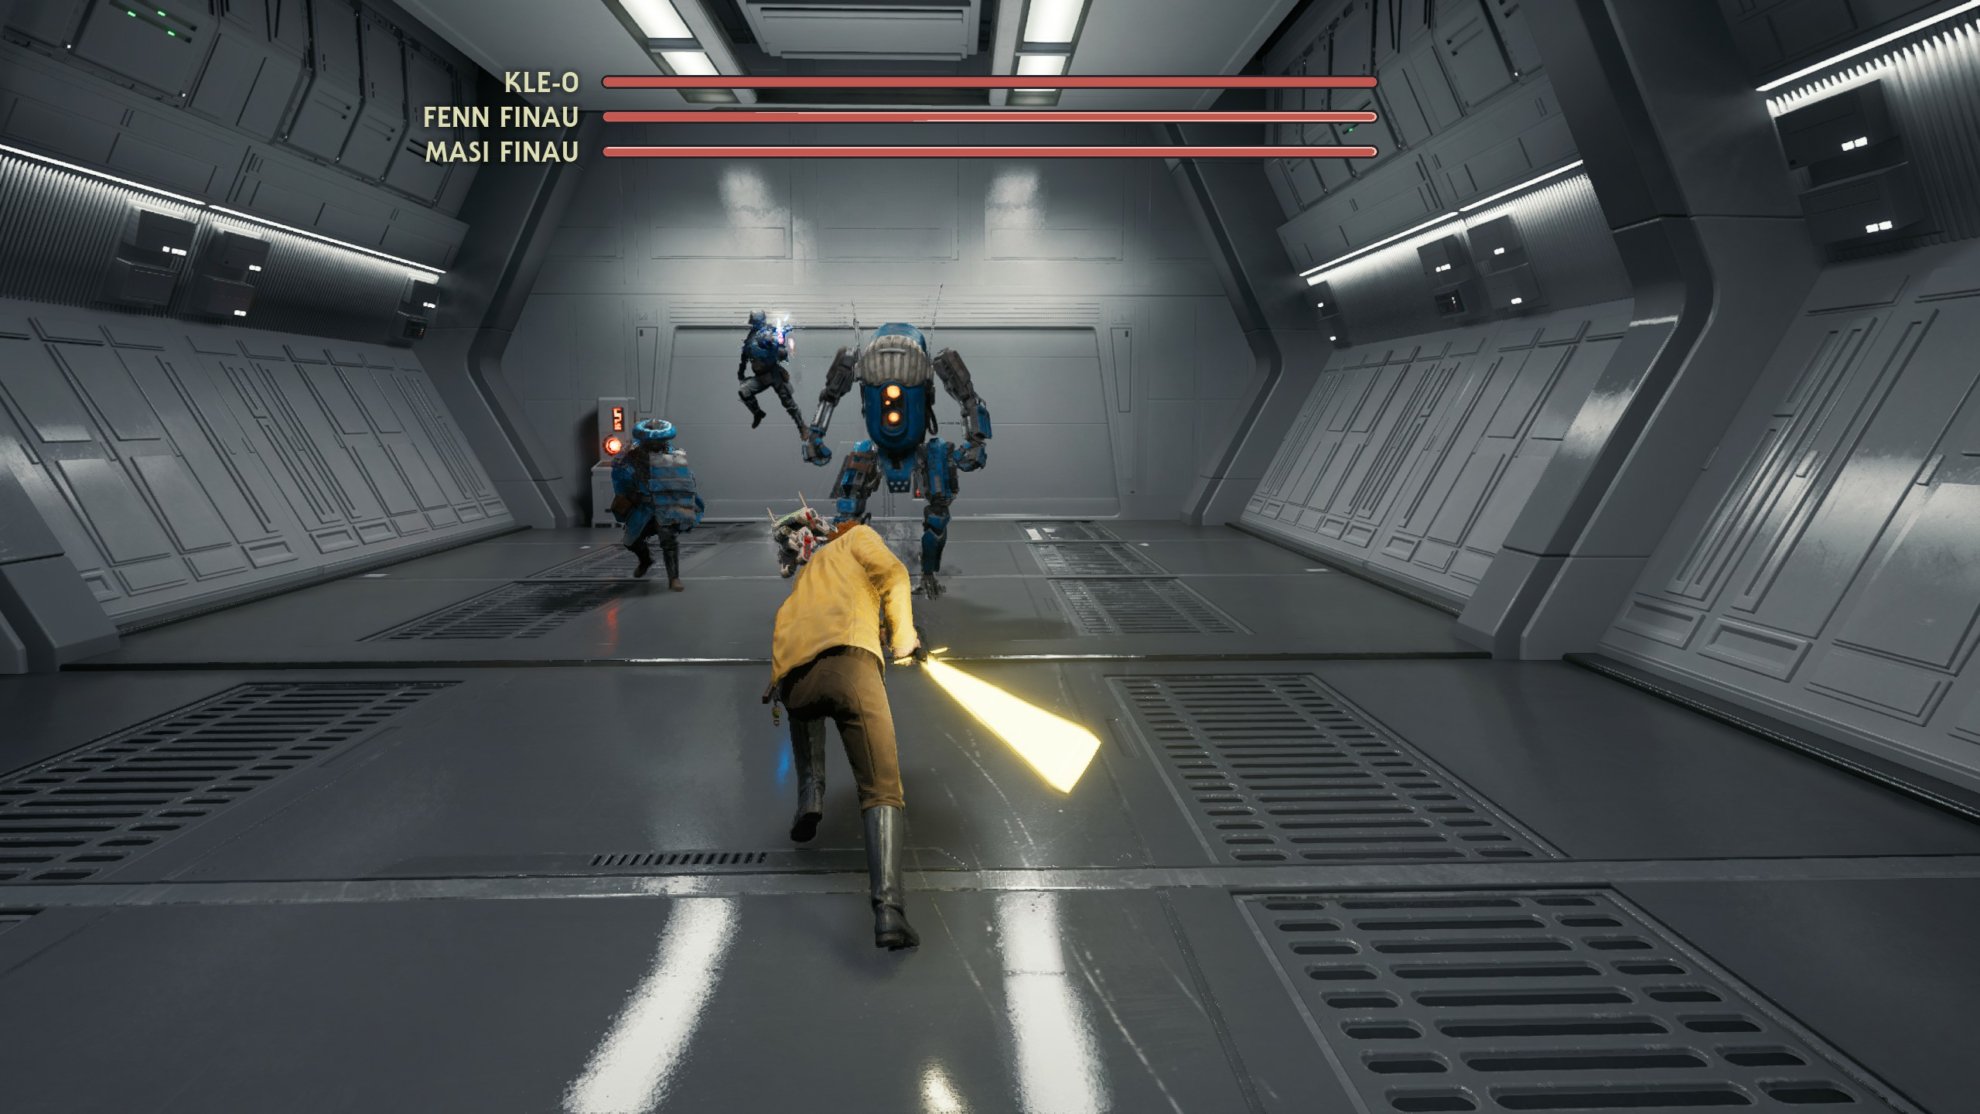
If you return to the hall where you found the Force Essence, you’ll now find three Haxion Brood bounty hunters there. Defeat them to get three Bounty Pucks. Find more in our Force Essence Locations Guide.
This concludes the Nova Garon guide. Looking for more? Check the rest of our Star Wars Jedi Survivor coverage here on VULKK.com. We have everything from beginner guides, to exploration, collectibles locations, side missions, builds.


