This guide will teach you about the Single Saber Stance in Star Wars Jedi Survivor. You’ll learn its strengths and weaknesses, the combos it can use, and how to best utilize it.
How to get the Single Saber Stance
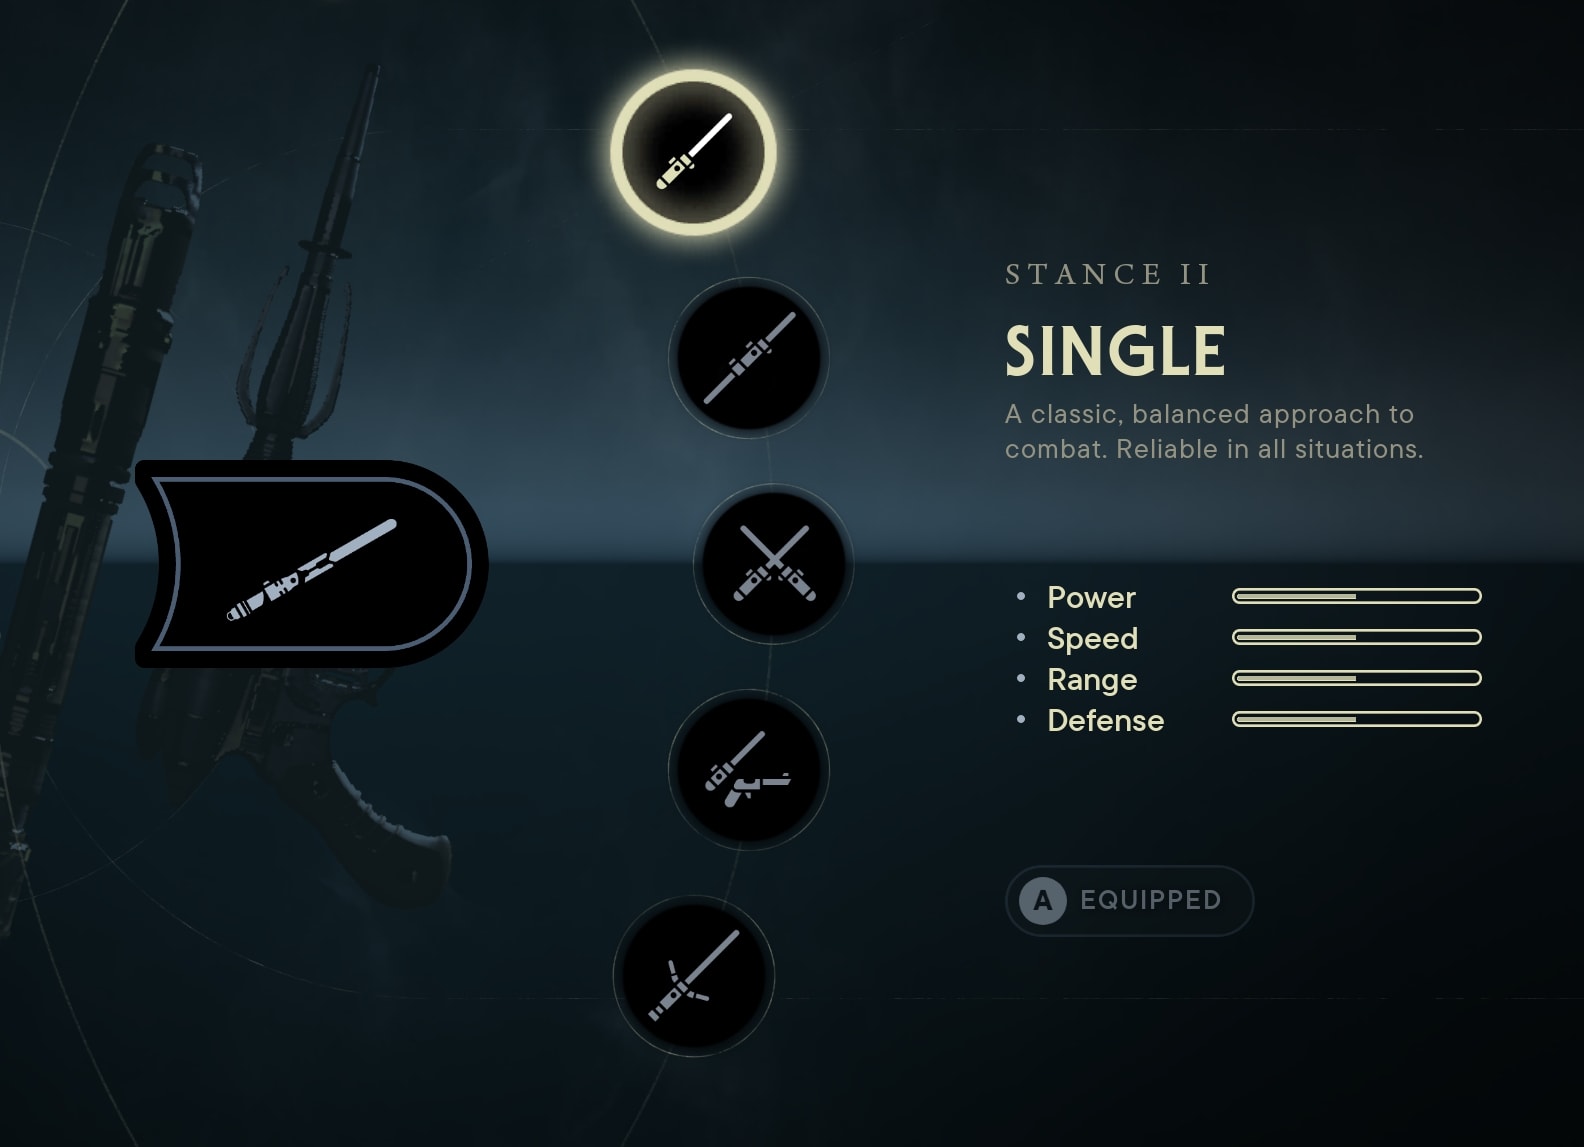
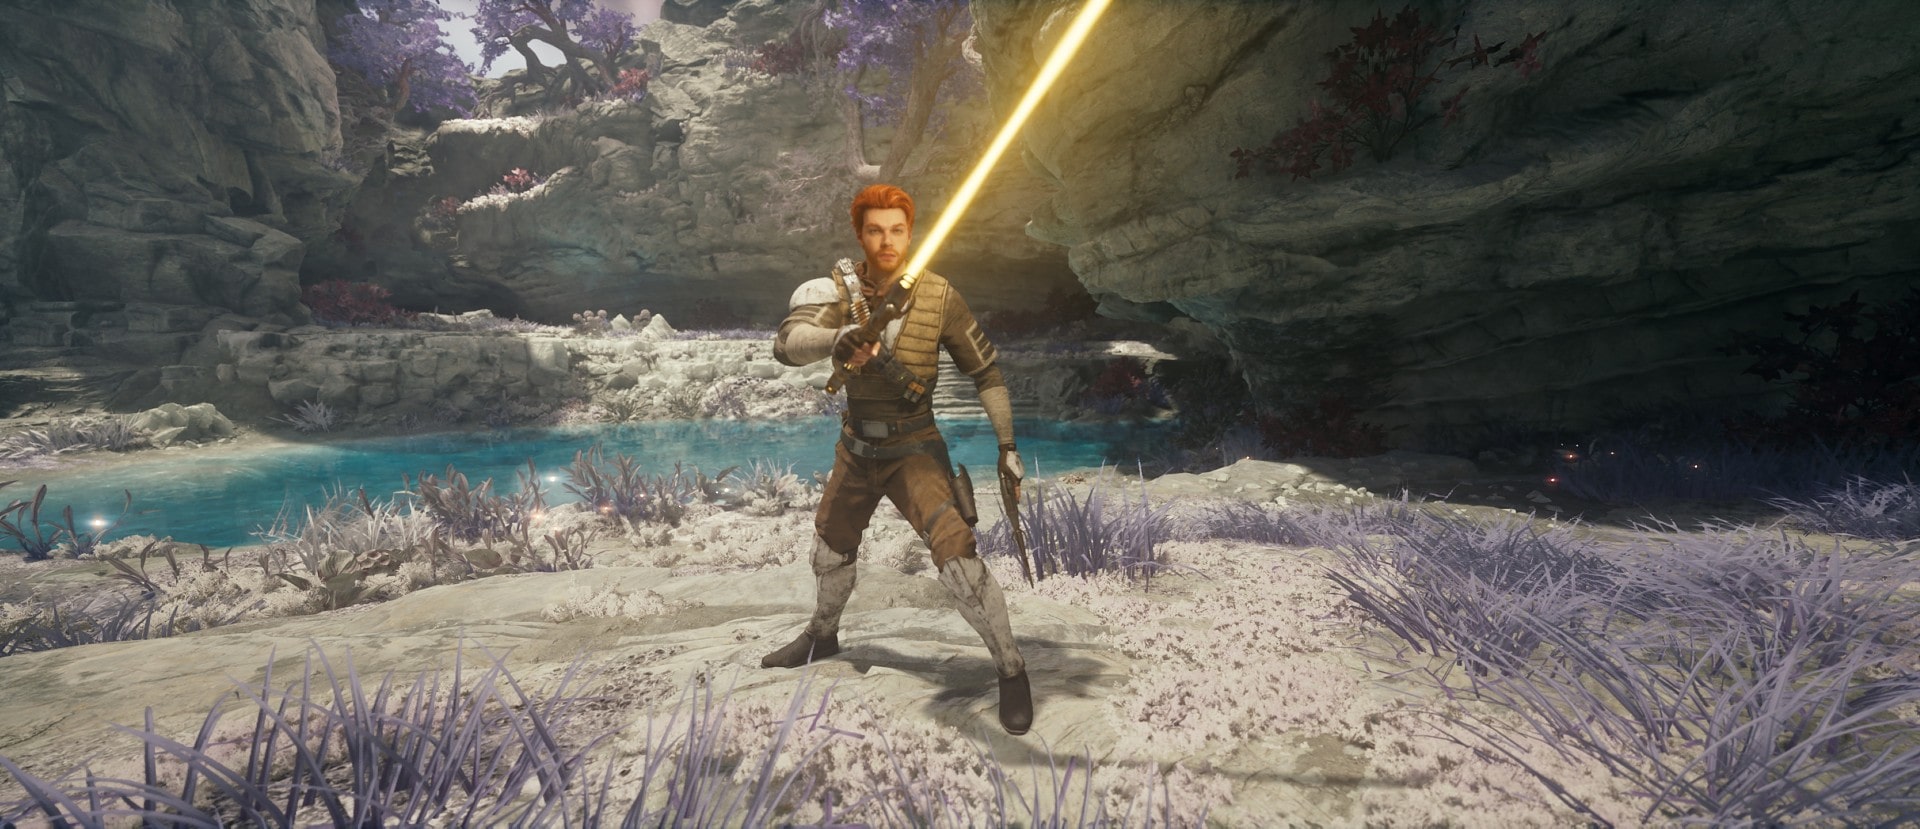
The Single Saber Stance is given to you as your very first stance in the game. You can change your stance at a Meditation Point:
Single Saber Stance Strengths and Weaknesses
The Single Blade Stance is truly a Jack of all trades, master of none. It’s not really bad in any situation, but it doesn’t really excel anywhere either.
If you don’t care too much about combat or don’t want to bother switching stances, this is the best pick. The Single Blade Stance is also a great choice if you’re new to the action-combat style of the souls-like genre as it introduces you to the fundamentals. Much of what you learn will be applicable to the other Stances, should you choose to branch out.
The Single Blade Stance isn’t a complete nothing burger though. It stands out as being the most aerial of the stances by far thanks to Skill Tree buffs that boost the effectiveness of jump attacks. Furthermore, it’s an excellent option to use alongside a new Stance you’re trying out, especially one with more polarized strengths and weaknesses so you have something reliable to fall back on.
I also want to note that the Single Blade Stance pulls most of its animations from moves that the Jedi like Anakin and Obi-Wan use in the movies and on TV, so the stance feels more familiar in that way.
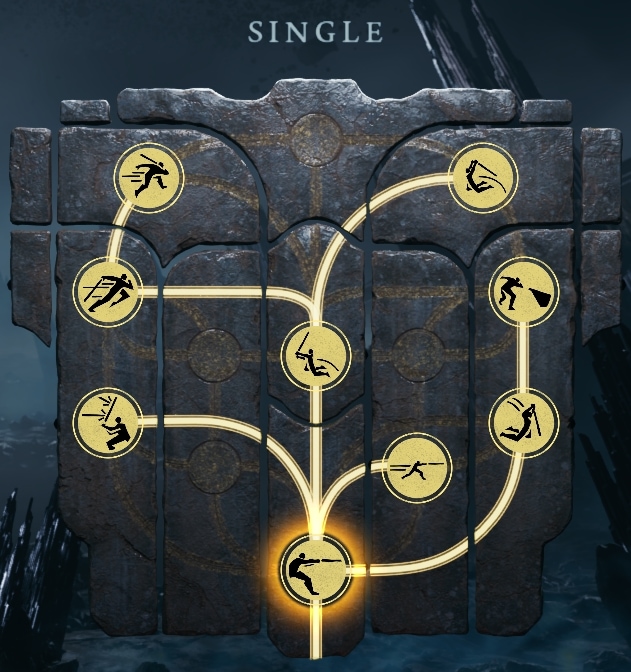
Single Saber Stance Skill Tree
The Single Saber Stance has the following upgrade options:
Before we get into the individual attacks, I want to be clear that the Special Attacks, which consume Force, always deal more damage and drain more of the enemy’s Block Meter (white bar) than regular Attacks. Most of the Special Attacks deal roughly the same damage, so which one you choose to use should be determined primarily by circumstance and capability.
Lunging Strike and Improved Footwork
Costs 1 Skill Point each
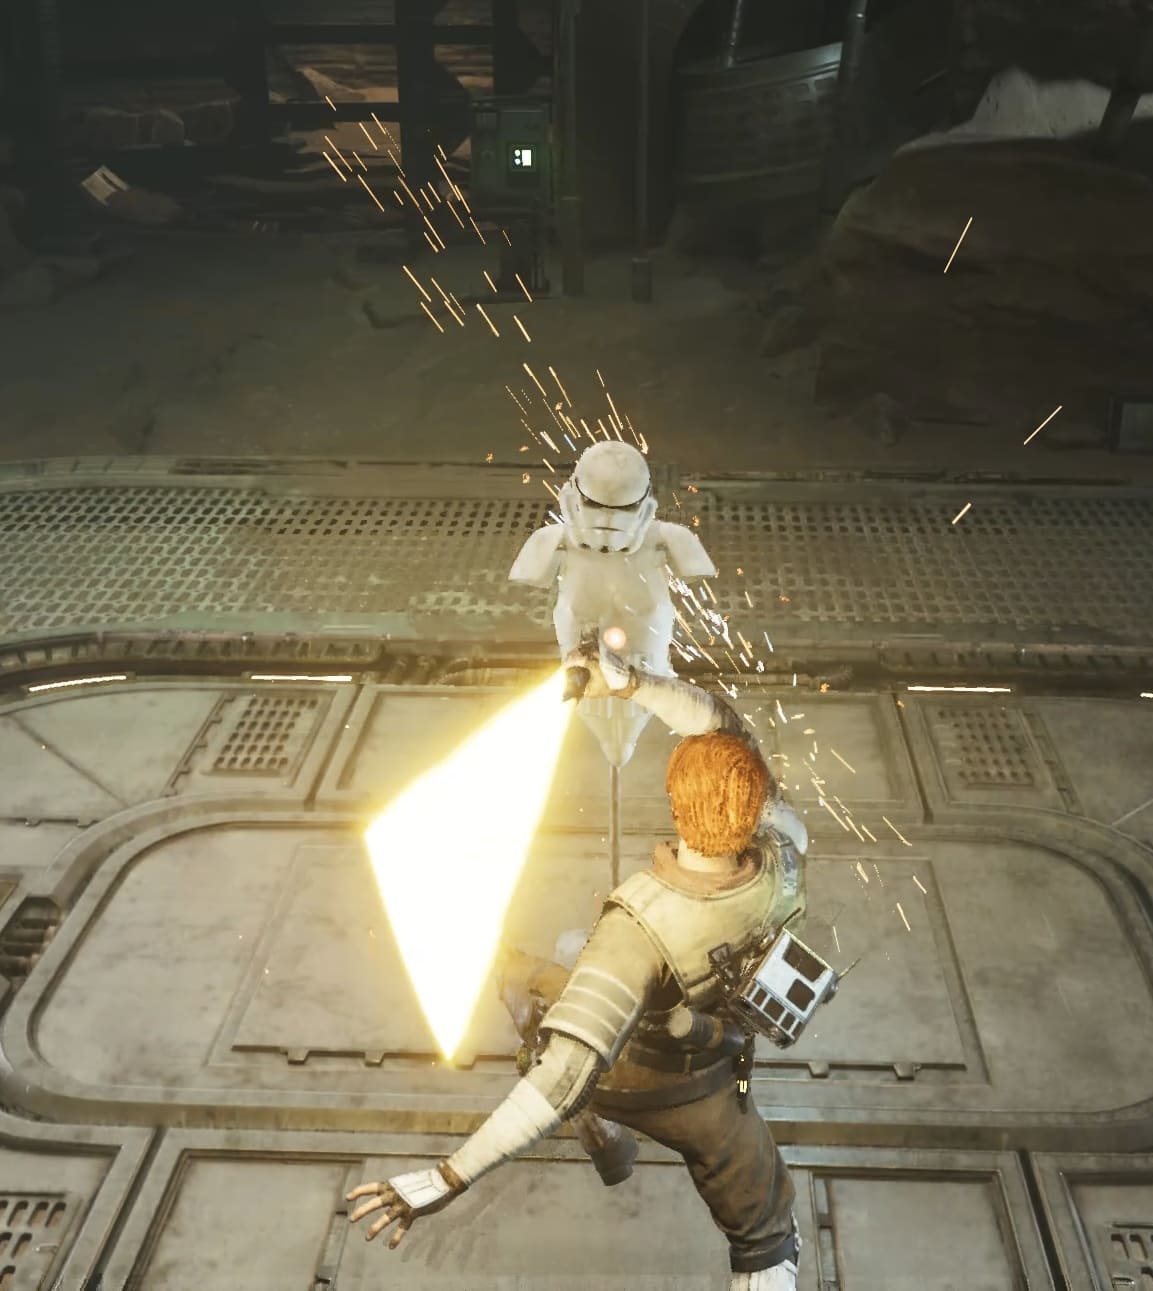
Hold Special Attack to perform a long-reaching thrust attack.
The Lunging Strike does what it says on the tin, it lunges you forward a significant to stab your target. It’s difficult to hit multiple enemies with this attack, but it has a pretty good range while dealing a lot of damage and reducing your target’s Block Meter significantly. It can even knock enemies over, and the knockback is always short enough that you can follow one Lunging Strike up with another.
The attack does have a decently long wind-up, but if you think you can land the hit, I highly recommend using this (or Cleaving Swing) over any of your other attacks.
Cleaving Swing
Free
Press Special Attack to perform a heavy sweeping attack.

If you just press Special Attack instead of holding the button, you’ll do a Cleaving Swing, which deals about the same damage as Lunging Strike, but over a wide arc in front of you instead of as a stab. It’s better if you want to hit multiple enemies that are already in range. Cleaving Swing is given for free as part of the Stance.
Cyclone Slash
Costs 2 Skill Points
Hold Attack after attacking to perform a powerful overhead swing
The Cyclone Slash is the strongest and most staggering of your regular attacks, and while it doesn’t consume Force, it does have a fairly long wind-up time, so you really only want to use it if you’re low on Force as a free alternative to one of your Force-empowered attacks.
Saber Throw and Charged Throw
Costs 2 Skill Points
Press Block and Special Attack to throw your lightsaber. Hold Block and Special Attack to charge up the throw, resulting in a more damaging attack that travels through the target.
The Saber Throw is your primary ranged attack. You get it for free as part of the Stance, but you can upgrade it with Charged Throw to make it deal more damage and potentially deal damage a second time, bypass blocks, and/or hit additional enemies.
Neither version is competitive with Lunging Strike or Cleaving Swing unless you use the Dexterity perk to boost its damage, so I only recommend using it if your target is further away than you can reach with those attacks.
Twofold Reflection
Costs 1 Skill Point
Press Block right before contact to reflect up to 2 blaster bolts in a row back to their attacker.
Each Stance gets a unique buff to their deflections in the Skill Tree. Twofold Reflection is the buff for the Single Blade Stance and it allows you to deflect 2 blaster bolts in a row instead of just 1. It’s strictly worse than the Multifold Reflection buff that the Double-Bladed Stance offers, but you’re not using that Stance right now, so it doesn’t matter.
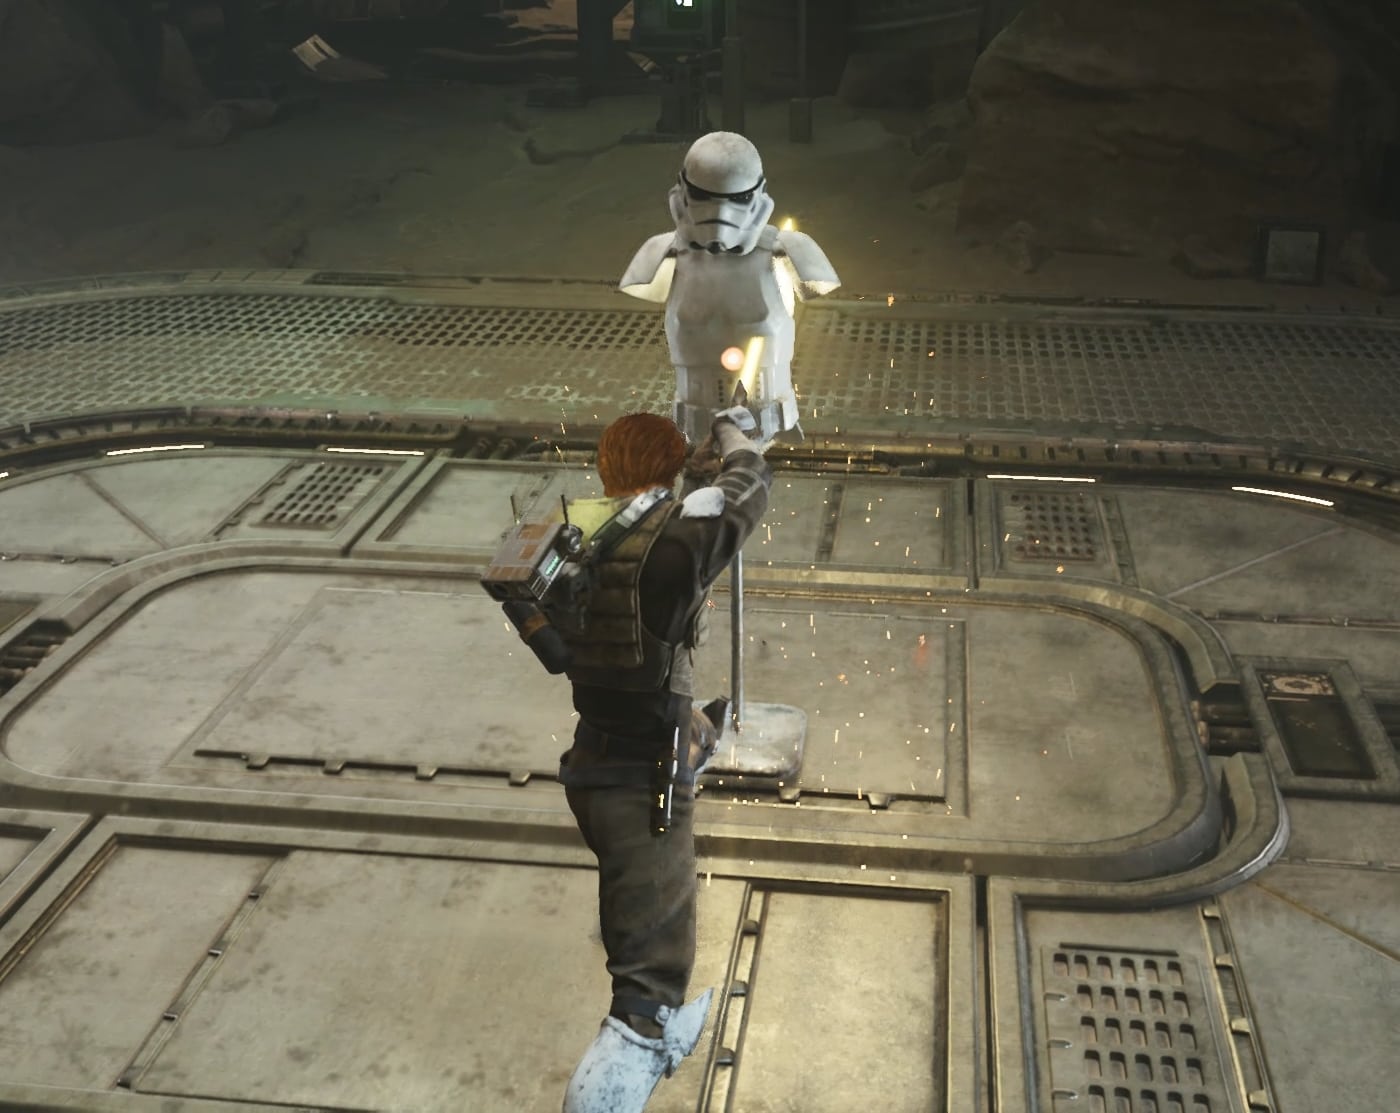
Aerial Assault and Aerial Ace
Costs 2 and 1 Skill Points respectively
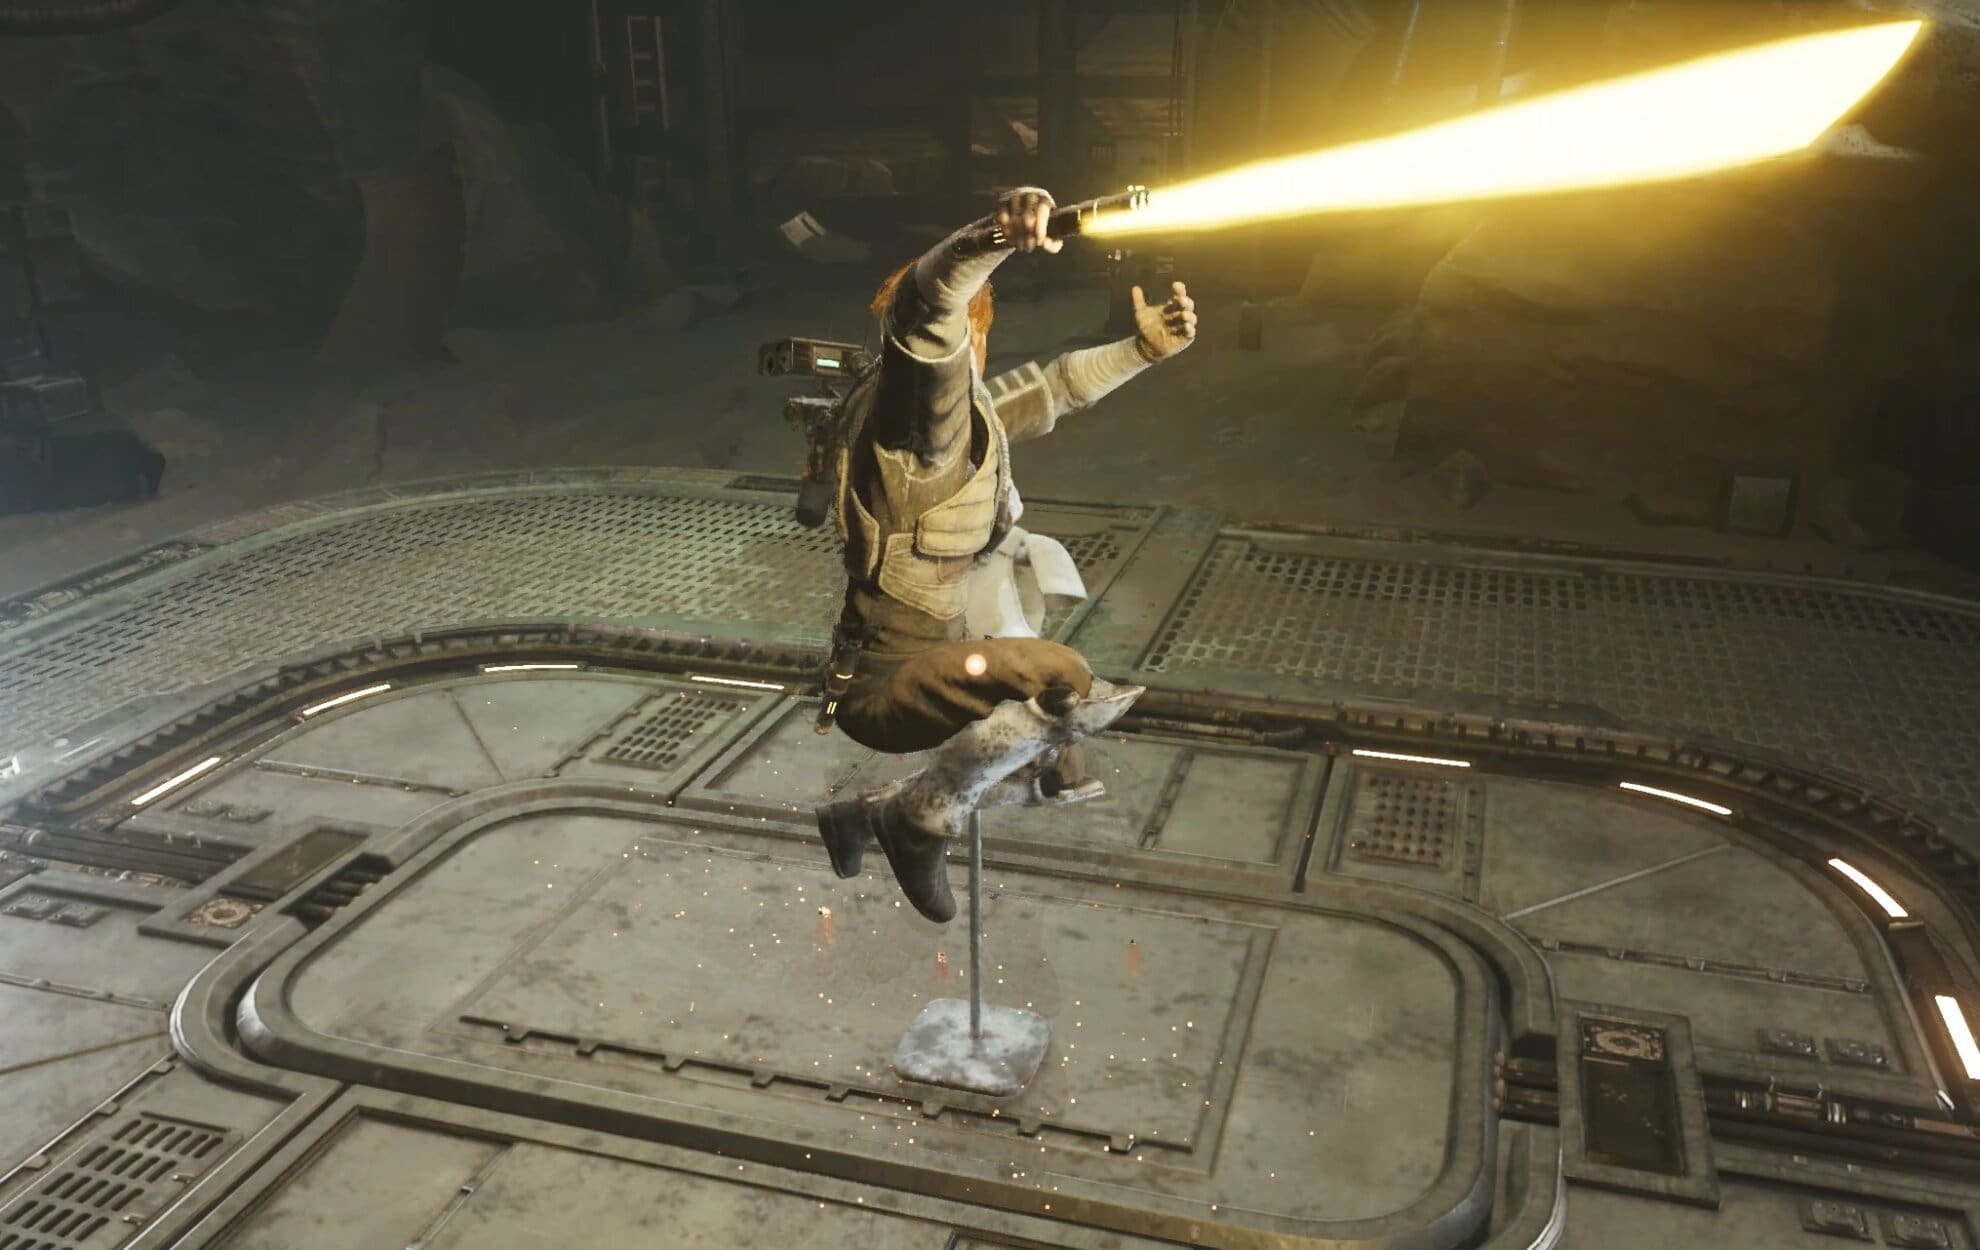
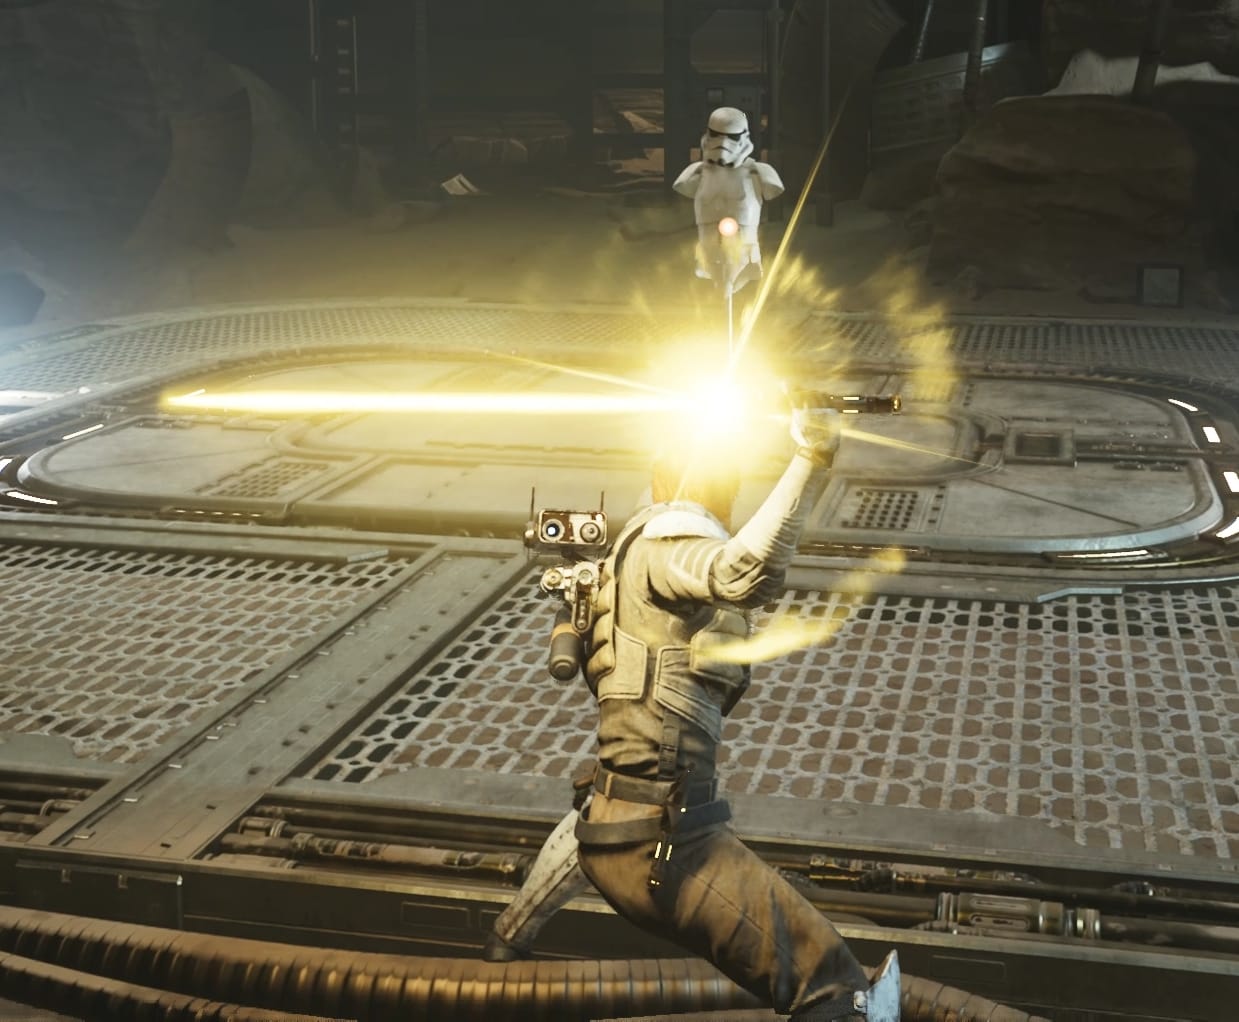
Press Special Attack in the air to strike straight down at a target below.
Aerial Assault is just a Force-imbued jump attack that deals roughly the same damage as Lunging Strike and Cleaving Swing. It doesn’t offer as much range as Lunging Strike nor multi-target potential like Cleaving Swing, but it can be used from the air and is a bit safer to use since the start-up animation isn’t as long.
I don’t think there’s much of a need to use this attack deliberately, but it’s a great single-target option when you find yourself wanting to hit something in the air.
Dash Strike and Aerial Dash Strike
Costs 2 and 1 Skill Points Respectively
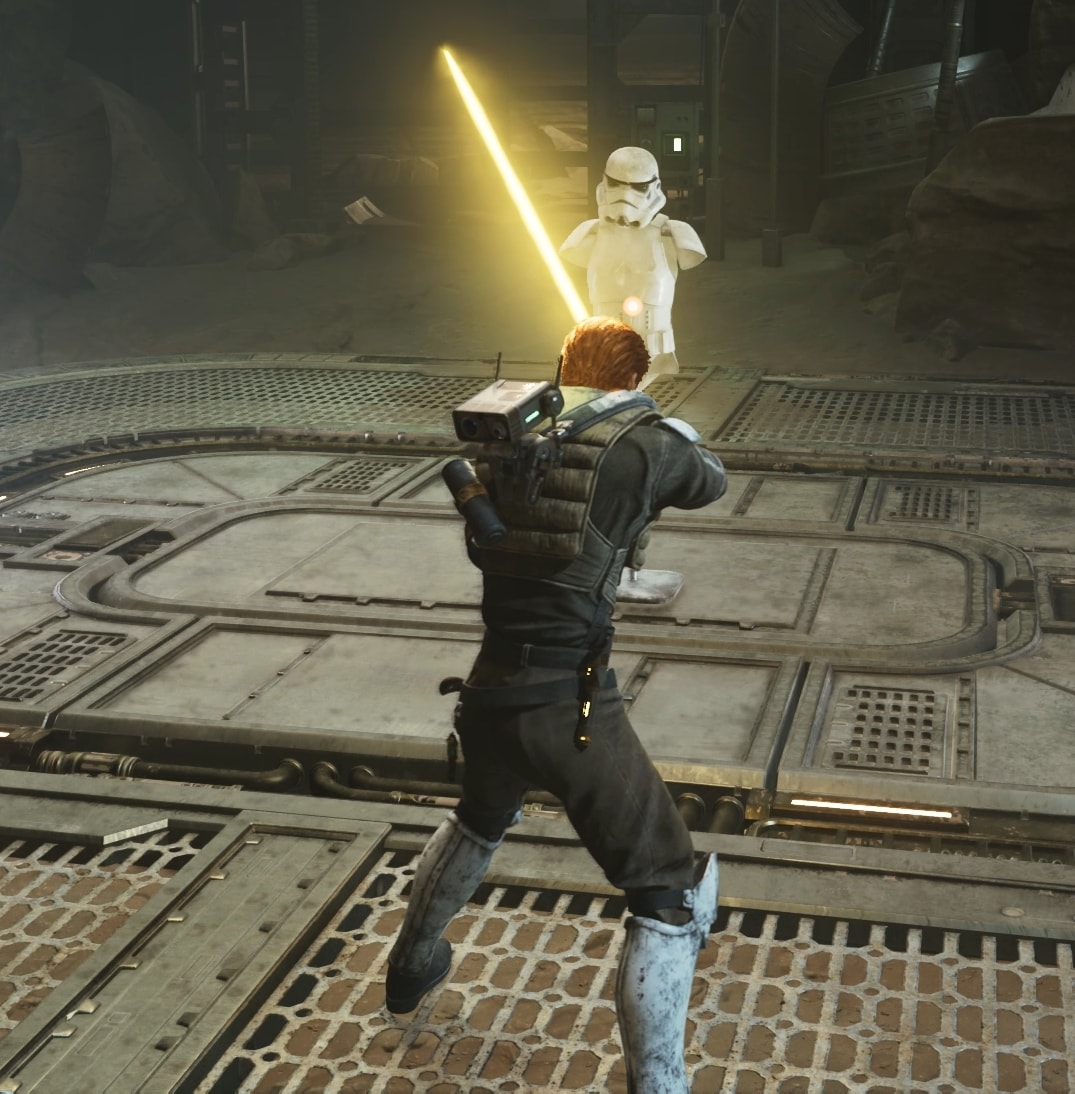
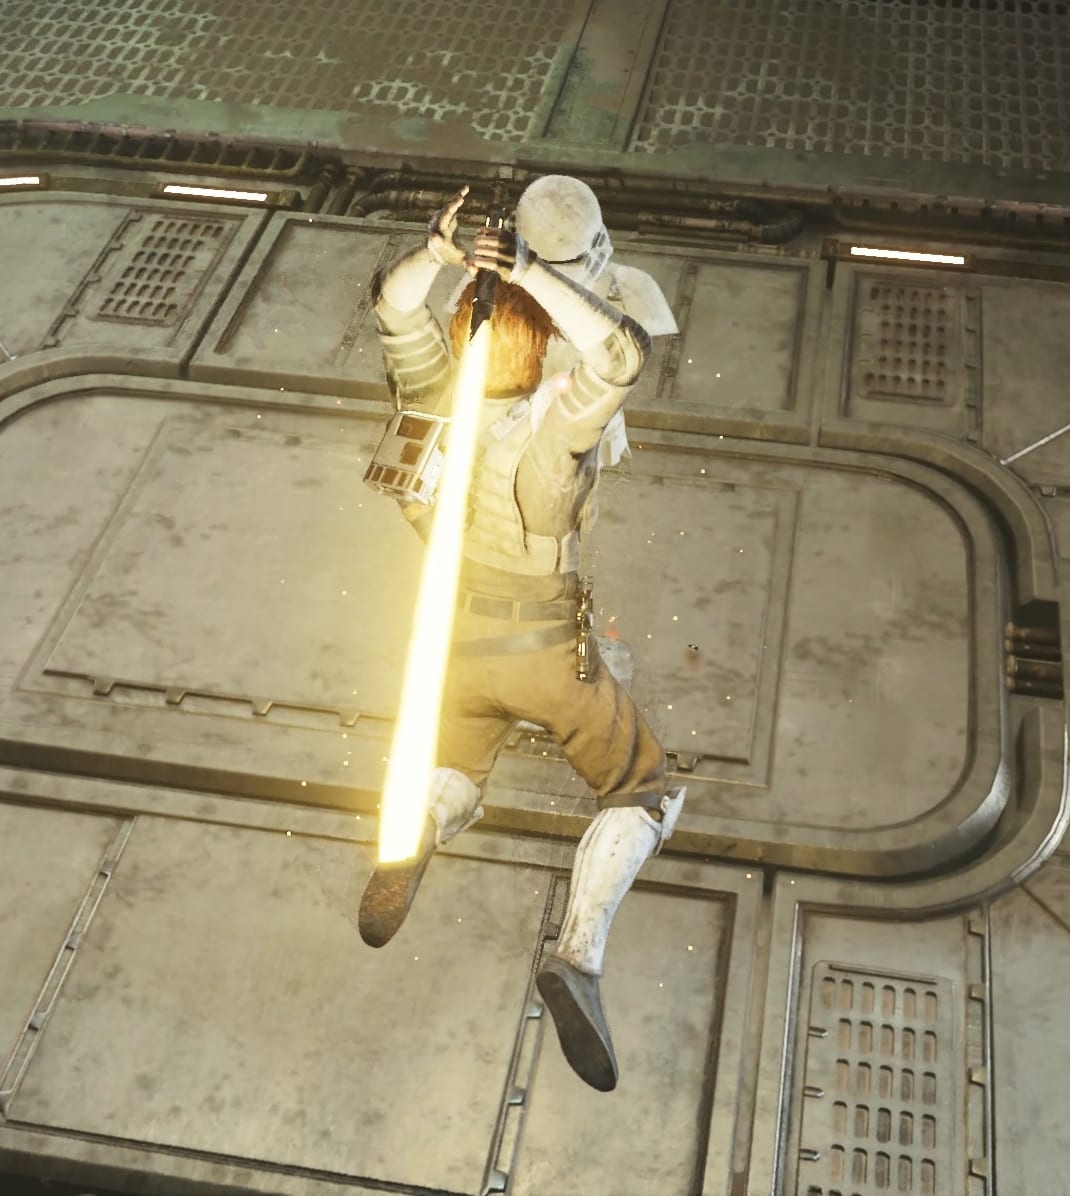
Hold Block and press Attack to dash and strike a target out of melee range. Aerial Dash Strike allows you to do this while in the air.
The Dash Strike and its Aerial version trade damage for range compared to Lunging Strike. You can hit targets further away but for less damage that’s more comparable to the damage dealt by Cyclone Strike and the Saber Throw. You’d want to use this attack over Saber Throw if you actually want to get closer to your target. In other words, Dash Strike is the opener to Saber Throw’s finisher.
This gap-closing capacity is pretty unique to the Single Saber Stance and it’s something that most of the other Stances struggle to do, which helps to make a better case for using the Single Saber as your secondary Stance.
Complimentary Stances
Single Blade Stance pairs best with the more polarized stances with strong strengths and weaknesses, namely Crossgaurd and Blaster. They also feel like natural extensions of the Single Blade Stance as you either opt to pull out the Blaster or activate the Crossgaurd feature and lengthen the blade.
Blaster
Use the Blaster when you’re further away or to pick off the ranged enemies, then put your blaster away when you get into the thick of it and use your Force-empowered lightsaber strikes. The Blaster Stance offers stronger performance at range compared to the Single Blade Stance.
The Blaster Stance offers significantly better performance at long range and deals more damage with regular attacks, but offers very little when it comes to Special Attacks and gap closing, so you’d start with the Blaster when you’re far away, shoot your shots, close the gap with Single Blade and spend all your Force, then switch back to Blaster and use regular Attacks to rebuild your Force and blaster ammo.
Crossguard
Use the Crossguard in fights where the high mobility and speed provided by there Single Blade Stance are unnecessary. In other words, use the Crossguard specifically when it’s at its best and then use the Single Blade Stance everywhere else.
The Crossguard Stance hits way harder with each swing, but the swings are slower, so it’s more challenging to use, especially against faster enemies. However, not all enemies are speedy, like larger beasts and a lot of bosses, so you can capitalize on the higher damage without having to worry about the drawback.
You can learn everything about the Crossguard and Single Saber pairing from my build guide.
Complimentary Perks
These are the Perks I recommend using with the Single Saber as your primary Stance:
Fortitude
Costs 4 Perk Points
With Fortitude you deal additional damage with your lightsaber, but also take increased damage. The increase to damage taken feels small, but the damage output increase is pretty noticeable, especially against stronger enemies. Given that you’ll almost always have stims to spare, especially if you collect them all, this is a no-brainer since all of the damage you’ll be dealing comes from your lightsaber.
Equilibrium
Costs 3 Perk Points
Equilibrium makes it so using a Force attack will make your next lightsaber attack deals more damage. It’s unclear exactly where the line is, but you’ll be using Force attacks regardless, so you should get this fairly often.
Versatility or Recuperation
Costs 3 Perk Points
Versatility makes you temporarily deal more damage after switching stances while Recuperation increases the amount of Force you can regenerate. I recommend using Versatility with the Blaster stance as your secondary and otherwise use Recuperation.
Tips for the Single Saber Stance
The Single Saber Stance is all about choosing the right tool for the job. You have a lot of attacks that offer similar damage output, but each has different capabilities and characteristics that help you to narrow down which to use, assuming you have enough Force.
In other words, you’re trying to answer the question “Which Force-empowered attack can I land against my opponent(s) right now?” Sometimes, there won’t be an answer, in which case you’ll need to use your regular Attack, Cyclone Slash, or switch Stances, but often there will be at least one thing you can use.
This concludes the Single Blade Saber Stance guide. To personalize your experience with the game, check out our Guide to Controls and Keybinds for Jedi Survivor. Setting up your custom keybinds will allow you to play your favorite Stance with the highest efficiency. For anything else, check our Star Wars Jedi Survivor Guides Master List.

Jedi Survivor Double-Bladed Stance Guide: Everything you should know
This guide will teach you about the Double-Bladed Stance in Jedi Survivor. You’ll learn its strengths and weaknesses, the combos it can use, and how to best utilize it.

Jedi Survivor Dual Wield Stance Guide: Everything you should know
This guide will teach you about the Dual Wield Stance in Jedi Survivor. You’ll learn its strengths and weaknesses, the combos it can use, and how to best utilize it.

Jedi Survivor Blaster Stance Guide: everything you should know
Guide about the Blaster Stance in Jedi Survivor. You’ll learn its strengths and weaknesses, the combos it can use, and how to best utilize it!

Jedi Survivor Crossguard Stance Guide: Everything you should know
This guide will teach you about the Crossguard Stance in Jedi Survivor. You'll learn its strengths and weaknesses, combos it can use, and how to best utilize it.

Jedi Survivor Build Guide: Dual Wield and Double-Bladed Stance Pairing
This guide will cover everything you need to know about pairing the Dual Wield and Double-Bladed Stances, including the strengths and weakness of the pairing, what each Stance is best suited for, synergistic perks and where to find them, and early skill tree essentials for the early game.

Jedi Survivor Build Guide: Crossguard and Double-Bladed Stance Pairing
This guide will go over everything you should know about pairing the Double-Bladed and Crossguard Lightsaber Stances. This includes the strengths and weaknesses of this pairing, what each Stance is best suited for, synergistic perks and where to find them, and skill tree essentials for the early game.
Jedi Survivor Build Guide: Blaster and Double-Bladed Stance Pairing
This guide will cover everything you need to know about pairing the Blaster and Double-Bladed Stances, including the strengths and weaknesses of the pairing, what each Stance is best suited for, synergistic perks and where to find them, and skill tree essentials for the early game.
Jedi Survivor Build Guide: Crossugard and Single Stance Pairing
This guide will cover everything you need to know about pairing the Crossguard and Single Saber Stances, including the strengths and weaknesses of the pairing, what each Stance is best suited for, synergistic perks and where to find them, and early skill tree essentials for the early game.


