
This guide will help with completing the Fractured Momentum Force Tear in Jedi Survivor. Force Tears are additional challenges you can complete while exploring!
Where to find the Fractured Momentum Force Tear
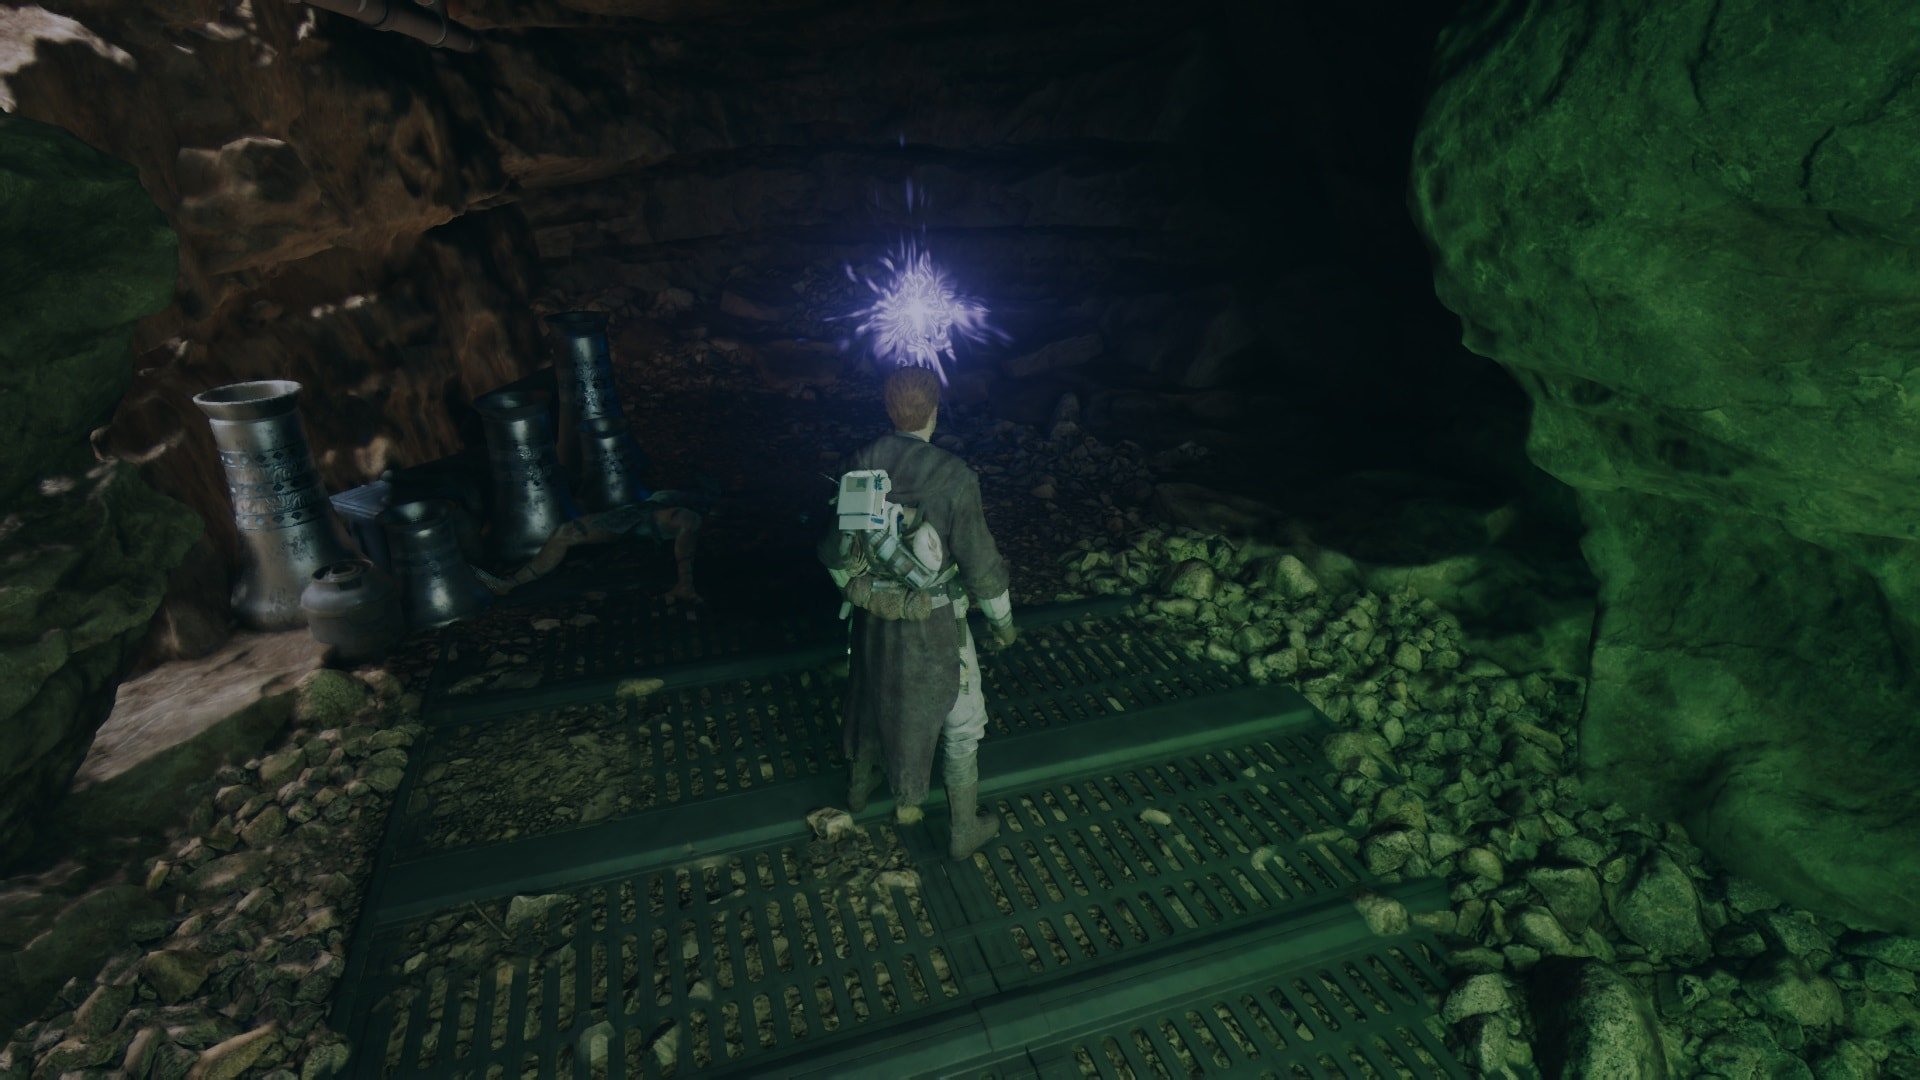
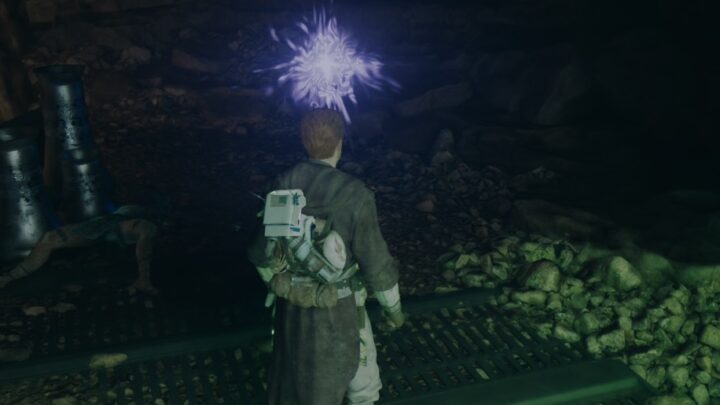
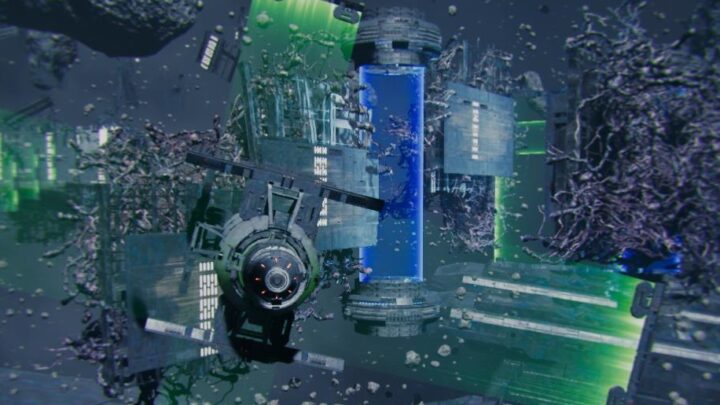
This Force Tear challenge is in the Smuggler’s Tunnels on Rambler’s Reach. However, you must have unlocked the ability to go through green barriers.

Go to the Meditation Point that is in Pyloon’s Saloon. Then, enter the smuggler’s tunnels.

There is only one way to follow so continue until you find the first green barrier.

After crossing it you’ll find yourself in a small cave. Go to the edge and look for a second barrier. Jump down and use your mid-air dash to go through it. You’ll see the Force Tear as soon as you get through the barrier.

Video Walkthrough
Step-by-Step Walkthrough
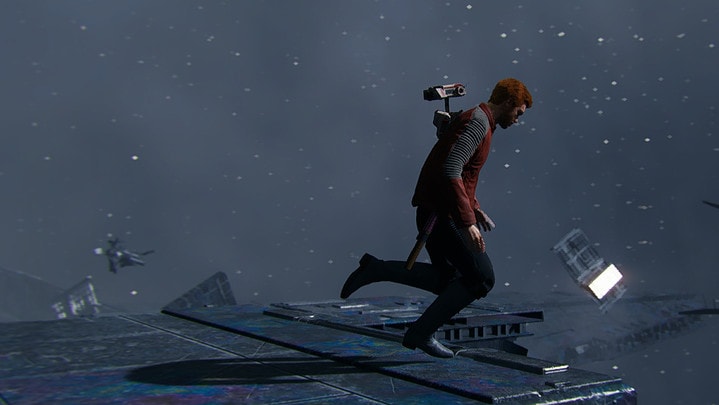
This Force Tear requires good timing and awareness of the route you will follow. The tricky part comes from the energy spheres that travel across the ziplines and the moving green barrier that is faster than you.
It may help you to use the Photo Mode to understand where you’re heading. Remember that every time you pass through a green barrier, your second jump and mid-air are reset.
First, jump so that BD-1 can go through the zipline. Once you’re close enough to the red and green barriers, drop so that you can go through the green one.
While you can pass through red barriers on your standard gameplay, this is not the case for Fractured Challenges. Touching the red barrier will instantly end your run.

Use both of your dashes to go through the green barrier.

There are two ziplines that you can hang on to. The blue spheres of energy are deadly, if one’s near to you simply jump to the other zipline. However, you want to end on the right side, as you will need to use your Ascension Cable.

After using your Ascension Cable, an energy sphere is going to travel to the other side. It is very fast and you can’t outspeed it. To avoid getting hit, jump again, and right after it passes use your Ascension Cable again. It will take you in the opposite direction, which is where you’re supposed to go.

This jump is relatively simple but pay attention to the moving barrier. You have to jump only when you’re sure that there’s a good distance between Cal and the barrier. Remember that you can switch the direction you’re moving, this can be used to buy time until you’re sure that it’s safe to continue.

Every object you touch that isn’t a zipline or a green barrier will make you start over again. Even if it’s the metal part of the barrier as shown in the image below. This is why it’s so important to be patient and only jump when it’s the right time.

Now comes the fun part. Jump through the barrier, then use the second jump and mid-air dash to reach the other zipline. Then, make BD-1 turn around so that you’re heading toward where the barrier is created.

This is the hardest part of this Fractured Challenge. You must repeat the same process of jumping, passing through the barrier, and jumping again to reach the third zipline of this segment.

The tricky thing about it lies in the speed of the barrier, it is very fast and you want to jump when you’re in the middle of the zipline. Remember to make BD-1 turn around repeatedly to stay in the same place while you wait for the barrier.

You must wait until the last second before doing your second jump and mid-air dash. If not done at the proper height, Cal won’t be able to reach the next and final zipline.

Victory is close but there are still a few more obstacles. An energy sphere is going to travel the zipline as soon as you get there. Jump to the side and then use your secondary jump to return. Jumping over it can also work but I had a harder time pulling that off.

The last thing you must do is jump and dash mid-air right before touching the energized part of the zipline. It is a simple thing to do but if you ended up too close to it after avoiding the energy sphere it might end your almost perfect run.

For making a great impression of Spider-Man, you’ll be rewarded with an extra Skill Point. However, Force Tears are one-time-only collectibles. This means completing this challenge again will not award further Skill Points. If you’ve collected it, the entry point will be Gold instead of Purple.
If you’re looking to acquire additional Skill Points quickly, check out our How to Farm Skill Points Faster in Jedi Survivor guide. This is a brief guide that details a number of early and readily accessible XP farming locations to help you unlock upgrades faster.
We also have a master list of all Jedi Survivor Guides. Browse through and you will find what you are looking for.
All Jedi Survivor Fractured Force Tears Locations Guide
This guide will show you where to find and how to access each one of the Fractured Force Tears in Star Wars Jedi Survivor. We also have full guides to solving the puzzles you must complete. All Fractured Force Tears grant an additional skill point when completed.
Jedi Survivor Fractured Resolve Force Tear Guide
This guide will help with completing the Fractured Resolve Force Tear in Jedi Survivor. Force Tears are additional challenges you can complete while exploring!
Jedi Survivor Fractured Agility Force Tear Guide
This guide will help with completing the Fractured Agility Force Tear in Jedi Survivor. Force Tears are additional challenges you can complete while exploring!
Jedi Survivor Fractured Determination Force Tear Guide
This guide will help with completing the Fractured Determination Force Tear in Jedi Survivor. Force Tears are additional challenges you can complete while exploring!


