

This guide explains what Perks are in Jedi Survivor, how to use them and offers a full list of locations where you can find and obtain all Perks in the game!
Table of contents
What are Perks
In Star Wars Jedi Survivor Perks are one of the main methods of personalizing and customizing your build to make it perform according to your preferred play style and desires.
There are 25 unique perks available in the game. You can unlock some of them by exploring the game and solving puzzles, others are available for purchase from a vendor and a few unique perks are given to you when you complete the story of the game and start a New Journey + (New Game + mode).
Perks can be combined with Saber Stances and Skill Points to create unique, fun and interesting builds.
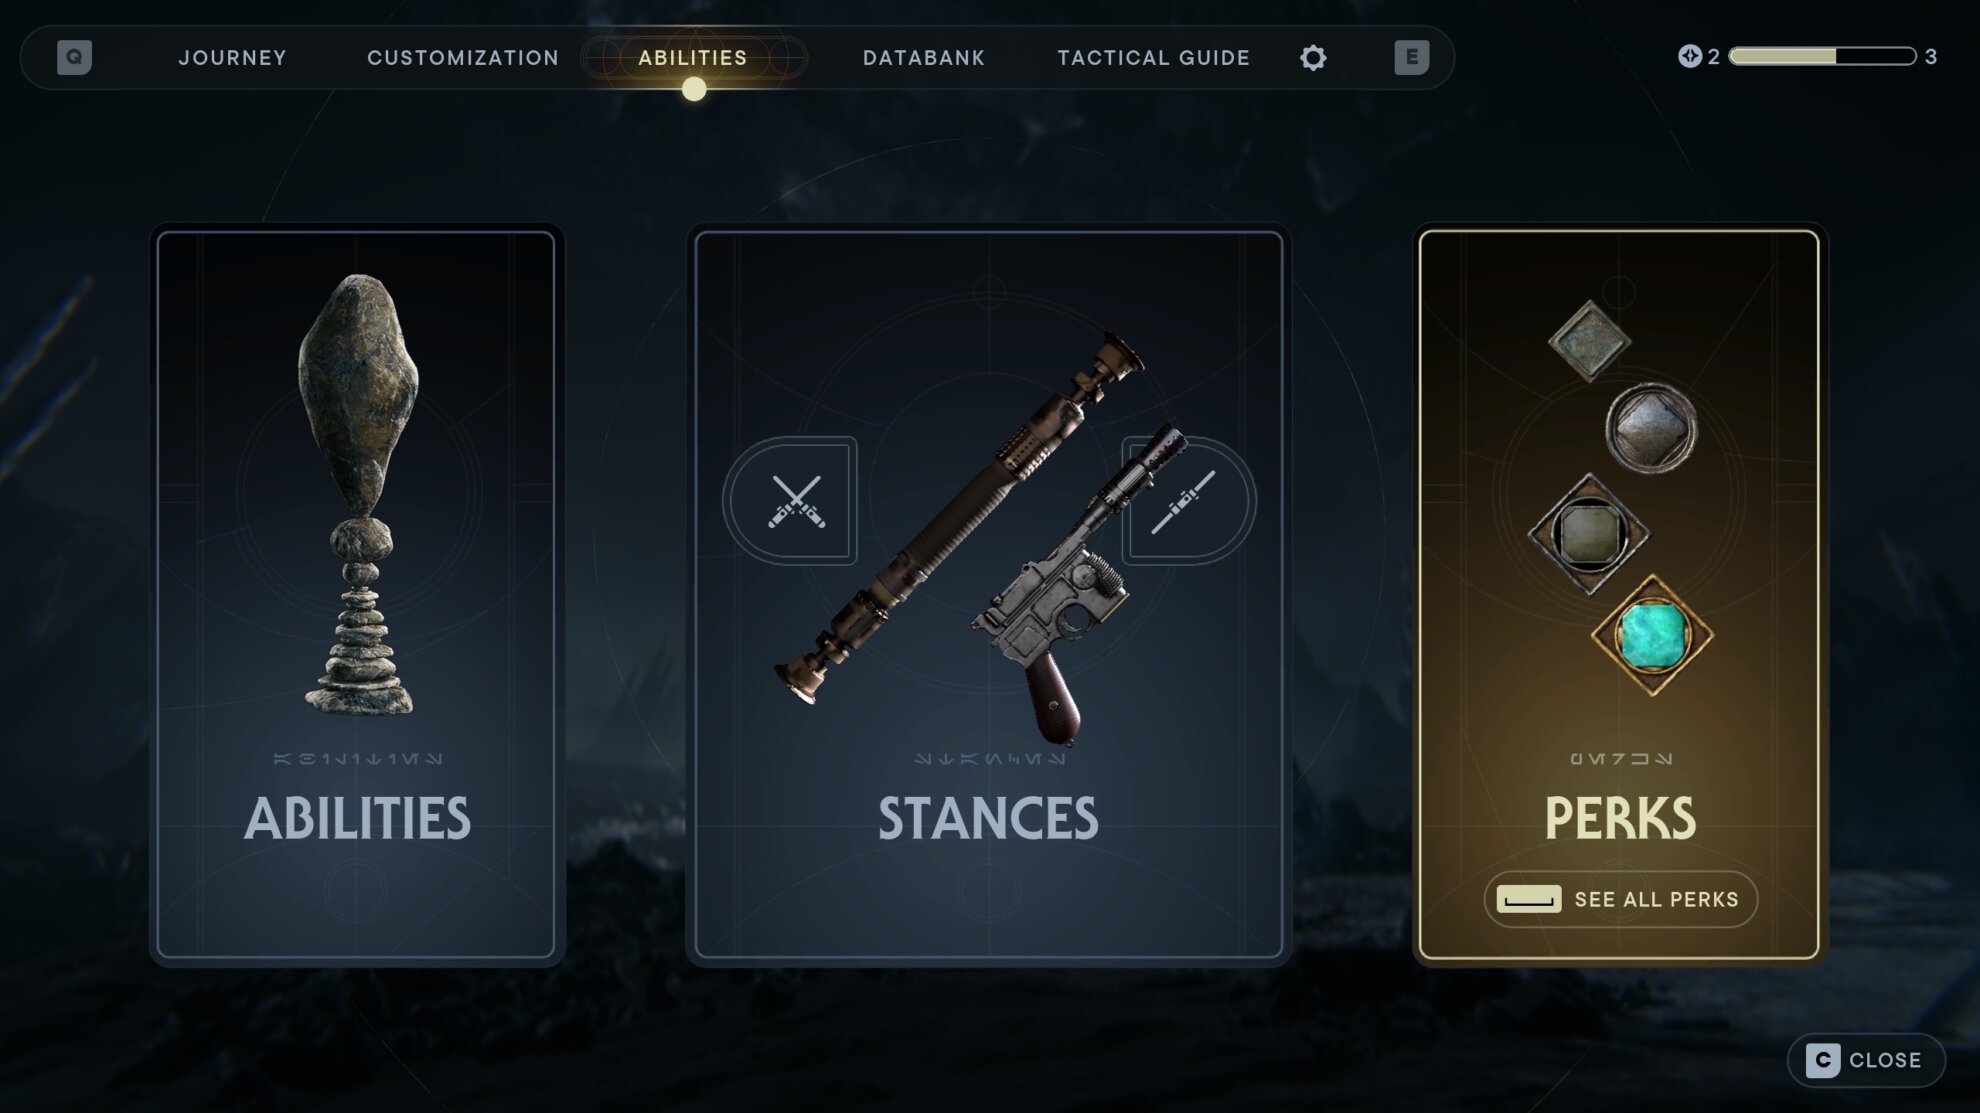
How to use Perks
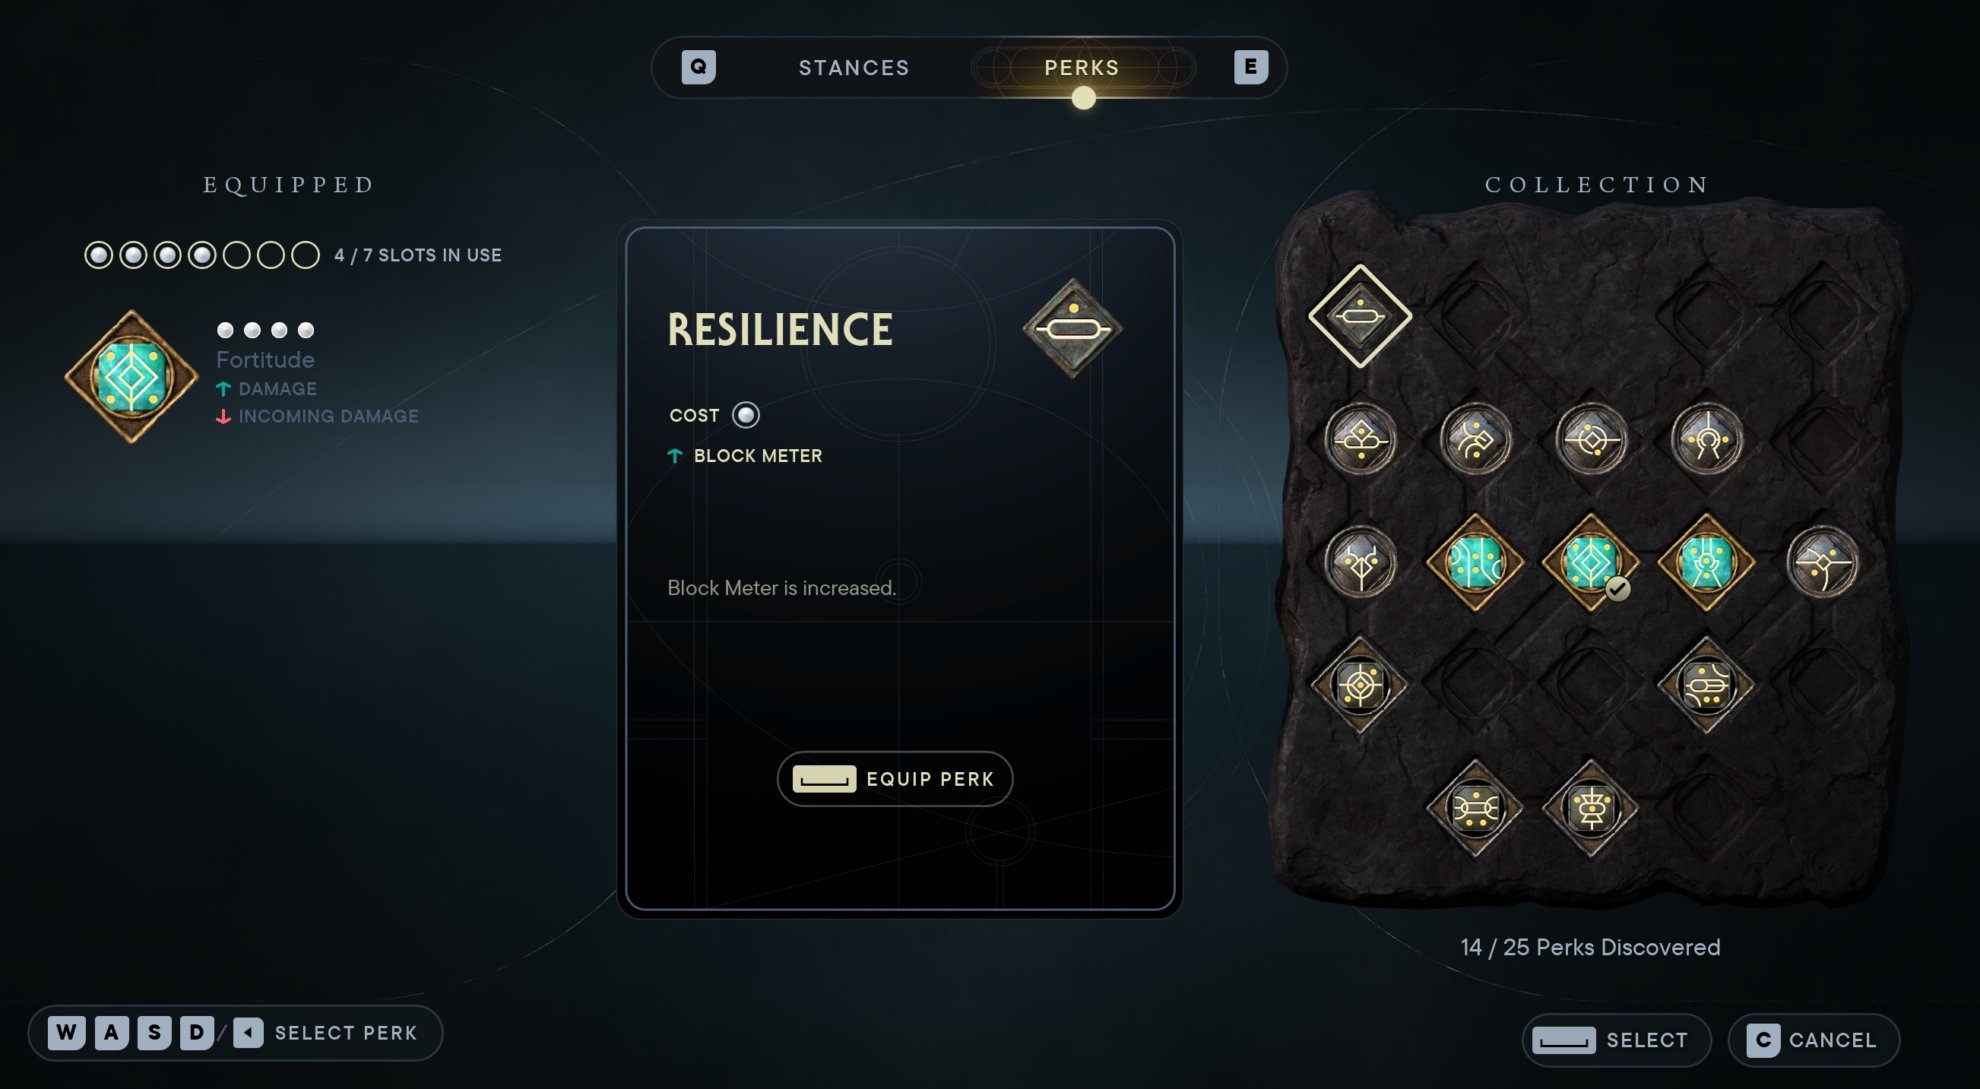
To use a Perk, you have to go to a Meditation Point or a Workbench. From there open the Perks menu to activate new Perks or remove existing ones.
While Meditating, press the Perks button on the lower left. This will open the Perks window.

From the Workbench, click on Stances and from the top menu open Perks.

On the right side you see the available Perks you have acquired up until this moment. On the left are the Perk Slots and the Perks you are currently using. Each Perk you use in your build requires a certain number of Perk Slots.
You can also view the Perks tab from the Pause menu of the game, but you cannot make any chances. You can only change Perks at a Meditation Point.
How to unlock additional Perk Slots
There are two methods of unlocking additional Perk Slots in the game: by purchasing from a vendor or by exploring and completing puzzles and challenges.
You start with 3 Perk Slots available and can expand them up to 10 with 7 additional Perk Slots that you can acquire while playing the game.
Here is how to unlock all additional Perk Slots:
- Interact with the Essence at the Derelict Dam’s Rusted Elevator on Koboh
- Interact with the Essence in the Smuggler’s Tunnels on Koboh
- Interact with the Essence at the Nekko barn, Harvest Ridge on Koboh
- Purchase a Perk Slot from Zee at the Pyloon’s Saloon
- Complete the Path of Persistence Puzzle on Jedha
- Complete the Path of Restoration Puzzle on Jedha
- Complete the Path of Conviction Puzzle on Jedha
Populating all 10 Perk Slots with Perks will grant you the Perk of the Job achievement.
Full List of all Perks in Jedi Survivor
Below you will find a complete list of all 25 perks found in Jedi Survivor, which we’ve broken down into Offensive Perks, Defensive Perks, and Utility Perks categories for your convenience. We’ve also provided the locations for acquiring these perks, should you have missed them.


In case you need the perks in a list format so you can easily check which ones you might be missing, here you have it. Of course, each row is linked to the specific portion of the guide explaining the perk and where/how to get it.
Offensive Perks List:
Defensive Perks List:
Utility Perks List:
Offensive Perks List and Locations
Offensive Perks are those that directly increase your damage output. You’ll often want to use one or more of these at any given time depending on your preferred stances.
 Ambidexterity
- Perk Effect: Shooting targets temporarily increases Lightsaber damage.
- Perk Cost: 3 Slots
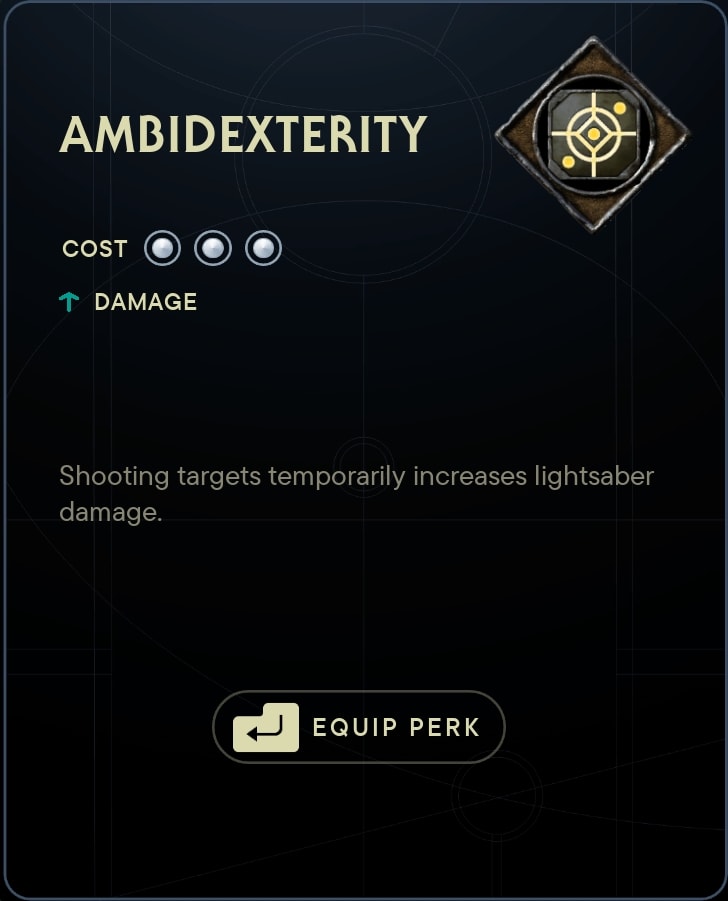
The Ambidexterity Perk is made for the Blaster Stance, allowing your blaster shots to make you more effective in the subsequent melee combat.
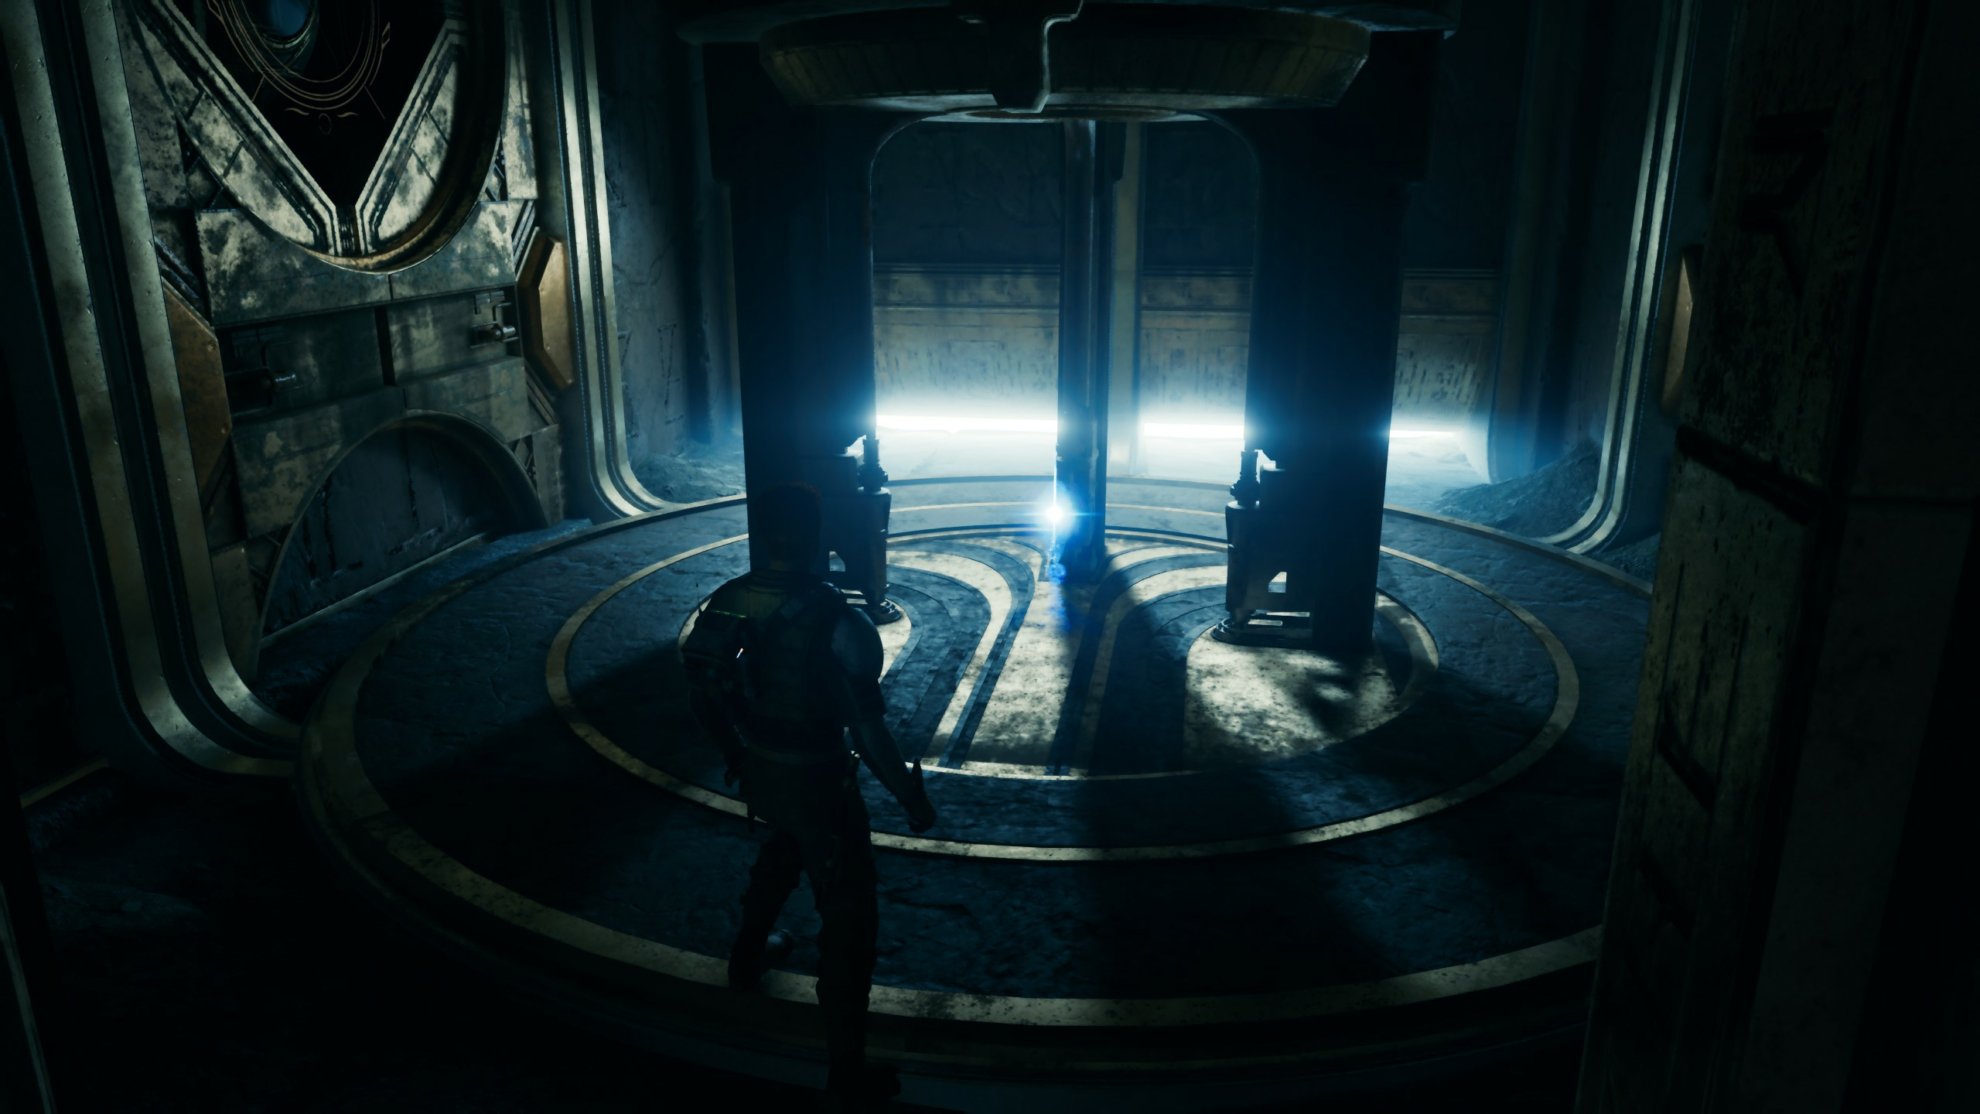
Where to get the Ambidexterity Perk
This perk is located in the Abandoned Settlement area where the Stone Spires are on Koboh. We have a full walkthrough for the Ambidexterity Perk, check it out.
Dexterity
- Perk Effect: Lightsaber throws deal additional damage.
- Perk Cost: 2 Slots
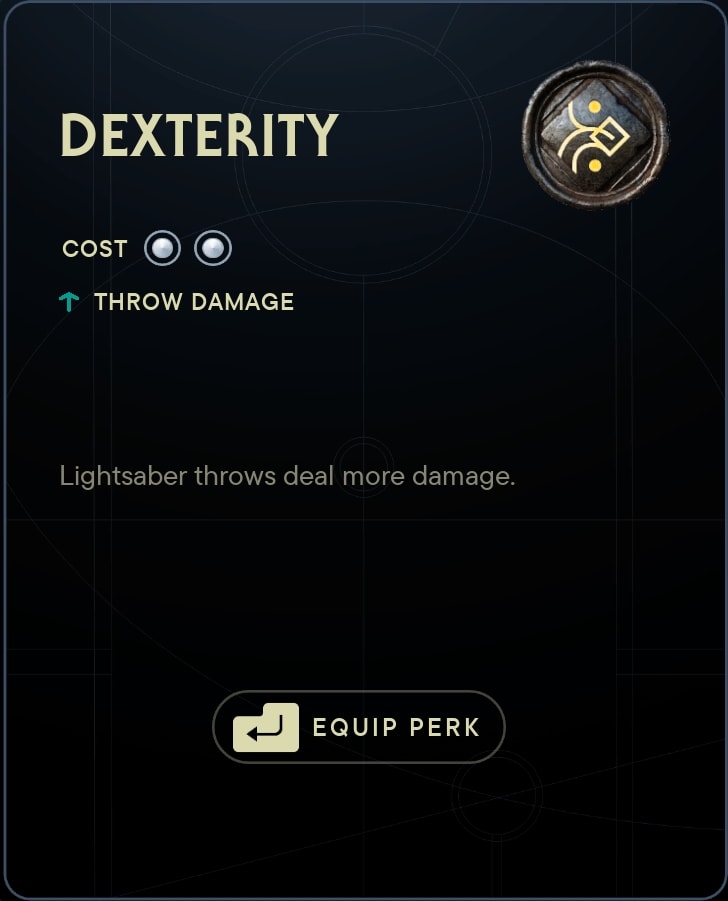
Dexterity is great for the stances that can frequently make use of throwing abilities as the Dual and Double-Bladed Stances can. It is effective for most saber stances really, but these two benefit from it the most.
Where to get the Dexterity Perk
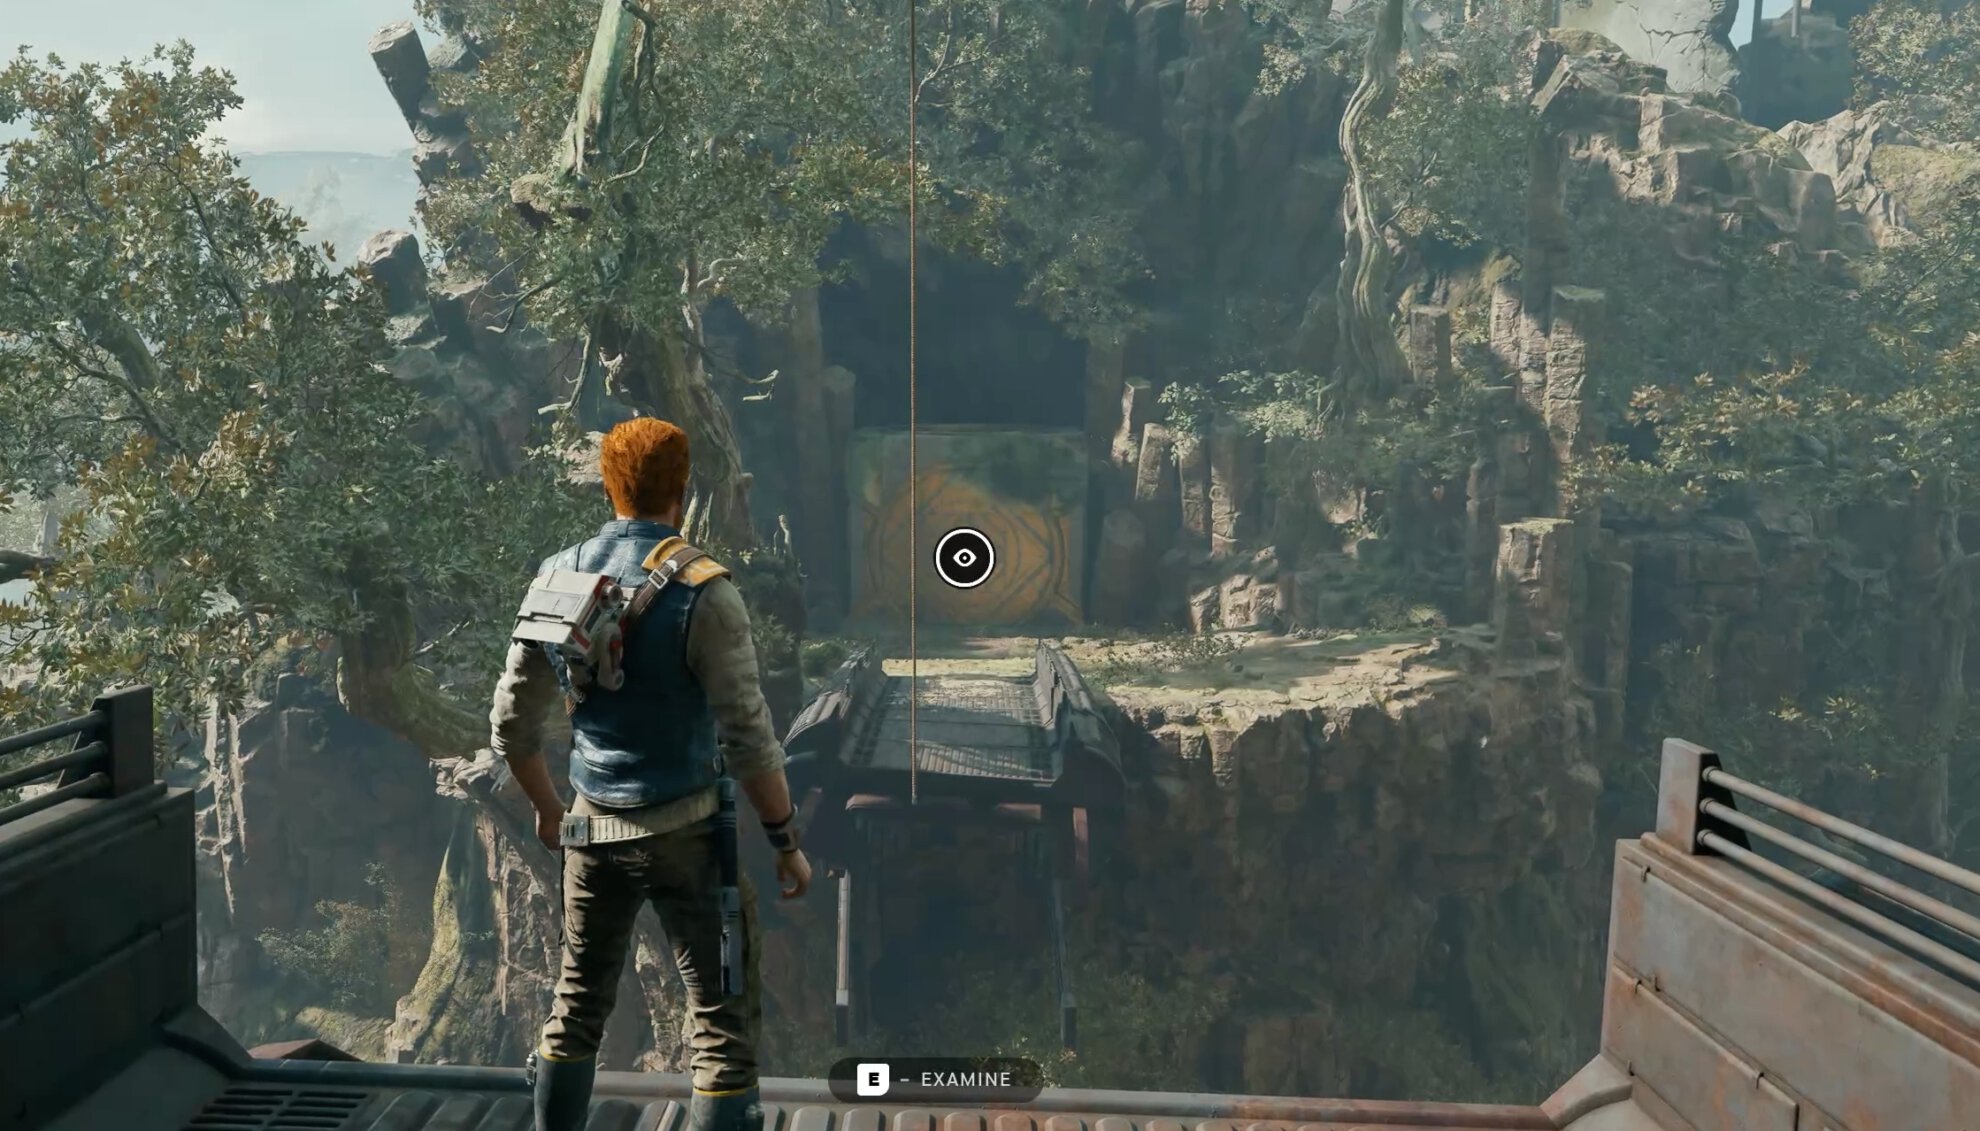
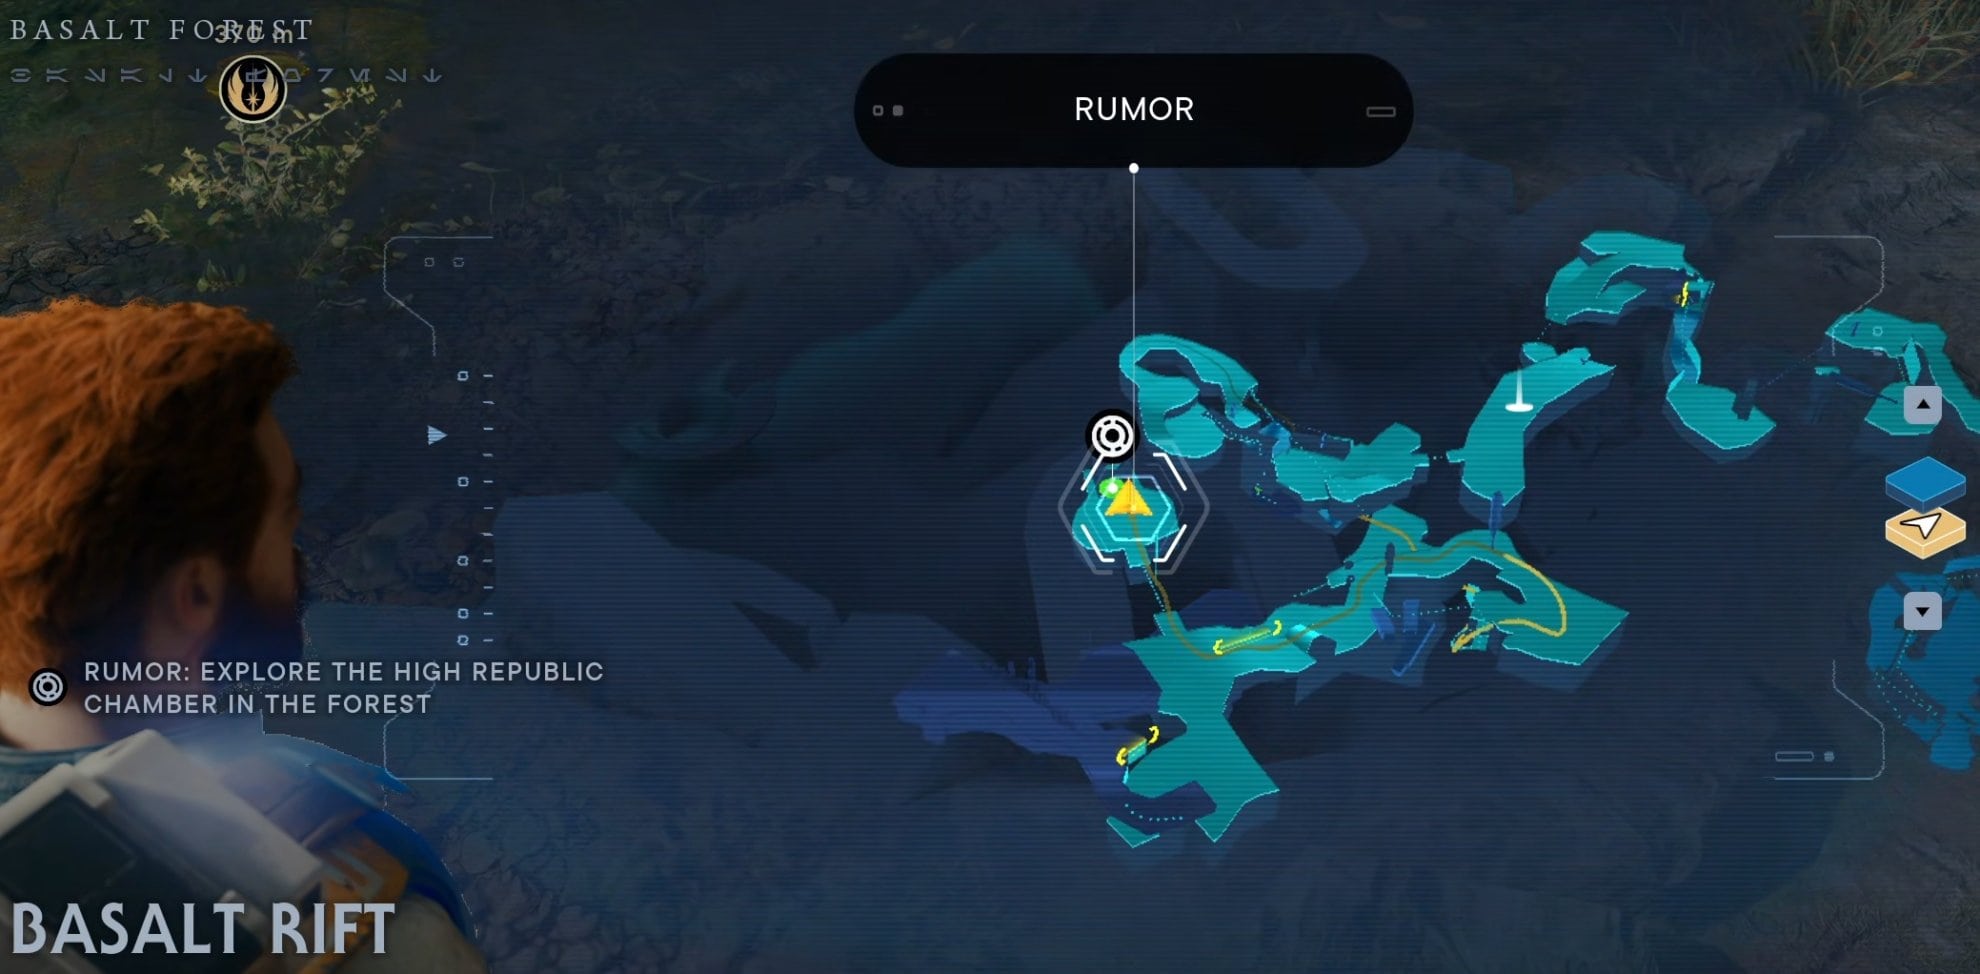
You will pick up the Dexterity Perk in the High Republic Jedi Chamber in the Basalt Rift in the Basalt Forest. We have a full walkthrough for the Chamber of Reason available.
Equilibrium
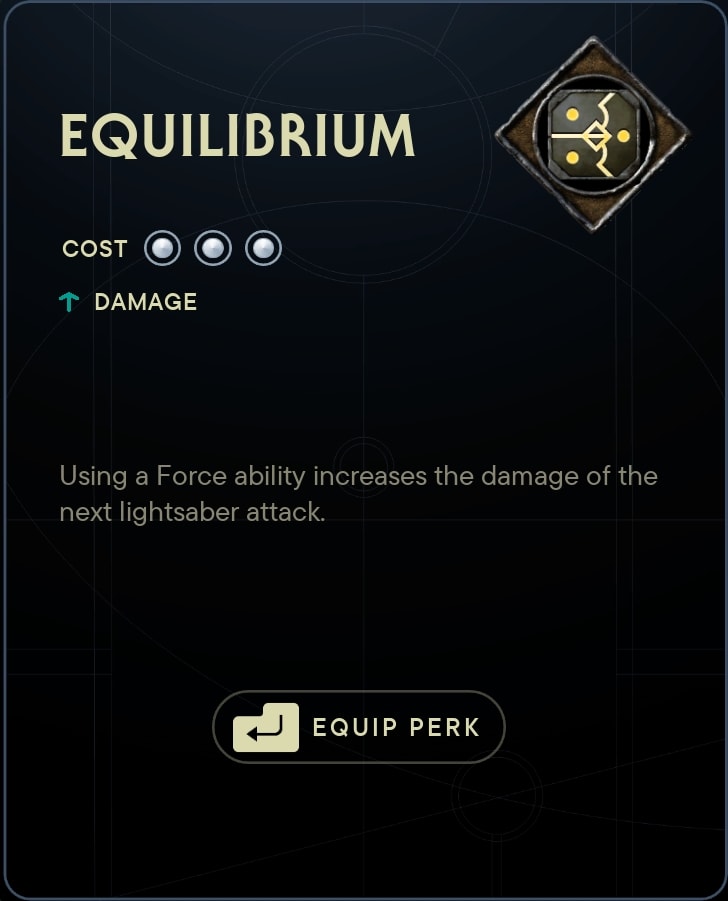
- Perk Effect: Using a Force Ability increases the damage of your next lightsaber attack.
- Perk Cost: 3 Slots
Equilibrium is great for stances that can take advantage of your Force Powers to clump enemies together or otherwise get a strong advantage from force use.
Where to Equilibrium Perk
You can purchase the Equilibrium Perk from Zee’s Shop for 5 Datadiscs. You collect Datadiscs by playing the game and exploring.
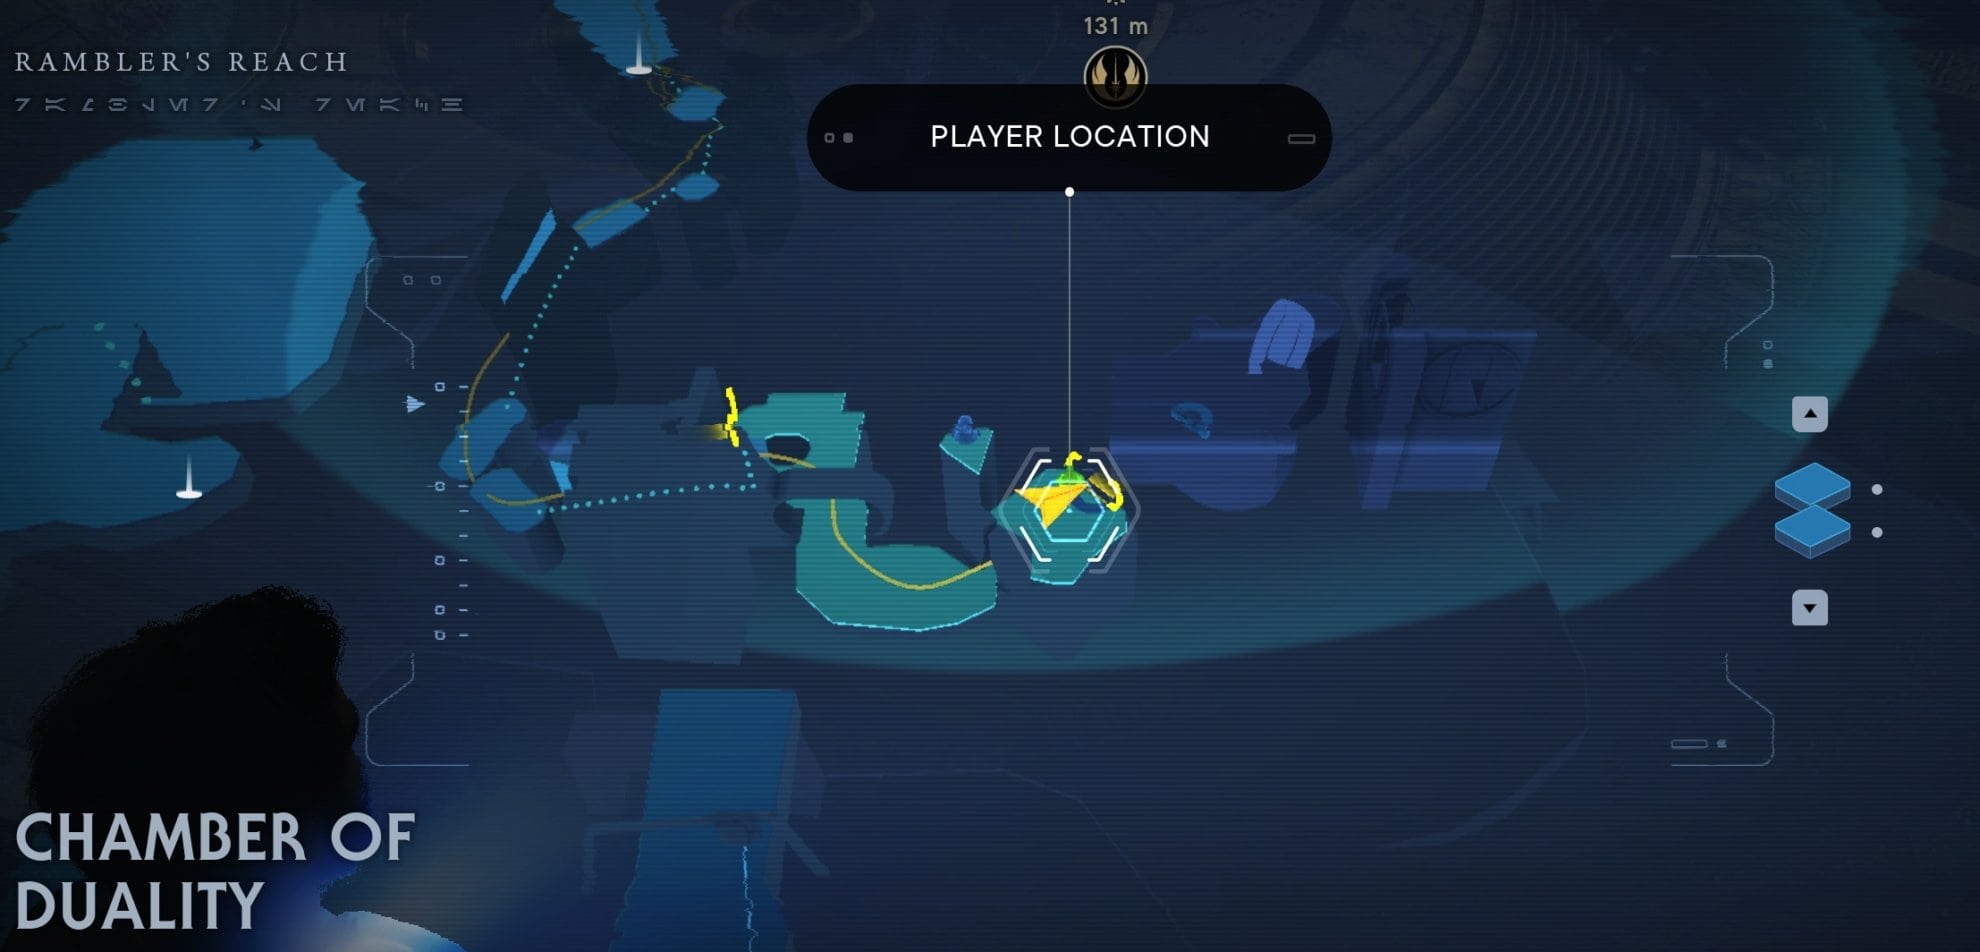
To unlock ZN-A4 a.k.a Zee as a vendor, you must first complete the Chamber of Duality where you first meet this droid. Zee’s shop is on the second floor of the Pyloon’s Saloon in Rambler’s Reach Outpost on Koboh.
Fortitude
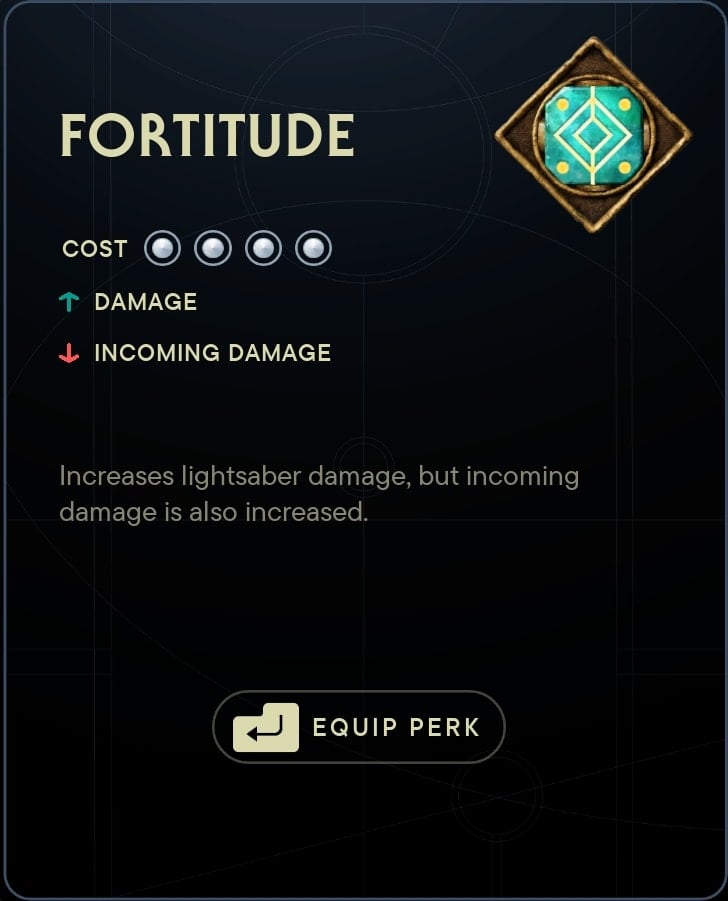
- Perk Effect: Fortitude increases your lightsaber damage, but also increases incoming damage.
- Perk Cost: 4 Slots
This is a high-risk, high-reward perk. While you take more incoming damage, your outgoing damage is very noticeably boosted which can make taking down certain foes and bosses much faster, but you’ll be punished harder for mistakes.
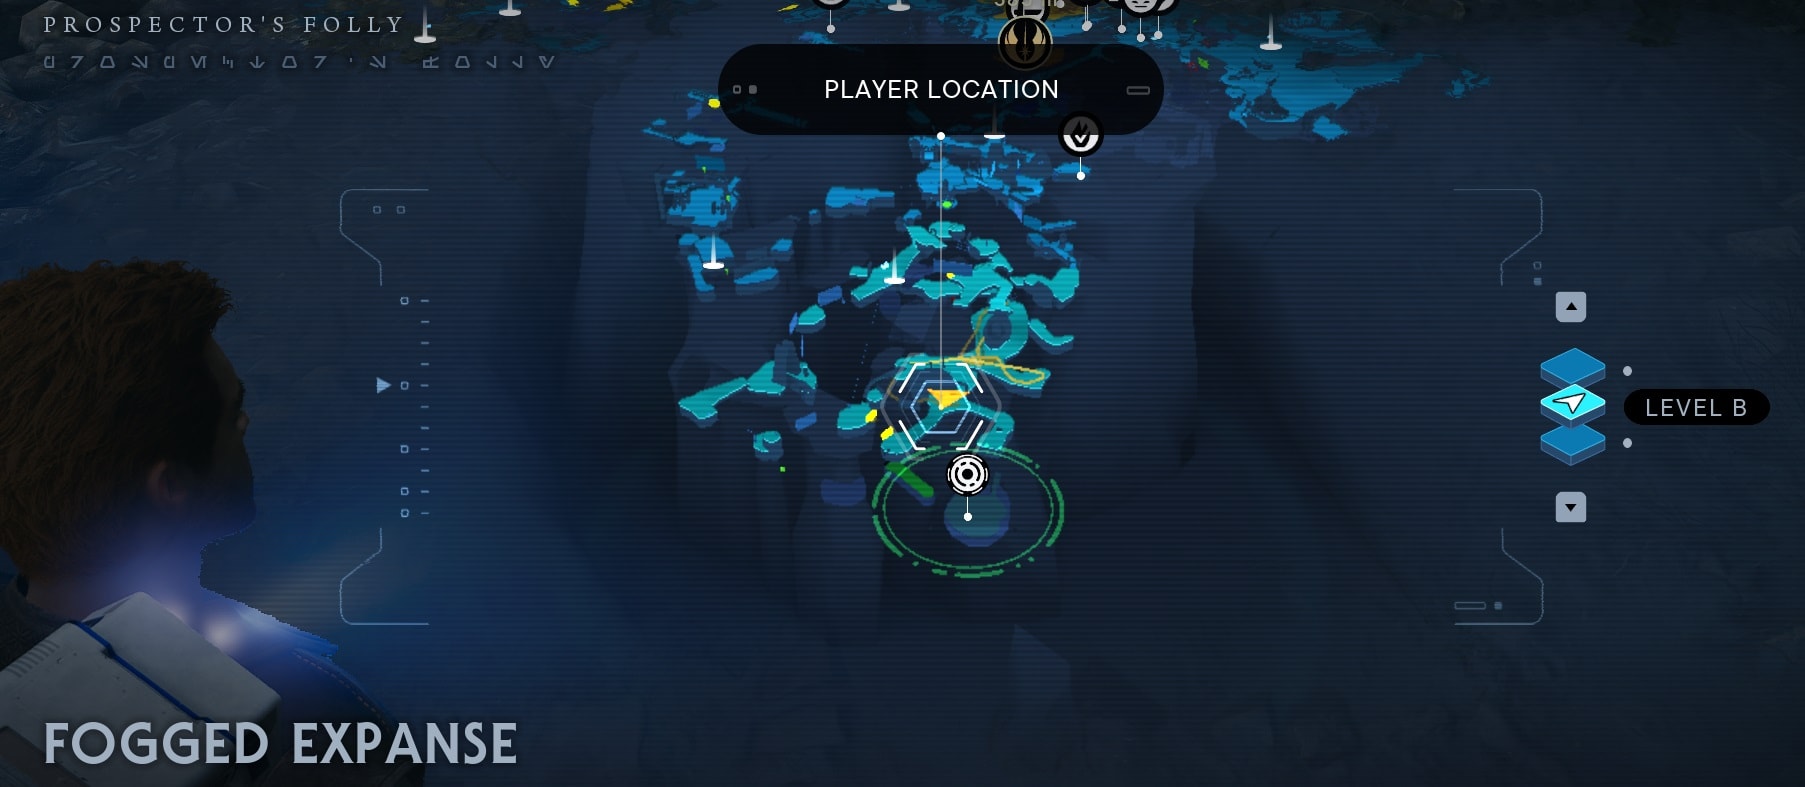
Where to get the Fortitude Perk
The Fortitude Perk is a reward for defeating the Vile Bilemaw, one of the Legendary enemies in Jedi Survivor. This one is located at the Fogged Expanse at Prospector’s Folly on Koboh.
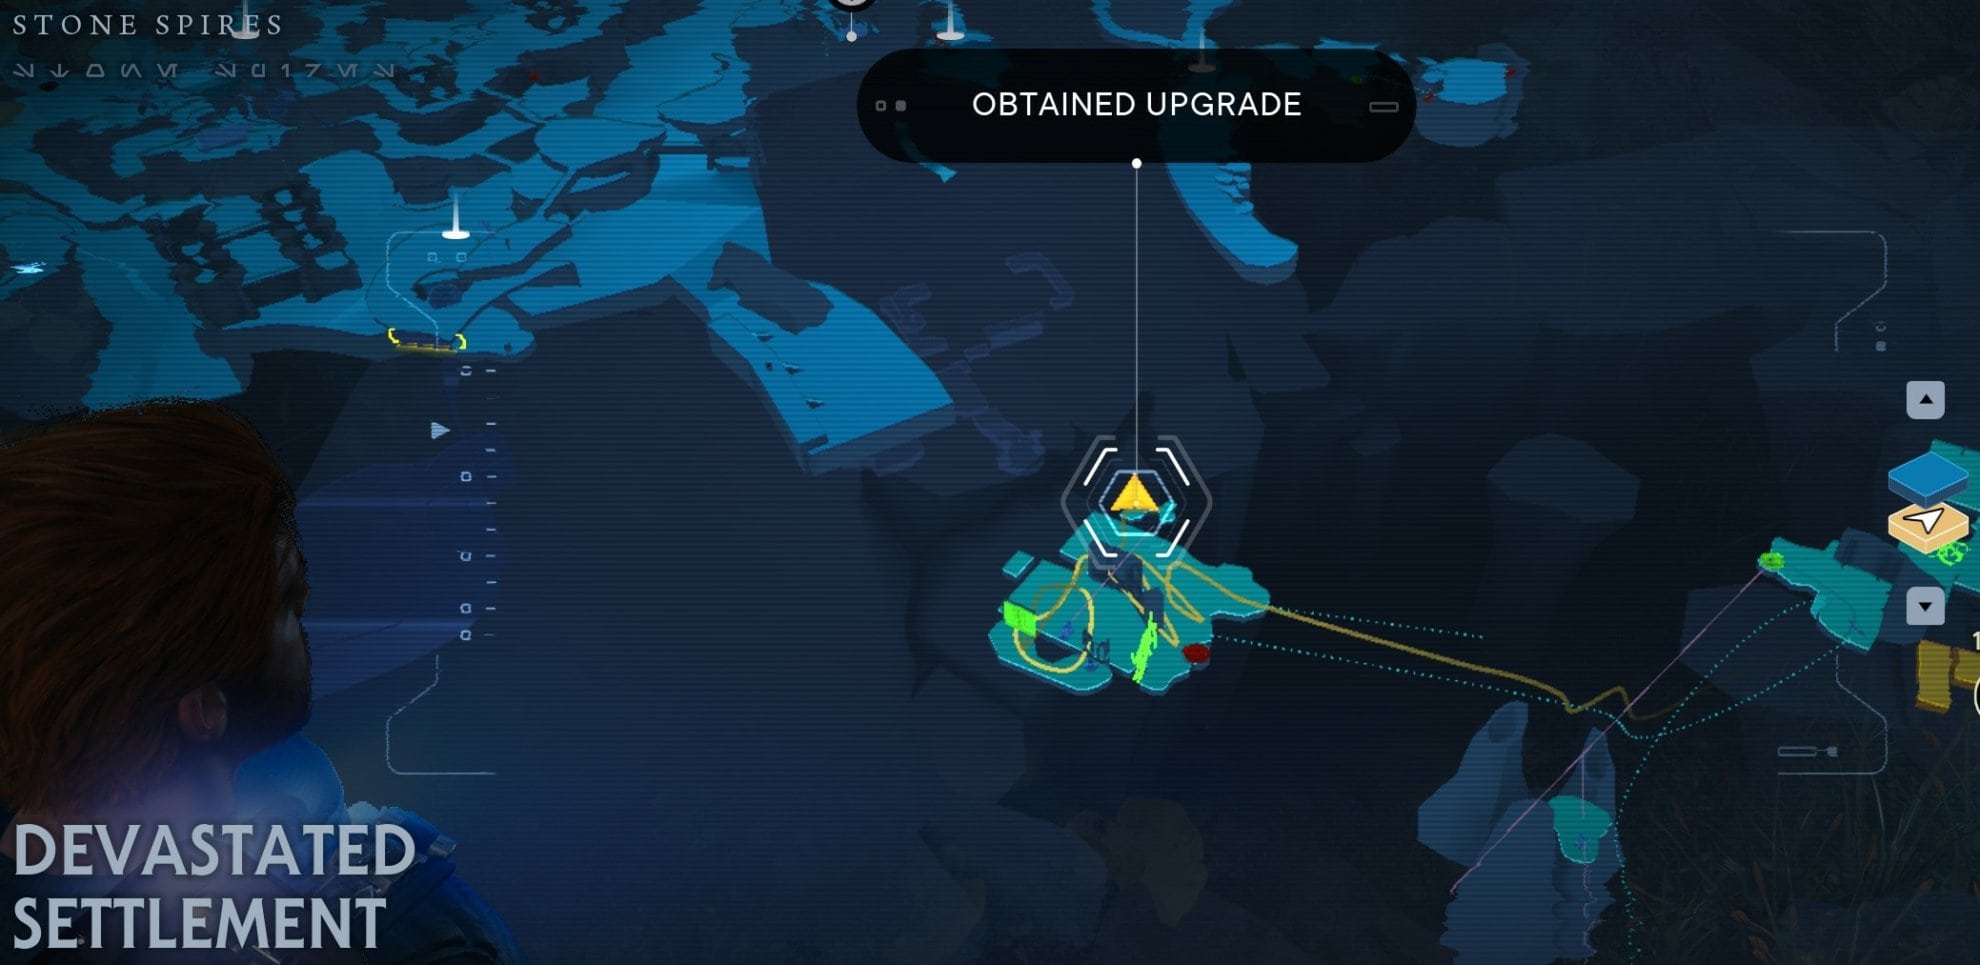
Marksmanship
- Perk Effect: In Blaster stance, deal additional damage with your blaster.
- Perk Cost: 3 Slots
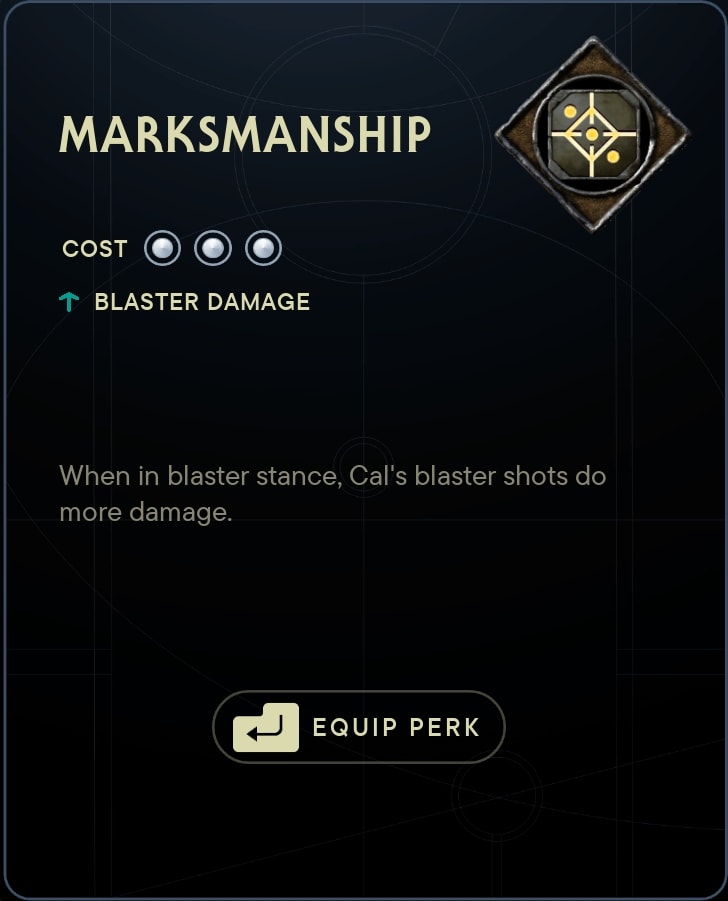
With this perk being exclusively for the Blaster Stance, it should only ever be used with it, but it is easily one of the best options to pair with the Stance.
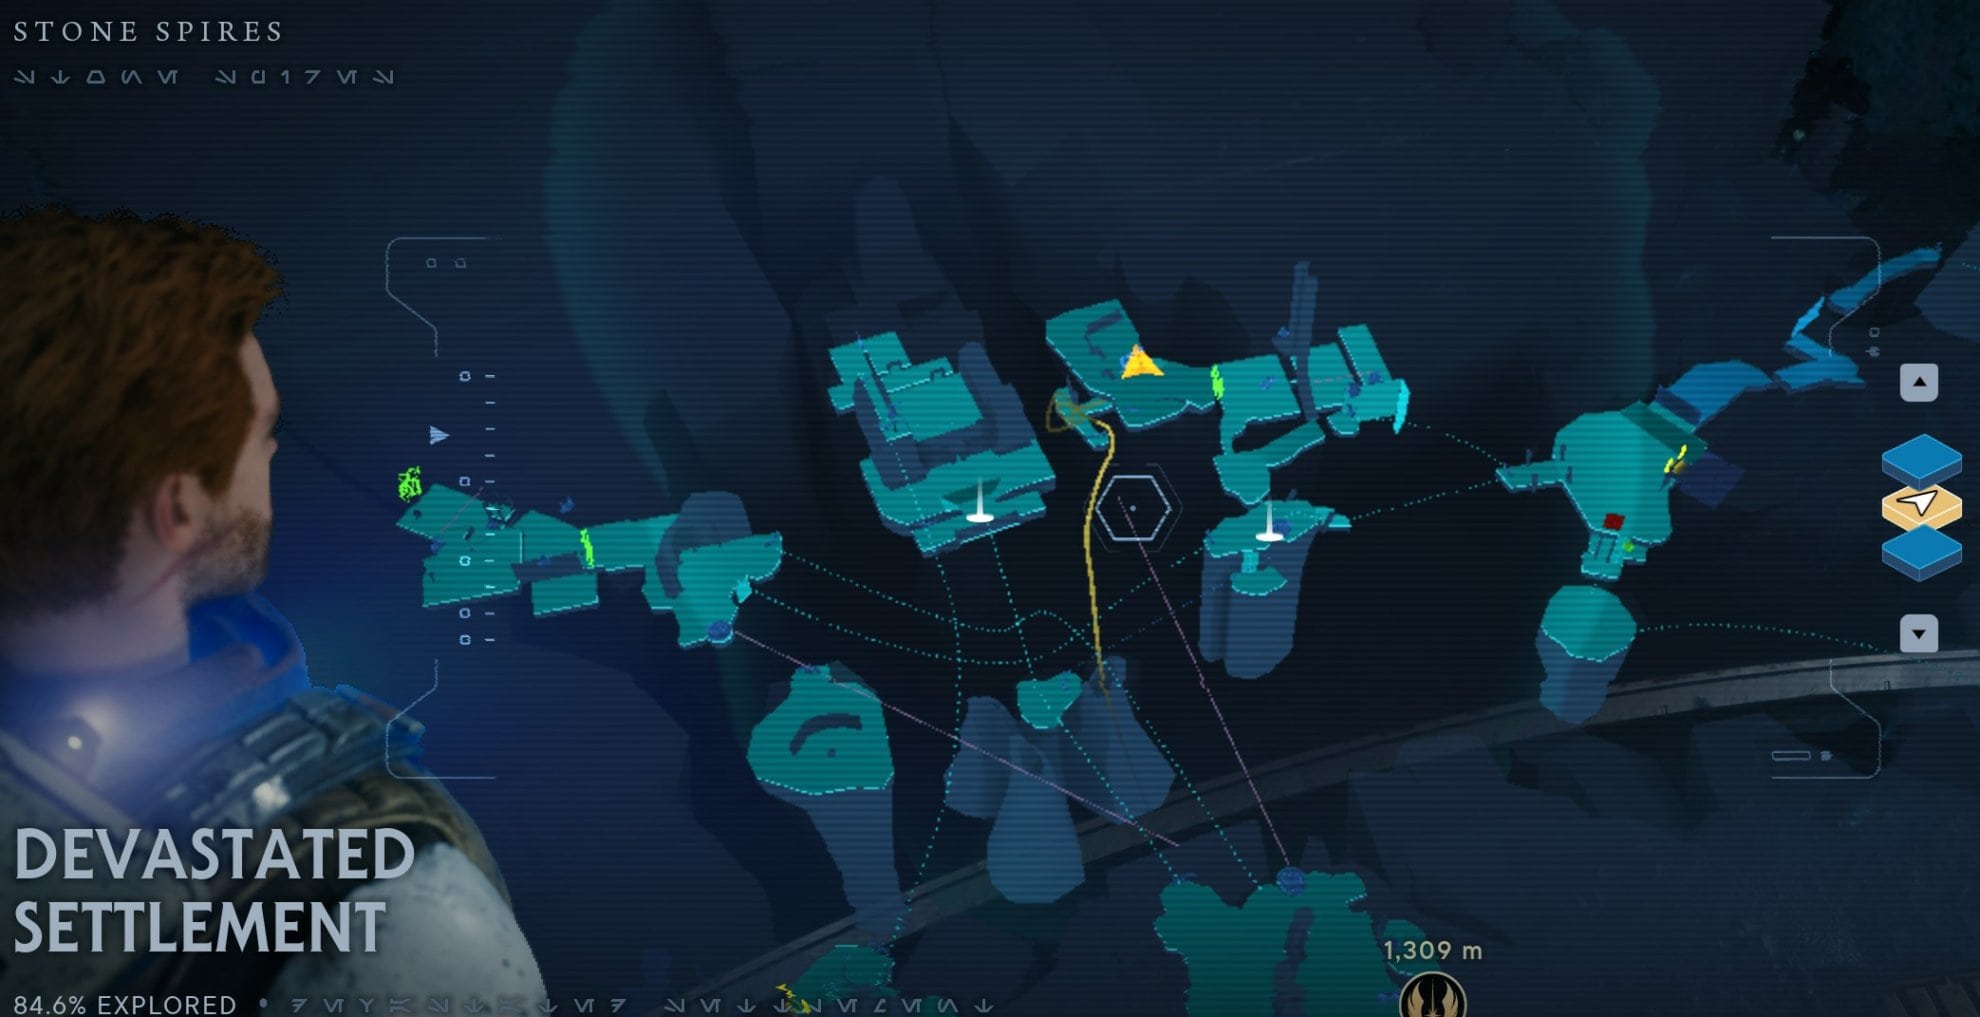
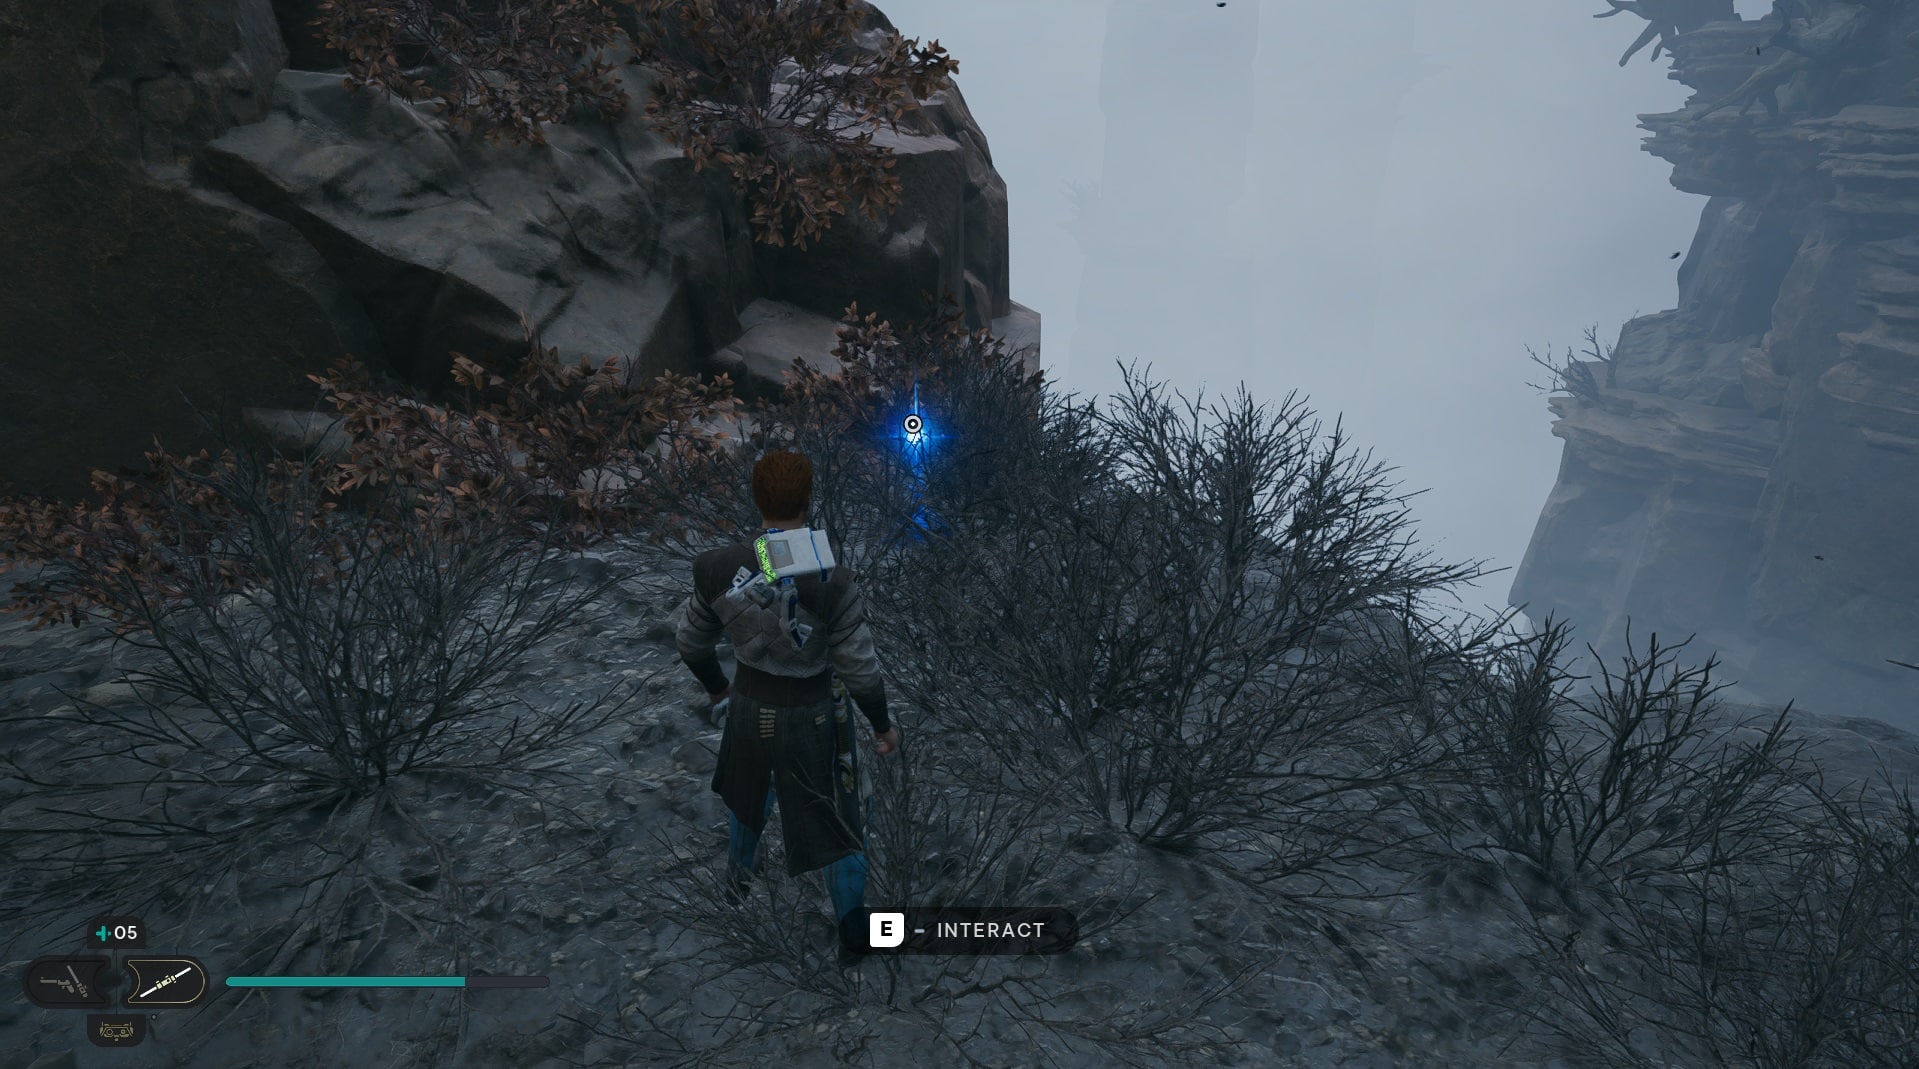
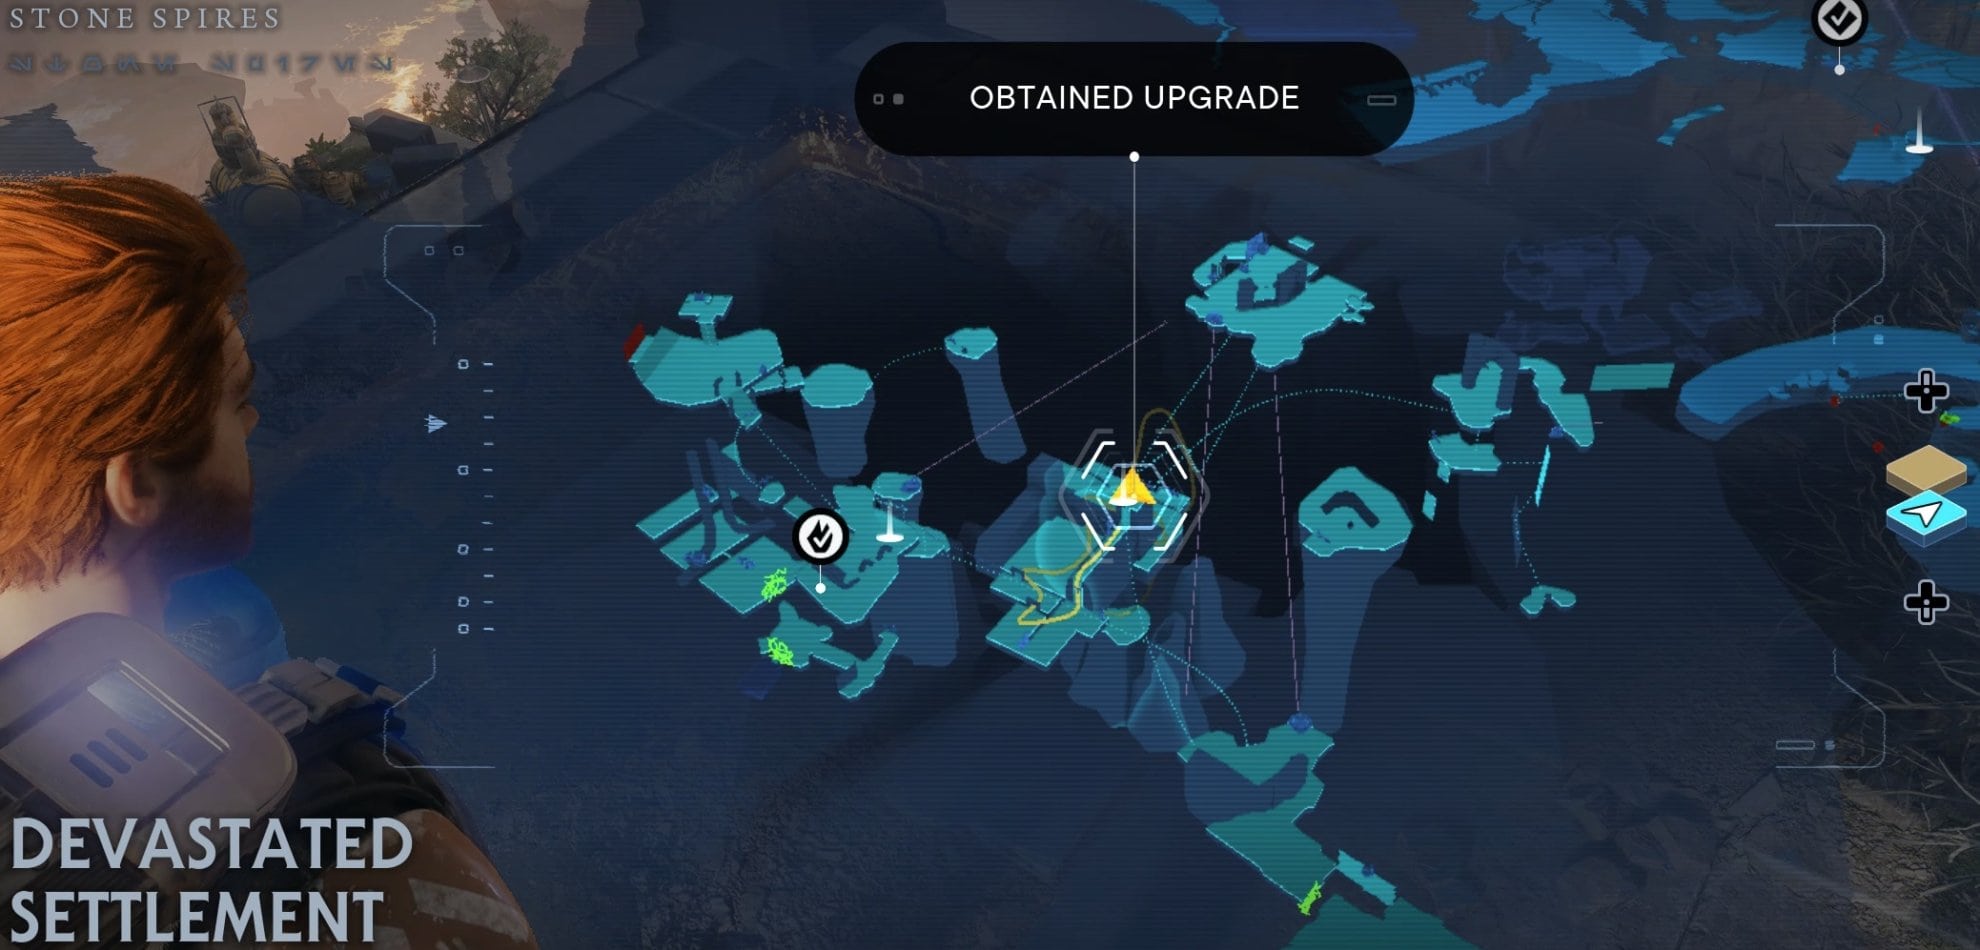
Where to get the Marksmanship Perk
You can obtain the Marksmanship Perk from a Force Essence at the Devastated Settlement on the Stone Spires on Koboh. The Perk itself is located at the end of the route through the High Republic Jedi stronghold.
Perplexity
- Perk Effect: Increases the damage dealt by characters affected by Confusion.
- Perk Cost: 2 Slots
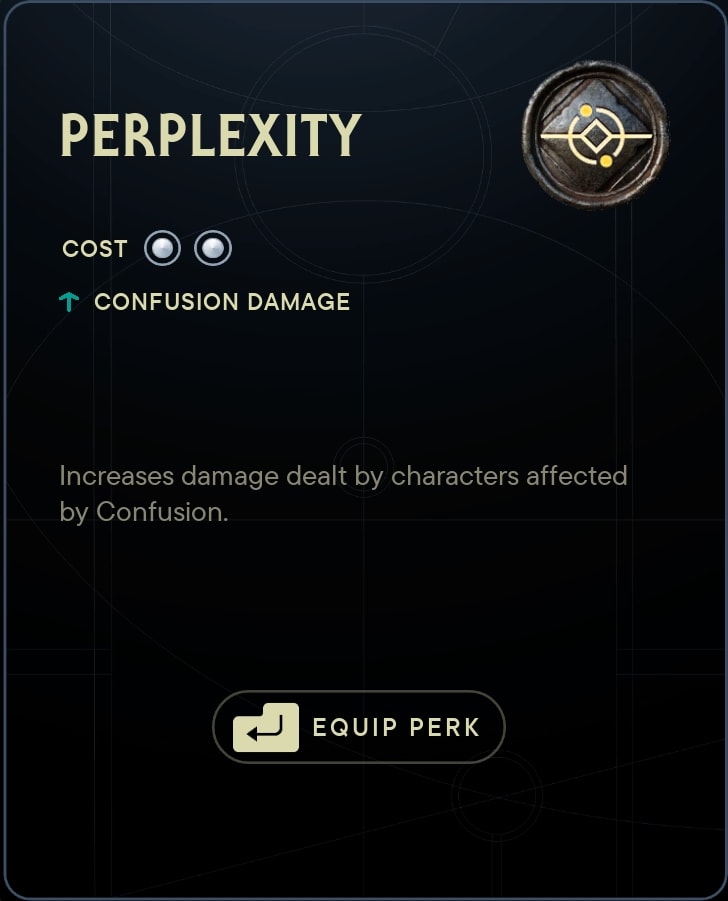
Perplexity is a bit perplexing, as Confused targets often won’t deal too much damage unless you’ve got the relevant upgrade from the Force Skill Tree. That said, this is a great Perk if you find yourself using Confusion a lot and can help to make the game easier if you’re struggling with melee combat.
Where to get the Perplexity Perk
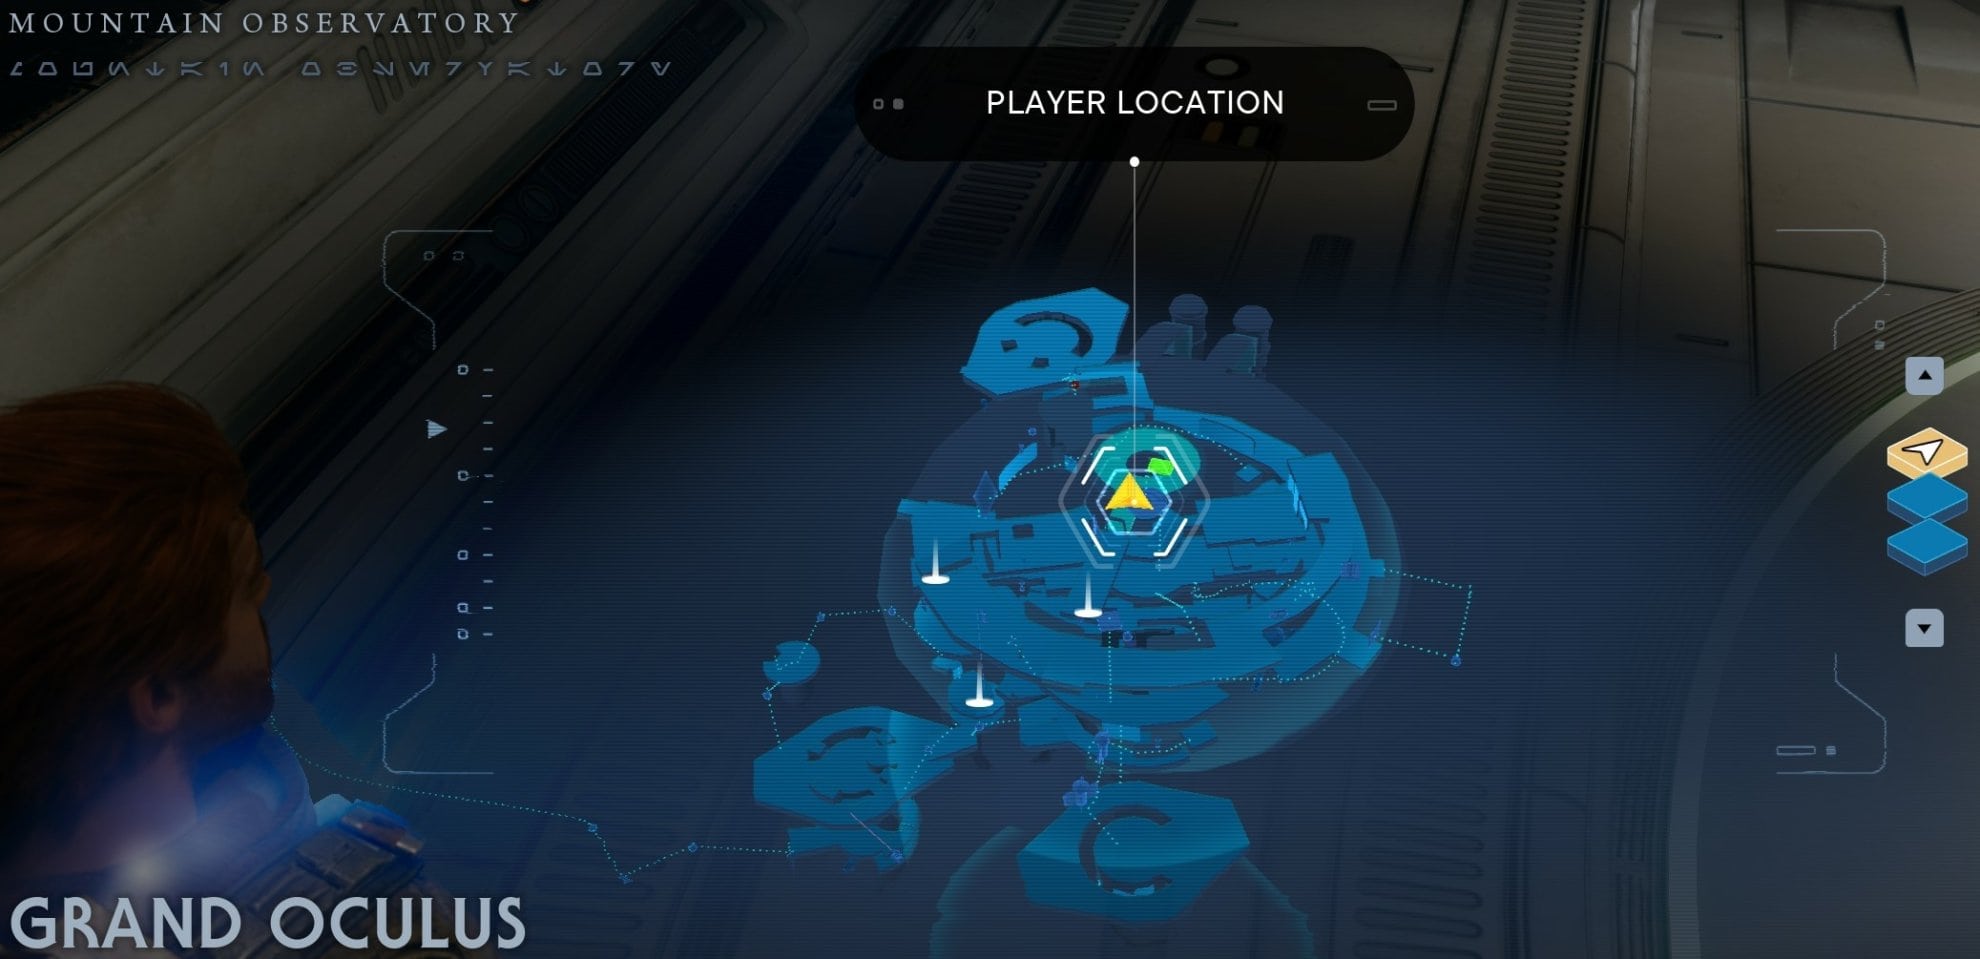
You can obtain the Perplexity Perk from a Force Essence at the Grand Oculus of the Mountain Observatory on Koboh which is accessible only after defeating Dagan Gera.
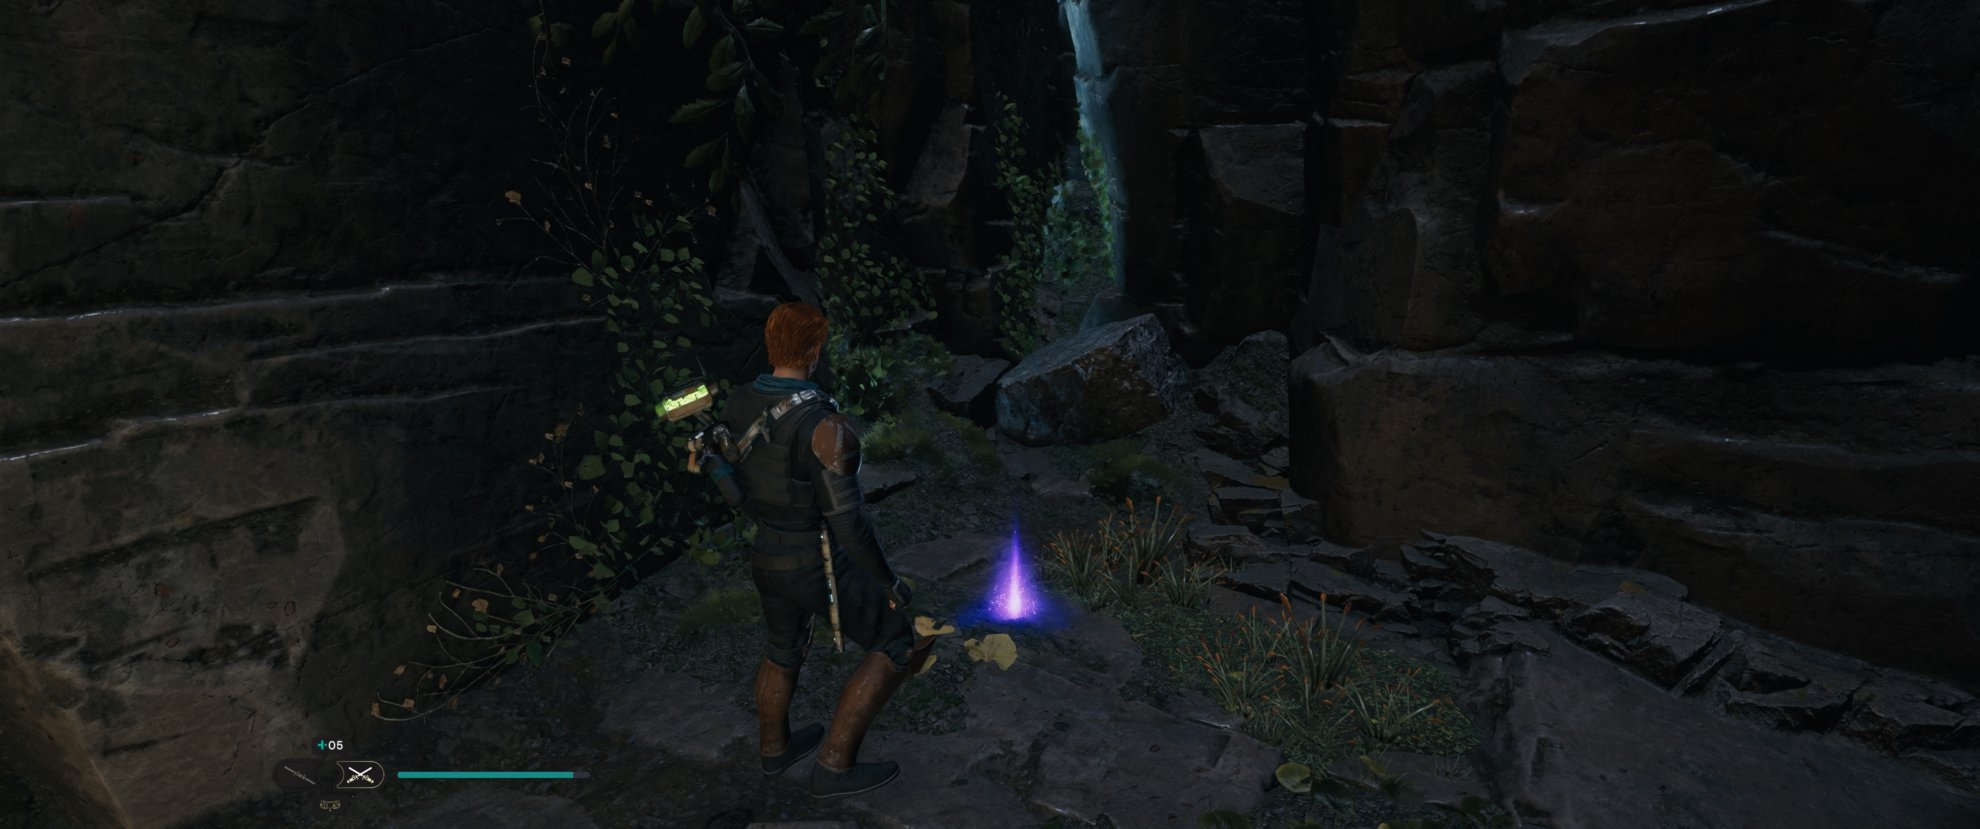
Precision
- Perk Effect: Your Parry Timing is shorter, but parries deal increased Block Damage.
- Perk Cost: 2 Slots

Precision is another excellent all-rounder perk that works with all stances. If you can deal with the slightly smaller window to parry, you’ll be able to break through your foe’s block meter exceptionally quickly.
Where to get the Precision Perk
You can loot the Precision Perk from a Force Essence at the Devastated Settlement atop the Stone Spires on Koboh. More specifically, it’s on the spire with the third beam puzzle that has the grated wall.
Shatter
- Perk Effect: Attacks are more effective at breaking enemies’ guard.
- Perk Cost: 2 Slots
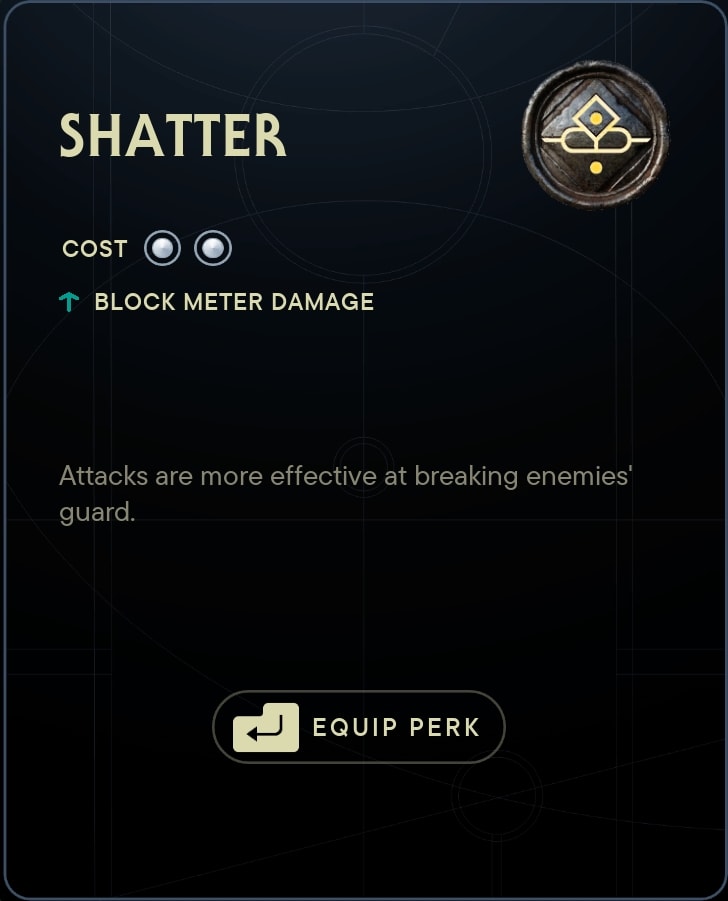
Shatter is an exceptionally strong perk for Stances like the Dual Stance, which have very quick attacks that otherwise lack block-breaking power. Since this one doesn’t have a drawback, you should always equip Shatter before choosing to equip Precision.
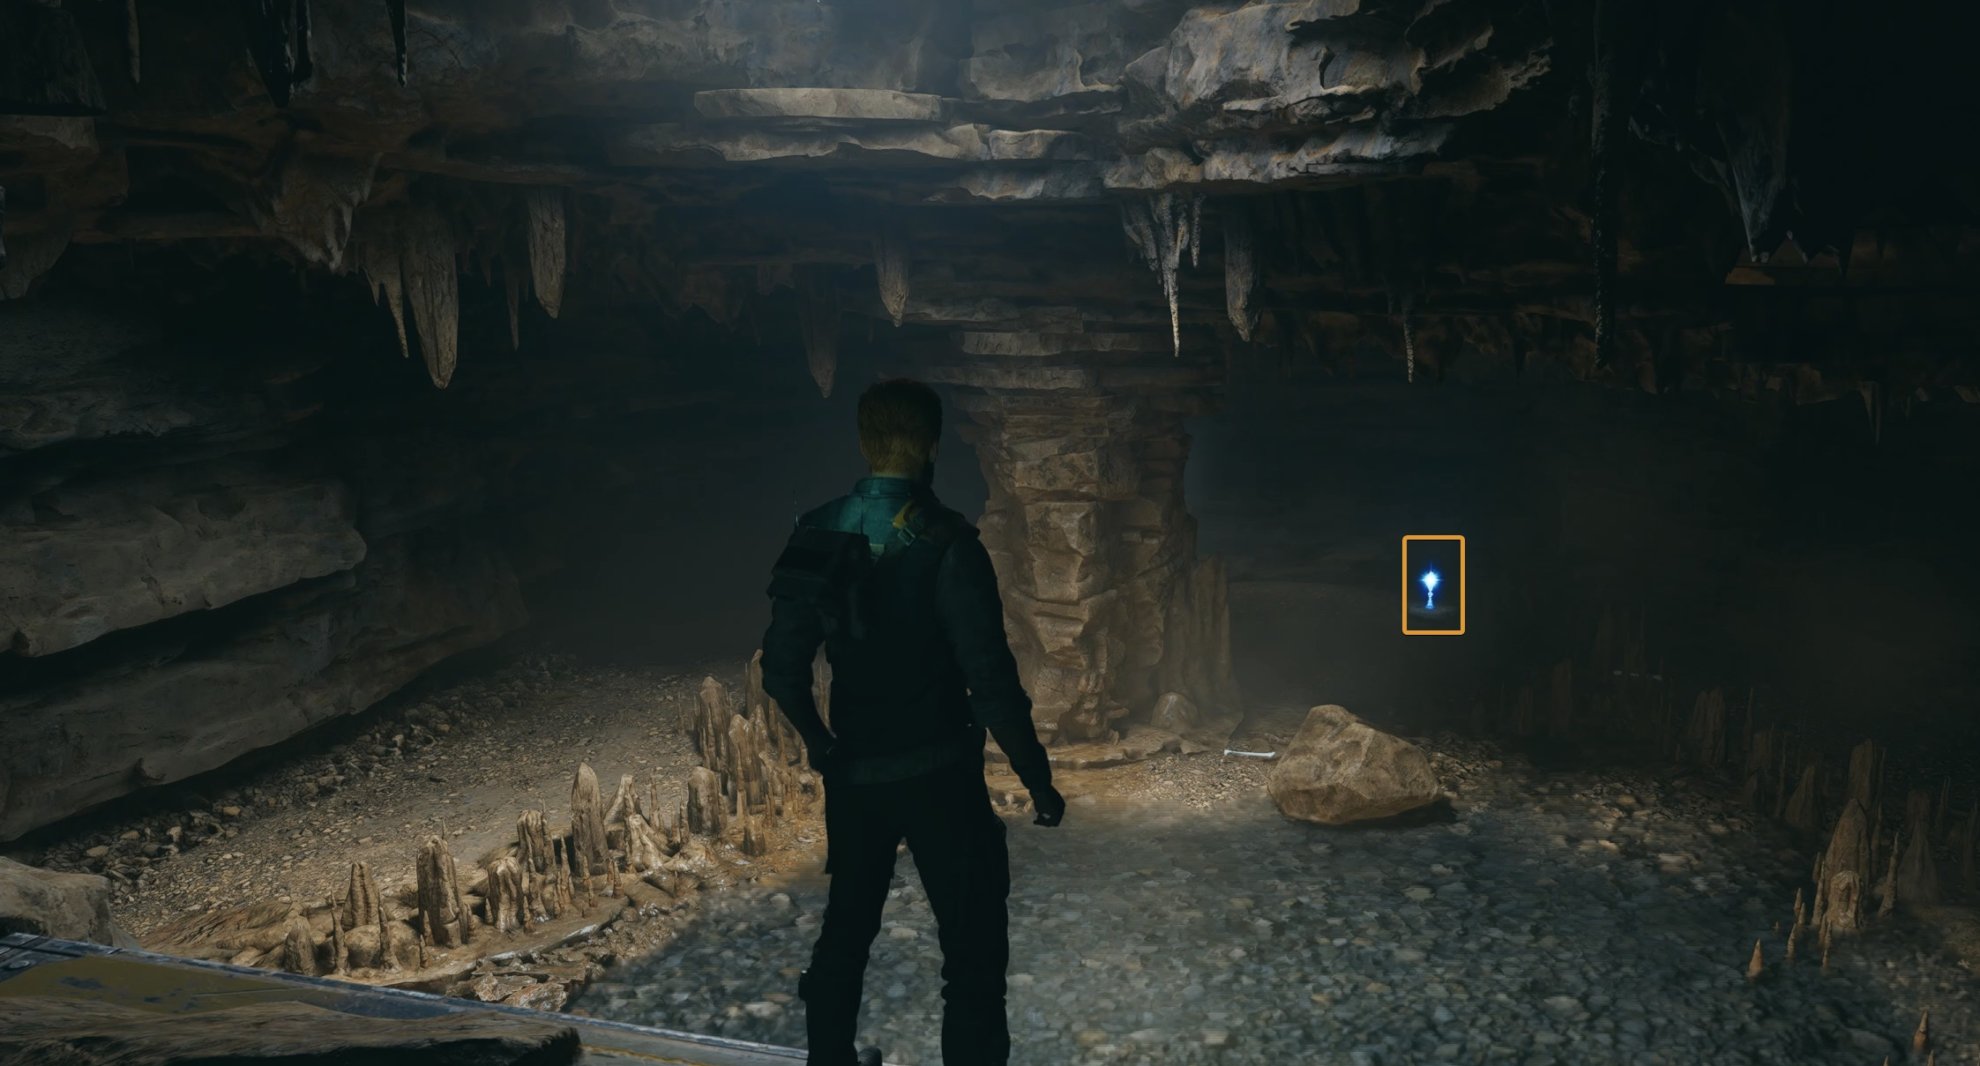
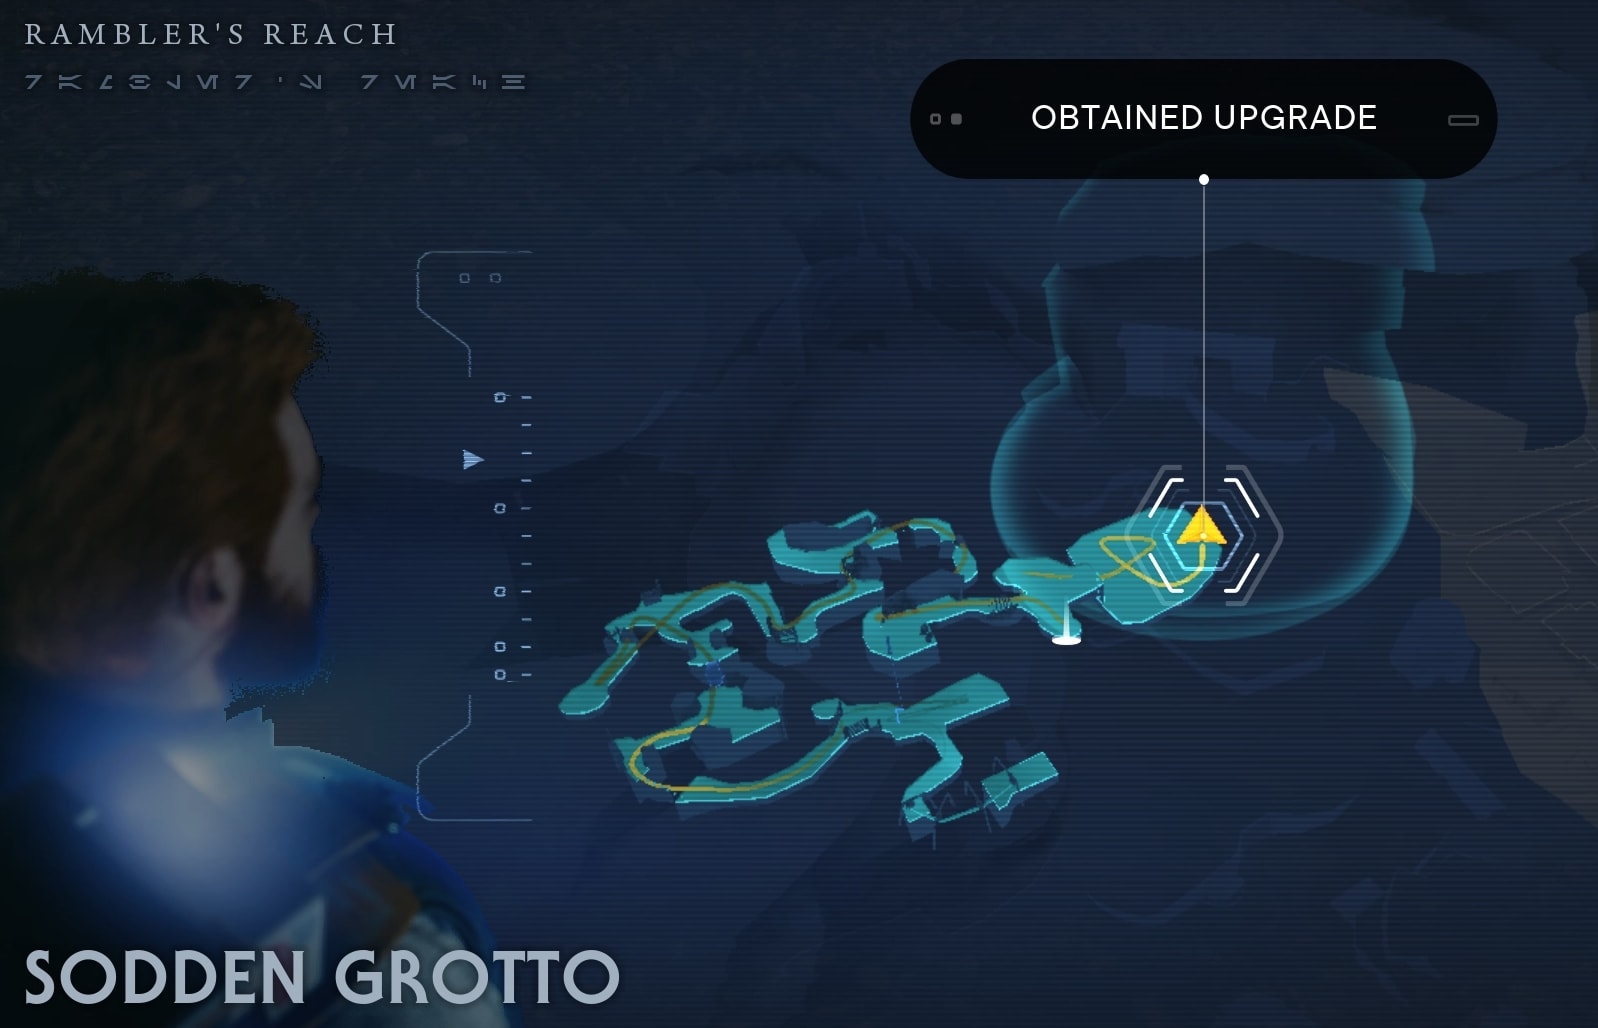
Where to get the Shatter Perk
The Shatter Perk is a reward for defeating the Legendary Rancor at the end of the Sodden Grotto mine on Koboh.
Versatility
- Perk Effect: Increases lightsaber damage temporarily after switching stances.
- Perk Cost: 3 Slots

This Perk is great if you swap stances often in combat. However, if you favor a single stance, then forcing frequent swaps for this bonus isn’t really worth it.
Where to get the Versatility Perk
You can purchase the Versatility Perk from Zee’s Shop for 5 Datadiscs. You collect Datadiscs by playing the game and exploring, mostly on Koboh and the Shattered Moon.
To unlock ZN-A4 a.k.a Zee as a vendor, you must first complete the Chamber of Duality where you first meet this droid. Zee’s shop is on the second floor of the Pyloon’s Saloon in Rambler’s Reach Outpost on Koboh.
Purity
- Perk Effect: Dramatically increases the damage of both Cal and his foes.
- Perk Cost: O Slots.
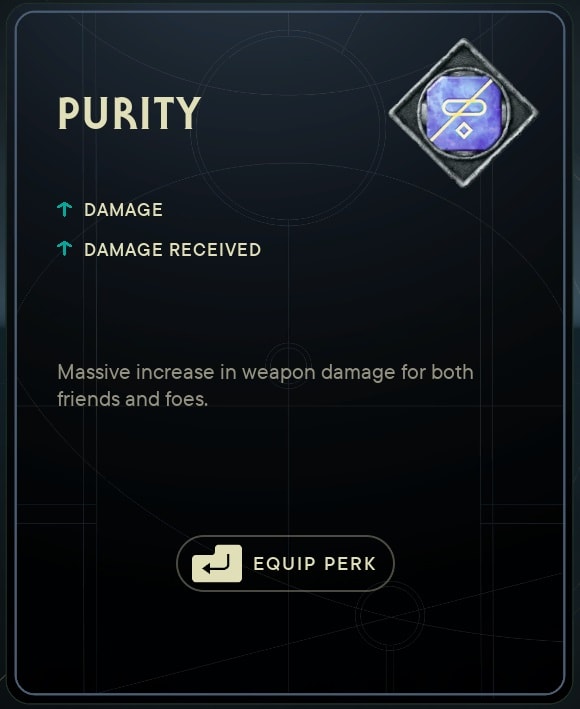
This perk massive increases both your damage, as well as the damage of the enemies; making lightsabers and blasters feel a lot more lethal like they are in the movies. This can make even the otherwise most mundane fights more engaging as mistakes with this perk on are incredibly punishing.
Where to get the Purity Perk
This perk is given at the start of New Journey+, alongside Trendsetter and Warrior. For additional information on other New Journey+ items, check out our New Journey+ Guide.
Defensive Perks List and Locations
Defensive Perks offer your greater defensive power or additional healing. These will allow you to deal with sustained combat much easier.
Centered
- Perk Effect: Enemies in a small area around Cal are staggered when using a Stim. Additionally, Cal can take a single hit and not be interrupted.
- Perk Cost: 2 Slots

Centered is great for tight situations where you’re surrounded by melee enemies. This can provide some breathing room and allow you to recover despite the sticky situation.
Where to get the Centered Perk
You can loot the Centered Perk from a Force Essence at the Republic Research Laboratory at the High Republic Research Facility on the Shattered Moon after defeating Rayvis on your second visit.

Fellowship
- Perk Effect: BD-1 carries extra Stims. Your Stim count will not replenish until you rest at a Meditation Point.
- Perk Cost: 4
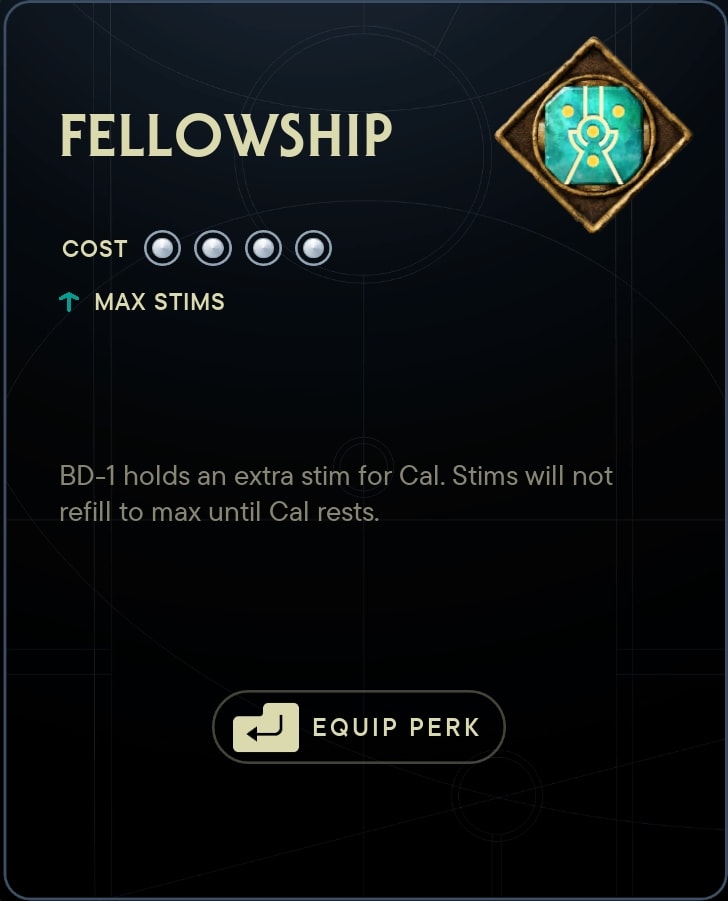
This perk is very costly to use but can make some of the other Stim-related perks a fair bit more useful.
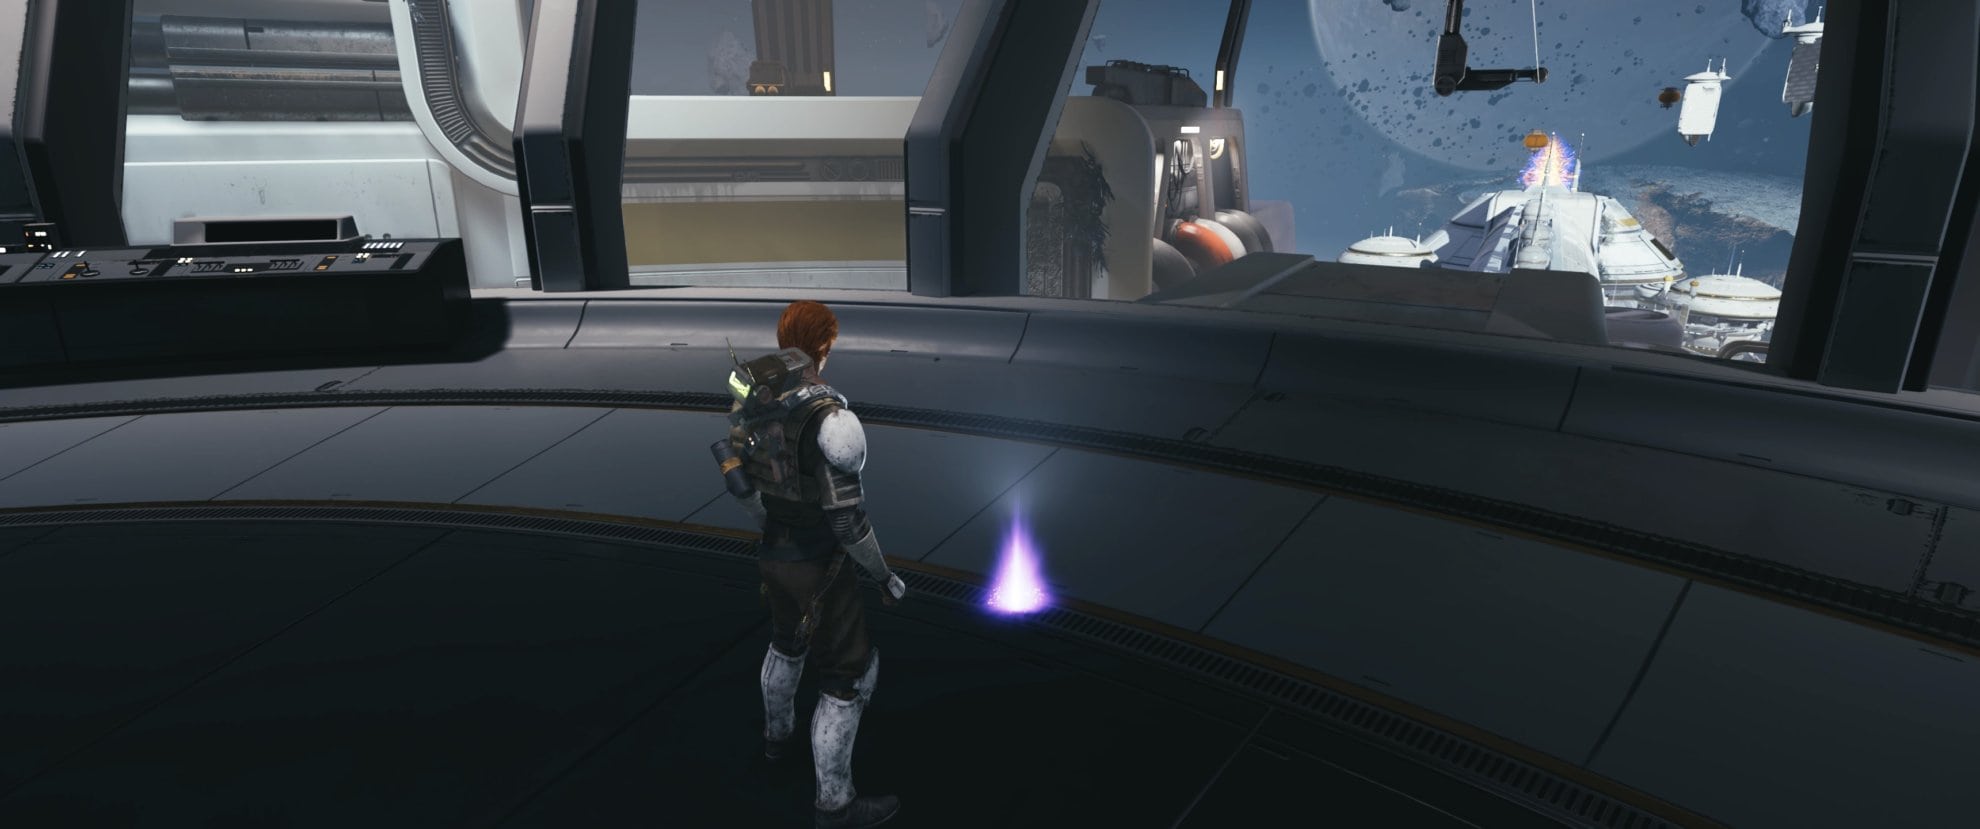
Where to get the Fellowship Perk
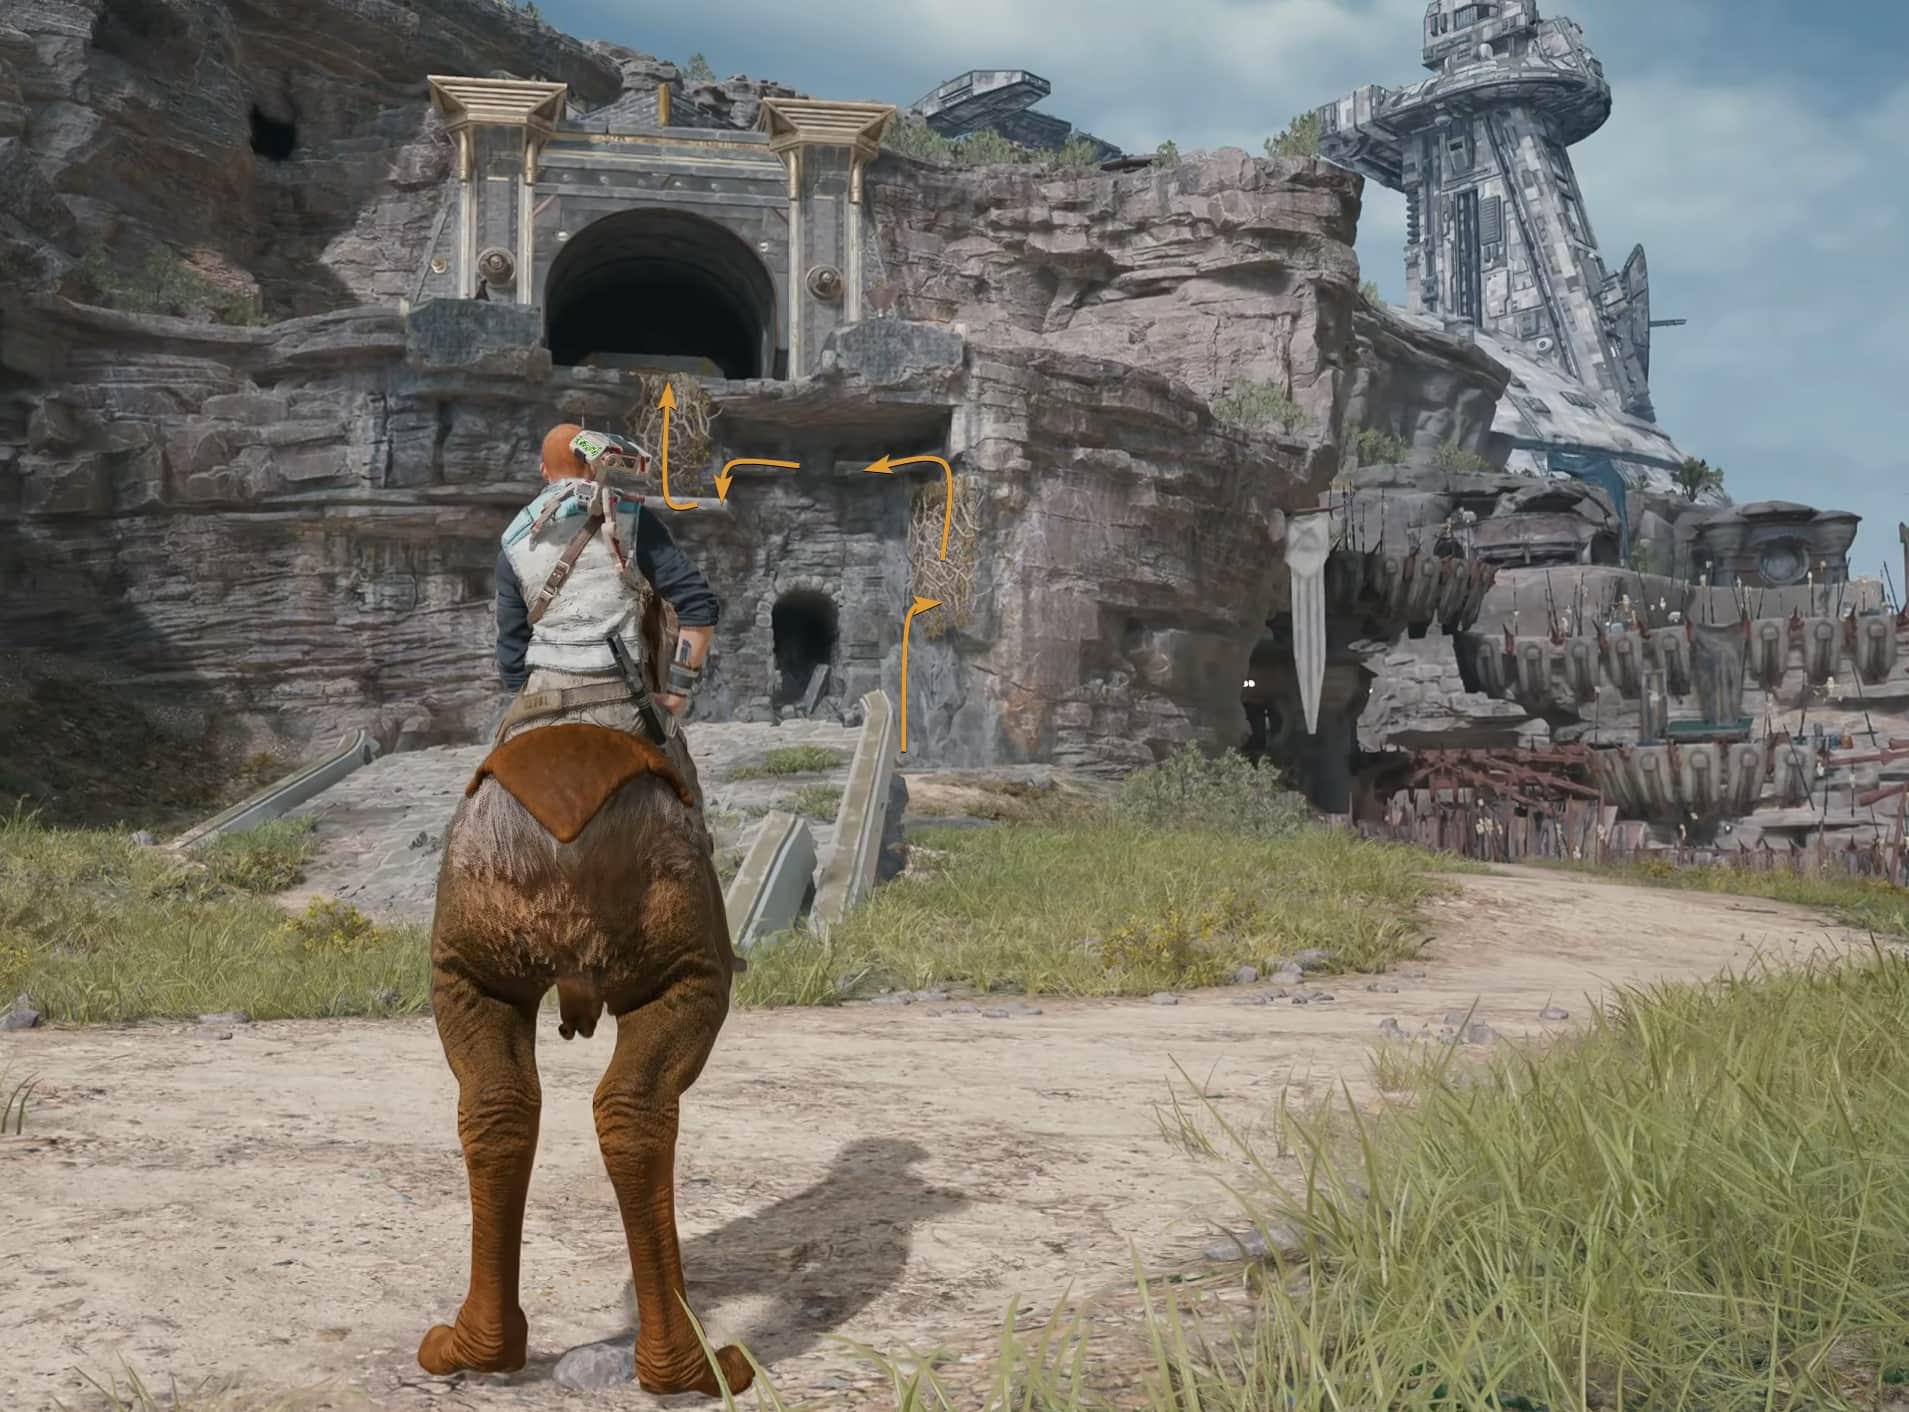
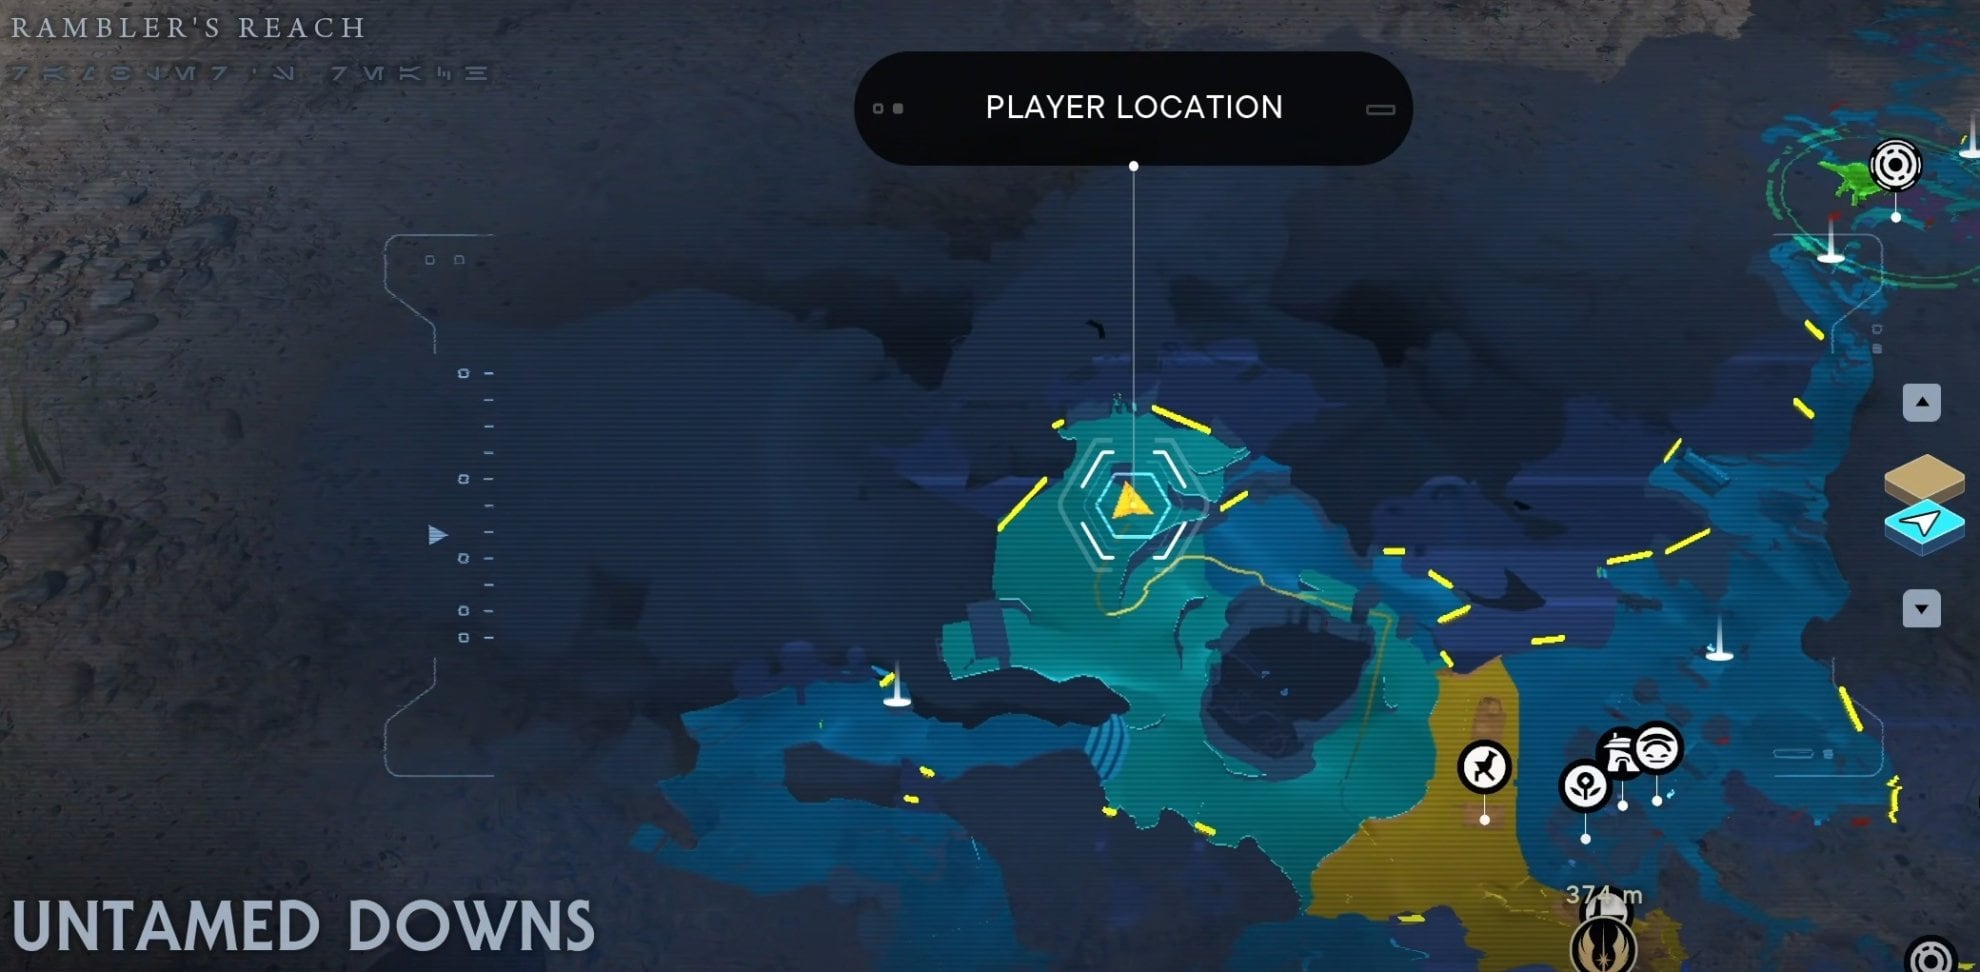
The Fellowship Perk is acquired upon completing the Chamber of Clarity Puzzle on Koboh. Its entrance is in the Untamed Downs in Rambler’s Reach.
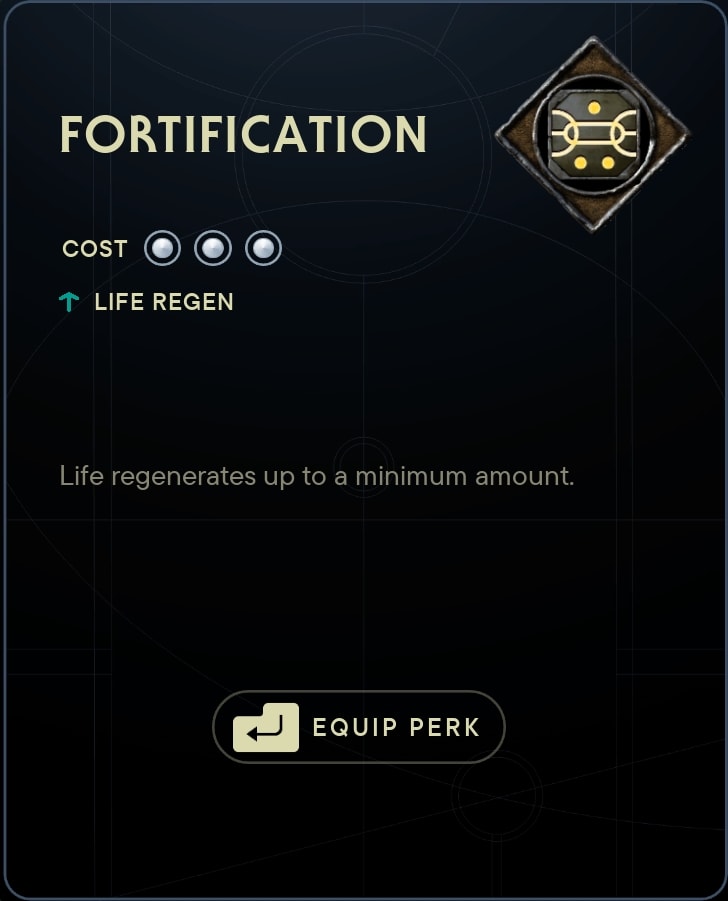
Fortification
- Perk Effect: Life Regenerates up to a minimum amount.
- Perk Cost: 3 Slots
Fortification is an excellent perk on lower difficulties, where damage isn’t incredibly high. It can still be very easy for enemies to overwhelm this regeneration if you put yourself into a terrible spot.
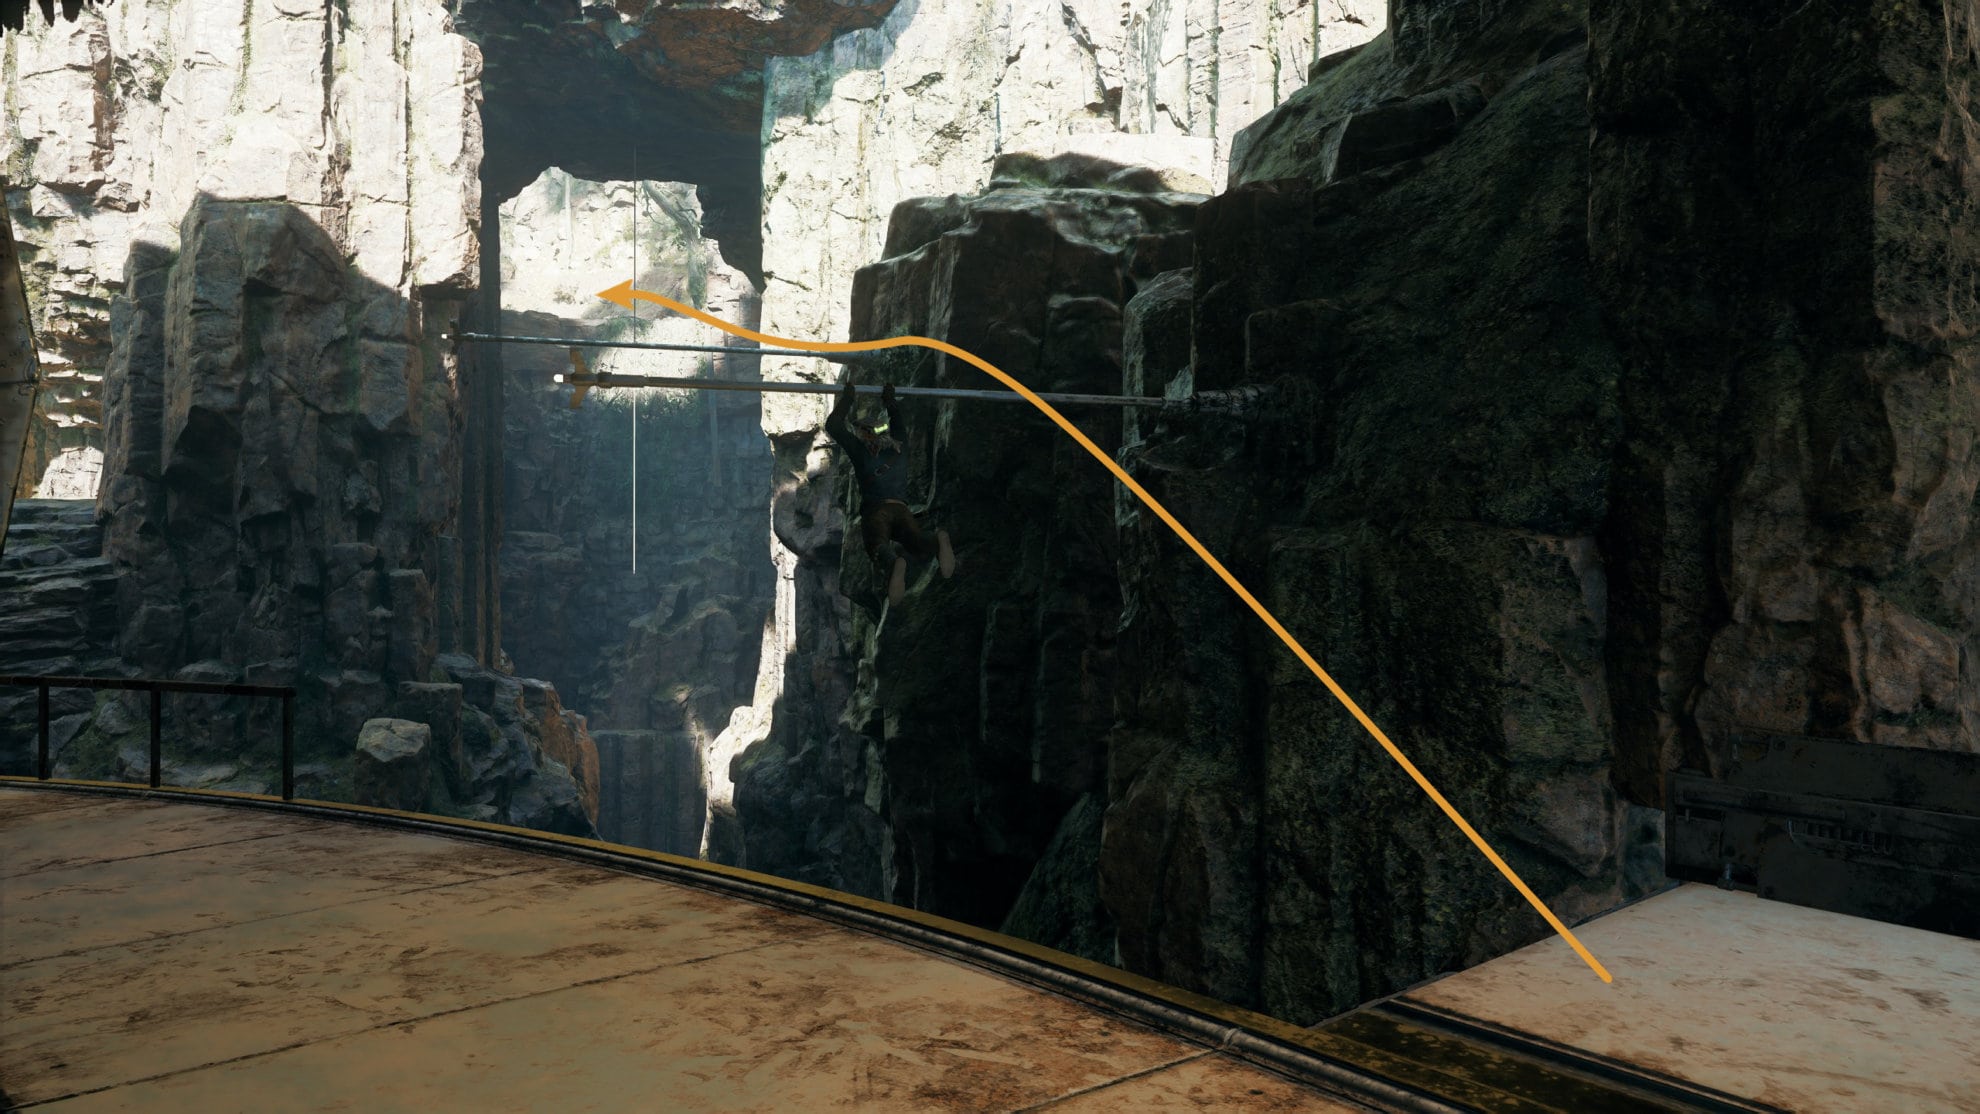
Where to get the Fortification Perk
You will find the Fortificatoin Perk while exploring the Basalt Rift, where the Forest Array is, on Koboh. If you miss it during your main mission, you can always come back later. We have a full walkthrough for the Forest Array, which will guide you to the location of this perk.
Patience
- Perk Effect: Using Slow also refills some Life.
- Perk Cost: 3 Slots

Patience is a great perk that adds a bit of extra recovery for those moments you would use Slow to get out of a tight spot. It’s not a massive heal by any means, but can still be useful, especially alongside the other Slow-related Perks.
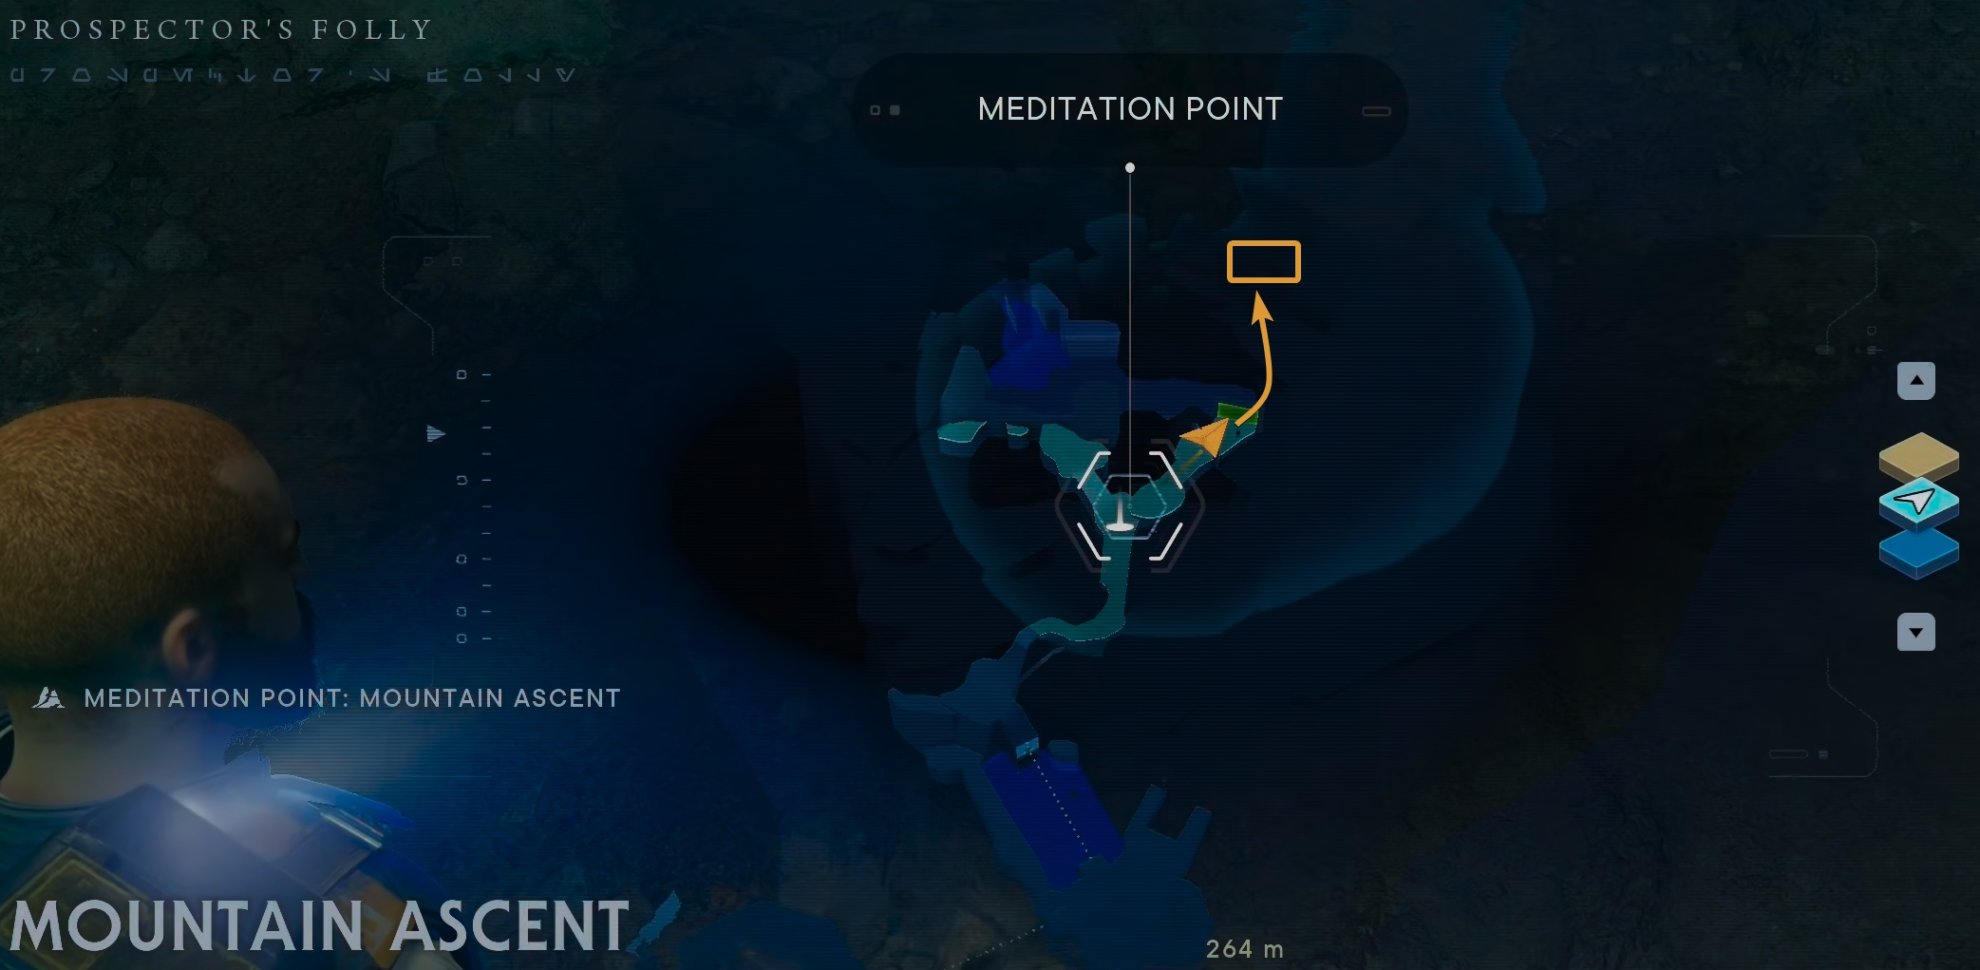
Where to get the Patience Perk
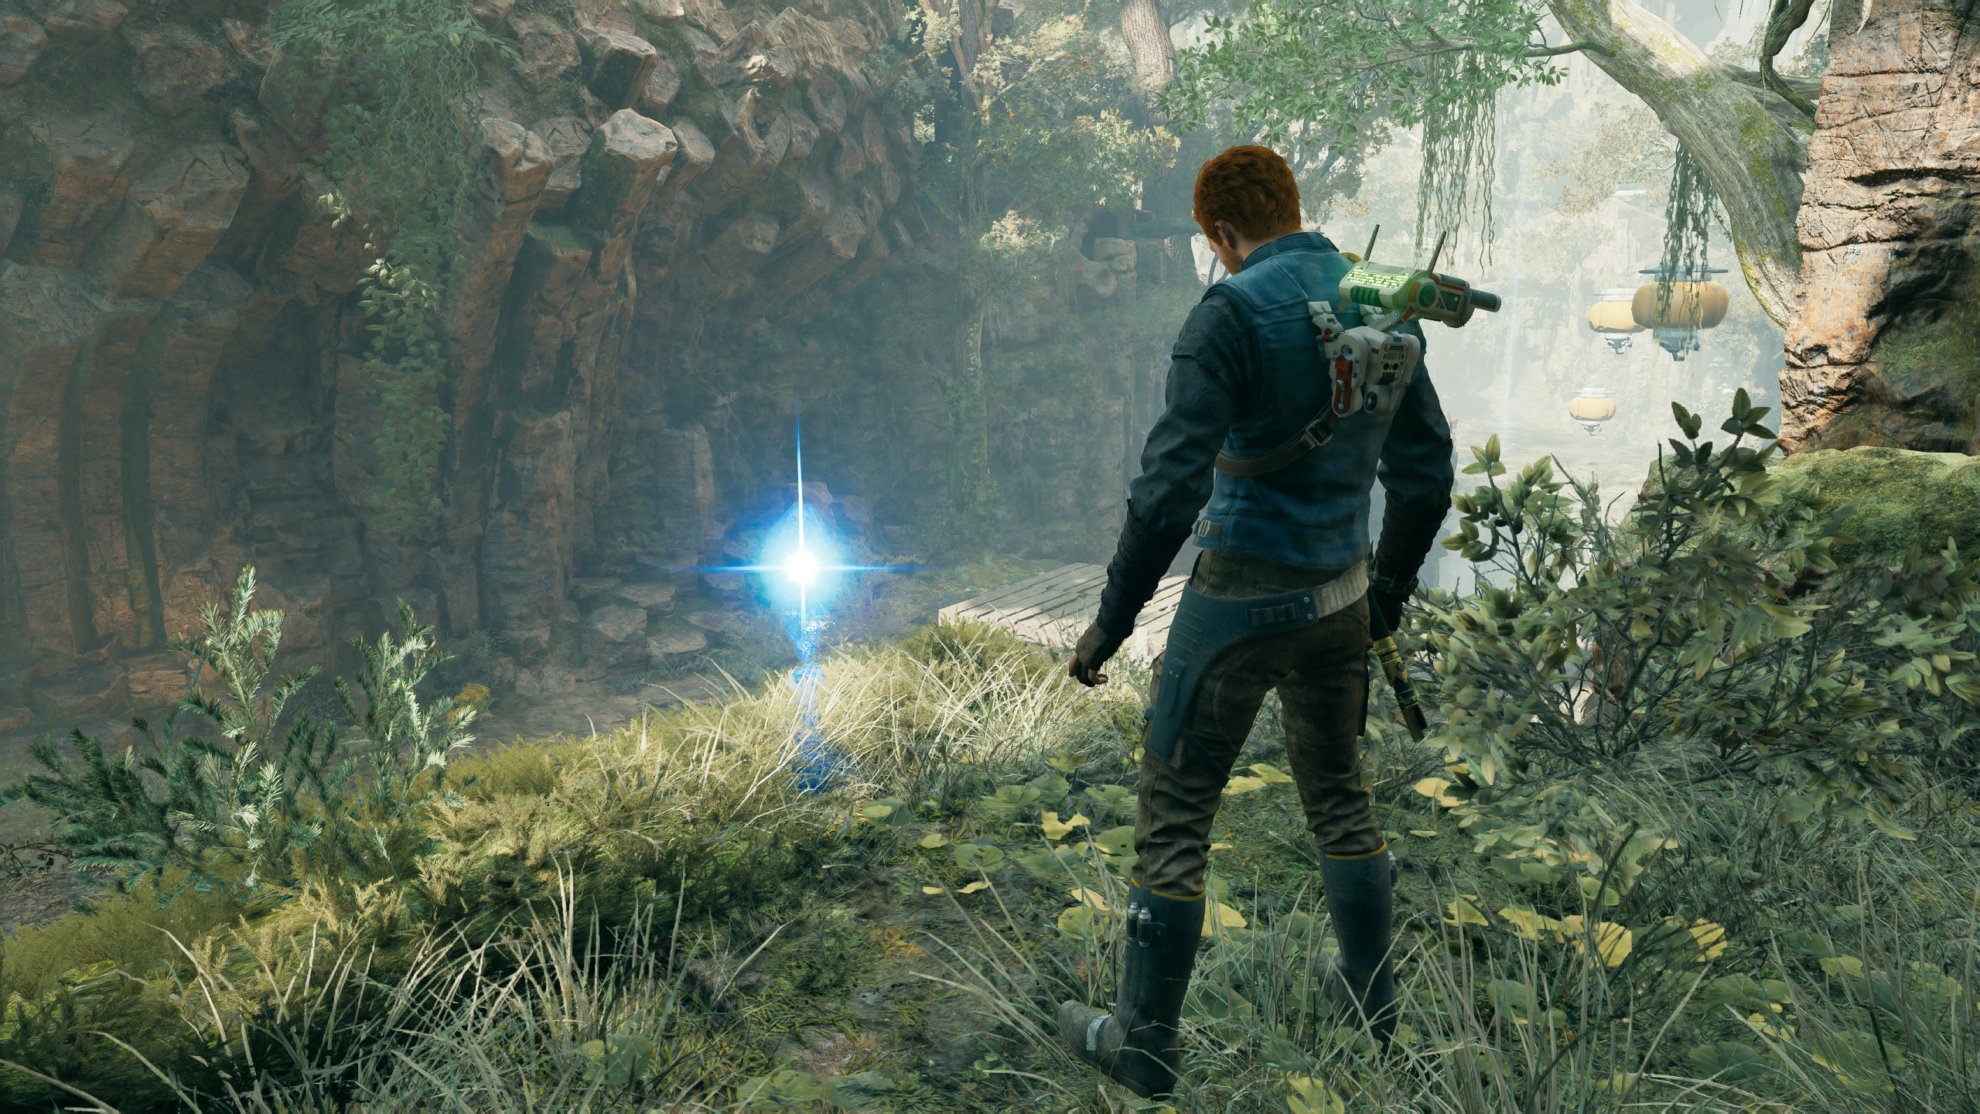
To acquire the Patience Perk, you have to complete the Chamber of Detachment Puzzle. This ancient High Republic Jedi Chamber is located at the Mountain Ascent on Koboh. We have a complete walkthrough for the Chamber of Detachment Puzzle and all Collectibles inside.
Persistence
- Perk Effect: Each foe defeated during Slow gives a small amount of Life.
- Perk Cost: 2 Slots
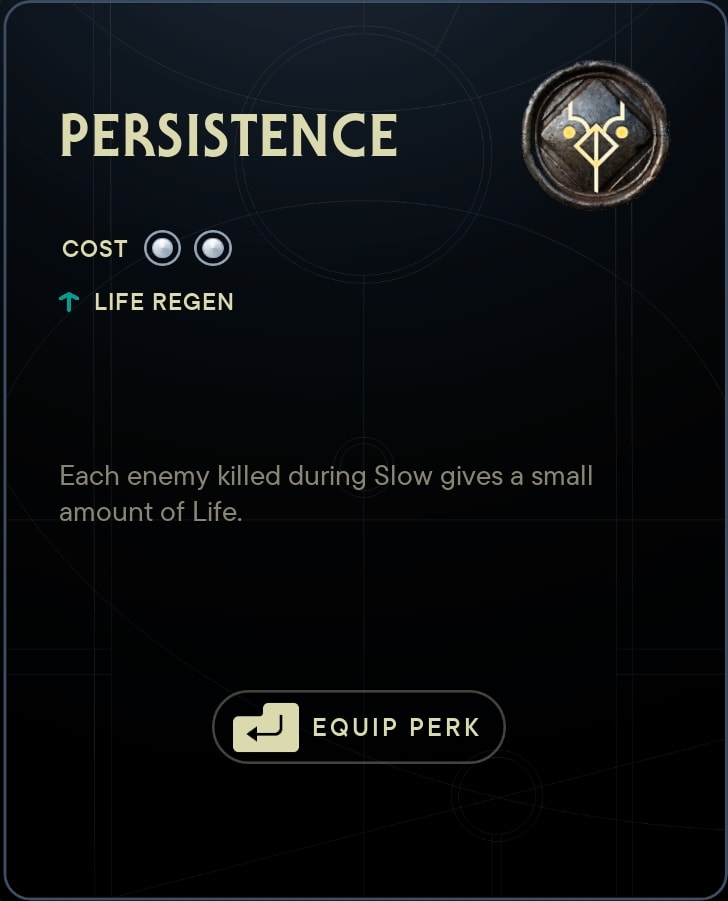
Persistence goes hand-in-hand with Patience. Between the two of them, Slow can offer a lot of breathing room but also fairly substantial recovery.
Where to get the Persistence Perk
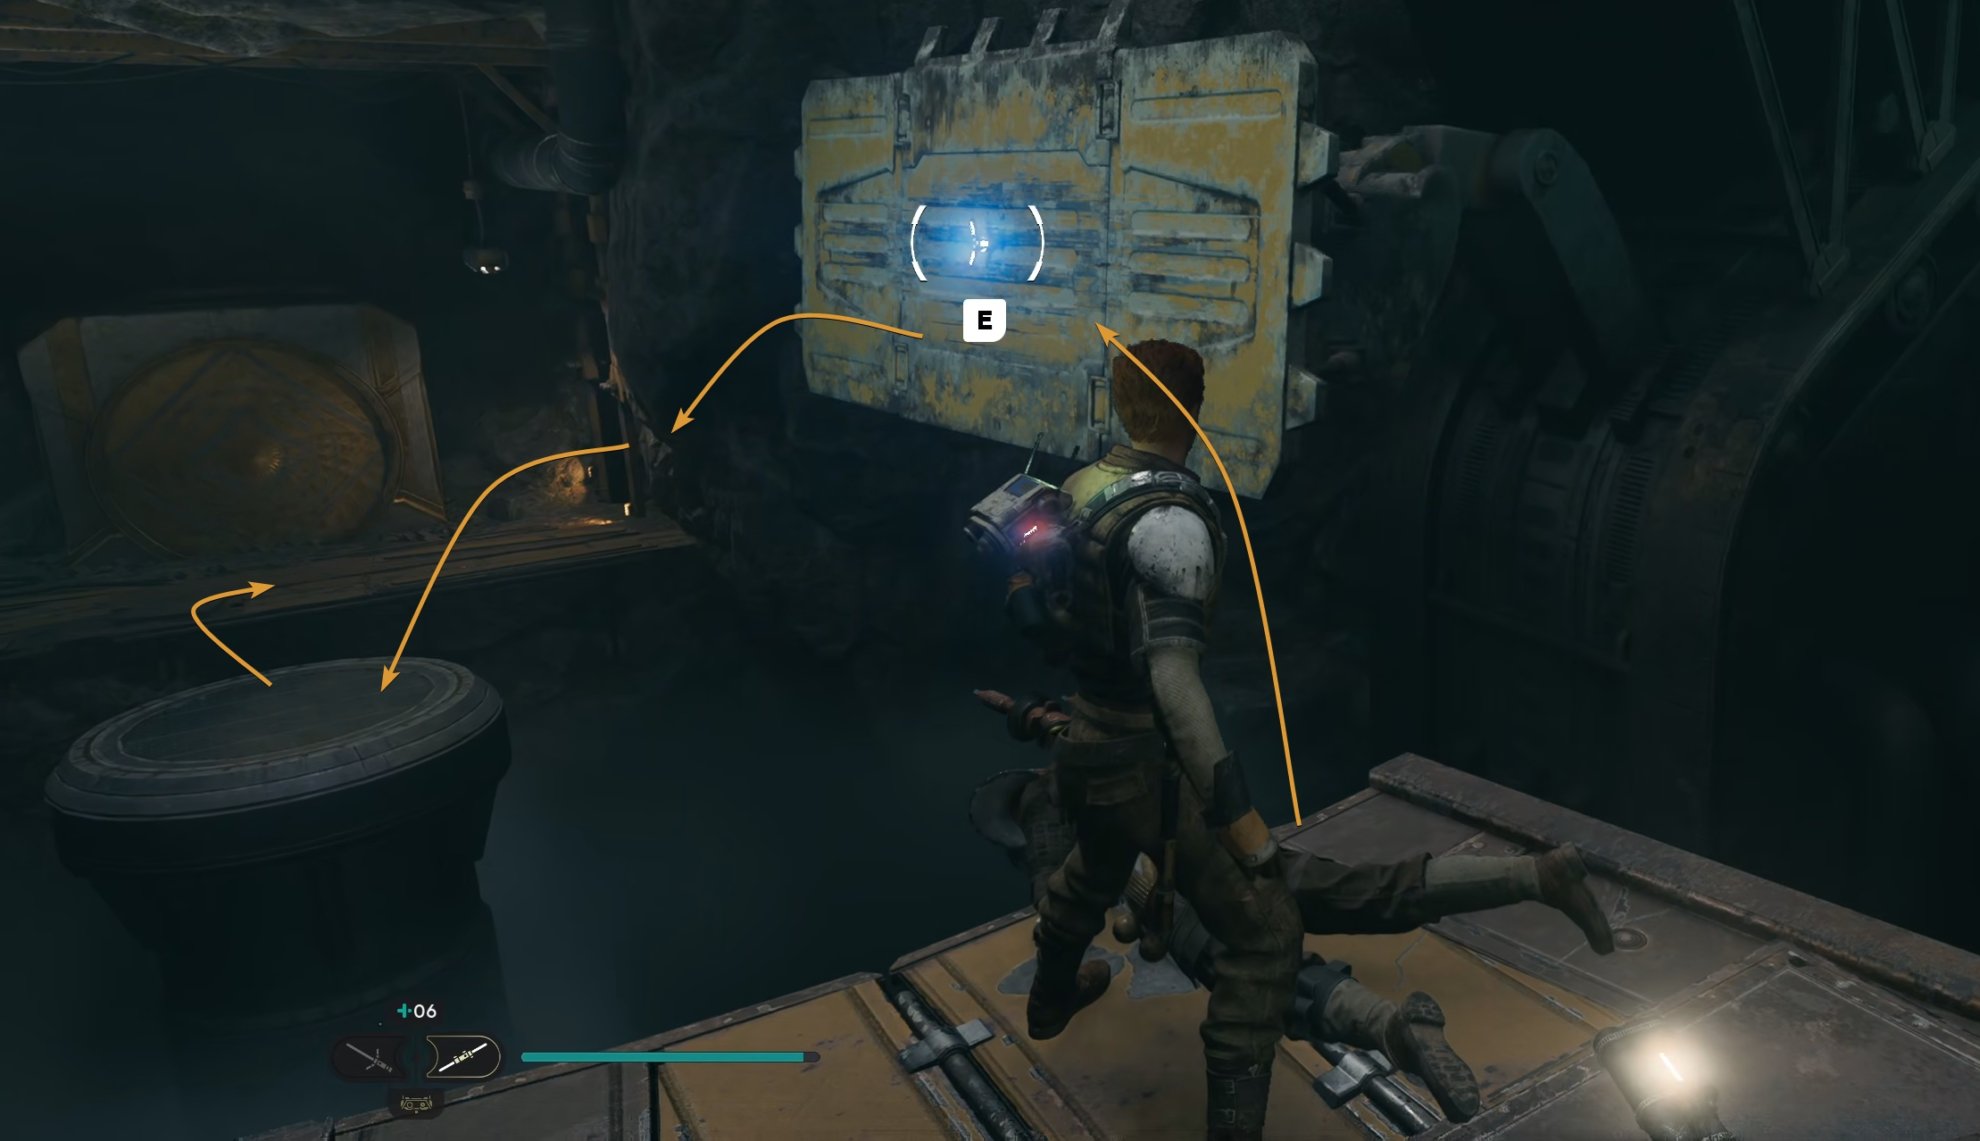
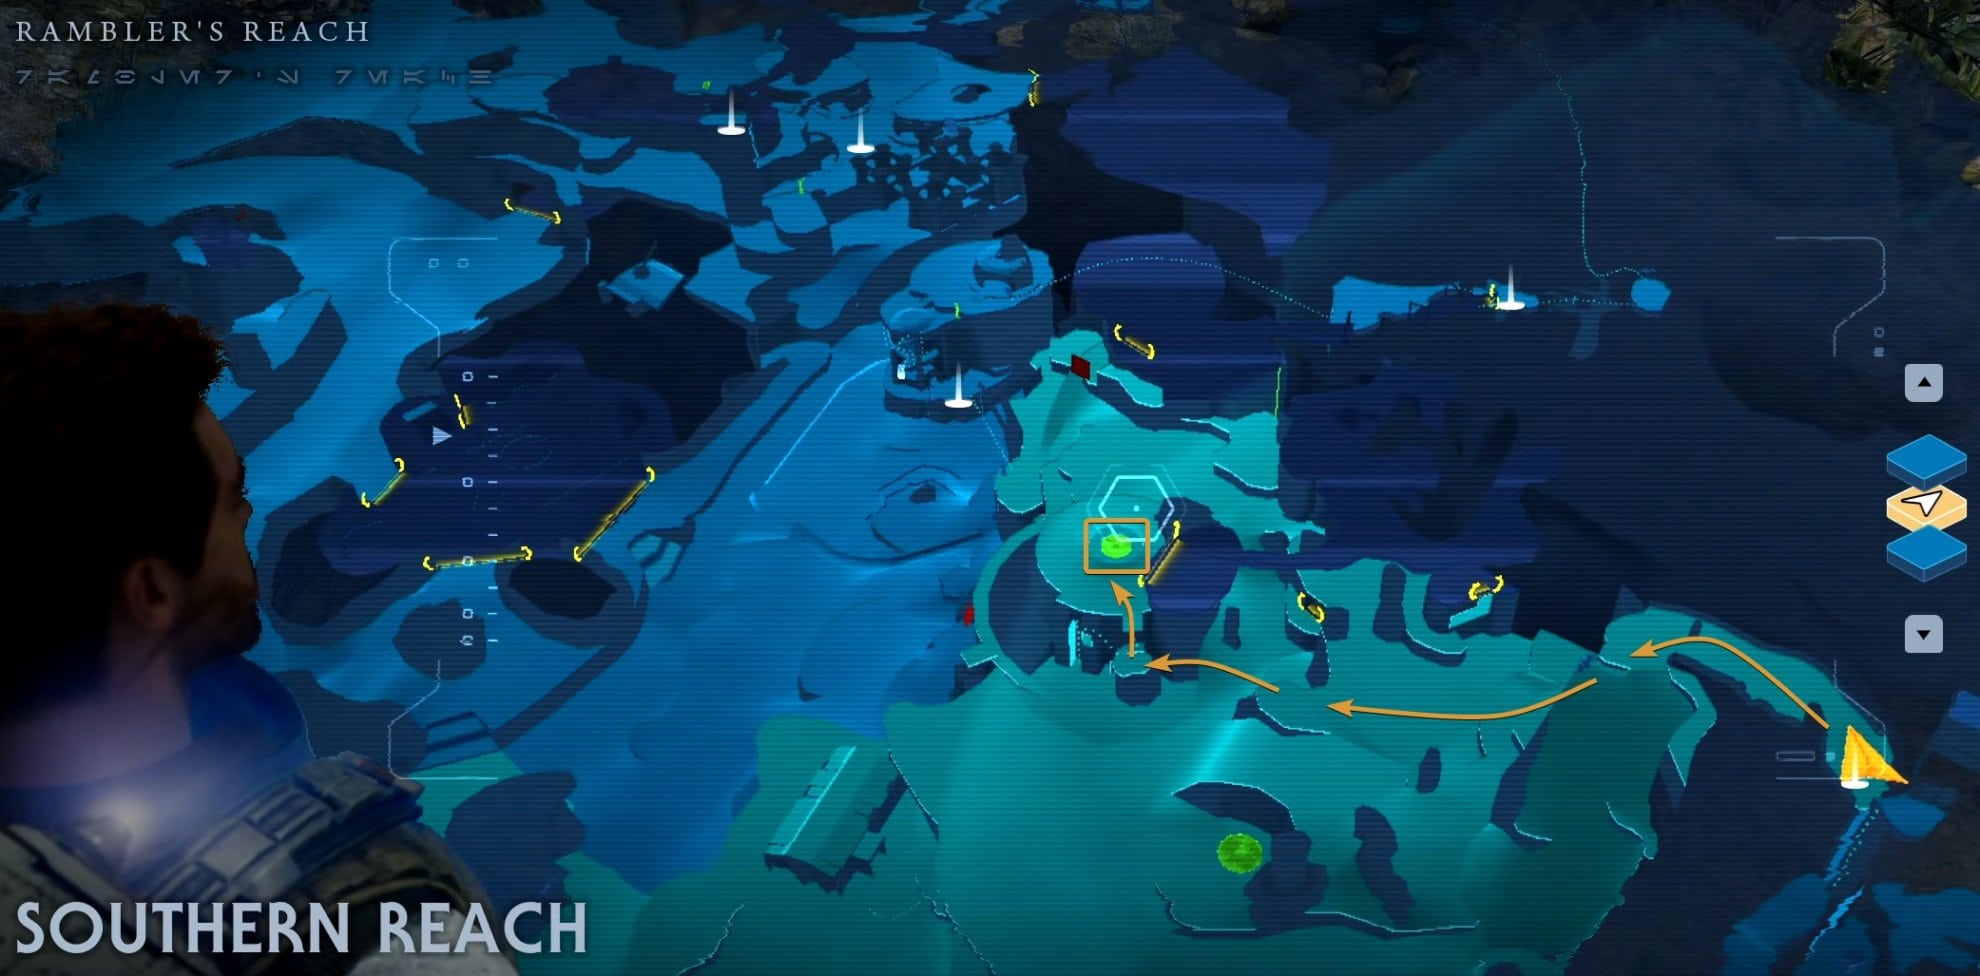
The Persistence Perk is your grand prize for accessing and completing the Chamber of Fortitude on Koboh. Its entrance is at the bottom of the Corroden Silo in the Southern Reach.
Resilience
- Perk Effect: Block Meter is increased.
- Perk Cost: 1 Slot
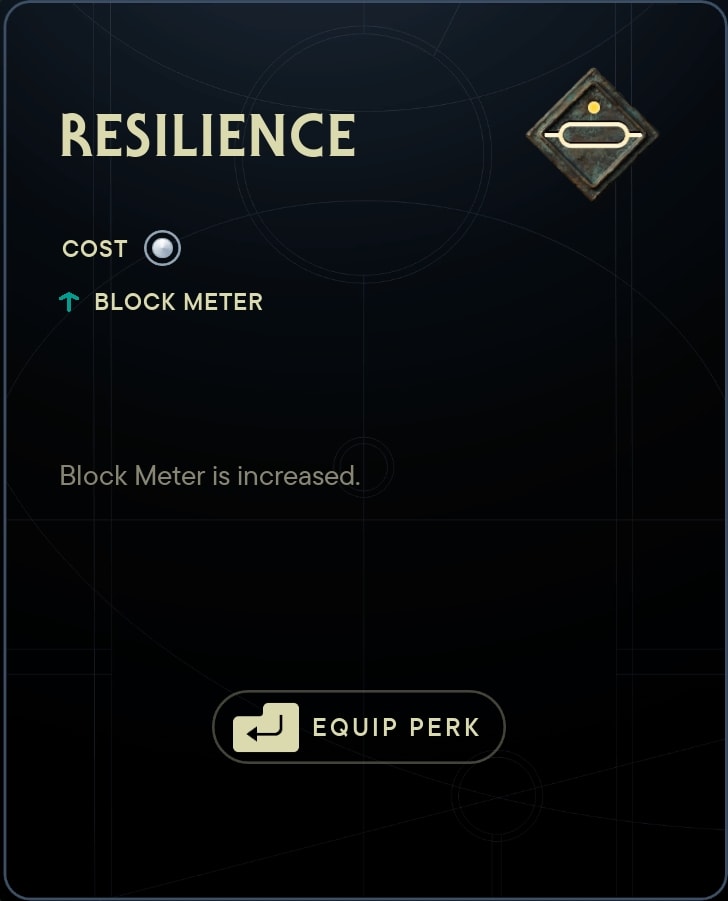
This perk adds an additional segment to your Block Meter, which increases most stances to five segments, with the exception of Dual Wield Stance which goes to four segments instead. It’s pretty excessive for everything but the Dual Wield Stance, in my opinion.
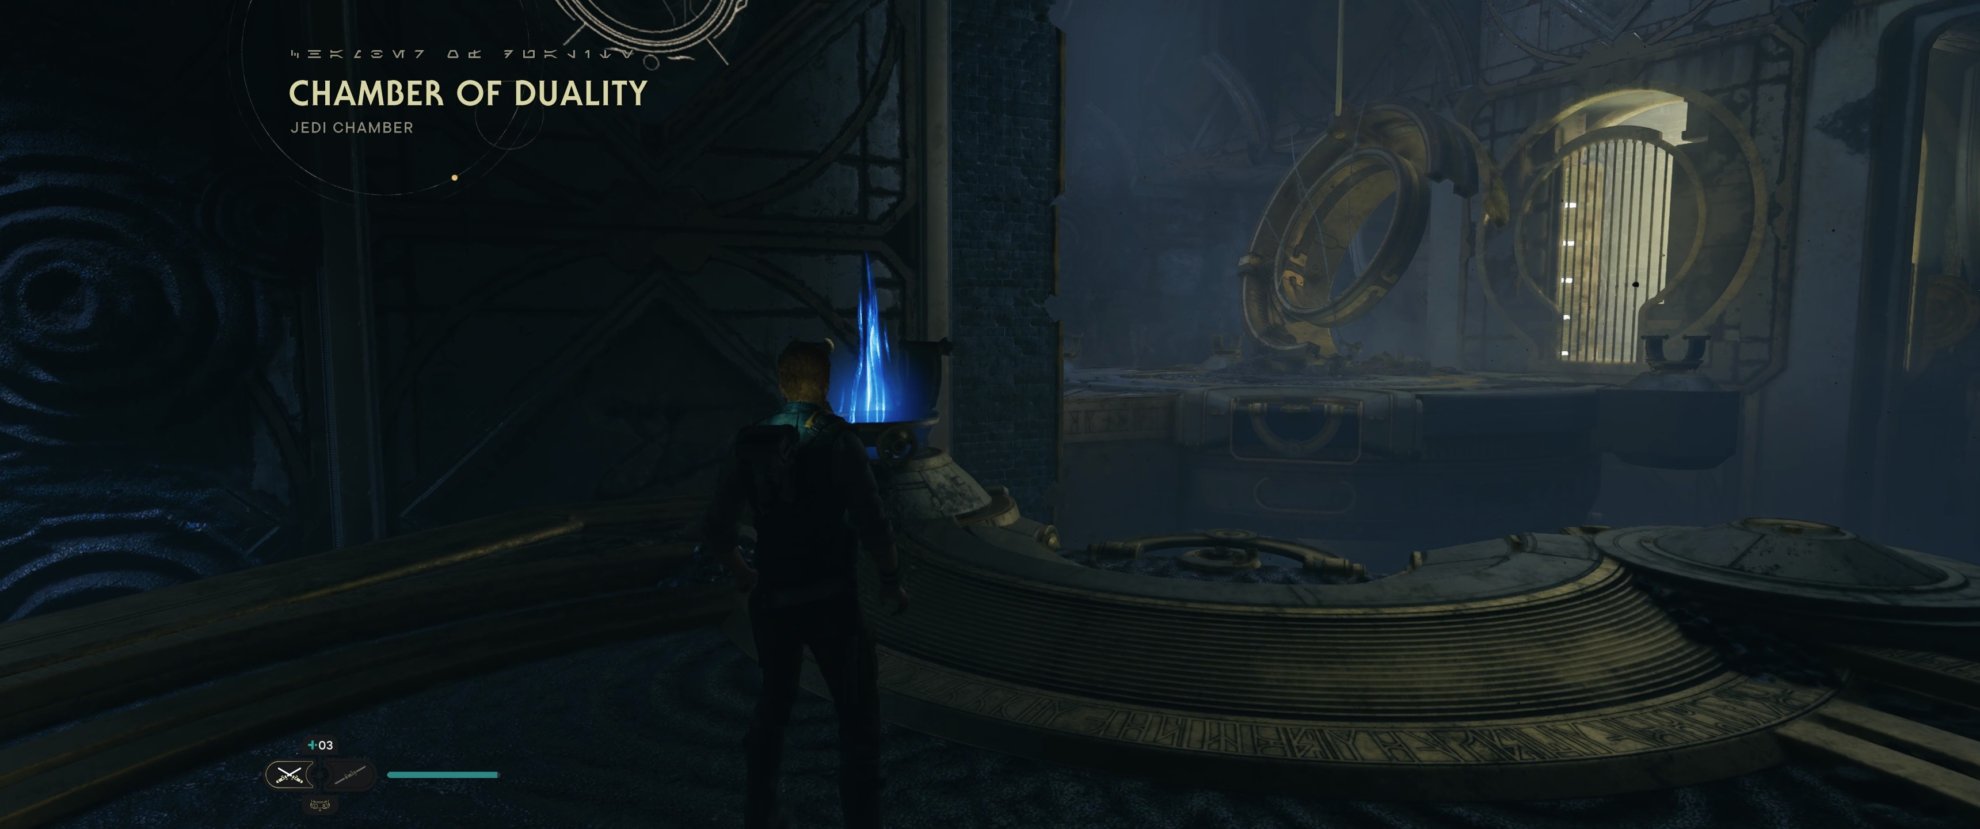
Where to get the Resilience Perk
You will acquire the Resilience Perk in the Chamber of Duality on Koboh. Here you will also encounter Zee the droid, who will later become a vendor at the Pyloon’s Saloon cantina in Rambler’s Research Outpost.
This High Republic Jedi Chamber is part of your main mission objectives and there’s no way you can miss it. We have a full walkthrough for the Chamber of Duality.
Utility Perks List and Locations
Utility perks are those that aren’t directly offensive or defensive, but instead, provide small bonus effects to other aspects of combat.
Flux
- Perk Effect: Regenerate a small amount of Force Meter over time, but Maximum Force Meter is reduced.
- Perk Cost: 1 Slot
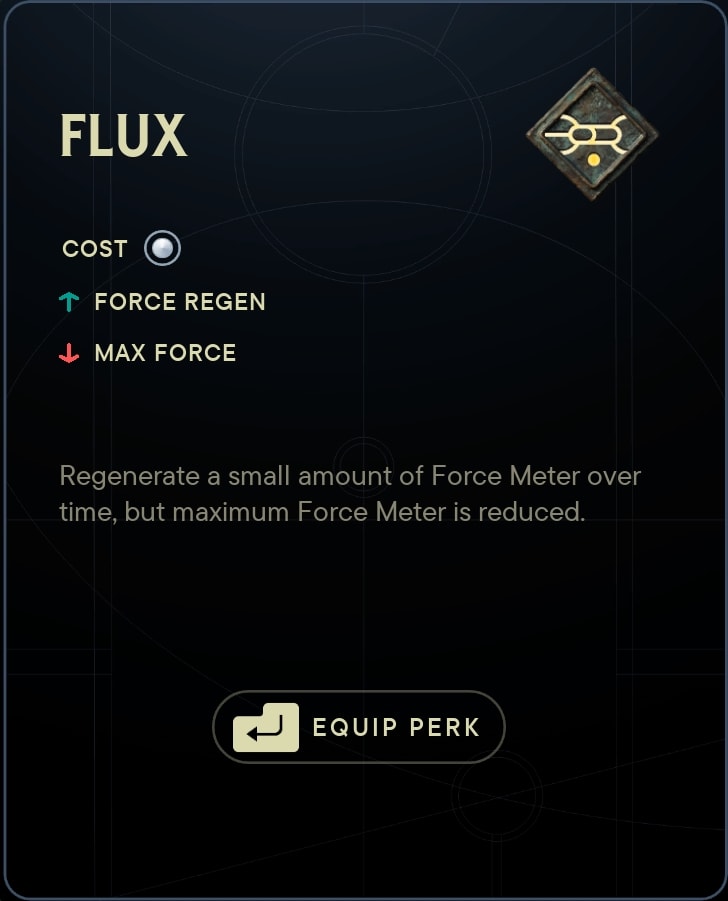
Flux makes it more reliable to have Force available for use with a single attack at a time, but you typically won’t be able to use multiple Force attacks in sequence nor ever benefit from a larger reservoir you accumulate over the course of the game.
Where to get the Flux Perk
You can purchase the Elixir Perk from Zee’s Shop for 5 Datadiscs. You collect Datadiscs by playing the game and exploring.
To unlock ZN-A4 a.k.a Zee as a vendor, you must first complete the Chamber of Duality where you first meet this droid. Zee’s shop is on the second floor of the Pyloon’s Saloon in Rambler’s Reach Outpost on Koboh.
Elixir
- Perk Effect: Healing Stims also fill a small amount of the Super Meter.
- Perk Cost: 2 Slots
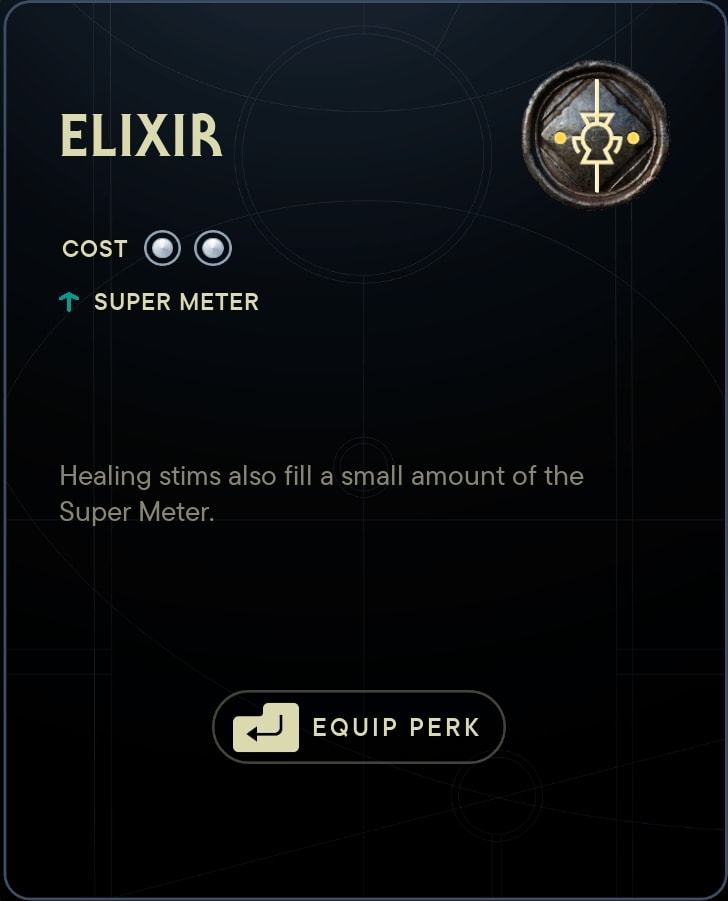
Elixir is one of those perks that can get you out of a tight spot, but relies on regular Stim usage. Definitely not worth the Slot cost unless you are finding yourself frequently using Stims or use multiple other perks that are related to Slow and the Super Meter.
Where to get the Elixir Perk
You can purchase the Elixir Perk from Zee’s Shop for 5 Datadiscs. You collect Datadiscs by playing the game and exploring.
To unlock ZN-A4 a.k.a Zee as a vendor, you must first complete the Chamber of Duality where you first meet this droid. Zee’s shop is on the second floor of the Pyloon’s Saloon in Rambler’s Reach Outpost on Koboh.
Gambler
- Perk Effect: Increases Experience Gain, but you lose the ability to Restore lost XP after death.
- Perk Cost: 4 Slots
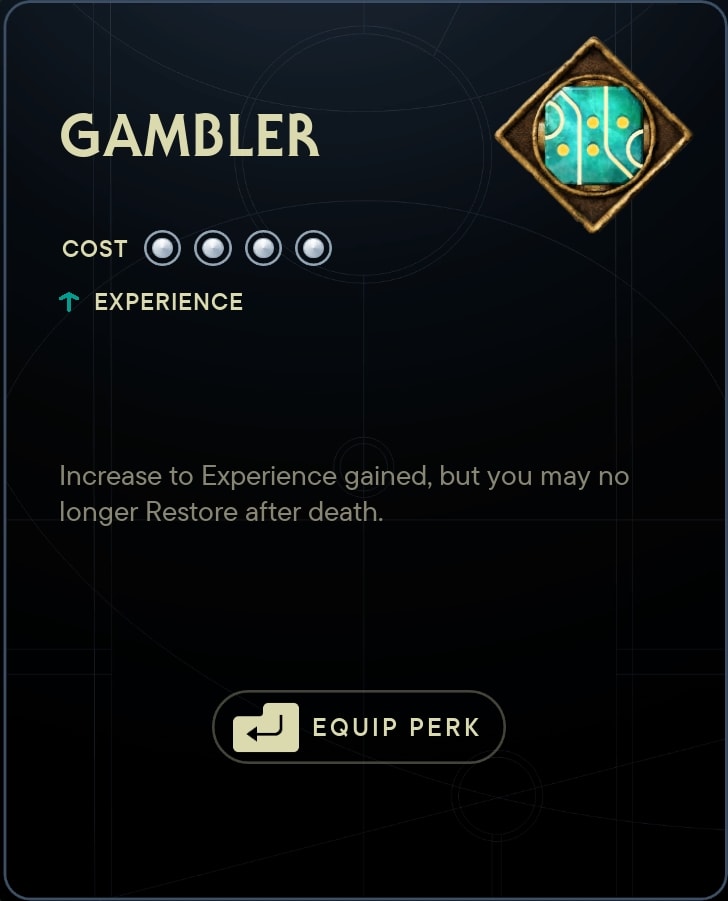
Gambler is high-risk, high-reward perk that will allow you to quickly gain levels and Skill points. However, the drawback to it is that any XP lost of death is permanently lost and cannot be recovered. It not a huge drawback by any means, but one to be cautious of.
Where to get the Gambler Perk
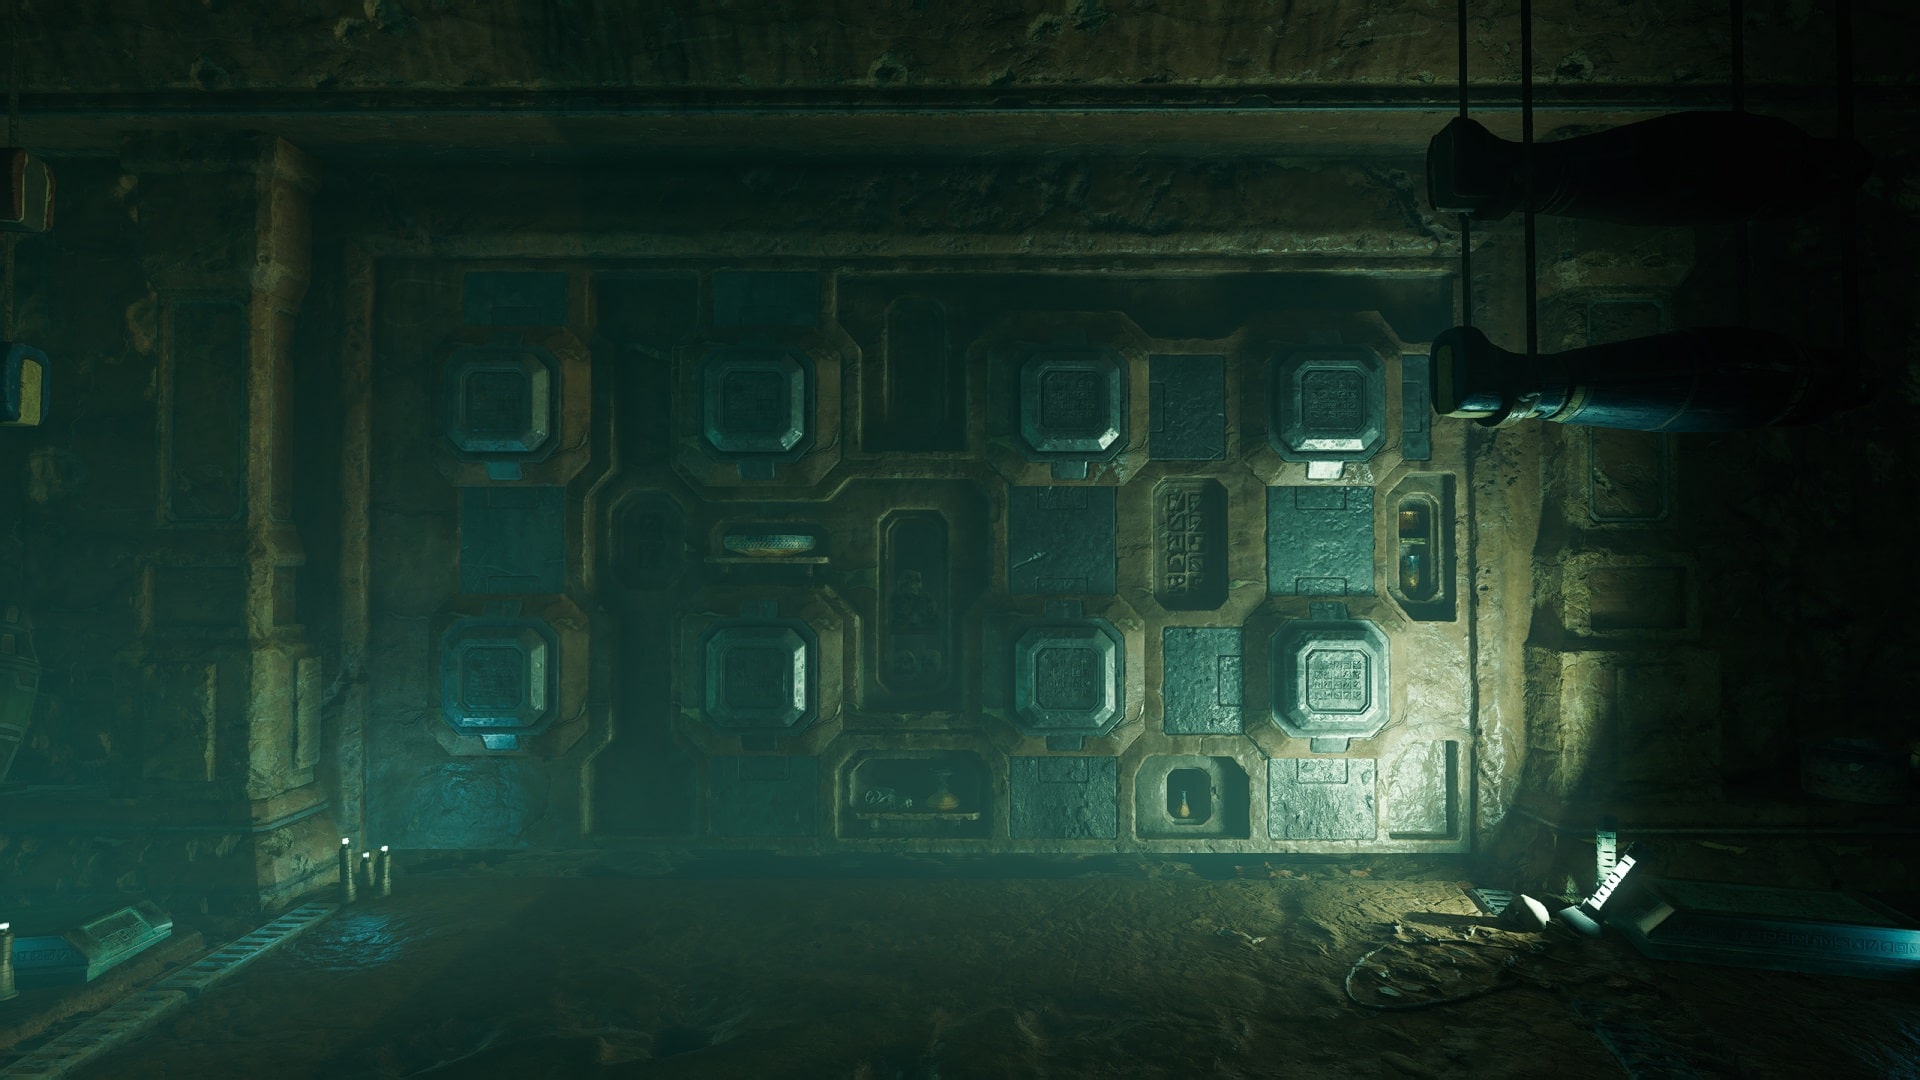
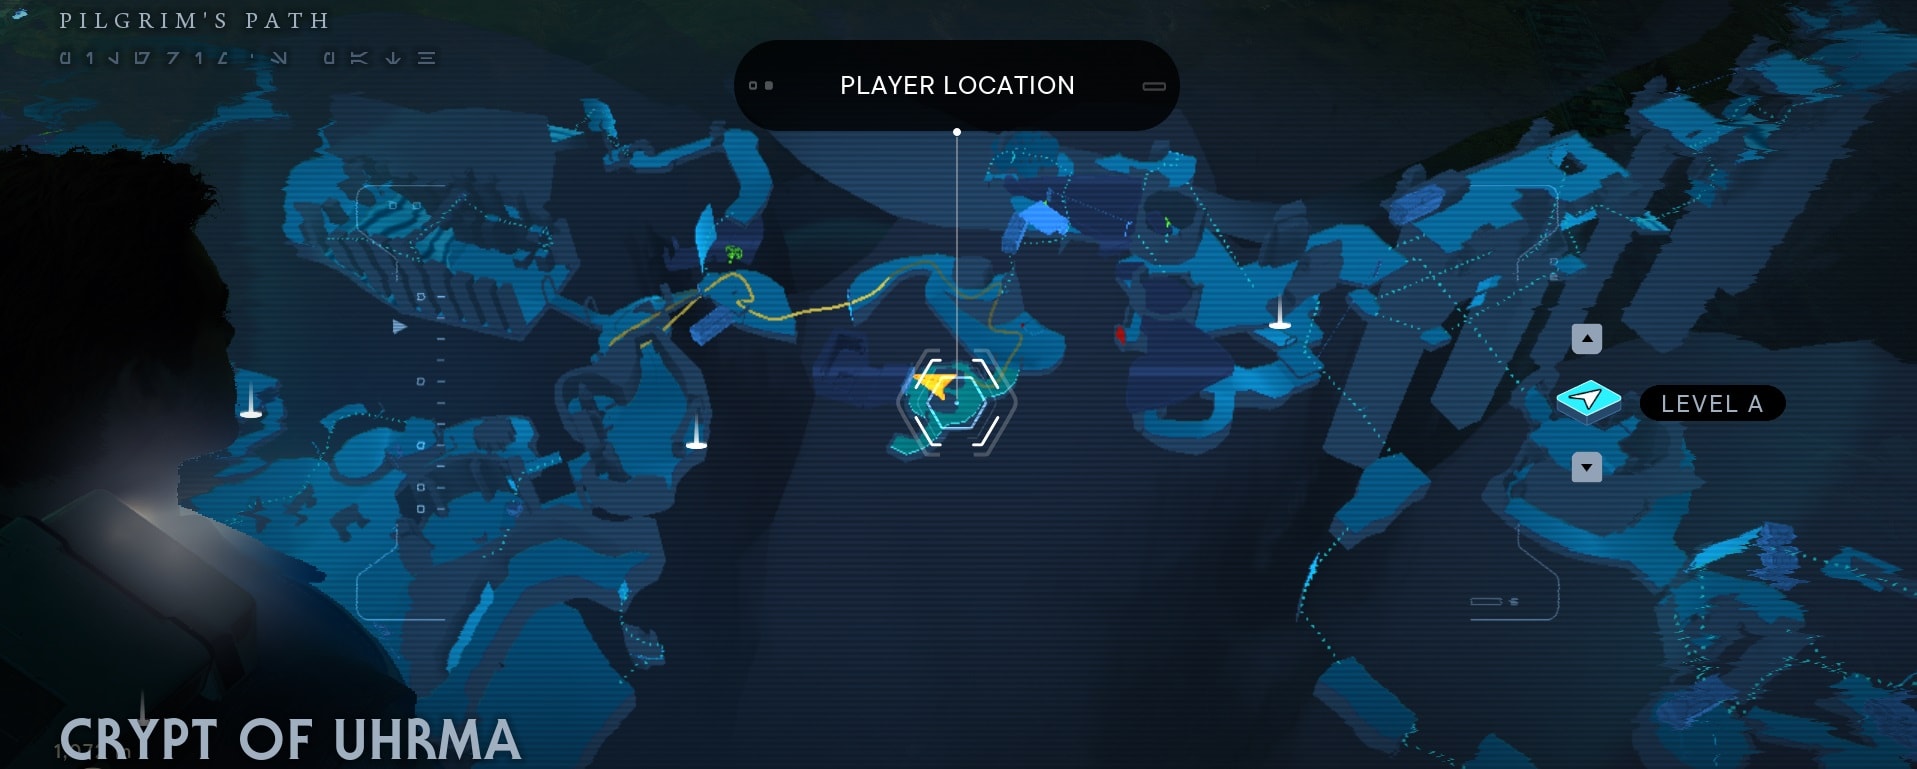
The Gambler Perk is a reward for defeating one of the Legendary creatures in the game, the Sutaban Alpha. This one is located on Jedha, past the Crypt of Uhrma Puzzle and we have a full guide on how to find and defeat it. The puzzle requires you to extend some pillars on a wall to unlock the door of the crypt.
Recuperation
- Perk Effect: Increases the minimum level that the Force Meter regenerates to.
- Perk Cost: 3 Slots
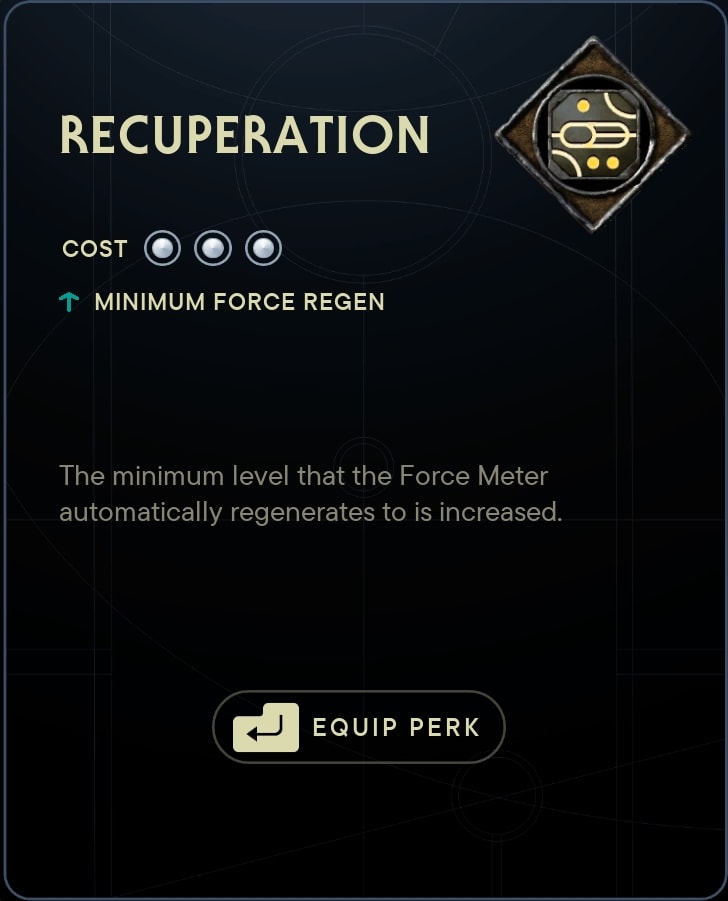
This Perk’s effect is subtle, but you’ll immediately feel it once you take it off. You end up having more Force to work with most of the time as your Force will keep regenerating at times when it otherwise wouldn’t. It is similar to Flux, but you don’t have to give up your reservoir, so it works alongside The Power of Friendship Skill.
Where to get the Recuperation Perk
You will earn the Recuperation Perk by completing the Chamber of Connection Puzzle on Koboh, which requires you to deliver Koboh Matter from one end of the chamber all the way to the door on the other end that unlocks the small room at the end where the Perk is located. The entrance is in Viscid Bog.


Steadfast
- Perk Effect: Allows Cal to take one hit while spriting without interruption.
- Perk Cost: 1 Slot
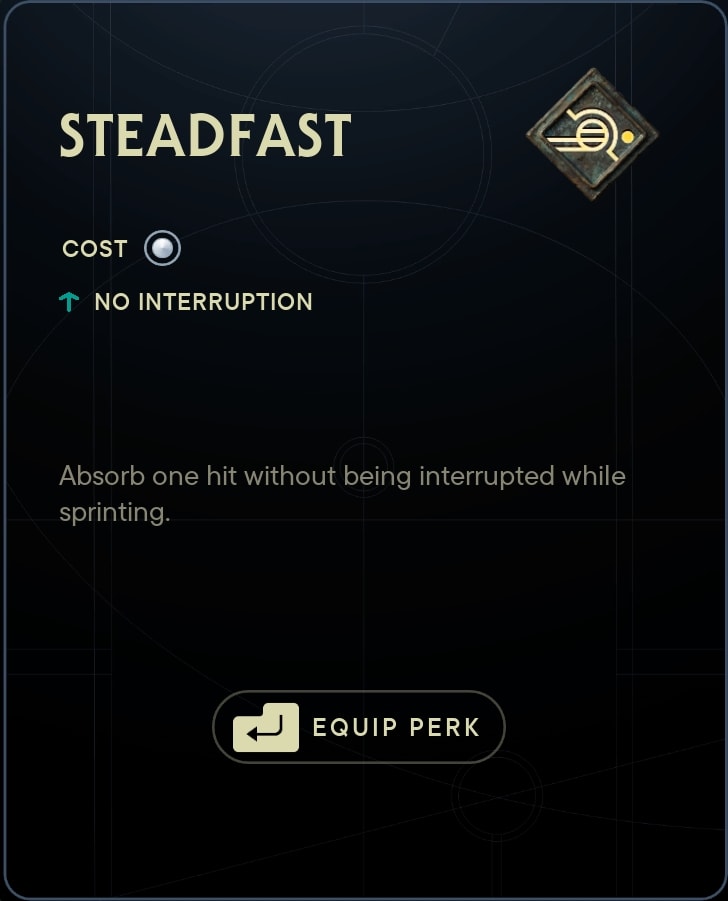
Steadfast help when you need to retreat from combat, or get through an area quickly. This helps more against ranged foes, who are more likely to land stray shots as your sprint by.
Where to get the Steadfast Perk
You can purchase the Steadfast Perk from Zee’s Shop for 5 Datadiscs. You collect Datadiscs by playing the game and exploring.
To unlock ZN-A4 a.k.a Zee as a vendor, you must first complete the Chamber of Duality where you first meet this droid. Zee’s shop is on the second floor of the Pyloon’s Saloon in Rambler’s Reach Outpost on Koboh.
Unflinching
- Perk Effect: Allows Cal to take one hit while charging a blaster shot without interruption.
- Perk Cost: 1 Slot
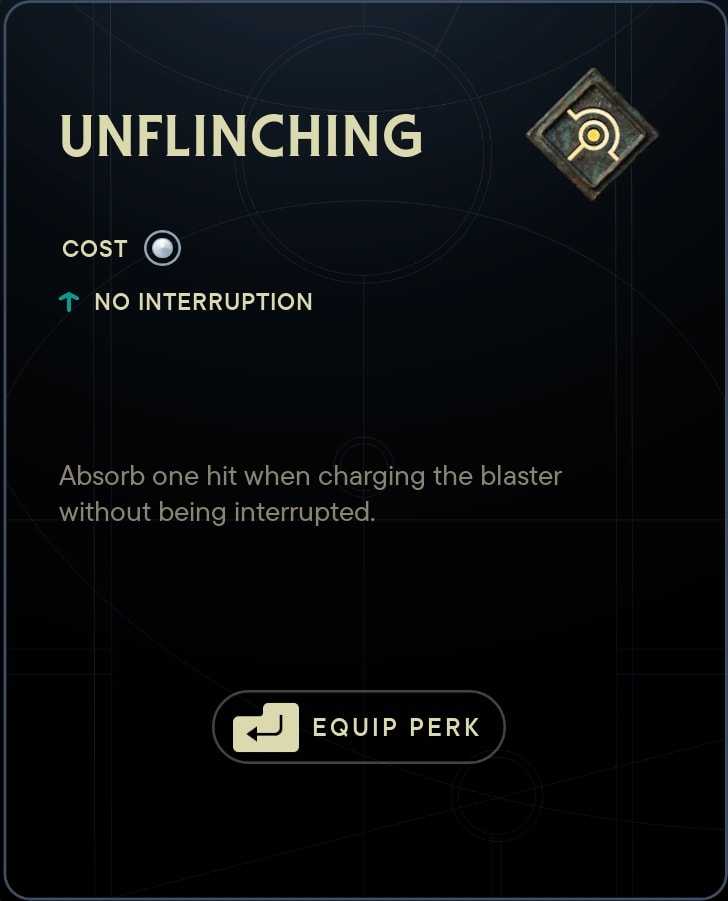
This perk can provide a fair bit of utility and reliability to the Blaster Stance when you’re first getting the hang of it.
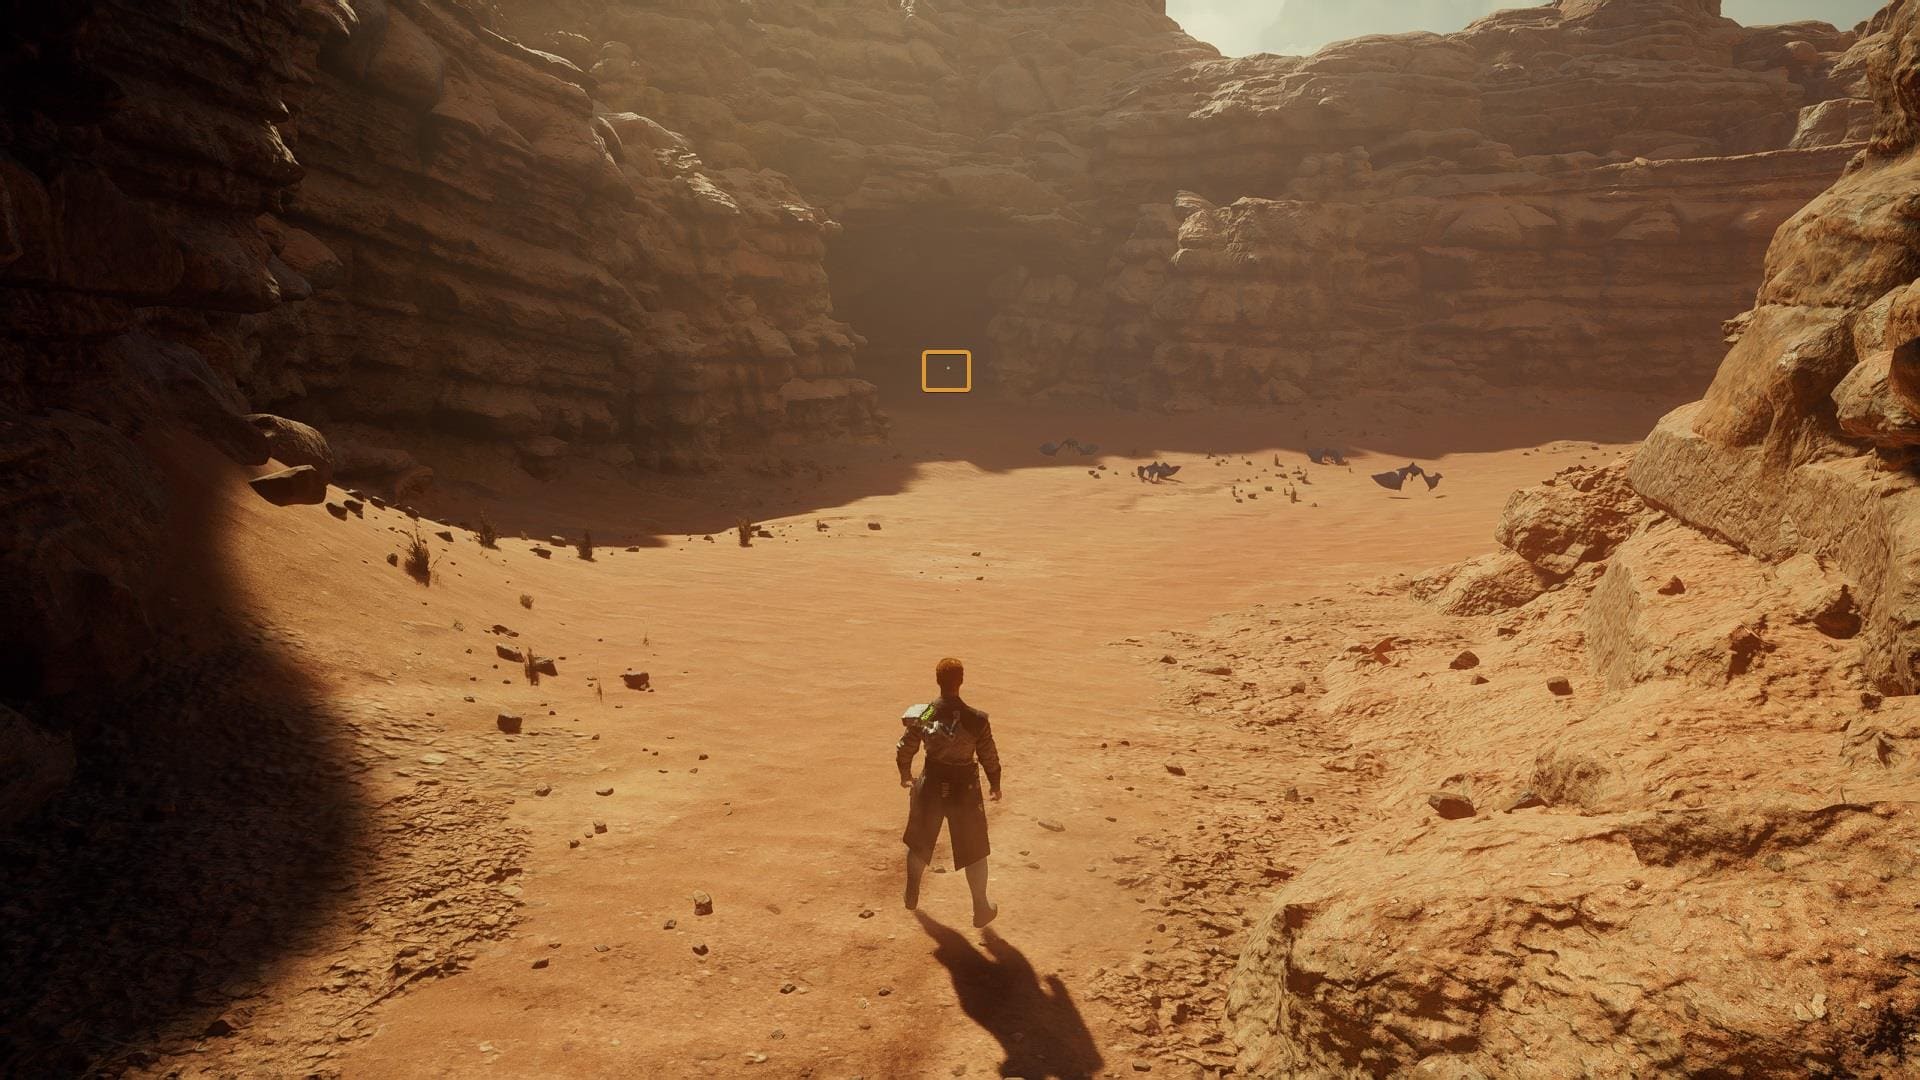
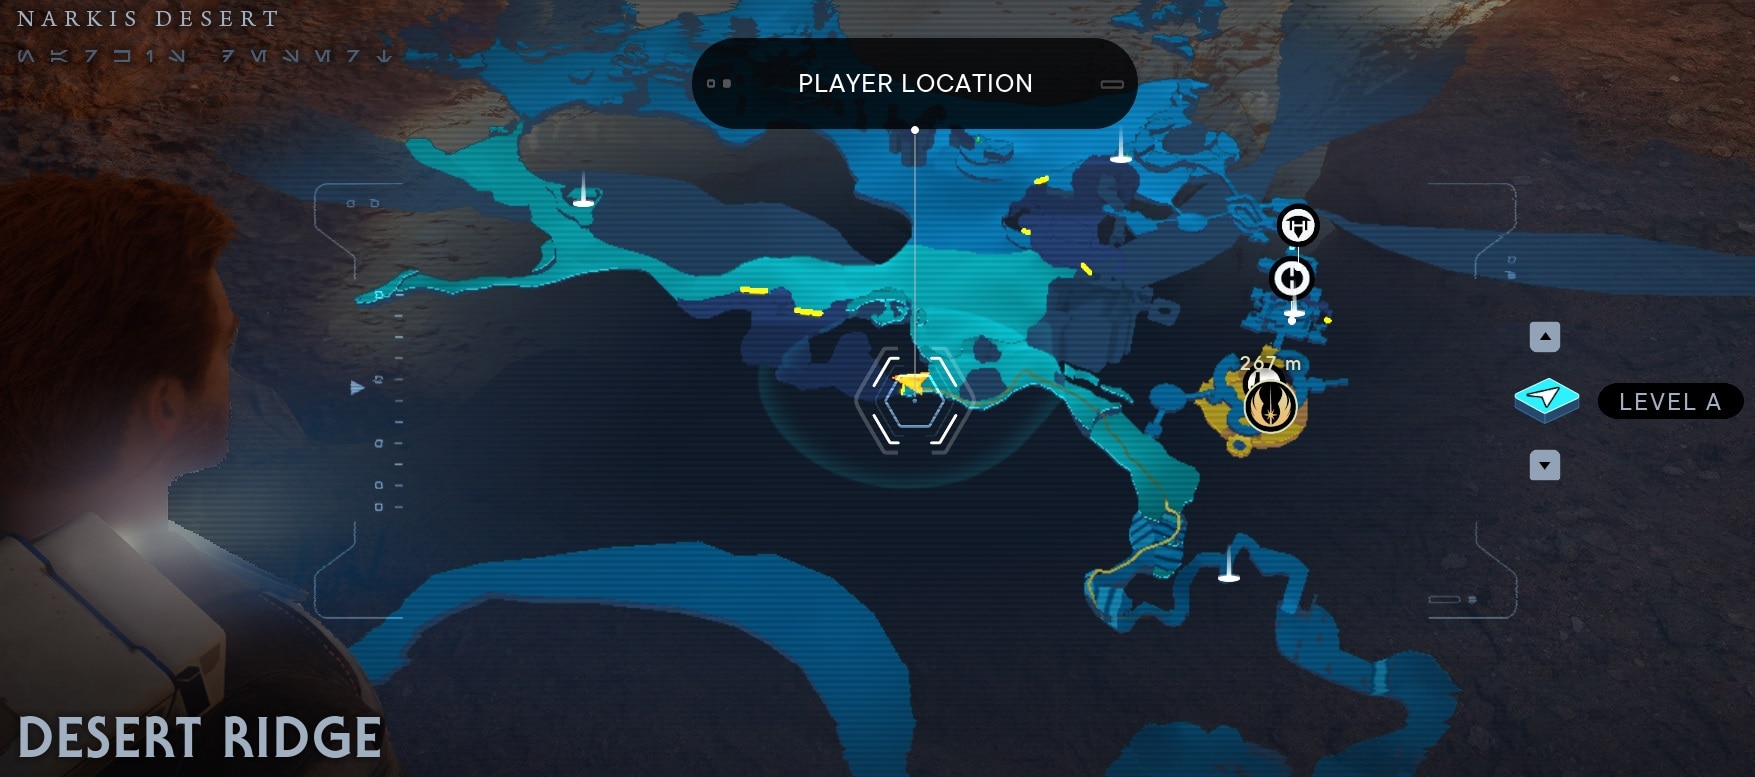
Where to get the Unflinching Perk
The Unflinching Perk is a reward for defeating the Golden Skriton Legendary enemy on Jedha. You will find it at Desert Ridge.
Trendsetter
- Perk Effect: All customizations for Cal, his lightsaber, and BD-1 are randomized on death.
- Perk Cost: 0 Slots

This perk is a fun additional perk you gain at the start of New Journey+. It won’t set you back any perk slots and is purely there for fun. Though, if you prefer to keep Cal looking the way you want, we suggest avoiding this.
For additional information on Customizations, check out our Customizations Guide. This guide teaches you everything you need to know about the art of changing your character’s appearance as well as the appearance of your weapons and BD-1 droid.
Where to get the Trendsetter Perk
This perk is given at the start of New Journey+, alongside Purity and Warrior. For additional information on other New Journey+ items, check out our New Journey+ Guide.
Warrior
- Perk Effect: Replace standard encounters with more challenging encounters.
- Perk Cost: 0 Slots
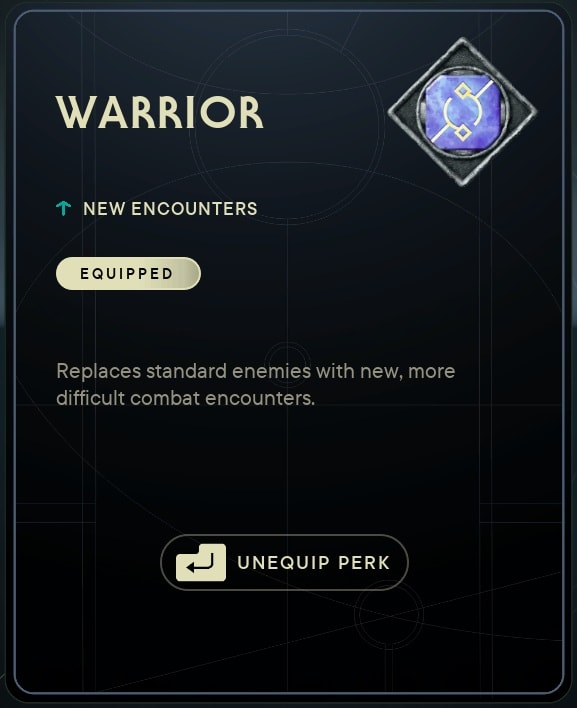
This is a great perk that re-arranges the encounters in the game. As a bonus perk exclusive to New Journey+, this makes New Journey+ more difficult and engaging compared to just doing a second playthrough.
Where to get the Warrior Perk
This perk is given at the start of New Journey+, alongside Purity and Trendsetter. For additional information on other New Journey+ items, check out our New Journey+ Guide.
 Wisdom
- Perk Effect: Gain more experience from defeating enemies.
- Perk Cost: 3 Slots
Where to Wisdom Perk
You can purchase the Wisdom Perk from Zee’s Shop for 5 Datadiscs. You collect Datadiscs by playing the game and exploring.
To unlock ZN-A4 a.k.a Zee as a vendor, you must first complete the Chamber of Duality where you first meet this droid. Zee’s shop is on the second floor of the Pyloon’s Saloon in Rambler’s Reach Outpost on Koboh.
What are the best Perks to unlock early
Each Stance in Jedi Survivor benefits from a different combination of Perks to optimize it to its full potential. There are some, like Fortitude, that will likely fit well in almost any build and stance combo.
In our comprehensive guides to Stances in Jedi Survivor, we have a dedicated section discussing Perks for each Stance and a set of recommended Perks to use with it for maximum efficiency.
The Blaster Stance benefits from Marksmanship and Ambidexterity, which are Perks specifically tailored to playing this stance.
In every Stance combo you will always use Force attacks, so Equilibrium is a smart choice in many cases.
Thanks to the fast attack pace of the Dual Wield and Double-Bladed Stances, Shatter is very useful as it will drain the opponent’s block meter even faster thanks to the higher number of hits you will be landing. Where every hit counts with the Crossguard, Shatter could also prove useful as it will make those heavy hitters have an even greater impact on your target.
Dexterity can be situationally beneficial for the Dual Wield Stance, allowing you to throw both of your lightsabers for even higher damage dealt.
I highly recommend that you read through our individual Stance Guides for a much more detailed explanation of how to combine your Lightsaber(s) with the proper Skill Upgrades and the best Perk that compliment them!


