
This guide will teach you about the Blaster Stance in Star Wars Jedi Survivor. You’ll learn its strengths and weaknesses, the combos it can use, and how to best utilize it.
How to get the Blaster Stance
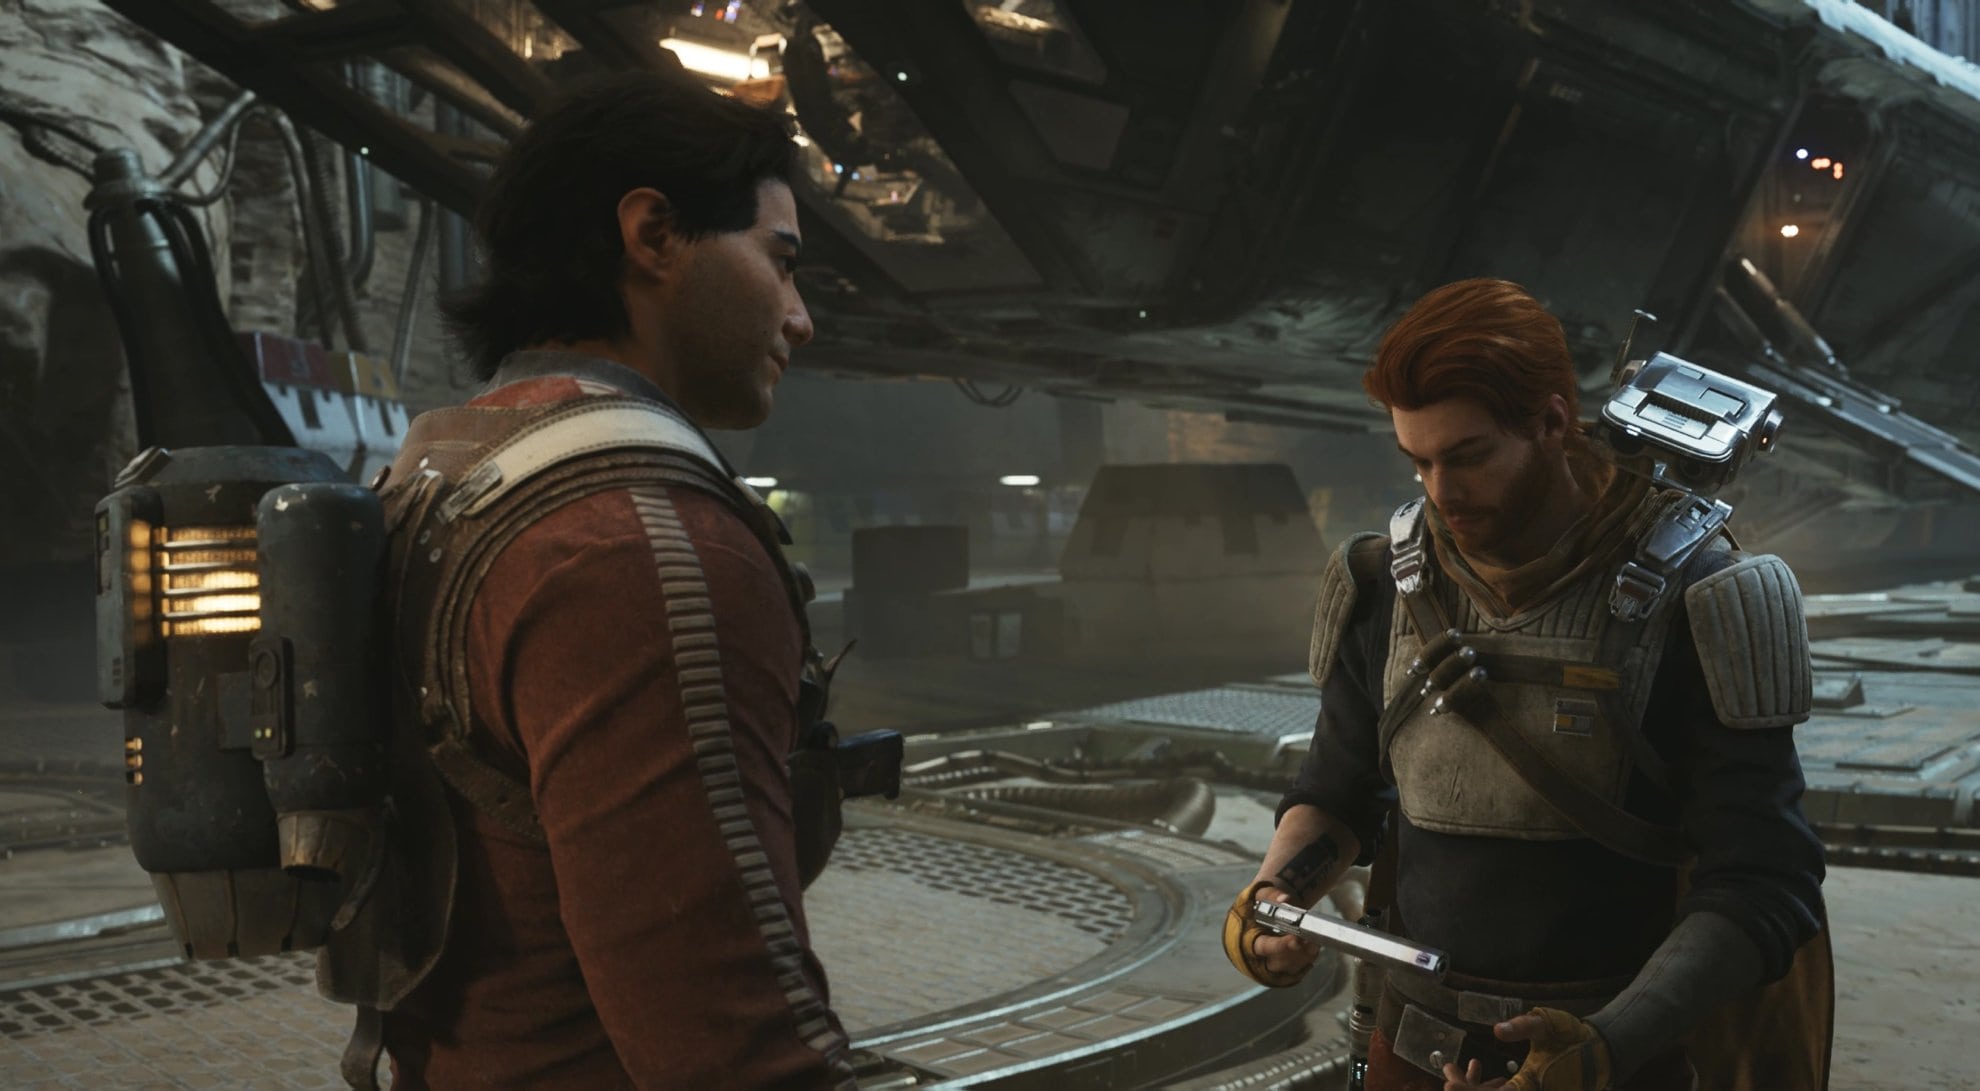
You unlock the Blaster Stance as part of the main story after Bode gives you one of his blasters at the very end of your first excursion on Jedha.
Blaster Stance Strengths and Weaknesses
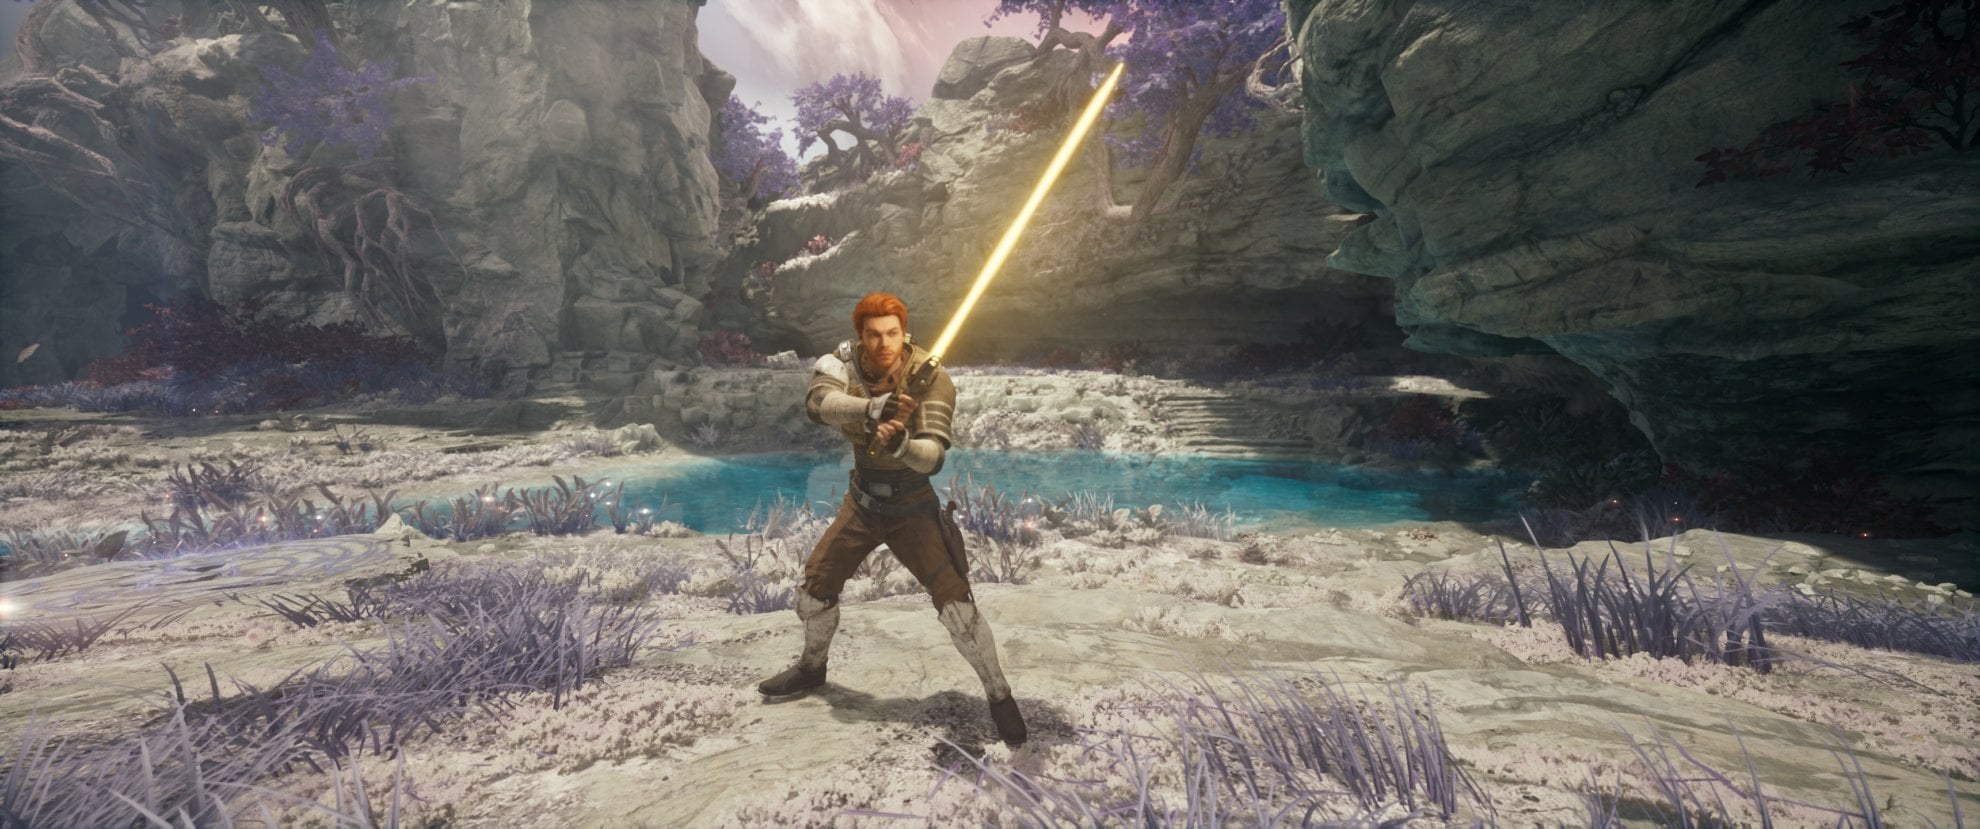
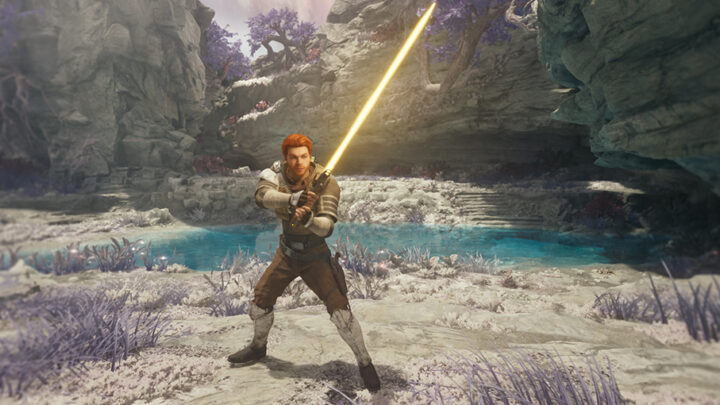
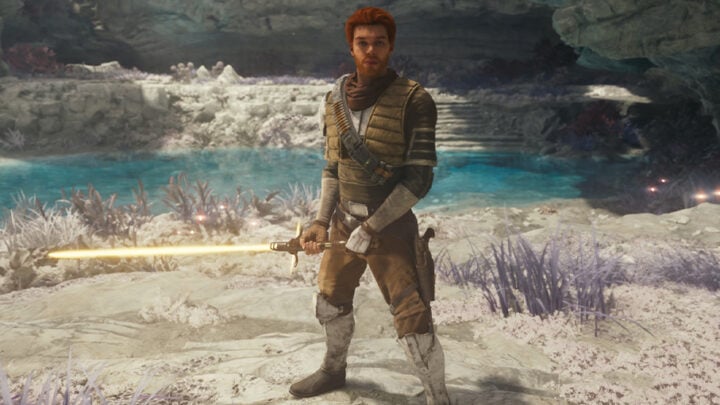
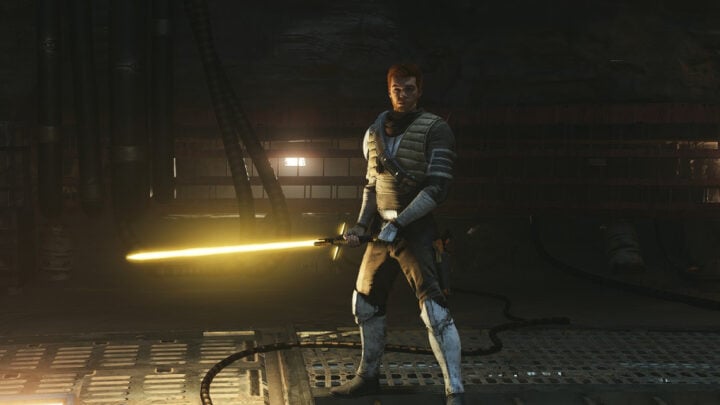
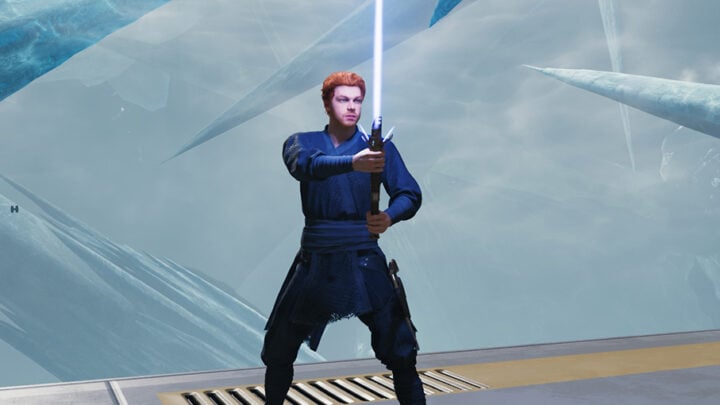
The Blaster Stance combines Dooku’s fighting style, Form II: Makashi, with a blaster. It ends up looking a lot like a fencer with a gun as the lightsaber swings are mostly lunges and stabs, which synergize decently well with the longer-range blaster attacks. However, the Blaster Stance is unorthodox and feels quite different from all the other Stances in the game.
You’ll have a hard time getting the most of it unless you spend time using it as your main Stance and you have to be a bit more tactical and strategic with how you approach fights. If you want to focus more on the story and less on combat, I recommend picking a different Stance.
That said, the Blaster Stance’s saber swings deal quite a bit of damage, especially considering how fast they are, and the range you get from the blaster is unparalleled.
If you’re okay with a slightly steeper learning curve or just want to feel like Dooku, the Blaster is an excellent option that feels extremely unique.
Blaster Stance Skill Tree
The Blaster Stance has the following upgrade options:
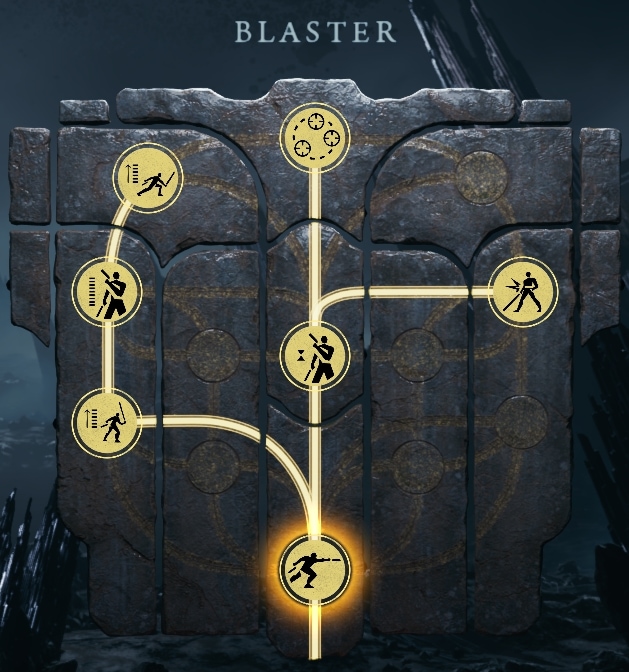
Since you can fire the blaster while riding a Nekko mount, I highly recommend spending your Skill Points in the Blaster tree as soon as you’ve unlocked everything in the Force and Survival Trees and your main two Stances.
Firing the Blaster and Replenishing Ammo
Upgrades Cost 1 Skill Point Each
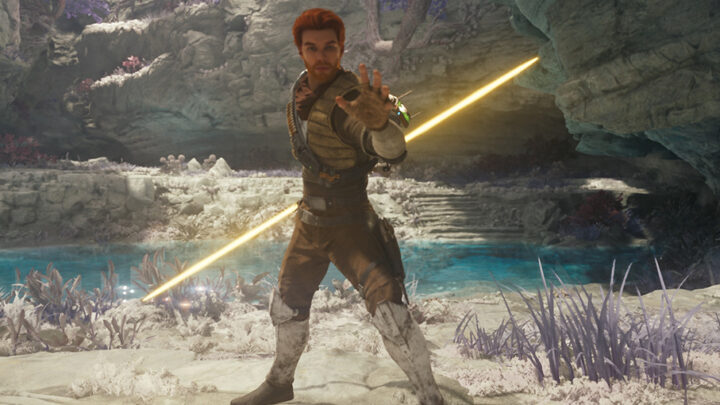
Press Special Attack to fire your blaster, consuming 1 charge of blaster ammo. Striking an enemy with your lightsaber while in Blaster Stance regenerates ammo. Improved Clip increases your ammo capacity and Blaster Cooldown increases the ammo recovered from each lightsaber strike.
You can fire Cal’s blaster (while in the Blaster stance) by pressing the Special Attack button. All attacks that involve the blaster will also involve the Special Attack button. Each blaster shot deals comparable damage to a lightsaber swing, so the only advantages to using it are range and speed, so fire the blaster liberally whenever you can’t swing the lightsaber because there isn’t time or you’re not in range.
Each shot consumes a single unit of ammo and each time you hit an enemy with your lightsaber, you replenish some ammo. Since ammo does not replenish gradually over time at all, you’ll need to mix in lightsaber swings and use those whenever possible.
Charge Shot and Efficient Heat Transfer
Costs 2 Skill Points
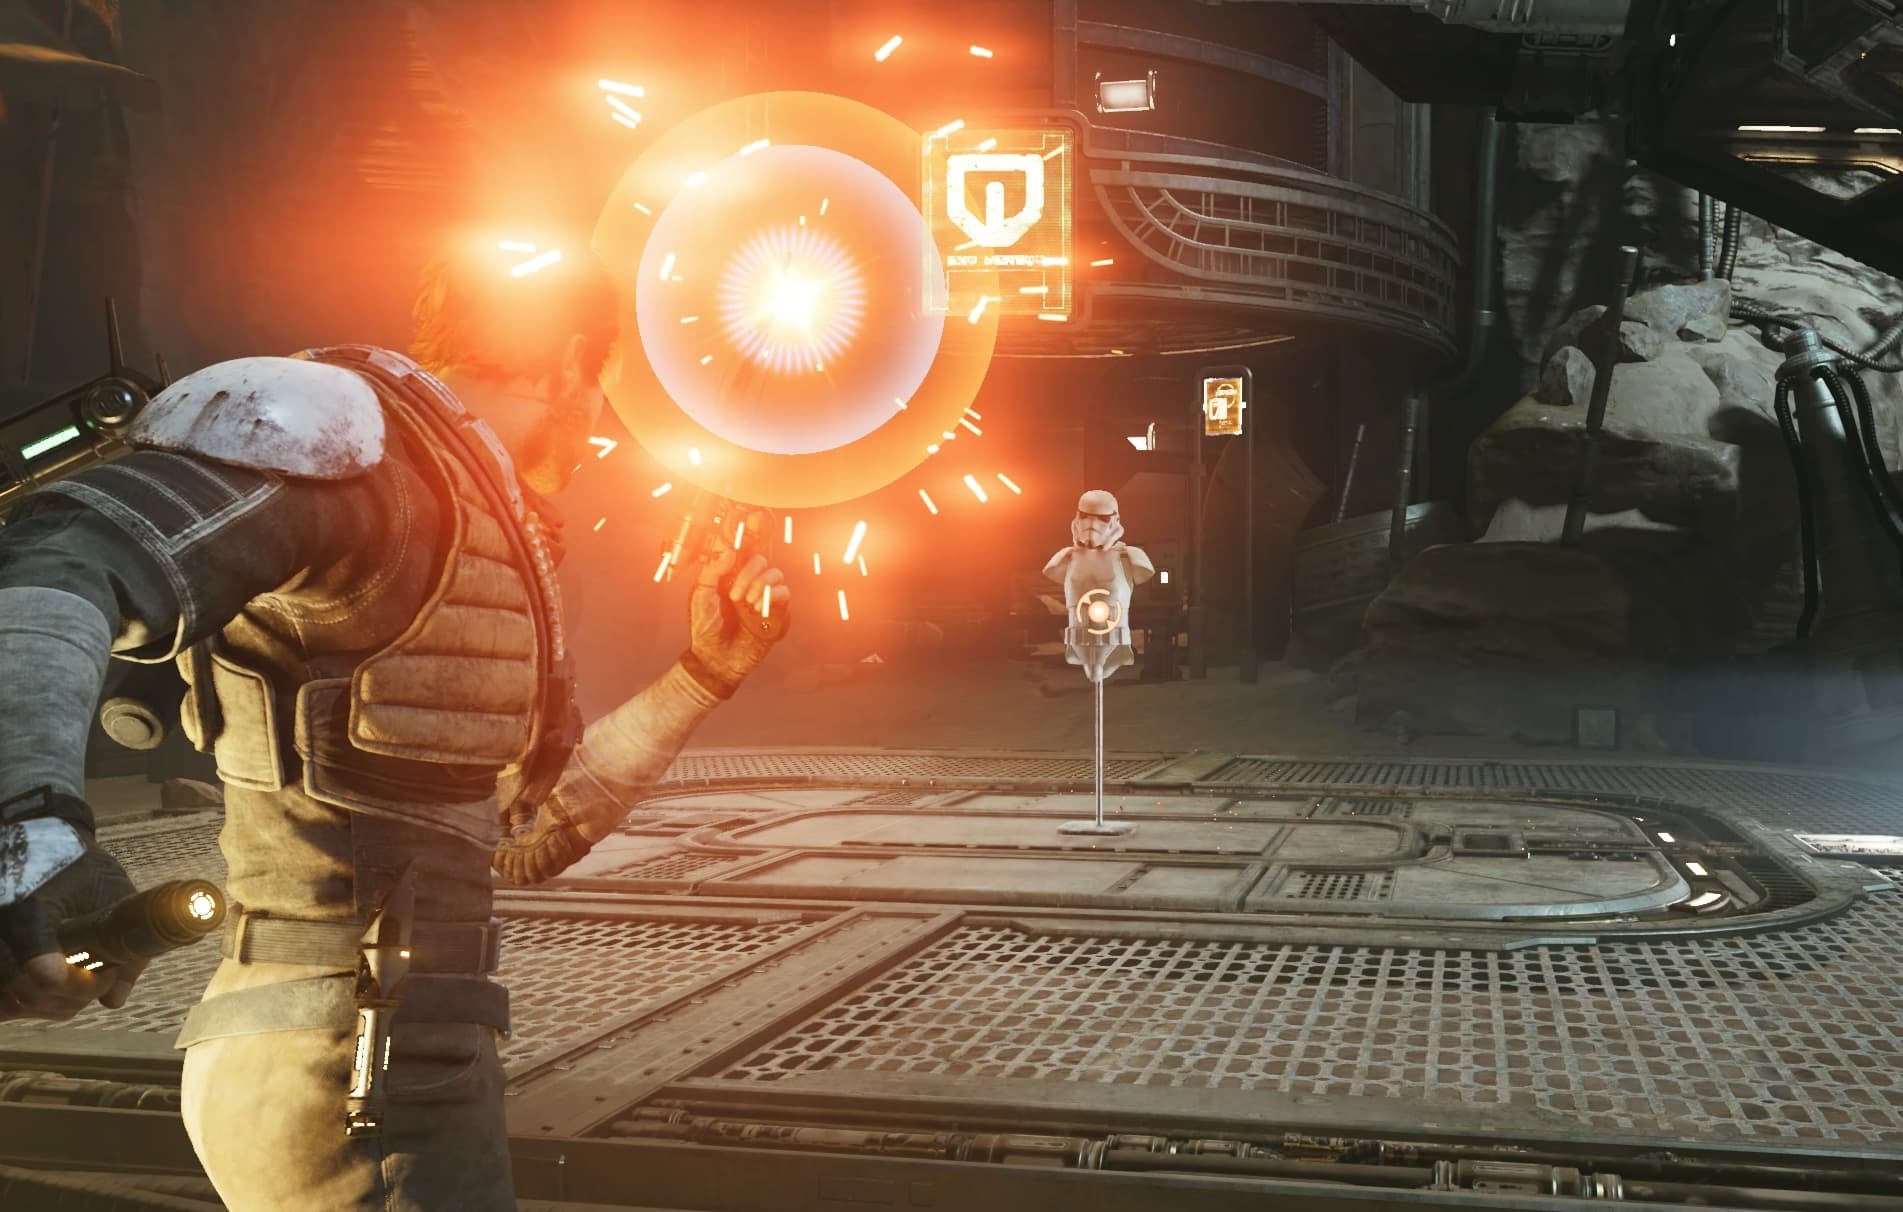
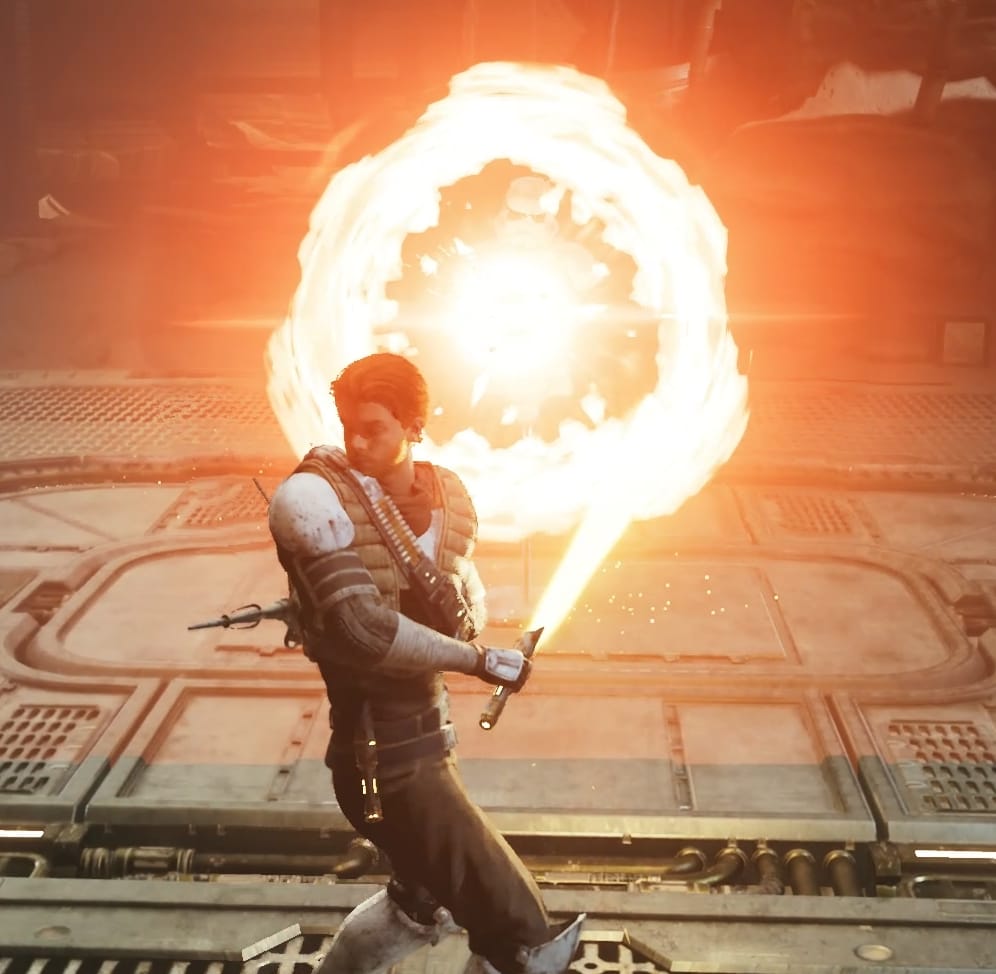
Hold Special Attack to charge your next blaster shot; release Special Attack once fully charged to fire, making your next shot more effective and consuming 2 ammo. Efficient Heat Transfer reduces the charge time.
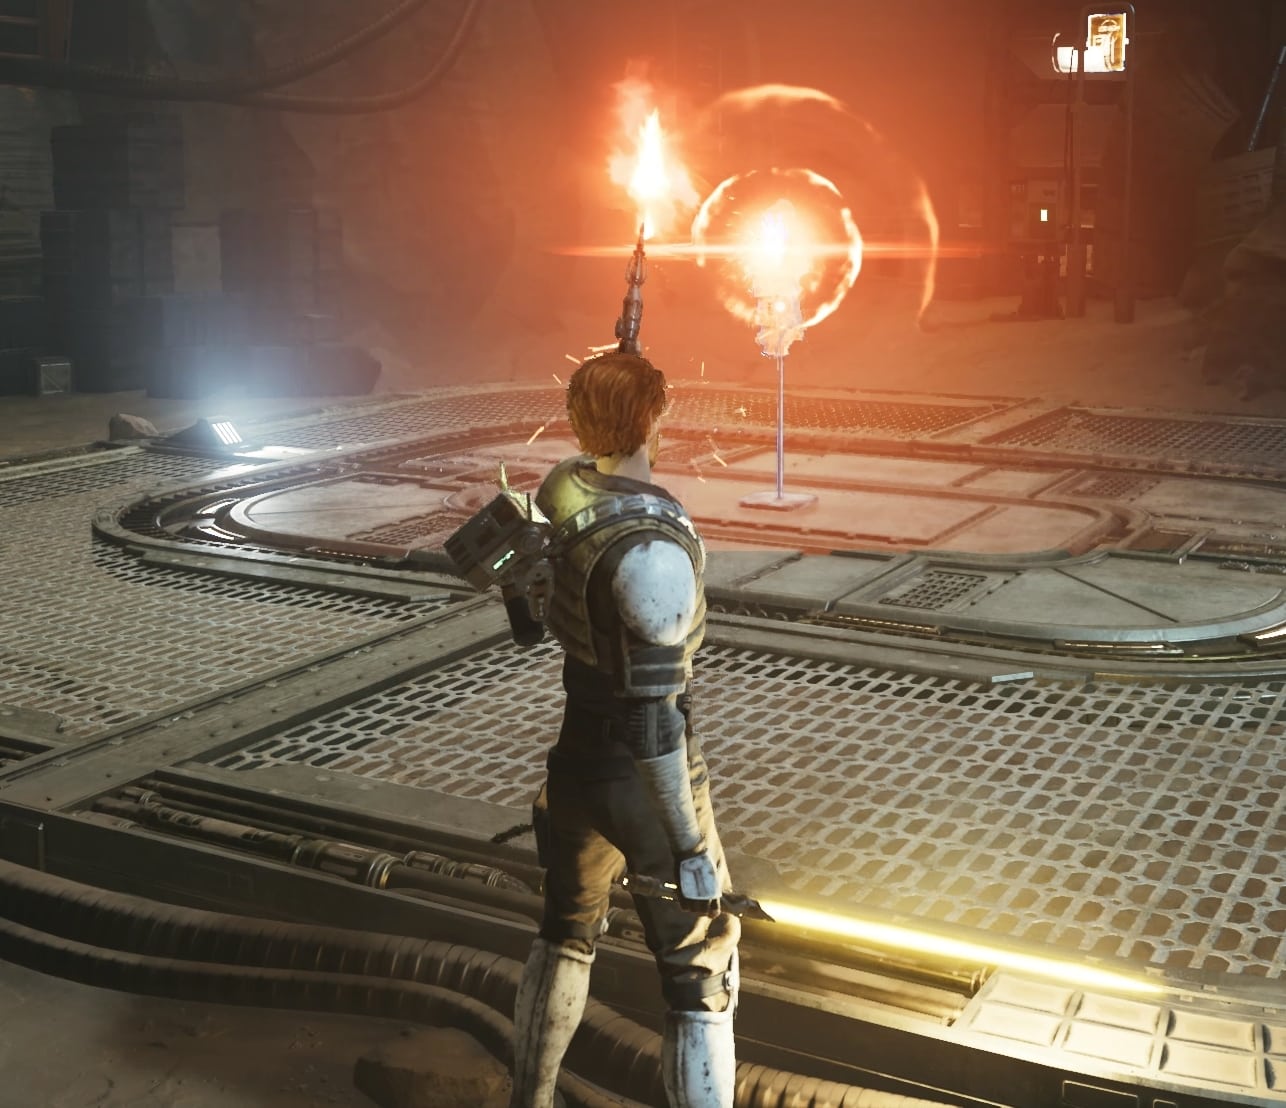
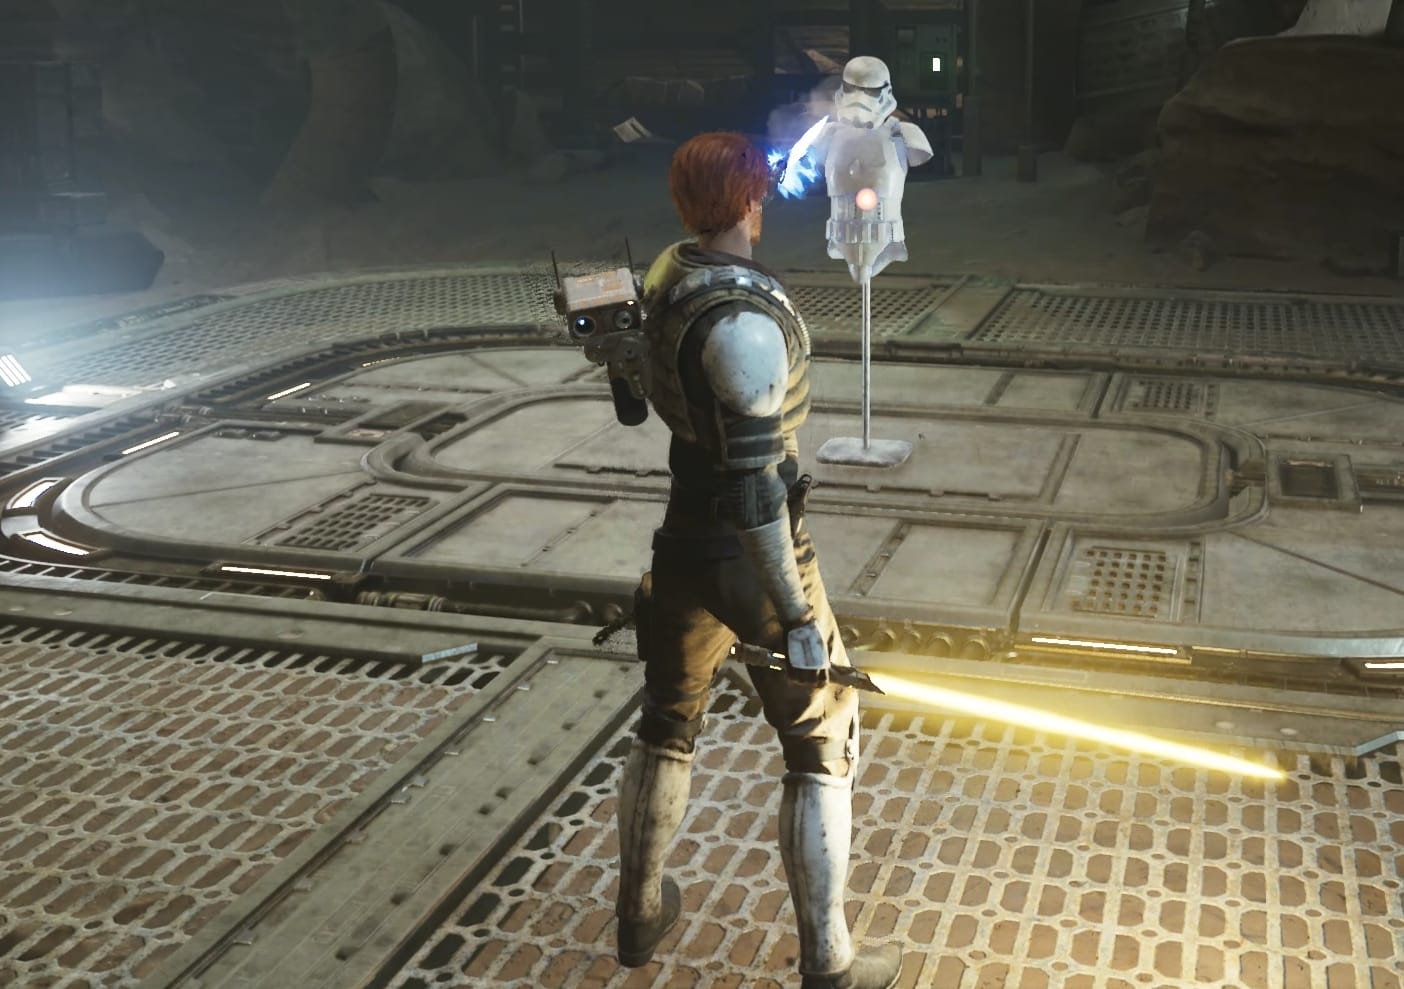
The Charge Shot consumes 2 ammo instead of 1, but deals more damage than 2 regular shots or offers some other comparable effect. There are 3 Charge Effects in the game and you can purchase from Caij Vanda in exchange for Bounty Pucks. Their effects are the following:
- Charge – Charge is the only option that offers an actual damage increase over just firing twice, but there’s not really any added functionality. Caij sells an upgrade to the base effect that makes the shot deal partial damage to nearby enemies like the Crossguard blaster reflect Skill.
- Ricochet – This effect is quite similar to that of the Quick Draw Skill, but it’s bugged where it never ricochets to more than 1 enemy, so it’s strictly inferior because it costs 2 ammo while doing the same damage as 2 shots, so no added functionality or damage over just shooting twice.
- Stun – Stun trades most of the damage for a short stun over a large area similar in size to the stun grenades used by bounty hunters and AT-STs. Use this option if you want more expanded functionality at the expense of damage. This one is overshadowed a bit later on by Force Lift and Force Slam as they perform the same task.
You can change which is equipped at a Meditation Point in the Stances menu. Exact usage will depend on the capability you’re after, but in general, try to avoid charging unless you know you can get the ability off. Personally, I recommend using the regular Charge, which you want to use against stronger enemies when you know you can land the shot.
Quick Draw
Costs 3 Skill Points
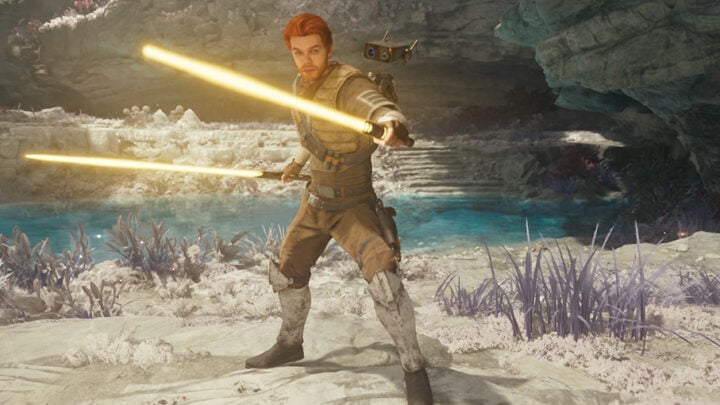
Hold Block and Special Attack to focus and target multiple enemies at once. Release Special Attack to fire a powerful shot at each targeted enemy.
If you’ve played Battlefront II (2017), Cal’s Quick Draw attack is very similar to Lando Calrissian’s Sharp Shot ability, though time is dilated to facilitate fast targeting as opposed to just rolling your target reticle over each enemy.
Quick Draw allows you to fire multiple shots at multiple enemies in a relative instant. You can only fire 1 shot per enemy though. Strangely, it only ever costs a single unit of ammo, but each shot costs a bar of Force equal to that minimum amount that regenerates, and that Force cost is paid upfront.
Even though time is dilated while aiming, it doesn’t stop completely, and if you get hit while targeting or firing, the attack will get interrupted, so you can really only use Quick Draw before the enemies have noticed you or there are no ranged enemies to worry about as their blaster shots will hit and interrupt you before you can finish the attack, wasting all the Force you invested.
Enemies can also dodge the shots if they’re smart enough, so it’s really only worth using as an opener or if you’ve created a major opening with Force Confusion, Force Lift, Force Slam, and/or Droid Slicing.
Point Blank
Costs 1 Skill Point
Press Special Attack right before an enemy hits with a melee attack to blast them away with a powerful shot.
Point Blank effectively lets you parry with a ludicrously powerful blaster shot. It’s much harder to execute than a regular parry, and only works against those attacks (so not unlockables or blaster shots), but it’s far more rewarding.
Flying Lunge
Costs 1 Skill Point
Hold Attack to close the distance to your enemy with a leaping thrust.
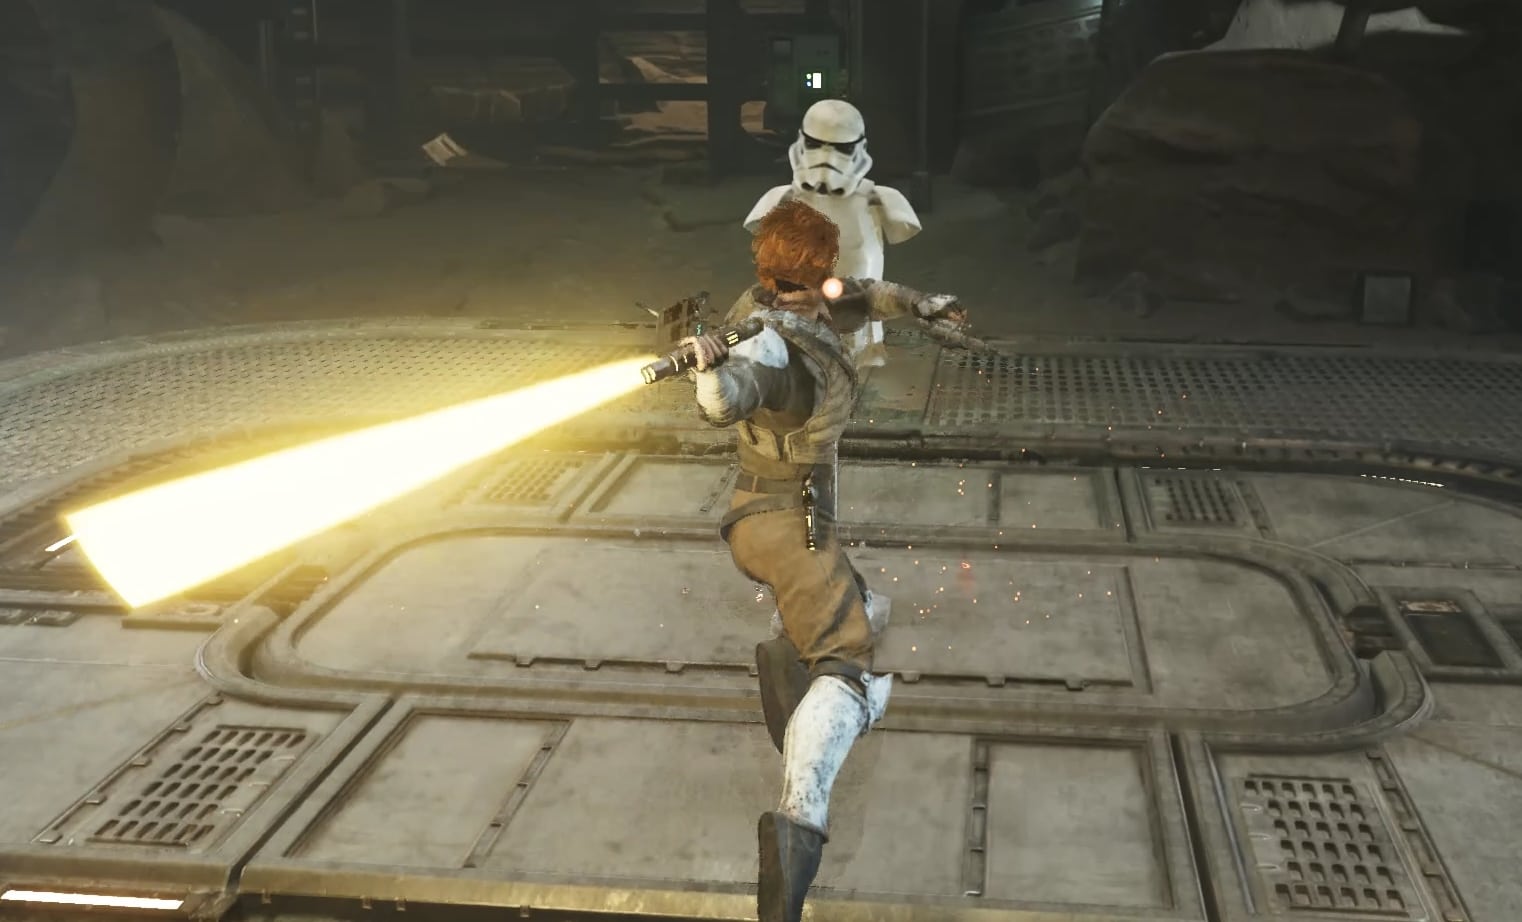
Unlike all other abilities activated by exclusively holding Attack, Flying Lunge costs Force, though it deals comparable damage and block meter drain while having a valuable effect (lunge) to be worthy of the cost. I think this was done to just have all saber swings use the Attack button and all blaster shots use the Special Attack button.
The ability has about as much range as the Saber Throws that other Stances have, though the animation is kinda long so be careful when using against enemies with ranged attacks. Typically, you want to use Flying Lunge to get into melee range after firing your blaster so you can hit targets with your lightsaber as well.
Energizing Flurry
Costs 3 Skill Points
Hold Block and press Attack to perform a series of quick stabs to rapidly replenish your ammo.
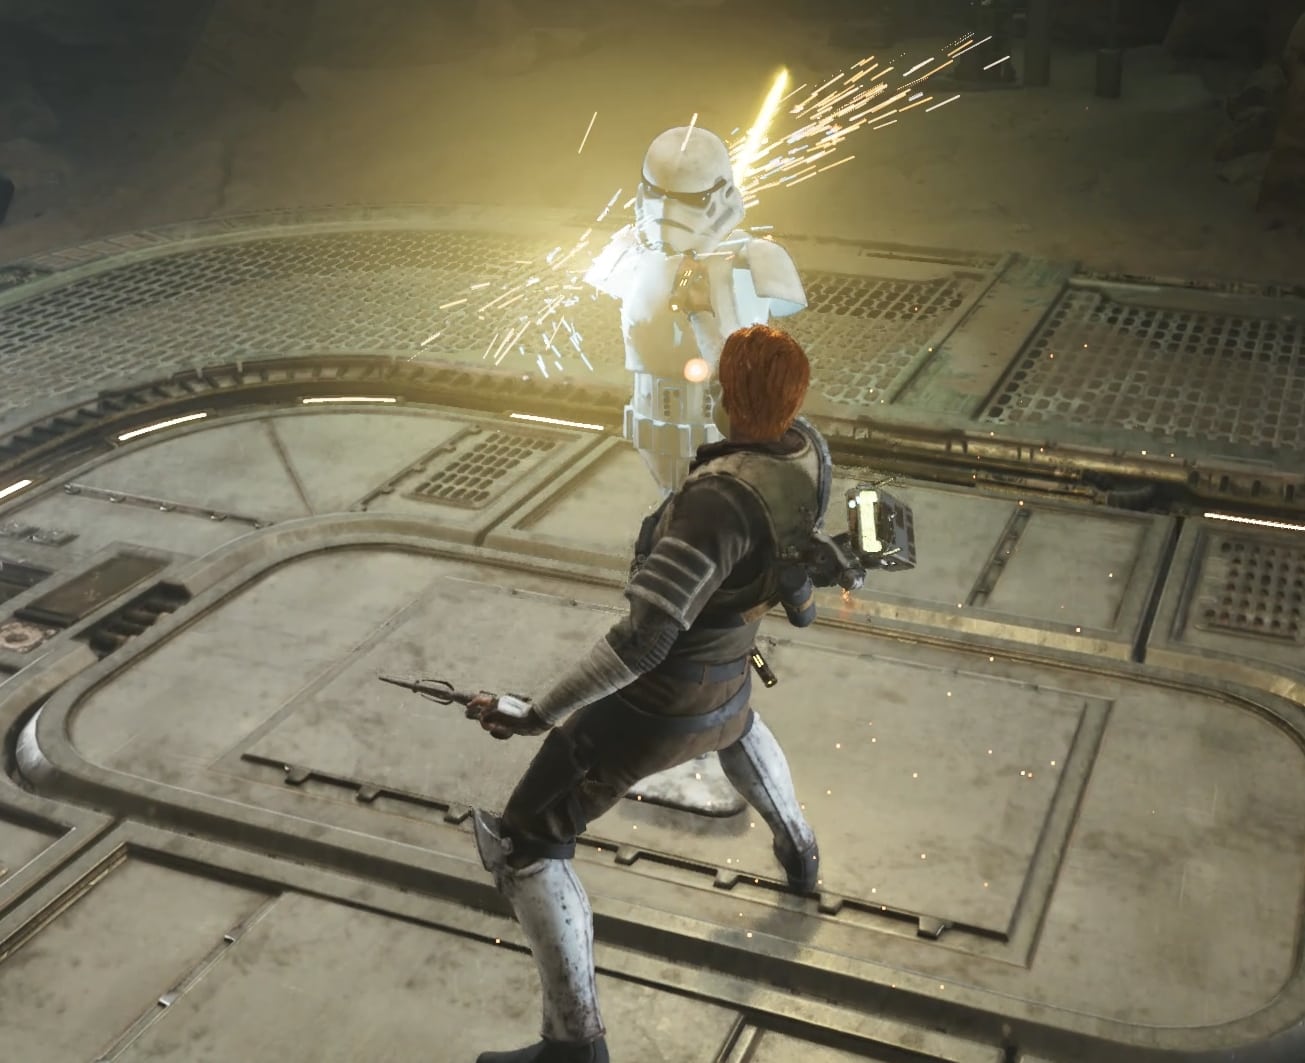
Energizing Flurry deals very little damage, but is a great way to regenerate a ton of ammo in a short time, assuming you can actually land the hits. Unfortunately, they don’t seek enemies super strongly, have short range, and you’re vulnerable throughout the entire animation, so it’s hard to use with a high potential to waste the Force you spend to activate the ability.
Combined with the limited damage, you should use Energizing Flurry if you need the ammo and can land most of the hits but don’t use it outside of that single situation.
Complimentary Stances
These lightsaber Stances pair well with the Blaster Stance:
Single Saber
Use the Blaster when you’re further away or to pick off the ranged enemies, then put your blaster away when you get into the thick of it and use your Force-empowered lightsaber strikes. The Single Saber Stance offers stronger performance in melee range compared to the Blaster Stance, particularly when it comes to Force-empowered strikes.
The Force-Empowered saber strikes are a bit weaker for the Blaster Stance whereas they’re really the Single Saber Stance’s bread and butter. Single Saber also has a gap-closing attack called Dash Strike, so its strengths and weaknesses truly compliment that of the Blaster Stance.
Check out my guide on the Single Saber Stance for more information.
Double-Bladed Saber
Use the Double-Bladed Saber Stance when you get close to a group of enemies and use the Blaster at range as well as in single-target situations.

The Blaster Stance struggles the most if it gets stuck in a large group of enemies, but performs super well against single enemies. The Double-Bladed Saber is the complete opposite.
Check out my guide on the Double-Bladed Stance for more information.
Complimentary Perks
These are the Perks I recommend using with the Blaster as your primary Stance:
Marksmanship
Marksmanship simply makes your blaster shots deal more damage. Given that it’s such a flat damage boost to a core part of the Stance without a drawback, it’s a no-brainer.
Ambidexterity
Ambidexterity makes it so your lightsaber deals more damage for a short time after hitting something with a blaster. It’s a super accessible damage boost specifically for this Stance, so it’s also a no-brainer
Fortitude OR Unflinching + Recuperation
For your last 4 points, you have 2 decent options. You can take Fortitude, which is a high-risk, high-reward option that boosts your lightsaber damage but also increases your damage taken. It’s not quite as useful for Blaster as it is for the other stances since some of your damage is not dealt by your lightsaber, but it’s still quite significant.
The alternative is combining Unflinching with Recuperation. Unflinching makes it so the first shot you would take while charging your blaster doesn’t interrupt you. It seems like it might work with Quick Draw as well, but it’s hard to tell, and that’s a big part of why I’m hesitant to recommend it: I have a difficult time telling whether it’s equipped at all.
Recuperation is nice because you do rely on Force attacks, but a greater proportion of your time spent is not being used on firing your blaster, so there is time for Recuperation to work.
Tips for the Blaster Stance
Try to pick off as many enemies as you can from range with Quick Draw and regular shots so you have less to deal with when you engage in melee combat. Sometimes, the ability fails to target everything, so be prepared for that.
Do your best to use Special Attack as your parry instead of blocking with the Point Blank shot, though be mindful that it is much harder to land those shots compared to a parry and the muscle memory doesn’t transfer.
Prioritize using your lightsaber whenever you’re in range since it deals more damage and recovers your blaster ammo, but don’t hesitate to fire a shot if you think you can land it, especially during an enemy attack animation. The blaster is faster.
This concludes the Blaster Stance guide. To personalize your experience with the game, check out our Guide to Controls and Keybinds for Jedi Survivor. Setting up your custom keybinds will allow you to play your favorite Stance with the highest efficiency. For anything else, check our Star Wars Jedi Survivor Guides Master List.
Jedi Survivor Single Saber Stance Guide
This guide will teach you about the Single Saber Stance in Jedi Survivor. You’ll learn its strengths and weaknesses, the combos it can use, and how to best utilize it.
Jedi Survivor Double-Bladed Stance Guide: Everything you should know
This guide will teach you about the Double-Bladed Stance in Jedi Survivor. You’ll learn its strengths and weaknesses, the combos it can use, and how to best utilize it.
Jedi Survivor Dual Wield Stance Guide: Everything you should know
This guide will teach you about the Dual Wield Stance in Jedi Survivor. You’ll learn its strengths and weaknesses, the combos it can use, and how to best utilize it.
Jedi Survivor Crossguard Stance Guide: Everything you should know
This guide will teach you about the Crossguard Stance in Jedi Survivor. You'll learn its strengths and weaknesses, combos it can use, and how to best utilize it.
Jedi Survivor Build Guide: Dual Wield and Double-Bladed Stance Pairing
This guide will cover everything you need to know about pairing the Dual Wield and Double-Bladed Stances, including the strengths and weakness of the pairing, what each Stance is best suited for, synergistic perks and where to find them, and early skill tree essentials for the early game.
Jedi Survivor Build Guide: Crossguard and Double-Bladed Stance Pairing
This guide will go over everything you should know about pairing the Double-Bladed and Crossguard Lightsaber Stances. This includes the strengths and weaknesses of this pairing, what each Stance is best suited for, synergistic perks and where to find them, and skill tree essentials for the early game.
Jedi Survivor Build Guide: Blaster and Double-Bladed Stance Pairing
This guide will cover everything you need to know about pairing the Blaster and Double-Bladed Stances, including the strengths and weaknesses of the pairing, what each Stance is best suited for, synergistic perks and where to find them, and skill tree essentials for the early game.
Jedi Survivor Build Guide: Crossugard and Single Stance Pairing
This guide will cover everything you need to know about pairing the Crossguard and Single Saber Stances, including the strengths and weaknesses of the pairing, what each Stance is best suited for, synergistic perks and where to find them, and early skill tree essentials for the early game.


