
This guide will teach you what to watch out for during the Bode Akuna boss fight in Jedi Survivor and how to beat the final boss. Bode is an aggressive and slippery opponent with his mixture of the Shien lightsaber form and blaster combat. You’ll need to be just as slippery as Bode to win this fight.
Where Bode Akuna is Located
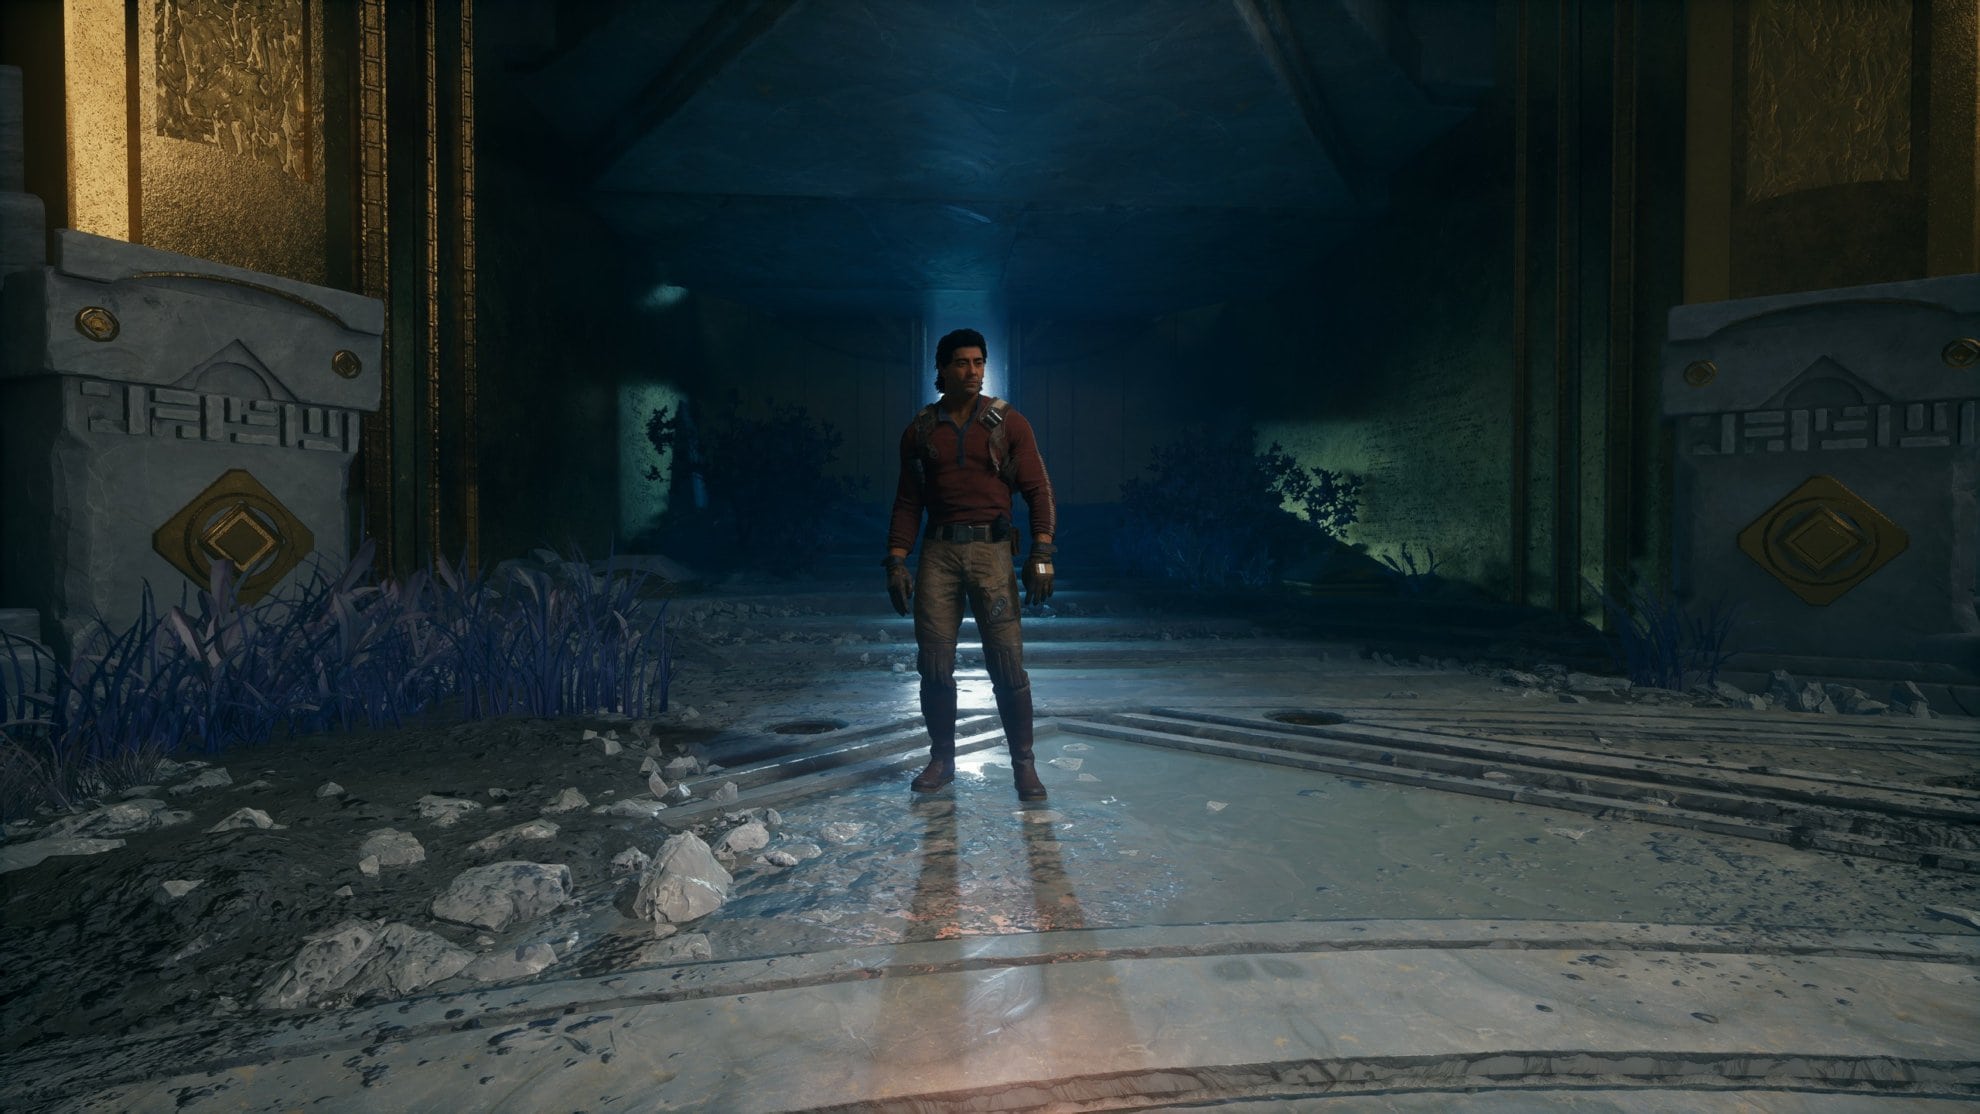
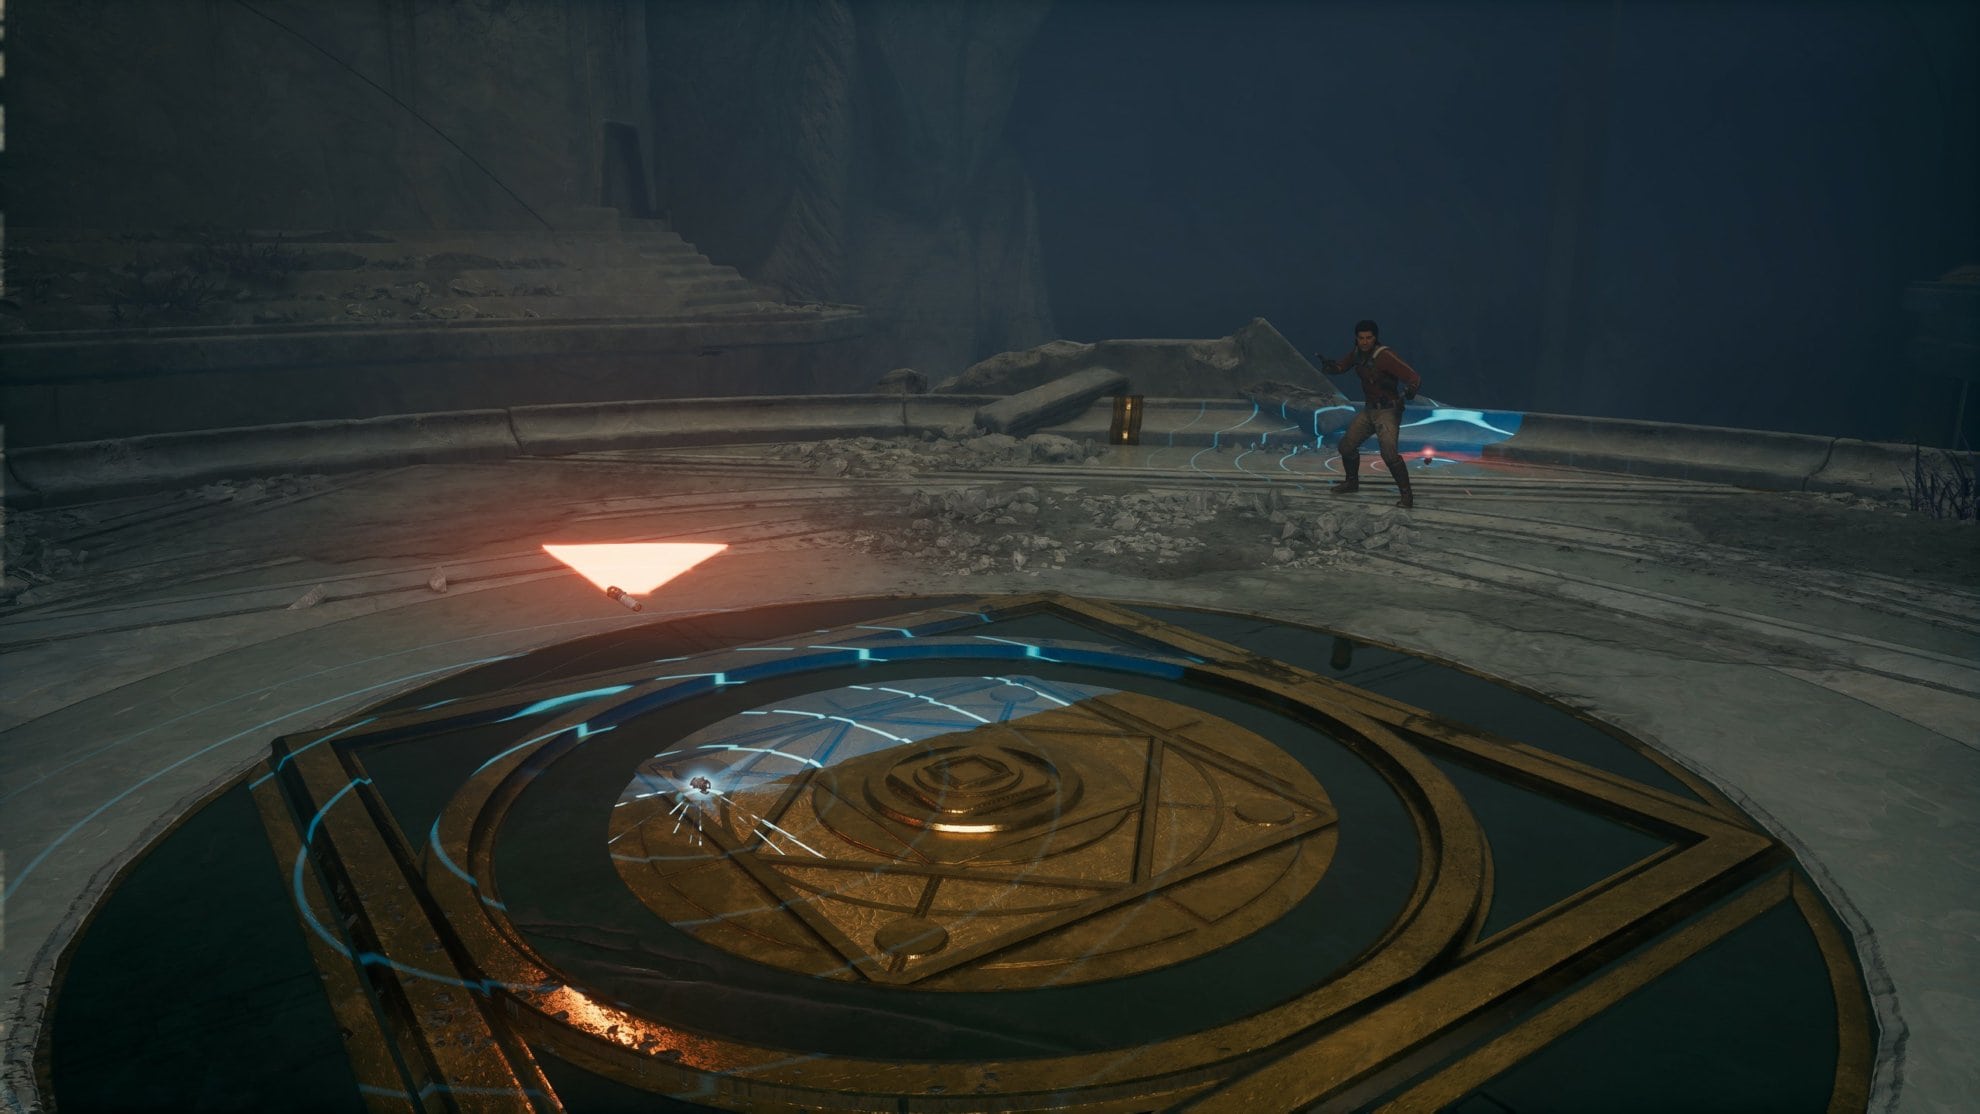
After realigning the arrays on Koboh, you’ll find Bode in the Temple Atrium on Tanalorr. You’ll find his daughter Katta at the temple entrance where she’ll take you to her father. After the cutscene, you’ll start the fight with Bode.
How to Prepare for the Encounter
This fight is very tough and Bode will take out large chunks of your health very quickly in this fight. You should look to get all the maximum health upgrades from your Resilience skill tree and from collecting Health Force Essences.
You’ll need as many stims as you can get your hands on, so be sure to collect as many stim upgrades as you can. Fill out the Improved and Perfected Stim Formula skills in the Resilience Skill tree for more effective stims. Last for stims, you’ll need the Teamwork skill to reduce the time to apply the stim as you won’t have much breathing room in the fight ahead.
For Perks, I would recommend Shatter, Resilience, and Fortification. If you lack these perks or the perk slots to equip all three at the same time, see our Jedi Survivor Perks Guide and Locations Catalog for help.
Bode Akuna’s Attacks and Strategies Explained
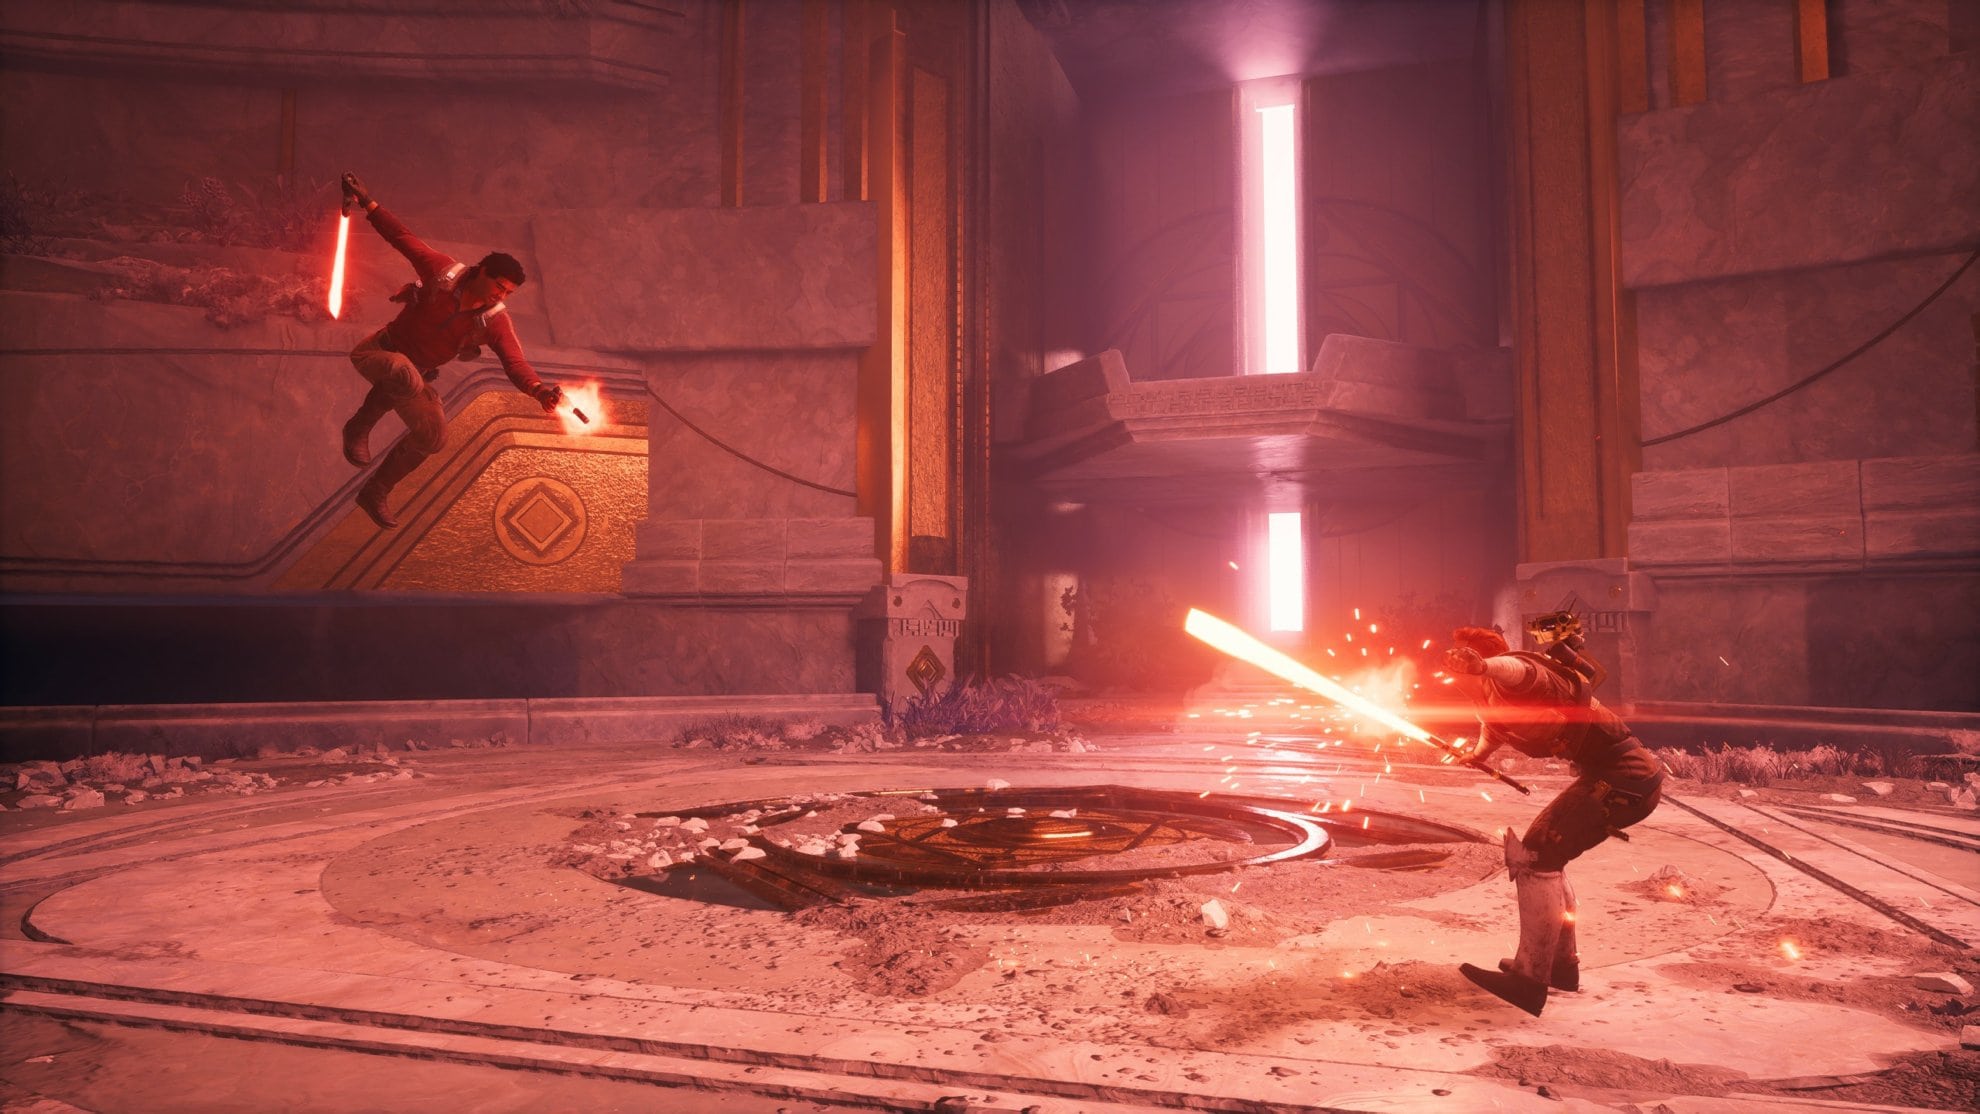
Things don’t bode well for a peaceful resolution after Bode destroys the bridge leading to him. Like the Darth Vader boss encounter, Bode’s fight will be split into three separate phases with him getting more aggressive as the fight goes on.
Bode Akuna Fight Phase One
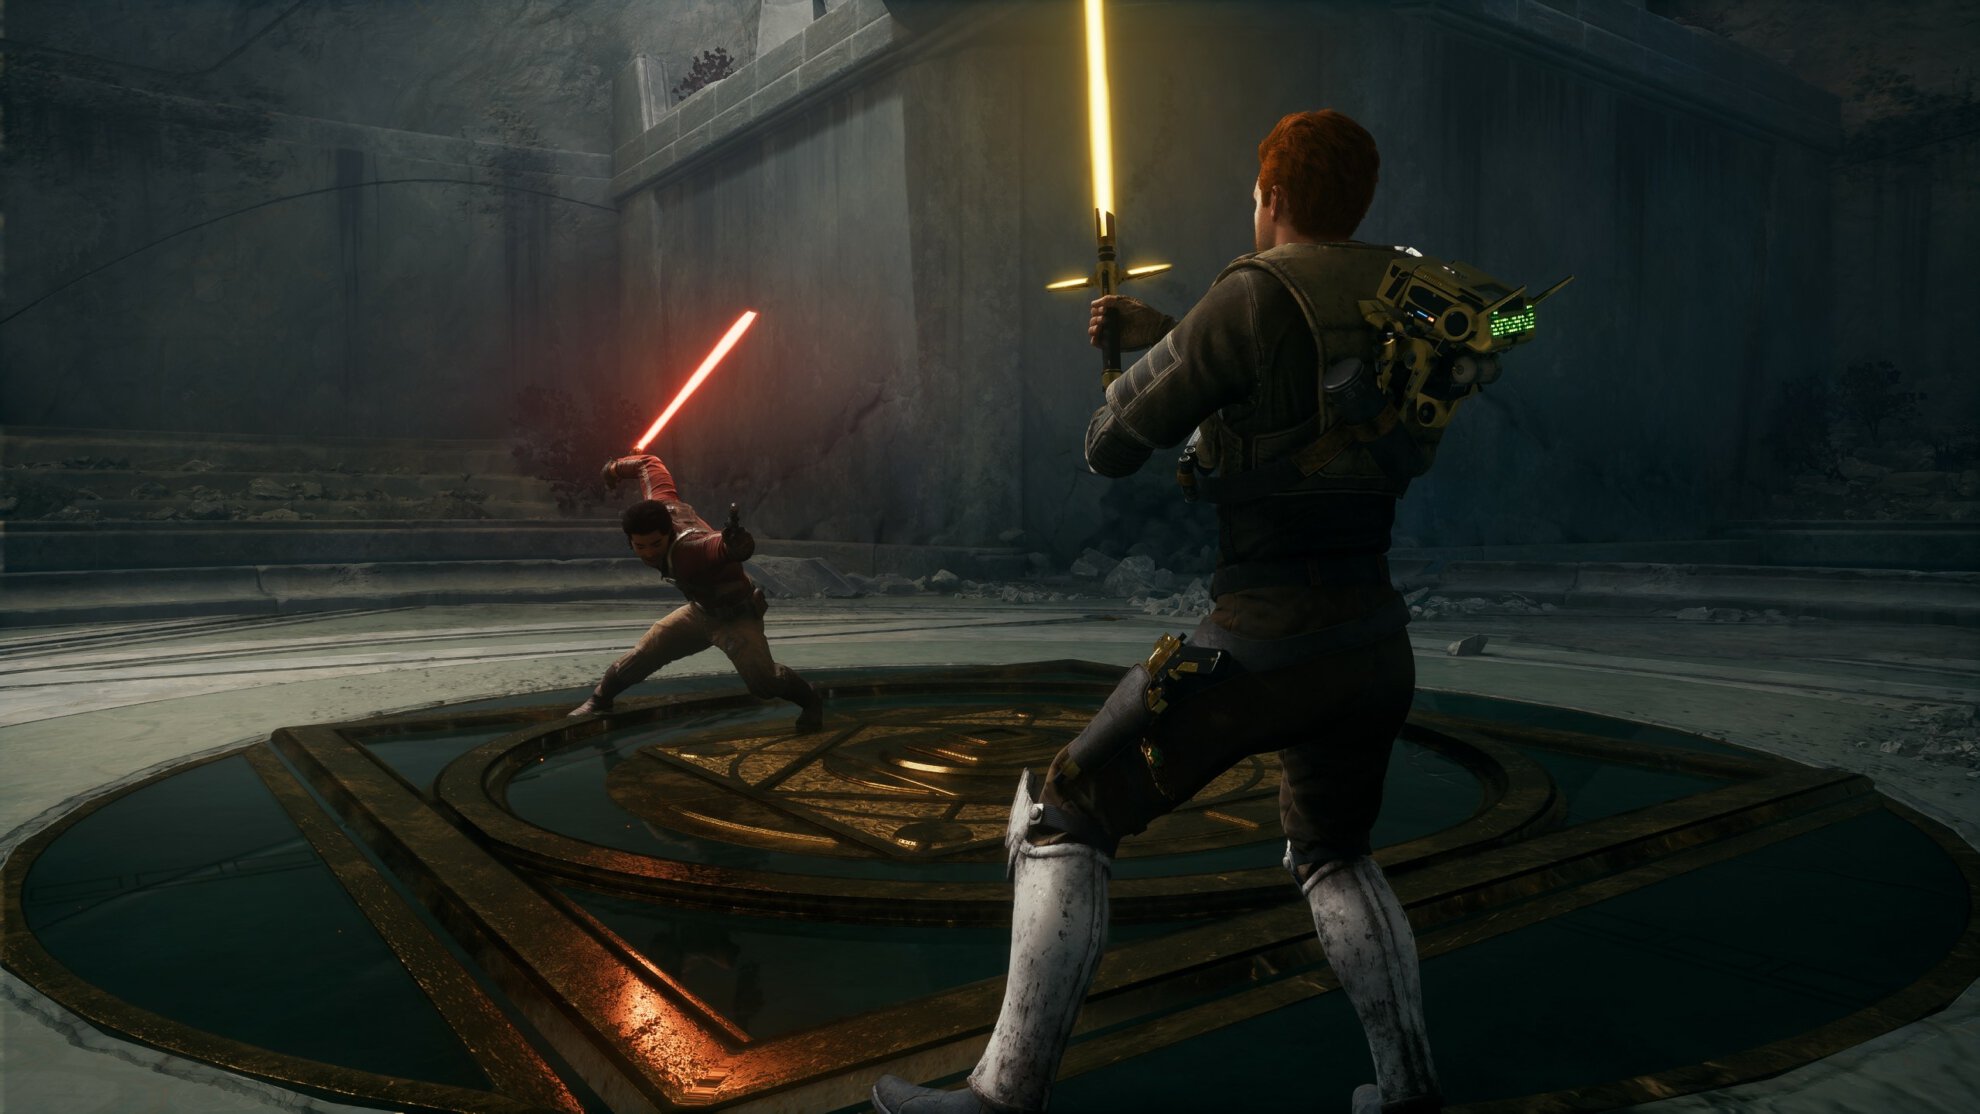
Bode will primarily focus on using lightsaber and blaster attacks for the first phase of the fight. This is a good time to learn his timing on swings so you can better parry them. Don’t get too comfortable with these combos as he’ll use new ones in later phases.
Two common combos Bode uses is he’ll fire three blaster shots at you from a distance followed by a charged shot you’ll need to dodge. Blocking and reflecting his blaster bolts will consume a lot of stamina so blocking them with the double-bladed lightsaber may not be ideal. I would recommend using the Crossguard Stance or Standard Lightsaber Stance to deflect these attacks.
Bode can attack you by performing a jump attack followed by three blaster shots before he lands. Parry the first strike and reflect the bolts to get some stamina damage in.
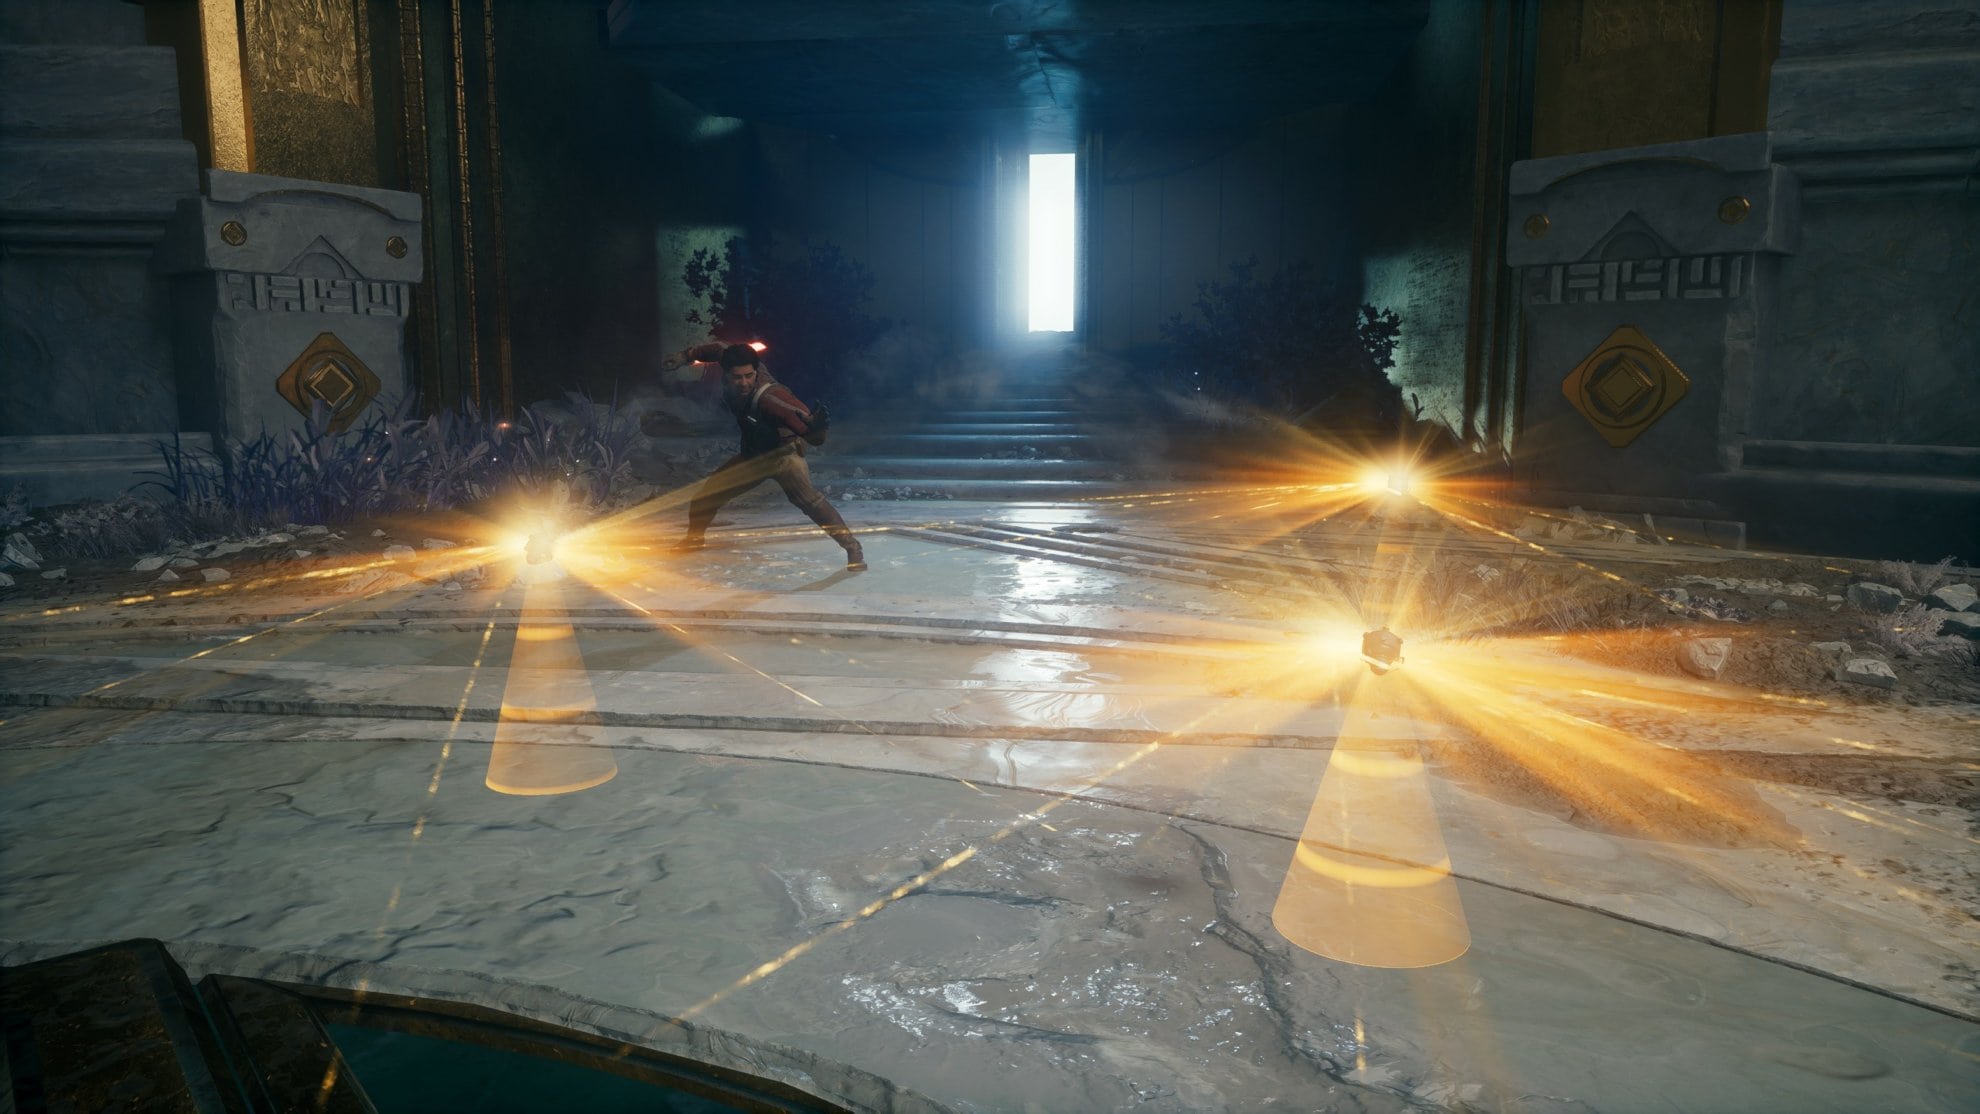
Occasionally Bode will throw out three thermal detonators. If these land under your feet, jump dash away to avoid getting hit by them. These are impossible to Force Push into Bode so don’t bother trying that.
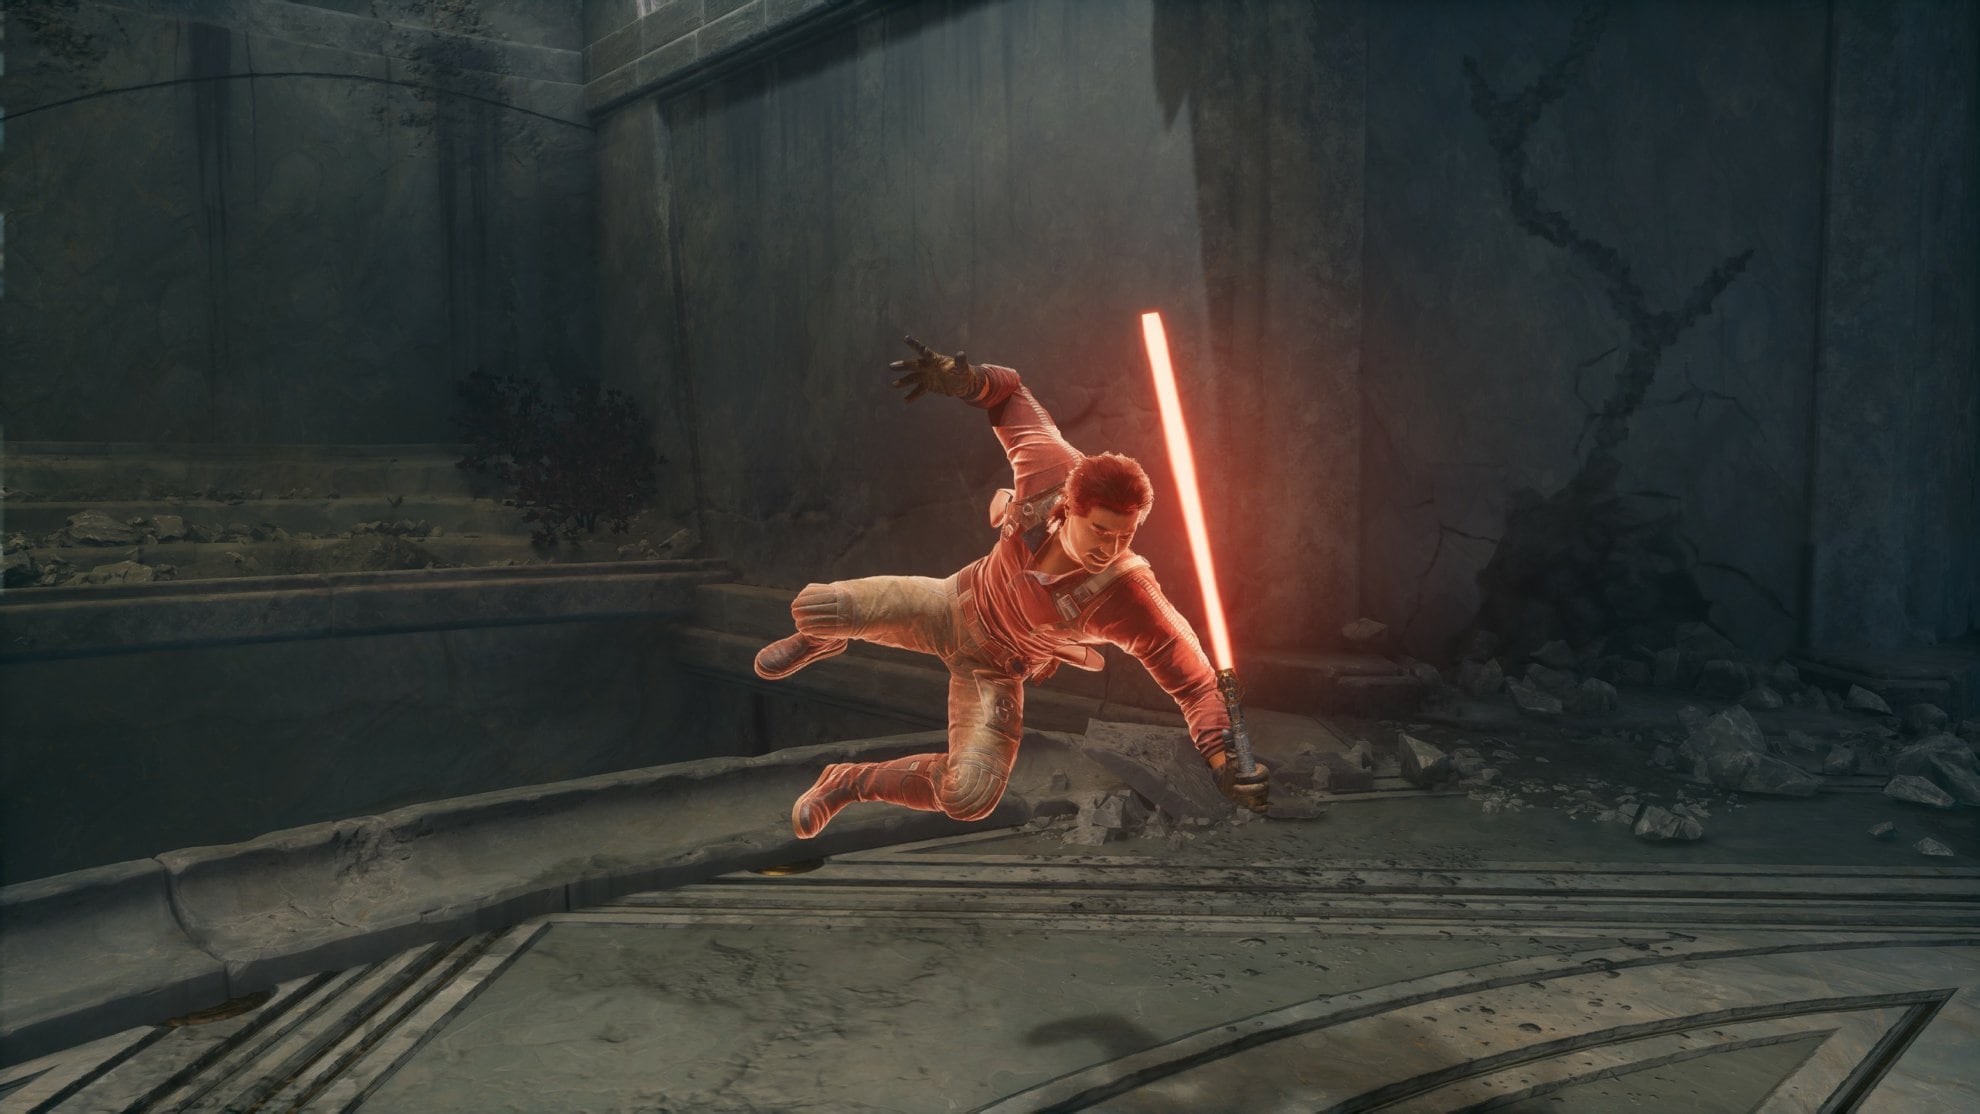
There are two unblockable attacks you’ll want to watch out for when fighting Bode. When he puts away his lightsaber, he’s going to charge at you so he can grab you and place a live thermal detonator on you. Avoid this easily by jump dashing over him before he dashes.
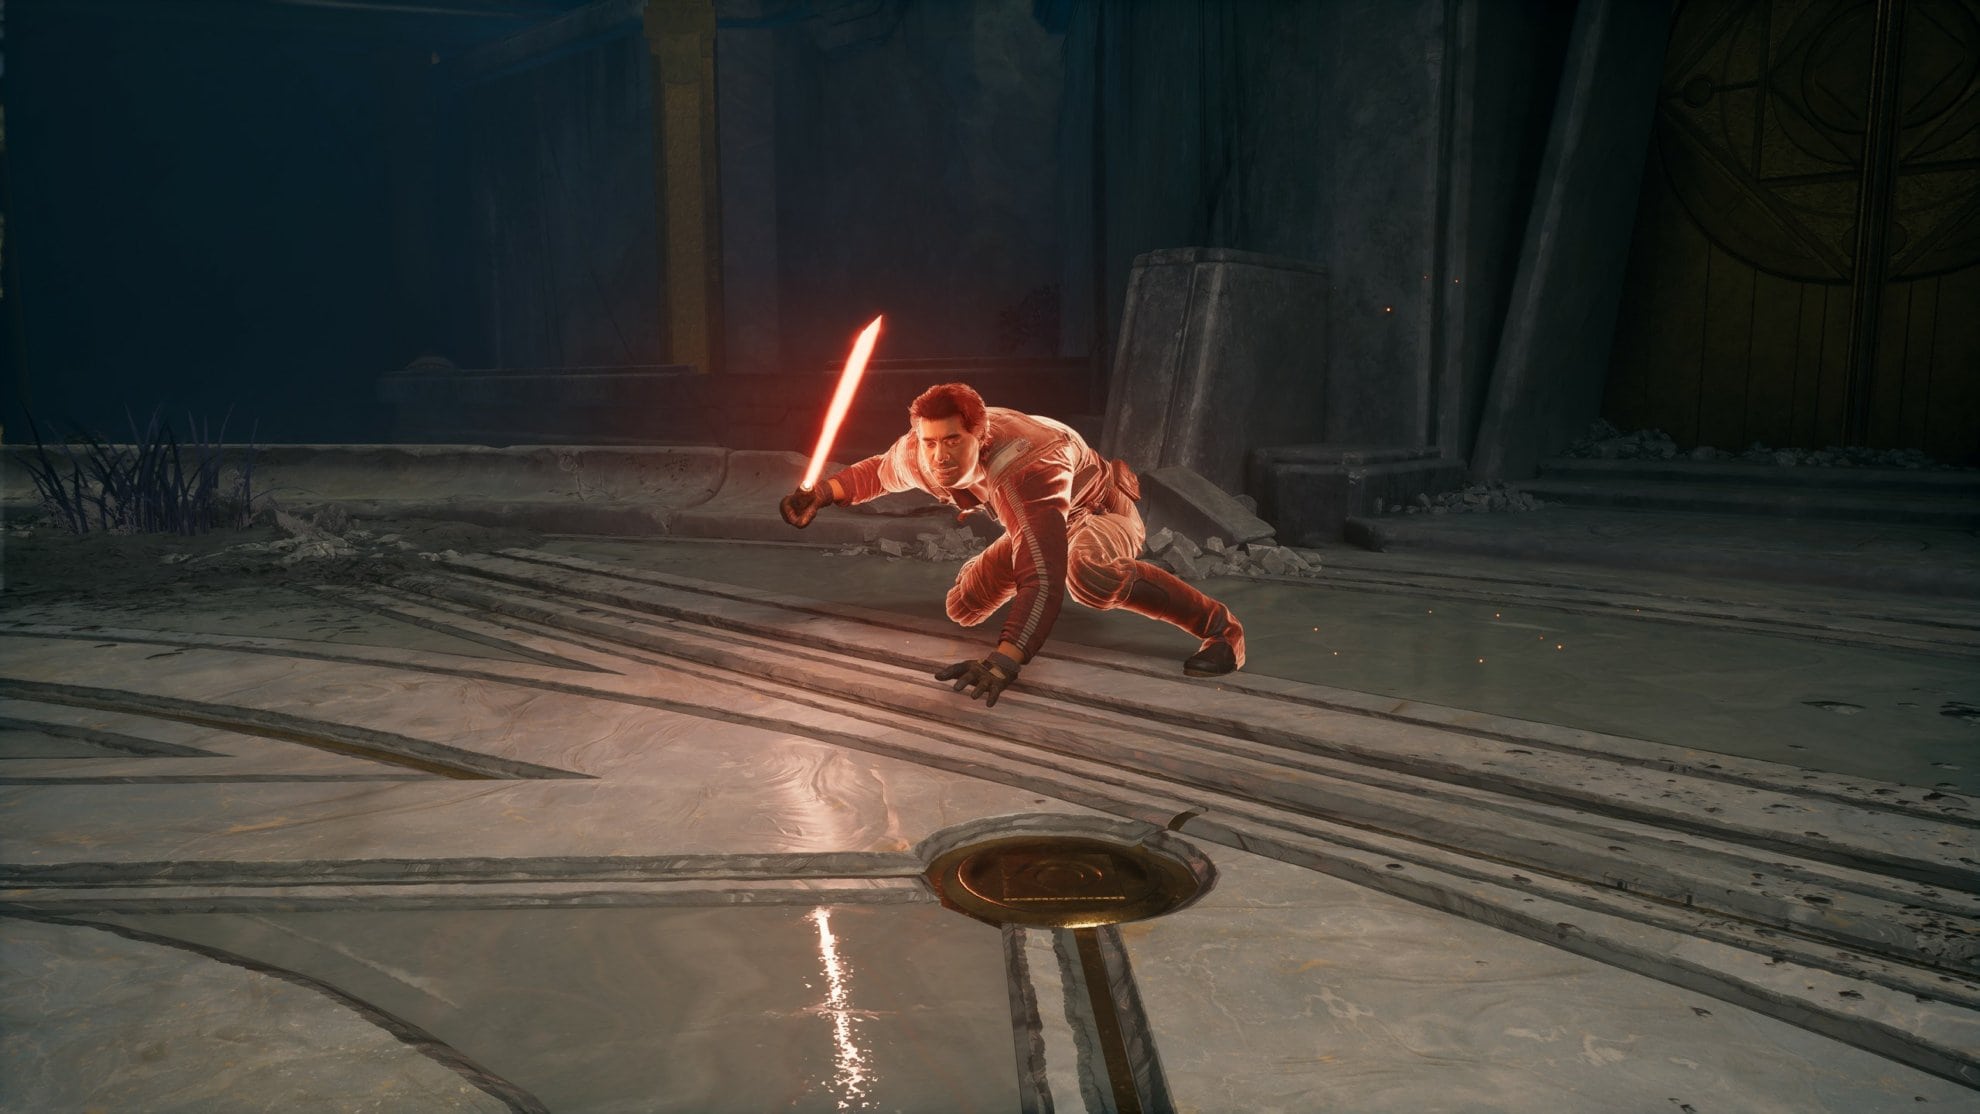
The second unblockable attack during phase one is when he’s about to lunge. He’ll change his grip on his lightsaber then lunge forward. He covers a lot of ground very quickly while doing this, just jump dash over him to avoid this attack.
After he performs an unblockable attack, get a swing or two in on Bode before going back on the defensive. Just focus on breaking his stamina by parrying and reflecting his attacks so you can get some hits in on him.
When Bode Force Chokes you, don’t panic and mash the button on the screen. He won’t do any damage but if you break free you’ll take out the entirety of his stamina bar. Don’t be so hasty to charge him after this though as he’ll be ready to attack very soon. Instead parry a single attack to stun him then you can attack.
Bode Akuna Fight Phase Two
After going down a level, you’ll begin phase two of the boss fight where Bode will use more underhanded tactics against you. One of these is by throwing stun grenades on the floor while throwing his lightsaber at you. You can Force Push these grenades into Bode and parry the lightsaber mid-air to do some stamina damage on Bode.
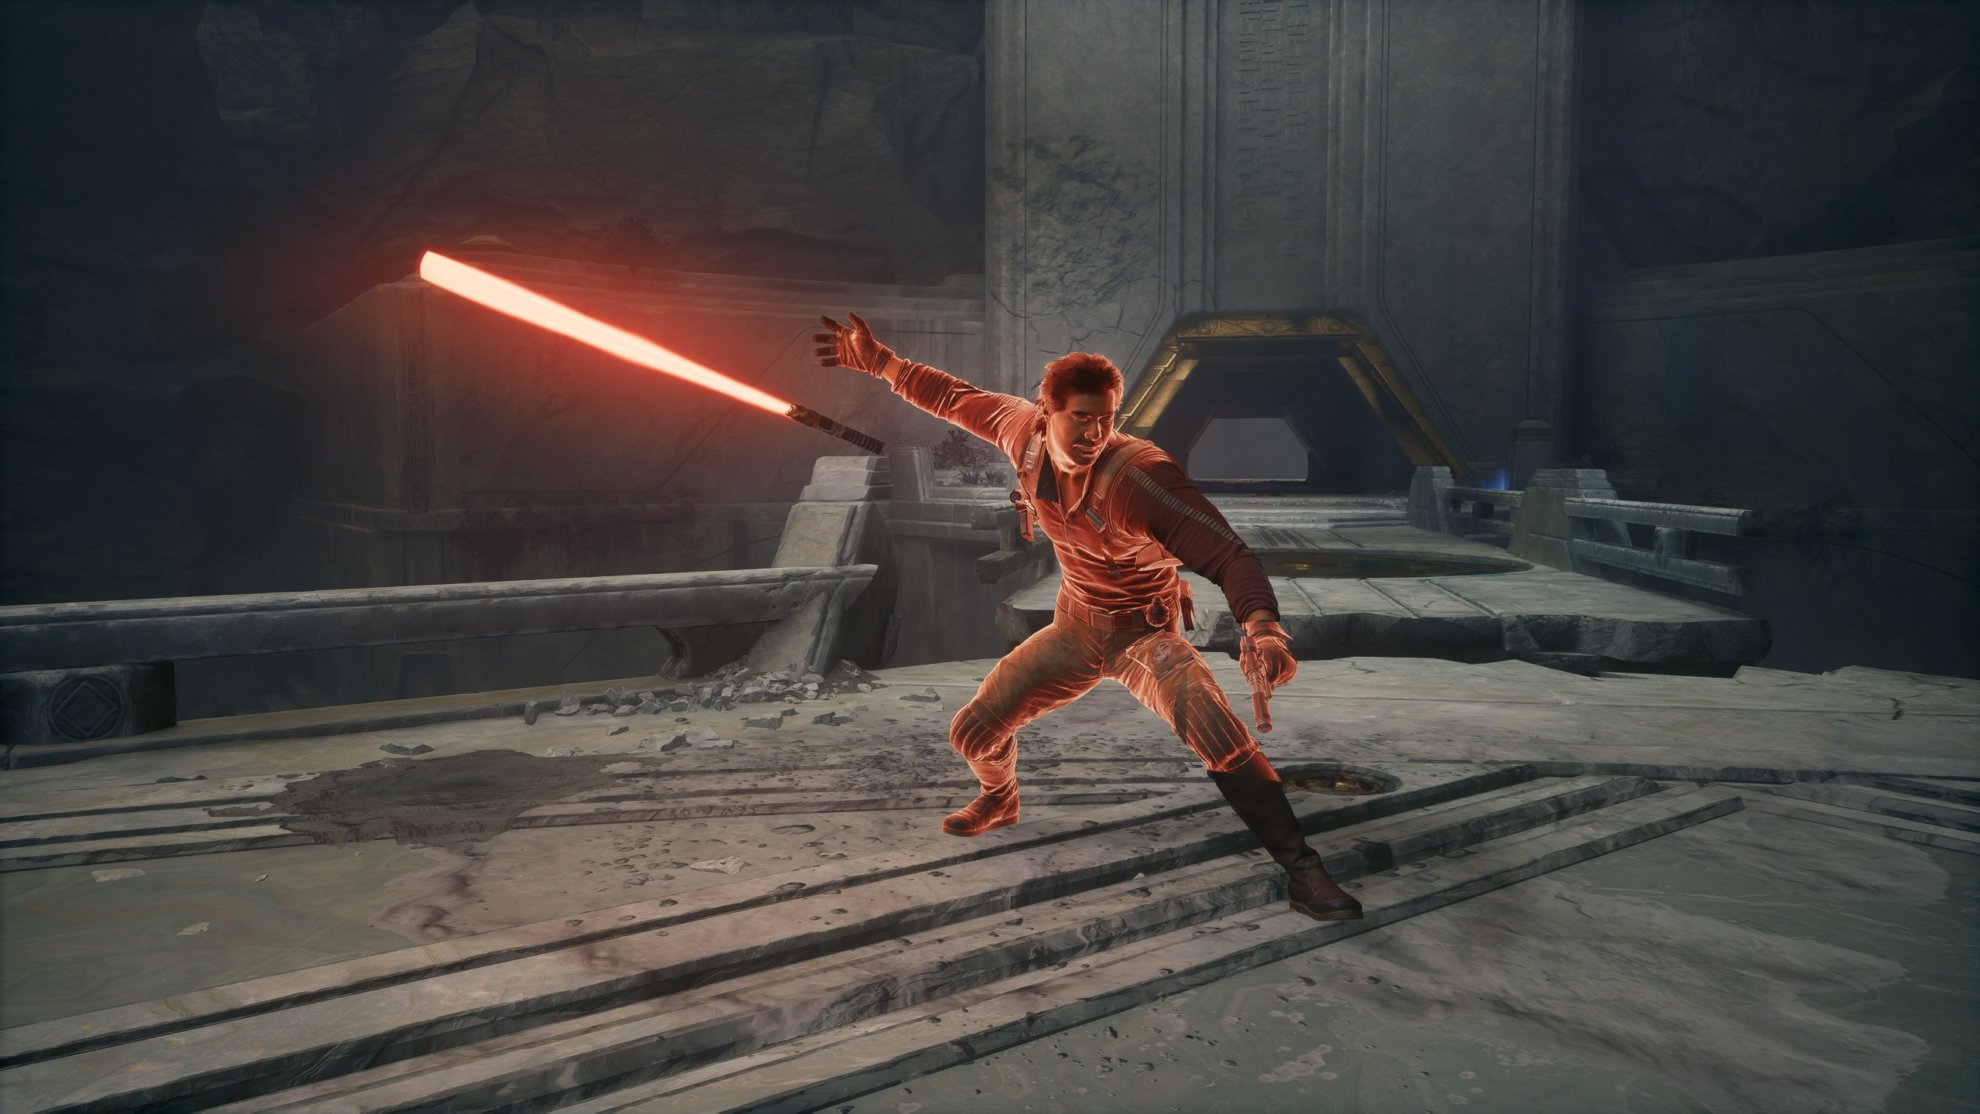
When you see Bode take the stance in the following image, he’s about to attack very quickly three times followed by an unblockable attack. If you’re not confident in your ability to parry, dodge the incoming swings instead by backing off.
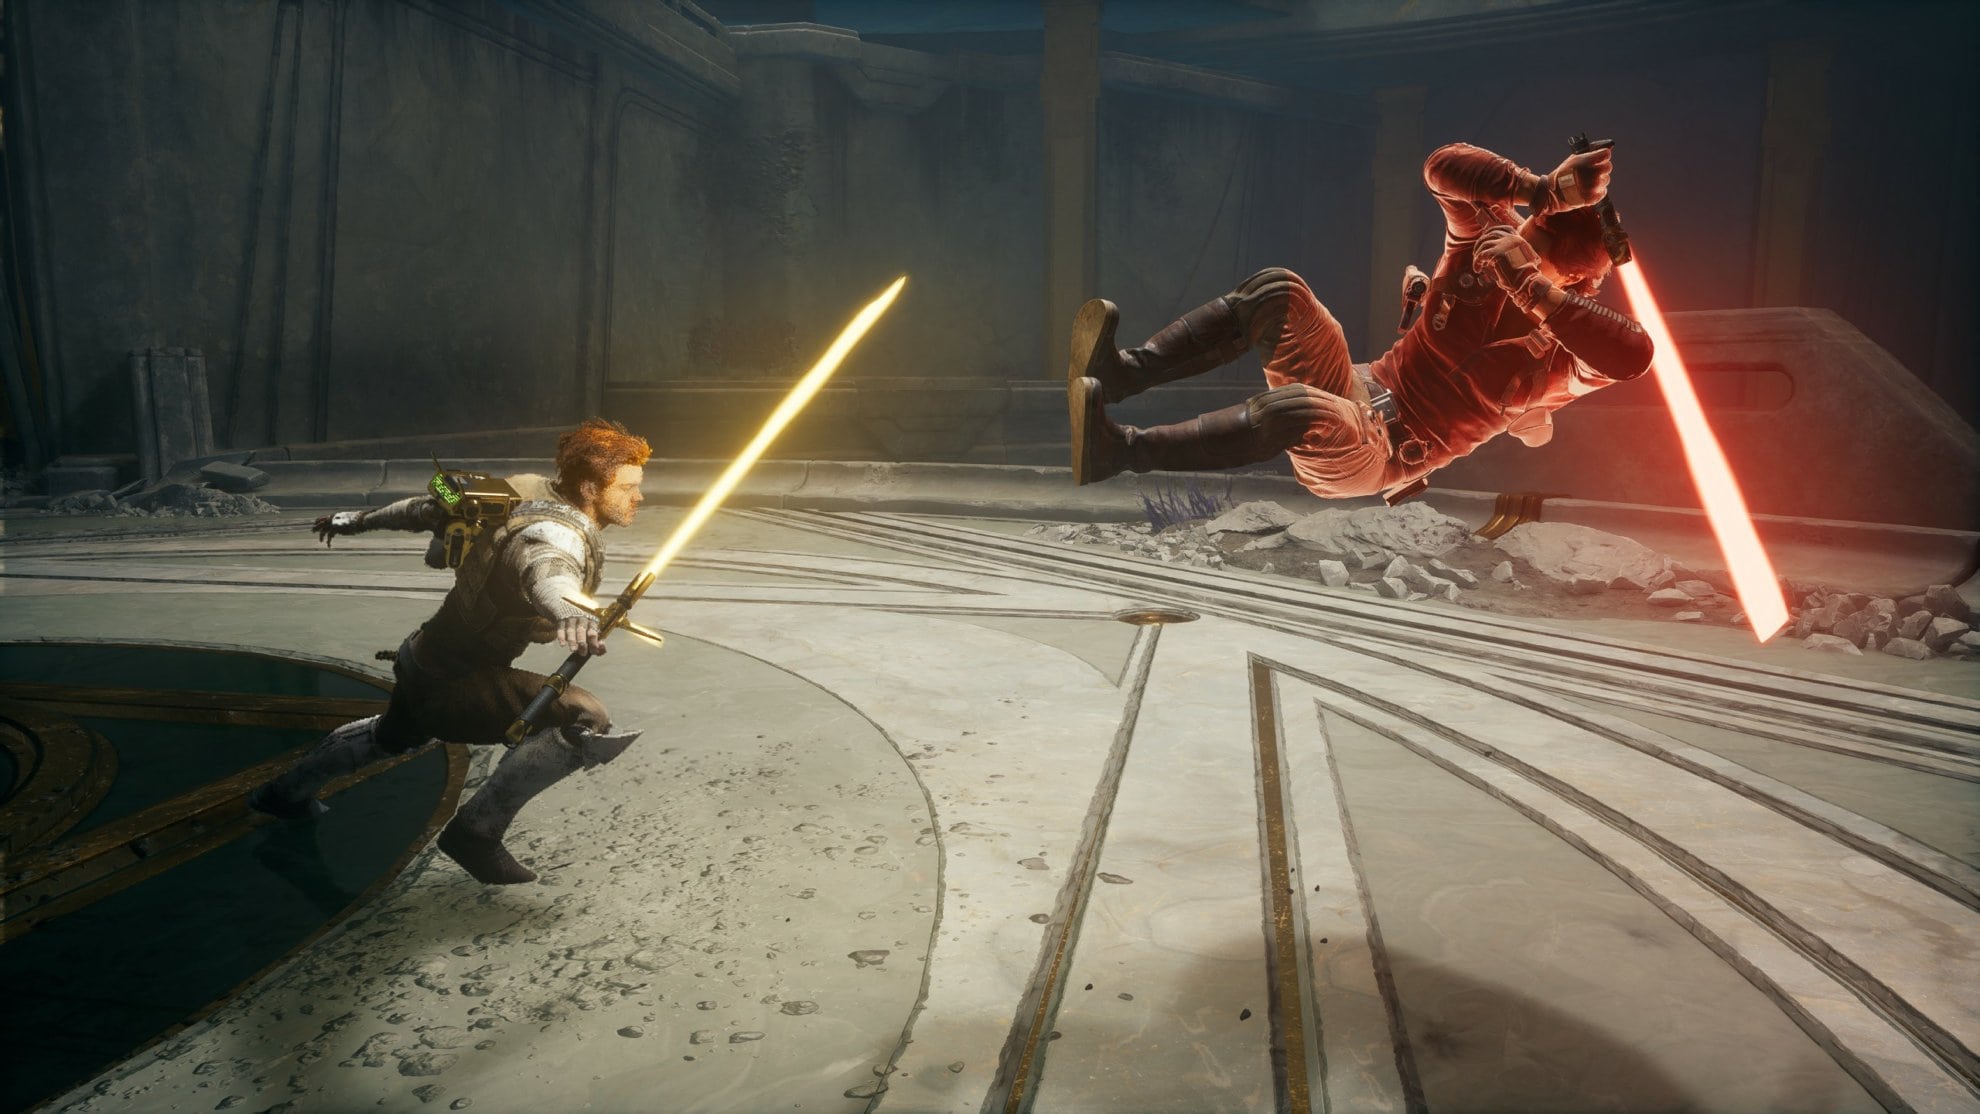
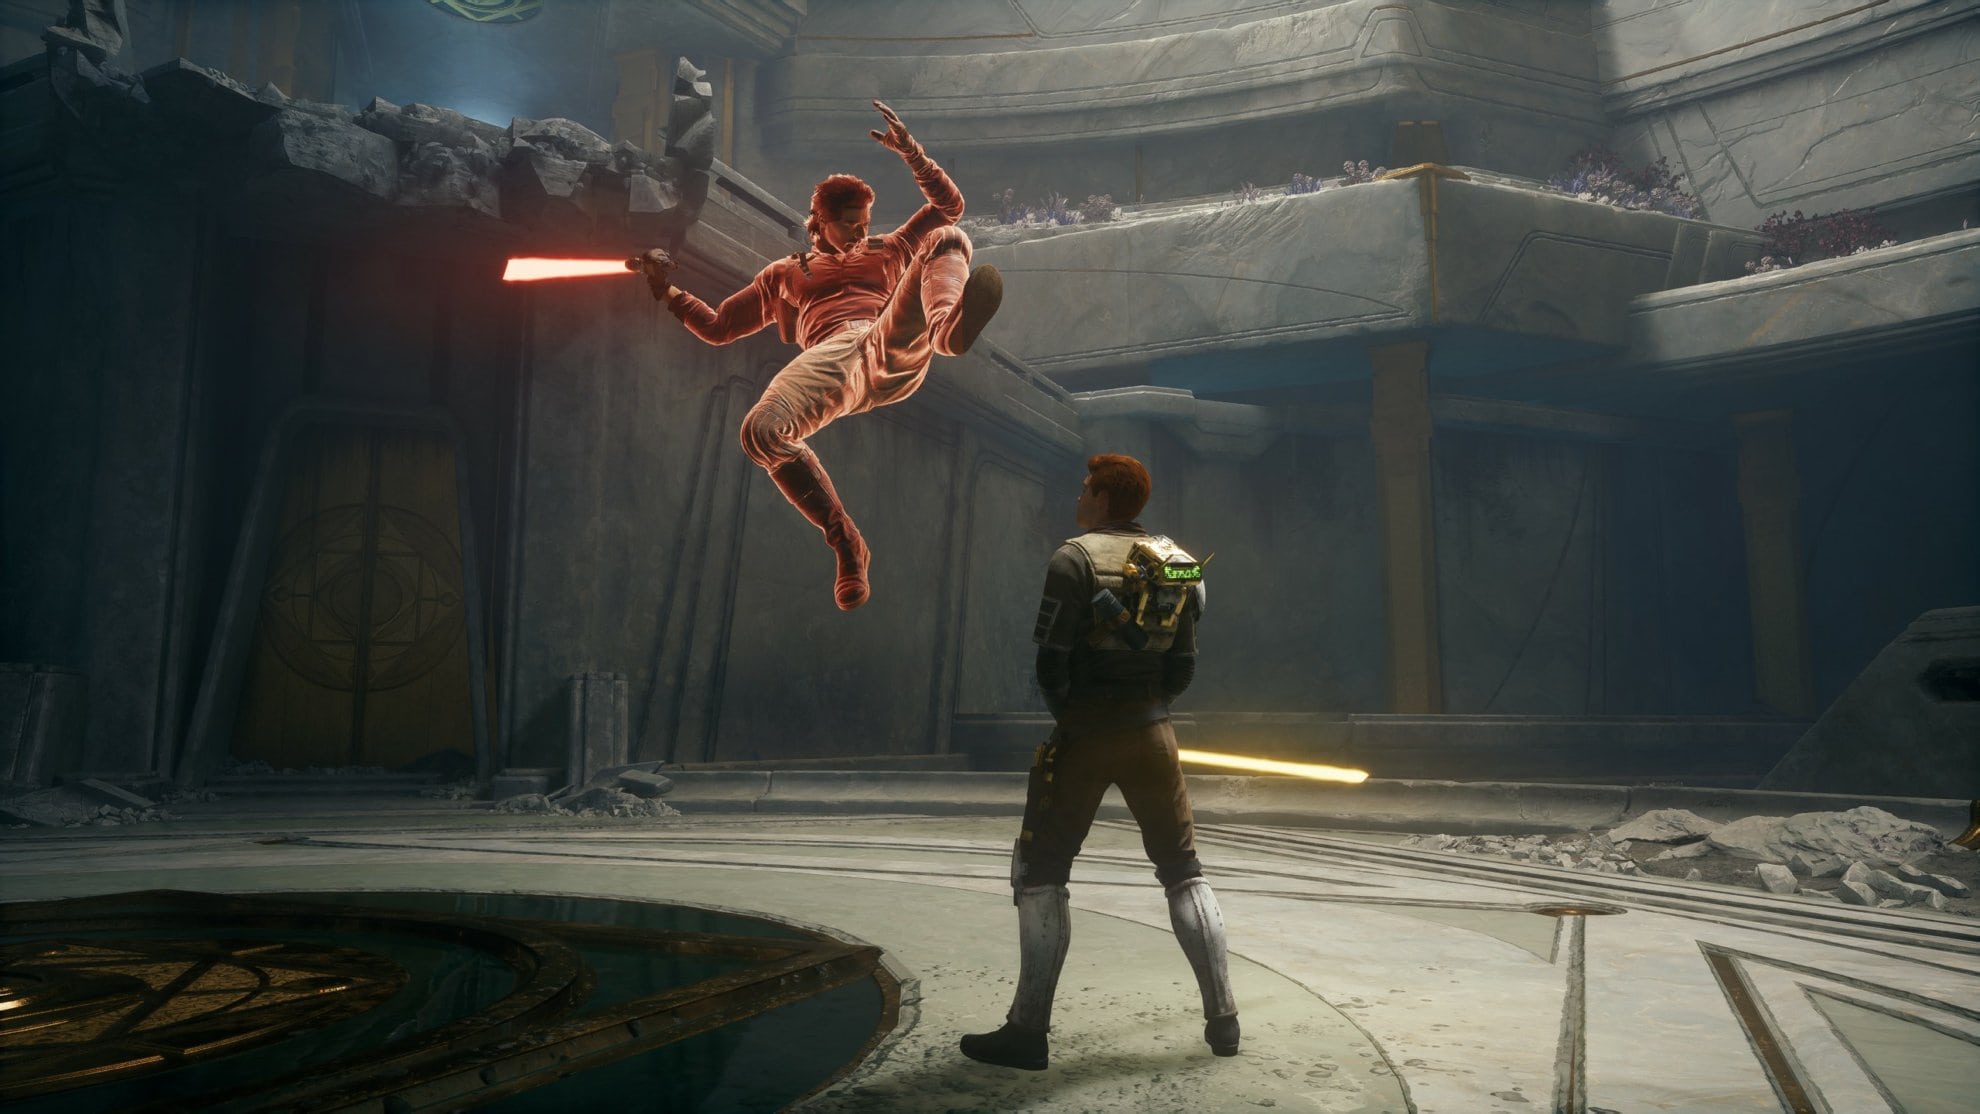
Bode has an unblockable attack introduced in Phase Two where he’ll jump kick you. This is very easy to dodge but don’t let it hit you as it’ll do a lot of damage.
Watch out for when bow dashes towards you with a low swing during a normal attack. If you parry his first two low swings, he’ll retaliate with a higher swing and if you parry that you’ll have one more swing to parry before you can attack him.
Bode Akuna Fight Phase Three
The third phase will be very difficult at higher difficulties with new combos and Force powers being used by Bode. First you’ll need to learn two of his area attacks made with the Force.
The first one is very quick and doesn’t give you a lot of reaction time. Bode will jump into the air and send a Force Wave into the ground. Avoid this by jump dashing away from him.
The second one you should watch out is more telegraphed and easier to dodge. Bode will jump into the air and send a shockwave throughout the area. Simply jump over this and you’ll be fine.
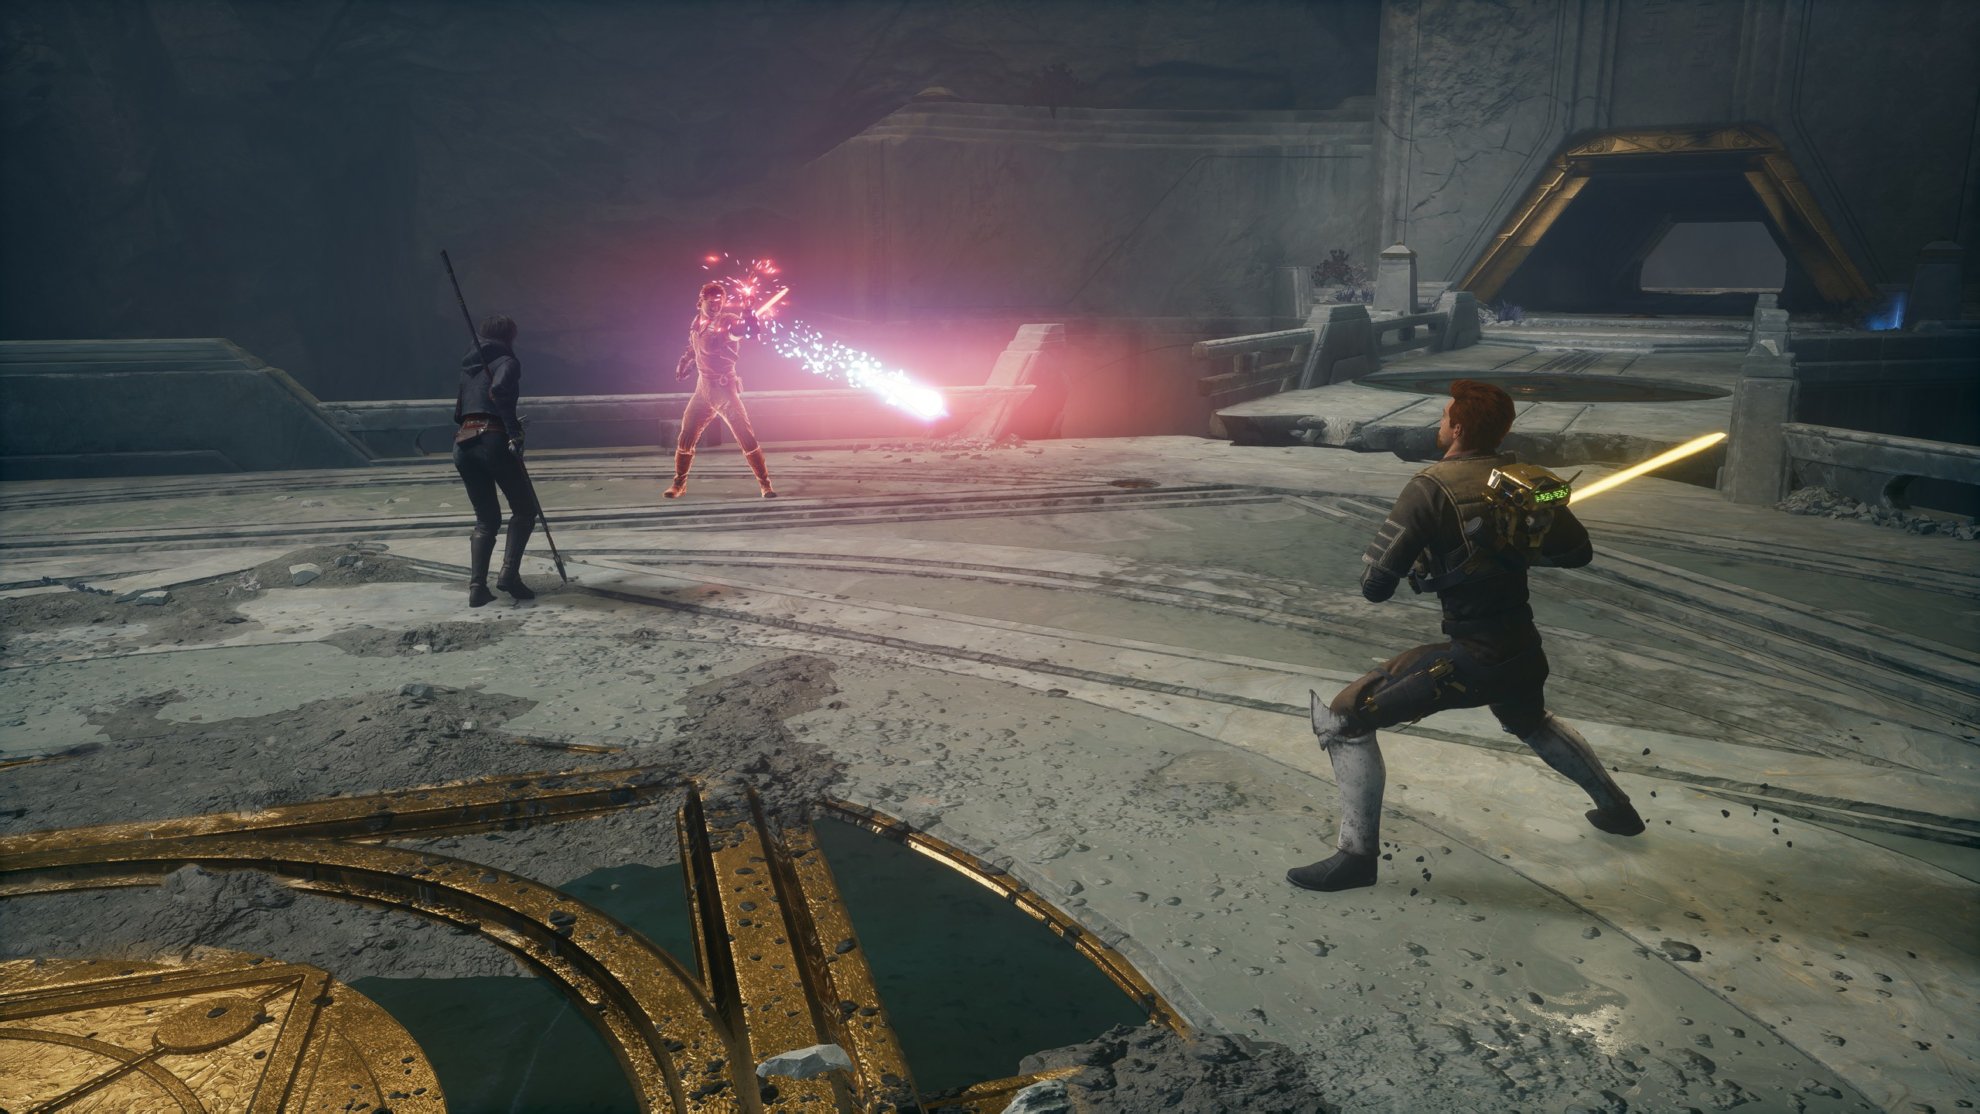
A very dangerous attack Bode can use is creating Force blades with his lightsaber. For lack of a better term, I will call this “Blade Storm” since it’s very similar to an ability of the same name from Star Wars: The Old Republic.
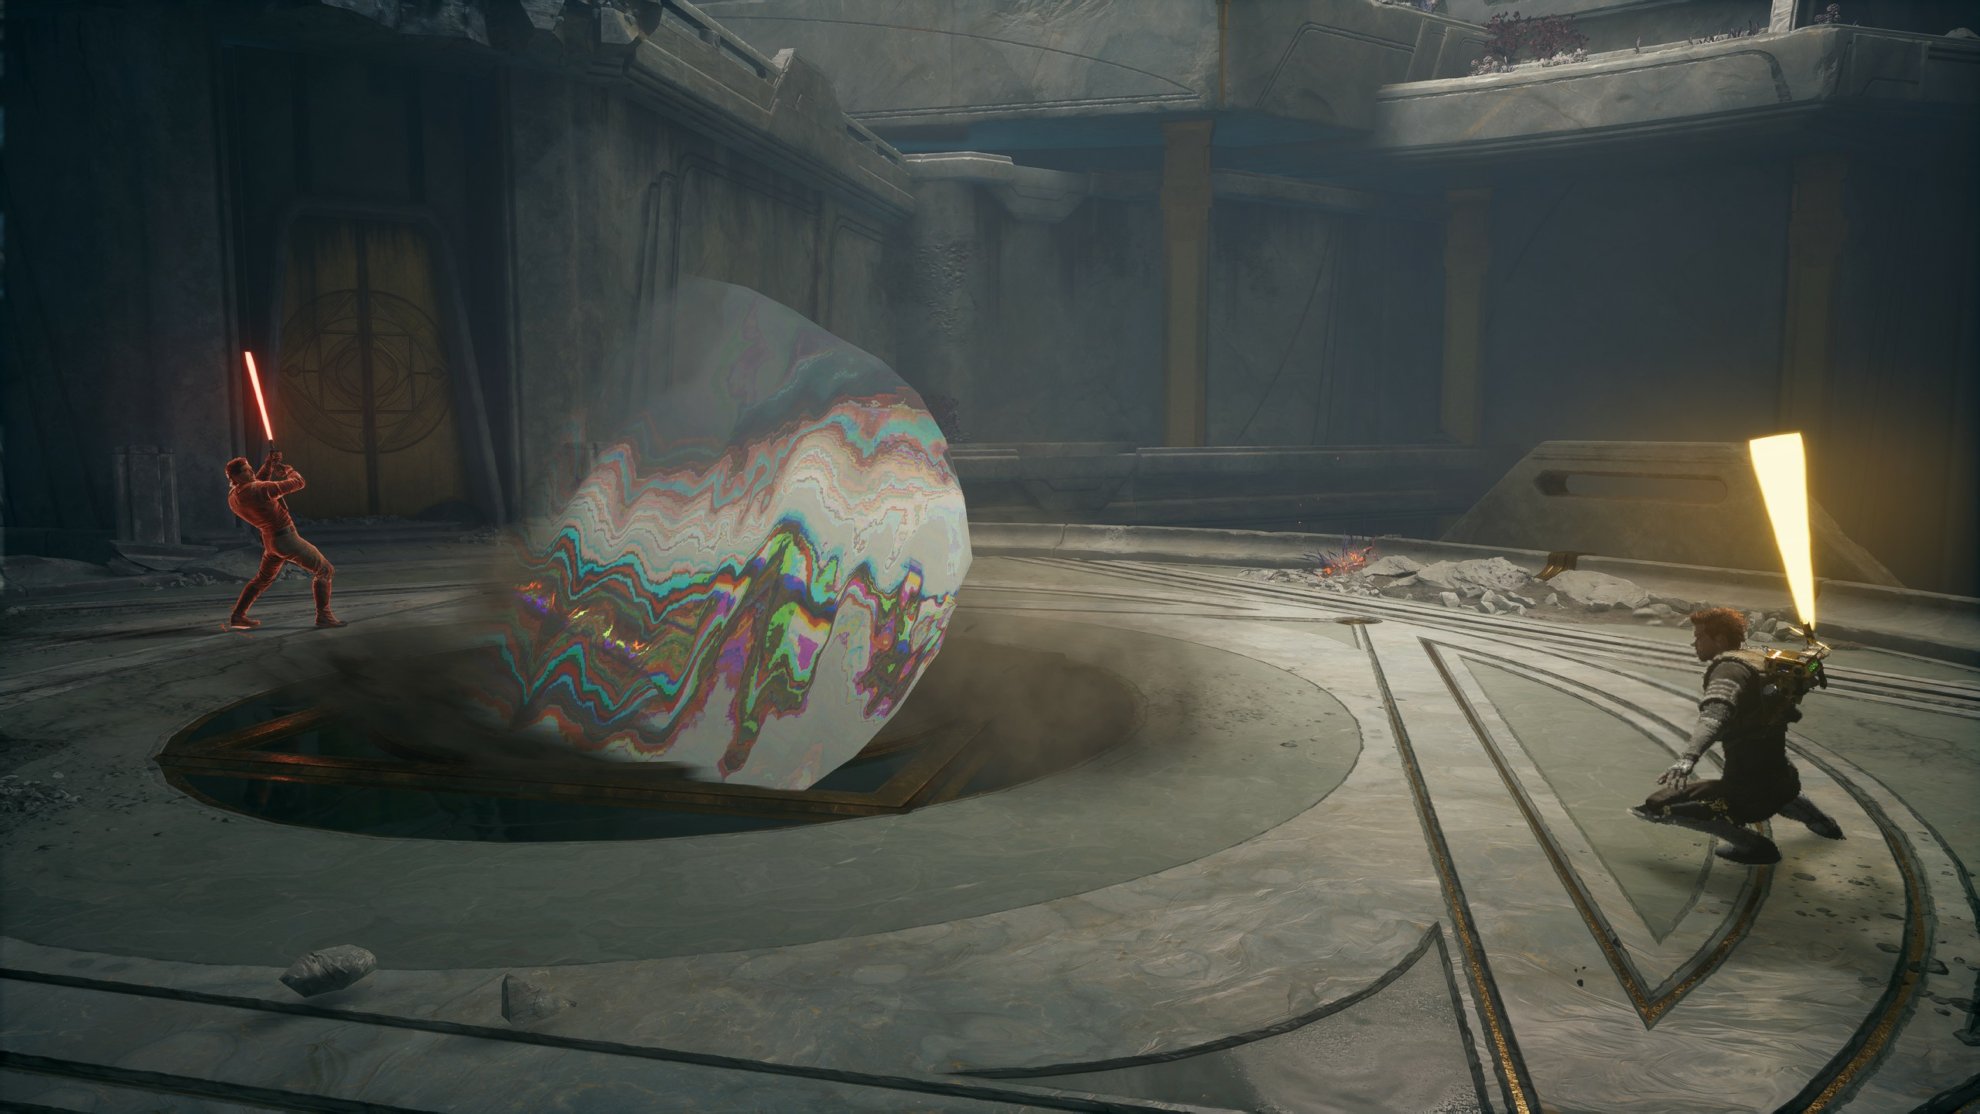
Bode has two variants of Blade Storm you’ll need to watch out for. His most common one is where he’ll stick his lightsaber into the ground and launch Blade Storm at you vertically. Dodge these sideways to avoid the damage, these will hurt a lot.
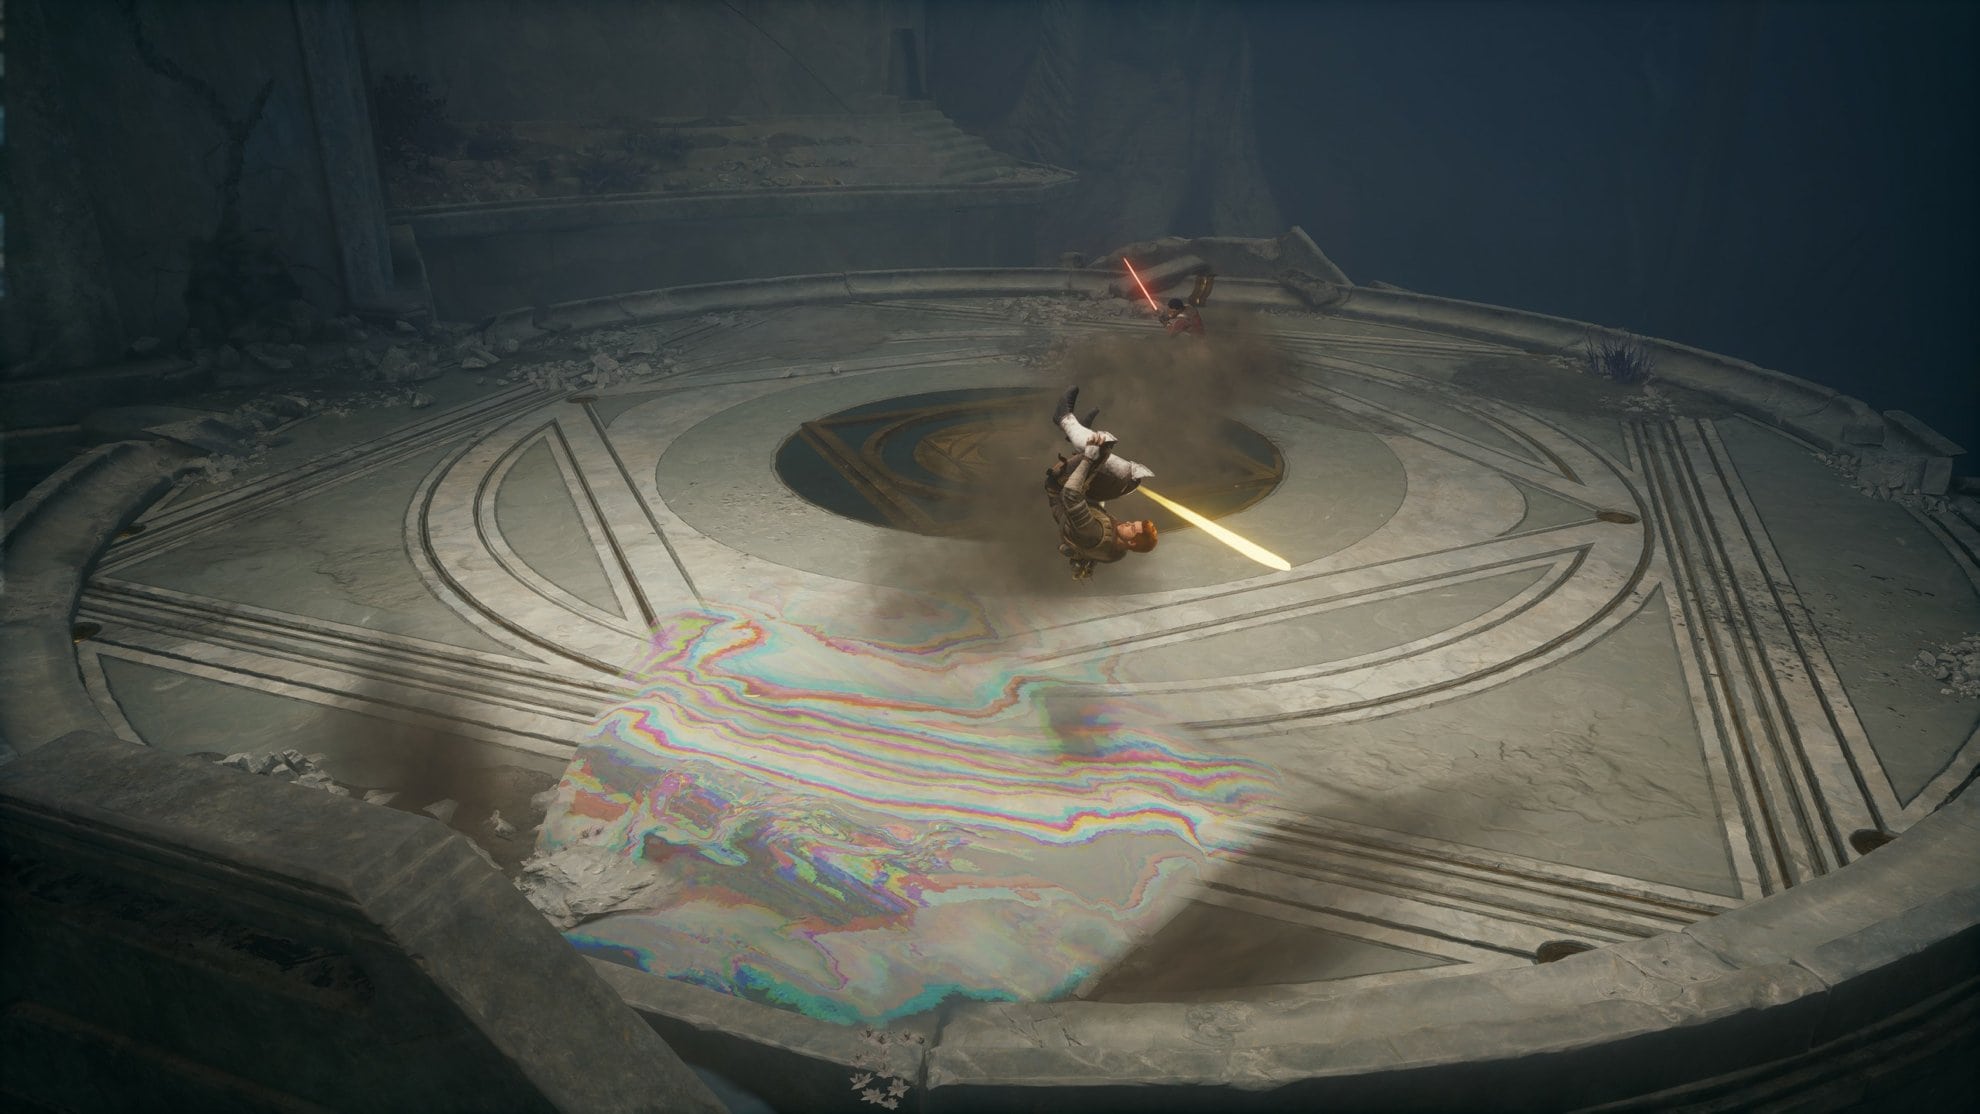
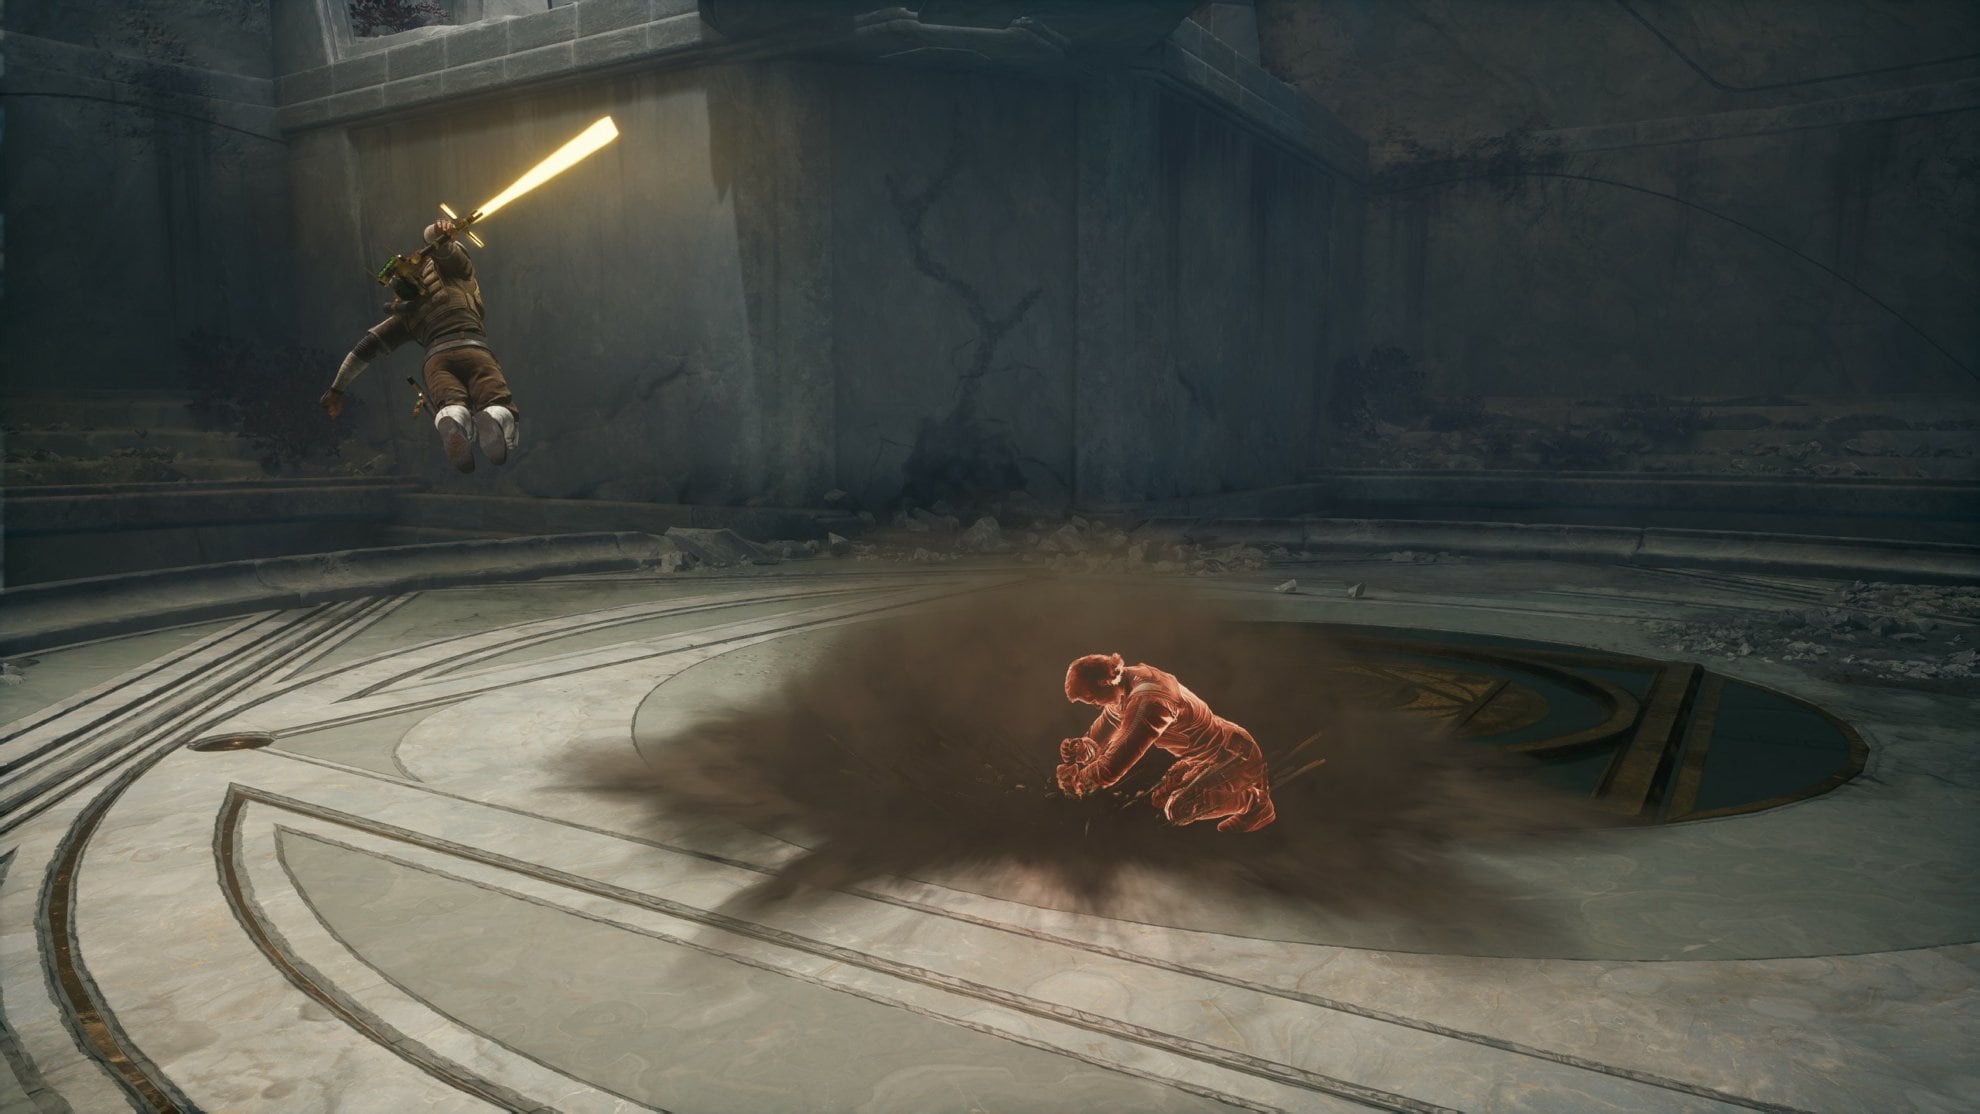
His second variant of Blade Storm will be launched from the ground. If he kneels and places his lightsaber at a low angle, be prepared to jump over the incoming Blade Storm.
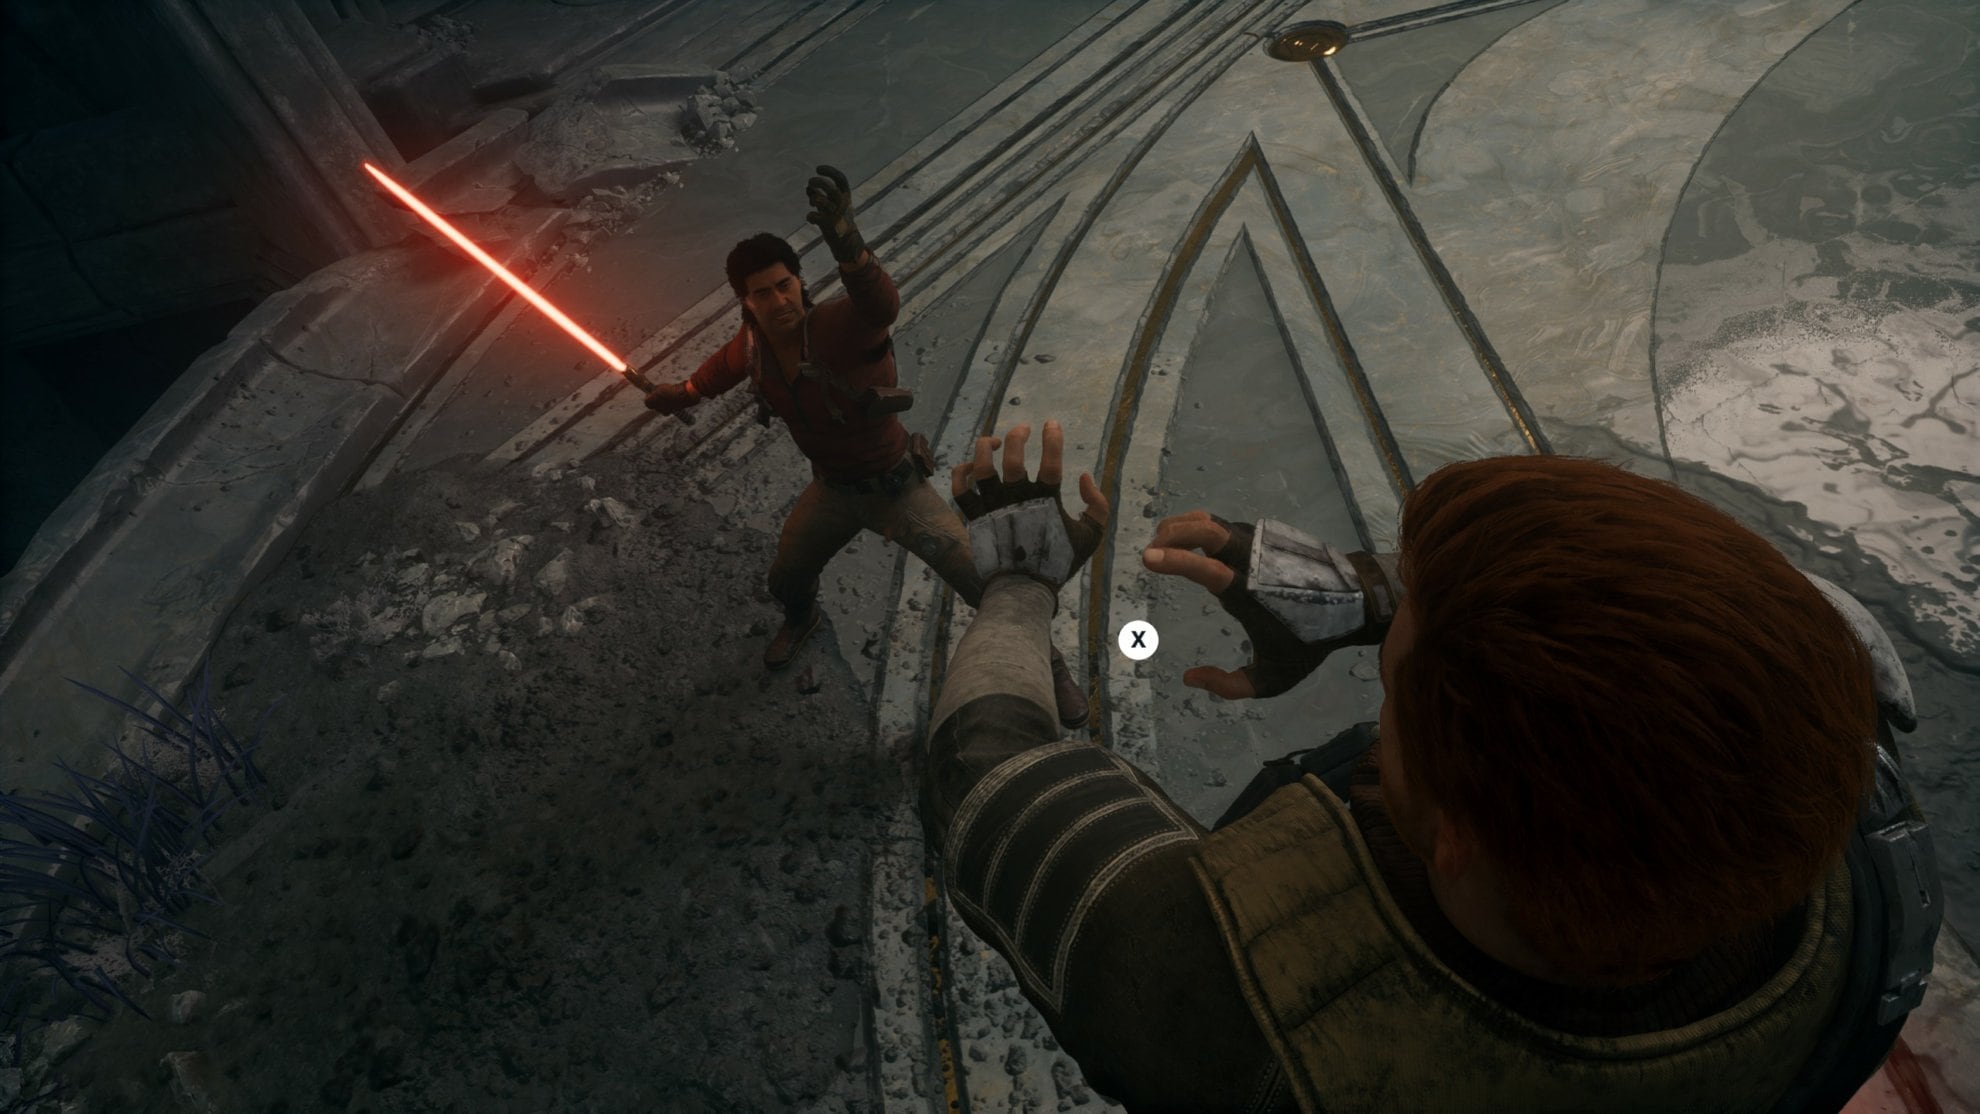
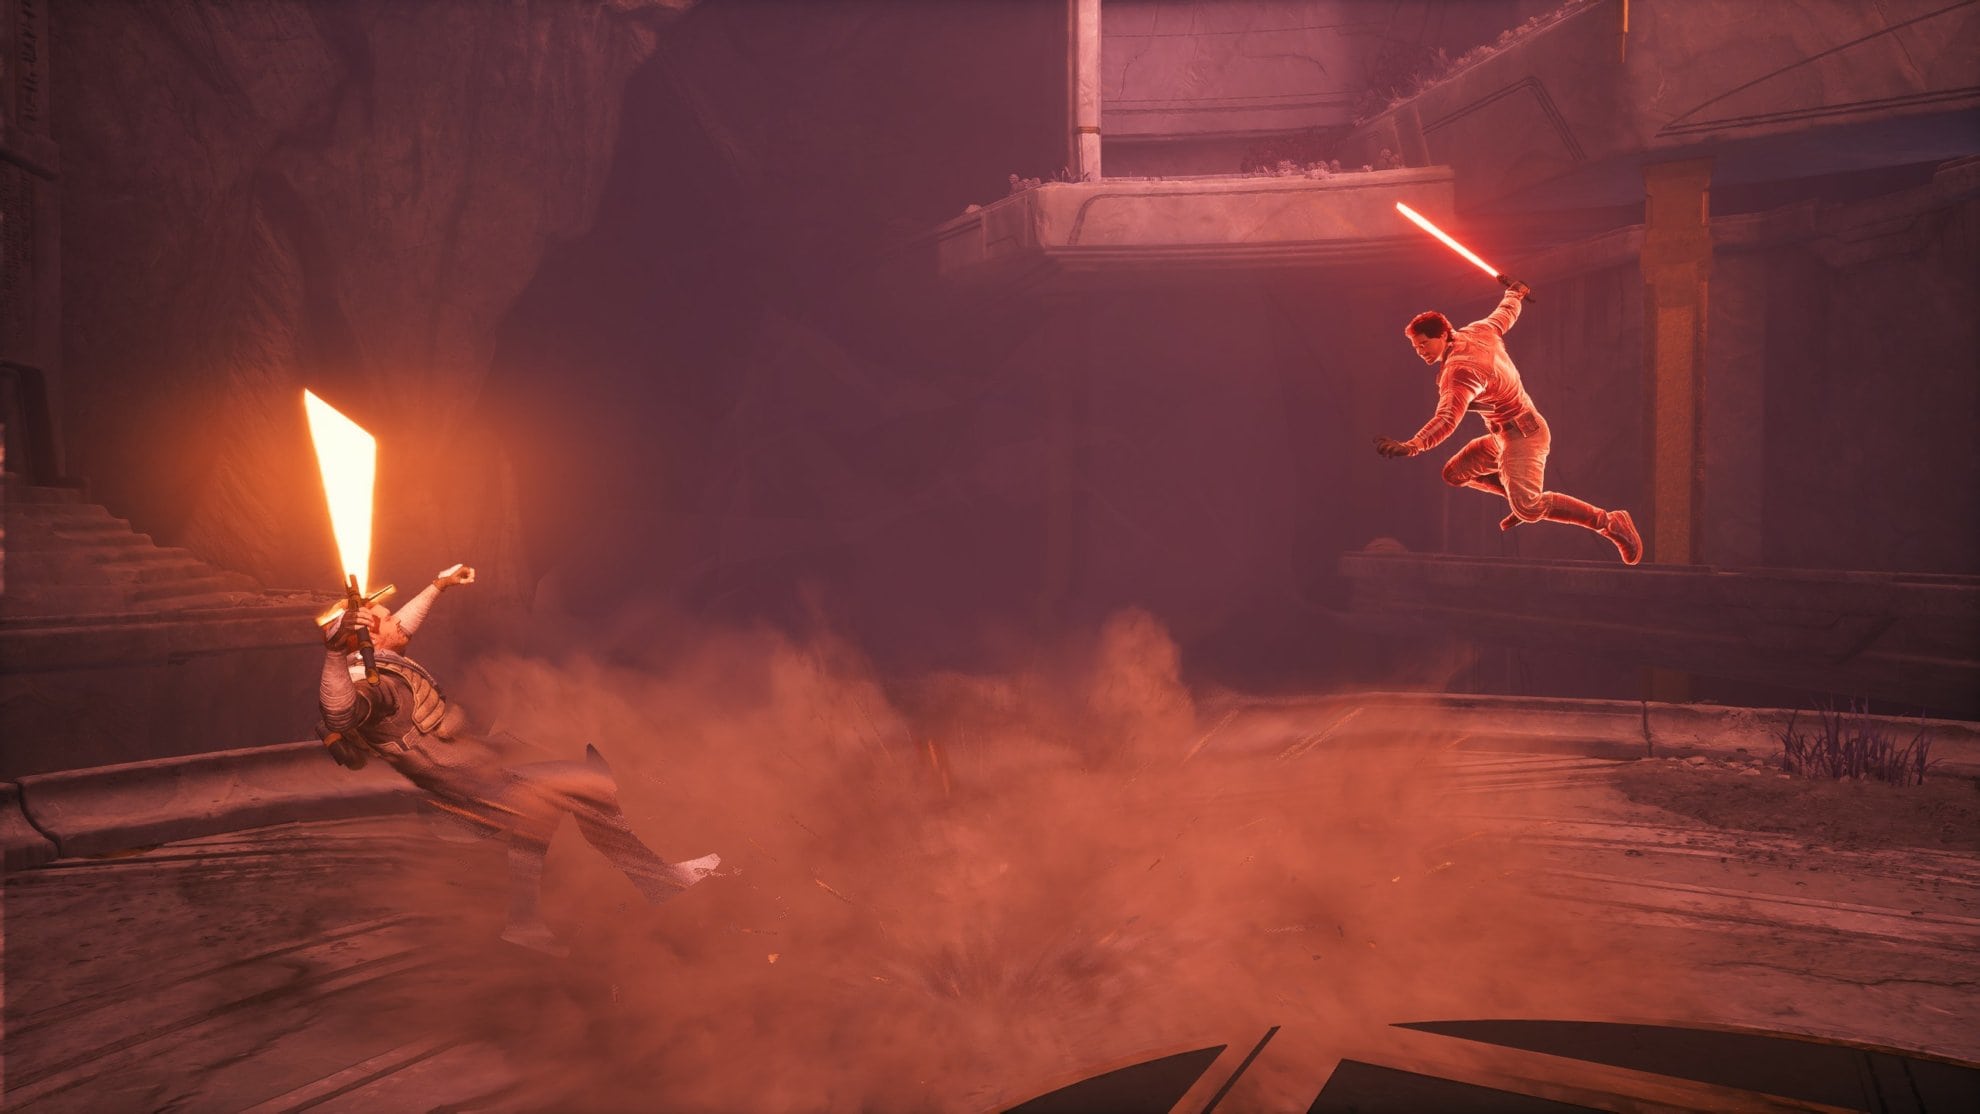
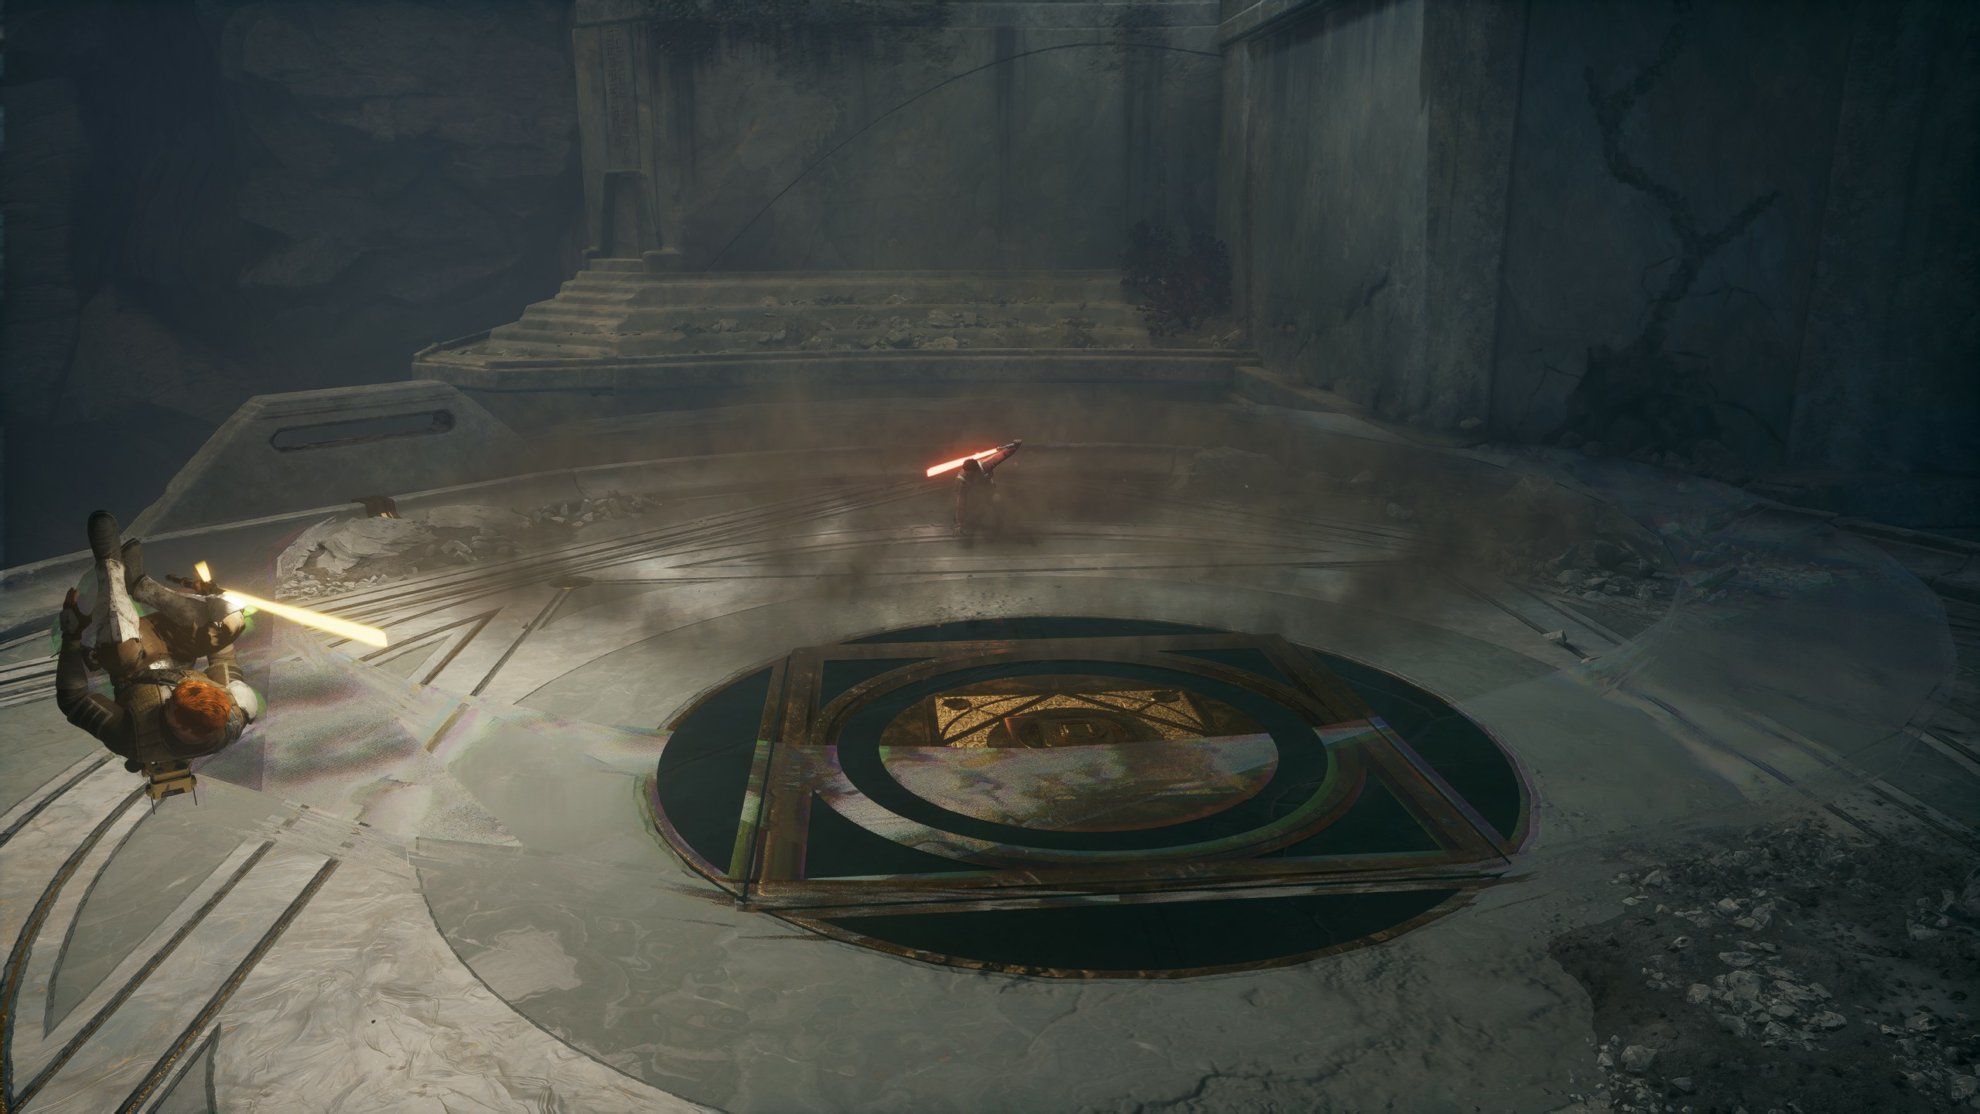
When you see Bode kneel down like the following image, he’s preparing to jump at you. This is a very easy attack to dodge as you’ll just need to jump dash away.
Bode has a very dangerous lightsaber combo where he’ll jump spin attack you four times in a row. The last of these attacks in unblockable so you’ll need to dodge. Even if you parry the first three attacks, he won’t stop as he’ll change his attack pattern. There’s a slight windup to this secondary combo so keep that in mind if you’re attempting to parry him.
For the most part in this phase, jump dash away from Bode if he’s using an unblockable attack. Parry his attacks and get some hits in to break his stamina so you can do some serious damage. If you do this well enough, you’ll defeat Bode but how will you do so.
Embrace the Darkness?
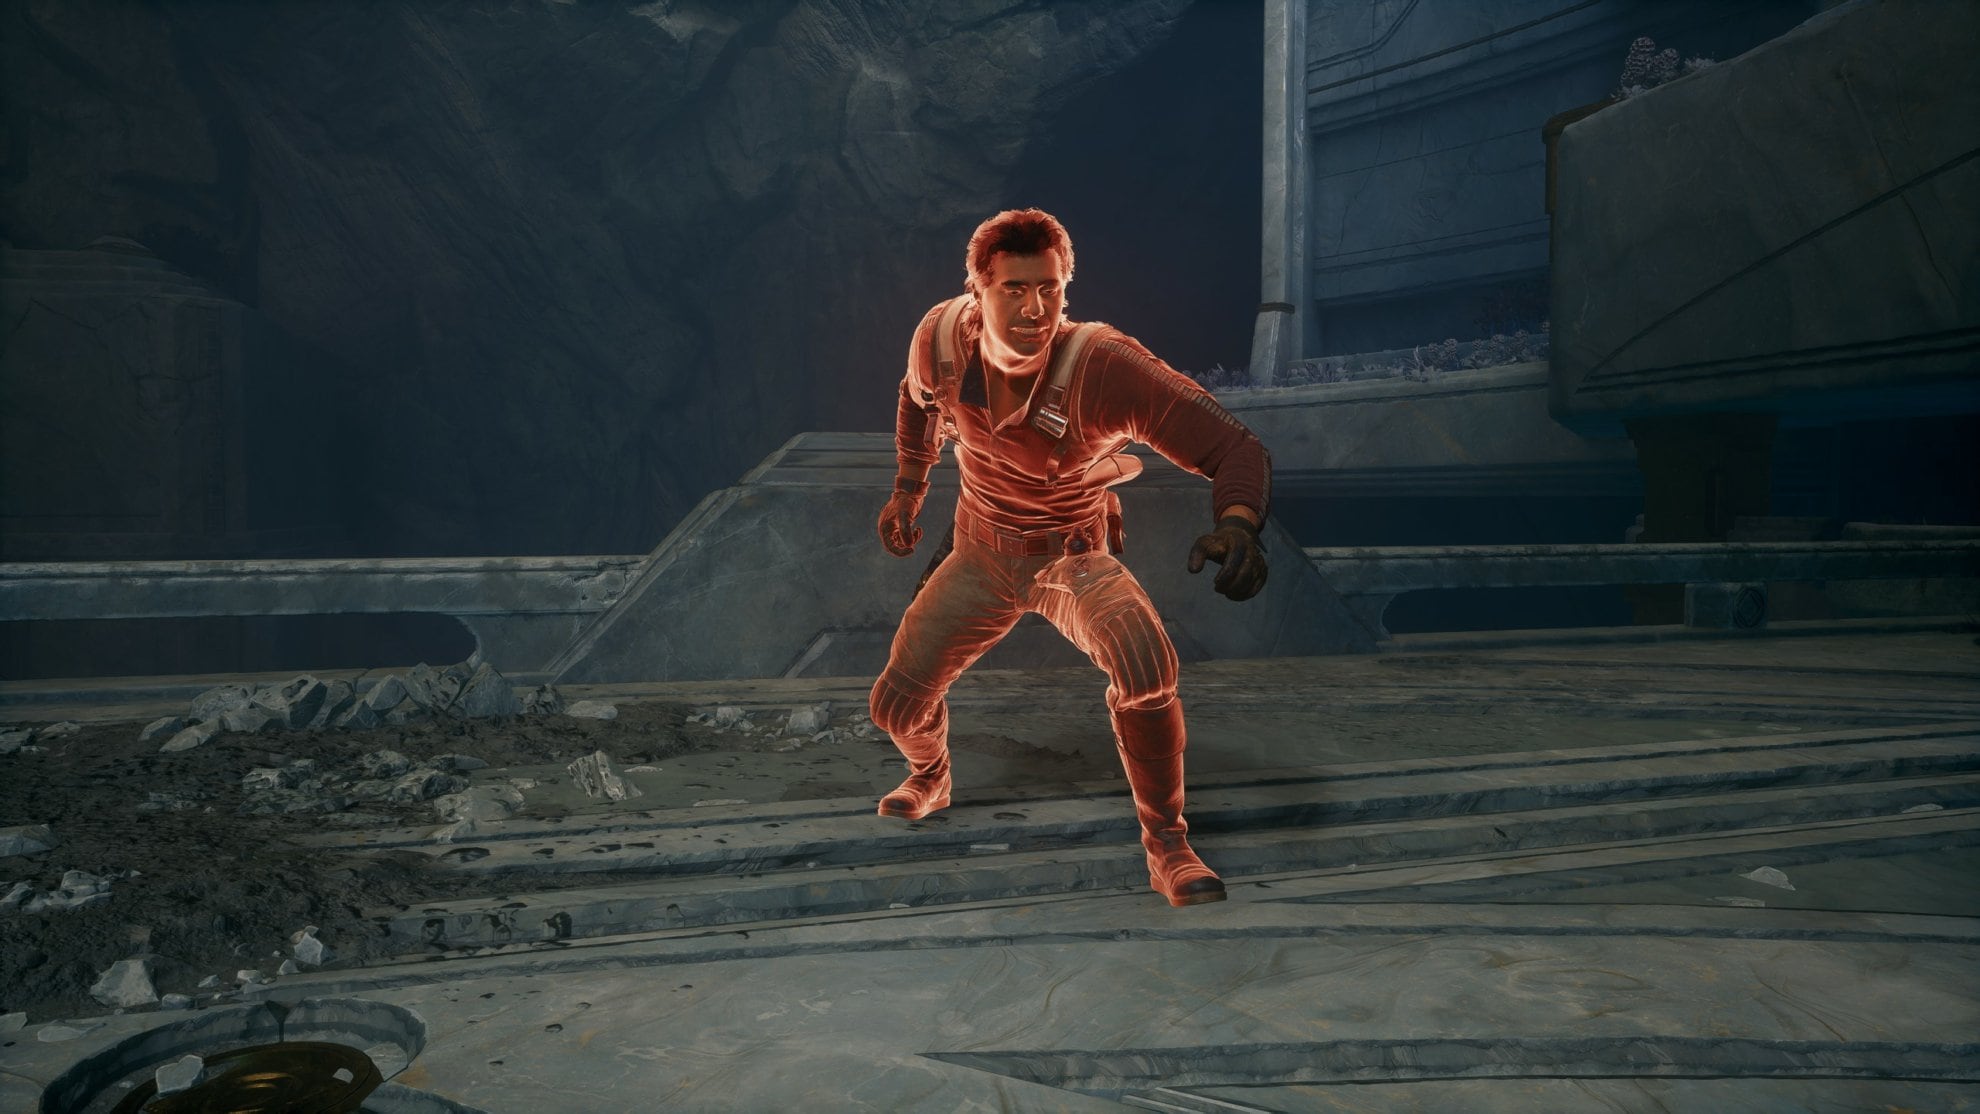
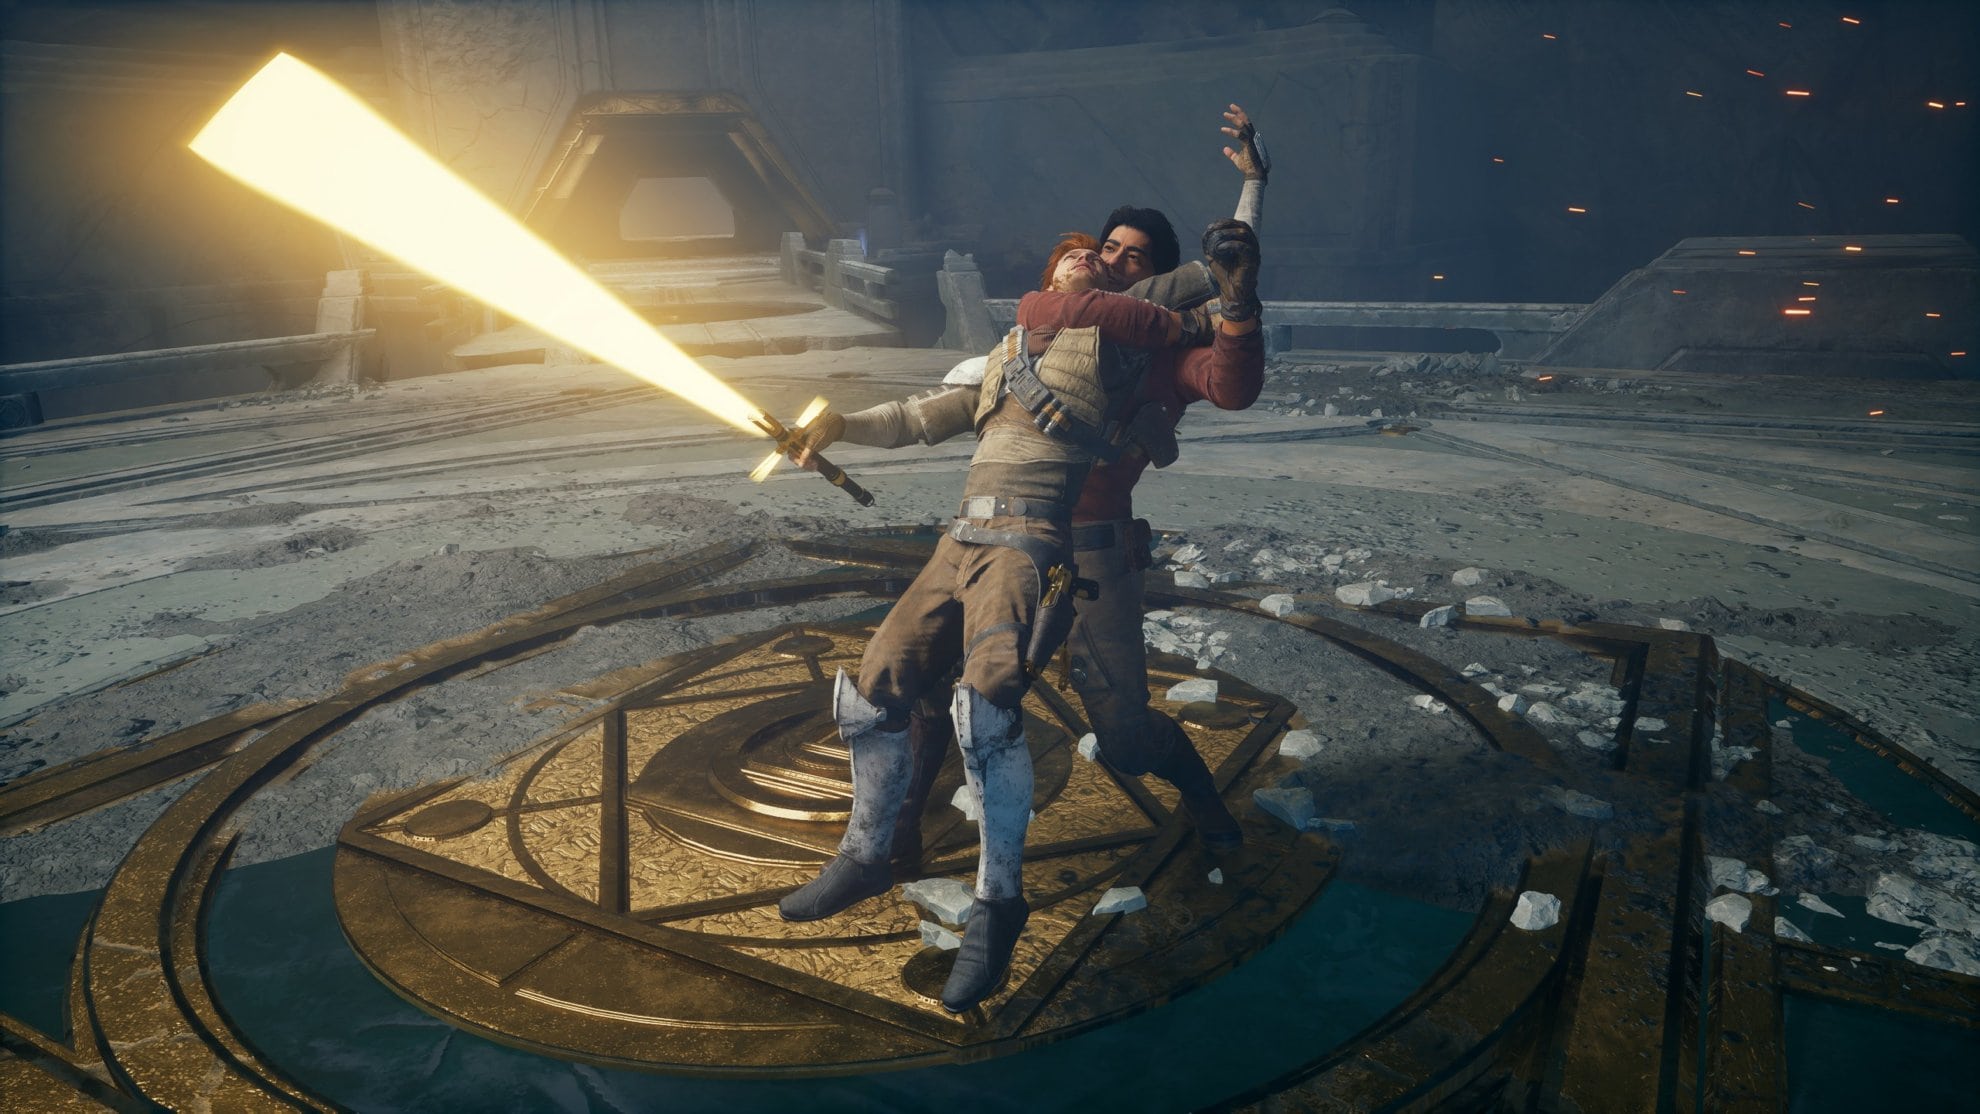
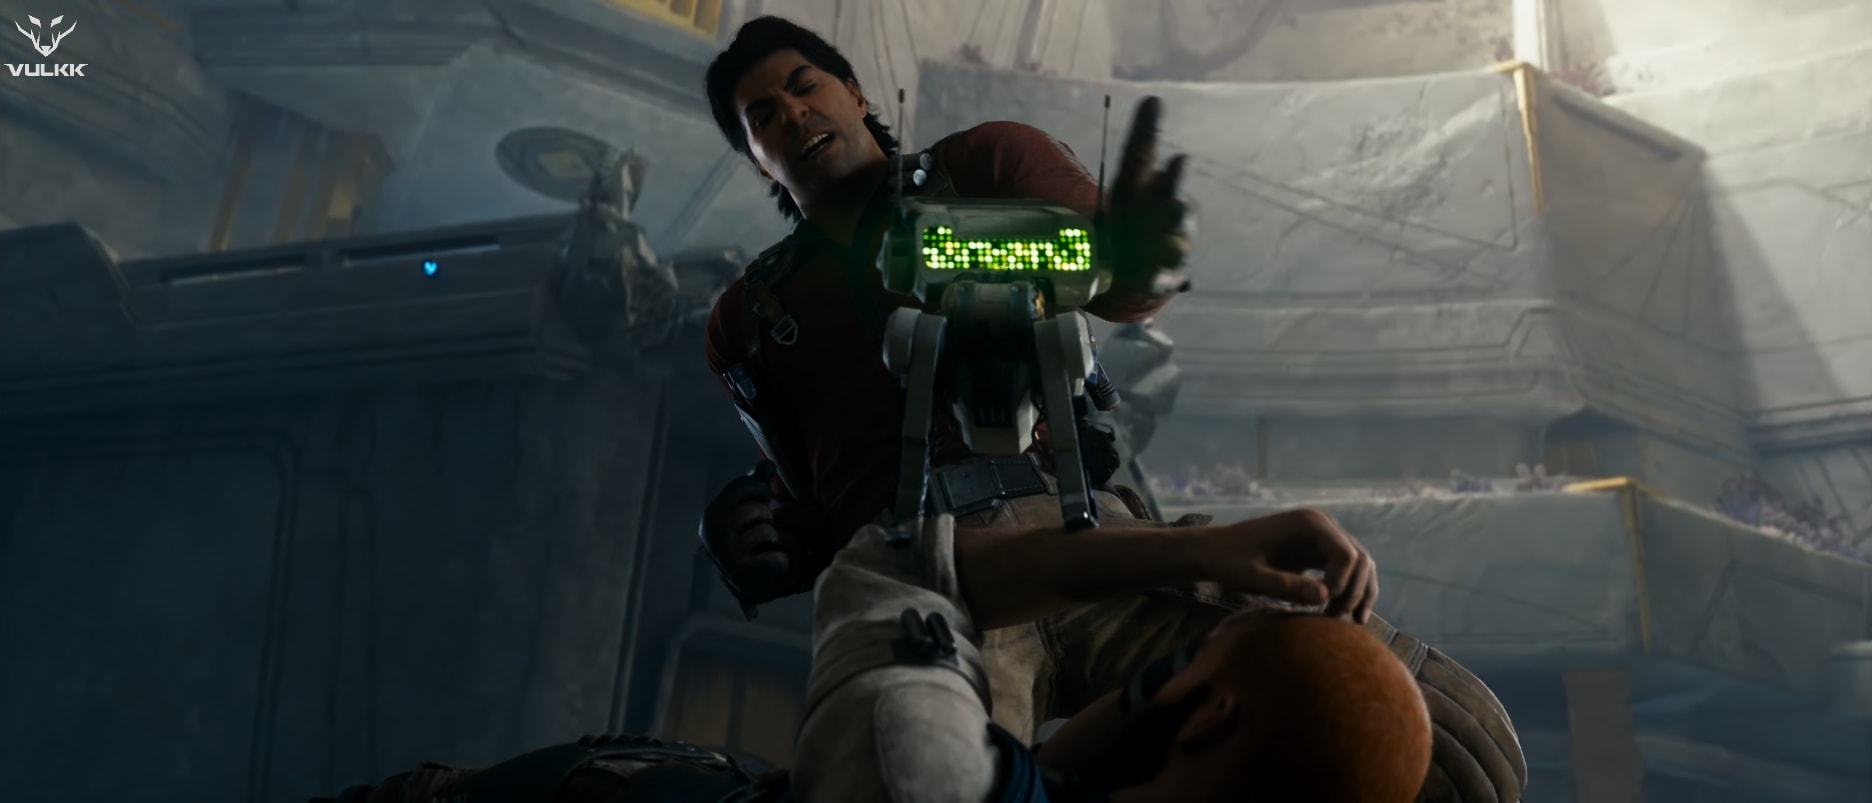
It’s possible that Bode will jump on top of Cal and beat him relentlessly. When this happens, the screen will turn back and you’ll be prompted to “Embrace the Darkness” and activate your Force Slow ability. If you don’t give in, you will perish and have to respawn.

Alternatively, you can beat Bode fair and square without giving into the darkness like I did. The end result is the same regardless of your choice but we here at the Vulkk team are baffled by this particular scripted event. I was the first one on our team to beat him fair and square while everyone else gave into the darkness. We are currently not sure what triggers this event but we’ll update this guide when we find out!
During this fight, something Skoova said came to mind. When you catch the Blue-Finned Crayfish in the Bygone Settlement, Skoova asks how you fight slippery. How do you fight slippery? By being just as slippery as yourself. This very much applies to the Bode fight as he’s as slippery as they get. You’ll need to be greased up and as slippery as he is if not more so in order to survive. Do Skoova proud and be more slippery than Bode!
Beating Bode Akuna and completing the story of the game will unlock for you the A Place You Could Call Home achievement.
This concludes this boss fight guide. After you have beaten the game, maybe now you can spend some extra time and pick up some of those awesome Collectibles in Jedi Survivor. Whatever you are looking for, check our Jedi Survivor Guides Master List and you are likely going to find it there.


