This guide will help with completing the Fractured Agility Force Tear in Star Wars Jedi Survivor. Force Tears are additional challenges you can complete while exploring!
Where to find the Fractured Agility Force Tear
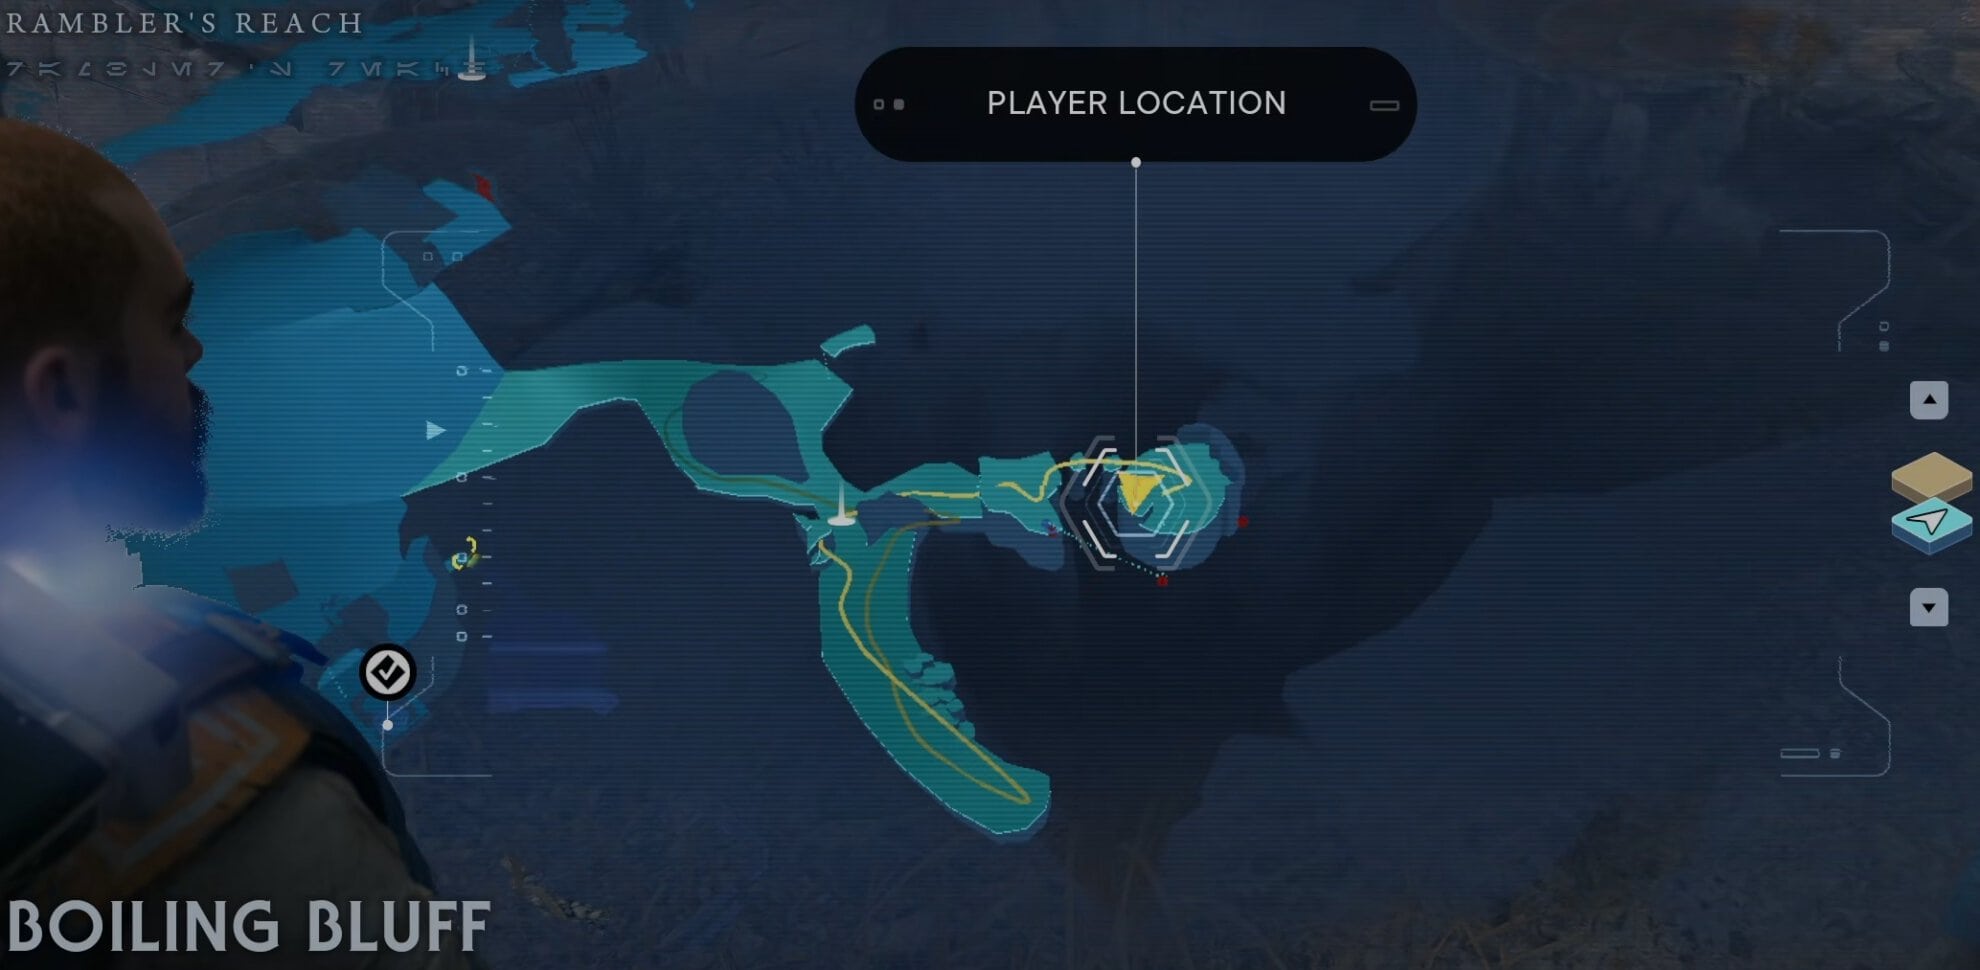
You must go to the Boiling Bluff on Rambler’s Reach. This is where you can also recruit Tulli and Bhima.
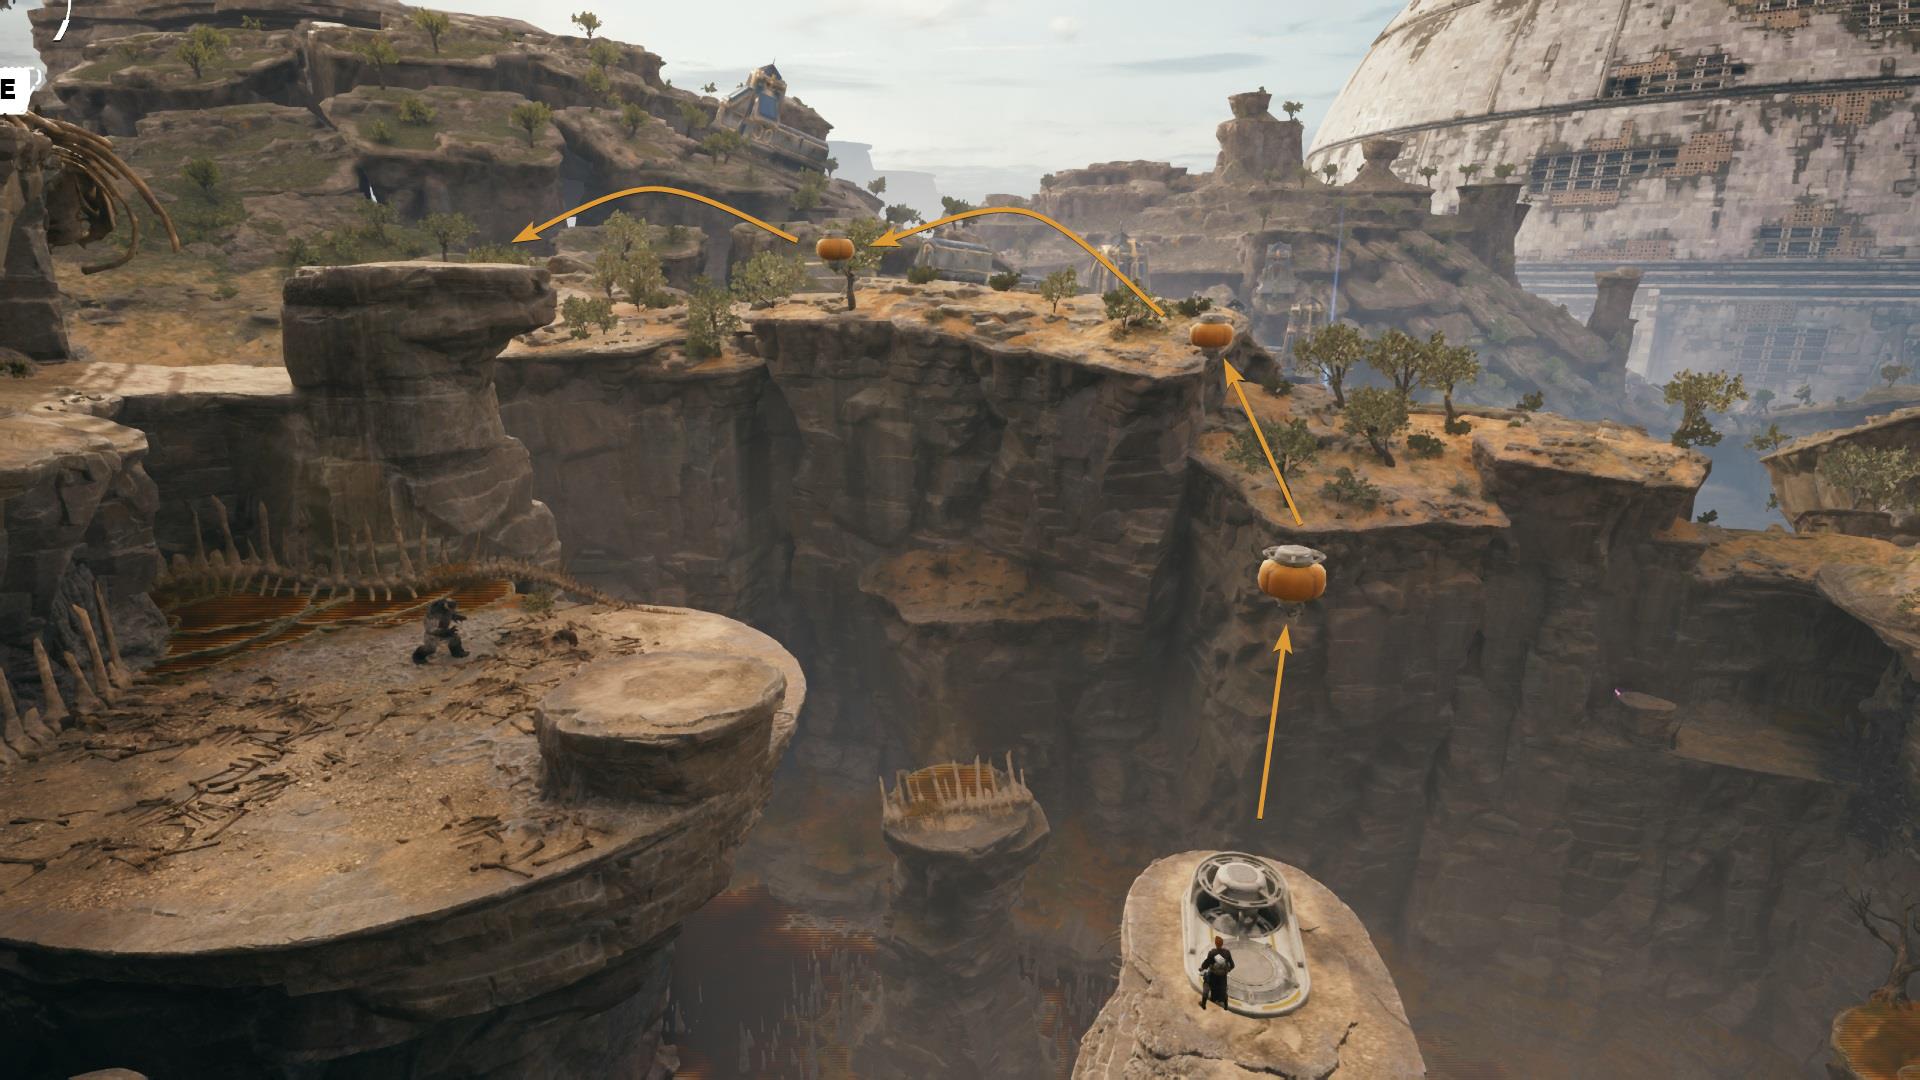
Use the floating balloons to reach the rock platform that is located on the other side. Once there, look for the spot that will let you interact with the giant bird.
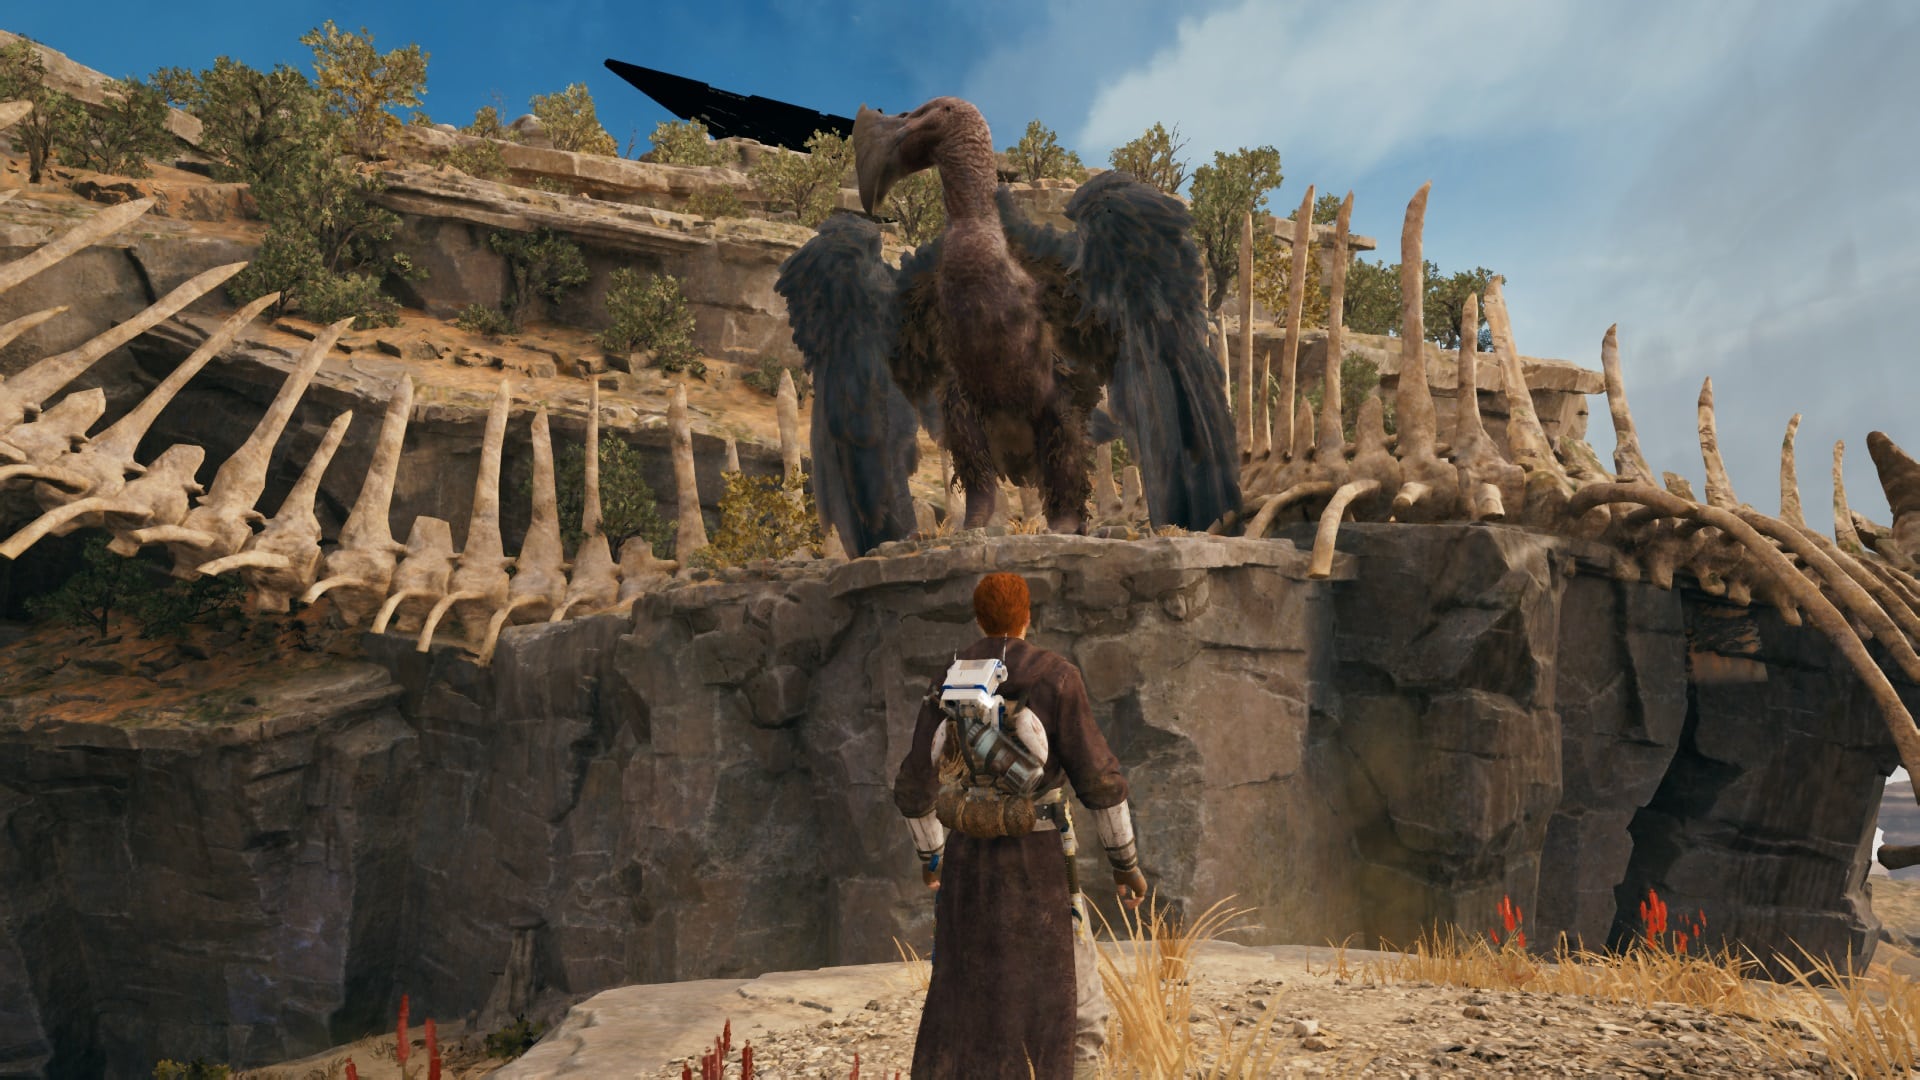
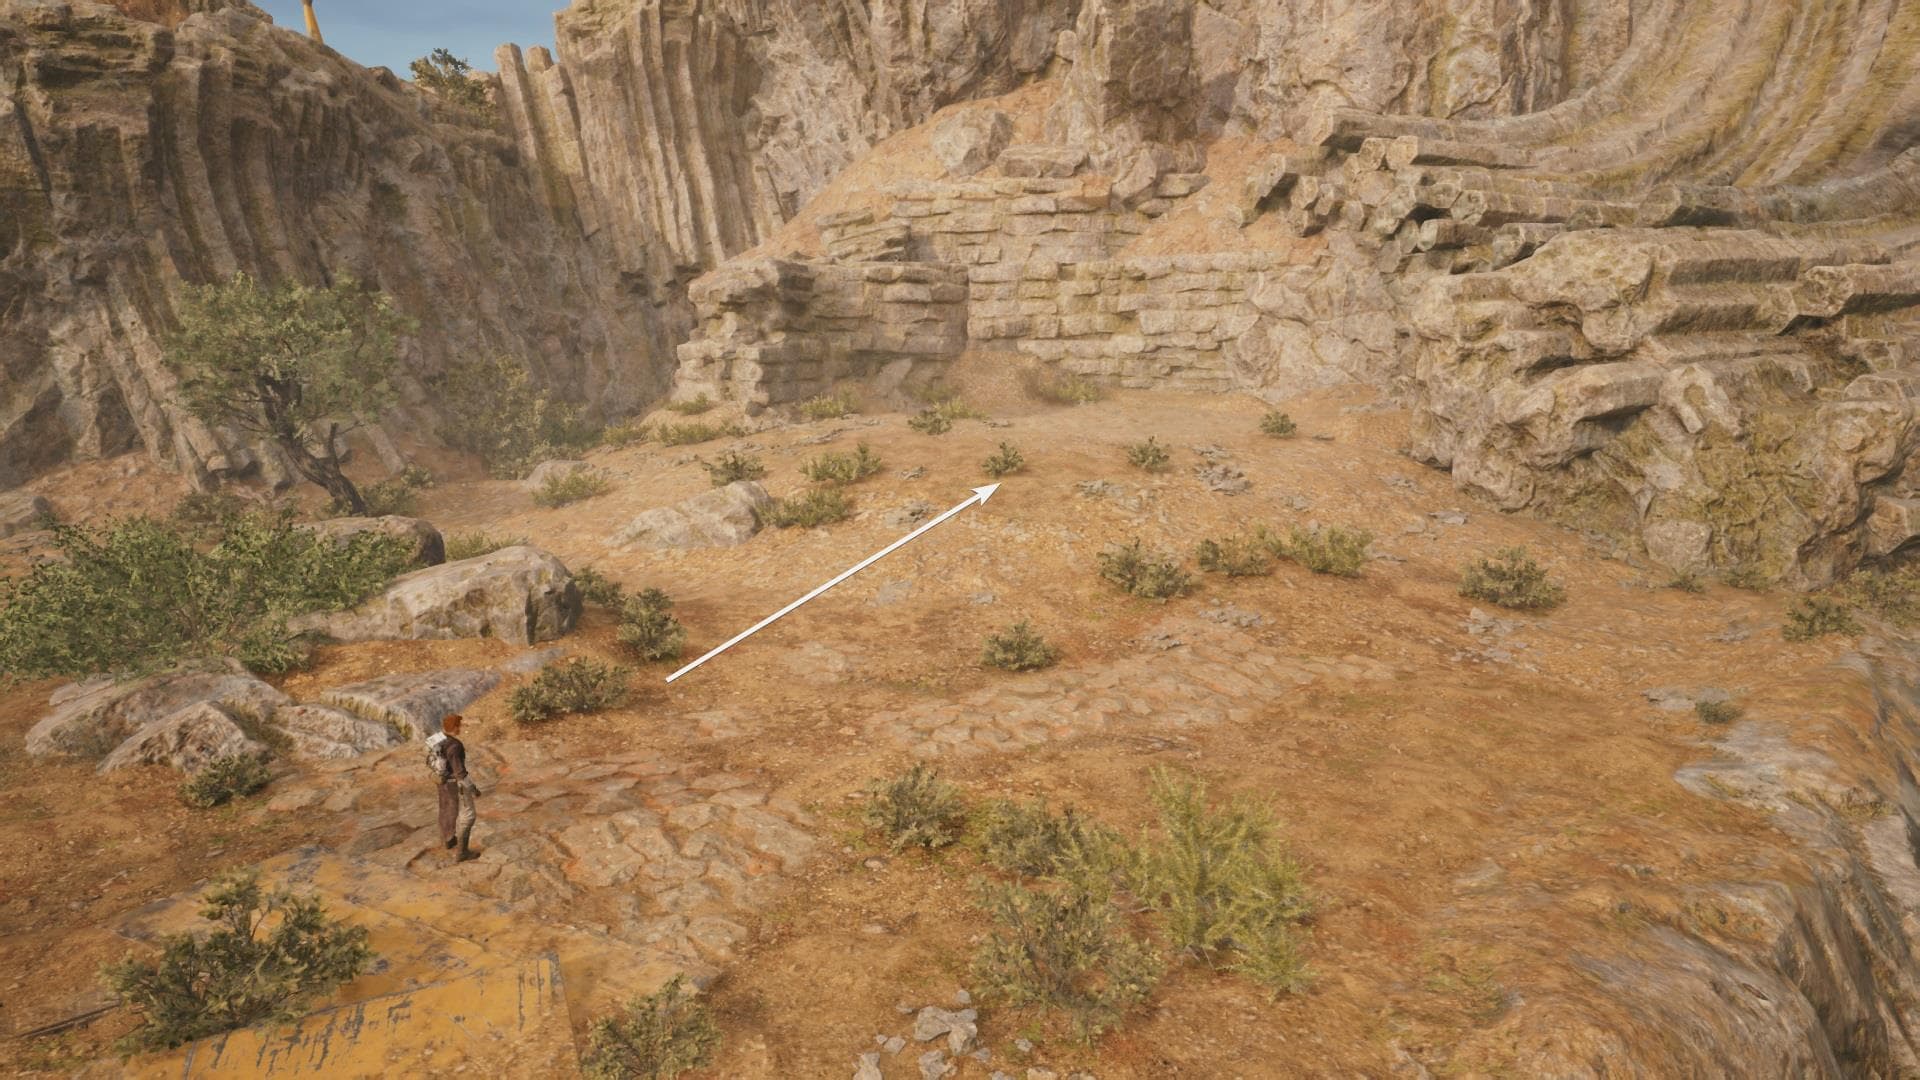
Our feathered friend will take you to a different location. At first, it’s going to look like there’s nothing but you only have to walk towards the bricked wall.
Video Walkthrough
Step-by-Step Walkthrough
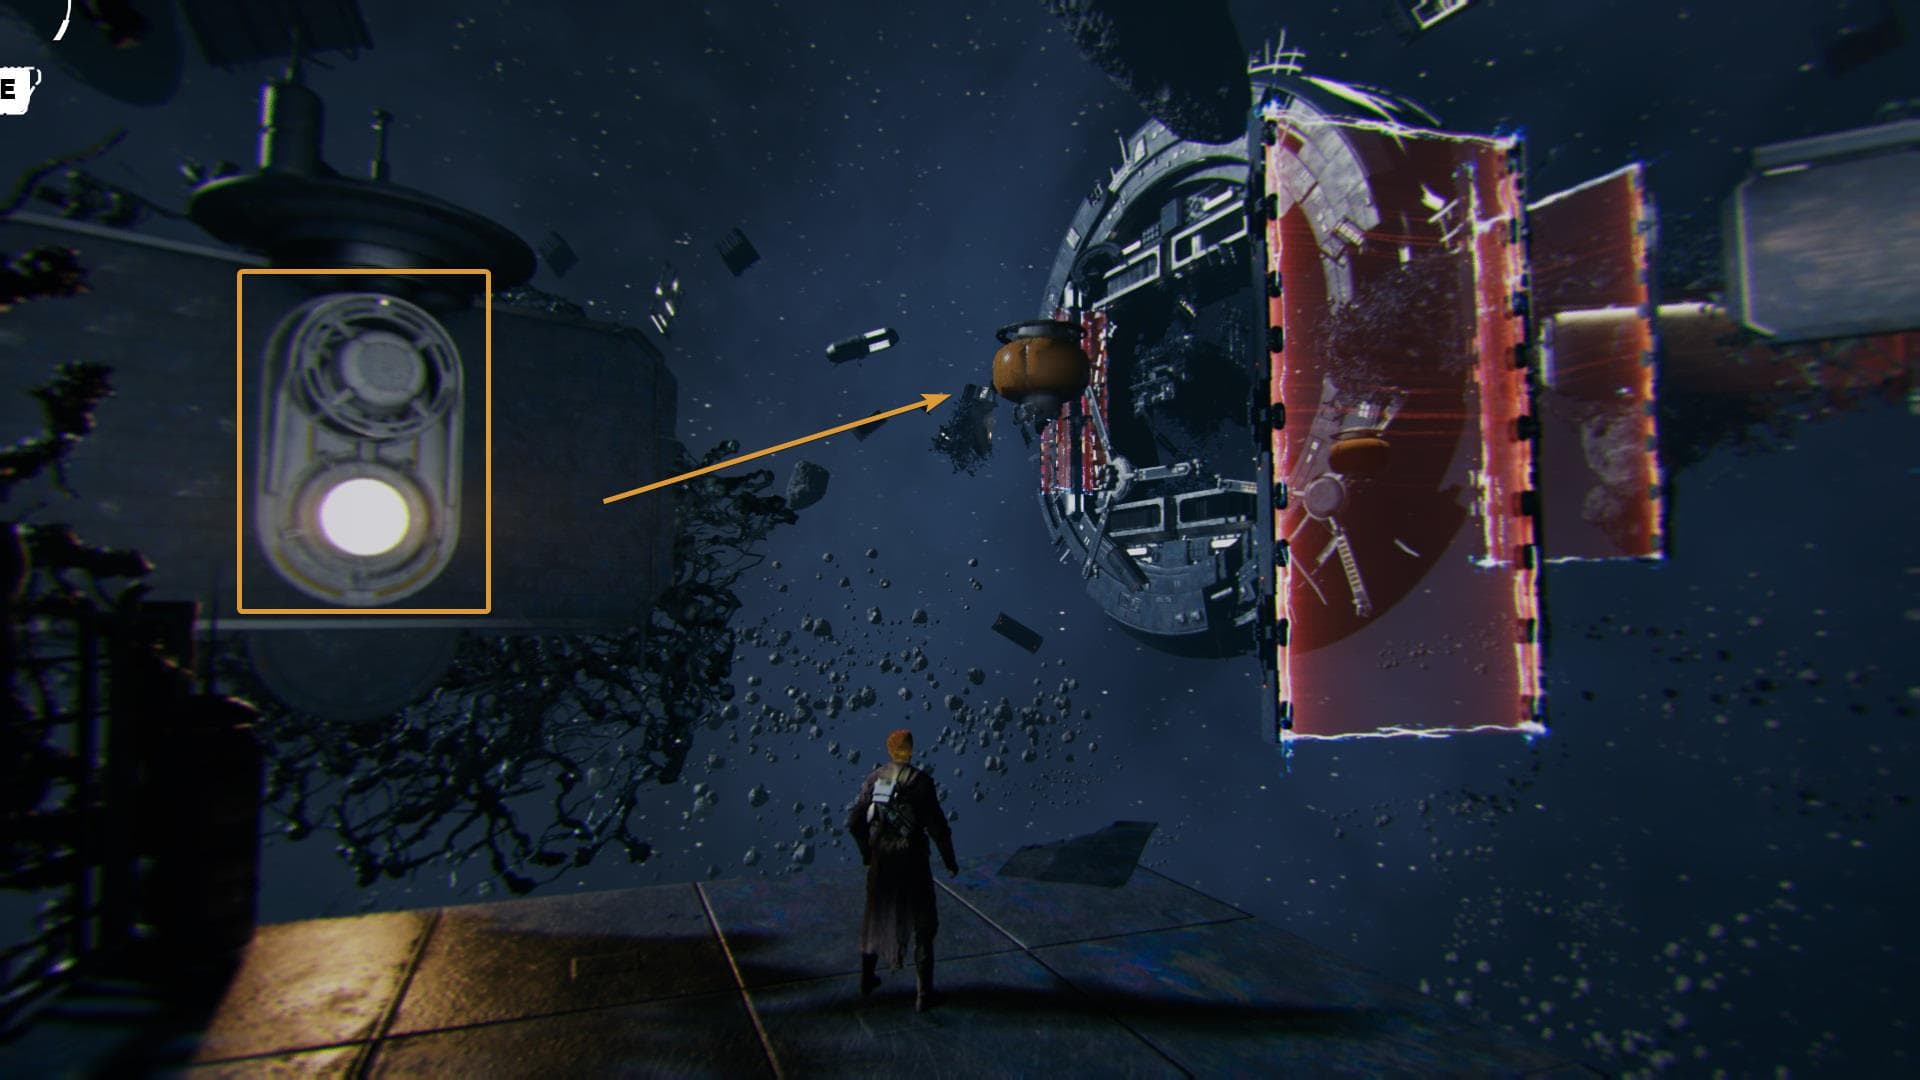
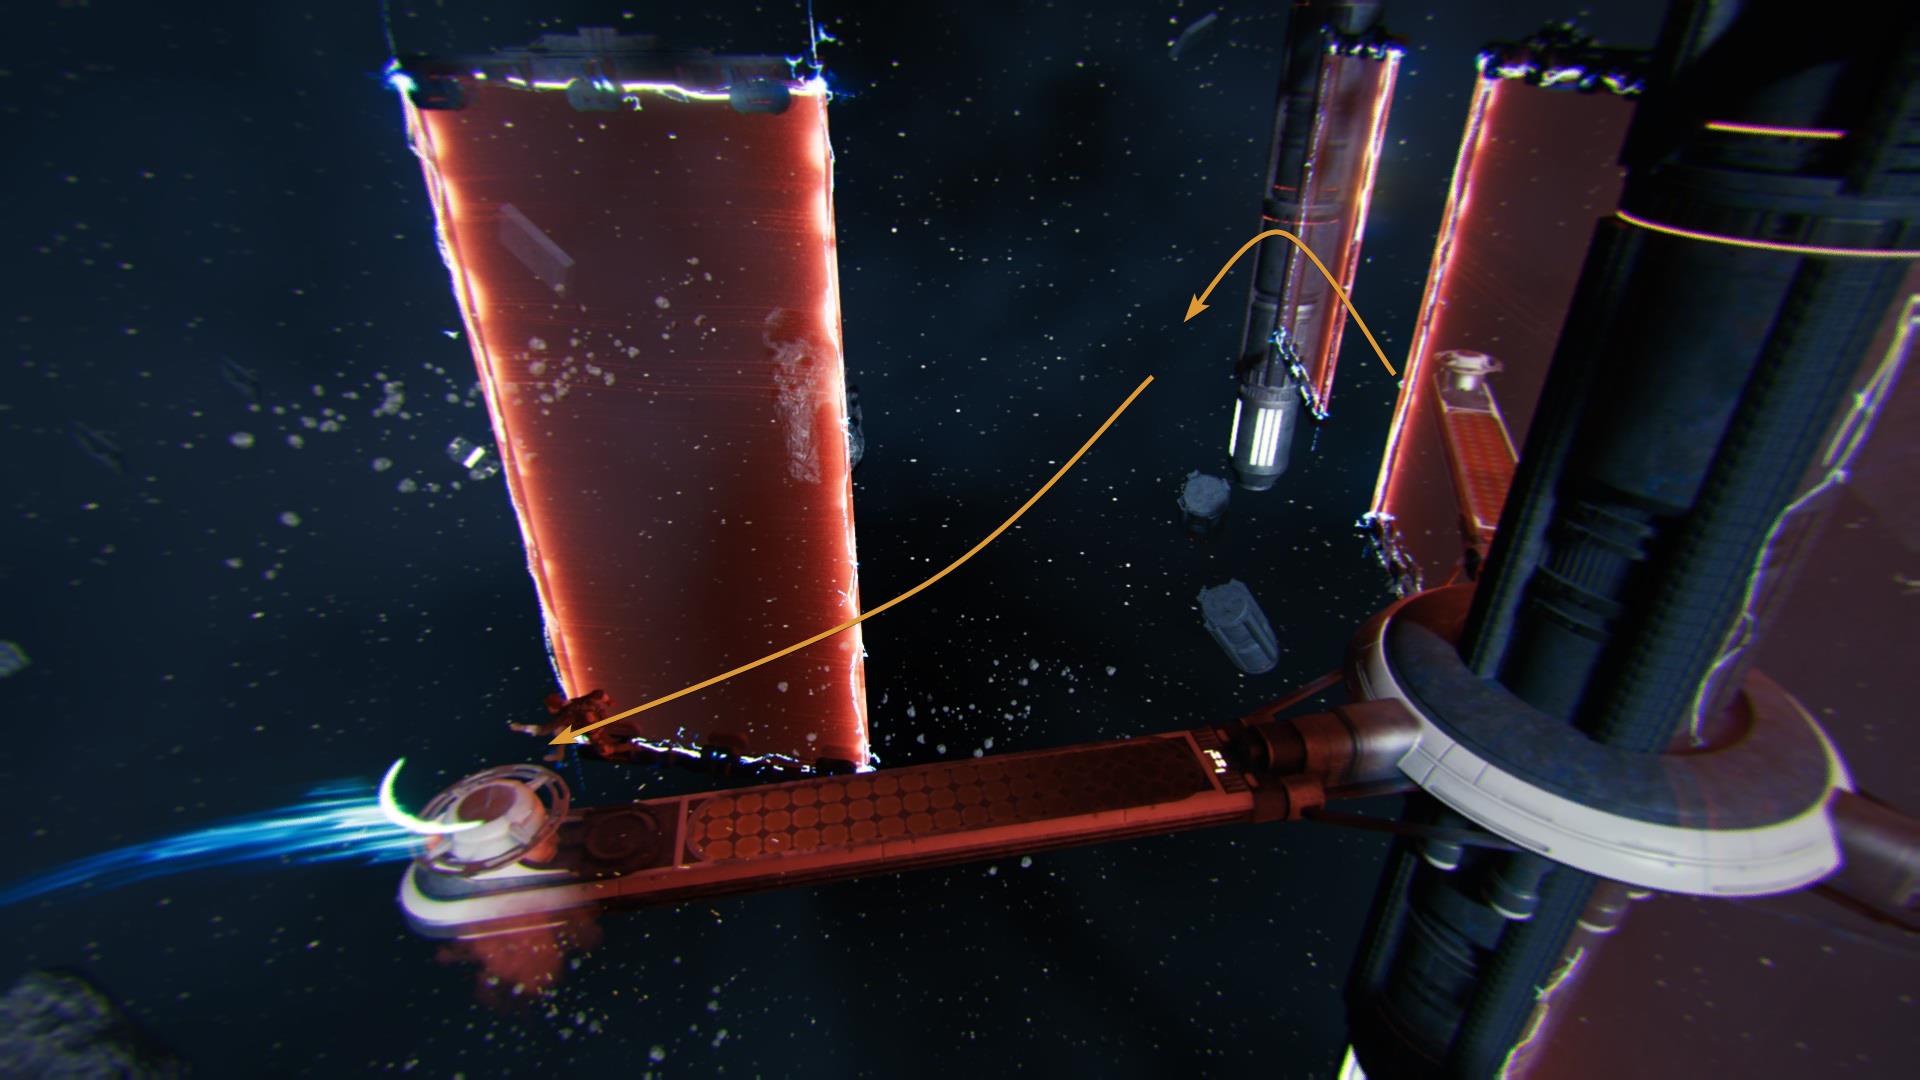
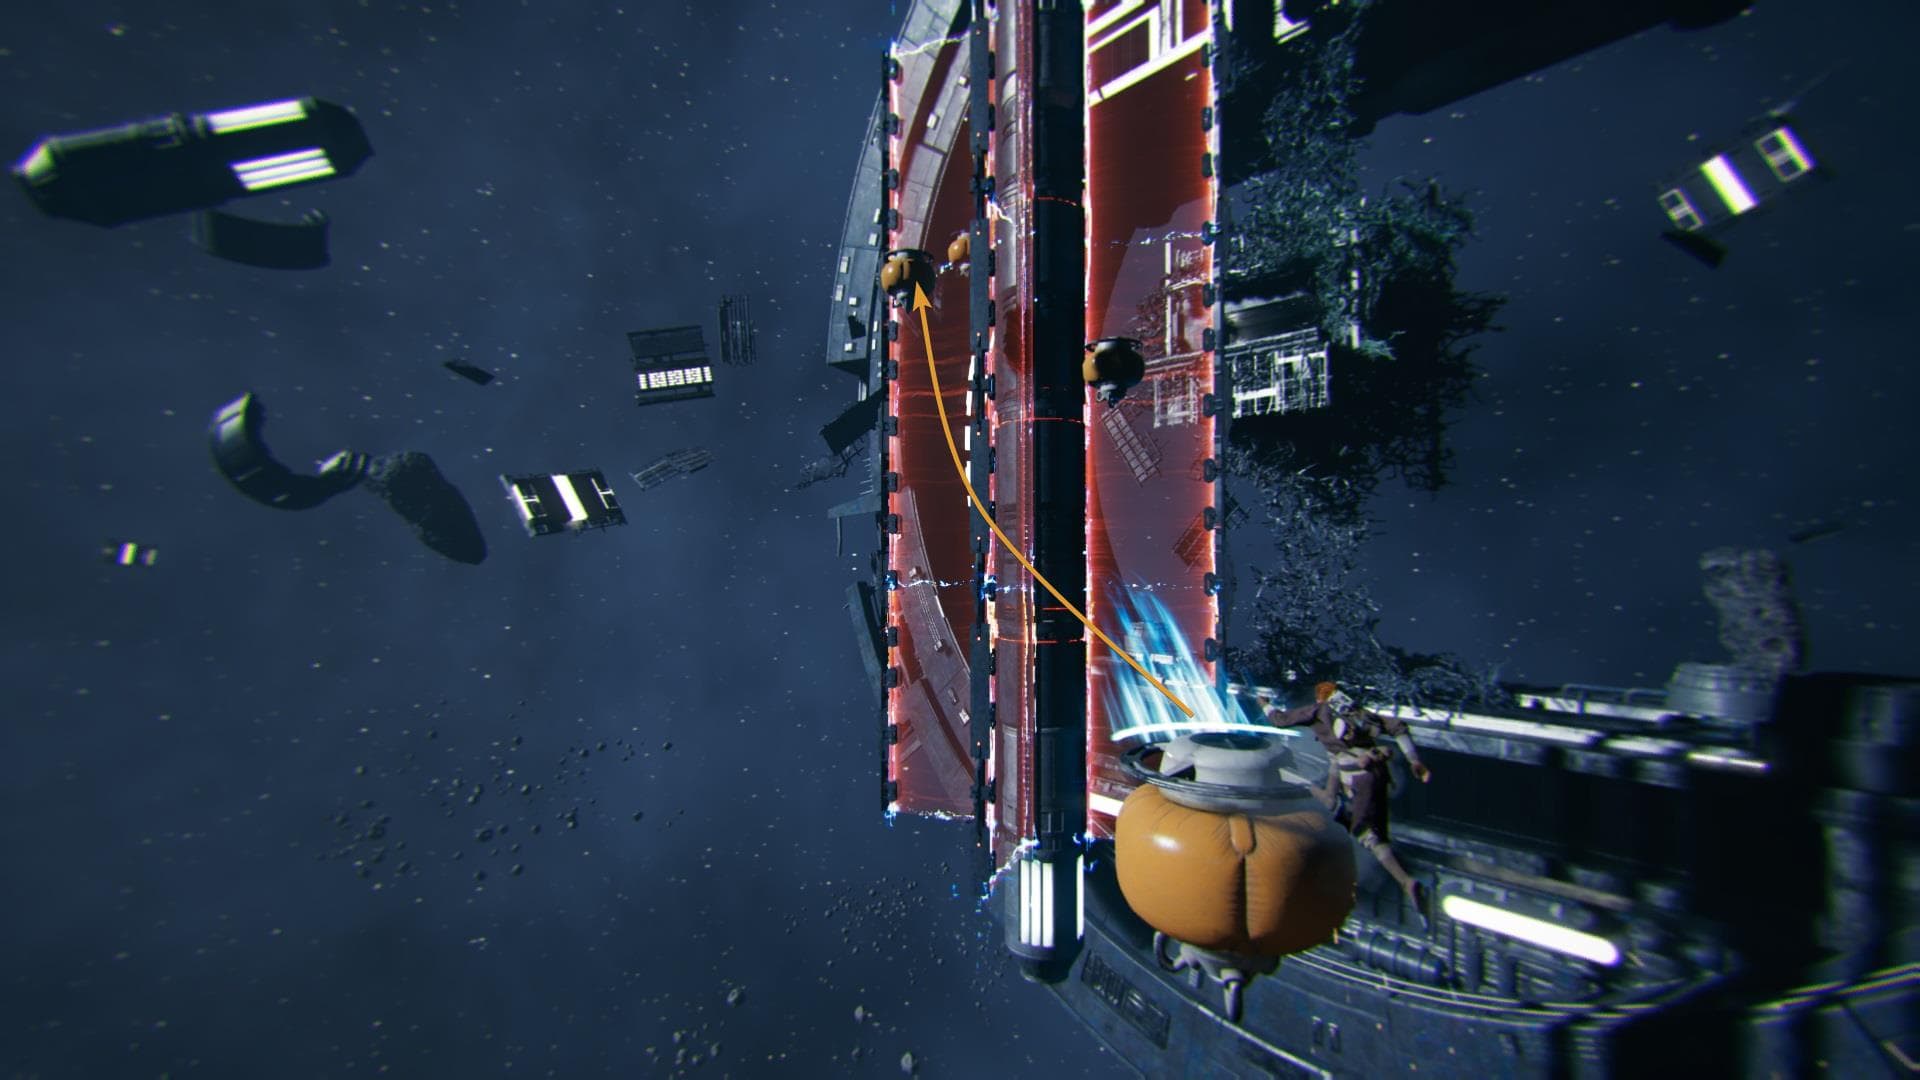
Use Force Pull to grab a floating balloon, then throw it as close as possible to the red barrier. Jump forward and use your ascension cable on the balloon.
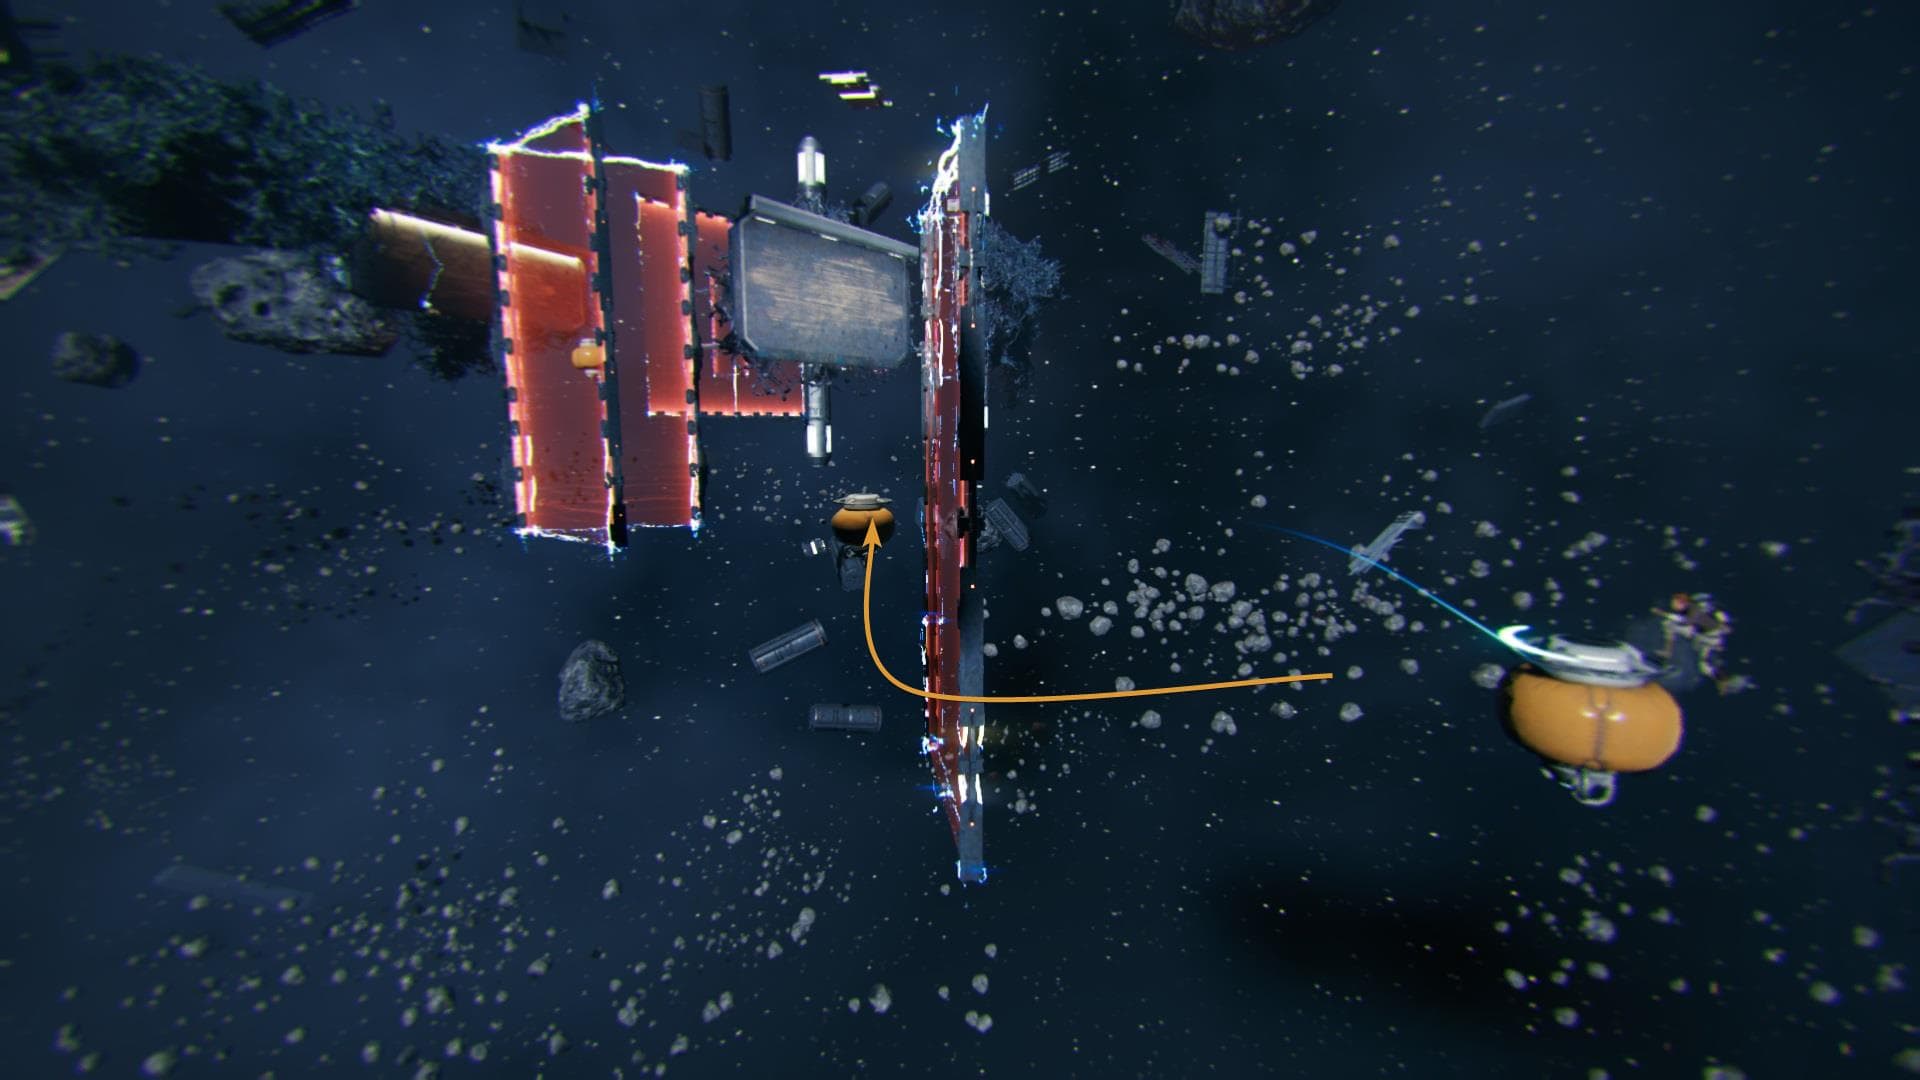
Repeat this process to end up close to the next floating balloon. There isn’t a direct angle so you must aim past the barrier and then use the ascension cable mid-air.
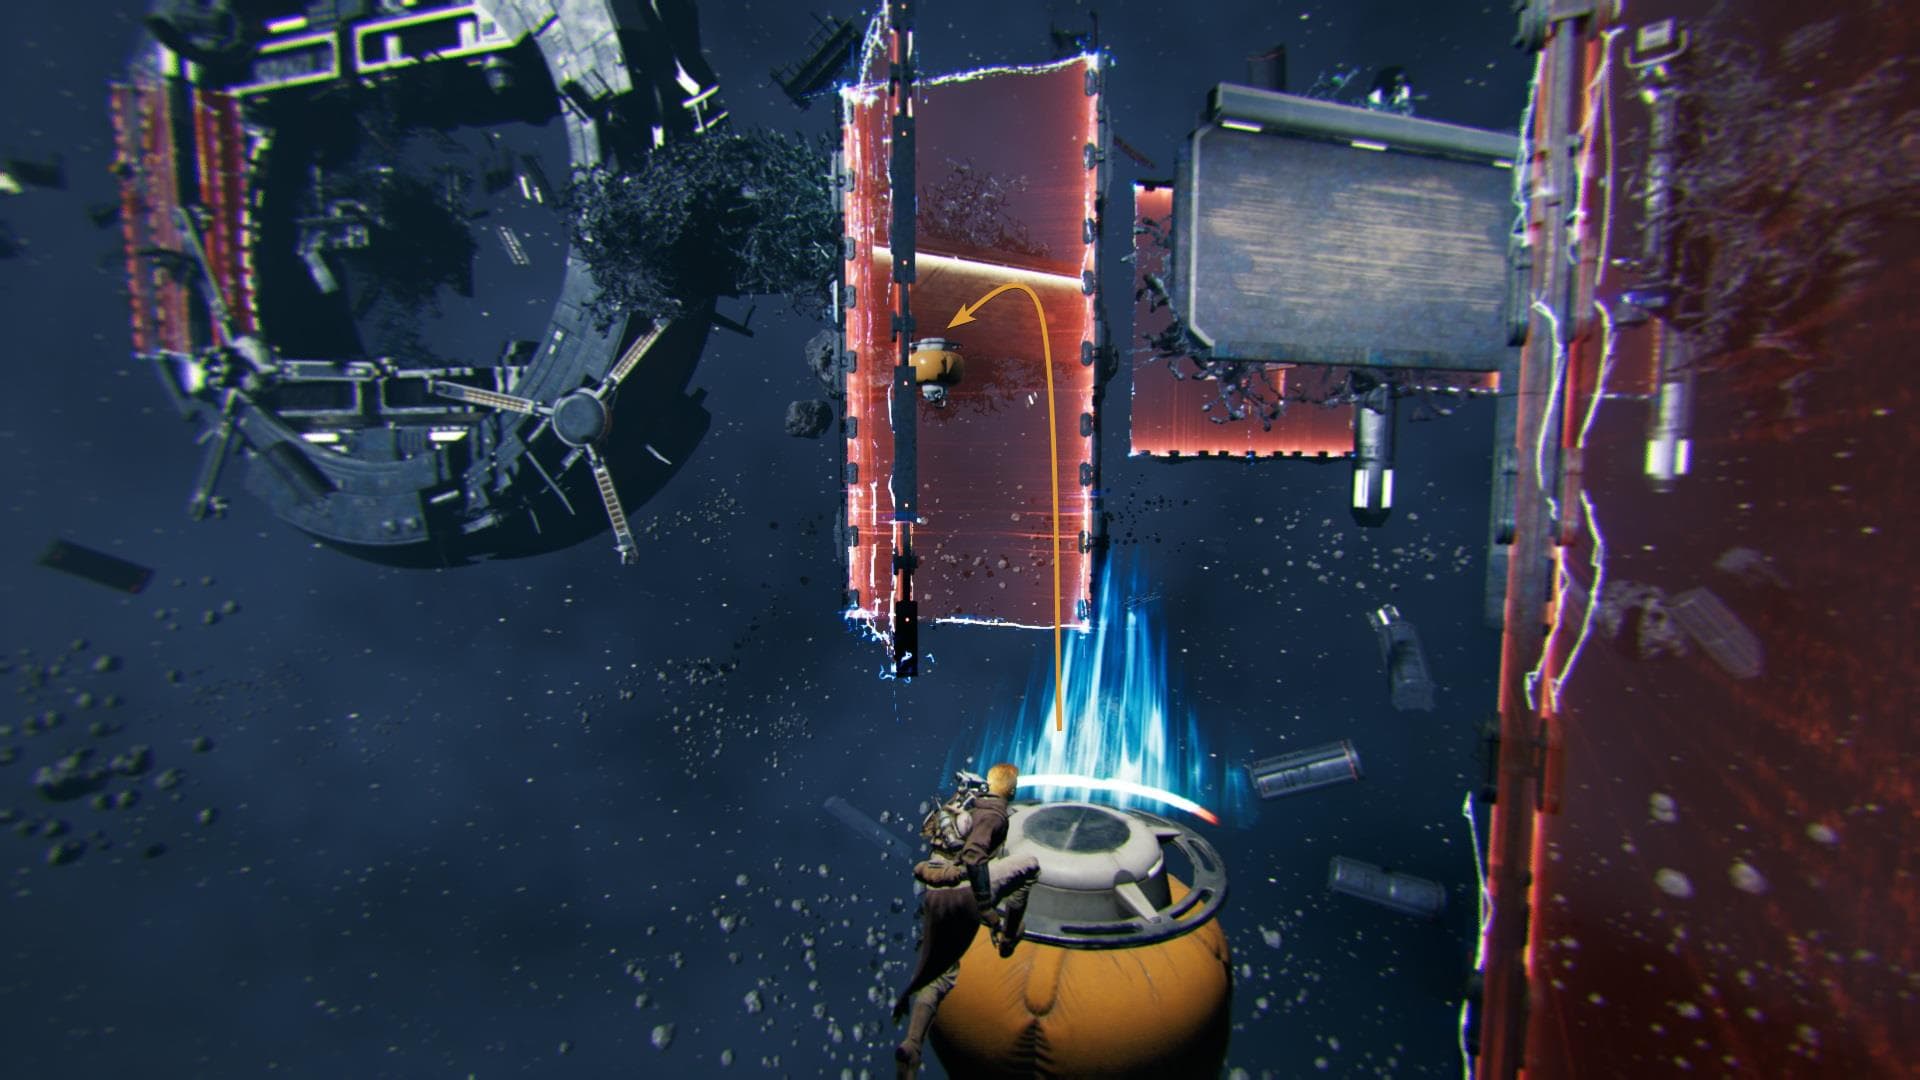
As you might have noticed, jumping from one floating balloon to another is something you must do multiple times in this challenge. For this segment, aim directly at the next balloon.
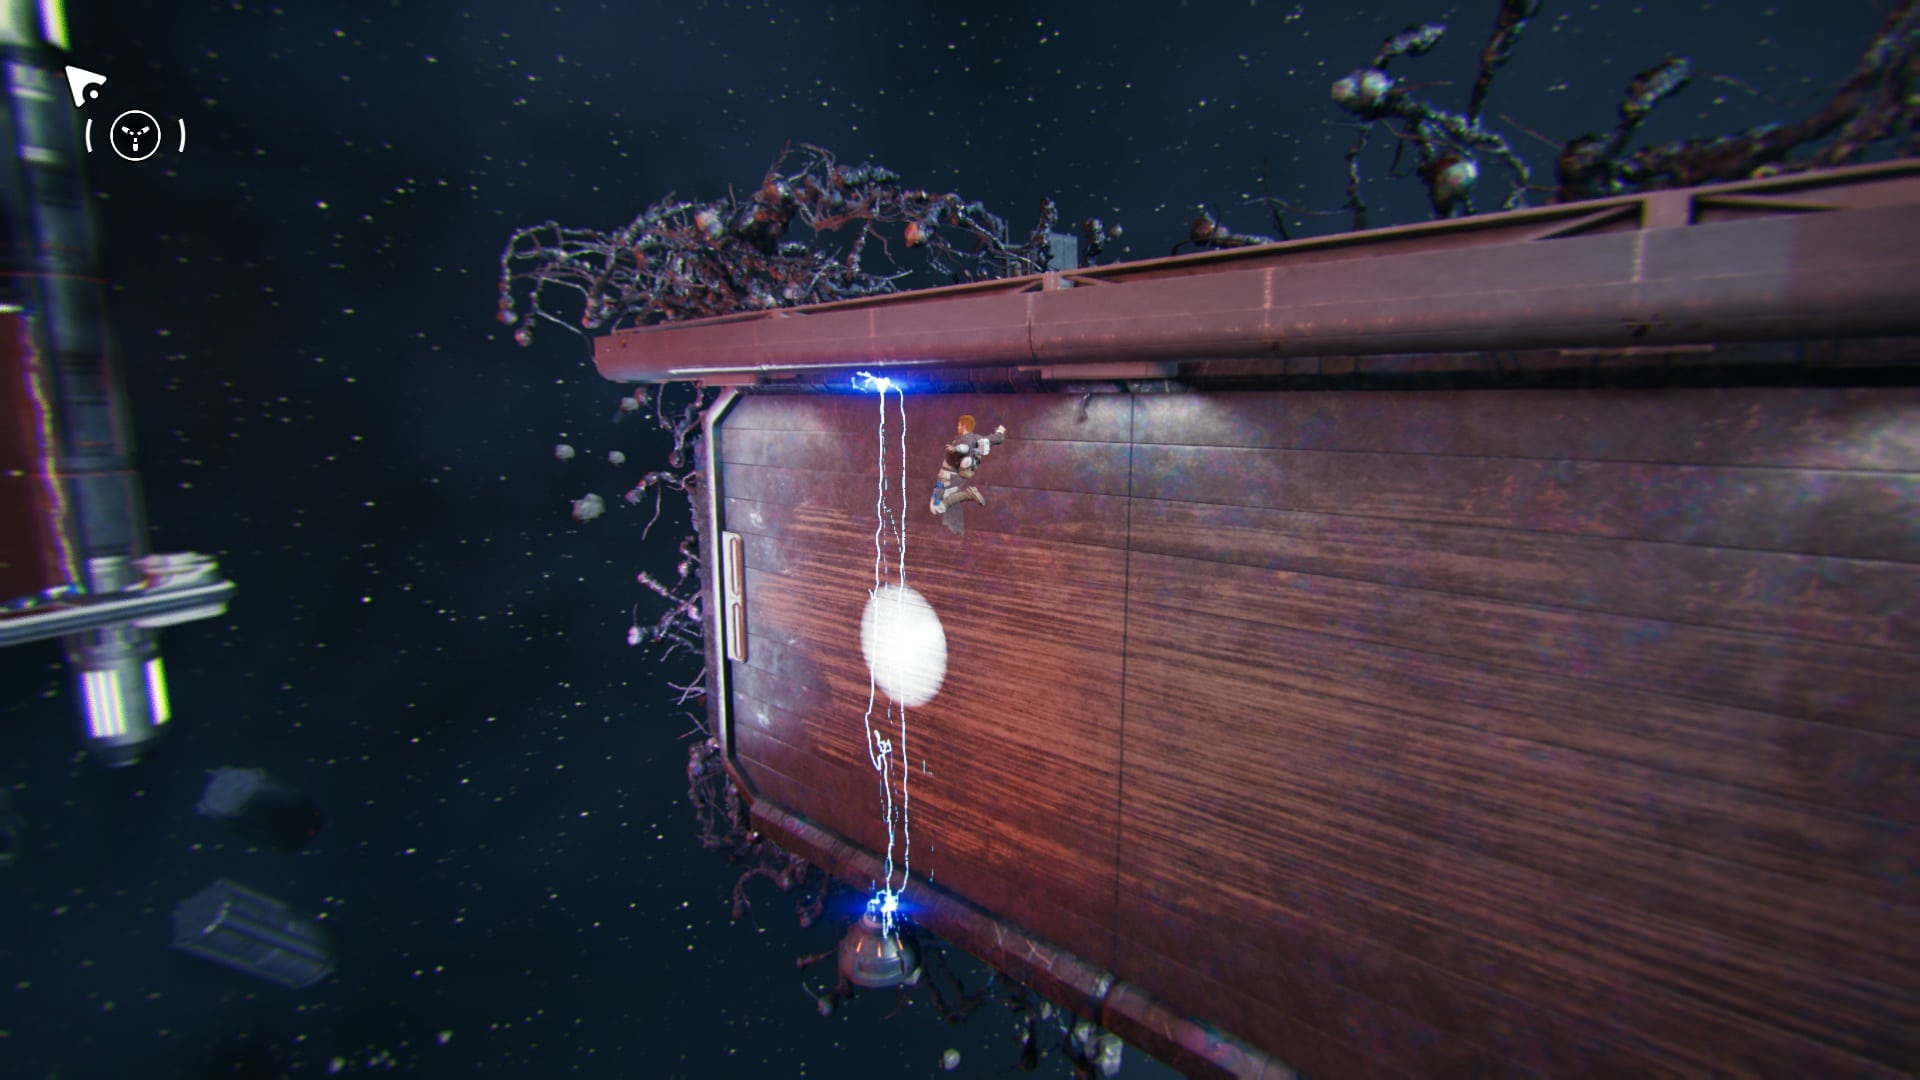
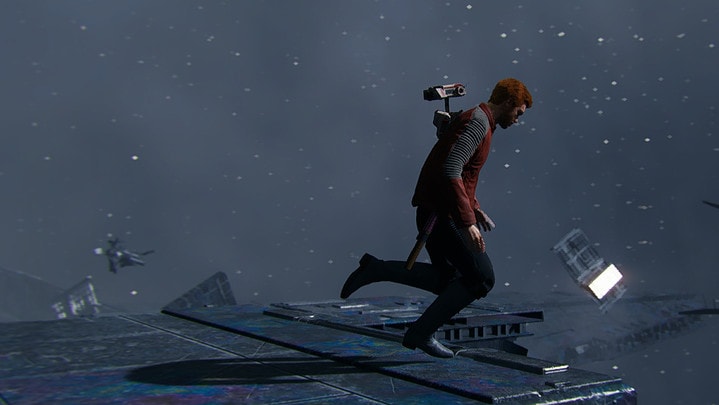
Find the proper angle and double jump and dash to the wall. Continue running for a few meters until you get to the second wall.
This one has an electrified beam running through it. When the beam is close to you jump to the side and then use your second jump or mid-air dash to return to the wall. Your ascension cable as soon as you run out of space to run.
Once you land on the moving “spinner”, hold your position for a few seconds. The barriers stand in your way so the only way to continue is by waiting for the next platform to be close to the barriers.
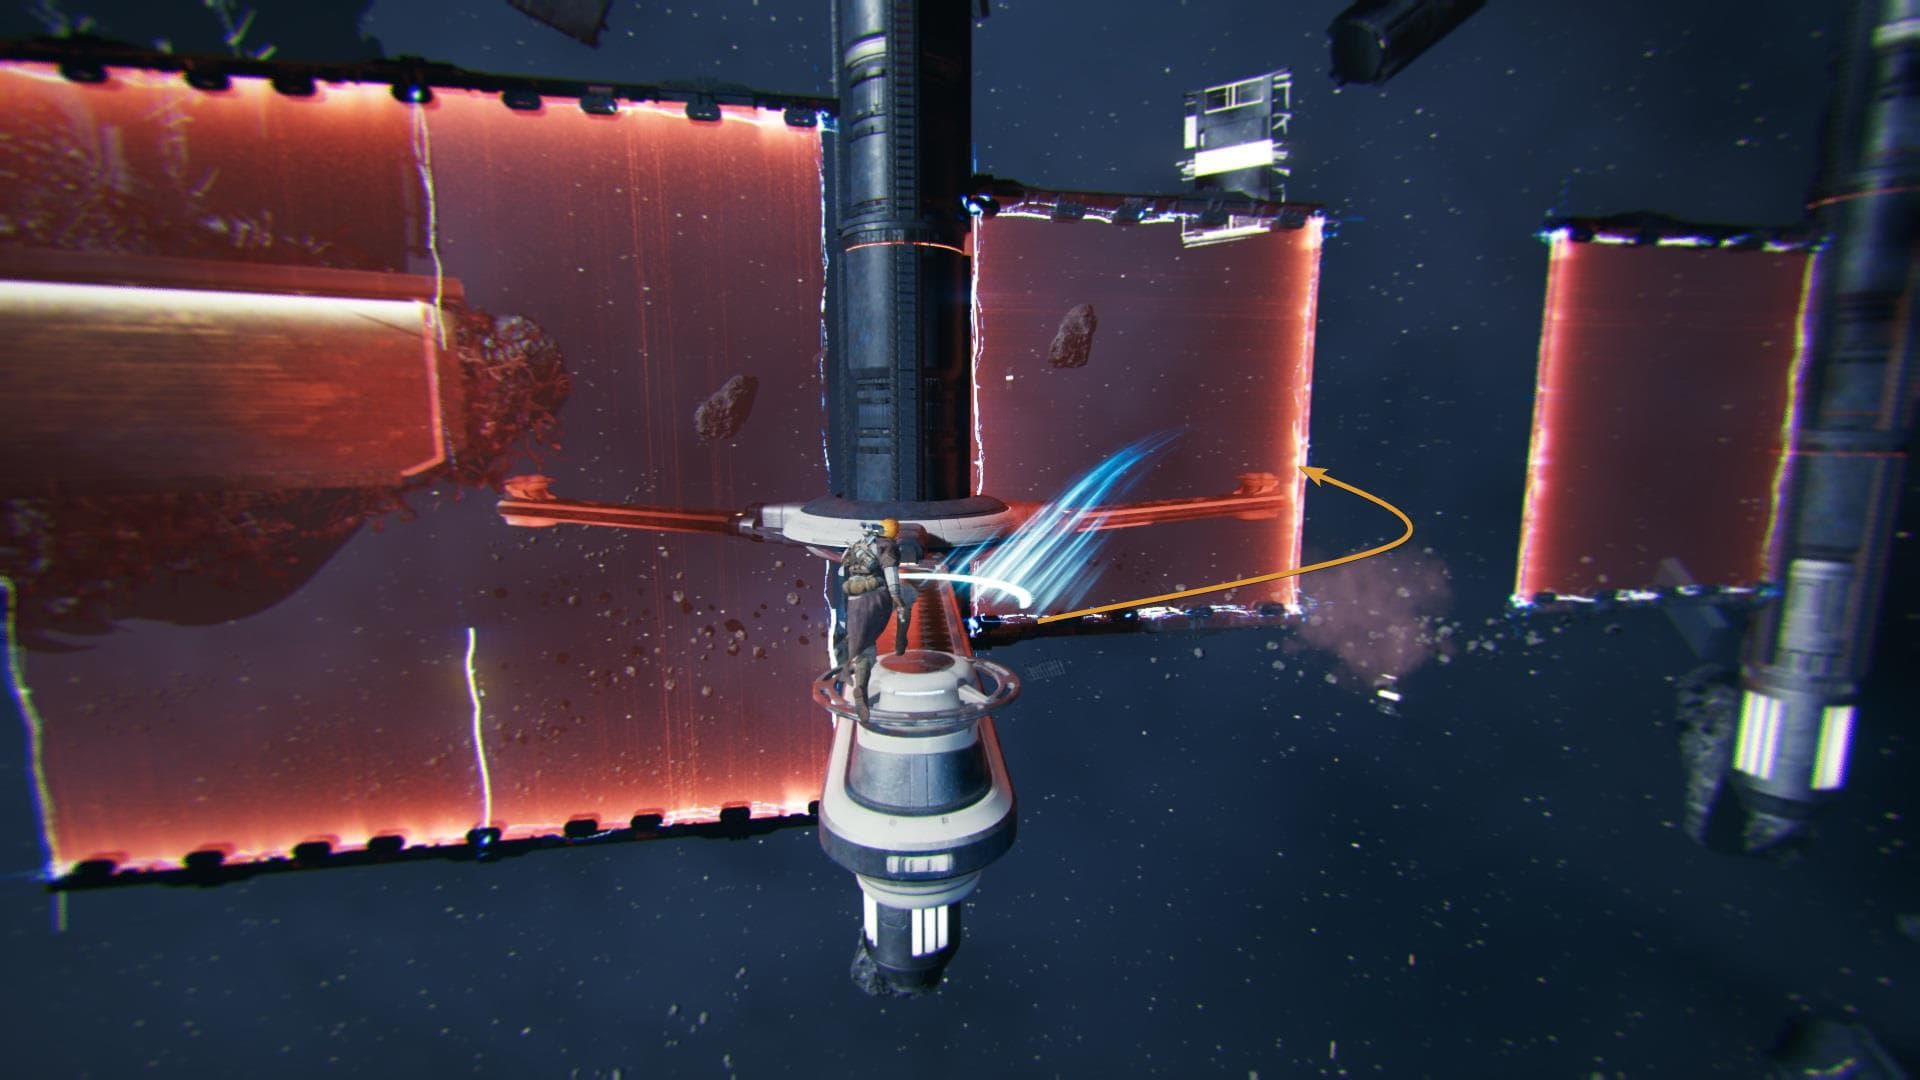
Release it and use both your second jump and mid-air dash. This should let you cover enough distance so you can use your ascension cable and get to the next point.
This is the last jump of this section. For this one, you must make Cal jump near the center part of the structure. A second jump and mid-air dash are also needed for you to cover the required distance.
Up next, there’s another electrified wall. Remember to jump out of the way and return with a dash.
Get ready to jump to another wall. This one isn’t electrified so just make sure to get to the other side.
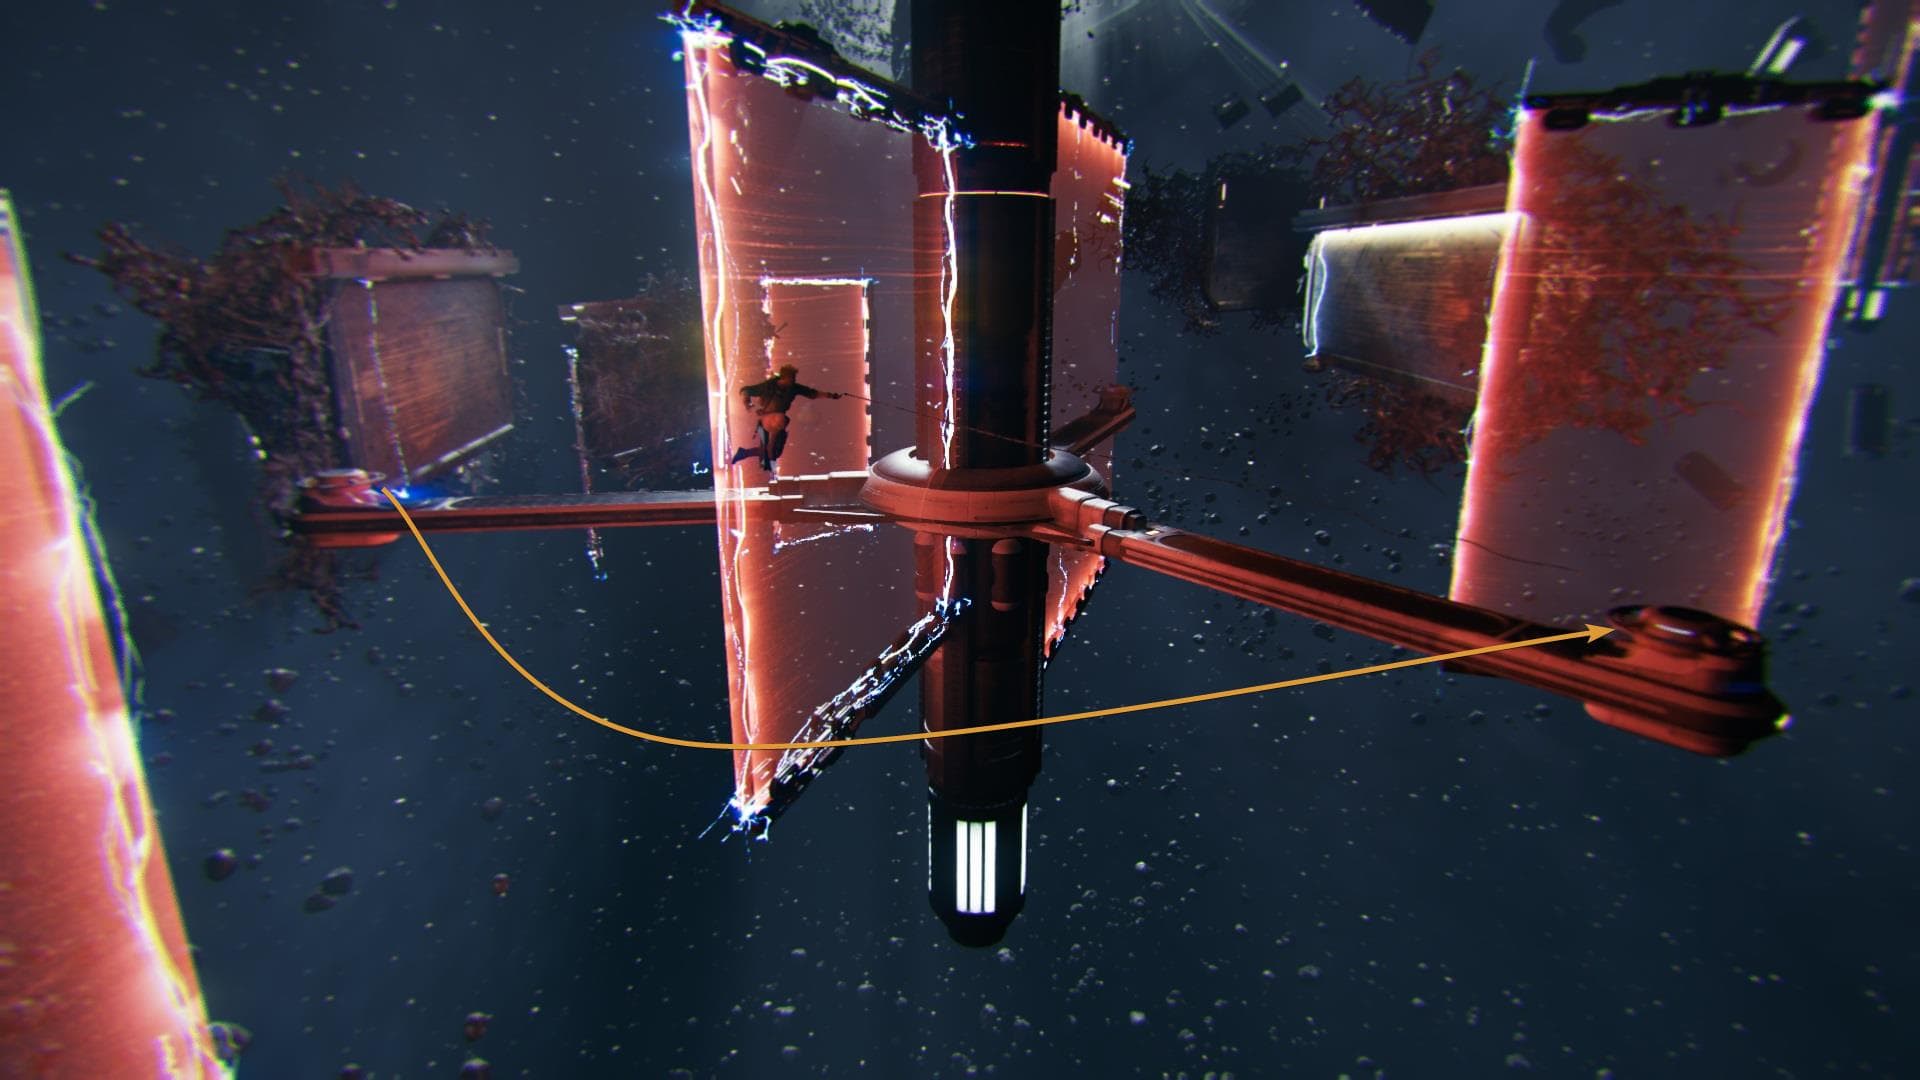
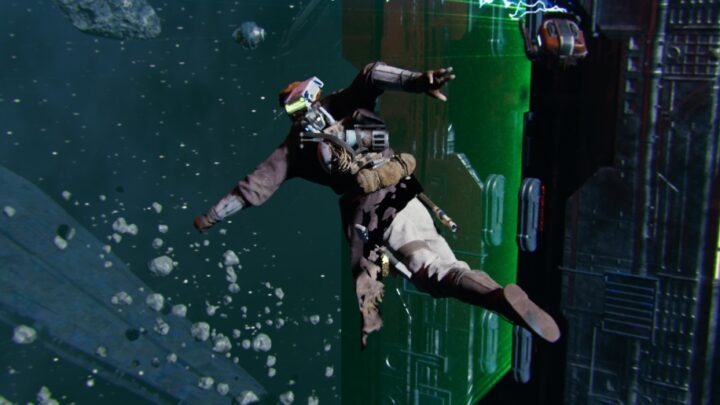
Prepare to jump to this spinner. Unlike the first, these move vertically. Once there, get to the next one and be ready to move to the second “spinner”. Be patient, rushing things can ruin everything you’ve done so far.
On the second spinner, make sure to jump up and forward. Do not leap immediately, the next part is the trickiest one and you must have a few things in mind.
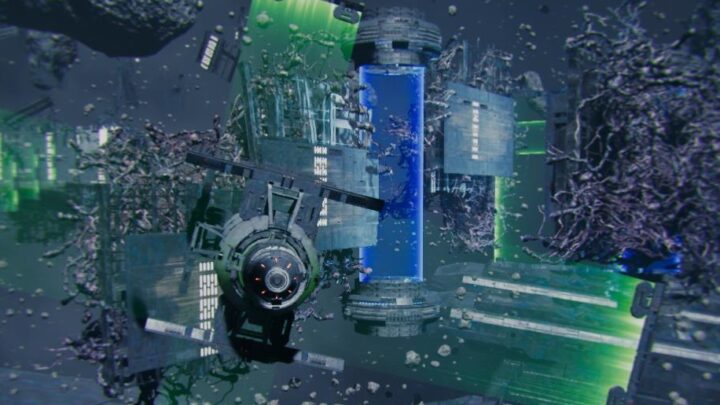
There’s a floating platform. It is very easy to go over it and fall to the abyss so be reserved about your second jump and mid-air dash. Notice that the small structure ahead of the platform is of the same type that you interacted with at the beginning of this challenge.
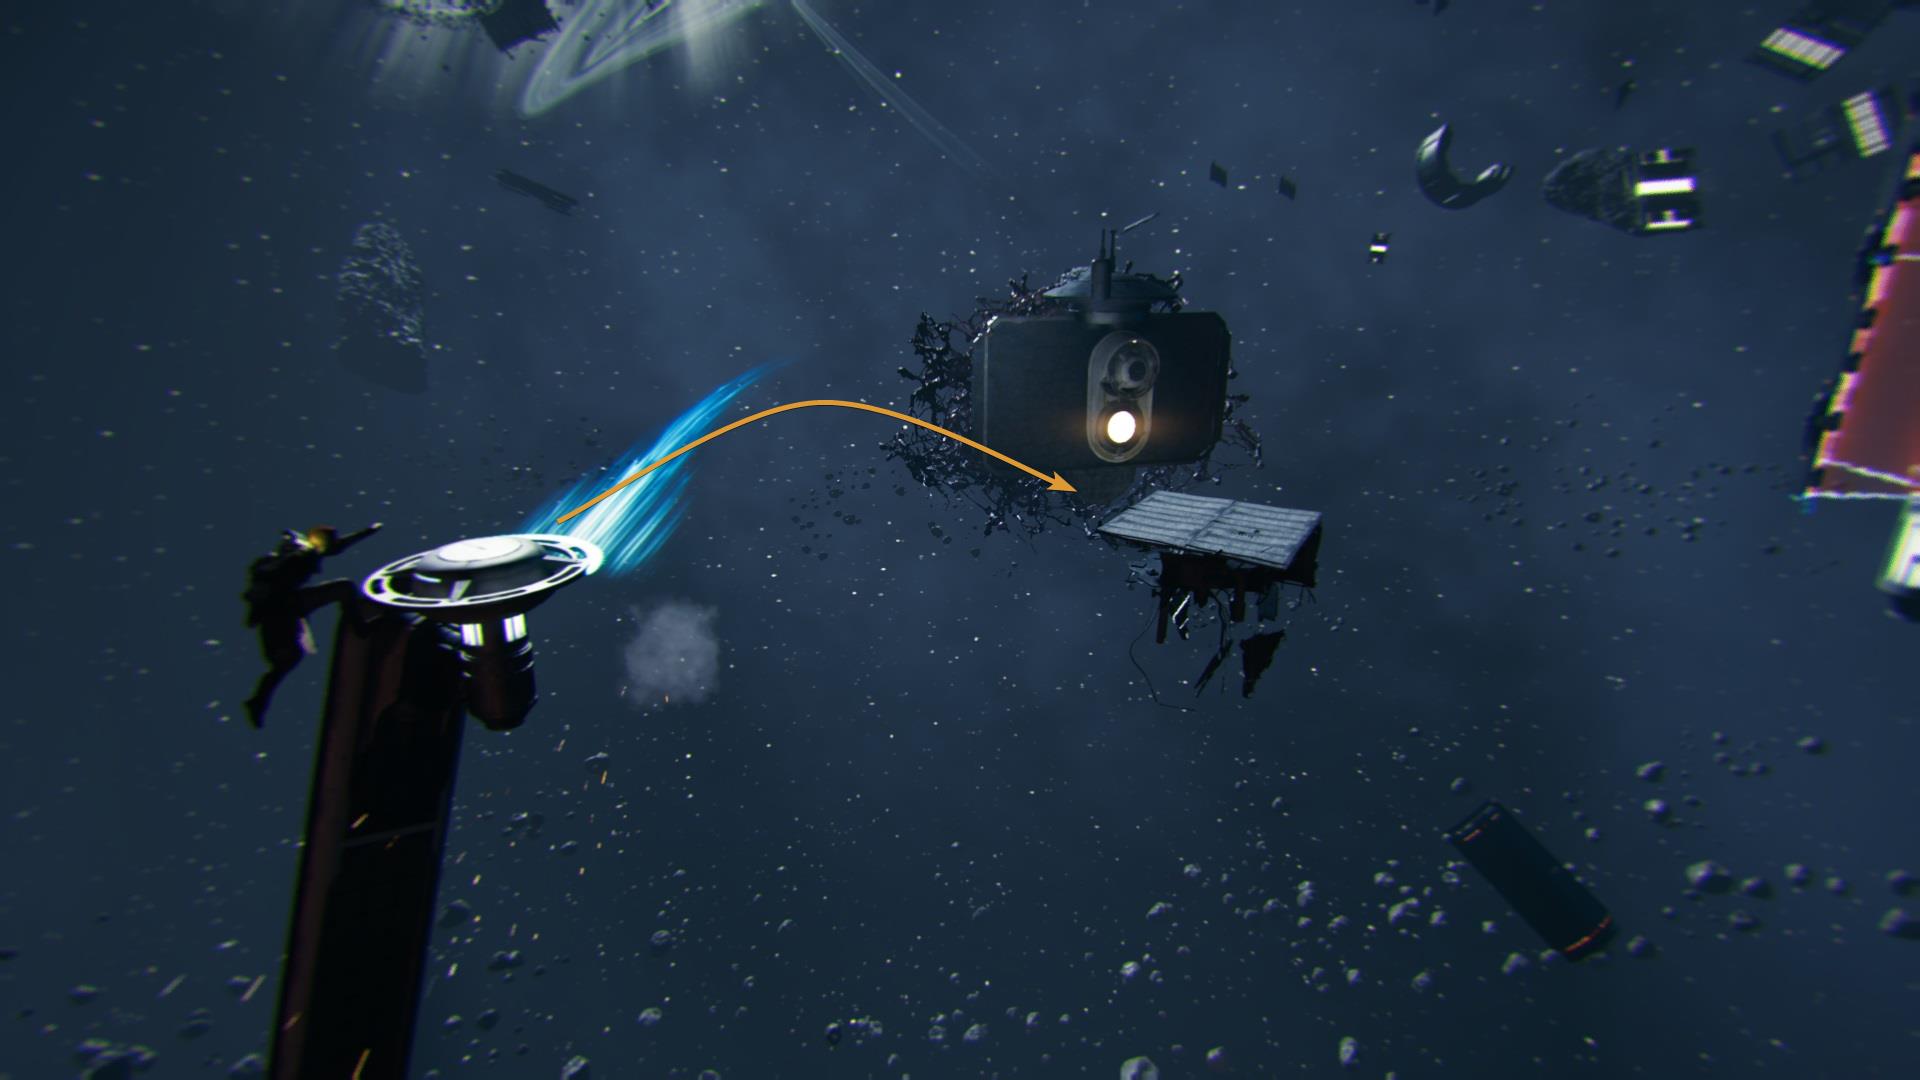
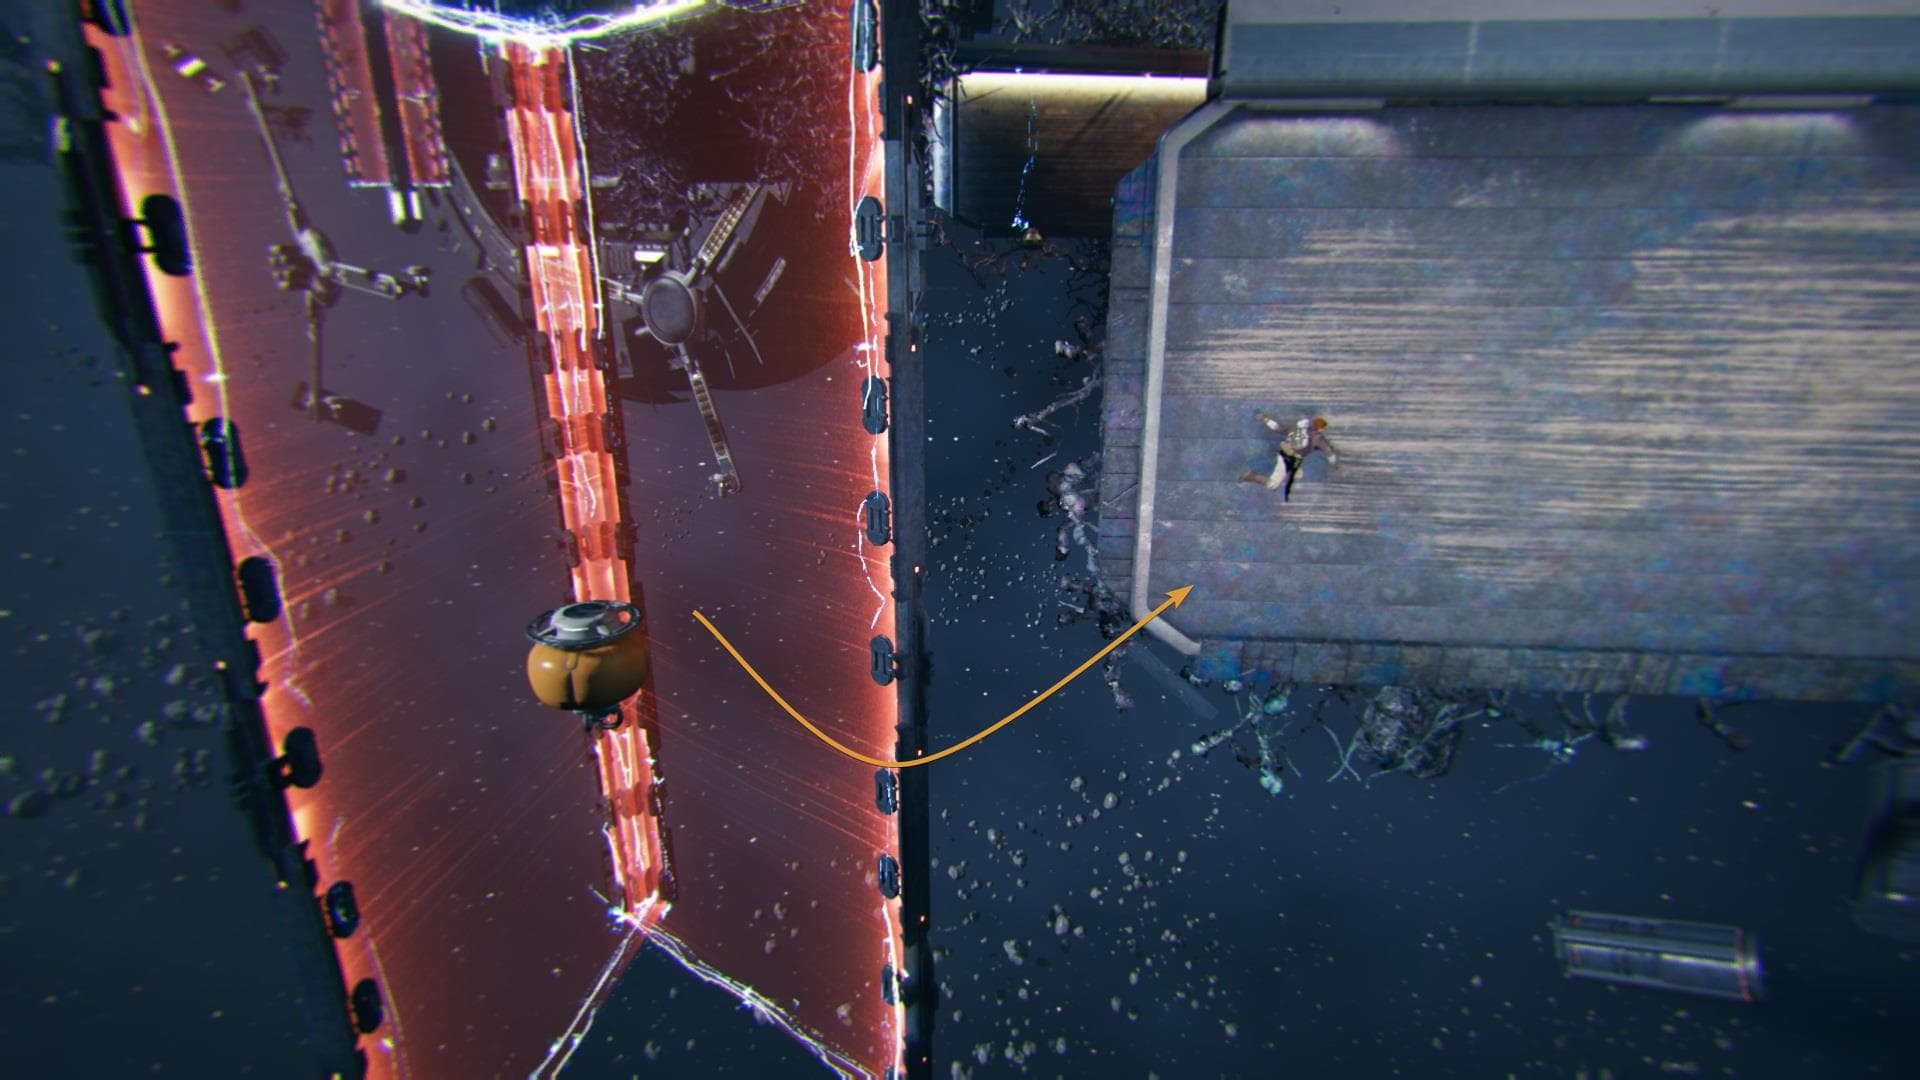
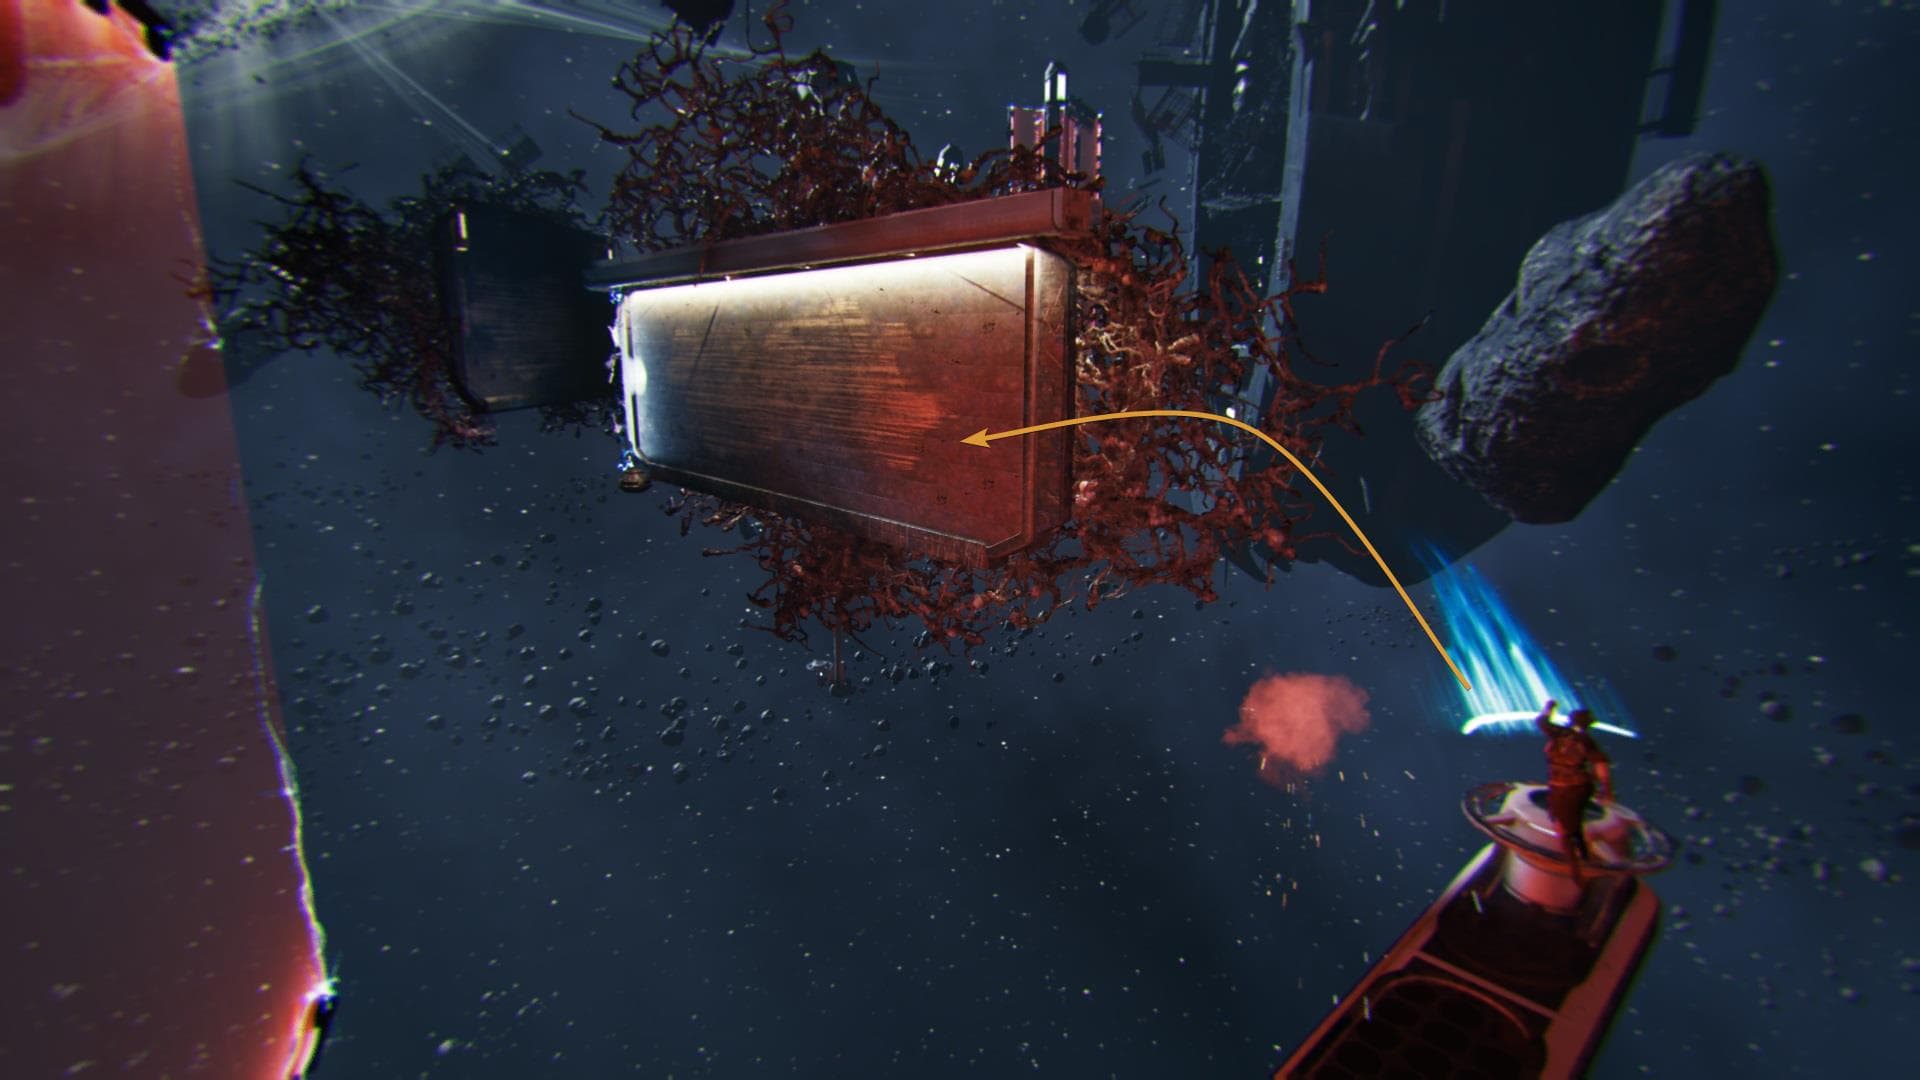
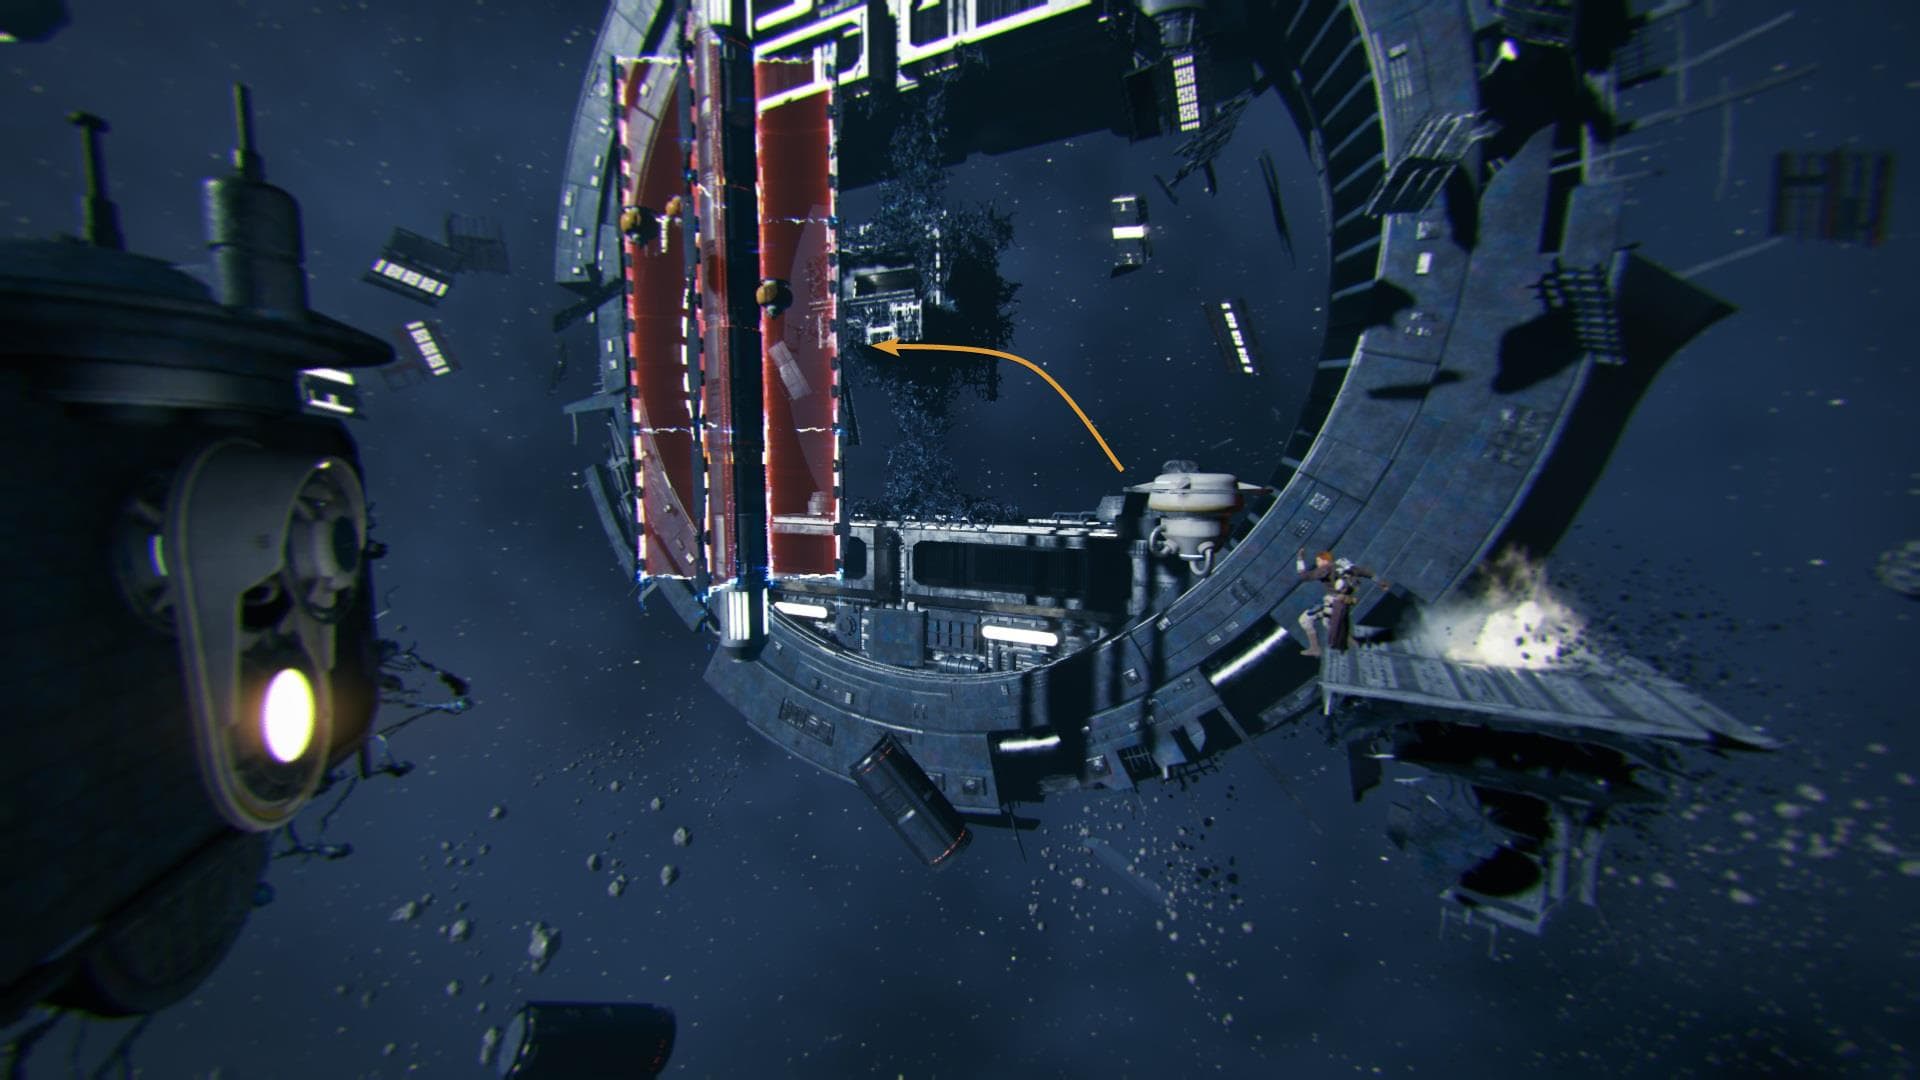
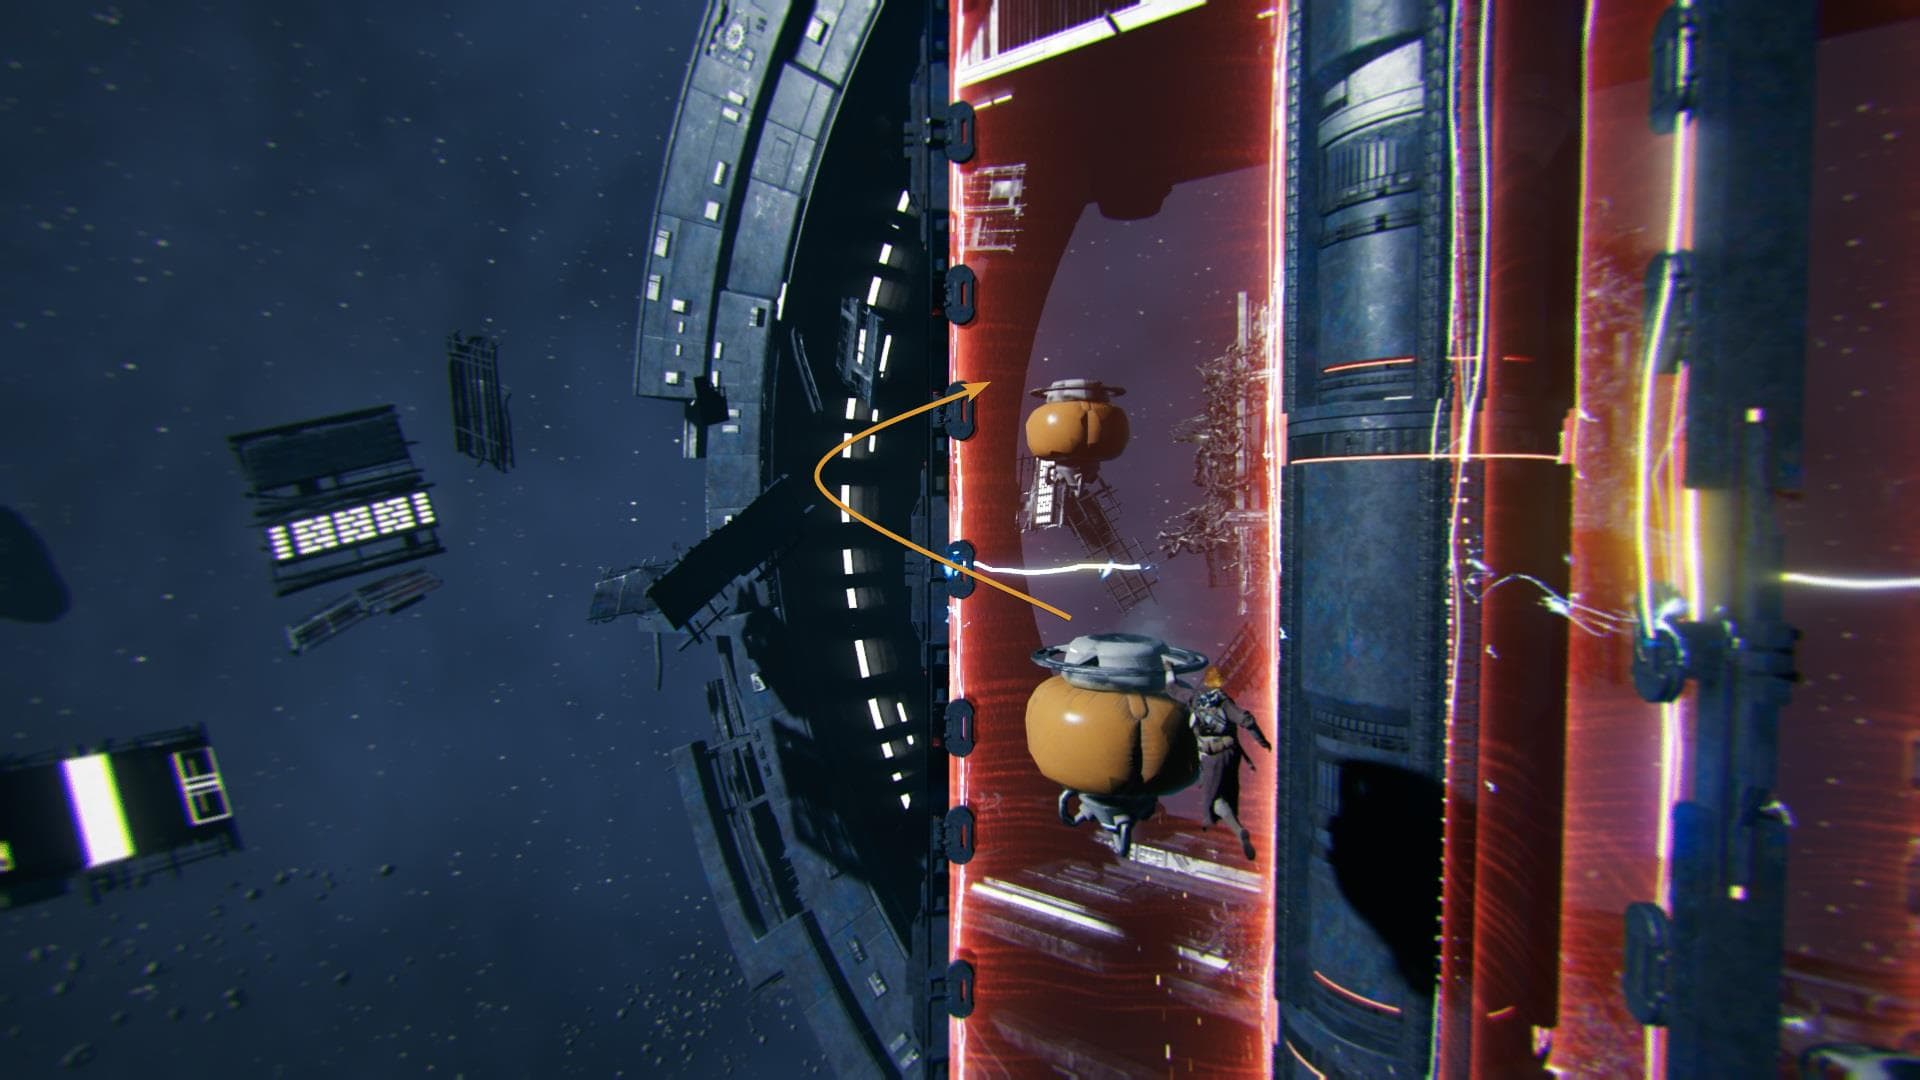
As soon as you land, pull one of the floating balloons from the strange structure and throw it as fast as you can into the direction of the red barriers shown in this next image.
The floating platform where you’re standing will collapse after just a few seconds so it’s extremely important to be fast and precise.
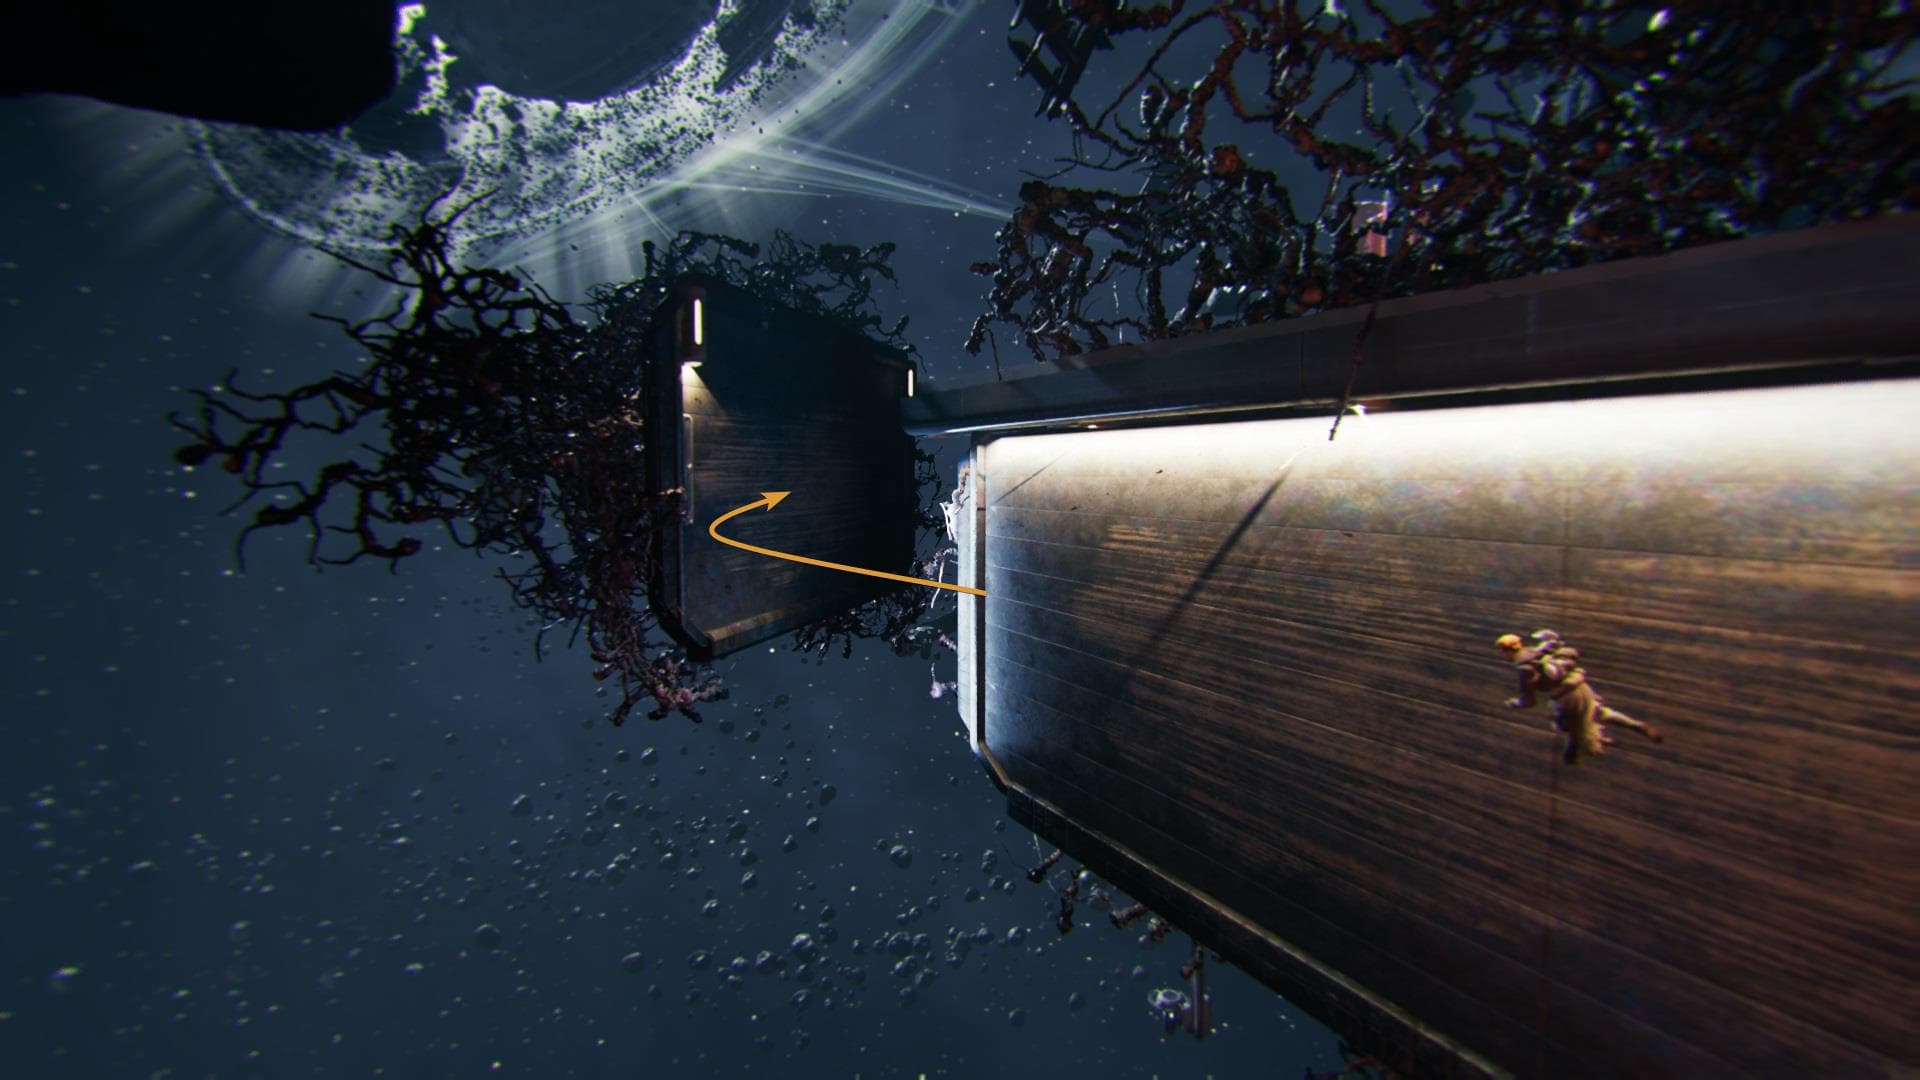
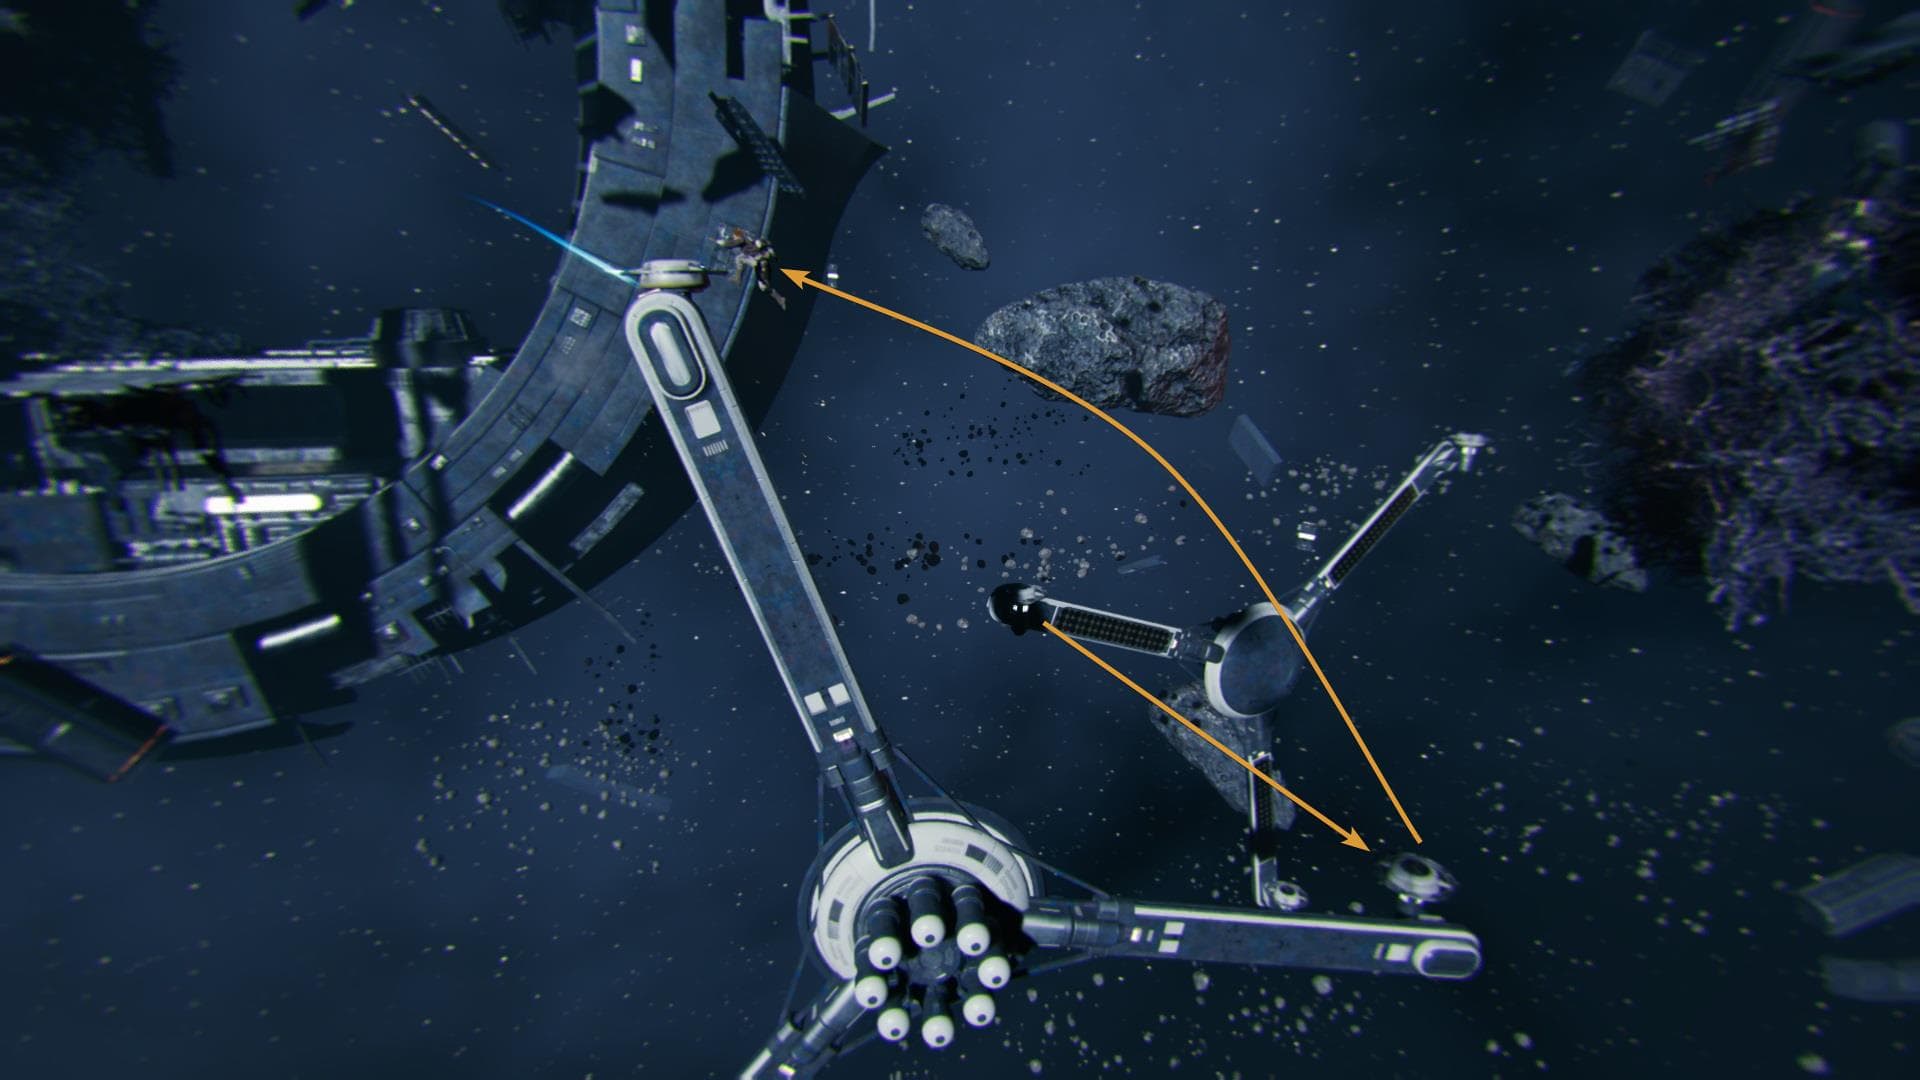
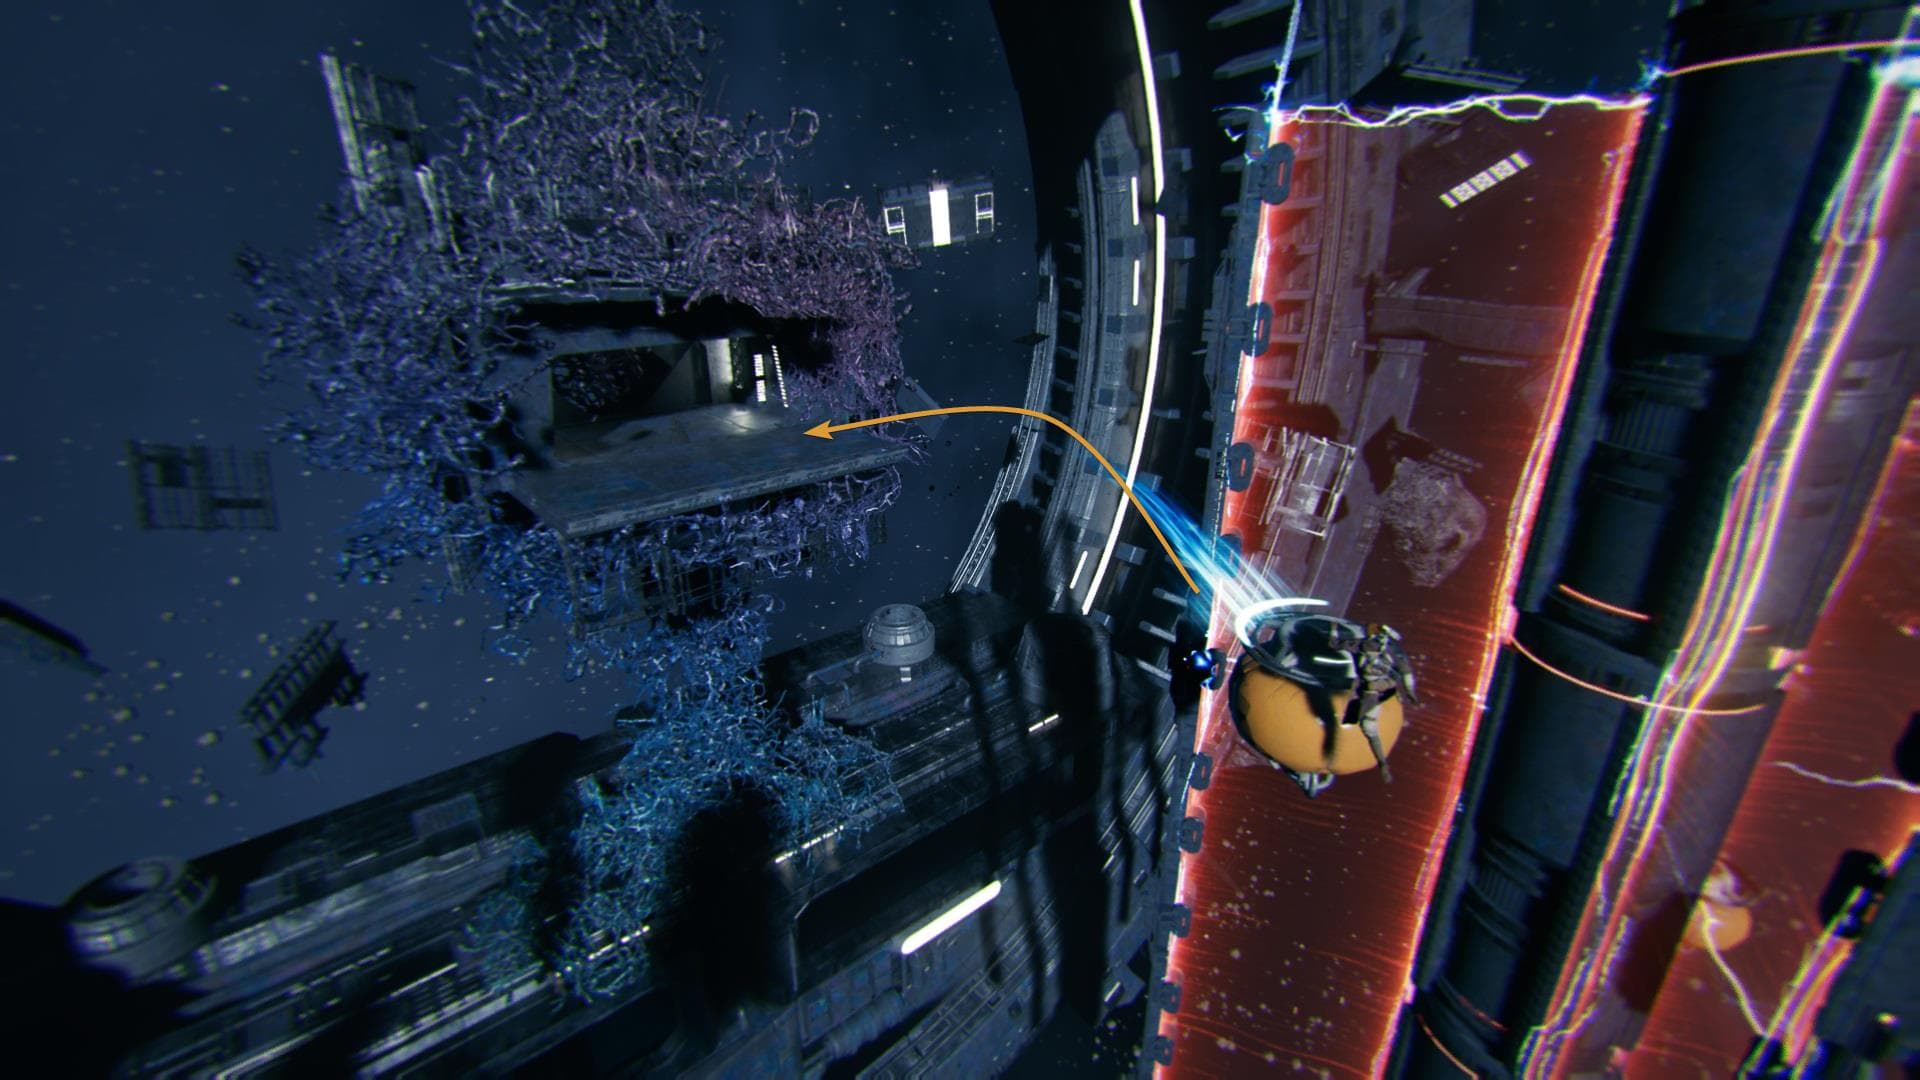
Use your ascension cable to get to the floating balloon that you just launched. Further ahead, there are three more static balloons that you must reach. If the one you launched is far enough, it’s possible to skip the first one and aim for the second.
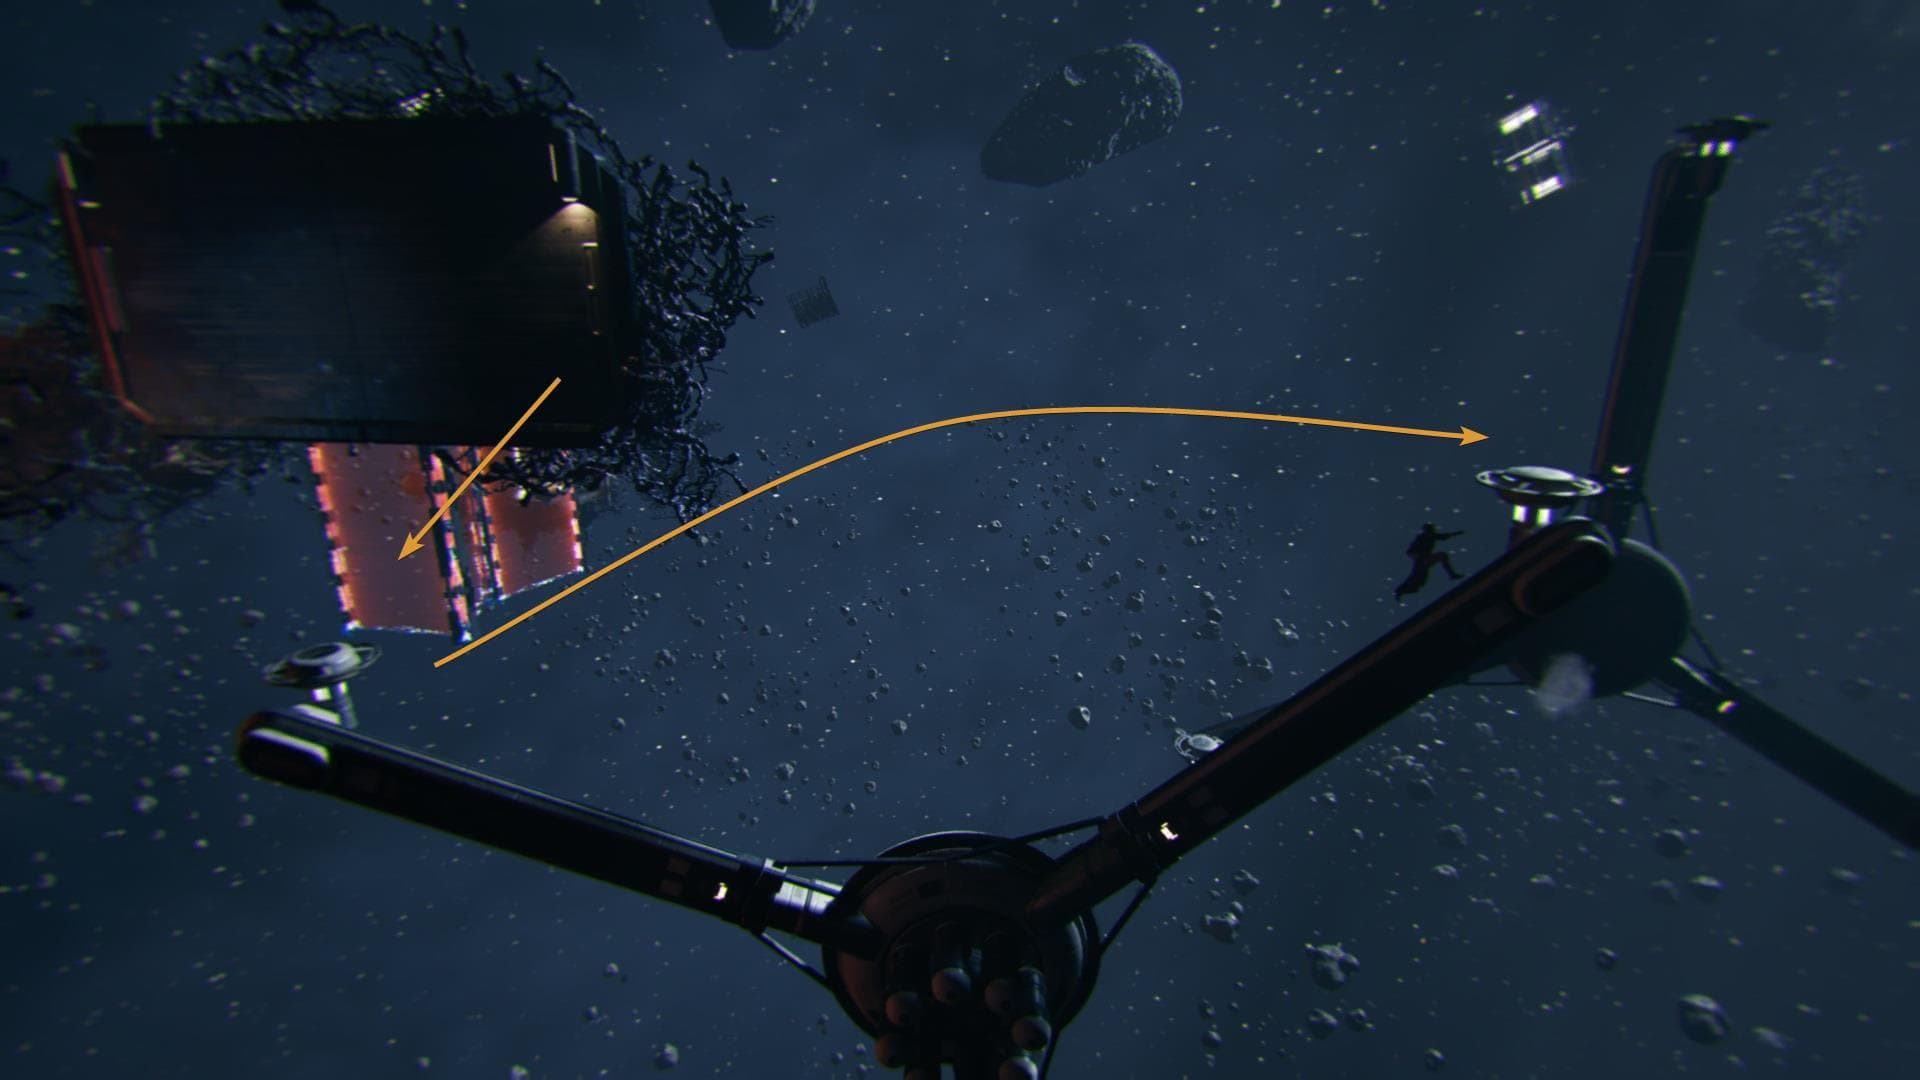
Like with many segments of this challenge, you are forced to jump to a point that will let you use the ascension cable to redirect Cal toward the next and final floating balloon.
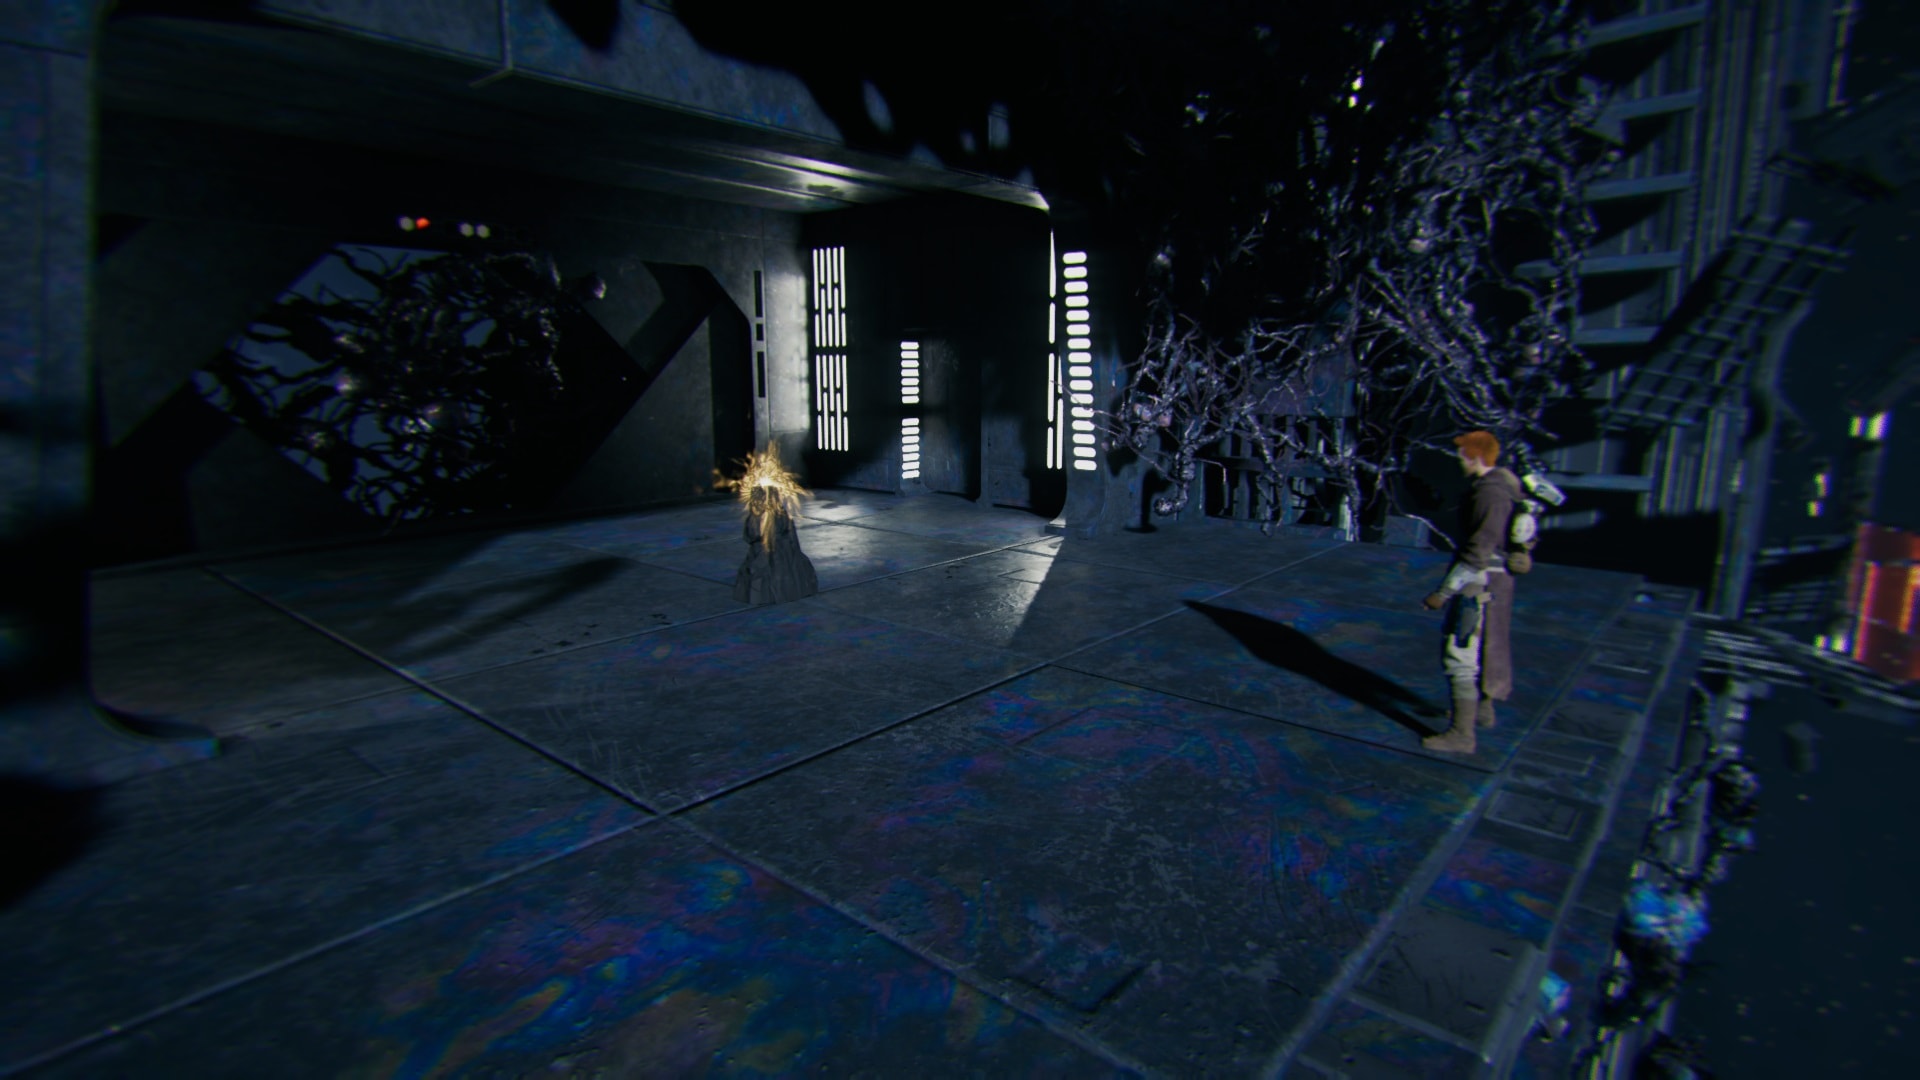
You’re almost there. Don’t worry, there are no tricky parts for this one. But it’s better to not be too overconfident. Use your second jump and mid-air dash to avoid failing in the most embarrassing way (just like I did) and reach the Force Essence safely.
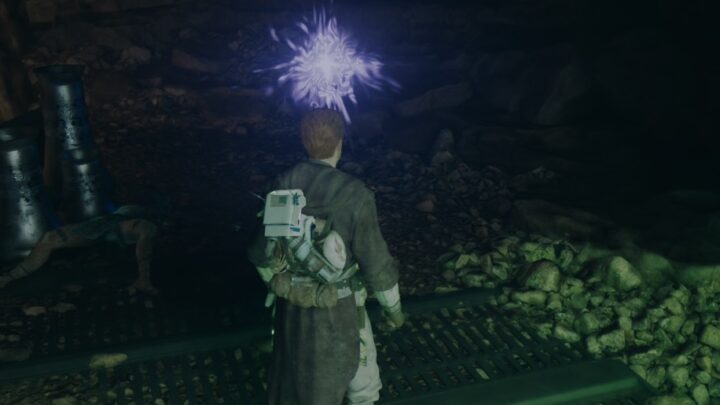
Now you just simply have to interact with it and you’ll be awarded an additional skill point. Keep in mind that Force Tears are one-time-only collectibles. This means completing this challenge again will not award further Skill Points. If you’ve collected it, the entry point will be Gold instead of Purple.
This concludes my guide on how to find and complete the Fractured Agility Force Tear in Jedi Survivor. If you’re looking to acquire additional Skill Points quickly, check out our How to Farm Skill Points Faster in Jedi Survivor guide. This is a brief guide that details a number of early and readily accessible XP farming locations to help you unlock upgrades faster.
We have a guide to all Fractured Force Tear locations. Completing all of them will grant you the “Blood, Sweat, and Tears” achievement.
All Jedi Survivor Fractured Force Tears Locations Guide
This guide will show you where to find and how to access each one of the Fractured Force Tears in Star Wars Jedi Survivor. We also have full guides to solving the puzzles you must complete. All Fractured Force Tears grant an additional skill point when completed.
Jedi Survivor Fractured Resolve Force Tear Guide
This guide will help with completing the Fractured Resolve Force Tear in Jedi Survivor. Force Tears are additional challenges you can complete while exploring!
Jedi Survivor Fractured Momentum Force Tear Guide
This guide will help with completing the Fractured Momentum Force Tear in Jedi Survivor. Force Tears are additional challenges you can complete while exploring!
Jedi Survivor Fractured Determination Force Tear Guide
This guide will help with completing the Fractured Determination Force Tear in Jedi Survivor. Force Tears are additional challenges you can complete while exploring!


