
This guide will show you how to play the Holotactics mini-game in Jedi Survivor. In Holotactics, you must have the superior strategy to defeat your opponents and become a Holotactics Champion! And here you will find our own tested and confirmed winning strategies for each and every opponent!
Table of contents
What is Holotactics in Jedi Survivor
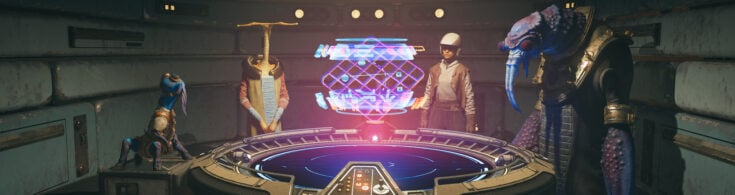
Holotactics is a minigame you can unlock in the Pyloon Saloon. You and your opponent will have numerous units comprised of enemies you fight throughout Jedi Survivor.
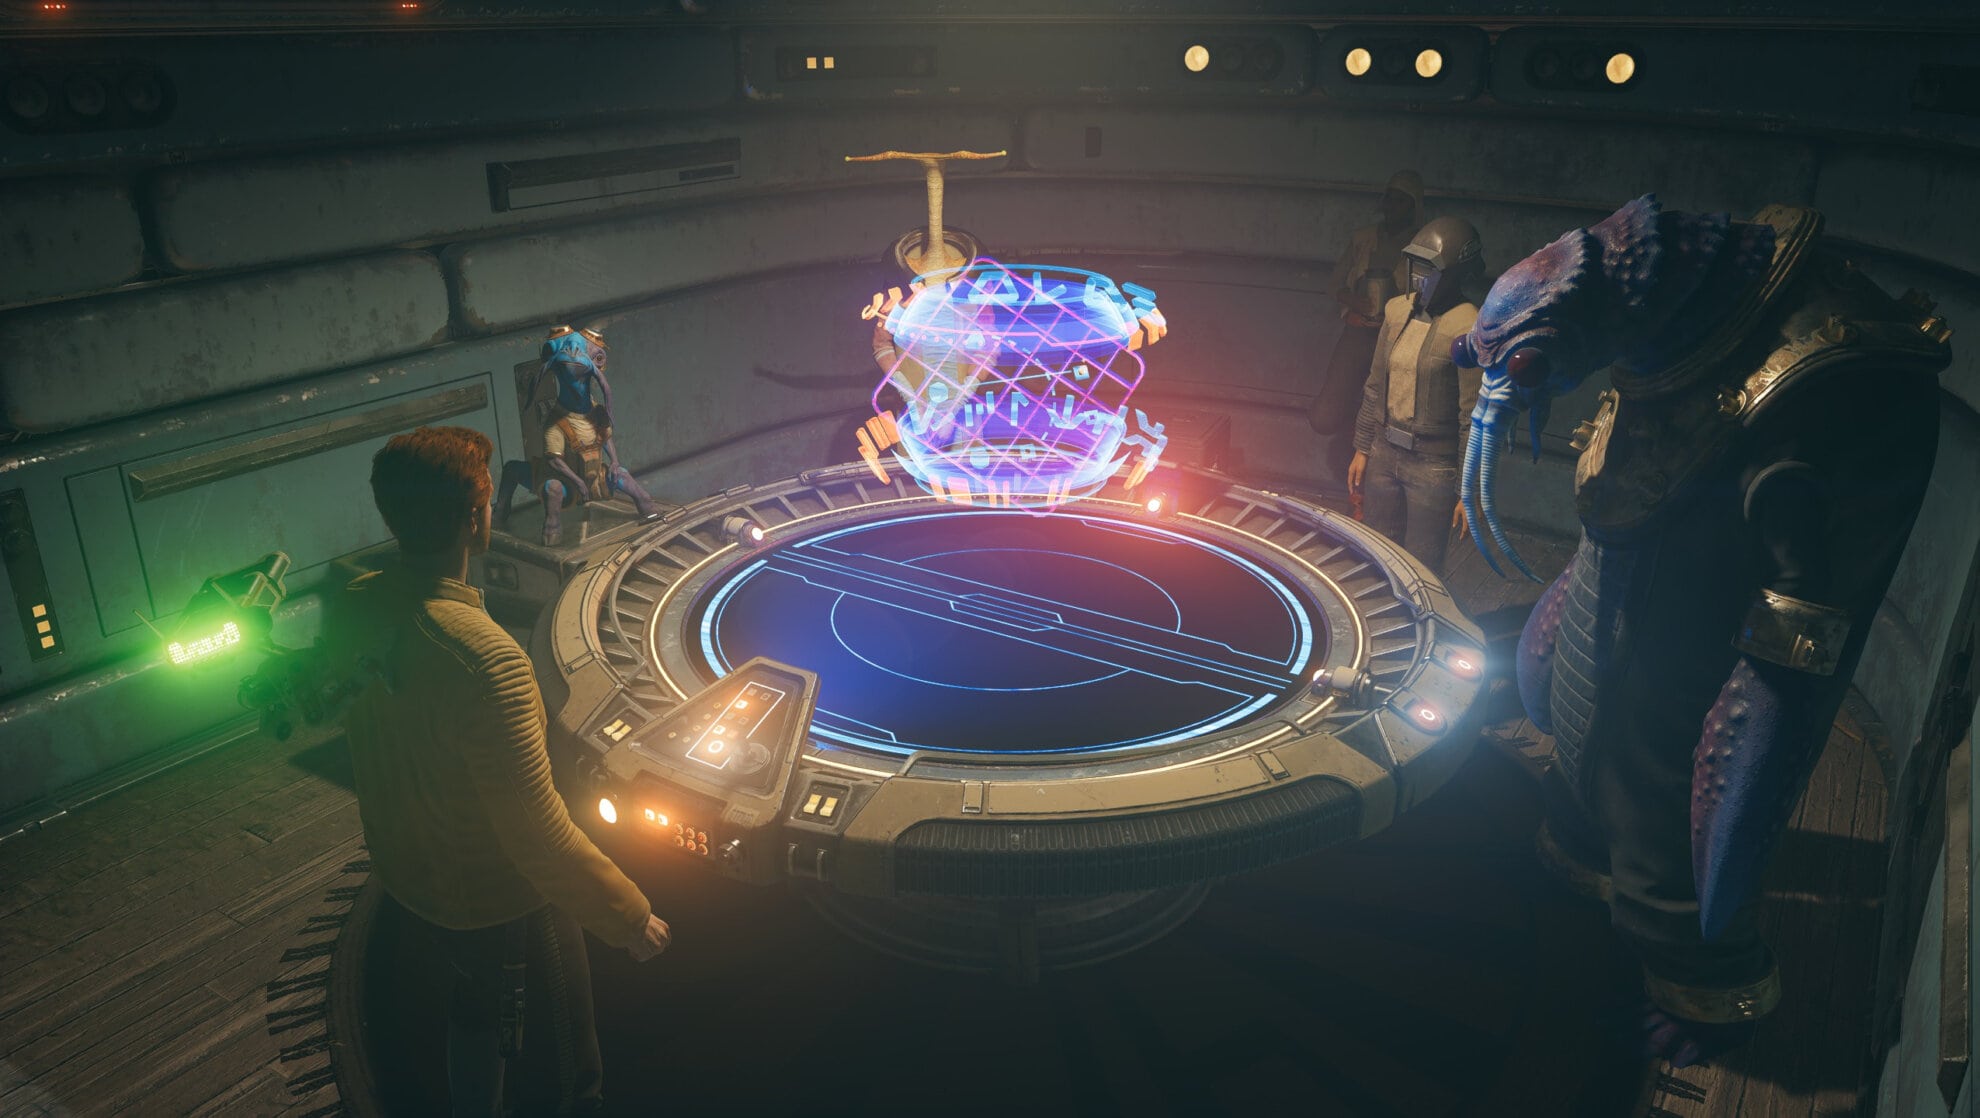
There you must pit your fighters against one another and see who comes out on top! There’s some element to random chance as you’re pitting the AI against itself, but a good strategy will help you prevail!
How to unlock Holotactics
To unlock Holotactics in the Pyloon Saloon, you’ll need to recruit Tulli Mu and Bhima Ook. The task is rather simple unless you’re not great at fighting Mogus, but if you do save them from the Mogu you’ll be rewarded with a fun minigame with worthwhile prizes!

How to play Holotactics
Holotactics is a very simple yet challenging minigame. You’ll be fighting recordings of your opponents with preselected units. This means if you challenge an opponent to a rematch, they’ll use the exact same units all the time.
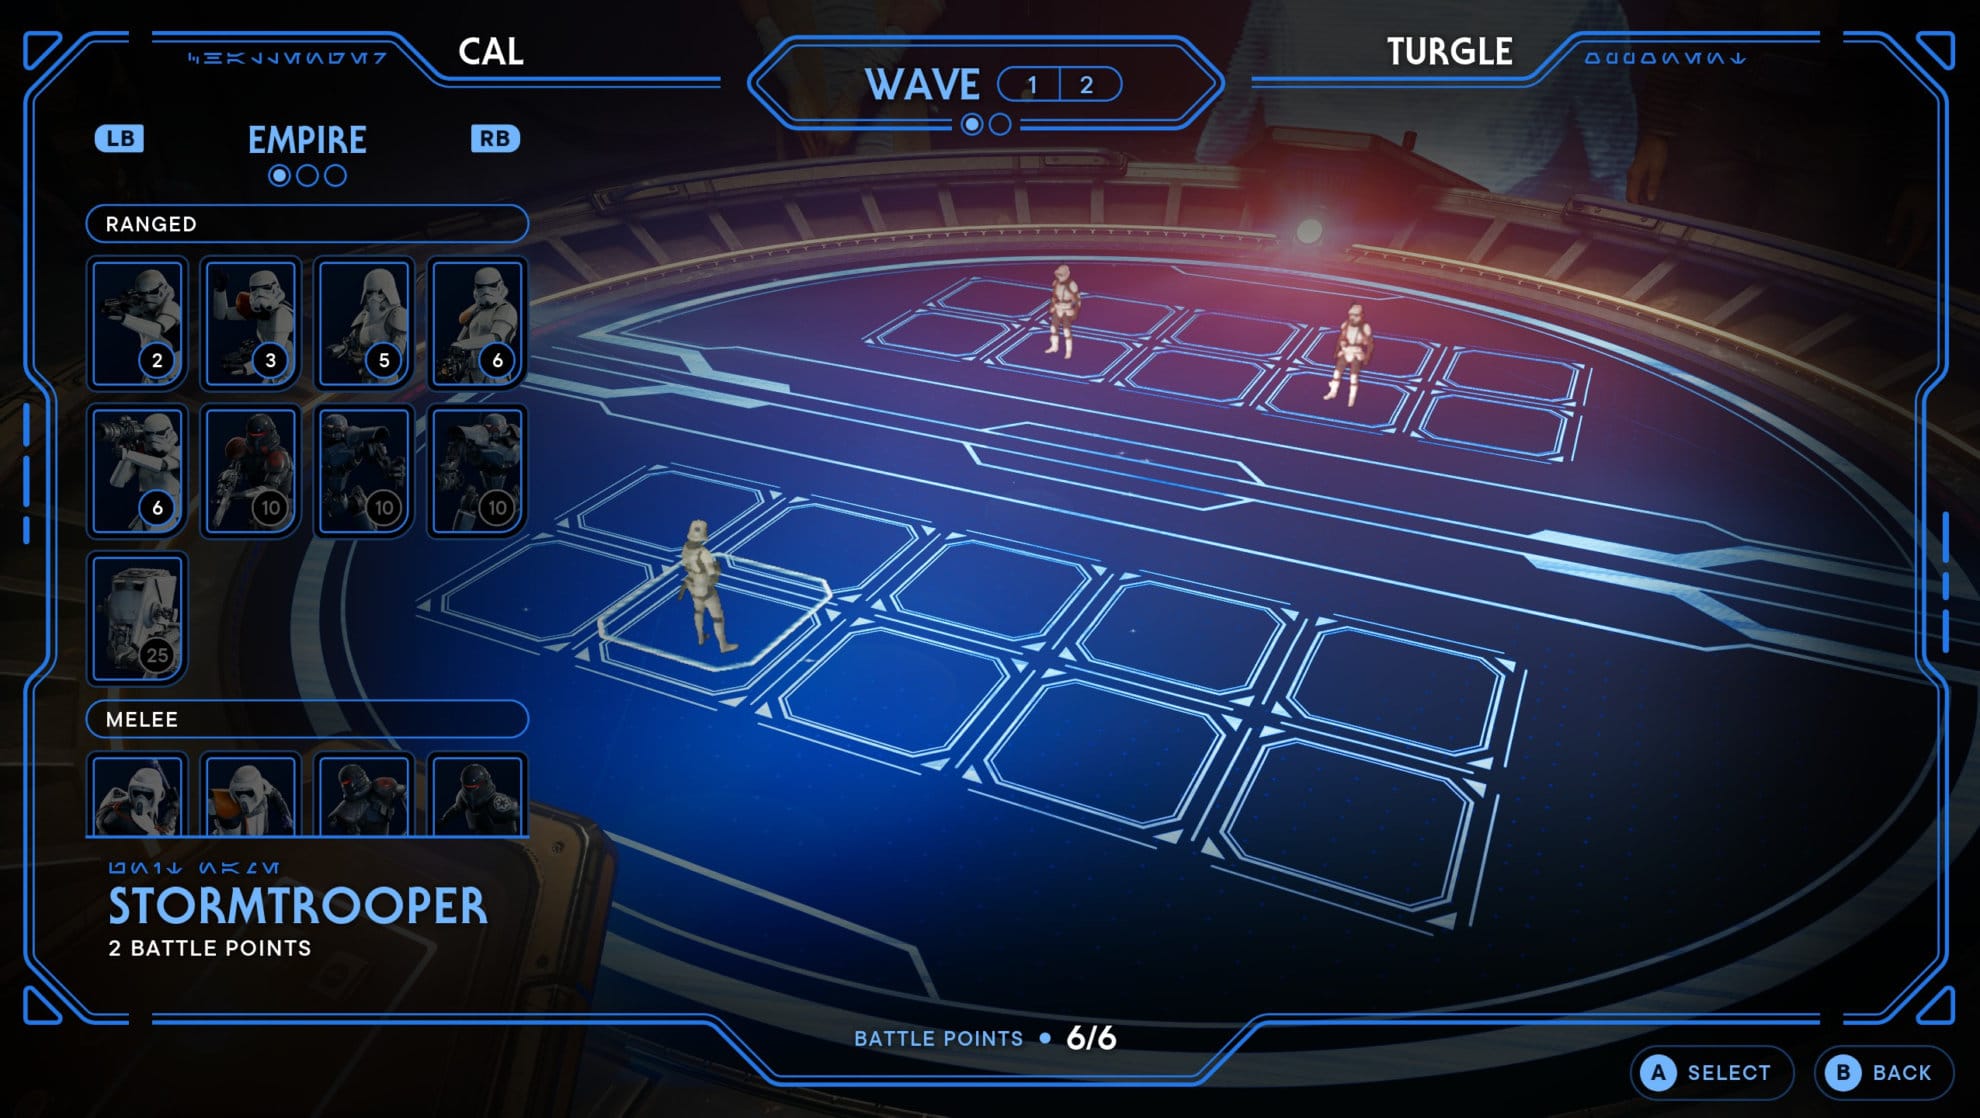
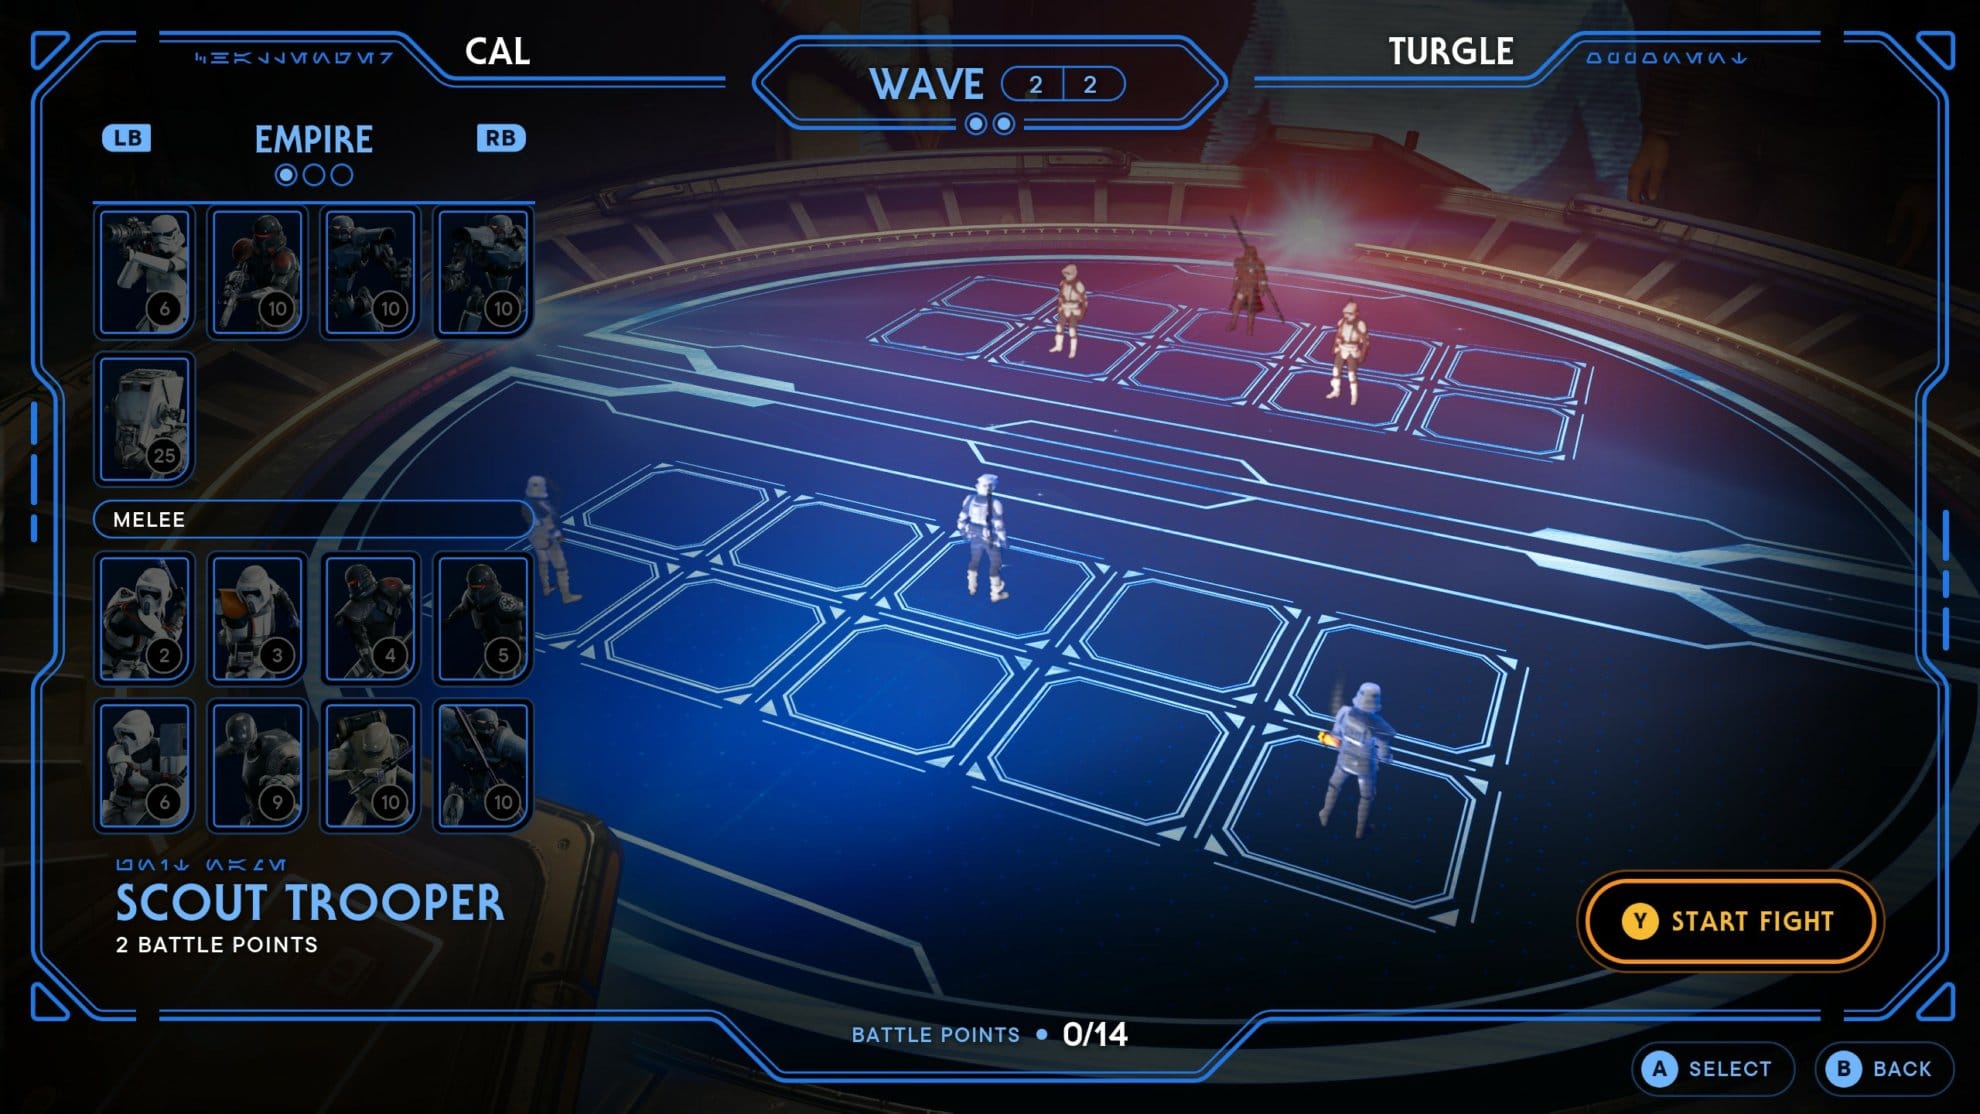
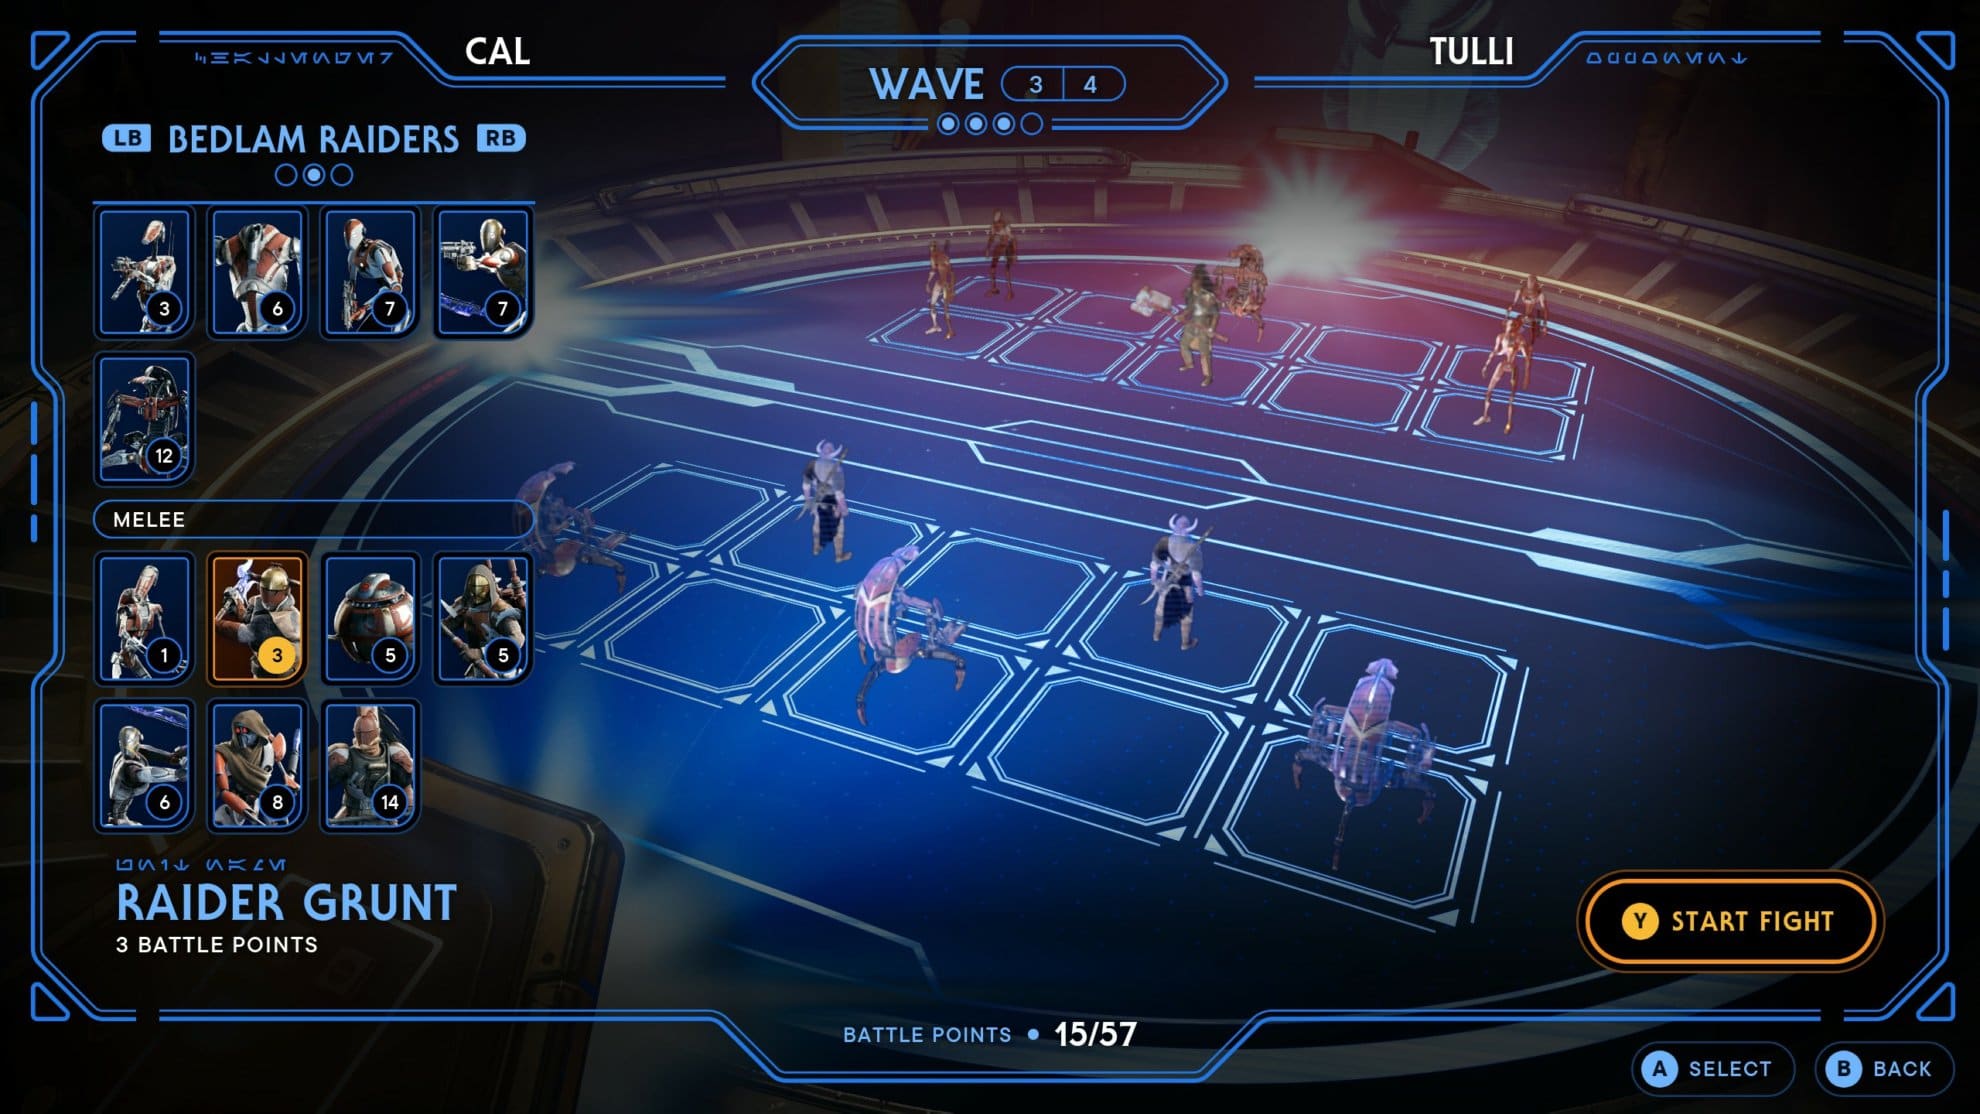
You’ll have ten spaces you can place units in, up to five in the front and up to five in the back. Typically you’ll want to place ranged units in the back to prevent them from being targeted first by melee opponents.
At the start of each match, you’ll start with a limited number of Battle Points. Battle Points are spent during your preparation stage to purchase units that you’ll place on the board.
If you had any Battle Points to spare and won the round, those points will carry over into the next round. This can allow you to purchase more units or more powerful ones.
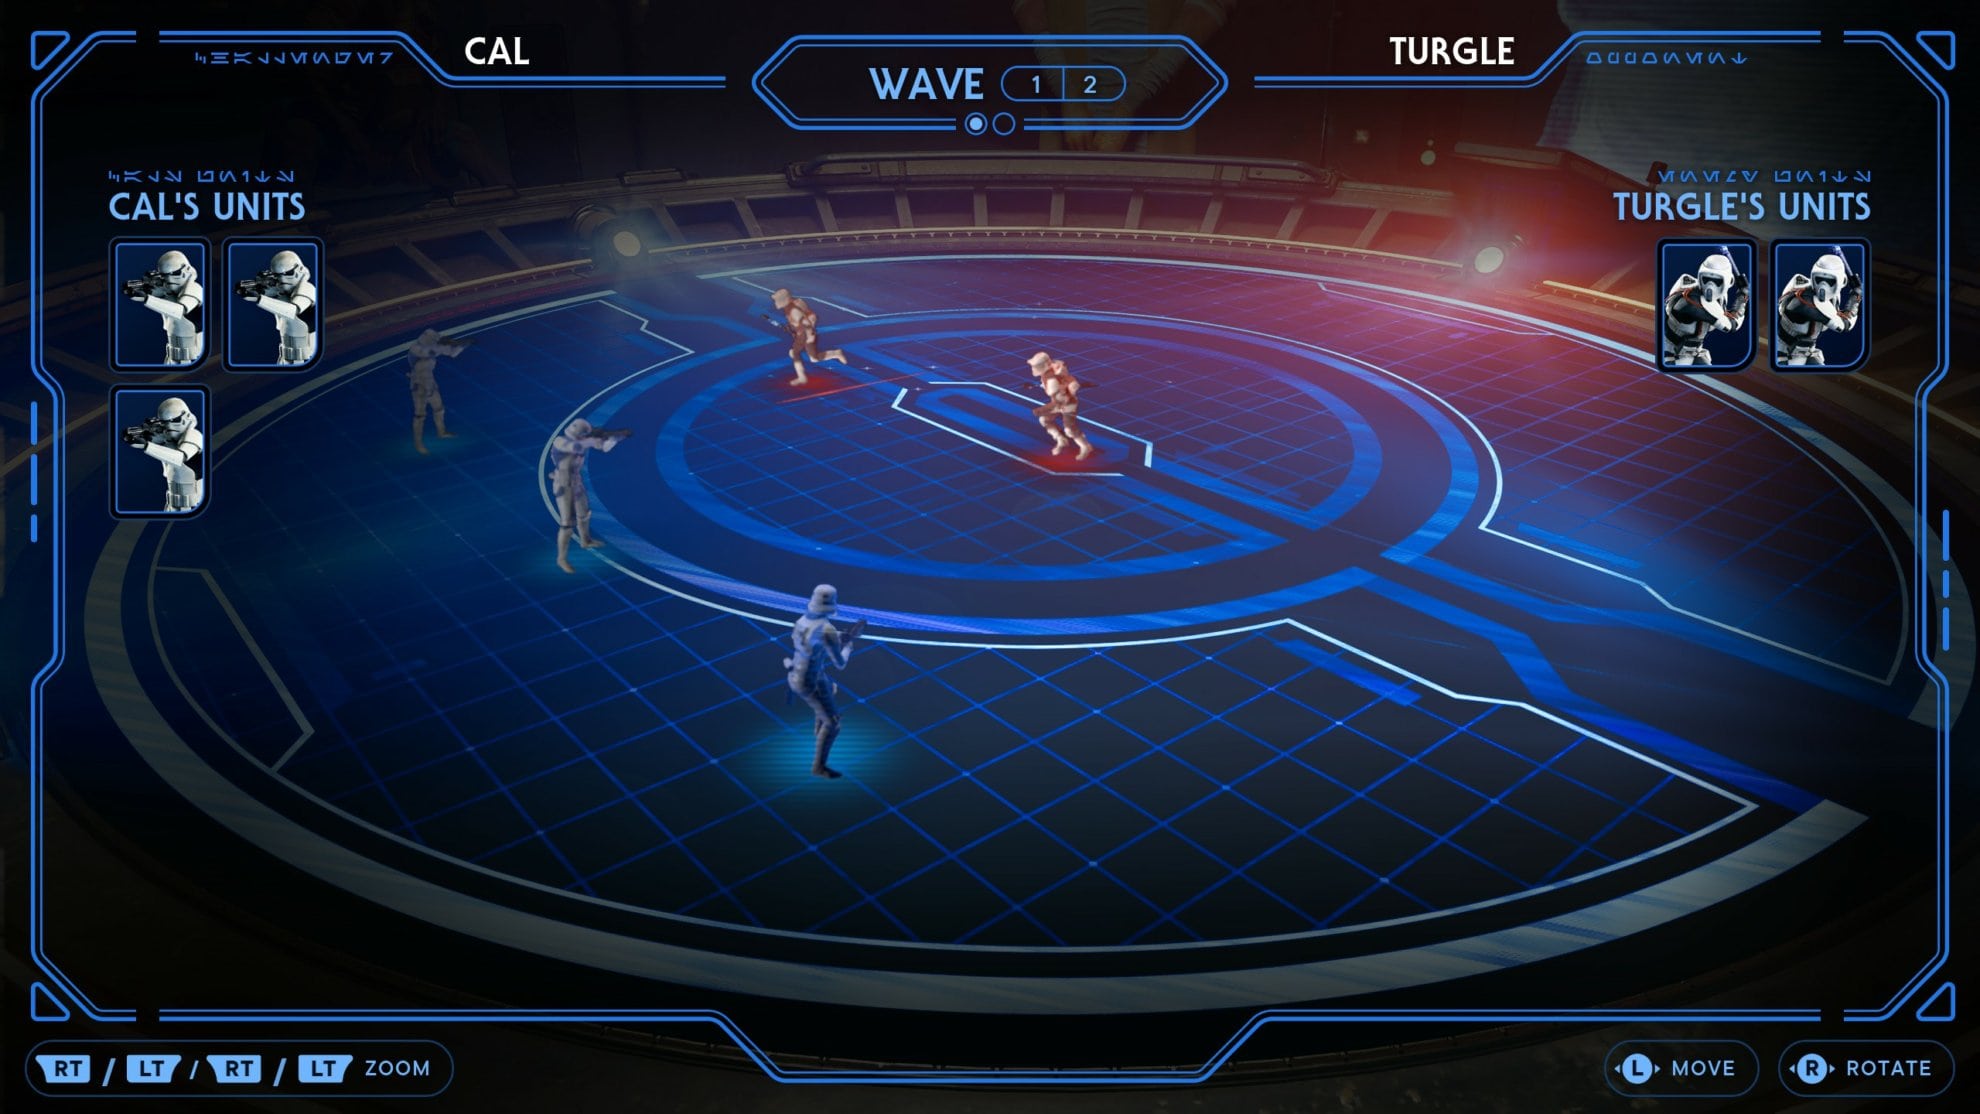
When you’re ready to start the match, press the “Start Fight” button and enjoy the show. Since this is the AI fighting itself, you’ll have no influence over the units once the battle begins. You’ll be able to move the camera around to get a better view of the battle!
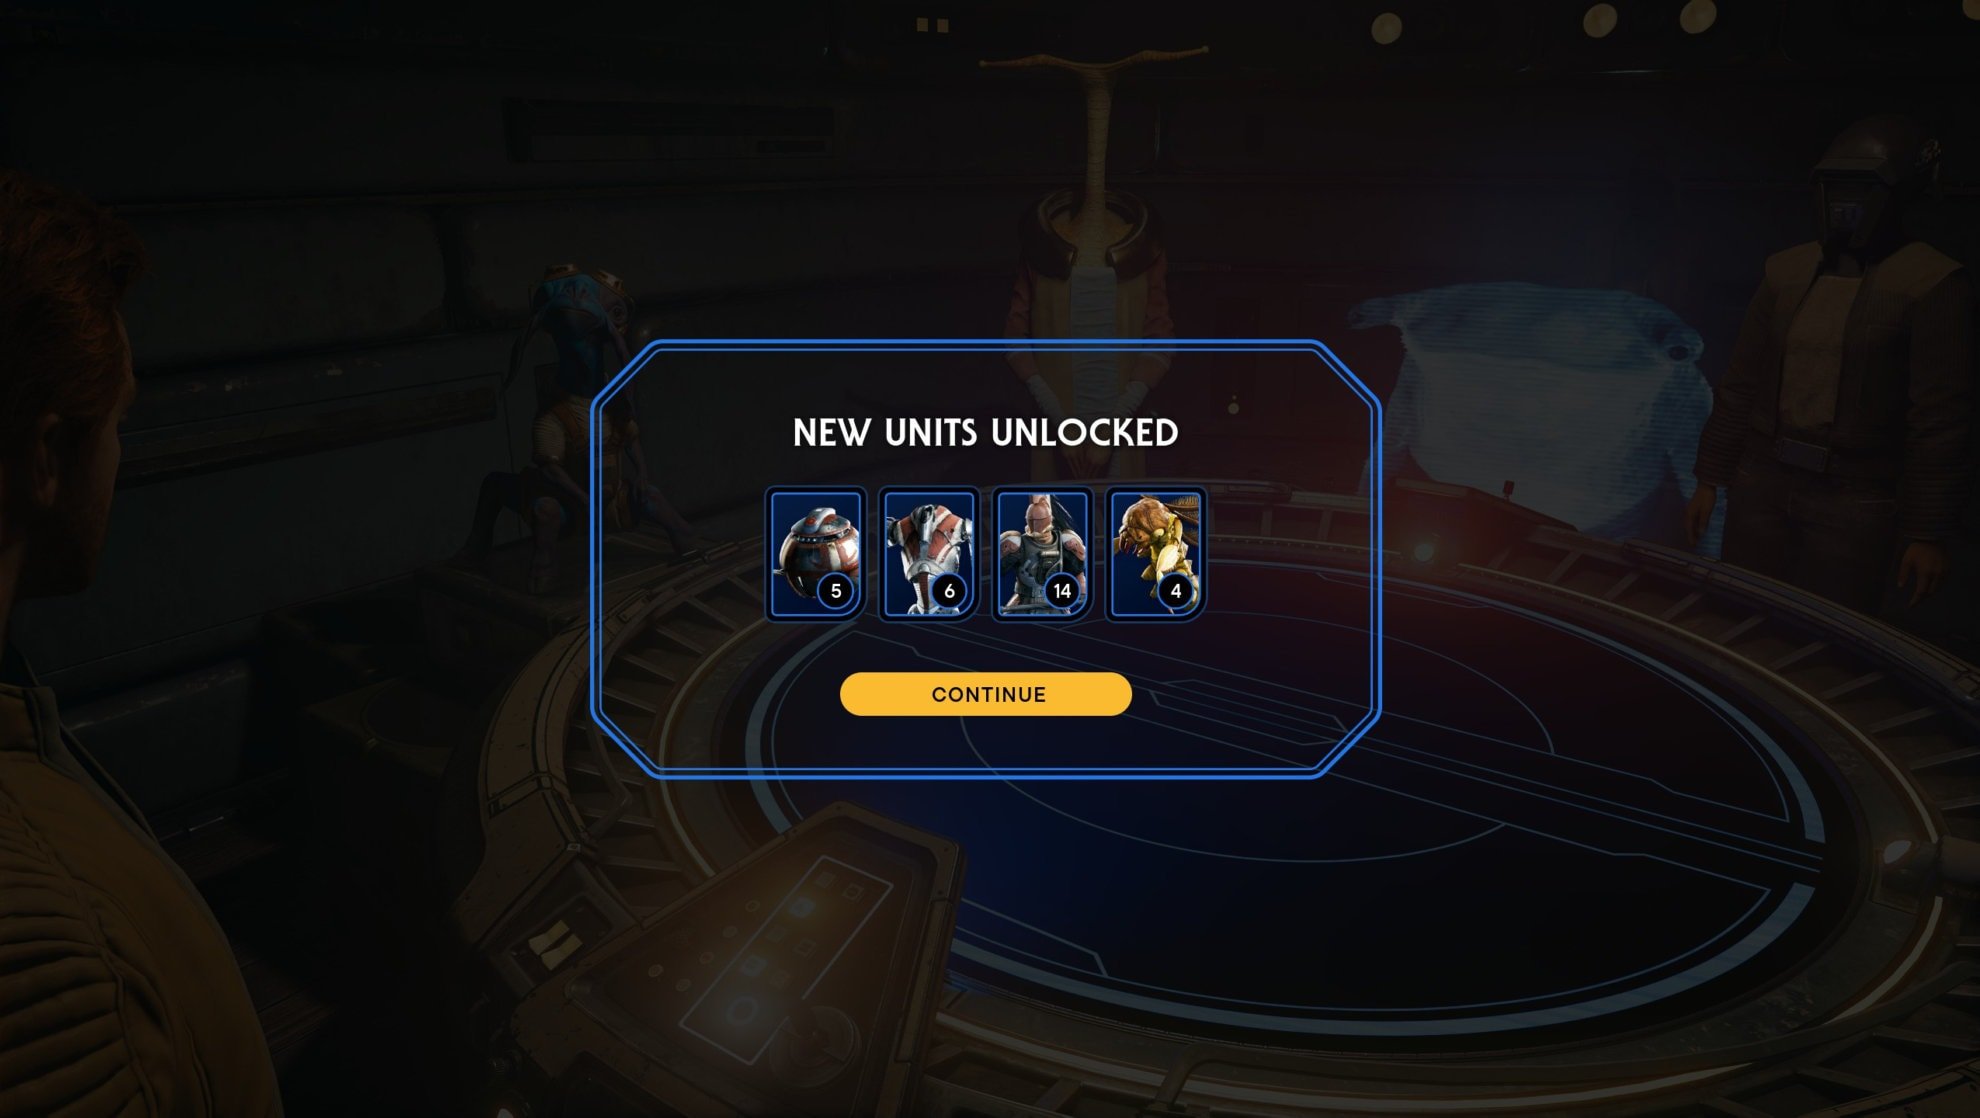
When you first start out Holotactics, you’ll likely have a limited pool of units to choose from. To expand your list, you’ll need to get out into the galaxy and defeat them yourself and have BD-1 scan them.
You’ll have your choice of Imperials, Bedlam Raiders, and Fauna. Any new units added to the game will be featured the next time you interact with the game table.
Units Lists and Costs
Below are the full lists of units from each category. Completing the Tactical Guide will not only allow you to have plenty of options to choose from for Holotactics matches but also earn you the Intergalactic Geographic Achievement.
Empire Units
| Icon | Unit Name | Range | Cost |
|---|---|---|---|
 | Trooper | Ranged | 2 |
 | Stormtrooper Commander | Ranged | 3 |
 | Flametrooper | Ranged | 5 |
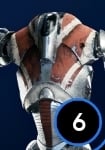
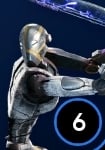
 | Heavy Assault Trooper | Ranged | 6 |
 | Rocket Launcher Trooper | Ranged | 6 |
 | Purge Trooper Commander | Ranged | 10 |
 | DT Sentry Droid – Staff and Blaster | Ranged | 10 |
 | DT Sentry Droid – Hammer and Missiles | Ranged | 10 |
 | AT-ST | Ranged | 25 |
 | Scout Trooper | Melee | 2 |
 | Scout Trooper Commander | Melee | 3 |
 | Electrostaff Purge Trooper | Melee | 4 |
 | Electrobaton Purge Trooper | Melee | 5 |
 | Shield Trooper | Melee | 6 |
 | Security Droid | Melee | 9 |
 | Security Droid – Baton | Melee | 10 |
 | DT Sentry Droid – Hammer and Staff | Melee | 10 |
Bedlam Raiders
| Icon | Unit Name | Range | Cost |
|---|---|---|---|
 | B1 Droid | Ranged | 3 |
 | B2 Droid | Ranged | 6 |
 | BX Droid (Rifle) | Ranged | 7 |
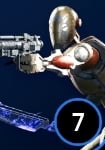 | BX Droid (Hybrid) | Ranged | 7 |
 | Droideka | Ranged | 12 |
 | B1 Droid – Melee | Melee | 1 |
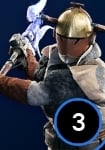 | Raider Grunt | Melee | 3 |
 | Roller Mine | Melee | 5 |
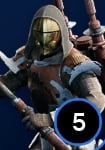 | Raider Veteran | Melee | 5 |
 | BX Droid | Melee | 6 |
 | Magnaguard | Melee | 8 |
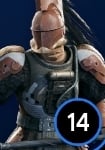 | Bedlam Smasher | Melee | 14 |
Fauna
| Icon | Unit Name | Range | Cost |
|---|---|---|---|
 | Gorger | Melee | 2 |
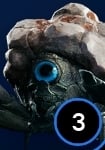 | Hardshell | Melee | 3 |
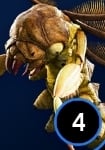 | Shiverpede | Melee | 4 |
 | Rawka | Melee | 5 |
 | Bramlik | Melee | 5 |
 | Sutaban Alpha | Melee | 10 |
 | Bilemaw | Melee | 12 |
 | Gorocco | Melee | 14 |
 | Mogu | Melee | 16 |
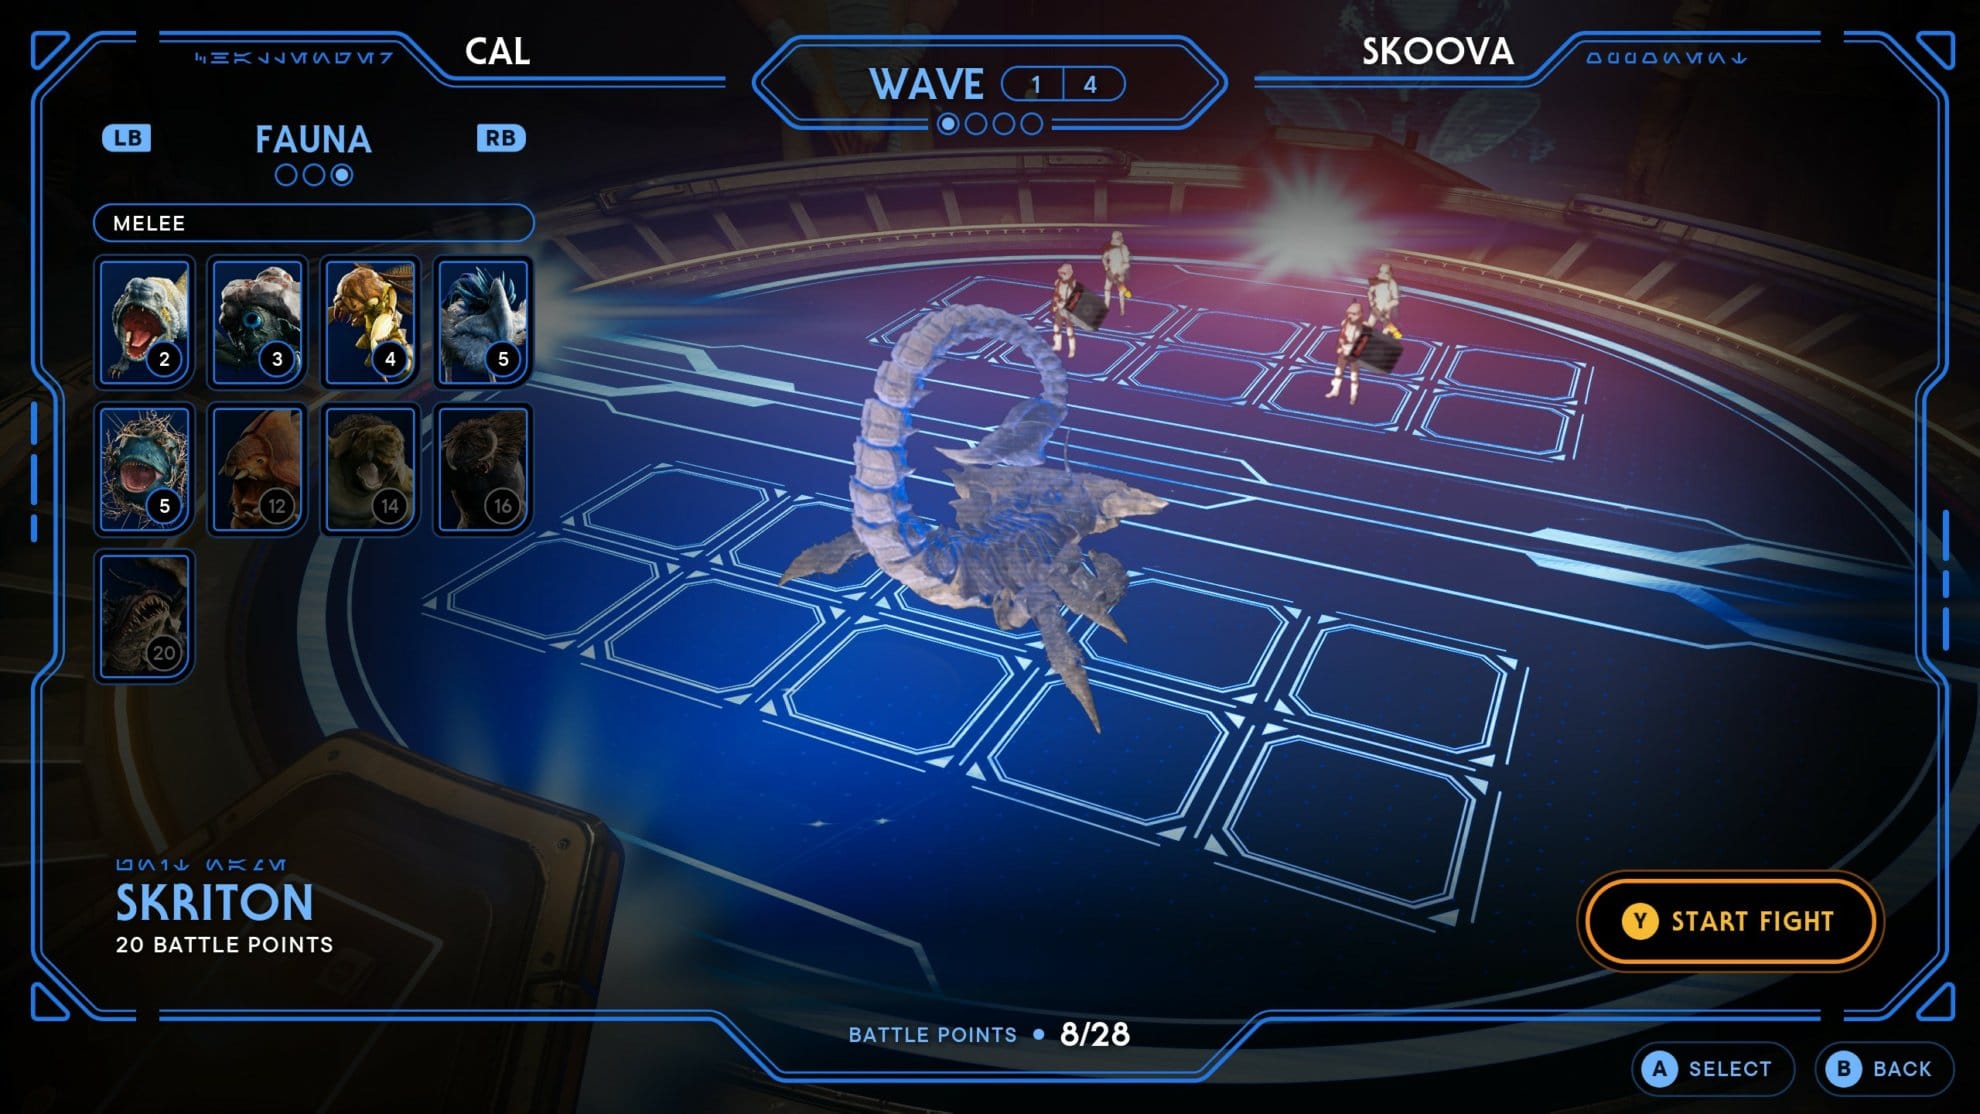
 | Skriton | Melee | 20 |
How to win against each opponent
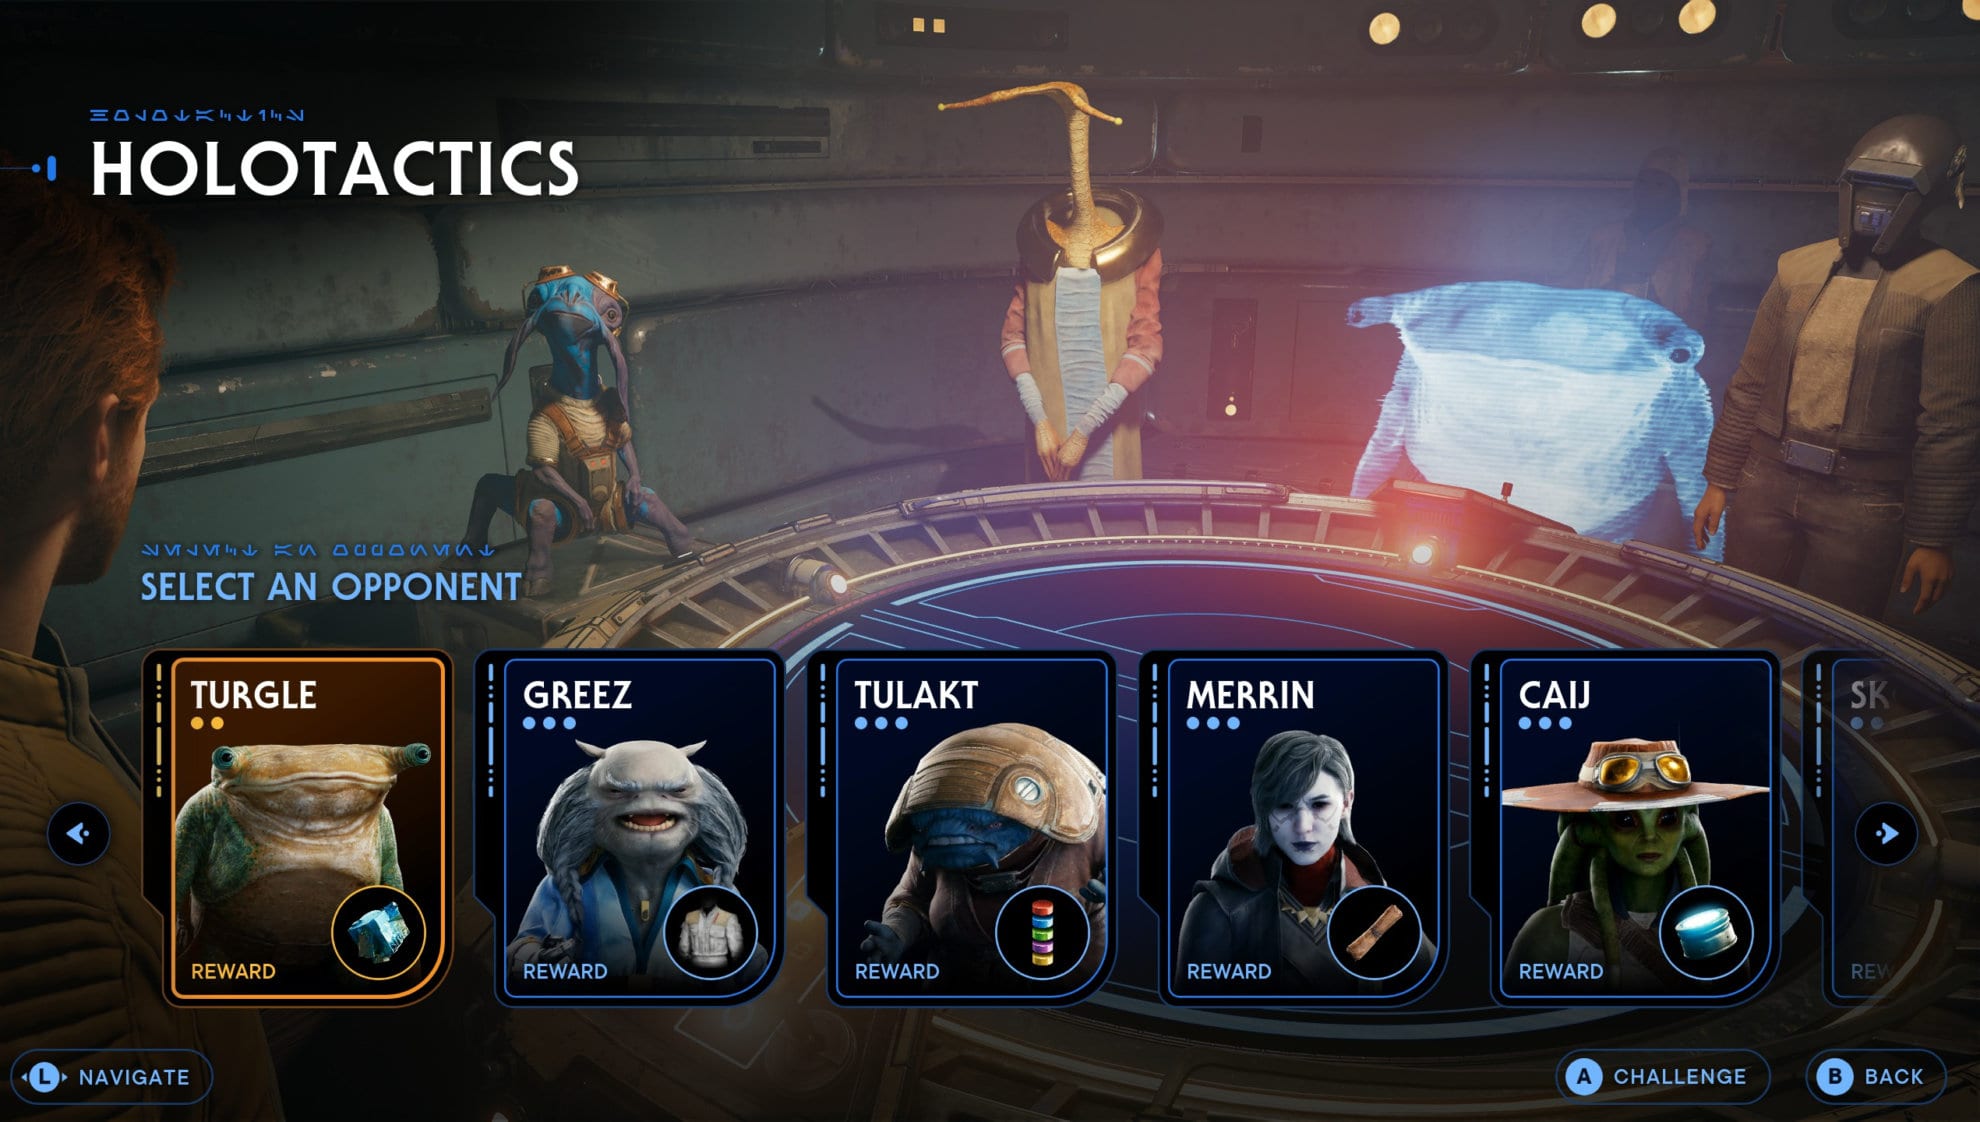
In this portion of the guide, you’ll learn about the various opponents you’ll be facing against in Holotactics along with some strategies you can use to win against them. When you pick an opponent, it will go from the easiest to the hardest from left to right. If you defeat an opponent, you’ll receive the prize in their portrait’s lower right.
You won’t have access to all opponents from the start as many of them you’ll need to recruit. You’ll learn how to recruit them in their respective sections.
Do note that these strategies only have a good chance at working out but due to the nature of AI, sometimes the units will make dumb decisions. Each one has been attempted several times to prove their effectiveness before being placed in this guide.
Turgle
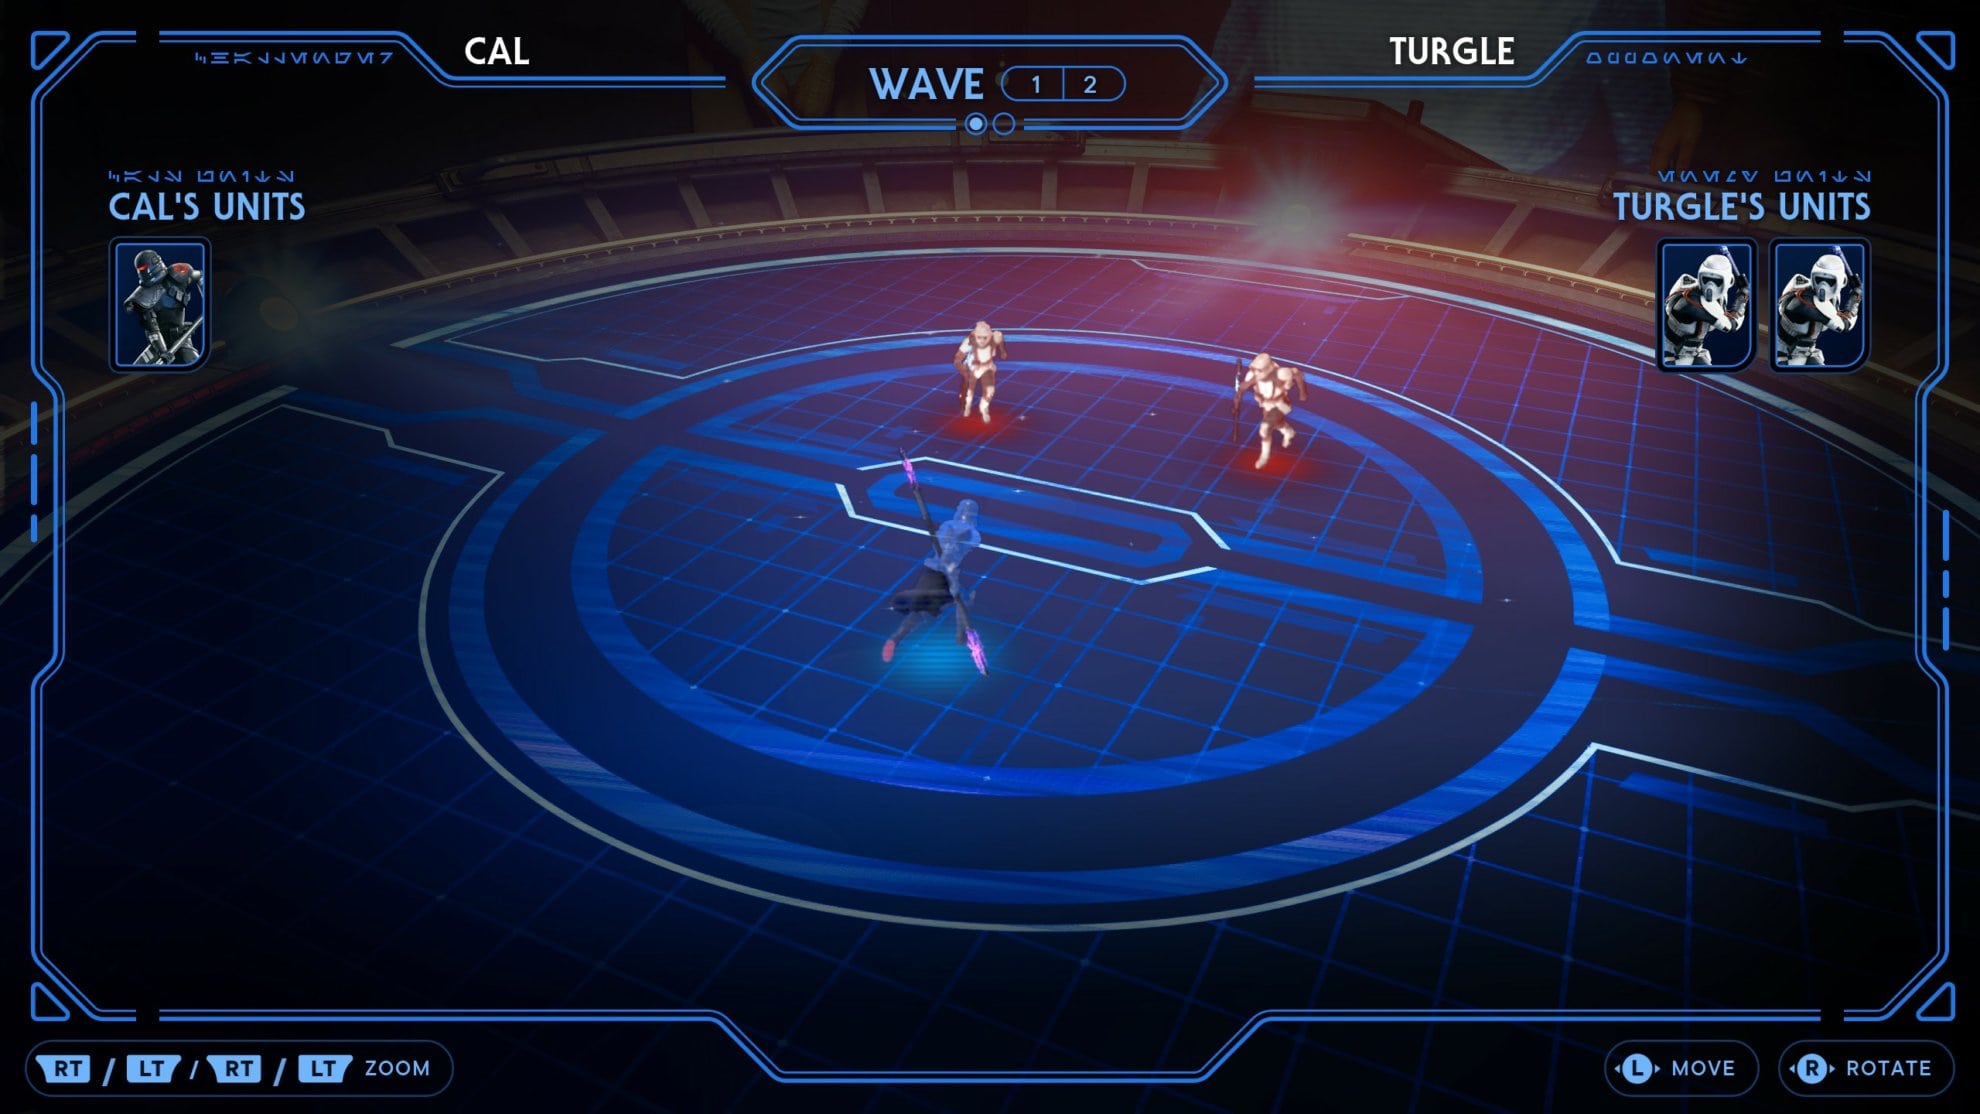
The first and easiest opponent in Holotactics is Turgle. He will essentially act as the tutorial level so it’s very easy to beat him.
In Wave 1, Turgle will use two Scout Troopers and you’ll have 6 Battle Points available. Using an Electrostaff Purge Trooper will take them both out easily leaving you with an extra 2 Battle Points for Wave 2.
| ||||
 |
For Wave 2, you’ll be able to afford two Heavy Assault Troopers and a Scout Trooper. Place the Scout Trooper in the front so the Heavy Assault Troopers have some time to open fire.
| ||||
| |
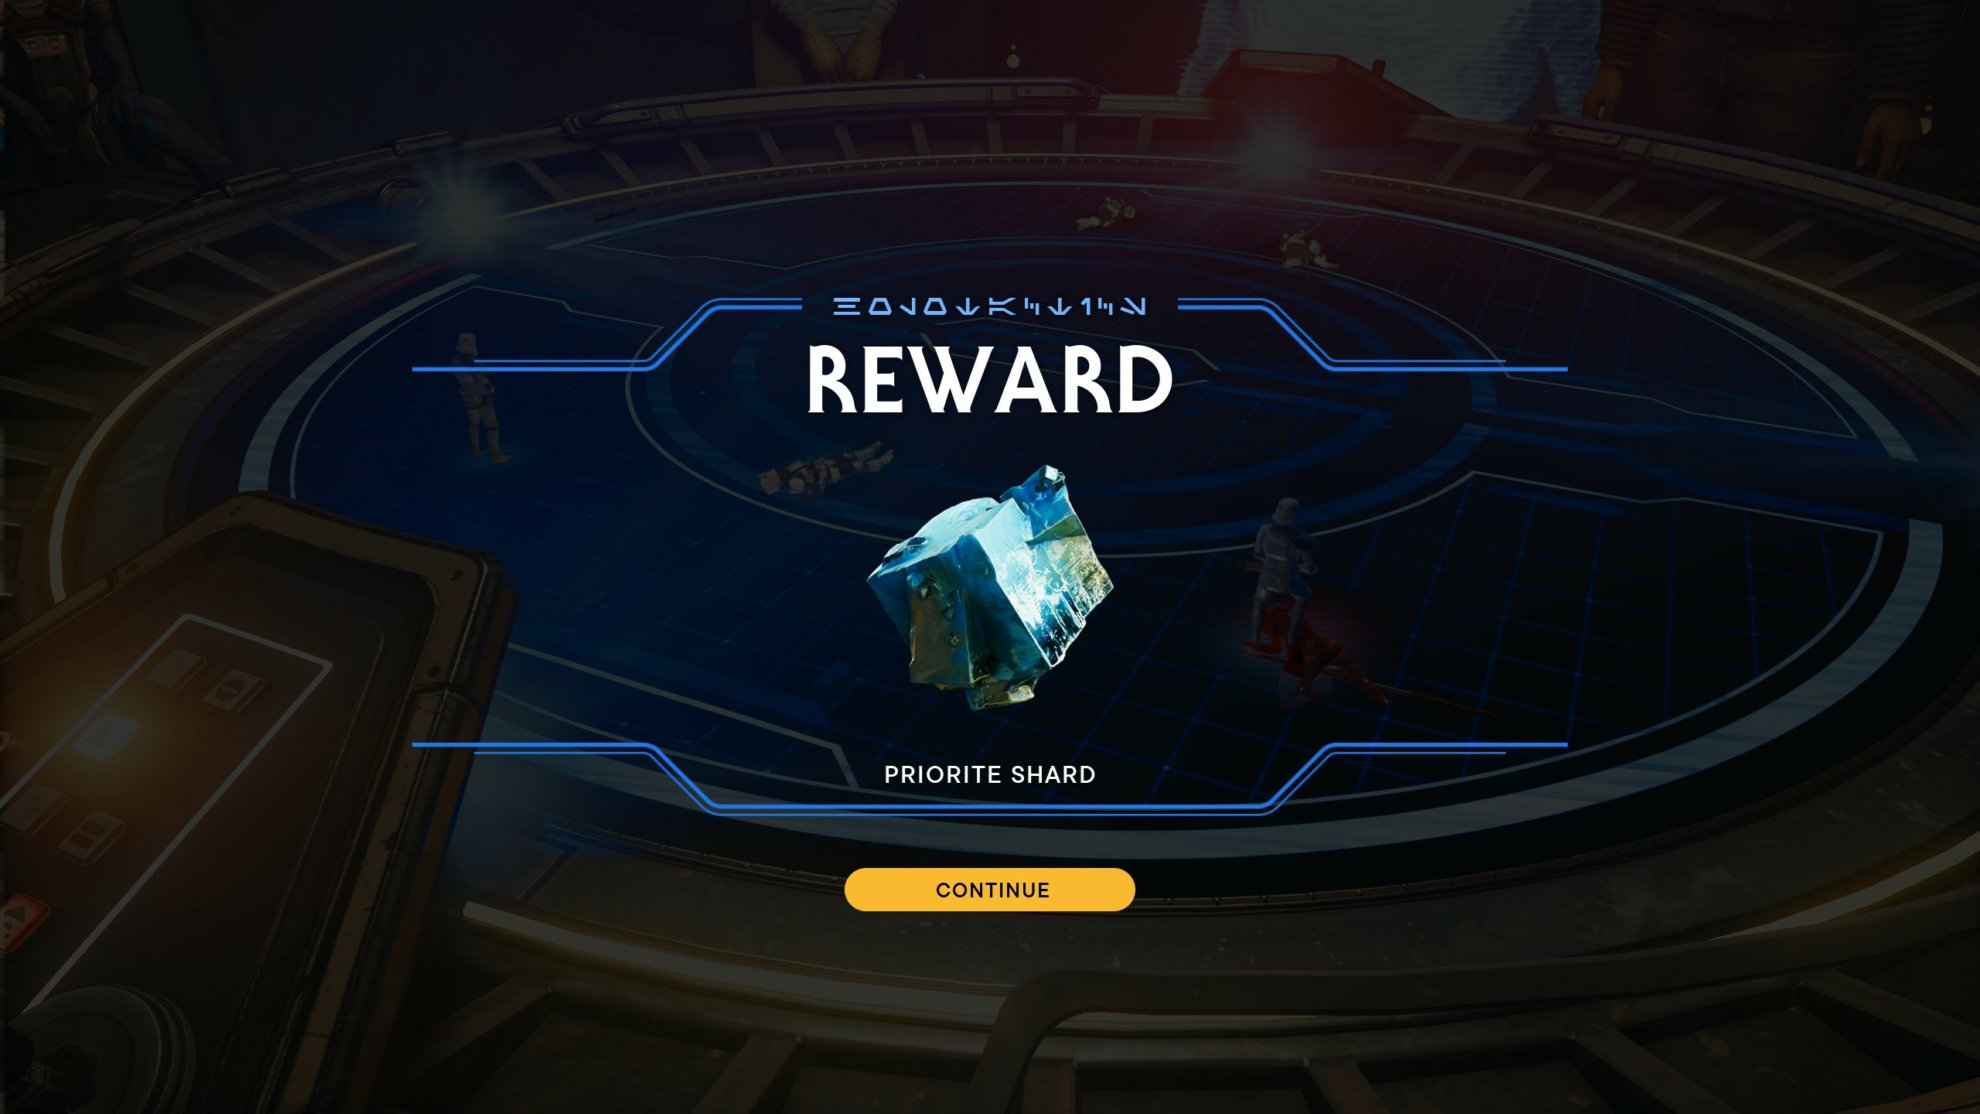
Defeating Turgle will get you a Priorite Shard.
Greez
For Wave 1, Greez will have a Stormtrooper Commander and two Rawkas. With 16 Battle Points available, place down three Melee B1 Battle Droids and 4 Stormtroopers.
The droids will take the damage from the Rawkas while the Stormtroopers take them out first. Hope that they don’t miss the Commander and you’ll win this round. You’ll be left with 5 extra Battle Points for the next round.
| | | ||
| | | |
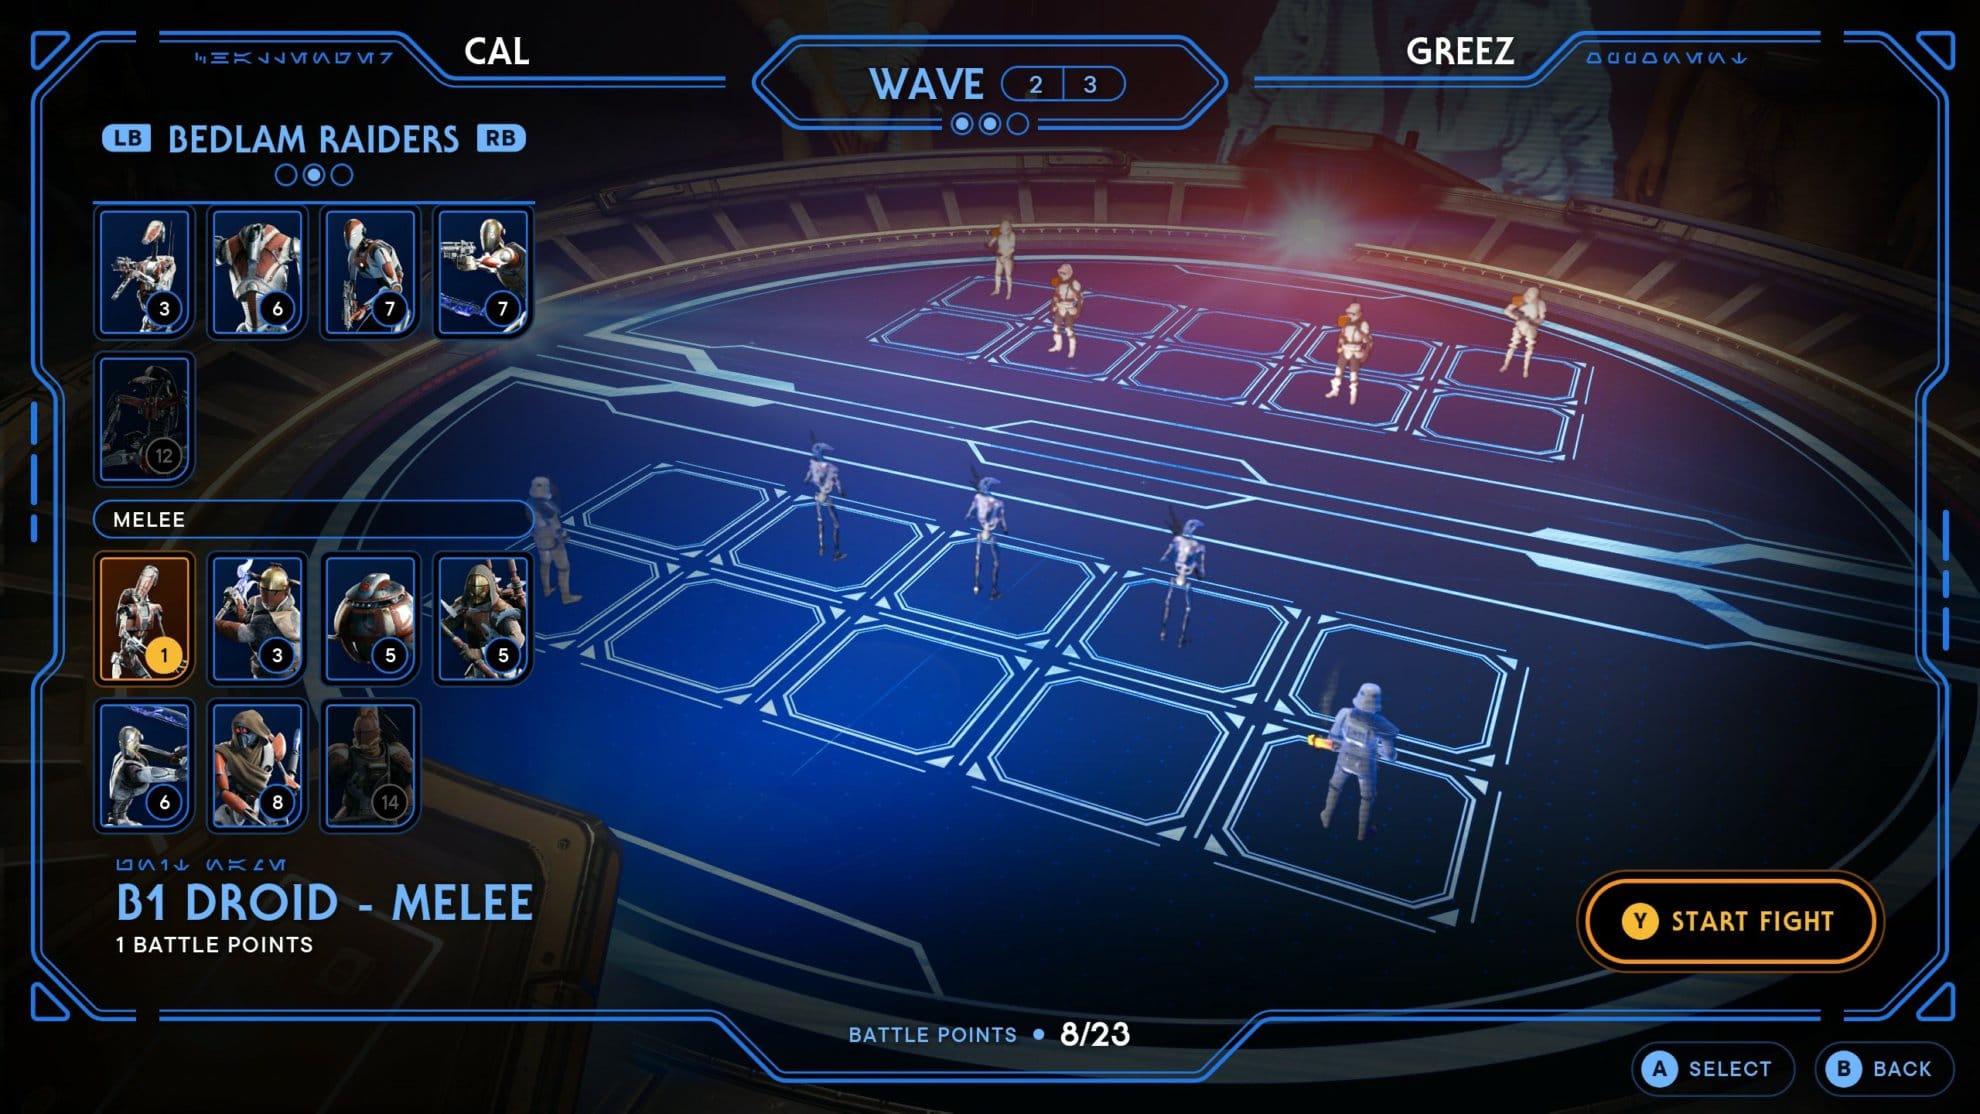
In Wave 2, you’ll fight against two Scout Troopers and two Stormtrooper Commandos. With 23 Battle Points to spare, place down three Melee B1 Droids and two Heavy Assault Troopers.
Place the Heavy Assault Troopers in the back corners so they’re away from the melee units and have a good field of view. You’ll have 8 spare Battle Points for the next wave.
| | | ||
| |
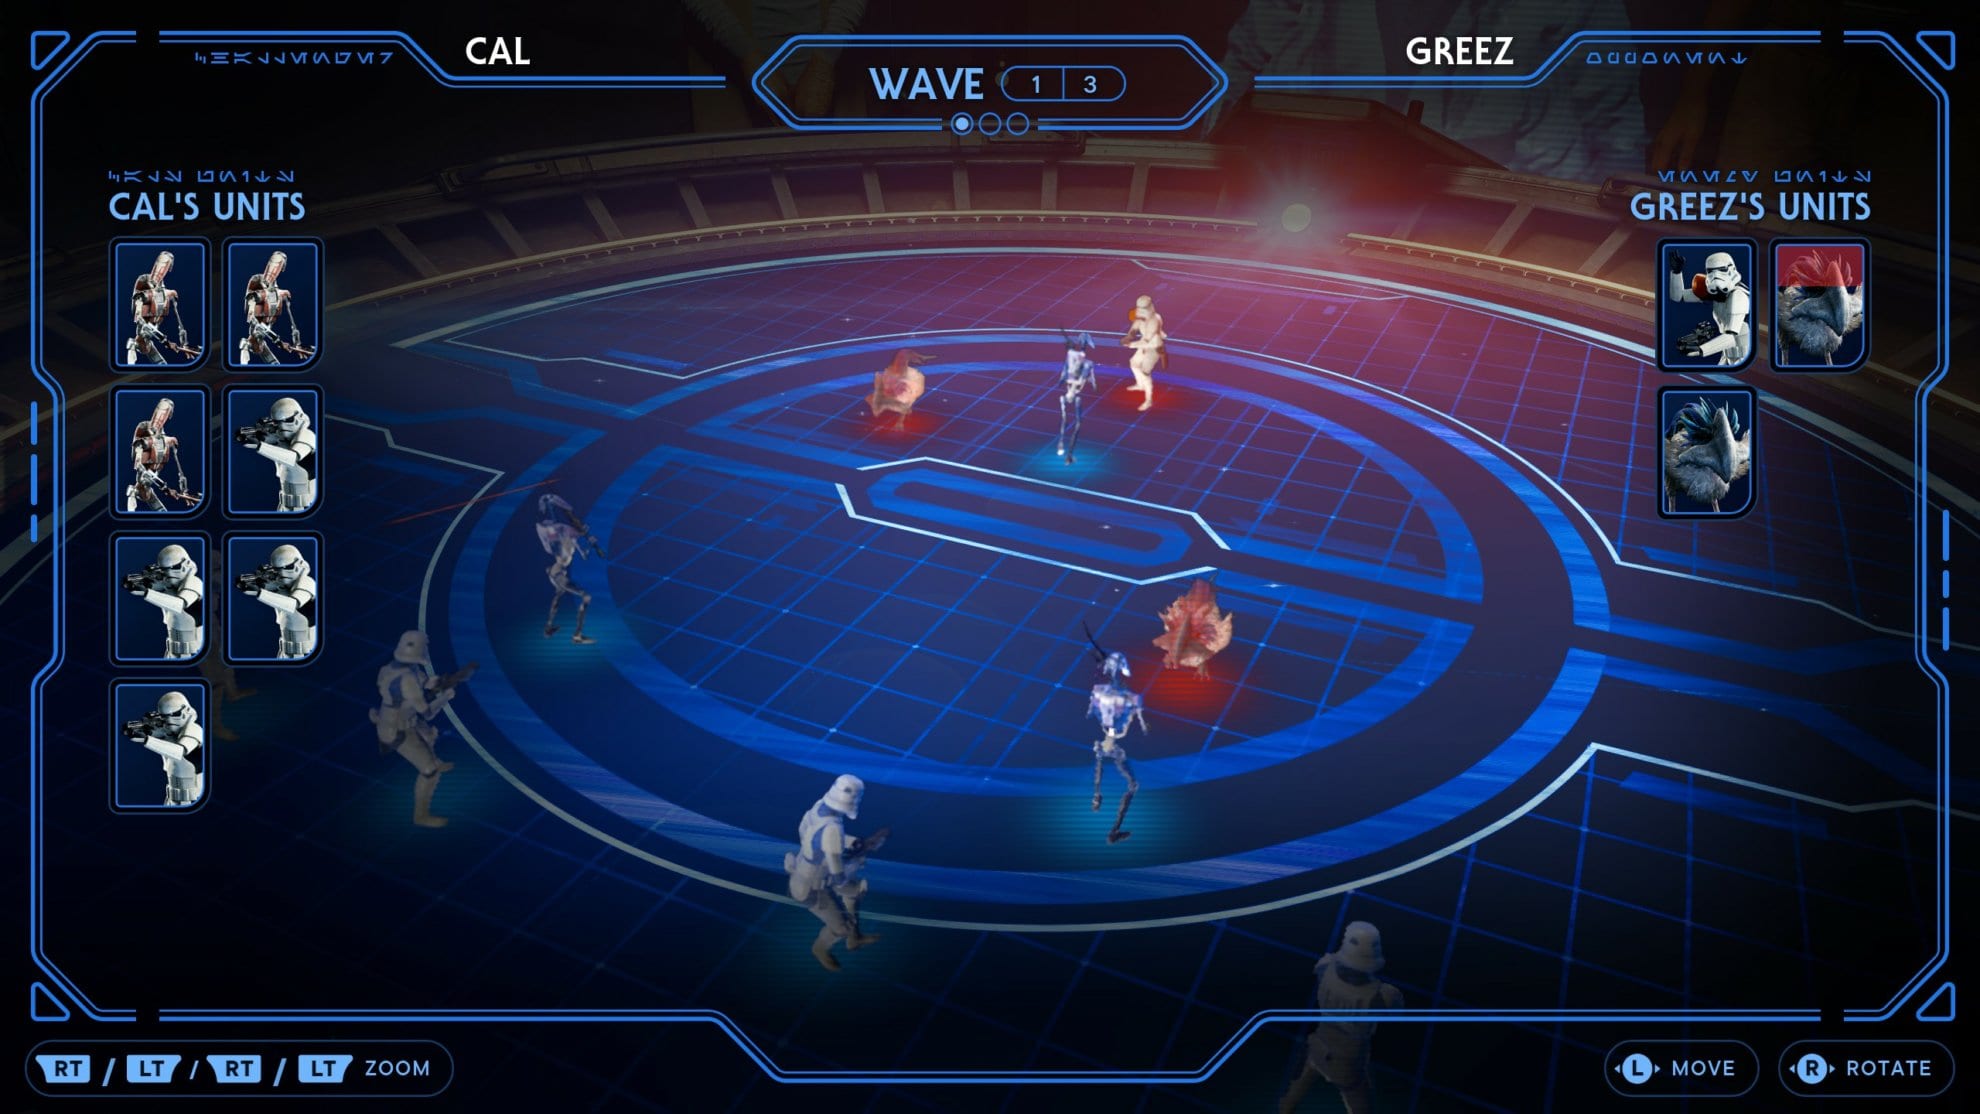
For Wave 3, you’ll be against two Stormtroopers and a Security Droid. With 24 Battle Points, you can purchase two Droidekas to wipe them out. If you don’t have access to Droidekas yet, use all your points on Heavy Assault Troopers.
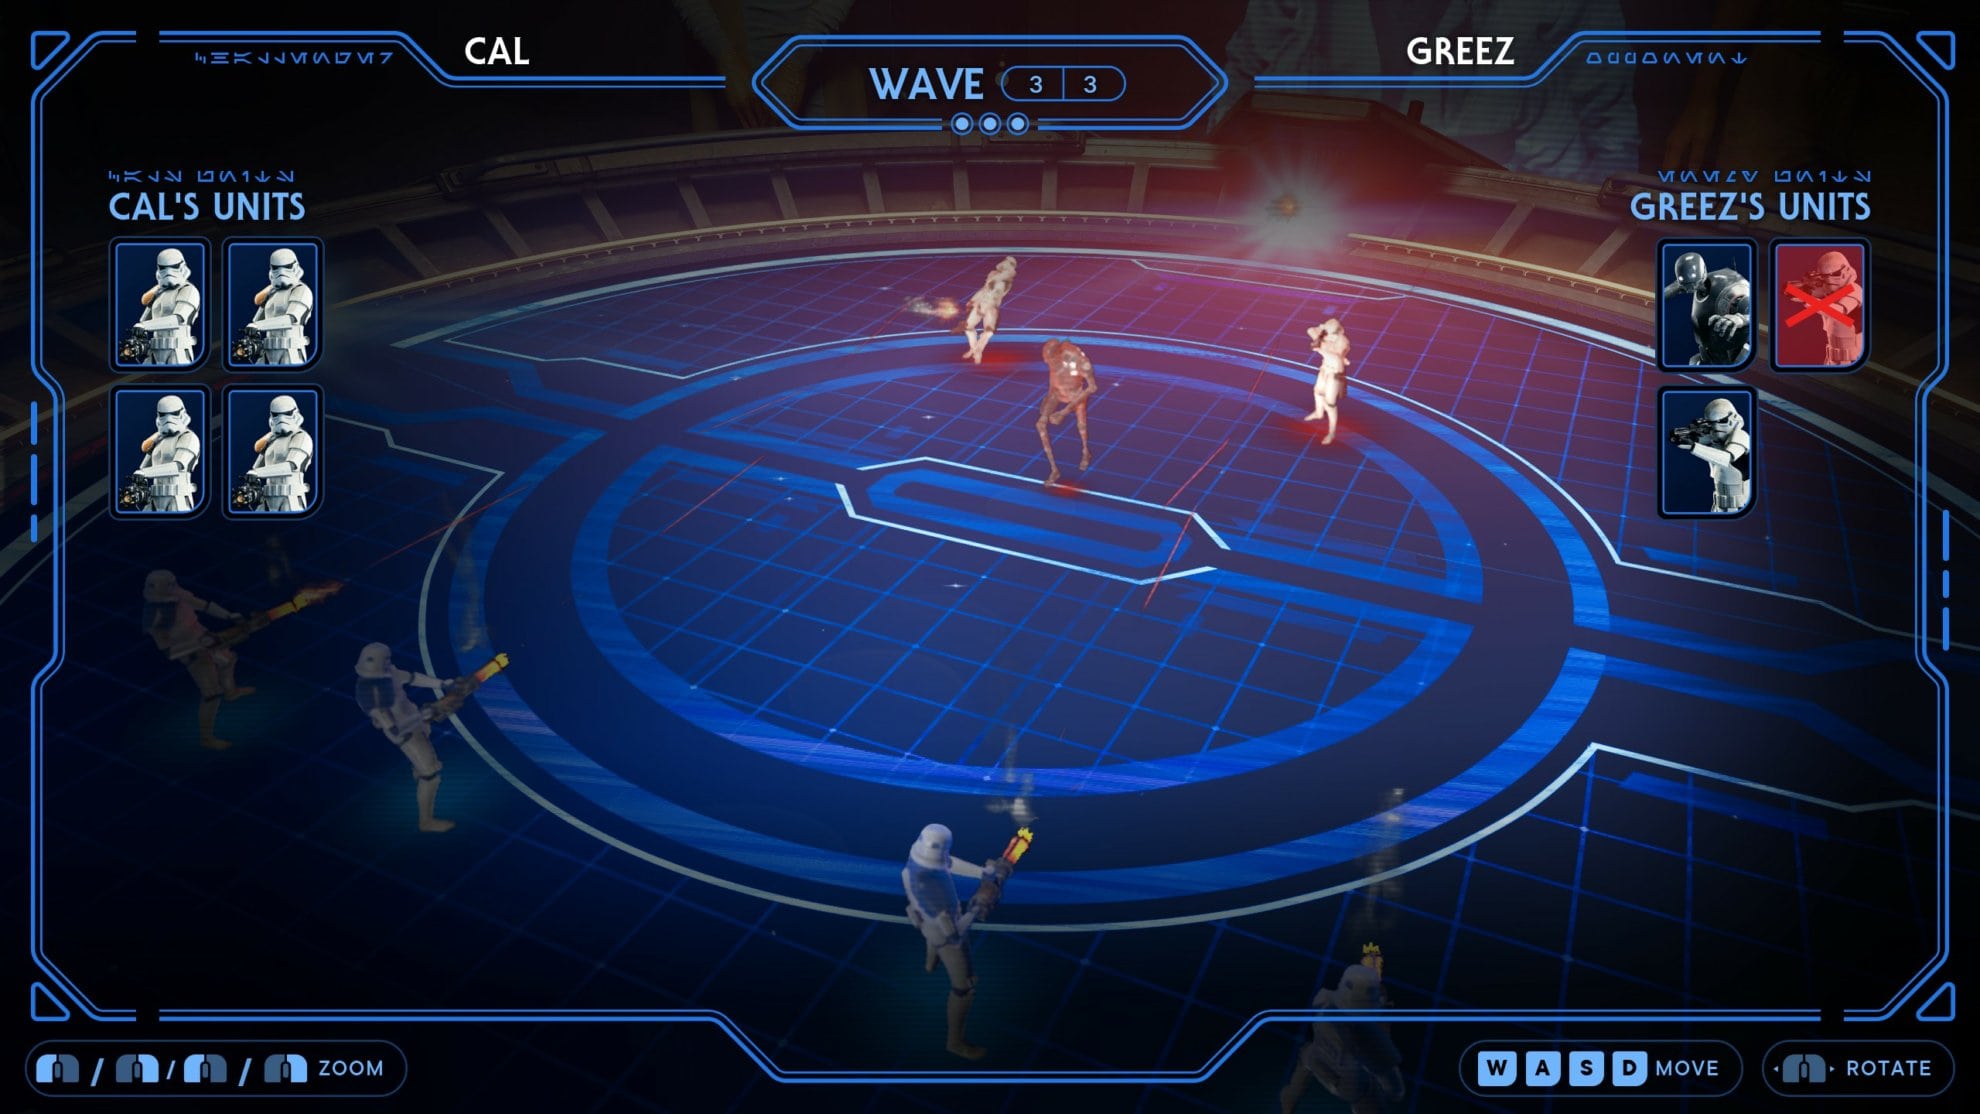
| ||||
| |
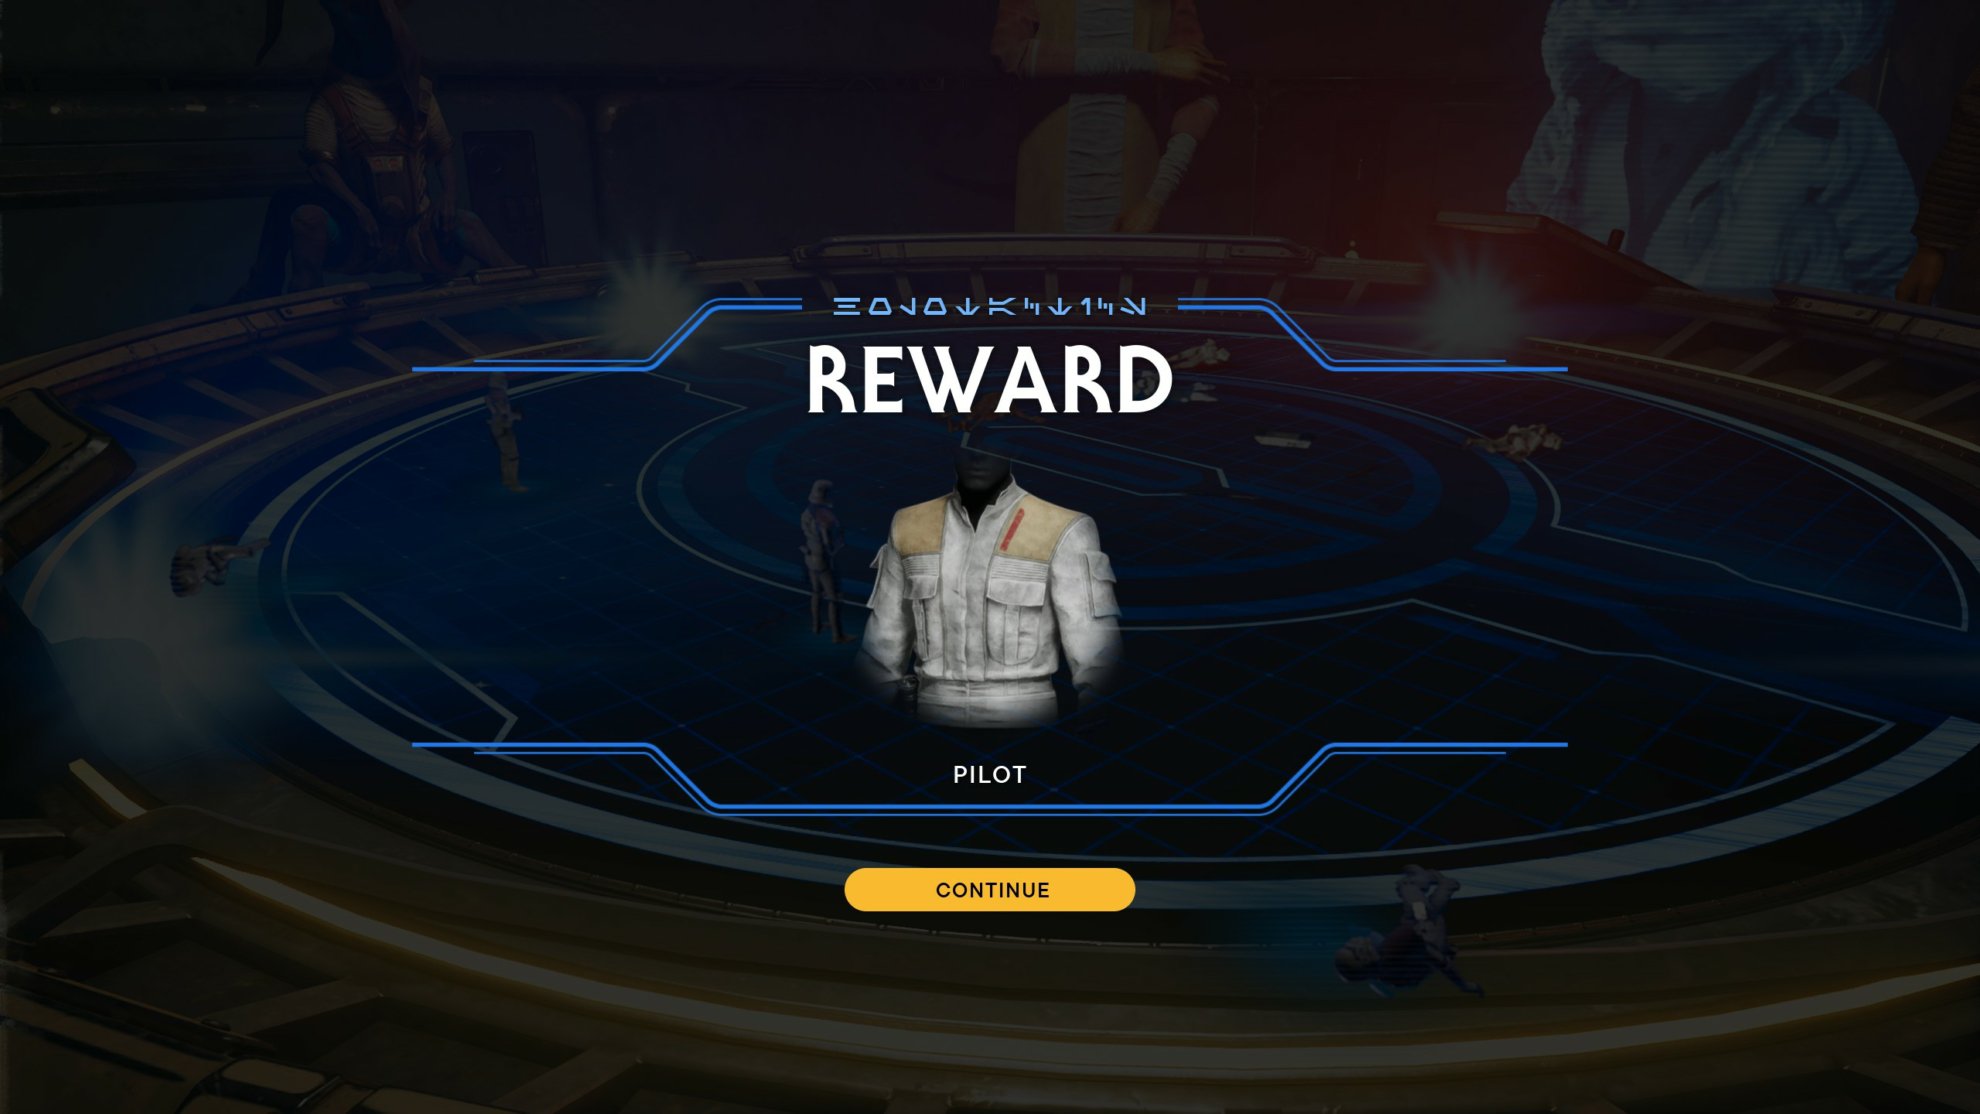
Defeating Greeze will give you the Pilot Jacket.
Tulakt
Tulakt is where things actually get a bit challenging so you’ll need to plan more carefully.
Wave 1 you’ll fight two Stormtrooper Commanders and a B2 Super Battle Droid. With 16 Battle Points available, you’ll just use a Droideka in one of the back corners and a Bedlam Raider Grunt in the middle front. 1 Battle Point will carry over into the next wave.
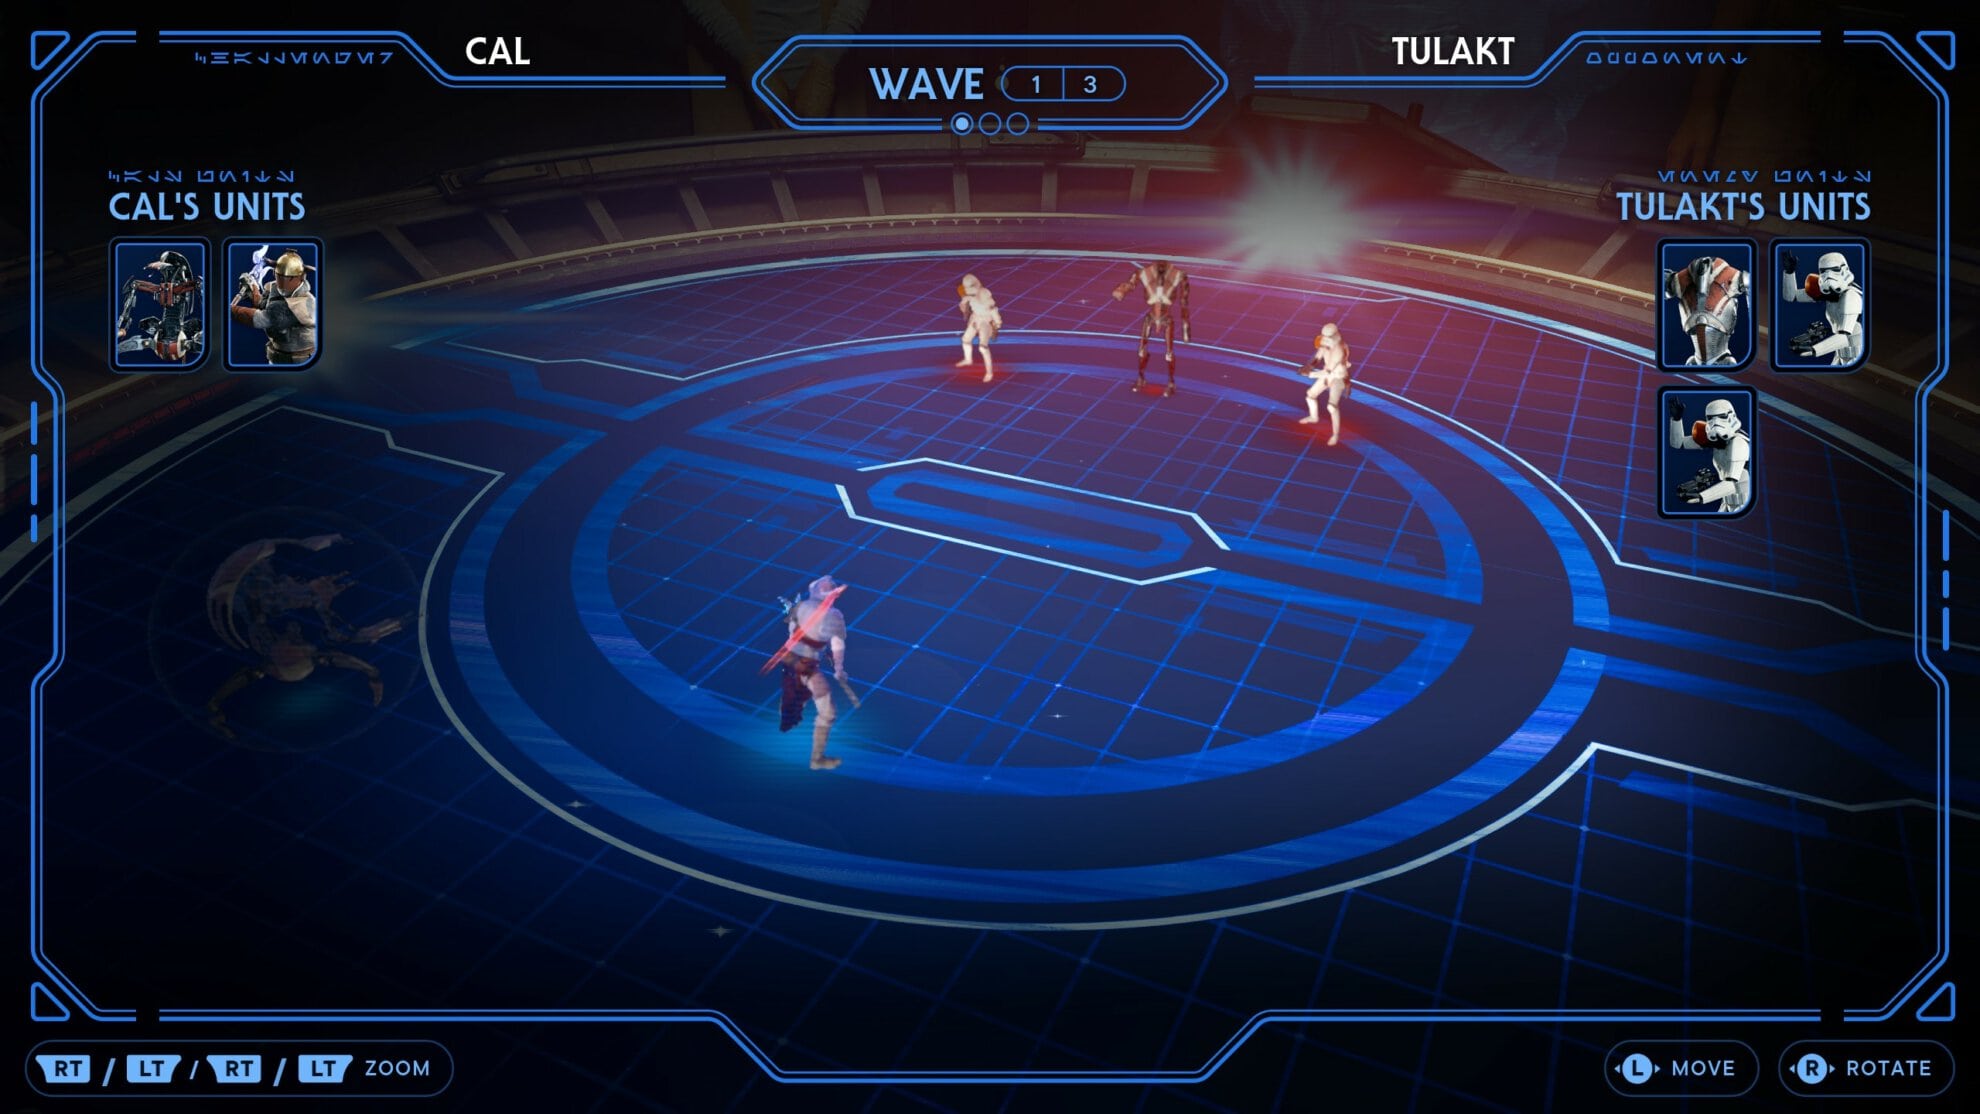
| ||||
|
Wave 2 you’ll fight two raider grunts and three B1 Battle Droids. With 19 Battle Points available, get a Droideka in one of the back corners and two melee B1 Battle Droids to take the brunt of the attack.
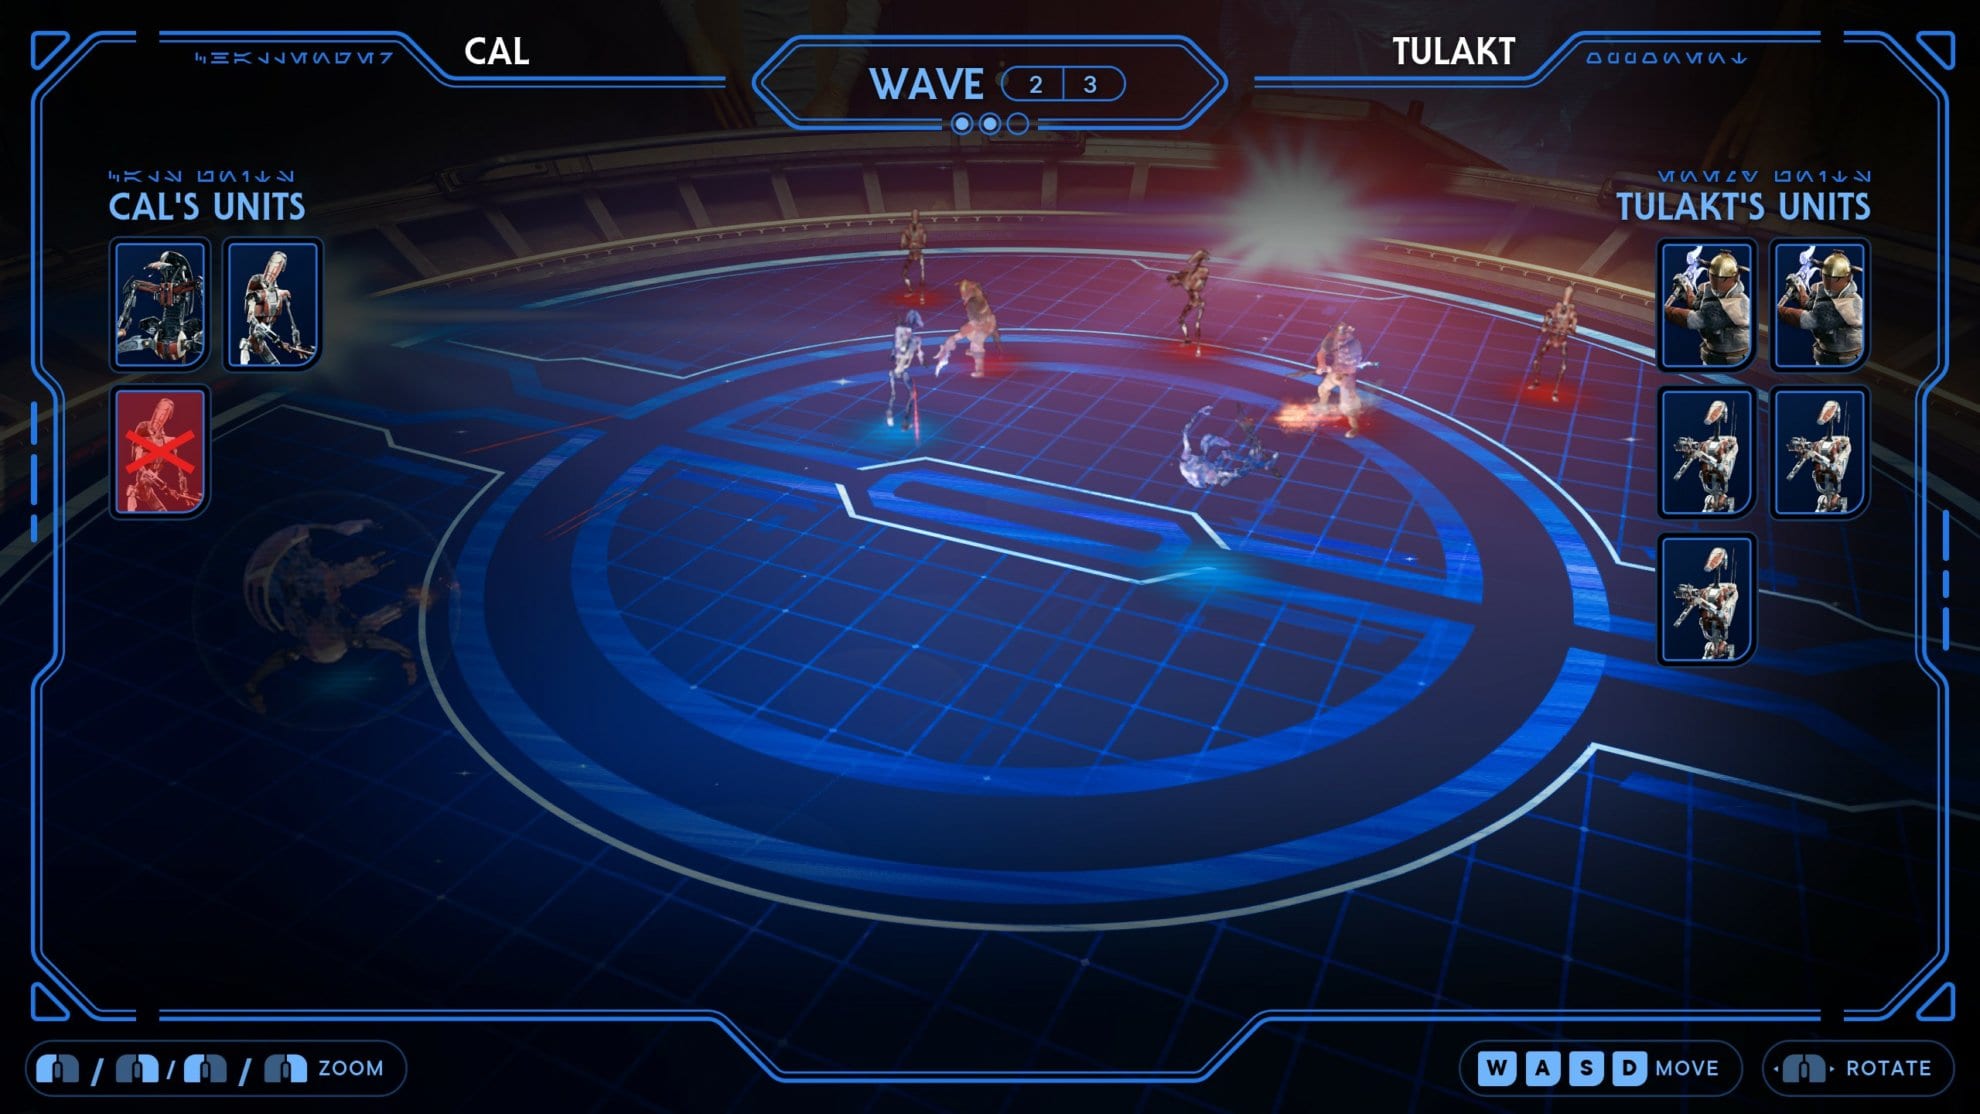
| | |||
|
Wave 3 you’ll fight two raider veterans and a commando droid. With 21 Battle Points to spend, two Purge Trooper Commanders in the back corners with a melee B1 battle droid in the middle front should do the trick.
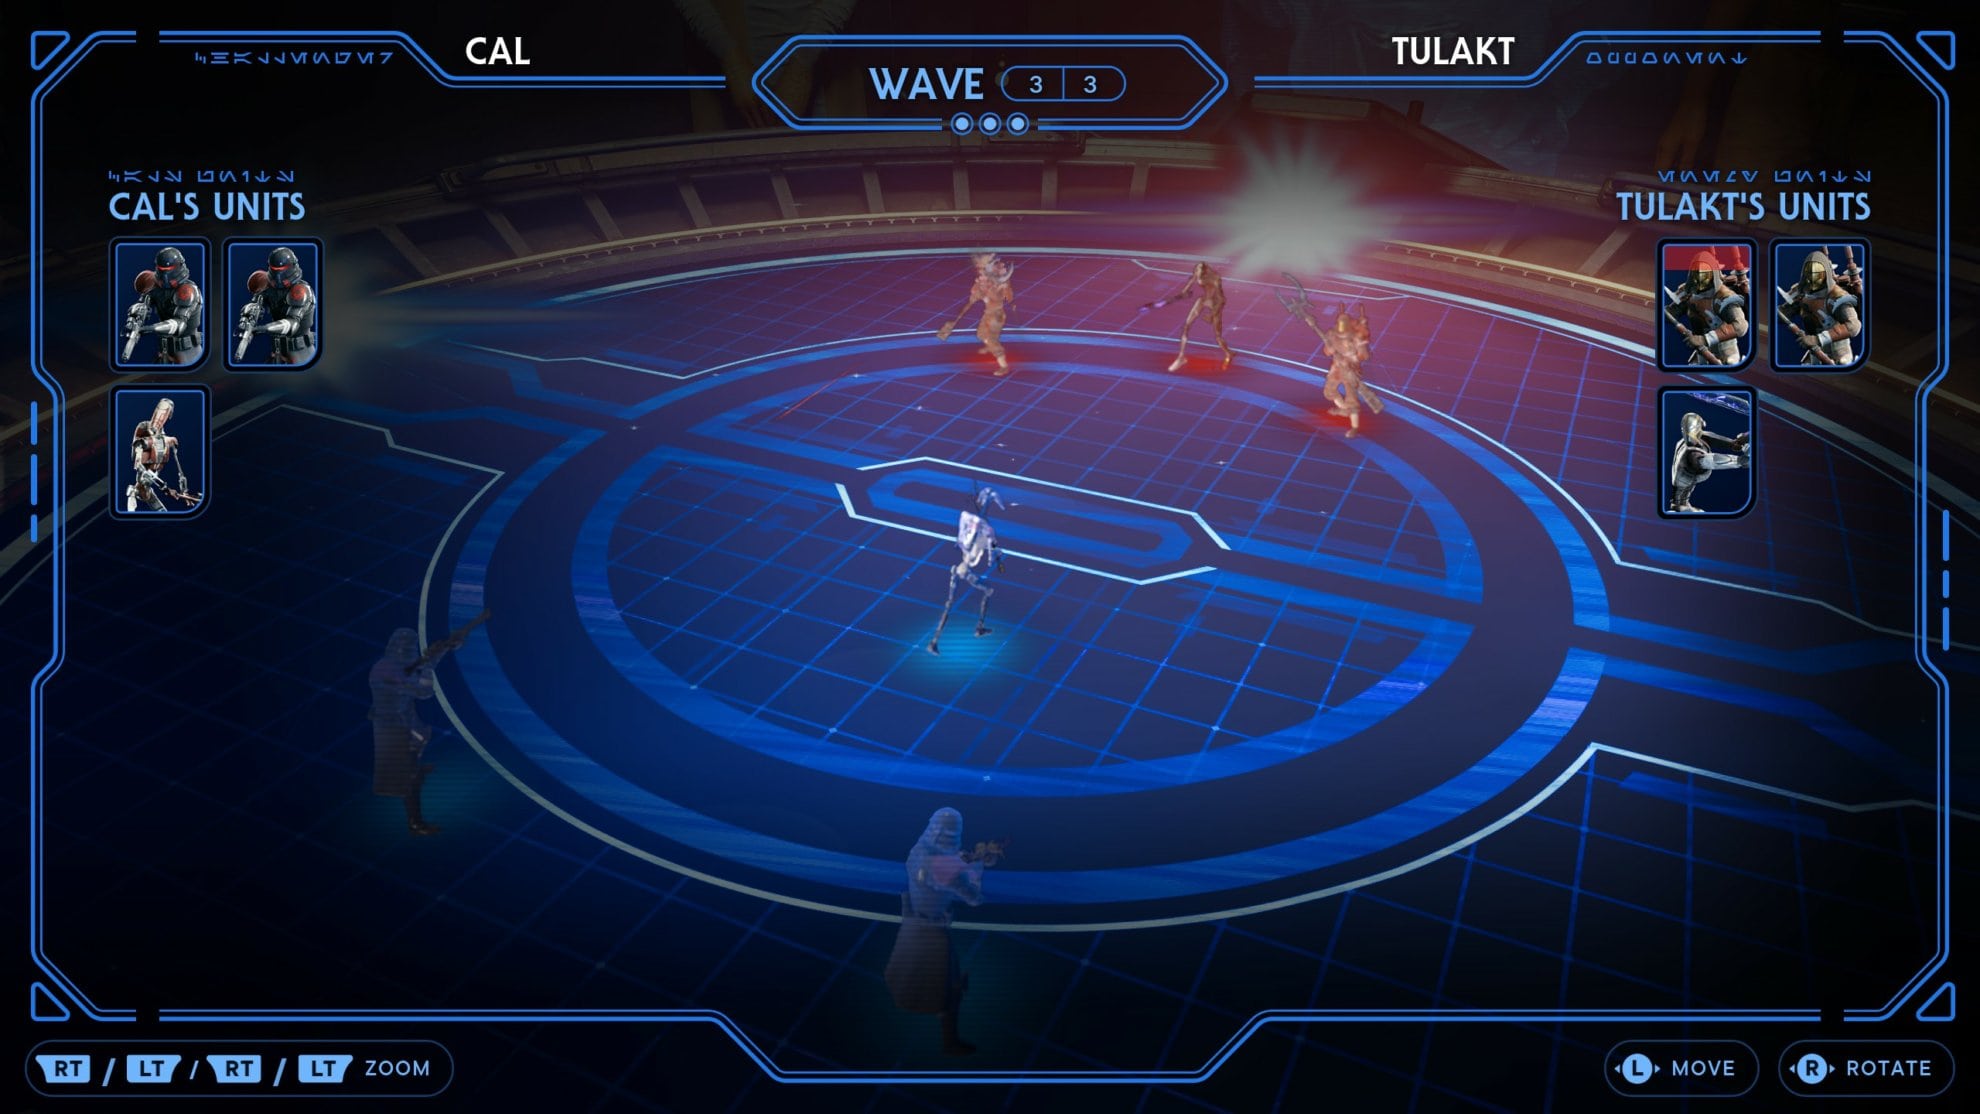
| ||||
| |
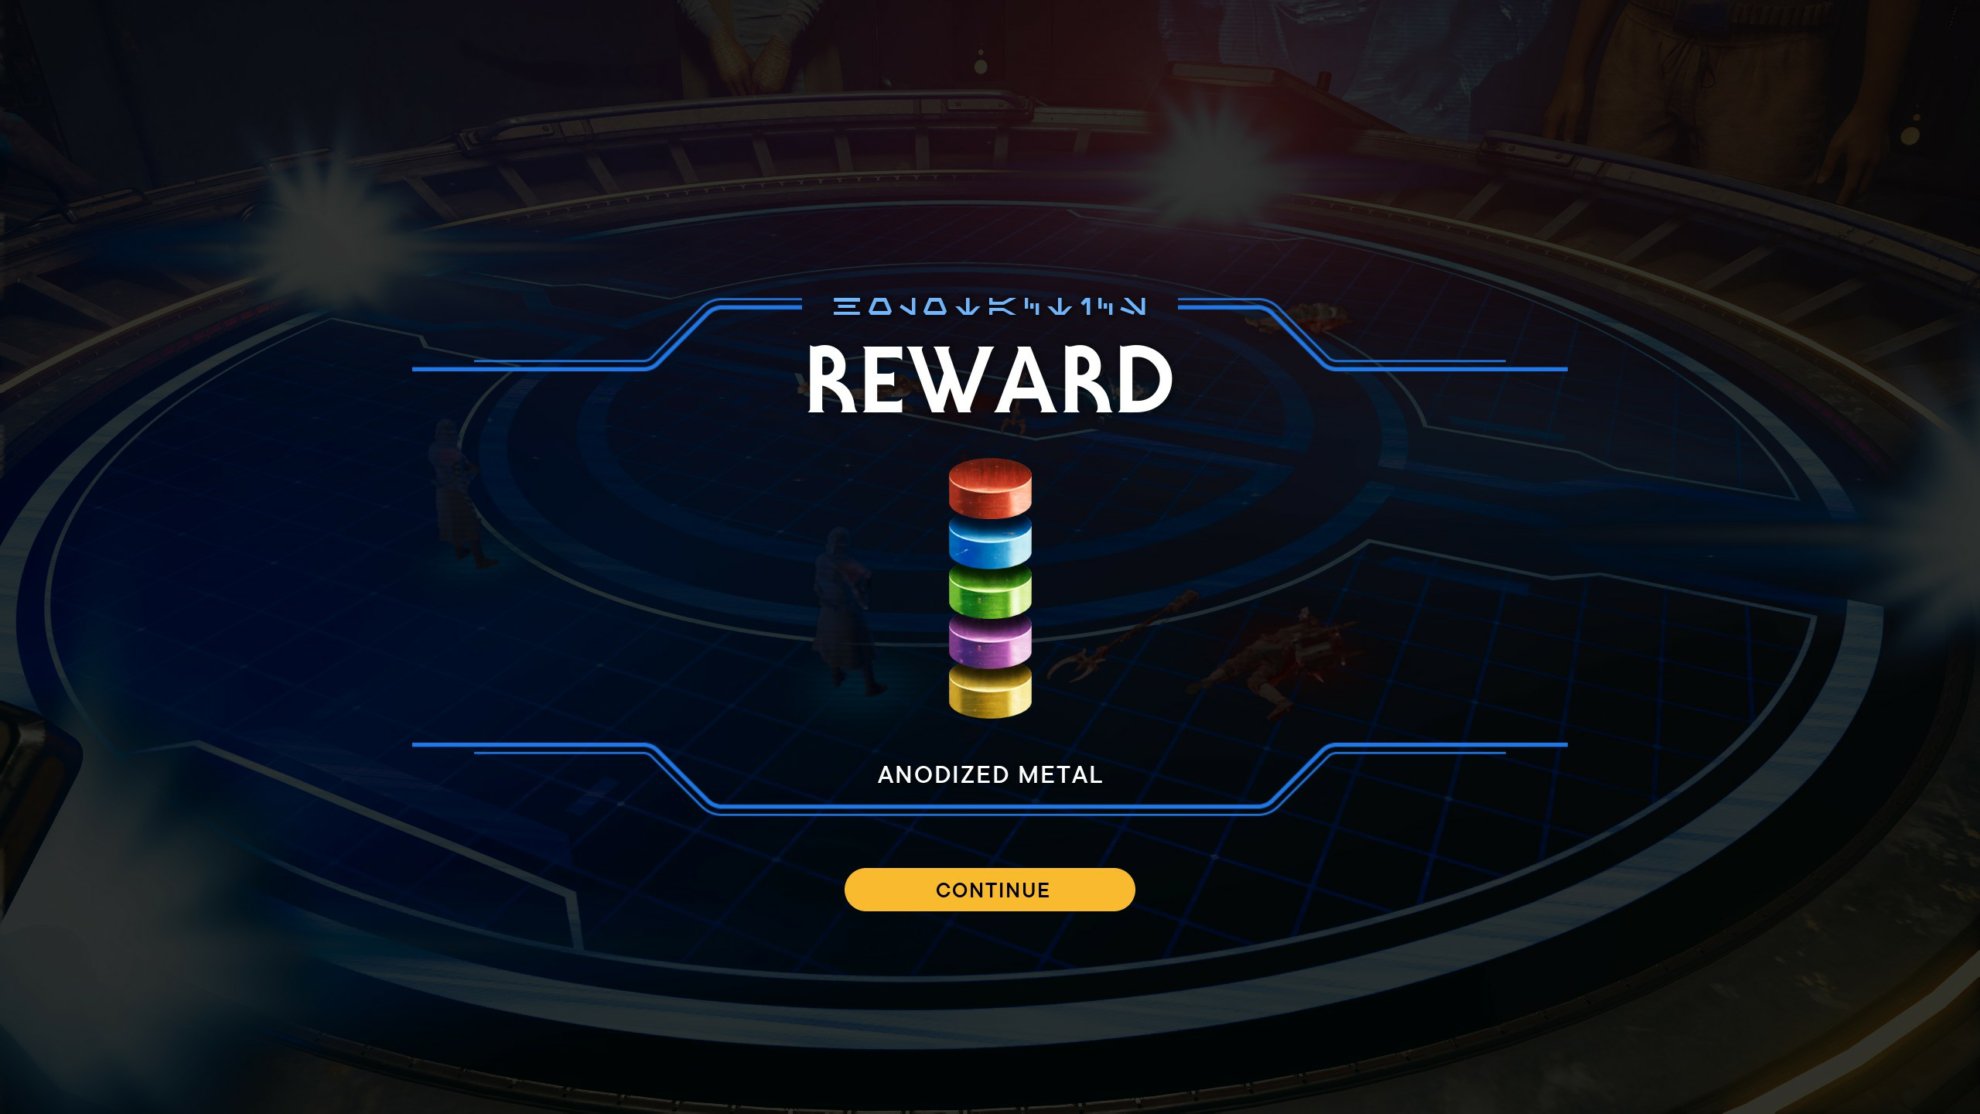
When you beat Tulakt, you’ll get the Anodized Metals weapon material.
If you are the completionist type of player, we have a complete catalog of the locations of all Lightsaber Components and Materials available in Jedi Survivor. Enjoy!
Merrin
To unlock Merrin, you will need to complete the quest to find Cere on Jedha.
Wave 1 you’ll fight a Dark Trooper and two Spikers with 25 Battle Points to spend. Two Droidekas will make short work of these units leaving you with 1 spare Battle Point. Just be sure to place them in the two back corners.
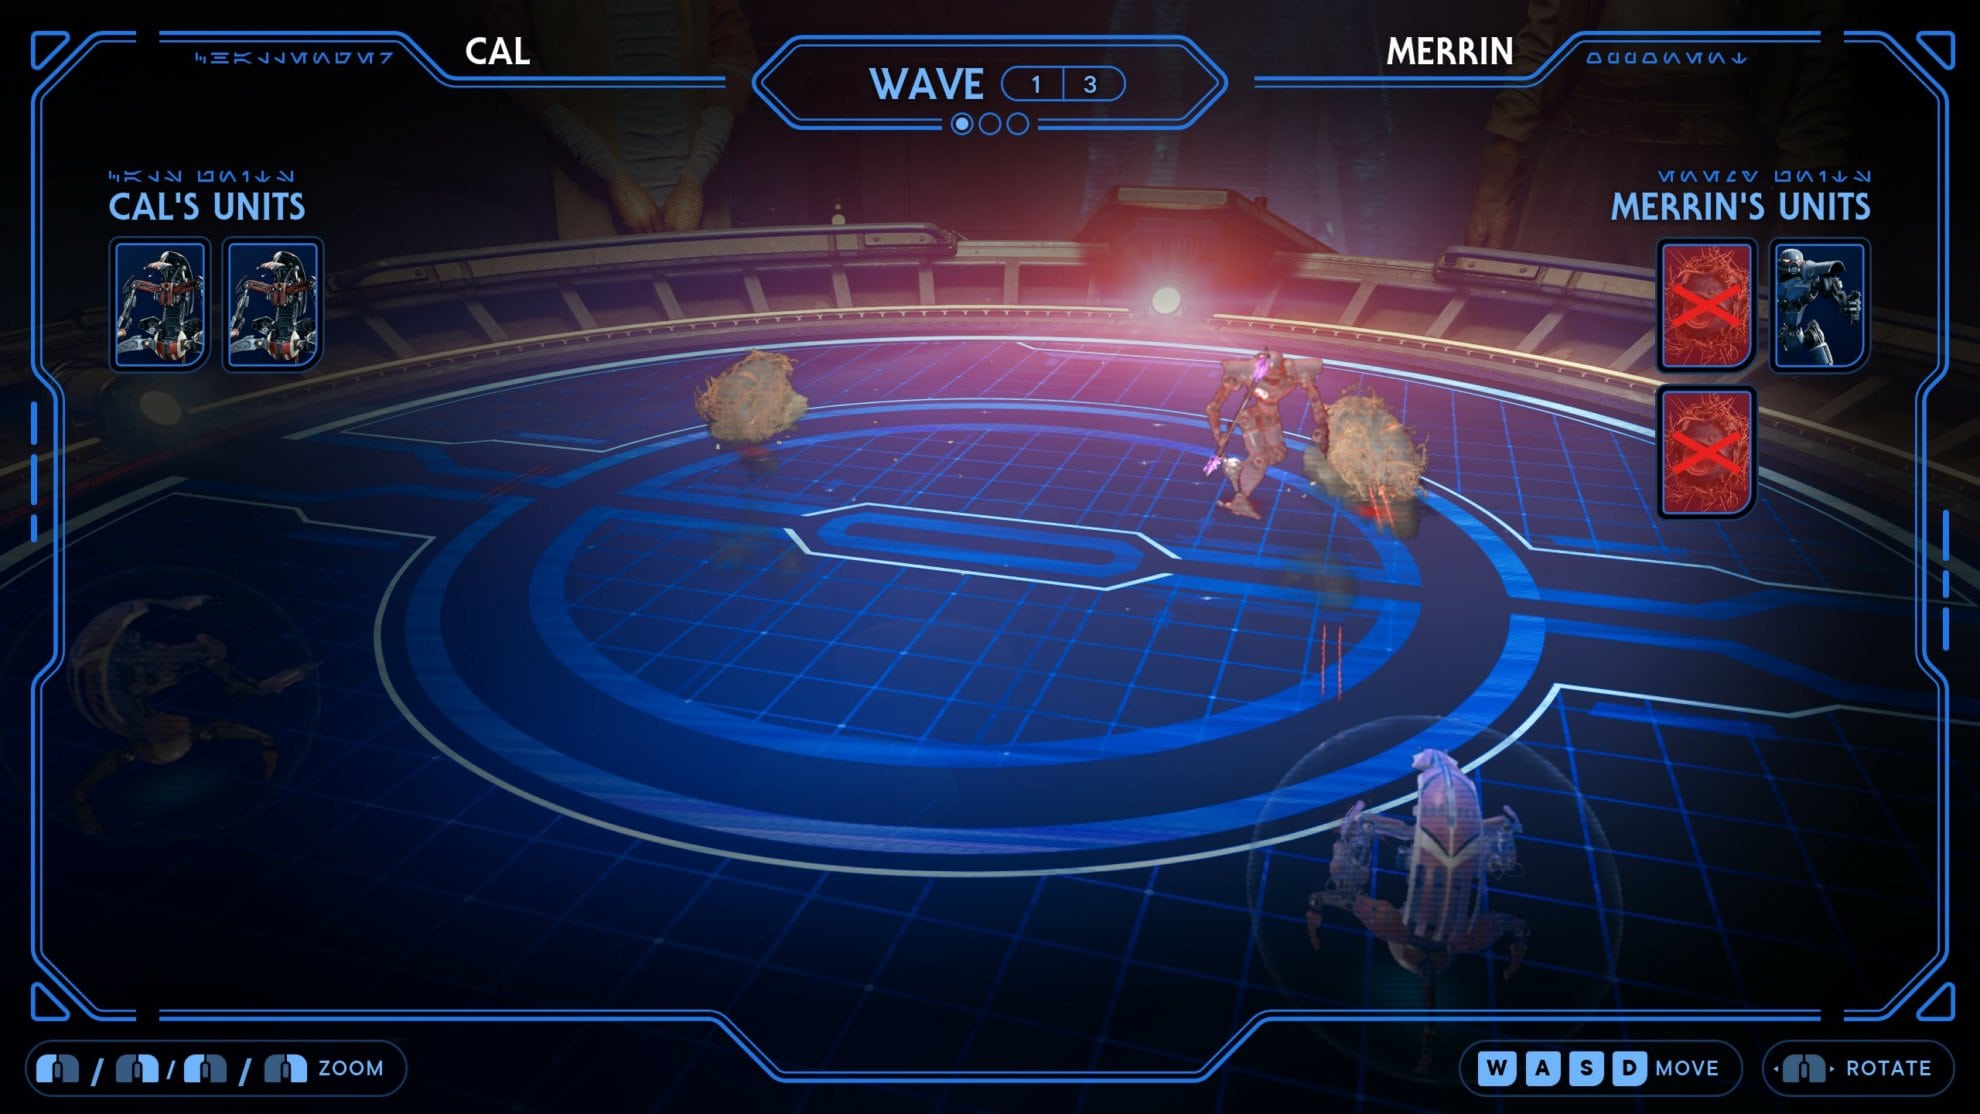
| ||||
| |
In Wave 2, use two Droidekas again to take out the Sutaban, Hardshells, and Commando Droid.

| ||||
| |
In Wave 3 you’ll fight a Skriton. Blaster bolts will bounce off it so you’ll need melee units to defeat it. With 33 Battle Points available, use two Bedlam Smashers and a Raider Veteran to defeat the Skriton.
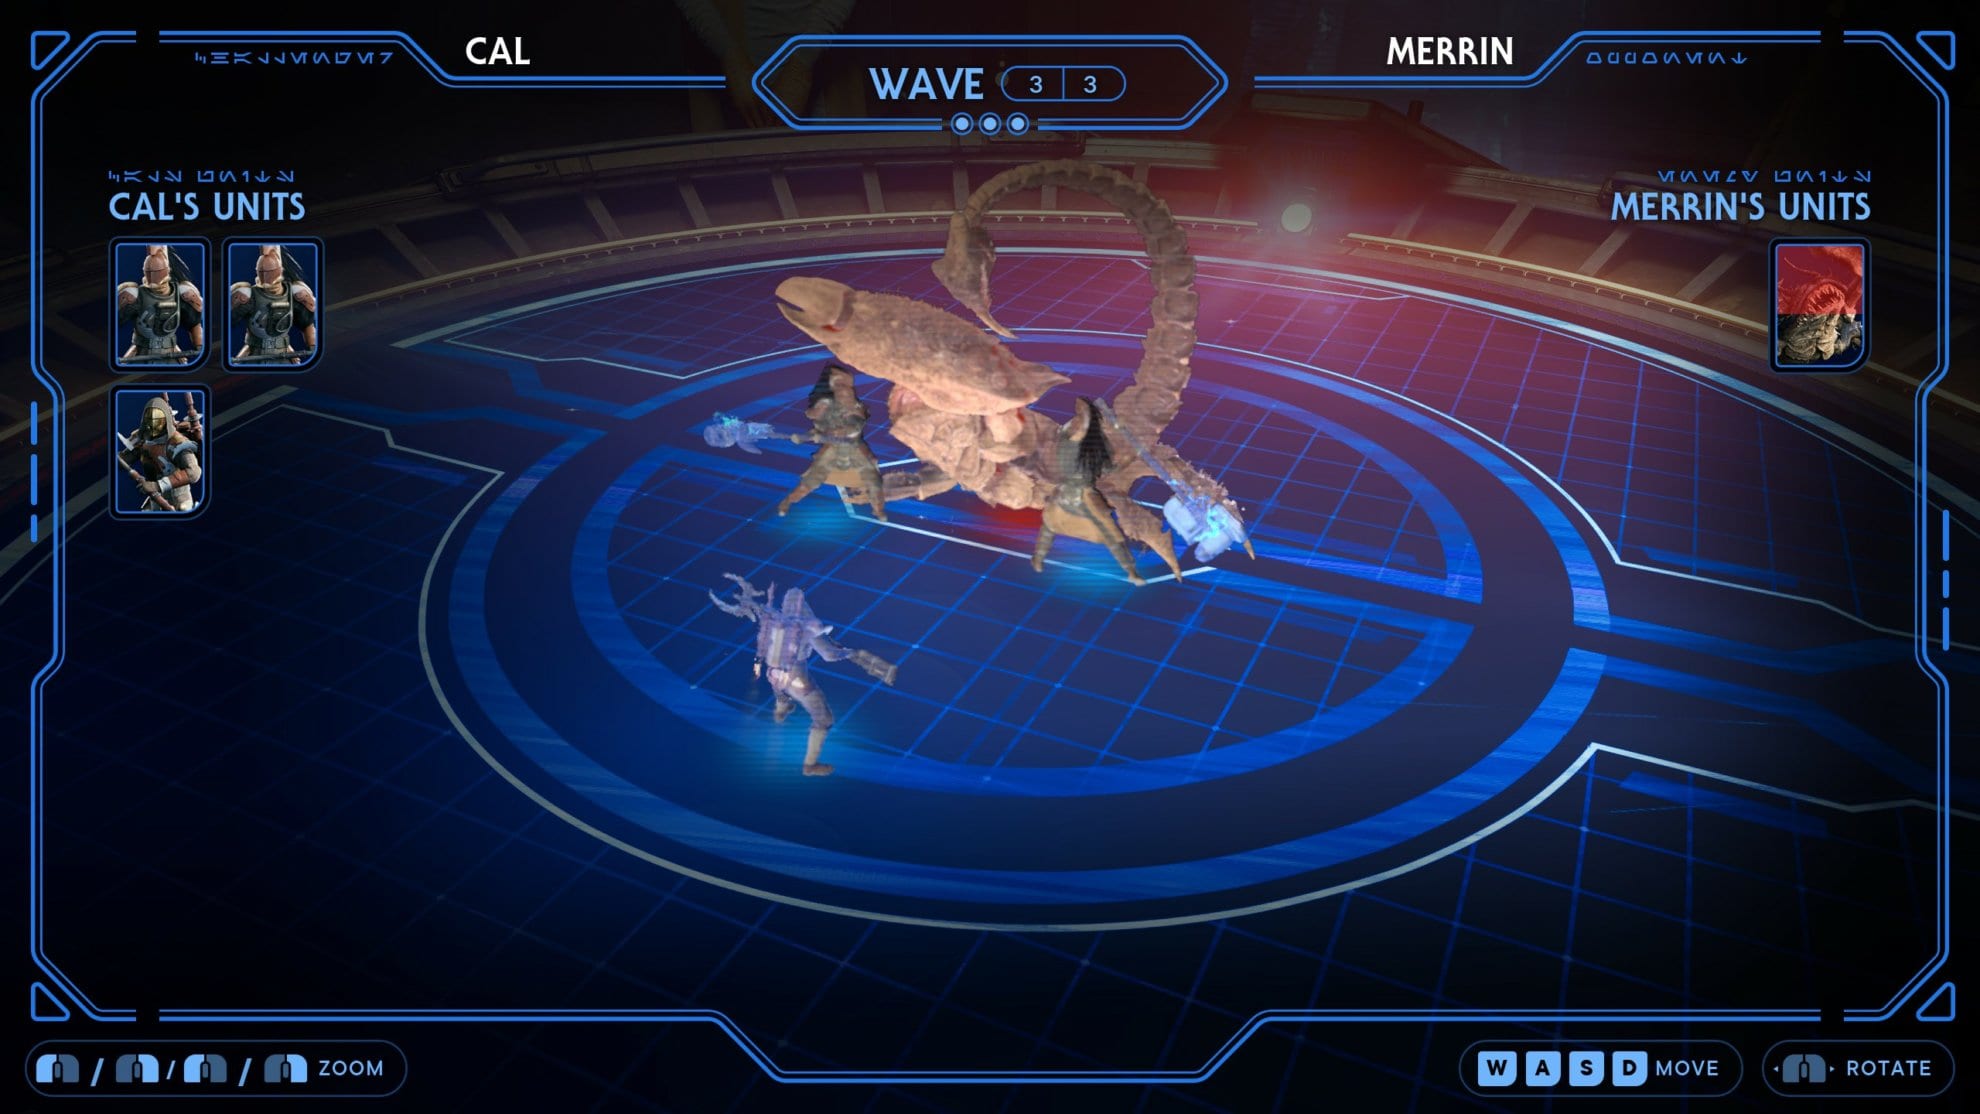
| | | ||
|
You’ll get one set of Ancient Scrolls after defeating Merrin.
Caij
To unlock Caij, you’ll need to activate her cutscene when going to the Stone Spires to research Tanalorr.
In Wave 1 you’ll be up against a B2 Super Battle Droid, two B1 Battle Droids, and two Rocket Troopers. Use two DT-Sentry Droids armed with Hammers and Missiles and hope they charge in. If they do charge in, your odds of success are much greater and you’ll have 8 Battle Points left over.
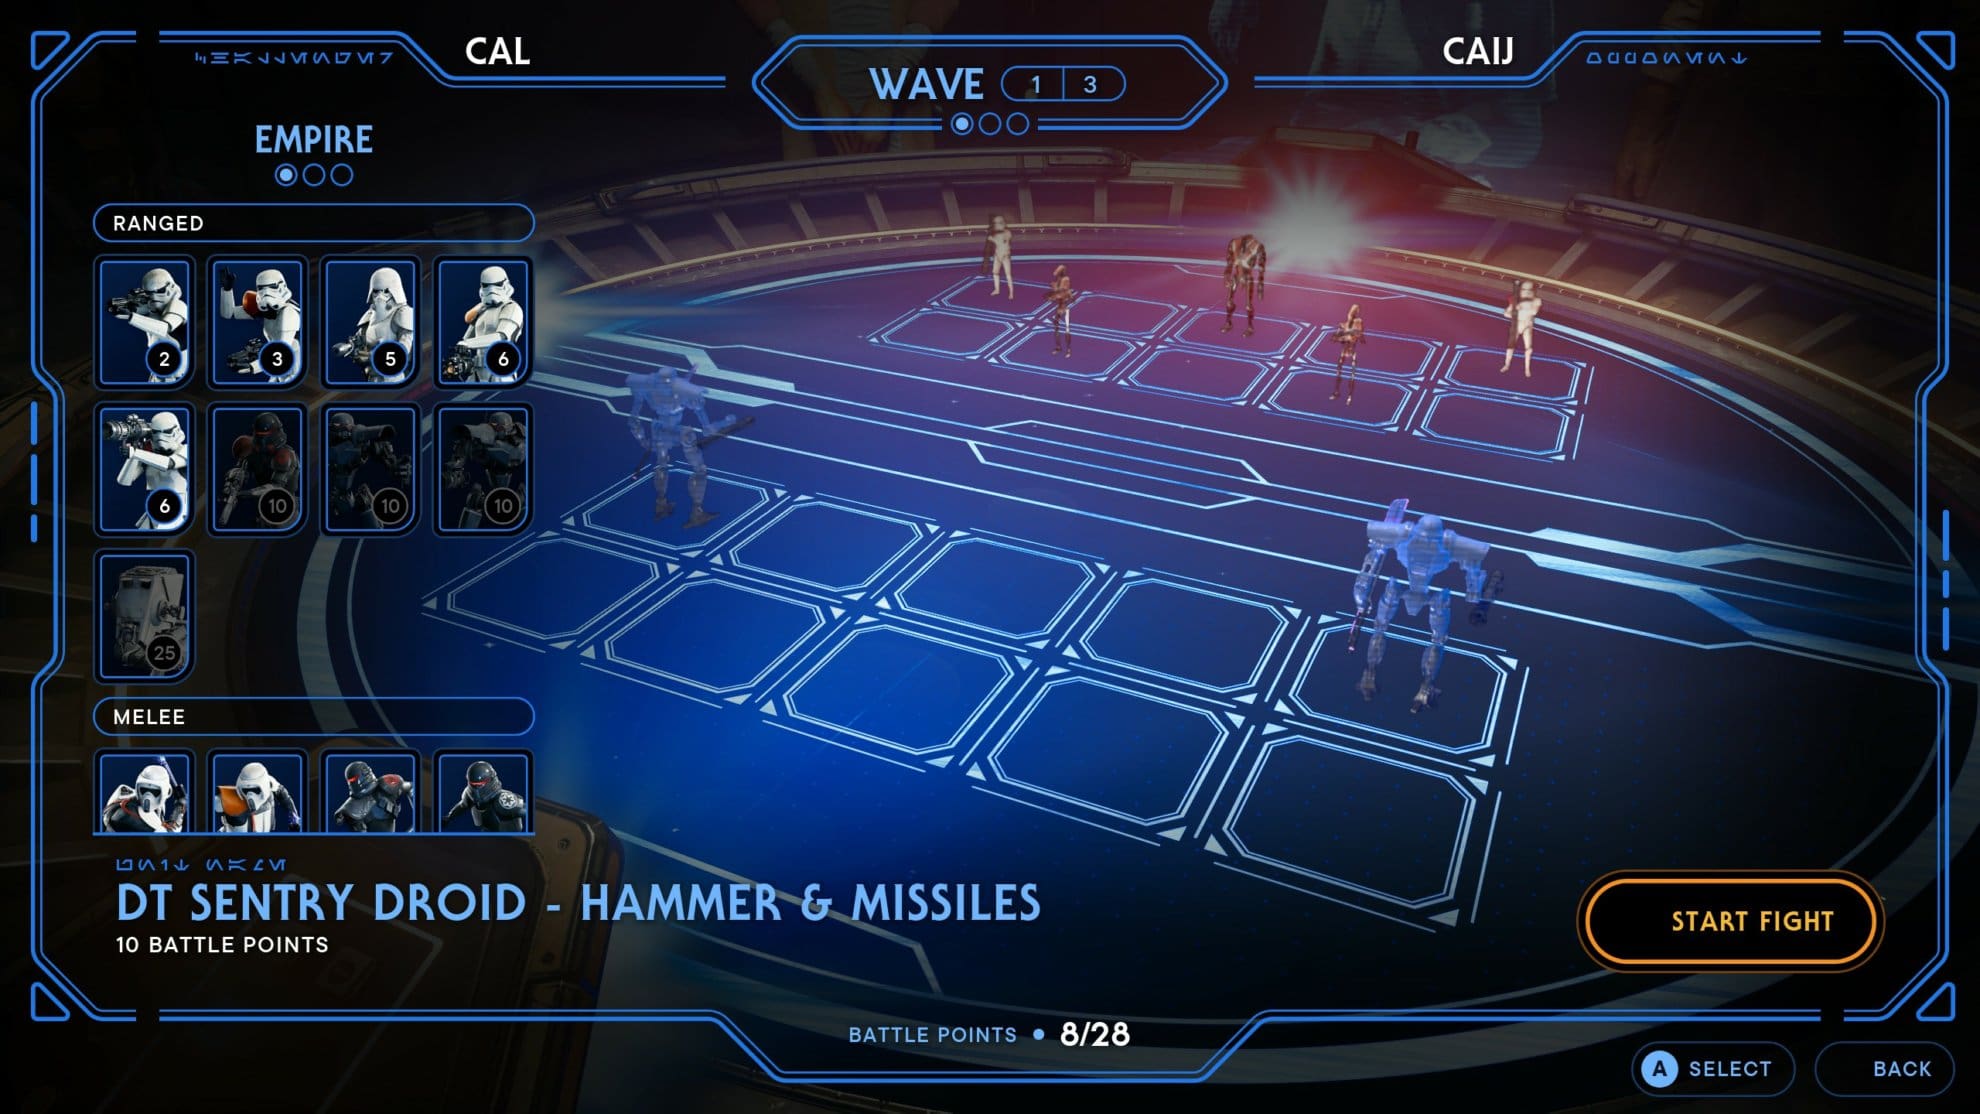
| | |||
|
Wave 2 is more simple as you’ll need three Heavy Assault Troopers. They’ll overwhelm the DT-Sentry Droid and attack the remaining Shield Trooper from numerous angles. You’ll have 8 Battle Points left over for Wave 3.
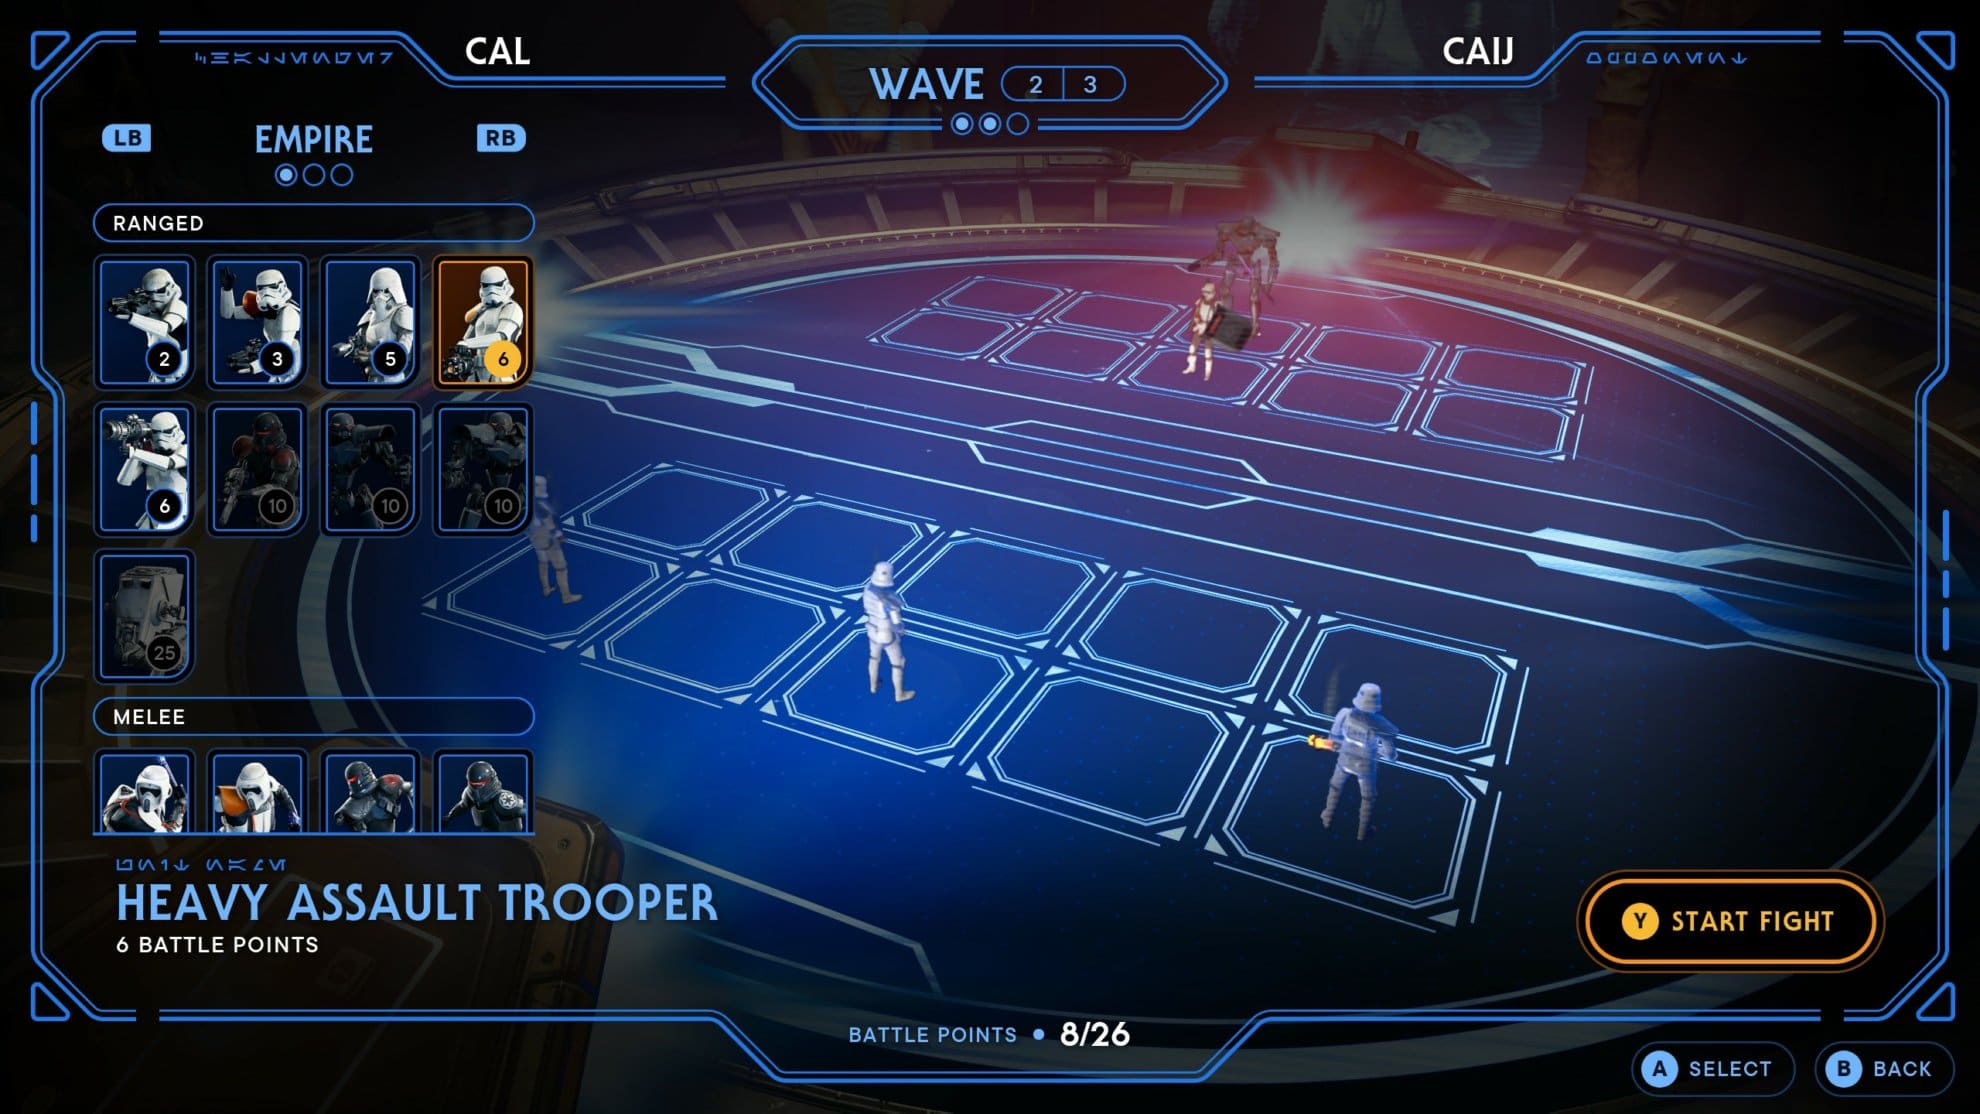
| ||||
| | |
For Wave 3, have five Heavy Assault Troopers in the back and a Stormtrooper Commander in the front to blow away the enemy.
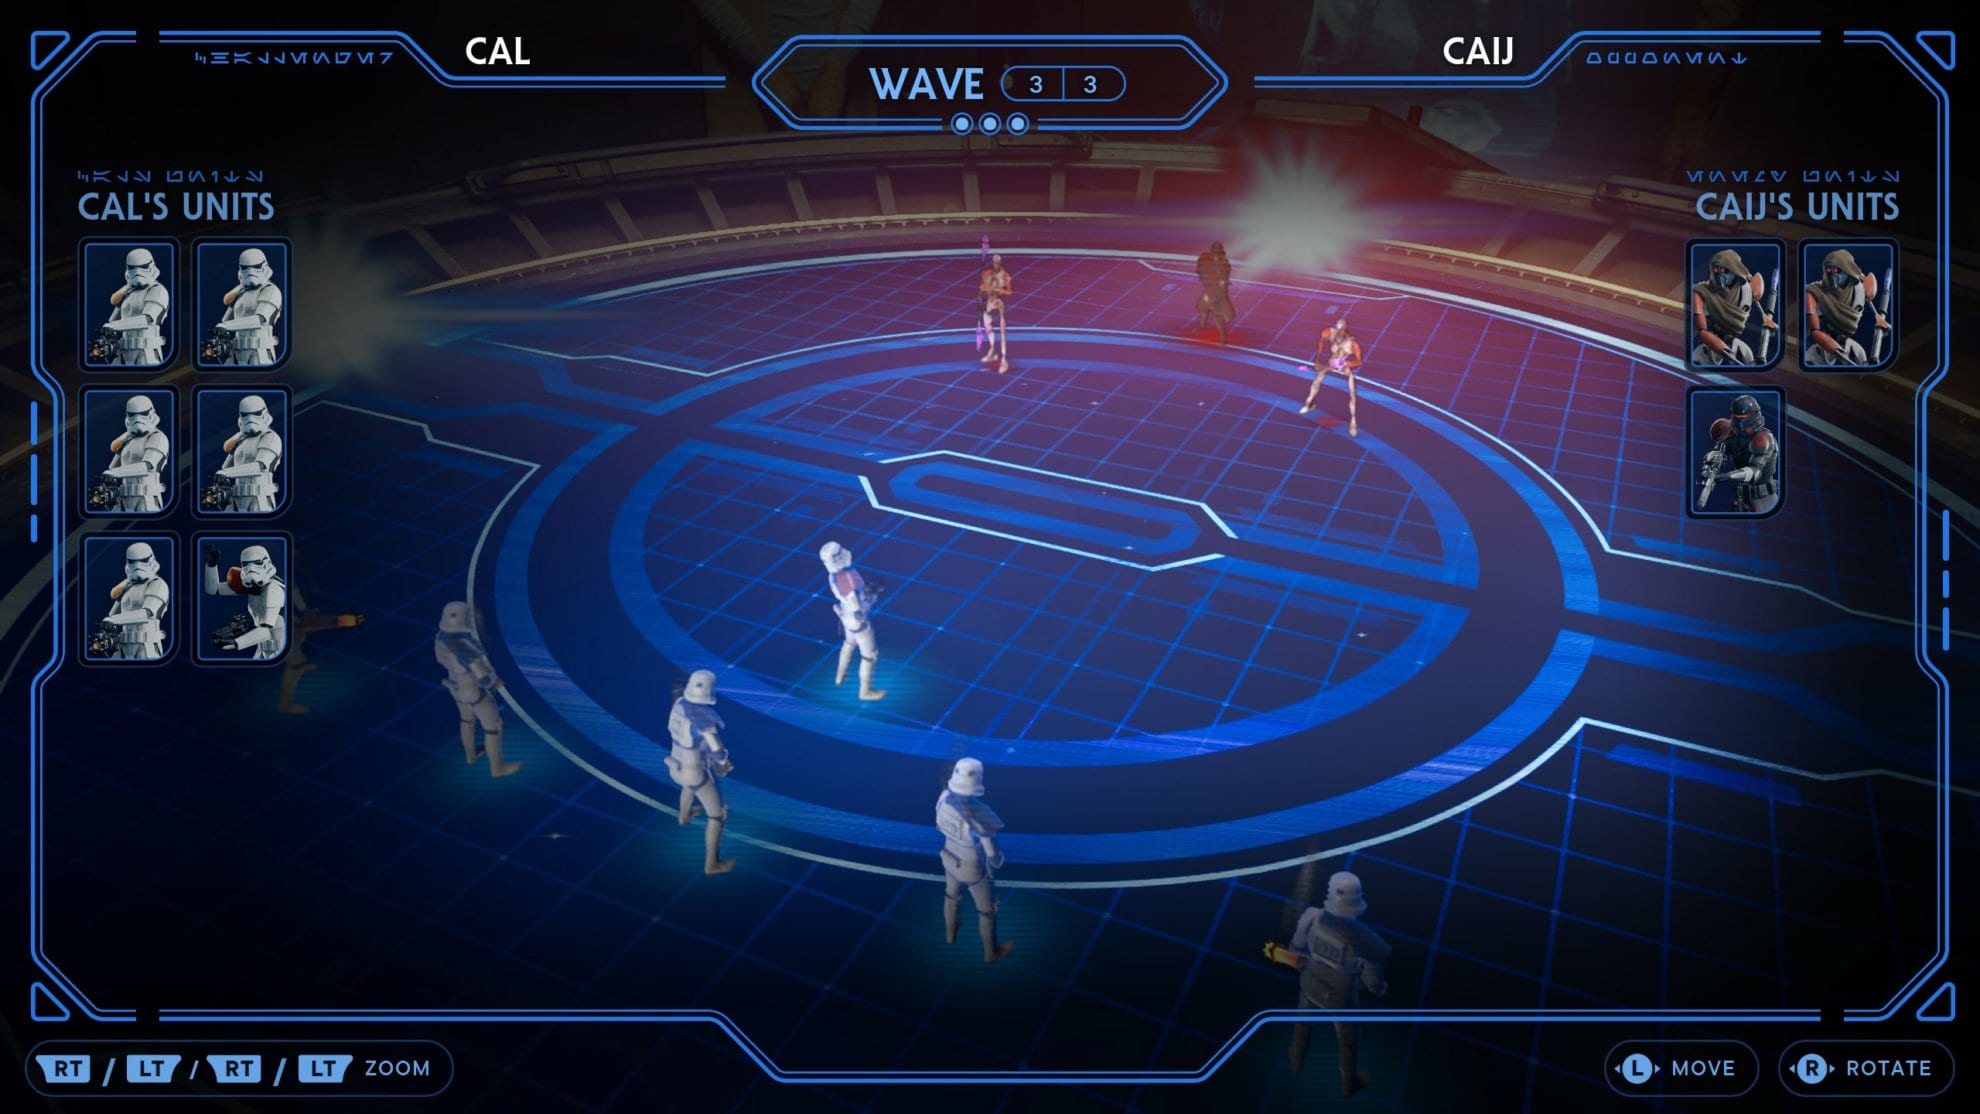
| ||||
| | | | |
You will be rewarded with a Bounty Puck for defeating Caij in Holotactics.
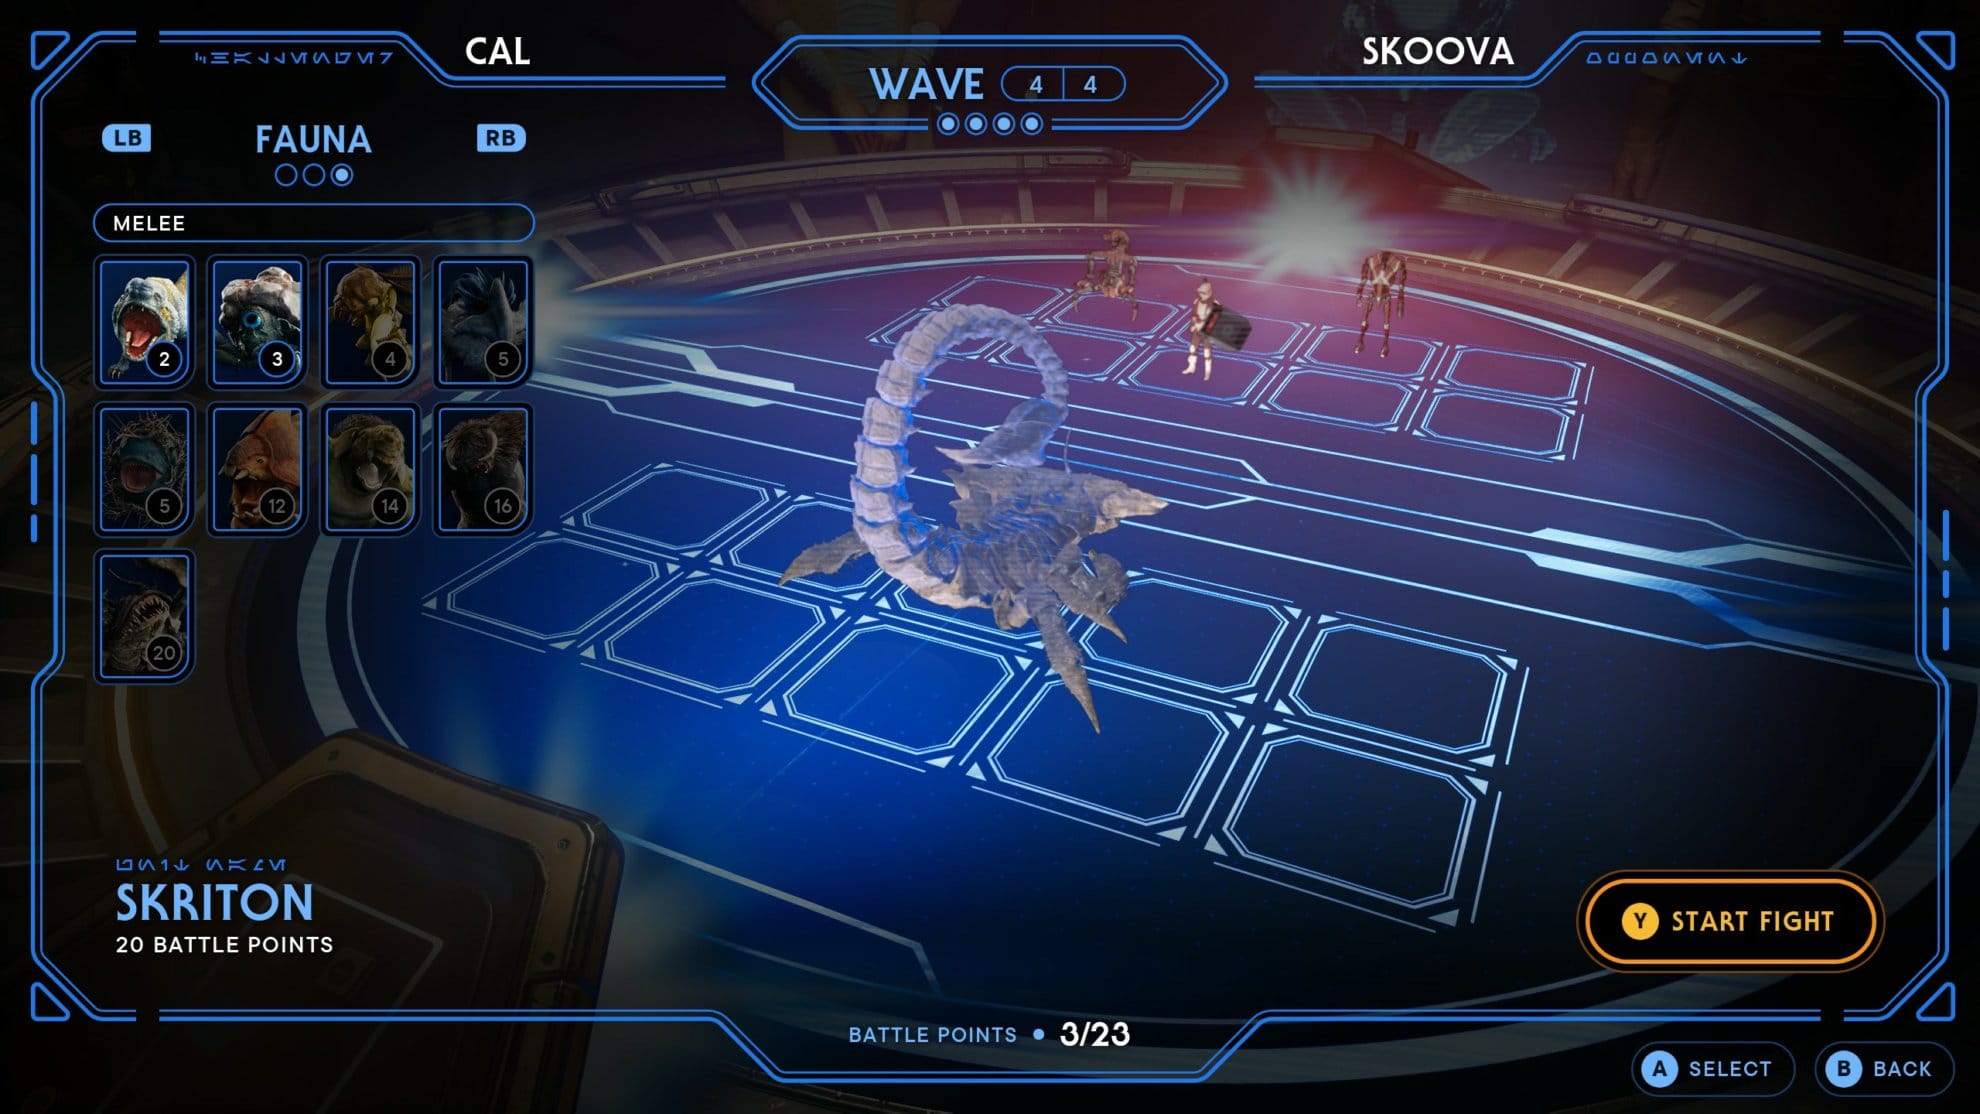
Skoova
You can unlock Skoova by recruiting him at the Foothill Falls.
For Wave 1, a single Skriton will do as it’s immune to the Heavy Assault Troopers. It’ll take out the Shield Troopers easily enough and leave you with an extra 8 Battle Points for the next wave.
| ||||
|
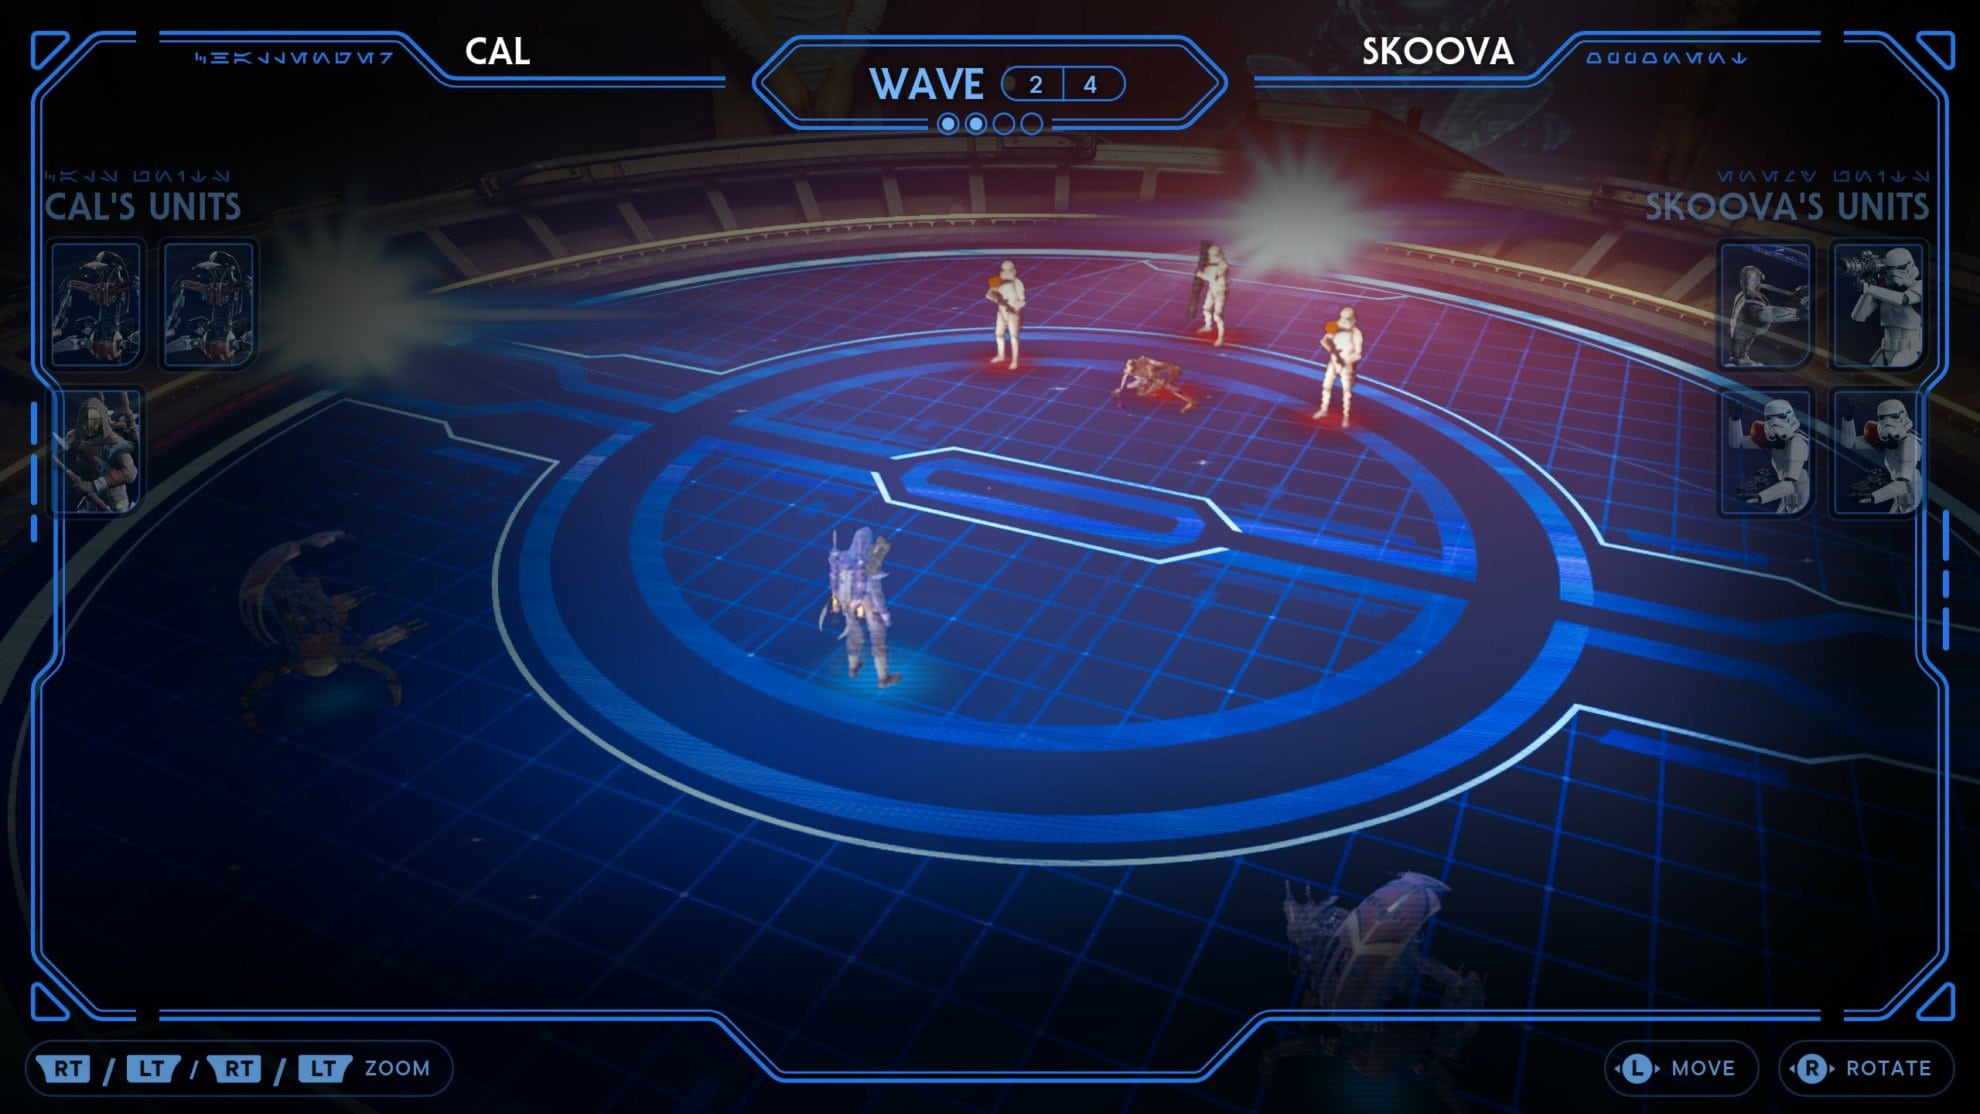
For Wave 2, place two Droidekas in the back corners and a Raider Veteran in the middle front. The Raider will take the missiles and survive one while the Droidekas mow down the rest.
| ||||
| |
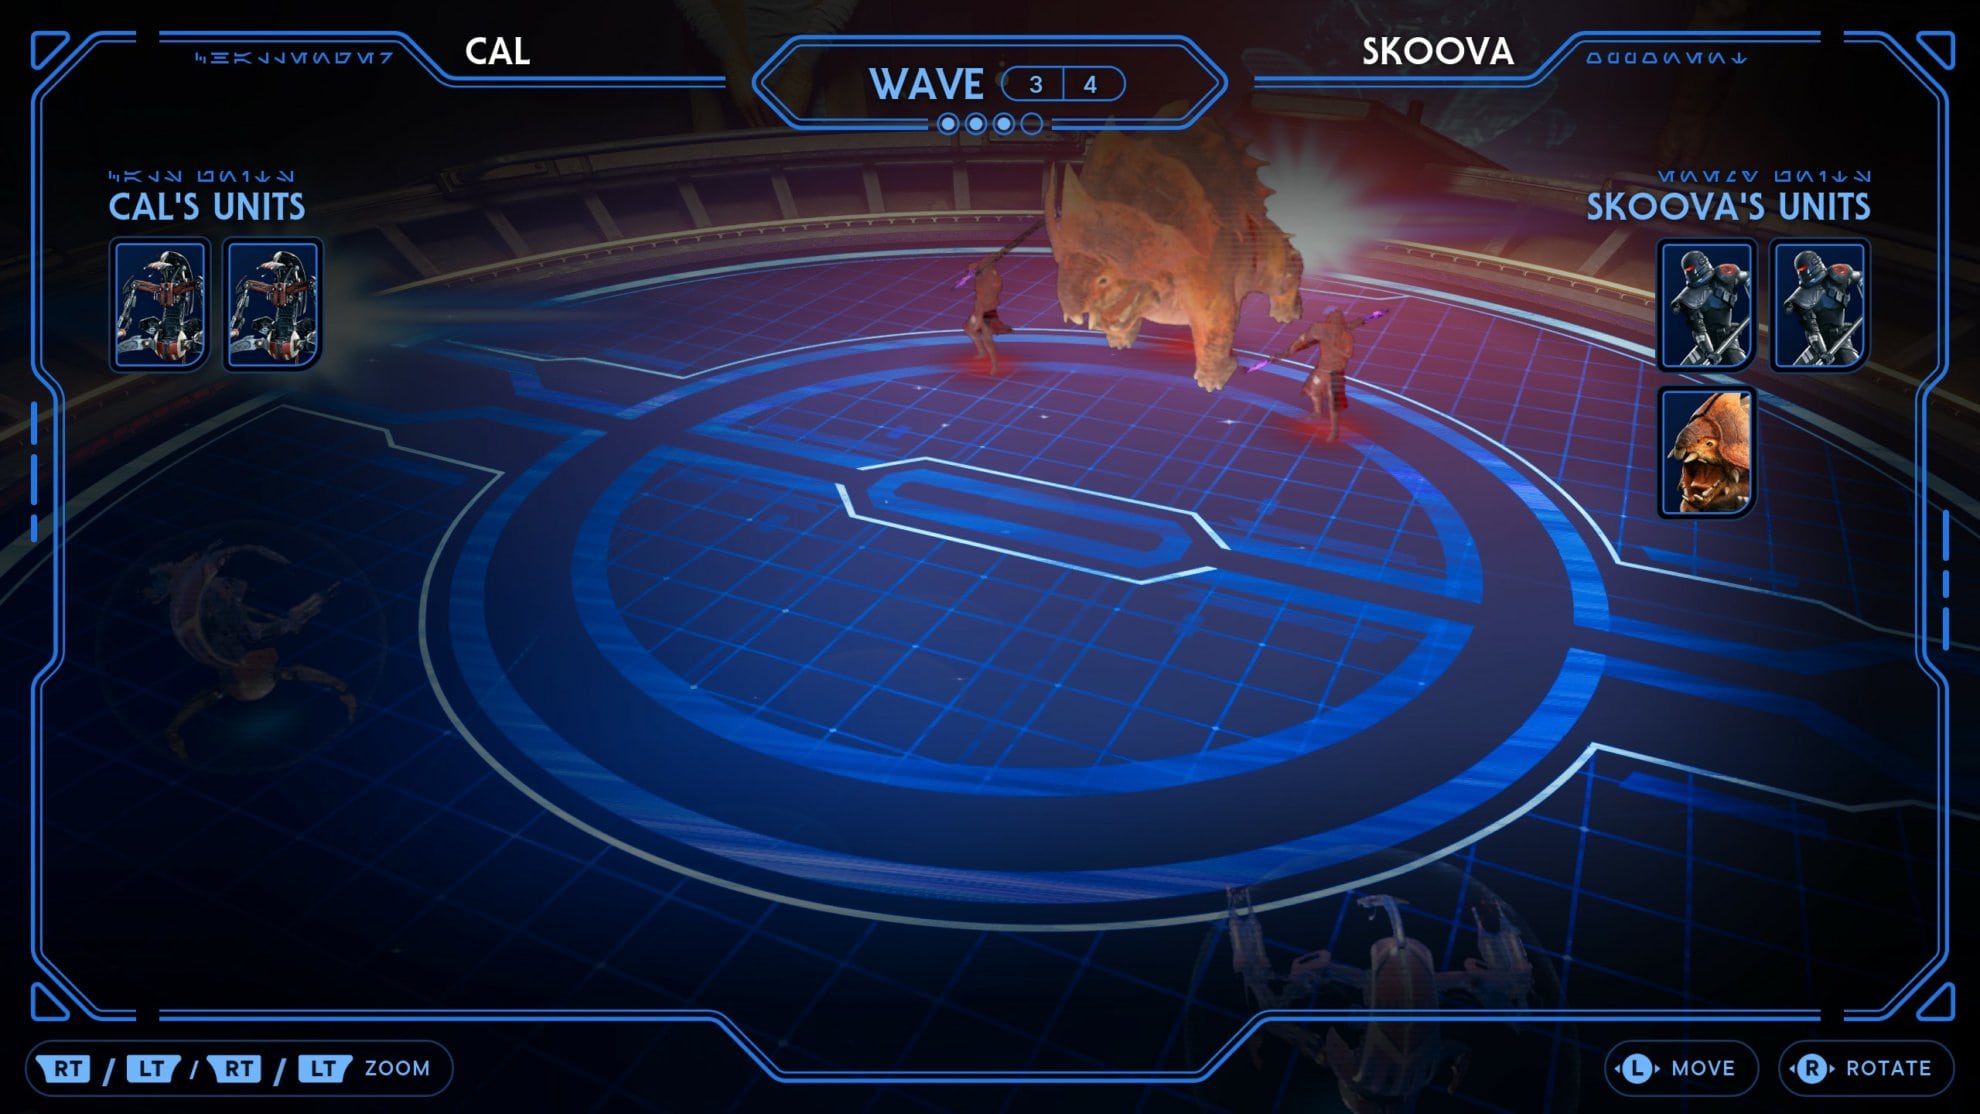
For Wave 3, all you’ll need are two Droidekas in the back corners.
| |
Wave 4 will only require a Skriton to beat, but feel free to put in anything else with your spare Battle Points so long as the Skriton is in there.
| ||||
|
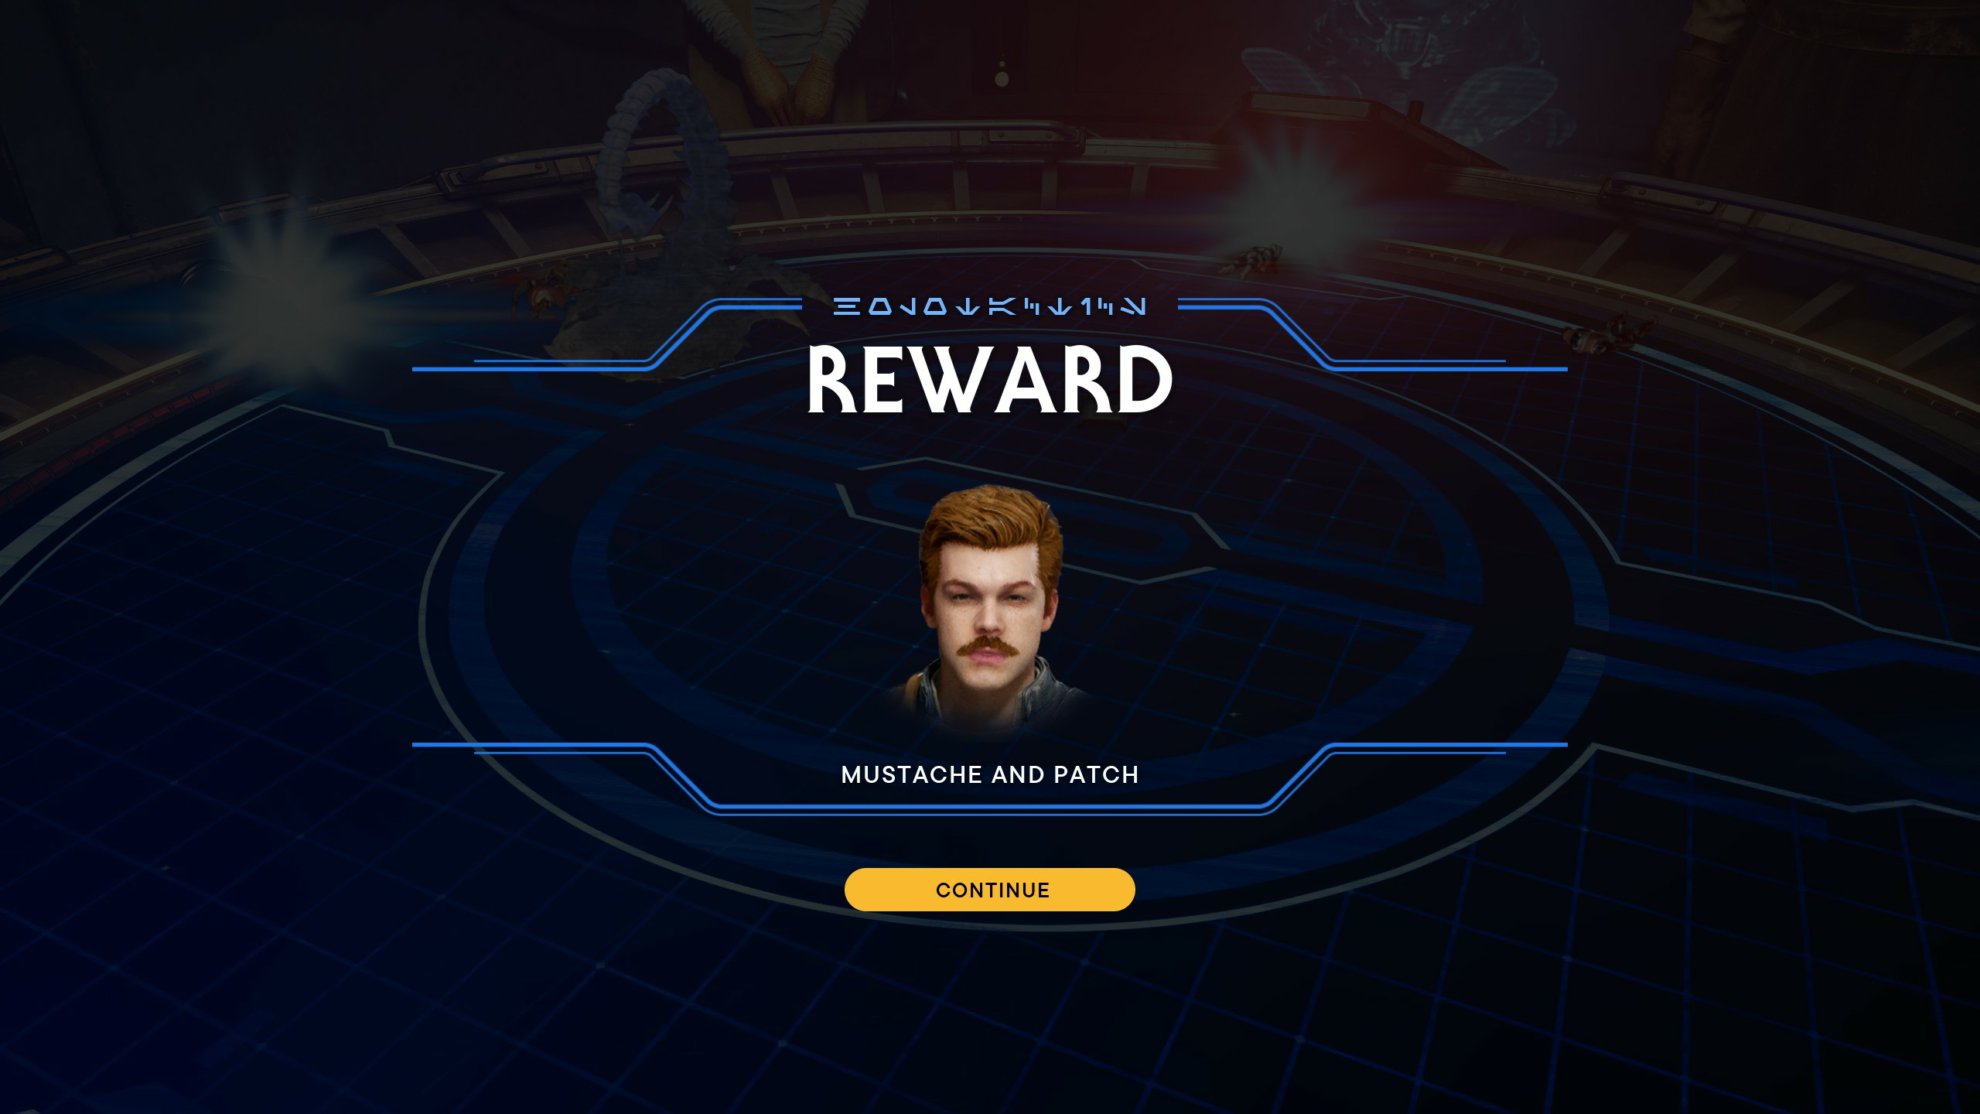
You’ll receive the Mustache and Patch once you defeat Skoova.
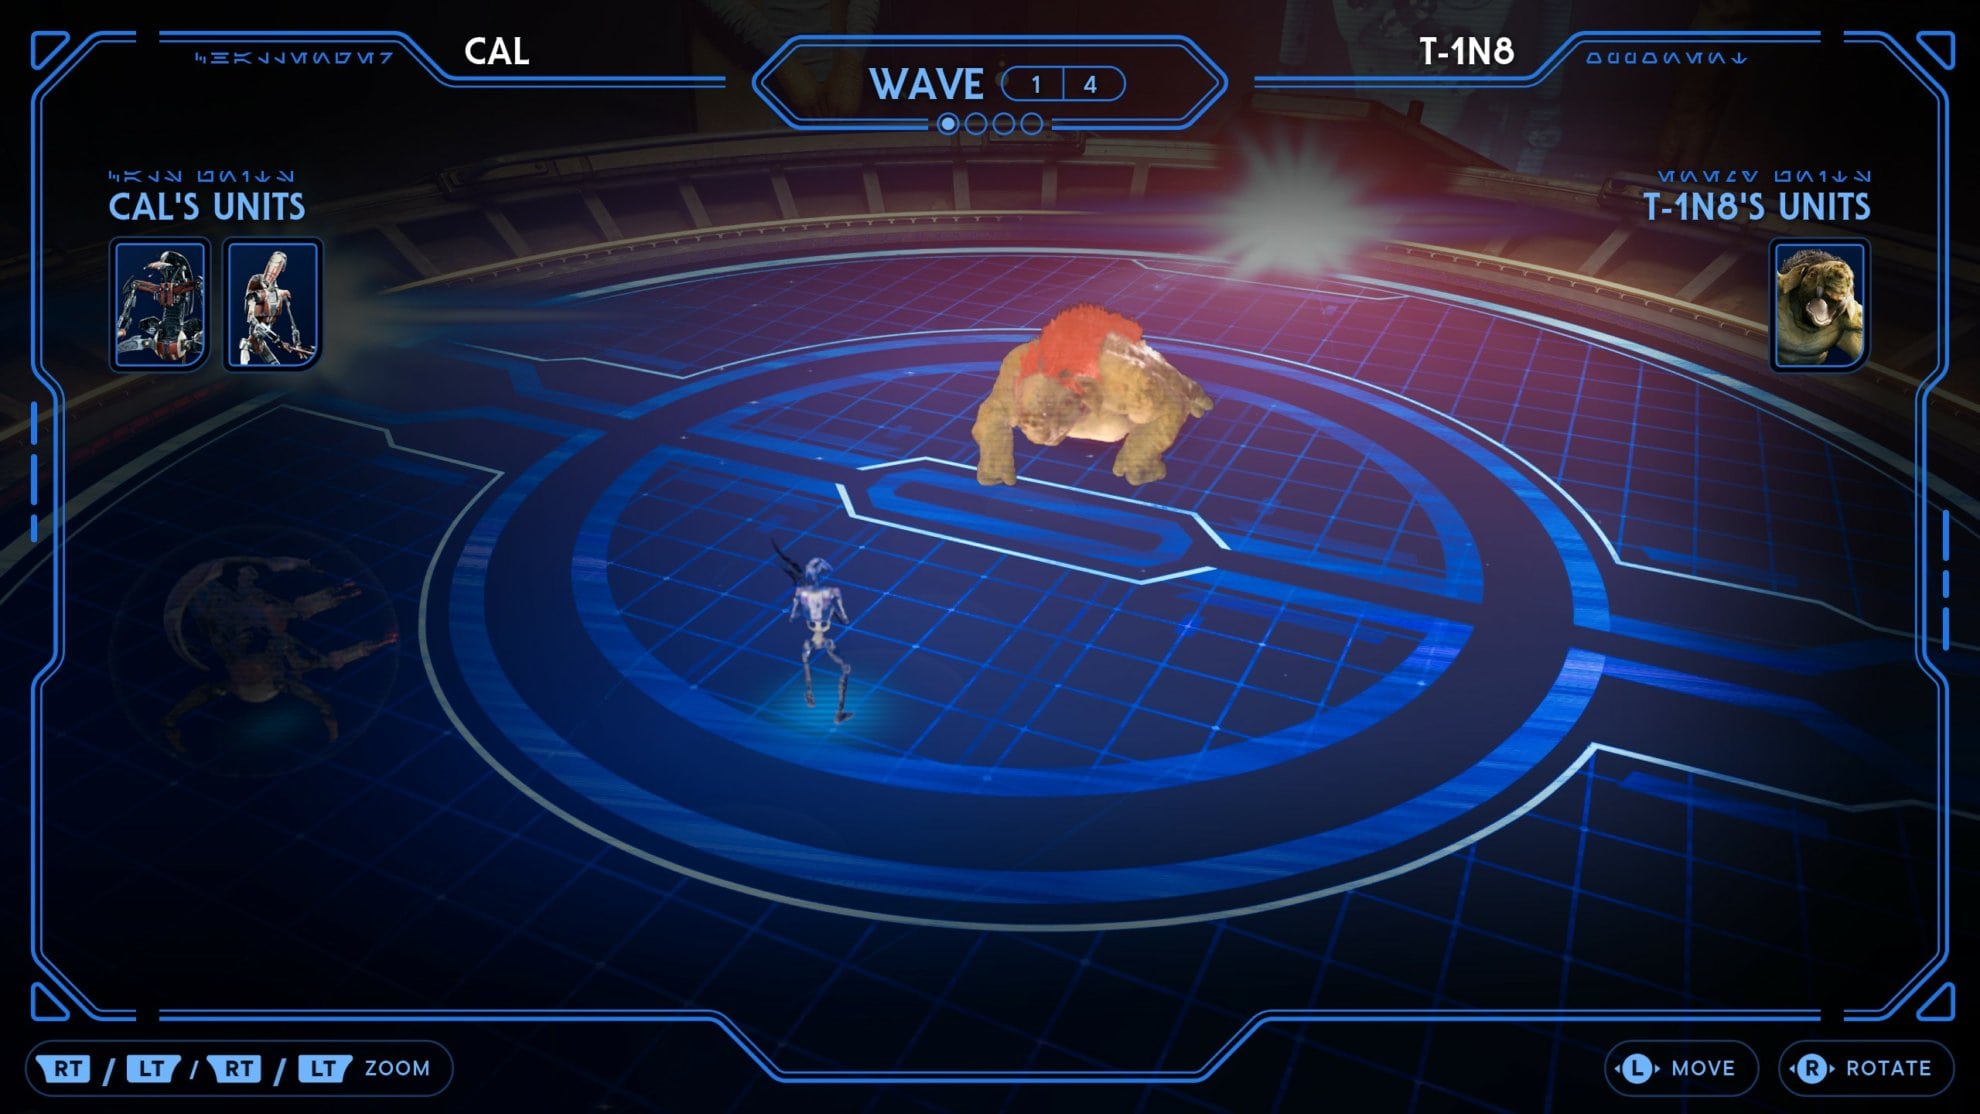
T-1N8
To unlock T-1N8, you’ll need to find her in the basement that leads to the Phon’Qi Caverns below the Abandoned Shack in Foothill Falls.
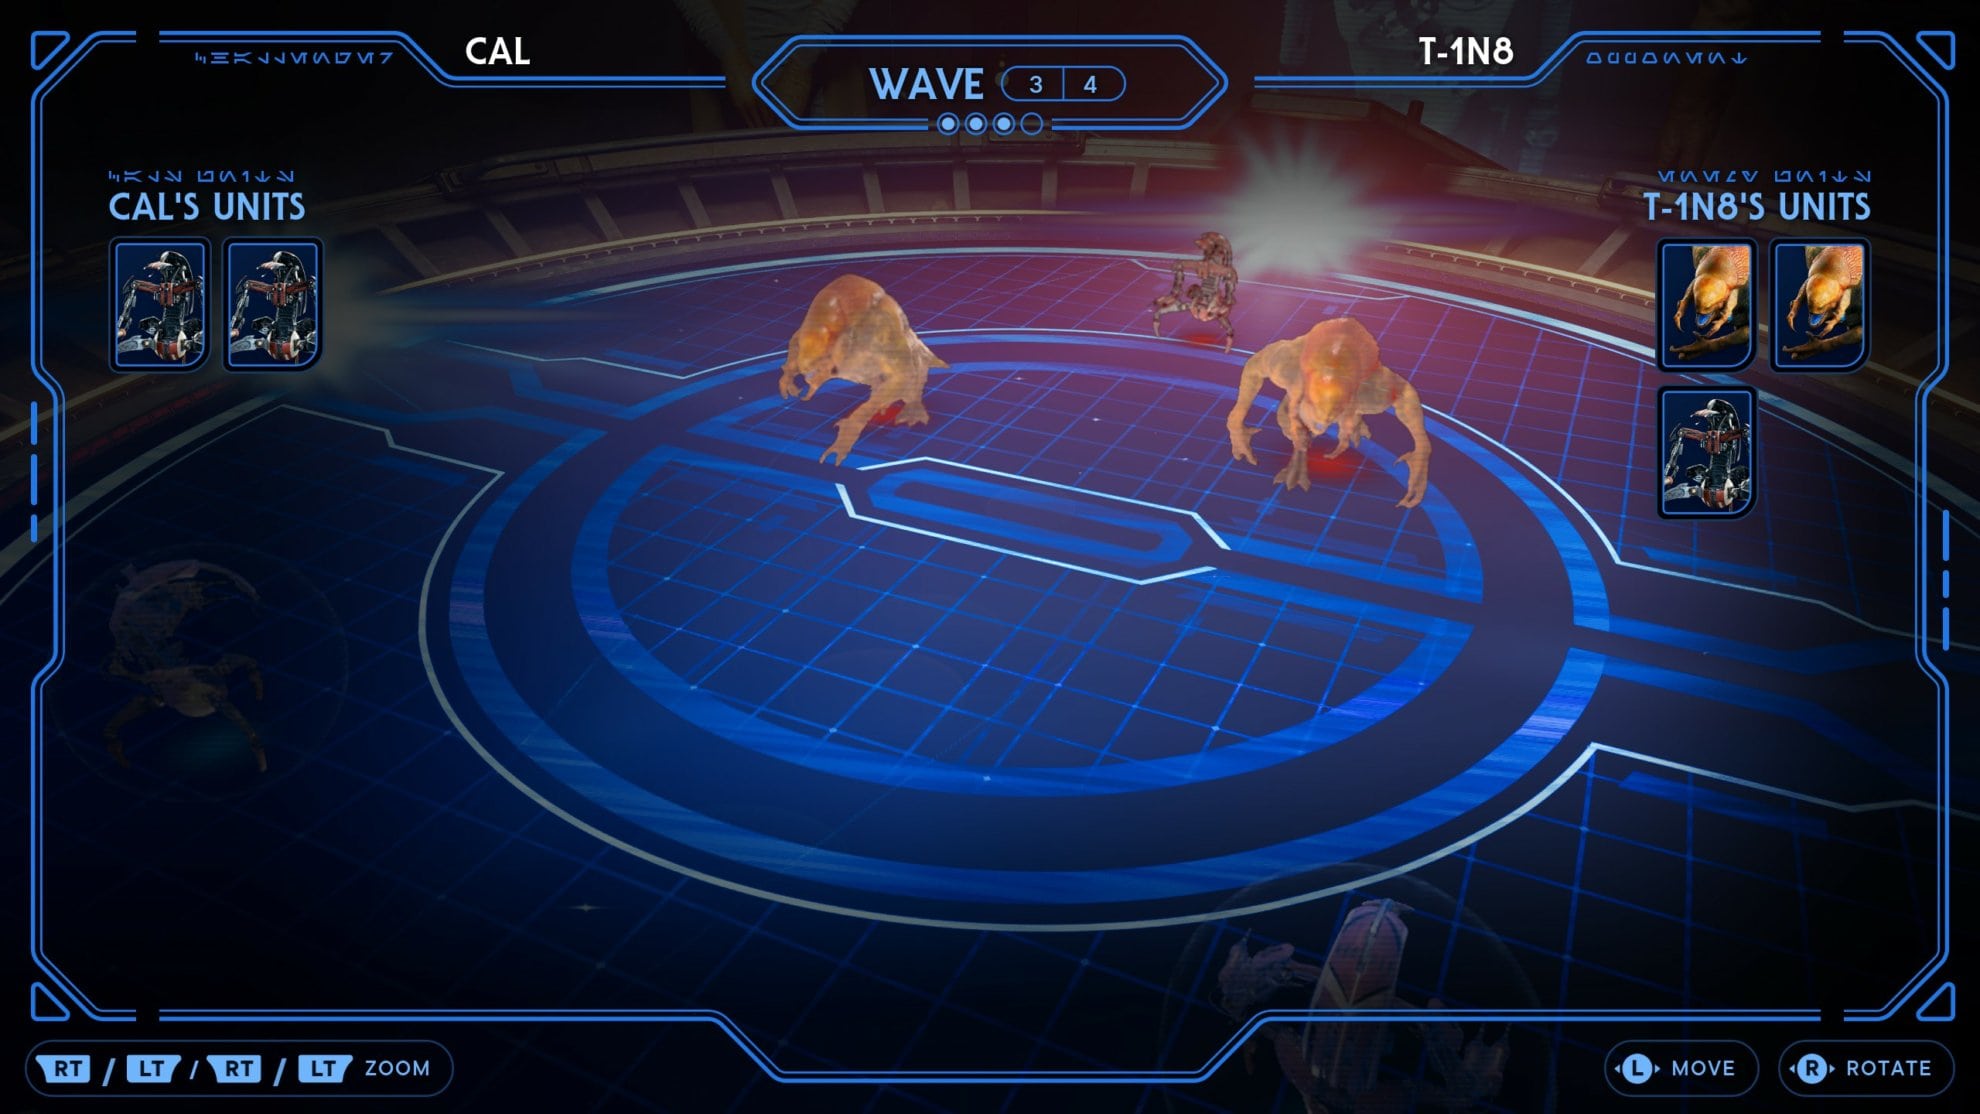
You’ll fight a Gorocco in Wave 1, a Droideka in the back corner and a Melee B1 Battle droid up front will pave the way to victory.
| ||||
|
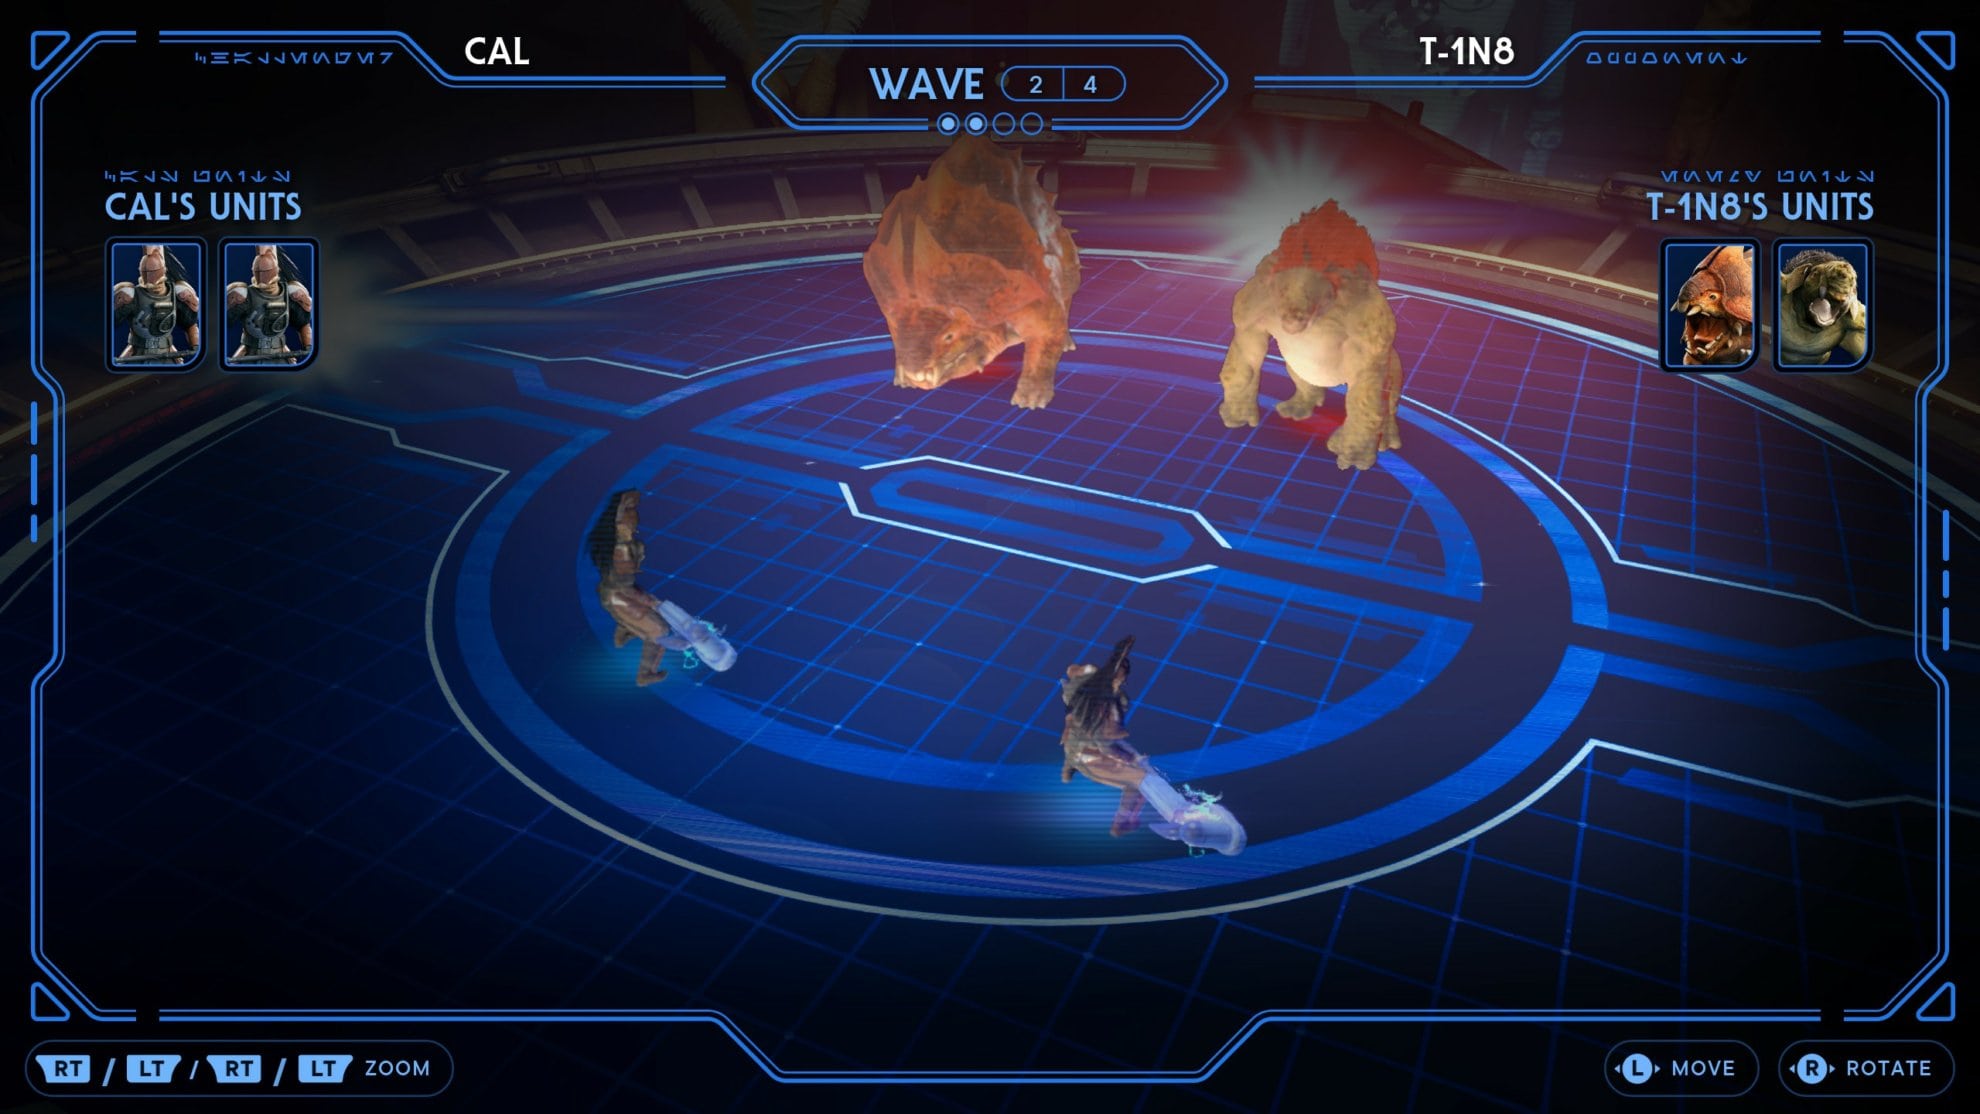
Wave 2 will have you fight a Bilemaw and a Gorocco. Use two Bedlam Smashers to even the odds.
| | |||
|
You’ll need my favorite combo to beat Wave 3, can you guess what it is? That’s right, two Droidekas in the back corners! This is a risky play but succeeding will make the fourth wave a lot easier.
| ||||
| |
Finally for Wave 4 you’ll need two Droidekas in the back corners, a Heavy Assault Trooper in the middle back, and three Melee B1 Battle droids in the front.
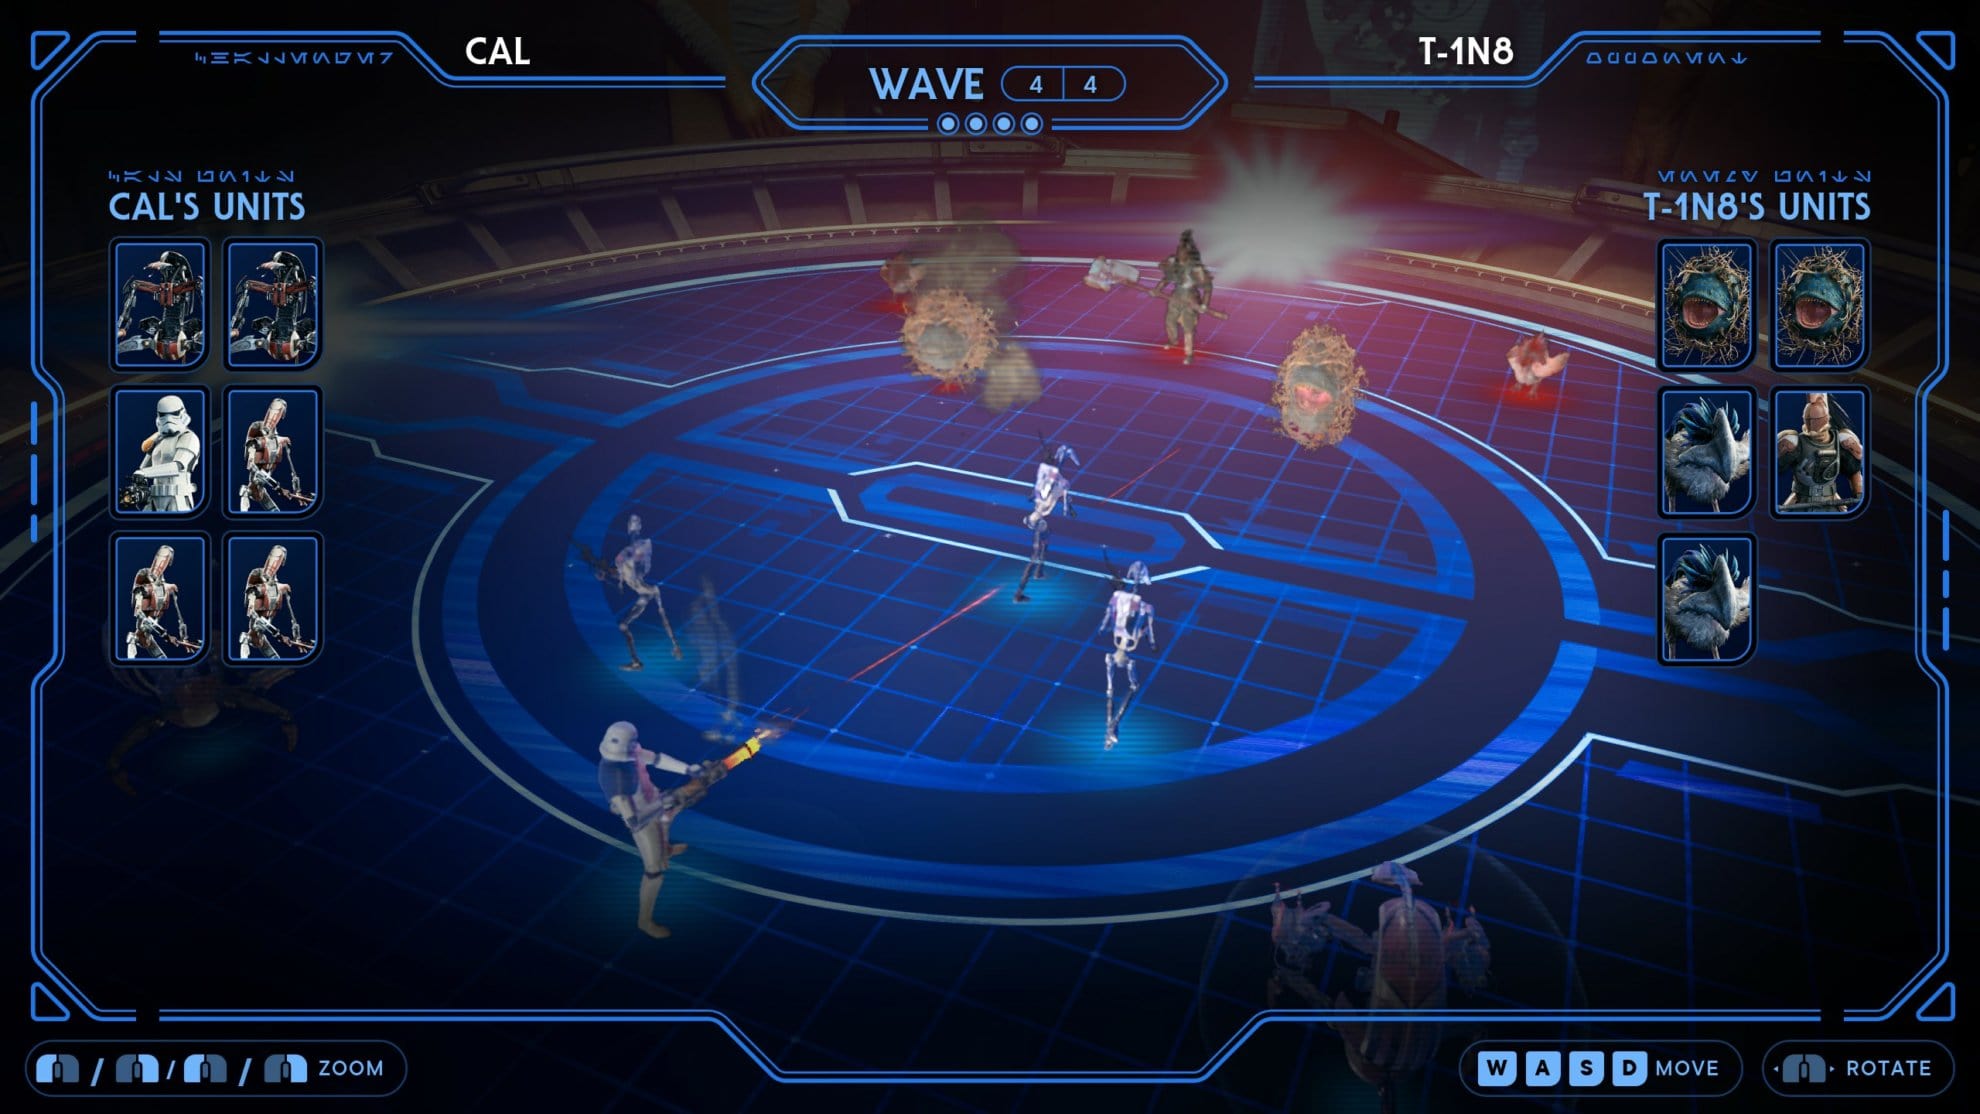
| | | ||
| | |
You’ll get a Datadisc for defeating T-1N8 in Holotactics.
Tulli
Tulli is the reigning champion of Holotactics and you’ll be able to challenge her when you defeat all the previous opponents.
In Wave 1, place a Droideka and Stormtrooper Commander in the back row with two Raider Grunts in front of them to provide cover.
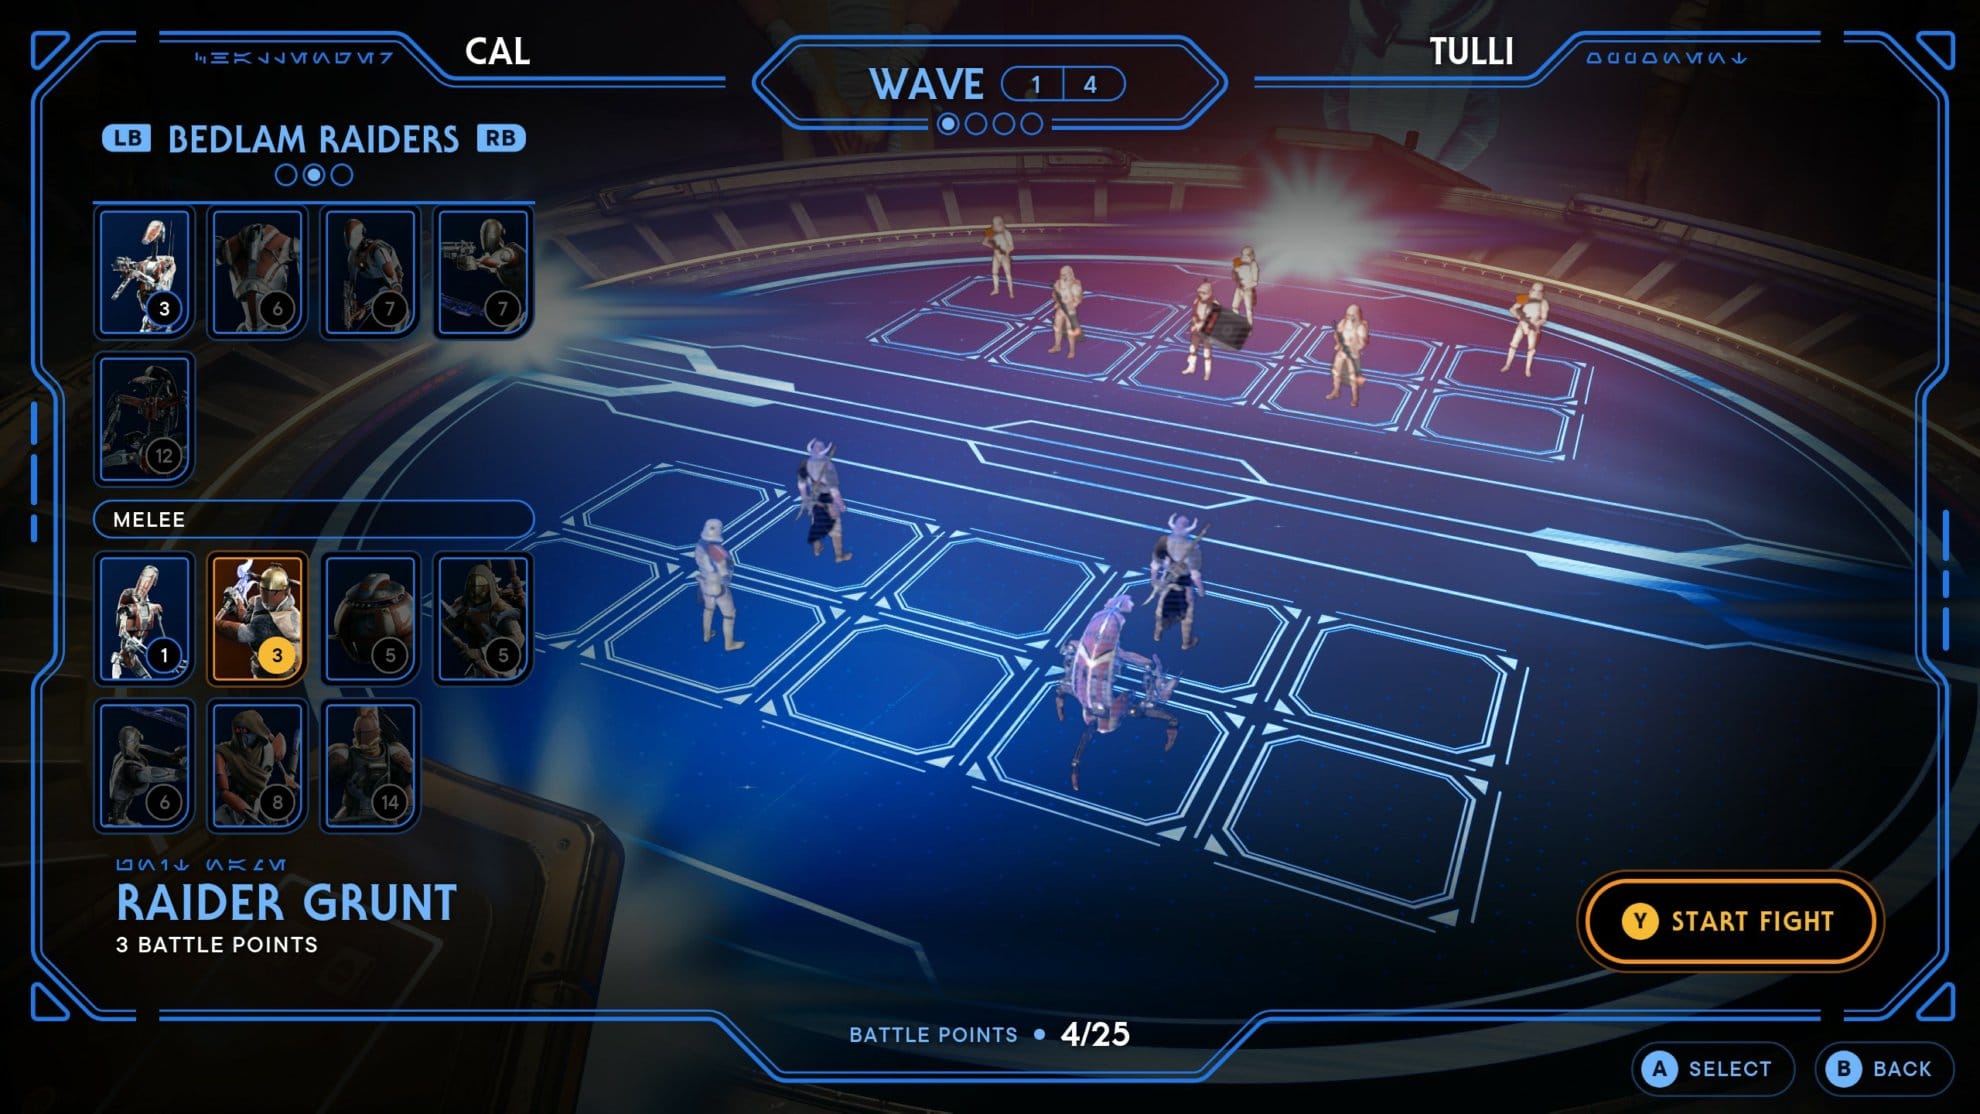
| | |||
| |
Wave 2 can seem overwhelming, but you know what’s even more overwhelming? Three Droidekas! Place three Droidekas in the back row with two Raider Grunts in the front and you’ll melt through Tulli’s forces.
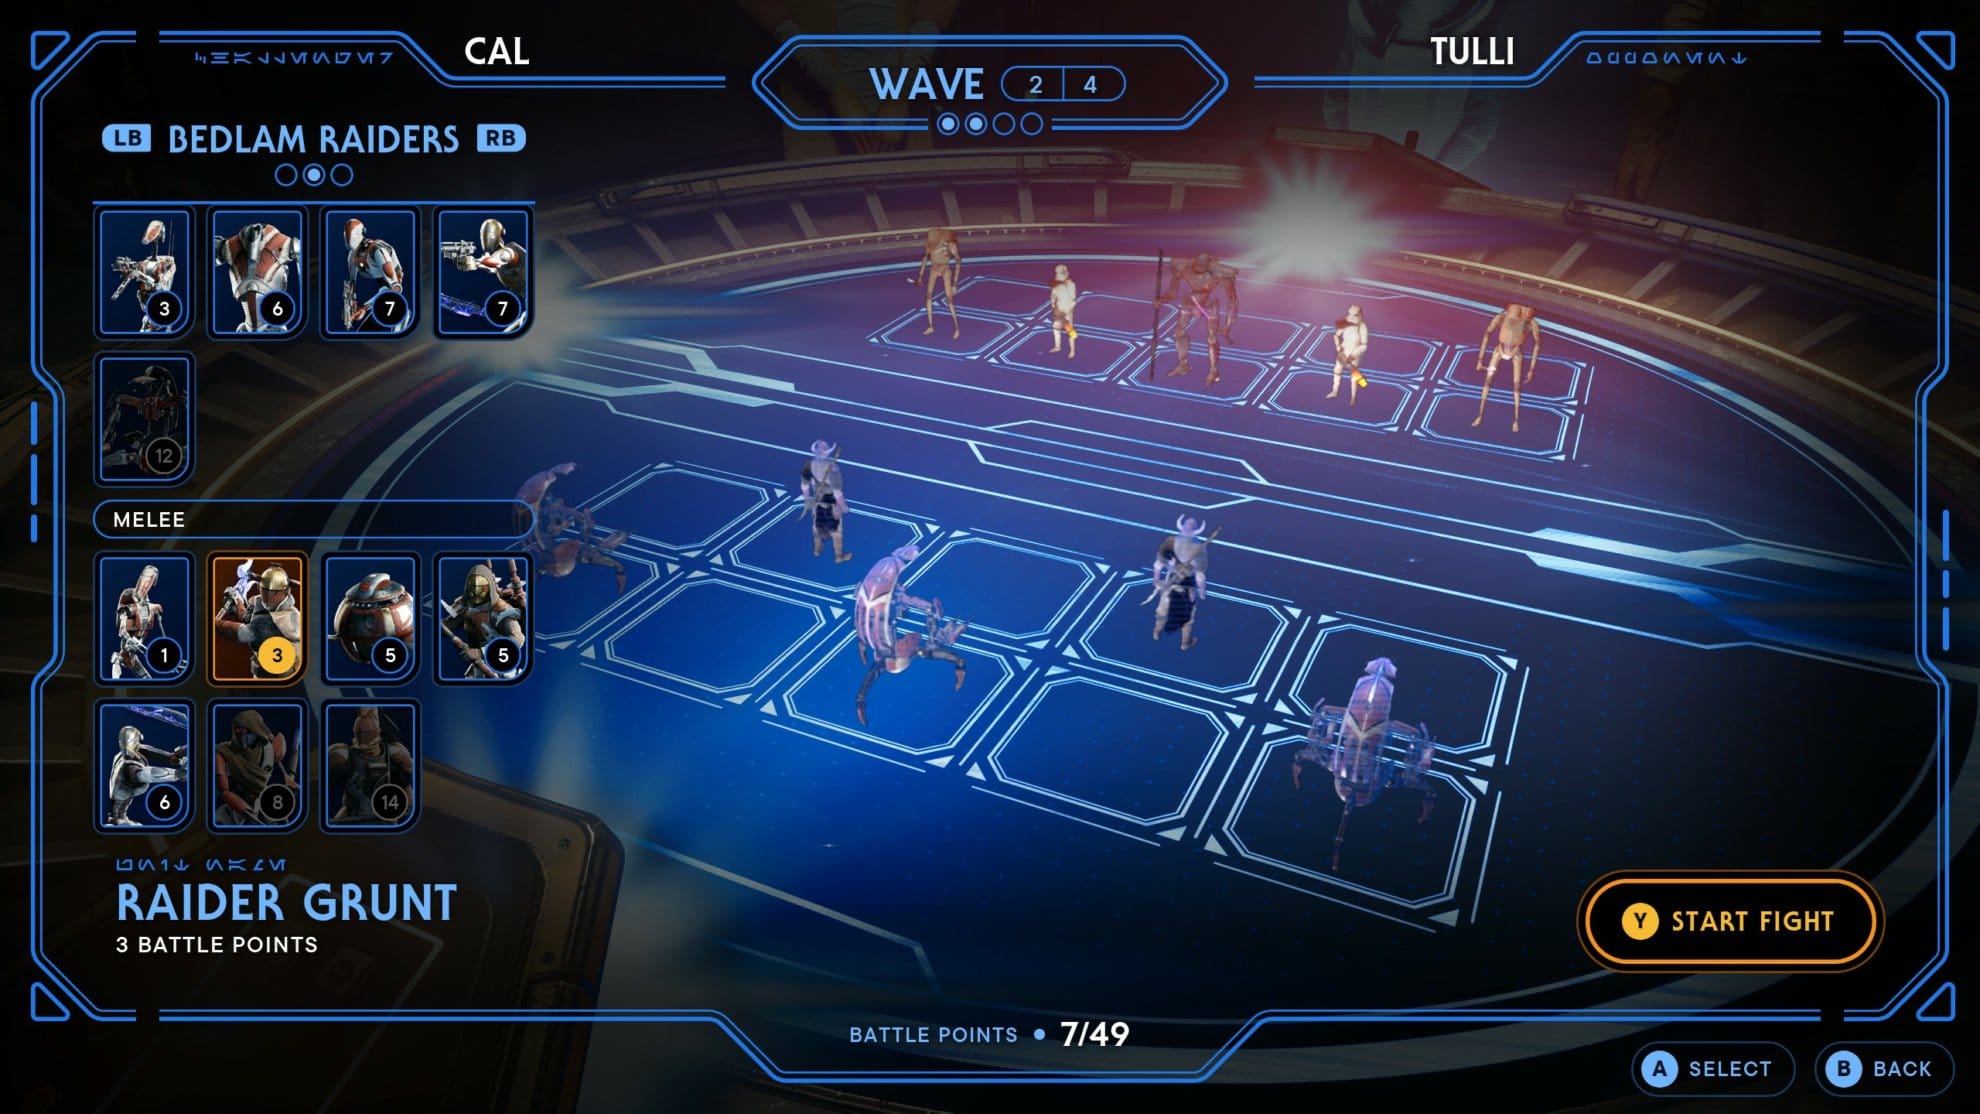
| | |||
| | |
In Wave 3 you’ll do the exact same thing you did for Wave 2, three Droidekas in the back and two Raider Grunts in the front.
| | |||
| | |
Your final foe in Wave 4 will be an AT-ST, a classic mech in the Star Wars franchise. You know what’s better than an AT-ST? Three Droidekas! Toss three Droidekas in the back and whatever melee units up front to act as meat shields for the almighty Droidekas!
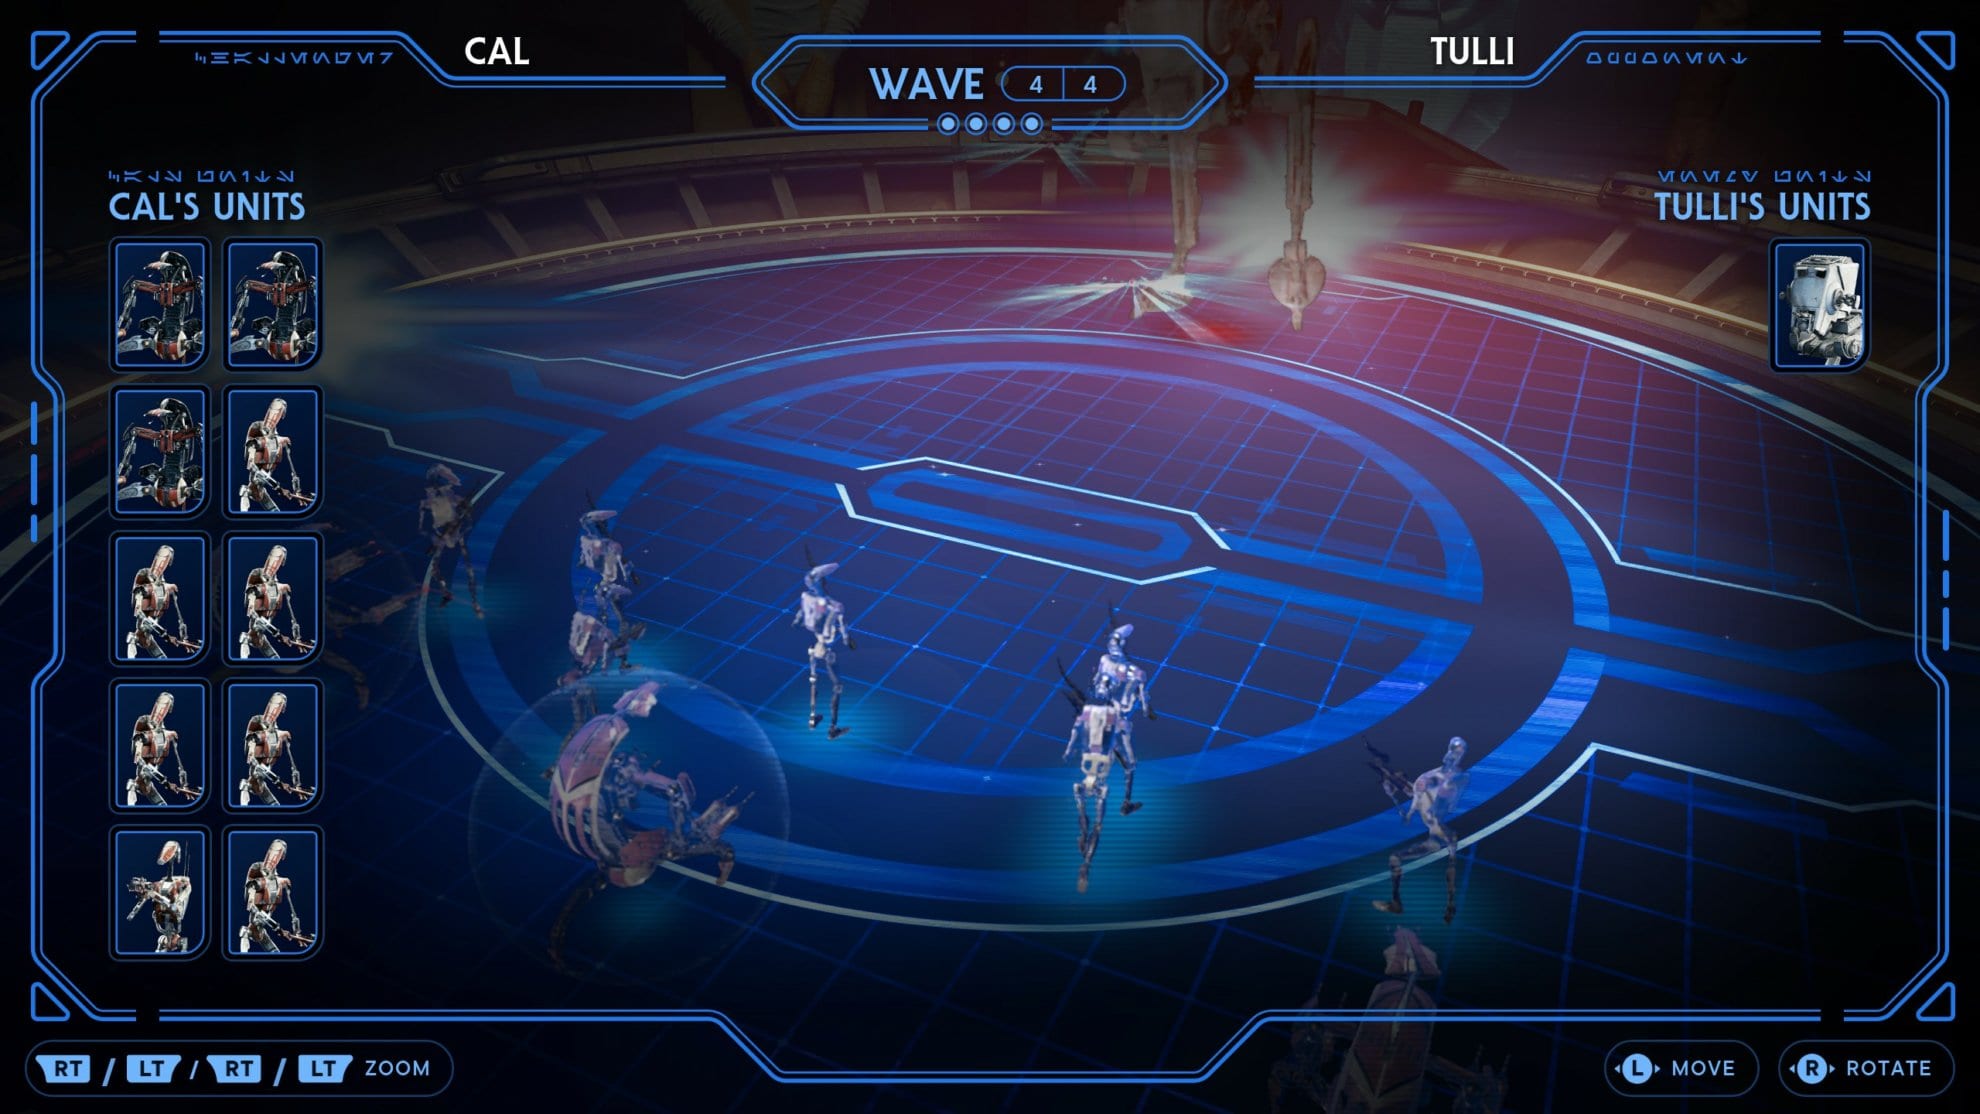
| | | | |
| | | | |
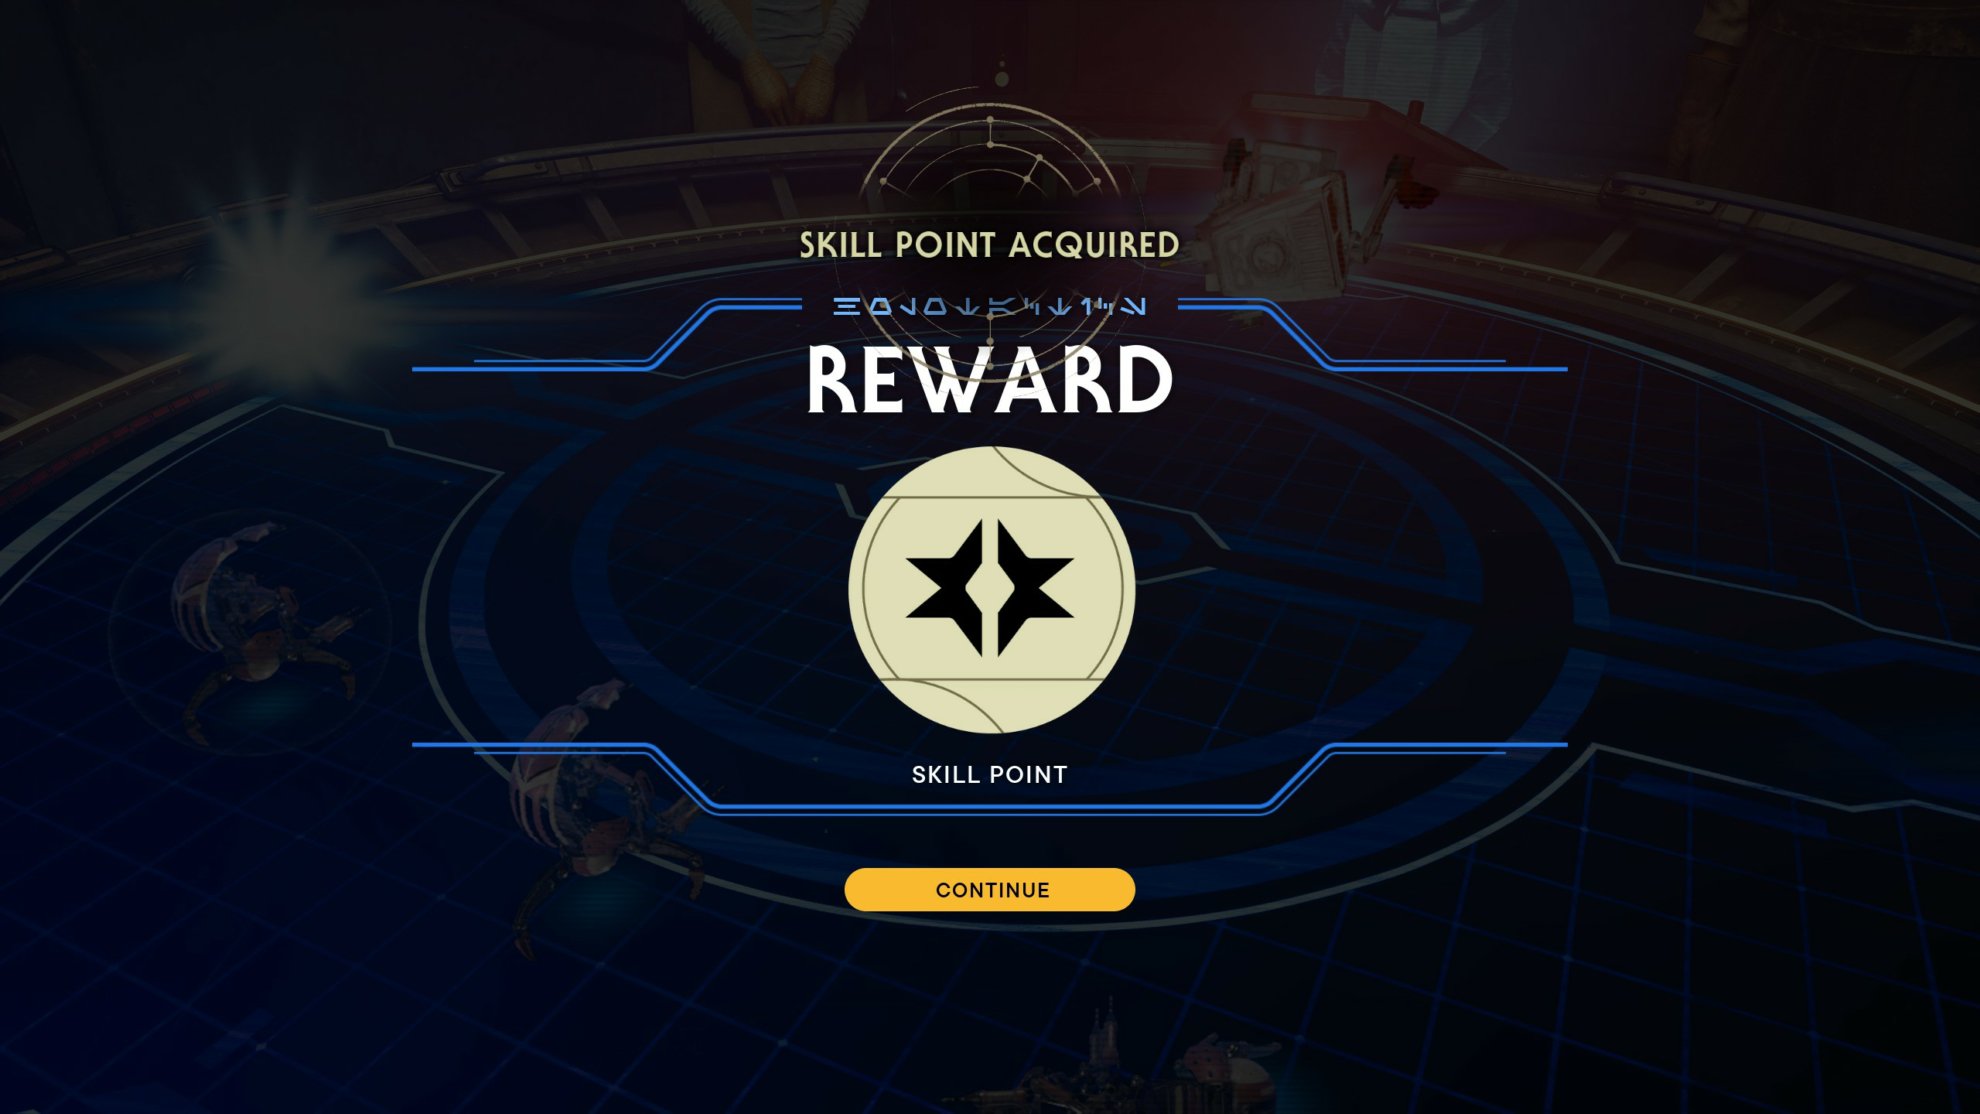
Defeating Tulli will grant you a Skill Point!
So yeah, the key to doing really well in Holotactics is to use Droidekas whenever a lot. Though you won’t run into them until you venture into the Lucrehulk. These are the strategies I used to win but did you have different ones that reliably worked? Tell us in the comments below!
After you win the matches against all opponents and become The Champion, you will also earn the Gambler achievement.
Looking for more? Check the rest of our Star Wars Jedi Survivor coverage here on VULKK.com. We have everything from beginner guides, to exploration, collectibles locations, side missions, builds.
How to beat every opponent in Holotactics
This is a step-by-step resume of our comprehensive walkthrough showing you the perfect, easy to execute and always guaranteed-to-work strategy against every opponent in Holotactics, the mini-game from Star Wars Jedi Survivor
Instructions
Turgle
- Electrostaff Purge Trooper
- 2x Heavy Assault Troopers + 1x Scout Trooper
Greez
- 3x Melee B1 Battle Droids + 4x Stormtroopers
- 3x Melee B1 Droids + 2x Heavy Assault Troopers
- 2x Droidekas or Heavy Assault Troopers
Tulakt
- 1x Droideka (back corner) + 1x Bedlam Raider Grunt (middle front)
- 1x Droideka (back corner) + 2x Melee B1 Battle Droids (front middle)
- 2x Purge Trooper Commanders (back corners) + 1x Melee B1 battle droid (front middle)
Merrin
- 2x Droidekas
- 2x Droidekas
- 2x Bedlam Smashers + 1x Raider Veteran
Caij
- 2x DT-Sentry Droids armed with Hammers and Missiles
- 3x Heavy Assault Troopers
- 5x Heavy Assault Troopers (back) + 1x Stormtrooper Commander (front)
Skoova
- 1x Skriton
- 2x Droidekas (back corners) + 1x Raider Veteran (middle front)
- 2x Droidekas
- 1x Skriton
T-1N8
- 1x Droideka (back corner) + 1x Melee B1 Battle droid (front)
- 2x Bedlam Smashers
- 2x Droidekas
- 2x Droidekas (back corners) + 1x Heavy Assault Trooper (middle back) + 3x Melee B1 Battle droids (front)
Tulli
- 1x Droideka (back) + 1x Stormtrooper Commander (back row) + 2x Raider Grunts (front)
- 3x Droidekas (back) + 2x Raider Grunts (front)
- 3x Droidekas (back) + 2x Raider Grunts (front)
- 3x Droidekas (back) + Any melee units you want (front)


