
This guide will cover everything you need to know about pairing the Dual Wield and Double-Bladed Stances, including the strengths and weaknesses of the pairing, what each Stance is best suited for, synergistic perks and where to find them, and skill tree essentials for the early game.
Why pair the Dual Wield and Double-Bladed Stances
The Double-Bladed and Dual Wield is one of the best Stance pairings in the game because each directly covers for the other’s weaknesses by offering complimentary strengths. In addition, the attack speed is similar, so it feels very fluid to swap between them.
Dual Wield Stance
The Dual Wield Stance is exceptional in single-target situations thanks to its capacity to beat down individual enemies while being able to stop on a dime mid-attack sequence to block. The stance also lets you go into a meditative state where you’ll automatically parry the next attack and follow it up with a devastating counterattack.
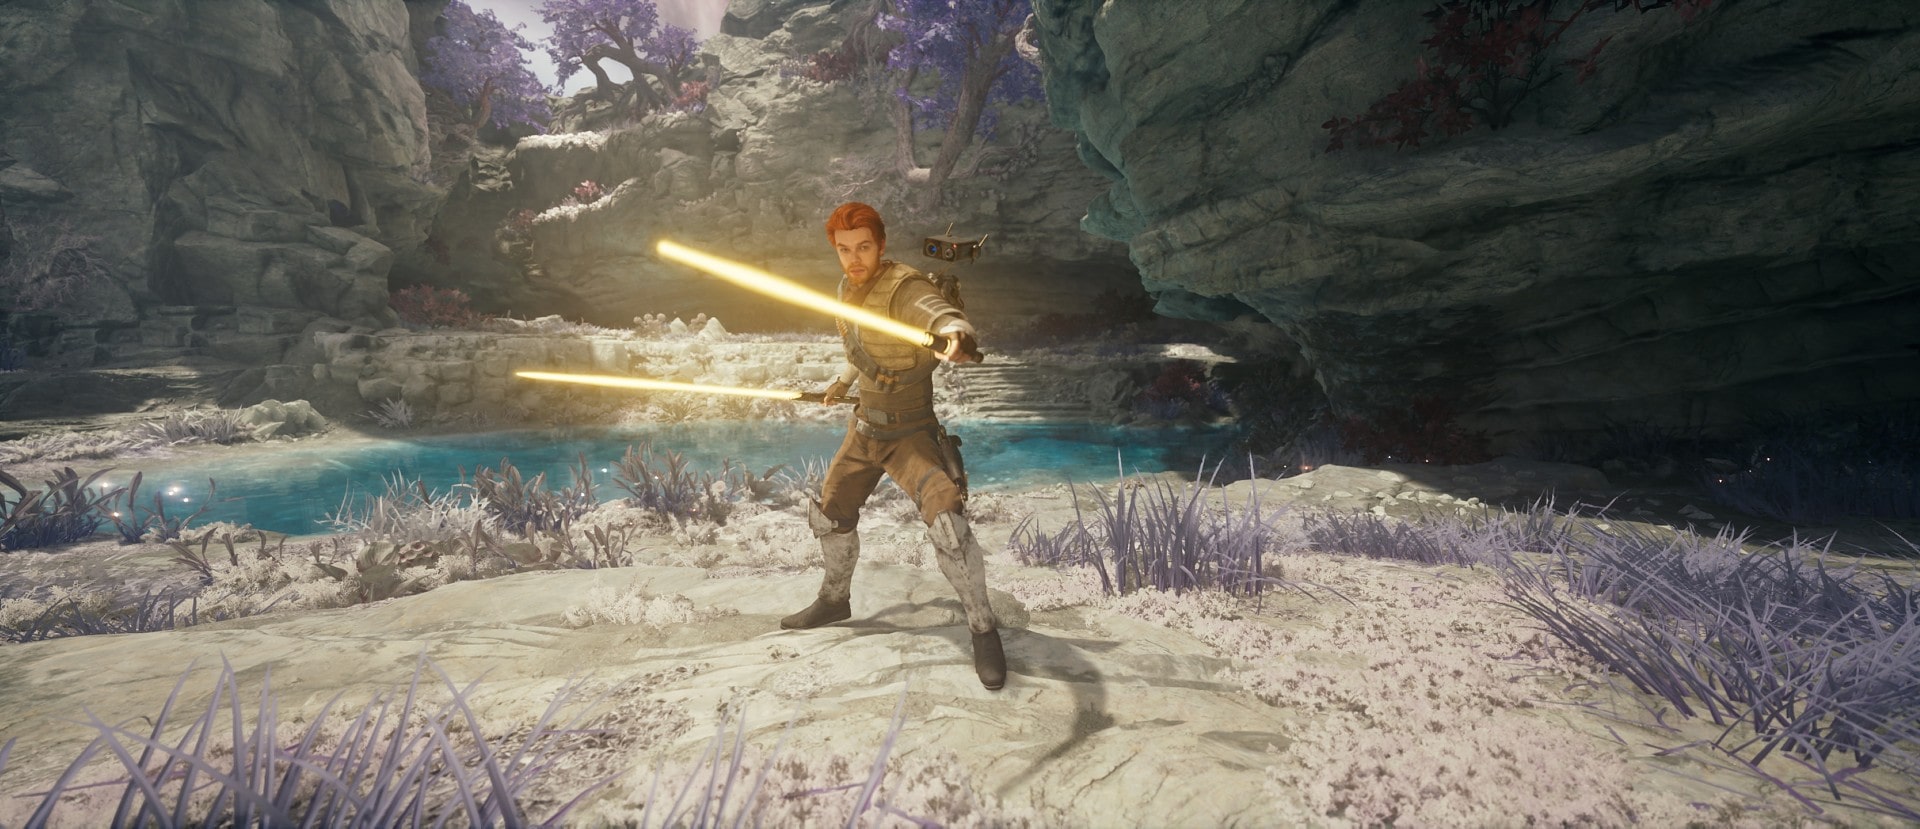
This exceptional single-target performance does not translate to multiple enemies; the Dual Wield Stance struggles to deal damage in multi-target situations and can easily get overwhelmed thanks to its smaller block meter.
Check out my guide on the Dual Wield Stance for more detailed information.
Double-Bladed Stance
The Double-Bladed Stance (AKA Saberstaff) offers unparalleled multi-target performance as the second blade will hit, and subsequently interrupt, enemies behind you. Most of the Force-empowered attacks cover a wide area, allowing you to hit most or all enemies.
However, the Double-Bladed Stance is less capable in single-target situations as each hit deals a bit less damage to an individual enemy compared to other Stances.
Furthermore, while you can wail on the same enemy just as you can with Dual Wield, you don’t have the same flexibility with stopping the attack sequence mid-combo, so you’re more vulnerable if your opponent decides to attack. You don’t have the same capacity to mount an overwhelming counterattack either.
Check out my guide on the Double-Bladed Stance for more detailed information.
Combining the Stances
The smarter way to play is to actually swap frequently between the two where you use Double-Bladed for large crowds and then switch to Dual Wield as soon as you know you’ll only be hitting a single enemy.
It’s not the end of the world if you forget to change Stances, it’s not like Double-Bladed is complete garbage in single-target situations just as Dual Wield is still fine in multi-target situations.
That said, I’d say you’ll have a bit of a harder time if you use Dual Wield in multi-target situations than Double-Bladed in single-target situations, so if you’re not sure, err on the side of using Double-Bladed more often.
What Perks to use
These are the Perks I recommend using with the Dual Wield and Double-Bladed Stance Pairing. There are other great alternatives, but these specifically synergize with both Stances and their combined playstyle.
If you want to learn more about Perks, check out our comprehensive guide that details how Perks work, what each of them does, where to find them, and where to find each of the Perk Slots so you can equip all of the ones I recommend for this build.
 Resilience
 Resilience
- Perk Effect: Block Meter is increased.
- Perk Cost: 1 Slot
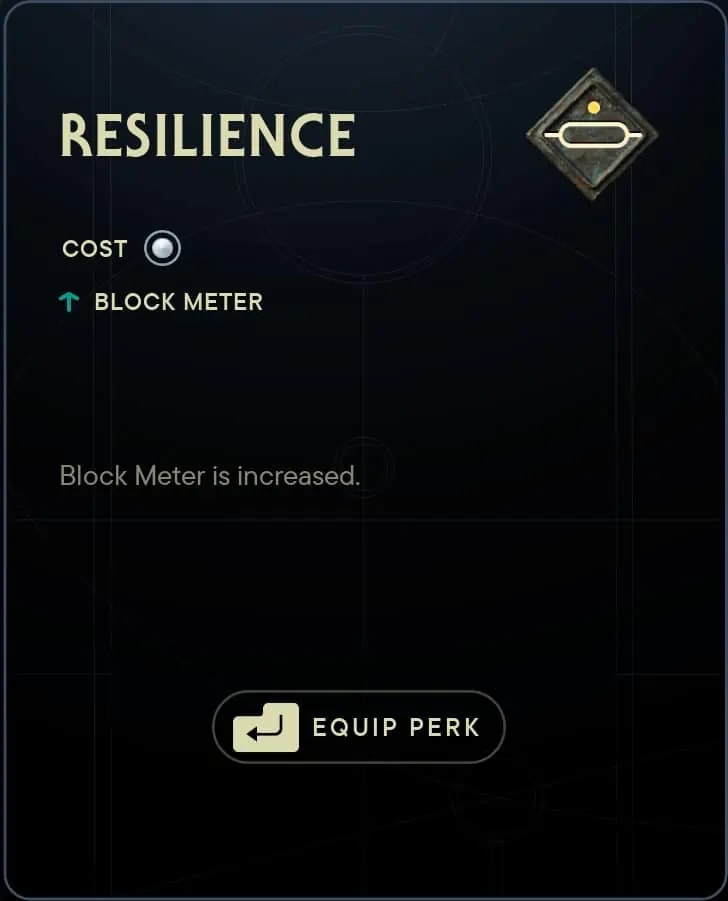
This perk largely eliminates one of the biggest drawbacks of the Dual Wield Stance by giving you an extra bar for your block meter. It’s valuable for the Double-Bladed Stance as well because it enables you to spend more time reflecting blaster shots with Multifold Reflection.
In other words, you can run out of stamina with either Stance, so Resilience is valuable because it makes that less likely to happen.
You can acquire the Resilience Perk in the Chamber of Duality on Koboh where you first encounter Zee. This High Republic Jedi Chamber is part of your main mission objectives and there’s no way you can miss it. We have a full walkthrough for the Chamber of Duality.

Shatter
 Shatter
- Perk Effect: Attacks are more effective at breaking enemies’ guard.
- Perk Cost: 2 Slots
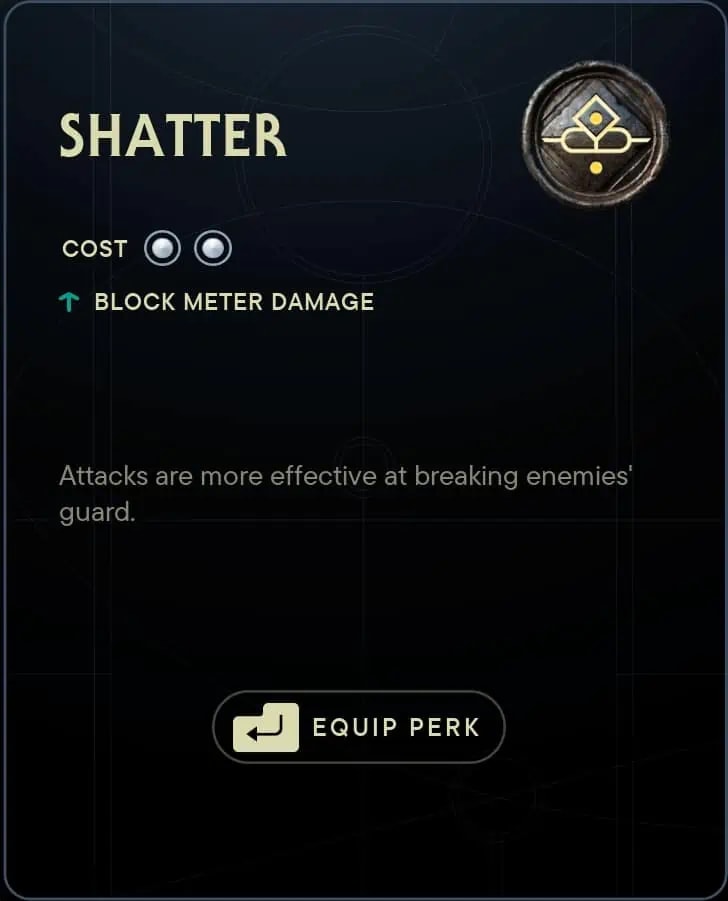
This perk makes your attacks drain more of your opponent’s Block Meter. You’ll be hitting enemies a lot, so this helps significantly with draining their stamina in a timely manner.
You could take Precision instead for a similar effect, but you’ll be attacking a lot more than parrying, so I think Shatter is the better option.
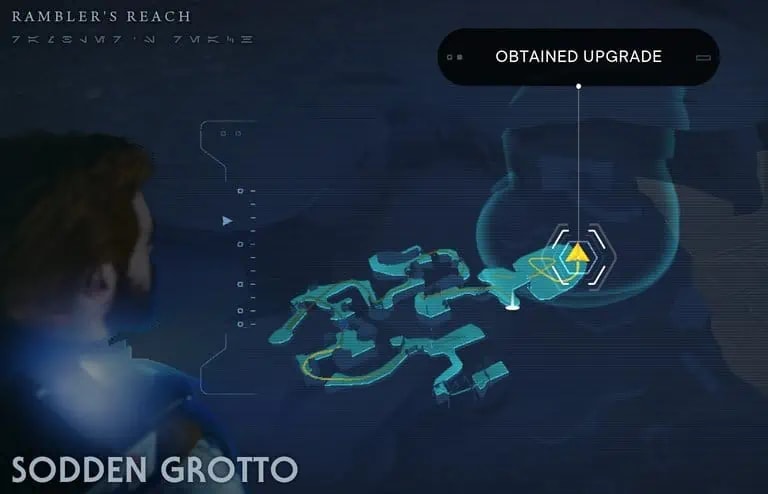
The Shatter Perk is a reward for defeating the Legendary Rancor at the end of the Sodden Grotto mine on Koboh.

Versatility
 Versatility
- Perk Effect: Increases lightsaber damage temporarily after switching stances.
- Perk Cost: 3 Slots
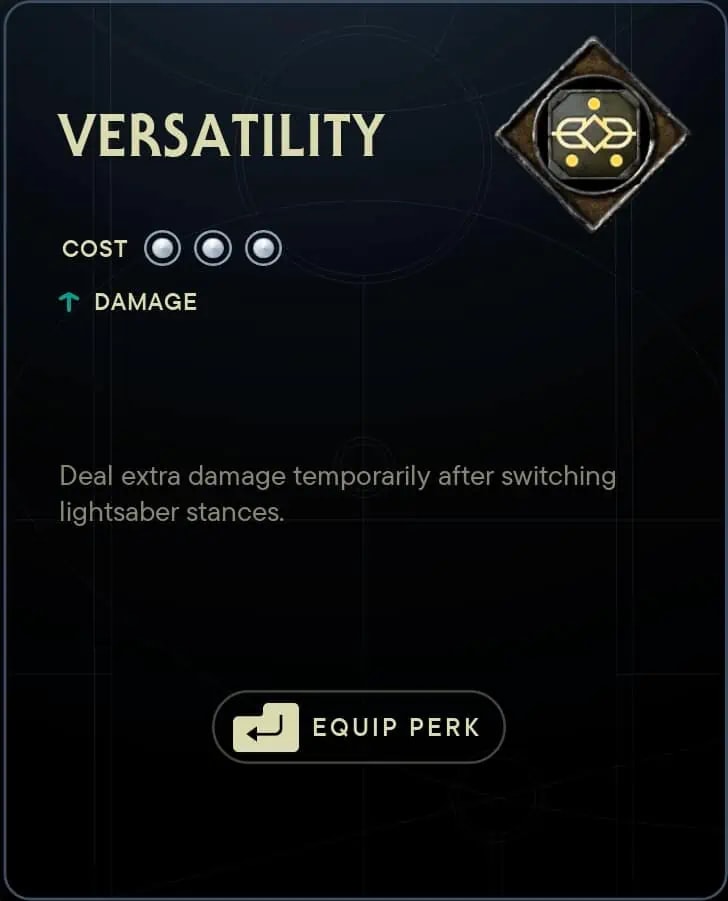
You deal more lightsaber damage for a short period of time after switching Stances. This is valuable because you should switch between the Stances frequently as needed since their strengths are in different situations and can do so fluidly because the two Stances have similar pacing.
I think Versatility is superior to something like Equilibrium because it provides the damage boost for a set time instead of just to your next swing, so the benefits aren’t diminished by the fact that you swing multiple times.
You can purchase the Versatility Perk from Zee’s Shop for 5 Datadiscs. You collect Datadiscs by playing the game and exploring, mostly on Koboh and the Shattered Moon.
Fortitude
 Fortitude
- Perk Effect: Fortitude increases your lightsaber damage, but also increases incoming damage.
- Perk Cost: 4 Slots
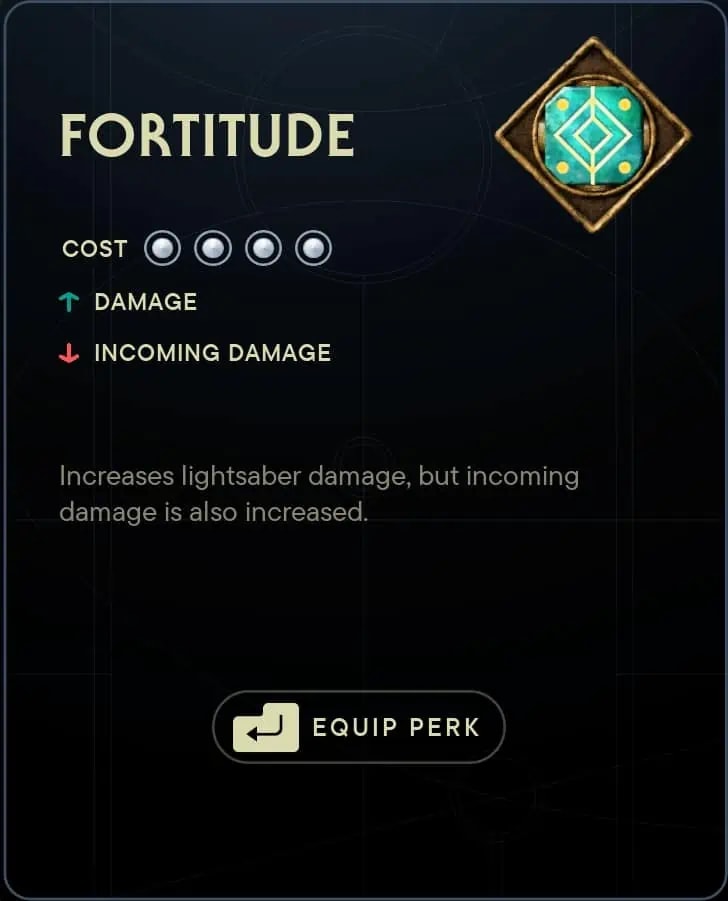
Practically all of the damage you’ll be dealing with this build is lightsaber damage, so this is a nearly global damage increase. You’re also less vulnerable to taking damage in both stances, so the drawback will feel less significant.
The Fortitude Perk is a reward for defeating the Vile Bilemaw, one of the Legendary enemies in Jedi Survivor. This one is located at the Fogged Expanse at Prospector’s Folly on Koboh.
Early Game Skill Tree Essentials
While you will be able to obtain most or all of the associated Skills eventually, I highly recommend picking up all of these Skills in the Skill Tree early in your playthrough as they significantly expand your capabilities and are core parts of this specific pairing’s playstyle.
Keep in mind that just because I don’t mention a specific Skill doesn’t mean it isn’t valuable, it’s just not an essential part of this build specifically. Check out my Jedi Survivor Starter Guide for tips on Skills that are great for all builds to pick up early.
Dual Wield Skill Tree
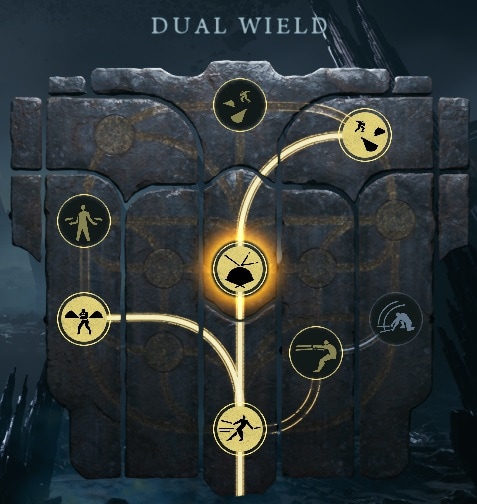
Dual Wield
Backstep Slash
Focused Parry
Split Reflection
Twin Vipers
Backstep Slash is a powerful individual attack, which is valuable to the Dual Wield Stance because it otherwise lacks a single big hit that accessible all the time.
Focused Parry gives you the devastating counterattack I mentioned earlier as the baseline effect of the Special Attack only parries the attack and it would be up to you to follow that up.
Split Reflection is nice because it lets you send a single blaster shot back at 2 enemies, but you’re really only taking it so you can access Twin Vipers as you should be switching to the Double-Bladed Stance in multi-target situations. Twin Vipers lets you throw both of your sabers at the same time.
Double-Bladed Skill Tree
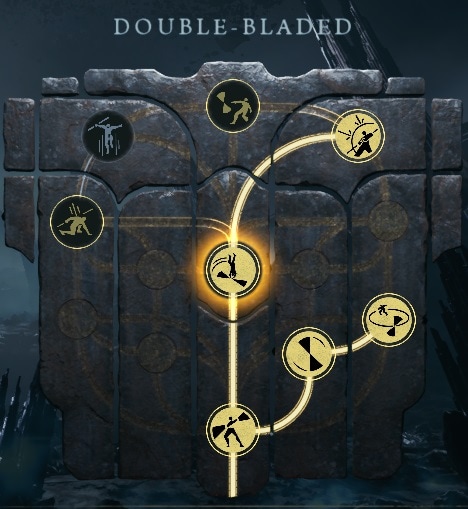
Double-Bladed
Gathering Tempest
Endless Hurricane
Multifold Reflections
Vortex Dive
Double Orbit
Gathering Tempest and Endless Hurricane give you access to your full (and infinite) single-target and multi-target attack sequences respectively. Hold Attack repeatedly to use Gathering Tempest in single-target situations (if you accidentally forget to switch to Dual Wield) and press Attack repeatedly to use Endless Hurricane.
Vortex Dive makes you corkscrew forward, dealing a ton of damage to enemies that get hit. You can essentially punch a hole in the group and escape in the event that you are about to get overwhelmed.
Multifold Reflections lets you reflect all blaster shots back at their attackers. No other Stance lets you reflect nearly as many shots back as this one, and that’s part of what makes the Double-Bladed Stance so strong against groups.
Jedi Concentration Skill Tree

Jedi Concentration
Attunement
Channeled Energy
Attunement gives you more Force, which is only essential in the sense that it’s a stepping stone to Channeled Energy, which synergizes super well with both Stances as it gives back Force on a per-hit basis and both Stances hit quite often.
Telekinesis Skill Tree
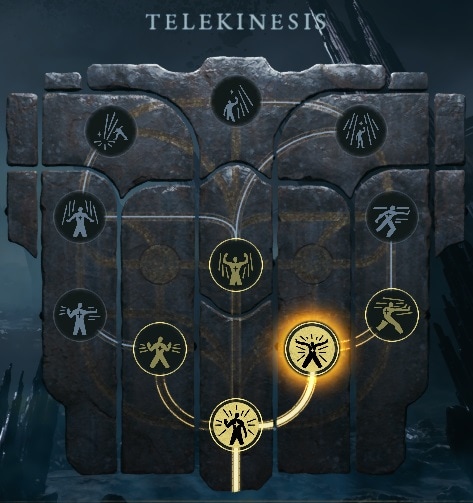
Telekinesis
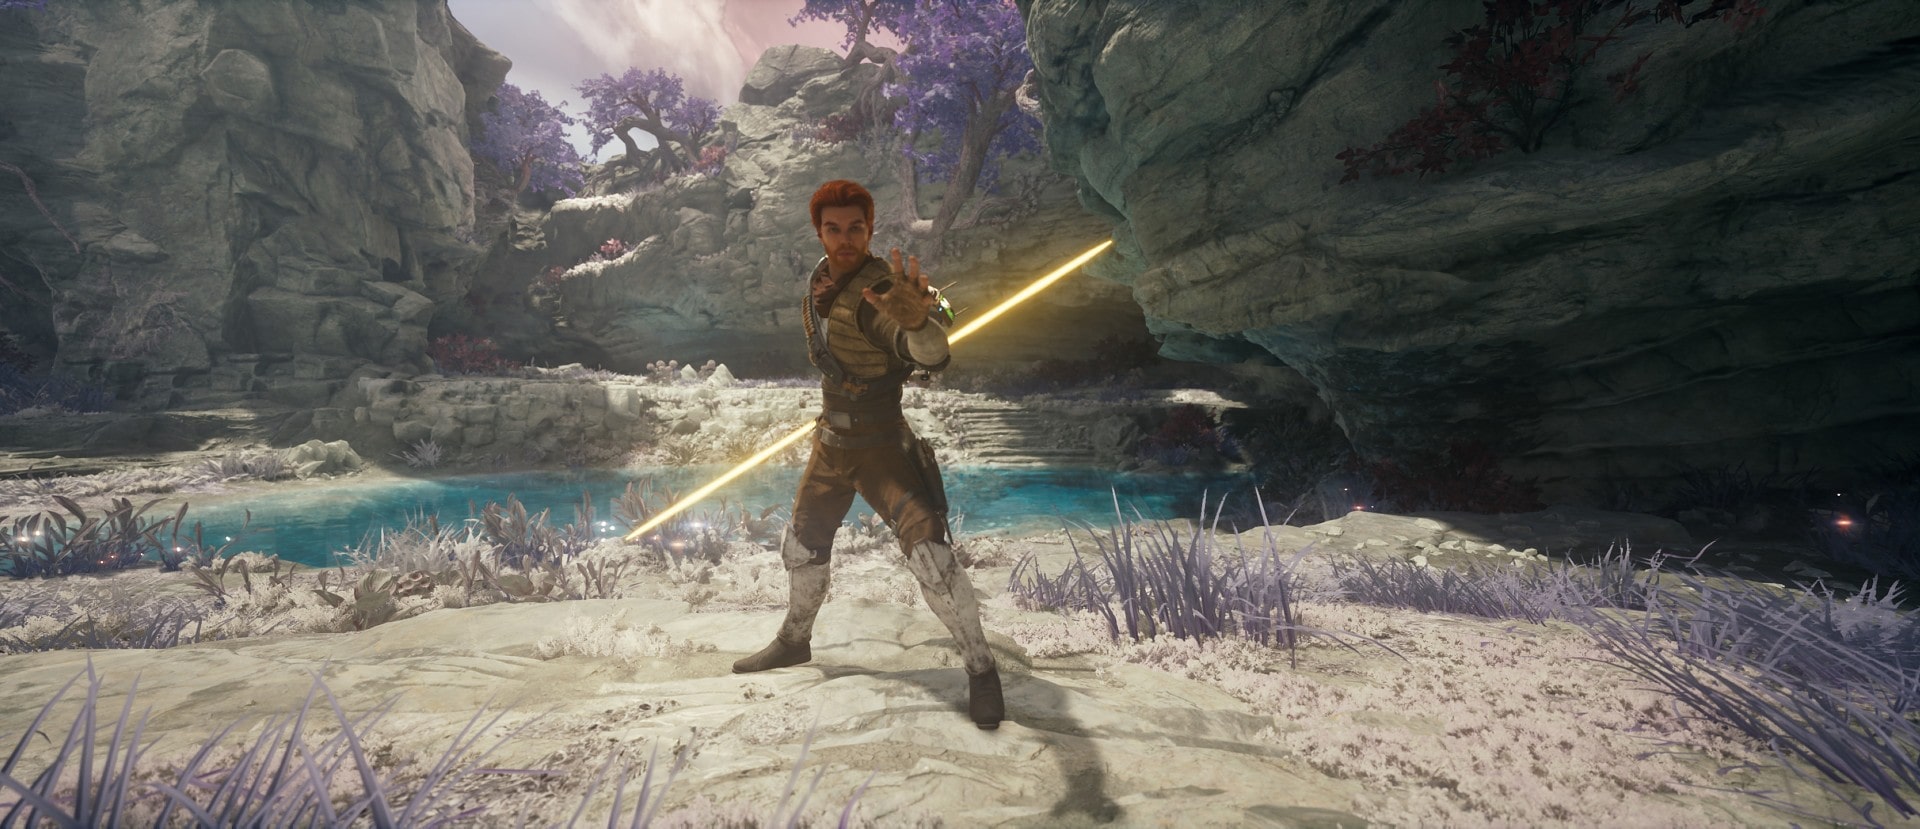
Wrenching Pull
Radial Push
Wrenching Pull is fantastic to use right before using the Double-Blade Special Attack (Orbit or Double Orbit) if enemies aren’t grouped up enough. If you get a little overwhelmed and can’t start attacking, use Radial Push to give you the breathing room you need to start up that lightsaber lawnmower.


