This guide will go over everything you should know about pairing the Double-Bladed and Crossguard Lightsaber Stances. This includes the strengths and weaknesses of this pairing, what each Stance is best suited for, synergistic perks and where to find them, and skill tree essentials for the early game.
Why pair the Double-Bladed and Crossguard Stances
With the Double-Bladed Stances and Crossguard, you’ll have great versatility for normal encounters and boss encounters. While some may find the speed contrast jarring between the two stances, taking the time to master both will allow you to be ready for any situation that comes your way.
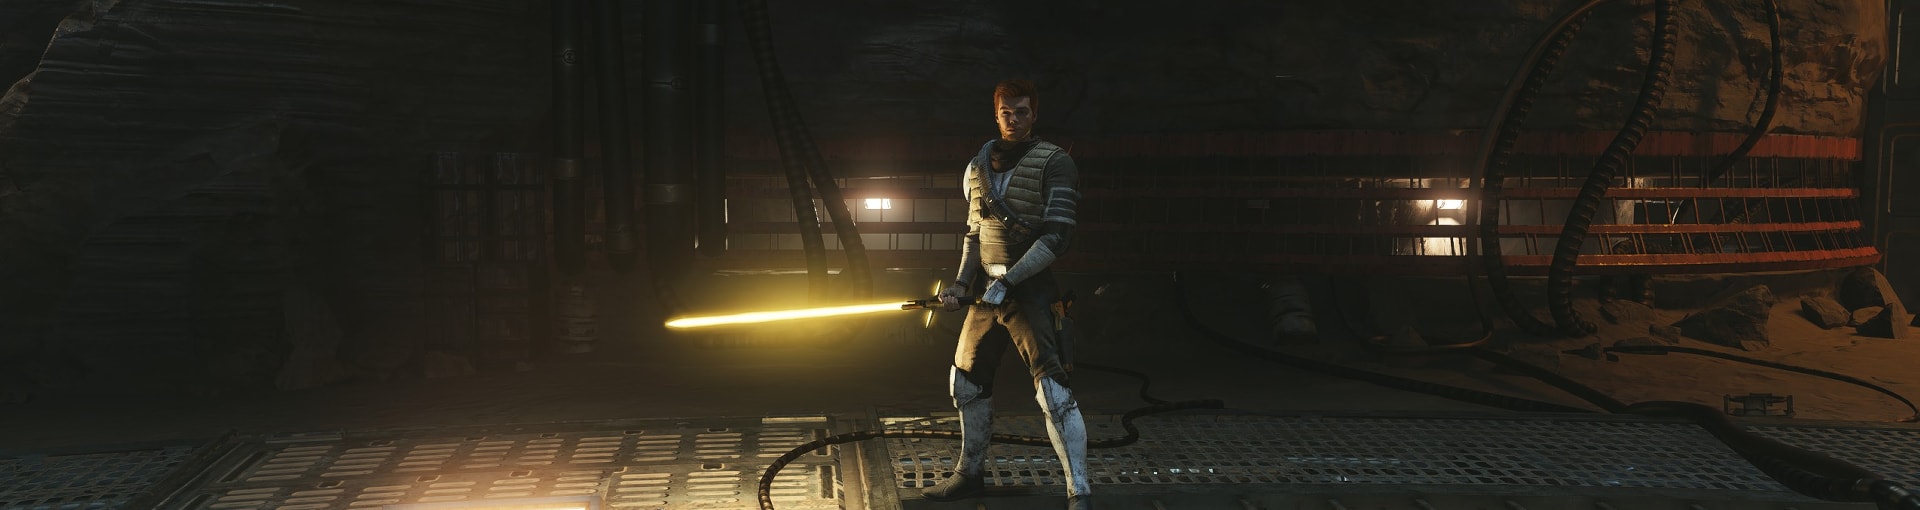
Double-Bladed Stance
The Double-Bladed stance is excellent for dealing with the average, weaker enemies you’ll encounter throughout your adventures in Jedi Survivor. With its ability to reflect multiple blaster bolts, you can easily take out ranged enemies then take out groups of melee enemies with its melee attacks.
The Double-Bladed Stance is good for closing distances with the Vortex Dive and is excellent for crowd control by using the Rising Storm skill.
Where it lacks is in single target damage when compared to stances such as the Crossguard, Dual Wield, and even the Standard Lightsaber. This is not inherently a bad thing, it just means you have to be more mobile and move around opponents to compensate.
For more information on the Double-Bladed Lightsaber, check out our Jedi Survivor Double-Bladed Stance Guide.
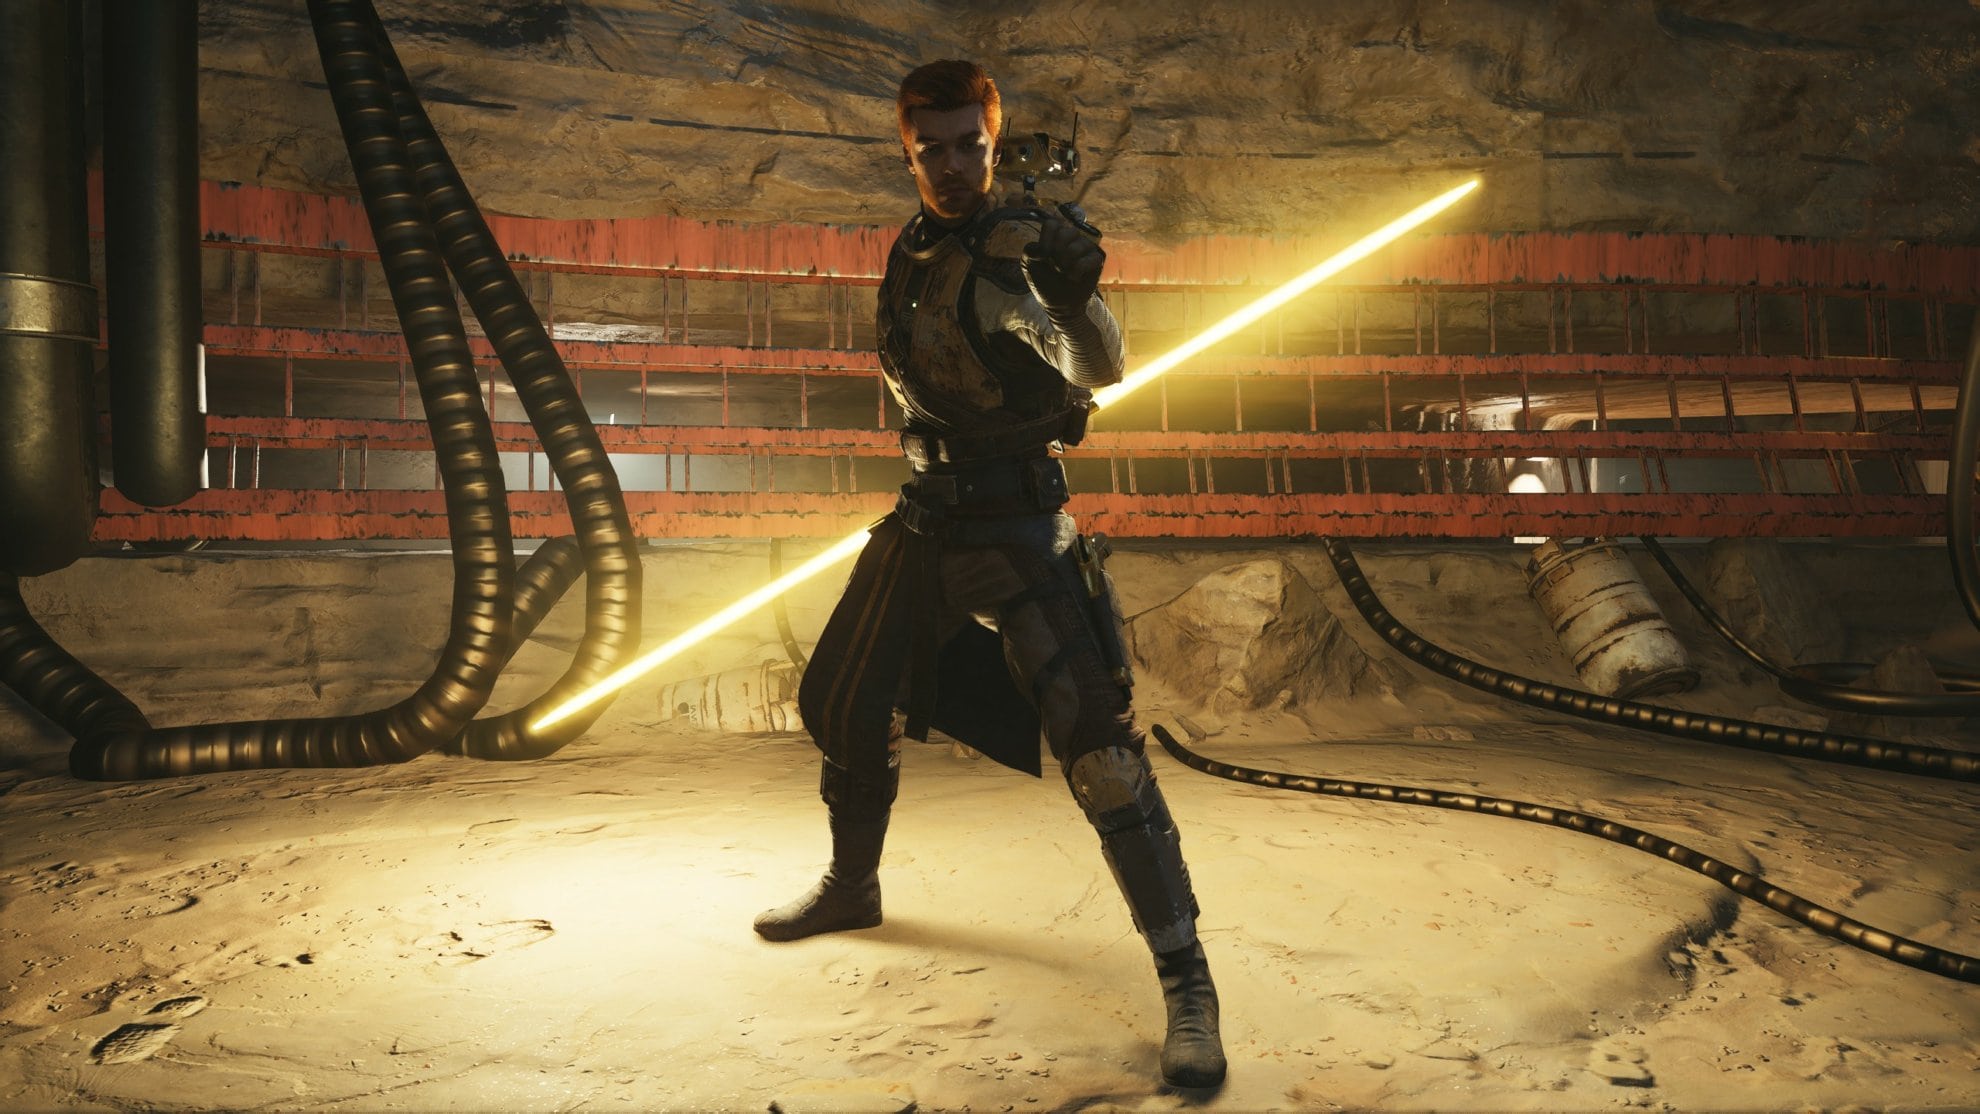
Crossguard Stance
The Crossguard Stance is easily the best stance for getting the most damage per swing, though this comes at the cost of being the slowest and hardest stance to use.
It offers excellent damage against single opponents and groups of opponents. With its ability, Charged Reflect, you can take out pesky opponents with shields such as Heavy Assault Troopers and Droidekas.
A problem that some can face with the Crossguard is how slow it is when swinging. You’re very vulnerable during your attacks which can cancel them entirely and kill your flow.
Instead, you should be using it by stunning enemies through parries and breaking their stamina. This necessity alone increases the skill cap needed to properly utilize the Crossguard Stance. If you take the time to work on your parries, then you’ll be able to do wonders with the Crossguard Stance.
To learn more about the Crossguard Stance, see my Jedi Survivor Crossguard Stance Guide.
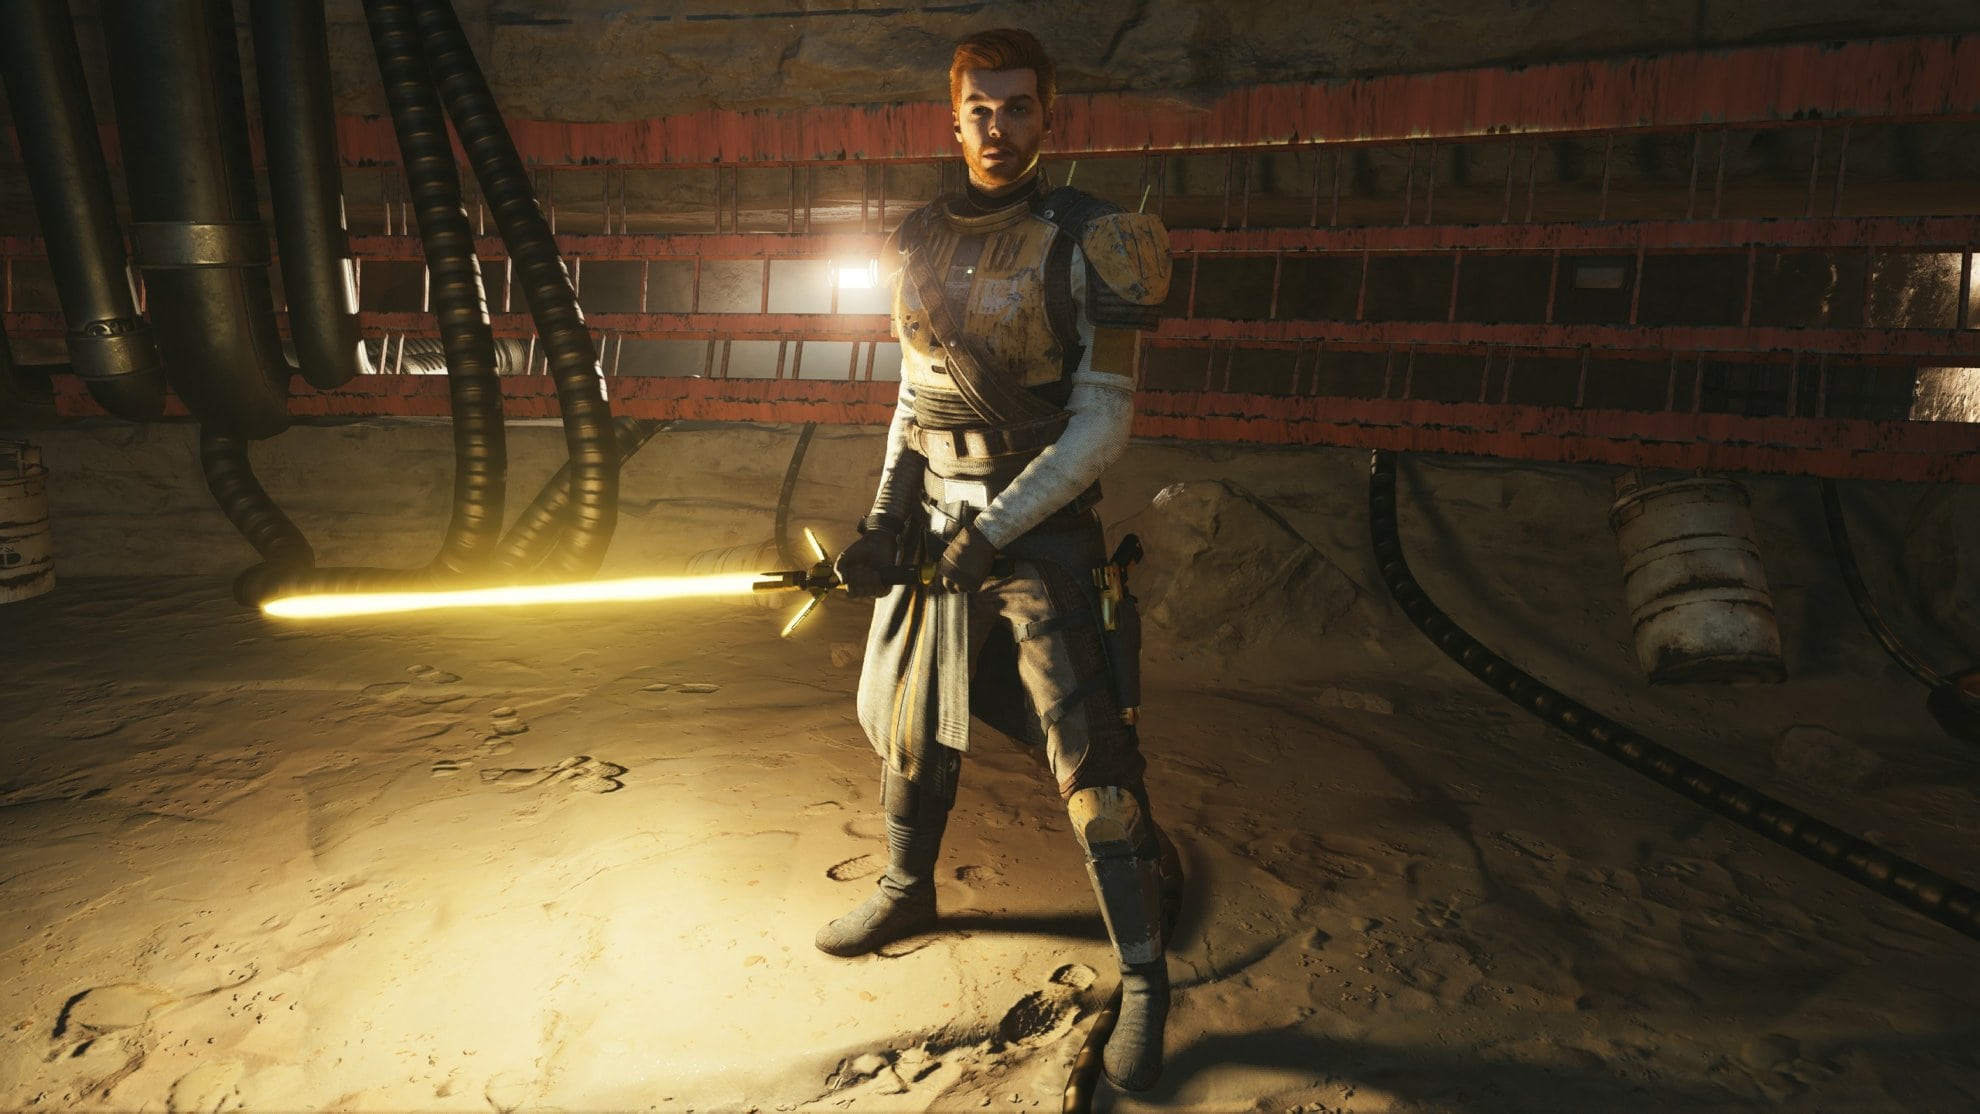
Combining the Stances
The Double-Bladed Stance should act as your default stance when pairing these. The reason for this is that you’ll more commonly run into groups of enemies while exploring so it’s best to be prepared for group encounters first and foremost.
In combat, focus on taking out the ranged opponents with the Double-Bladed Lightsaber’s Multifold Reflections then use the Crossguard for melee opponents. Melee opponents tend to have more health than ranged ones so you’ll need the damage to take them out more efficiently.
The sheer contrast in speed between the two stances can take some getting used to. This pairing is also very grounded as it lacks the ability to effectively deal with opponents that want to keep their distance. These can flying opponents and Haxion Brood Gunslingers that will always try to run away from you. Because of this, you’ll rely more on reflecting blaster bolts to take out these opponents which increases the skill cap needed for this pairing.
However, with enough practice, you’ll be ready for any encounter. Some opponents such as large beasts may require the Double-Bladed Lightsaber to more easily outmaneuver them.
In some instances, the Crossguard is preferable to the Double-Bladed Lightsaber for reflecting if it means that you won’t instantly drain your stamina. If you can switch between slow and nimble mindsets on the fly, then you’ll do well with this pairing.
What Perks to use
The following Perks are what I recommend using for the Double-Bladed and Crossguard Stance Pairing. Feel free to adjust them to suit your own playstyle but I’ll explain why these Perks synergize very well with this pairing.
If you want to learn more about Perks, check out our comprehensive Perks guide that details how Perks work, what each of them does, where to find them, and where to find each of the Perk Slots so you can equip all of the ones I recommend for this build.
 Resilience
 Resilience
- Perk Effect: Block Meter is increased.
- Perk Cost: 1 Slot
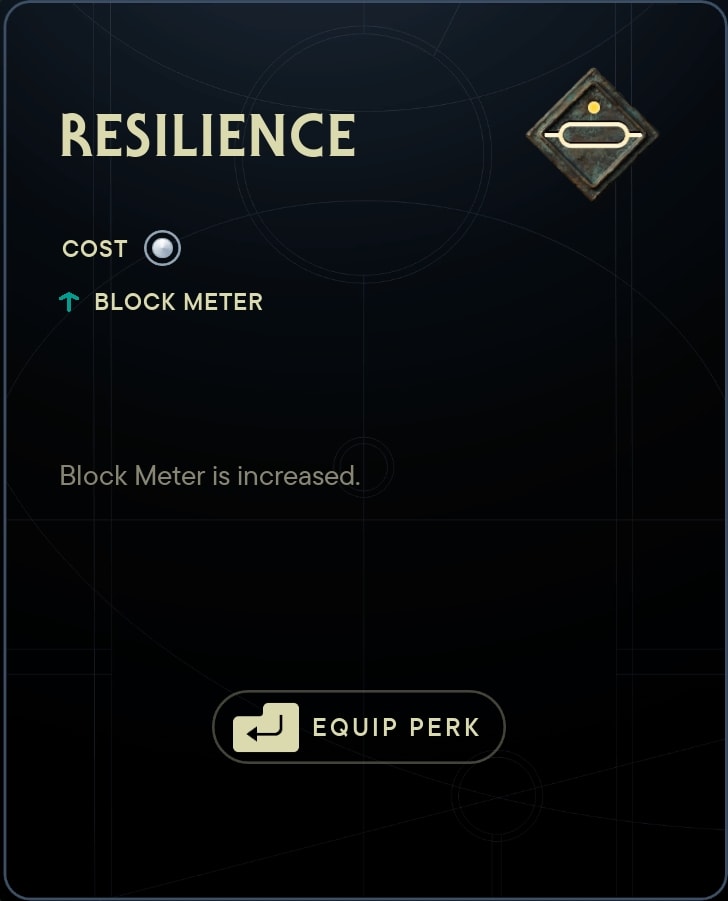
Resilience is great in any scenario as you’ll be able to defend yourself more via blocking and reflecting. With the Double-Bladed Lightsaber, the increased block meter will help you reflect more bolts to take out opponents with the Multifold Reflections. You’ll want to have this handy if you’re fighting a lot of weak, ranged enemies at the same time.
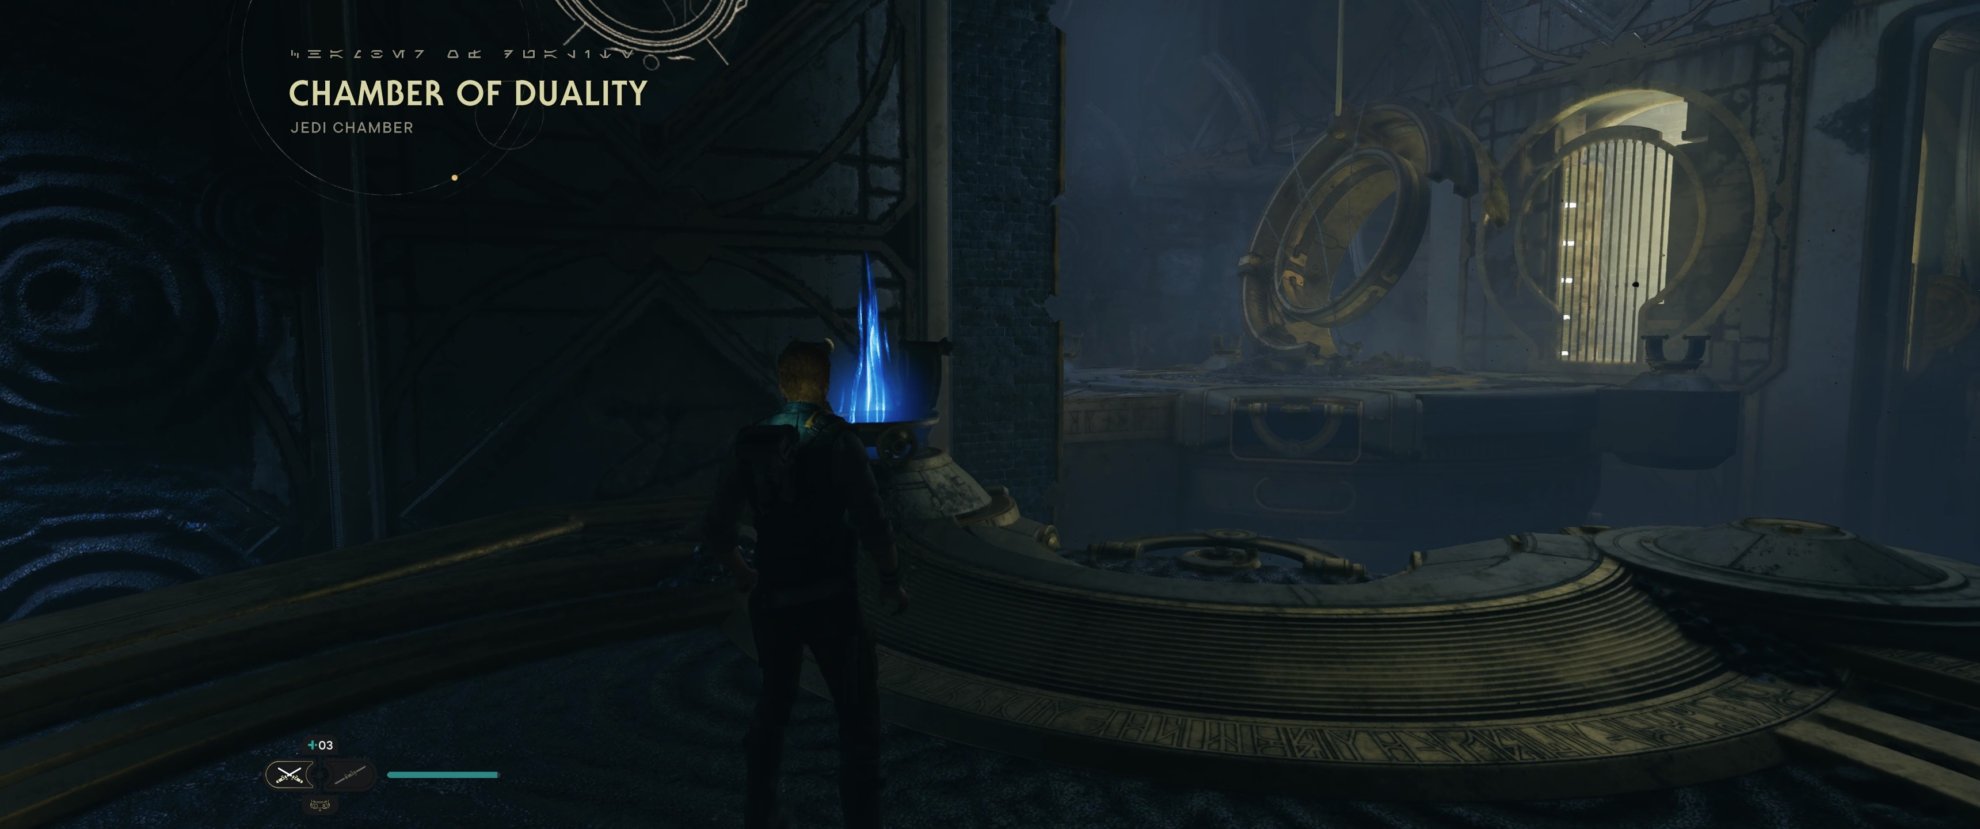
The Resilience Perk is found in the Chamber of Duality on Koboh. This is the same chamber where you first find Zee, the High Republic droid.
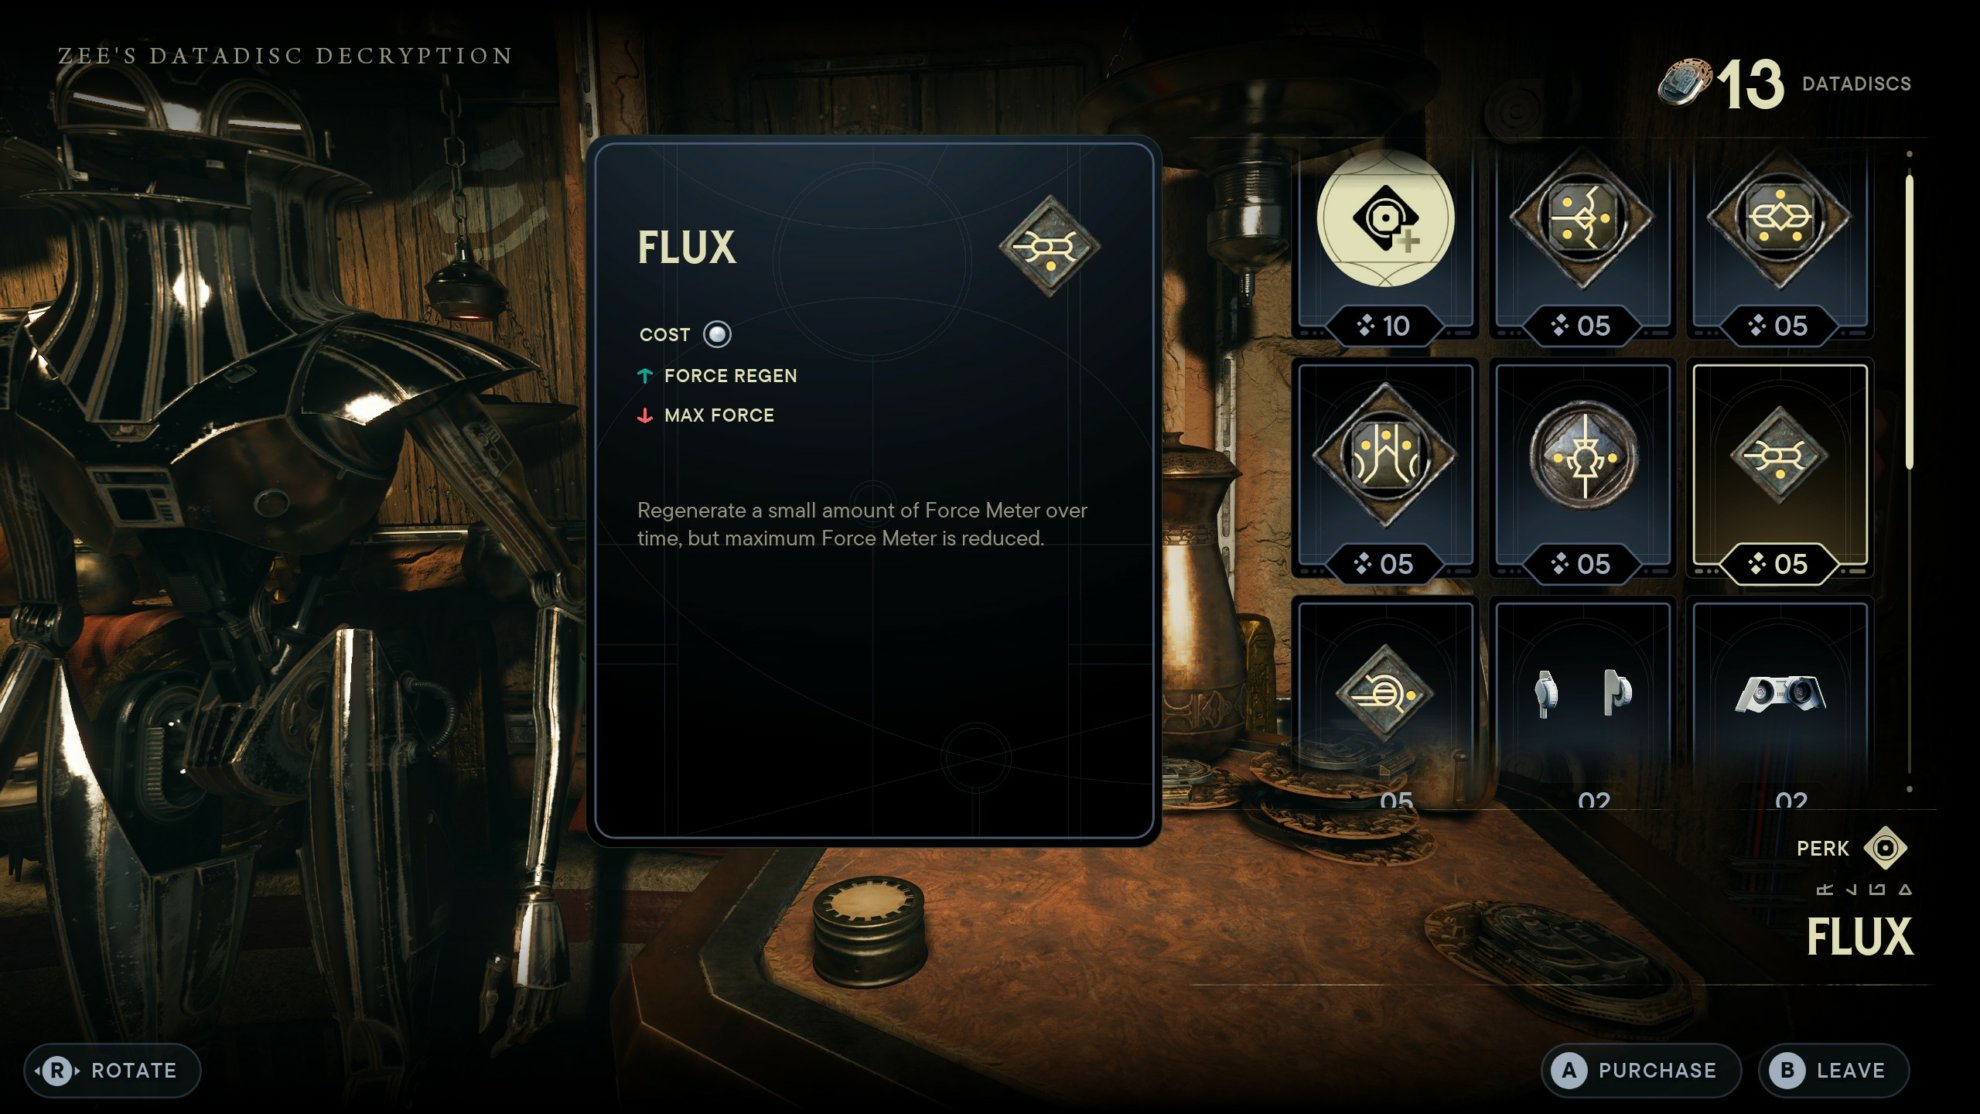
Flux
 Flux
Flux- Perk Effects: Force Regeneration but reduced Maximum Force.
- Perk Cost: 1 Slot
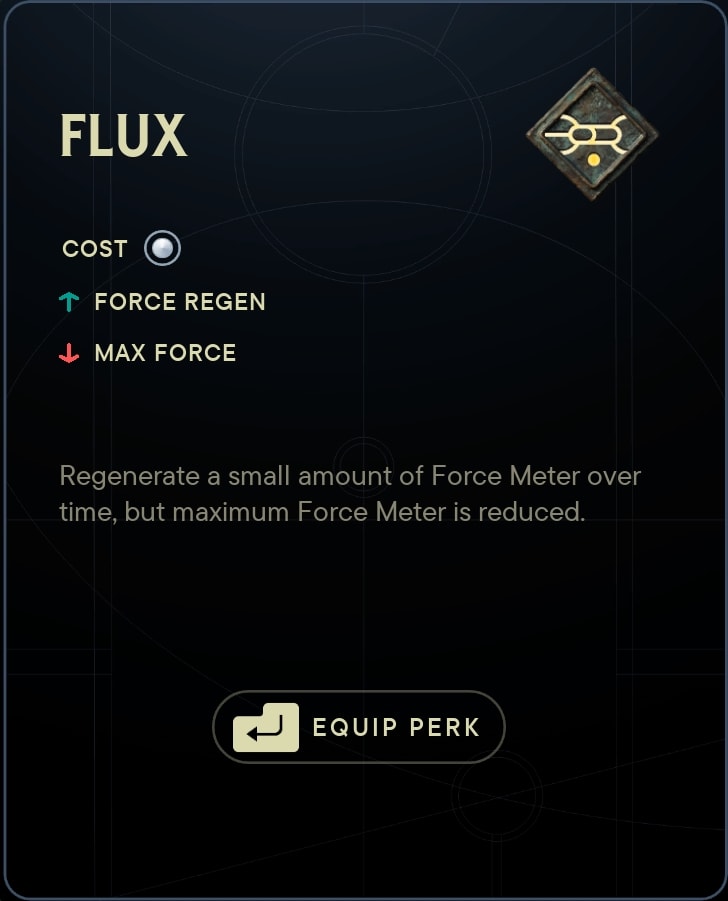
Flux is good to have as both the Double-Bladed and Crossguard Stances have powerful attacks that consume Force. Whether it’s the Vortex Dive, Double Orbit, or Rending Strike, you’re going to need Force to use them. The reduced Maximum Force is no hinderance if you prefer lightsaber combat first and foremost like I do.
You can purchase the Flux Perk from Zee at the Pyloon’s Saloon for 5 Datadiscs.
Shatter
 Shatter
- Perk Effect: Attacks are more effective at breaking enemies’ guard.
- Perk Cost: 2 Slots
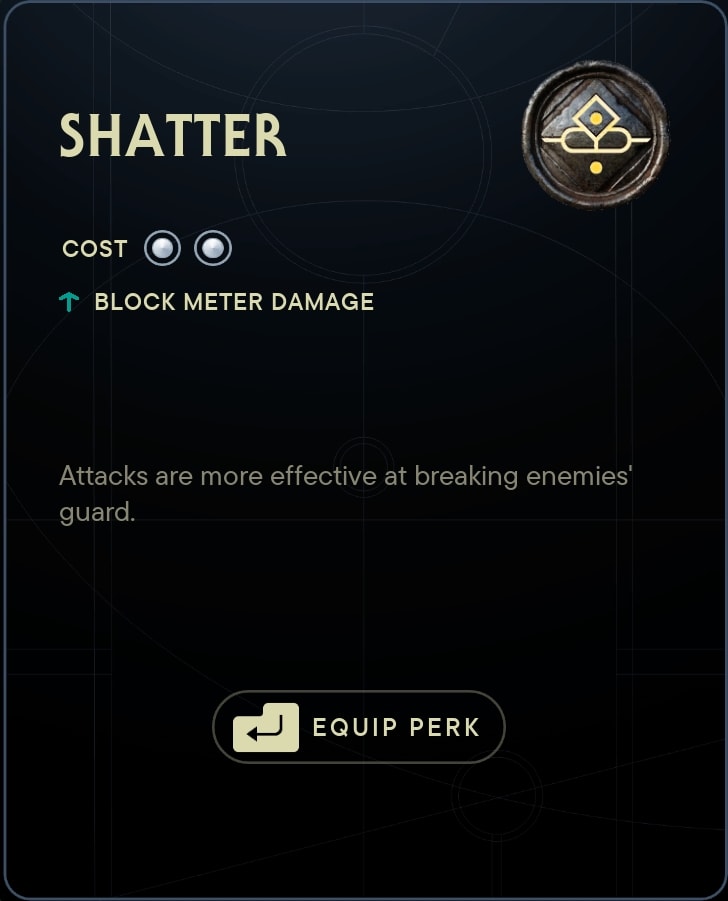
As for the Double-Bladed Lightsaber, it’s great to have in situations where you have multiple opponents blocking. If you can break their guard as a group, you can then deal damage to them as a group. Even against a single target, it’s great to use to overwhelm an opponent with your flurry of double-bladed lightsaber attacks.
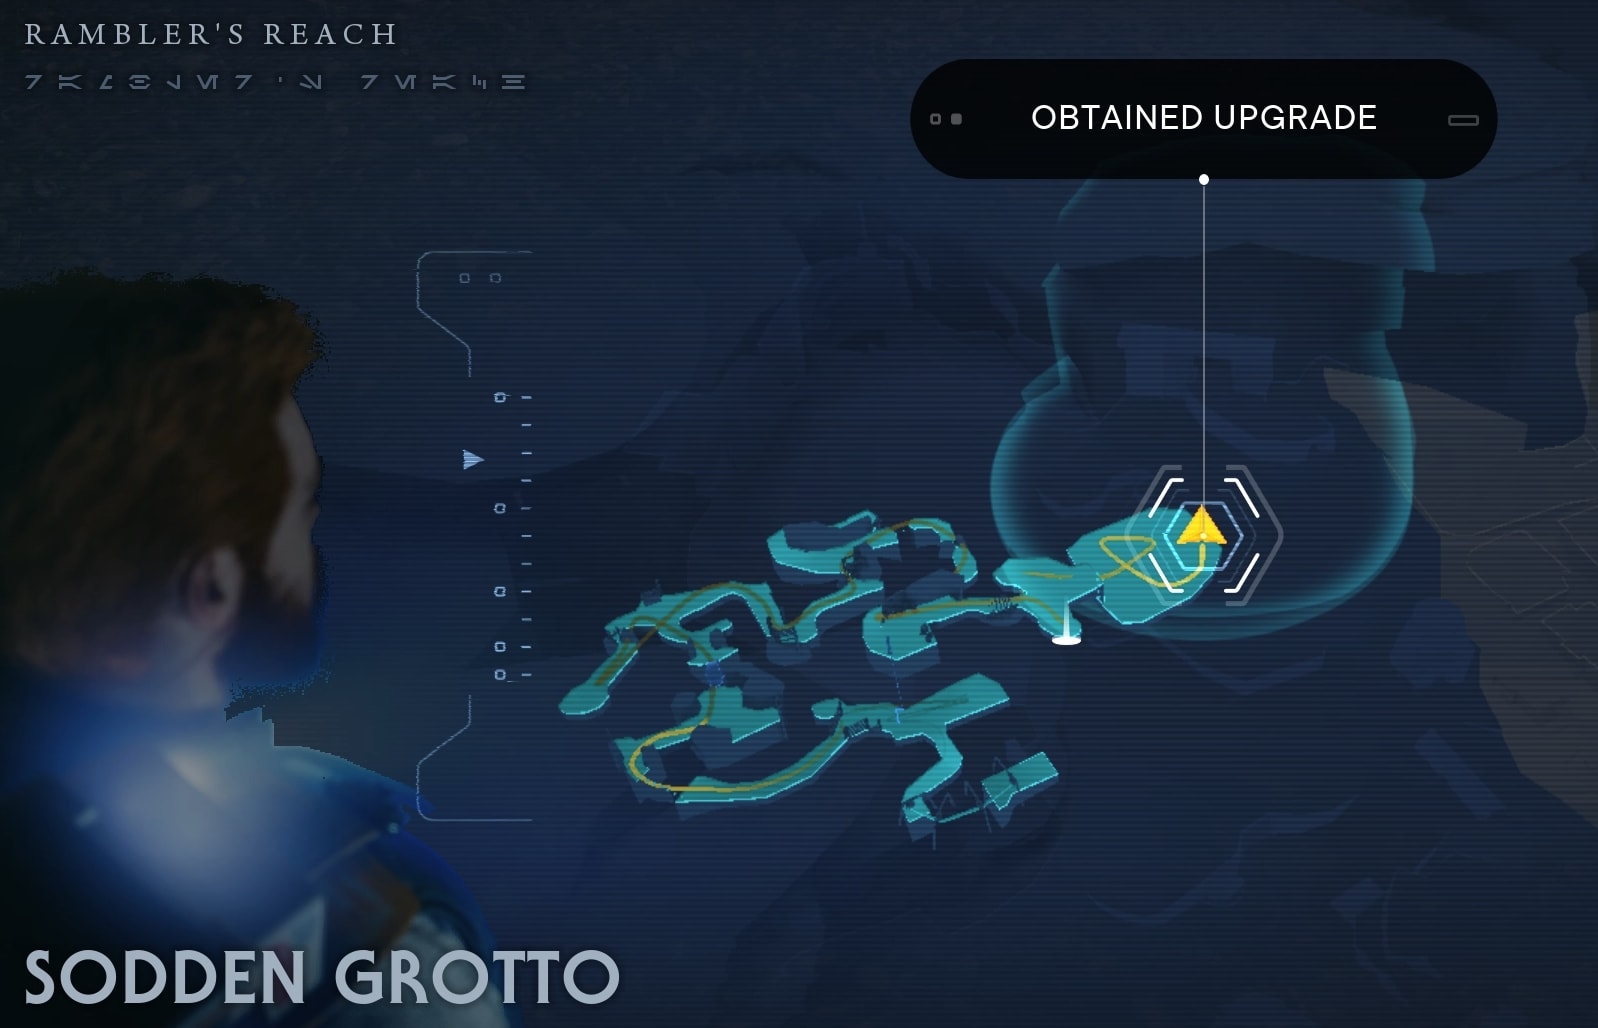
The Shatter Perk is a reward for defeating the Legendary Rancor at the end of the Sodden Grotto mine on Koboh.
Centered
 Centered
- Perk Effects: Healing will cause enemies in a small area around you to stagger. Cal can take one hit and not be interrupted.
- Perk Cost: 2 Slots

Centered is great if you’re using the Crossguard Stance. It lacks crowd control so being able to control a group for a second as you heal is a good plus, but you really want this for the second effect.
The Crossguard Stance is very slow and it’s very easy for you to get hit and interrupted. With this Perk, you can follow through with an attack when you would normally be interrupted.
If you become sufficiently skilled enough with Crossguard timing, then you can use another Perk in this one’s place. Though this one is good to have if you struggle you’re still learning the Crossguard Stance.
You can find the Centered Perk in the Republic Research Laboratory on the Shattered Moon. You’ll gain access to this Perk after you defeat Rayvis on your second visit to the Shattered Moon.

Precision
 Precision
- Perk Effects: Reduced Parry Timing but Increased Block Meter Damage with Parries.
- Perk Cost: 2 Slots

Since you need a good grasp on parrying to make the most use of the Crossguard Stance, Precision can provide a sufficient challenge for those wishing to hone their parry skills even further.
Those who succeed will be able to deal a great amount of Block Meter Damage with Parries. Using this with Shatter, most defenses will not last long against you.
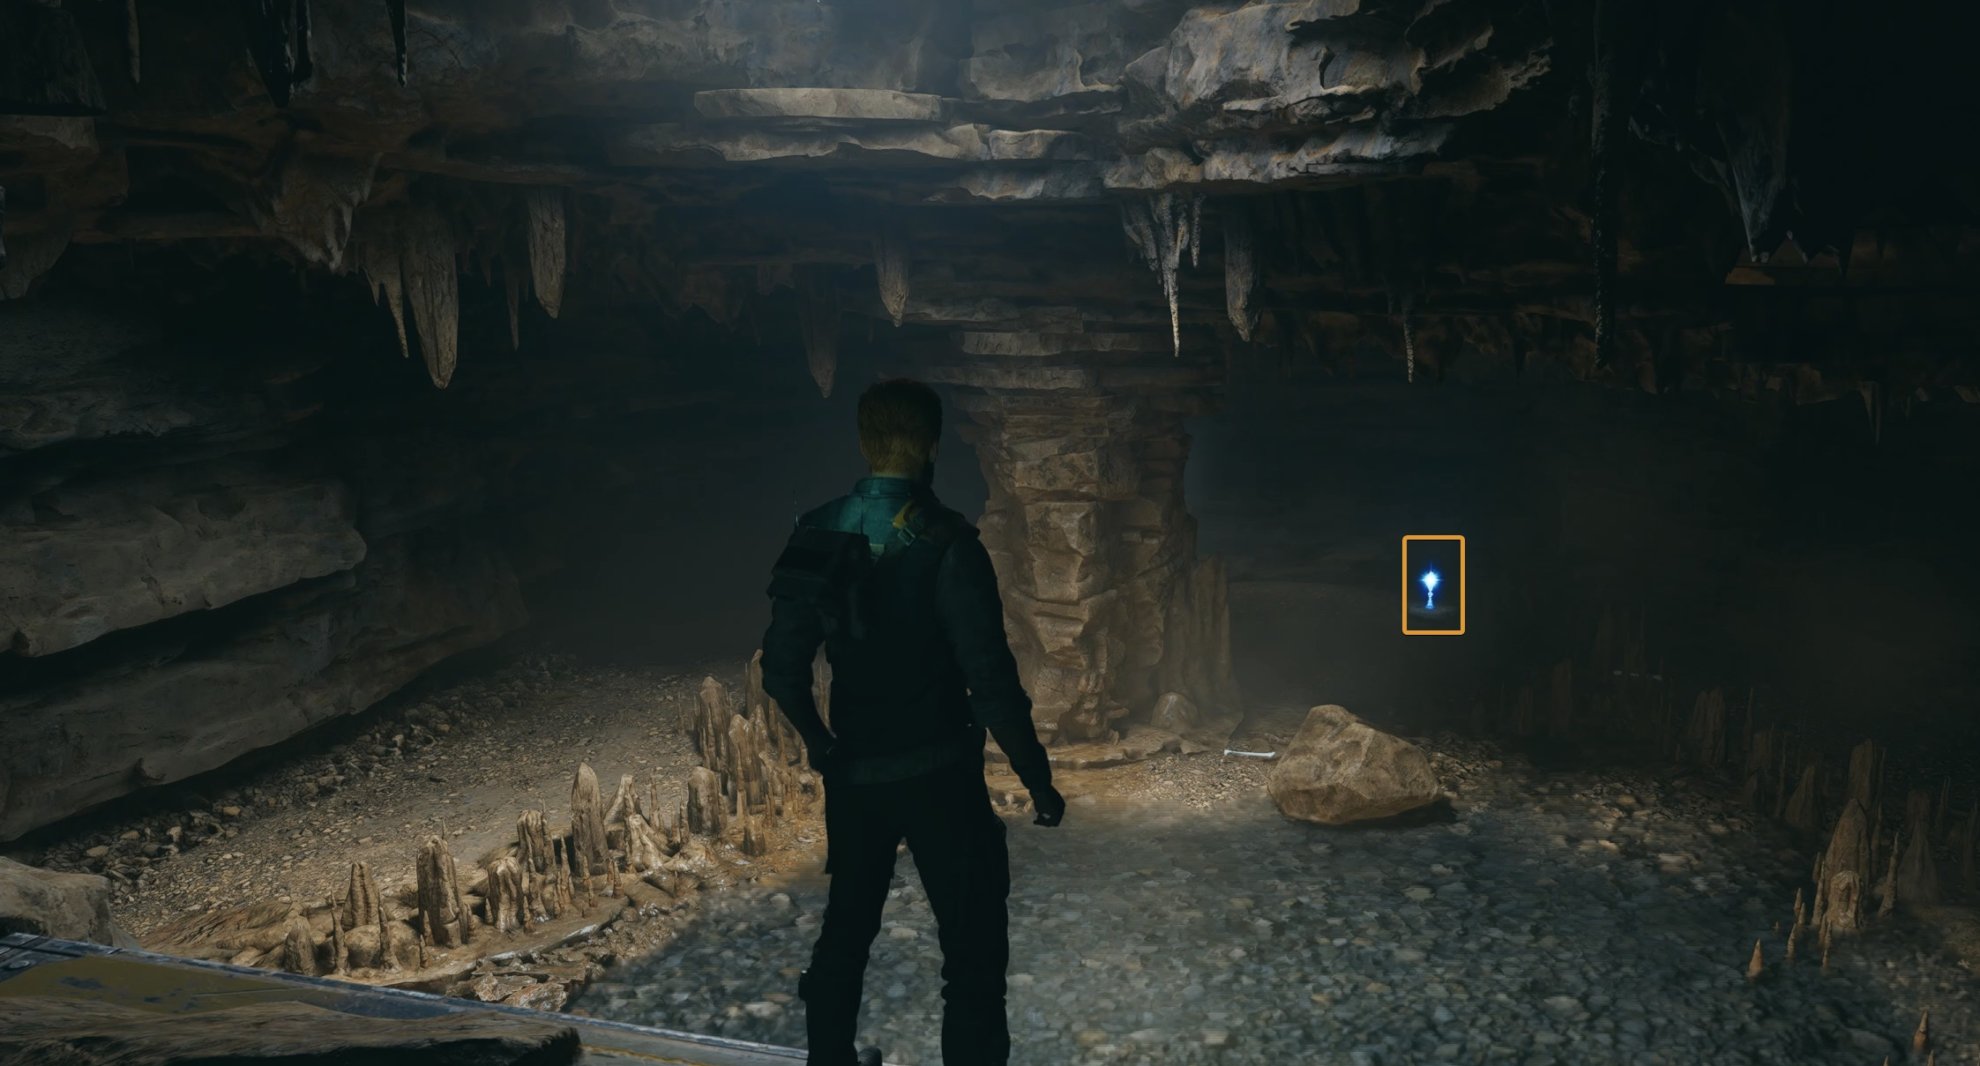
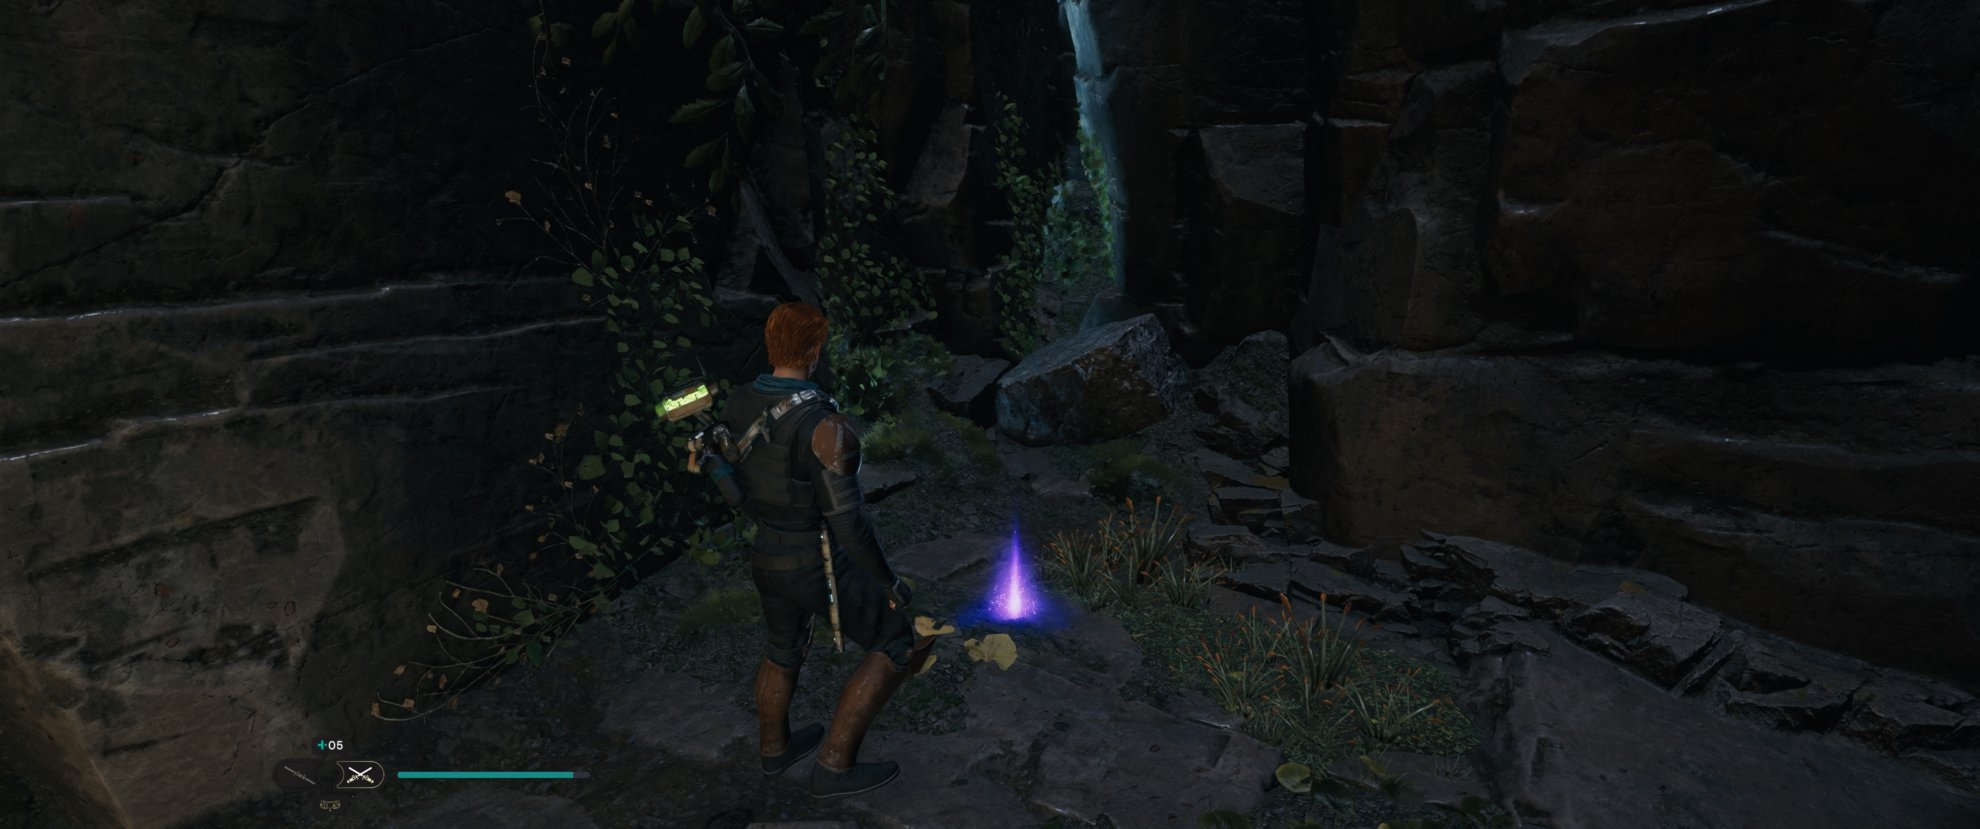
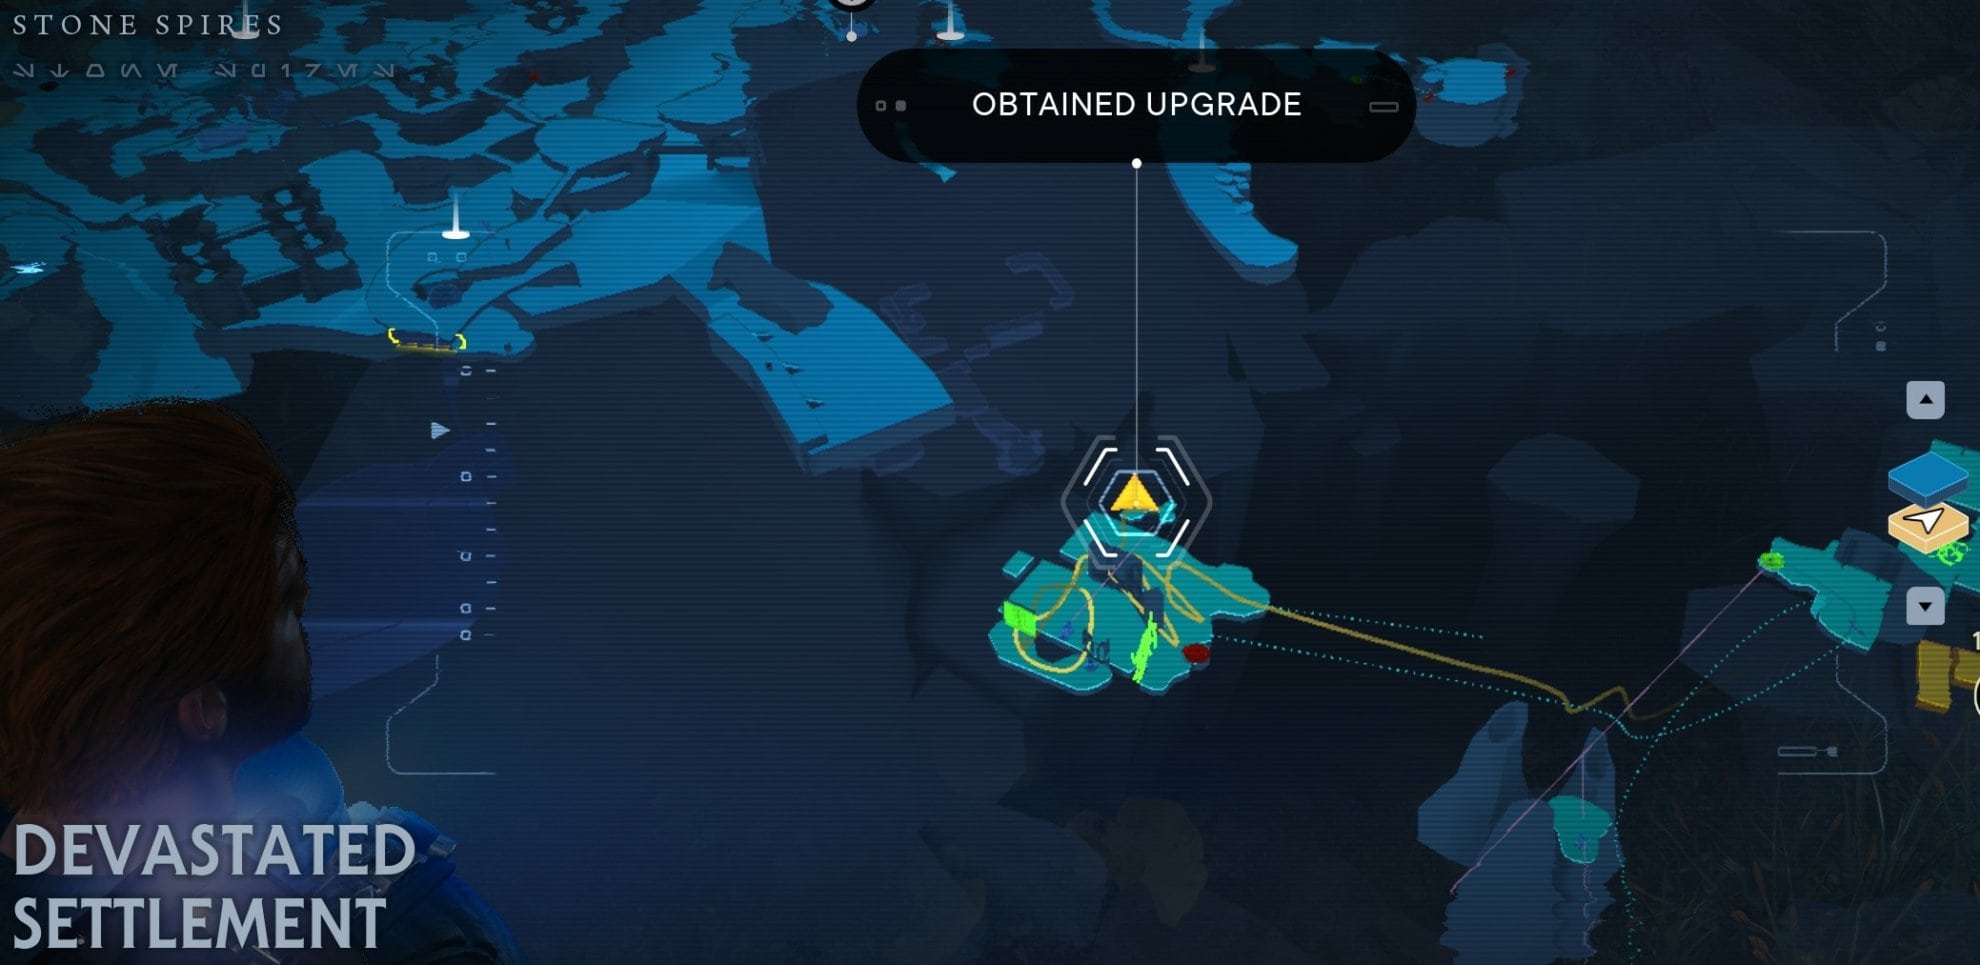
You can find the Precision Perk from a Force Essence in the Devastated Settlement. It will be on the spire where you had the third beam puzzle with the grated wall.
Fortitude
 Fortitude
- Perk Effect: Fortitude increases your lightsaber damage, but also increases incoming damage.
- Perk Cost: 4 Slots
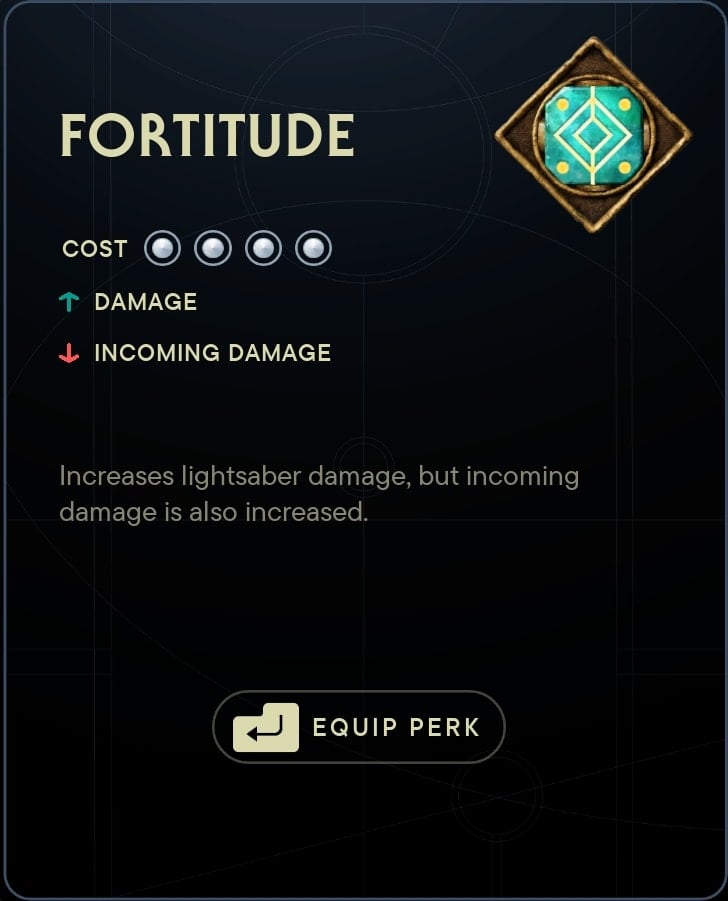
Fortitude works extremely well with the Crossguard Stance. Sometimes there are enemies that require two hits to take down, wouldn’t it be nice to take them down with one hit instead?
With this perk, you can do that more often! Just beware the increased damage, but if you’ve been practicing your parries and reflects then this shouldn’t be an issue.
This also makes it easier to take out groups of enemies with the Double-Bladed Stance. Sometimes you’ll get attacked by a group of patrolling enemies and you just need to get rid of them to go back on your business. This Perk will help you make short work of those groups.
The Persistence Perk can be found in the Chamber of Fortitude on Koboh. You can find this chamber hidden in the Corroden Silo in the Southern Reach of Koboh.
Early Game Skill Tree Essentials
You won’t have access to the Crossguard Stance immediately as you’ll need to make your way to the Shattered Moon after your first trip to Jedha. Instead focus on getting some skills in the Double-Bladed Stance and others listed here first.
The skills highlighted here are what I deem vital to perform well to start, though I would focus on Resilience. This Stance pairing is reliant on lightsaber combat to do well so being able to take more hits is always useful.
Double-Bladed Skill Tree
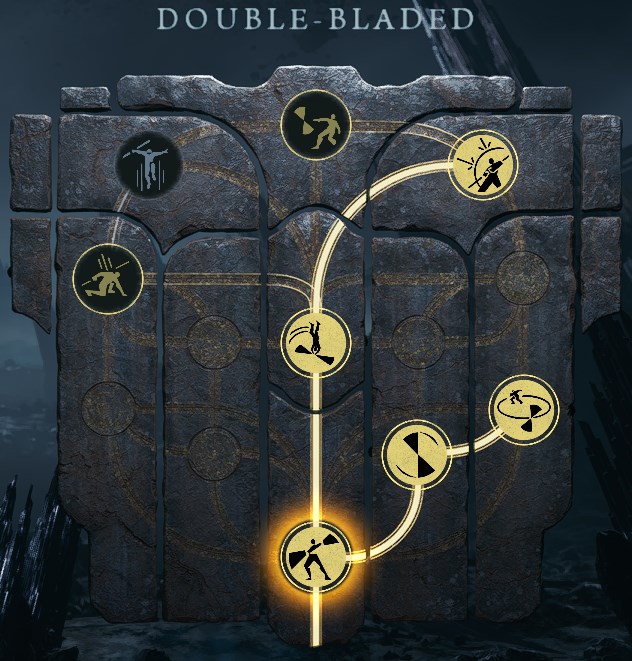
Double-Bladed
Gathering Tempest
Endless Hurricane
Multifold Reflections
Vortex Dive
Double Orbit
Gathering Tempest will get you a new attack combo for increased pressure on them. Vortex Dive and Multifold Reflections are what you should try to get first when filling out this tree. Vortex Dive is just too good to pass up when chasing down slippery enemies while Multifold Reflections helps you take out groups of ranged opponents.
Crossguard Skill Tree
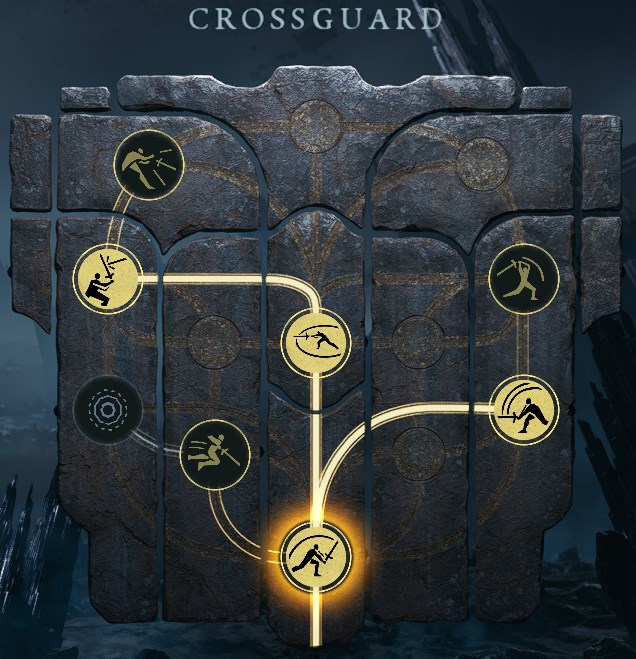
Crossguard
Rending Strike
Greater Cleaving Swing
Sundering Swipe
Charged Reflection
When you obtain the Crossguard, focus on getting these skills first. Rending Strike can allow you to perform a thrust combo by holding the attack button after performing a standard attack.
Reaching Cleave will help speed you up when performing an Uppercut as this Stance is slow enough as it is, every bit of added speed helps. Last, Charged Reflection is excellent for taking down enemy shields or for dealing area damage to targets in the distance.
Resilience Skill Tree
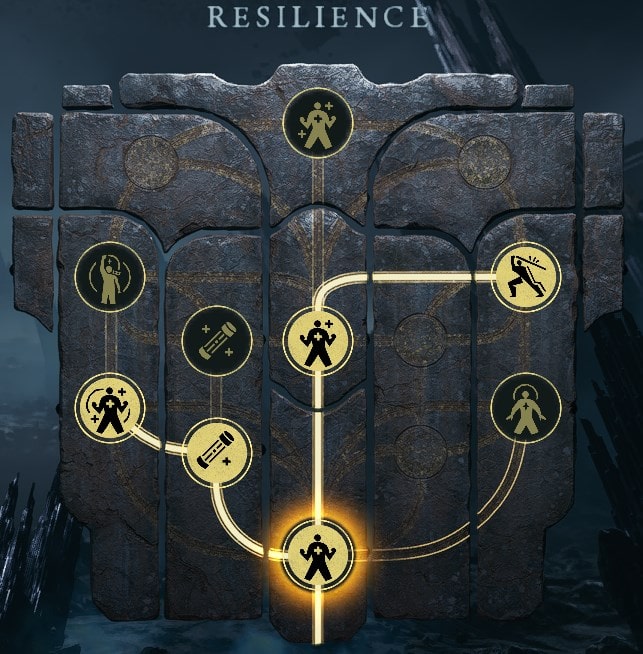
Resilience
Survival Skills
Improved Survival Skills
Greater Reflexes
Improved Stim Formula
Teamwork
Early on, it’s never a bad idea to focus on keeping yourself alive first and foremost. This is especially the case if you’re playing on Jedi Master or Grandmaster difficulties. Aim for Greater Reflexes first so you can more quickly replenish your Block Meter to perform more reflections with your Double-Bladed Stance.
Teamwork is essential as healing yourself is a bit slow without it. When you’re using the Crossguard Stance, you can spend less time healing and more time swinging with this. As for the Double-Bladed Stance, you need to be aggressive and maintain a high momentum so patching up without this skill upgrade might just be your end.
Jedi Concentration Skill Tree
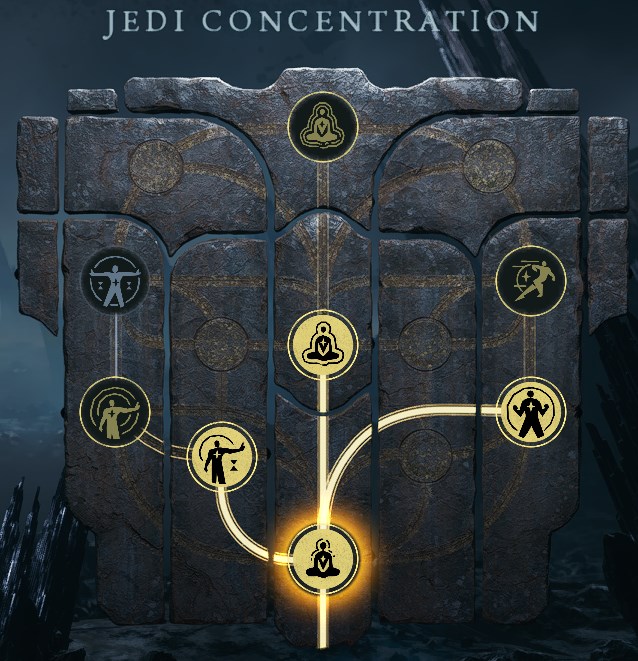
Jedi Concentration
Attunement
Lucid Attunement
Channeled Energy
Greater Hold
The Double-Bladed and Crossguard Stances have fantastic attacks that require Force to use, so having the added Force helps you use these far more often.
Channeled Energy pairs well with the early game as you can quickly restore Force by taking out numerous opponents with the Double-Bladed Stance.
Greater Hold will help you fight enemies when you’re first learning the Crossguard Stance or allow you to more easily mop up enemies with the Double-Bladed Stance.


