This guide will cover everything you need to know about pairing the Blaster and Double-Bladed Stances, including the strengths and weaknesses of the pairing, what each Stance is best suited for, synergistic perks and where to find them, and skill tree essentials for the early game.
Why pair the Blaster and Double-Bladed Stances
Double-Bladed and Blaster is one of the better Stance pairings in the game because each directly covers for the other’s weaknesses by offering complimentary strengths. The attack pacing of the two stances is similar, so it doesn’t feel super jarring to switch between them, though nothing can top the Dual Wield and Double-Bladed pairing in that department.
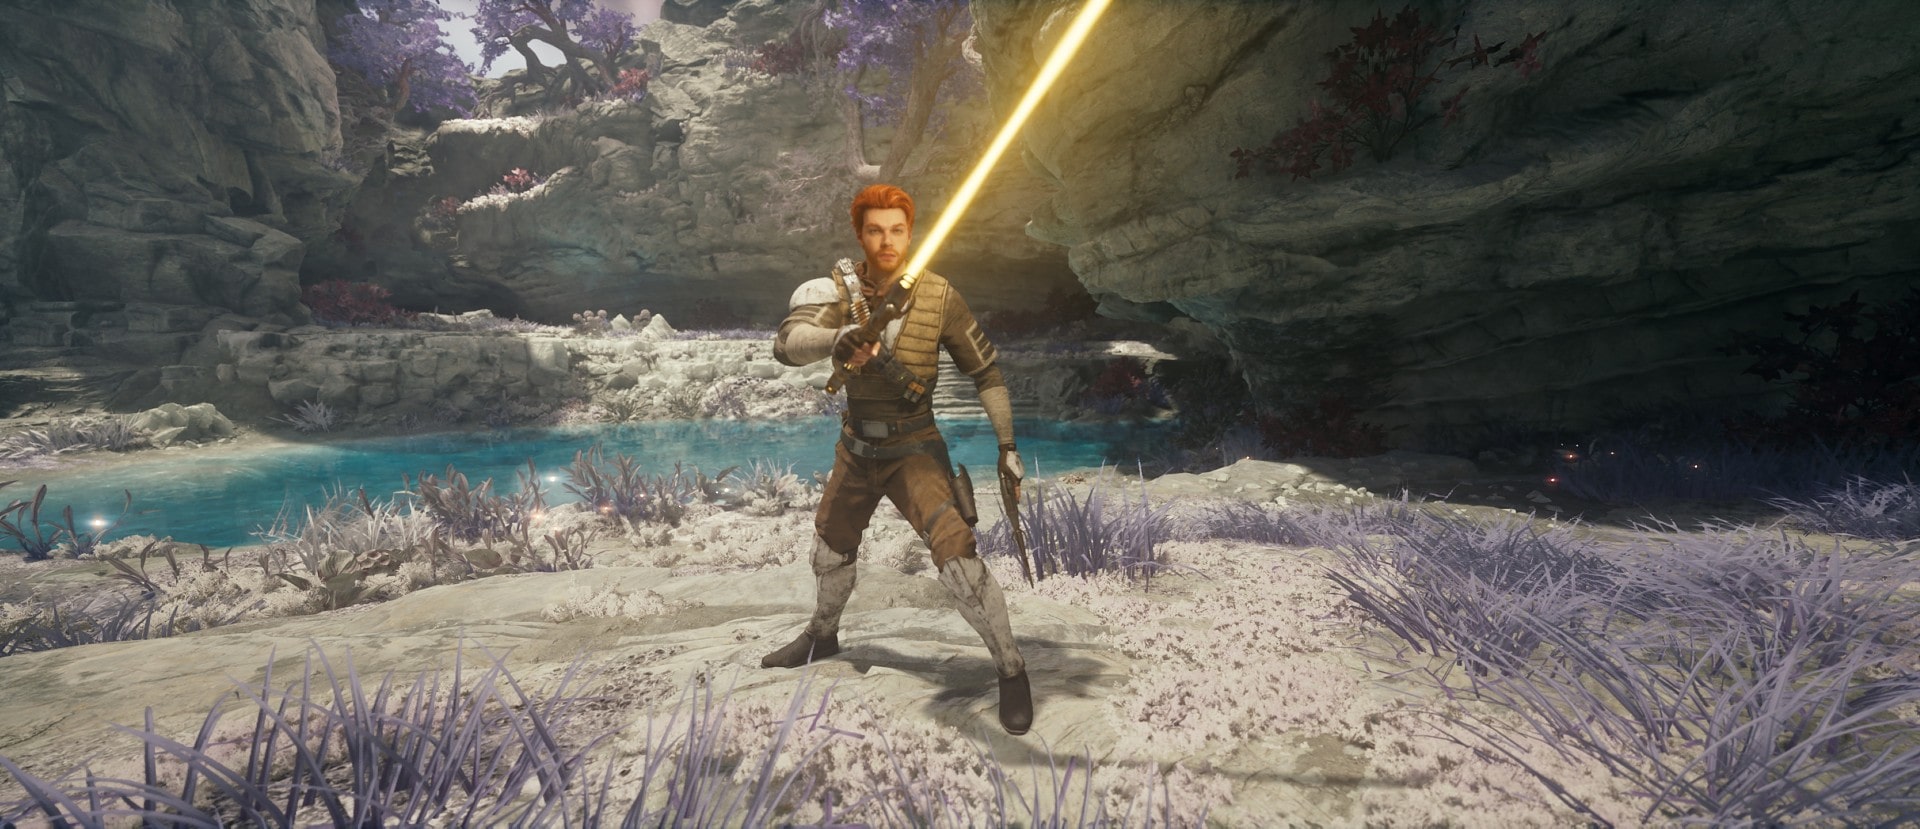
Blaster
The Blaster Stance is quite strong in single-target situations and unparalleled at range. You’re able to instantly pick off foes at a distance, reducing a crowd down to a couple of enemies, creating an environment where the Blaster Stance excels.
While individual blaster shots are weaker than lightsaber swings, the sheer speed and range of the blaster allow you to get shots in while your opponent is busy winding up a swing. Once your opponent finishes their attack, you’re free to wail on them with your saber, resulting in a near-endless barrage of damage.
This exceptional single-target power is counterbalanced by the fact that the Blaster Stance really struggles in close-quarters combat when a lot of enemies are present. The Blaster Stance does have powerful multi-target capabilities, but they all require time (or distance) to set up.
Check out our guide on the Blaster Stance for more detailed information.
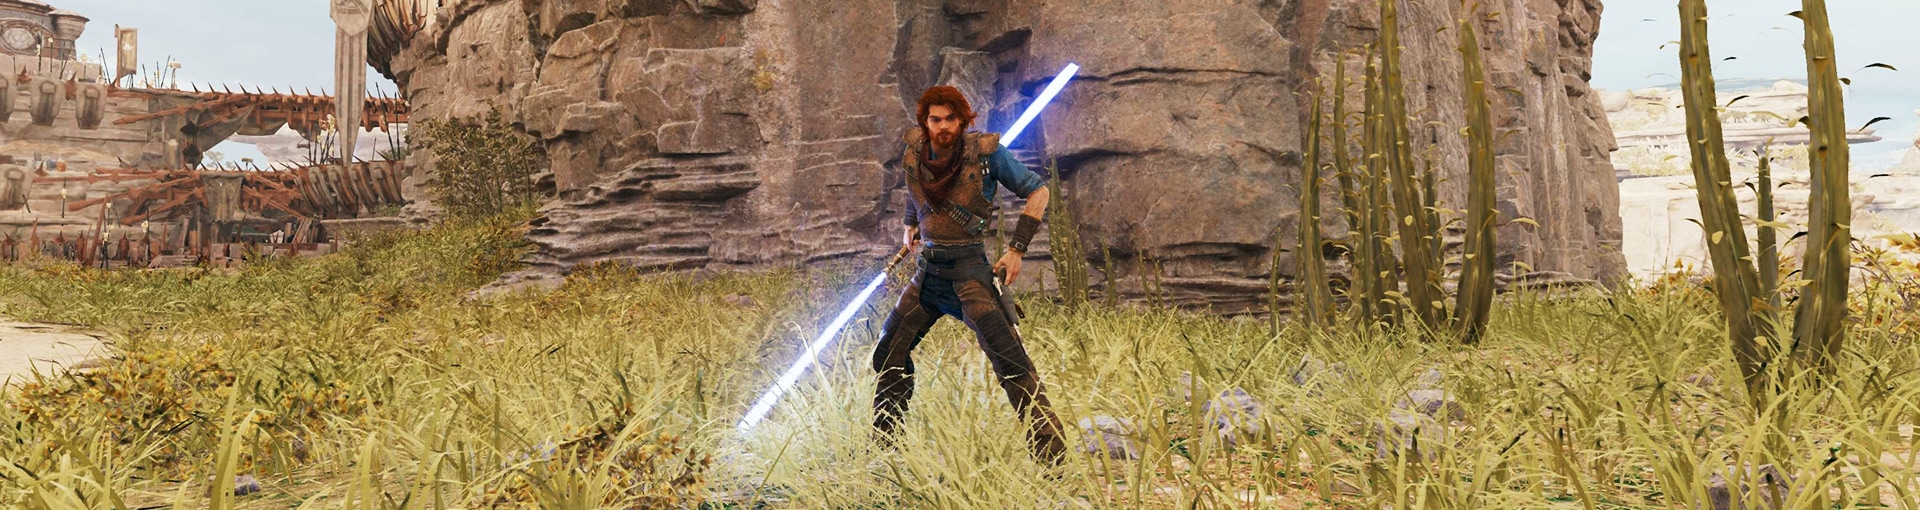
Double-Bladed
The Double-Bladed Stance is strong and weak in the exact opposite situations as the Blaster Stance. The Double-Bladed Stance is exceptional in close-quarters combat when surrounded by enemies thanks to its fast and numerous multi-target attacks.
With the Double-Bladed Stance, you can create the space you need and reduce enemy numbers so that you can focus down the stronger enemies with your Blaster Stance.

There’s a good reason to switch to the Blaster Stance once you’ve whittled down the number of living foes too, the Double-Bladed Stance is a bit weaker against individual, stronger enemies.
Don’t get me wrong, the Double-Bladed Stance can still dish out damage to single enemies, but its tools just aren’t built to handle a sustained assault against an individual, so you’ll have a harder time than you would with the Blaster Stance.
Check out our guide on the Double-Bladed Stance for more detailed information.
Combining the Stances
In order to get the most out of this pairing, you’ll want to swap somewhat frequently between the two Stances depending on range. You’ll start out with the Blaster Stance while you still have the initial ranged advantage to pick off weaker enemies or deal a big hit to an unsuspecting strong foe. Switch to the Double-Bladed as the remaining enemies start getting all up in your business and switch back to Blaster as soon as you know you’ll only be hitting a single enemy.
It’s not the end of the world if you forget to change Stances, it’s not like Double-Bladed is complete garbage in single-target situations just as you can get by with the Blaster Stance, so long as the enemies aren’t super grouped up.
What Perks to use
These are the Perks I recommend using with the Blaster and Double-Bladed Stance Pairing. There are other great alternatives, but these specifically synergize with both Stances and their combined playstyle.
If you want to learn everything about Perks, check out our comprehensive guide that details how Perks work, what each of them does, where to find them, and where to find each of the Perk Slots so you can equip all of the ones I recommend for this build.
 Ambidexterity
 Ambidexterity
- Perk Effect: Shooting targets temporarily increases Lightsaber damage.
- Perk Cost: 3 Slots
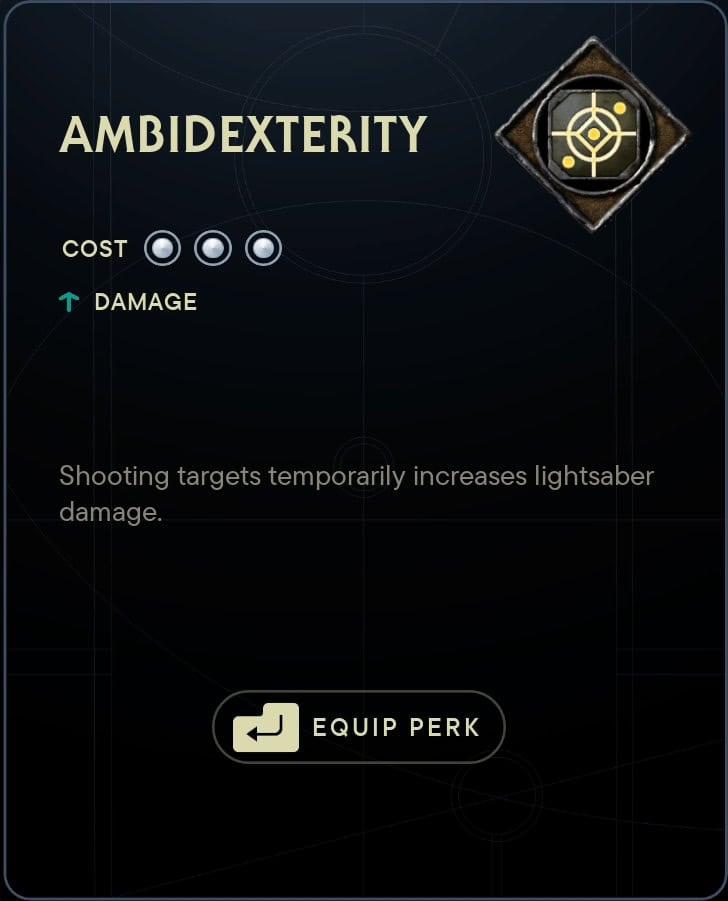
The Ambidexterity Perk is tailormade for builds involving the Blaster Stance as it allows your blaster shots to make you more effective in the subsequent melee combat.
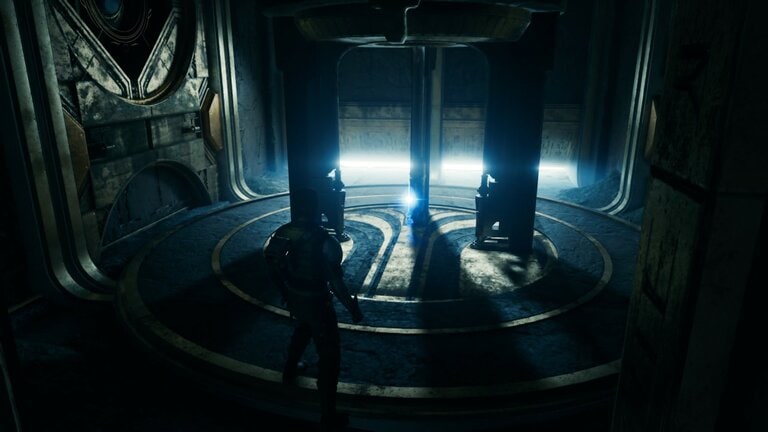
This perk is located in the Abandoned Settlement area where the Stone Spires are on Koboh. We have a full walkthrough for the Ambidexterity Perk, check it out.
Marksmanship
 Marksmanship
- Perk Effect: In Blaster stance, deal additional damage with your blaster.
- Perk Cost: 3 Slots
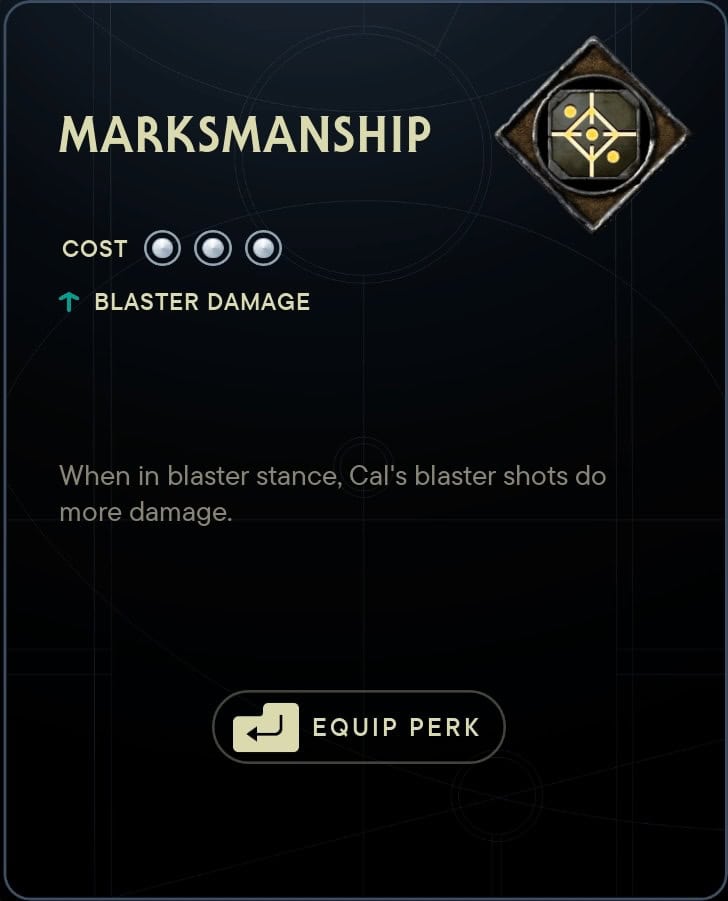
Since you’ll be firing your blaster quite frequently, you’ll get a lot of use out of this perk. I think it’s more of a sustained damage increase though, as it doesn’t seem to affect which enemies you can one-shot from full. That said, since ammo is so precious, reducing the number of shots it takes to defeat anything is valuable.
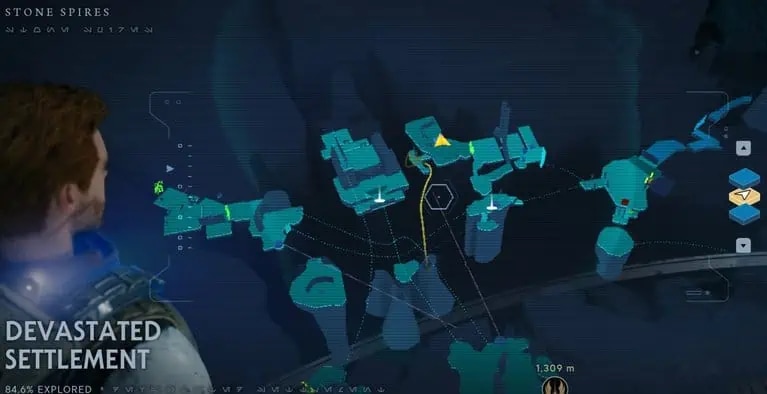
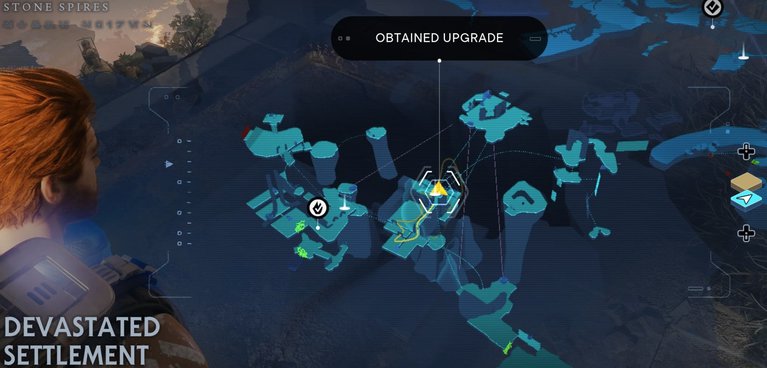
You can obtain the Marksmanship Perk from a Force Essence at the Devastated Settlement on the Stone Spires on Koboh. The Perk itself is located at the end of the route through the High Republic Jedi stronghold.
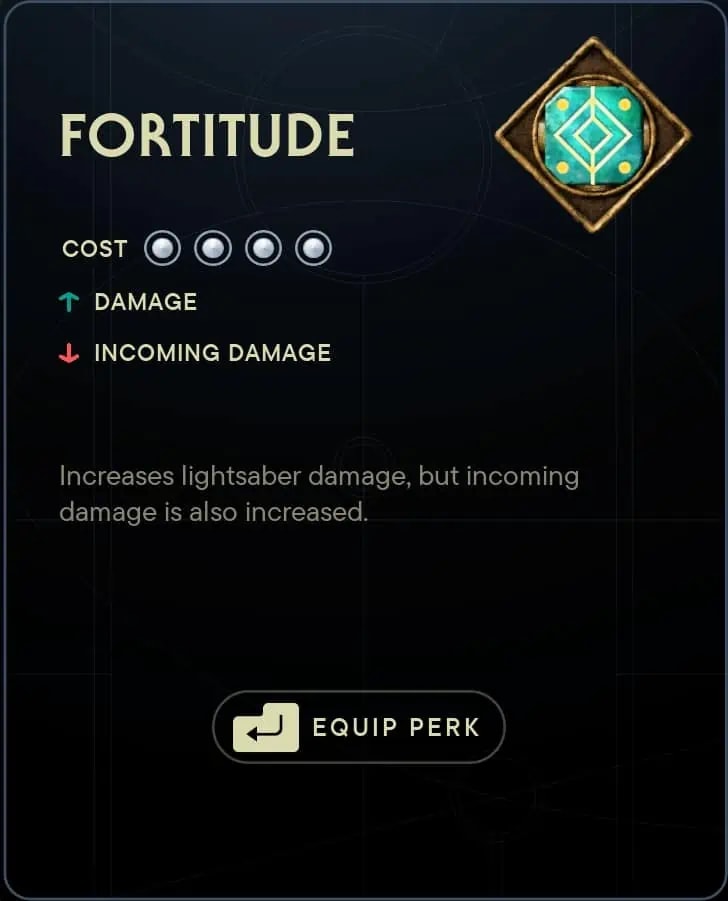
 Fortitude
 Fortitude
- Perk Effect: Fortitude increases your lightsaber damage, but also increases incoming damage.
- Perk Cost: 4 Slots
Even though you will be dealing a portion of your damage with blaster shots, the rest will be lightsaber damage, so even though it might not be as global of a boost compared to other builds, it’s still quite potent and one of the best choices in my opinion.
I think Fortitude is superior to something like Versatility because it always provides the damage boost to your lightsaber swings while there are instances, particularly boss fights, where you won’t need to change your stance at all. The damage boost of Fortitude is also just more noticeable than that of Versatility.
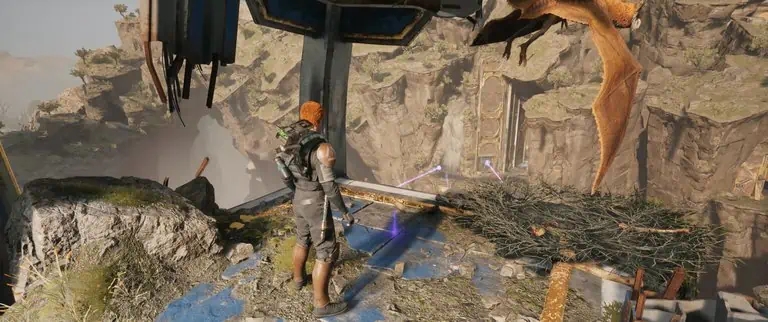
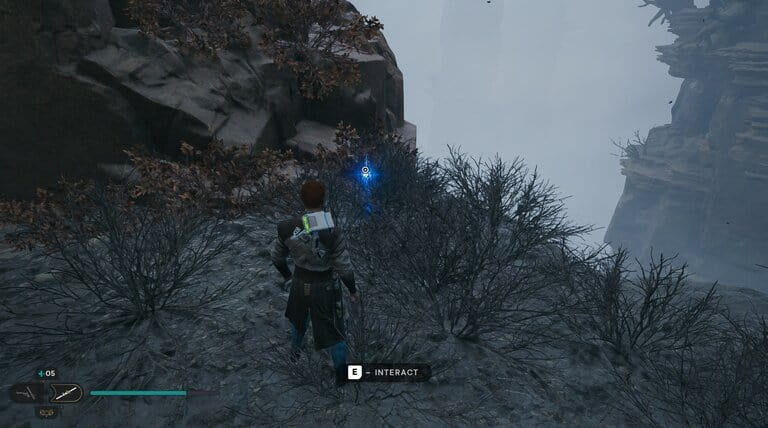
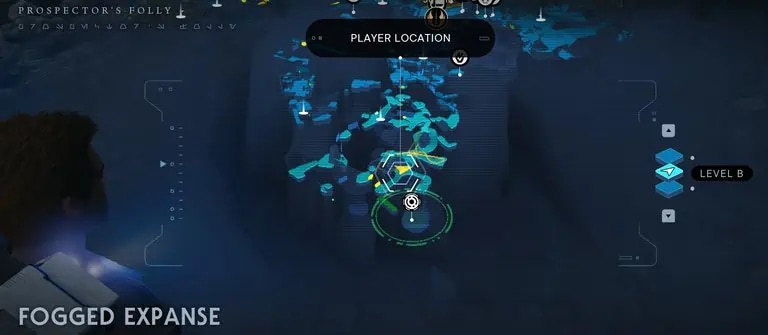
The Fortitude Perk is a reward for defeating the Vile Bilemaw, one of the Legendary enemies in Jedi Survivor. This one is located at the Fogged Expanse at Prospector’s Folly on Koboh.
Early Game Skill Tree Essentials
While you will be able to obtain most or all of the associated Skills eventually, I highly recommend picking up all of these Skills in the Skill Tree early in your playthrough as they significantly expand your capabilities and are core parts of this specific pairing’s playstyle.
Keep in mind that just because I don’t mention a specific Skill doesn’t mean it isn’t valuable, it’s just not an essential part of this build specifically. Check out my Jedi Survivor Starter Guide for tips on Skills that are great for all builds to pick up early.
Blaster
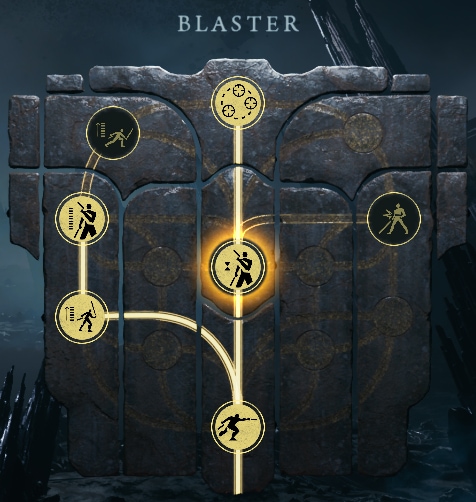
Blaster
Flying Lunge
Blaster Cooldown
Improved Clip
Efficient Heat Transfer
Quick Draw
Flying Lunge is your main gap closer for this build. It allows you to get into melee range after you’re done shooting at things from a distance. It costs Force but deals damage to compensate, so it’s worth using often.
You will definitely feel limited by your ammo with the Blaster Stance. Both Blaster Cooldown and Improved Clip allow you to fire your blaster more often by giving you more ammo, and it helps that they’re cheap.
Efficient Heat Transfer isn’t super essential, but you have to take it in order to access Quick Draw, which lets you deal a considerable amount of damage to an entire group, enough to defeat many enemies outright. It’s also just quite fun to use.
Double-Bladed Skill Tree
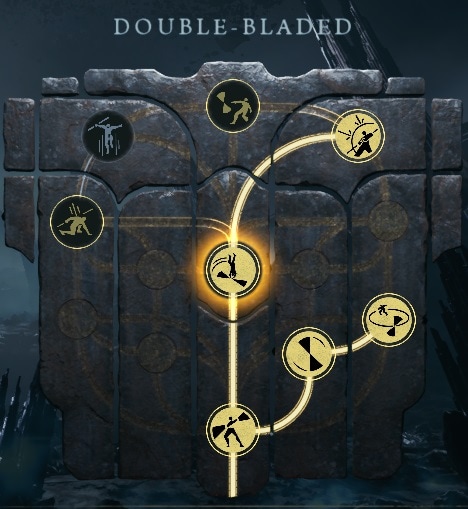
Double-Bladed
Gathering Tempest
Endless Hurricane
Multifold Reflections
Vortex Dive
Double Orbit
Gathering Tempest and Endless Hurricane give you access to your full (and infinite) single-target and multi-target attack sequences respectively. Hold Attack repeatedly to use Gathering Tempest in single-target situations (if you accidentally forget to switch to Dual Wield) and press Attack repeatedly to use Endless Hurricane.
Vortex Dive makes you corkscrew forward, dealing a ton of damage to enemies that get hit. You can essentially punch a hole in the group and escape in the event that you are about to get overwhelmed.
Multifold Reflections lets you reflect all blaster shots back at their attackers. No other Stance lets you reflect nearly as many shots back as this one, and that’s part of what makes the Double-Bladed Stance so strong against groups.
Telekinesis Skill Tree
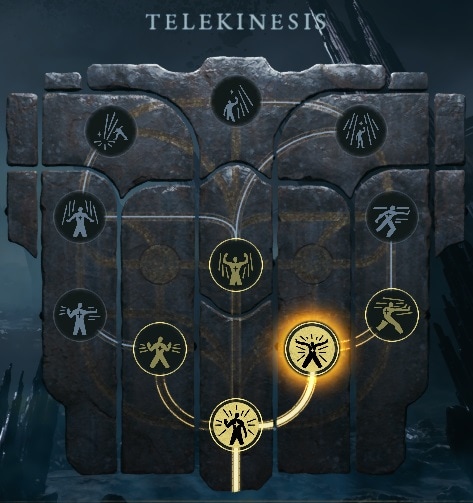
Telekinesis
Wrenching Pull
Radial Push
Wrenching Pull is fantastic to use right before using the Double-Blade Special Attack (Orbit or Double Orbit) if enemies aren’t grouped up enough. If you get a little overwhelmed and can’t start attacking, use Radial Push to give you the breathing room you need to start up that lightsaber lawnmower.
All of the Force Lift perks are valuable as well, but they aren’t available until later in the game.


