
This guide will cover everything you need to know about pairing the Crossguard and Single Saber Stances, including the strengths and weaknesses of the pairing, what each Stance is best suited for, synergistic perks and where to find them, and early skill tree essentials for the early game.
Why pair the Crossguard and Single Stances
Pairing the Crossguard and Single Stance enables you to make the most out of each. Unlike some of the other pairing guides we’ve done, the Crossguard and Single Stances don’t feature completely opposite strengths and weaknesses.
The attack animations of the two stances are similar, so while the speed is quite different, it doesn’t feel nearly as jarring to switch between the two as it might with something like Crossguard and Double-Bladed. There is a unique dimension of fluidity when switching between Crossguard and Single that isn’t present when switching between other pairings.
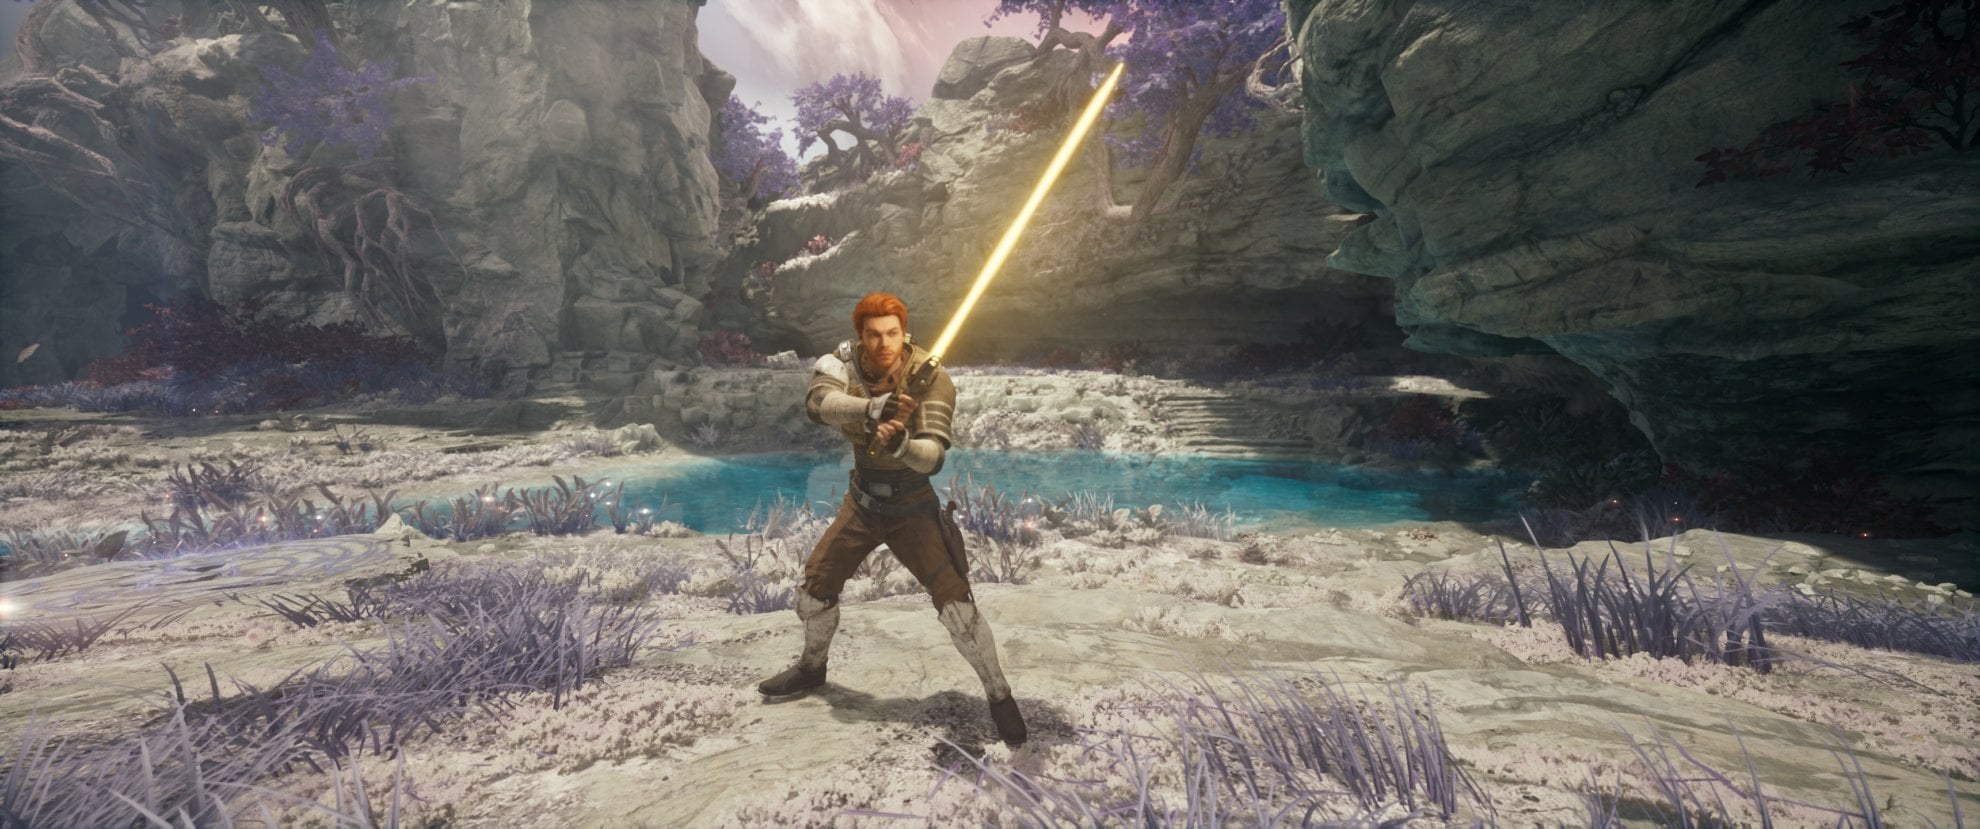
Crossguard Stance
The Crossguard Stance features individual hits that will deal more damage but the swing takes longer, resulting in a greater period of vulnerability.
Against super fast or slow enemies, this slower swing speed is a liability as you are more likely to be mid-attack when your opponent decides to do something and their hit will likely land first, resulting in you taking damage and potentially wasting Force.
That said, these heavier hits from the Crossguard Stance have the exclusive capacity to knock some enemies over and otherwise deal exceptional damage to the Block Meter. Some singular attacks are capable of zeroing out an enemy’s Block Meter from full.
The Crossguard Stance is also excellent whenever you have a period where you can safely wind up the swing but can’t yet hit anything. For example, if a group of melee enemies is running into range you’re safe during the wind-up because they aren’t in range yet but you’ll get more out of the initial hit than you would with a faster swing because you’d just have to start the swing later. Basically, you get all of the rewards with none of the risks.
As you can see, the Crossguard has massive strengths and weaknesses, but I want to point out that the Crossguard Stance has exceptionally polarized performance against the various Separatist Battle Droids reused by the Bedlam Raiders. The Crossguard is either the best or worst Stance in the game against each type of droid.
| Against this Droid model, | use this Stance | because… |
|---|---|---|
| B1 Battle | Single | Both the melee and ranged variants can be defeated with a single swing from the Single Stance, so there’s no reason to waste time with a slower, heavier swing. |
| B2 Super | Crossguard | The B2 Supers can be knocked down by swings from the Crossguard Stance and it only takes 1-2 hits to finish one off. |
| BX Commando | Single | The BX Commandos are super evasive, and they will automatically dodge a lot of hits. You just won’t land many of the swings, so it’s not worth committing to a heavier hit. |
| Droideka | Crossguard | The Droideka’s shield can be broken from full HP with a single deflection from the crossguard and they can then be finished off in 1-2 hits. |
Check out our dedicated guide on the Crossguard Stance for more detailed information.
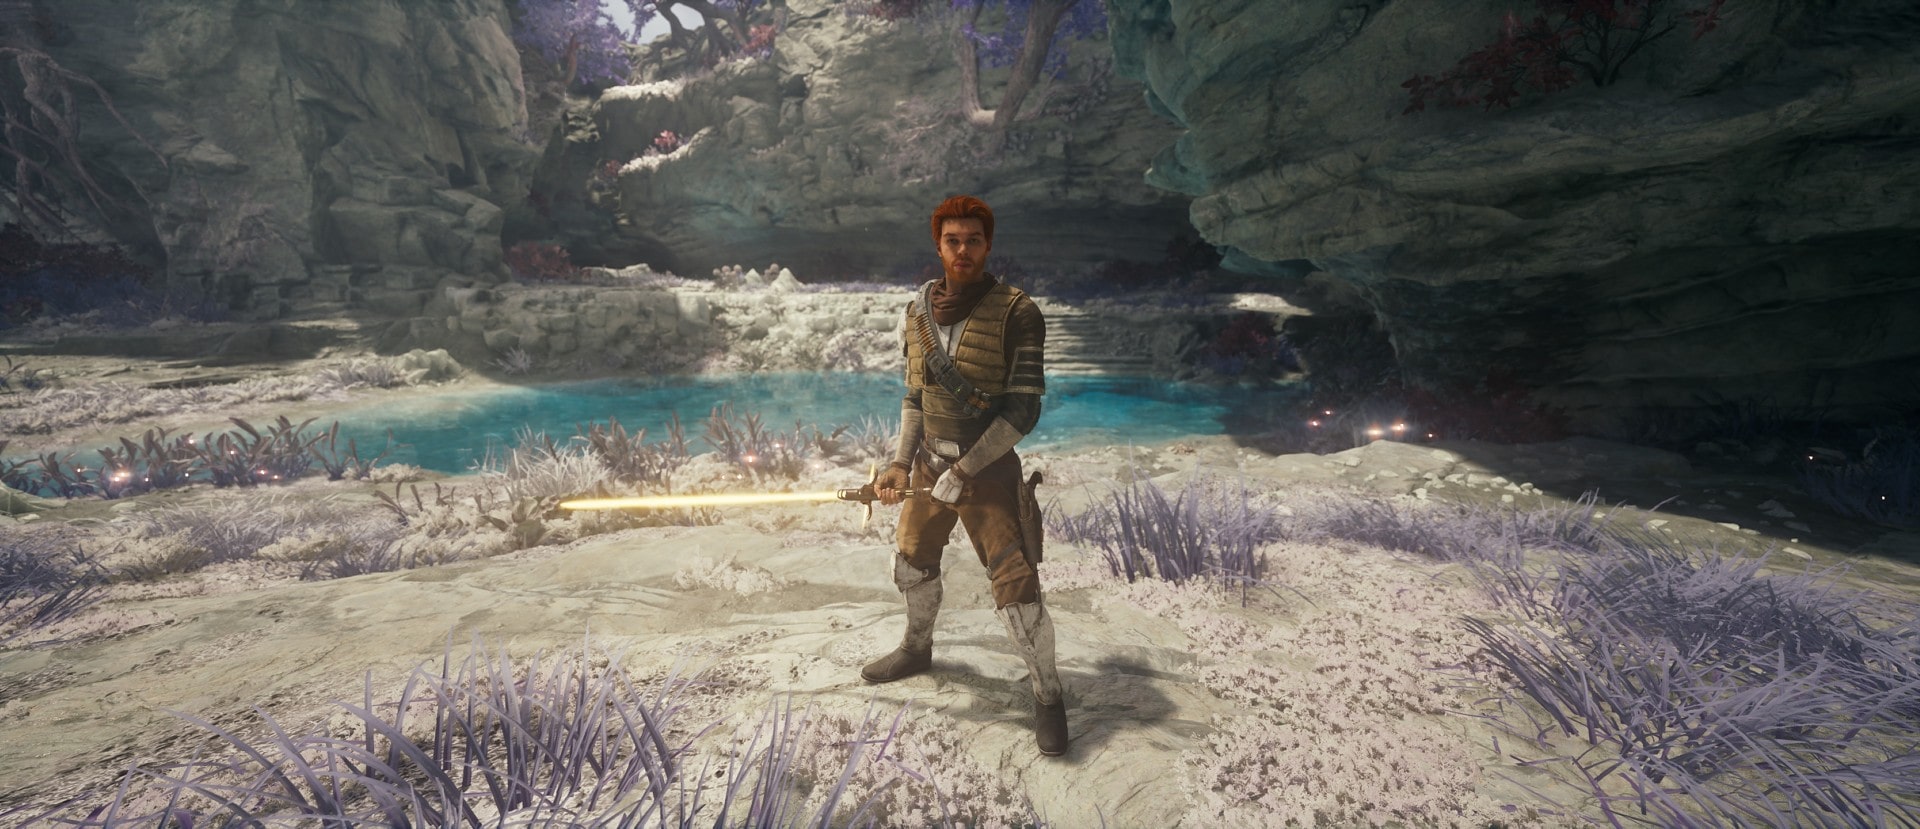
Single Stance
Single is the most well-rounded Stance, it doesn’t have any areas where it struggles to be effective but doesn’t really excel anywhere either.
This lack of polarization is its most valuable asset when paired with the ultra-polarized Crossguard Stance. In the context of this build, you’ll mostly be leveraging the Single Stance’s faster attack speed to deal damage when you’d otherwise have a hard time landing attacks with the Crossguard.
Other Stances will be able to offer equal or better performance in specific situations. In particular, this build is a little weaker in multi-target situations compared to a pairing like Crossguard and Double-Bladed, but you shouldn’t ever run into a situation where you have little to no options.
I want to be clear that the Single Stance is no slouch either. In fact, it offers practically identical sustained damage output against enemies with slower attack speeds because you can often get multiple swings with the Single Stance in between enemy attacks when you’d only be able to get a single hit in with the Crossguard Stance.
Since more of the strength of the Crossguard Stance is weighted toward lowering an opponent’s Block Meter as opposed to HP, the Single Stance is typically better against enemies with Block Meters that you can’t zero out, like large beasts.
Check out our dedicated guide on the Single Stance for more detailed information.
Combining the Stances
Since Crossguard Stance has more polarized strengths and weaknesses, you want to activate the vents on your saber when you can take advantage of those strengths but turn them off when you wind up in a situation where you’ll struggle as a result of the weaknesses.
The Crossguard is a powerful weapon, but each attack has considerable wind-up, making it more risky to use. You can chew through a ton of HP or Block Meter with a single swing, but it will often be excessive when a much lighter, faster hit could get the job done. For example, when an enemy has 10% HP left, it’s a waste to risk a Crossguard swing that will chew through 25% of their health when you could use a Single Stance swing to deal 15% and still finish them off.
Hitting an enemy with a Crossguard Stance swing while it has barely any HP or Block Meter remaining is a waste and you should switch to the Single Stance quickly before swinging.
In single-target situations, your main focus should be on not overshooting the various thresholds that exist in combat. You want to deal just enough damage to defeat an enemy by picking the right tool for the job. It’s ideal to swap quite frequently between the two stances, as in you should be assessing whether to swap with just about every swing.
Against the strongest melee enemies like Purge Troopers and Magnaguards, it is typically best to use the Crossguard exclusively for breaking through their Block Meter and then dealing actual damage with the Single Stance.
In multi-target situations, it’s more about whether or not you can actually get the Crossguard Stance swings off. If you can, it’s a clear winner, but if you can’t, you should switch to Single Stance until you think you can start landing useful Crossguard Stance swings.
What Perks to use
These are the Perks I recommend using with the Crossguard and Single Stance Pairing. There are other great alternatives, but these specifically synergize with both Stances and their combined playstyle.
If you want to learn everything about Perks, check out our comprehensive guide that details how Perks work, what each of them does, where to find them, and where to find each of the Perk Slots so you can equip all of the ones I recommend for this build.
 Fortitude
 Fortitude
- Perk Effect: Fortitude increases your lightsaber damage, but also increases incoming damage.
- Perk Cost: 4 Slots
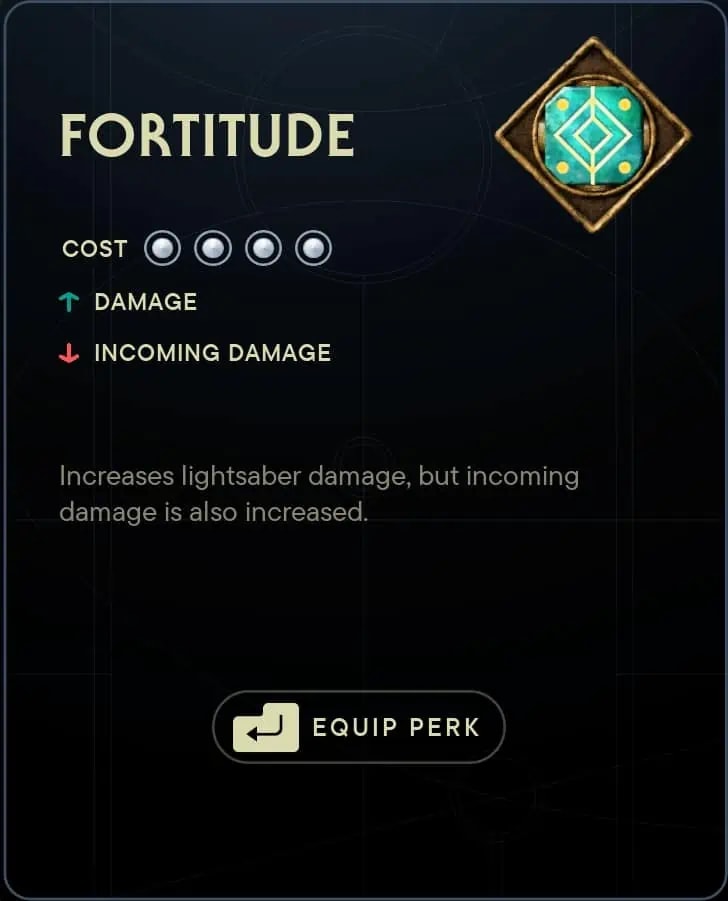
Practically all of the damage you’ll be dealing with this build is lightsaber damage, so this is a nearly global damage increase. You’ll be using the Single Stance to minimize the risk from
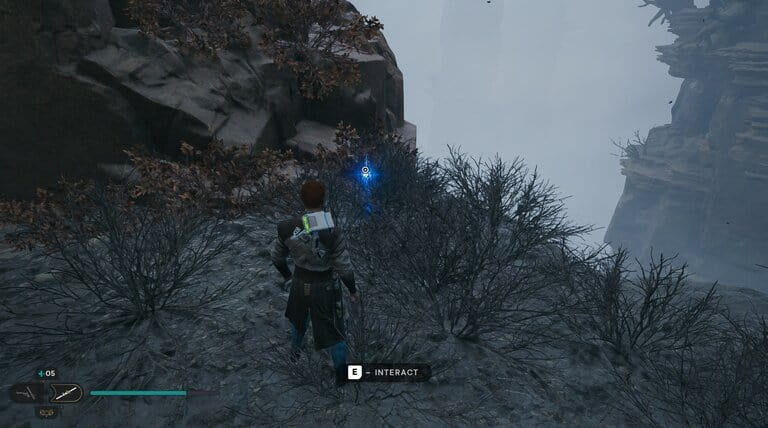
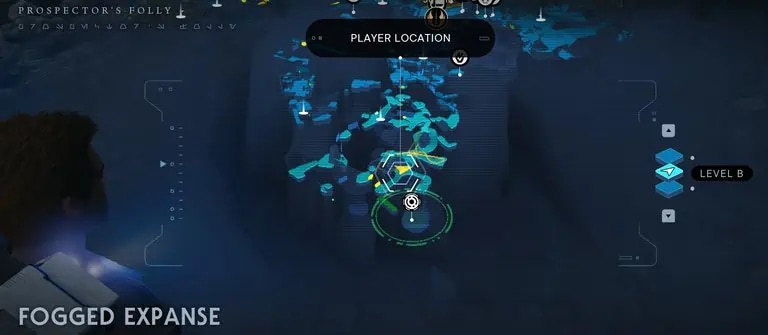
The Fortitude Perk is a reward for defeating the Vile Bilemaw, one of the Legendary enemies in Jedi Survivor. This one is located at the Fogged Expanse at Prospector’s Folly on Koboh.
Versatility
 Versatility
- Perk Effect: Increases lightsaber damage temporarily after switching stances.
- Perk Cost: 3 Slots
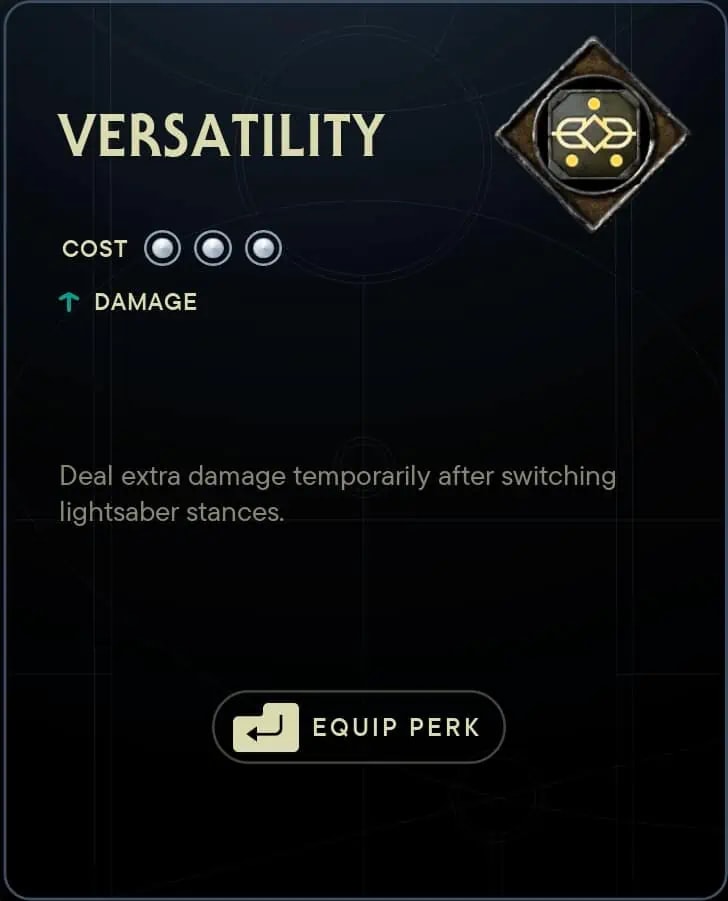
Versatility makes it so you deal more lightsaber damage for a short period of time after switching Stances. The effect is small but valuable because you need to switch stances pretty frequently.
You can purchase the Versatility Perk from Zee’s Shop for 5 Datadiscs. You collect Datadiscs by playing the game and exploring, mostly on Koboh and the Shattered Moon.
Shatter
 Shatter
- Perk Effect: Attacks are more effective at breaking enemies’ guard.
- Perk Cost: 2 Slots
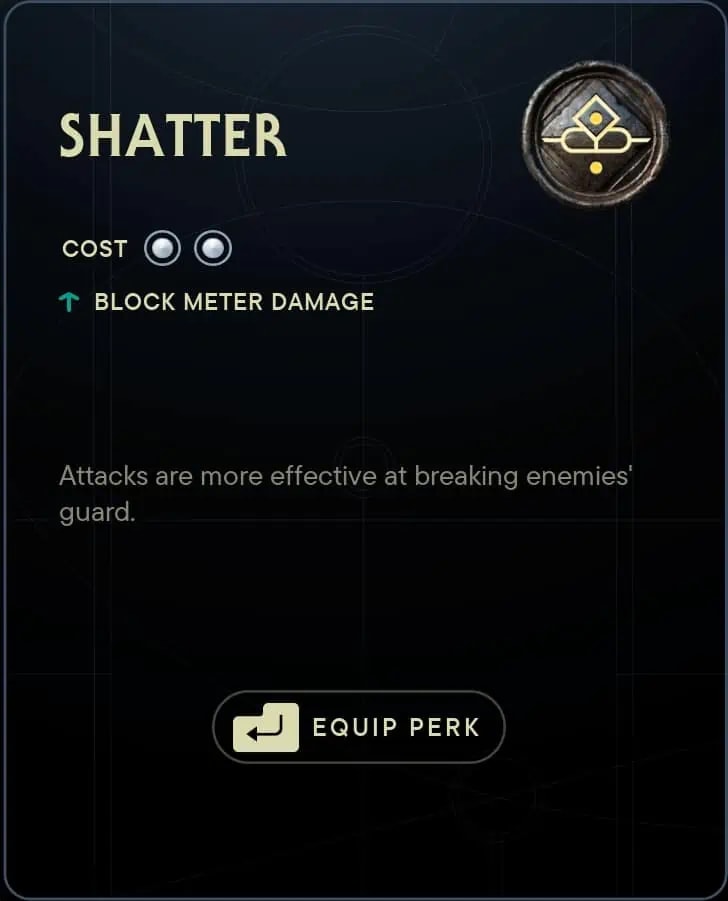
This perk makes your attacks drain more of your opponent’s Block Meter. For this Stance pairing, Shatter specifically lowers the number of hits required to fully drain an enemy’s Block Meter by 1, often from 2.
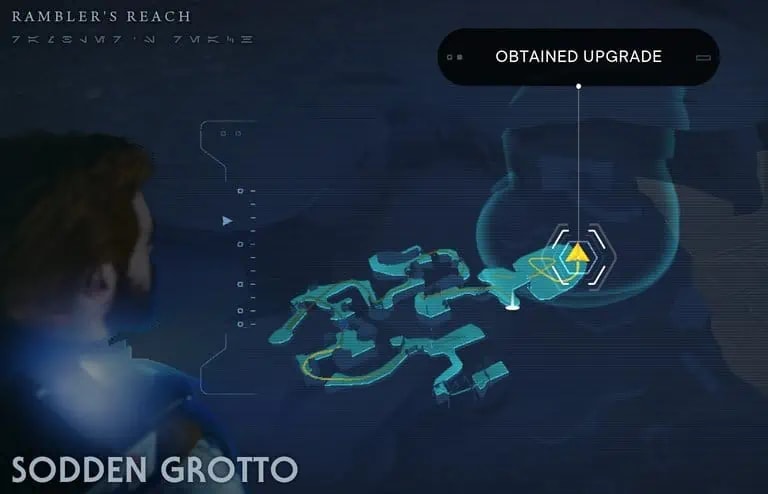
The Shatter Perk is a reward for defeating the Legendary Rancor at the end of the Sodden Grotto mine on Koboh.

Resilience
 Resilience
- Perk Effect: Block Meter is increased.
- Perk Cost: 1 Slot
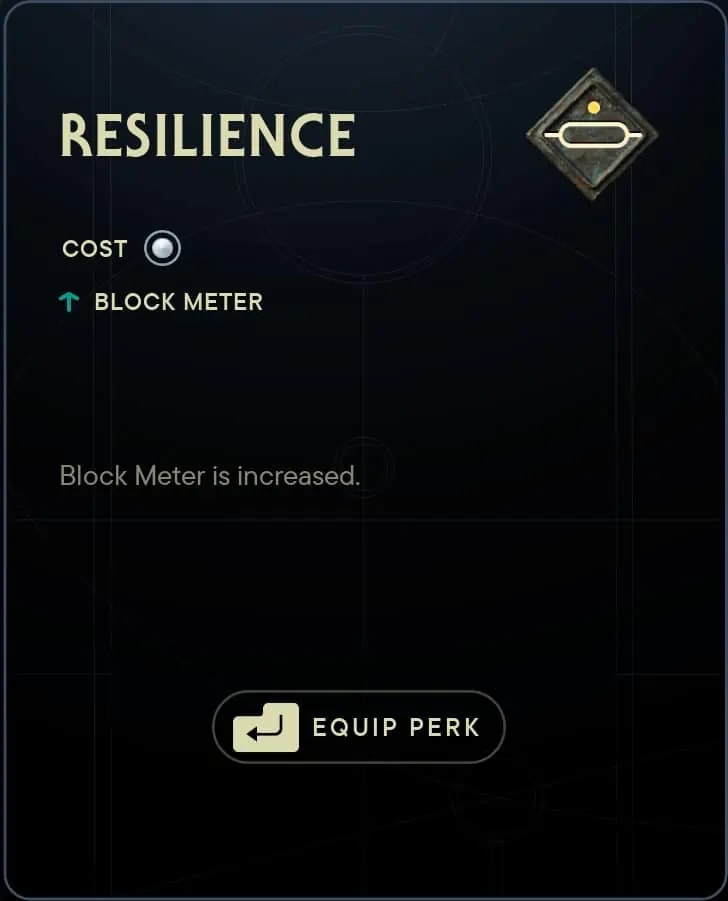
This perk makes it even less likely that you’ll run out of Block stamina. It’s not nearly as valuable as it is for other builds, but you have 1 spare point and this is the best option in my opinion.
You can acquire the Resilience Perk in the Chamber of Duality on Koboh where you first encounter Zee. This High Republic Jedi Chamber is part of your main mission objectives and there’s no way you can miss it. Check out our full walkthrough for the Chamber of Duality for more info.
Early Game Skill Tree Essentials
While you will be able to obtain most or all of the associated Skills eventually, I highly recommend picking up all of these Skills in the Skill Tree early in your playthrough as they significantly expand your capabilities and are core parts of this specific pairing’s playstyle.
Keep in mind that just because I don’t mention a specific Skill doesn’t mean it isn’t valuable, it’s just not an essential part of this build specifically. Check out my Jedi Survivor Starter Guide for tips on Skills that are great for all builds to pick up early.
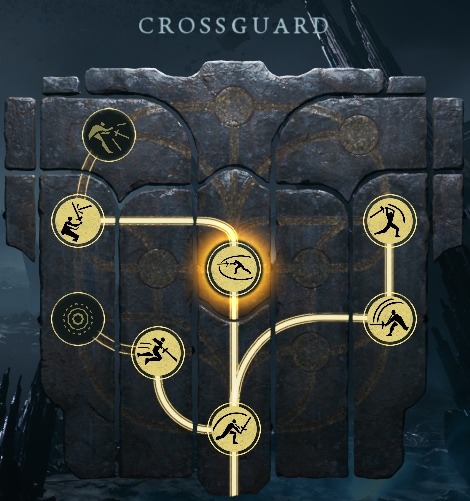
Crossguard
Rending Strike
Impact
Greater Cleaving Swing
Reaching Cleave
Sundering Swipe
Charged Reflection
Rending Strike gives you an even stronger hit with an even longer wind-up for those moments where you can really punish an enemy for ever thinking of crossing you.
Impact gives you an ability that works a lot like a saber throw and deals similar damage, but will more reliably travel through multiple targets and deals a lot more damage to the Block Meter. Don’t forget to upgrade its range with Greater Impact later on.
Greater Cleaving Swing and Reaching Cleave upgrade Upercut, which is input by pressing Special Attack. It is different from Rending Strike. Uppercut has garbage range to start, and both of these Skills help to minimize that limitation.
Sundering Swipe gives you a stronger, slower version of the Single Stance’s Cleaving Swing. To be clear, you use Sundering Swipe with the Crossguard by pressing Block + Attack and you use Cleaving Swing with the Single Stance by pressing Special Attack. With the Shatter Perk, you can zero out some enemies’ Block Meter from full with Sundering Swipe and this is incredibly valuable given it can hit multiple targets.
Charged Reflection enables you to reflect stronger shots than were fired at you. It will stagger every enemy it hits, can hit multiple nearby enemies, and is capable of breaking the Droideka’s shield in a single hit, but it can only reflect 1 blaster bolt at a time, so it can be excessive next to the Twofold Reflection of the Single Stance against weaker enemies.
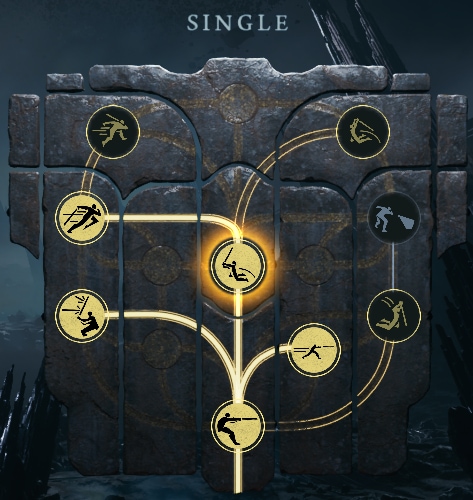
Single
Lunging Strike
Improved Footwork
Twofold Reflection
Aerial Assault
Dash Strike
Lunging Strike gives you a strong Force-empowered stab attack for the Single Stance and Improved Footwork increases its range.
Twofold Reflection allows you to reflect 2 blaster shots in a row, essentially doubling the effectiveness of your blaster reflections while in the Single Stance for only 1 Skill Point.
I want to note that I don’t recommend taking Cyclone Slash early. That attack is strong and doesn’t cost Force, but it has a long wind-up, which is the exact same capability offered by the Crossguard. You can take it eventually to cover for mistakes, especially when you can afford Charged Throw, but it’s better to get into the habit of switching Stances when you want a heavier hit.
In a similar vein, Dash Strike gives you a gap closer, but I think you should get into the habit of switching to Crossguard and waiting for enemies to come to you so you can benefit from the stronger eventual hit before taking Dash Strike. However, there are instances where it’s risky to use the Crossguard and you’ll want a gap closer and Dash Strike provides it.
Aerial Assault gives you a strong attack to use from the air. The Crossguard’s Impact ability is better, but if you’re messing around in the air, you’re probably gonna be more worried about that than which Stance you’re in, so I think the redundancy is fine for this one. Don’t forget to take Aerial Ace later on to upgrade it.
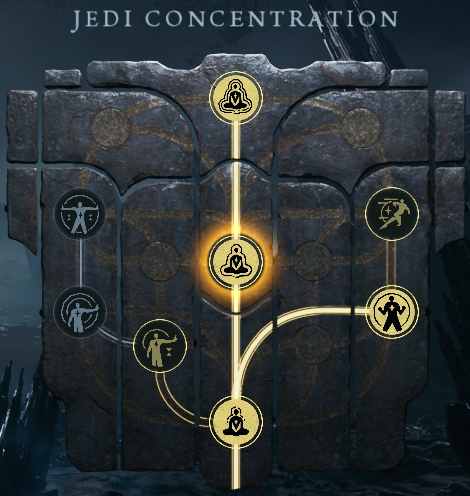
Jedi Concentration
Attunement
Channeled Energy
Lucid Attunement
Enlightened Attunement
This build is pretty starved for Force and unfortunately, the Perks offer little recompense. All of these Skills will have a practical impact on the amount of Force at your disposal. You can take Swift Focus as well if you’re good at doing Precision Evades.
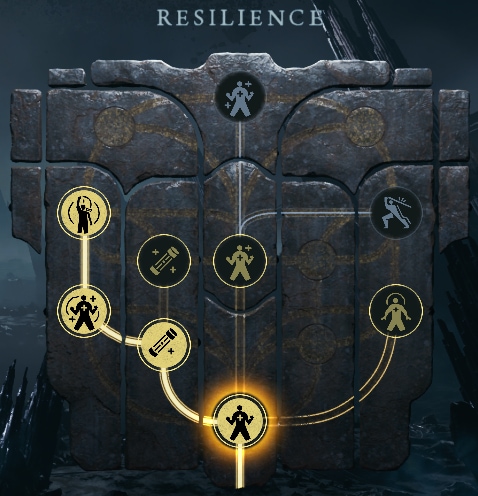
Resilience
Survival Skills
Improved Stim Formula
Teamwork
The Power of Friendship
You’re really going for Teamwork and The Power of Friendship here. Teamwork, because you already have more limited time to use Stims since you’re using the Crossguard Stance, but you also just have limited Force, so any way to get it back is valuable.
I want to reiterate that all the other Resilience Skills are valuable early on, but they aren’t uniquely essential to this build, so I didn’t include them here.


