
This guide will tell you what are the Floating Balloons in Star Wars Jedi: Survivor and how to use them to explore more than just the main objectives and discover hidden secrets in the game!
There are many things that are a mystery when playing Jedi Survivor for the first time. Green Laser Barriers, strange electrical devices, doors that can’t be unlocked, and weird balloons can be found floating on some parts of Koboh and Jedha.
These strange balloons are the key to getting to different locations that otherwise are impossible to reach. They are super simple to use and there’s not much involved in this game’s mechanic unless you’re doing a Fractured Force Tear challenge but I’ll get to that later.
How do you get the ability to use Floating Balloons
Note: This segment contains story spoilers, which are required to explain how, where and when Cal gets the ability to use the Floating Balloons.
Very early in the game, on Coruscant, you get the Ascension Cable. This item allows Cal Kestis to move up, down, or diagonally across platforms and levels on all planets. It doesn’t matter if you have to get to the top of a temple, a ledge, or to a different level in an Imperial facility, the Ascension Cable is your best friend.
While it is the most used ability, you still need to upgrade the Ascension Cable before being able to grapple the Floating Balloons. Once you have it, exploring every corner of the main planets will be very easy.
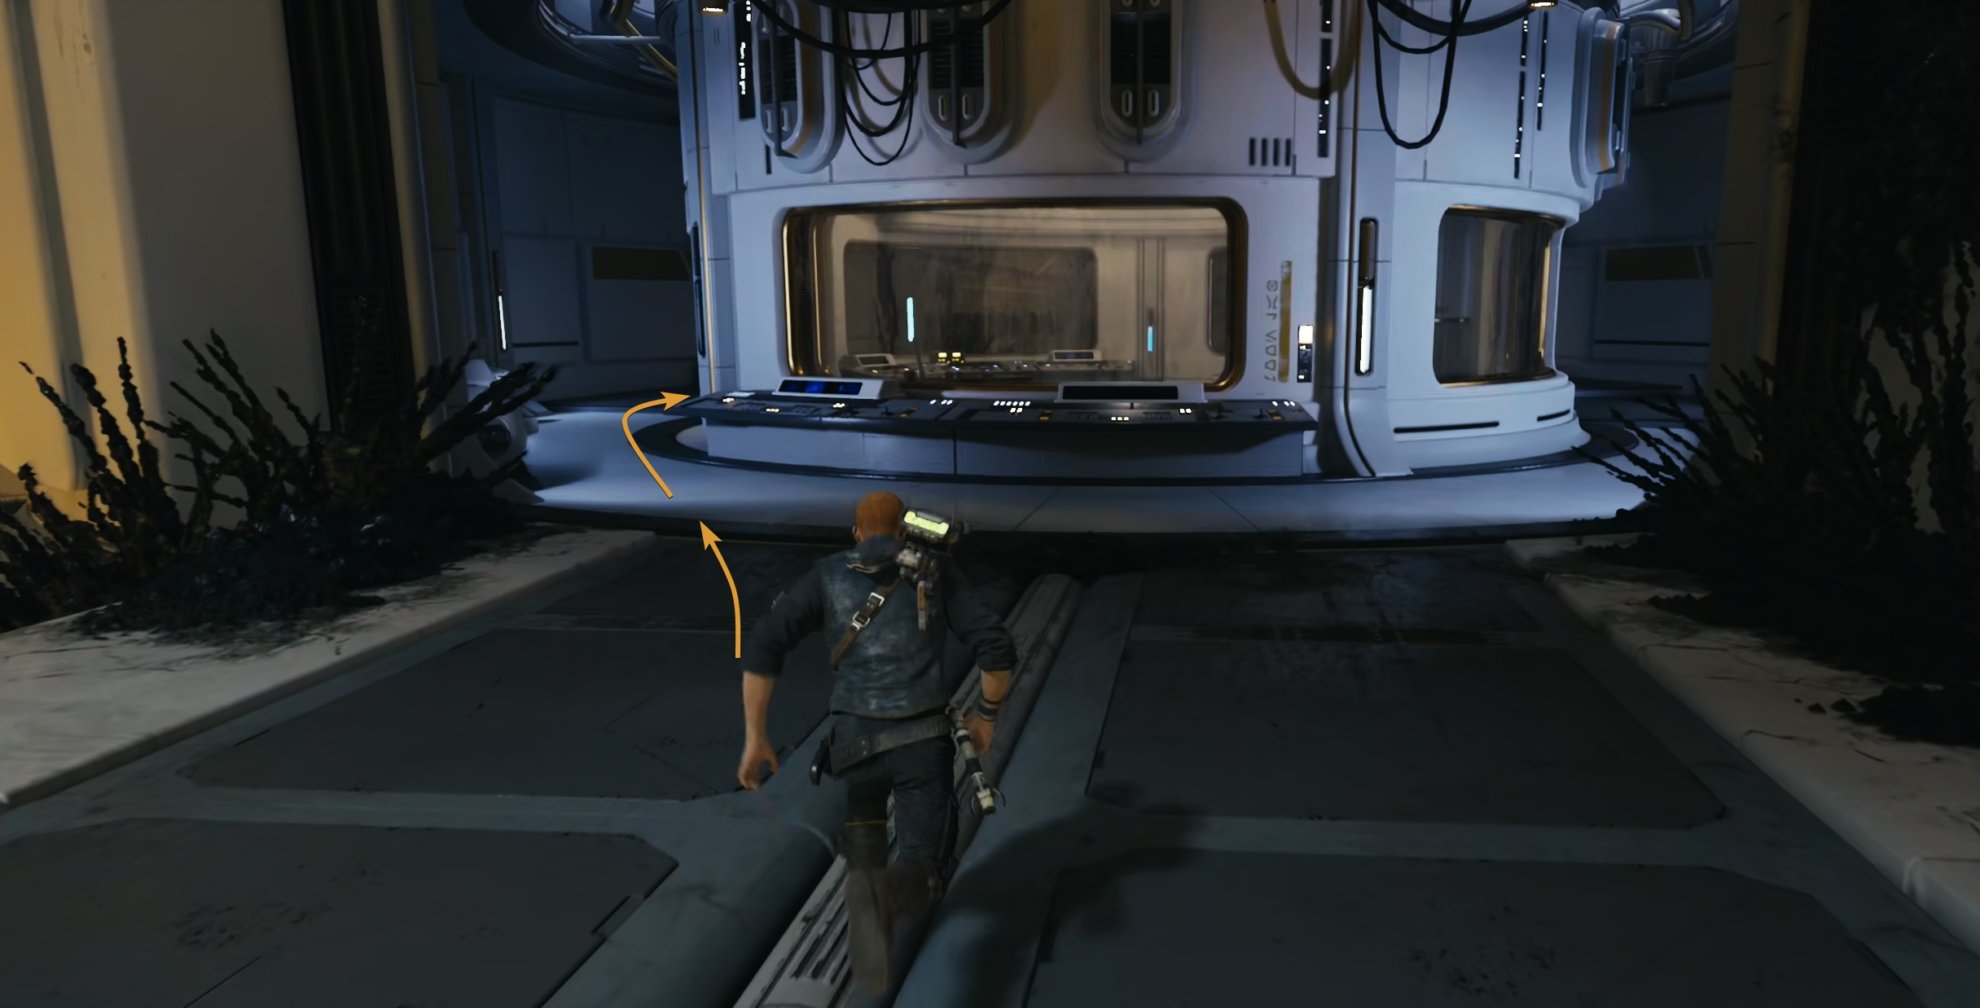
The upgraded Ascension Cable is obtained during your second visit to the Shattered Moon. Before fighting Rayvis and right after you solve the Orb and Koboh Matter Puzzle on the Shattered Moon, you’ll find a workbench inside a laboratory.
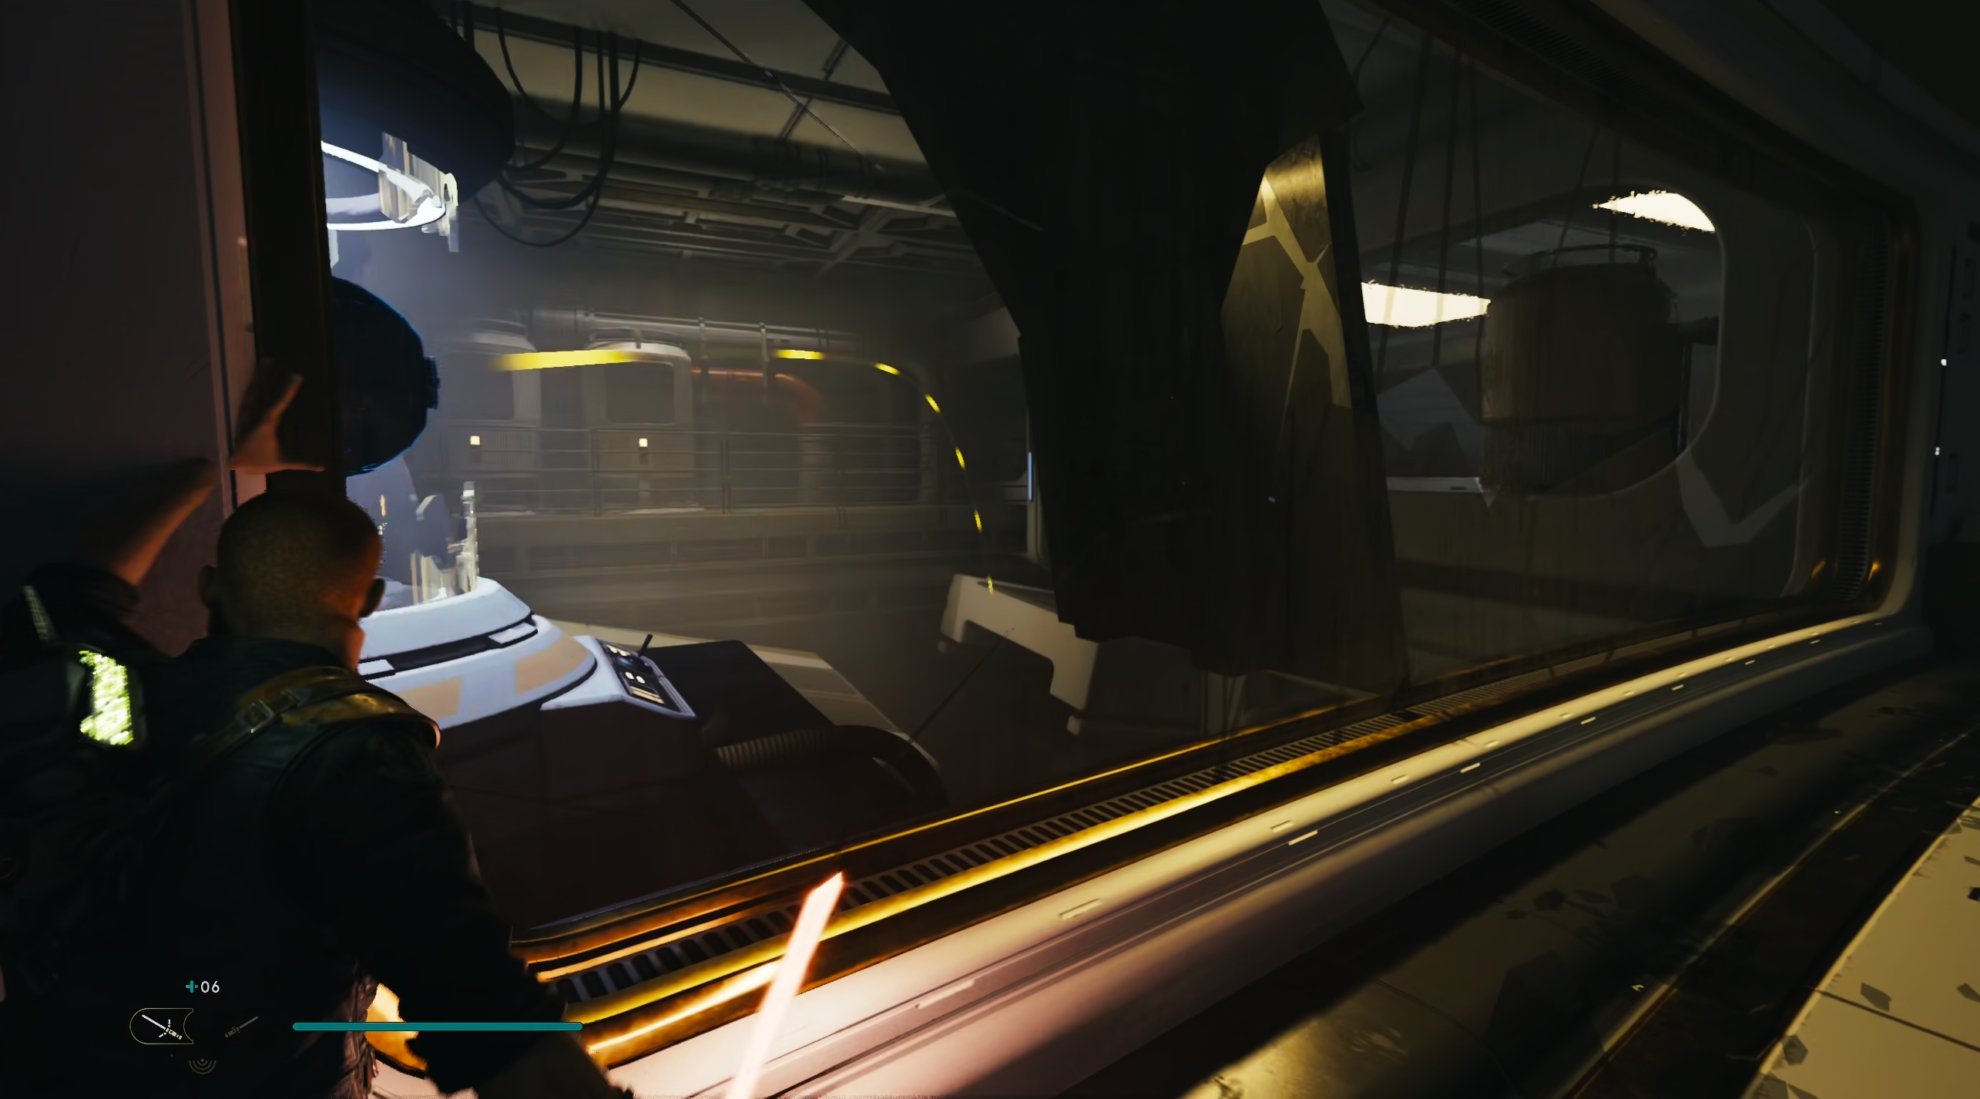
How to solve the Koboh Matter and Orb puzzle:
Pick up the Orb and throw it into the ramp that slides beneath the wall with the large glass on the right. There are two ramps. You have to aim and throw the Orb onto the right ramp so it slides under the wall to the right.
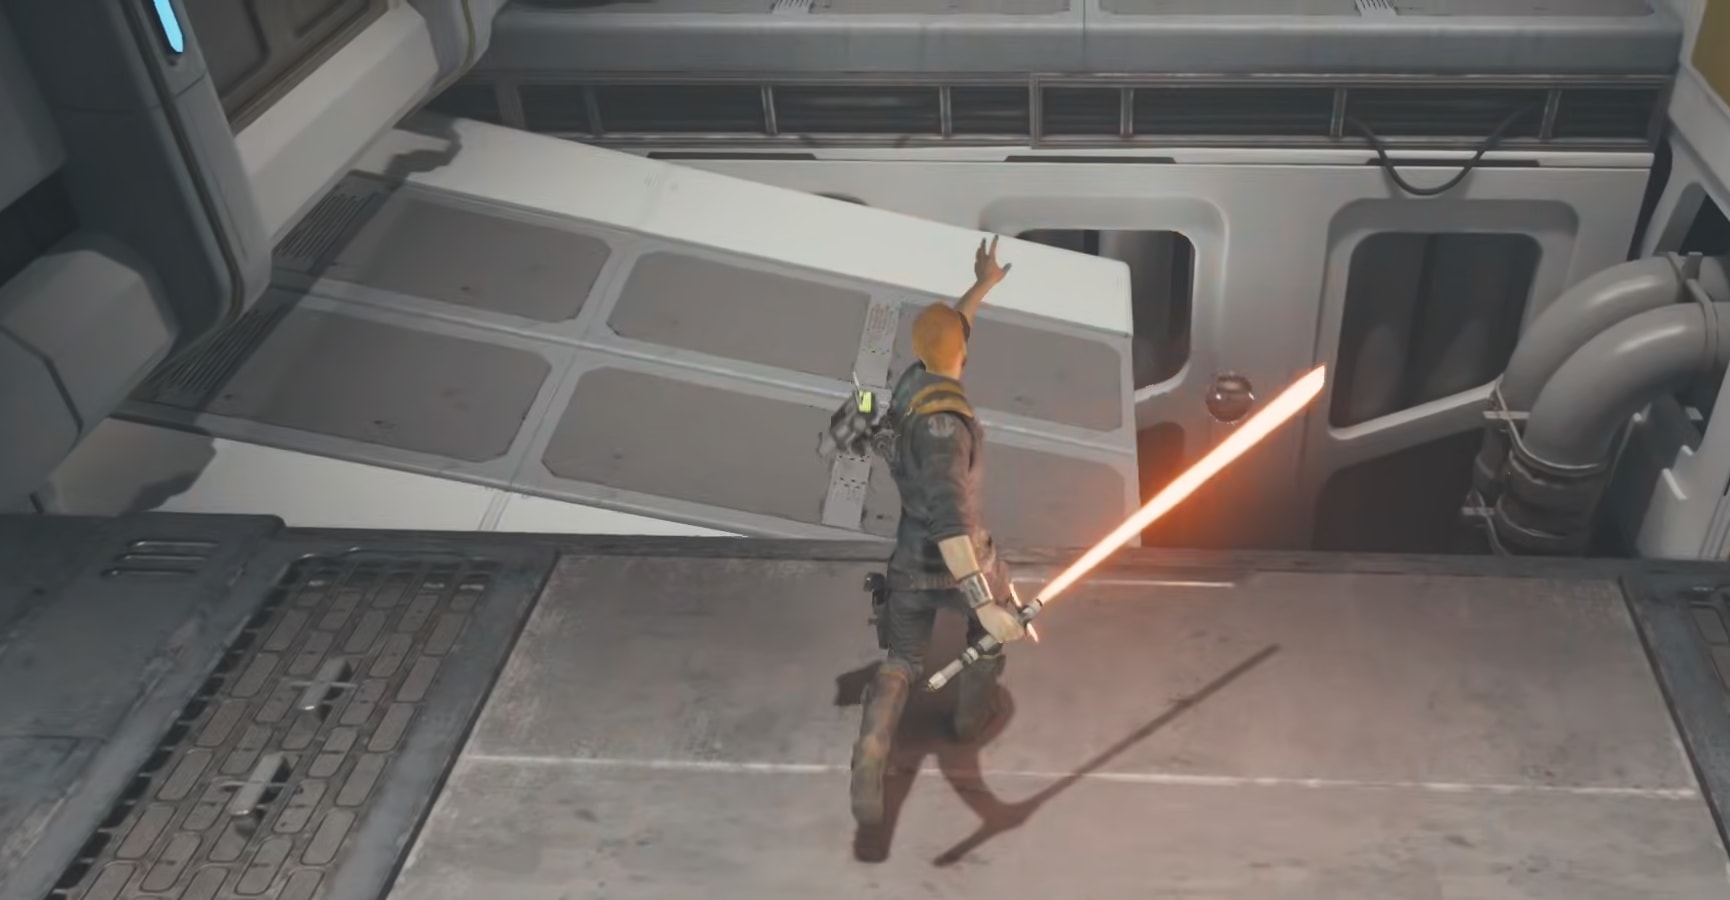
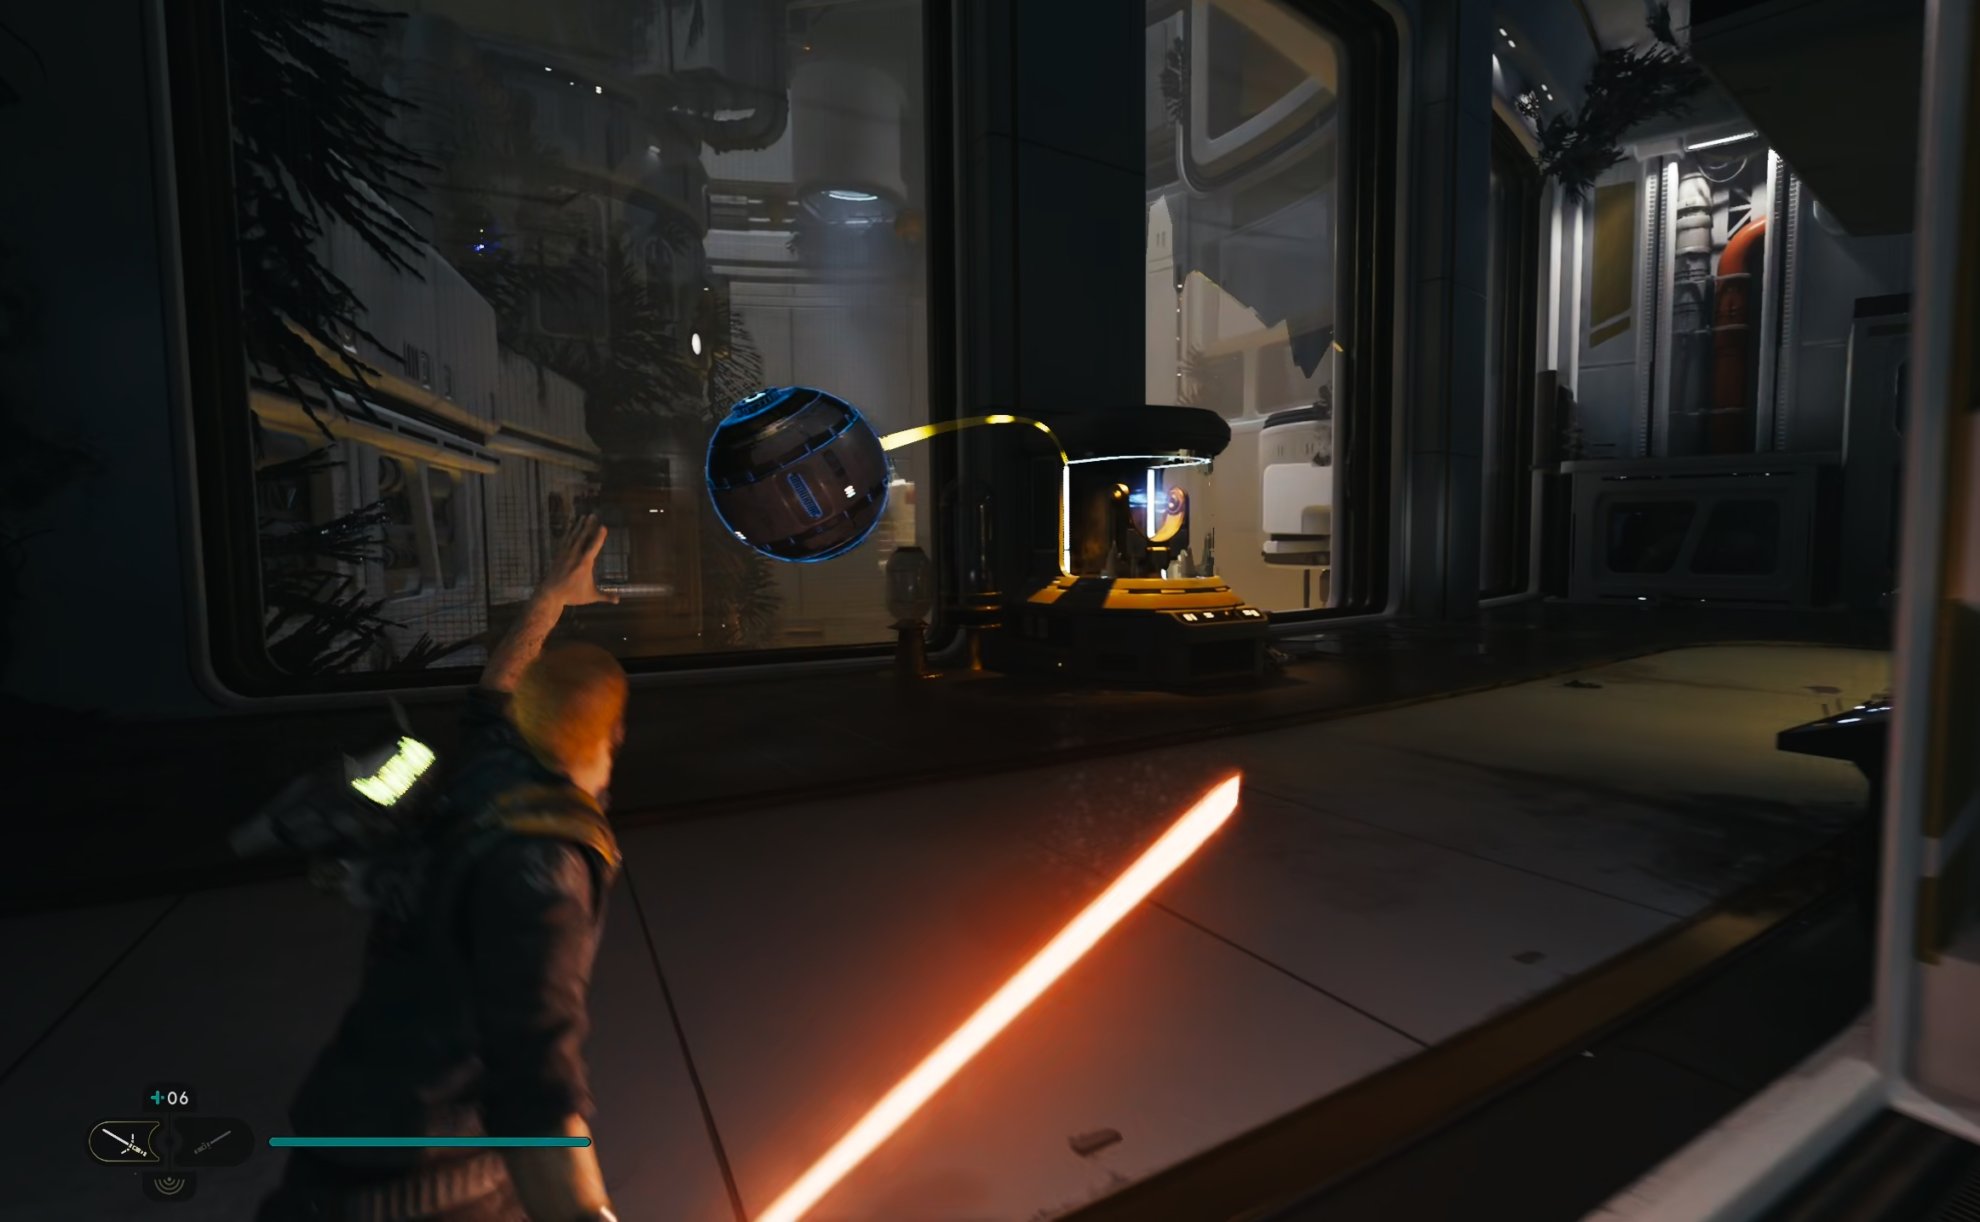
Now, quickly run around to the lower end of the ramp and Force Pull the Orb before it respawns in its original place.
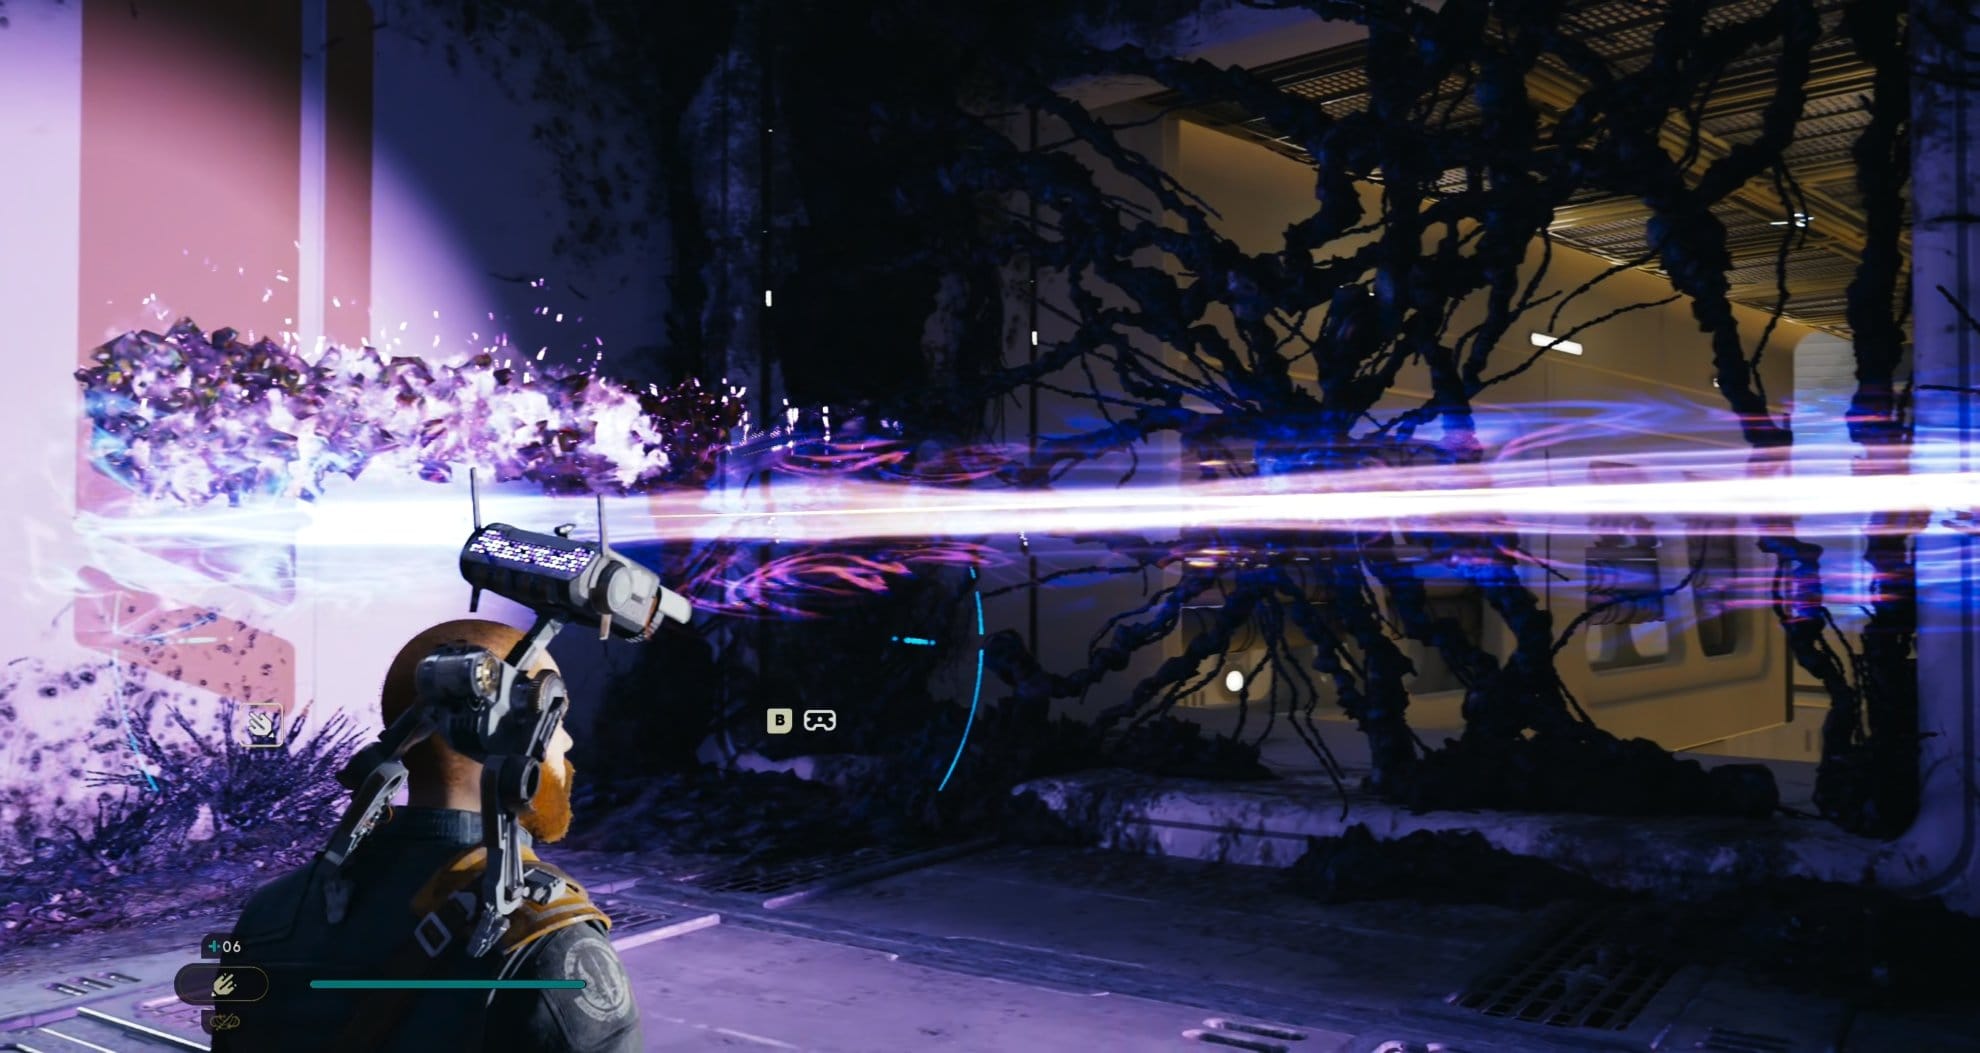
Carry the ball to the Amplifier to generate the Beam.
Then use the Koboh Grinder to create a path to the Koboh Matter Barrier to the right of the wall the beam hits.
Obtain the ability to grapple hook to Floating Devices
Reach the other end of the hallway and find the Workbench. Interacting with it will trigger the cutscene that shows how Santari Khri confronted Dagan Gera when he lost his mind and betrayed the Jedi Order.
Once this cutscene ends, BD-1 calls for Cal’s attention to something that can be attached to the Ascension Cable.
Congrats! You now have upgraded it and can continue your adventure. Get ready to fight Rayvis, the Gen‘dai that loyally serves Dagan Gera.
But before that, the game gives you a very brief tutorial on how to use the Upgraded Ascension Cable to grapple Baloons and Floating Objects.
How to use the Upgraded Ascension Cable
Using the upgraded Ascension Cable to grapple the Floating Balloons is almost the same as before getting the upgraded version. Simply go near the structure, ledge, or balloon and use the required button.
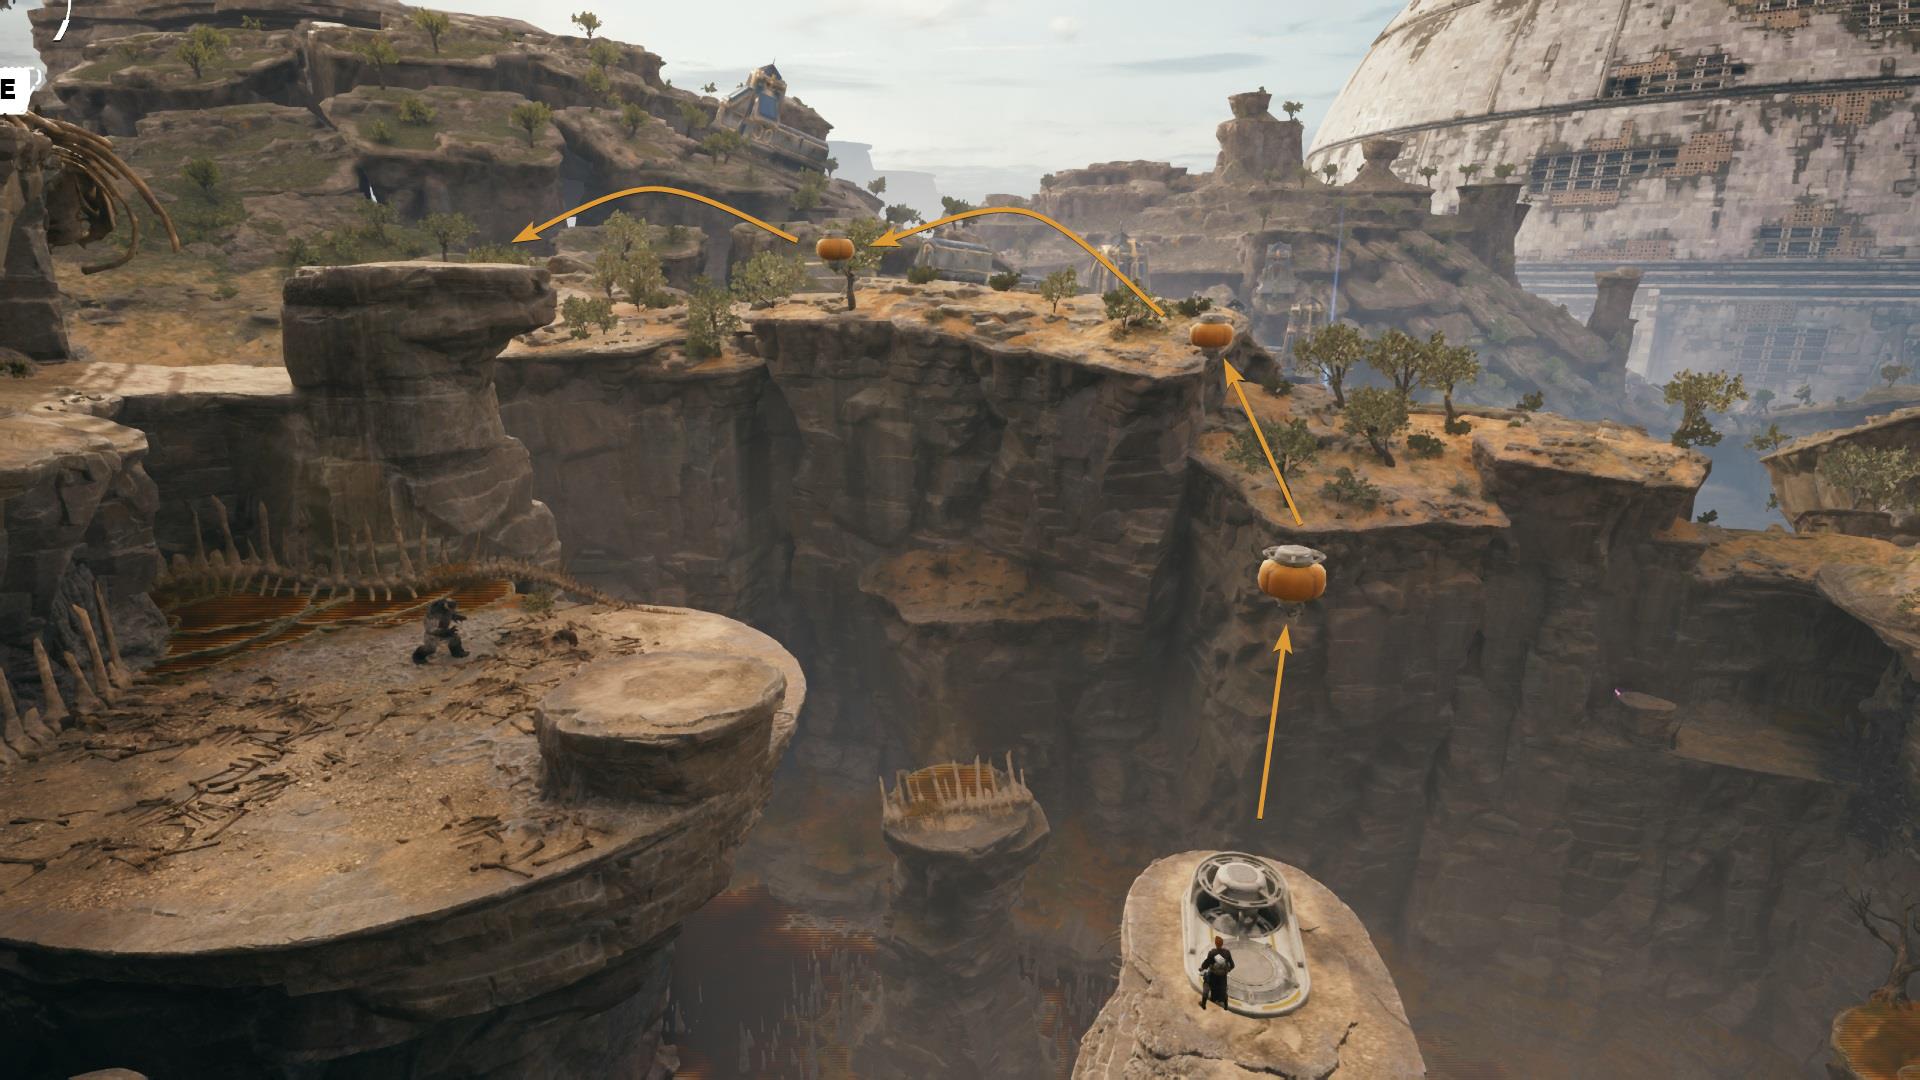
What is different now is the fact that holding down the Ascension Cable button will slow time for a few seconds, allowing you to aim where to send Cal on his next jump.
While you are holding the button on top of a Baloon, you see a graph that shows how long you have until the game automatically “fires you off” from the current Ballon in the direction Cal is facing.

Often, there are multiple Floating Balloons and they rarely follow one direction (to spice up your gameplay) and most times you have to adjust the direction and height to get to the next objective.
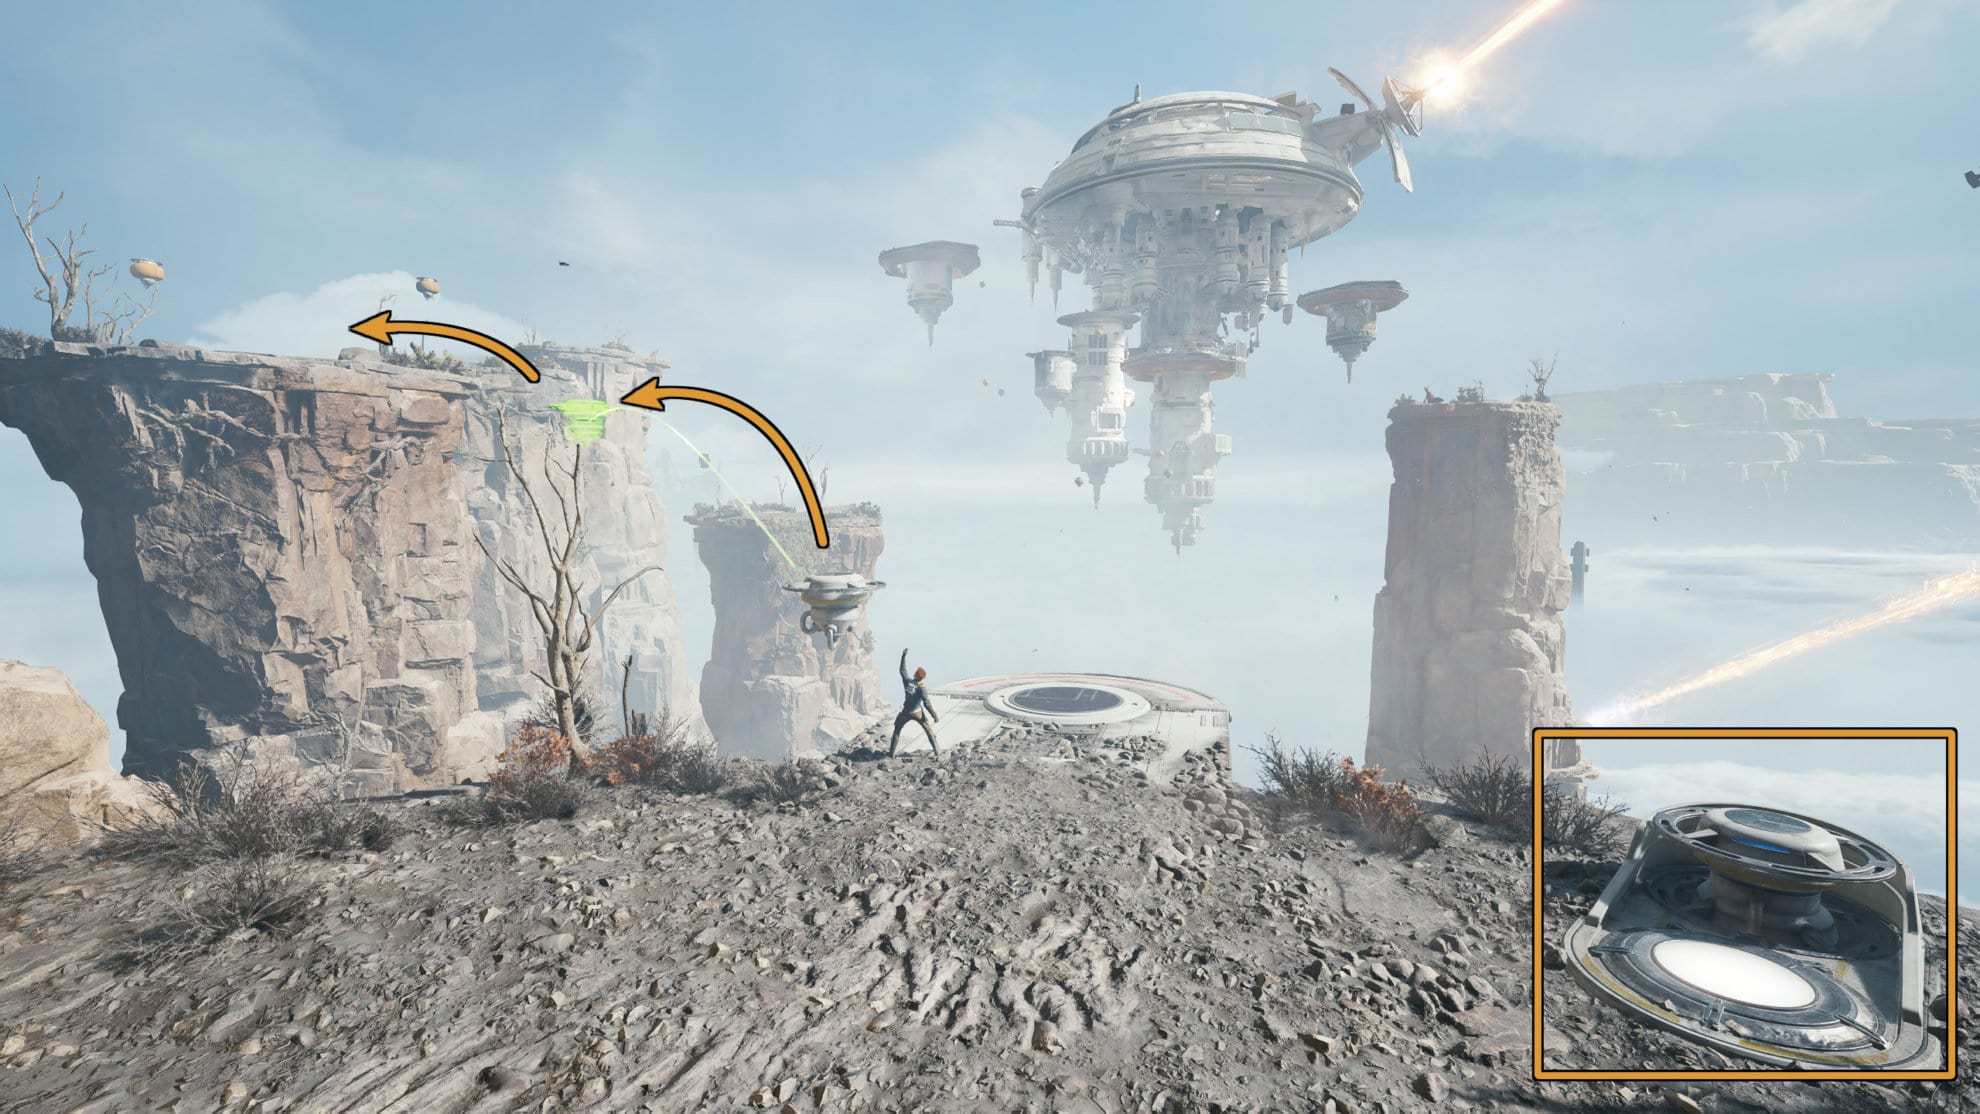
This ability is heavily involved in your upcoming main objective to reach the Koboh Observatory. In this mission, you even get to manually place a few Balloons in strategic locations so you can reach a destination that is otherwise unreachable.
The parkour puzzles that appear on some of the Fractured Force Tear challenges combine this mechanic with wall jumping, jumping between zip lines, and dashing mid-air through barriers.
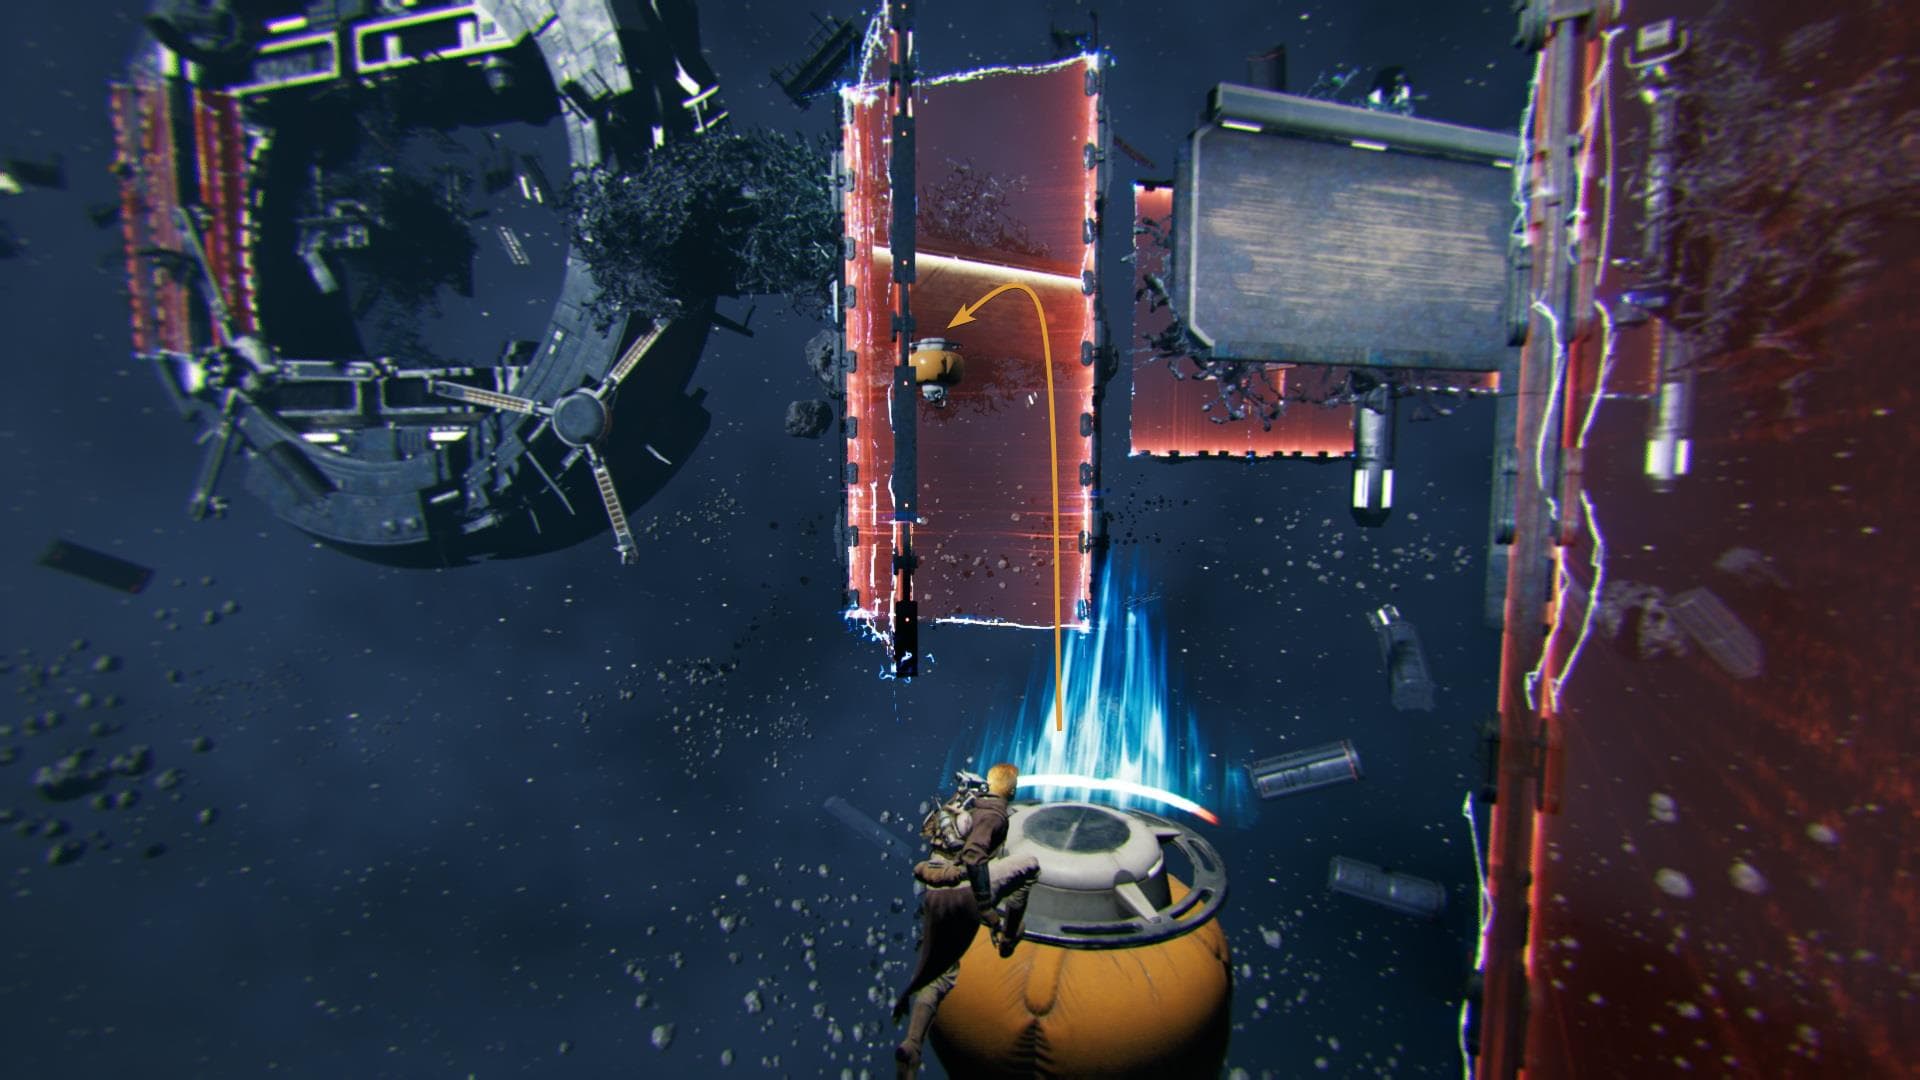
This is the most challenging thing that you’ll have to complete using the upgraded Ascension Cable but with patience, good aim, and proper timing it’s going to be easier than it looks!
For everything else, browse the Jedi Survivor Guides MASTER LIST or use the search function on the site to find what you are looking for.


