
A walkthrough showing you what you should do early in your adventure to get the best and strongest start in Star Wars Jedi: Survivor. Additional tips on what you’ll need to eventually unlock to fully explore the planets as soon as possible!
I did my best to keep the guide Spoiler-Free. There are no story plots discussed here.
You don’t have to follow the exact order in which we have listed the items’ locations and upgrades you can pick up early on, but if you want to make your experience easy and smooth, we do recommend that you follow the guide step by step.
List of Essential Things to Do Fist in Star Wars Jedi Survivor

This is a list of the most important and essential things you should do early on in Star Wars Jedi Survivor. The order is not mandatory but makes it easier. Note that points 13, 14 and 15 are story-related and contain minor spoilers about locations you have to visit.
Instructions
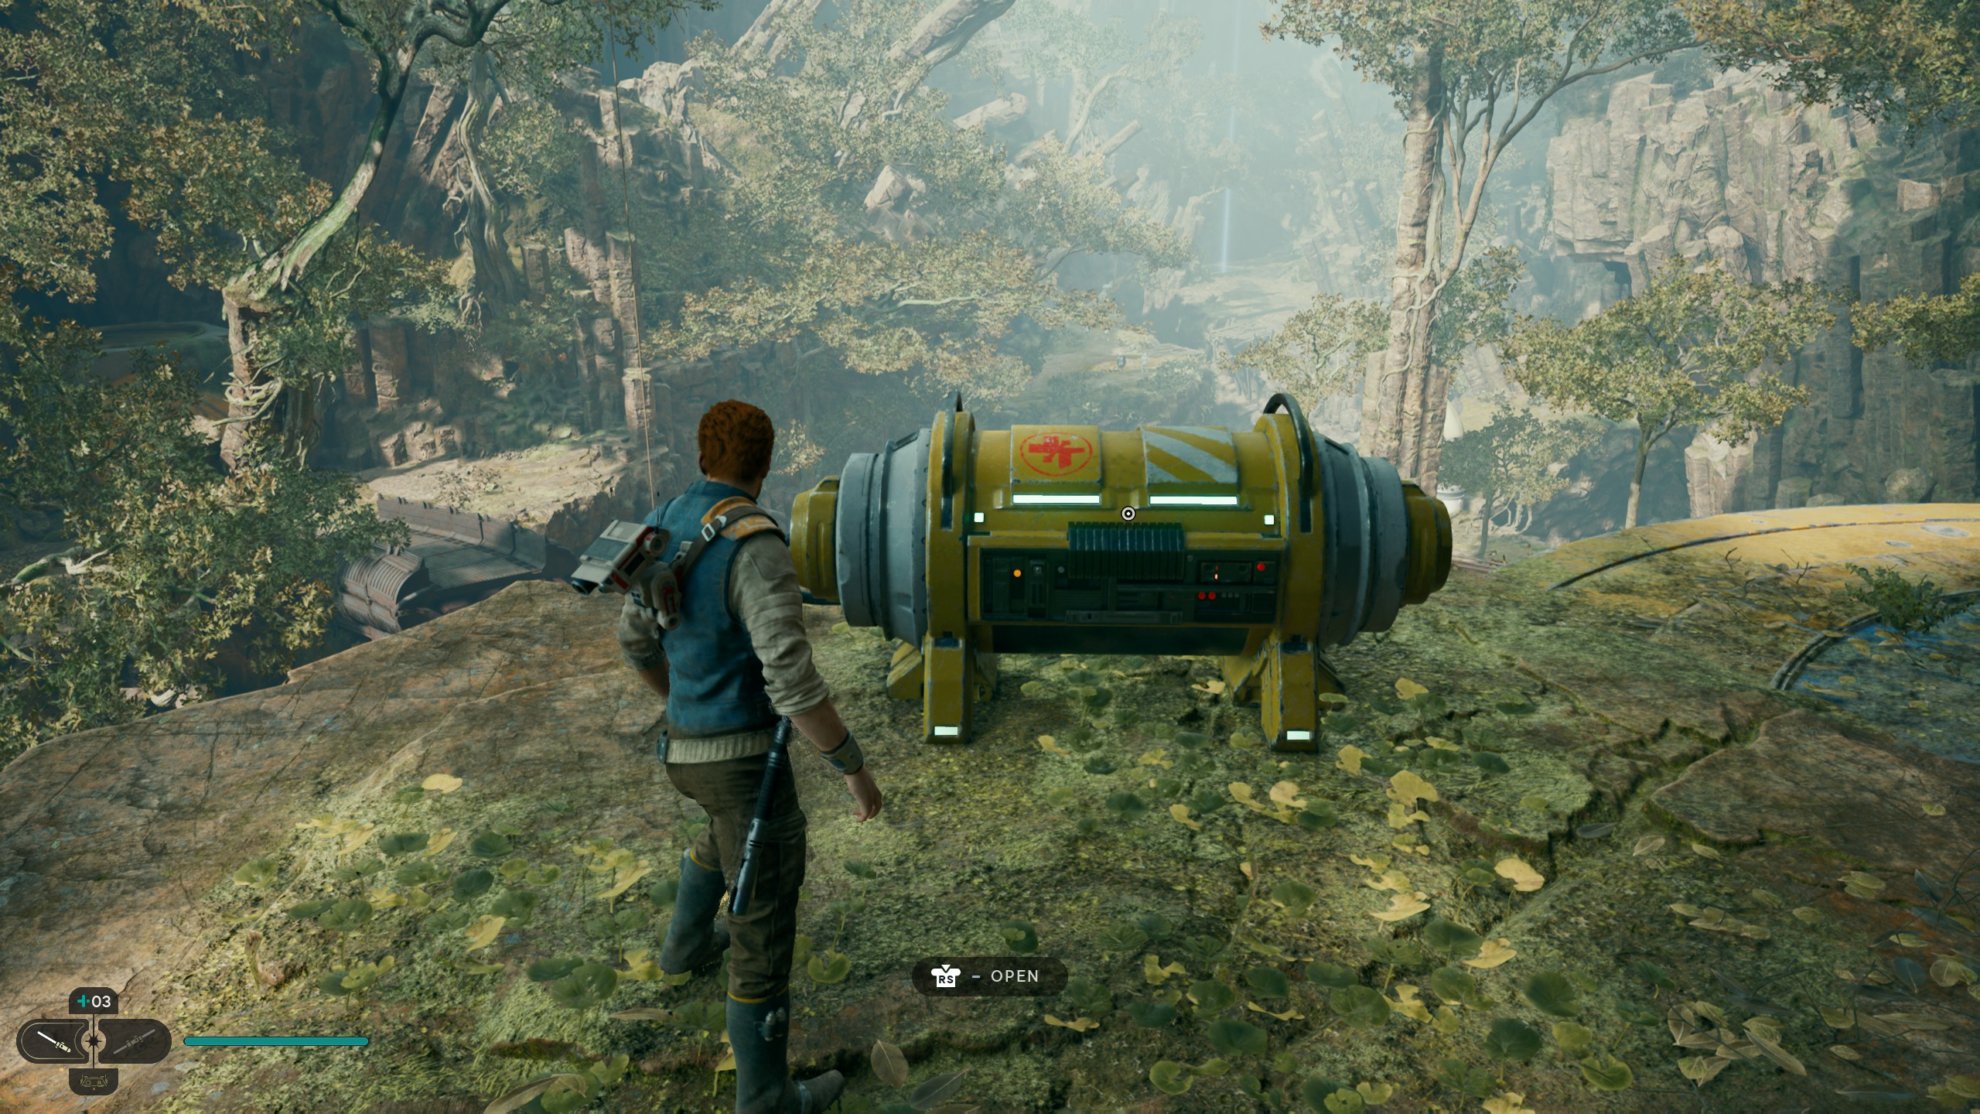
- Get the Stim Upgrade and Force Essence from Coruscant's Undercity Meats.
- Pick up the Health Essence from Koboh's Derelict Dam.
- Obtain the two Skill Points in the Smugler's Tunnels on Koboh.
- Get the Health Essence from the Swindler's Wash on Koboh.
- Loot the Stim Upgrade at the Basalt Rift on Koboh.
- Unlock the secret door at Doma's Shop on Koboh and get the Stim Upgrade.
- Unlock the Lunging Strike and Twofold Reflection skills from the Single Lightsaber Tree.
- Unlock the Survival Skills, Improved Stim Formula and Teamwork skills from the Resilience Skill Tree.
- Unlock the Attunement and Channeled Energy skills from the Jedi Concentration Skill Tree.
- Get the Resilience Perk from the Chamber of Duality on Koboh.
- Get the Fortification Perk while exploring the Forest Array on Koboh.
- Purchase the Equilibrium, Flux and Wisdom Perks from Zee's Shop on Koboh.
- Complete the main mission to Research Tanalorr on Koboh as soon as possible to unlock the Koboh Matter Sprayer upgrade.
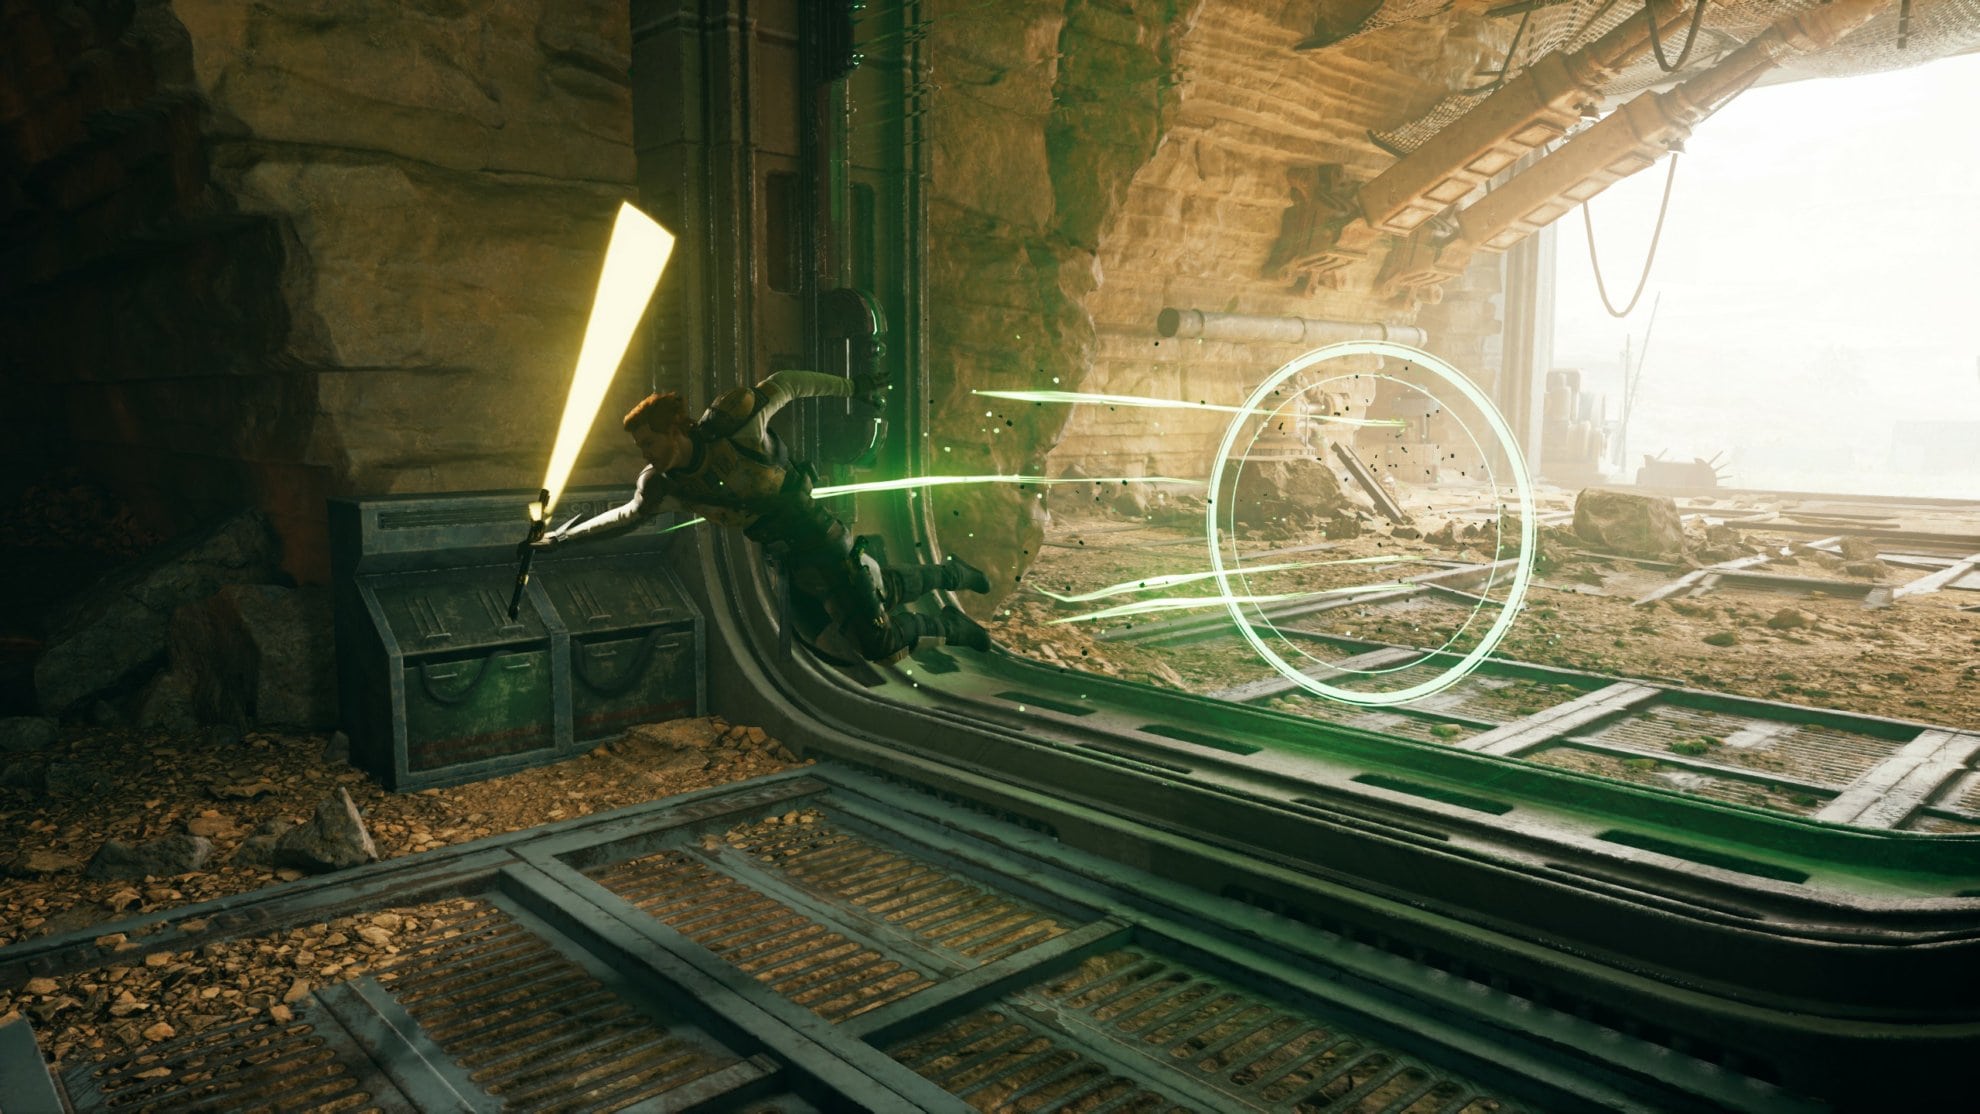
- Reach the Pilgrim Sanctuary on Jedha via the main story to unlock the ability to pass through green doors.
- Play the main story until you reach the Lucrehulk and unlock the Force Lift and Force Slam abilities.
Notes
In the full guide below, we have a detailed explanation of how to perform and complete each one of the listed steps. We also link to other related guides for each one of the activities in case you are curious to learn even more.
Table of contents
Important Early Upgrades on Coruscant
At the beginning of Jedi Survivor, you’ll find Cal Kestis being transported to a Pau’an Senator by Coruscant Police Officers. When you gain control after the cinematics, there are a few things to keep an eye out for.
We’ll be going over some quick points in this guide but if you want a more in-depth guide for this area, check out our Coruscant Orientation Guide.
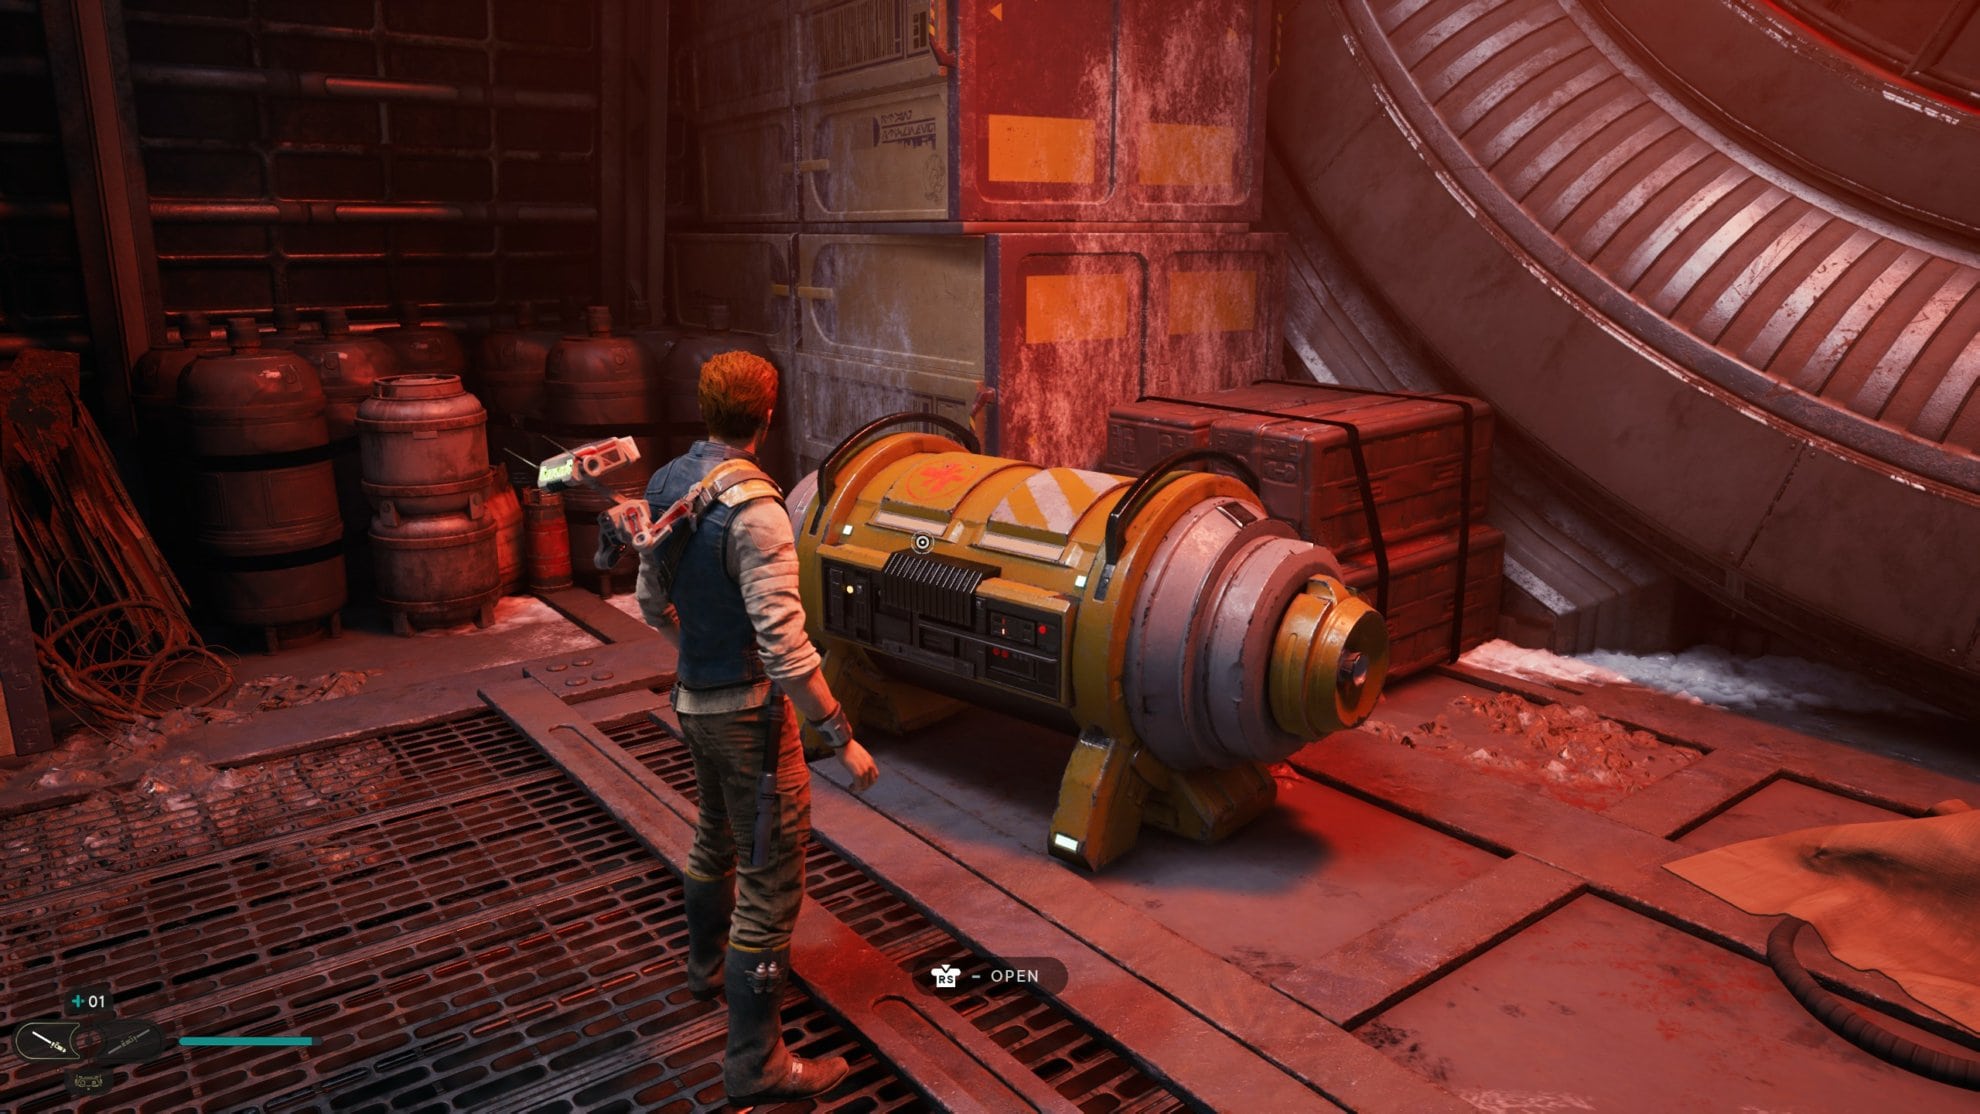
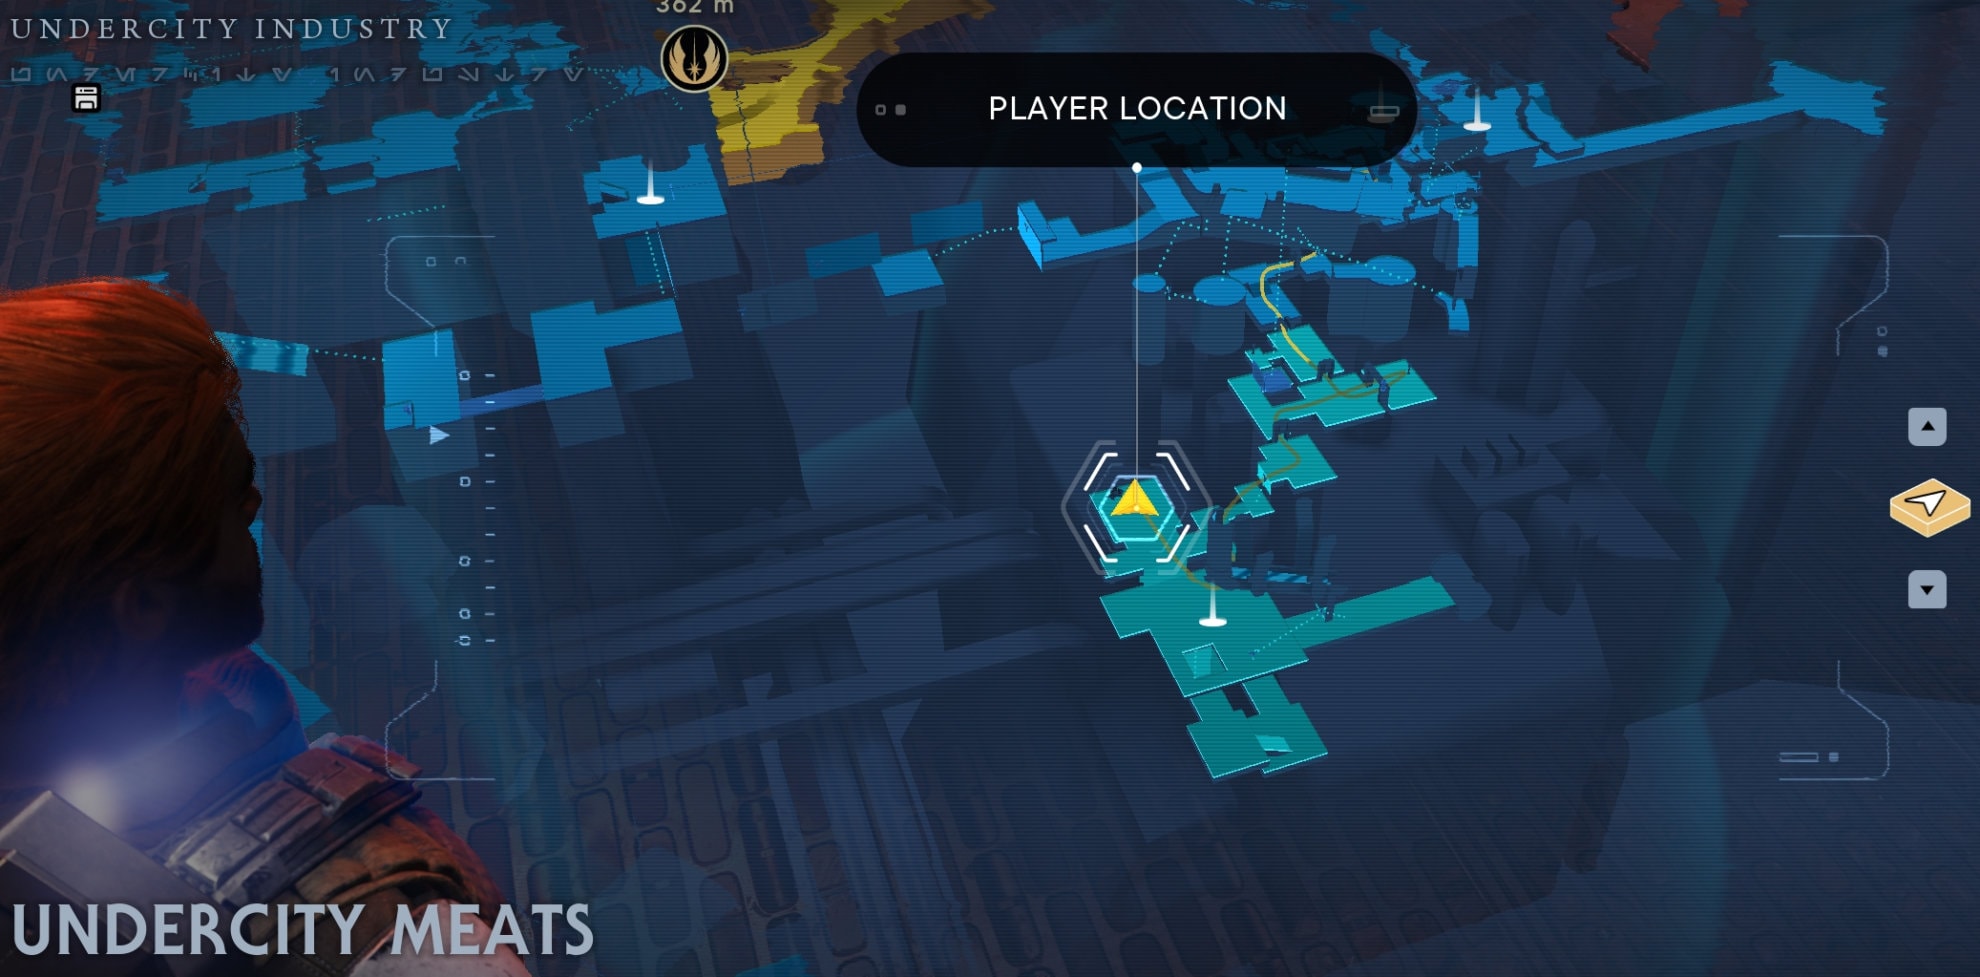
Undercity Meats Stim Upgrade
When you enter the Undercity Meats plant, you’ll find the first Meditation Point in the area. Rest there and go up a ledge left of it. Defeat the Security Droid and open the chests to get another Stim for BD-1.
We have collected the locations of all Stim Upgrades in one guide, which you can use to discover and obtain all of them.
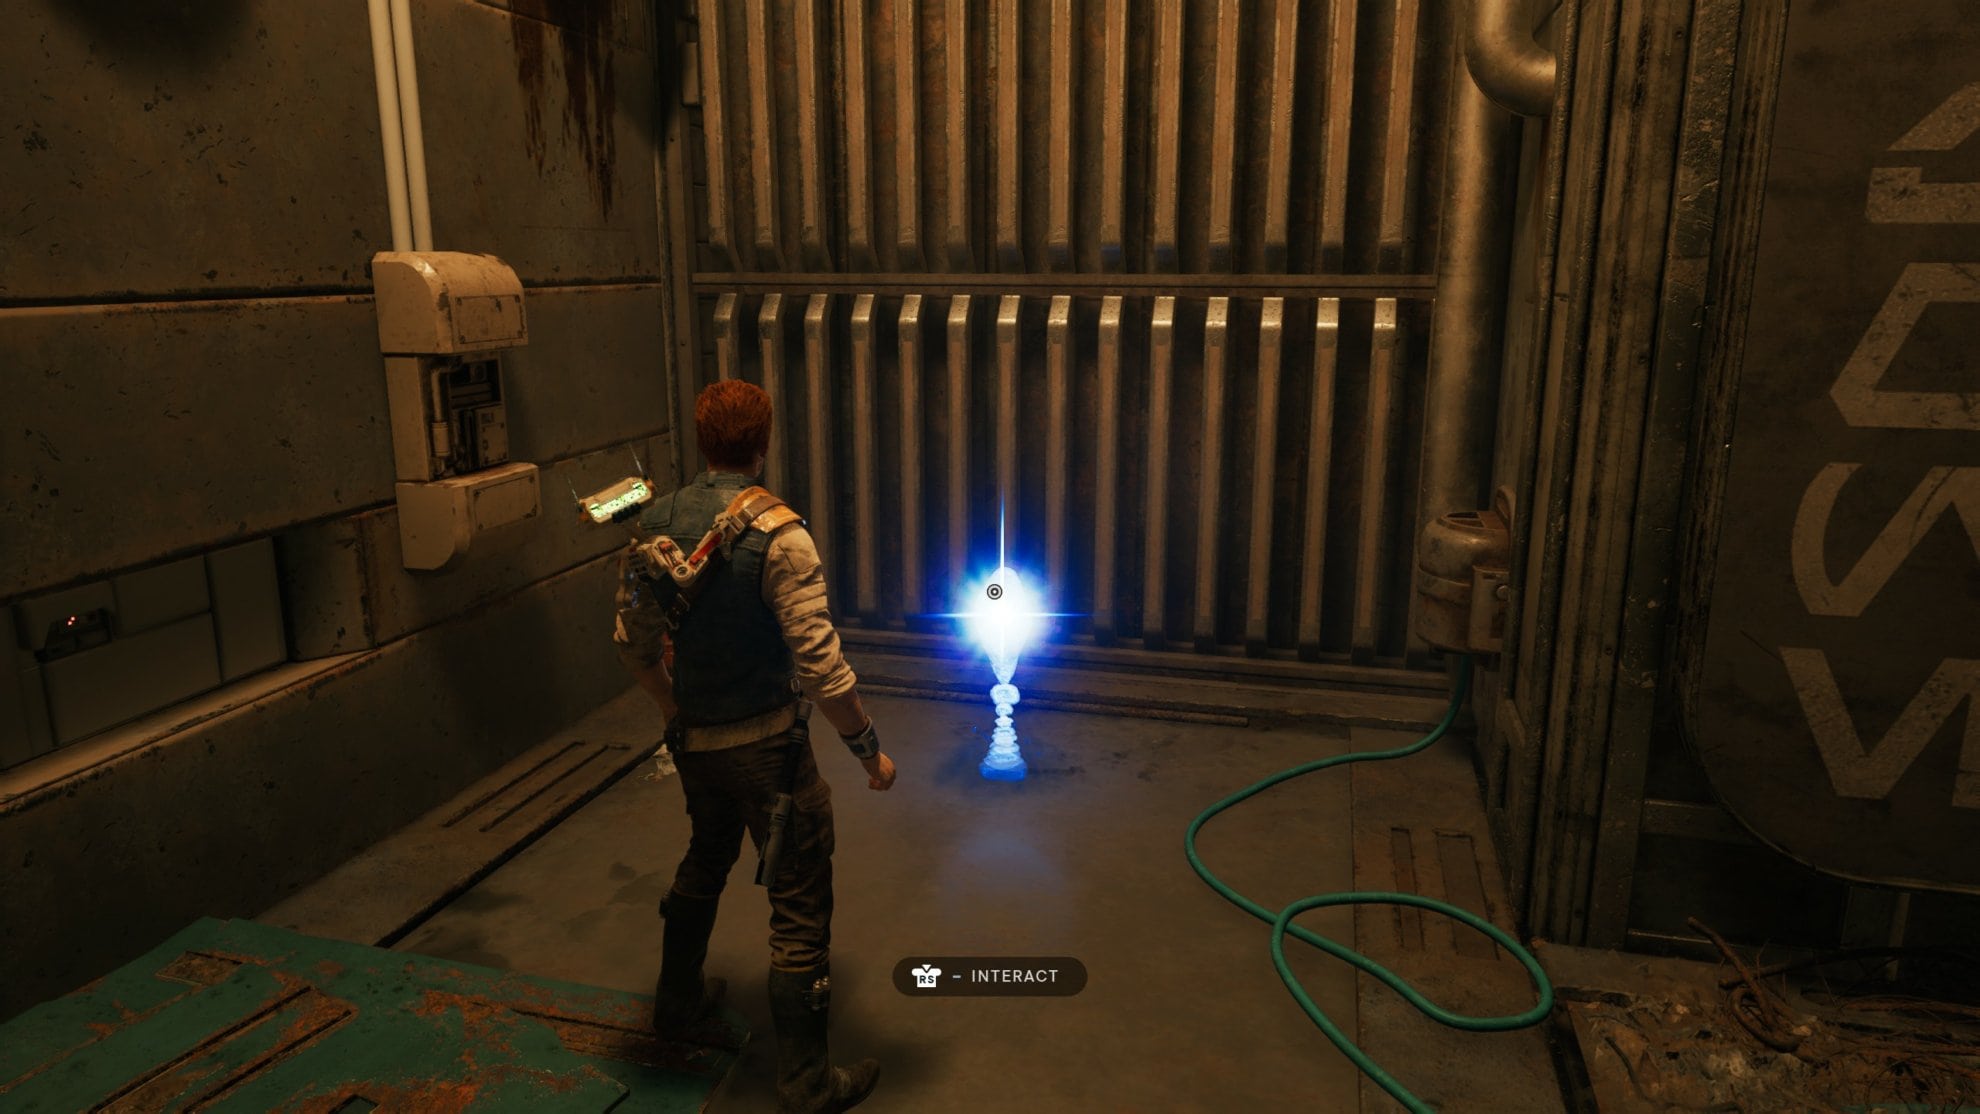
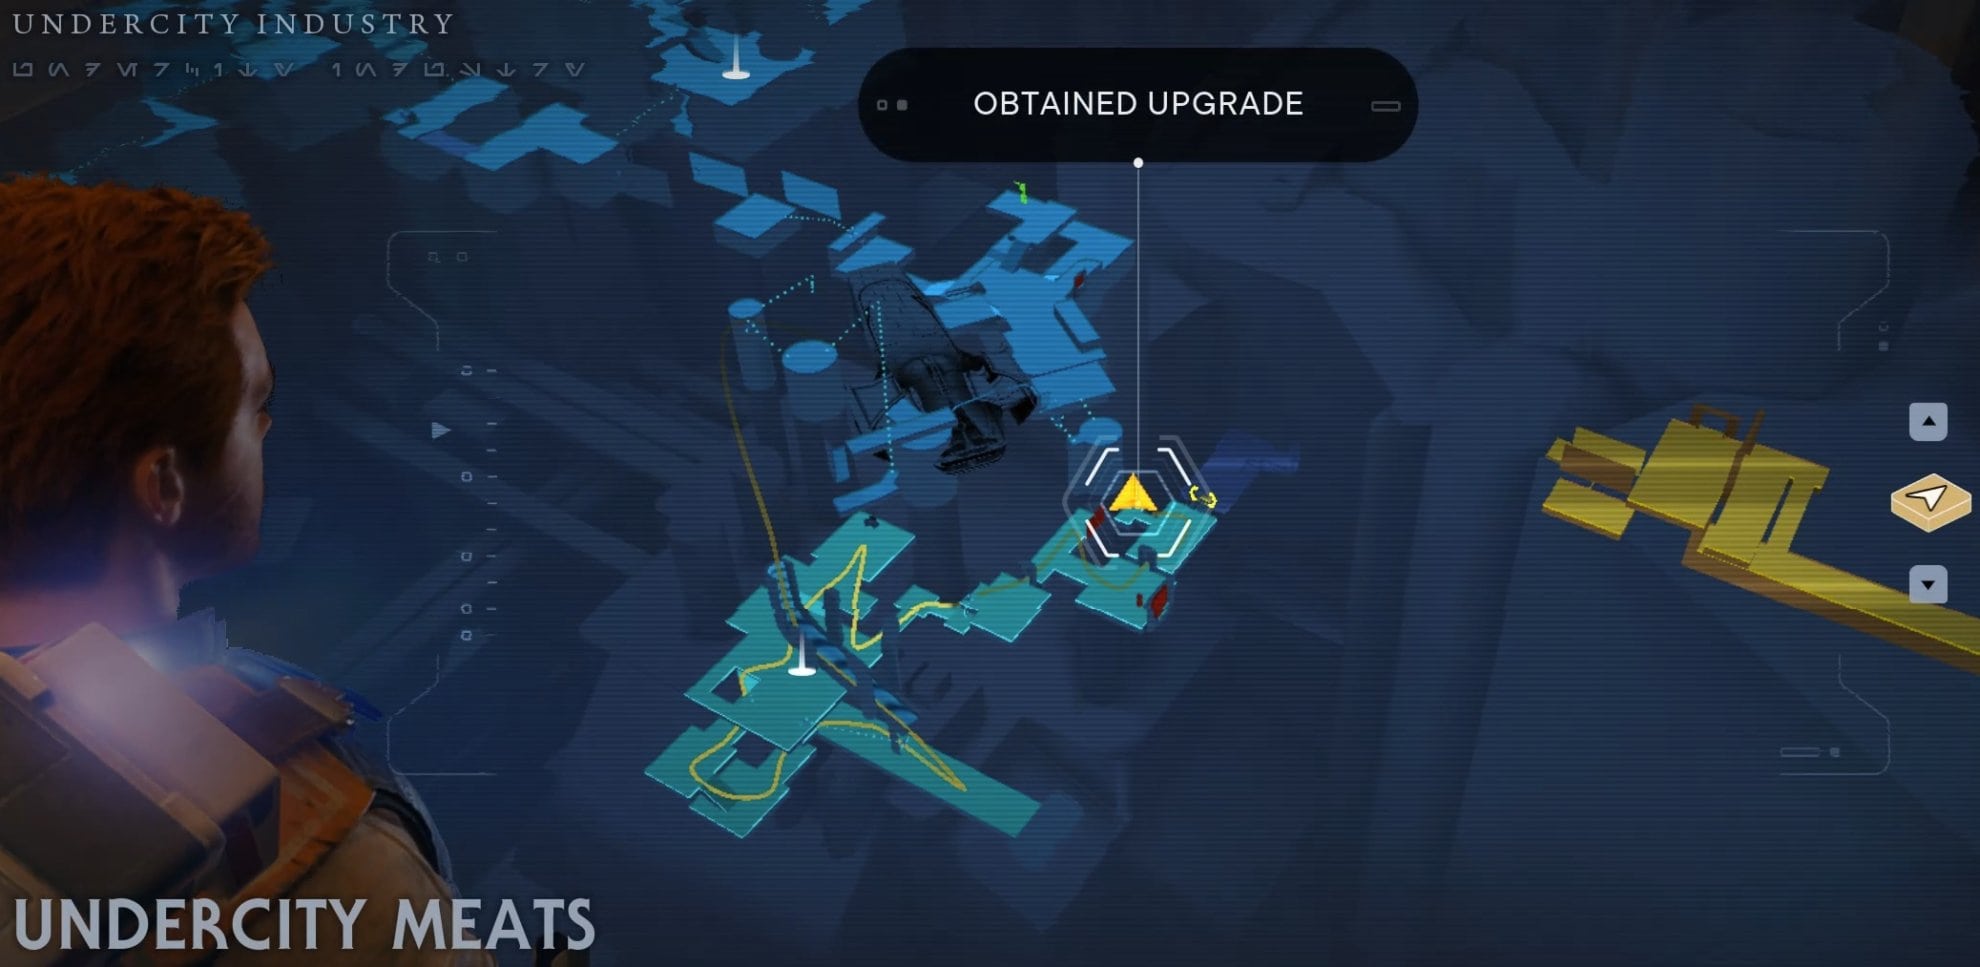
Undercity Meats Force Essence
This upgrade is also in the Undercity Meats area right past the Purge Trooper. When you go into the freezer with the dangling slabs of meat, go to the left. You’ll find an essence you can interact with to increase your maximum Force meter.
Use our guide to the locations of all Force Essence Upgrades in Jedi Survivor to collect all of them as early as possible.
Continue through the rest of Coruscant and you’ll eventually find yourself on the planet Koboh. Koboh will be the primary planet you’ll spend your timonin during the events of Jedi Survivor. This planet holds the majority of hidden treasures and secrets, it’s down to you to find them.
Important Early Upgrades on Koboh
Shortly after you land on Koboh, you will be able to pick up a health, Skill and Force Essence. Don’t miss them. They are (almost) on your main path.
Derelict Dam Health Essence
After reaching and resting at the Derelict Dam Meditation Point, go across the suspended bridge where you’ll find two droids fighting a Gorocco.

Defeat the Gorocco by chipping away at it between its attacks then Force Pull the metal door in the wall. Go up the path inside to pick up a Health Essence to increase your maximum health.
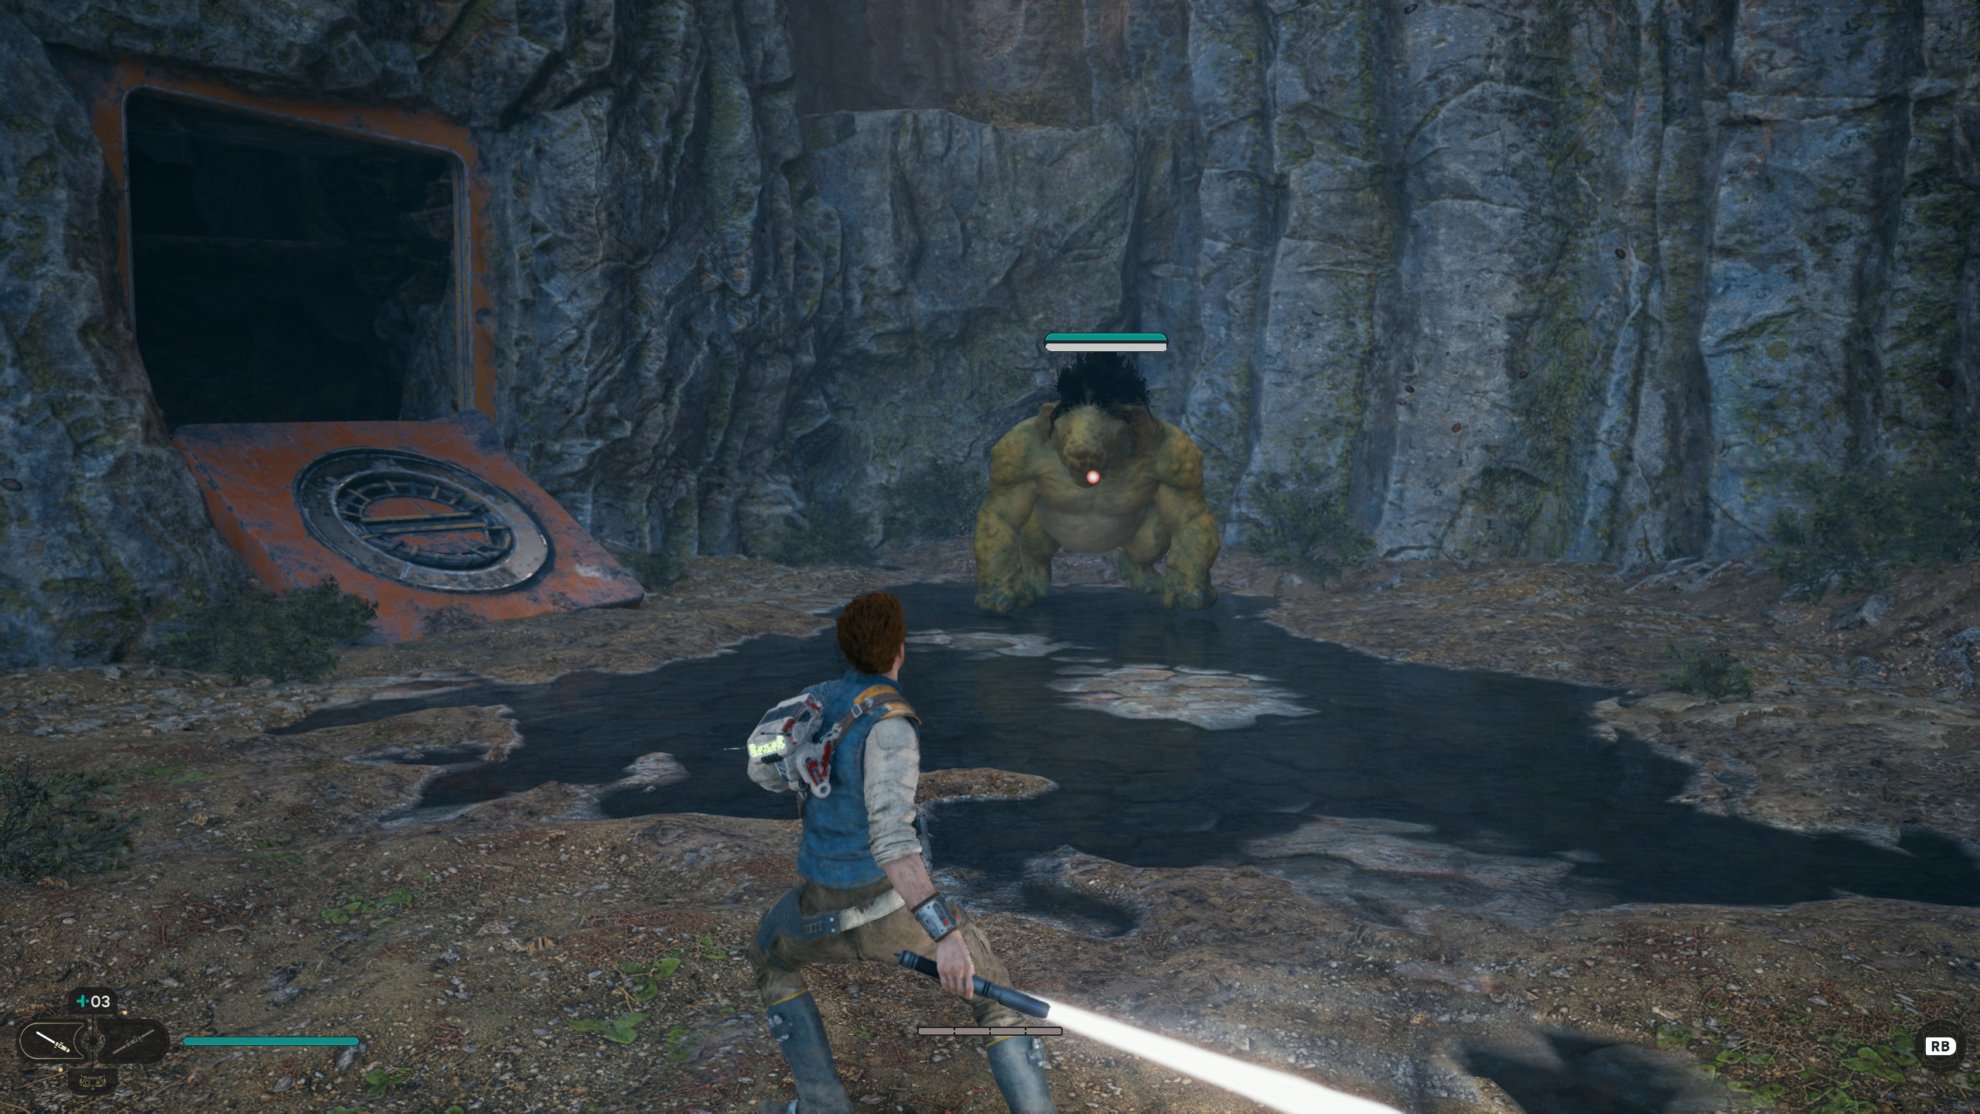

As you might expect, this one is included in our complete guide to the locations of all Health Essence Echoes in Jedi Survivor. If the Gorroco proves an impossible challenge early on for you, leave it for later.
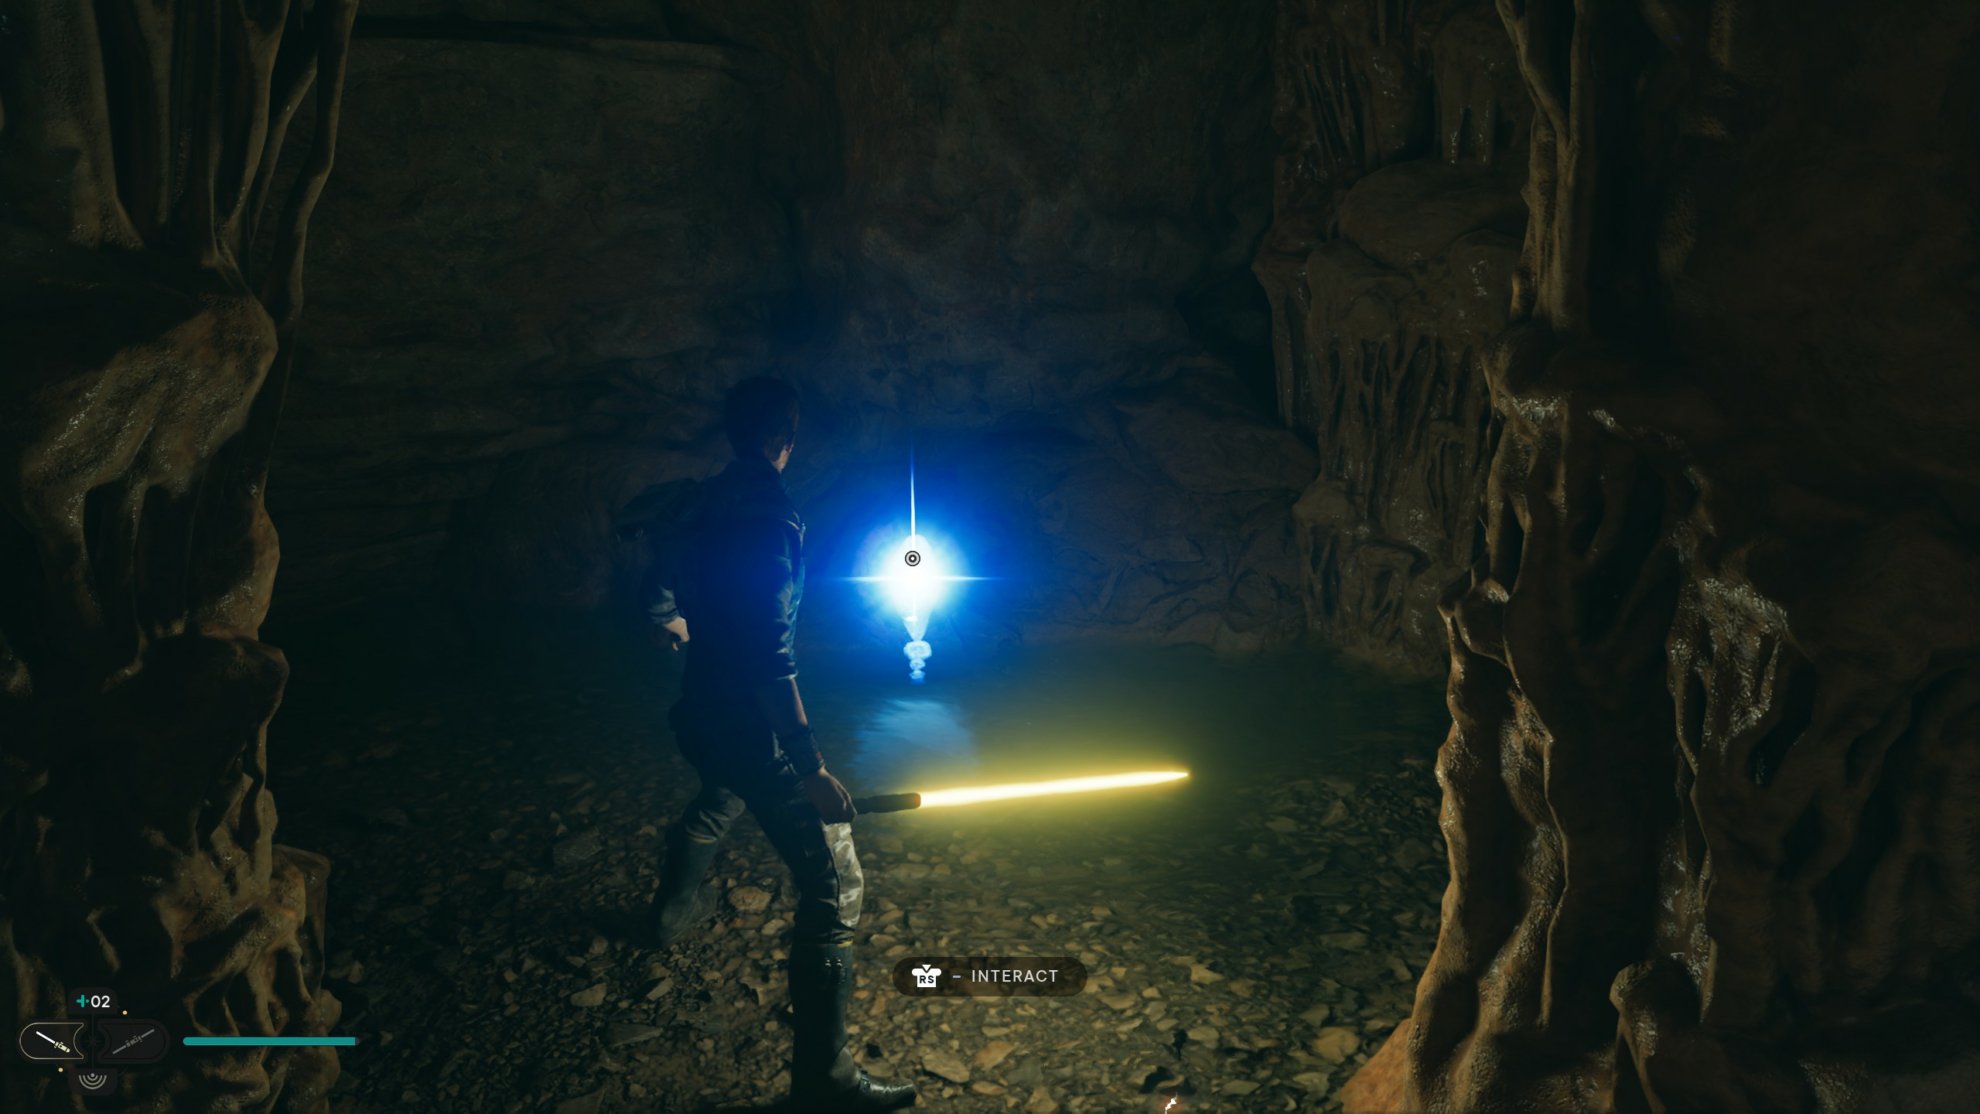
Smuggler’s Tunnels Skill Point 1
After talking to Greez for the first time, you’ll find a passage that leads to the Smuggler’s Tunnels underneath Pyloon’s Saloon.
You’ll find a room with two Shiverpedes and a pack of Gorgers. Defeat them to safely find the Essence that will grant you a Skill Point. For more, use our guide to all Skill Point Essence locations in Jedi Survivor.
Smuggler’s Tunnels Skill Point 2
When you reach the cave where the Gyro Module is, jump into the water. Find the vertical hole in in the ground and swim to the bottom, then come up the other side.
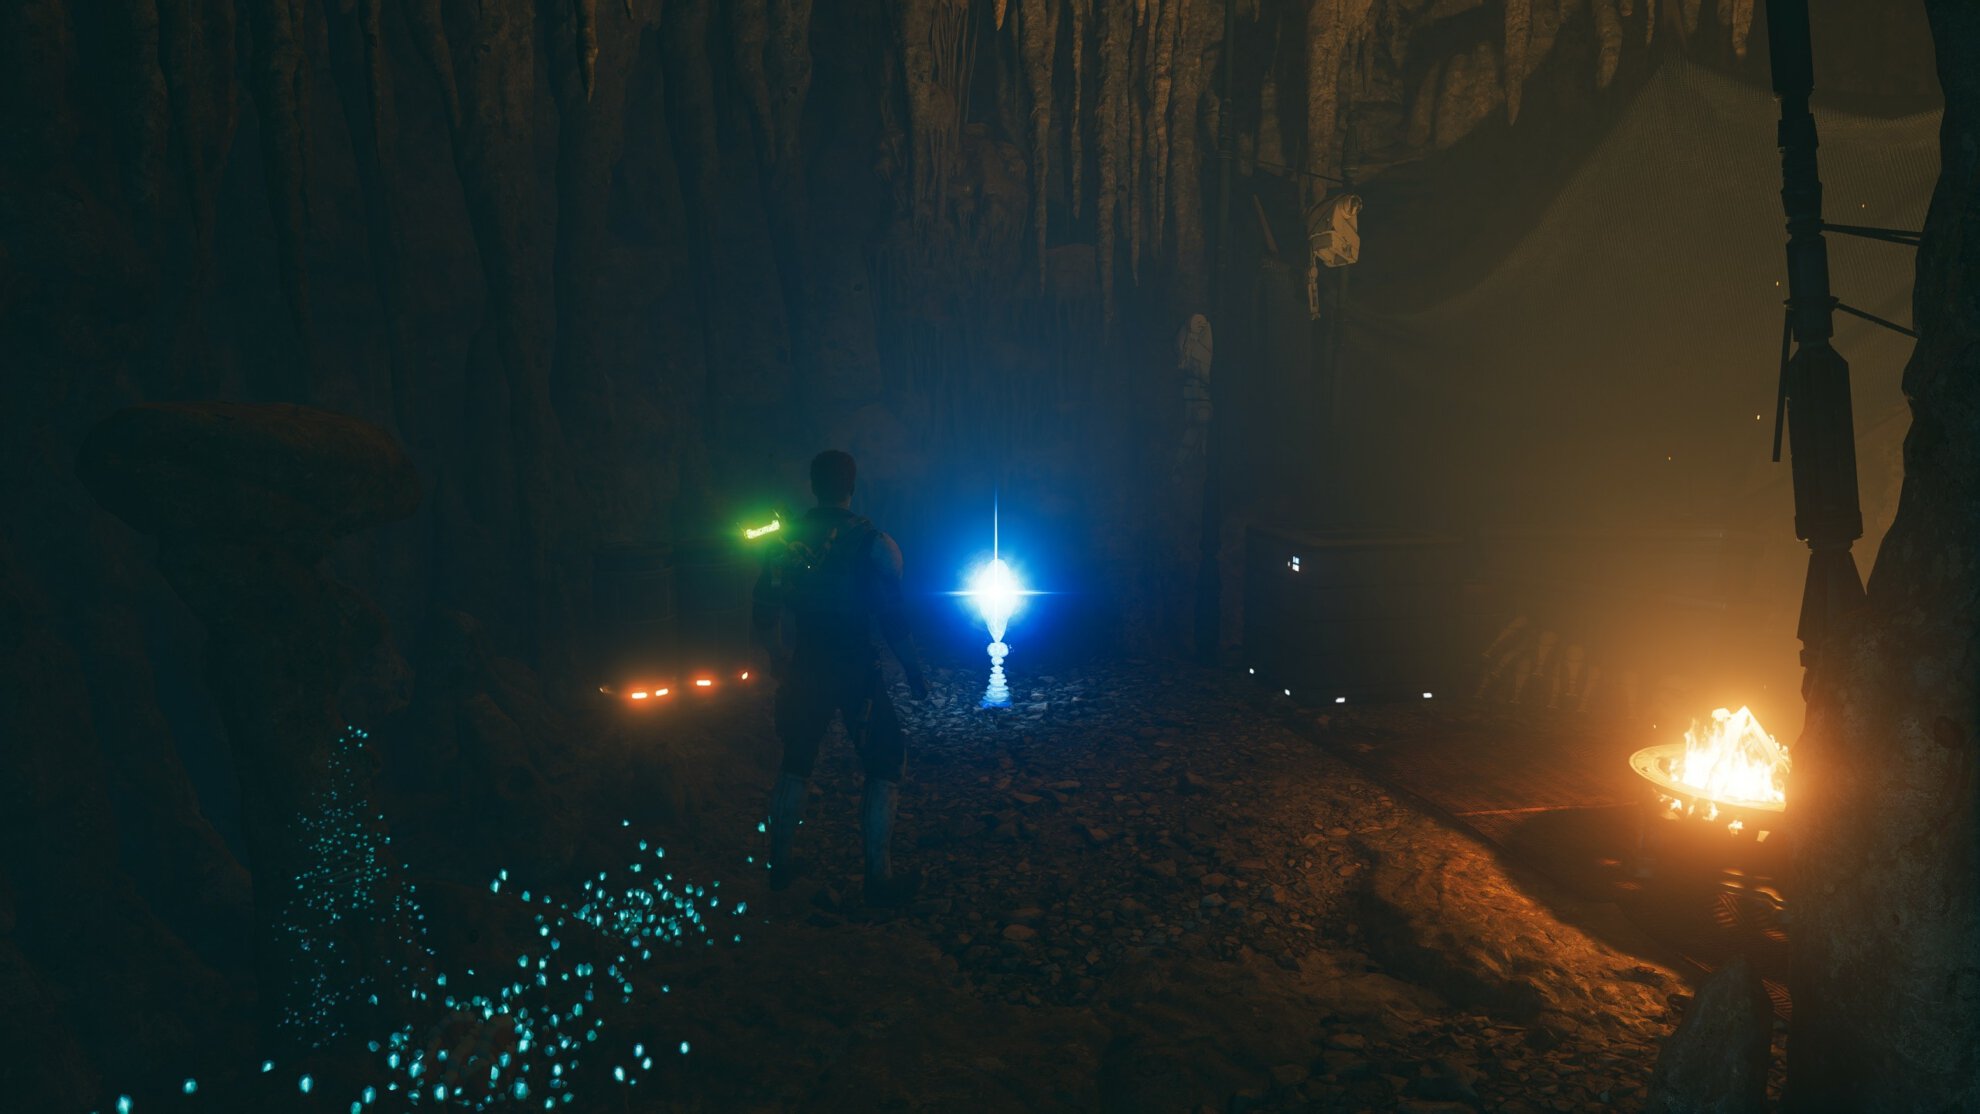
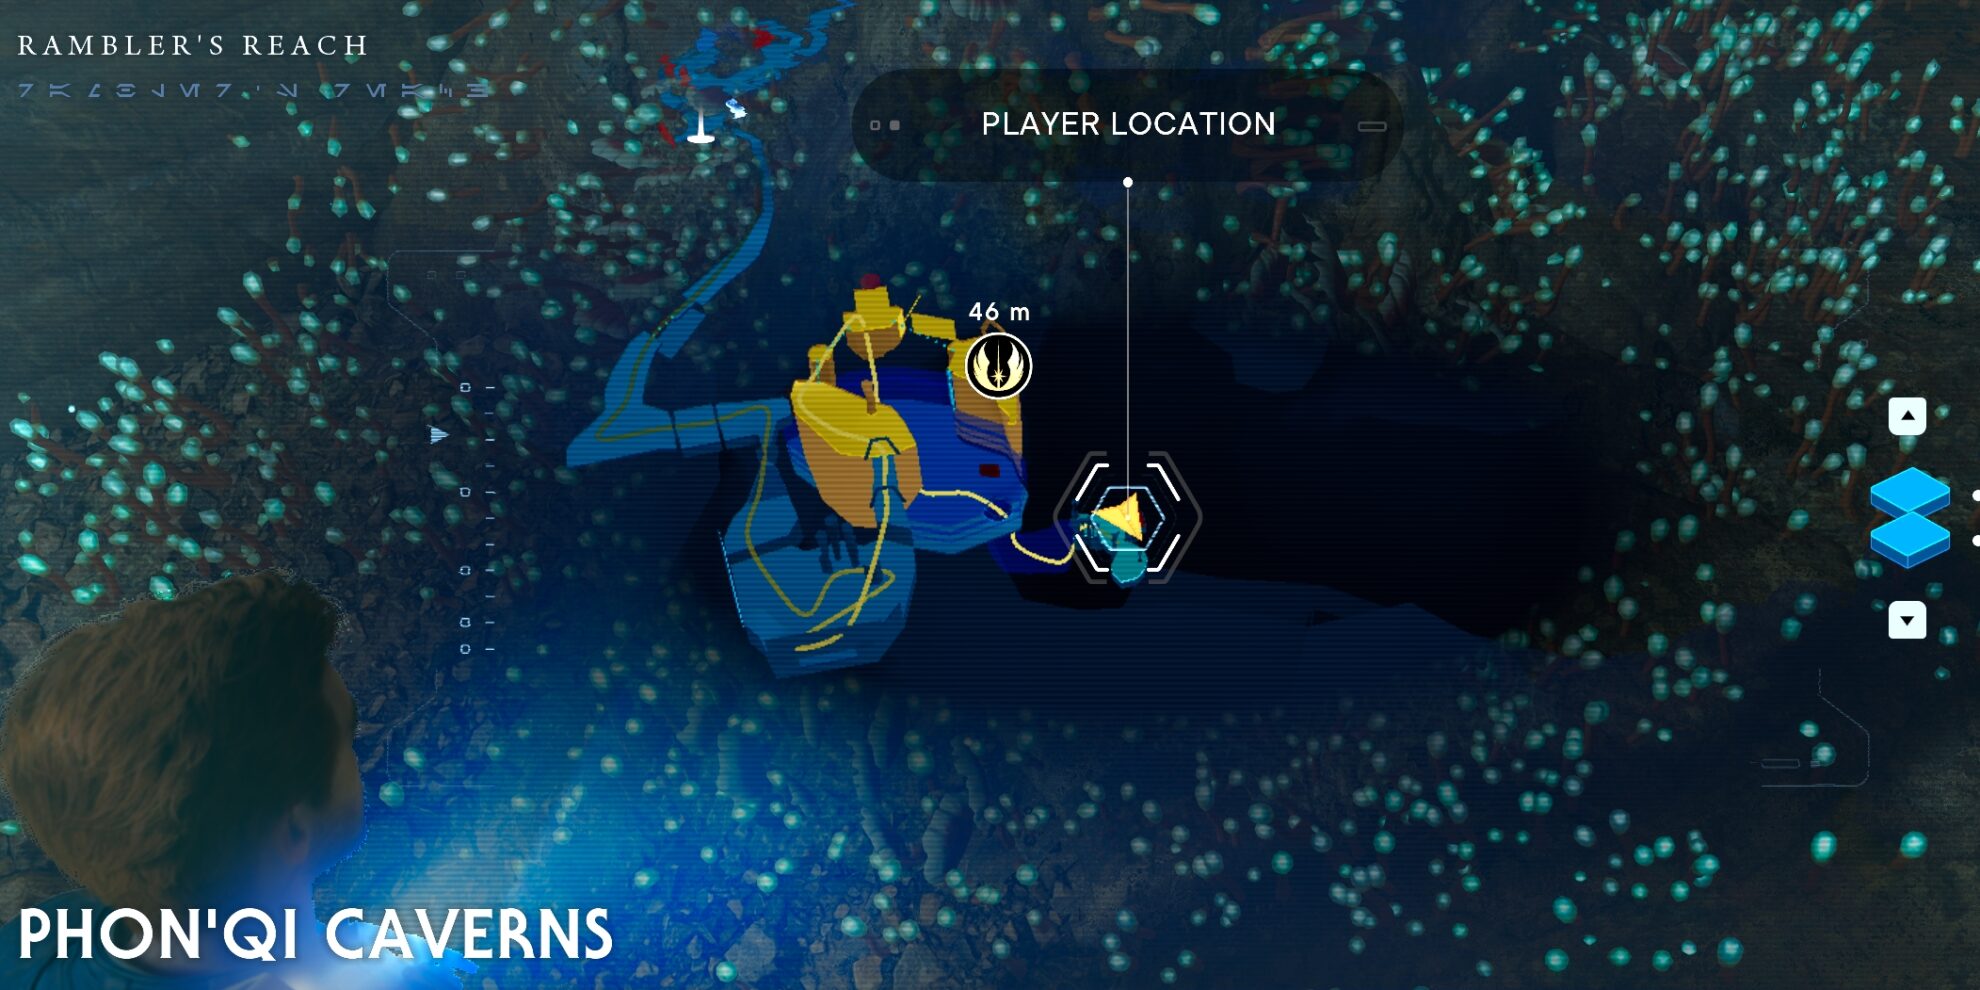
The door you will see to the left of the Skill Point Essence, is one of the exit points of the Phon Qi Caverns, an area you will explore much later in the game.
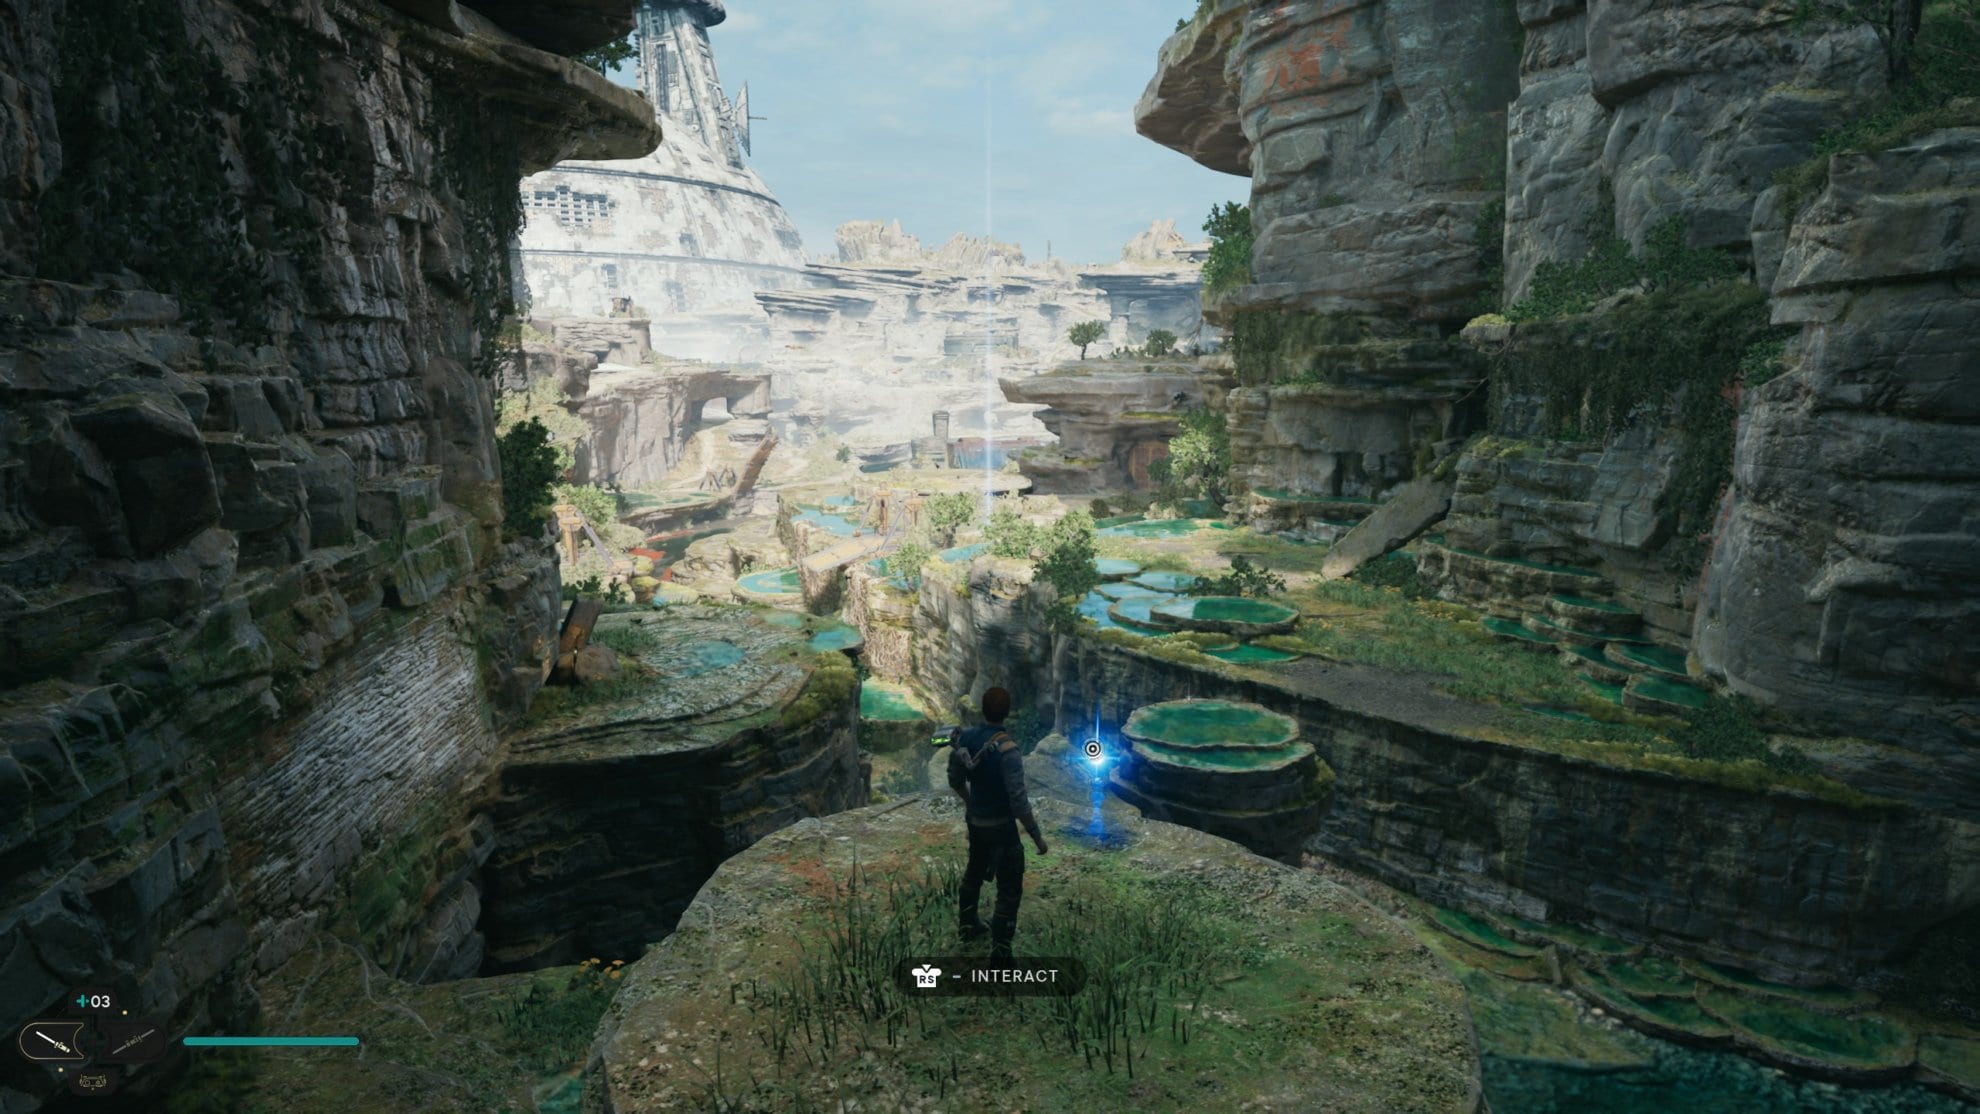
Swindler’s Wash Health Essence
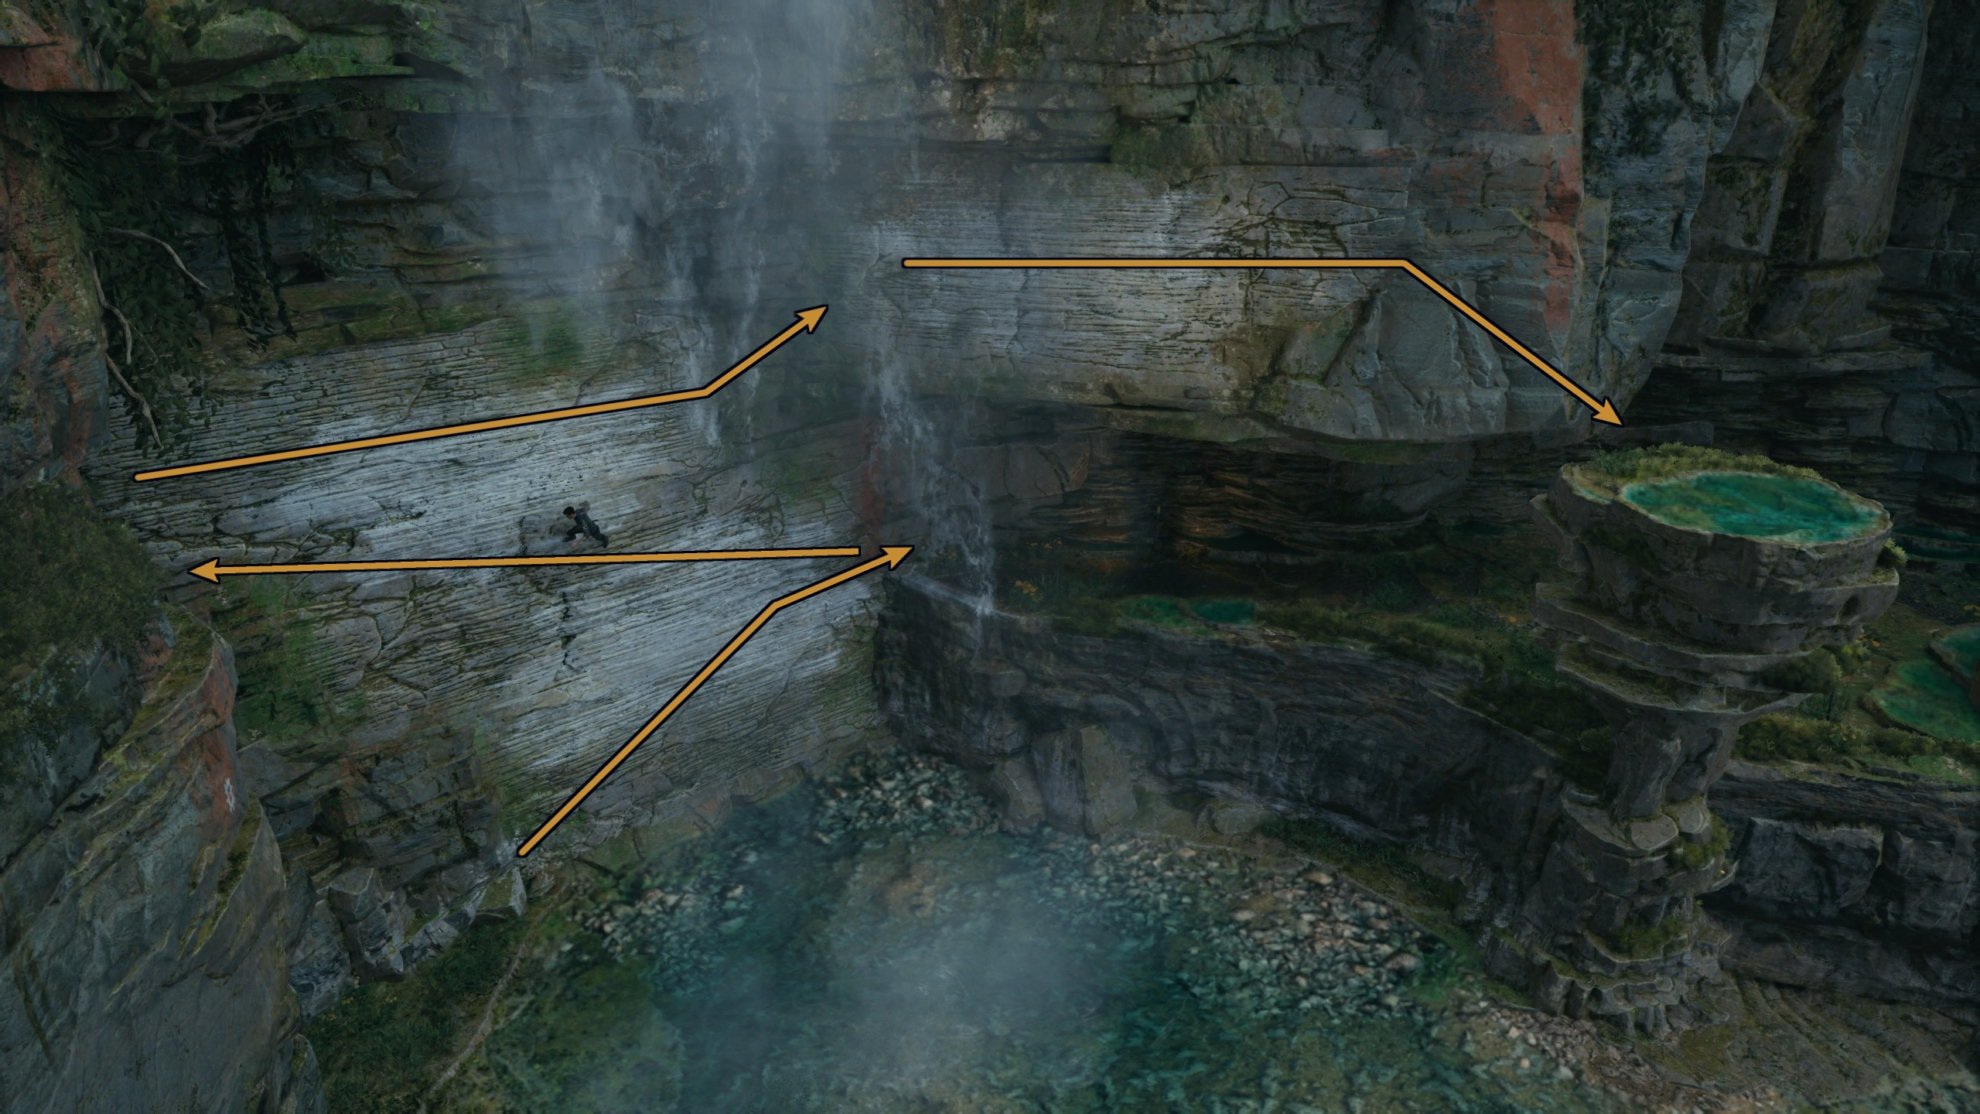
At the end of Swindler’s Wash, you’ll find a Bilemaw near a wall you can run across and up to a ledge. Once you reach the ledge, run along the wall in the other direction where a small cave is. Wall run across the other way again until you can jump onto a stone spire with a pool of water on top.
Jump to another nearby spire and you’ll get some great views along with a Health Essence to increase your maximum health!
Basalt Rift Stim Upgrade
When you go into the Basalt Rift in search of the Forest Array, you can encounter a brown, Wampa-like creature called a MoguThere are’s some metal walls behind it you can run across. Run across them then climb up some vines and you’ll find a Stim Upgrade.

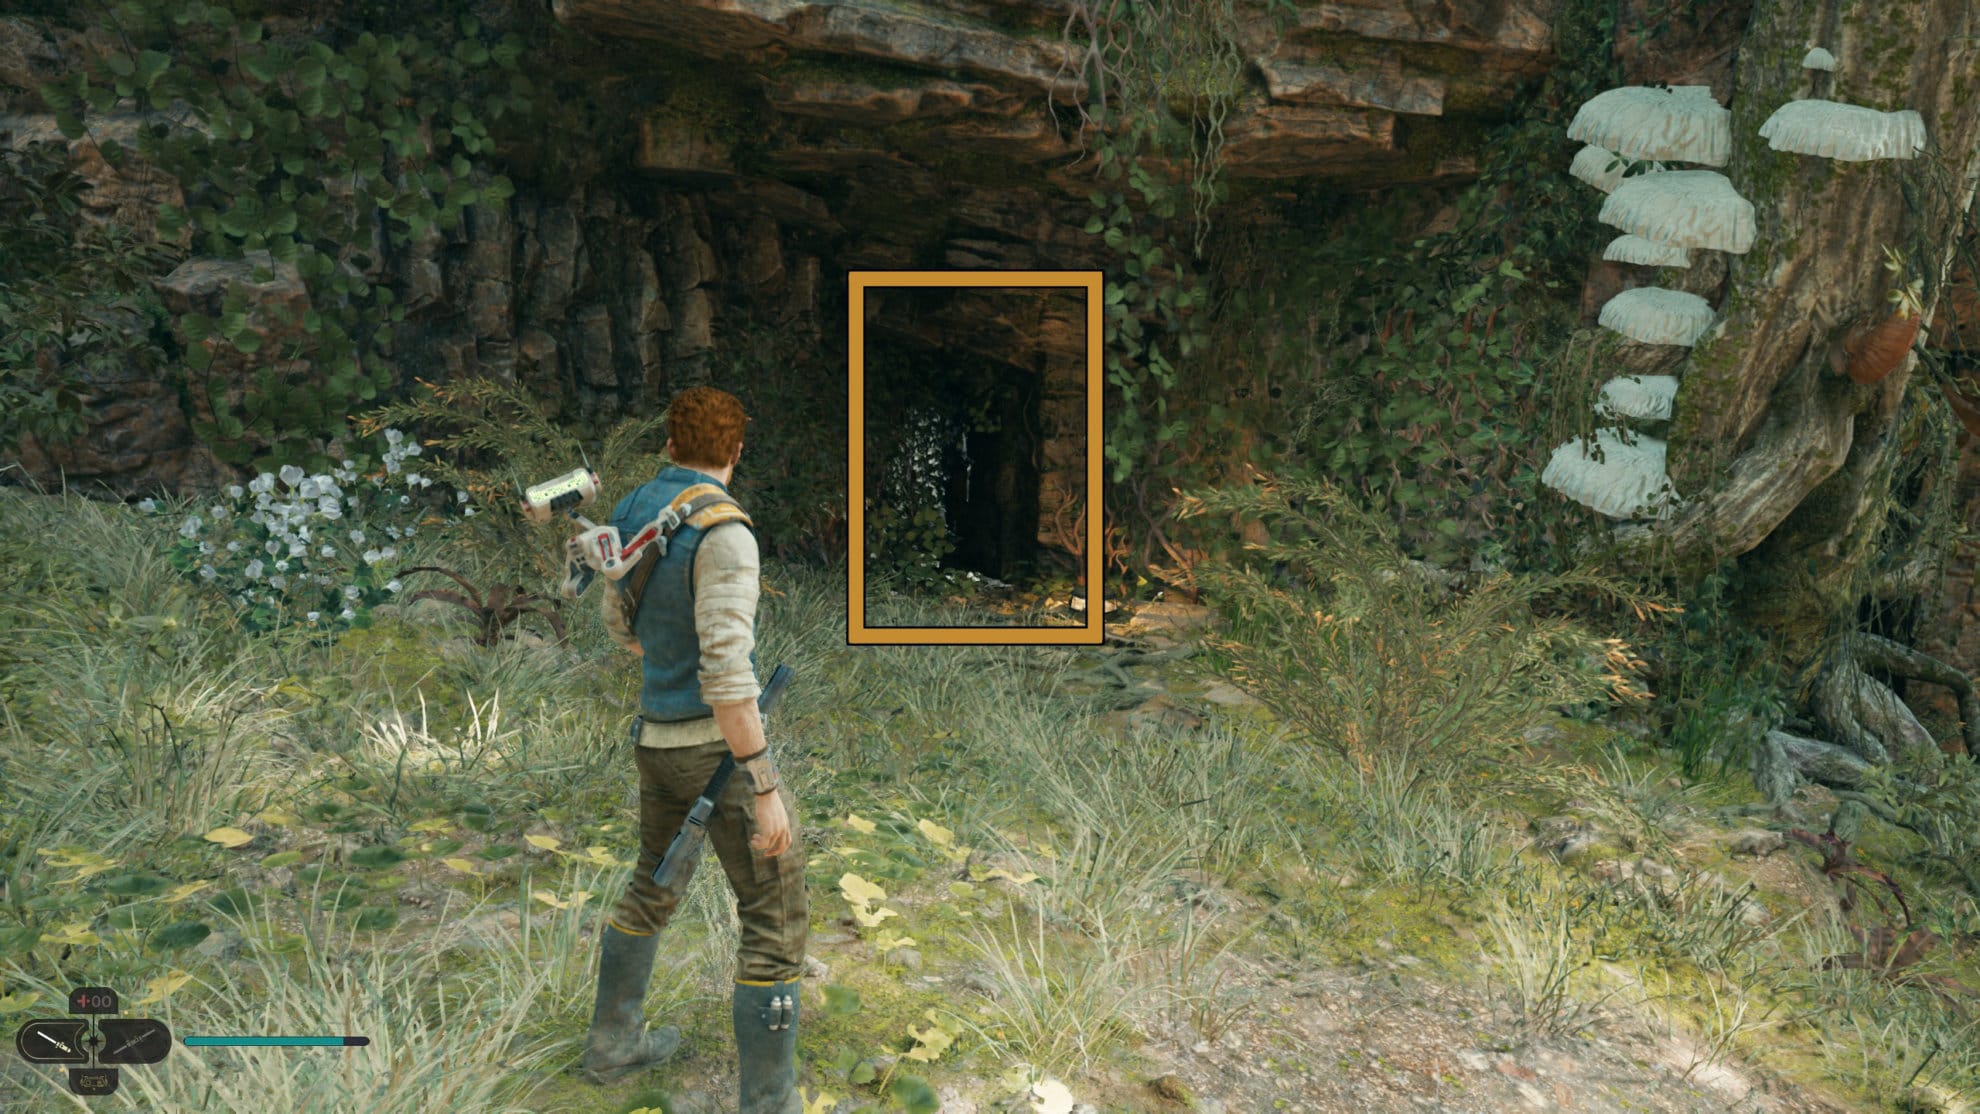
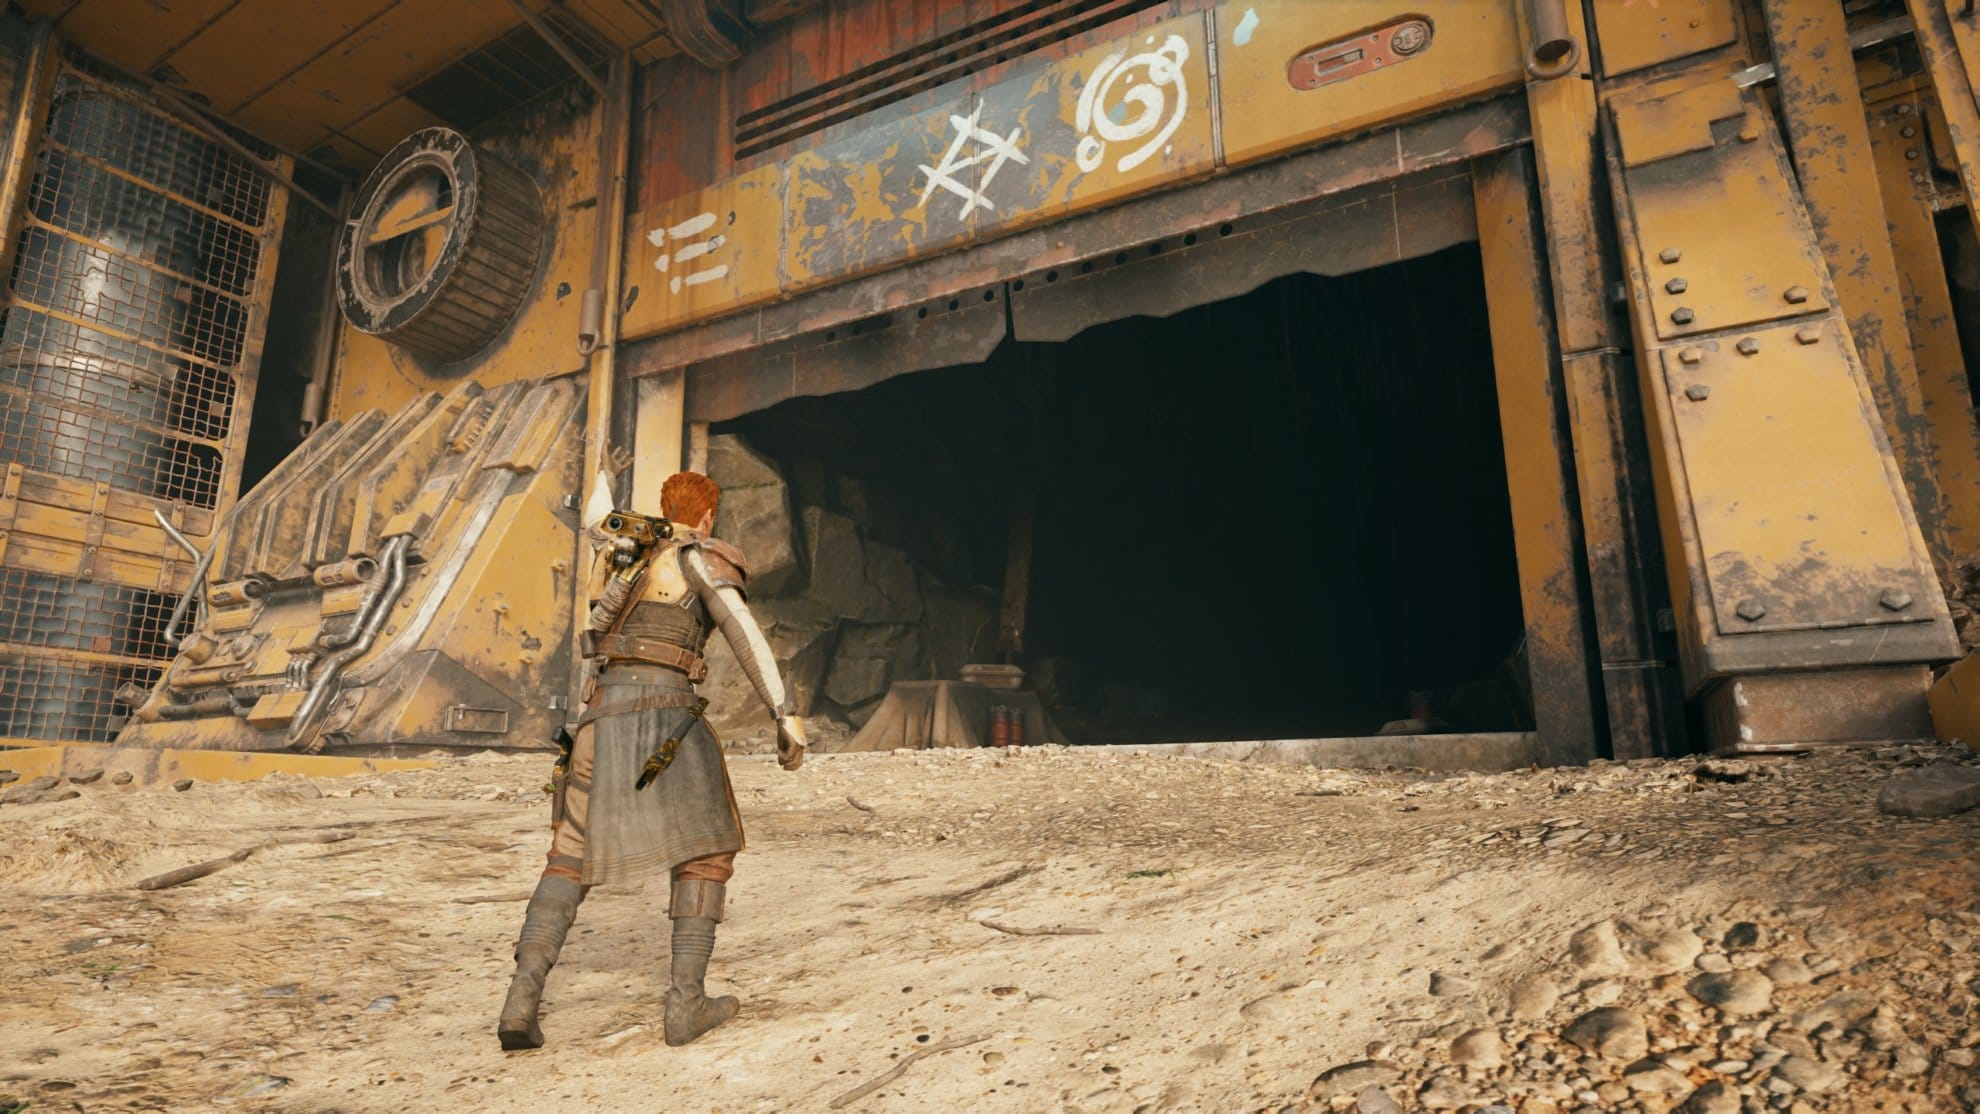
Doma’s Shop Stim Upgrade
As soon as you collect 10 Priorite Shards, visit Doma’s Shop at the Outpost on Koboh and purchase the Mysterious Keycode item. It will grant you access to Doma’s locked storage room, where you will find a Stim Upgrade.
If you collect all Shards on your way, you will have just about enough to purchase the card for the locked door after you complete the Chamber of Duality. If you follow our guide, by the time you get to this point, you should have more than enough shards anyway. If you want to find all other collectibles, follow our Jedi Survivor Collectible Location Guides!
Important Skills to Unlock Early
When you first interact with a Meditation Point on Coruscant, you’ll be unable to leave until you have spent a skill point. This will be the Single Lightsaber’s Lunging Strike as you’ll have no other choice at the time. As you get further along through Coruscant, you’ll be able to add skill points to different trees.
Given the amount of choices you are granted early on, it can be confusing as to which you should choose first. I would recommend the following Skills to unlock to make getting into Jedi: Survivor a bit easier.
If you play the game on the higher difficulties, wit might help to focus on survivability skills for your first few points.
Single Lightsaber Tree
Lunging Strike
1 Skill Point
As mentioned earlier, the Lunging Strike is a mandatory option to proceed into the game unless you want to go throughout most of Coruscant without healing and saving. It’s a good ability to deal heavy damage from a bit of a distance.
Twofold Reflection
1 Skill Point
You’ll be encountering a lot of enemies in this game so being able to reflect multiple blaster bolts is never a bad thing. The Single Lightsaber is a great weapon to invest in and is never a bad choice.

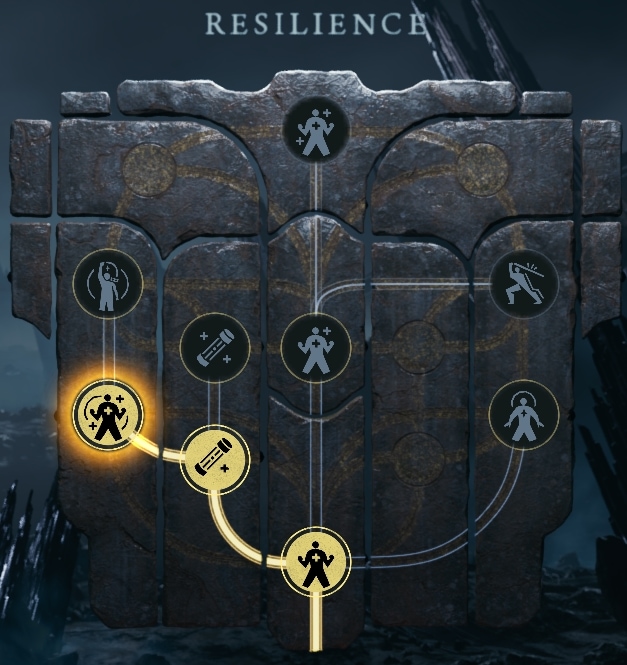
Resilience Tree
Survival Skills
1 Skill Point
Having more health is never a bad idea and you’ll need this skill to access every other in the tree.
Improved Stim Fomula
1 Skill Point
This will increase the healing done by stims which makes a lot more impact when you eventually unlock more health through skill points or health essences.
Teamwork
1 Skill Point
This is easily one of the most important skills to get in the game. This greatly reduces the time you need to heal with a stim. Combat can get hectic especially on higher difficulties where enemies are very aggressive. The less time you spend healing, the more time you can spend defending yourself.
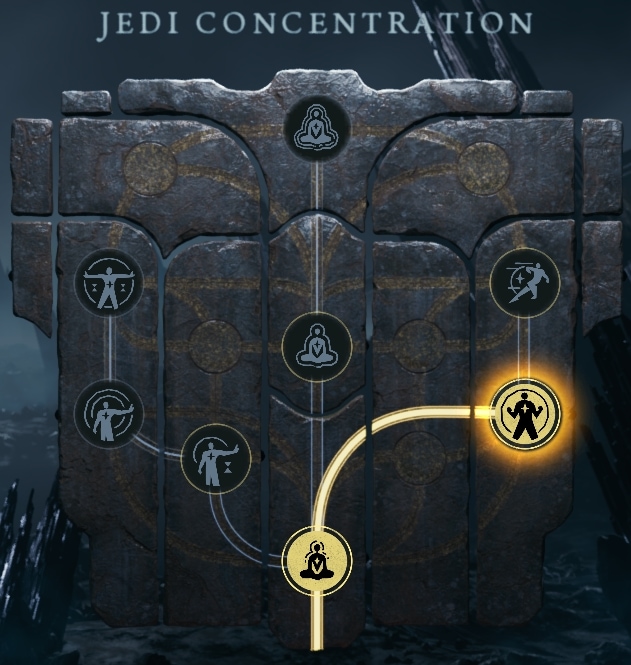
Jedi Concentration
Attunement
1 Skill Point
A larger Force meter makes for a happy Jedi!
Channeled Energy
1 Skill Point
This skill will increase the amount of Force you gain after defeating an enemy. Not only that, whenever you attack an enemy that is blocking your attacks will recharge some Force. This is great to make sure you regain Force during combat.
It is very likely that you may not have yet formed a strong opinion on which stances to use as you progress through the game. Your first Skill Reset (aka Respec) is free.
We have great guides for each Lightsaber Stance as well as full builds for Stance Combos that work great, suitable for beginners and advanced players.
Once you decide how you want to develop your character, you can invest points into those aspects. There are more than enough Skill Points in the game for you to unlock absolutely everything. That will take time and exploration, though.
Early Perks you should get
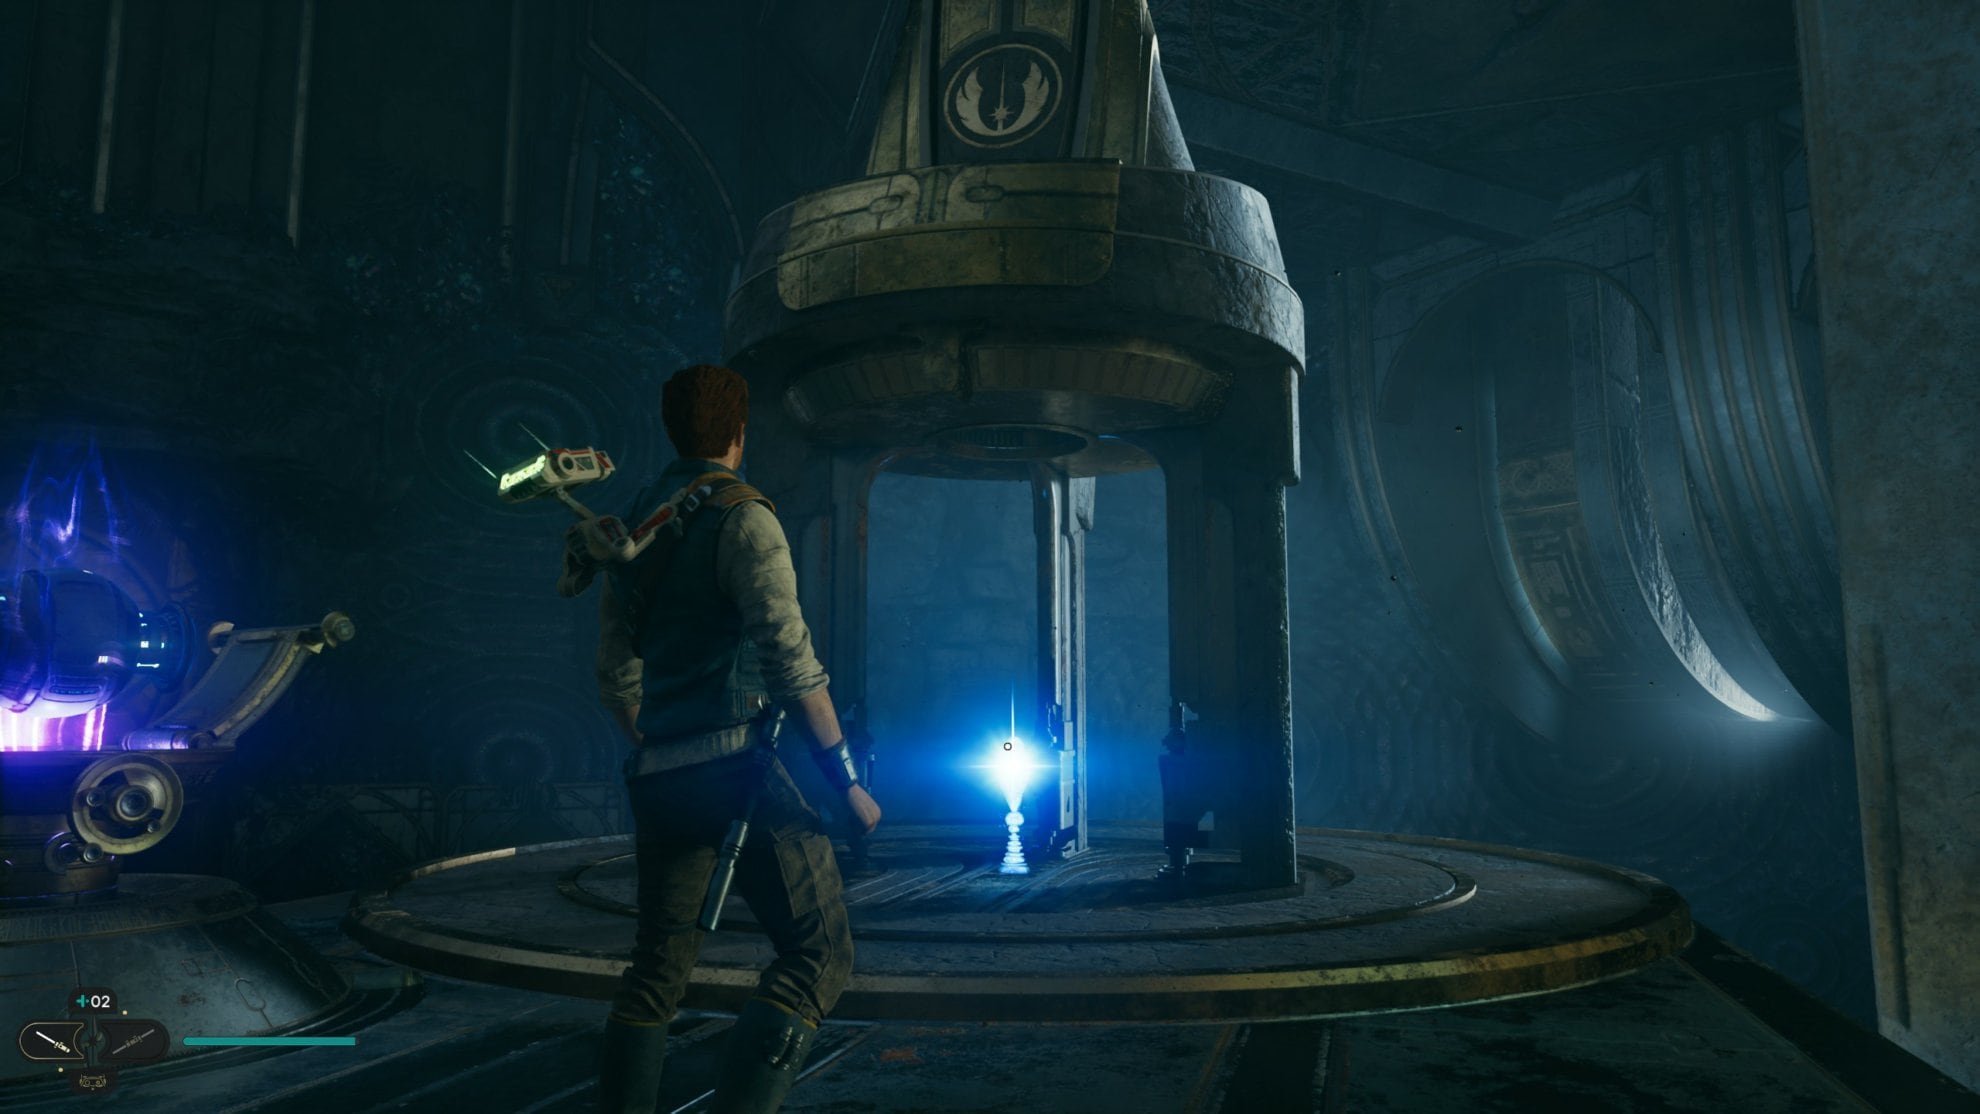
Without spoiling too much, you’ll find a relic of a bygone era that will help you during your missions. At this point, you will have access to the Resilience Perk. When you rest at a Meditation Point, you’ll now be able to access the Perk Menu.
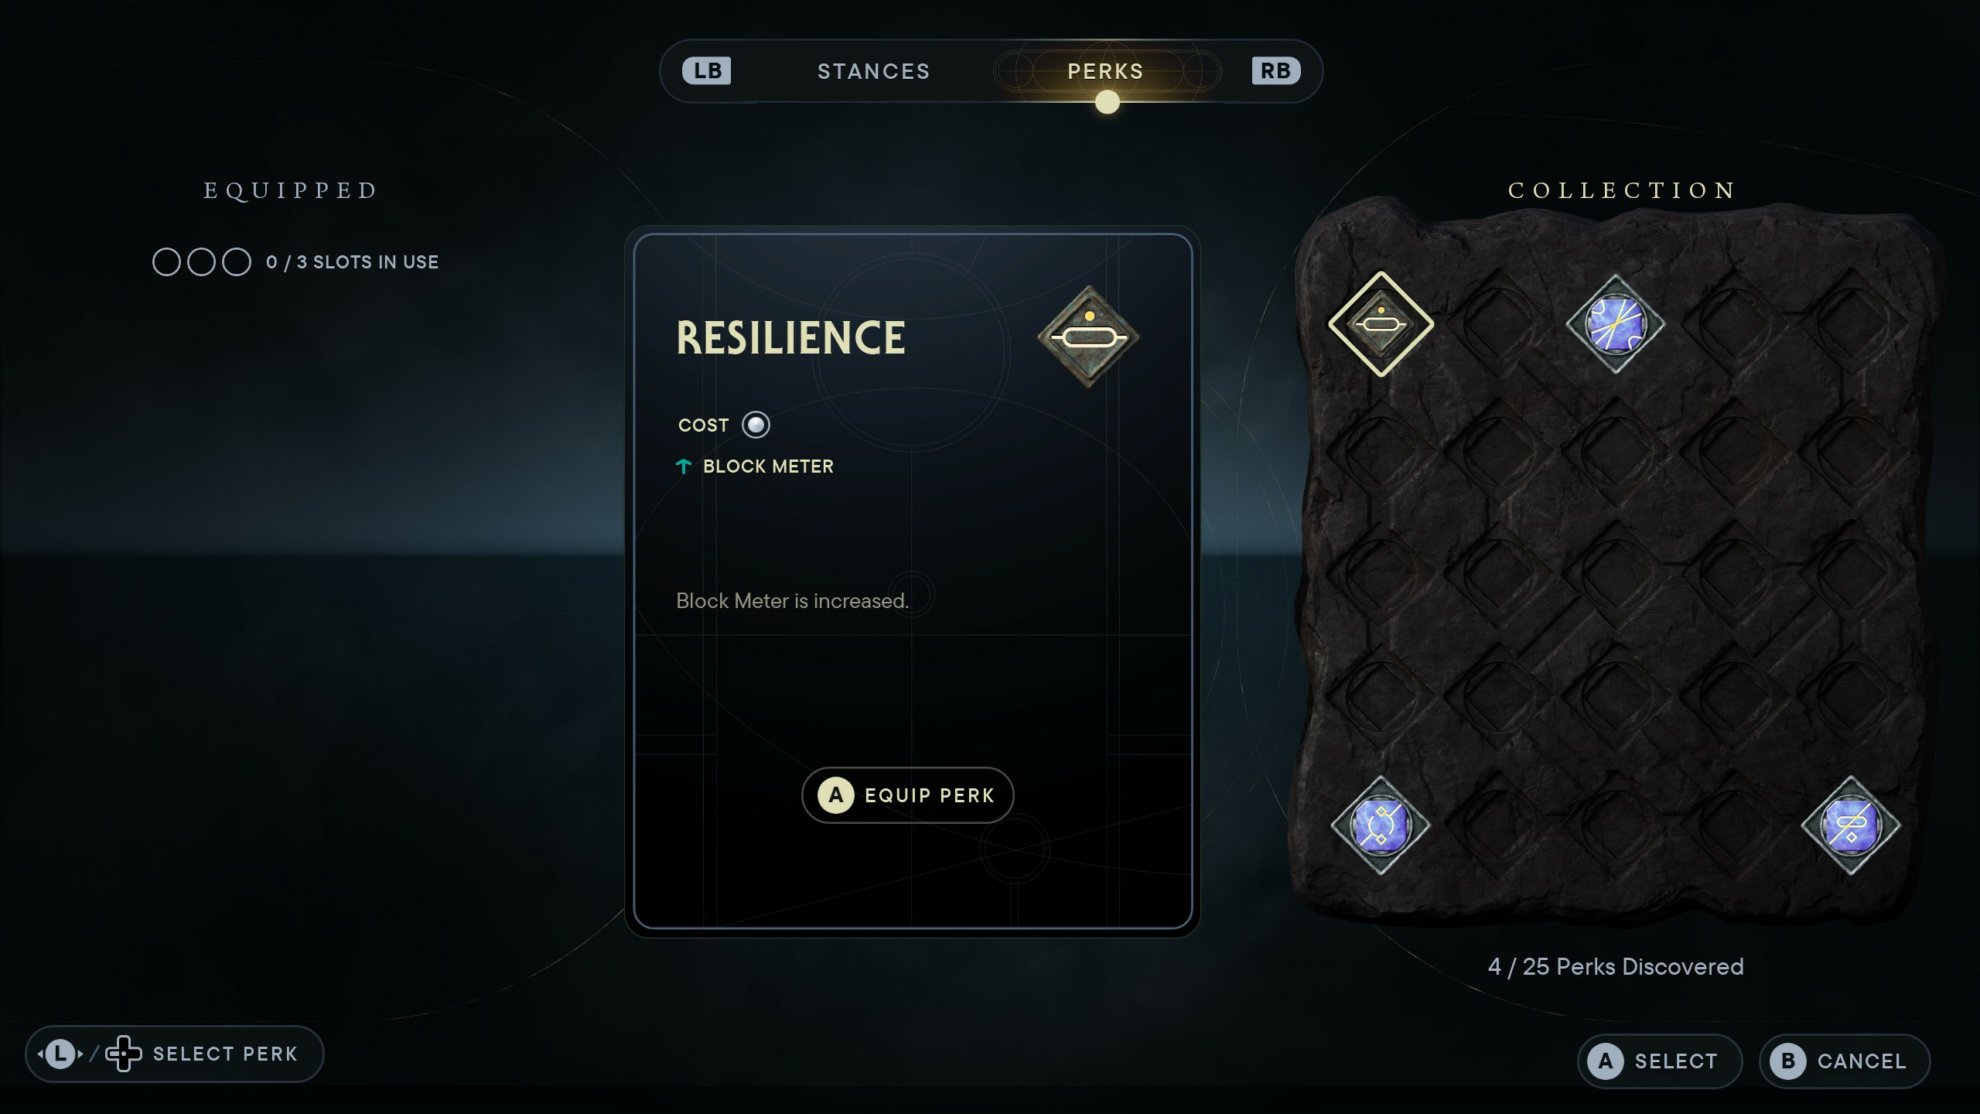
Here you can choose perks you find to augment your capabilities. Each perk has a slot requirement, and you start out with 3 perks slots available. As you progress in the game, you’ll be able to unlock more slots.
For a full list of Perks and how to get them, check out our Jedi Survivor Perks Guide and Locations Catalog. For this guide, I’ll point out useful perks you should pick up early on to help you get started.
 Resilience
 Resilience
You’ll receive this perk during the tutorial chamber, The Chamber of Duality. You can’t miss this one as you’ll need it to progress further into the game. The best offense is a good defense so having more block meter is always useful!
Fortification
 Fortification
The Fortification Perk is a great perk to have as it’ll regenerate your health up to a minimum amount. It may not slowly restore your health to full but it’s good to have if you don’t have any stims handy.
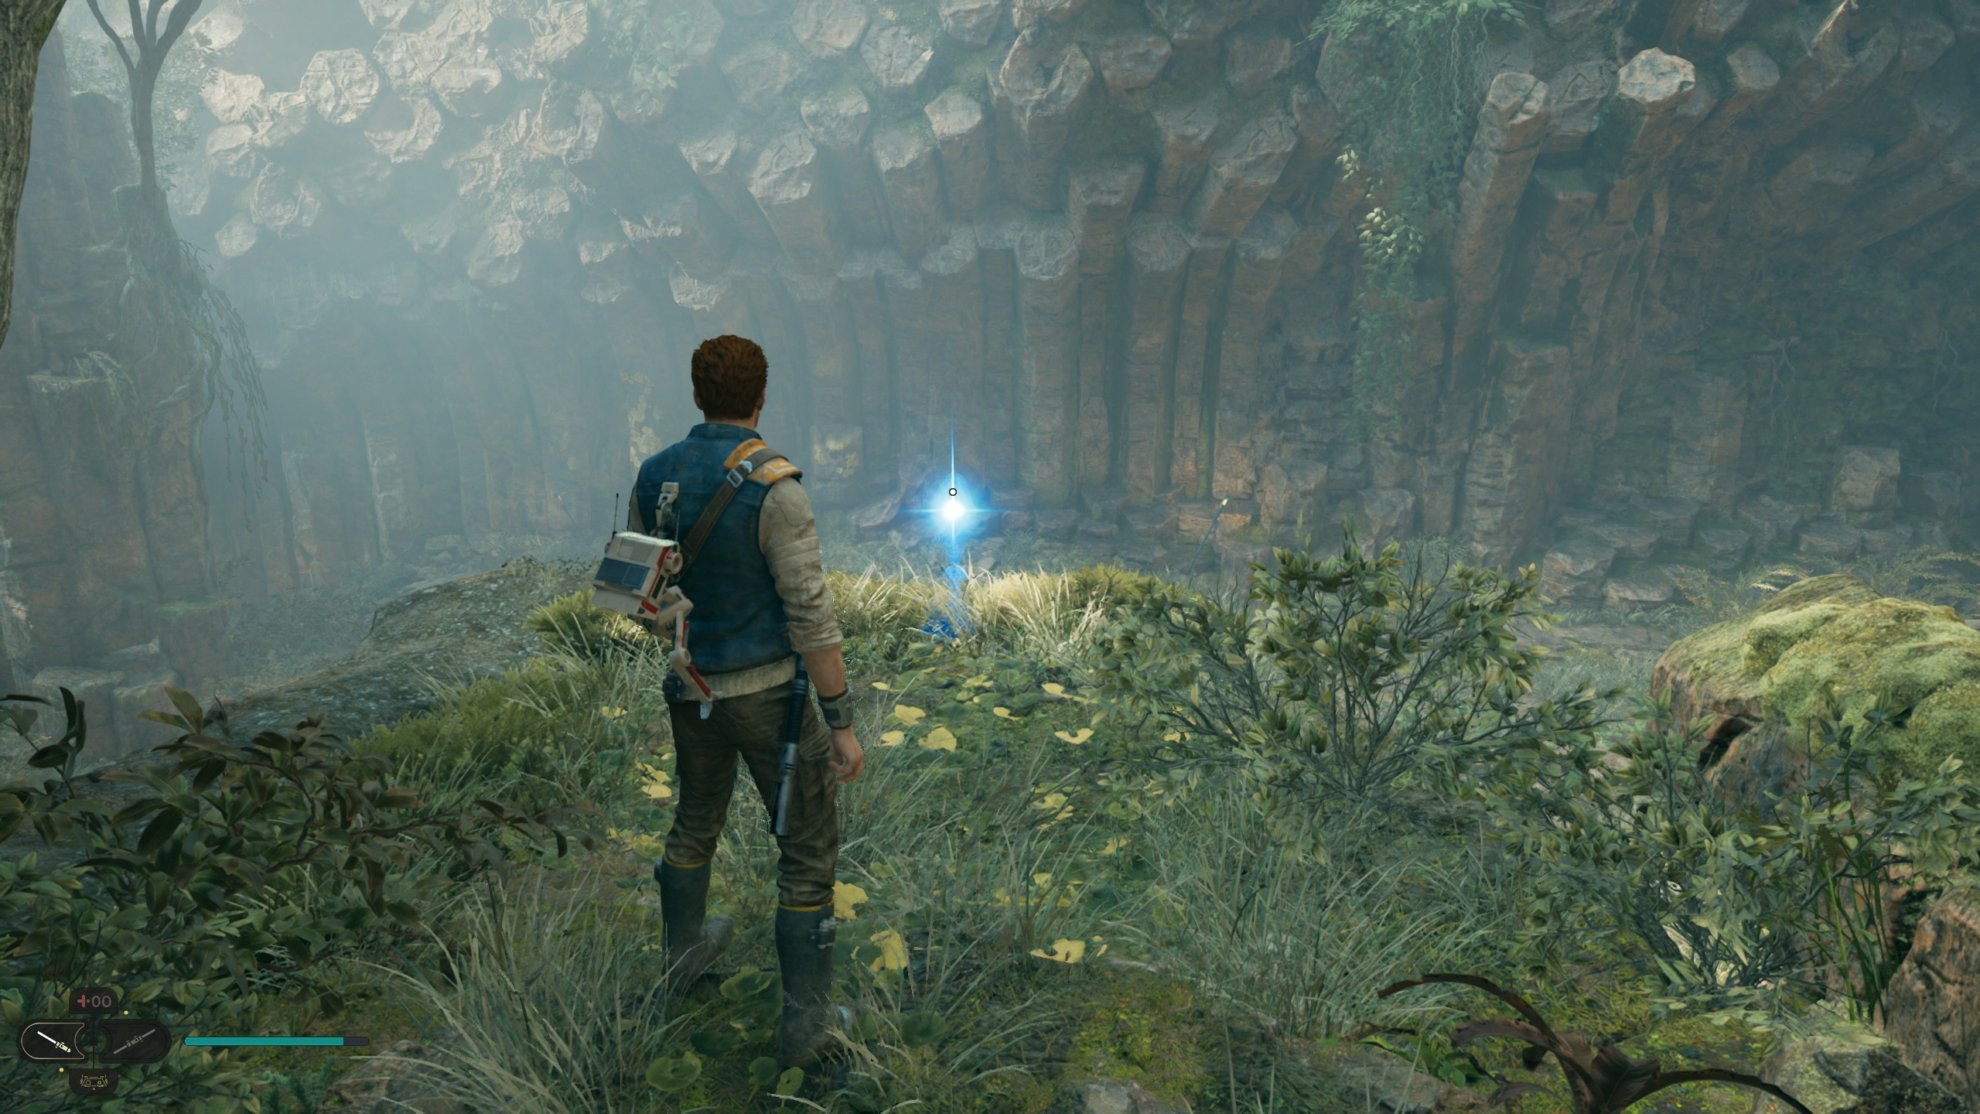
You can find the Fortification perk in the Forest Array. You’ll find a lone Scout Trooper sitting and admiring the view, behind him on the wall to the right will be a hidden cave. This leads to an area where you’ll need to do some platforming and at the end of the path will be the Fortification Perk.
The following perks will need to be purchased from Zee. You can unlock Zee as a vendor at Pyloon’s Saloon after completing the Forest Array. You will need Datadiscs to purchase goods here. You’ll find datadiscs all around Koboh during your travels.
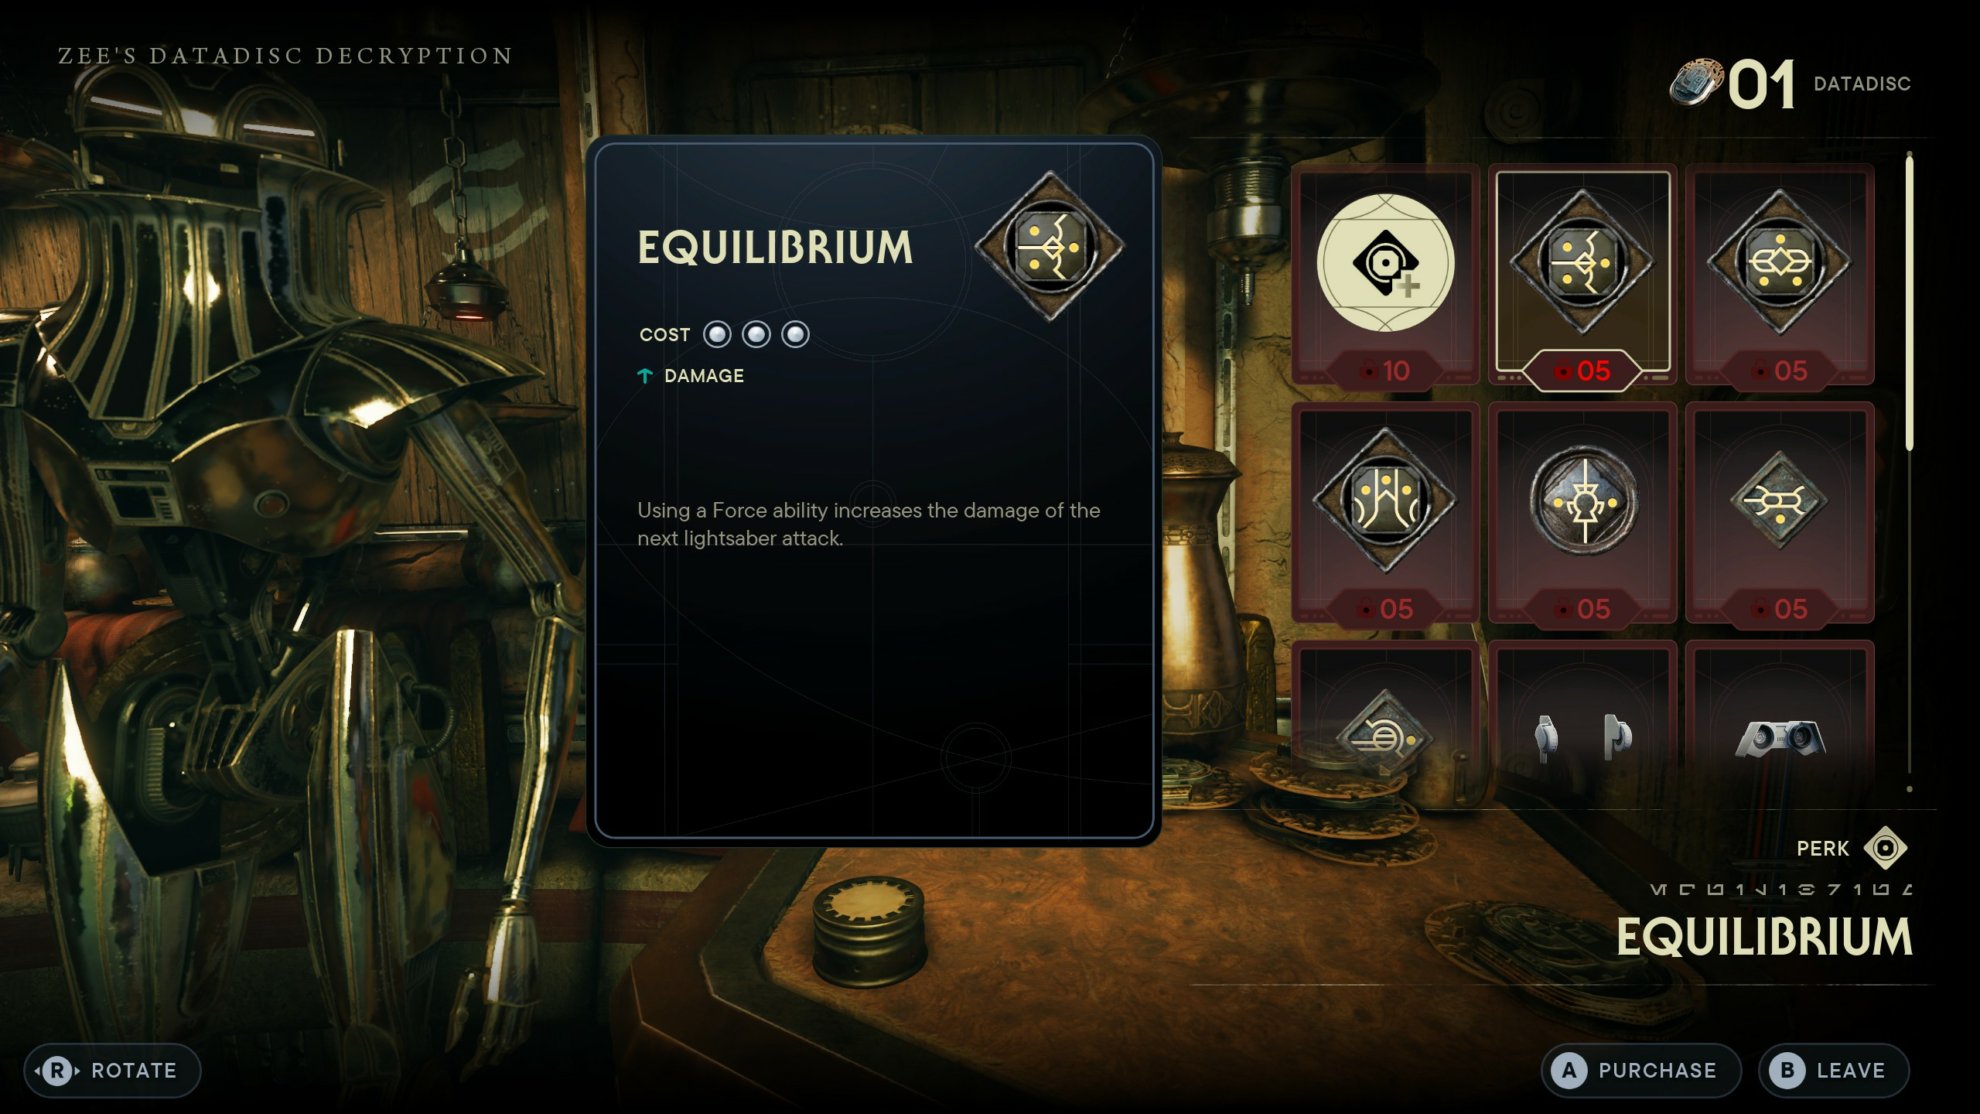
Equilibrium
 Equilibrium
Costs 5 Datadiscs
This perk is great to have if you like to use a lot of Force powers in combat. This will make your next lightsaber attack deal more damage after using any Force ability.
Flux
 Flux
FluxCosts 5 Datadiscs
This perk will allow you to regenerate Force up to a minimum amount at the cost of reducing maximum Force amount. This is useful to have if you’re still trying to practice gaining Force by dodging or until you unlock more Force meter upgrades.
 Wisdom
Costs 5 Datadiscs
This perk will increase the amount of experience you gain. It goes without saying that this is an incredibly useful perk as you’ll be able to unlock more skills sooner.
How to thoroughly explore Koboh
Jedi Survivor is essentially Star Wars’ take on the Metroidvania genre. This genre entails that you have a few maps (or planets) you can explore and as you progress, you’ll need to backtrack to open new paths with new abilities.
Jedi Survivor pulls this a lot so if you’re looking to explore Koboh to find collectibles, there are a few points in the story you’ll need to be aware of.

When you reach a certain point in the story, you’ll have the option to research Tanalorr on Koboh or its Shattered Moon. The Shattered Moon can be seen as the harder of the two options as it’s very combat-heavy.
If you go to Koboh, you’ll be able to unlock an upgrade called “Koboh Matter Sprayer” that will let you interact with Koboh Matter. This in turn will allow you to unlock new areas.
Going with Koboh will open up new paths where you can gain collectibles to unlock things such as perks from Zee or gain essences. I would recommend this option if exploration and collectible gathering is your priority.
Another good point to pause story progression to explore is after you gain the ability to Dash while jumping and passing through green barriers. There are several spots on Koboh with green barriers and even one on Coruscant. Check these out to see what they hide!
The third best time to explore more of Koboh is when you gain the Force Lift/Slam ability. You would have encountered some obstacles such as doors are highlighted red but now become blue when you’re near them. You can Force Lift them to open new paths with new secrets. Look for objects you can Lift or Slam to find new paths!
If you need more help, our Jedi Survivor Guides Master List is a great starting point! If you want to avoid major spoilers, I highly recommend you avoid clicking the “Boss Guides” link on that list. Good luck and have fun with Jedi Survivor!


