This guide will show you how to complete the main job “Somewhat Damaged” from Cyberpunk 2077’s expansion Phantom Liberty! The walkthrough details each step you must take to fully explore the environment and avoid getting caught by the patrolling Cerberus unit.
Cyberpunk 2077 Somewhat Damaged Walkthrough

This is the simplified version of the Somewhat Damaged mission walkthrough from Phantom Liberty with easy-to-follow step-by-step instructions on how to start the mission and what choices to pick.
Below this segment, you will find detailed instructions and explanations of what happens if you make all of the available choices.
Instructions
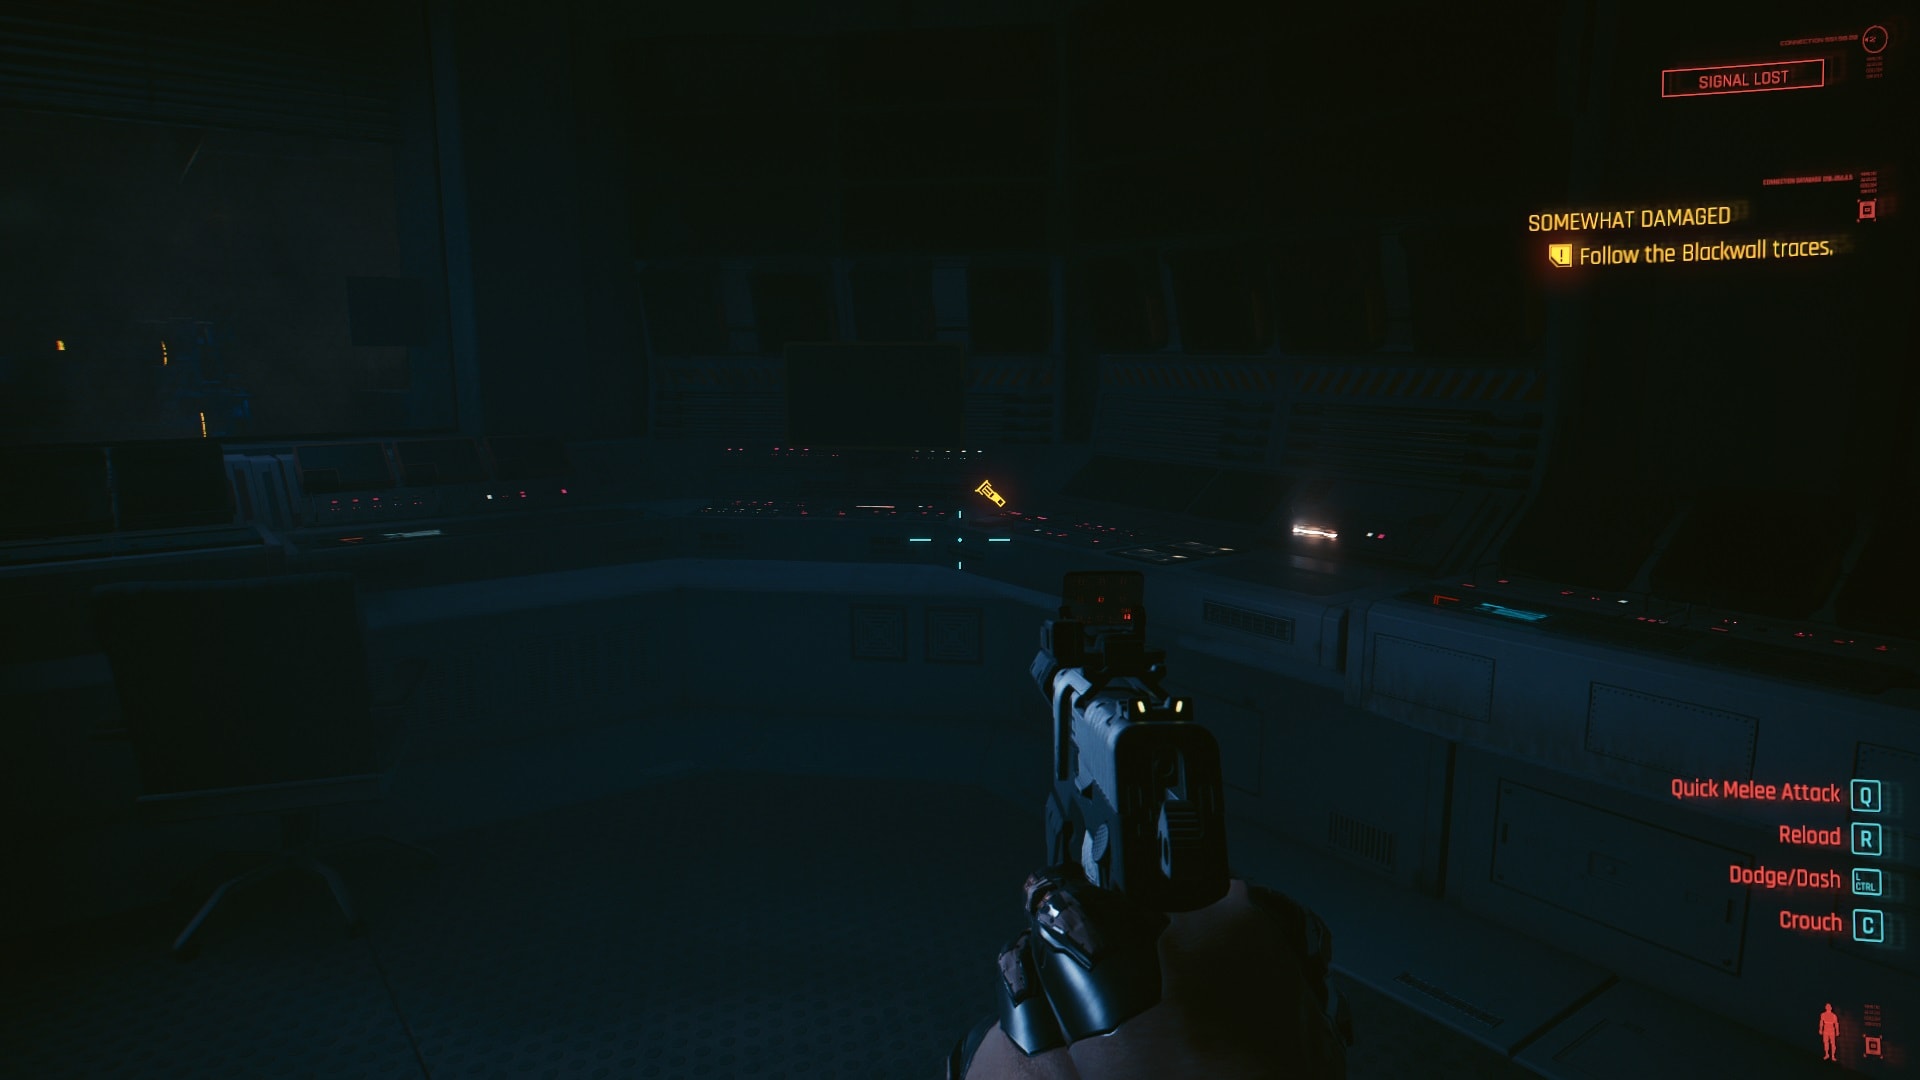
- Find the truck that transports So Mi, then follow the Blackwall traces that she's leaving behind. It will lead to a secret Militech facility.
- You'll learn more about So Mi's past thanks to memories of her that appear when walking into specific places.
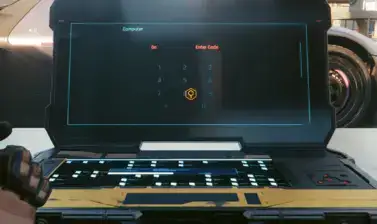
- A gate is blocking your path, find the Alpha and Victor terminals to change this.
- The Cerberus unit reveals itself, you can't defeat this enemy. Being stealthy is the only way to complete this mission.
- Continue your search for the remaining terminals but be extremely careful and give priority to hiding. The Cerberus has many blind spots that allow you to hide behind objects or in corners, use this to your advantage.
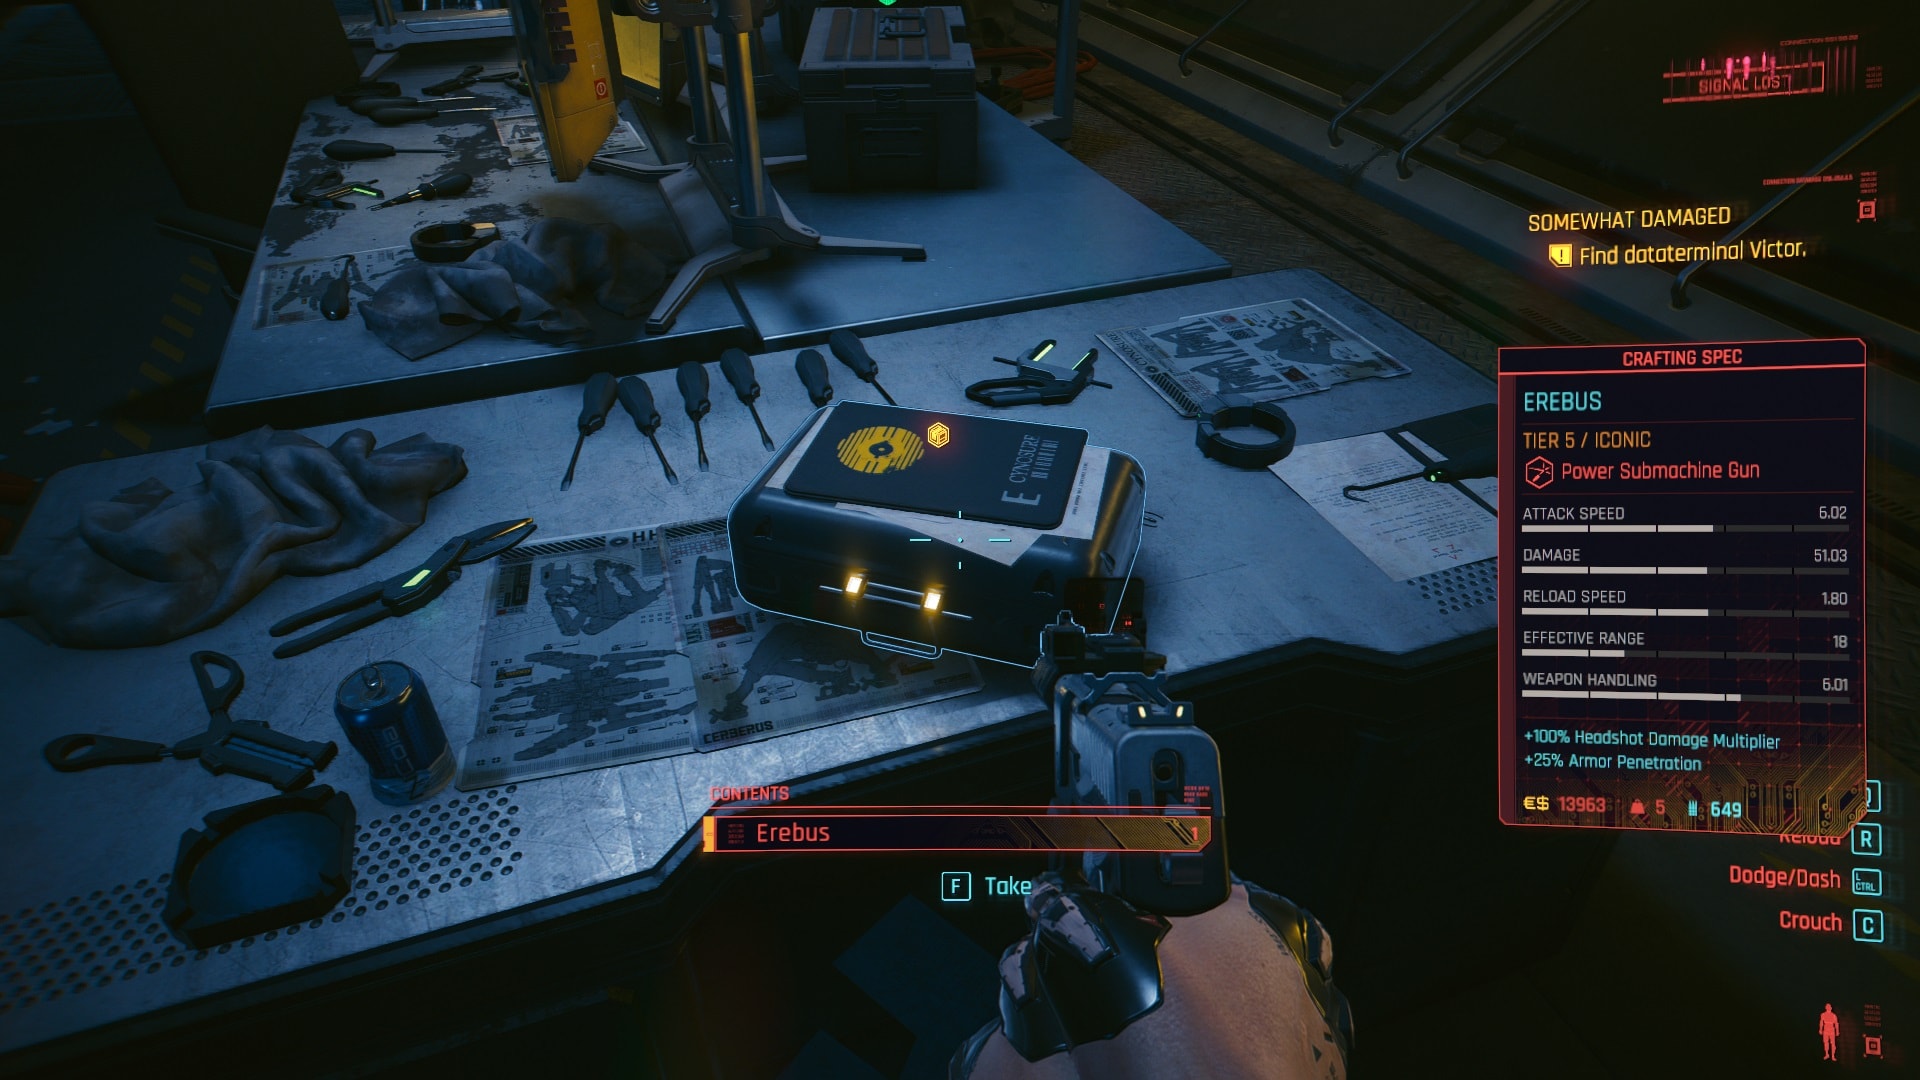
- Find your way inside the sealed gate, behind it you'll find the blueprint for the Erebus Iconic Weapon (Optional).
- Head to the Core Room.
- Go to the Labs and pull the cables from the three points.
- Shut down the Thermic Control System by interacting with the circuit box that's outside.
- Destroy the six firewall devices.
- The Cerberus will lock down all doors, wait for a bit before it goes away and head back to the core room.
- Interact with the terminal, the Cerberus will make a last attempt to zero you.
- Talk through the Relic to what's left of So Mi, she'll show her last remaining memories.
- Enter the core room, and disconnect So Mi.
- Make one final decision: Let Reed take her back to the NUSA or end her suffering right there.
Notes
If you are an achievement hunter, use our Phantom Liberty Endings guide to find out how you can unlock all four of them, plus the new ending available for the base game.
How to unlock “Somewhat Damaged”
This segment includes spoilers about a turning point in the main story. Please consider this before continuing.
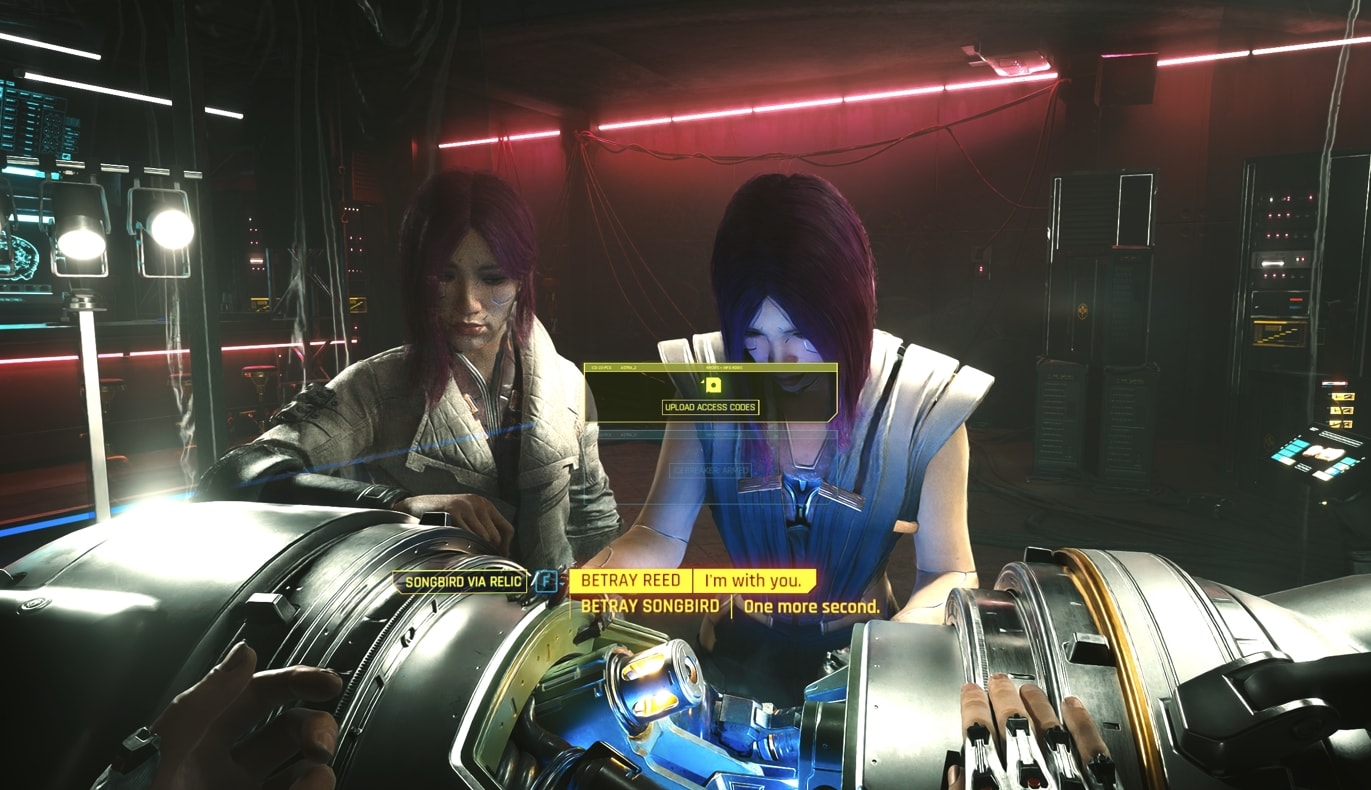
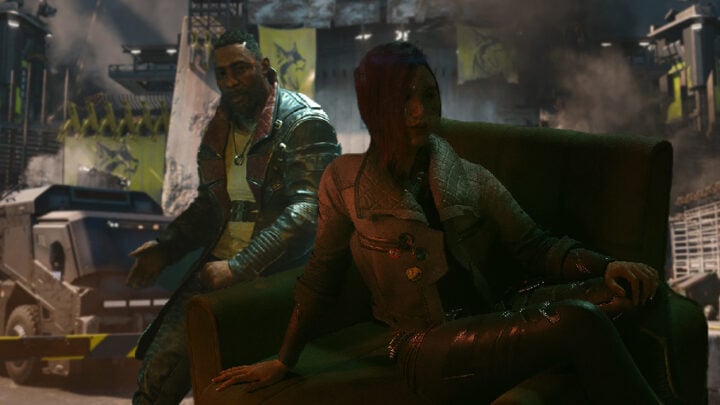
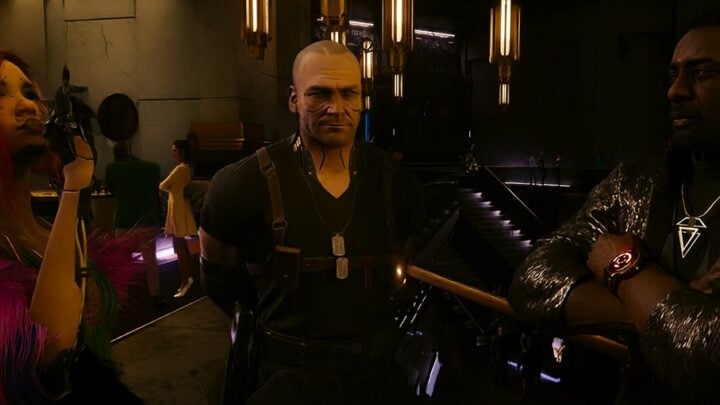
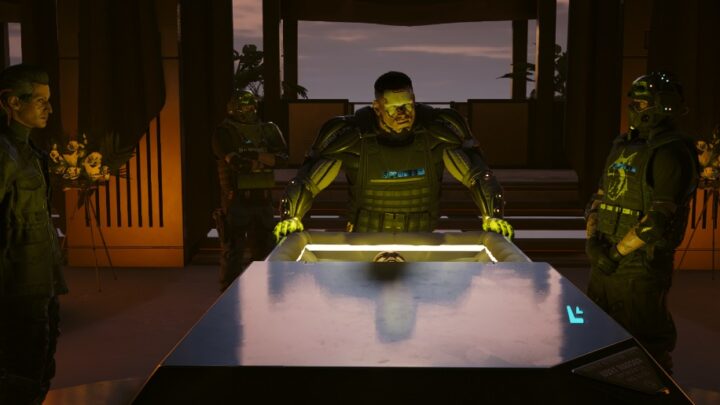
When you, Alex, and Reed meet with Kurt Hansen and So Mi you’re given two choices. To side with Reed and stun So Mi so she can be taken into custody or run away with her. Both options have very different outcomes and gameplay.
To get the Somewhat Damaged mission you must ally with Reed during the main job “Firestarter”. So Mi goes crazy and causes the deaths of many people. She enters a state of Cyberpsichosis but MaxTac manages to capture her.
If you opt to help Songbird and don’t side with Reed, you will get a new main job “Killing Moon” and different ending options for the story.
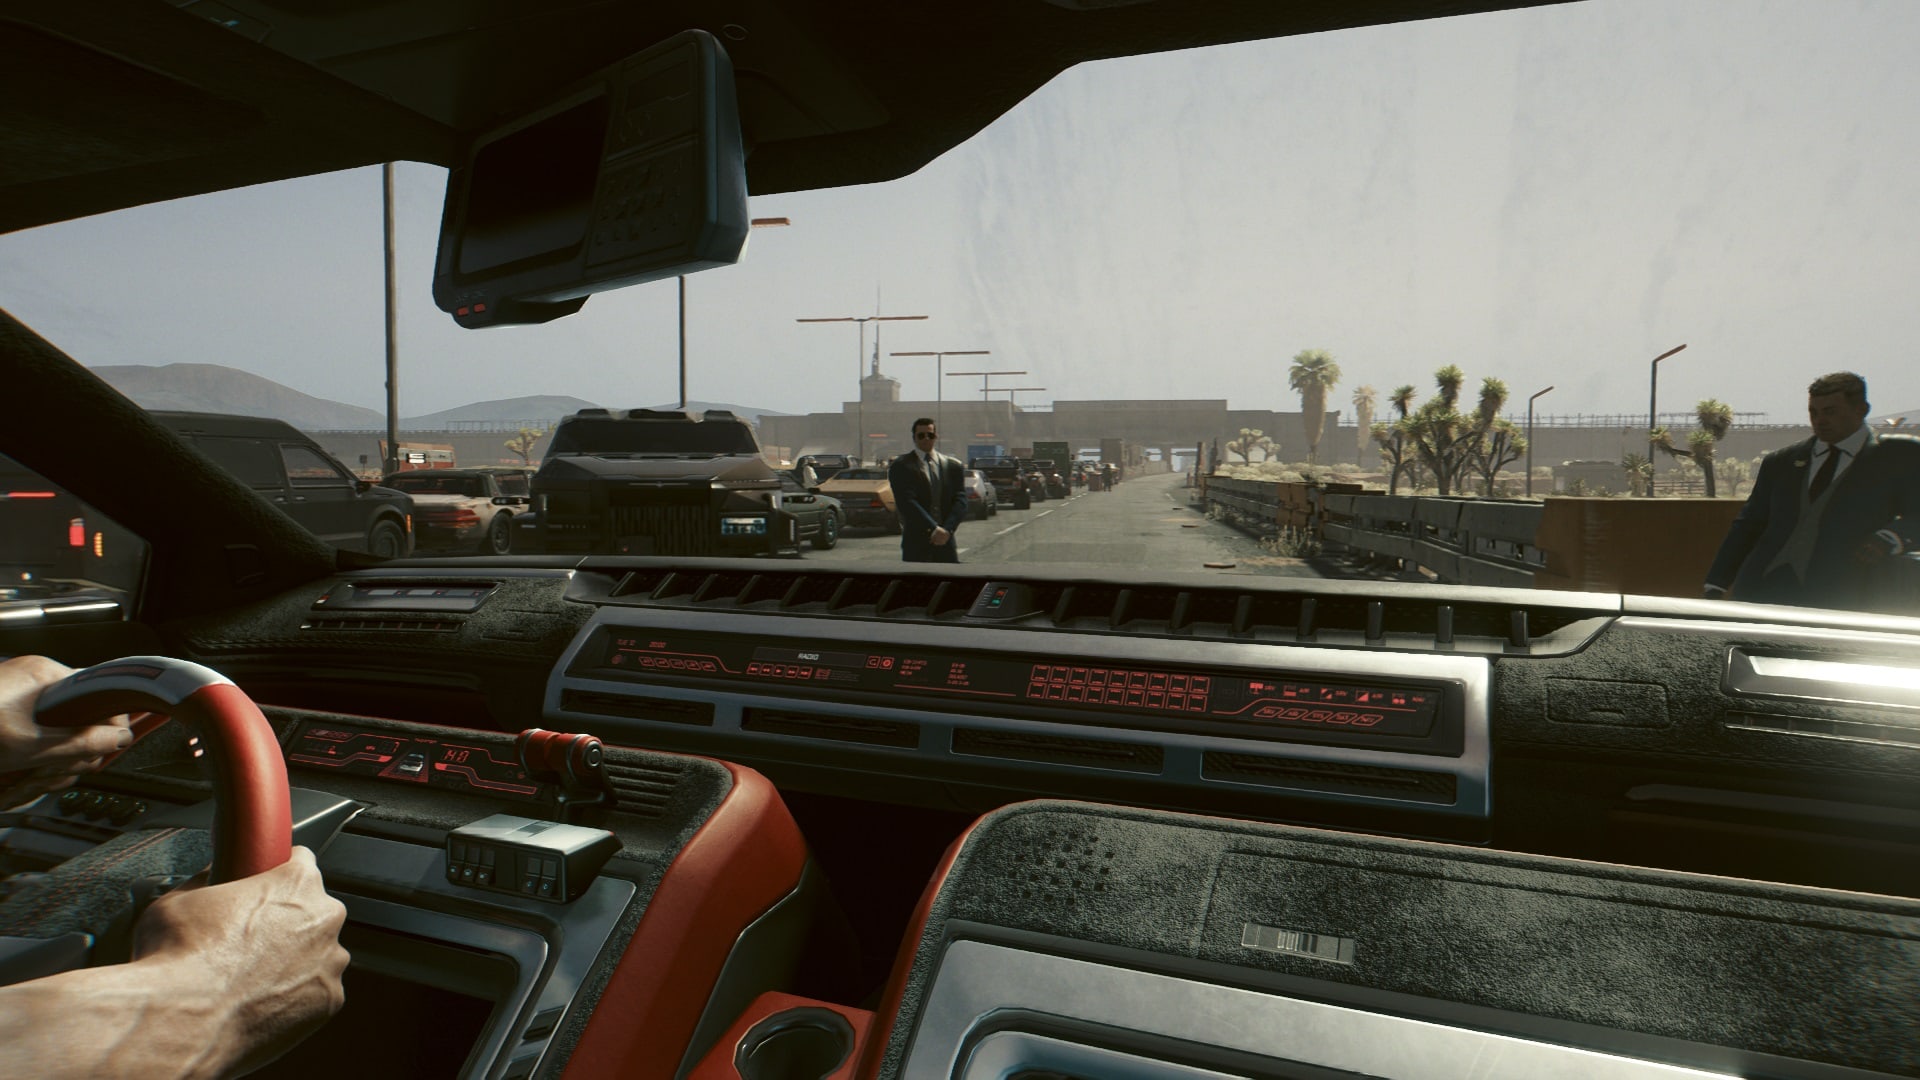
Reed’s (and the NUS’) plan is to rescue her and provide treatment. With the help of some “patriots”, Reed makes a plan to ambush the convoy and rescue So Mi. Needless to say, the mission fails. Somewhat Damaged begins immediately after these events.
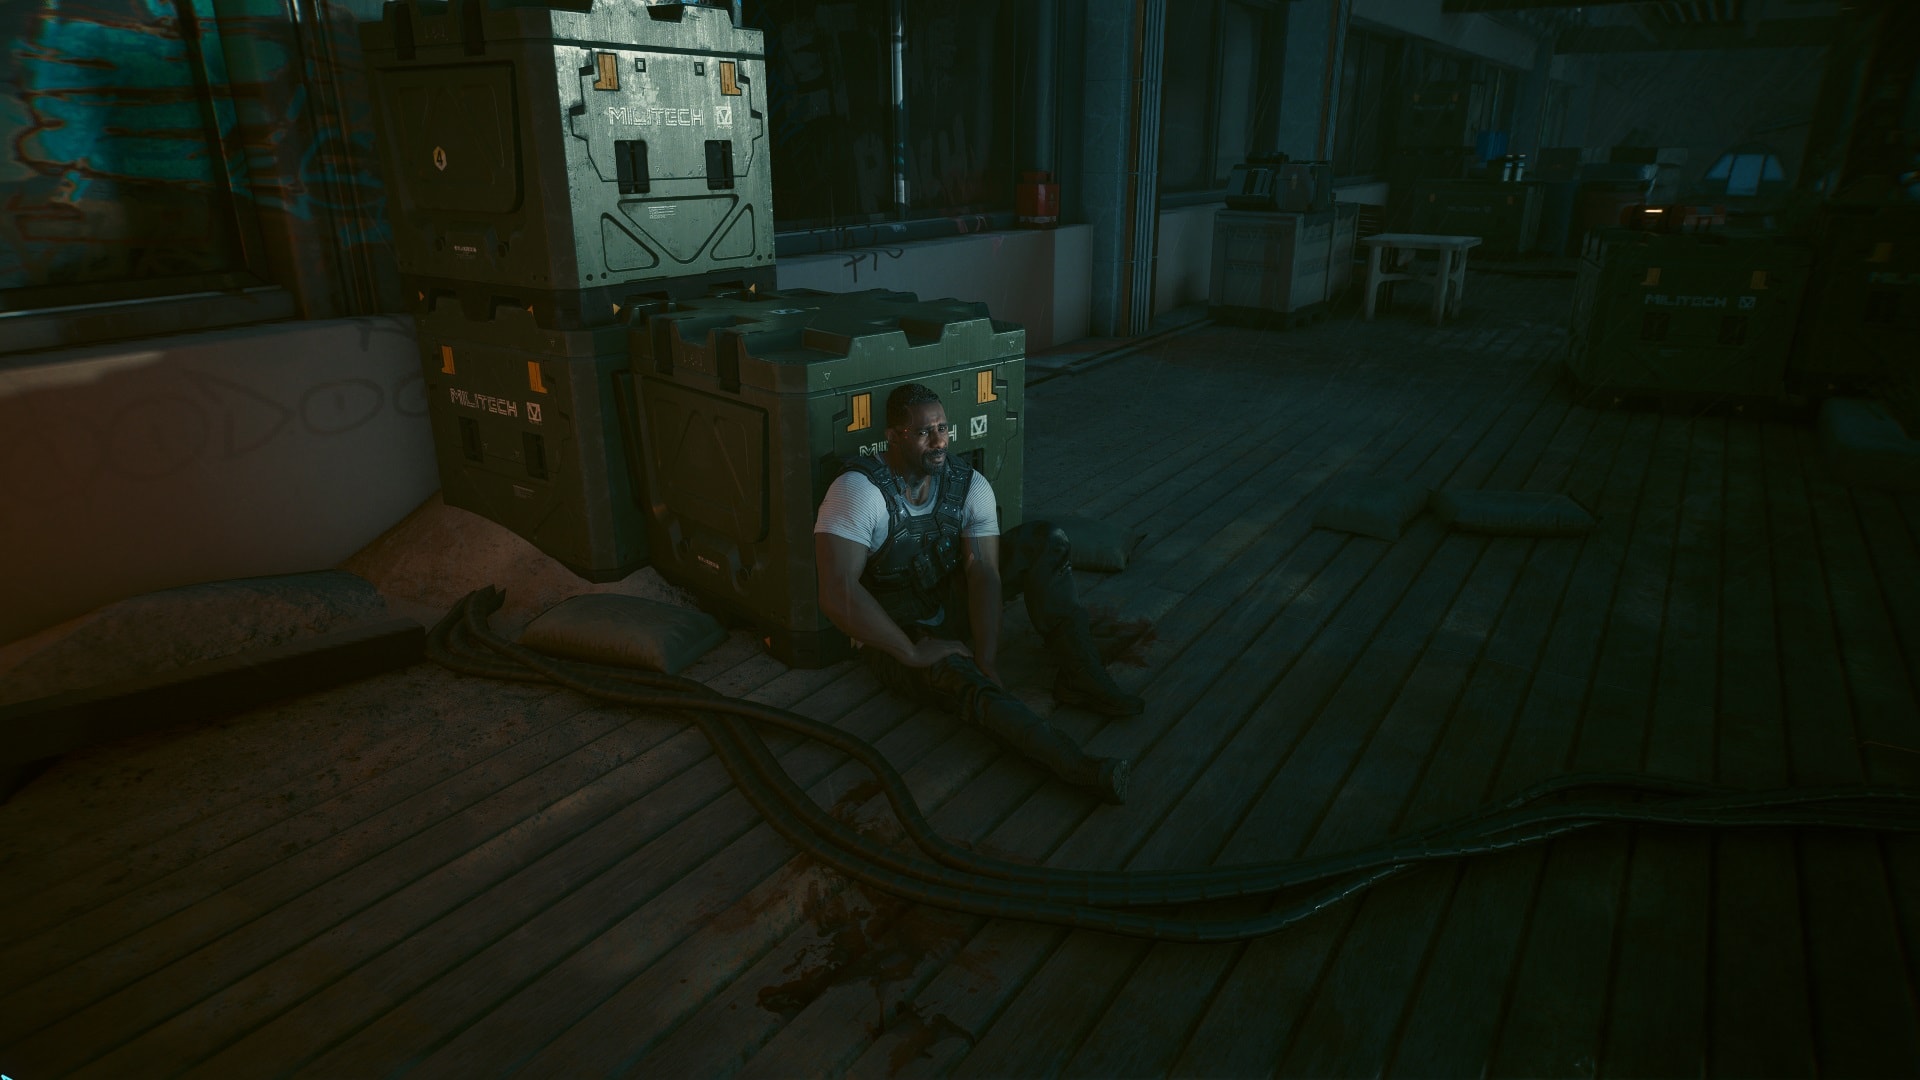
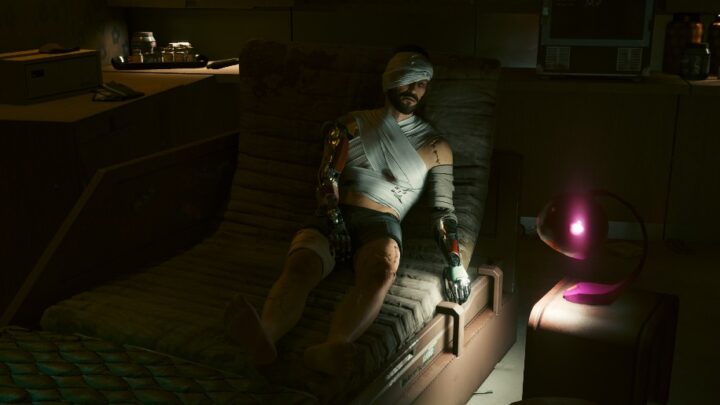
After the failed attack on the convoy that transports Songbird, Reed is hurt and he can’t continue. It’s up to you to find and rescue her.
Partial Point of No Return
Once you engage MaxTac at the end of the last mission, “Black Steel in the Hour of Chaos“, you will be forced to complete said encounter and do the entirety of the somewhat lengthy survival horror mission, Somewhat Damaged, before being able to play other parts of the game.
If you try to leave after engaging MaxTac, Reed will start yelling at you on the phone to come back, and after a short time has passed, you’ll fail the mission and be unable to complete the quest.
If you’ve just completed Black Steel in the Hour of Chaos and don’t want to do Somewhat Damaged right now, I recommend loading an autosave from right before you took your position for the MaxTac ambush. You may also want to create a new manual save from this point, just in case.
Find the secret Militech facility
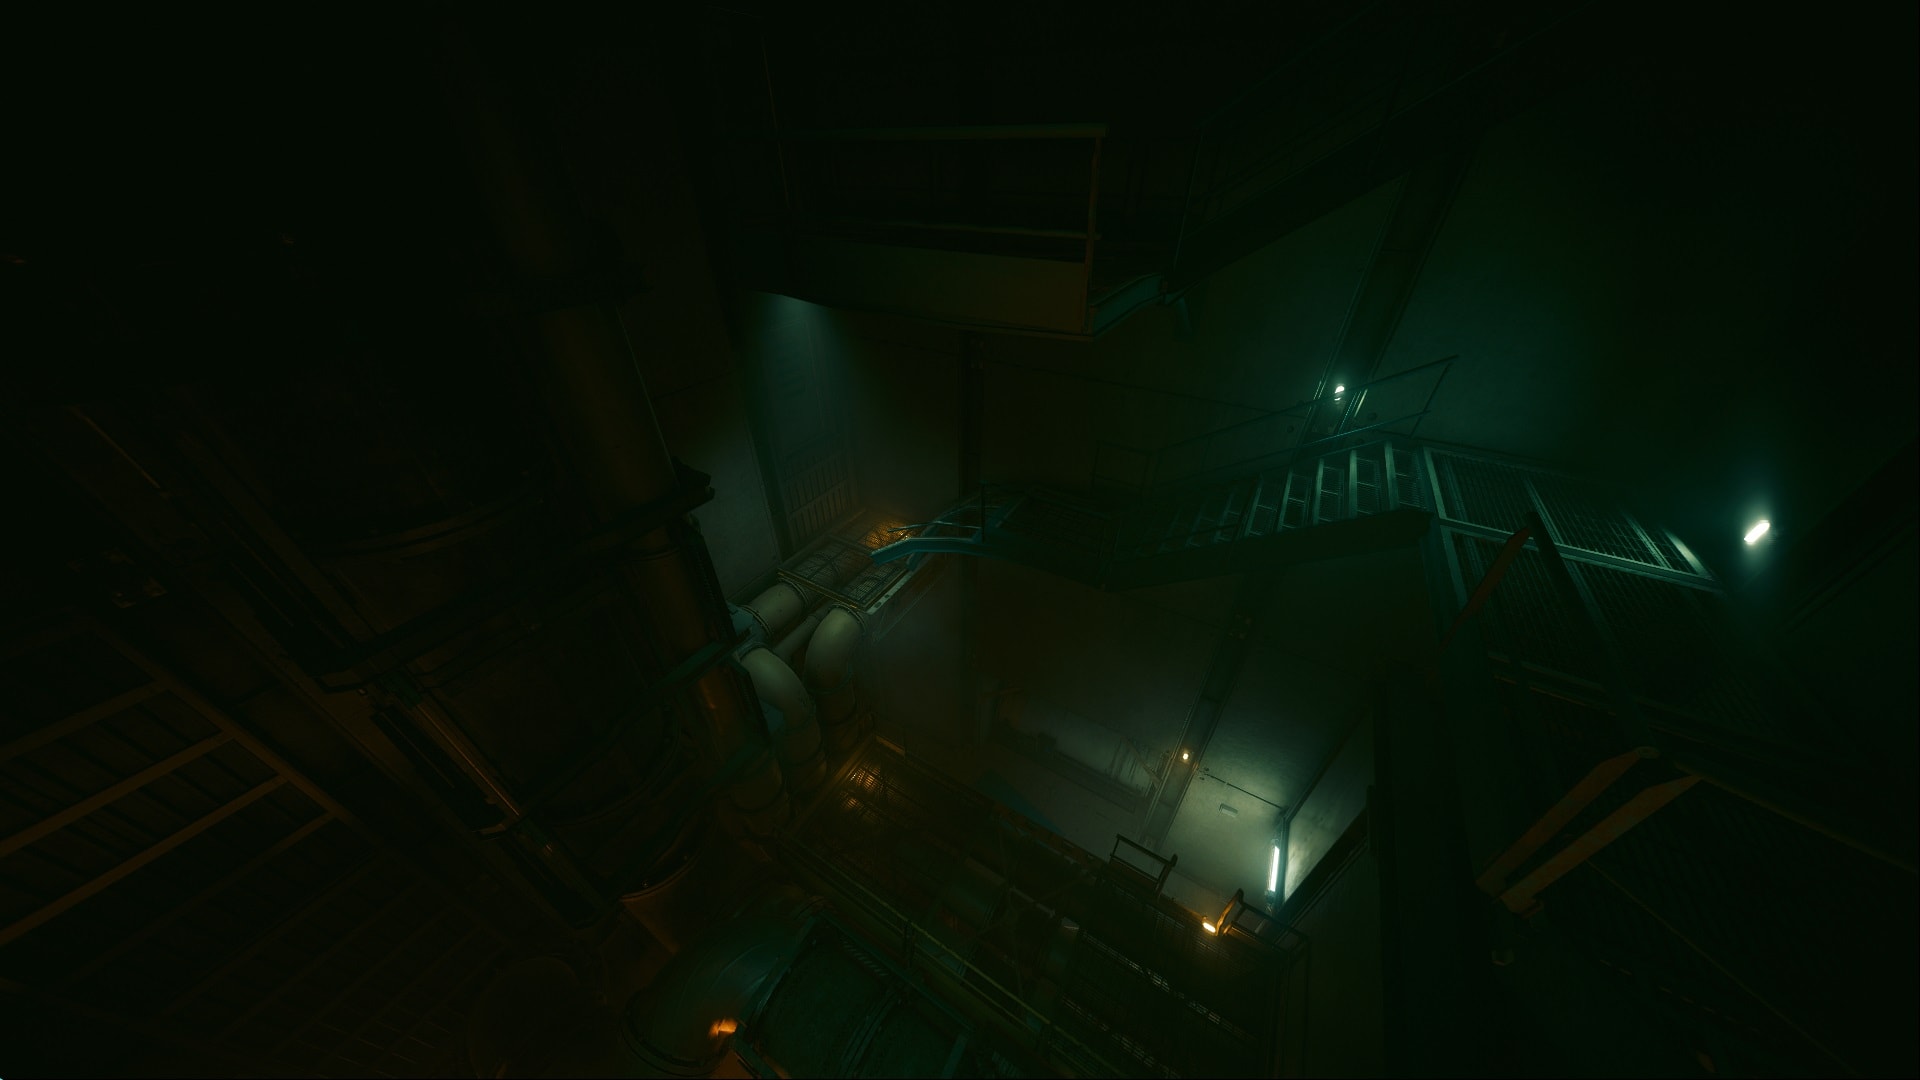
Follow the traces of the truck through a few blocks until you find this hole in the wall.
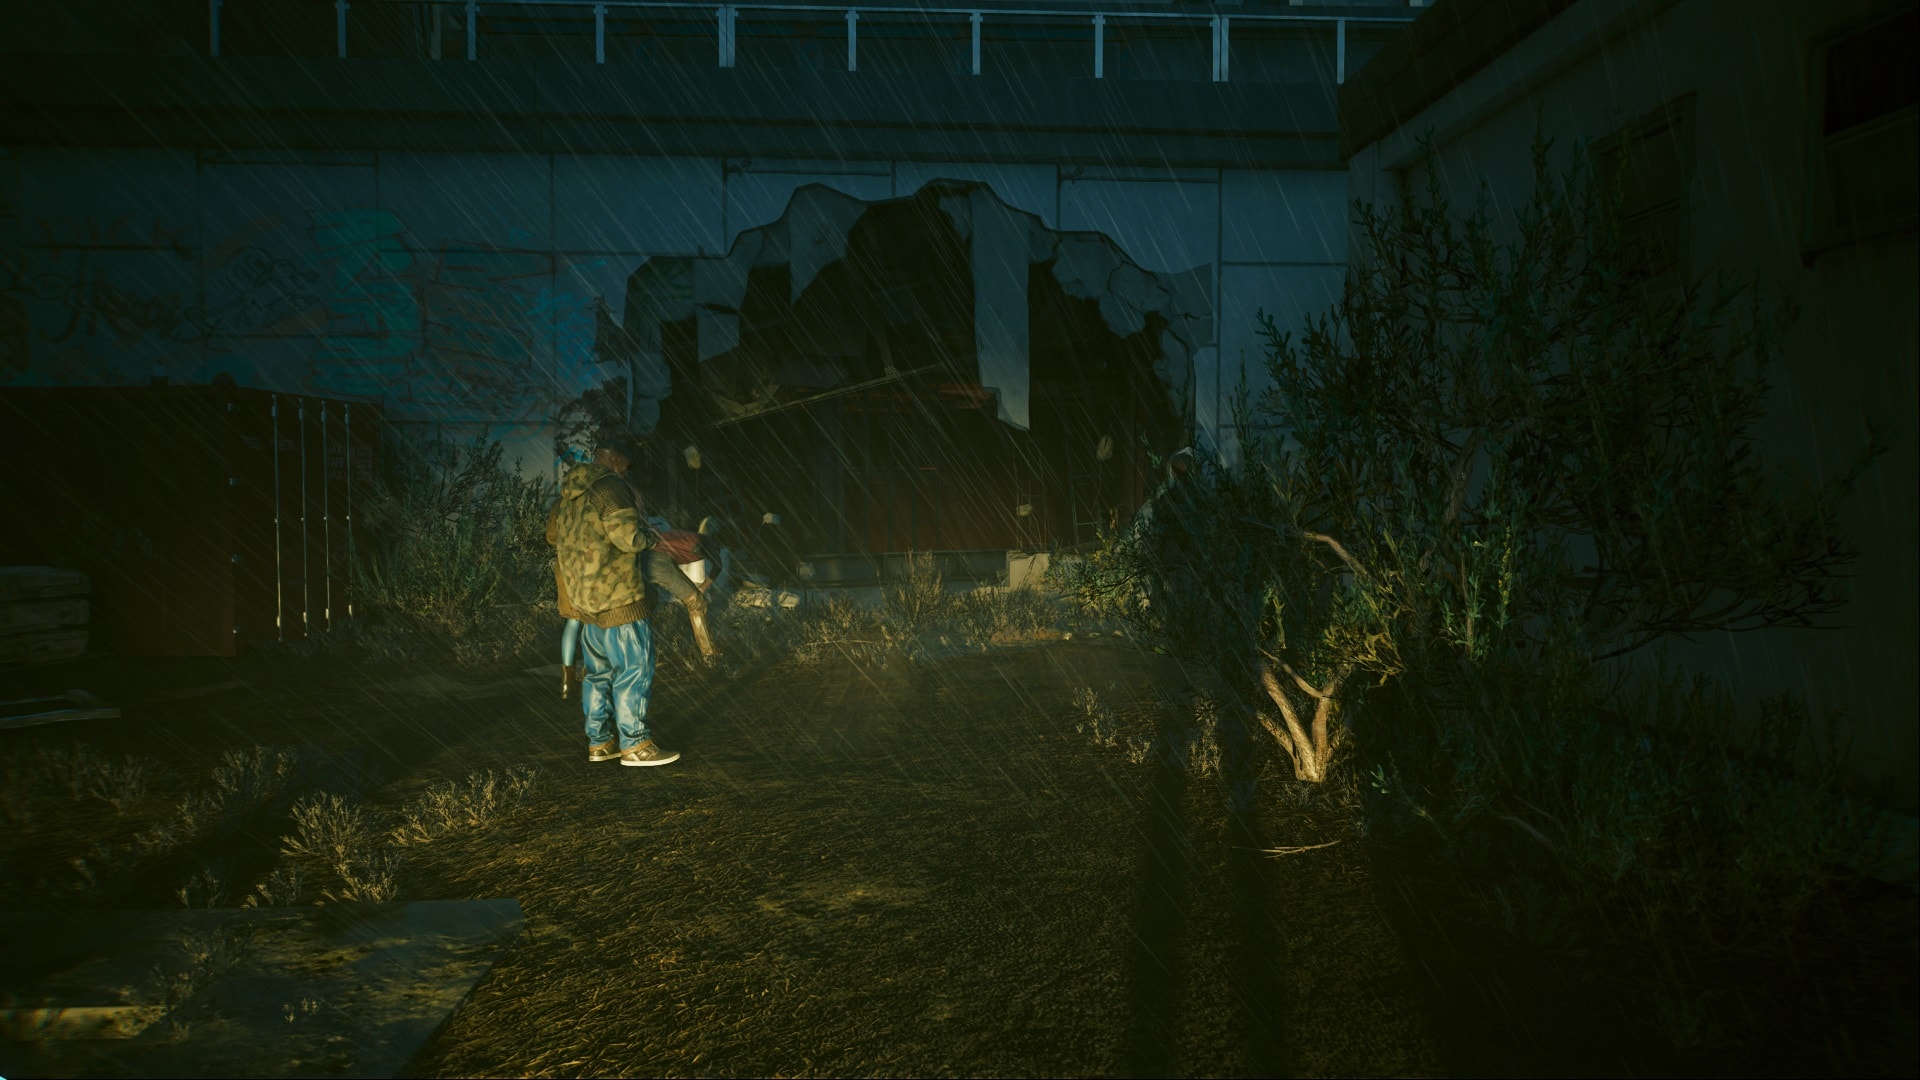
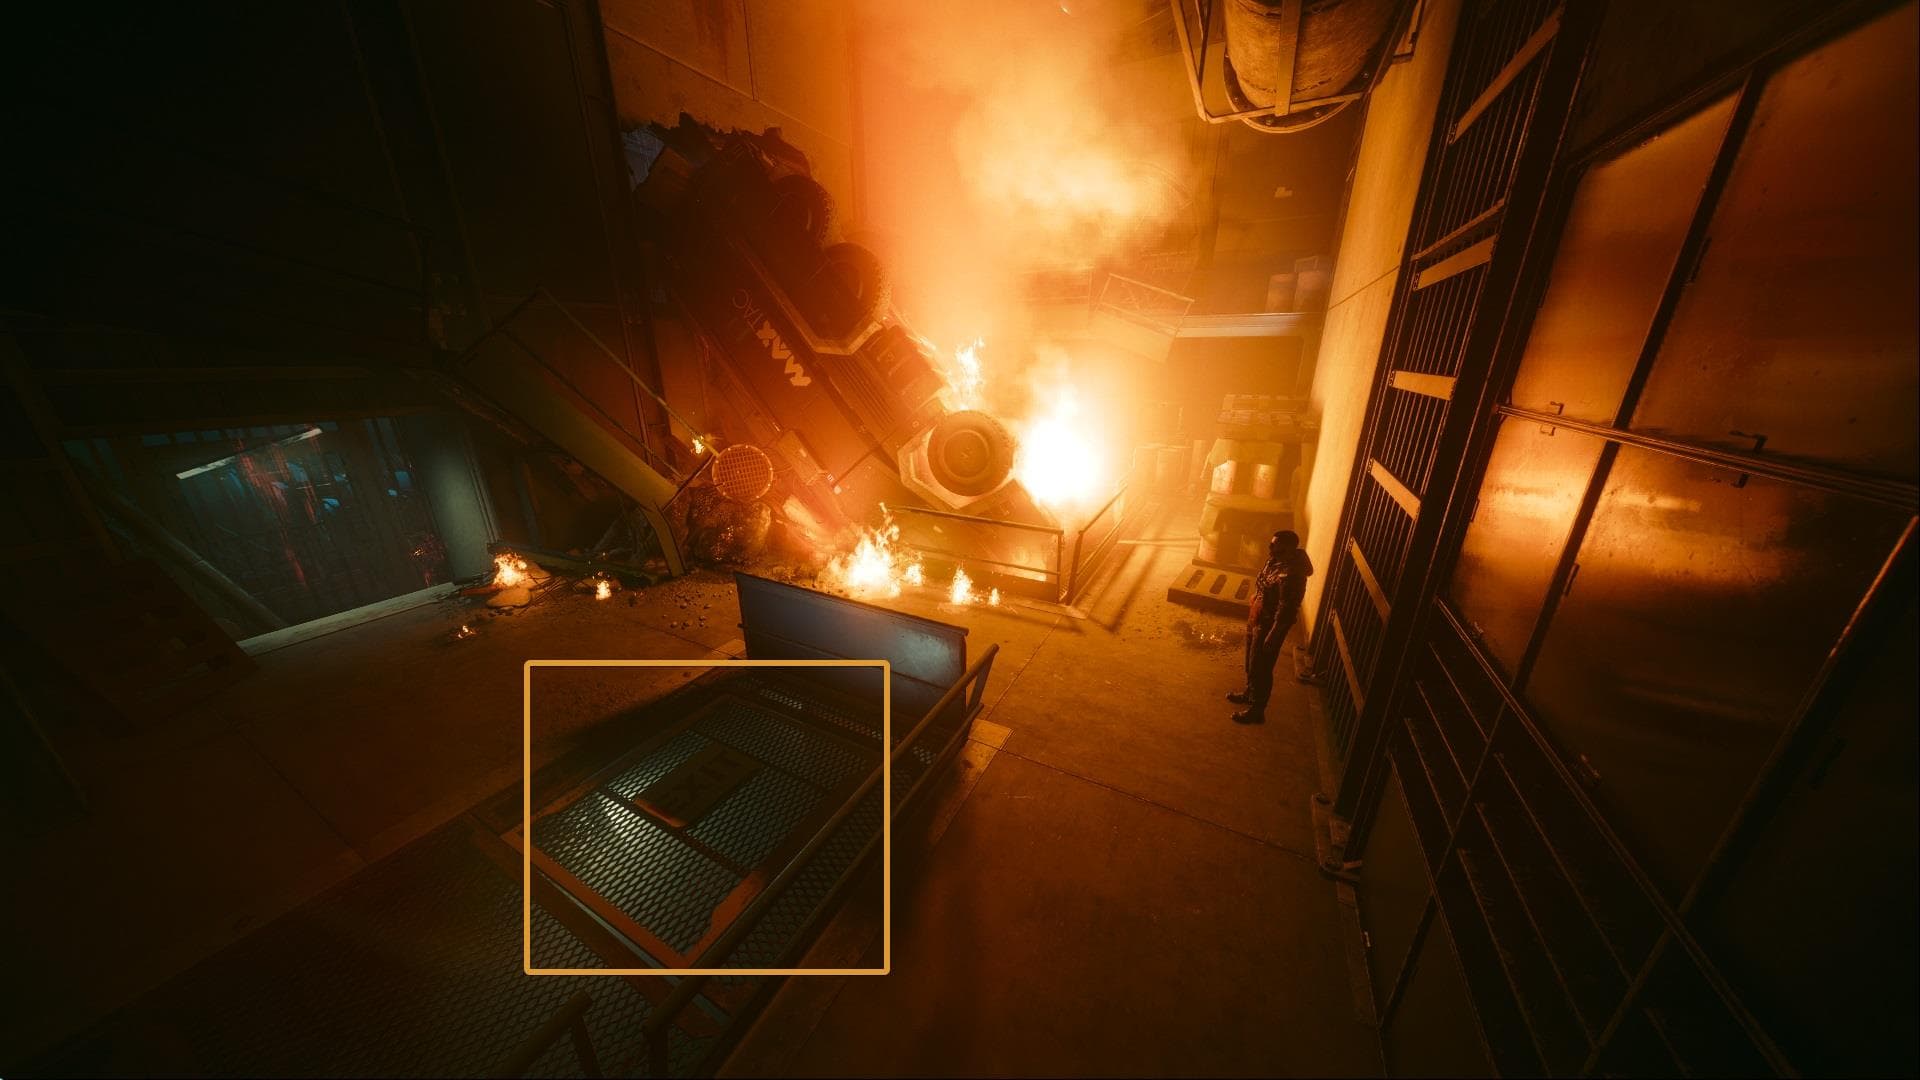
The truck came right through the wall and fell to the bottom of this facility. Go downstairs until you find the truck and inspect it.
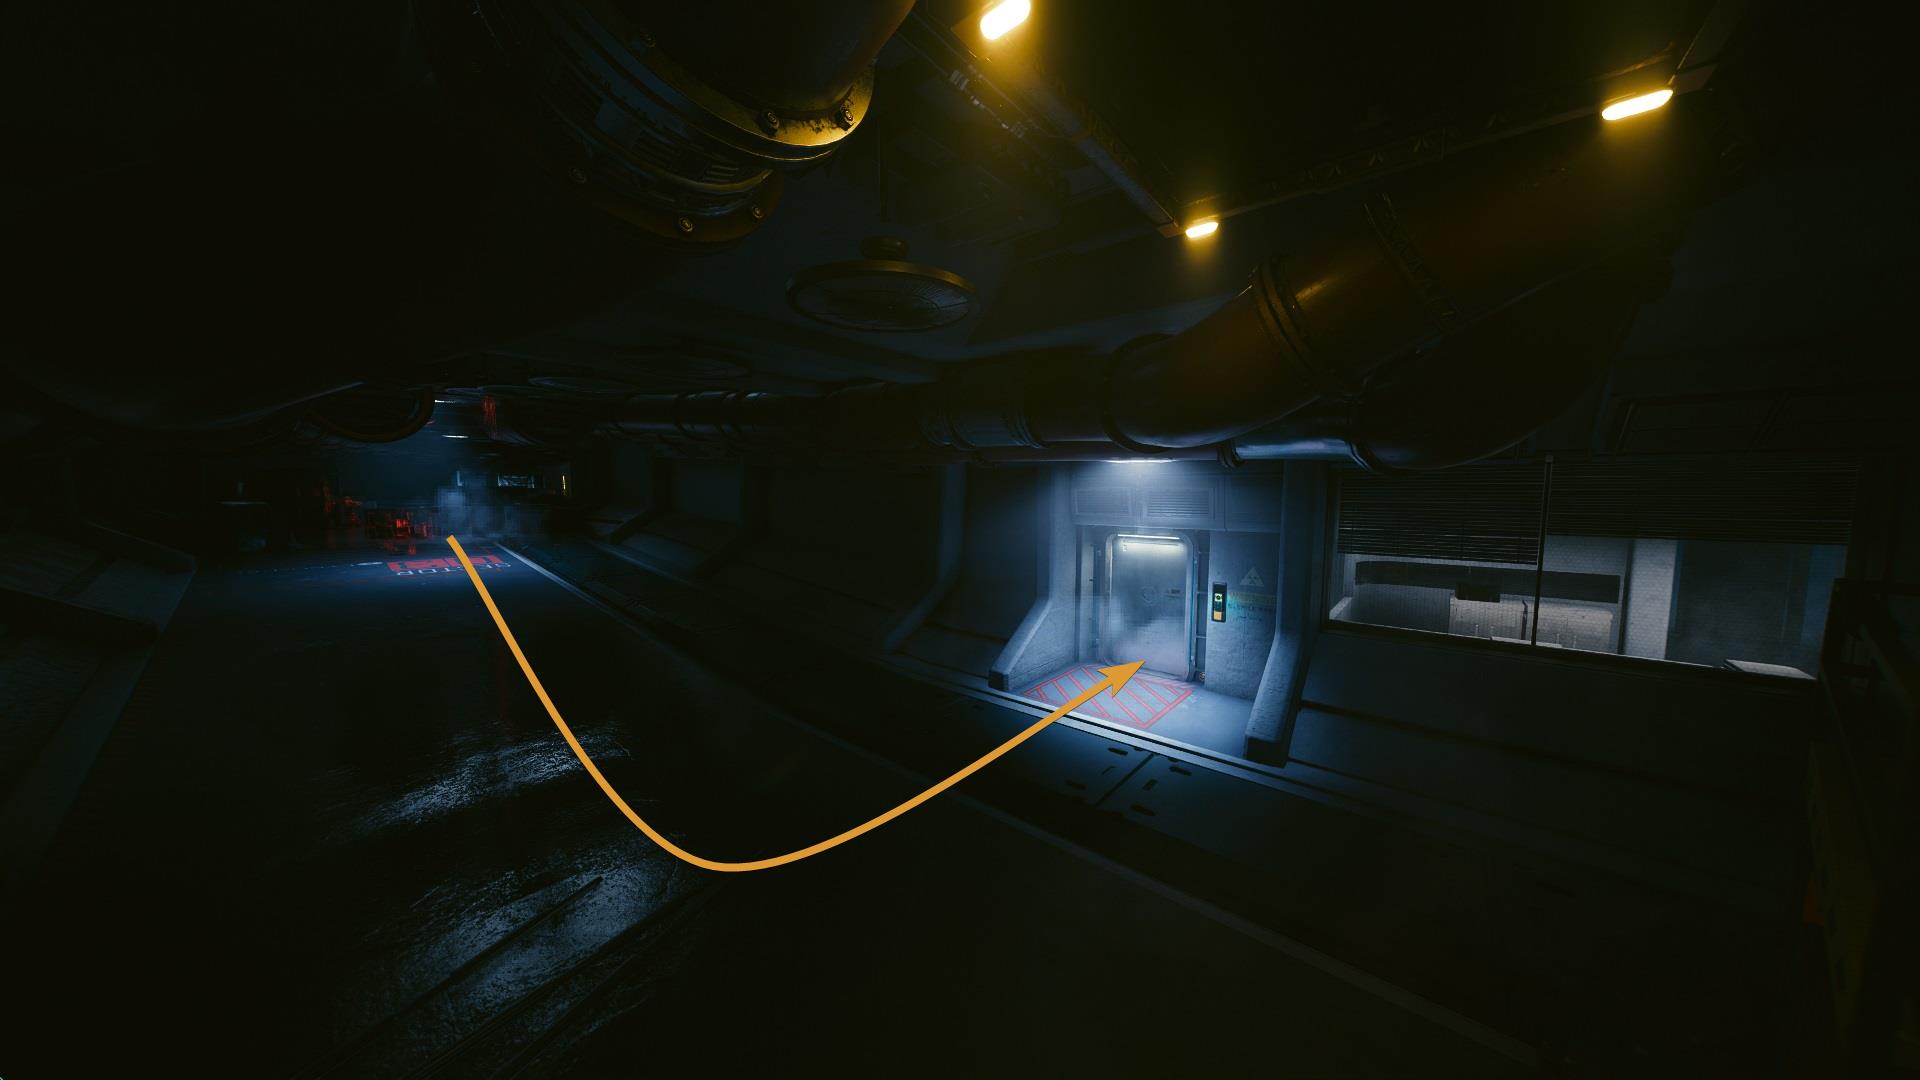
After taking a look and verifying that So Mi is long gone, go to the lower level. Open the highlighted trapdoor in the following image. You will have to swim for a few seconds until a stair leads you to a small tunnel.
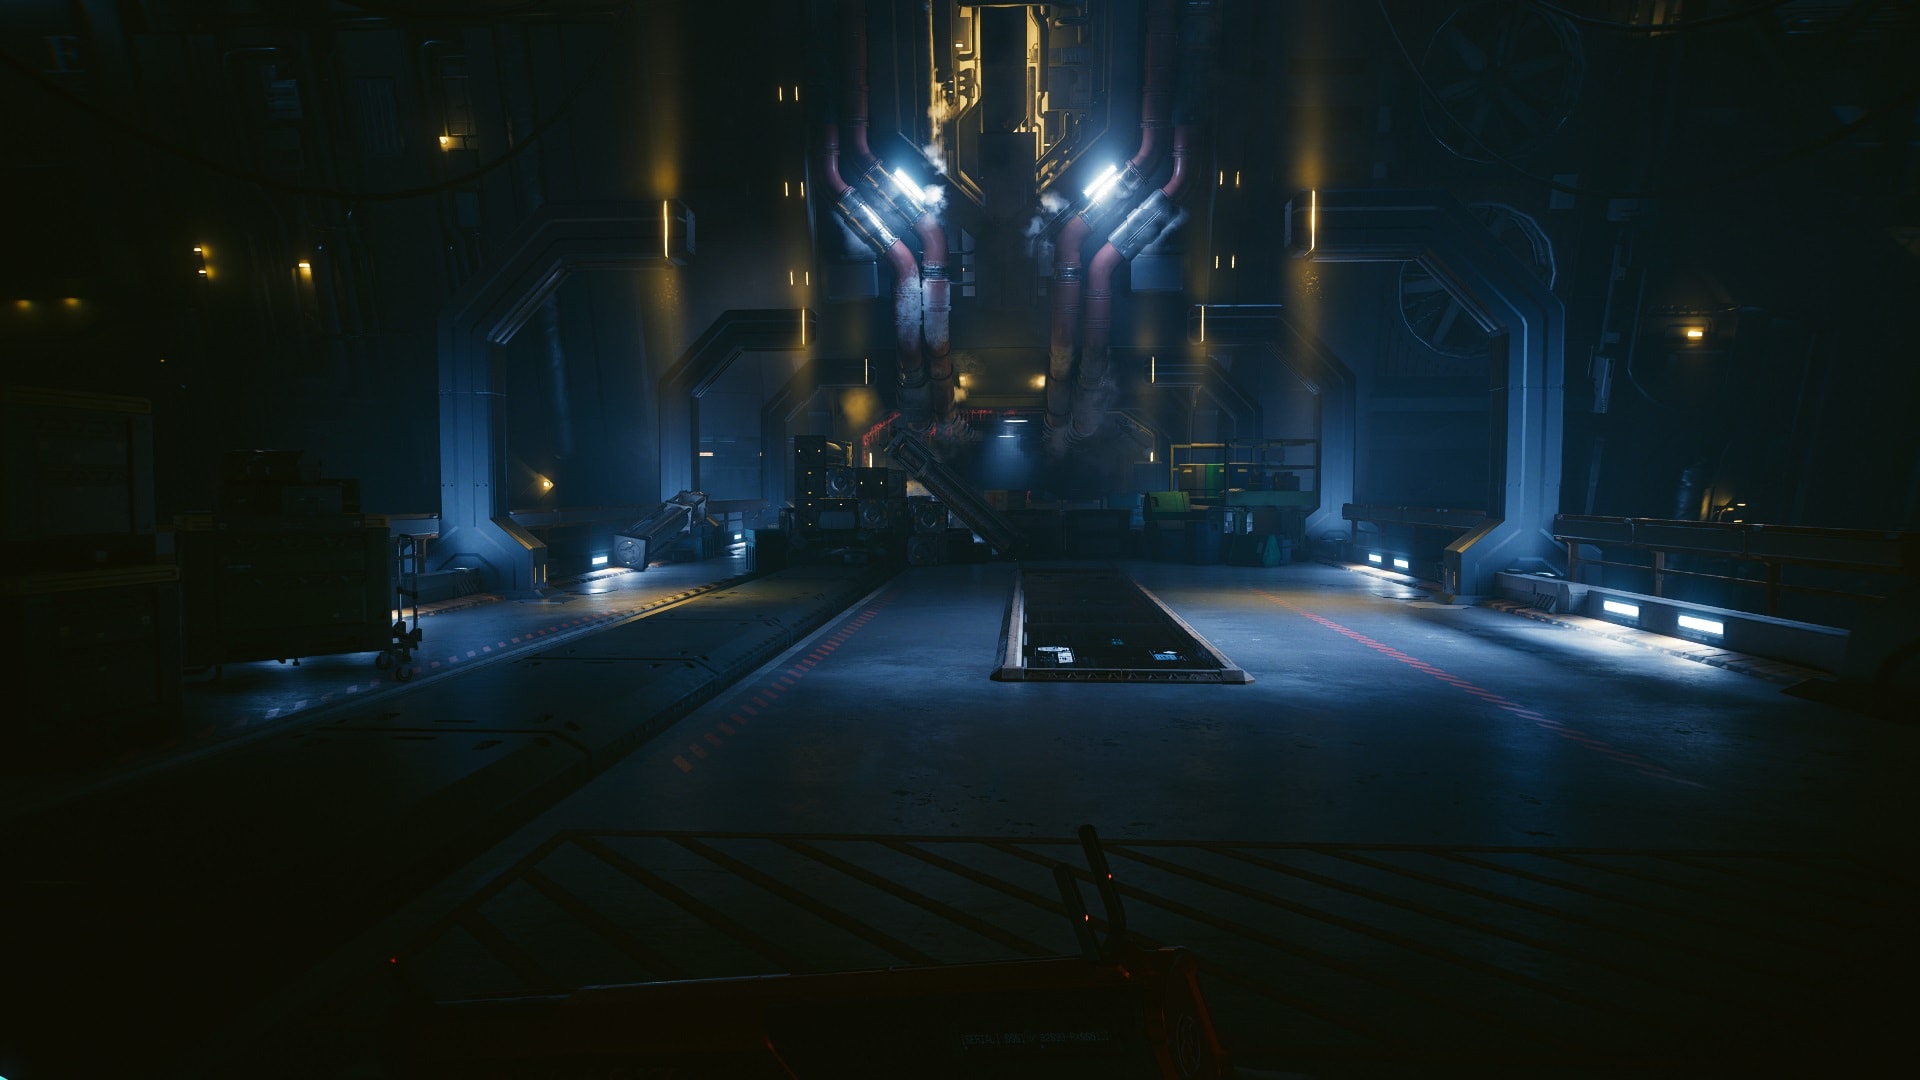
The bridge is gone and there is no other way around. Jump into the water.
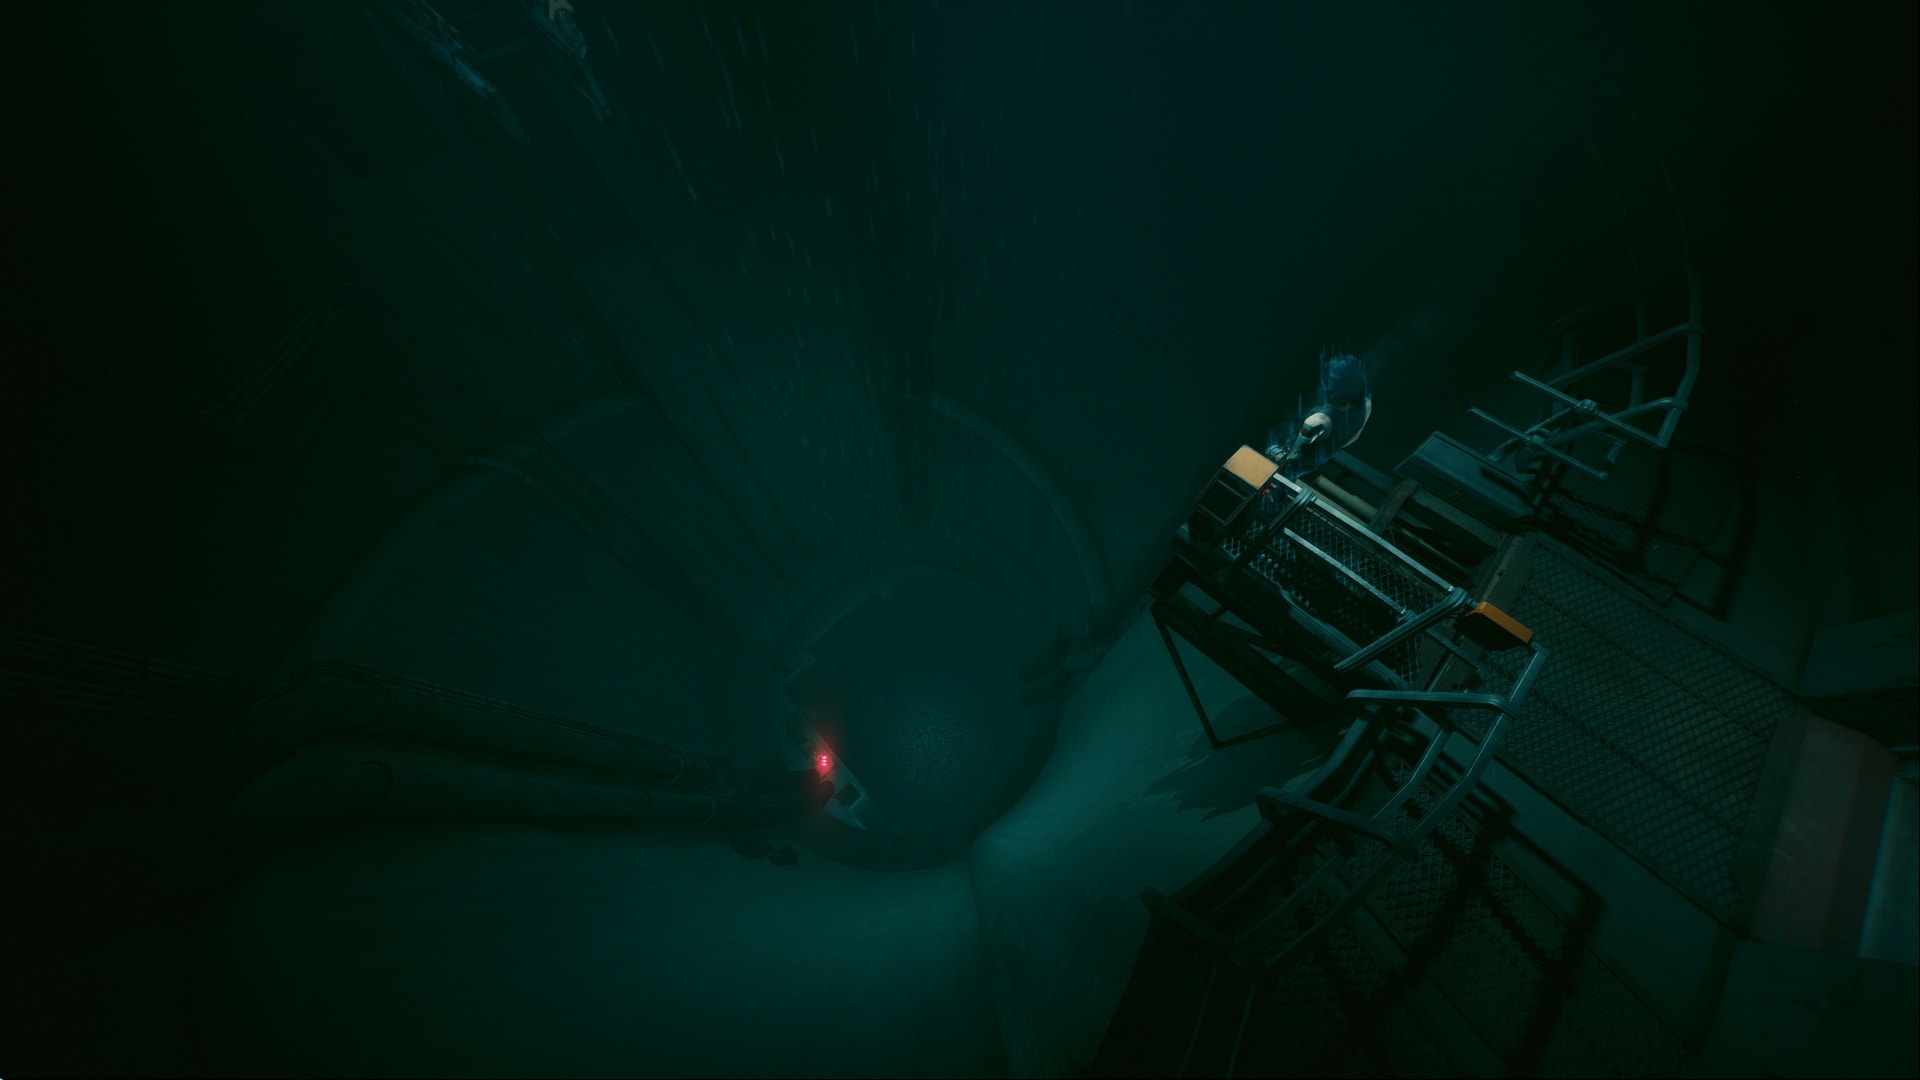
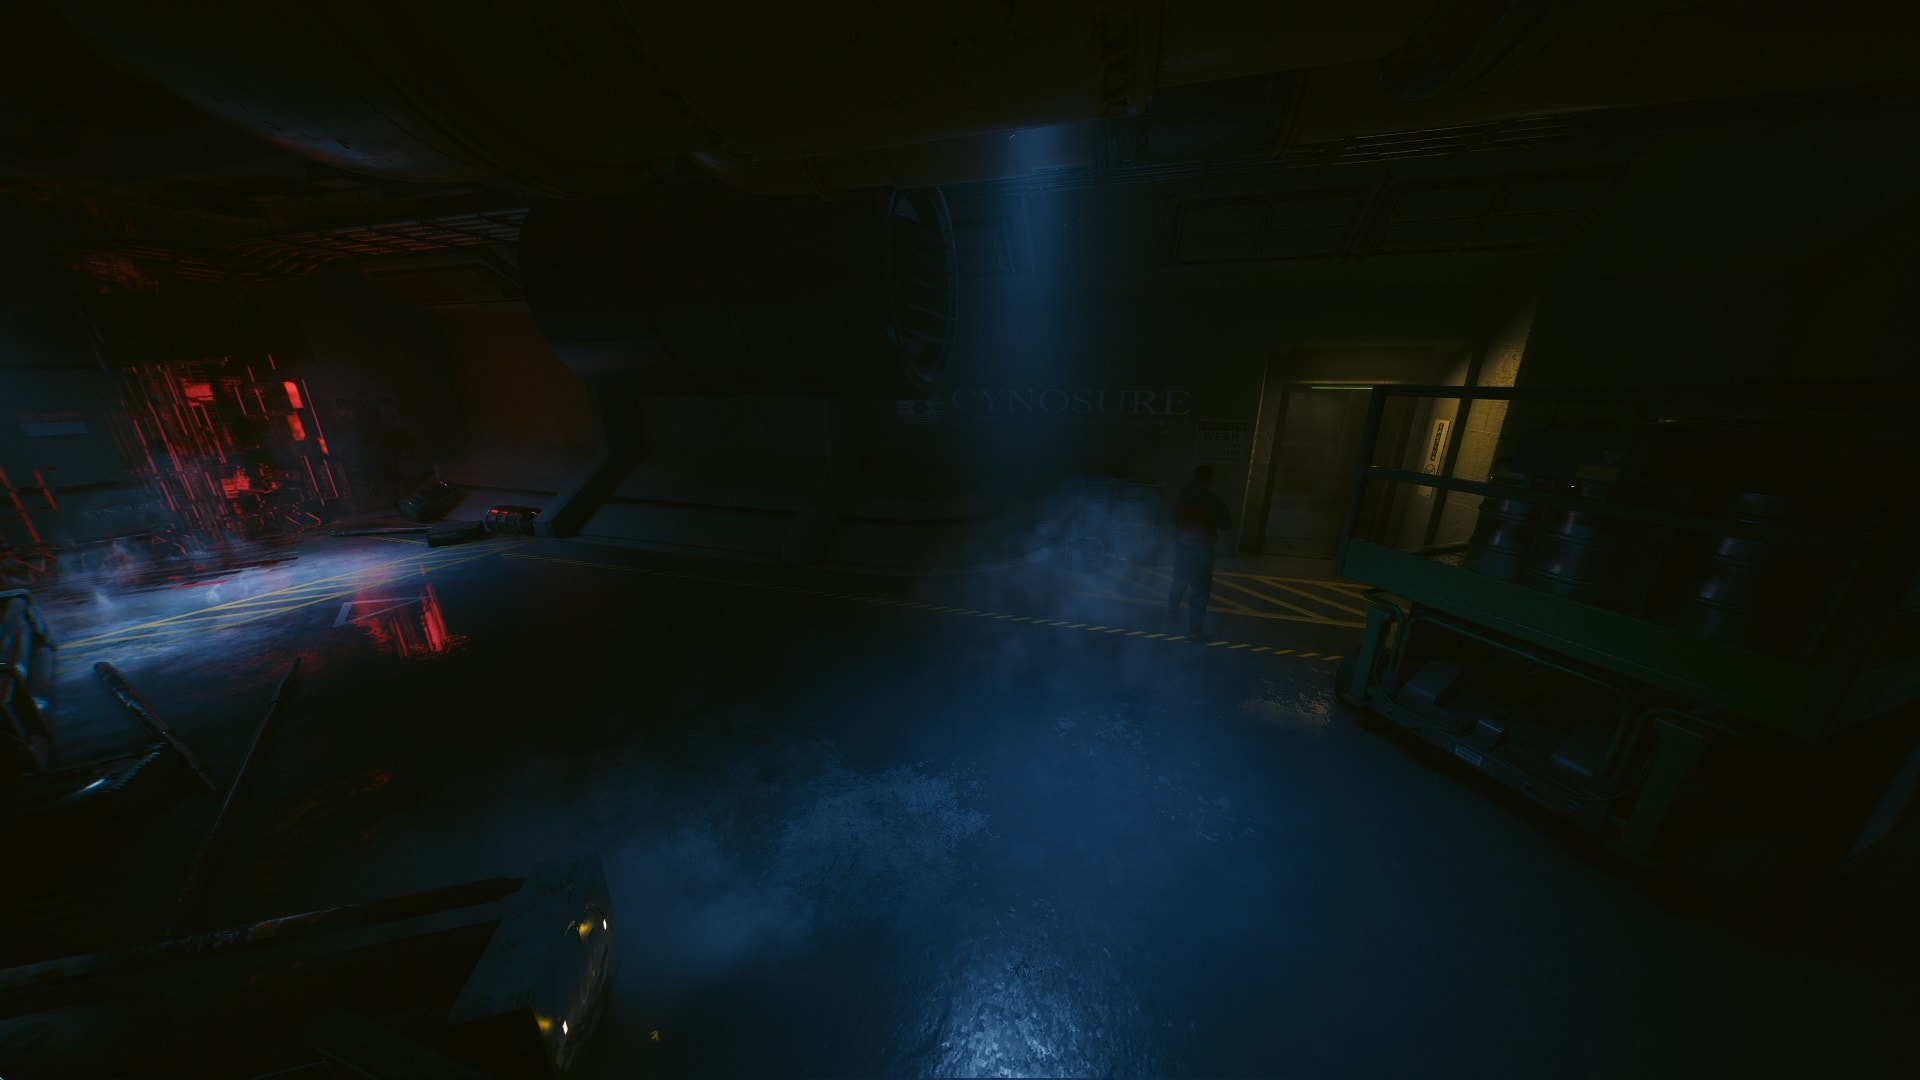
Get out of the water and follow the tunnel until you find an entrance to a secret Militech installation. Once there, plug yourself into the terminal.
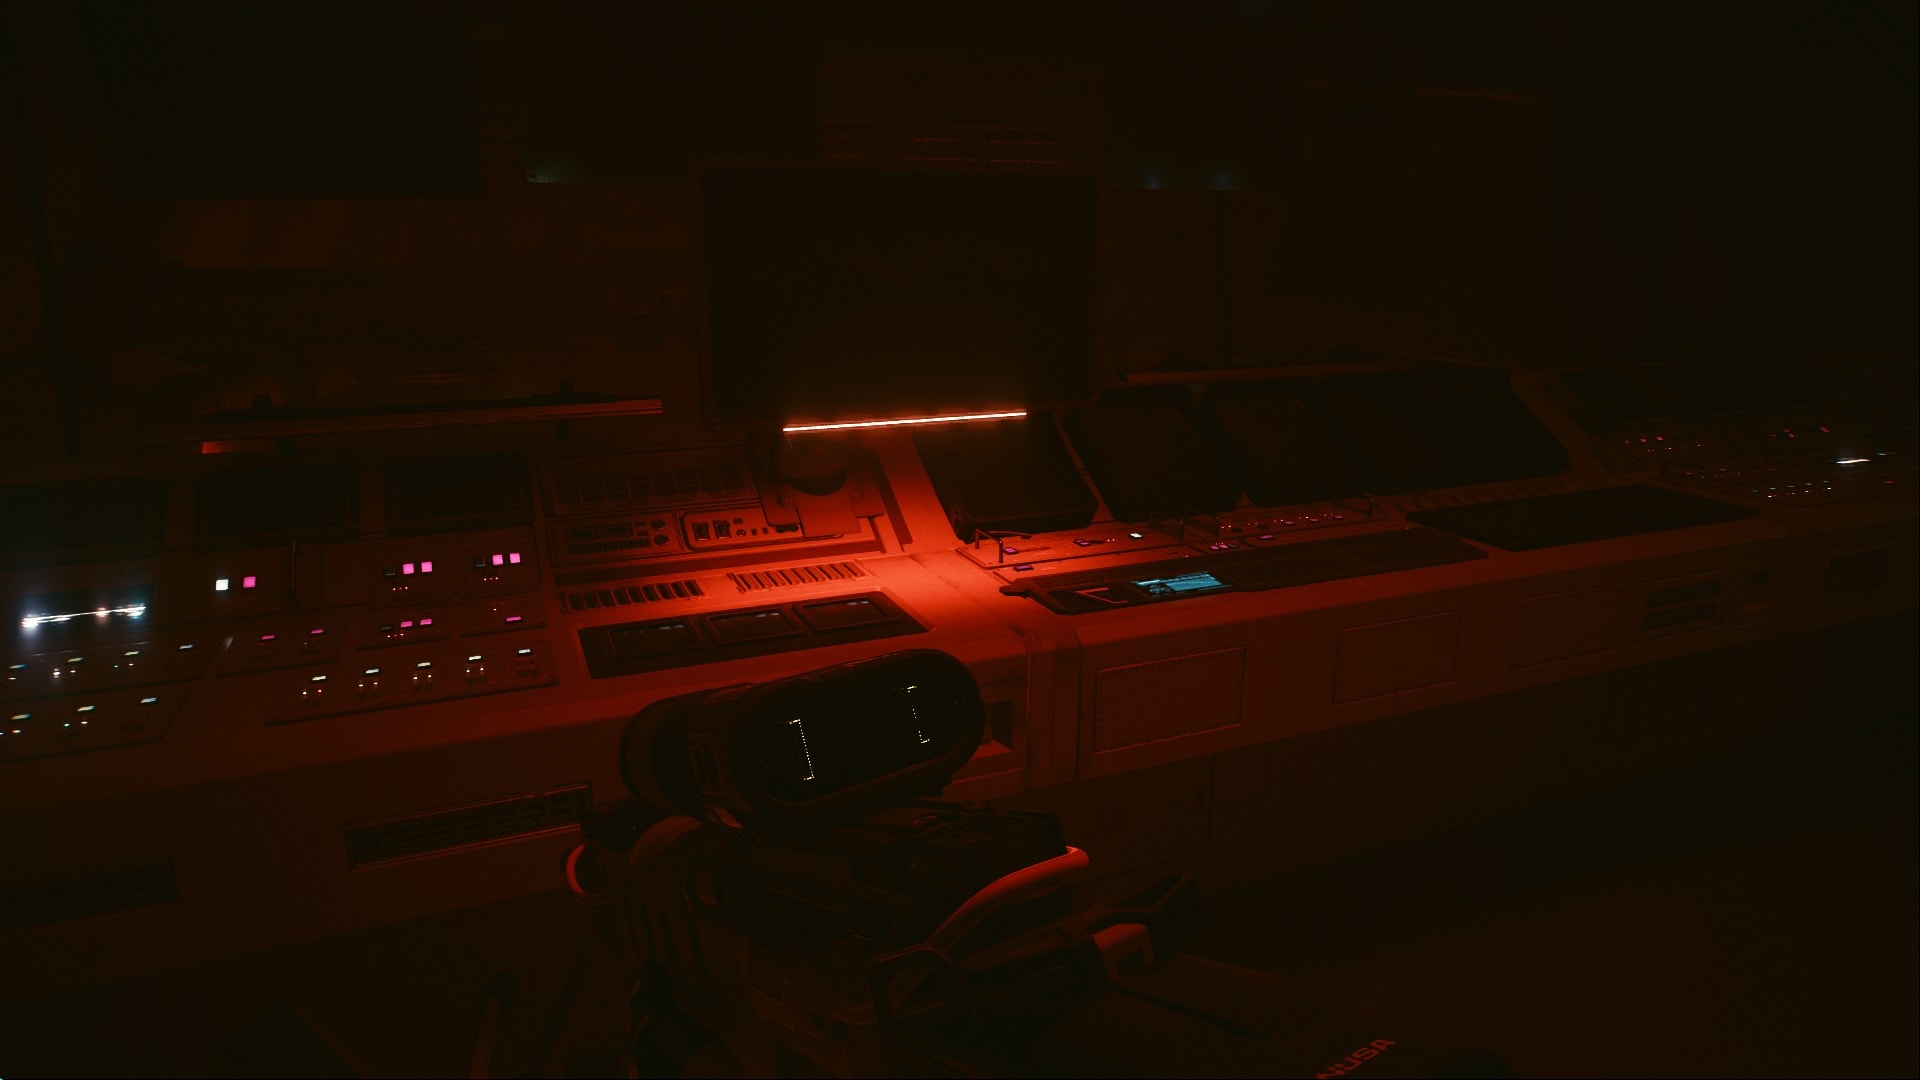
So Mi cuts you out from the terminal and the communications are jammed. Use the door to exit the room.
Use the stairs and go to the elevator. This is the only way to go down.
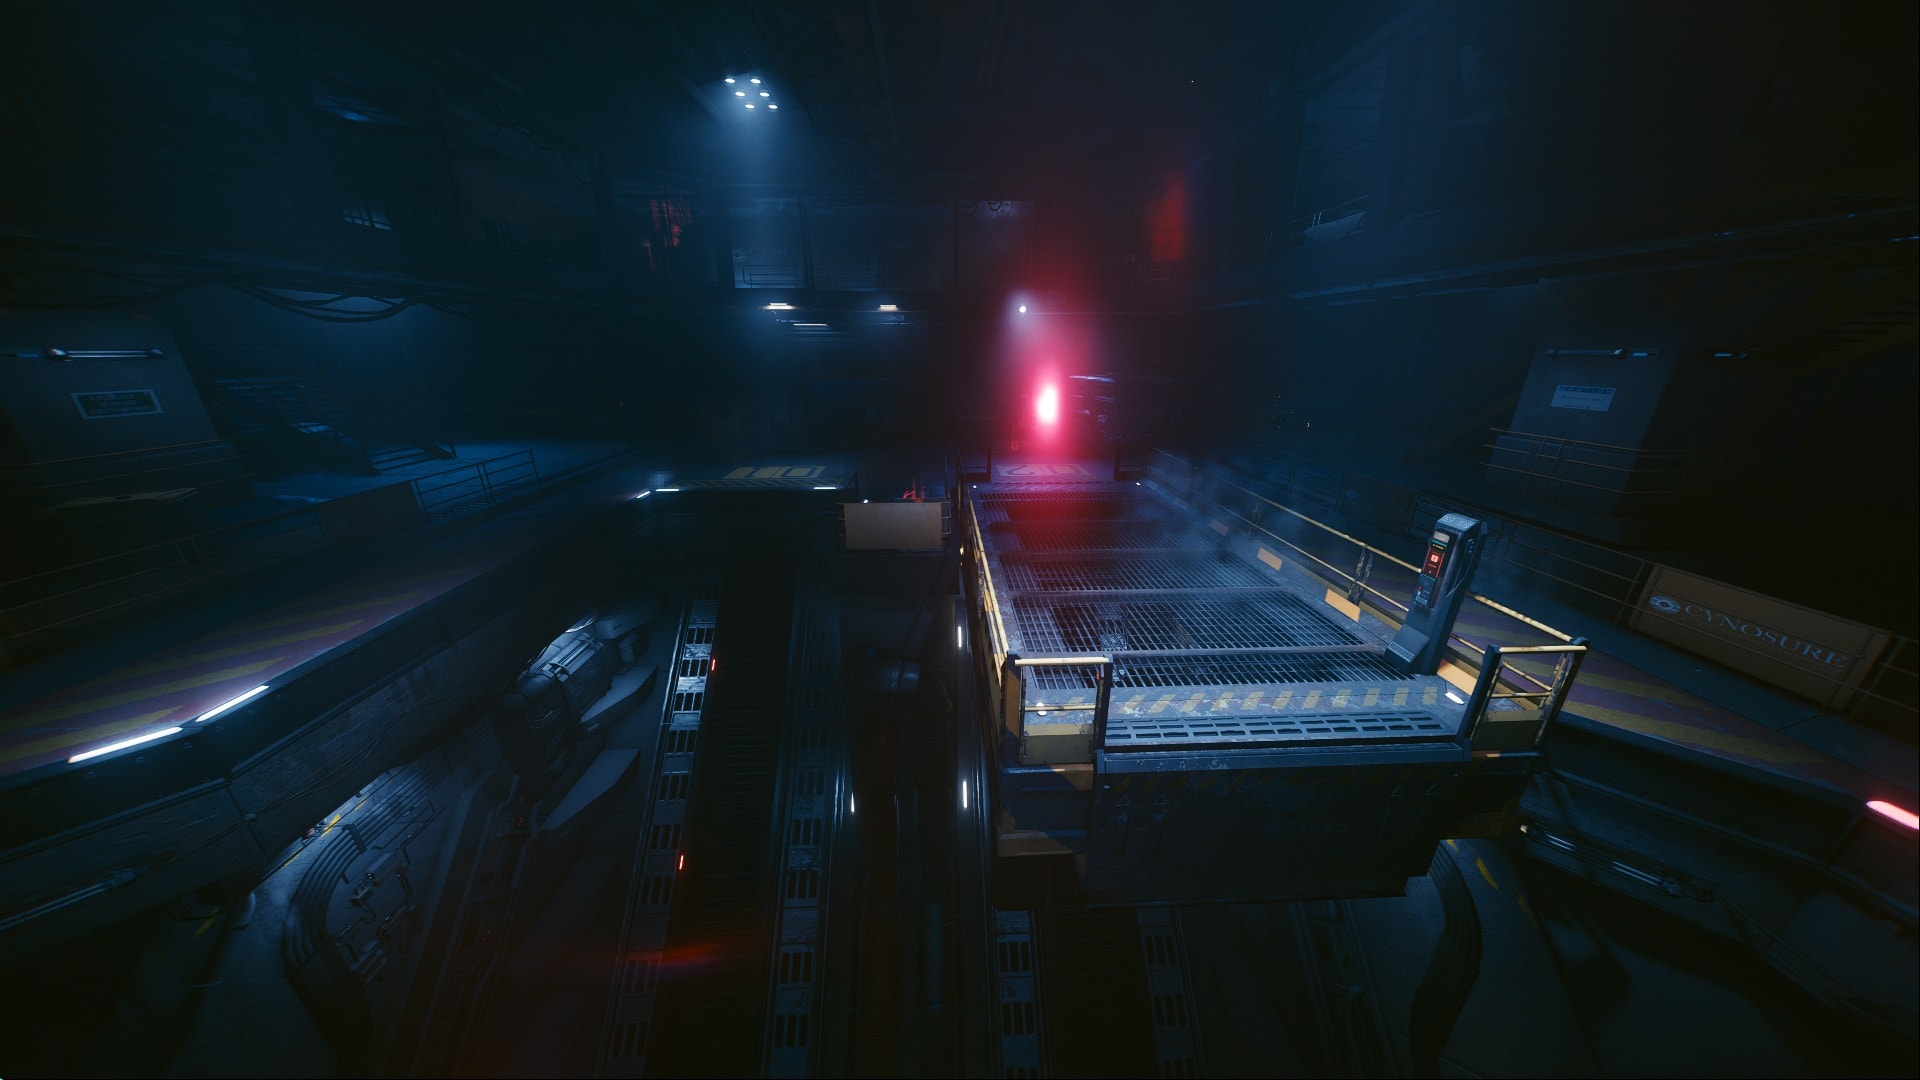
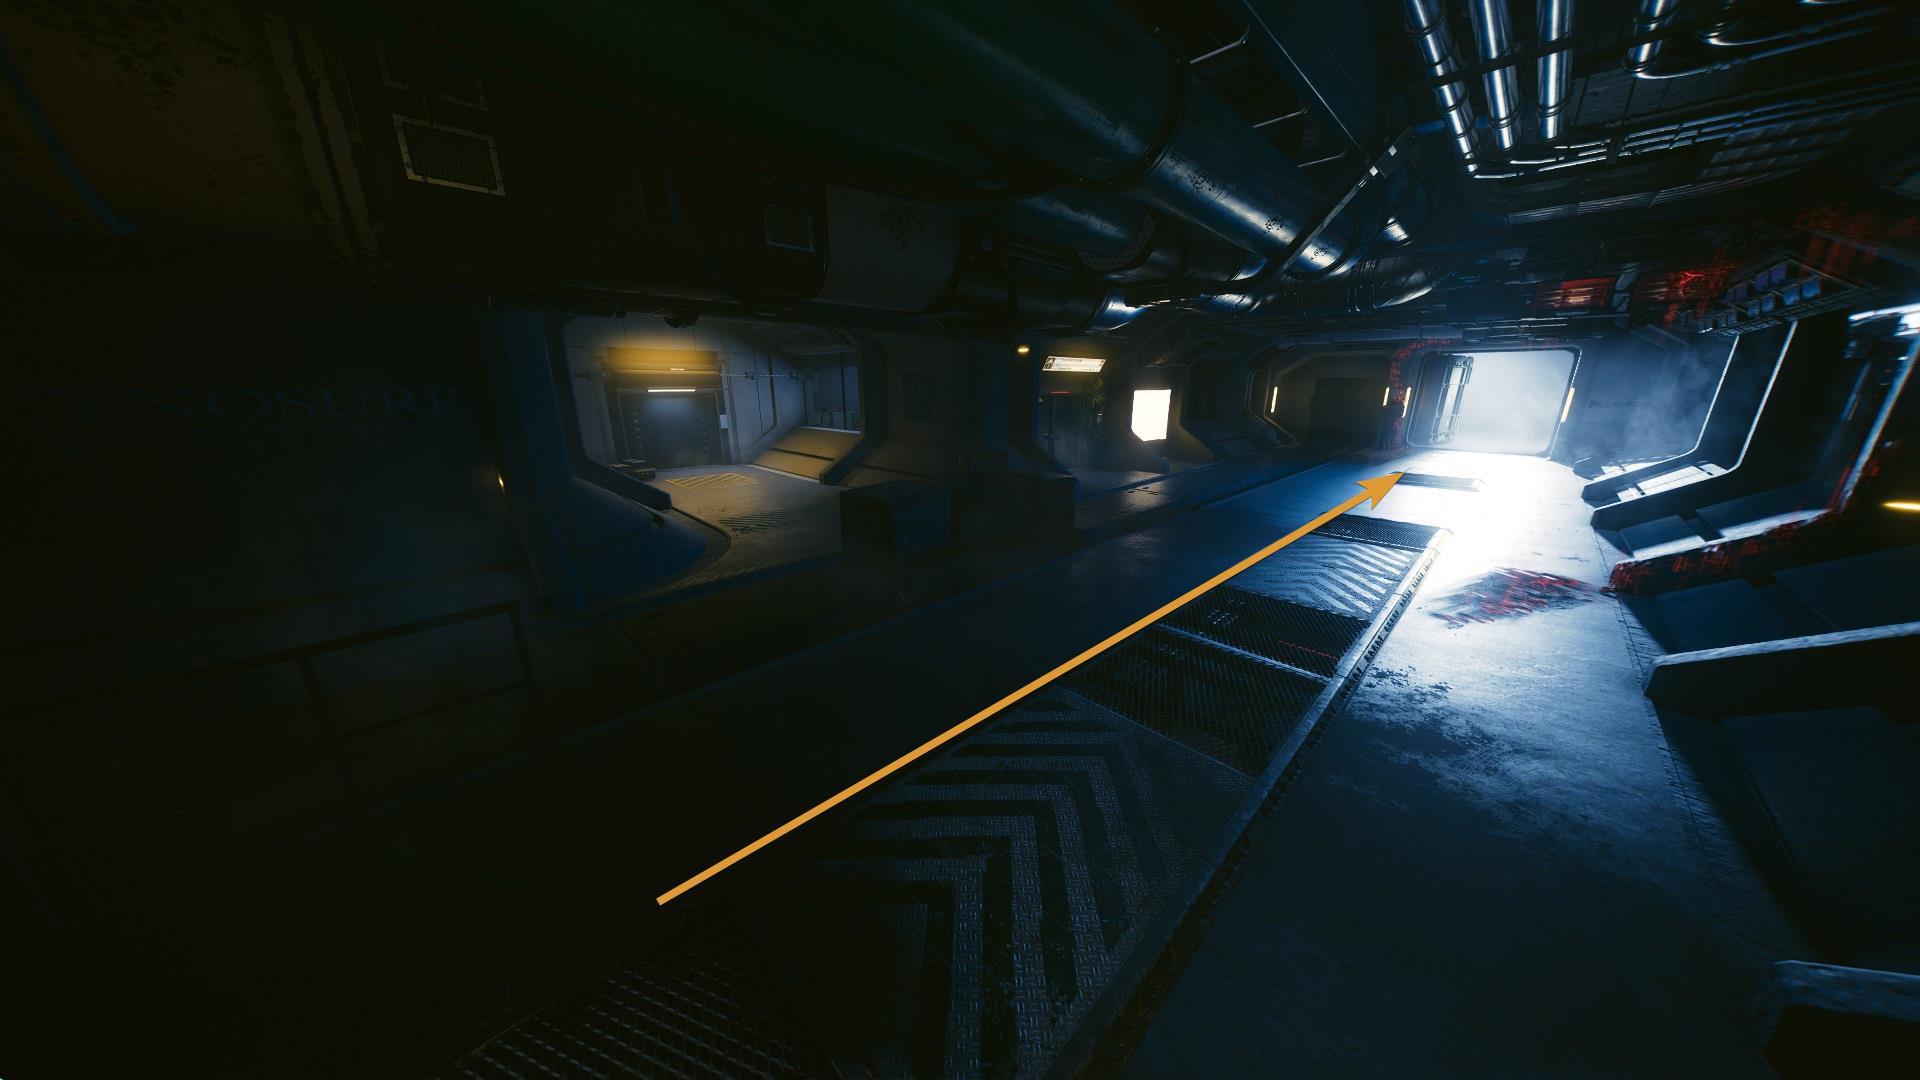
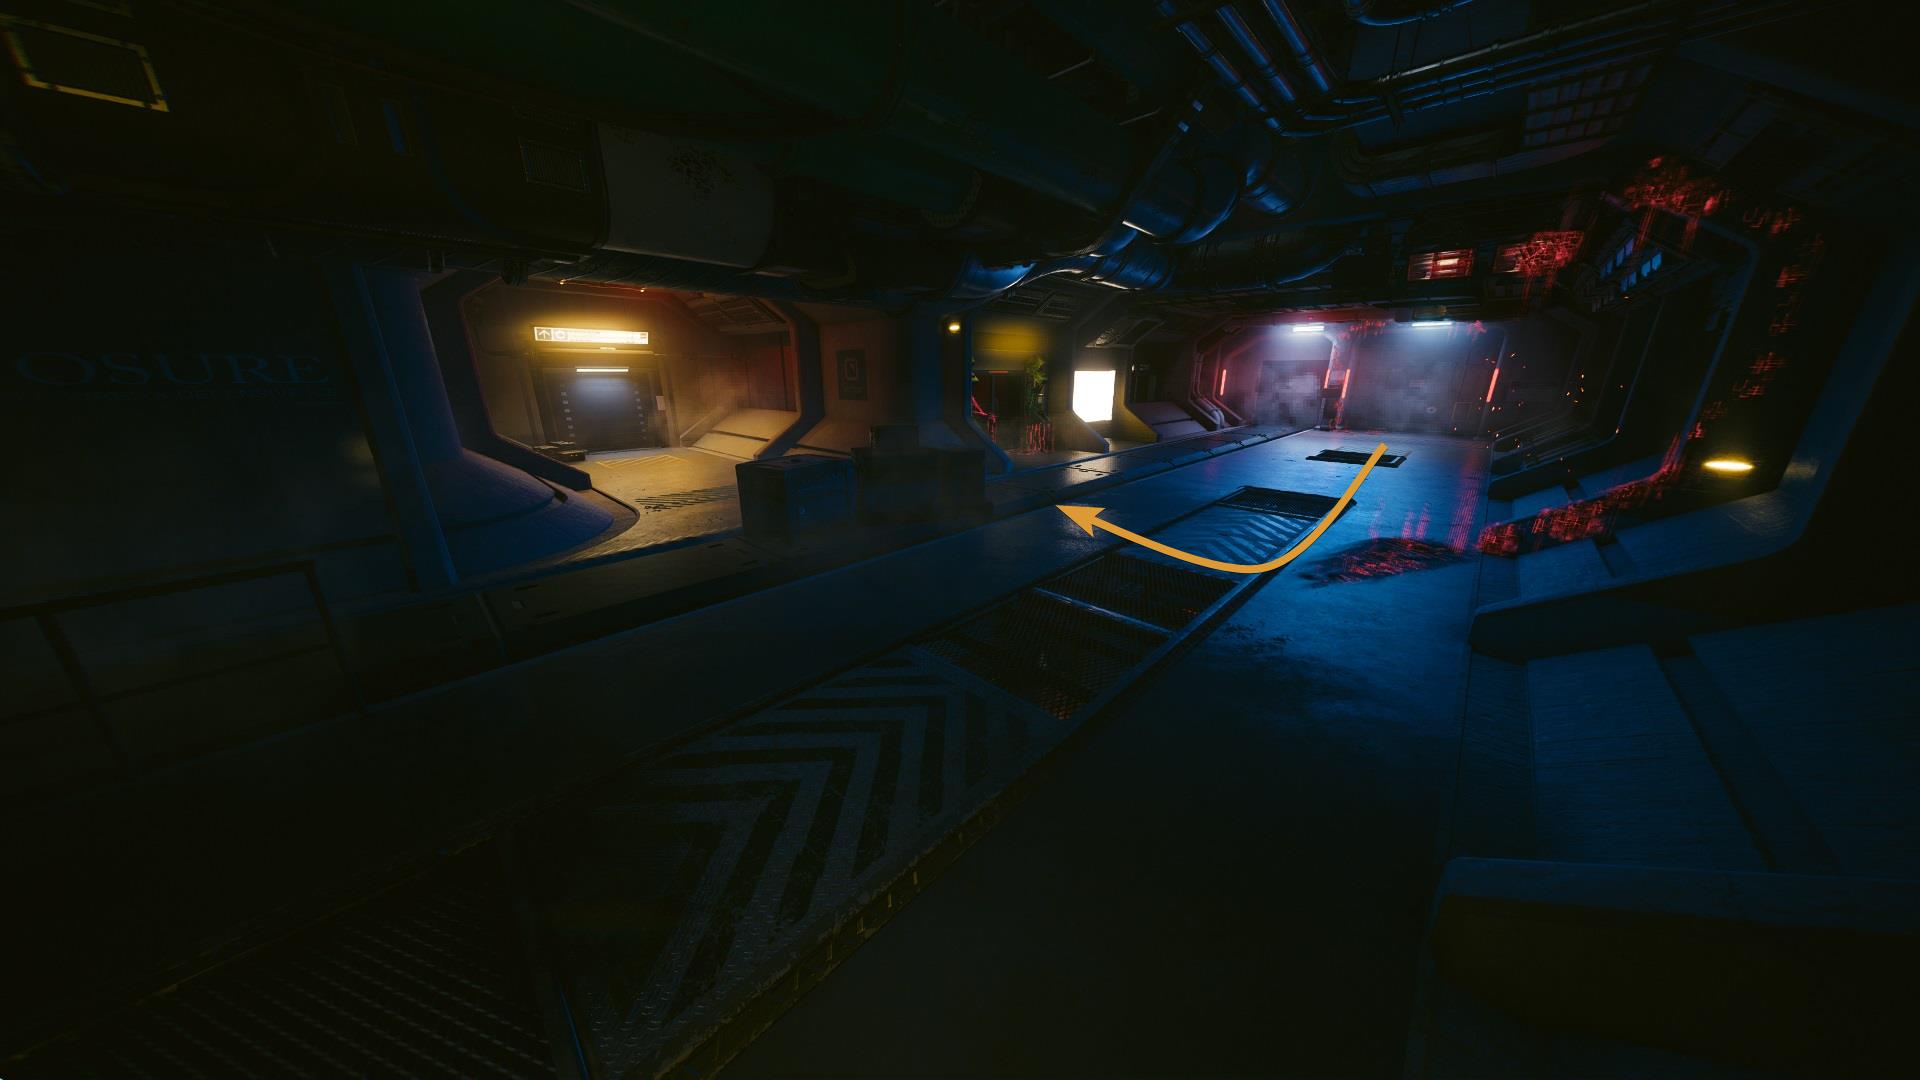
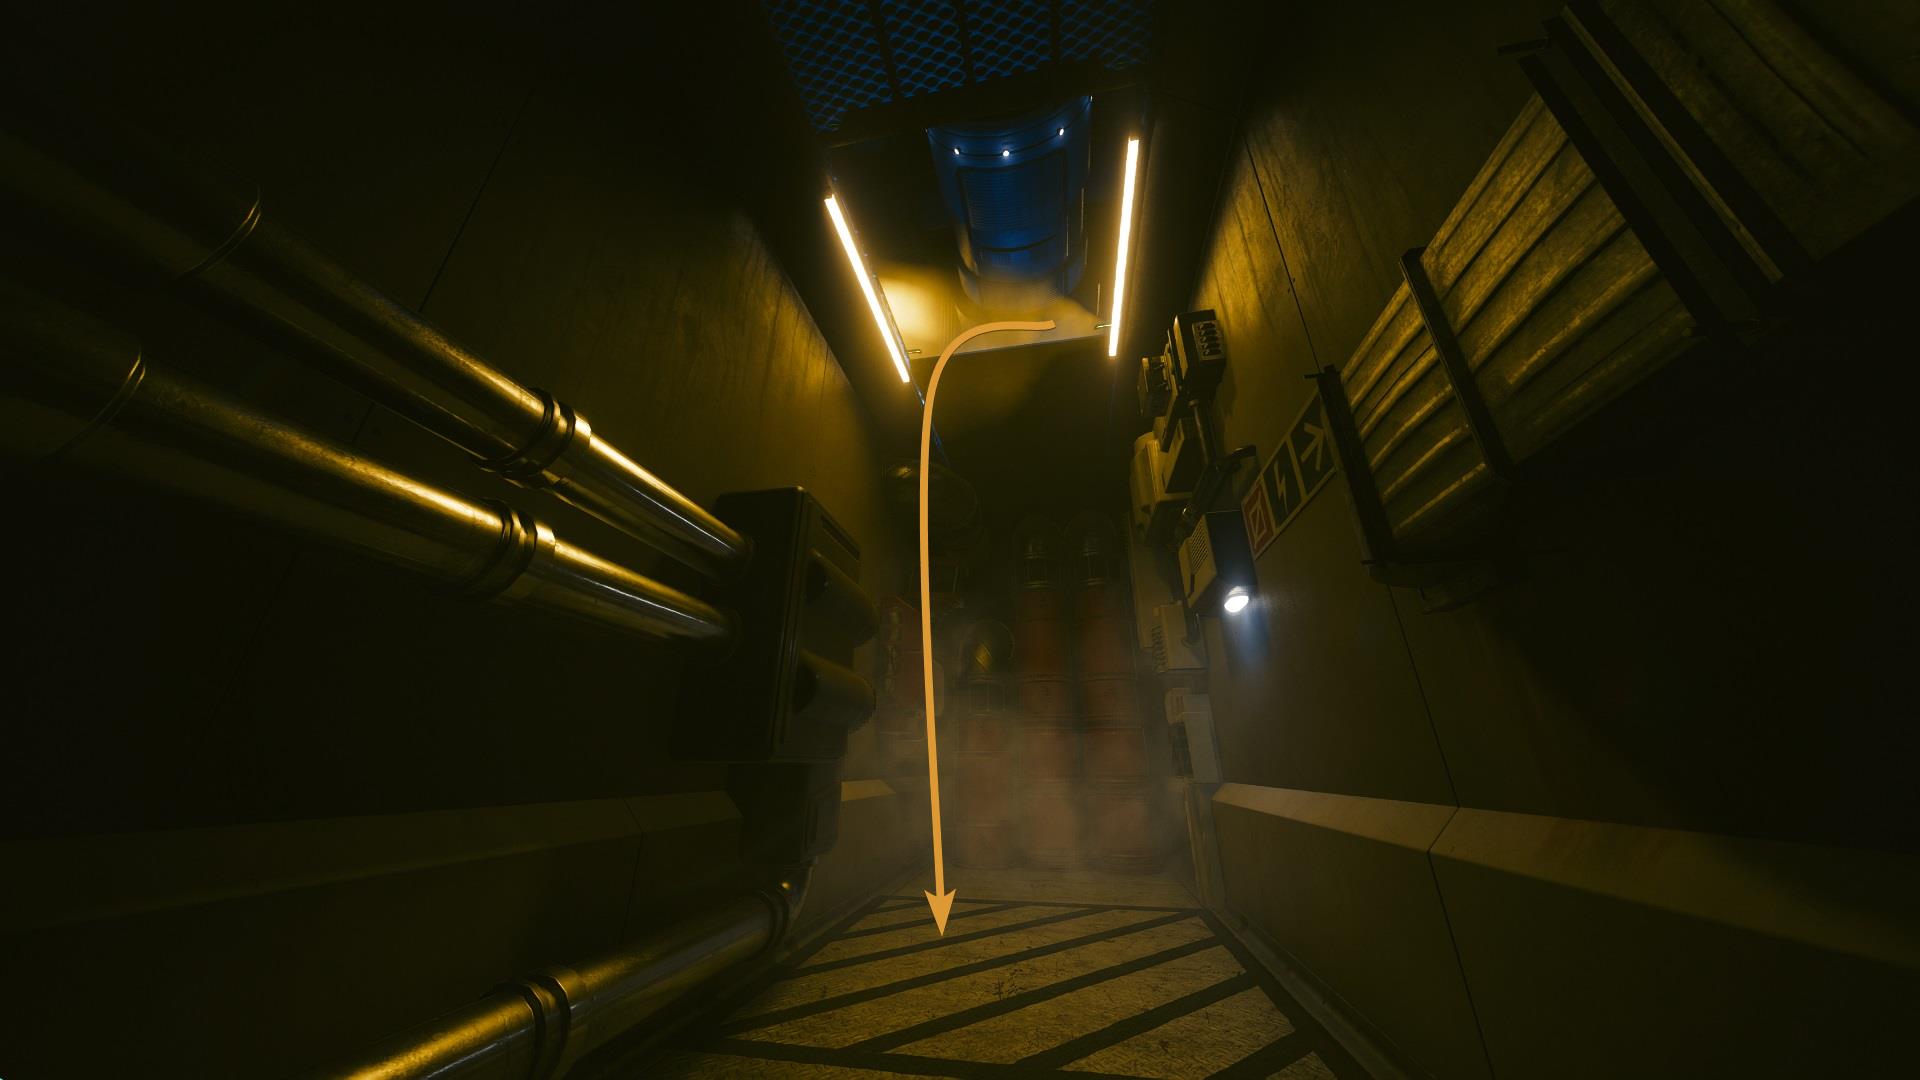
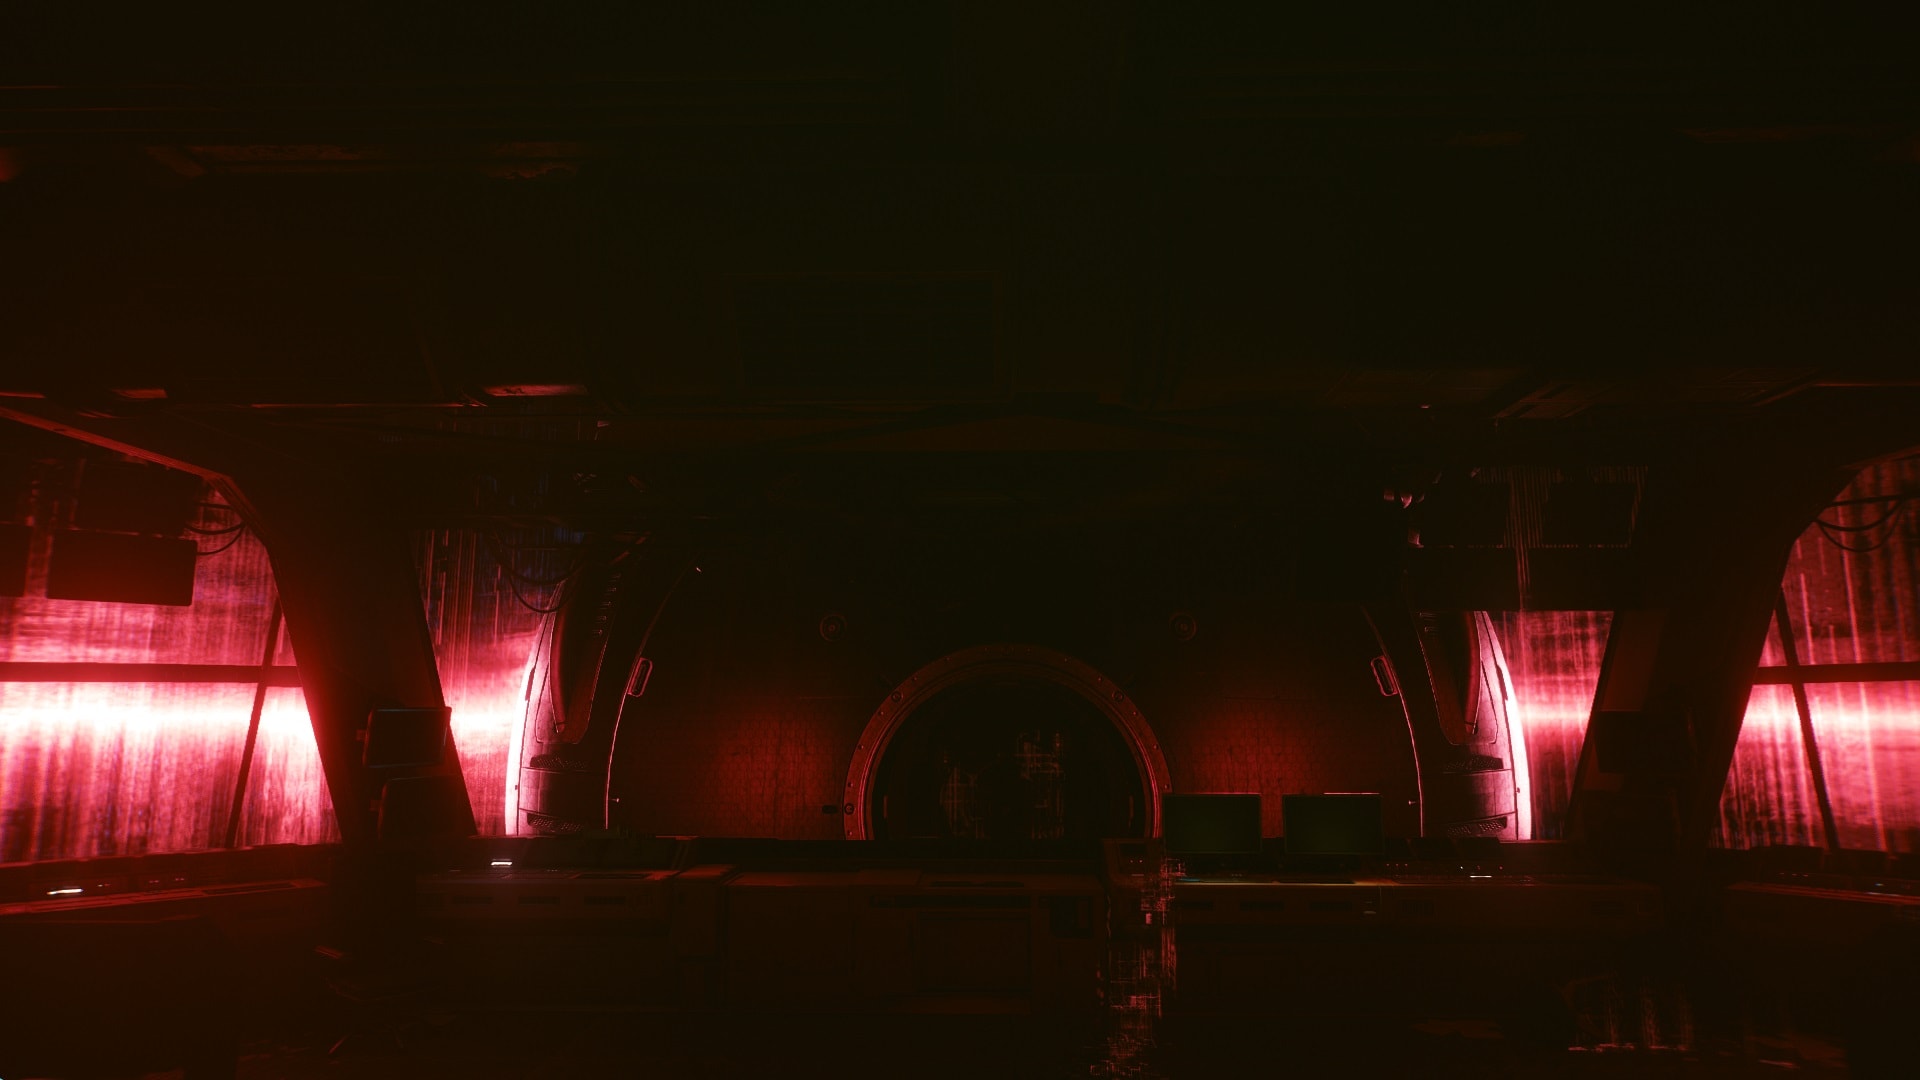
Every piece of technology that So Mi touched has some Blackwall traces left on it. Continue until you see a gate with said traces. It is blocked but the alternate route is a few feet behind. There’s a yellow light near the door that leads to the next section.
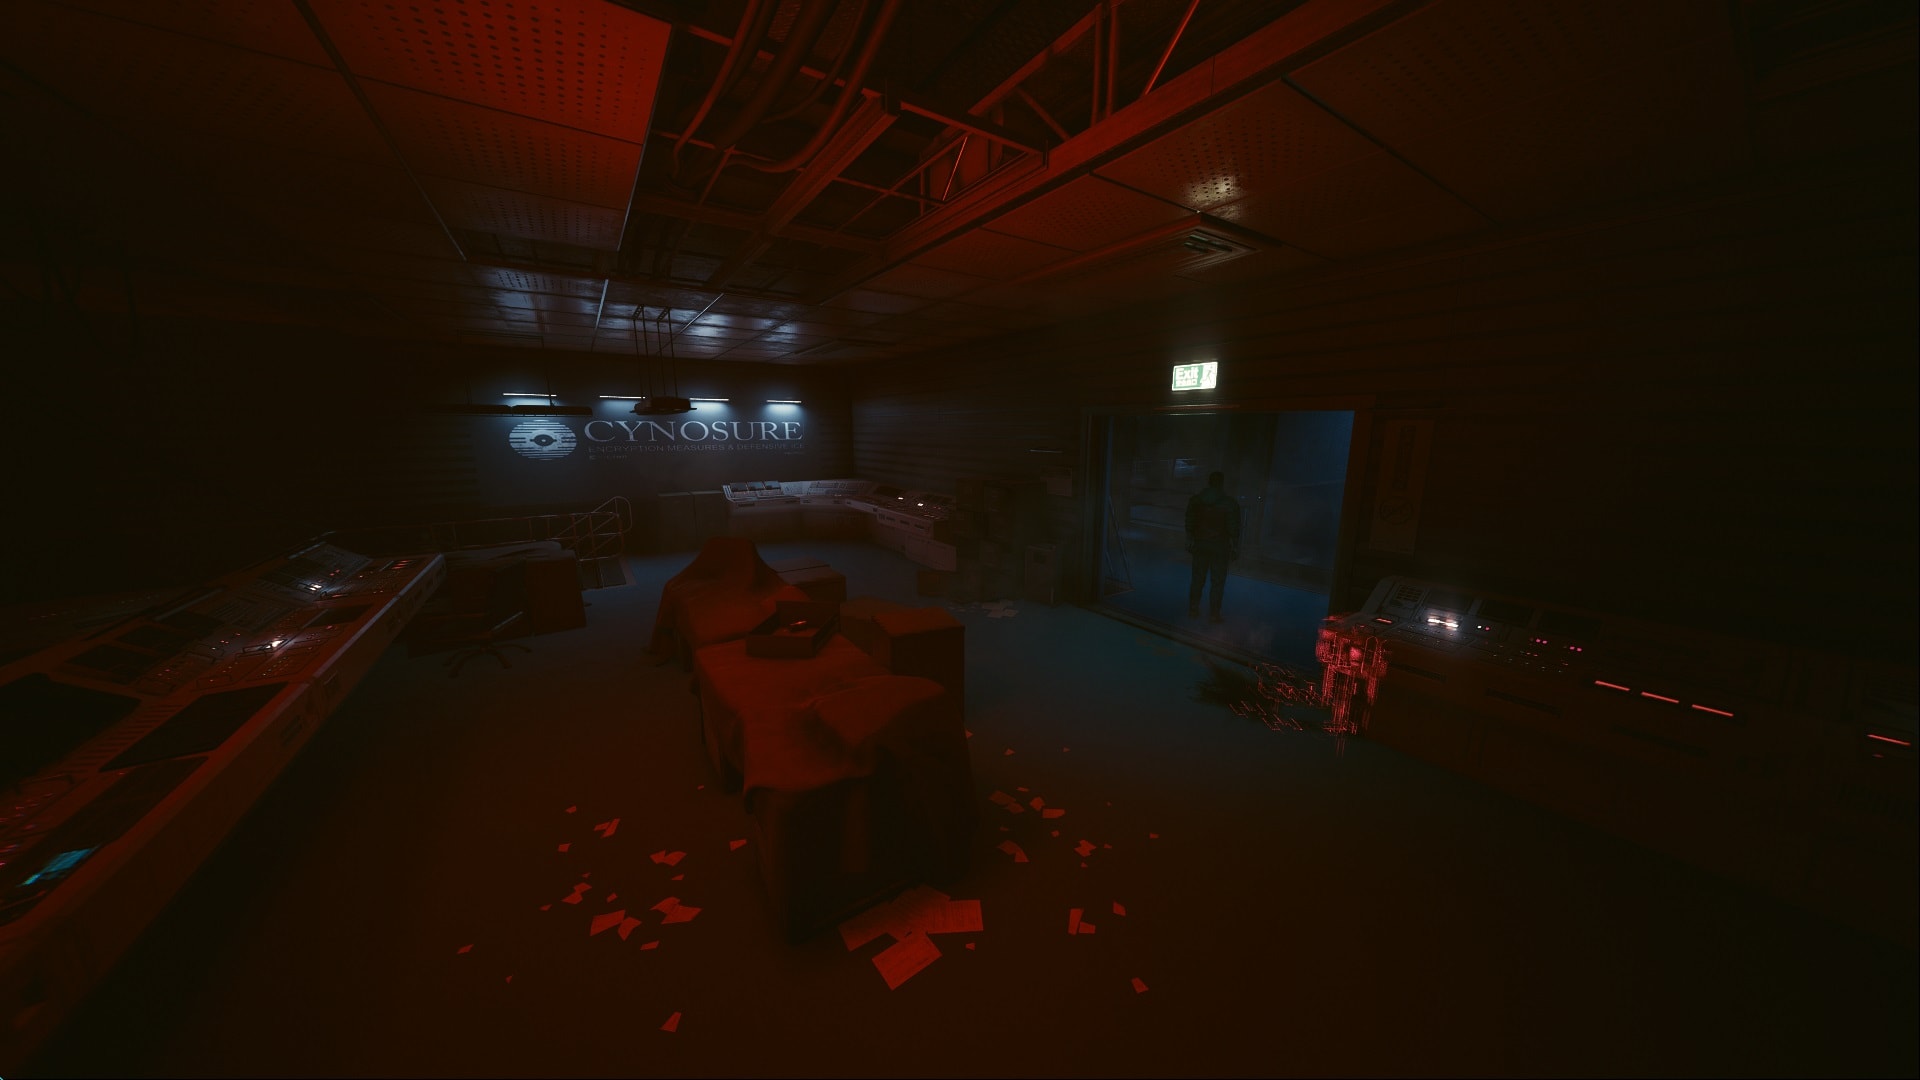
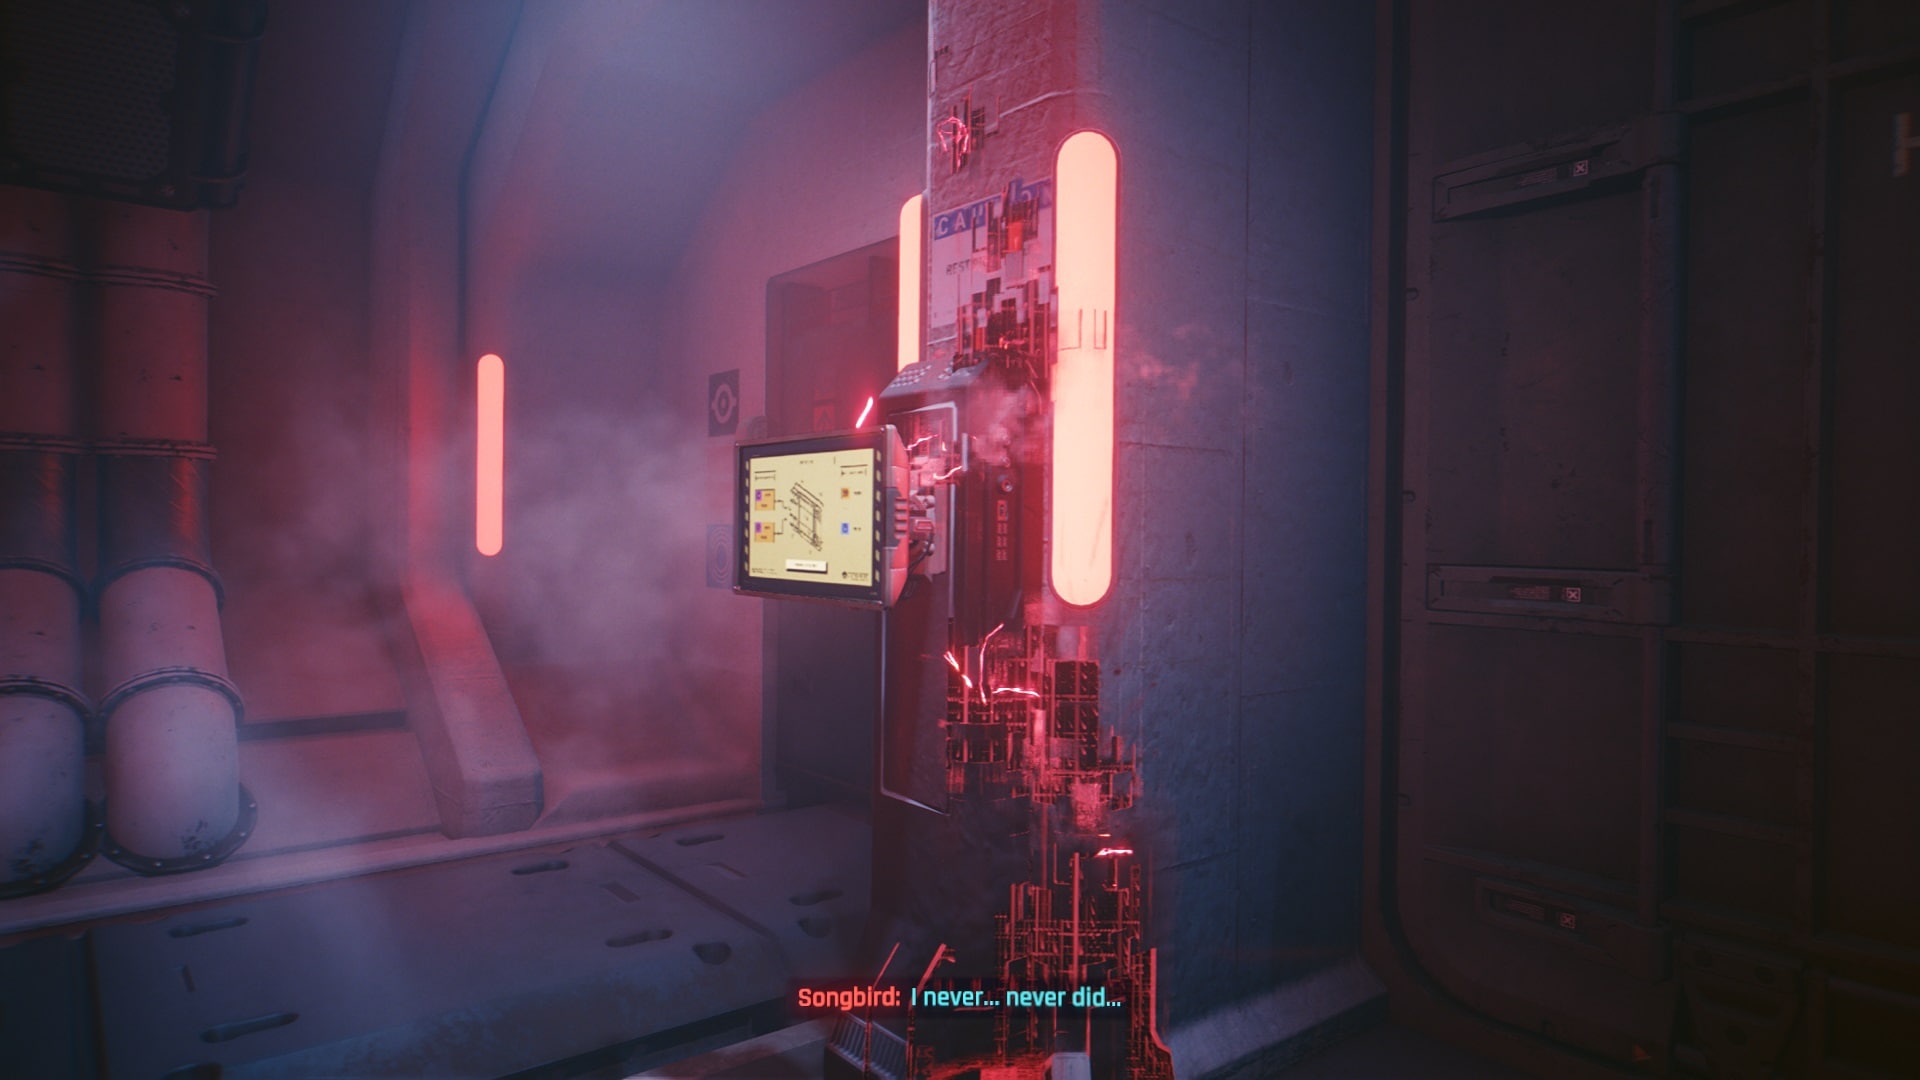
Memories from a conversation between Kurt and So Mi will play when you get to the next area. This will happen a lot from now on, each memory that you see is related to an important moment in So Mi’s life, both good and bad.
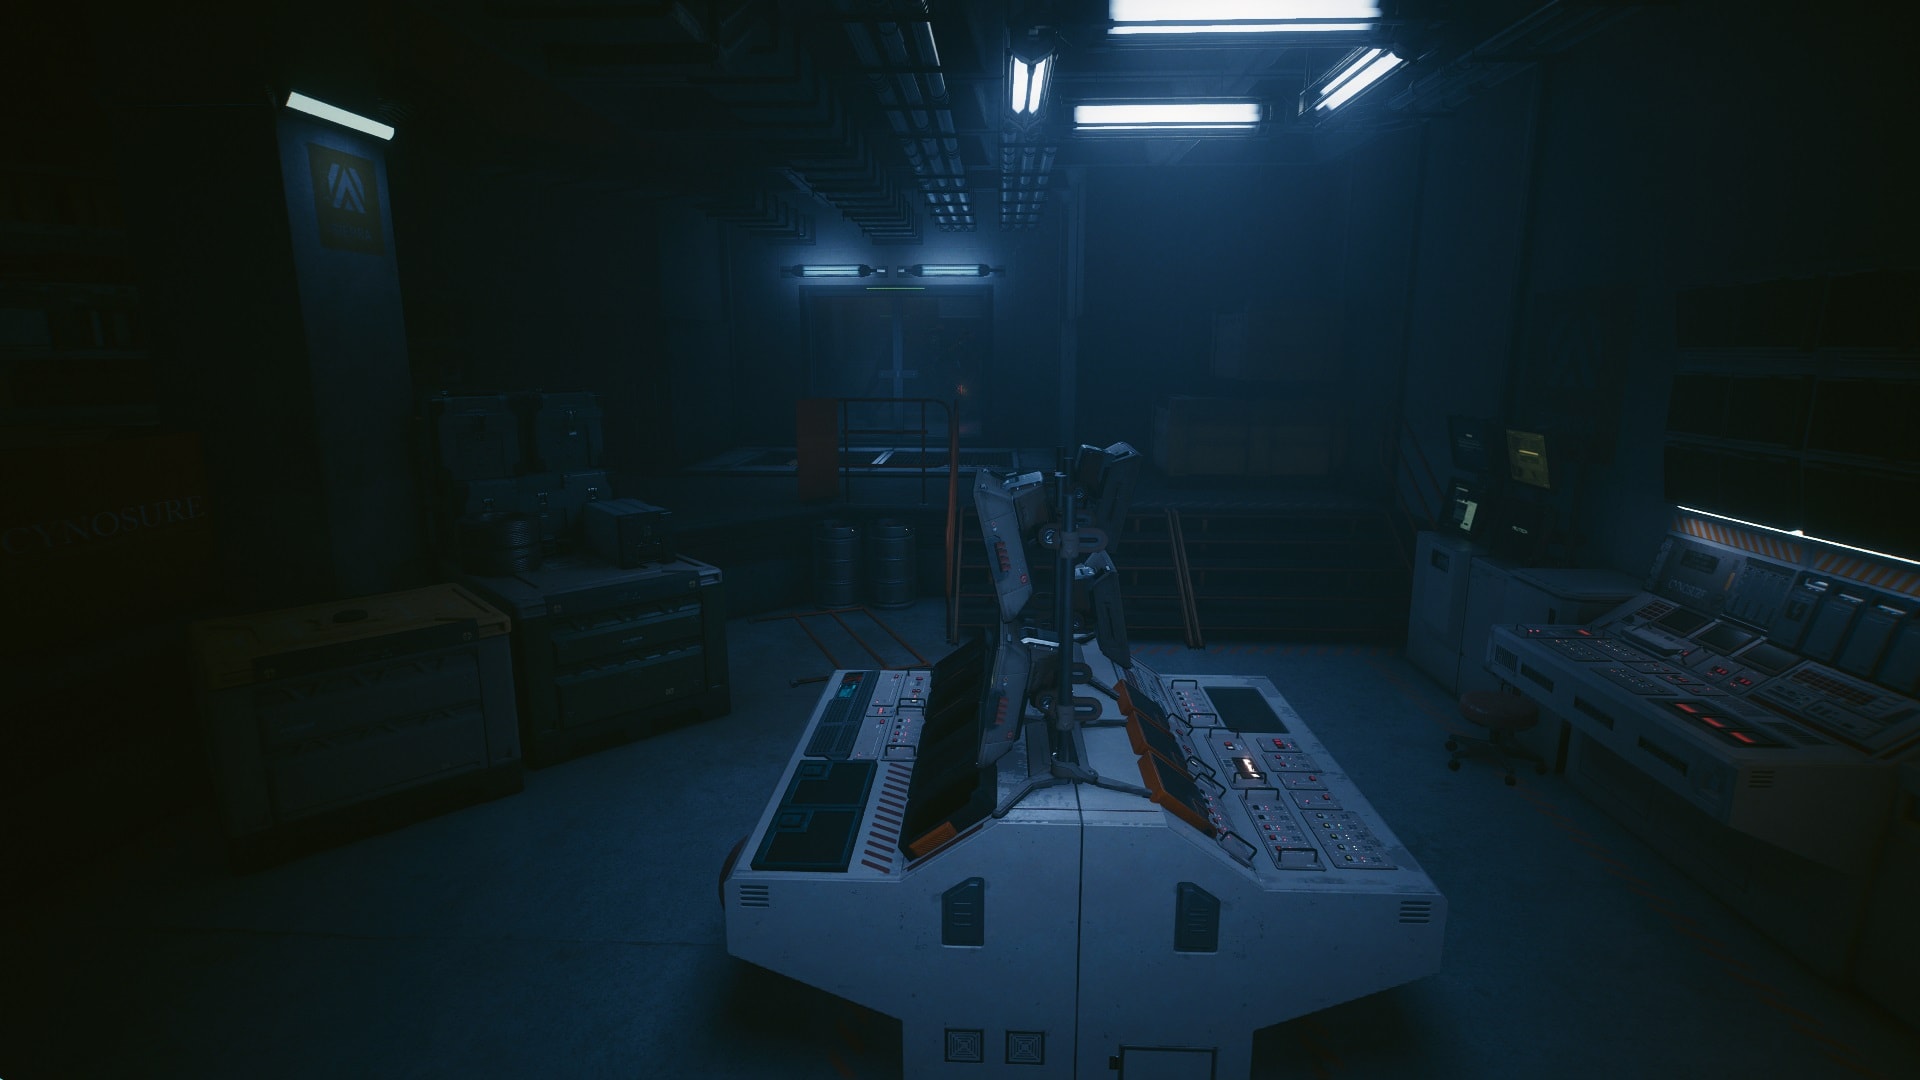
Enter the room, there is a map of this place near the consoles.
Look for this opened gate. It’s at the end of a big corridor.
Just a few seconds before crossing the gate, So Mi closes it. The terminal next to it isn’t able to override what she did so you must head to other terminals and do it manually.
Where to find Alpha and Victor terminals
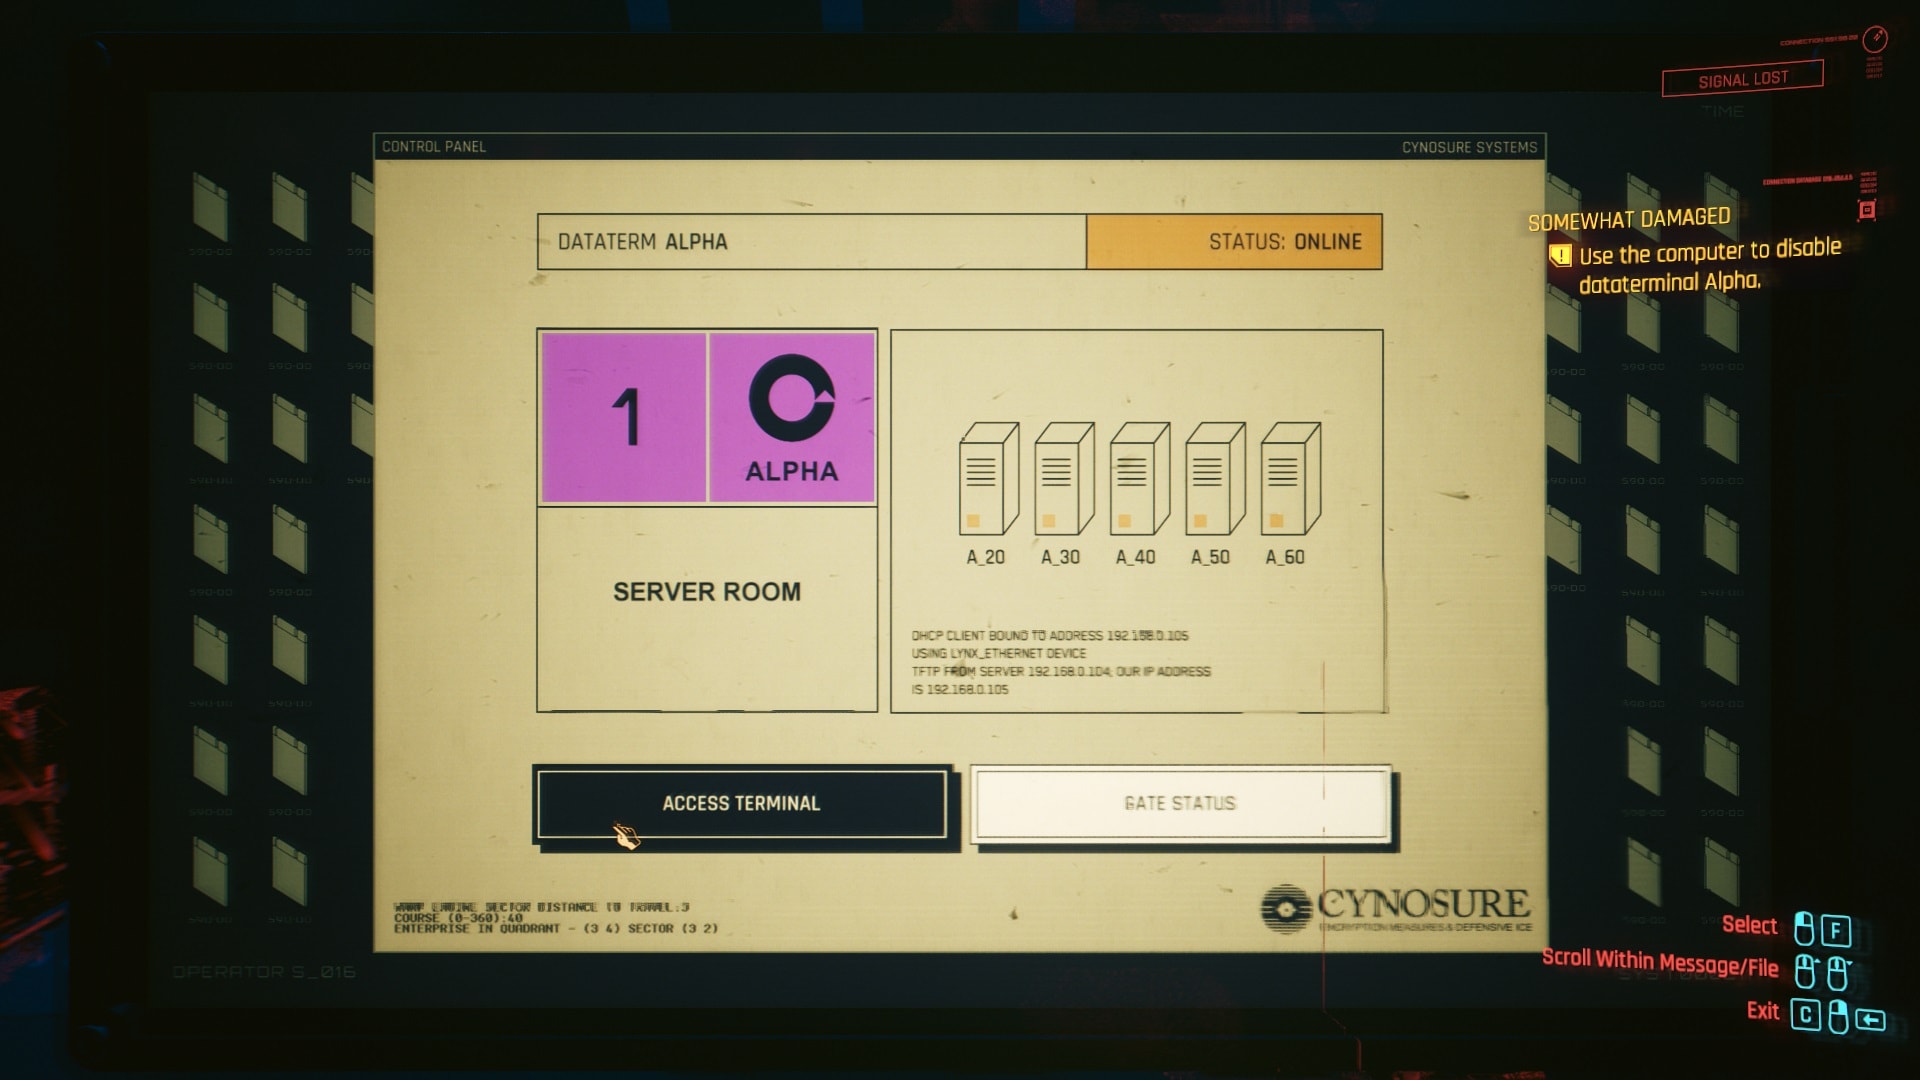
Enter the door with Blackwall traces. It leads to one of said terminals.
Disable dataterminal Alpha with the computer.
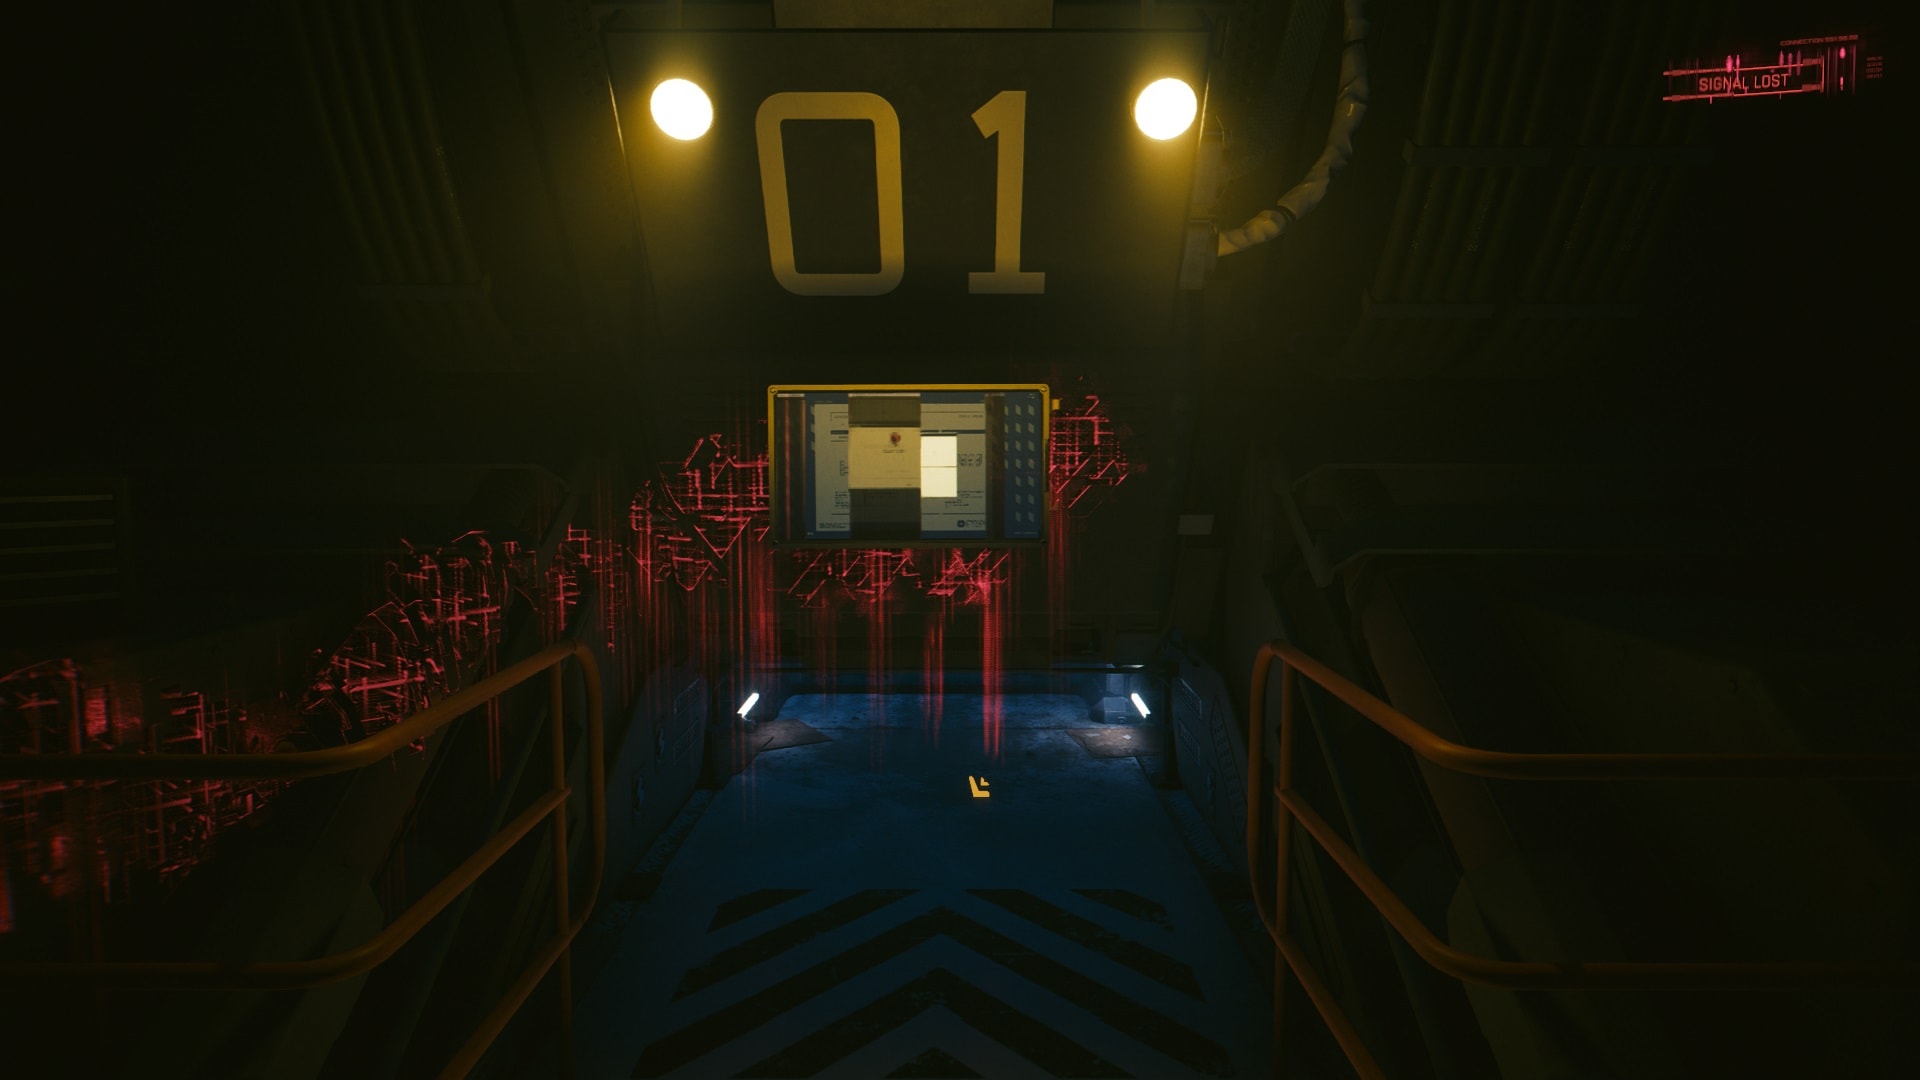
Once it’s done, a trapdoor will open behind you. Jump down and continue forward until you get to the next terminal.
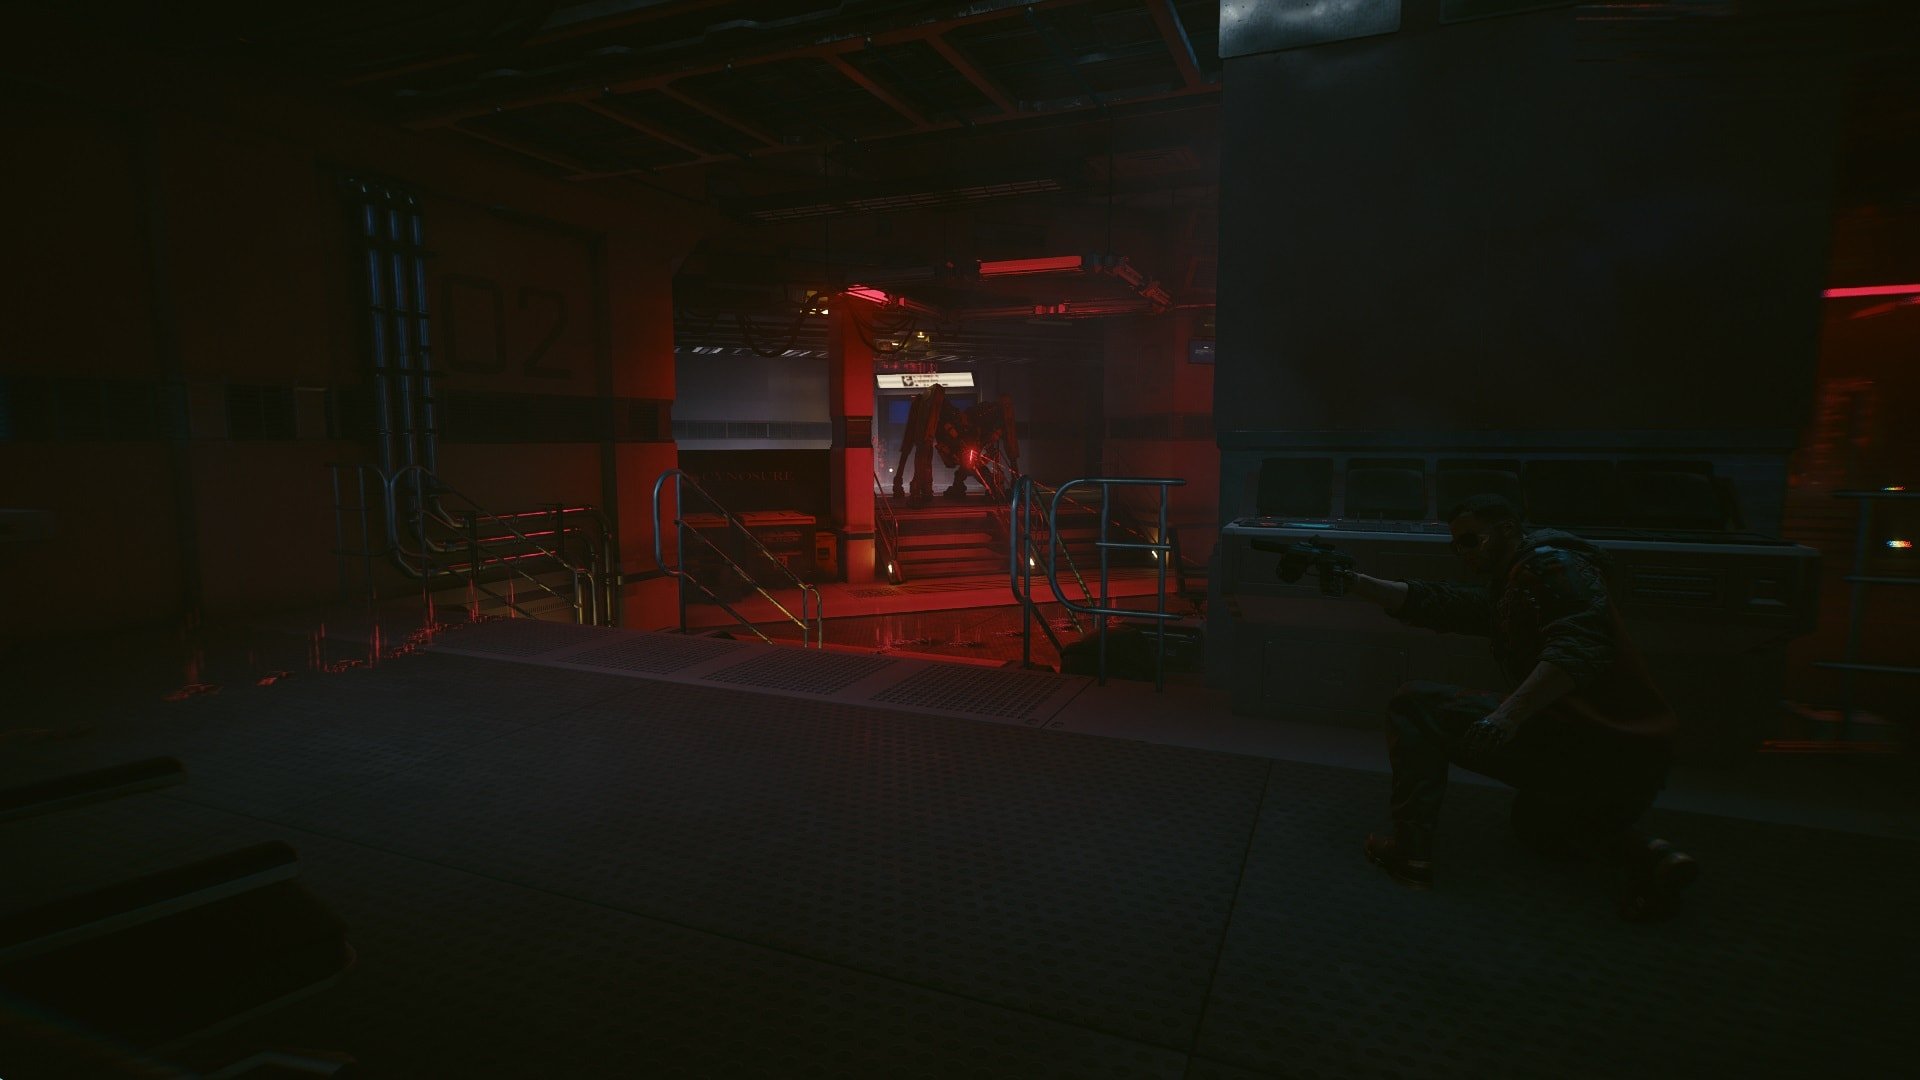
Upon inspection, it’s evident that this terminal can’t be accessed the same way. Get on your knees and crawl under it to disconnect it.
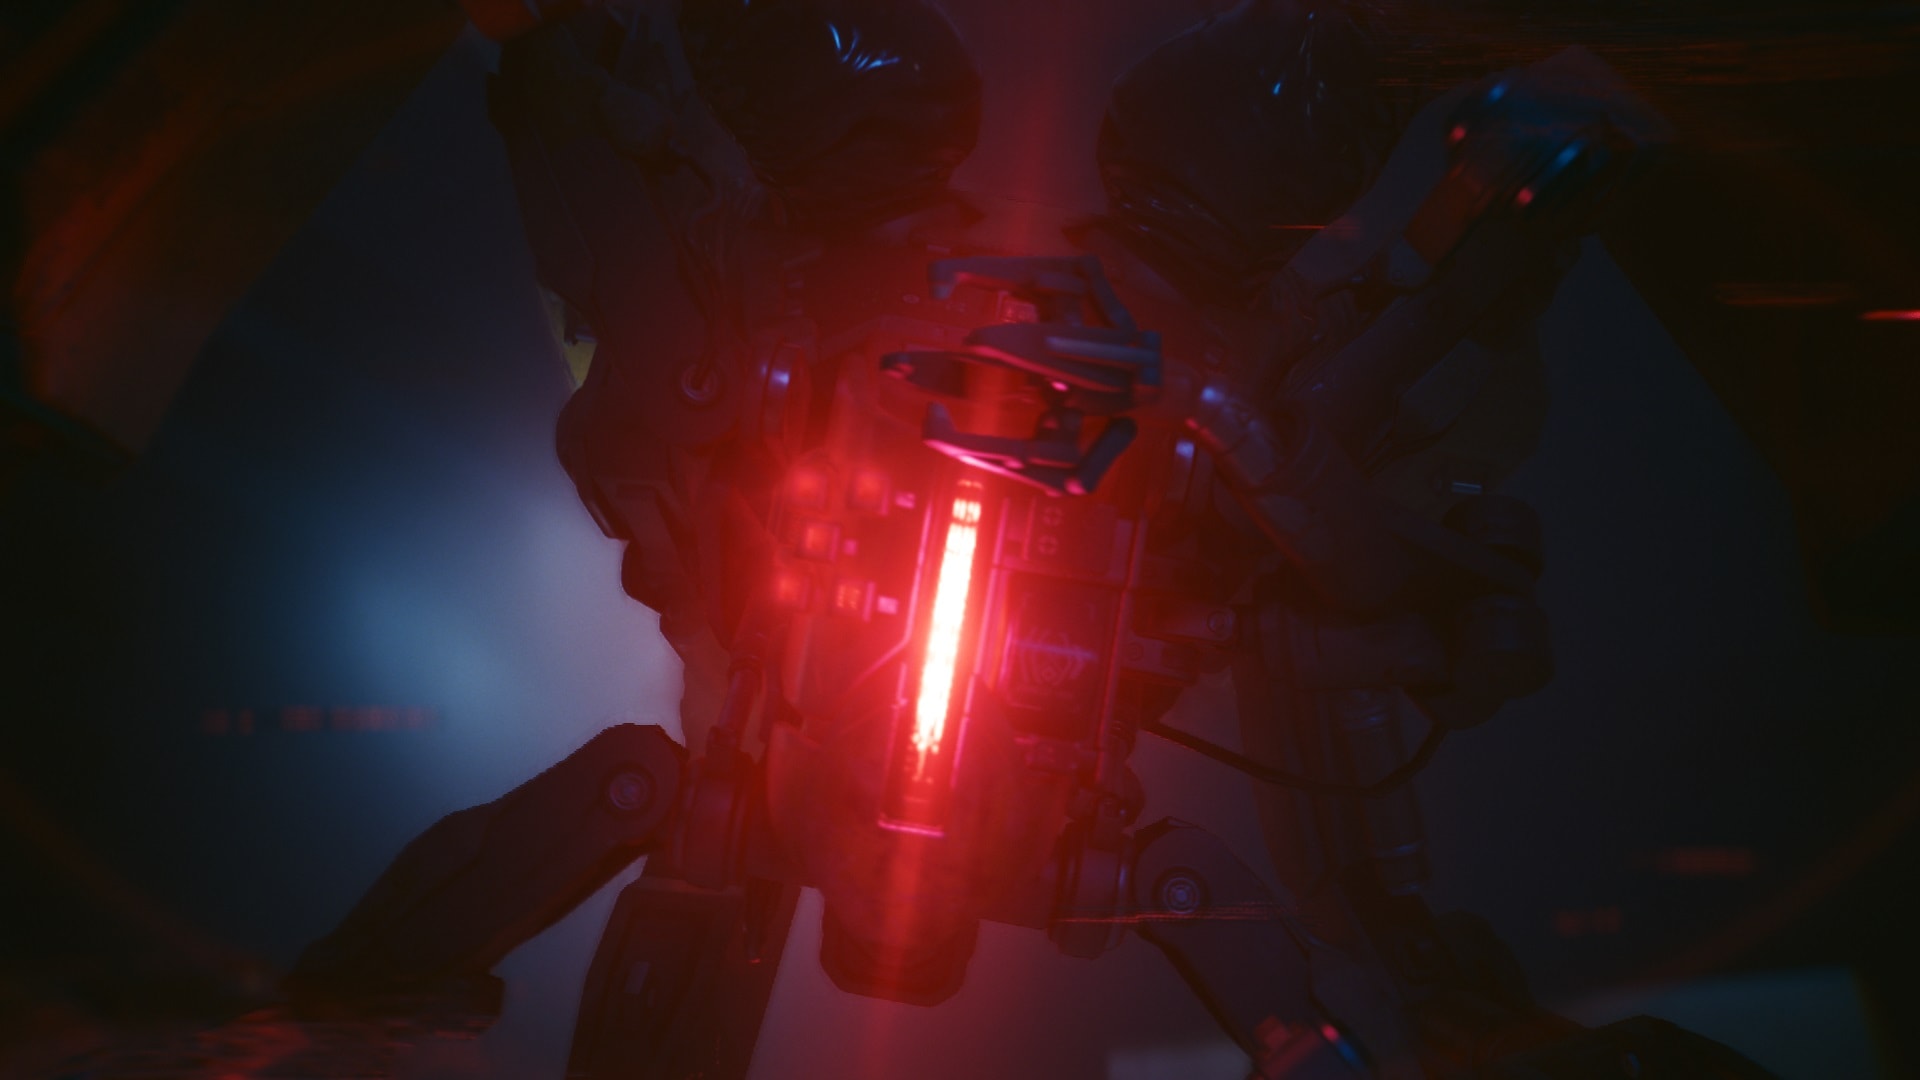
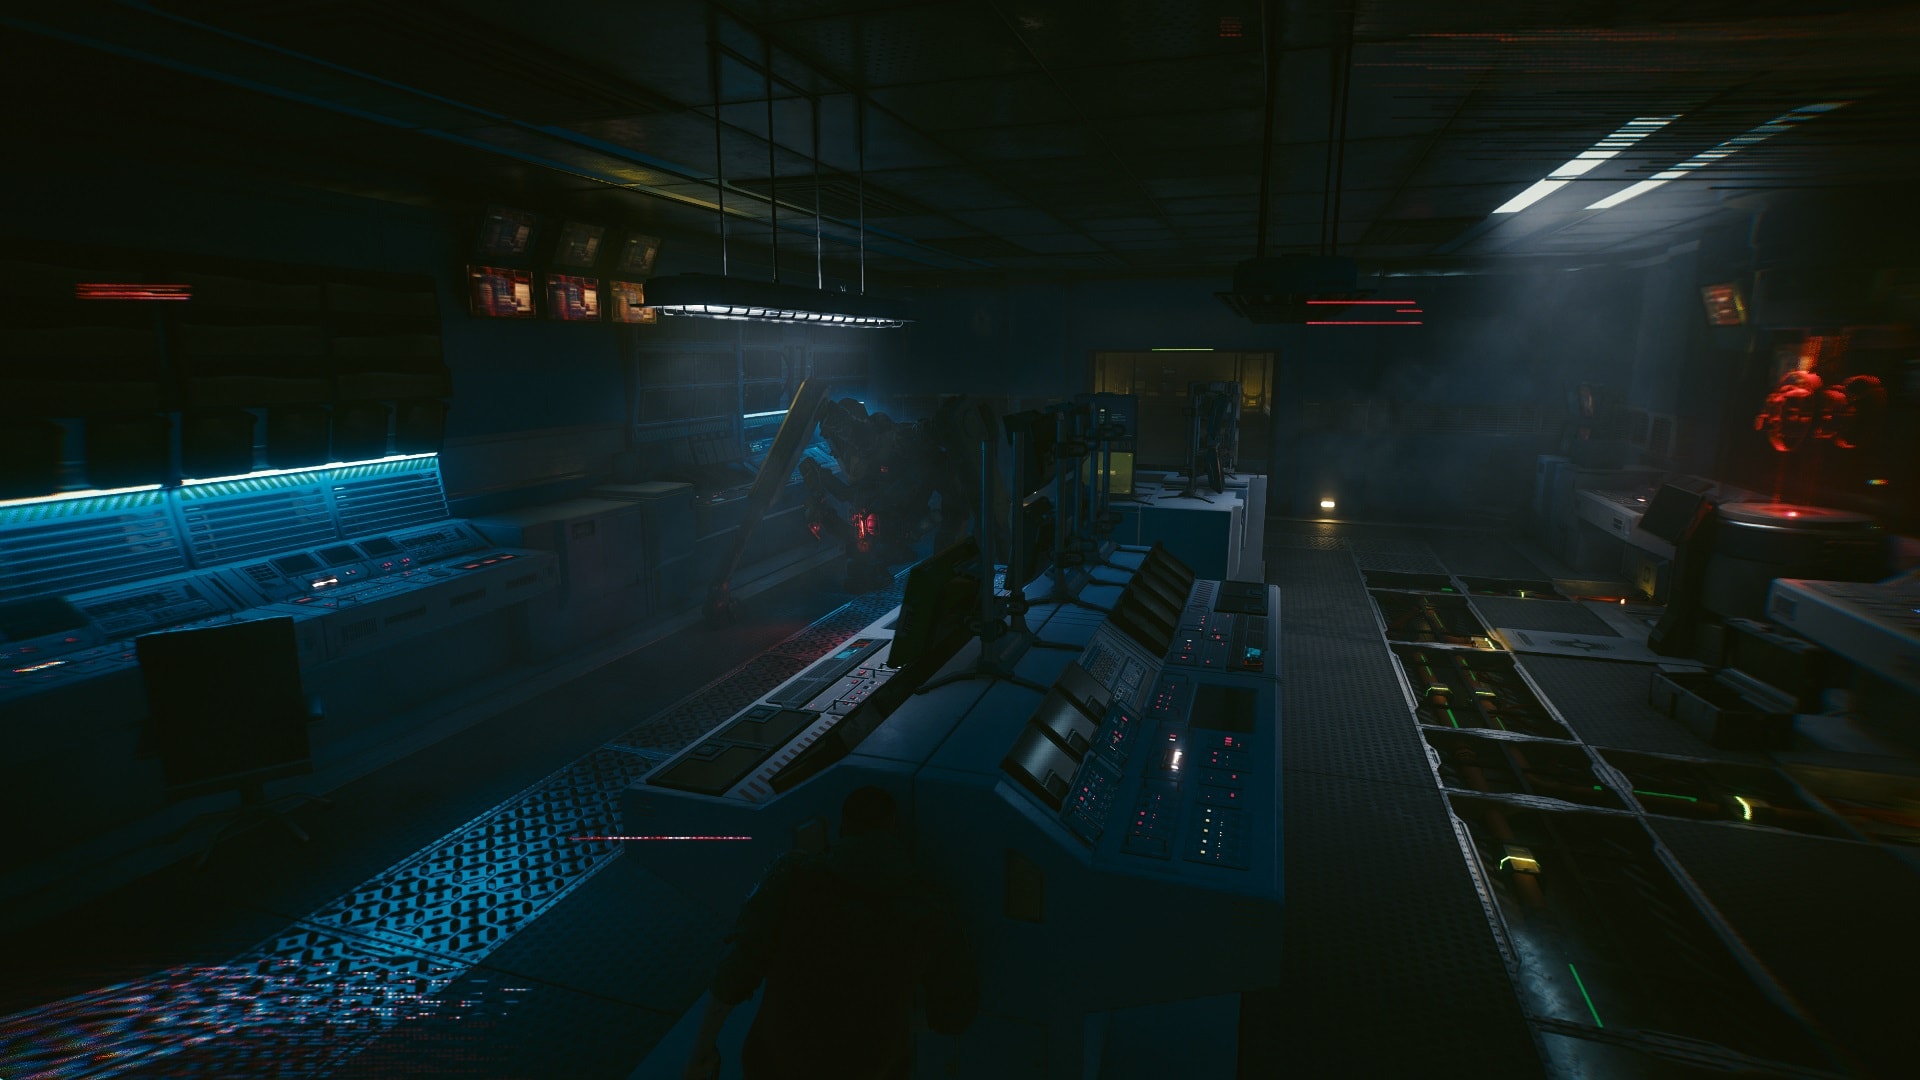
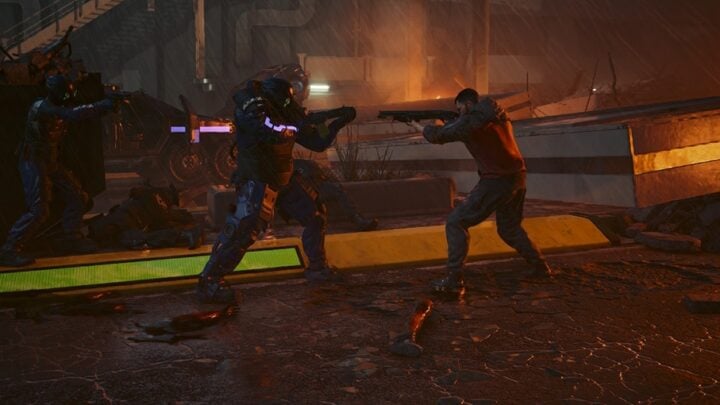
Not even five seconds will pass before this massive robot attempts to finish you. This is when things get interesting. There are no weapons you have that can damage this thing, run!
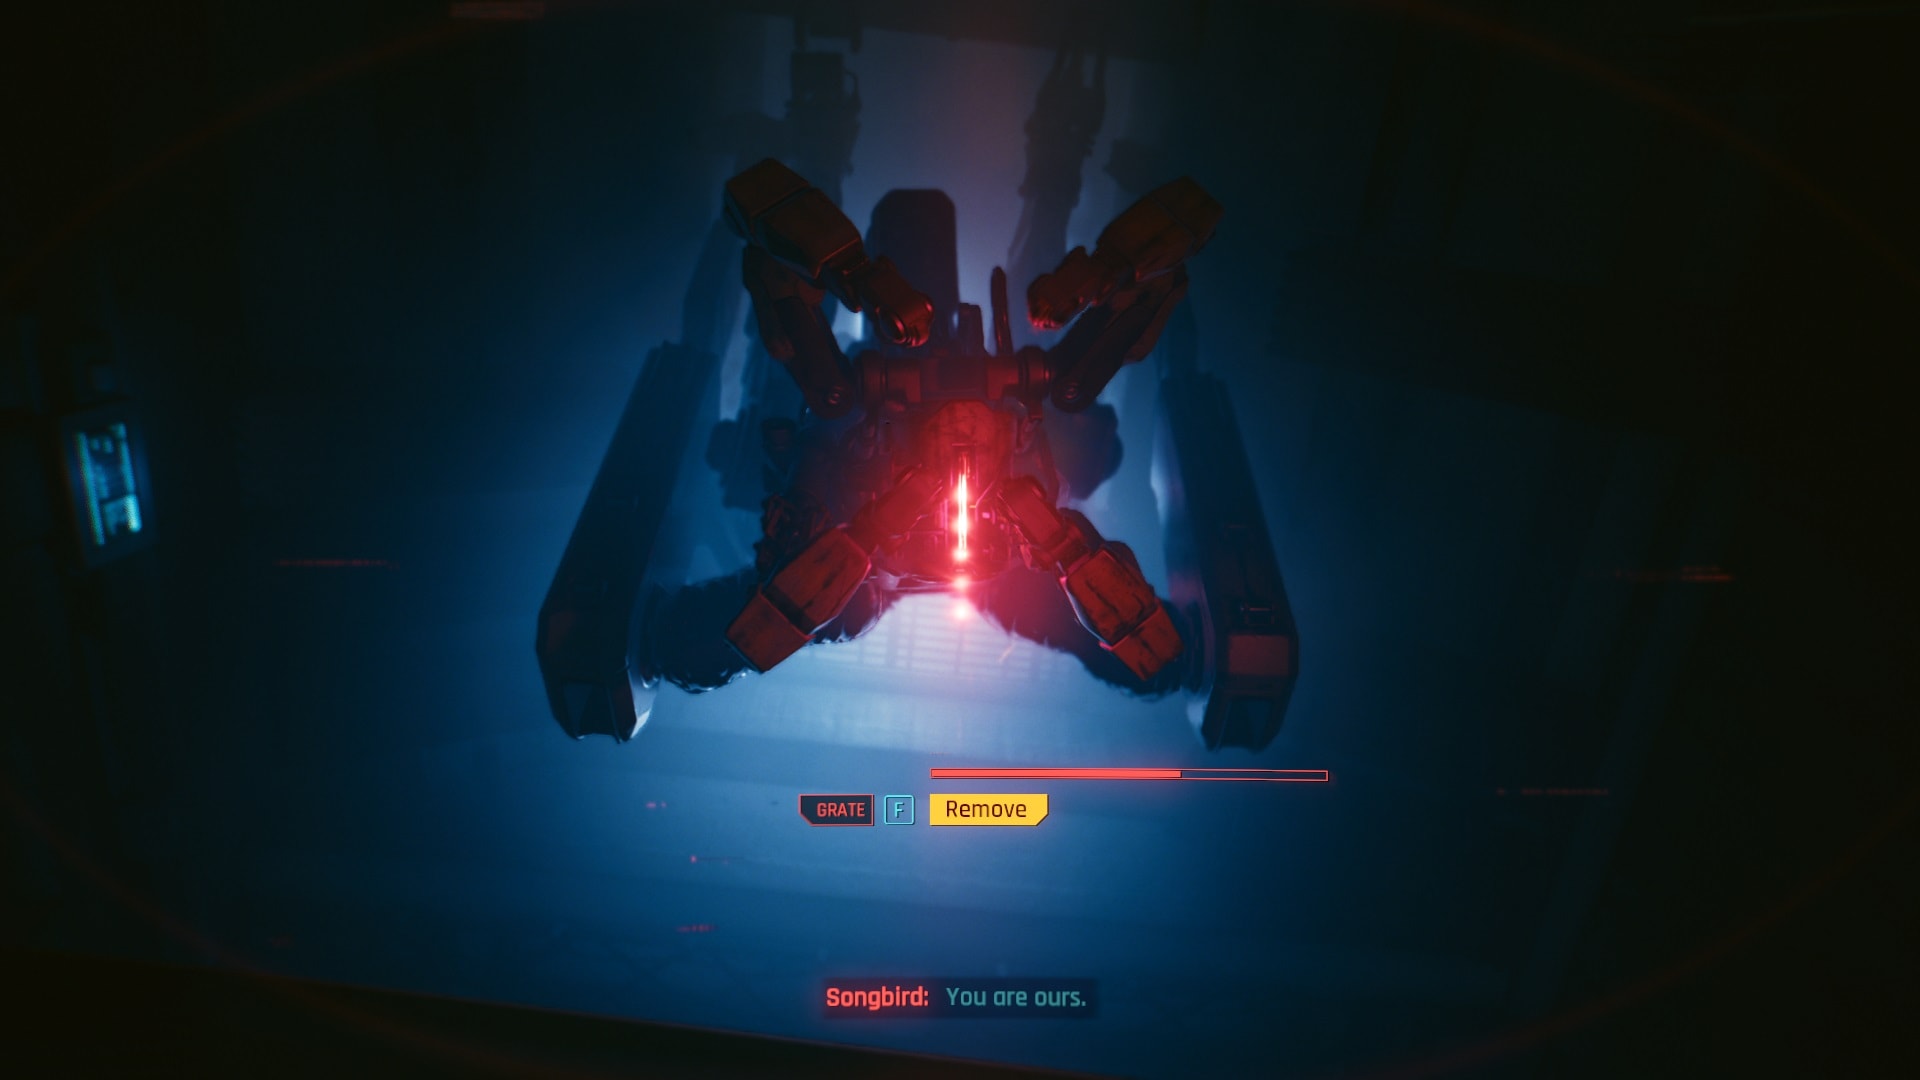
This strange robot looks like a Sentinel from The Matrix movie, and it’s just as deadly. From now on, you must be extremely alert. It won’t leave you alone, it can access every area and moves through the roofs like a Xenomorph.

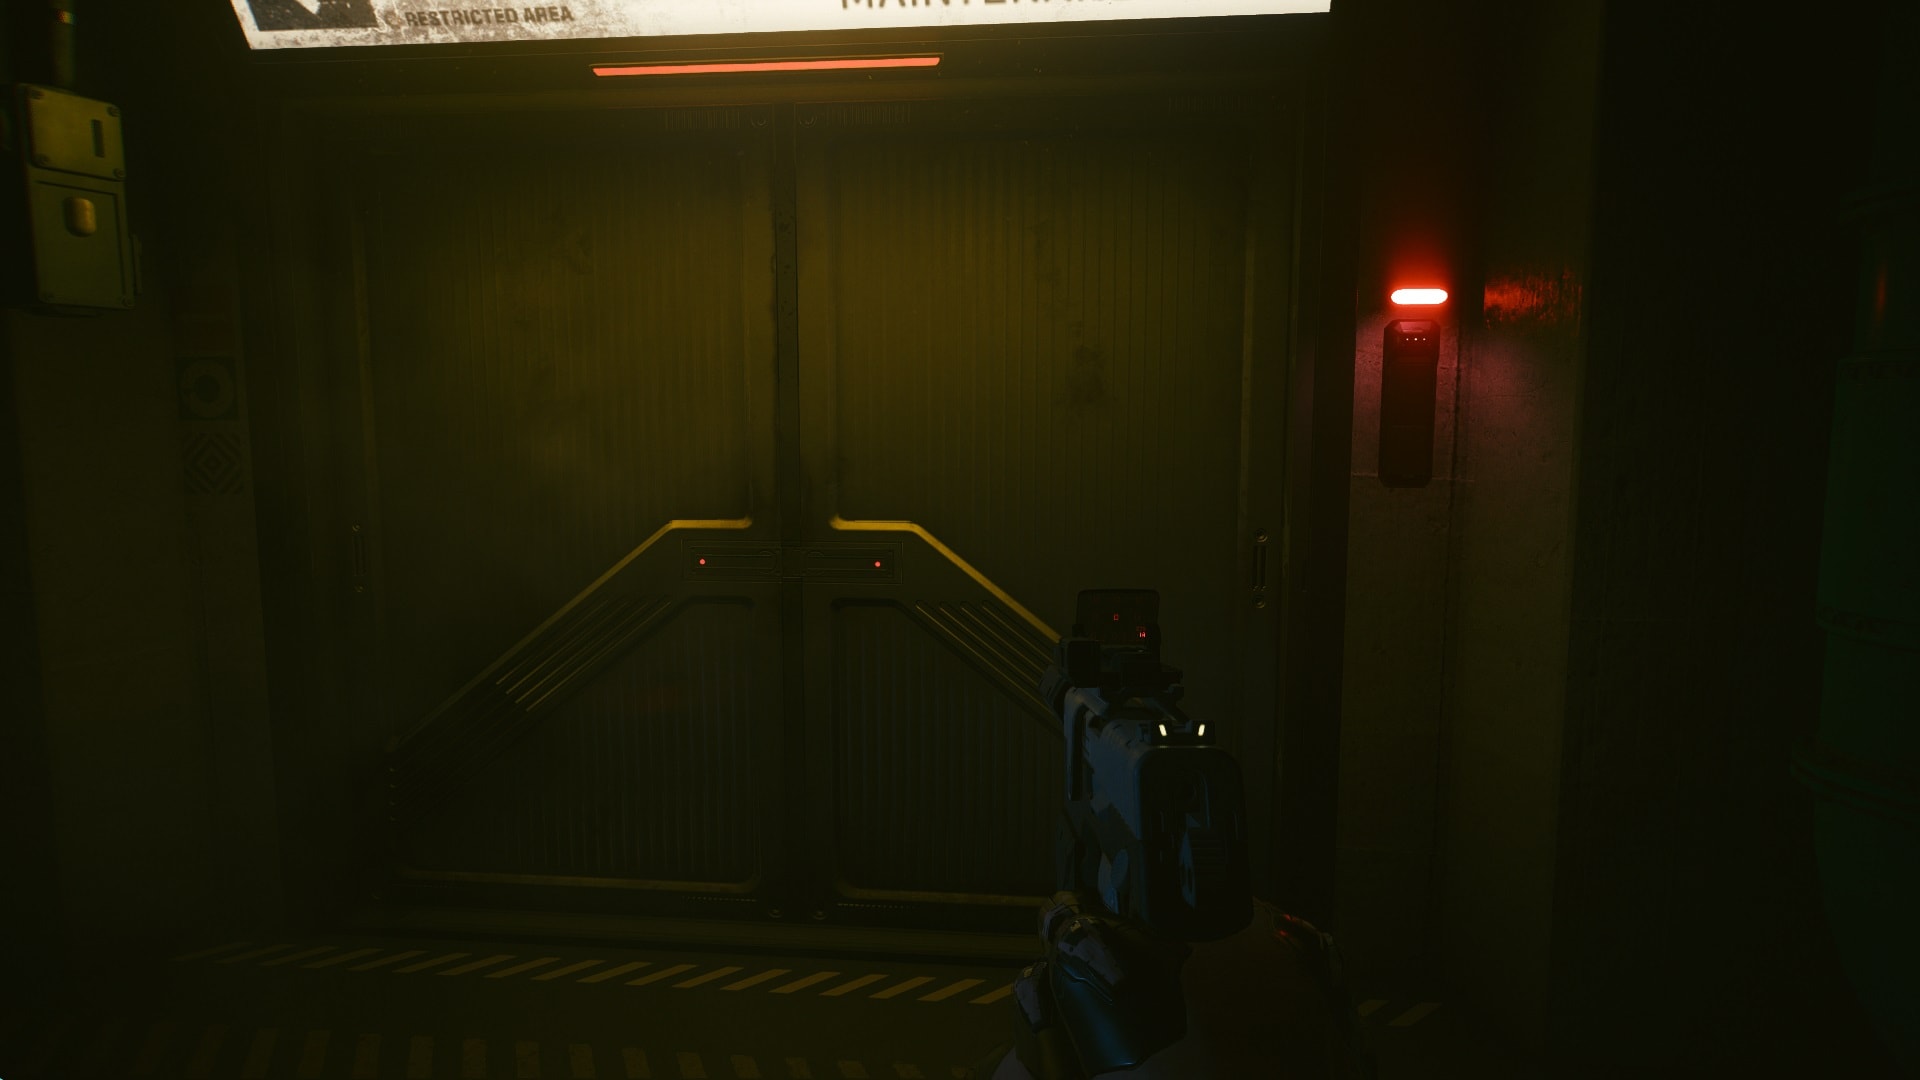
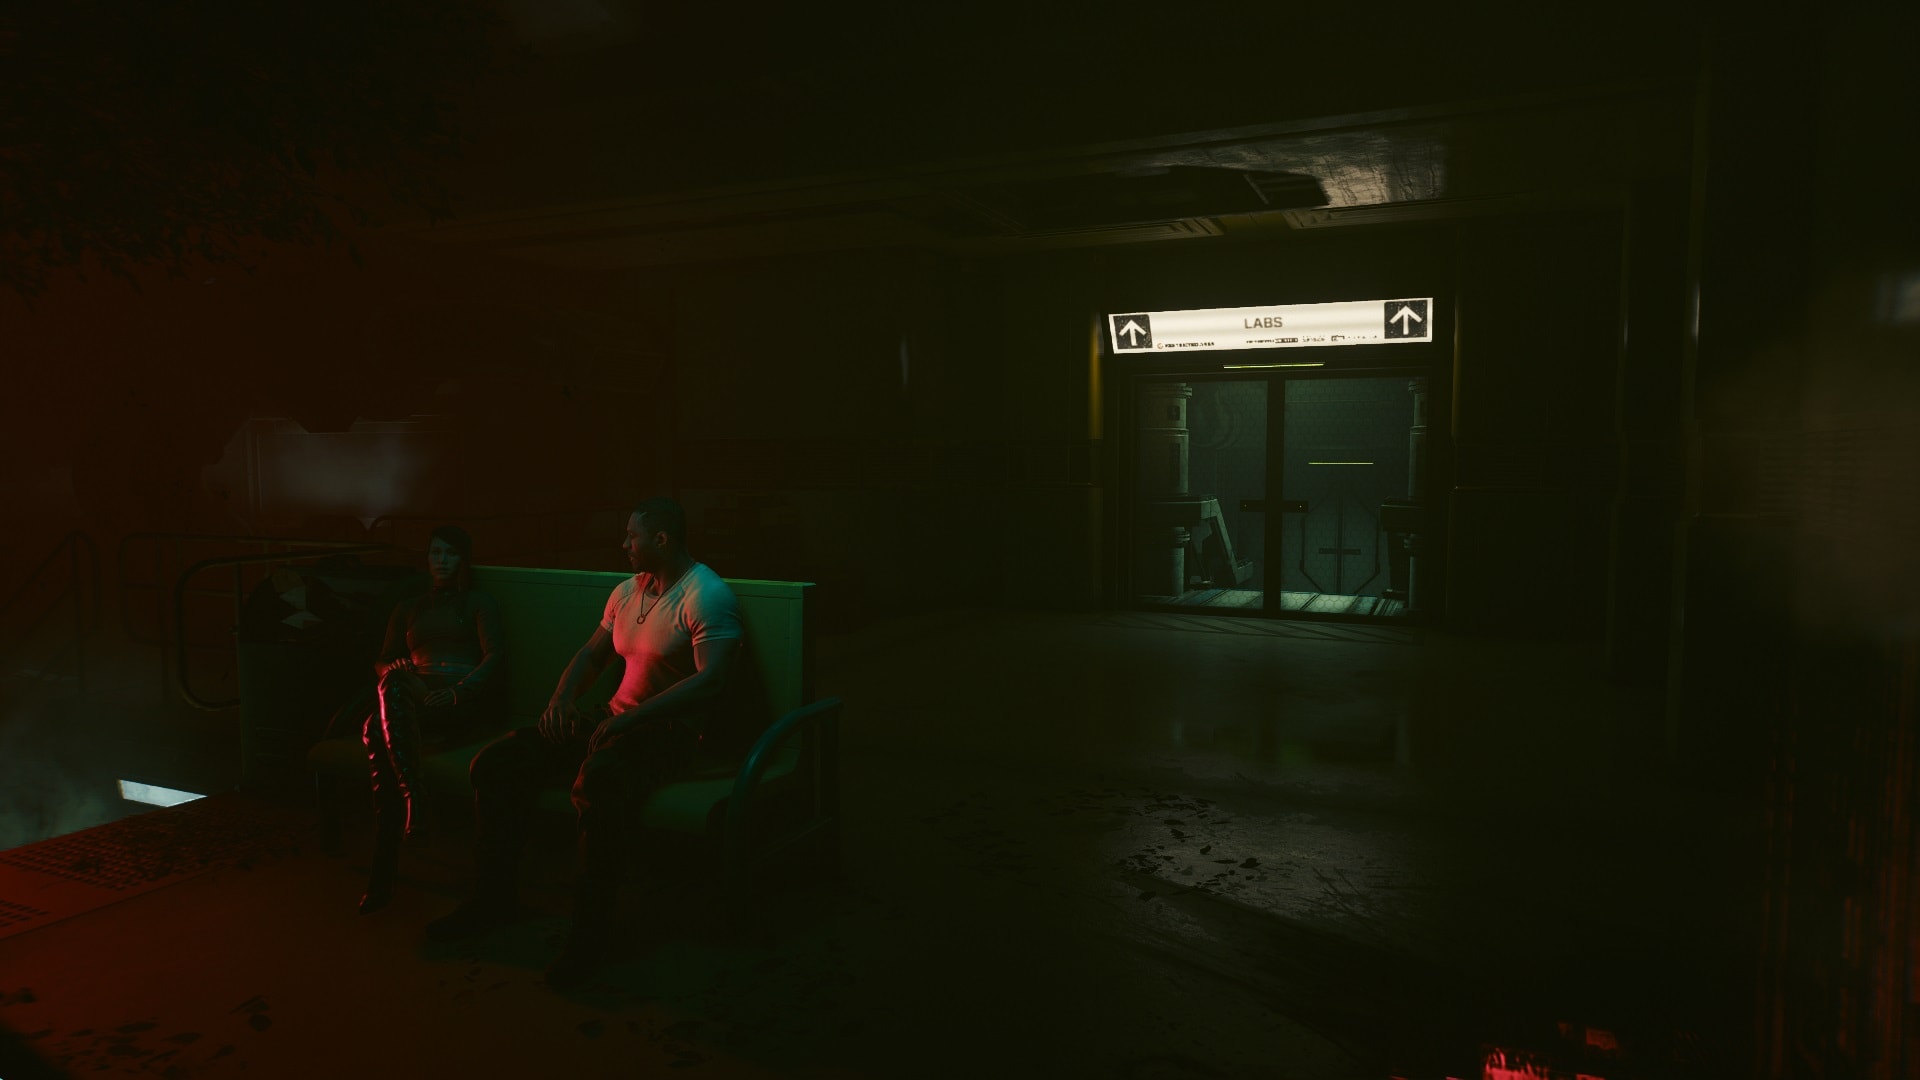
Once you climb the stairs, walk to any of the doors in the room and continue to this area. The door on the right is blocked, use the left one. A small red bar under the Exit sign indicates that it’s locked, while the green one tells if it’s unlocked.

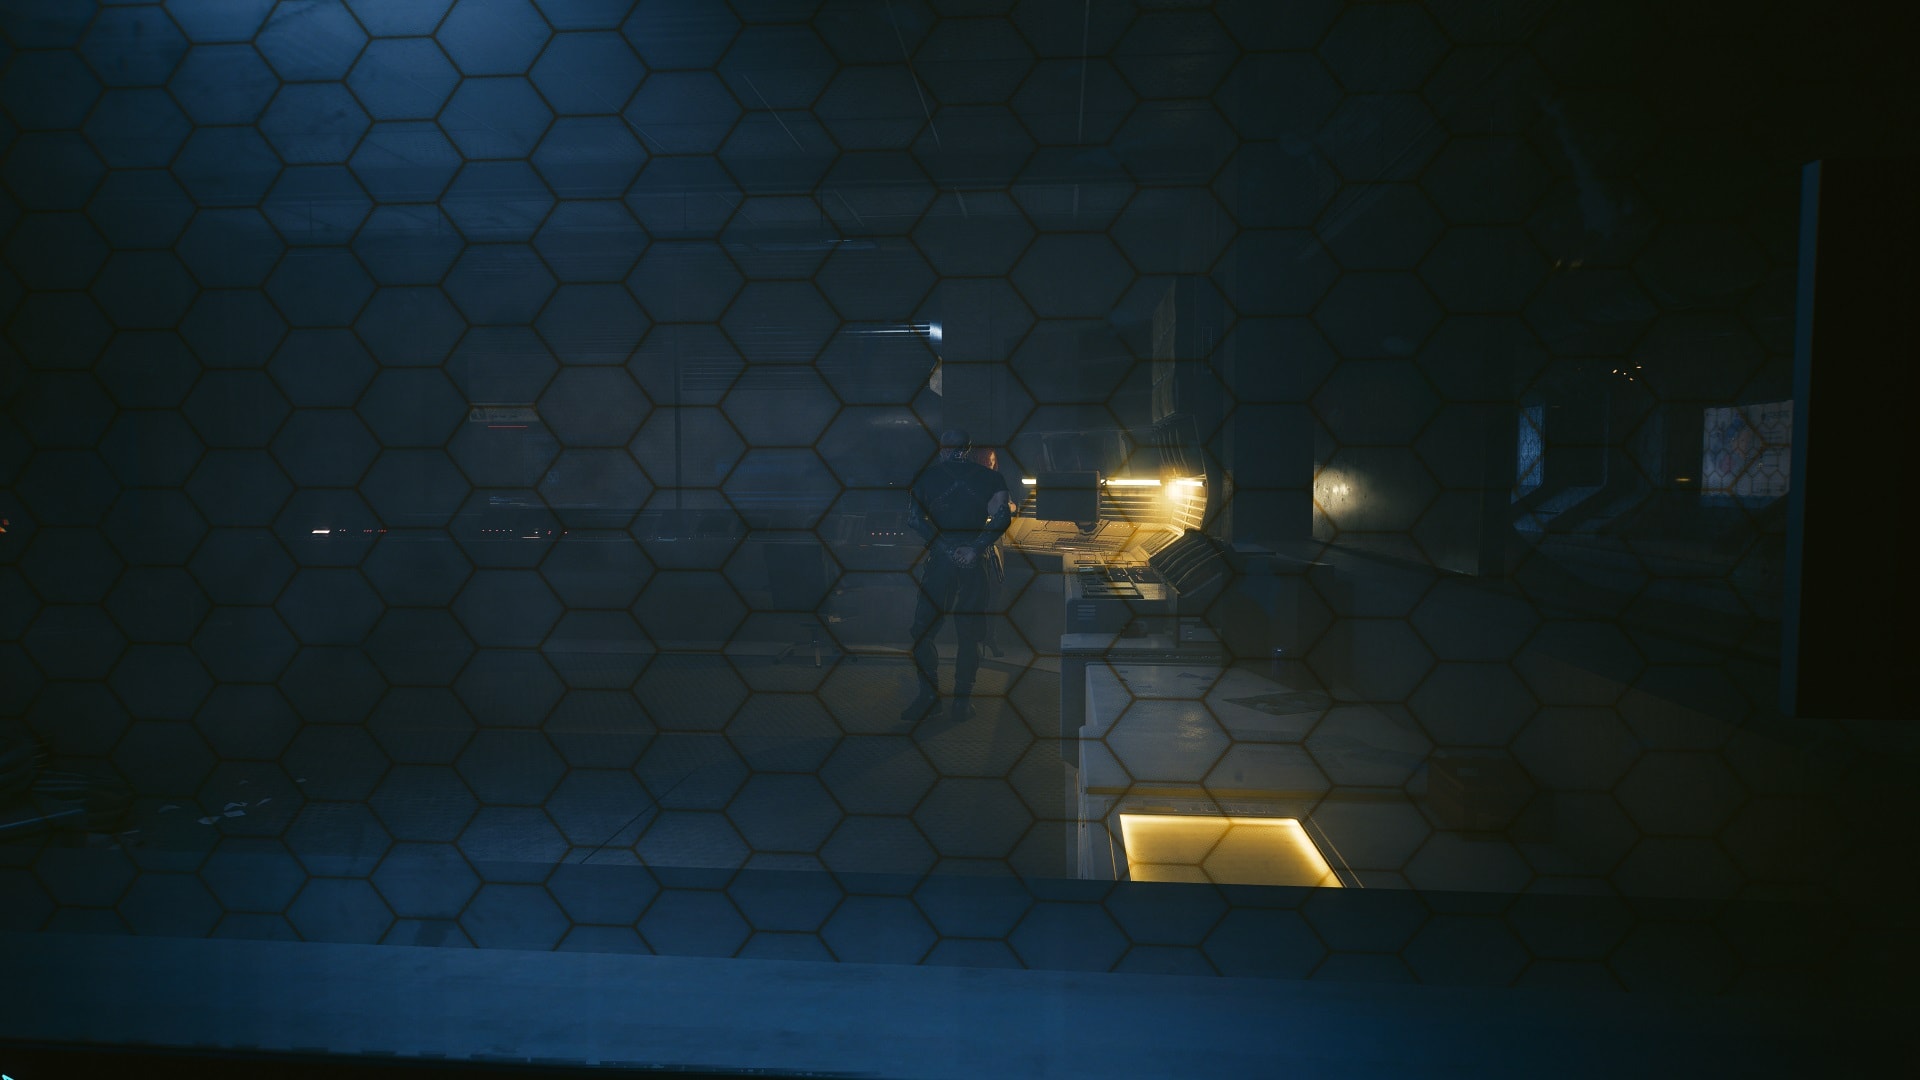
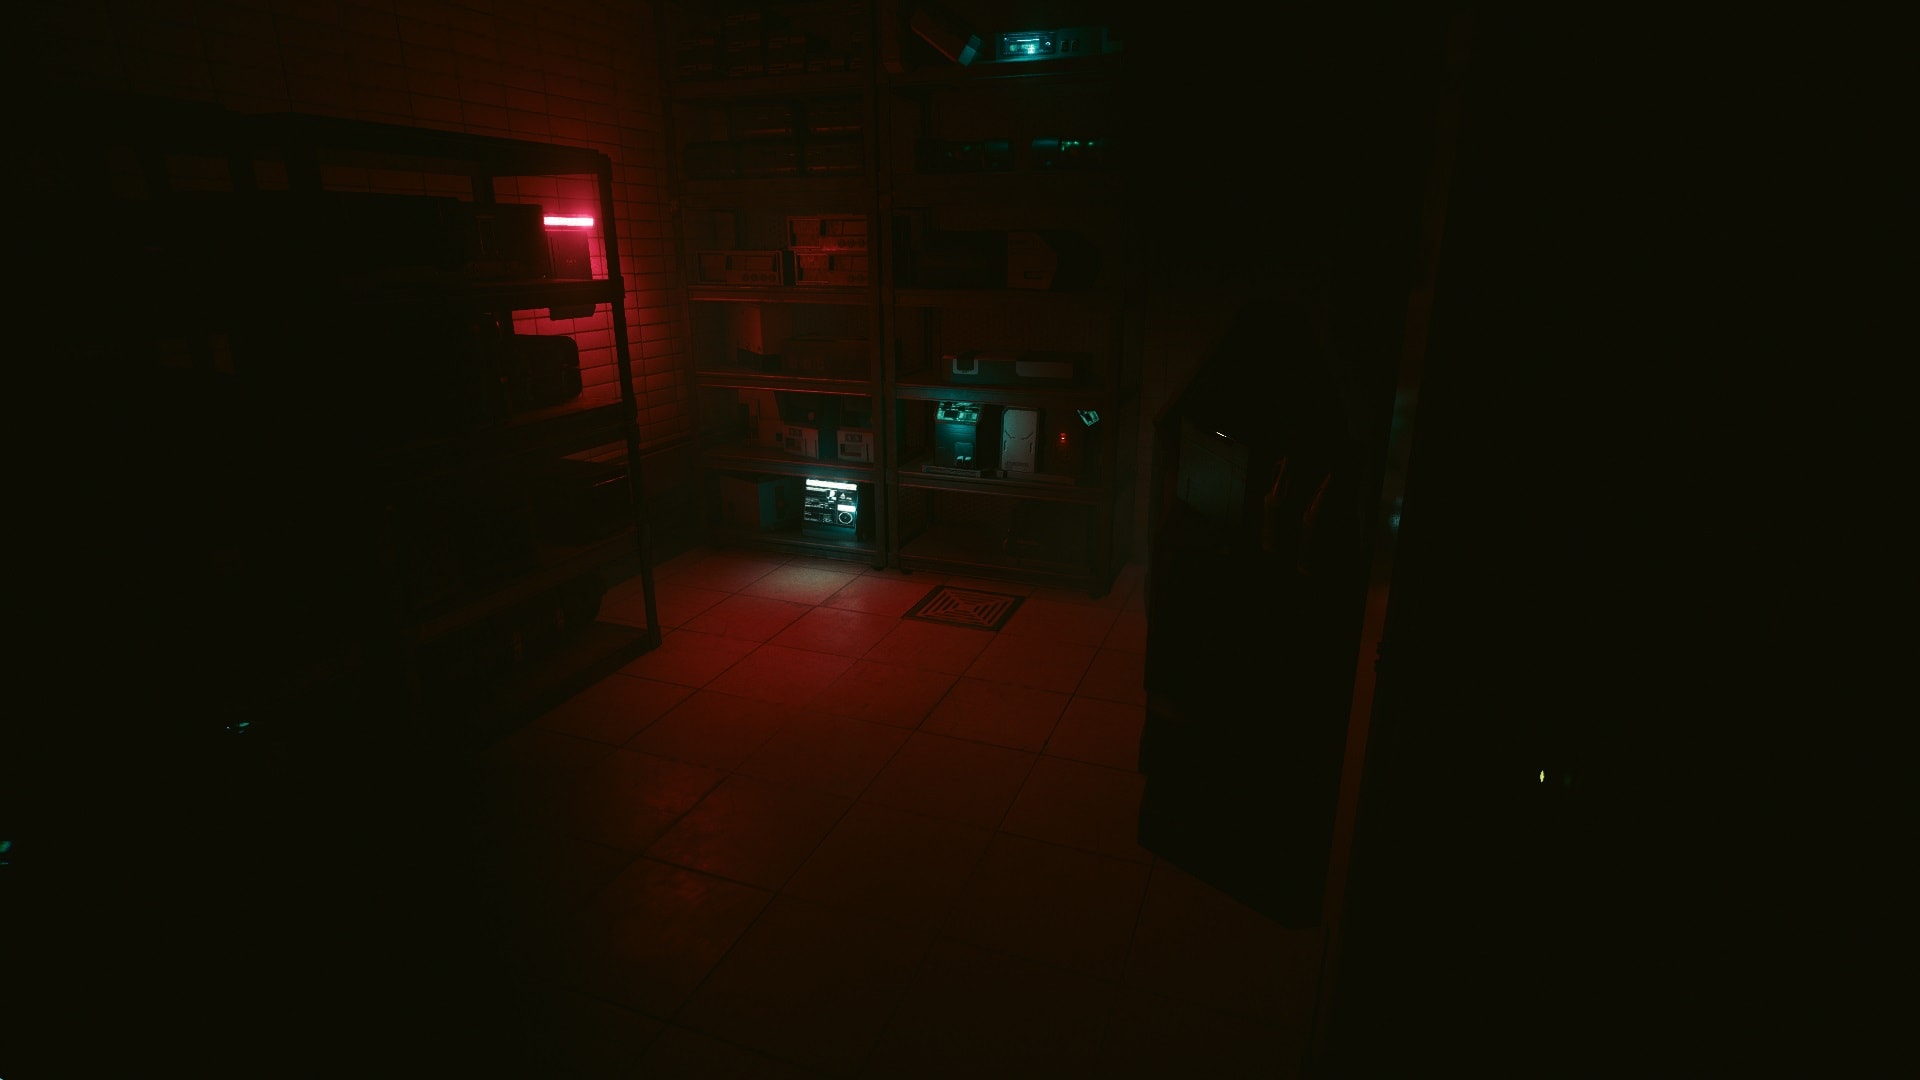
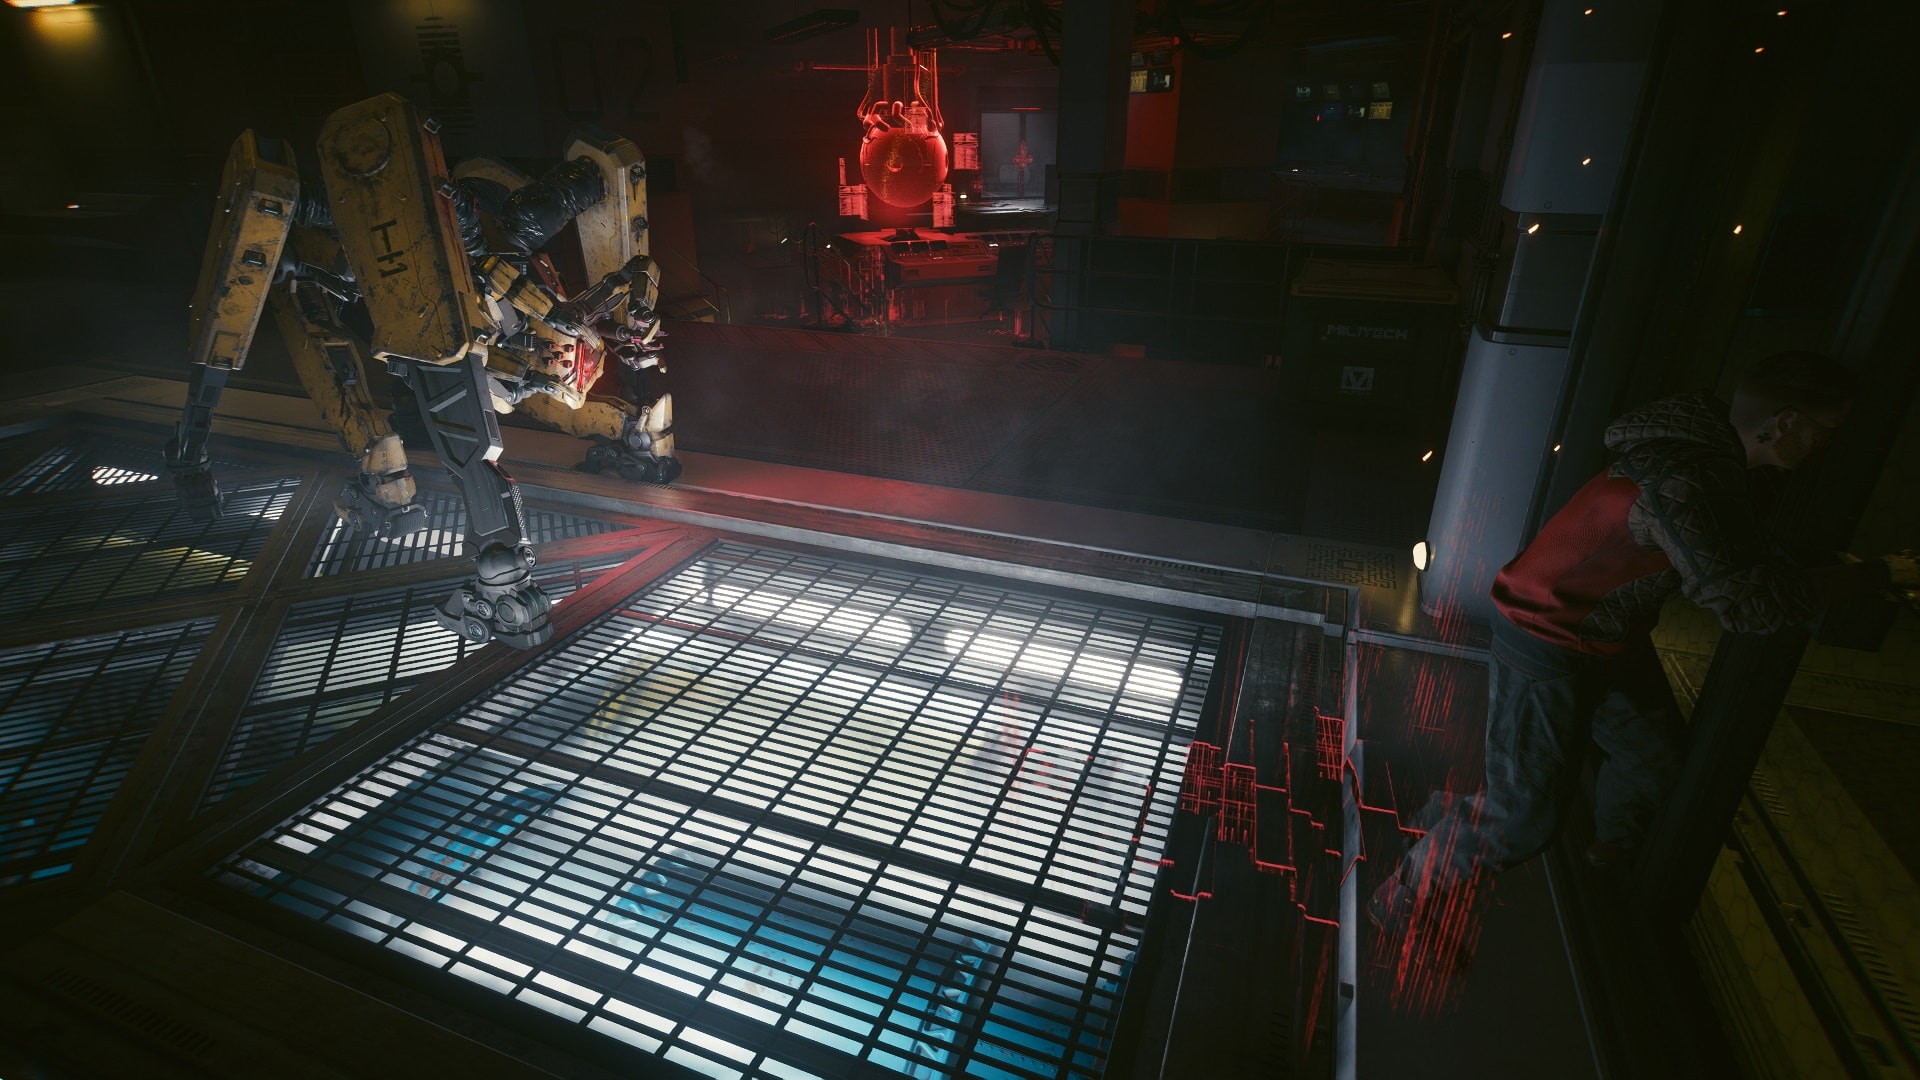
Search for this room, another terminal that you must access is here. Try to quickhack it as fast as possible but always give priority to hiding.
There is no way for you to defeat this deadly enemy. If you’re spotted, you reload the game from the last save point. Corners are usually the safest places to hide, but columns or boxes also work fine since its vision is very limited.
There is a mysterious door, you must pass it when searching for the next terminal. You can attempt to open it if your Technical Ability is high enough. The first attempt will fail but there’s a way to get around it.
Almost in front of the sealed gate is a door. Enter the room. Come close to the circuit box on the wall in that room and interact with it. Now you can go and open the gate.

There is a case with an Iconic weapon blueprint on one of the desks. We have also included it in our list of all new Iconic Items from Phantom Liberty. This room might appear secure but the Cerberus unit is able to access it. There is only one way it can enter, so at least you won’t get jump-scared that easily.
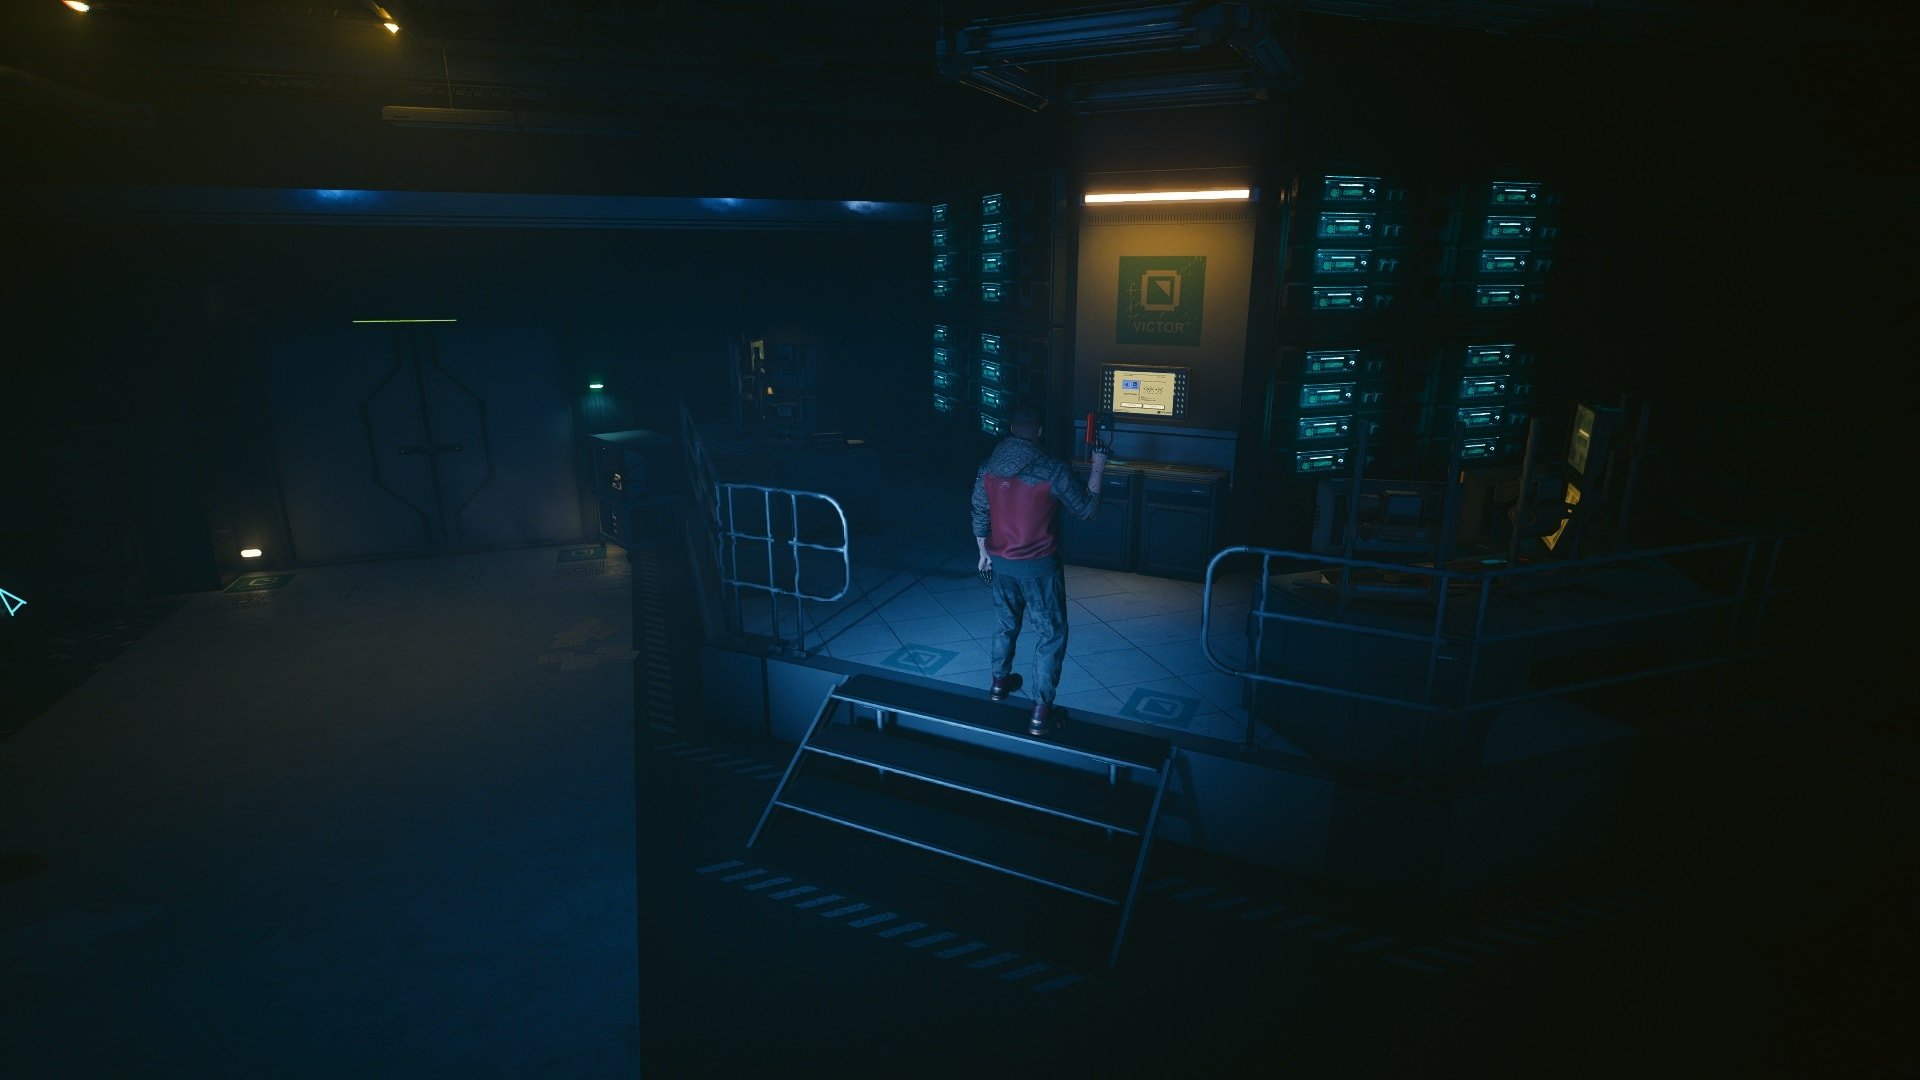
Proceed to the dataterminal Victor. After you’ve interacted with it, the gate will finally be unlocked.
Find your way to the Core Room
Go through the gate and run as fast as you can. The Cerberus is coming for you.
Enter this room and immediately lock down the door. Otherwise, you’ll get flatlined. You only have a few seconds.
This isn’t over. The Cerberus will continue to hunt you, keep your eyes open. Continue until you finally find the core room. But before rescuing there are a few more things that you have to do.
Eliminate the Core Room’s last line of defense
Return from where you came and head to the labs. What you’ll see on your way there is one of the first interactions between So Mi and Reed.
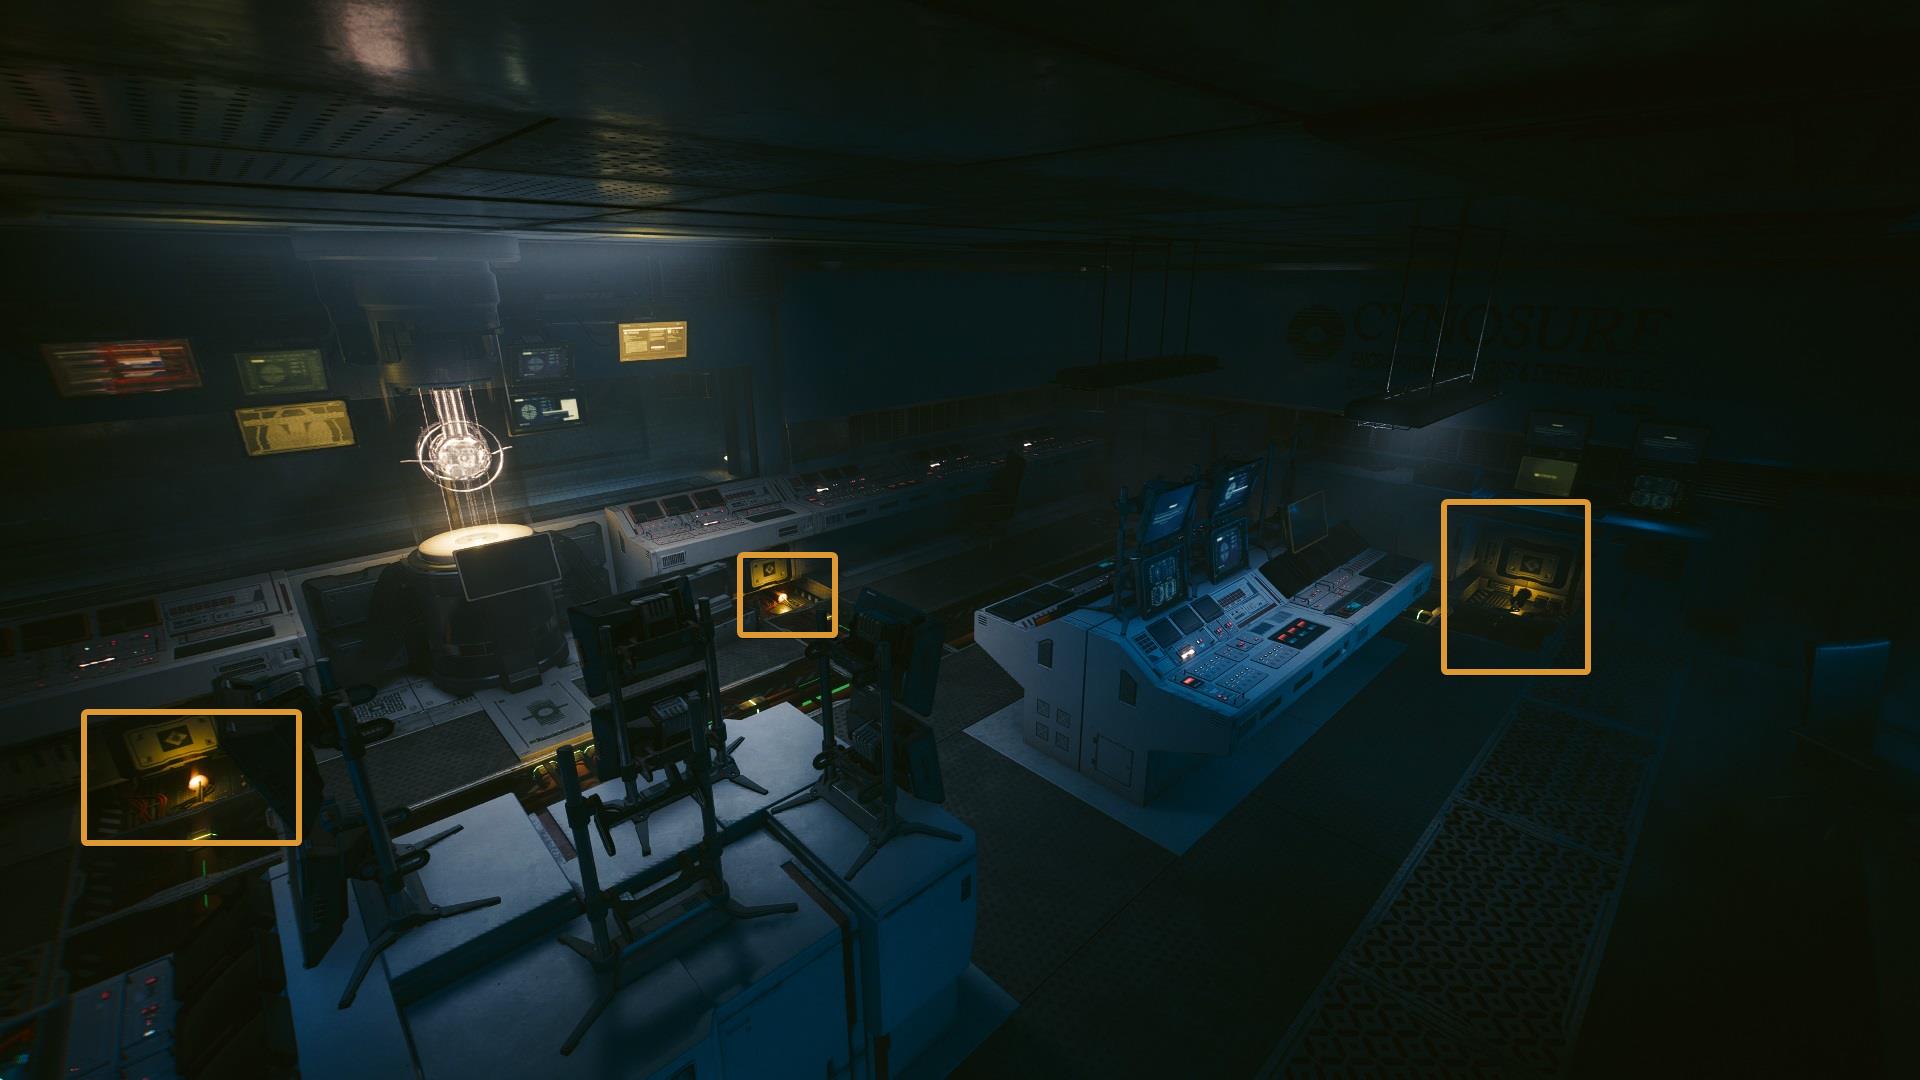
The terminal can’t be accessed due to the Blackwall. Pull the cables manually from the three points marked in the next image.
The Cerberus is back and it will enter this room. Don’t panic, remember that its vision is limited. Stay low and move around until it goes away.
Now, you must shut down the Thermic Control System but once again, it’s not possible to breach the terminal.
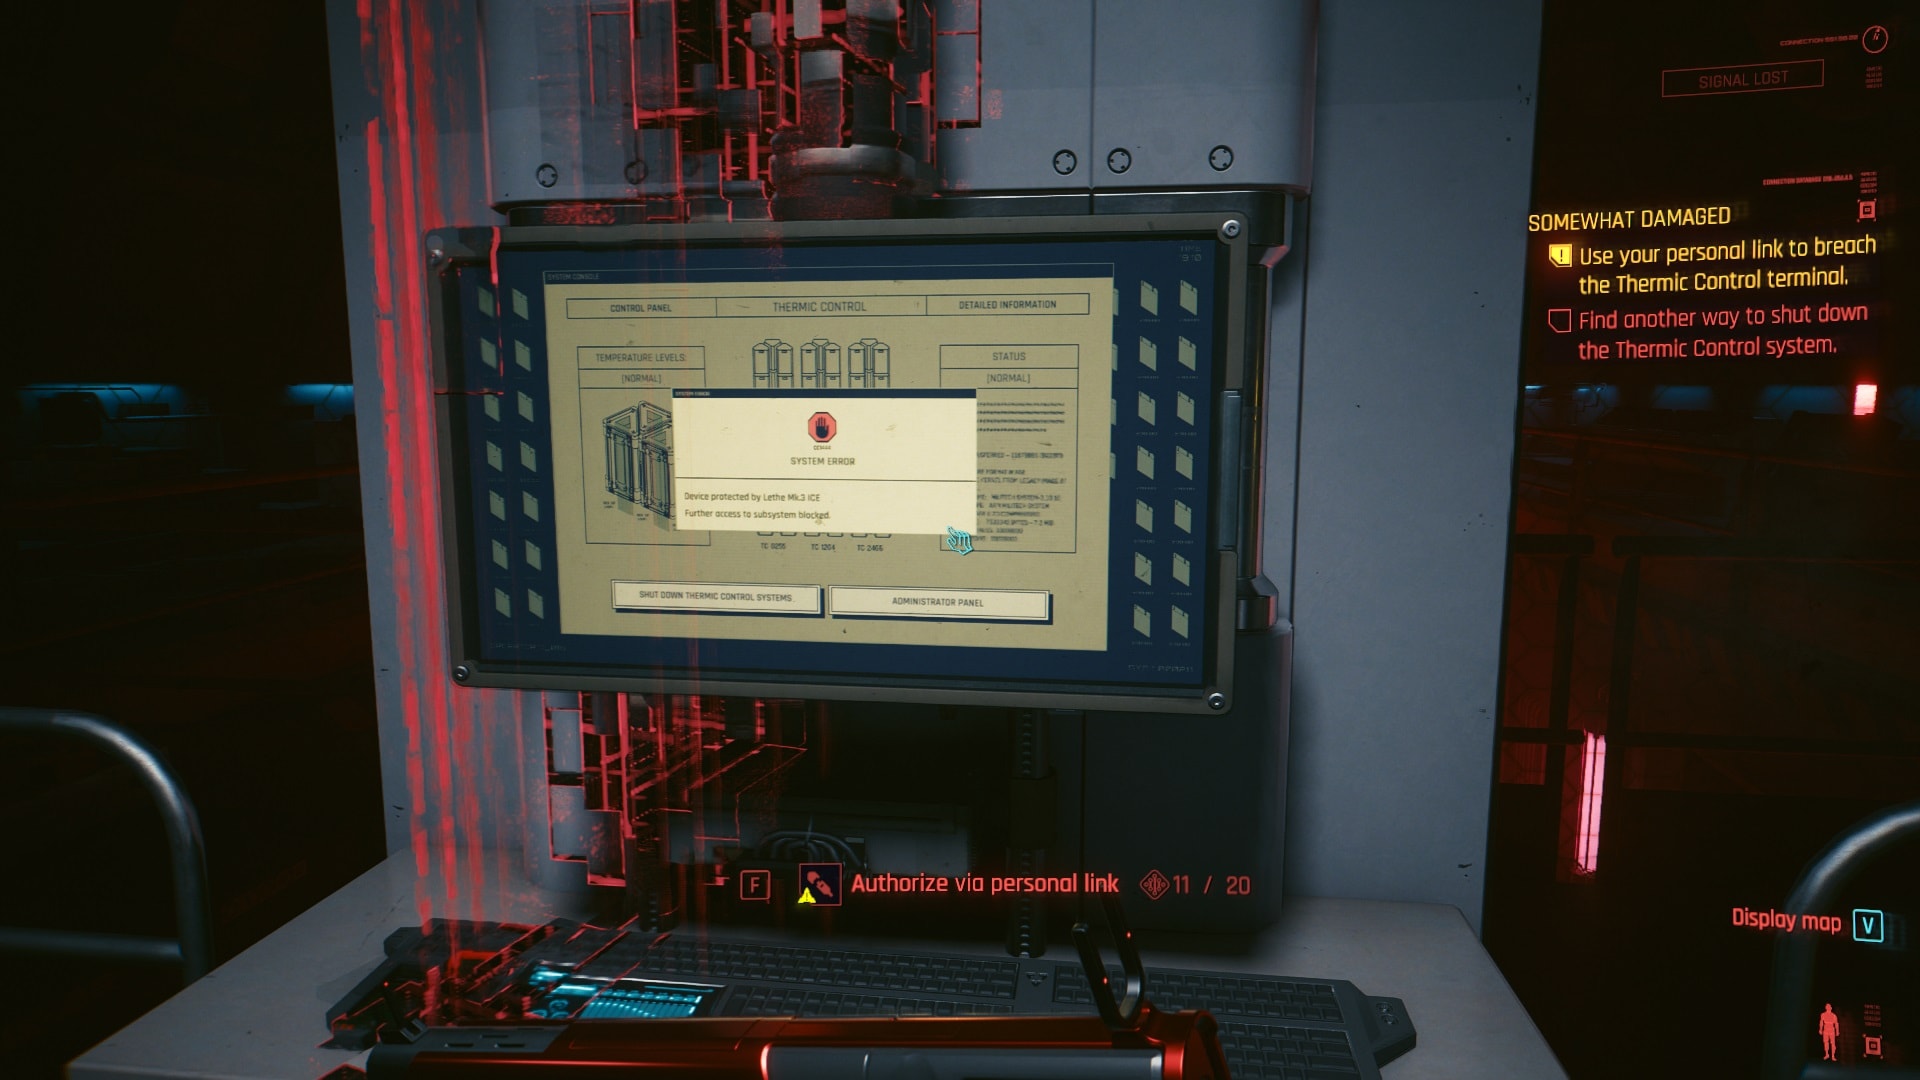
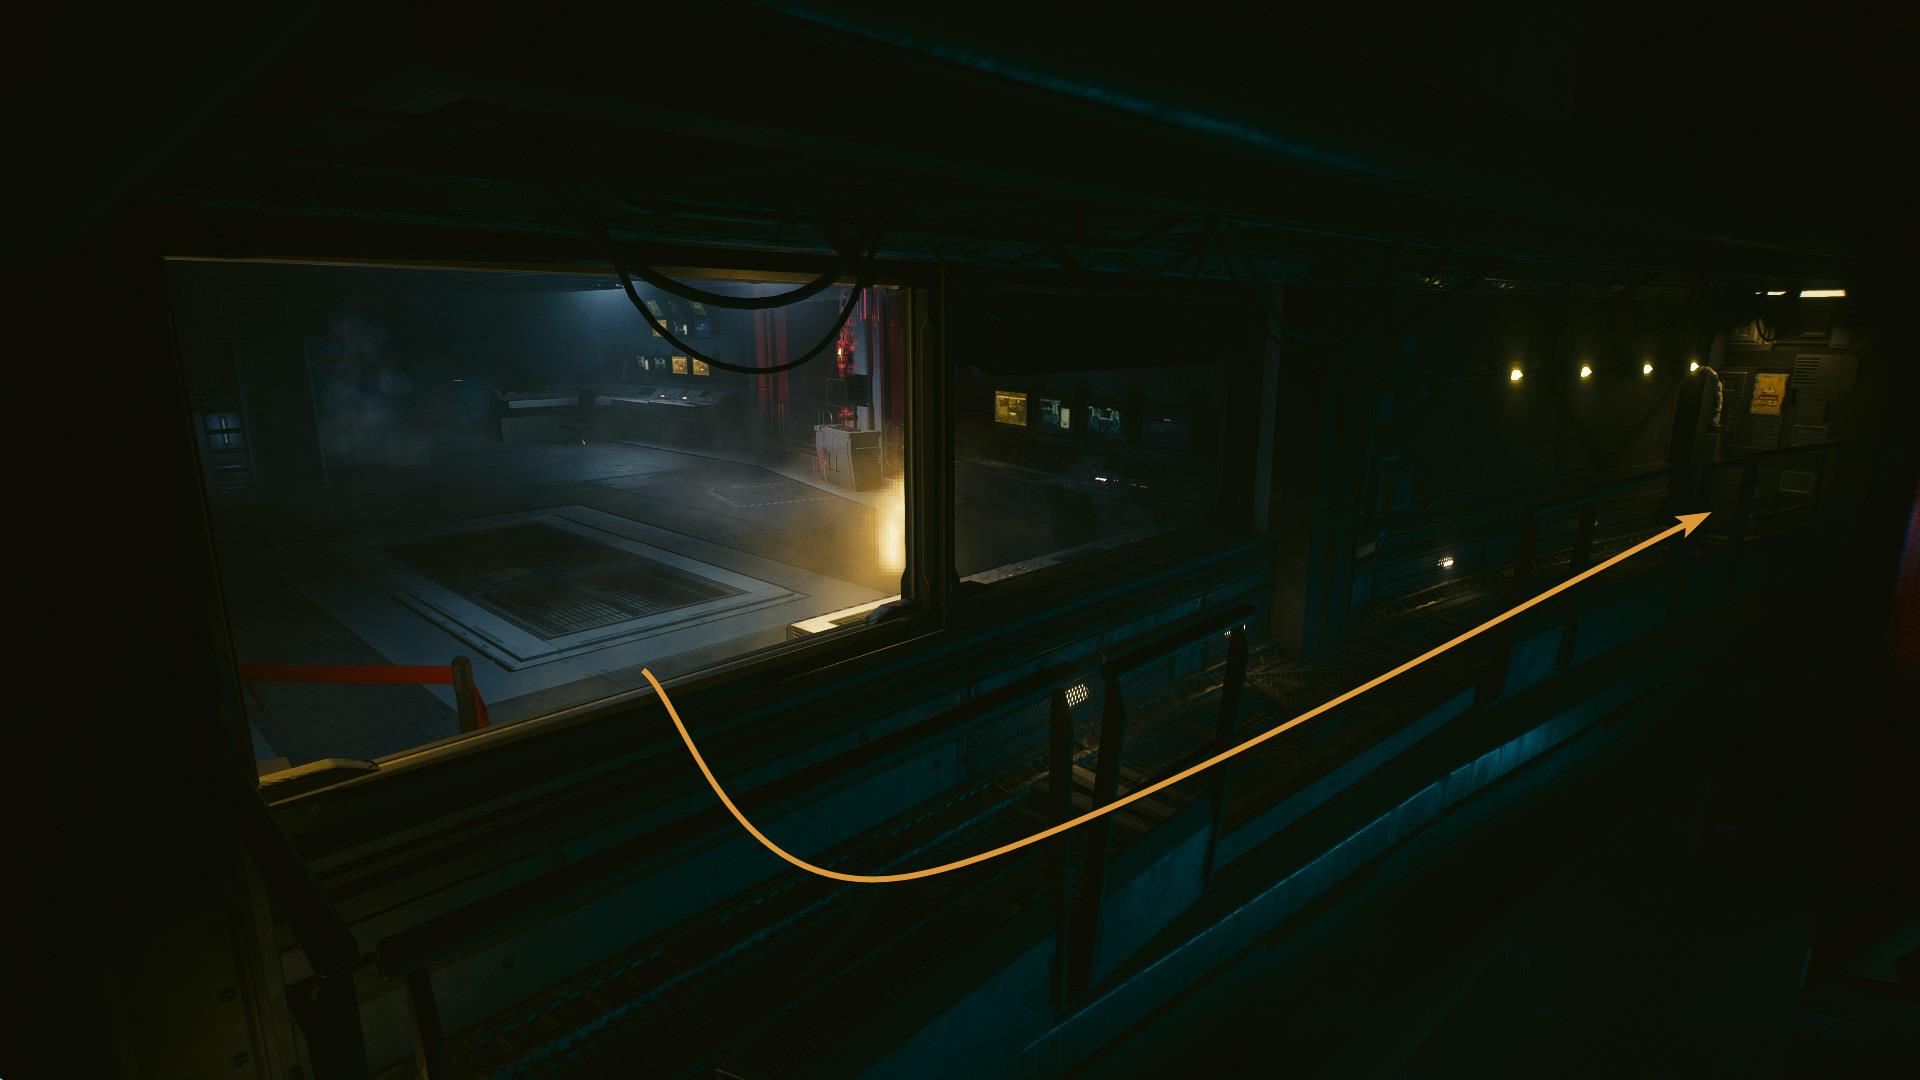
There’s a metal curtain covering the window on the corner. Open it, go outside, and walk to the circuit box. The Cerberus will walk into the room when you’re outside, be careful.
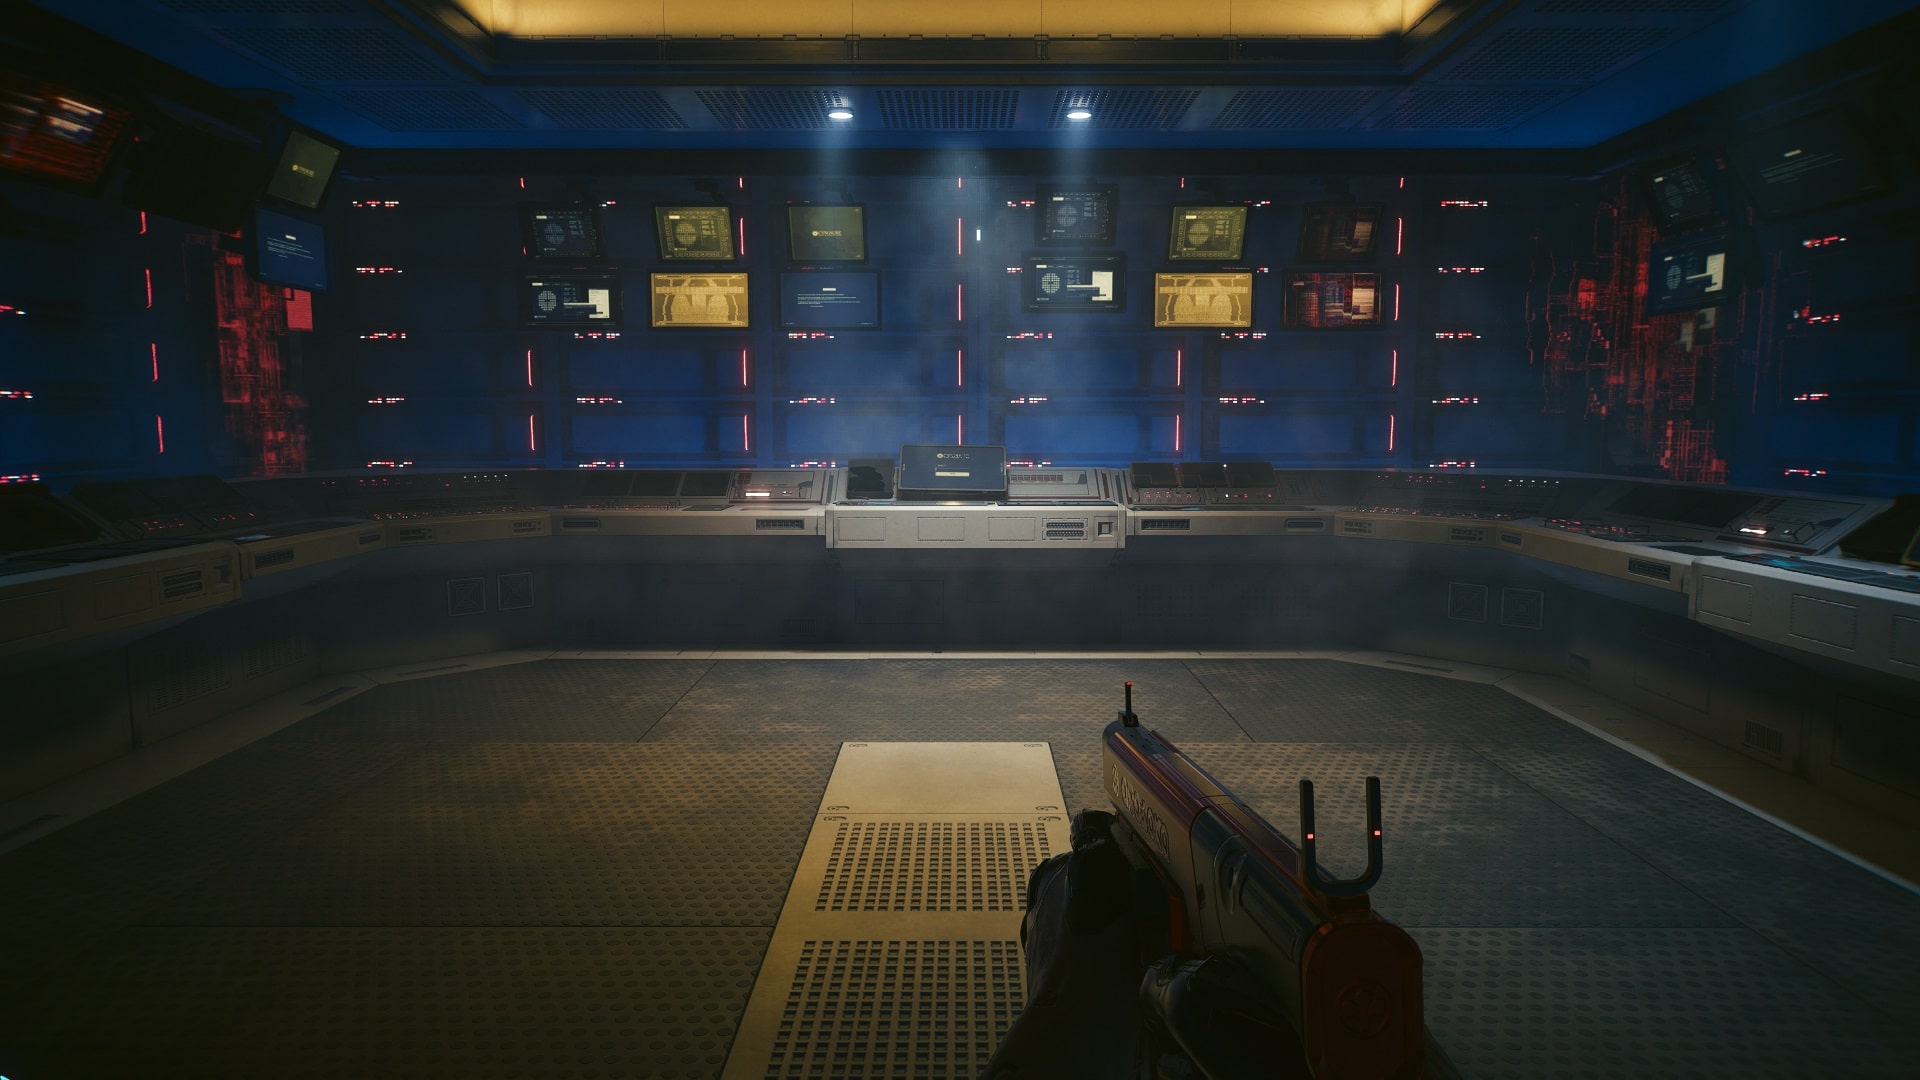
Go through these doors and continue until you find one last terminal.

This terminal is protected and can’t be accessed.
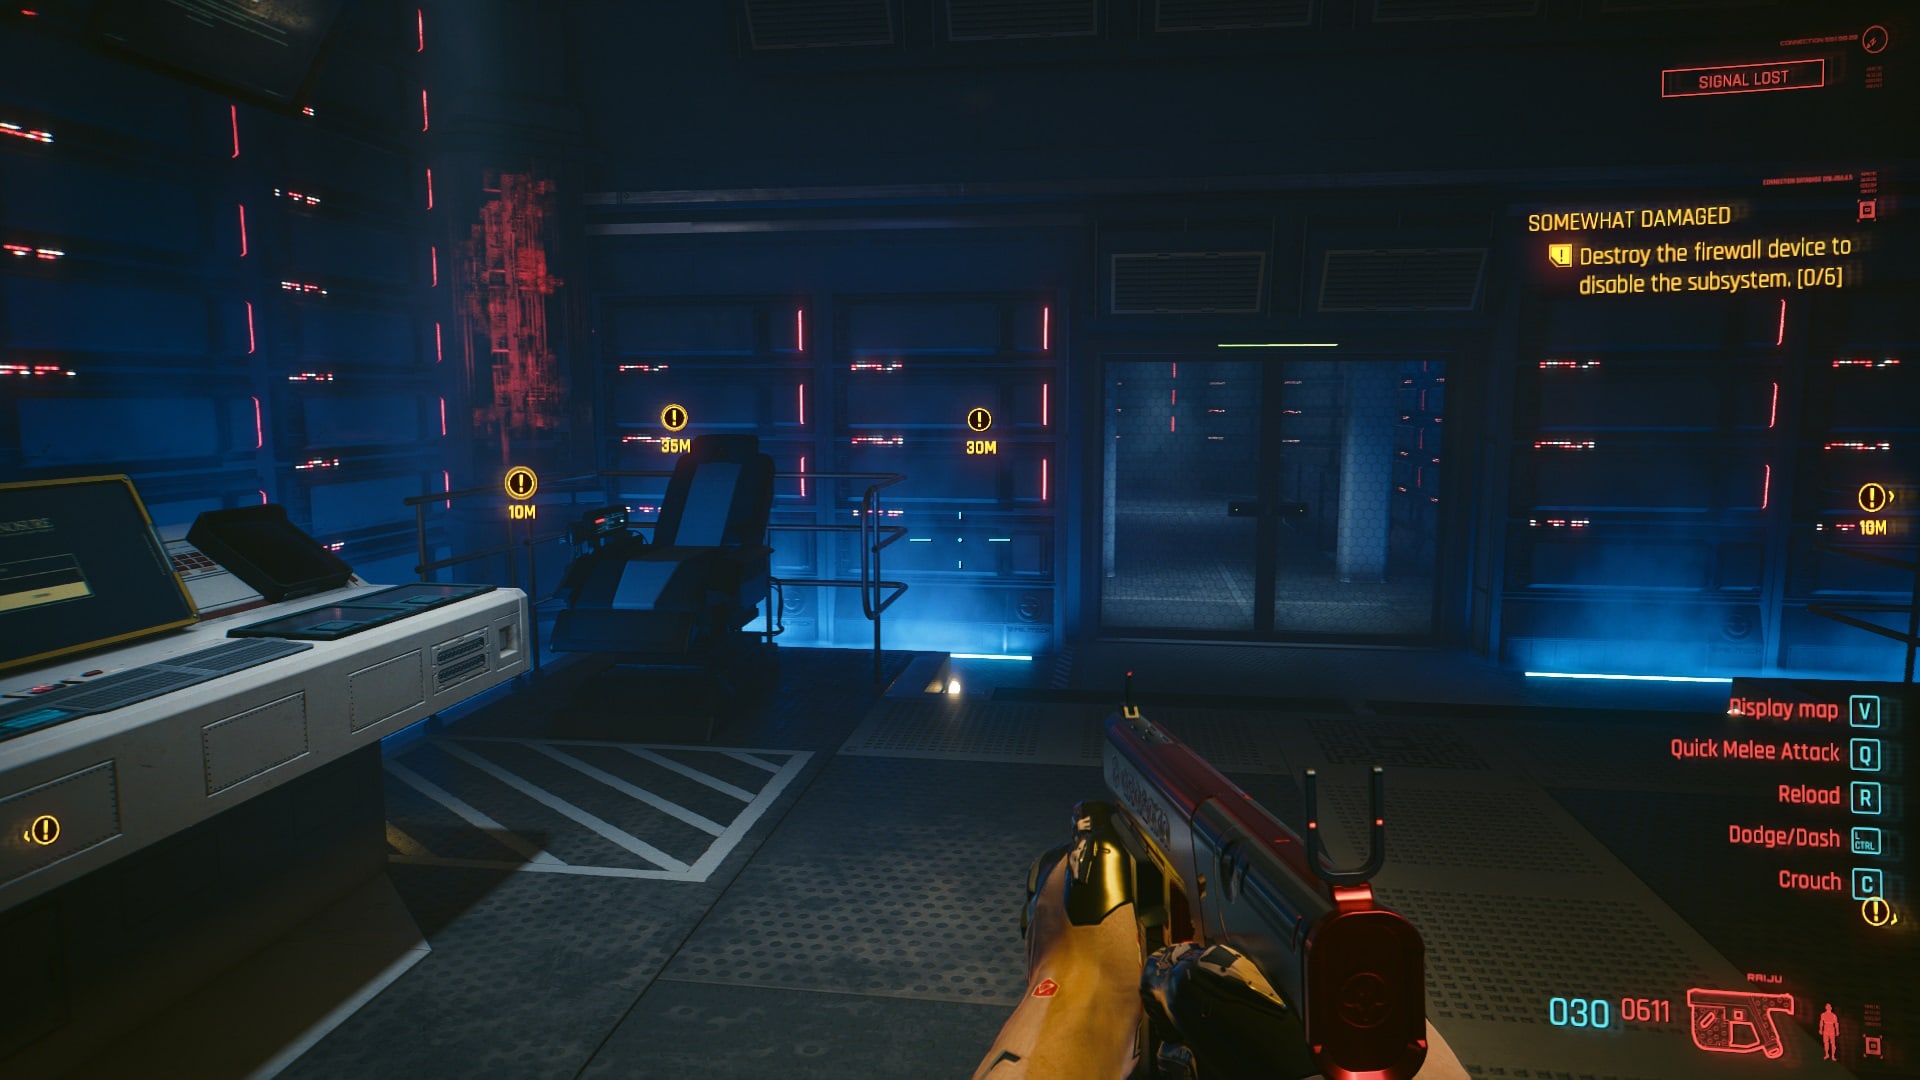
Destroy the six firewall devices. There are four in this room and two outside. The Cerberus can get here through the roof, stay alert.
After all six firewalls have been destroyed, return to the main room. It looks like you can finally get out of this area but that’s not the case. The Cerberus will appear nearby and it’s a matter of seconds before it sees you. Go and hide until it goes. It will take more than one look at the entire area. Just be patient until it confirms that no presence was found.
Even if it looks like the Cerberus on the exact opposite side of this area, don’t rush to the door. I learned this the hard way.
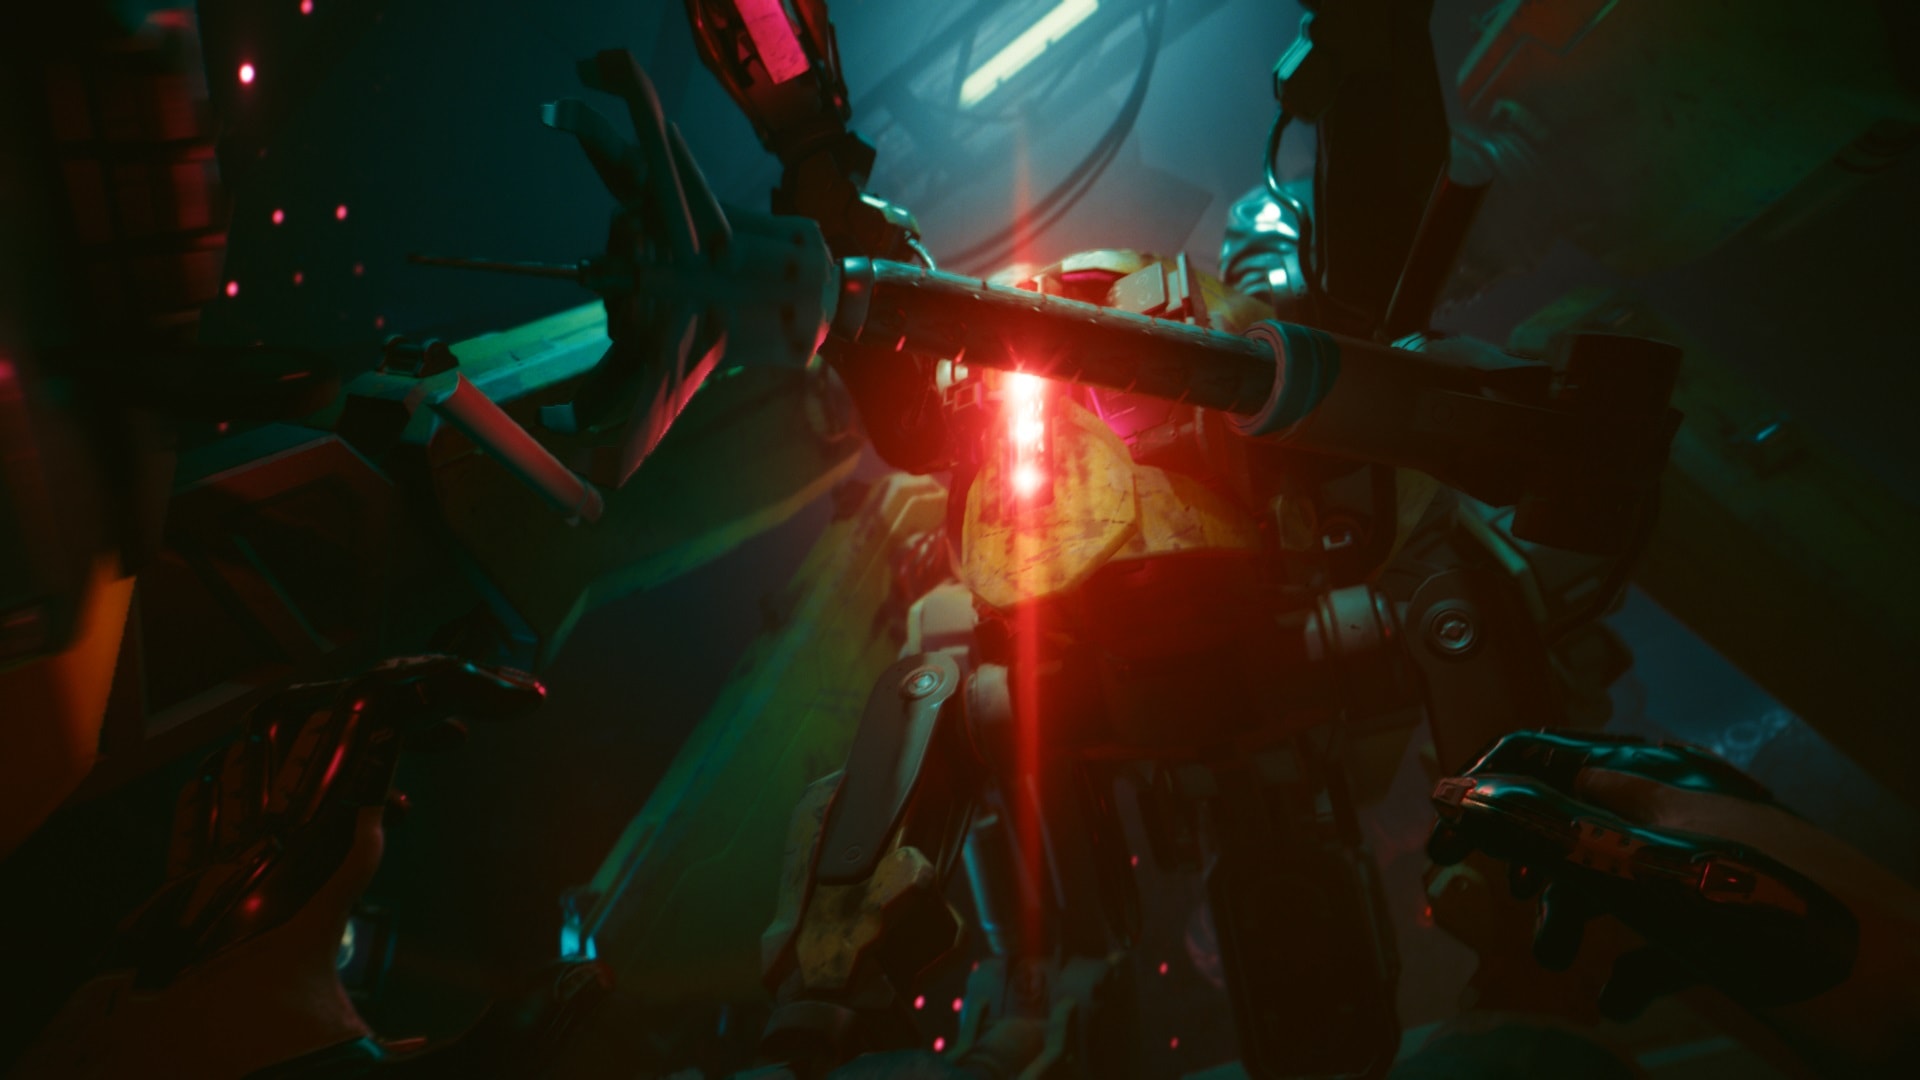
Return to the Core Room and interact with the terminal. The Cerberus will appear and almost get you, but something will stop it just in time.
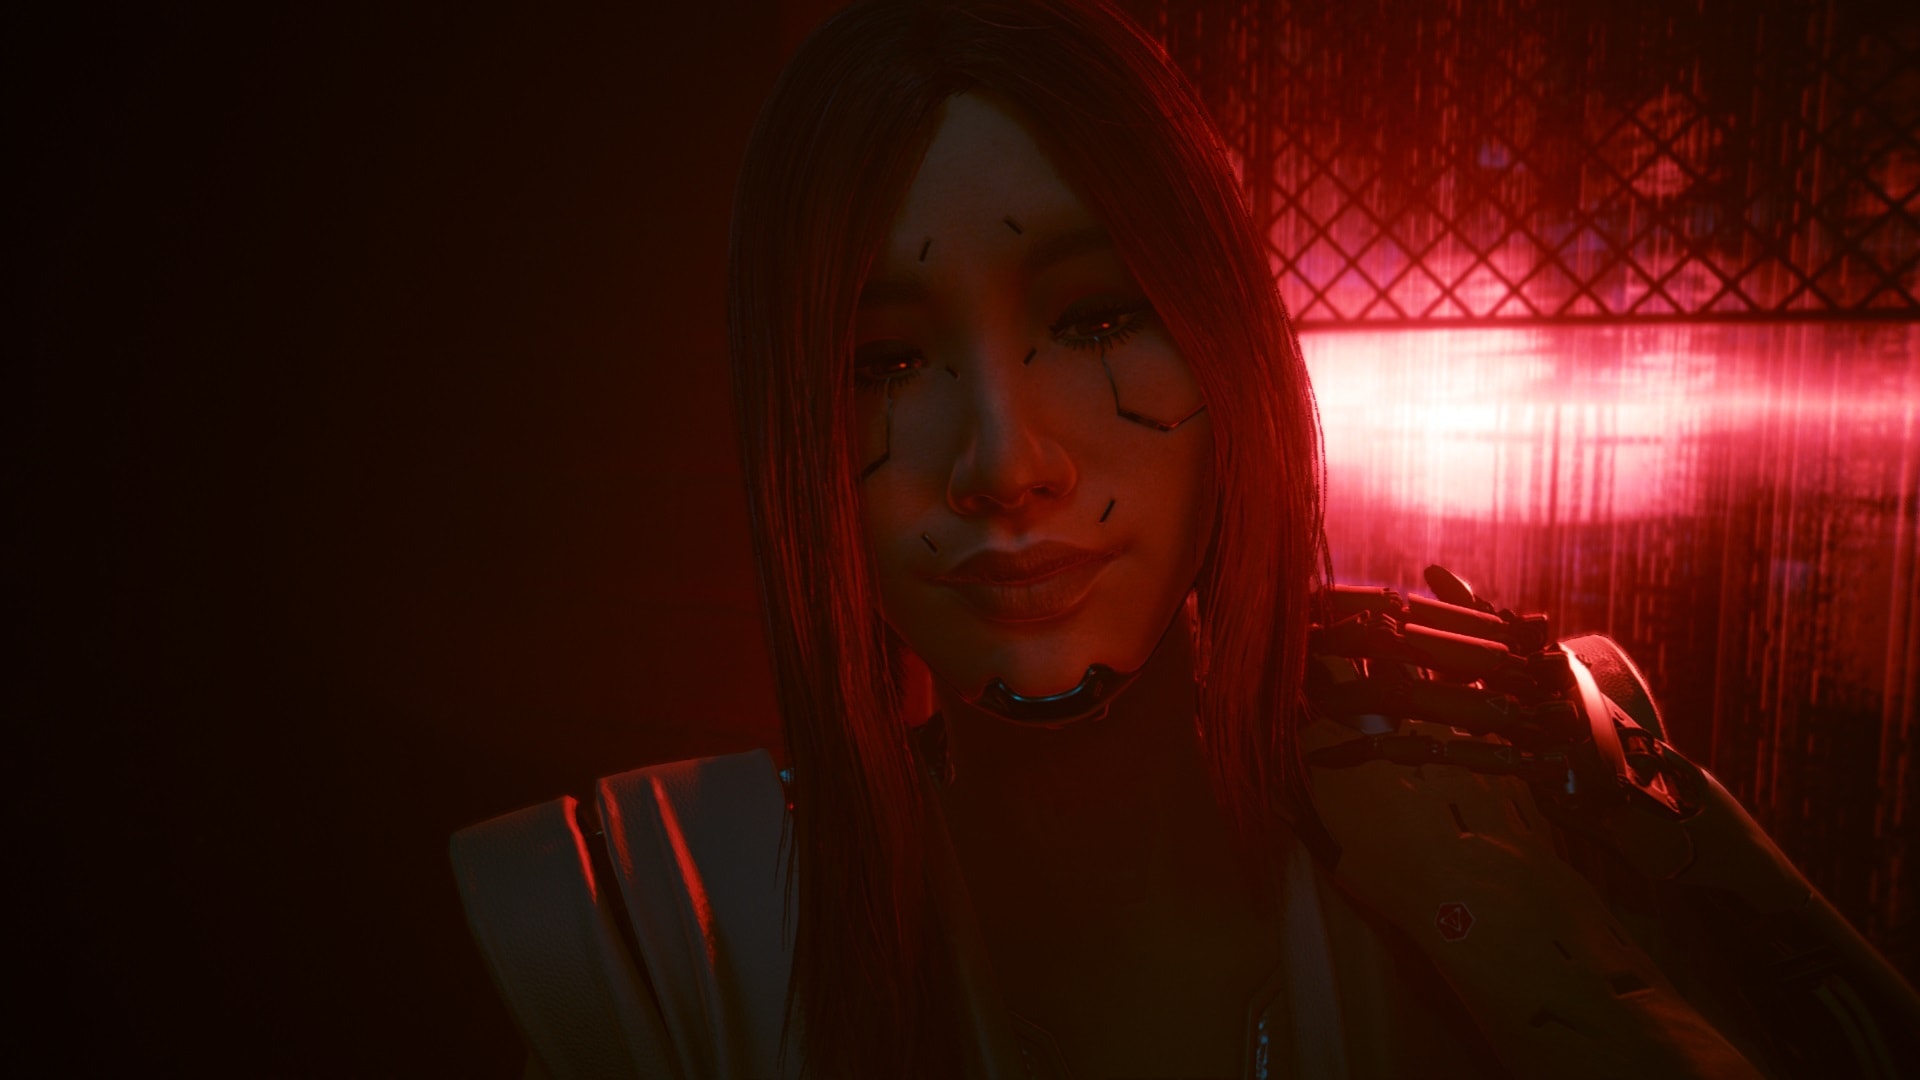
Talk to So Mi
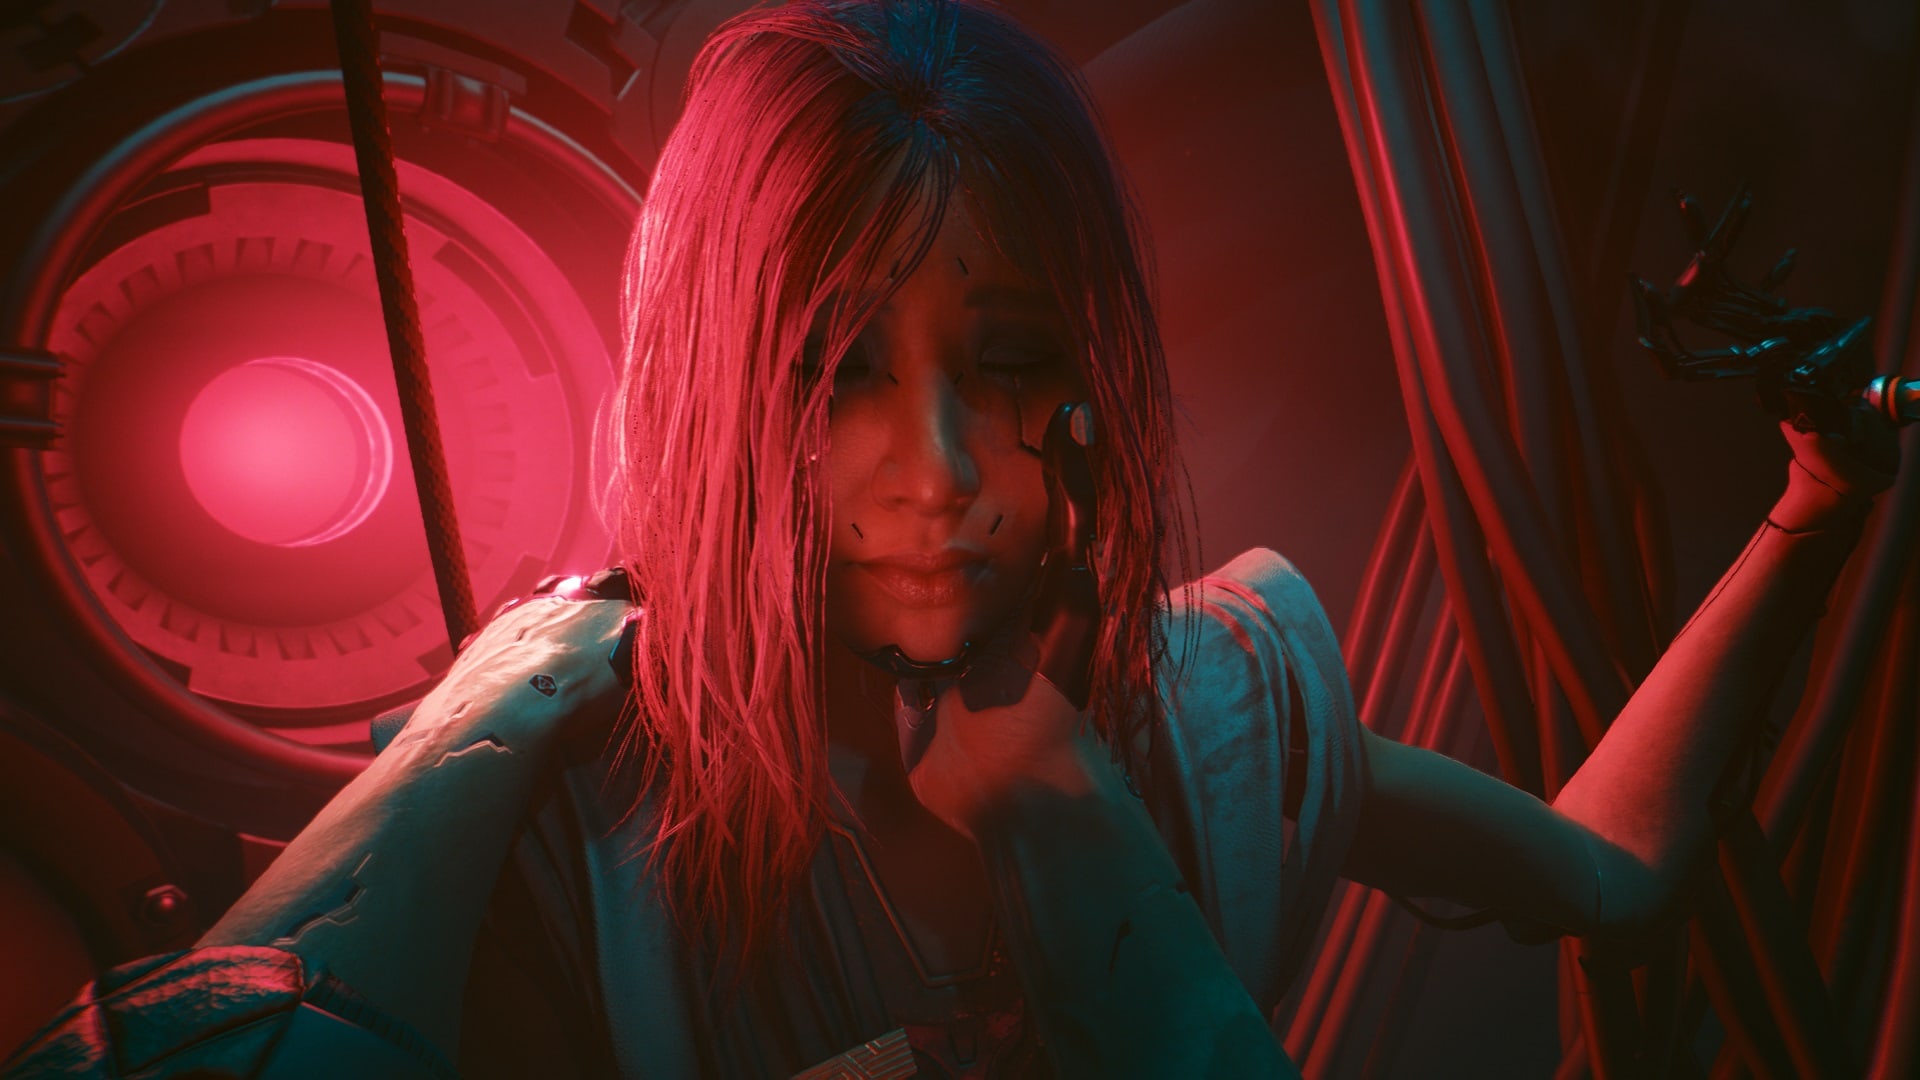
So Mi will show you some of her old memories. The girl you knew is still there, but the Blackwall is slowly consuming what’s left of her, and there’s nothing you or her can do to stop it.
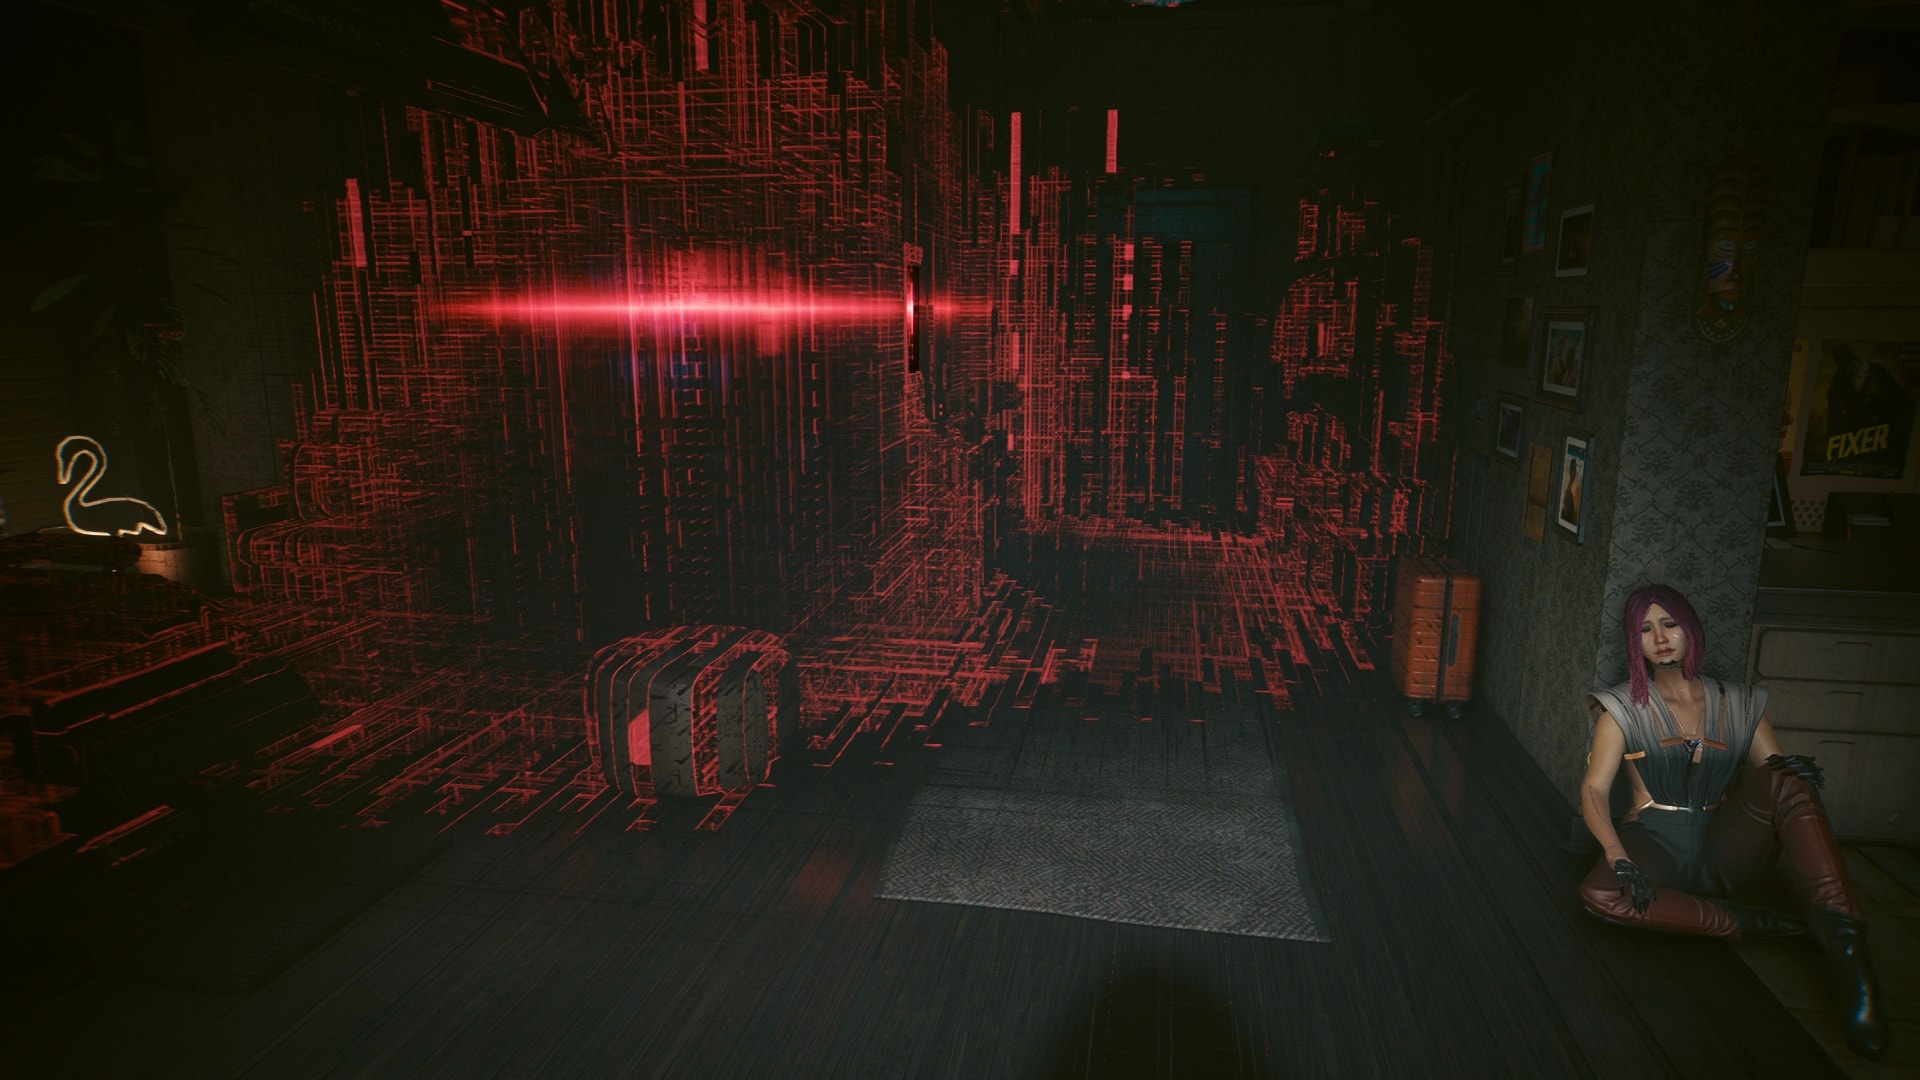
For a brief second, she’s happy to know that in the end, someone was there for her. The vision will end after that, and the Cerberus will get deactivated.
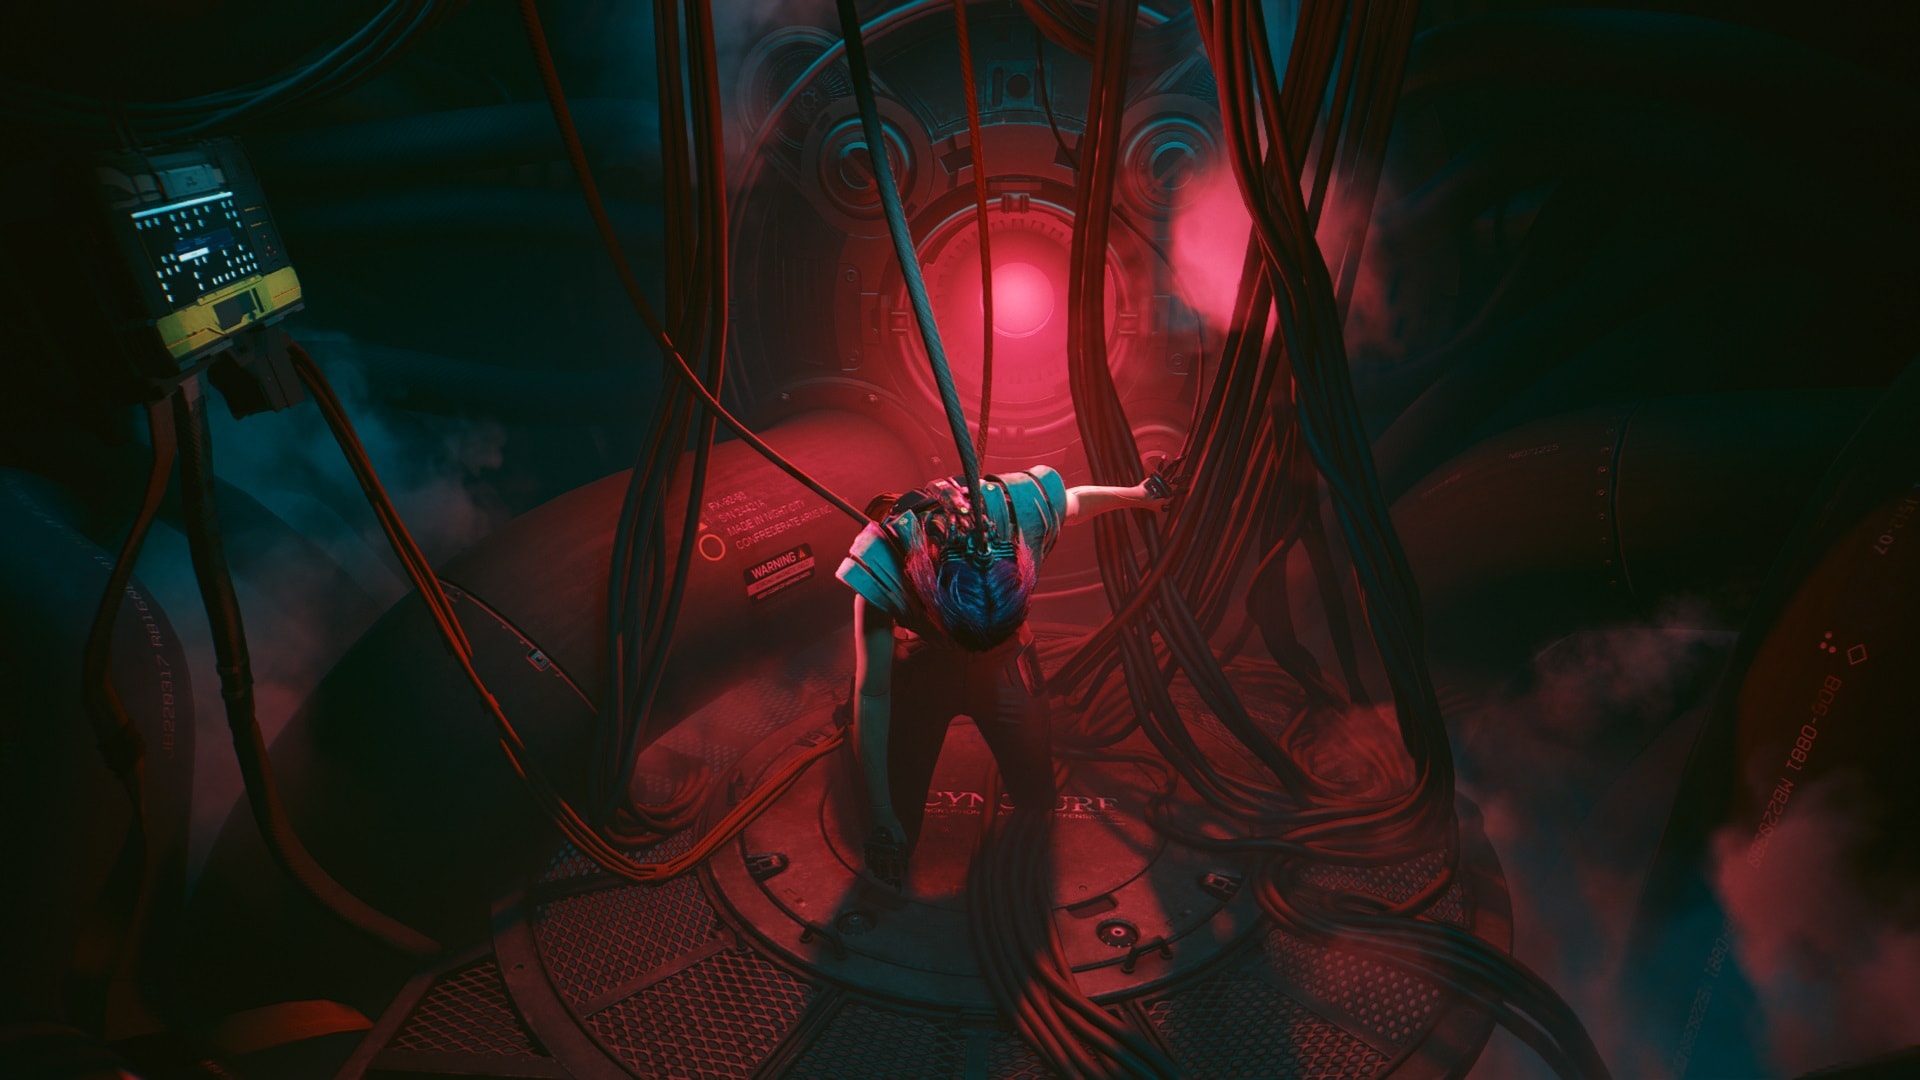
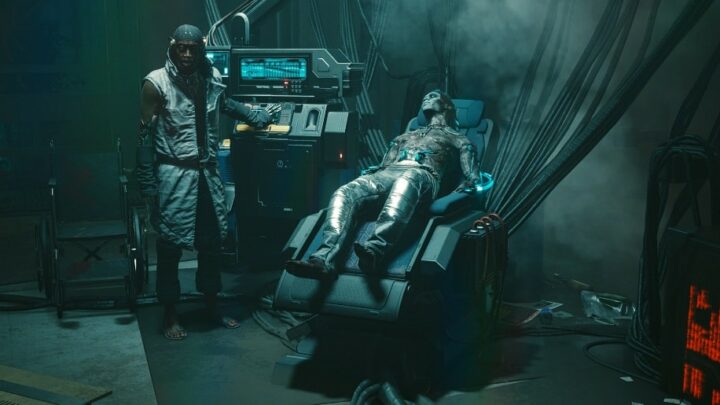
Jump down and enter the core room. An agonizing So Mi lies on her knees, barely able to speak or think.
This last part of the mission requires you to make a choice. It is a big cutscene and the end of the Phantom Liberty’s main quest line. If you don’t want to know how it can end and prefer experiencing it yourself, this is where you should stop.
Available Mission Endings
Songbird can no longer resist, she’s been through so much and she wants this to finally stop. So, she makes a final request. So Mi asks you to kill her.
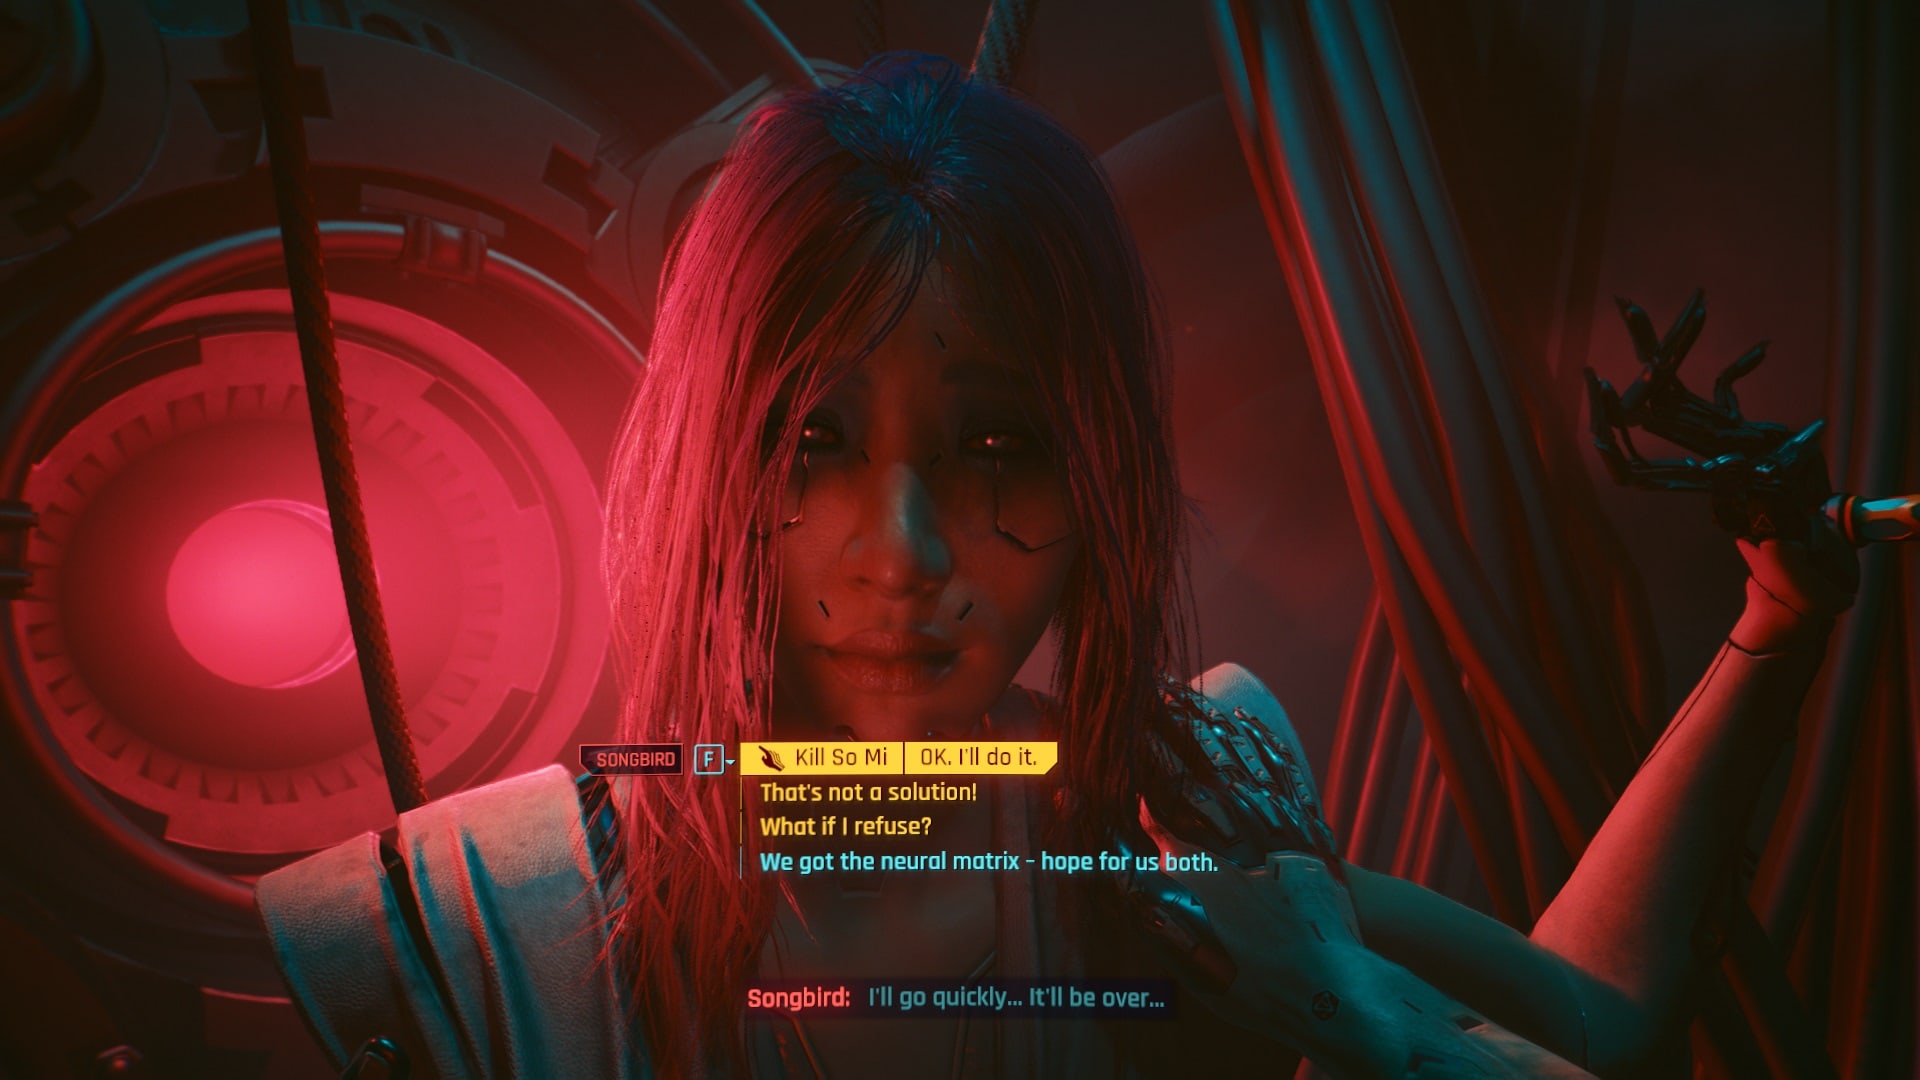
As you might imagine, there is no way out of this conversation. You must make a choice. Kill So Mi to end her suffering or deliver her to the NUS so that she can be “cured”. What is the best choice? Well, I don’t know if there’s a best choice but here’s what happens with both options.
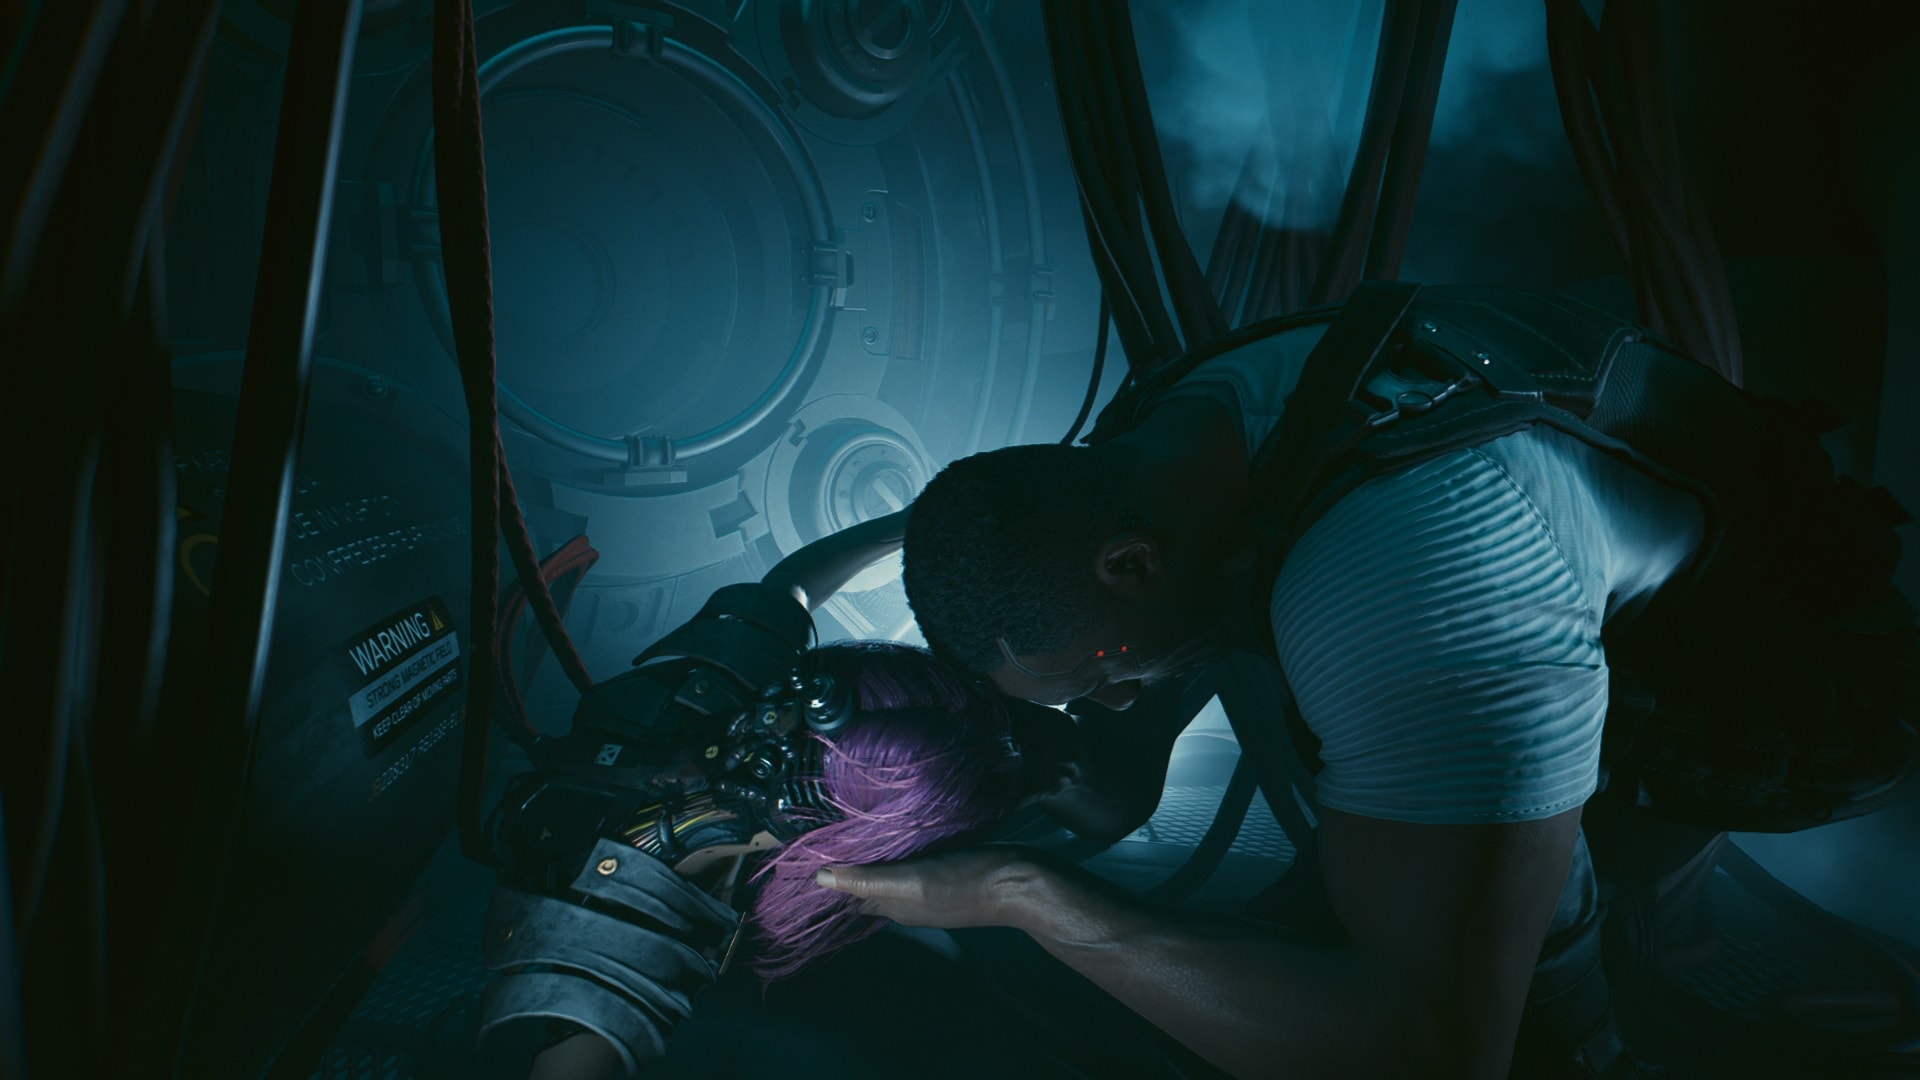
What happens if you kill So Mi
Reed gets there shortly after. You tell him how it was her choice and you did it out of respect. He’s certainly not happy but also understands that it’s not you who are to blame for this.
You and Reed take her body to a rendezvous point outside of Night City.
Rosalind Myers shows to the area. She “thanks you” for trying to save her but refuses to help with the Relic problem since So Mi died, and that was not the deal. But hey, you’re rewarded with five thousand eddies!

Reed is devastated, who knows if he’ll be able to recover from this. He also makes it very clear that you might not hear from him again.
Completing the mission this way will grant you the King of Cups achievement.
What happens if you let So Mi live
Killing her is just as hard as letting her continue suffering. It seems that no matter what you choose, she loses. Who knows if what the NUS promised is real or if it’s something worse than death.
So Mi is taken to the same Rendezvous point. She’s not conscious but remains alive. Rosalind is very pleased and gives you a medal. However, she claims that the real help will be provided soon. Reed has all the details.
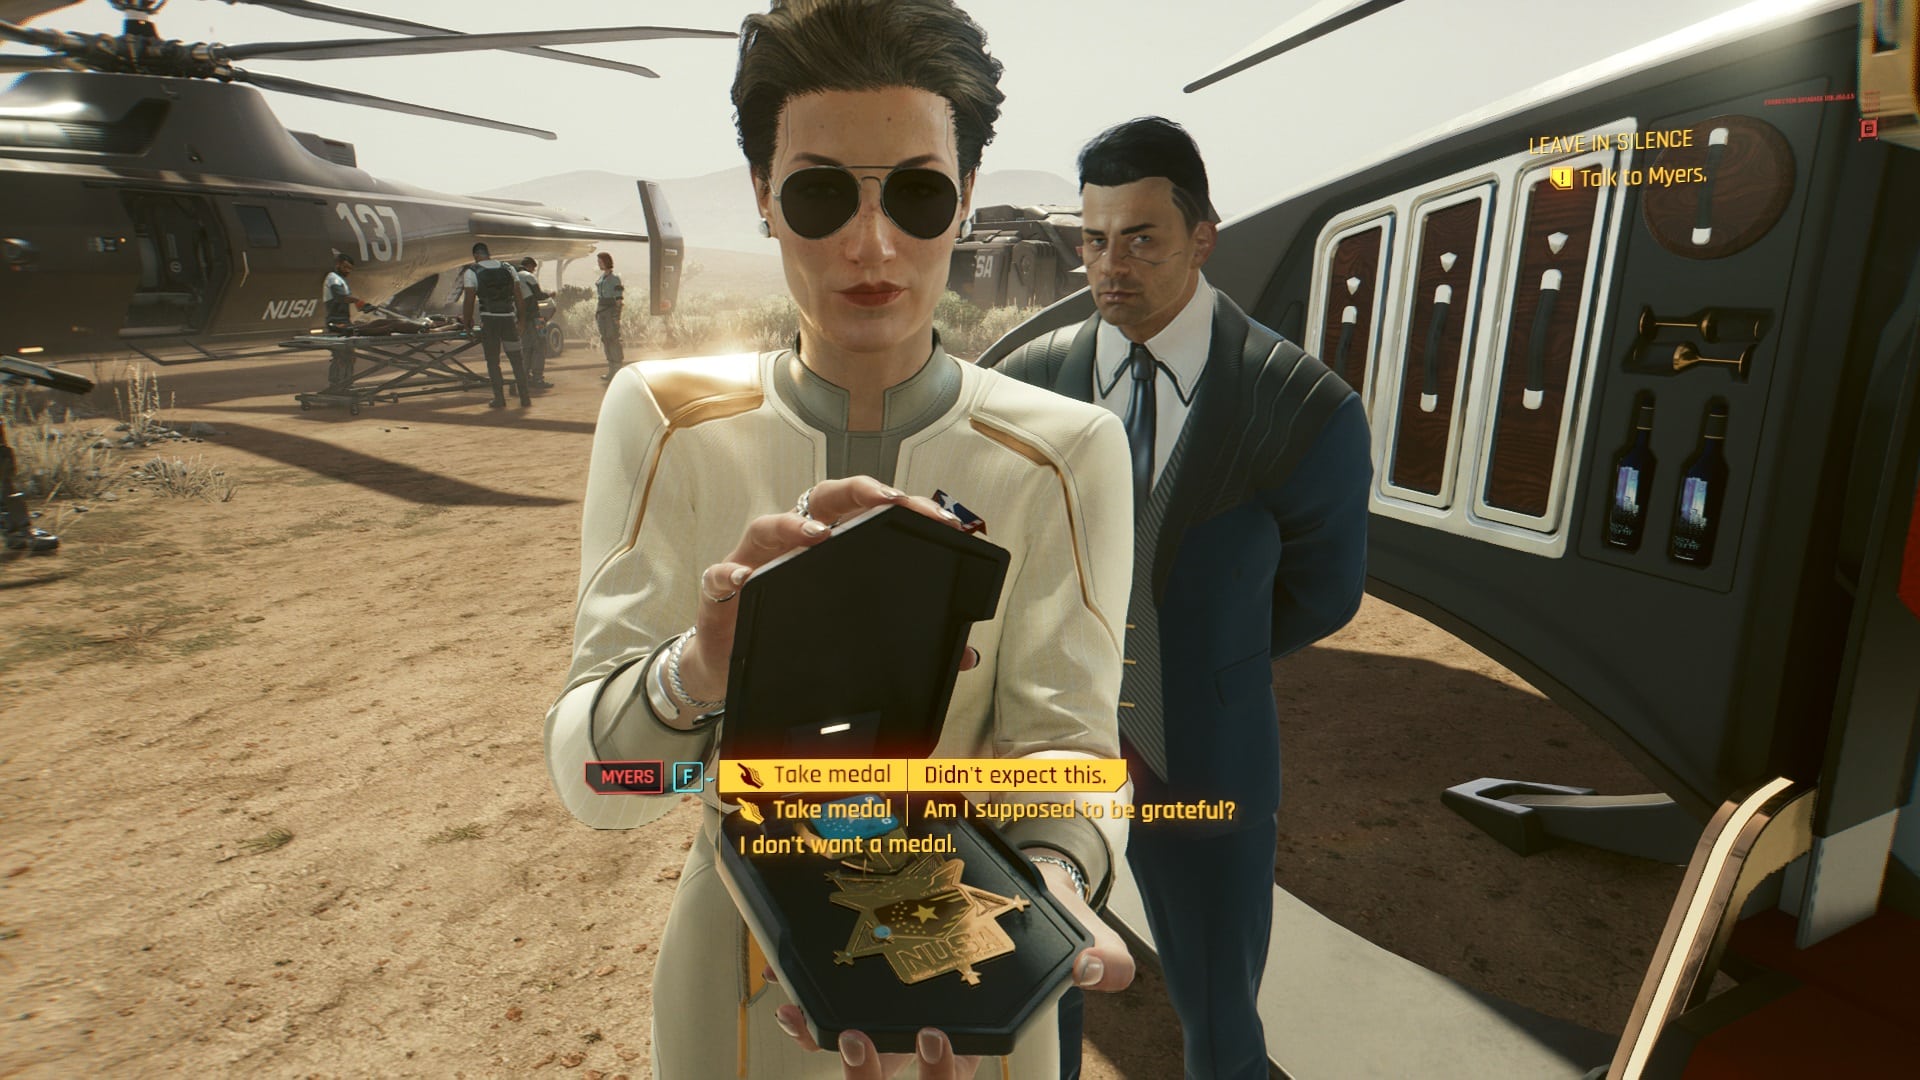
Both choices end with Reed walking away. Visually disturbed about how things ended up. This path unlocks for you the King of Pentacles achievement.
There are four secret achievements related to each one of the possible endings to the Phantom Liberty Storyline. They all start with your major decision during the main job Firestarter to side with Reed or help Songbird.
Check our complete guide to all Phantom Liberty Achievements for instructions on how to earn the following:
| Side with Reed | Side with Songbird |
|---|---|
King of Cups | King of Wands |
King of Pentacles | King of Swords |
Congratulations! You have completed Phantom Liberty.
Read our full guide to all Phantom Liberty Achievements to learn how you can unlock the rest of them. There are two more unique endings to the story and they each give a different achievement, named after one of the new tarot cards in Dogtown.
Cyberpunk 2077 Phantom Liberty Review (No Spoilers)
An in-depth spoiler-free review of Cyberpunk 2077 Phantom Liberty. Find out what has changed, learn of all new features and our experiences!
How to start Phantom Liberty in Cyberpunk 2077 and go to Dogtown
This guide will tell you everything you need to know about how to start the Phantom Liberty expansion in Cyberpunk 2077 and how to access the new zone in Night City called Dogtown!

How to Defeat the Chimera in Cyberpunk 2077 Phantom Liberty: The Spider And The Fly Walkthrough
This guide will show you how to complete the main mission “The Spider and the Fly” from Cyberpunk 2077’s expansion Phantom Liberty! The walkthrough details each step you must take and useful tips to defeat the Chimera unit.
Cyberpunk 2077 Lucretia My Reflection Guide: Can You Save Jacob and Taylor
This guide will show you how to start and complete the main mission “Lucretia My Reflection” in Cyberpunk 2077 Phantom Liberty. You will also learn about all of the possible outcomes and the required choices in order to get them!
You Know My Name Walkthrough: Cyberpunk 2077 Phantom Liberty
This guide will show you how to complete the main job “You know my name” from Cyberpunk 2077’s expansion Phantom Liberty! The walkthrough details each step you must take and all of the possible outcomes.

Firestarter Walkthrough: Cyberpunk 2077 Phantom Liberty
This guide will show you how to complete the main job “Firestarter” from Cyberpunk 2077’s expansion Phantom Liberty! The walkthrough details each step you must take and the possible outcomes.

The Killing Moon Walkthrough: Cyberpunk 2077 Phantom Liberty
This guide will show you how to complete the main job “The Killing Moon” from Cyberpunk 2077’s expansion Phantom Liberty! The walkthrough details each step you must take and the possible outcomes.
Cyberpunk 2077 Black Steel in the Hour of Chaos Guide
This guide will show you how to complete the main job “Black Steel in the Hour of Chaos” from Cyberpunk 2077’s expansion Phantom Liberty! The walkthrough details each step you must take to ambush the Convoy that transports So Mi and defeat the MaxTac team.

Cyberpunk 2077 Phantom Liberty Endings Guide: How to unlock all of them
This guide will show you how to get all Cyberpunk 2077 Phantom Liberty endings and how to unlock the new ending for the base game! Here you will find all the step to unlock the endings, all the rewards, achievements, and an explanation of the fate of all characters involved!
Cyberpunk 2077 Phantom Liberty 1R-0NC-LAD Scavenger Hunt Guide
This guide will show you how to start one of the secret missions in Cyberpunk 2077 Phantom Liberty – a scavenger hunt to solve the mystery of the broken robot 1R-0NC-LAD (Ironclad) in Dogtown’s stadium!
Cyberpunk 2077 Dogtown Airdrops Guide: Watch for the Red Smoke
This quick guide explains the purpose of the red smoke marking Airdrops in Dogtown and what you can get from completing these mini-events in Cyberpunk 2077 Phantom Liberty!
No Easy Way Out Walkthrough: Cyberpunk 2077 Phantom Liberty
This guide will show you how to complete the side job “No Easy Way Out” from Cyberpunk 2077’s expansion Phantom Liberty! The walkthrough details each step you must take and the possible outcomes.
Dogtown Saints Walkthrough: Should you kill or spare Nika in Cyberpunk 2077 Phantom Liberty
This guide will show you how to start and complete the gig “Dogtown Saints” from Cyberpunk 2077’s expansion Phantom Liberty! The walkthrough details each step you must take and the available choices and consequences.
Dazed And Confused Walkthrough: How to get Lina Malina's Bike in Cyberpunk 2077 Phantom Liberty
This guide will show you how to complete the side job “Dazed and Confused” from Cyberpunk 2077’s expansion Phantom Liberty and how to get the Lina Malina's Bike, the Malina-Mobile, an almost-free bike you can get in Dogtown! The walkthrough details each step you must take to obtain this fantastic ride.
Balls To The Wall Walkthrough: Cyberpunk 2077 Phantom Liberty
This guide will show you how to start and complete the side job “Balls To The Wall” from Cyberpunk 2077’s expansion Phantom Liberty! The walkthrough details each step you must take and the possible outcomes.

Prototype In The Scraper Walkthrough: Should you Let Hasan Go, Cyberpunk 2077 Phantom Liberty
This guide will show you how to start and complete the gig “Prototype in the scraper” from Cyberpunk 2077’s expansion Phantom Liberty! The walkthrough details each step you must take and the available choices and consequences.
Should You Shoot Leon Rinder: Cyberpunk 2077 The Man Who Killed Jason Foreman
This guide will show you how to complete the side job “The Man Who Killed Jason Foreman” from Cyberpunk 2077’s expansion Phantom Liberty! The walkthrough details each step you must take and all the possible outcomes

Shot By Both Sides Walkthrough: Should you protect Bree, Cyberpunk 2077 Phantom Liberty
This guide will show you how to start and complete the side job “Shot by both sides” from Cyberpunk 2077’s expansion Phantom Liberty! The walkthrough details each step you must take and the available choices and consequences.
Cyberpunk 2077 Treating Symptoms Guide: What to do with Milko
This guide will show you how to complete the Gig “Treating Symptoms” from Cyberpunk 2077’s expansion Phantom Liberty! The walkthrough details each step you must take and the possible endings whether you leave Allen to finish or take down Milko right away!

Talent Academy Walkthrough: Cyberpunk 2077 Phantom Liberty
This guide will show you how to complete the gig "Talent Academy" from Cyberpunk 2077's expansion Phantom Liberty! The walkthrough details each step you must take and the available choices.

Spy In The Jungle Walkthrough: Cyberpunk 2077 Phantom Liberty
This guide will show you how to start and complete the gig “Spy in the Jungle” from Cyberpunk 2077’s expansion Phantom Liberty! The walkthrough details each step you must take and the available choices and consequences.
Run This Town: Who should rule Dogtown, Cyberpunk 2077 Phantom Liberty Guide
This guide will show you how to start and complete the side job “Run this town” from Cyberpunk 2077’s expansion Phantom Liberty! The walkthrough details each step you must take and the available choices and consequences.

All New Tarot Card Locations in Cyberpunk 2077 Phantom Liberty
This guide will show you the locations of all four new Tarot Cards available in Dogtown, Night City’s Combat Zone, released with Cyberpunk 2077’s Phantom Liberty Expansion!

How to get a Free Outlaw Car in Cyberpunk 2077 Phantom Liberty: Baby Take Me Home Guide
This guide will show you how to complete the side job “Baby Take Me Home” from Cyberpunk 2077’s expansion Phantom Liberty and get the free Outlaw Car, the only free car you can get in Dogtown! The walkthrough details each step you must take to obtain this badass ride.

Cyberpunk 2077 Moving Heat: How to get the Sport R-7 "Charon" Flaming Car
This guide will show you how to complete the side job "Moving Heat" from Cyberpunk 2077’s expansion Phantom Liberty! The walkthrough details each step you must take to acquire the Sport R-7 "Charon" car.