This guide will show you how to complete the main job “The Killing Moon” from Cyberpunk 2077’s expansion Phantom Liberty! The walkthrough details each step you must take and the possible outcomes.
The Killing Moon mission Walkthrough

This is the simplified version of The Killing Moon mission walkthrough from Phantom Liberty with easy-to-follow step-by-step instructions on how to start the mission and what choices to pick.
Below this segment, you will find detailed instructions and explanations of what happens if you make all of the available choices.
Instructions
- Go to the coordinates that Songbird sent, she'll be there inside an abandoned van.
- Drive to the spaceport.
- Pass through the security filters without making a scene.
- A contact left a suitcase with a Corpo outfit that will let you get to the Tycho terminal without raising any suspicions. Introduce the code in the terminal and then grab it. (Optional).
- If for any reason you don't get the outfit, the security forces will eventually start looking for you. You'll get knocked down and locked in a small cell. Escape it just by interacting with the lock.
- Reach the elevator located on the upper level. Robots are patroling the area but you can simply ignore them.
- Once you're at the roof of the spaceport, go to the marked location on the map. Help So Mi climb with the fire hose and grab your weapons.
- The NUSA has arrived, you must go into hiding and hear the conversation between President Rosalind and Reed. Be careful not to get spotted by the NUSA soldiers.
- The NUSA troops have engaged in combat with the Spaceport's security forces. Use this to your advantage.
- You and So Mi must get to the control tower, a helicopter from the NUSA will be chasing you for some minutes. Use whatever you can as cover.
- The area near the tower is way too quiet, an ambush is waiting. Clear all enemies so that So Mi can move.
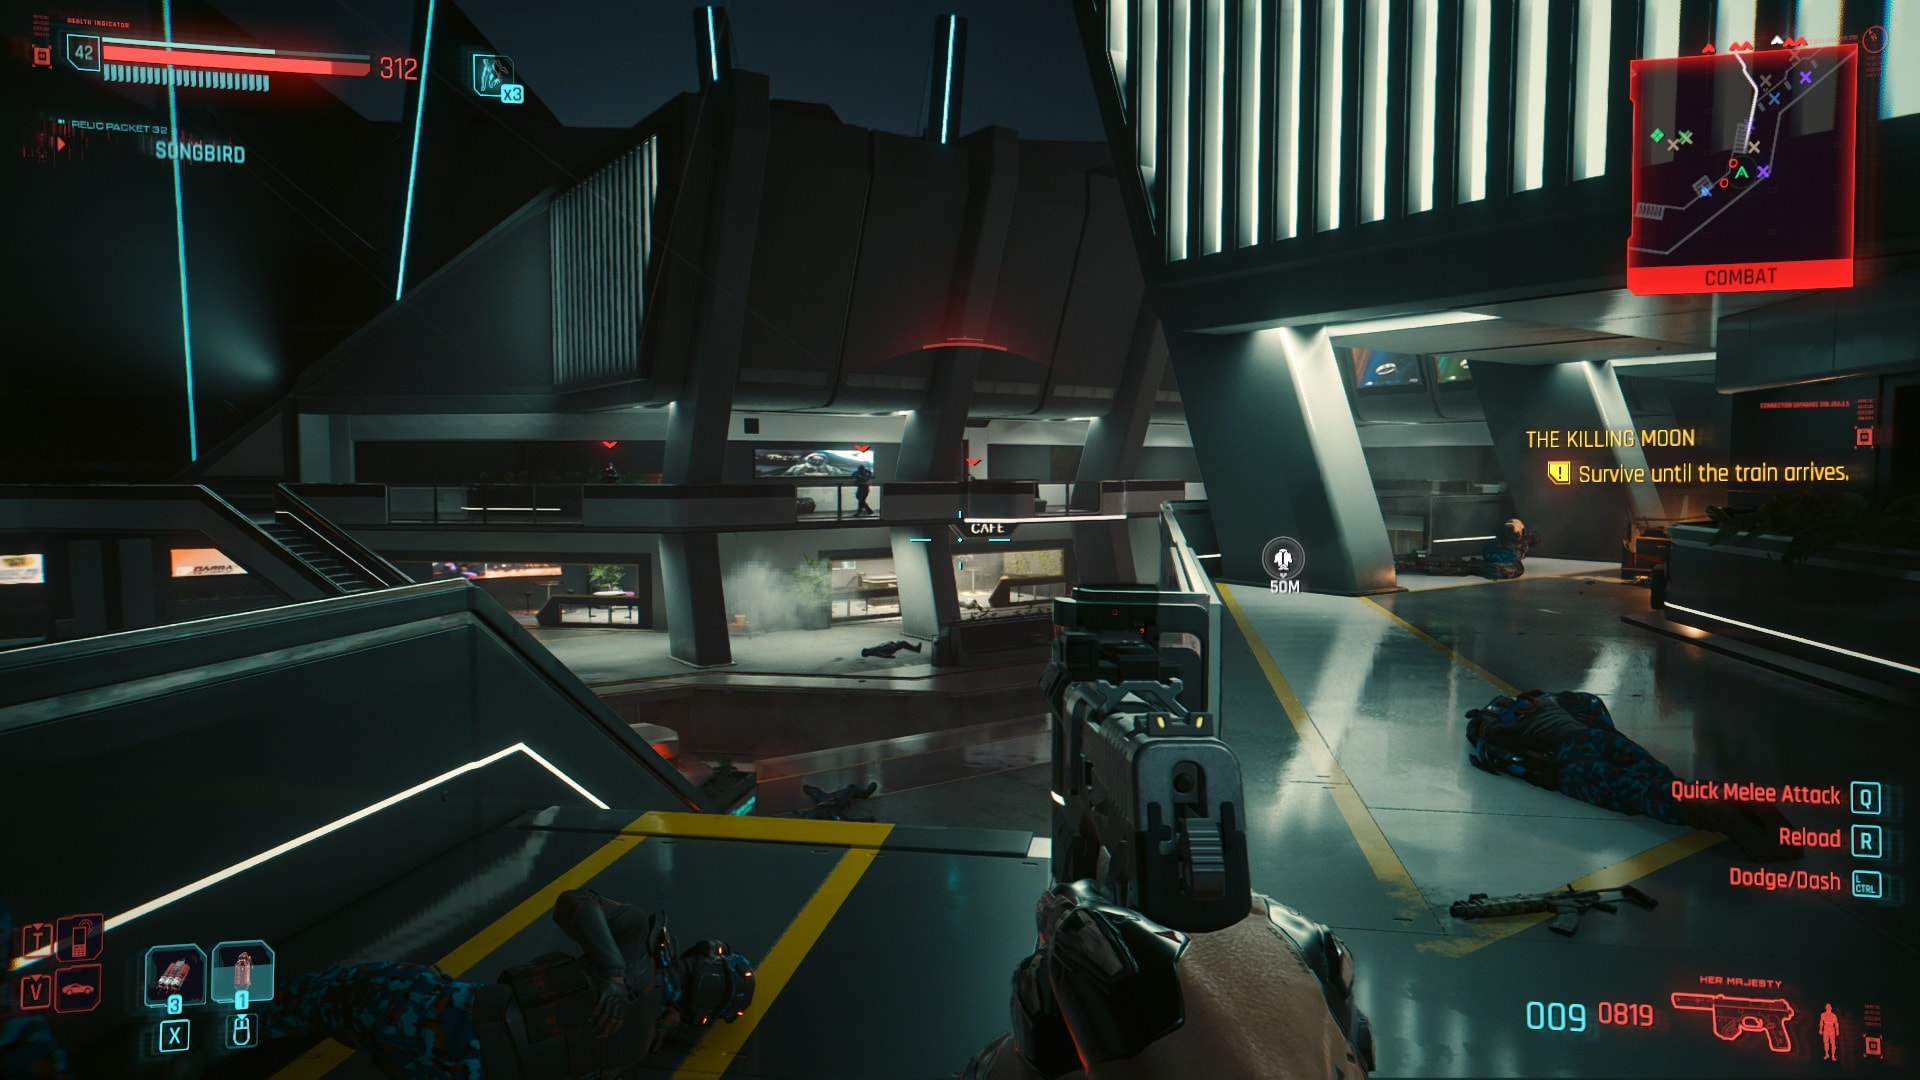
- Survive long enough until the train arrives.
- There are too many enemies, the only solution is to reach the Blackwall. Help So Mi or let her do it alone.
- Reaching the Blackwall almost finished her. Carry So Mi to the train while using Blackwall pulses to eliminate all remaining enemies.
- While agonizing, So Mi confesses something that changes everything about your partnership.
- Reed is waiting at the shuttle. It's time to make one final choice, let him take So Mi or stand between Reed and his objective.
Notes
If you are an achievement hunter, use our Phantom Liberty Endings guide to find out how you can unlock all four of them, plus the new ending available for the base game.
How to unlock “The Killing Moon” mission
This segment includes spoilers about a turning point in the main story. Please consider this before continuing.
When you, Alex, and Reed meet with Kurt Hansen and So Mim, during the main job Firestarter”, you’re given two choices. To side with Reed and stun So Mi so she can be taken into custody or run away with her. Both options have very different outcomes and gameplay.
To get The Killing Moon mission you must ally with So Mi/Songbird. You and her escape together but after arriving at a specific location both take separate ways, at least until things go down a bit.
The plan is to get to a shuttle that’s heading to the moon, Songbird has contacts that can make a cure out of the Neural Matrix. This could save both V and Songbird from the Relic and the Blackwall respectively.
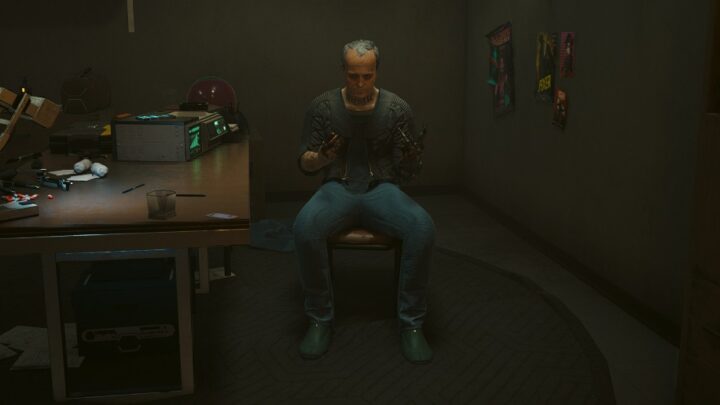
During your escape from the bunker, look for Albert Murphy, one of Hansen’s lieutenants. He will drop the iconic one-handed club Murphy’s Law after you defeat him.
If you opt to stick with Reed and support him, you will have a very different next mission, called “Somewhat Damaged“. It leads to a different ending.
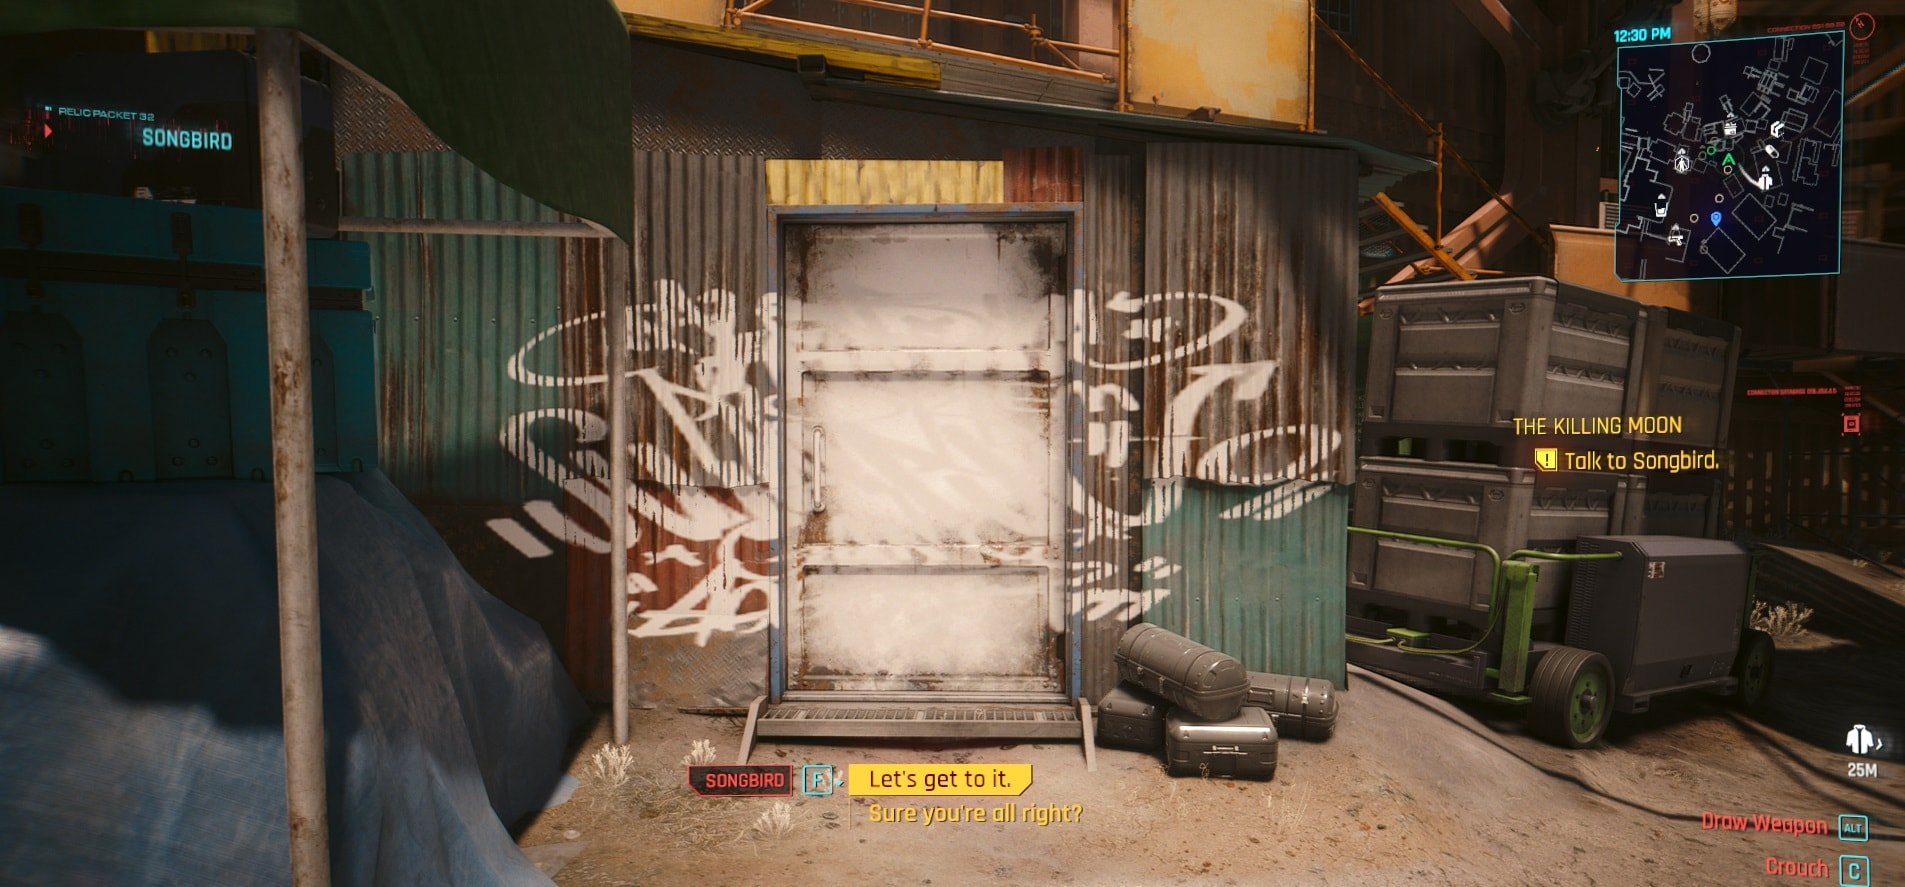
Head to the spaceport
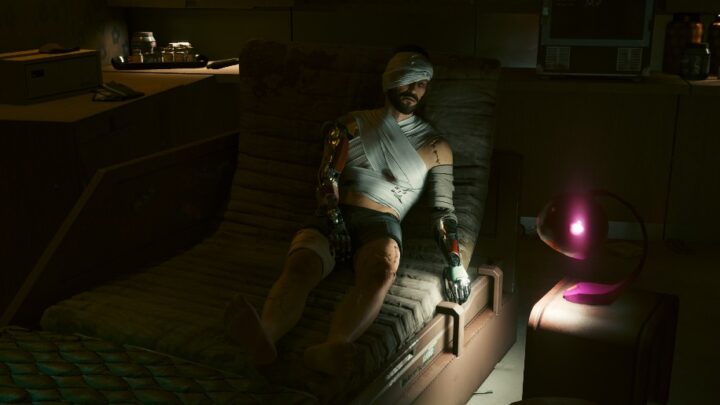
After waiting for quite some time, you’ll finally receive a call from Songbird. She provides the coordinates and asks you to get there as soon as possible.
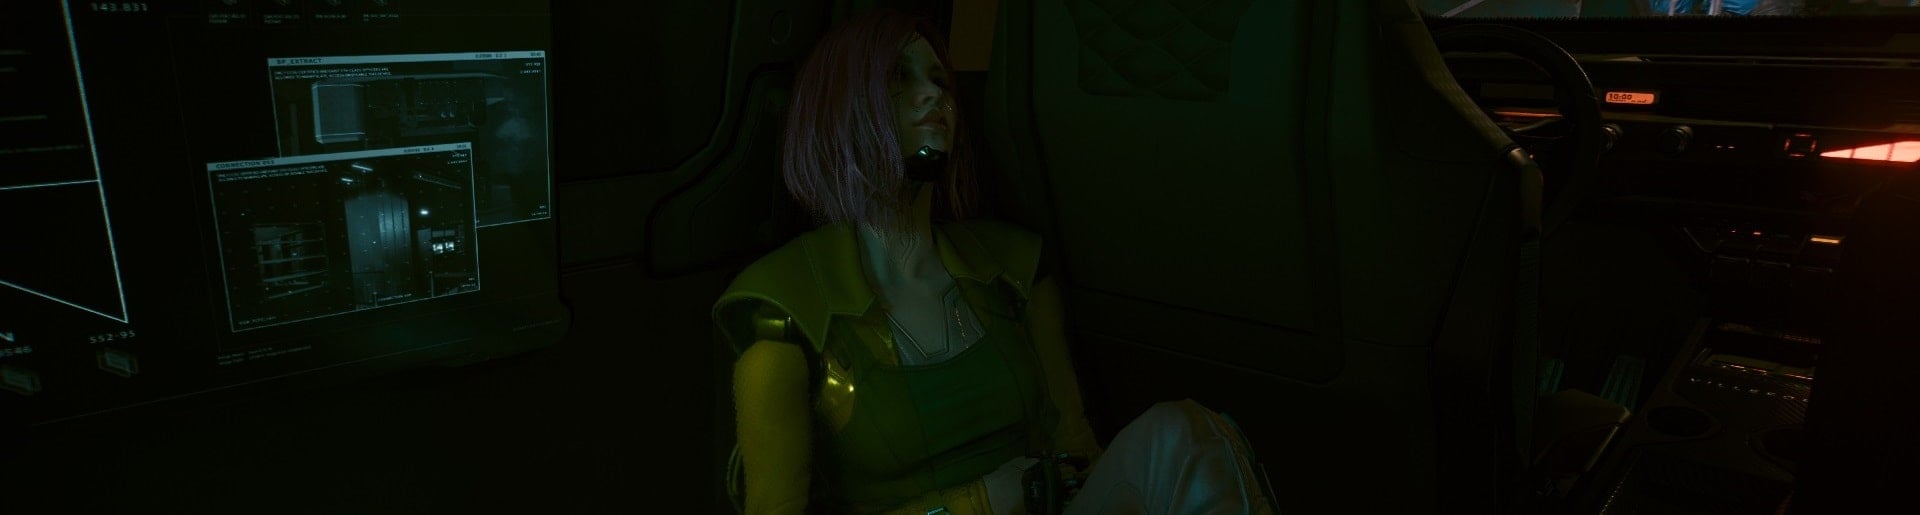
Songbird is inside a van that’s parked in an ally. Take in mind that getting inside will lock you from doing any other missions until this quest is finished.
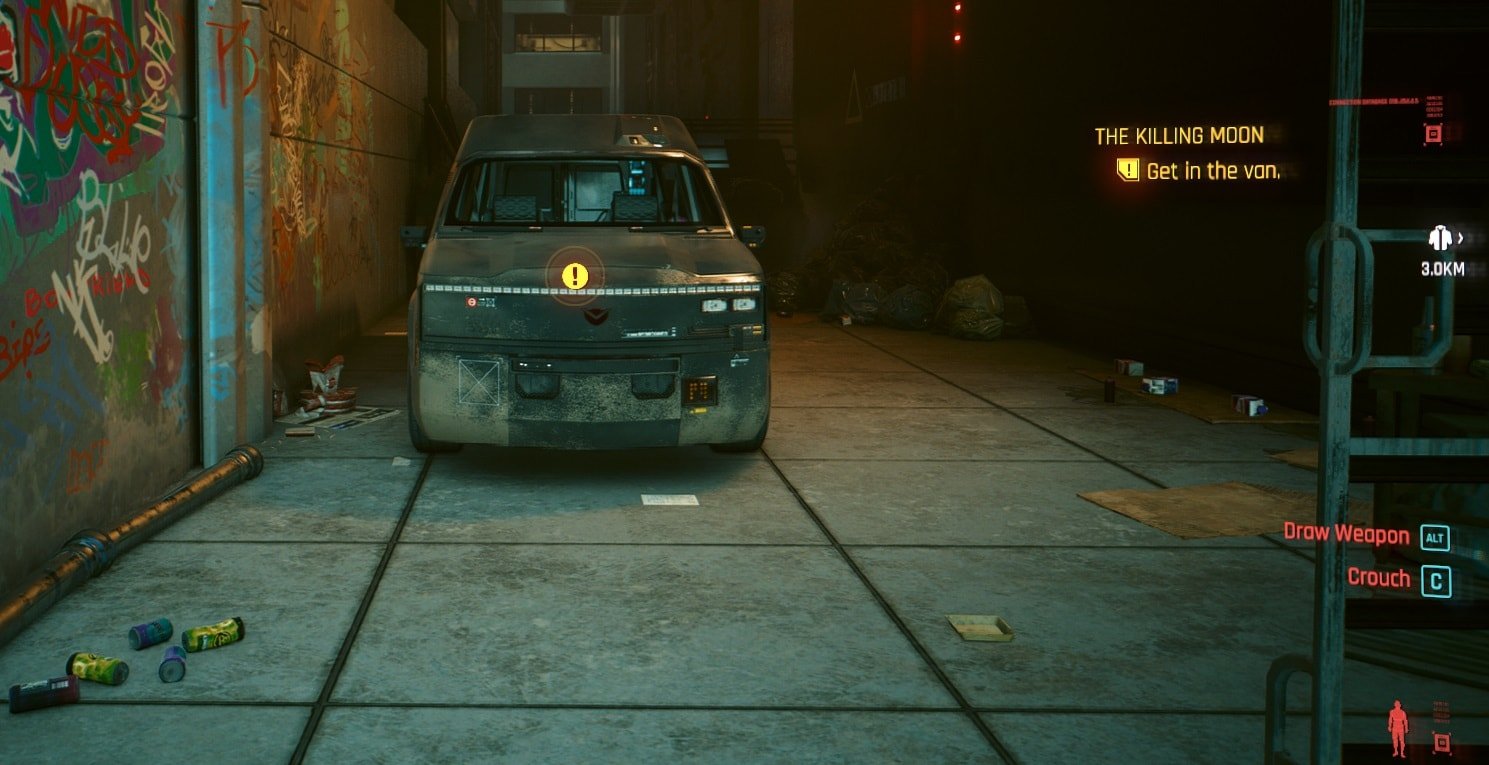
Songbird is in terrible shape, she doesn’t have much time. After a few dialogues, it’s time to take control of the van and drive to the spaceport.

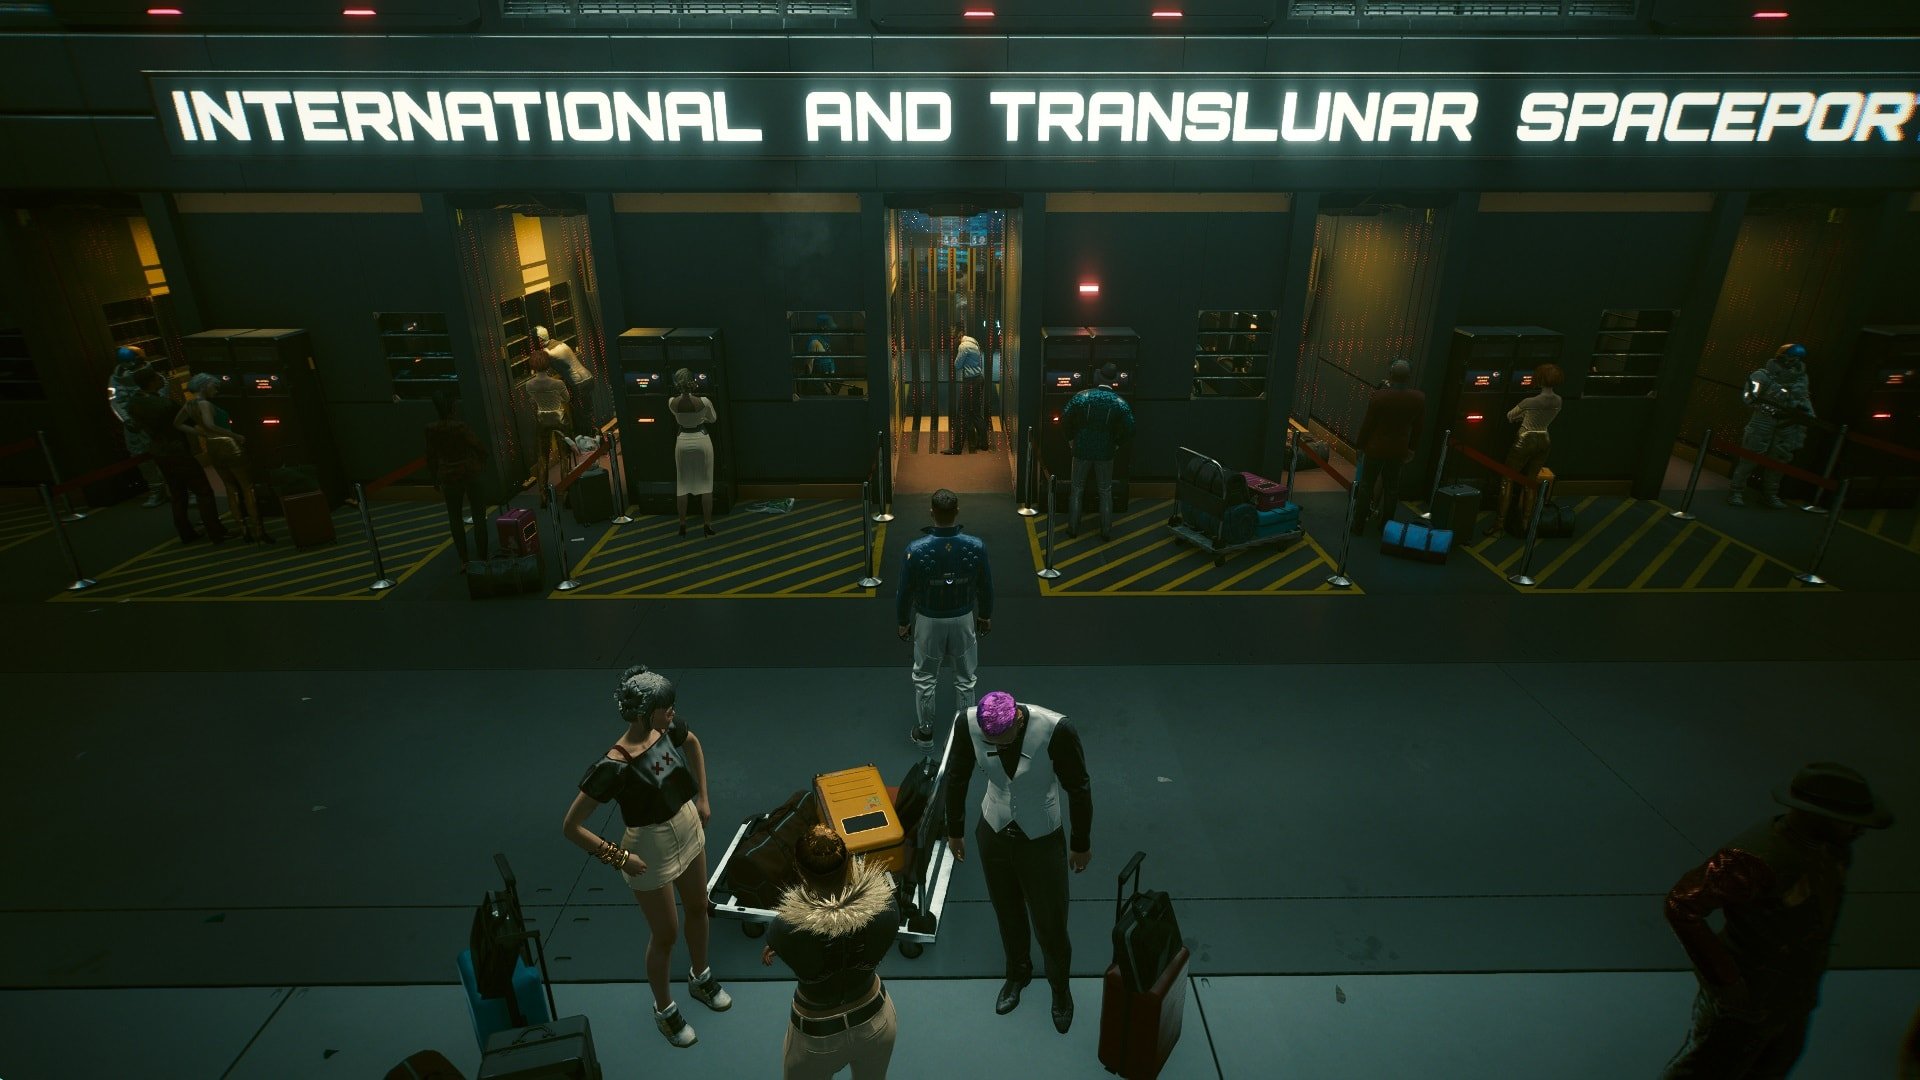
Your weapons must stay in the van, the Spaceport security will temporarily shut down your Cyberware. Songbird will give all the instructions needed, all you have to do is not draw any attention. It may sound too obvious or dumb but just “act normal”.
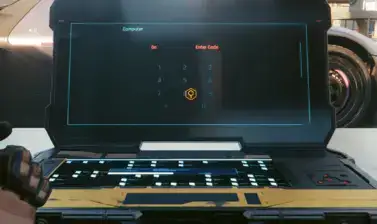
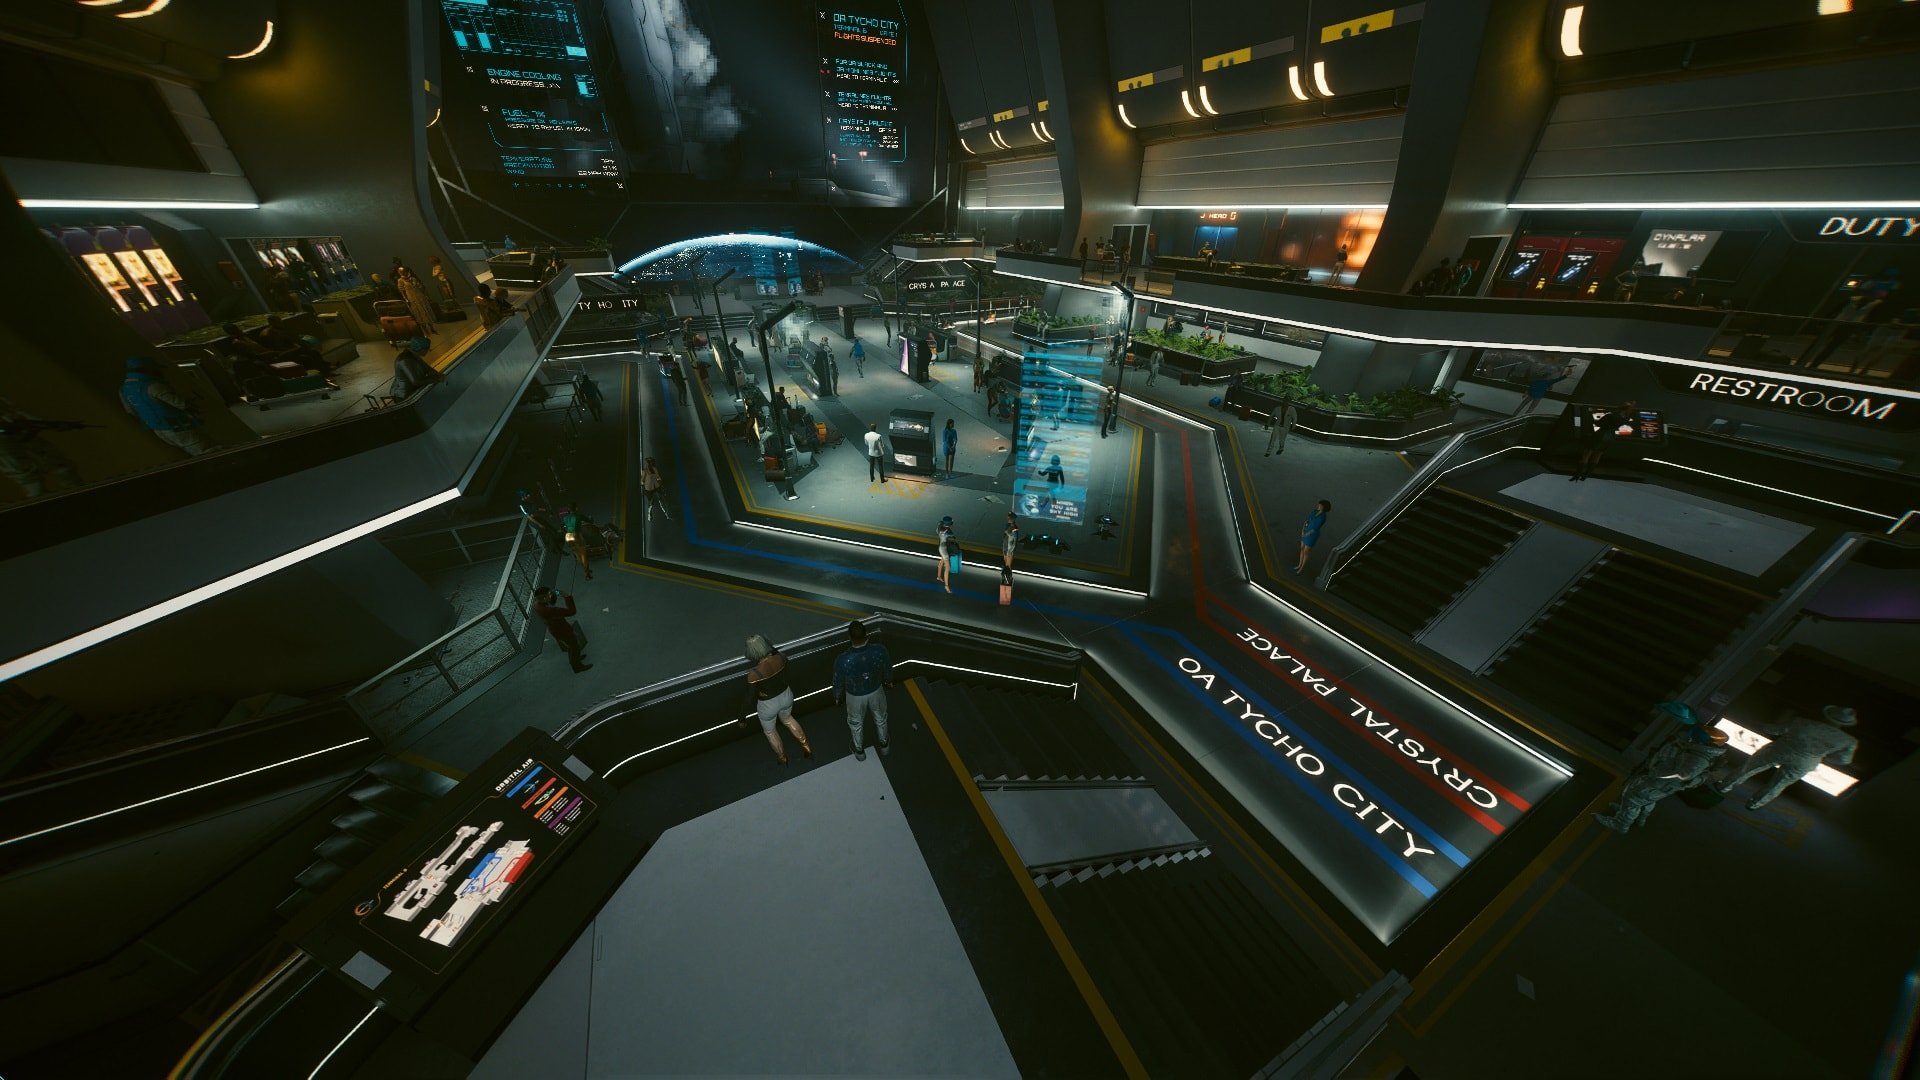
Access the Tycho terminal
After passing the security checkpoint Songbird will mention an item left by one of her contacts. You gotta type a code into a terminal, which will give access to a yellow suitcase.
Getting the item that Songbird’s contact left is optional. I will explain the alternative in an upcoming paragraph. If you want to do it this way, click the terminal that’s downstairs.

After introducing the code, a yellow suitcase will appear in front of you where other passengers are waiting for their luggage.
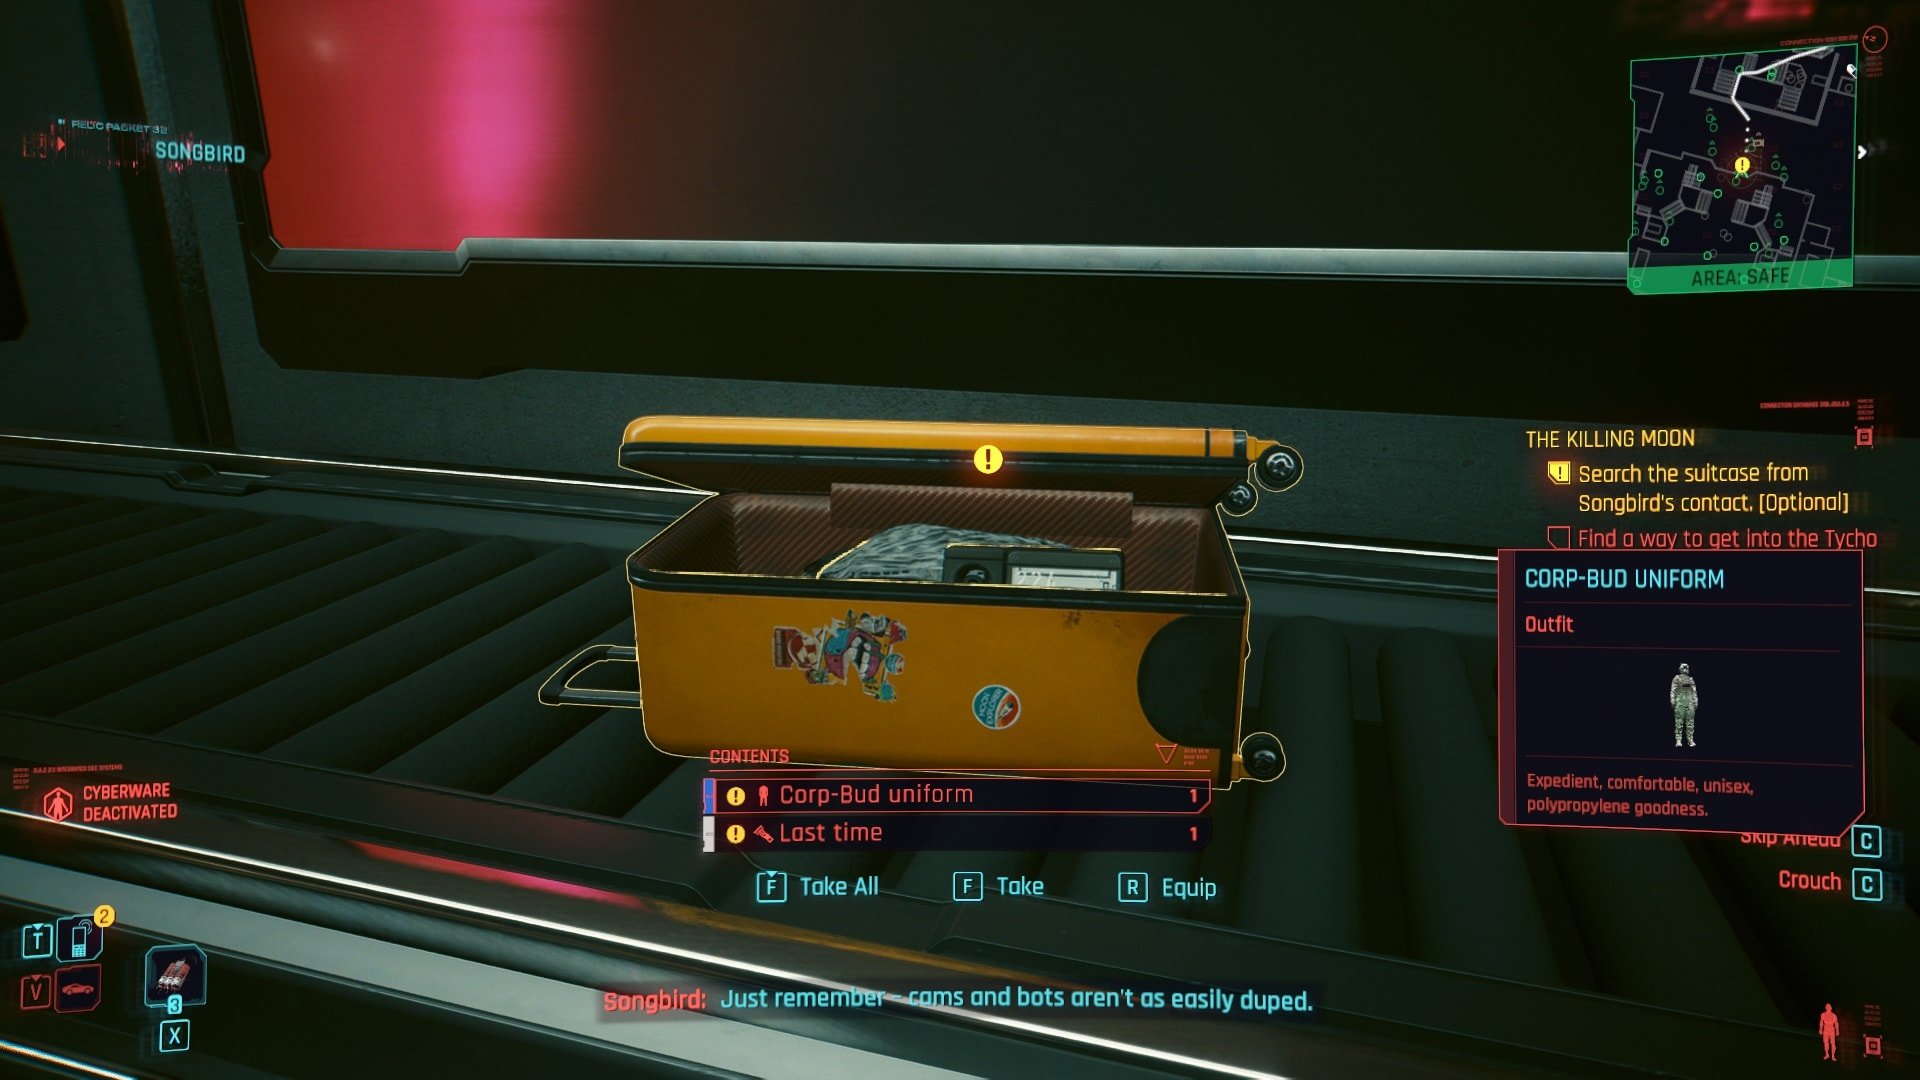
This suitcase contains a Corp-Bud uniform that will let you access many areas without catching any attention.

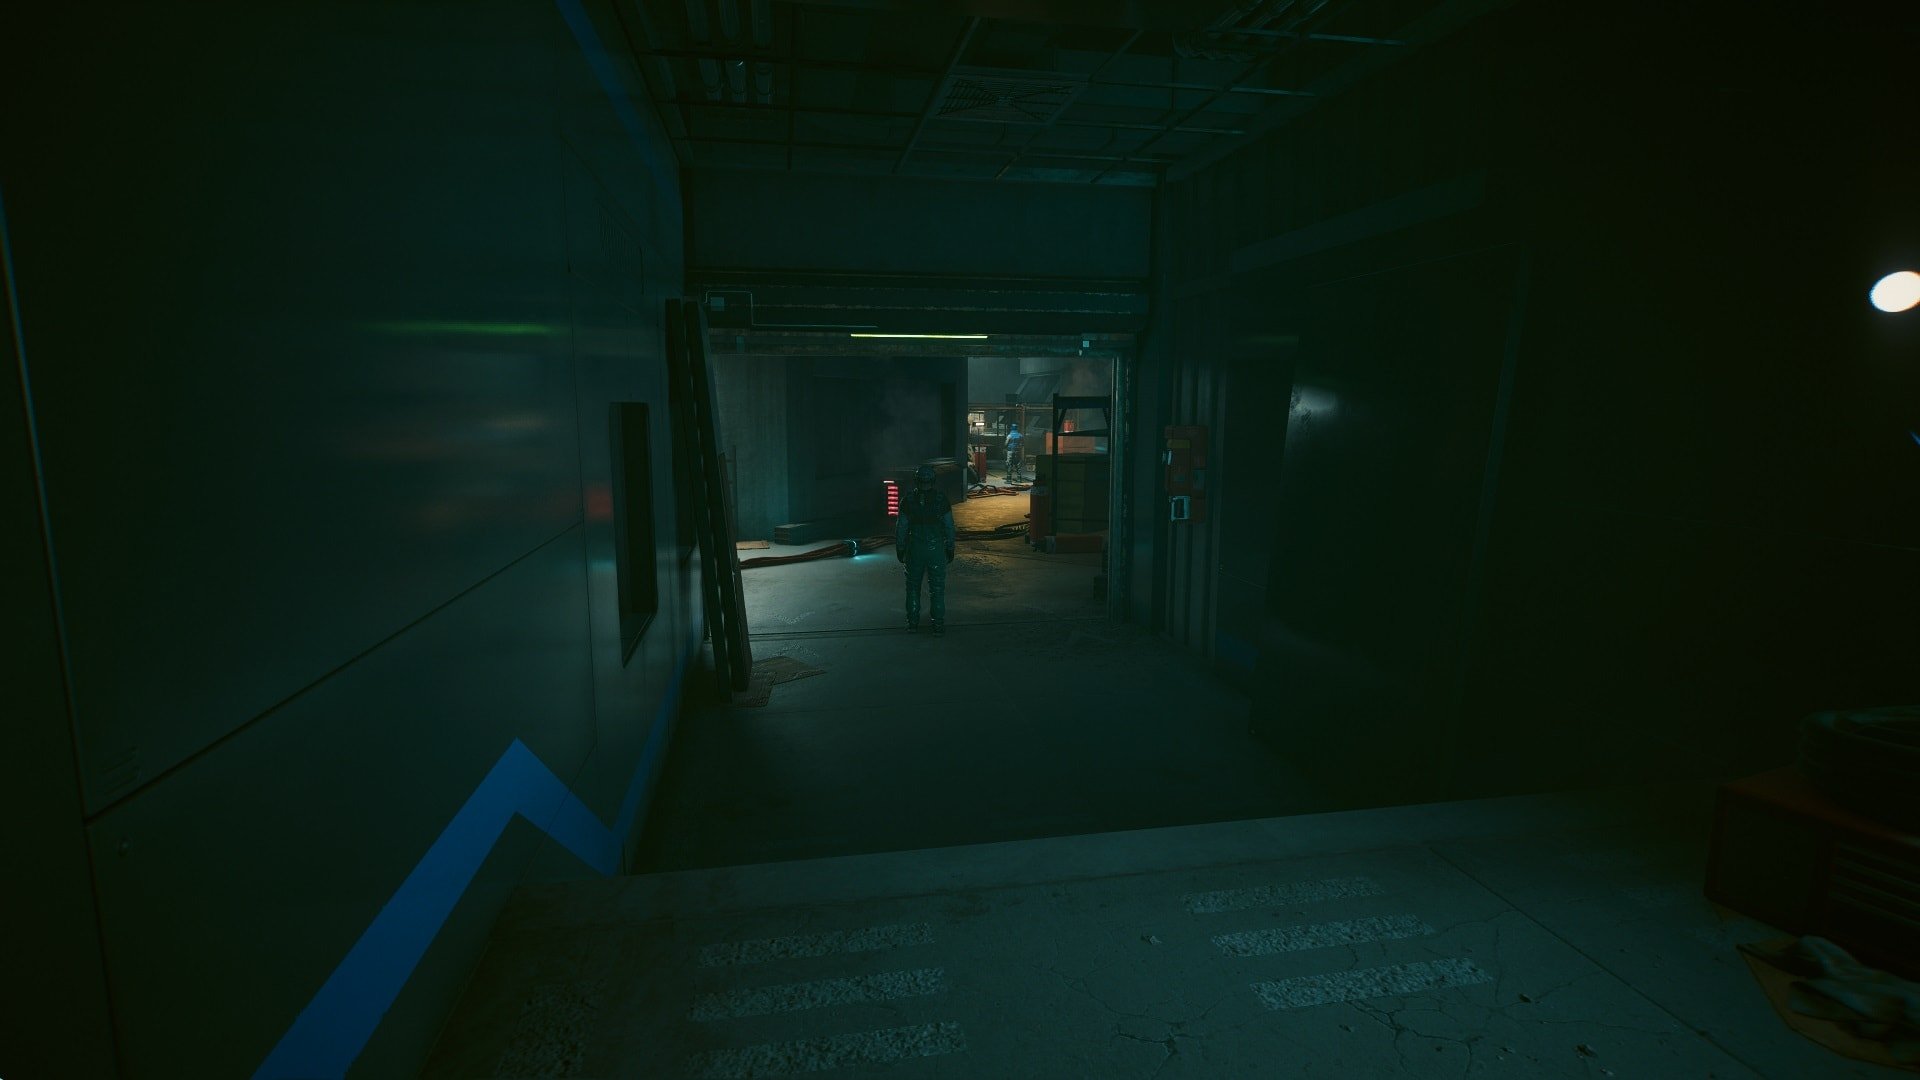
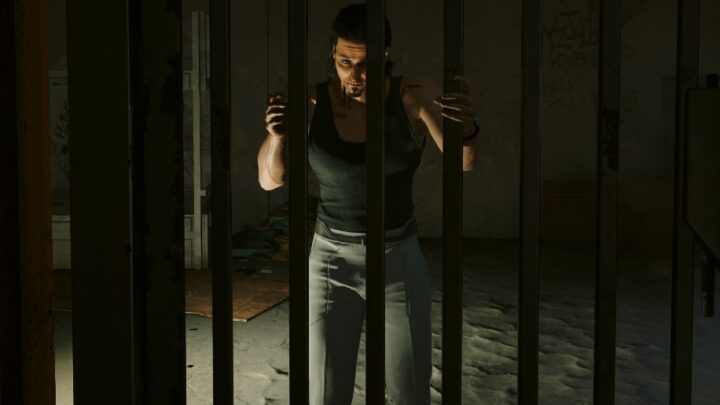
What happens if you don’t pick the Corpo outfit
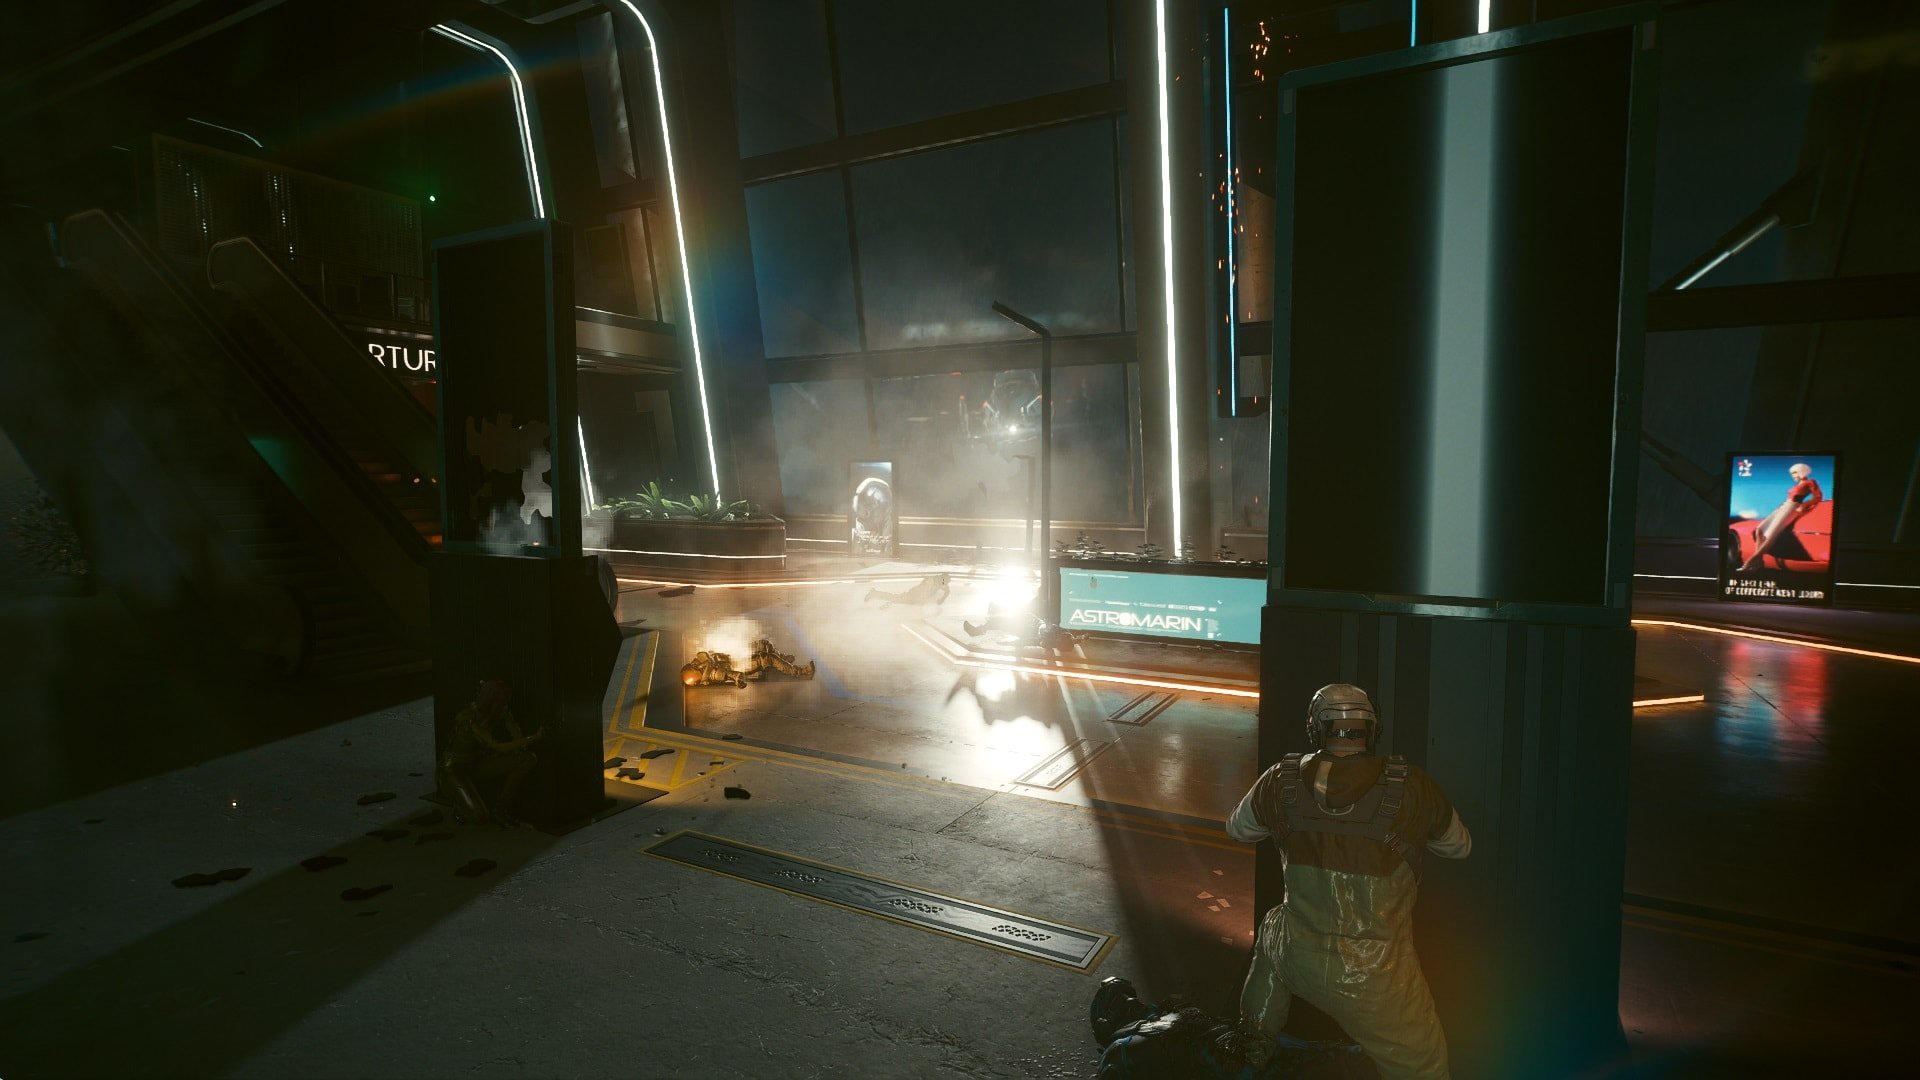
If for any reason you decide to not get it, the Spaceport security will be alerted. You’ll get knocked down and locked in a small cell. It won’t take more than twenty seconds to get out of there. After that, you’ll end up exactly in the spot of the next image but all the security personnel will attack you on sight. Personally, I think getting the suitcase is always the better option as it saves some time and you get a brand new outfit.
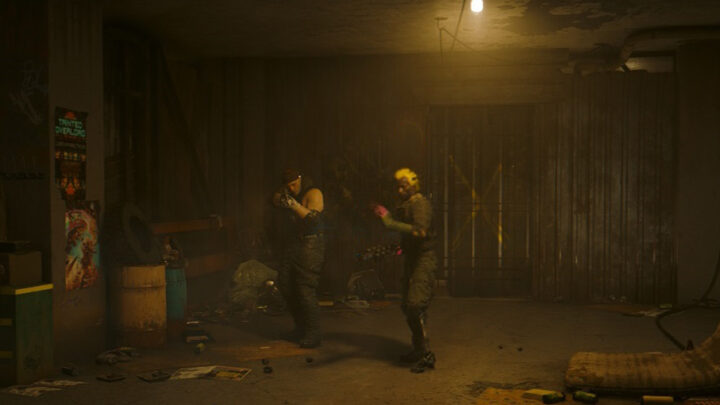
Help Songbird reach the roof
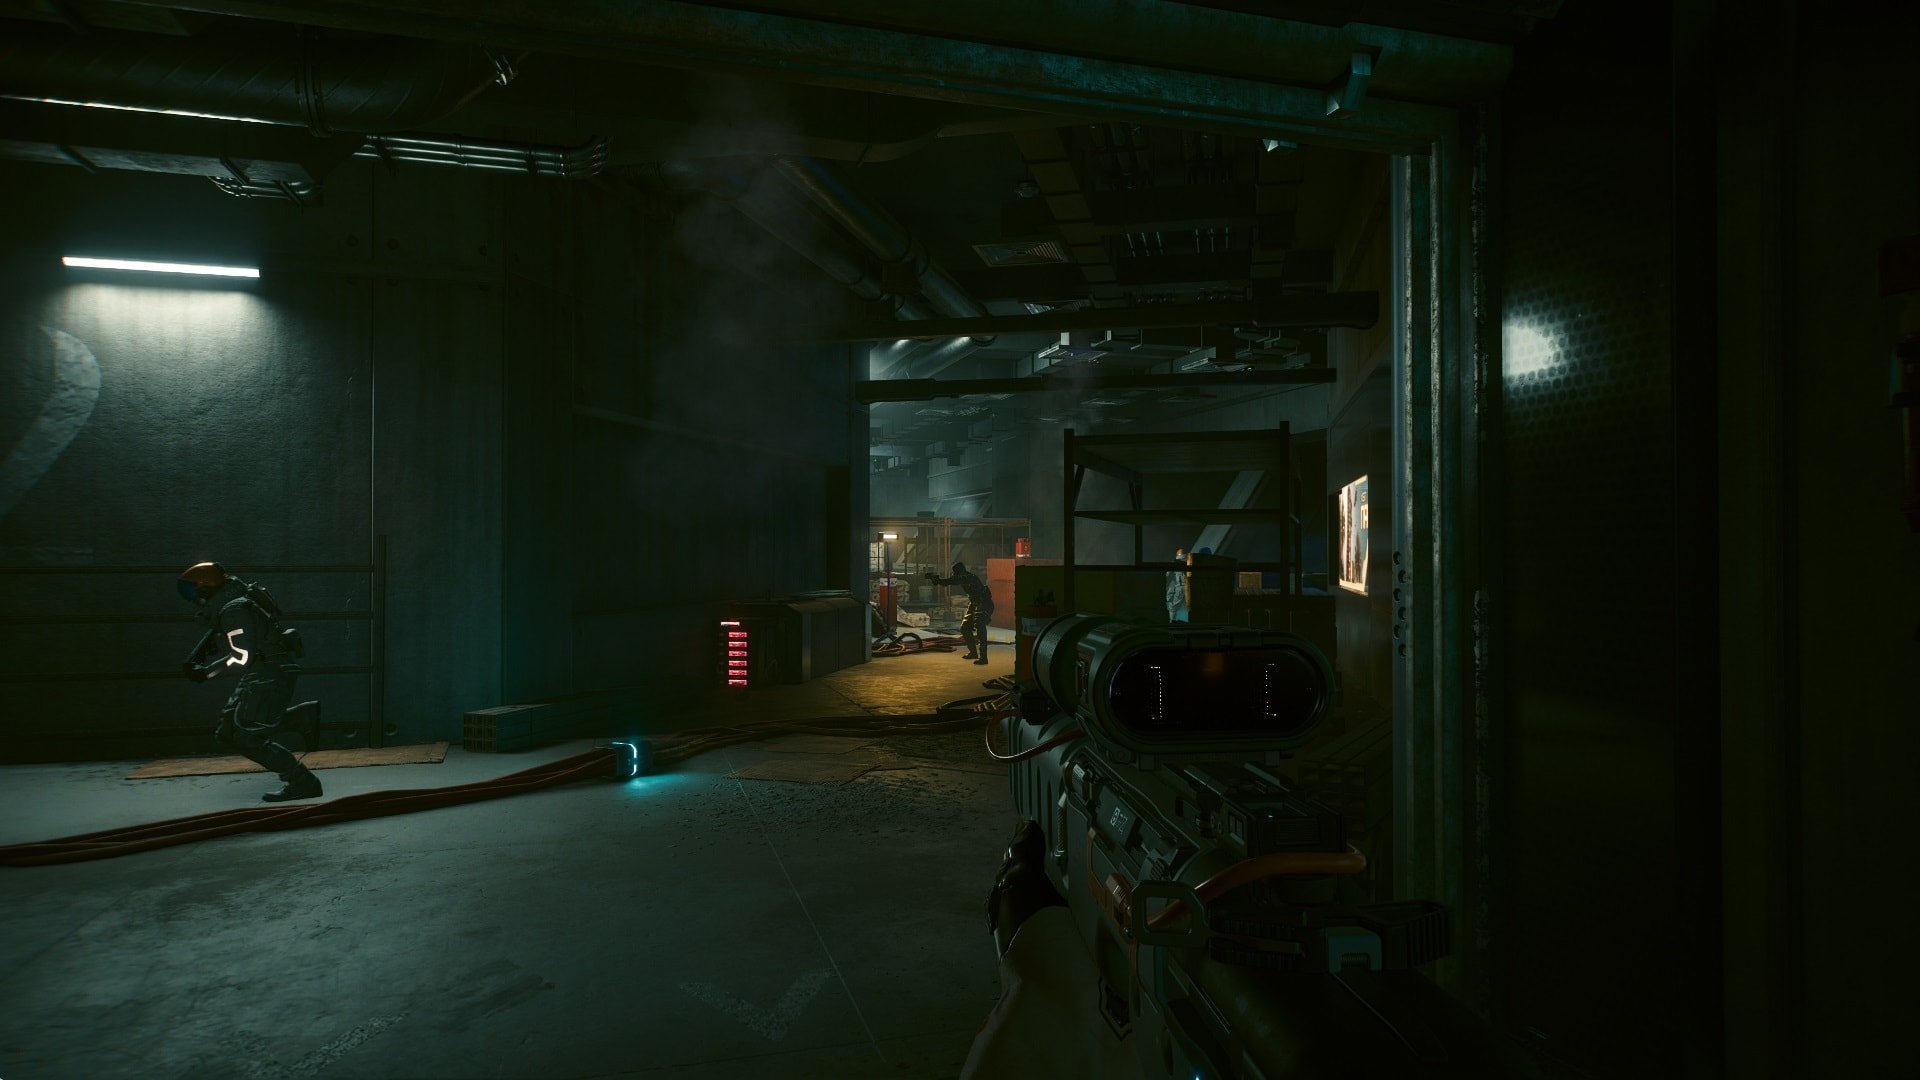
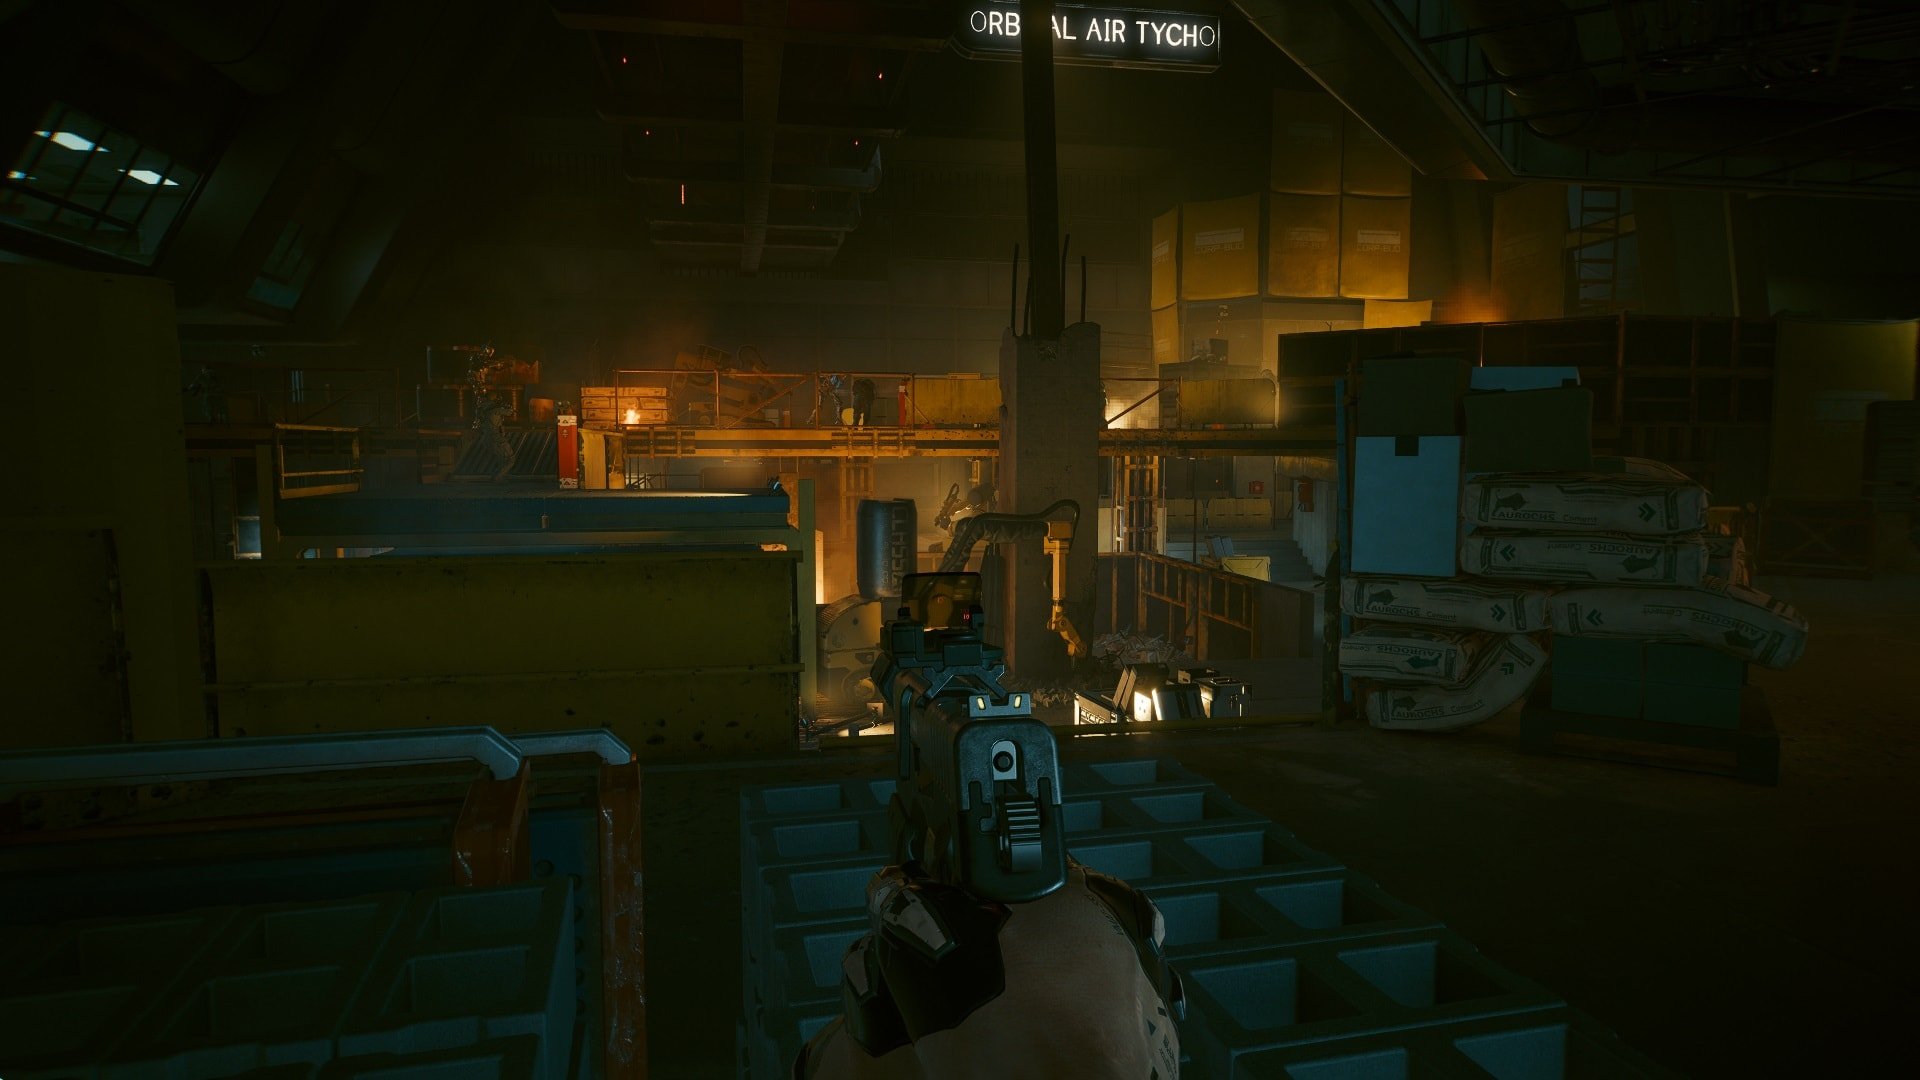
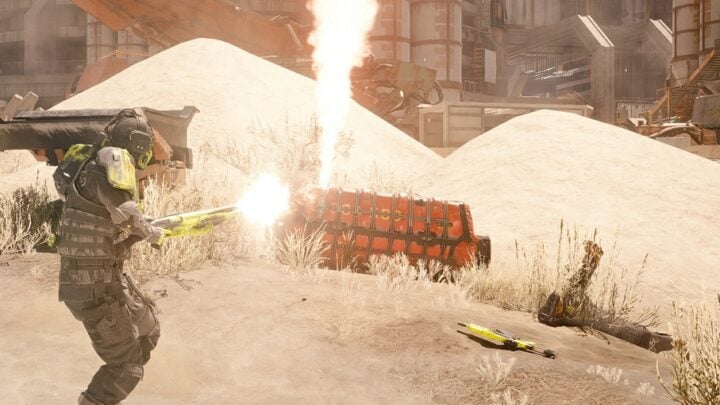
There’s a warehouse guarded by some robots. They will attack you even if you’re wearing the Corpo outfit, the good news is that they’re just armed with a baton. Their threat level is minimal. You must find a way to the top floor.
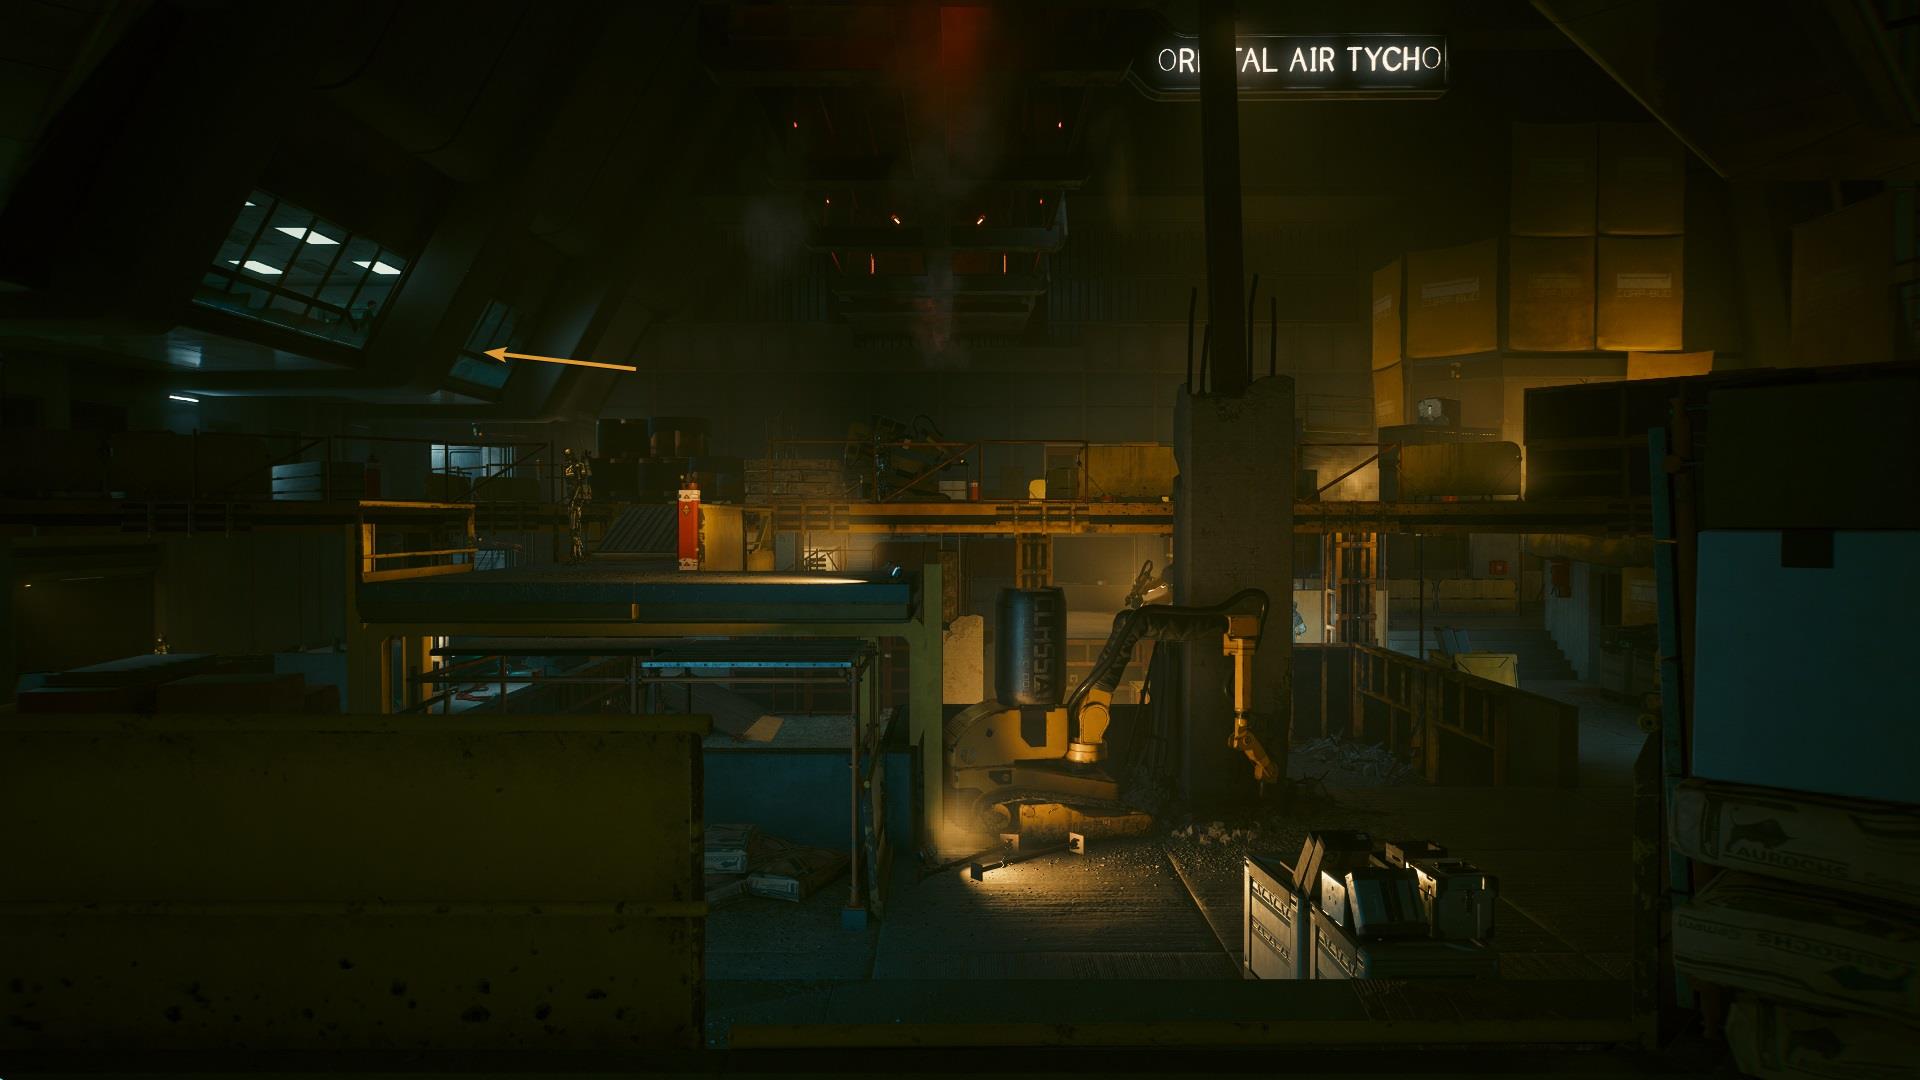
Hug the left wall until you get to the marked location on your map. It doesn’t matter if you go through the door on the first or second floor.
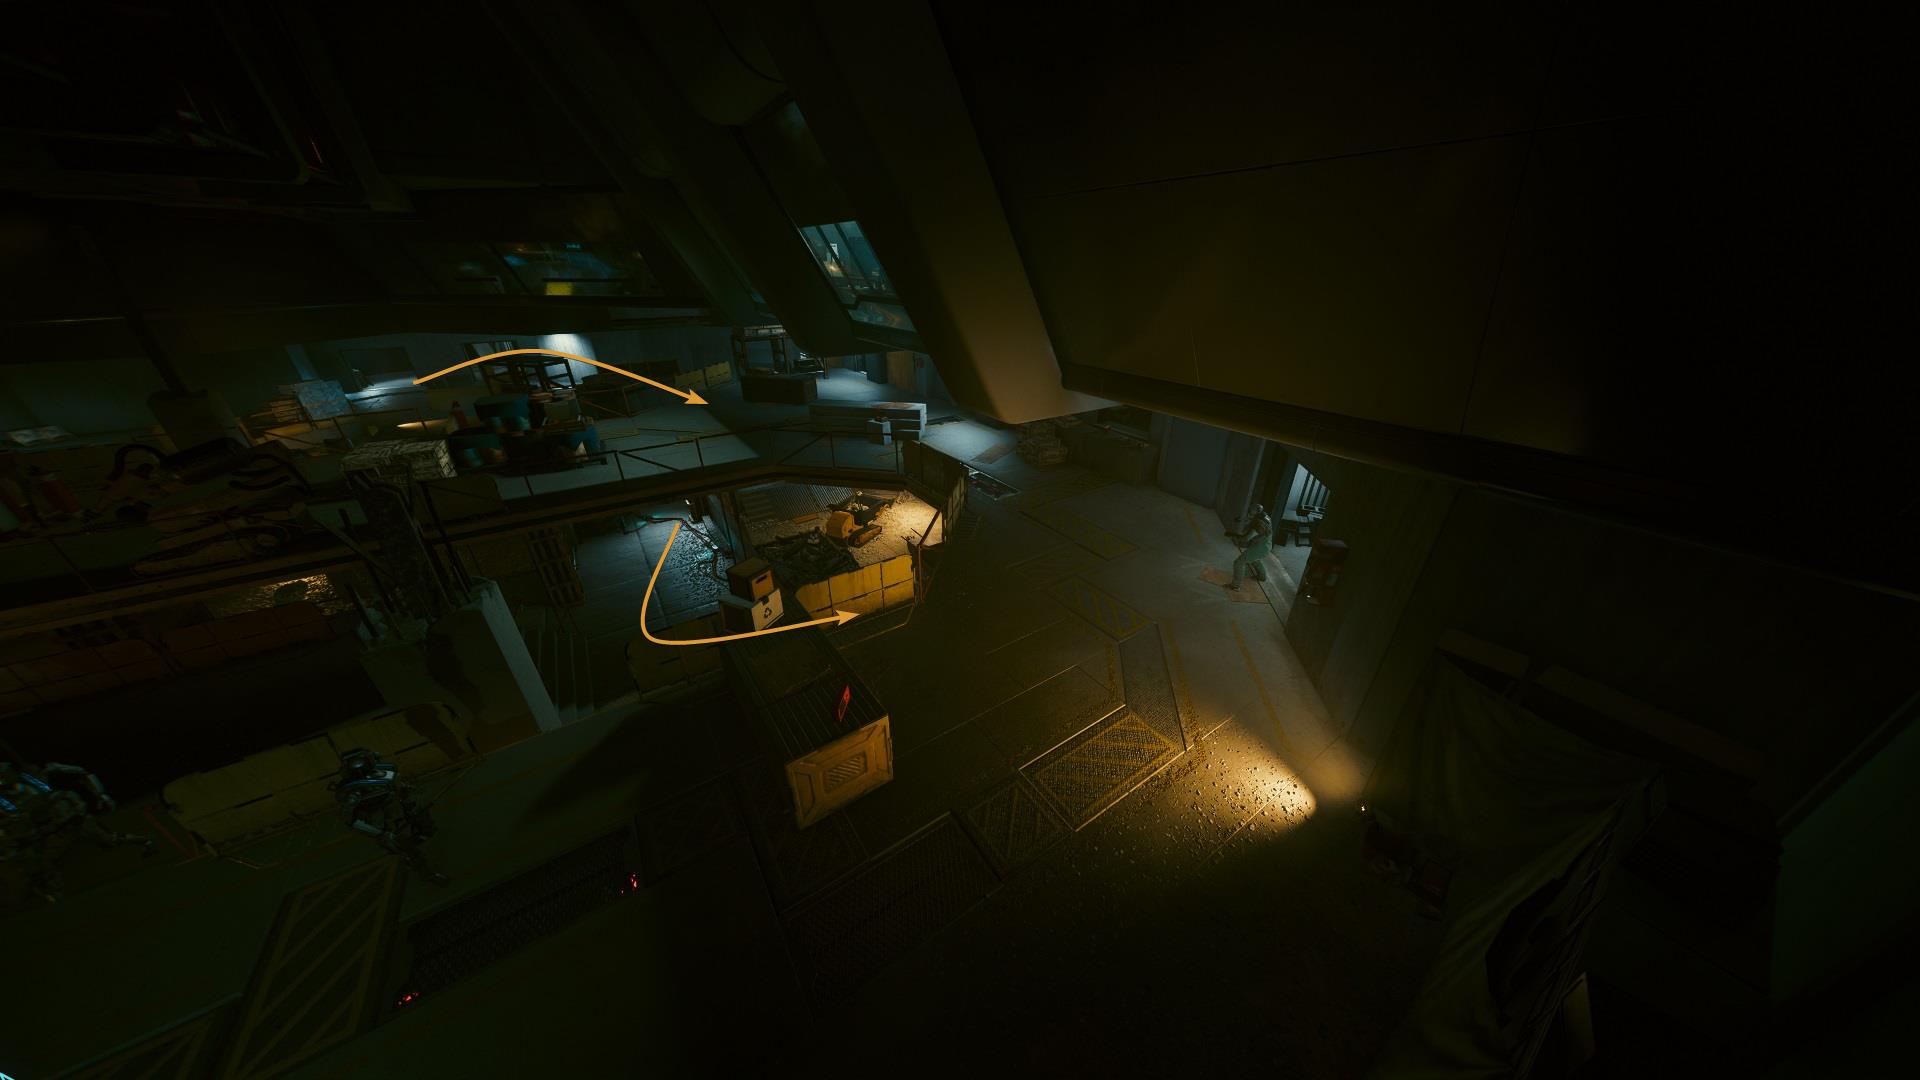
Go upstairs, and go to the next area. Don’t worry about getting lost, there’s only one door.
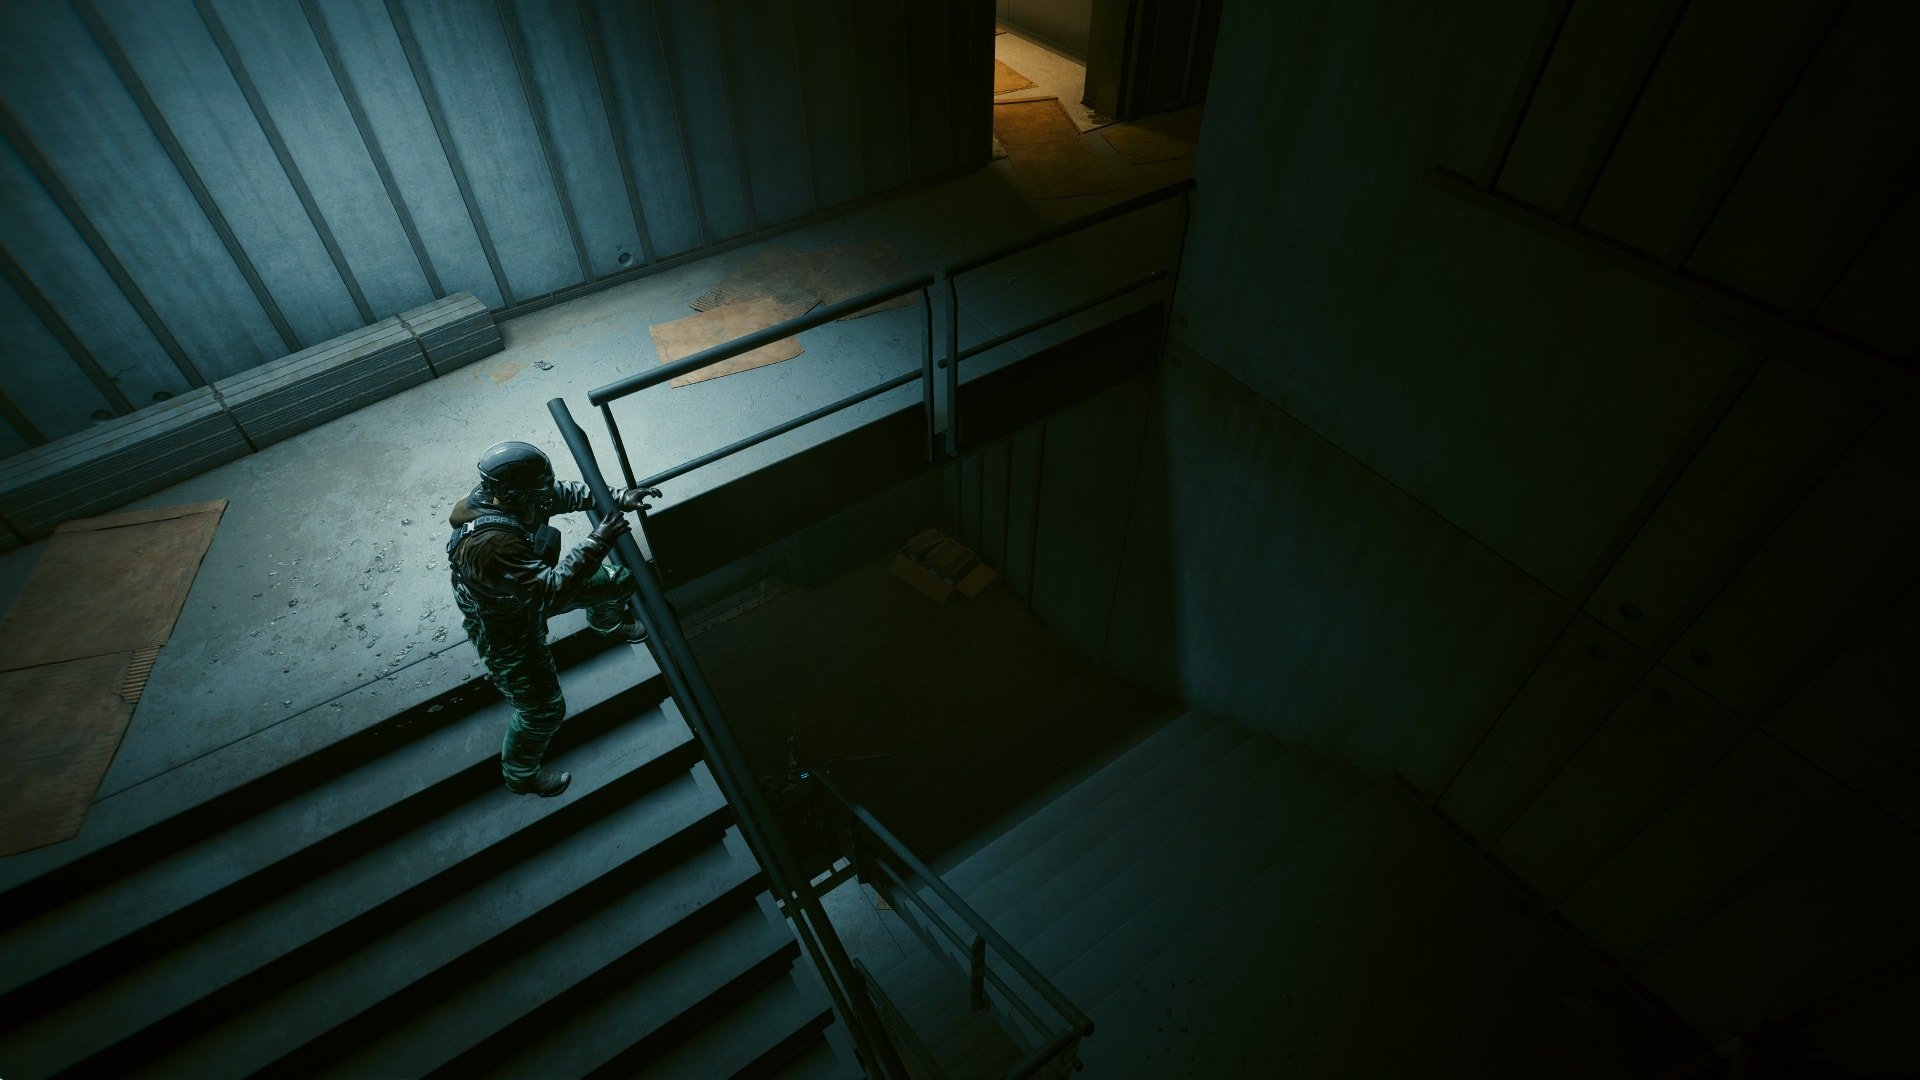
This hall is very dark, the guard that’s around the corner scared me because I went in running and my weapon “misfired”. If you are wearing the Corpo outfit, simply continue walking.
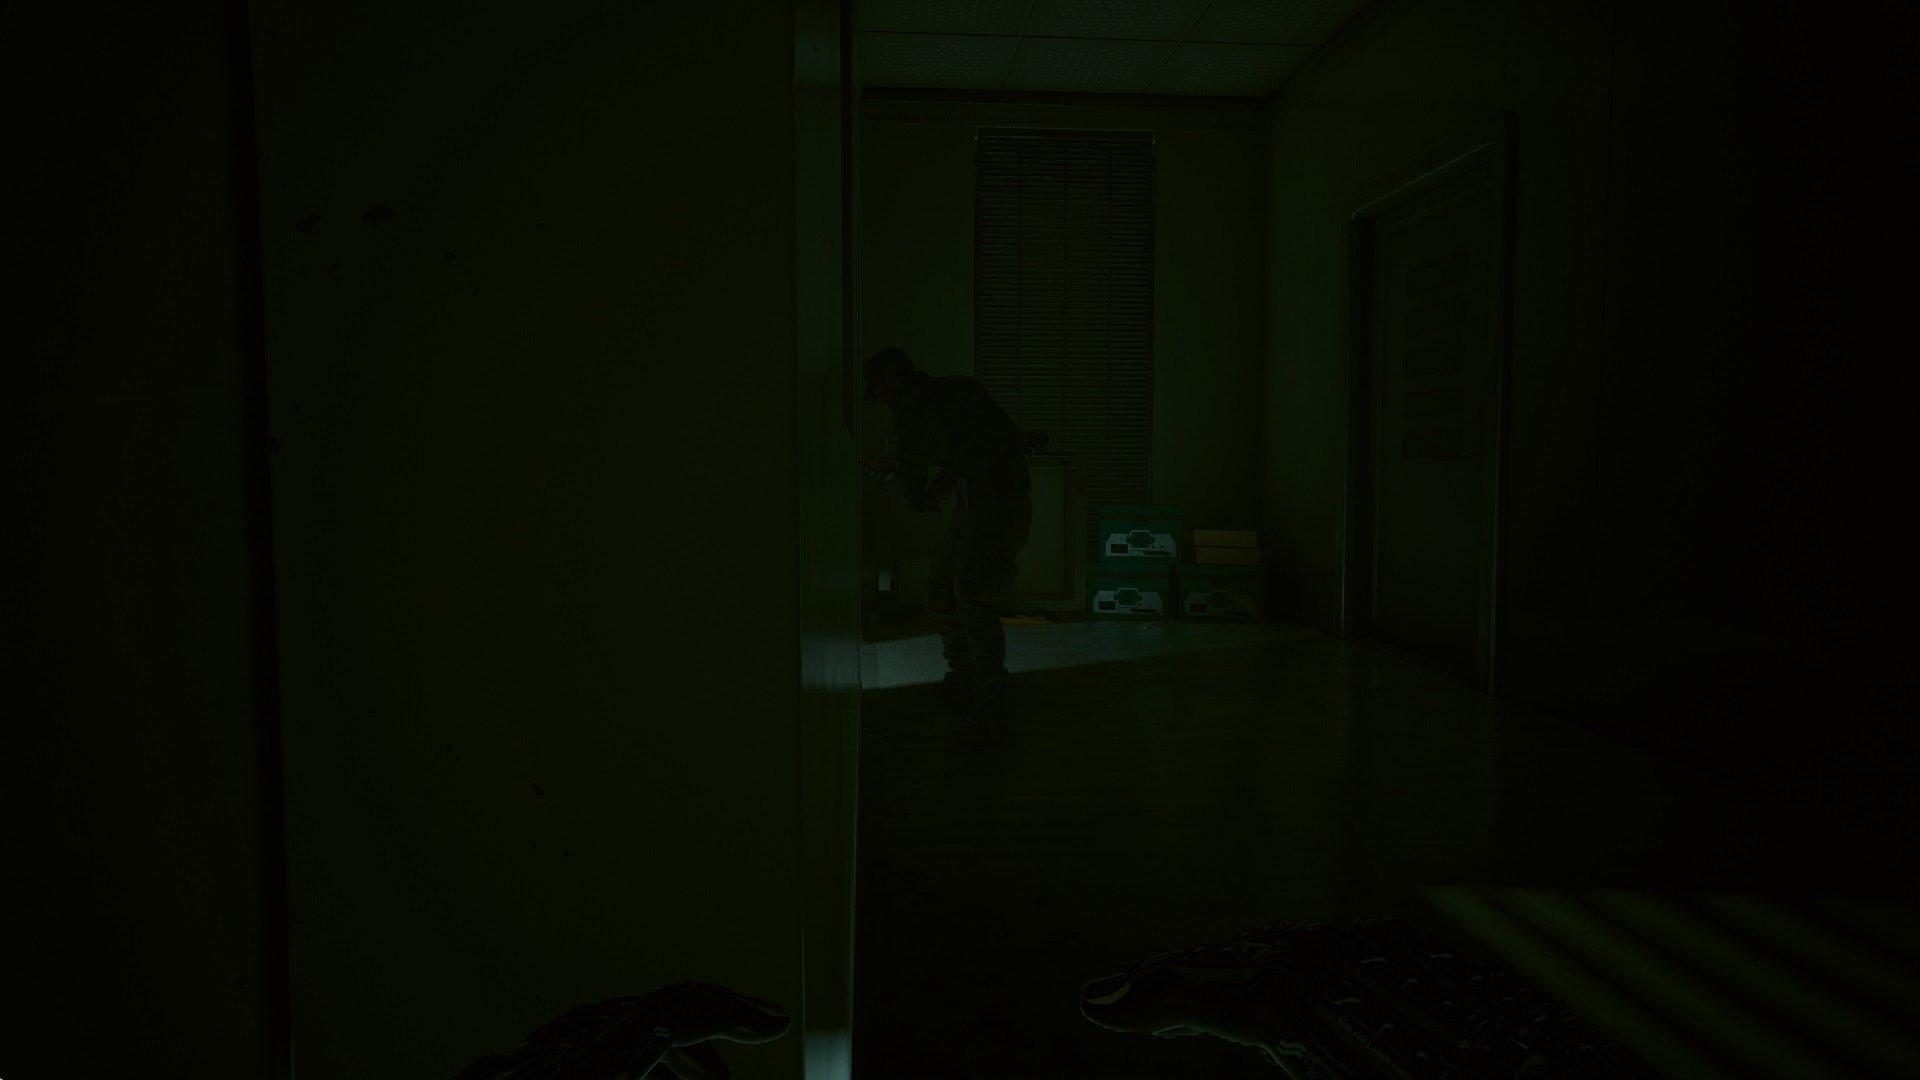
There are two more guards inside this office. Deal with them (or not) however you prefer and head to the elevator located on the left side.

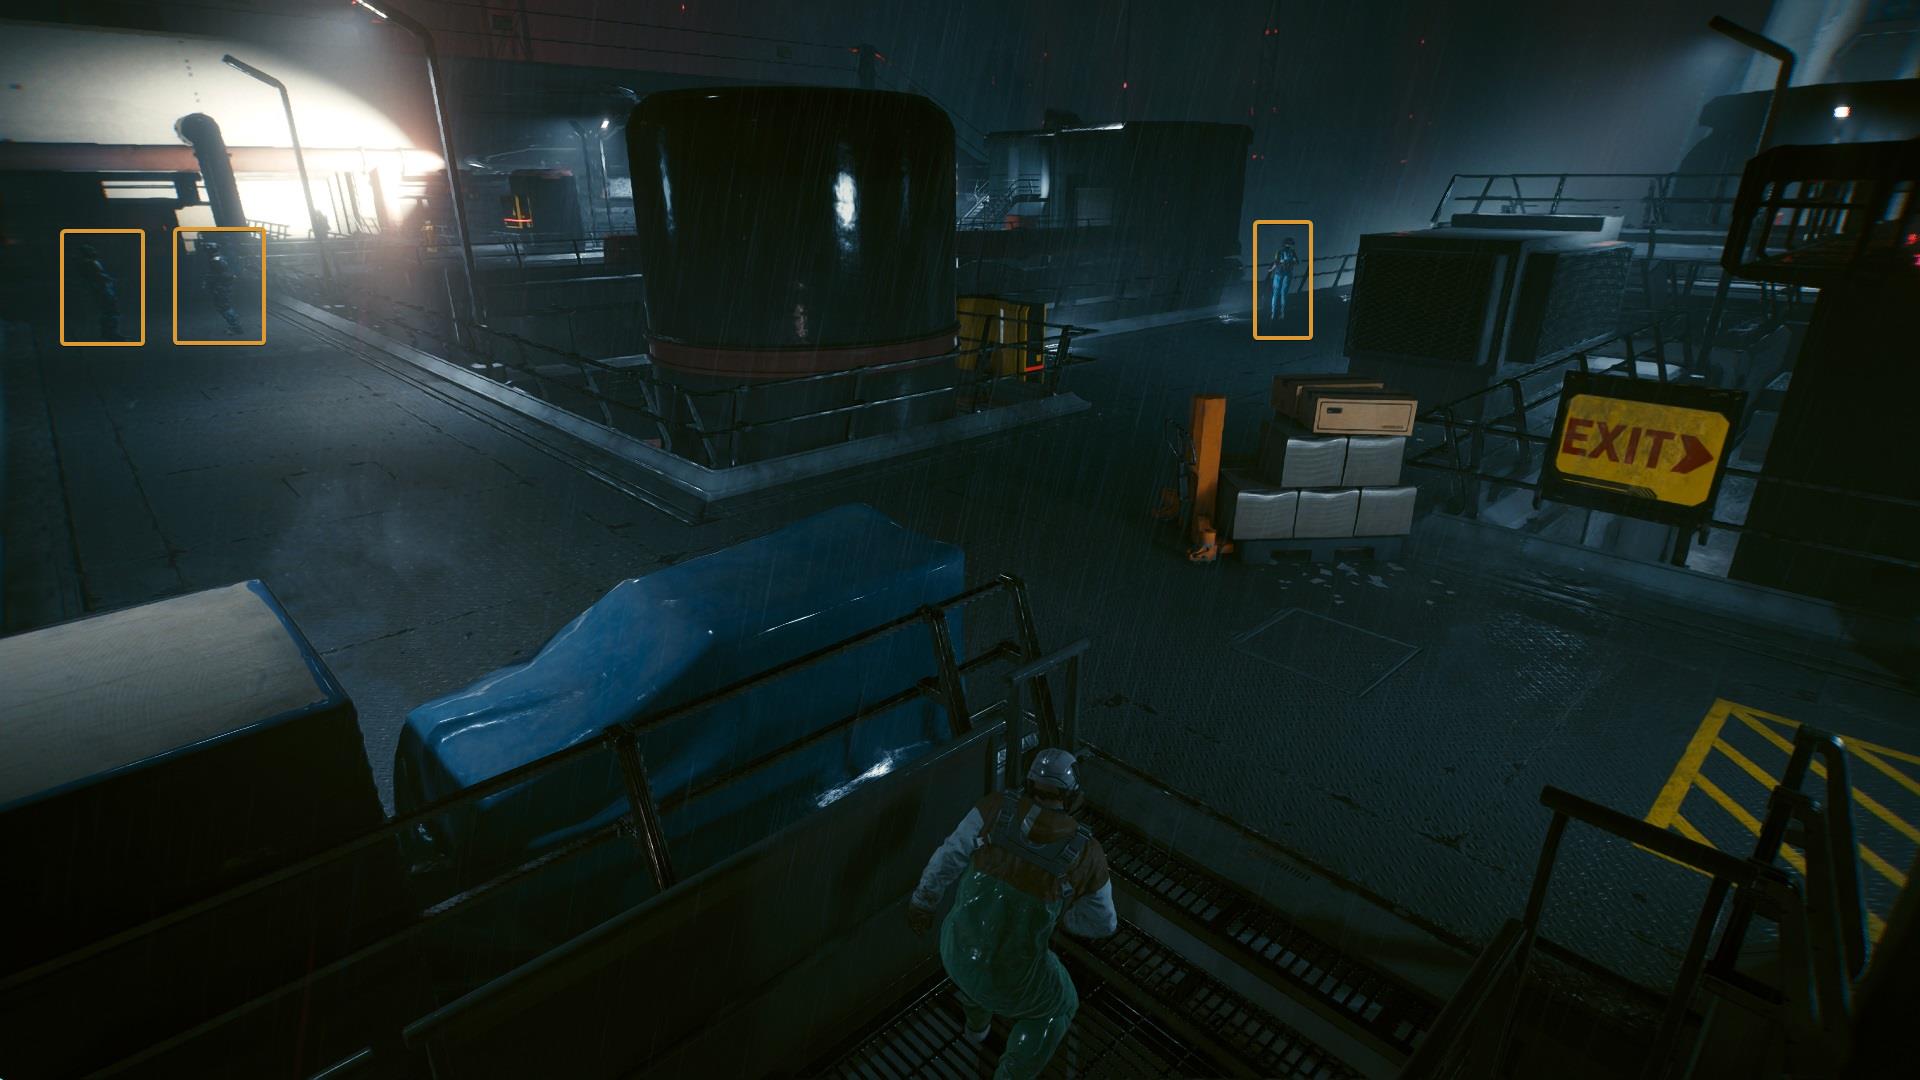
You’re now on the roof of the Spaceport. There are three armed guards patrolling this area. Remember that they will attack if you’re not wearing the Corpo outfit.
After getting to the marked area on your map, scan the fire hose. This is how Songbird will be able to reach you.
Avoid the NUS
From now on you must follow Songbird. After a few minutes, a helicopter from the NUS lands on the roof. There are many NUS Operatives in the area, some of them light the ducts where you and Songbird are hiding. If you’re spotted, it’s game over.
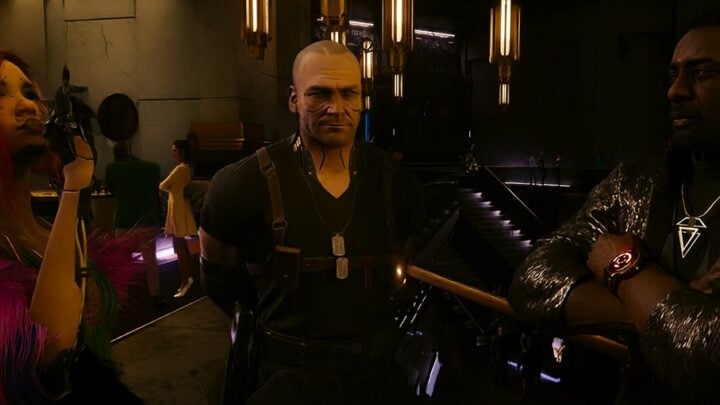
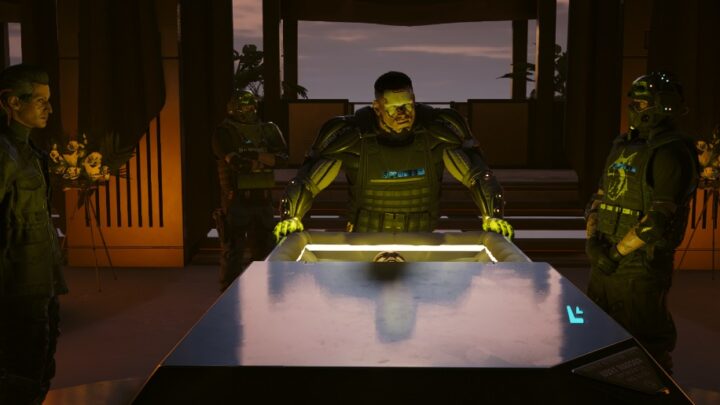
The helicopter transports none other than President Rosalind Myers. She orders Reed to do whatever’s necessary to recover Songbird but asks him to at least not shoot her in the head. How considerate.

After listening to their conversation, Songbird leads the way. It won’t take much before getting out of the ducts. Be cautious, there are guards in the area that aren’t so easily spotted due to the lack of light. To avoid them just crouch and turn in the direction that the “Exit” sign is pointing.
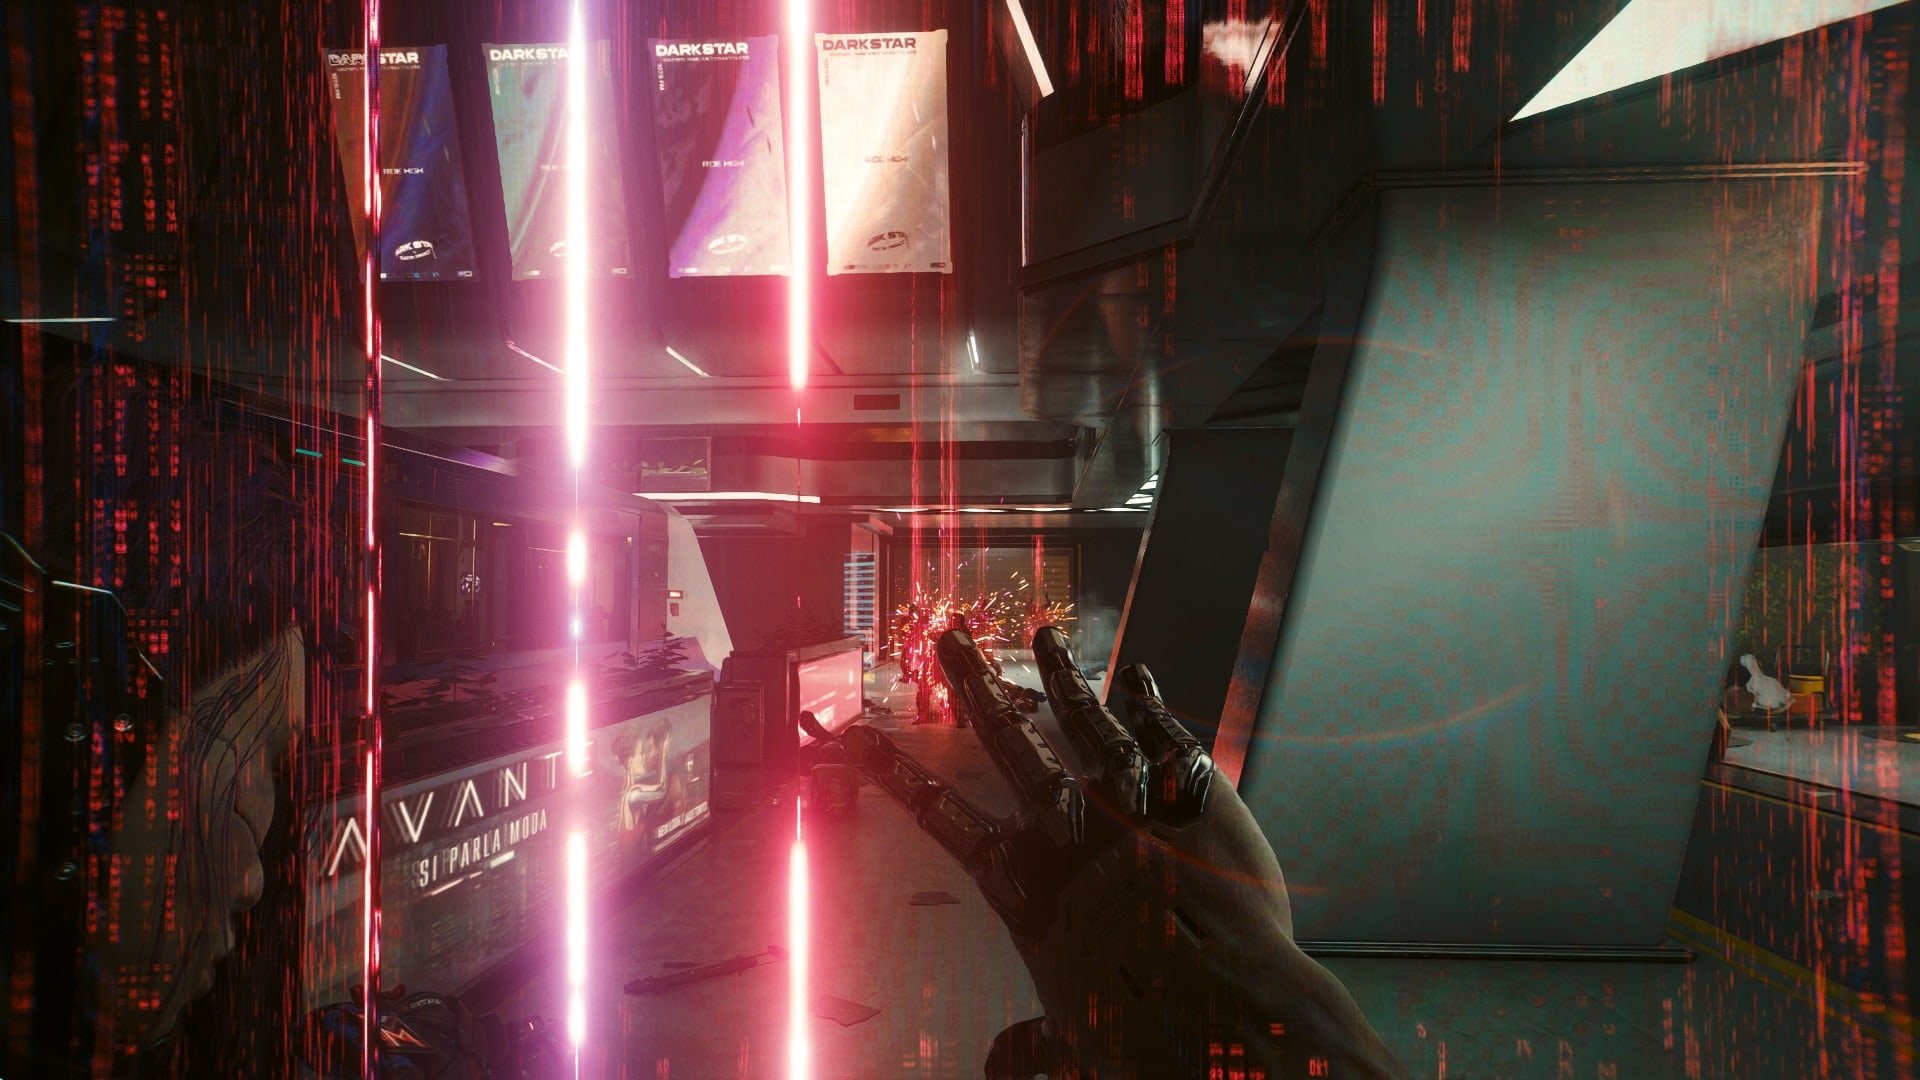
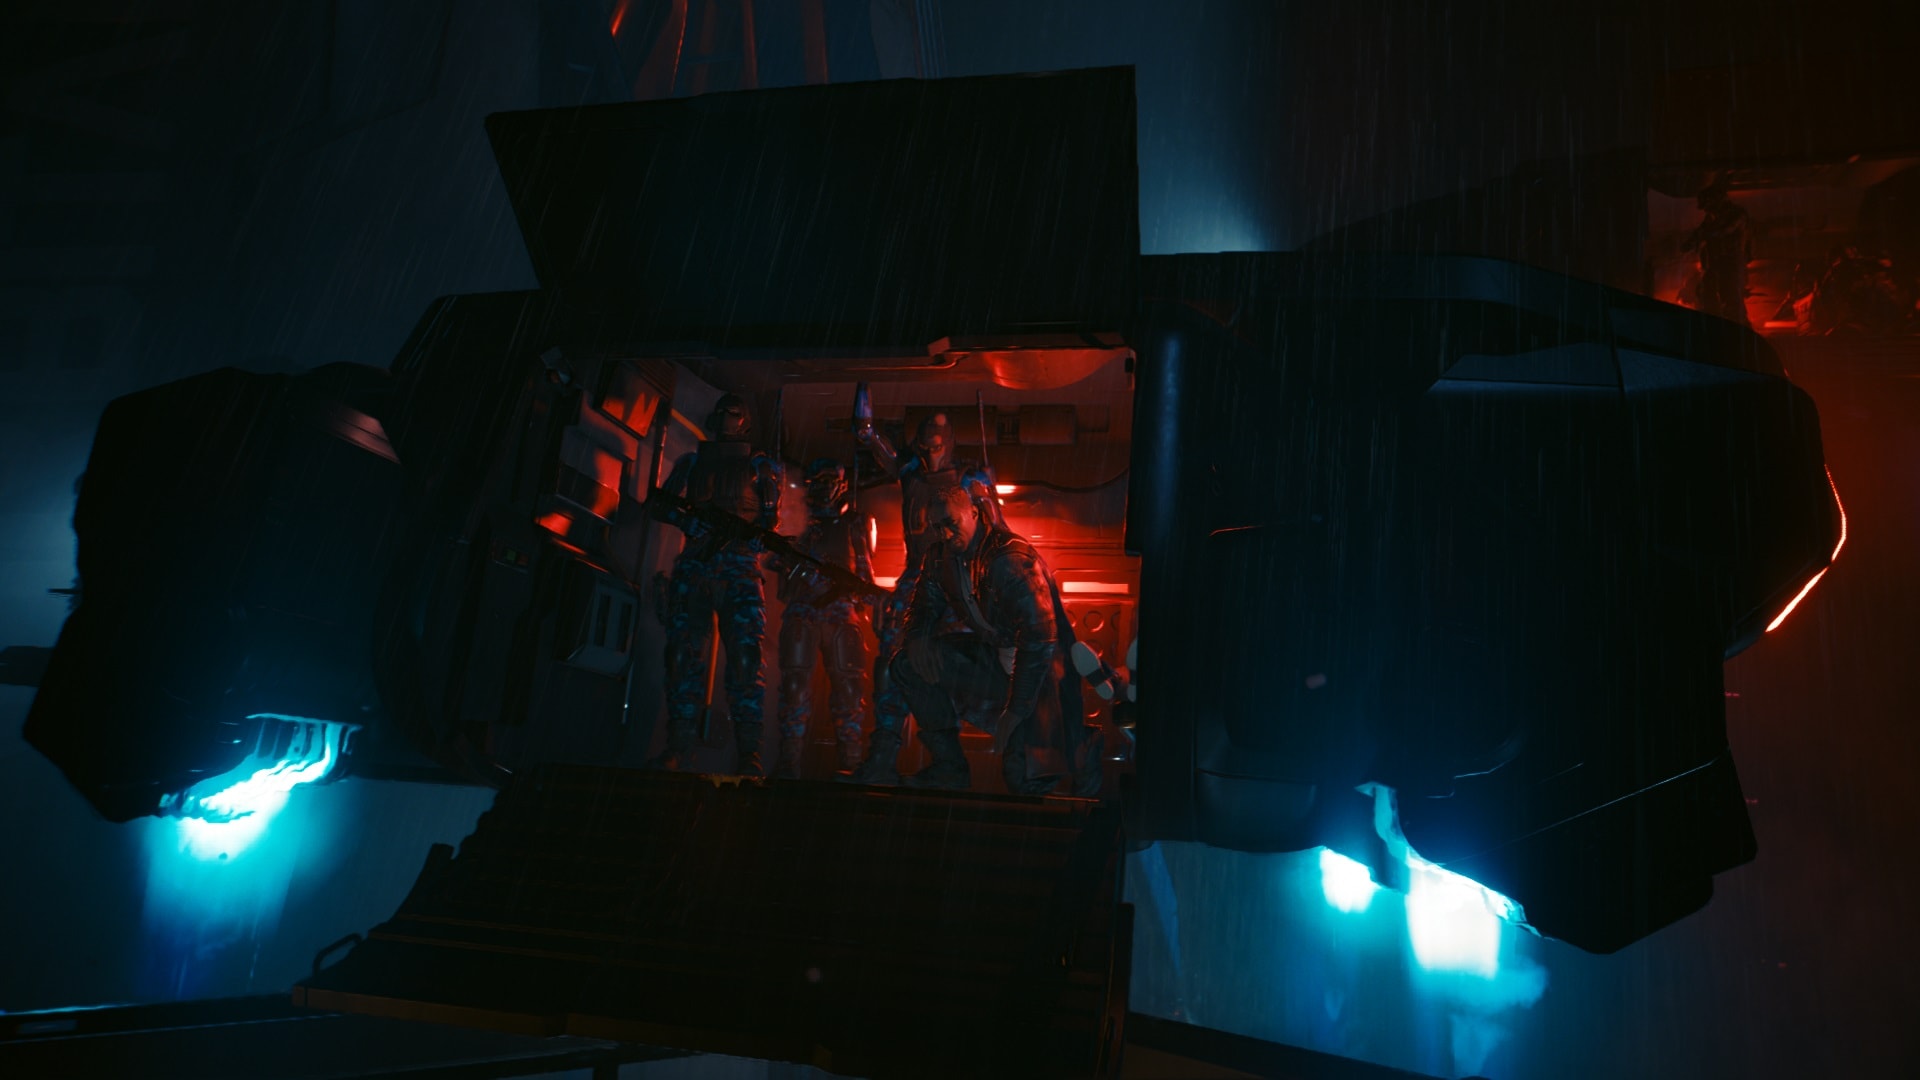
Chaos has been unleashed. Since the Spaceport isn’t part of any country, the NUS presence is unauthorized. The NUS troops fight the Security forces, it’s up to you to decide to fight all enemies or let both sides tear each other apart.
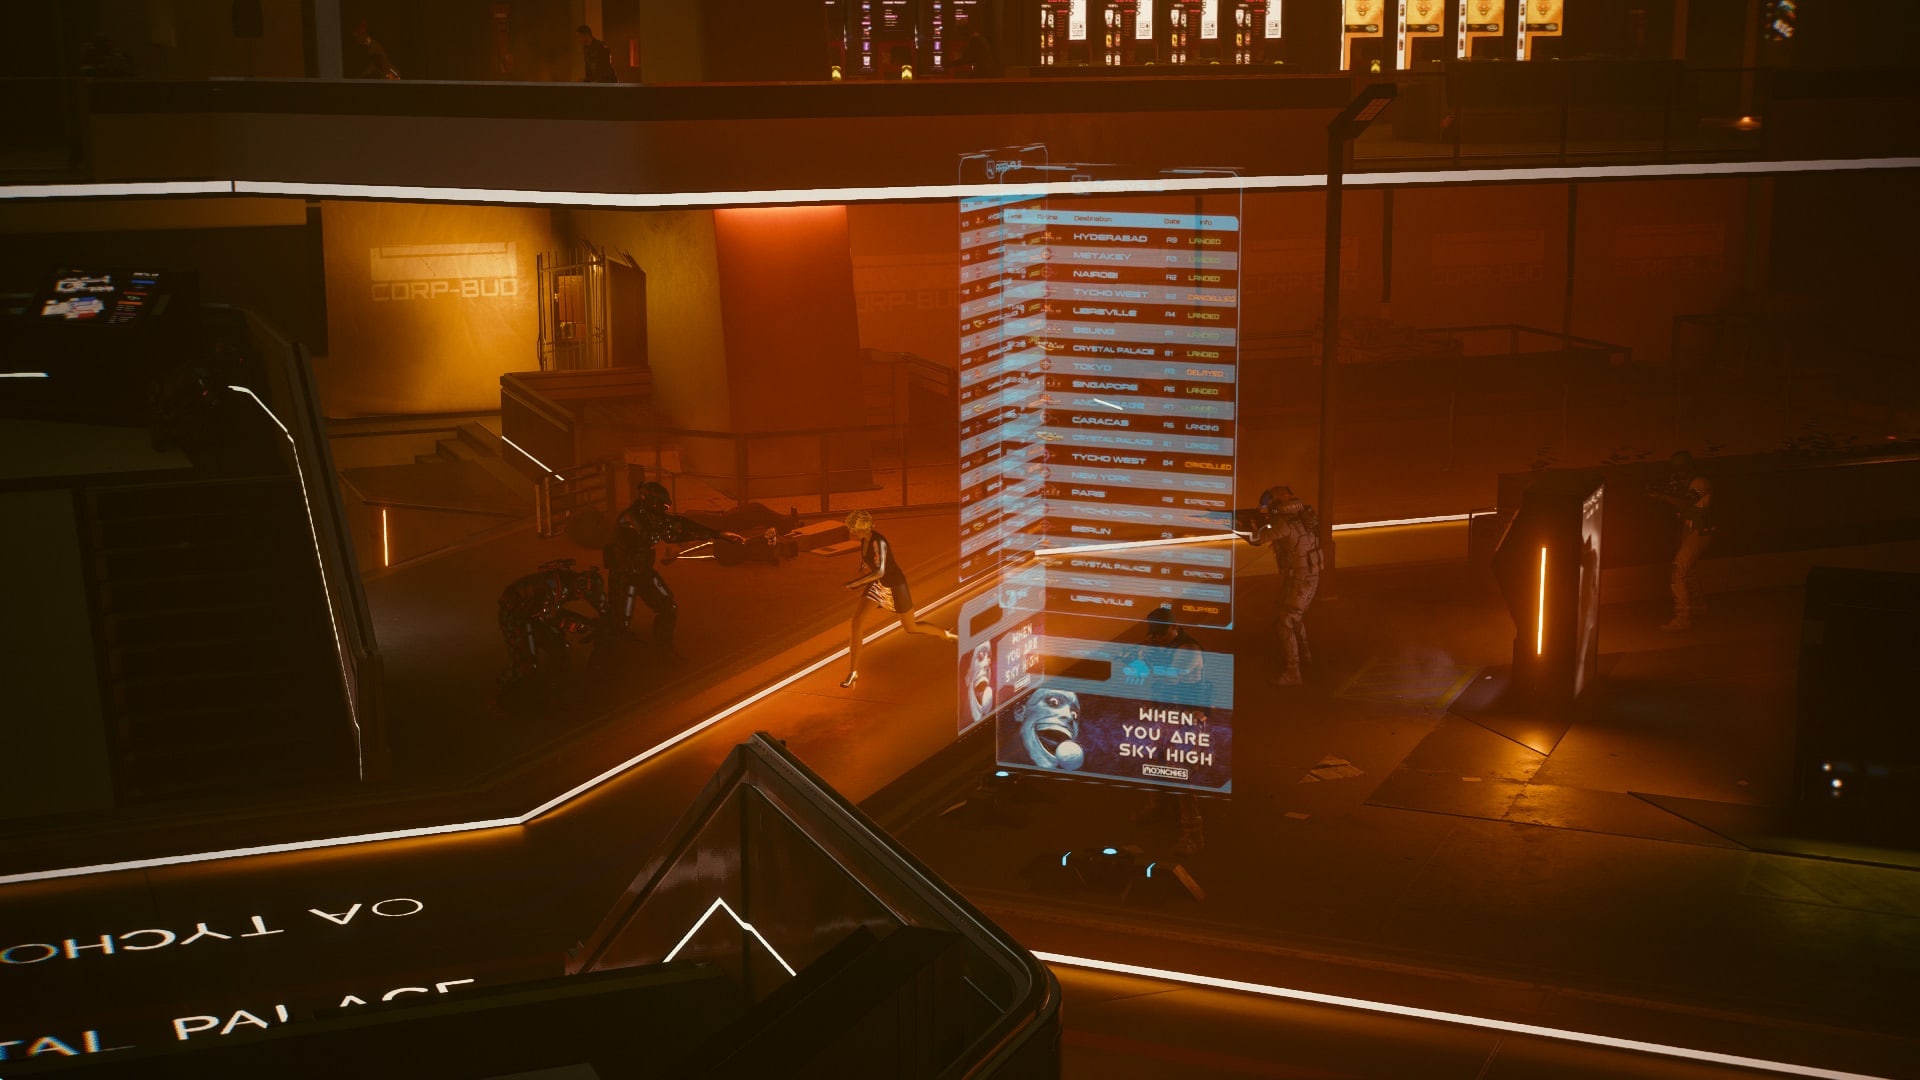
Wherever you go, there are shots, explosions and death. I mentioned that you can ignore them but keep in mind that this isn’t something easy to do in higher difficulties.
The carnage continues, all the areas that you went through are now battle zones. I can’t deny that it’s really fun to see the enemies fight and see who comes out on top.
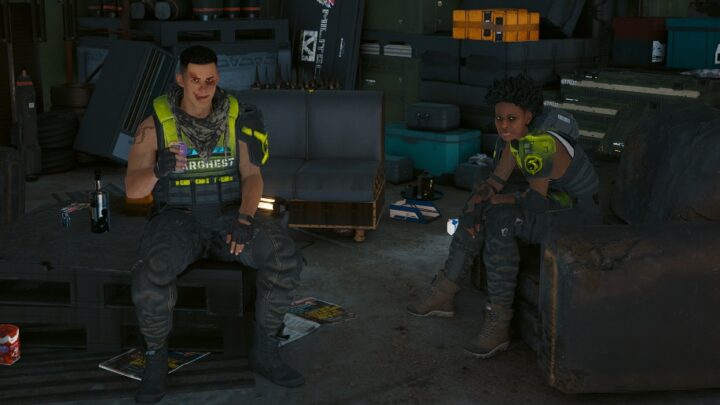
Reaching this small store provides a small moment for you and Songbird to catch their breaths. She asks for water, which can be found near the shelves located at the center of the store.

Get to the control tower
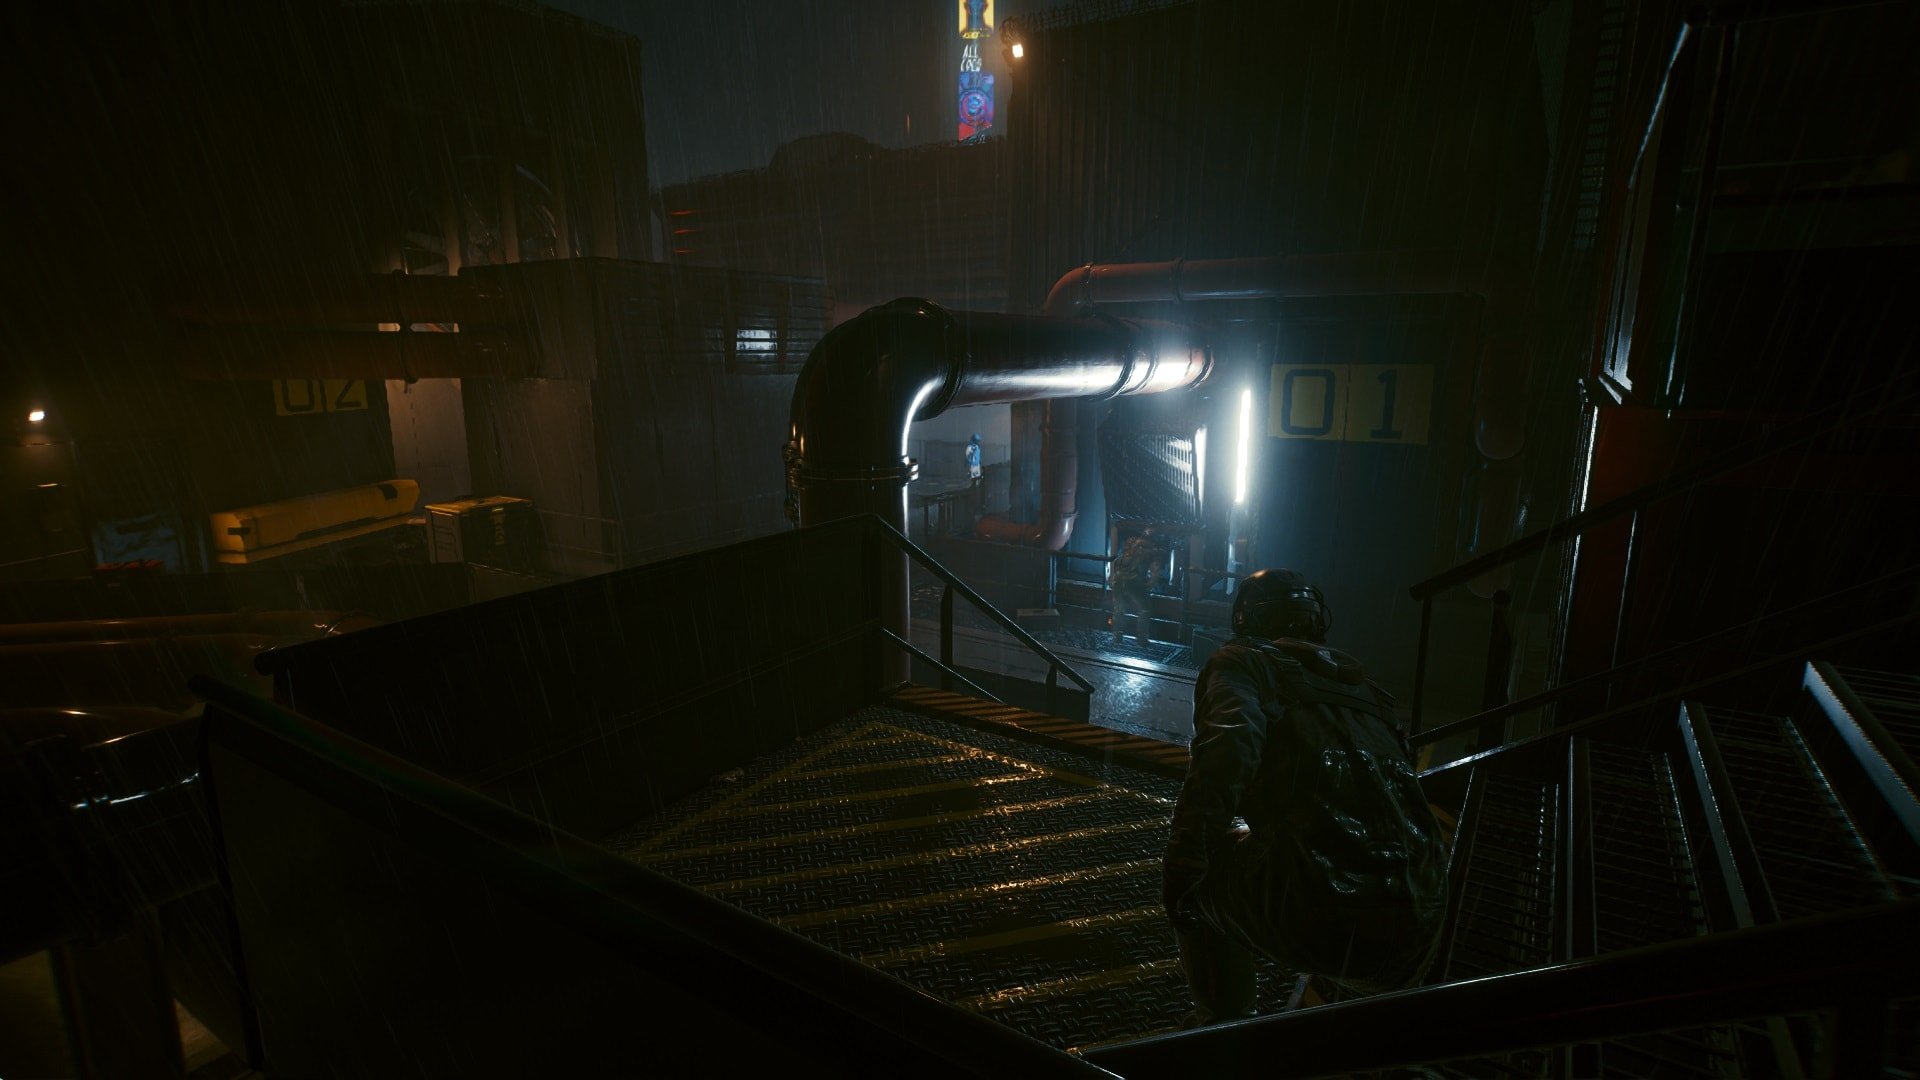
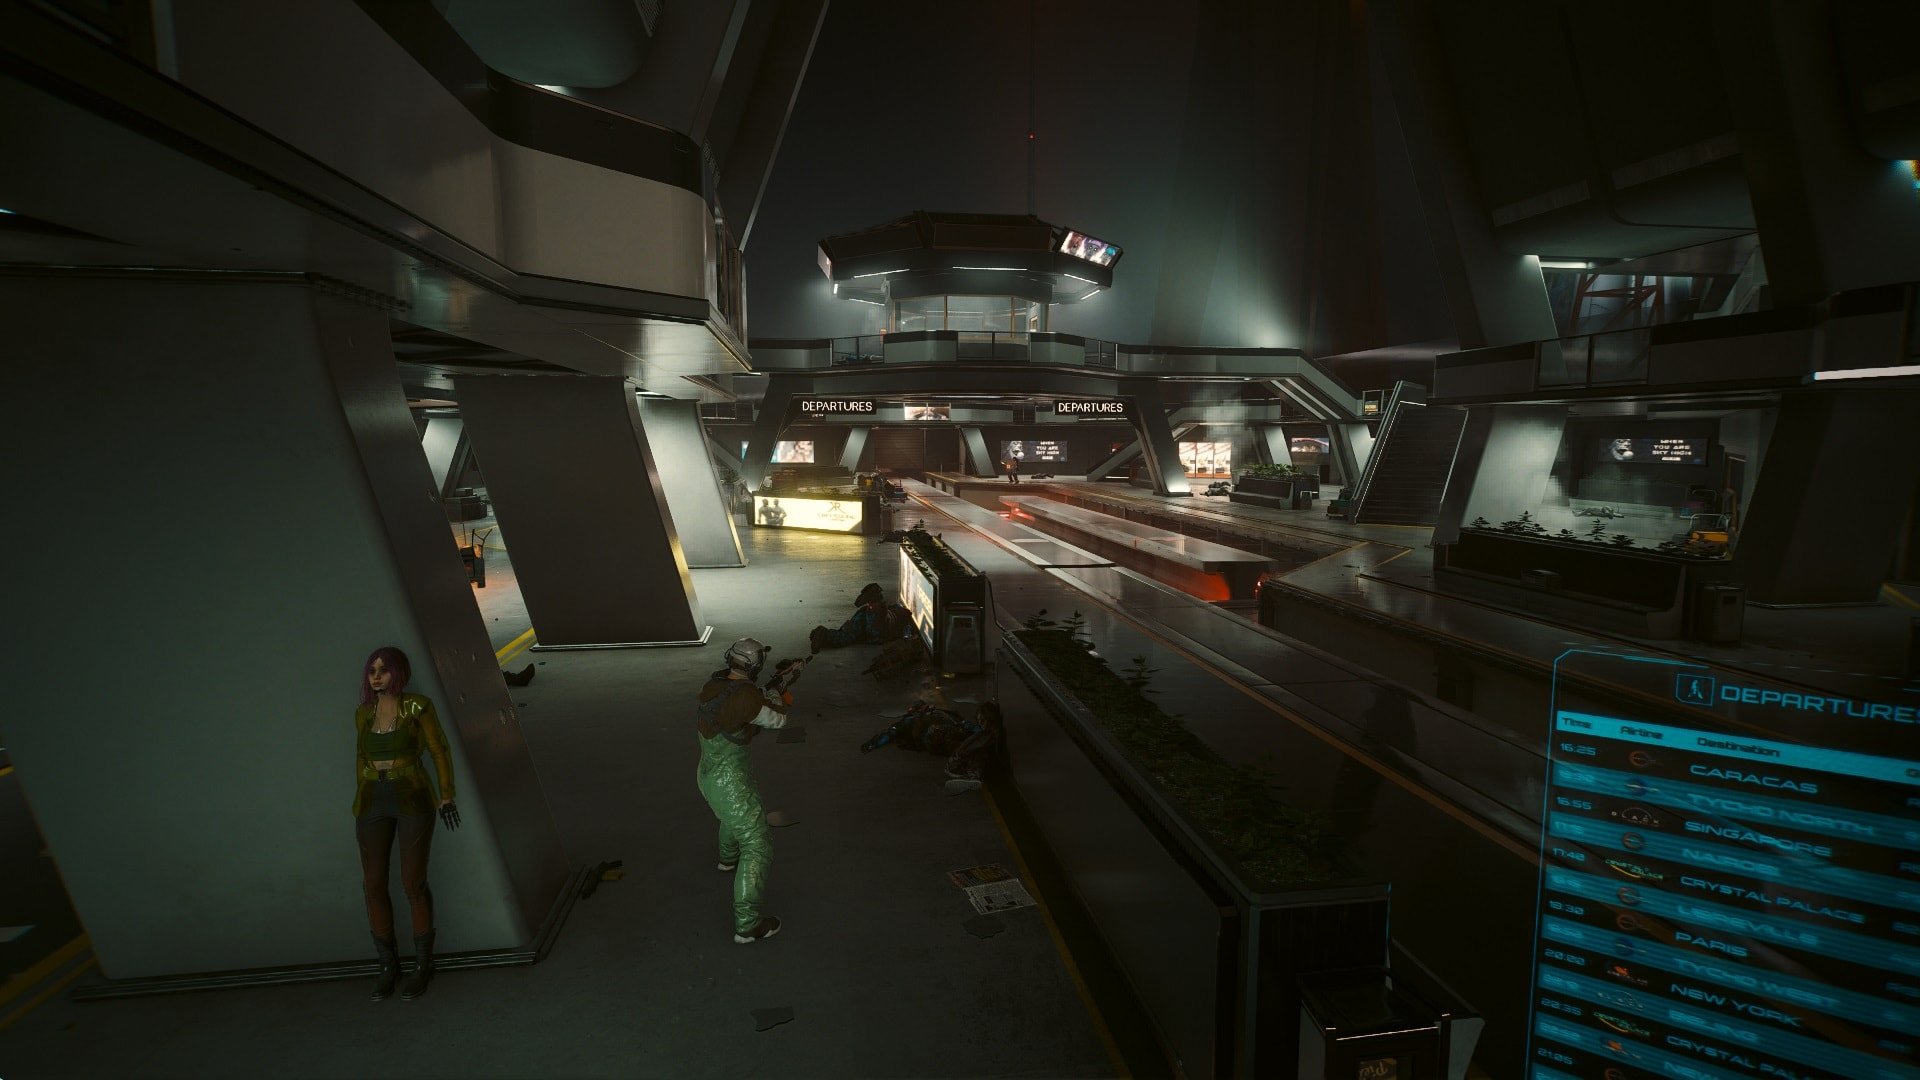
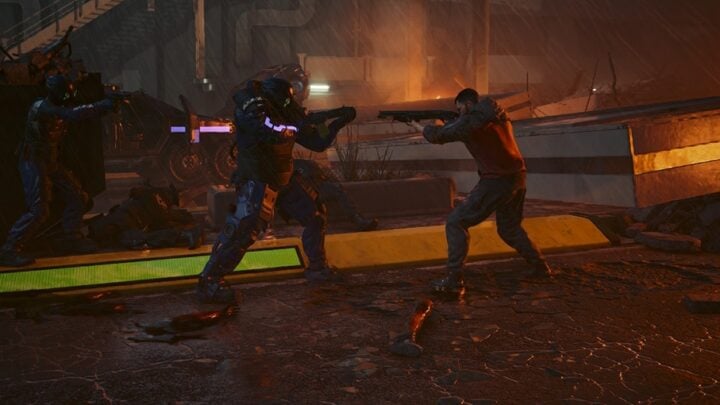
Time to continue the mission. The helicopter is going to start shooting once you get into this area. Its bullets can do a lot of damage but it takes a few seconds to recharge, this is when you have to move. Run to the second floor and advance until the helicopter stops chasing you.
The control tower is close, but it’s way too silent. NUS forces are going to appear after V walks a few steps. Stay close to one of the concrete pillars, all types of bullets will head in your direction. Defeat all enemies so that Songbird can move.
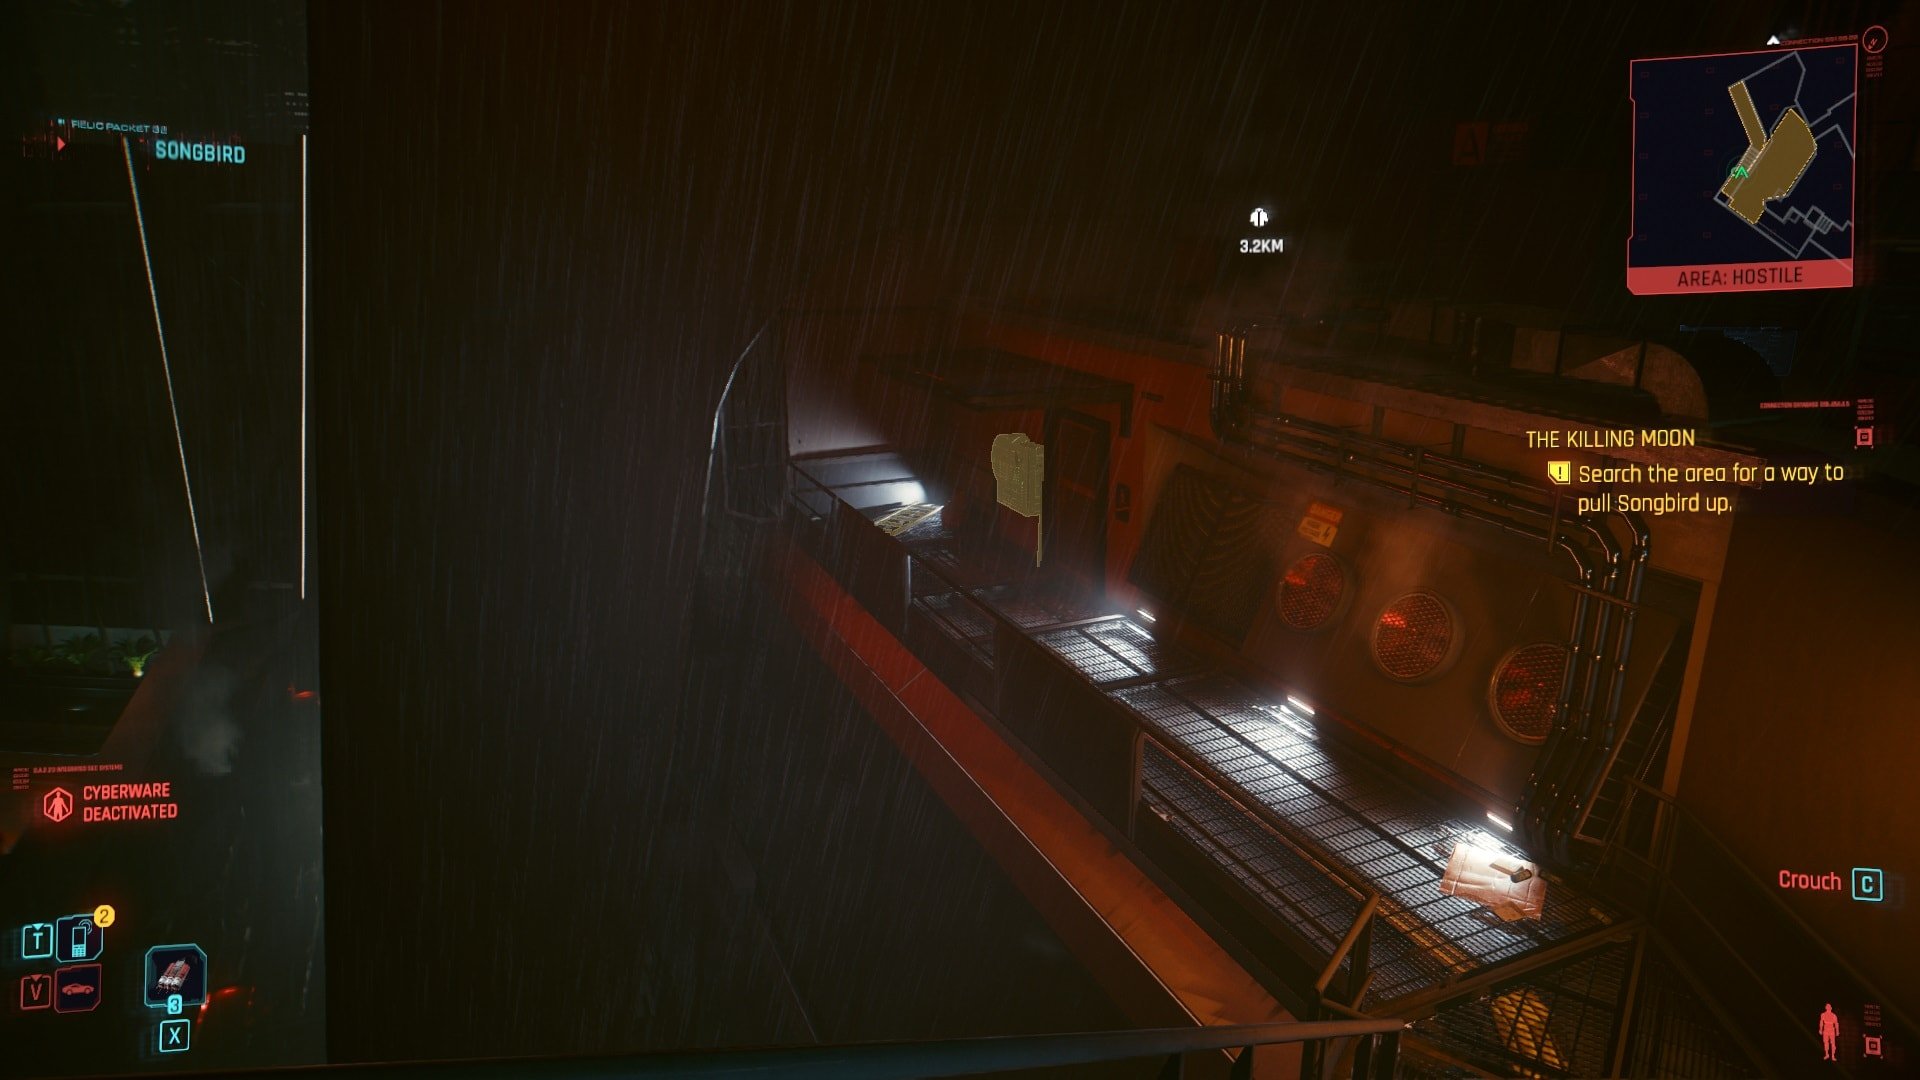
The train that’s taking you to the moon is on its way but NUS forces keep coming, survive until you have to check on Songbird. Enemies will come from all sides, stay covered as long as possible but don’t let them get too close.
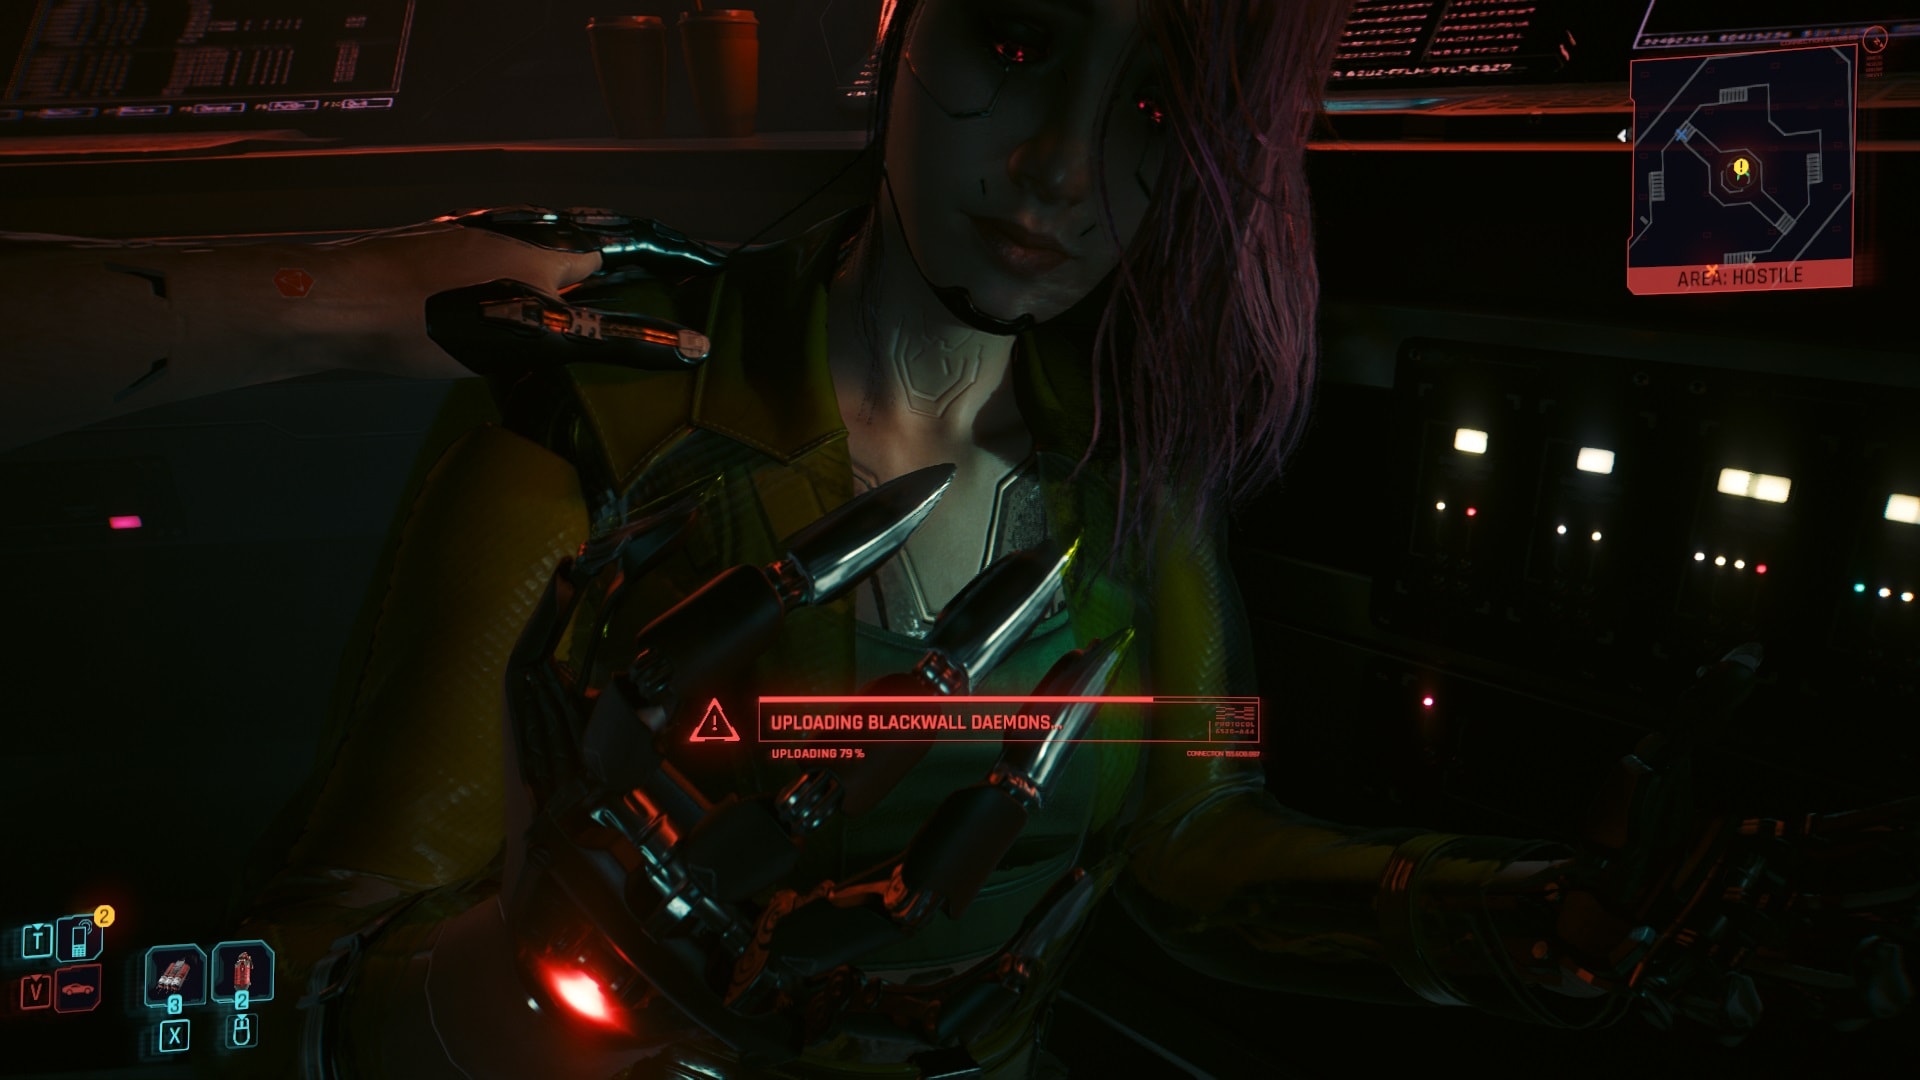
The number of enemies is simply too overwhelming. Unfortunately, the only thing that could ensure that V and Songbird survive is the Blackwall. Together, you and Songbird unleash the Blackwall.
Take Songbird to the shuttle
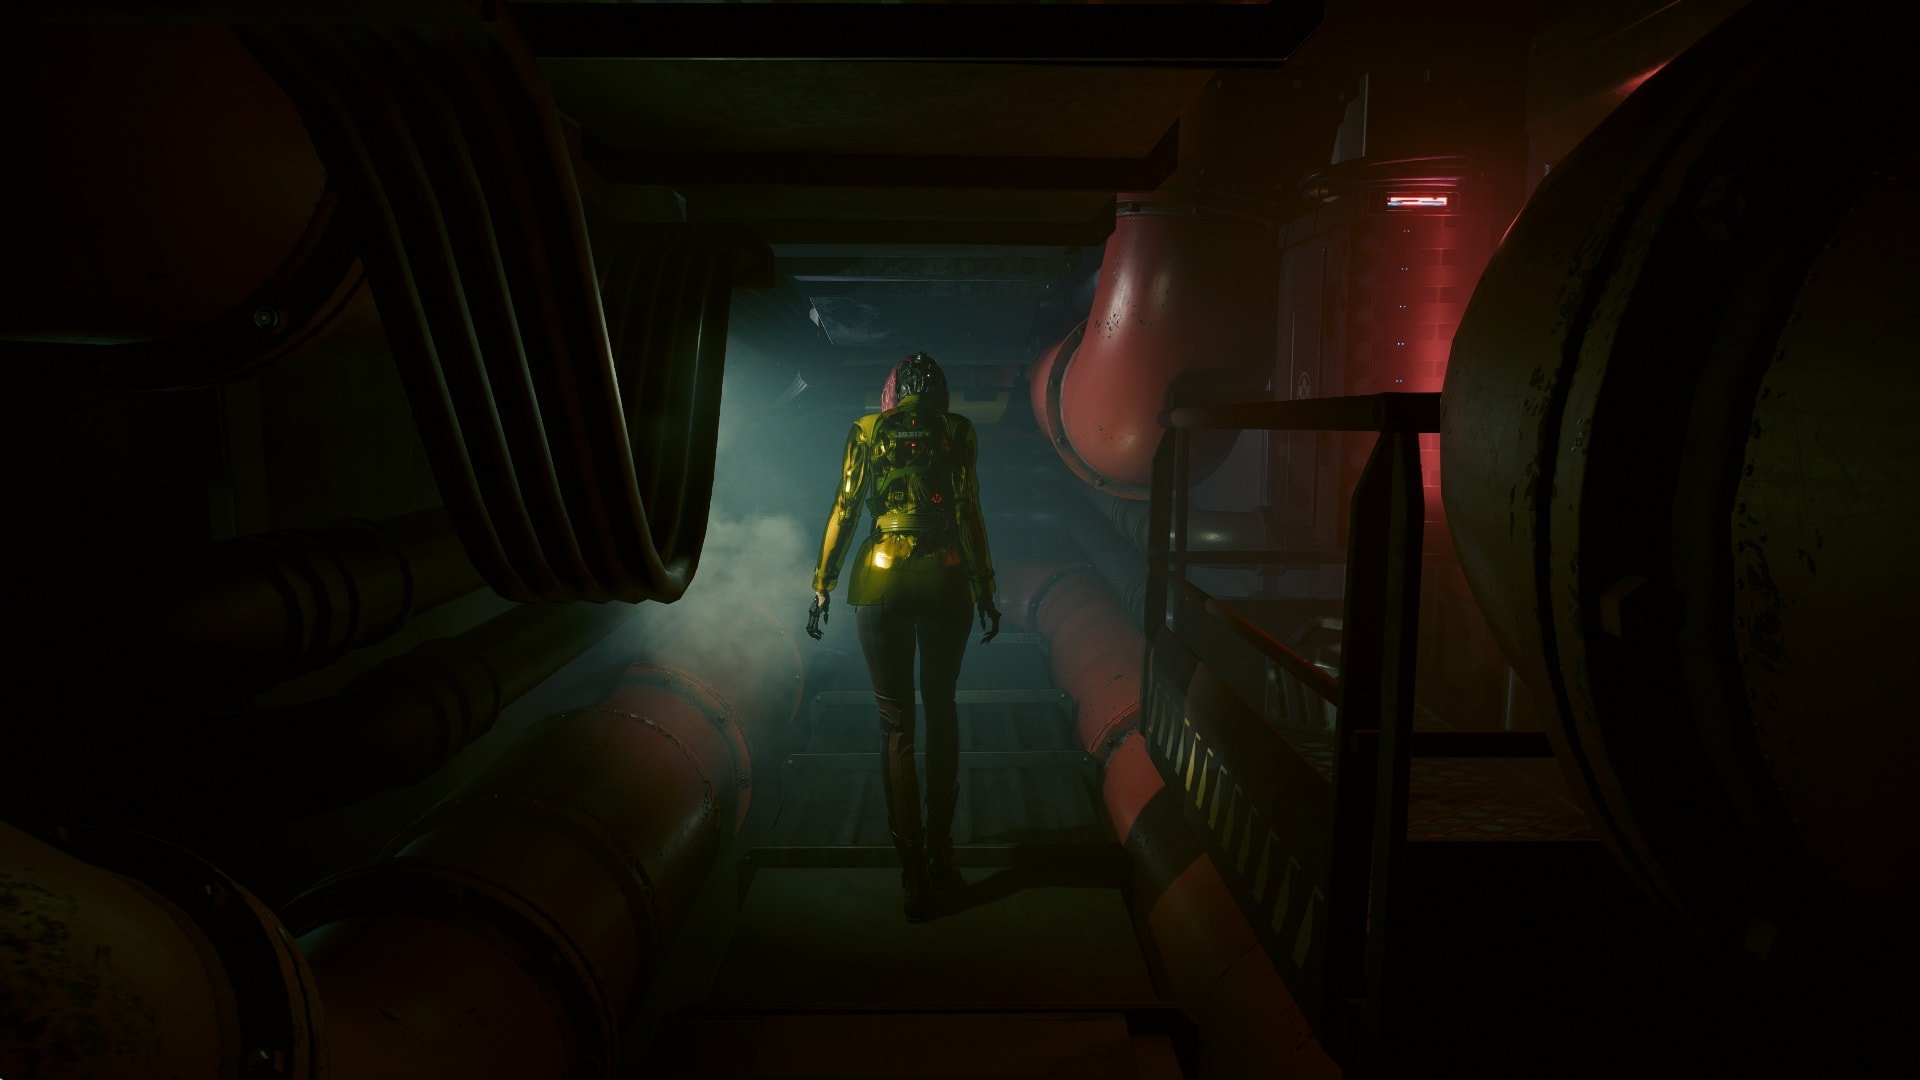
This is almost over, take Songbird to the train. All weapons are unavailable but who needs them when you have the power of the Blackwall on your hands? Every enemy that stands in your way dies instantly.
After reaching the train Songbird expresses her regret about everything she’s done. In a moment of sincerity, Songbird confesses that there is only one cure and not two as she originally promised. It was all a lie so you’d help her, and it worked.
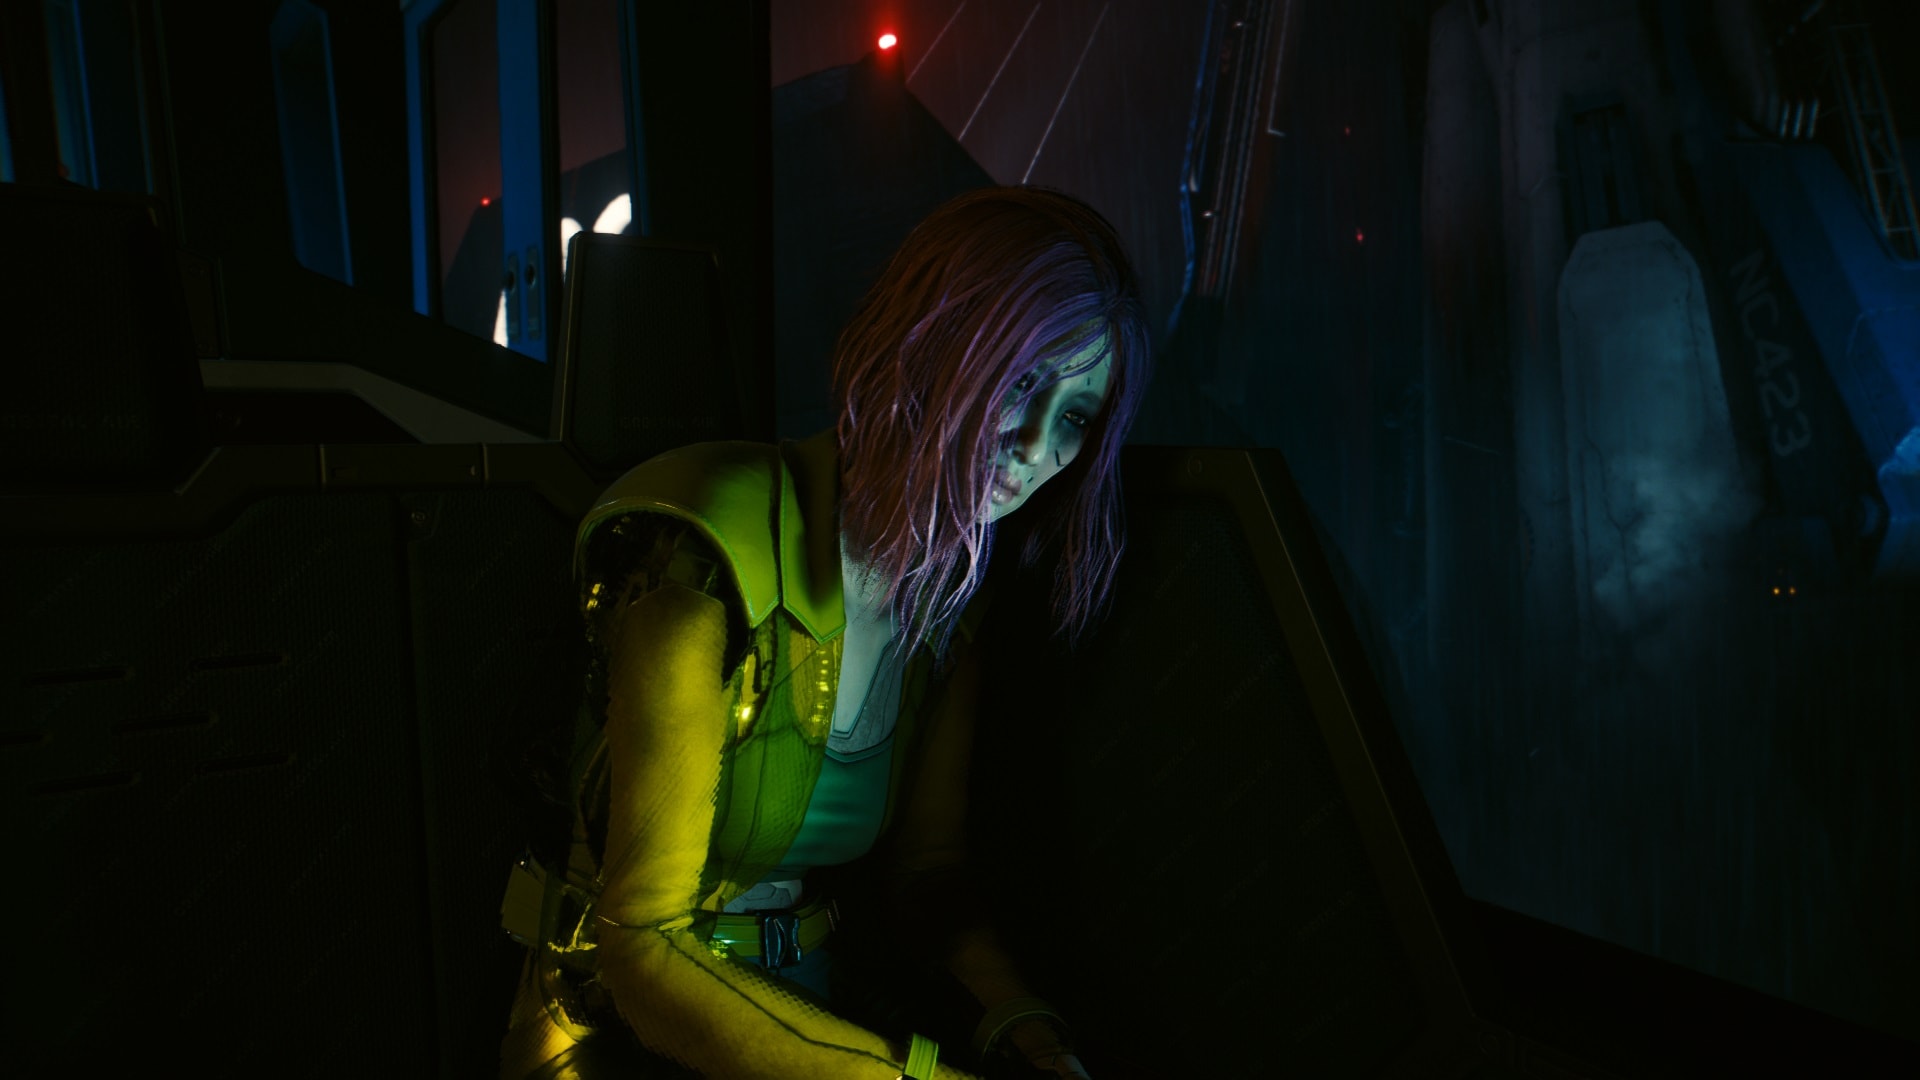
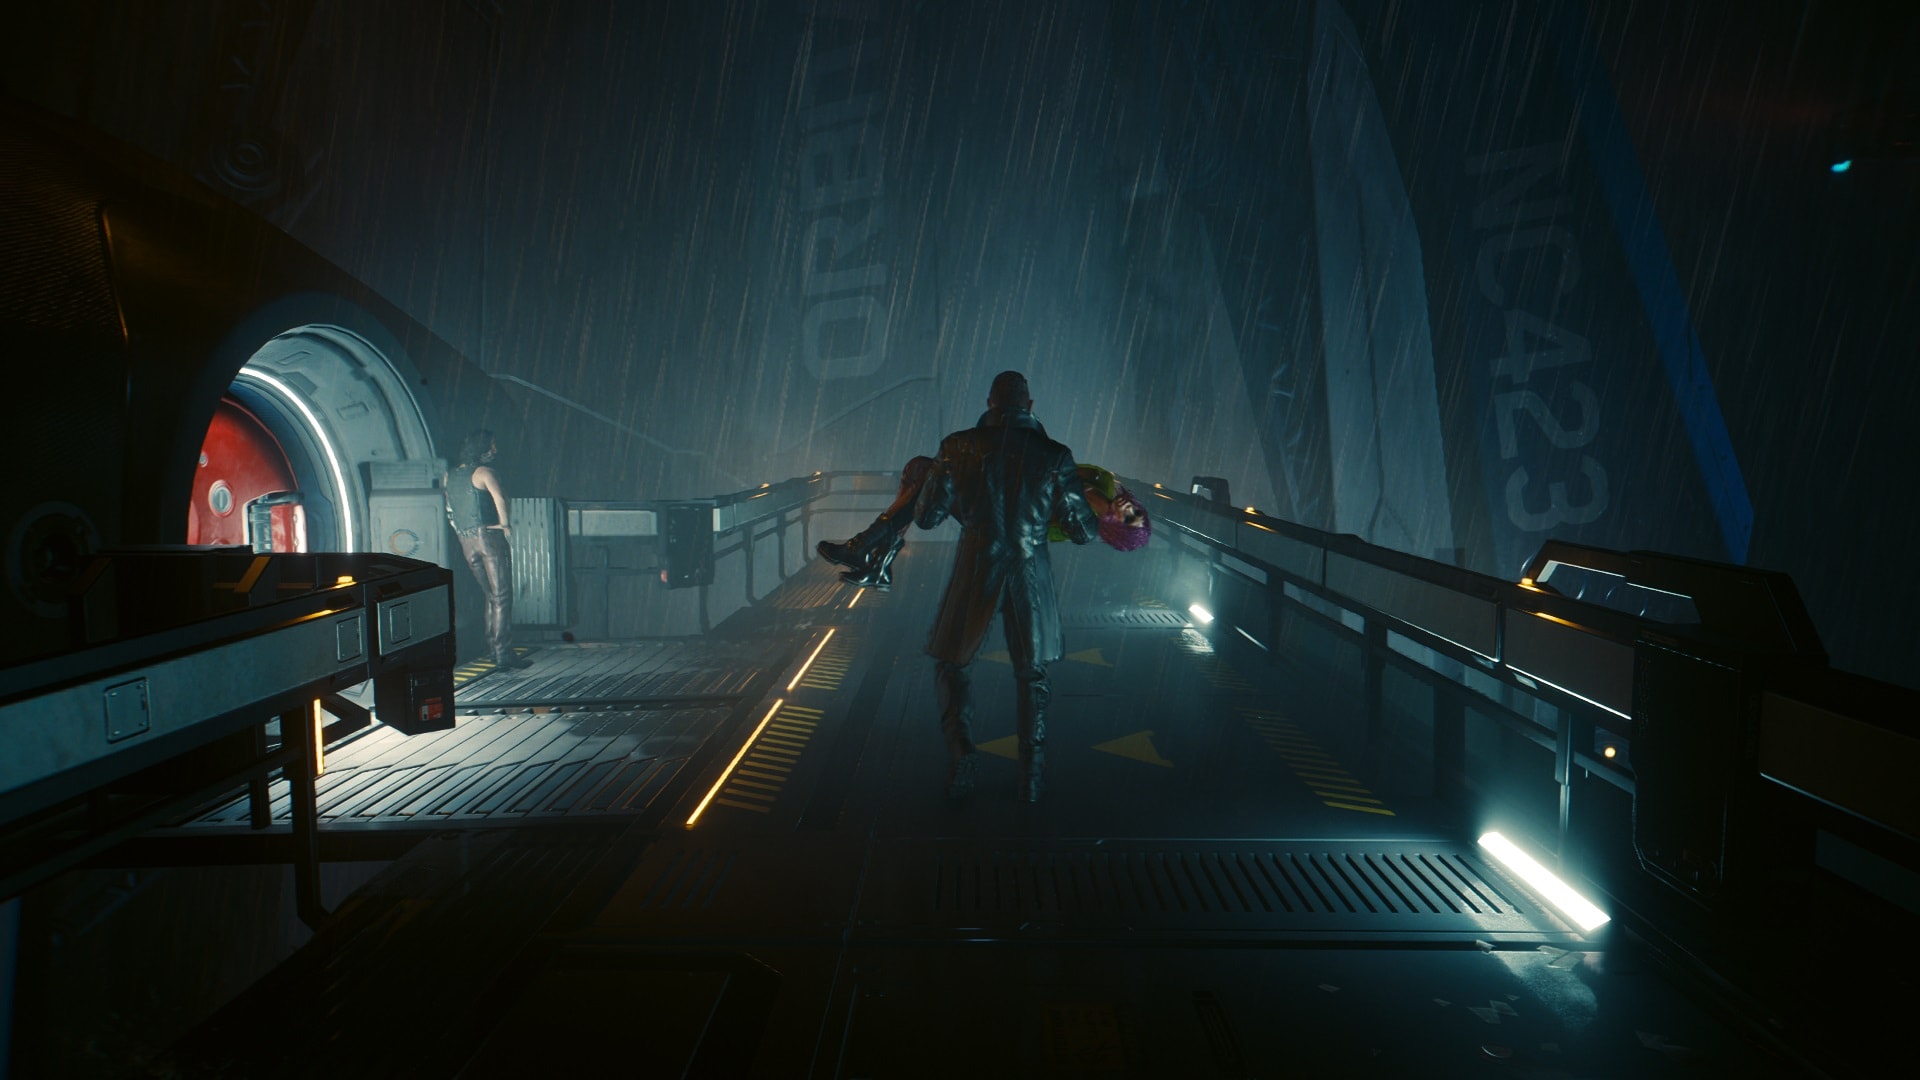
At this point, Songbird is barely breathing. Carrying her to the shuttle is the only way.

But Reed is already waiting, he wouldn’t miss this for anything.
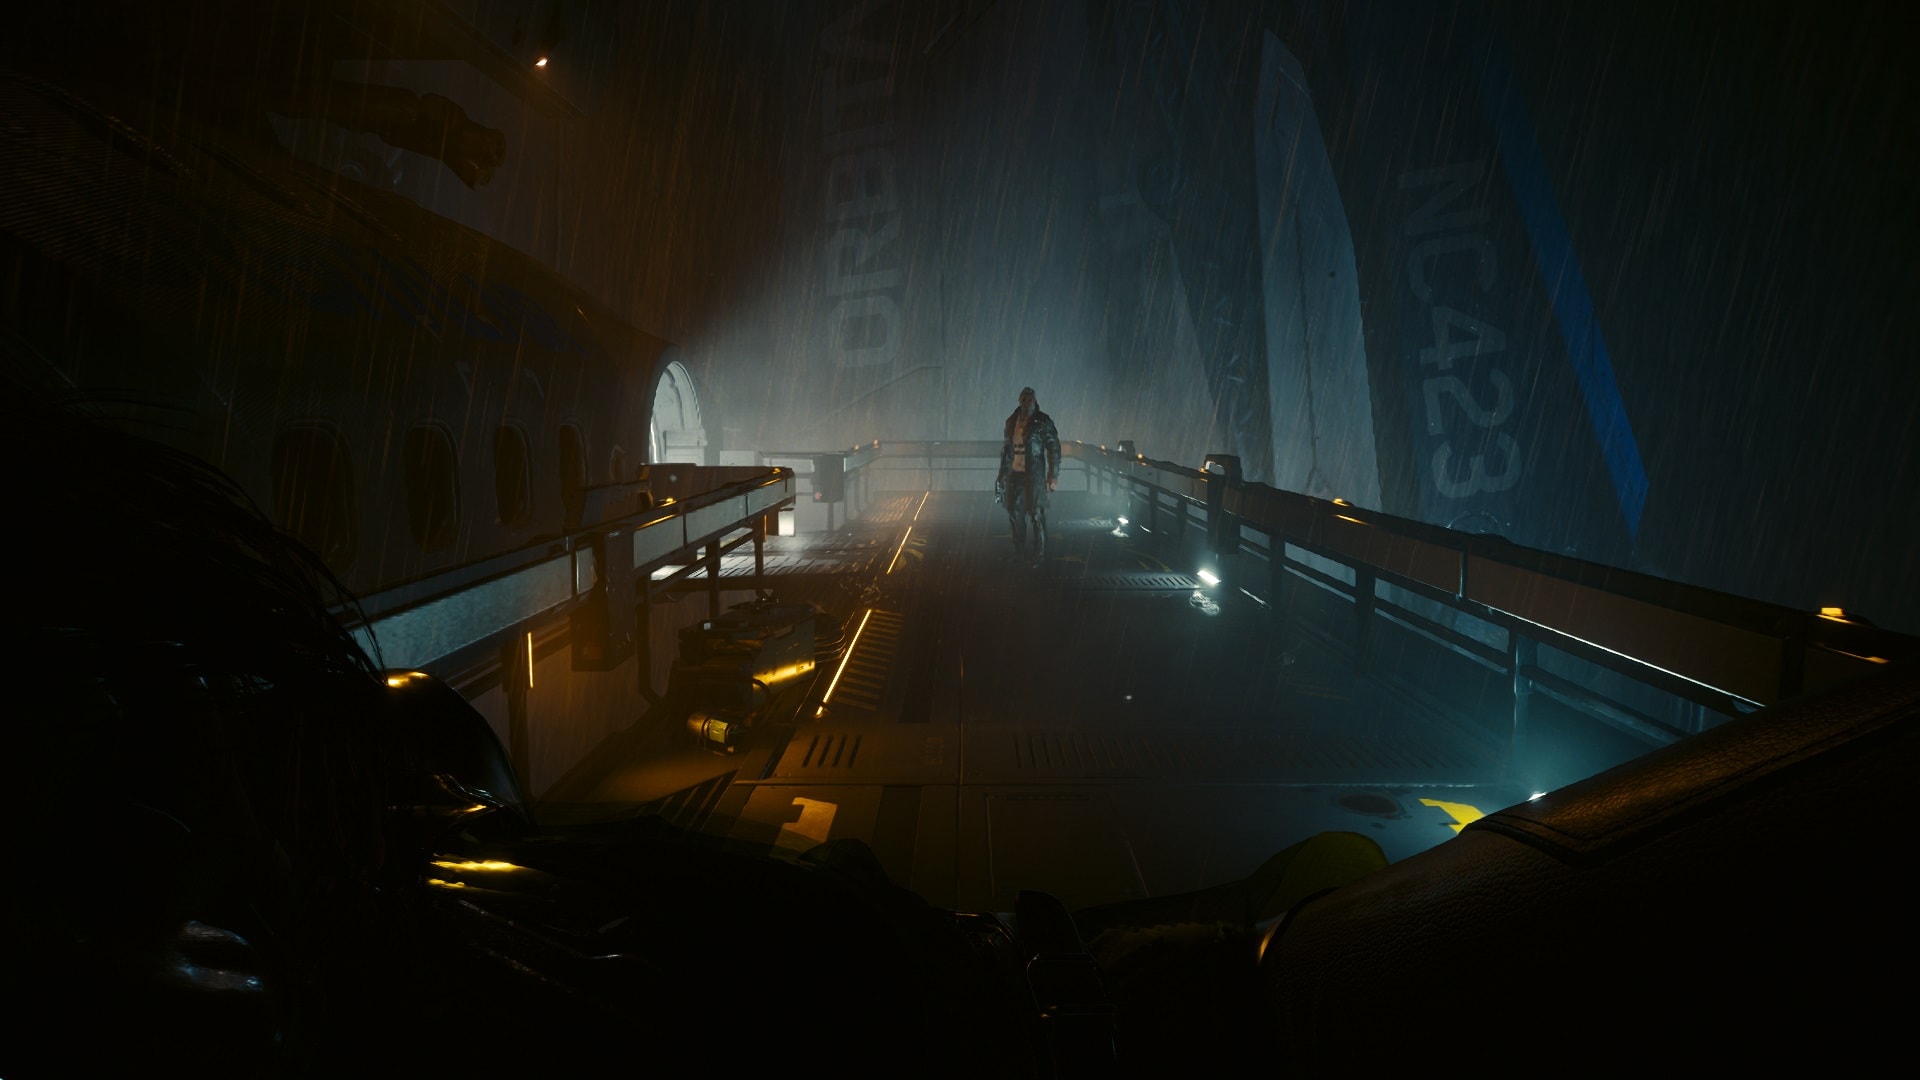
This last part of the mission requires you to make a choice. It is basically a big cutscene and the end of the Phantom Liberty’s main quest line. If you don’t want to know how it can end and prefer experiencing it yourself, this is where you should stop.
Possible mission Endings
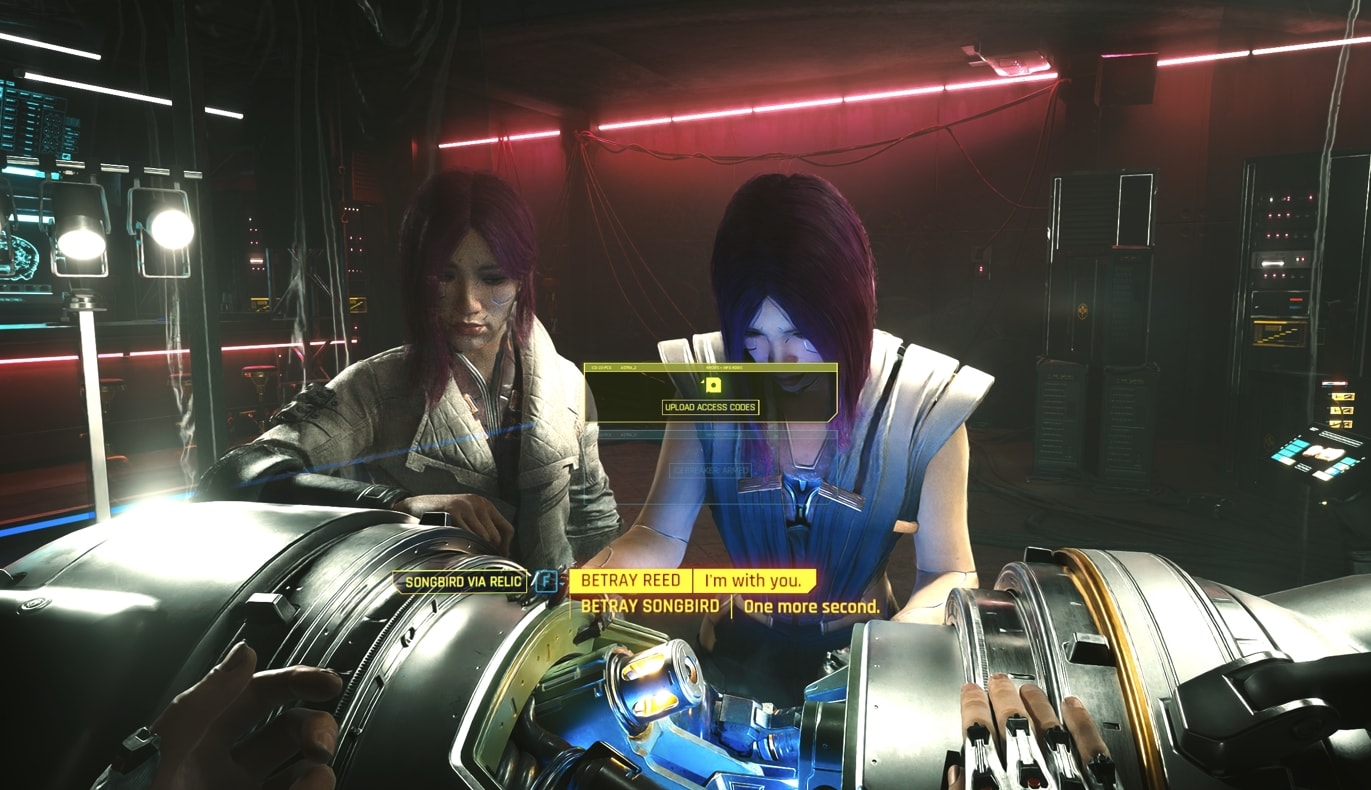
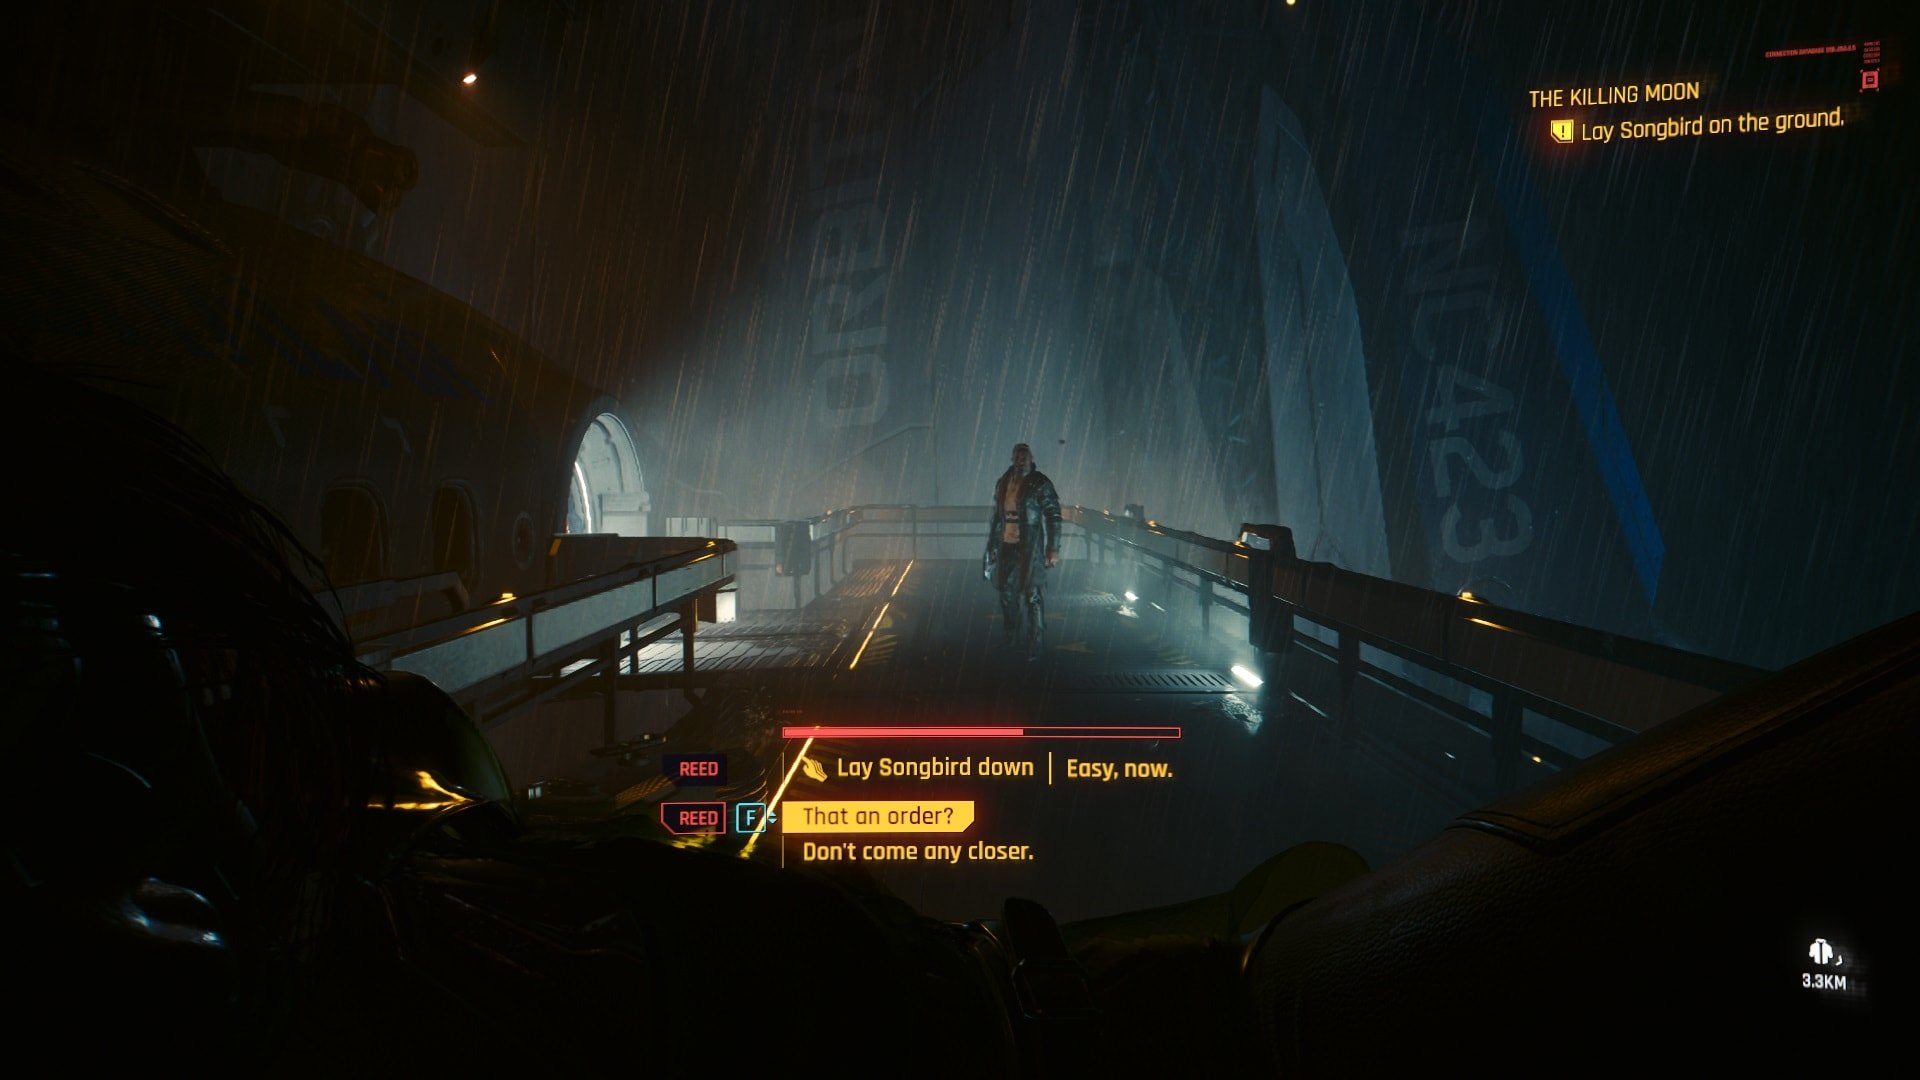
You have two choices: Let Reed take Songbird or use the last resort to help Songbird fulfill her goal. Warning: Don’t come close to Reed or you will have to load from the last checkpoint.
You must make a choice. Deliver her to the NUS so that she can be judged for her actions or help her despite all the lies. What is the best choice? Well, I don’t know if there’s a best choice but here’s what happens with both options.
What happens if you let Reed take Songbird
To unlock this option, pick the choice that mentions putting Songbird down on the floor. Then pick any option that doesn’t involve any threat or violent action.
Reed will grab her and walk to the other side of the platform. He says how she’ll be sentenced but also helped. With Songbird in the hands of the NUS, Myers wouldn’t have her executed.
An AV with NUS operatives lands, Reed simply tells you to forget everything that has happened here. The AV takes off and credits start rolling.
Making this choice and following this path will unlock the King of Swords achievement for you.
What happens if you don’t let Reed take Songbird
Pick the option that states you will not let him take Songbird. Then choose the one with the weapon icon, this will lead to the death of Solomon Reed.

Take Songbird to the shuttle and buckle her up. This is the last goodbye for her, who knows if this will work for her. I’d certainly hope so.
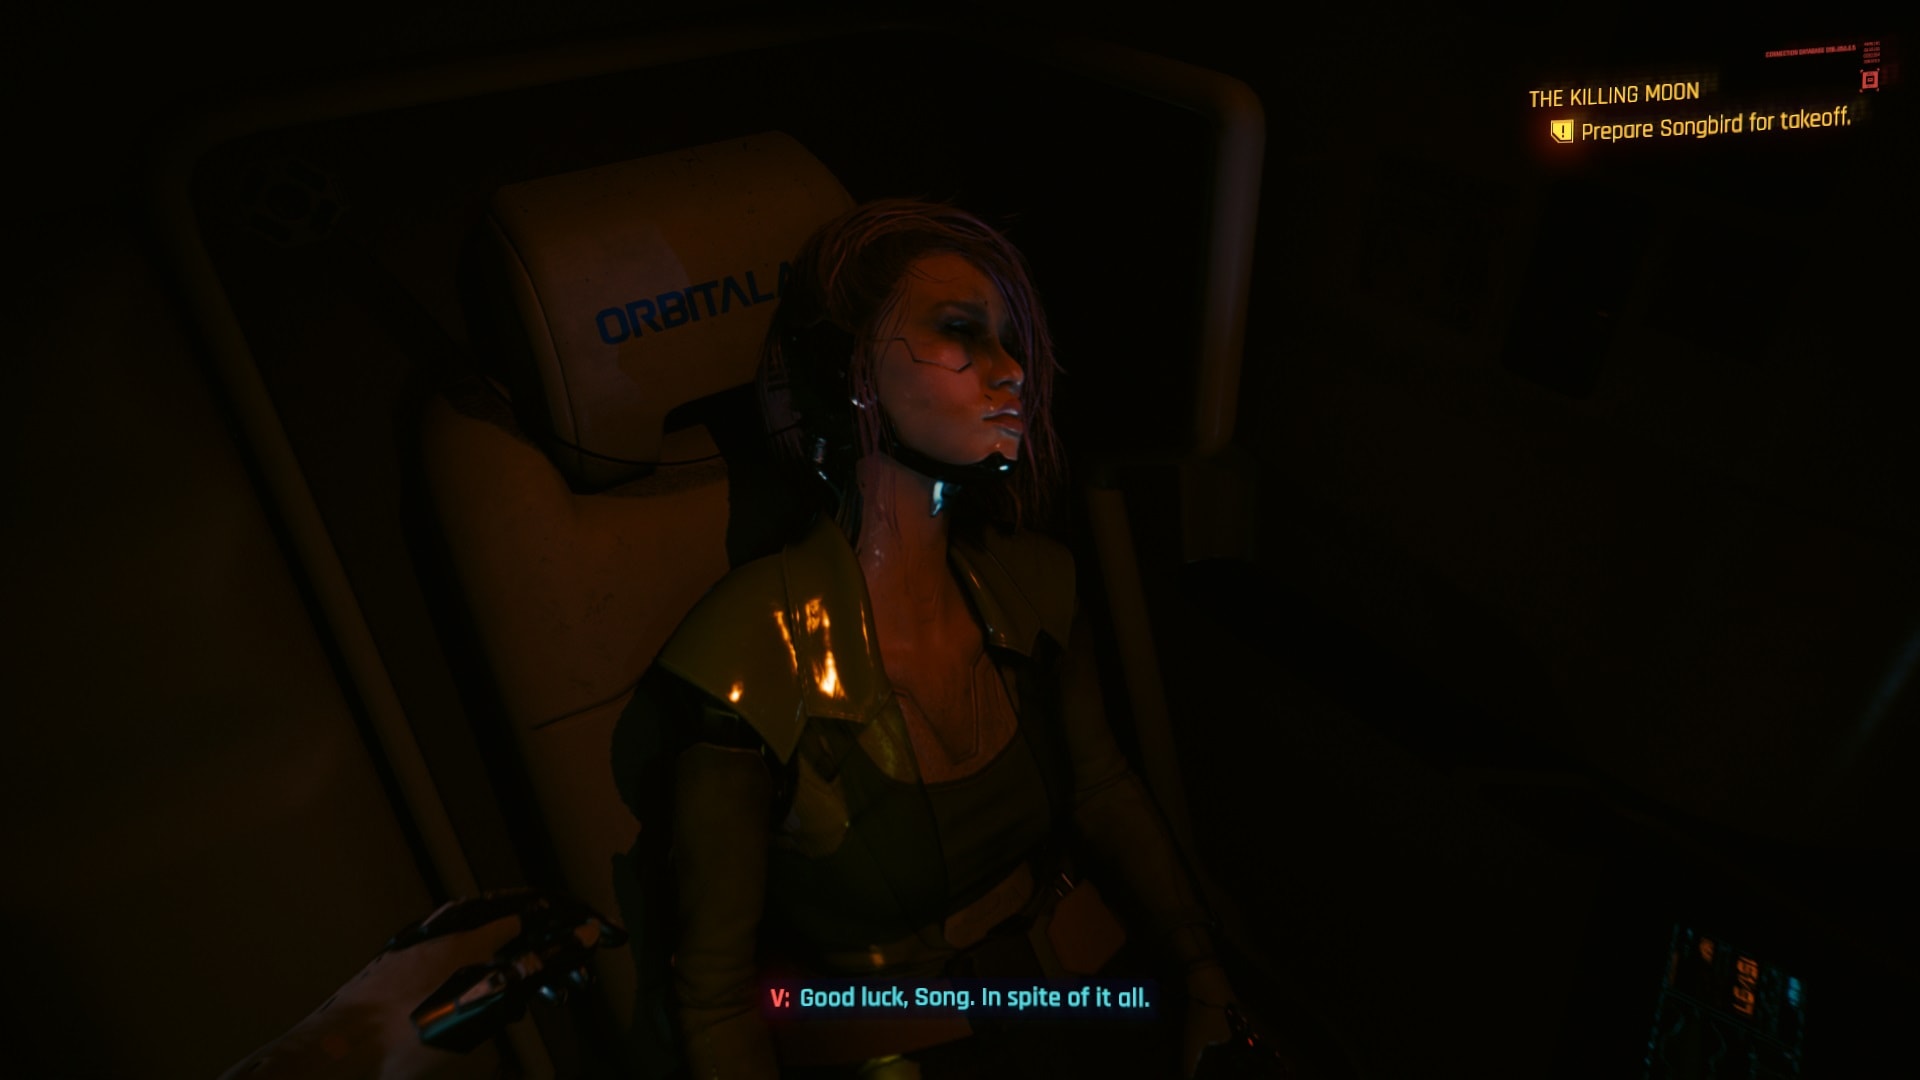
Go to the observation deck, but before doing so make sure to pick up “Pariah”. Reed’s iconic Tech Pistol.
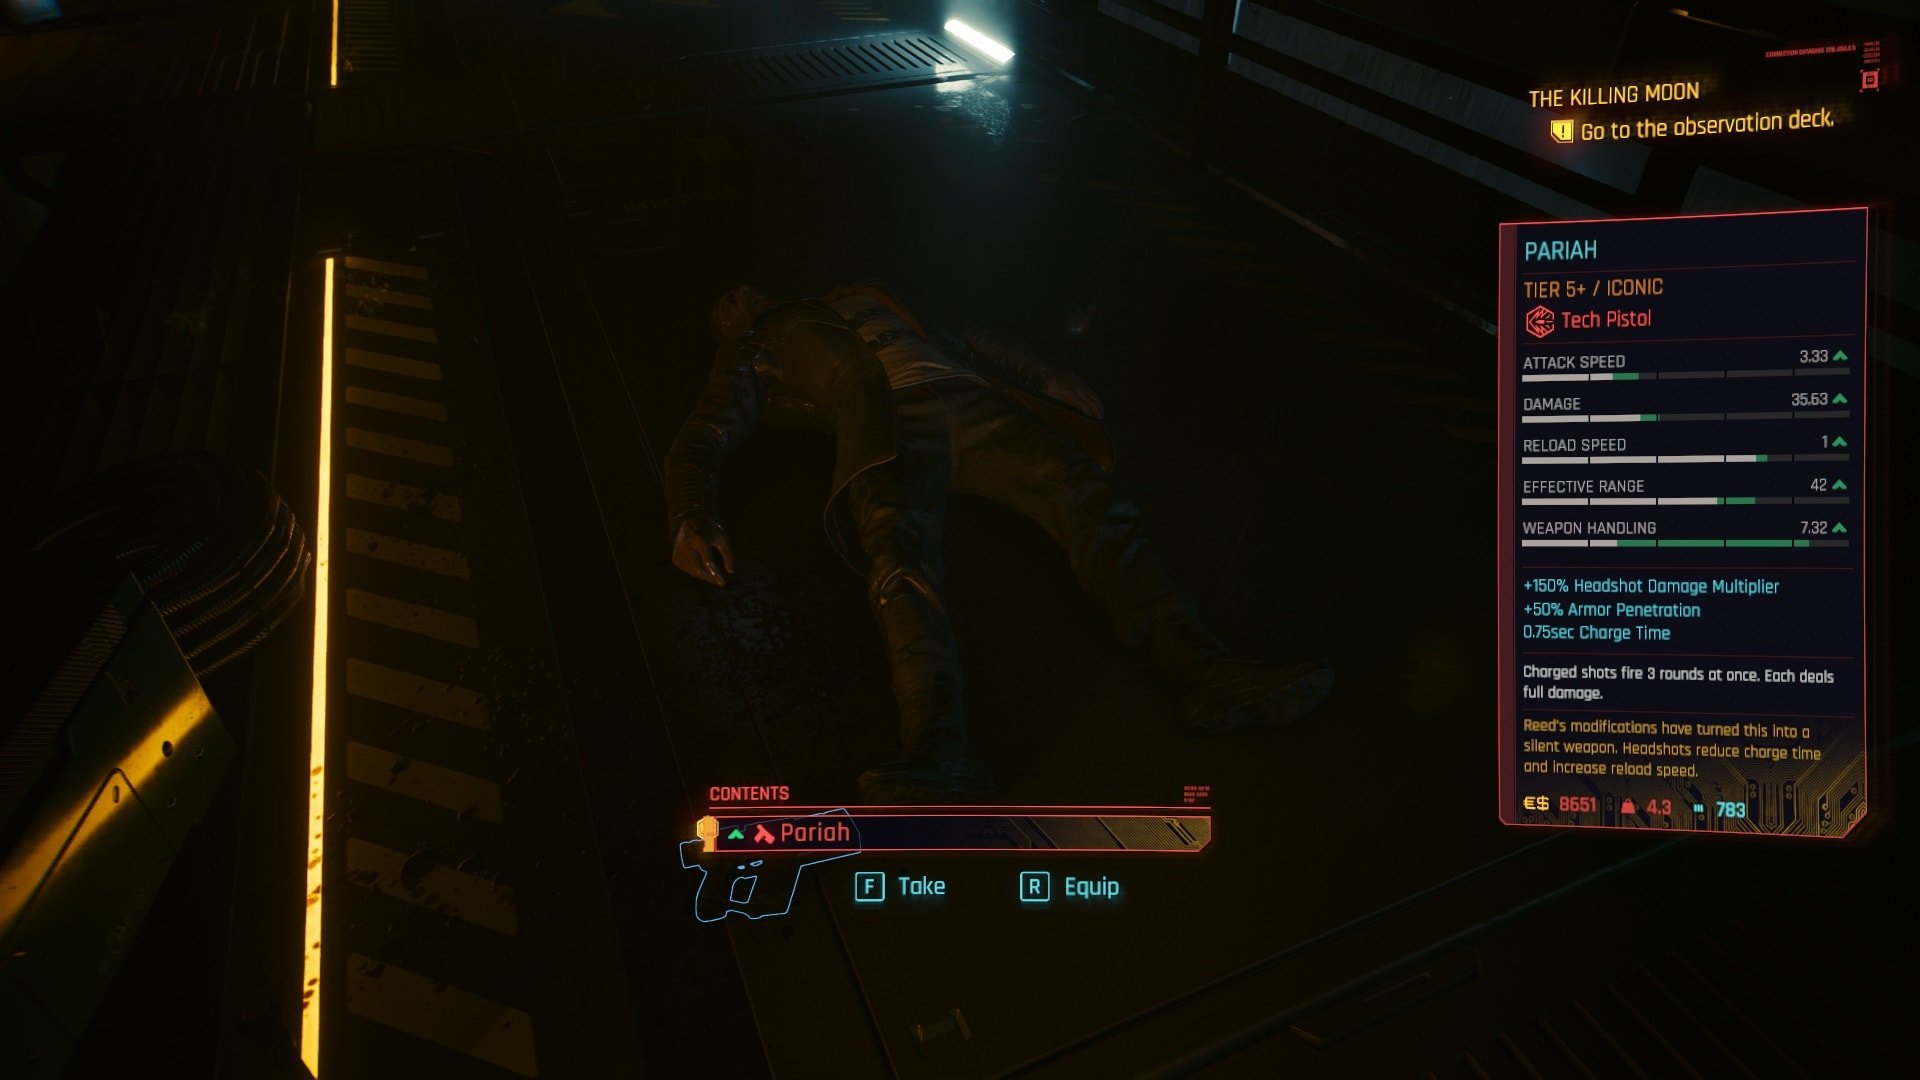
We have a catalog of all new Iconic Items in Cyberpunk 2077 Phantom Liberty. The Pariah is included there, of course. There are more story-related items that you can only obtain if you make certain choices during the main missions.
Take a sit and have a conversation with Johny about everything Songbird has gone through and the similarities/differences with Johnny. This is one of Johnny’s most sincere moments in the entire game, for a few seconds he stops wearing a mask.

Once the conversation is finished, the rocket transporting Songbird will depart. And we’ll probably never see her again. This will unlock the King of Pentacles achievement for you.
There are four secret achievements related to each one of the possible endings to the Phantom Liberty Storyline. They all start with your major decision during the main job Firestarter to side with Reed or help Songbird.
Check our complete guide to all Phantom Liberty Achievements for instructions on how to earn the following:
| Side with Reed | Side with Songbird |
|---|---|
King of Cups | King of Wands |
King of Pentacles | King of Swords |
Congratulations! You have completed Phantom Liberty.

Cyberpunk 2077 Phantom Liberty Review (No Spoilers)
An in-depth spoiler-free review of Cyberpunk 2077 Phantom Liberty. Find out what has changed, learn of all new features and our experiences!

How to start Phantom Liberty in Cyberpunk 2077 and go to Dogtown
This guide will tell you everything you need to know about how to start the Phantom Liberty expansion in Cyberpunk 2077 and how to access the new zone in Night City called Dogtown!

How to Defeat the Chimera in Cyberpunk 2077 Phantom Liberty: The Spider And The Fly Walkthrough
This guide will show you how to complete the main mission “The Spider and the Fly” from Cyberpunk 2077’s expansion Phantom Liberty! The walkthrough details each step you must take and useful tips to defeat the Chimera unit.
Cyberpunk 2077 Lucretia My Reflection Guide: Can You Save Jacob and Taylor
This guide will show you how to start and complete the main mission “Lucretia My Reflection” in Cyberpunk 2077 Phantom Liberty. You will also learn about all of the possible outcomes and the required choices in order to get them!
You Know My Name Walkthrough: Cyberpunk 2077 Phantom Liberty
This guide will show you how to complete the main job “You know my name” from Cyberpunk 2077’s expansion Phantom Liberty! The walkthrough details each step you must take and all of the possible outcomes.

Firestarter Walkthrough: Cyberpunk 2077 Phantom Liberty
This guide will show you how to complete the main job “Firestarter” from Cyberpunk 2077’s expansion Phantom Liberty! The walkthrough details each step you must take and the possible outcomes.
Cyberpunk 2077 Black Steel in the Hour of Chaos Guide
This guide will show you how to complete the main job “Black Steel in the Hour of Chaos” from Cyberpunk 2077’s expansion Phantom Liberty! The walkthrough details each step you must take to ambush the Convoy that transports So Mi and defeat the MaxTac team.

Somewhat Damaged Walkthrough: Cyberpunk 2077 Phantom Liberty
This guide will show you how to complete the main job “Somewhat Damaged” from Cyberpunk 2077’s expansion Phantom Liberty! The walkthrough details each step you must take to fully explore the environment and avoid getting caught by the patrolling Cerberus unit.

Cyberpunk 2077 Phantom Liberty Endings Guide: How to unlock all of them
This guide will show you how to get all Cyberpunk 2077 Phantom Liberty endings and how to unlock the new ending for the base game! Here you will find all the step to unlock the endings, all the rewards, achievements, and an explanation of the fate of all characters involved!
Cyberpunk 2077 Phantom Liberty 1R-0NC-LAD Scavenger Hunt Guide
This guide will show you how to start one of the secret missions in Cyberpunk 2077 Phantom Liberty – a scavenger hunt to solve the mystery of the broken robot 1R-0NC-LAD (Ironclad) in Dogtown’s stadium!
Cyberpunk 2077 Dogtown Airdrops Guide: Watch for the Red Smoke
This quick guide explains the purpose of the red smoke marking Airdrops in Dogtown and what you can get from completing these mini-events in Cyberpunk 2077 Phantom Liberty!

No Easy Way Out Walkthrough: Cyberpunk 2077 Phantom Liberty
This guide will show you how to complete the side job “No Easy Way Out” from Cyberpunk 2077’s expansion Phantom Liberty! The walkthrough details each step you must take and the possible outcomes.
Dogtown Saints Walkthrough: Should you kill or spare Nika in Cyberpunk 2077 Phantom Liberty
This guide will show you how to start and complete the gig “Dogtown Saints” from Cyberpunk 2077’s expansion Phantom Liberty! The walkthrough details each step you must take and the available choices and consequences.
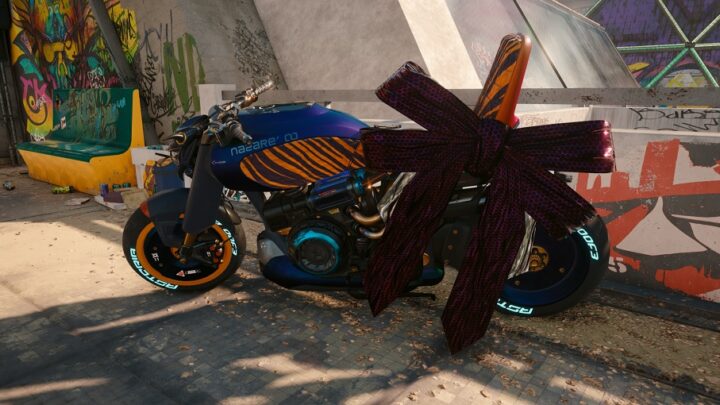
Dazed And Confused Walkthrough: How to get Lina Malina's Bike in Cyberpunk 2077 Phantom Liberty
This guide will show you how to complete the side job “Dazed and Confused” from Cyberpunk 2077’s expansion Phantom Liberty and how to get the Lina Malina's Bike, the Malina-Mobile, an almost-free bike you can get in Dogtown! The walkthrough details each step you must take to obtain this fantastic ride.
Balls To The Wall Walkthrough: Cyberpunk 2077 Phantom Liberty
This guide will show you how to start and complete the side job “Balls To The Wall” from Cyberpunk 2077’s expansion Phantom Liberty! The walkthrough details each step you must take and the possible outcomes.
Prototype In The Scraper Walkthrough: Should you Let Hasan Go, Cyberpunk 2077 Phantom Liberty
This guide will show you how to start and complete the gig “Prototype in the scraper” from Cyberpunk 2077’s expansion Phantom Liberty! The walkthrough details each step you must take and the available choices and consequences.
Should You Shoot Leon Rinder: Cyberpunk 2077 The Man Who Killed Jason Foreman
This guide will show you how to complete the side job “The Man Who Killed Jason Foreman” from Cyberpunk 2077’s expansion Phantom Liberty! The walkthrough details each step you must take and all the possible outcomes

Shot By Both Sides Walkthrough: Should you protect Bree, Cyberpunk 2077 Phantom Liberty
This guide will show you how to start and complete the side job “Shot by both sides” from Cyberpunk 2077’s expansion Phantom Liberty! The walkthrough details each step you must take and the available choices and consequences.
Cyberpunk 2077 Treating Symptoms Guide: What to do with Milko
This guide will show you how to complete the Gig “Treating Symptoms” from Cyberpunk 2077’s expansion Phantom Liberty! The walkthrough details each step you must take and the possible endings whether you leave Allen to finish or take down Milko right away!

Talent Academy Walkthrough: Cyberpunk 2077 Phantom Liberty
This guide will show you how to complete the gig "Talent Academy" from Cyberpunk 2077's expansion Phantom Liberty! The walkthrough details each step you must take and the available choices.

Spy In The Jungle Walkthrough: Cyberpunk 2077 Phantom Liberty
This guide will show you how to start and complete the gig “Spy in the Jungle” from Cyberpunk 2077’s expansion Phantom Liberty! The walkthrough details each step you must take and the available choices and consequences.
Run This Town: Who should rule Dogtown, Cyberpunk 2077 Phantom Liberty Guide
This guide will show you how to start and complete the side job “Run this town” from Cyberpunk 2077’s expansion Phantom Liberty! The walkthrough details each step you must take and the available choices and consequences.

All New Tarot Card Locations in Cyberpunk 2077 Phantom Liberty
This guide will show you the locations of all four new Tarot Cards available in Dogtown, Night City’s Combat Zone, released with Cyberpunk 2077’s Phantom Liberty Expansion!

How to get a Free Outlaw Car in Cyberpunk 2077 Phantom Liberty: Baby Take Me Home Guide
This guide will show you how to complete the side job “Baby Take Me Home” from Cyberpunk 2077’s expansion Phantom Liberty and get the free Outlaw Car, the only free car you can get in Dogtown! The walkthrough details each step you must take to obtain this badass ride.

Cyberpunk 2077 Moving Heat: How to get the Sport R-7 "Charon" Flaming Car
This guide will show you how to complete the side job "Moving Heat" from Cyberpunk 2077’s expansion Phantom Liberty! The walkthrough details each step you must take to acquire the Sport R-7 "Charon" car.