This guide will show you how to complete the main job “You know my name” from Cyberpunk 2077’s expansion Phantom Liberty! The walkthrough details each step you must take and all of the possible outcomes.
How to unlock the “You Know My Name” mission
“You Know My Name” is a main job in Cyberpunk 2077. It is part of the new storyline in Dogtown, which is only accessible if you purchase the Phantom Liberty expansion.
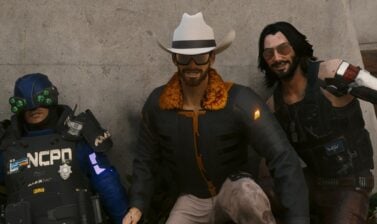
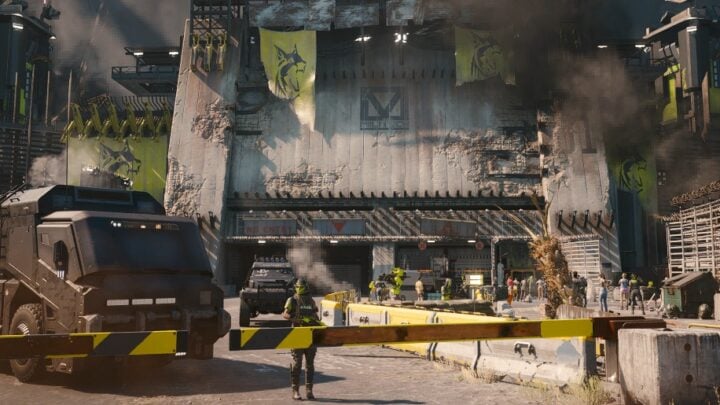
After completing three gigs, you’ll finally be able to meet the mysterious Mr. Hands. By doing these jobs you have helped him improve his influence and as a reward, he gets you access to the party at the Black Sapphire that’s being hosted by Kurt Hansen himself.
After meeting Mr. Hands you, Reed, and Alex discuss the plan to infiltrate the luxurious fortress. With all the details sorted out, V must find an entrance into the flooded tunnels.
Fun fact: The name of this mission shares its name with a song written by Chris Cornell for the James Bond Casino Royale movie, how fitting.
You Know My Name Mission Walkthrough
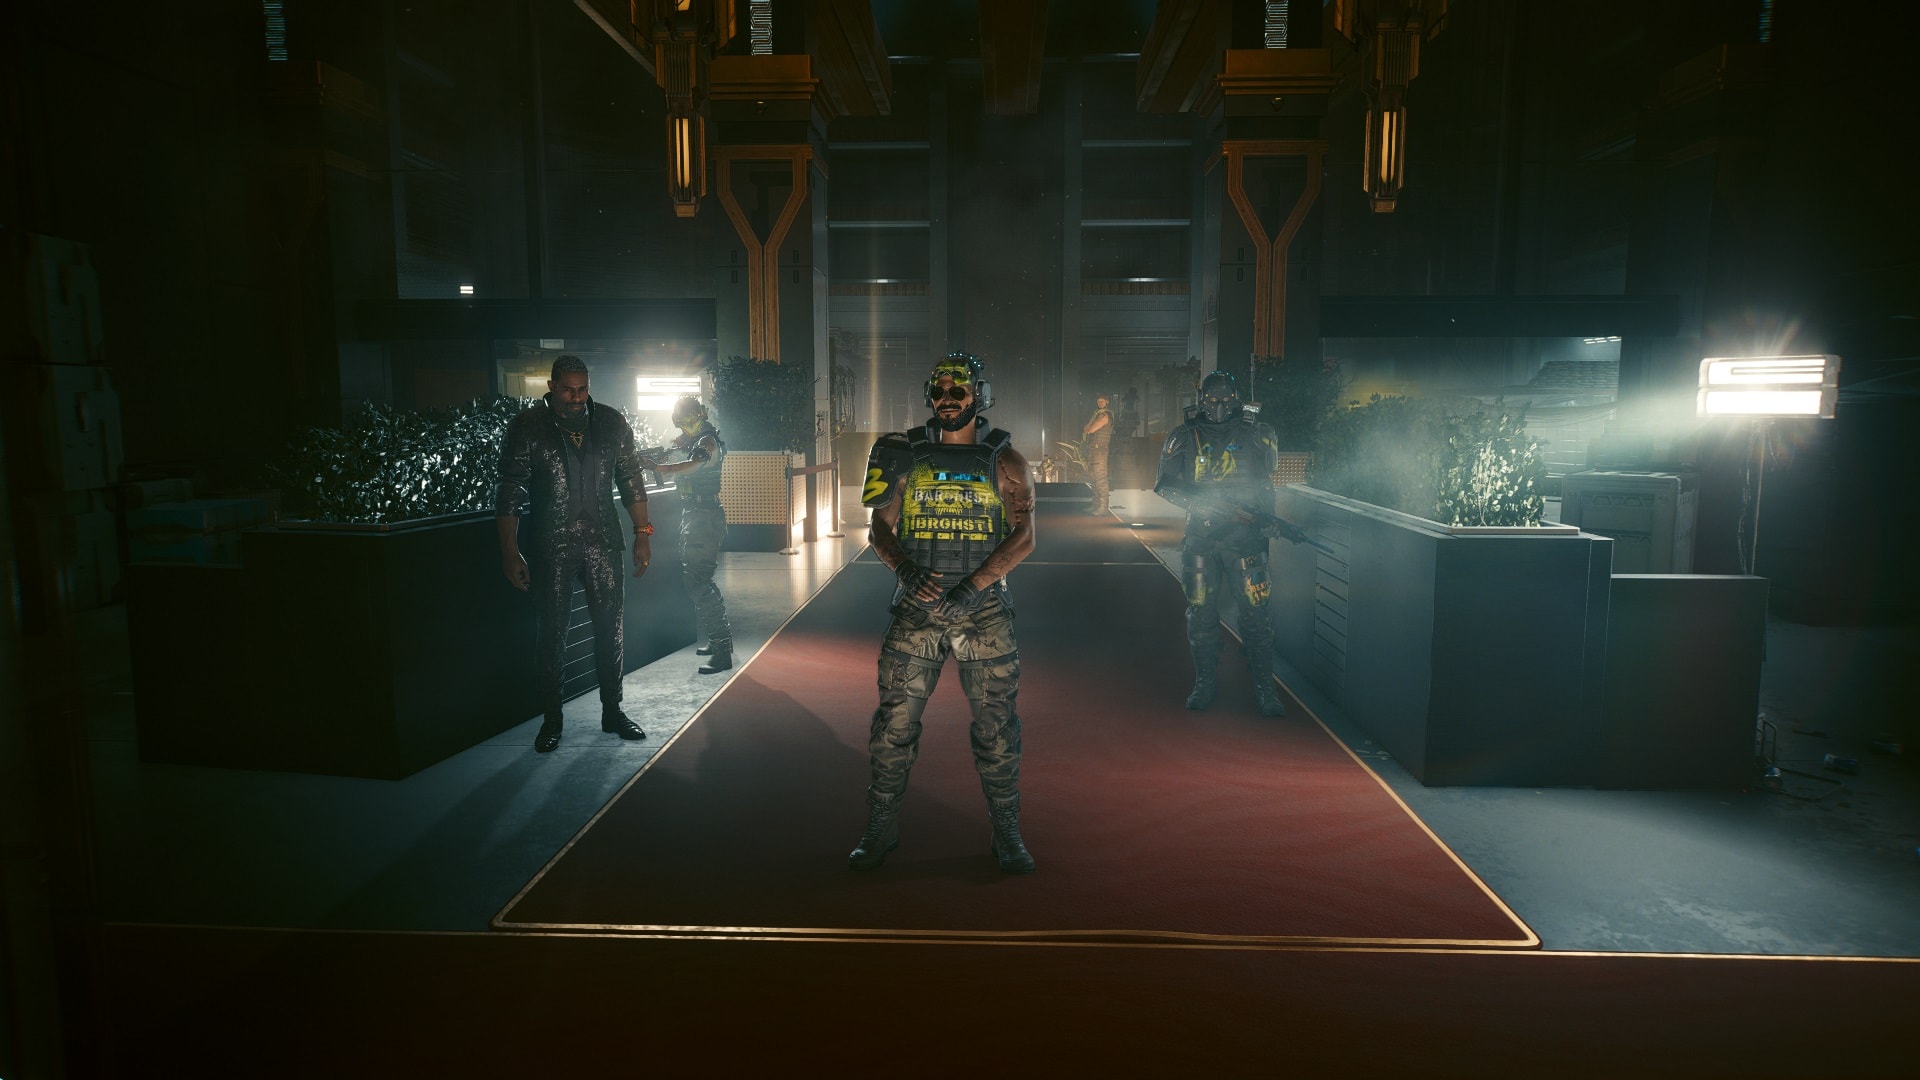
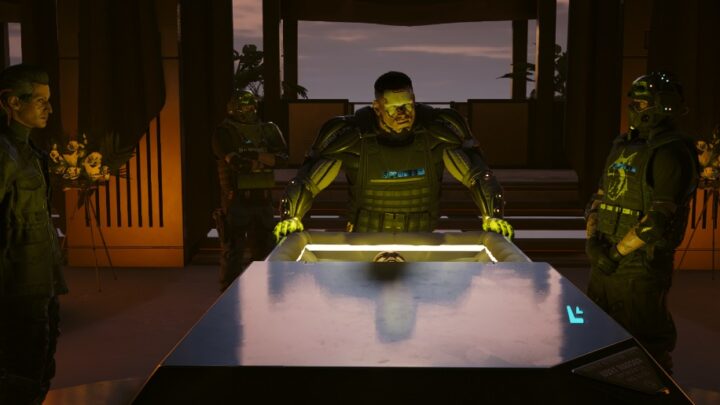
Infiltrate the Black Sapphire
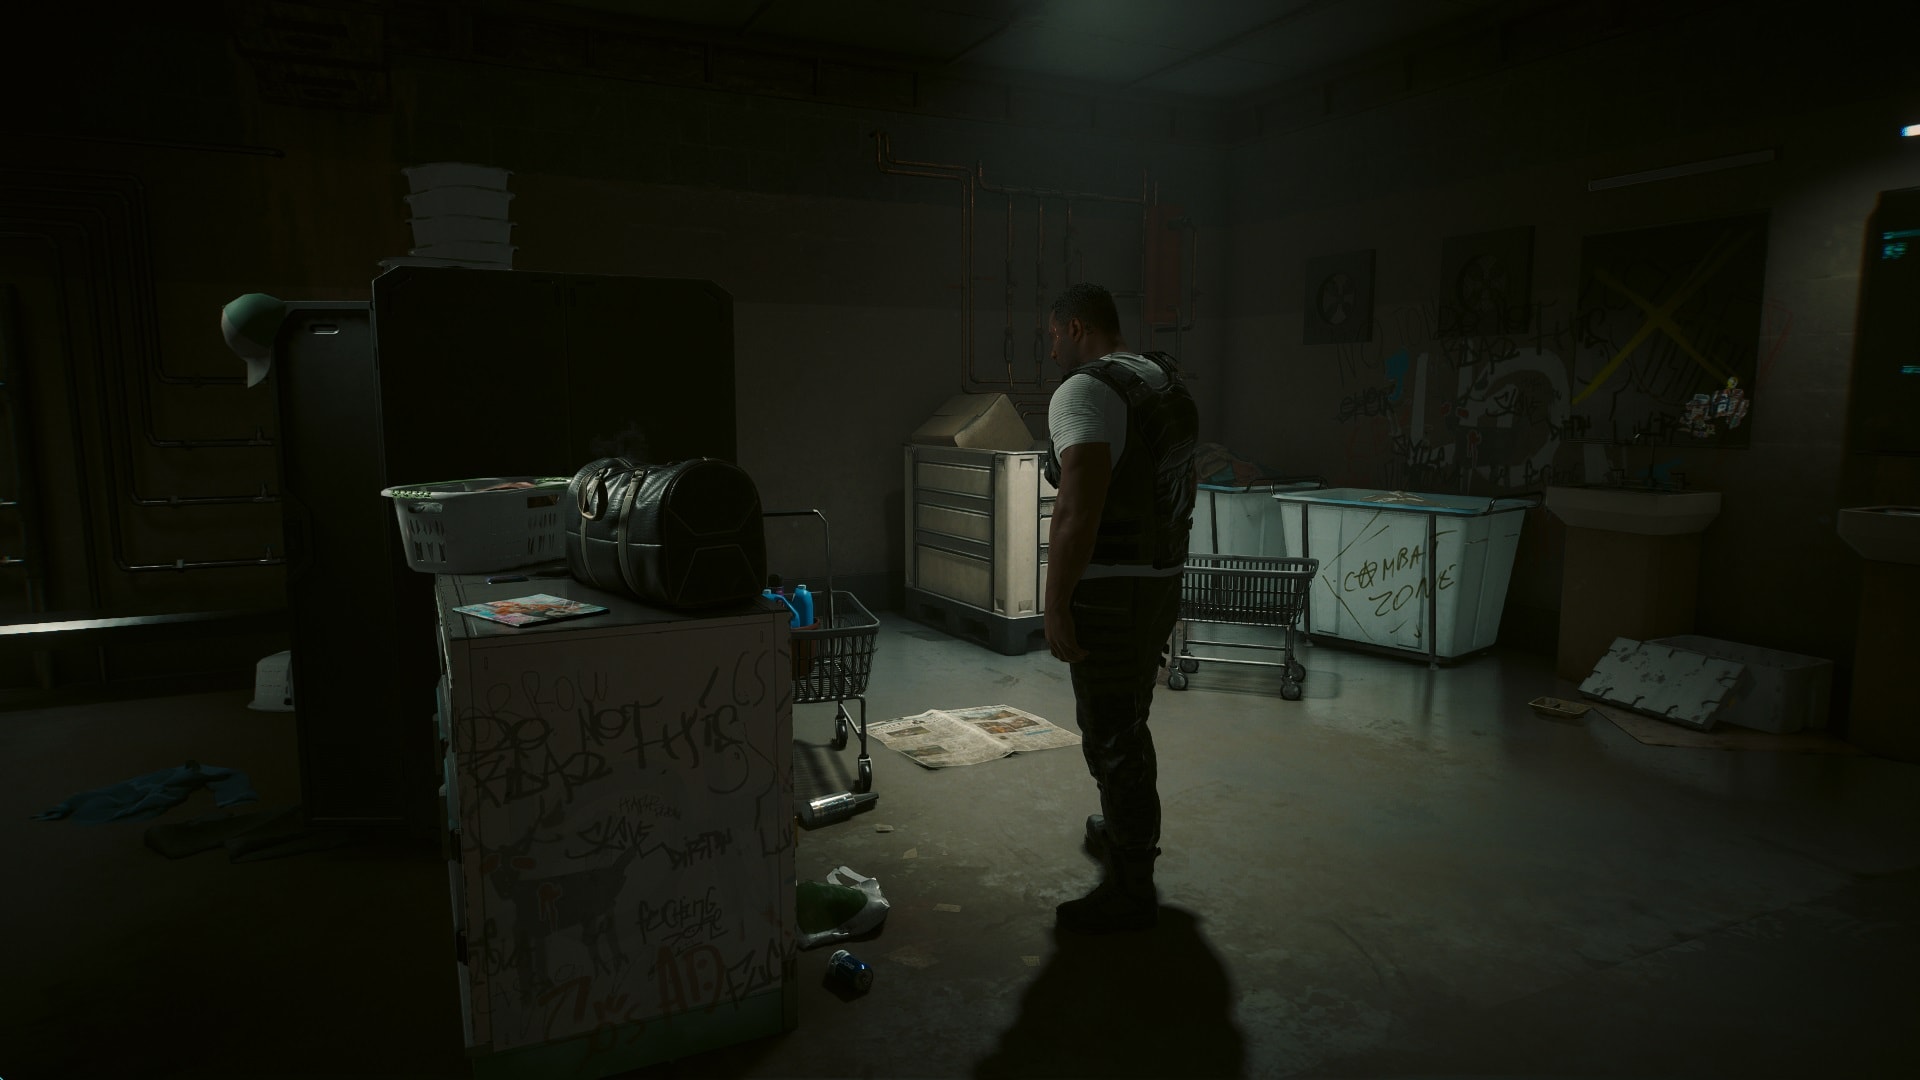
The entrance to the tunnels is West of the Heavy Hearts Club (the pyramid-shaped building).
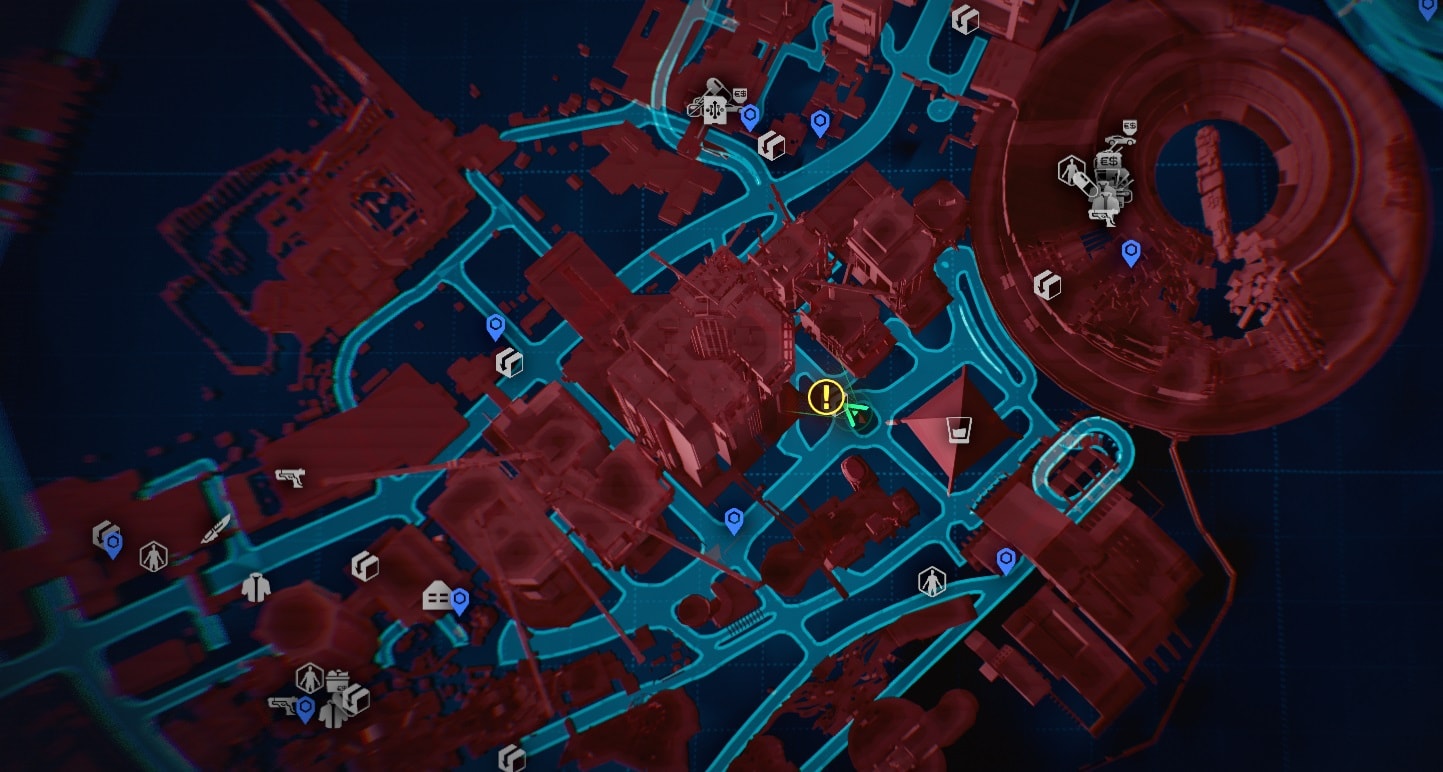
The entrance isn’t too obvious, go to the marked location on the map and then search for the stairs that go down one level. From a first look, the door appears blocked, but you have to access it from the right side.
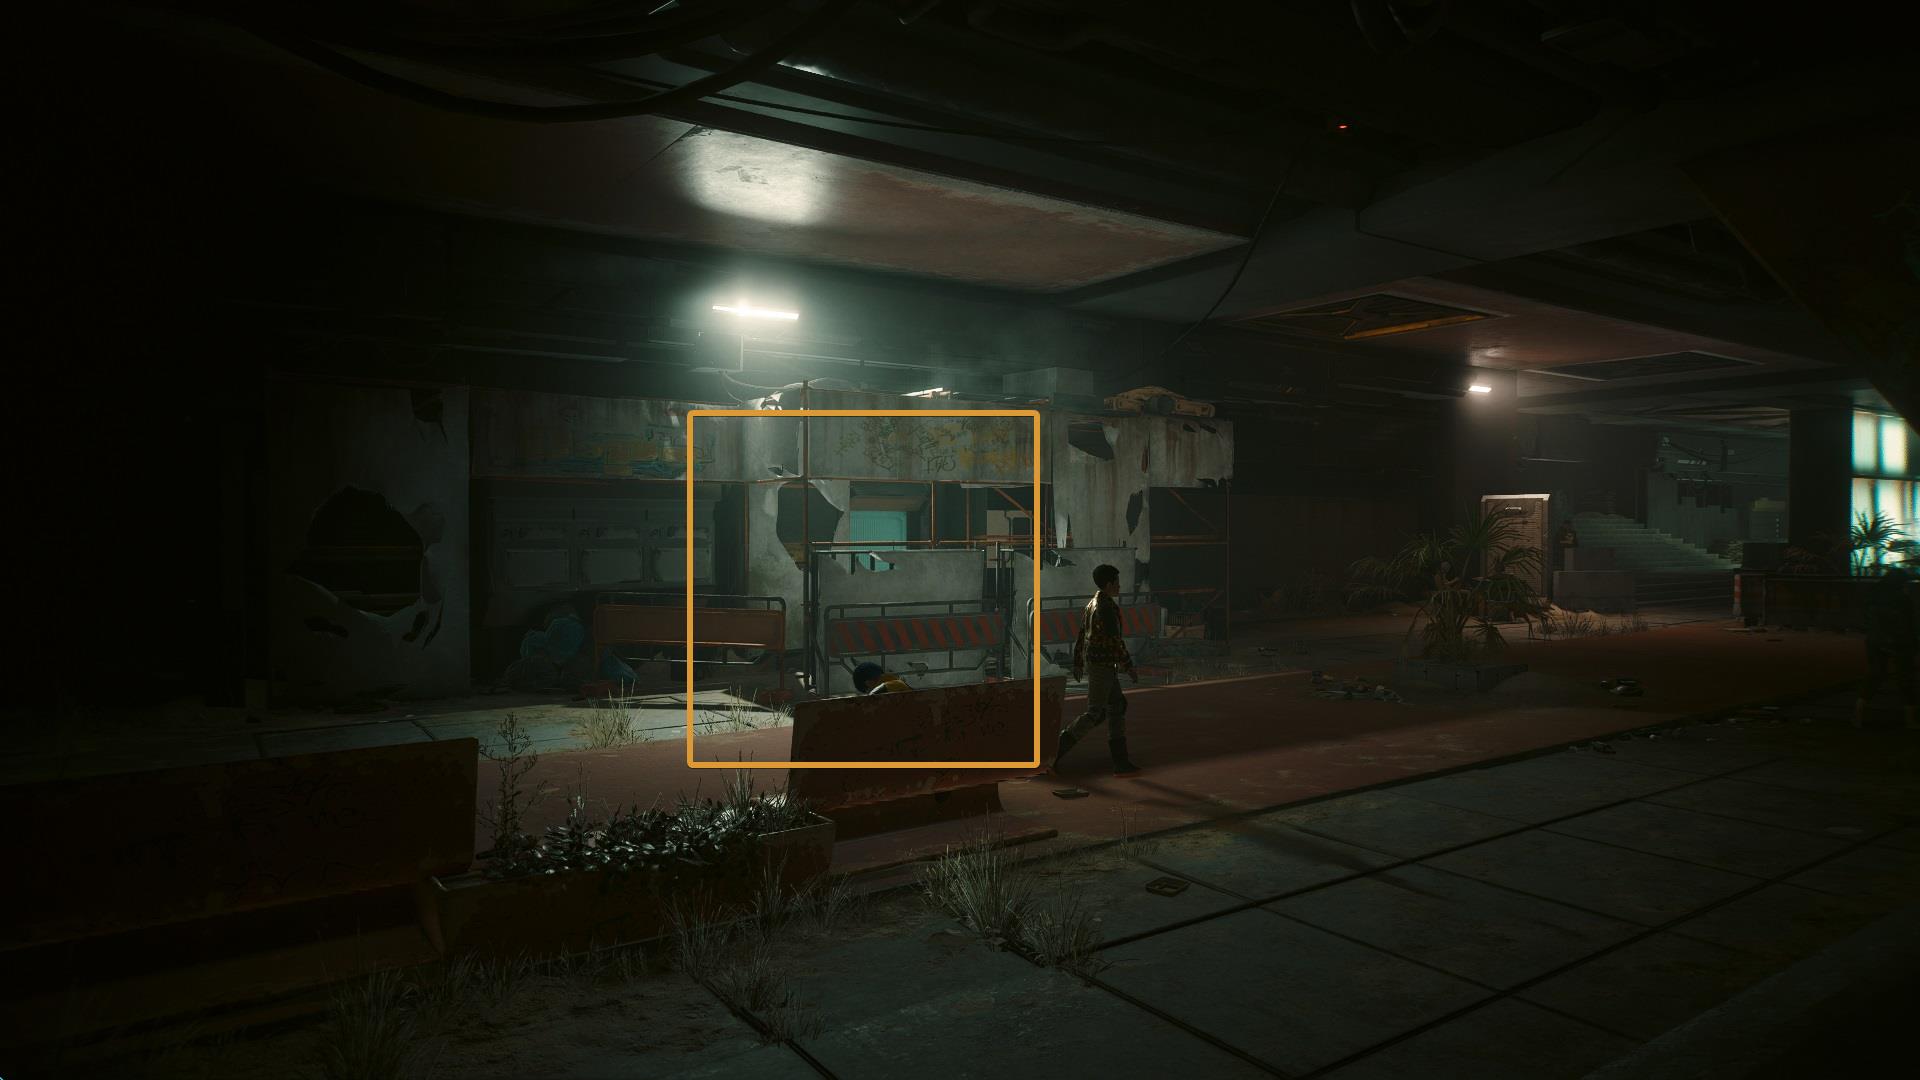
The next section is pretty linear, there’s only one path to follow so don’t worry about getting lost. Put on the special suit and dive into the flooded tunnels. It might get claustrophobic in some areas but at least it doesn’t last for too long.
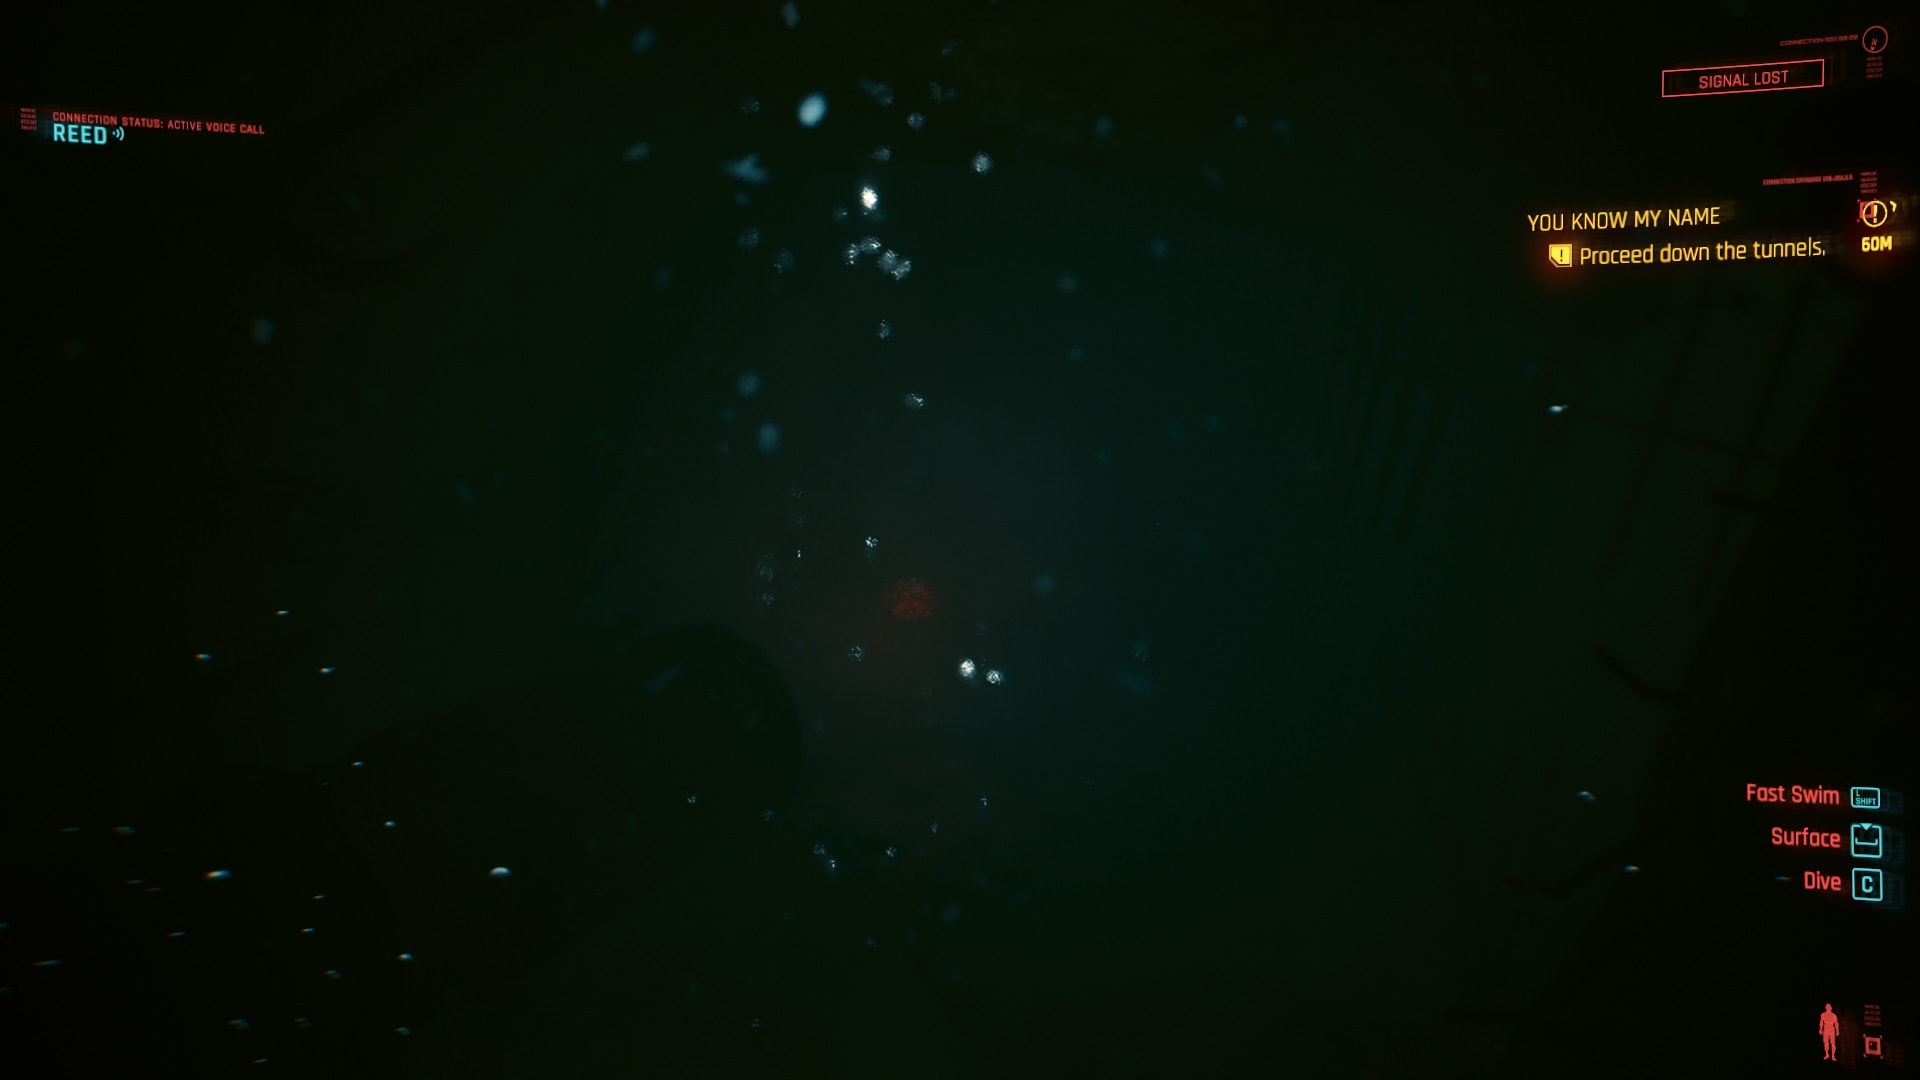
There are some interactable objects, half of them are obstacles and the other half are mines. Like every other mine, these can be disarmed from the distance. When active they emit a bright red light that’s easy to spot if you’re paying attention to your surroundings.

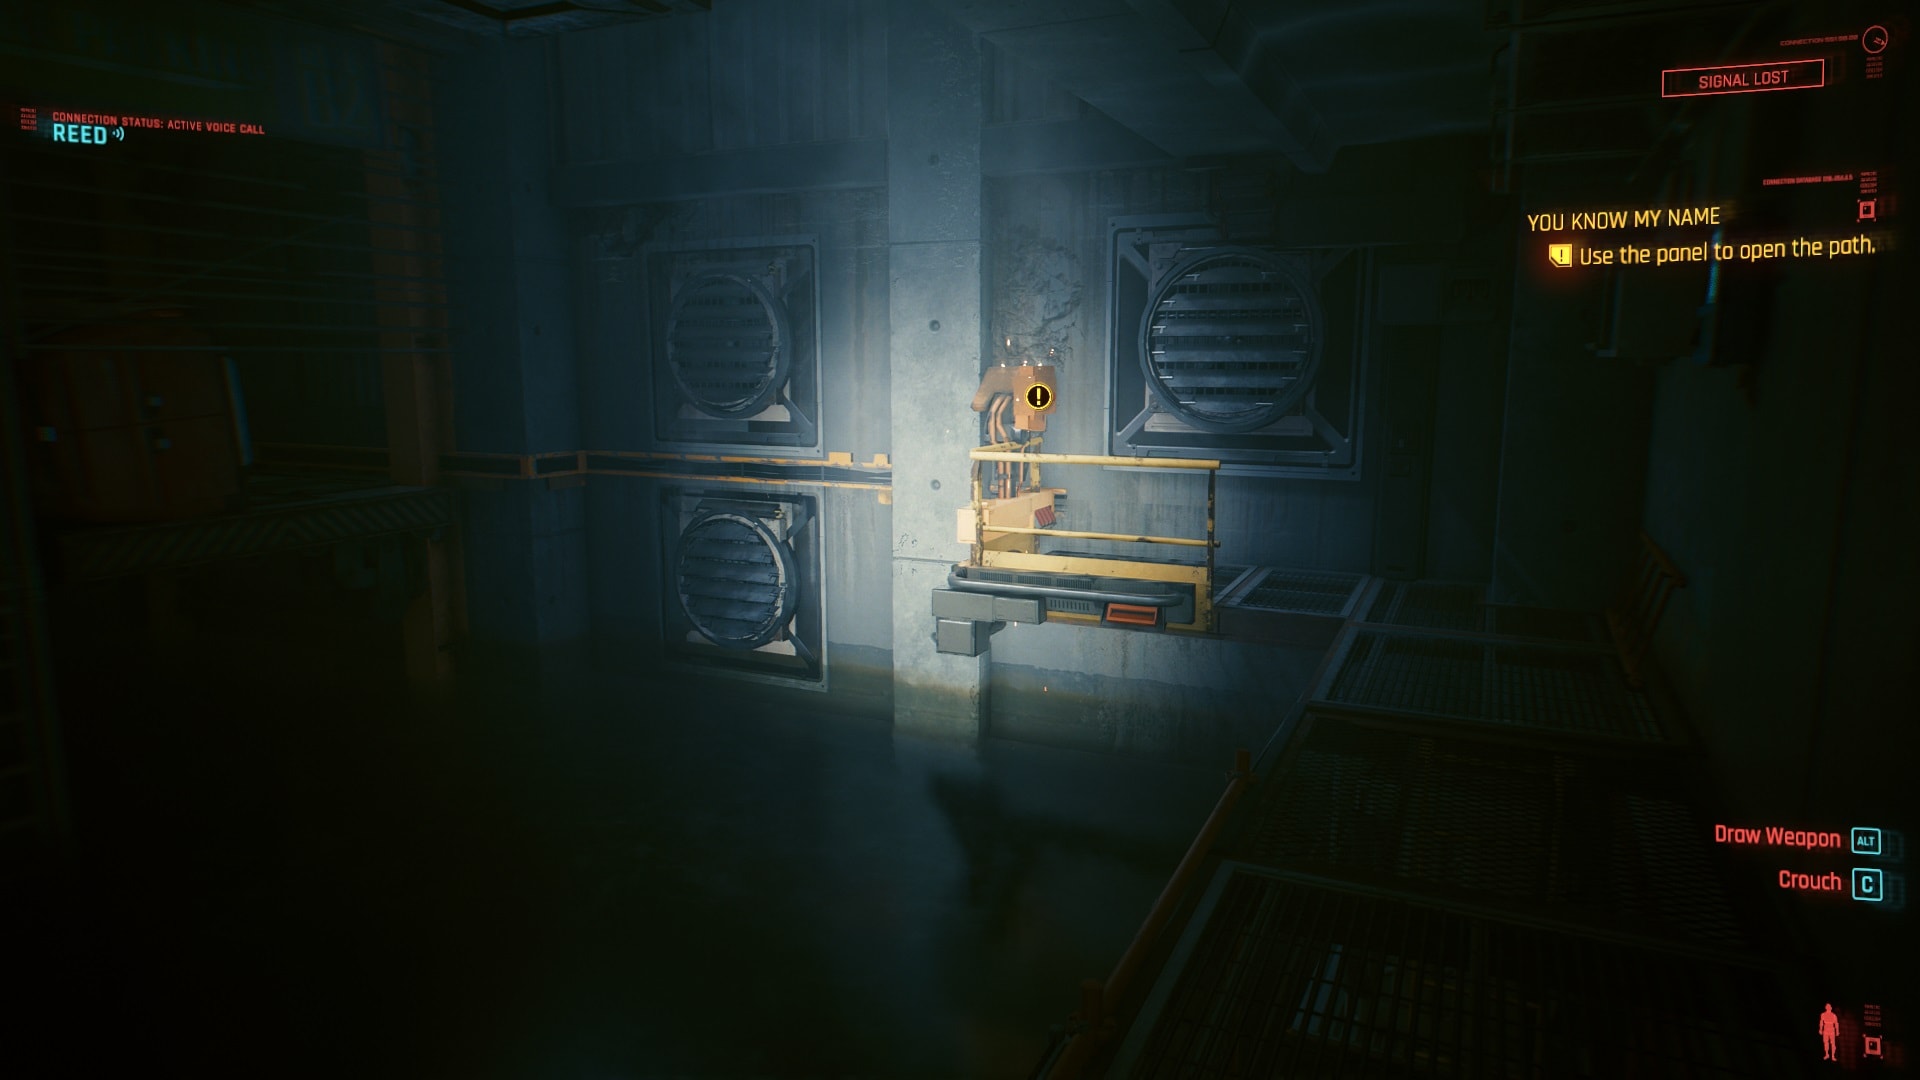
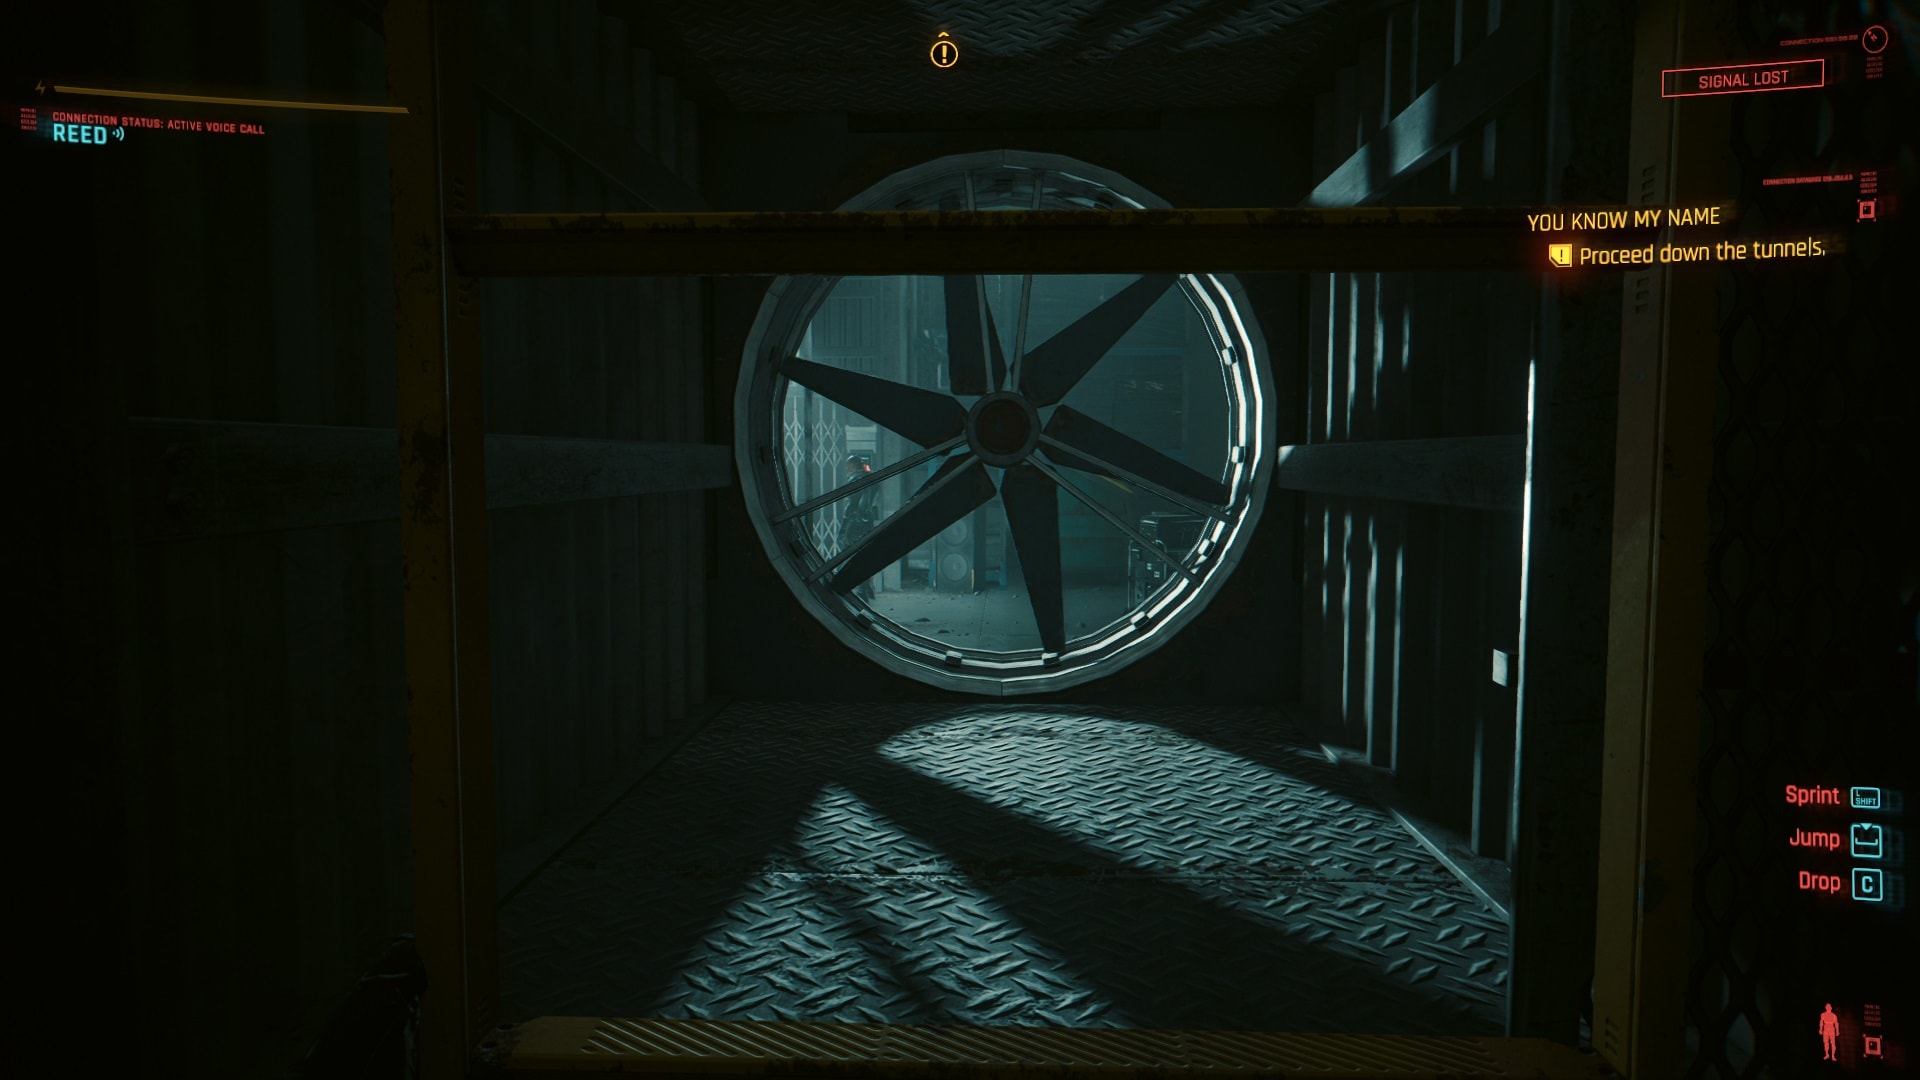
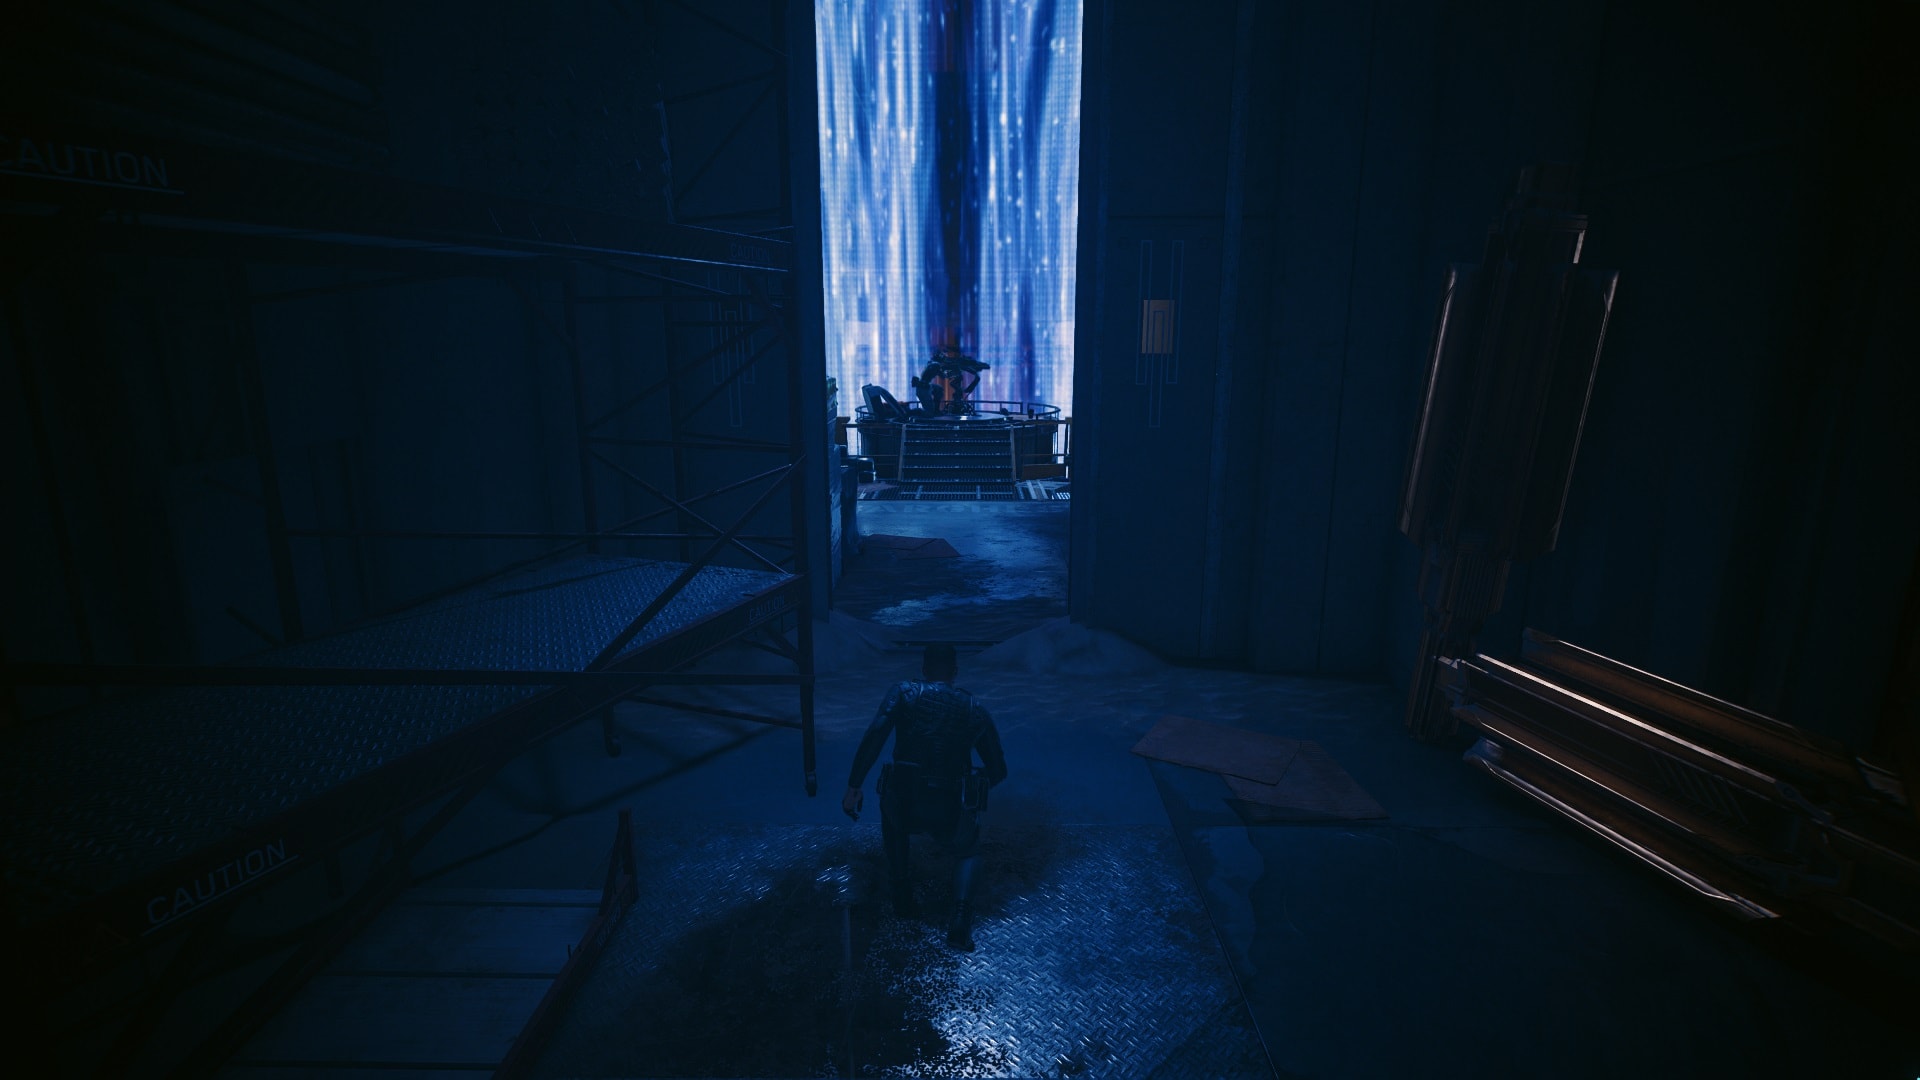
The tunnels continue until you need to lift multiple platforms. After doing this it’s time to finally get out of the water. Continue until you find a yellow ladder.
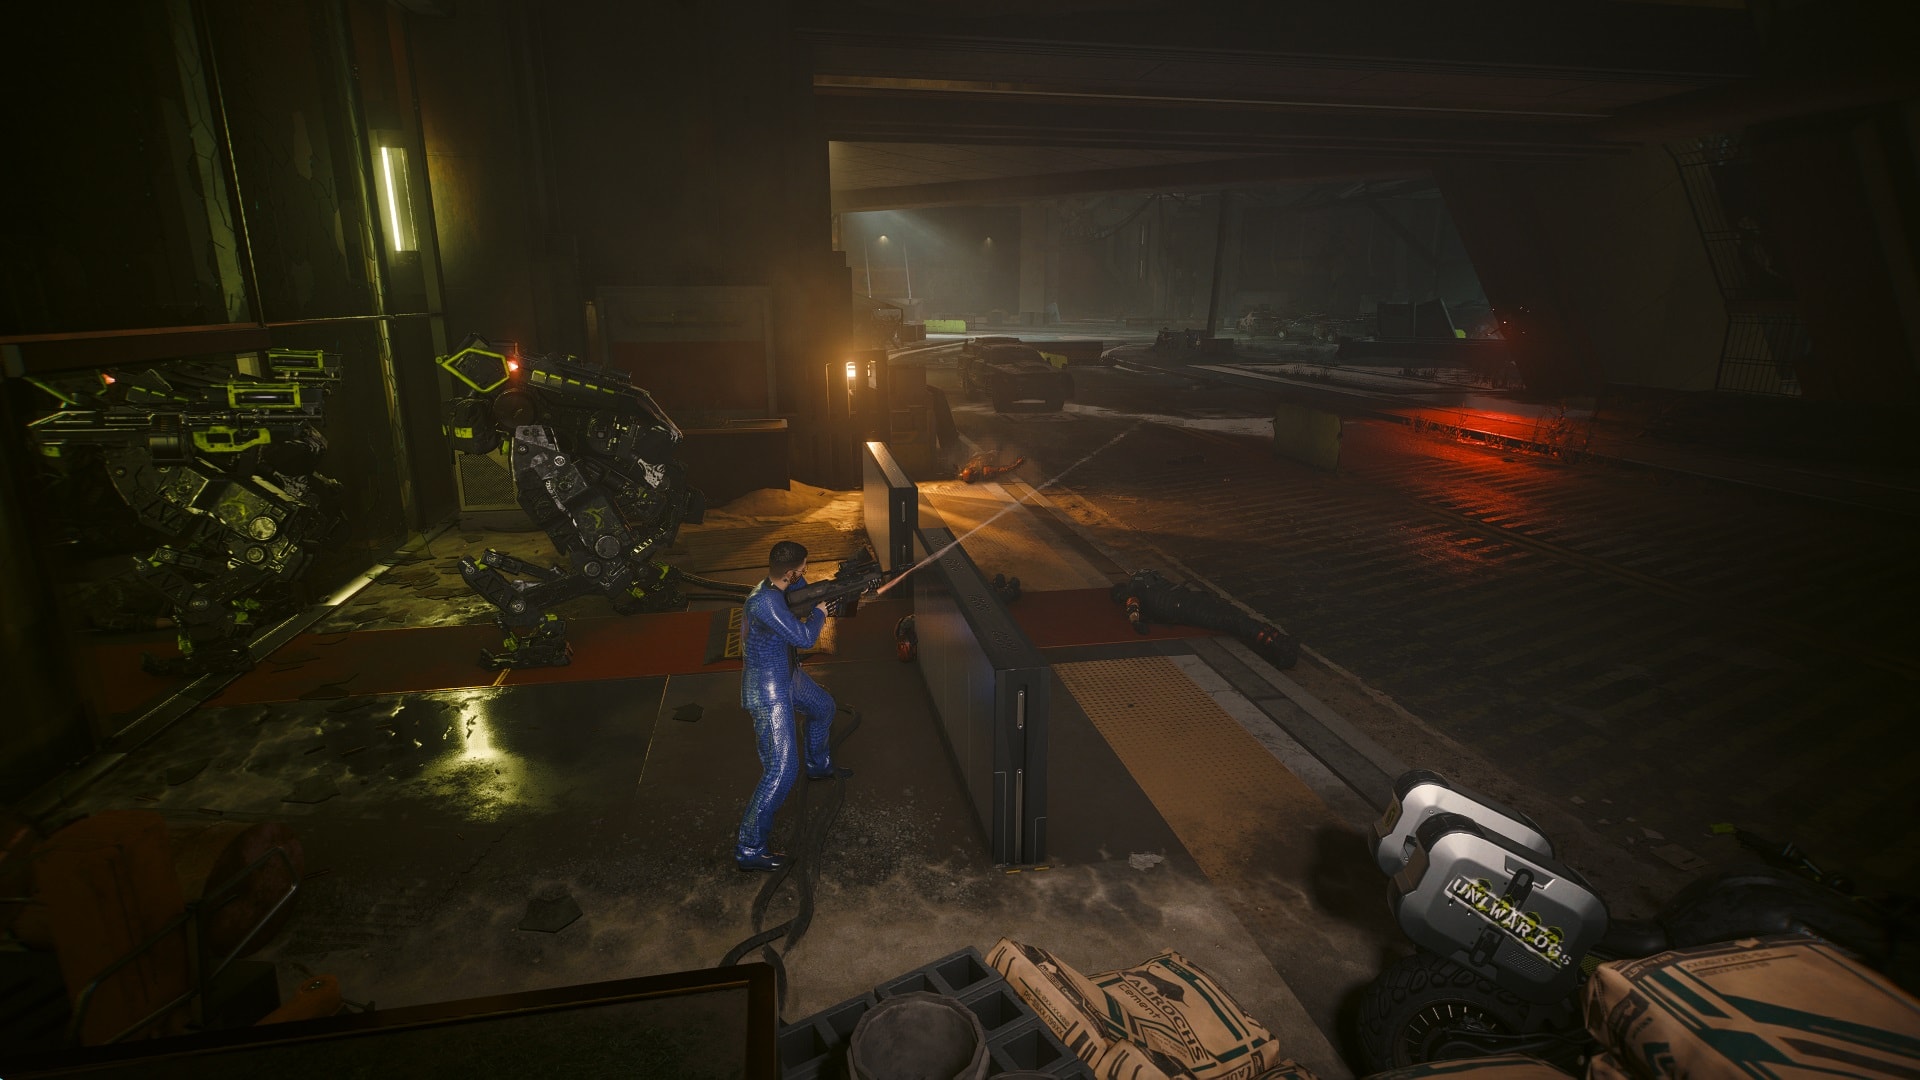
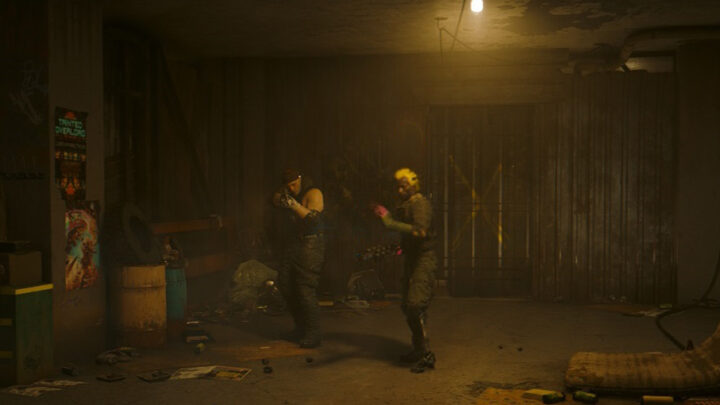
This maintenance ladder will take you up to a small room. This room has two guards and two levels, there’s one guard on each level. If being stealthier is your thing, make sure to hide their bodies before doing anything else.
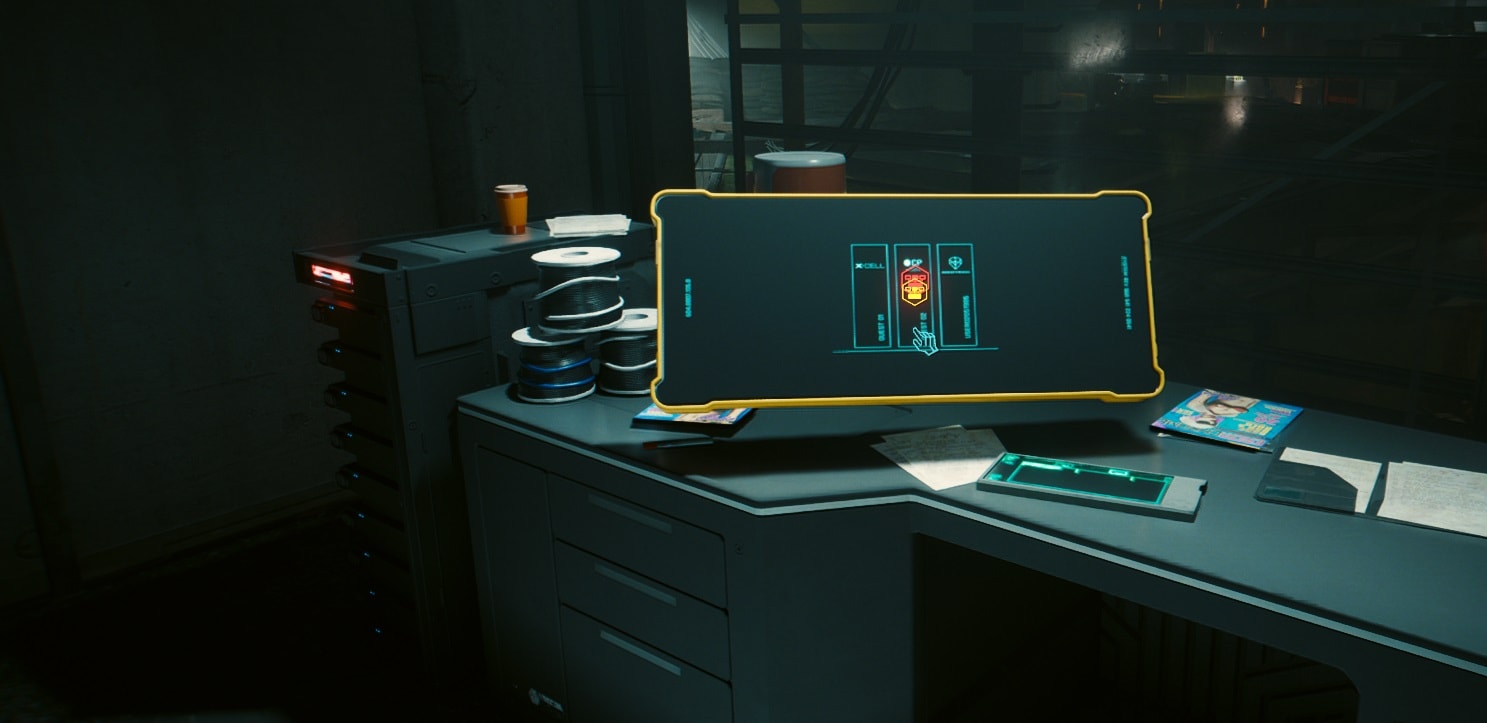
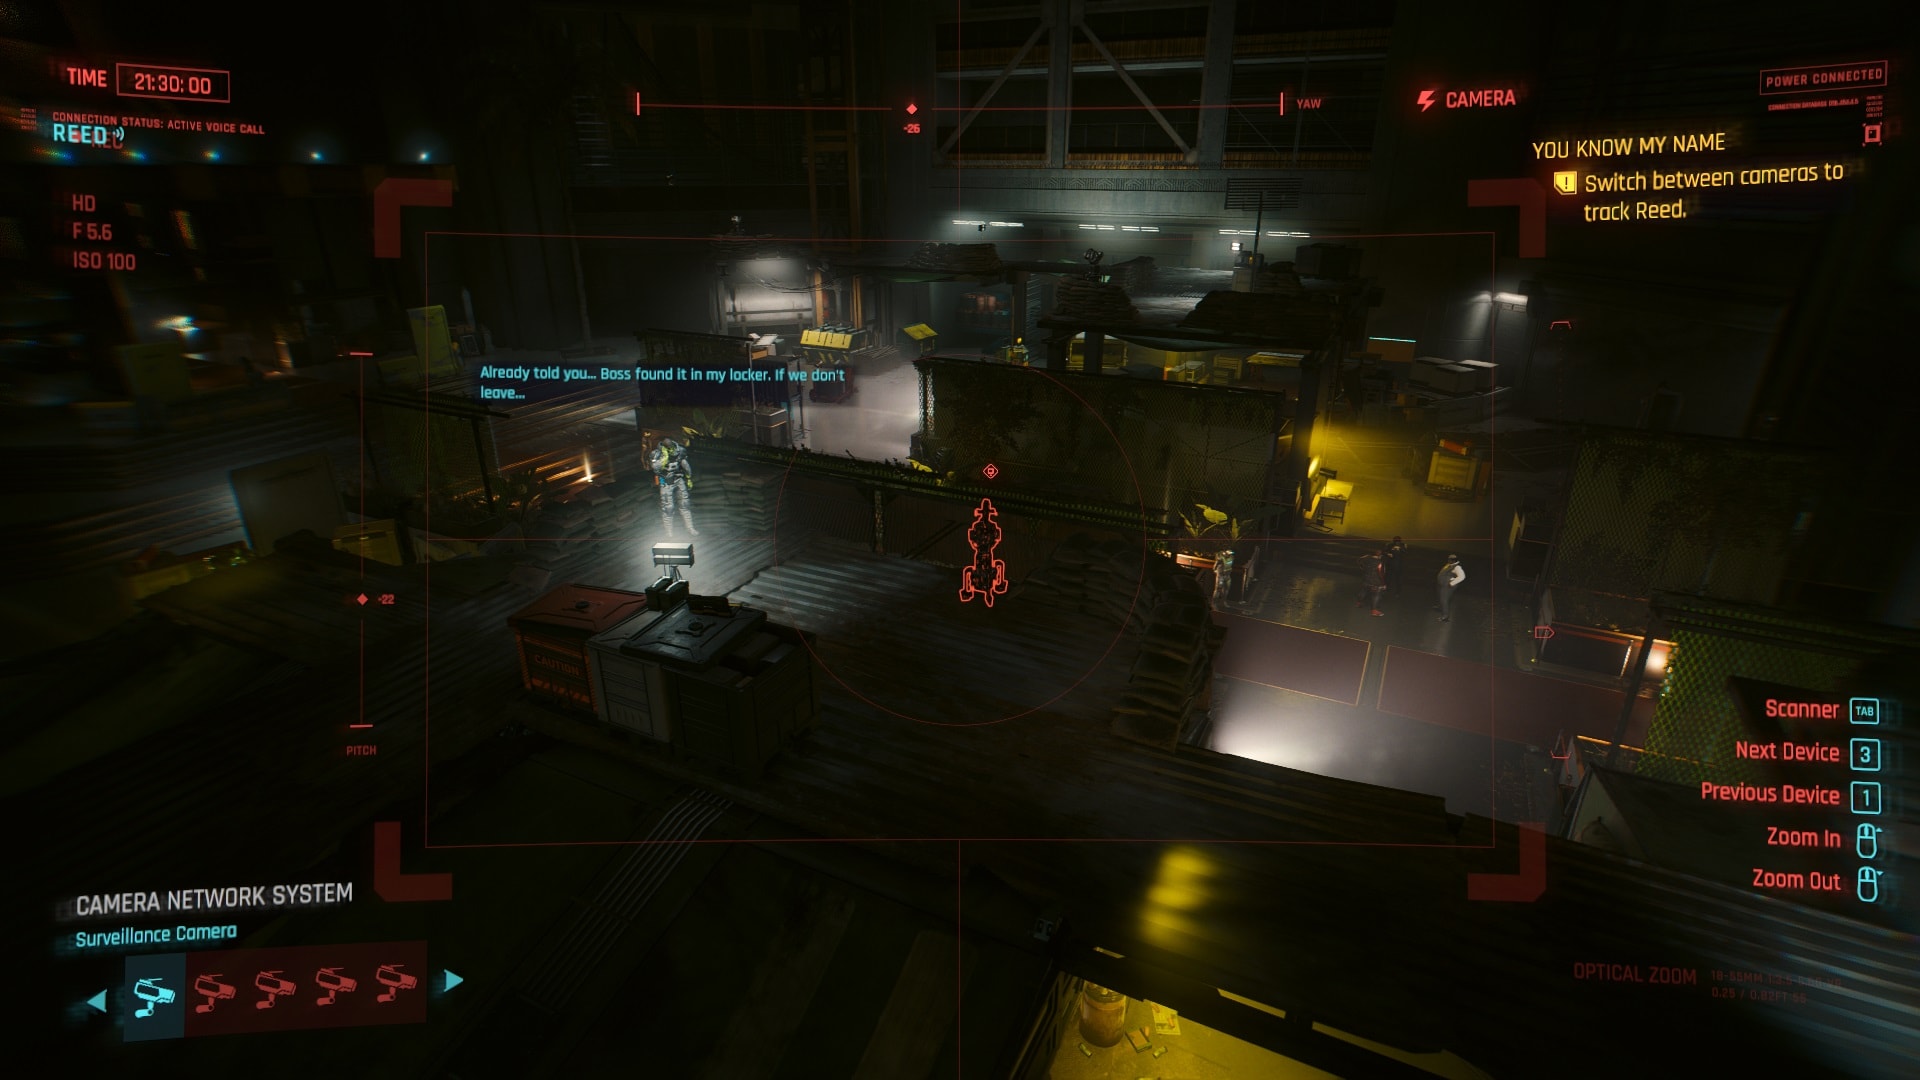
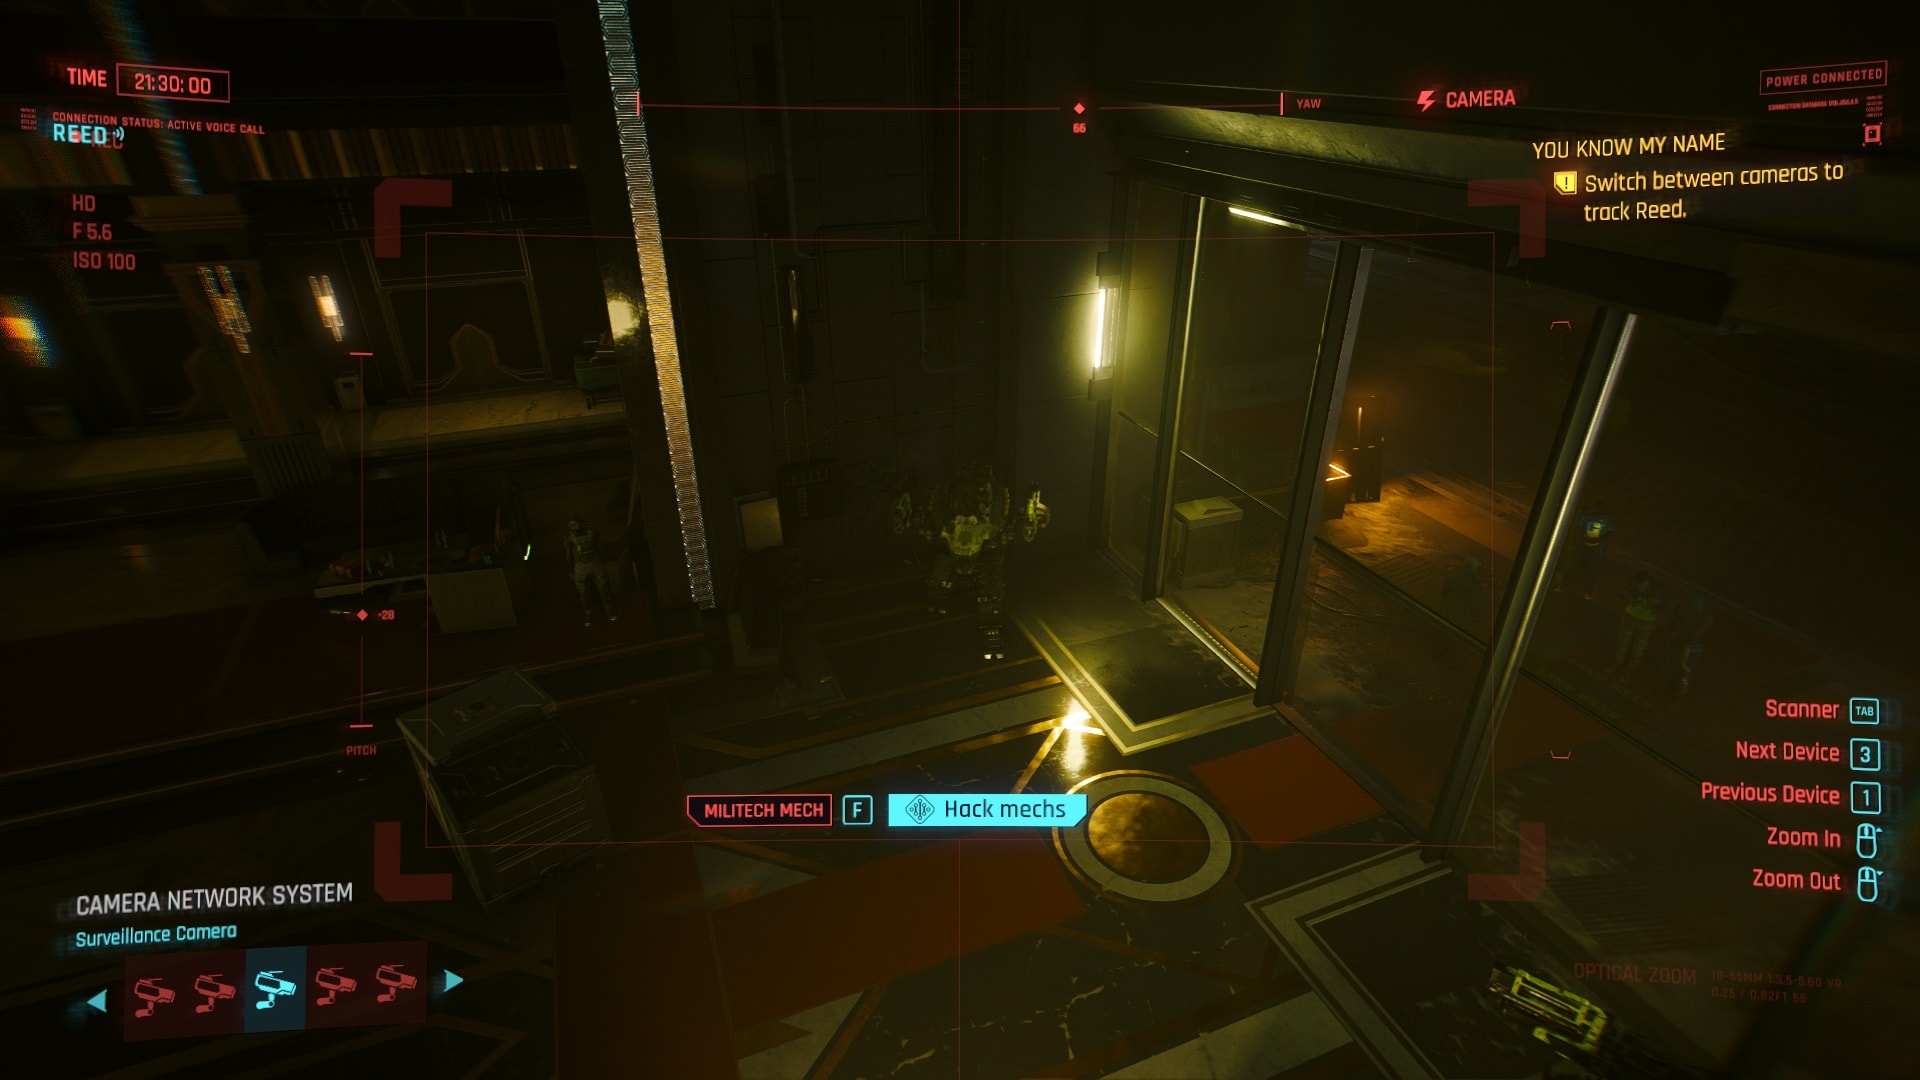
Approach the computer and jack yourself in. It might not appear so, but this part can impact your gameplay in the final part of the mission.
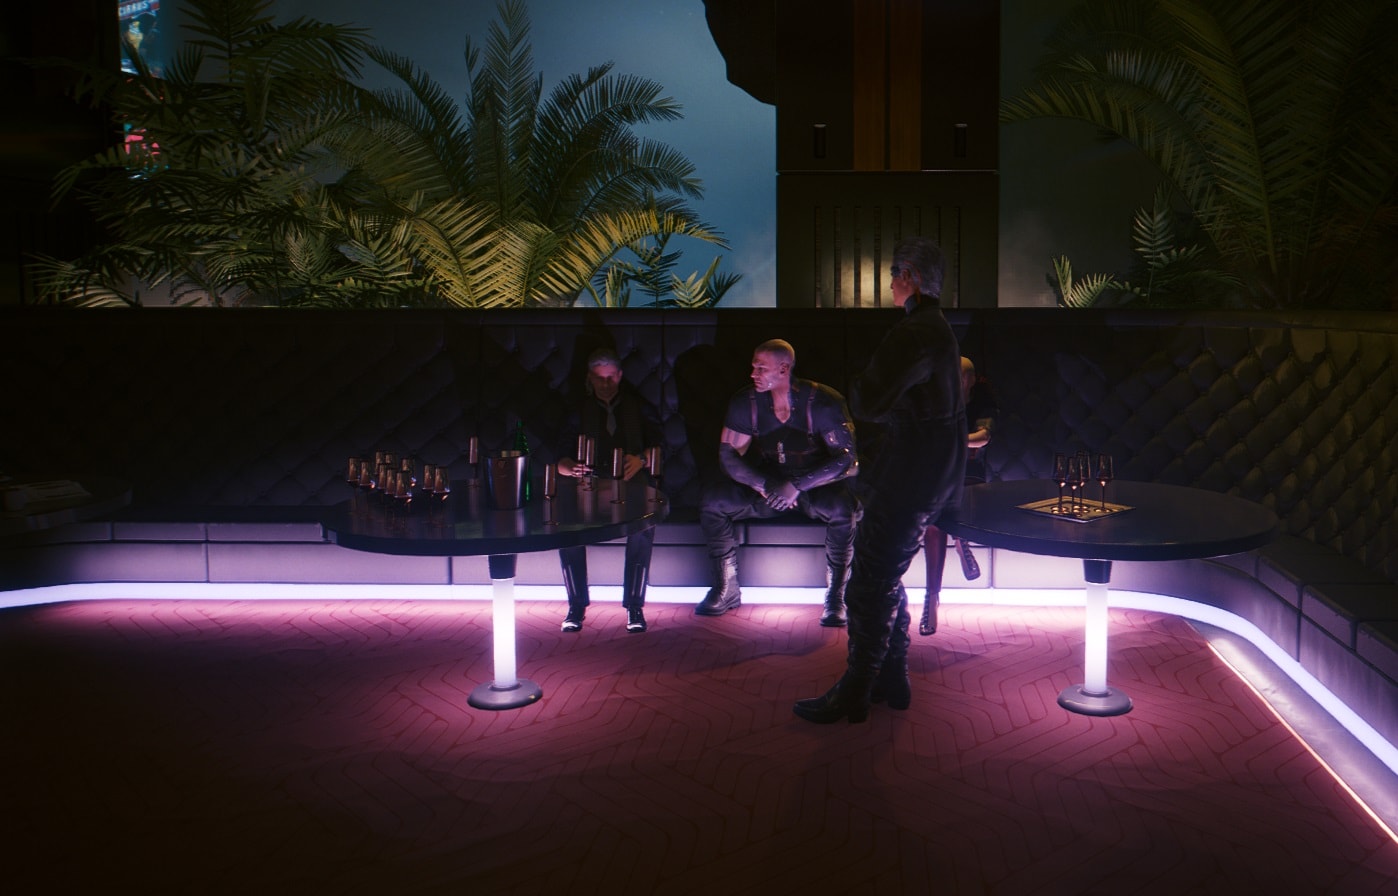
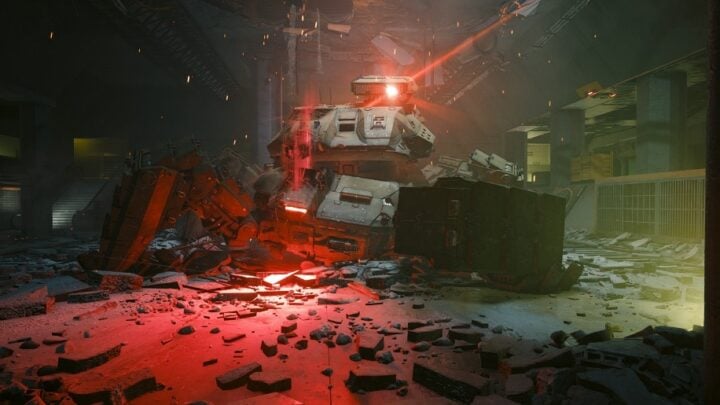
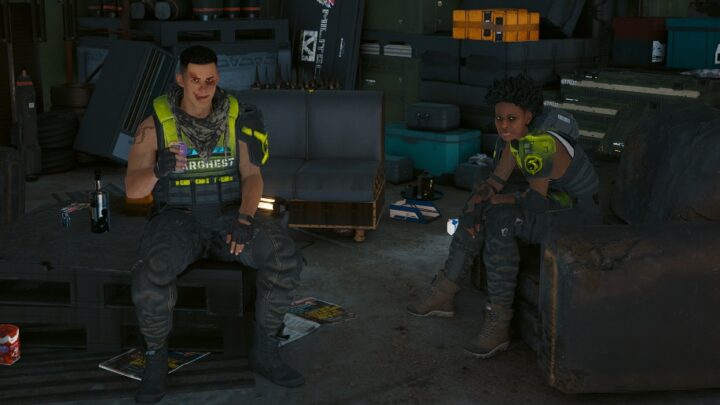
There are a few cameras that can be watched before seeing Reed. Multiple conversations from the Barghest soldiers can be heard, none of them are of much importance but there are multiple turrets and mechs guarding the area.
It is possible to hack them, doing this will increase the odds of getting out of here unharmed. I will explain this later.
Strategy vs brutality, you pick
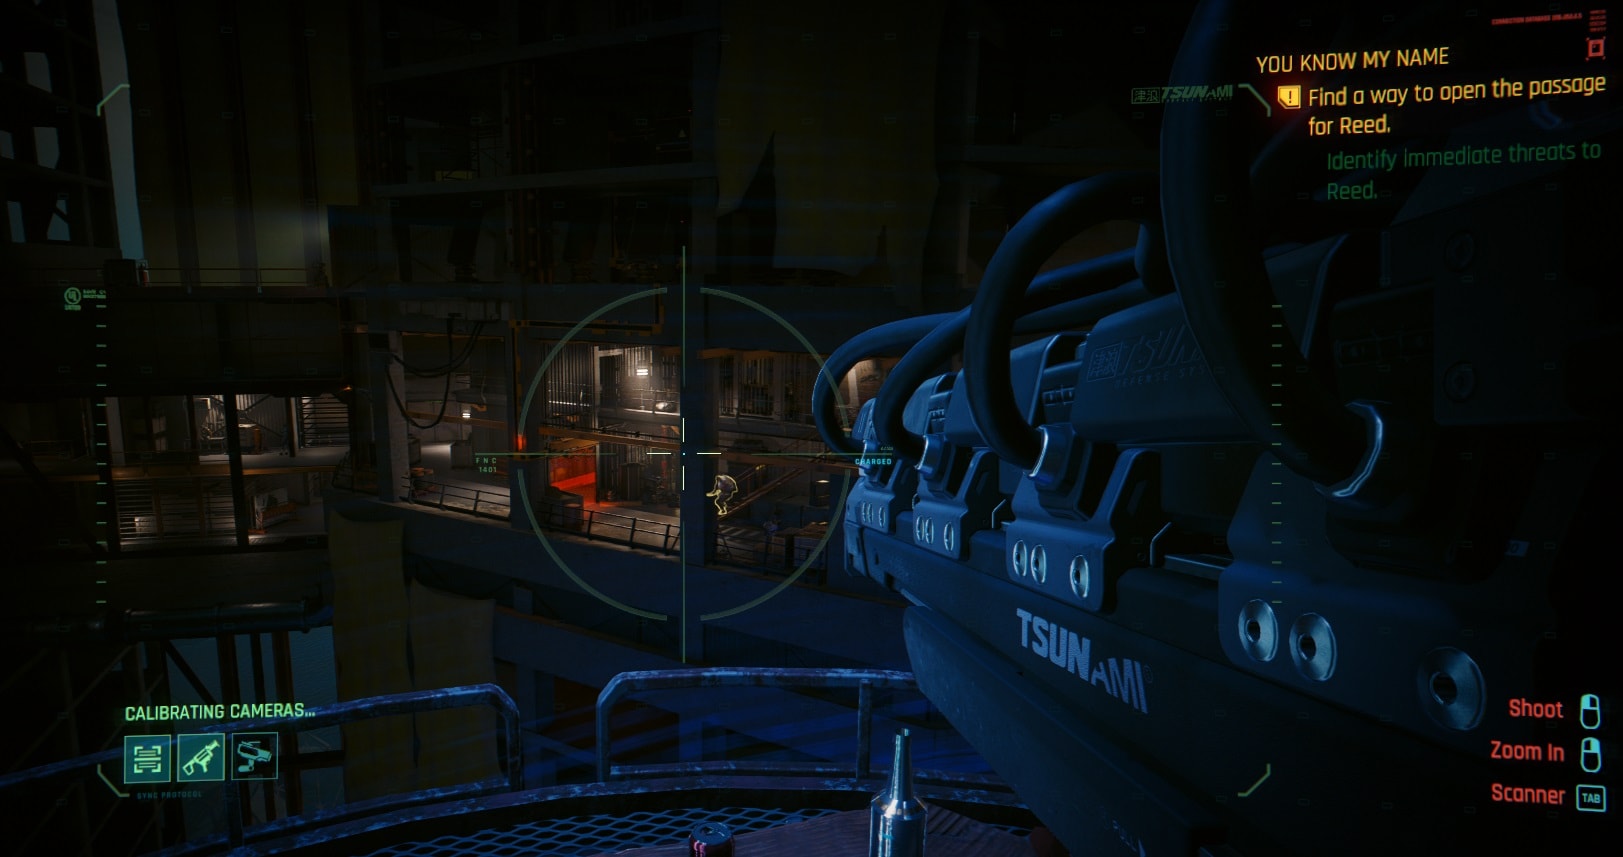
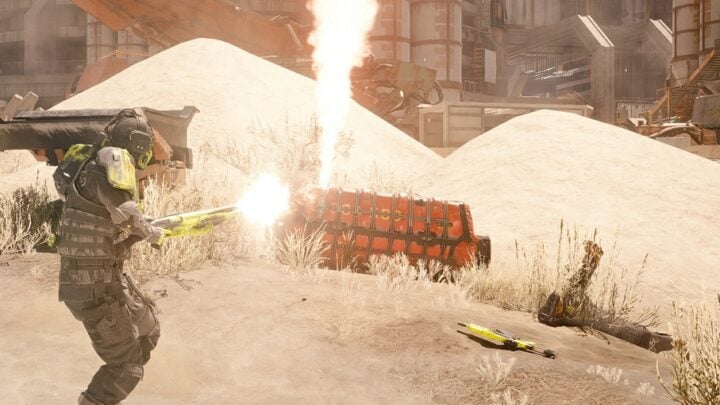
After guiding Reed, you’ll encounter a sniper. This is a moment that supposedly requires a careful approach but as soon as the sniper is in range, V will neutralize him automatically. After a few seconds of calibration, you will have full control of the Rasetsu Sniper Rifle.
This iconic weapon with the built-in silencer (only when mounted) is perfect to provide some cover for Reed. There are two options, making everything as discrete as possible or shooting your way in. The best thing is that you get to keep the Rasetsu sniper rifle. Keep in mind that the approach that you choose for this section might also impact something in the final part of this quest.
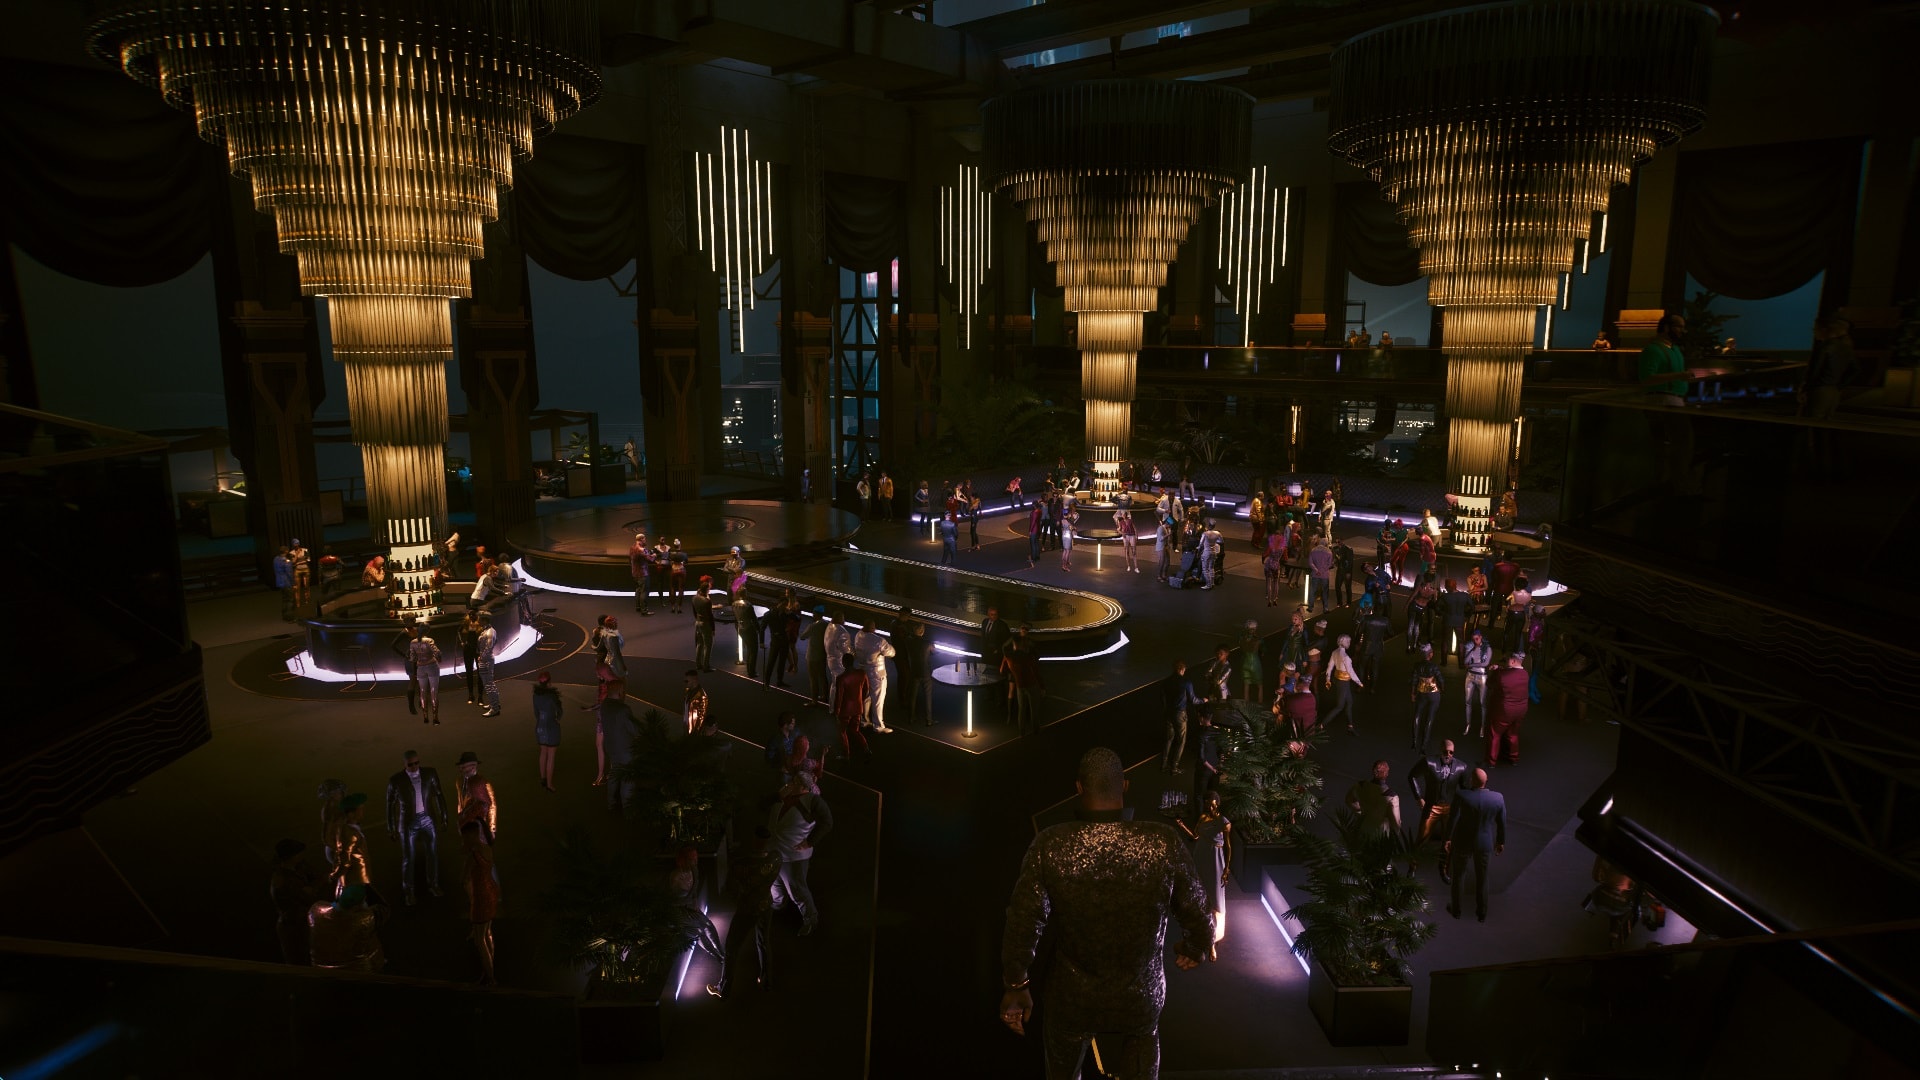
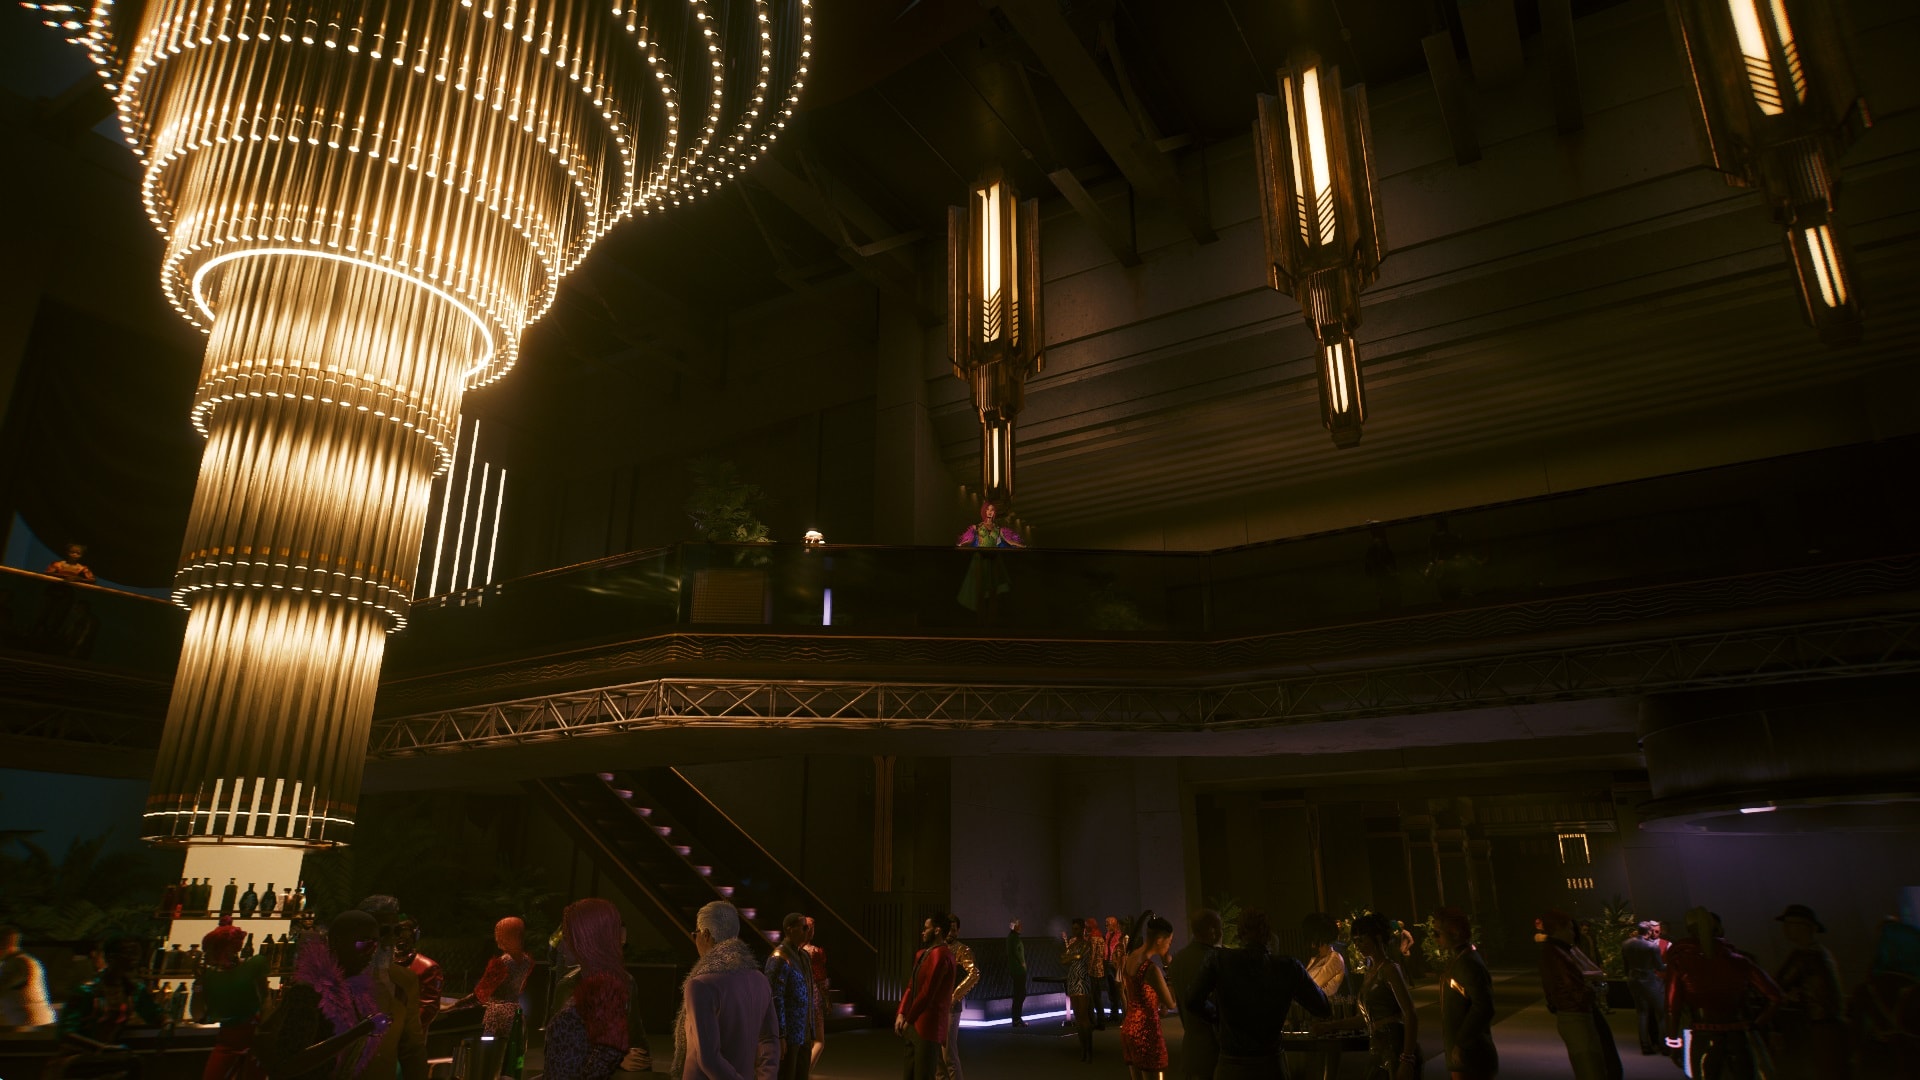
Once you and Reed are inside the laundry room, it’s time to suit up and infiltrate the party filled with the worst of Night City.
Special guests you can talk to
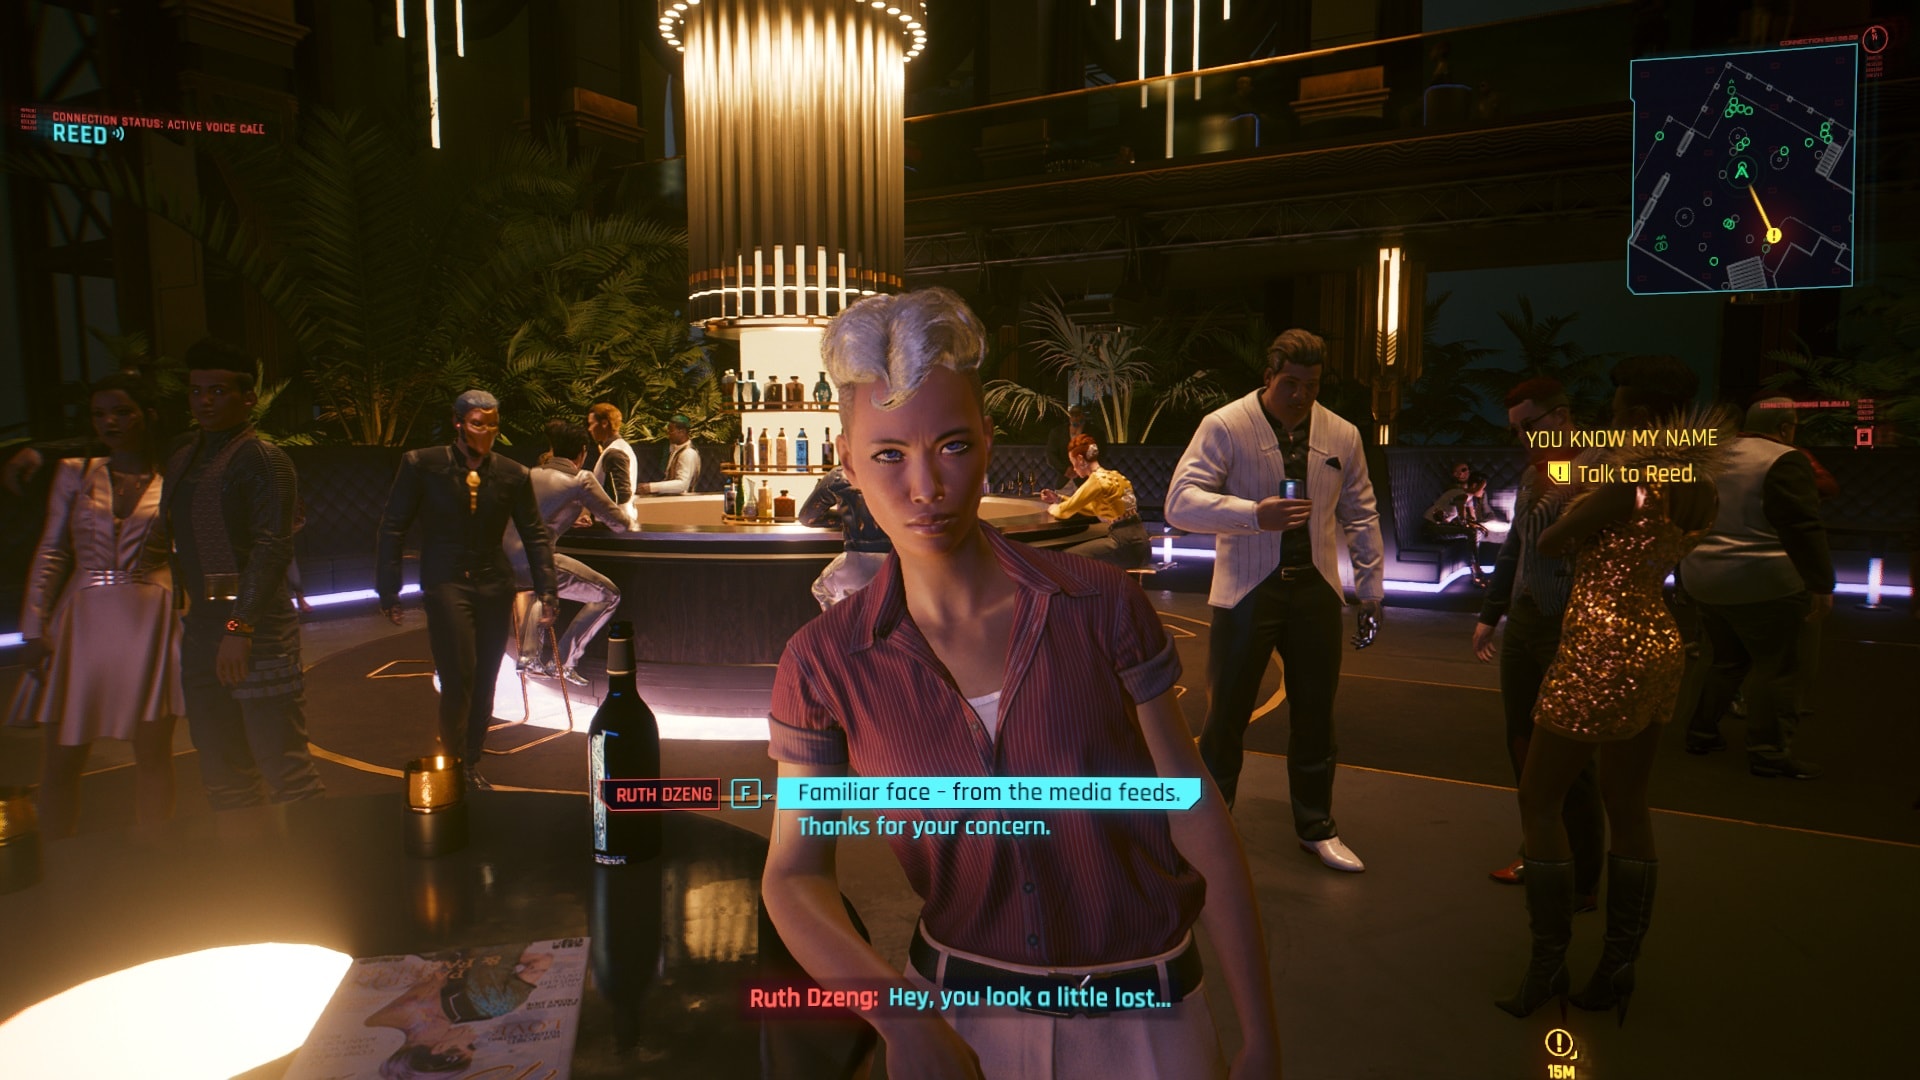
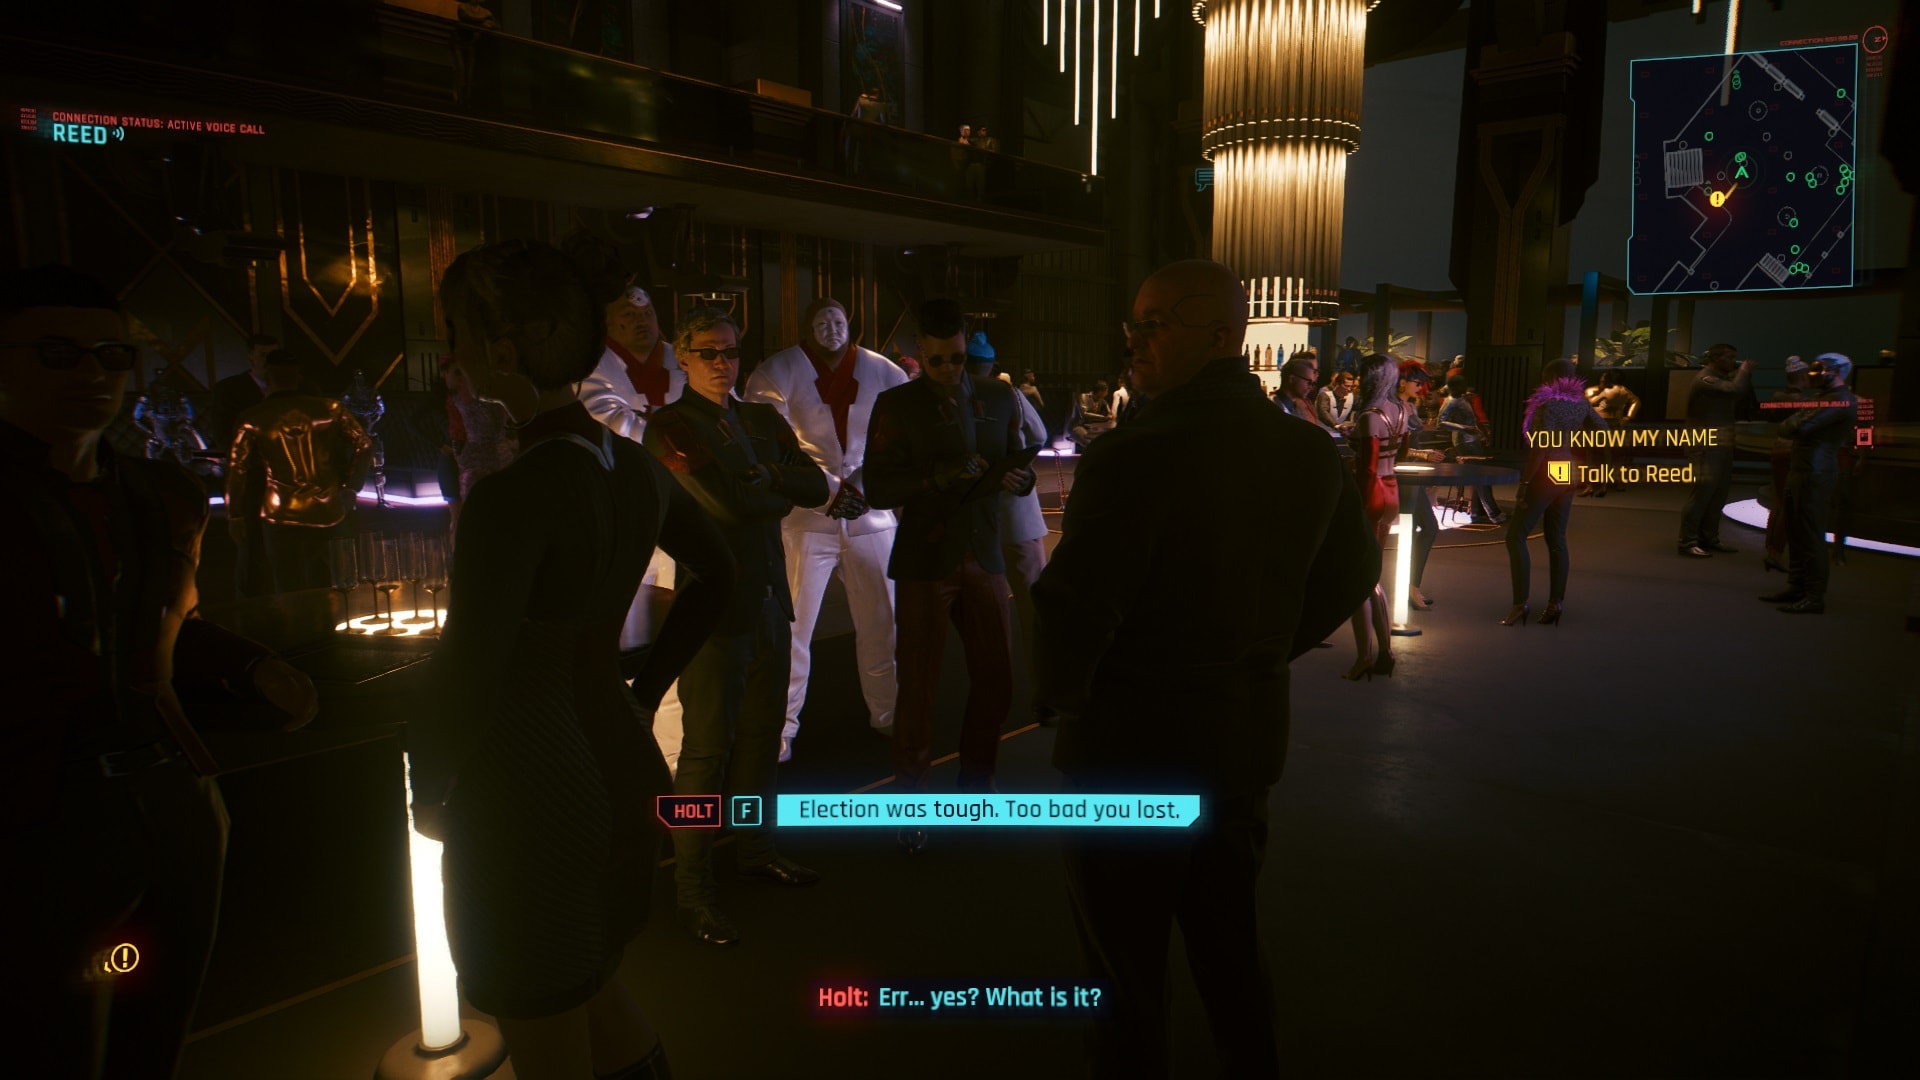
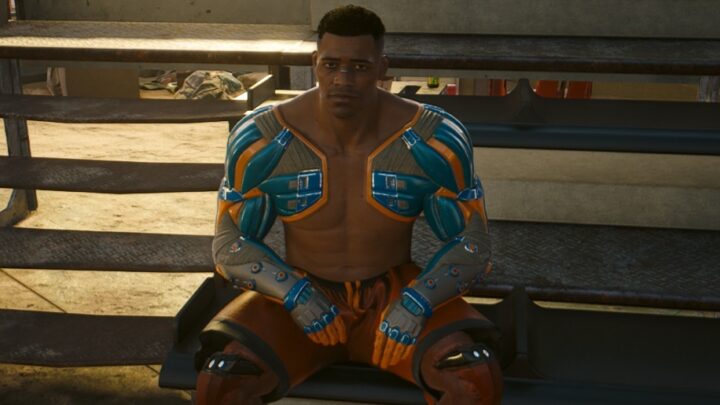
Politicians, criminal leaders, law enforcement officials, artists, investors; everyone who’s worth something is attending this party. It’s possible to walk around the place and get an idea about the topics that are being discussed.
The host of the TV show Info Flash, Ruth Dzeng asks if you want to be her company but both dialogue options reject her.
Weldon Holt, the mayor of Night City is making a deal with the people of Arasaka. You might ask him about the elections but nothing really comes out of it.
A man who looks like Takemura is getting wasted on one of the bars. After talking about this fact he gives his condolences and continues drinking.
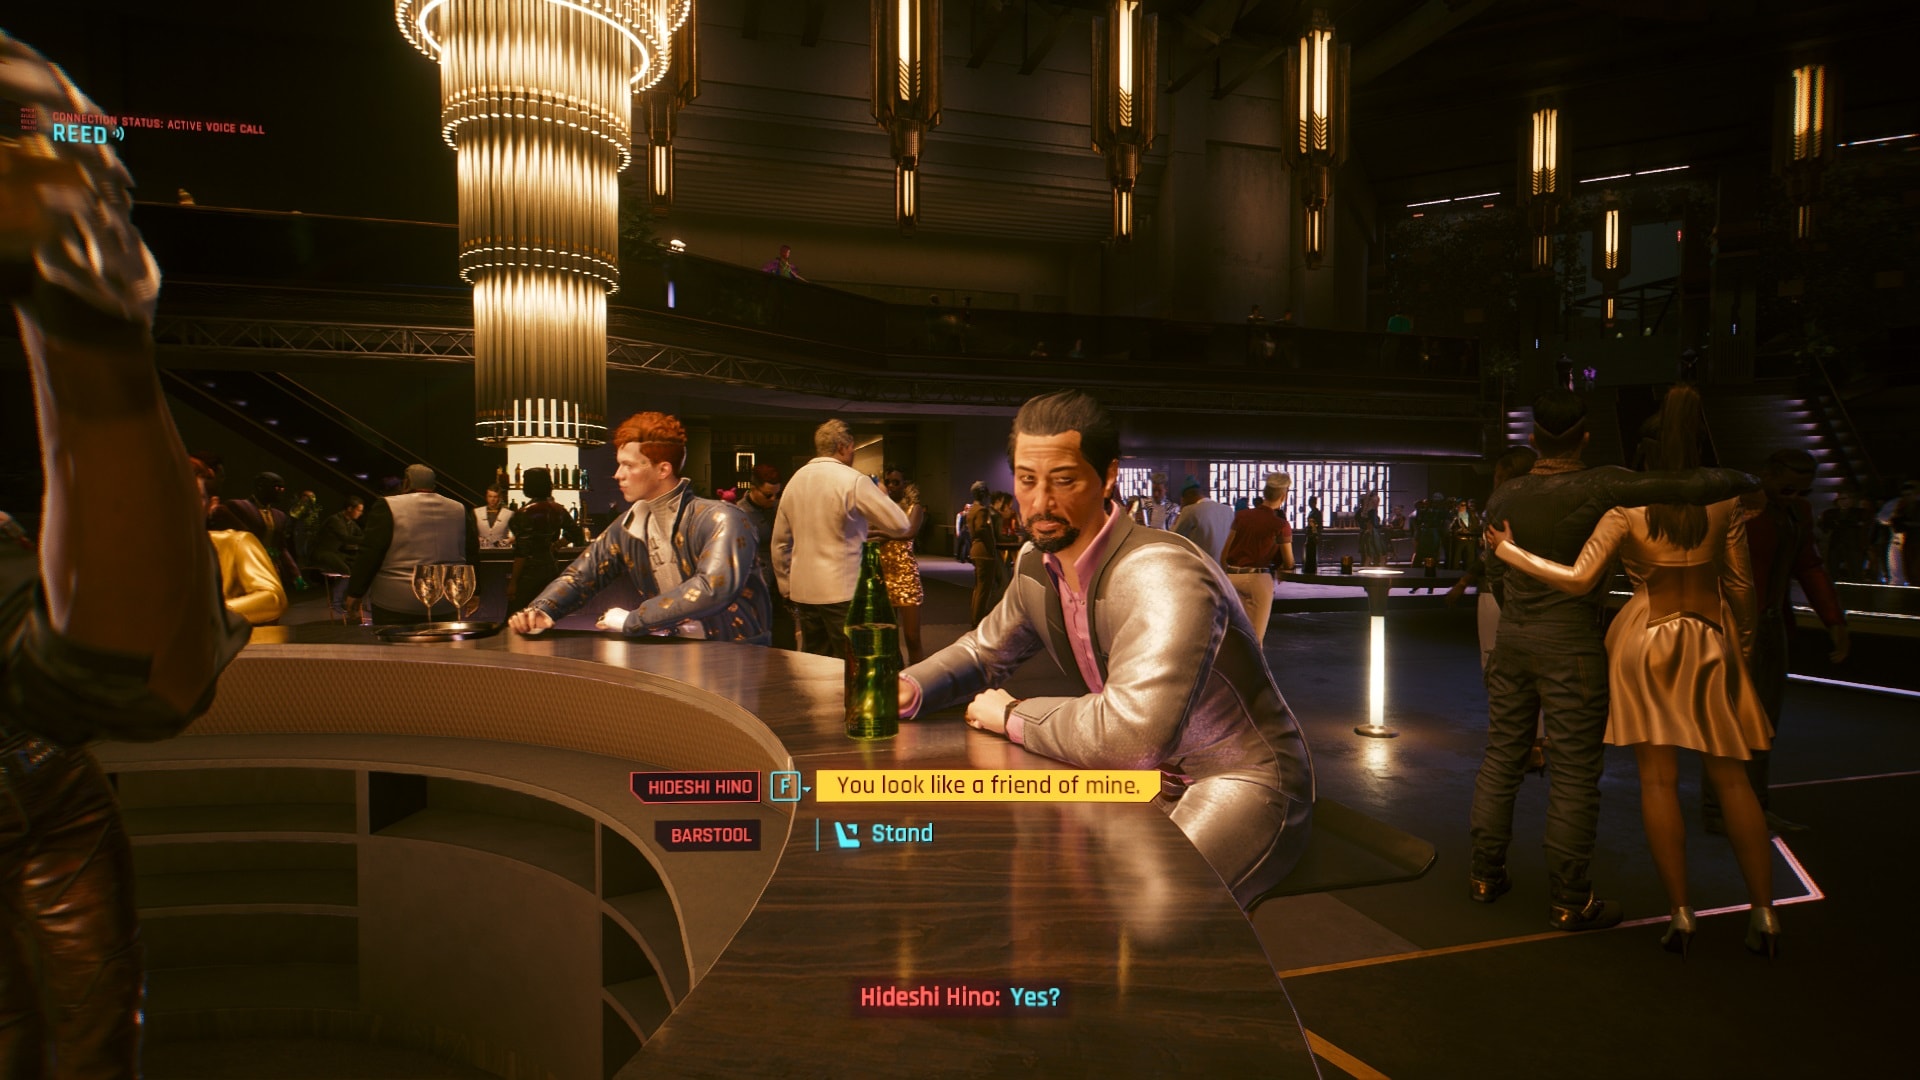
Kurt Hansen is talking with the NCPD commissioner but sadly you can’t interrupt this reunion, no matter how hard you try.
Talk to Songbird
After a few minutes, Songbird will send you a message. She’s waiting for you and Reed upstairs. The following dialogue options have no impact on the outcome of this mission.
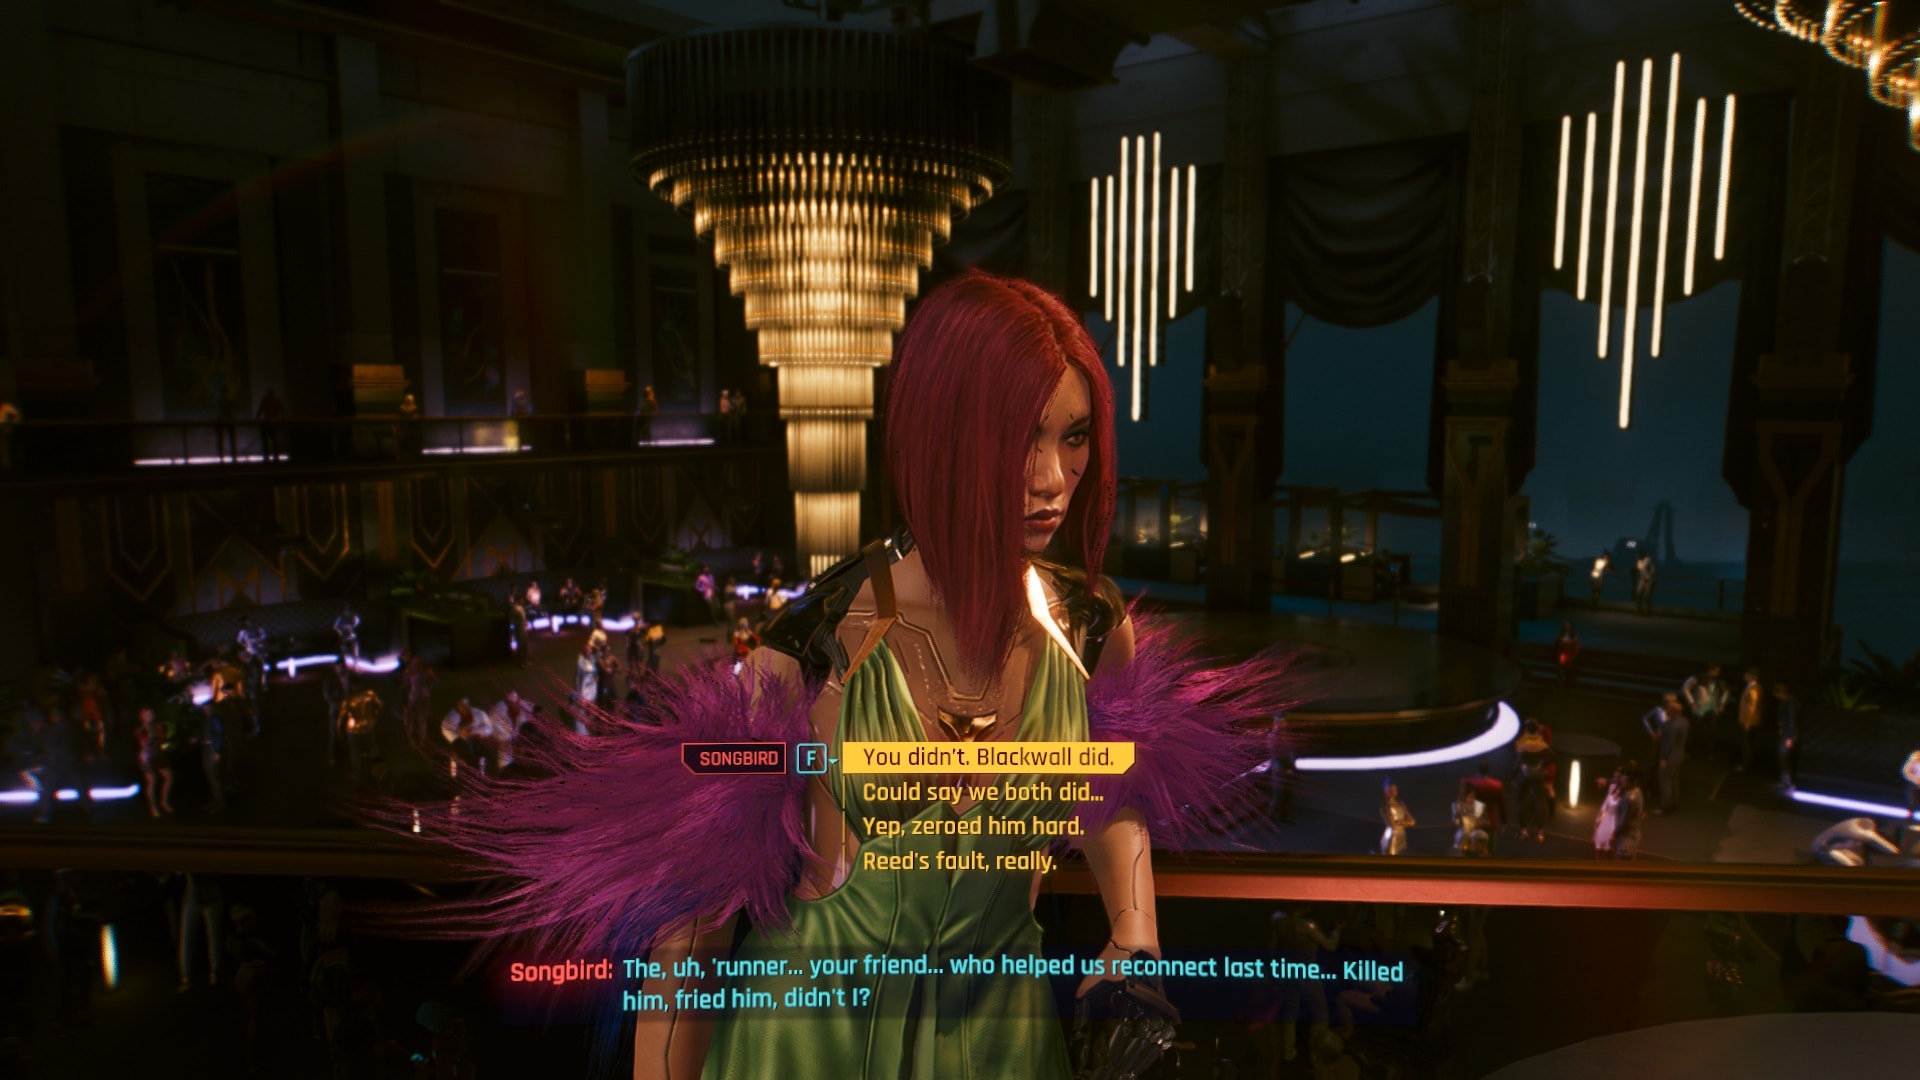
Songbird tells V. how relieved she is to have him/her here. You can show your support or point out how she didn’t give any choice.
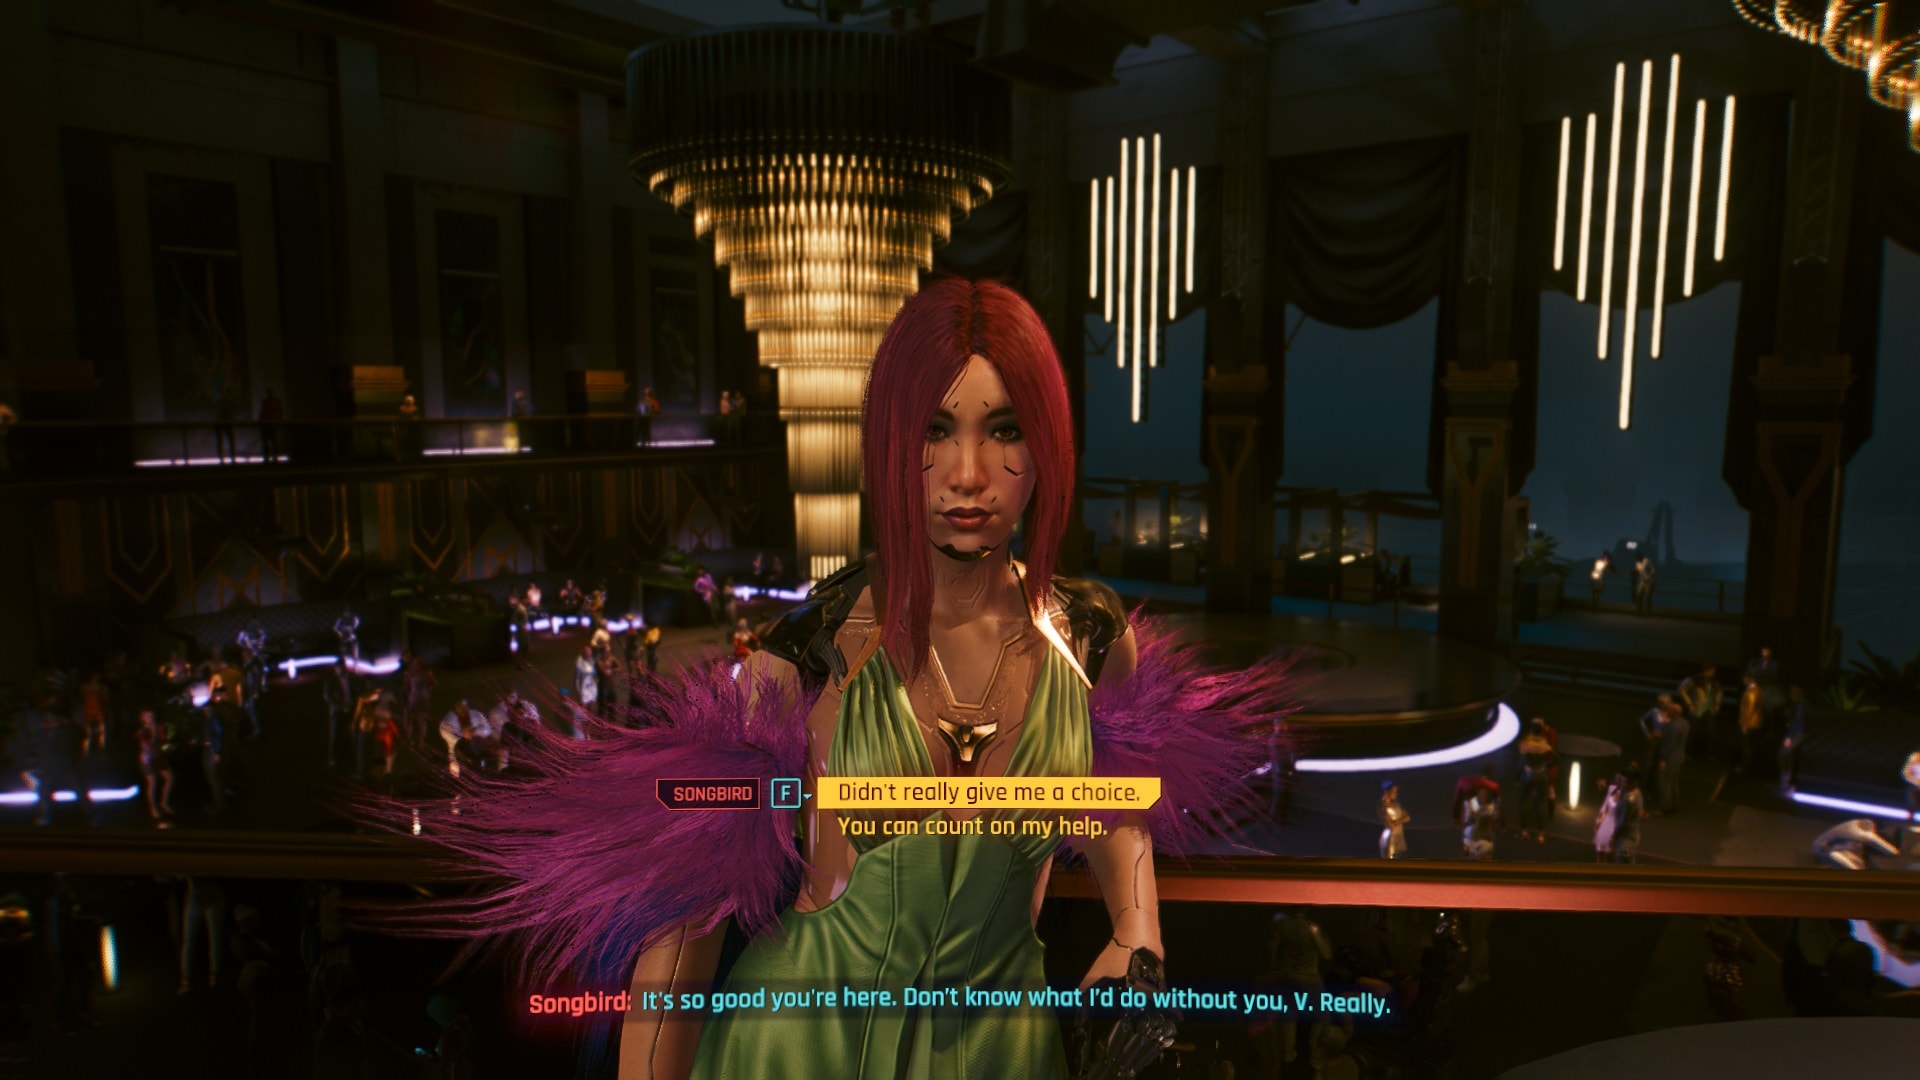
Songbird feels sorry about frying the Netrunner that “helped” you and Reed to regain contact with her.
Reeds enters the scene and expresses his feelings towards what happened in the past, Songbird also talks about some of her regrets.
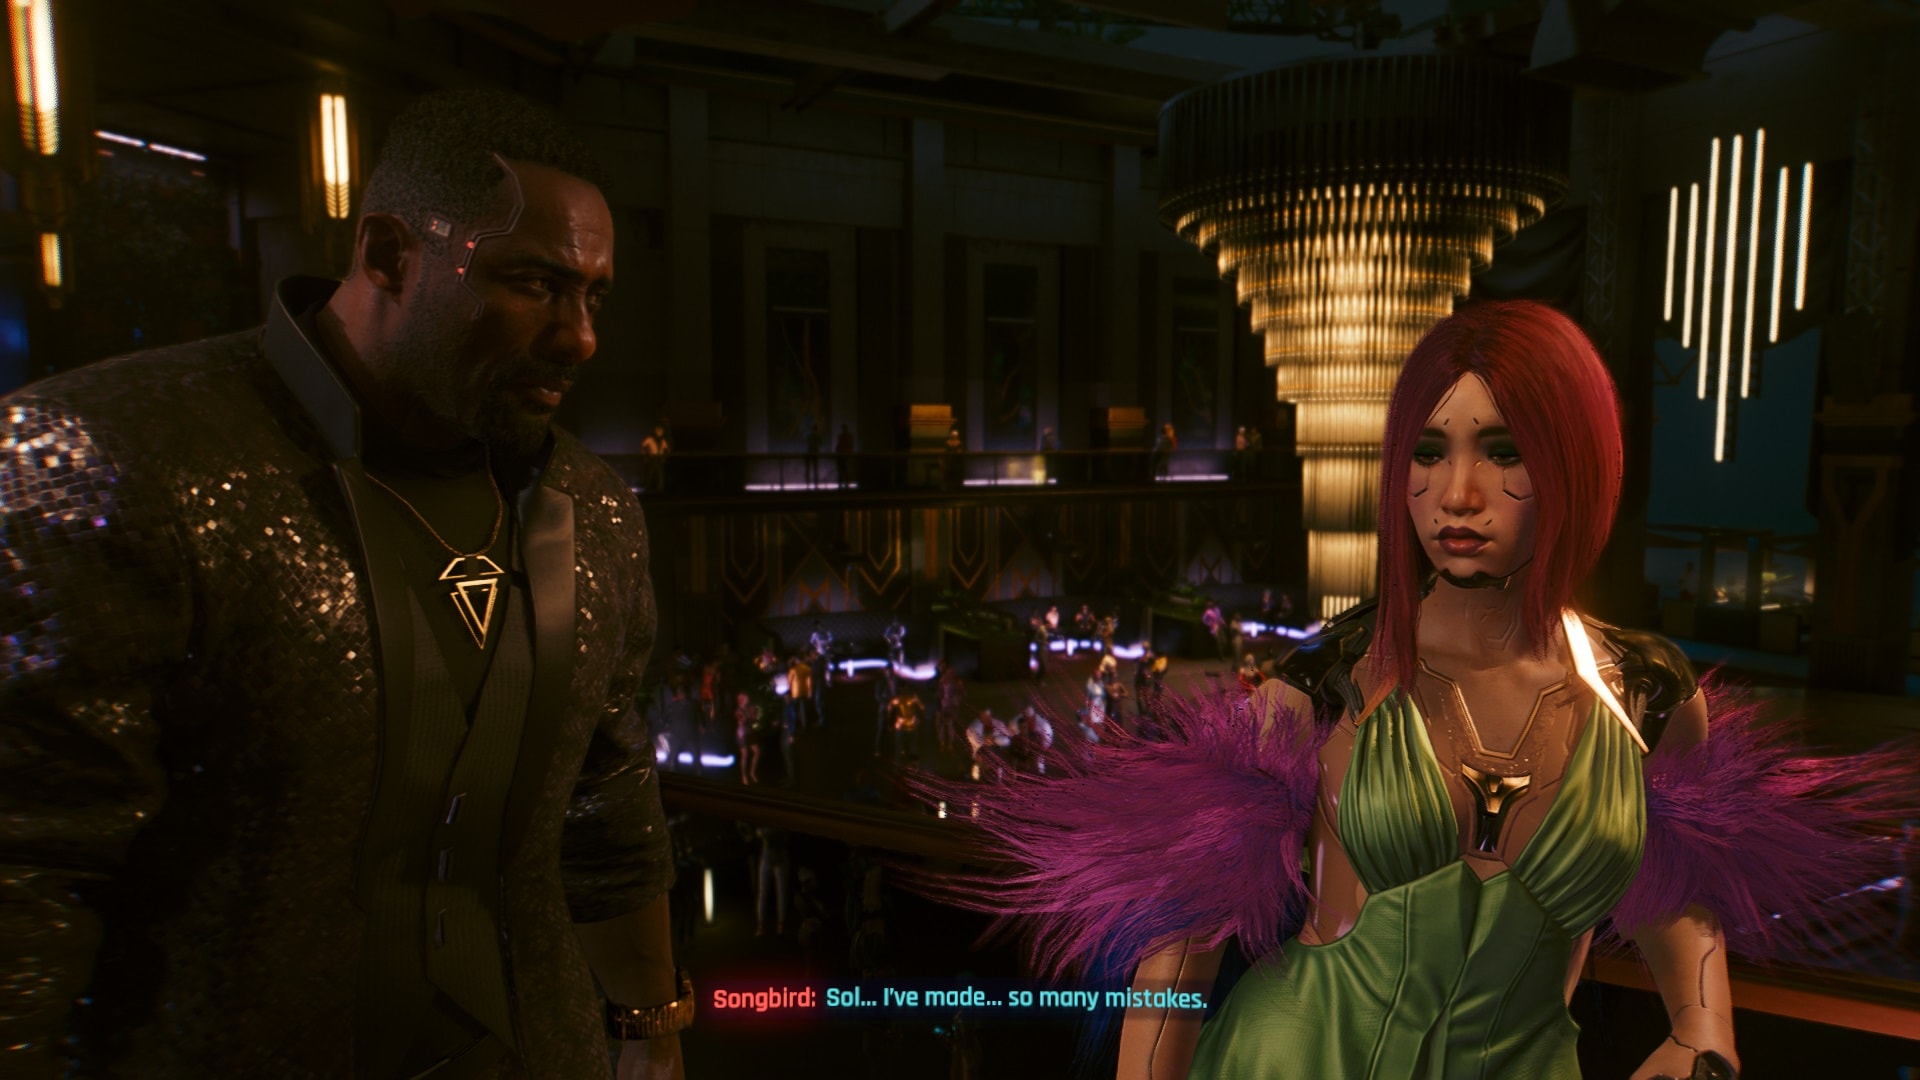
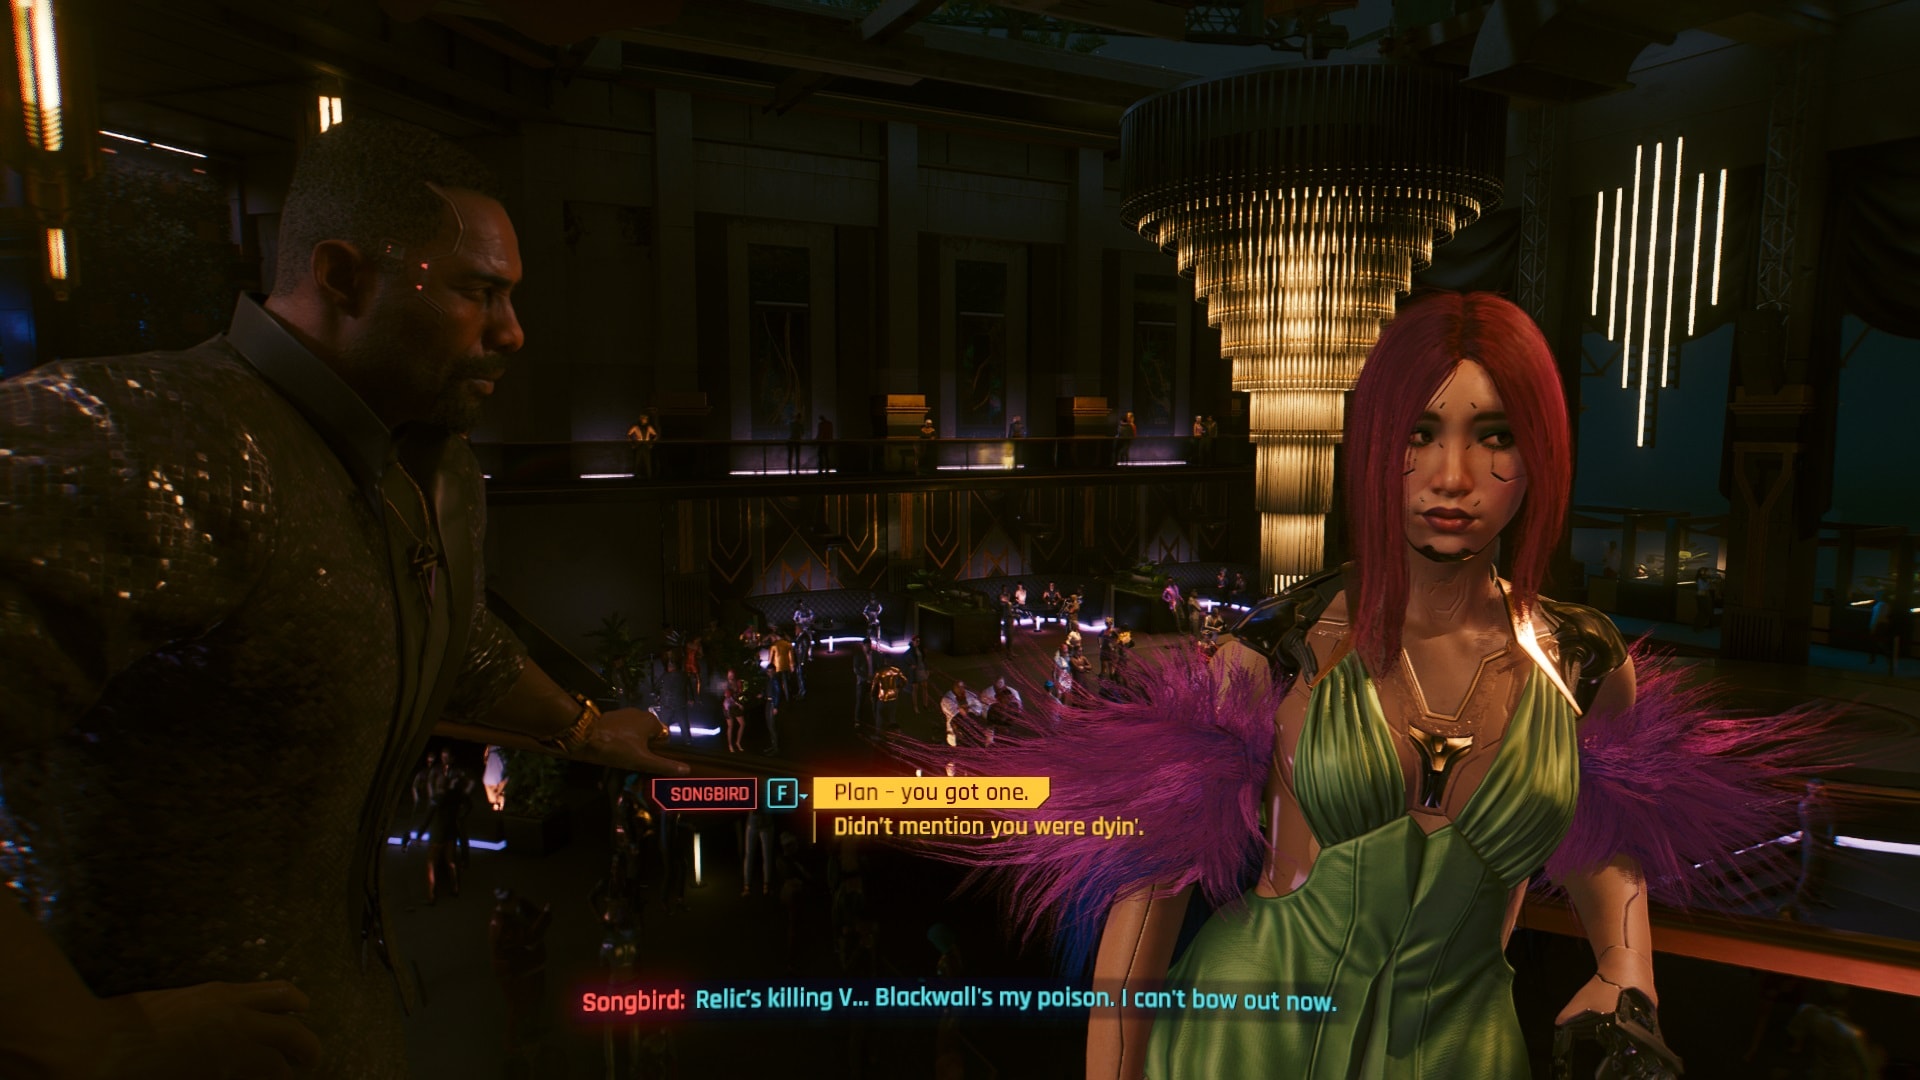
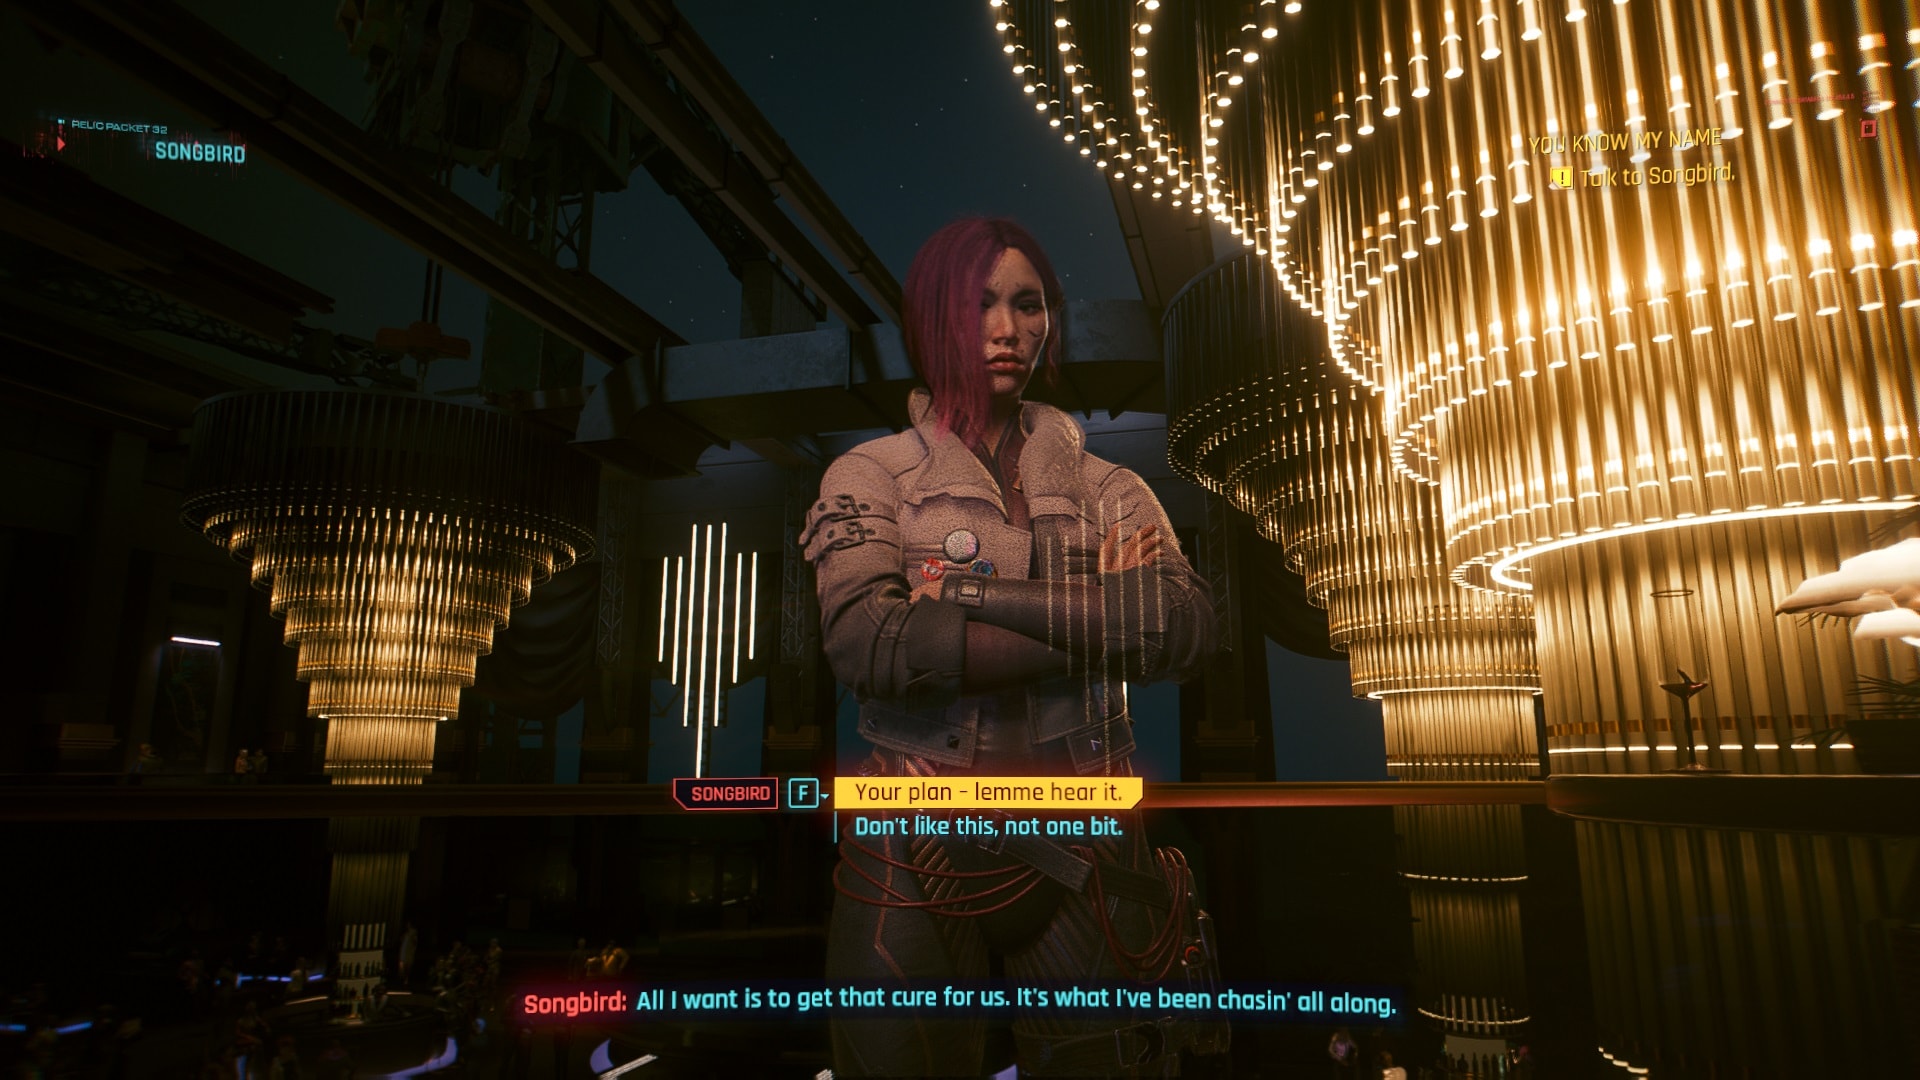
This is no time for this type of conversation, Songbird reveals her plan. A cure for V and her, because she’s also dying due to the Blackwall. And Kurt Hansen is the key to get it.
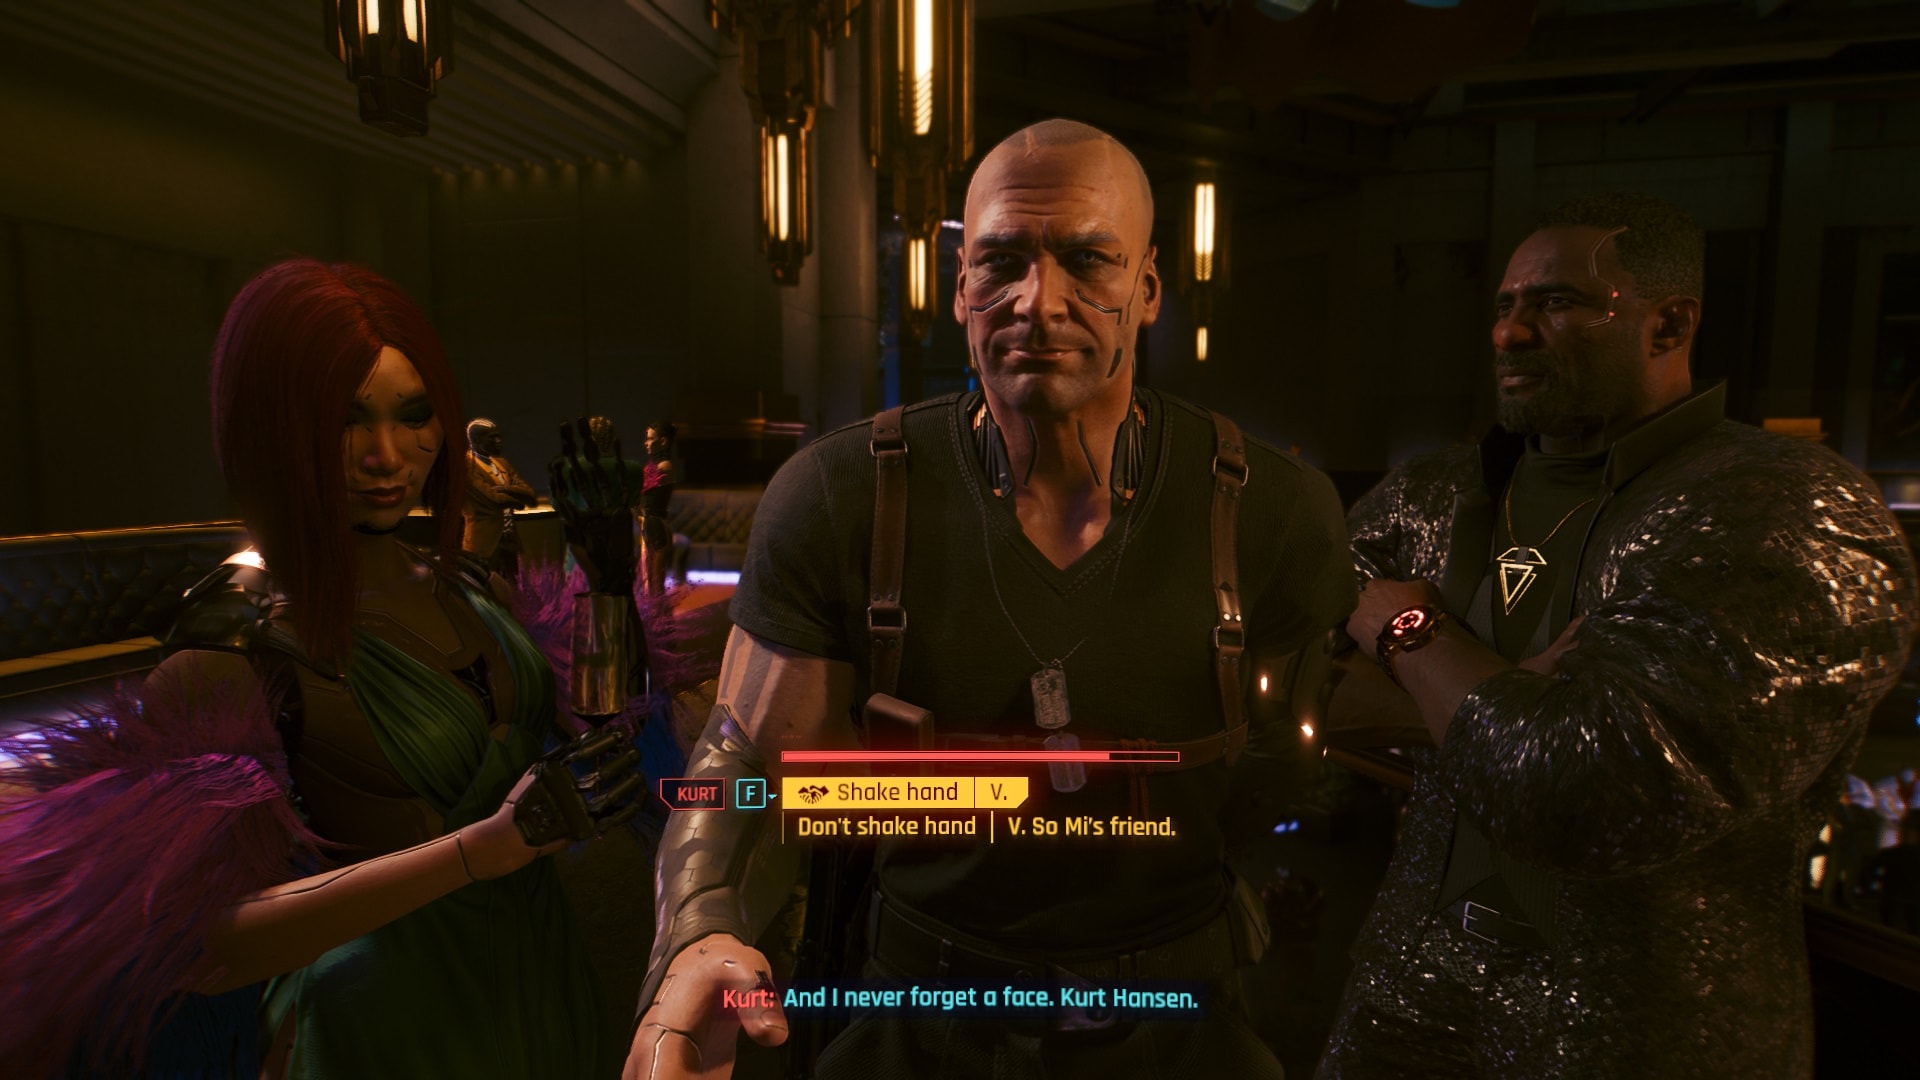
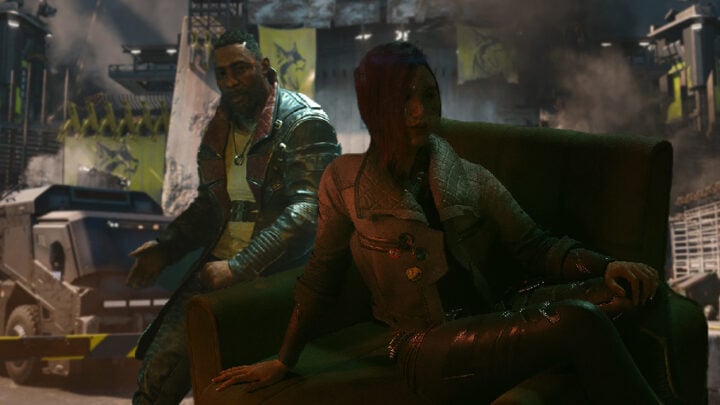
Just a few minutes into the conversation Kurt Hansen will interrupt and introduce himself. You can shake his hand or not, it doesn’t matter. He asks for Songbird to go with him, there’s nothing either you or Reed can do so it’s time to say goodbye, for now.
Right before leaving, Songbird puts her hand on your face. This re-establishes the link between you and her, it’s now possible to communicate. She then proceeds to explain her plan and the reason she’s with Kurt but before this Reed decides to go to the bar.
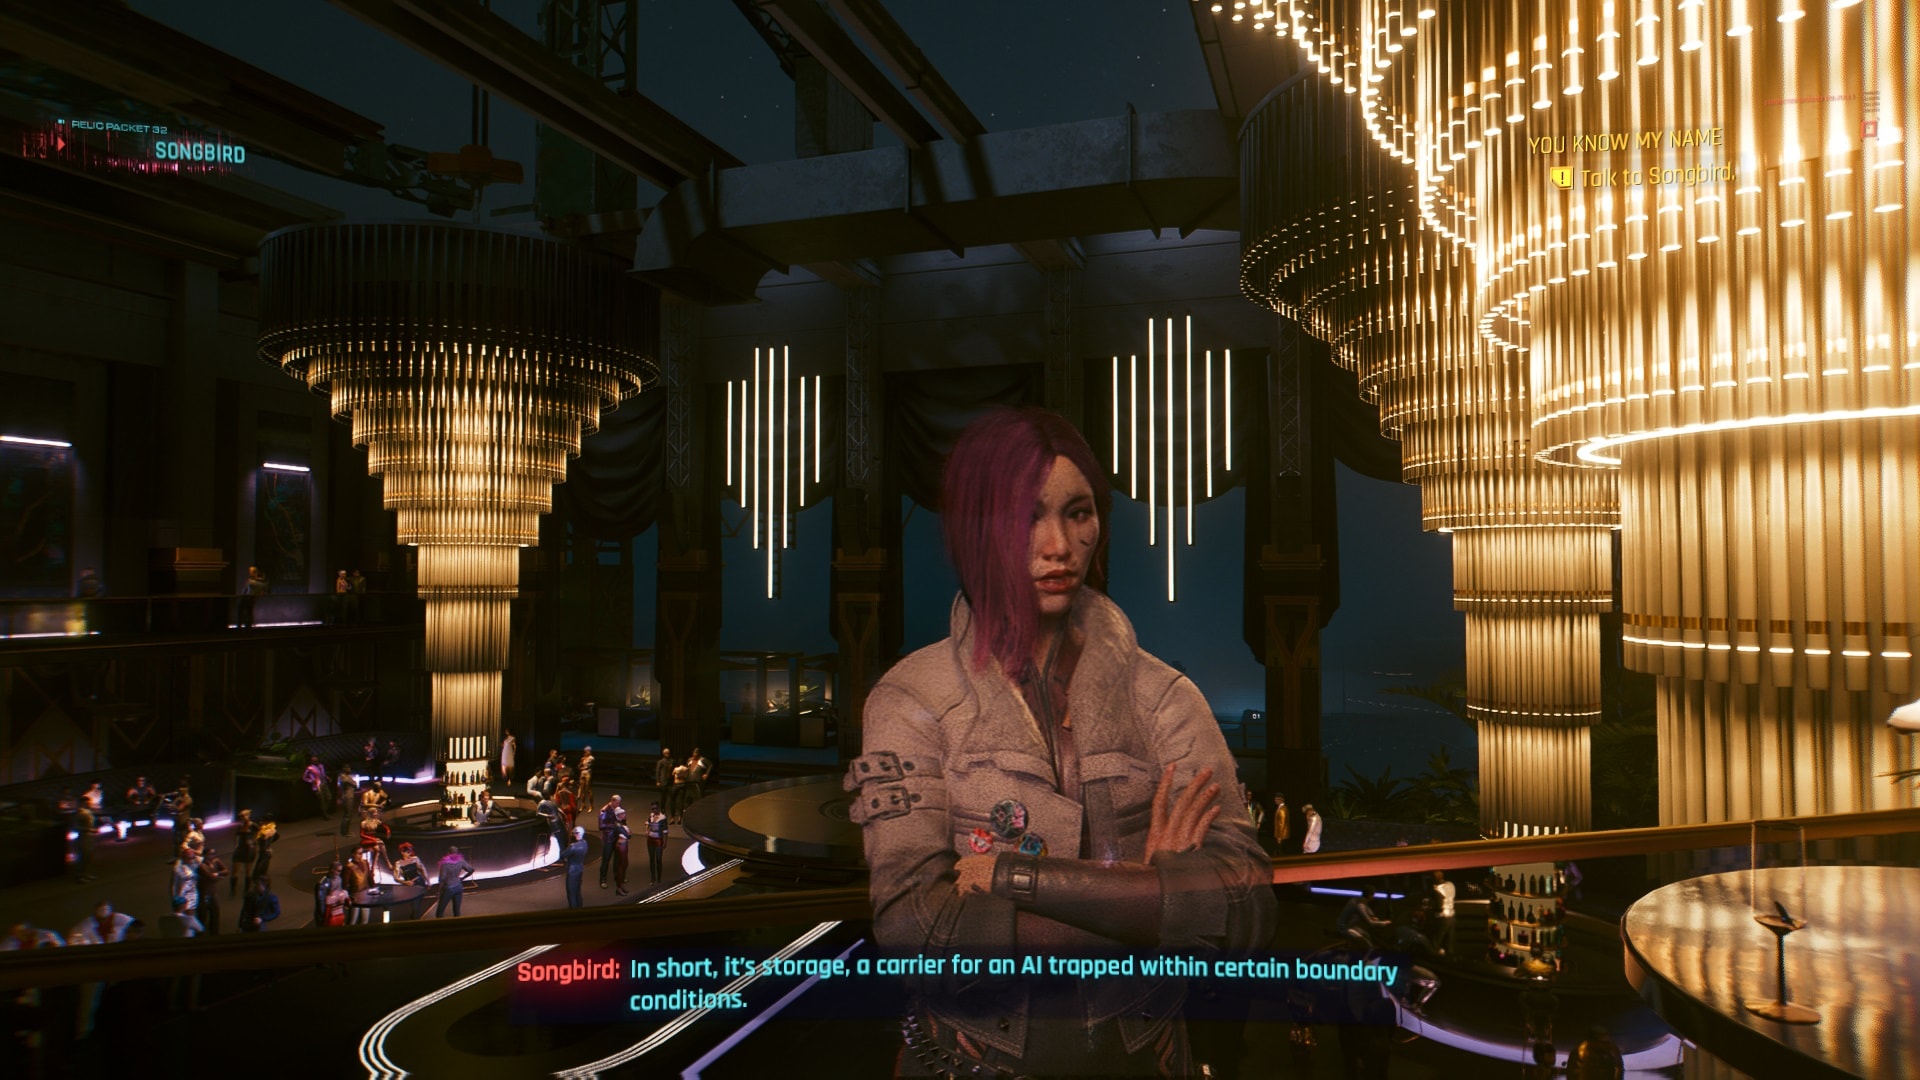
The cure that can help both you and Songbird is stored in a bunker that only Kurt can access, well, partially.

This “cure” is a powerful AI that has been trapped, but Songbird doesn’t reveal any more details about it.
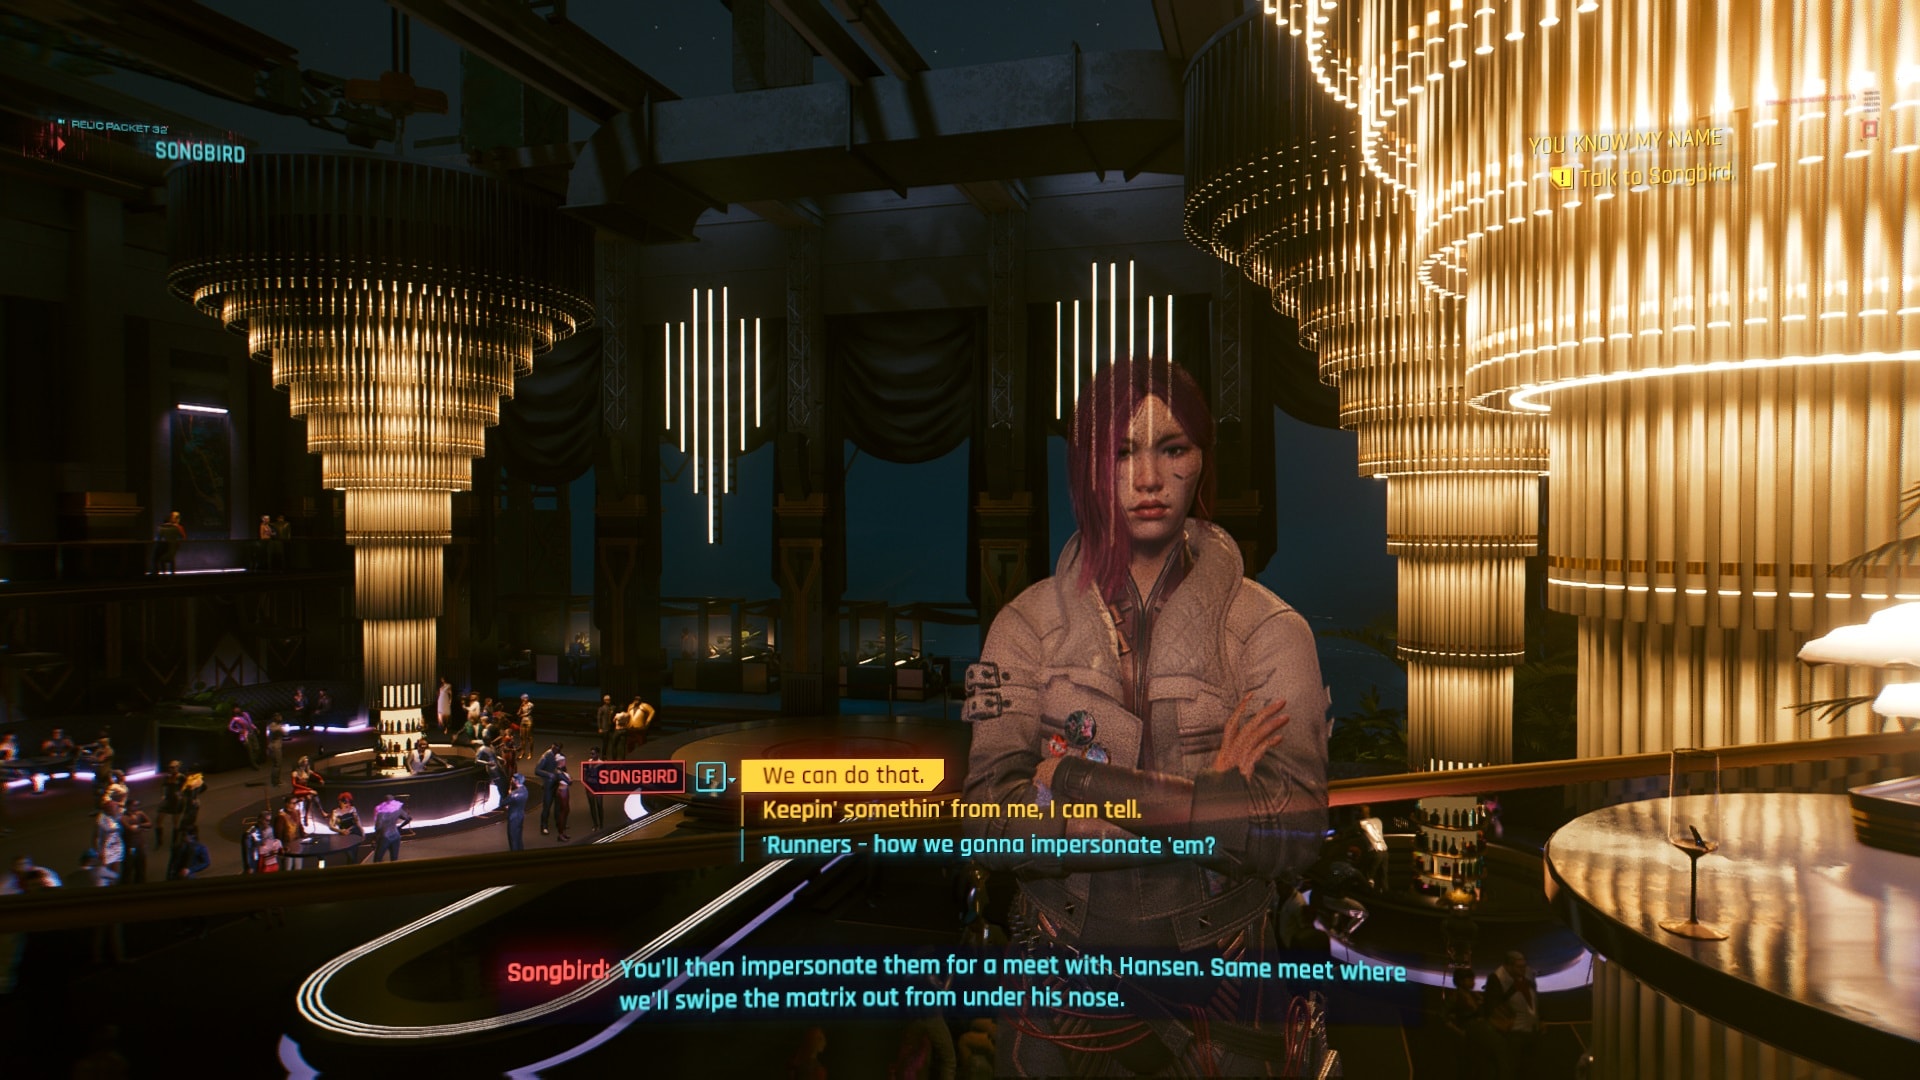
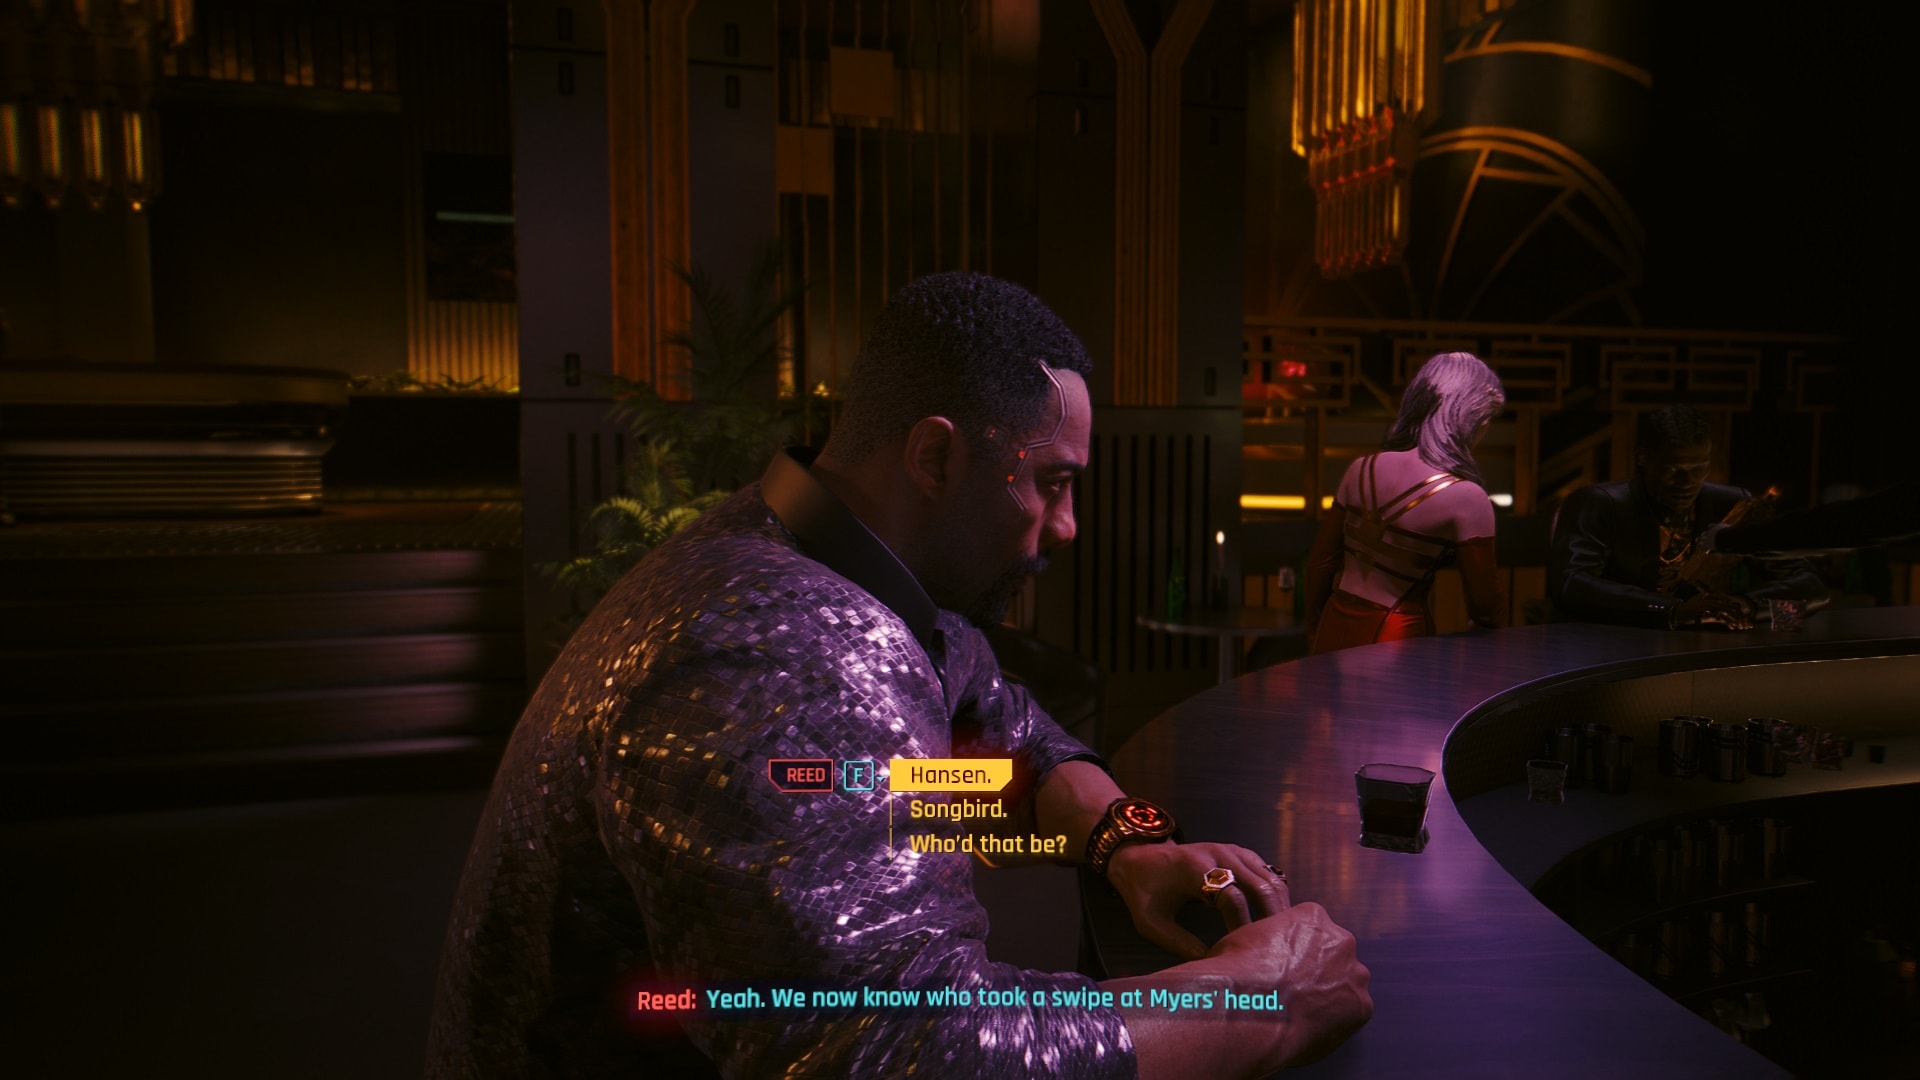
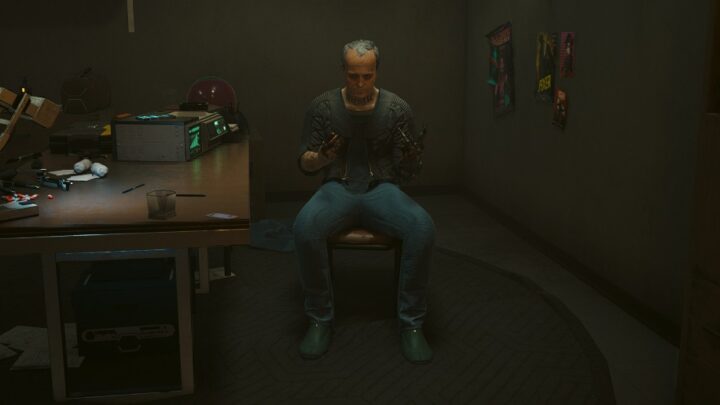
The “key” to access it will be sold to him by two brothers who happen to be at the party. To be able to impersonate the sellers you must acquire their behavioral imprints, and what better way to do it than with some gambling?
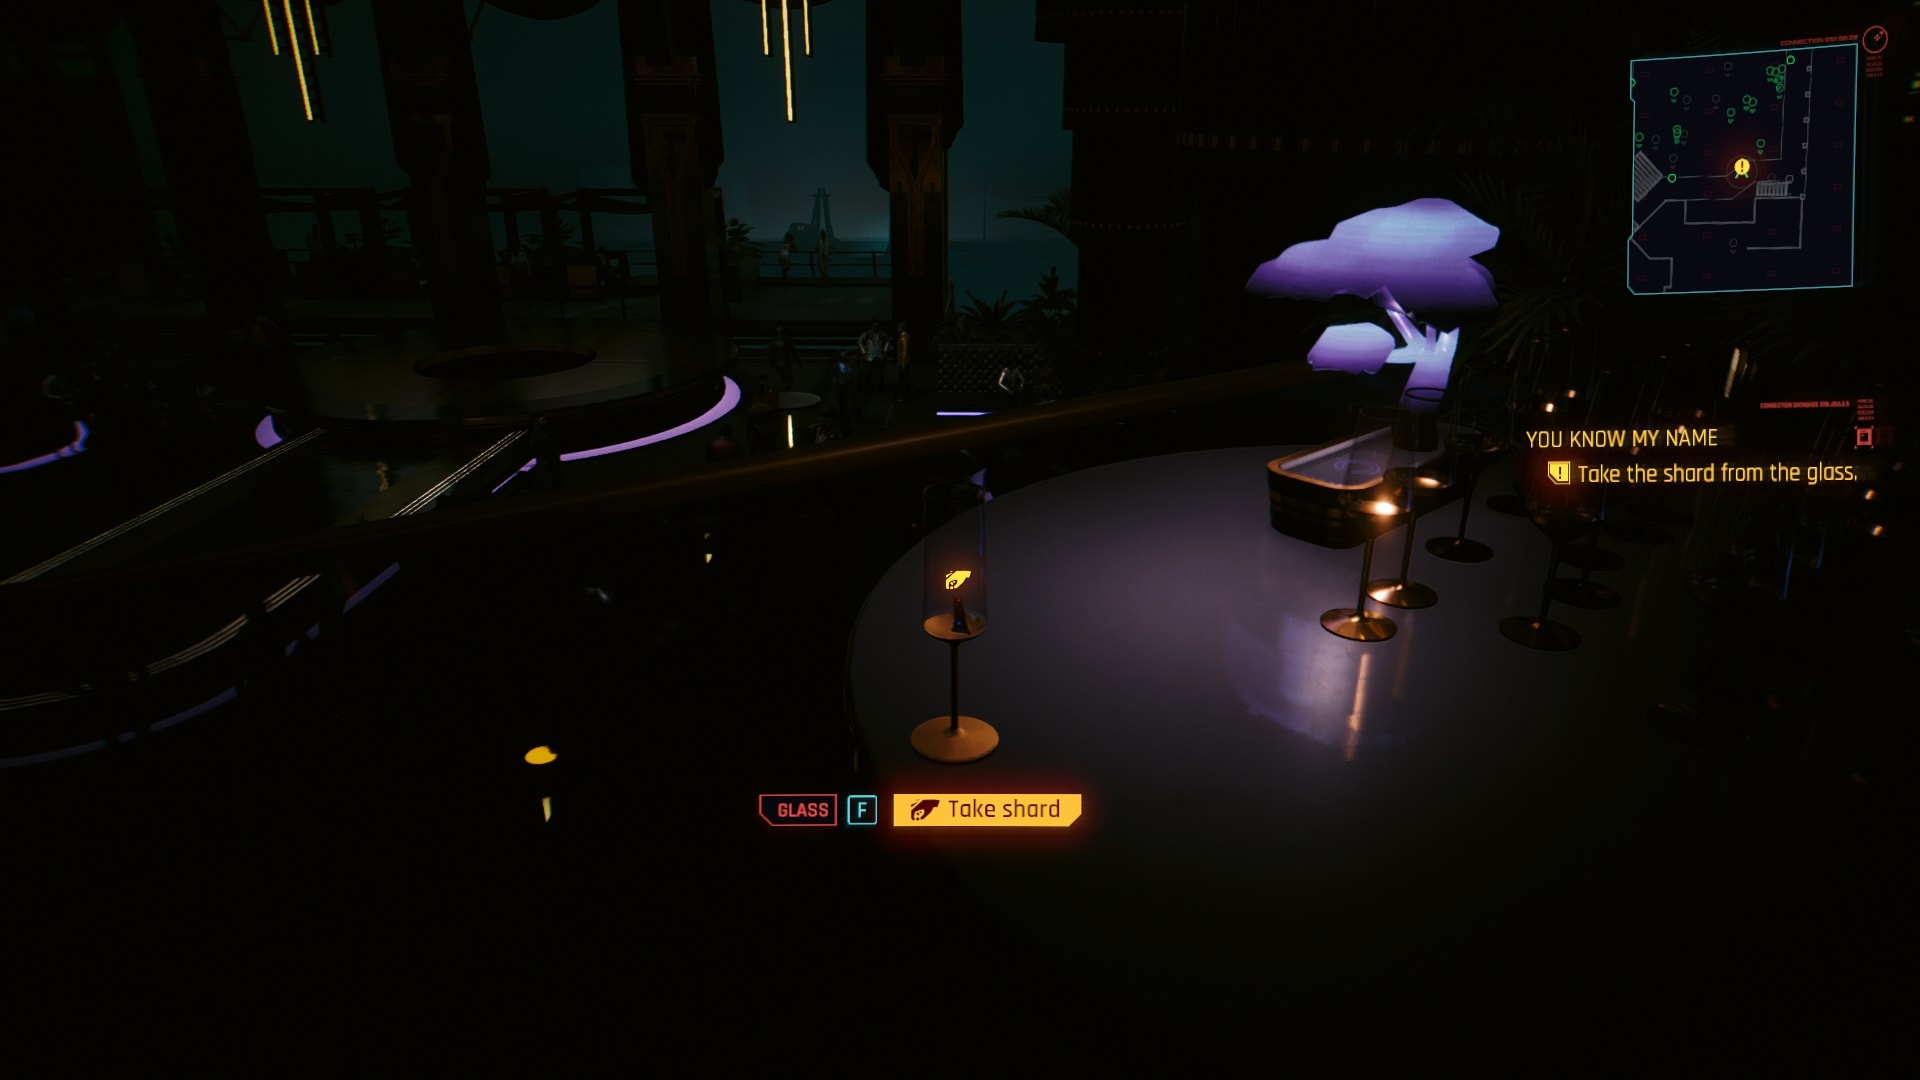
Take the shard that’s on the glass. It contains all the information about these brothers, then head to the bar where Reed is awaiting.
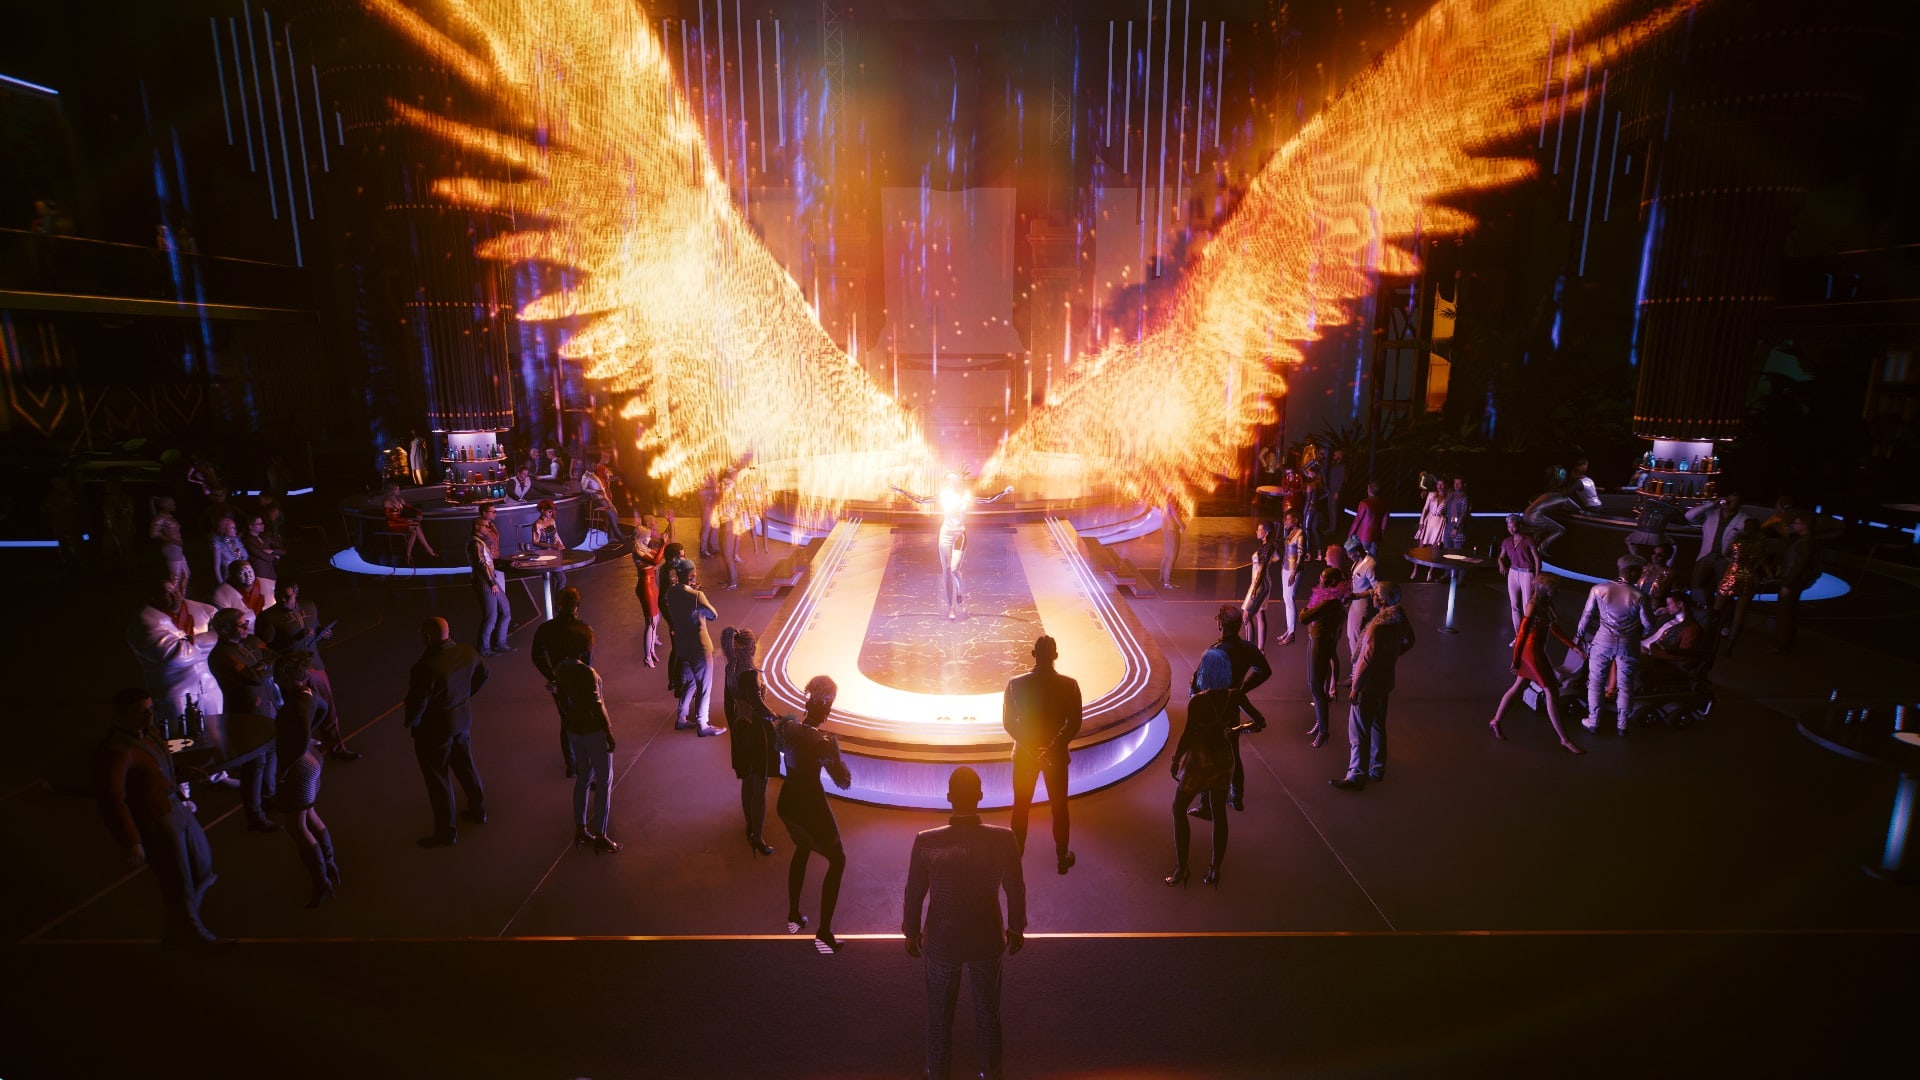
A small performance will begin, it’s irrelevant to the story but the visuals are pretty cool. Spending a few minutes watching it won’t affect the mission.
Play roulette to complete the behavioral imprint scan
It doesn’t take a genius to put together all the pieces together, Songbird has been playing everyone in order to get this “cure”. Myers, Hansen, and you are all pieces in her small game.
But now it’s not the time or place to pass judgment, first you and Reed need to get Songbird out of here. Give the shard to Reed, the brothers you’re looking for will be right behind Reed. Time to complete the next phase of the plan.
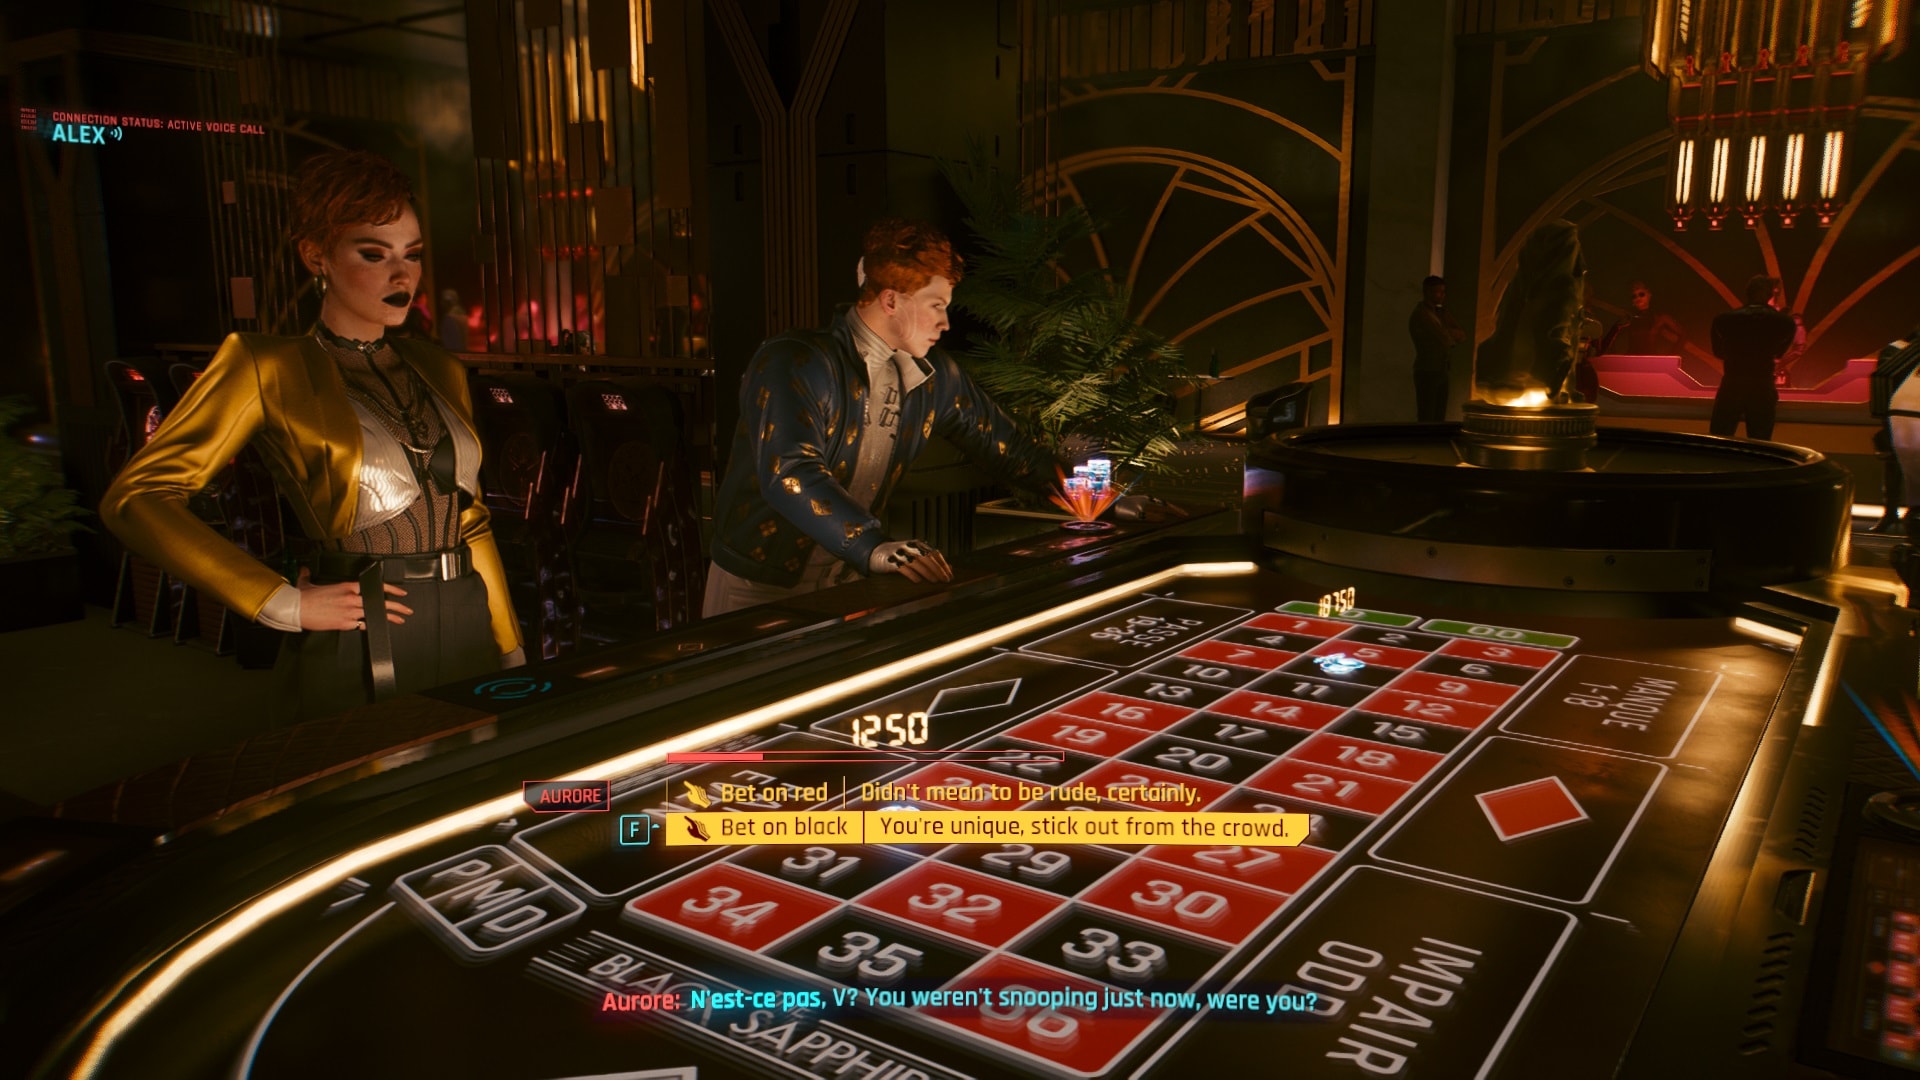
I will show you how to get one hundred percent of both behavioral imprints. As soon as Aurore asks for your presentation order drinks for everyone.

It’s important that you ask for the same drink as her. She’ll get a little flirty, this is the first important step.
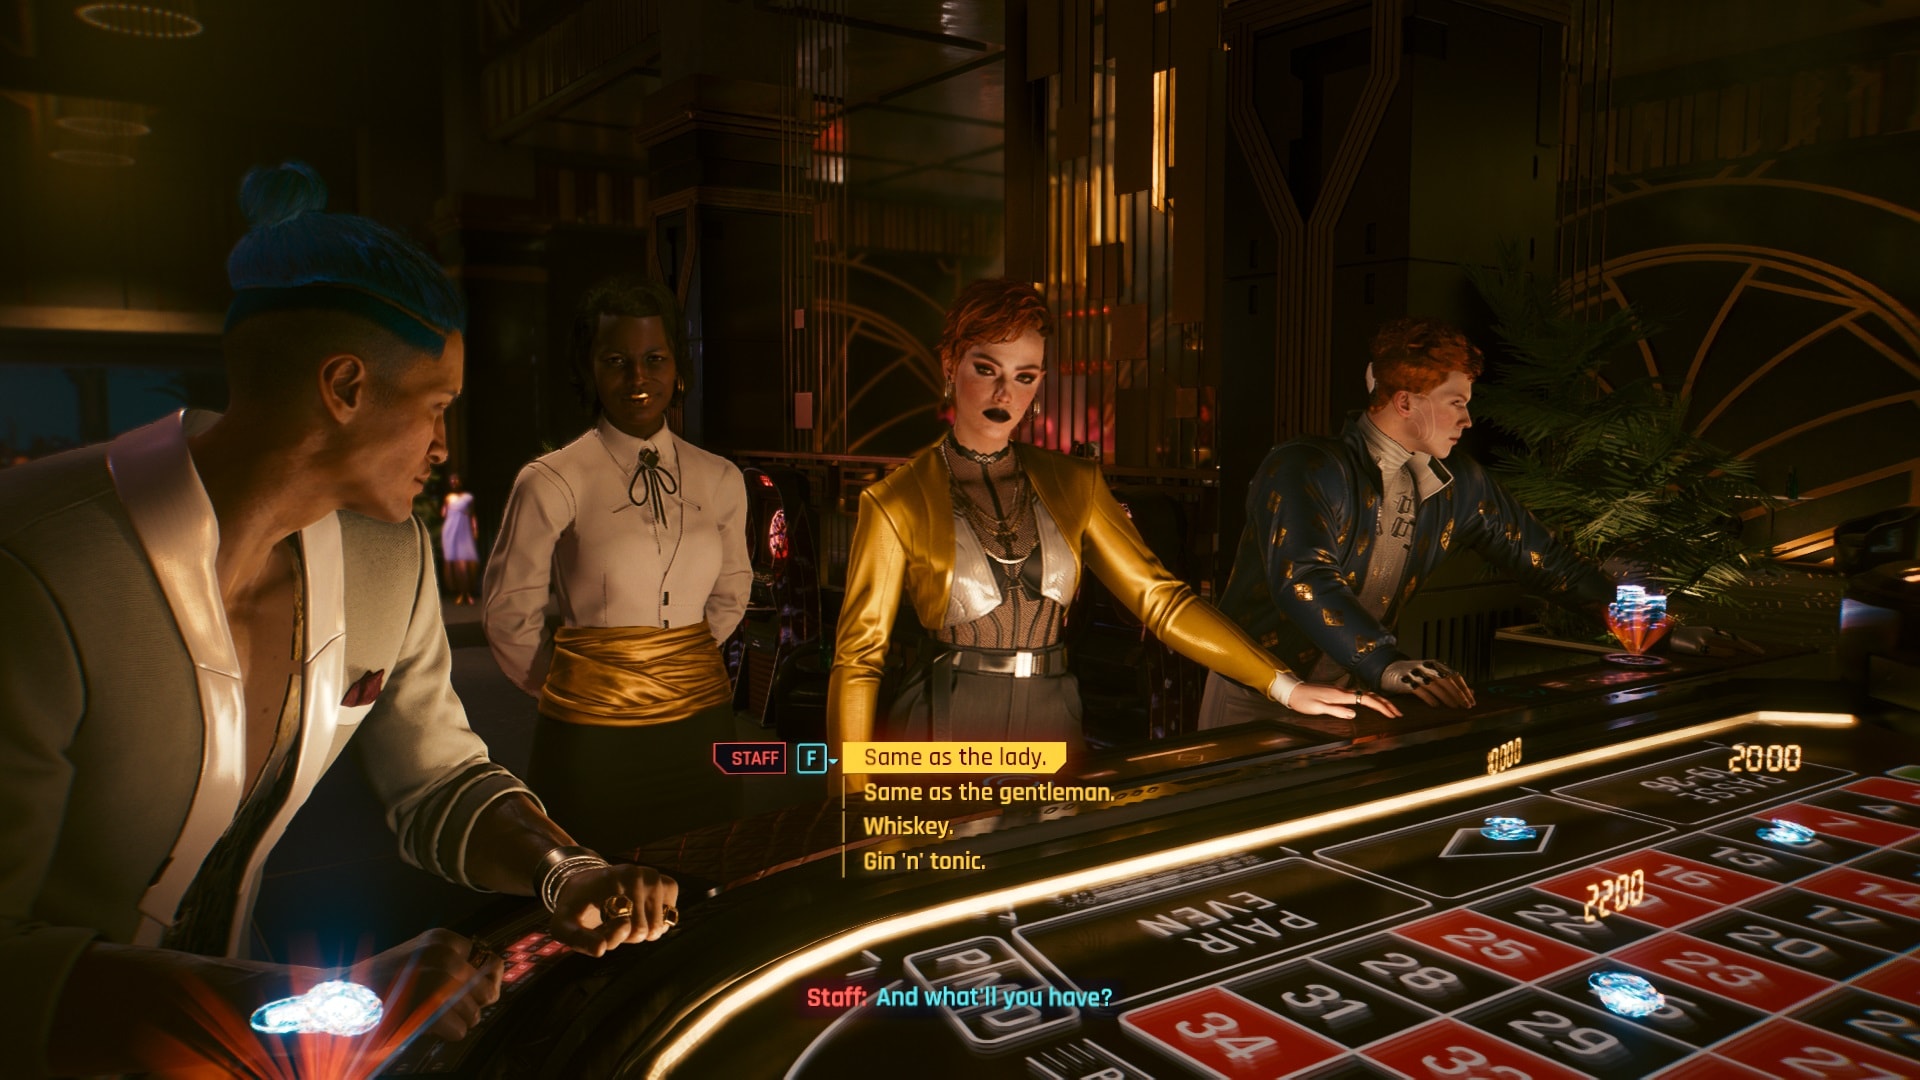
Pick the second choice when she tries to guess what kind of person you are.

Some bets will change the dialogue options, I always picked black and it worked fine for me.
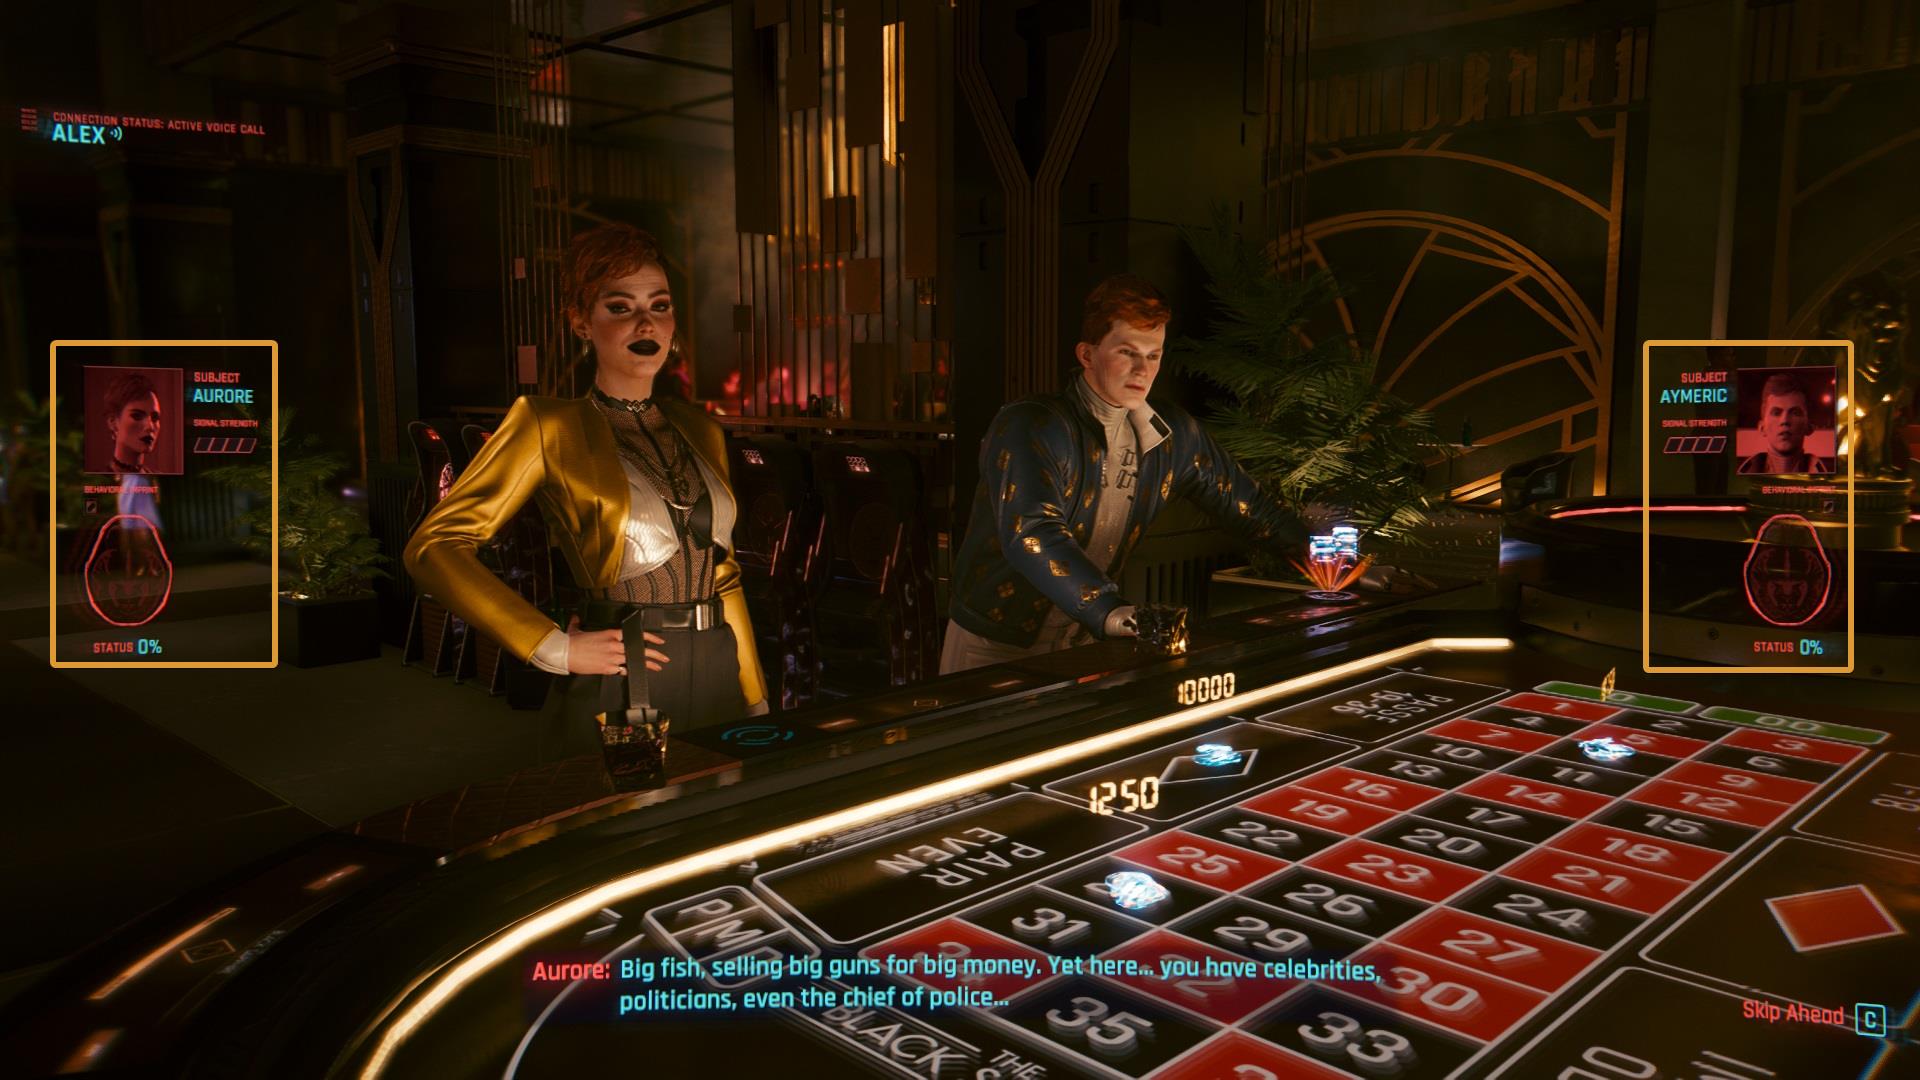
Reed was supposed to join you but he’s missing. At least this time is proving useful, Aurore is getting comfortable with your company.

Can’t wait for Reed anymore, it’s time to do it all yourself. Compliment the brothers about how they stand out from the rest.
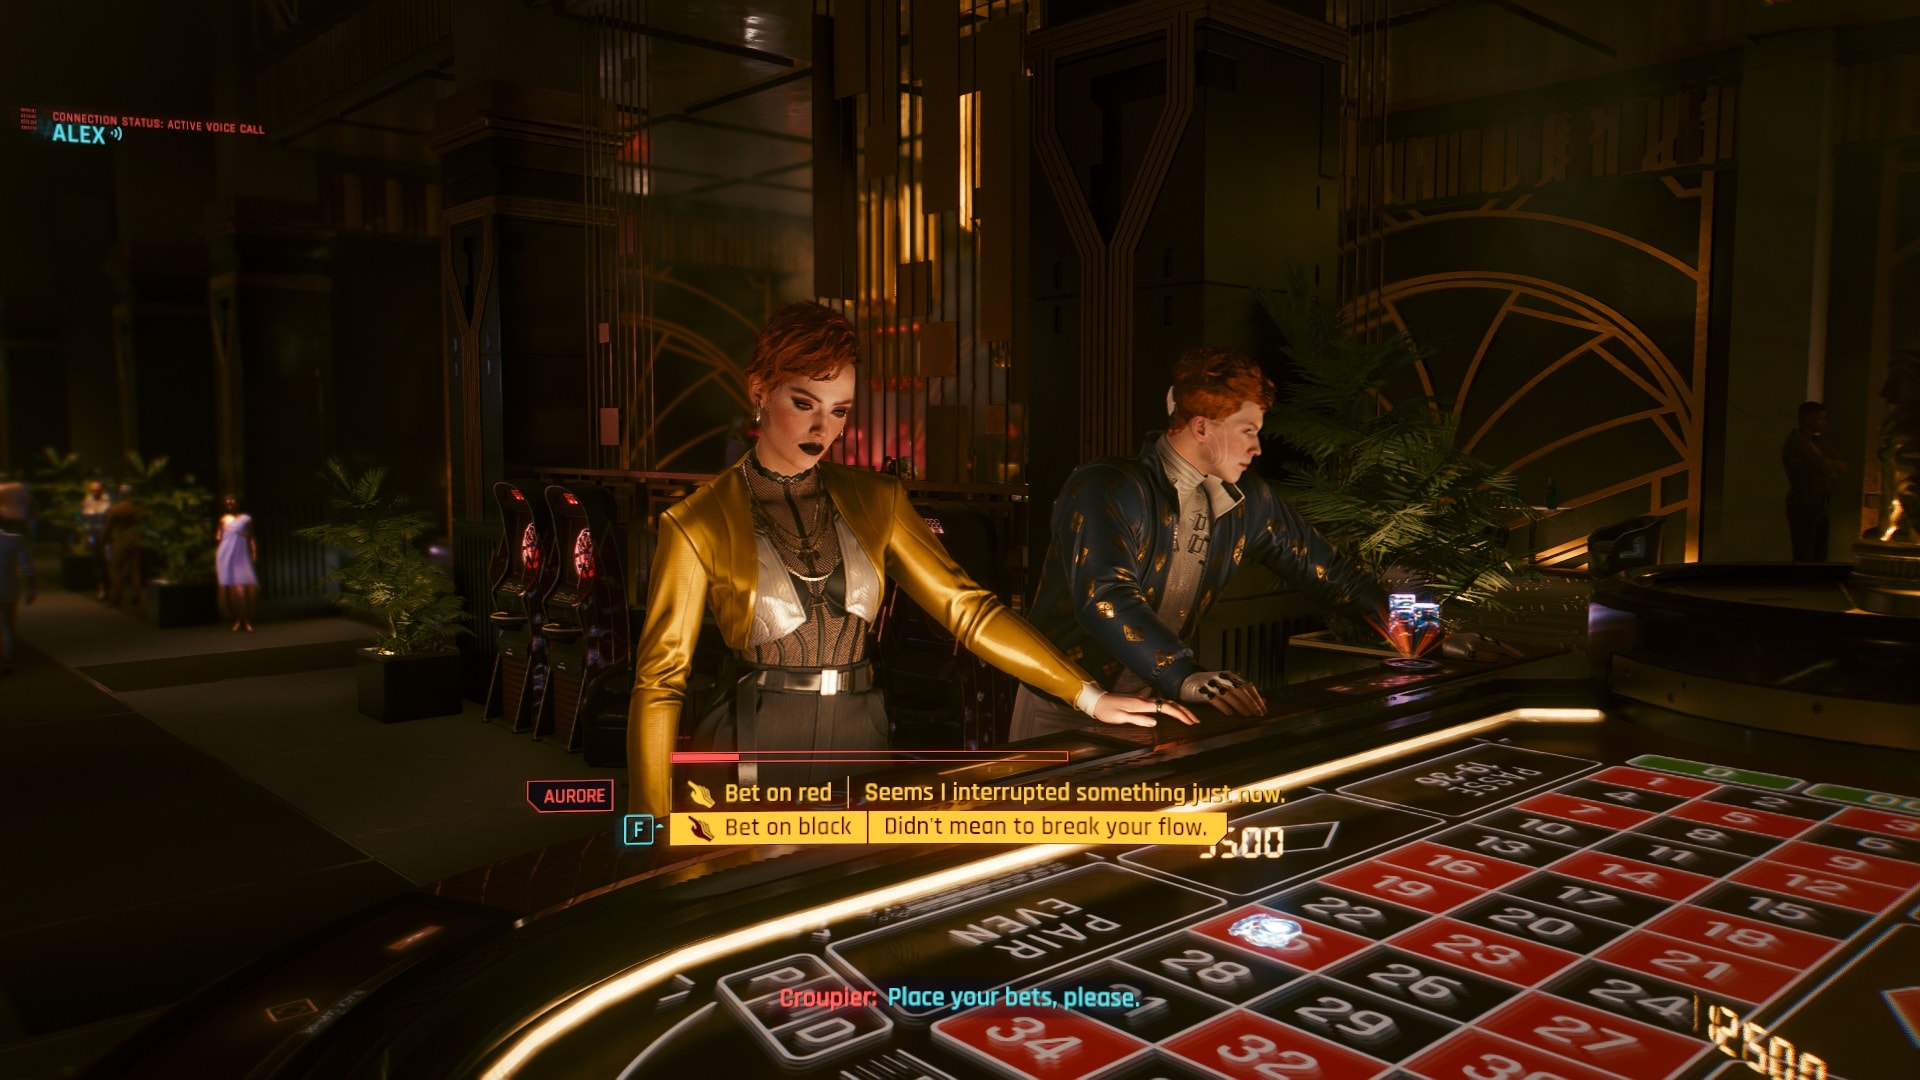
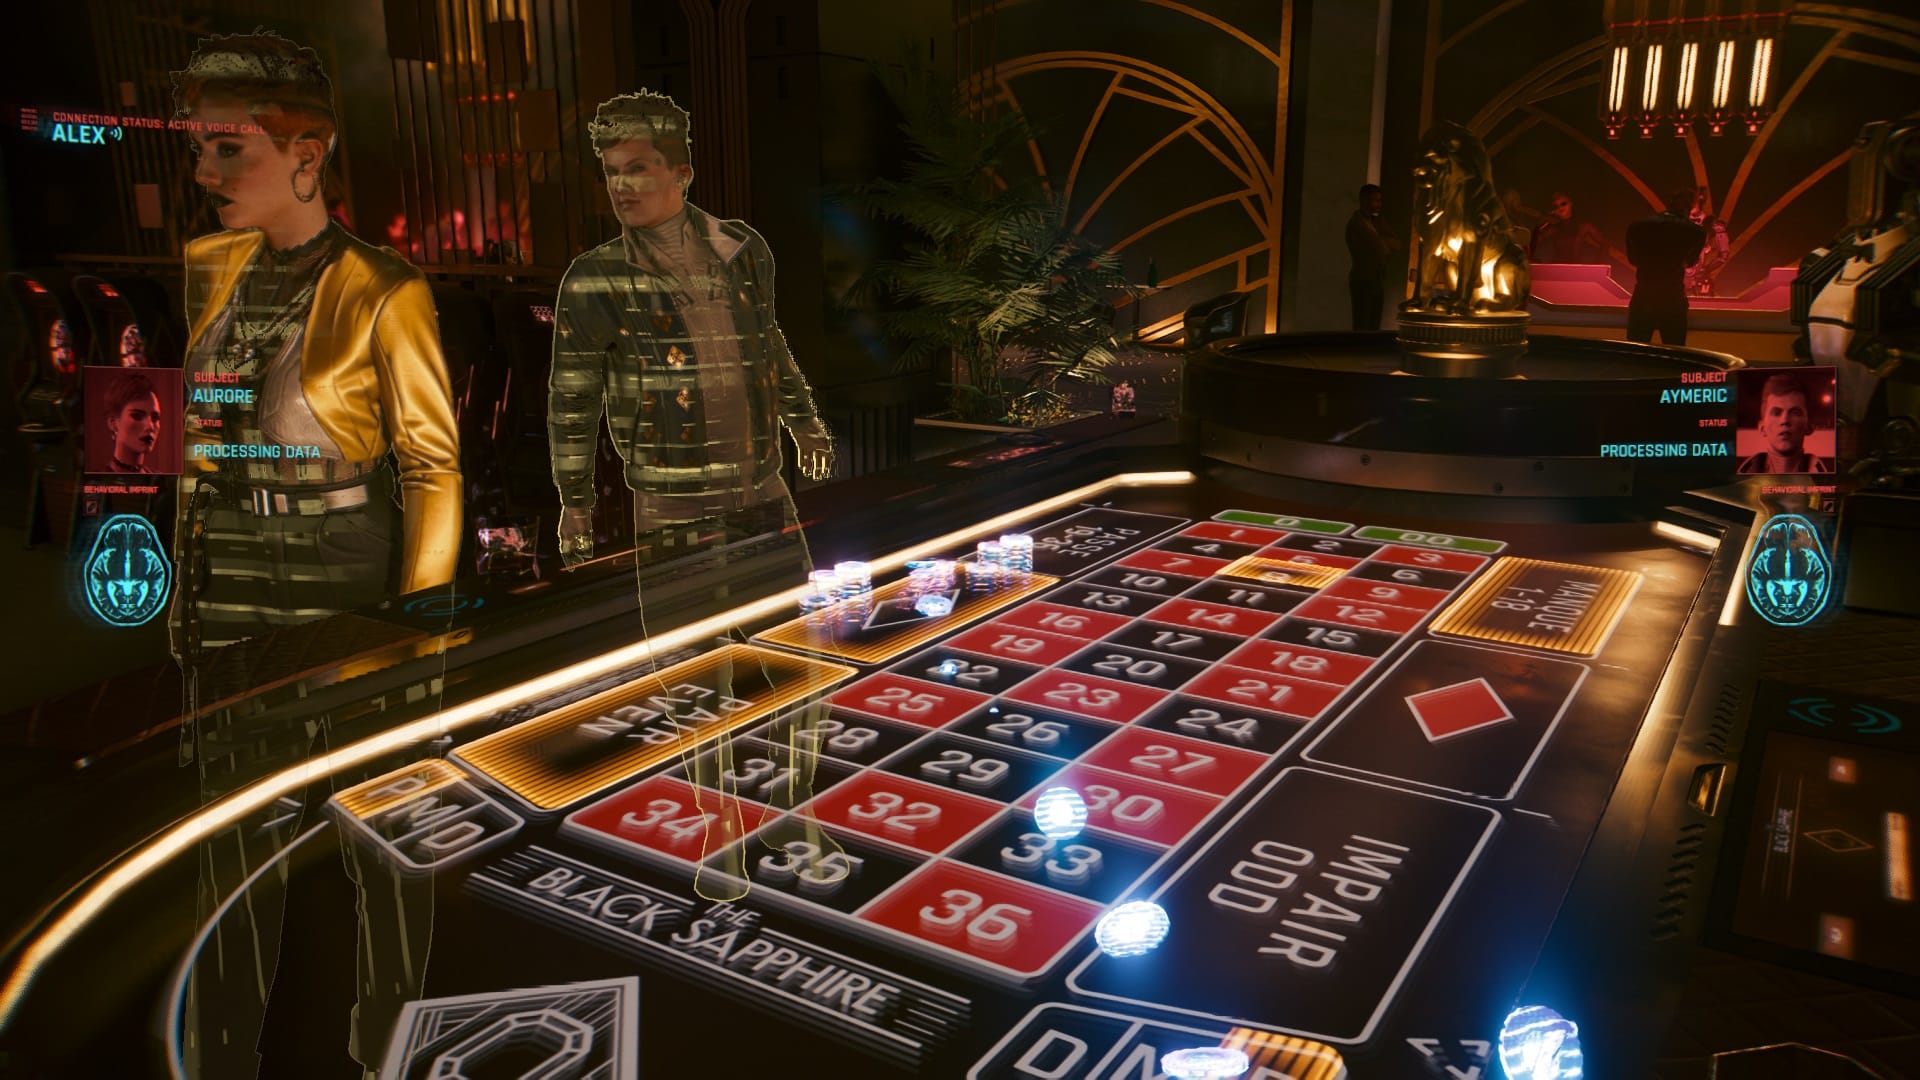
The Behavioral Imprints progress will now be displayed on both sides of your screen. This is where the fun begins.
Aurore asks about who is Kurt Hansen, you should reply that he’s a career criminal. The conversation will go on for a few seconds without you having to make more choices.
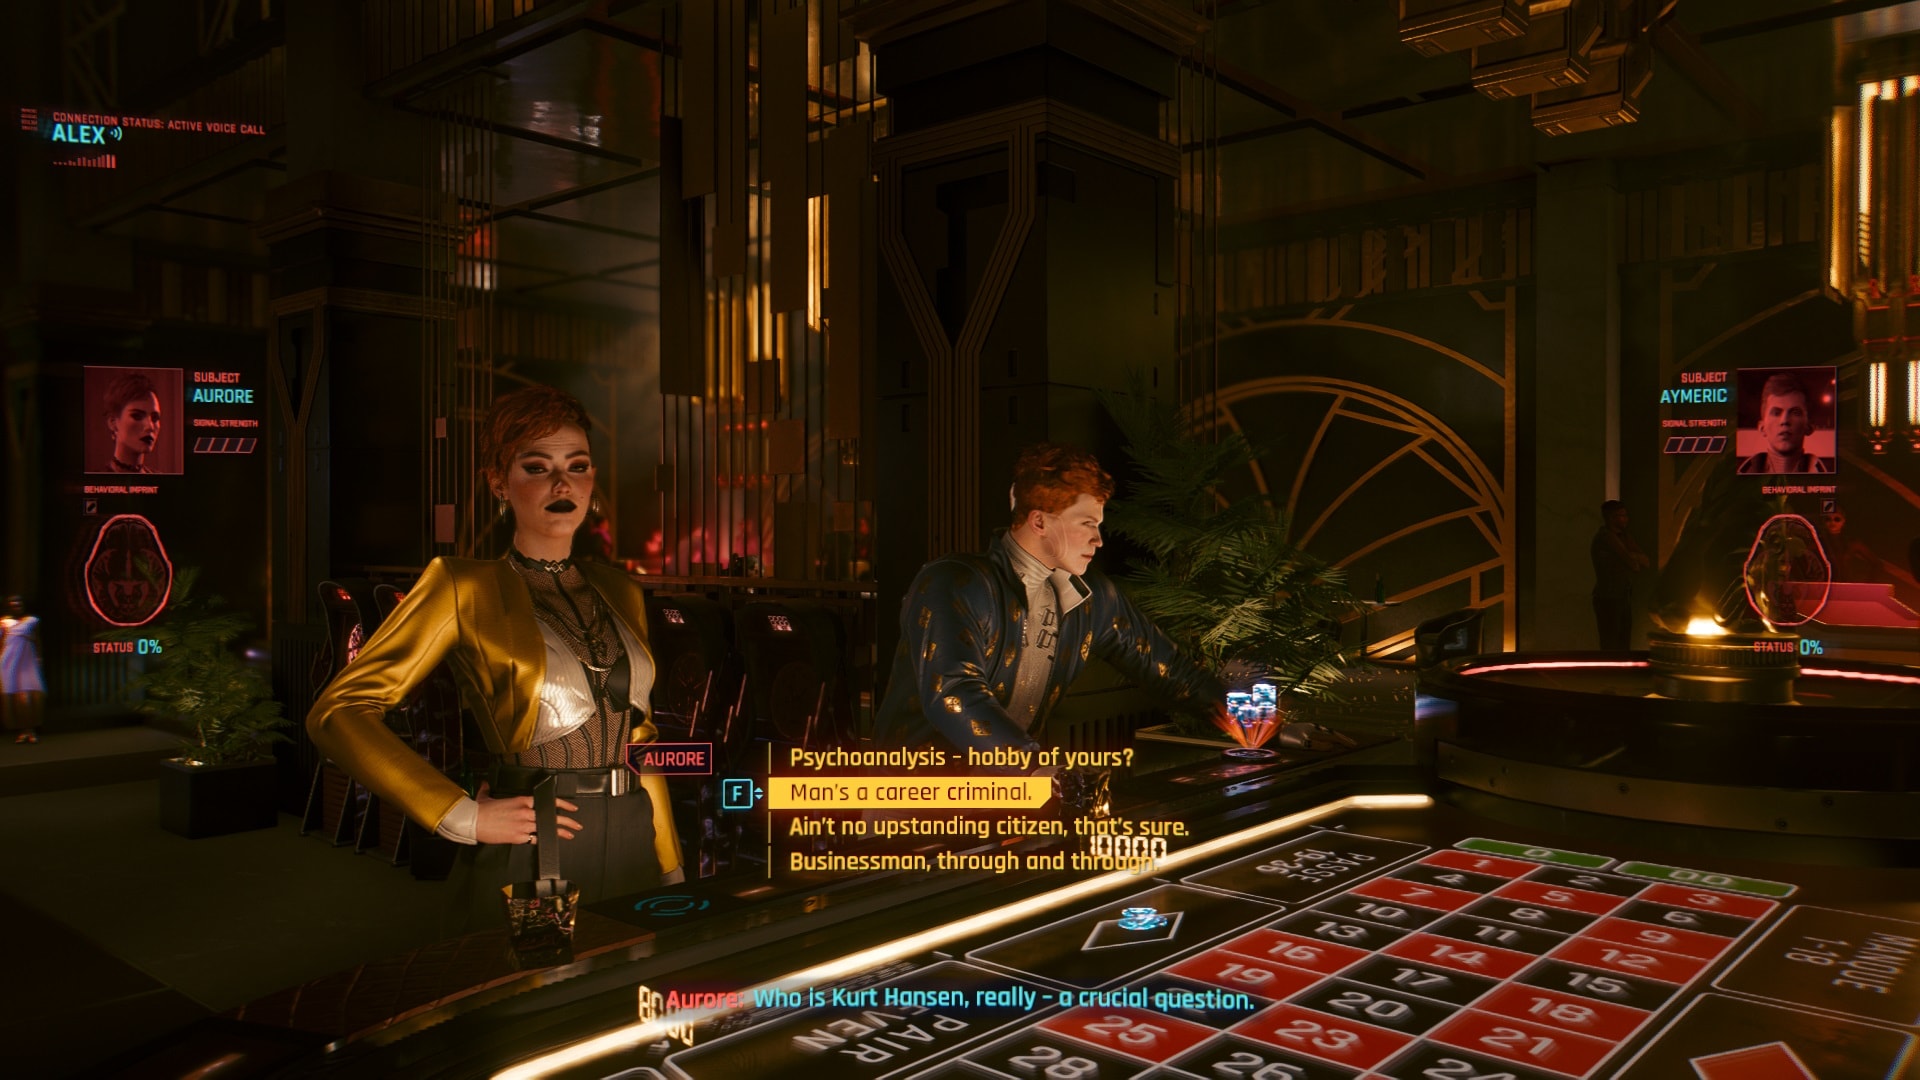
Now it’s time to target Aymeric. The apparently shy brother can get talkative, it’s just a matter of choosing the right words. Call his approach naive and short-sighted, this will open up the conversation.
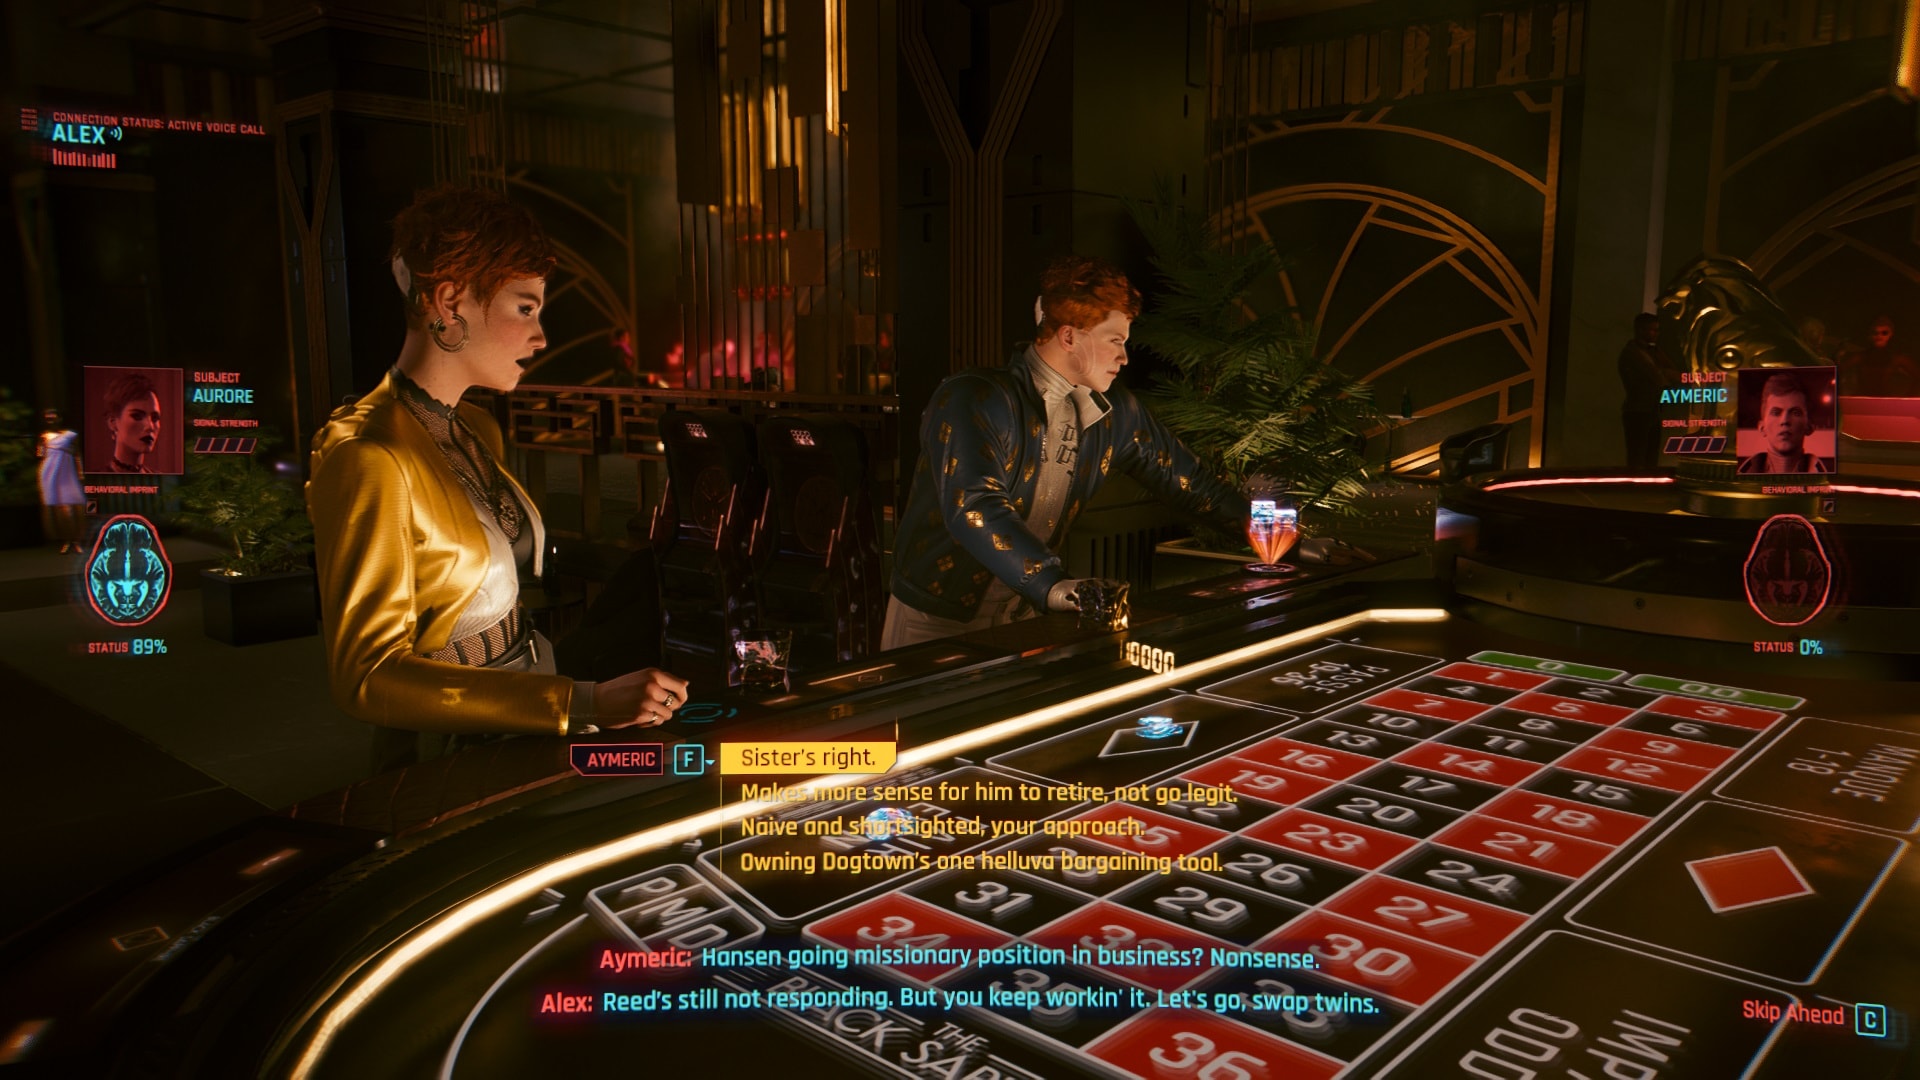
Continue to bet on black, Aymeric will talk more about his perspective on “business”.
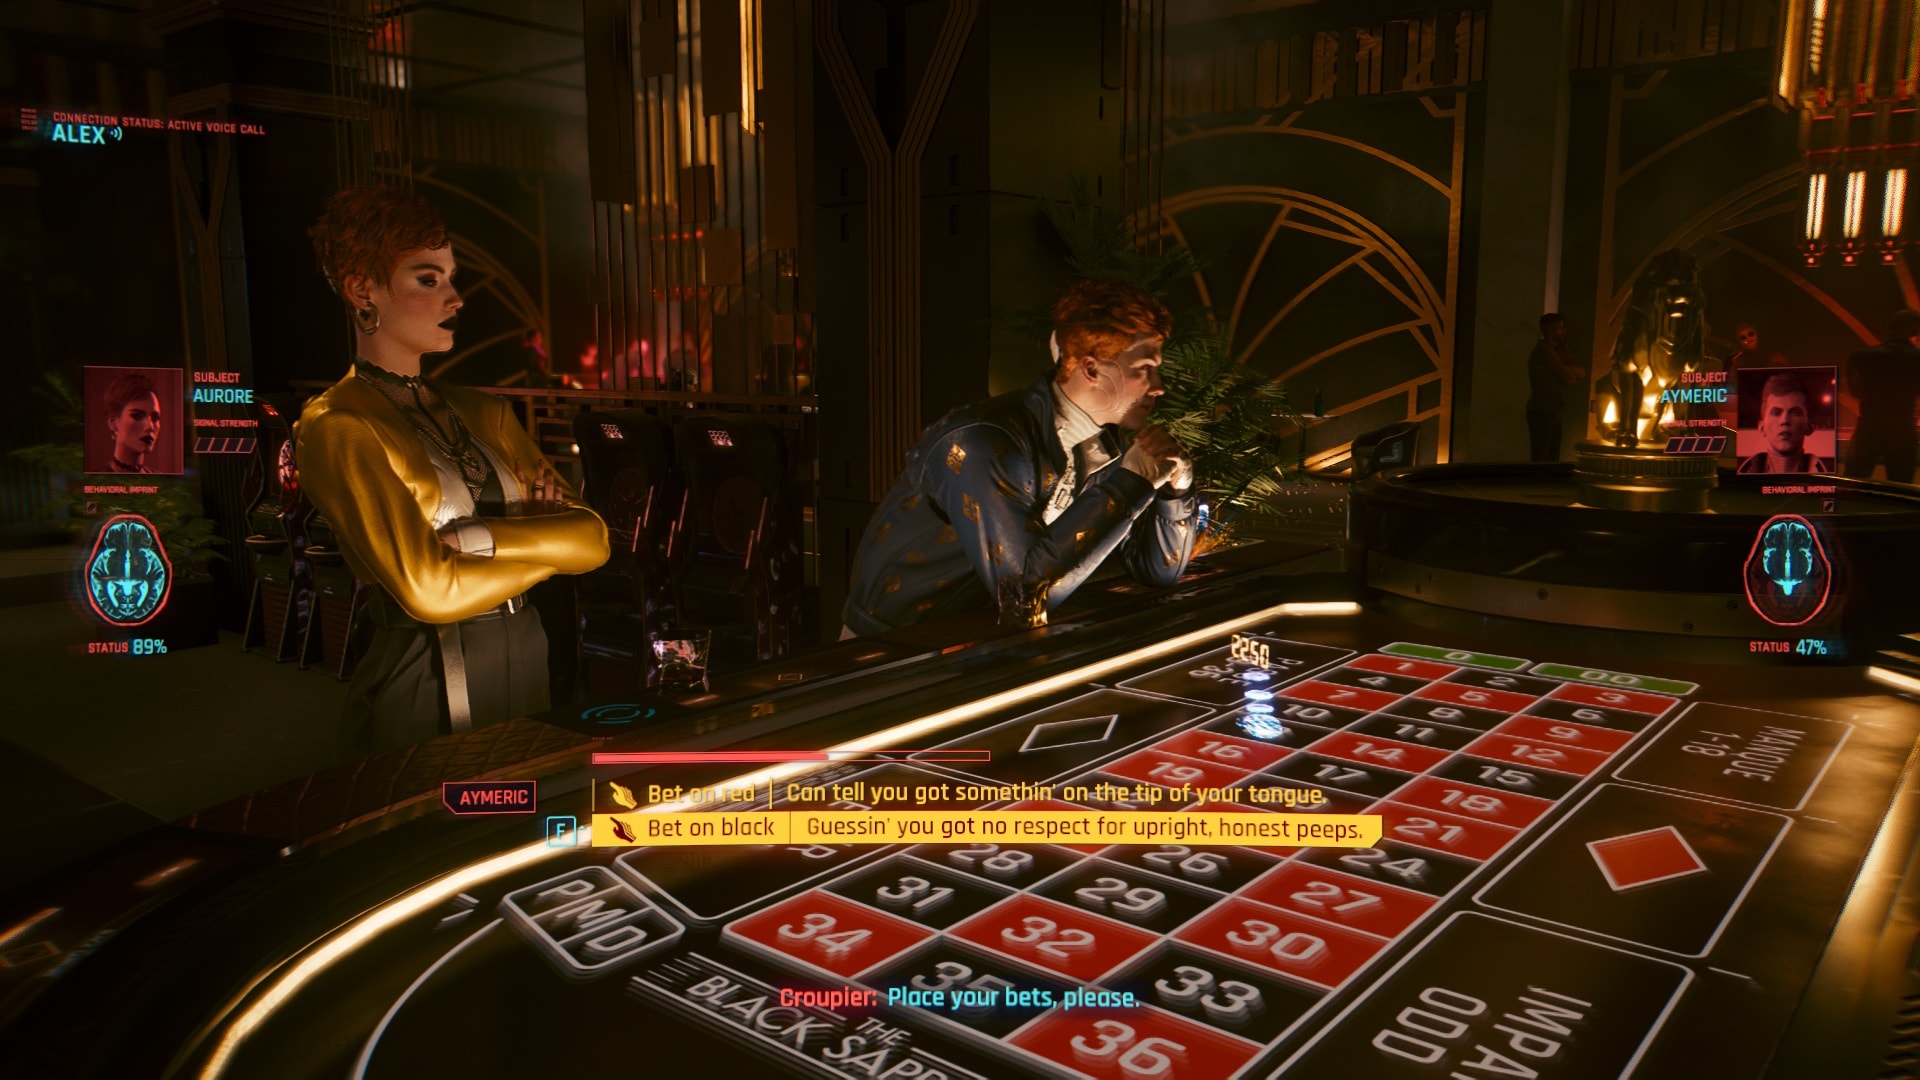
Both behavioral imprints should be now on more than eighty percent. Time to spice things up, make the suggestion to bet all or nothing. Aymeric will get suspicious but at this point it’s too late.
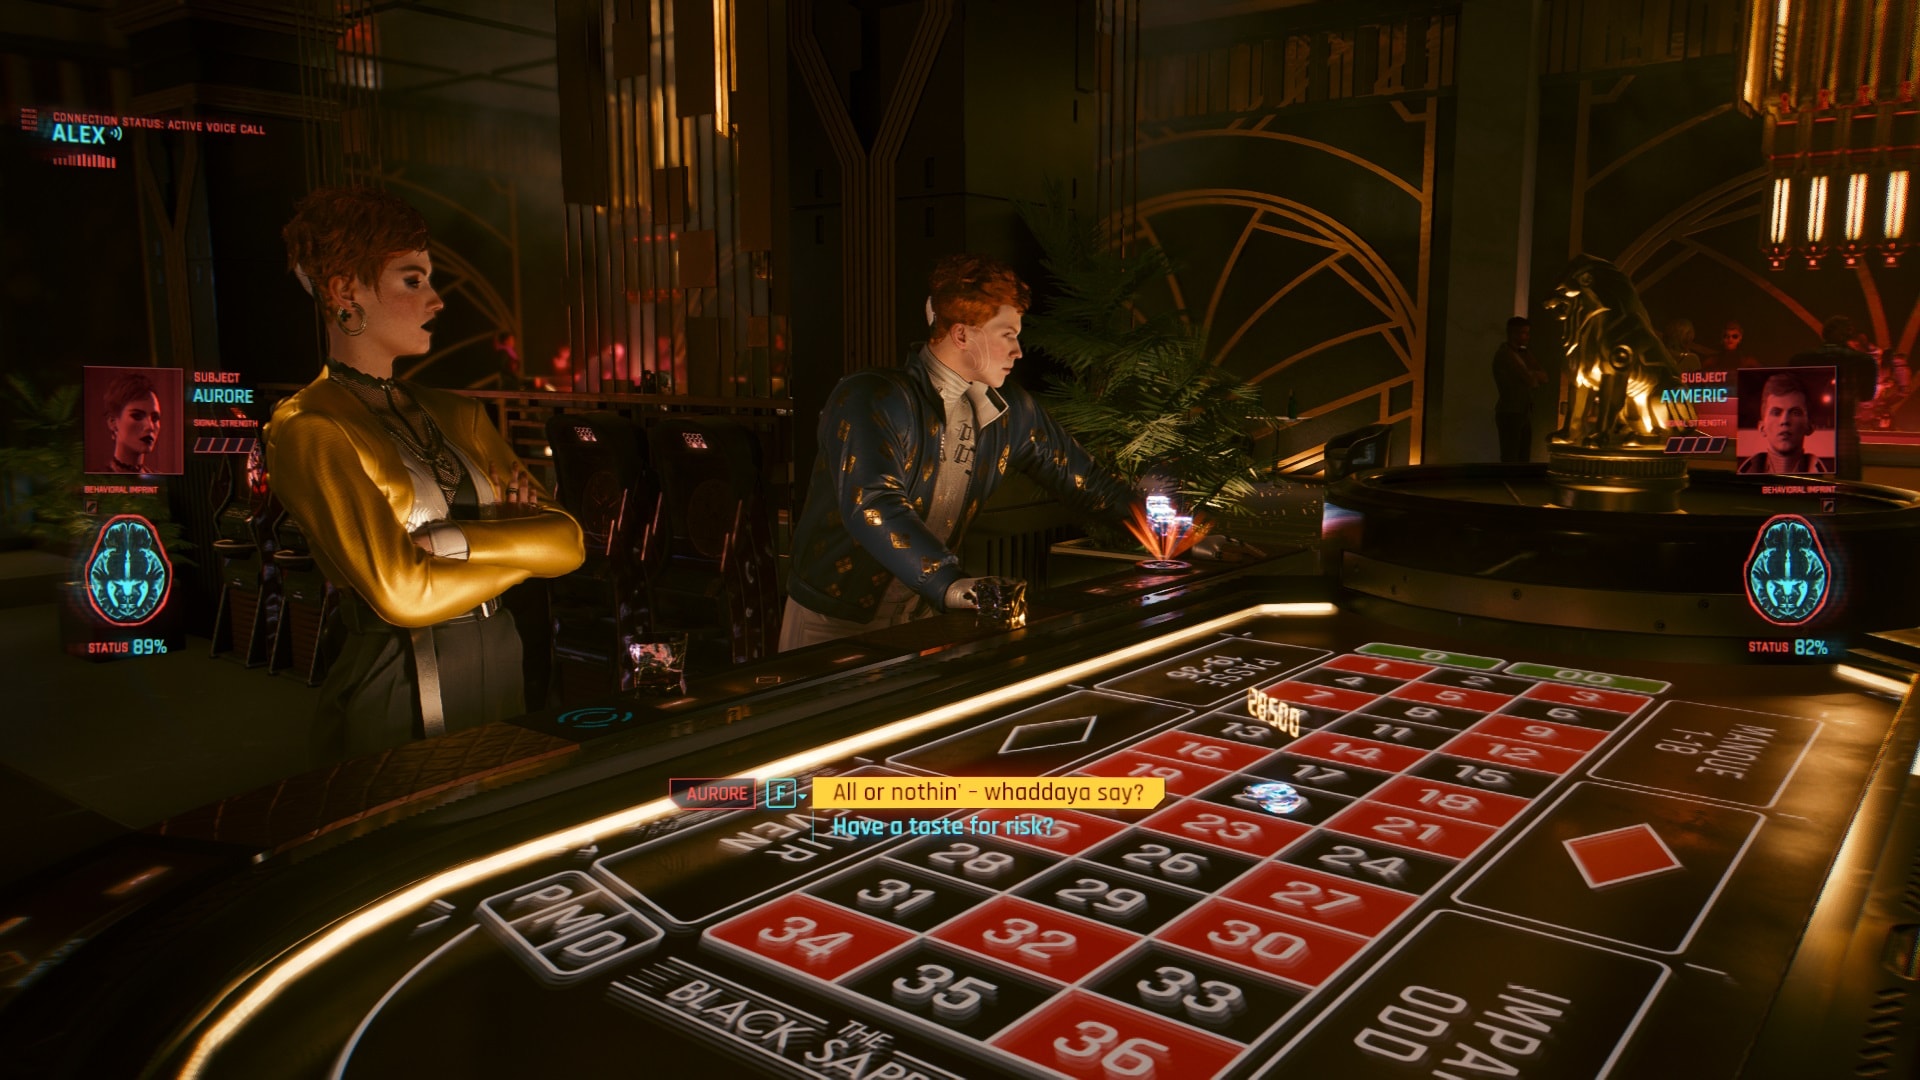
For this playthrough, I won when betting on the same color (Black) but after repeating this process with Red the outcome was the same. But keep in mind that this is a randomized game, so for this final bet it’s not mandatory for you to pick the same color as me. Even if you lose, the behavioral imprints will now be at one hundred percent.
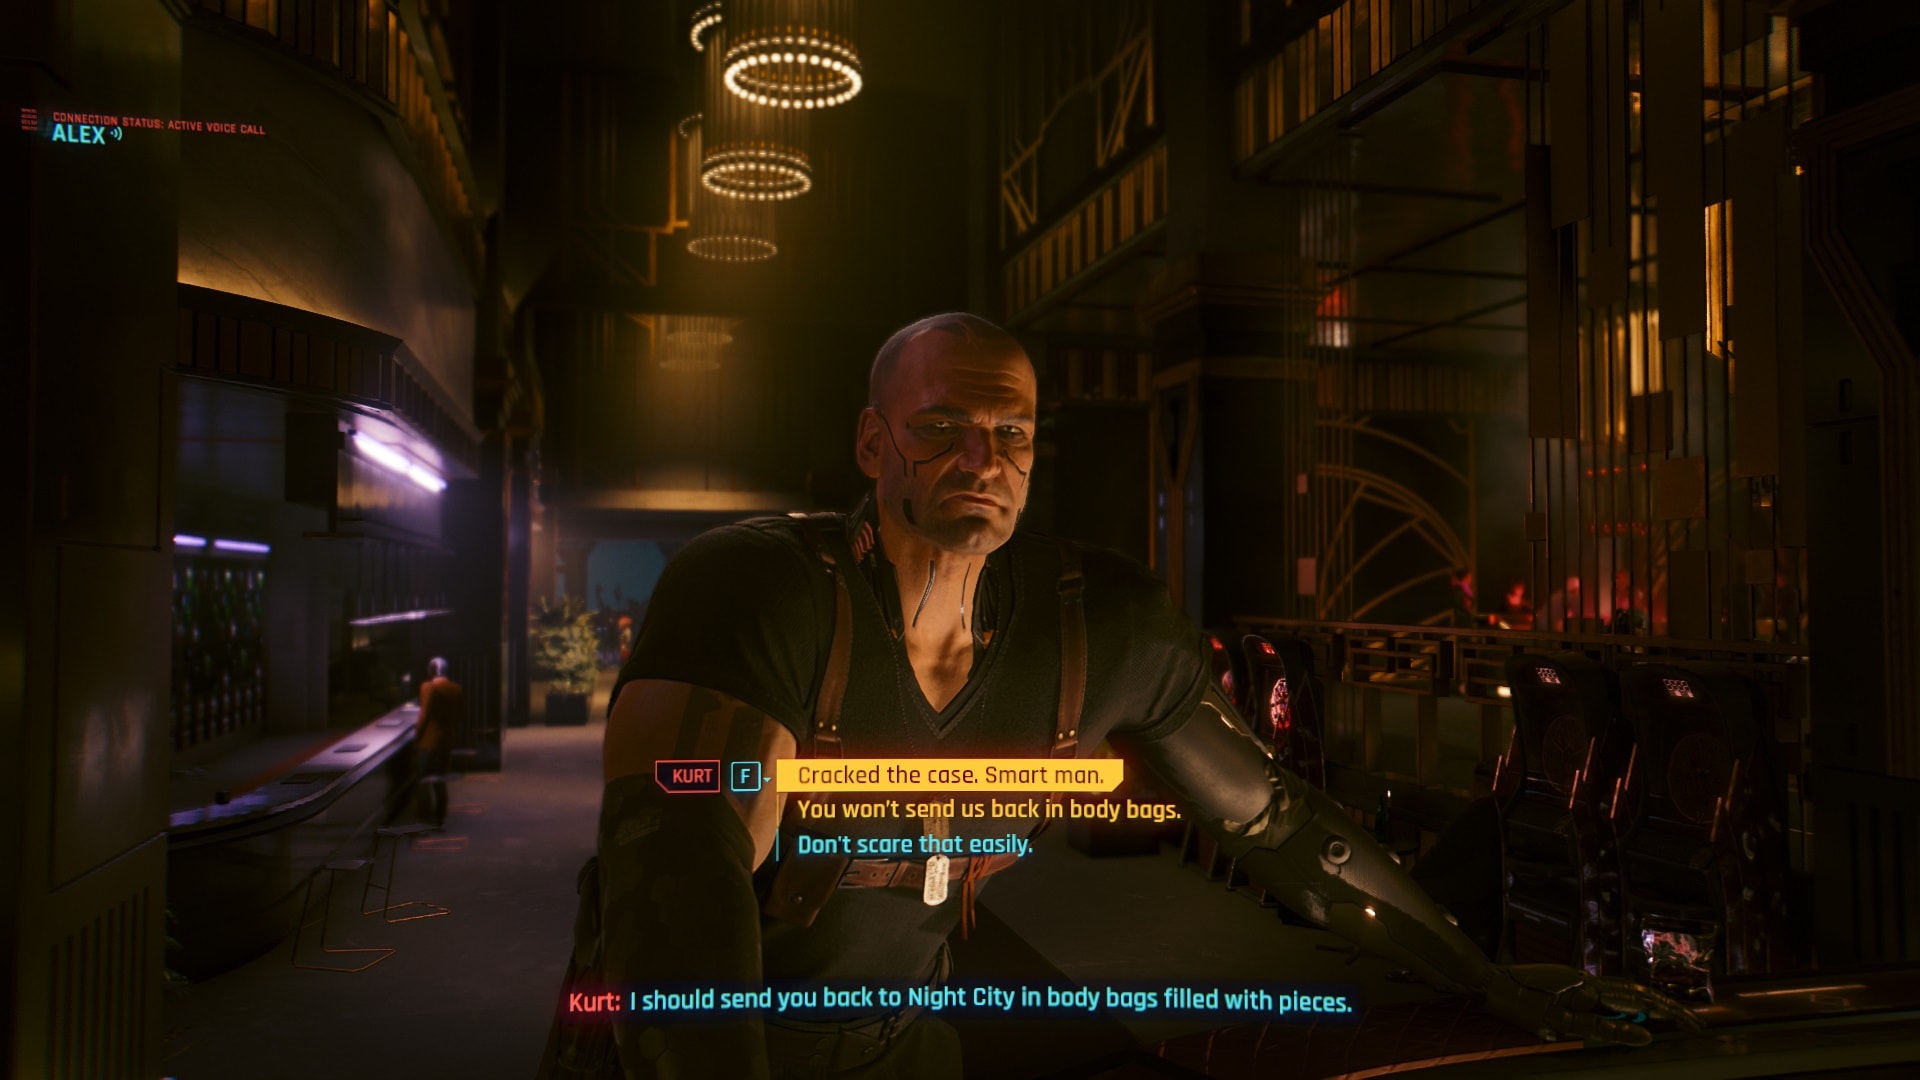
After the last round, Kurt Hansen will show up with a less-than-friendly attitude. He has Reed in custody and tries to scare you but in the end, he lets you and Reed walk away. Whatever you answer will not affect the outcome so pick your favorite line. Before leaving the casino make sure to cash your winnings!
Time to leave this place, the easy mode or the fun one
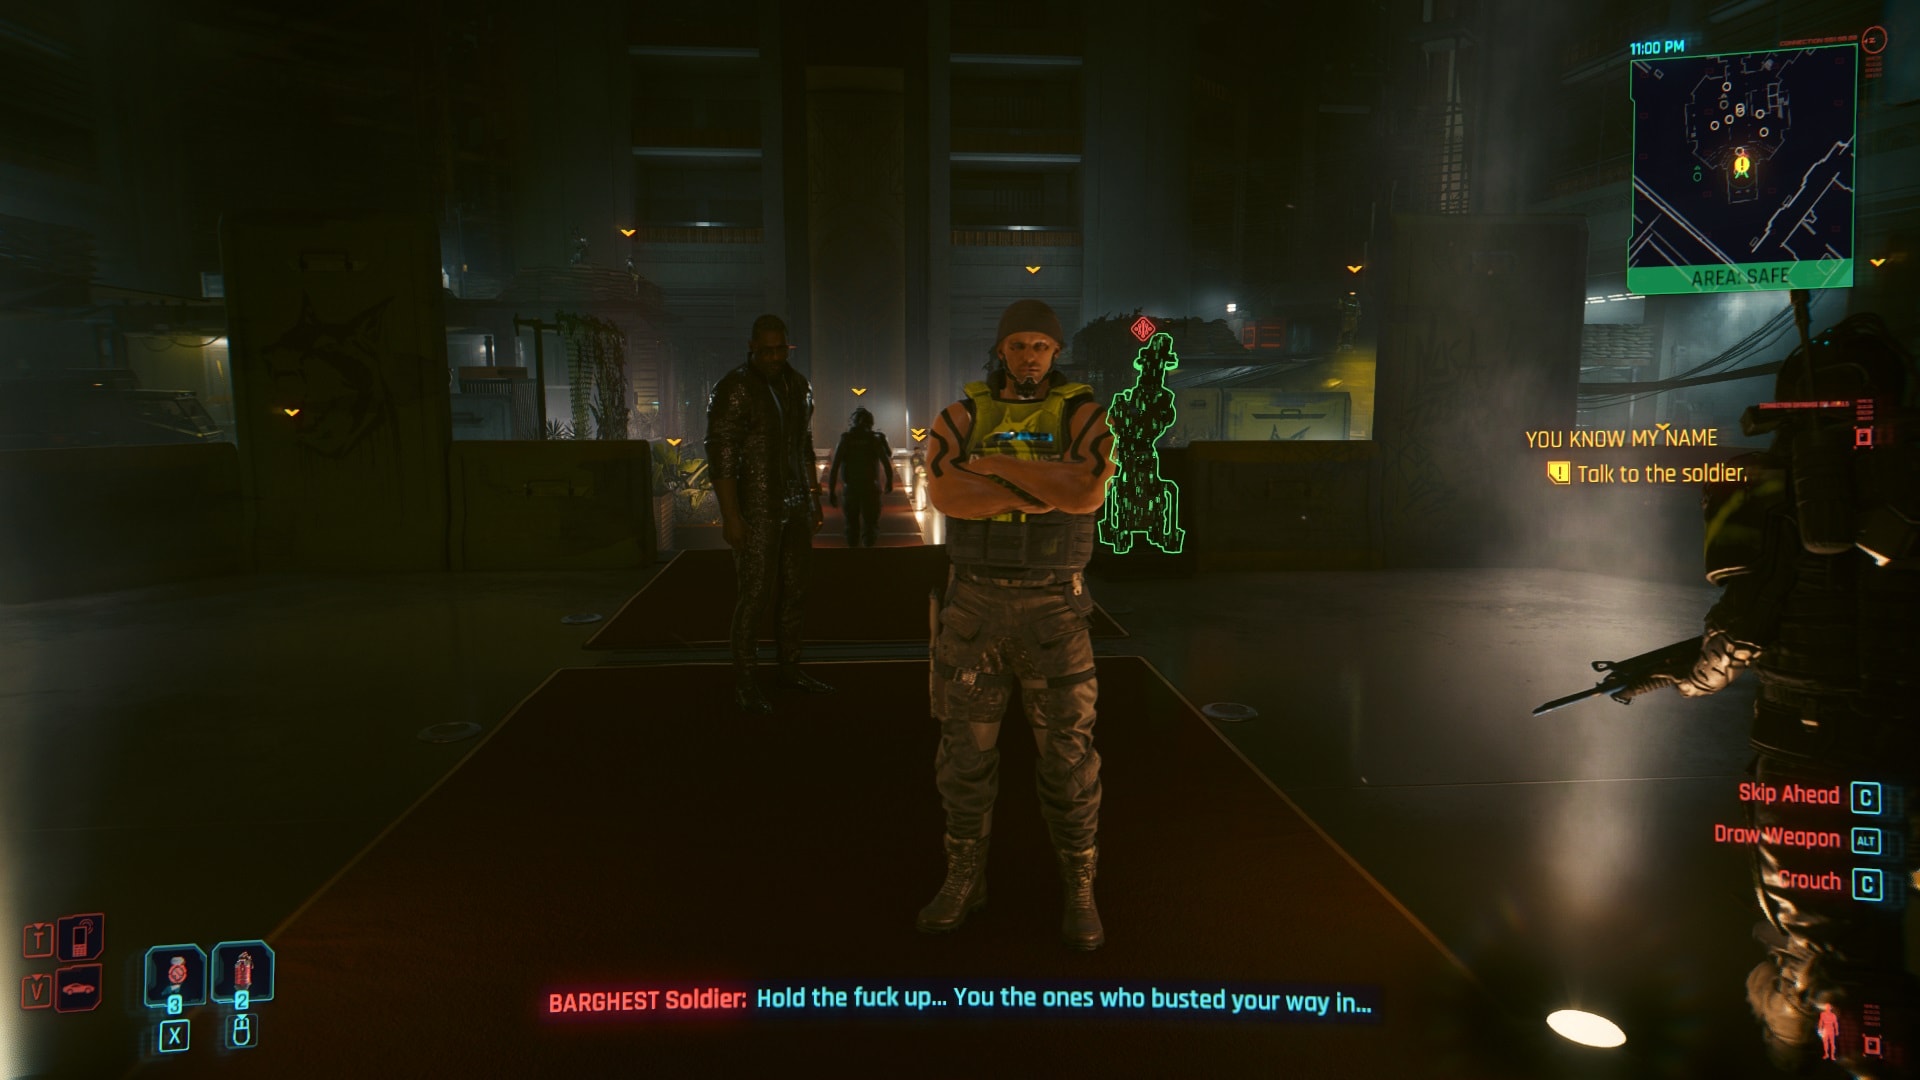
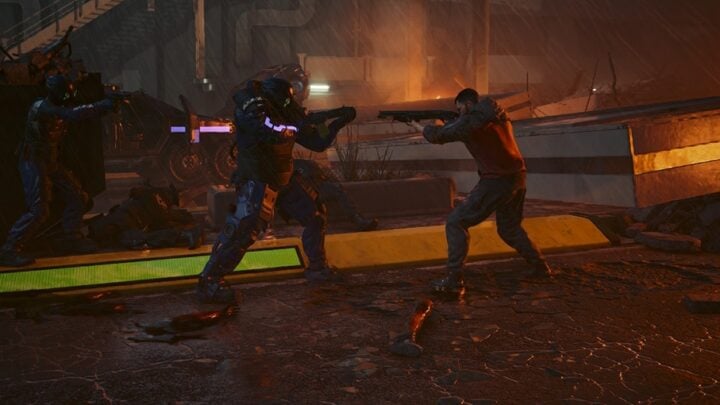
Remember that I mentioned the stealth approach when guiding Reed with the sniper rifle? Well, if everything was done with minimum casualties then the Barghest soldiers will escort you out of the Black Sapphire without any issues. But if you sniped all of those soldiers then getting out won’t be so easy.
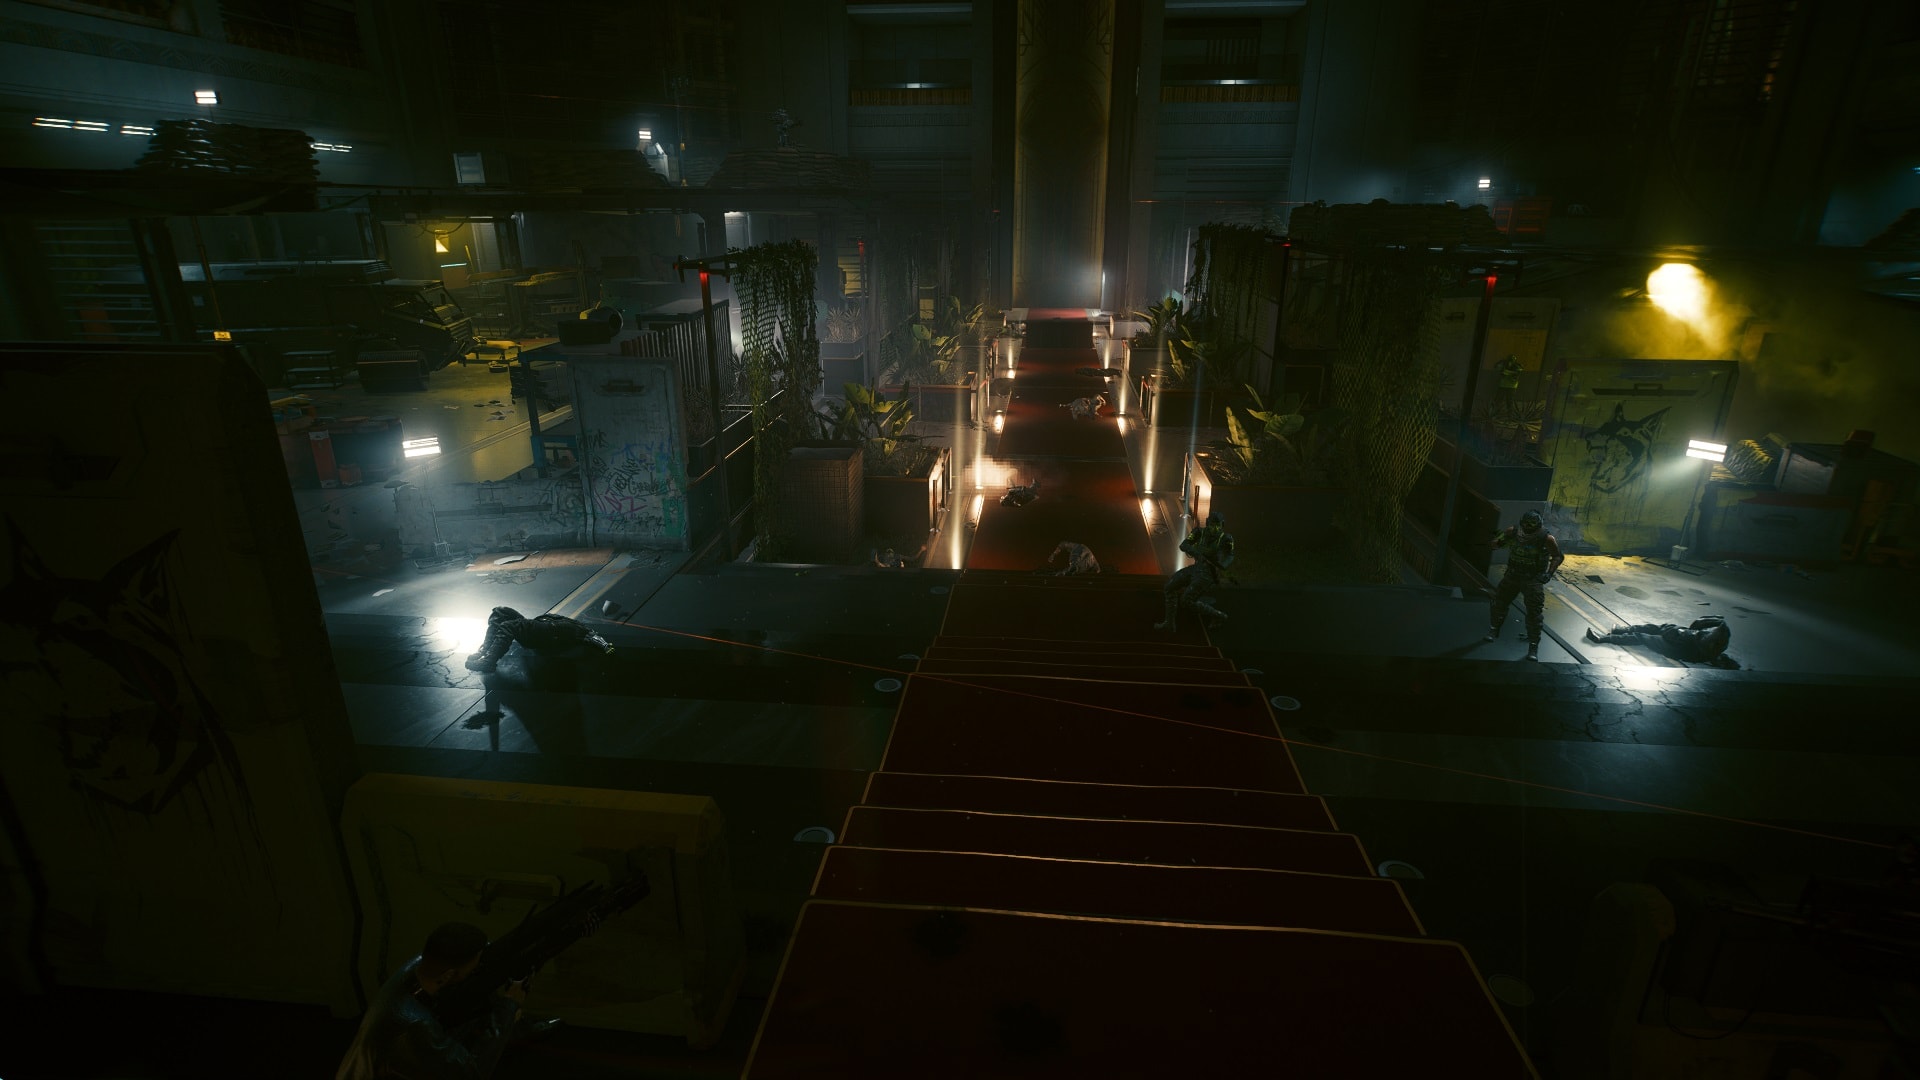
These Barghest soldiers won’t be happy about their fallen comrades, they won’t let you get away just like nothing’s happened. It’s time to blast your way out of here.
If you hacked both the turrets and mechs then they’ll help you get rid of every single enemy.
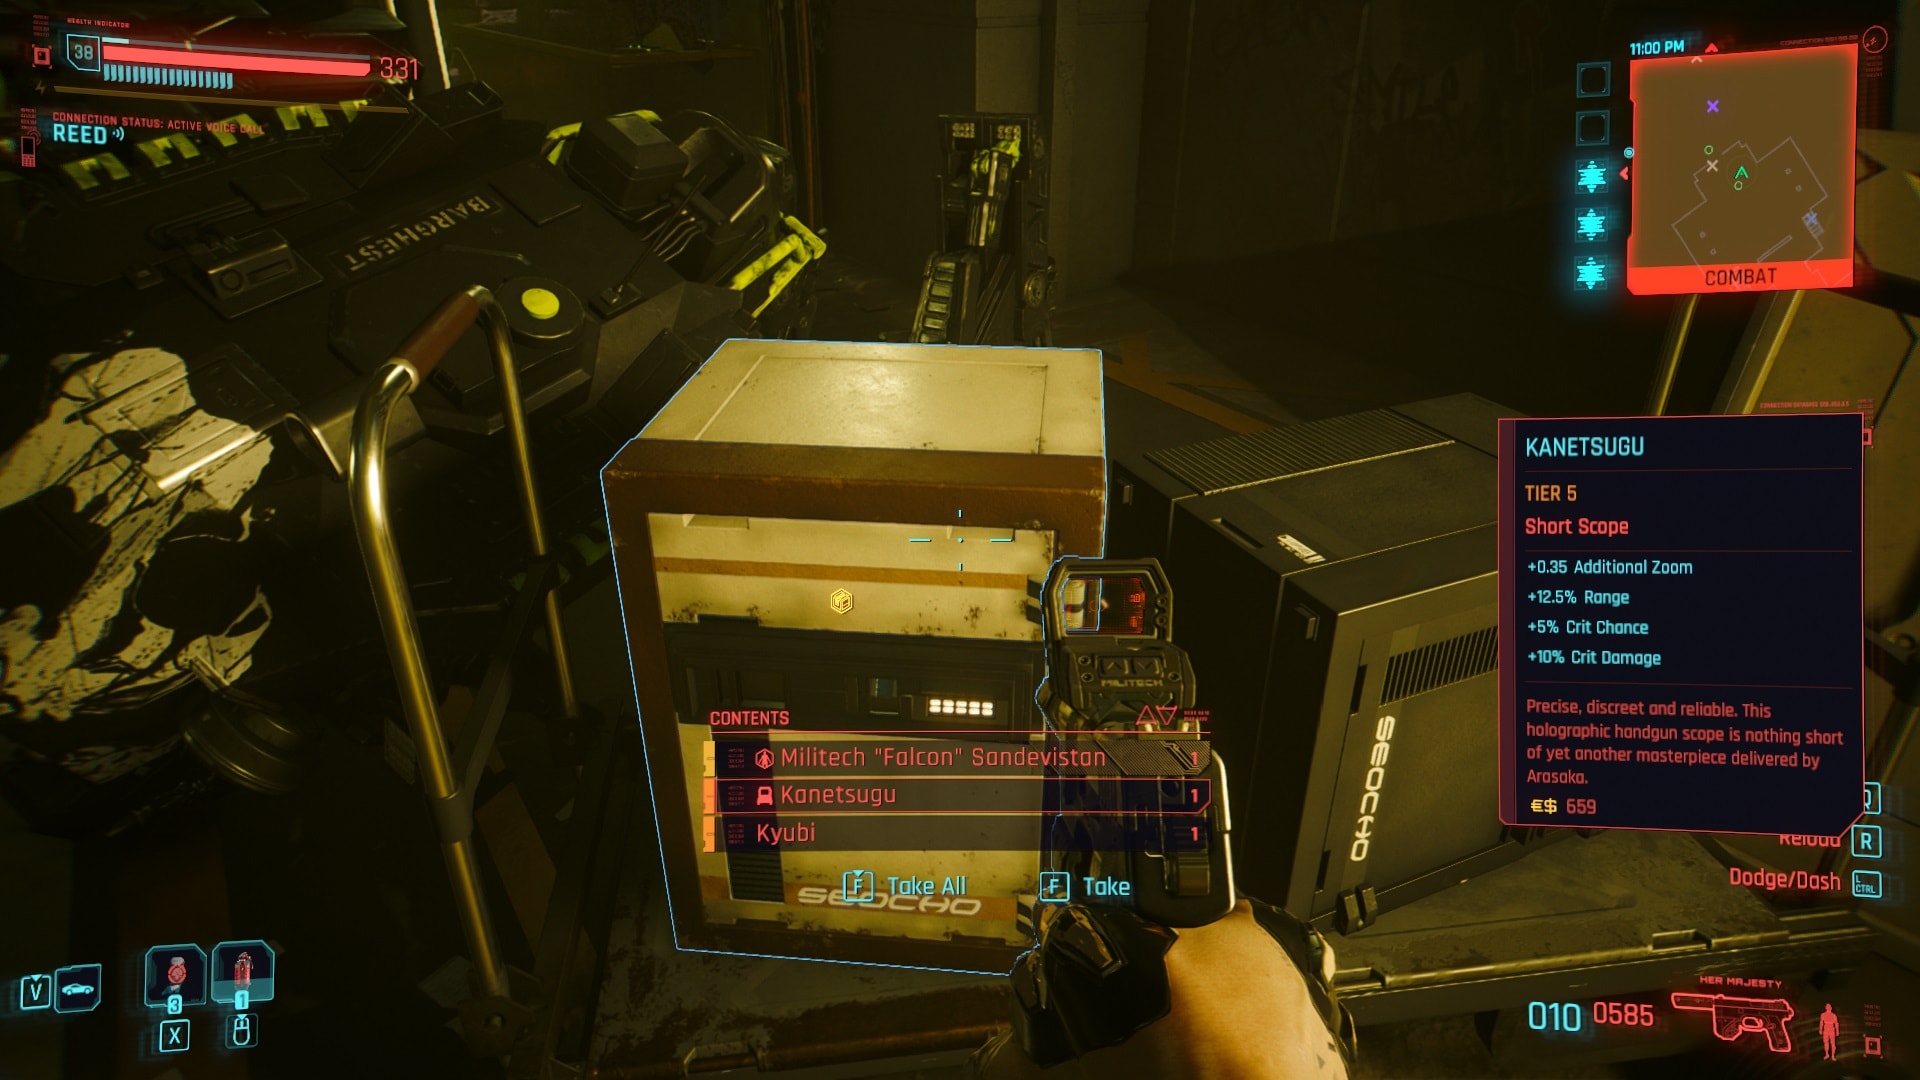
Don’t forget to loot whatever you can, there’s a box near the entrance that contains some Tier 5 items, including the Militech “Apogee” Sandevistan.
The mechs are the absolute MVPs of this mission. They can take an insane amount of damage and none of the Barghest soldiers can resist their firepower.
I don’t know why but the chaos can attract the local law enforcement of Dogtown. Needless to say, the more you take down the more will arrive, making it more difficult to escape.
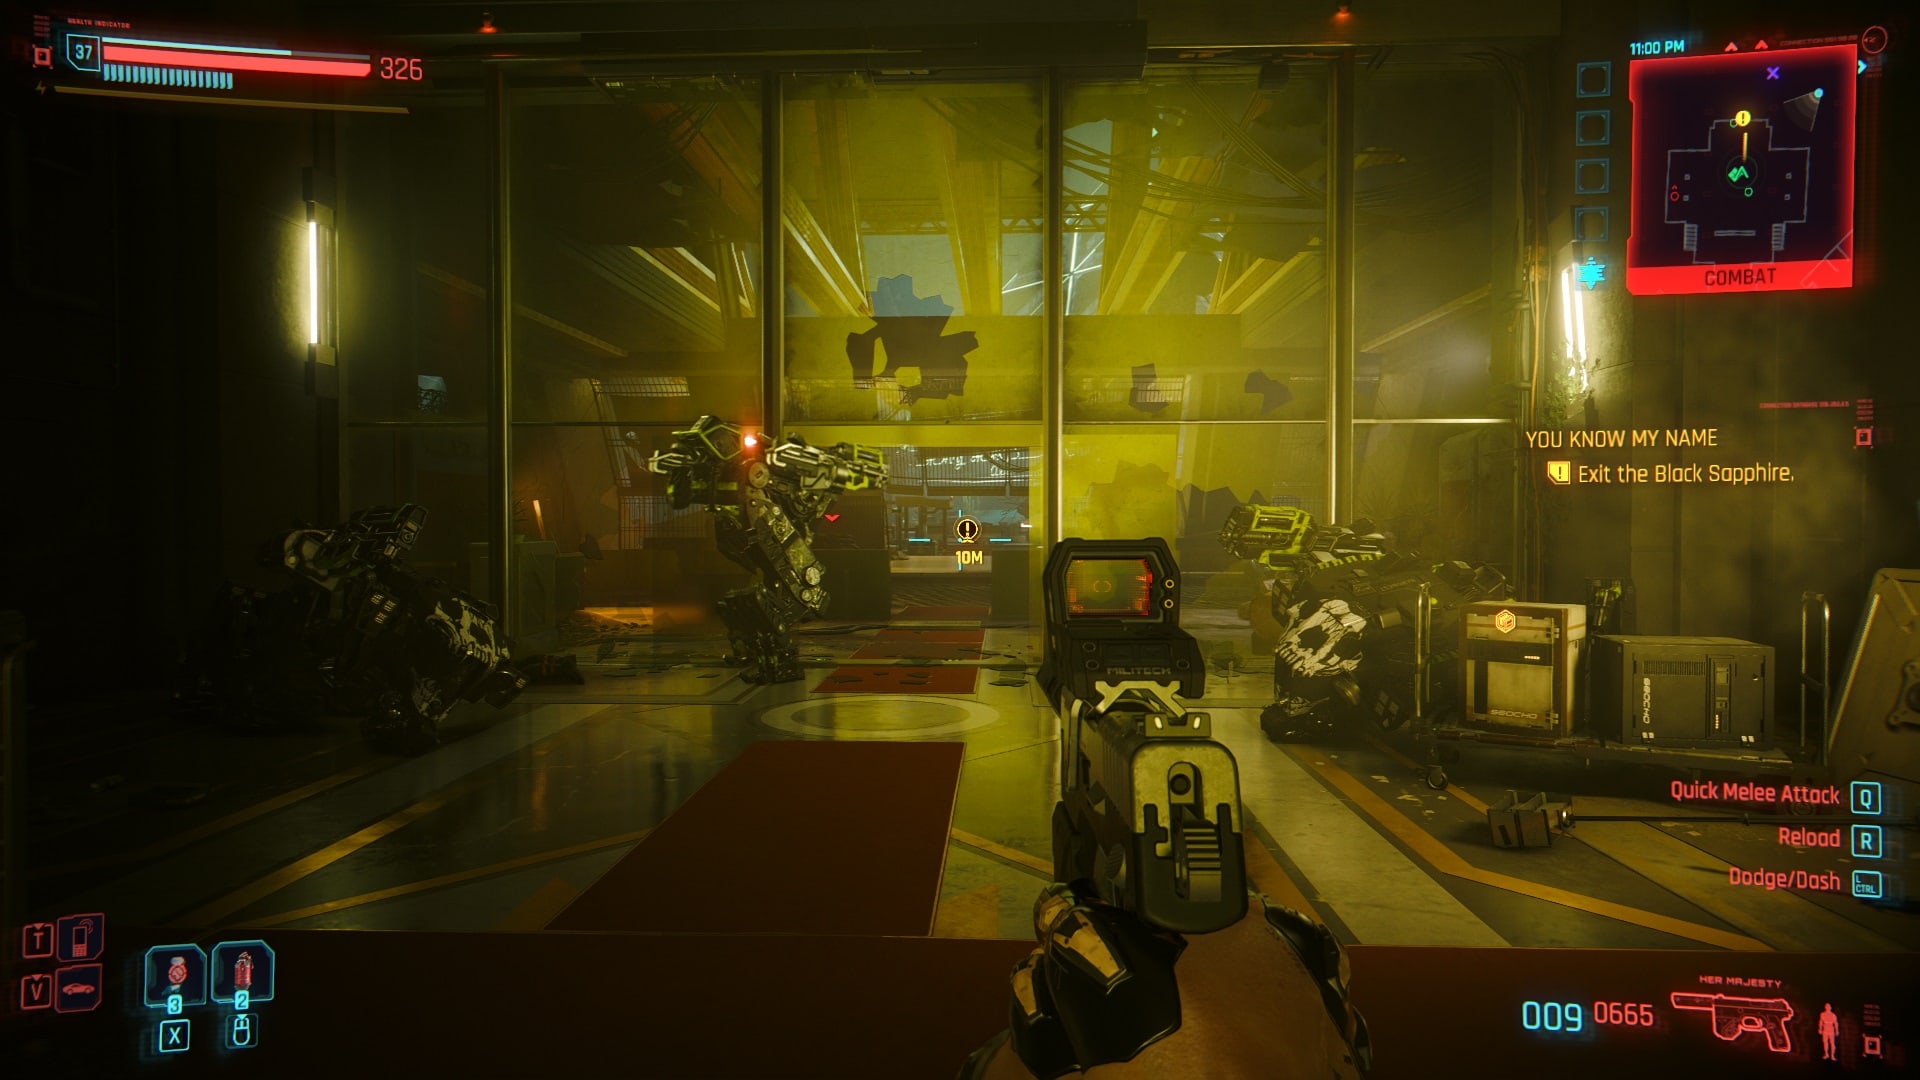
Get out of there as soon as possible, Reed will contact you to discuss the next steps. Escaping the Black Sapphire will end this mission.
Cyberpunk 2077 Phantom Liberty Review (No Spoilers)
An in-depth spoiler-free review of Cyberpunk 2077 Phantom Liberty. Find out what has changed, learn of all new features and our experiences!
How to start Phantom Liberty in Cyberpunk 2077 and go to Dogtown
This guide will tell you everything you need to know about how to start the Phantom Liberty expansion in Cyberpunk 2077 and how to access the new zone in Night City called Dogtown!
How to Defeat the Chimera in Cyberpunk 2077 Phantom Liberty: The Spider And The Fly Walkthrough
This guide will show you how to complete the main mission “The Spider and the Fly” from Cyberpunk 2077’s expansion Phantom Liberty! The walkthrough details each step you must take and useful tips to defeat the Chimera unit.
Cyberpunk 2077 Lucretia My Reflection Guide: Can You Save Jacob and Taylor
This guide will show you how to start and complete the main mission “Lucretia My Reflection” in Cyberpunk 2077 Phantom Liberty. You will also learn about all of the possible outcomes and the required choices in order to get them!

Firestarter Walkthrough: Cyberpunk 2077 Phantom Liberty
This guide will show you how to complete the main job “Firestarter” from Cyberpunk 2077’s expansion Phantom Liberty! The walkthrough details each step you must take and the possible outcomes.

The Killing Moon Walkthrough: Cyberpunk 2077 Phantom Liberty
This guide will show you how to complete the main job “The Killing Moon” from Cyberpunk 2077’s expansion Phantom Liberty! The walkthrough details each step you must take and the possible outcomes.
Cyberpunk 2077 Black Steel in the Hour of Chaos Guide
This guide will show you how to complete the main job “Black Steel in the Hour of Chaos” from Cyberpunk 2077’s expansion Phantom Liberty! The walkthrough details each step you must take to ambush the Convoy that transports So Mi and defeat the MaxTac team.

Somewhat Damaged Walkthrough: Cyberpunk 2077 Phantom Liberty
This guide will show you how to complete the main job “Somewhat Damaged” from Cyberpunk 2077’s expansion Phantom Liberty! The walkthrough details each step you must take to fully explore the environment and avoid getting caught by the patrolling Cerberus unit.

Cyberpunk 2077 Phantom Liberty Endings Guide: How to unlock all of them
This guide will show you how to get all Cyberpunk 2077 Phantom Liberty endings and how to unlock the new ending for the base game! Here you will find all the step to unlock the endings, all the rewards, achievements, and an explanation of the fate of all characters involved!
Cyberpunk 2077 Phantom Liberty 1R-0NC-LAD Scavenger Hunt Guide
This guide will show you how to start one of the secret missions in Cyberpunk 2077 Phantom Liberty – a scavenger hunt to solve the mystery of the broken robot 1R-0NC-LAD (Ironclad) in Dogtown’s stadium!
Cyberpunk 2077 Dogtown Airdrops Guide: Watch for the Red Smoke
This quick guide explains the purpose of the red smoke marking Airdrops in Dogtown and what you can get from completing these mini-events in Cyberpunk 2077 Phantom Liberty!
No Easy Way Out Walkthrough: Cyberpunk 2077 Phantom Liberty
This guide will show you how to complete the side job “No Easy Way Out” from Cyberpunk 2077’s expansion Phantom Liberty! The walkthrough details each step you must take and the possible outcomes.
Dogtown Saints Walkthrough: Should you kill or spare Nika in Cyberpunk 2077 Phantom Liberty
This guide will show you how to start and complete the gig “Dogtown Saints” from Cyberpunk 2077’s expansion Phantom Liberty! The walkthrough details each step you must take and the available choices and consequences.
Dazed And Confused Walkthrough: How to get Lina Malina's Bike in Cyberpunk 2077 Phantom Liberty
This guide will show you how to complete the side job “Dazed and Confused” from Cyberpunk 2077’s expansion Phantom Liberty and how to get the Lina Malina's Bike, the Malina-Mobile, an almost-free bike you can get in Dogtown! The walkthrough details each step you must take to obtain this fantastic ride.
Balls To The Wall Walkthrough: Cyberpunk 2077 Phantom Liberty
This guide will show you how to start and complete the side job “Balls To The Wall” from Cyberpunk 2077’s expansion Phantom Liberty! The walkthrough details each step you must take and the possible outcomes.
Prototype In The Scraper Walkthrough: Should you Let Hasan Go, Cyberpunk 2077 Phantom Liberty
This guide will show you how to start and complete the gig “Prototype in the scraper” from Cyberpunk 2077’s expansion Phantom Liberty! The walkthrough details each step you must take and the available choices and consequences.
Should You Shoot Leon Rinder: Cyberpunk 2077 The Man Who Killed Jason Foreman
This guide will show you how to complete the side job “The Man Who Killed Jason Foreman” from Cyberpunk 2077’s expansion Phantom Liberty! The walkthrough details each step you must take and all the possible outcomes

Shot By Both Sides Walkthrough: Should you protect Bree, Cyberpunk 2077 Phantom Liberty
This guide will show you how to start and complete the side job “Shot by both sides” from Cyberpunk 2077’s expansion Phantom Liberty! The walkthrough details each step you must take and the available choices and consequences.
Cyberpunk 2077 Treating Symptoms Guide: What to do with Milko
This guide will show you how to complete the Gig “Treating Symptoms” from Cyberpunk 2077’s expansion Phantom Liberty! The walkthrough details each step you must take and the possible endings whether you leave Allen to finish or take down Milko right away!

Talent Academy Walkthrough: Cyberpunk 2077 Phantom Liberty
This guide will show you how to complete the gig "Talent Academy" from Cyberpunk 2077's expansion Phantom Liberty! The walkthrough details each step you must take and the available choices.

Spy In The Jungle Walkthrough: Cyberpunk 2077 Phantom Liberty
This guide will show you how to start and complete the gig “Spy in the Jungle” from Cyberpunk 2077’s expansion Phantom Liberty! The walkthrough details each step you must take and the available choices and consequences.
Run This Town: Who should rule Dogtown, Cyberpunk 2077 Phantom Liberty Guide
This guide will show you how to start and complete the side job “Run this town” from Cyberpunk 2077’s expansion Phantom Liberty! The walkthrough details each step you must take and the available choices and consequences.

All New Tarot Card Locations in Cyberpunk 2077 Phantom Liberty
This guide will show you the locations of all four new Tarot Cards available in Dogtown, Night City’s Combat Zone, released with Cyberpunk 2077’s Phantom Liberty Expansion!

How to get a Free Outlaw Car in Cyberpunk 2077 Phantom Liberty: Baby Take Me Home Guide
This guide will show you how to complete the side job “Baby Take Me Home” from Cyberpunk 2077’s expansion Phantom Liberty and get the free Outlaw Car, the only free car you can get in Dogtown! The walkthrough details each step you must take to obtain this badass ride.

Cyberpunk 2077 Moving Heat: How to get the Sport R-7 "Charon" Flaming Car
This guide will show you how to complete the side job "Moving Heat" from Cyberpunk 2077’s expansion Phantom Liberty! The walkthrough details each step you must take to acquire the Sport R-7 "Charon" car.