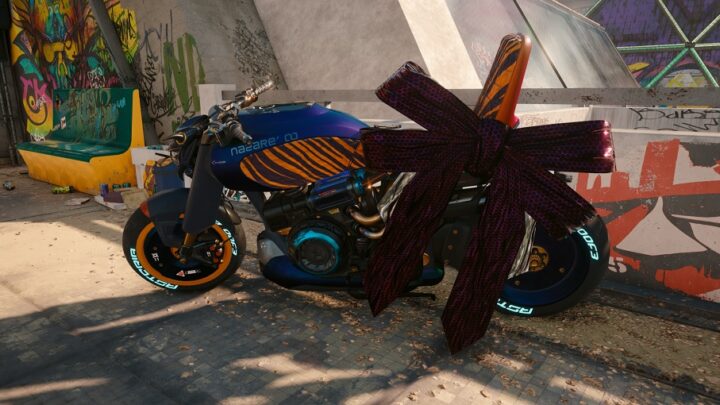
This guide will show you how to complete the side job “Baby Take Me Home” from Cyberpunk 2077’s expansion Phantom Liberty and get the free Outlaw Car, a free car you can get in Dogtown! The walkthrough details each step you must take to obtain this badass ride.
How to unlock the “Baby Take Me Home” mission
To unlock this special mission you must complete seven jobs for Muamar “El Capitan” Reyes. These jobs are basically stealing vehicles and delivering them to specific locations. Many of them are normal vehicles while a select few are one of a kind.
Depending on which vehicle you steal, the requirements will vary. Some must be delivered in less than “x” amount of time, others must be in preem condition and occasionally gang members will attempt to stop you.
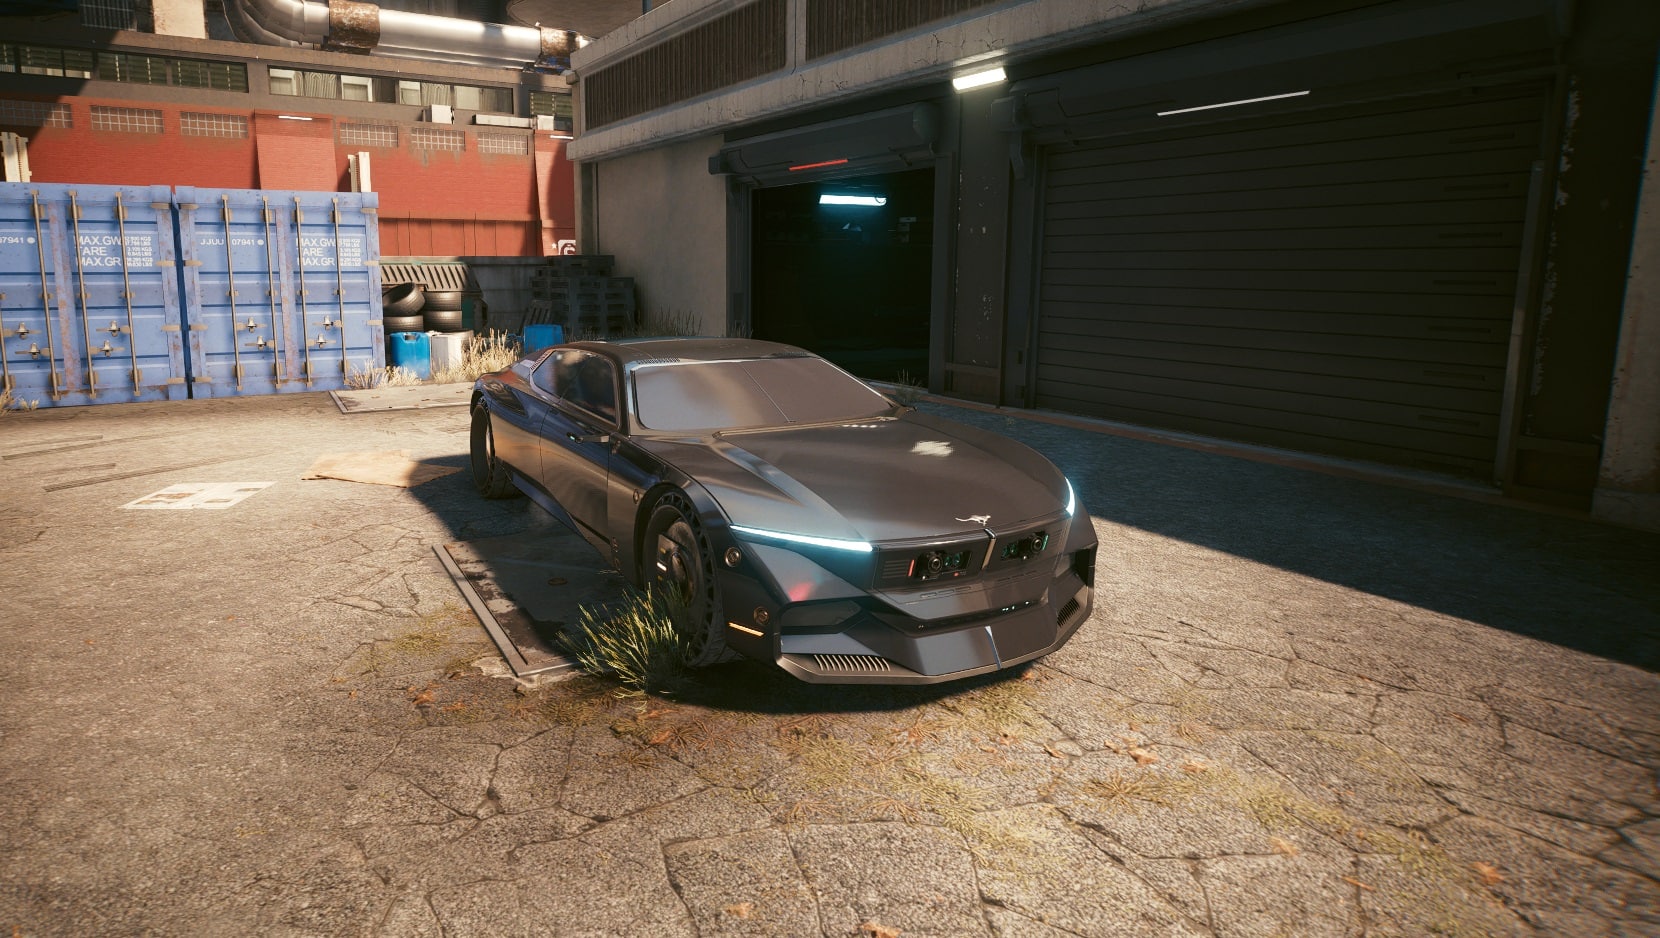
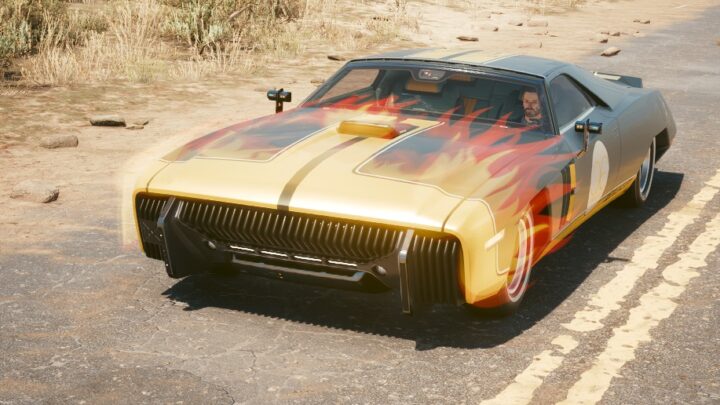
These jobs aren’t particularly exciting but it’s definitely worth it. The Outlaw “Weiler” is a car that drives smoothly and looks even better. The cherry on top is that it’s a weaponized car and completely free if you complete this job.
Baby Take Me Home Mission Walkthrough
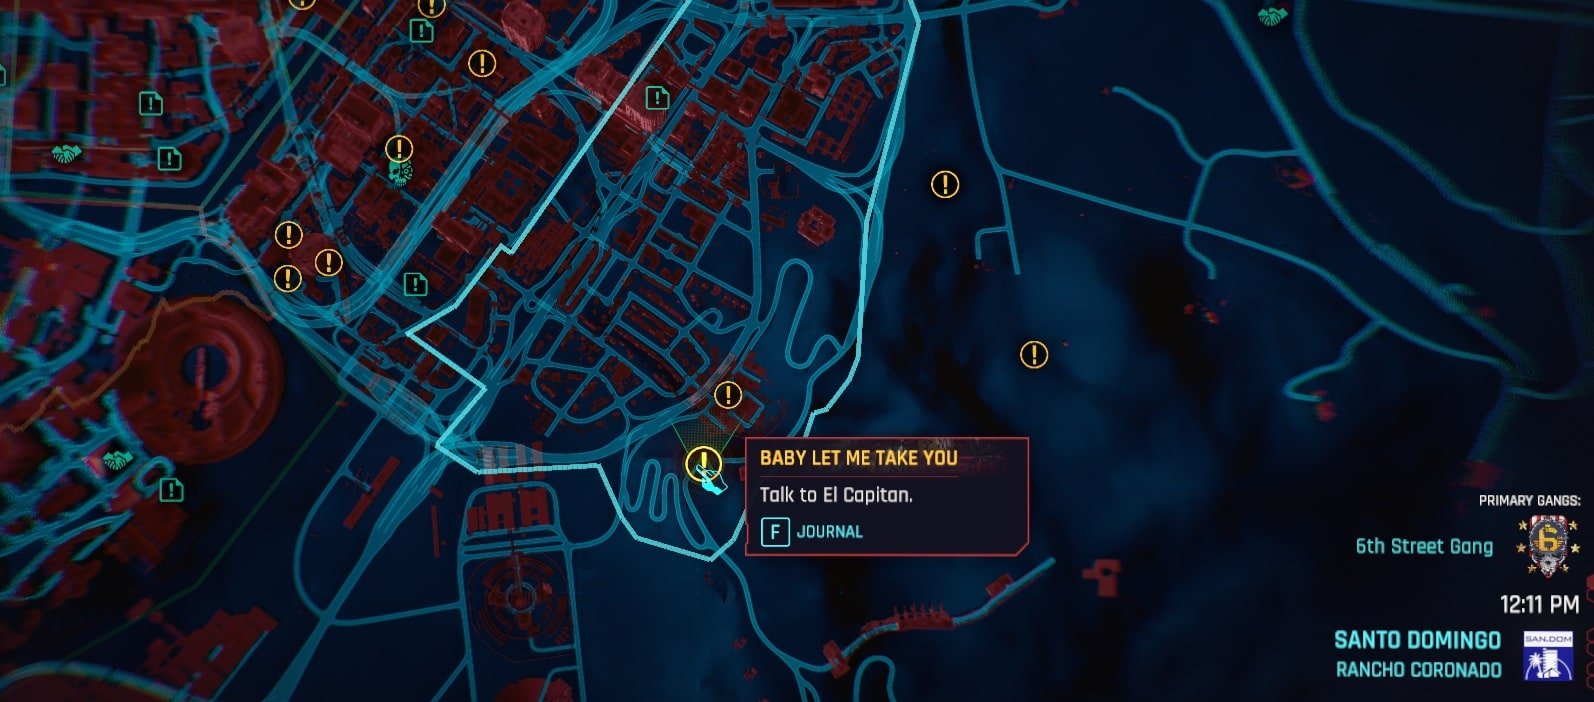
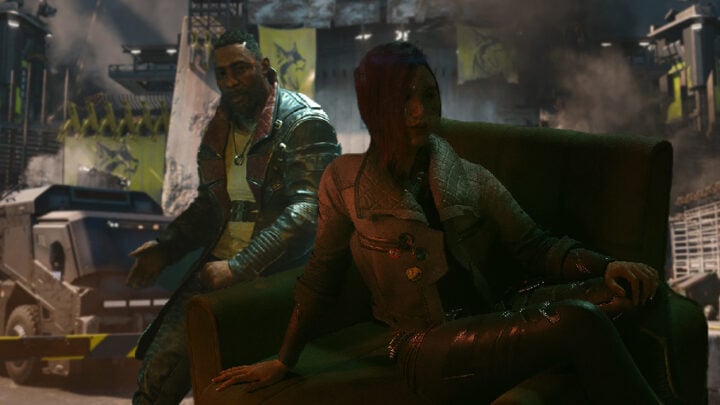
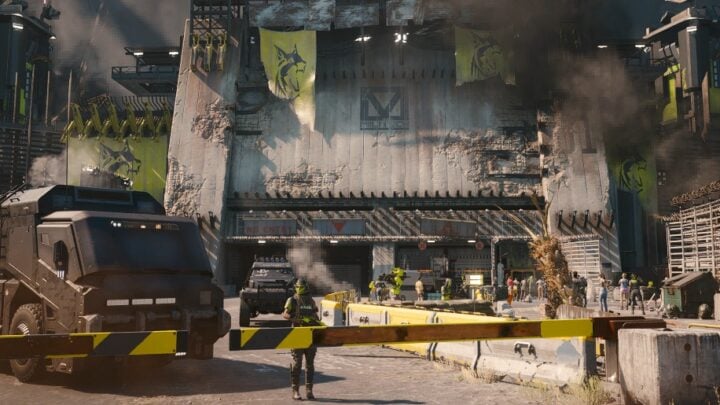
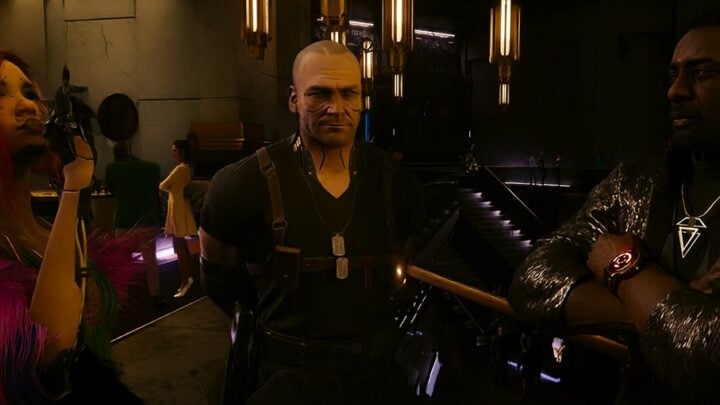
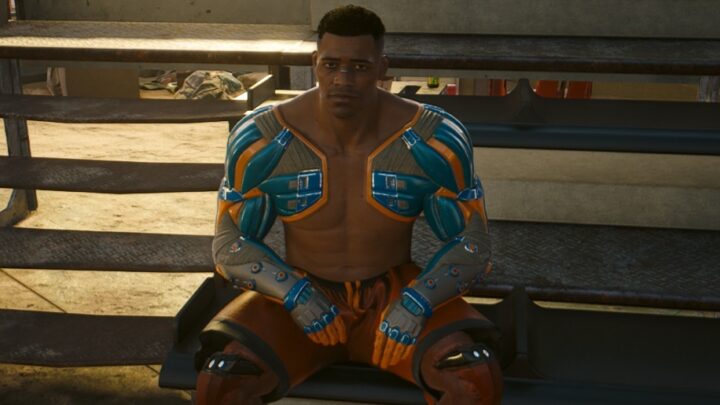
Muamar “El Capitan” Reyes tells you to find him in the southern part of Santo Domingo, close to the dam.
Once you arrive, our favorite Autofixer will be there talking with Daniels, the police officer who he constantly makes “business” with.
It might look like this is just another greedy job but it’s actually for a good cause. Arasaka has poisoned the water supply of Santo Domingo, and you will steal medical equipment to treat everyone who’s been affected over the course of the years.
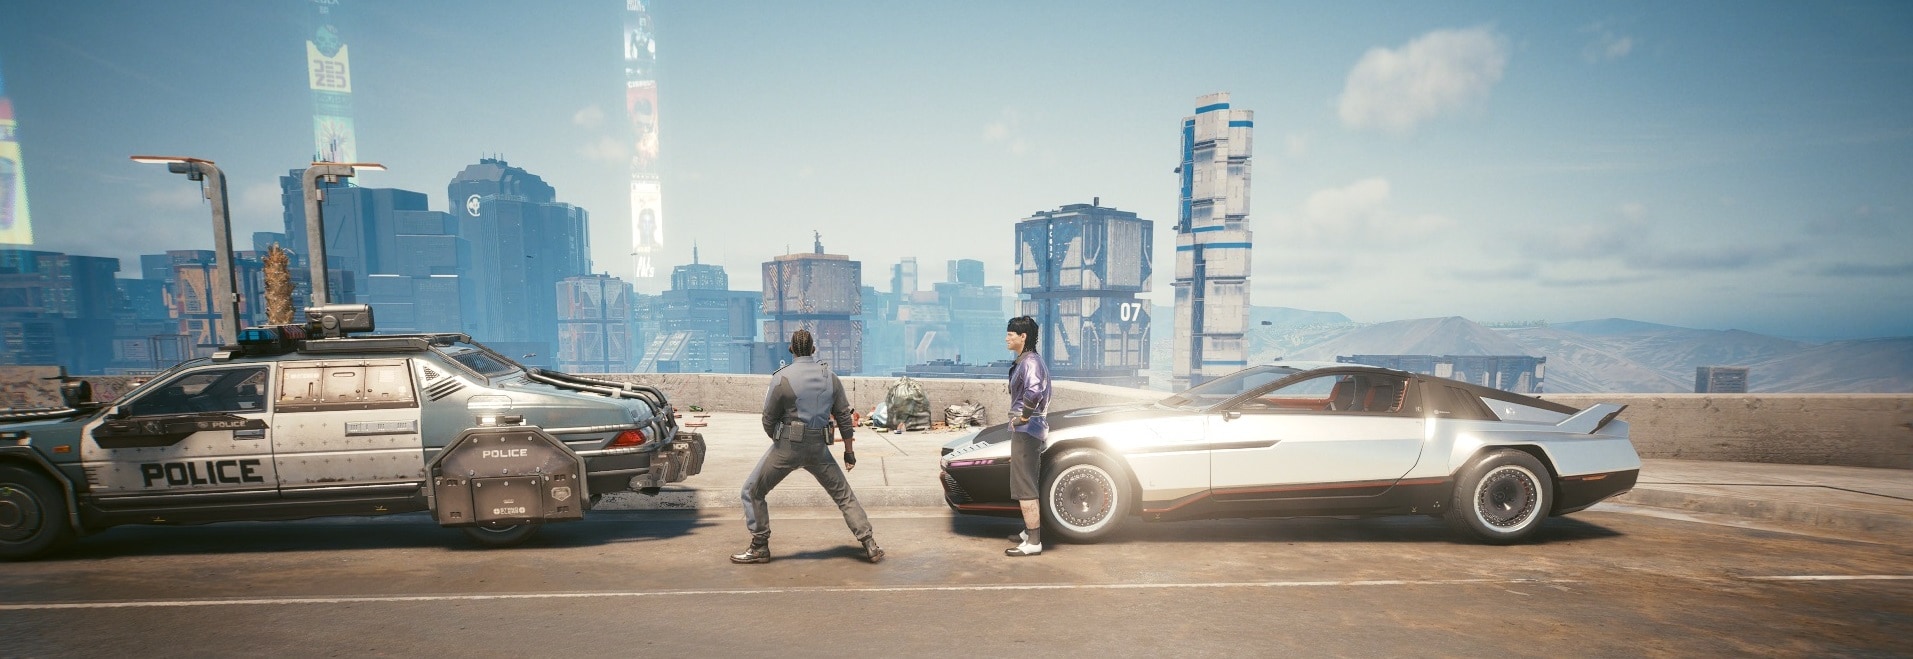
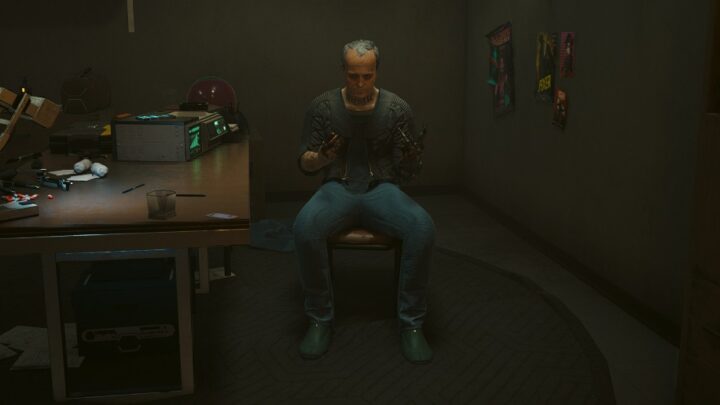
What does the NCPD Officer Daniels have to do with it? Well, he and El Capitan grew together in Santo Domingo. He will be your backup if something goes wrong.
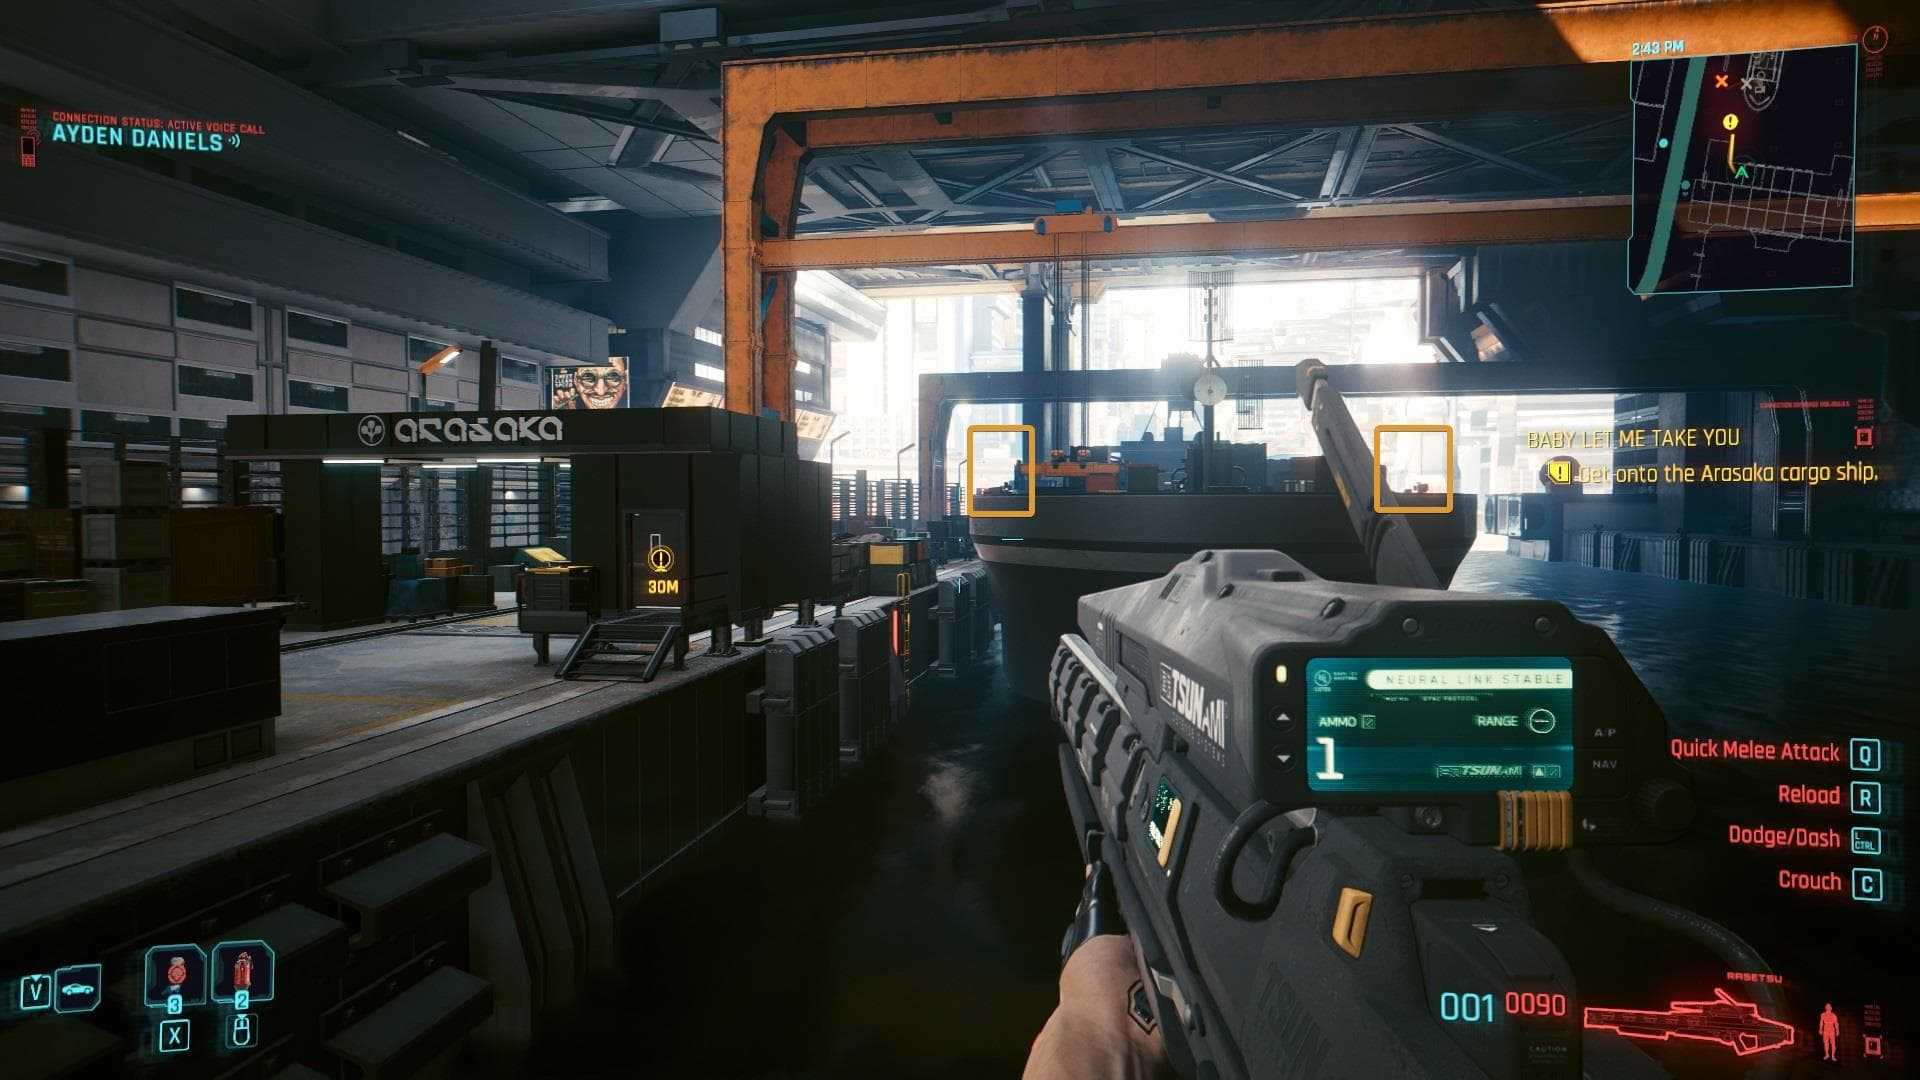
Daniels sends a message explaining the job, more details will be explained after you get to the Arasaka ship located at the docks.
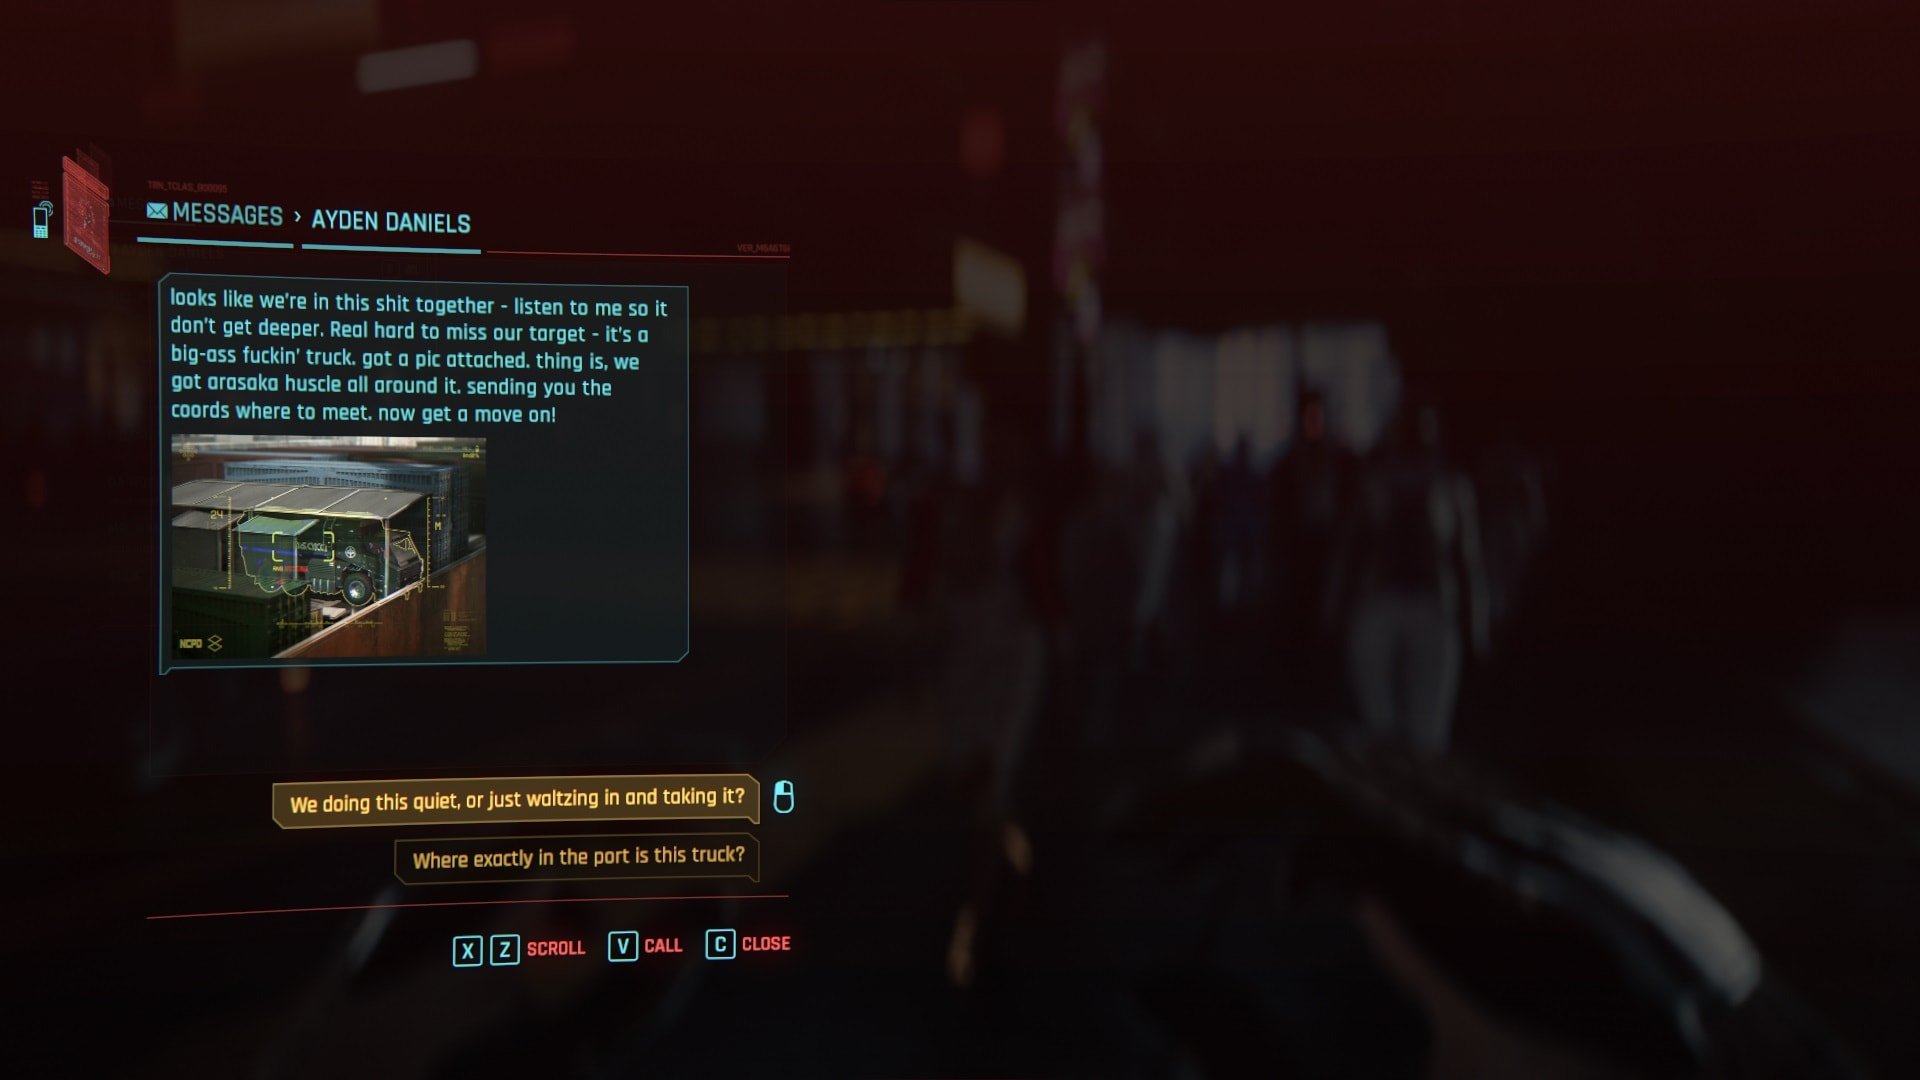
Infiltrate the docks
Daniels is waiting for you disguised as a regular worker. He and another guy will be waiting nearby just in case. Like most missions on Cyberpunk 2077, you can take the stealthy approach or reveal your presence by unloading your guns. I will show you how to do it the stealthy way.
This is the entrance to the dock where the Arasaka Ship is located, it’s impossible to miss. Behind the door, a single security guard watches over the entrance.
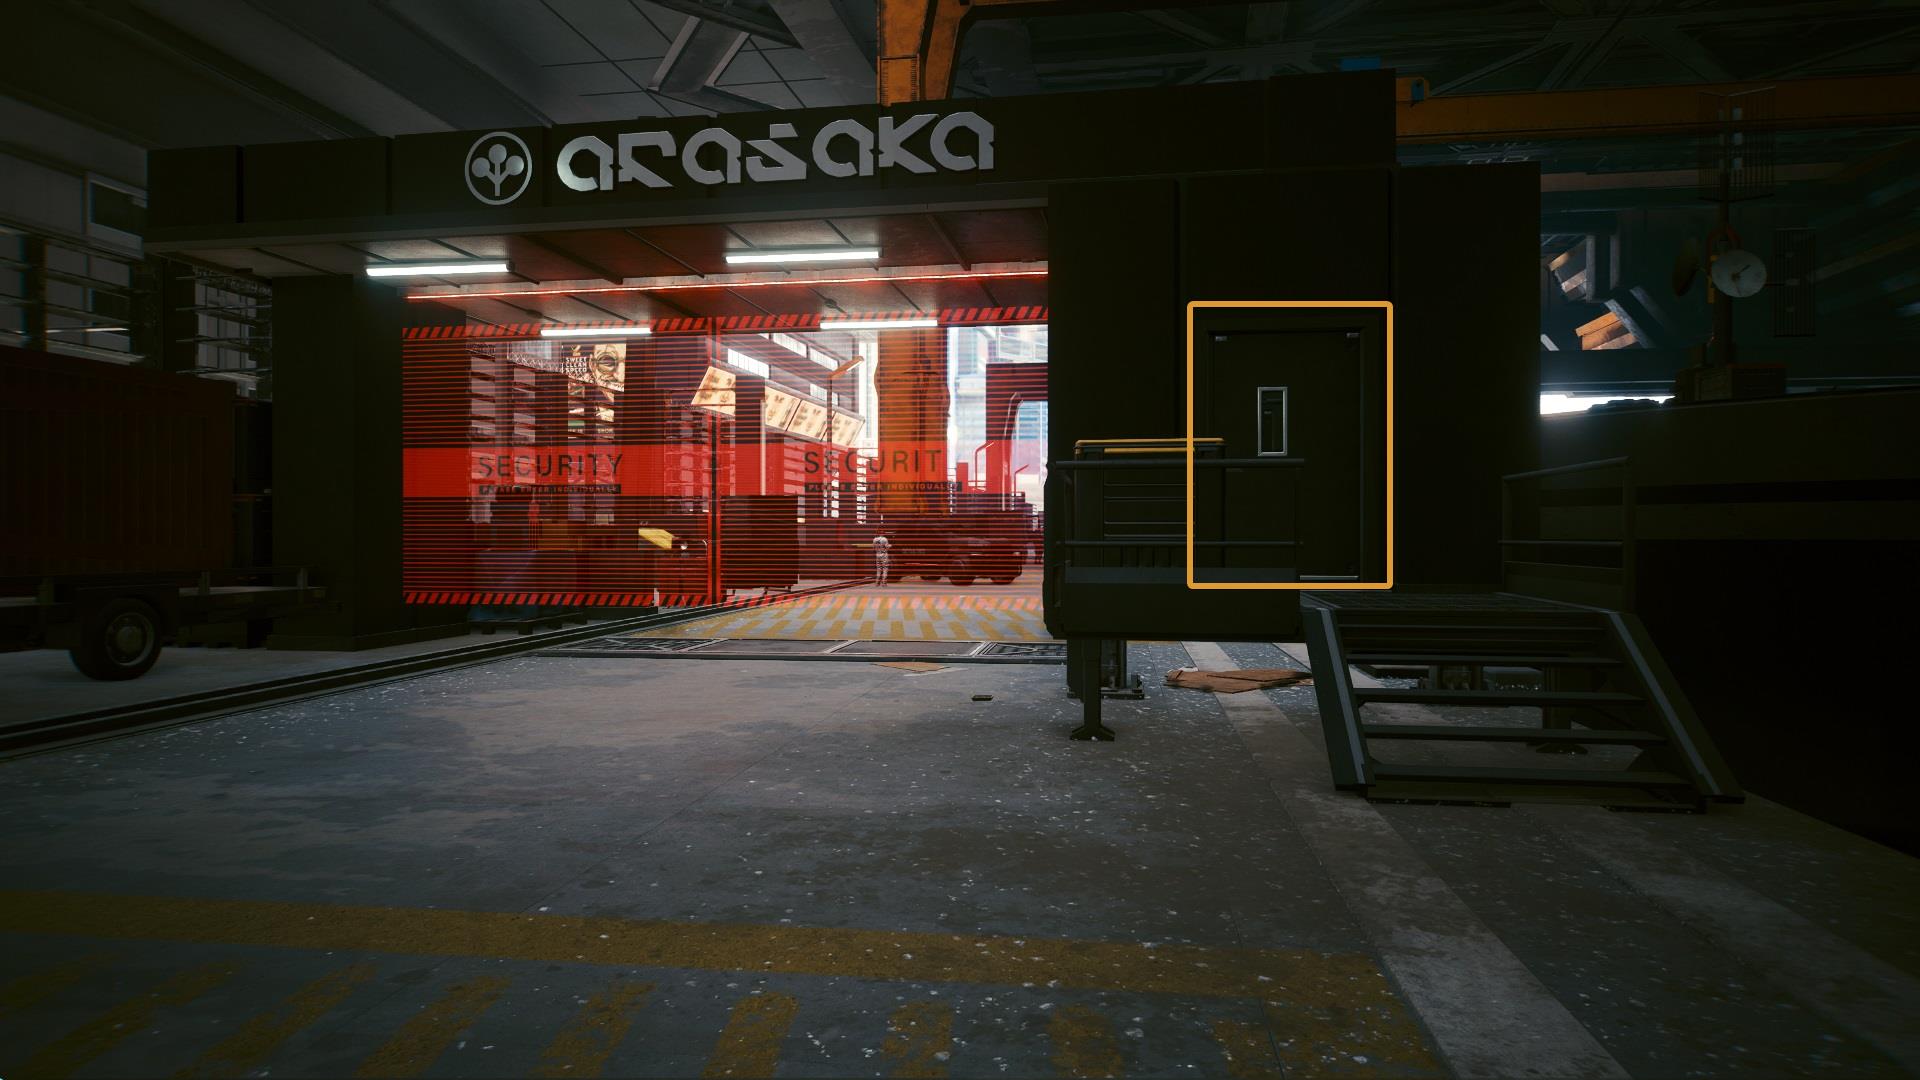
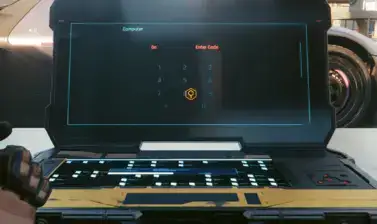
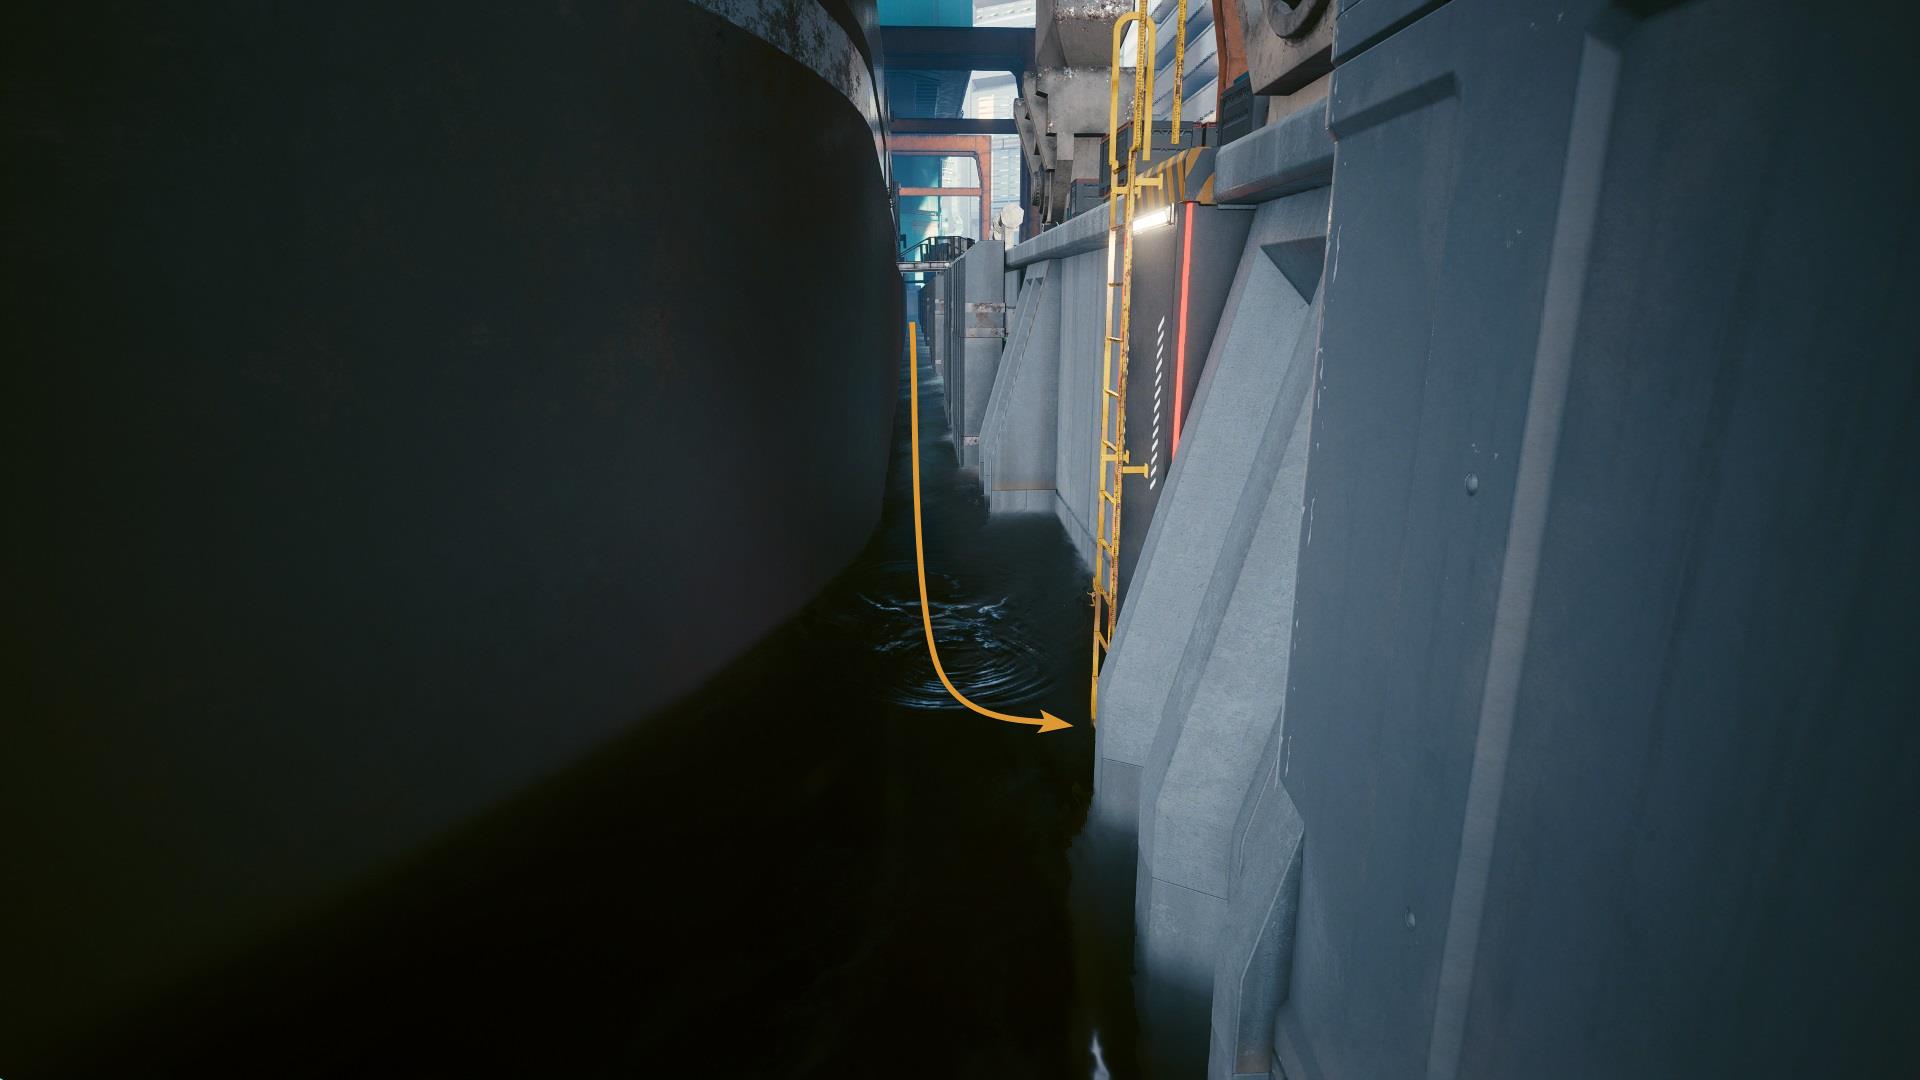
To open the door, you must have at least nineteen Technical Ability points. If this isn’t the case don’t worry, the other solution is very simple. To learn more about the Technical Ability Tree and Perks and where they can be most useful, read our in-depth guide.
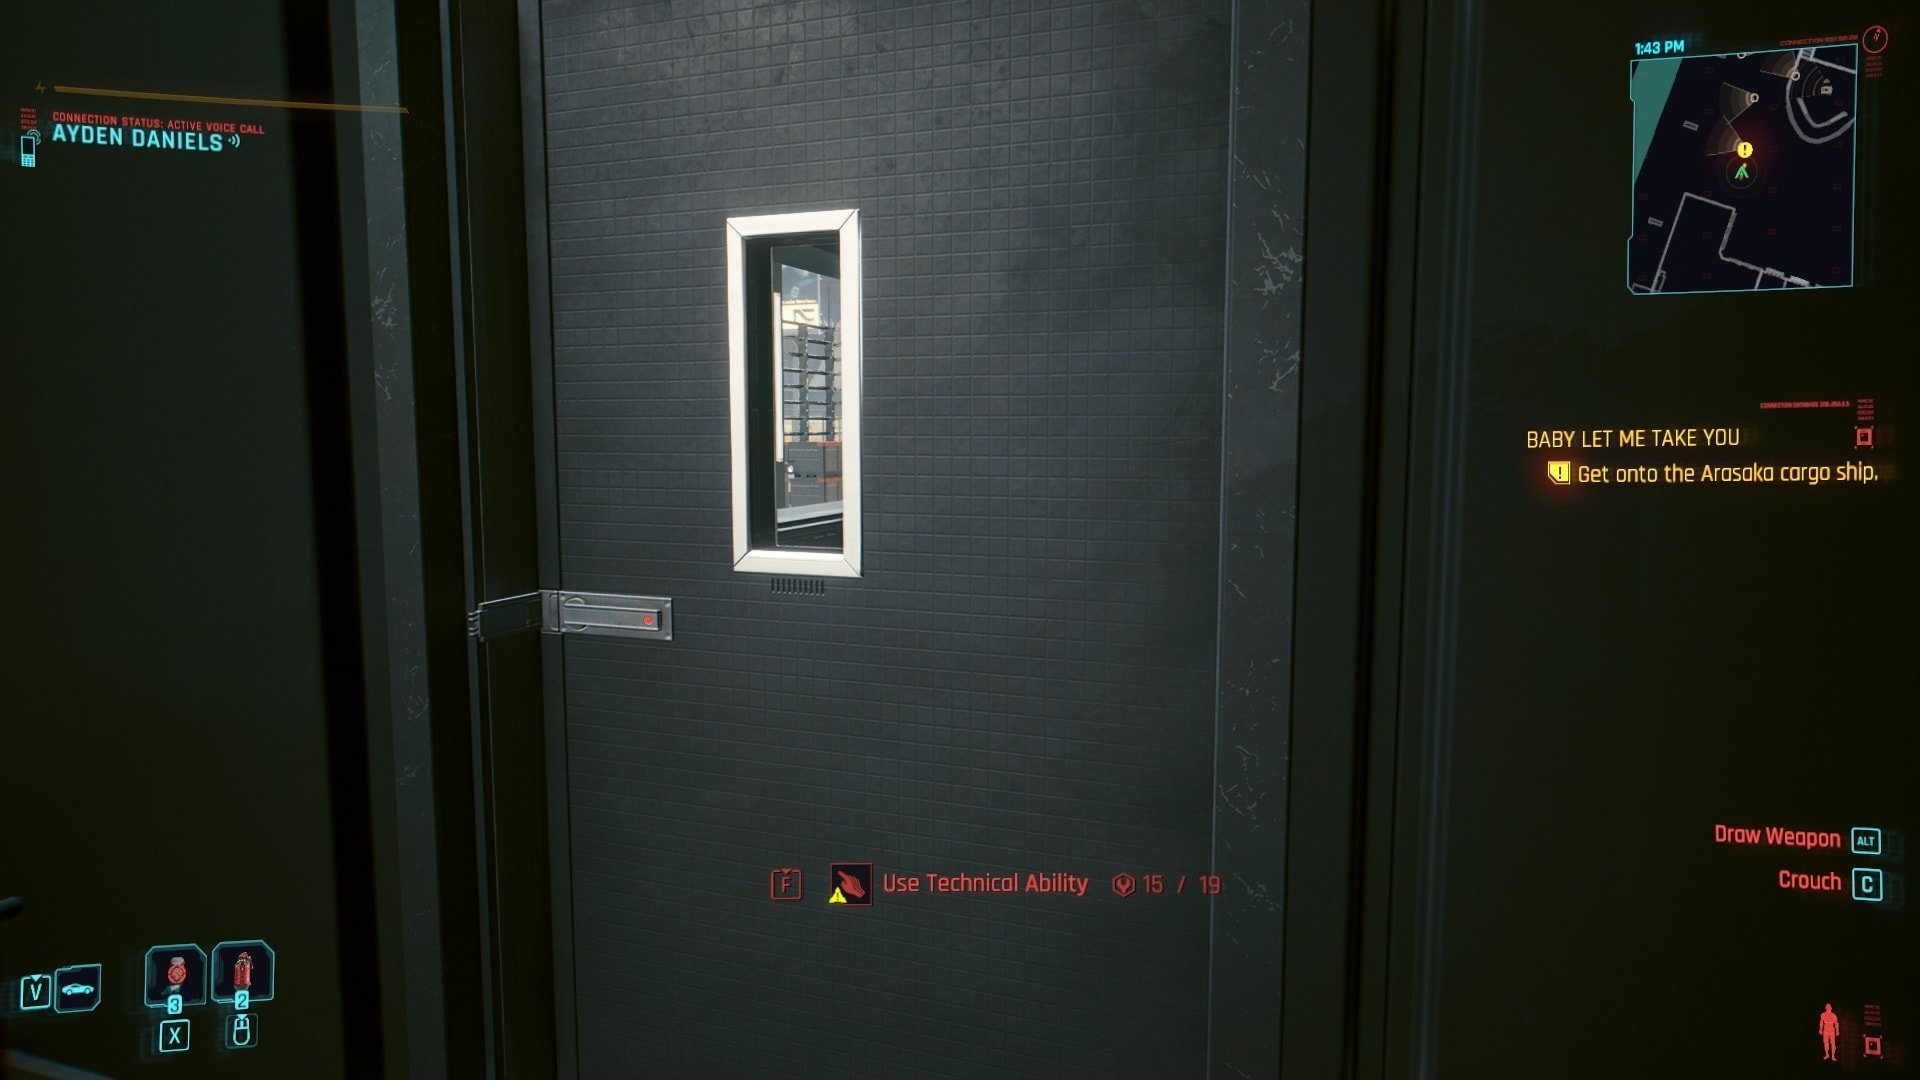
Dive into the water and swim towards the yellow ladder that is shown below. The door on the other side of the gate is unlocked, just be careful when getting inside.
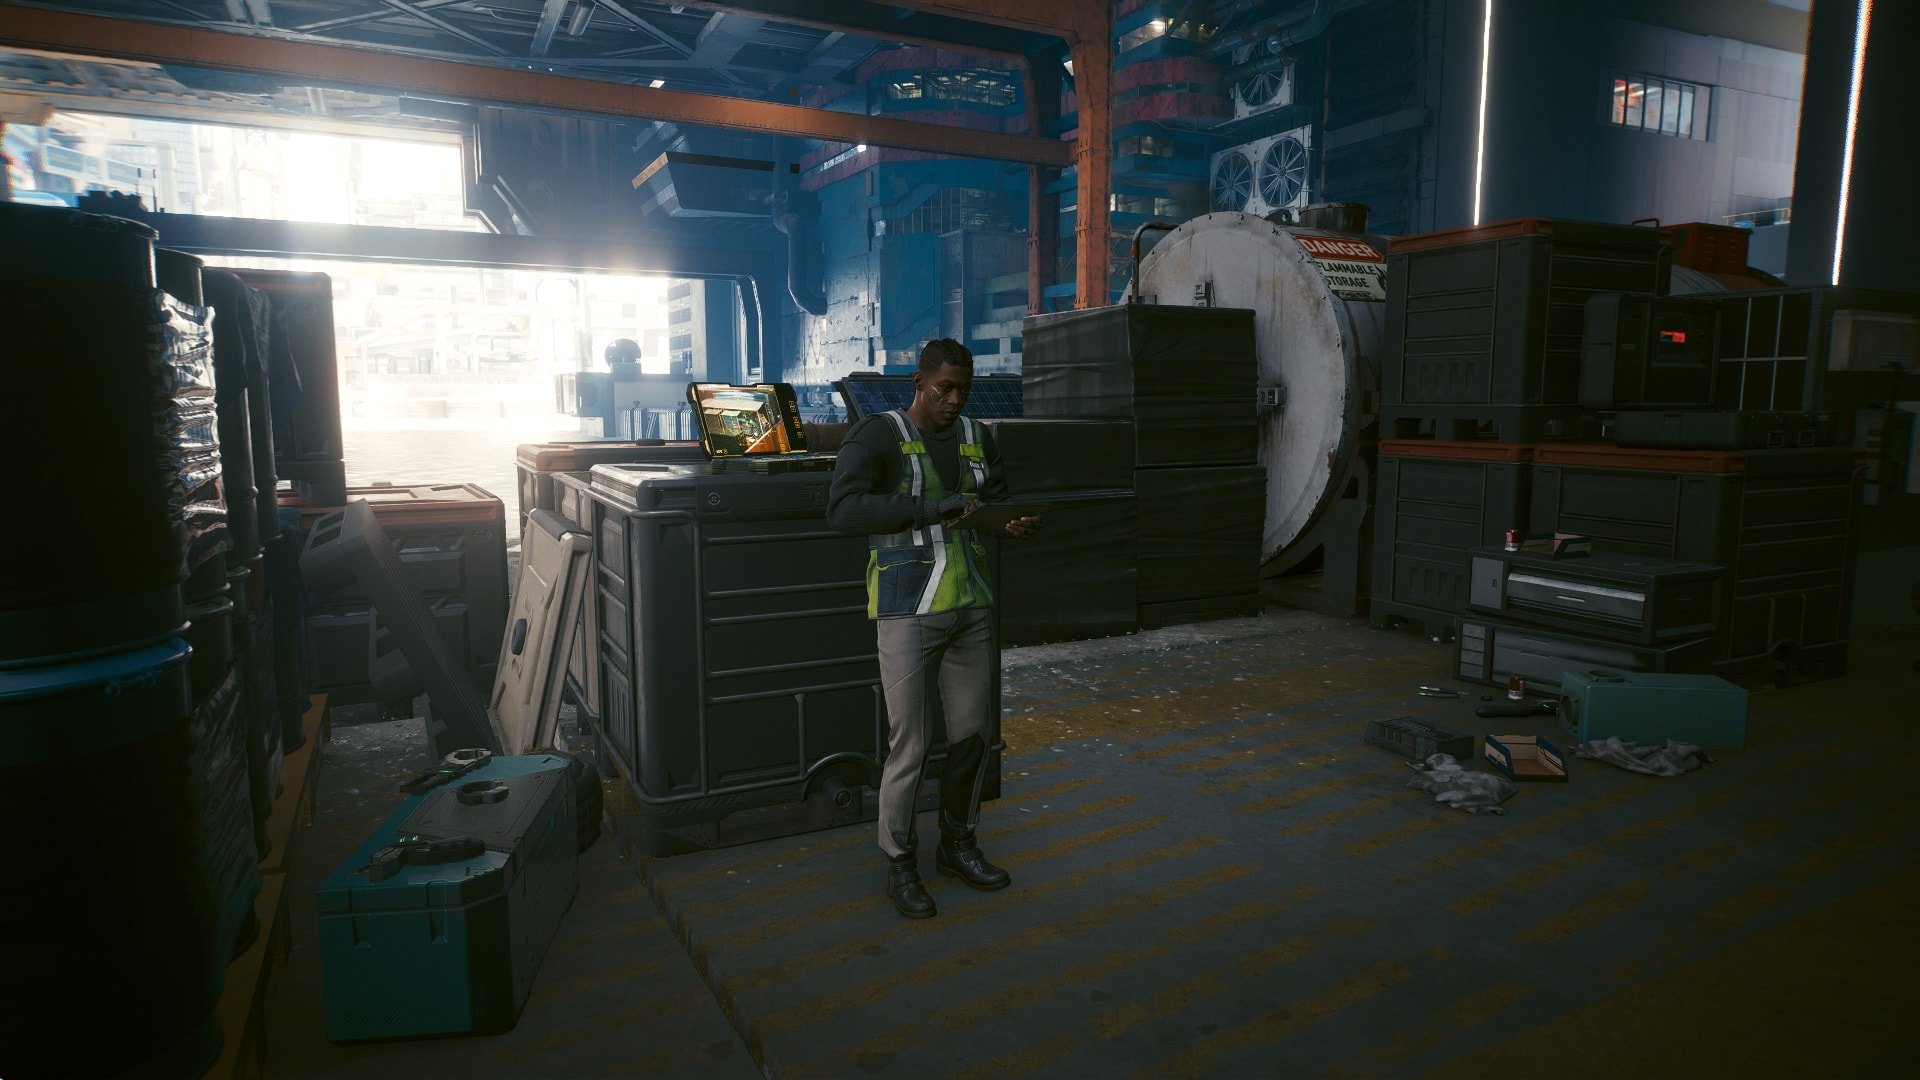
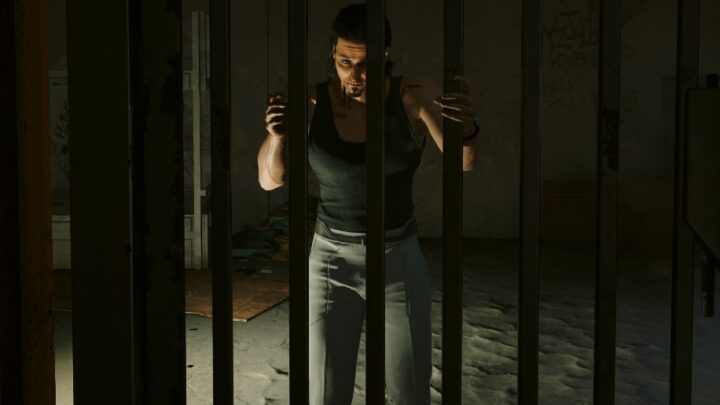
Neutralize the guard as soon as you enter the small security stall.
There’s a computer on a desk, you can use it to turn off the gates, turrets, and cameras. Nonetheless, I’ll still point out where all turrets and cameras are located.

There are many enemies positioned in a way that’s very difficult to sneak in. This mission requires a more creative strategy.
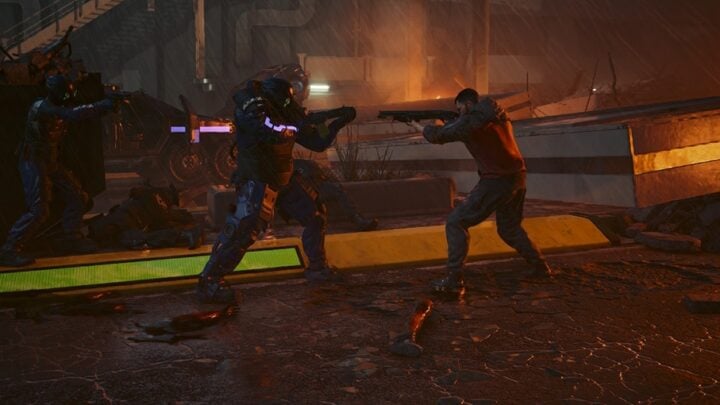
Eliminate all Arasaka forces
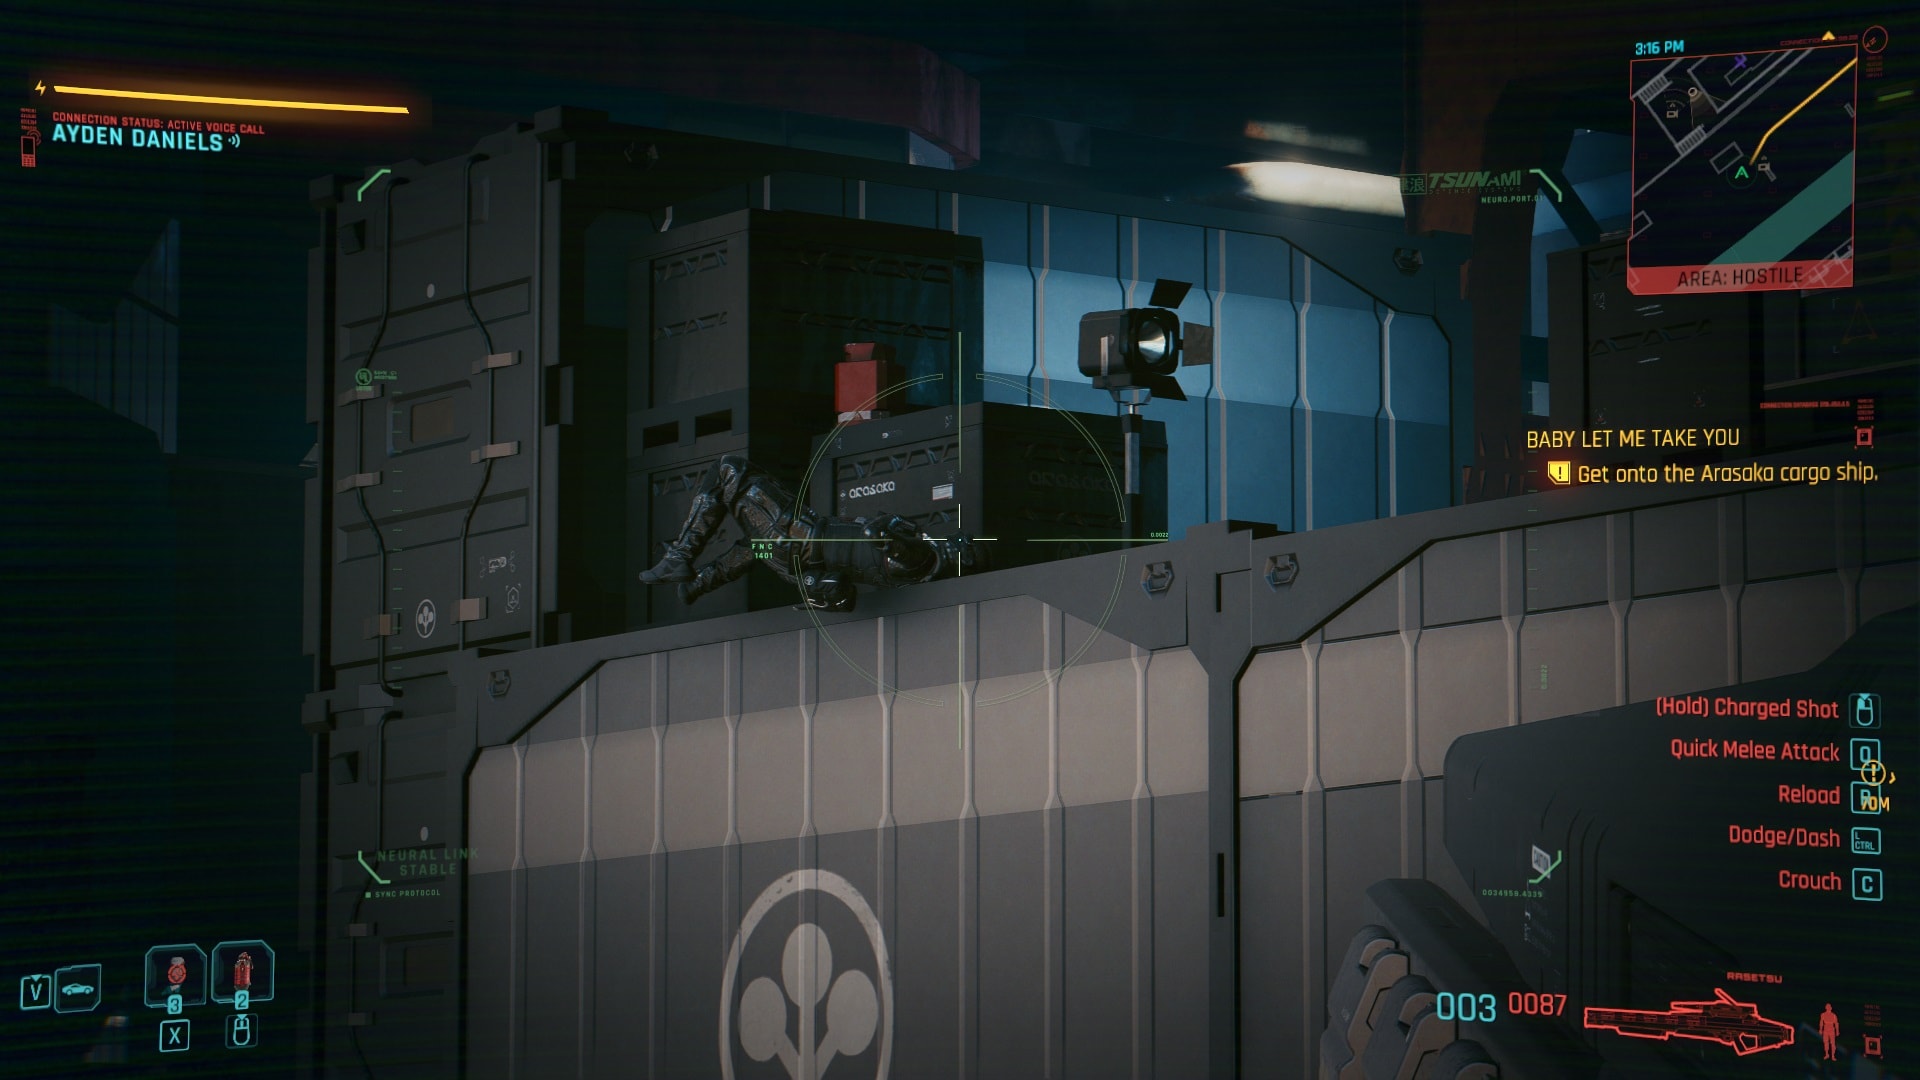
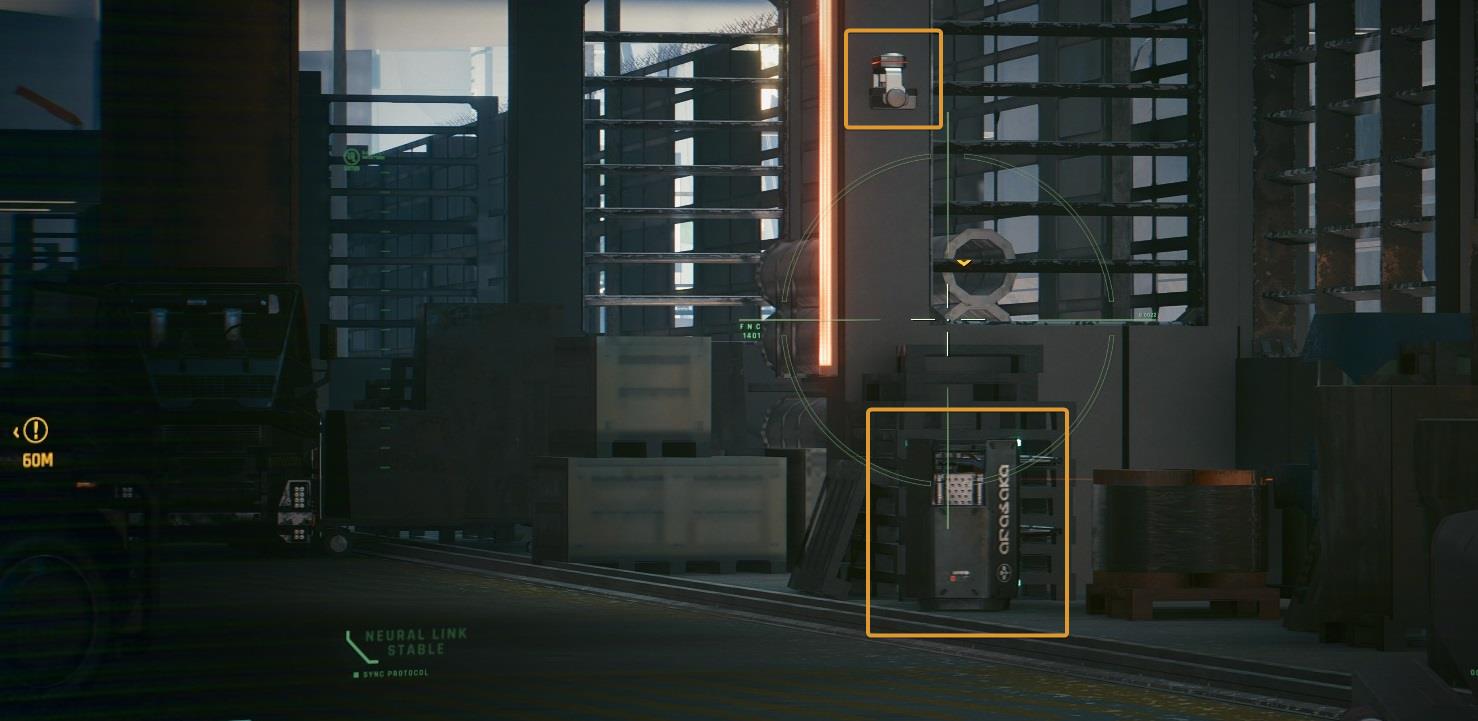
Go to where Daniels is located, get on top of the cargo crates, and take your favorite sniper rifle out. There are two guards on the marked locations below, you must take them out with a single headshot or they’ll raise the alarm. Sometimes it will look like they noticed your presence, but their behavior won’t change. At most, they’ll search for an intruder but after a few minutes everything will go back to normal.
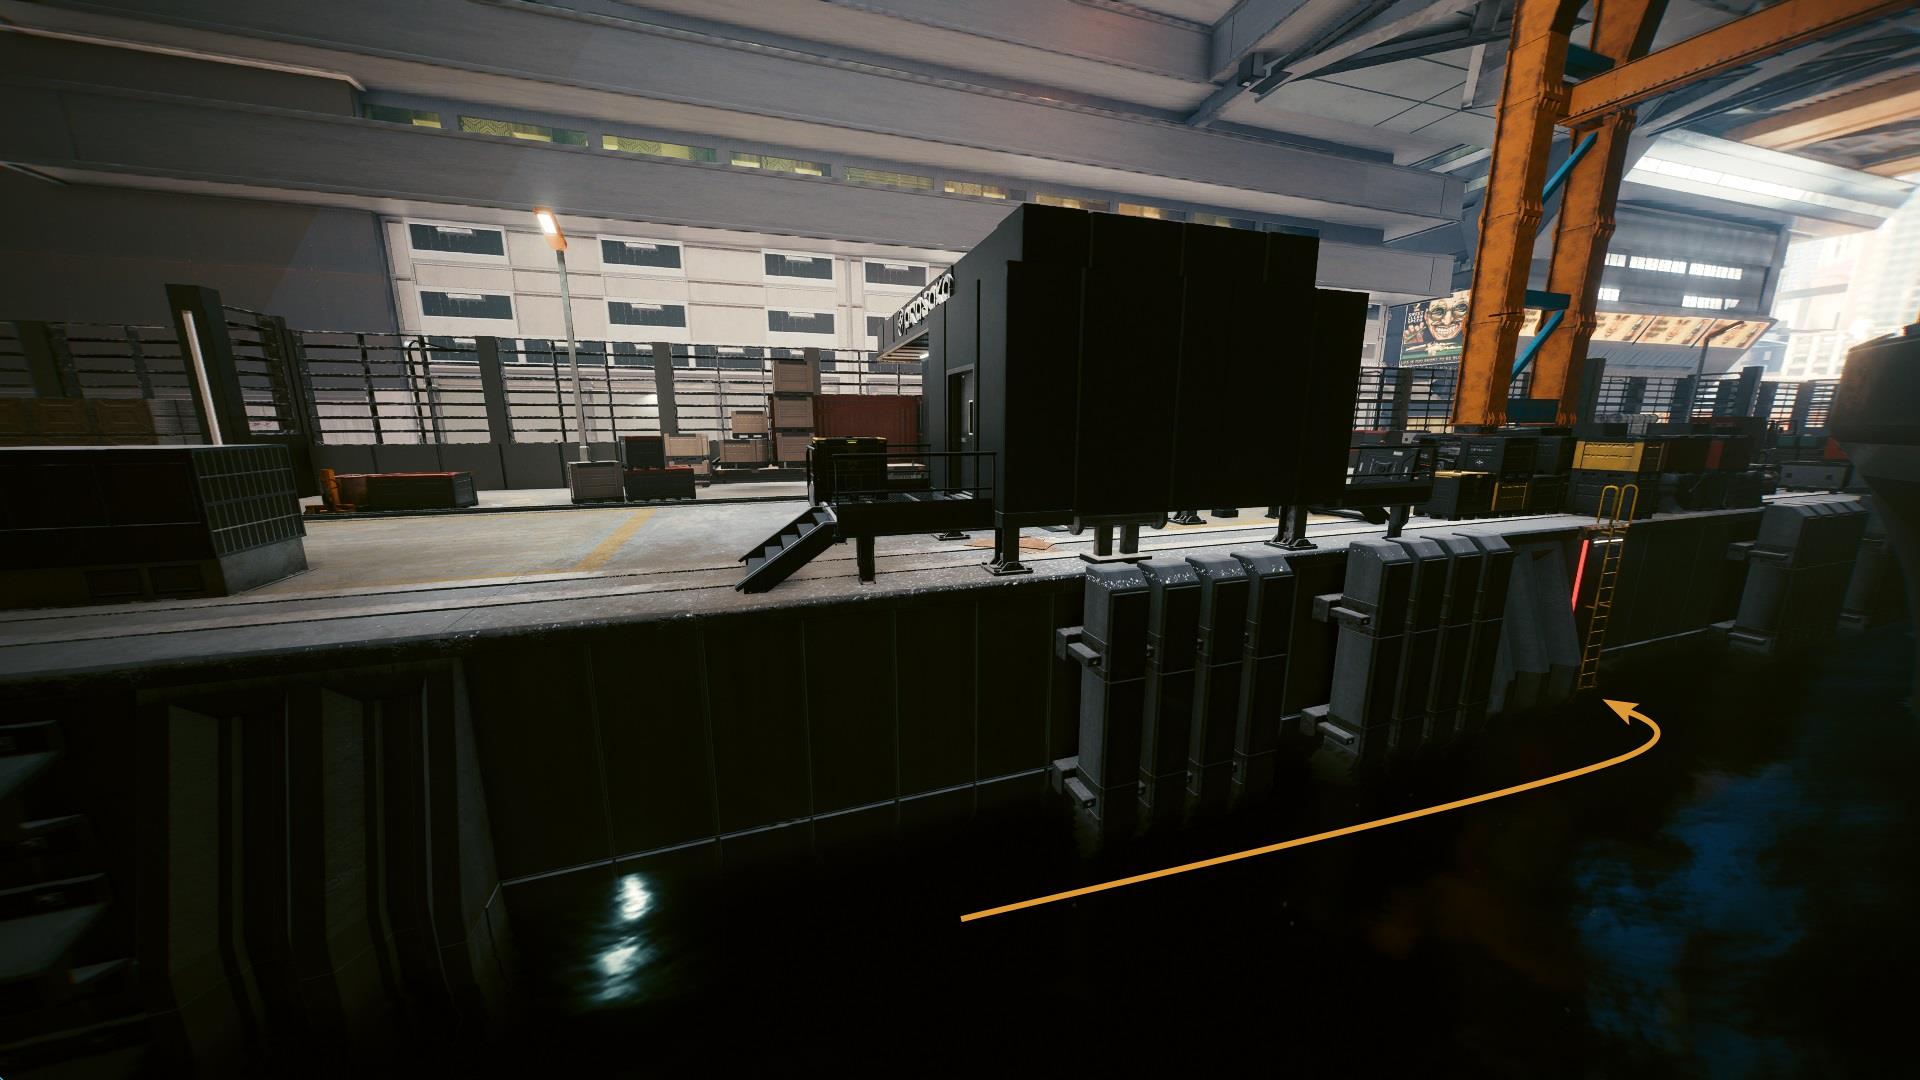
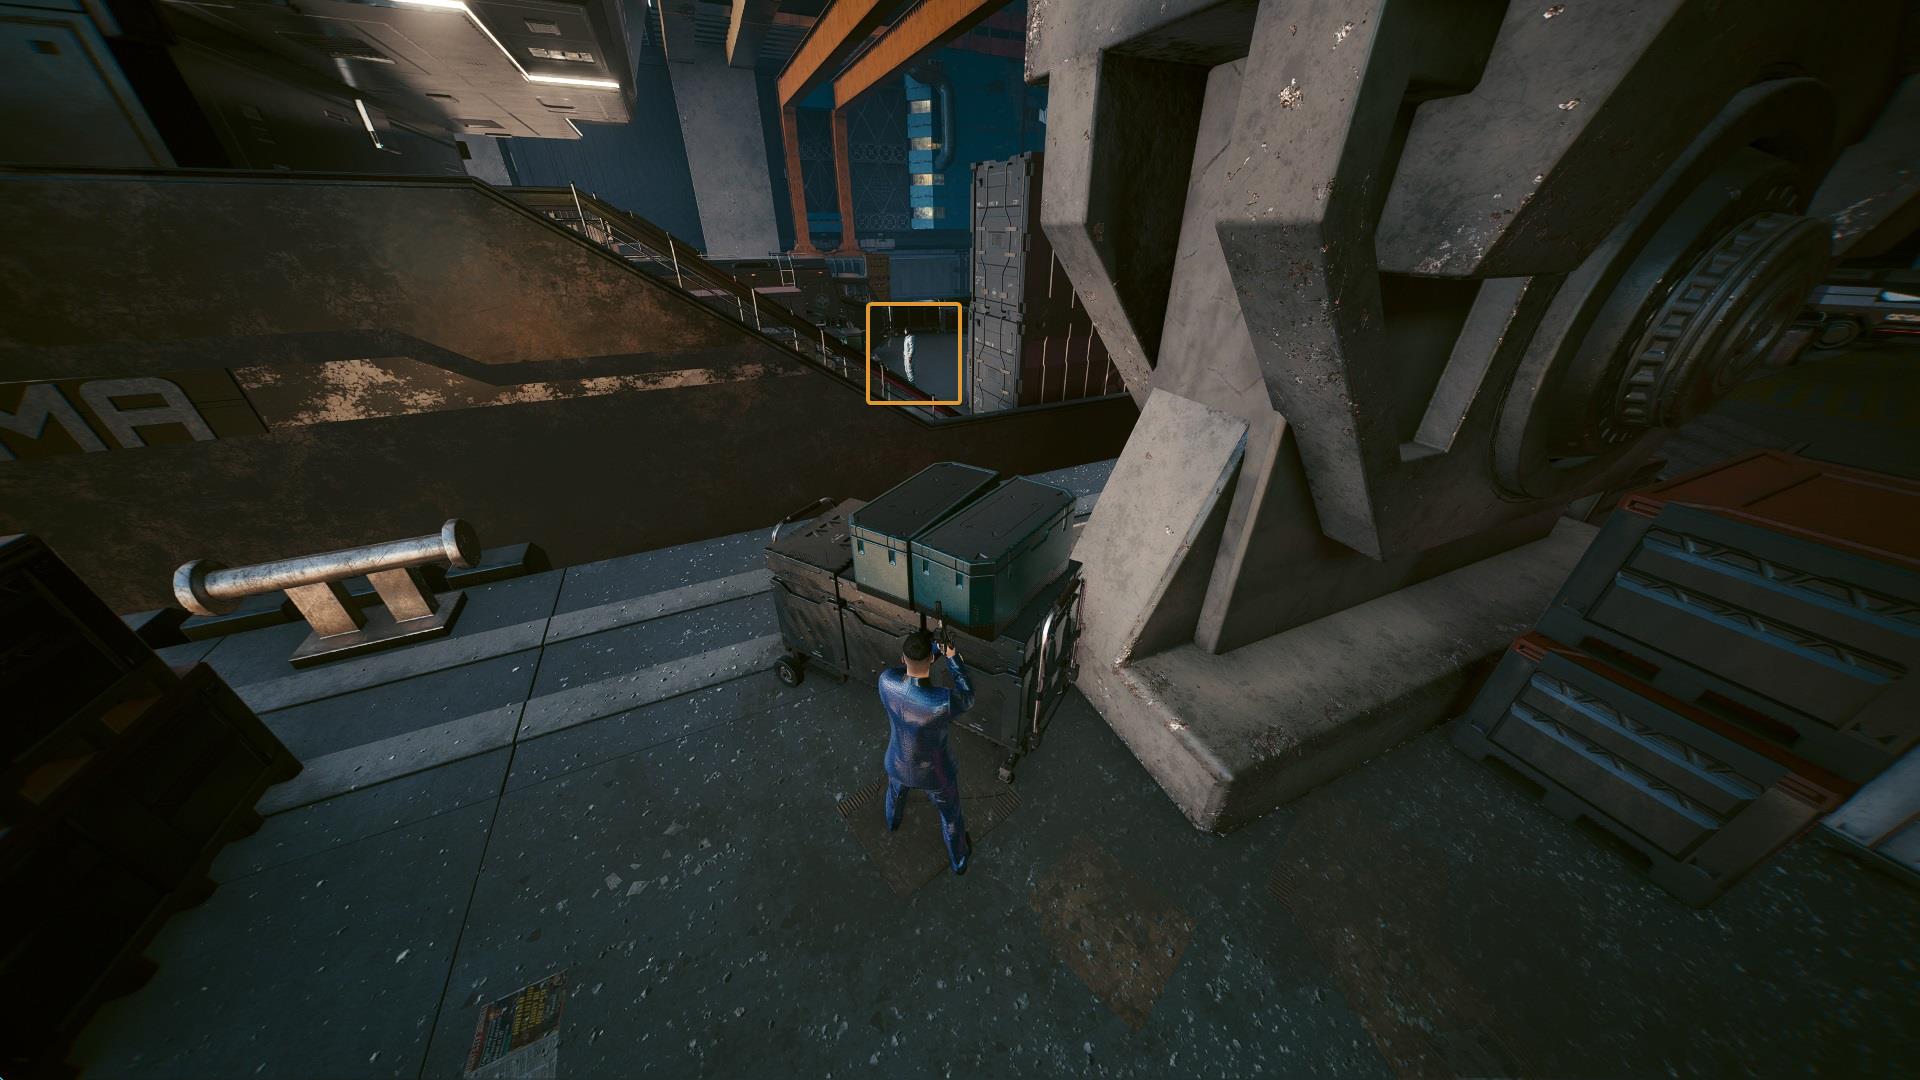
Get back under the water, but this time you have to get to the last ladder, next to the ship’s bow. From now on you’ll have to be extra careful.
A guard is patrolling the right area marked below, take him out and get rid of the camera that’s on the far left. You have a window of around twenty seconds.
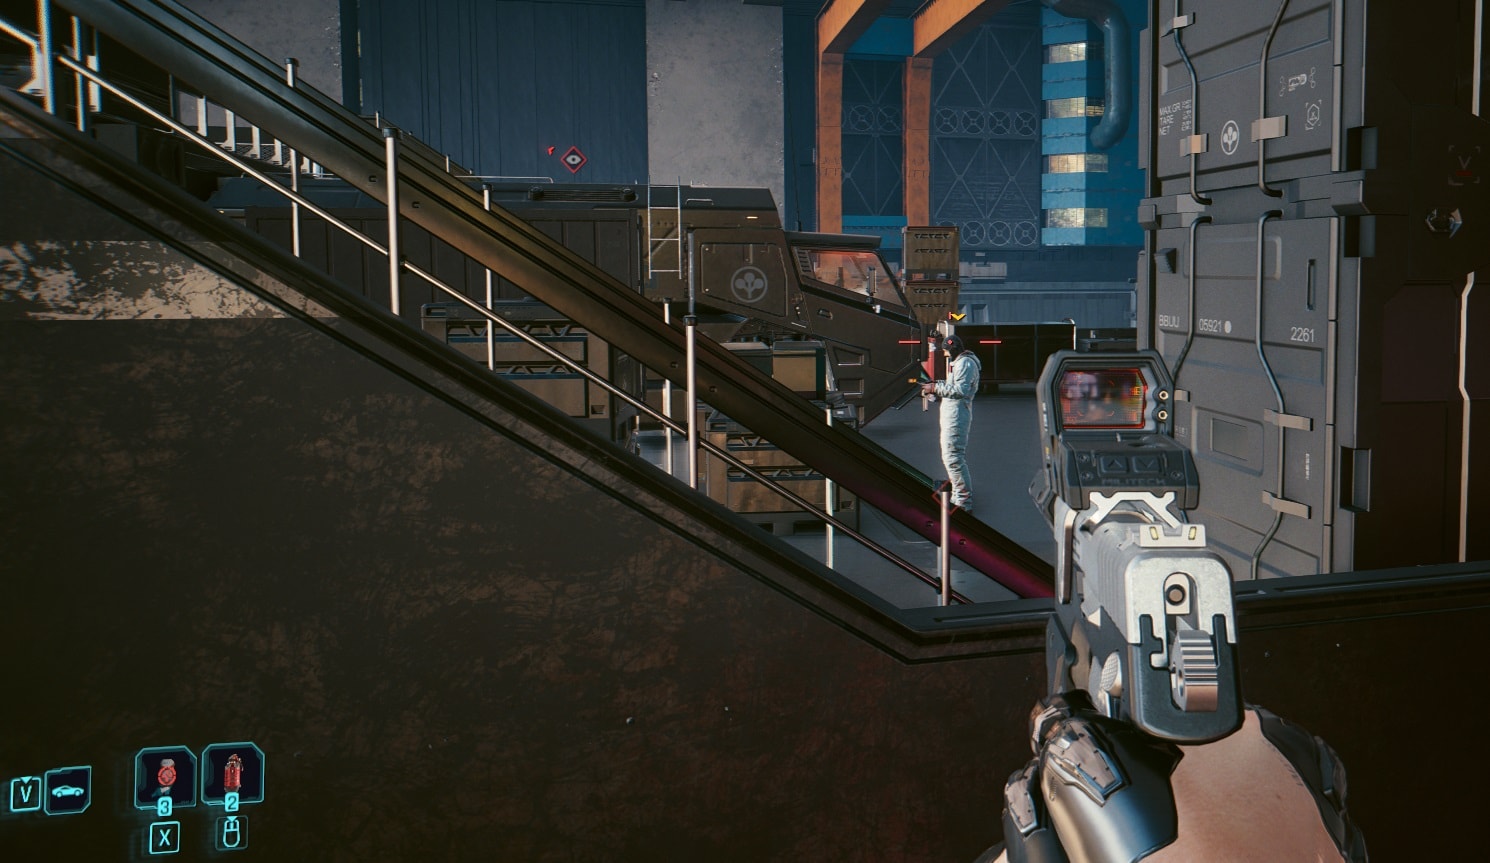
Turn back, an Arasaka guard will briefly stop at the edge of the ship. Take him out without anyone else noticing. If done right, he will fall into the water, leaving no evidence of your presence.
Walk near to where the guard fell and take your sniper rifle out. There’s an Arasaka sniper in the middle of the ship at a higher level. You must take him out before continuing because he’s the only one who can see every spot of the ship.
This is the only instance where I recommend using the sniper rifle inside the Arasaka dock due to how loud it is.
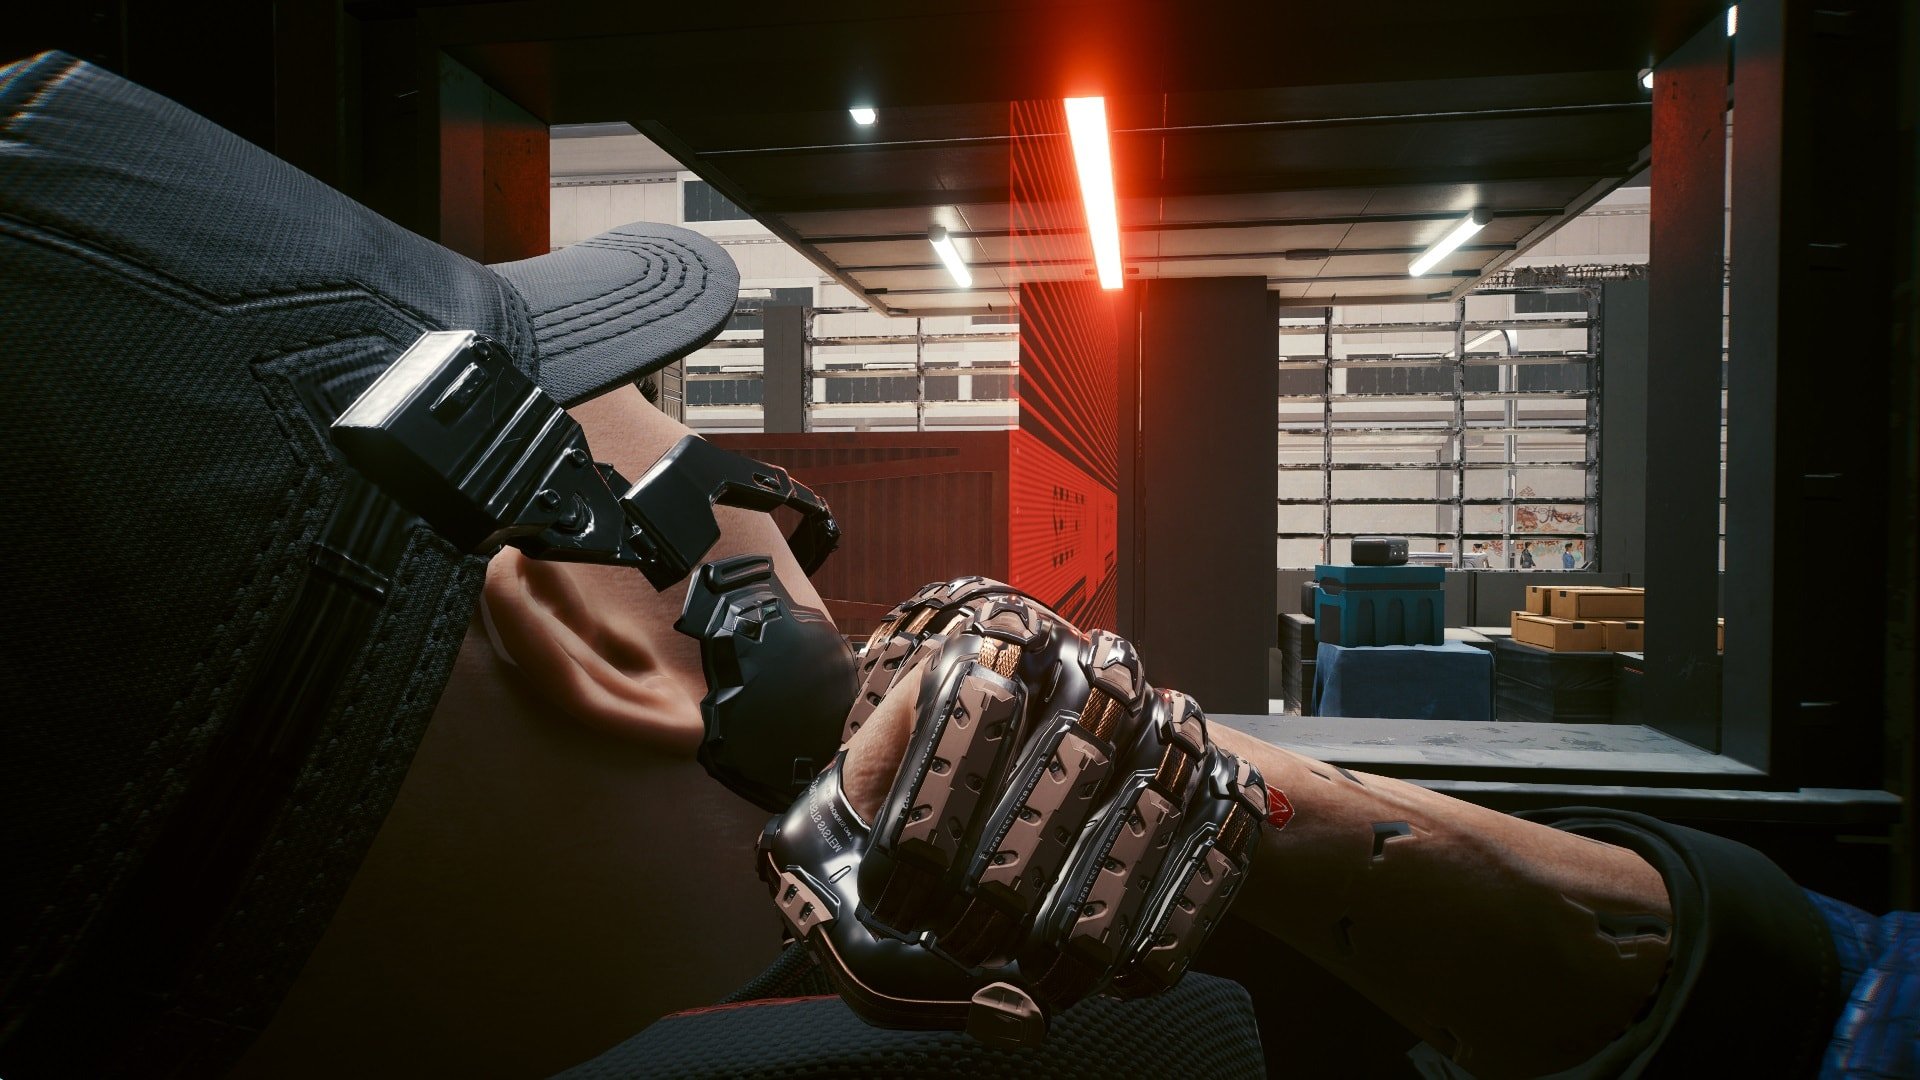
Move a few feet to the right, your next victim will be right in front of you. But wait, it’s not safe to walk up yet.
Look up, this camera will spot anyone who gets too close to the edge of the ship. Take care of it from a safe distance, then it’s safe to continue.

Remember, make clean headshots to take down all enemies without raising the alarm. Her Majesty is the perfect weapon for this, I highly recommend using it.
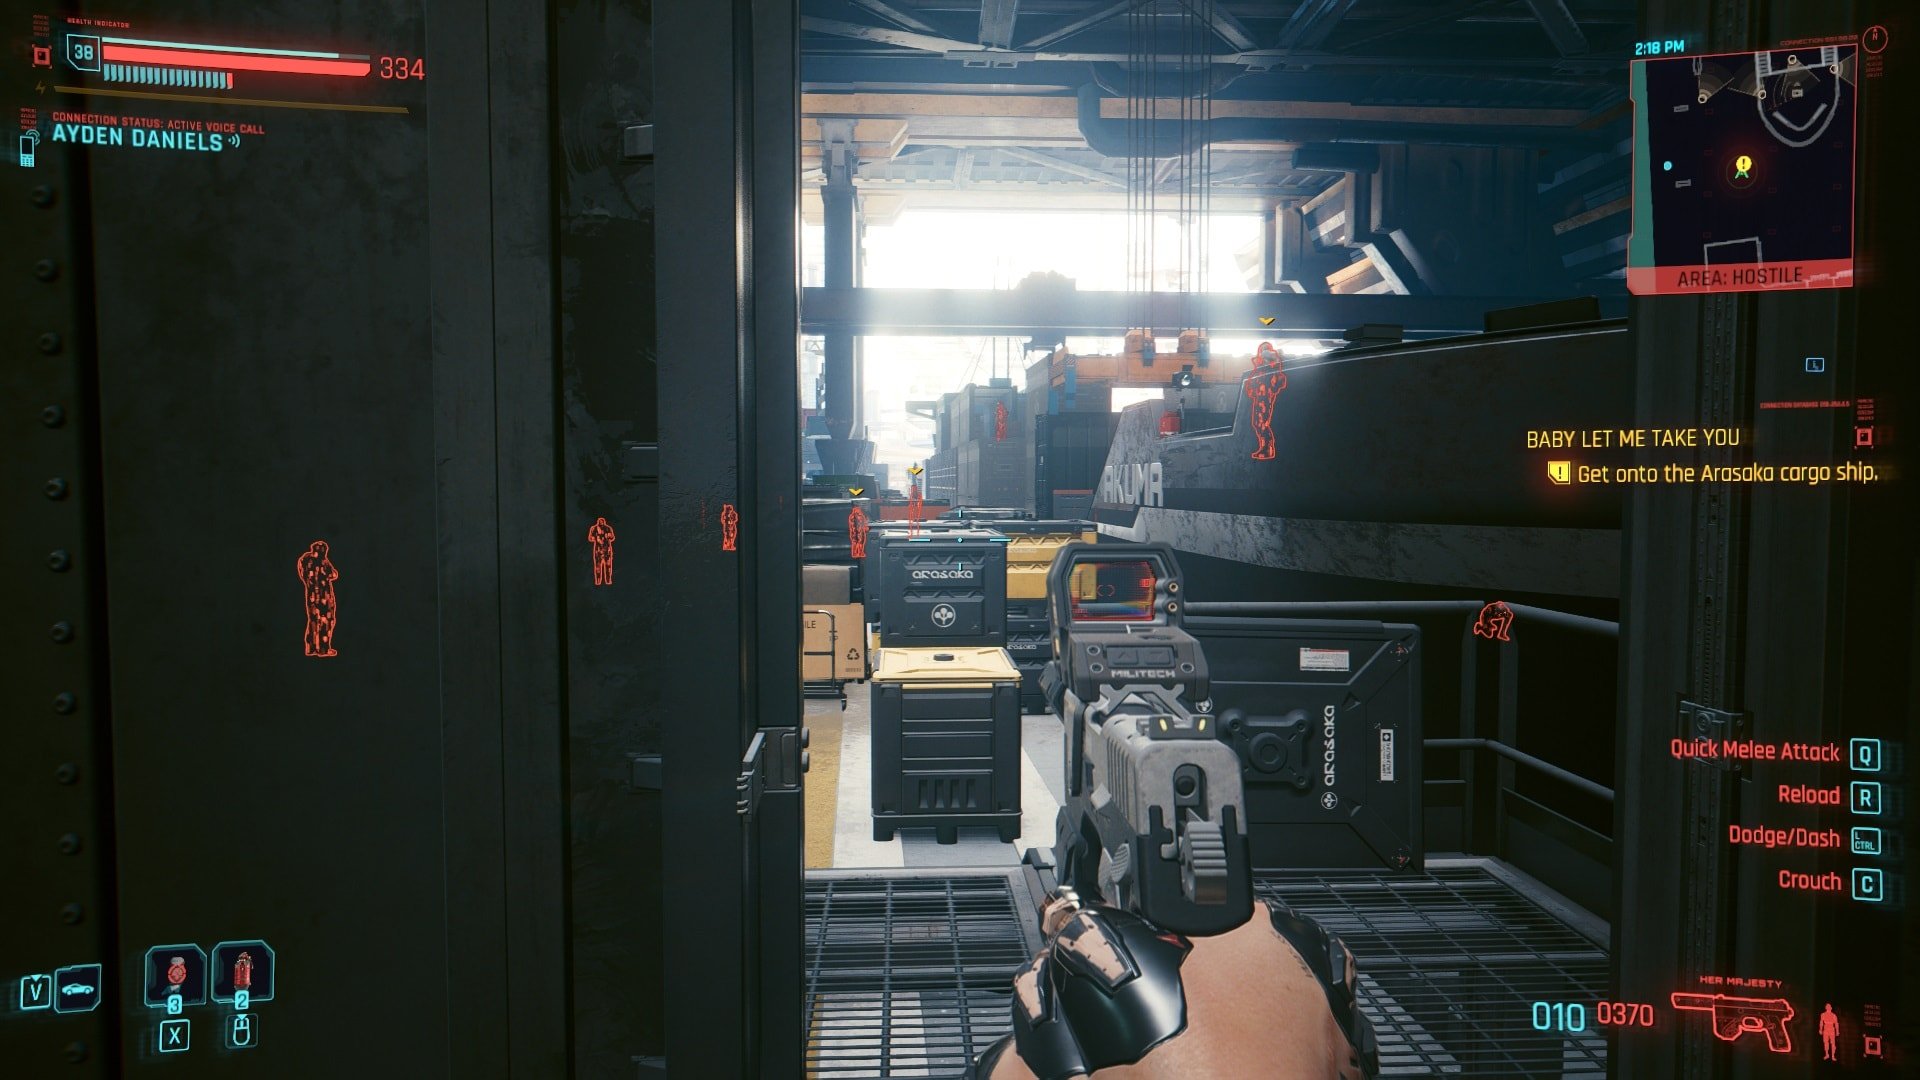
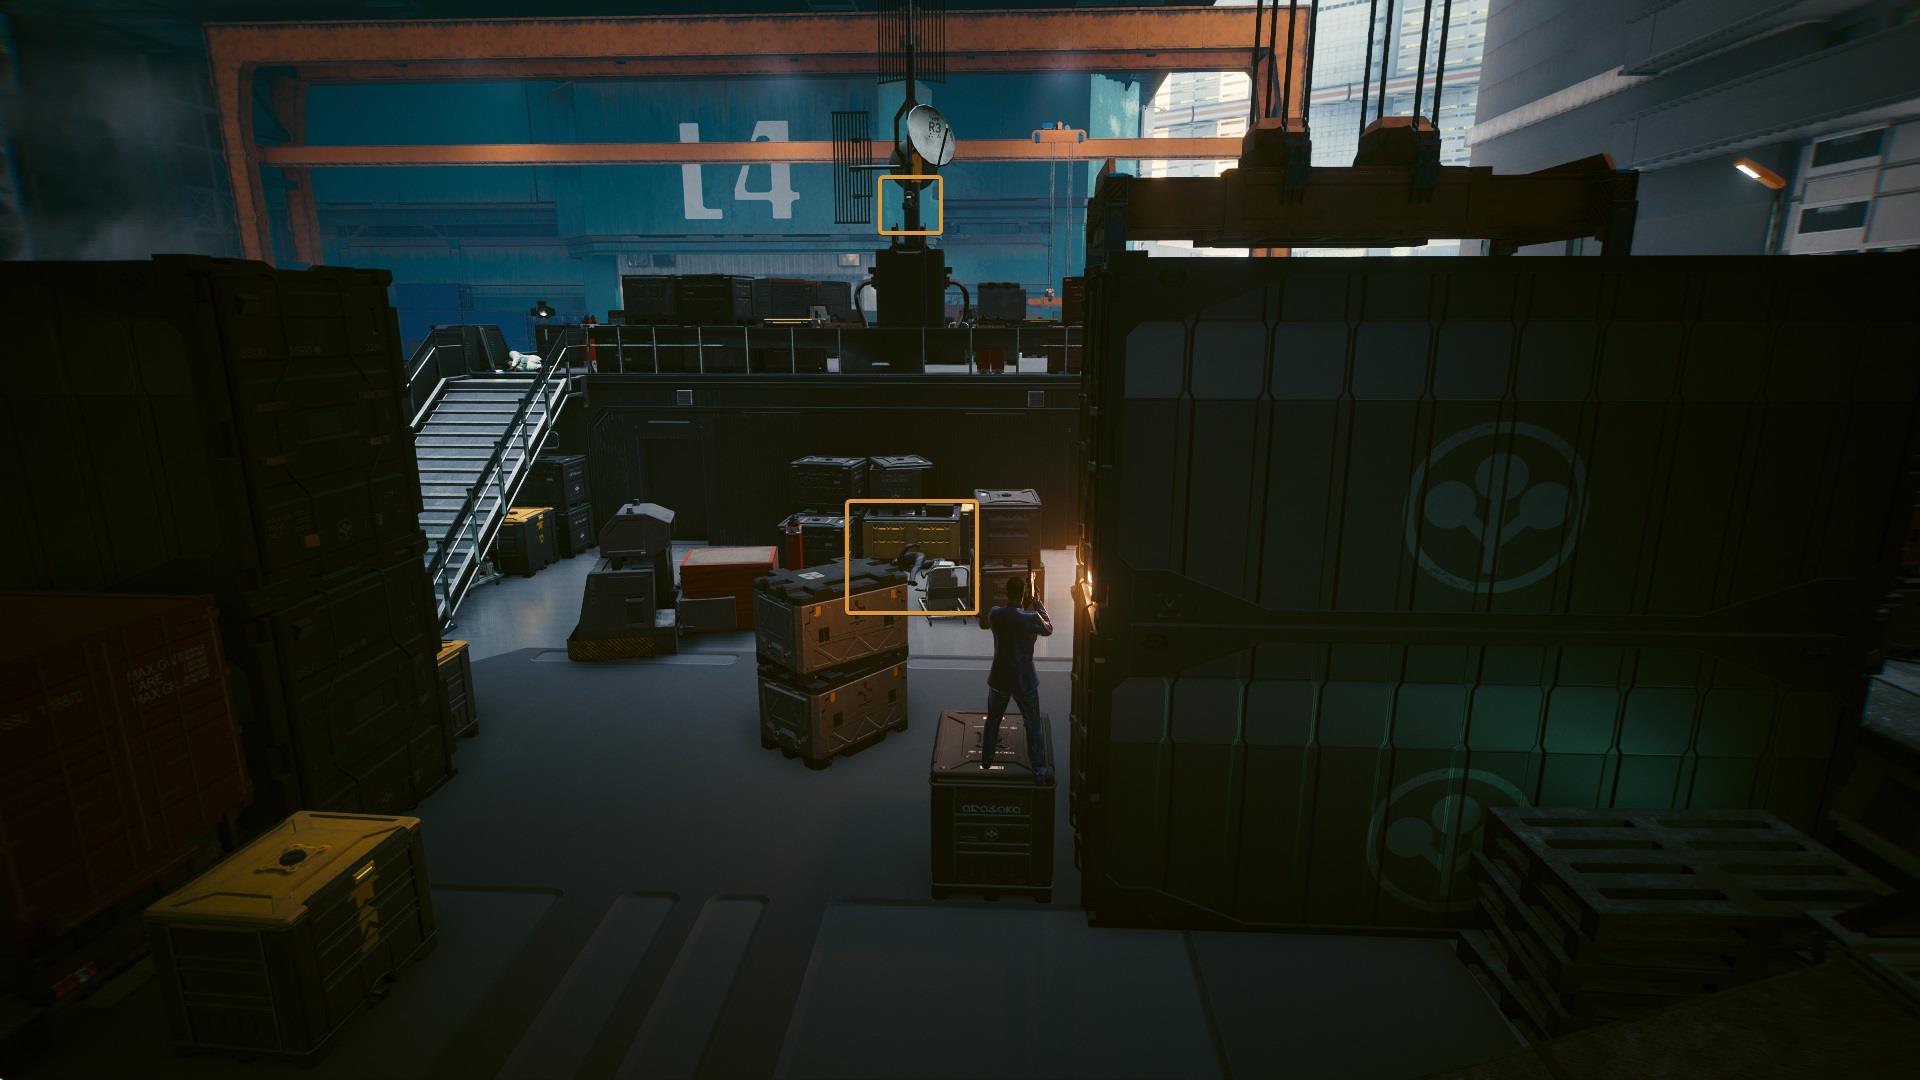
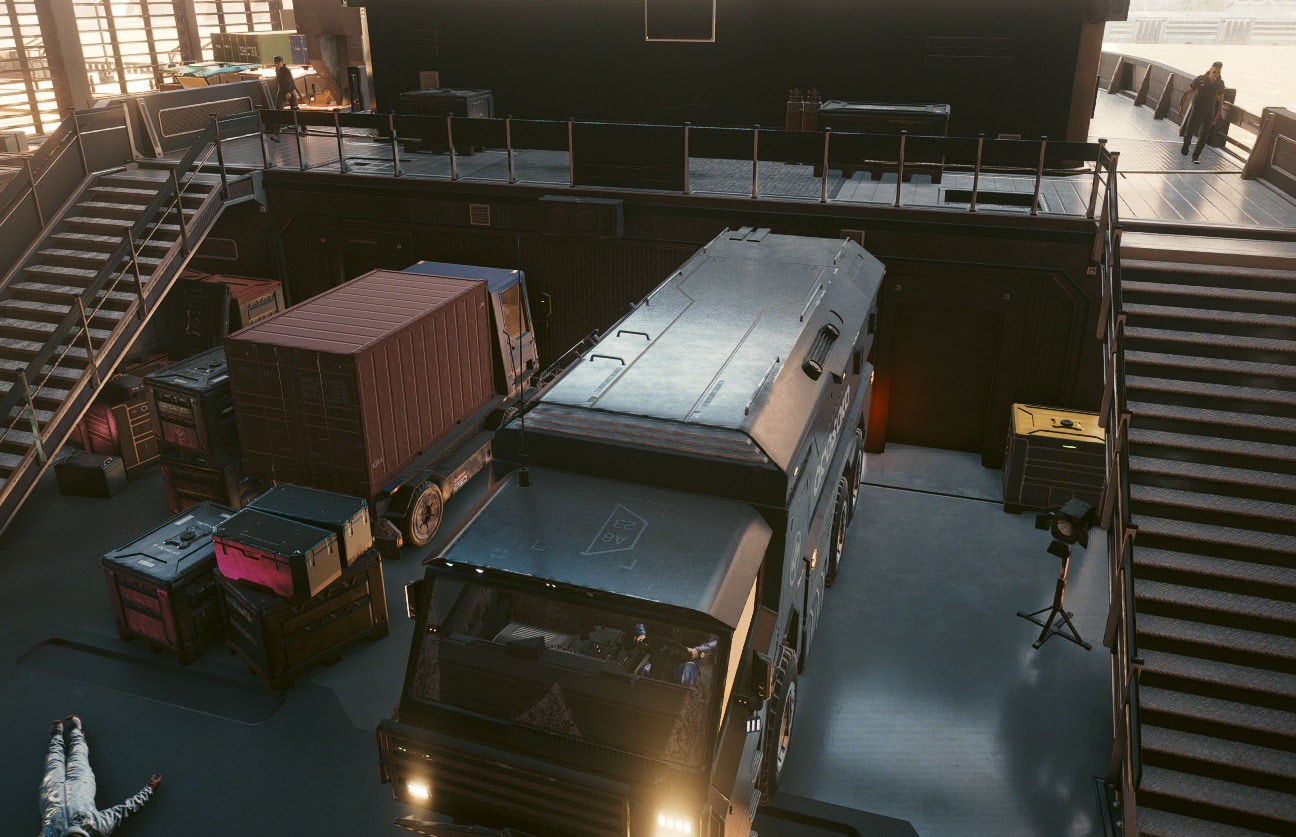
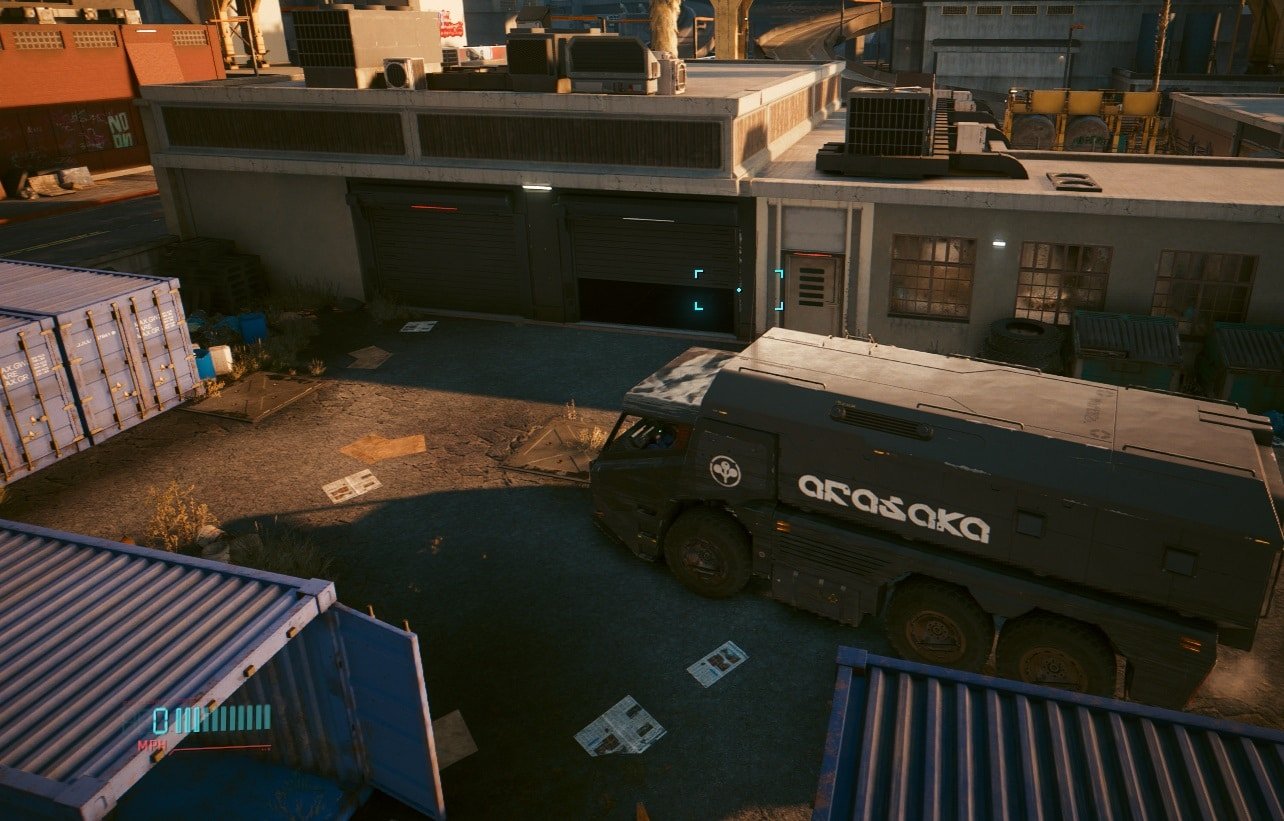
The truck that you see in the image below contains the medical equipment, you’ve found the main objective of this mission.
As you might have noticed, the truck is massive, and driving it won’t be a smooth experience. Time to set up the escape route.
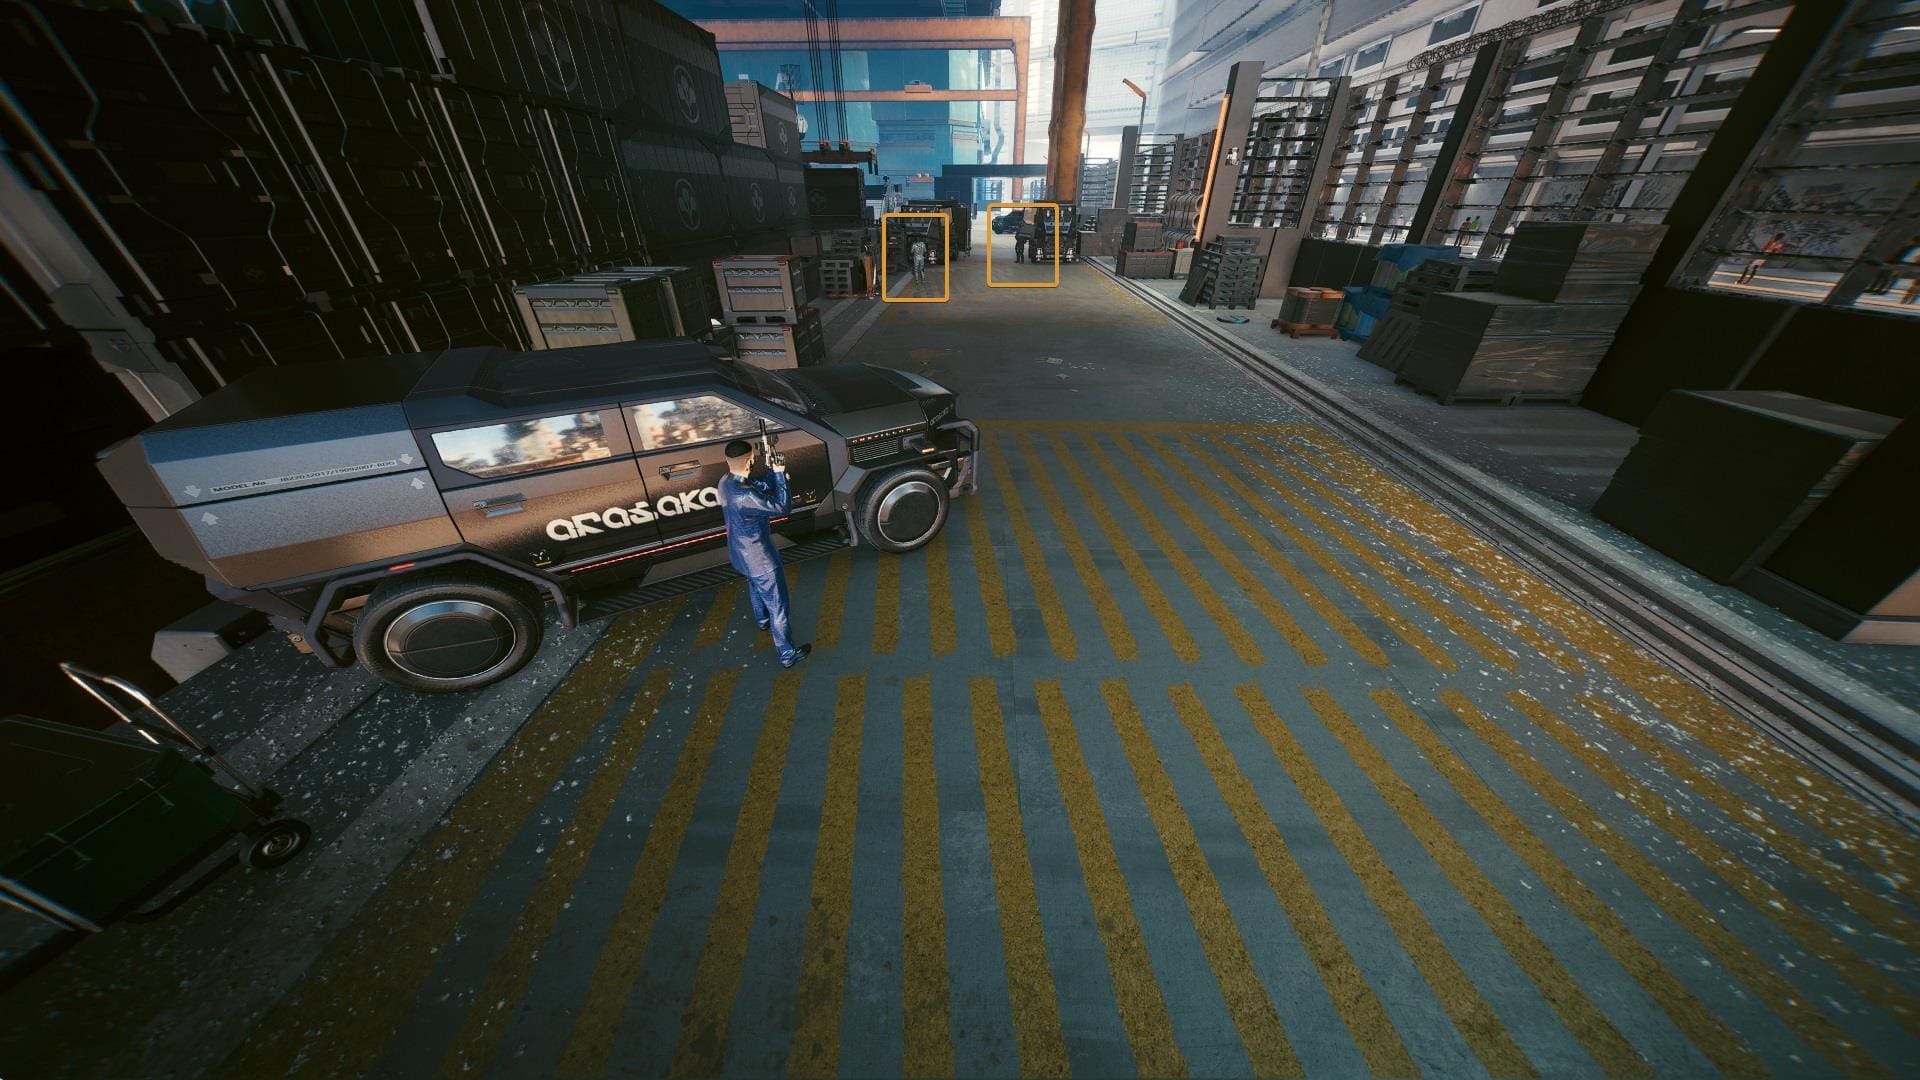
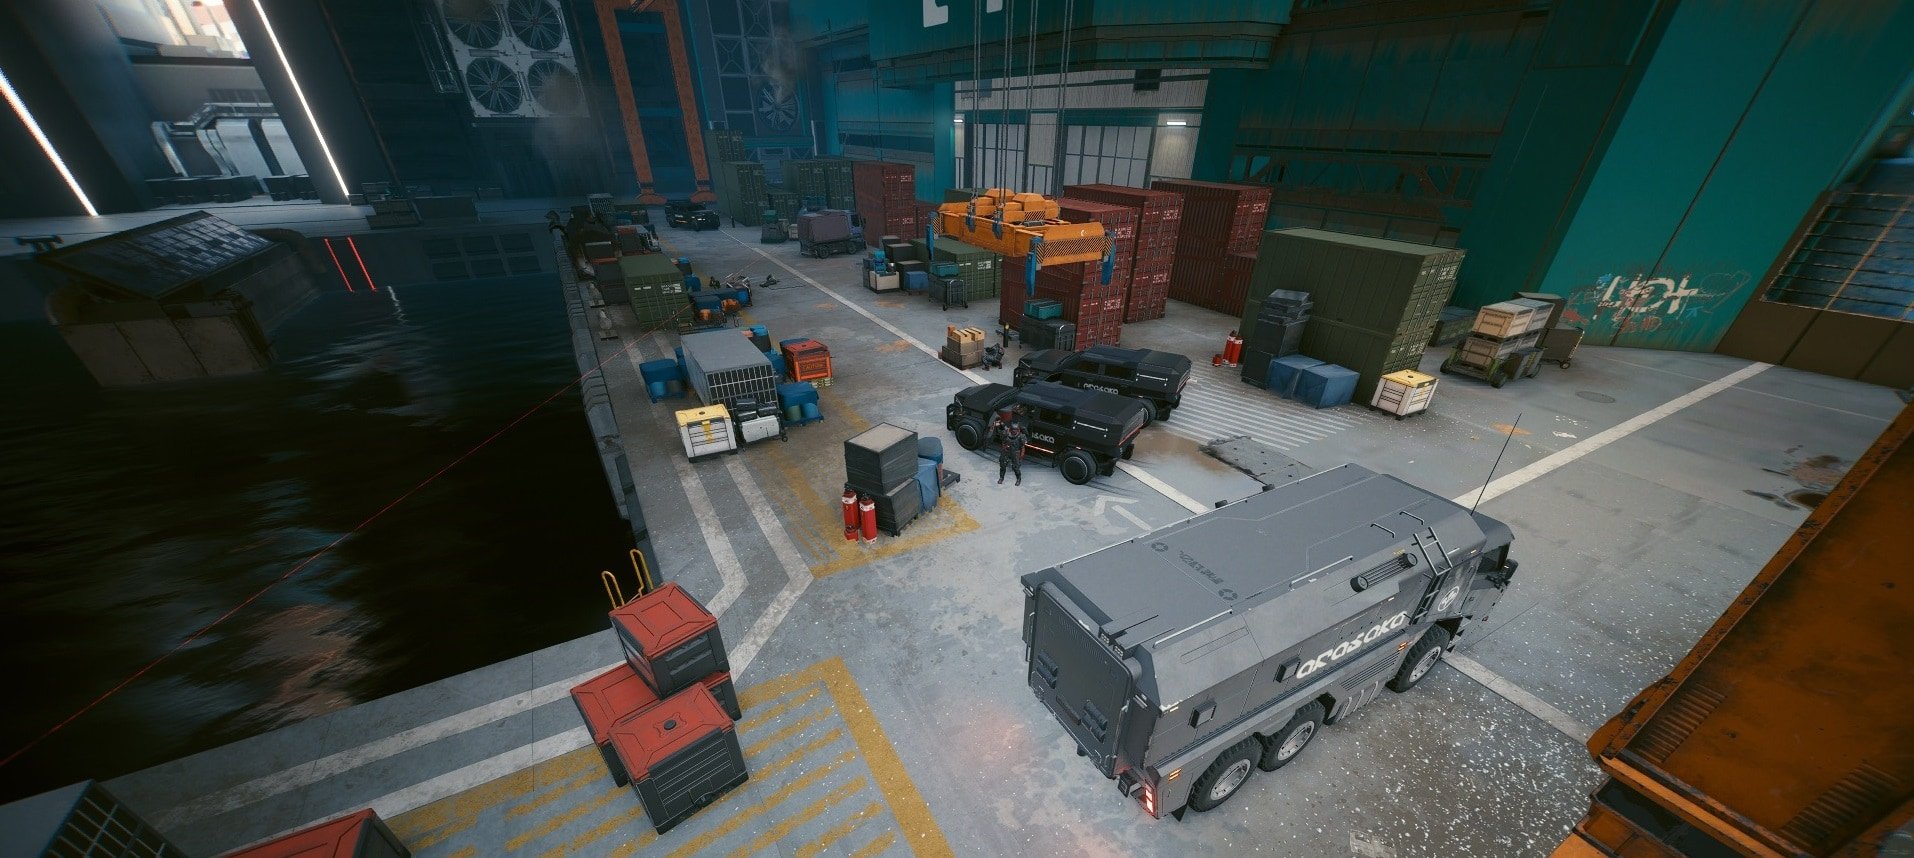
Two guards are standing between you and the main gate, it’s not easy to spot in the image but the vision of the farthest one is blocked by the opened door of the truck. You can take down both of them without each other noticing, just be precise and quick.
A turret and a camera are on the side of one of the deactivated gates, make sure to deal with them. Now you only have to get rid of the guards in the center of the ship.
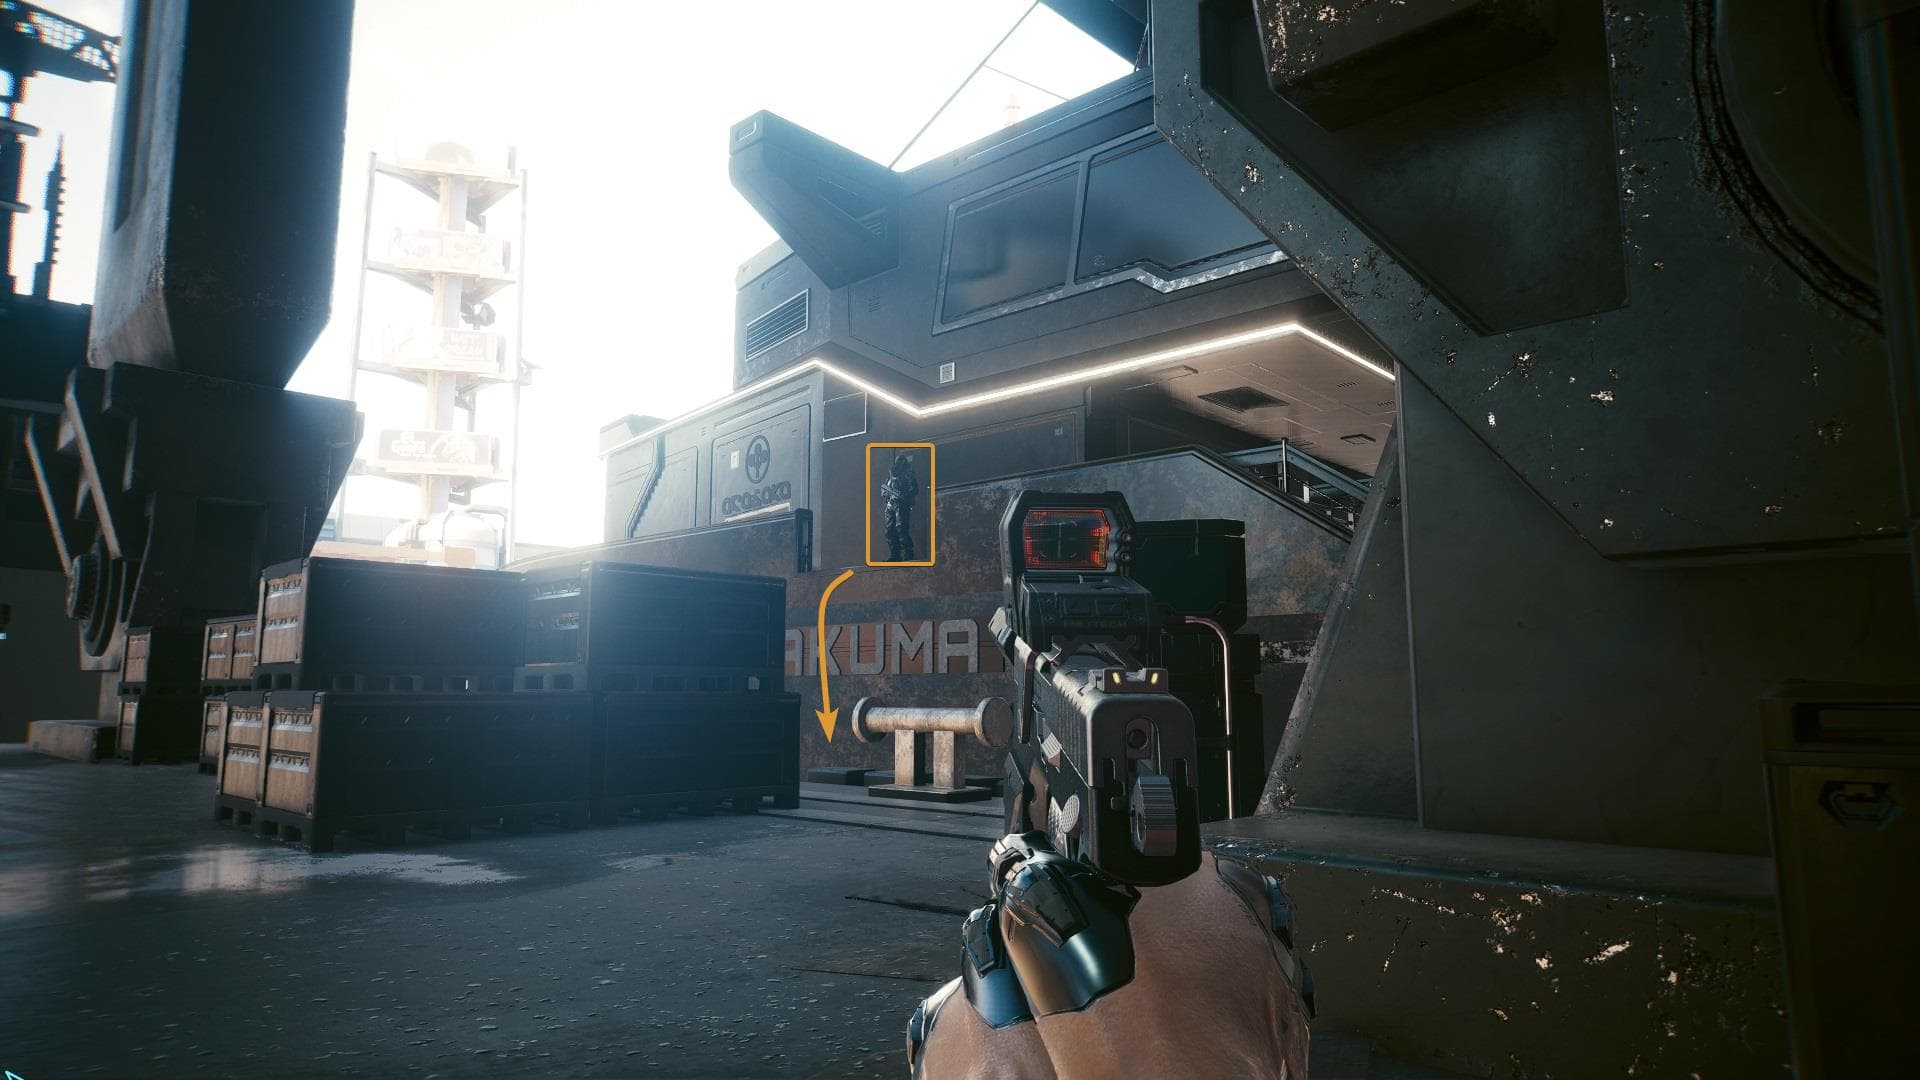
Enter the ship from the bow side and approach the center of the ship. There are three guards in this small area, use the turret in the middle to distract them. All of them will walk to investigate and end up at a very close distance from each other, making it the perfect moment to display your gunslinger skills.
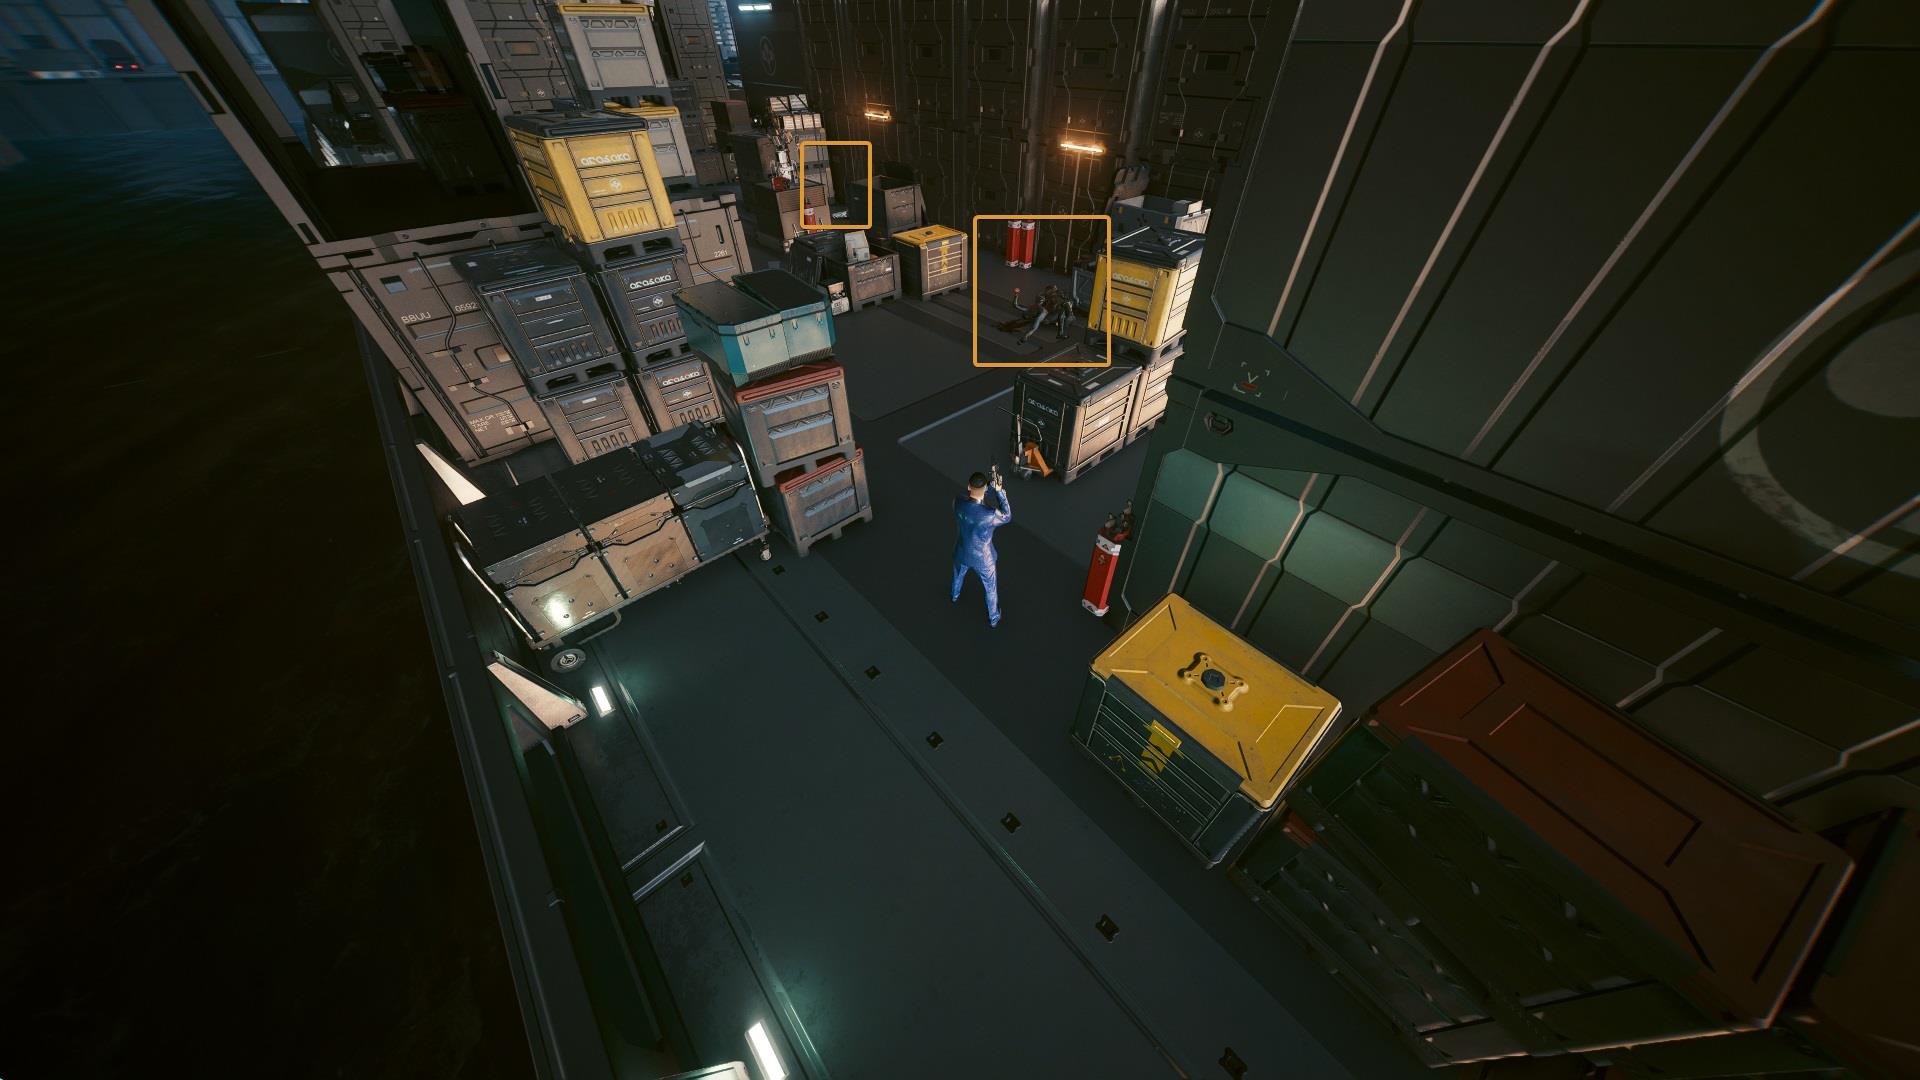
Walk past the guards you just zeroed, a final guard is patrolling this area. Just like you just did, use one of the items to call her attention.
While waiting for her to get to the desired position you can get rid of the camera located at the antena. Then take down the last guard.
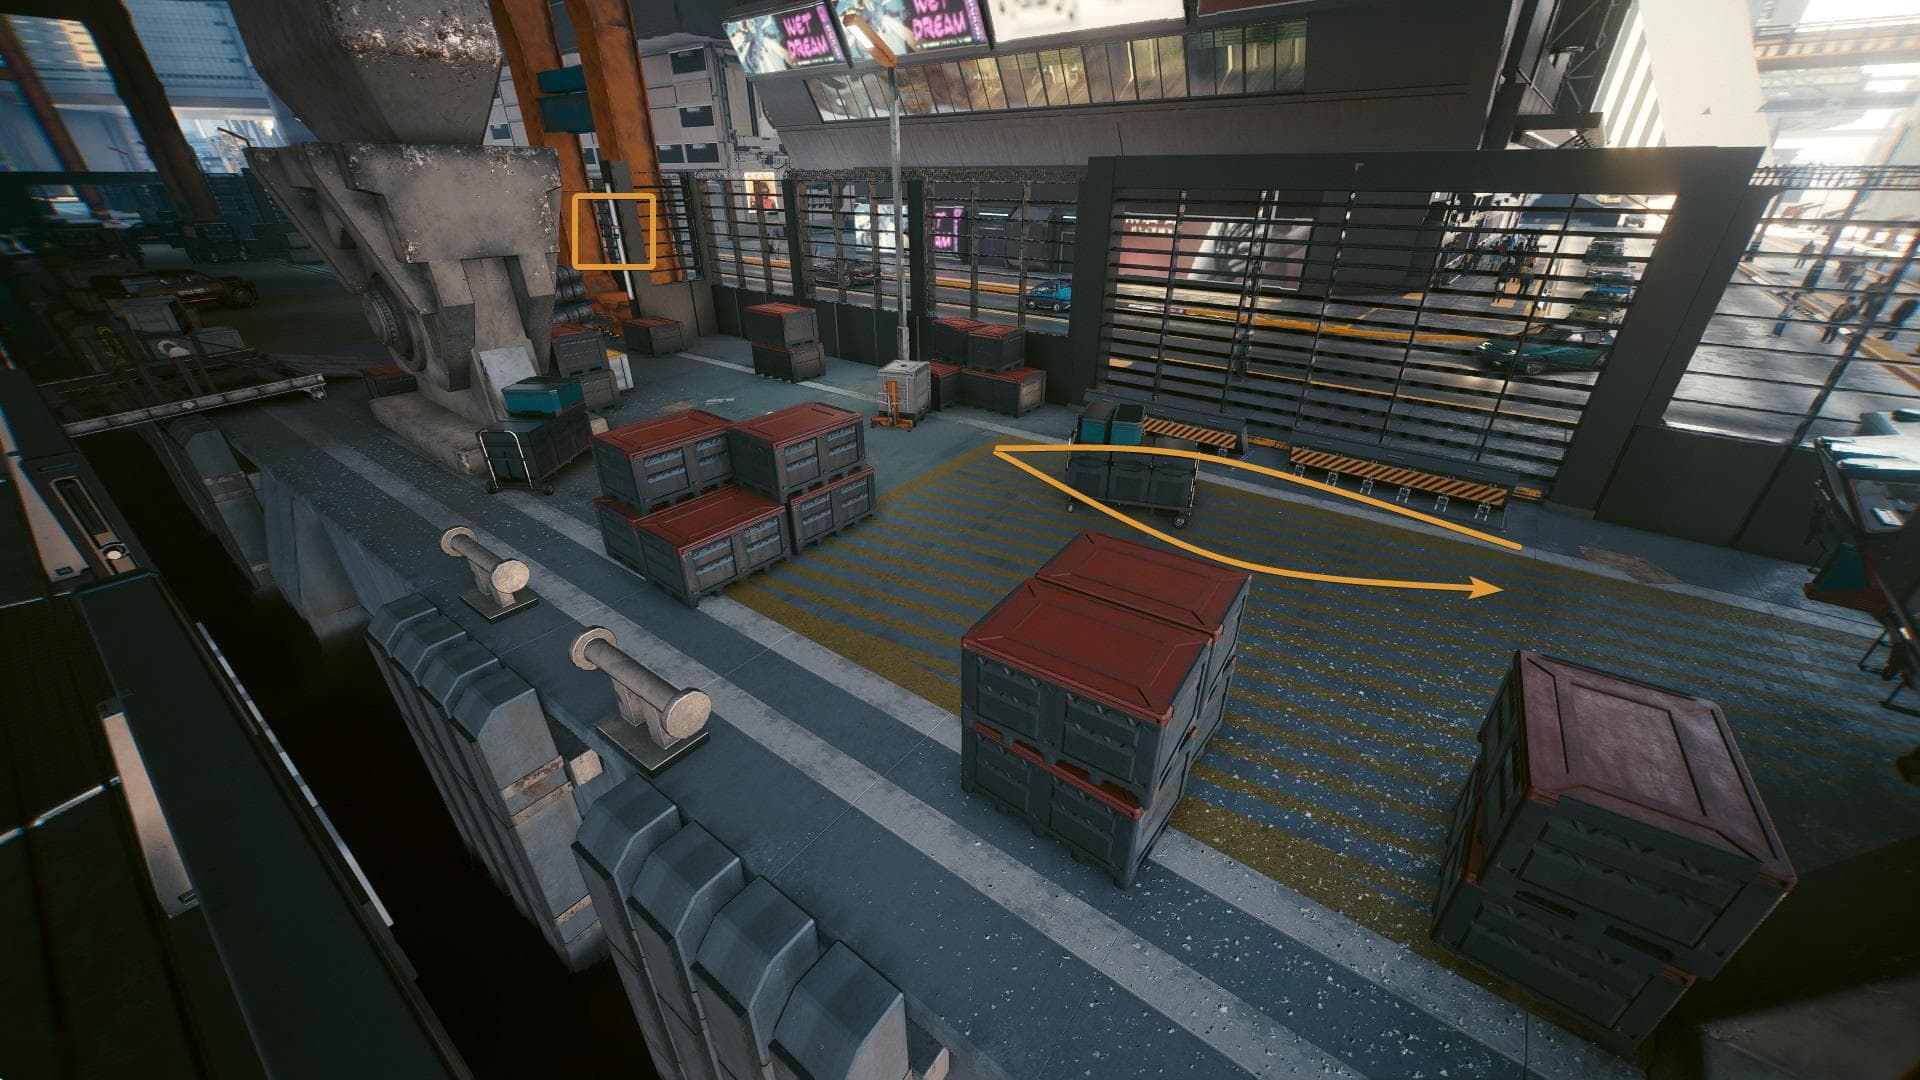
Get out of here
If being extra cautious is your thing, move the small cargo trucks to the sides. I also took control of the Arasaka vans and made them fall into the water. By doing these two things getting to the exit will be a lot easier.
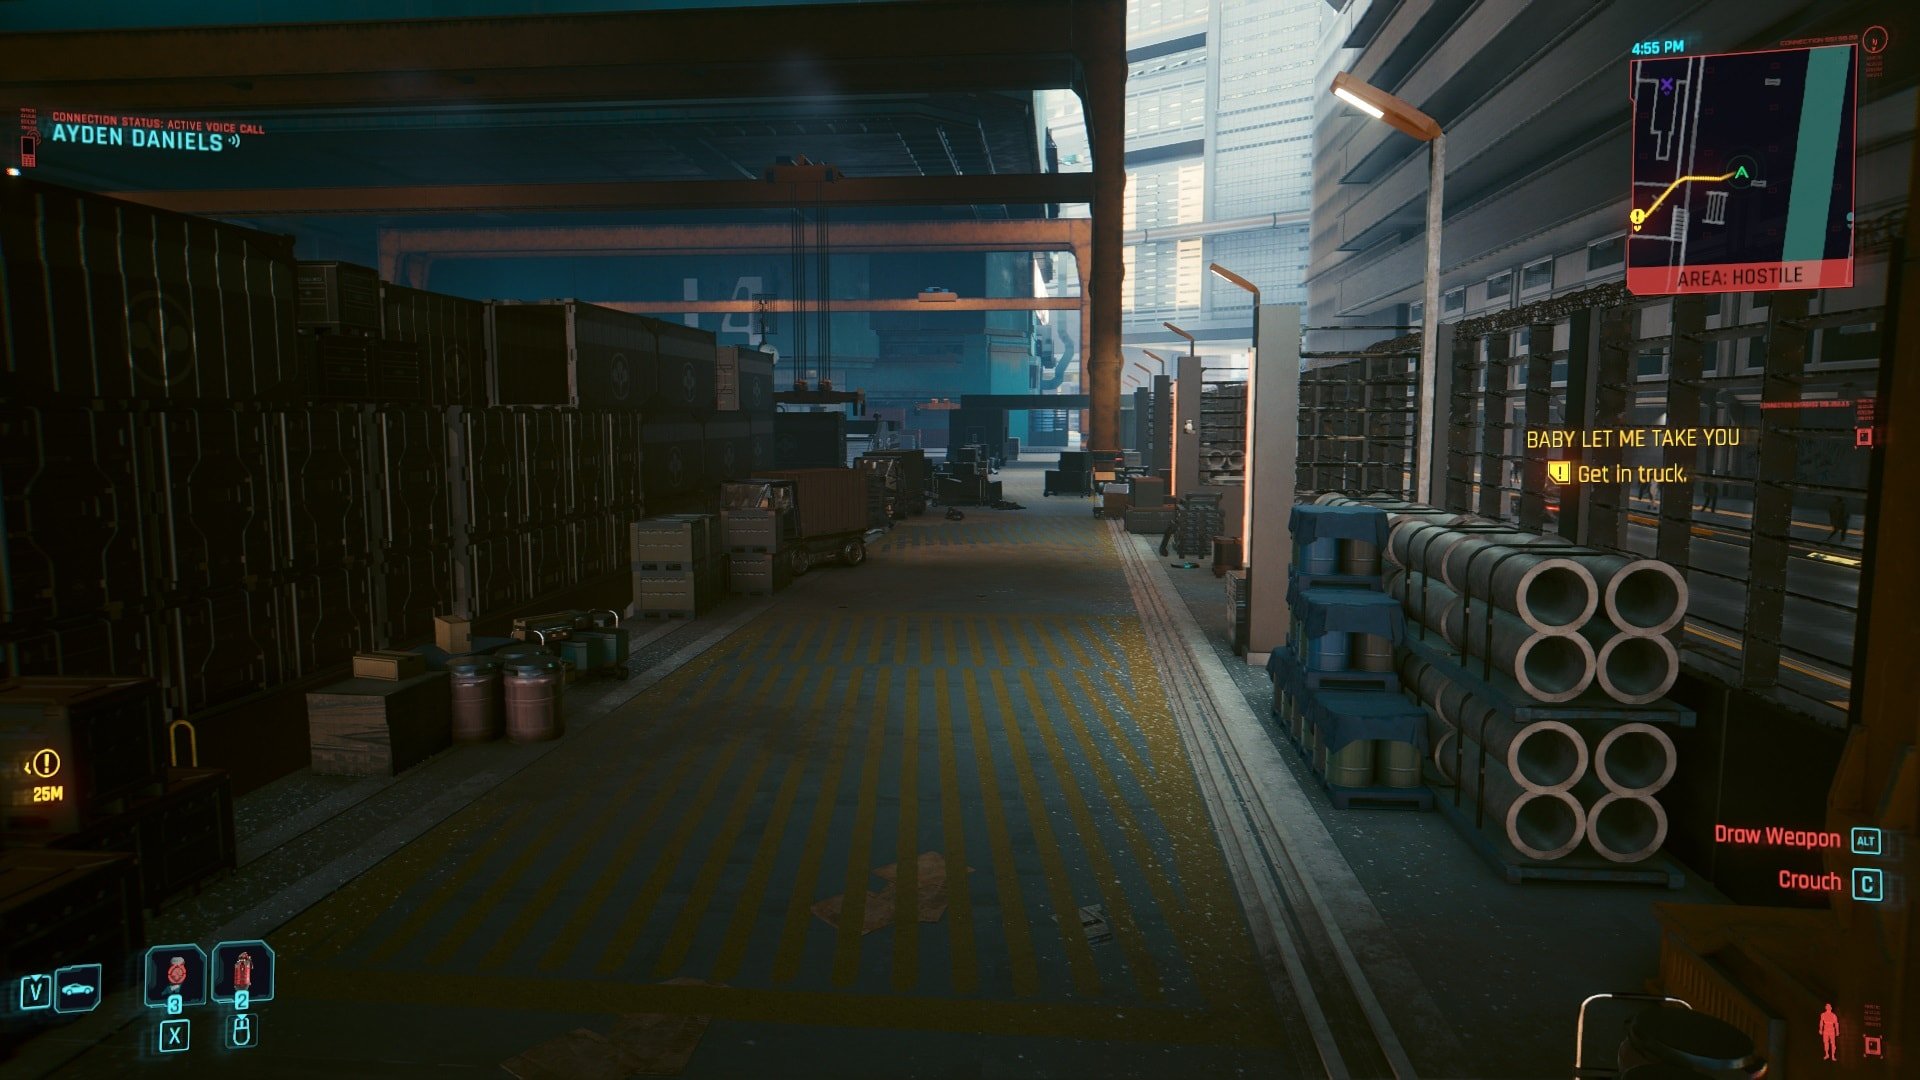
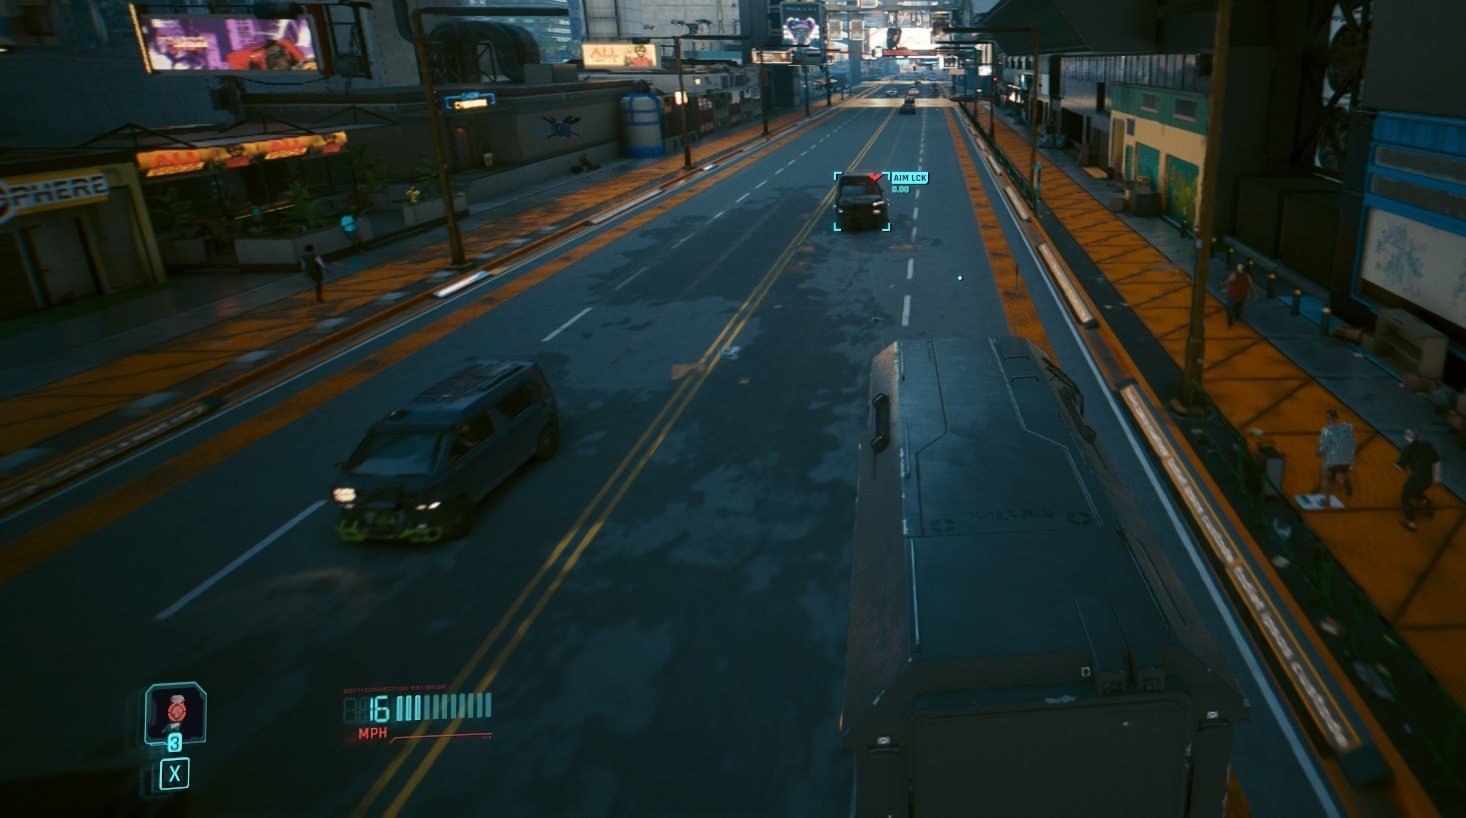
As soon as you get into the Arasaka truck, two more guards will come out. This can’t be avoided, from the moment you start driving, reinforcements will be on their way.
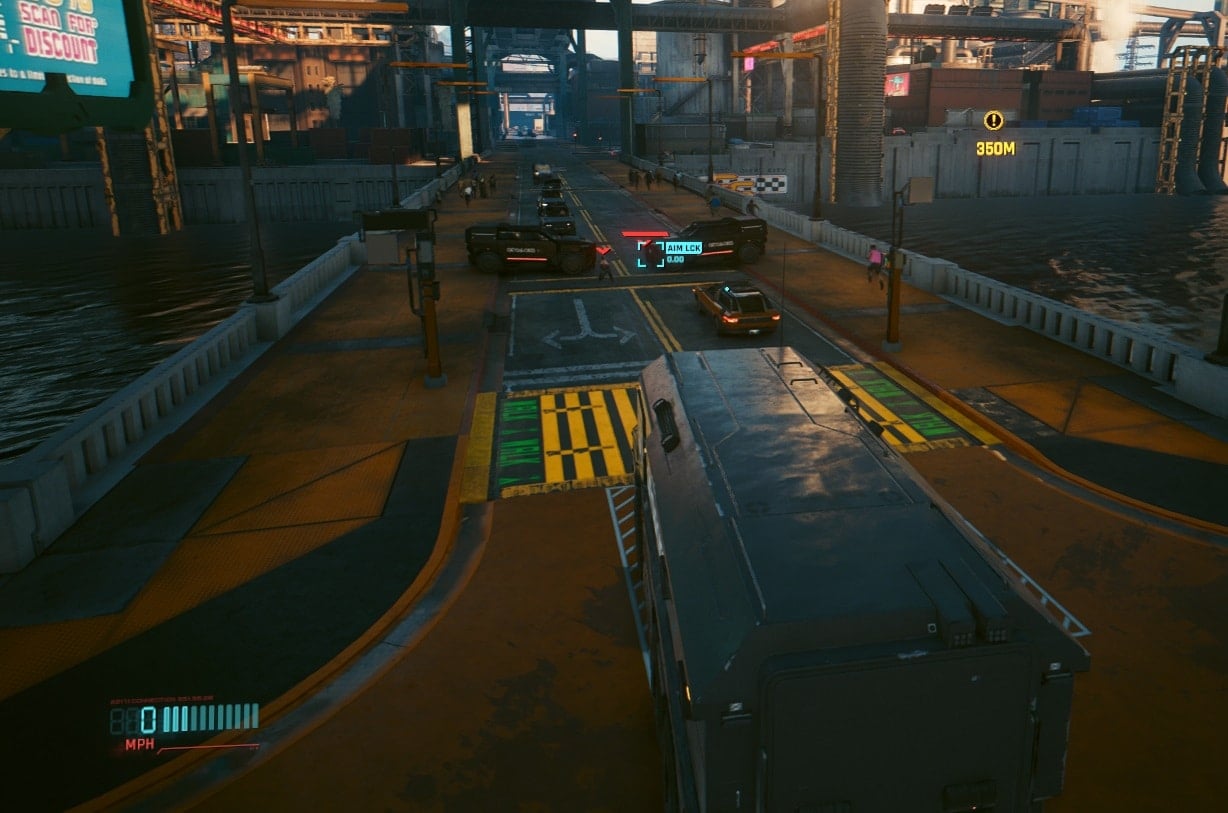
Before exiting the docks, Arasaka troops will arrive and attack Daniels. You can help him or leave, but both things have consequences. If you stay to help, an extra blockade will await you outside of the entrance.
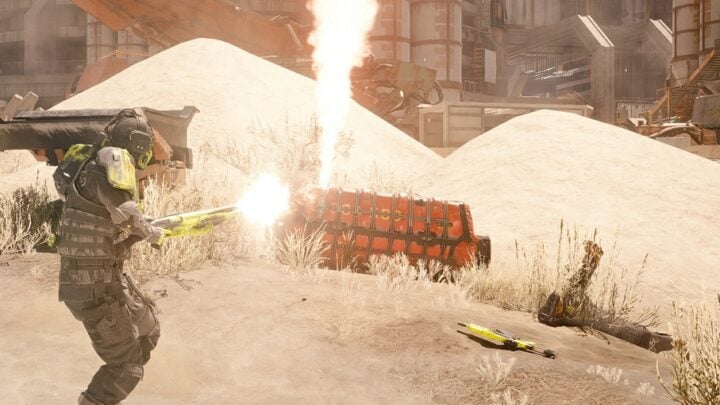
Arasaka isn’t happy about their tech being stolen, multiple vans will follow and attempt to take you down. Luckily you can shoot back, even when driving a truck.
More blockades will be waiting, the last one can’t be avoided. Just ram through it, it’s pretty easy to do with this truck. If your driving ends up hurting innocent people, the NCPD will also get involved. This is the last thing you need.
One or two Arasaka vehicles might still be following you, get rid of them before delivering the truck to El Capitan.
What happens if you help Daniels
If you stay and help Daniels he will survive the attack, but some equipment will be damaged. Meaning that fewer people will receive medical treatment.
What happens if you leave Daniels behind
Leaving Daniels behind leads to his death, but the equipment won’t be damaged and more people will receive help. Unfortunately, there’s no perfect scenario, but this is the reality of Night City. I chose to leave Daniels behind.
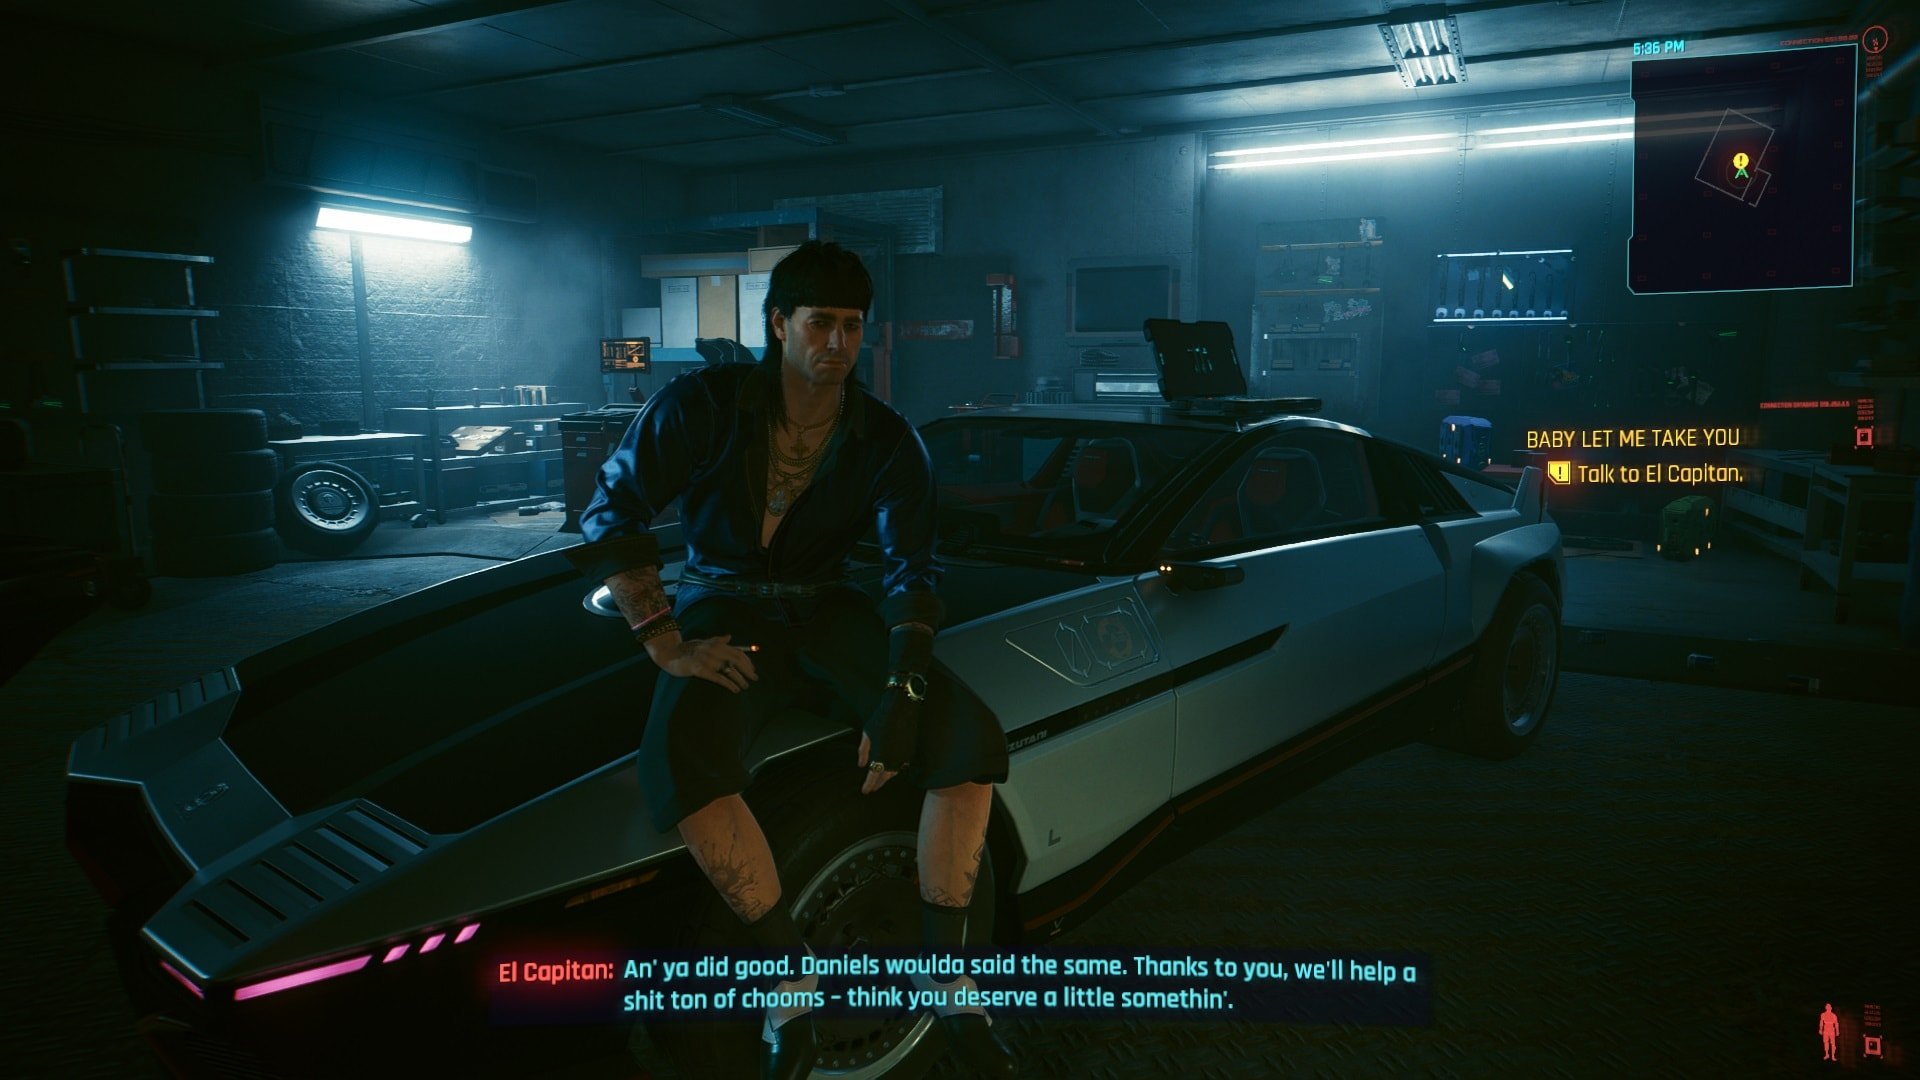
El Capitan won’t be extremely happy regardless of your choice, but the good news is that you’ll get the reward no matter what you decide to do.
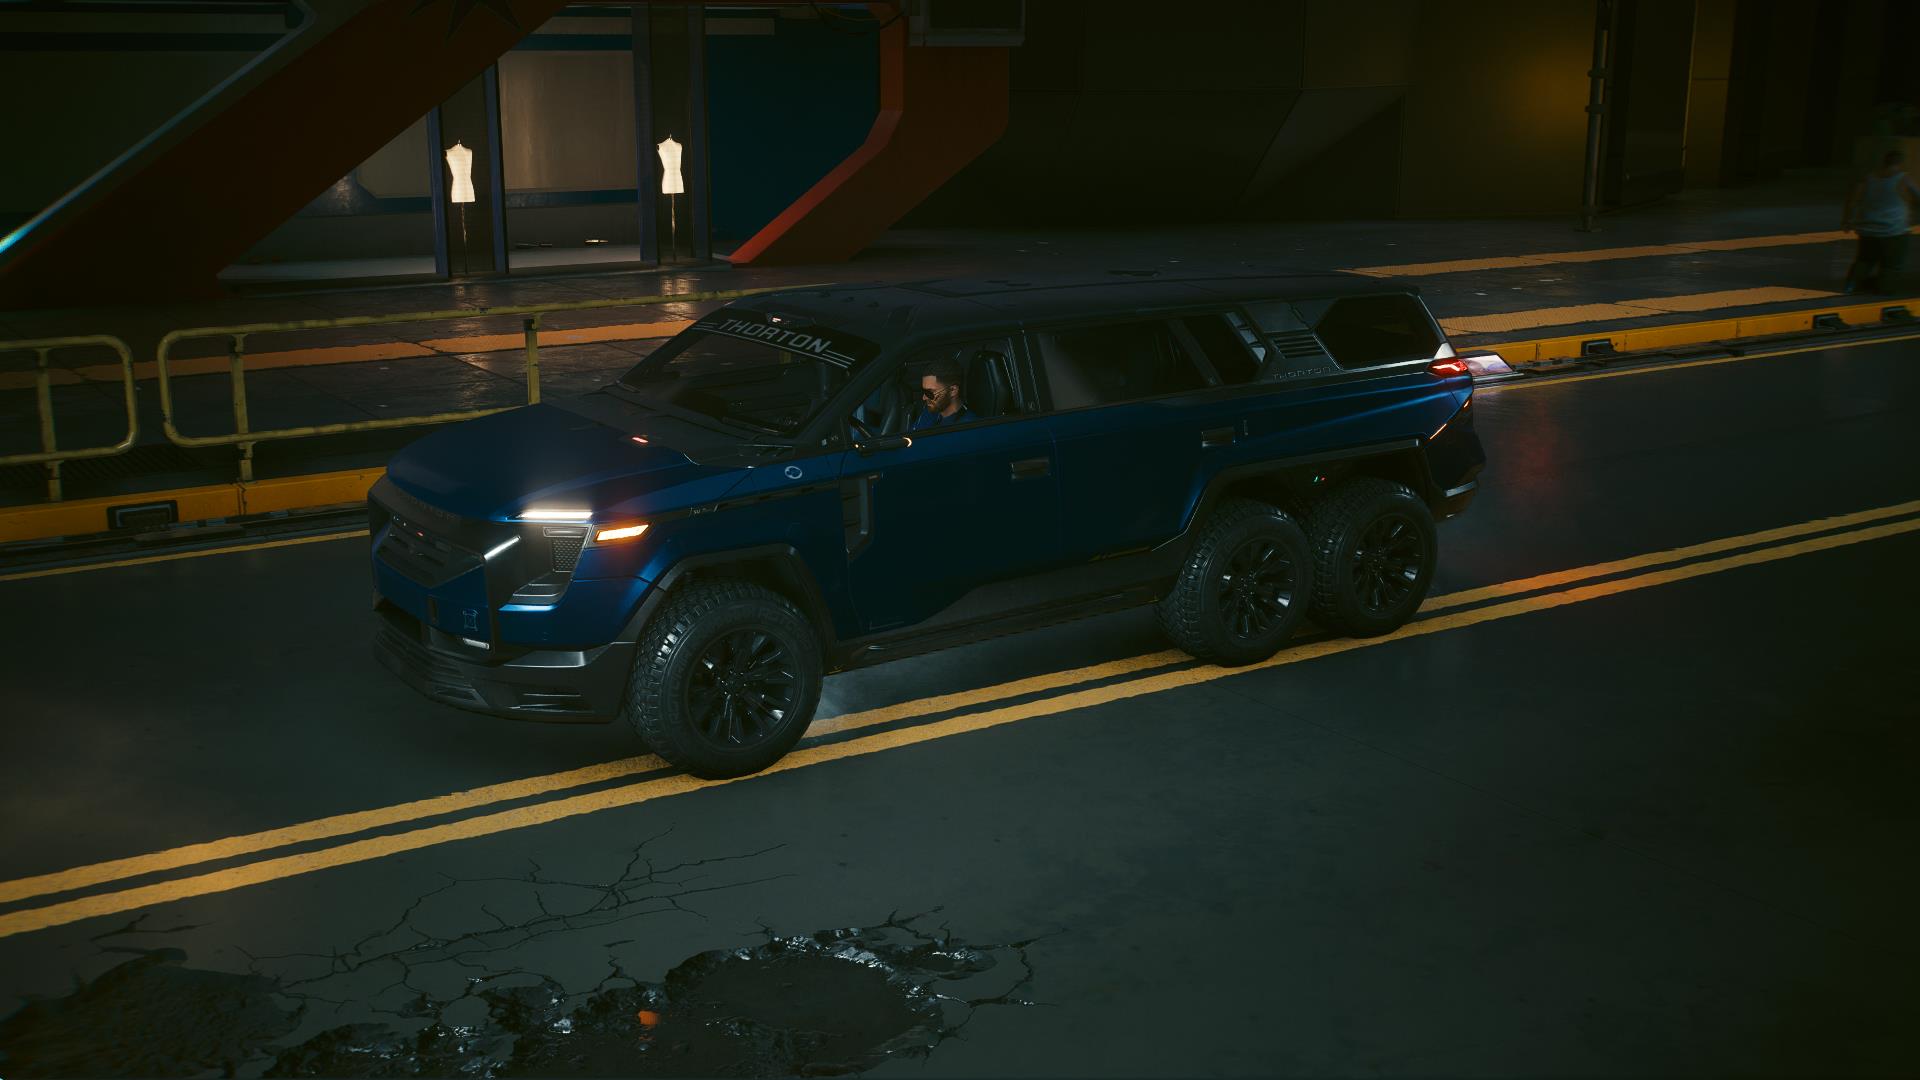
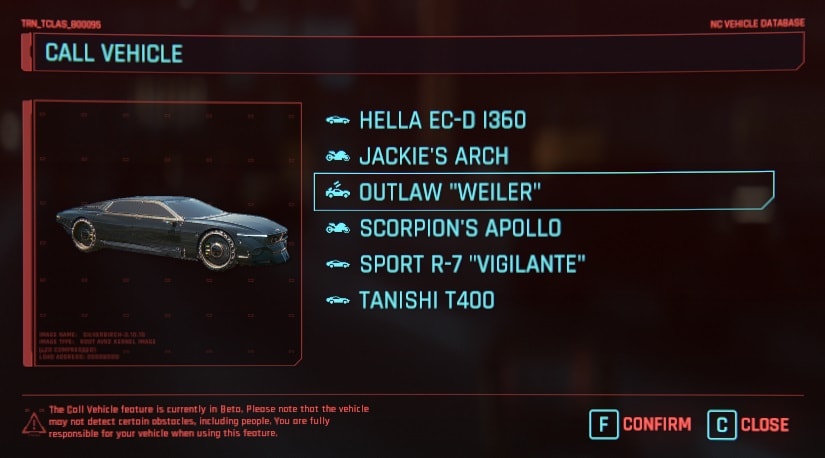
You now have the Outlaw “Weiler” car
The Outlaw “Weiler” is now a permanent addition to your collection.
“Easy Come, Easy Go” Achievement
The Easy Come, Easy Go achievement is granted to you after you steal the Arasaka truck during the “Baby Take Me Home” mission or after you complete ten of the curier missions to steal and deliver cars.
You can find the requirements for all Phantom Liberty Achievements in our complete guide. It includes instructions on how to get all four different endings of the Dogtown storyline.
Cyberpunk 2077 Phantom Liberty Review (No Spoilers)
An in-depth spoiler-free review of Cyberpunk 2077 Phantom Liberty. Find out what has changed, learn of all new features and our experiences!
How to start Phantom Liberty in Cyberpunk 2077 and go to Dogtown
This guide will tell you everything you need to know about how to start the Phantom Liberty expansion in Cyberpunk 2077 and how to access the new zone in Night City called Dogtown!
How to Defeat the Chimera in Cyberpunk 2077 Phantom Liberty: The Spider And The Fly Walkthrough
This guide will show you how to complete the main mission “The Spider and the Fly” from Cyberpunk 2077’s expansion Phantom Liberty! The walkthrough details each step you must take and useful tips to defeat the Chimera unit.
Cyberpunk 2077 Lucretia My Reflection Guide: Can You Save Jacob and Taylor
This guide will show you how to start and complete the main mission “Lucretia My Reflection” in Cyberpunk 2077 Phantom Liberty. You will also learn about all of the possible outcomes and the required choices in order to get them!
You Know My Name Walkthrough: Cyberpunk 2077 Phantom Liberty
This guide will show you how to complete the main job “You know my name” from Cyberpunk 2077’s expansion Phantom Liberty! The walkthrough details each step you must take and all of the possible outcomes.

Firestarter Walkthrough: Cyberpunk 2077 Phantom Liberty
This guide will show you how to complete the main job “Firestarter” from Cyberpunk 2077’s expansion Phantom Liberty! The walkthrough details each step you must take and the possible outcomes.

The Killing Moon Walkthrough: Cyberpunk 2077 Phantom Liberty
This guide will show you how to complete the main job “The Killing Moon” from Cyberpunk 2077’s expansion Phantom Liberty! The walkthrough details each step you must take and the possible outcomes.
Cyberpunk 2077 Black Steel in the Hour of Chaos Guide
This guide will show you how to complete the main job “Black Steel in the Hour of Chaos” from Cyberpunk 2077’s expansion Phantom Liberty! The walkthrough details each step you must take to ambush the Convoy that transports So Mi and defeat the MaxTac team.
Somewhat Damaged Walkthrough: Cyberpunk 2077 Phantom Liberty
This guide will show you how to complete the main job “Somewhat Damaged” from Cyberpunk 2077’s expansion Phantom Liberty! The walkthrough details each step you must take to fully explore the environment and avoid getting caught by the patrolling Cerberus unit.

Cyberpunk 2077 Phantom Liberty Endings Guide: How to unlock all of them
This guide will show you how to get all Cyberpunk 2077 Phantom Liberty endings and how to unlock the new ending for the base game! Here you will find all the step to unlock the endings, all the rewards, achievements, and an explanation of the fate of all characters involved!
Cyberpunk 2077 Phantom Liberty 1R-0NC-LAD Scavenger Hunt Guide
This guide will show you how to start one of the secret missions in Cyberpunk 2077 Phantom Liberty – a scavenger hunt to solve the mystery of the broken robot 1R-0NC-LAD (Ironclad) in Dogtown’s stadium!
Cyberpunk 2077 Dogtown Airdrops Guide: Watch for the Red Smoke
This quick guide explains the purpose of the red smoke marking Airdrops in Dogtown and what you can get from completing these mini-events in Cyberpunk 2077 Phantom Liberty!
No Easy Way Out Walkthrough: Cyberpunk 2077 Phantom Liberty
This guide will show you how to complete the side job “No Easy Way Out” from Cyberpunk 2077’s expansion Phantom Liberty! The walkthrough details each step you must take and the possible outcomes.
Dogtown Saints Walkthrough: Should you kill or spare Nika in Cyberpunk 2077 Phantom Liberty
This guide will show you how to start and complete the gig “Dogtown Saints” from Cyberpunk 2077’s expansion Phantom Liberty! The walkthrough details each step you must take and the available choices and consequences.
Dazed And Confused Walkthrough: How to get Lina Malina's Bike in Cyberpunk 2077 Phantom Liberty
This guide will show you how to complete the side job “Dazed and Confused” from Cyberpunk 2077’s expansion Phantom Liberty and how to get the Lina Malina's Bike, the Malina-Mobile, an almost-free bike you can get in Dogtown! The walkthrough details each step you must take to obtain this fantastic ride.
Balls To The Wall Walkthrough: Cyberpunk 2077 Phantom Liberty
This guide will show you how to start and complete the side job “Balls To The Wall” from Cyberpunk 2077’s expansion Phantom Liberty! The walkthrough details each step you must take and the possible outcomes.
Prototype In The Scraper Walkthrough: Should you Let Hasan Go, Cyberpunk 2077 Phantom Liberty
This guide will show you how to start and complete the gig “Prototype in the scraper” from Cyberpunk 2077’s expansion Phantom Liberty! The walkthrough details each step you must take and the available choices and consequences.
Should You Shoot Leon Rinder: Cyberpunk 2077 The Man Who Killed Jason Foreman
This guide will show you how to complete the side job “The Man Who Killed Jason Foreman” from Cyberpunk 2077’s expansion Phantom Liberty! The walkthrough details each step you must take and all the possible outcomes

Shot By Both Sides Walkthrough: Should you protect Bree, Cyberpunk 2077 Phantom Liberty
This guide will show you how to start and complete the side job “Shot by both sides” from Cyberpunk 2077’s expansion Phantom Liberty! The walkthrough details each step you must take and the available choices and consequences.

Cyberpunk 2077 Treating Symptoms Guide: What to do with Milko
This guide will show you how to complete the Gig “Treating Symptoms” from Cyberpunk 2077’s expansion Phantom Liberty! The walkthrough details each step you must take and the possible endings whether you leave Allen to finish or take down Milko right away!

Talent Academy Walkthrough: Cyberpunk 2077 Phantom Liberty
This guide will show you how to complete the gig "Talent Academy" from Cyberpunk 2077's expansion Phantom Liberty! The walkthrough details each step you must take and the available choices.
Spy In The Jungle Walkthrough: Cyberpunk 2077 Phantom Liberty
This guide will show you how to start and complete the gig “Spy in the Jungle” from Cyberpunk 2077’s expansion Phantom Liberty! The walkthrough details each step you must take and the available choices and consequences.
Run This Town: Who should rule Dogtown, Cyberpunk 2077 Phantom Liberty Guide
This guide will show you how to start and complete the side job “Run this town” from Cyberpunk 2077’s expansion Phantom Liberty! The walkthrough details each step you must take and the available choices and consequences.

All New Tarot Card Locations in Cyberpunk 2077 Phantom Liberty
This guide will show you the locations of all four new Tarot Cards available in Dogtown, Night City’s Combat Zone, released with Cyberpunk 2077’s Phantom Liberty Expansion!
Cyberpunk 2077 Moving Heat: How to get the Sport R-7 "Charon" Flaming Car
This guide will show you how to complete the side job "Moving Heat" from Cyberpunk 2077’s expansion Phantom Liberty! The walkthrough details each step you must take to acquire the Sport R-7 "Charon" car.