This guide will show you how to start and complete the gig “Spy in the Jungle” from Cyberpunk 2077’s expansion Phantom Liberty! The walkthrough details each step you must take and the available choices and consequences.
Spy In The Jungle Gig Walkthrough

This is the simplified version of the "Talent Academy" gig walkthrough from Phantom Liberty with easy-to-follow step-by-step instructions on how to start the mission and what choices to pick.
Below this segment, you will find detailed instructions and explanations of what happens if you make all of the available choices.
Instructions
- Complete "The Damned" main job in Dogtown to unlock "Spy in the Jungle".
- Go to the far West of Dogtown. After you're close enough, Mr. Hands will make contact.
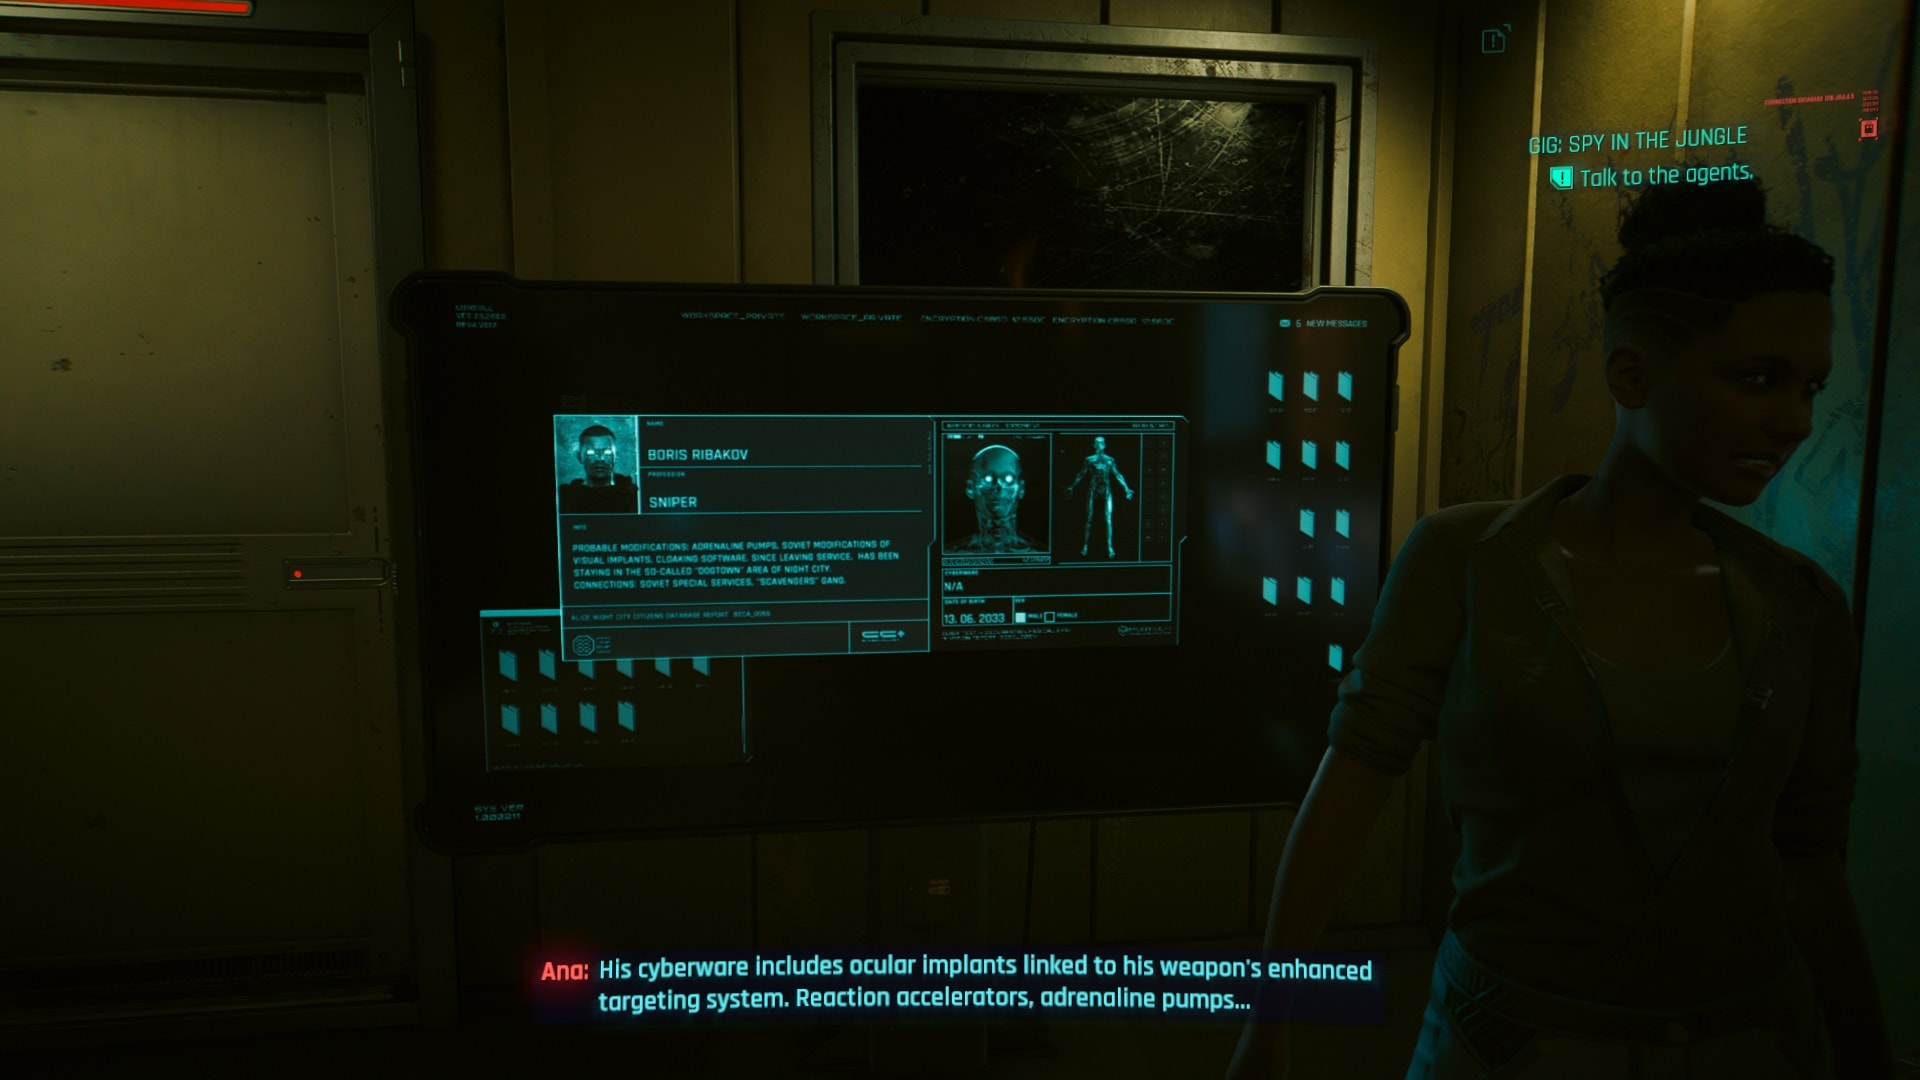
- Talk to agents Ana and Steven.
- Infiltrate Organitopia and defeat all Scavs.
- Eliminate Boris Ribakov and take his iconic weapon Pizdets.
- Find Katya Karelina.
- Spare or kill Katya and take the Biomonitor.
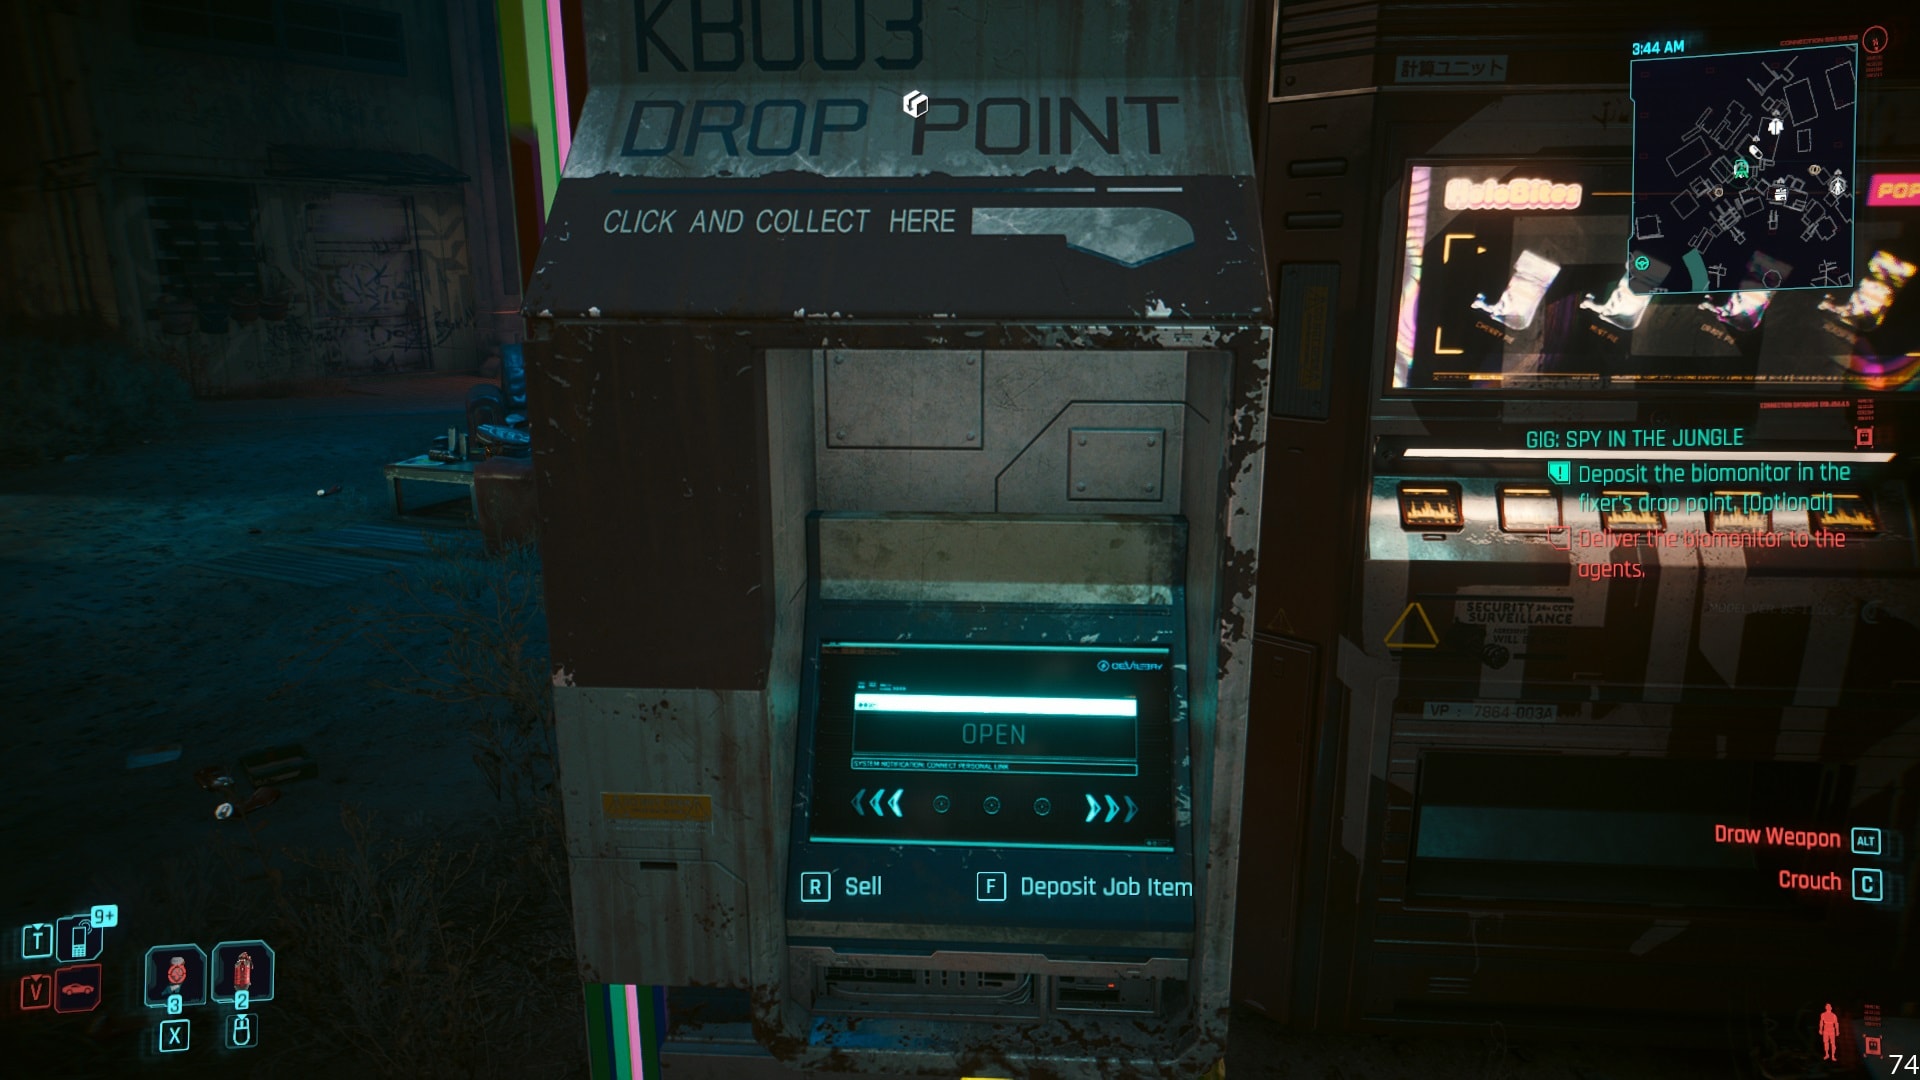
- Decide what to do with the Biomonitor, deposit it at the drop point, or deliver it to the agents.
How to unlock the “Spy In The Jungle” gig
“Spy in the jungle” is a side job in Cyberpunk 2077′ expansion Phantom Liberty. It can only be unlocked after completing the main quest “The Damned”.
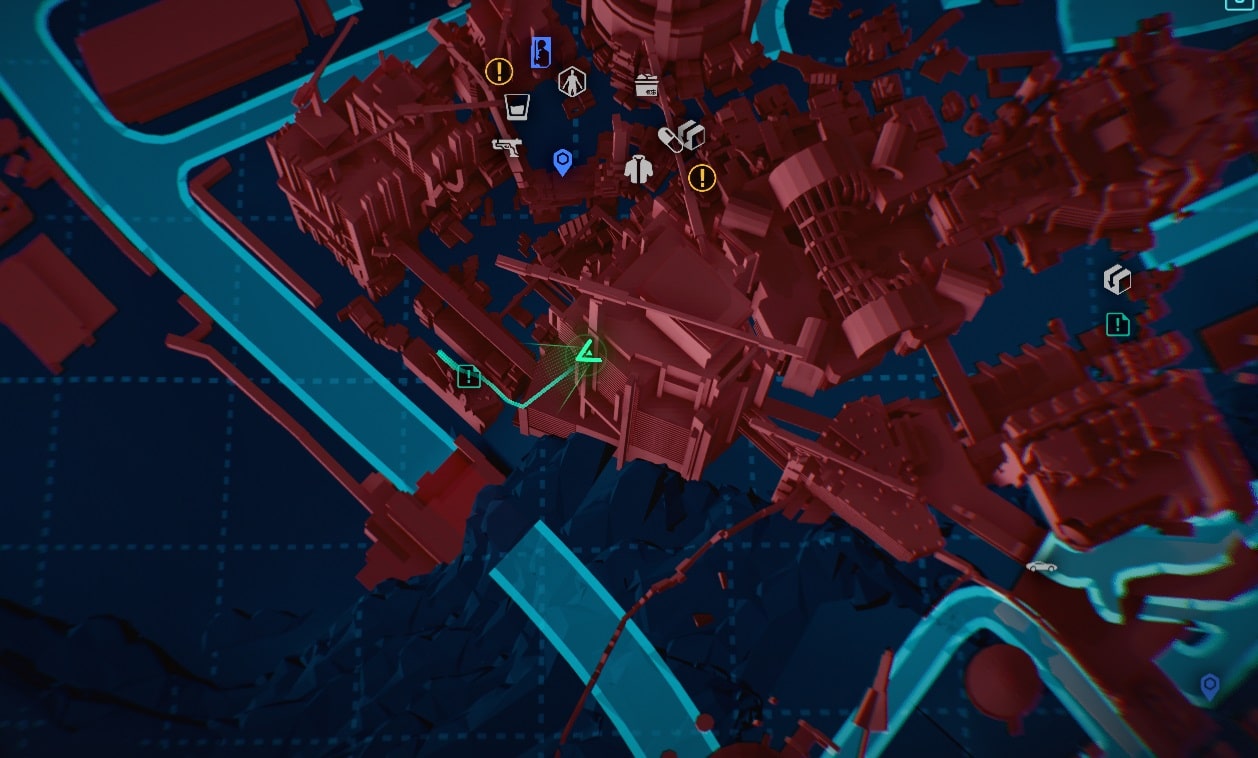
This gig is located far West of Dogtown, getting to this place requires a little more than simply driving until the option to track it begins.
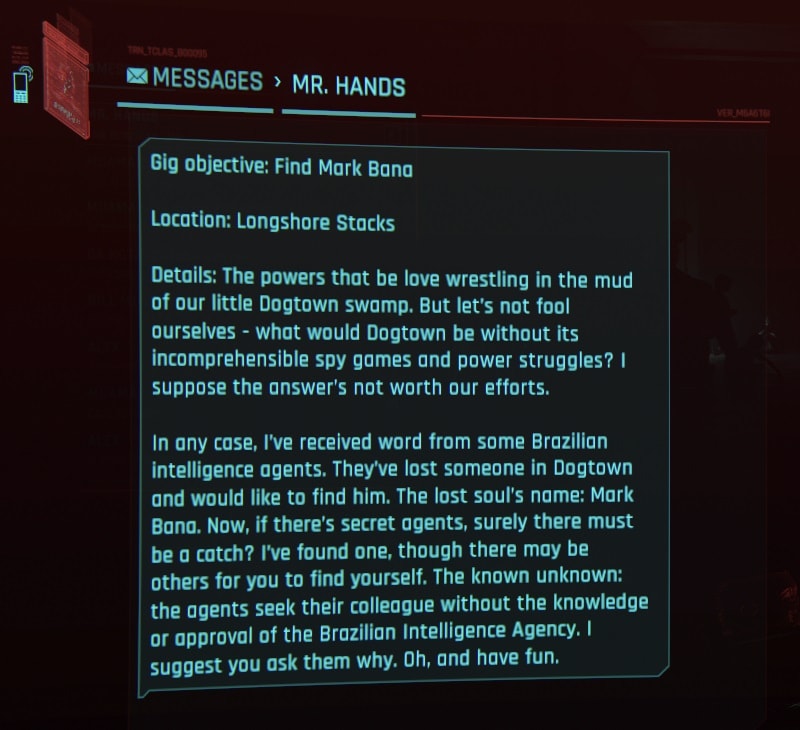
You can read Mr. Hands’ message to learn a little more about the job. The main objective is to find a missing person. Two Brazilian Intelligence agents are the clients, however, their Agency has no idea about this operation. More details will be revealed later.
How to complete Spy in the Jungle and all possible choices and outcomes
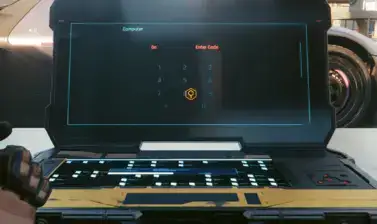
Take this elevator and choose the “Terrace” level. The “remaining distance mark” on the map can be confusing before taking the elevator because your destiny is located on a second floor but just go to the elevator and ignore the map indicator until you get there.
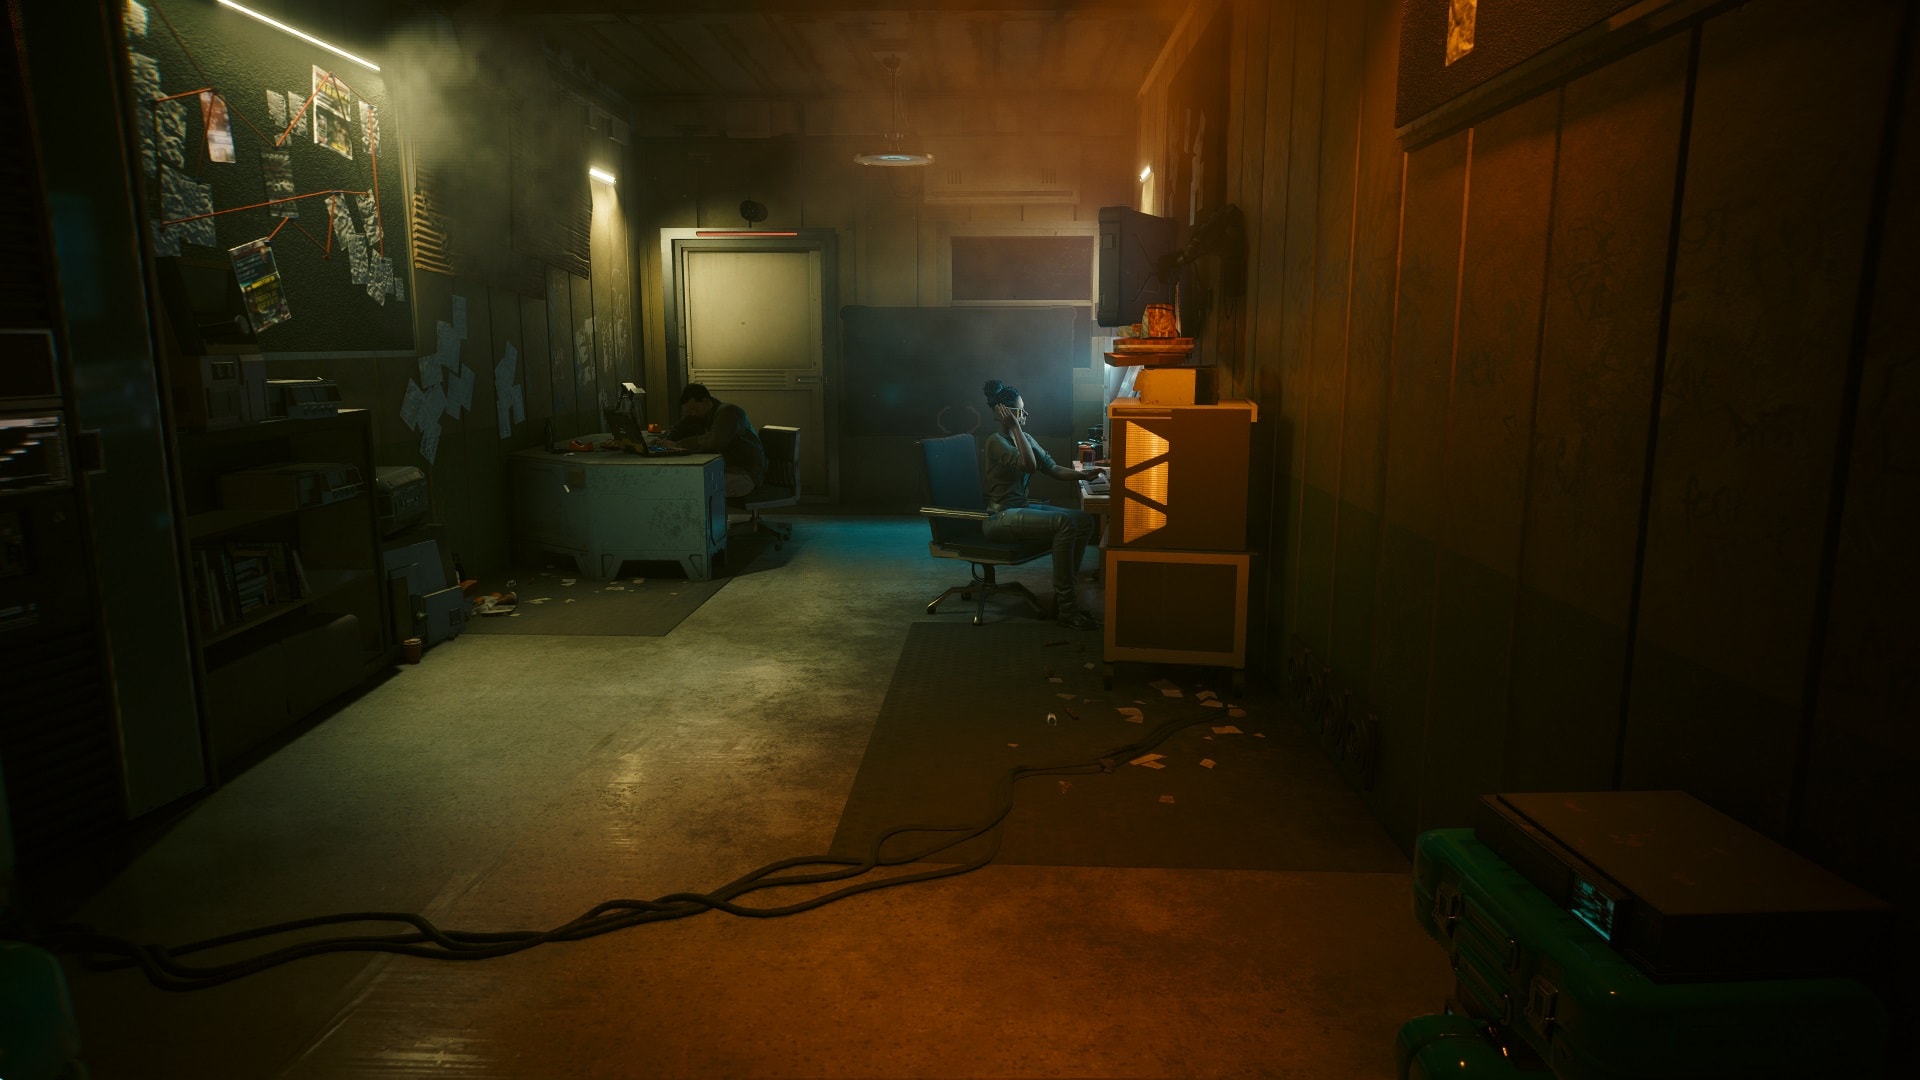
Walk in a straight line until you get to the Paradise Hotel, room 203 to be precise. If you encounter many homeless people it means that you’re heading the right way.

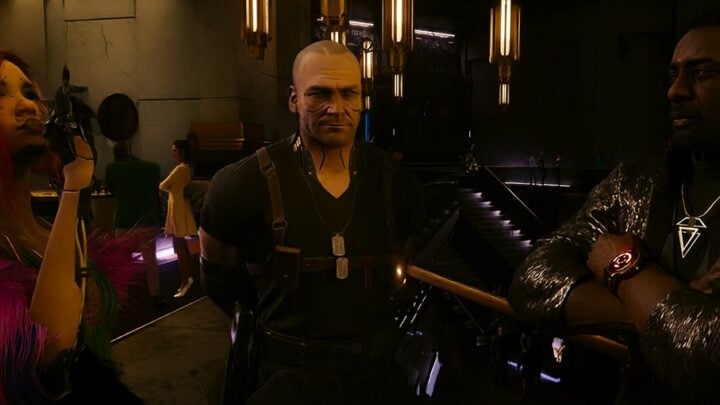
Open the door, agents Ana and Steven will be waiting for you. A close friend and colleague of theirs named Mark Bana went missing months ago in Dogtown, he was presumed dead but his biomonitor recently activated and they hope that he’s alive.
They are doing this without their agency knowing due to the potential international repercussions. Brazil and SovOil are very close to signing a multi-billion contract and any news about a Brazilian agent being killed by SovOil could tear apart the deal. There are many Scavs in the area where the Biomonitor is located, but the main problem is a man called Boris Ribakov, an elite soldier who works for SovOil.
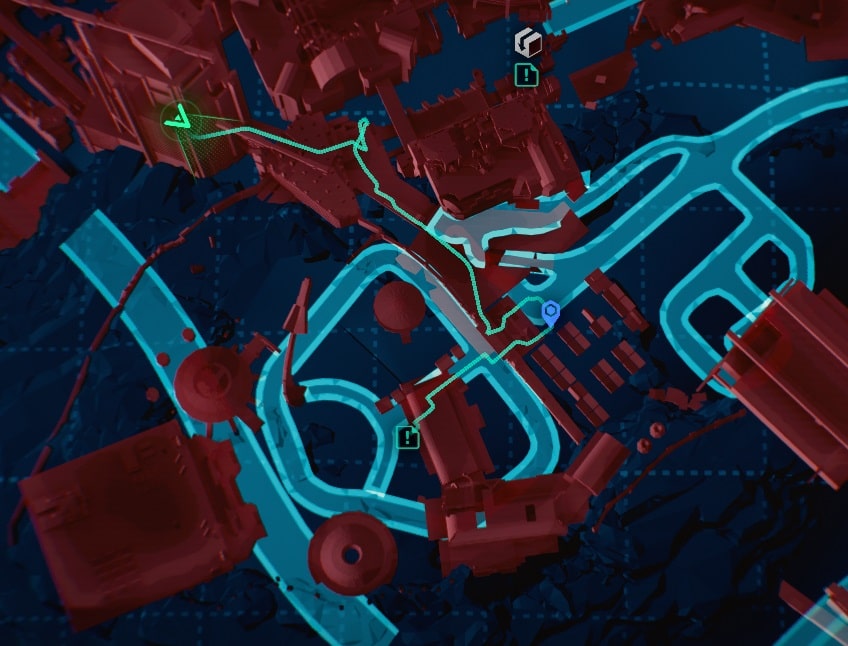
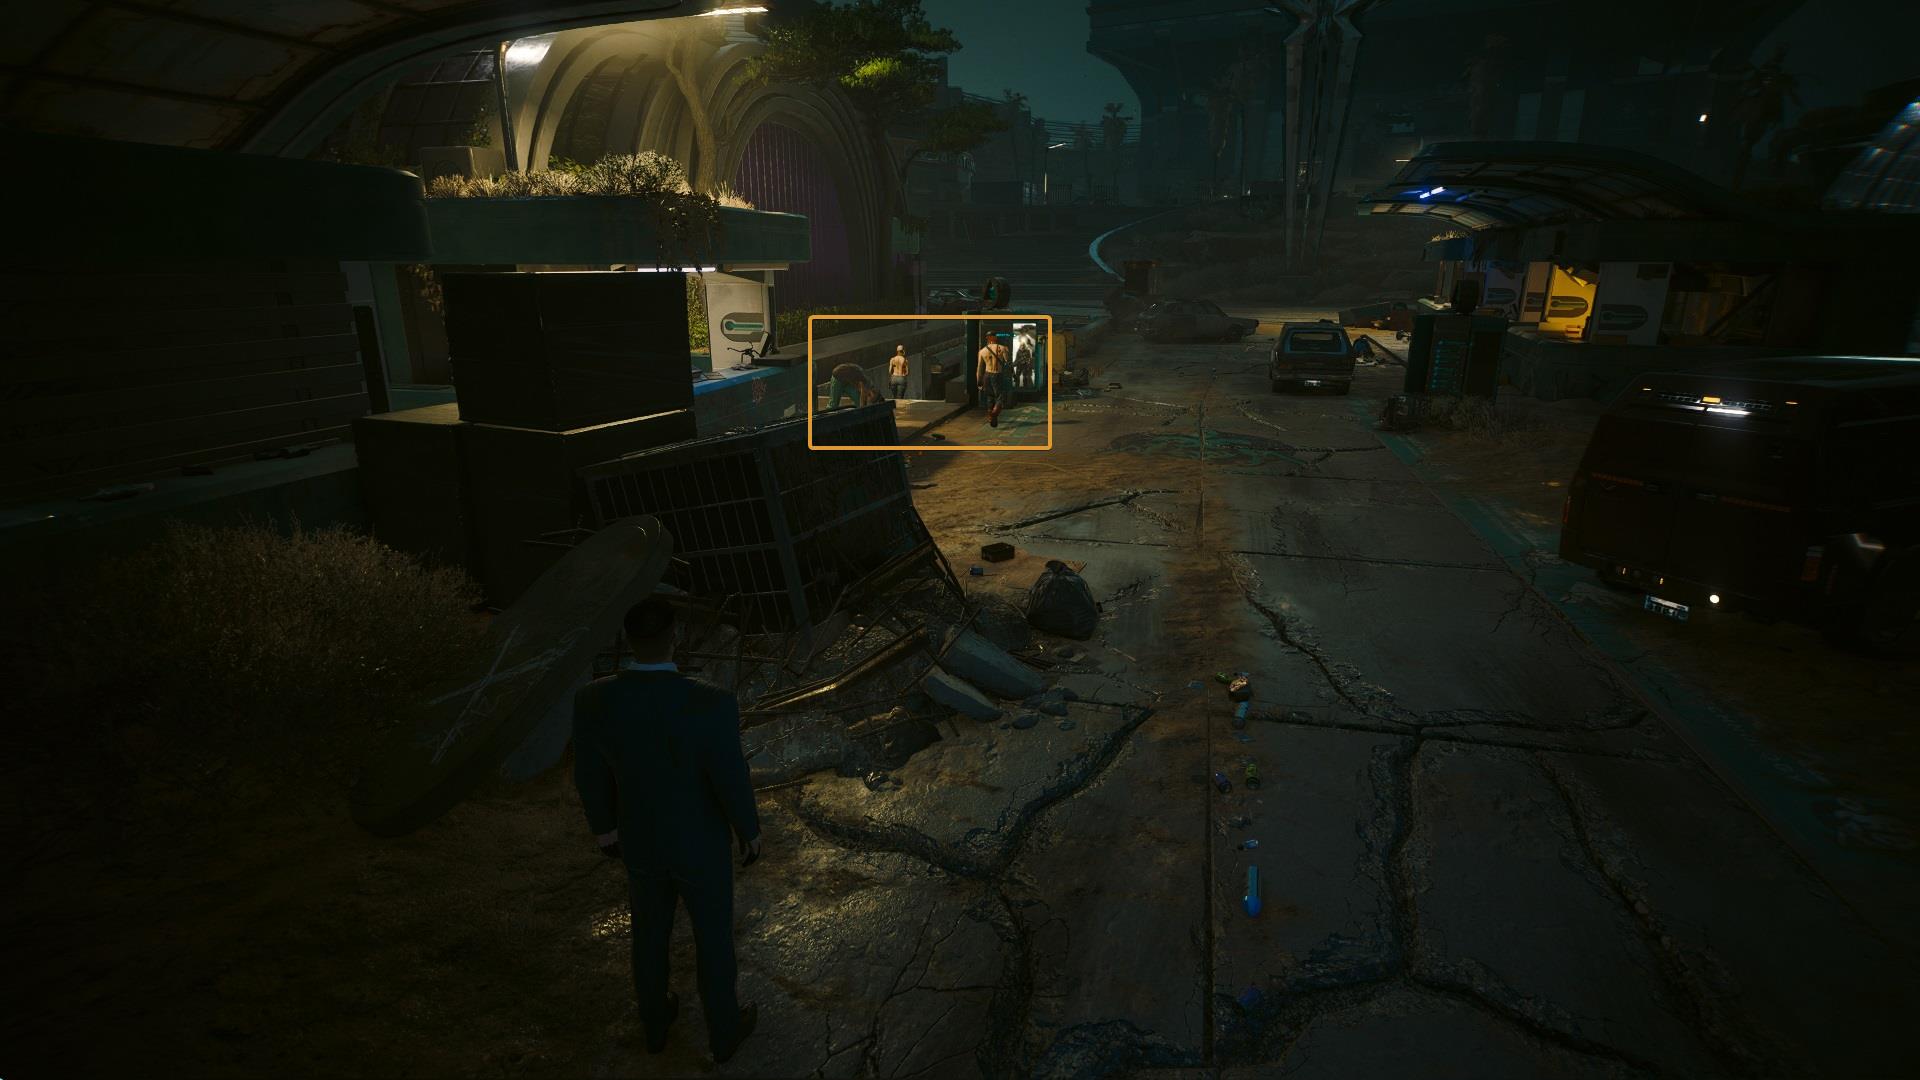
After receiving the intel, go to Terra Cognita which is located South East from your current position.
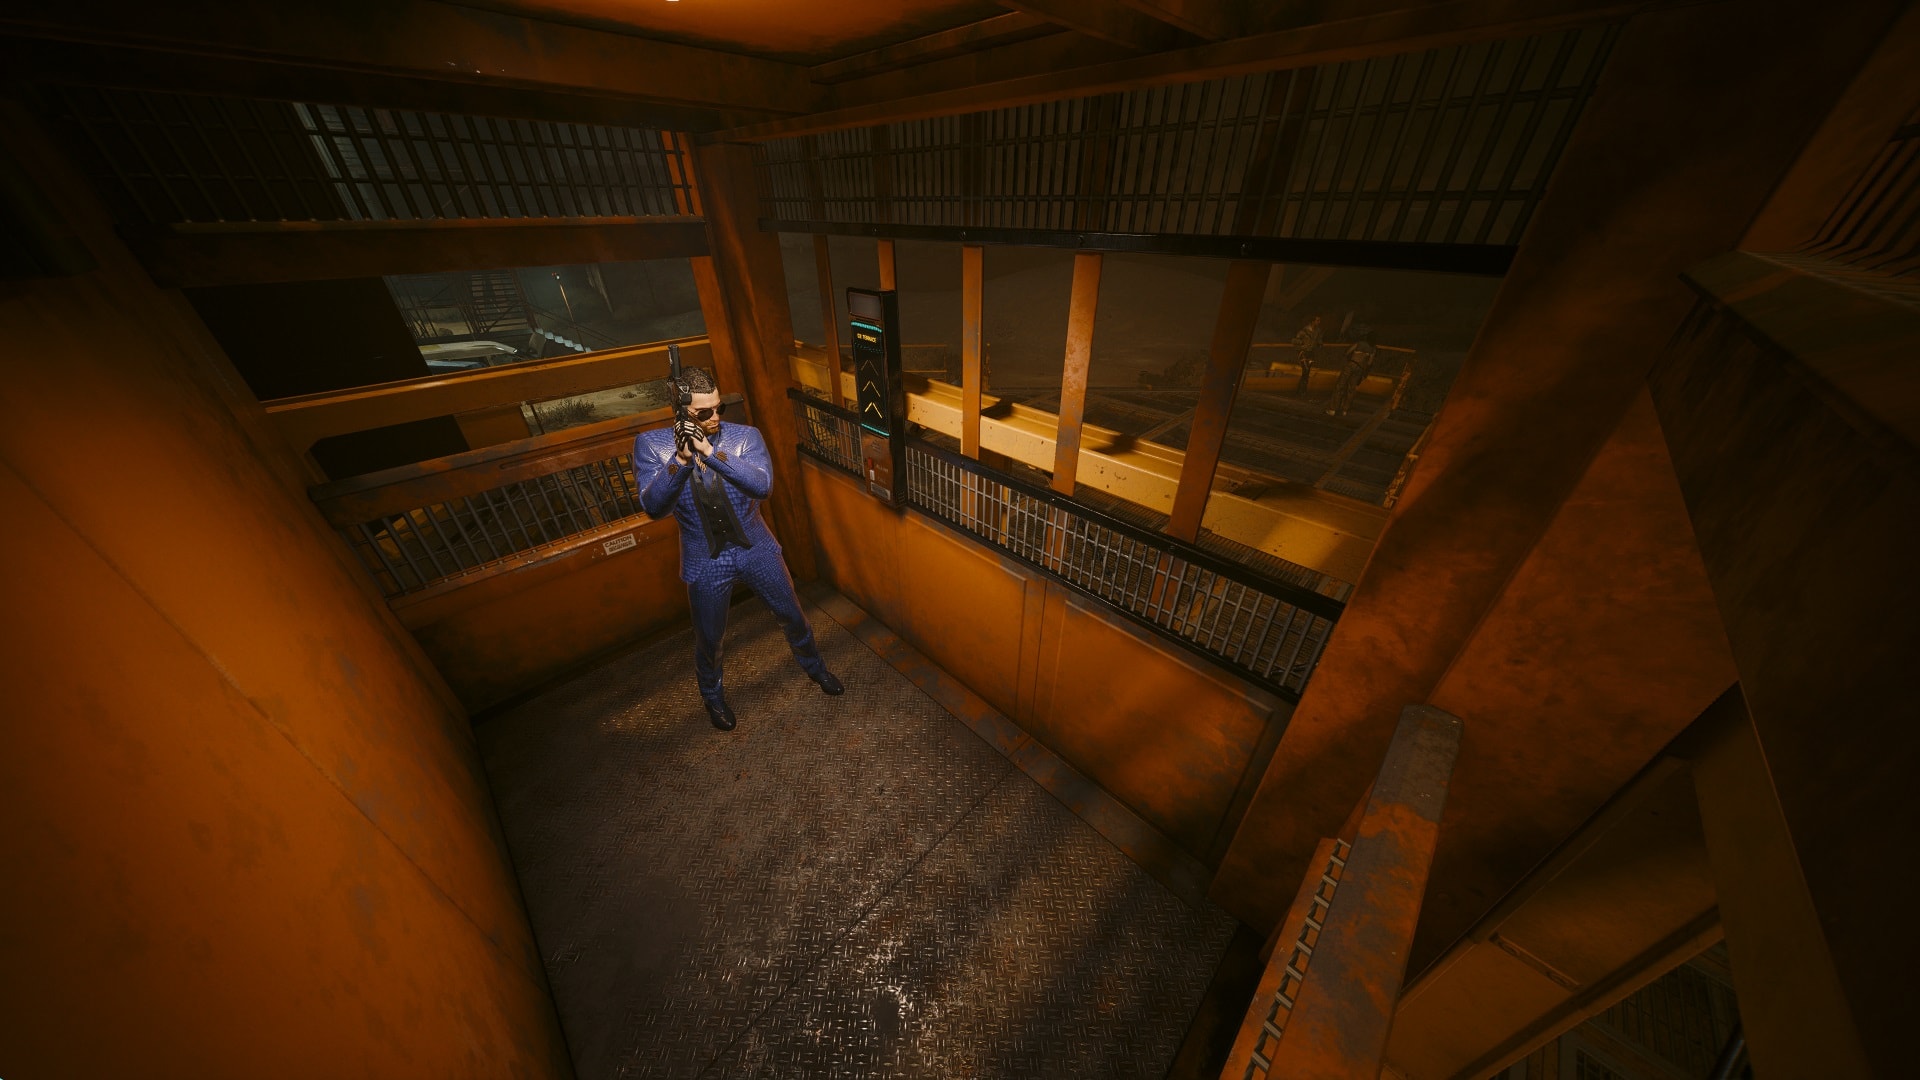
There are a few Scavs near some stairs. If you pay close attention, you’ll hear them talking about receiving orders to shoot anyone who approaches this place. Eliminate them and go downstairs.
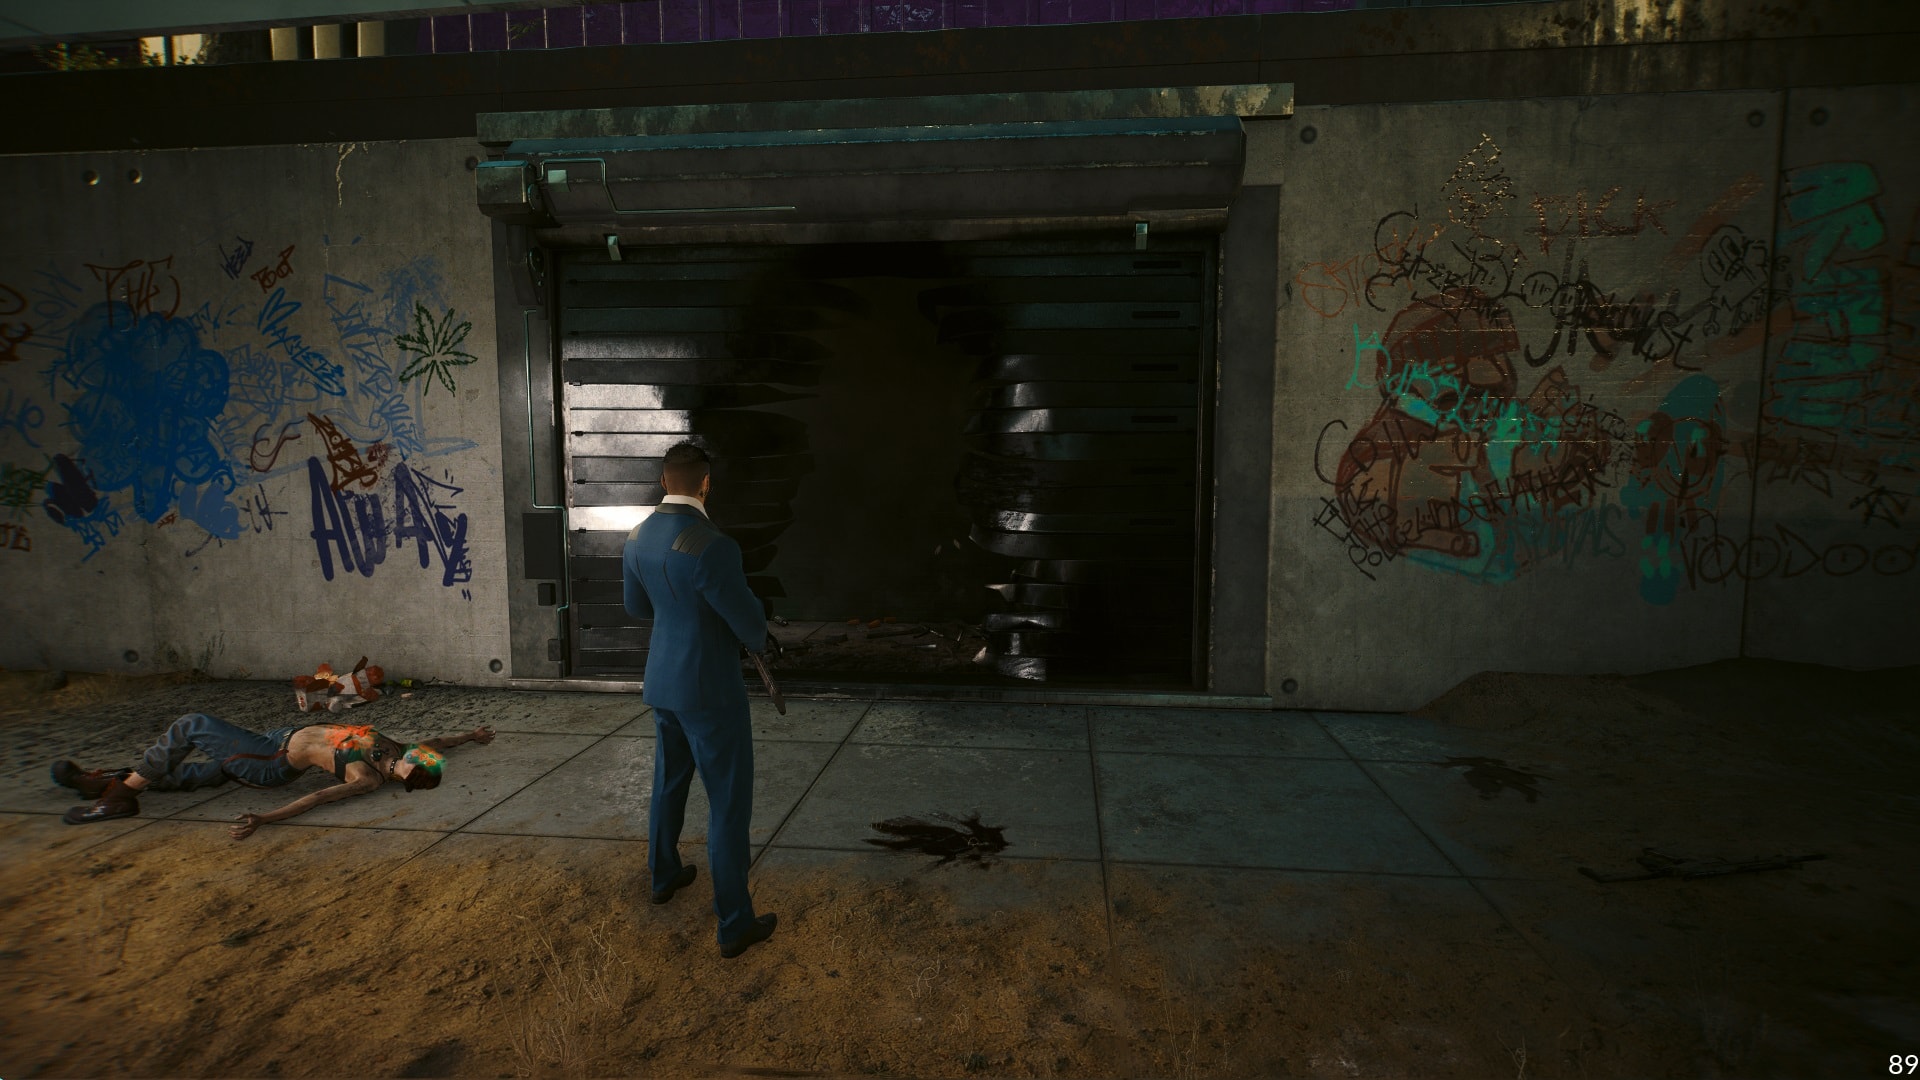
This is the entrance, walk inside and look to your left. There are metal shutters that can be opened.
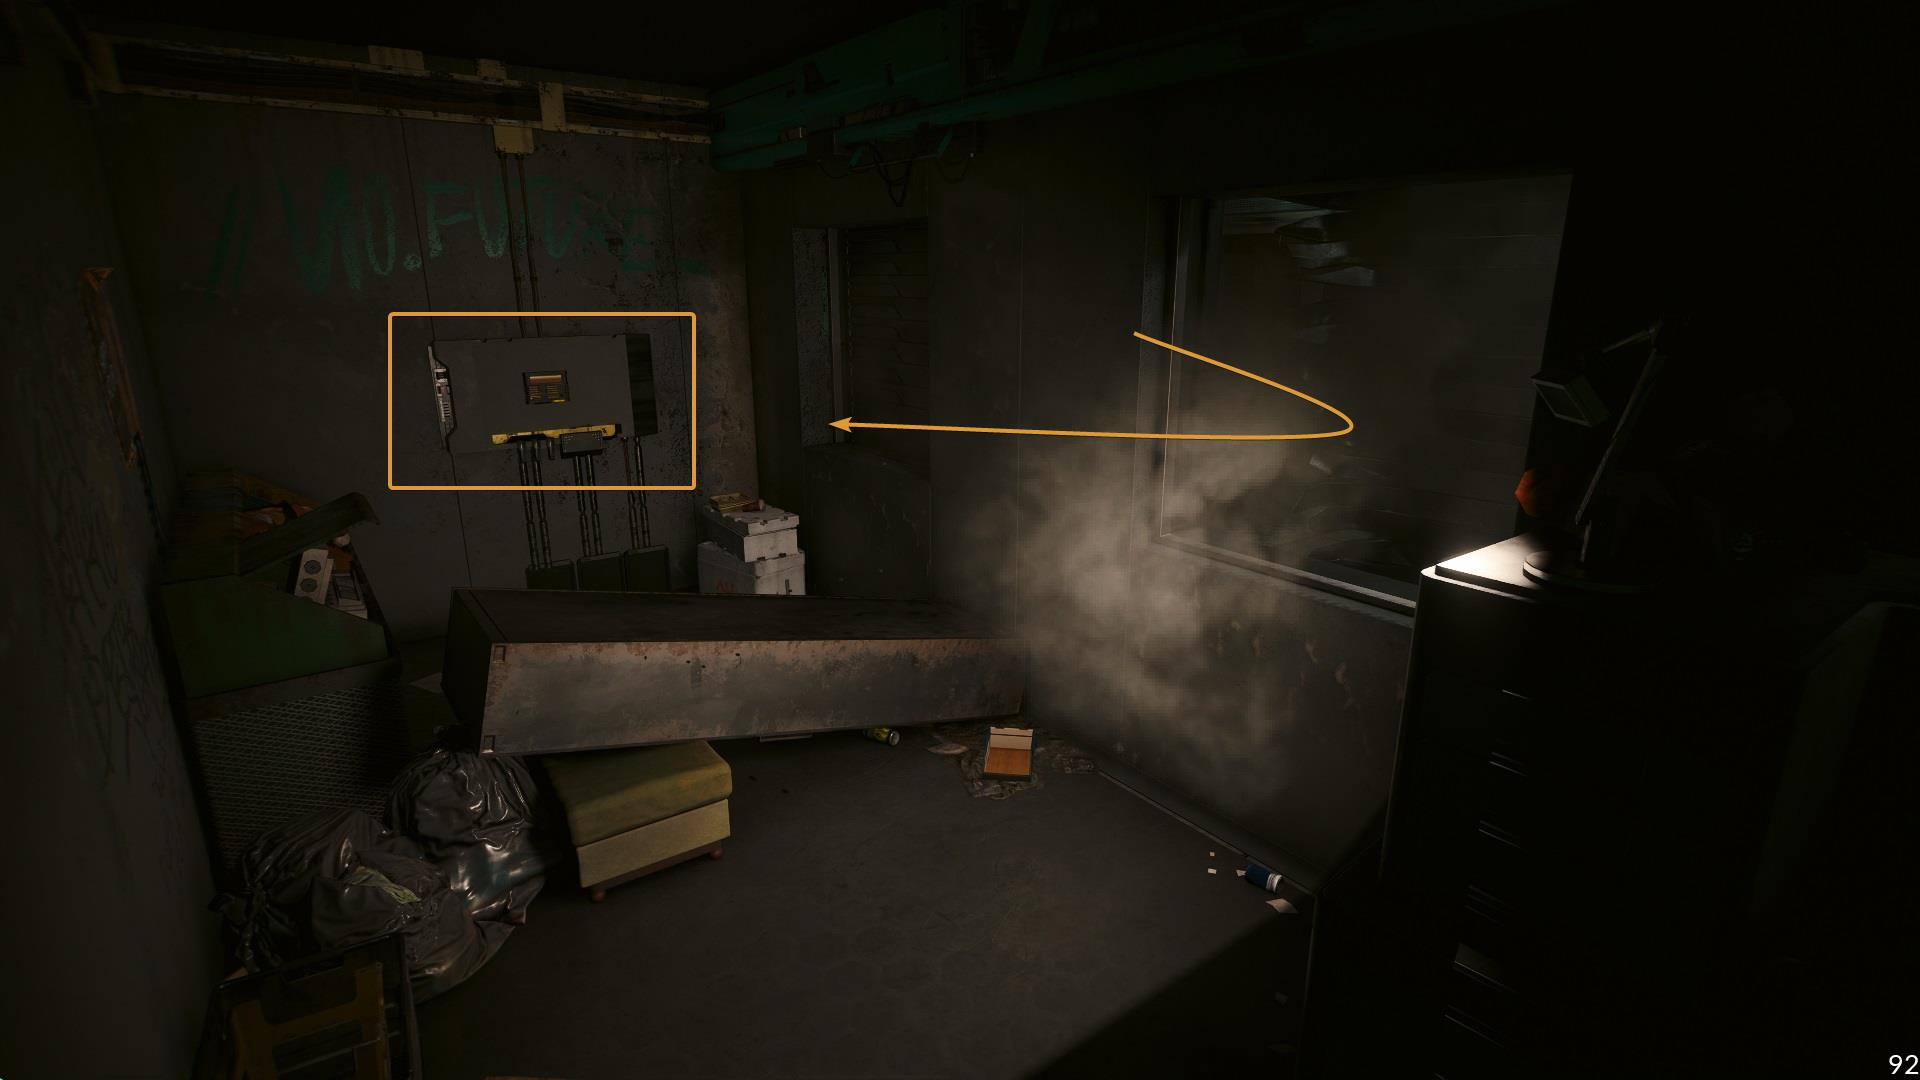
Get in and interact with the panel on the right wall. Immediately after doing this, you’ll receive a message from Mark Bana expressing his relief about someone finally coming to his rescue.
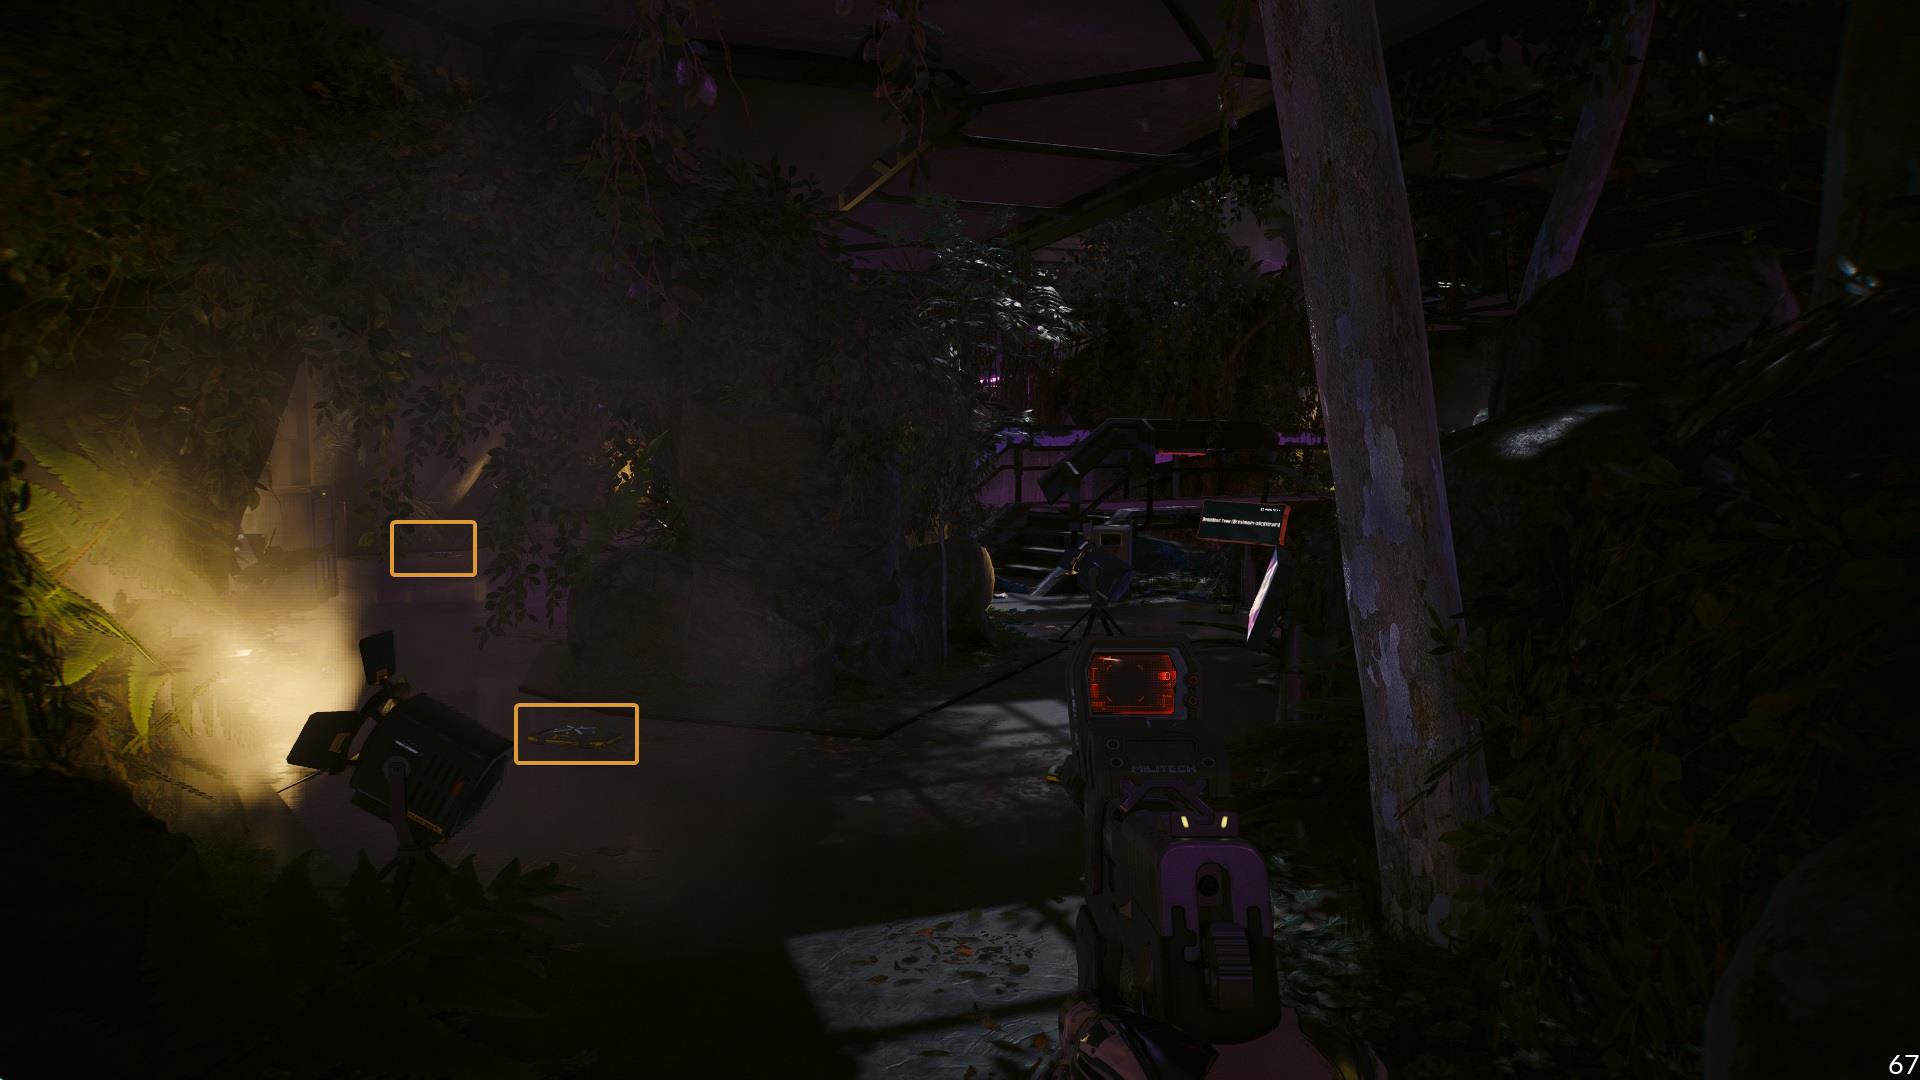
Continue to the interior of the museum, there’s a small jungle-ish environment with multiple Scavs patrolling the zone. There are also many mines on the ground, it’s hard to spot them but at least they aren’t active. Like every other mine, it’s possible to arm them if you wish to.
Continue through the museum, this part is way too silent for a Scav hideout but nothing will attack you. At least not until you get to the door marked on the upcoming image.

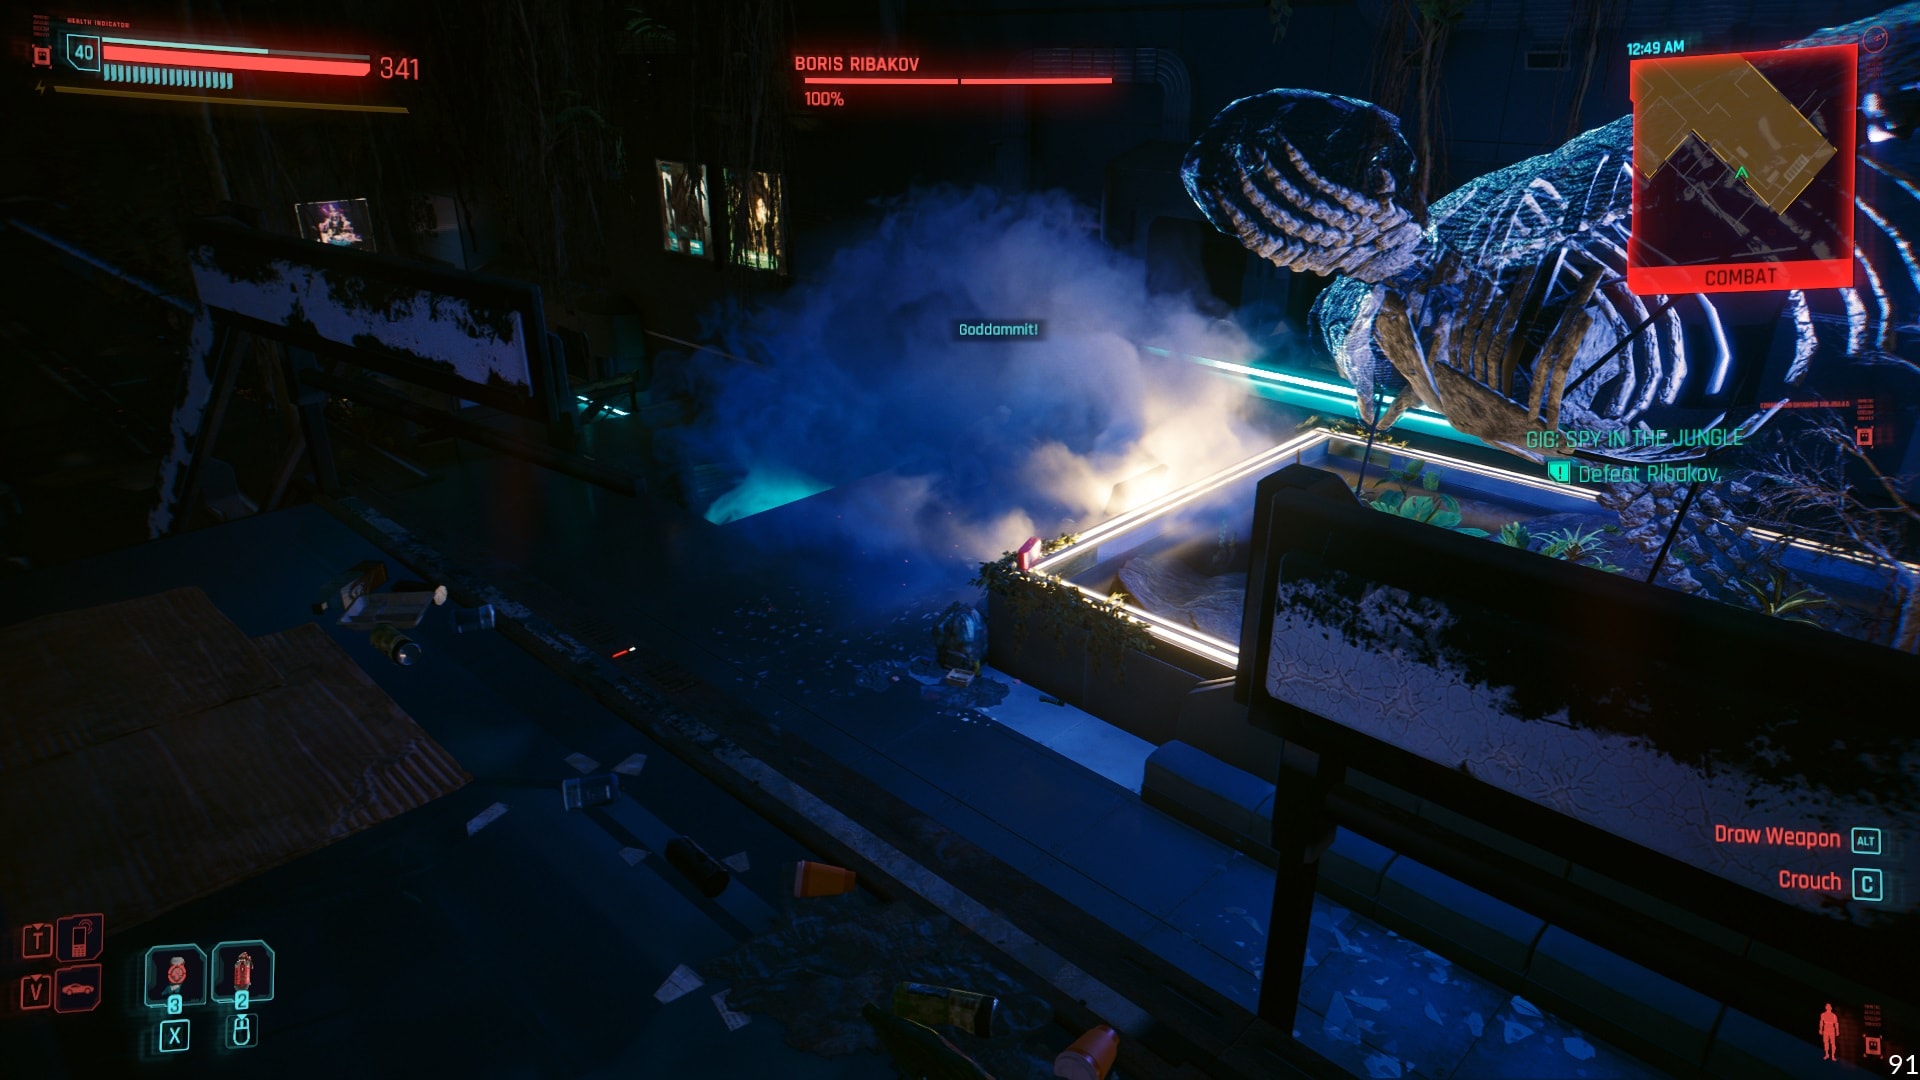
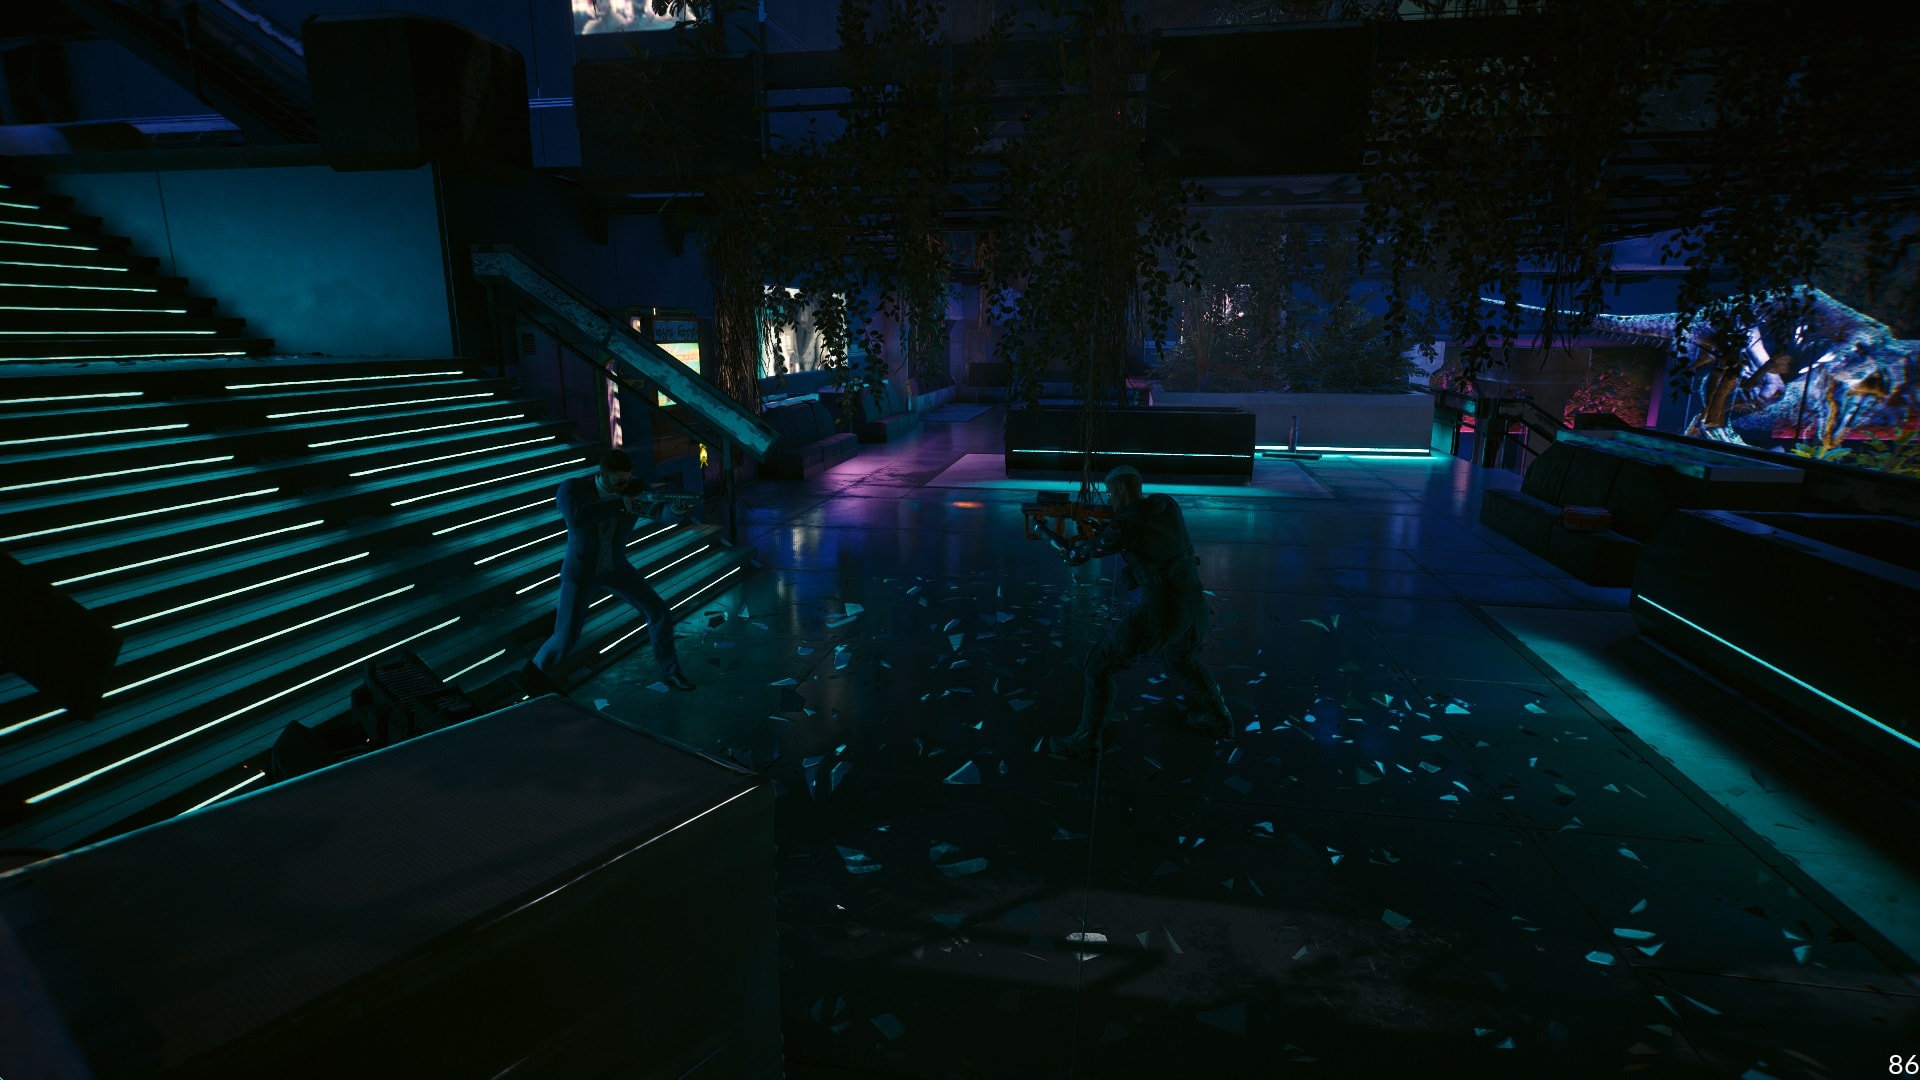
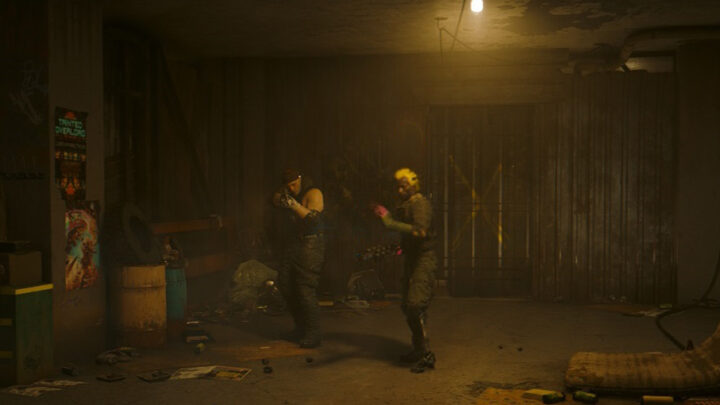
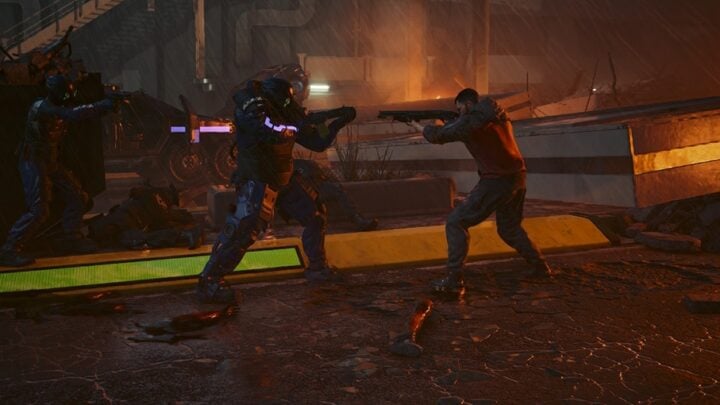
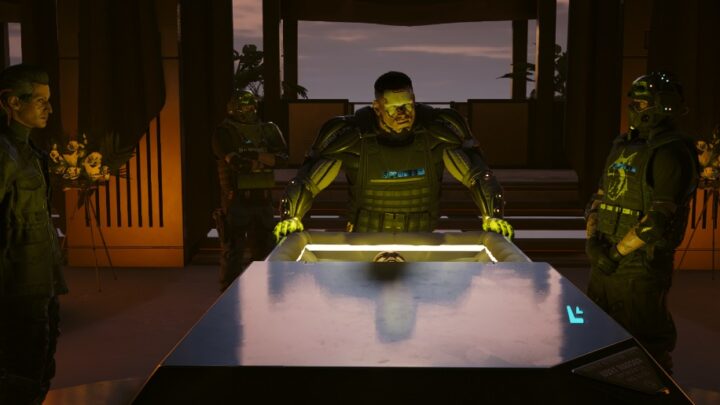
As soon as you attempt to open the door, Boris Ribakov will drop from the ceiling and start shooting. Boris uses smoke grenades to hide himself. Initially, he’ll move incredibly fast, making it very tough to even aim properly. Overheating or other incapacitating quick hacks can help with this.
After lowering his health to a certain point, four drones will show up. Destroy them, otherwise, Boris won’t show up. He will stand still while shooting with his Smart Submachine Gun, this is a good opportunity to get close and shoot with a high-damage weapon like a double-barrel shotgun but this is a risky move.
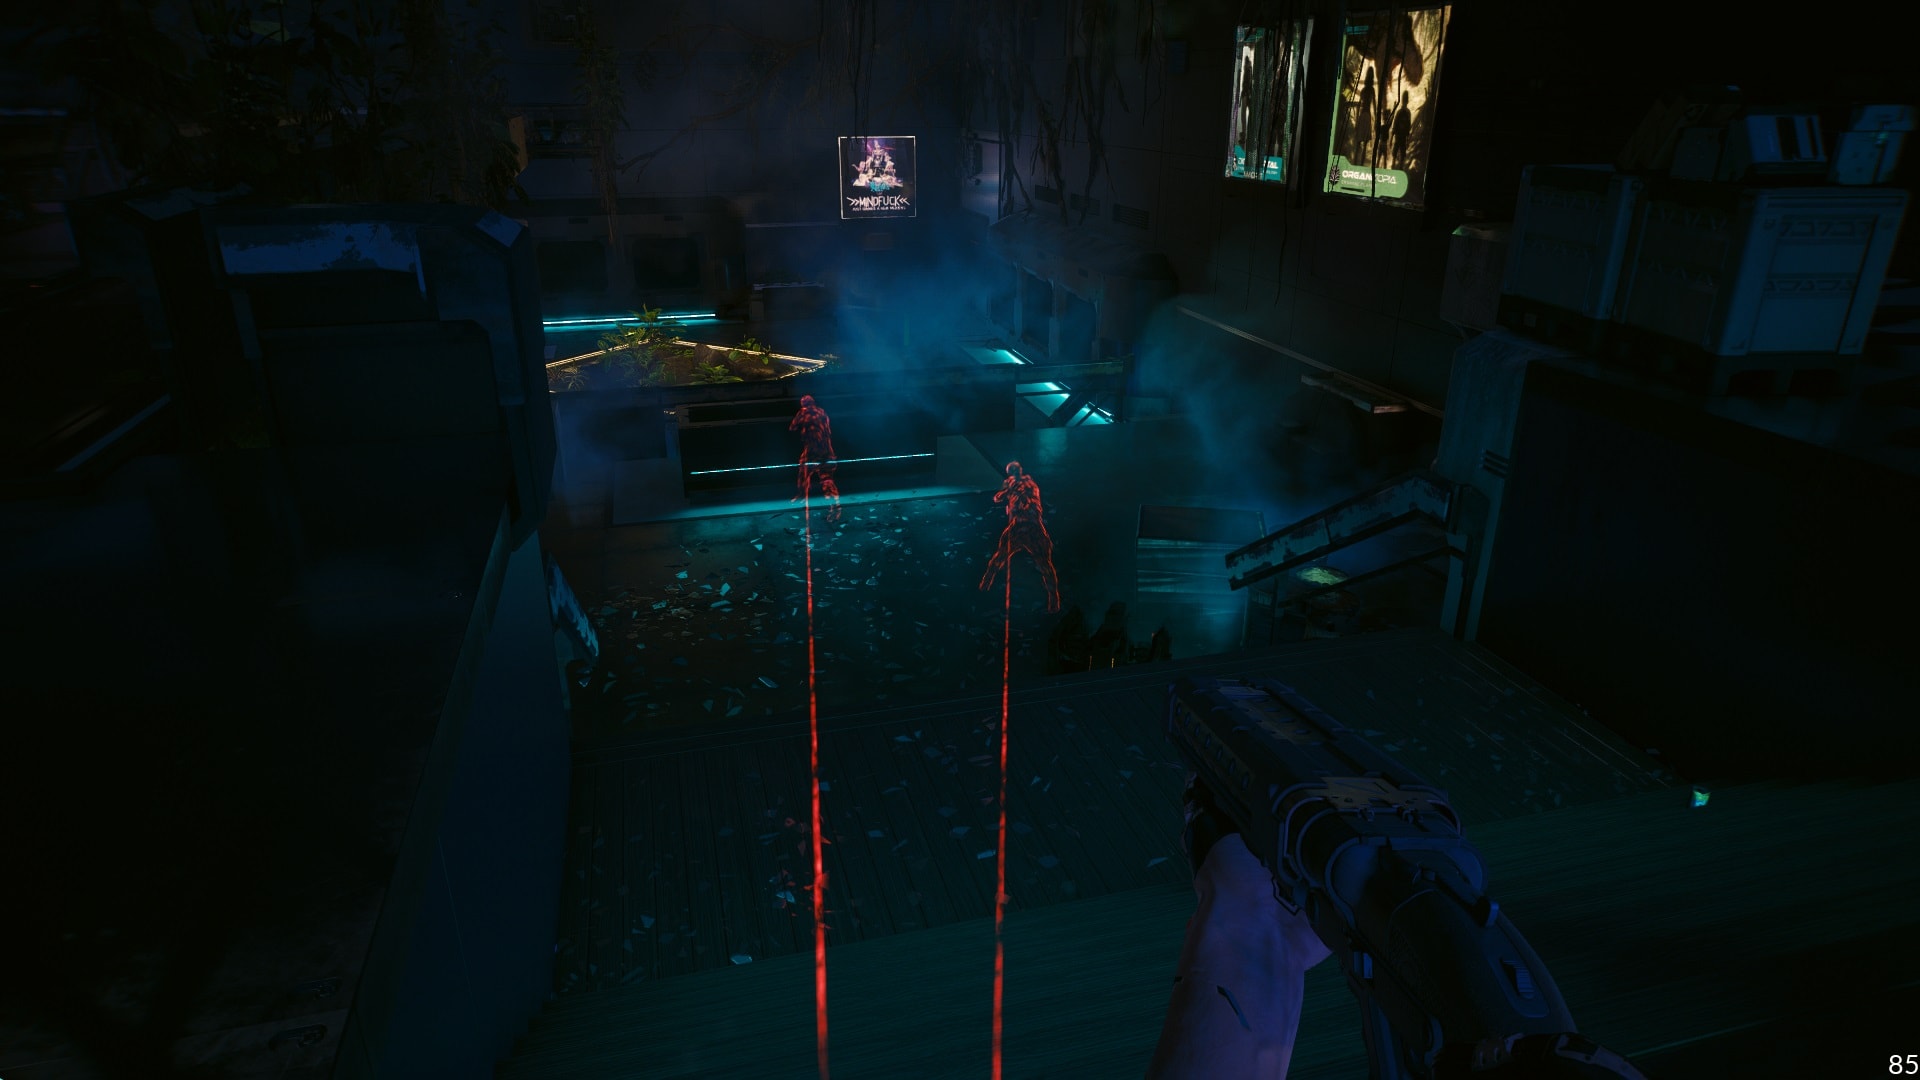
Similar to the drones, Boris can summon four holograms that will shoot just like any other enemy. These holograms carry sniper rifles, do your best to avoid getting hit. A well-placed shot is enough to get rid of each one.
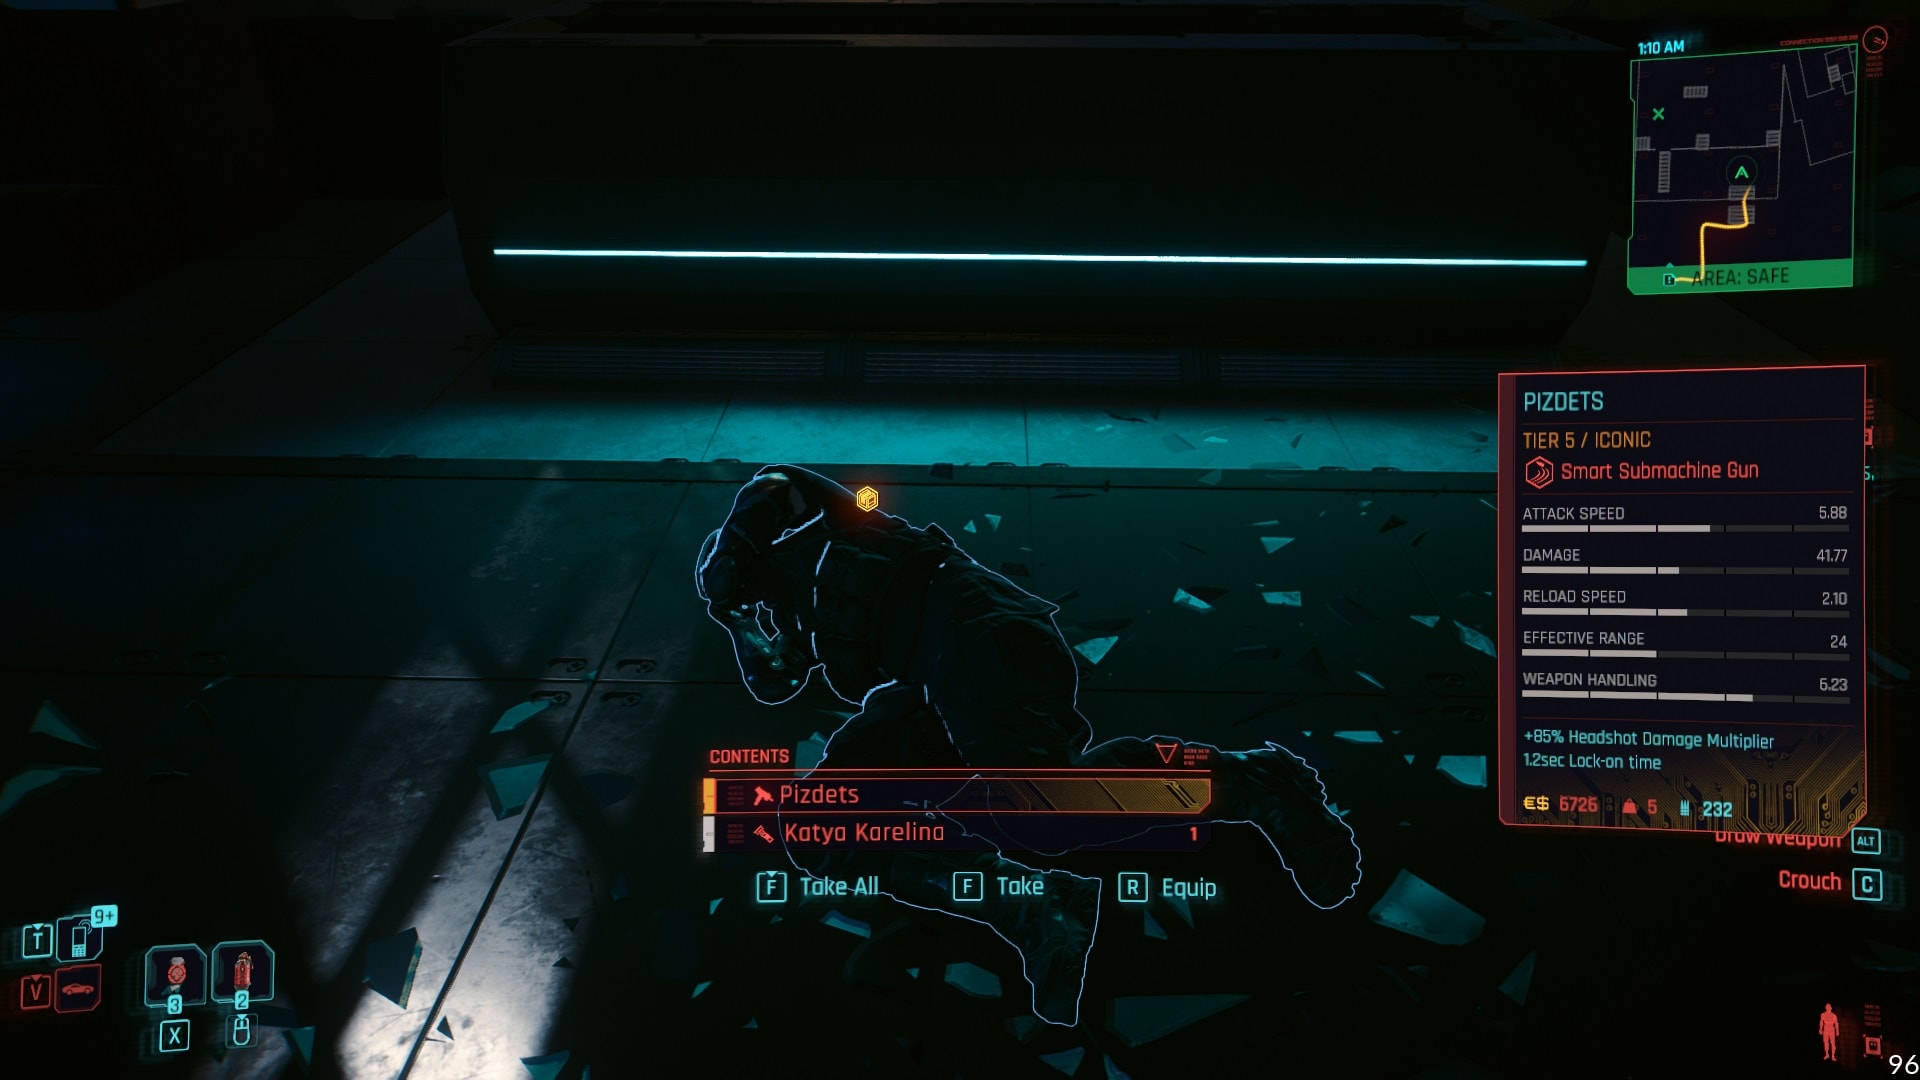
Once Boris is down, make sure to grab his Iconic Weapon “Pizdets”. More information about it and every other Iconic Item in Phantom Liberty is available in our Iconic Items Guide.
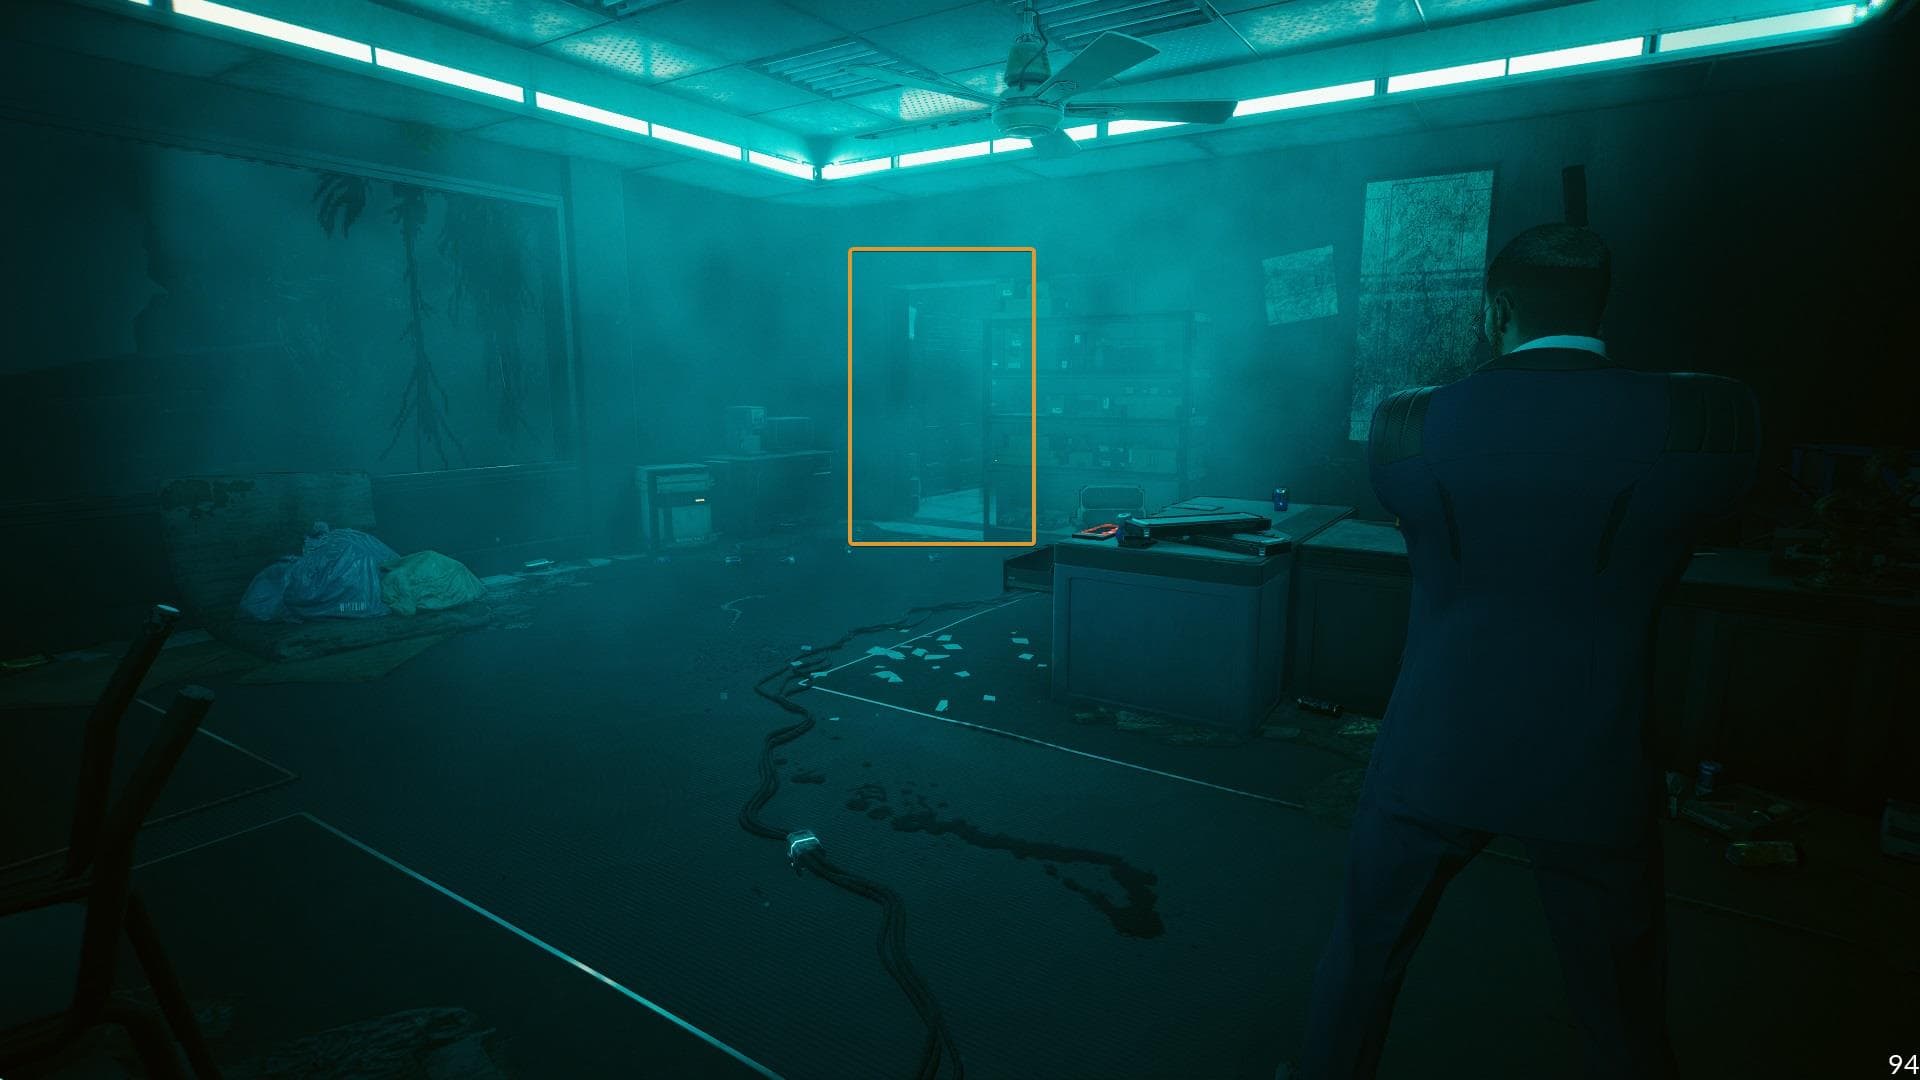
Now you can enter the door, there’s not a lot inside this room other than some furniture and a strange fog. A hidden door is located in one corner, it will open right after scanning it. Your objective is on the other side.
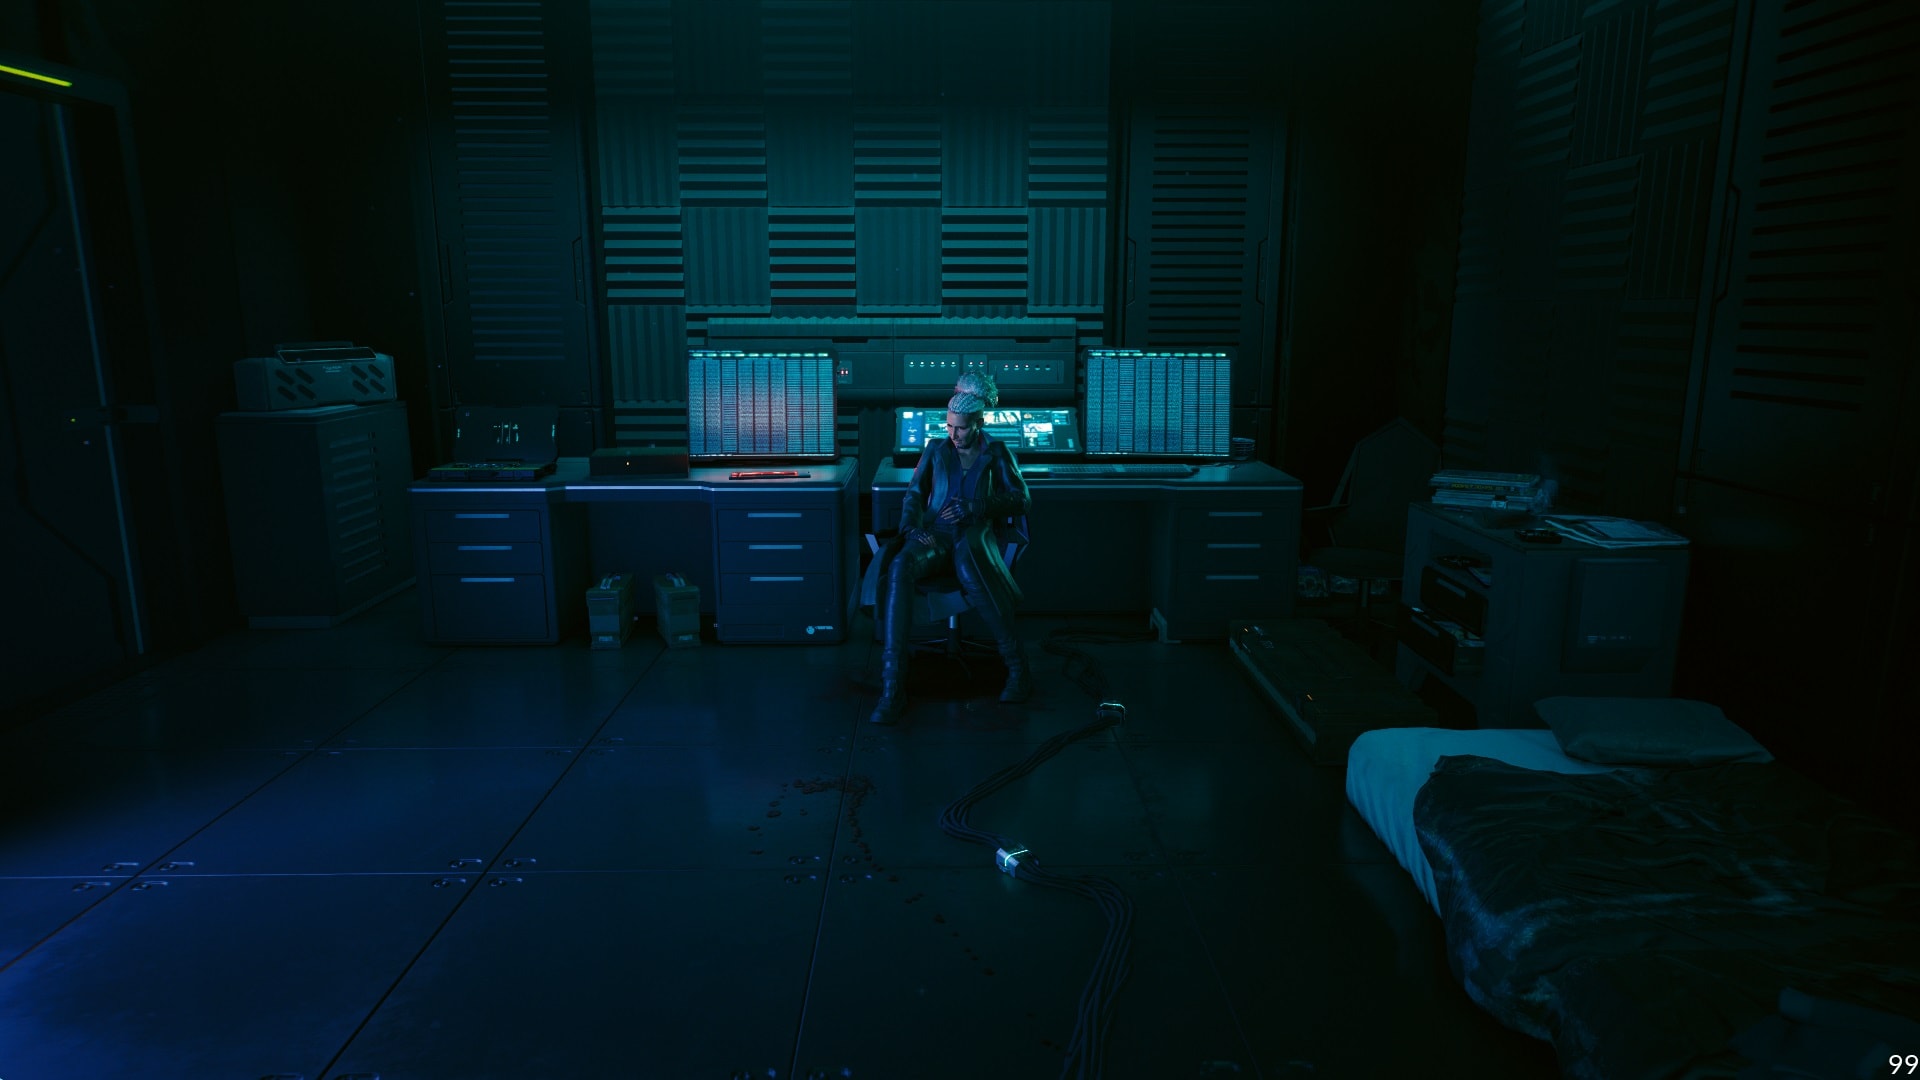
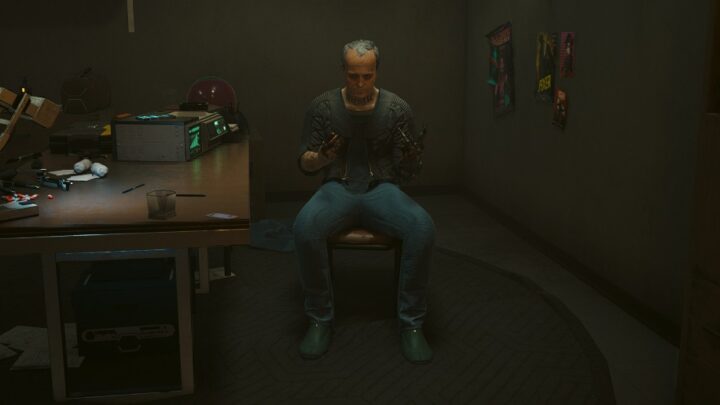
The person waiting for you is certainly not Mark Bana. This woman is called Katya Karelina and has been impersonating him since the Biomonitor was reactivated.
Mark died during an “interrogation” and this former SovOil agent was part of that interrogation. He wasn’t supposed to die and now the company is eliminating everyone involved. She pledges for her life but Ana wants revenge for the death of her friend and gives the order to kill Katya.
Katya offers the location of a stash that contains some goodies. Accepting this also begins the quest “Money for nothing”. If you reject the offer, she’ll start begging for her life, something pretty hypocritical if we consider what her former job used to be.
At that point, the only option is to put a bullet through her head. Regardless of what you choose, the Biomonitor will be in your possession.

After leaving this place, agent Santos will send a message asking to not deliver the Biomonitor to Ana. If this information is leaked the deal with SovOil will get canceled and many powerful people will be extremely angry.
It’s basically a death sentence for them, consider this before making a final choice. Instead, he asks you to deposit the Biomonitor on a drop point. The reward for this outcome is the sum of four thousand eurodollars.
Ignoring this message and delivering it directly to them will piss off Steven but Ana will be more than grateful for your help. If you choose this, the information will leak immediately after getting out of this area.
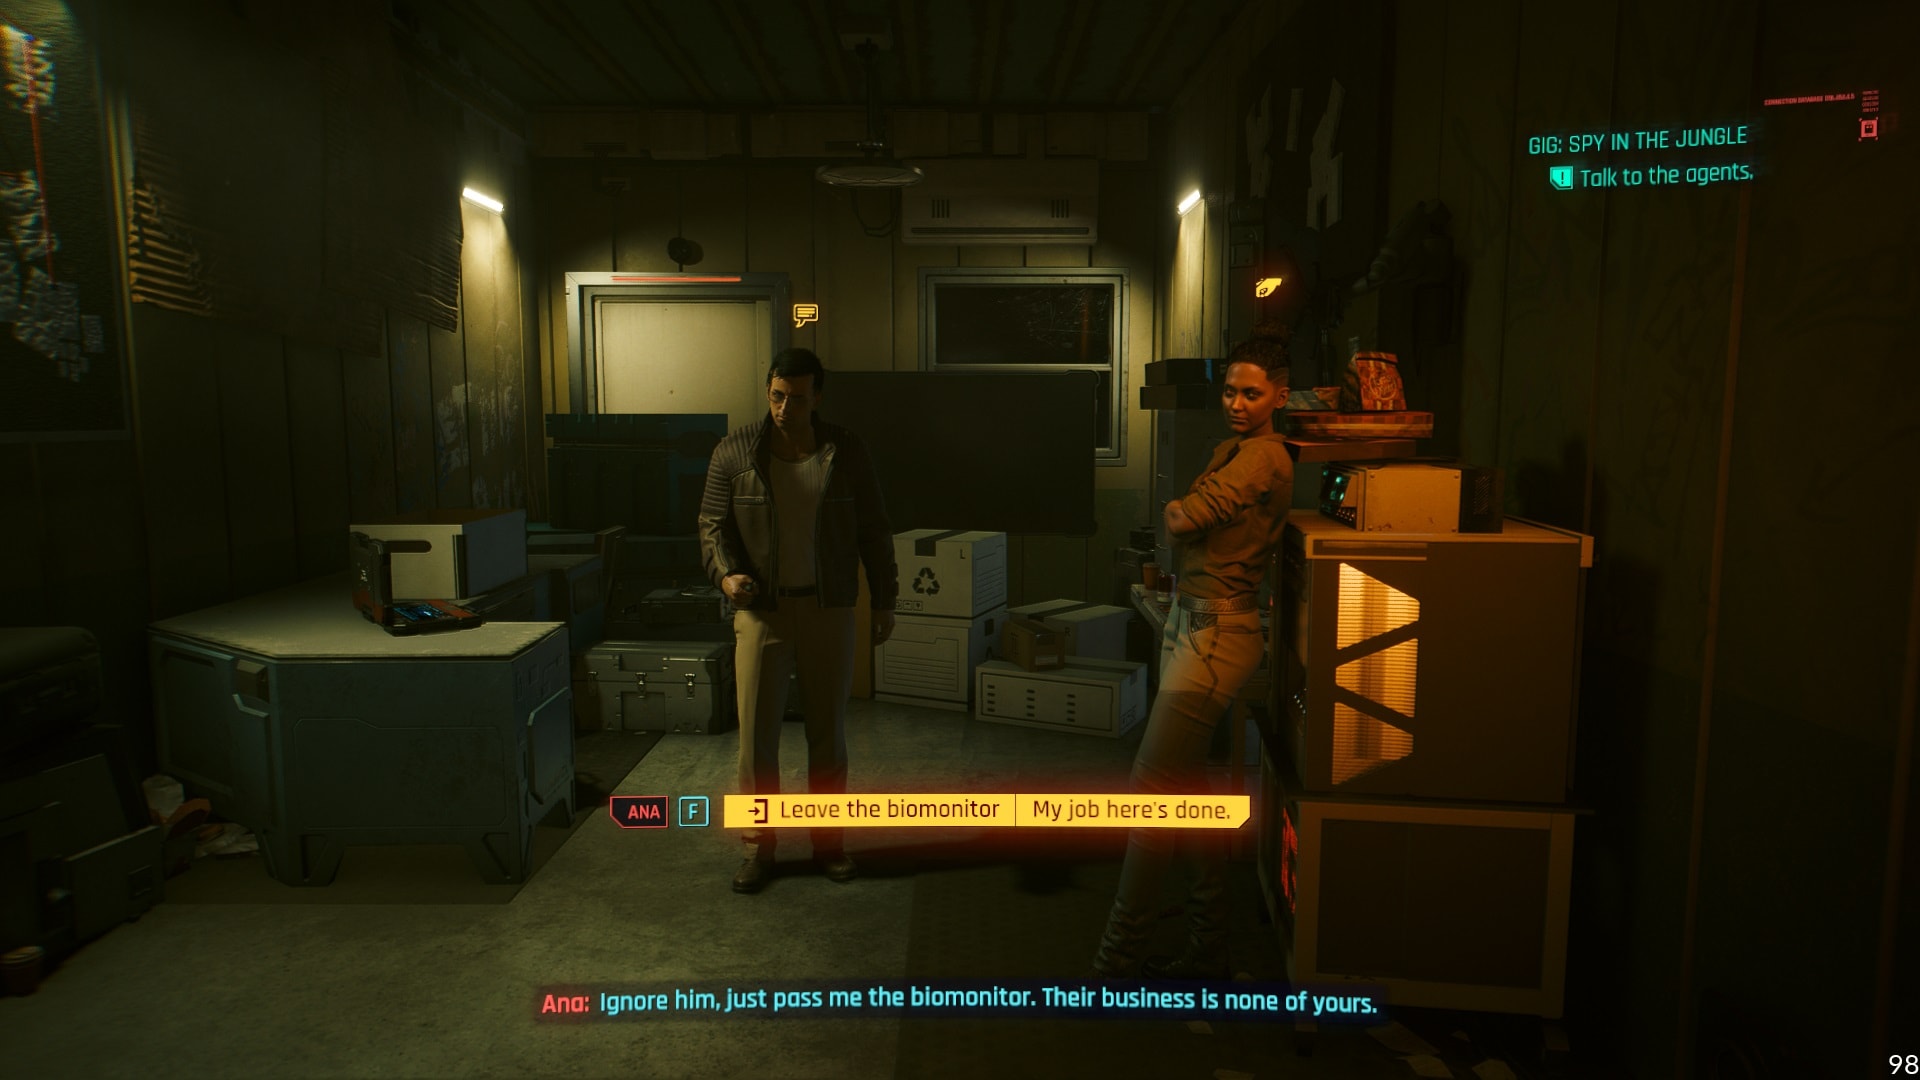
The reward for doing this is six thousand eddies. Regardless of what you choose, Mr. Hands is going to be more than happy about another successful job.

Cyberpunk 2077 Phantom Liberty Review (No Spoilers)
An in-depth spoiler-free review of Cyberpunk 2077 Phantom Liberty. Find out what has changed, learn of all new features and our experiences!

How to start Phantom Liberty in Cyberpunk 2077 and go to Dogtown
This guide will tell you everything you need to know about how to start the Phantom Liberty expansion in Cyberpunk 2077 and how to access the new zone in Night City called Dogtown!

How to Defeat the Chimera in Cyberpunk 2077 Phantom Liberty: The Spider And The Fly Walkthrough
This guide will show you how to complete the main mission “The Spider and the Fly” from Cyberpunk 2077’s expansion Phantom Liberty! The walkthrough details each step you must take and useful tips to defeat the Chimera unit.
Cyberpunk 2077 Lucretia My Reflection Guide: Can You Save Jacob and Taylor
This guide will show you how to start and complete the main mission “Lucretia My Reflection” in Cyberpunk 2077 Phantom Liberty. You will also learn about all of the possible outcomes and the required choices in order to get them!
You Know My Name Walkthrough: Cyberpunk 2077 Phantom Liberty
This guide will show you how to complete the main job “You know my name” from Cyberpunk 2077’s expansion Phantom Liberty! The walkthrough details each step you must take and all of the possible outcomes.

Firestarter Walkthrough: Cyberpunk 2077 Phantom Liberty
This guide will show you how to complete the main job “Firestarter” from Cyberpunk 2077’s expansion Phantom Liberty! The walkthrough details each step you must take and the possible outcomes.

The Killing Moon Walkthrough: Cyberpunk 2077 Phantom Liberty
This guide will show you how to complete the main job “The Killing Moon” from Cyberpunk 2077’s expansion Phantom Liberty! The walkthrough details each step you must take and the possible outcomes.
Cyberpunk 2077 Black Steel in the Hour of Chaos Guide
This guide will show you how to complete the main job “Black Steel in the Hour of Chaos” from Cyberpunk 2077’s expansion Phantom Liberty! The walkthrough details each step you must take to ambush the Convoy that transports So Mi and defeat the MaxTac team.

Somewhat Damaged Walkthrough: Cyberpunk 2077 Phantom Liberty
This guide will show you how to complete the main job “Somewhat Damaged” from Cyberpunk 2077’s expansion Phantom Liberty! The walkthrough details each step you must take to fully explore the environment and avoid getting caught by the patrolling Cerberus unit.

Cyberpunk 2077 Phantom Liberty Endings Guide: How to unlock all of them
This guide will show you how to get all Cyberpunk 2077 Phantom Liberty endings and how to unlock the new ending for the base game! Here you will find all the step to unlock the endings, all the rewards, achievements, and an explanation of the fate of all characters involved!
Cyberpunk 2077 Phantom Liberty 1R-0NC-LAD Scavenger Hunt Guide
This guide will show you how to start one of the secret missions in Cyberpunk 2077 Phantom Liberty – a scavenger hunt to solve the mystery of the broken robot 1R-0NC-LAD (Ironclad) in Dogtown’s stadium!
Cyberpunk 2077 Dogtown Airdrops Guide: Watch for the Red Smoke
This quick guide explains the purpose of the red smoke marking Airdrops in Dogtown and what you can get from completing these mini-events in Cyberpunk 2077 Phantom Liberty!

No Easy Way Out Walkthrough: Cyberpunk 2077 Phantom Liberty
This guide will show you how to complete the side job “No Easy Way Out” from Cyberpunk 2077’s expansion Phantom Liberty! The walkthrough details each step you must take and the possible outcomes.
Dogtown Saints Walkthrough: Should you kill or spare Nika in Cyberpunk 2077 Phantom Liberty
This guide will show you how to start and complete the gig “Dogtown Saints” from Cyberpunk 2077’s expansion Phantom Liberty! The walkthrough details each step you must take and the available choices and consequences.

Dazed And Confused Walkthrough: How to get Lina Malina's Bike in Cyberpunk 2077 Phantom Liberty
This guide will show you how to complete the side job “Dazed and Confused” from Cyberpunk 2077’s expansion Phantom Liberty and how to get the Lina Malina's Bike, the Malina-Mobile, an almost-free bike you can get in Dogtown! The walkthrough details each step you must take to obtain this fantastic ride.

Balls To The Wall Walkthrough: Cyberpunk 2077 Phantom Liberty
This guide will show you how to start and complete the side job “Balls To The Wall” from Cyberpunk 2077’s expansion Phantom Liberty! The walkthrough details each step you must take and the possible outcomes.

Prototype In The Scraper Walkthrough: Should you Let Hasan Go, Cyberpunk 2077 Phantom Liberty
This guide will show you how to start and complete the gig “Prototype in the scraper” from Cyberpunk 2077’s expansion Phantom Liberty! The walkthrough details each step you must take and the available choices and consequences.

Should You Shoot Leon Rinder: Cyberpunk 2077 The Man Who Killed Jason Foreman
This guide will show you how to complete the side job “The Man Who Killed Jason Foreman” from Cyberpunk 2077’s expansion Phantom Liberty! The walkthrough details each step you must take and all the possible outcomes

Shot By Both Sides Walkthrough: Should you protect Bree, Cyberpunk 2077 Phantom Liberty
This guide will show you how to start and complete the side job “Shot by both sides” from Cyberpunk 2077’s expansion Phantom Liberty! The walkthrough details each step you must take and the available choices and consequences.

Cyberpunk 2077 Treating Symptoms Guide: What to do with Milko
This guide will show you how to complete the Gig “Treating Symptoms” from Cyberpunk 2077’s expansion Phantom Liberty! The walkthrough details each step you must take and the possible endings whether you leave Allen to finish or take down Milko right away!

Talent Academy Walkthrough: Cyberpunk 2077 Phantom Liberty
This guide will show you how to complete the gig "Talent Academy" from Cyberpunk 2077's expansion Phantom Liberty! The walkthrough details each step you must take and the available choices.
Run This Town: Who should rule Dogtown, Cyberpunk 2077 Phantom Liberty Guide
This guide will show you how to start and complete the side job “Run this town” from Cyberpunk 2077’s expansion Phantom Liberty! The walkthrough details each step you must take and the available choices and consequences.

All New Tarot Card Locations in Cyberpunk 2077 Phantom Liberty
This guide will show you the locations of all four new Tarot Cards available in Dogtown, Night City’s Combat Zone, released with Cyberpunk 2077’s Phantom Liberty Expansion!

How to get a Free Outlaw Car in Cyberpunk 2077 Phantom Liberty: Baby Take Me Home Guide
This guide will show you how to complete the side job “Baby Take Me Home” from Cyberpunk 2077’s expansion Phantom Liberty and get the free Outlaw Car, the only free car you can get in Dogtown! The walkthrough details each step you must take to obtain this badass ride.

Cyberpunk 2077 Moving Heat: How to get the Sport R-7 "Charon" Flaming Car
This guide will show you how to complete the side job "Moving Heat" from Cyberpunk 2077’s expansion Phantom Liberty! The walkthrough details each step you must take to acquire the Sport R-7 "Charon" car.