This guide will show you how to complete the main mission “The Spider and the Fly” from Cyberpunk 2077’s expansion Phantom Liberty! The walkthrough details each step you must take and useful tips to defeat the Chimera unit.
“The Spider and the Fly” is the second mission of Phantom Liberty. It will begin right after rescuing President Myers from the crash site in Dogtown.
Talk to Songbird and President Myers, get to the hotel
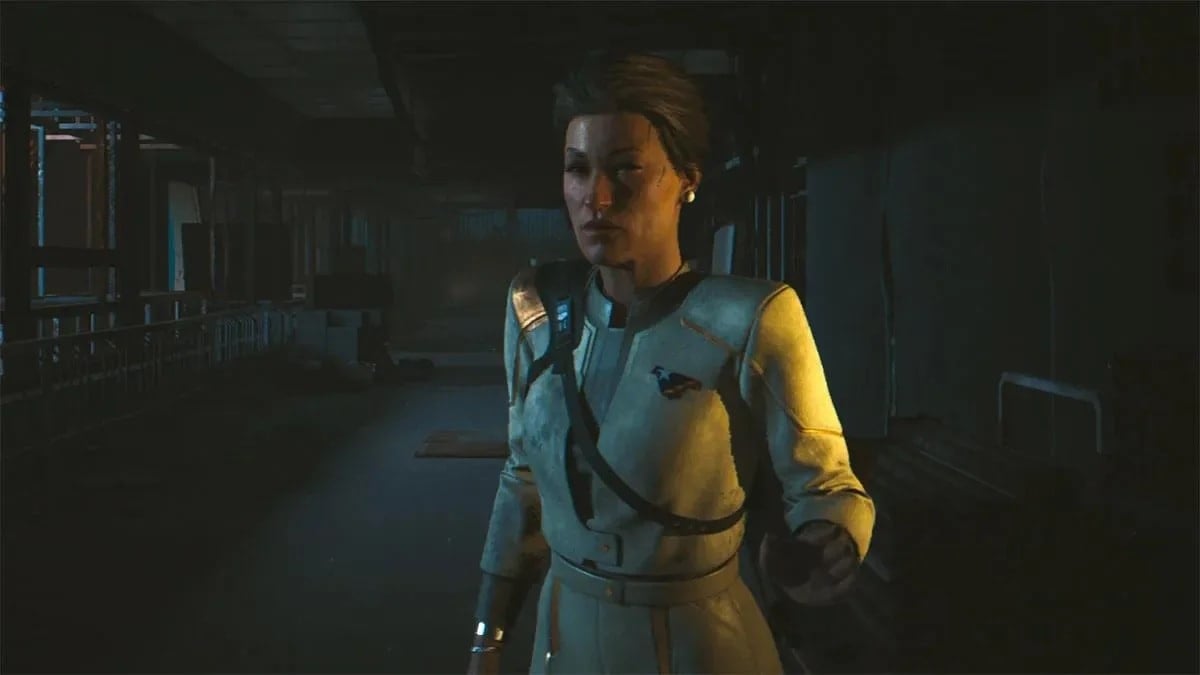
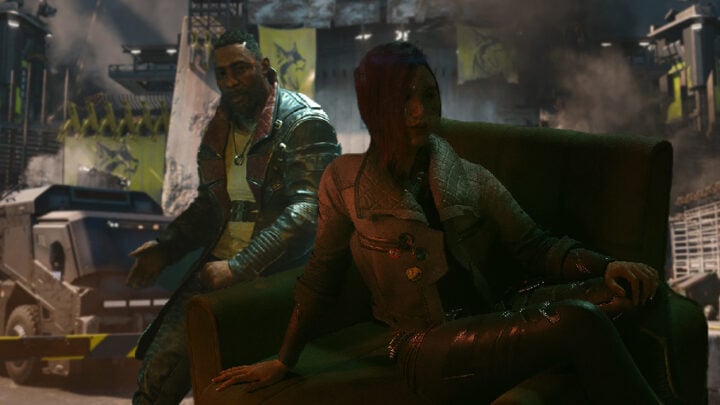
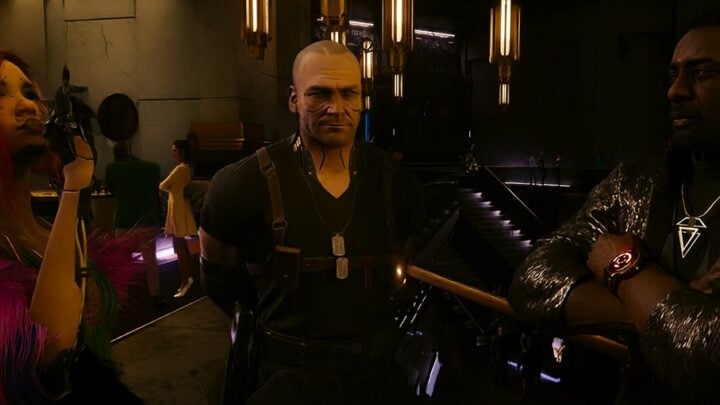
After getting away from chaos, Songbird will begin to formulate a plan to get the NUSA president out of Dogtown but first, you must get here to safety.
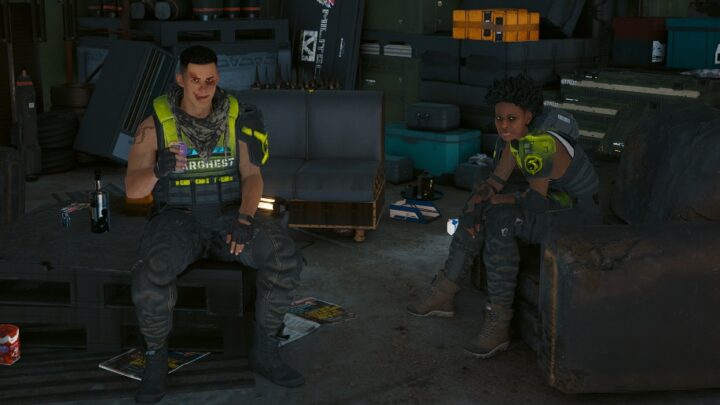
The first few minutes are filled with a conversation with Myers about who might be behind everything, this is probably the only moment of this mission where there’s calm. Continue until you get to a hotel that’s under Barghest’s control.
Deal with the Drone and Barghest troops
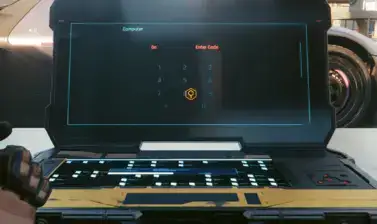
The first enemy that you’ll encounter is a big drone that’s patrolling this area. Trying to shoot it down will make everything harder for no reason. Get inside the room in the middle and interact with a panel that’s marked.
This will install malware into the drone and make it go away, just be careful to not get spotted by it. The drone’s light is the best indicator of what it’s currently looking at.
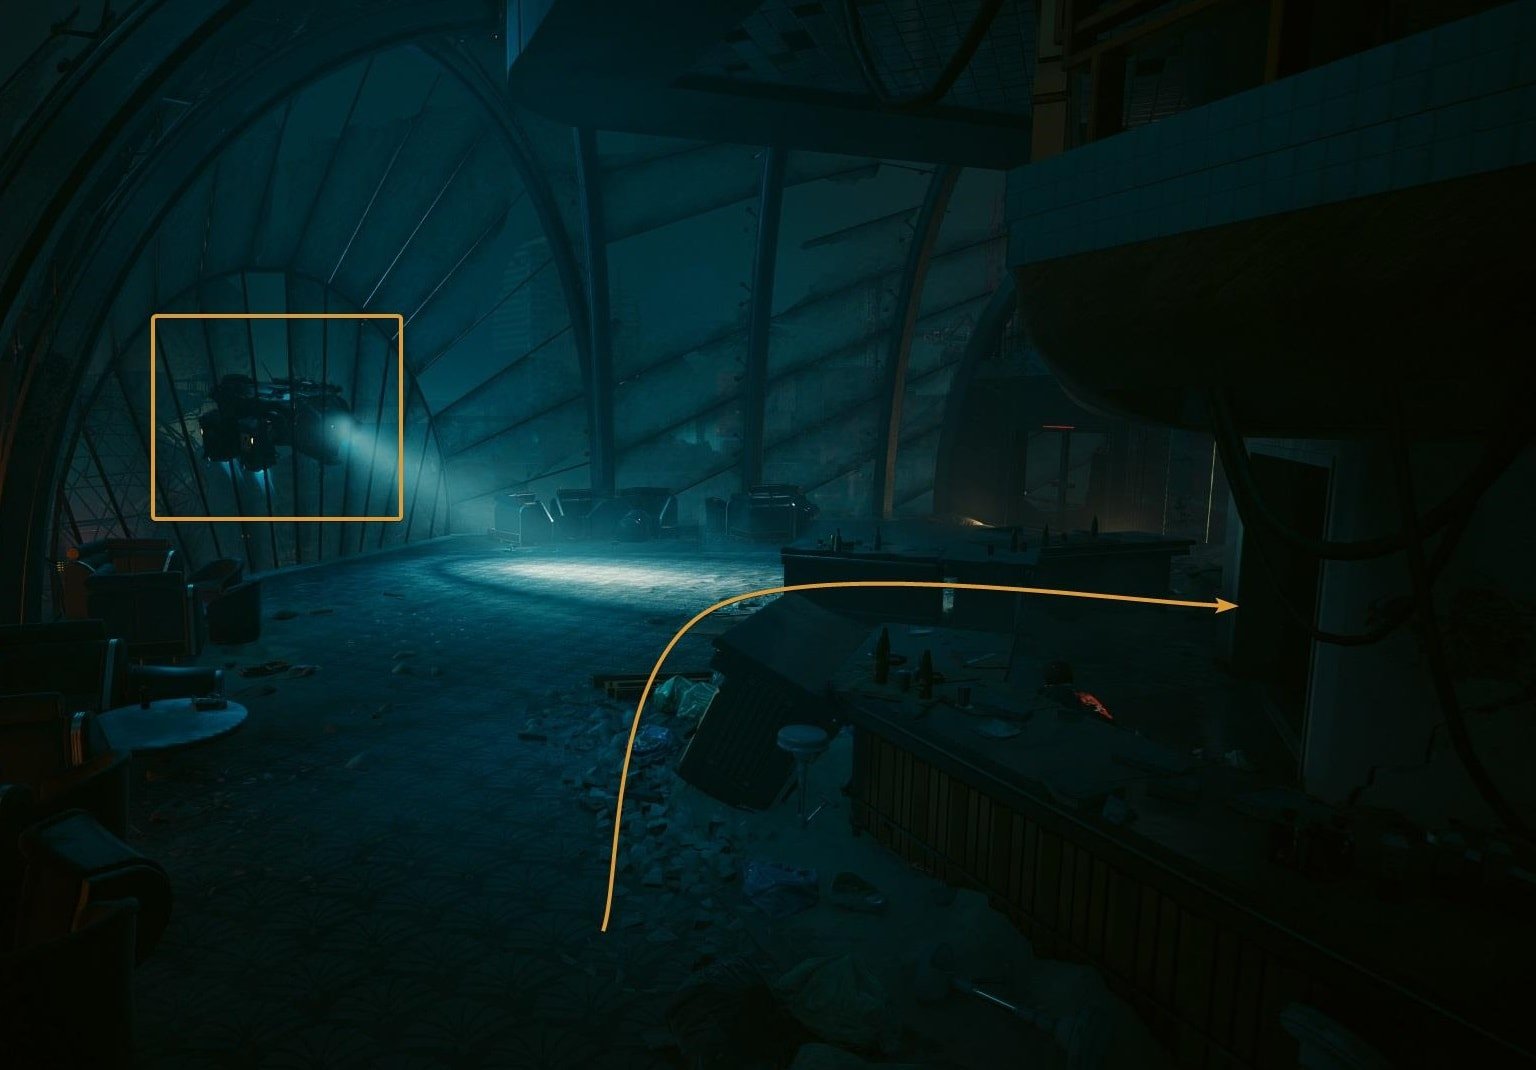
The next area is full of Barghest troops, it’s not that easy to spot them due to the limited amount of light but there are around ten. Those that are marked here aren’t all of them, a few are on the lower level but it’s impossible to see them before going downstairs.

You can be stealthy or make quite a scene but these enemies might be too much for a frontal attack considering you’re just starting Phantom Liberty.
The goal is to get out of this building, you can use the car that’s on the far left of the image below.
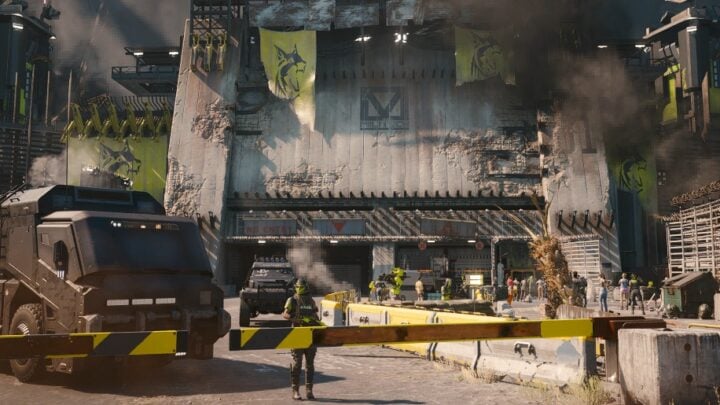
Reach the Tunnels
It’s not mandatory to use the Barghest patrol car but since you can’t call any of your cars/bikes, it’s the fastest way to get a vehicle. The map will tell where to go next, avoid using the main roads because the enemy is going to be actively looking for you and Myers.
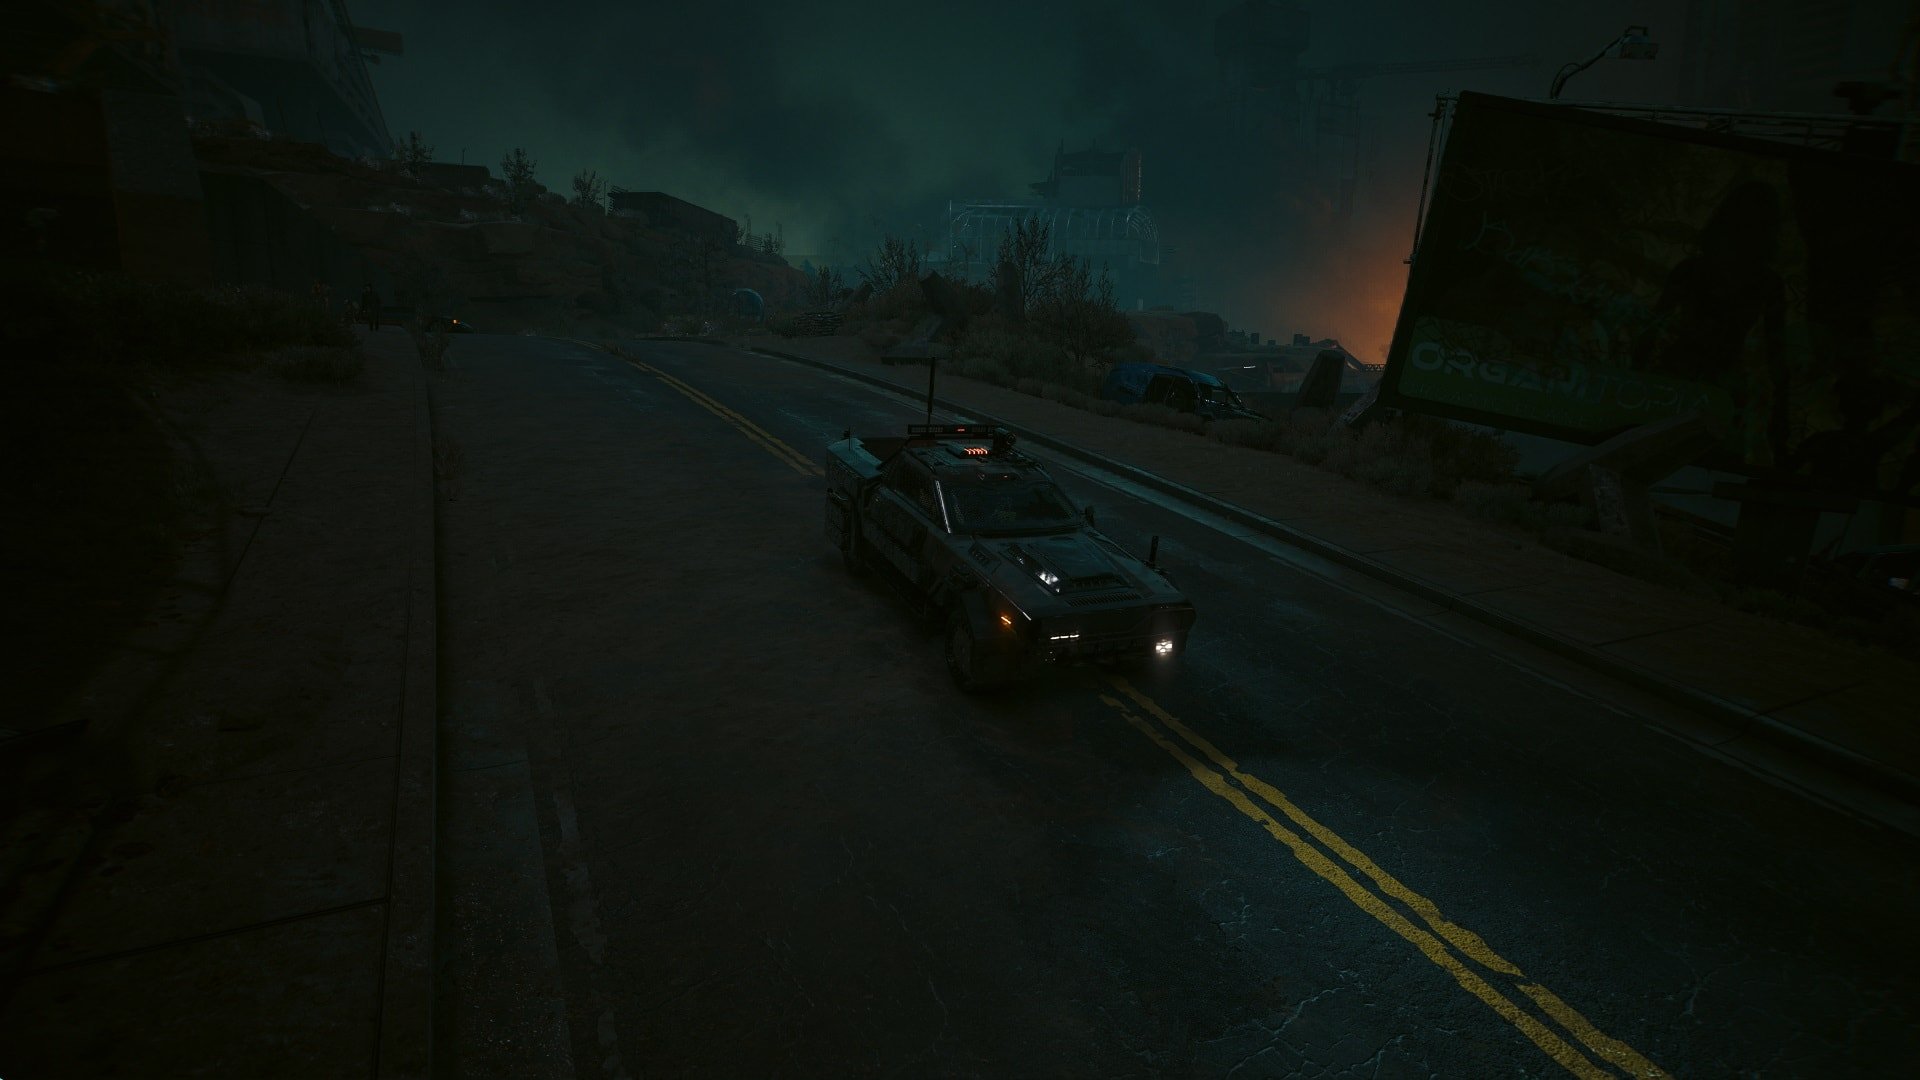
Dogtown has its own law enforcement, getting into a necessary gunfight will raise your wanted level, and the last thing you want is to attract more chaos so be as discrete as possible.
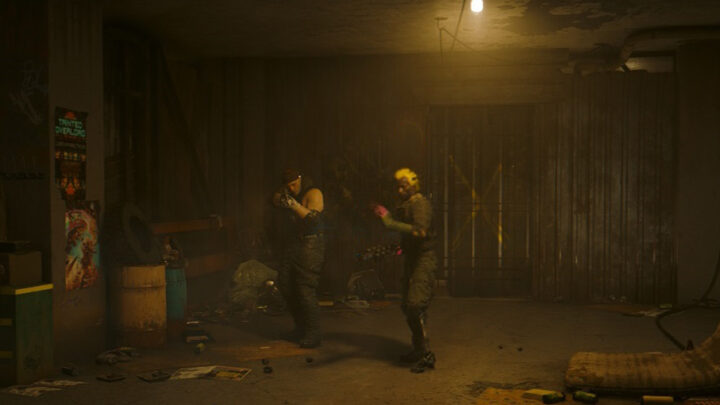
Explore the Museum
After getting to the underground tunnels you and Myers must take the elevator. It will take both of you to this abandoned museum, make sure to explore it.
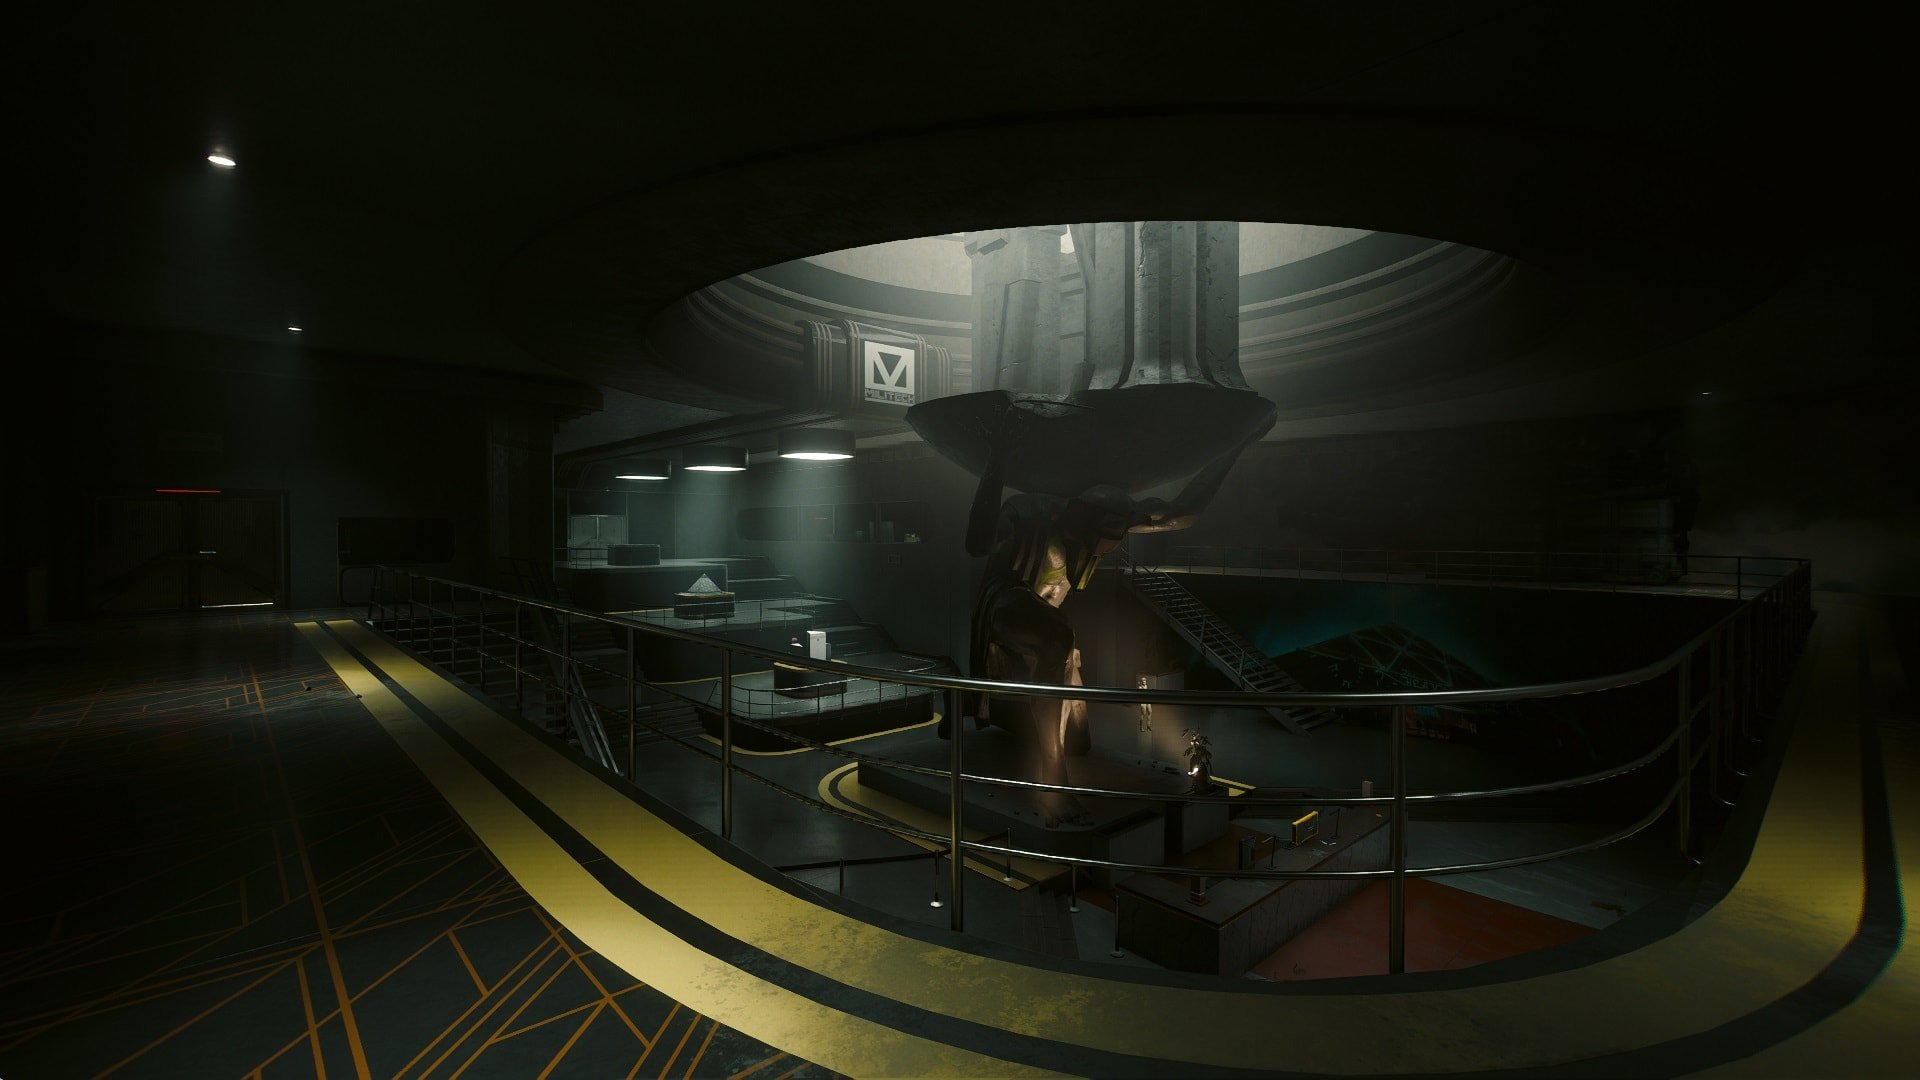
There are some items that might be very useful, none of them are as good as an Iconic weapon but considering what’s coming next, you’ll need the best guns available.
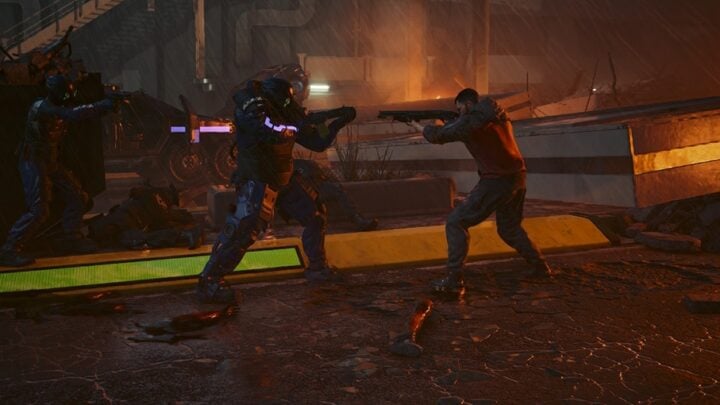
Survive the ambush
The next area looks like a big warehouse, it’s very silent but in this case that isn’t a bad sign. Songbird’s instructions are to call the elevator but it doesn’t work, before being able to fix it lots of Barghest troops will attack from all angles.
Armored enemies, snipers on the second floor, and standard soldiers with shotguns will surround you (if you let them). Survive until Songbird can do her part to help.
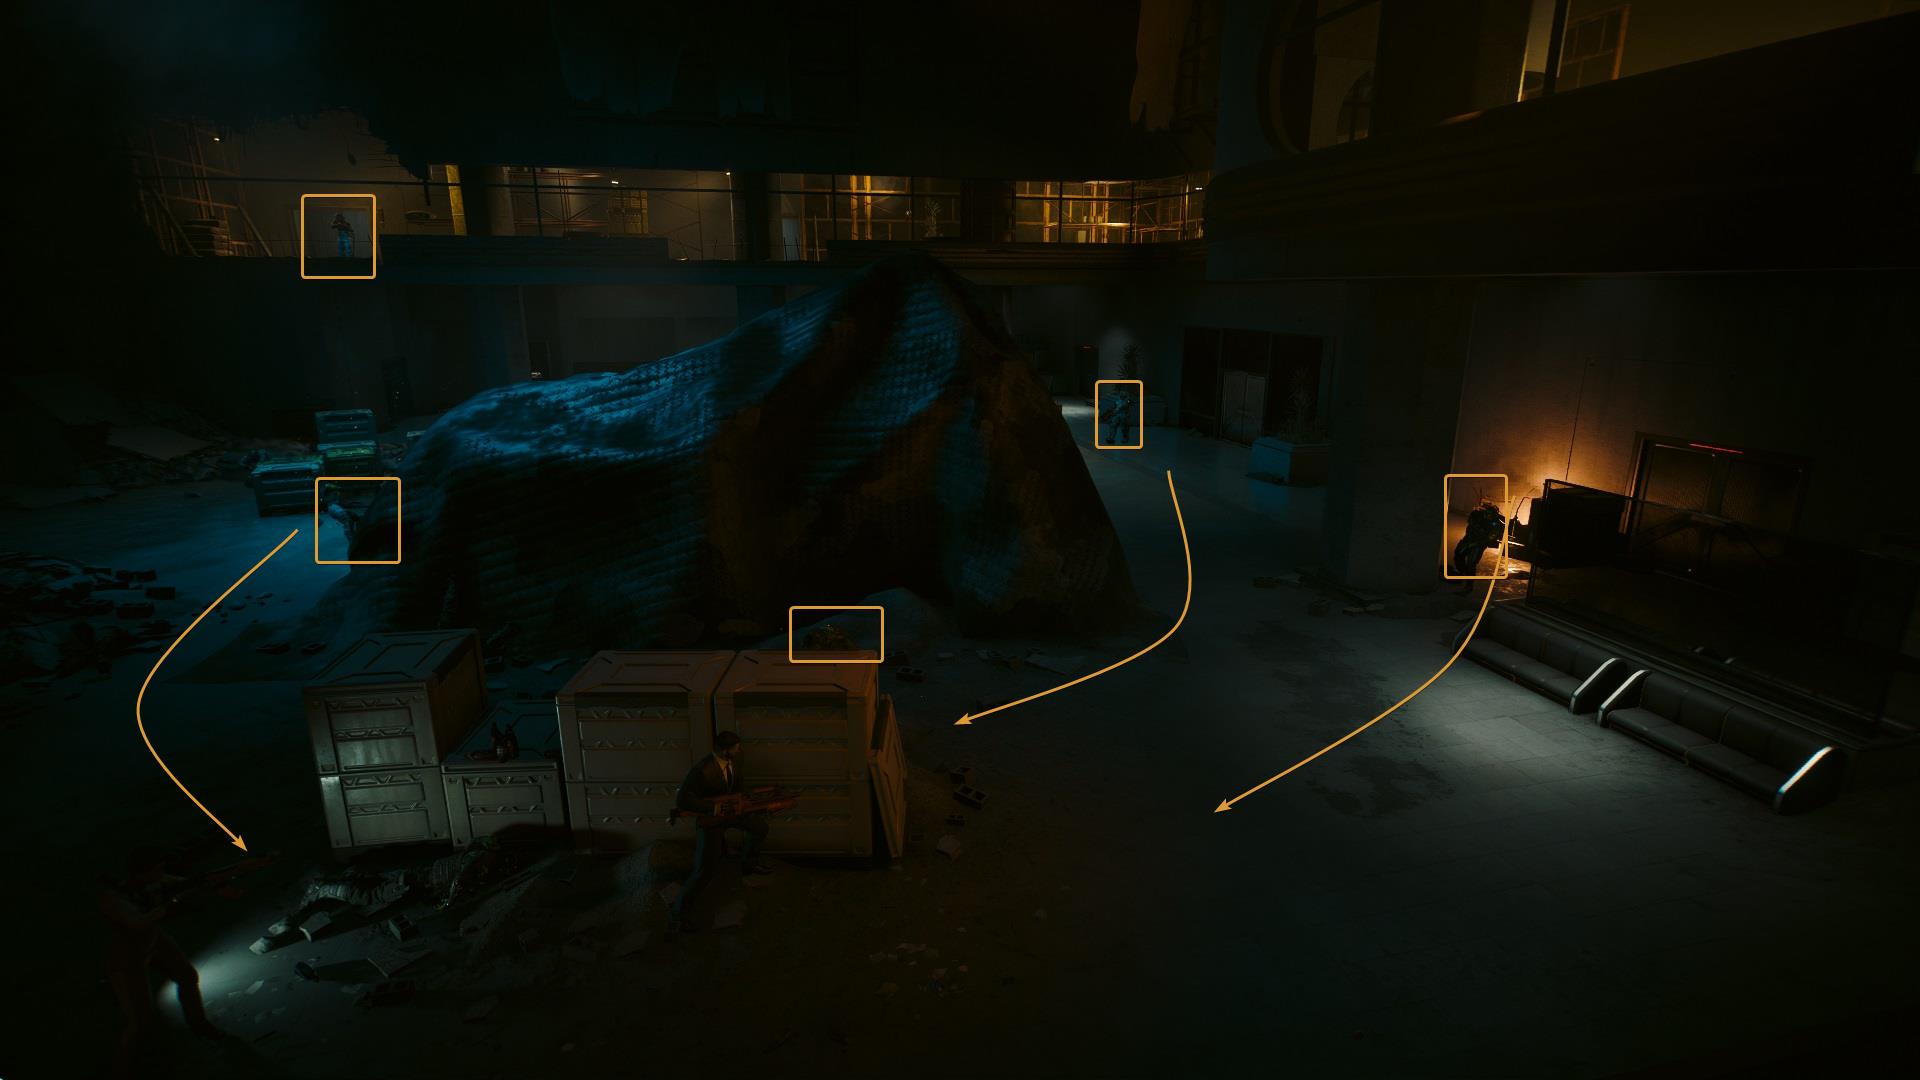
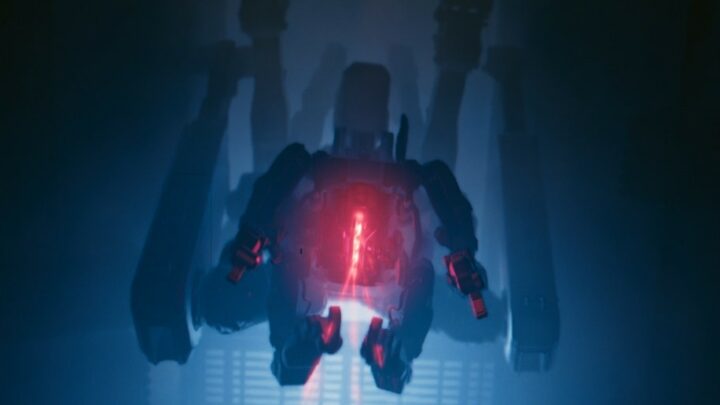
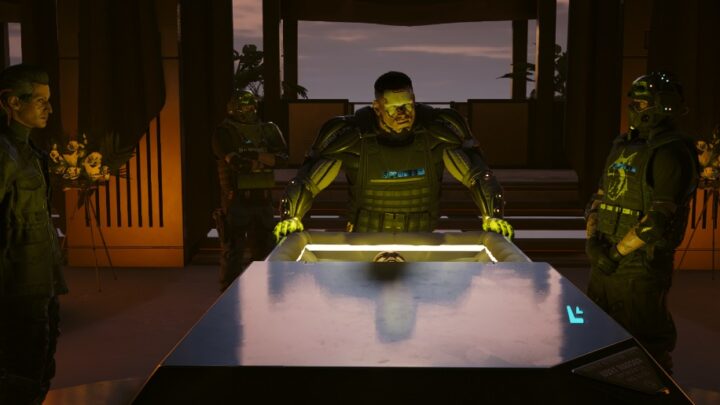
The machine that’s covered will activate and eliminate every single enemy. The Chimera is a machine that could probably eliminate small armies on its own and it’s more than obvious why. This thing is really scary.
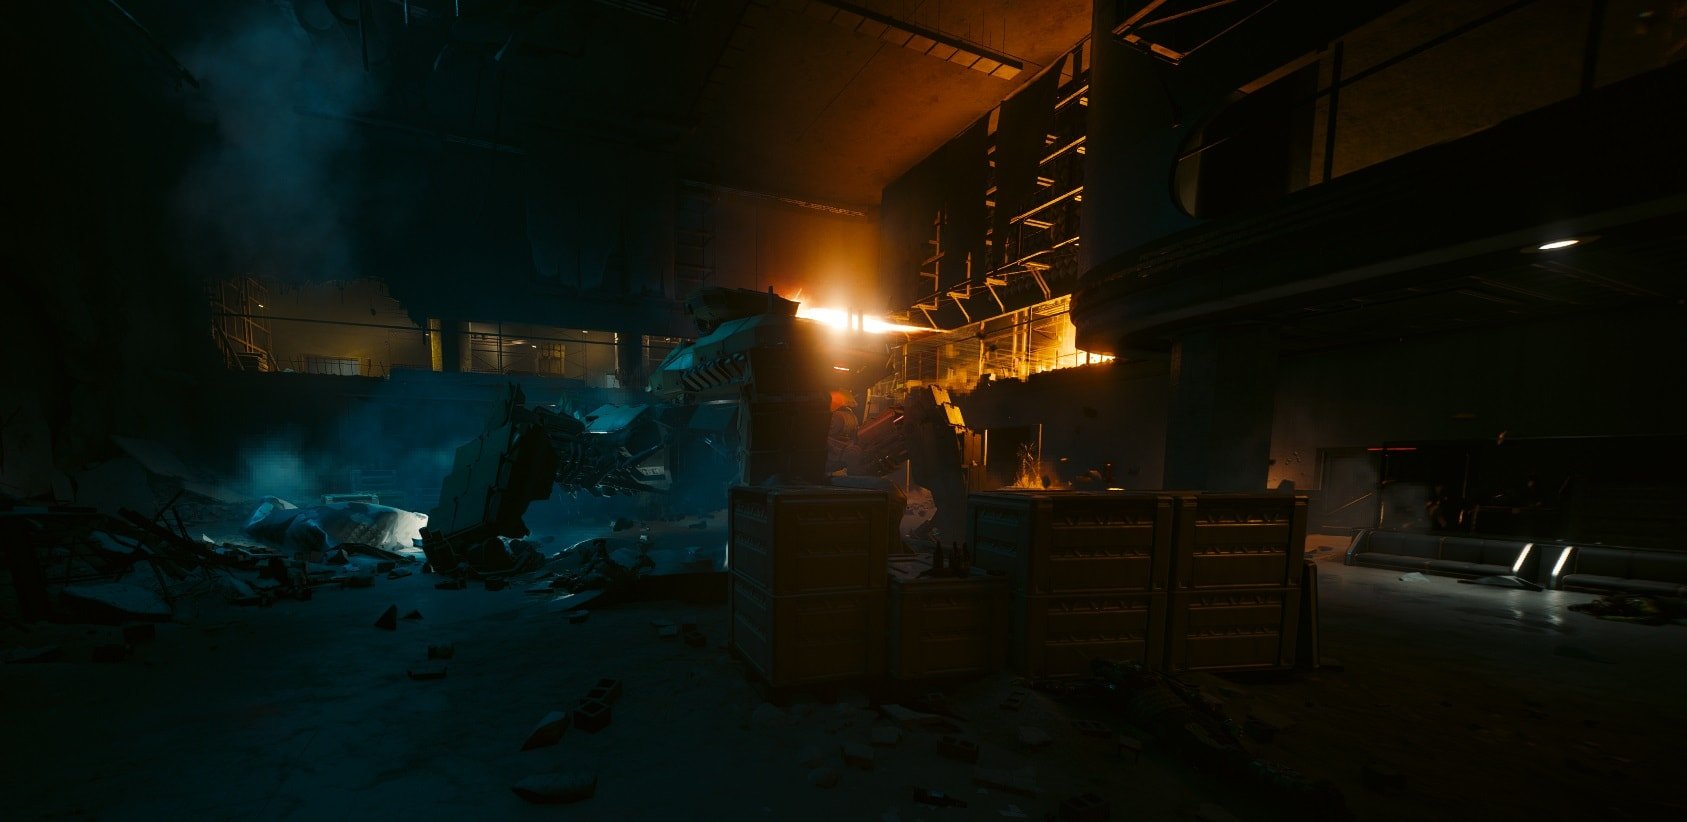
Run from the Chimera
A few moments after your small victory something strange will happen. A cry of pain from Songbird will be heard, communication with her is lost but that’s not the biggest problem. The Chimera is going rampage and you are its objective, run you fool!

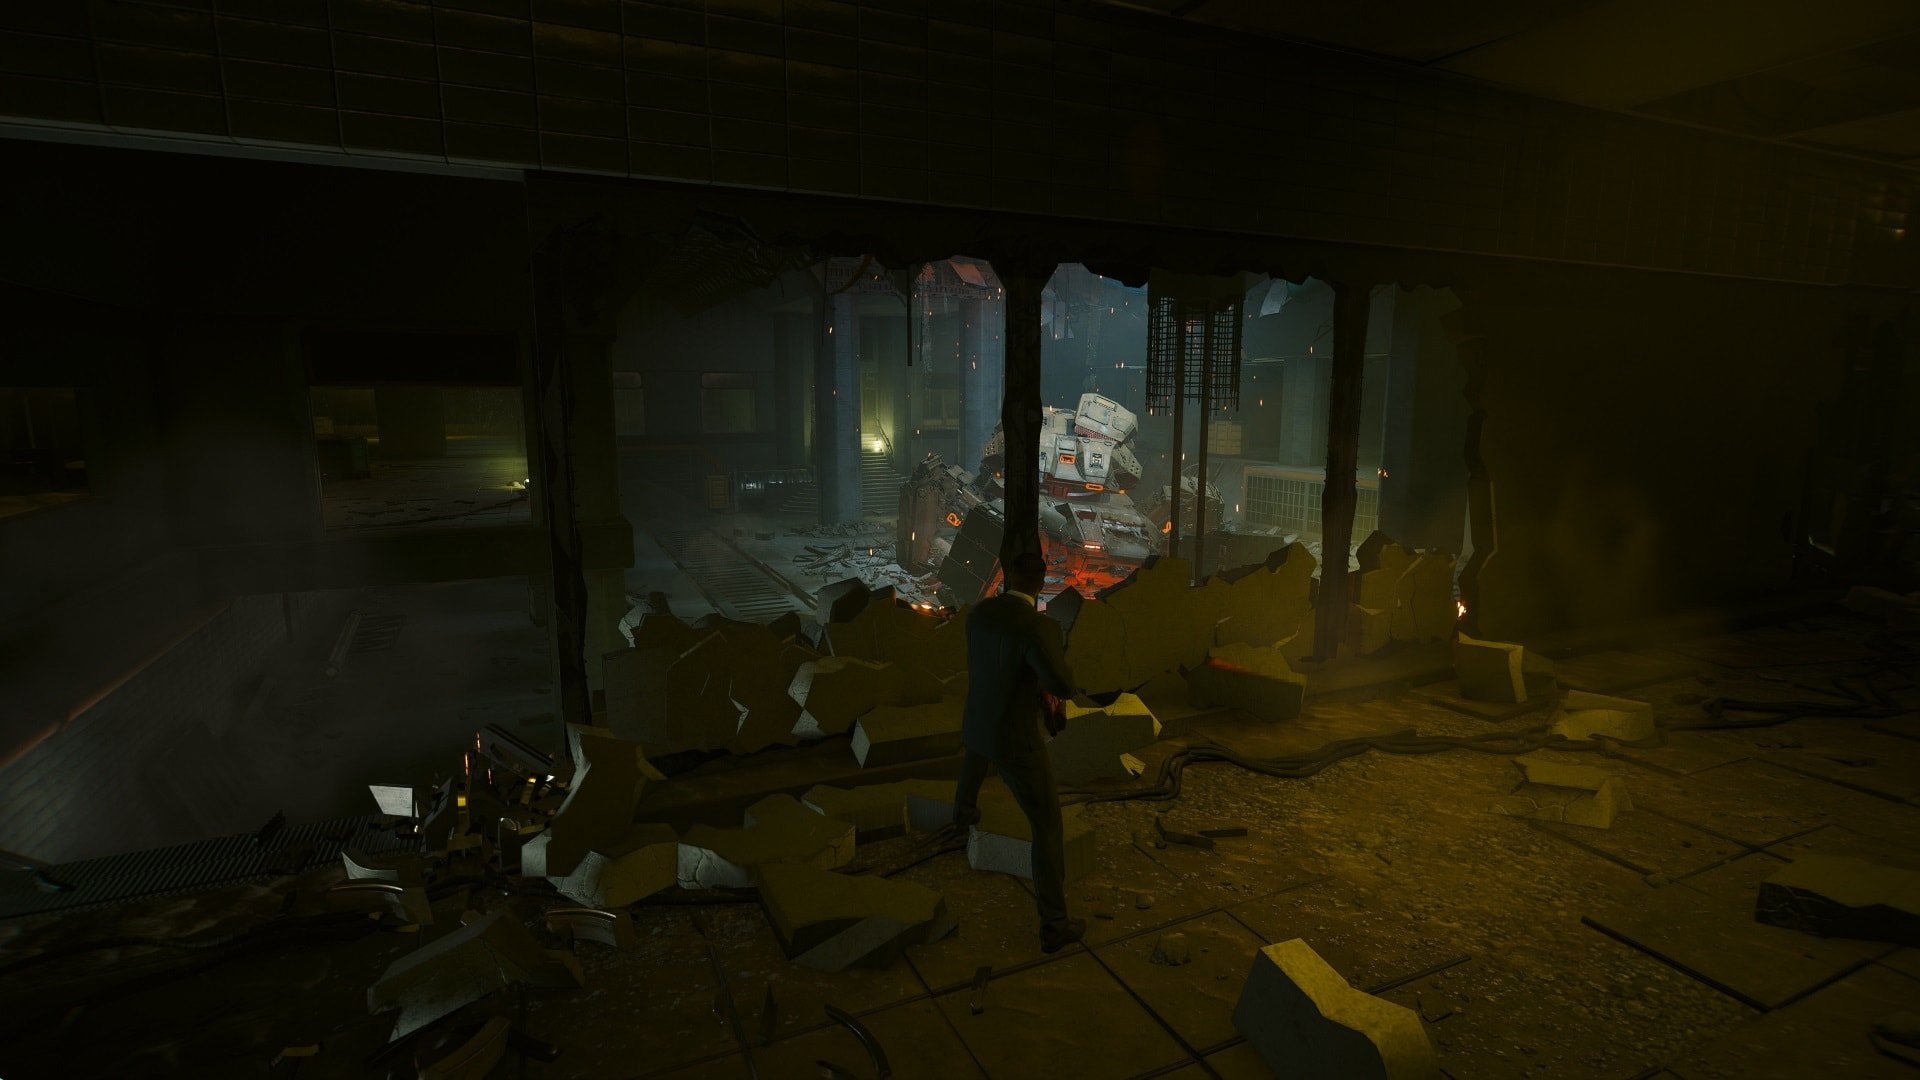
Run until you and Myers reach the area shown on the image below, climb the stairs, and call for the elevator. It will take a few moments for it to arrive. Take cover in one of the two big columns, the Chimera will start shooting a barrage of bullets.

After a small sequence of events, The Chimera, Myers, and yourself will end up on the bottom level of this installation. Prepare your grenades, health items, and weapons because it’s time to take down this war machine and it will not be easy.
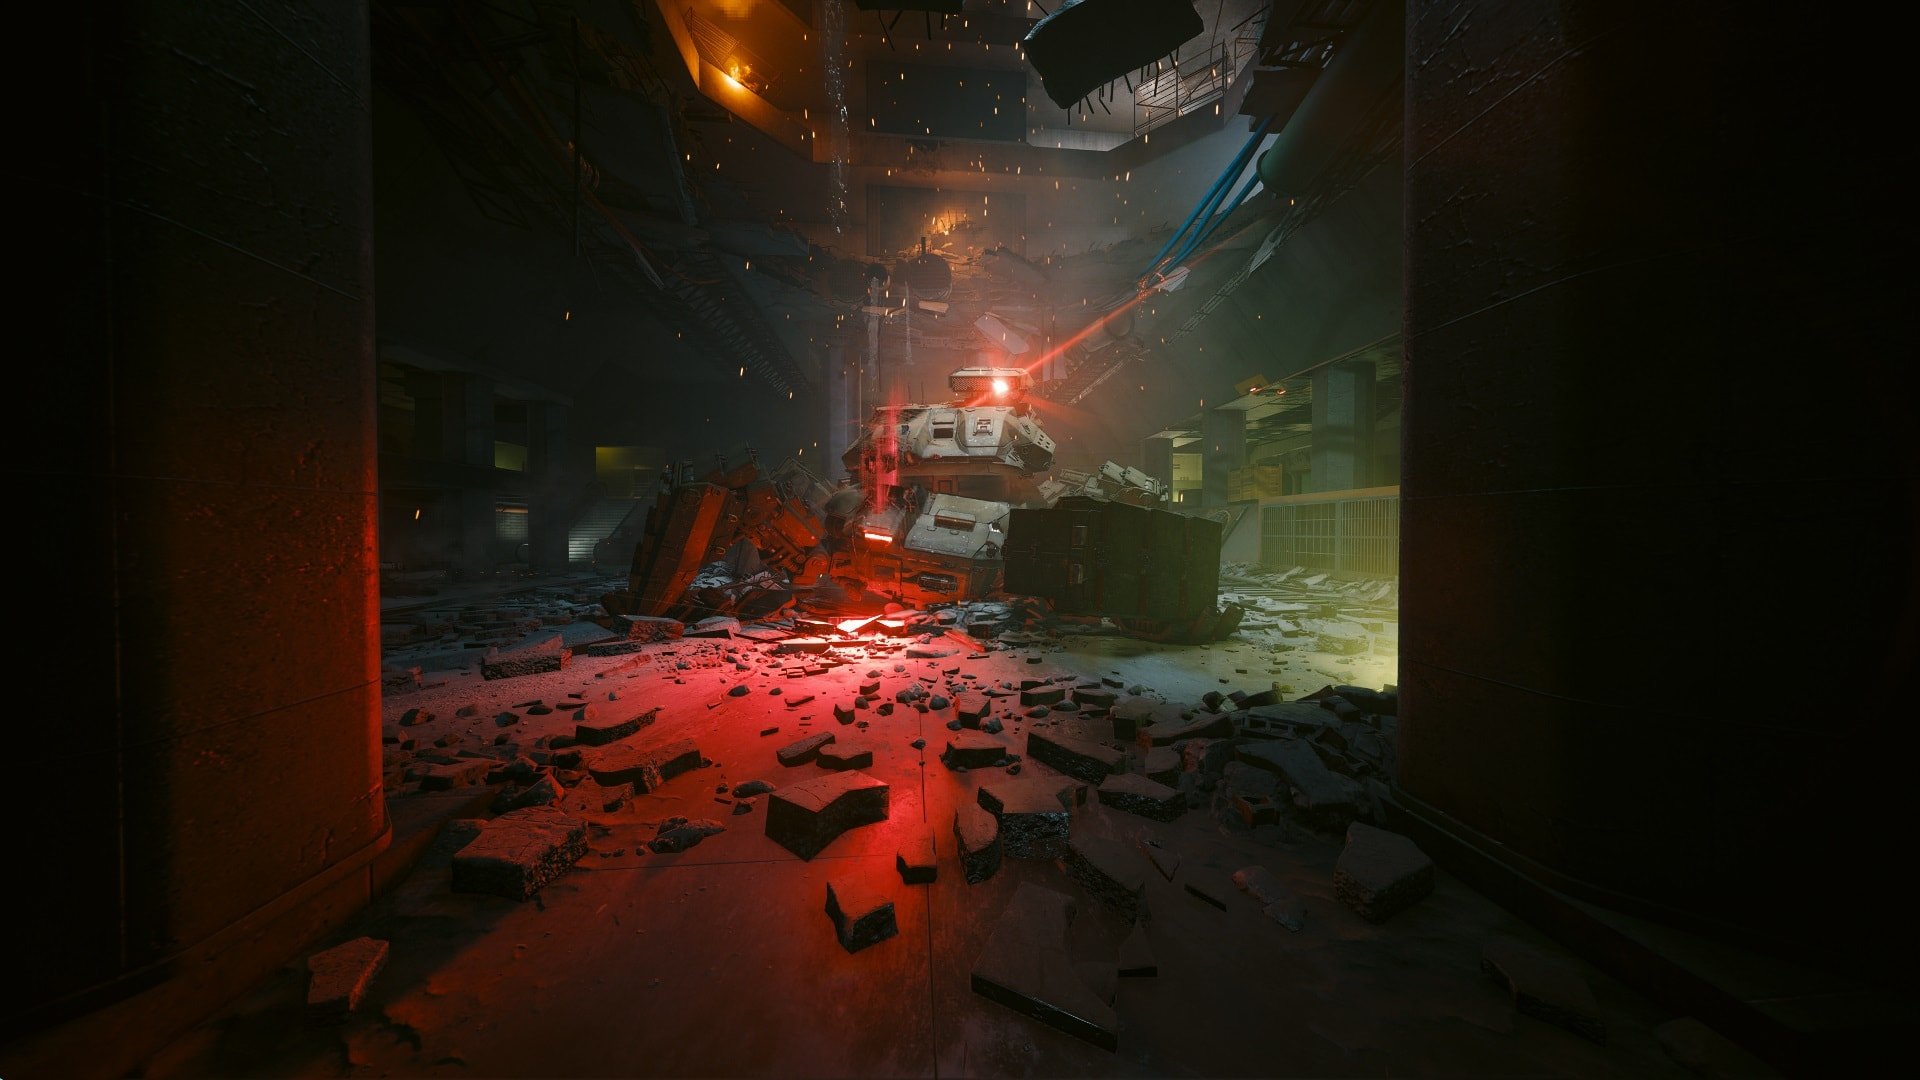
Fight and Defeat the Chimera
It will take the Chimera a few seconds before it is able to stand up, this is a good opportunity to shoot it from a close distance but don’t push it. As soon as it starts getting up I seriously recommend getting as far as possible from it.
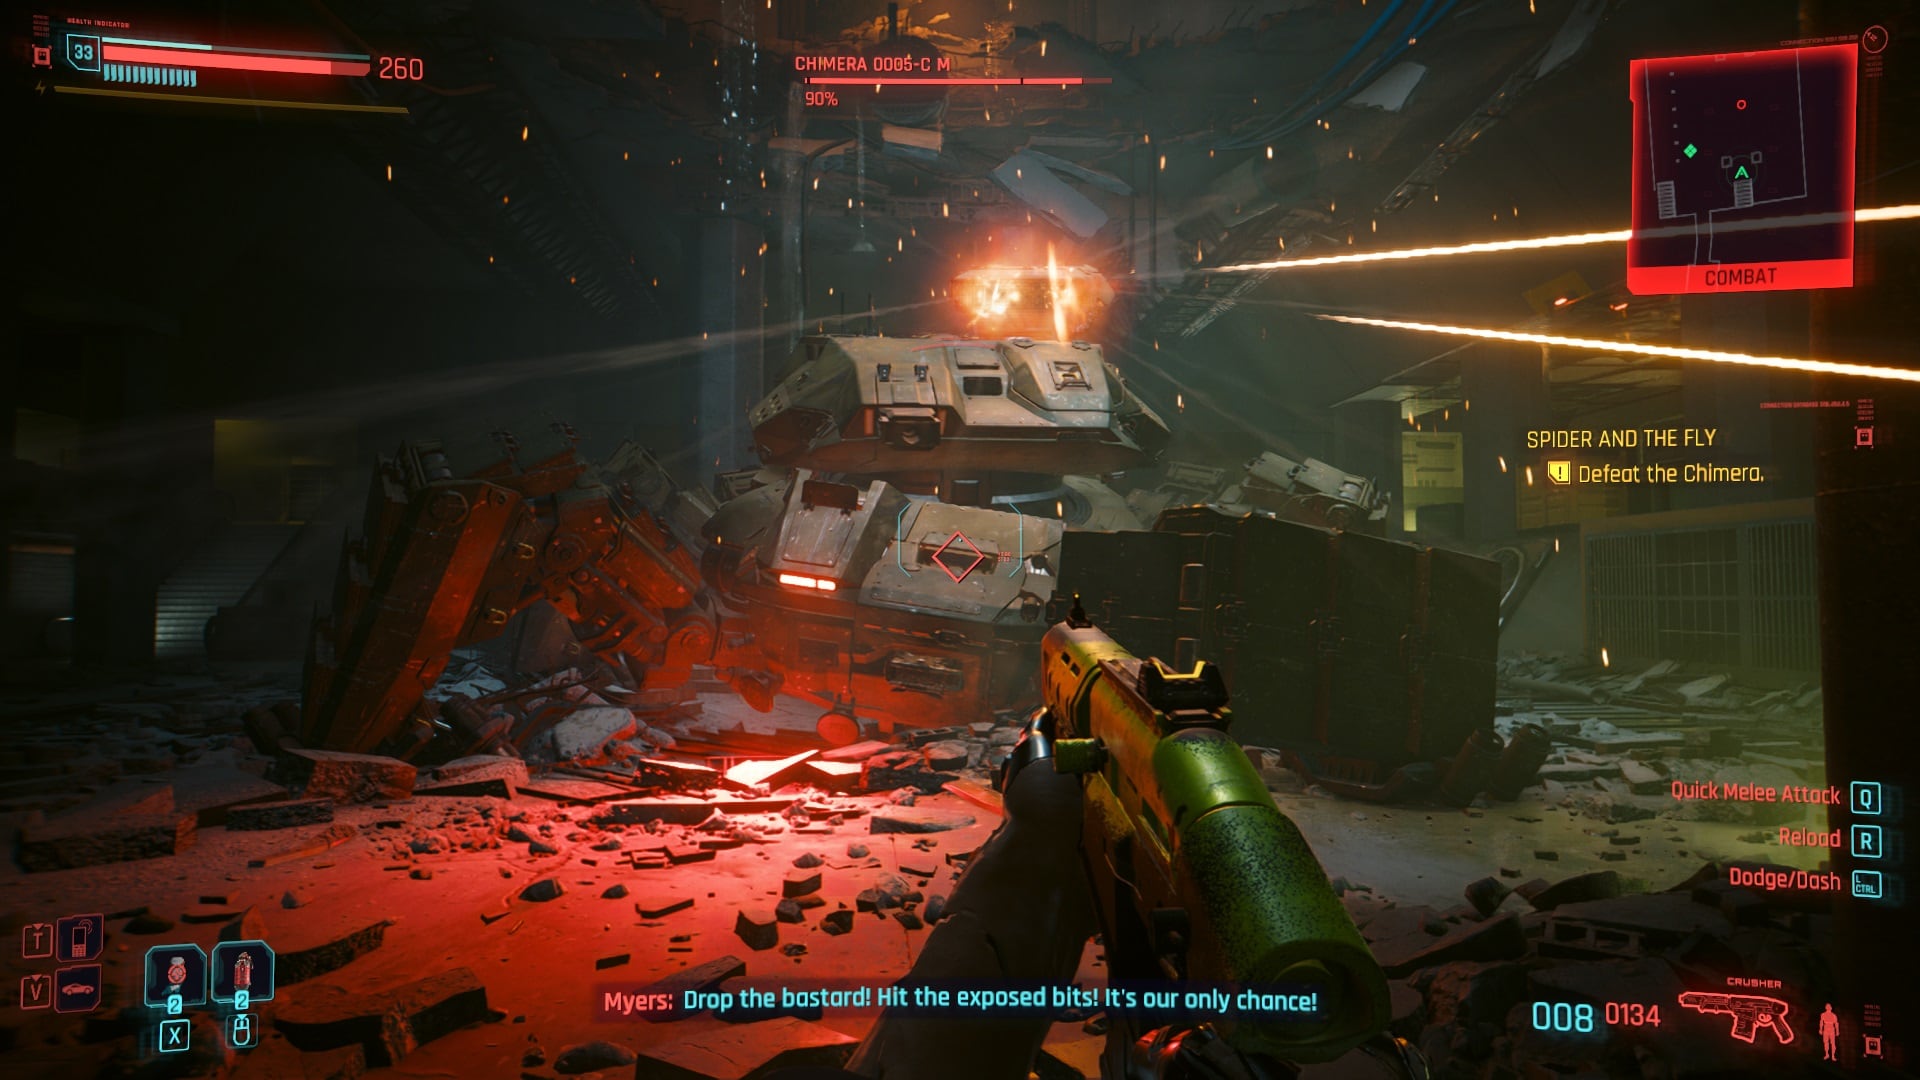
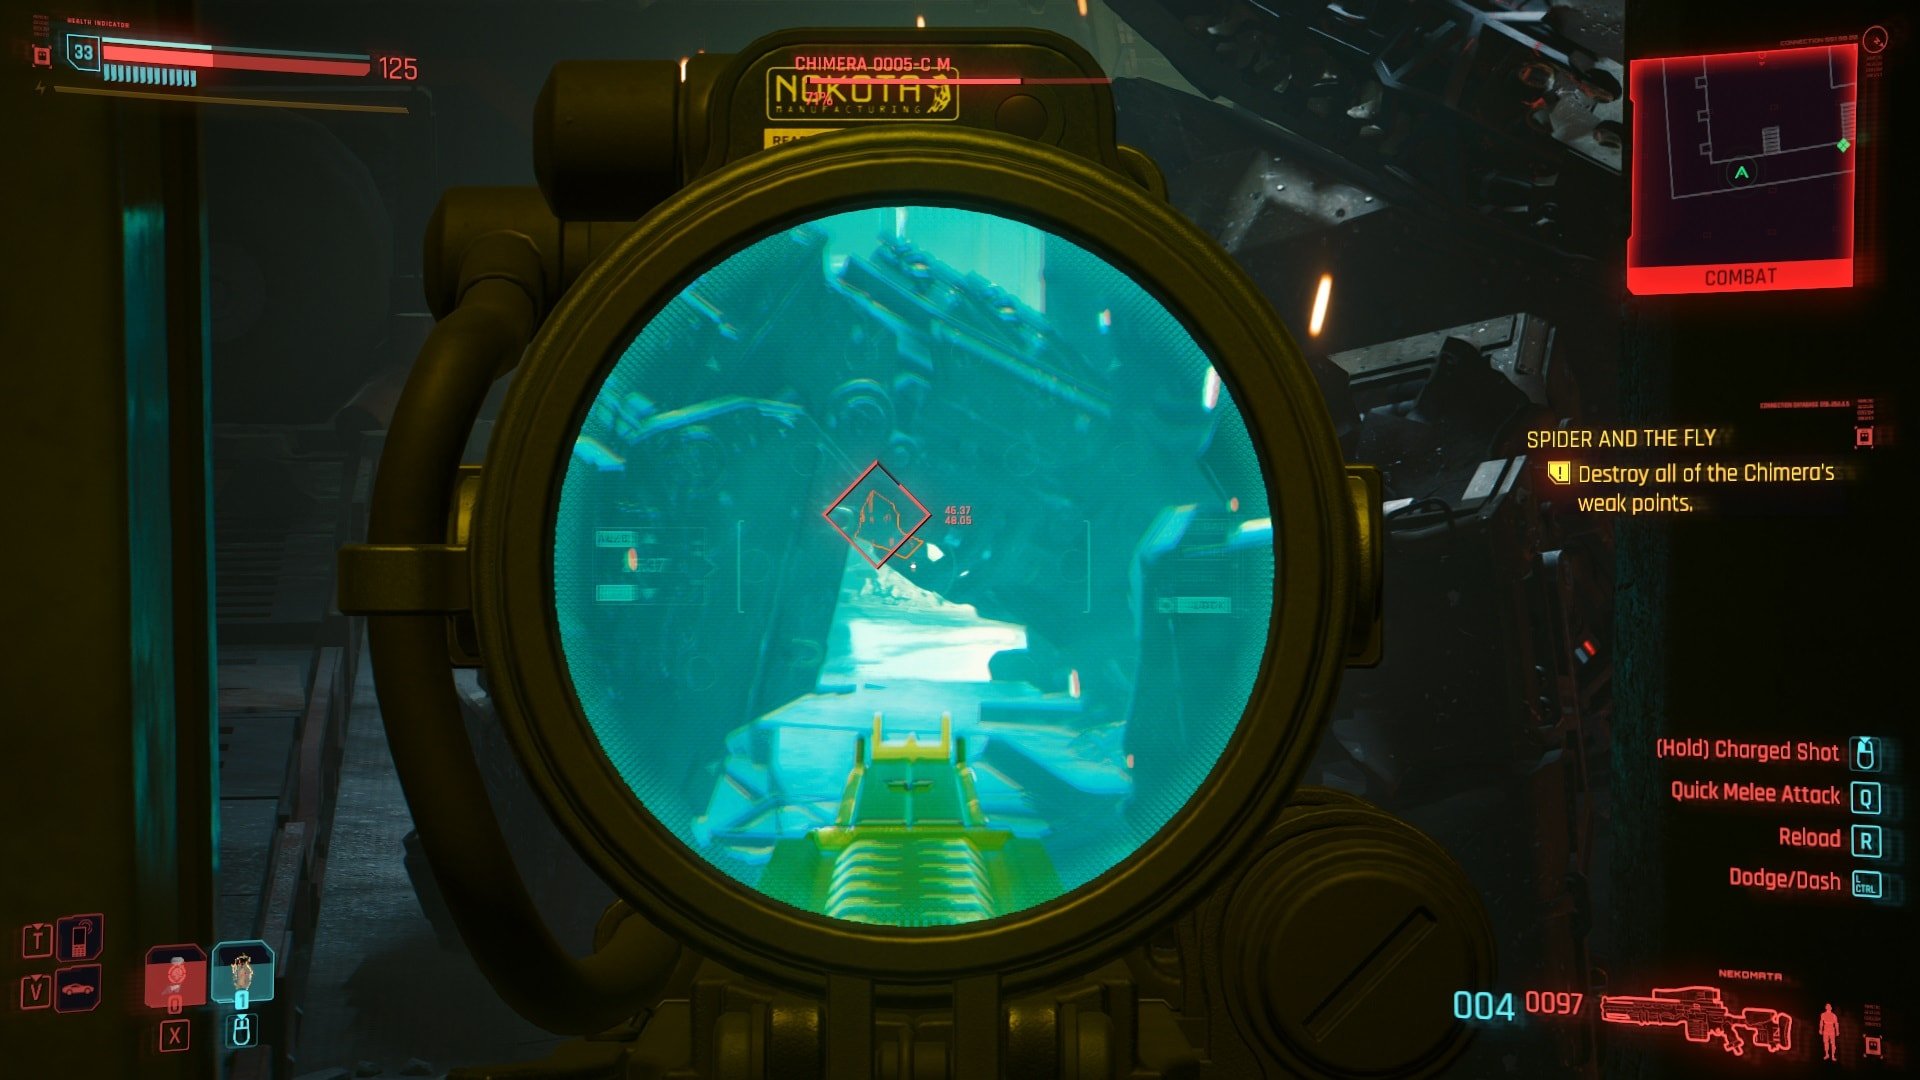
The Chimera has weak points, you can identify them by the orange glow, scanning the Chimera is also very helpful after repositioning.
Shotguns and pistols are probably the worst weapons to use against this enemy. I found the combination of sniper rifle/assault rifle/light machine gun to be pretty effective.

The second floor of this area has lots of walls that are great for finding some cover on critical moments but the Chimera will eventually destroy them.
If this fight lasts too long there will be virtually no place to find cover, if this happens you’ll probably spend more time running and healing than shooting.
One of the strongest weapons in the Chimera’s arsenal is its rockets. There are two types but the ones I’m talking about deal a huge (and I really mean huge) amounts of damage.
The Chimera will try to adjust the trajectory depending on your movement, to know where it is going to land pay attention to the indicator that appears on the floor. It’s not enough to be a few feet away from it, the explosion will still take the majority of your health bar.
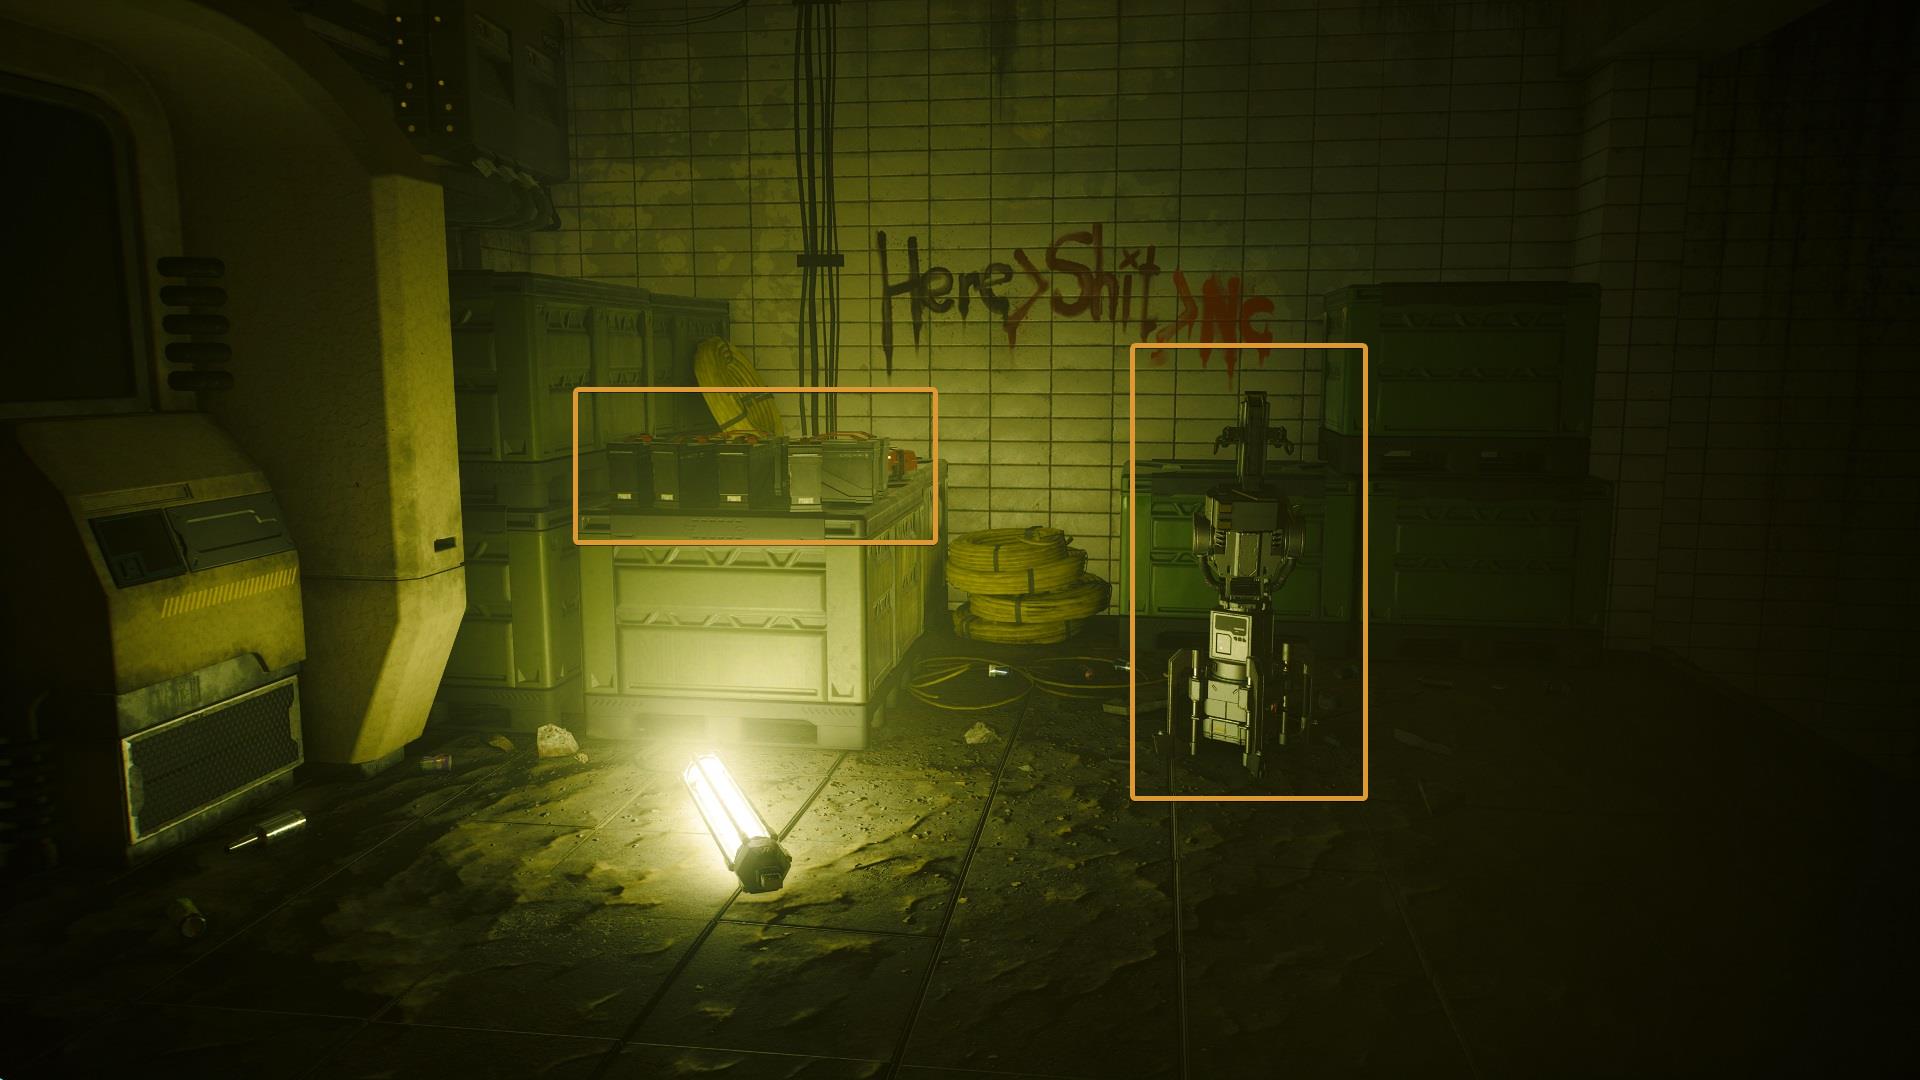
On two of the four corners of the second level, you’ll find lots of ammo and a heavy machine gun that can be detached from a turret. Sadly, these turrets can’t be hacked to serve as support.
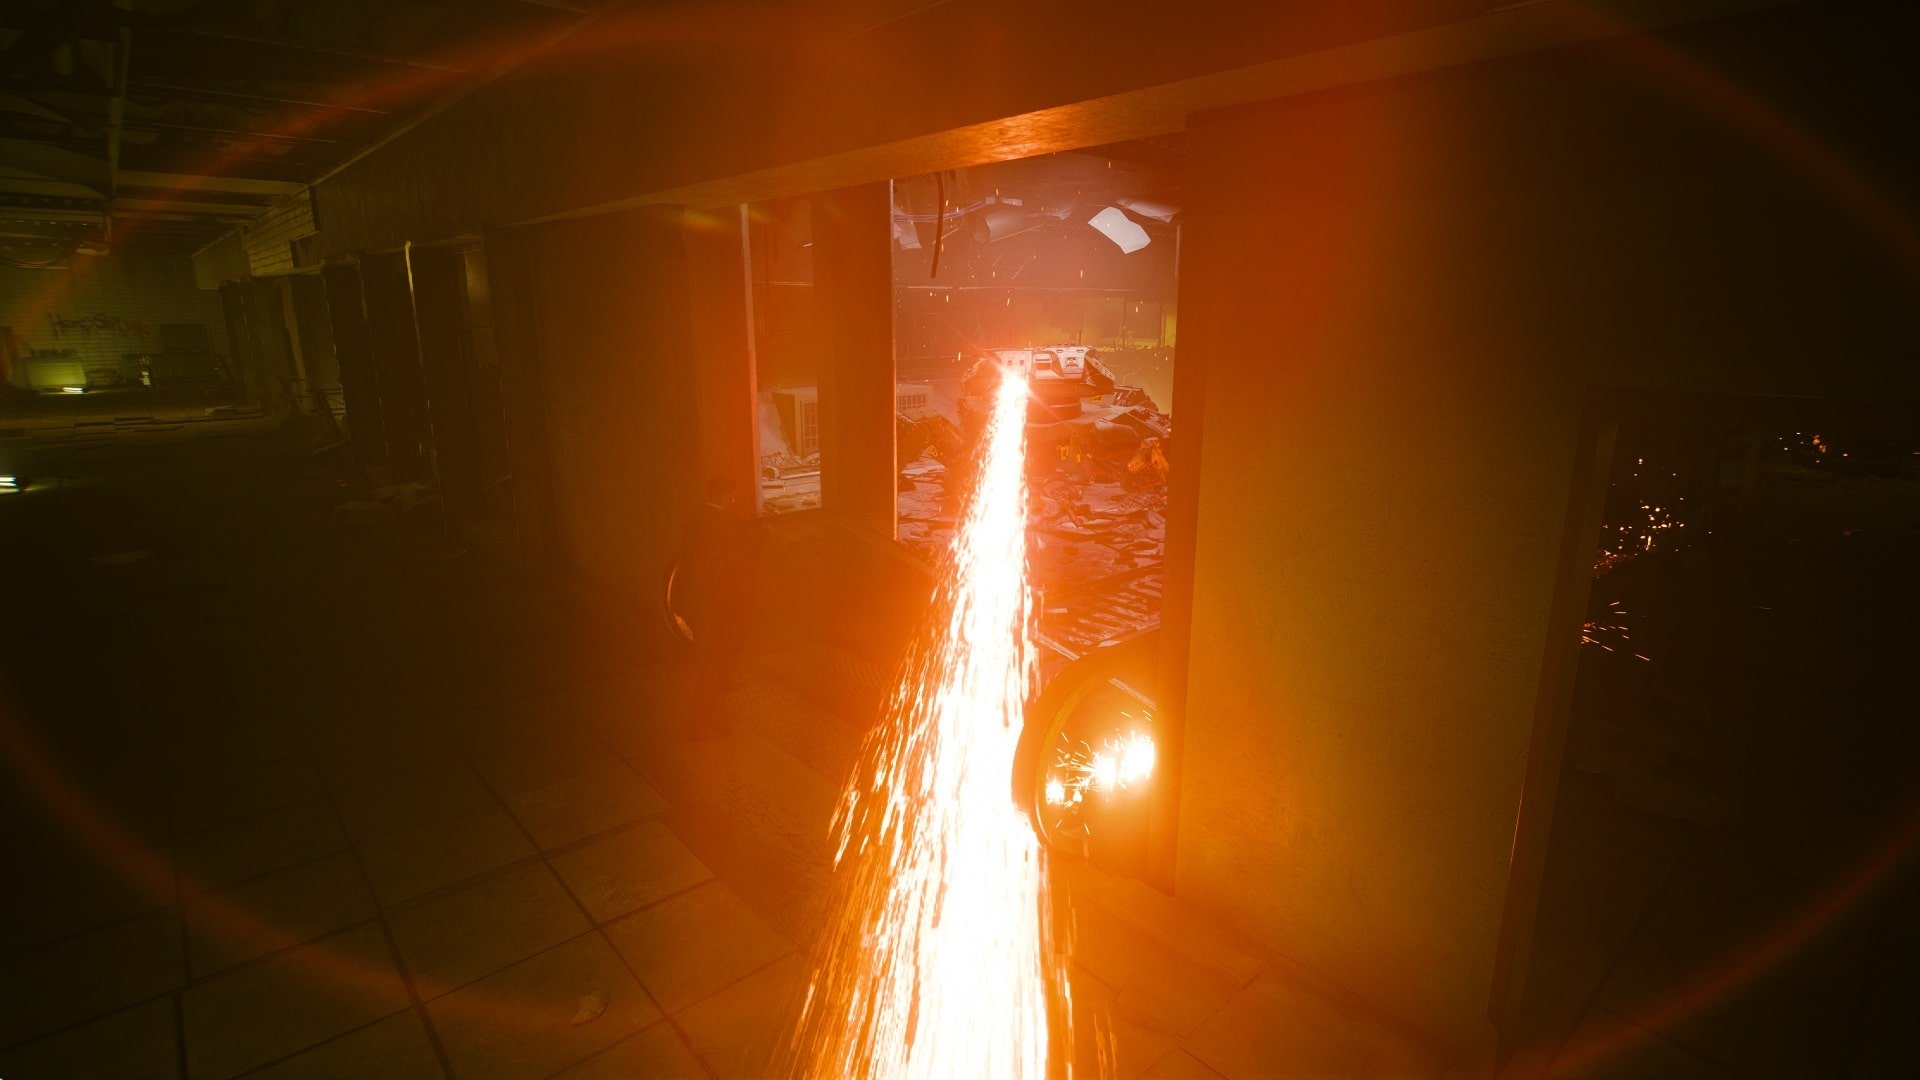
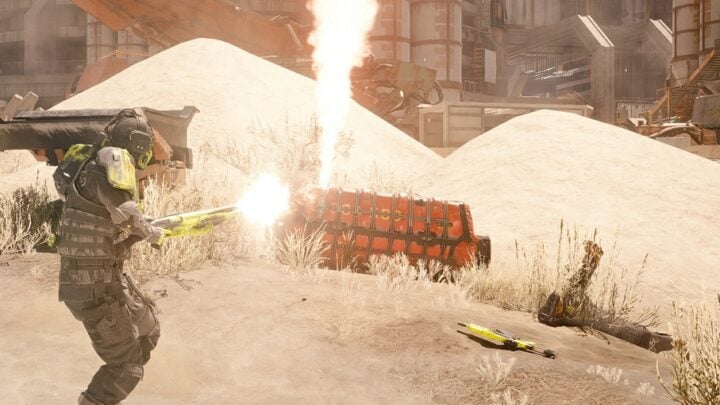
Probably the most intimidating attack is this massive laser beam, the good news is that even if you’re hit for a fraction of a second you won’t get hurt that much (compared to its other weapons).
Ironically, this is the only weapon that doesn’t destroy walls or other structures. Anything solid enough to resist a bullet will serve as cover.
As soon as Phantom Liberty began, V. received three points for the Relic Skill Tree. I highly recommend unlocking the Vulnerability Analytics skill. It allows you to spot the enemy’s weaknesses and this is incredibly useful in this fight, particularly when using a sniper rifle.
After depleting the first health bar of the Chimera, many repair drones will span. There are two big ones that will do the repairs while the smaller ones are going to shoot at you.
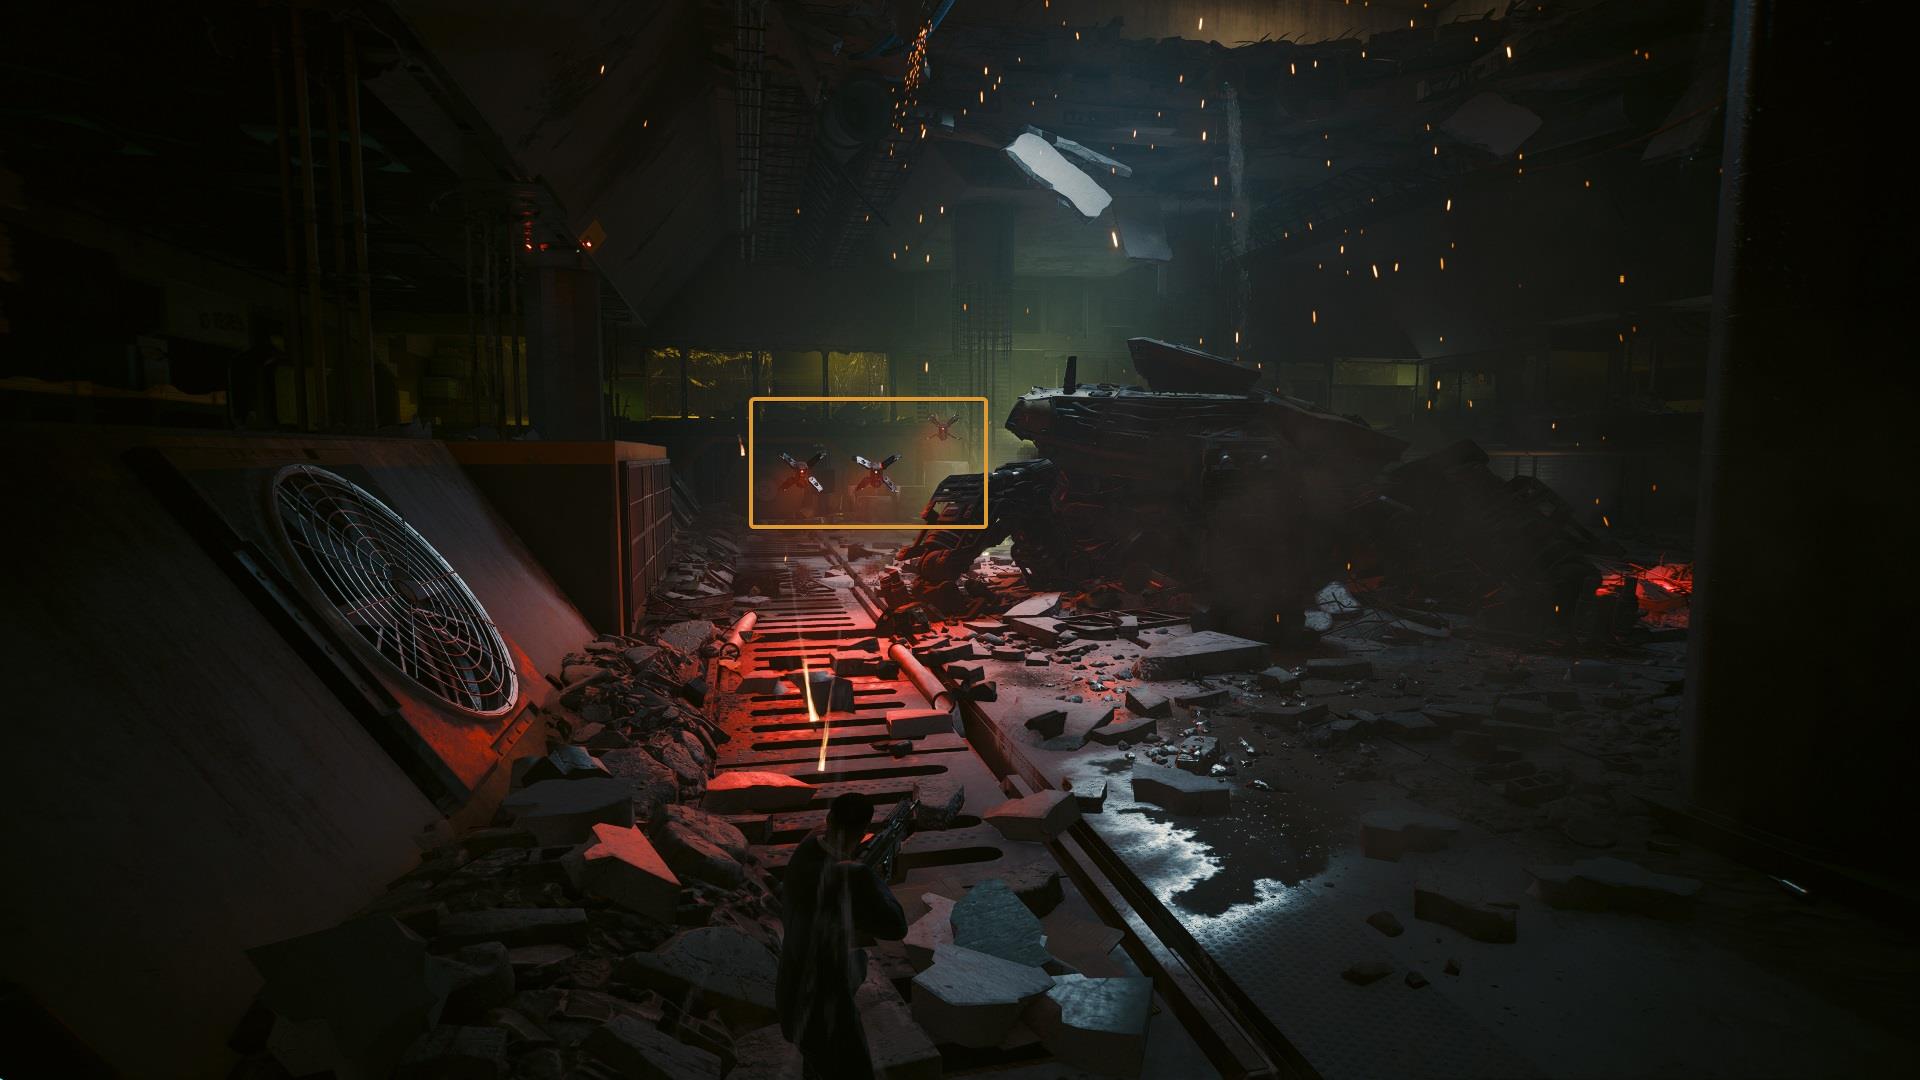
It won’t take long before the Chimera stands up, make sure to eliminate all drones before this happens. Otherwise, there will be a lot of enemies to handle and that’s not something you can afford, especially on higher difficulties.
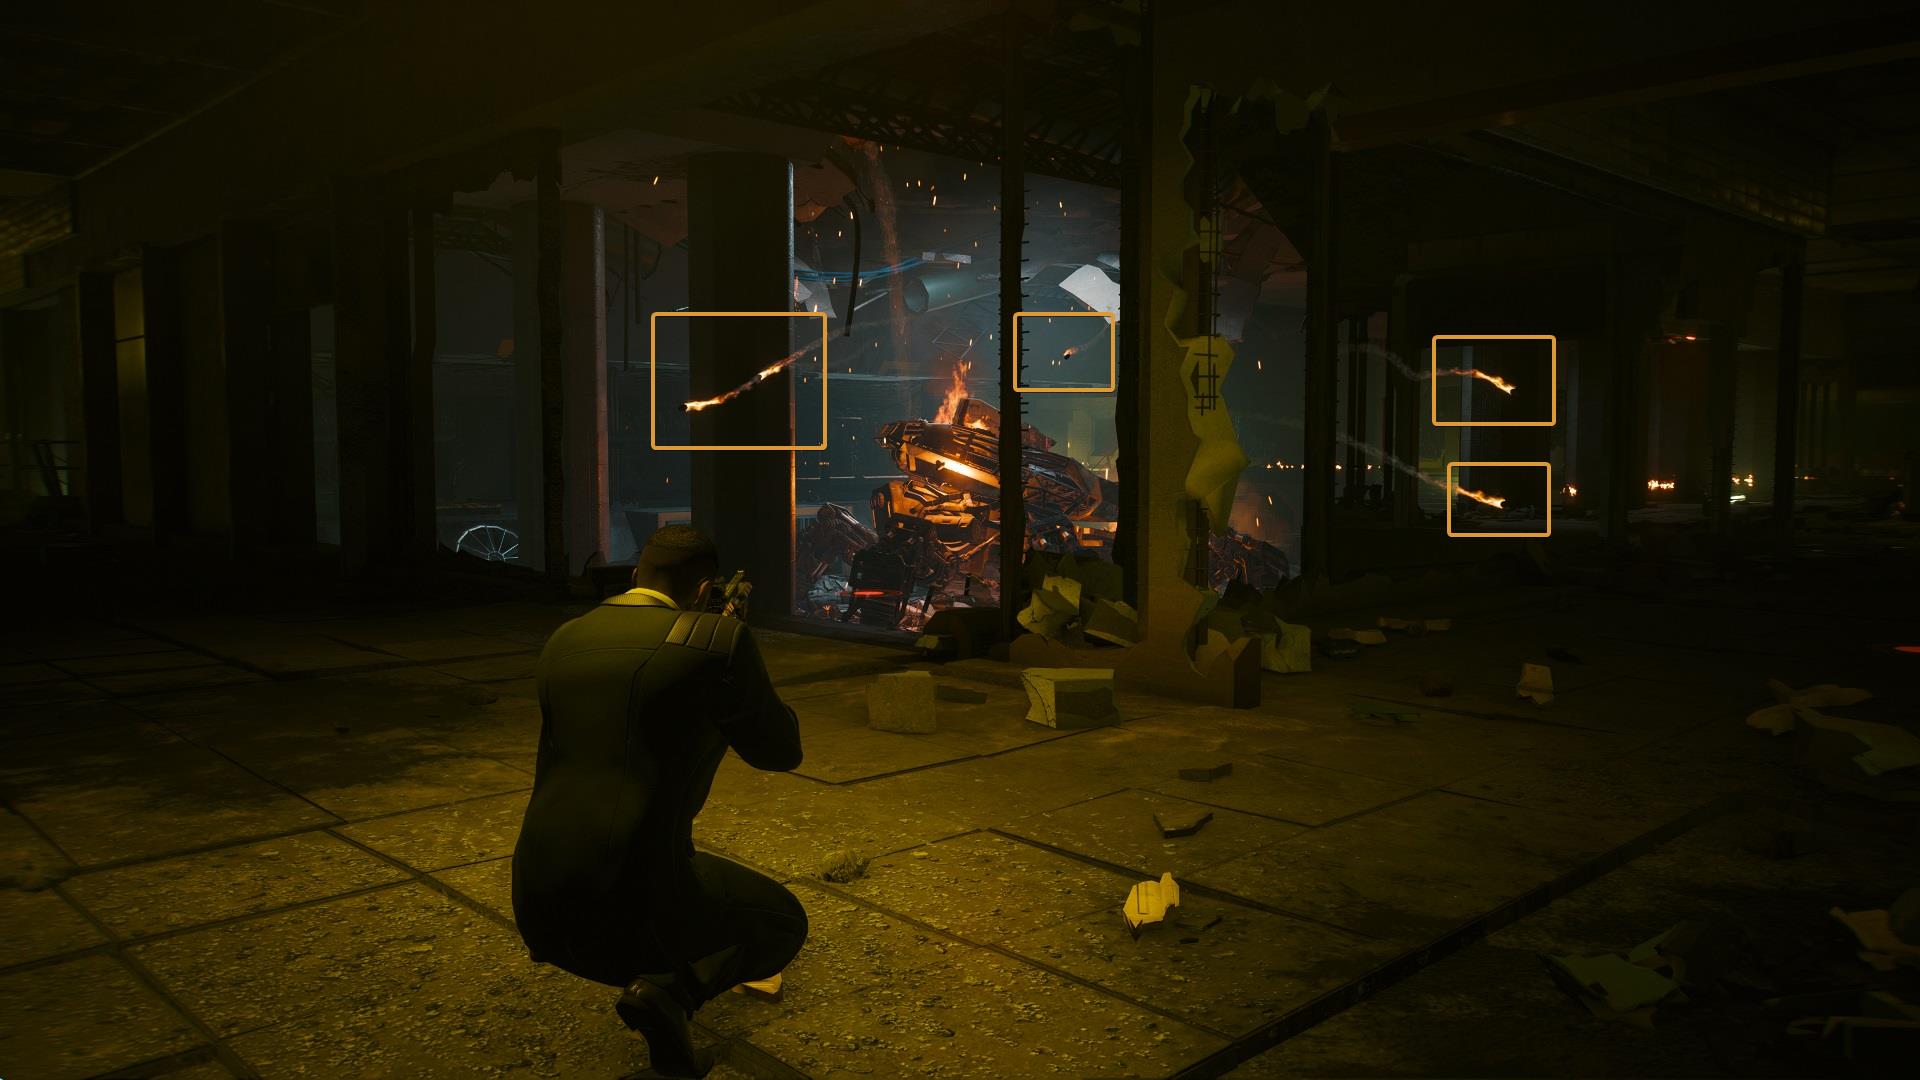
There are some smaller rockets that don’t do as much damage as the previous ones but it shoots multiple of them. One will not leave you agonizing but getting hit by a few is a completely different story. Also, there will be no indicator on the floor to predict the impact.
Once the Chimera is defeated, get close to it and climb. A small sequence will begin in which V takes out the core and then throws a grenade inside it. Congratulations, the Chimera has been defeated!
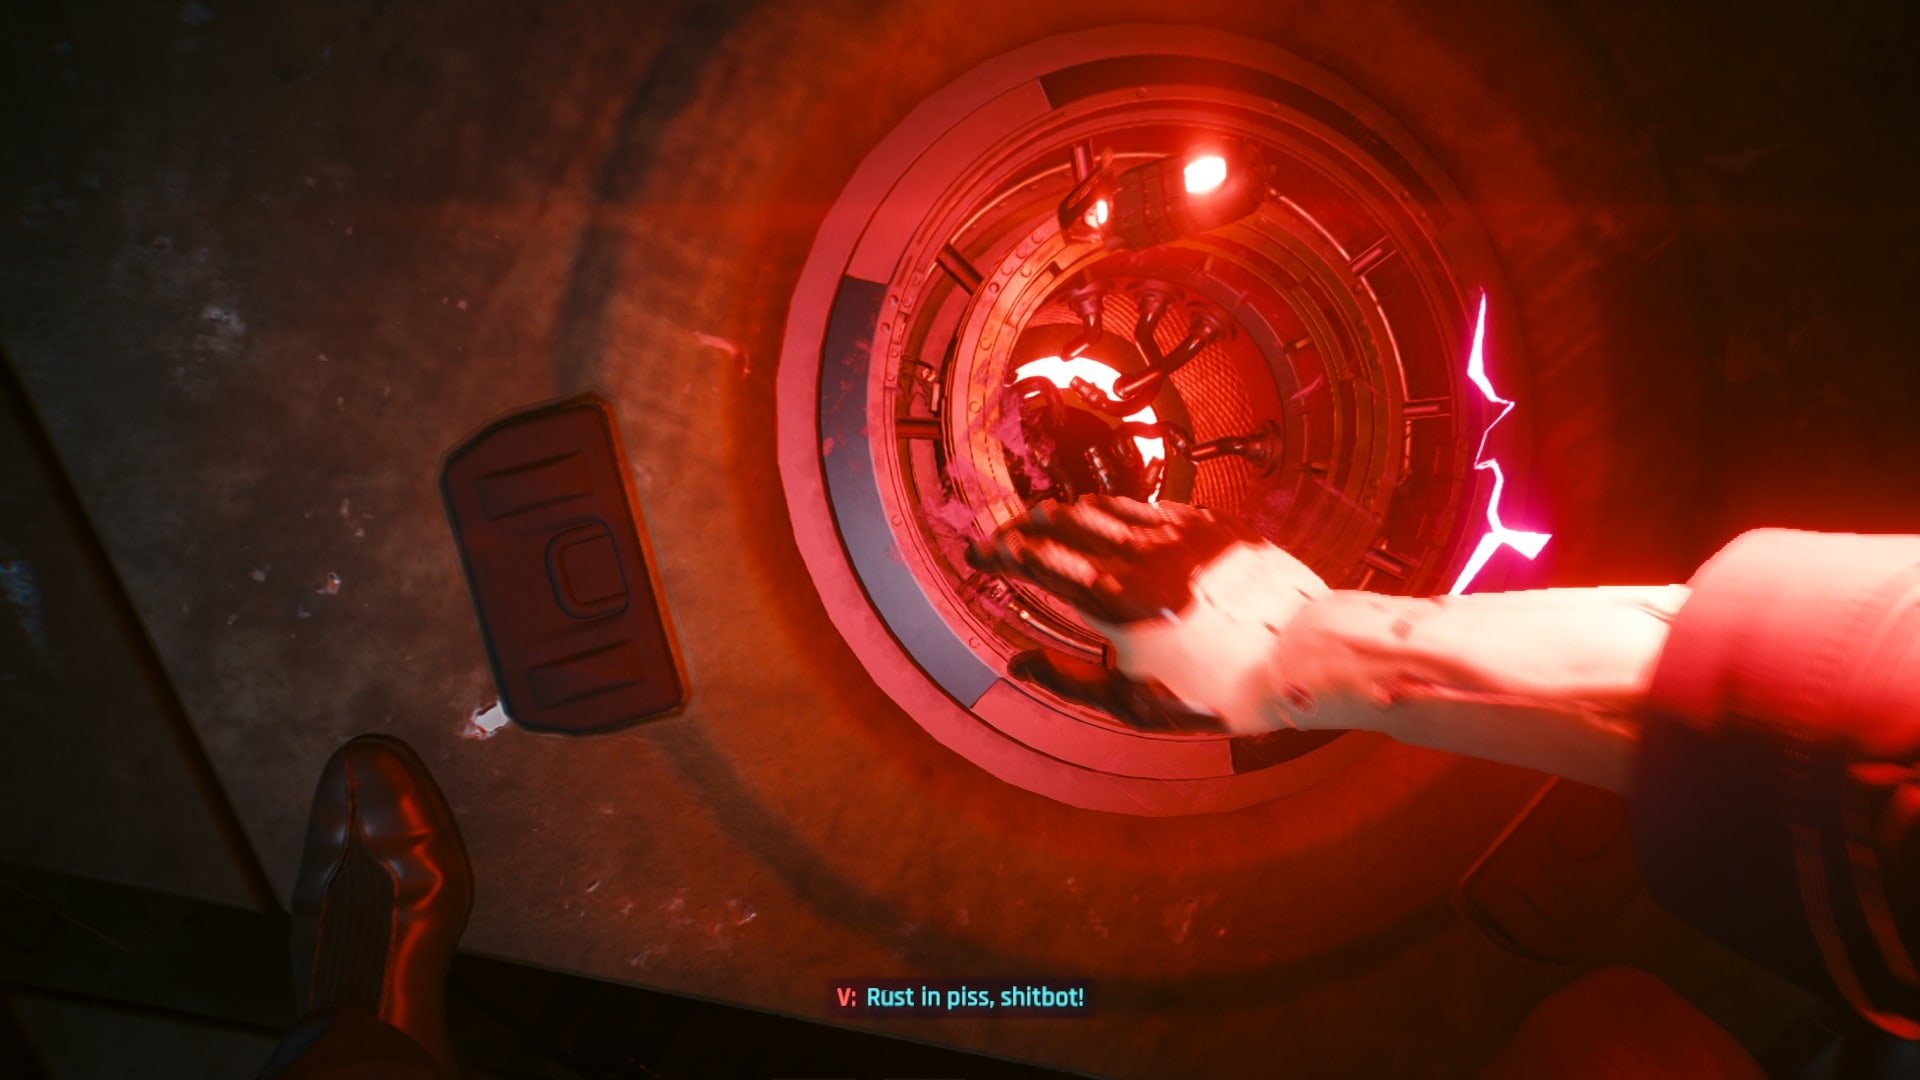
Don’t forget to grab the Active Chimera Core, this will be useful for crafting three different Iconic Weapon Mods.
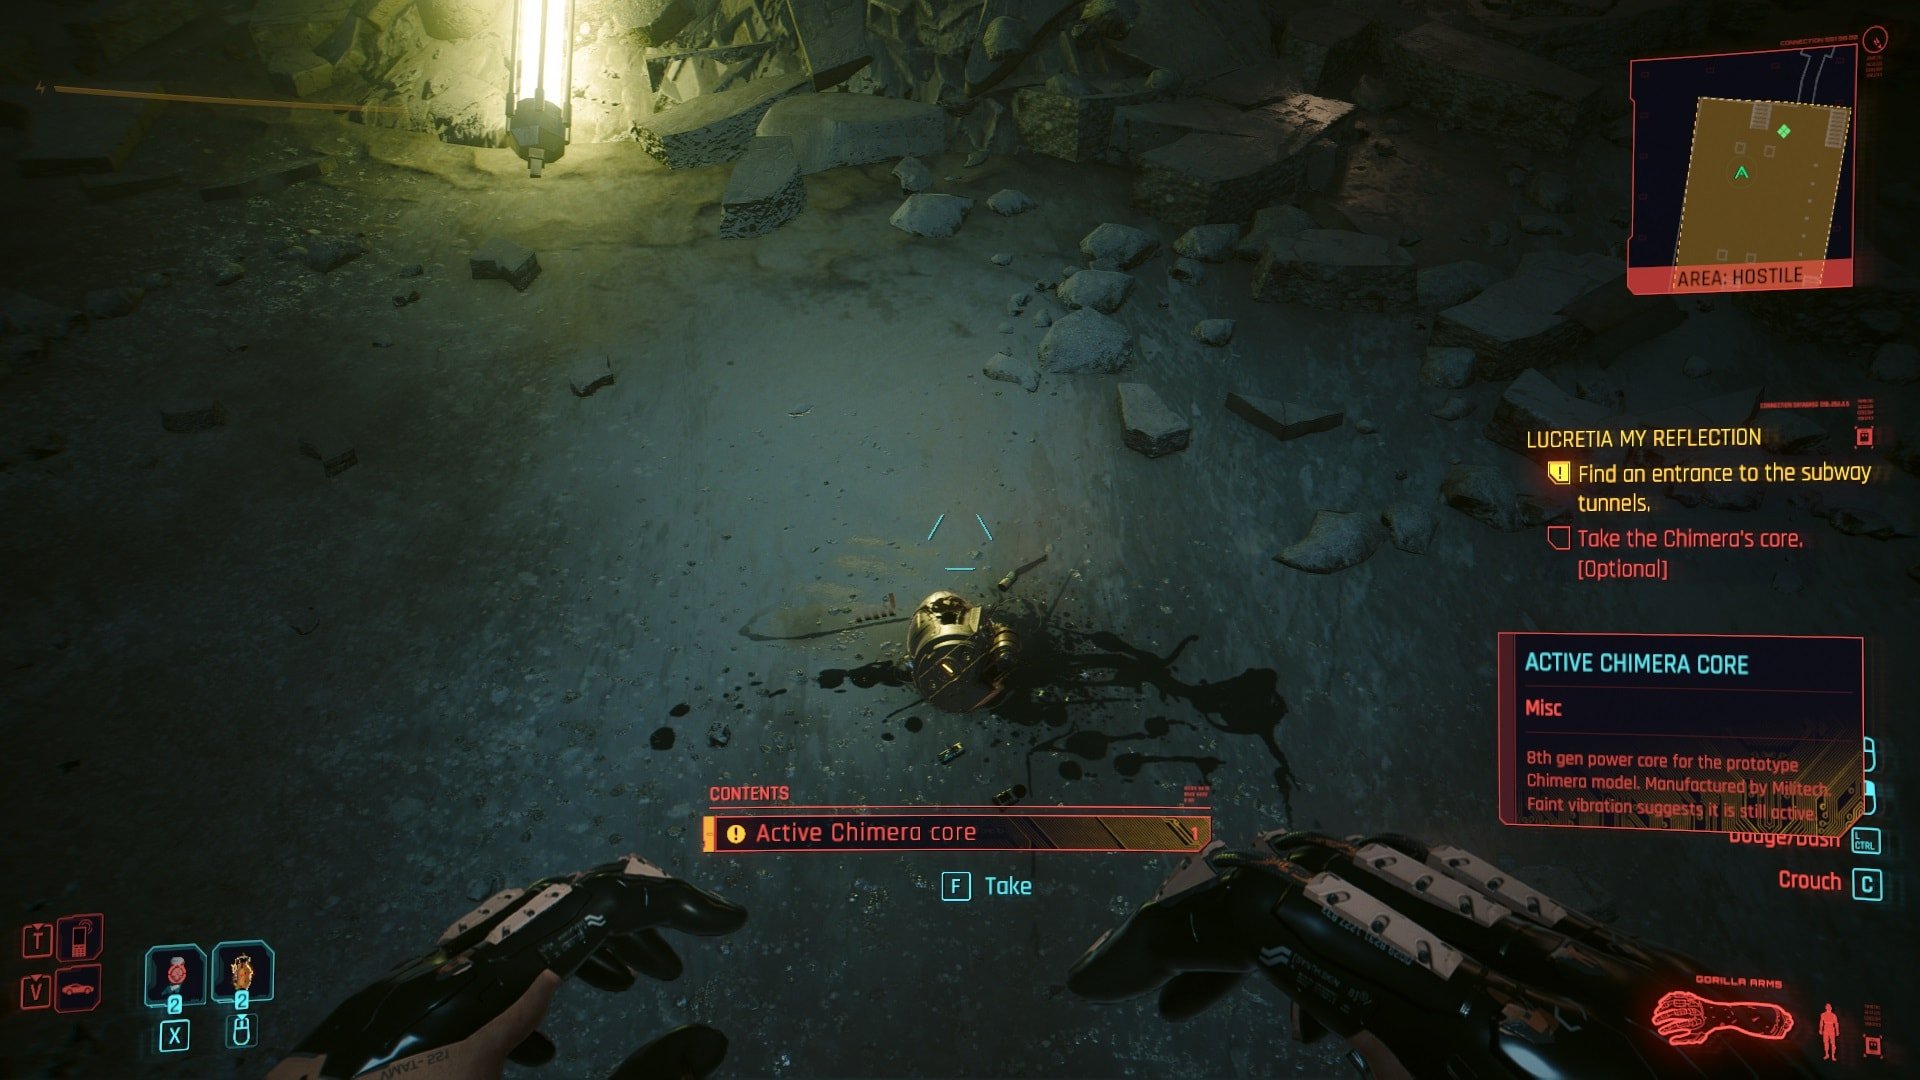
Immediately after defeating the Chimera, the main mission “Lucretia my reflection” will begin. I hope you have enjoyed this guide on how to complete the main job The Spider and the Fly from Phantom Liberty. The main focus of this guide was to explain how to fight and defeat the Chimera unit, which is one of the very few Boss encounters in Cyberpunk 2077.
We have a large collection of guides and a great starting point to find more easily if you are visiting VULKK.com for the first time, is our Cyberpunk 2077 Guides Master List.
Cyberpunk 2077 Phantom Liberty Review (No Spoilers)
An in-depth spoiler-free review of Cyberpunk 2077 Phantom Liberty. Find out what has changed, learn of all new features and our experiences!
How to start Phantom Liberty in Cyberpunk 2077 and go to Dogtown
This guide will tell you everything you need to know about how to start the Phantom Liberty expansion in Cyberpunk 2077 and how to access the new zone in Night City called Dogtown!
Cyberpunk 2077 Lucretia My Reflection Guide: Can You Save Jacob and Taylor
This guide will show you how to start and complete the main mission “Lucretia My Reflection” in Cyberpunk 2077 Phantom Liberty. You will also learn about all of the possible outcomes and the required choices in order to get them!
You Know My Name Walkthrough: Cyberpunk 2077 Phantom Liberty
This guide will show you how to complete the main job “You know my name” from Cyberpunk 2077’s expansion Phantom Liberty! The walkthrough details each step you must take and all of the possible outcomes.

Firestarter Walkthrough: Cyberpunk 2077 Phantom Liberty
This guide will show you how to complete the main job “Firestarter” from Cyberpunk 2077’s expansion Phantom Liberty! The walkthrough details each step you must take and the possible outcomes.

The Killing Moon Walkthrough: Cyberpunk 2077 Phantom Liberty
This guide will show you how to complete the main job “The Killing Moon” from Cyberpunk 2077’s expansion Phantom Liberty! The walkthrough details each step you must take and the possible outcomes.
Cyberpunk 2077 Black Steel in the Hour of Chaos Guide
This guide will show you how to complete the main job “Black Steel in the Hour of Chaos” from Cyberpunk 2077’s expansion Phantom Liberty! The walkthrough details each step you must take to ambush the Convoy that transports So Mi and defeat the MaxTac team.
Somewhat Damaged Walkthrough: Cyberpunk 2077 Phantom Liberty
This guide will show you how to complete the main job “Somewhat Damaged” from Cyberpunk 2077’s expansion Phantom Liberty! The walkthrough details each step you must take to fully explore the environment and avoid getting caught by the patrolling Cerberus unit.

Cyberpunk 2077 Phantom Liberty Endings Guide: How to unlock all of them
This guide will show you how to get all Cyberpunk 2077 Phantom Liberty endings and how to unlock the new ending for the base game! Here you will find all the step to unlock the endings, all the rewards, achievements, and an explanation of the fate of all characters involved!
Cyberpunk 2077 Phantom Liberty 1R-0NC-LAD Scavenger Hunt Guide
This guide will show you how to start one of the secret missions in Cyberpunk 2077 Phantom Liberty – a scavenger hunt to solve the mystery of the broken robot 1R-0NC-LAD (Ironclad) in Dogtown’s stadium!
Cyberpunk 2077 Dogtown Airdrops Guide: Watch for the Red Smoke
This quick guide explains the purpose of the red smoke marking Airdrops in Dogtown and what you can get from completing these mini-events in Cyberpunk 2077 Phantom Liberty!
No Easy Way Out Walkthrough: Cyberpunk 2077 Phantom Liberty
This guide will show you how to complete the side job “No Easy Way Out” from Cyberpunk 2077’s expansion Phantom Liberty! The walkthrough details each step you must take and the possible outcomes.
Dogtown Saints Walkthrough: Should you kill or spare Nika in Cyberpunk 2077 Phantom Liberty
This guide will show you how to start and complete the gig “Dogtown Saints” from Cyberpunk 2077’s expansion Phantom Liberty! The walkthrough details each step you must take and the available choices and consequences.
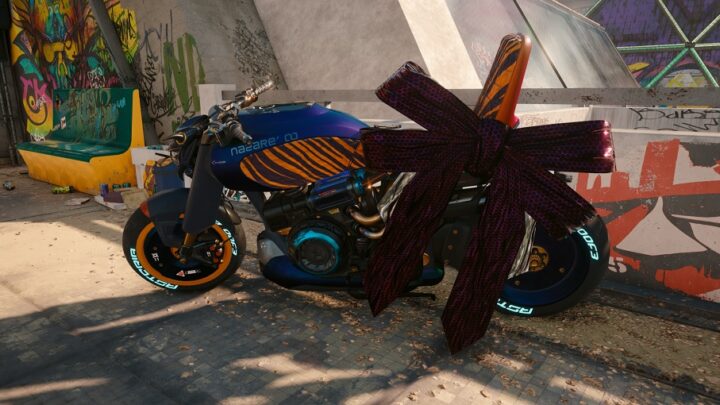
Dazed And Confused Walkthrough: How to get Lina Malina's Bike in Cyberpunk 2077 Phantom Liberty
This guide will show you how to complete the side job “Dazed and Confused” from Cyberpunk 2077’s expansion Phantom Liberty and how to get the Lina Malina's Bike, the Malina-Mobile, an almost-free bike you can get in Dogtown! The walkthrough details each step you must take to obtain this fantastic ride.
Balls To The Wall Walkthrough: Cyberpunk 2077 Phantom Liberty
This guide will show you how to start and complete the side job “Balls To The Wall” from Cyberpunk 2077’s expansion Phantom Liberty! The walkthrough details each step you must take and the possible outcomes.
Prototype In The Scraper Walkthrough: Should you Let Hasan Go, Cyberpunk 2077 Phantom Liberty
This guide will show you how to start and complete the gig “Prototype in the scraper” from Cyberpunk 2077’s expansion Phantom Liberty! The walkthrough details each step you must take and the available choices and consequences.
Should You Shoot Leon Rinder: Cyberpunk 2077 The Man Who Killed Jason Foreman
This guide will show you how to complete the side job “The Man Who Killed Jason Foreman” from Cyberpunk 2077’s expansion Phantom Liberty! The walkthrough details each step you must take and all the possible outcomes

Shot By Both Sides Walkthrough: Should you protect Bree, Cyberpunk 2077 Phantom Liberty
This guide will show you how to start and complete the side job “Shot by both sides” from Cyberpunk 2077’s expansion Phantom Liberty! The walkthrough details each step you must take and the available choices and consequences.

Cyberpunk 2077 Treating Symptoms Guide: What to do with Milko
This guide will show you how to complete the Gig “Treating Symptoms” from Cyberpunk 2077’s expansion Phantom Liberty! The walkthrough details each step you must take and the possible endings whether you leave Allen to finish or take down Milko right away!

Talent Academy Walkthrough: Cyberpunk 2077 Phantom Liberty
This guide will show you how to complete the gig "Talent Academy" from Cyberpunk 2077's expansion Phantom Liberty! The walkthrough details each step you must take and the available choices.

Spy In The Jungle Walkthrough: Cyberpunk 2077 Phantom Liberty
This guide will show you how to start and complete the gig “Spy in the Jungle” from Cyberpunk 2077’s expansion Phantom Liberty! The walkthrough details each step you must take and the available choices and consequences.
Run This Town: Who should rule Dogtown, Cyberpunk 2077 Phantom Liberty Guide
This guide will show you how to start and complete the side job “Run this town” from Cyberpunk 2077’s expansion Phantom Liberty! The walkthrough details each step you must take and the available choices and consequences.

All New Tarot Card Locations in Cyberpunk 2077 Phantom Liberty
This guide will show you the locations of all four new Tarot Cards available in Dogtown, Night City’s Combat Zone, released with Cyberpunk 2077’s Phantom Liberty Expansion!

How to get a Free Outlaw Car in Cyberpunk 2077 Phantom Liberty: Baby Take Me Home Guide
This guide will show you how to complete the side job “Baby Take Me Home” from Cyberpunk 2077’s expansion Phantom Liberty and get the free Outlaw Car, the only free car you can get in Dogtown! The walkthrough details each step you must take to obtain this badass ride.
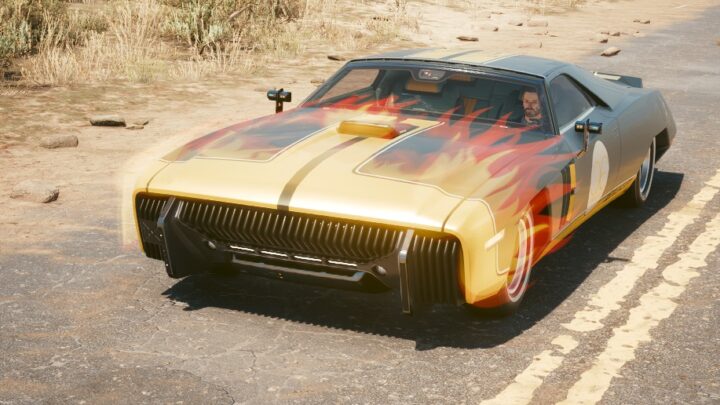
Cyberpunk 2077 Moving Heat: How to get the Sport R-7 "Charon" Flaming Car
This guide will show you how to complete the side job "Moving Heat" from Cyberpunk 2077’s expansion Phantom Liberty! The walkthrough details each step you must take to acquire the Sport R-7 "Charon" car.