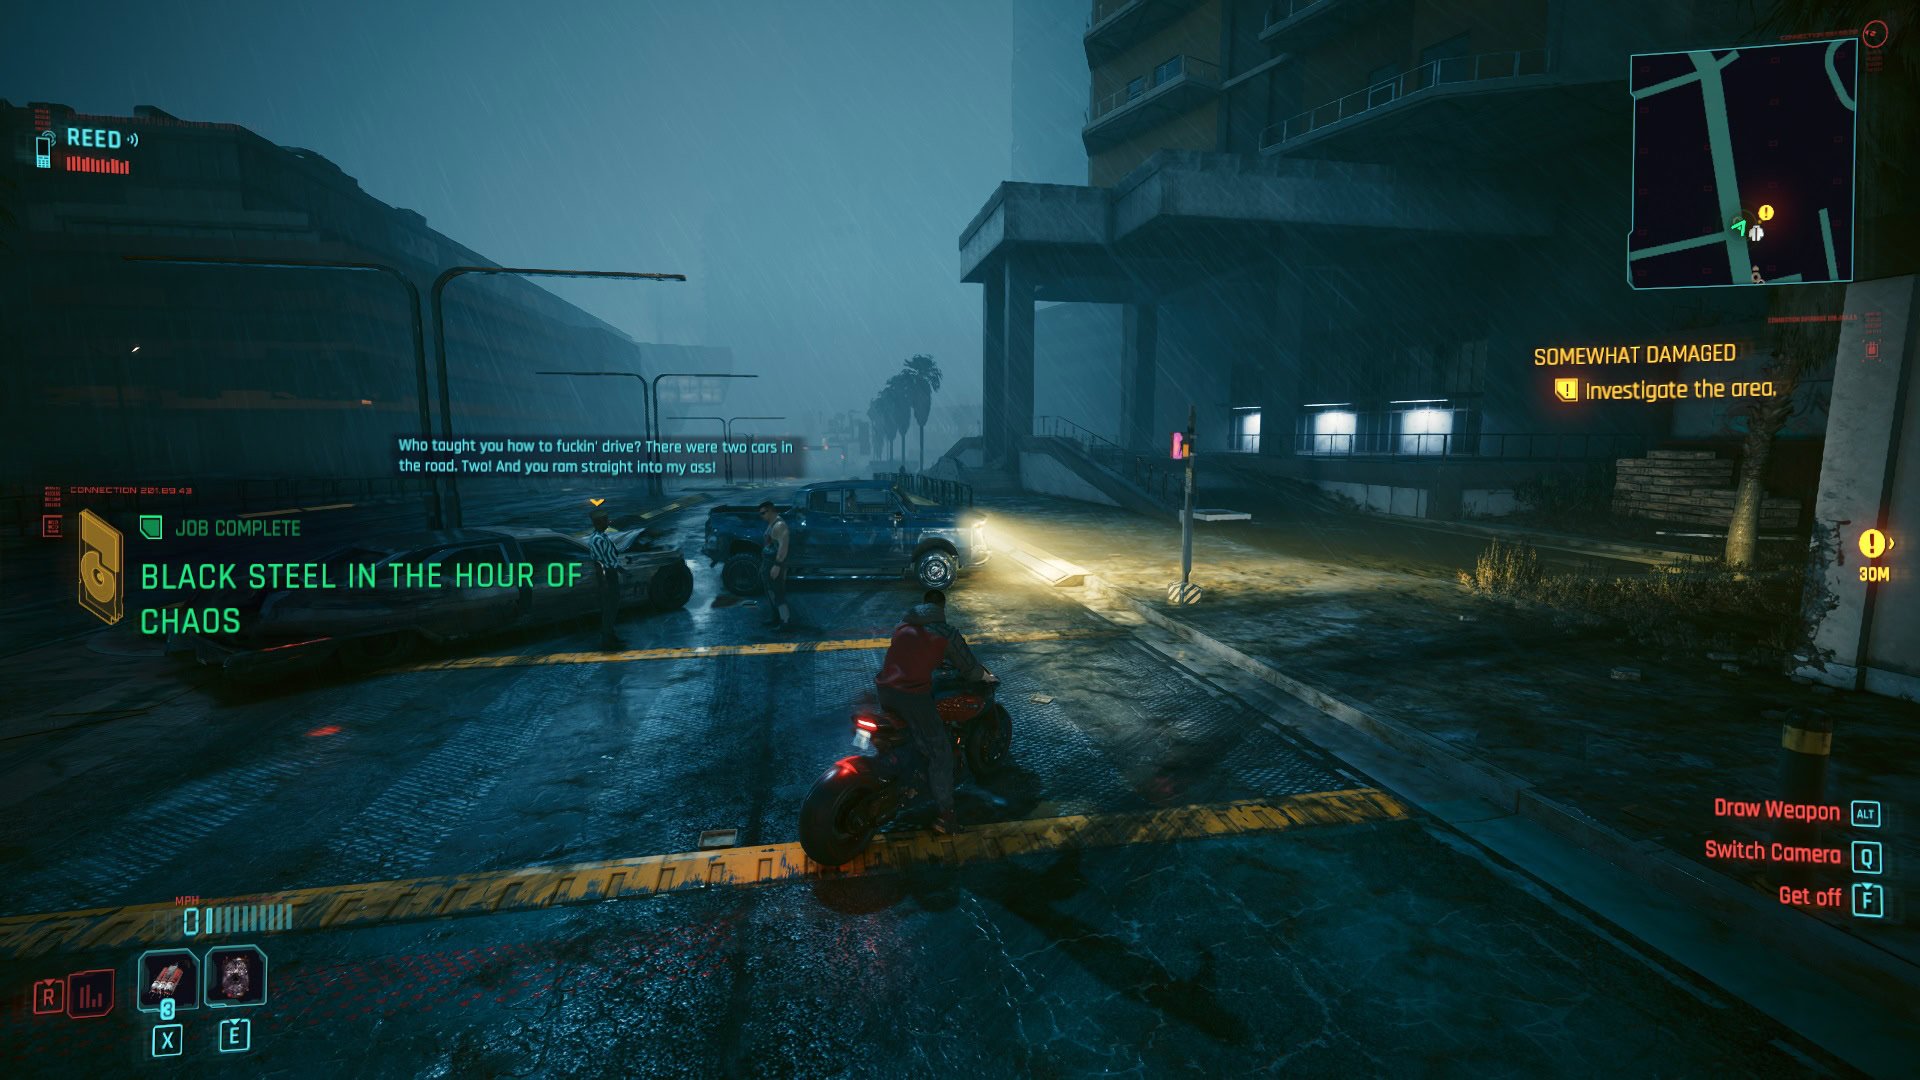
This guide will show you how to complete the main job “Black Steel in the Hour of Chaos” from Cyberpunk 2077’s expansion Phantom Liberty! The walkthrough details each step you must take to ambush the Convoy that transports So Mi and defeat the MaxTac team.
Black Steel in the Hour of Chaos Walkthrough

This is the simplified version of the Black Steel in the Hour of Chaos mission walkthrough from Phantom Liberty with easy-to-follow step-by-step instructions on how to start the mission and what choices to pick. Below this segment, you will find detailed instructions and explanations of what happens if you make all of the available choices.
Instructions
- Complete "Firestarter" to unlock this mission.
- Pick which Netrunner you want to contact.
- Head to the ambush location.
- Talk to the Reed and the 6th Street Soldier to decide which weapons to use.
- Choose where you want to wait.
- Begin the ambush.
- Take down the NCPD officers.
- Eliminate the MaxTac team.
- Follow the truck.
How to unlock “Black Steel in the Hour of Chaos”
Black Steel in the Hour of Chaos begins immediately after the main job “Firestarter” ends. Firestarter is where you decide if you ally with Reed or So Mi, this decision is not reversible and the outcome of the game will change depending on your decision.
For quick reference, here is a table of the achievements related to the different endings of the story in Dogtown:
| Icon | Name | Visibility | How to earn it |
|---|---|---|---|
| King of Cups | Hidden | Side with Reed. Fulfill Songbird’s request. | |
| King of Wands | Hidden | Side with Songbird. Take Songbird to the stars. | |
| King of Swords | Hidden | Side with Songbird. Take Songbird home. | |
| King of Pentacles | Hidden | Side with Reed. Refuse Songbird’s request. |
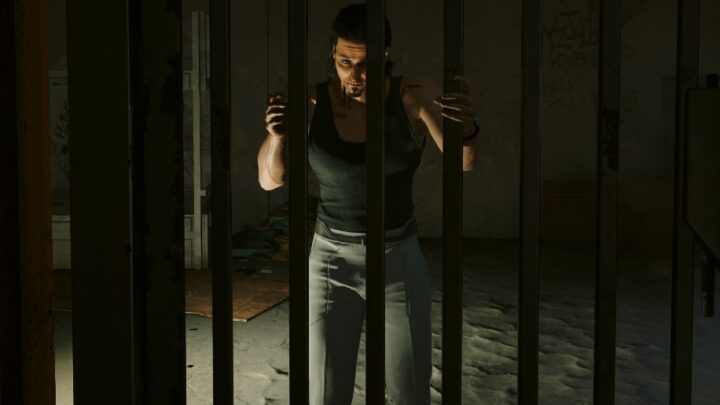
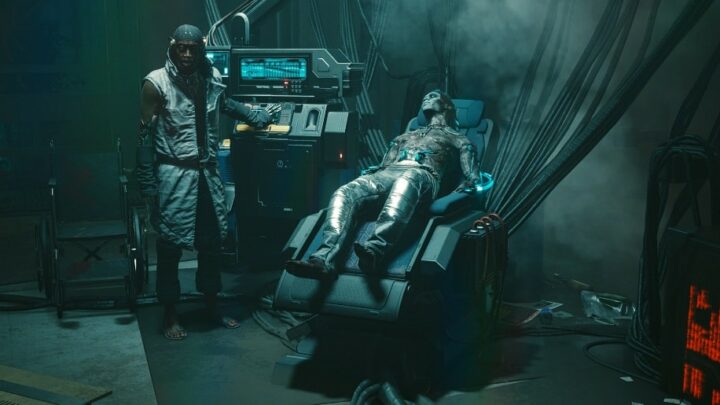
To unlock Black Steel in the Hour of Chaos you must side with Reed. So Mi will go berserk after your betrayal, losing control of her mind and becoming a cyber psycho. It doesn’t take long before MaxTac is sent to capture Songbird.
There’s still hope to recover So Mi as long as she’s in Night City. A convoy will transport her later, so it’s essential to get the information about the route and time when it will all happen. It’s time to put a good use to your contact list.
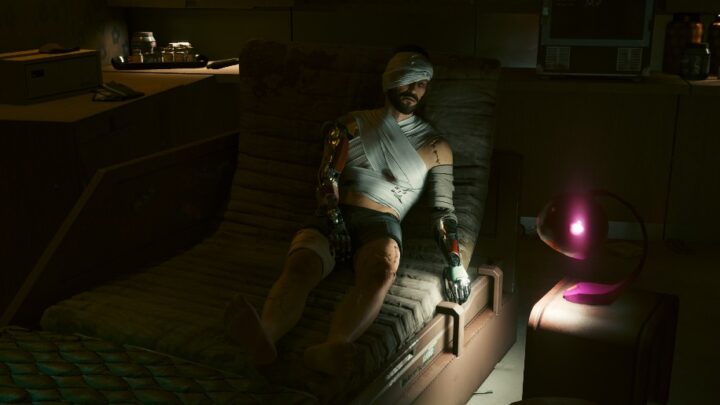
Once the sequence of So Mi being captured is over you’ll have to find the right person for this job.
Partial Point of No Return
Once you engage MaxTac you will be forced to complete this mission and do the entirety of the next one, Somewhat Damaged, before being able to play other parts of the game.
Choose which Netrunner to call
Acquiring the data of MaxTac is a dangerous job that not many Netrunners can pull off. Thankfully, there are a decent number of options. The requirements for each one are different, you can decide which one to use depending on your overall progress in the base game.
Mr. Hands
Calling him is arguably the easiest option, you don’t have to finish any other gigs or side jobs but the only issue is that you have to pay him fifteen grand. You didn’t expect Mr. Hands to work for free, did you? After ten hours you’ll receive a text saying that the netrunner is ready. Go to the Kabuki Market in Watson and talk to Yoko. The fixer offers some money in exchange for the ambush location. Accepting it won’t alter the outcome of the mission.
Nix
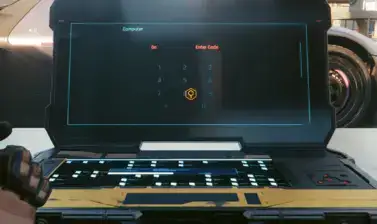
Nix will be available after completing the side job “Kold Mirage”. After saving Nix from Bartmoss he doesn’t have any choice but to help. After six hours, Nix will send a text asking to meet at the Arasaka Tower. You’ll receive the data shard and some cyberwar that could prove useful against netrunners.
Carol Emeka
A netrunner who’s a member of the Aldecados. She can be called once the main job “Life During Wartime” has been completed. The Aldecados always put their family first and Carol is no exception. This job is too risky and without a doubt would put a target on every other Aldecaldo, for this reason, she refuses to help.
Sandra Dorset
Sandra can help only if you have completed the side job “Full Disclosure”. She has a dark past and V. will guilt trip her to get the much-needed help. The only catch is that you must accept some conditions before even knowing what they are. Once you accept, wait around eight hours. Sandra will get back to you and ask you to meet her at Embers in Heywood. She will ask for you to upload a virus to the MaxTac forces. This doesn’t change the nature of the mission, all you have to do is interact with one of the defeated MaxTac officers.
Chang-Hoon Nam
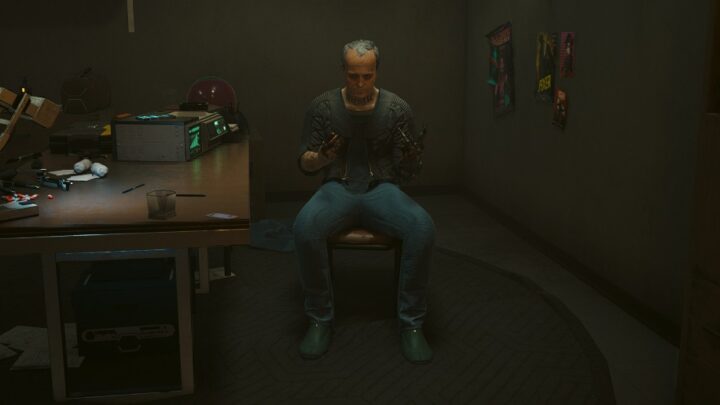
To have access to this netrunner you must complete the gig “Wakako’s Favorite”. He’s been retired for a while, you’ll have to “convince” him to do the job. For this, V must have at least twenty Intelligence skill points. After twelve hours you will receive a text message, head to Crescent and Broad in Westbrook to meet Chang-Hoon. He’s completely terrified but at least Chang will do the job.
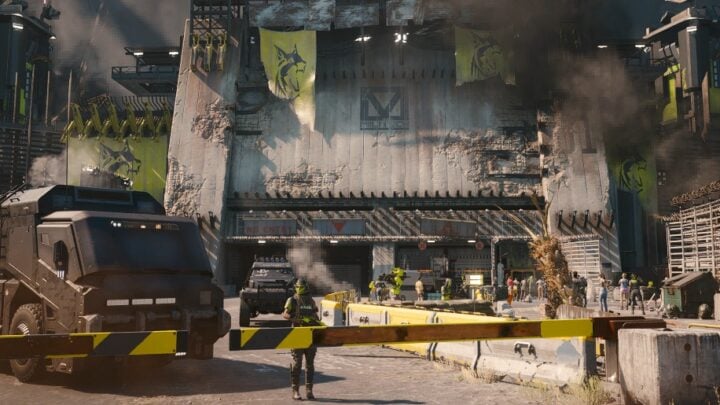
Prepare the ambush
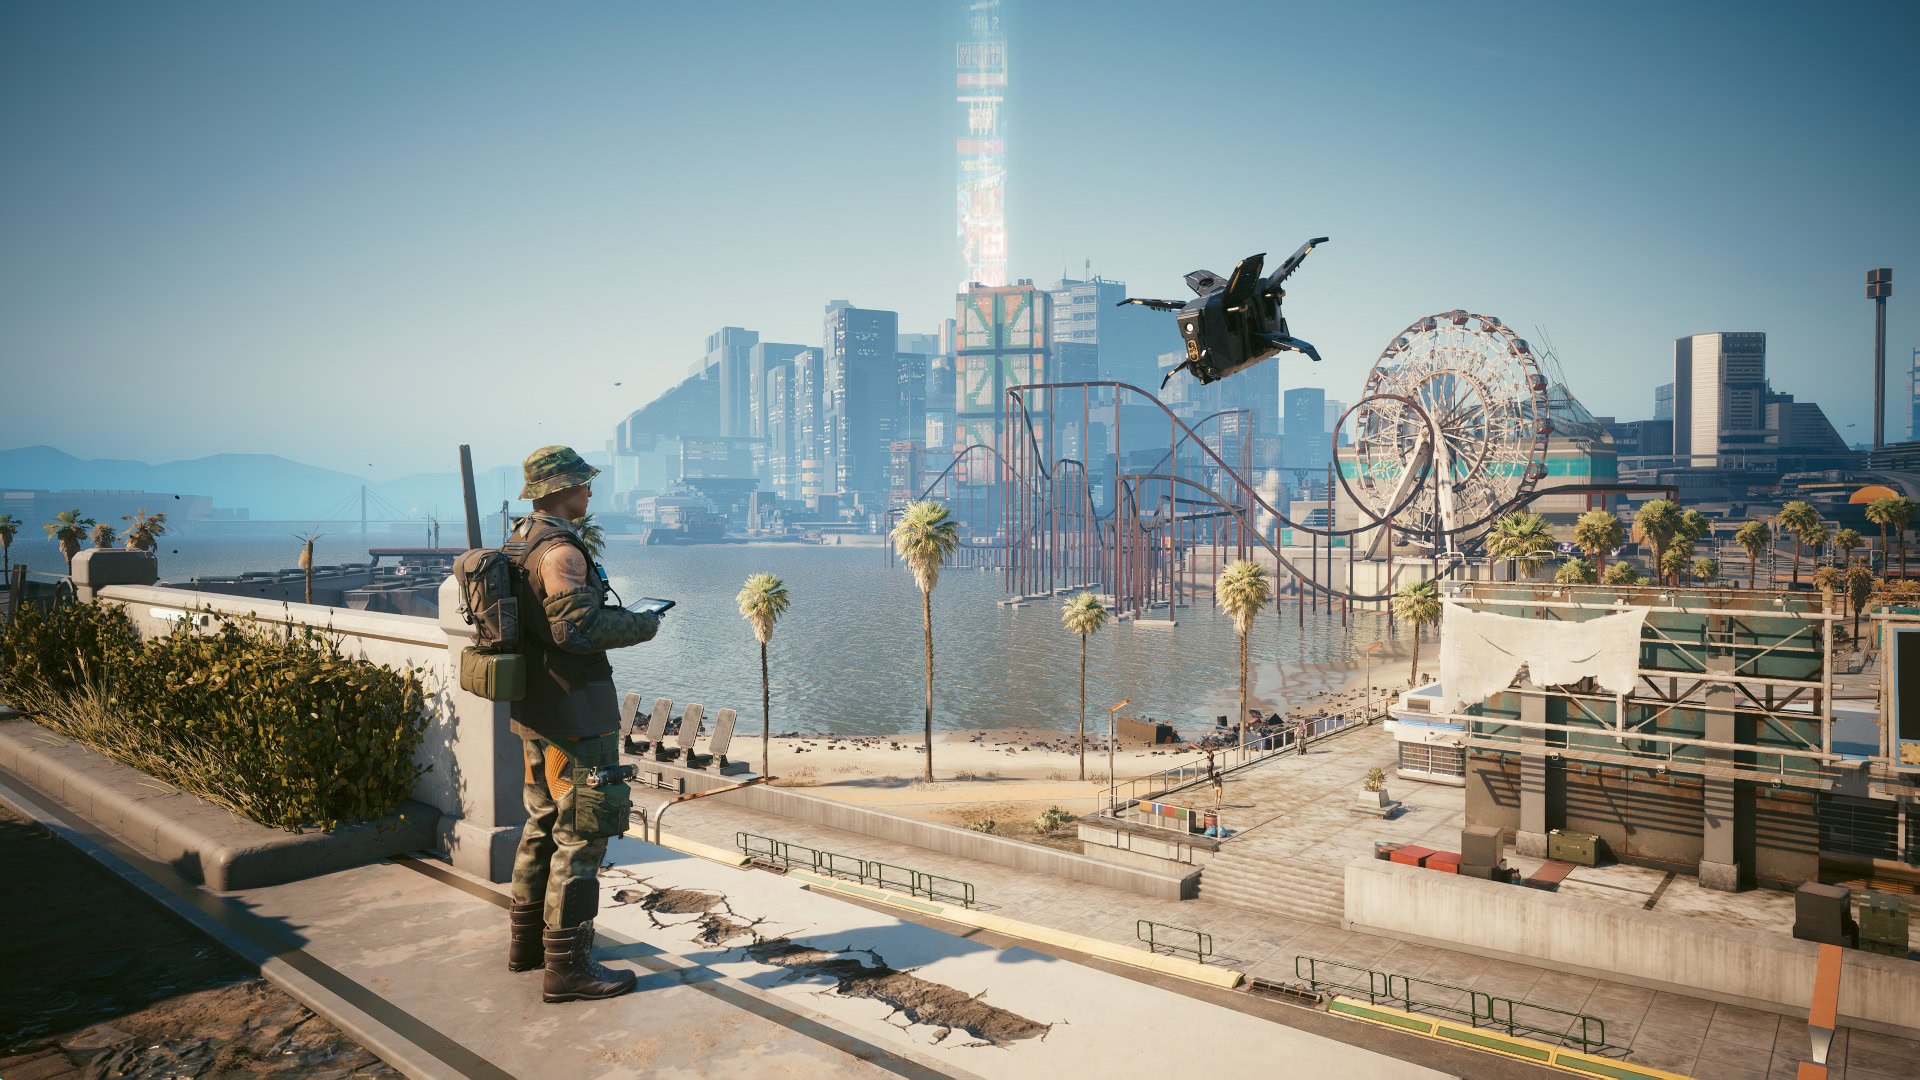
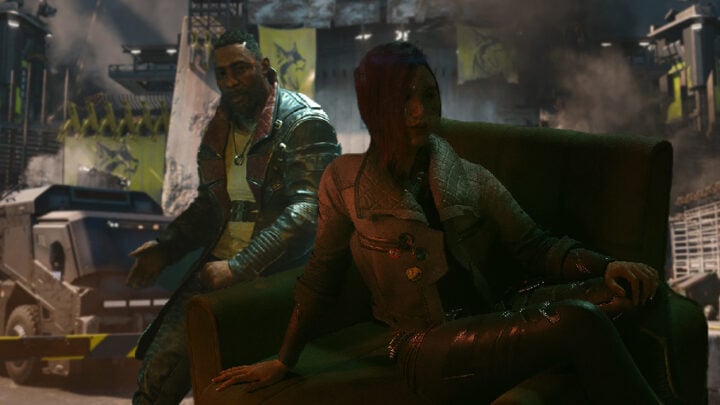
Once you’ve received the data shard, head to the West of Dogtown. This is where you will meet Reed and plan everything before the ambush.
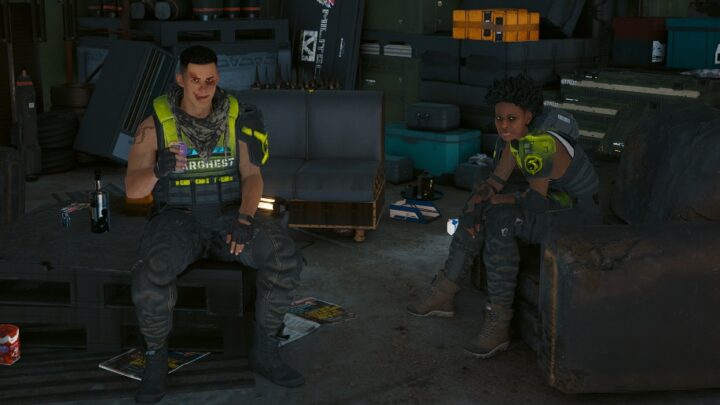
For said preparations, Reed got the 6th Street soldiers to help. Talk to the guy flying the drone to know what can be done. The first thing that he’ll ask is if you want mines or turrets deployed.
My advice is to pick the turrets since they can shoot at multiple enemies and their damage is more consistent, you can choose to split or concentrate them in a single spot.
Mines can be deployed on the road or near the stairs. In most cases they will be triggered by the weaker enemies, making it a waste of resources. You also have to decide if you want to use smoke grenades or not.
Keep in mind that Reed will be on sniper duty and these grenades could reduce his usefulness significantly. Unless you can use quickhacks that impair the enemy’s movement for a few seconds, I wouldn’t recommend using smoke grenades.
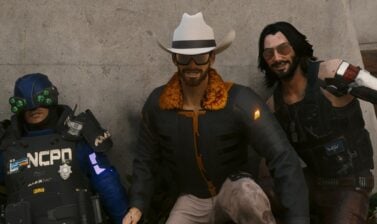
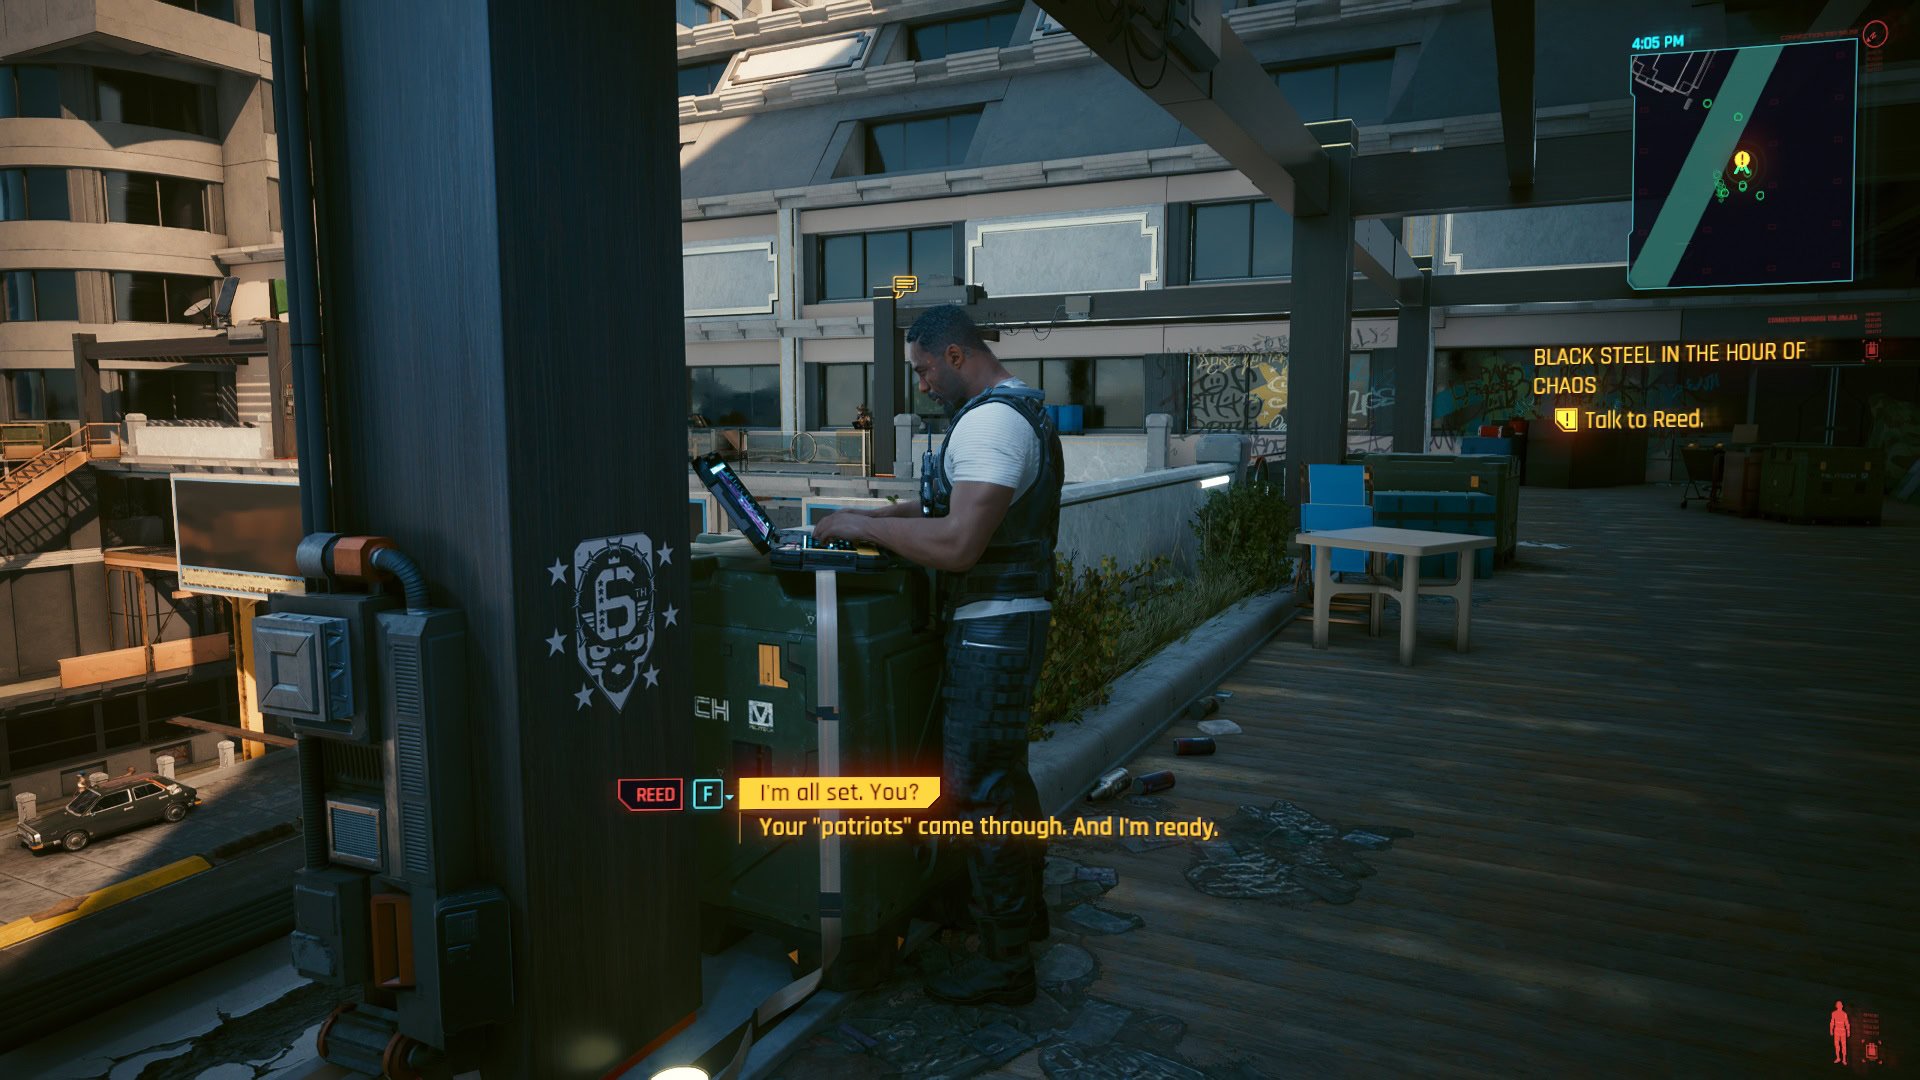
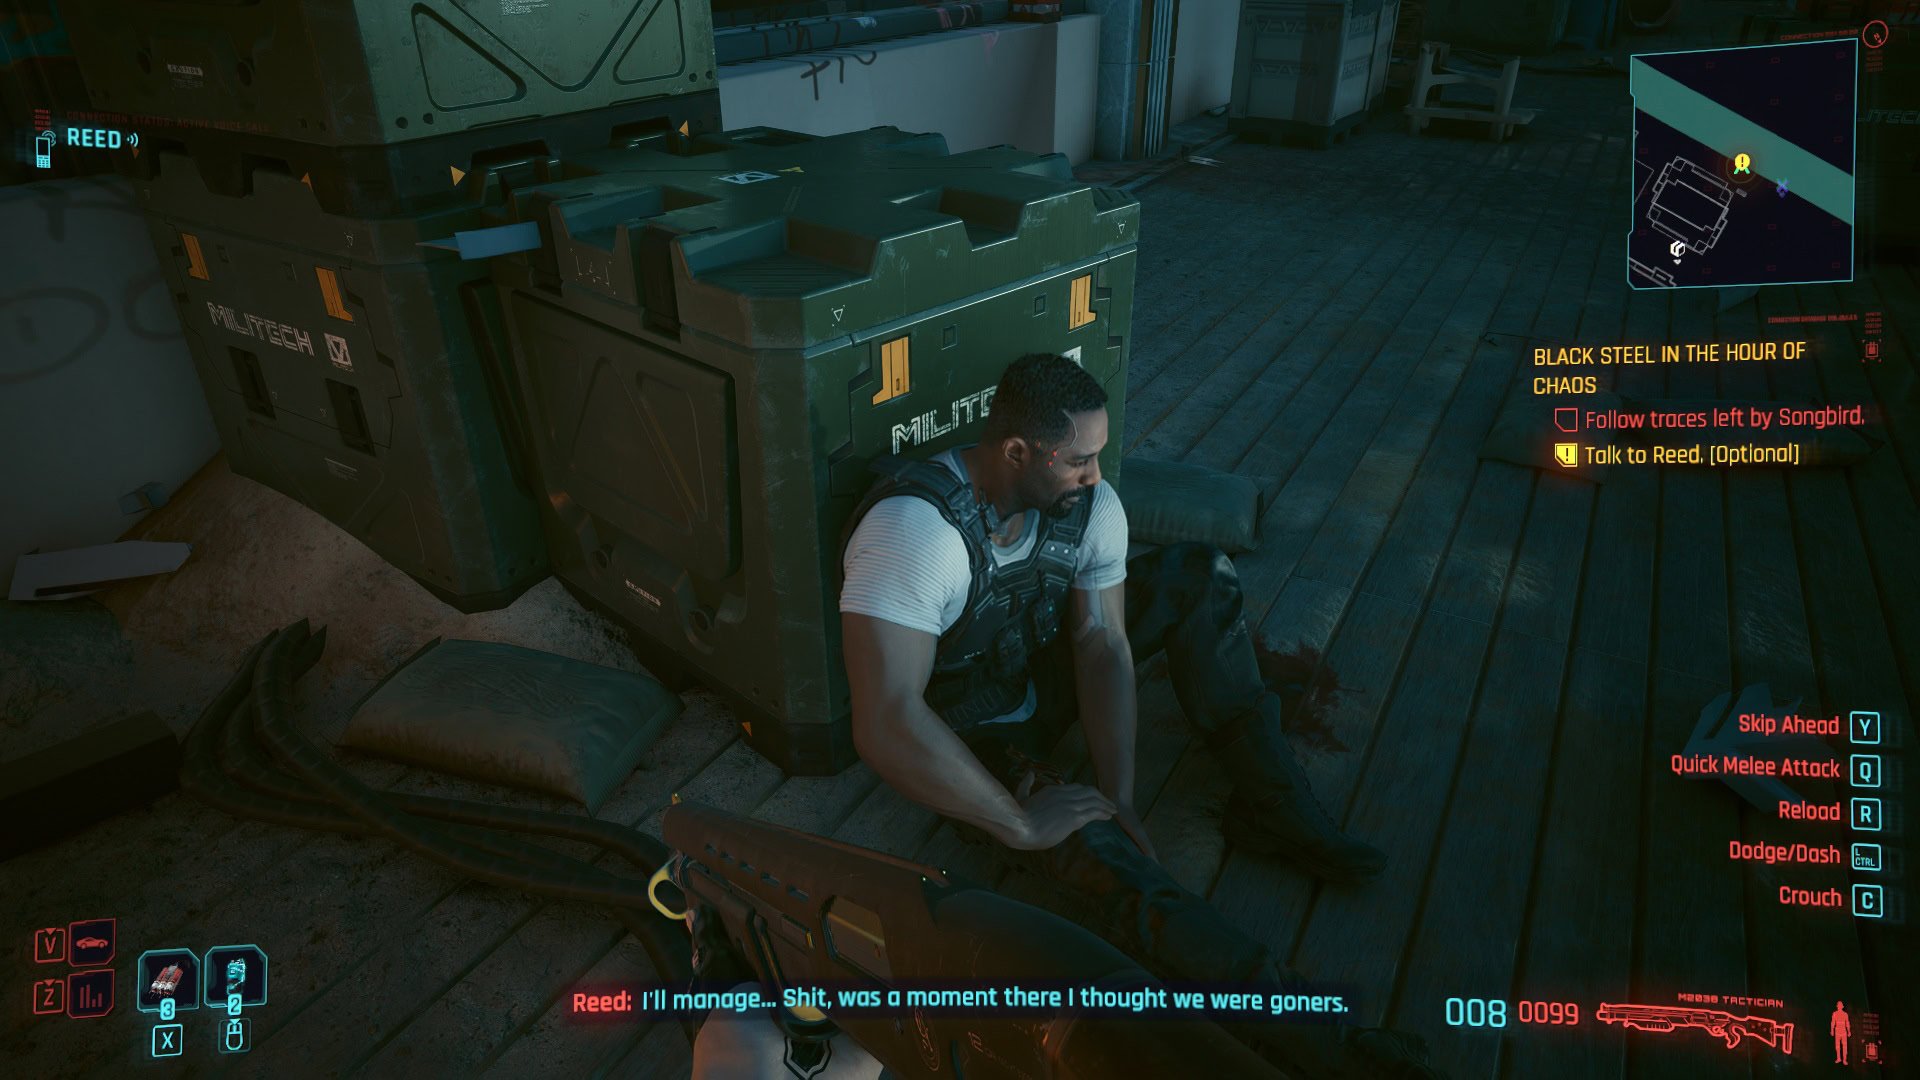
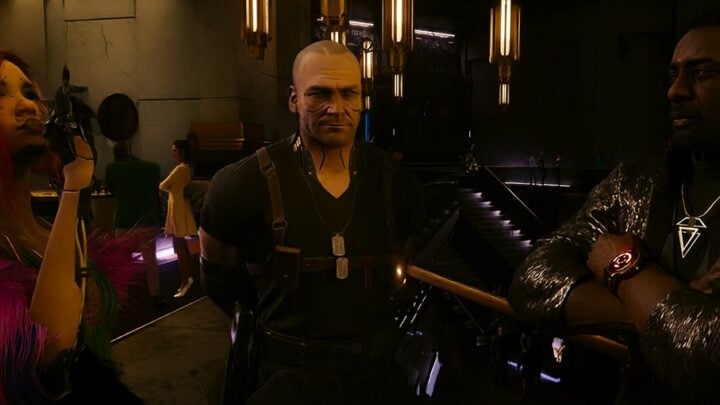
Once everything is ready, talk to Reed. He’s very distressed about the situation, So Mi means a lot to him and for a moment he almost feels like sharing more but this isn’t the moment for that. Time to get ready!
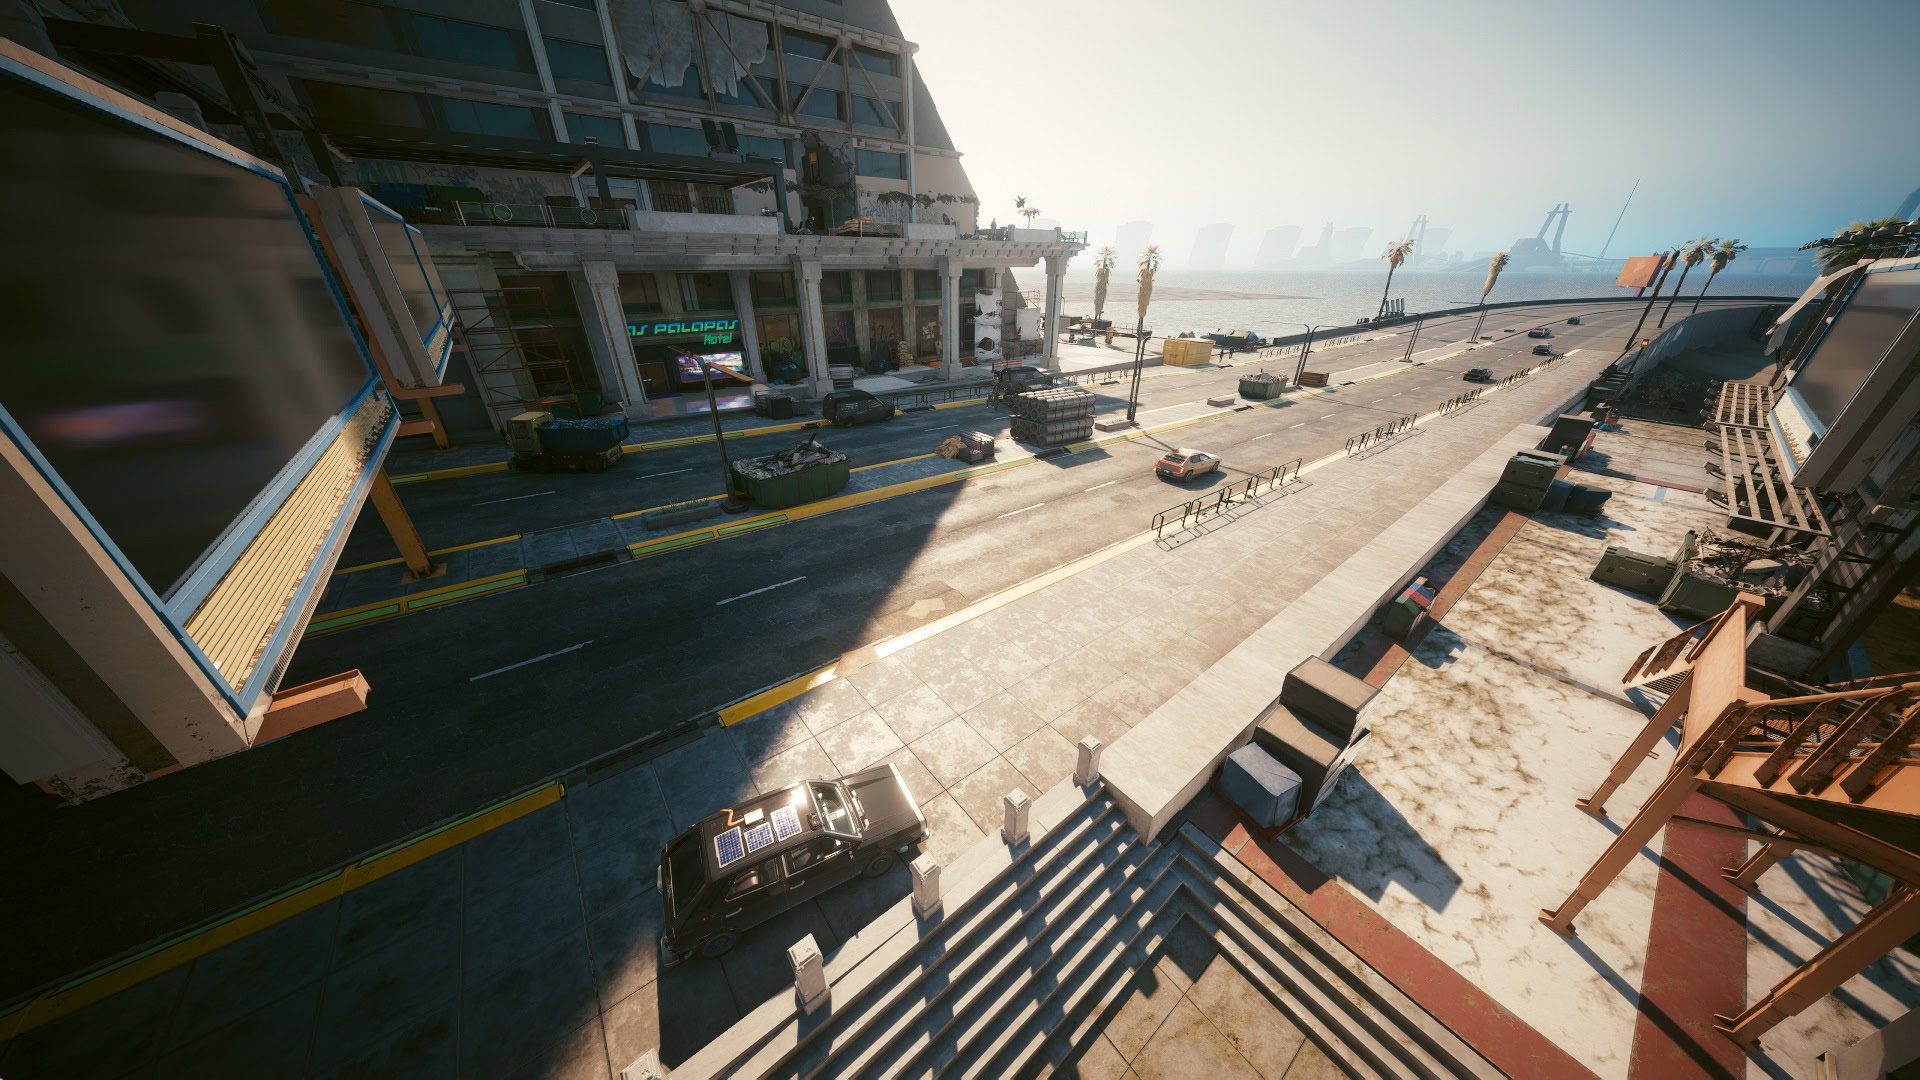
There are three locations where you can decide to wait for the convoy. Two are in the upper level and the last one is under the bridge.
The fight is divided into two parts, the first one requires you to eliminate the NCPD escort and the second one is all about taking down the MaxTac team. For this, you have to interact with the truck so where you decide to eliminate the first wave doesn’t matter that much.

Begin the ambush
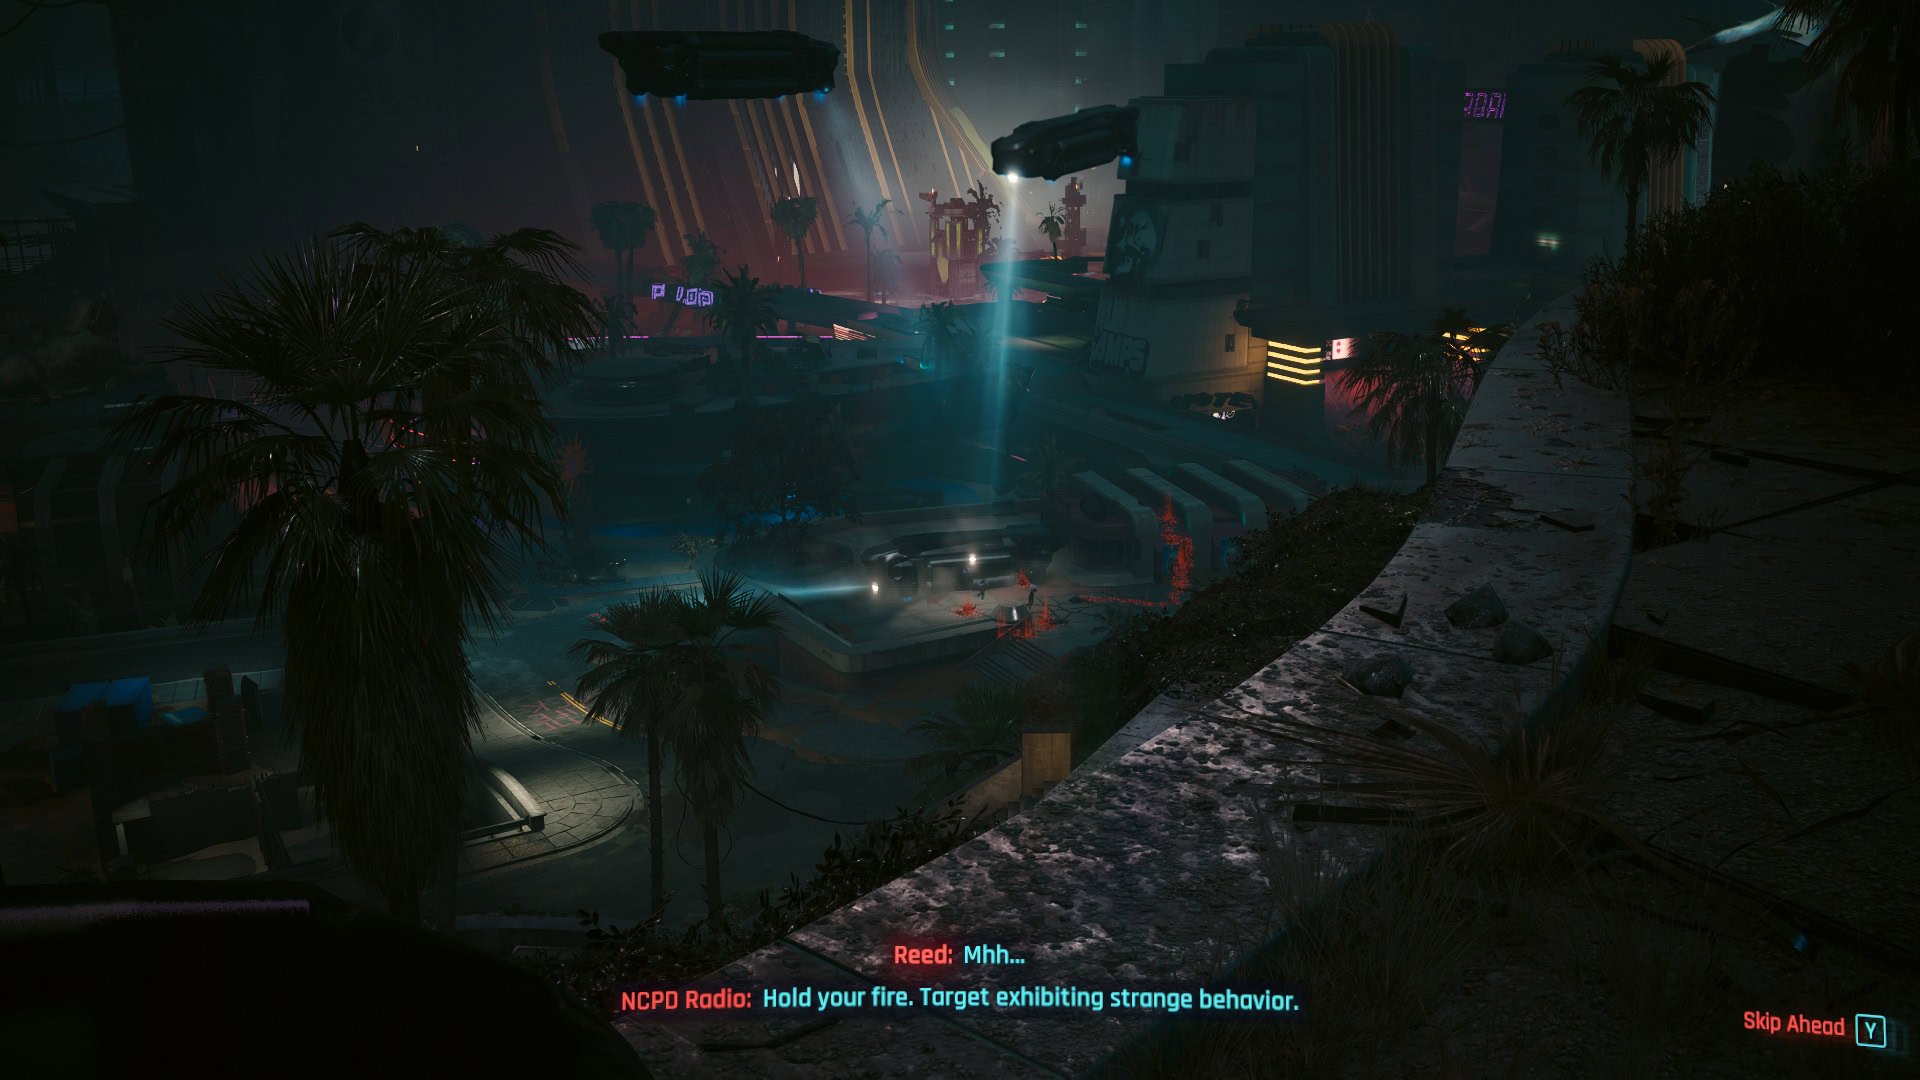
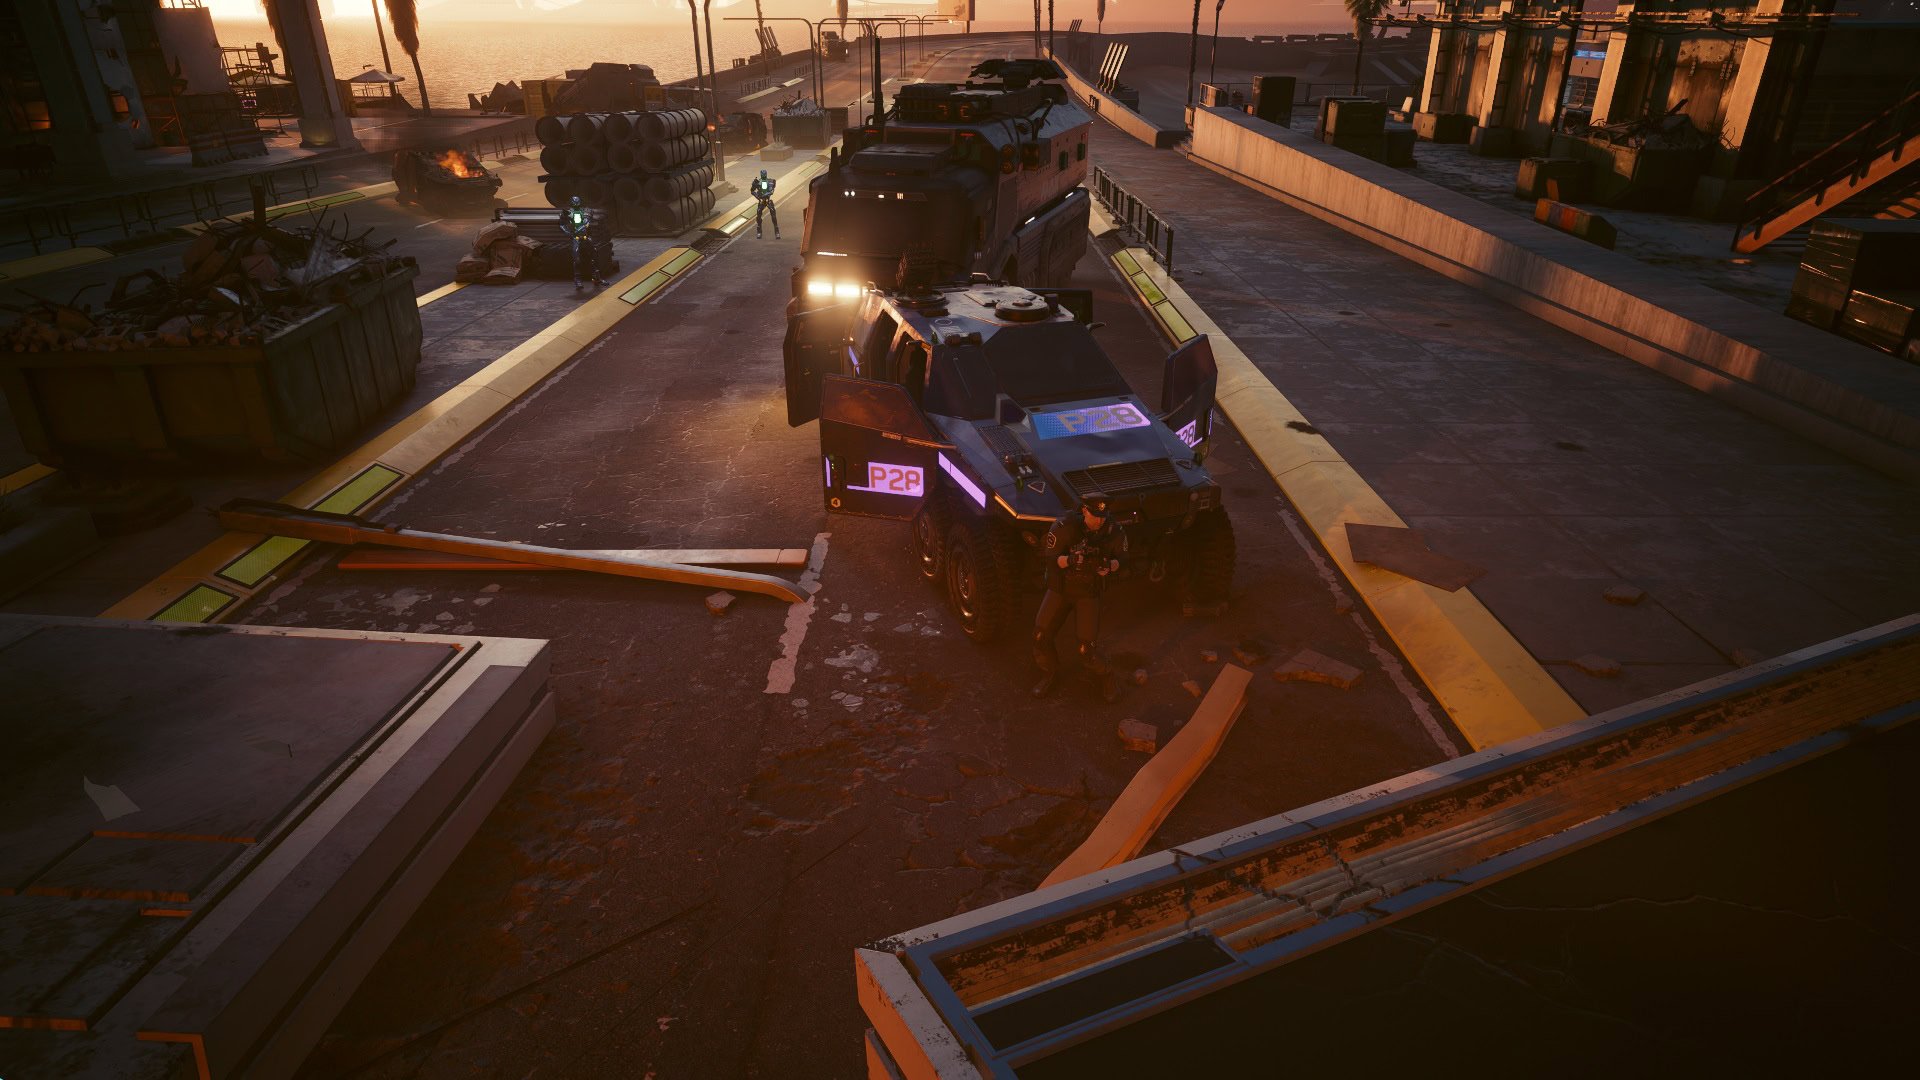
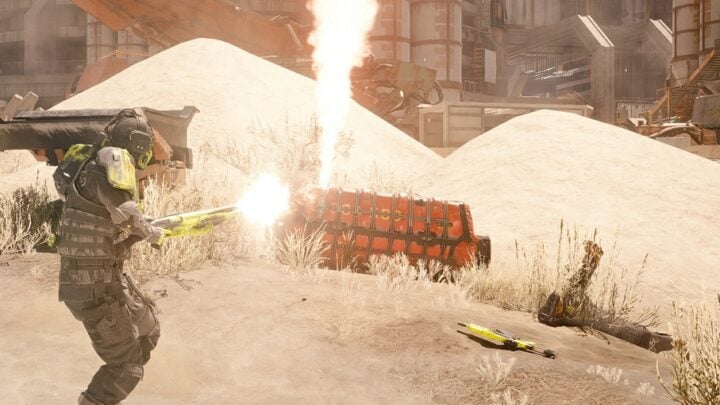
Once you’ve picked your spot, wait for the convoy to arrive. Explosives will detonate shortly before the convoy crosses the bridge, right after this it’s when you’ll need to engage them.
The first wave consists of four Night City officers and three armed robots. None of them are particularly strong but that doesn’t mean you should underestimate them. Try to take them out as fast as possible so that your turrets (if you chose them over the mines) can be useful in the next encounter.
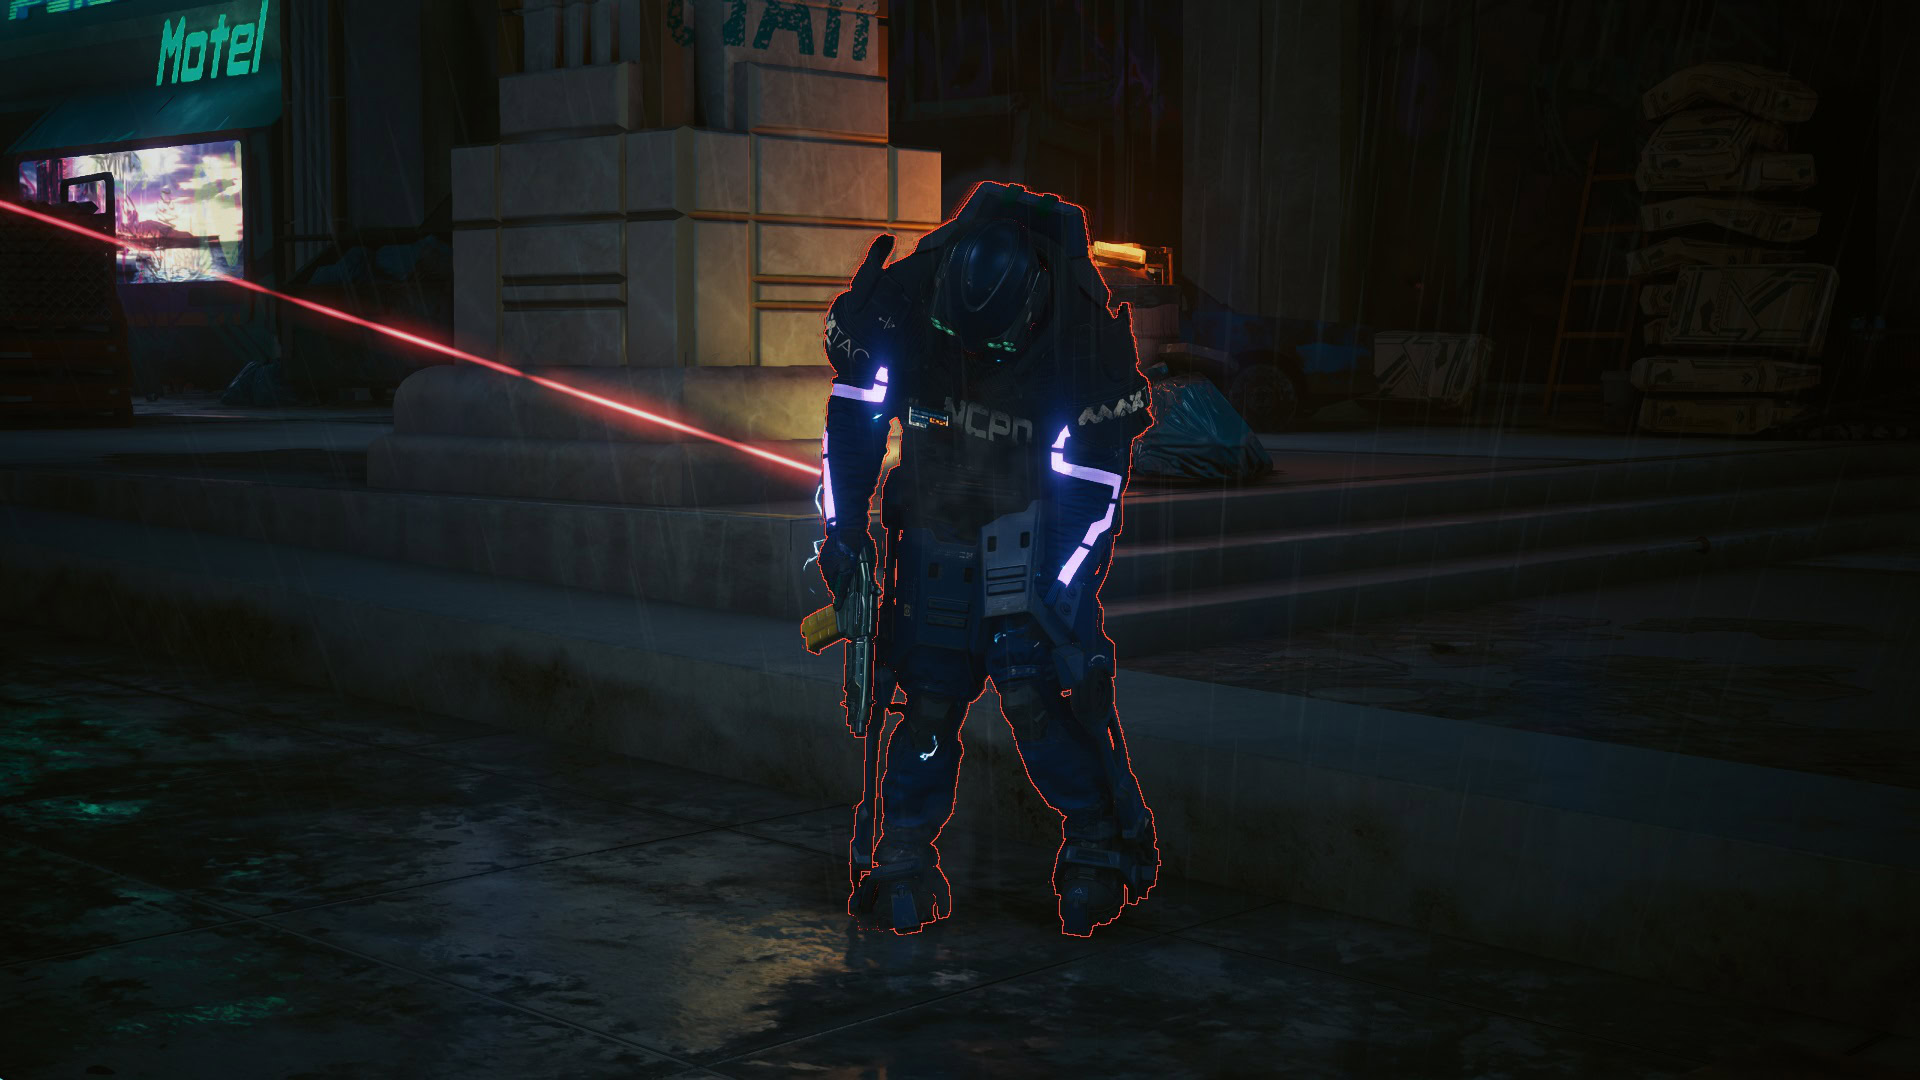
Defeat the MaxTac Officers
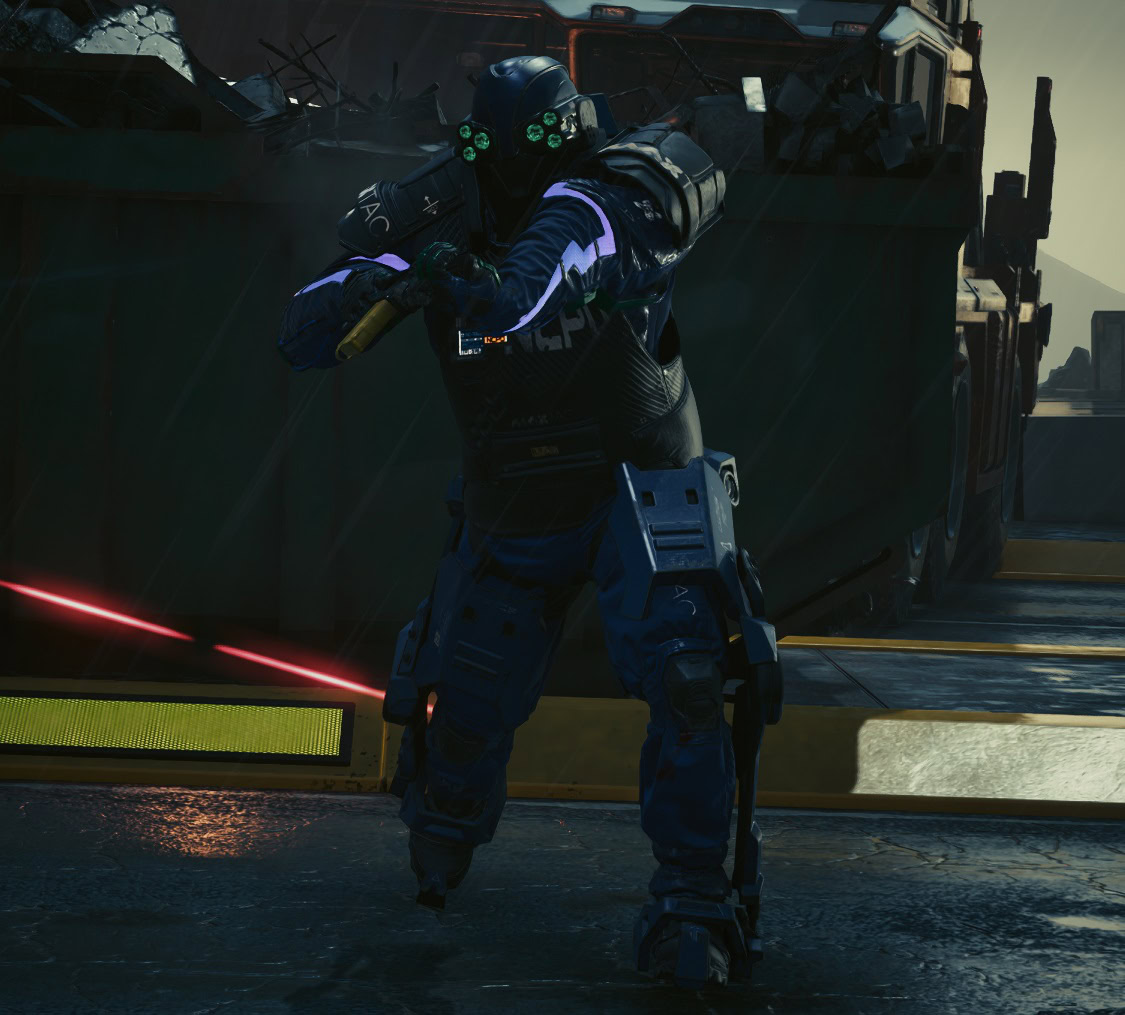
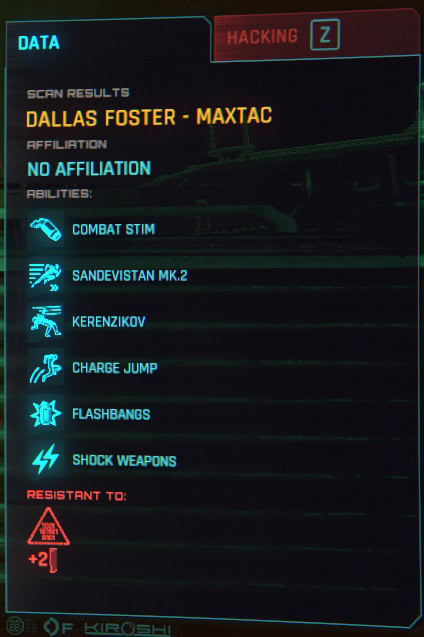
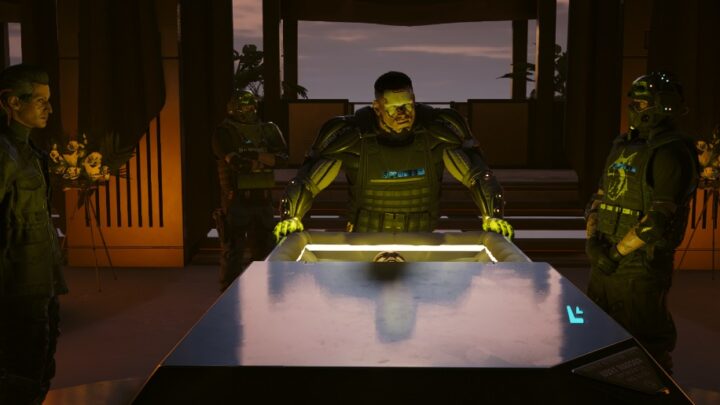
Head to the truck and open it, the four MaxTac officers will be inside waiting for you. All of them have individual health bars and different abilities, prepare yourself before interacting with the vehicle.
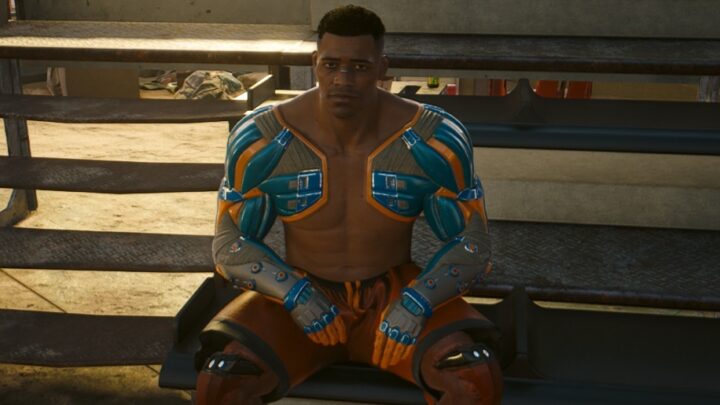
Dallas Foster is the bulkier and slower of them, even if he’s not as mobile as the other members he’s still a very dangerous foe if you don’t take the necessary measures. From my experience, I’d say he’s the hardest to kill and his shotgun can be lethal at close range, try to create as much distance between V and Dallas.
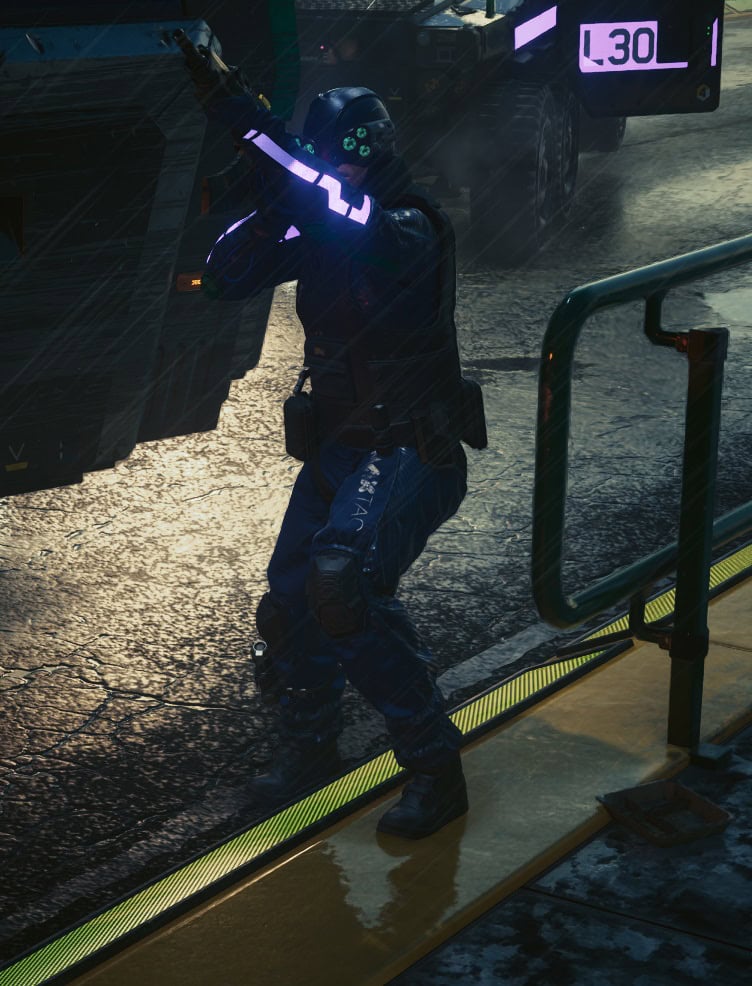
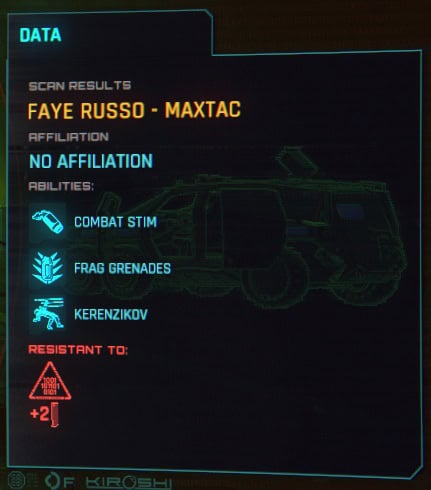
Faye Russo is the most balanced member of the team in terms of range, tankiness, and strength. He’s armed with an assault rifle and can inflict a very consistent amount of damage, try to fight close to things that can obstruct his view like barricades or vehicles.
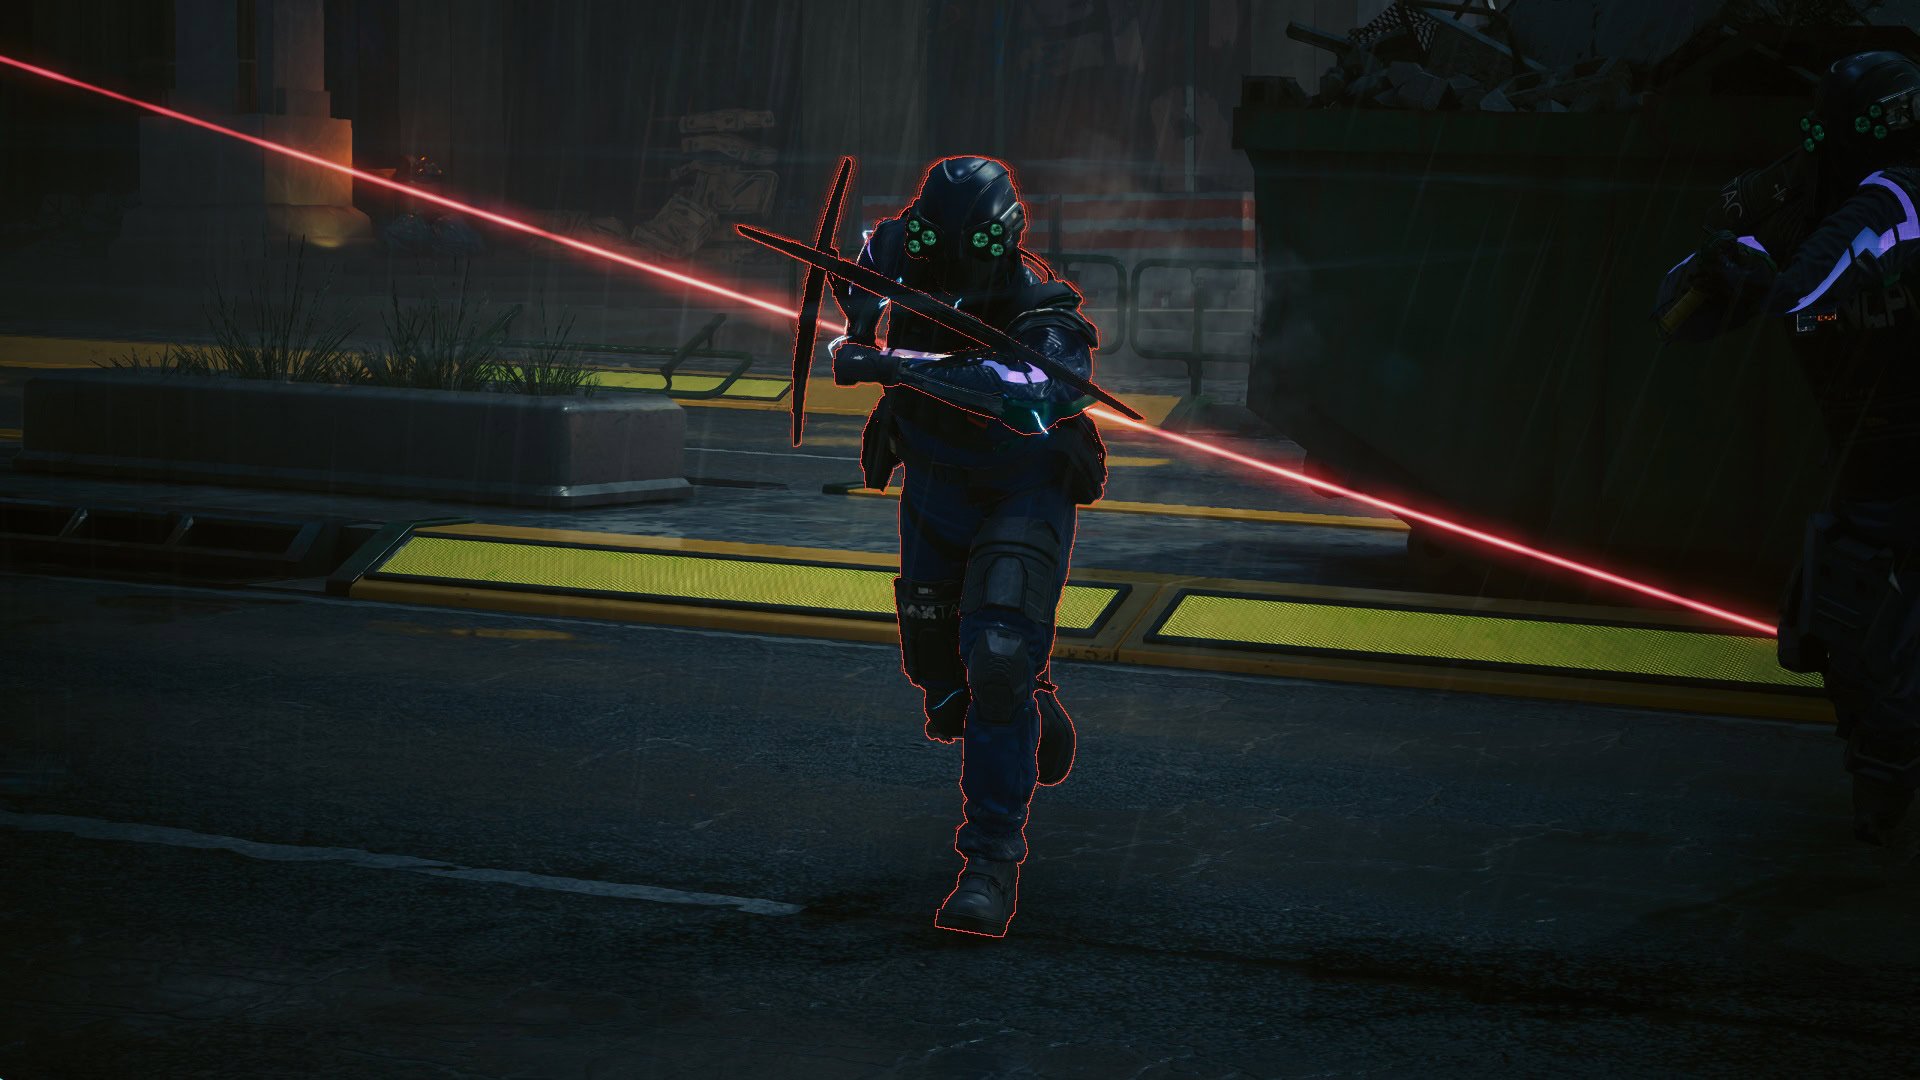
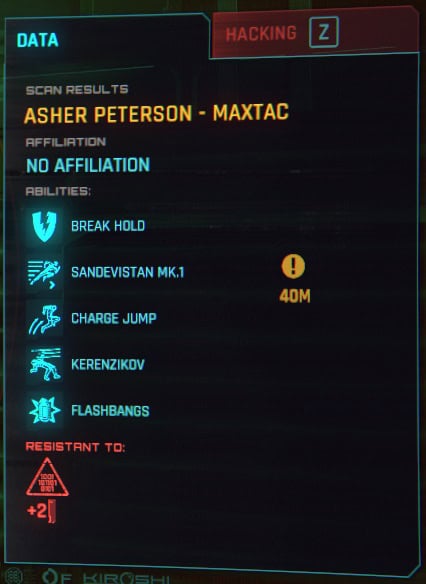
Asher Peterson is the only member wielding mantis blades, he’ll most likely be the first one to rush you. His speed isn’t matched with strength so even if you’ve been hit a few times it won’t be lethal damage (unless you’re playing on the hardest difficulty). The quickhack “Crippling Damage” and EMP grenades are particularly good against this enemy.
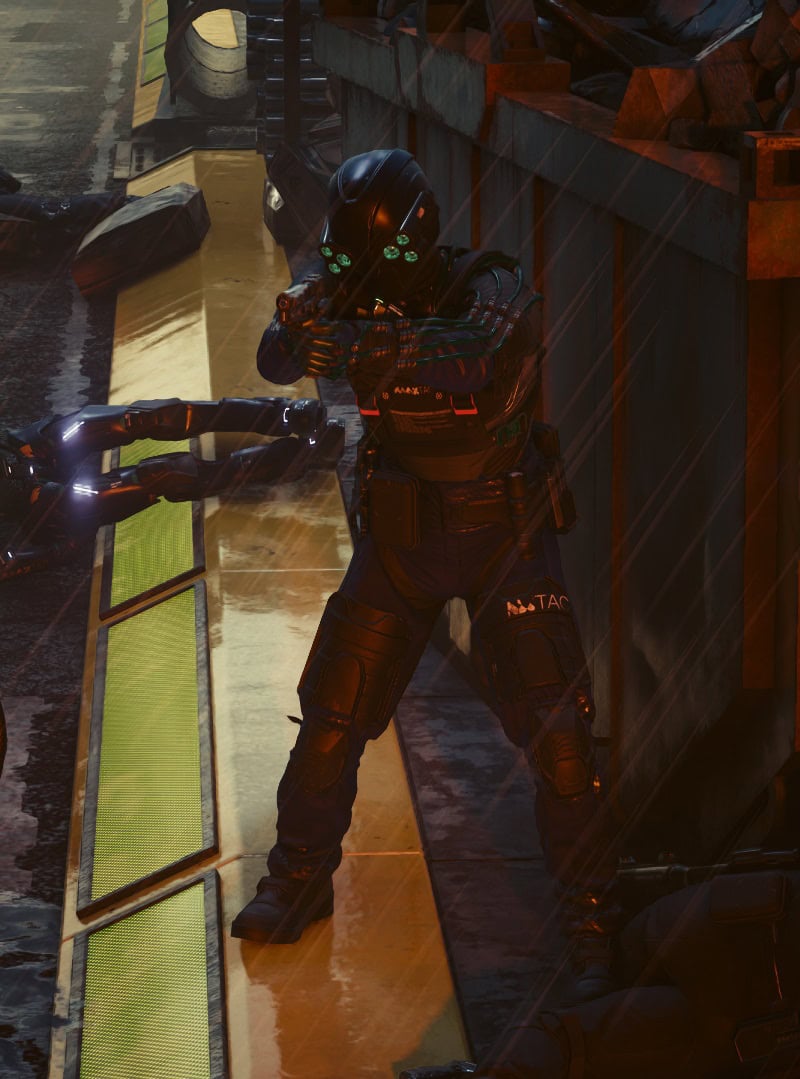
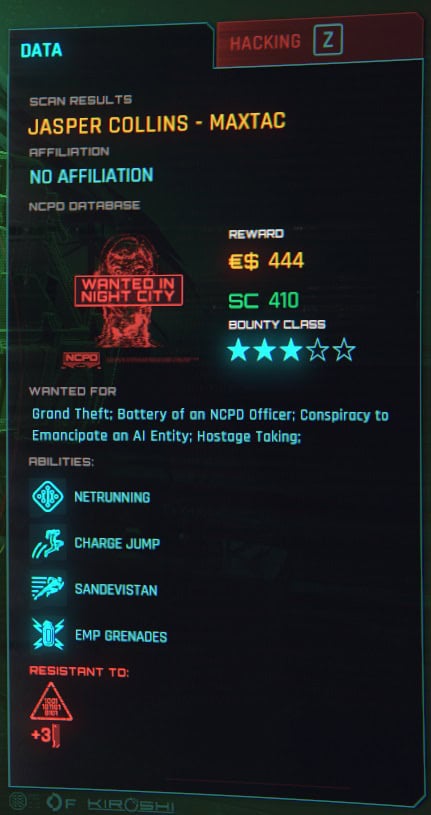
Jasper Collins is a netrunner, unlike the other three he’ll seek cover as soon as the fight begins and attempt to upload quickhacks. These debuffs can be extremely annoying especially if your build relies on them. Thankfully, he’s not particularly resistant or mobile. He’s the easiest one to take out assuming you manage to get in range before the other three can do something about it.
While the turrets or mines won’t do much against these powerful enemies, Reed can be vital for your victory. His sniper shots can disable every MaxTac officer for a few seconds, making them vulnerable to any weapon you have. Make sure to lure them out so Reed has a clear shot.
If you struggle to beat the MaxTac team, check out one of our build guides for advice on how to construct your character to be powerful and take full advantage of synergies between different items in your arsenal.
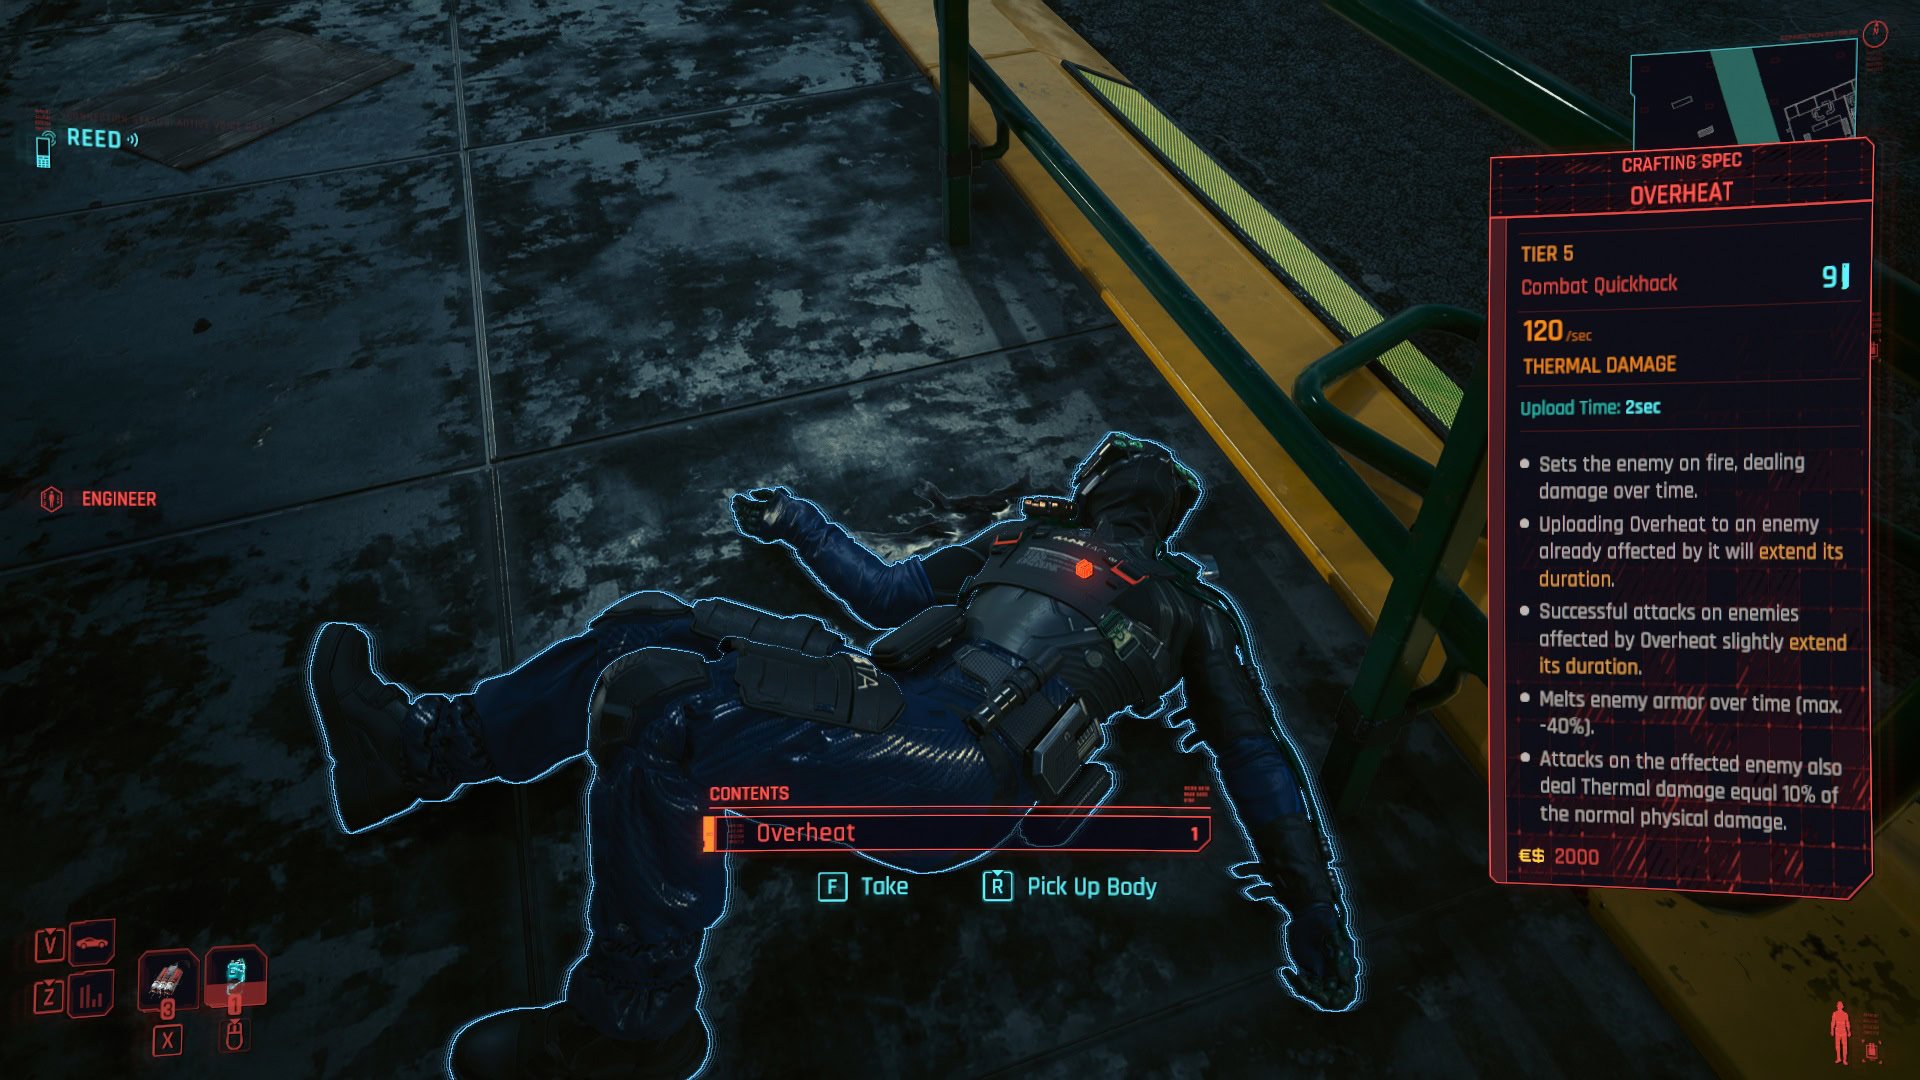
Make sure to loot them, one of them might have something very useful. If you picked Sandra Dorset as the fixer for this mission, this is also the moment where you must upload the virus.
After the fight is done, go back to the truck where So Mi is being held. Before being able to open it she’ll talk to you, take control of the truck and then run away before you can even say anything.
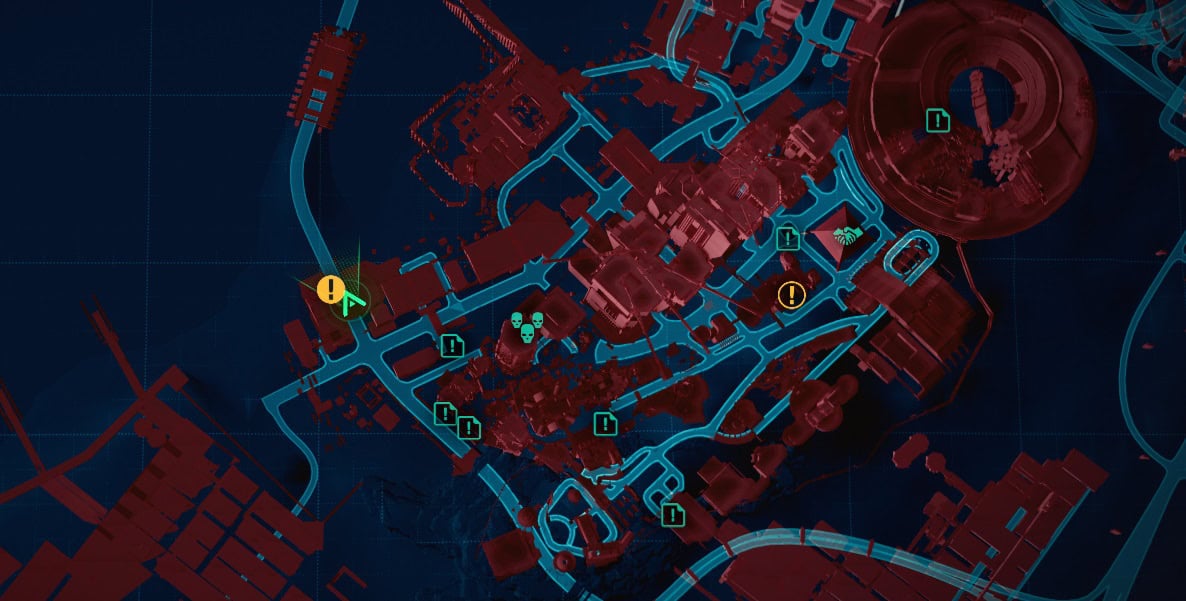
Reed is badly hurt, he will live but for the time being he’s out of combat. From now on, stopping Songbird depends on you. Follow the traces of the truck, it’s a little faster if you call any of your vehicles.
The not-so-subtle MaxTac armored vehicle caused a lot of chaos during its fleeing. The map will point out the path to follow.
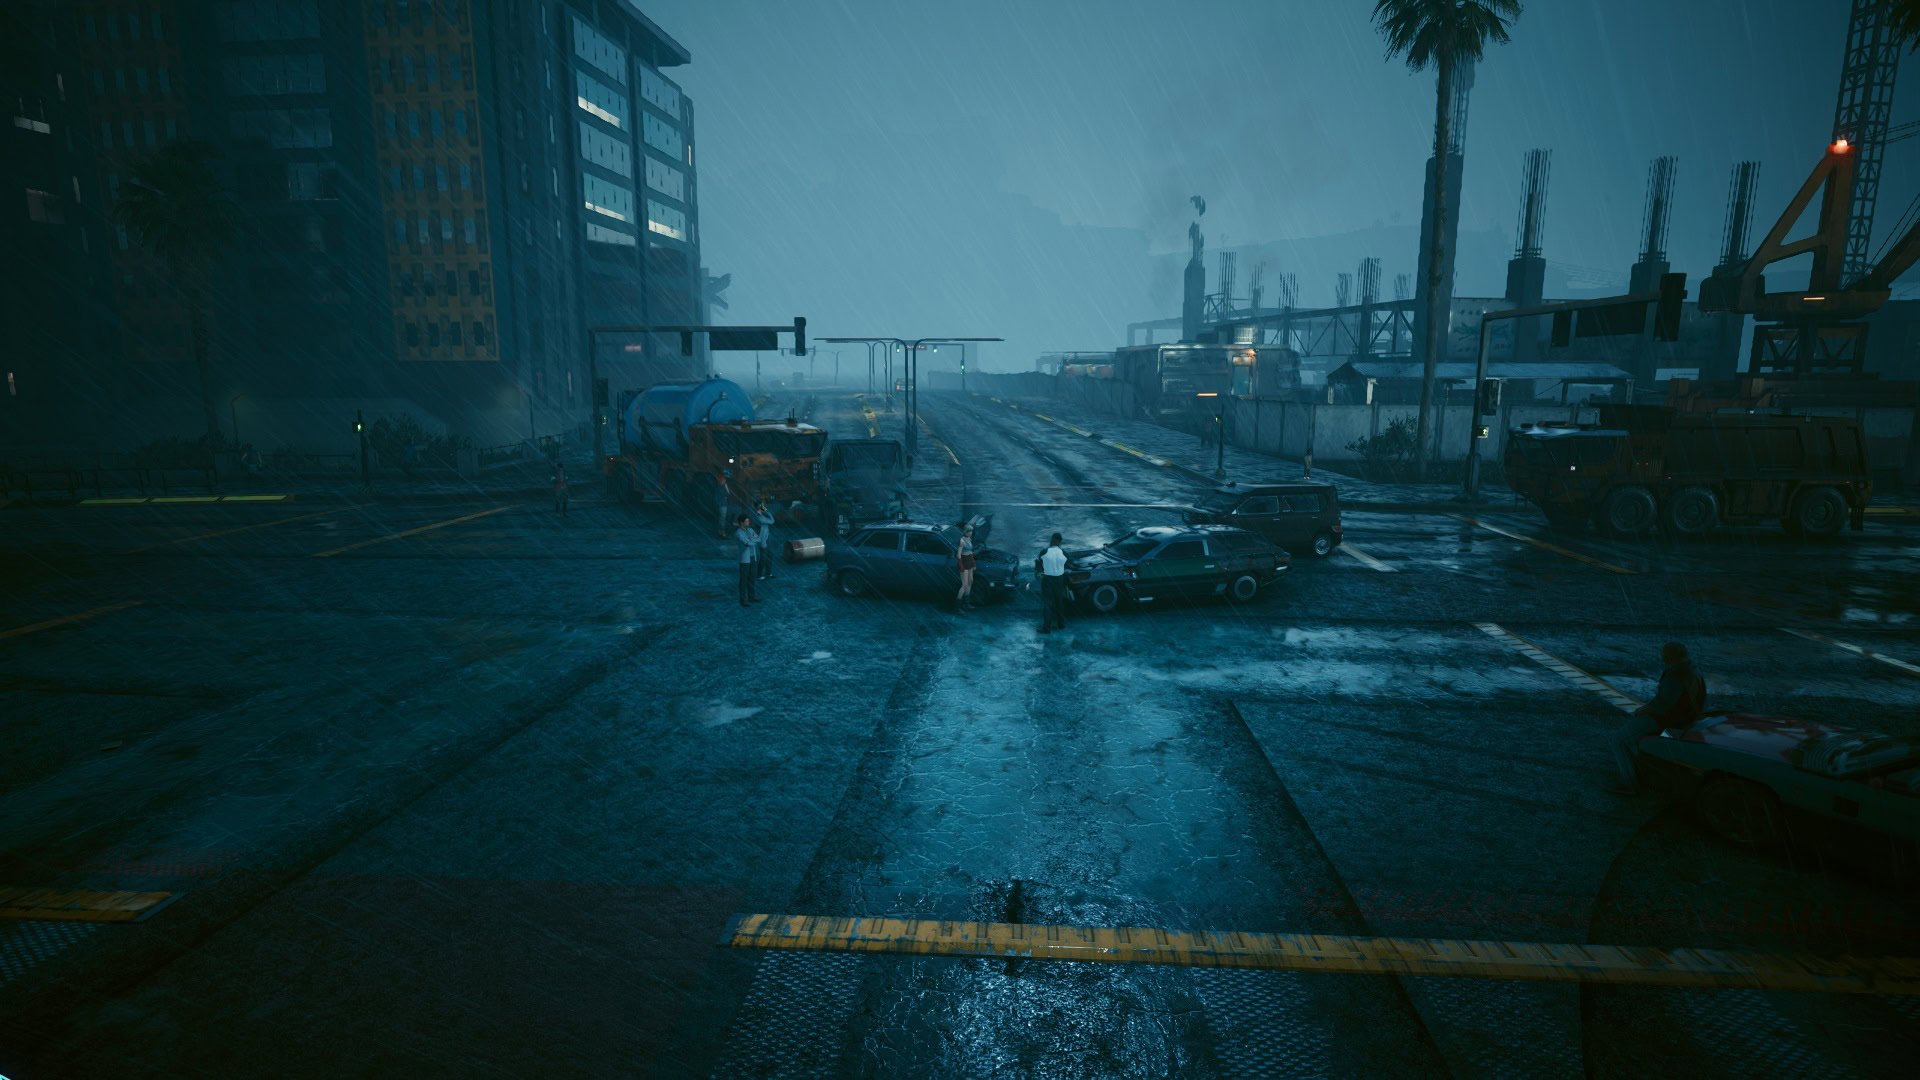
The truck causes one final crash before hitting a wall. This is where “Black Steel in the Hour of Chaos” ends and “Somewhat Damaged“, the last mission of Phantom Liberty, begins.
This concludes our guide to the main mission “Black Steel in the Hour of Chaos”. Check out our Cyberpunk 2077 Guides Master List to learn about main jobs, gigs, vehicles, item catalogues, weapon locations and more!
Cyberpunk 2077 Phantom Liberty Review (No Spoilers)
An in-depth spoiler-free review of Cyberpunk 2077 Phantom Liberty. Find out what has changed, learn of all new features and our experiences!
How to start Phantom Liberty in Cyberpunk 2077 and go to Dogtown
This guide will tell you everything you need to know about how to start the Phantom Liberty expansion in Cyberpunk 2077 and how to access the new zone in Night City called Dogtown!

How to Defeat the Chimera in Cyberpunk 2077 Phantom Liberty: The Spider And The Fly Walkthrough
This guide will show you how to complete the main mission “The Spider and the Fly” from Cyberpunk 2077’s expansion Phantom Liberty! The walkthrough details each step you must take and useful tips to defeat the Chimera unit.
Cyberpunk 2077 Lucretia My Reflection Guide: Can You Save Jacob and Taylor
This guide will show you how to start and complete the main mission “Lucretia My Reflection” in Cyberpunk 2077 Phantom Liberty. You will also learn about all of the possible outcomes and the required choices in order to get them!
You Know My Name Walkthrough: Cyberpunk 2077 Phantom Liberty
This guide will show you how to complete the main job “You know my name” from Cyberpunk 2077’s expansion Phantom Liberty! The walkthrough details each step you must take and all of the possible outcomes.

Firestarter Walkthrough: Cyberpunk 2077 Phantom Liberty
This guide will show you how to complete the main job “Firestarter” from Cyberpunk 2077’s expansion Phantom Liberty! The walkthrough details each step you must take and the possible outcomes.

The Killing Moon Walkthrough: Cyberpunk 2077 Phantom Liberty
This guide will show you how to complete the main job “The Killing Moon” from Cyberpunk 2077’s expansion Phantom Liberty! The walkthrough details each step you must take and the possible outcomes.

Somewhat Damaged Walkthrough: Cyberpunk 2077 Phantom Liberty
This guide will show you how to complete the main job “Somewhat Damaged” from Cyberpunk 2077’s expansion Phantom Liberty! The walkthrough details each step you must take to fully explore the environment and avoid getting caught by the patrolling Cerberus unit.

Cyberpunk 2077 Phantom Liberty Endings Guide: How to unlock all of them
This guide will show you how to get all Cyberpunk 2077 Phantom Liberty endings and how to unlock the new ending for the base game! Here you will find all the step to unlock the endings, all the rewards, achievements, and an explanation of the fate of all characters involved!
Cyberpunk 2077 Phantom Liberty 1R-0NC-LAD Scavenger Hunt Guide
This guide will show you how to start one of the secret missions in Cyberpunk 2077 Phantom Liberty – a scavenger hunt to solve the mystery of the broken robot 1R-0NC-LAD (Ironclad) in Dogtown’s stadium!
Cyberpunk 2077 Dogtown Airdrops Guide: Watch for the Red Smoke
This quick guide explains the purpose of the red smoke marking Airdrops in Dogtown and what you can get from completing these mini-events in Cyberpunk 2077 Phantom Liberty!
No Easy Way Out Walkthrough: Cyberpunk 2077 Phantom Liberty
This guide will show you how to complete the side job “No Easy Way Out” from Cyberpunk 2077’s expansion Phantom Liberty! The walkthrough details each step you must take and the possible outcomes.
Dogtown Saints Walkthrough: Should you kill or spare Nika in Cyberpunk 2077 Phantom Liberty
This guide will show you how to start and complete the gig “Dogtown Saints” from Cyberpunk 2077’s expansion Phantom Liberty! The walkthrough details each step you must take and the available choices and consequences.
Dazed And Confused Walkthrough: How to get Lina Malina's Bike in Cyberpunk 2077 Phantom Liberty
This guide will show you how to complete the side job “Dazed and Confused” from Cyberpunk 2077’s expansion Phantom Liberty and how to get the Lina Malina's Bike, the Malina-Mobile, an almost-free bike you can get in Dogtown! The walkthrough details each step you must take to obtain this fantastic ride.
Balls To The Wall Walkthrough: Cyberpunk 2077 Phantom Liberty
This guide will show you how to start and complete the side job “Balls To The Wall” from Cyberpunk 2077’s expansion Phantom Liberty! The walkthrough details each step you must take and the possible outcomes.
Prototype In The Scraper Walkthrough: Should you Let Hasan Go, Cyberpunk 2077 Phantom Liberty
This guide will show you how to start and complete the gig “Prototype in the scraper” from Cyberpunk 2077’s expansion Phantom Liberty! The walkthrough details each step you must take and the available choices and consequences.
Should You Shoot Leon Rinder: Cyberpunk 2077 The Man Who Killed Jason Foreman
This guide will show you how to complete the side job “The Man Who Killed Jason Foreman” from Cyberpunk 2077’s expansion Phantom Liberty! The walkthrough details each step you must take and all the possible outcomes

Shot By Both Sides Walkthrough: Should you protect Bree, Cyberpunk 2077 Phantom Liberty
This guide will show you how to start and complete the side job “Shot by both sides” from Cyberpunk 2077’s expansion Phantom Liberty! The walkthrough details each step you must take and the available choices and consequences.
Cyberpunk 2077 Treating Symptoms Guide: What to do with Milko
This guide will show you how to complete the Gig “Treating Symptoms” from Cyberpunk 2077’s expansion Phantom Liberty! The walkthrough details each step you must take and the possible endings whether you leave Allen to finish or take down Milko right away!

Talent Academy Walkthrough: Cyberpunk 2077 Phantom Liberty
This guide will show you how to complete the gig "Talent Academy" from Cyberpunk 2077's expansion Phantom Liberty! The walkthrough details each step you must take and the available choices.

Spy In The Jungle Walkthrough: Cyberpunk 2077 Phantom Liberty
This guide will show you how to start and complete the gig “Spy in the Jungle” from Cyberpunk 2077’s expansion Phantom Liberty! The walkthrough details each step you must take and the available choices and consequences.
Run This Town: Who should rule Dogtown, Cyberpunk 2077 Phantom Liberty Guide
This guide will show you how to start and complete the side job “Run this town” from Cyberpunk 2077’s expansion Phantom Liberty! The walkthrough details each step you must take and the available choices and consequences.

All New Tarot Card Locations in Cyberpunk 2077 Phantom Liberty
This guide will show you the locations of all four new Tarot Cards available in Dogtown, Night City’s Combat Zone, released with Cyberpunk 2077’s Phantom Liberty Expansion!

How to get a Free Outlaw Car in Cyberpunk 2077 Phantom Liberty: Baby Take Me Home Guide
This guide will show you how to complete the side job “Baby Take Me Home” from Cyberpunk 2077’s expansion Phantom Liberty and get the free Outlaw Car, the only free car you can get in Dogtown! The walkthrough details each step you must take to obtain this badass ride.

Cyberpunk 2077 Moving Heat: How to get the Sport R-7 "Charon" Flaming Car
This guide will show you how to complete the side job "Moving Heat" from Cyberpunk 2077’s expansion Phantom Liberty! The walkthrough details each step you must take to acquire the Sport R-7 "Charon" car.