This guide will show you how to complete the side job “The Man Who Killed Jason Foreman” from Cyberpunk 2077’s expansion Phantom Liberty! The walkthrough details each step you must take and all the possible outcomes
The Man Who Killed Jason Foreman Walkthrough
This is the simplified version of The Man Who Killed Jason Foreman mission walkthrough from Phantom Liberty with easy-to-follow step-by-step instructions on how to start the mission and what choices to pick. Below this segment, you will find detailed instructions and explanations of what happens if you make all of the available choices.
Instructions
- Complete the main mission "Get it together" from the Phantom Liberty expansion
- Talk to Mr. Hands and go to the provided coordinates between 10 pm and 6 am.
- Talk to Briana.
- Find the Motel where Leon Rinder is hiding.
- Take down all the Scavs guarding the area.
- Fight and defeat Yasha Ivanov.
- Talk to Leon Rinder and decide his fate (each decision leads to a different outcome):
- Shoot him and take his dog tag
- Take his dog tag and let him live
- Take his dog tag and shoot him at the end
How to unlock “The Man Who Killed Jason Foreman”
The Man Who Killed Jason Foreman will be available right after completing the main mission “Get it together” from the Phantom Liberty expansion. Mr. Hands will get in touch, and provide the coordinates to meet the client.
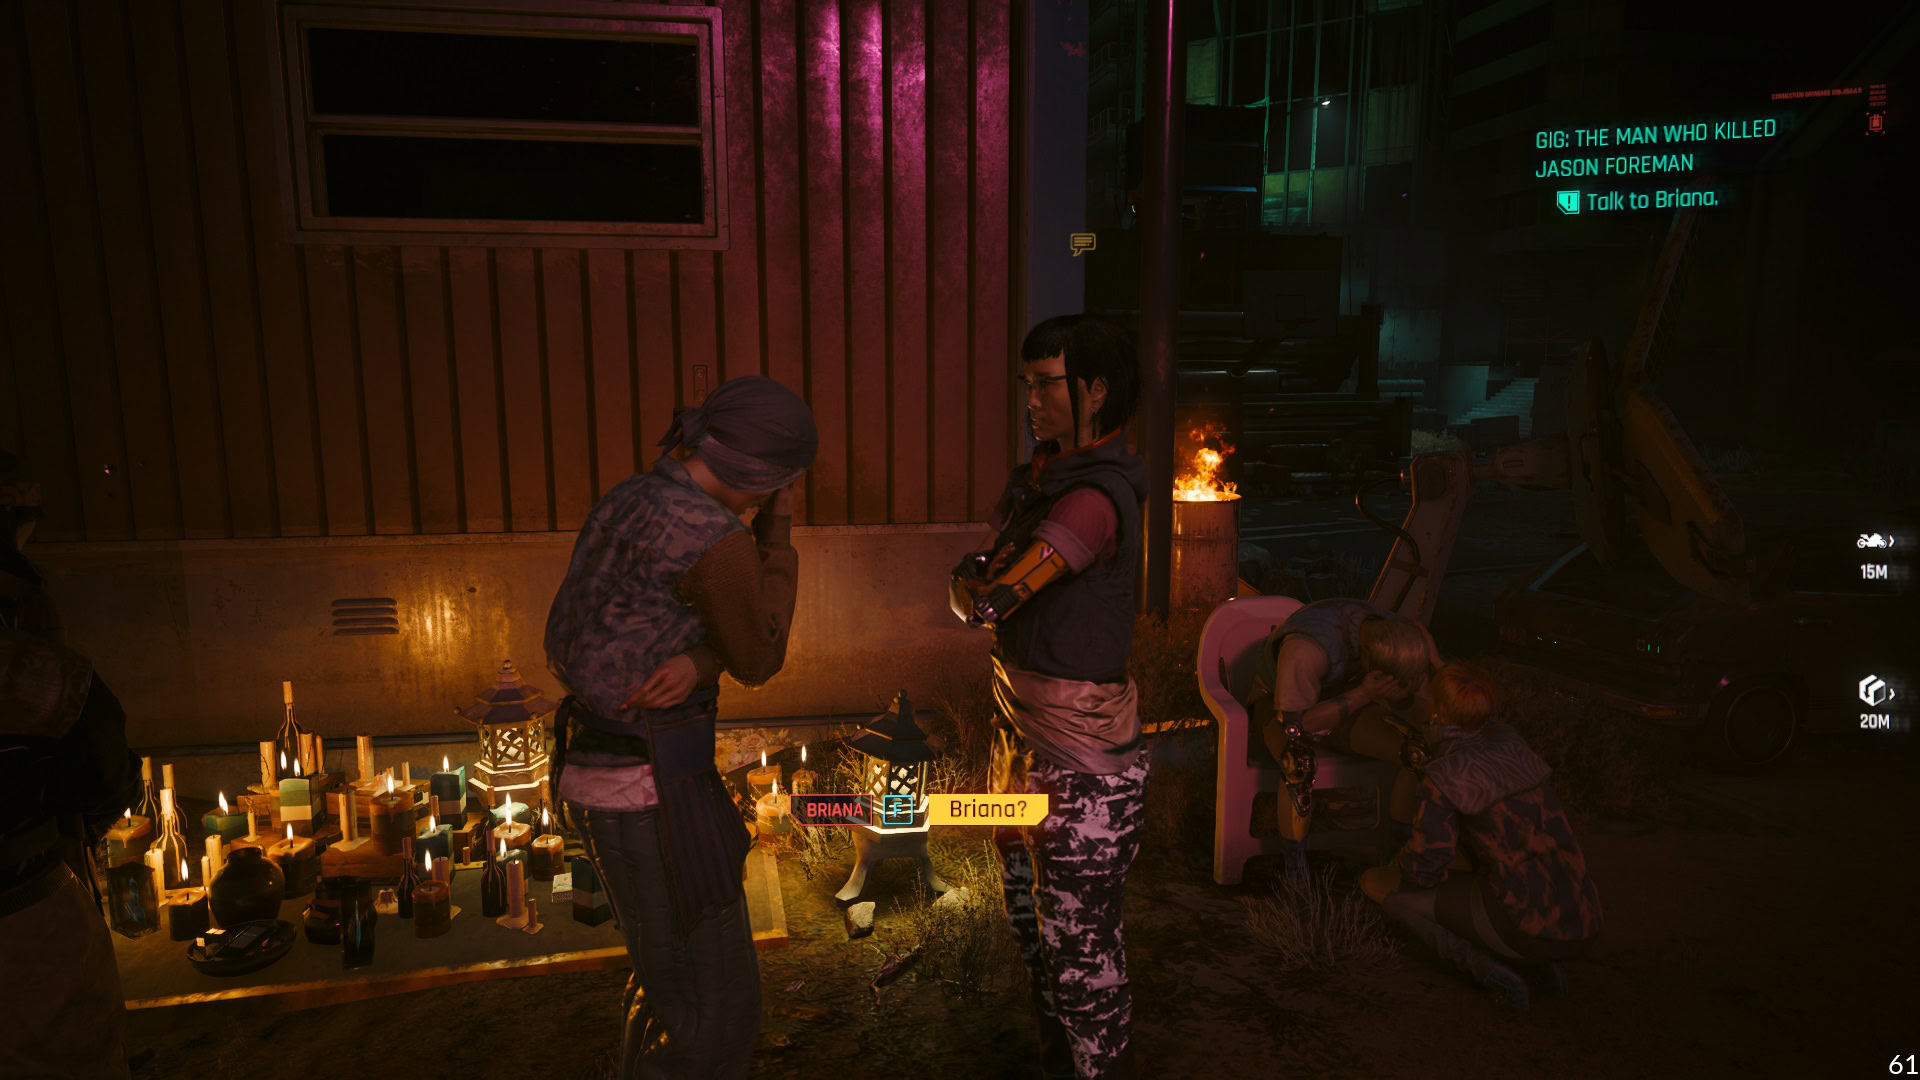
Head to the Southwest of Dogtown and look for Briana, your client. Please note that you must do this between 10 pm and 6 am, otherwise, the mission won’t begin despite being at the right place.

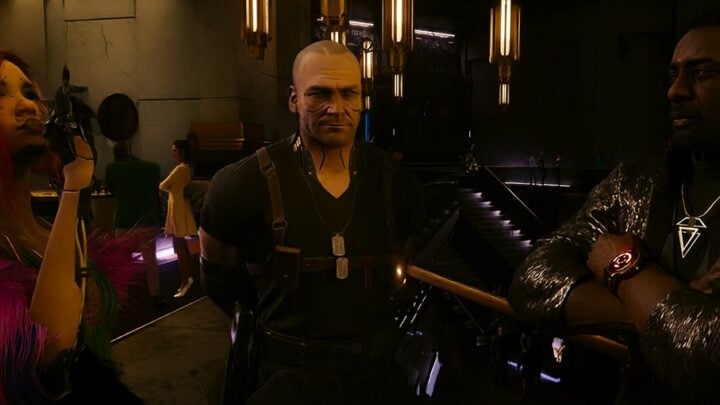
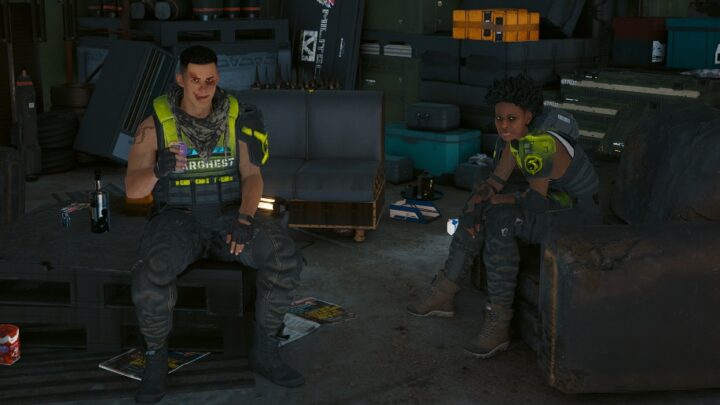
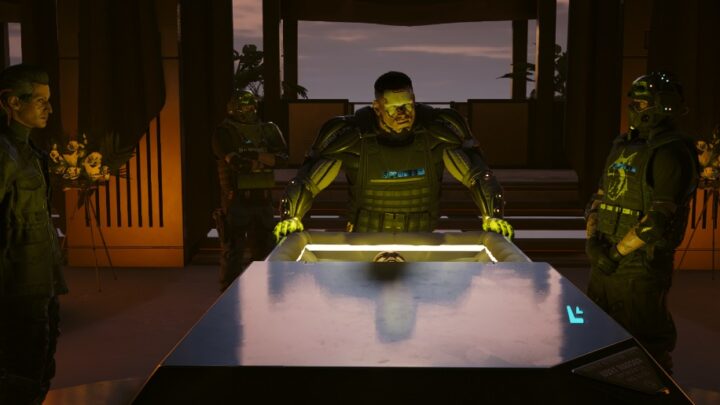
You’ll notice a small crowd having some memorial, the sadness and grief are almost palpable.

Approach the crowd and speak to Briana, she’s the woman who contacted Mr. Hands. The reason for you to be here is the cause of all the mourning, eight civilians were massacred by a former Barghest soldier named Leon Rinder, most of them were very young. The families want justice, and you’re the one who’s going to deliver it.
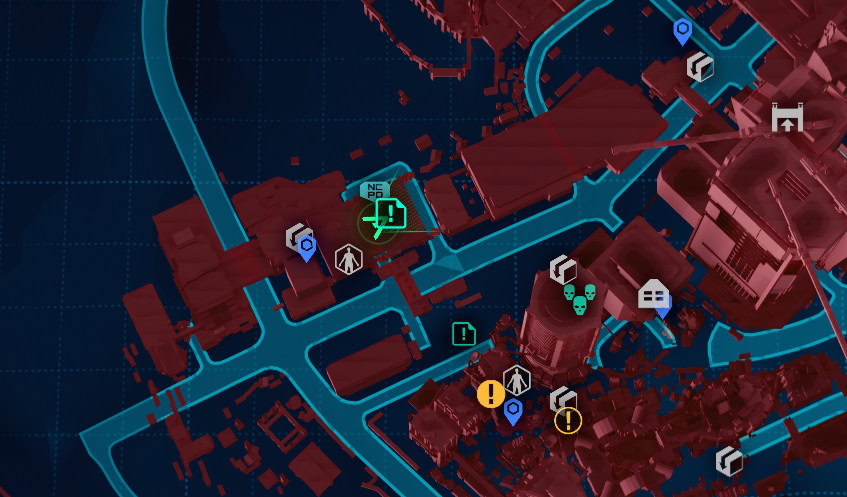
Briana will give you the coordinates of the Motel where Leon Rinder is located. It’s just a few hundred meters North of your current position. It is heavily guarded by Scavs so make sure to be prepared.
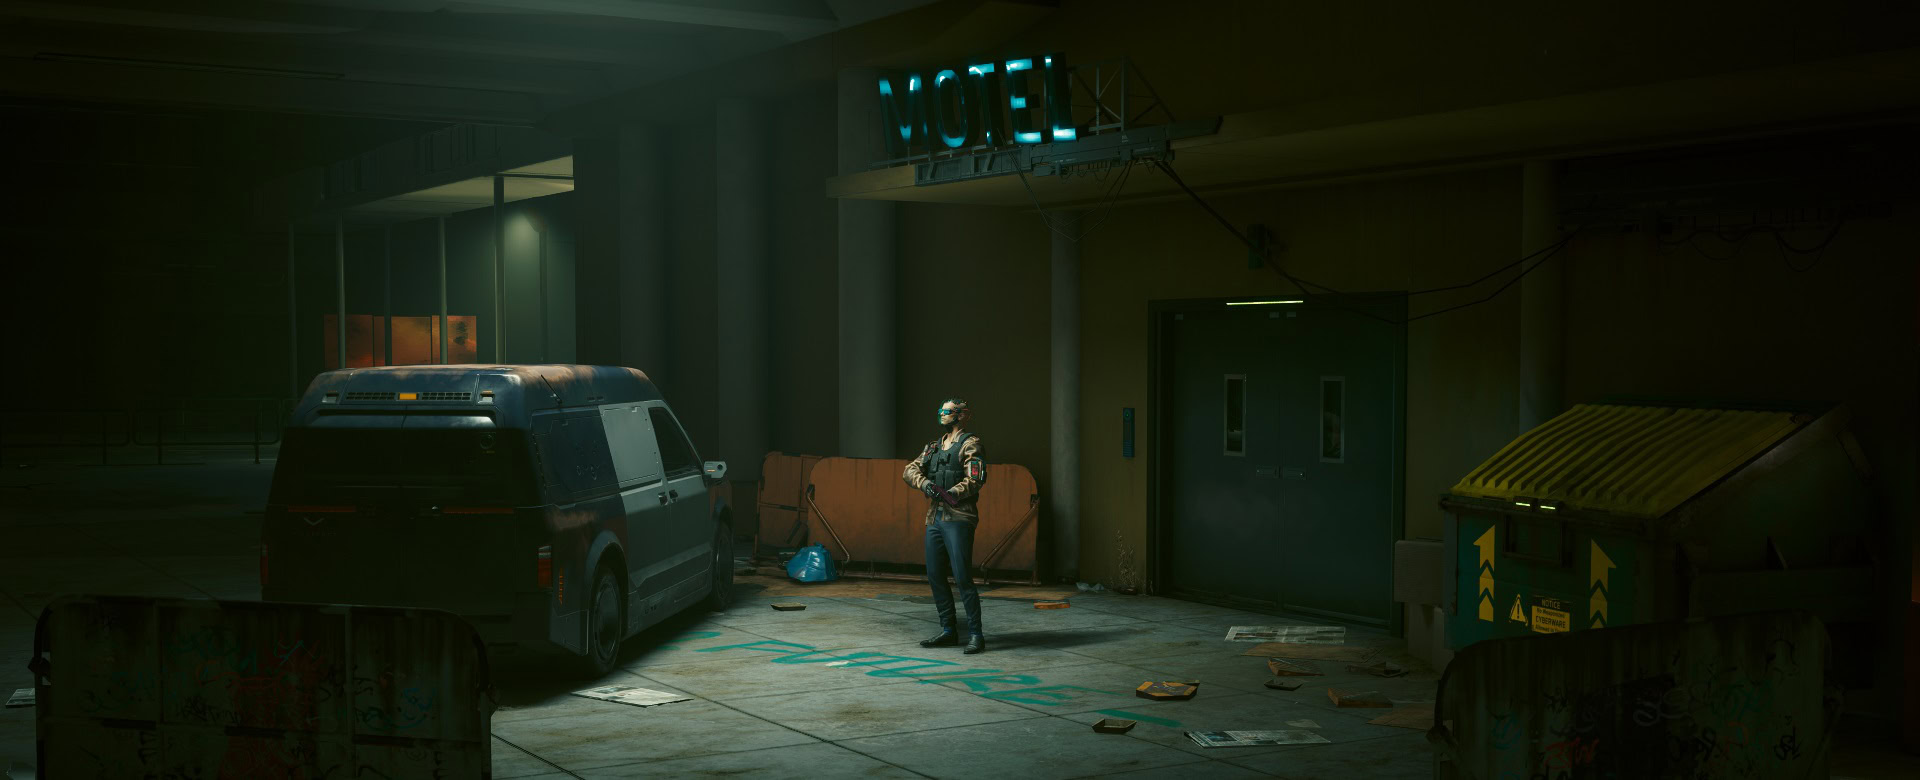
Go to Find Leon Rinder in the Motel where he is hiding
There’s one guard at the entrance of the Motel and three more Scavs near the area. As soon as you start shooting all four of them will immediately try to take you down.
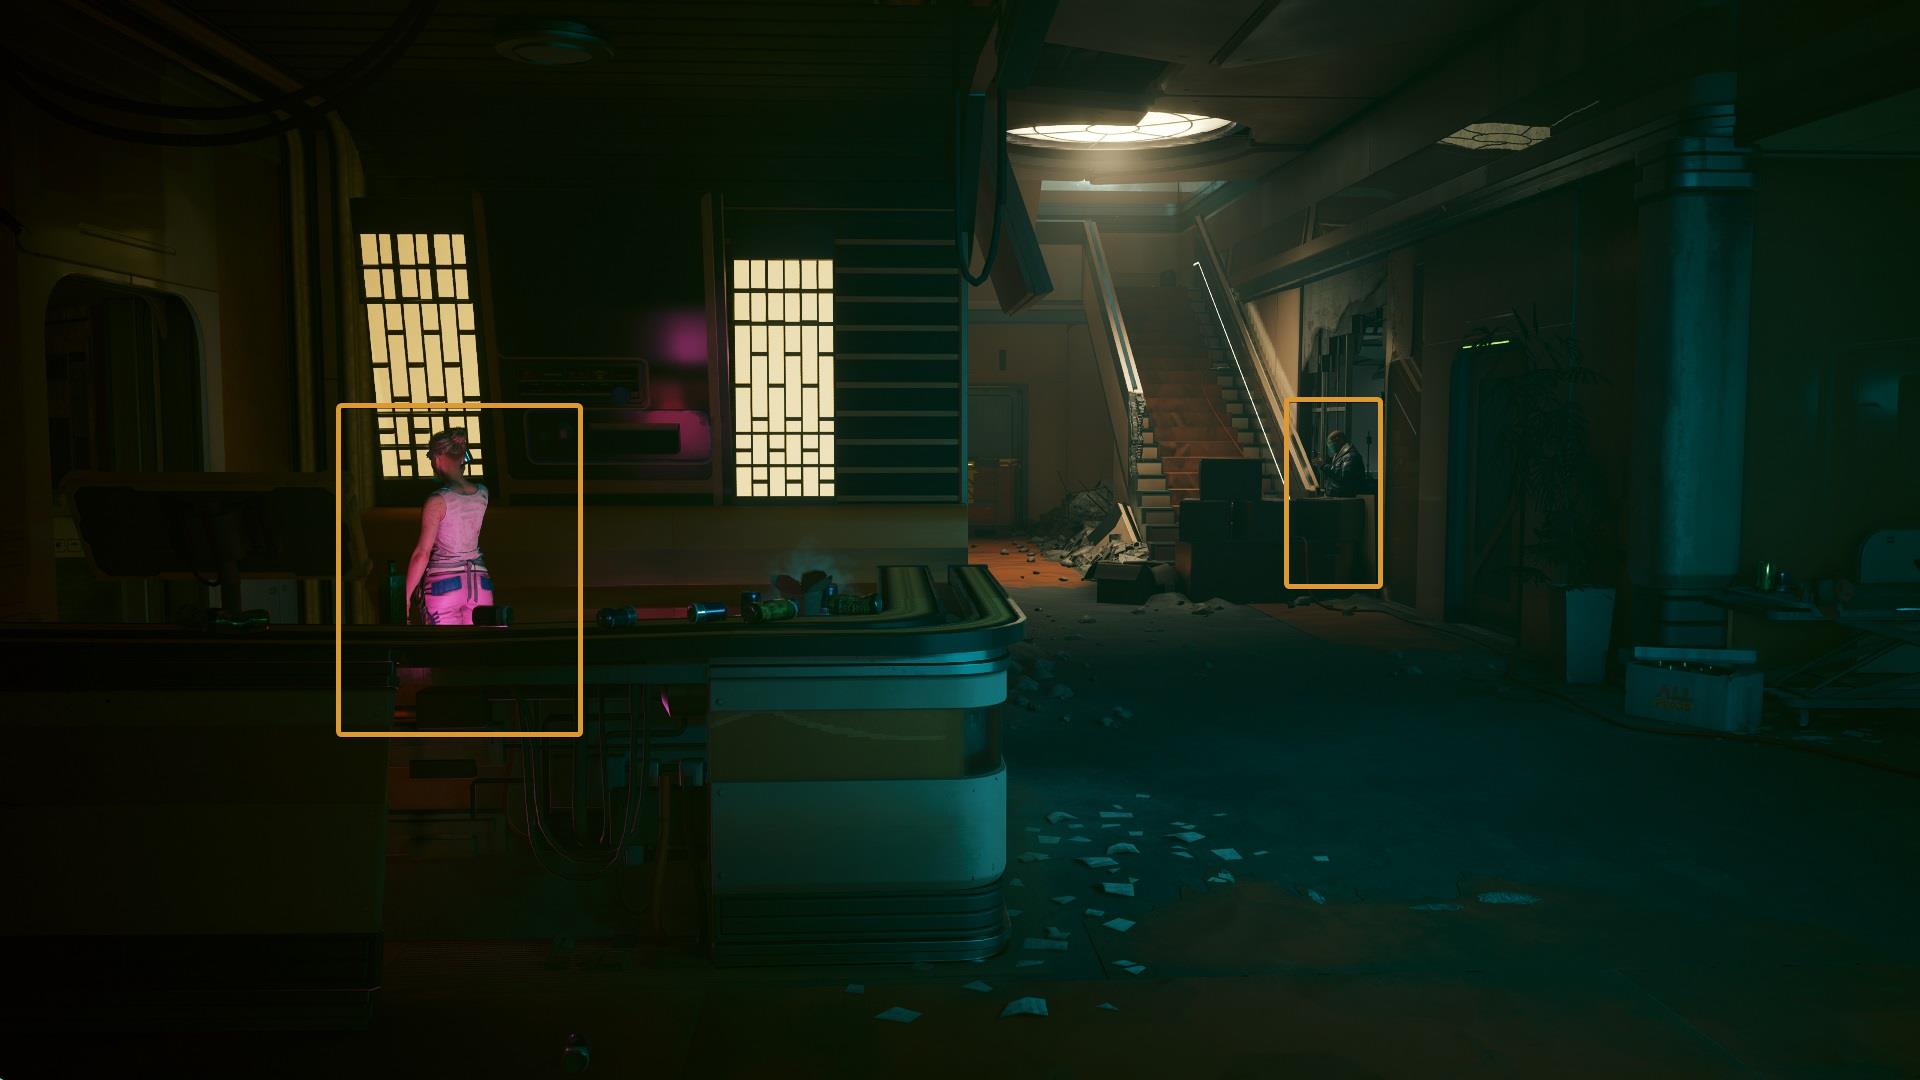
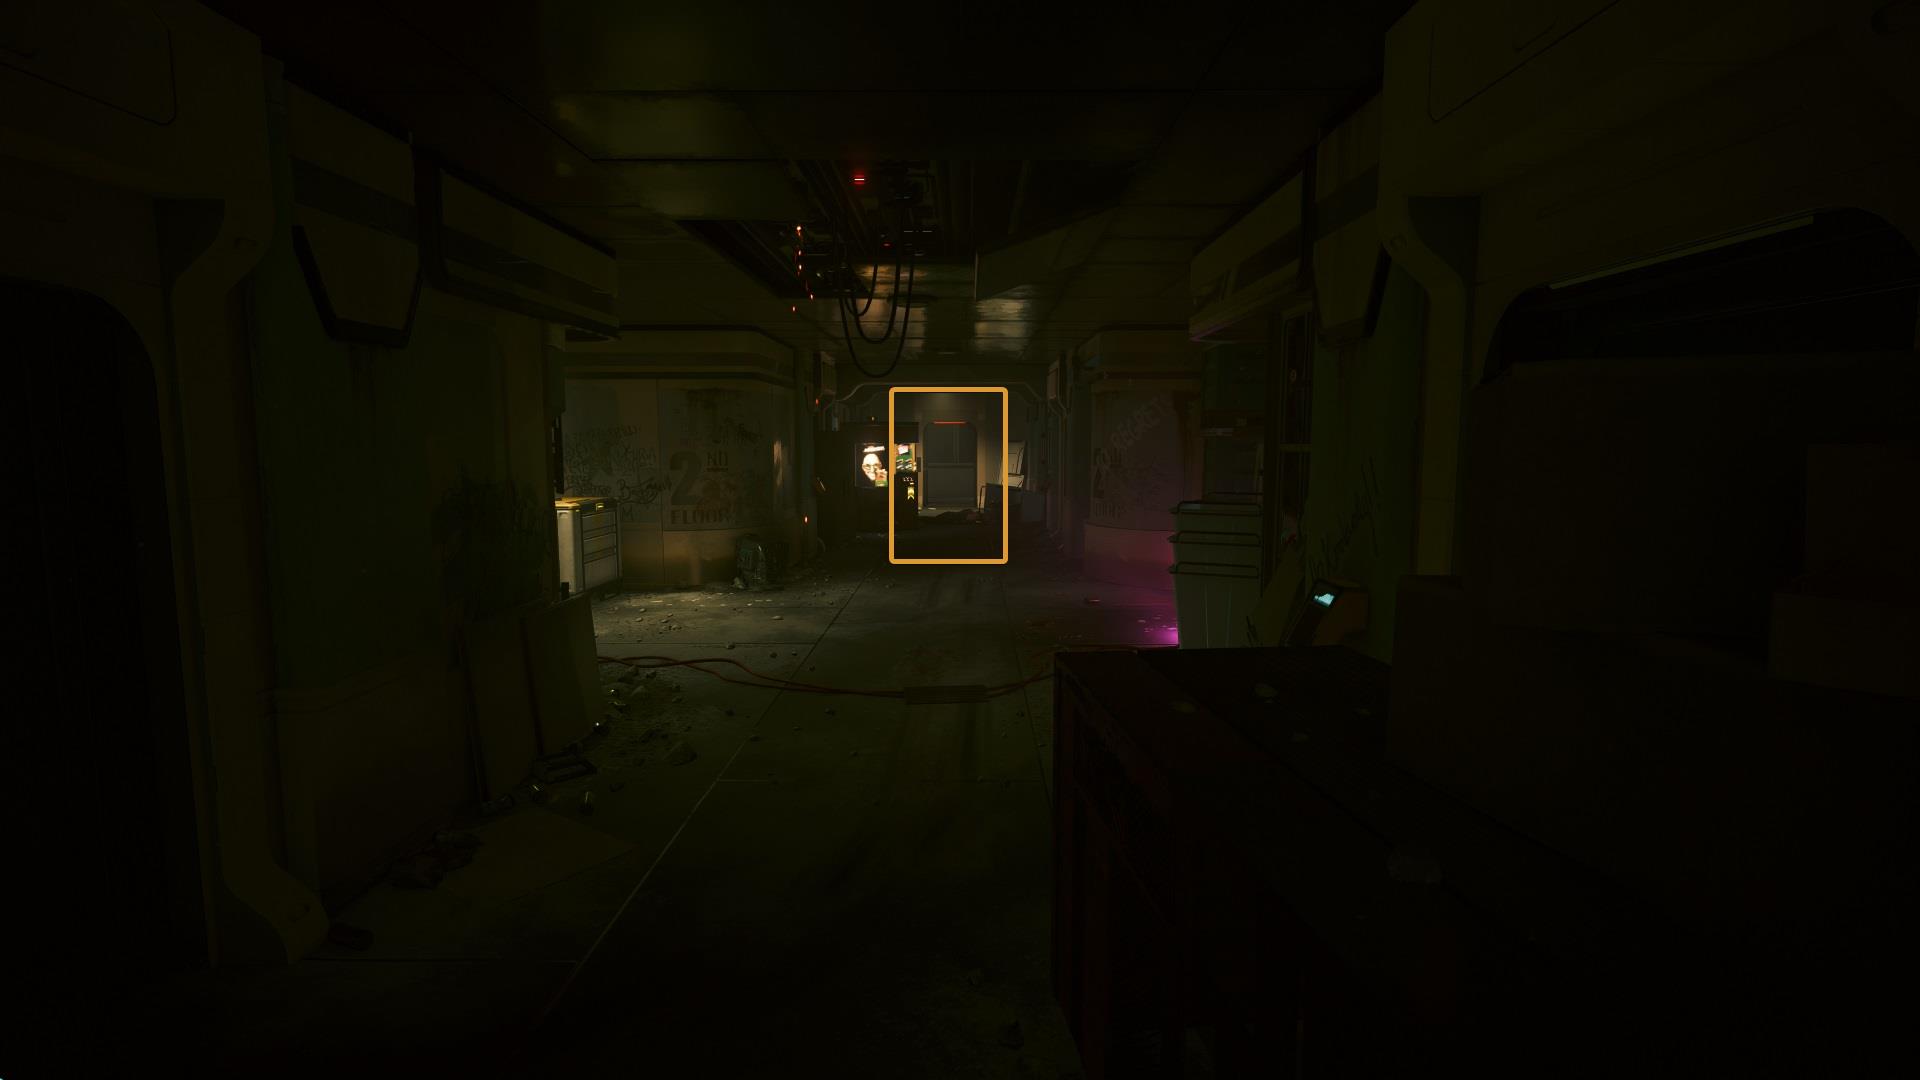
Opening the door will reveal a receptionist and another guard. None of them are looking in the door’s direction, which gives you a few seconds to eliminate both of them without making a fuzz.
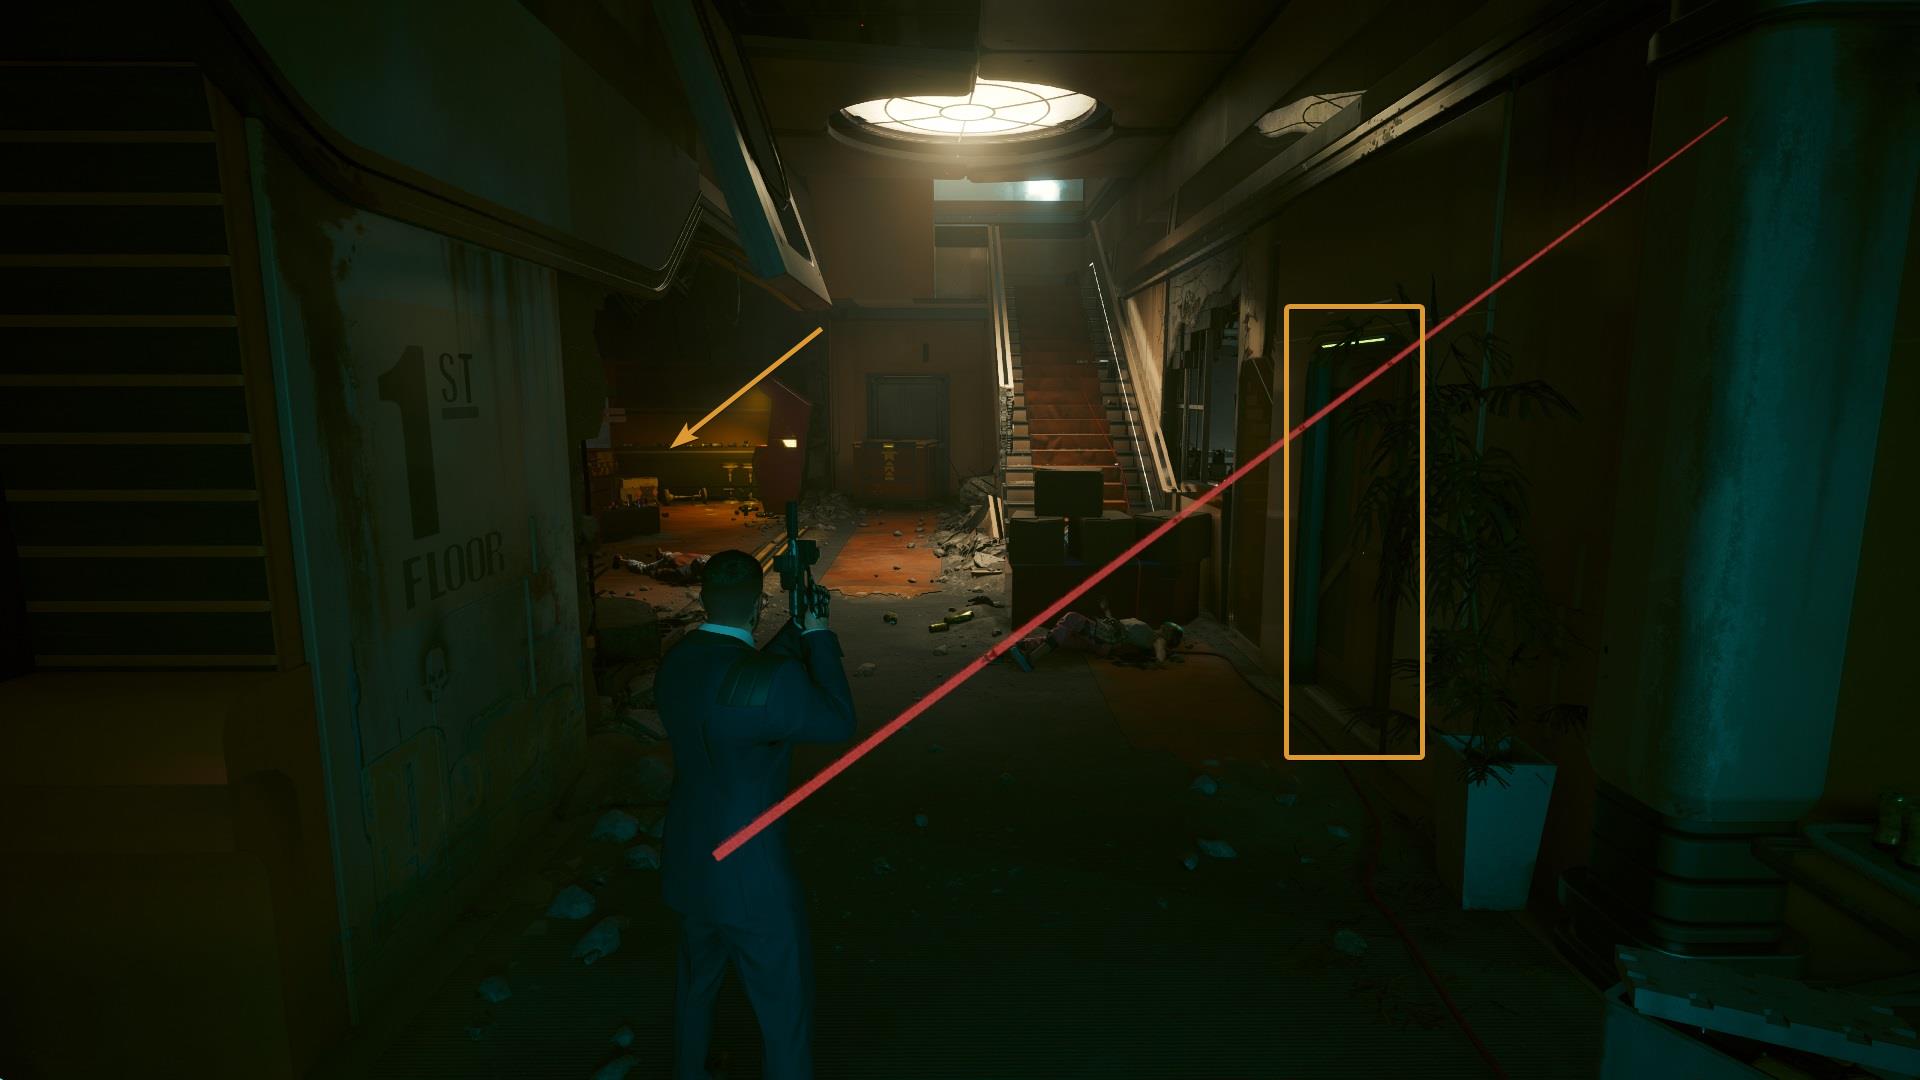
There are four more Scavs on this floor, two are inside the room on the right side of the hall and the other two are in the “lobby” area on the left. Using “Her Majesty” is the best option if you like the stealth approach. Once this floor is clear, go upstairs.
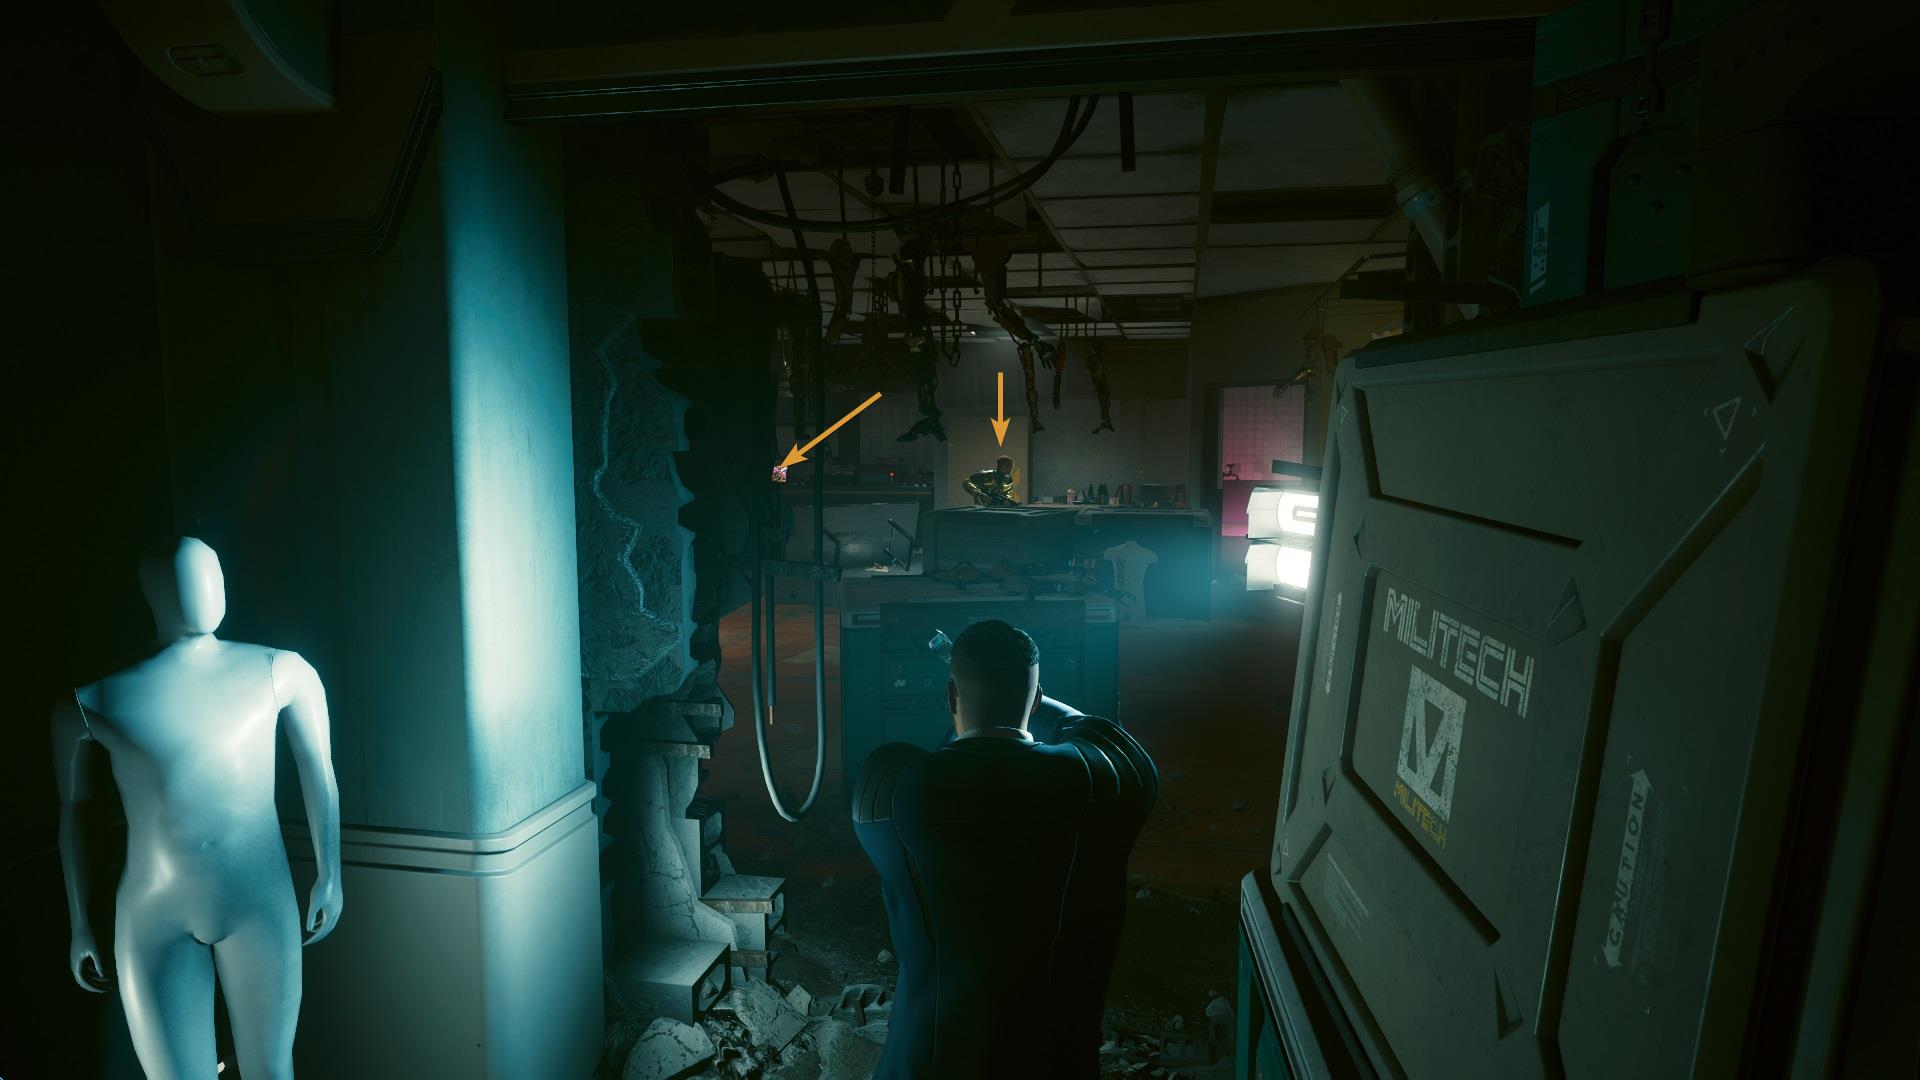
As soon as you enter the first room, you’ll see two more Scavs. None of them are particularly aware of your presence, as soon as any of them start shooting all other enemies in the building will go after you. Since many of the rooms are quite small it makes it very hard to fight against multiple enemies, especially if you’re playing on the higher difficulties.
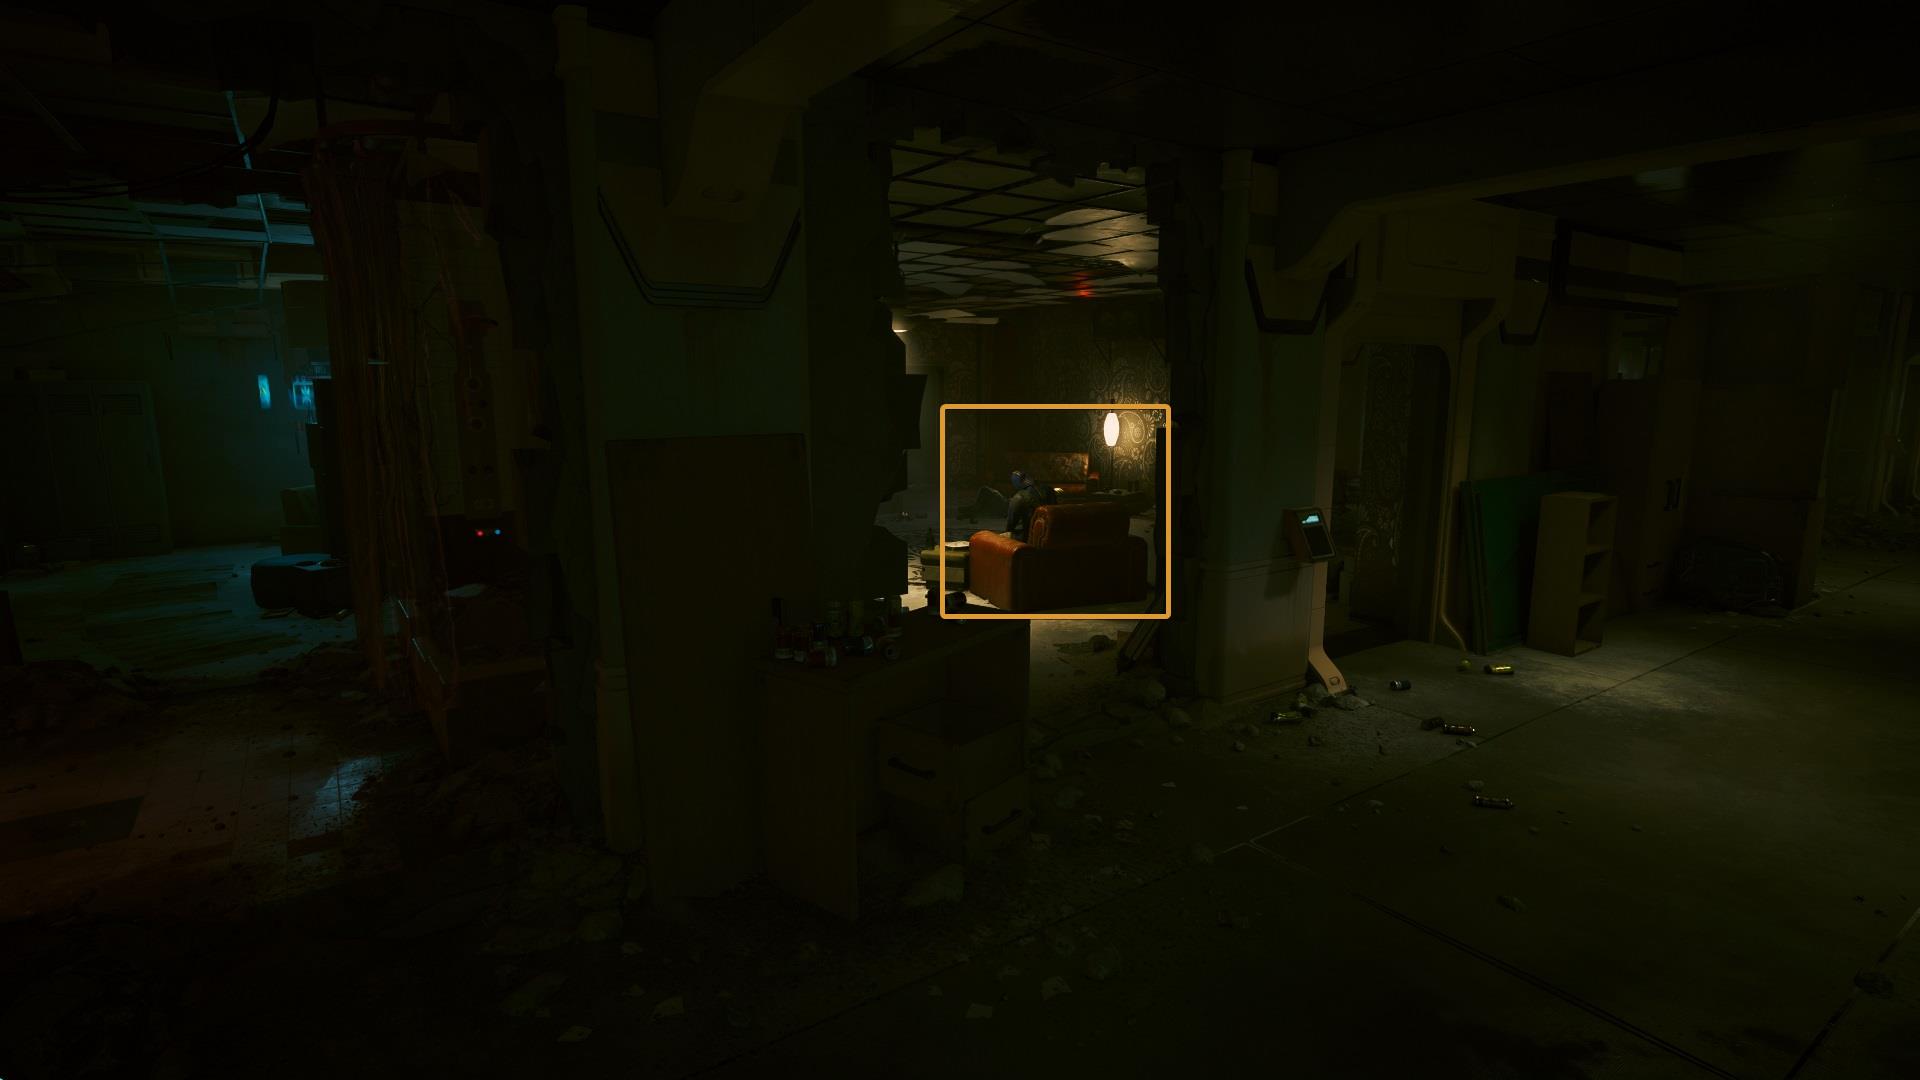
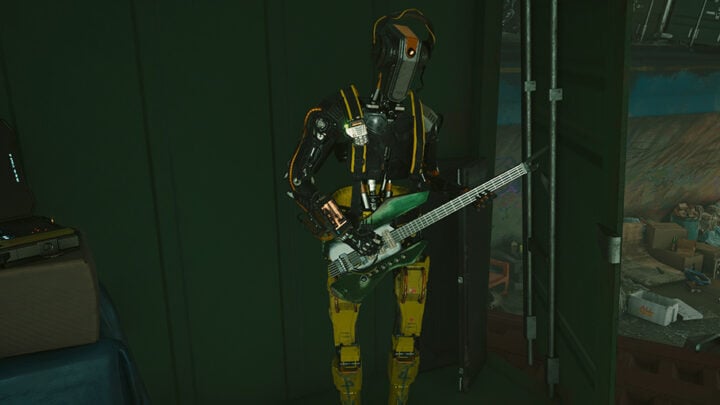
Find the stairs that take you to the upper floor, there’s a big hall with multiple rooms but there’s not much going on here.
There are some Scavs but they’re not a threat. Their state is almost comatose, standing in front of them won’t make them attack you and a single hit will take them out.
Defeat Yasha Ivanov
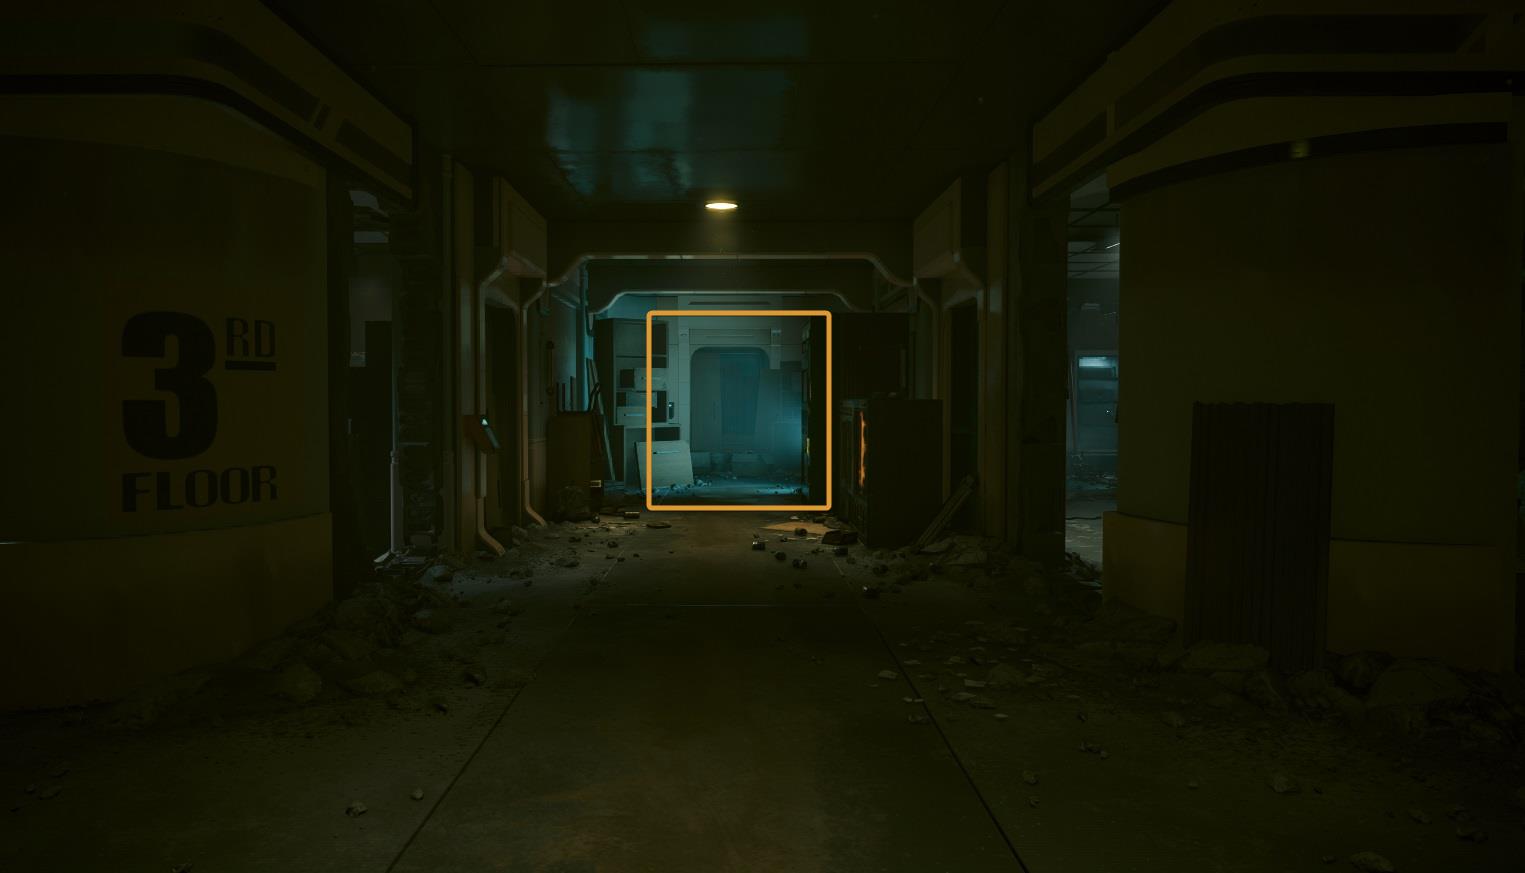
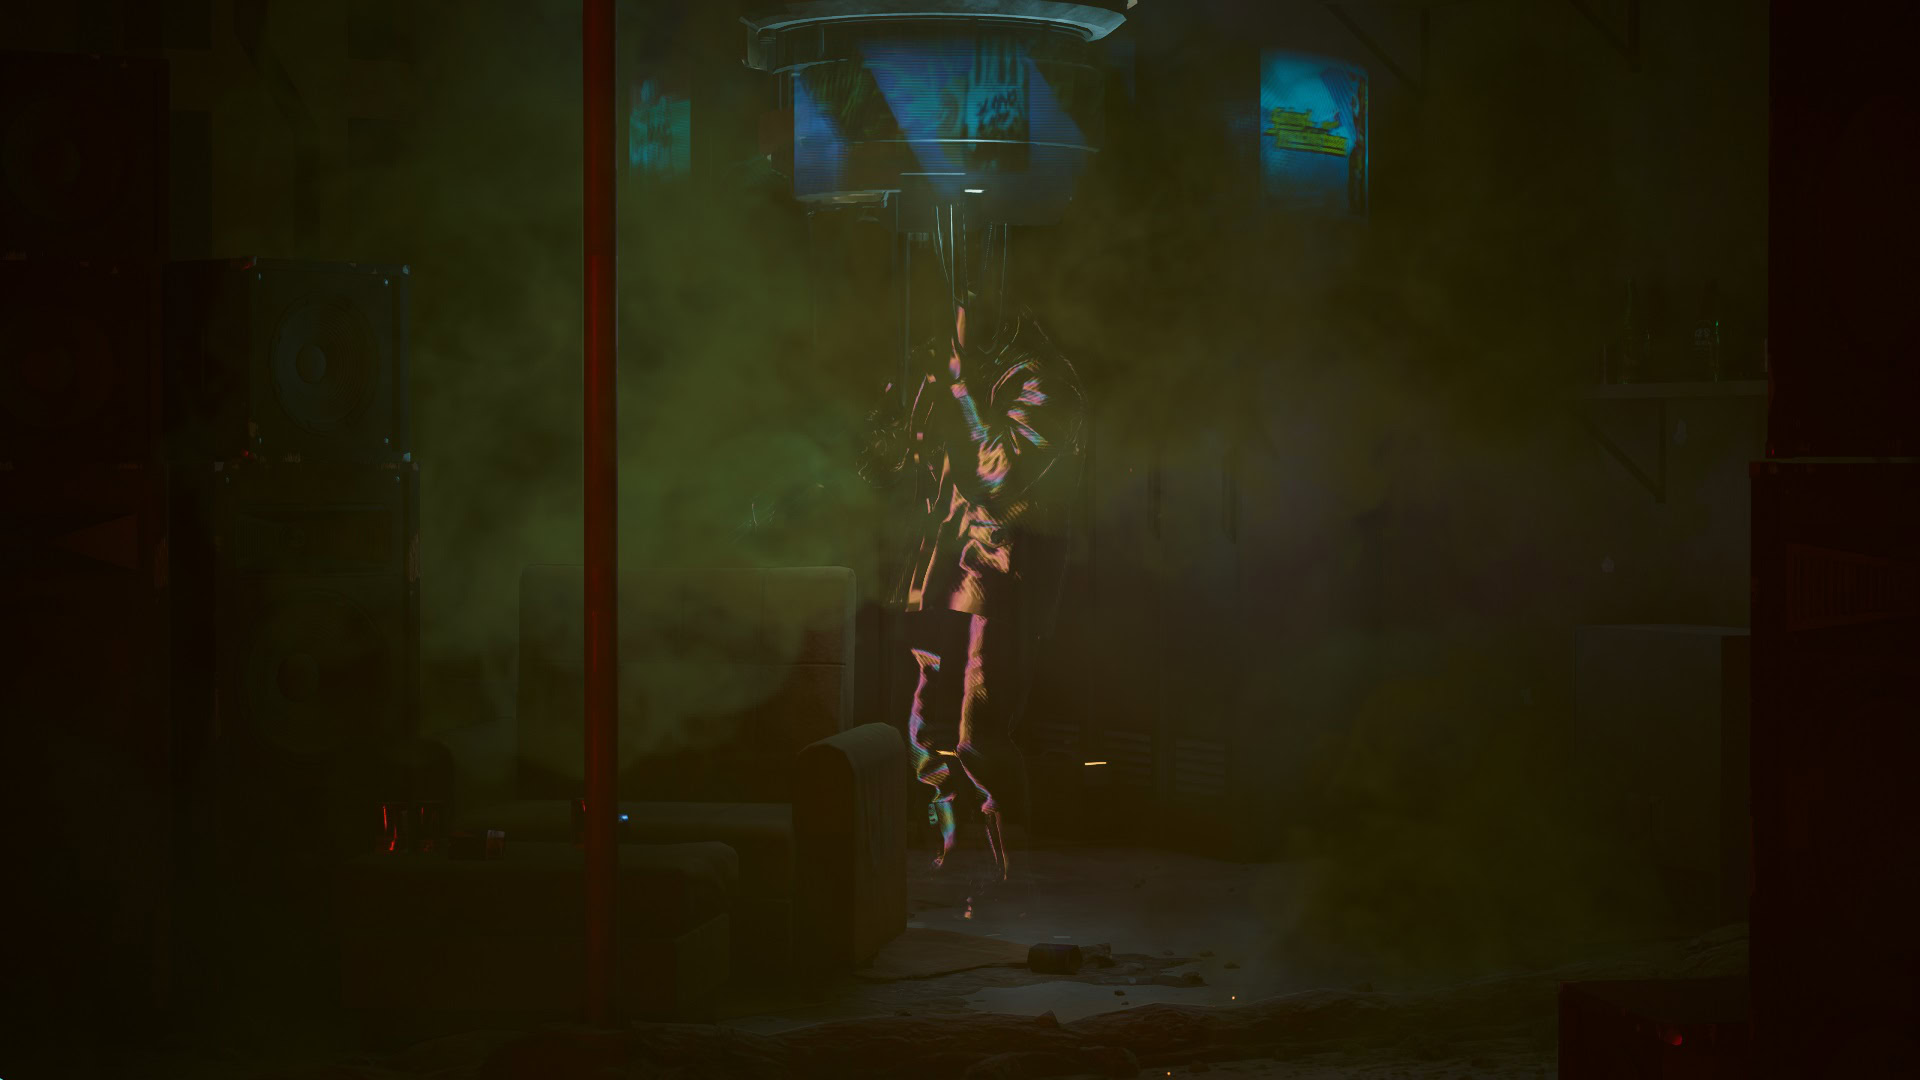
The third and last floor is almost empty, simply walk in a straight line until the end of the hall. There’s going to be a door on the left side, immediately after opening a small sequence will trigger. A big and bulky Scav will grab and throw you away from the room.
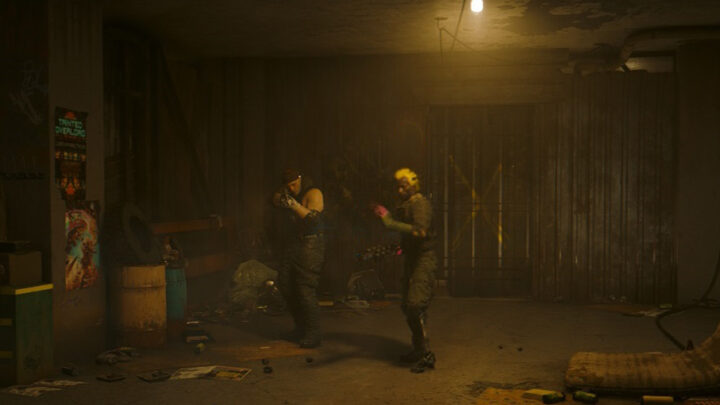
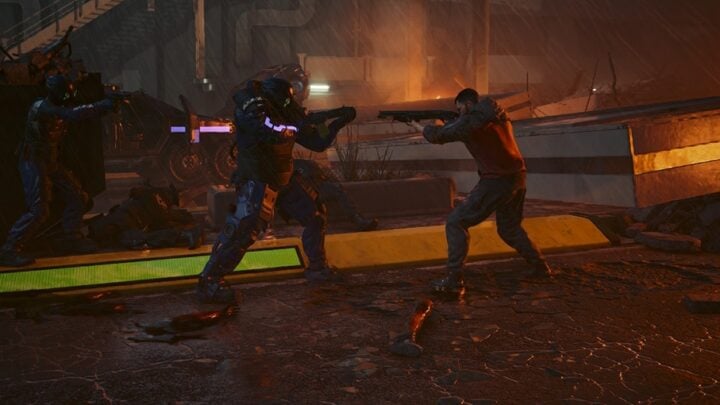
A mini-boss fight will begin, Yasha Ivanov is the last standing man between you and Leon Rinder. He might not look like much but that doesn’t mean you should underestimate this enemy.
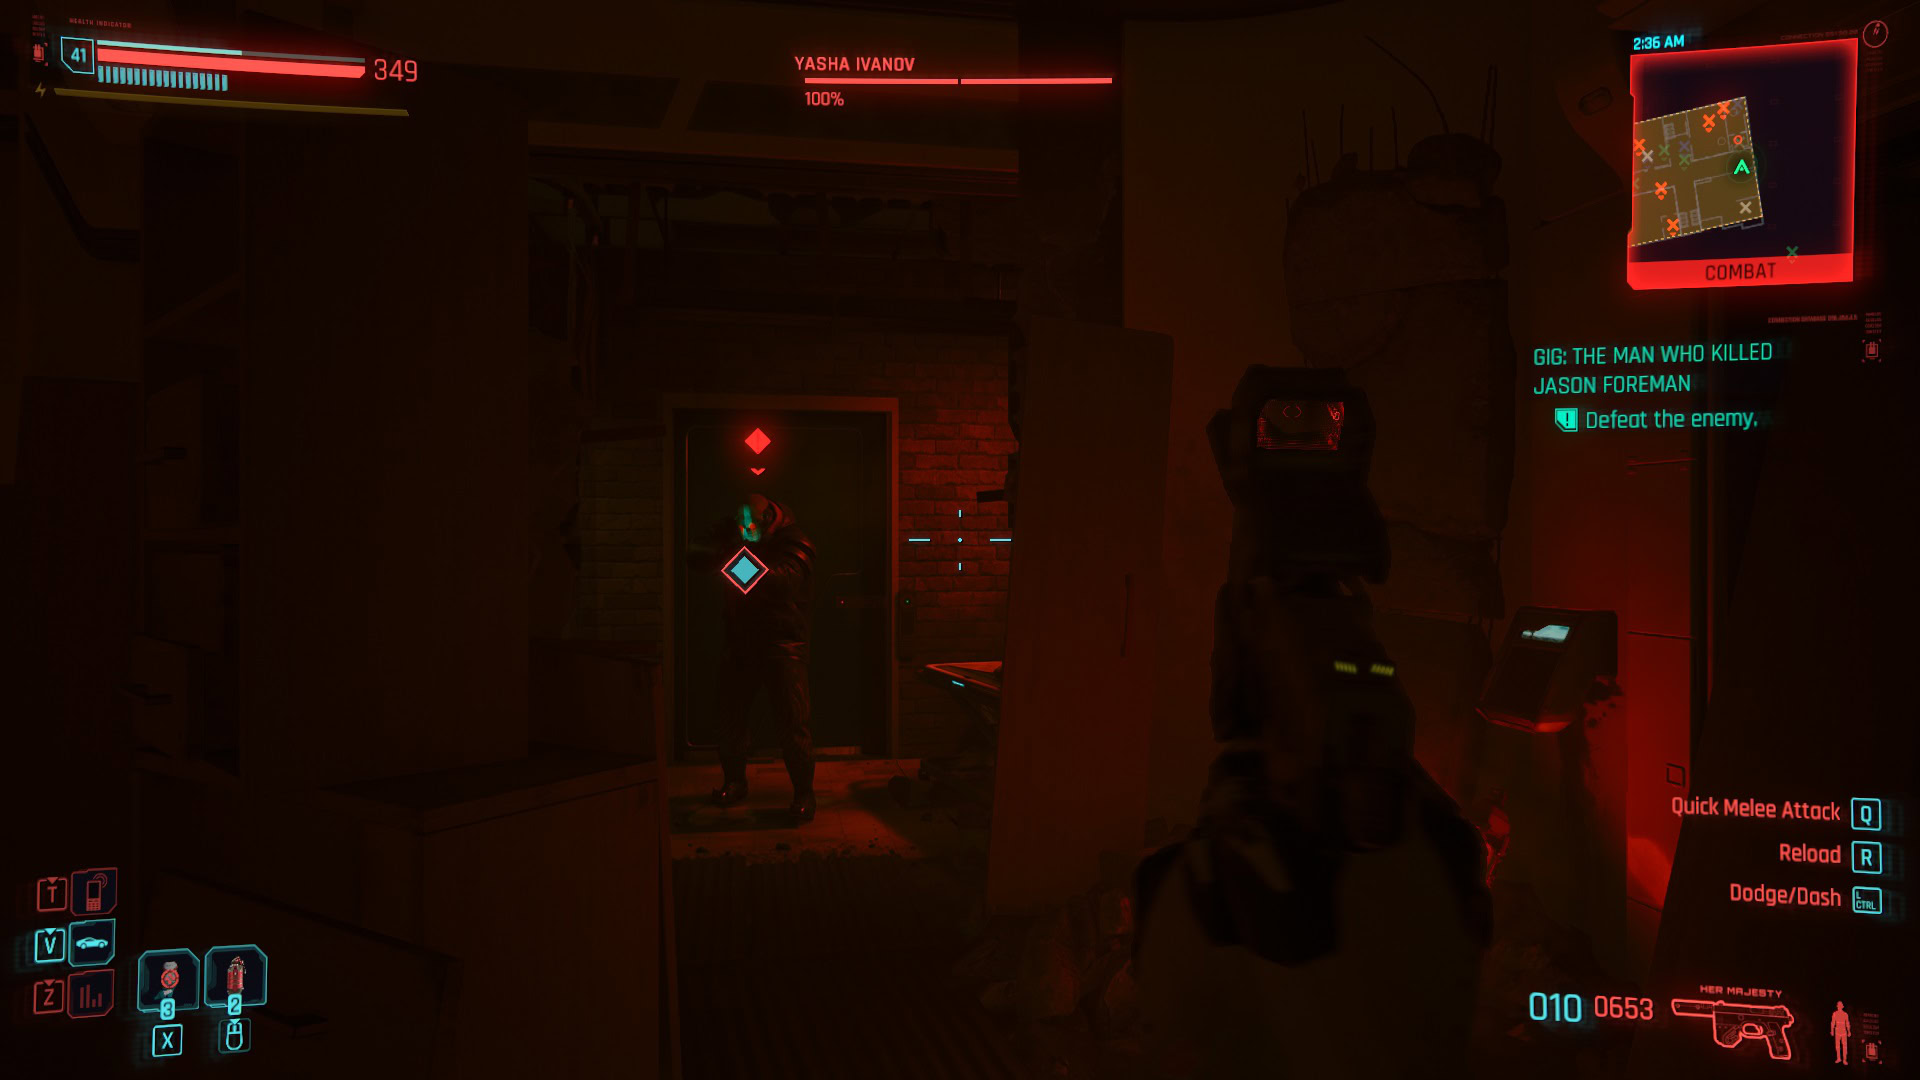
Yasha uses a shotgun and is considerably fast for his size and weight. Normally, an enemy with those characteristics wouldn’t present a problem but since this place is very confined you have to be extra careful.
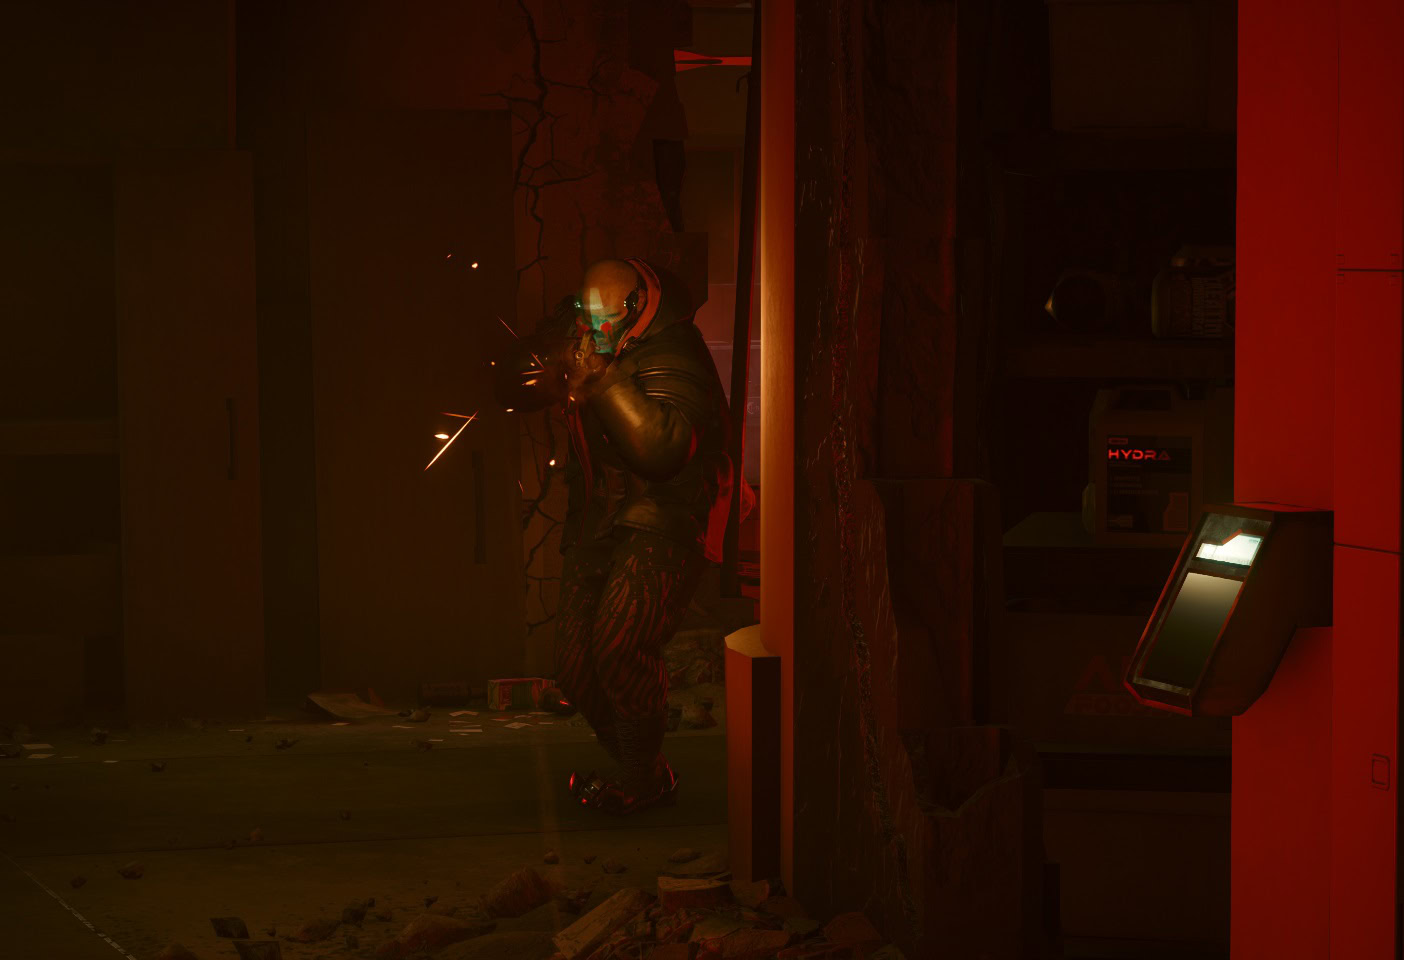
This guy has an active camouflage that can be very annoying, the lighting in this place changes a lot, and losing sight of him can be the difference between life and death. He is also armed with BioHaz grenades (which he is immune to) that will be used when you get too far for him to use his shotgun. The gas of these grenades will reveal his silhouette.
The easiest way to defeat him is by staying in medium range, unloading a powerful weapon on him, and then repositioning yourself. Repeat this multiple times. Staying too close for too much time will make you a vulnerable target, the grenades can be easily avoided by keeping constantly moving. If you’re afraid of losing sight of him remember to use the map to pinpoint his position.
Decide what to do with Leon Rinder
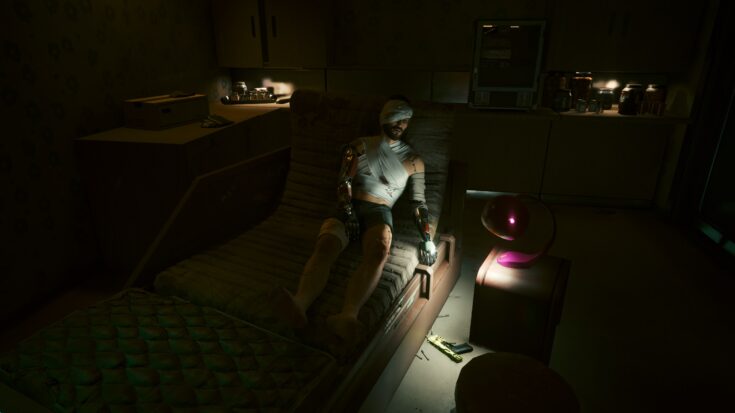
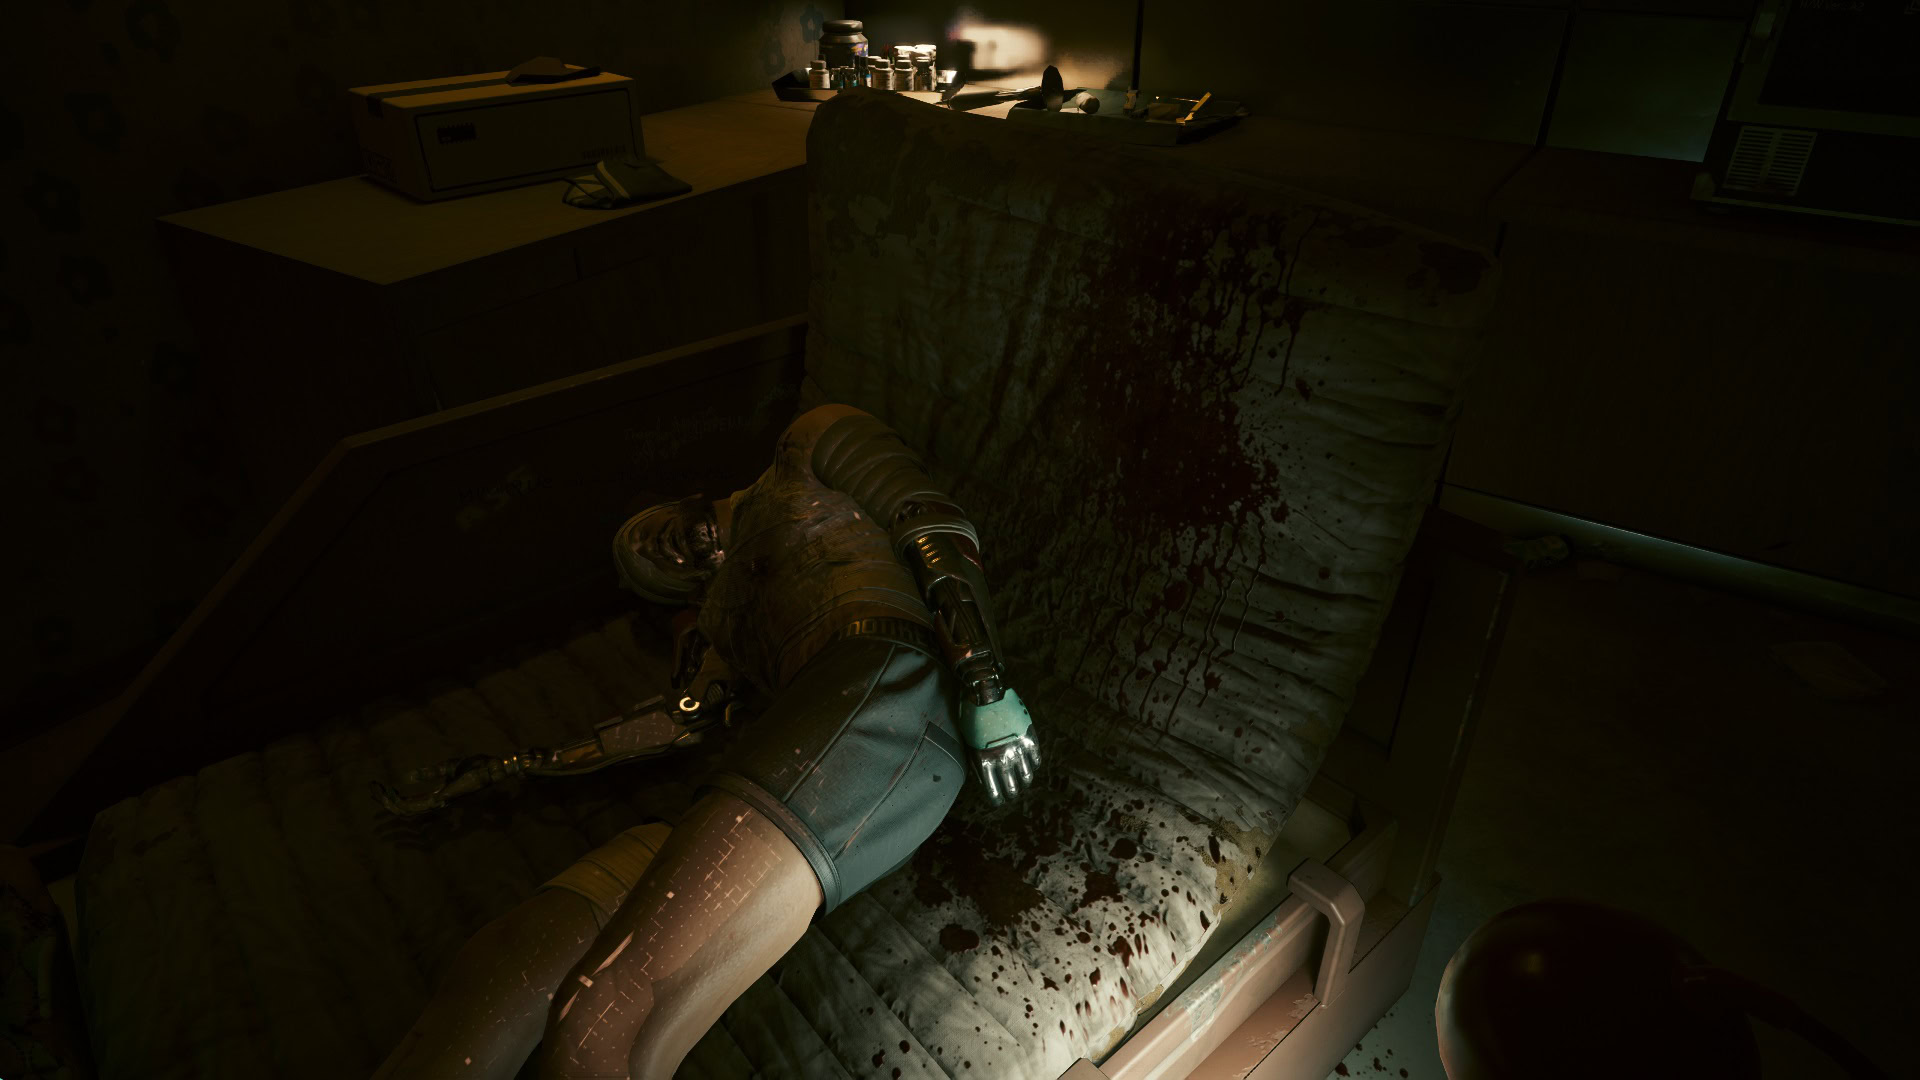
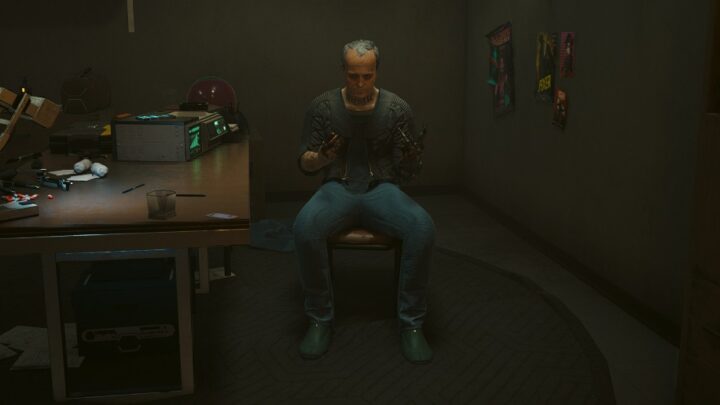
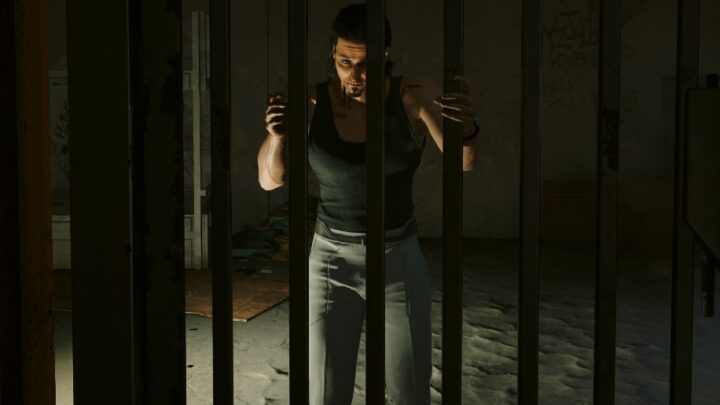
Once Yasha has been taken care of, you can finally deal with Leon Rinder. He’s not hostile and even greets you (kind of). As you will see, he’s just a shell of his former self but it’s clear that what made him kill all those civilians was cyberpsychosis.
The Scavs have removed all his chrome and he has no intention of going back to his old ways. But that doesn’t mean that he’s innocent.

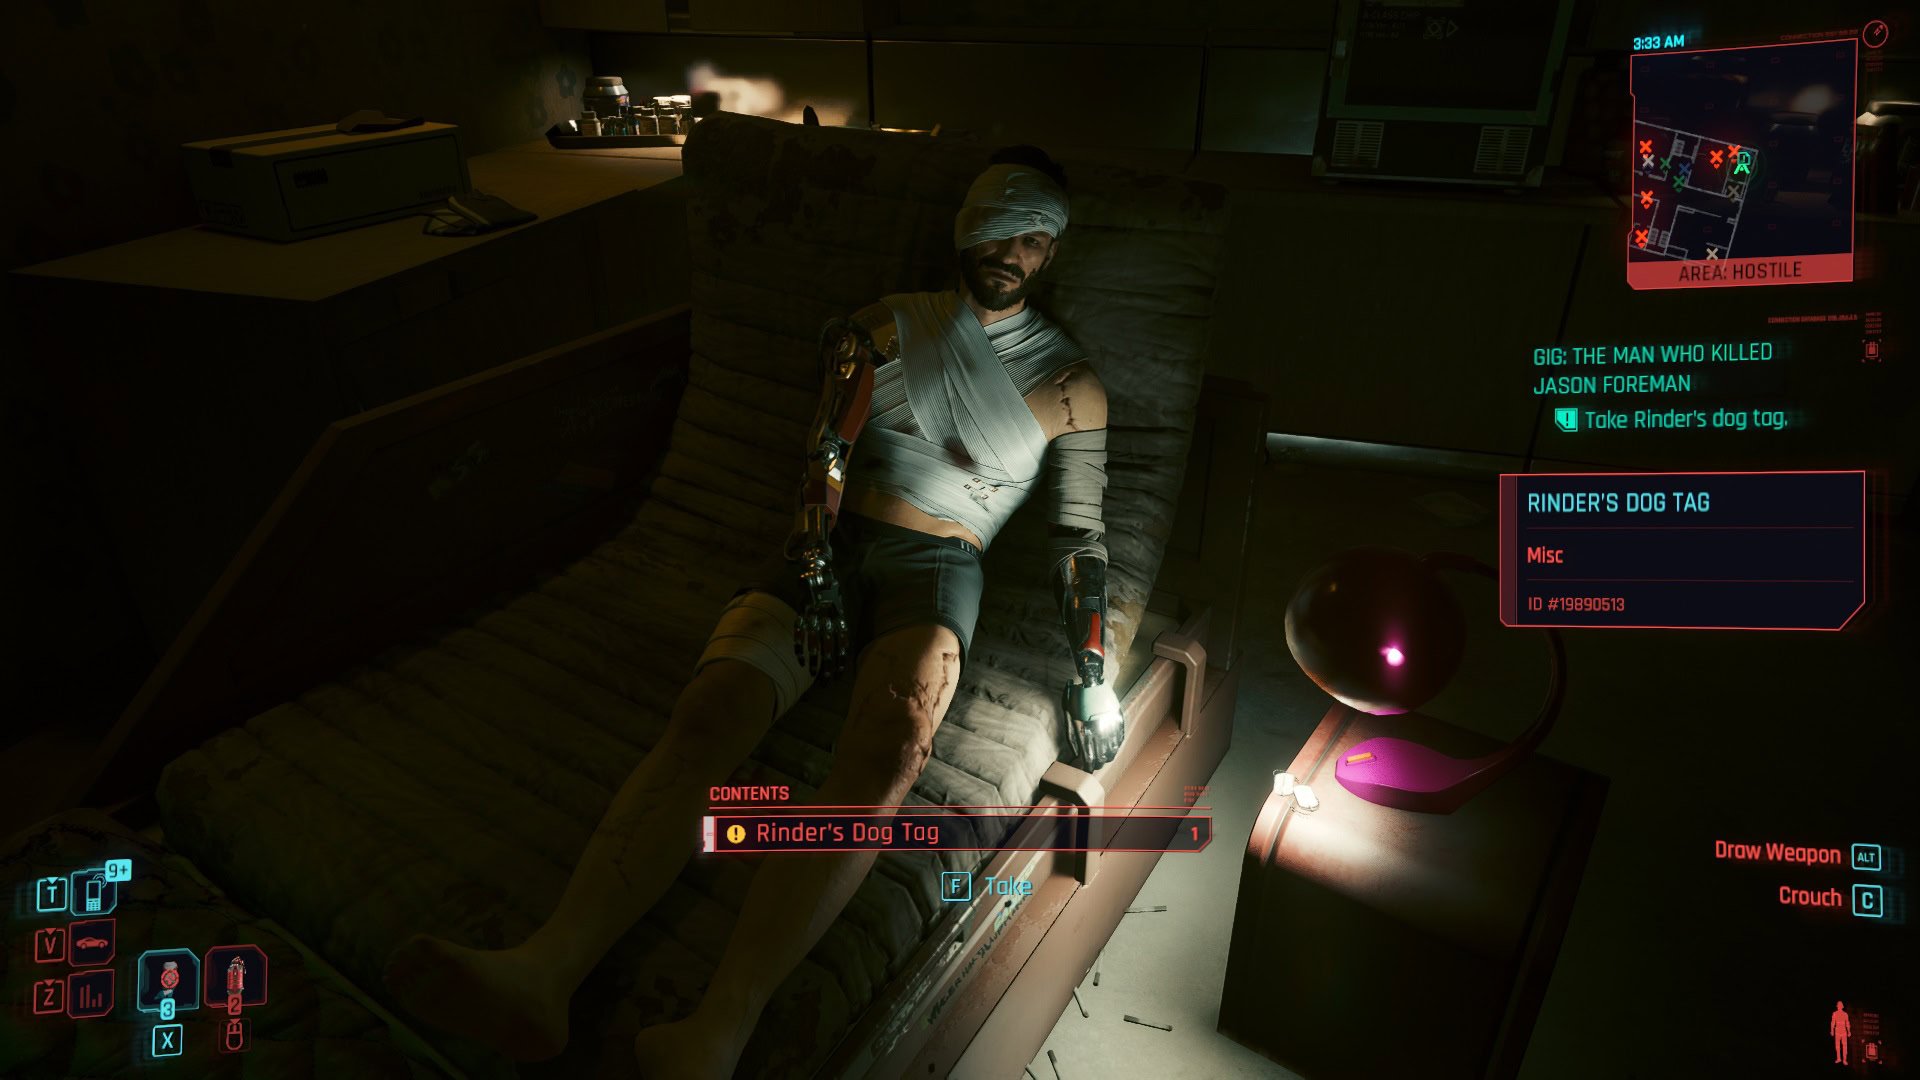
In theory, there are two options:
- kill Rinder and take his dog tag
- take the dog tag and let him live.
In exchange for your mercy, he’ll provide the coordinates of his stash. You can shoot him at any point in the conversation, be careful with that trigger finger.
If you plan to do what Briana asked then just deal with the murderer.
If you decide to accept his proposal then just take his Dog Tag and go back to Briana. This is one of those missions that would make you consider both choices, doing the right thing or taking advantage of the situation for personal gain.
But wait, what if I told you that you can do both things? Accept Rinder’s proposal and take his Dog Tag. This will trigger the job “Addicted to Chaos”. Once this job is in your Journal, shoot Leon Rinder.
Deliver the Dog Tag to Briana, she will be most pleased and the contract with Mr. Hands will be closed. As a reward for this mission, you will receive eight thousand eddies.
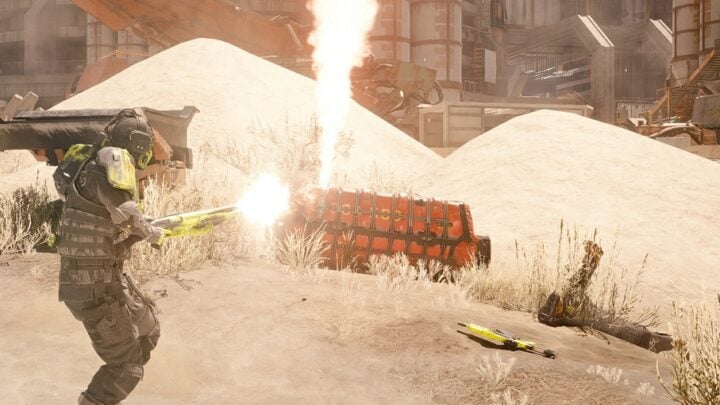
Begin the “Addicted to Chaos Mission”, and follow the map until you get to a small storage room. Inside it, you will find the Iconic weapon “Dezerter” an extremely powerful double-barrel shotgun.
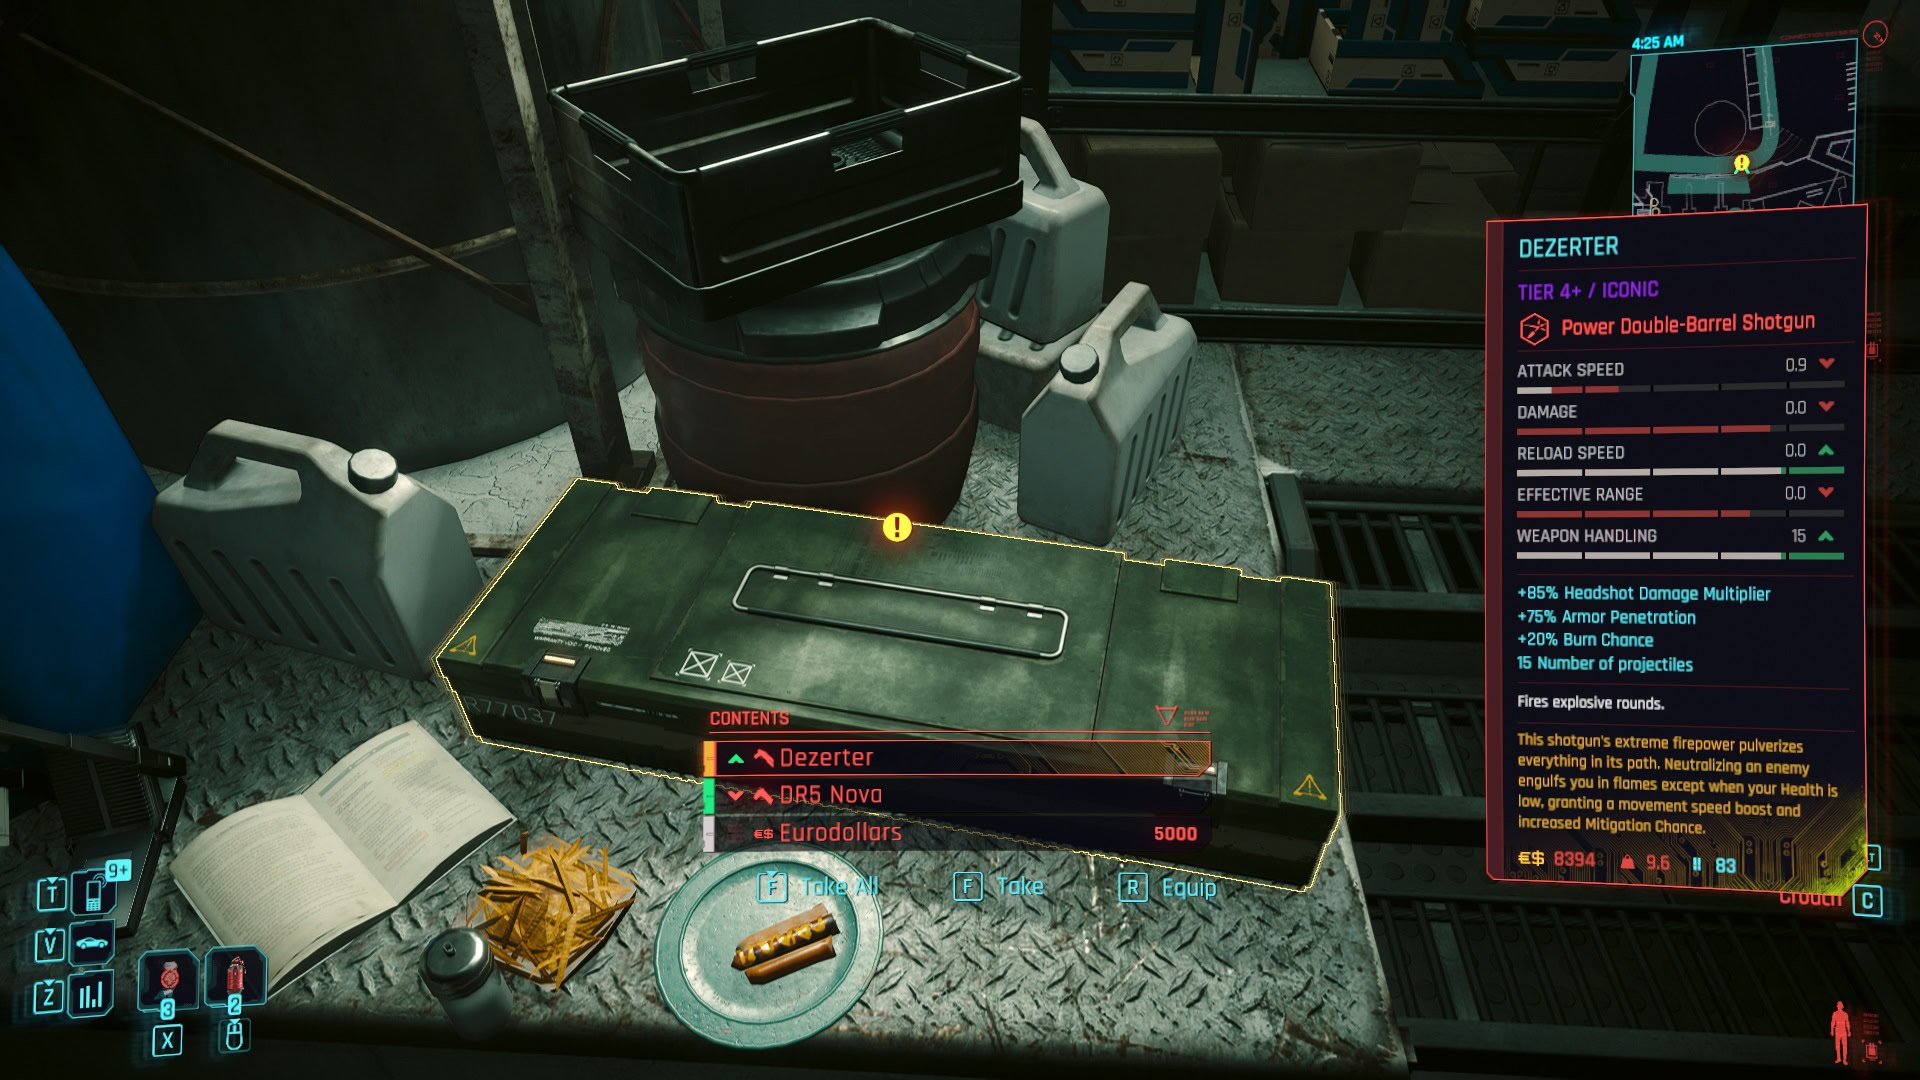
Before acquiring the weapon it might show up as a Tier 4 Iconic, this is a bug that happens every now and then with Tier 5 Iconic weapons found on Phantom Liberty missions. Once it’s in your inventory, you’ll see that it properly appears as a Tier 5 Iconic weapon.
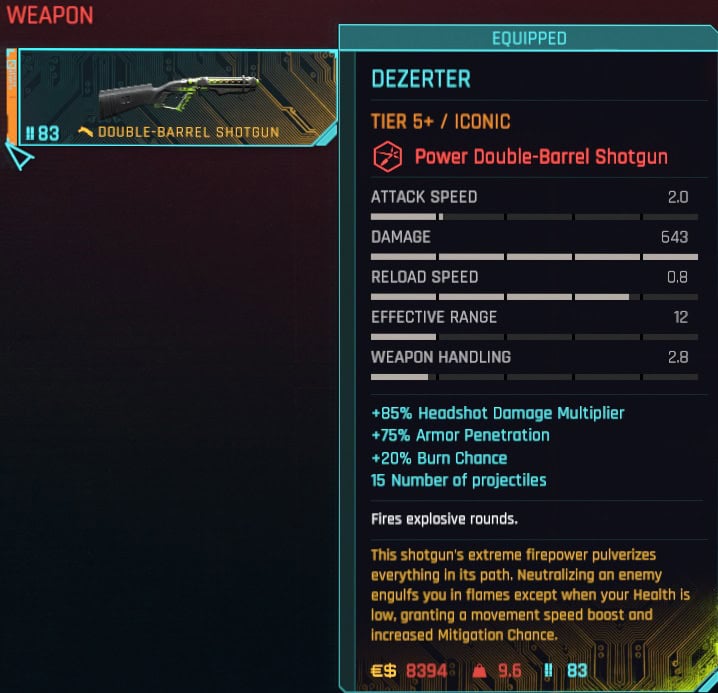
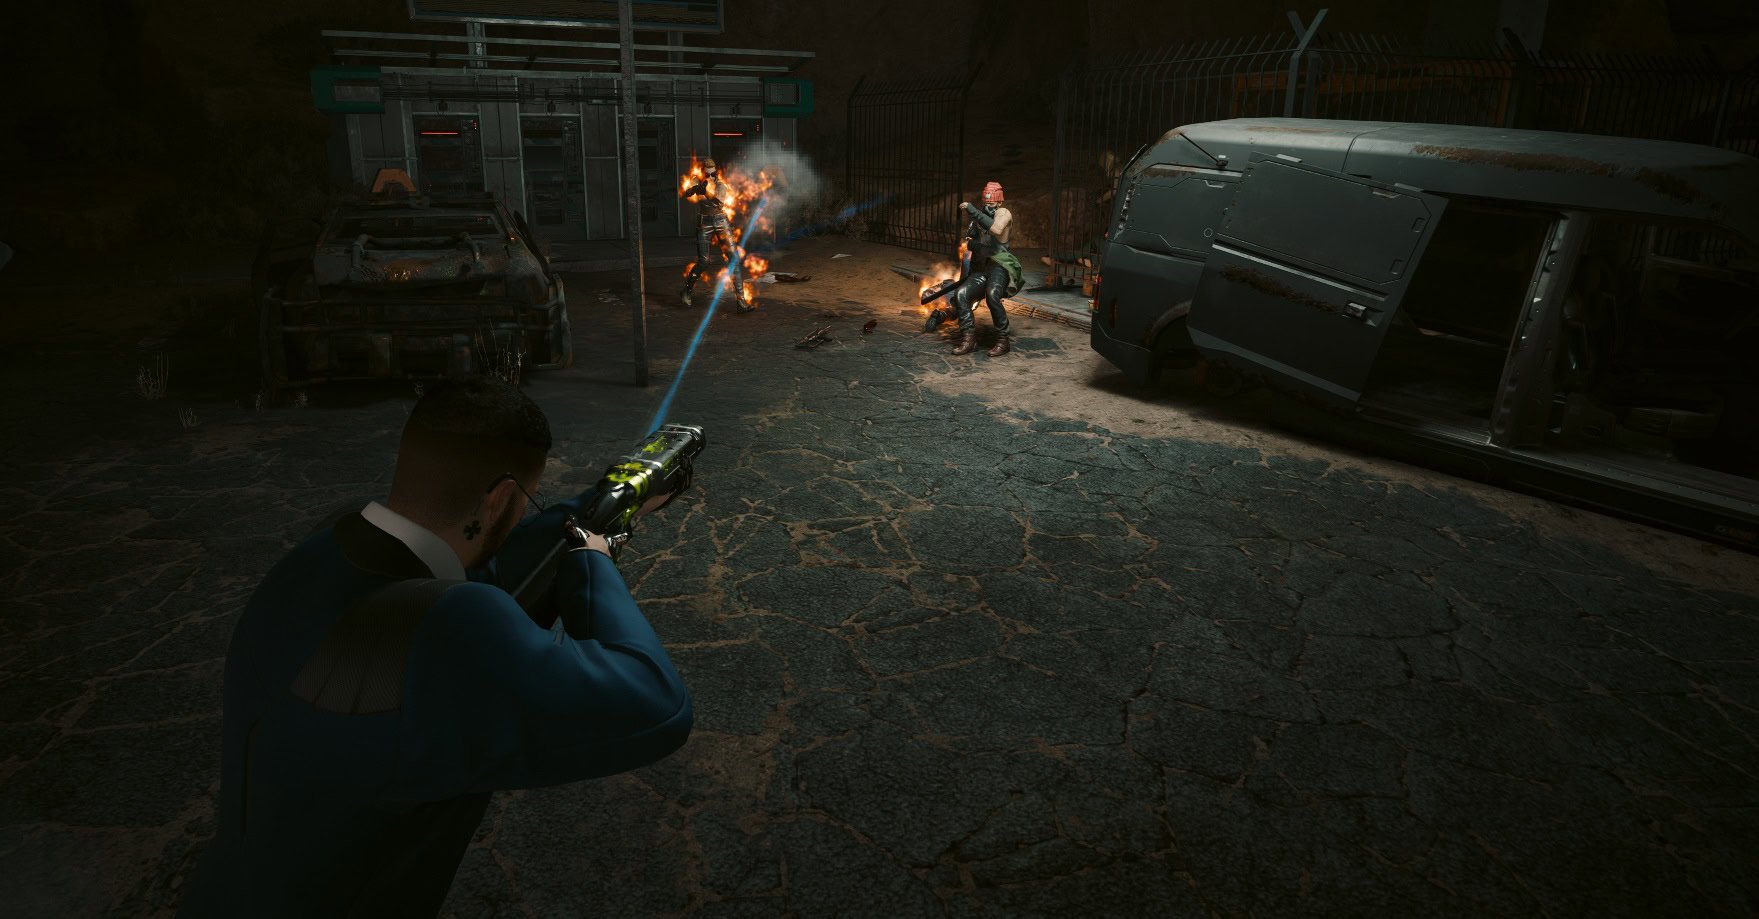
This shotgun fires explosive rounds that can one-shot many enemies, but doing so will engulf you in flames (you read that right). You can learn more about other weapons in our Iconic Items Guide for Phantom Liberty.
This concludes our guide to the side job “The Man Who Killed Jason Foreman”. Check out our Cyberpunk 2077 Guides Master List to learn about main jobs, gigs, vehicles, item catalogs, weapon locations, and more!

Cyberpunk 2077 Phantom Liberty Review (No Spoilers)
An in-depth spoiler-free review of Cyberpunk 2077 Phantom Liberty. Find out what has changed, learn of all new features and our experiences!

How to start Phantom Liberty in Cyberpunk 2077 and go to Dogtown
This guide will tell you everything you need to know about how to start the Phantom Liberty expansion in Cyberpunk 2077 and how to access the new zone in Night City called Dogtown!

How to Defeat the Chimera in Cyberpunk 2077 Phantom Liberty: The Spider And The Fly Walkthrough
This guide will show you how to complete the main mission “The Spider and the Fly” from Cyberpunk 2077’s expansion Phantom Liberty! The walkthrough details each step you must take and useful tips to defeat the Chimera unit.
Cyberpunk 2077 Lucretia My Reflection Guide: Can You Save Jacob and Taylor
This guide will show you how to start and complete the main mission “Lucretia My Reflection” in Cyberpunk 2077 Phantom Liberty. You will also learn about all of the possible outcomes and the required choices in order to get them!
You Know My Name Walkthrough: Cyberpunk 2077 Phantom Liberty
This guide will show you how to complete the main job “You know my name” from Cyberpunk 2077’s expansion Phantom Liberty! The walkthrough details each step you must take and all of the possible outcomes.

Firestarter Walkthrough: Cyberpunk 2077 Phantom Liberty
This guide will show you how to complete the main job “Firestarter” from Cyberpunk 2077’s expansion Phantom Liberty! The walkthrough details each step you must take and the possible outcomes.

The Killing Moon Walkthrough: Cyberpunk 2077 Phantom Liberty
This guide will show you how to complete the main job “The Killing Moon” from Cyberpunk 2077’s expansion Phantom Liberty! The walkthrough details each step you must take and the possible outcomes.
Cyberpunk 2077 Black Steel in the Hour of Chaos Guide
This guide will show you how to complete the main job “Black Steel in the Hour of Chaos” from Cyberpunk 2077’s expansion Phantom Liberty! The walkthrough details each step you must take to ambush the Convoy that transports So Mi and defeat the MaxTac team.

Somewhat Damaged Walkthrough: Cyberpunk 2077 Phantom Liberty
This guide will show you how to complete the main job “Somewhat Damaged” from Cyberpunk 2077’s expansion Phantom Liberty! The walkthrough details each step you must take to fully explore the environment and avoid getting caught by the patrolling Cerberus unit.

Cyberpunk 2077 Phantom Liberty Endings Guide: How to unlock all of them
This guide will show you how to get all Cyberpunk 2077 Phantom Liberty endings and how to unlock the new ending for the base game! Here you will find all the step to unlock the endings, all the rewards, achievements, and an explanation of the fate of all characters involved!
Cyberpunk 2077 Phantom Liberty 1R-0NC-LAD Scavenger Hunt Guide
This guide will show you how to start one of the secret missions in Cyberpunk 2077 Phantom Liberty – a scavenger hunt to solve the mystery of the broken robot 1R-0NC-LAD (Ironclad) in Dogtown’s stadium!
Cyberpunk 2077 Dogtown Airdrops Guide: Watch for the Red Smoke
This quick guide explains the purpose of the red smoke marking Airdrops in Dogtown and what you can get from completing these mini-events in Cyberpunk 2077 Phantom Liberty!

No Easy Way Out Walkthrough: Cyberpunk 2077 Phantom Liberty
This guide will show you how to complete the side job “No Easy Way Out” from Cyberpunk 2077’s expansion Phantom Liberty! The walkthrough details each step you must take and the possible outcomes.
Dogtown Saints Walkthrough: Should you kill or spare Nika in Cyberpunk 2077 Phantom Liberty
This guide will show you how to start and complete the gig “Dogtown Saints” from Cyberpunk 2077’s expansion Phantom Liberty! The walkthrough details each step you must take and the available choices and consequences.
Dazed And Confused Walkthrough: How to get Lina Malina's Bike in Cyberpunk 2077 Phantom Liberty
This guide will show you how to complete the side job “Dazed and Confused” from Cyberpunk 2077’s expansion Phantom Liberty and how to get the Lina Malina's Bike, the Malina-Mobile, an almost-free bike you can get in Dogtown! The walkthrough details each step you must take to obtain this fantastic ride.
Balls To The Wall Walkthrough: Cyberpunk 2077 Phantom Liberty
This guide will show you how to start and complete the side job “Balls To The Wall” from Cyberpunk 2077’s expansion Phantom Liberty! The walkthrough details each step you must take and the possible outcomes.
Prototype In The Scraper Walkthrough: Should you Let Hasan Go, Cyberpunk 2077 Phantom Liberty
This guide will show you how to start and complete the gig “Prototype in the scraper” from Cyberpunk 2077’s expansion Phantom Liberty! The walkthrough details each step you must take and the available choices and consequences.

Shot By Both Sides Walkthrough: Should you protect Bree, Cyberpunk 2077 Phantom Liberty
This guide will show you how to start and complete the side job “Shot by both sides” from Cyberpunk 2077’s expansion Phantom Liberty! The walkthrough details each step you must take and the available choices and consequences.

Cyberpunk 2077 Treating Symptoms Guide: What to do with Milko
This guide will show you how to complete the Gig “Treating Symptoms” from Cyberpunk 2077’s expansion Phantom Liberty! The walkthrough details each step you must take and the possible endings whether you leave Allen to finish or take down Milko right away!

Talent Academy Walkthrough: Cyberpunk 2077 Phantom Liberty
This guide will show you how to complete the gig "Talent Academy" from Cyberpunk 2077's expansion Phantom Liberty! The walkthrough details each step you must take and the available choices.

Spy In The Jungle Walkthrough: Cyberpunk 2077 Phantom Liberty
This guide will show you how to start and complete the gig “Spy in the Jungle” from Cyberpunk 2077’s expansion Phantom Liberty! The walkthrough details each step you must take and the available choices and consequences.
Run This Town: Who should rule Dogtown, Cyberpunk 2077 Phantom Liberty Guide
This guide will show you how to start and complete the side job “Run this town” from Cyberpunk 2077’s expansion Phantom Liberty! The walkthrough details each step you must take and the available choices and consequences.

All New Tarot Card Locations in Cyberpunk 2077 Phantom Liberty
This guide will show you the locations of all four new Tarot Cards available in Dogtown, Night City’s Combat Zone, released with Cyberpunk 2077’s Phantom Liberty Expansion!

How to get a Free Outlaw Car in Cyberpunk 2077 Phantom Liberty: Baby Take Me Home Guide
This guide will show you how to complete the side job “Baby Take Me Home” from Cyberpunk 2077’s expansion Phantom Liberty and get the free Outlaw Car, the only free car you can get in Dogtown! The walkthrough details each step you must take to obtain this badass ride.

Cyberpunk 2077 Moving Heat: How to get the Sport R-7 "Charon" Flaming Car
This guide will show you how to complete the side job "Moving Heat" from Cyberpunk 2077’s expansion Phantom Liberty! The walkthrough details each step you must take to acquire the Sport R-7 "Charon" car.